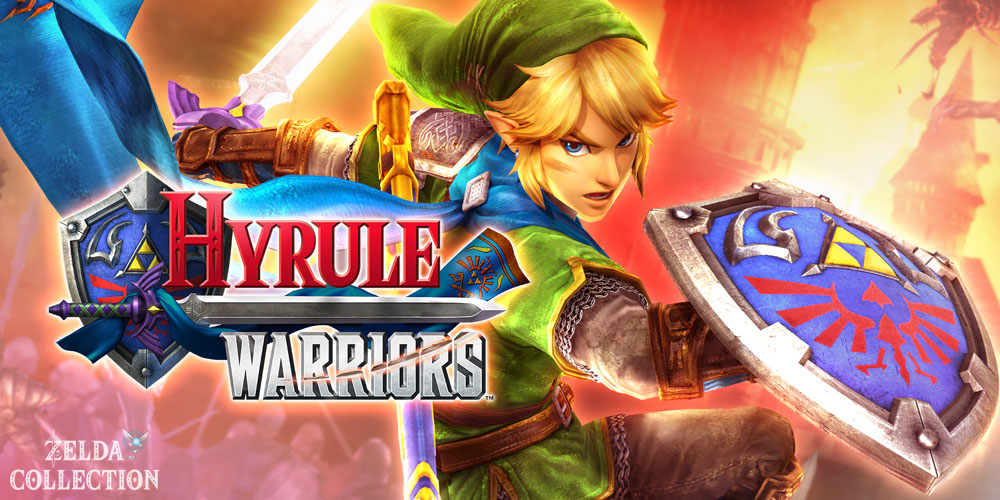

The Wind Waker storyline follows the original story and completed paths of Linkle and Cia in Legends and the Definitive Edition. It includes four battles, takes you to new maps with Tetra and the King of Hyrule and provides another tool with the hammer. Check the paths that are still open on the legend map if this section does not appear for you yet.
Forsaken Fortress: Find the Magic Hammer
From the southeast base, go to the Bomb Shop Fortress in the west. Capture it and follow the opened side passage to the chest with the Magic Hammer. The gate closes behind you. Hit the switch behind the chest with the new tool to leave the room.
Intercept the attackers running towards the base and work your way to the three marked stone barriers. There are cannons with hammer switches near them. Activate the cannons to take out the stone faces. The hammer also helps with the ChuChus in the following keeps; a careless normal hit can cause you damage.
Capture the three keeps surrounding the enemy base. As soon as Gohma appears at the other end of the map, you first defend your own base. Use the owl statues for the way back and the arch for the black eye. Then go to the captain in the northwest base and end the battle.
Gerudo Desert: Portals and Helmaroc King
With Lana you start the search in the Gerudo Desert. Defeat the large Moblin-like captains at the seven portals to prevent further troops from entering through them. As long as the middle gates are closed, you can reach the western objectives via your own base. Later, Tetra and Link will help you distribute the tasks.
The Helmaroc King attacks in between. Wait until his beak is stuck in the ground after the hack attack and hit him in the head with the hammer. Afterwards he is vulnerable to your normal combinations. At the first attack he retreats. Then save Tetra from her Echsalfos attackers and stop the troops running to the base.
When you appear again you can finally defeat the Helmaroc King. Follow his current marker if he has left the northeastern keep. Repeat hammer and melee until he falls. Once completed, Tetra is unlocked for further use.
Temple of Souls: Free Cia from the Darkness
First push Shadow Cia out of the allied base. She escapes before you can finally defeat her. Kill the marked monsters and conquer their keeps. Divide the controllable characters among the distant targets and activate the owl statues along the way so that you can react to new attacks.
Defeat the summoners in the west and east as early as possible. The two Dark Links from the southwest and southeast are not allowed to walk unhindered to the northern base. Intercept them outside the base and switch to another figure in time when their health is low. Afterwards, you will shadow Cia before she reaches the real Cia and defeat her.
There is a weapon chest for Tetra in the southeastern keep. After the battle, the King of Hyrule will also be available. This is followed by the last route through the Wind and Earth Temples.
Wind and Earth Temples: Open All Four Sage Keeps
Link, Lana, Tetra and the King start spread out. Conquer the four marked keeps with the next characters. On the cut-off paths of Tetra and the King, you must first activate the hammer switches. They open light windows and change the platforms. Then use the Hookshot on the marked target to reach the elevated path.
Intercept the messenger on the king’s path before he calls for reinforcements. On Tetra’s side, support the Hylian captain in his task. Once the four keeps have been conquered, the paths to the center open. First defeat the monsters threatening Cia in the southern position, then Gohma and Manhandla in the two southern Sage Keeps. The tools work like in the first fights with Gohma and Manhandla.
Defeat Phantom Ganon together
Bring all four controllable characters to the middle hall. Only together do they trigger the attack, which releases Phantom Ganon for the final battle. Don’t leave a seriously injured ally standing in the middle of the hall unattended: switch to them and get healing outside the immediate hit zone if necessary.
Throw back the magical missiles with a well-timed weapon swing. With the bright balls there is a longer exchange of blows because Phantom Ganon also sends them back. Bombs can also stun him. As soon as he is on the ground and his weak point is open, you attack. Eliminate the dark doppelgangers before they unleash dangerous attacks together and repeat the process until victory. After that, the advanced legend mode is completed.