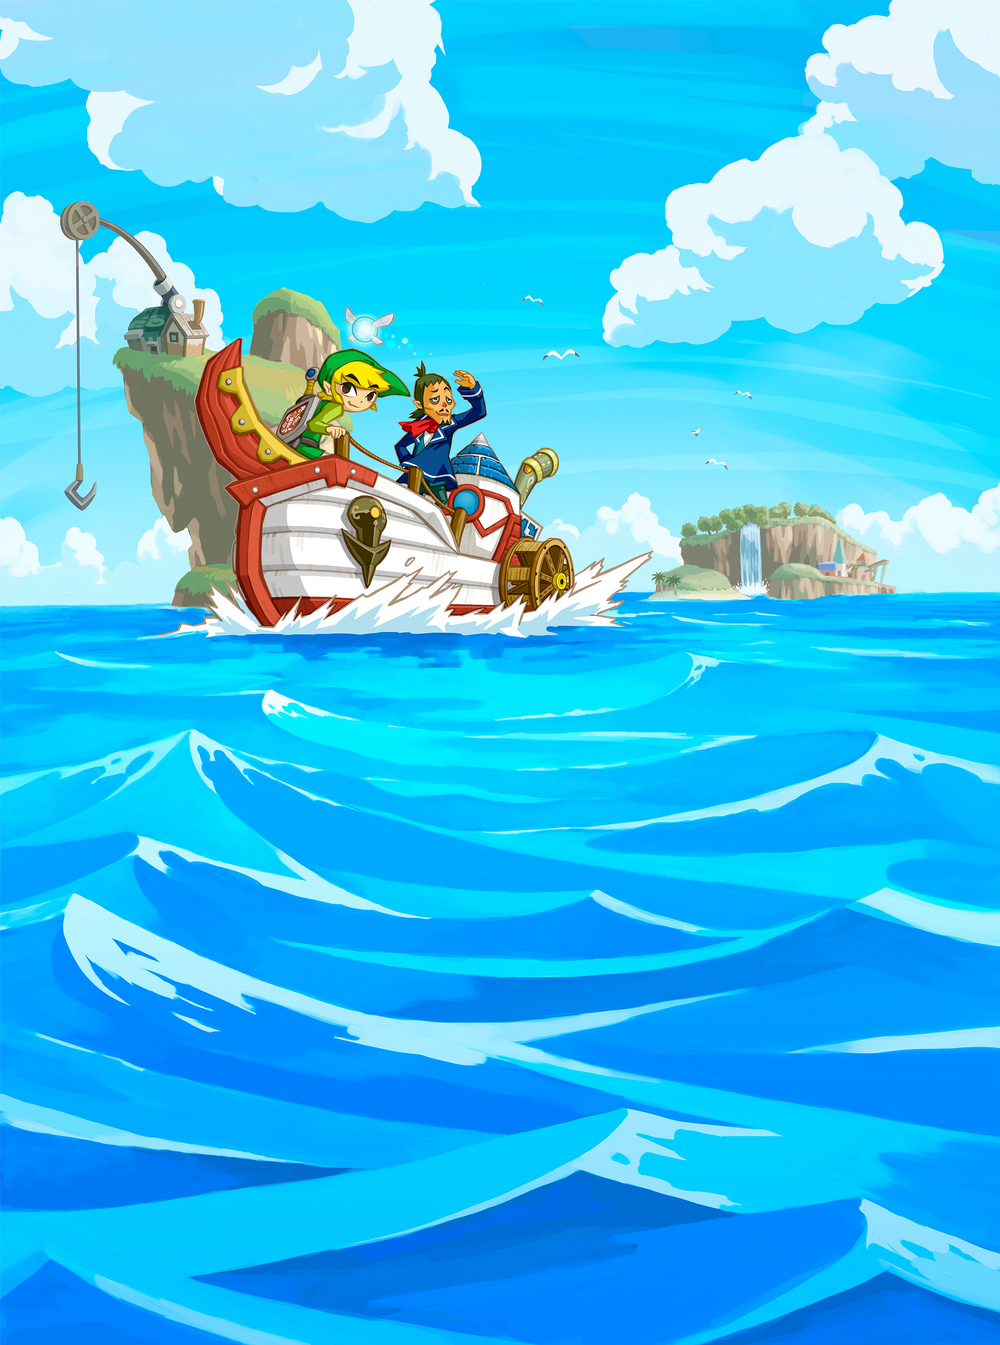

In Phantom Hourglass you can find a total of 20 Power Gems, which are scattered all over the world. If you take them to the Island of the Light Spirits, which is located south of Molida Island, you can strengthen your Light Spirit of Power.
For 10 Power Gem your sword will be enveloped in flames, causing double damage. If you bring 20 Power Gems to the Island of the Light Spirits, the damage will be quadrupled. You can only use the abilities of one Light Spirit at a time. Use the collection screen to switch between light spirits.
01. Loading Mercay Island
You can buy the first Power Gem in Mercay Island’s shop for 500 Rupees. This purchase later opens the offer sequence for Quiver, Crawling Lead Bag and the Shop Heart Container. But you should save the money at the beginning of the game and wait until later.
02. Isle of Ember
Astrid gives you this drop after you have passed the Temple of Fire.
03. Gun Island
In the cave to the southwest, there is a cracked wall in the bottom right corner. Grab one of the Thunder Flowers from further ahead and blow open the crack to discover a chest with a Power Gem behind it.
04. Isle of Gust
In the area west of the entrance to the temple you will find a chest on a small hill. To get to the top, you just have to dig out the airflow in front of it with the shovel.
05. Temple of the Wind, K2
In the large sand hall on the second basement floor you can find an isolated chest with this Power Gem in the far west.
06. Mercay Island
After you have completed the Temple of Wind, go back to Grandfather Oshus. He gives you a drop of strength.
07. Mercay Island
Once you get the bombs, go back to Temple of the Ocean King. Before you reach the entrance, you will notice a cracked wall below, which you can blow open with bombs.
In the cave beyond, jump over the water to discover a small chest with the drop at the other end.
08. Temple of the Ocean King, K4
There are a total of three phantom eyes patrolling the fourth basement floor. If you defeat them all, a large chest with the drop will appear to the east.
09. Temple of Courage, EC
In the northwest corner of the ground floor you can discover two chests in a chamber. Use your bombs to blow open the wall between the two stone tablets and open the right chest for a Power Gem.
10. Temple of Courage, S1
In the southern area of the first floor you can take a ride over several floating platforms in the center.
Here you will find two Eye Switch on the wall at the top. If you activate both with the bow, a small chest with the drop will appear between them.
11. Temple of the Ocean King, K3
If you walk to the right at the bases for the force crystals, you will come to a Eye Switch on the wall. If you have the bow with you, it can be activated from the hill using the two floor switches that operate the trap doors.
Simply dig out the airflow at the bottom right to quickly get to the high ground. A chest with a Power Gem will then appear next to the three pedestals.
12. Temple of the Ocean King, K7
After finding the round crystal, continue to the right. There is a wooden post right next to the protection zone on the other side of the abyss.
Wait until the red phantom here turns south, then stand on the post and aim with Boomerang or bow at the Crystal Switch on the wall at the bottom right.
A small distance south of the switch, a large chest with the drop will appear for a few seconds, which you should get quickly.
13. Goron Island
In the northeast of the island you will find a kind of stone maze that you have to cross on the way to Goron Temple.
In the lower left area there is a Floor Switch, which further to the left lowers a spiked barrier in front of a small chest.
When you arrive at the exit of the labyrinth, immediately turn downwards, where you will then reach the chest.
14. Isle of Frost
Once you have the grappling hook, you can climb up to the left of the entrance to the Temple of Ice by standing on a post and then pulling yourself to the next higher post. Further down you can then move to the eastern side.
From up here you can jump down to an otherwise inaccessible hill where there is a small chest. Open the chest for the drop.
15. Molida Island
Once you have the grappling hook, head back to Molida Island and re-enter the cave next to the hut in the northeast of the village. Now follow the platforms that lead over the water again, but stop at the last platform.
Here you can use the grappling hook to pull yourself further to the right to a chest that contains a Power Gem.
16. Island of the Light Spirits
You can now use the grappling hook to pull yourself from the harbor to the east side of the island. Here, make your way past Octoroks, robbery slimes and ruby slimes to finally reach a small chest with a Power Gem.
17. Bonun Island
Directly to the right of the harbor you can discover a small island with a small chest on it. You can reach this with the grappling hook.
18. Isle of the Dead
Dig in the area on the right under the pillar with the Crystal Switch (exactly 13 spaces west and 7 north from the tree at the tip in the southeast) to open the hole that leads to the “Eye of the King”.
Right here at the beginning of the underground passage you can blow open the wall at the top and find a hiding place behind it, where, among other things, there is a chest with a Power Gem waiting.
19. Isle of Ruins
Once the island’s water level has been lowered, you can enter the labyrinth in the southwest. In the top right corner there is a small chest with the drop.
20. Postman
Once you complete Mutoh’s Temple, you will receive a letter from King Mutoh the next day (in real time, counting on the Nintendo DS system calendar) with a Power Gem attached.
The six travel points of the frog compass will help you on your return visits to the late discovery sites. You can take the treasure maps with you on the same island tours. For permanently more health, you also collect the 13 Heart Container.