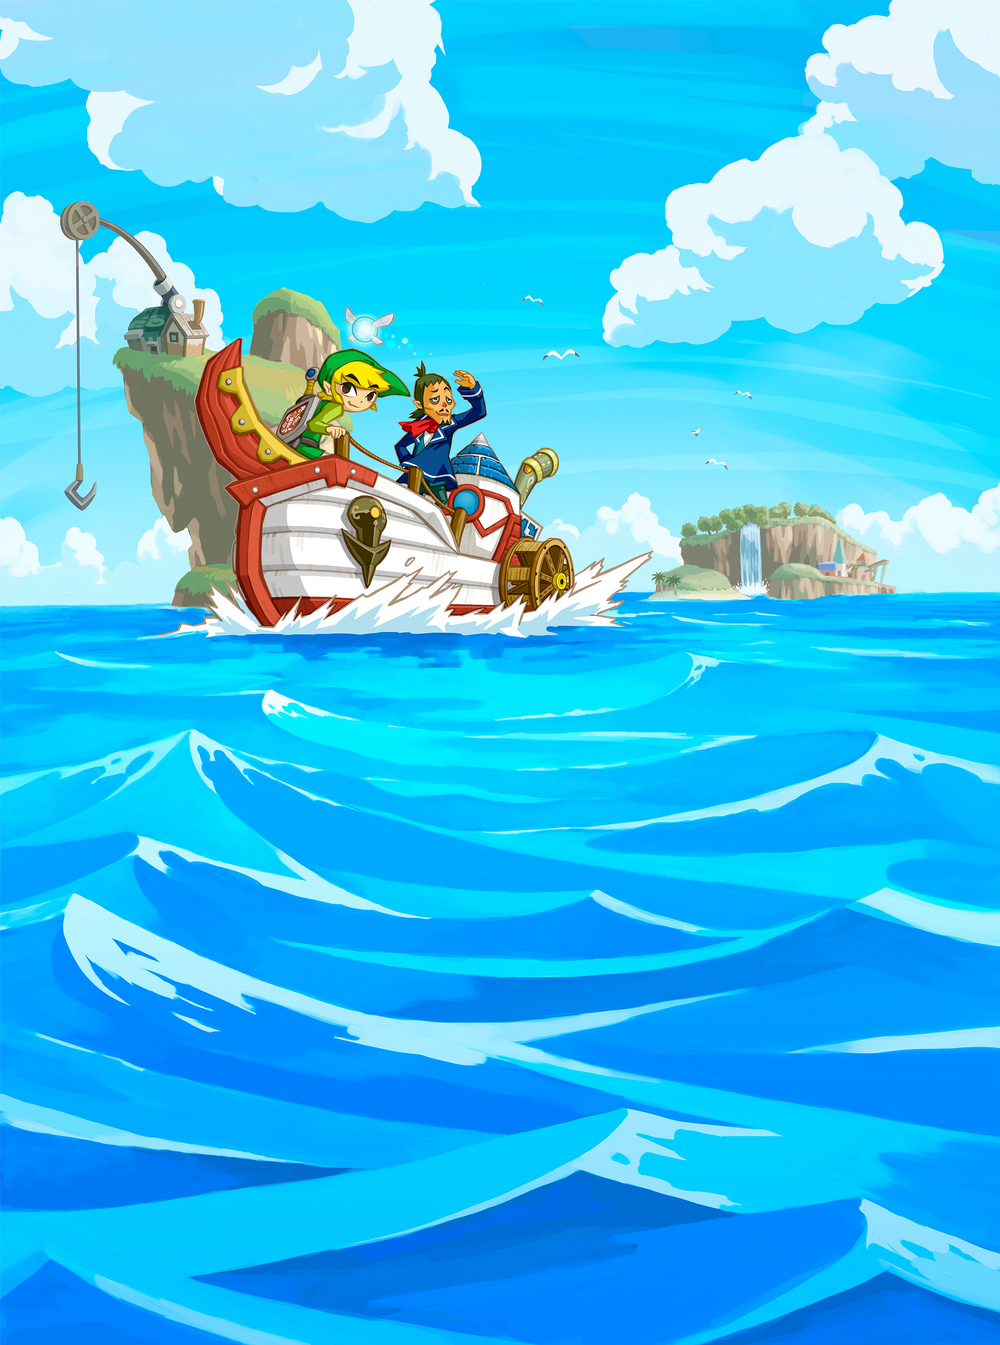

In Zelda: Phantom Hourglass lead 31 treasure maps to sunken chests. The map itself is just the first step: then go to the red cross on the corresponding nautical map and get the chest with it Salvage Arm on board. The following numbering groups the Locations for this solution; it does not denote a card number displayed in the game.
Salvage arm and nautical charts
You can buy the salvage arm from Ed on the Cannon Island as soon as you have received the imprint for the Sun Key in Temple of the Ocean King. You can find maps for another part of the sea earlier than the corresponding nautical chart. Pick it up and return to the red cross as soon as you can sail the sea in question. When recovering, you steer the gripper arm past the obstacles; Also be considerate of the damaged structure on the way back.
Included from the 31 card chests 23 Ship parts, five one minute each Sand of life, two treasures and a 300 Rupees. The Sun Key is part of the main story and is not one of these 31 cards. Salvage crosses that appear after large pirate ships have been sunk also increase the number treasure maps not.
All 31 map locations
01. Cannon Island – Chest in the Forest
Return to the forest on the western island path past the bee nests. The short side path leads to a chest. You can take the card with you on your first visit on the way to buying a cannon.
Prerequisite: West Path of Cannon Island. Contents of the sunken chest: Ship part. The red cross on the map you found shows you the exact recovery location.
02. Molida Island – second refuge of the romantic
Use the shovel to connect the clues from the four stone tablets on your map to form a cross. Dig at the intersection in front of the palm tree behind the house to open the cave entrance. Next to the note about the fog course, the map is in a chest.
Requirement: shovel. Sunken Chest Contents: 1 minute Sand of Hours. The red cross on the map you found shows you the exact recovery location.
03. Mercay Island – tree at Oshus’s camp
Find the tree immediately in front of the camp next to Oshus’s house in the west of the island. Dig on its south side with the shovel. The map is in the ground; You don’t need to search the temple cave.
Requirement: shovel. Contents of the sunken chest: Ship part. The red cross on the map you found shows you the exact recovery location.
04. Isle of Ember – Astrid’s Basement
Enter Astrid’s house and go to the basement. Look for the conspicuous areas of the ground and dig in the spot at the bottom right. You only get the shovel on Molida Island; plan this find as a return visit.
Requirement: shovel. Contents of the sunken chest: Ship part. The red cross on the map you found shows you the exact recovery location.
05. Isle of Ember – Grass at Volcano
Speak to Kashizuku’s ghost again and follow his clue to the volcano. On the eastern edge, northeast of the temple entrance, lies a single patch of grass. Dig up the map there. The salvage site is located east of Bonun in the area of the northeastern nautical map that can be reached later.
Requirement: shovel; Northeastern nautical chart for recovery. Sunken Chest Contents: 1 minute Sand of Hours. The red cross on the map you found shows you the exact recovery location.
06. Sauz’ Island – intersection of the stone slabs
Mark the four stone slabs, two on each half of the island, on the map. Connect the opposite points diagonally. At the intersection of the two lines in the south near the palm tree, dig for the map.
Requirement: shovel; northwestern lake. Contents of the sunken chest: Ship part. The red cross on the map you found shows you the exact recovery location.
07. Bonun – sign in front of the hut
Go to the romantic’s hut and stand in front of the sign next to the house. Dig immediately to the left of the sign. You do not need the grappling hook or completing the fishing task for this card.
Requirement: shovel. Contents of the sunken chest: Ship part. The red cross on the map you found shows you the exact recovery location.
08. Nameless Island – Eye of the Whale
As you explore, draw the island outline on your map. The island is reminiscent of a whale. At the myth stone at the eye, on the western side, you dig directly in front of the statue.
Requirement: shovel. Contents of the Sunken Chest: Treasure. The red cross on the map you found shows you the exact recovery location.
09. Isle of Wind – Cave Enemy Hall
In the central cave on the way to the temple you will reach a hall with little devils. Defeat all enemies in this room. The card is in the chest that appears; the other chest with the Wisdom Gem is a separate find.
Prerequisite: Access to the Isle of Gust. Contents of the sunken chest: Ship part. The red cross on the map you found shows you the exact recovery location.
10. Island of Wind – Windmill Field
Enter the sandy area with the windmills to the northeast. Search the southeast corner of this area and open the chest there. Watch out for sandworms as you make your way through the sand.
Prerequisite: Access to the windmill field. Contents of the sunken chest: Ship part. The red cross on the map you found shows you the exact recovery location.
11. Mercay Island – Card from the man dressed in green
After the card print for the Sun Key, talk to the man dressed in green at the harbor or on the way to the temple in Mercay Island. Follow his clues about the Salvage Arm and the Frog Boss. He will sell you a card for 50 Rupees.
Requirement: Sun Key Imprint; 50 Rupees. Sunken Chest Contents: 1 minute Sand of Hours. The red cross on the map you found shows you the exact recovery location.
12. Temple of the Ocean King – Eye Switch on K6
Return to the sixth basement using the bow. Shoot the Eye Switch west of the entrance. He causes a chest to appear in the northeast. If possible, clear the annoying phantom eyes beforehand and run to the chest immediately after activation.
Requirement: sheet. Sunken Chest Contents: 1 minute Sand of Hours. The red cross on the map you found shows you the exact recovery location.
13. Mercay Island – Freedle’s Island
In the north of Mercay Island you blow open the wall to the left of the single tree. The cave behind it leads to the small northeastern island via an underground bridge. Speak to Freedle there once the southeastern sea map is unlocked. Take his card with you on your return visit.
Requirement: bombs; southeastern nautical chart. Contents of the sunken chest: Ship part. The red cross on the map you found shows you the exact recovery location.
14. Molida Island – Girl at the harbor
After obtaining the southeastern sea map, return to Molida Island. At the harbor, talk to the little girl in red clothes. The card is a conversation reward, not a buried find.
Prerequisite: Southeastern nautical chart. Contents of the sunken chest: Ship part. The red cross on the map you found shows you the exact recovery location.
15. Goron Island – Help against electro slimes
North of the village bridge you will meet a Goron who is afraid of the slimes on the other side. Use the bow to eliminate enemies from a safe distance. If you don’t have the height, use the shovel to expose the airflow. He then thanks you with the card.
Requirement: sheet; Scoop for airflow. Contents of the sunken chest: Ship part. The red cross on the map you found shows you the exact recovery location.
16. Goron Temple – time-limited chest on the ground floor
In the northeast section of the entrance room, create a bridge with the Armos statue on the Floor Switch. From above, throw a bomb to the Crystal Switch below the bridge. As soon as the switch is hit, run to the right and open the chest that has temporarily appeared.
Requirement: bombs; Bridge on the ground floor. Contents of the sunken chest: Ship part. The red cross on the map you found shows you the exact recovery location.
17. Goron Island – Bombchus in the stone labyrinth
Return to the labyrinth in the northeast with the Bombchus. Send a mine through the narrow opening to the Crystal Switch behind it. The map appears in a chest in the northeast area. Plan your route in advance so that you can reach it on time.
Requirement: Bombchus. Contents of the sunken chest: Ship part. The red cross on the map you found shows you the exact recovery location.
Find 18. Gold rush island – first early map
On the gold mining island in the southeastern sea you pay 50 Rupees for a round of digging with ten attempts. Two treasure maps are already in the random find offer with the southeastern nautical chart. The first leads to a part of the ship northwest of Goron Island.
Prerequisite: Southeastern nautical chart; 50 Rupees per spin. Contents of the sunken chest: Ship part. The red cross on the map you found shows you the exact recovery location.
Find 19. Gold rush island – second early map
Play more rounds of digging until you have dug up the second early treasure map. It marks a salvage site west of Goron Island. There is no permanent grave coordinate that guarantees this find in every save game. After the round you leave the island and start a new paid attempt.
Prerequisite: Southeastern nautical chart; 50 Rupees per spin. Contents of the sunken chest: Ship part. The red cross on the map you found shows you the exact recovery location.
Find 20. Gold rush island – first late map
The northeastern sea map unlocks two more maps for the excavation game. One leads to a treasure in the northeastern sea near the Isle of the Dead. After unlocking the map, return and search in new rounds.
Prerequisite: Northeast nautical chart; 50 Rupees per spin. Contents of the sunken chest: Ship part. The red cross on the map you found shows you the exact recovery location.
Find 21. Gold rush island – second late map
The fourth excavation map leads to a ship part in the Isle of Ruins area. Also collect them only after receiving the northeastern sea map. If you have already found two cards on the gold mining island, that does not mean that this Location is completely done.
Prerequisite: Northeast nautical chart; 50 Rupees per spin. Contents of the sunken chest: Ship part. The red cross on the map you found shows you the exact recovery location.
22. Isle of Frost – small island near the Anouki
There are small peripheral islands in the northwest near the Anouki houses. Cross the bridge to the southwest island and dig in the middle. The grappling hook is not necessary for this buried find.
Requirement: shovel. Contents of the sunken chest: Ship part. The red cross on the map you found shows you the exact recovery location.
23. Molida Island – Chicken in the Eastern Islands
Leave the village cave at the right exit and follow the path east. On one of the small islands there is a barrel with a chicken in it. Pull the barrel with the grappling hook, pick up the exposed chicken and glide across the islands. On the southern island you dig in front of the tree.
Requirement: grappling hook; Shovel. Contents of the sunken chest: Ship part. The red cross on the map you found shows you the exact recovery location.
24. Bonus – between the two chests
Cross the cave to the eastern half of the island. In the northeast you can use the grappling hook to reach the raised area with two chests. Dig between the chests to reveal the treasure map. The card itself is not in either of the two visible chests.
Requirement: grappling hook; Shovel. Contents of the sunken chest: Ship part. The red cross on the map you found shows you the exact recovery location.
25. Temple of the Ocean King – side path to K5
On K4, use a Bombchu to reach the Crystal Switch behind the narrow opening and lower the spikes in front of the upper side exit. Take these additional stairs instead of the usual southern route to K5. Dig out the airflow there and hit the switch to get to the large chest behind the wind barrier.
Requirement: Bombchus; Shovel. Sunken Chest Contents: 1 minute Sand of Hours. The red cross on the map you found shows you the exact recovery location.
26. Northeast Sea – Man of Smiles
Board the lone traveler ship to the southeast of the Northeast Sea. Defeat the enemies in the cabin and talk to the Man of Smiles. On your first visit you will receive the card together with the first item in the exchange sequence.
Prerequisite: Northeast nautical chart. Contents of the sunken chest: Ship part. The red cross on the map you found shows you the exact recovery location.
27. Labyrinth Island – Advanced Circuit
Complete the beginner round and then the advanced round on the labyrinth island. In the second round you have to hit eight statues and open the reward chest within the time limit. The price of this level is the treasure map.
Prerequisite: Northeast nautical chart; bow; 50 Rupees for the second stage. Contents of the sunken chest: Ship part. The red cross on the map you found shows you the exact recovery location.
28. Island of the Dead – hidden room next to the books
Enter the cave near the harbor. Blow open the wall to the left of the books and follow the secret passage. Avoid the black ruby traps. In the chests at the end you will find a treasure map among other rewards.
Requirement: bombs. Contents of the Sunken Chest: Treasure. The red cross on the map you found shows you the exact recovery location.
29. Isle of the Dead – Hill near the Eye of the King
From the tree at the southeastern tip, count 13 spaces to the west and seven to the north. Dig up the entrance to the secret underground passage and follow it to the hill near the Eye of the King. On this higher level, open the chest to the northeast.
Requirement: shovel; Access to the underground passage. Contents of the sunken chest: Ship part. The red cross on the map you found shows you the exact recovery location.
30. Temple of the Ocean King – rusty switch on K10
Use the hammer to press the rusty Floor Switch in the southwest corner of the tenth basement. The card is in the large chest that then appears in the middle of the room.
Requirement: hammer. Contents of the sunken chest: Ship part. The red cross on the map you found shows you the exact recovery location.
31. Temple of the Ocean King – Springboard to K12
On K11, take the eastern stairs to the walled protection area on K12. Place a bomb next to the Crystal Switch and use the hammer on the springboard to the left of it. The delayed explosion gives you time to run east to the chest, which is only visible for a short time. If possible, clear phantom eyes from the path beforehand.
Requirement: Hammer; Bombs. Sunken Chest Contents: Golden Rupee: 300 Rupees. The red cross on the map you found shows you the exact recovery location.
The most common missing treasure maps
If you are still missing cards at the end, check the four random finds on the gold rush island and the four return visits in Temple of the Ocean King. The conversation reward from Freedle also awaits Mercay Island. For the two cards on the Isle of Ember you need the shovel; At Molida Island and Bonun there is a later find with the grappling hook. A map that has been collected and a chest that has already been recovered represent different progress: So check the red crosses that are still visible on all four nautical maps.