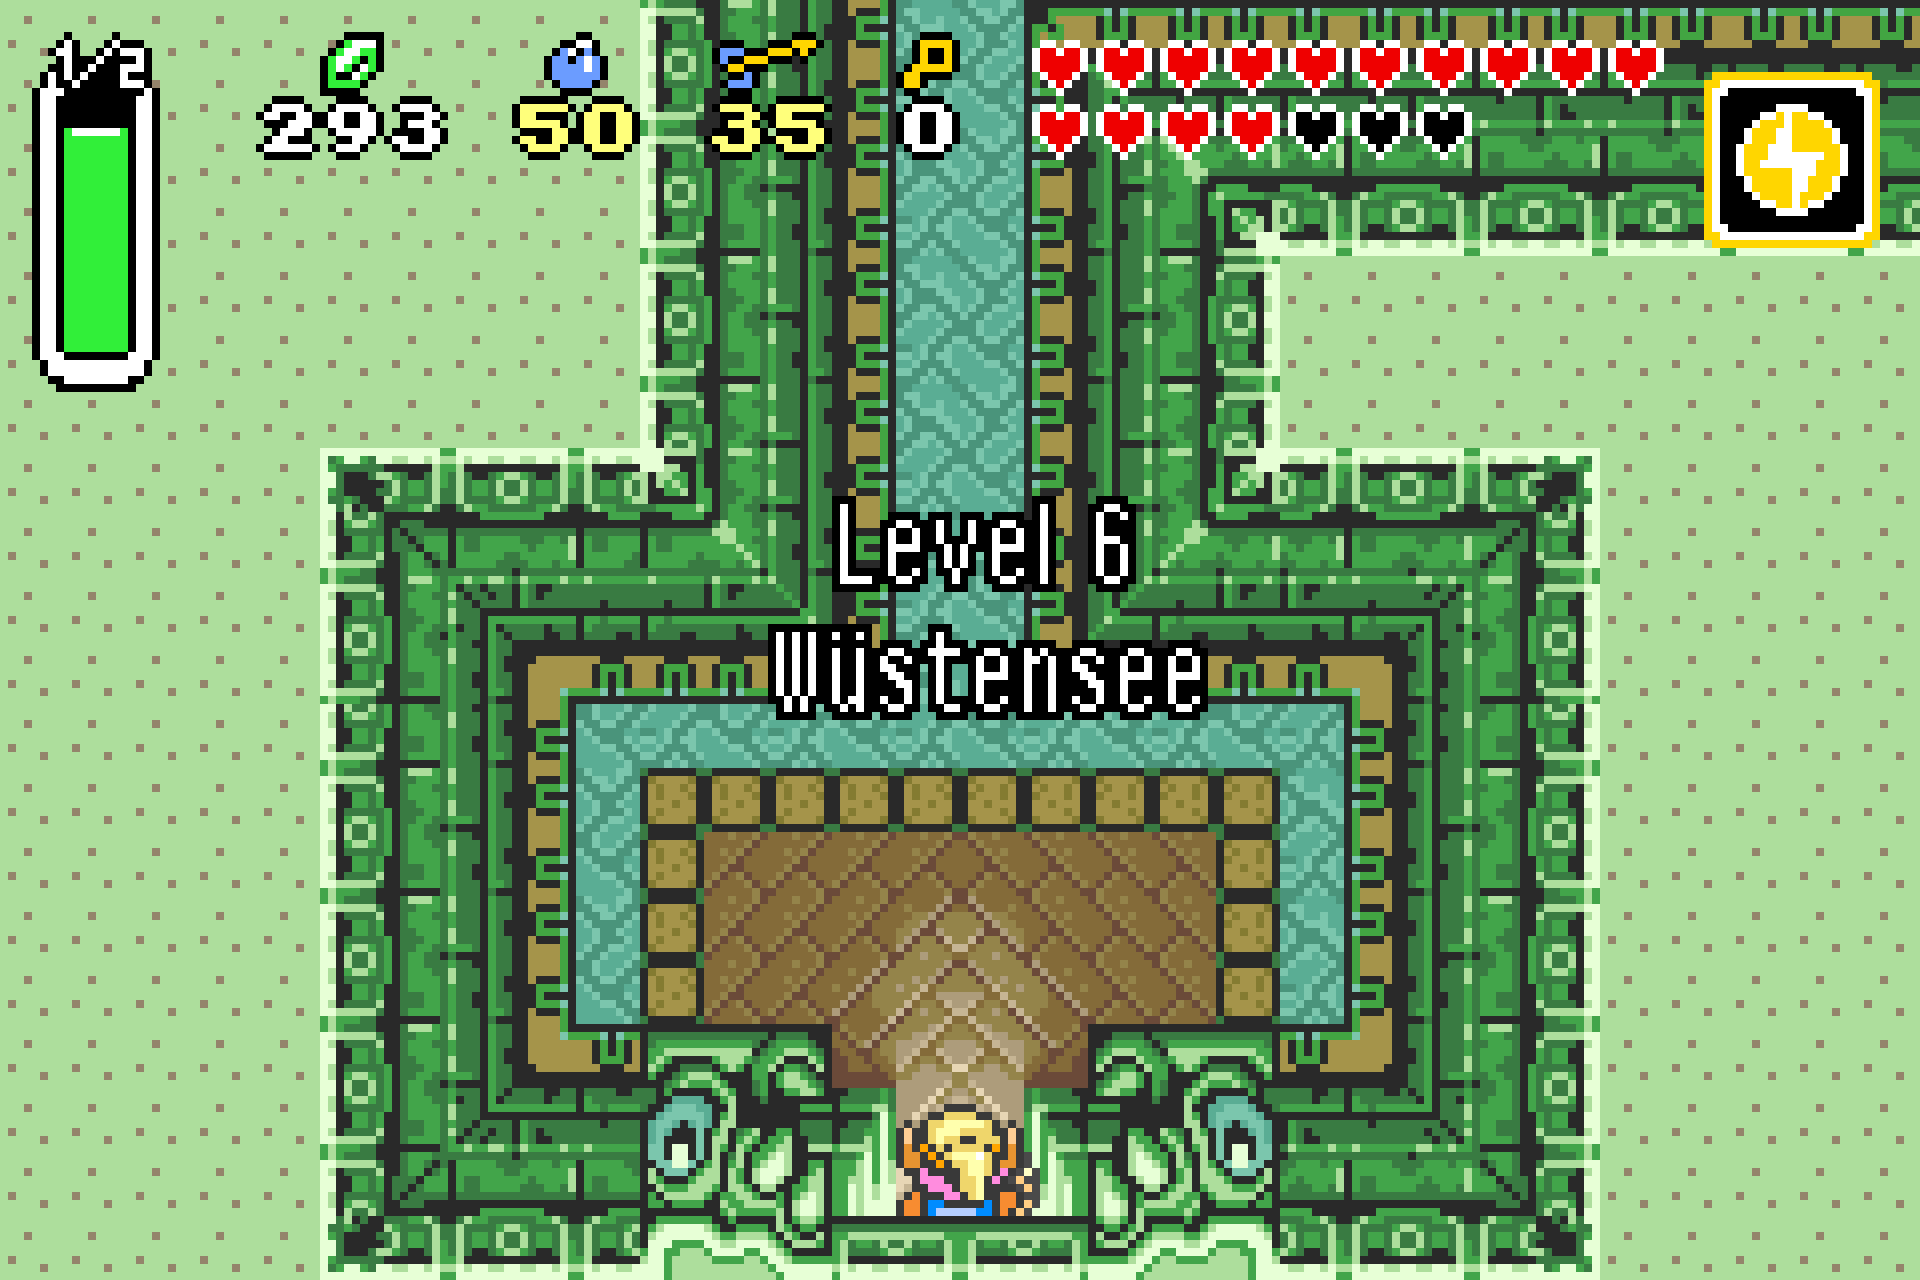

After Kholdstare’s defeat in the Ice Palace, Link has five of the seven crystals. The sixth awaits in the Desert Sea Palace, deep in an enclosed bog in the southwest of the Shadow World. This area roughly corresponds to the Desert of Secrets from the Light World, but cannot be easily accessed on foot. Access is via a hidden teleporter – which is exactly why we already collected the flute and titan gloves in the previous chapters.
Before entering the dungeon, we take two more Pieces of Heart. After that, only the two finds around Turtle Rock are missing. In the Misery Mire palace itself we collect all six Small Key, map, Compass and Big Key and find an item with the Cane of Somaria that is for the last one Shadow world dungeon is mandatory.
According to Vitreous, this chapter is not yet finished. Since we have then completed both Ice Palace and Desert Sea Palace and have already rescued the missing blacksmith, the super bomb is offered in the bomb shop. With it we open the secret fairy fountain in the pyramid and improve our equipment before Turtle Rock with Silver Arrows and Golden Sword.
If you followed our previous A-Link-to-the-Past walkthrough completely, Link now has 17 hearts, 20 of 24 Pieces of Heart and all four bottles of. There are also Blue Armor, Hardened Master Sword, Titan Gloves, Hookshot, Magic Hammer, Fire Rod, Ice Rod, Cane of Byrna, Magic Cloak, halved magic consumption and all three medallions.
With the flute to the Misery Mire
First switch to the light world and play the flute. Select fast travel point 6 in the Desert of Secrets. The bird sets Link down on a raised rock platform.
There are several stones immediately east or right of the landing point. Use the Titan Gloves to lift the dark rock. There is a magical teleporter field underneath.
Step on it. Link is transported to the shadow world and ends up in a closed, permanently rainy moor. Internationally this area is known as the Swamp of Evil; on Zeldacollection we use the name Misery Mire.
Jump down from the hill. Before we open the actual palace, we first get two Pieces of Heart that can only be reached from this area.
Piece of Heart 21/24 – west of the palace
After the jump, head west and then run north. To the west of the large palace entrance is a smaller stone head, whose open mouth serves as an entrance.
Go in and avoid the two Sparks running along the walls. Then go down the stairs to the lower area.
In front of you are two Treasure Chests behind a small block puzzle. In the right chest there are 20 Rupees, in the left the Piece of Heart. Since we are also taking the solid ruby chests with us on our route, we open both.
Right Chest – 20 Rupees
First, push the bottom right block to the right. This will open the way to the right Treasure Chest. Take the 20 Rupees with you.
Left Chest – Piece of Heart
Then devote yourself to the left block group. Push the bottom left block to the left. Then stand under the block directly above and push it up.
Then go to the right side of the block that is still in front of the left chest and push it to the left. The way is now clear.
Open the chest and you will receive Piece of Heart 21/24.
If you ever move the puzzle so that a chest is no longer accessible, simply leave the building and re-enter it. All blocks are then back in their original position.
Piece of Heart 22/24 – secret light world cave
Leave the cave and then follow the northern rock wall far east. In the far northeastern corner of the Misery Mire, a narrow path seemingly ends in a dead end.
Actually go right up to the upper rock wall and use the Magic Mirror.
Link appears in the Light World on an otherwise inaccessible rock platform above the desert. There is a heavy stone in front of you. Lift it with the Titan Gloves and climb into the cave through the entrance below.
A square block puzzle awaits inside. Start with the left block of the bottom row. First push it one space to the right. Then go up one space and push the block in front of you up one space.
Then go one space to the right and push the block there to the right. Go up one space again and also push the block to the right of Link to the right.
This opens the way to the podium. Collect Piece of Heart 22/24.
We are now only missing two of the total of 24 Pieces of Heart. Both are located around the Turtle Rock on the Death Mountain.
Leave the cave and enter the glittering mirror portal again to return to the Misery Mire.
Fairy fountain at the palace
Before we open the palace, you can fill up your bottles. The large central palace head is flanked by two smaller entrances. There is a fairy fountain in the eastern or right head.
Heal yourself completely here and, if necessary, catch one or more fairies with the butterfly net. Vitreous can deal significant damage, especially in the first phase of combat.
It is also particularly useful to have at least one green or blue elixir. Cane of Somaria, Cane of Byrna and Magic Cloak later share the same magic bar.
Open the Misery Mire Palace with the Air Medallion
Go to the large platform in front of the sunken middle palace head. On the ground you can clearly see the symbol of the air medallion.
Place Link exactly on the symbol and use the medallion.
The powerful spell unleashes its effect across the entire moor. The storm responds to the magic and the huge central entrance rises from the ground.
The air medallion is of course not used up. As long as Link has enough magic, you can use the three medallions as often as you want.
Now enter the Misery Mire Palace.
From the entrance to the first basement
Directly in the first room, a wide abyss separates Link from the northern exit. On the opposite side is a single block.
Shoot the Hookshot at it and pull yourself across the gap. Then go north.
Several enemies will appear in the next area. Defeat them completely to make the northern door open. Behind it, climb the stairs down to the first basement floor.
B1 forms the largest part of the Misery Mire Palace. Many rooms are connected to each other in multiple ways and our route later leads past several well-known places. You come across Wizzrobes particularly often. They appear in fixed positions for a short time, fire a spell at Link and disappear again.
Stay out of their direct line of fire and only attack once they are fully visible. With the hardened Master Sword, a clean hit is enough.
Small Key 1 – the wooden bridge
From the first large room on B1 go north and then east. In the next room, push the block aside so that the northern door opens.
Follow the path further north. You finally reach an incomplete wooden bridge via several narrow footbridges.
At the end of the accessible part there is a Treasure Chest. Open it and you will get Small Key 1.
Then return two rooms to the south.
Small Keys 2 and 3 in the spike room
In the intersection room, push the block out of the way and go east. You will reach a large room with an extensive field of spikes.
There are two Small Keys here.
Small Key 2
First, go to the northwest area of the room. Pick up the skull there. Below that is Small Key 2.
Small Key 3
The third key is on the more dangerous part of the room. There is another skull on the field of spikes. Below him is a Floor Switch.
Activate either the Cane of Byrna or the Magic Cloak. Run over the spikes, lift the skull and step on the switch.
A Treasure Chest also appears on the spike field. Open it and take Small Key 3.
Switch off your protected item immediately afterwards. Because our magic consumption has been halved, this short use costs very little energy anyway.
Small Key 4 on Crystal Switch
Leave the spike room to the north and continue north in the next room. Then cross the following bridges until you reach a room with a Crystal Switch and several skulls.
Pick up the skull immediately west or next to the switch. Below that is Small Key 4.
Then operate the Crystal Switch so that it is blue and the blue rows of blocks are lowered.
We need this setting in the western part of the dungeon.
Small Key 5
Go south again from Crystal Switch and work your way through the known connections to the western dungeon area.
You will finally reach a room with several Bari. Do not touch the electrically charged variants with the sword while their bodies are visibly flashing. The Hookshot is significantly safer.
Defeat the blue bari. One of the enemies leaves Small Key 5.
Take him with you. You can enter the southern side room if you really want to uncover every room on the map; You won’t find a unique item there.
Flying Floor Plates and Compass
Go west from the key room. In the next room, numerous floor tiles come off one after the other and fly towards Link.
Stay close to a wall or near the entrance and let the plates shatter one after the other. Only when most of it has disappeared do you continue moving through the room.
In this and the adjacent room there are a total of four torches. All four must burn at the same time.
First get rid of annoying skulls. Then use the Fire Rod to light the torches in quick succession. Its greater range makes the puzzle much more enjoyable than with the lamp.
As soon as all four flames burn at the same time, the northern passage opens.
Go through and open the Treasure Chest. Inside is the Compass.
Four Torches and the Great Key
Return south from the Compass and then go one more room. A staircase leads to the ground floor.
At the top you reach two connected rooms with another four torches. The difficulty this time is that the fireplaces are spread over two rooms.
First push all disturbing blocks out of the way before lighting the first torch. This means you won’t lose valuable time later.
Light the more distant torches first and then work your way to the closer ones. With the Fire Rod you can shoot across multiple fields and don’t have to stand right next to every flame.
As soon as all four torches burn at the same time, the dungeon begins to shake. In the eastern room, a large wall shifts, revealing a hole in the grated floor.
Go there and jump in.
Link lands on B1 directly in front of a Treasure Chest. Open it and you will get the Big Key.
Then go west and use the teleporter there. Follow the next area north and also step on the second teleporter. This will take you back to the central network of the dungeon.
Small Key 6
Work your way back from the teleporter to the large central room with crystal blocks. Make sure the Crystal Switch is still adjusted so that the blue blocks are lowered.
There is a skull between the block groups. Lift it. Among them is a Floor Switch.
Step on it and a Treasure Chest appears.
Open it and you will get Small Key 6, the last Small Key of the Misery Mire Palace.
The Dungeon Map
Now use one of your keys on the northeast door of the central area.
Directly behind it is a Treasure Chest. Open it and you will get the Dungeon Map.
The card and Compass are also collected. You can now clearly see on the map that beneath the extensive B1 there is a much smaller second dungeon section, which ultimately leads to Vitreous.
The Cane of Somaria
From the map room, return to the previous area and take the southeast path. Climb onto the raised level there and head east.
In the next room, a wide chasm separates Link from a single block on the opposite side. Aim at it with the Hookshot and pull yourself over.
Once you land, you don’t have to waste any time. The long stone bridge to the north soon begins to collapse bit by bit behind Link.
Face north and sprint across the bridge with the Pegasus Boots. At the end you are standing directly in front of the big Treasure Chest.
Open it with the Big Key.
Link gets the Cane of Somaria.
When used, the staff creates a red magic block directly in front of Link. You can move it, place it on floor switches, lift it and throw it. If a block already exists and you use the Cane of Somaria again, the cube disintegrates into four magical projectiles that fly in the four cardinal directions.
Each block created costs some magic. However, thanks to our permanent ½ improvement, consumption is low.
In the rest of the Misery Mire palace we need the Cane of Somaria for a switch for the first time. In the Turtle Rock it is then absolutely indispensable.
With the Cane of Somaria into the second basement
Leave the room with the large chest to the west again. Then work your way north through the central dungeon area and take the long wooden bridge.
At the end there are stairs leading down to B2.
The item you just received is needed in the first room. Underneath the skull on the western side lies a Floor Switch.
Lift the skull and don’t stand on the switch yourself. Instead, create with that Cane of Somaria a red block and push it onto the floor plate.
The southern door now remains open and Link can continue.
Optional: 45 Rupees
In the eastern side room are nine blue ones Rupees, a total of 45 Rupees. The detour takes hardly any time and is part of our complete treasure route.
A little later there is another room hidden behind a blastable wall with 18 blue Rupees, so a total of 90 Rupees. This loot is of course not a unique collectible, but can be taken for a complete playthrough.
Crystal Switch and last route to Vitreous
From the Somaria counter, go south and then west. The next room consists of several rows of blocks and chasms.
First work west and then north. On the opposite side of the chasm is a Crystal Switch. Hit him with Hookshot, Magic Boomerang or an arrow and set him to Red.
Afterwards, go through the southwest door.
In the next room you will see a clear crack on the north wall. Blow it open with a bomb and go through.
Behind it is another Crystal Switch. Hit it until it shows Blue.
Return through the blown wall and go south. The blue blocks are now lowered and the path to the west is open.
If you have lost health, you can use Magic Powder to turn the flying anti-fairies into normal fairies and heal yourself.
In the next area you have to move the Crystal Switch one last time. Bring it back to Red.
Then climb the stairs to B1.
At the top, a fire roller immediately spins around the platform. Get out of her way quickly and then run north.
In front of you is the big boss door.
Open it with the Big Key.
Boss: Vitreous
Vitreous is a massive eye that sits in a poisonous pool of slime in the northern part of the arena. Numerous smaller eyes surround his body and attack Link one after the other.
The battle consists of two phases. First you have to eliminate the attacking little eyes. Only then does Vitreous himself leave the slime.
Generally stay in the southern half of the arena. The bottom two corners are particularly good starting positions because Vitreous’ dangerous lightning attack runs primarily through the center of the room.
Phase 1 – small eyes
Vitreous sends the small eyes towards Link one after the other. If possible, stand in one of the two lower corners and hit the Hardened Master Sword north as soon as an eye comes into your range.
A single small eye requires approximately six normal hits with the Tempered Master Sword. Using a bow, on the other hand, is enough three arrows. The arrows cause more damage, but the small targets move quickly and are often easier to intercept in close combat.
If several eyes arrive at the same time, the Cane of Byrna can also help. Briefly activate the protective ring and continue fighting with the sword. By halving our magic consumption, the effect lasts long enough to defuse a hectic situation.
Vitreous’ lightning attack detect
While the little eyes attack, Vitreous periodically uses a powerful lightning spell.
Shortly beforehand, the large eye becomes clear bright or white and stands out slightly from the mucus. This is your warning signal.
Immediately afterwards, a broad bolt of lightning shoots vertically through the middle area of the arena to the south. If you stand in one of the lower corners, you are usually already safe. If you find yourself closer to the center, immediately run far to the left or right.
Don’t attack during the Blitz. Just focus on not getting hit.
Four eyes remain behind
You don’t have to conquer every little eye in sight. Four of the eyes remain permanently in the back slime area and do not attack Link in the same way.
As soon as all attacking eyes have been destroyed, the second phase begins. The four motionless eyes later disappear along with Vitreous.
Phase 2 – Vitreous itself
Vitreous now jumps out of the slime and hops directly towards Link. This phase is much easier.
Stand as directly south of the boss as possible, point the bow to the north and shoot.
With normal arrows eight hits are enough. Each hit knocks Vitreous back a little, so with a little rhythm you can keep him at a distance almost permanently. With the Hardened Master Sword it would take about 16 normal hits.
If there are enough arrows available, there is no reason to switch to melee combat unnecessarily in this phase.
Heart Container and sixth crystal
After Vitreous’ defeat, a complete Heart Container appears. Collect him.
The Pieces of Heart 21 and 22 have not yet completed a new set of four, so Link’s maximum health increases from 17 to 18 hearts. In addition, you now own 22 of 24 Pieces of Heart.
The sixth crystal then appears.
Six of the seven captured descendants of the wise men are thus saved. Only one prisoner is missing: Princess Zelda herself is in Turtle Rock on the eastern Death Mountain.
Before we head there, though, let’s grab two of the most powerful upgrades in the entire game.
The super bomb is unlocked
The huge red super bomb will only be offered in the bomb shop when certain requirements are met. Ice Palace and Misery Mire Palace must be completed and the missing blacksmith must have been returned to his partner.
These conditions are now fully met on our route.
The bomb shop is located in the shadow world in the same position where Link’s house is in the light world. Travel there.
The dealer is now offering the super bomb for 100 Rupees.
Buy it. The huge bomb does not end up in the normal inventory, but follows Link directly behind.
Be careful when transporting
When transporting , do not use the Pegasus Boots or jump from ledges. This leaves the bomb behind and begins counting down.
If that happens, you can still resume it in time. However, if it explodes in the wrong place, you have to buy a new bomb for another 100 Rupees.
From the bomb shop, go to the Pyramid of Power via normal routes.
Secret fairy fountain in the pyramid
Climb the great pyramid. On the western side of the upper level is a huge cracked wall. Normal bombs and the Pegasus Boots won’t do anything here.
Place the super bomb right in front of the crack and take a few steps back.
After a few seconds it explodes and blows up a large entrance into the pyramid.
Enter the cave. Inside there is a mysterious fairy pond with the Cursed Fairy.
As with the Waterfall of Wishes, you can throw certain objects into the pond. Then answer honestly that they are yours. Two items receive their final upgrades here.
Silver Arrows
First throw bow and arrows into the pond. Then confirm that the item is yours.
The fairy gives you back your bow and permanently improves your ammunition to the Silver Arrows.
These arrows cause significantly more damage than normal projectiles. They become particularly important in the final fight against Ganon: In his final phase, you first have to make him vulnerable with the sword and then overall hit four times with Silver Arrows.
Your maximum arrow capacity will not change as a result of the upgrade. If you have already completely expanded the Fountain of Joy, you can still carry up to 70 arrows.
The Golden Sword
Then use the pond again and throw the Hardened Master Sword into it.
Answer honestly again. The Cursed Fairy upgrades the blade to the Golden Sword, the fourth and final sword level.
The Golden Sword does twice as much damage to as the Hardened Master Sword, which is four times as much damage as the normal Master Sword.
Many stronger enemies that previously withstood multiple hits now disappear after one or two hits. This makes Turtle Rock, Ganon’s Tower and the finale in particular much easier.
Free Green Elixir
If you still have an Empty Bottle, you can also throw it into the fairy pond. The fairy gives it back to you with a green elixir.
Since the Turtle Rock relies heavily on Cane of Somaria and other magical items, it is worth filling at least one bottle with magic supplies here.
Almost complete equipment
After the Misery Mire Palace and the visit to the Cursed Fairy, Link already has almost his final equipment. In addition to the Cane of Somaria, there are now Silver Arrows and Golden Sword in the inventory. Only the Mirror Shield from the last Shadow World dungeon and the last two Pieces of Heart are still missing.
Our next route leads back to the Death Mountain. There we first get Piece of Heart 23/24 over an invisible bridge. Then we open the Turtle Rock with the earth medallion.
During this chapter we also reach Piece of Heart 24/24. This creates the last additional Heart Container. After Trinexx’s boss heart container, Link finally reaches the maximum 20 hearts.
After this chapter, Link has 18 hearts, 22 of 24 Pieces of Heart, all four bottles and six of seven crystals. There are also Golden Sword, Silver Arrows, Blue Armor, Cane of Somaria, Cane of Byrna, Fire Rod, Ice Rod, Hookshot, Magic Hammer and Titan Gloves.