

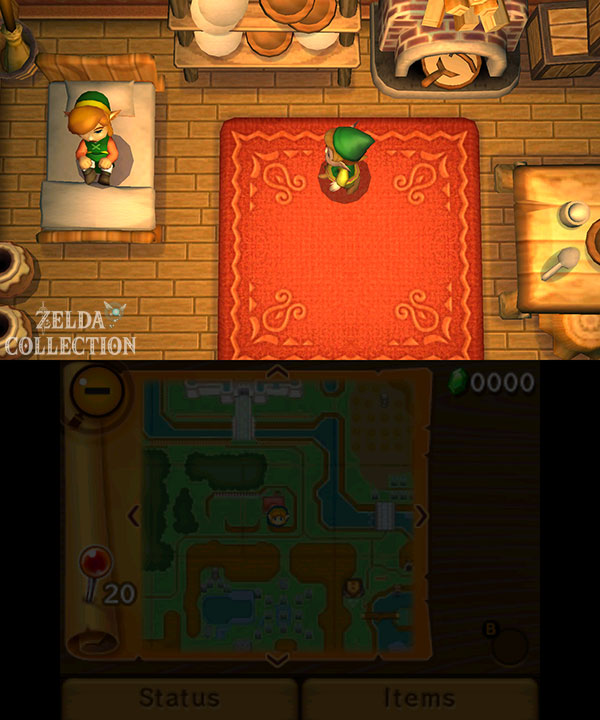
The adventure begins with a nightmare. Link faces a powerful shadow, but doesn’t have much to counter it. Shortly afterwards he wakes up in his house. Gulley, the blacksmith’s son, is responsible for this. Actually, Link should have been at work by now, and Gulley is already on his way to the forge.
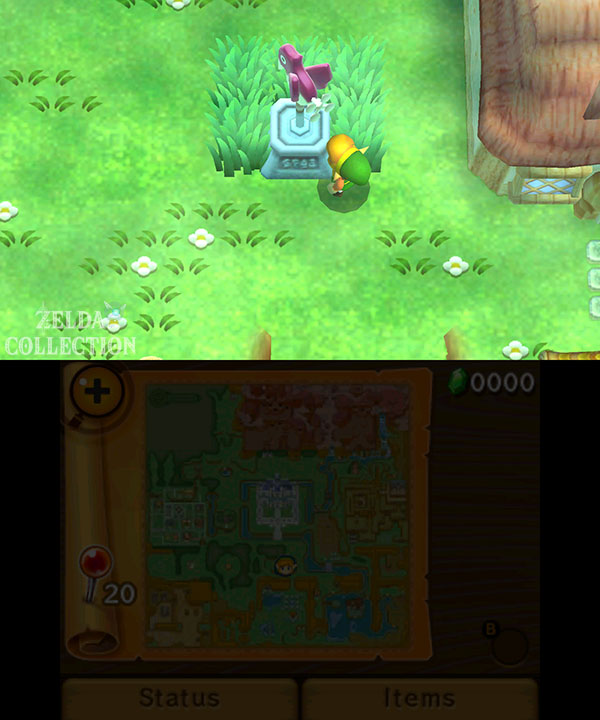
Leave Link’s house and speak to the weathercock outside first. This activates it on the map. Later the weathercocks will become even more important; for now they serve primarily as save points. Then follow Gulley west and then northwest through the small forest to the blacksmith shop.
The Forgotten Sword
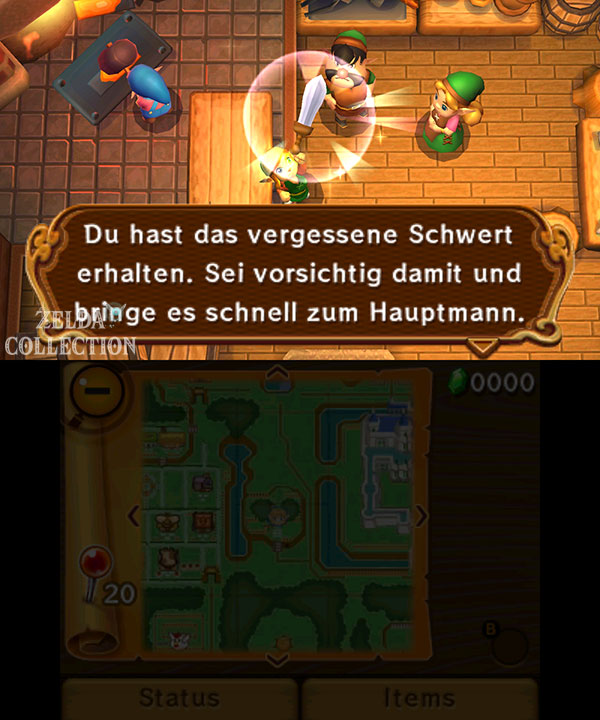
In the forge you will hear the end of a conversation between the blacksmith and the captain of Hyrule Castle. The captain sets off, but leaves his sword behind. The blacksmith’s wife notices it in time and puts the weapon in Link’s hand.
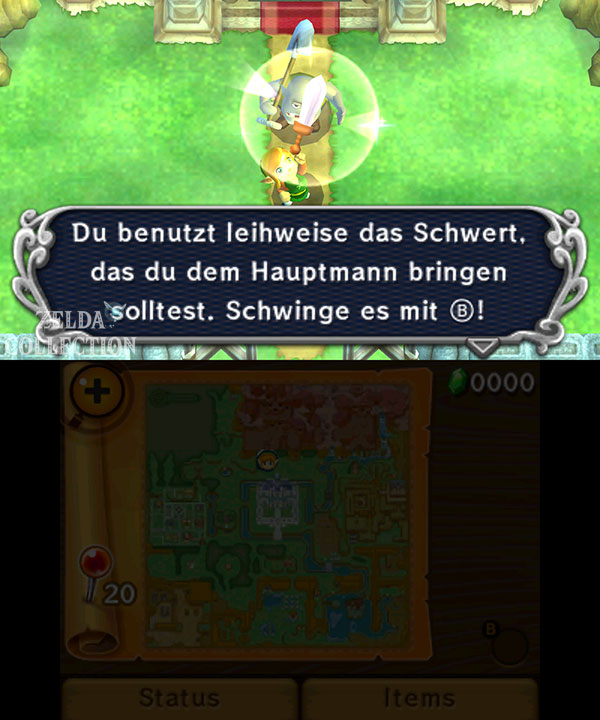
Take the Forgotten Sword from the table. You are not allowed to use it for the time being – your job is simply to bring it to the captain at the castle.
Leave the forge and walk southeast back towards Link’s house. From there we head north along the river. Cross the large stone bridge and you will be in front of Hyrule Castle.
However, the guard at the gate has already seen the captain moving on. Apparently he wanted to go to the Sanctuary north of the castle. To the left of the castle a path leads west. Follow this along the water to the north and then east to the church.
Church and cemetery
Activate the next weathercock in front of the church. At the entrance you will meet Dampé and Seres. Seres goes back into the church and her scream can be heard shortly afterwards. The door suddenly no longer opens.
Dampé knows another way in: an old secret passage under the cemetery is said to lead to the church. Because you can hardly walk around defenseless down there, you can actually use the Forgotten Sword from now on.
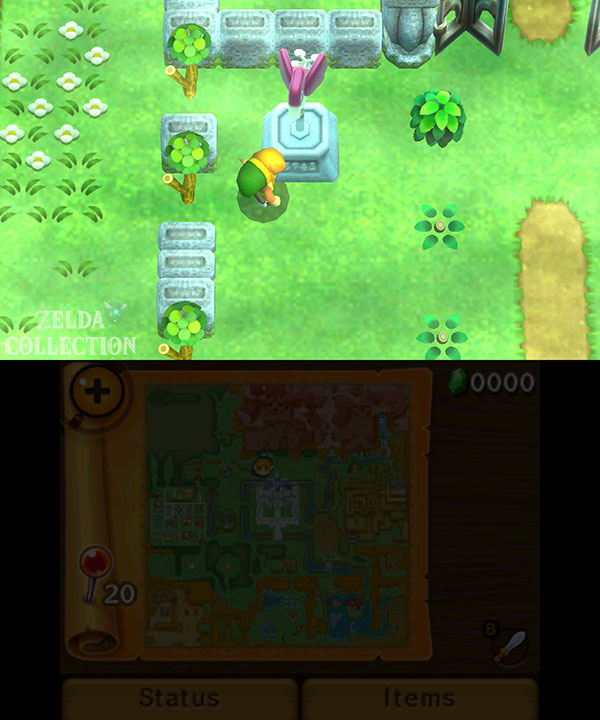
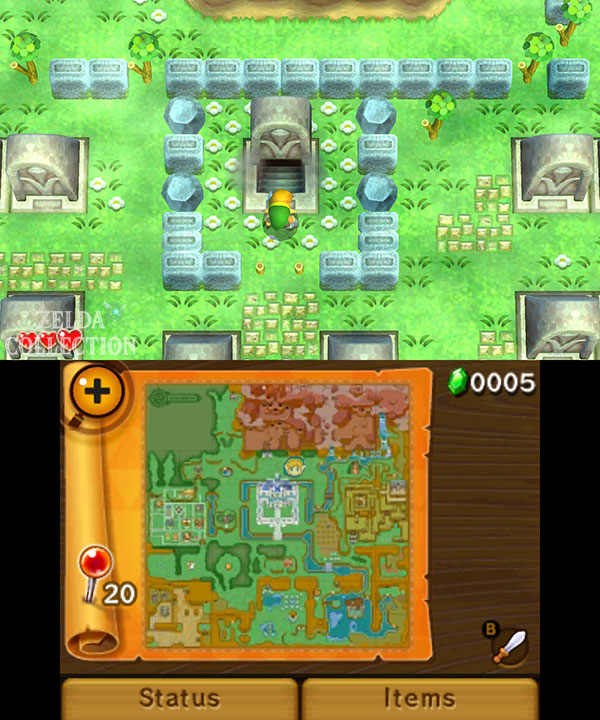
Go east into the Graveyard. A gravestone stands relatively centrally within a small enclosure made of walls and trees. Cut away the two small trees and push the tombstone north. A staircase appears underneath.
The secret passage under the cemetery
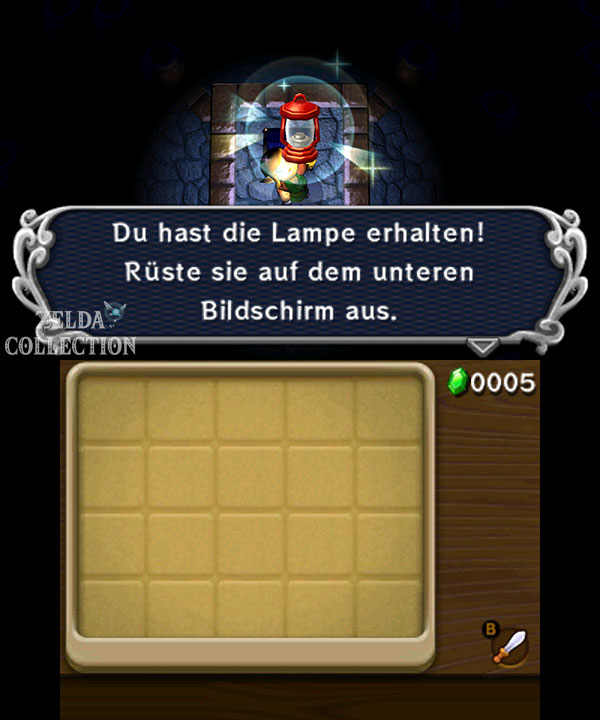
It is almost completely dark below. Break the jars in front of you and go straight north. On the illuminated pedestal there is a chest with the Lamp. Equip it on the Y button.
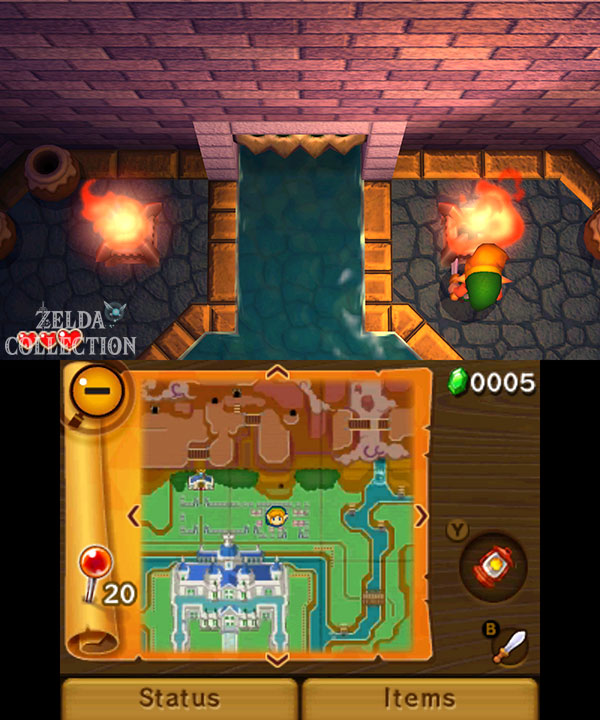
The lamp illuminates Link’s immediate surroundings and can light torches. That’s exactly what’s needed here: Light the two torches to the left and right of the northern door. As soon as both burn, the path opens.
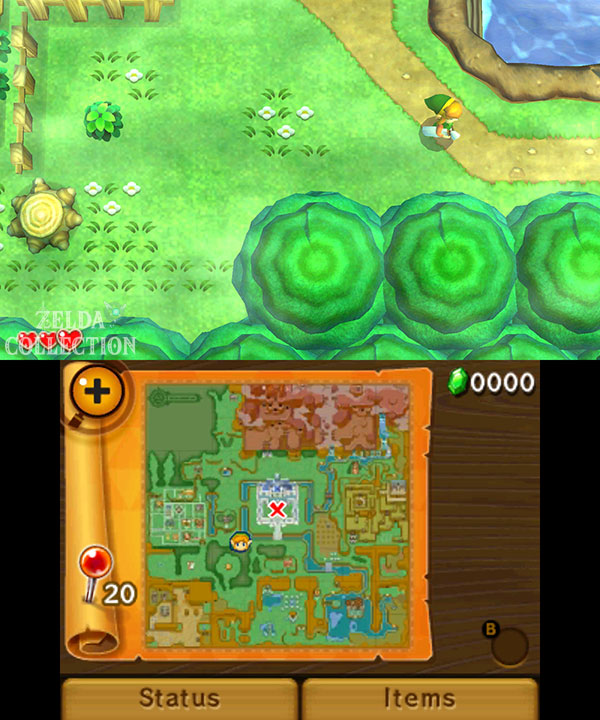
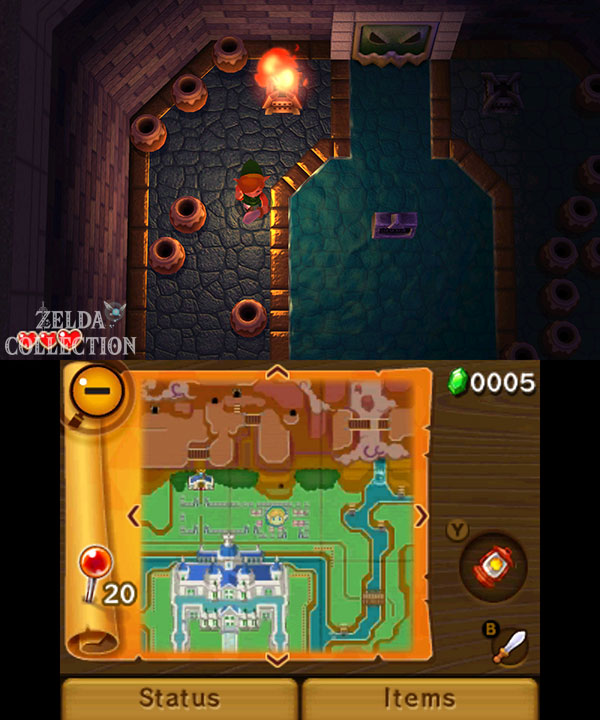
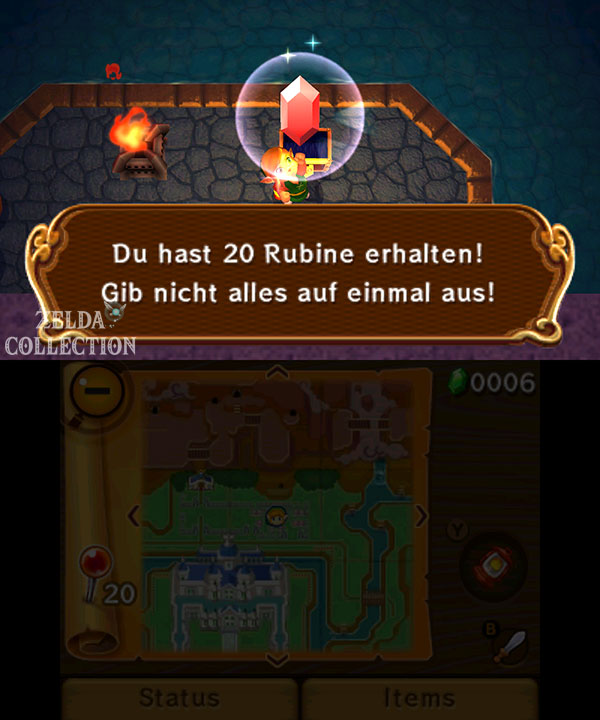
In the next room some rats are causing mischief. Light the torch directly to the left of the entrance and then open the chest a little further west. Inside are 20 Rupees. Be sure to take them with you, because we’re about to buy a lot in Kakariko Village.
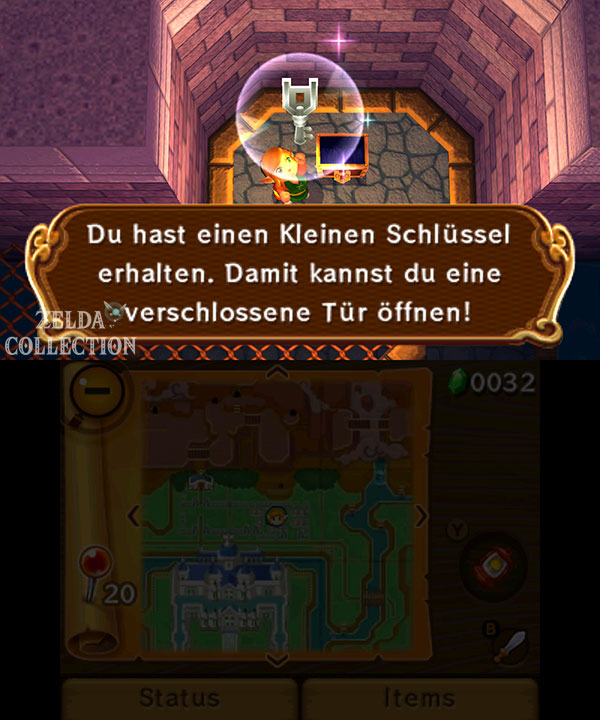
Continue running to the west side of the room and take the stairs up there. There is a locked door in front of you. Follow the narrow grate to the right to the chest and take out the Small Key. Then go back to the locked door.
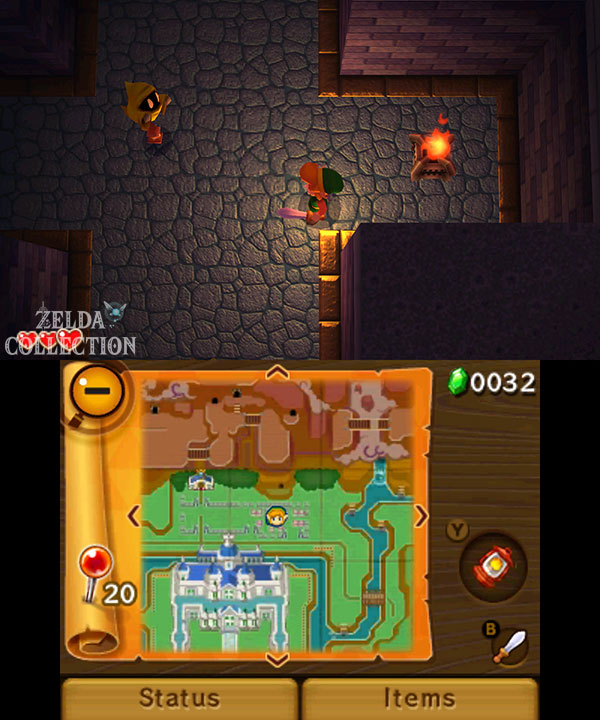
Three ghosts are waiting for you in the following dark room. A few sword strokes are enough. If you have difficulty seeing them in the dark, you can light the torches. Once all three are defeated, the northern door will open.
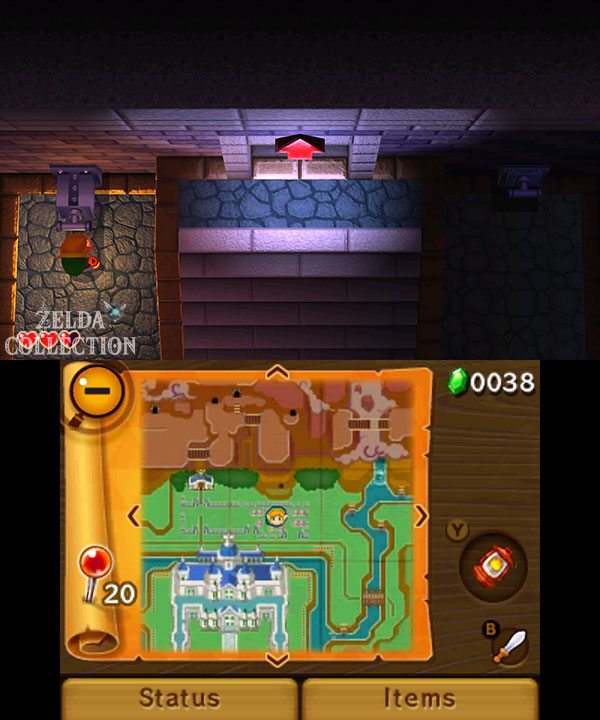
In the last room of the secret passage there are two levers hanging to the left and right of the stairs. Take the left lever directly. He opens the door to the church. The right lever simply causes several enemies to fall from the ceiling and can be ignored.
Yuga in the church
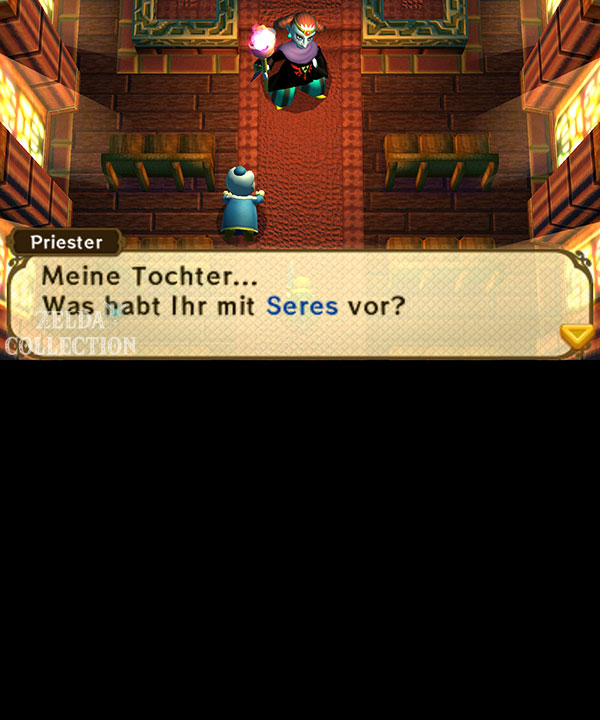
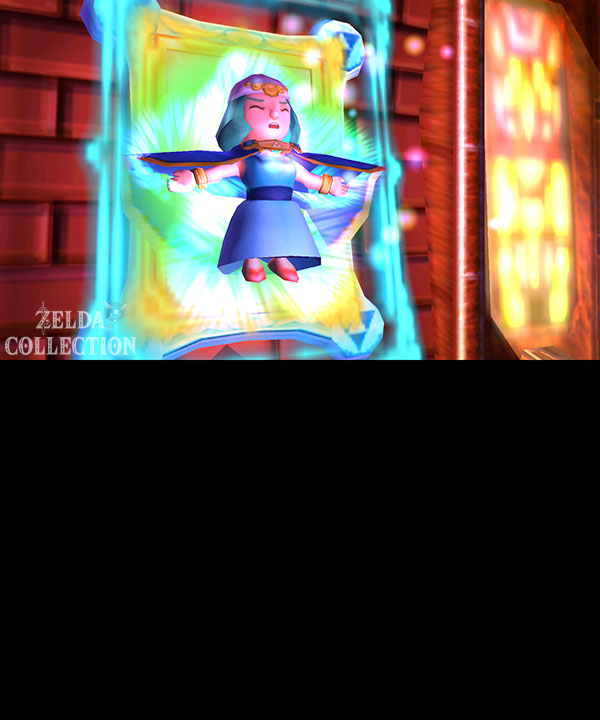
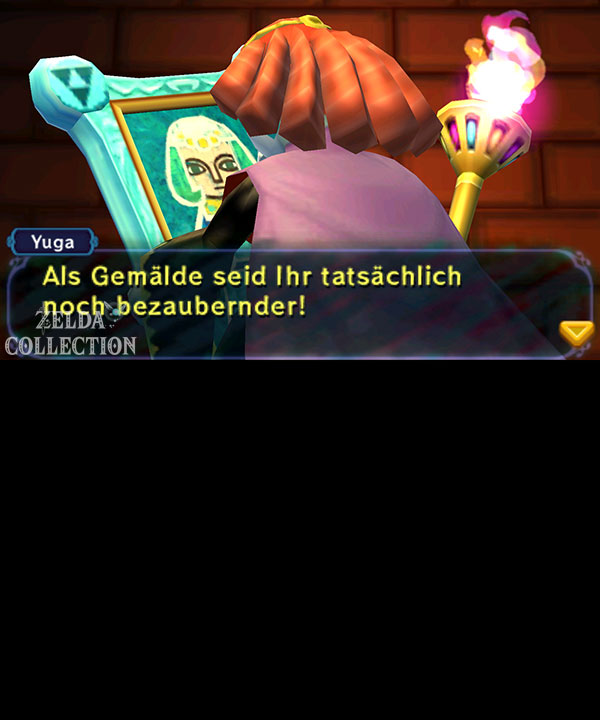
When you reach the top you will find out what caused the scream. There is an unknown man in the church named Yuga. He targets Seres and turns her into a painting before Link’s eyes.
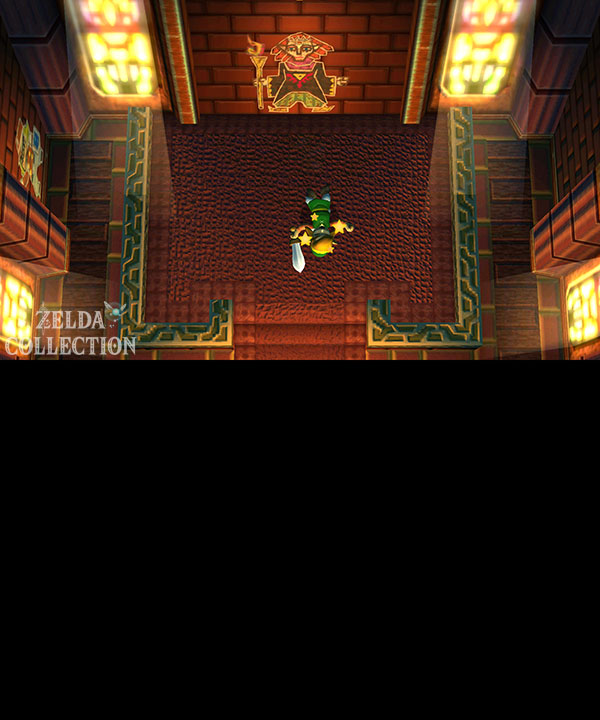
Link tries to intervene, but has no chance against Yuga’s magic. The stranger merges himself into the wall and incapacitates Link before disappearing with the painting of Seres.
Ravio and his bangle
Link comes to in his own house. A rather conspicuously dressed dealer named Ravio is already waiting there. Tell him what happened in the church. He advises you to warn Princess Zelda.
Before you leave, Ravio would like to know whether he can stay with you for a while. Agreed. As a kind of rent payment, he gives Link Ravio’s bracelet. What this strange piece of jewelry is all about only becomes apparent a little later.
Return to Hyrule Castle
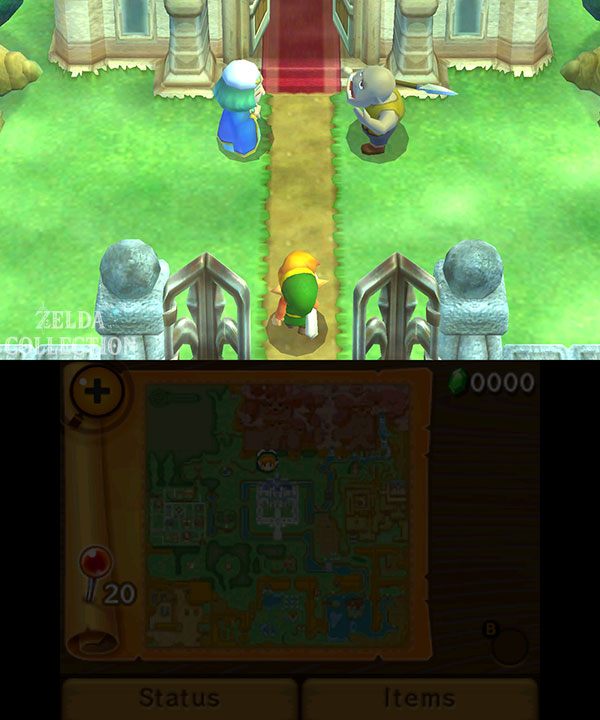
Leave the house and follow the familiar path north to the stone bridge. You can talk to the soldiers in the castle courtyard before standing guard in front of the main entrance. At first she doesn’t want to let Link in. Shortly afterwards, however, Impa appears, who takes your story seriously and invites you into the castle.
Inside you should wait a moment. There are several paintings on the walls that tell of the story Hyrule’s, the Triforce and a previous hero. If you want to learn the background to the plot, you should watch it now.
Once Impa returns, go up the left stairs and follow her to Princess Zelda. After talking about Yuga and Seres, Zelda gives you the talisman and sends you to Kakariko Village. The sage Sahasrahla lives there, who knows more about the descendants of the Seven Sages.
50 Rupees take with you in the lock
Before you leave Hyrule Castle, it’s worth taking a little detour. From the main room, go to the right and leave the building via the exit on the upper floor. Outside, follow the narrow path along the castle wall. At the end there is a chest with a purple Rupee worth 50 Rupees. Take it with you and then jump down. We need the money right away in Kakariko Village.
Kakariko Village and Sahasrahla
From the castle we go west to Kakariko Village. First activate the weathercock in the center of the village. Then visit Sahasrahla in the house marked on the map.
He confirms that Seres is one of the descendants of the Seven Sages. Another descendant is his student Osfala, who is currently staying near the ruins of the East Palace. Sahasrahla marks the area in the east Hyrule’s on the map.
Before we run there, let’s clear Kakariko Village sensibly. This means we don’t have to walk across Hyrule again later for these early items.
Piece of Heart 1: With a chicken into the well
In the northwest of Kakariko Village there is a well above which two small rocks block normal access. Actually, you could come back later with the Power Glove. But that is not necessary.
Grab one of the chickens in the village and carry it to the raised area east or southeast of the well. Jump with the chicken towards the well shaft and slide in. At the bottom you end up in a small cave. Climb the stairs and take your first Piece of Heart with you.
You can also find all 28 Locations in our guide to all Pieces of Heart in A Link Between Worlds.
Chicken Hail: The second Piece of Heart
Leave Kakariko Village to the south. There you will find the mini-game Cucco Ranch. Link stands in a small area and has to avoid the charging chickens. For the Piece of Heart you have to fight your way up to the third level of difficulty and then pass the level Mother Mother or Rooster.
Stay in the middle area if possible and only move as far as necessary. If you’re constantly running frantically from side to side, you’re more likely to run straight into a chicken. After successfully completing the third level, you will receive Rupees as well as the second Piece of Heart.
The mini-game is also useful for replenishing the ruby inventory for shopping in the village.
Get bottle, shield and landing net
Back in Kakariko Village we first go to the traveling dealer. He sits on his carpet west of the weathercock and sells you for 100 Rupees the first Empty Bottle. Buy them directly. The Locations All five containers are also in ours Bottle Guide.
Directly nearby is the shop with the large sign above the entrance. There a normal shield costs 50 Rupees. It is not a mandatory item, but it makes the first fights much more pleasant and is part of the complete equipment anyway.
With the bottle in your luggage, you then visit the Bee Guy southeast of the weathercock. He gives you the Net. You can use this to catch bees and fairies, among other things, and store them in your bottles. We explain the later upgrade and other equipment in more detail in our guide to all important items and upgrades.
A few more Rupees
There is also a small cave in the northwest of Kakariko Village. In the chest inside is a red Rupee worth 20 Rupees. Since we’ve already covered a lot in this chapter, let’s take the short detour with us.
clue glasses at the fortune teller
Leave Kakariko Village via the northeast exit. Just north of the village is the fortune teller’s tent. Talk to him and you will get the Hint Glasses for free.
If you put the glasses on, helping spirits become visible in certain places. In exchange for a Nintendo 3DS game coin, they provide clues to puzzles in the surrounding area. You will hardly need them for our solution, but we will still take them with us for the complete equipment.
To the East Palace
Now we get to the actual goal. From Kakariko Village you can walk east to the blacksmith shop and from there continue via Link’s house. To the east of the house you cross the small stone bridge and then follow the path east and north to the ruins of the East Palace.
Go through the archways and climb the stairs. A locked door at the top blocks the way. To the right and left there are columns with a striking arch symbol. Next to it, Ravio has put up two of its purple signs – a pretty clear indication of where the required equipment will come from.
Continuing along the path is of no use at the moment. Return directly to Link’s house.
The rental bow from Ravio
Ravio has now started building his business. Tell him about the symbols at the eastern ruins. You answer his question with the Bow. For this first order, Ravio will lend you the item for free.
Outside he also explains the energy display. Ravio’s items do not consume classic ammunition. Instead, the purple energy bar empties when used and then automatically refills after a short time.
Now return without further detour to the ruins of the East Palace. Stand in front of the locked gate and shoot an arrow at the two Crystal Switch on the left and right. If both are activated, the passage opens.
Through the eastern ruins
Behind the gate you first follow the path to the east. Jump down the small ledge and then take the long stairs up. There are several Armos statues among the ancient ruins. They don’t respond to you yet, so you can just move on.
Follow the stairs and paths towards the northeast. Shortly before the palace you finally meet Osfala. Sahasrahla’s student is convinced that he is well prepared against Yuga with his own magic and disappears into the dungeon alone.
Be sure to activate the weathercock of the East Palace to the right of the entrance. Afterwards you are directly in front of the first real dungeon of the game.