

Enter Woodfall Temple with the Great Fairy’s Mask and a fresh three-day cycle. Play the Inverted Song of Time, collect all 15 Stray Fairies and obtain the Hero’s Bow before defeating Odolwa.
The first two Stray Fairies
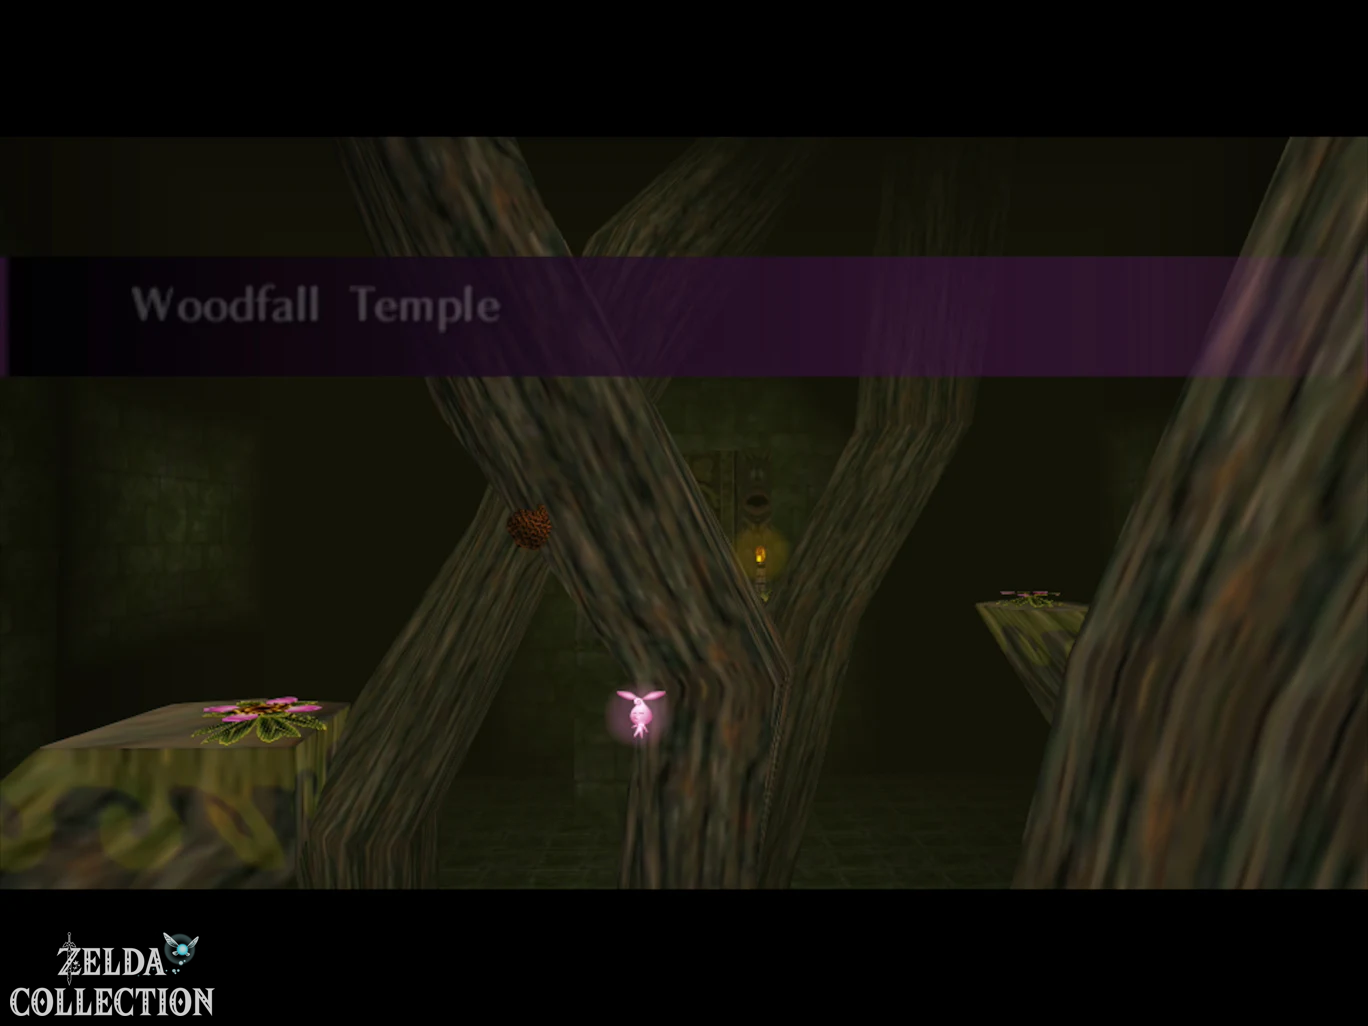
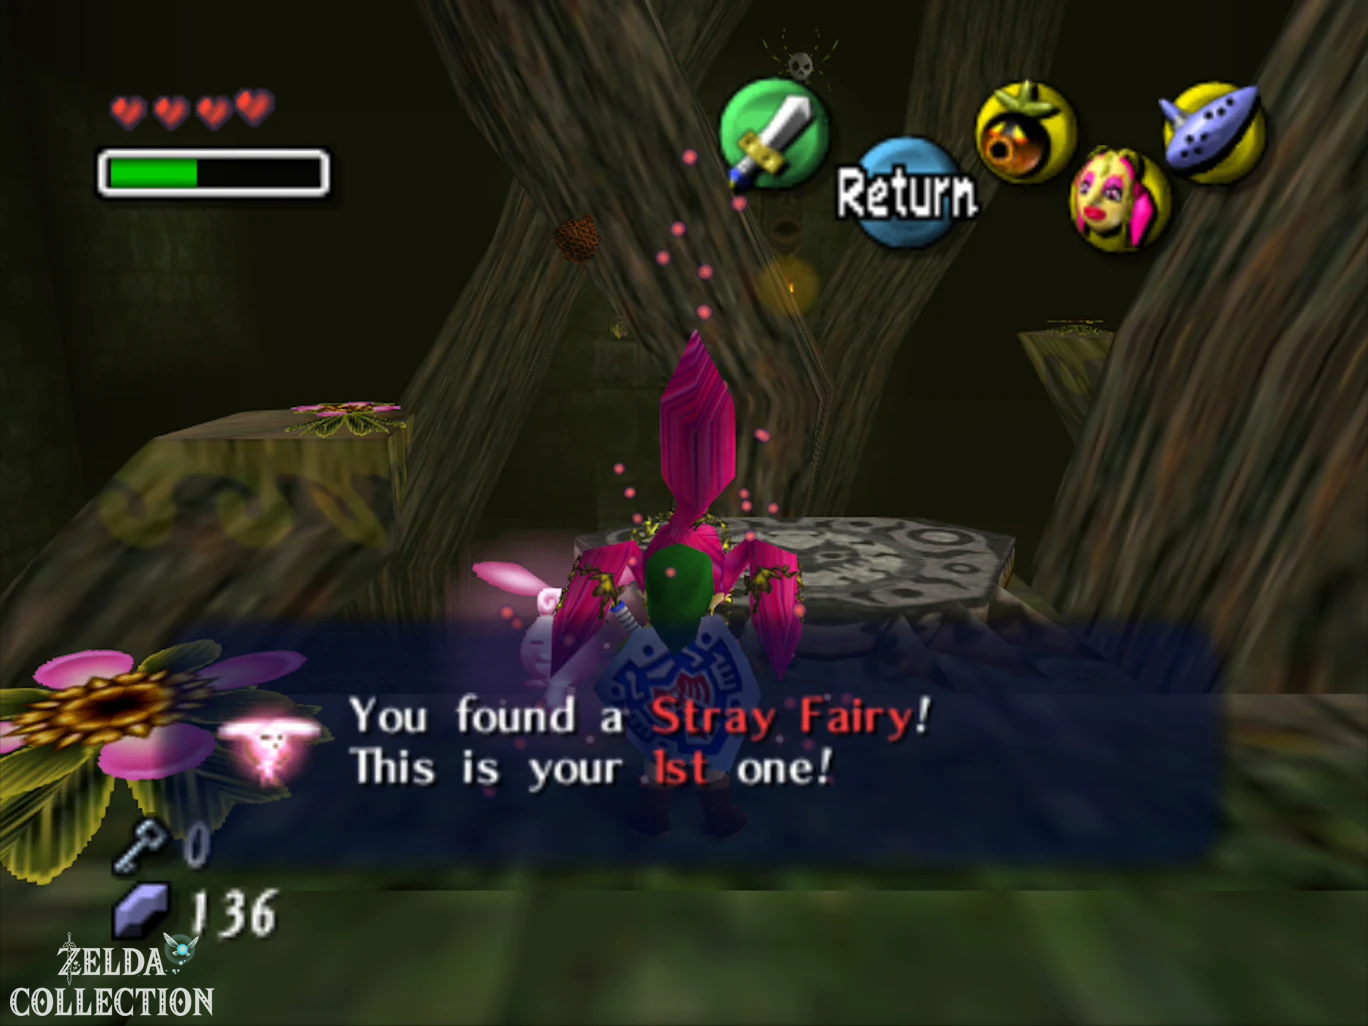
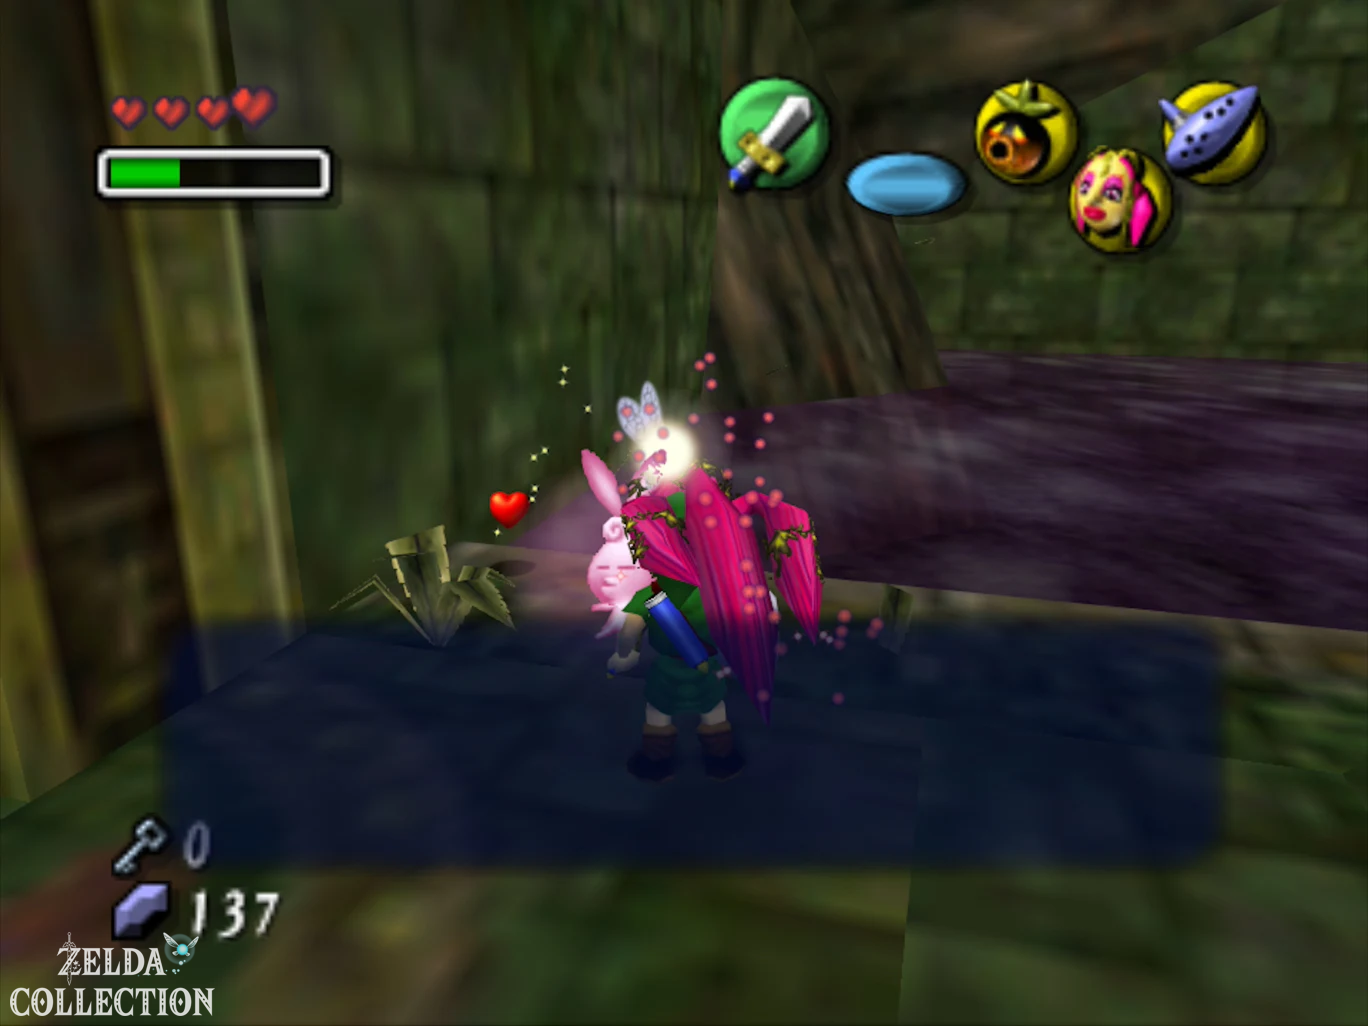
Enter the temple and immediately put on the Great Fairy’s Mask. It’s floating right in front of you first Stray Fairy. Let them come to Link.
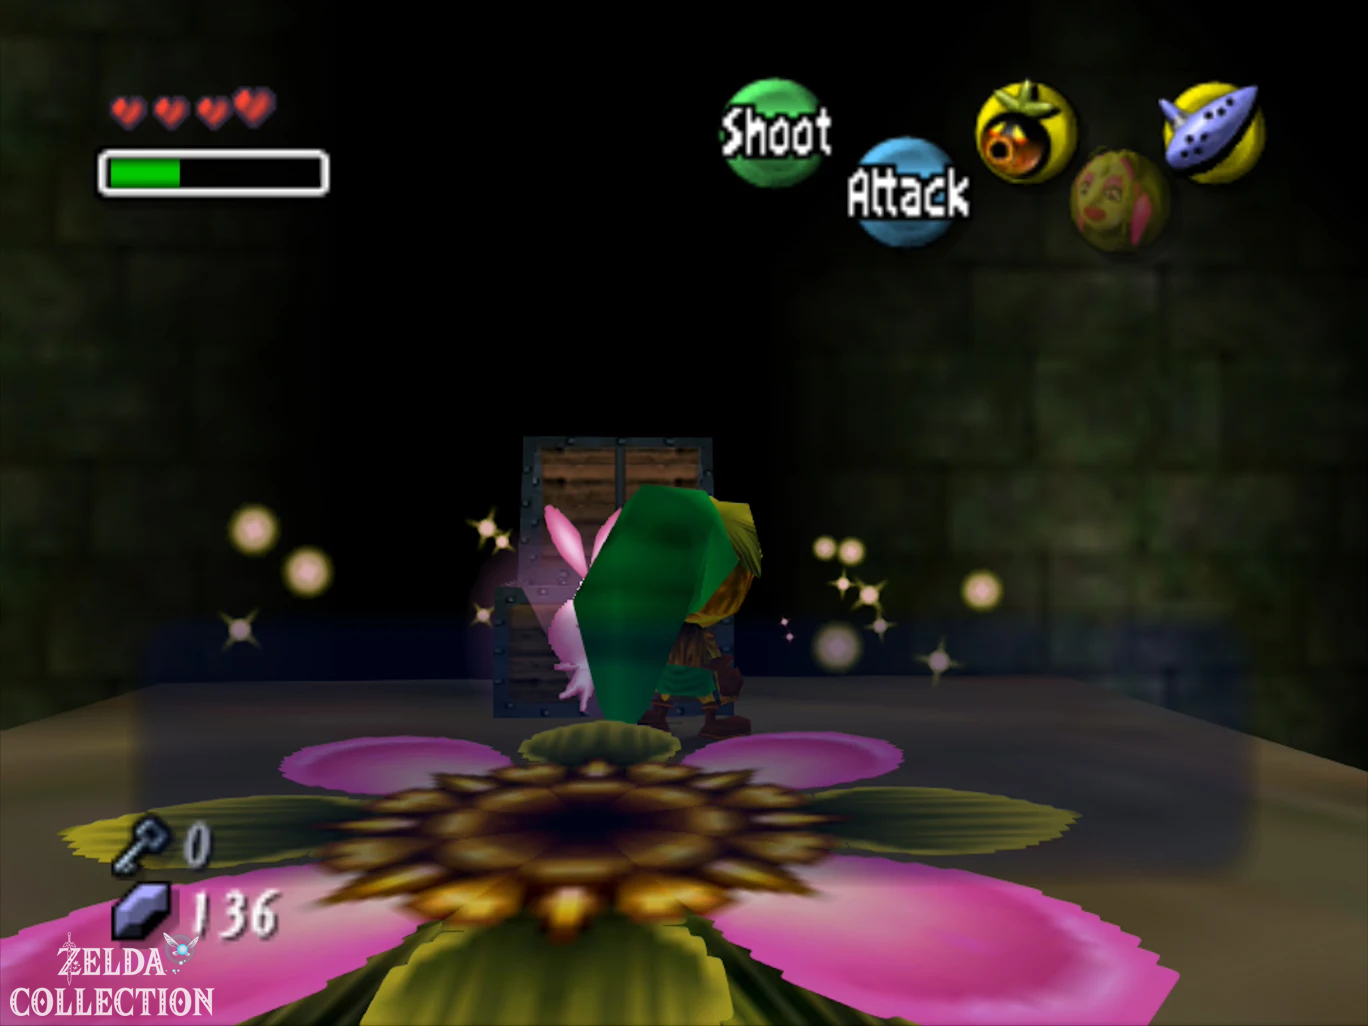
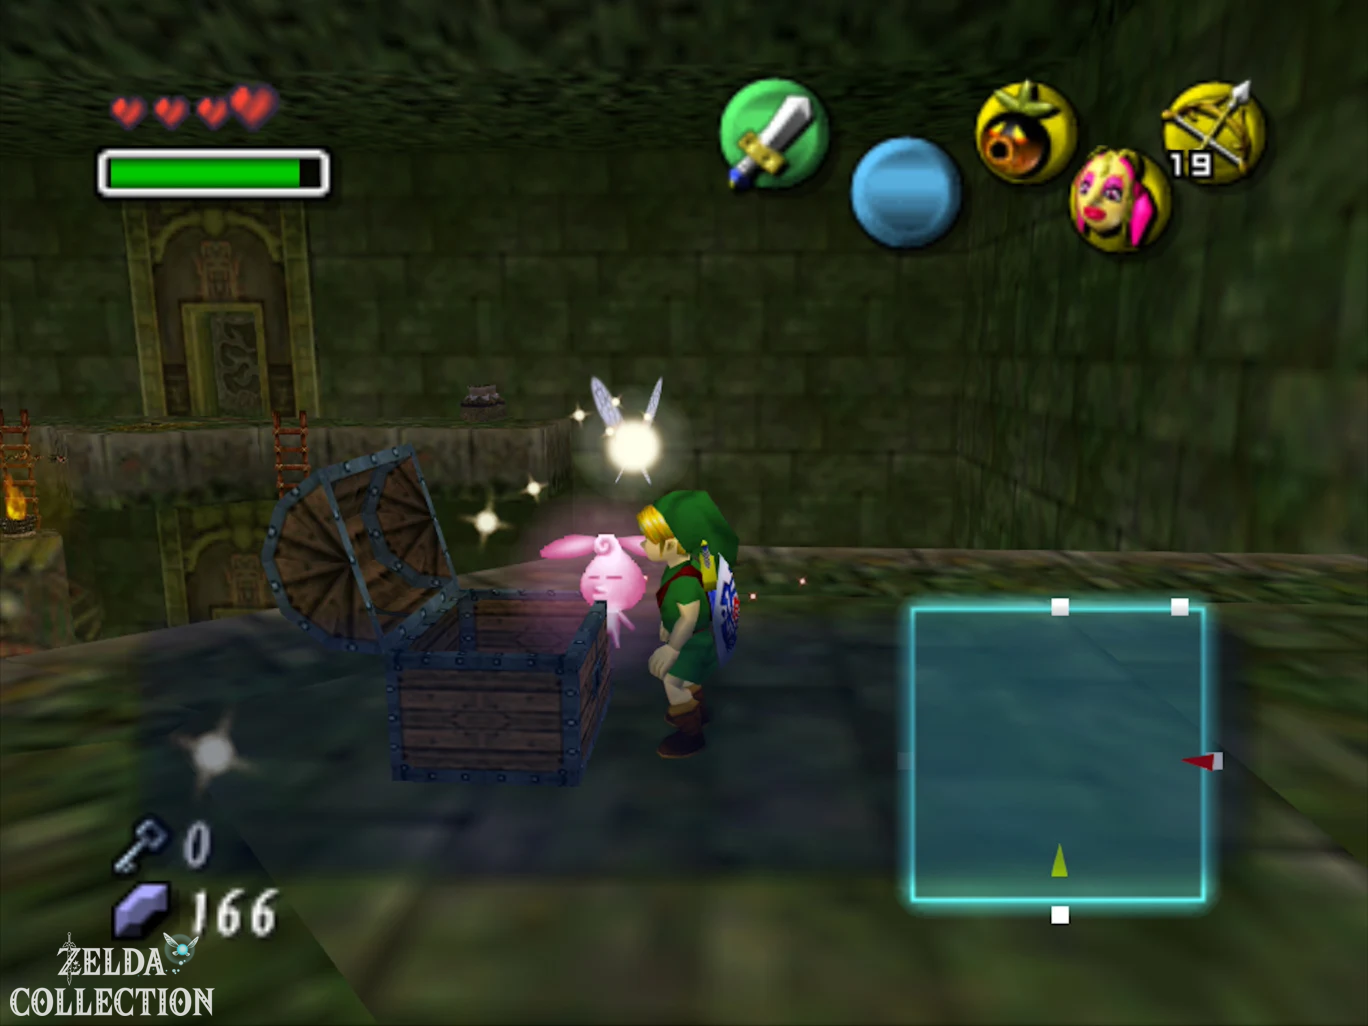
Then transform into Deku Link and use the Deku Flower. Fly to the platform to the right of the entrance and open the Treasure Chest there. Inside is the second Stray Fairy.
Use the next Deku Flowers to get over the tall tree stumps to the opposite side. During the last flight, pay attention to the Skulltulas on the ceiling and land as centrally in front of the door as possible.
Central Hall – Fairy 3 and Fairy 4
In the next room you reach the large main hall with the huge flower in the poisoned water. Run down the ramp on the left. There is a Deku plant at the bottom. Defeat them and take this third Stray Fairy on that she leaves behind.
Then jump as Deku Link over the large plants in the water to the opposite platform. Before you go through the door, jump to the right to the small platform with several jars. Smash them; one contains the fourth Stray Fairy.
Then go through the eastern door.
First Small Key
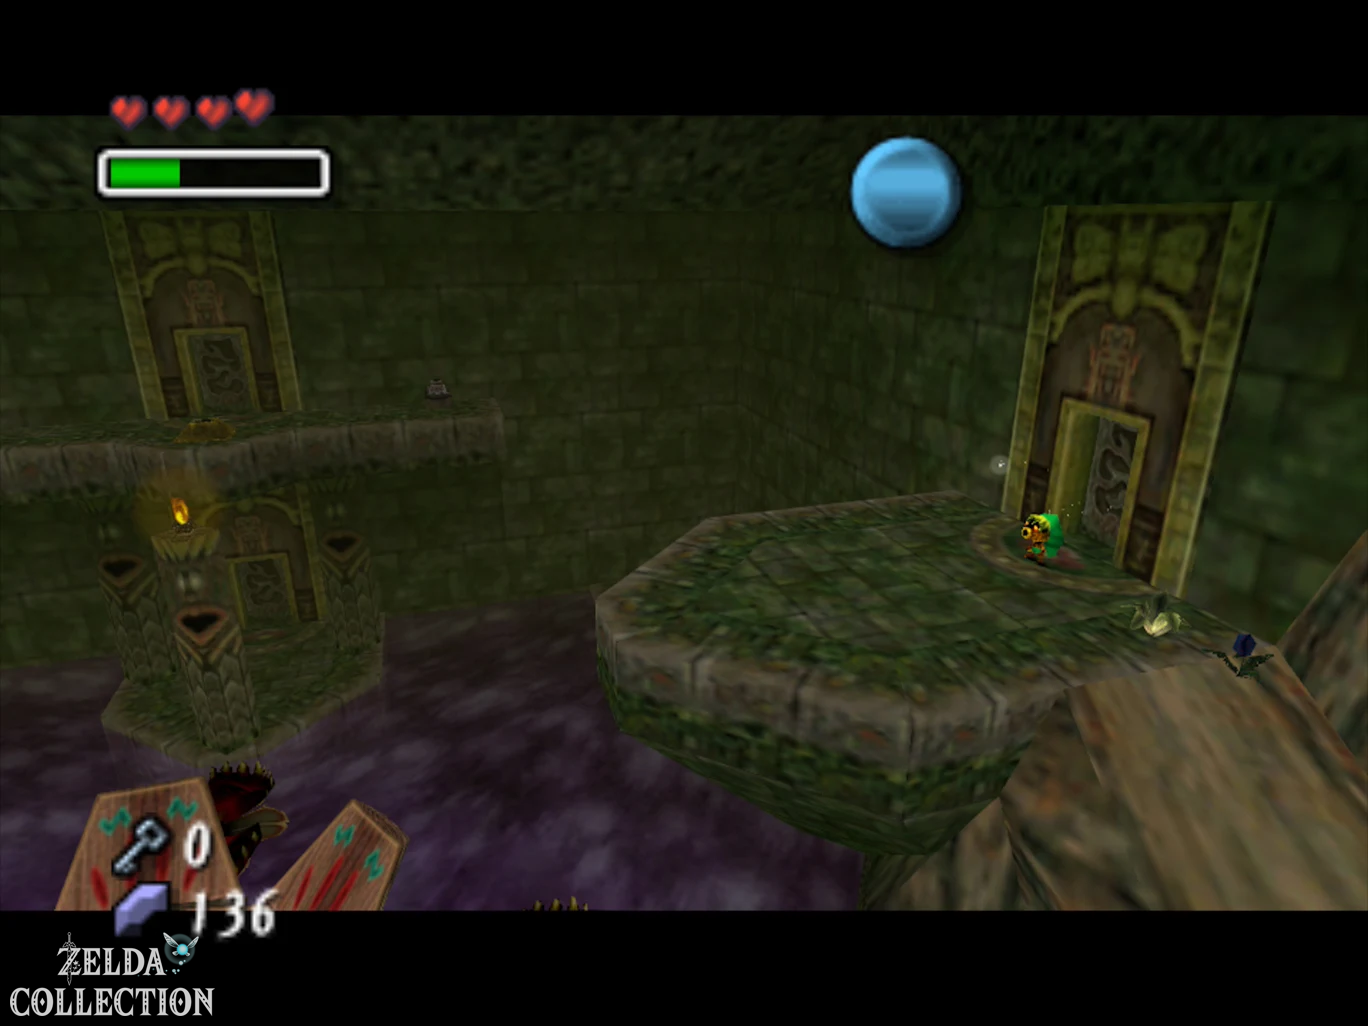
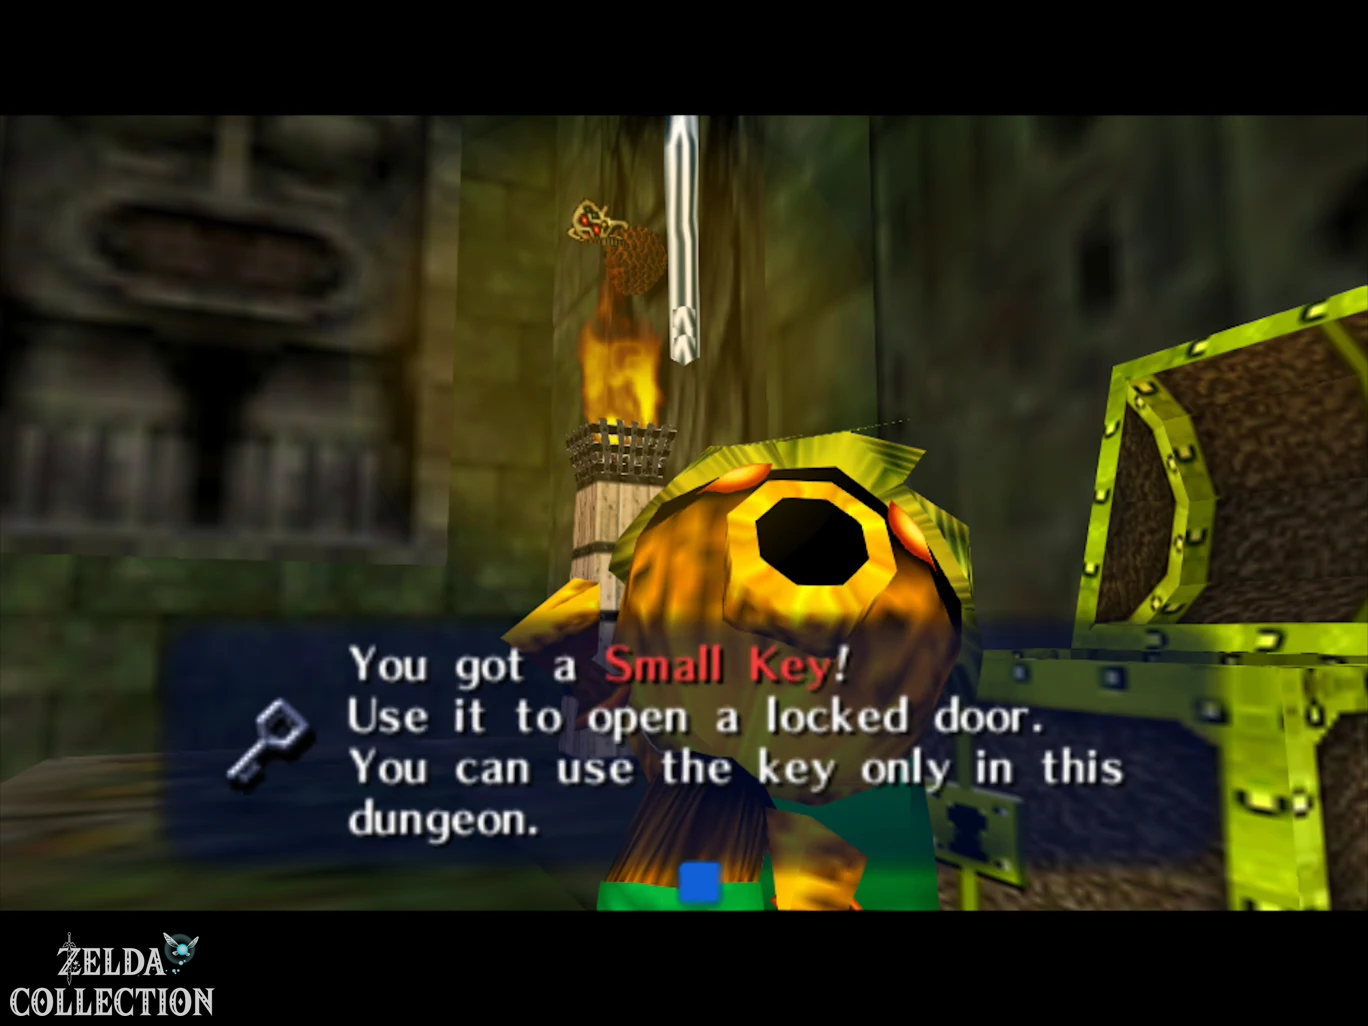
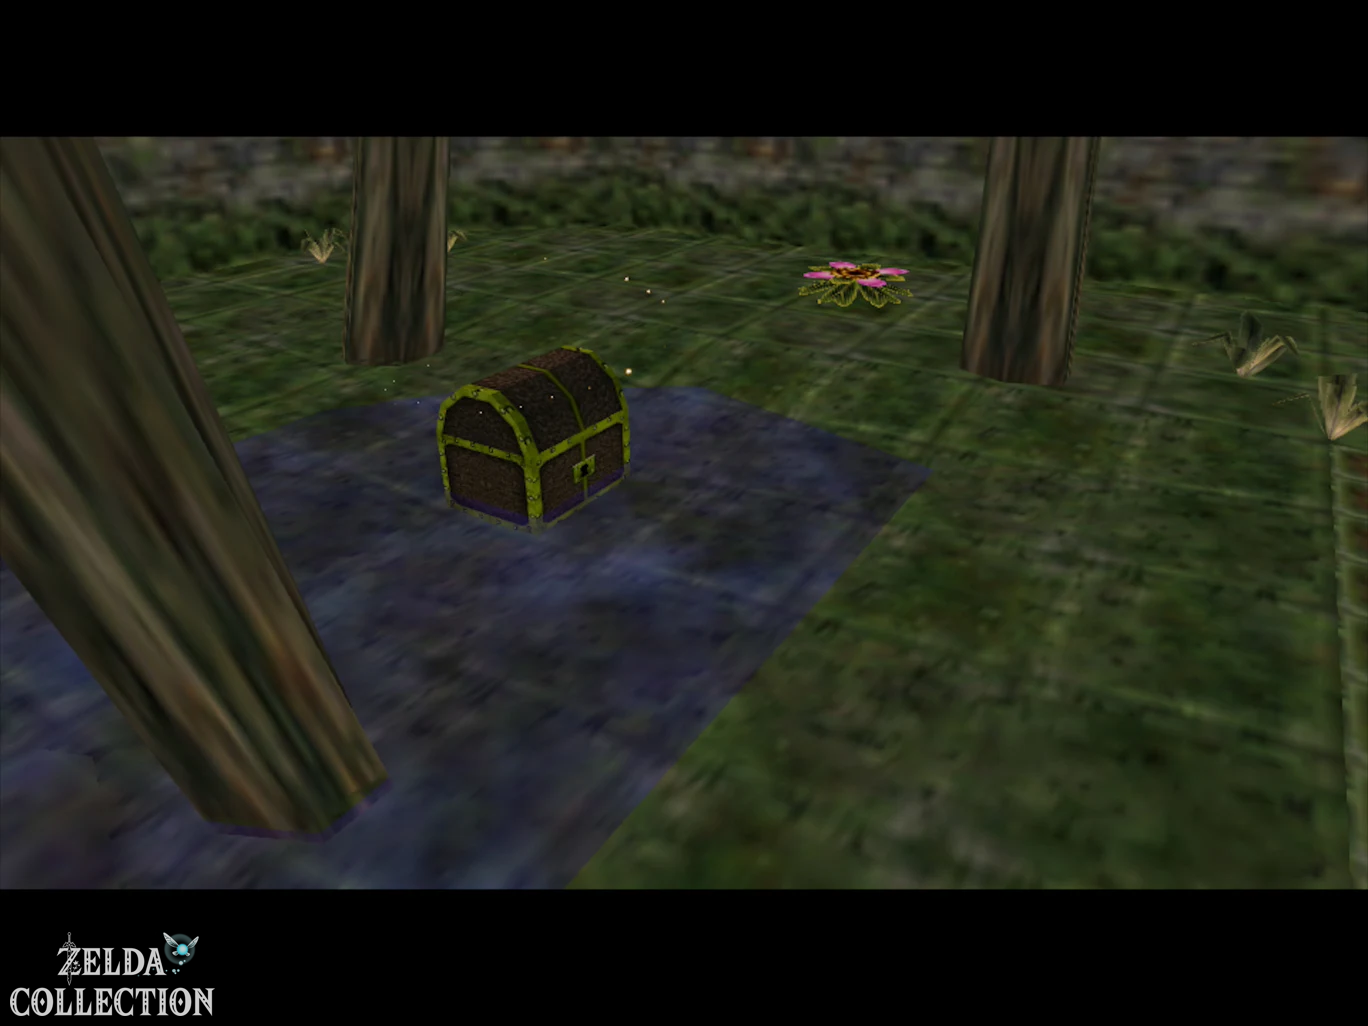
In this room there is a Deku Flower on a moving platform. Jump in, wait for the right moment and fly first to the platform with the Treasure Chest. Open it and take the Small Key.
Then fly on to the opposite door.
snapper and Dungeon Map
In the next room, two snappers attack. These turtle-like enemies duck their heads and then spin around the room with their spines extended.
As Deku Link you can defeat them particularly easily: Dive into a Deku flower and wait until a snapper rolls directly over you. Shoot out of the flower and hit its underside.
After the victory, a Treasure Chest appears with the Dungeon Map.
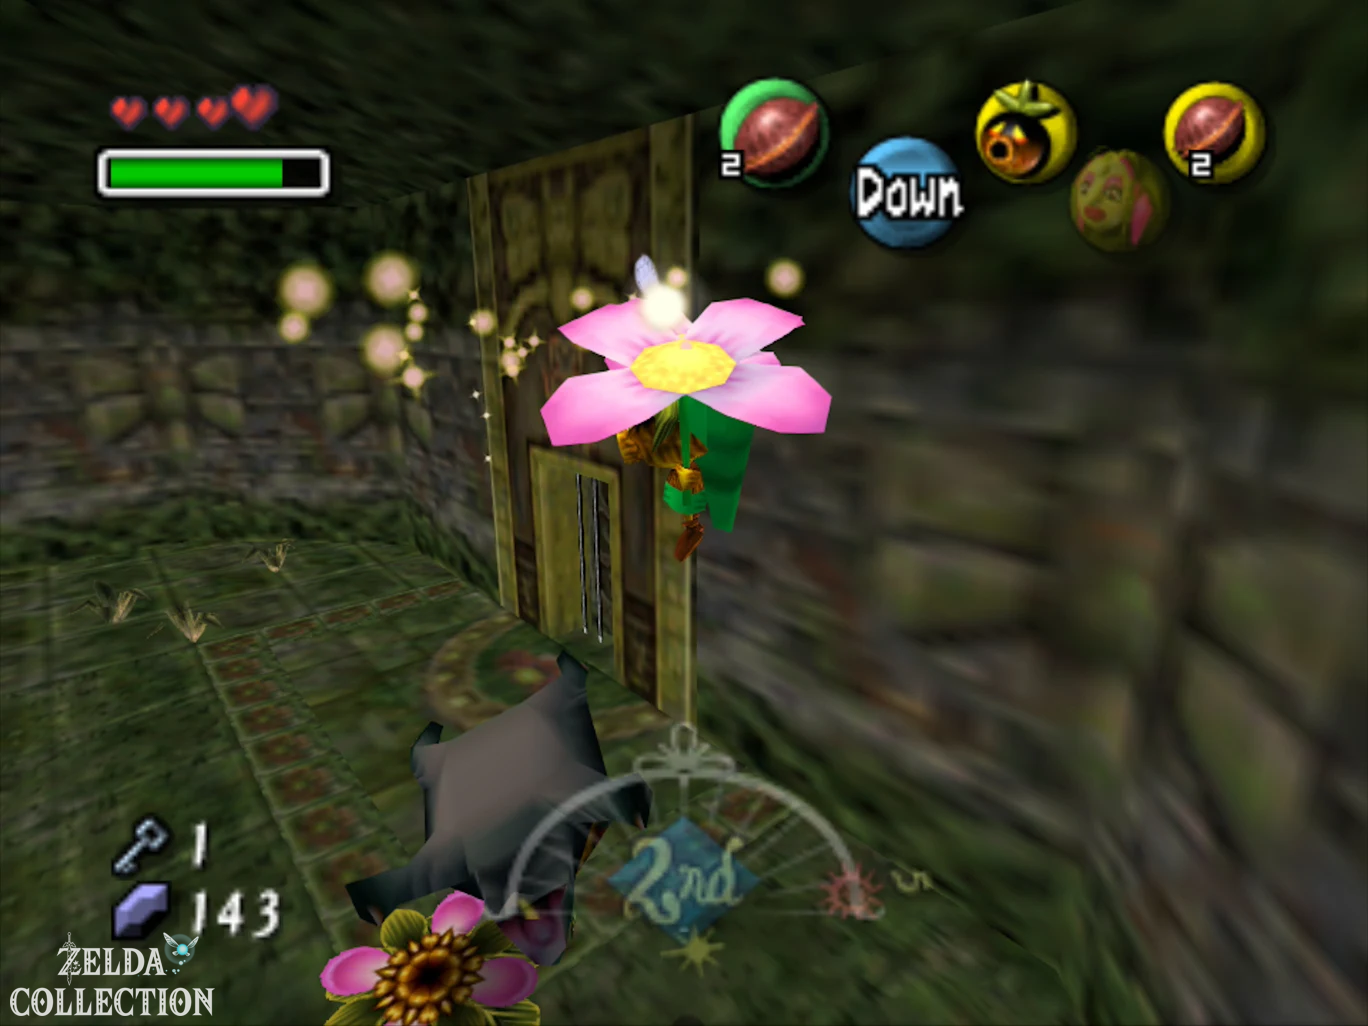
Then return to the main hall and use the Small Key to open the locked door at the bottom of the left ramp.
Block Room – Fairies 5, 6 and 7
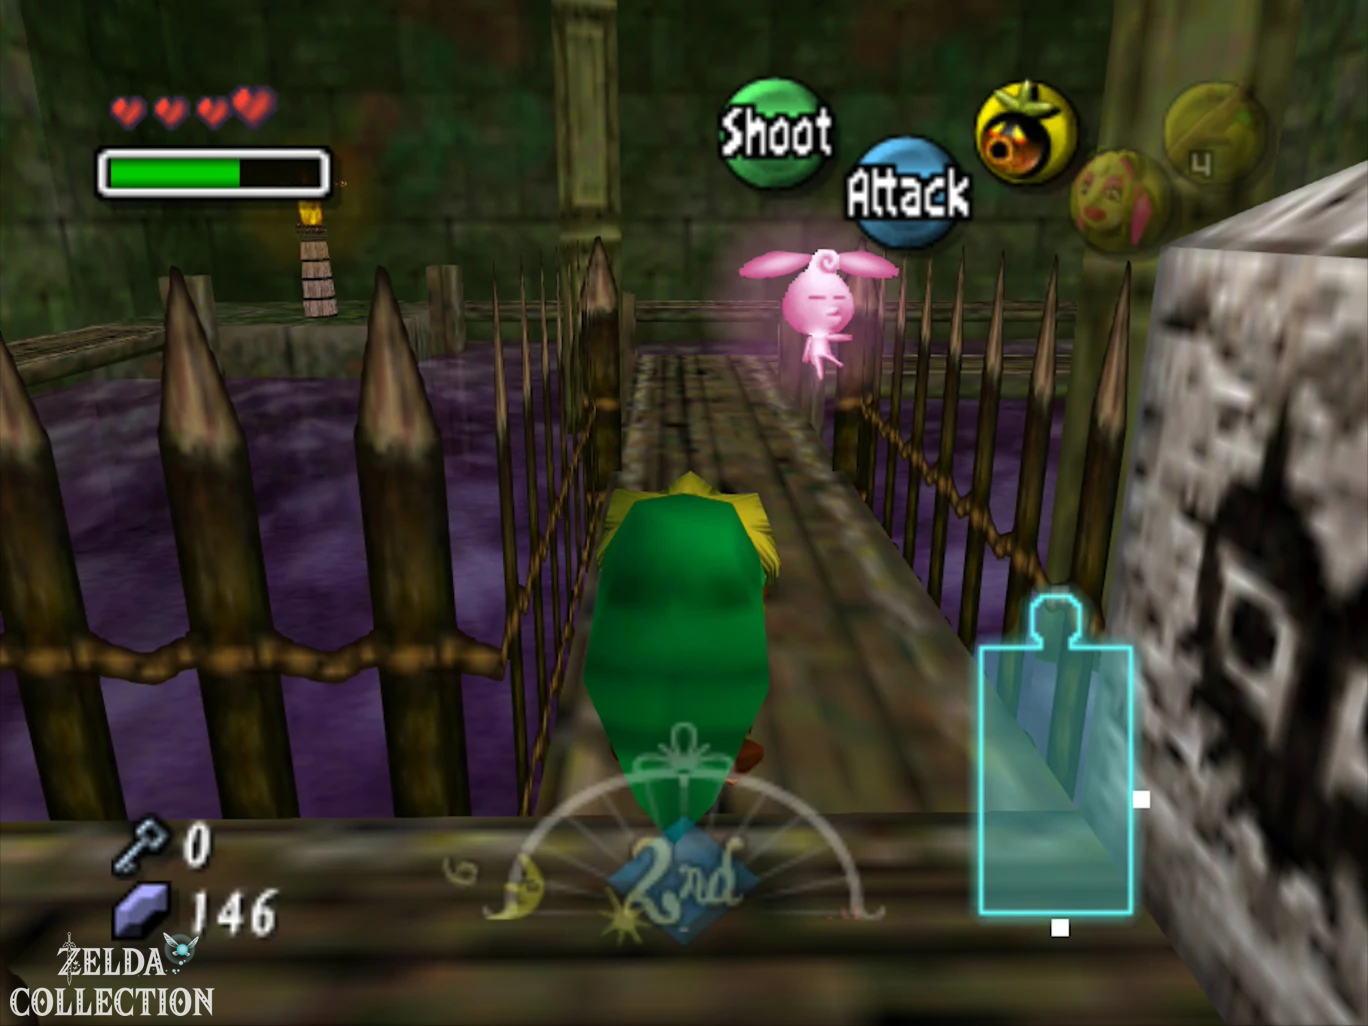
This room contains three Stray Fairies. First push the large stone block forward and follow the narrow bridge to the right.
A Skulltula waits in a corner. Defeat them and pick up the fifth Stray Fairy.
Several wasp nests hang beneath one of the raised platforms. Smash them with Deku bubbles or later with arrows. In one of them is the sixth Stray Fairy.
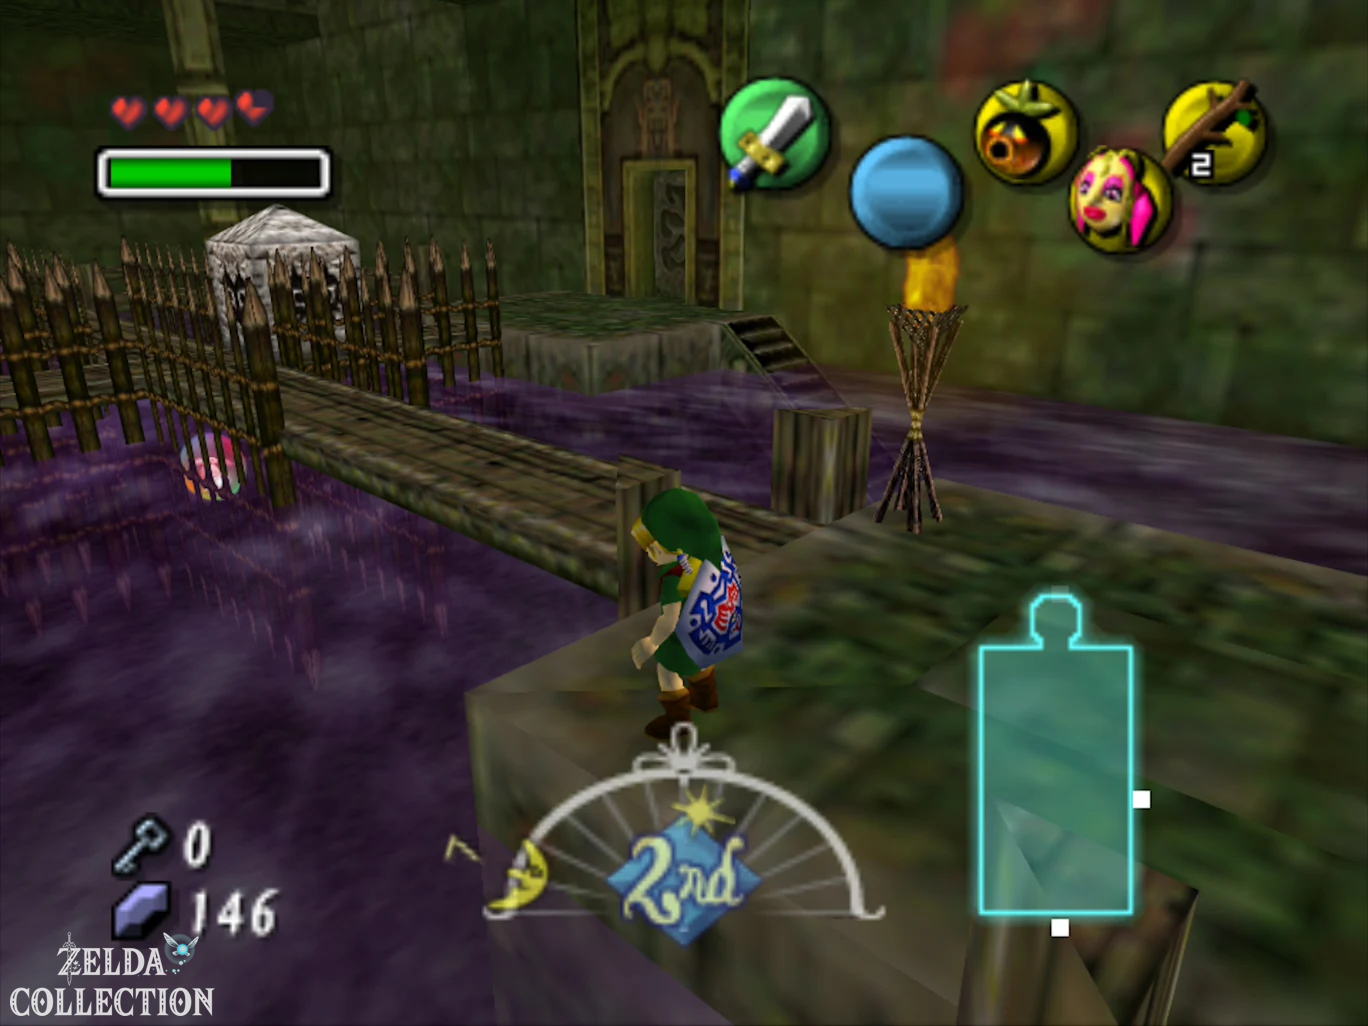
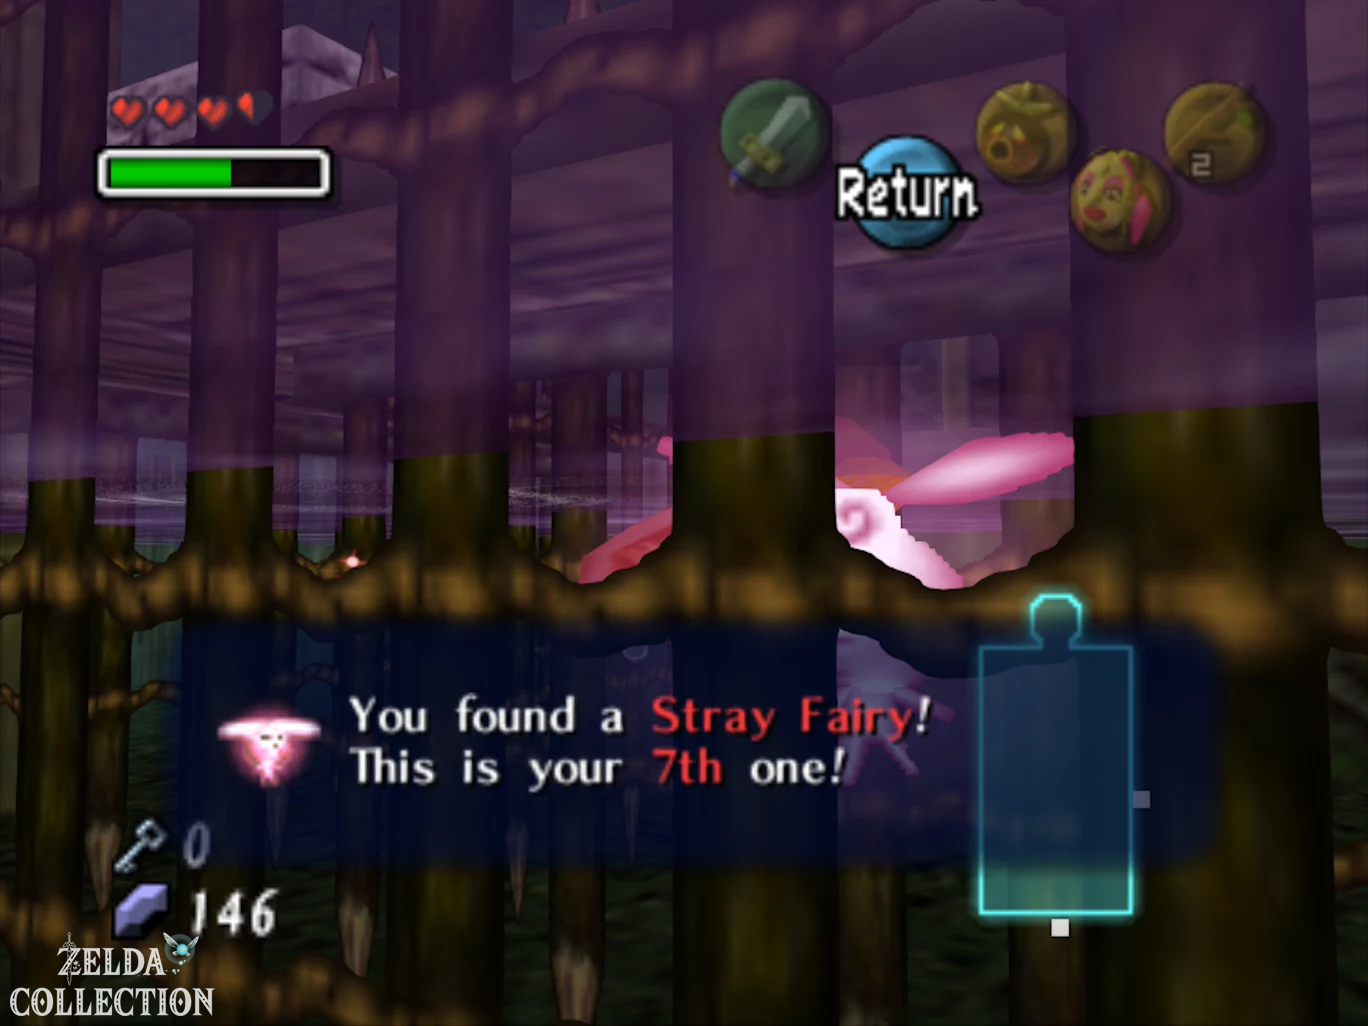
There is also a fairy floating in a bubble in the water under the middle bridge. Since the water is currently still poisoned, you can free them with a bubble or a projectile and attract them with the Great Fairy’s Mask, but it is safer to collect them after the water has been purified. This fairy counts as number 7 of our route.
Now go to the opposite side of the large block and push it again to clear the path to the burning torch.
Torch Puzzle and Compass
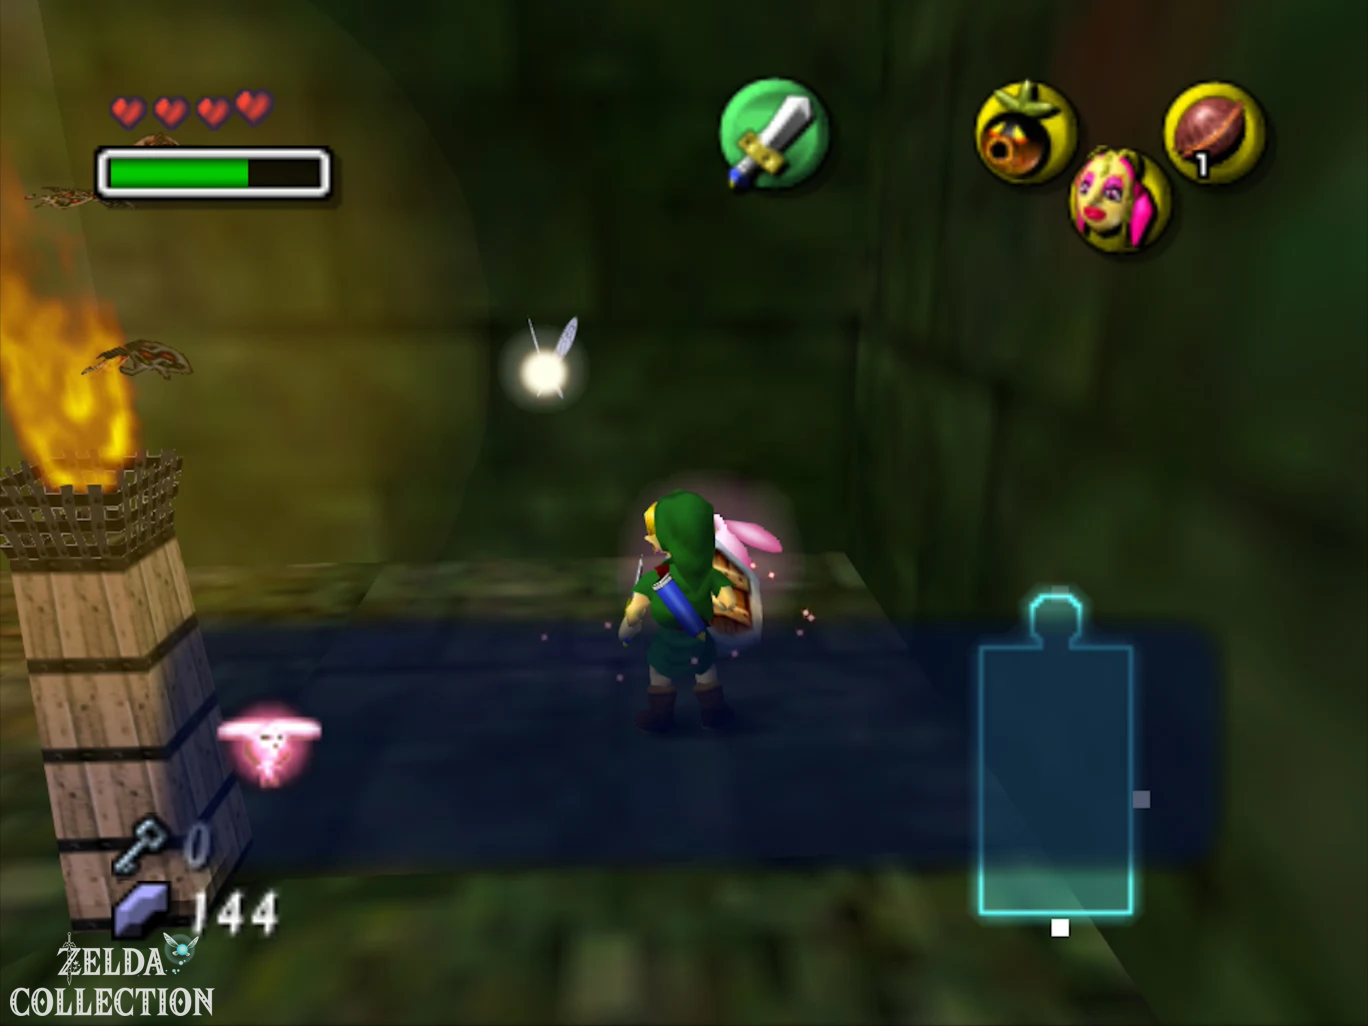
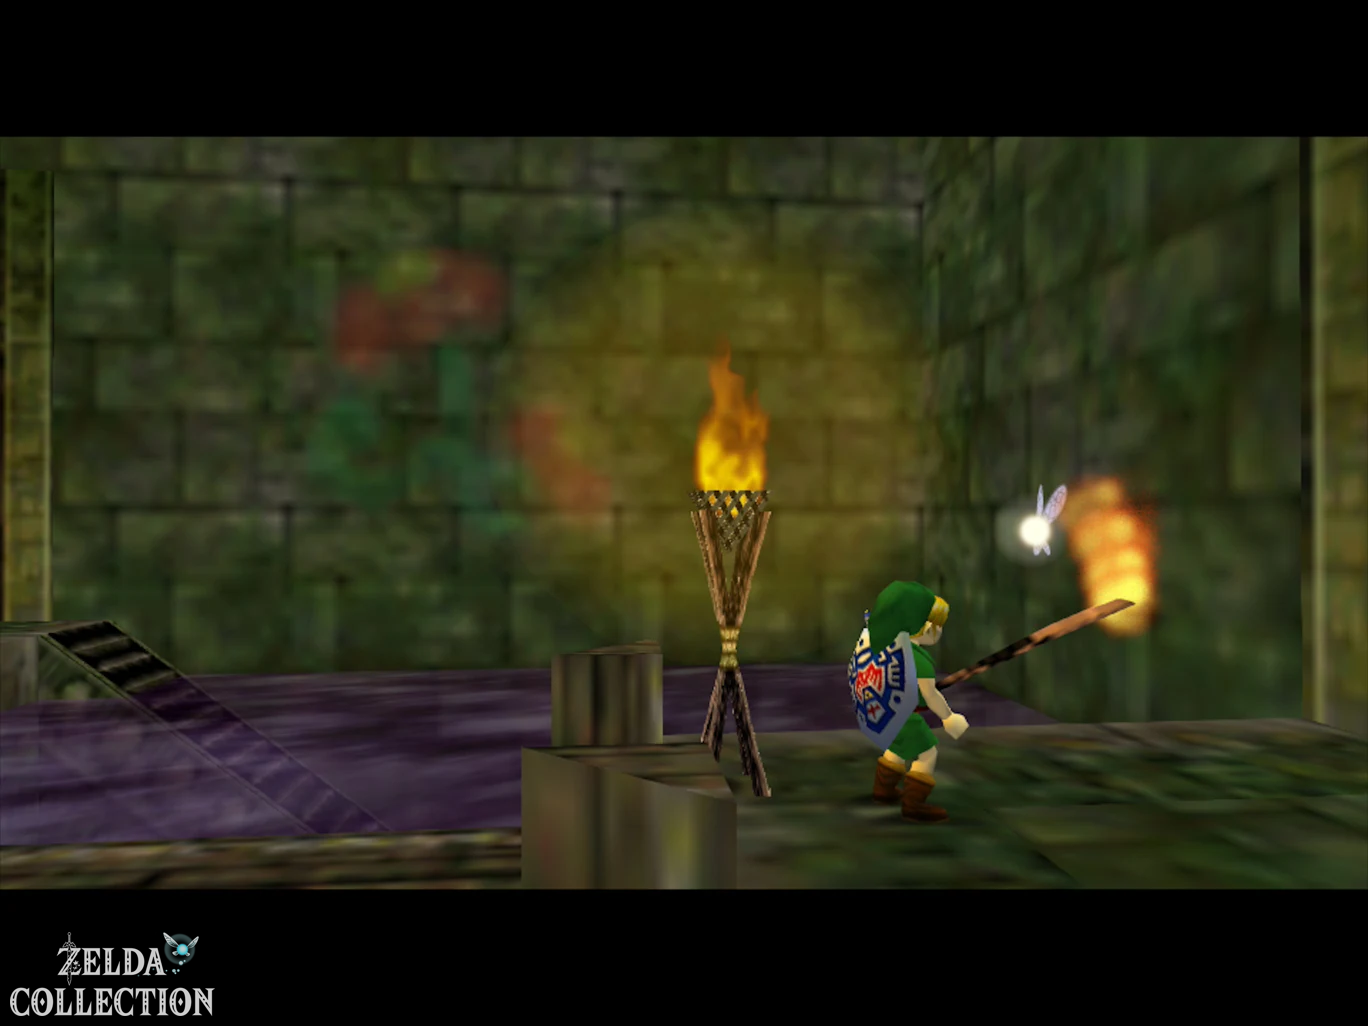
Take a Deku Staff and light it on the burning torch. Run with it across the footbridge and light the torch in front of the locked door.
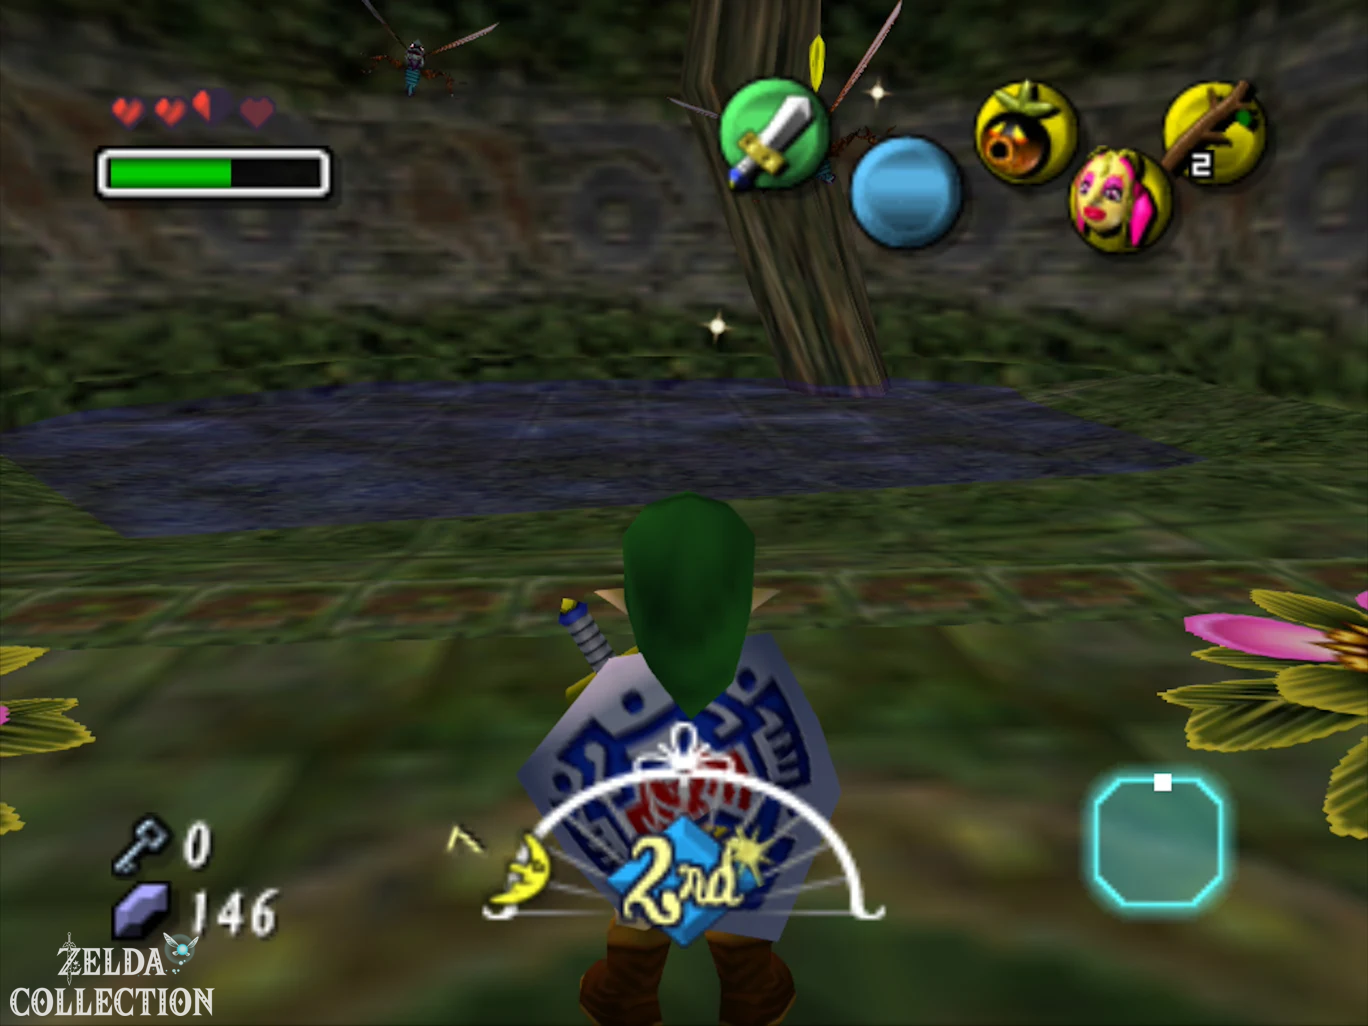
Two dragonflies are waiting in the next room. Eliminate both and then open the Treasure Chest that has appeared with the Compass.
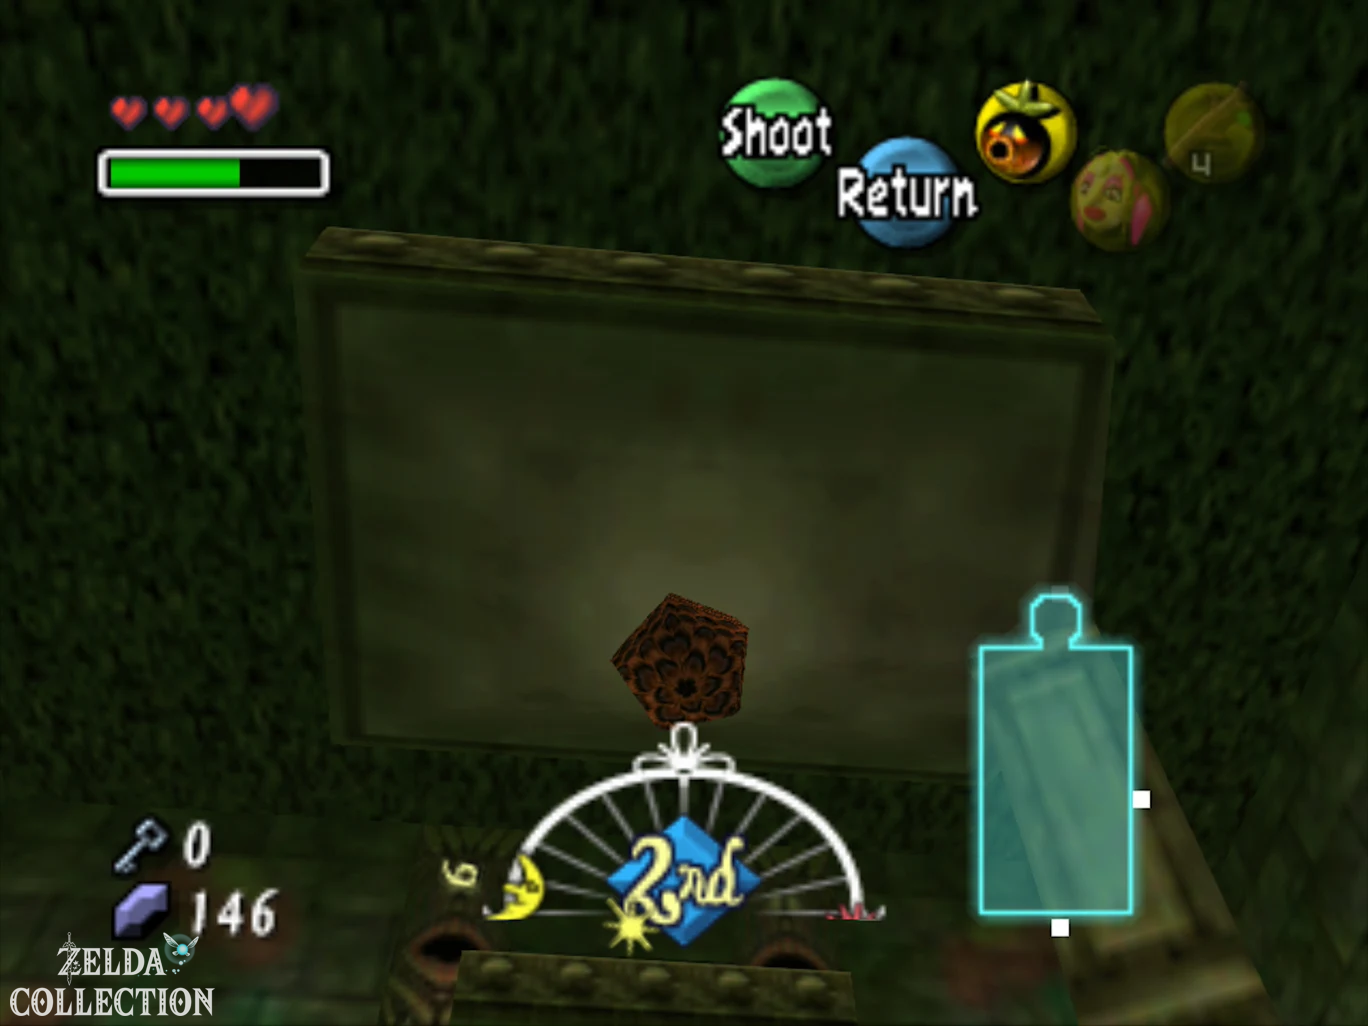
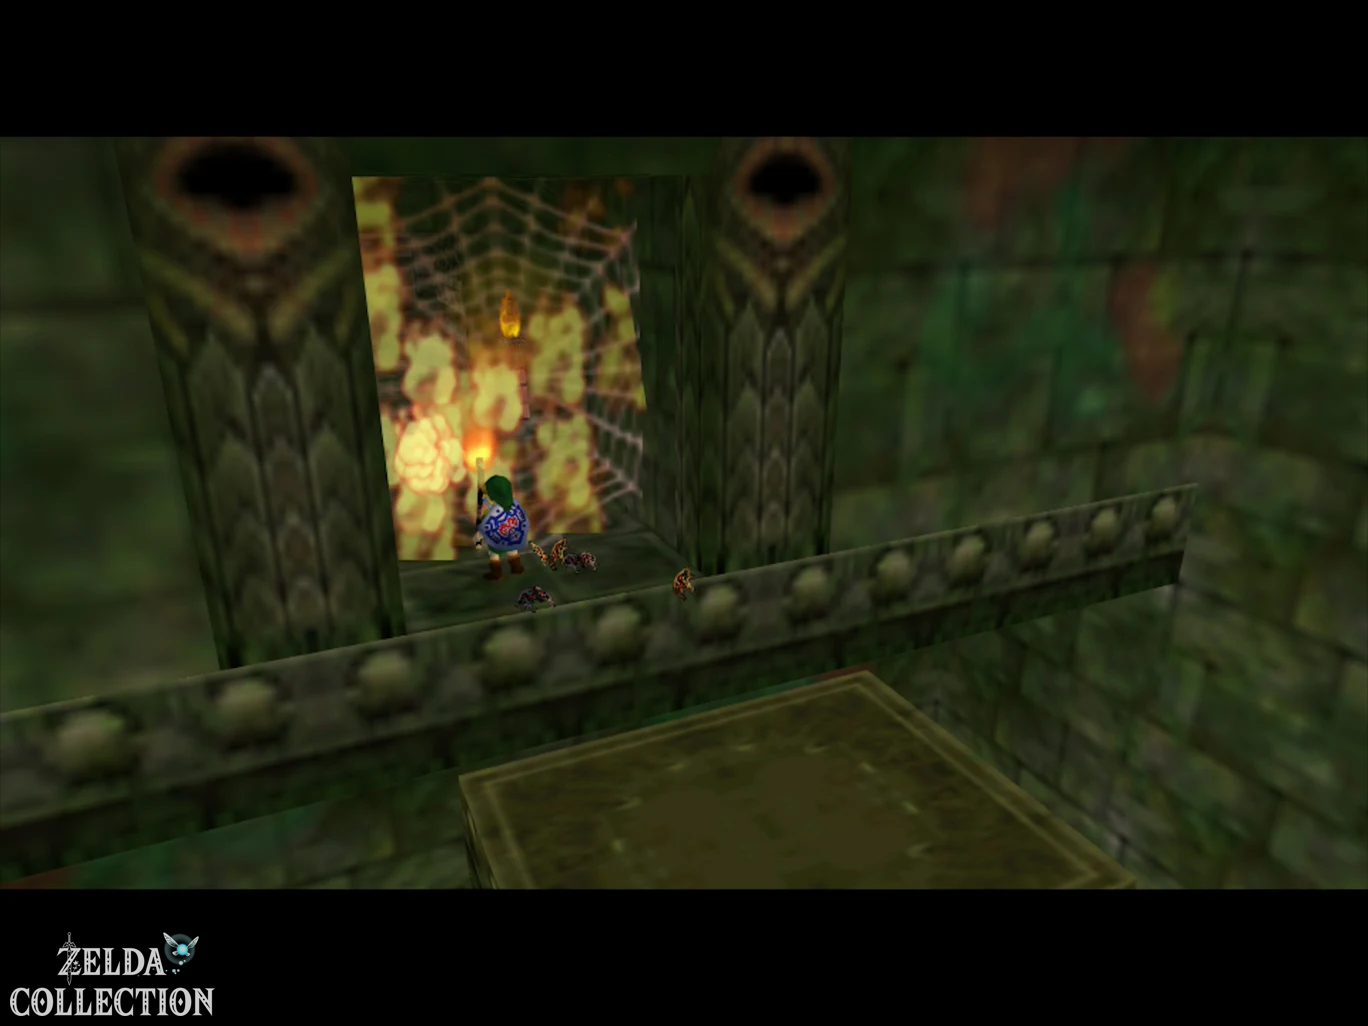
Return to the block room. Light a Deku Staff again and bring the fire to the torch on the upper platform. From there you have to jump with the burning stick to the spider web, which blocks another passage. Touch the net with the flame and it will burn.
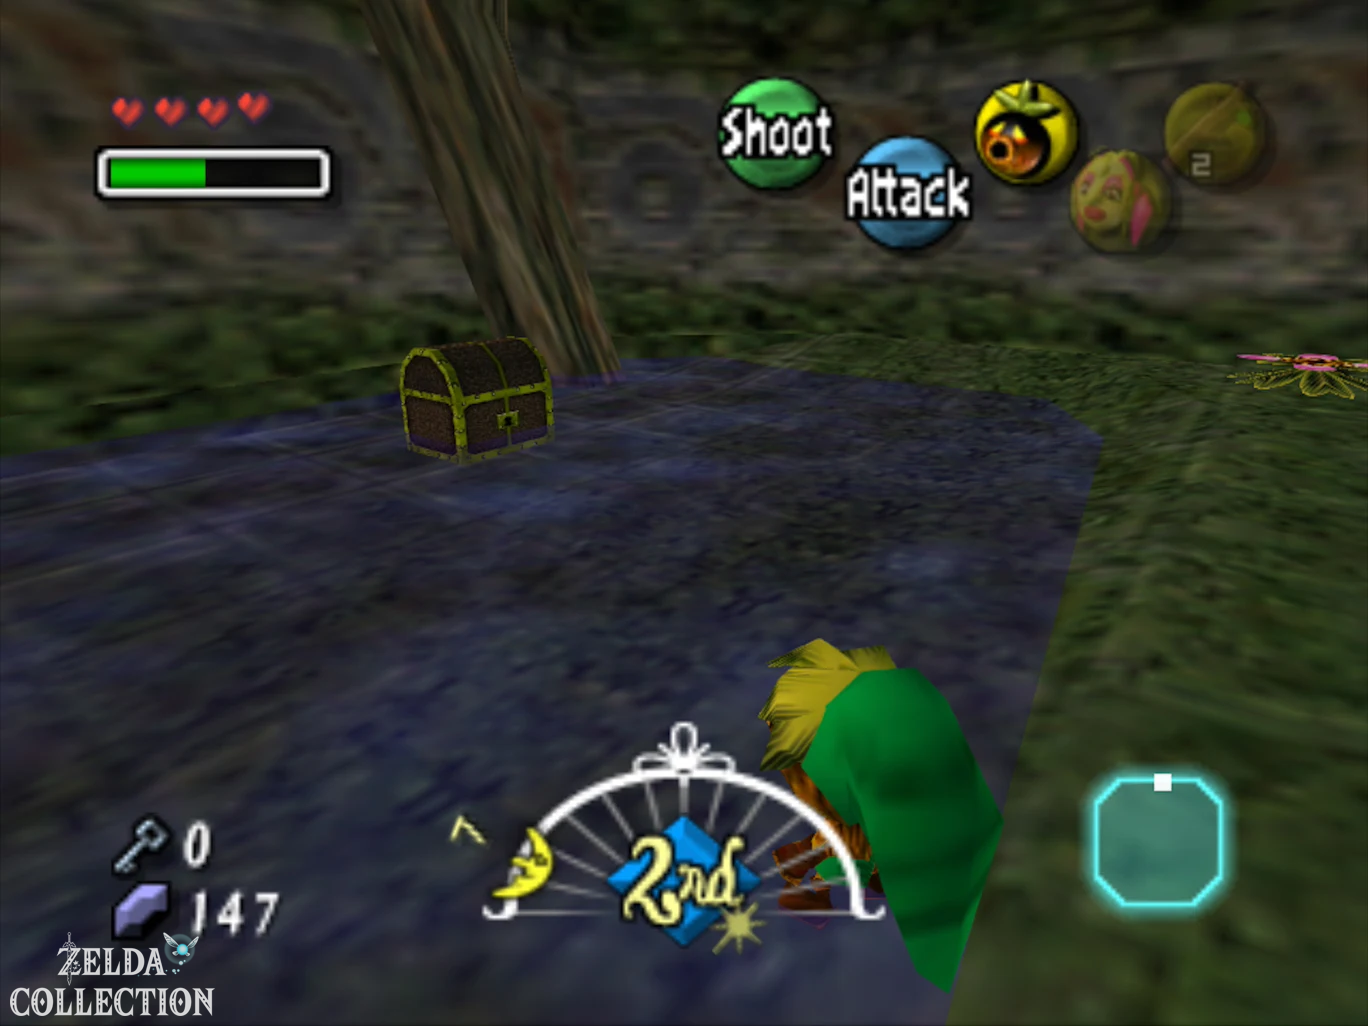
Dark Room – Eighth Stray Fairy
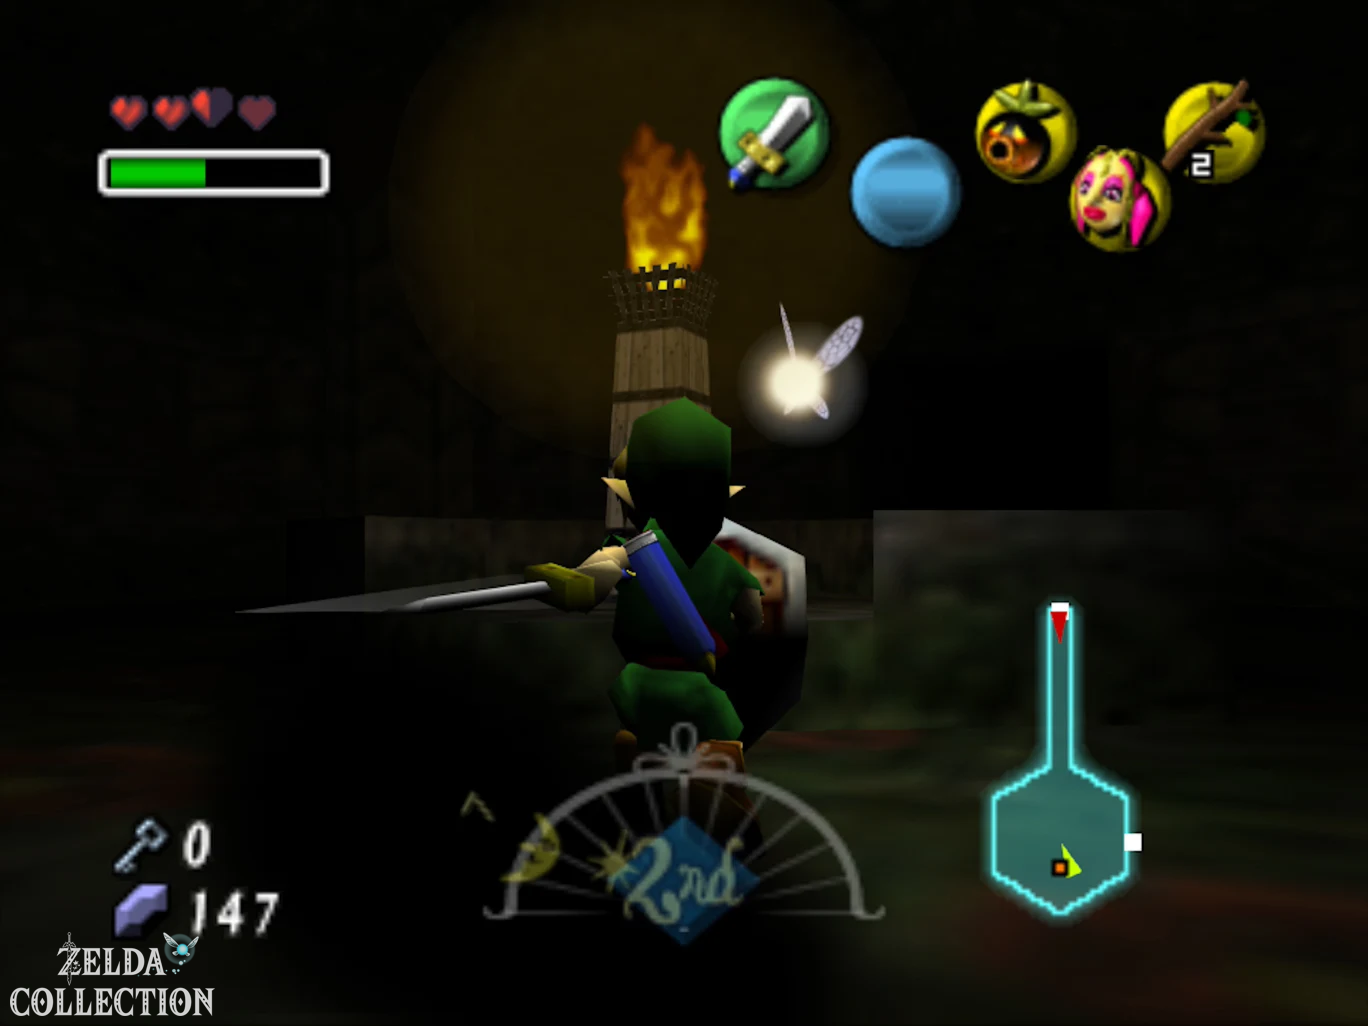
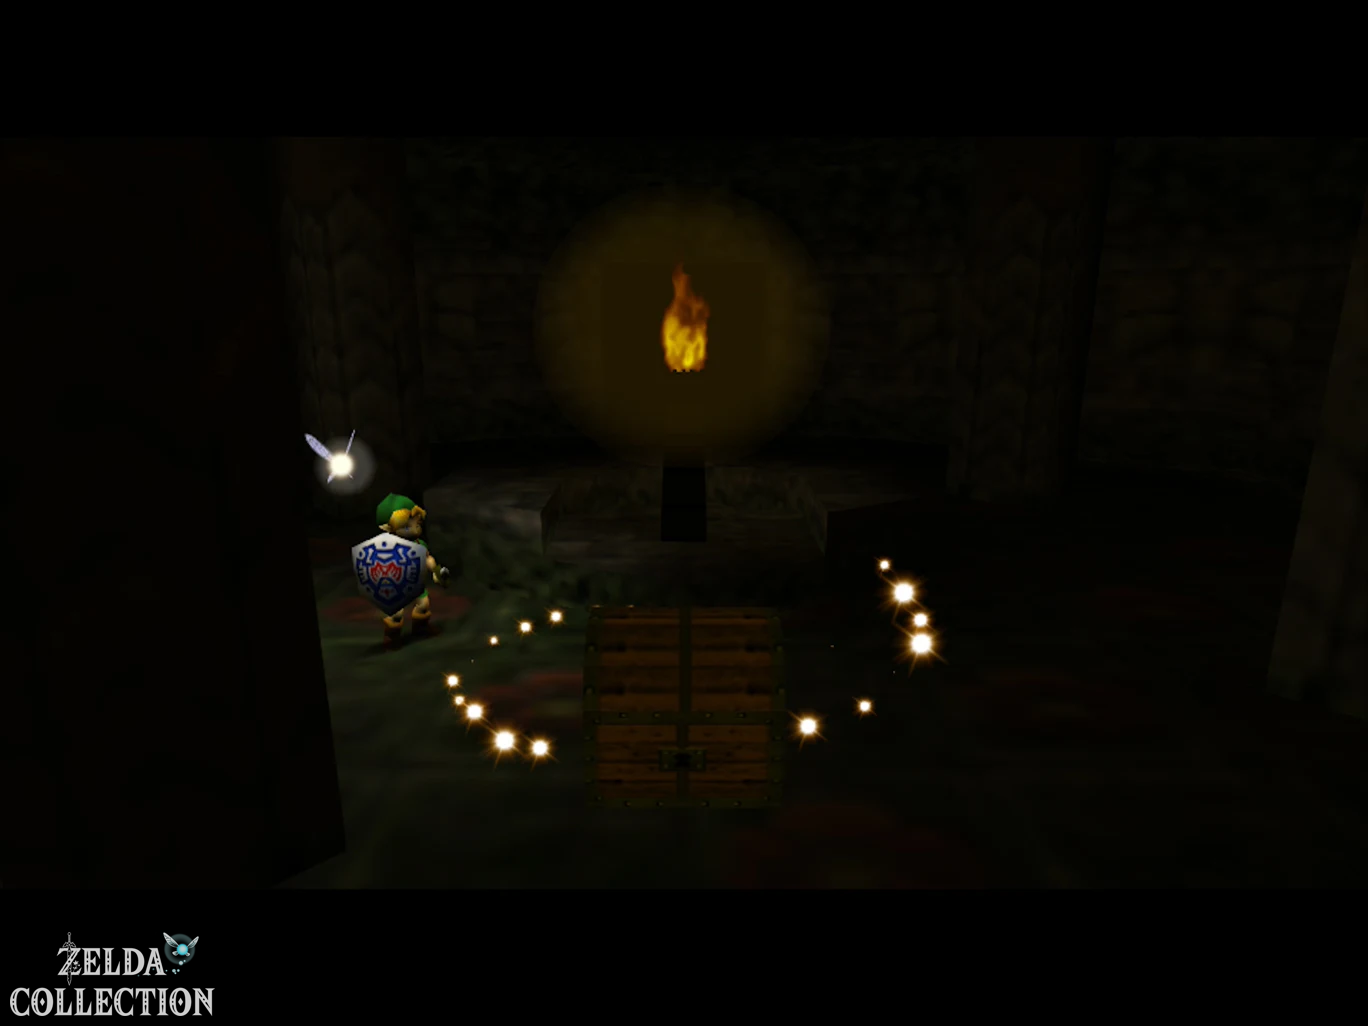
Climb up through the opened passage. In the dark room, several Black Spooks attack. Eliminates them completely.
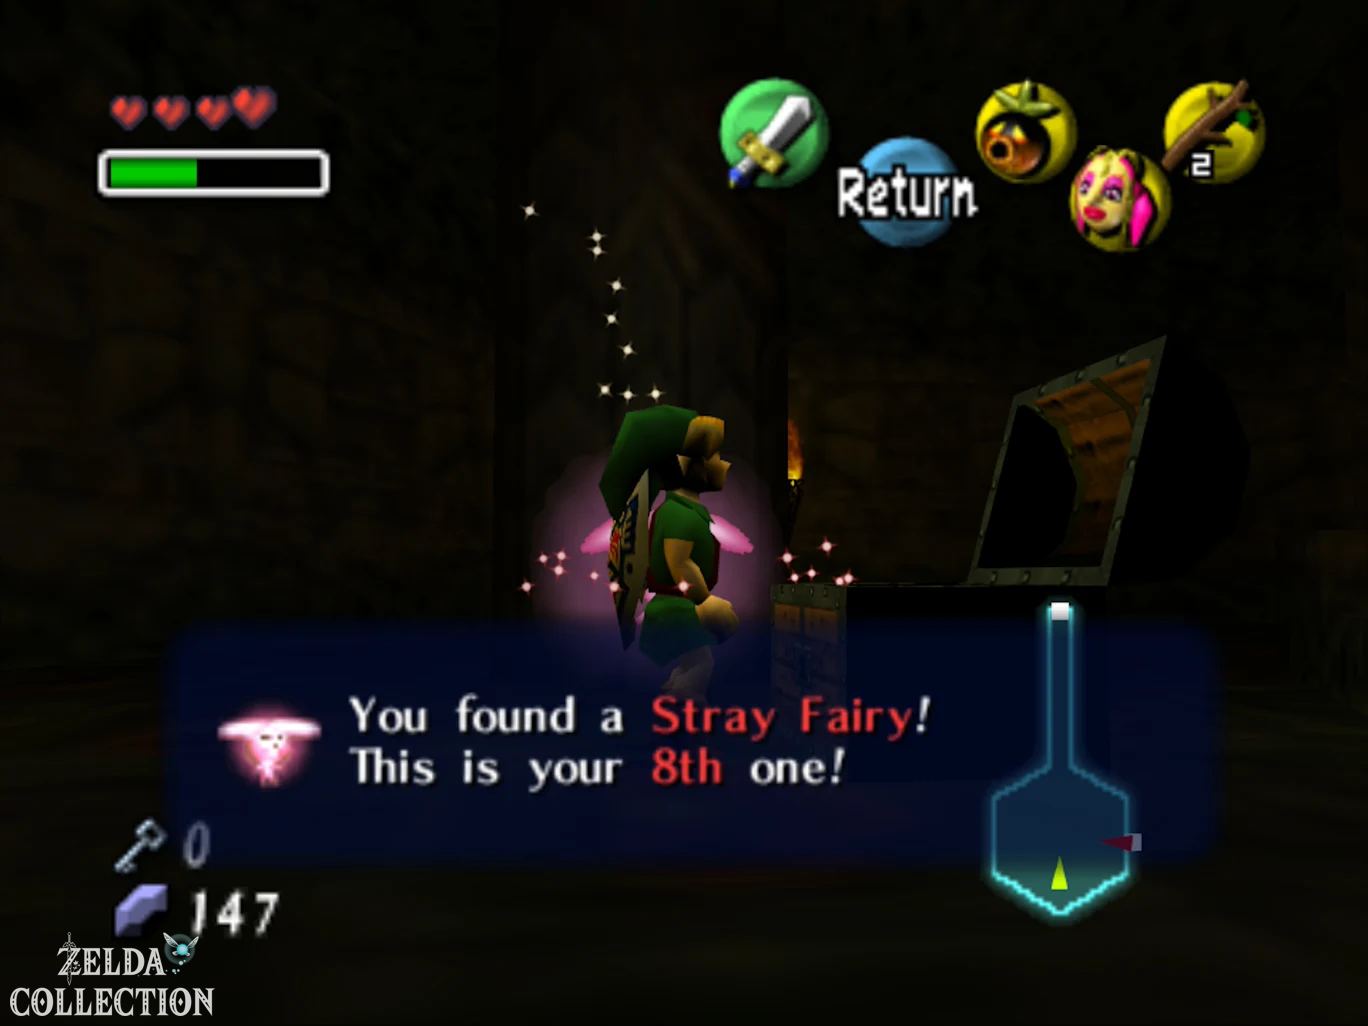
Another larger group of Black Spooks lurks in the following room. Defeat all enemies before you leave the room. As soon as the last one disappears, a Treasure Chest appears with the eighth Stray Fairy.
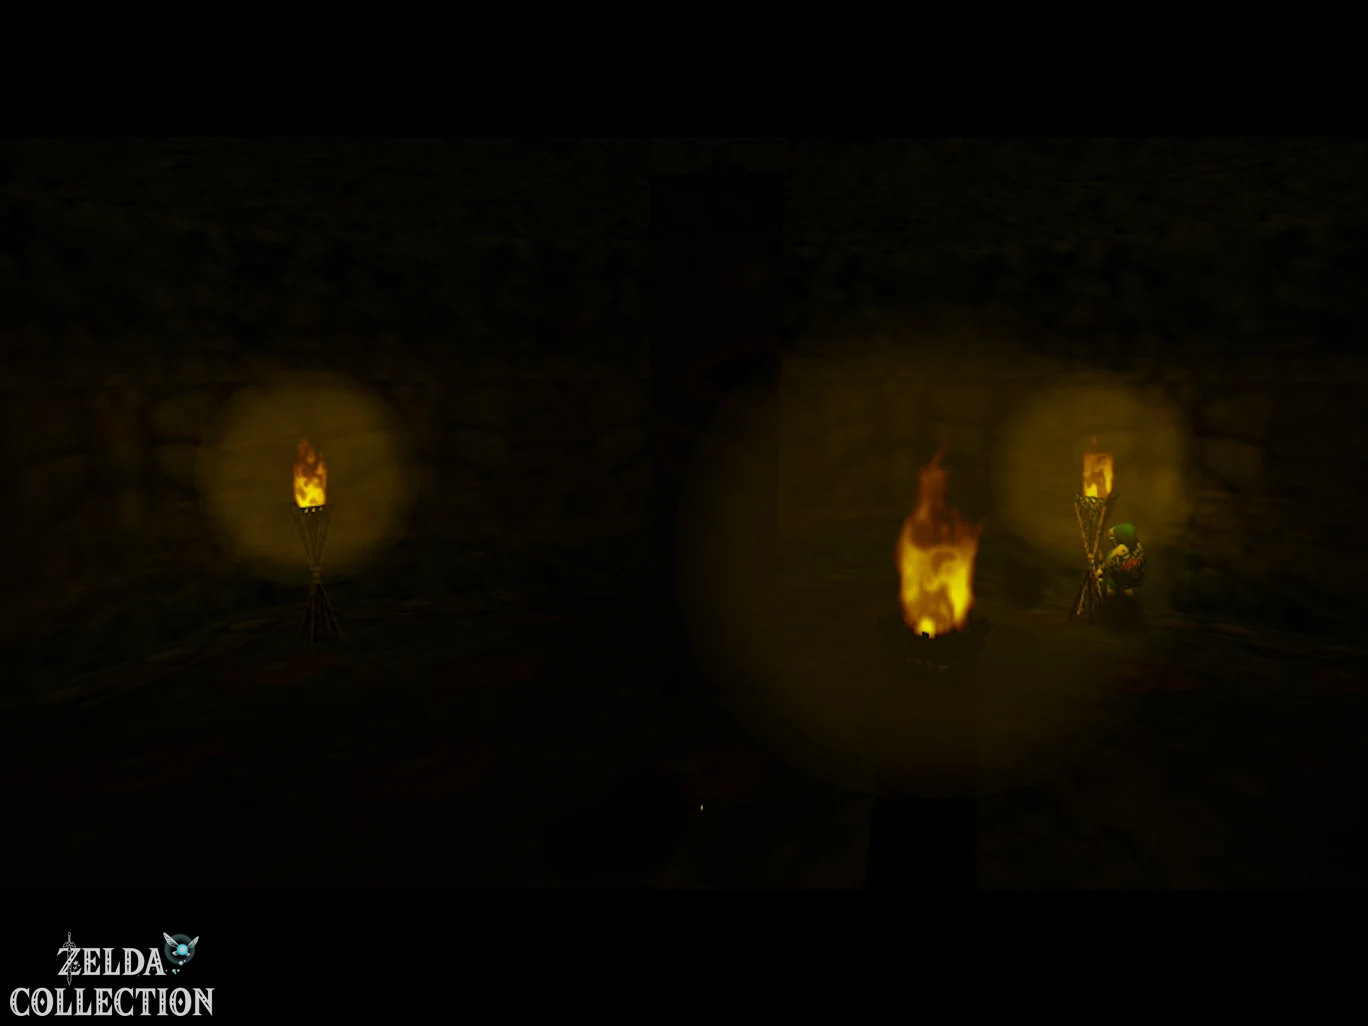
Then light all the torches in the room with a Deku stick. This will open the next door.
To the upper level of the main hall
In the next room you have to fly as Deku Link again. Use the Deku Flowers and the moving platforms until you reach the exit on the opposite side.
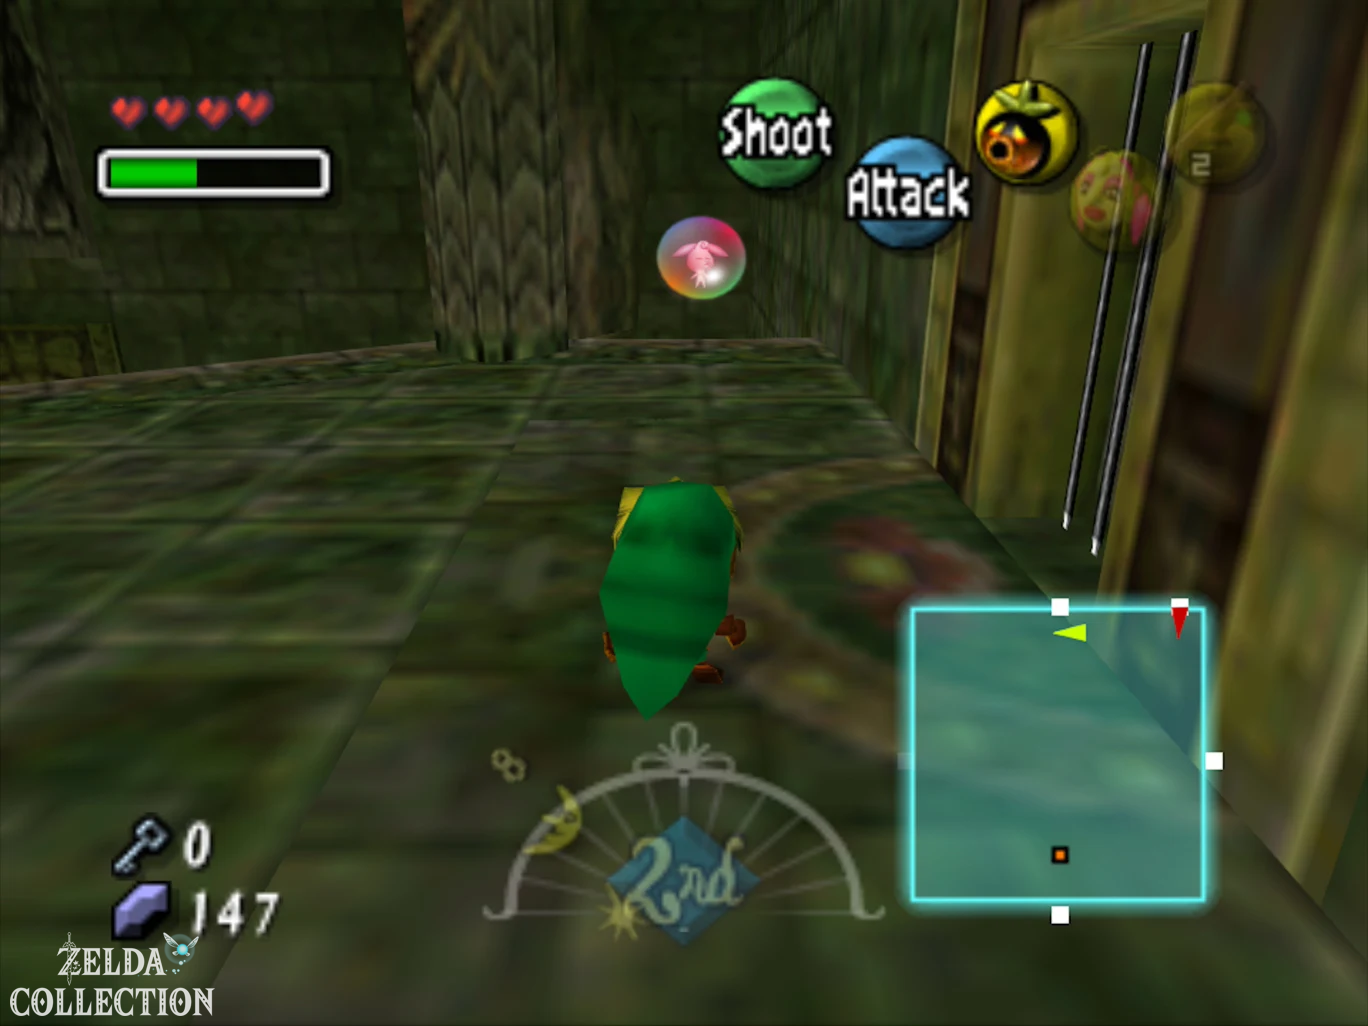
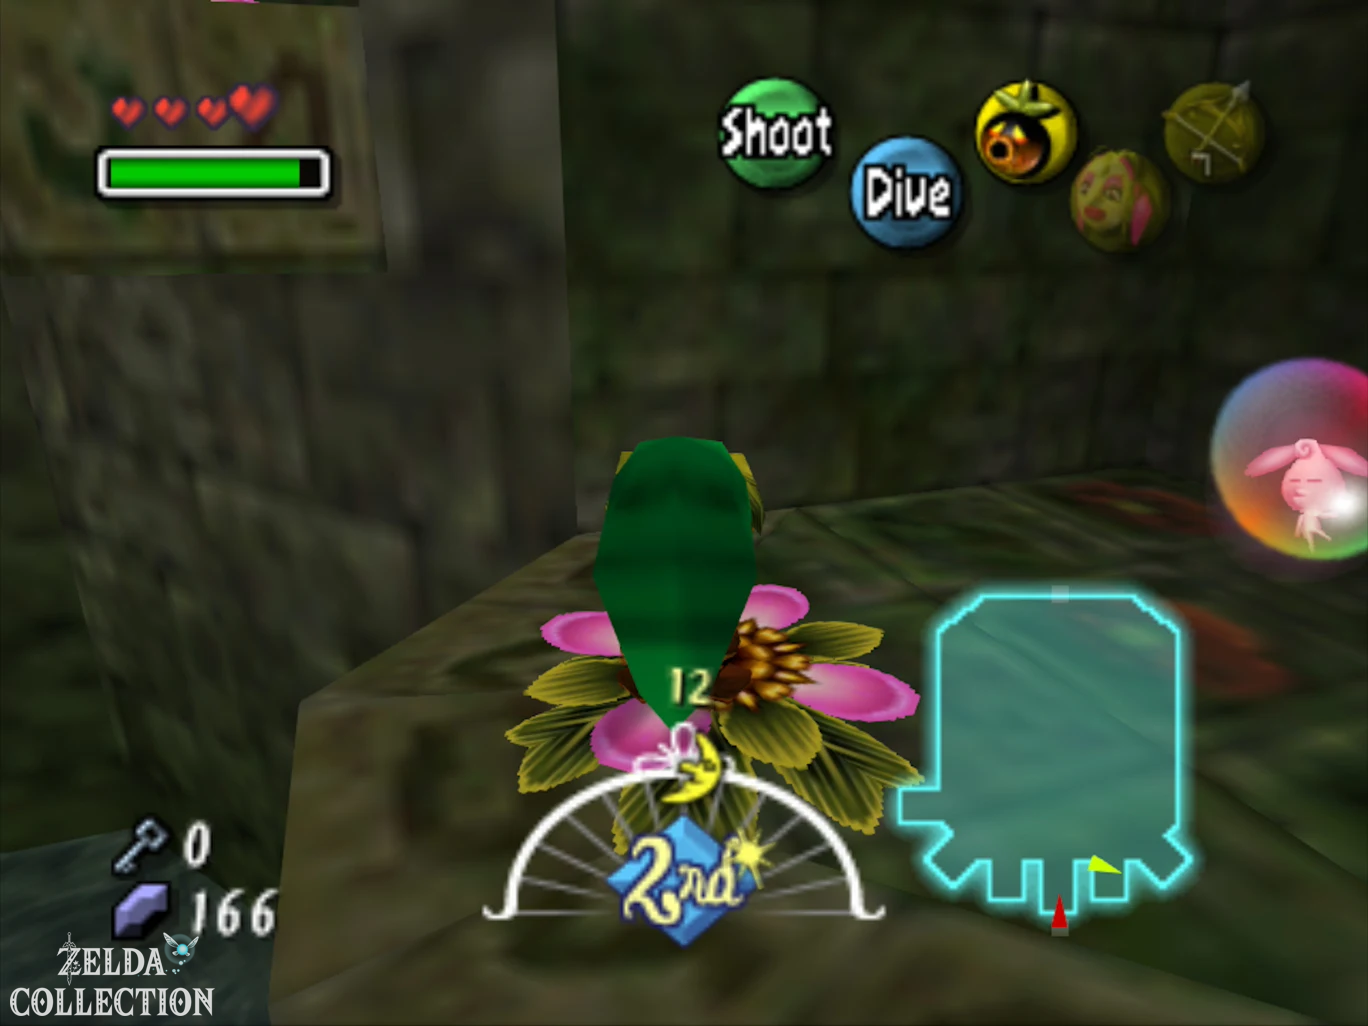
You land on the upper level of the large main hall. The ninth Stray Fairy is floating in a bubble right near you. Destroy the bubble and use the Great Fairy’s Mask.
Also activates the Floor Switch on the upper platform. This causes ladders or a shortcut to appear between the upper and lower levels.
Now go through the door on the right.
Miniboss: Dinolfos
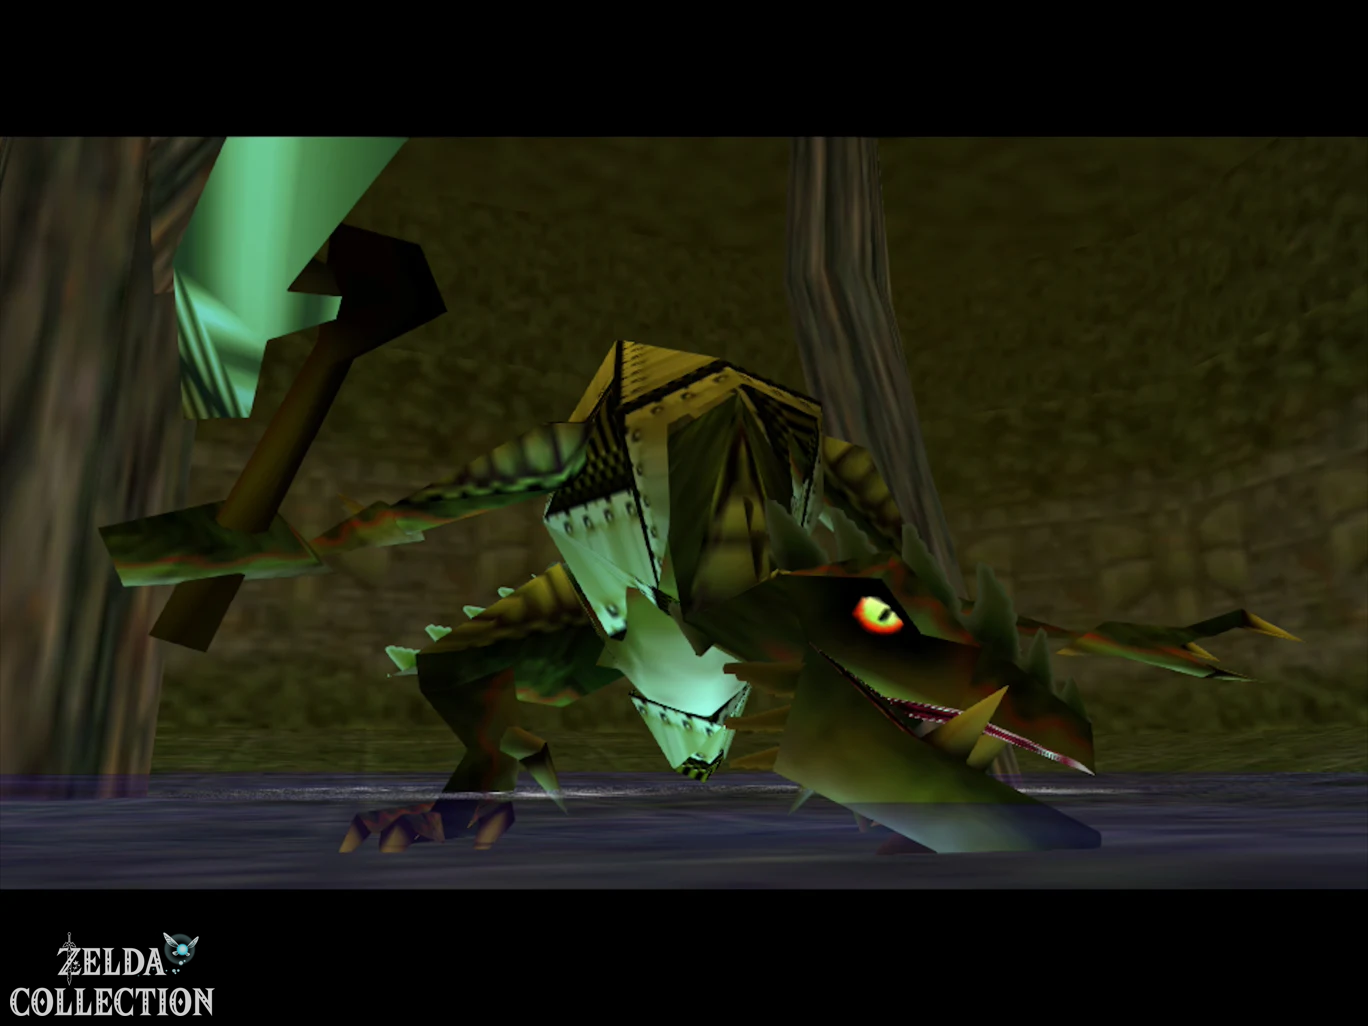
A Dinolfos awaits you in the next room. This lizard warrior fights with a sword and also breathes fire after being hit.
Targets him, blocks his attacks and strikes back immediately after his own sword strike. After each hit you should stand back for a moment because he often breathes fire.
After a few hits the Dinolfos is defeated and a large Treasure Chest appears.
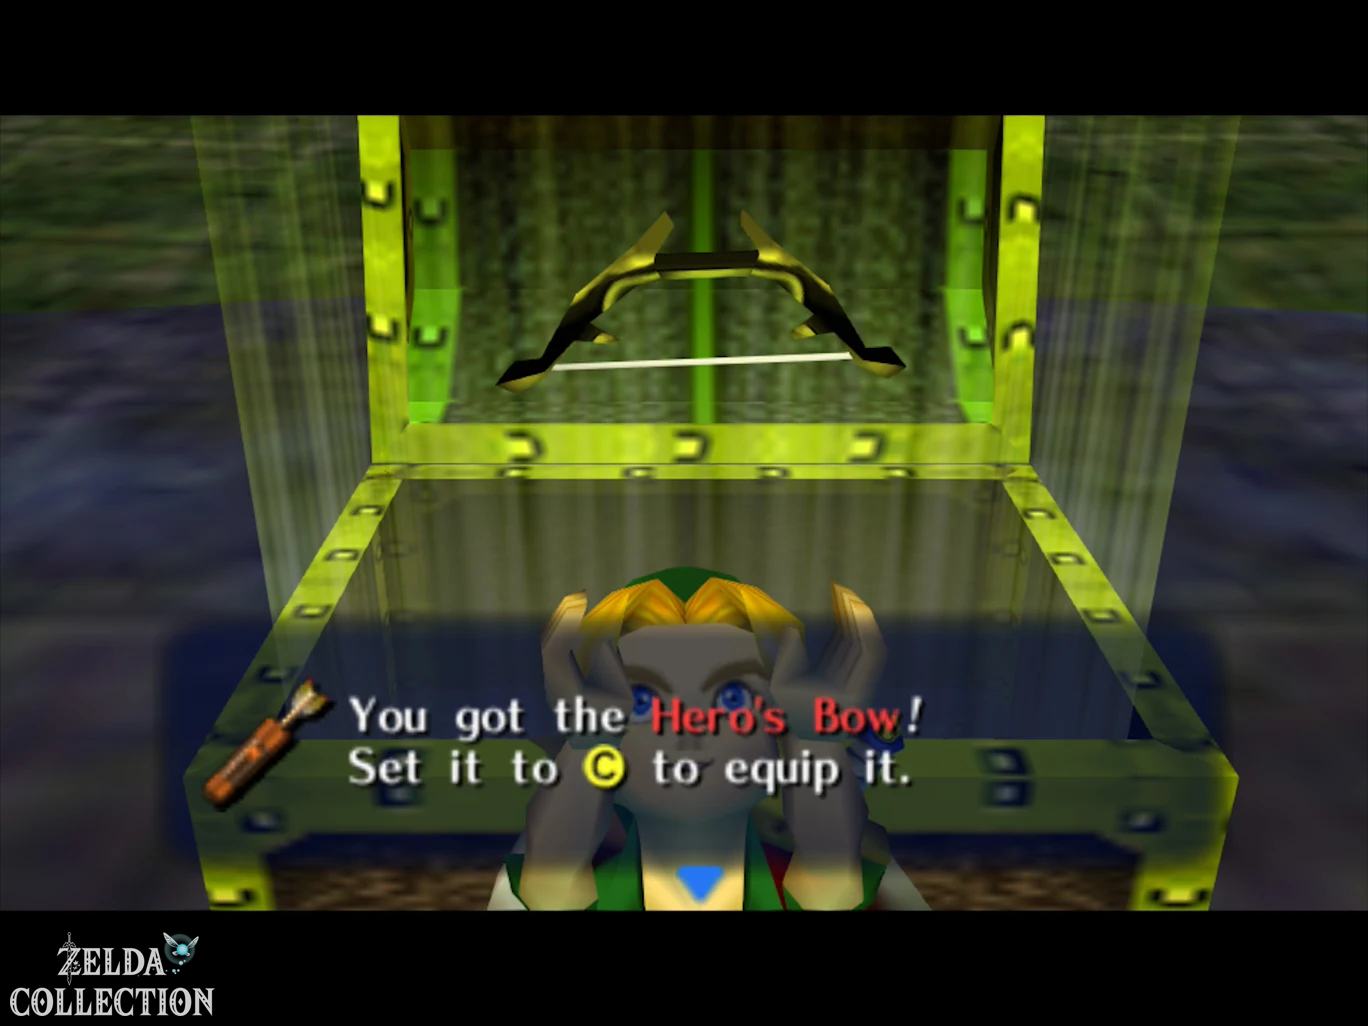
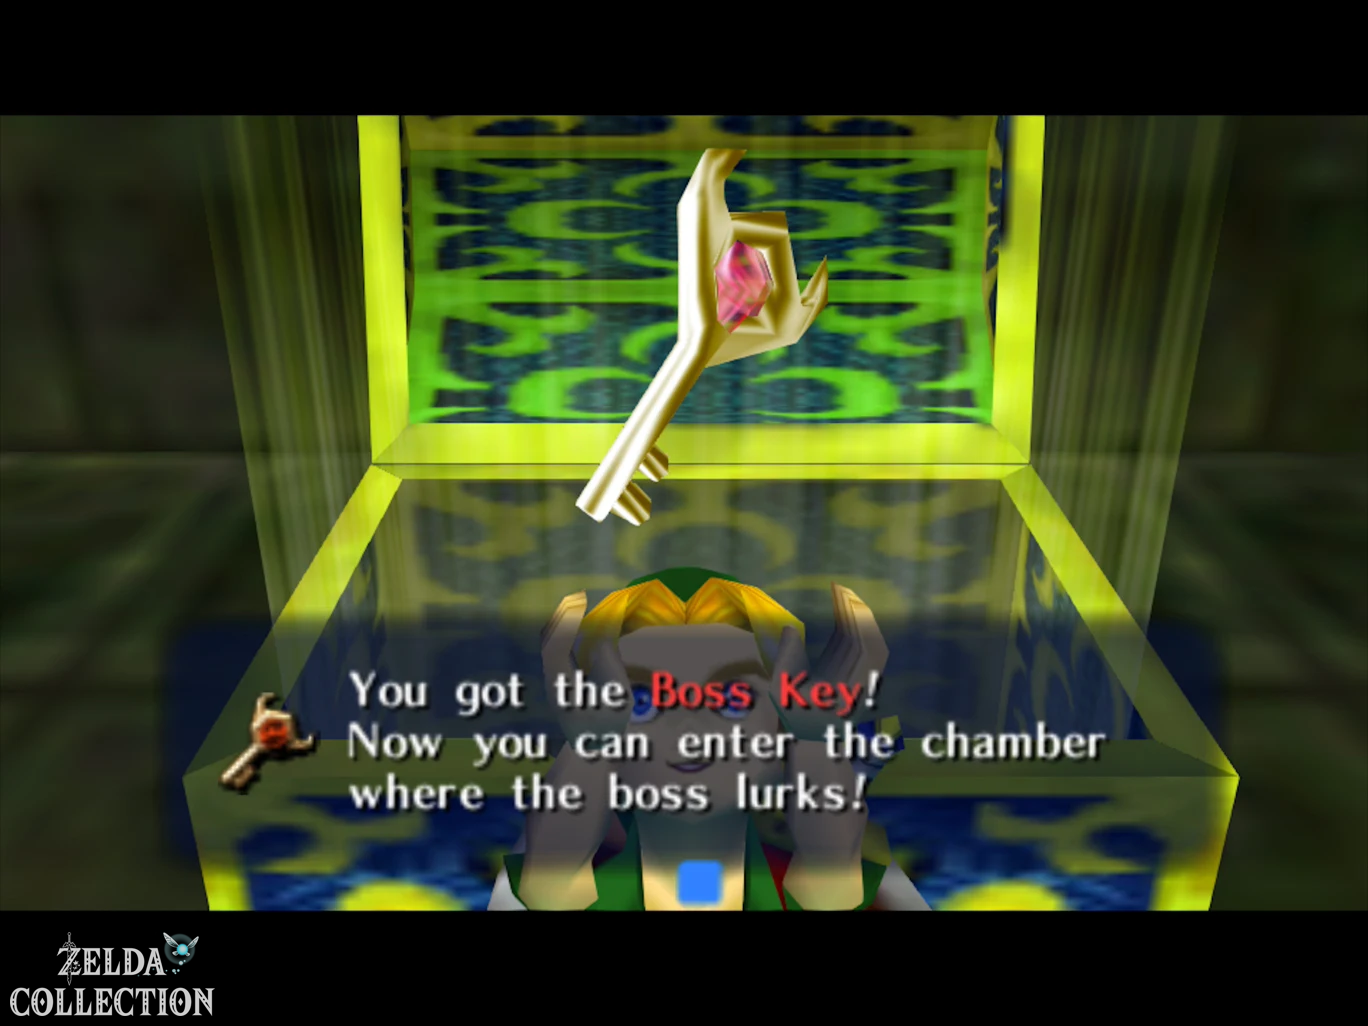
Inside is the Hero’s Bow.
The Hero’s Bow remains permanently intact after time travel; only the individual arrows are lost when the time is reset. With it we can now hit Eye Switch, beehives and distant enemies.
Tenth Stray Fairy
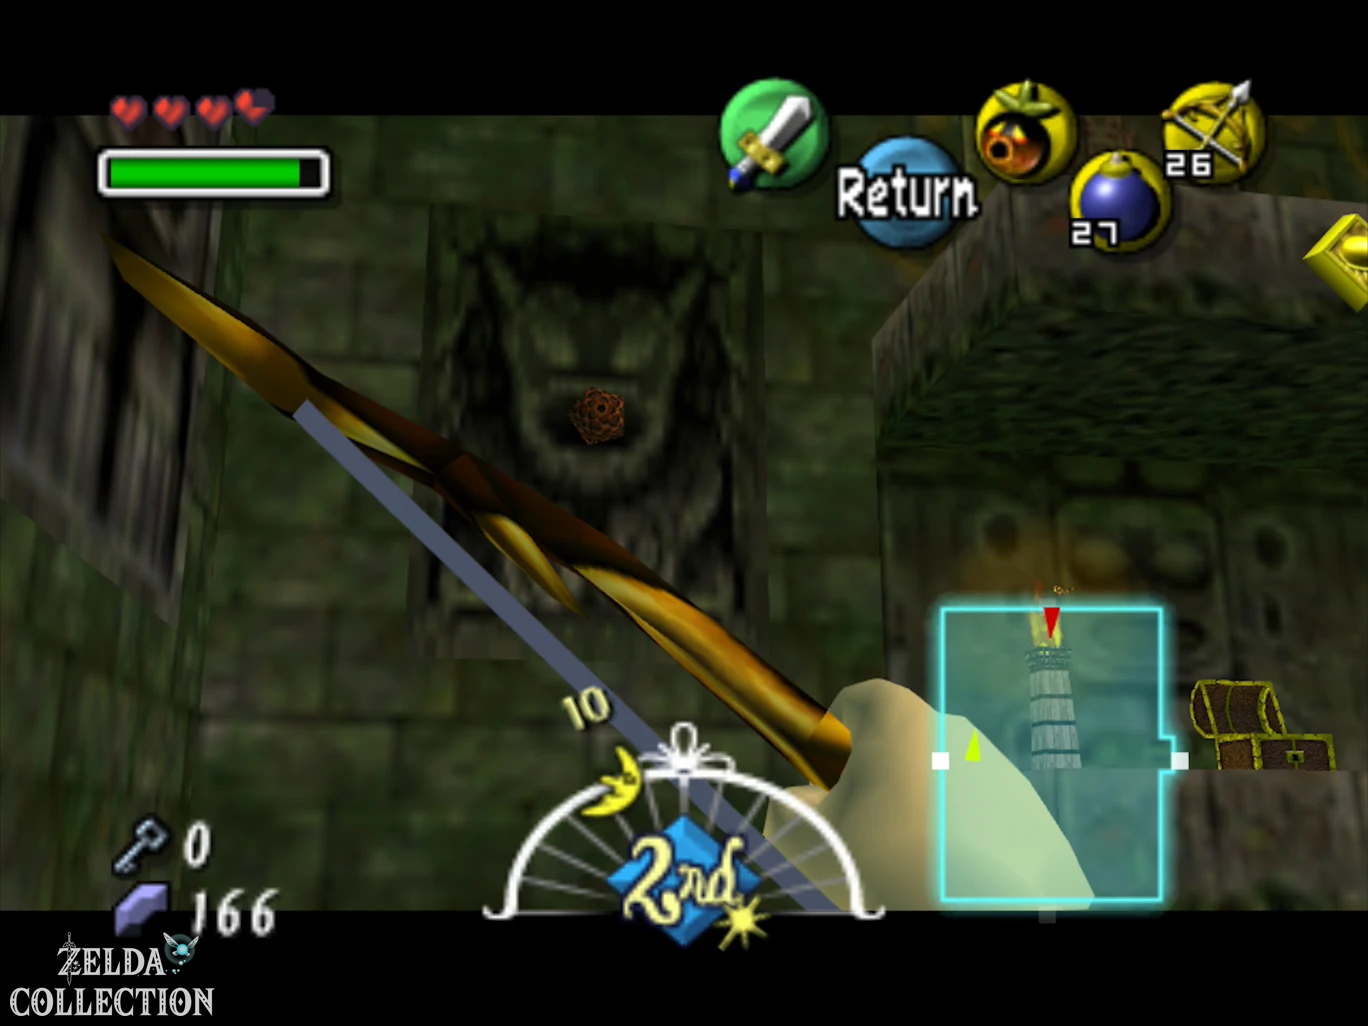
Return to the upper level of the main hall and look towards the eye switch on the opposite wall. There is a wasp’s nest hanging right next to it.
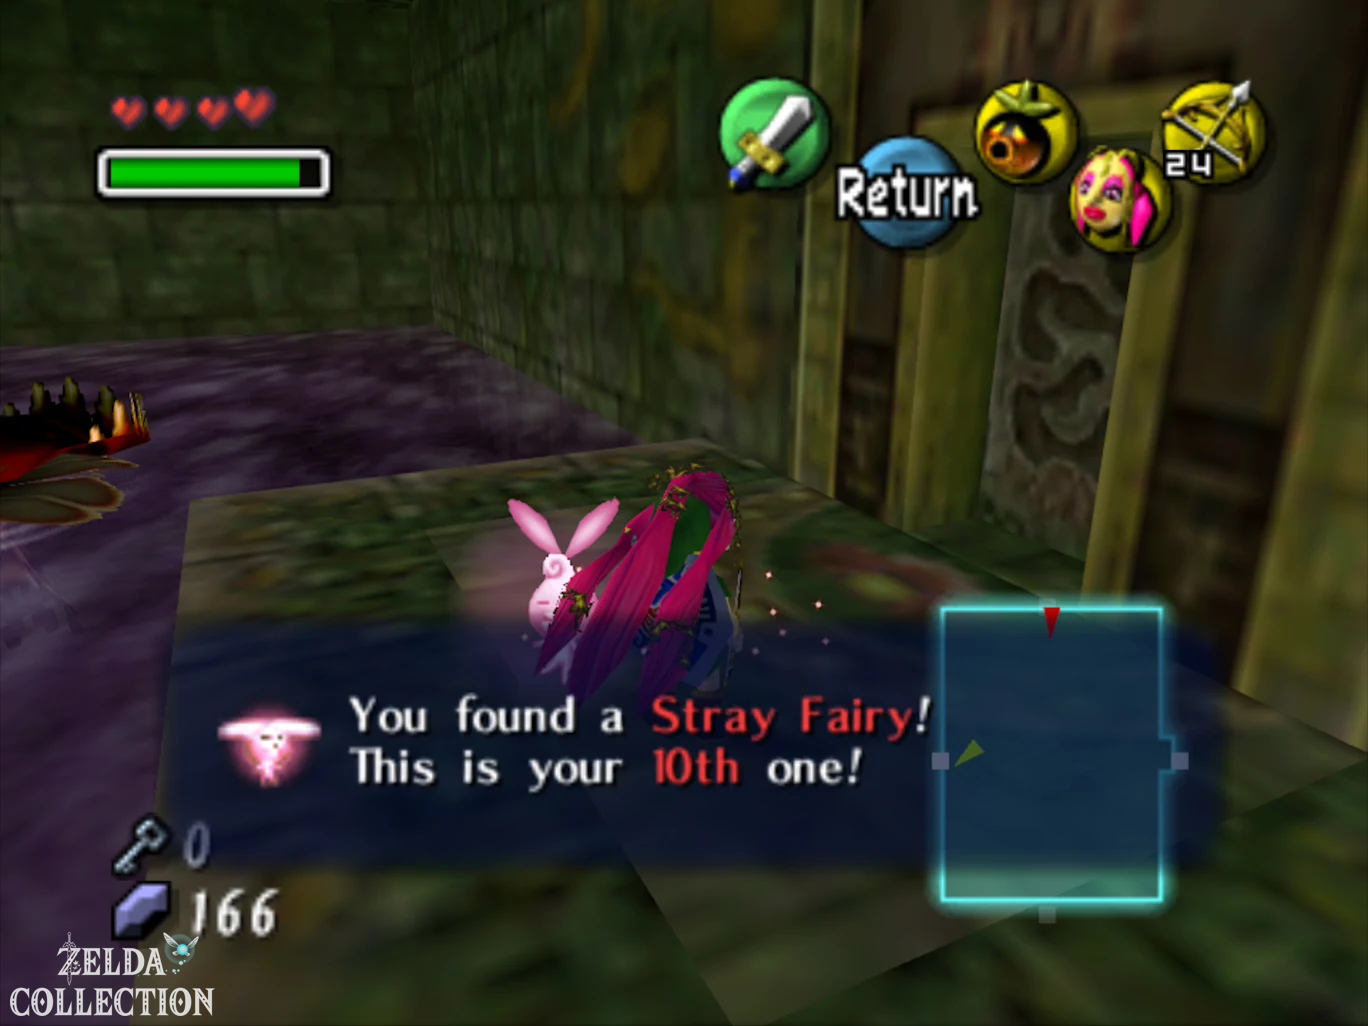
Shoot it down with the Hero’s Bow. Inside is the tenth Stray Fairy. Put on the Great Fairy’s Mask and let it fly to you.
Then hit the Eye Switch with an arrow. A platform with a Deku flower rises in the middle of the room.
Use it to get to the previously unreachable door on the opposite side.
Minibosses: Gekko and Schnapper
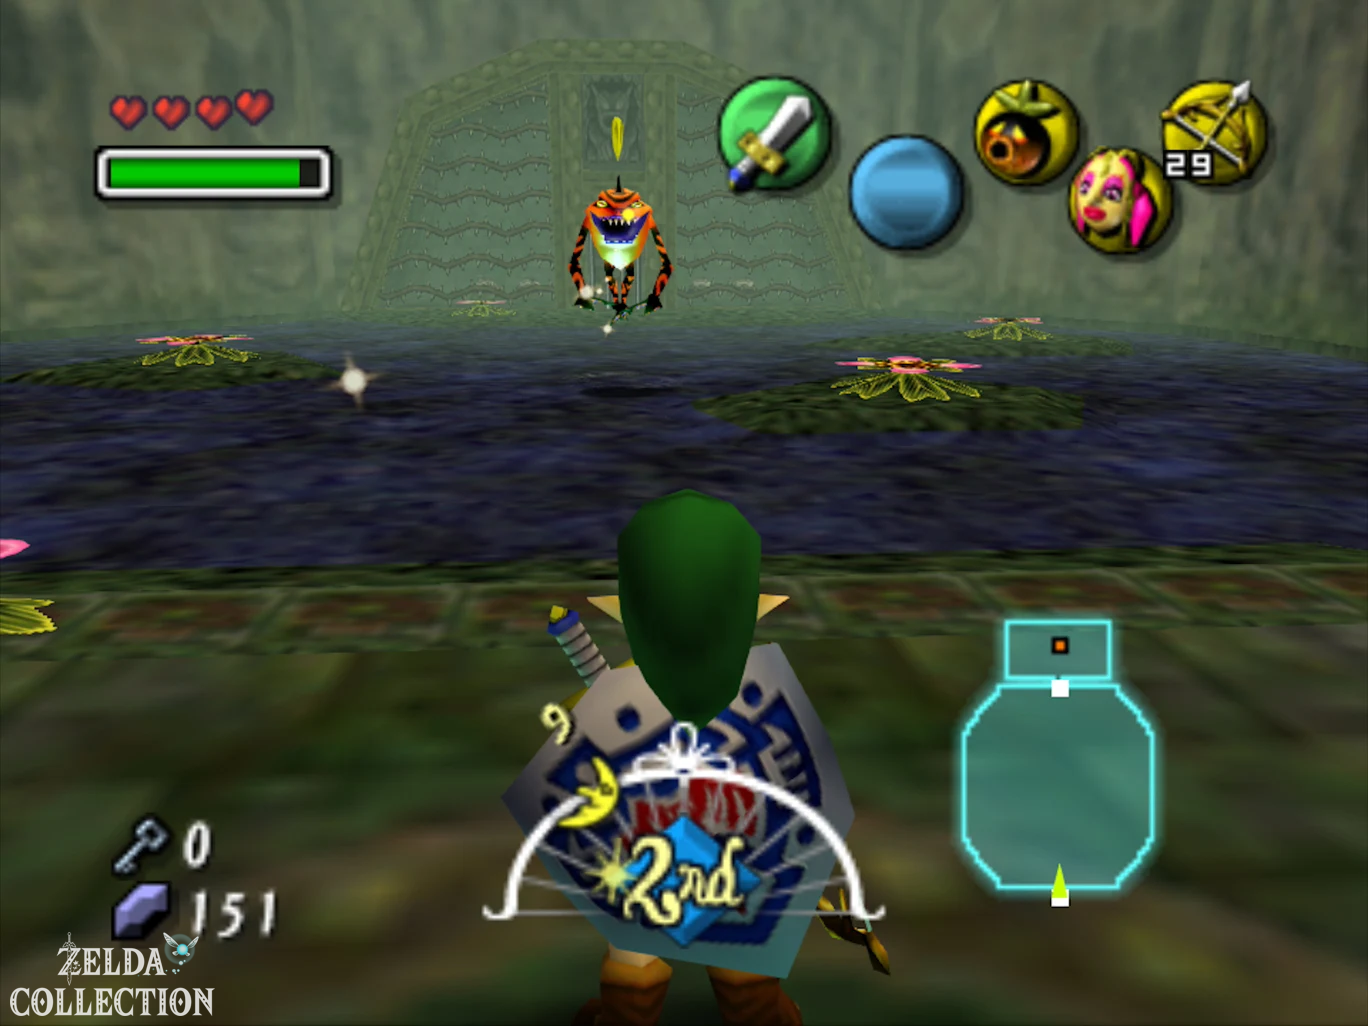
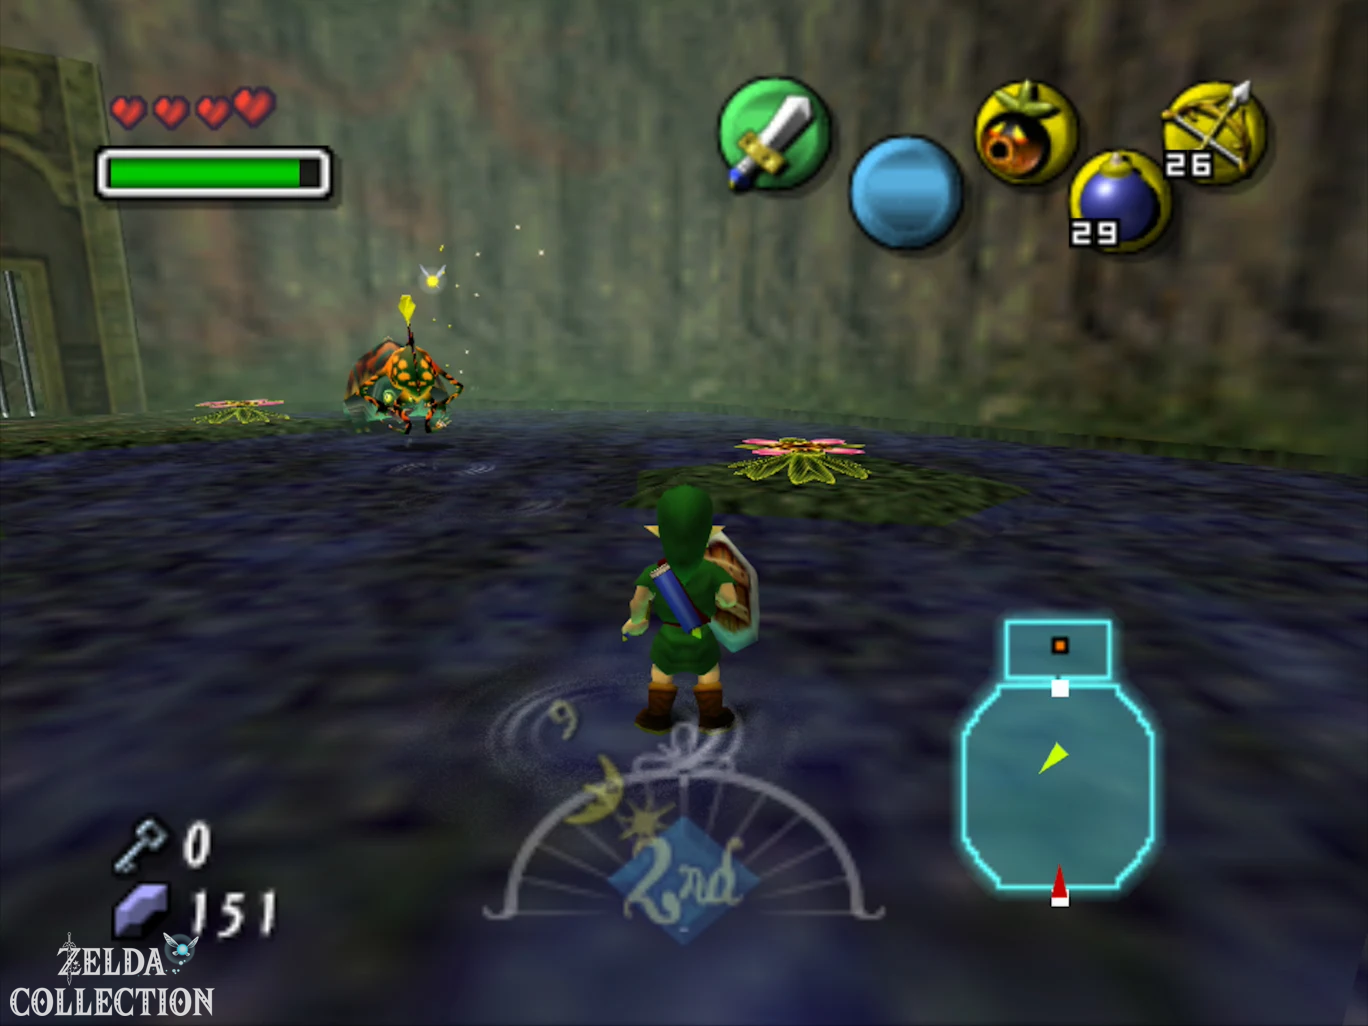
Gekko is waiting in the next room. At the beginning he runs alone through the arena. Hit him with the sword or an arrow.
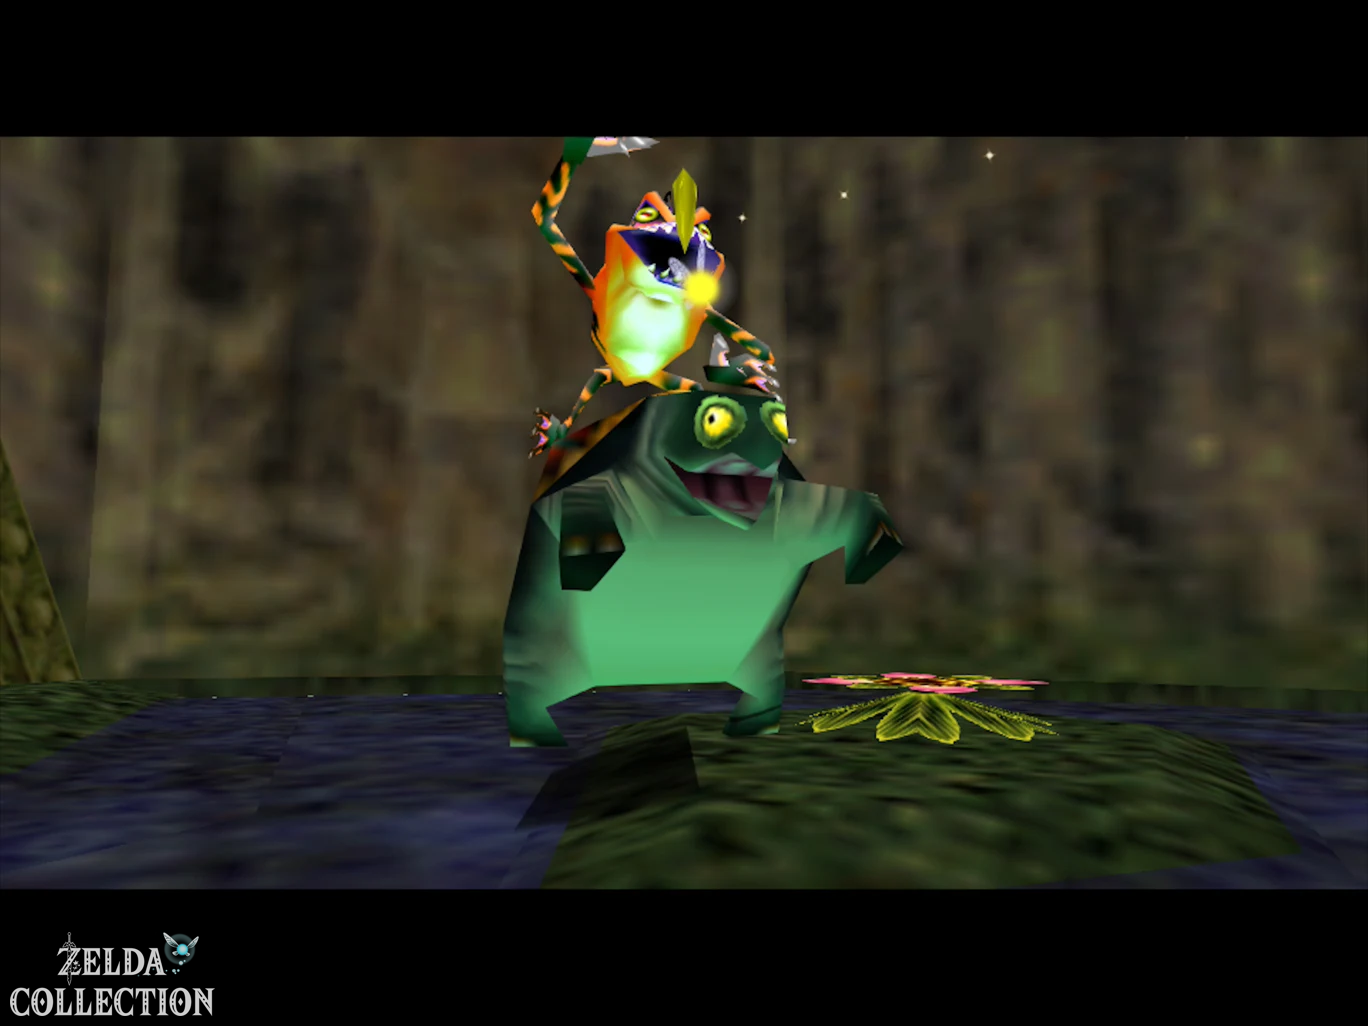
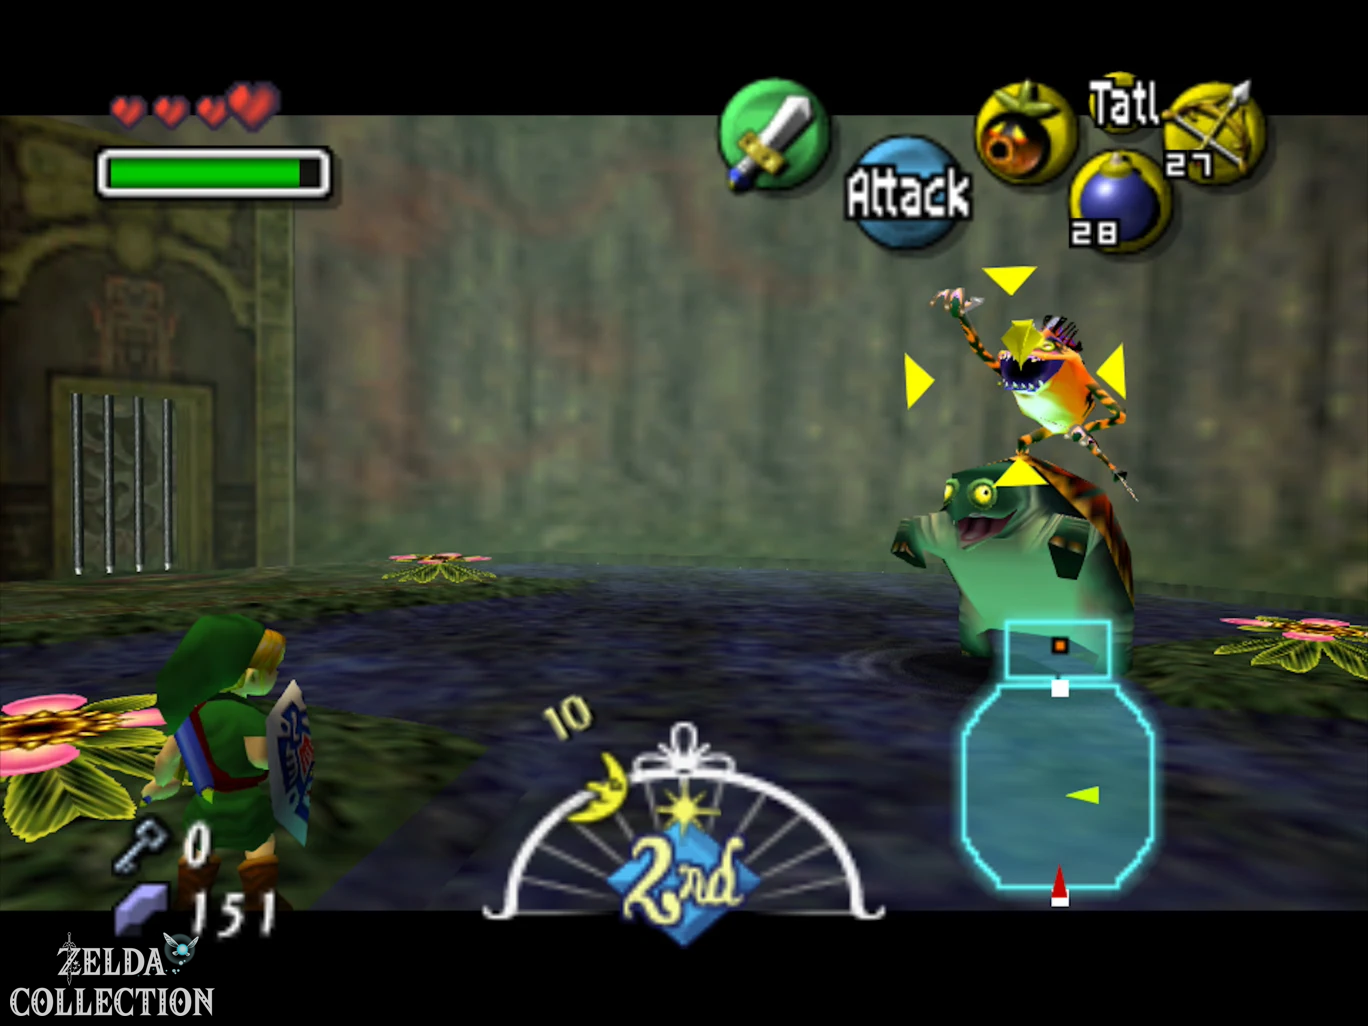
After the first hit he calls a Snapper to help and jumps onto its back. The snapper extends its spines and spins around the room.
Transform into Deku Link and dive into one of the Deku flowers. Wait for the snapper to pass directly above you and shoot out of the flower. The hit knocks Gekko off his back.
Gekko then climbs onto the wall or ceiling. Immediately switch to normal Link and shoot him down with an arrow.
Repeat this process until the fight ends. Gekko then turns into a little frog and disappears.
This frog later plays a role for a Piece of Heart around Don Gero.
The released large Treasure Chest contains the Big Key, which can be used to open the door to Odolwa.
Ignite the big flower
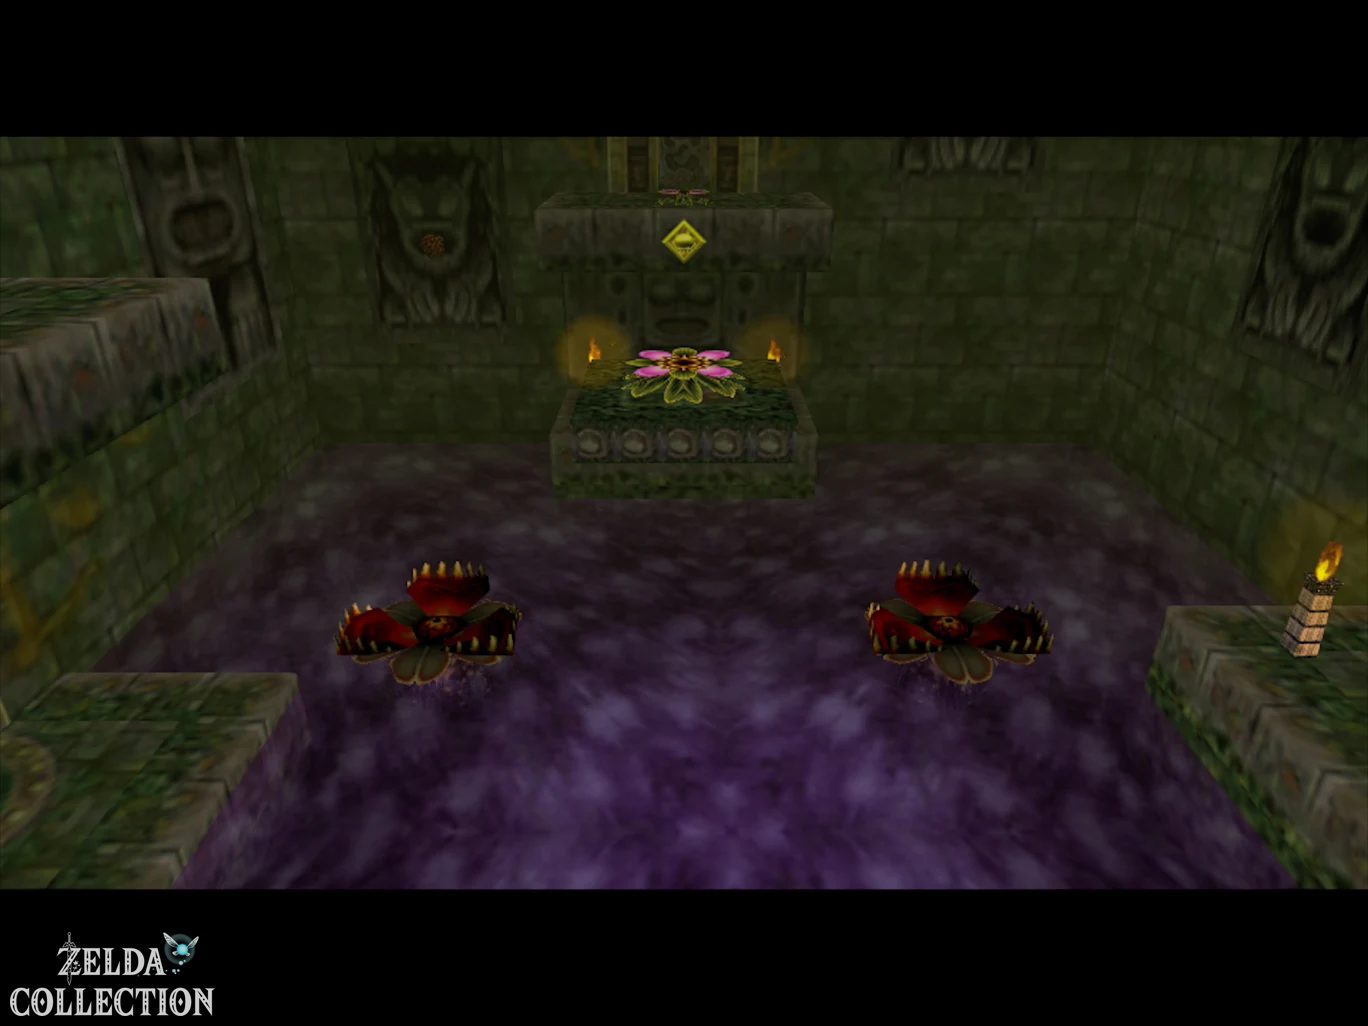
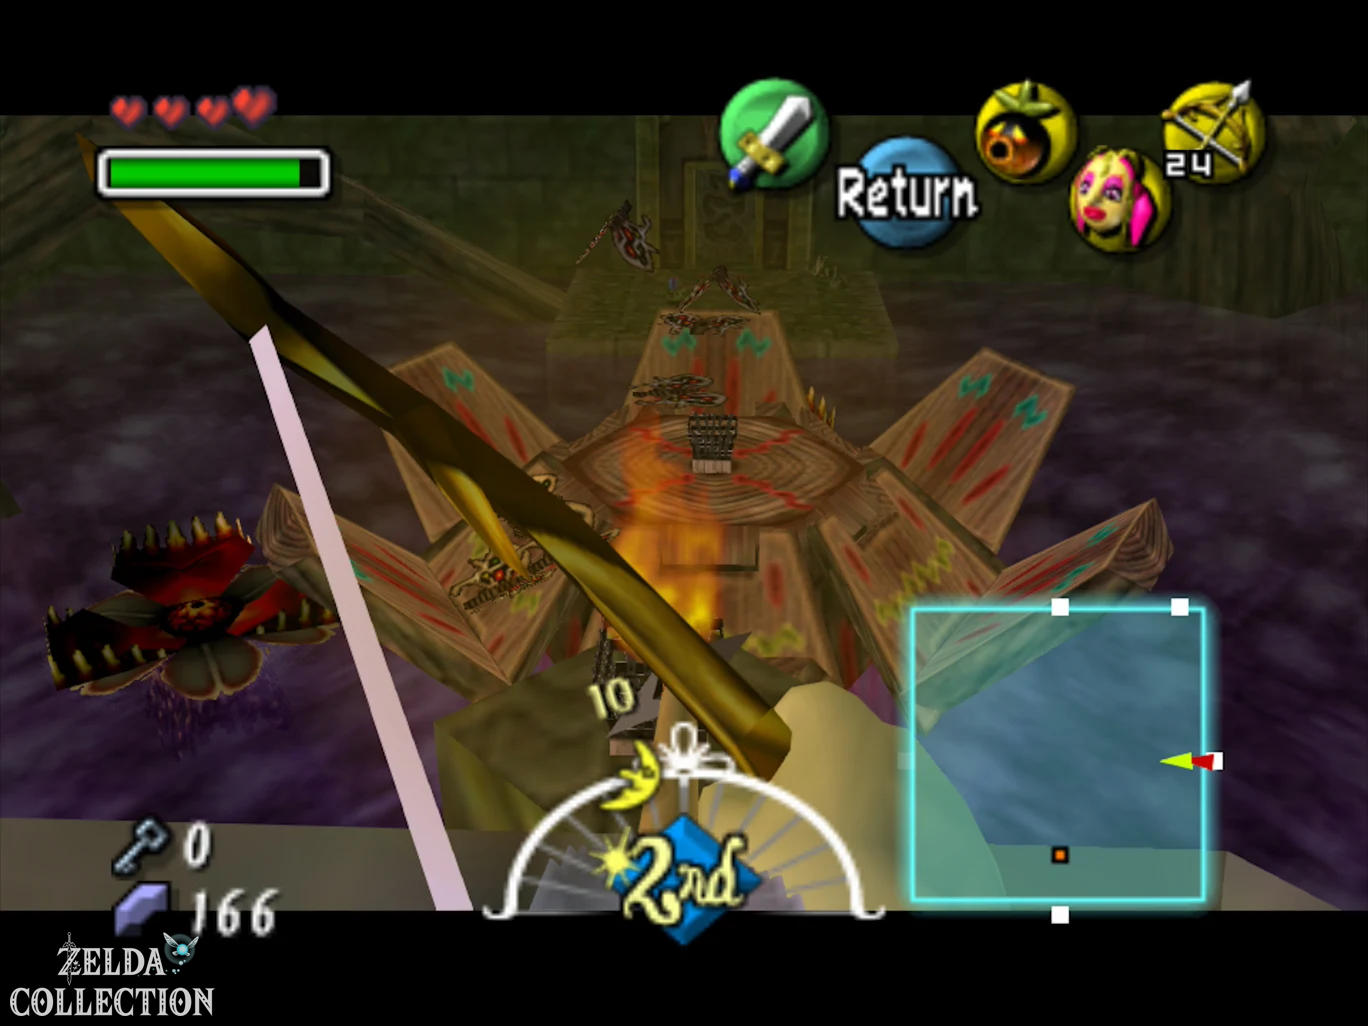
Return to the central hall. With the Hero’s Bow, the giant flower in the poisoned water can finally be activated.
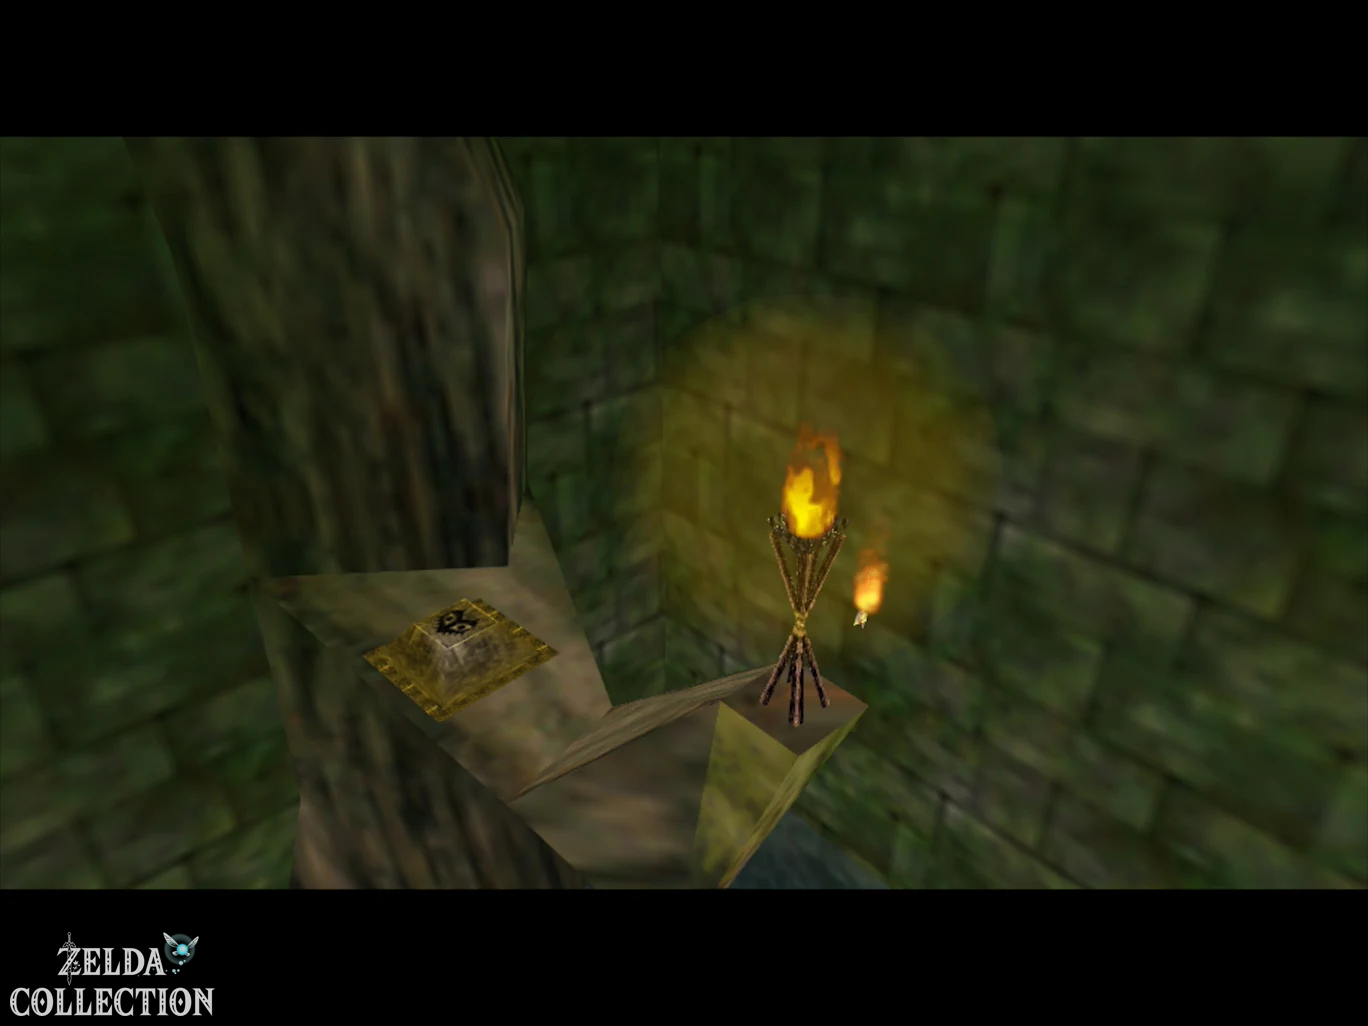
Position yourself so that a lit torch is between Link and the center of the large flower. Shoot an arrow through the flame at the center of the flower. The arrow ignites the flower.
The large platform then begins to rotate and the poisoned water is purified.
Now you can safely jump into the water in the block room and collect the remaining Stray Fairy under the middle bridge if you haven’t reached her before.
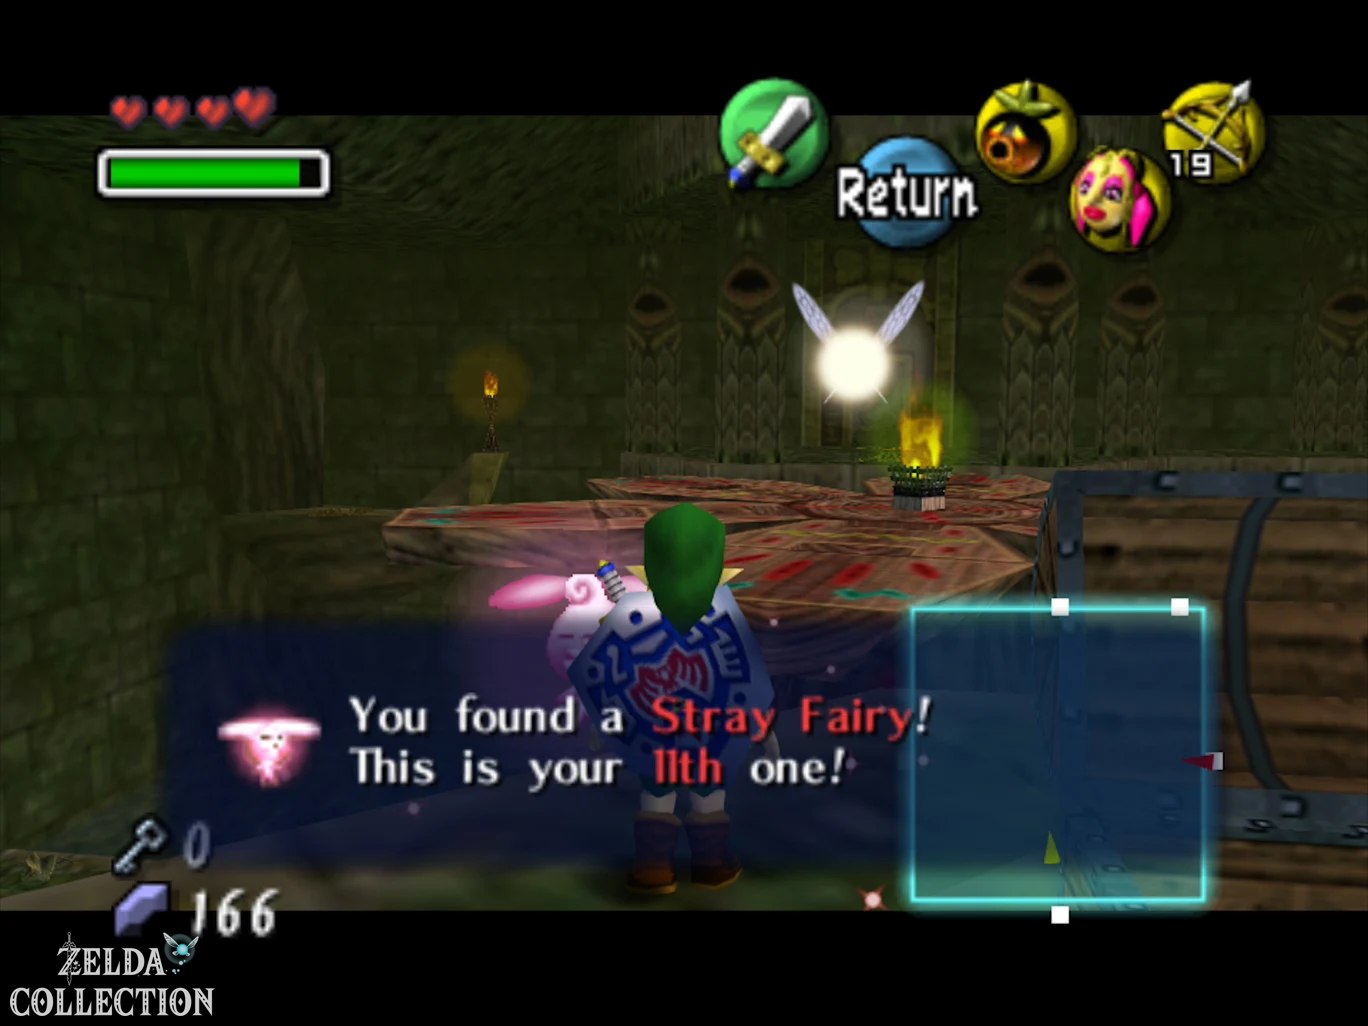
Eleventh Stray Fairy
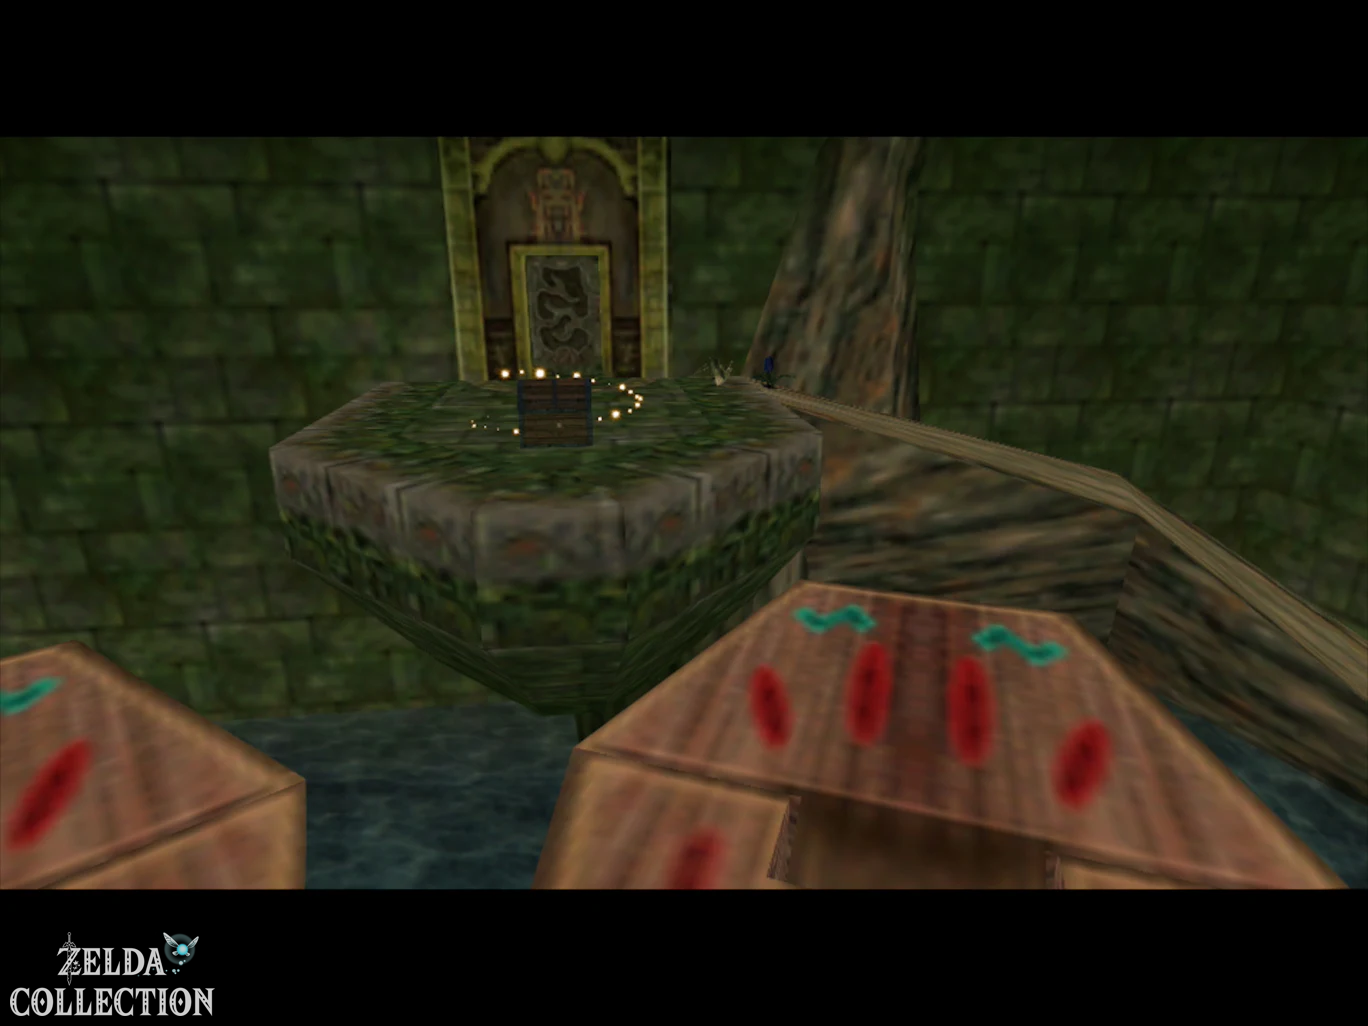
Before you jump onto the rotating flower, fly as Deku Link to the Floor Switch on a side platform in the main hall.
Switch back to the normal link there and step on the switch. A Treasure Chest appears on the other side of the room.
Return there and open it. Inside is the eleventh Stray Fairy.
Then stand on the large rotating flower. Shoot an arrow through the central flame again and hit the previously unreachable torch on the wall. The next door opens.
Final Room – Fairies 12 to 15
The large room immediately before Odolwa contains the last four Stray Fairies.
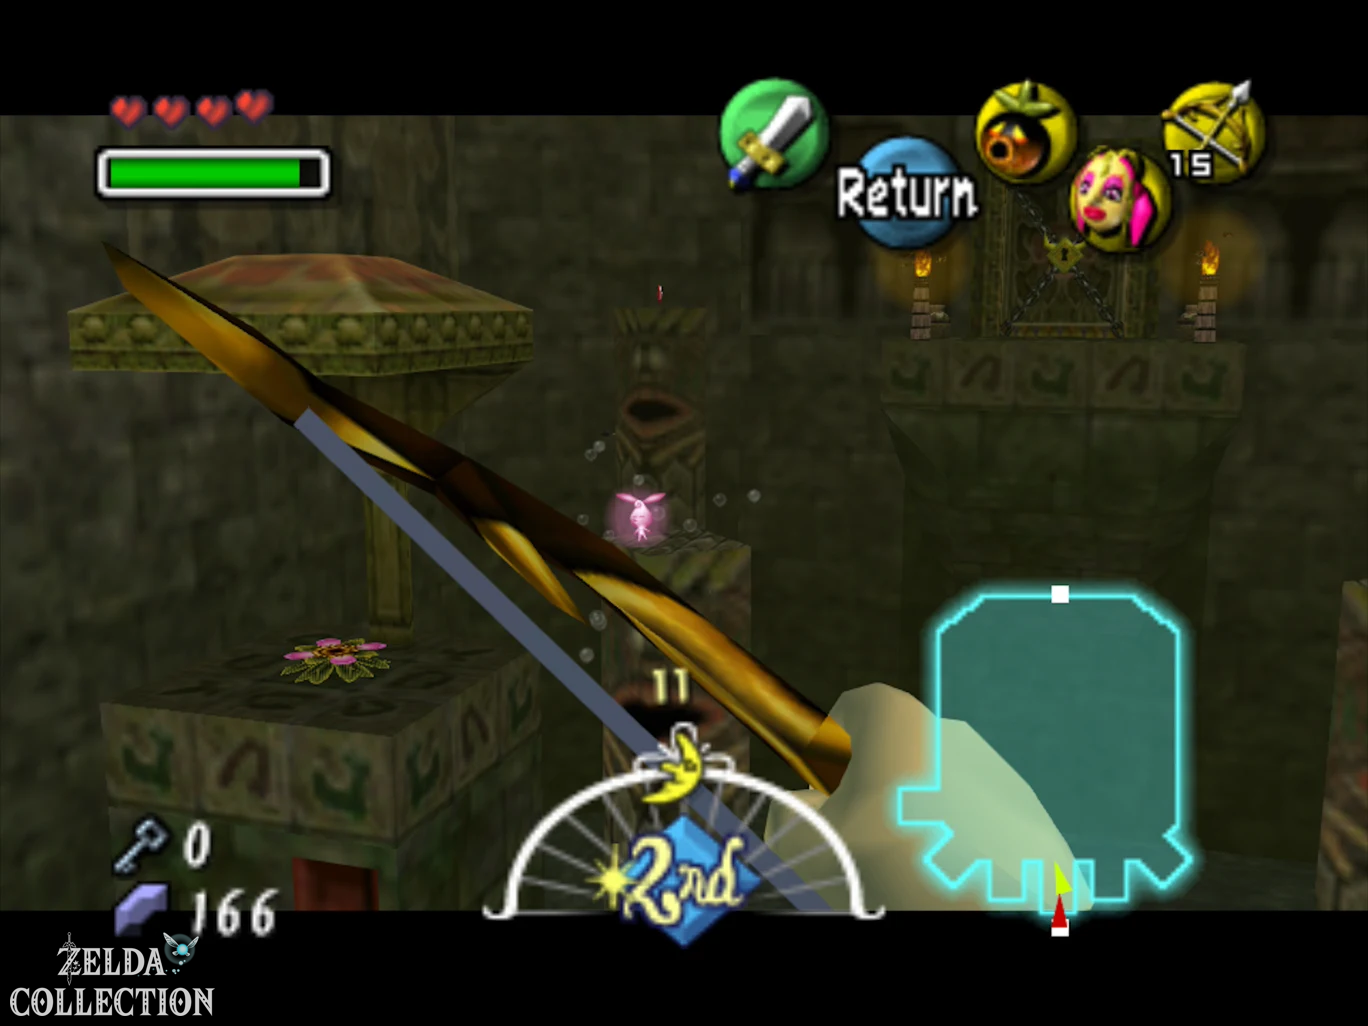
Directly in the room, a fairy floats in a bubble above a pillar of fire. Shoot the bubble with the Hero’s Bow and then put on the Great Fairy’s Mask. So you have Fee 12.
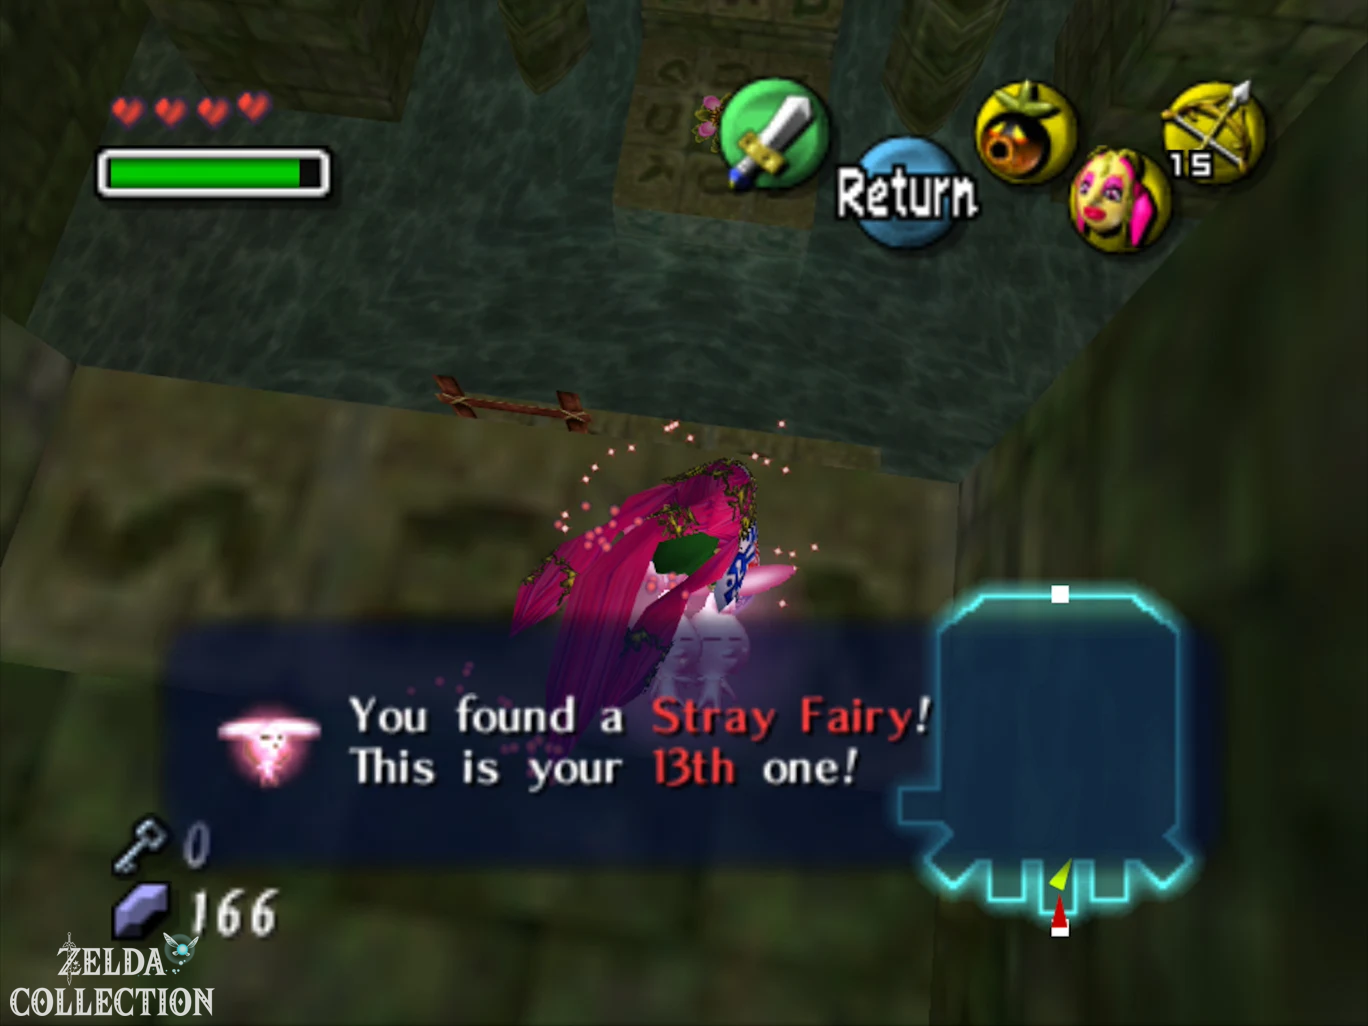
The remaining three fairies are on various ledges along the side walls. Fly from platform to platform with the Deku flowers and first collect the fairy in the bottom right niche. Another raised platform to the right houses the next fairy, while the final fairy lies on the left side of the room.
The Great Fairy’s Mask is particularly helpful here: As soon as it no longer lights up, you know that all four fairies in the room have really been collected.
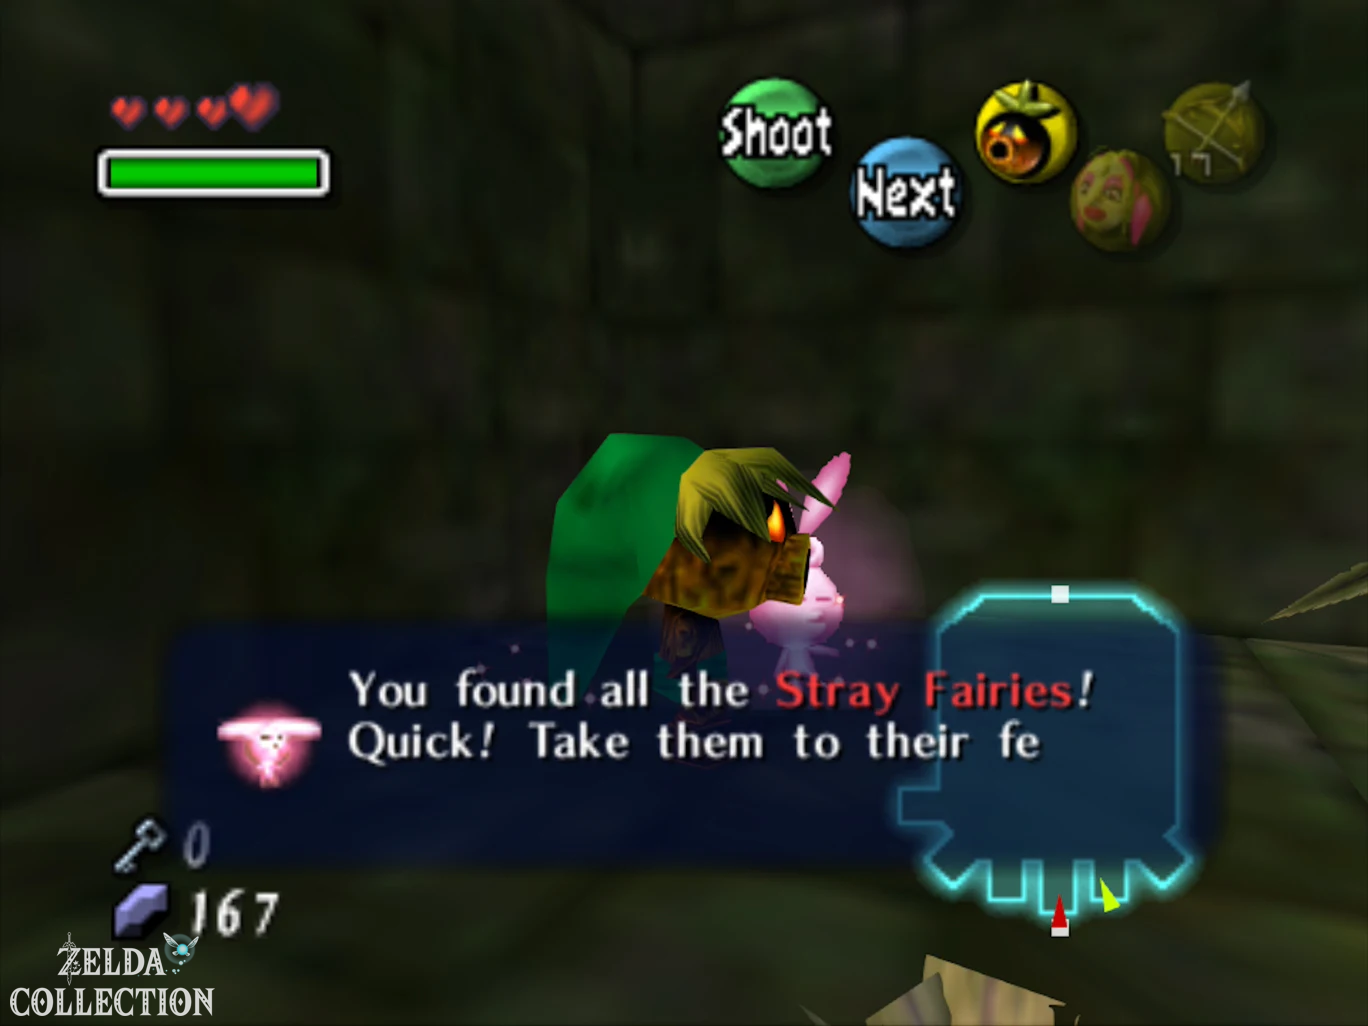
So you should overall 15 Stray Fairies own.
Then activates the Crystal Switch with an arrow. The flames around several Deku Flowers temporarily extinguish. Use the short time and work your way up the pillars as Deku Link.
From the highest platform you can fly directly to the final boss’s door.
Boss: Odolwa
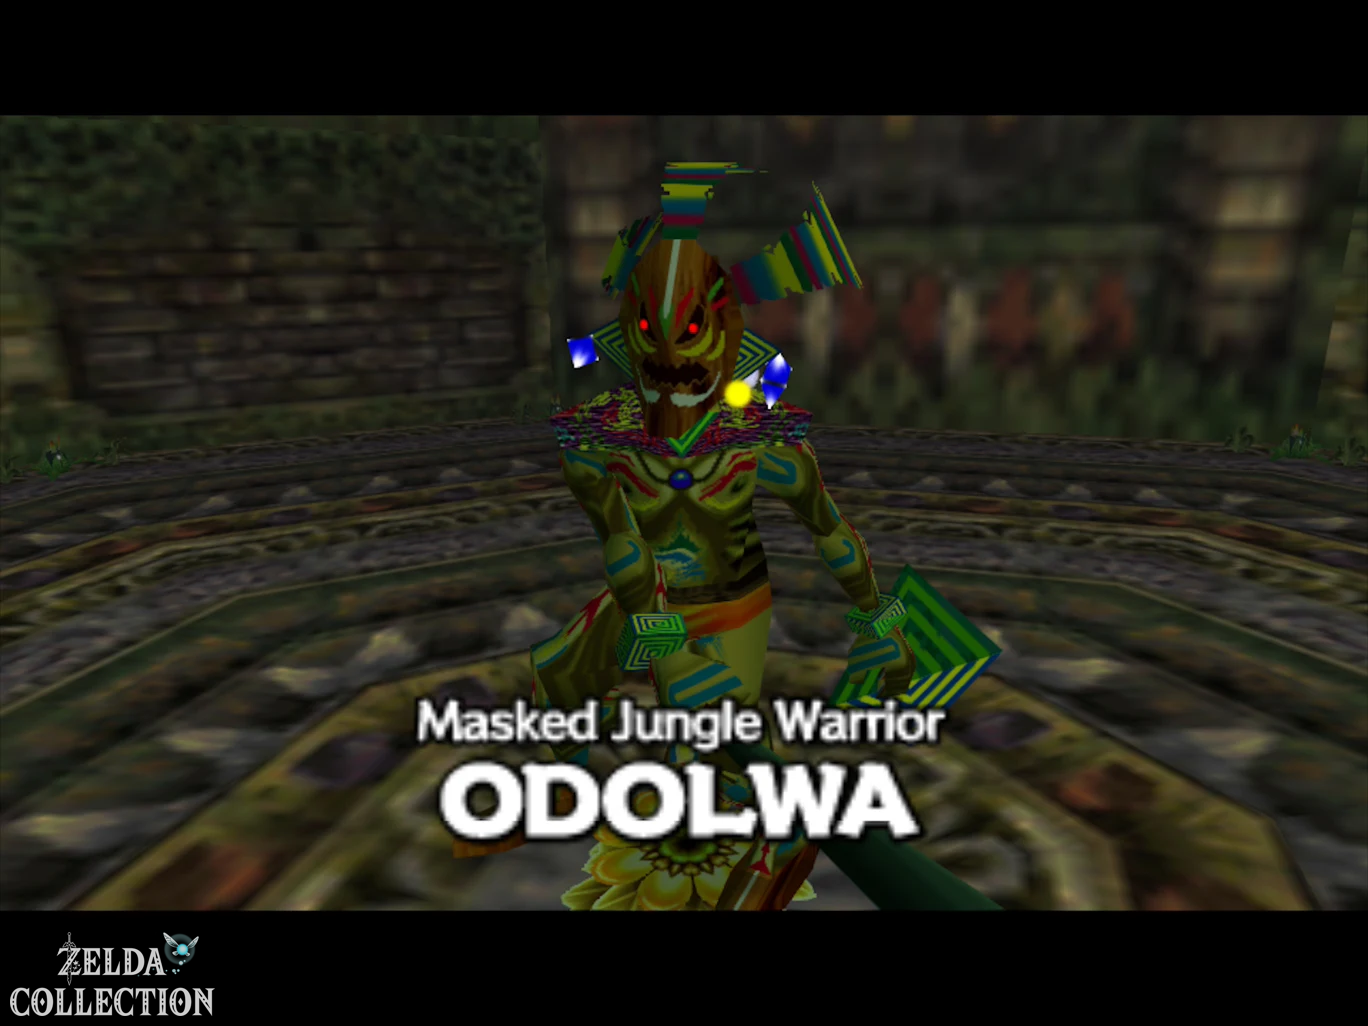
Open the door with that Big Key. Waiting in the center of the arena Odolwa, the masked temple warrior.
In the Nintendo 64 version, the fight is very open. Odolwa attacks Link with his giant sword, jumping across the arena and summoning beetles and a swarm of moths as the fight progresses.
Does not stay at a distance permanently. Target Odolwa, wait for one of his attacks and use the short opening immediately afterwards for several sword strikes. Jump attacks also cause high damage.
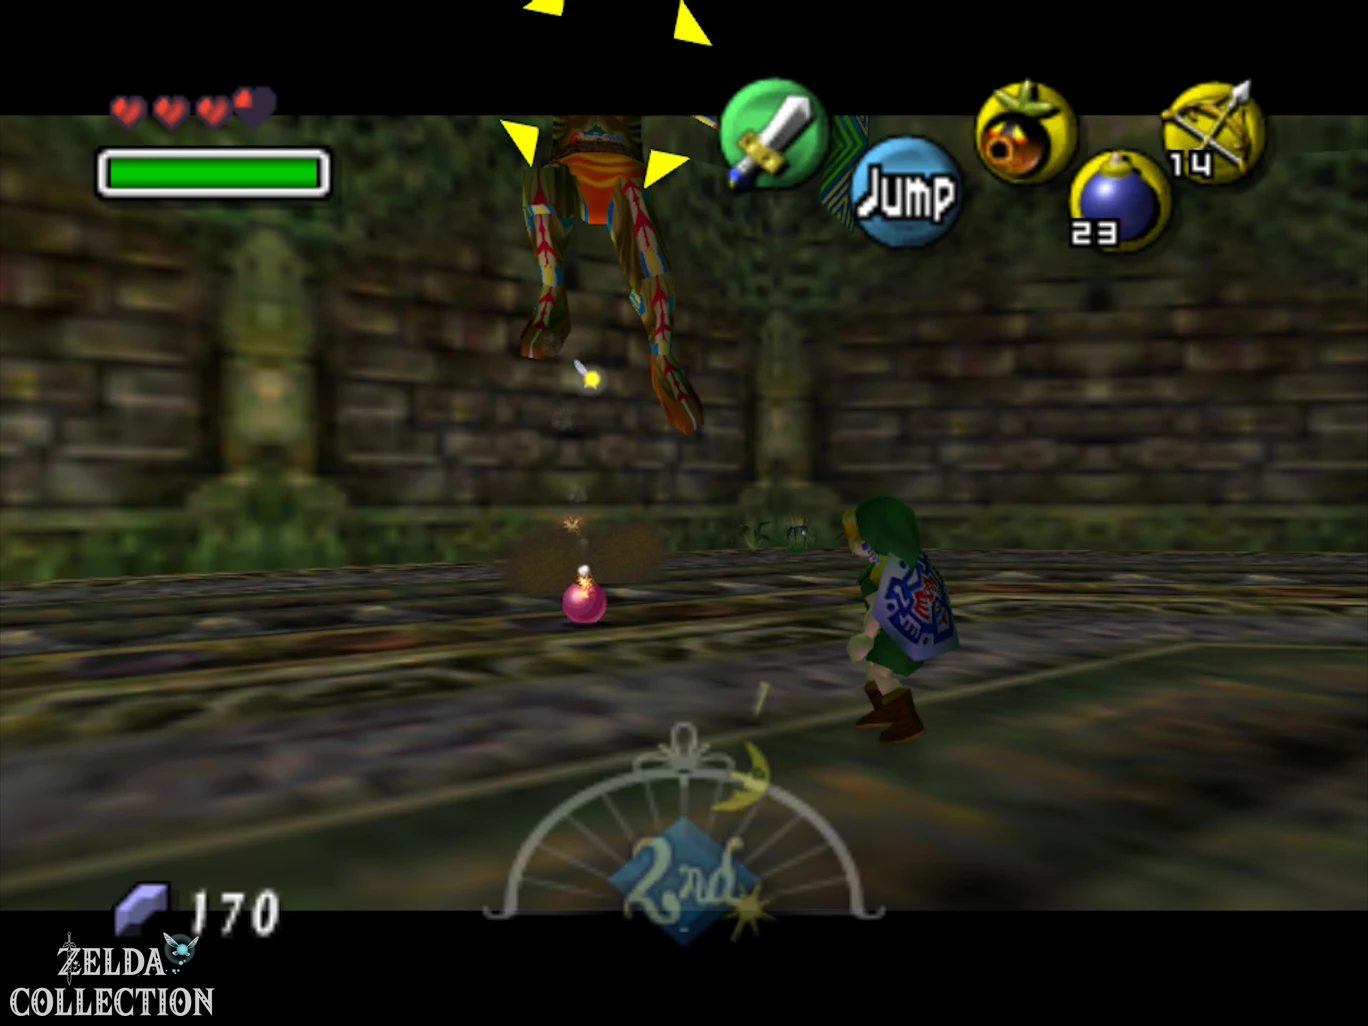
With the Hero’s Bow you can hit him from a distance and briefly stop him from attacking. Bombs also work well, eliminating many of the summoned insects at the same time.
When Odolwa summons moths, you can throw a bomb on the ground. The moths gather around the bomb and are eliminated by the explosion.
After several successful attacks, Odolwa collapses.
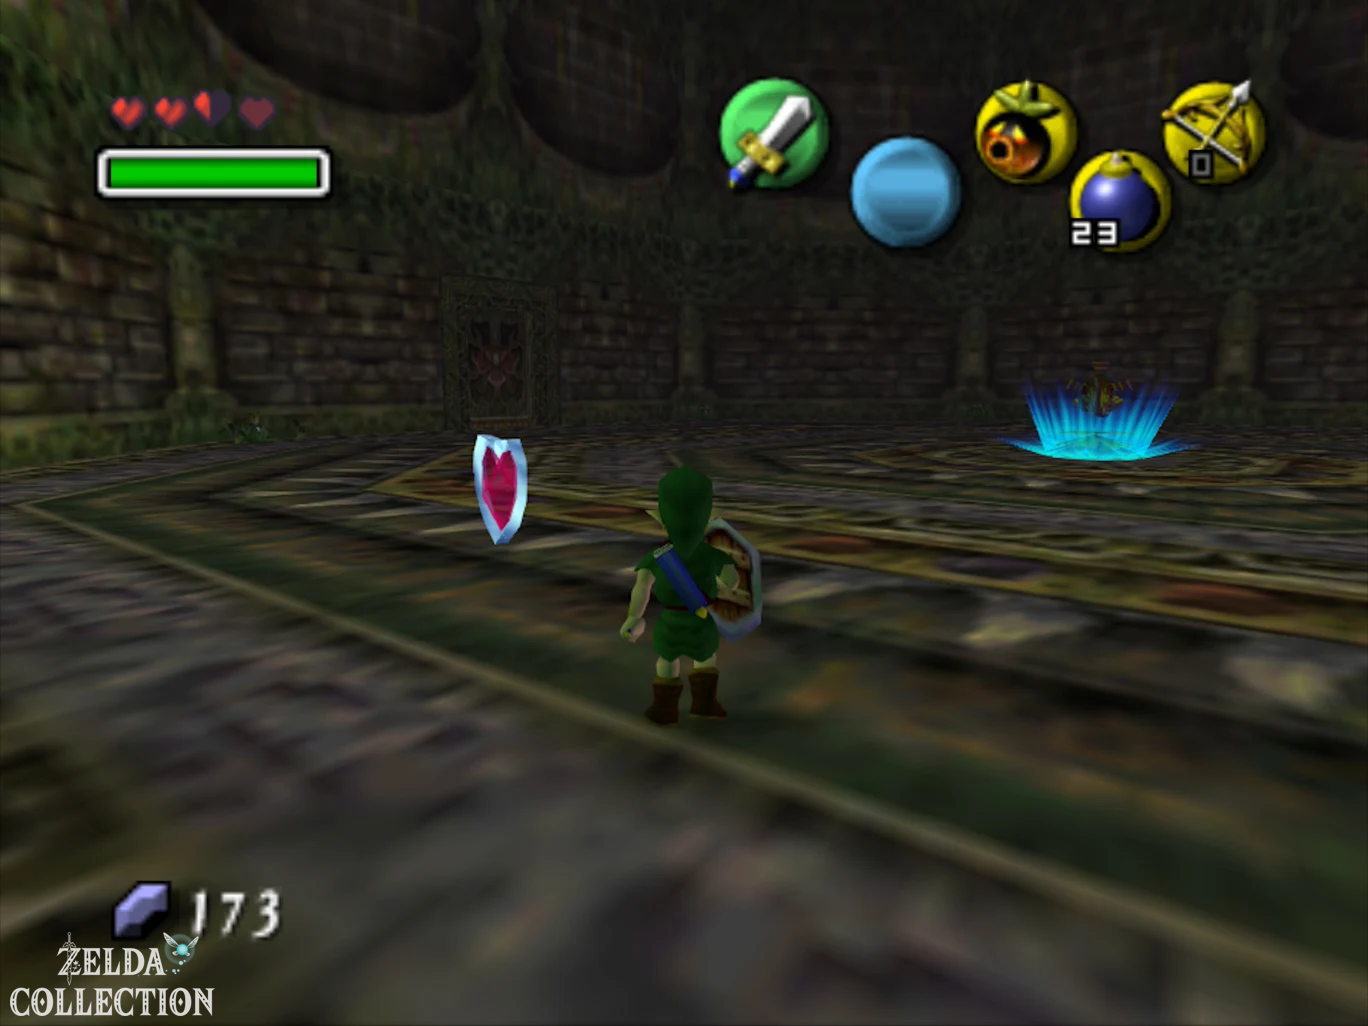
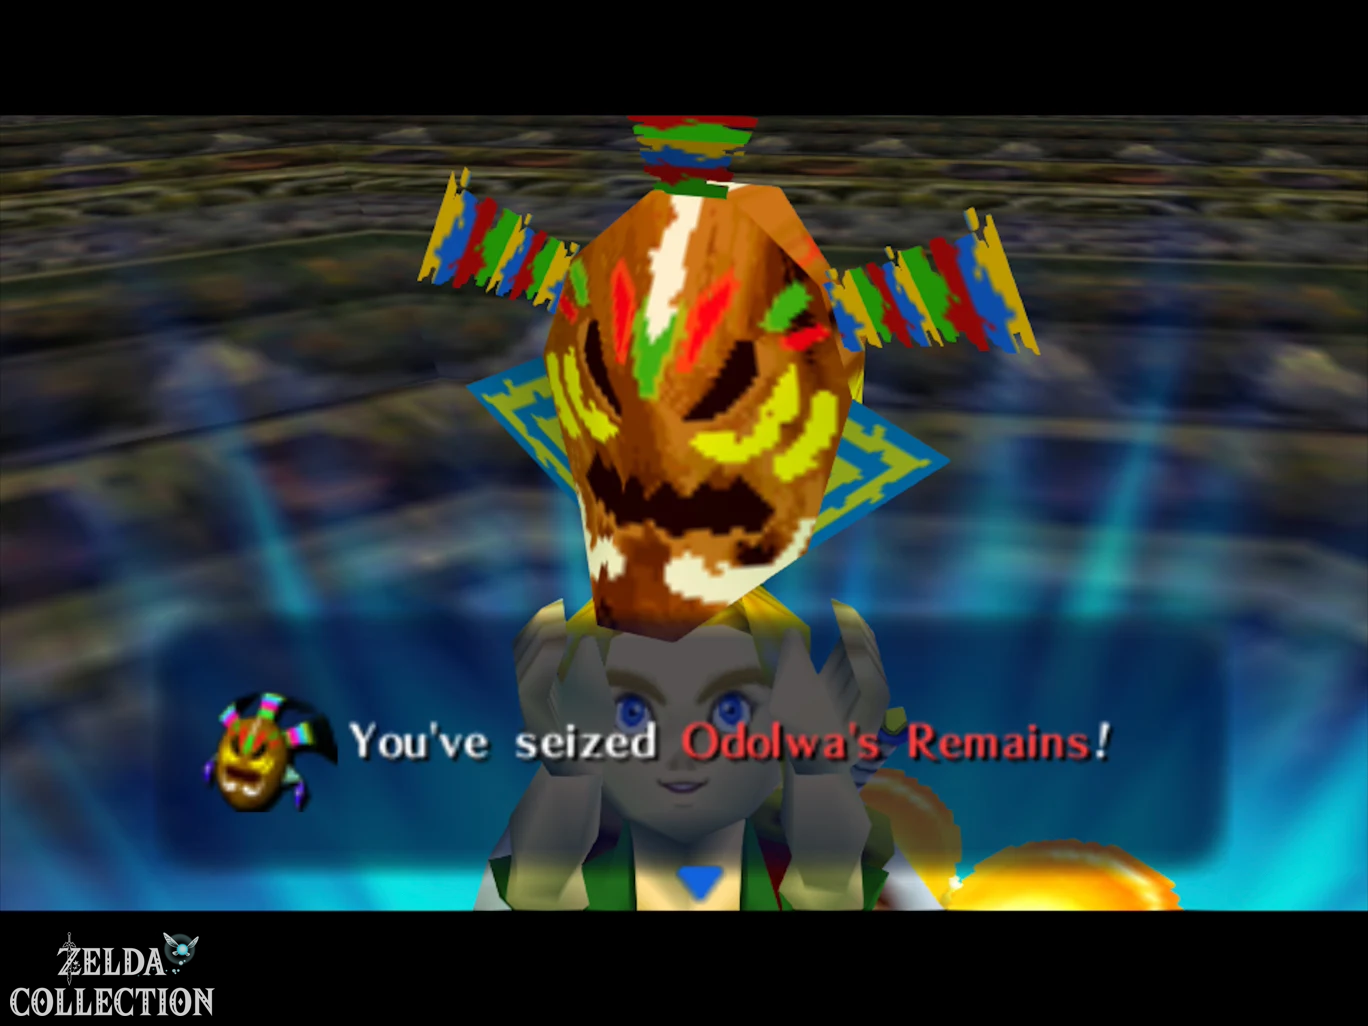
Pick up the Heart Container and then Odolwa’s Legacy.
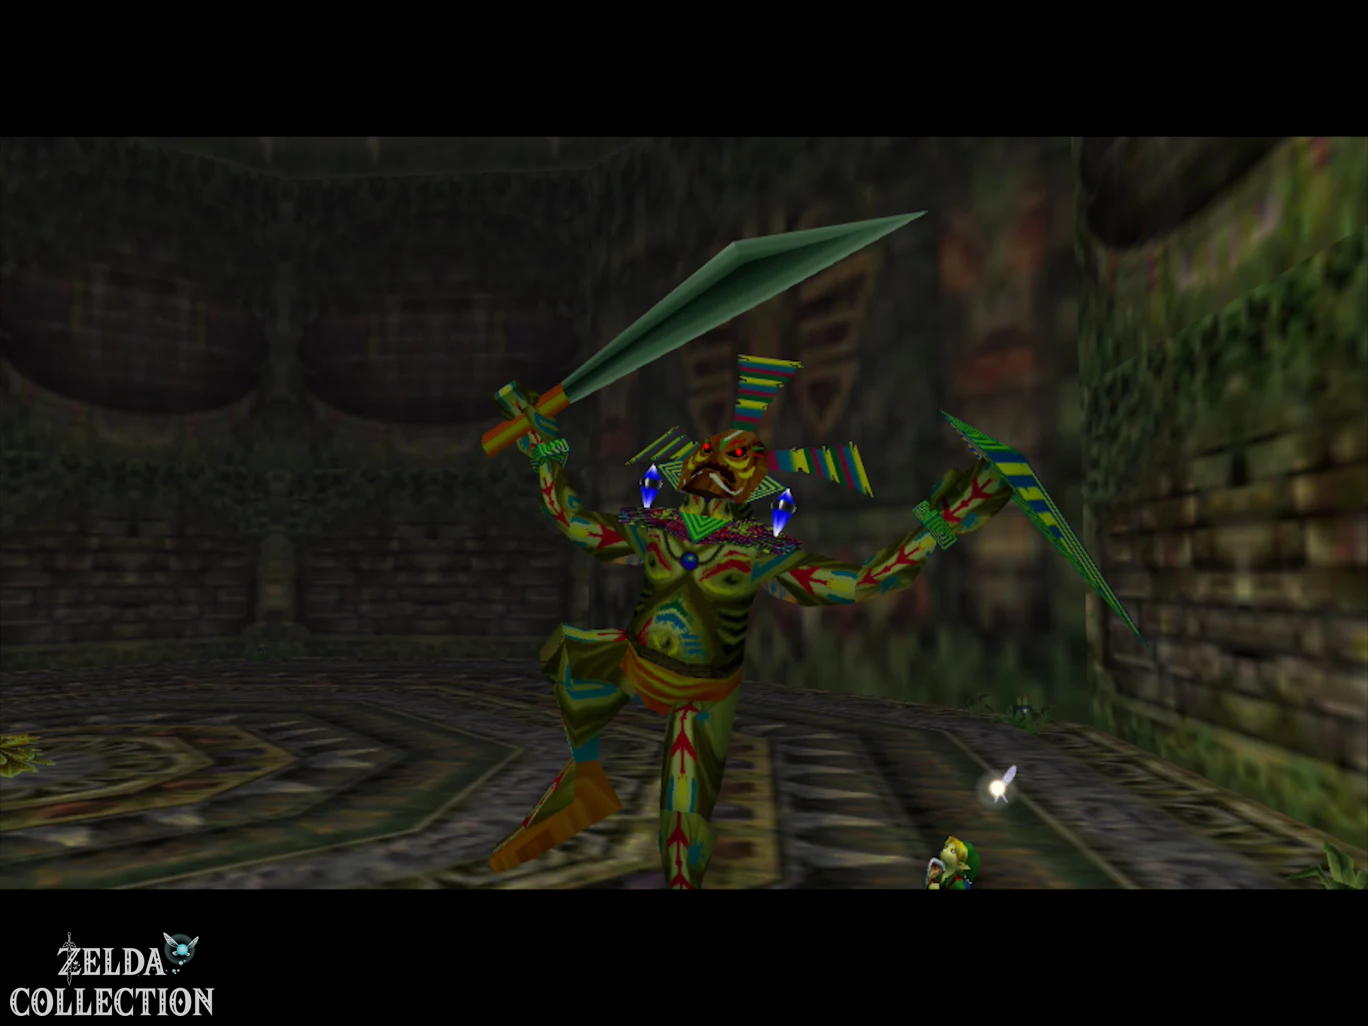
3D Difference: The fight against Odolwa has been significantly changed for Majora’s Mask 3D. There the boss has a large visible eye as a weak point and requires the use of the Deku form. The N64 version does not have this fixed eye mechanism.
Oath to Order
After Odolwa’s defeat, Link appears in a strange dreamscape and encounters one of the four giants of Termina.
The giant teaches Link the Oath to Order.
This song is crucial to the finale. With the four legacies of the temples, all four giants can later be summoned to stop the moon.
Due to Odolwa’s defeat, the curse on Woodfall also disappears. The poisonous water is permanently purified for the remainder of this time cycle and the Southern Swamp return to their normal state.
Save Deku Princess
After encountering the giant, Link ends up in a small chamber beneath or behind the temple.
Cut the plants in front of the door. The missing Deku Princess is waiting behind it.
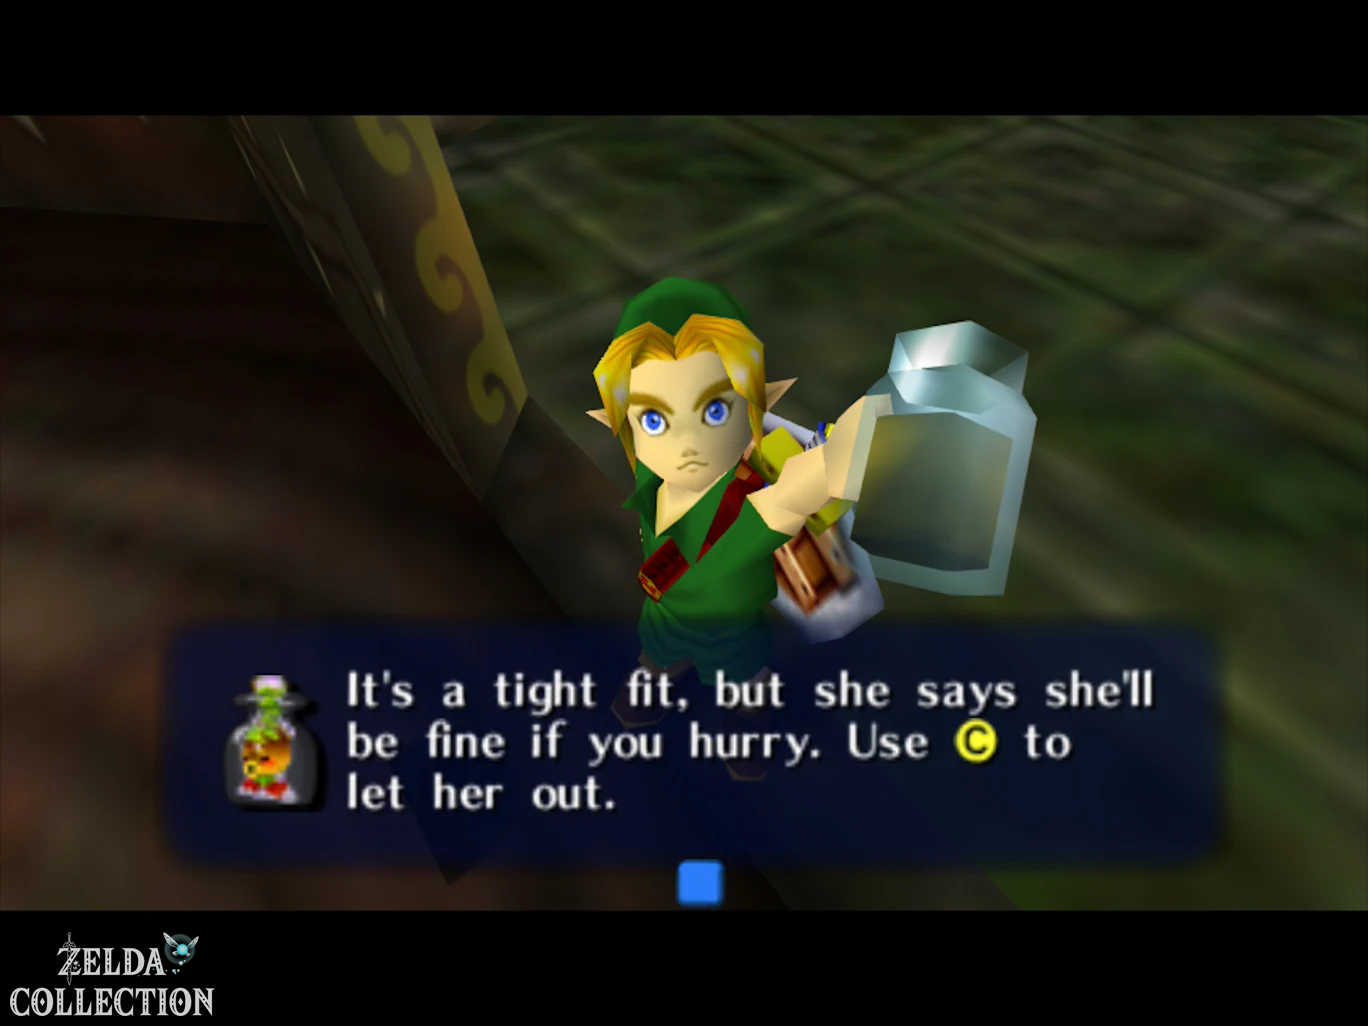
Talk to her and then use an Empty Bottle. In fact, the princess can be stored in it.
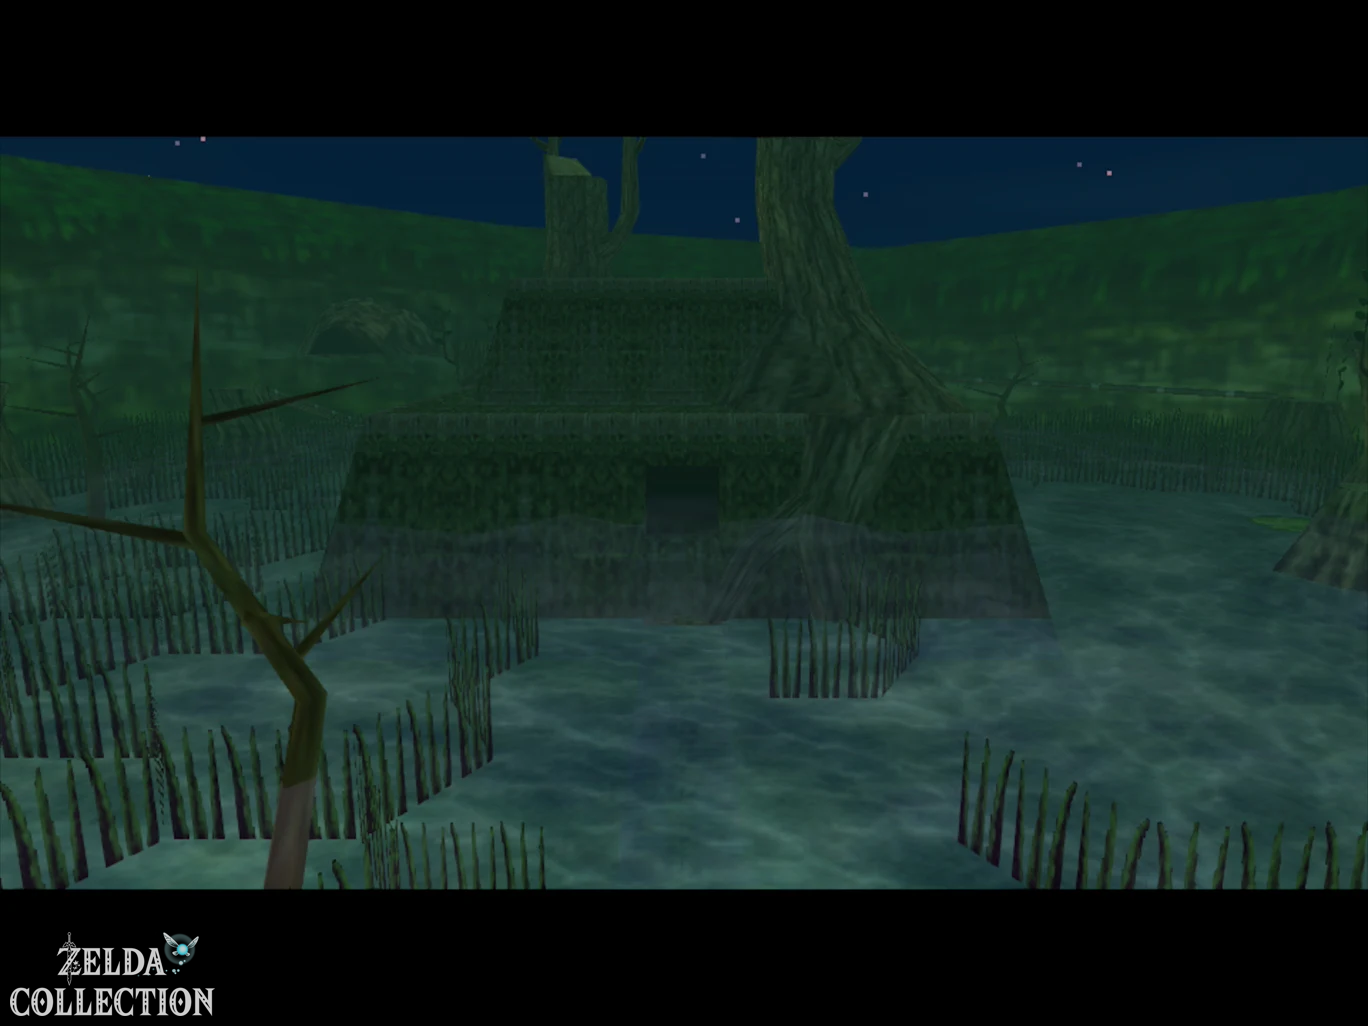
Use the Song of Soaring and teleport to the swamp or leave the temple directly. Return to Deku Palace and go to the throne room.
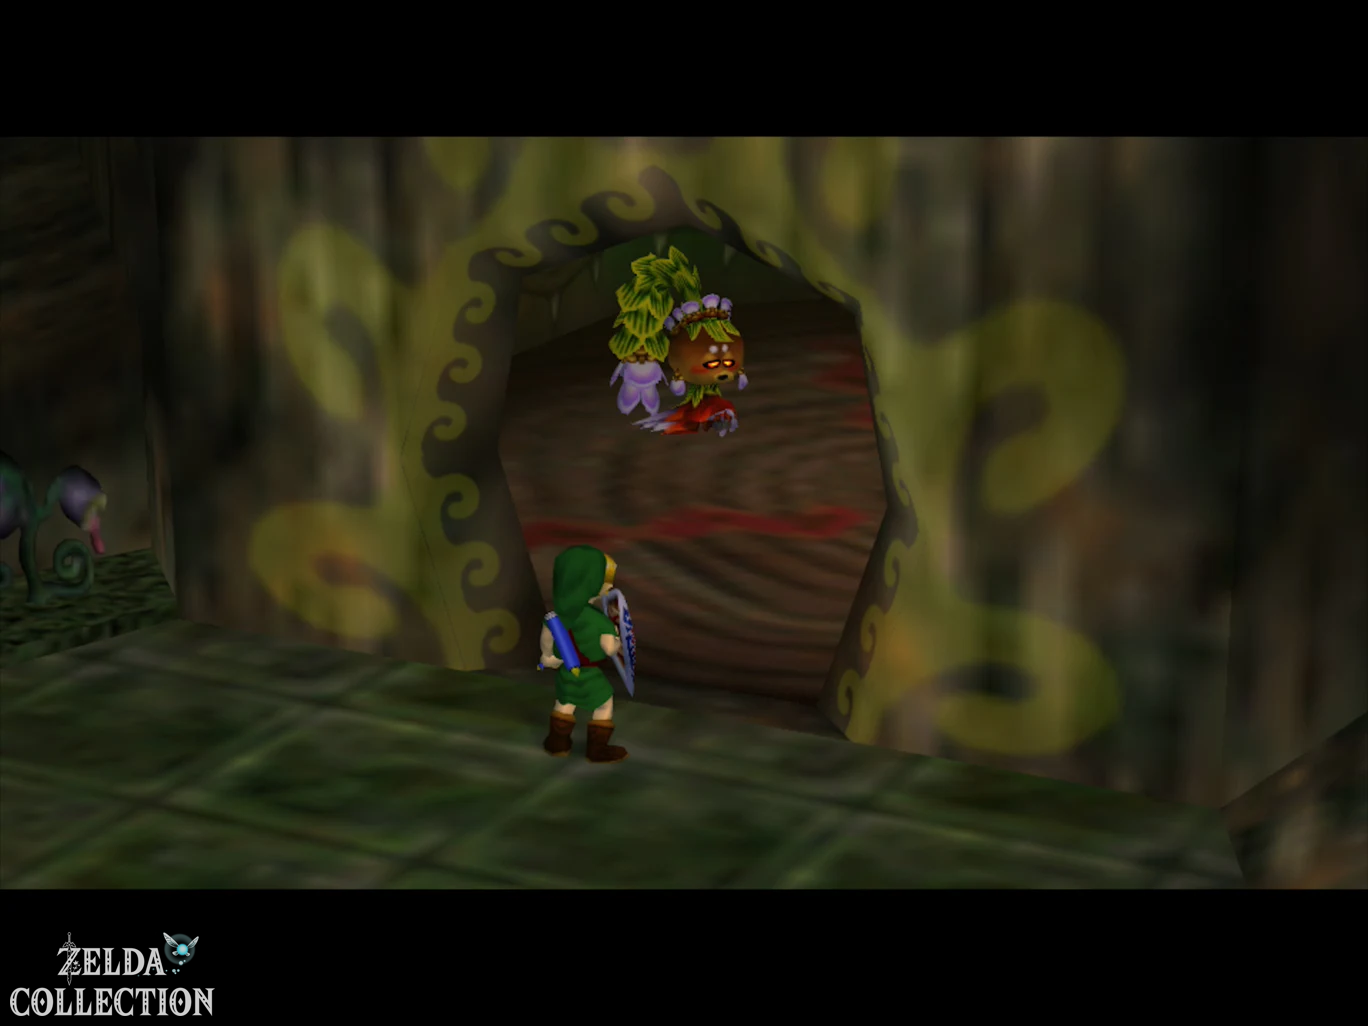
Stand in front of the Deku King and let the princess out of the bottle.
She is anything but happy that her father wanted to punish the innocent monkey. After the scene, the monkey is free and the conflict in Deku Palace is over.
Deku Shrine – Mask of Scents
Leave the throne room and go west across the lily pads in front of the Deku Palace. The previously closed entrance to Deku Shrine is now open.
The Deku Butler is waiting inside. He wants to thank Link for his help, but only after a race through his underground labyrinth.
Puts on the Bunny Hood. This makes tracking much easier.
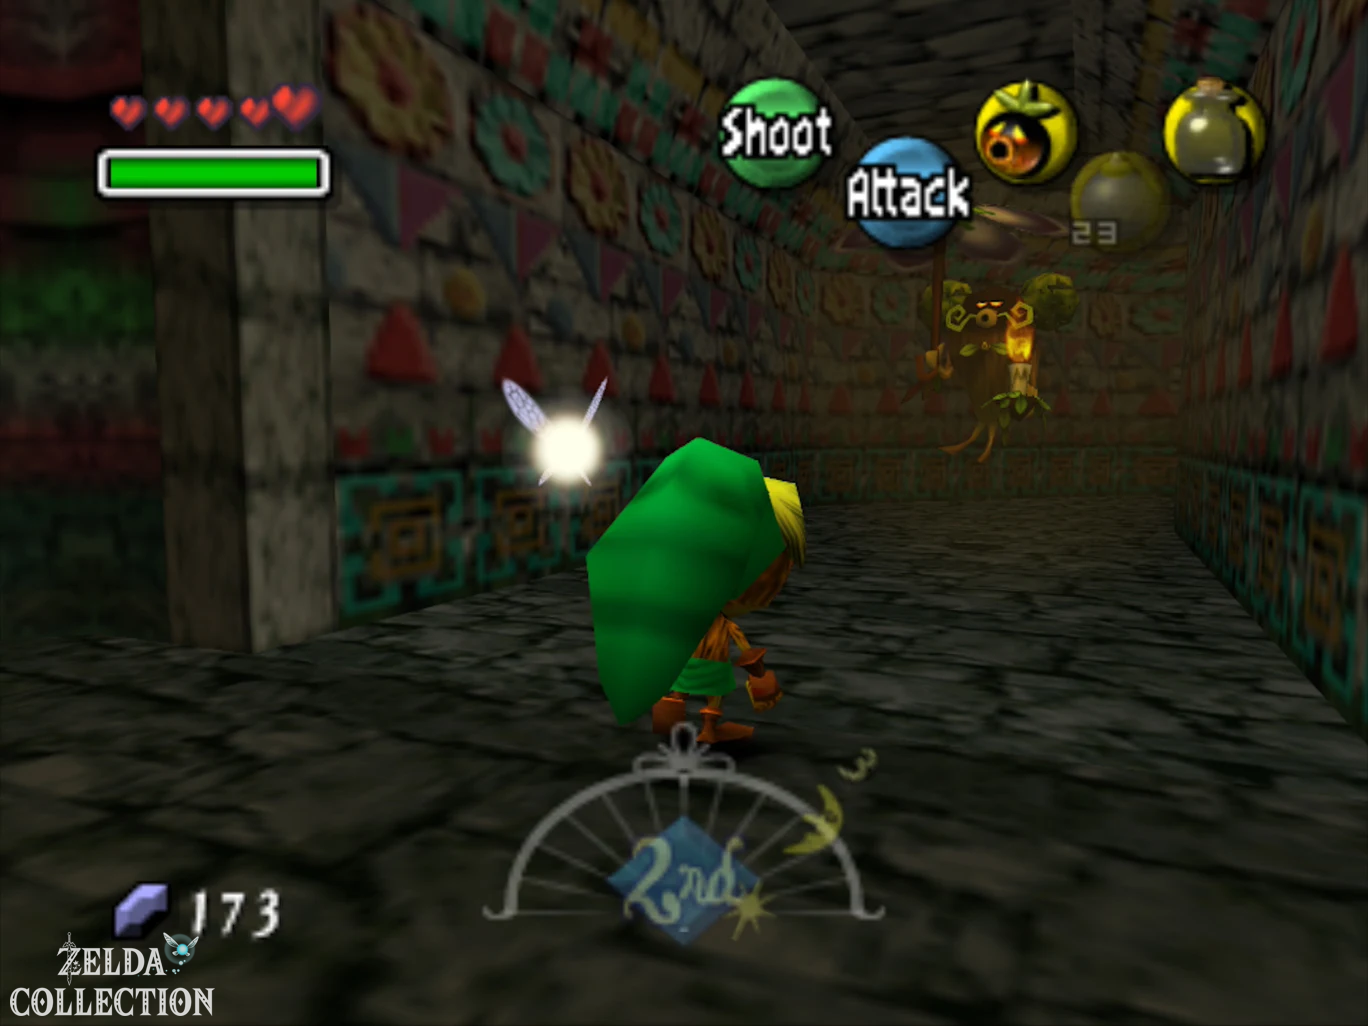
Stay as close as possible to the butler. The path leads through narrow passages, moving platforms, fire barriers and several deep chasms. Don’t try to overtake him, but concentrate on recognizing his turns in time.
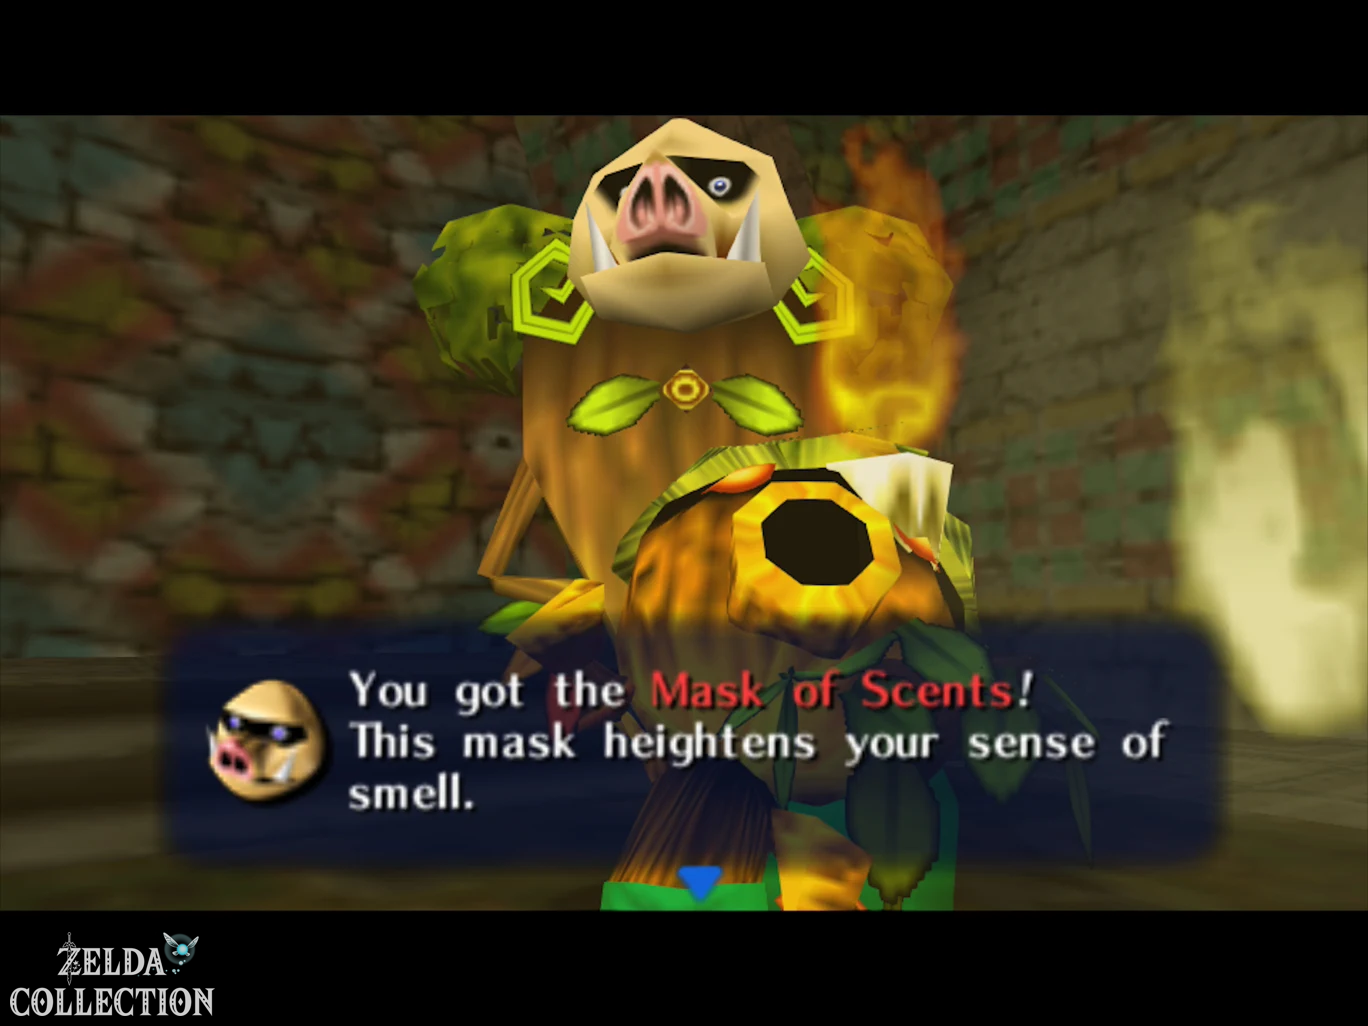
At the end of the labyrinth, the butler is waiting for Link and gives him the Mask of Scents.
With it, Link can detect special smells. Particularly important is the mushroom in the Woods of Mystery, from which Kotake can produce a blue elixir. You can also find all masks on our overview of the masks.
Bring all 15 fairies to Great Fairy
Teleport back to Woodfall with the Song of Soaring. From the central platform you can reach the large cave in the rock wall via the Deku flowers.
Enter the Fairy Spring with all 15 Stray Fairies.
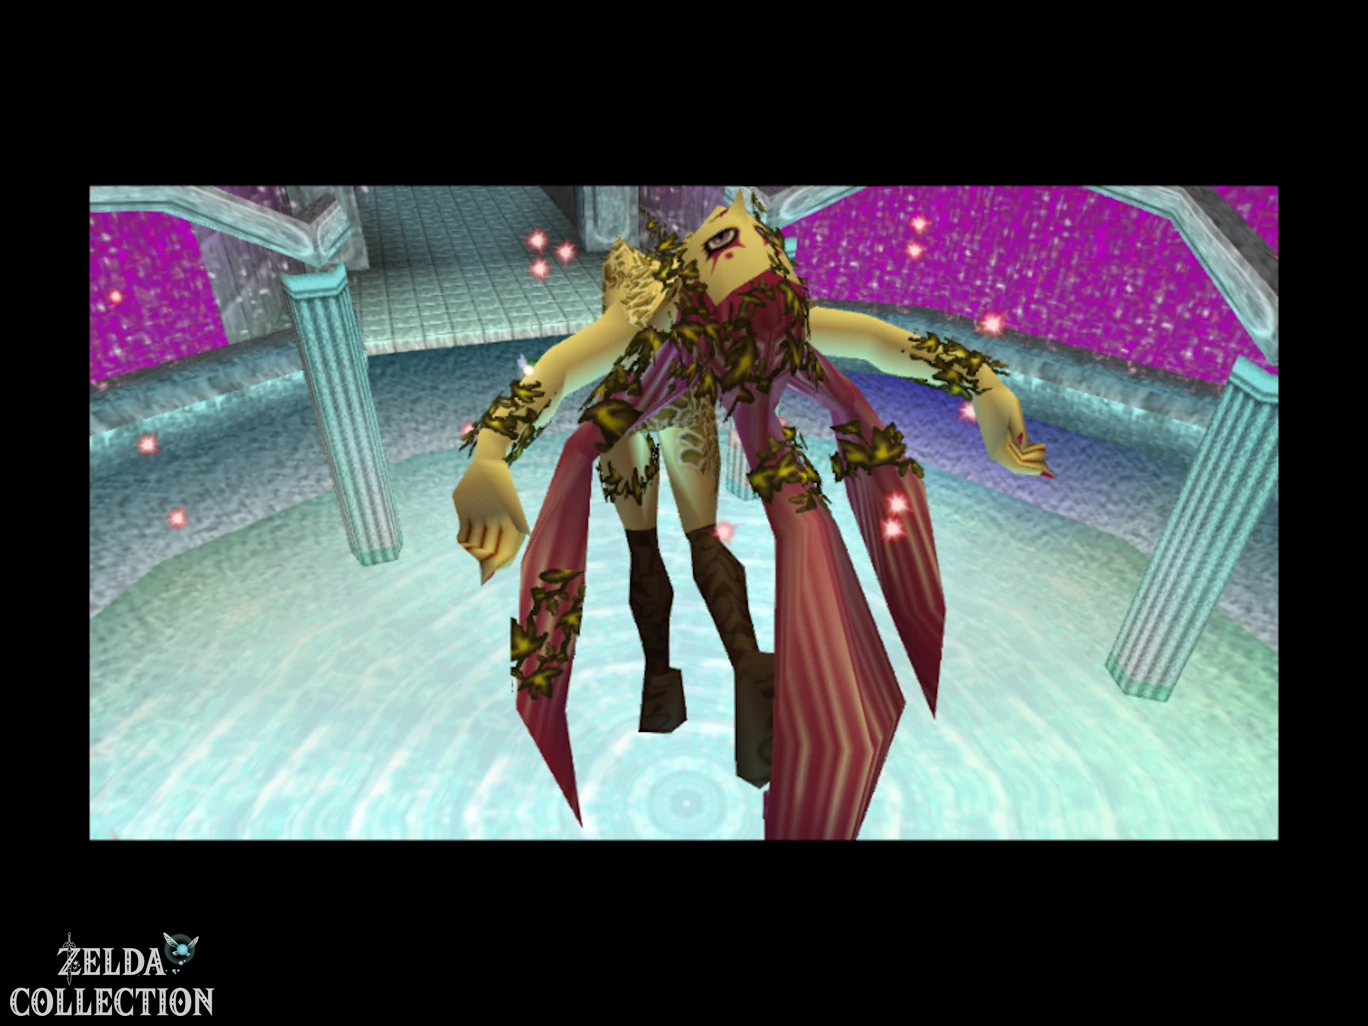
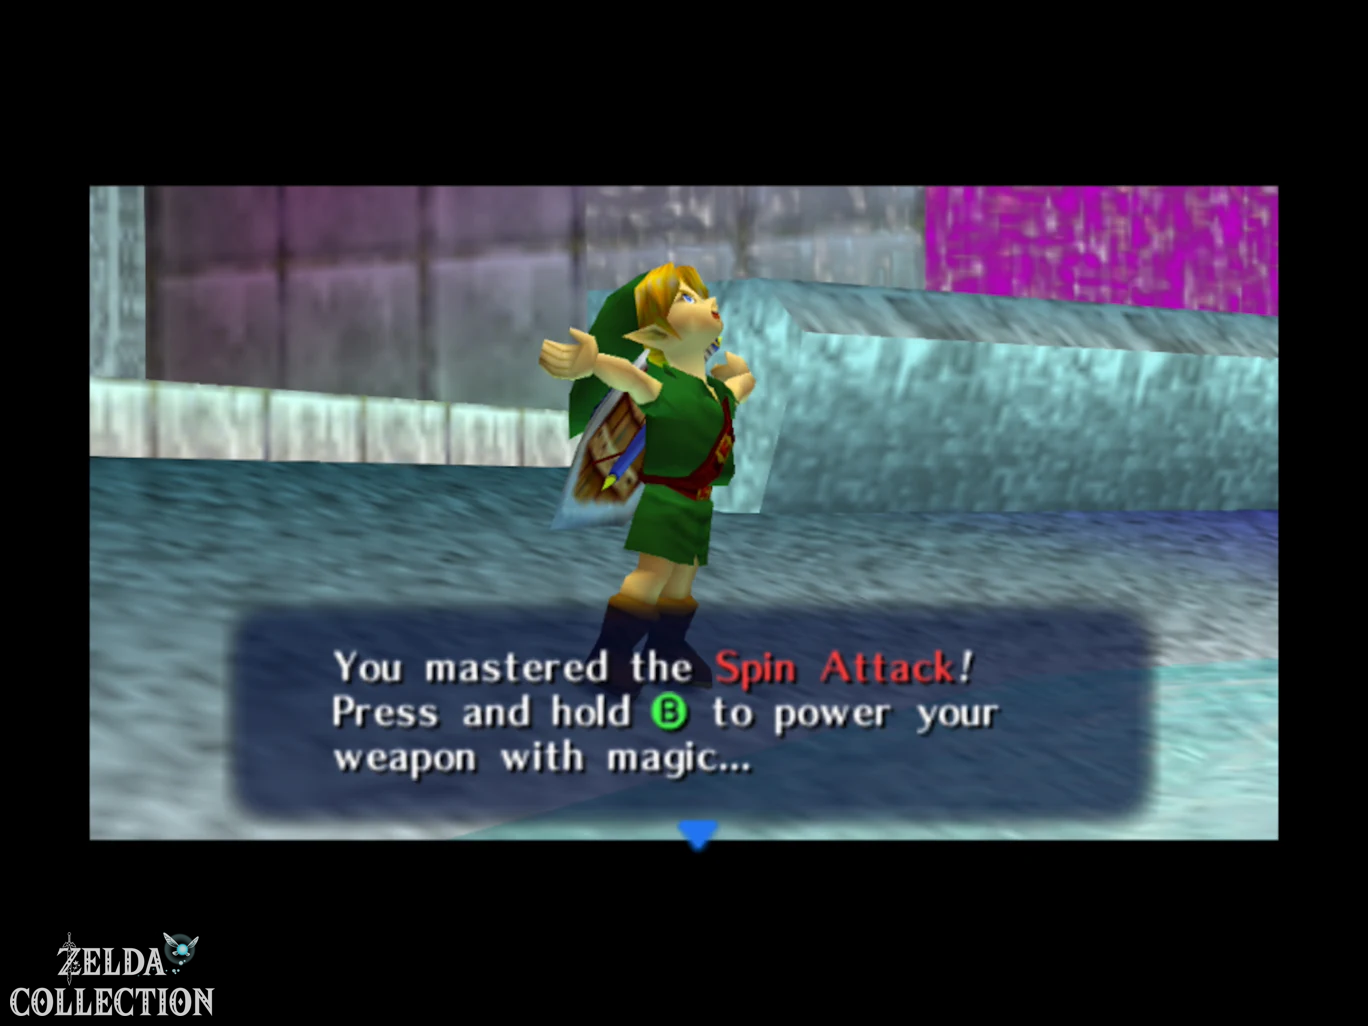
In the Nintendo 64 version, the Great Fairy reassembles the power and improves Link’s spin attack. Hold B until the attack is fully charged; the improved version has a significantly greater range and consumes magical energy.
3D Difference: In Majora’s Mask 3D, the rewards of Woodfall and Snowhead were swapped. In Woodfall, Link already gets the doubled magic bar. The improved magical whirl attack only comes after the 15 fairies in Snowhead Temple.
Koume’s Target Shooting – Piece of Heart on Nintendo 64
Return to the Swamp Information Center and speak to Koume. After Odolwa is defeated and the water is clean again, she no longer offers a normal boat ride, but instead offers target shooting during the trip.
Koume flies next to the boat on her broom and carries a target. Hit at least while driving 20 times the target. Be careful not to hit Koume himself ten times or the game will end.
On Nintendo 64 you get a Piece of Heart for a successful playthrough.
3D Difference: In Majora’s Mask 3D this reward has been changed. Instead of the heart part, Link gets a Empty Bottle. The corresponding Piece of Heart has been moved to another Location.
Swamp Shooting Gallery – Large Quiver and Piece of Heart
With the Hero’s Bow we can now also completely destroy the swamp shooting gallery on the road between Clock Town and the swamps.
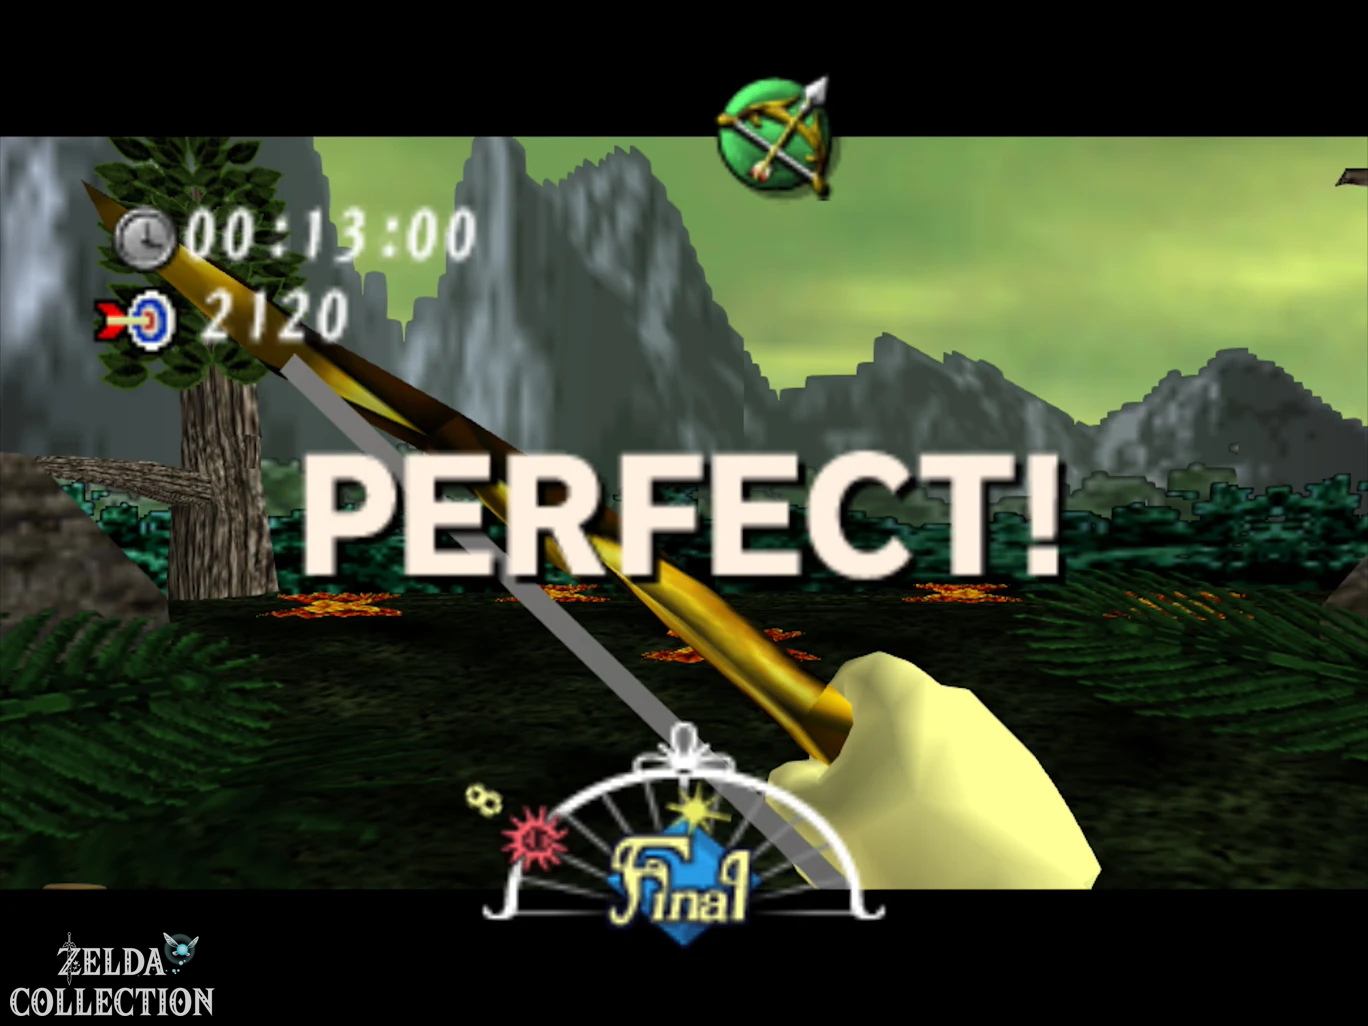
The game costs 20 Rupees. You have to hit all enemies that appear within the time limit: Dekus, flying enemies and Wolfsheimers appear in several fixed waves. The last long-range shot at the Deku on the left hill is particularly easy to miss.
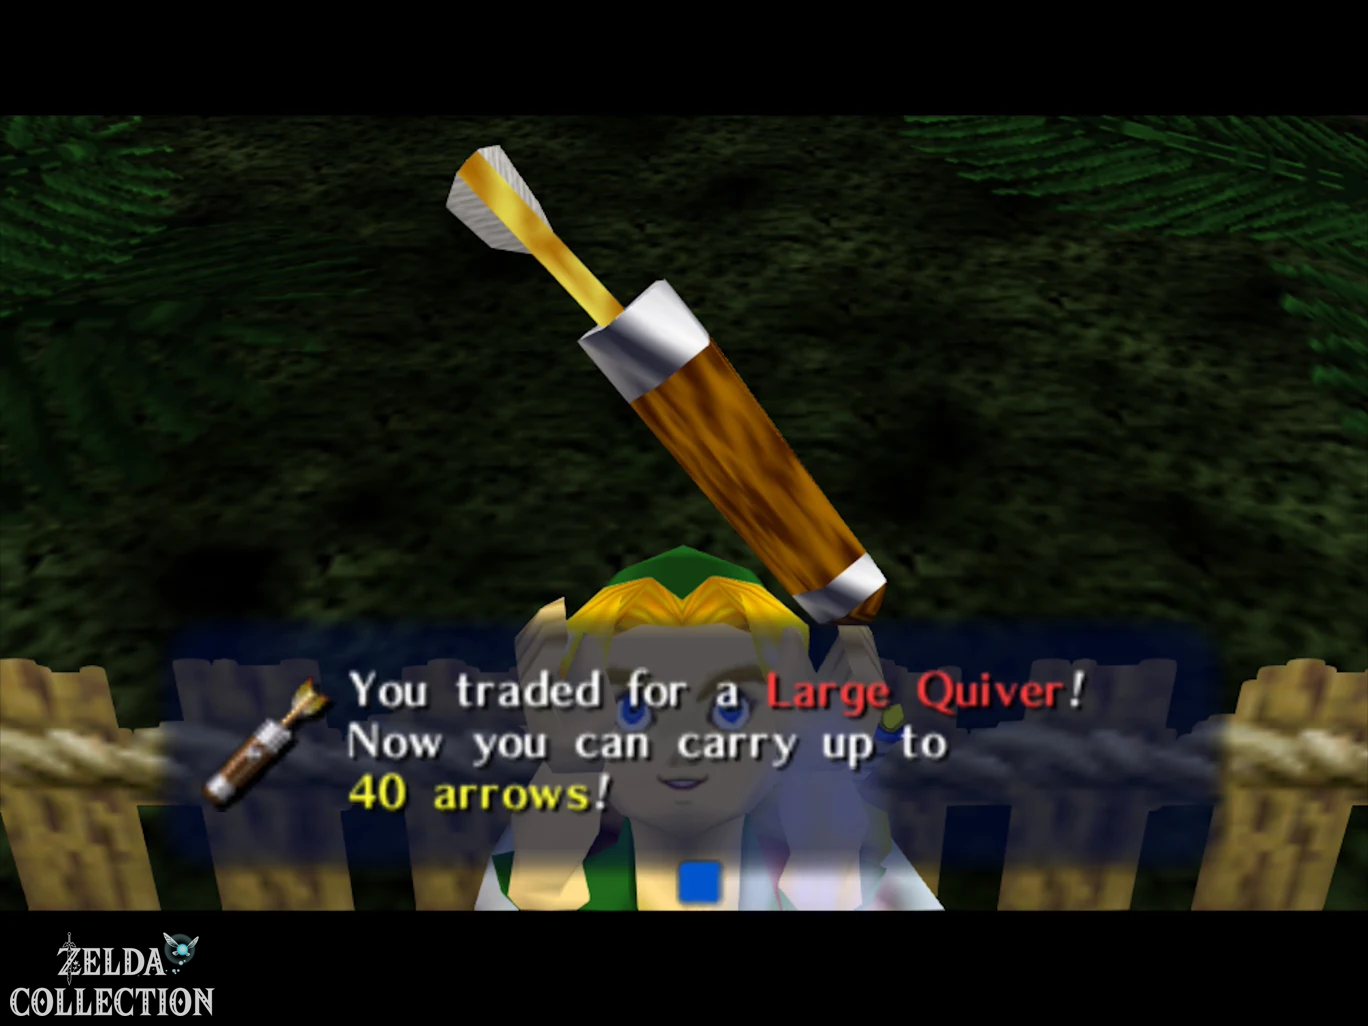
For a perfect first pass with 2,120 points, Link gets a quiver extension. Since this is our first arrow improvement, the normal quiver is expanded to the Large Quiver with space for 40 arrows.
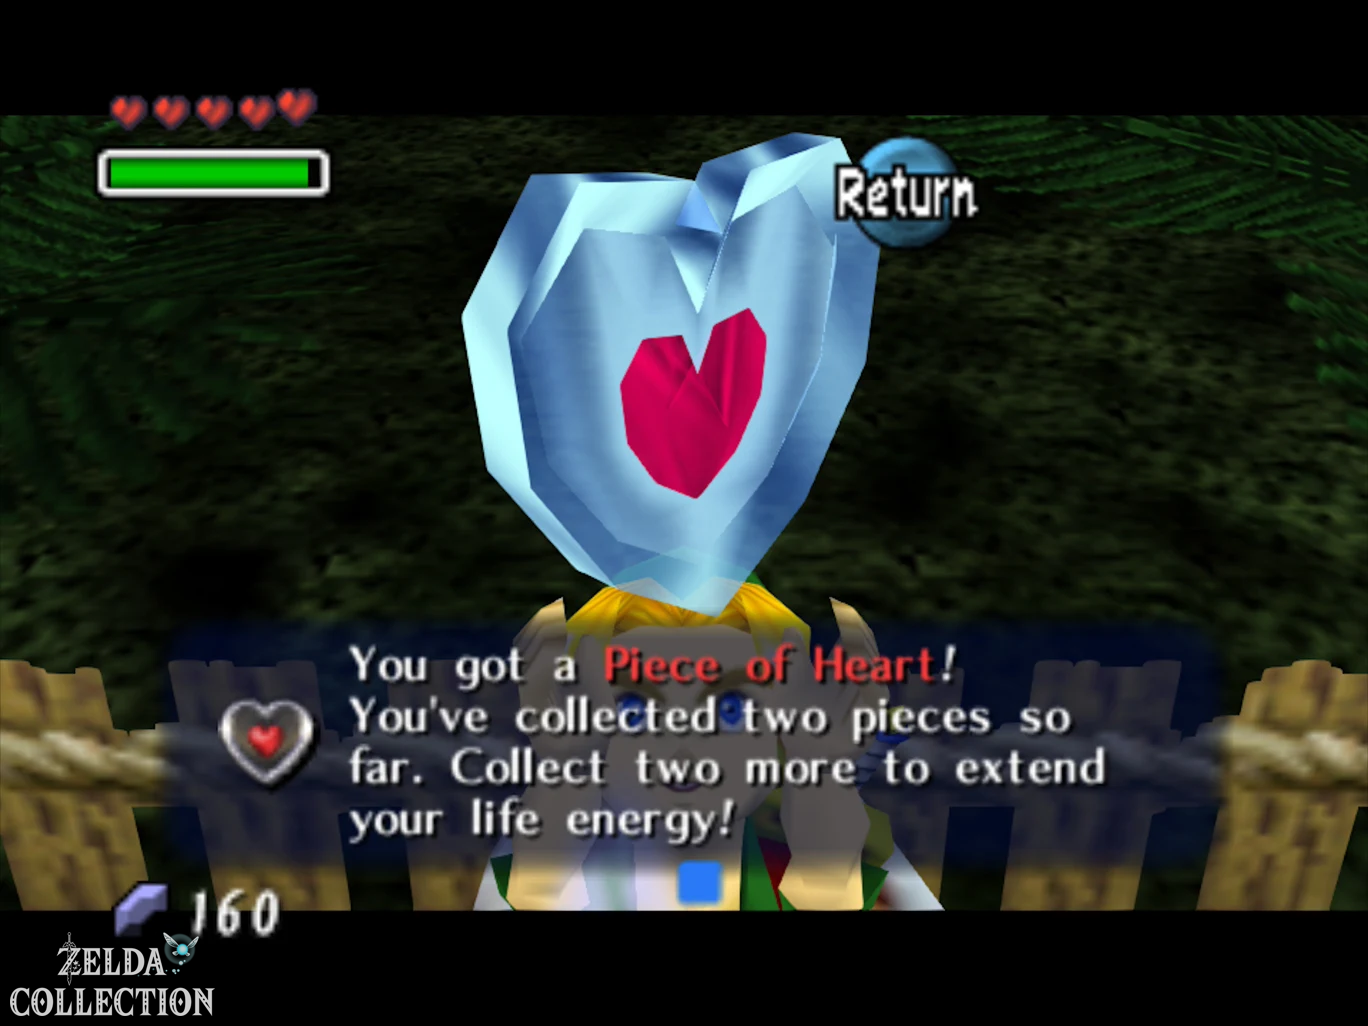
Then play again. For the Piece of Heart, every opponent must be hit again and there must also be enough time left. Reach at least 2,180 points.
As a reward you will receive another Piece of Heart.
The second quiver expansion to 50 arrows follows later via the shooting gallery in Clock Town. You can find an overview on Upgrade of the bags.
Continue towards the mountains
With Odolwa’s legacy, the first of the four great temples is complete. The Hero Arc also opens the next section of the main story.
Return to the Plains of Termina and take the northern exit. The path into the snowy mountains is blocked by huge blocks of ice. A large icicle hangs above them.
Shoot the icicle several times with the Hero’s Bow. It falls, shatters the ice and opens access to the mountain region.
We continue with the Mountain Village.