

Begin Snowhead Temple early on the First Day with the Great Fairy’s Mask and the Inverted Song of Time active. Obtain the Fire Arrows, use the central pillar to reach the upper floors and collect all 15 Stray Fairies before fighting Goht.
Dungeon Map and the first fairies
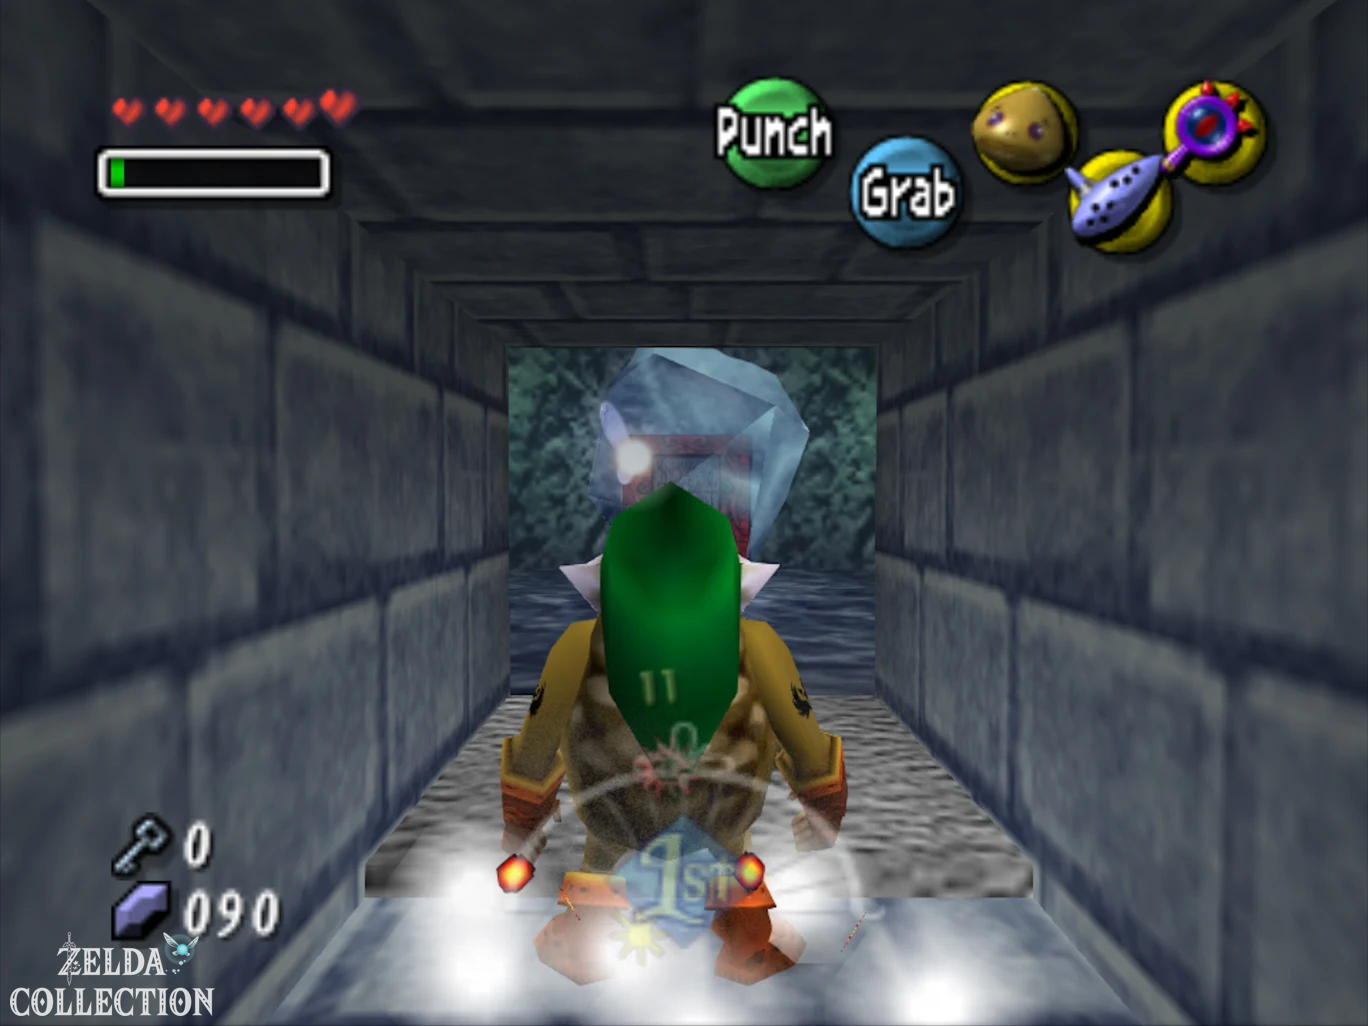
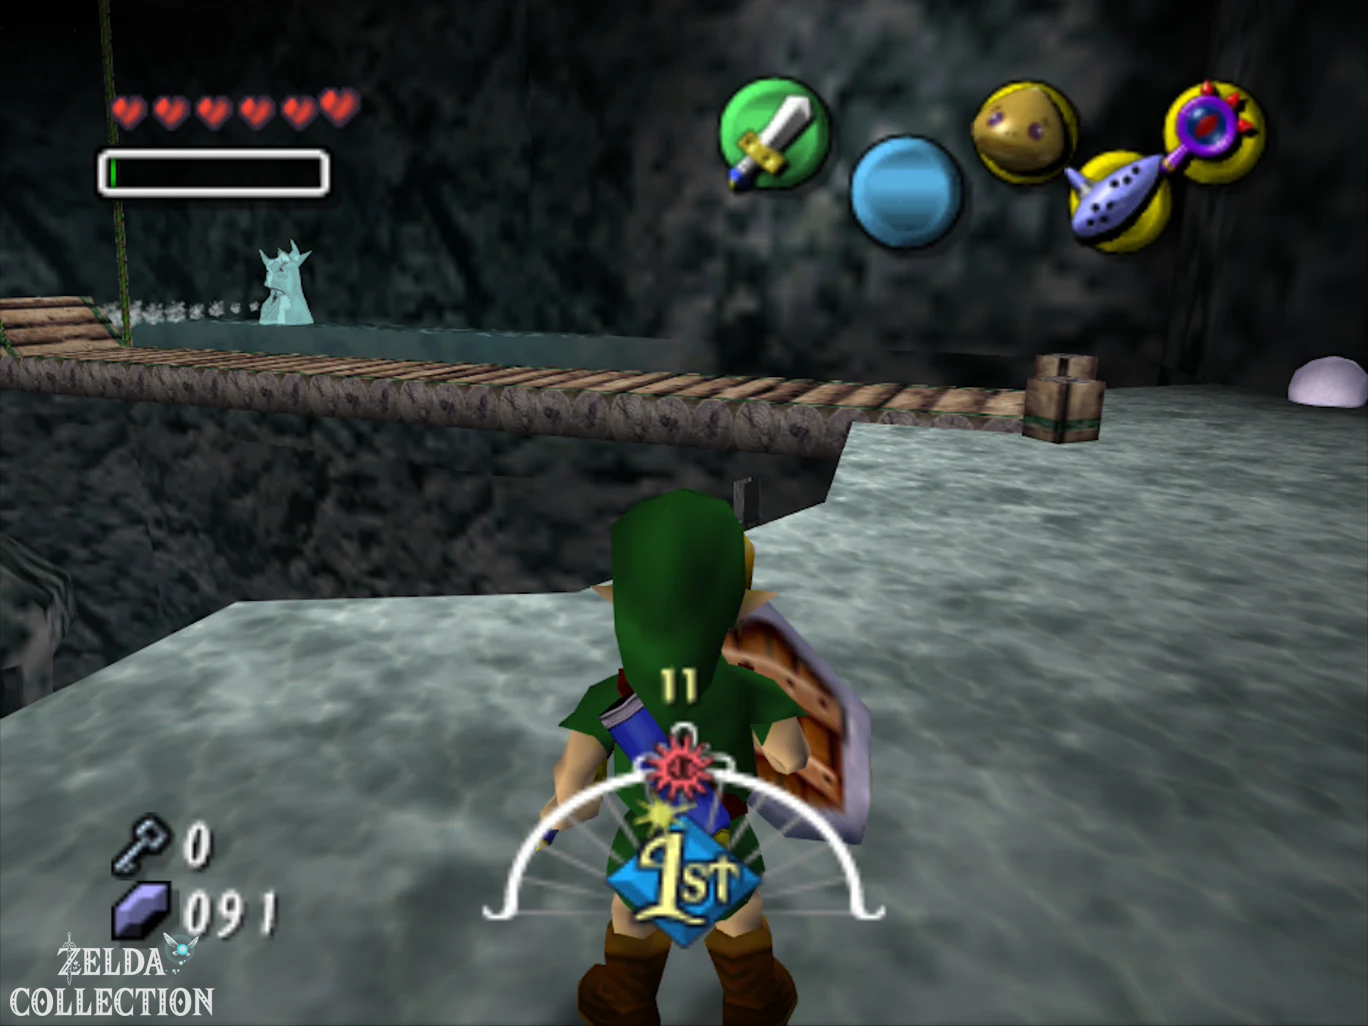
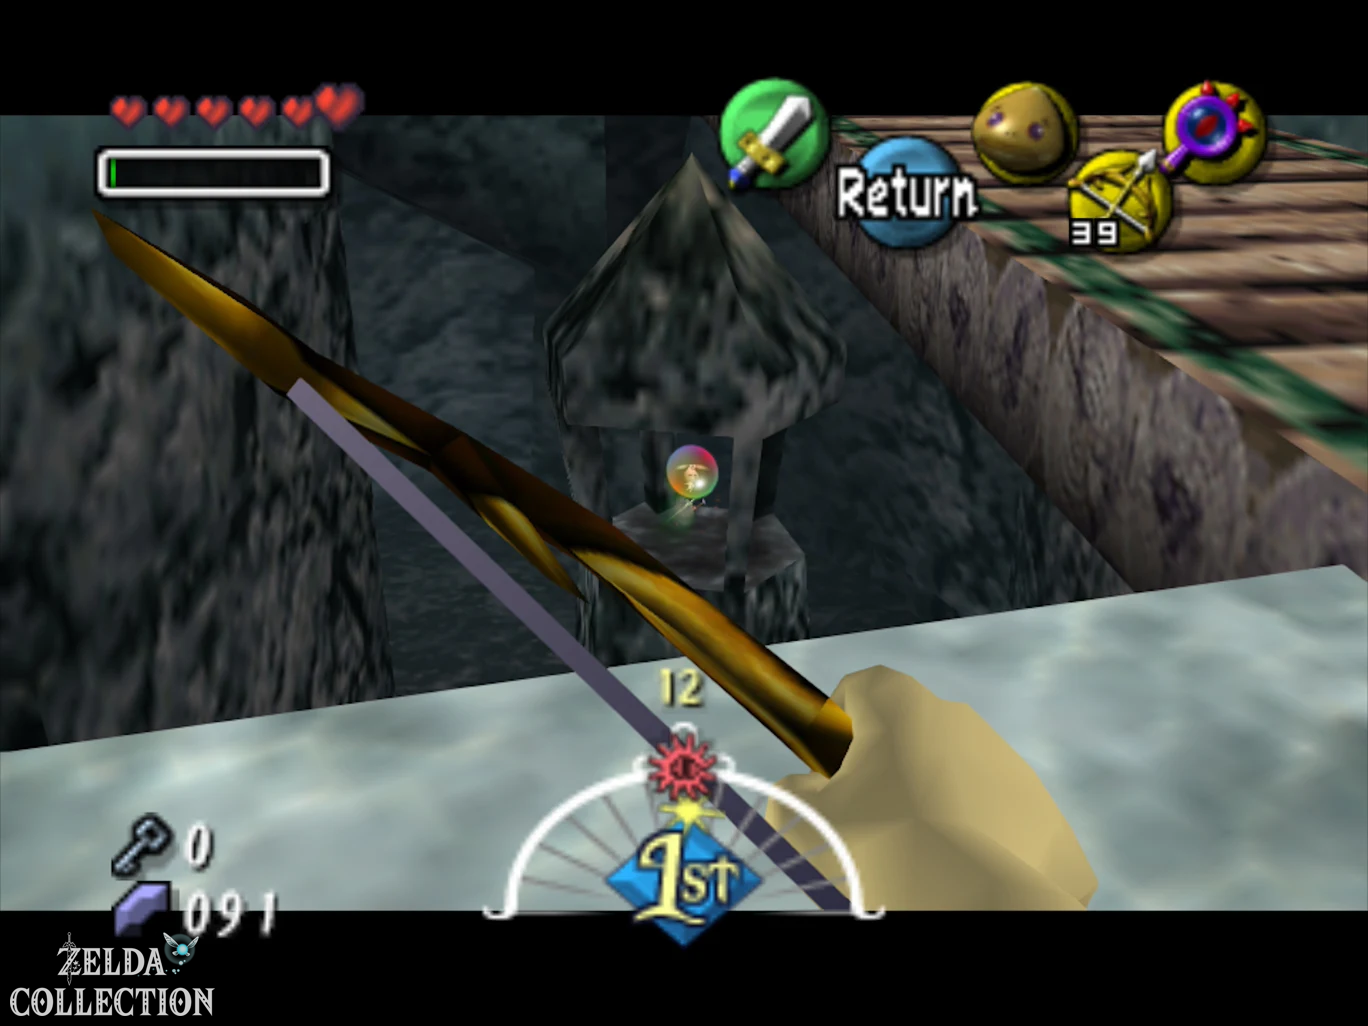
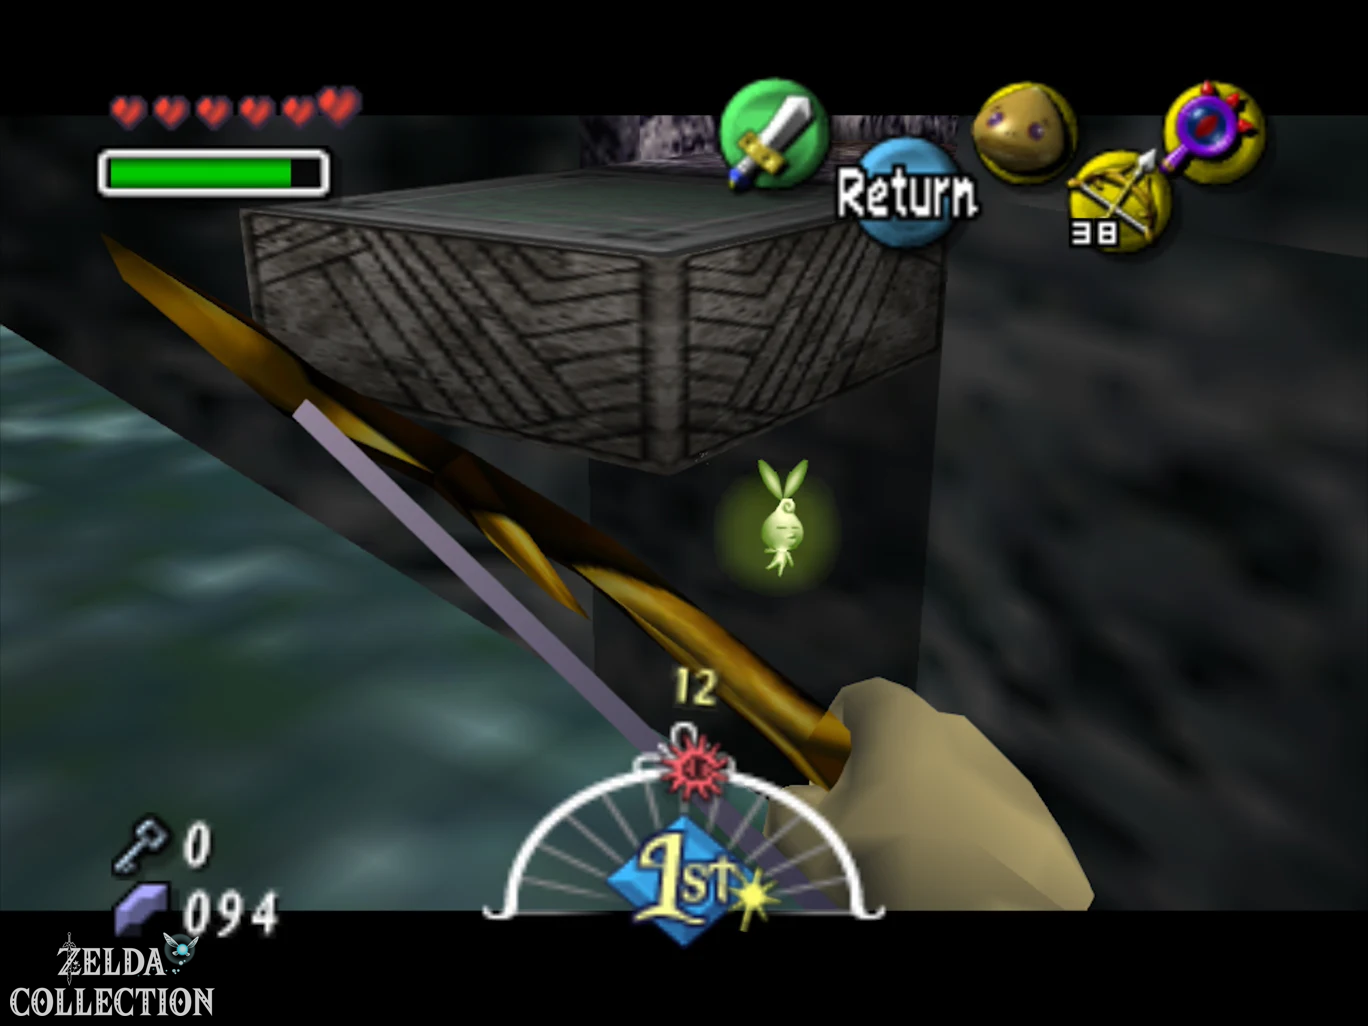
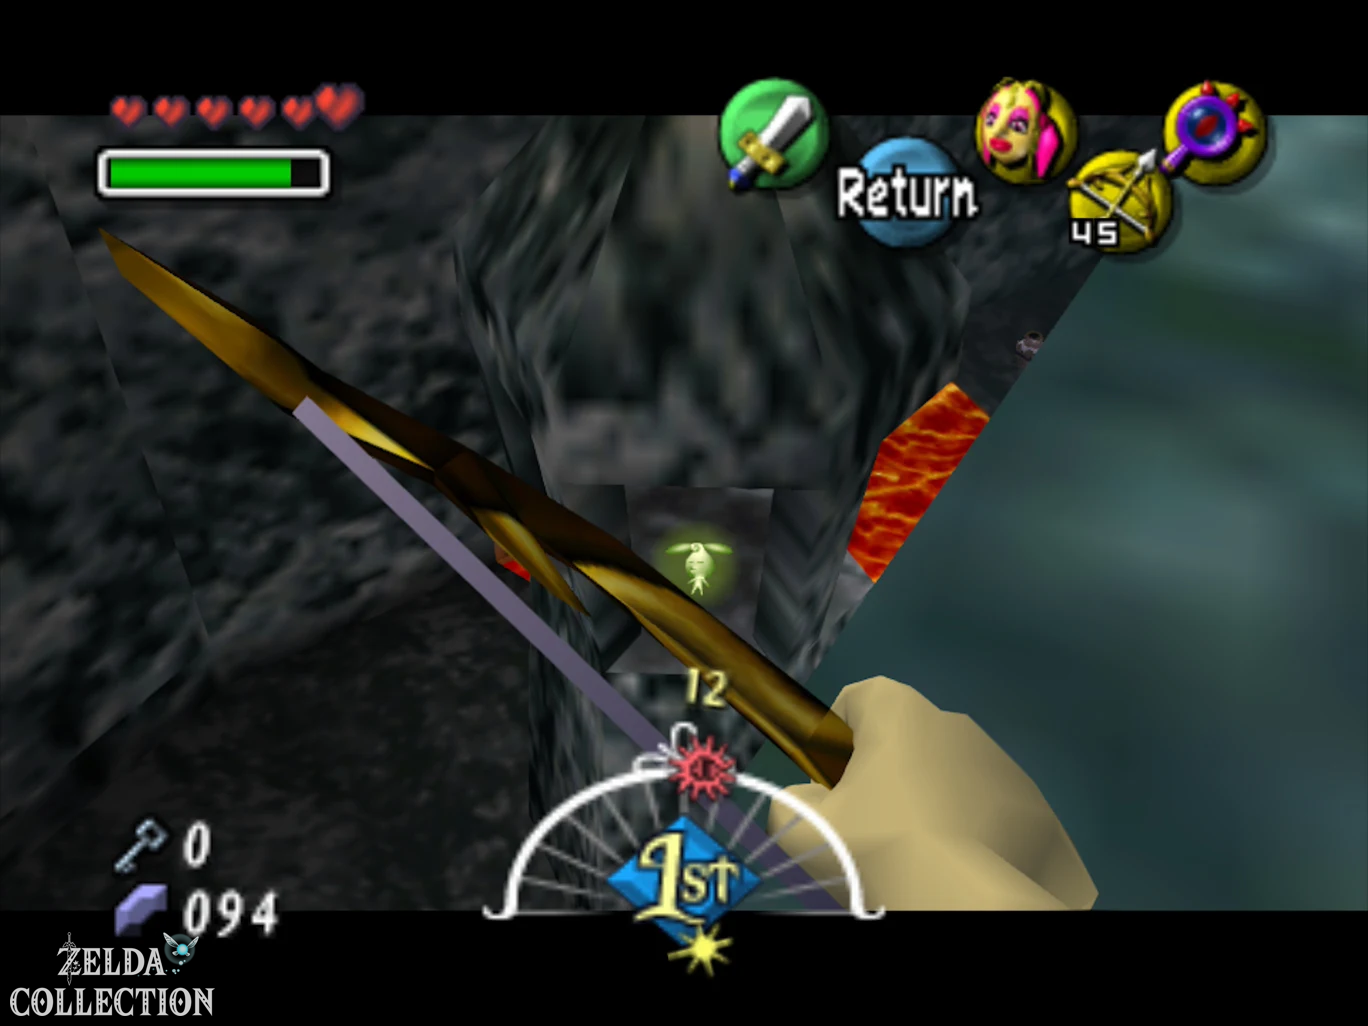
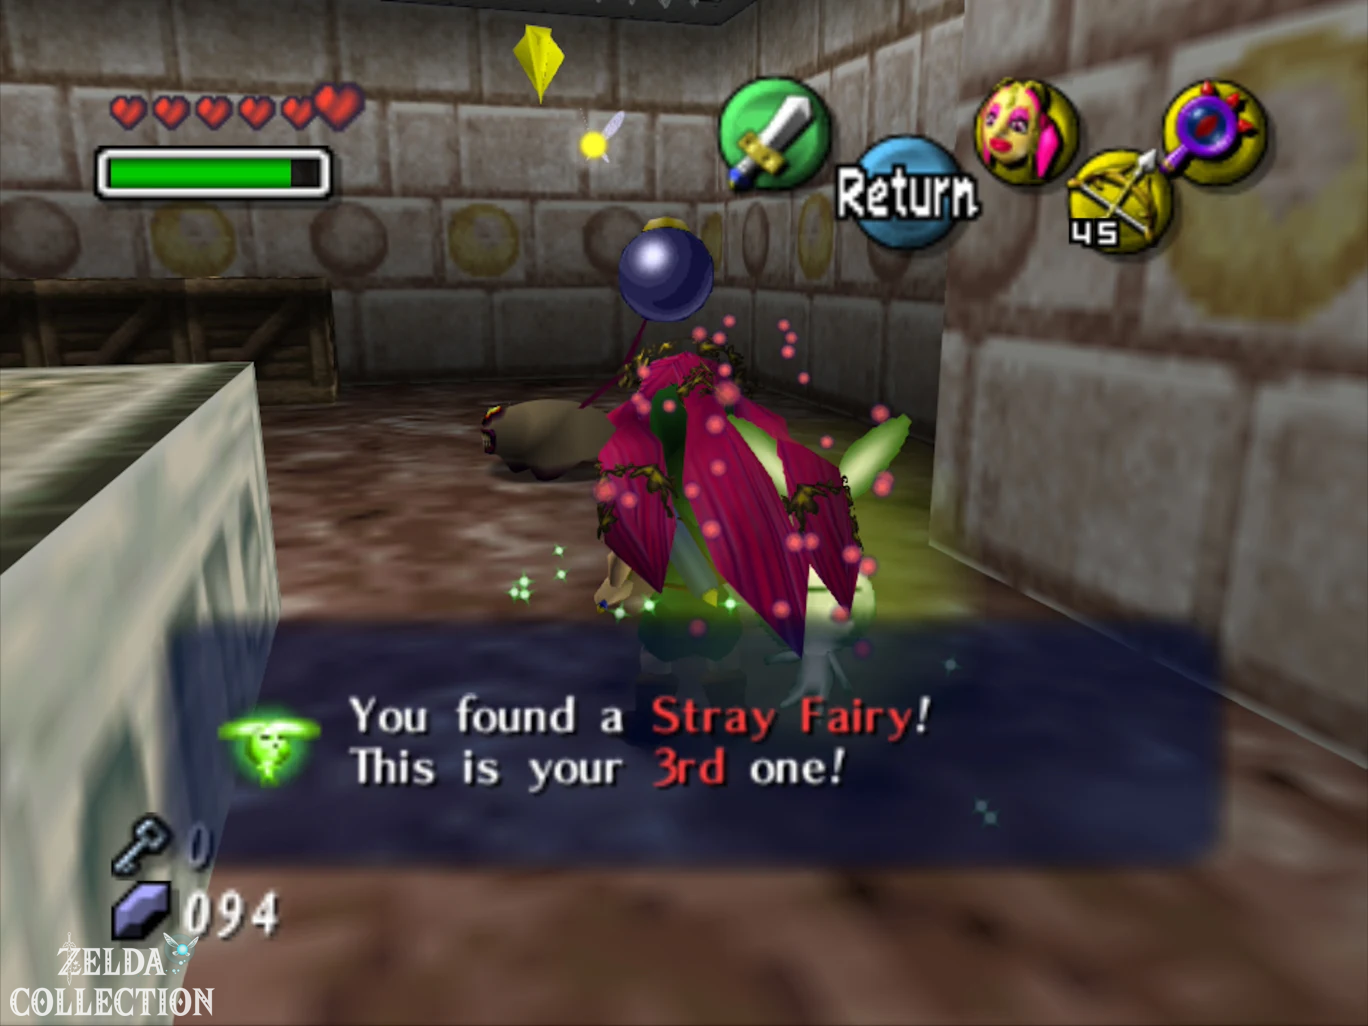
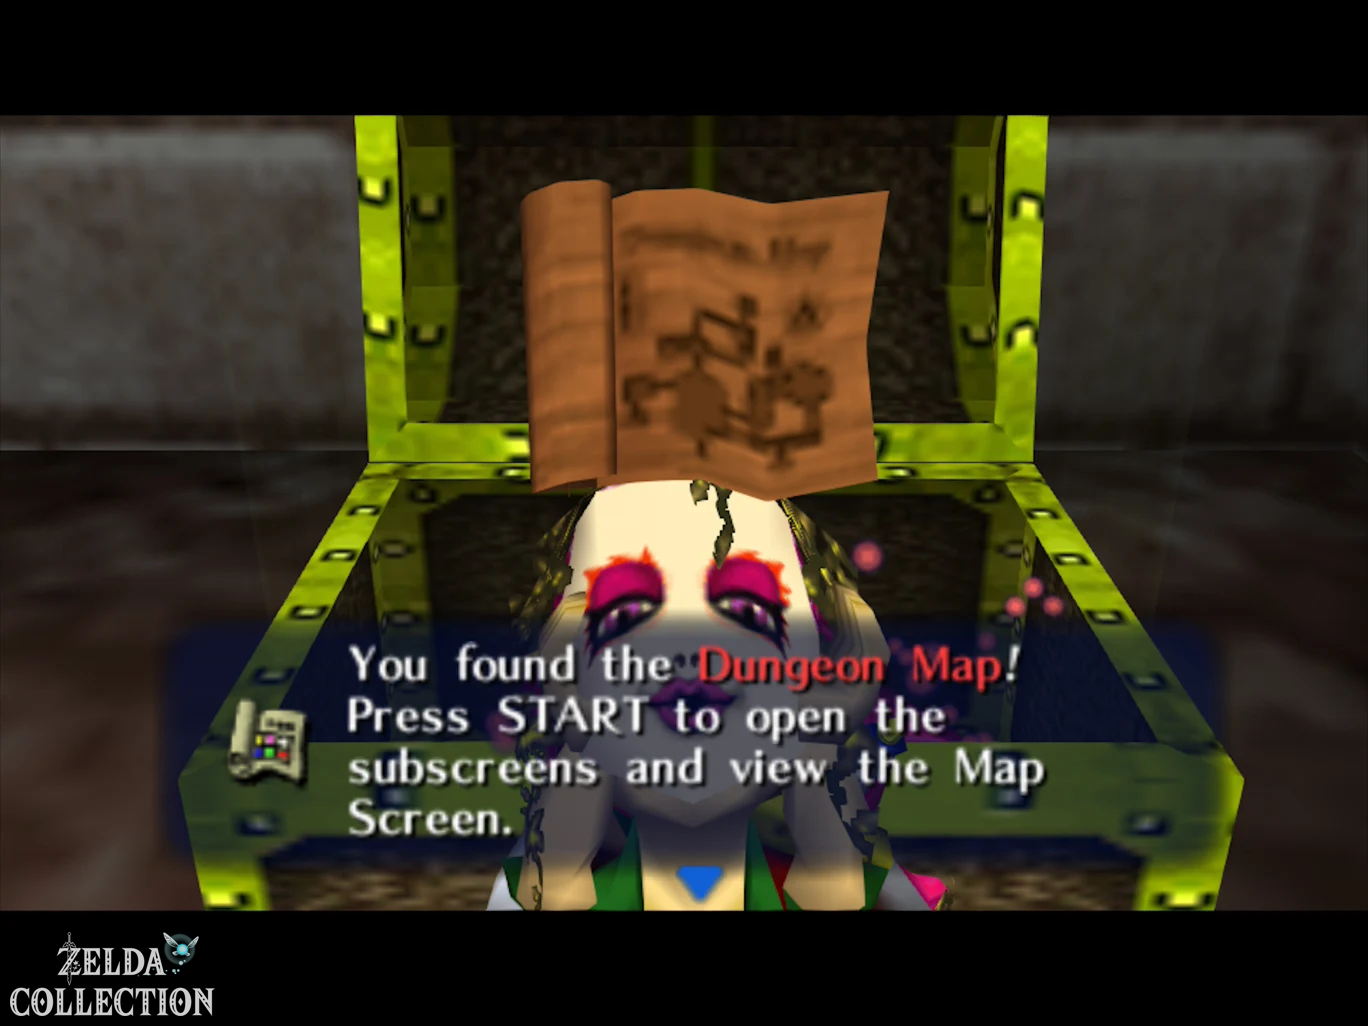
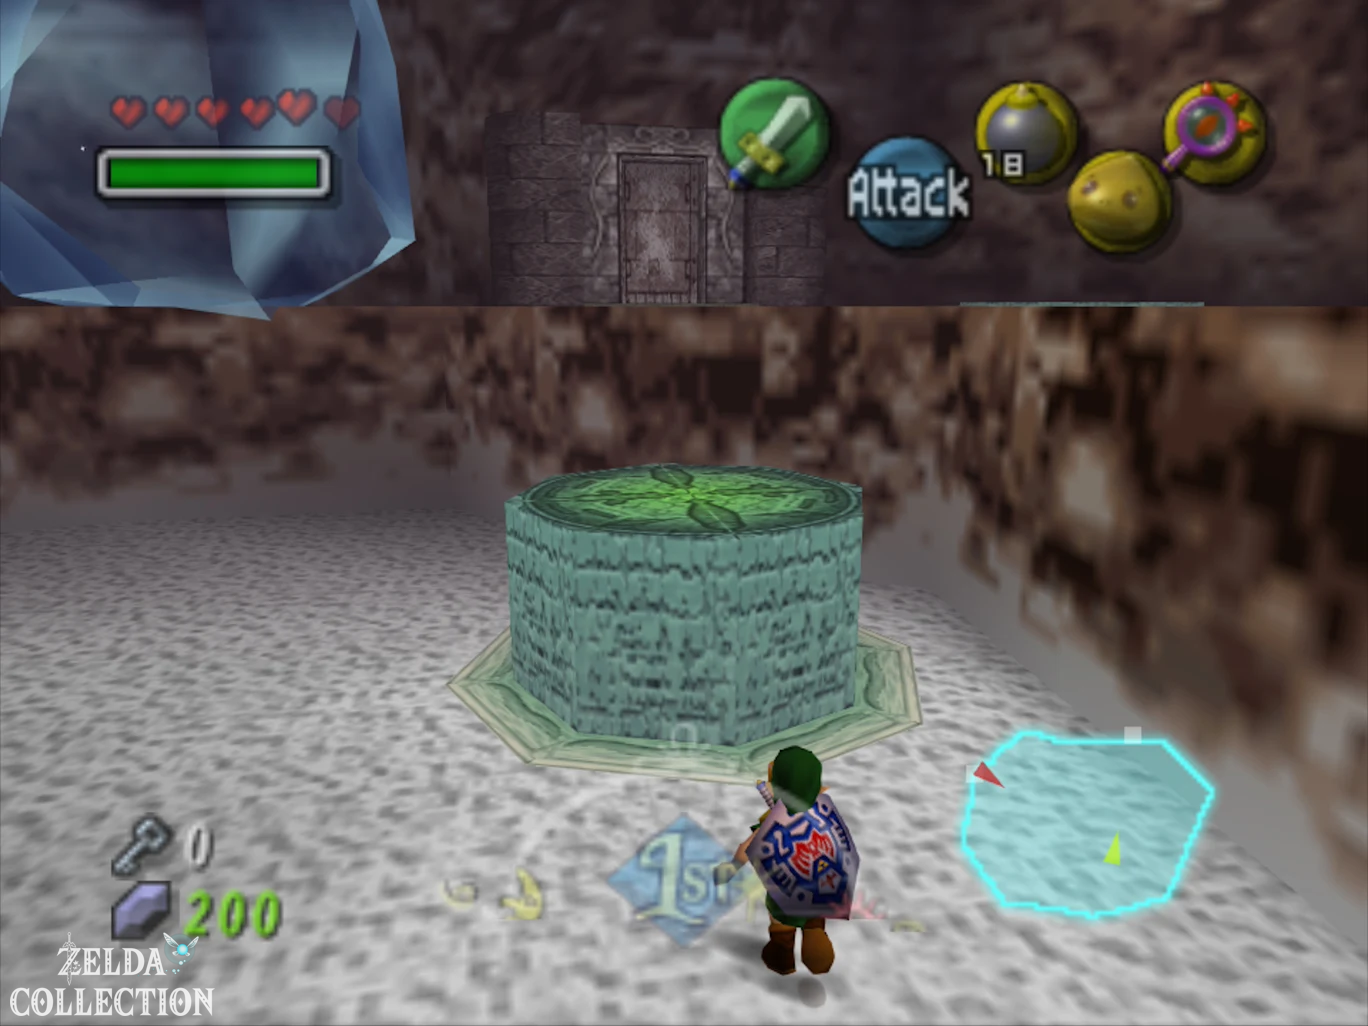
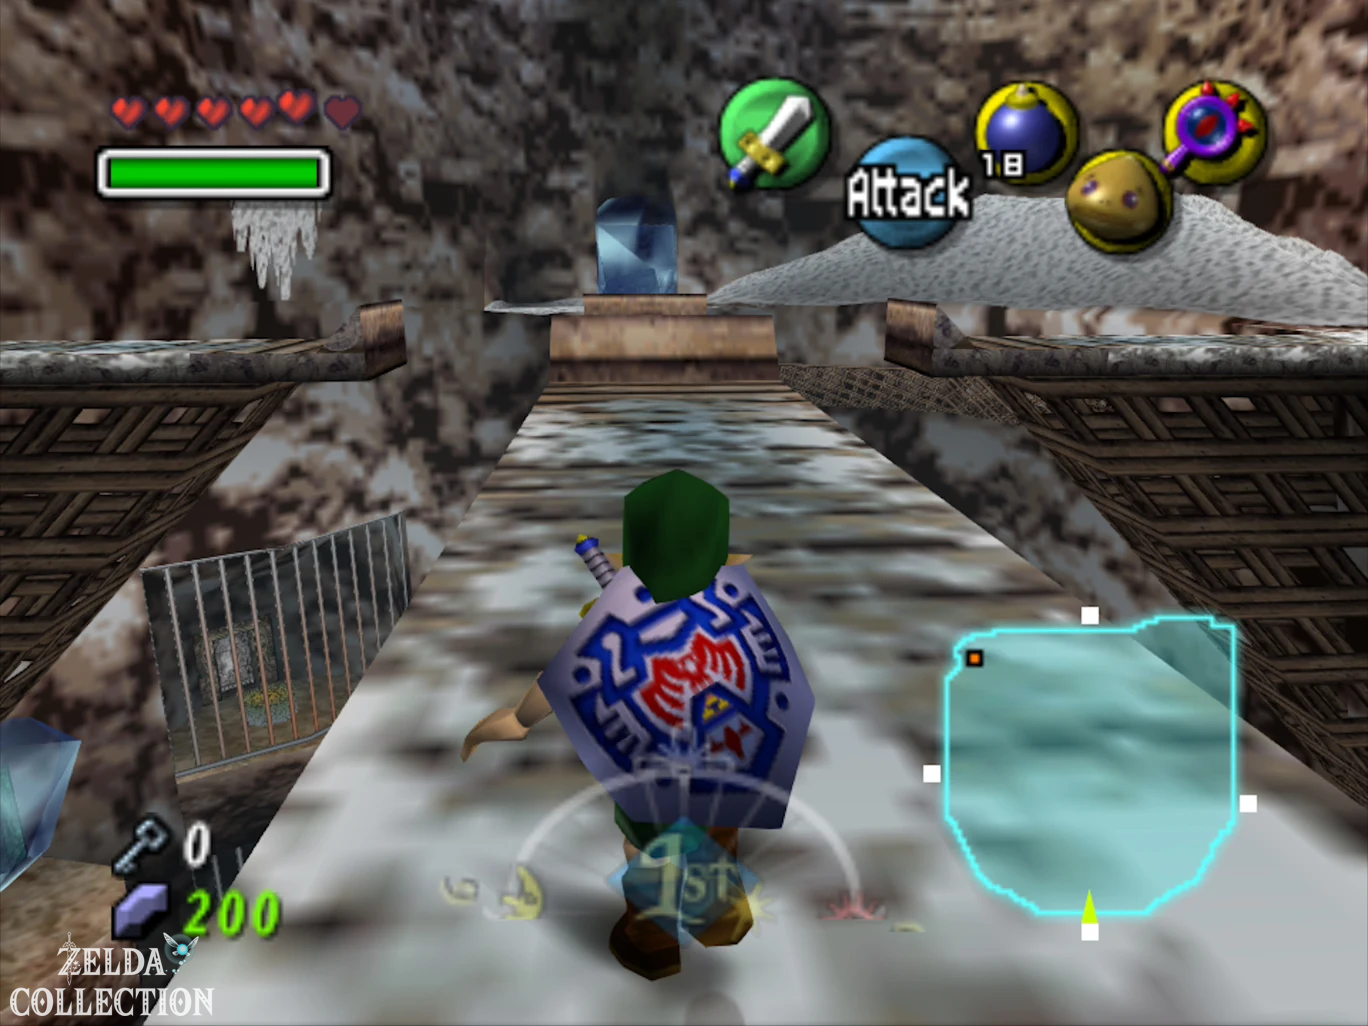
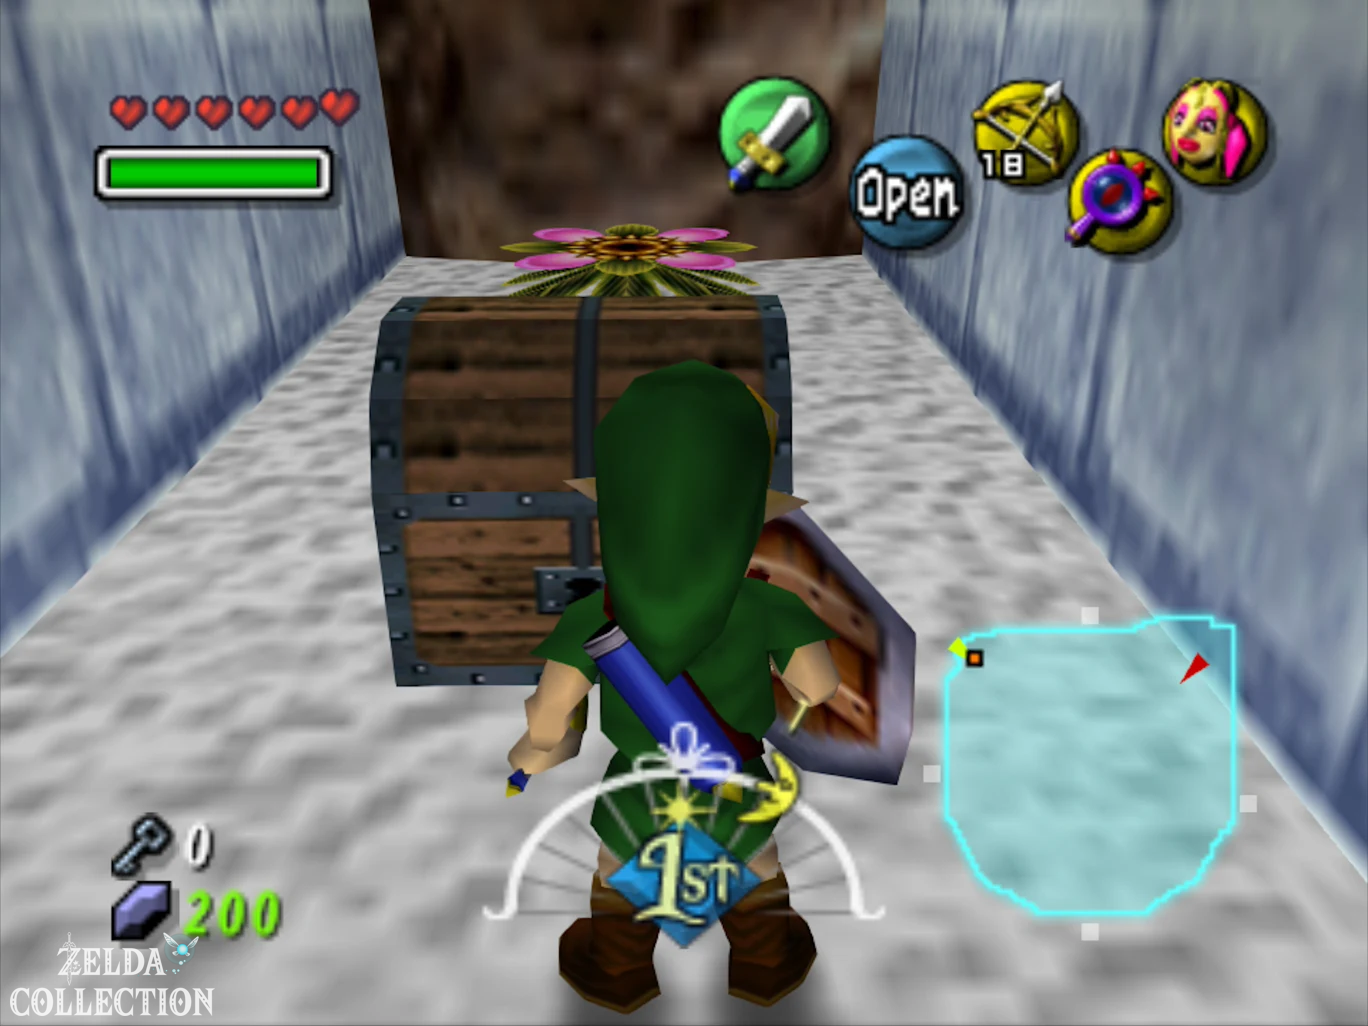
At the other end of the ice bridge go into the northern room. There is a Bombchu running through the area while several ice opponents guard the path. Open the large Treasure Chest and take the Dungeon Map. This room also contains the third Stray Fairy. Free her and pull her to Link with the Great Fairy’s Mask. Then return to the bridge room and go through the blue door into the central main hall of the temple.
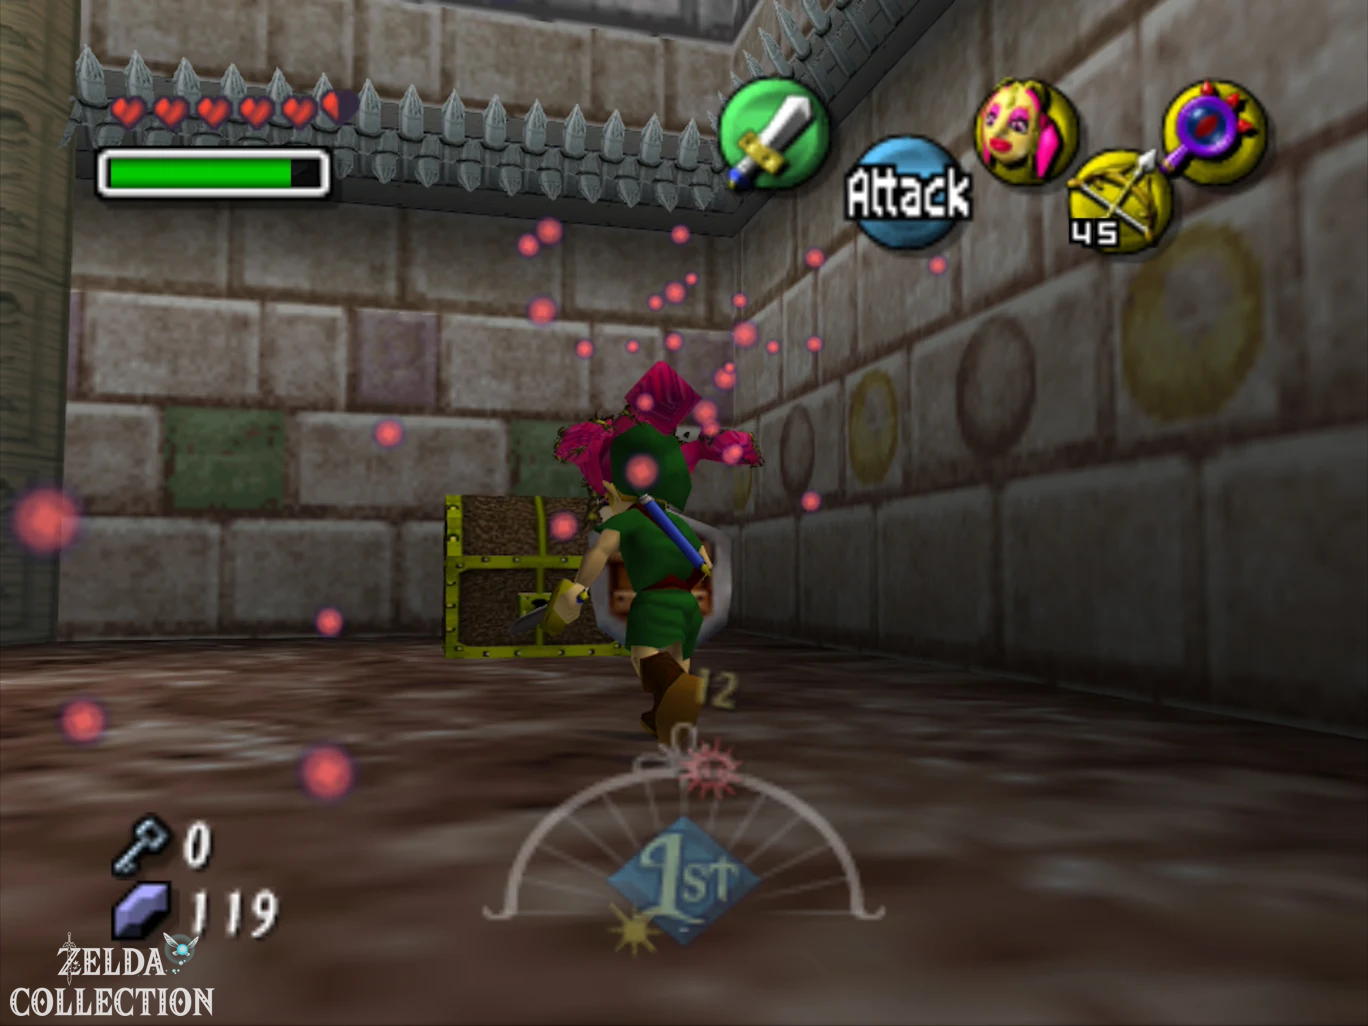
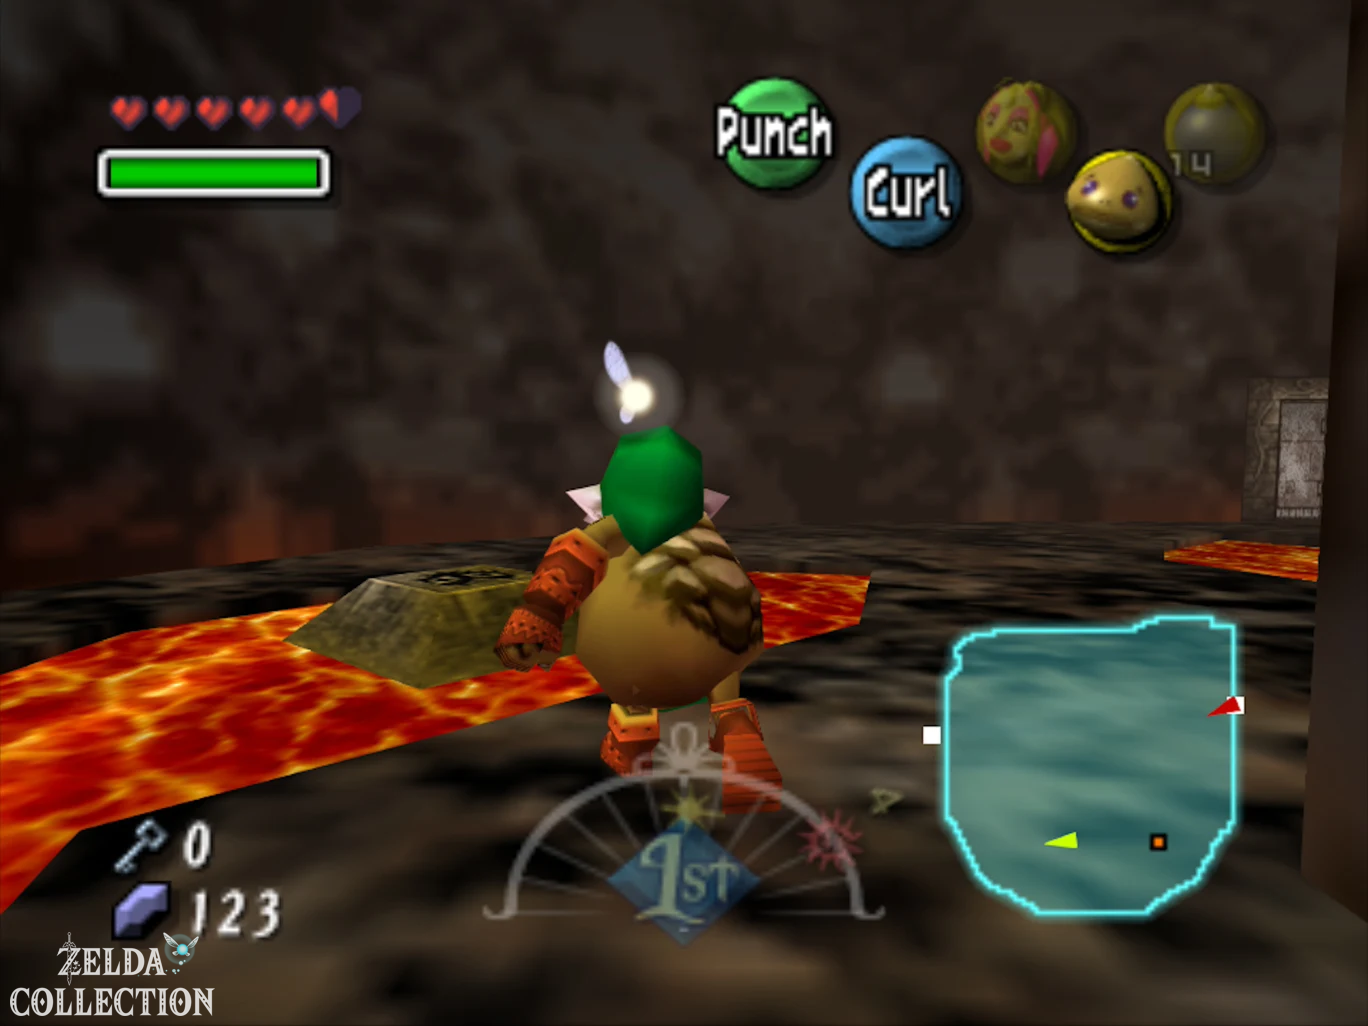
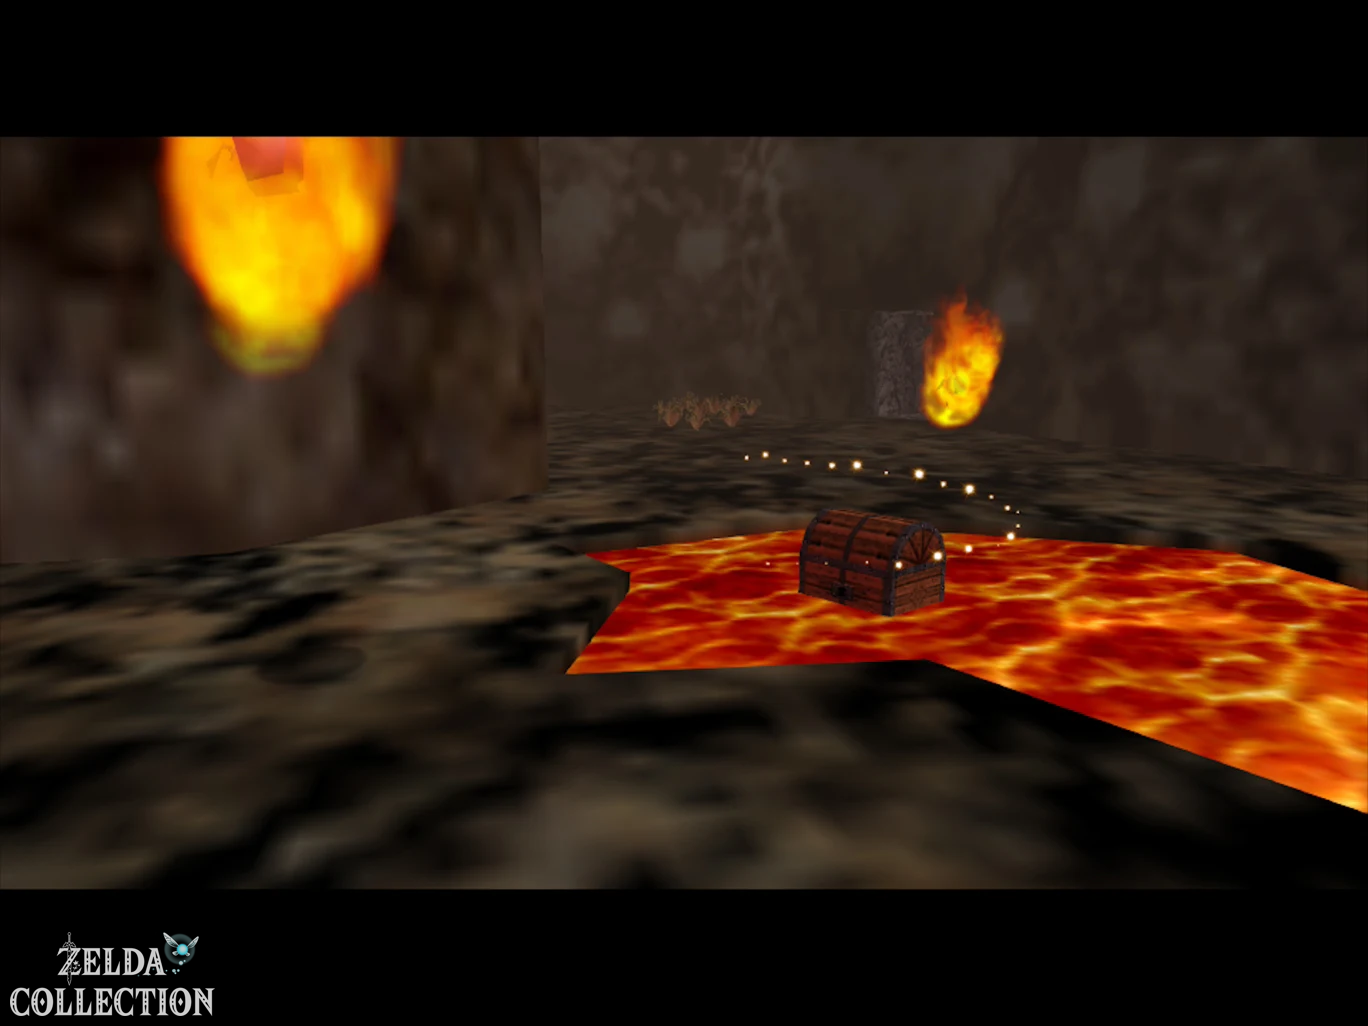
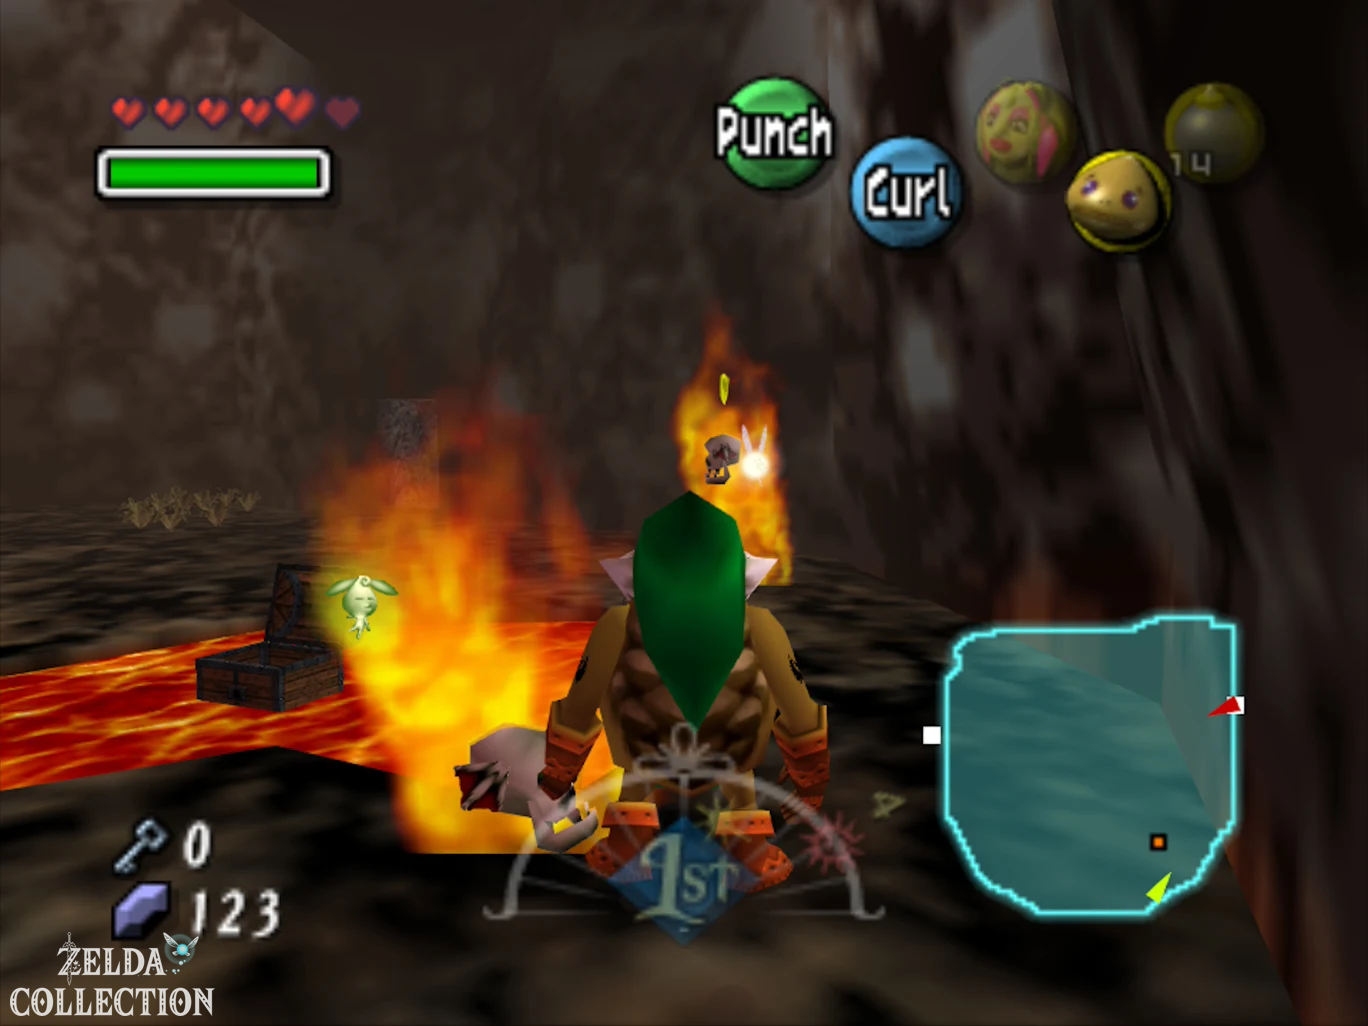
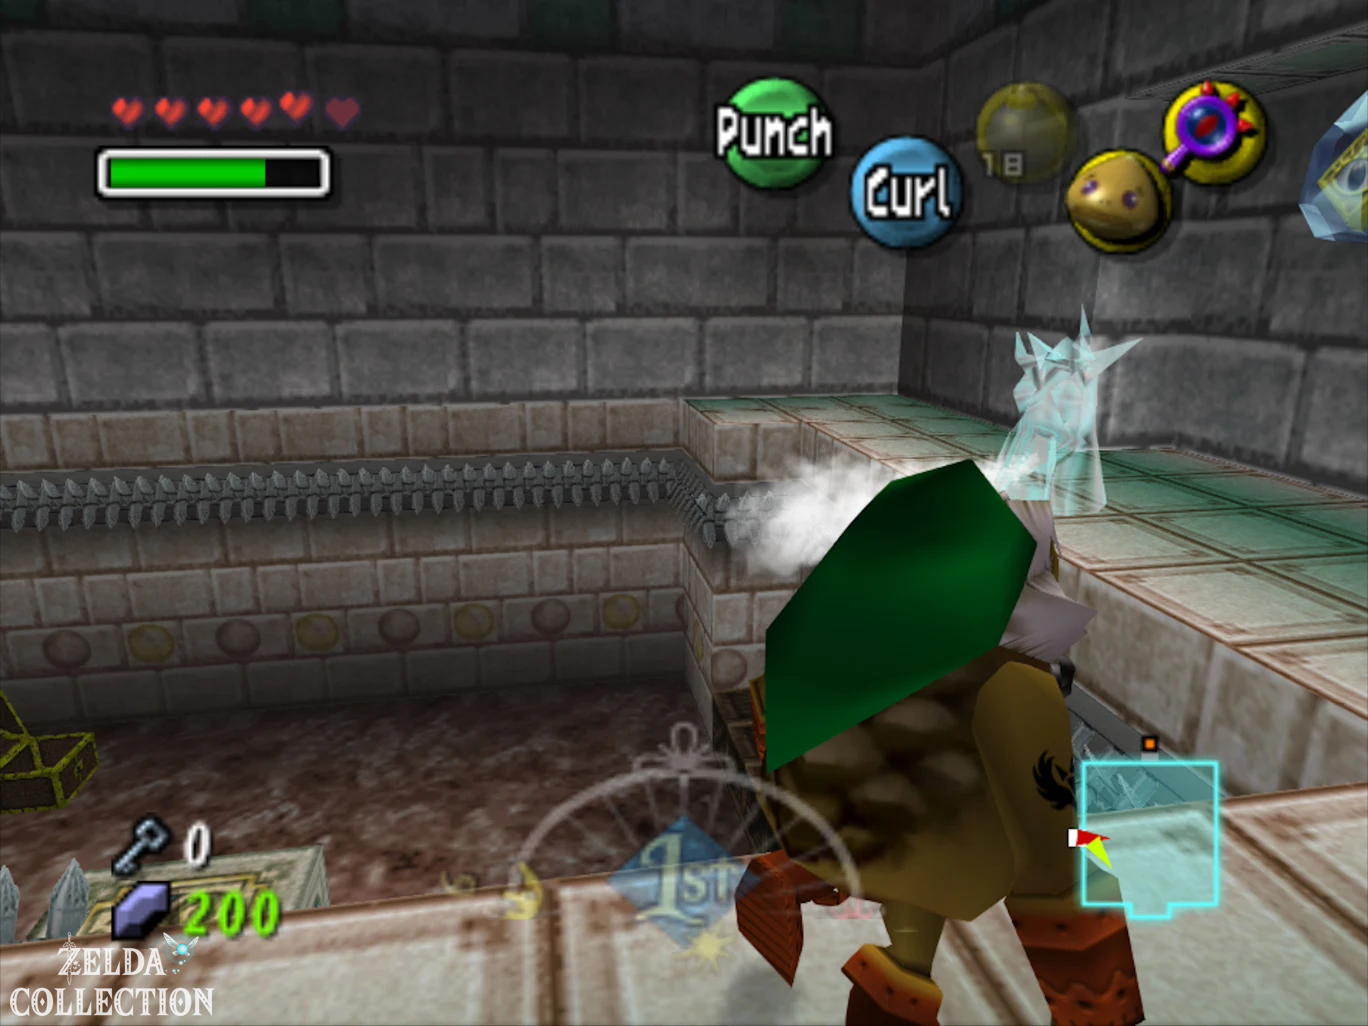
Paths later lead from this hall to almost every floor. First go down the stairs on the right into the basement. Goron Link can safely walk across the hot surfaces. Step on the big one Floor Switch and one Treasure Chest appears in another lava area. Roll or walk over and open it for them fourth Stray Fairy. Then return to the main hall and take the yellow marked door on the opposite side.
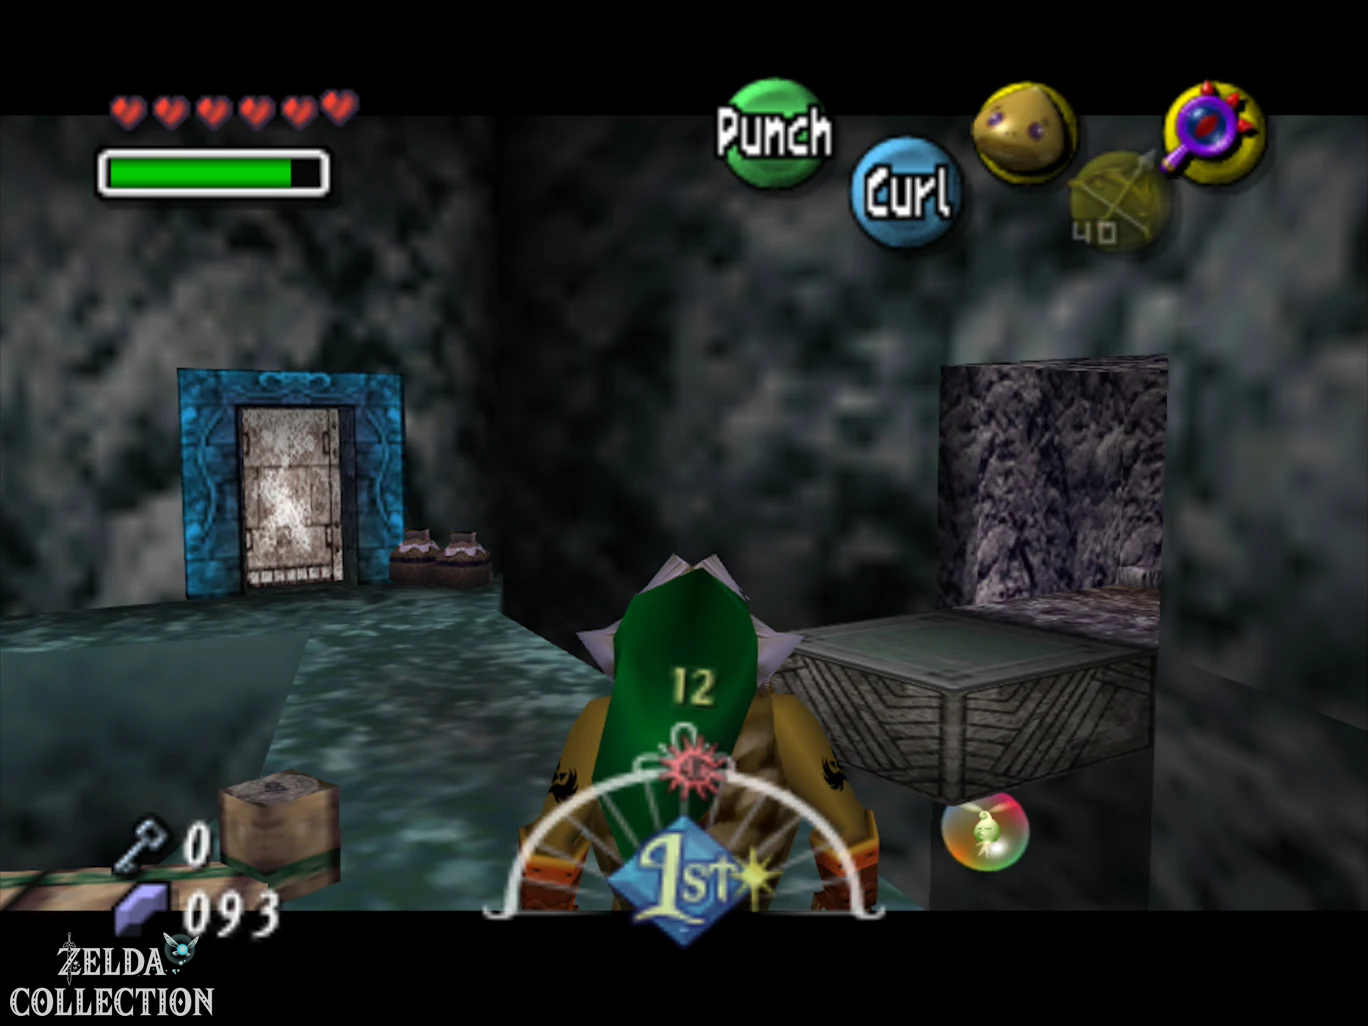
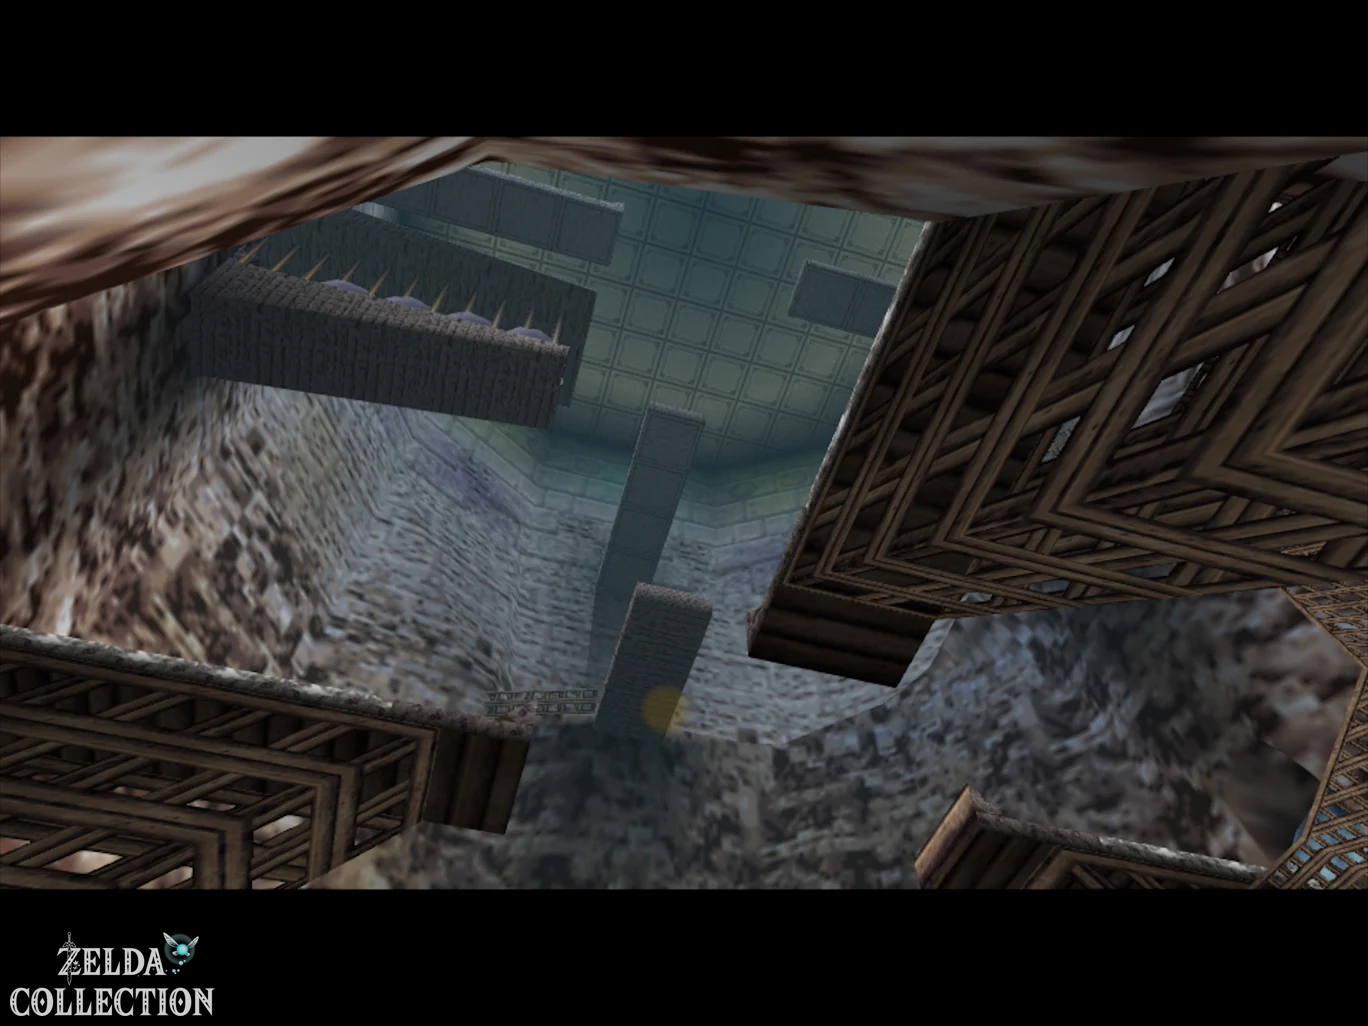
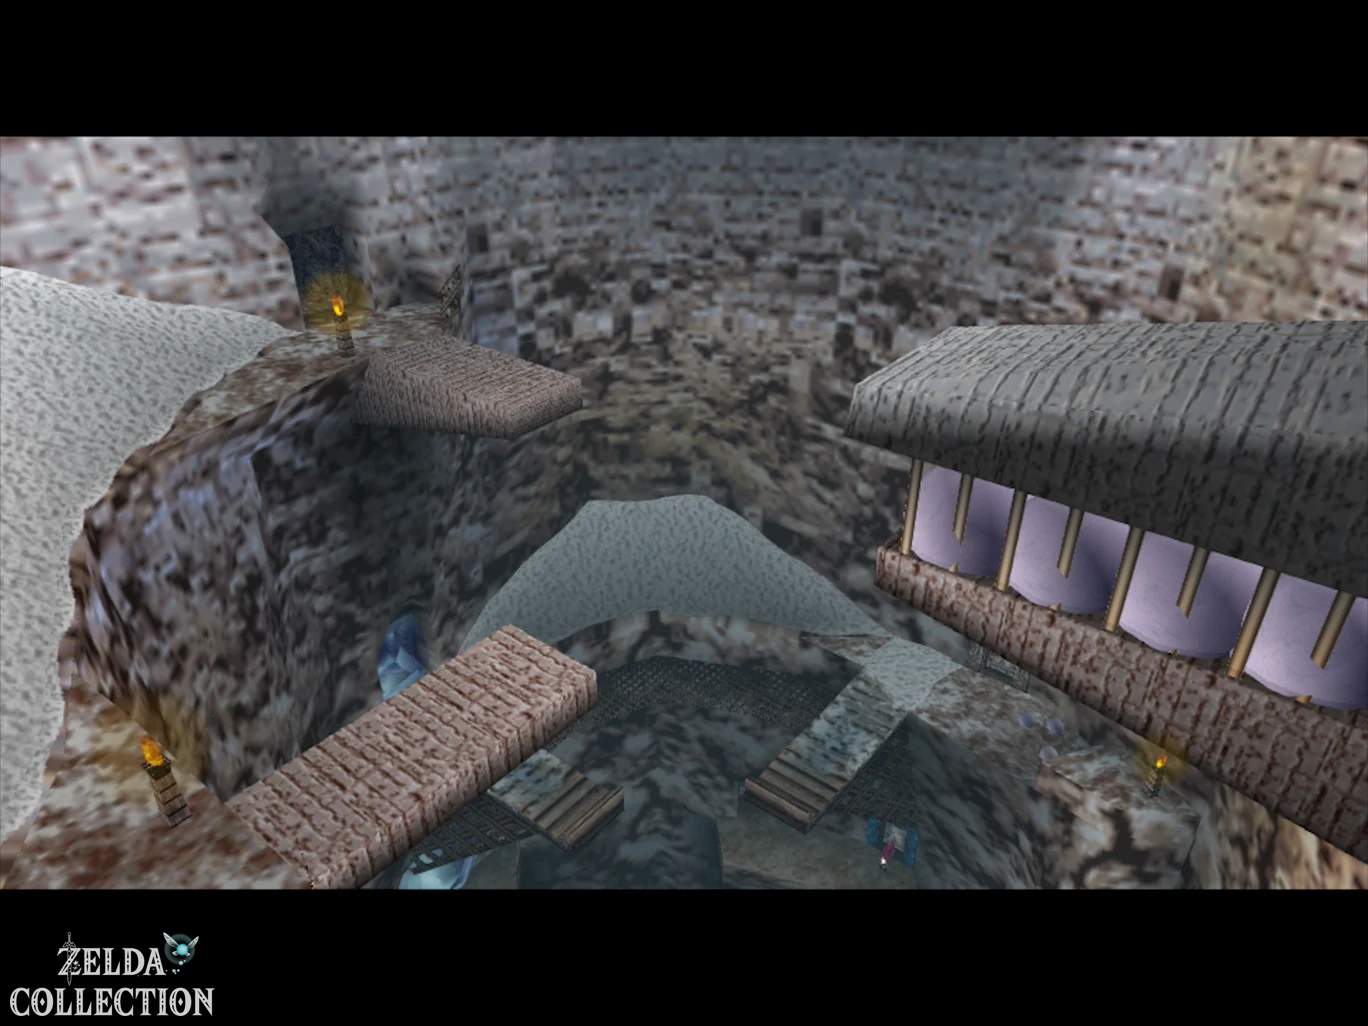
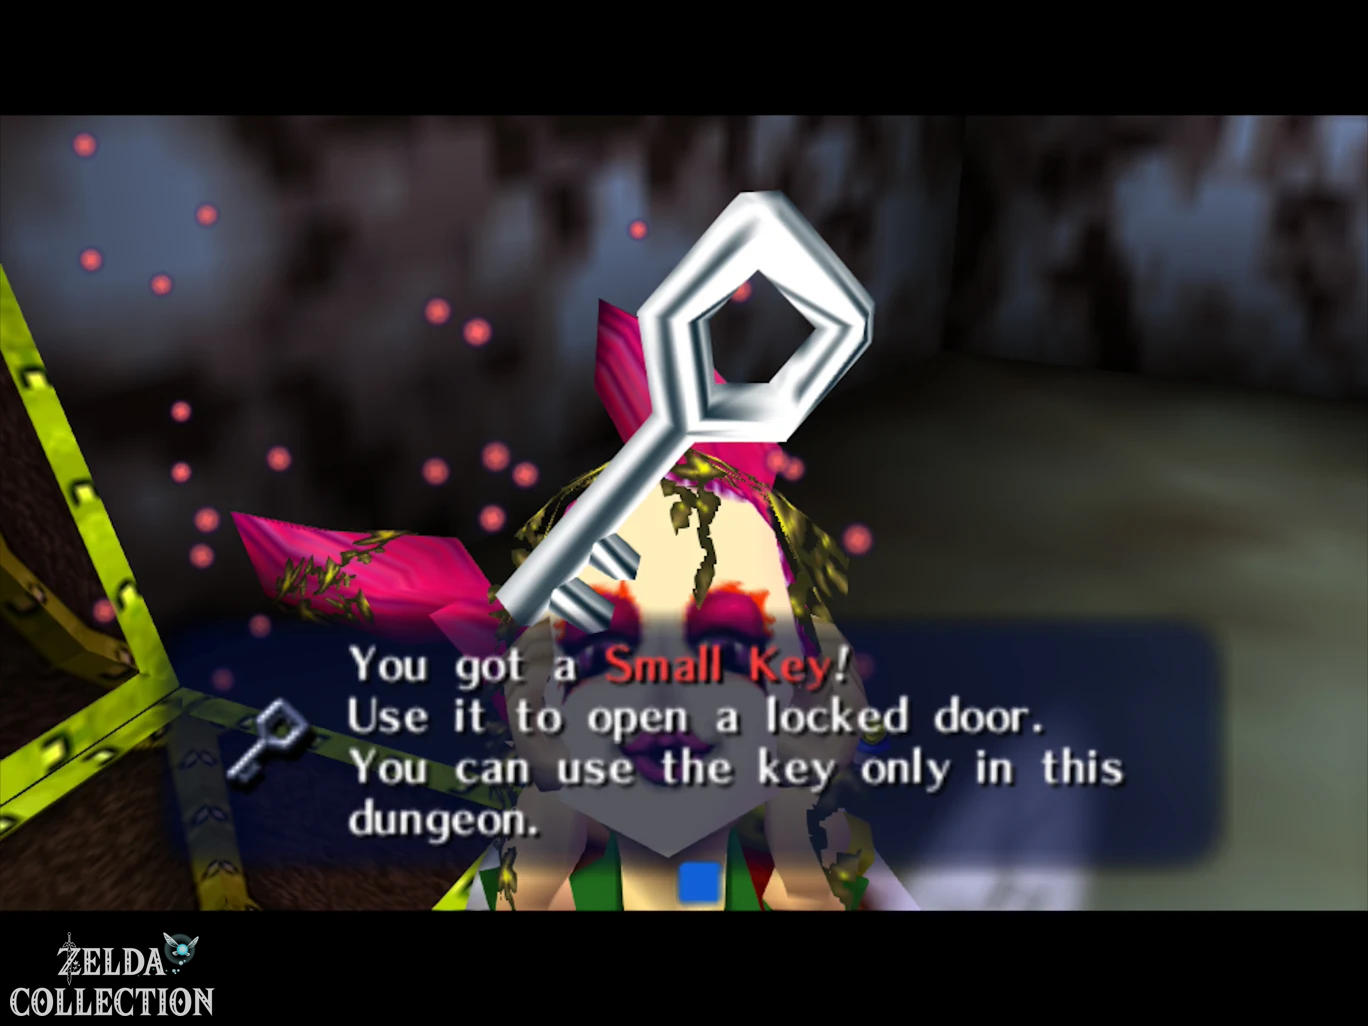
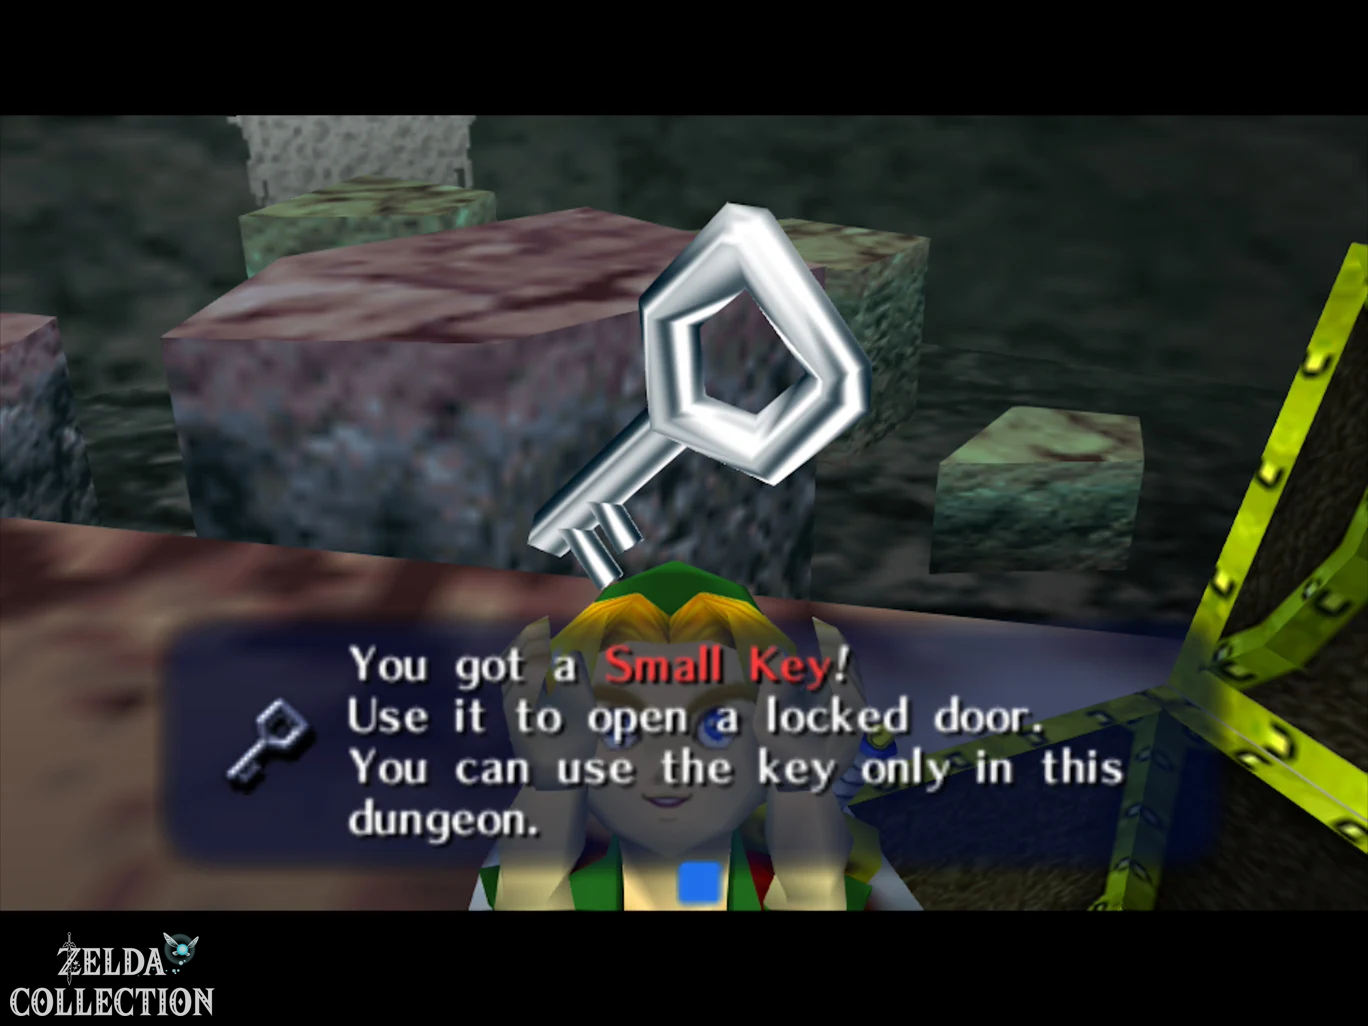
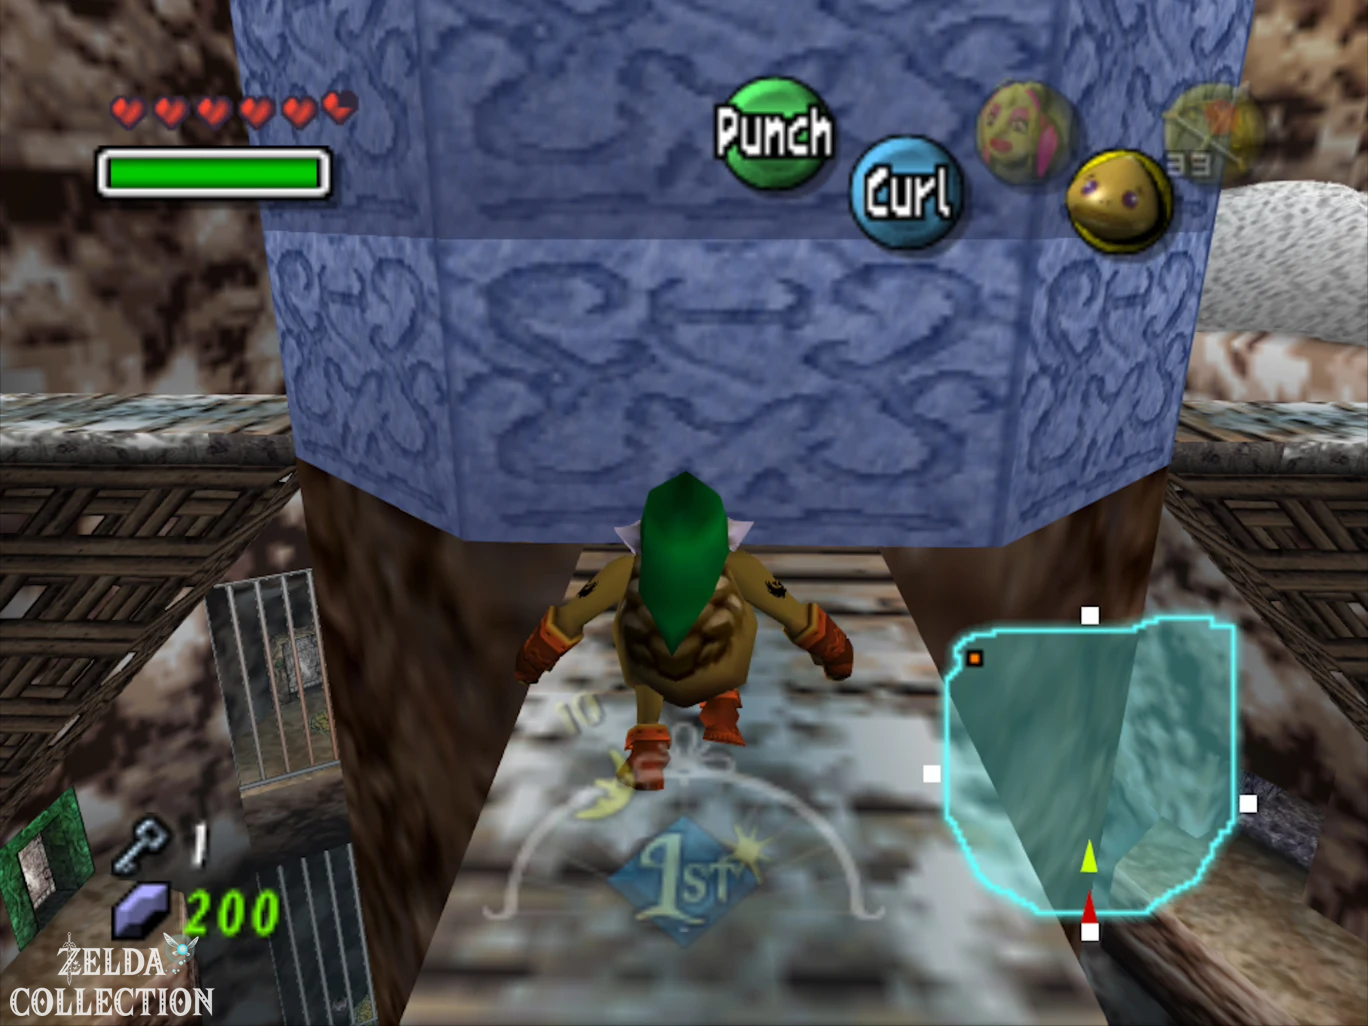
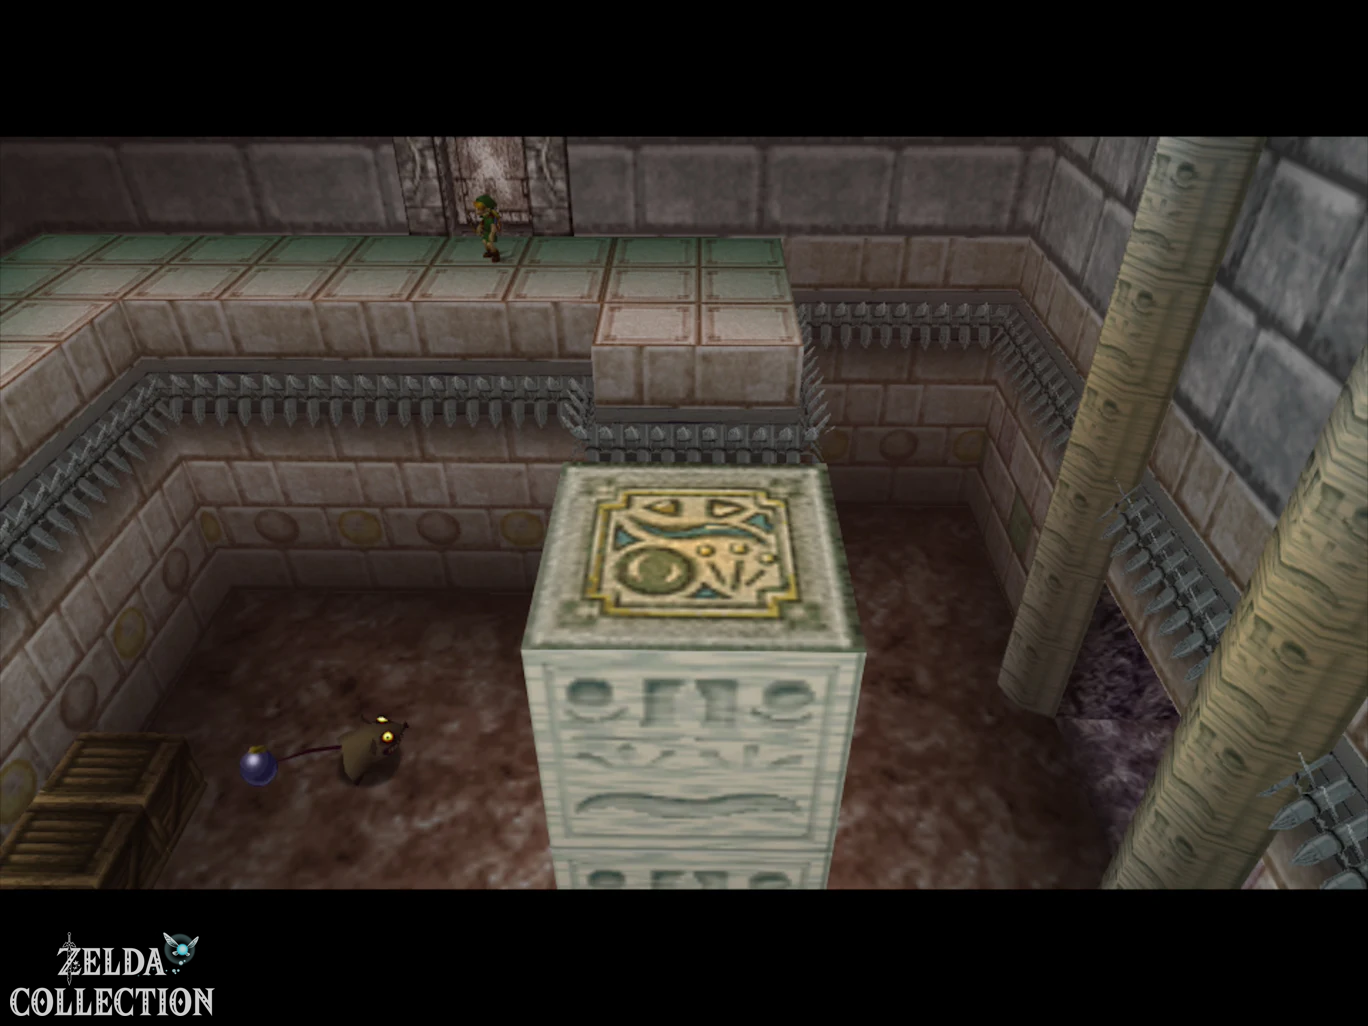
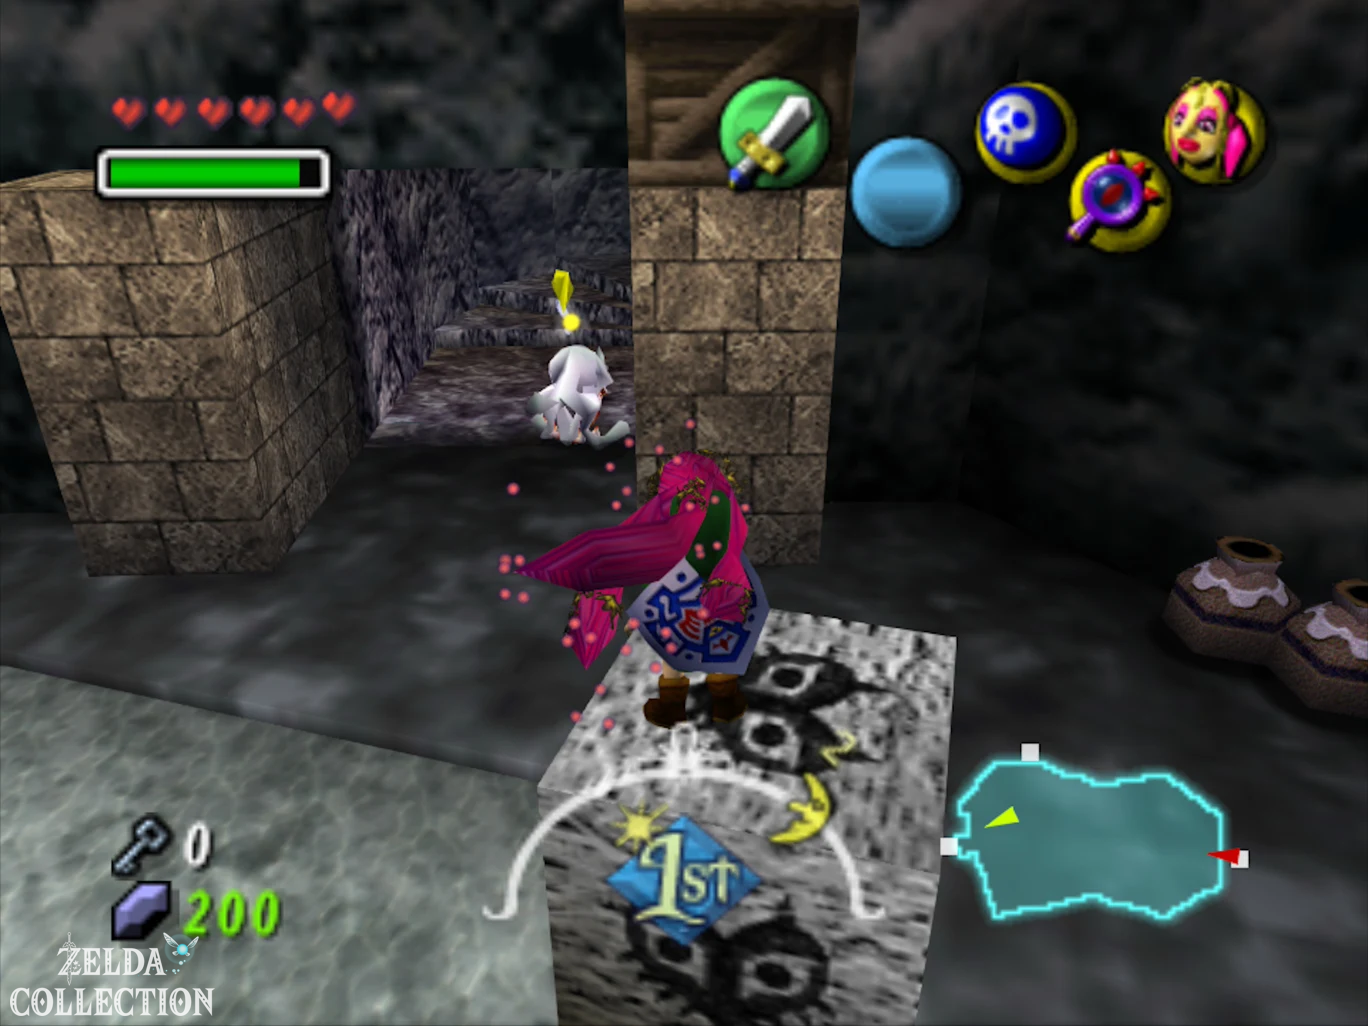
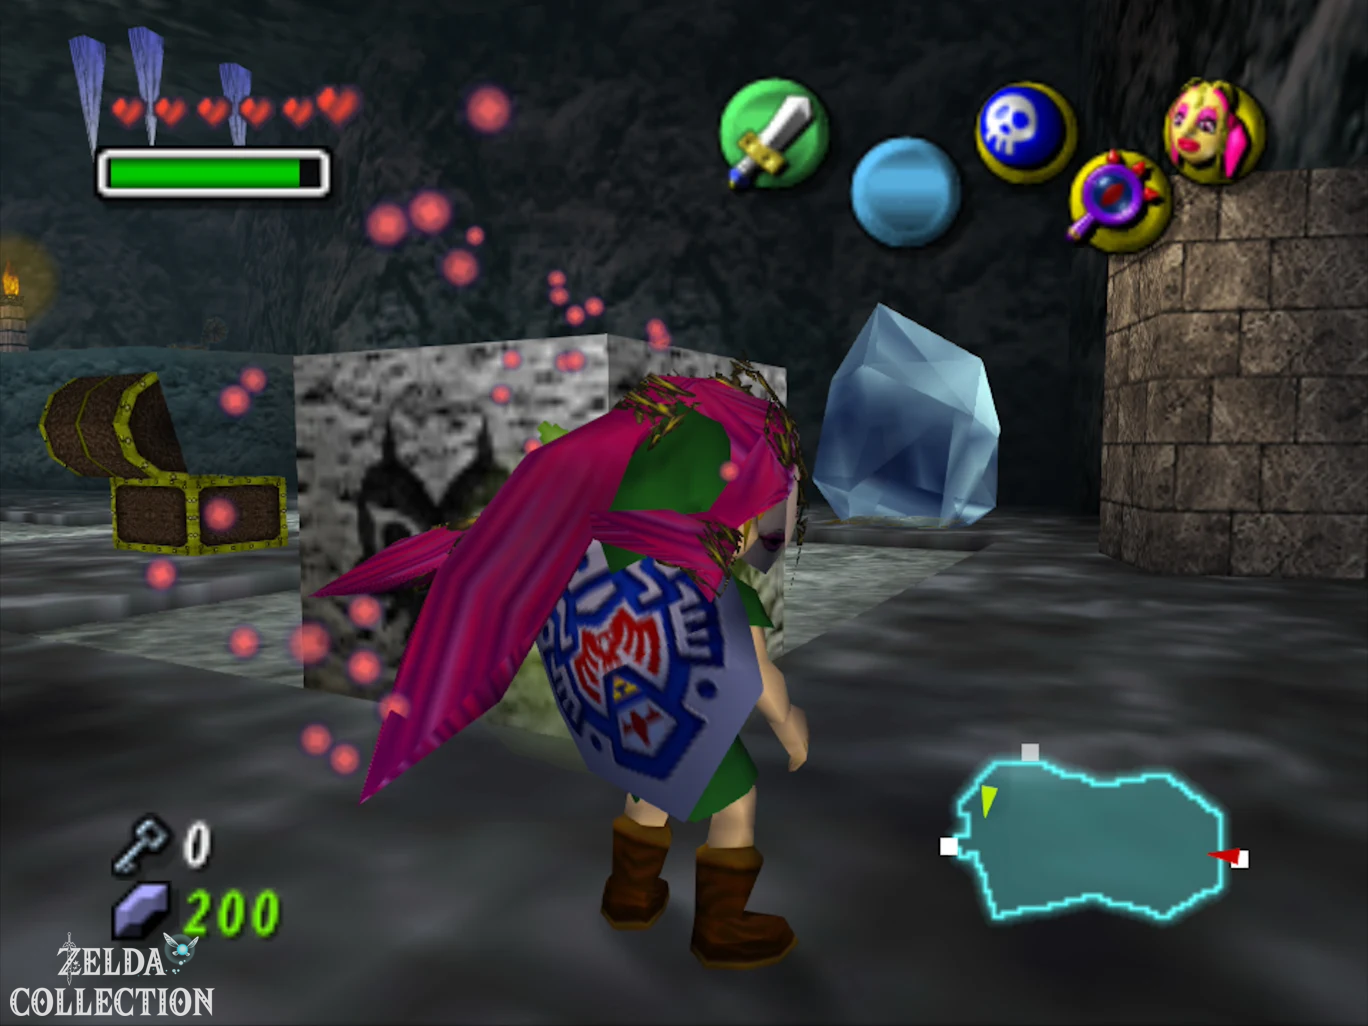
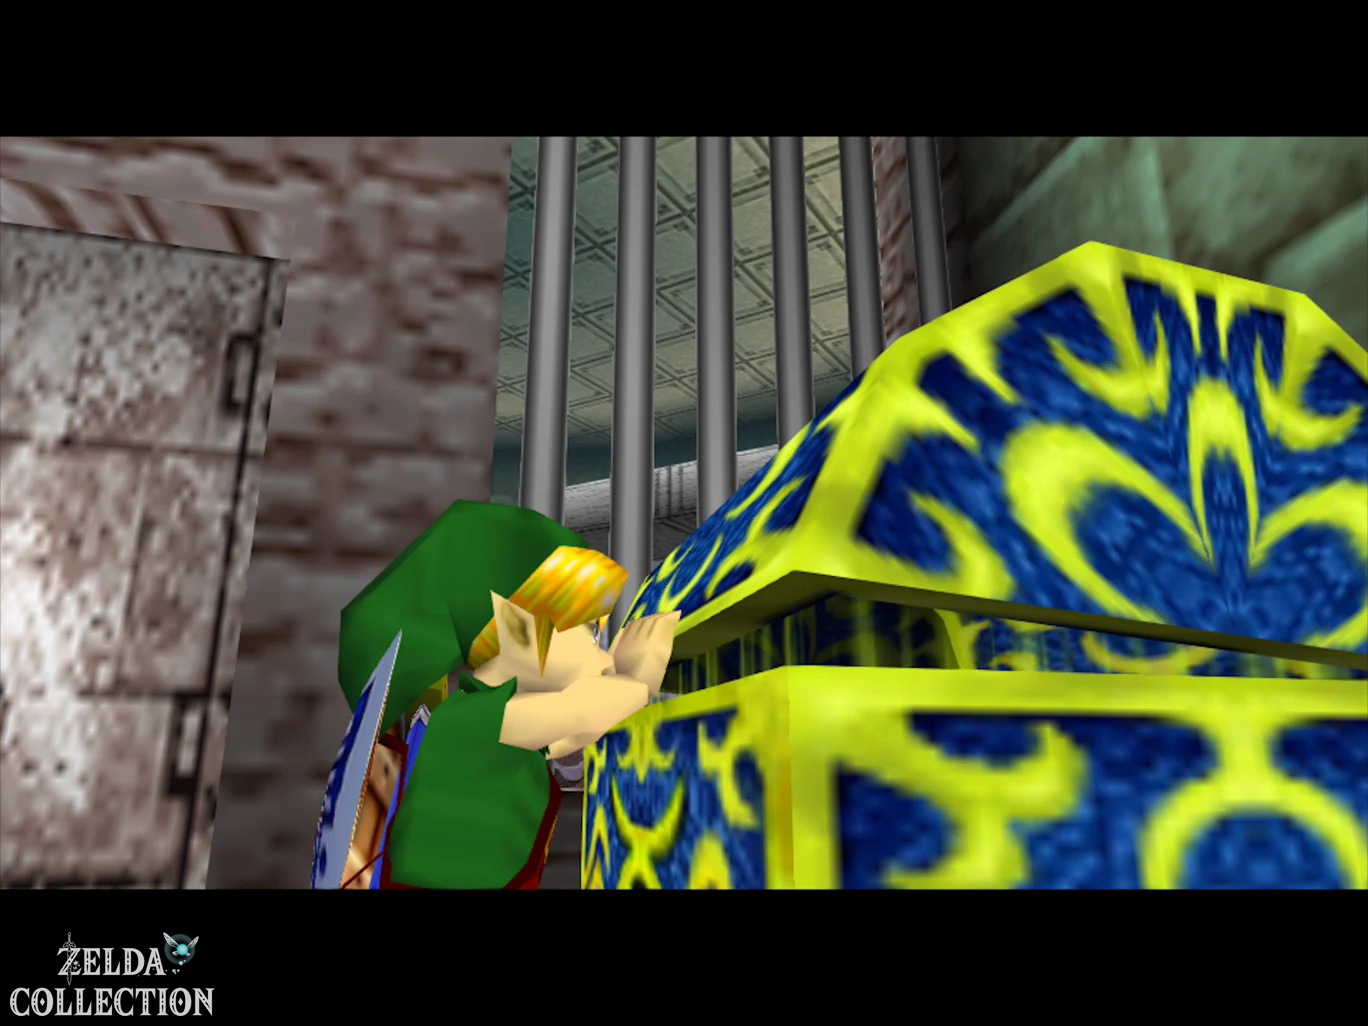
In the next room there are two gray blocks on top of each other. Pull it out of the wall and you will uncover a small niche with a chest behind it. Inside is the first Small Key. Then push the two blocks further across the icy floor into the designated recess at the other end of the room. This causes an additional Treasure Chest to appear higher up, which we can only reach later. This preparation saves us from having to remodel the room again.
Compass and second Small Key
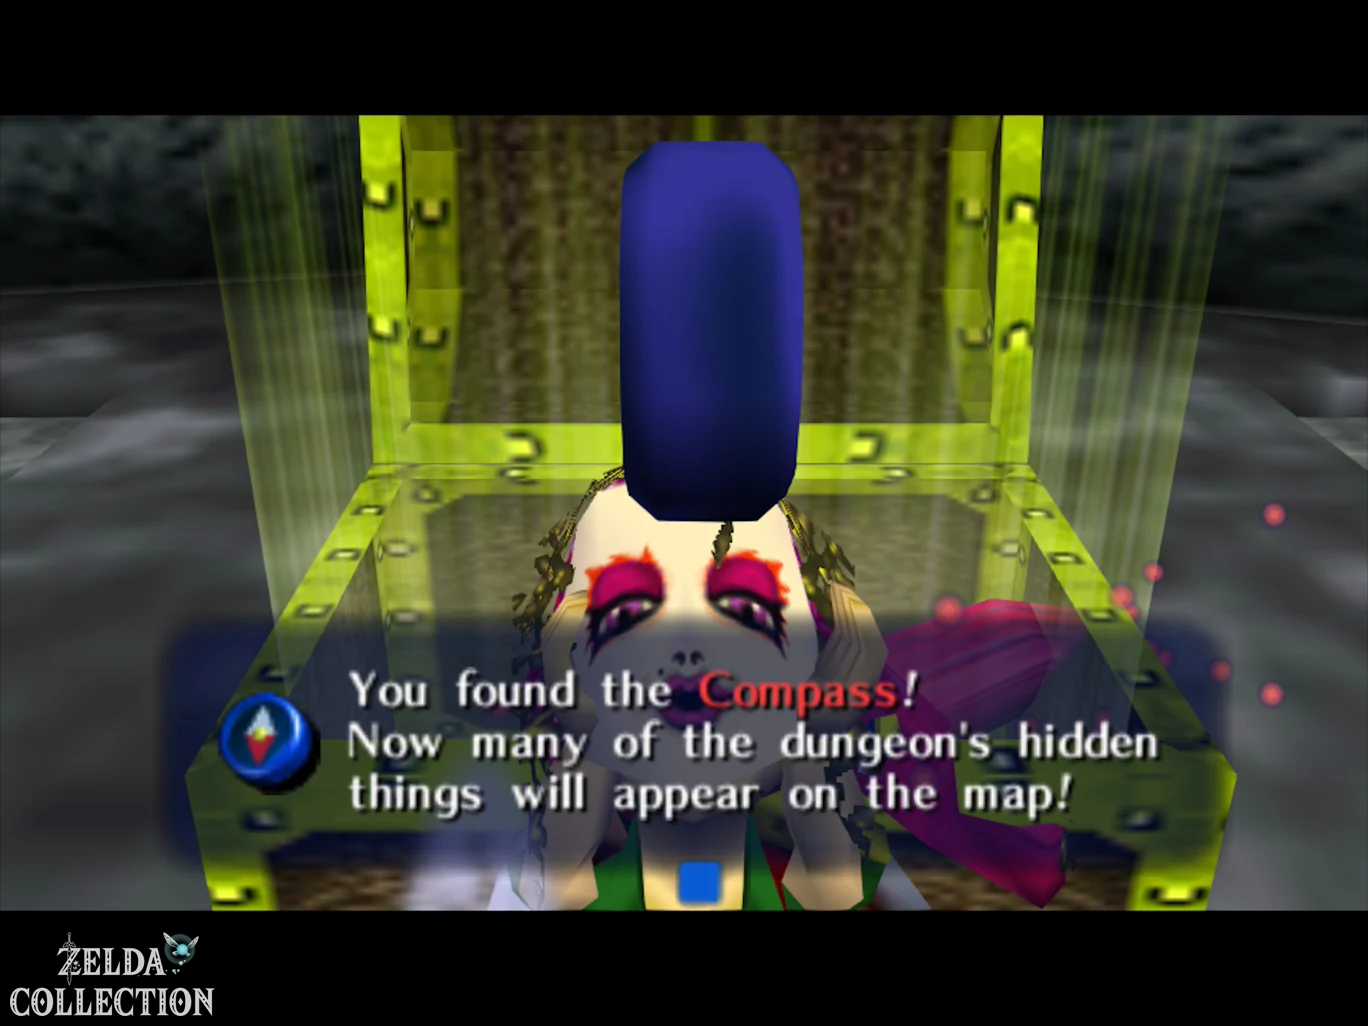
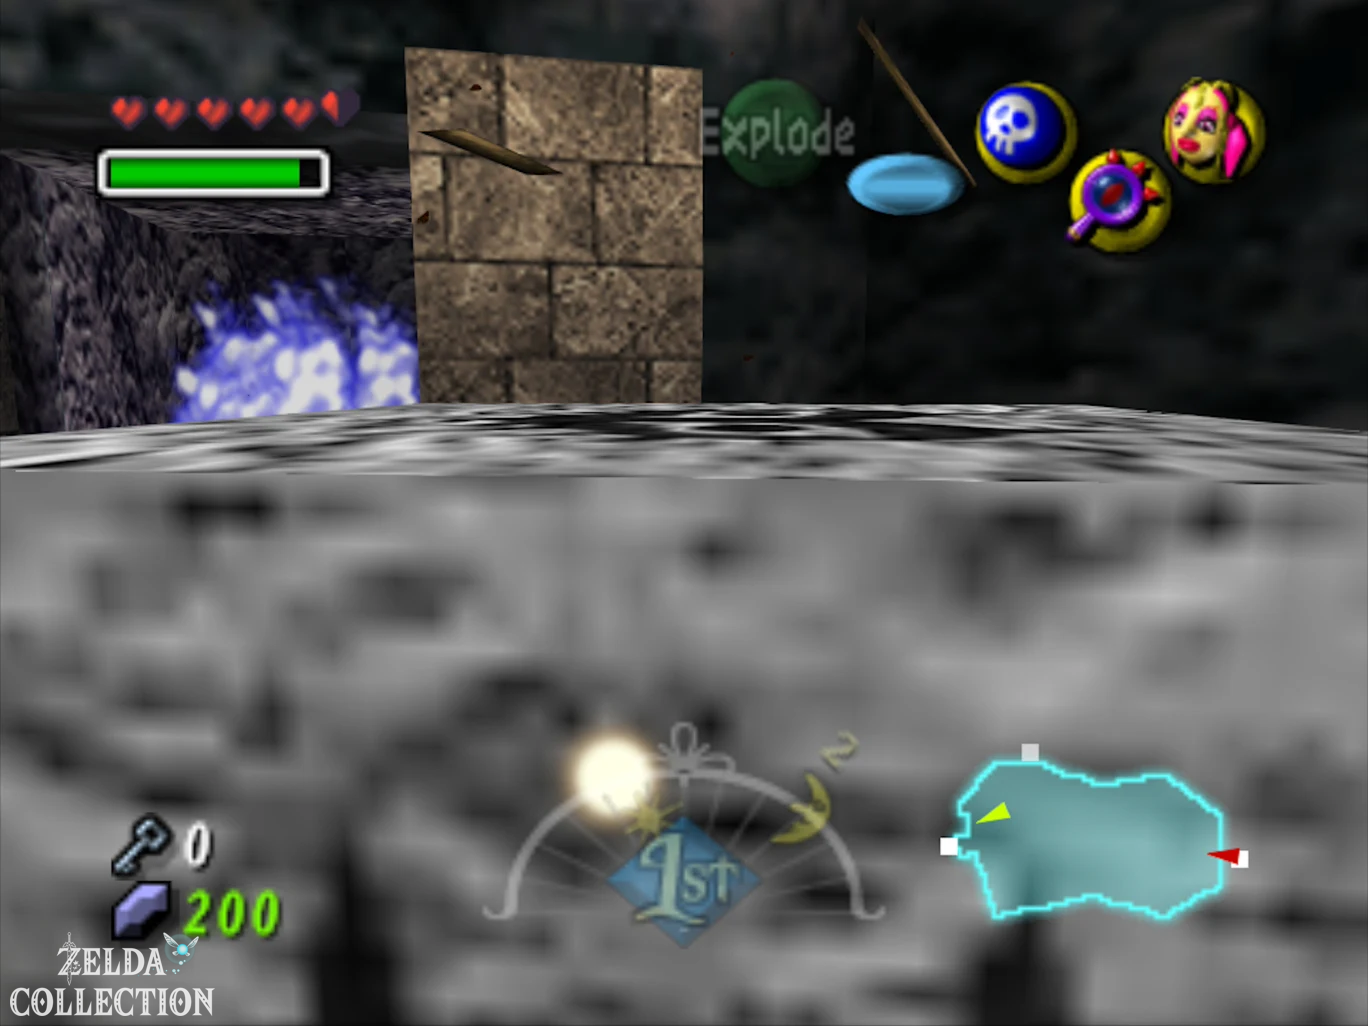
Return to the entrance area of the temple and open the locked door to the west with the key you just found. In the new room there are several large ice blocks and two snow wolfos. Eliminate the enemies and open the large chest with the Compass. Then take a closer look at the western wall: a clear crack reveals a point that can be exploded. Place a bomb in front of it or use the Blast Mask and go through the resulting opening.
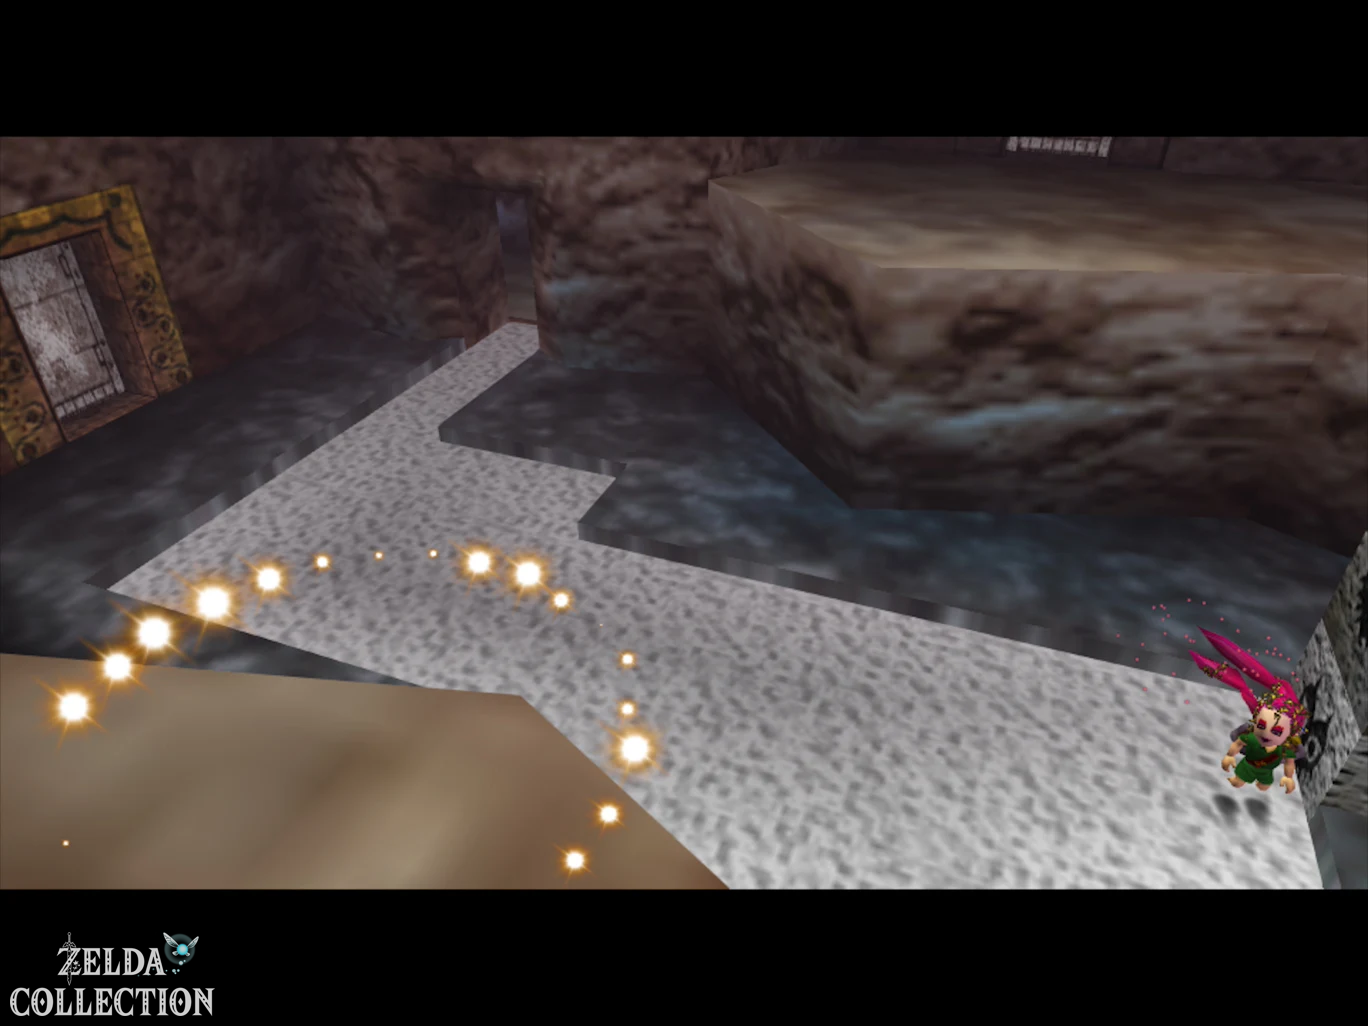
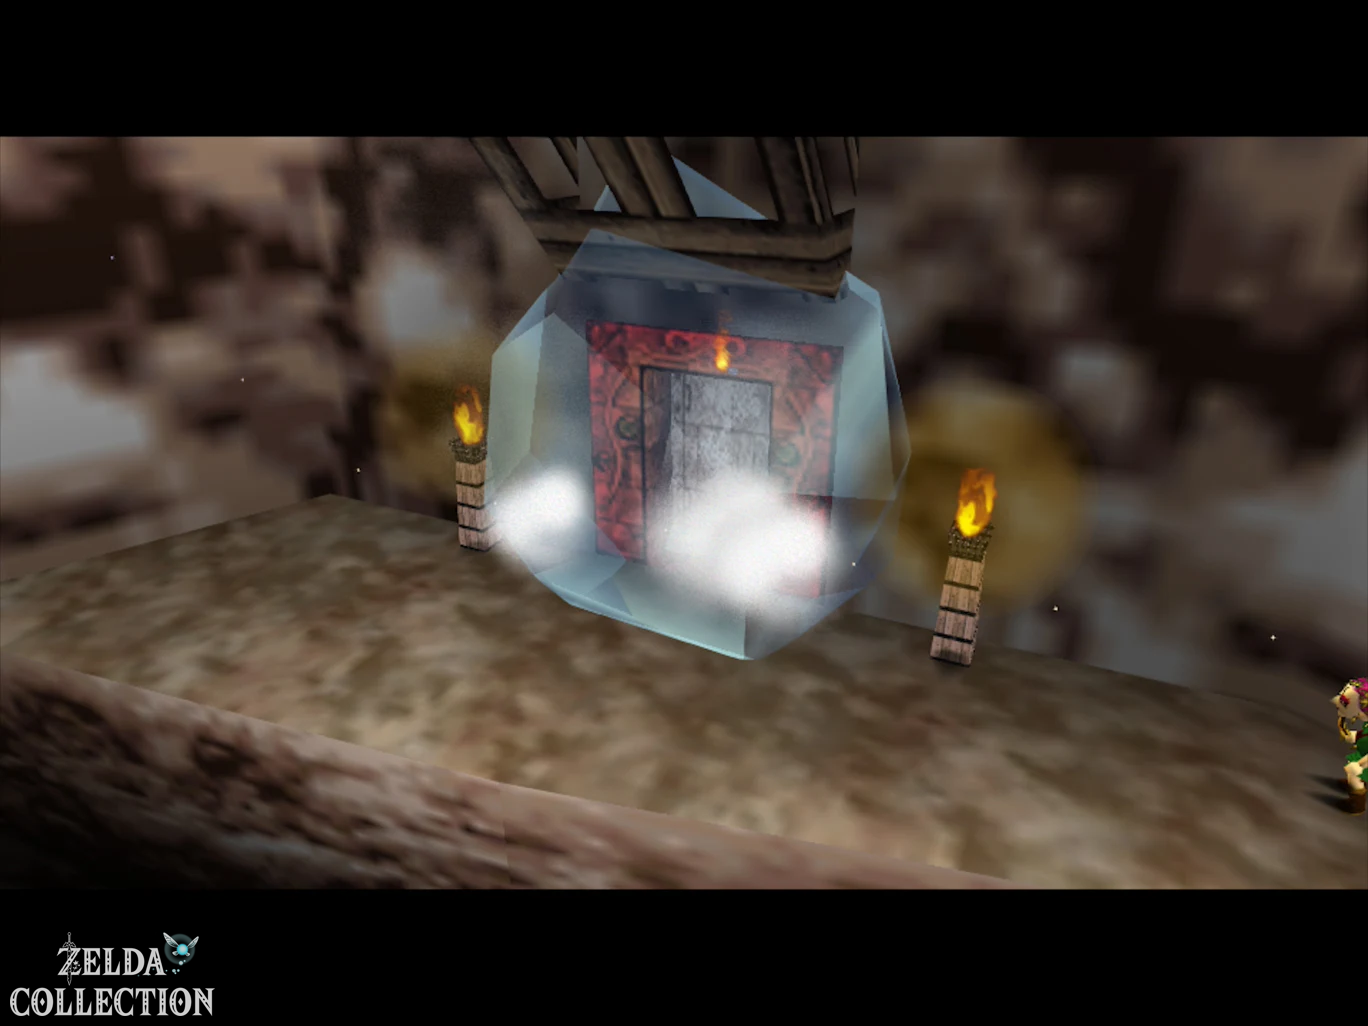
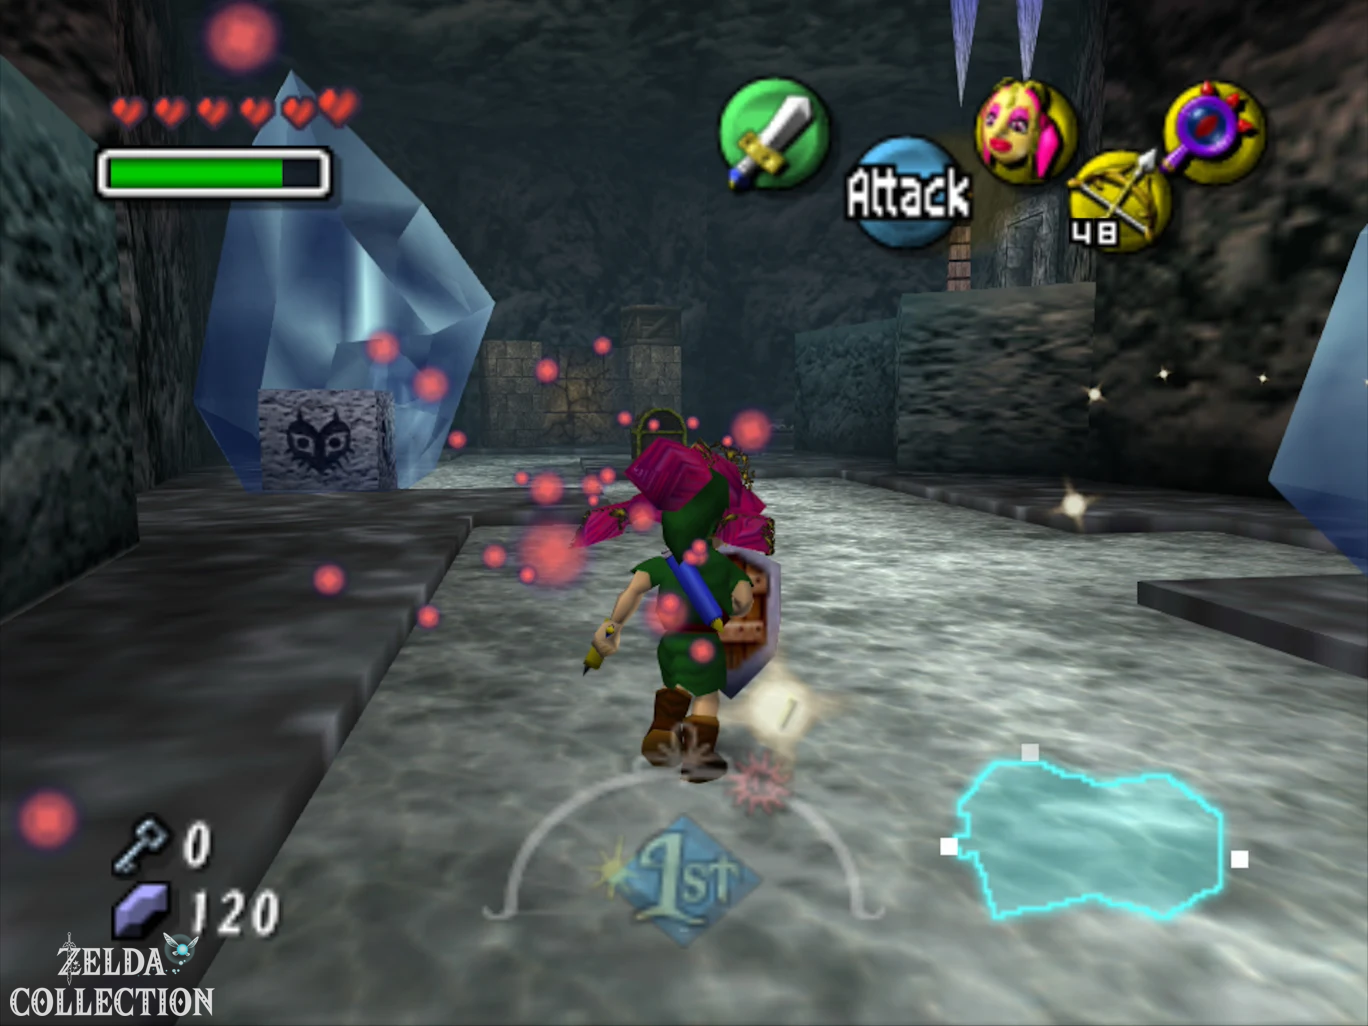
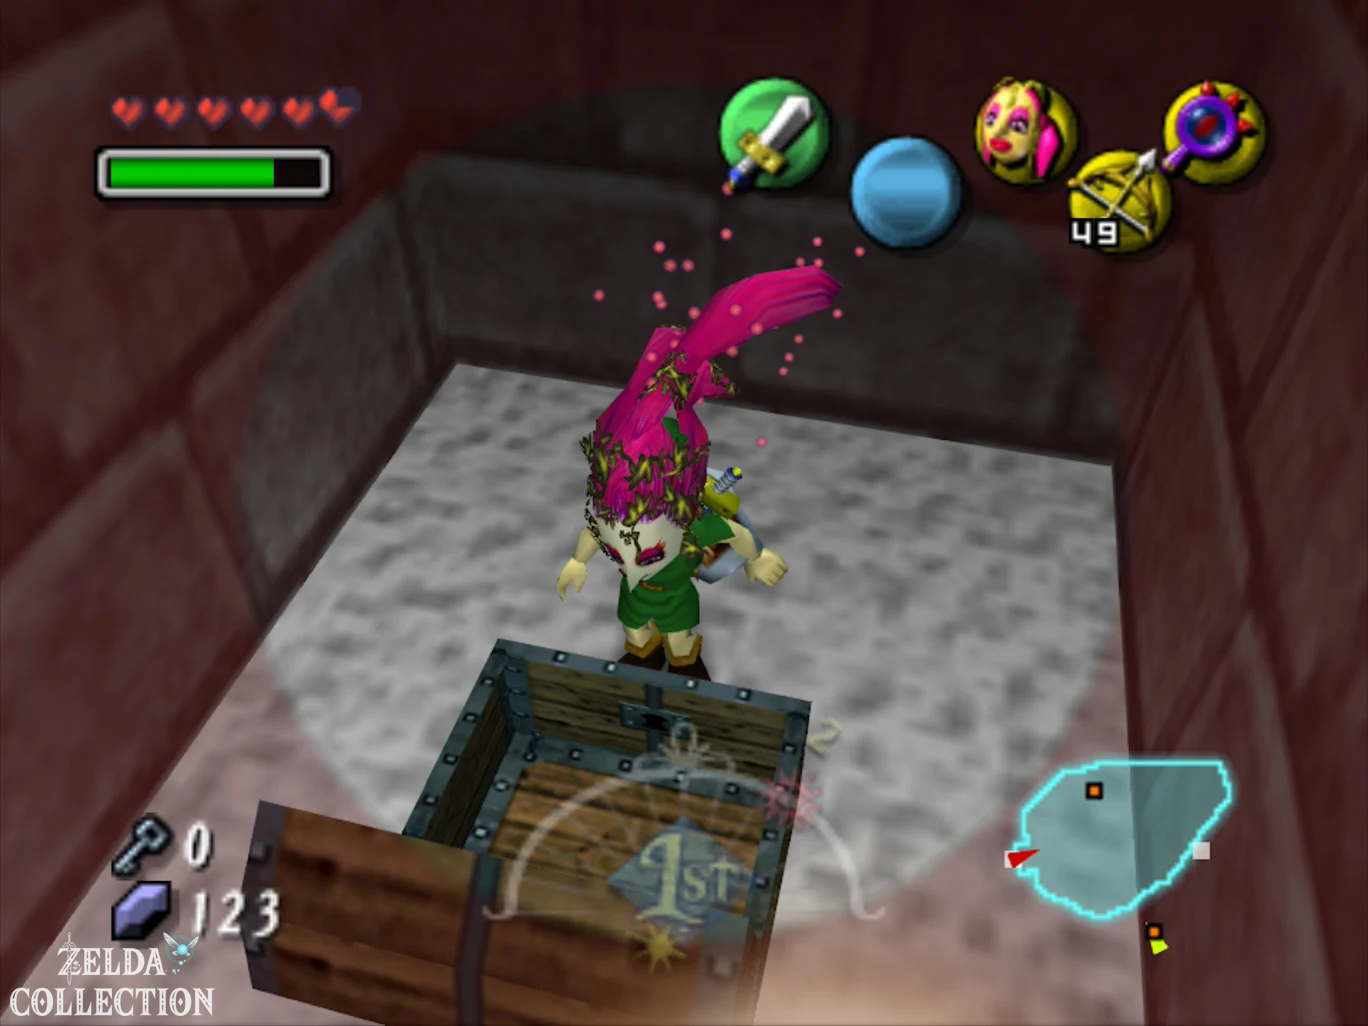
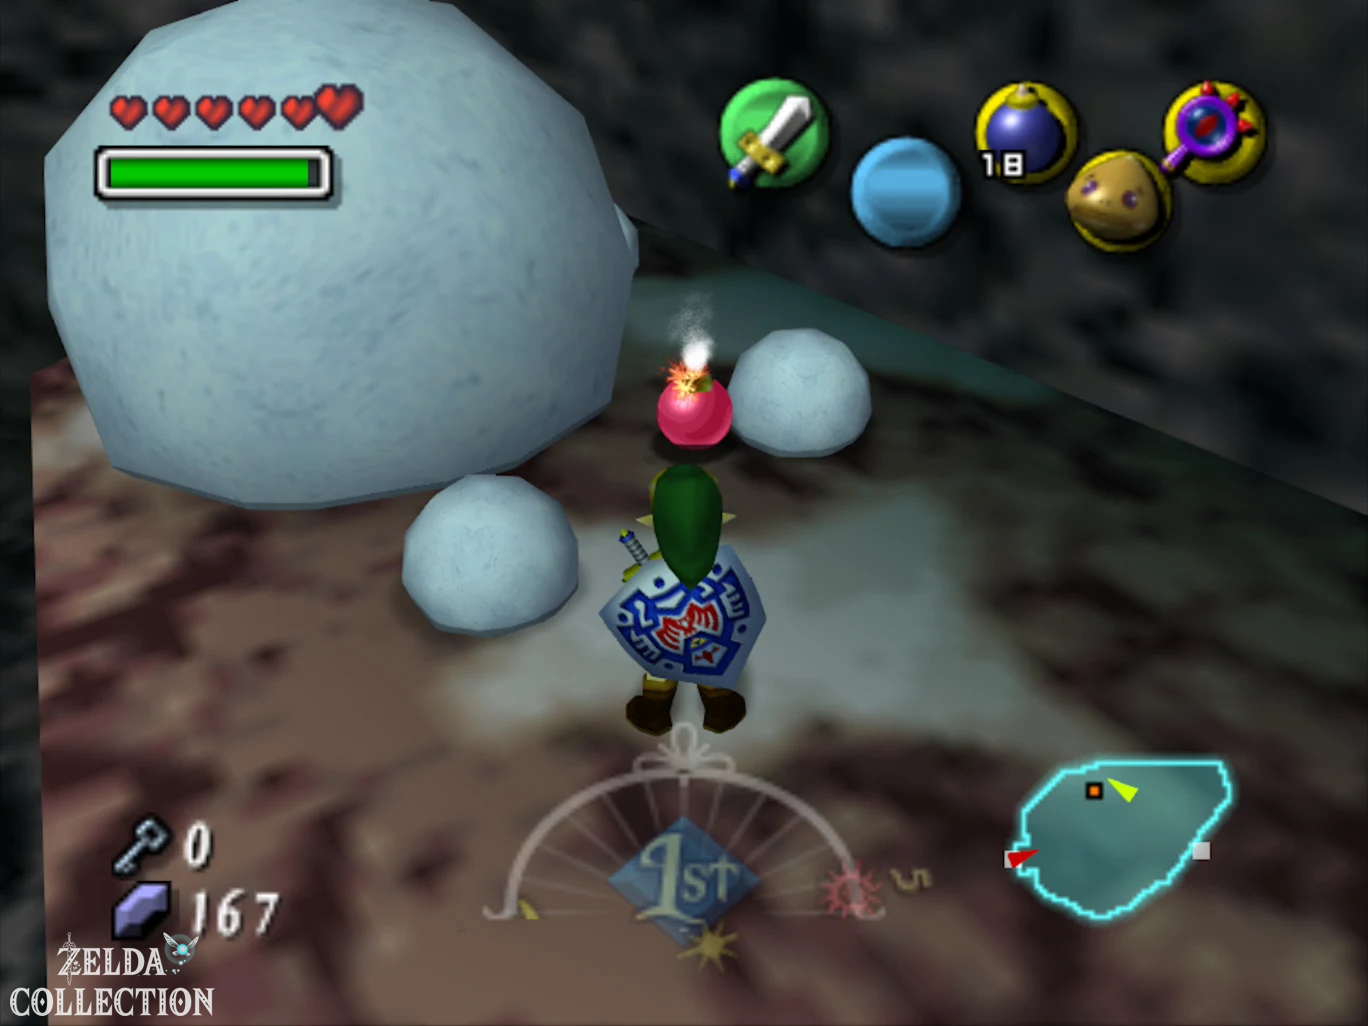
In the next room, several large icicles hang from the ceiling, while frozen blocks on high pedestals block the way. Shoot the icicles with the Hero’s Bow. They fall downwards and smash the ice blocks below. Then jump from pedestal to pedestal to the large snowball on the north side. Smash it as a Goron Link and open the chest hidden underneath with the second Small Key. Now use the Lens of Truth: A hidden niche will become visible on the southern wall. Jump in over the pedestals and open the chest with the fifth Stray Fairy.
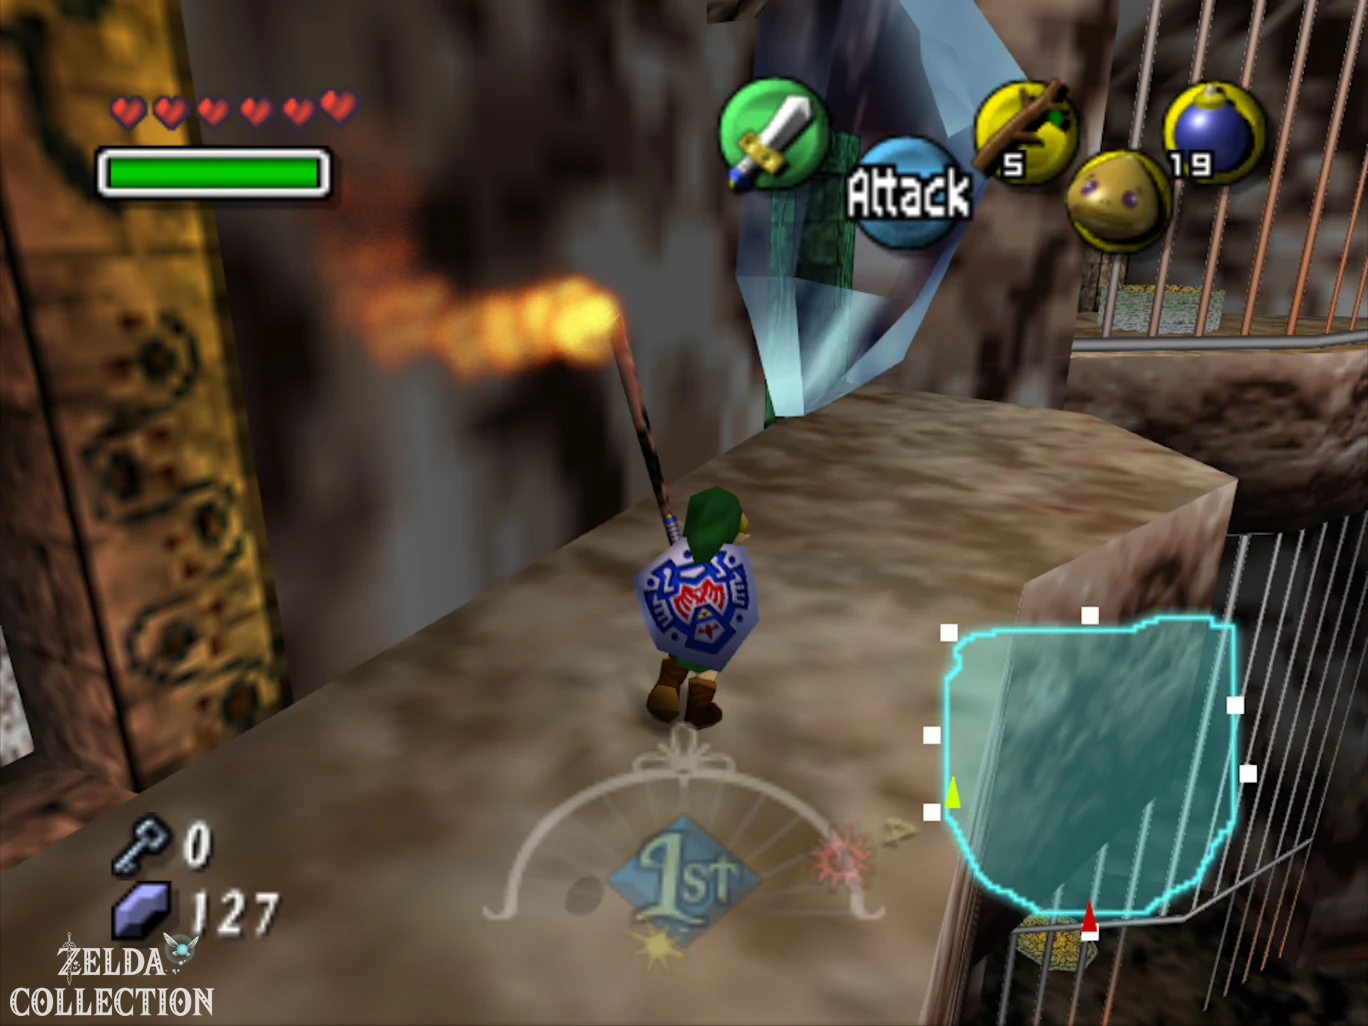
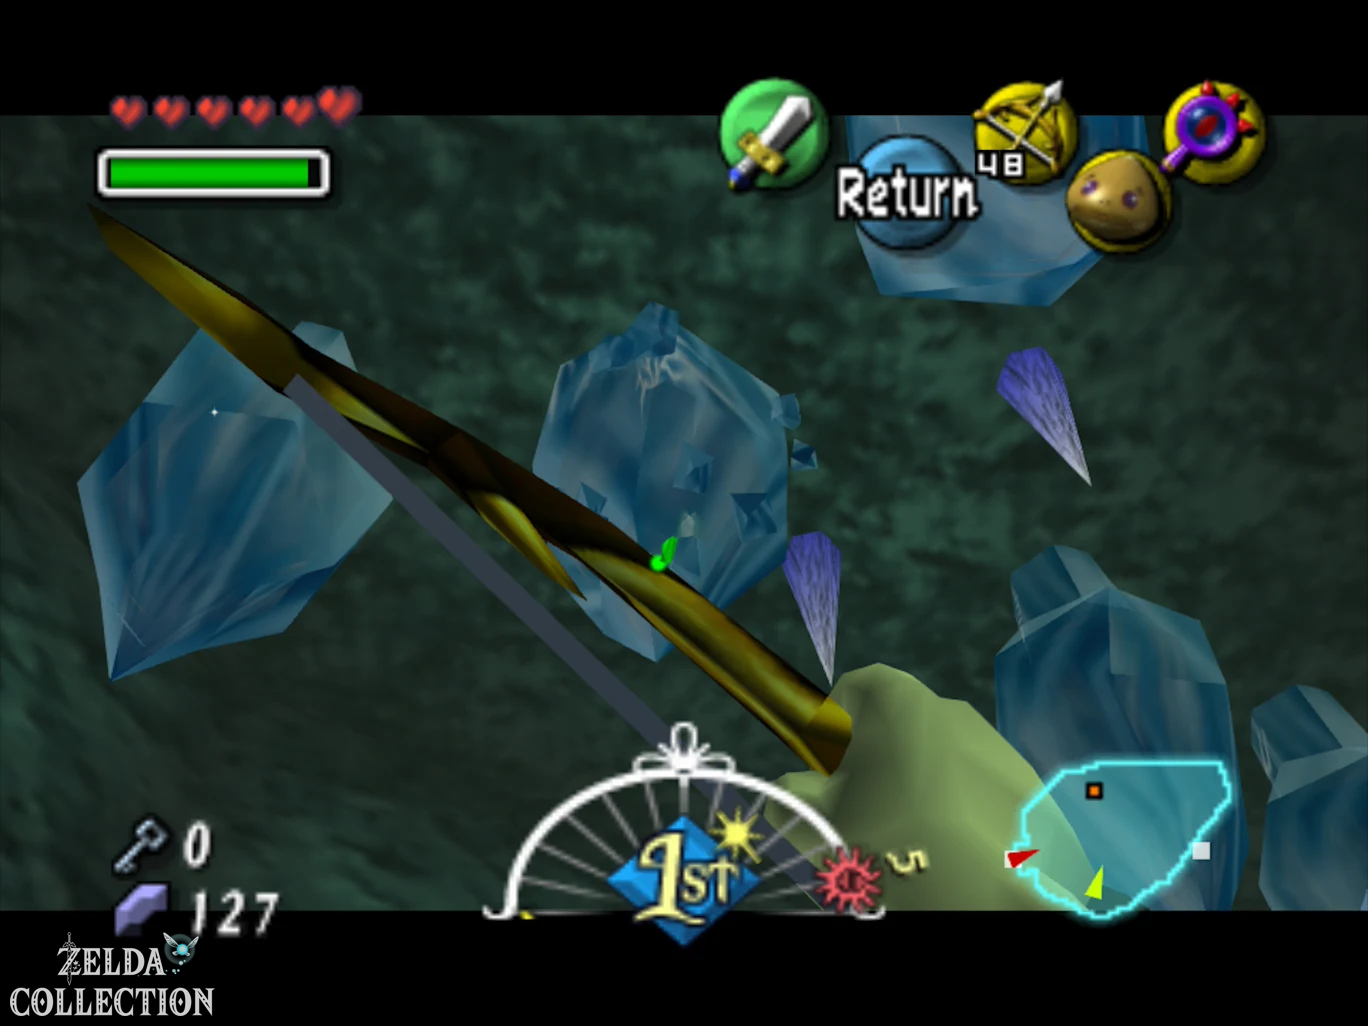
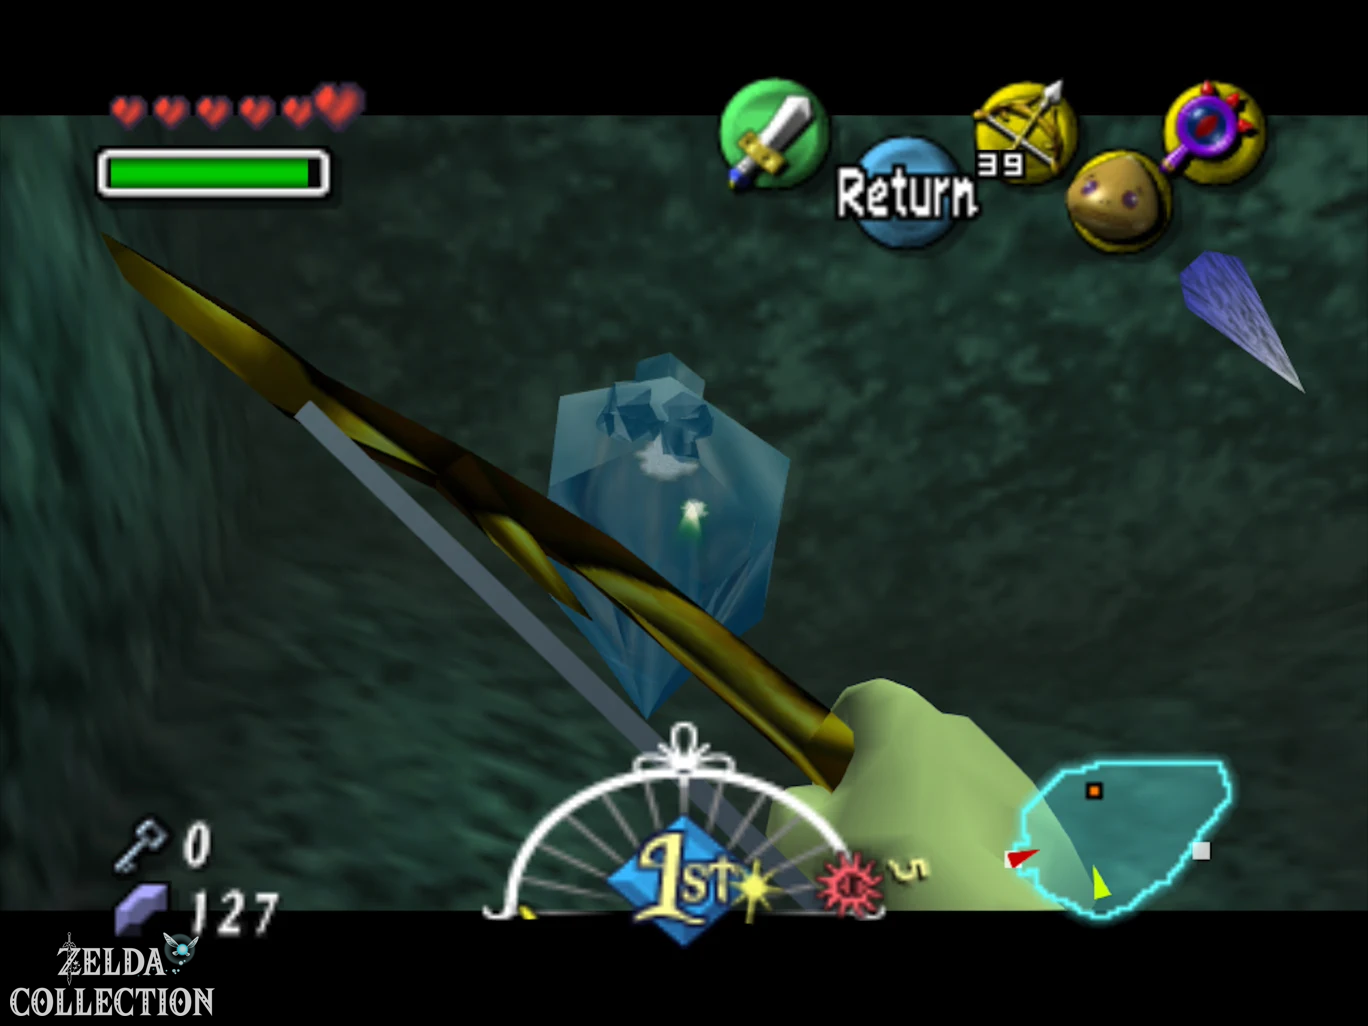
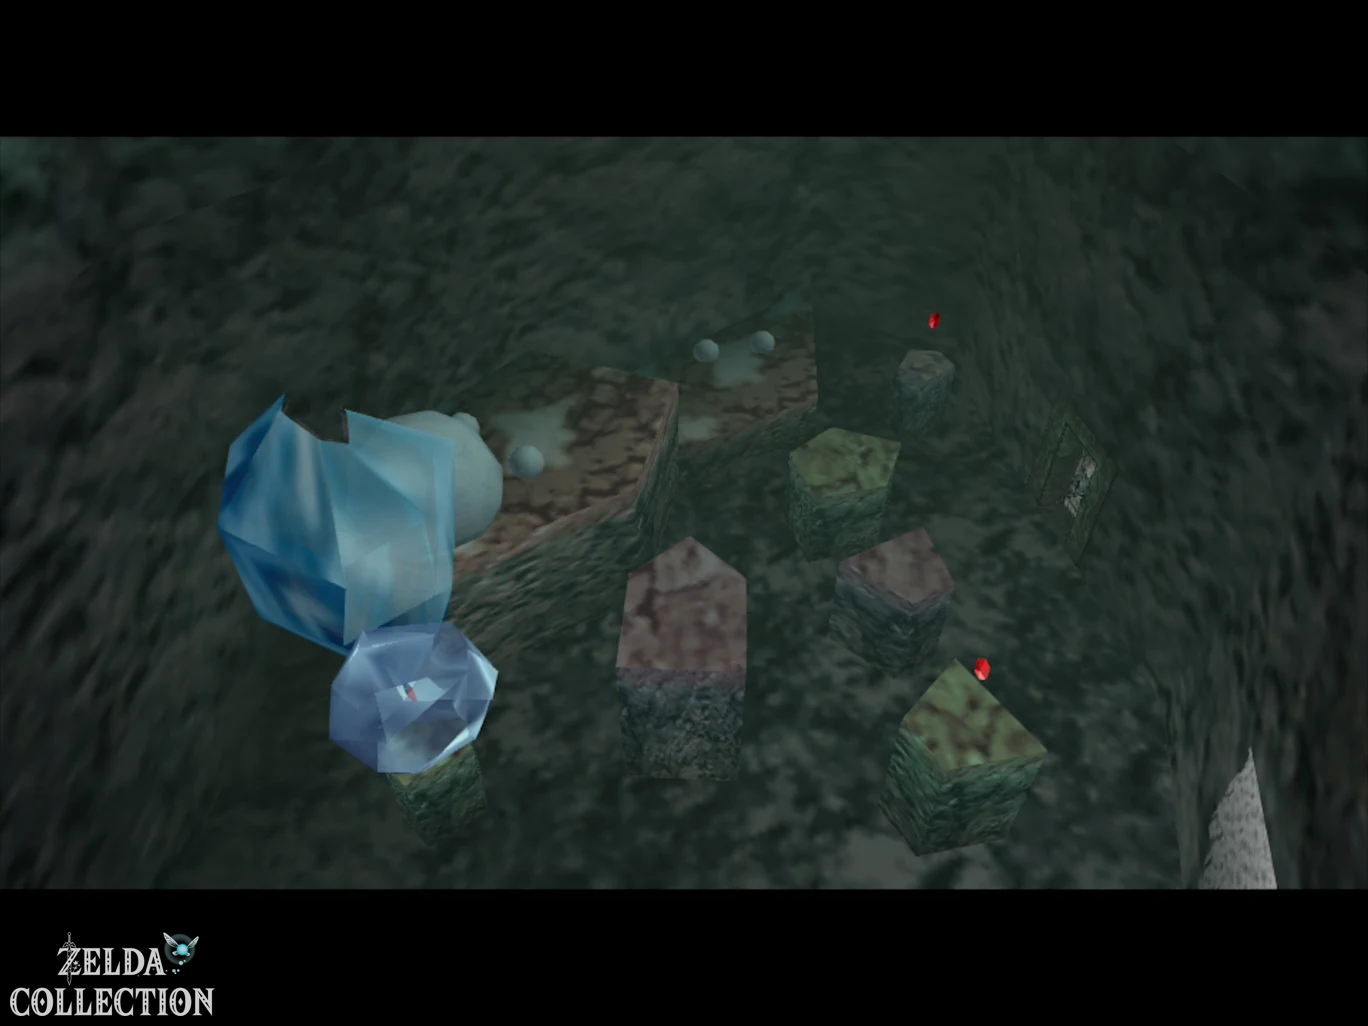
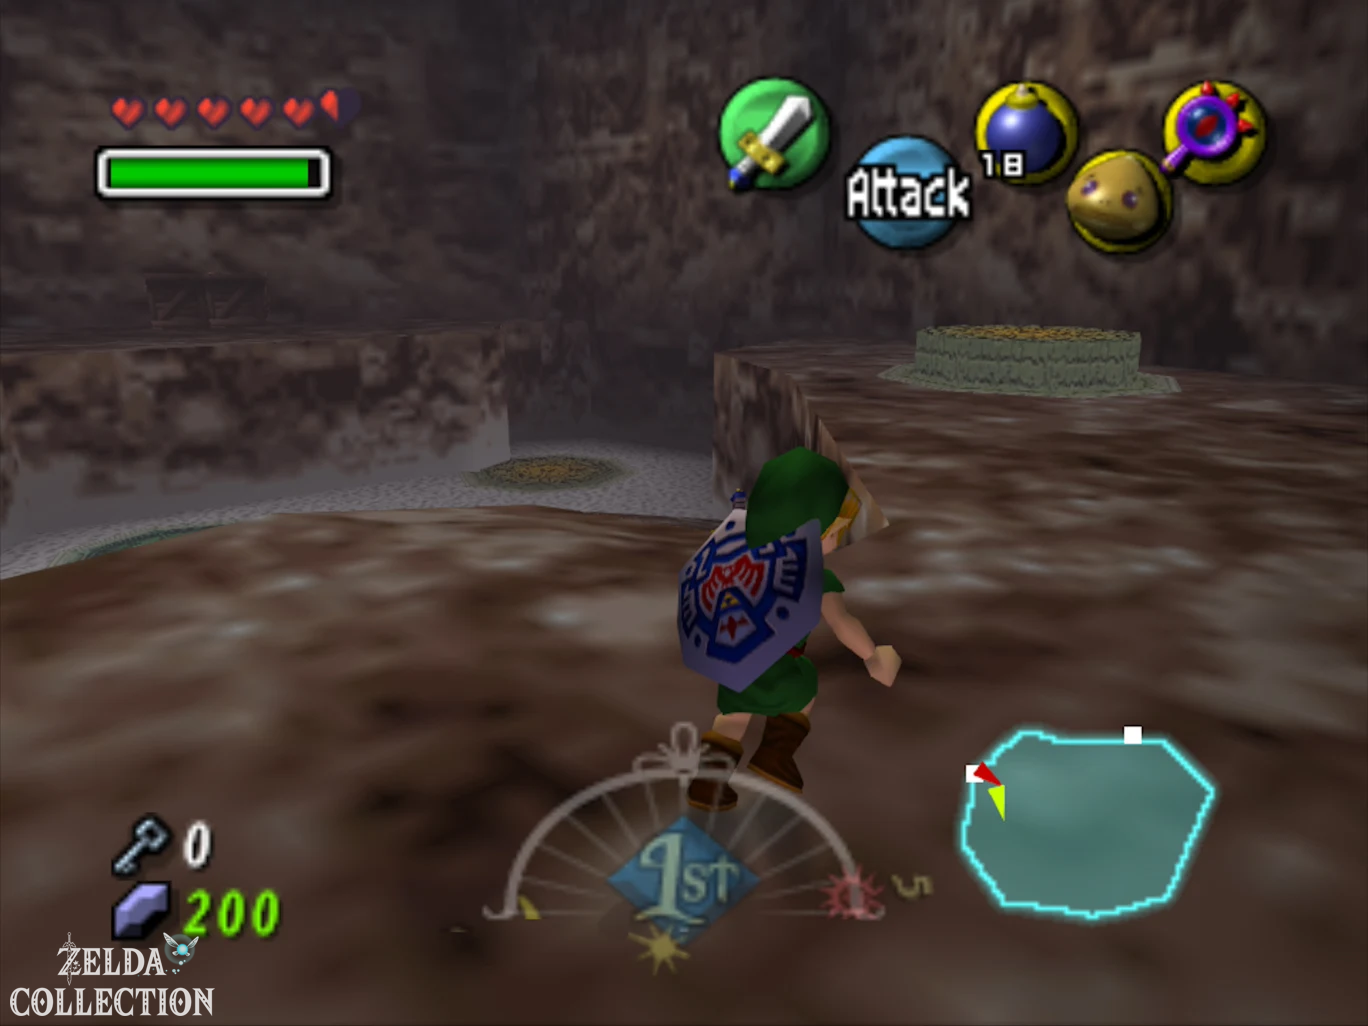
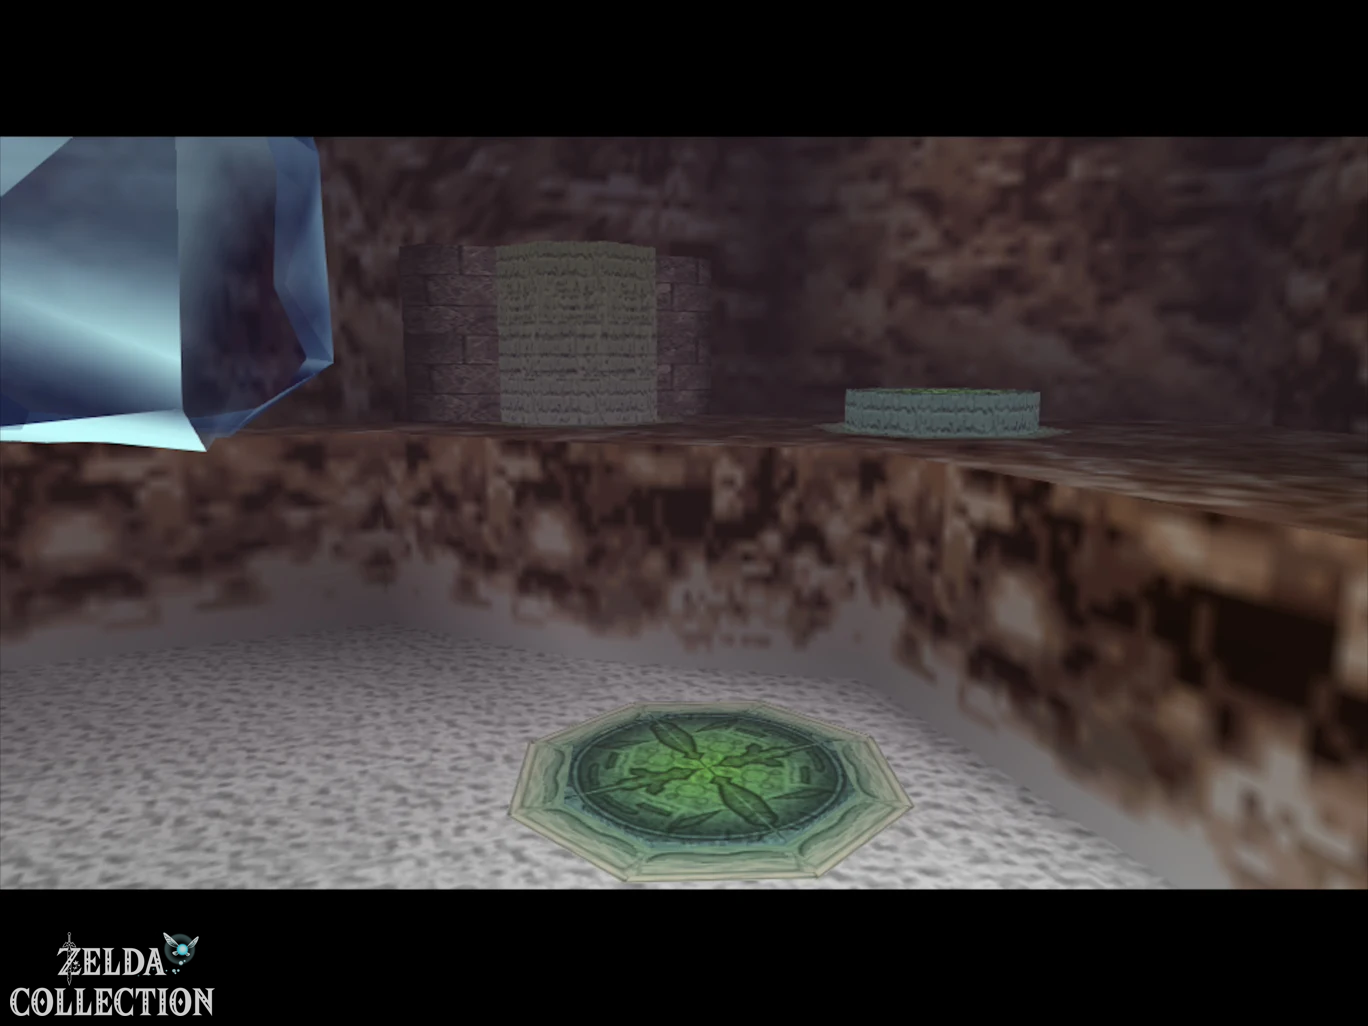
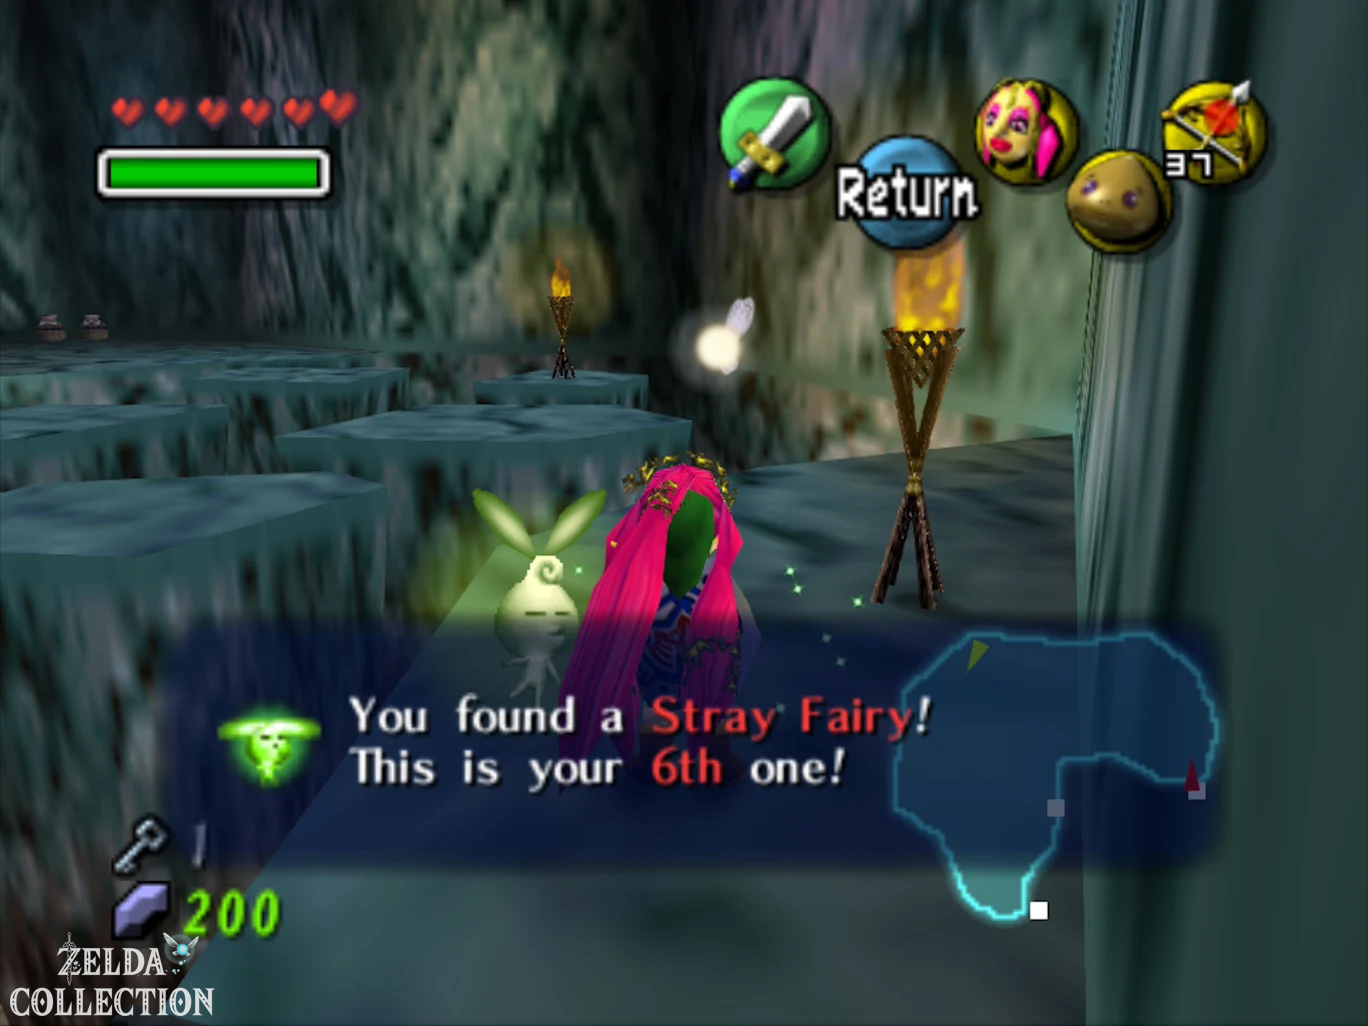
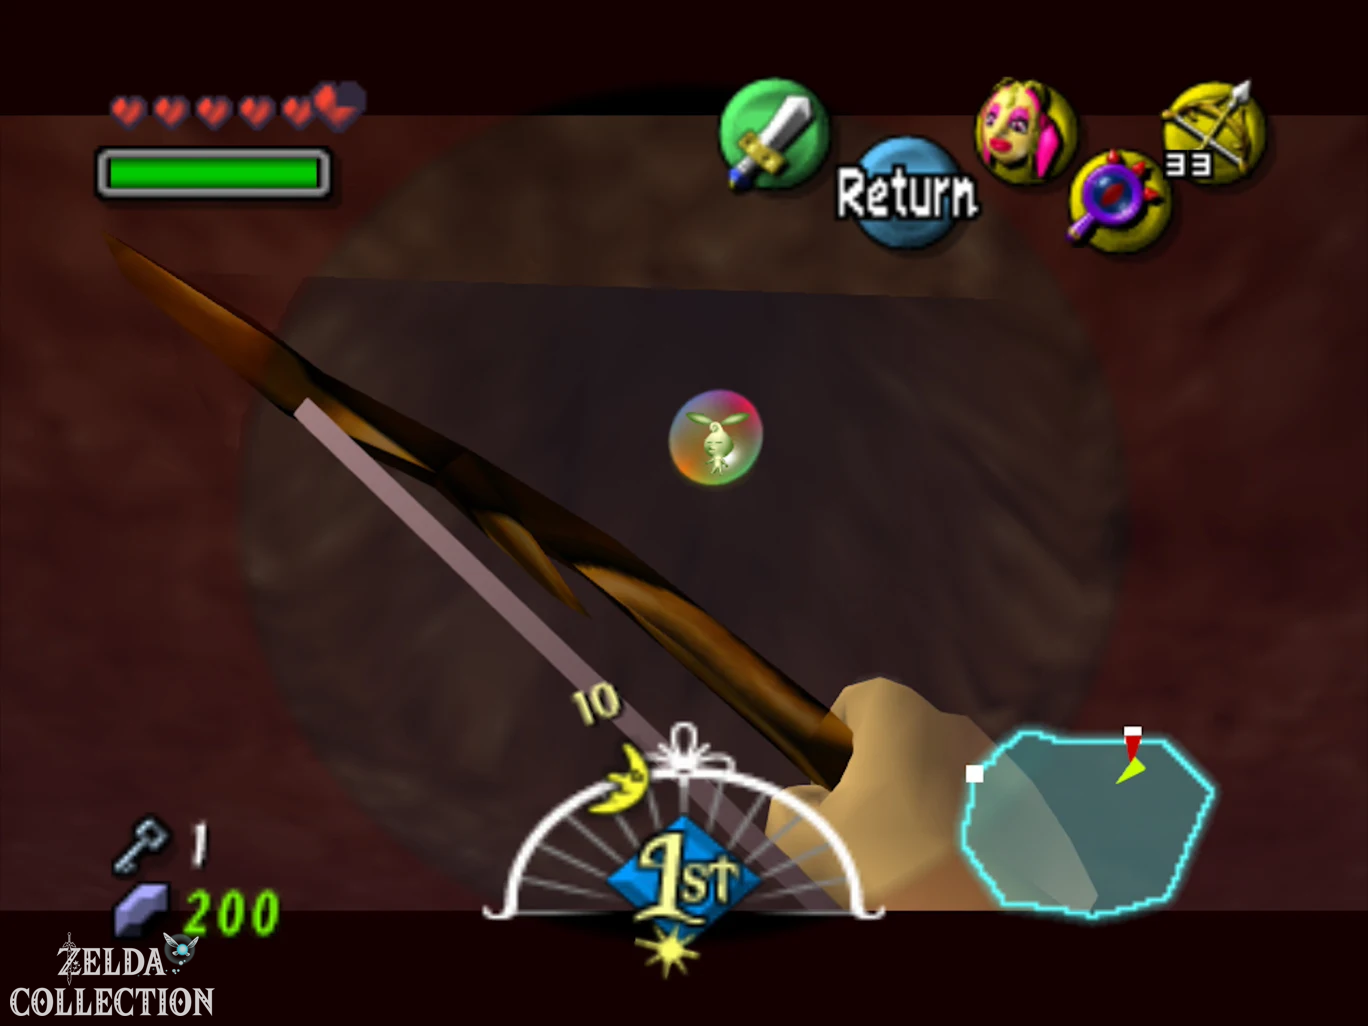
Then open the next door with the Small Key. The following room requires frequent switching between normal link and Goron link. First, as a Goron, stomp on the flat golden switch. This will cause two golden pillars to emerge from the ground, including a tall pillar in the deeper area and a second one in front of the exit. Switch to the normal link and jump to the opposite platform. There you, as a Goron, stomp the flat blue-green switch, which causes another pillar to extend for a short time. Before you use this, jump back to the tall golden pillar in the lower area and stomp it back down to release the exit. Immediately switch back to the normal link, climb up the briefly raised blue-green pillar and reach the door. Before you leave the room, use the Lens of Truth: There is a hidden fairy floating in a bubble on the ceiling. Shoot them free and collect the sixth Stray Fairy.
Wizzrobe and the Fire Arrows
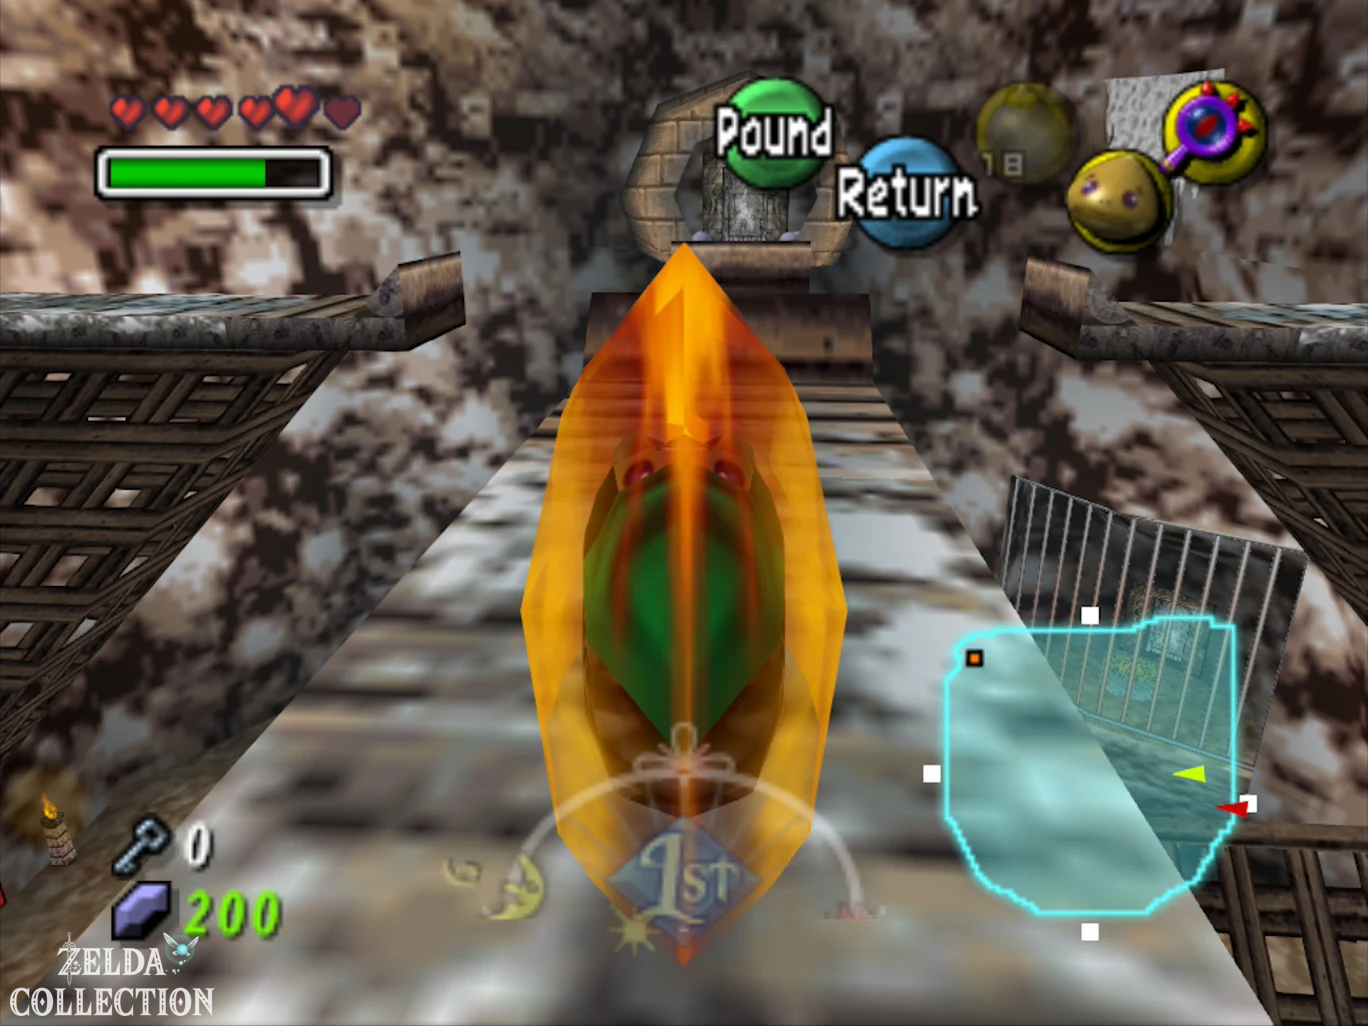
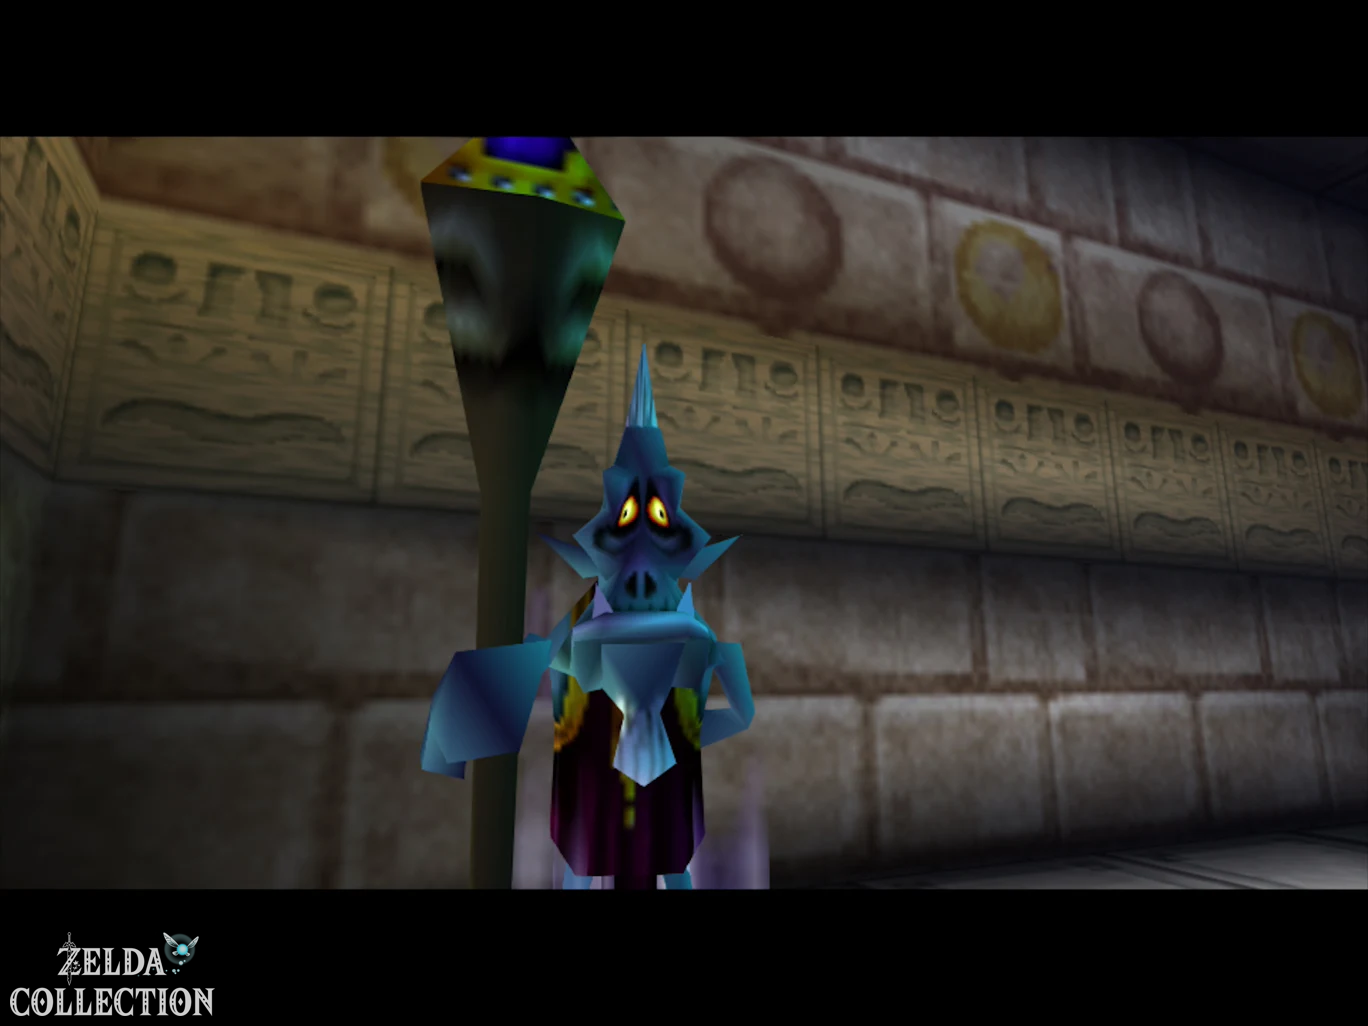
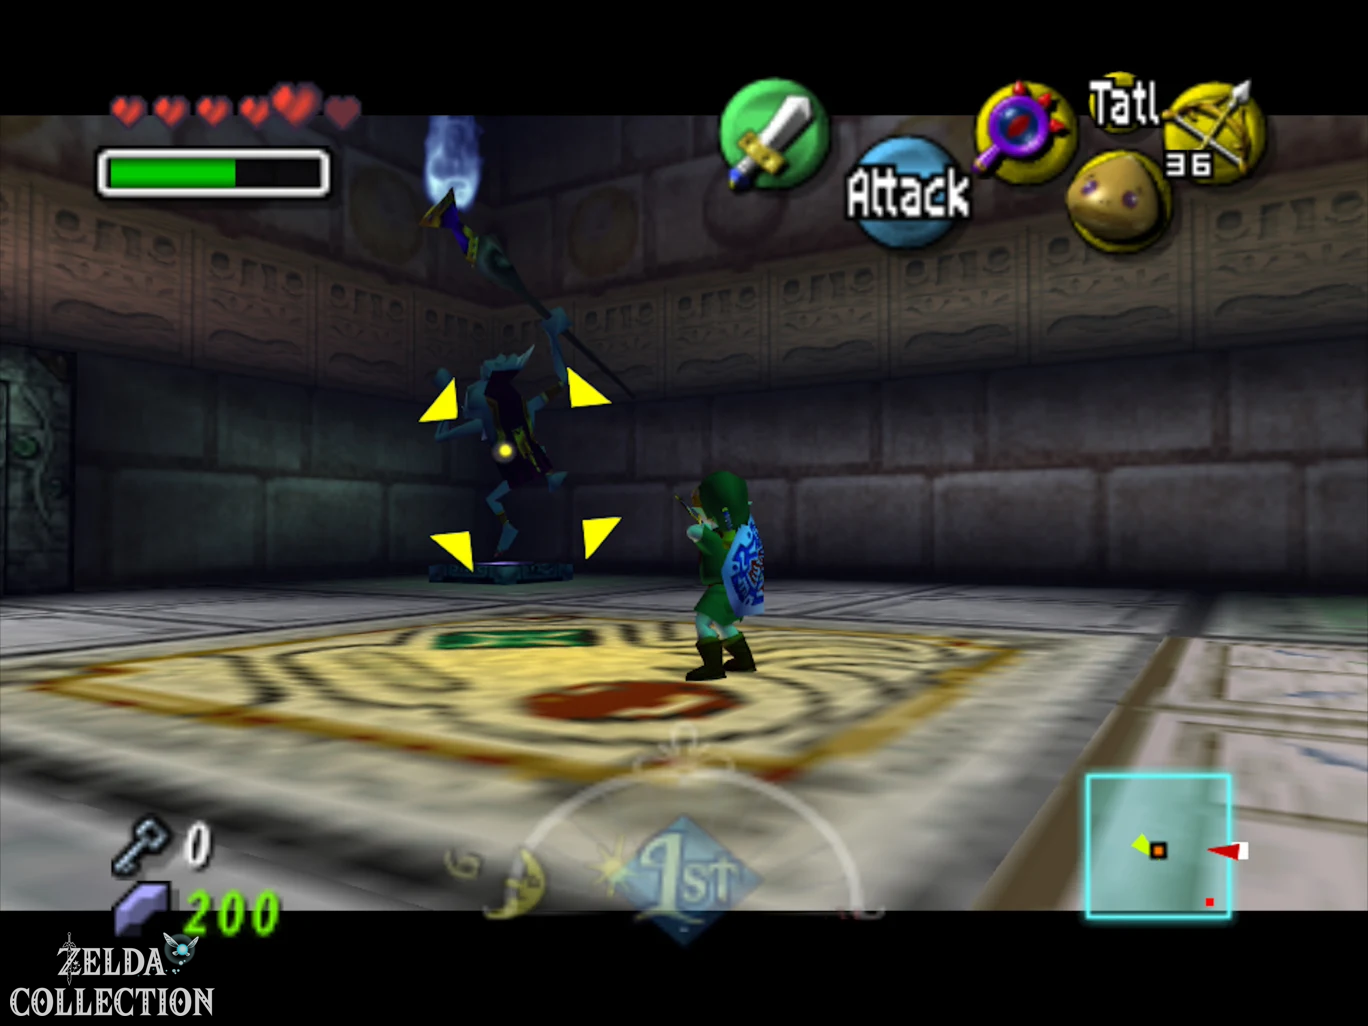
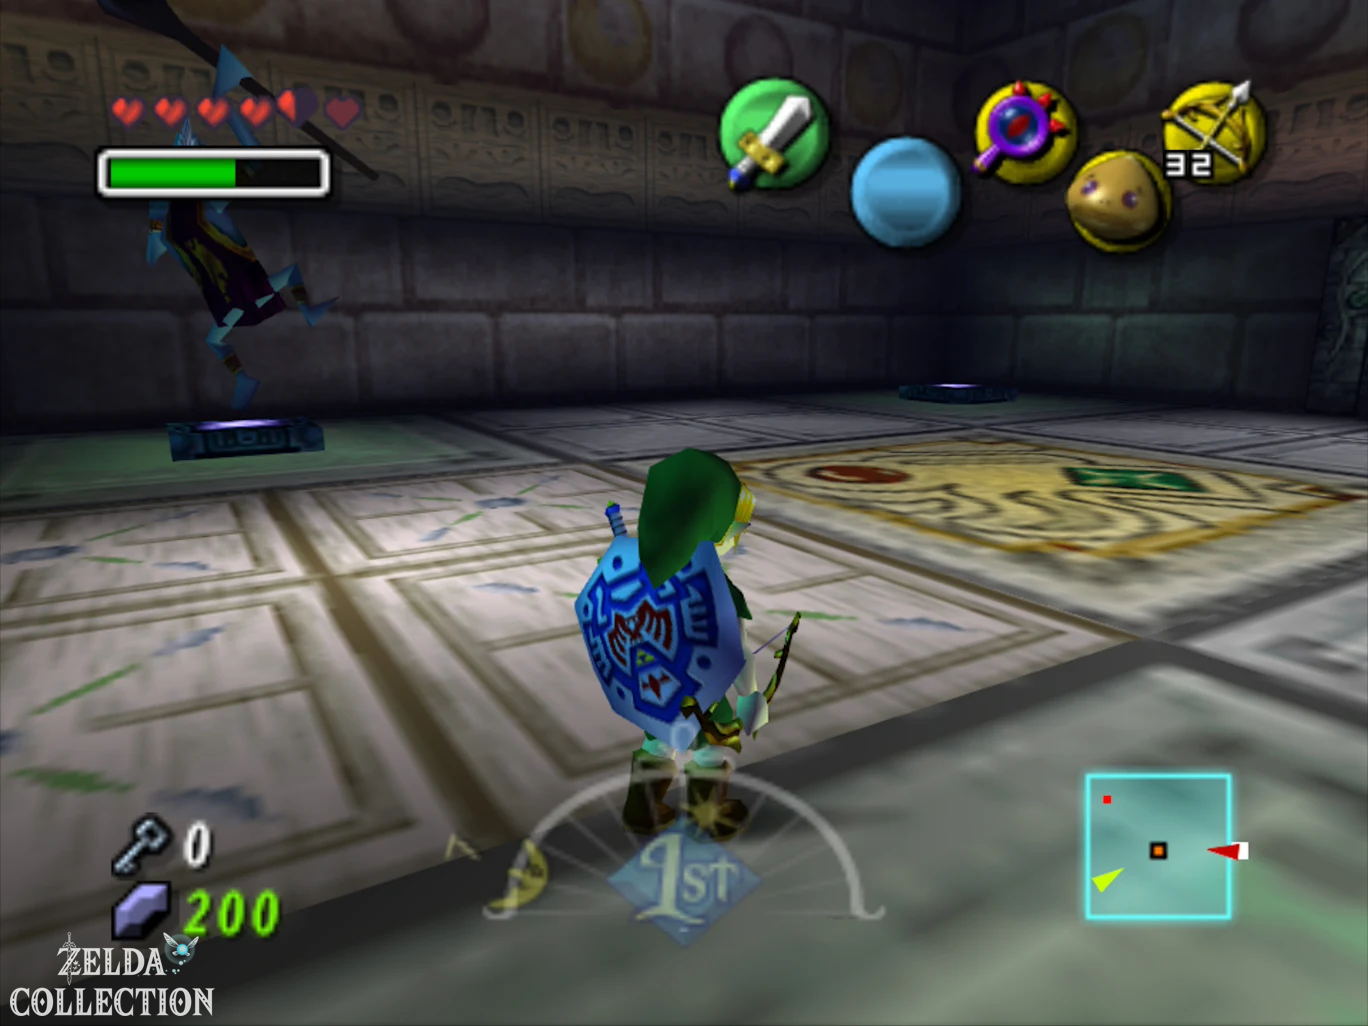
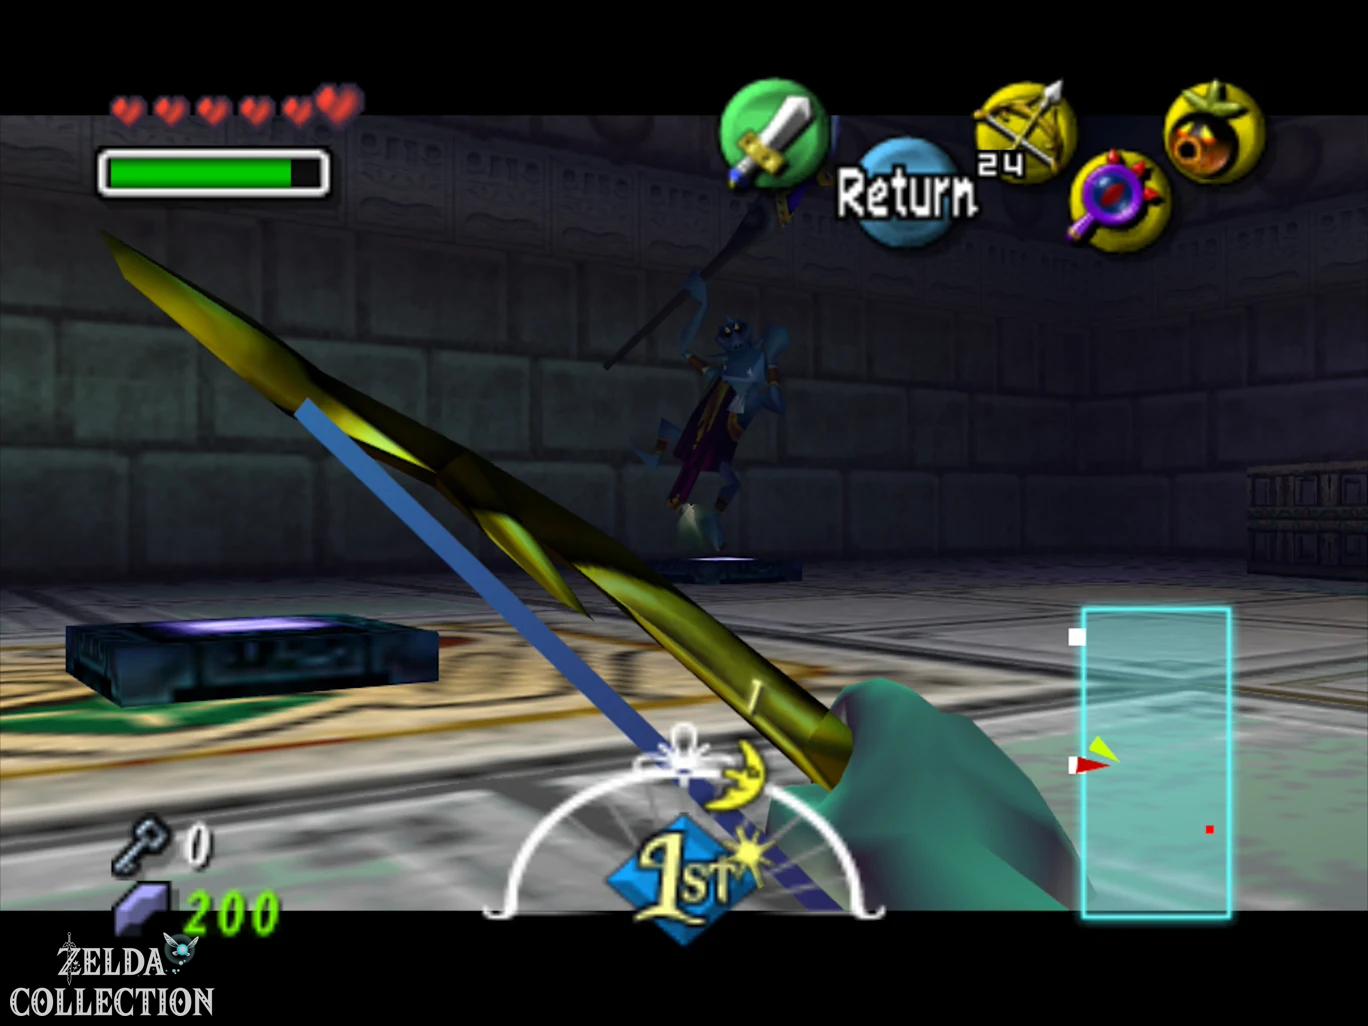
You are now on a higher level of the bridge area. Transform into Goron Link, roll straight across the first gap, follow the icy path to the right and cross the next bridge with a second quick roll. Wizzrobe, the temple’s first major enemy, is waiting behind the door. He teleports between several raised pedestals and hurls ice spells at Link. Watch carefully to see which base it fully materializes on. Only then run to him and attack with the sword; If you approach it too early, it will disappear immediately.
After several hits, Wizzrobe creates illusions of itself. The copies disappear very quickly, while the real Wizzrobe remains visible a little longer. Tatl is also based on the real opponent and thus helps with identification. With the Bunny Hood you can switch between platforms particularly quickly. Repeat the attack until Wizzrobe is defeated.
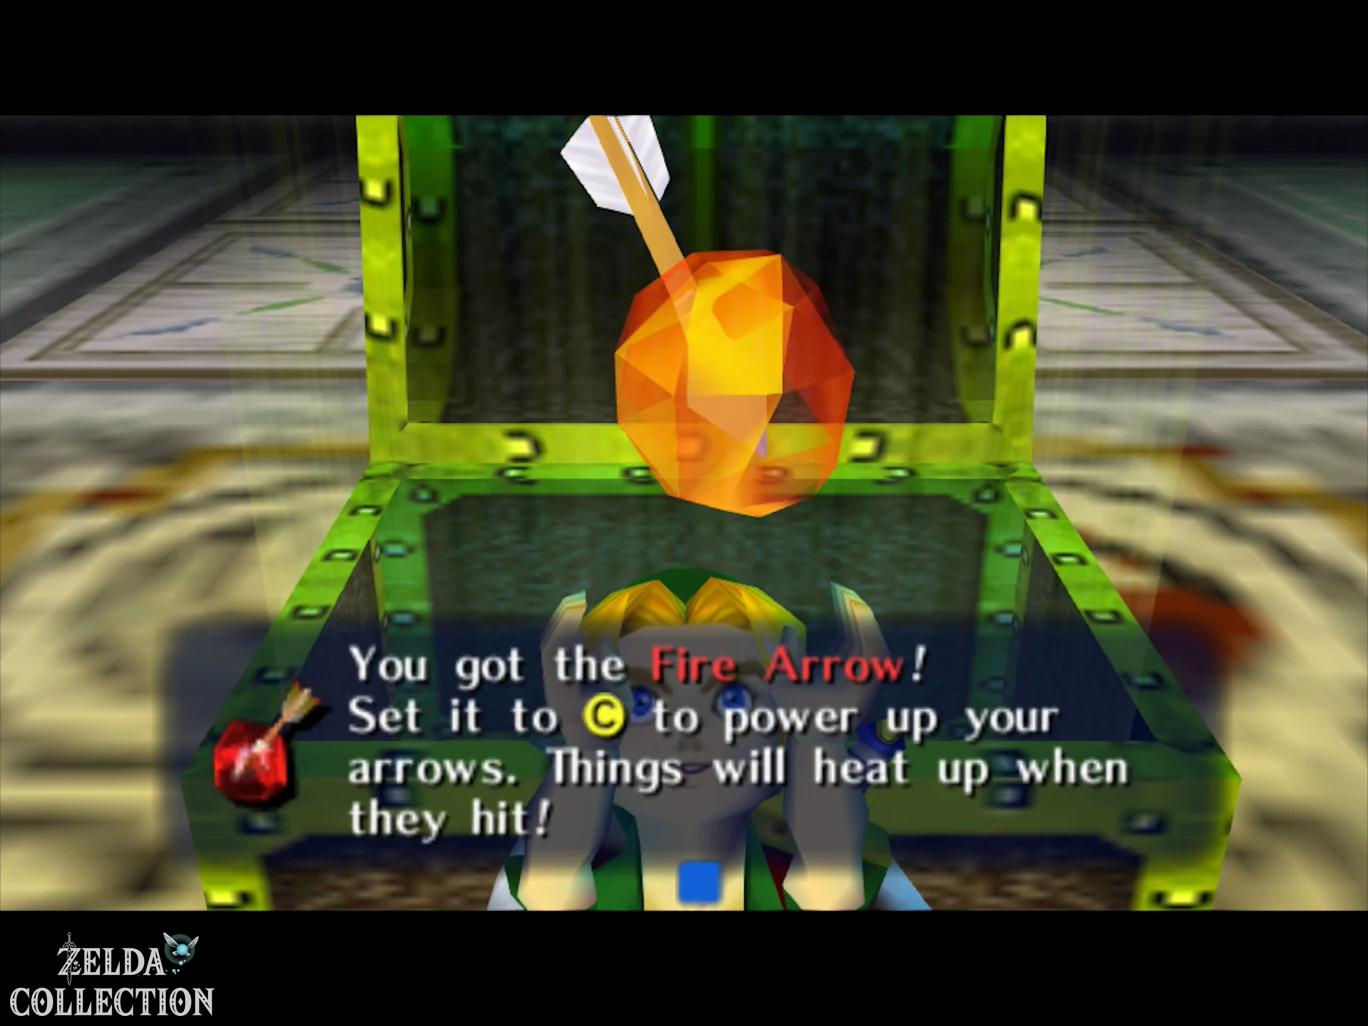
The large Treasure Chest contains the Fire Arrows. With them, Link can melt ice, light torches from long distances, and eliminate many cold-based enemies with a single hit. Fire Arrows consumes additional magic in addition to a normal arrow.
New paths with the fire arrows
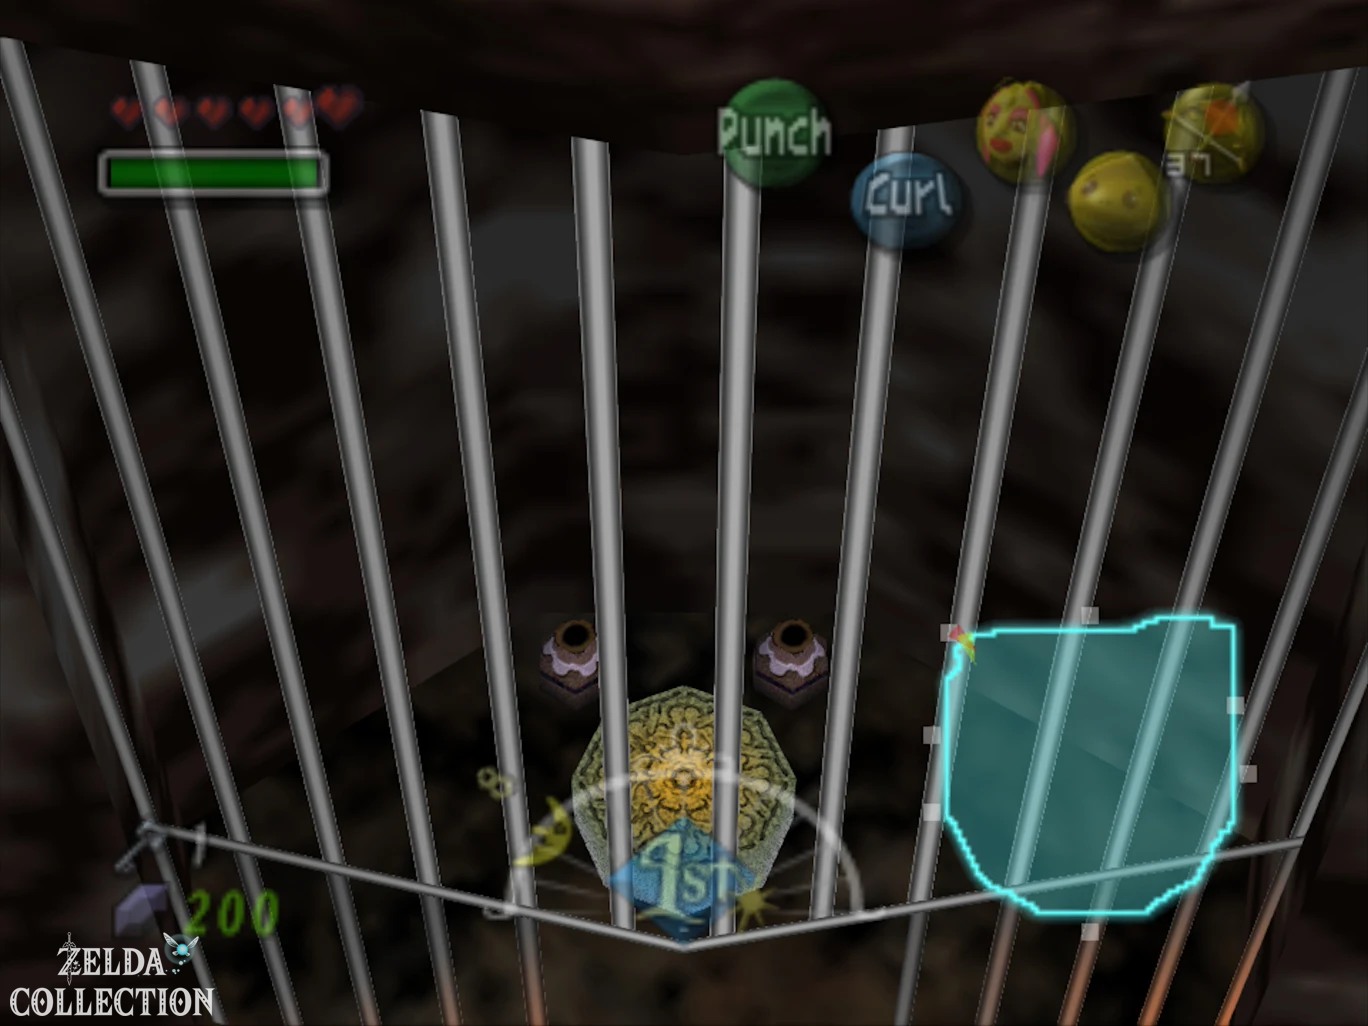
Return across the bridges to the central main hall. Several doors and stairs there are still blocked by ice. First melt the ice on the green marked door and enter the room behind it. Three ice opponents stand on narrow pillars and try to throw Link down. Shoot them with fire arrows. Once all three are eliminated, a chest will appear containing the seventh Stray Fairy. Then use fire arrows to light all three torches in the room. The middle door opens and leads to a small room behind a grate. Perform a Goron Stomp on the large switch there. A huge column then rises in the central hall, connecting several floors together.
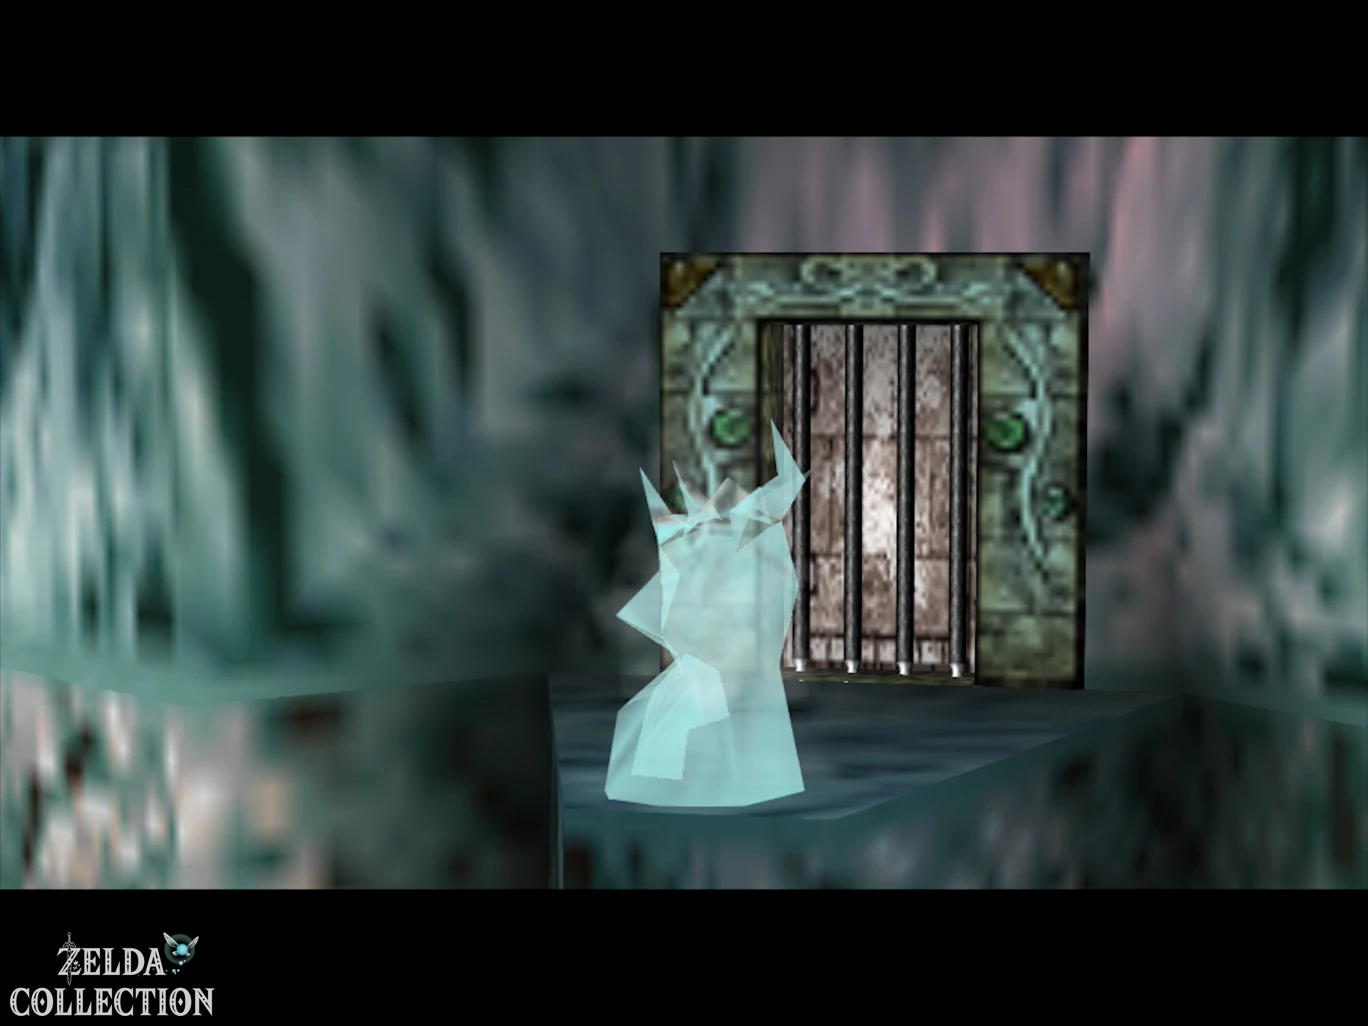
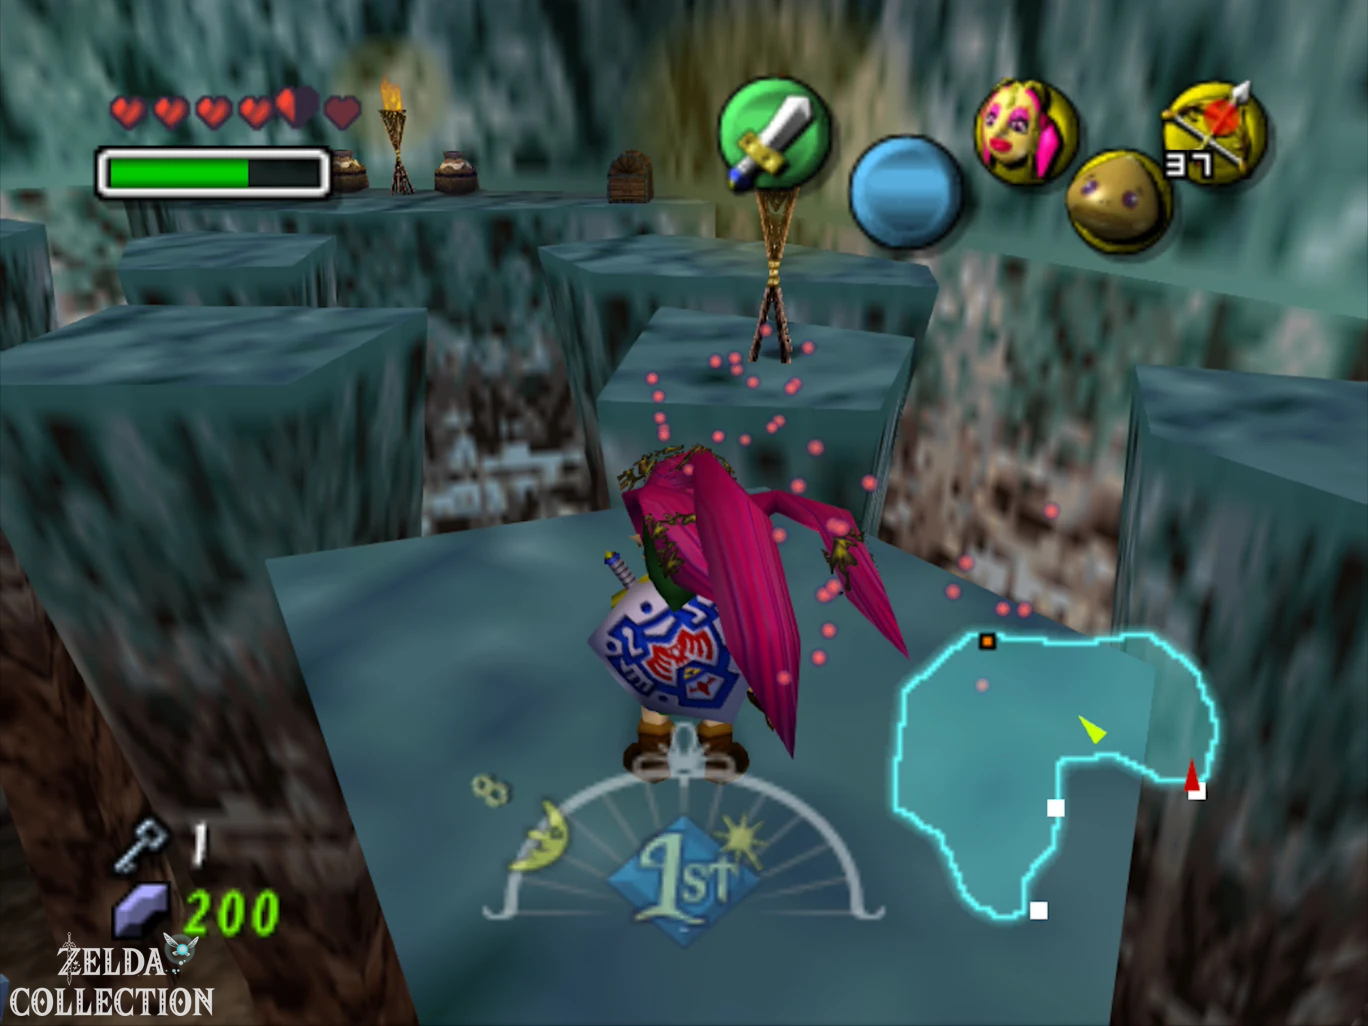
First return to the room where you found the Compass. Melt all the icy spots there. A movable gray block appears under one block of ice, and a Floor Switch under another. Step on the switch; a Treasure Chest appears on a raised platform. Push the gray block over the ice so that you can use it as a step, jump to the platform and open the chest with the eighth Stray Fairy. There is also a wooden box on a pillar in the same room. Throw a bomb at it or blow it up from a distance and collect the hidden ninth Stray Fairy with the Great Fairy’s Mask.
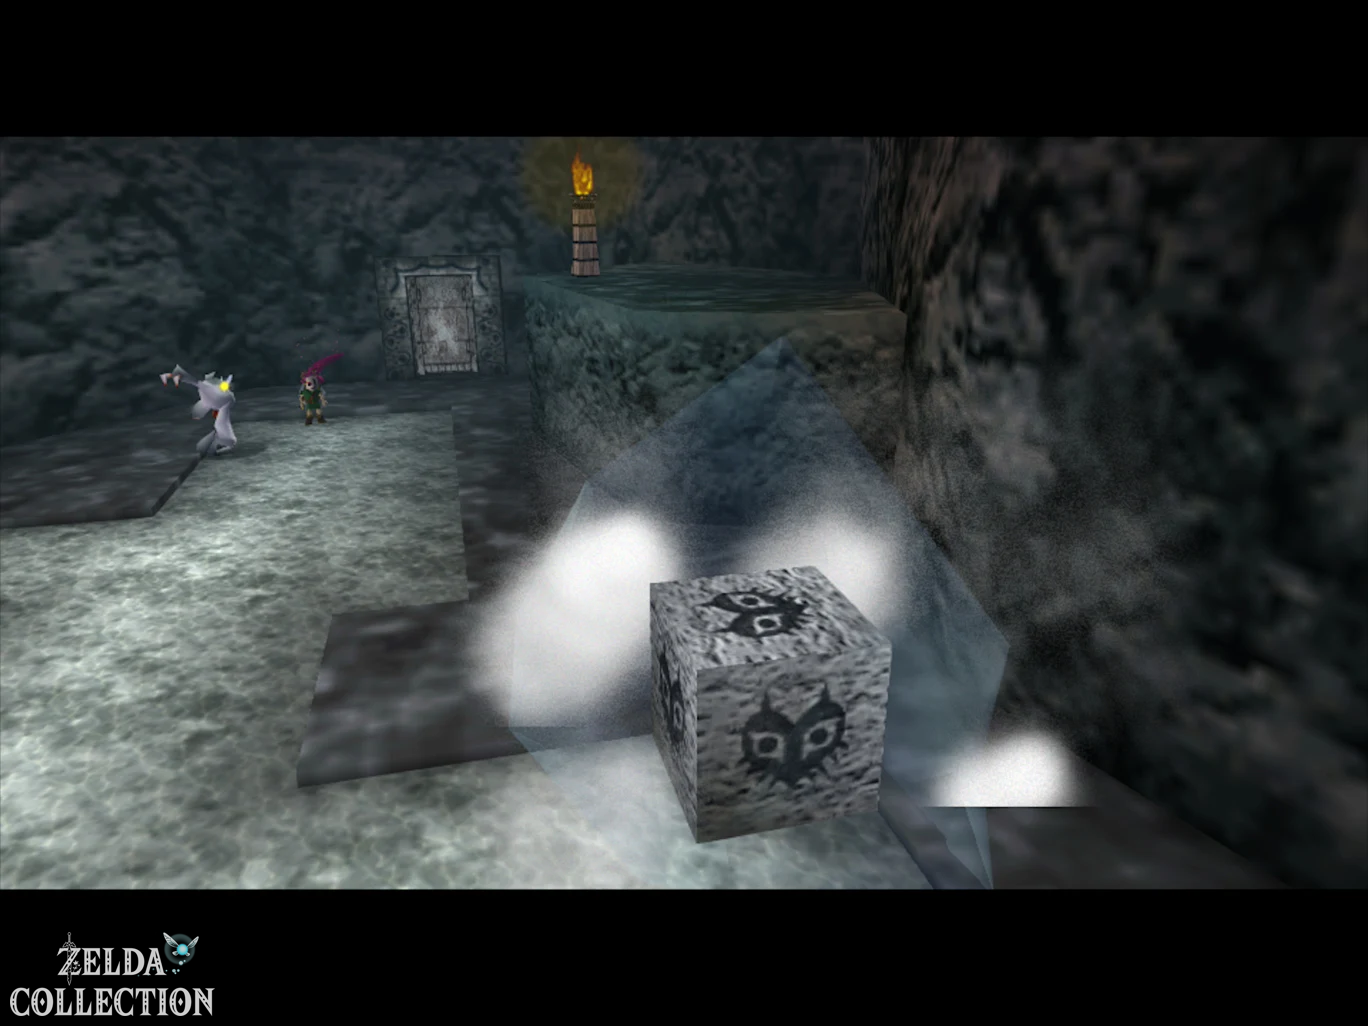
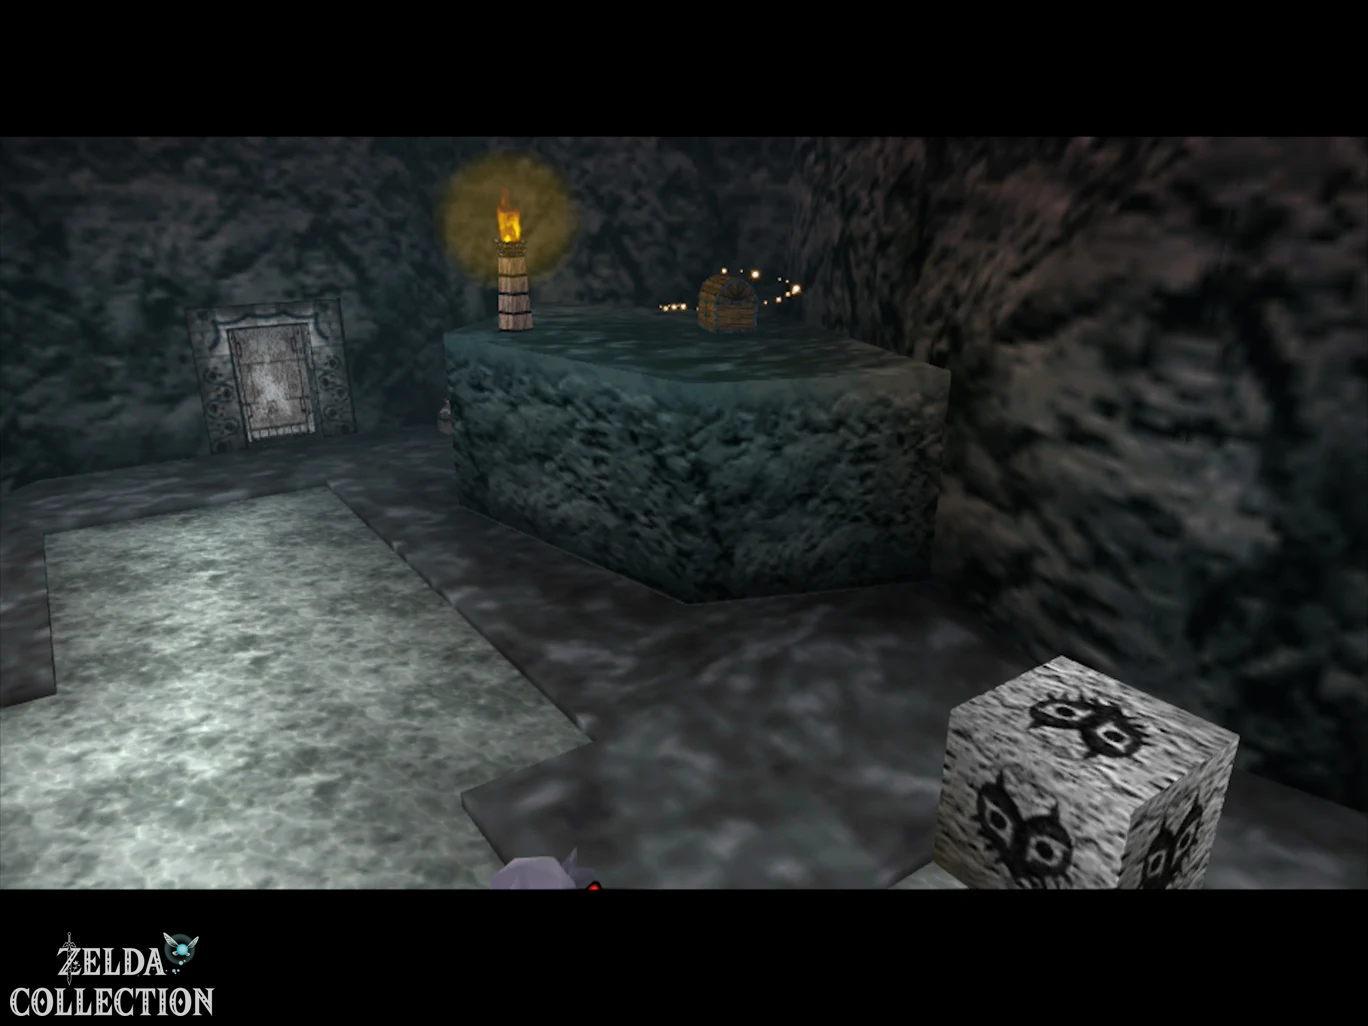
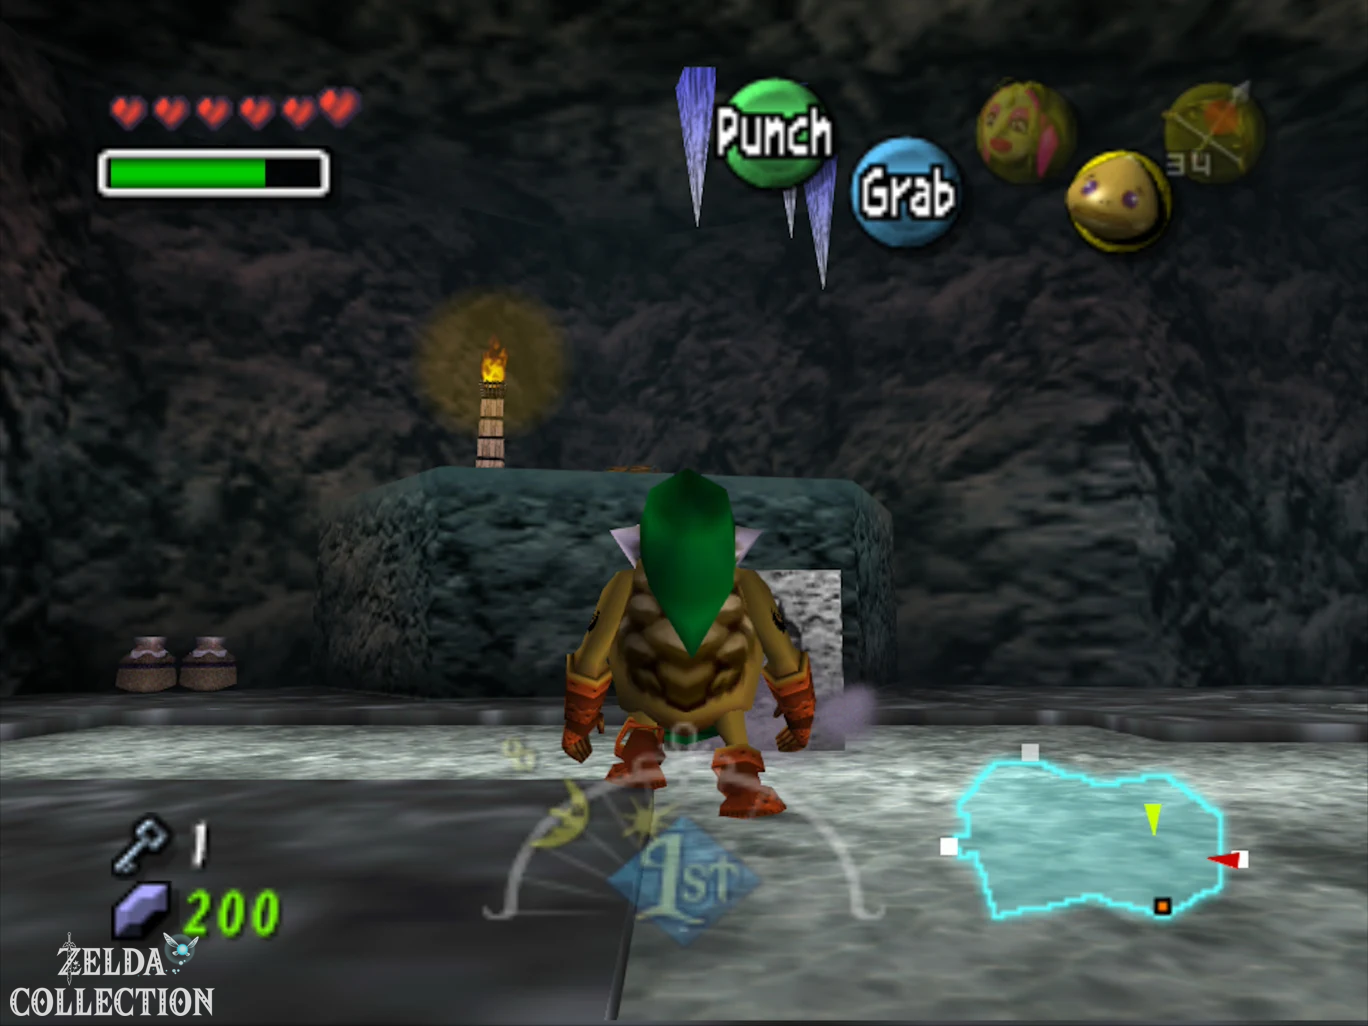
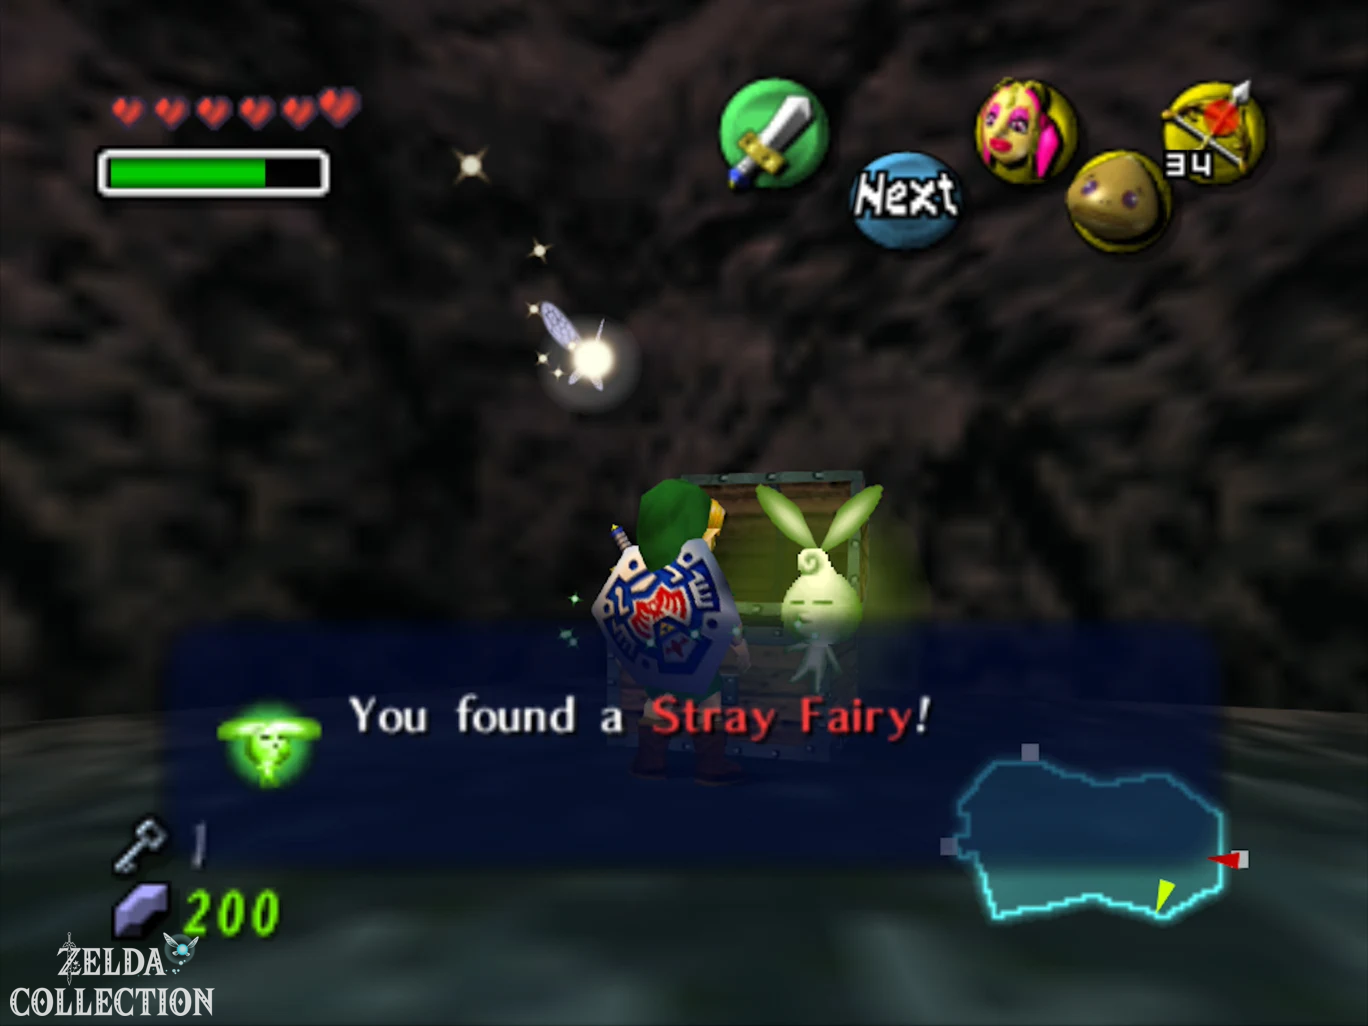
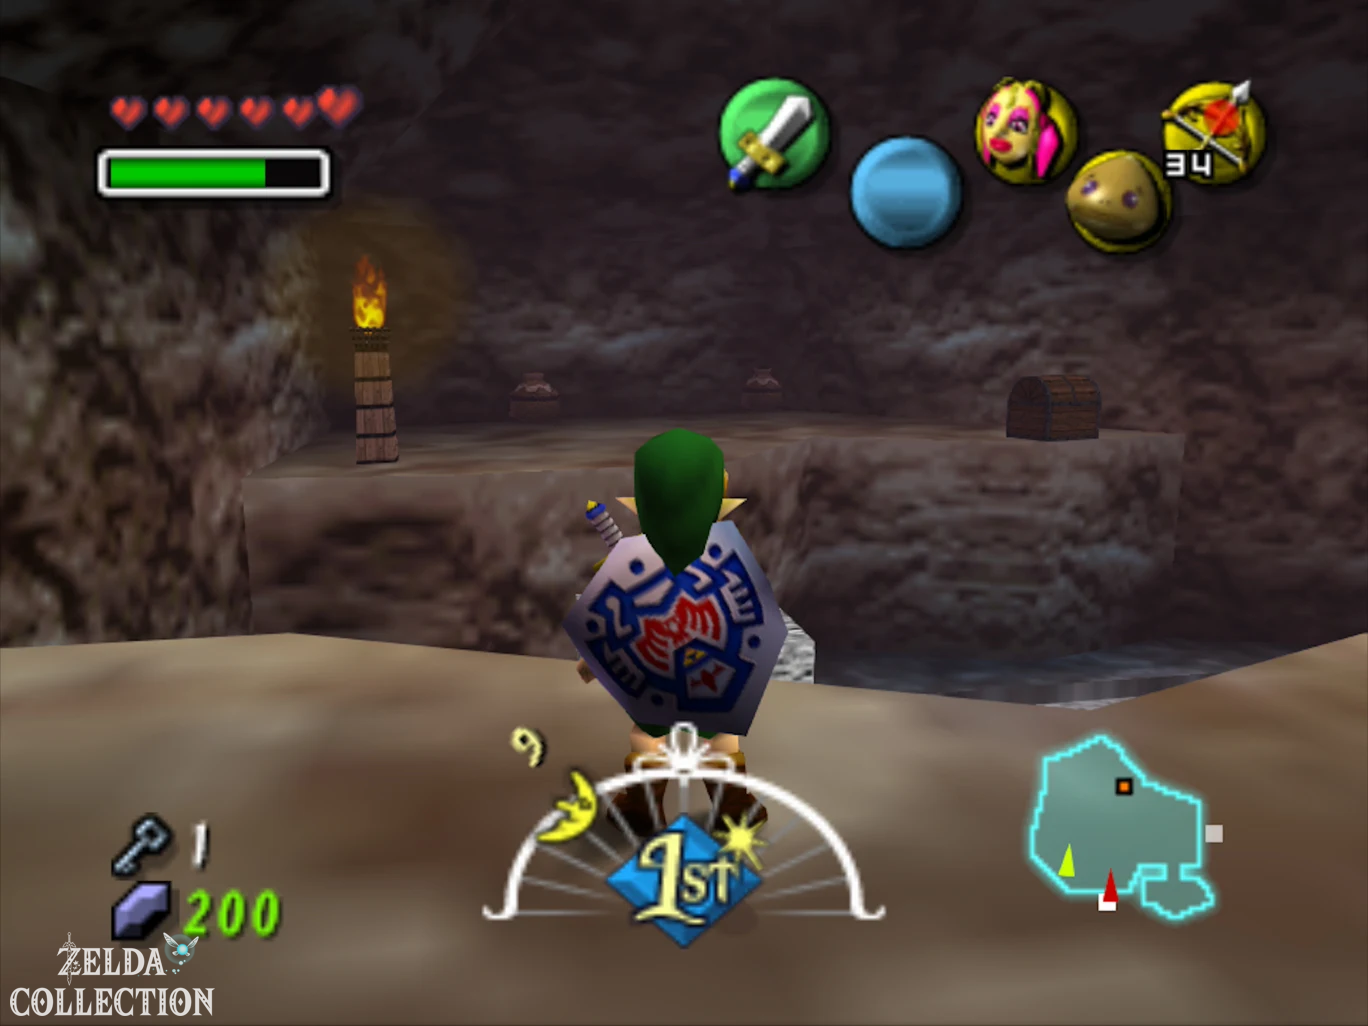
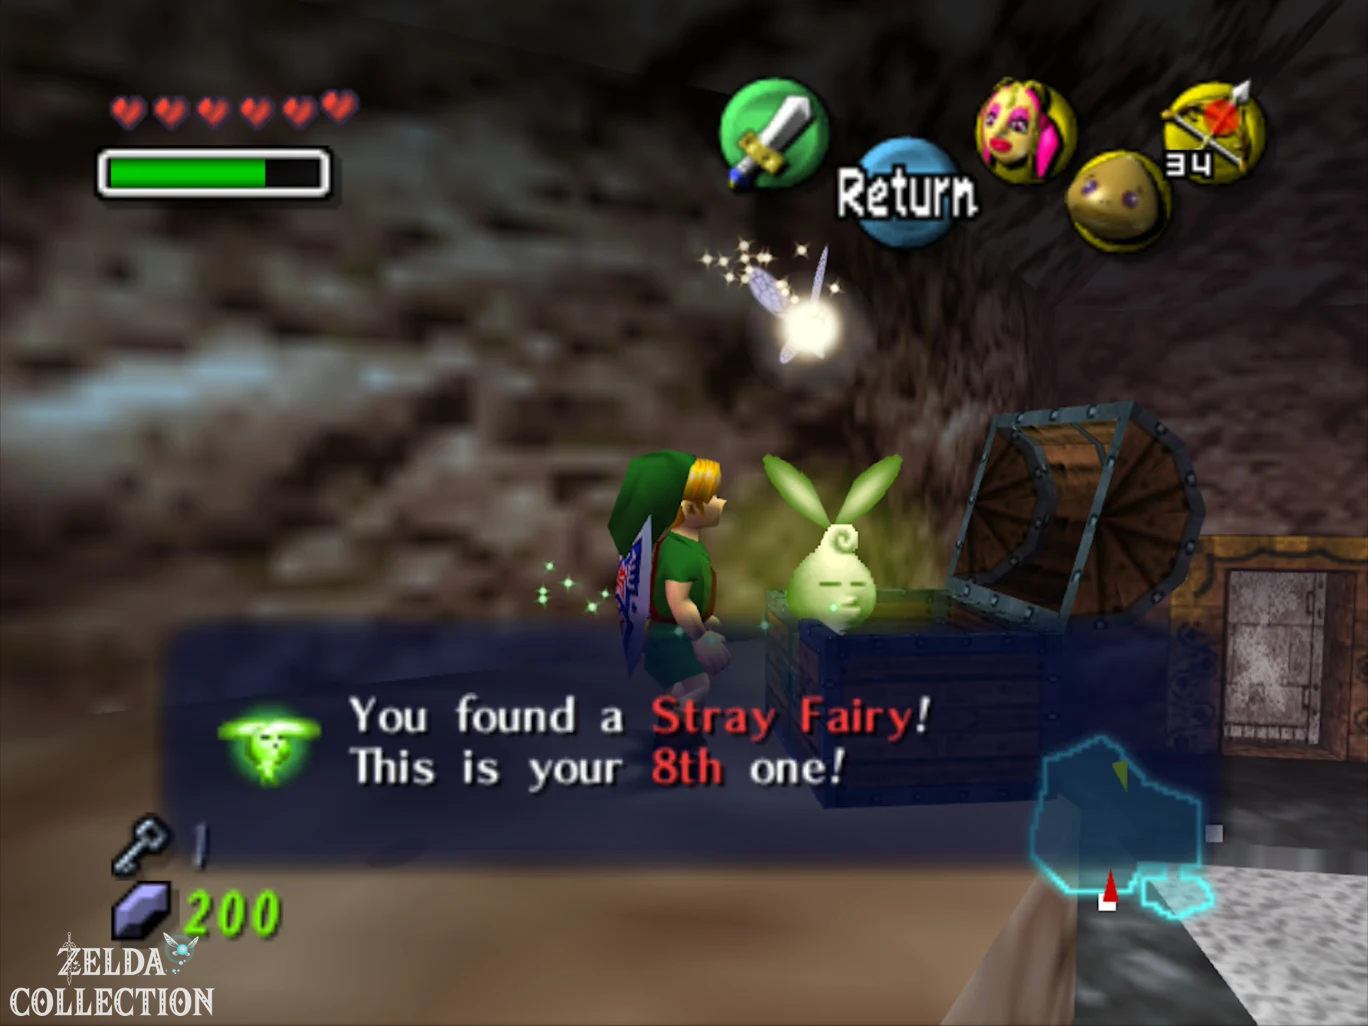
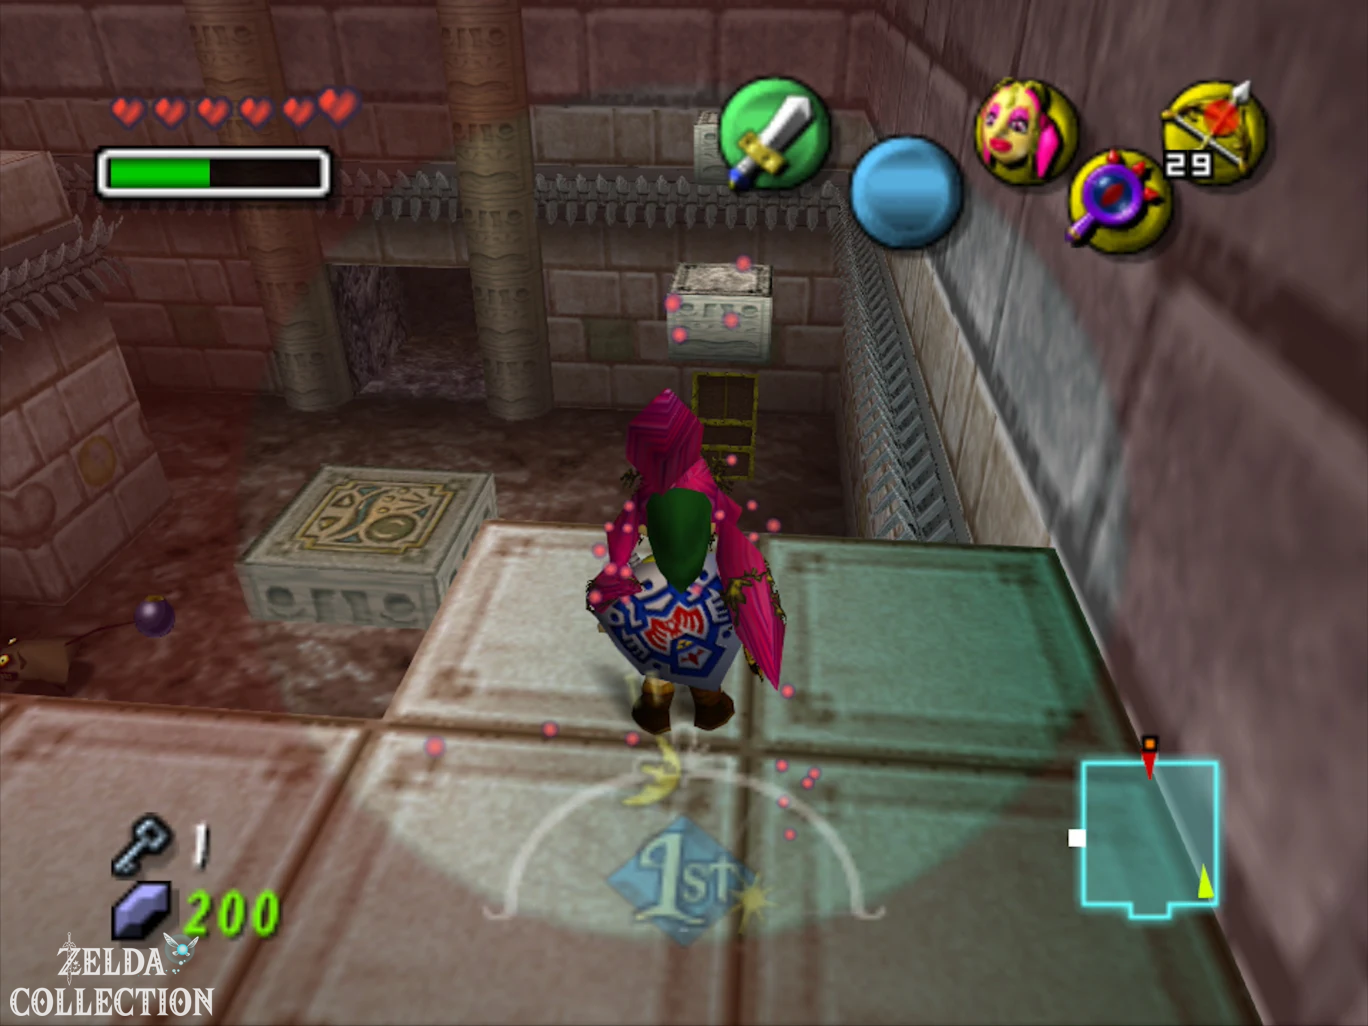
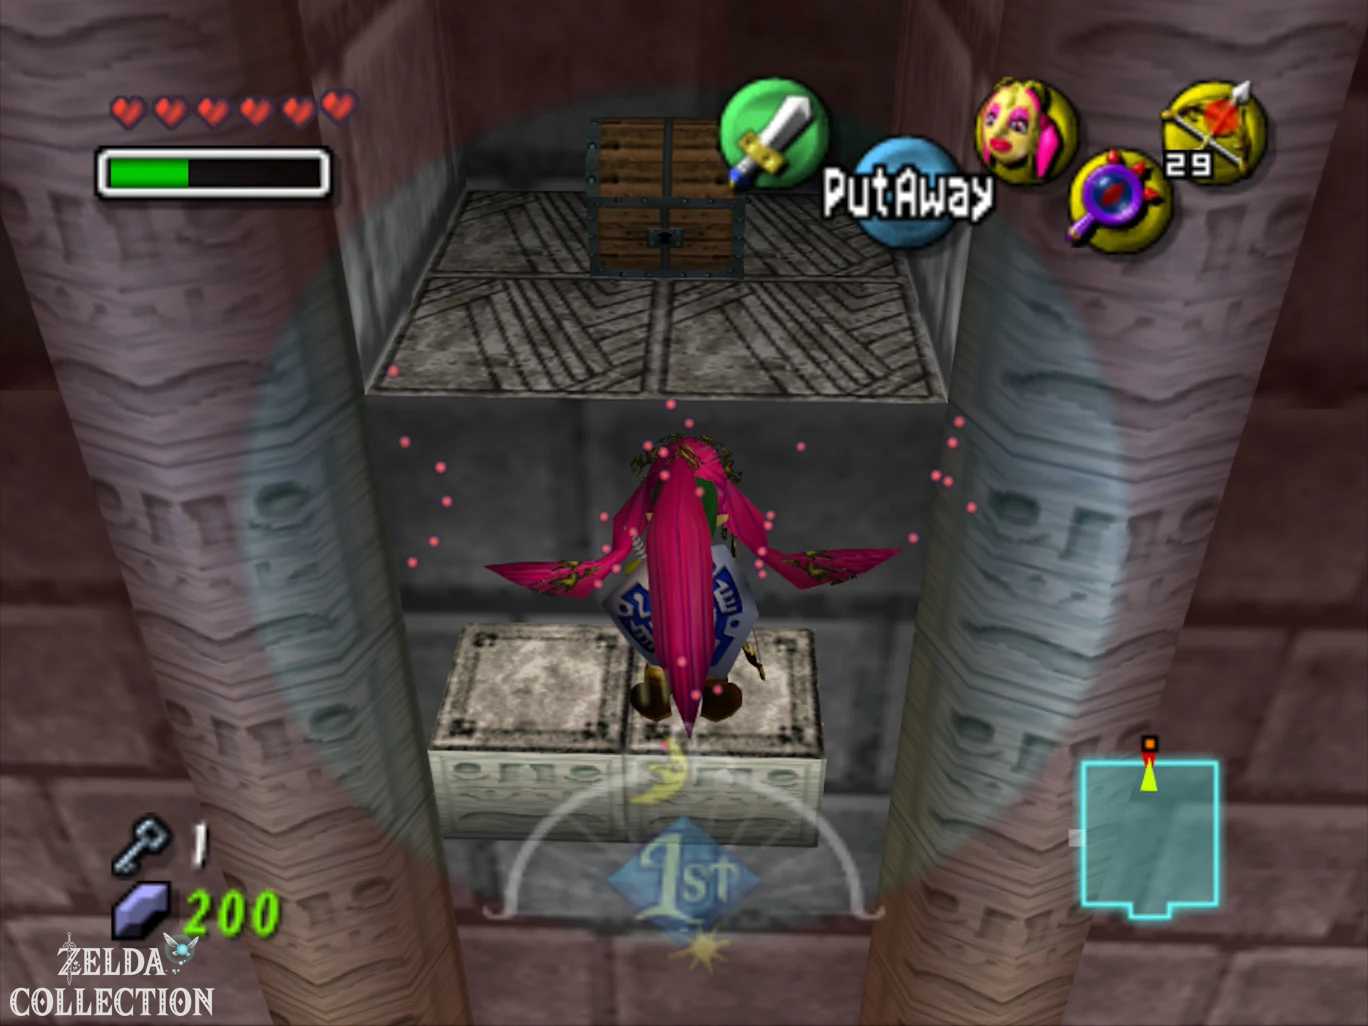
Then use the sliding block to reach the northern elevated exit. Behind it you end up back in the room with the two blocks pushed together from the beginning of the temple. Because we have already pushed it into the intended hollow, you can now use it as a bridge and open the previously unreachable chest. It contains the tenth Stray Fairy.
Eye Switch and eleventh Stray Fairy
Return to the long room where you found the Dungeon Map. A Eye Switch on the wall is still completely frozen. Melt the ice with a fire arrow and then hit the eye with a normal arrow. The central platform rises, allowing access to a higher level.
Before you move on, use the Lens of Truth. Invisible platforms appear on the wall, leading upwards like stairs. Jump carefully from step to step. At the end you will reach a hidden niche with a Treasure Chest and the eleventh Stray Fairy. You can then work your way back to the main hall.
Third Small Key
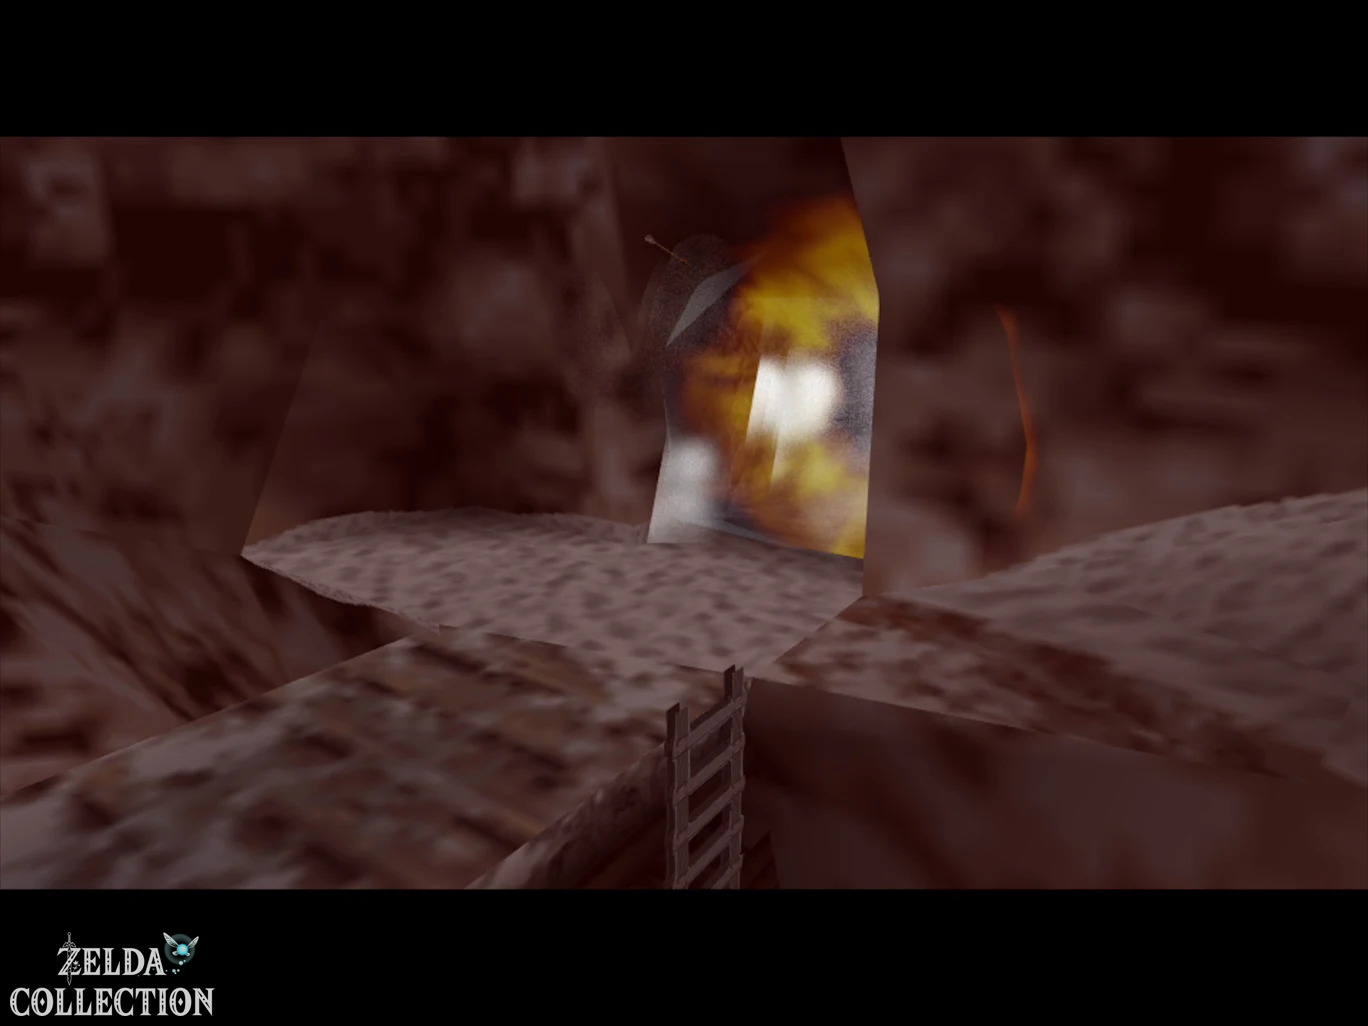
In the room with the long ice bridge, the Fire Arrows can now completely remove the previously frozen enemies and ice blocks. Eliminates anything blocking the space. Once the area is completely cleared, another Treasure Chest will appear with the third Small Key.
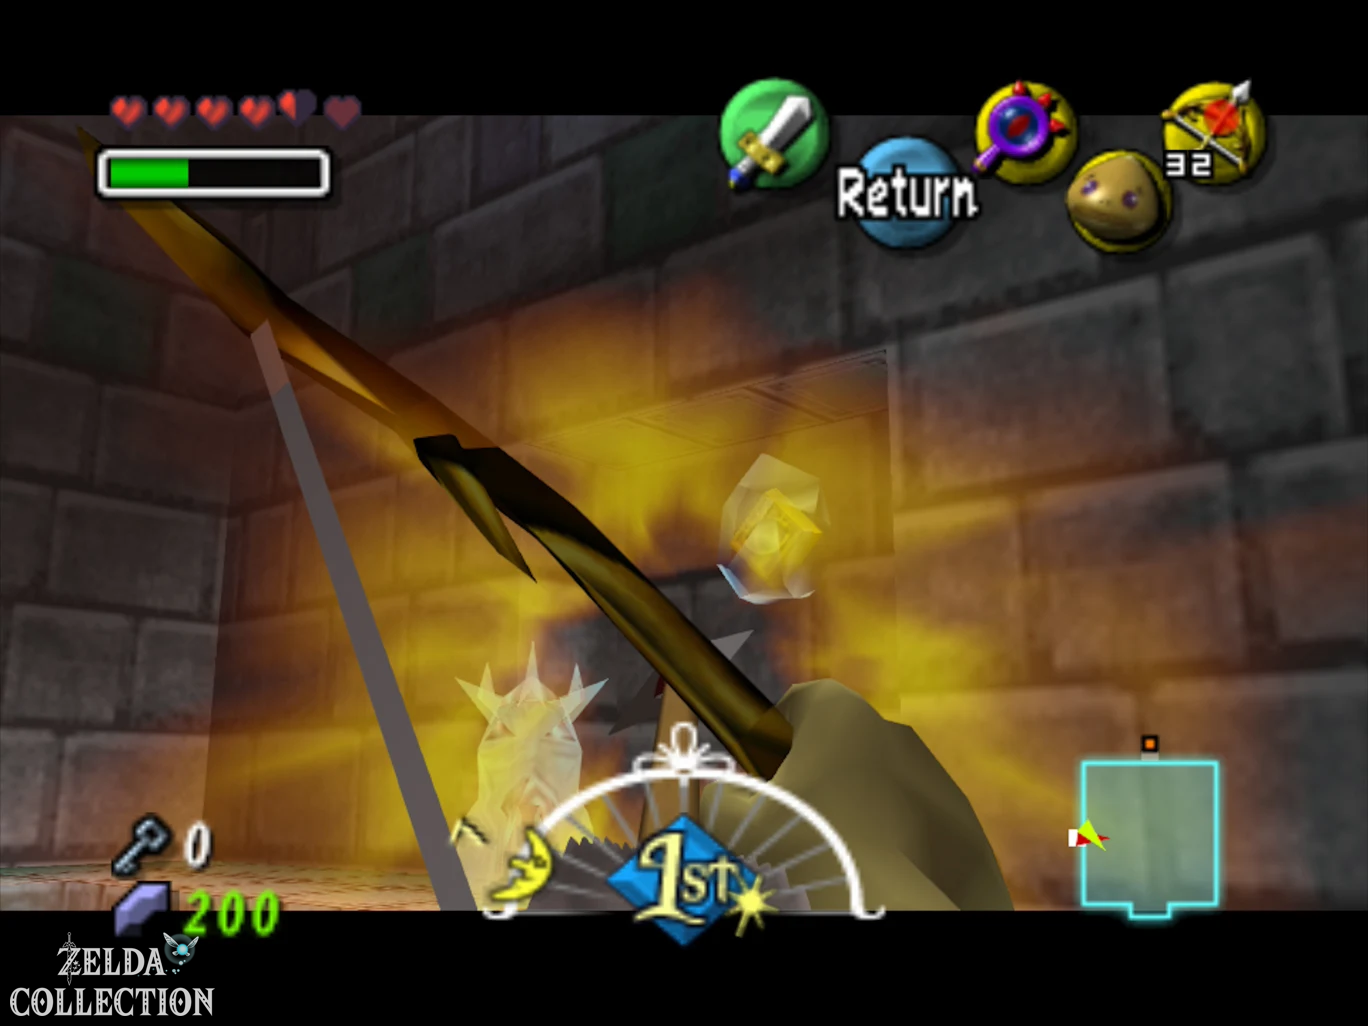
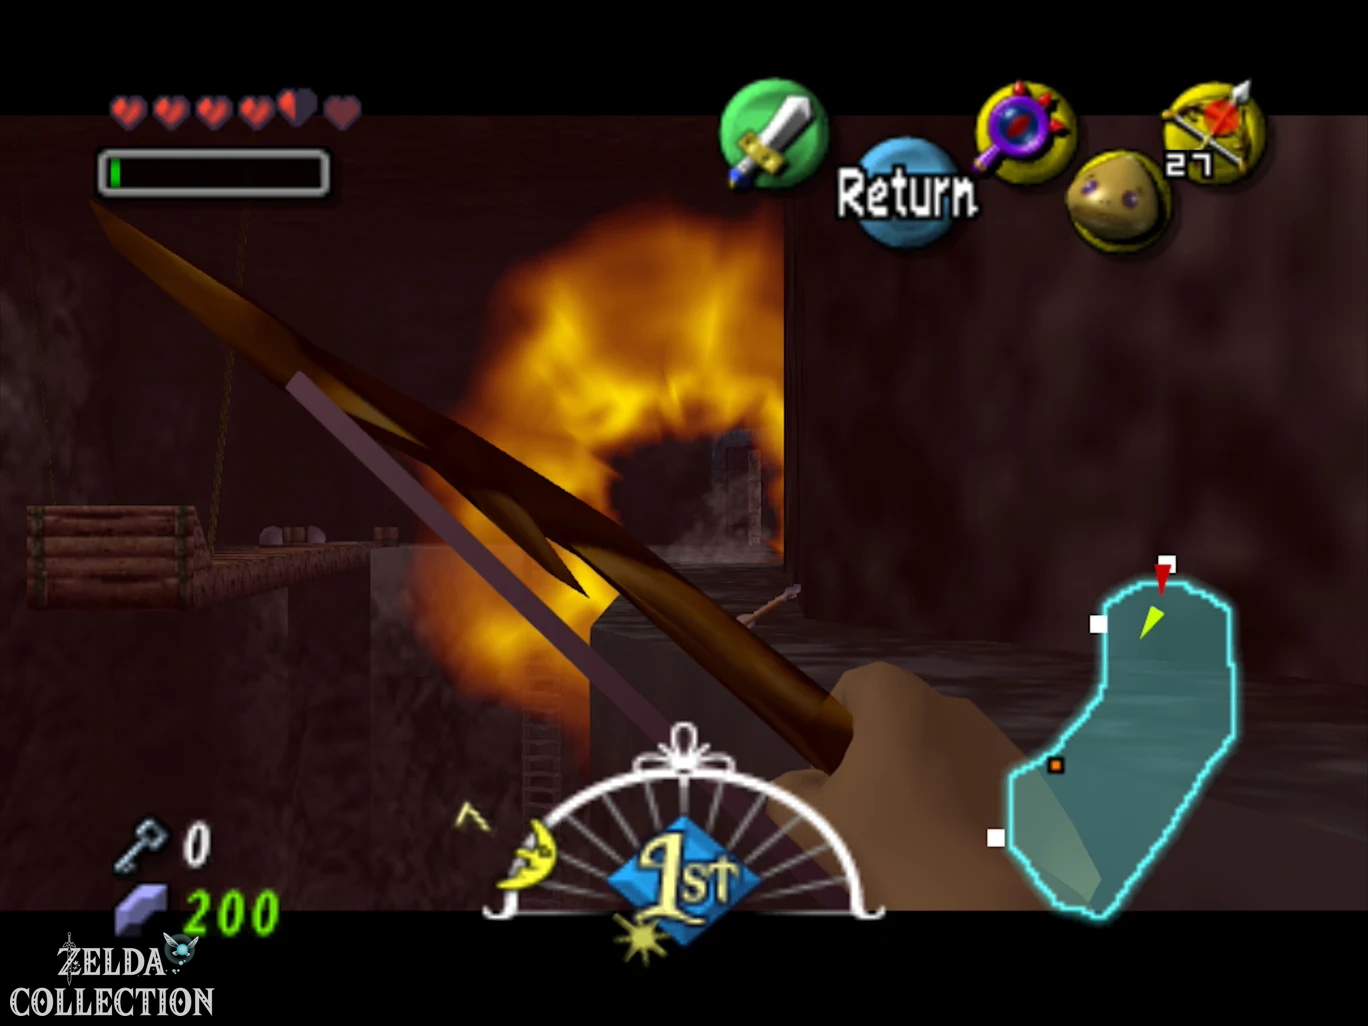
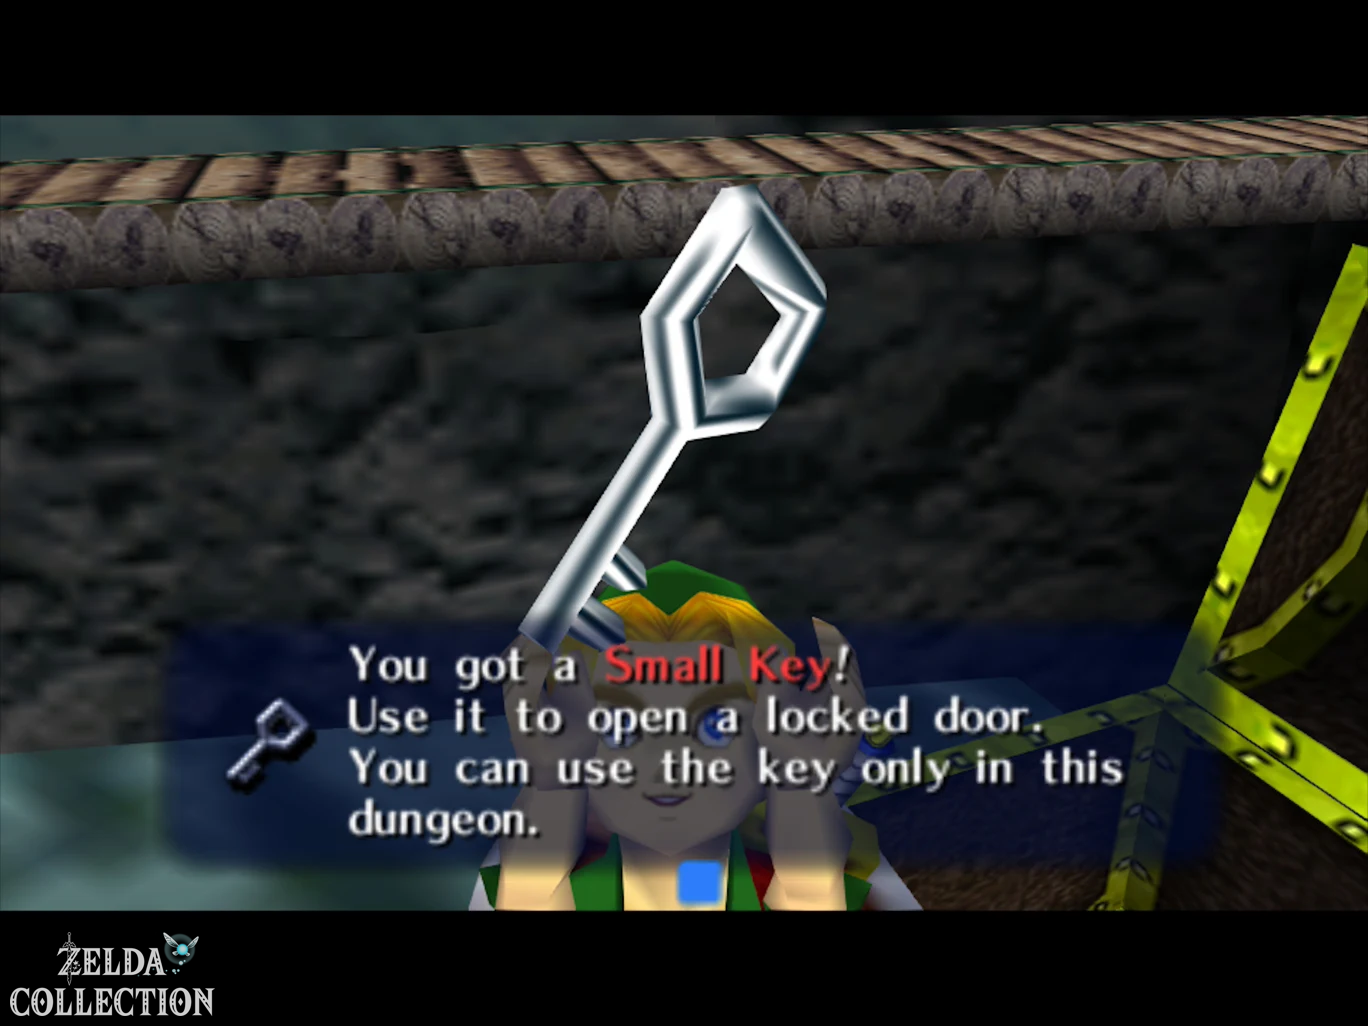
This key is required for the regular full route. Although the temple can be partially shortened with certain jumps and Deku flights, for our complete route with all 15 fairies we will take the intended route.
Lower the central column correctly
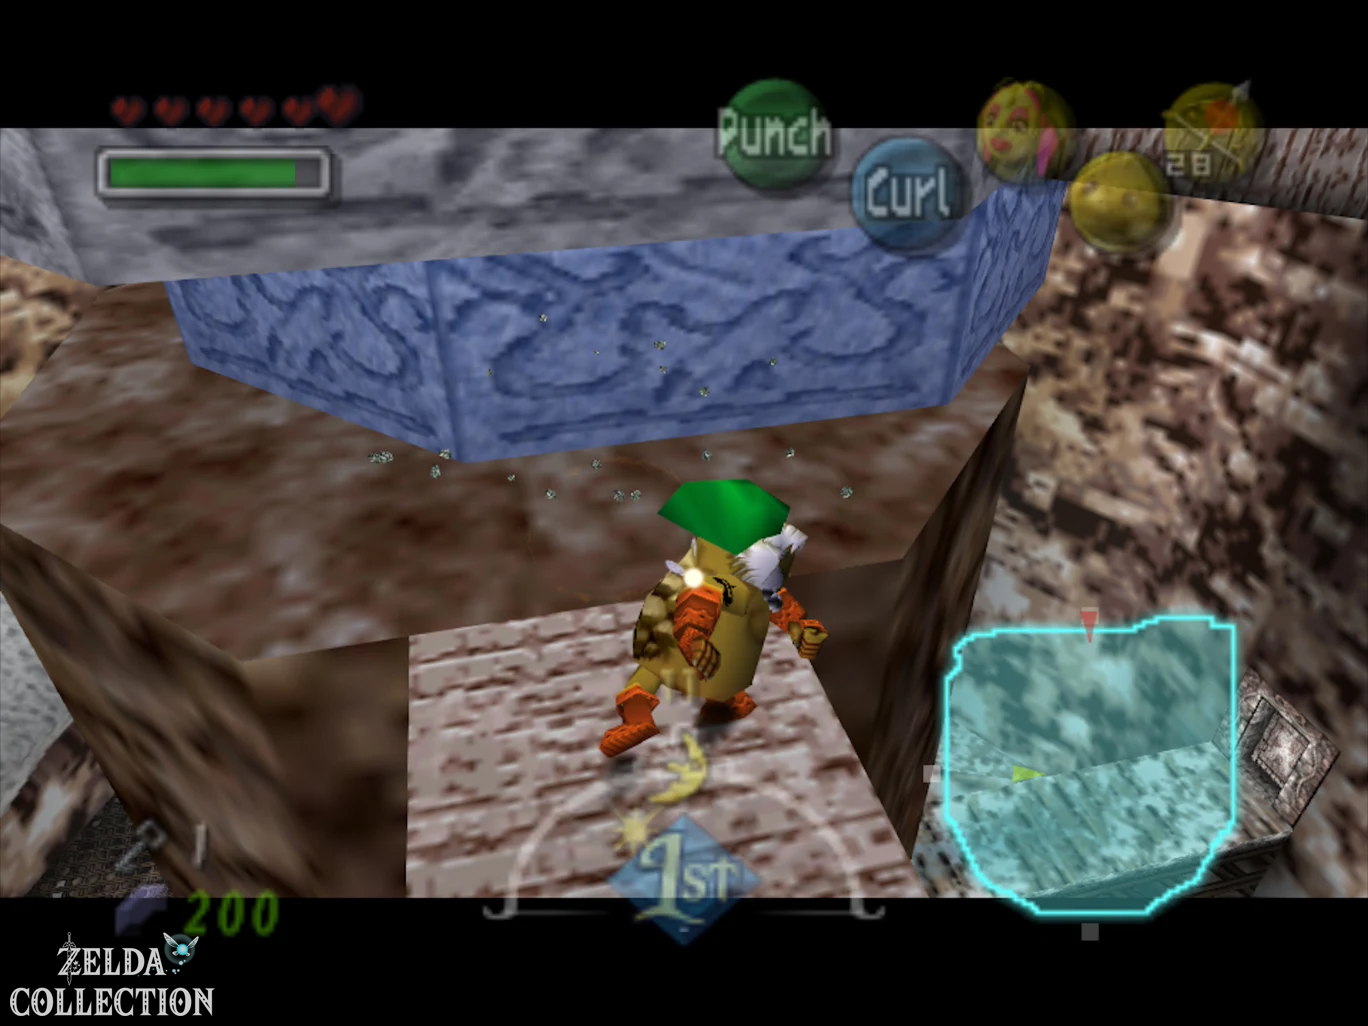
Return to the large main hall. The central column now extends almost to the upper floors. There are several blue discs made of ice or snow on their sides. These must be gradually knocked out as Goron links so that the column sinks to the correct height.
First melt the frozen stairs on the east side with a fire arrow and climb one floor higher. Run onto the narrow walkway to the central pillar and, as a Gorone, knock out the two accessible blue elements. The column drops one level. Then work your way up one floor and repeat the process with the next two blue elements. This will ultimately lower the top of the column so far that it will later serve as a bridge to the upper area.
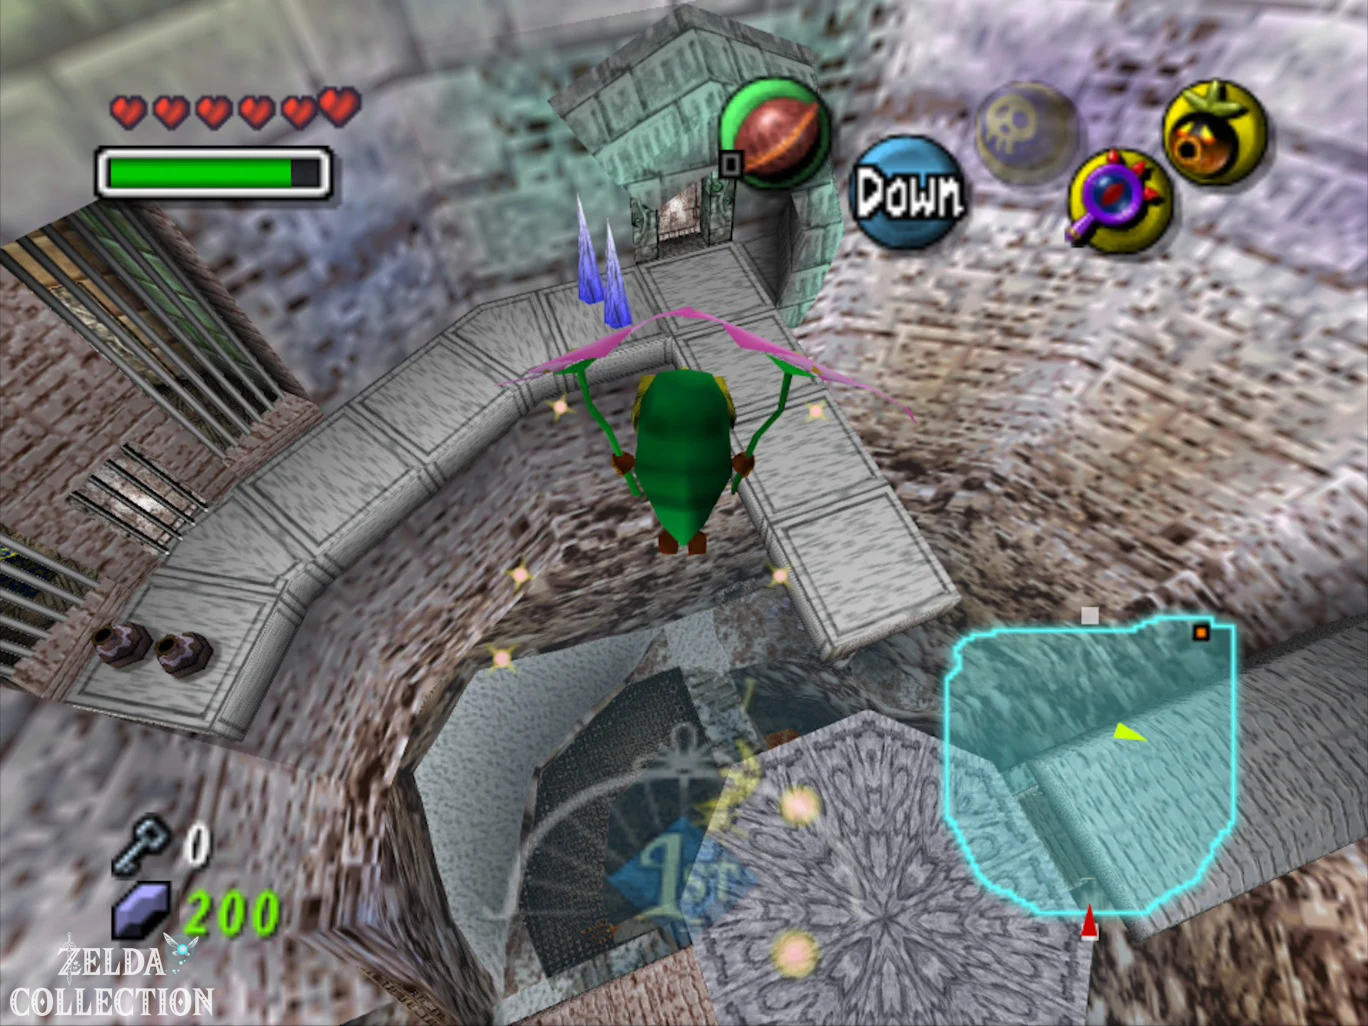
Before you go further up, look at the eastern wall below you from one of the higher walkways with the Lens of Truth. There is a hidden niche there. Start as a normal link; With the bunny ears the jump is much safer. Land in the alcove and open the chest with the twelfth Stray Fairy. A Deku flower there will then take you back to the regular platforms.
Eeno and the last three fairies
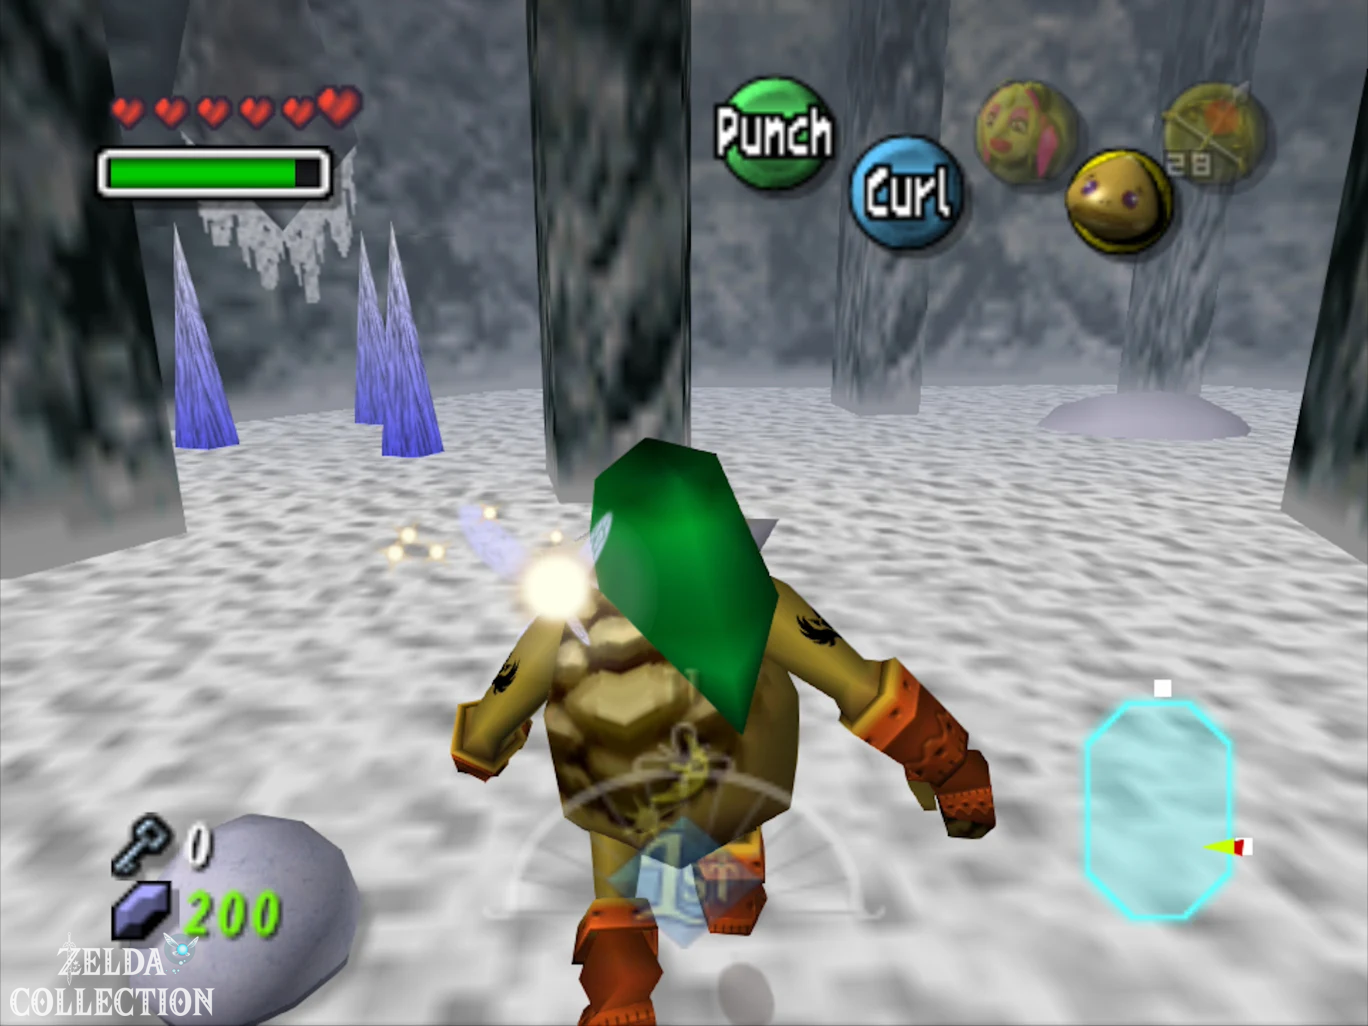
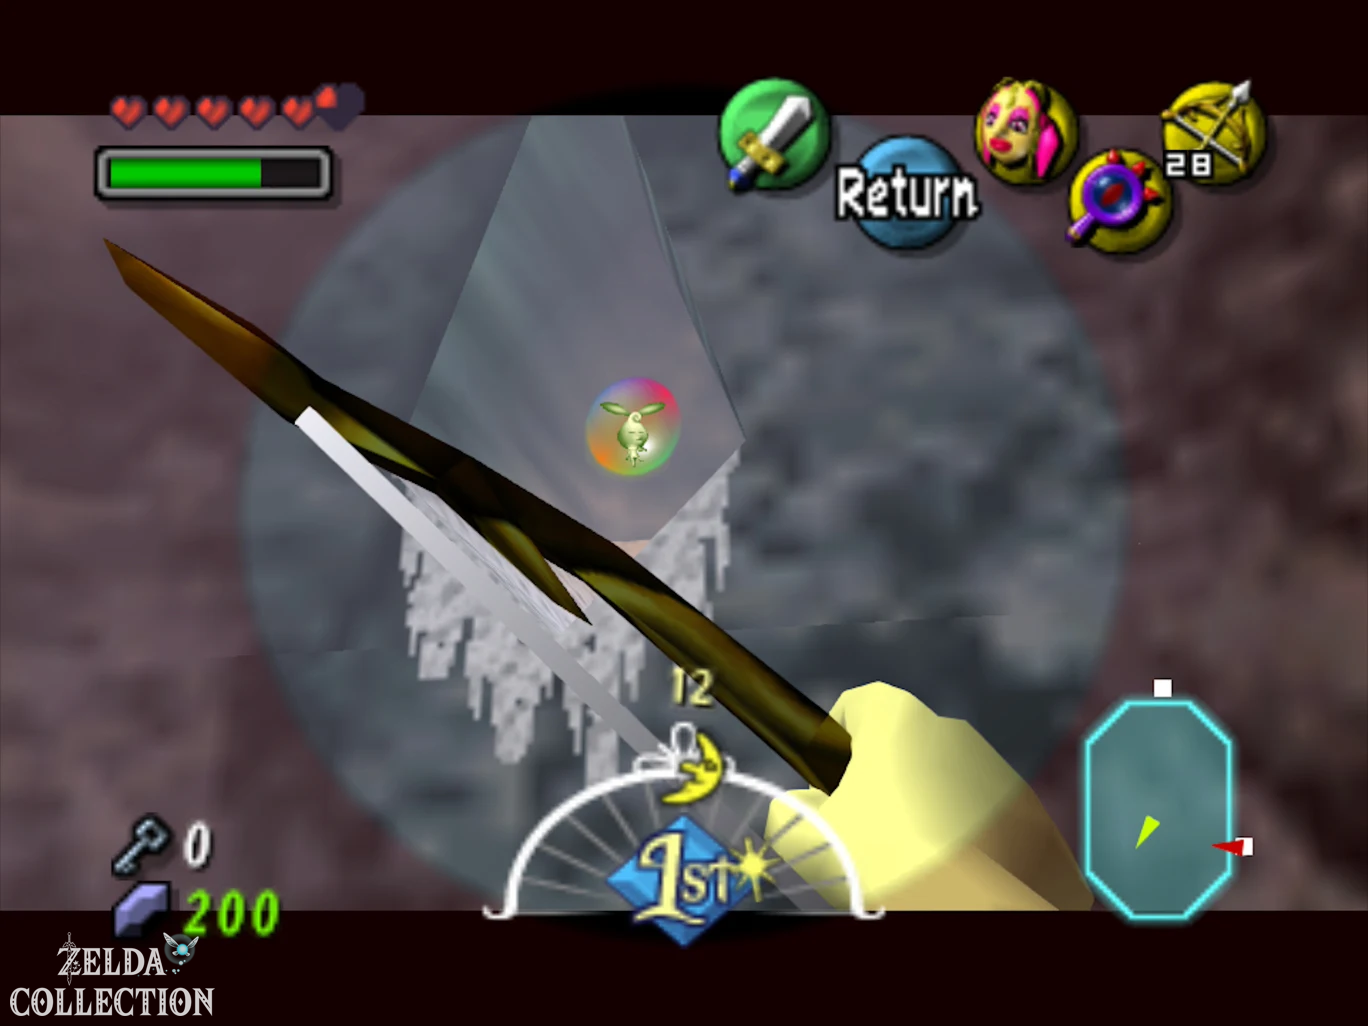
Use the third Small Key to open the door on the higher western level. In the snowy room beyond, several attack Eeno, who throw snowballs at Link. Fire Arrows defeat them particularly quickly. Before you go to the next stairs, use the Lens of Truth on the southwest wall. A seemingly solid wall disappears, revealing a hidden niche. Inside is the thirteenth Stray Fairy.
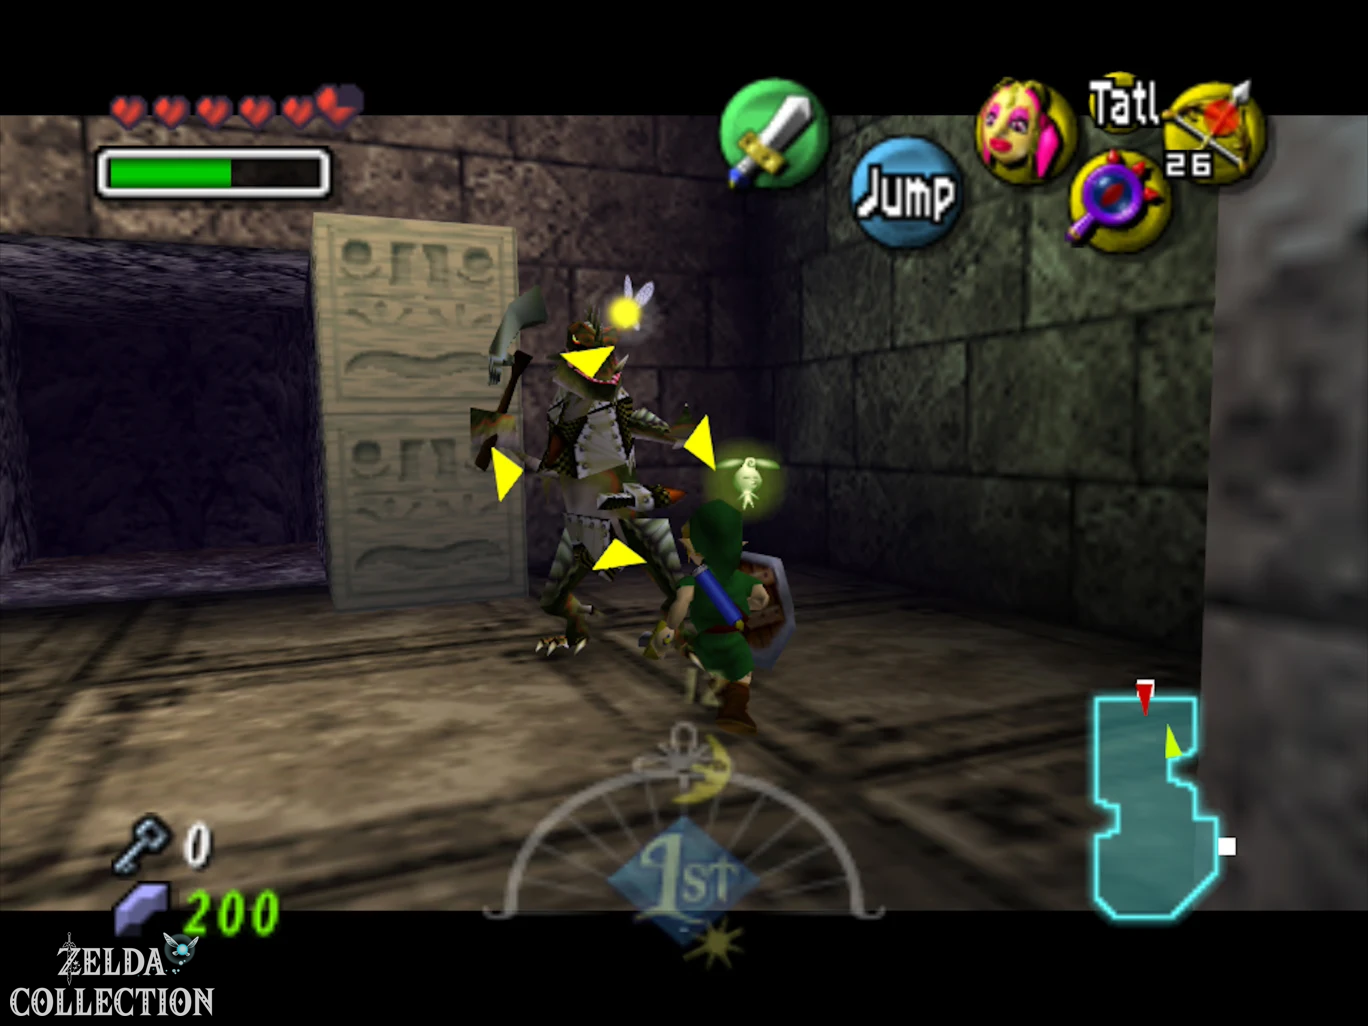
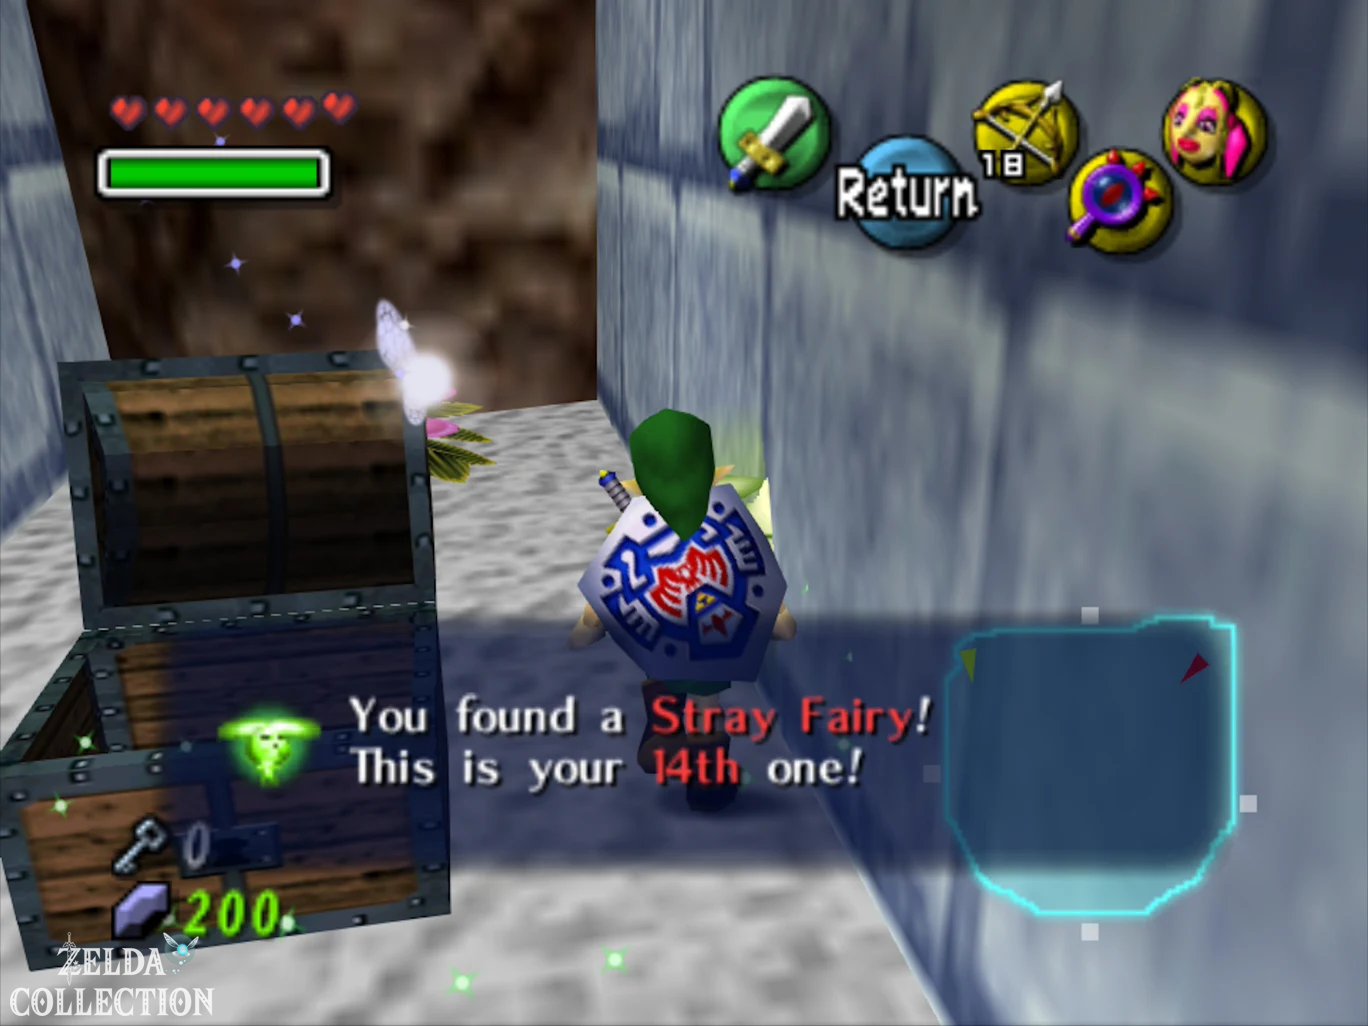
Then melt the ice in front of the stairs and climb up to the next floor. Two Dinolfos are waiting in the following room. Fight them one at a time, blocking their sword attacks and dodging their fire breath. After each Dinolfos dies, a Stray Fairy appears. This will give you the fourteenth and fifteenth Stray Fairy. If the Great Fairy’s Mask no longer reacts in any room of the temple, you have completely collected all 15.
Wizzrobe and the Big Key
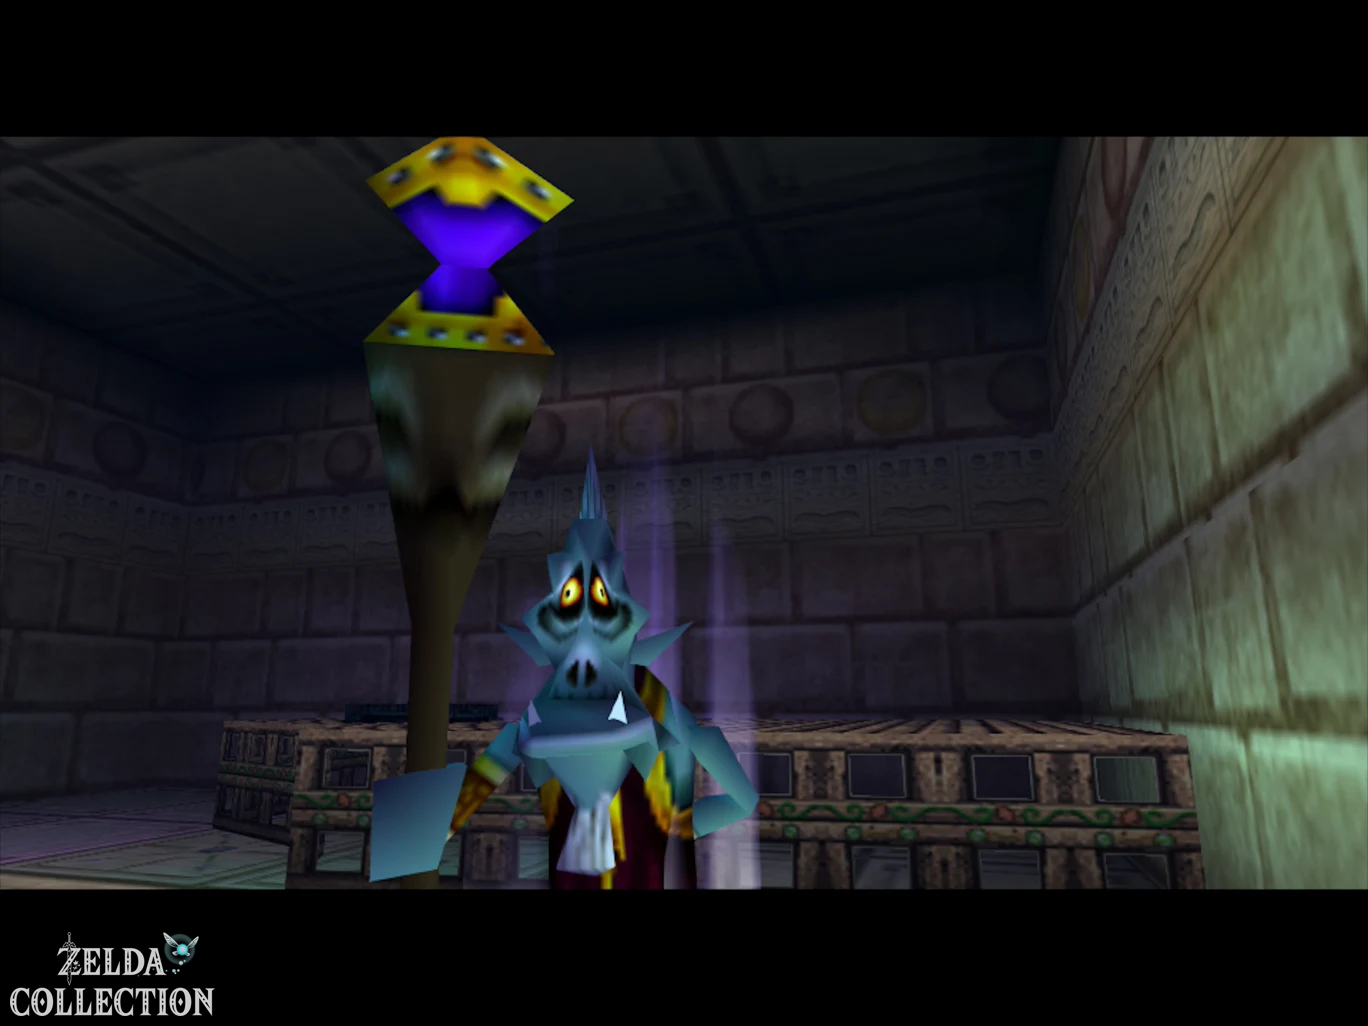
Behind the next passage you encounter Wizzrobe a second time. This time the room has more teleportation points and the enemy switches between them more quickly. However, the Fire Arrows make this fight much easier than the first encounter. If possible, stay in a place with a good view of several pedestals, watch where the real Wizzrobe appears and shoot him with a fire arrow as soon as he becomes fully visible.
After several hits, numerous mirages appear again at the same time. The real Wizzrobe materializes a little earlier or remains visible longer. Tatl can help with recognition again. After his victory, the path to the big Treasure Chest opens with the Big Key.
The final climb
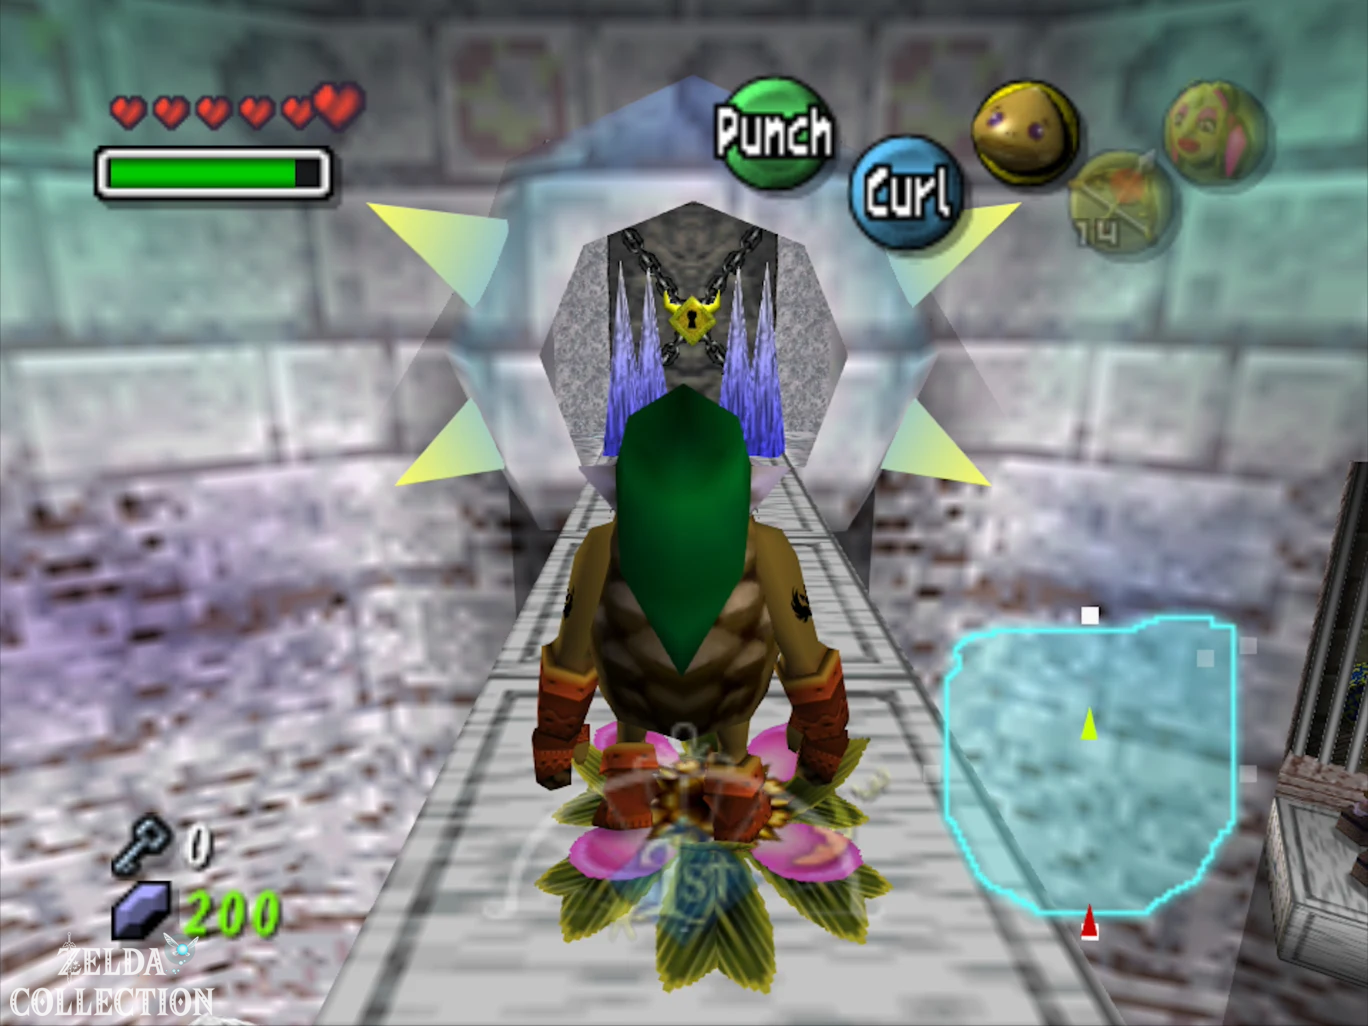
Return to the central main hall. By removing the four blue column elements, the top of the central column is now at the correct height and forms a transition to the upper area. Work your way up the stairs and narrow snow areas. Large snowballs block the path in places and can be destroyed with strong blows as a Goron link.
Shortly before the final transition you can check again whether you really have 15 Stray Fairies. In the original Nintendo 64 game, the last particularly easy-to-miss fairy is in the hidden alcove below one of the higher walkways. The Lens of Truth makes this niche visible; Access is via a long jump and then via a Deku flower back to the main path.
Then transform into Goron Link, build up enough speed on the icy ground and roll over the last large gap to the boss platform. Opens the door with the Big Key.
Boss: Goht
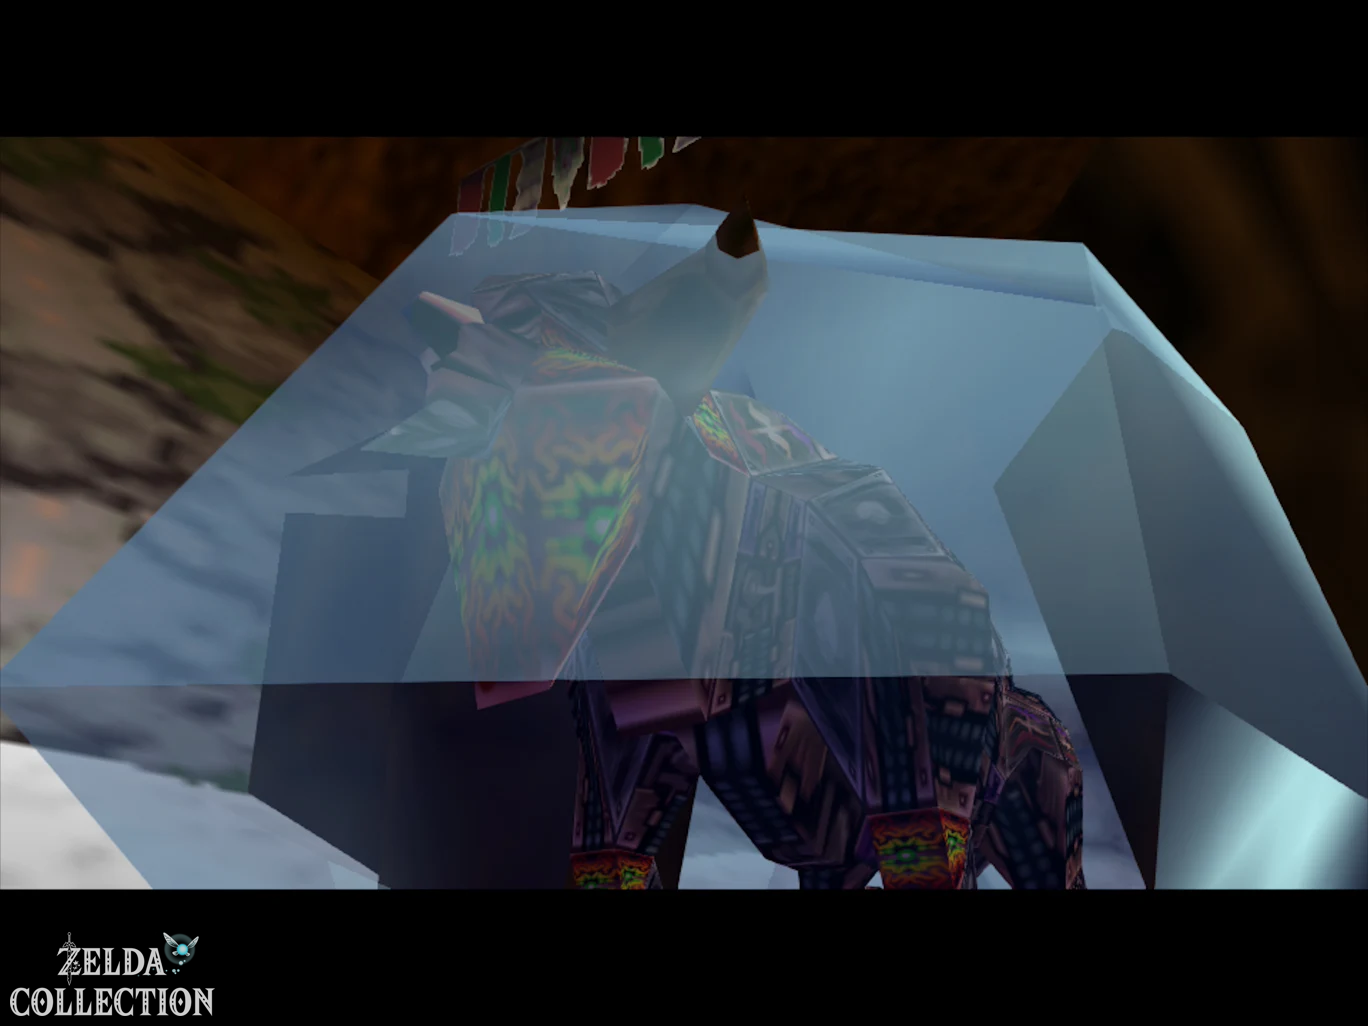
In the boss room there is initially a completely frozen mechanical bull. Shoot a Fire Arrow at the ice and free Goht. The boss immediately jumps away and begins galloping around the arena on a large circular race track.
Transform into Goron Link and roll after him. Build up speed until the spikes appear. There are regular green jars in the arena that release magic when you roll over and replenish your rolling energy. Try to catch up with Goht from behind and ram his legs or body. A clean hit will cause him to stumble or knock him completely to the ground. Once he falls, you can roll further into him and deal multiple damage.
Goht starts shooting back after a short while. He throws electric projectiles, drops boulders from the ceiling and later throws bombs and other obstacles onto the race track. When he turns or slows down, don’t stay directly behind him in a straight line, but pull slightly to the side. Large boulders are particularly dangerous because a collision will completely end your Goron role. Then immediately builds up speed again.
You don’t have to fight Goht with normal sword strikes. The entire fight is designed for the fast Goron role. Stay close to him, use the green magic jars and ram him again and again until he finally loses control and is buried under falling rocks.
Then take the Heart Container and then Goht’s Remains. This means Link has the second of the four legacies.
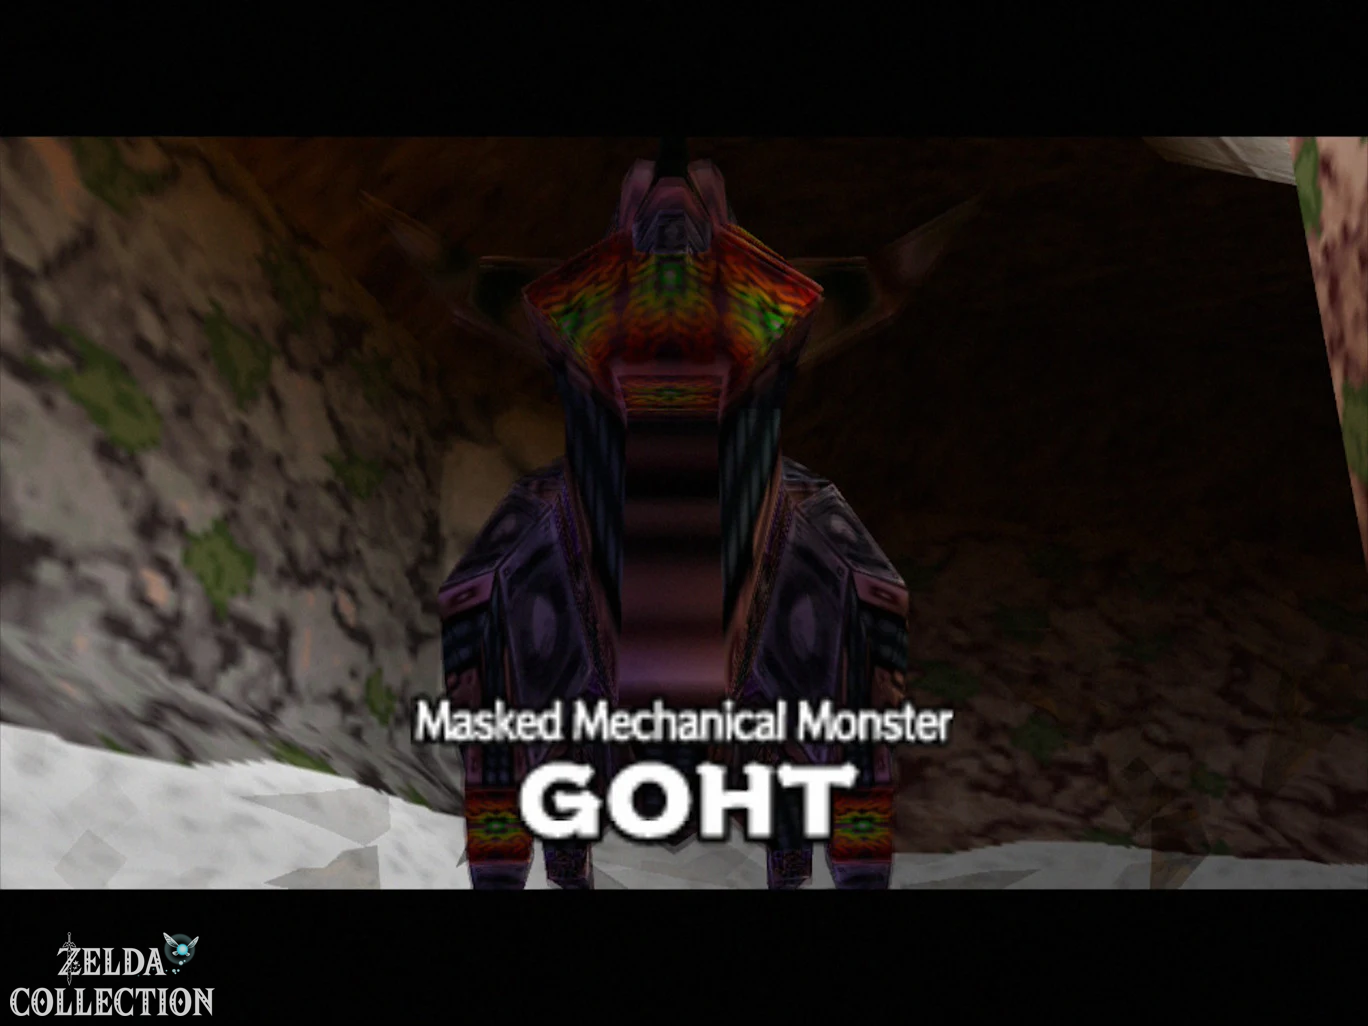
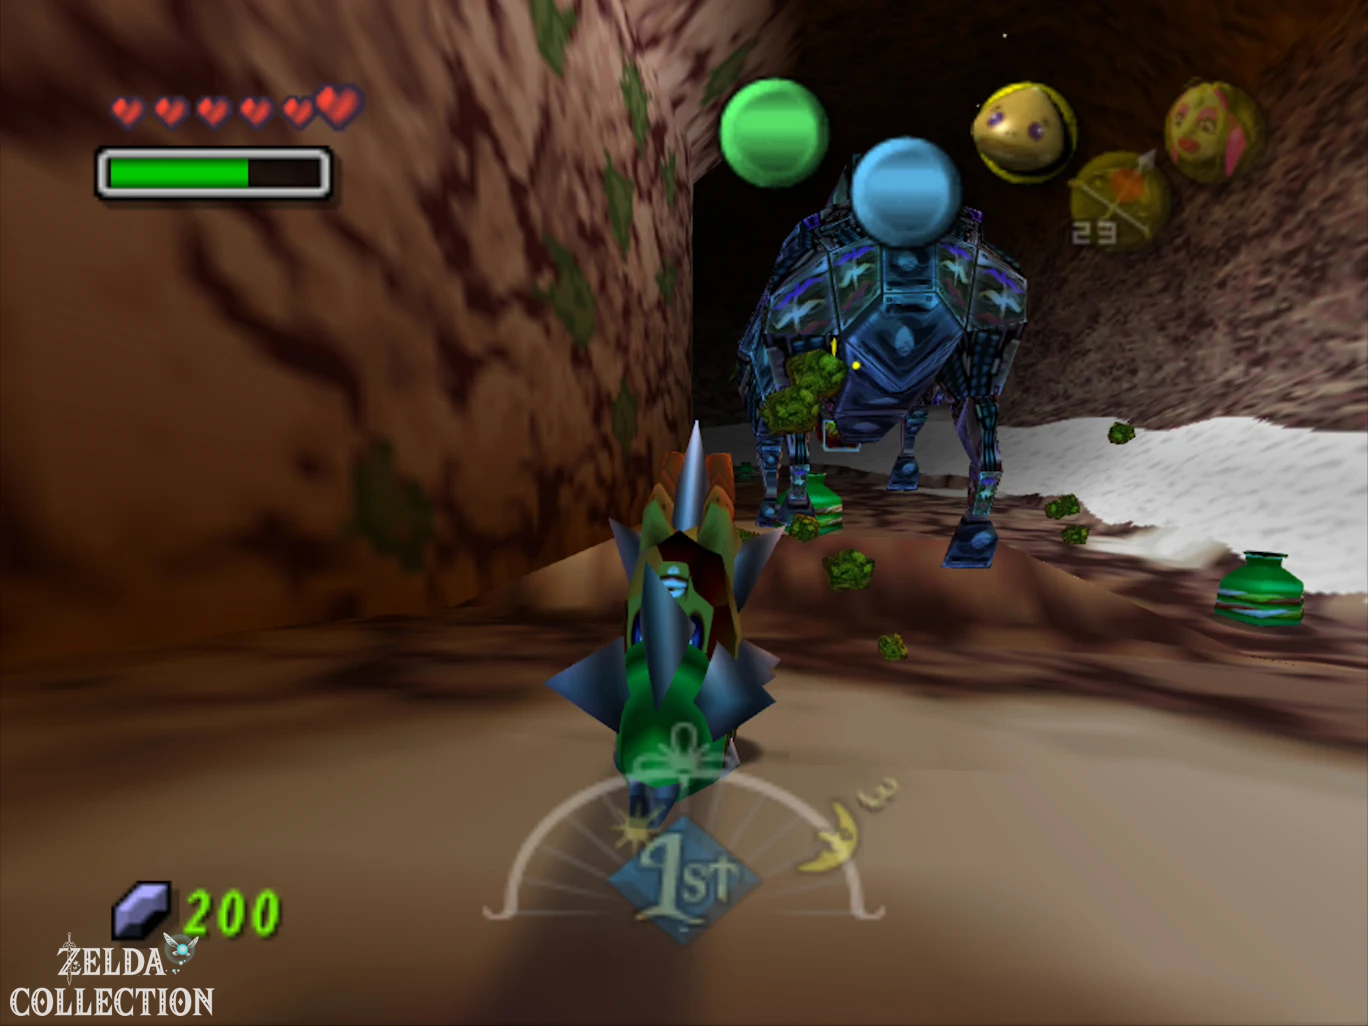
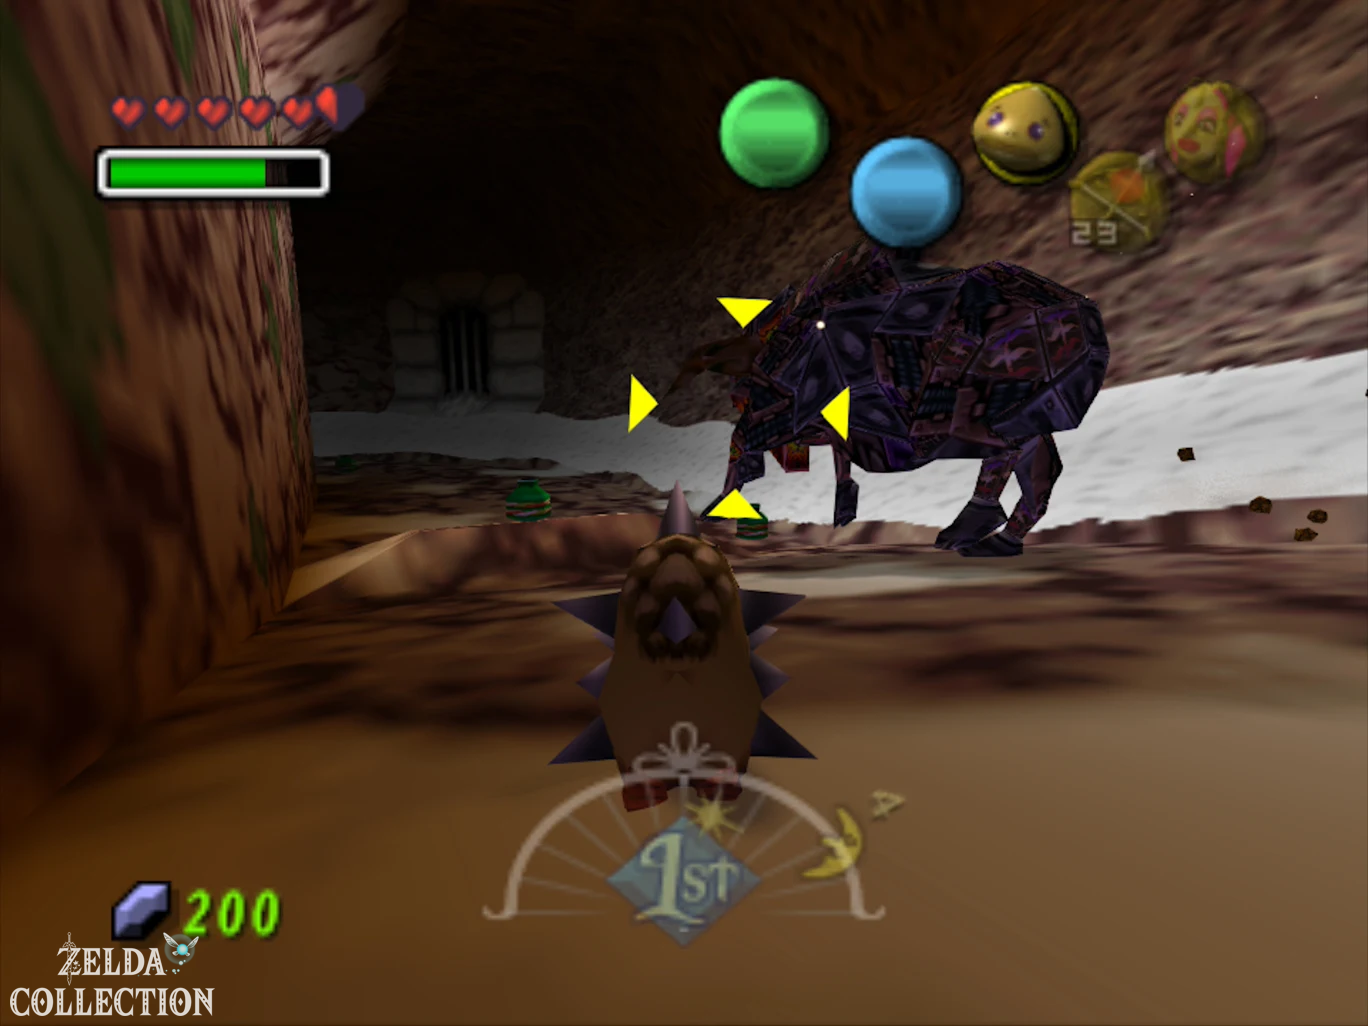
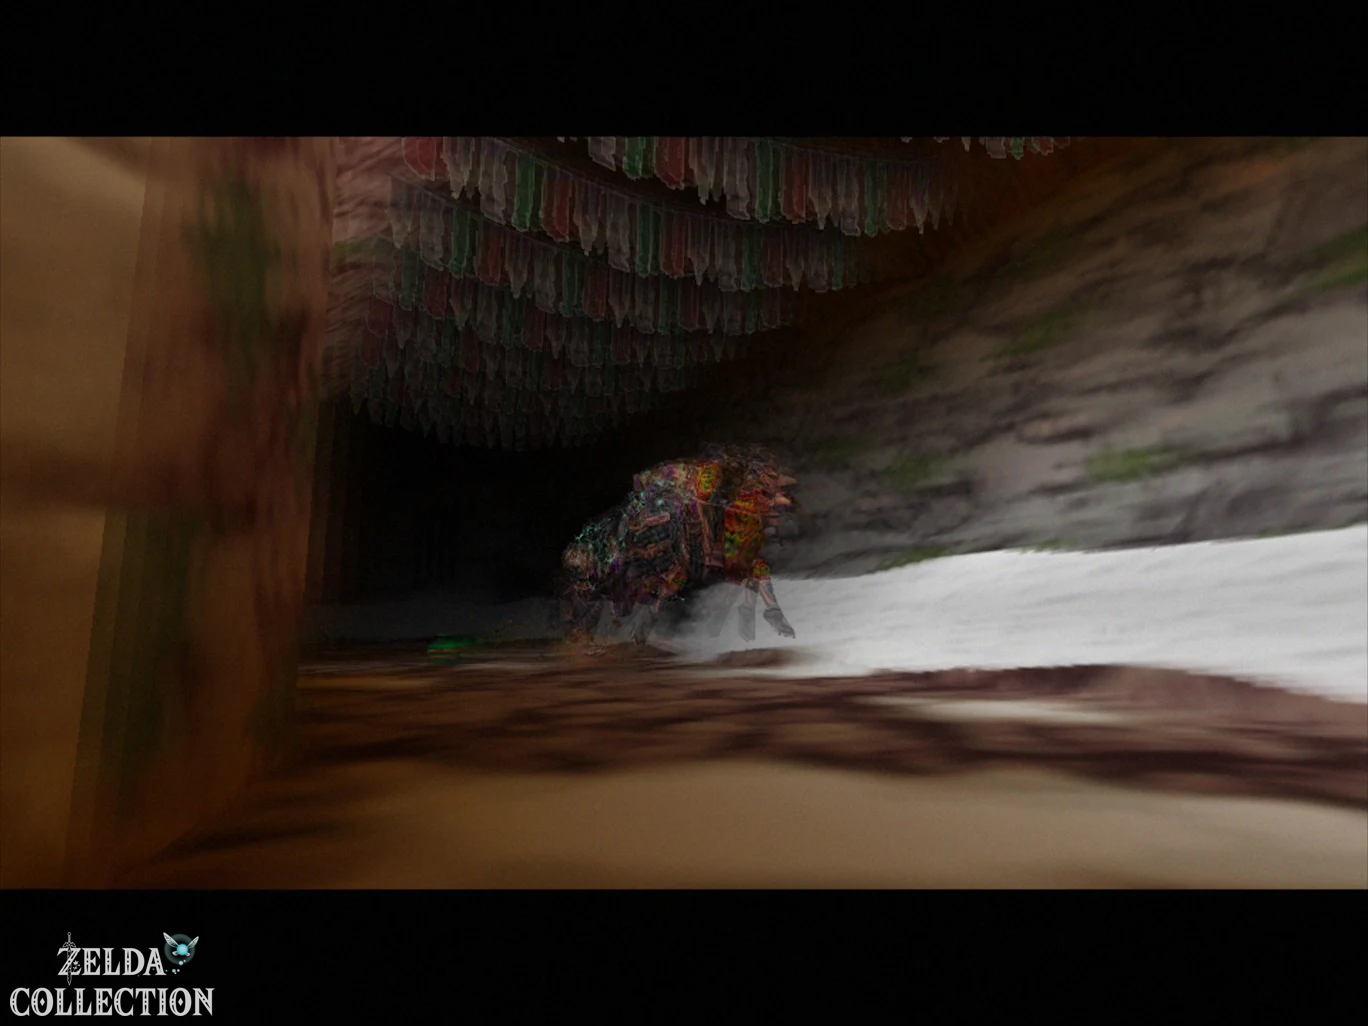
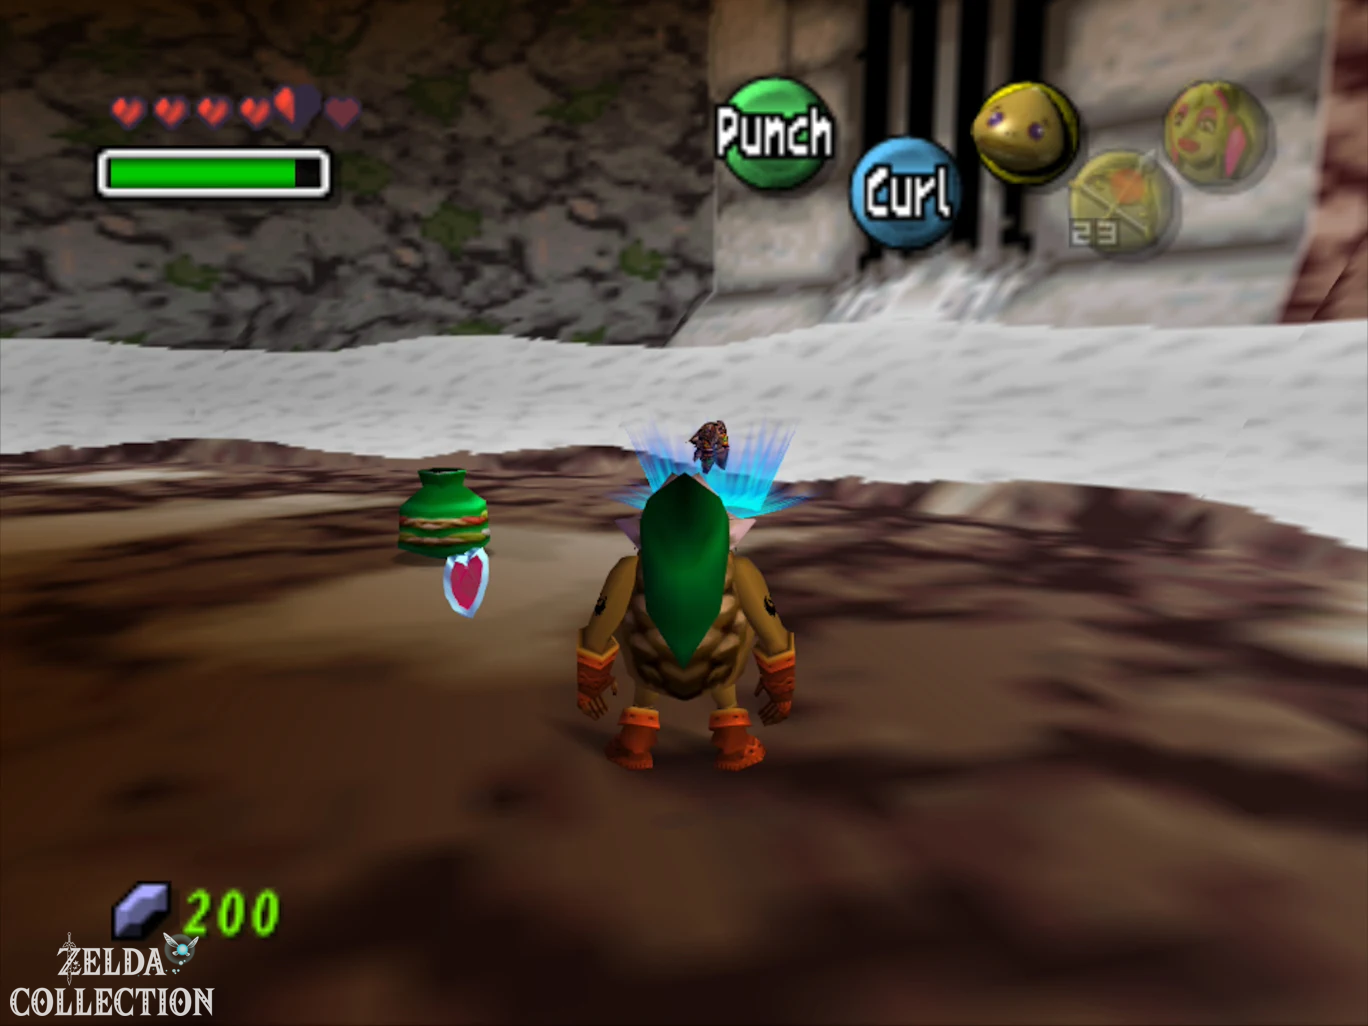
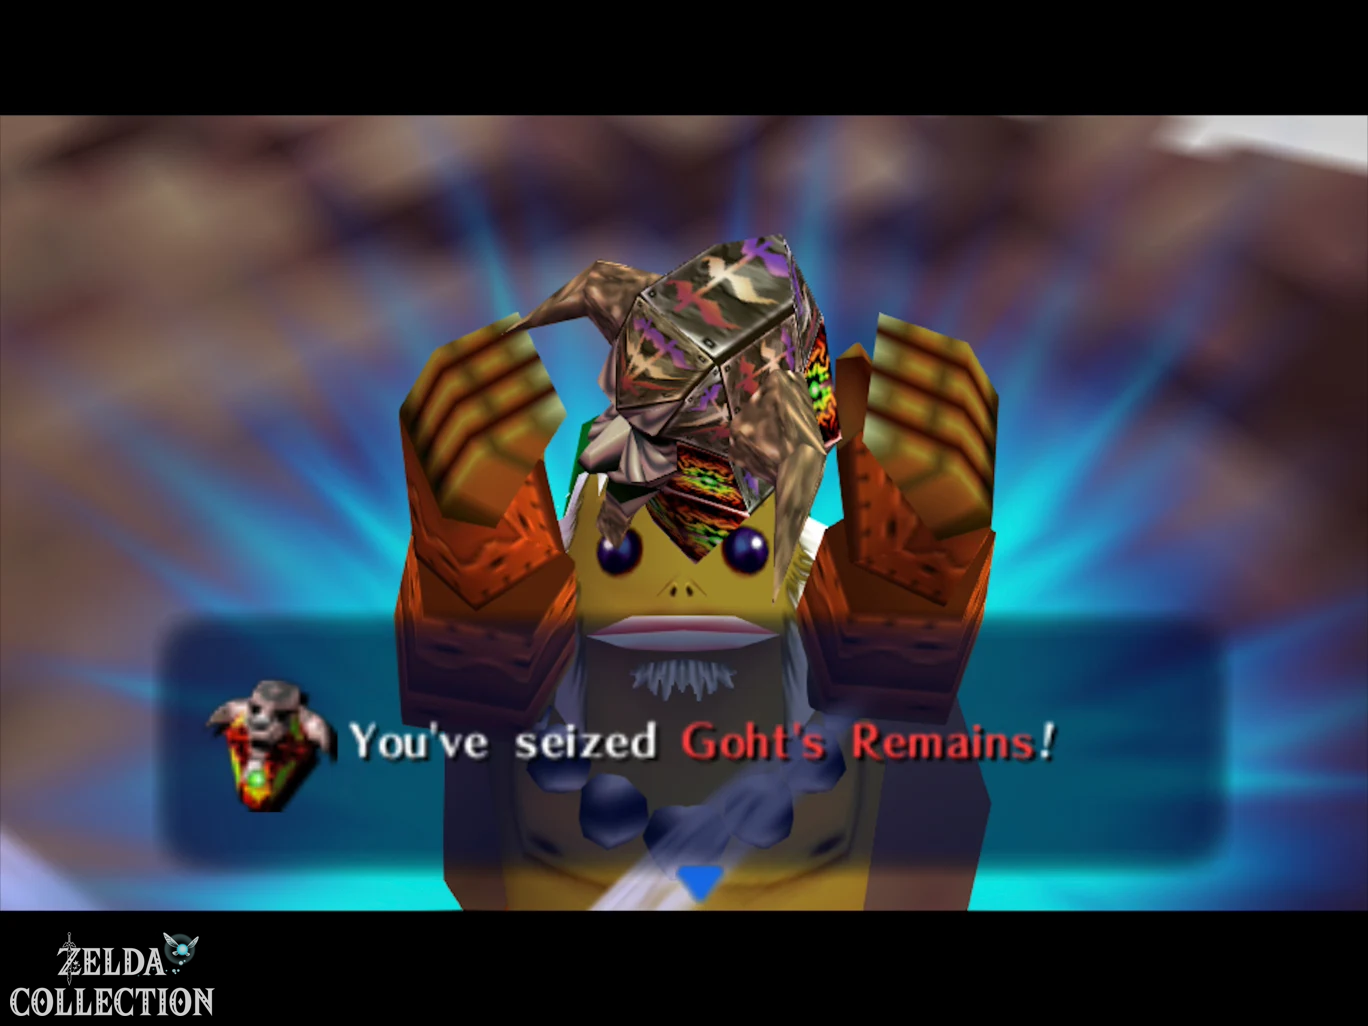
3D Difference: The Goht fight has been expanded in Majora’s Mask 3D. After enough damage, a clearly visible eye appears as an additional weak point that must be targeted. The Nintendo 64 version does not have this eye phase; There you essentially cause the damage through the Goron role itself.
Spring returns
After Goht’s defeat, the curse on the mountains disappears and the entire region is transformed. Snow and ice thaw, flowers appear in the meadows and the frozen lakes become open bodies of water again. However, the change only applies to the current three-day cycle. As soon as you play the Song of Time, winter returns. Because Goht’s legacy is permanently preserved, you don’t have to completely solve the temple again: a teleportation point appears at the entrance that takes you directly to the final boss.
This possibility becomes particularly important in the next chapter. For the Goron race, the forge and several Pieces of Heart we need spring and sometimes several consecutive days. Therefore, if you only have a little time left after the temple, you can easily play the Song of Time, start a fresh first day, teleport directly to the Snowhead and defeat Goht again via the boss teleporter.
All 15 Stray Fairies – double magic bar
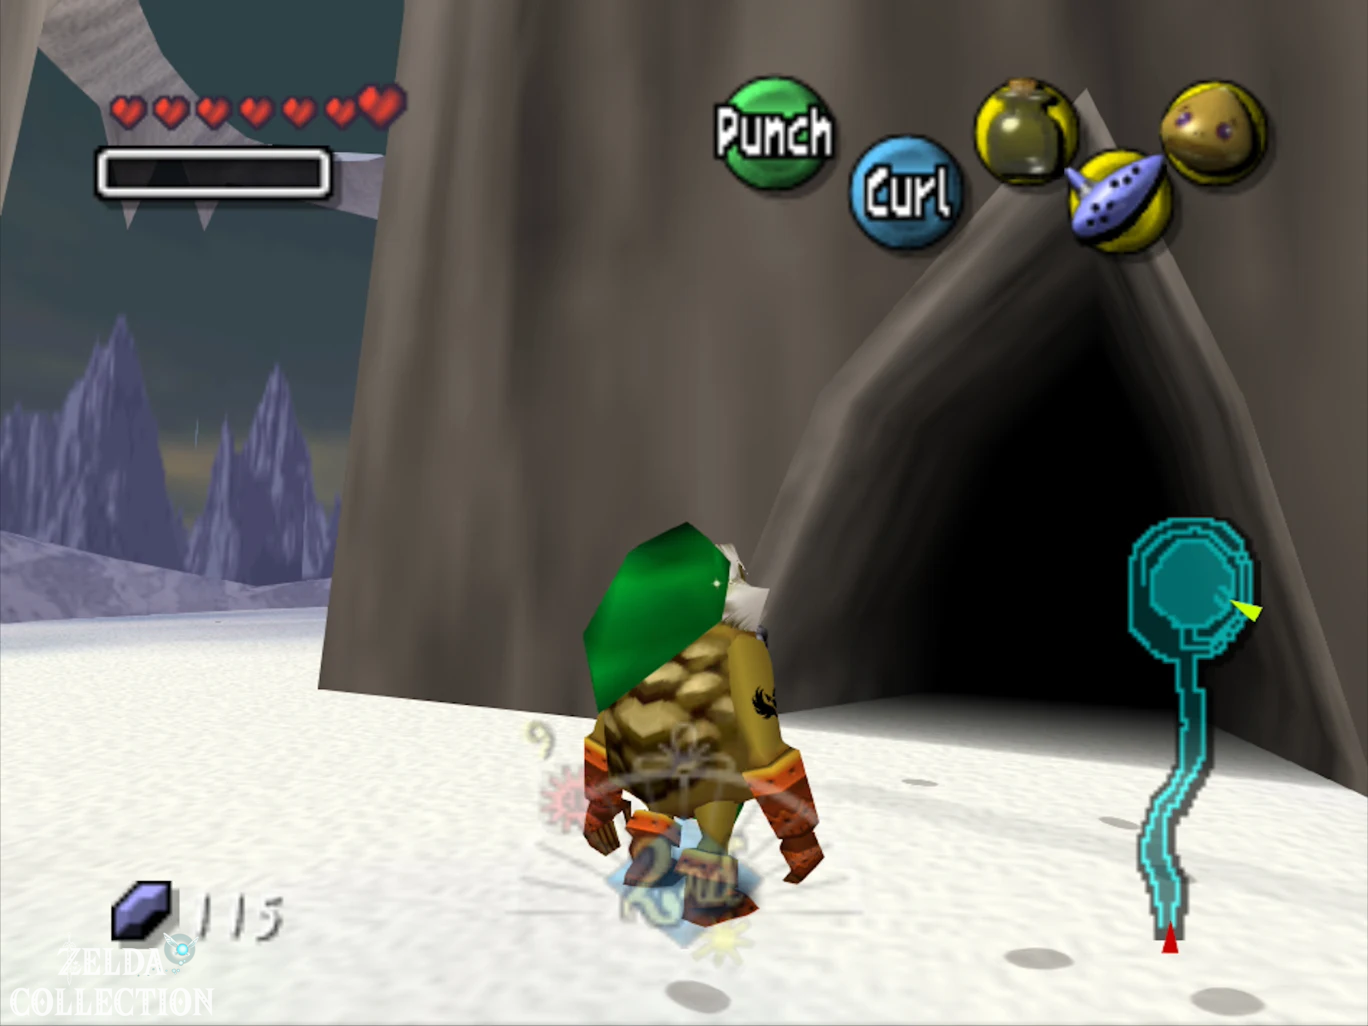
Before you end the current cycle, take the 15 Stray Fairies to the appropriate fairy source. Teleport to the owl statue at Snowhead and from the climb to the temple go to the right or around the lower part of the mountain. There is the entrance to the fairy spring.
Once all 15 fairies have returned, the Great Fairy will appear. In the Nintendo 64 version it doubles Link’s Magic Bar. This upgrade is extremely valuable, especially for the Goron role, Fire Arrows and the upcoming temples.
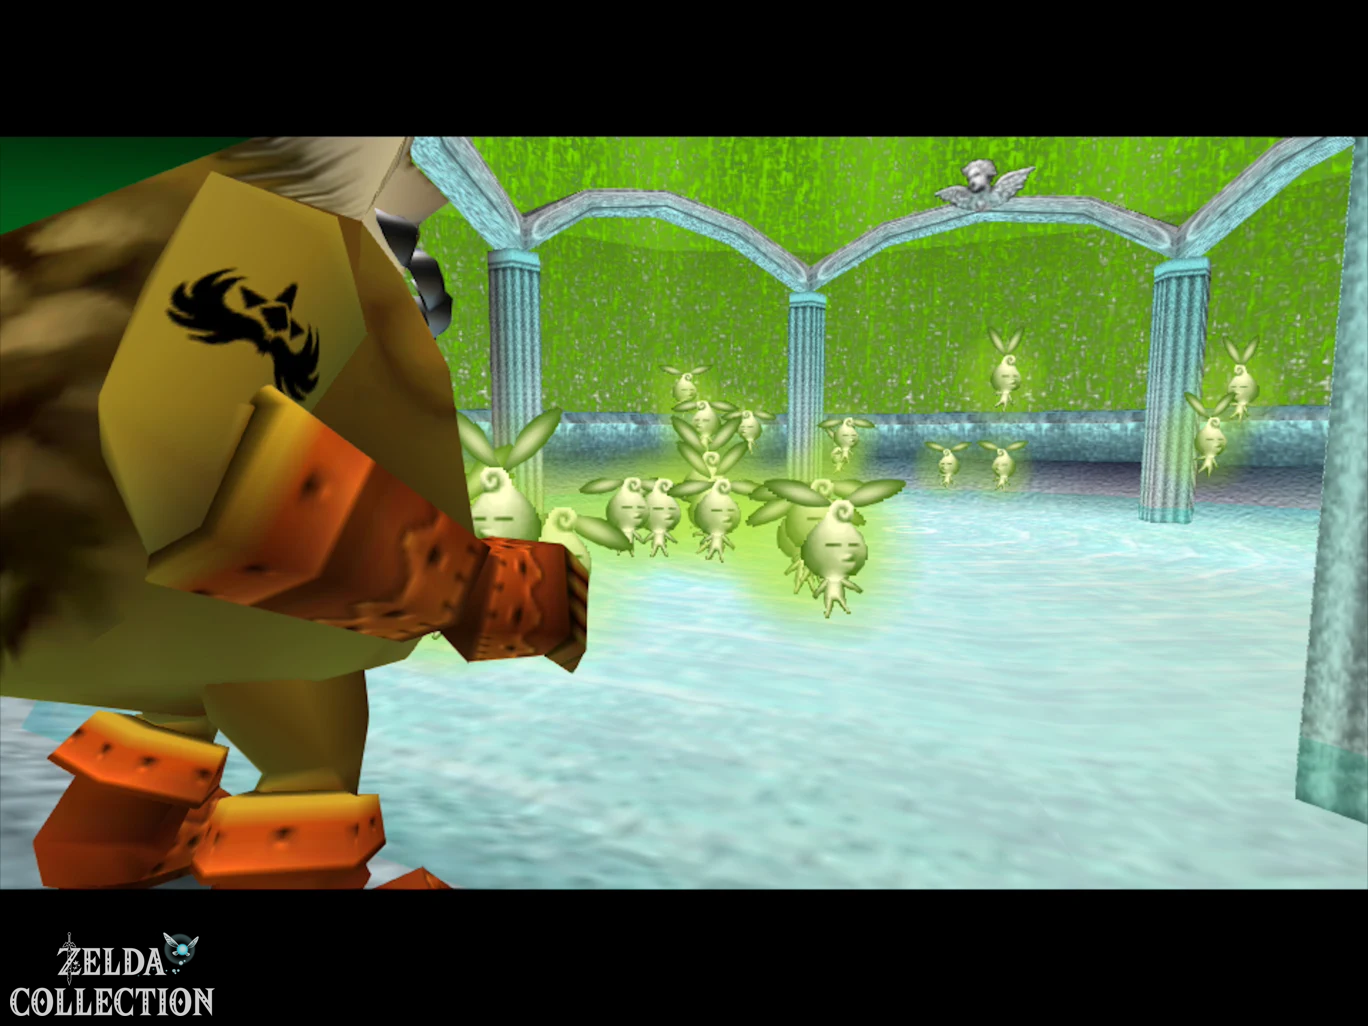
3D Difference: In Majora’s Mask 3D, the fairy rewards of Woodfall and Snowhead have been swapped. There you already got the double magic bar after the Woodfall Temple. For the 15 fairies of Snowhead, Link will instead receive the Enhanced Magic Spin Attack.
This completes the Snowhead Temple. Spring now offers several new quests in the mountain region, including the Goron Race, the permanent improvement of Link’s sword, and more collectibles. We continue with the Goron race.