

Enter Great Bay Temple with the Hookshot, Zora Mask and Great Fairy’s Mask. Begin early on the First Day and play the Inverted Song of Time. Activate and reverse the water systems, obtain the Ice Arrows and collect all 15 Stray Fairies before fighting Gyorg.
Landing Hall and the first three Stray Fairies
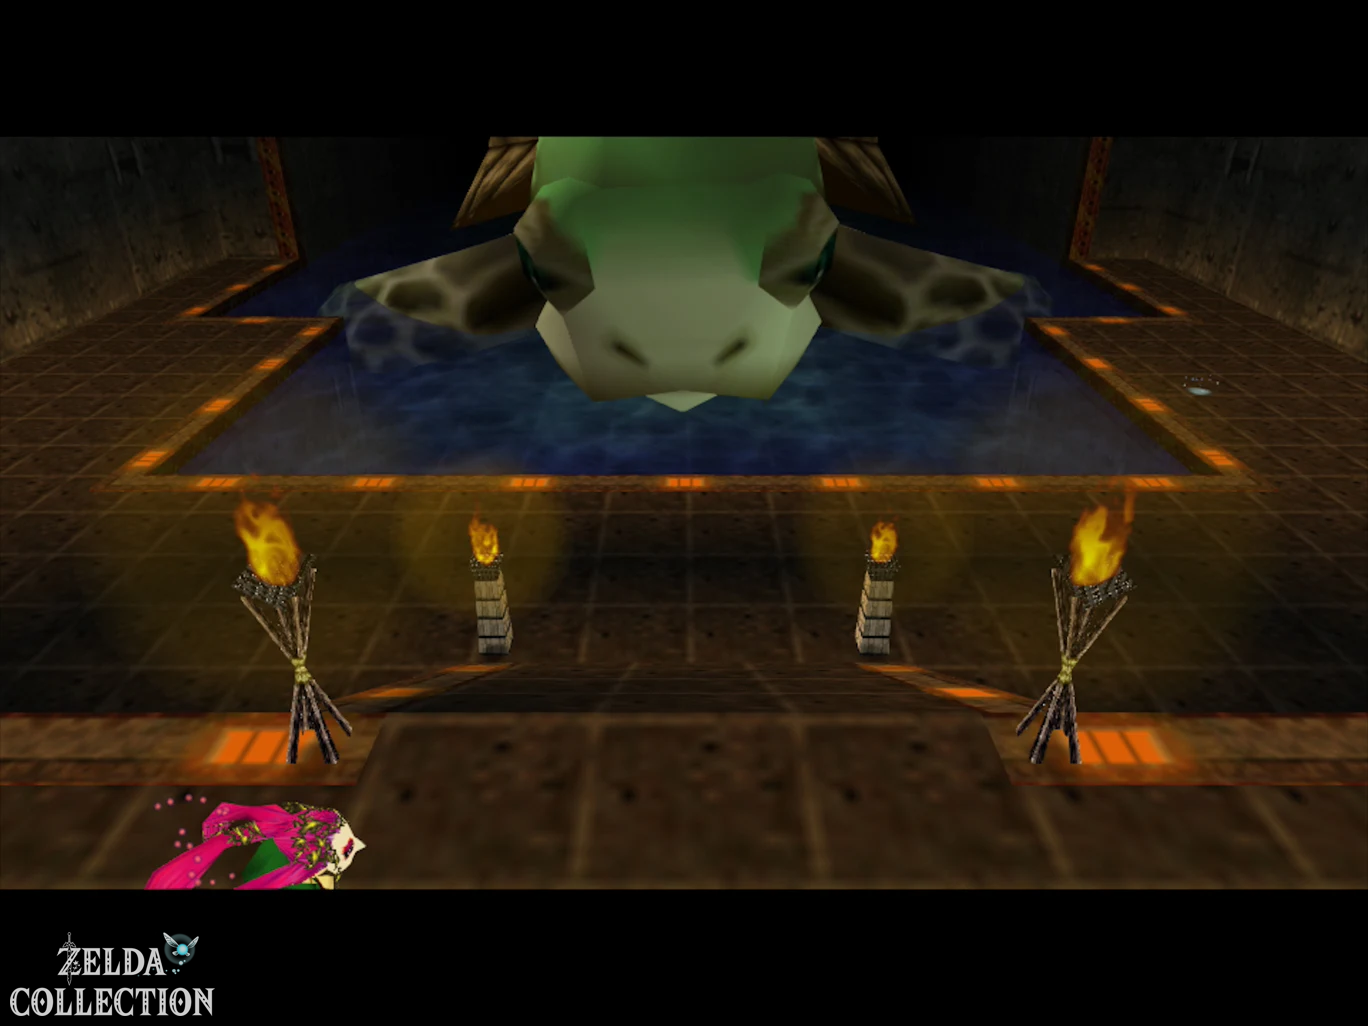
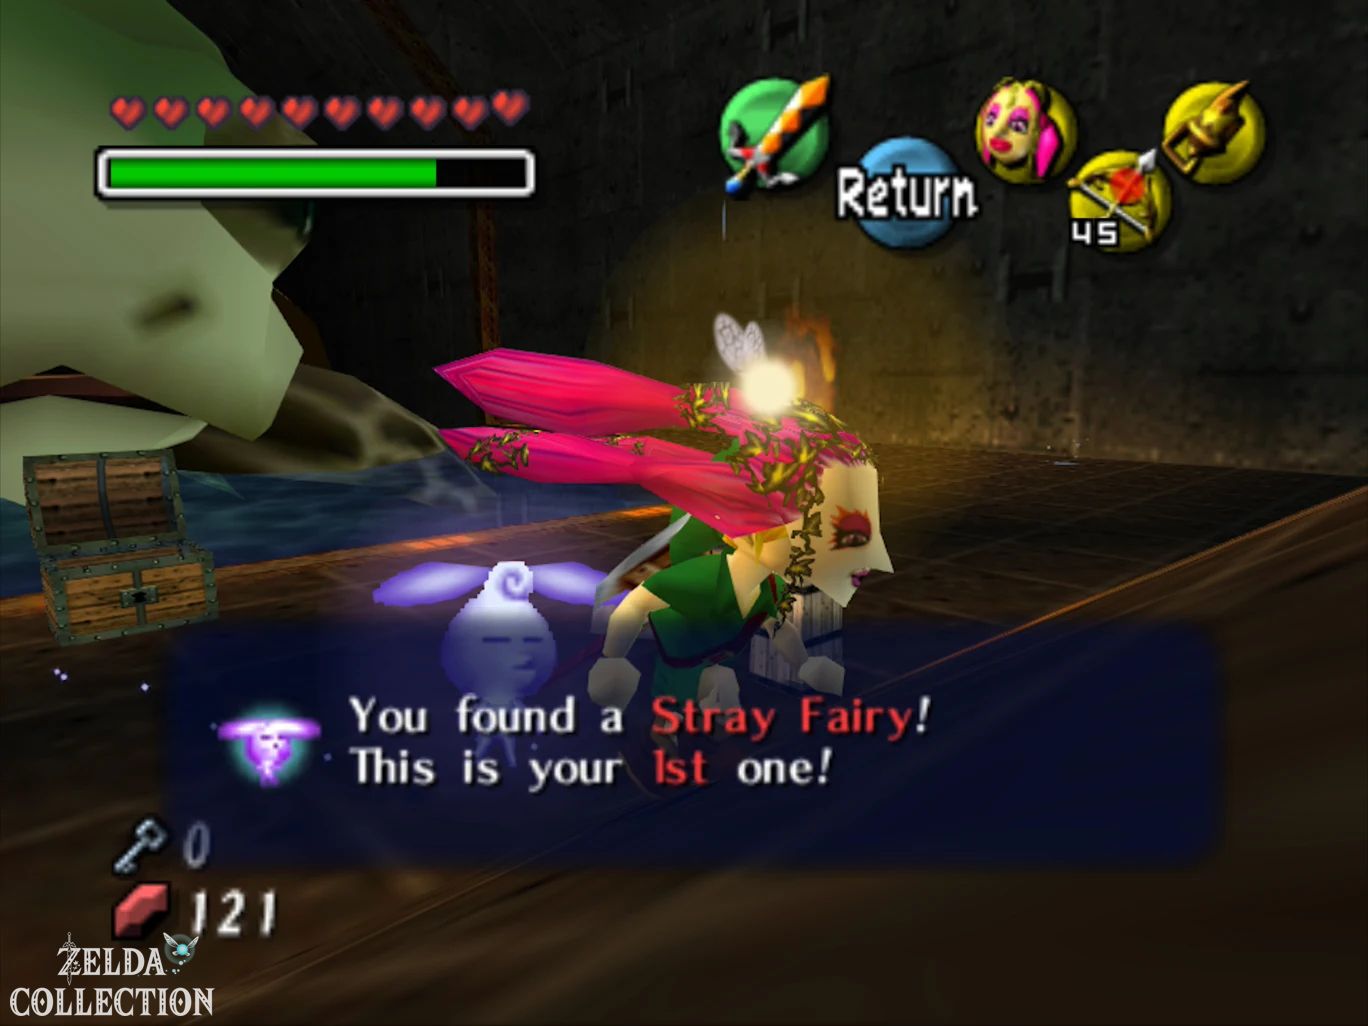
Enter the first hall and first look at the four extinguished torches. Ignite them with fire arrows. Once all four are burning, one will appear Treasure Chest with the first Stray Fairy. Then go through the door into the large machine hall. Here a mighty water wheel and several platforms rotate around the central axis. First jump into the water and dive under the entrance platform as Zora Link. She waits in a bubble second Stray Fairy. Destroy the bubble with the Zora fins and collect the fairy.
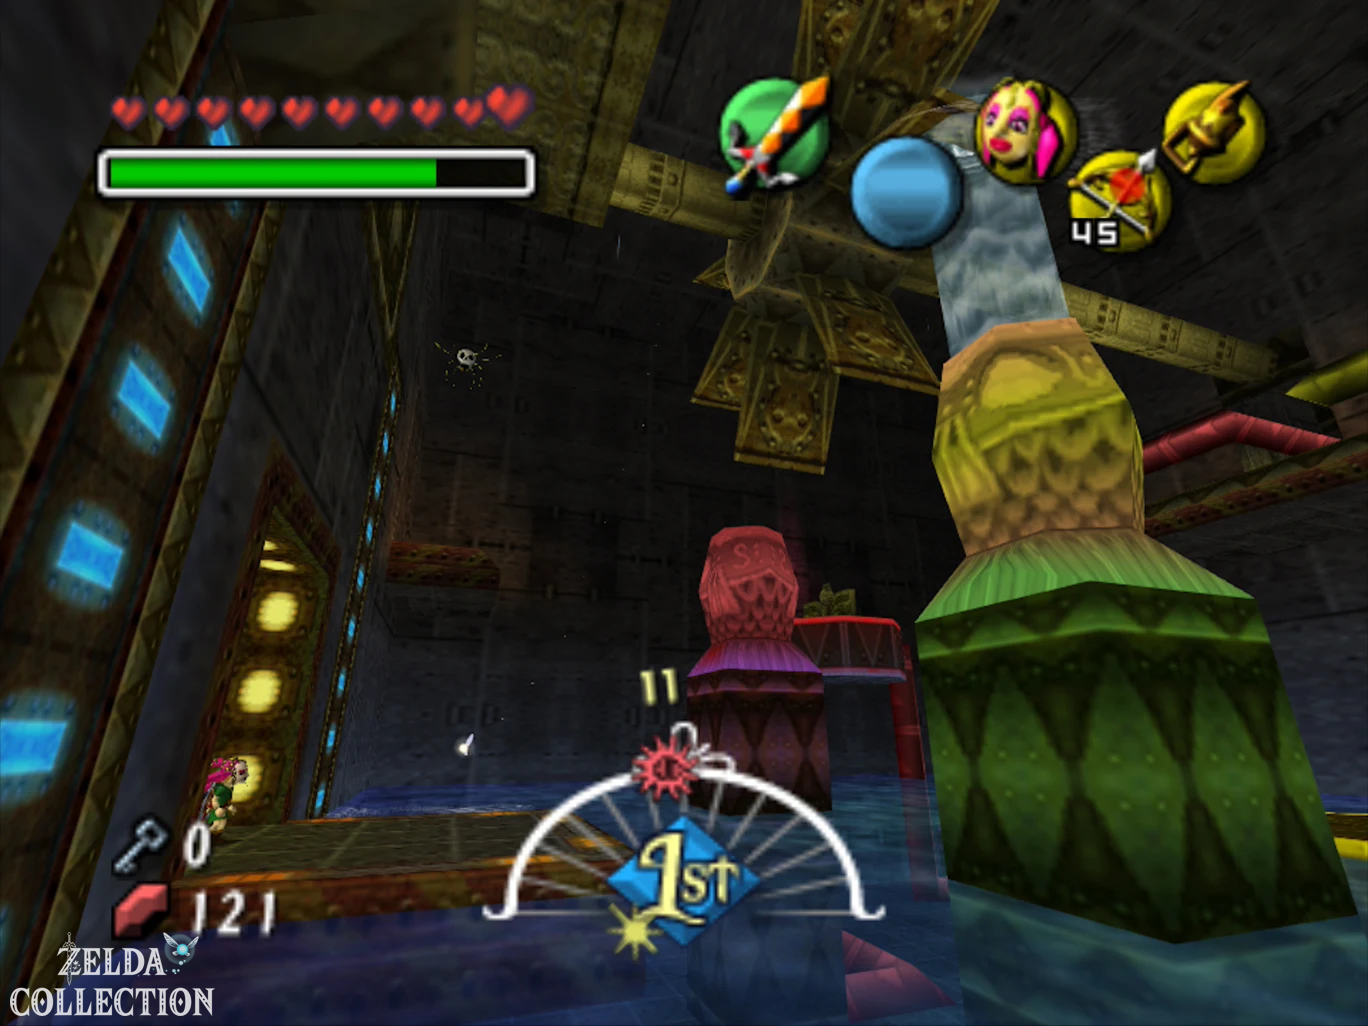
Then climb back up and use the moving platform on the left. There is a Skulltula nearby. Eliminate them and collect them third Stray Fairy one that she leaves behind. The first large valve is also located on a yellow base. Grab it and turn it to activate the connected water column. Ride the moving platform up, jump onto the water column and from there through the next exit. You will now reach the central hall with the large turbine, to which you will return again and again throughout the temple.
Central Turbine: Stray Fairies 4 and 5
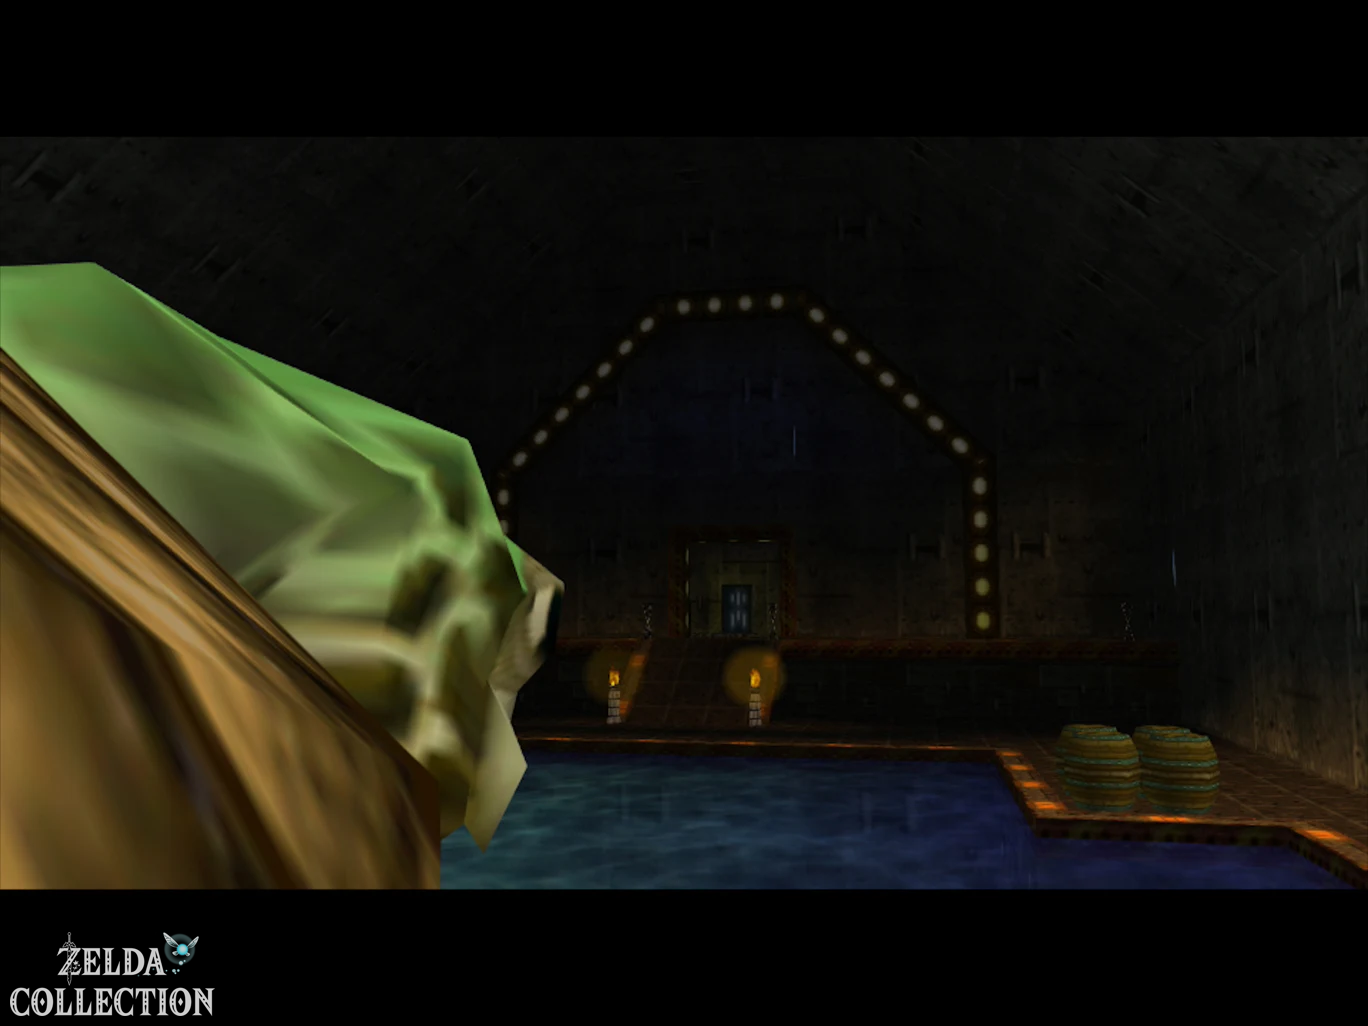
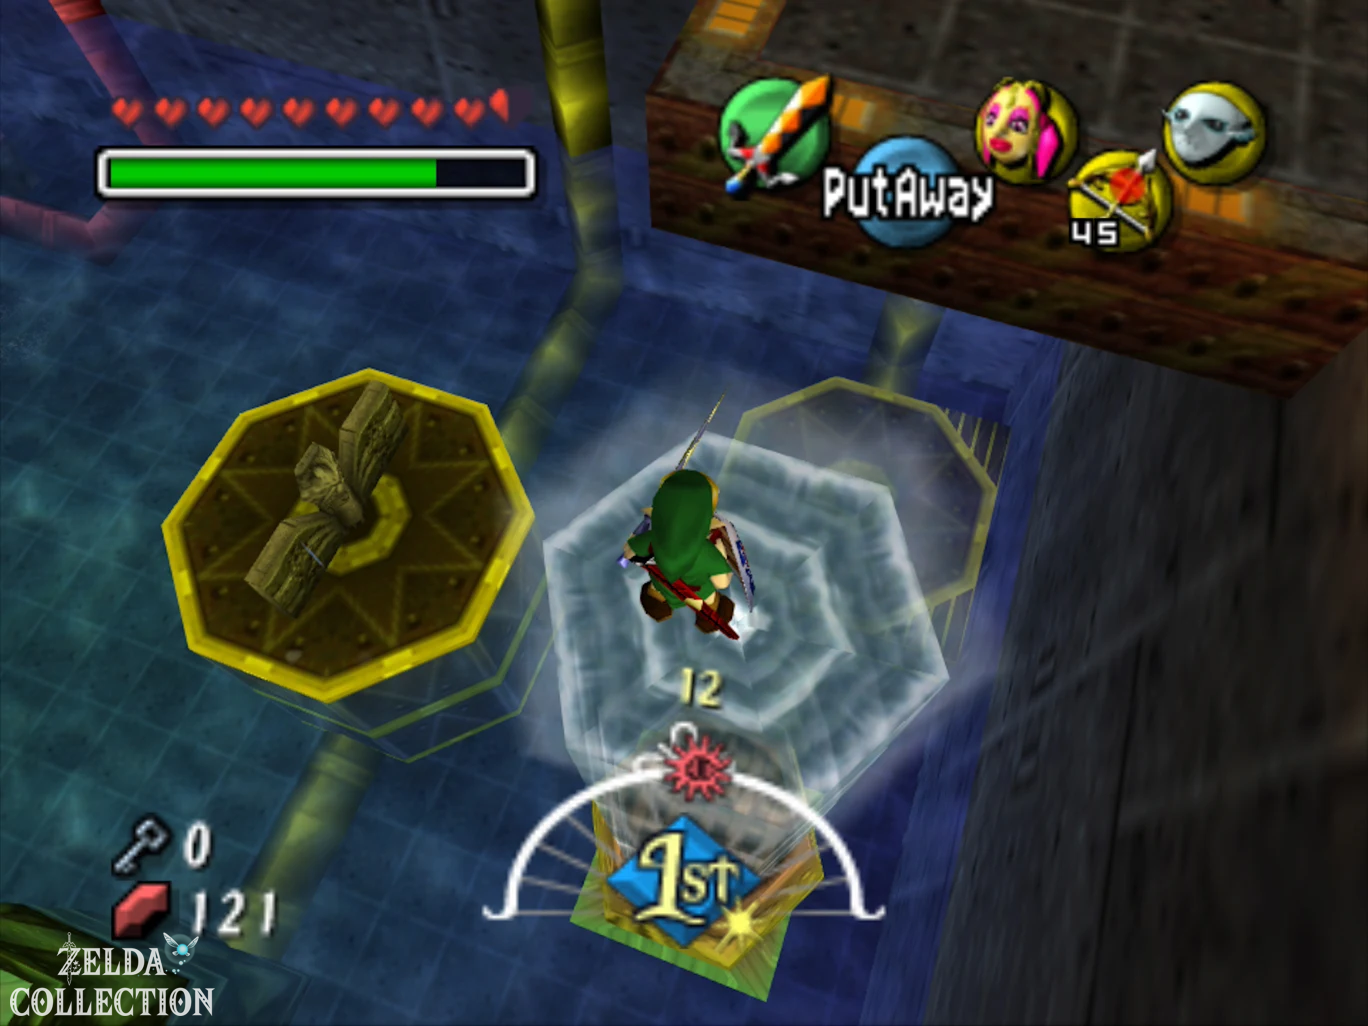
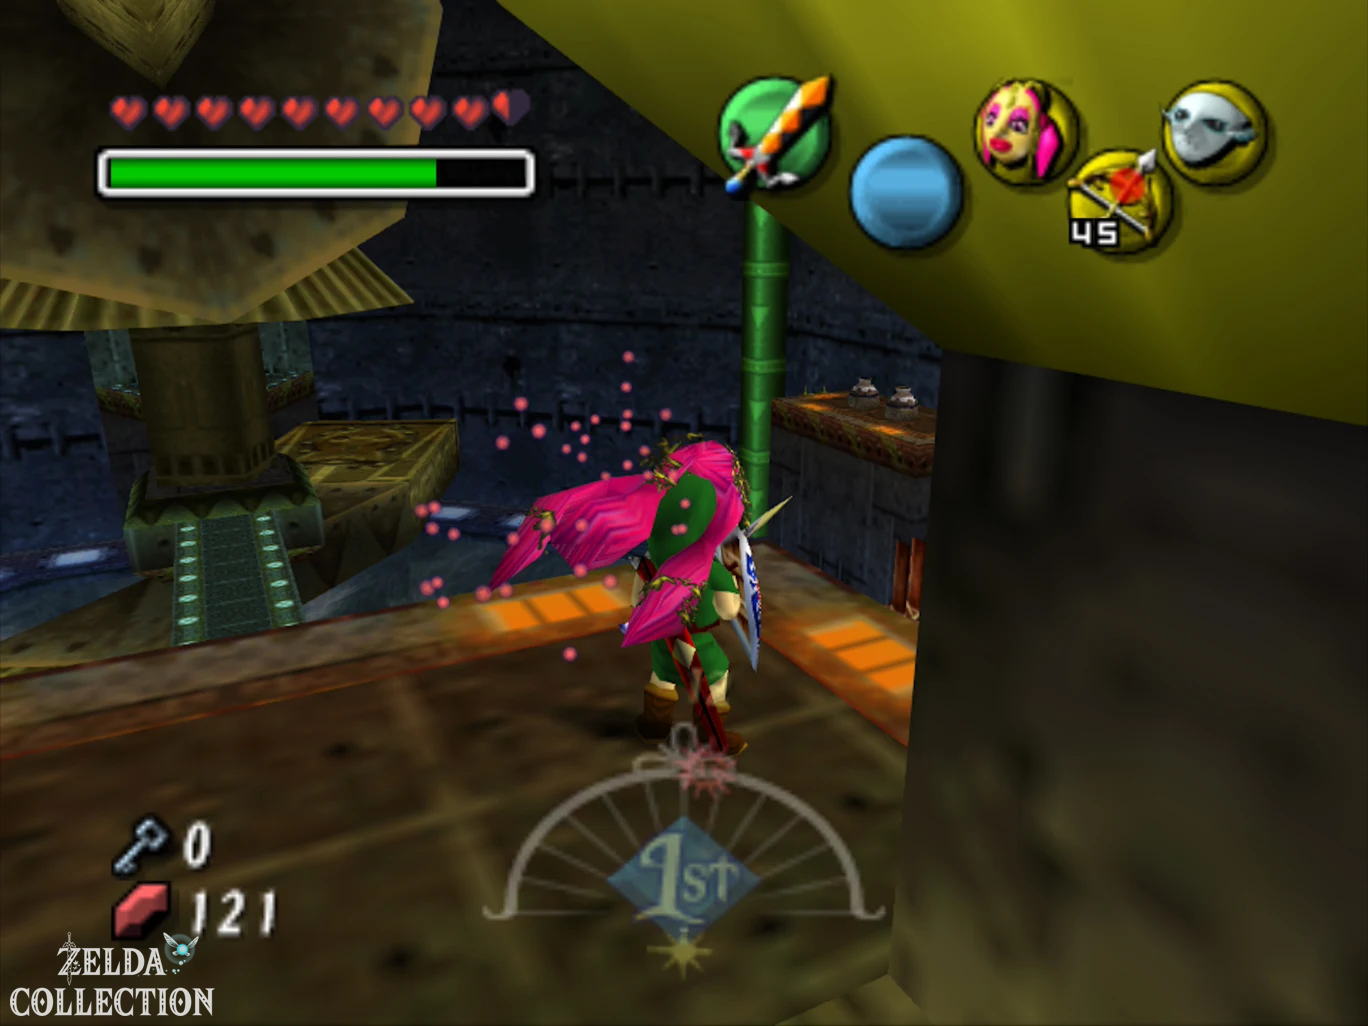
The enormous flow of the central turbine automatically pulls Zora Link through the various exits. Before you float, examine the edge of the pool. It’s in a barrel fourth Stray Fairy. Destroy the barrel as a Goron Link or with a bomb.
Then look deep down at the bottom of the pool. Below the rotating turbine stands a single jug. Destroy it with an arrow from a safe distance or dive down as Zora Link and smash it straight away. You can then pull the fifth Stray Fairy enclosed inside to you with the Great Fairy’s Mask.
Now jump into the current as Zora Link and let yourself be pulled into the upper tunnel that is currently accessible. The colored pipes help with orientation: First we follow the red pipe system.
Dungeon Map, Compass and first Small Key
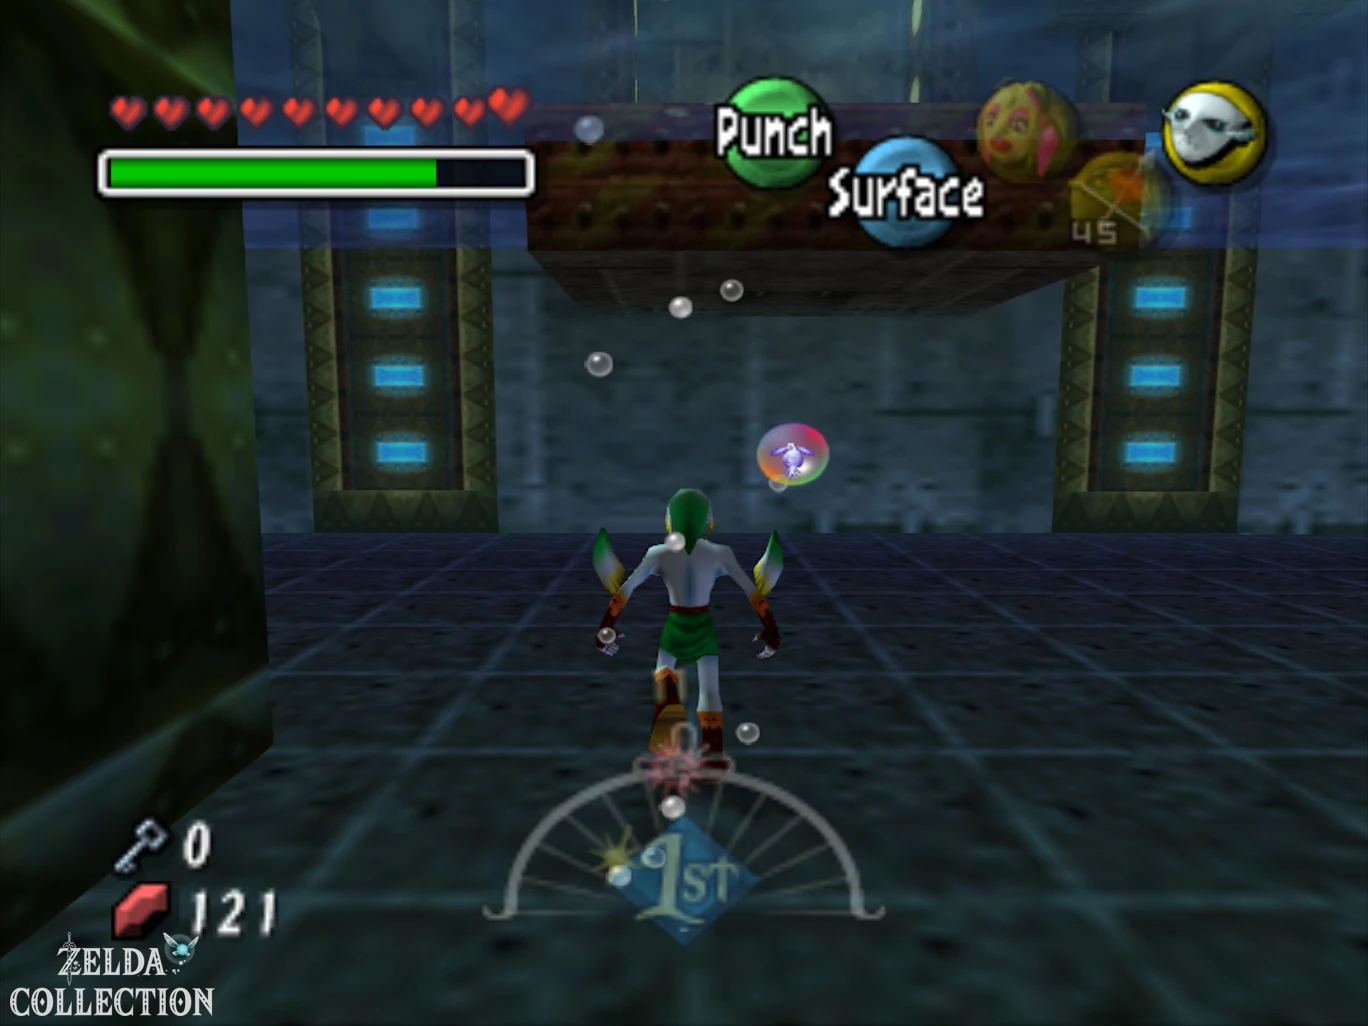
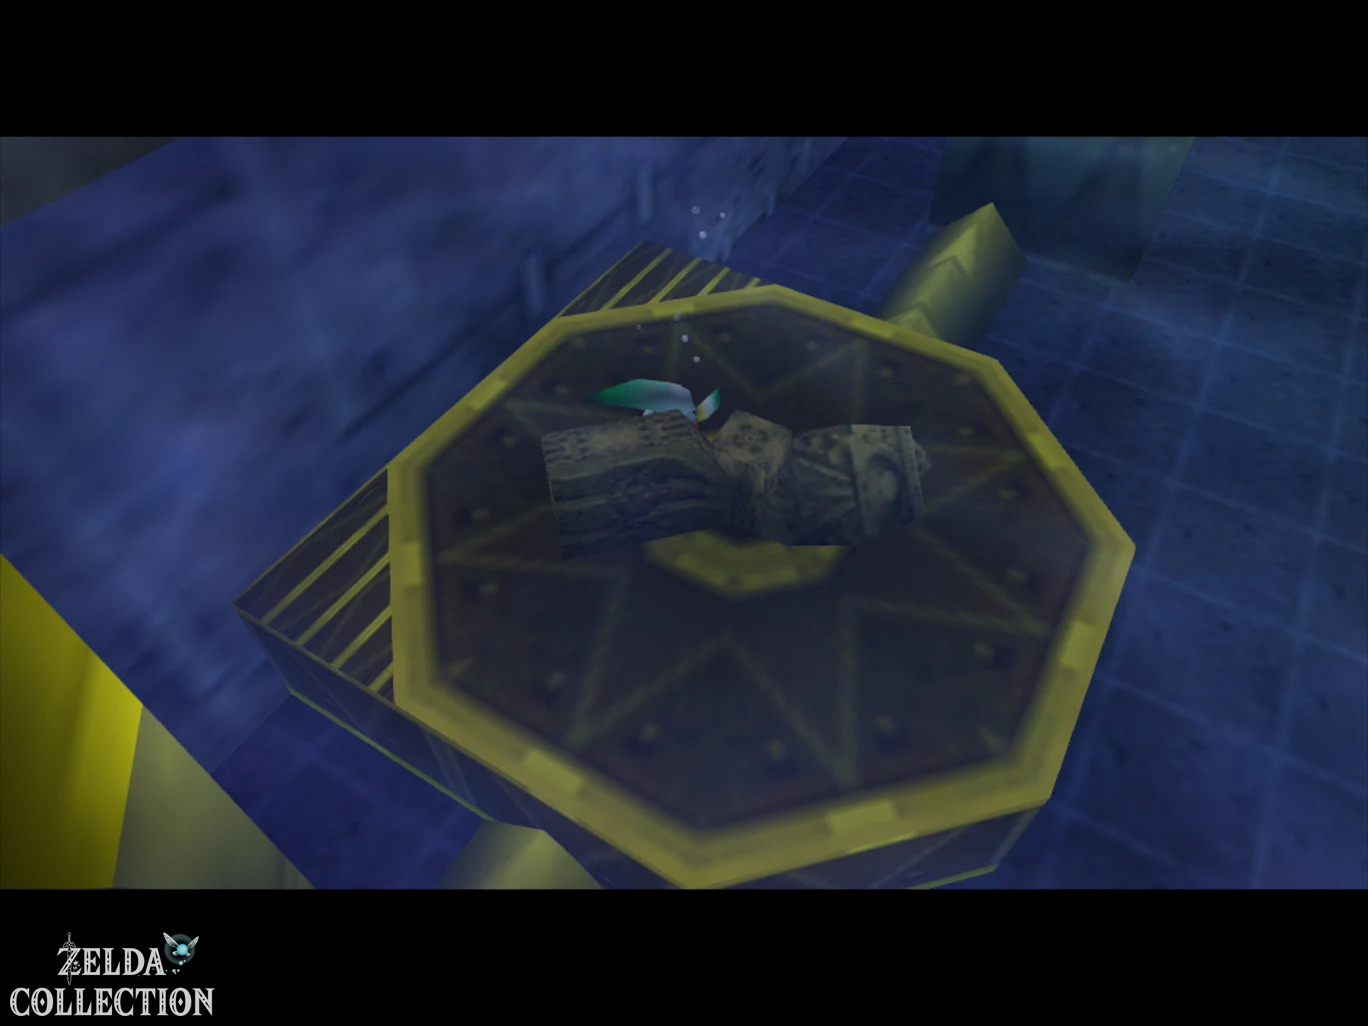
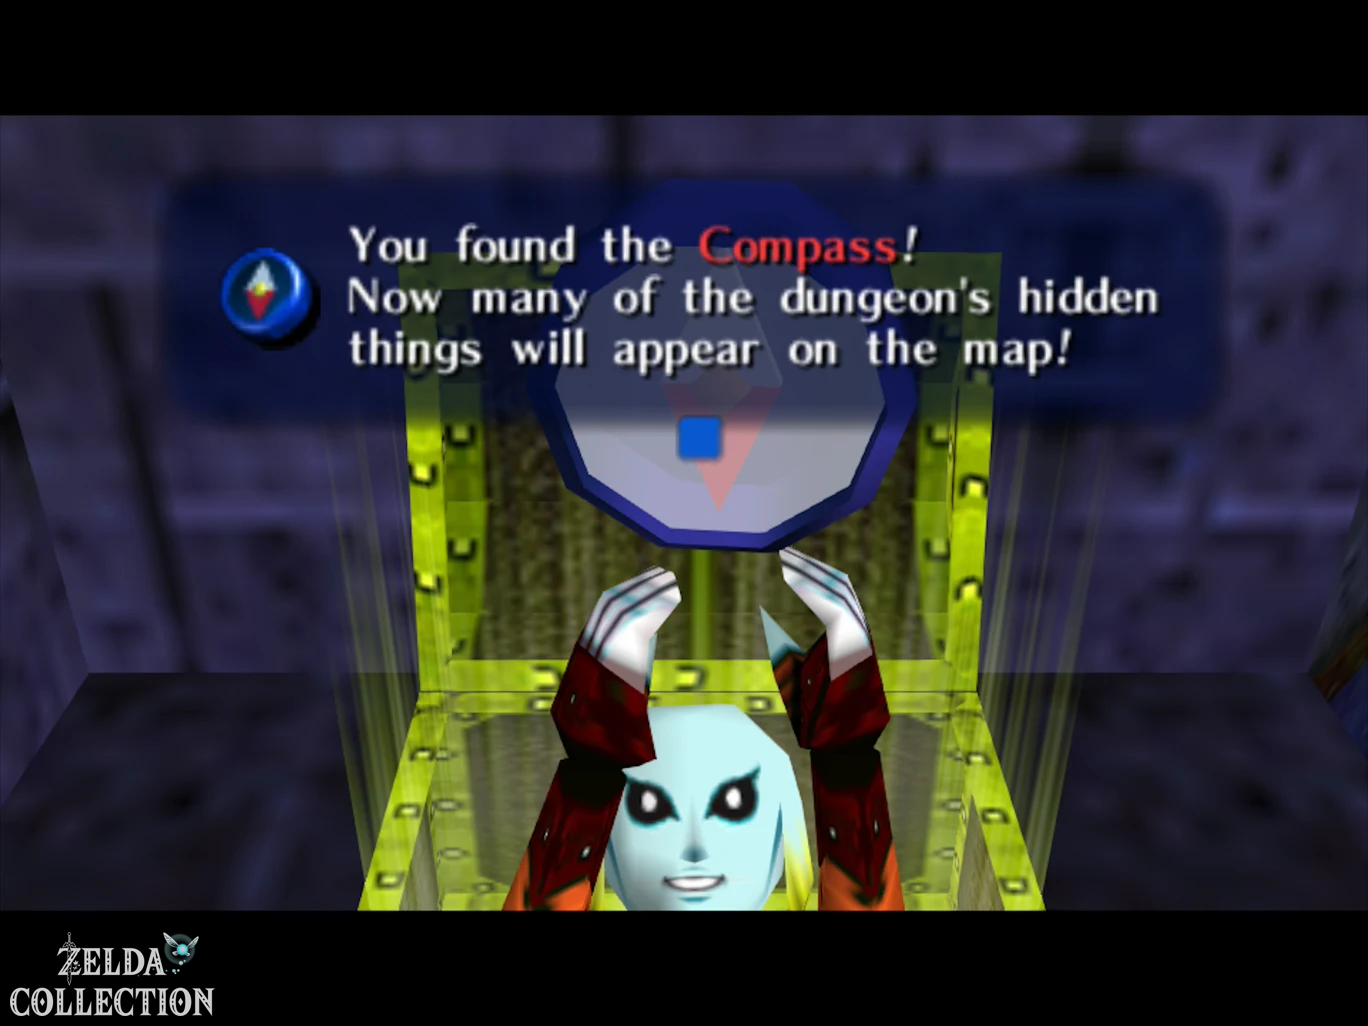
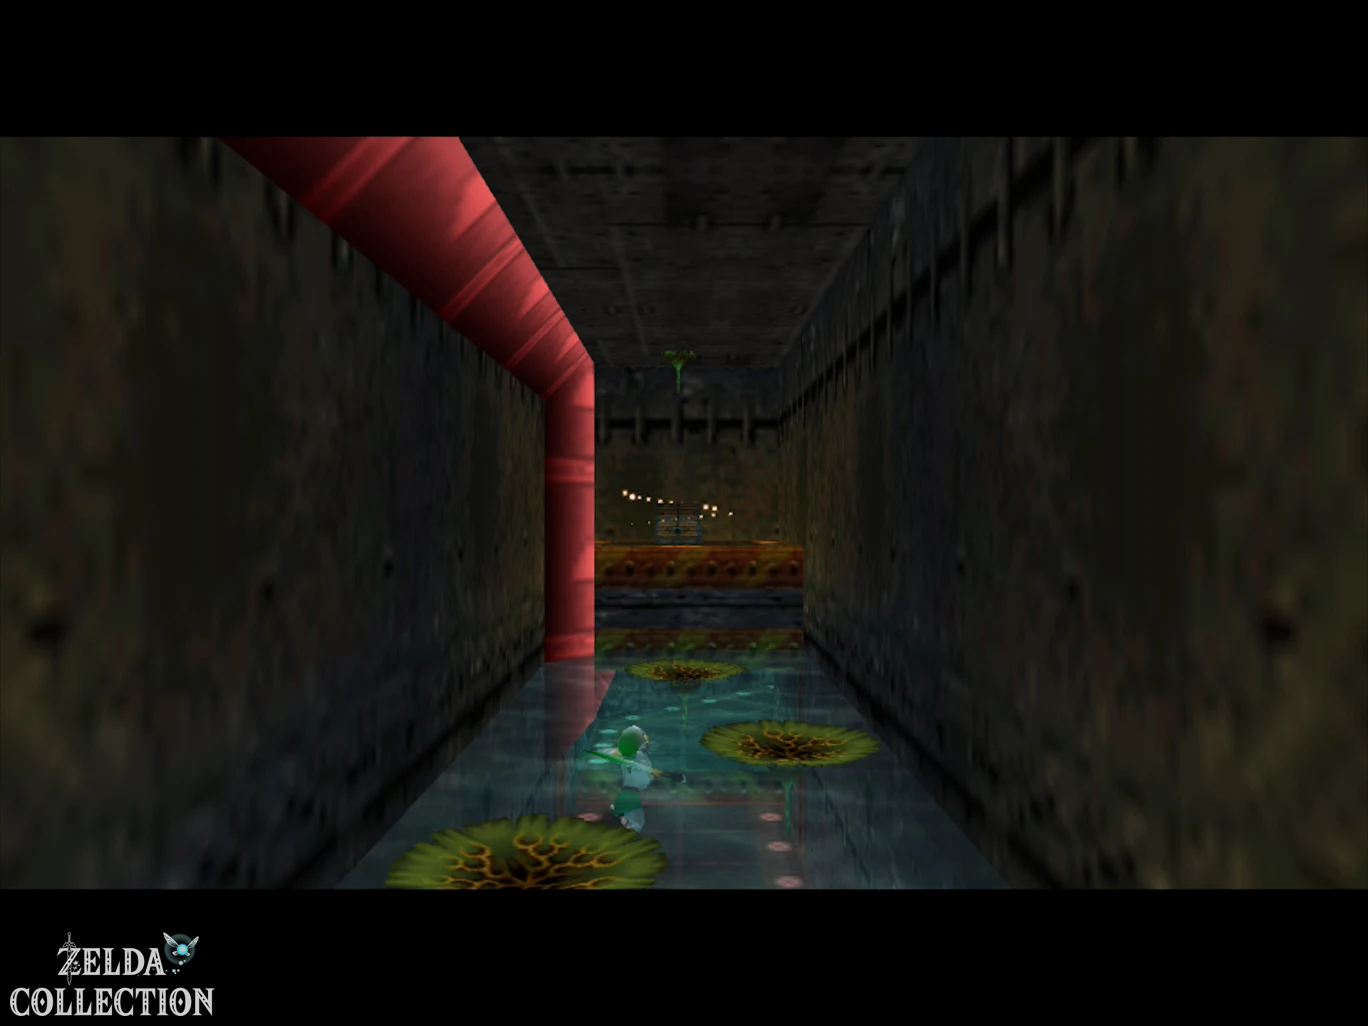
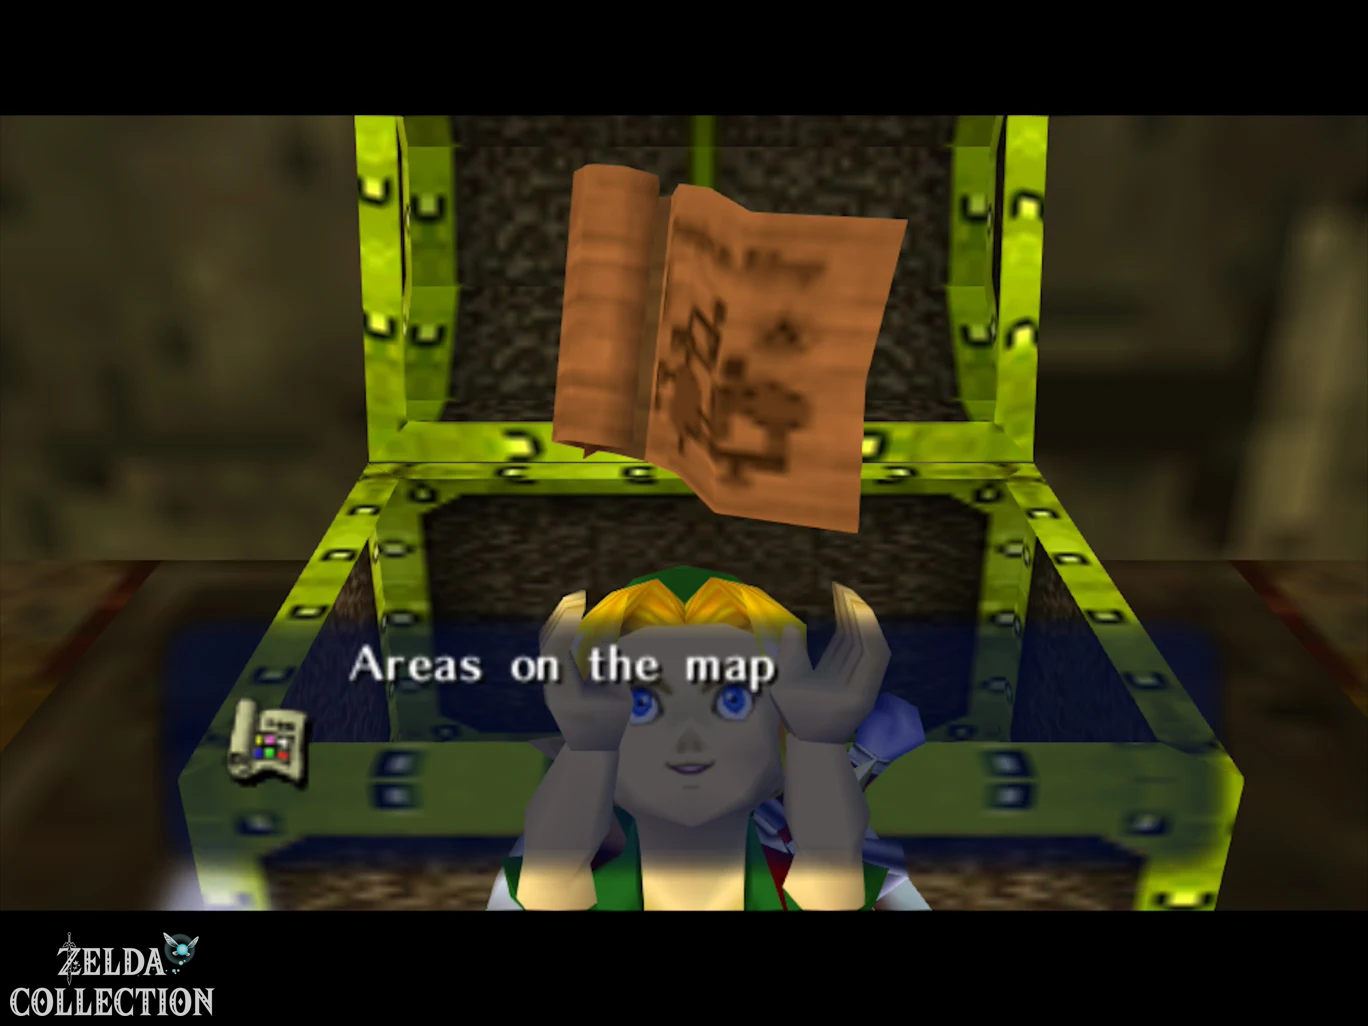
In the next elongated room, several enemies are swimming in the current. Dive to the bottom and follow the red pipe. In one of the side rooms you will reach an area with several jugs and a large Treasure Chest. Open it and take the Dungeon Map.
There is a jug or container in the current in the immediate vicinity. Destroy it with the Hookshot or an arrow and pull the released sixth Stray Fairy with the Great Fairy’s Mask to you.
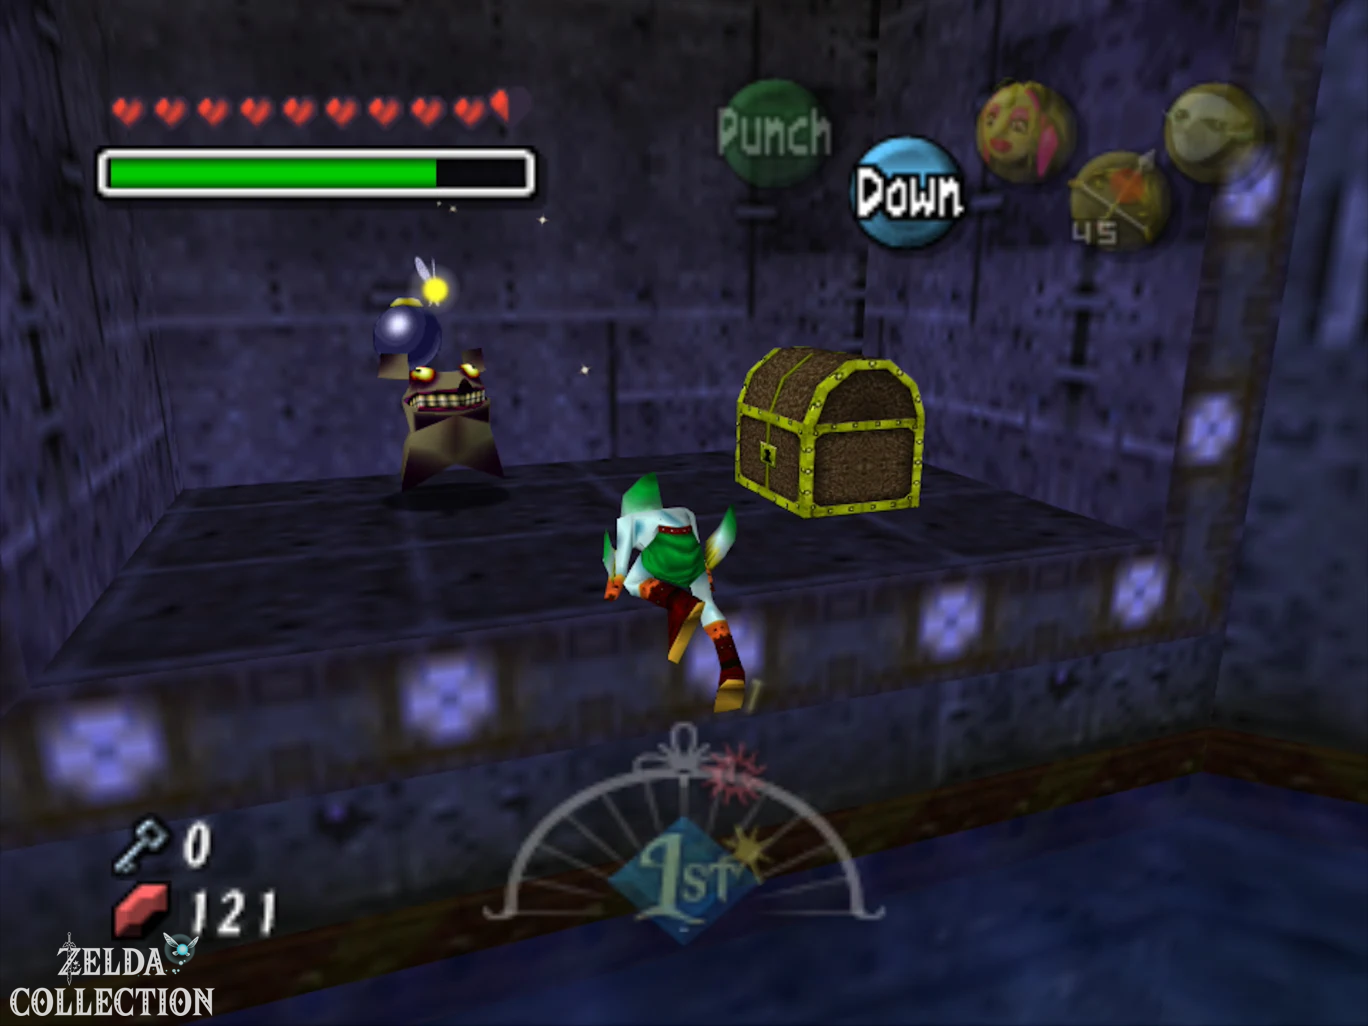
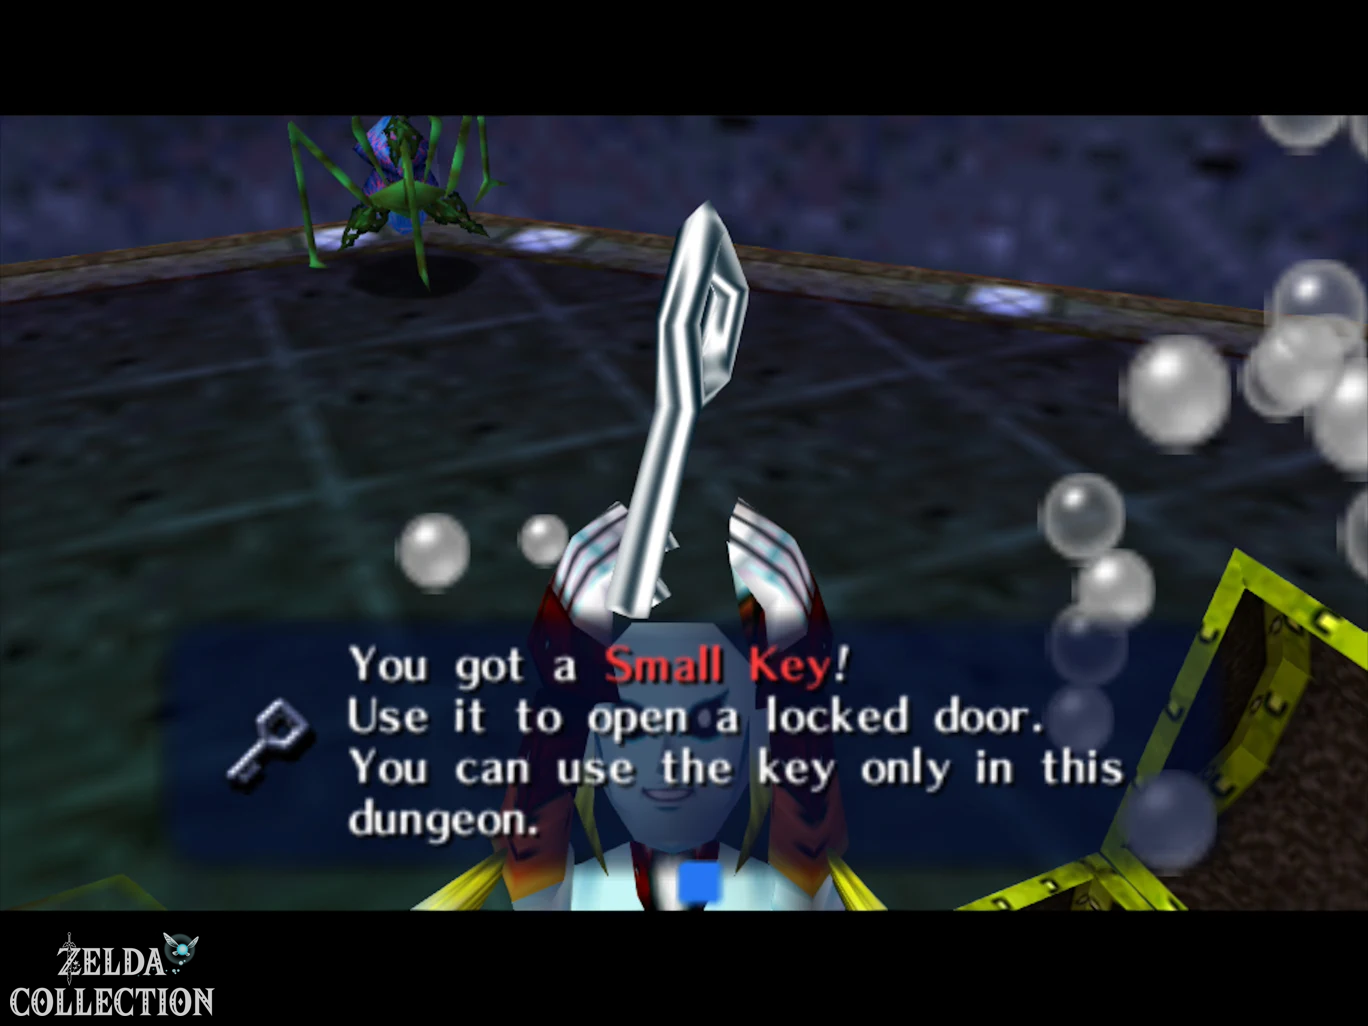
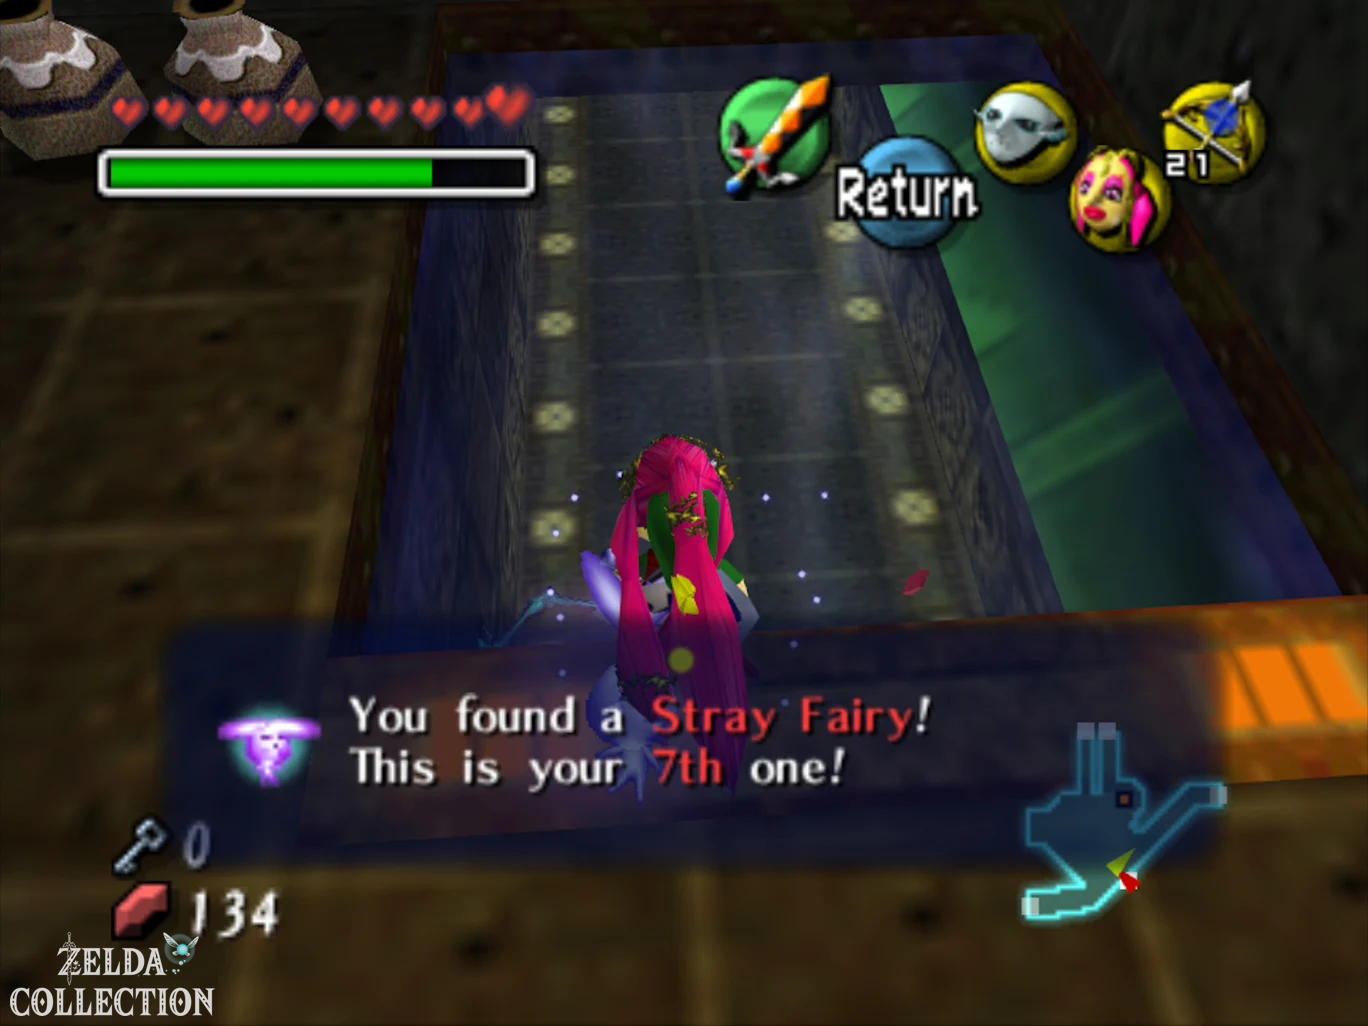
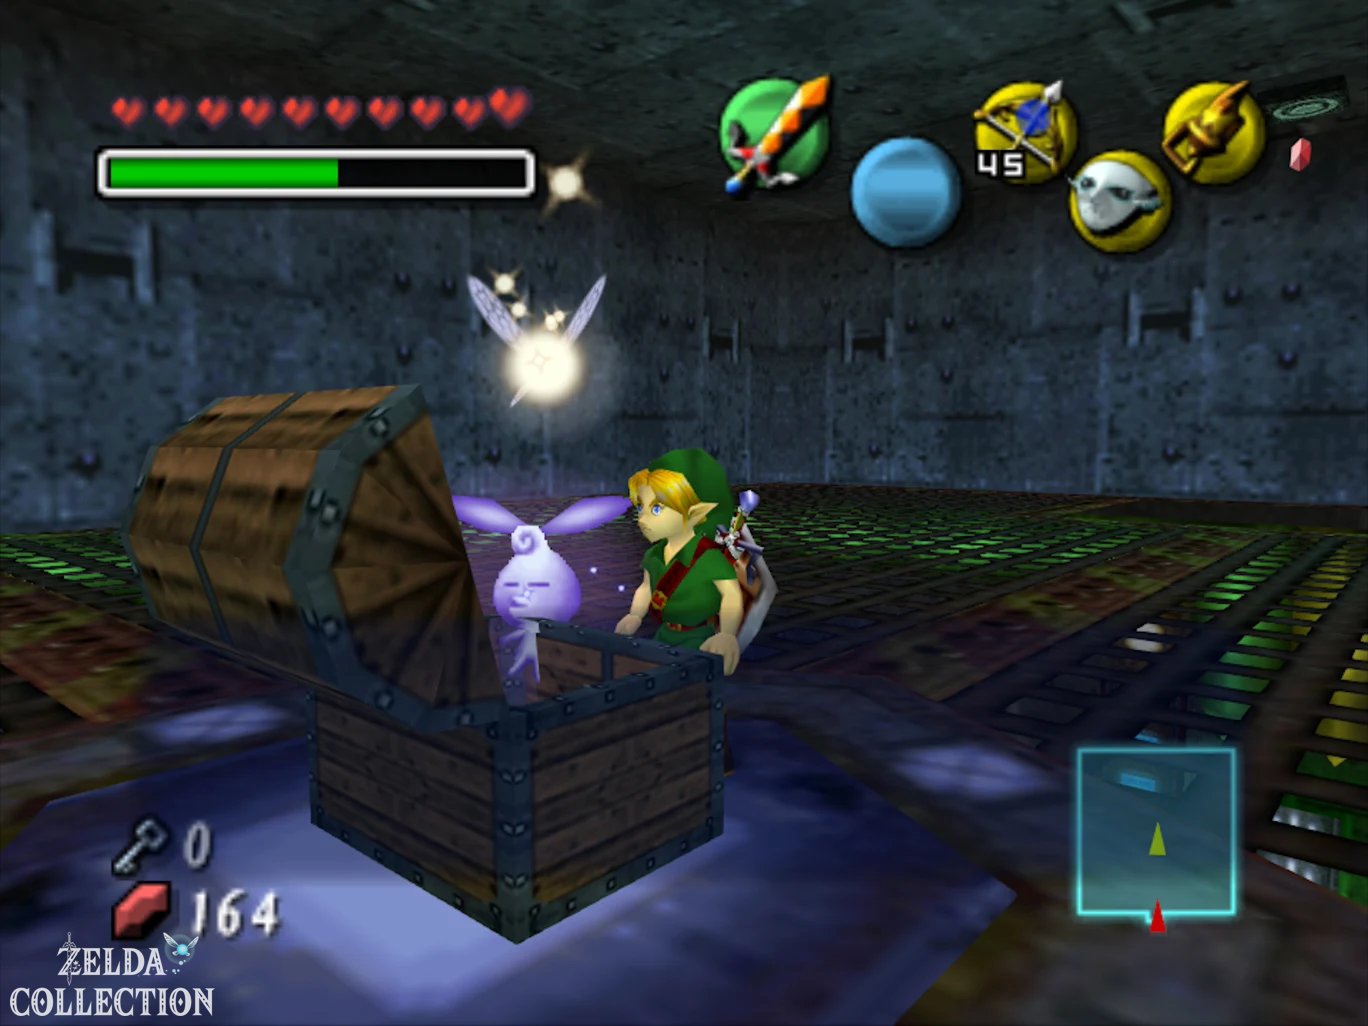
Then continue following the underwater canals. In a lower room with several organic deku plants or water plants you have to eliminate all opponents. After her death, a Treasure Chest appears with the seventh Stray Fairy. Also opens the regular chests in this section; one contains the Compass, another the first Small Key.
Use this key to return to the room with the red pipe. Climb along it to the locked door and open it. The first big Miniboss is waiting behind it.
Miniboss: Wart
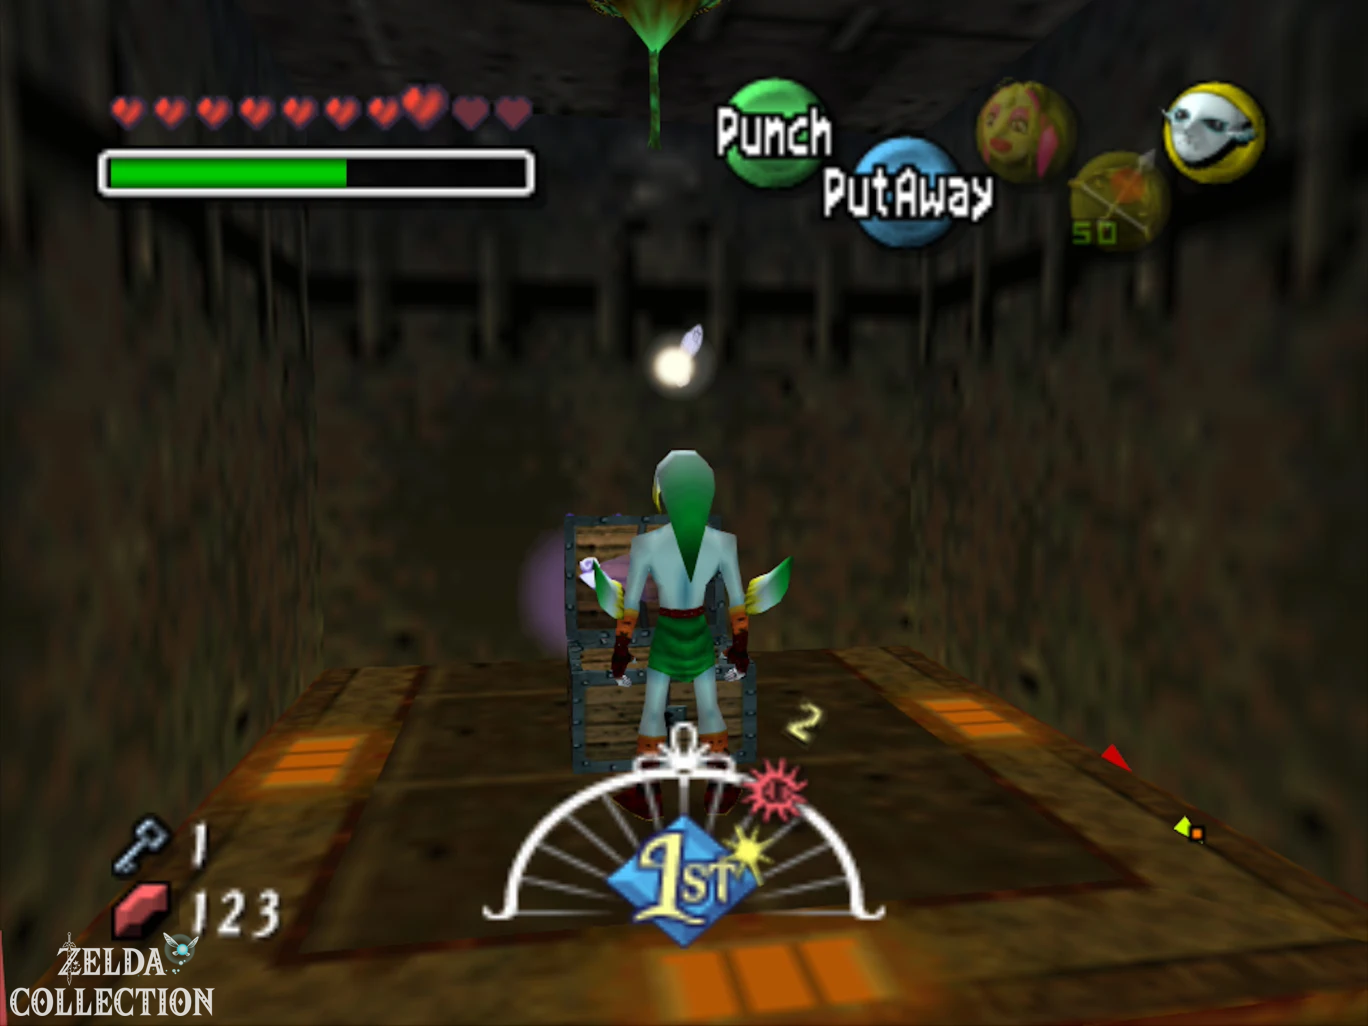
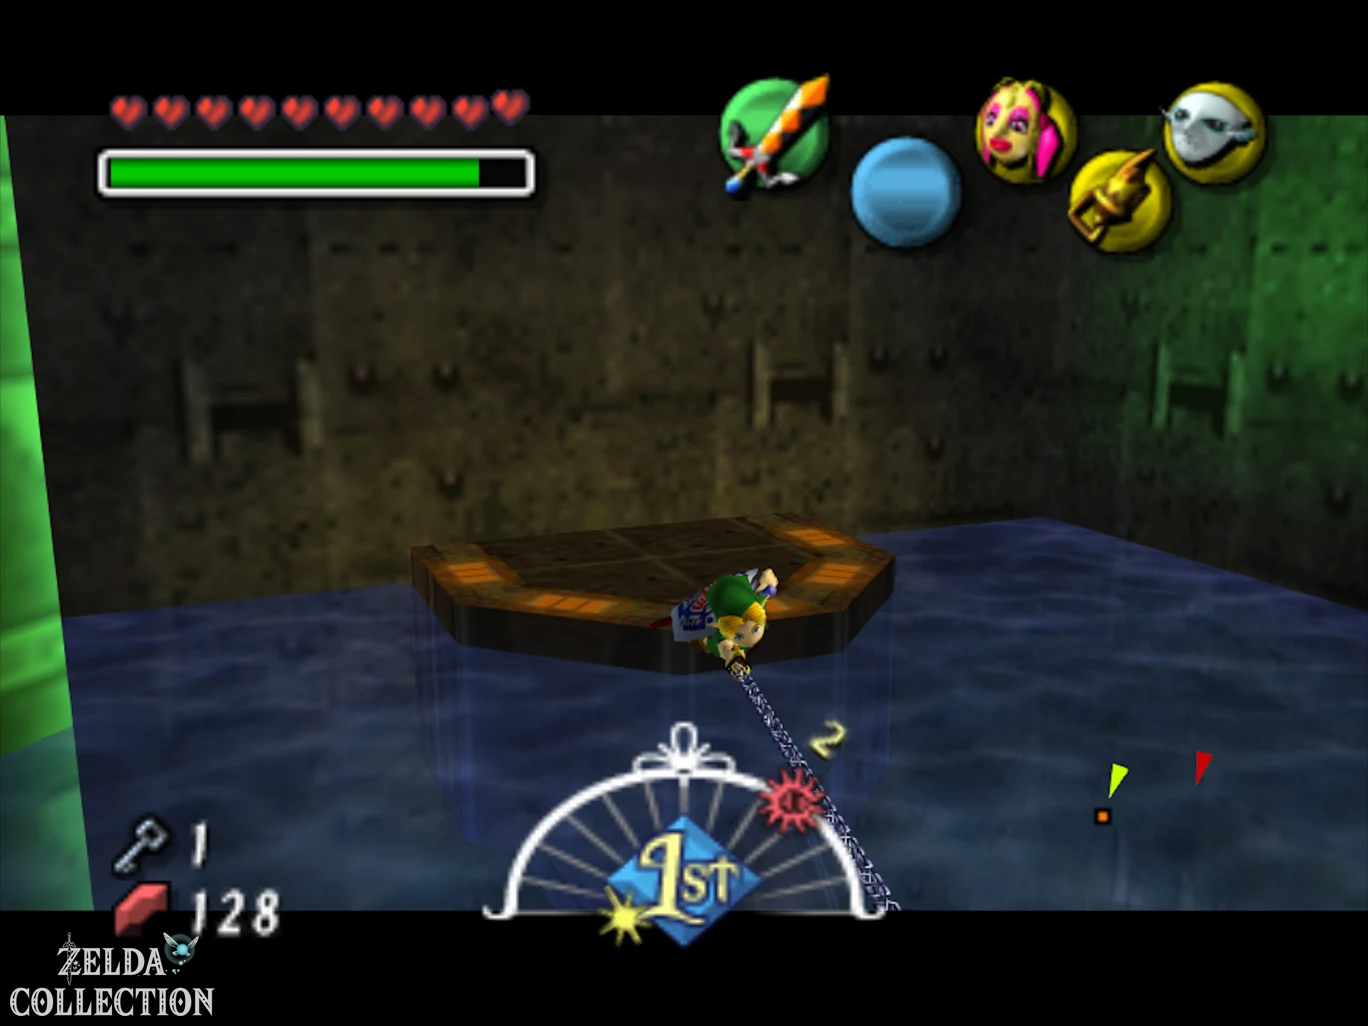
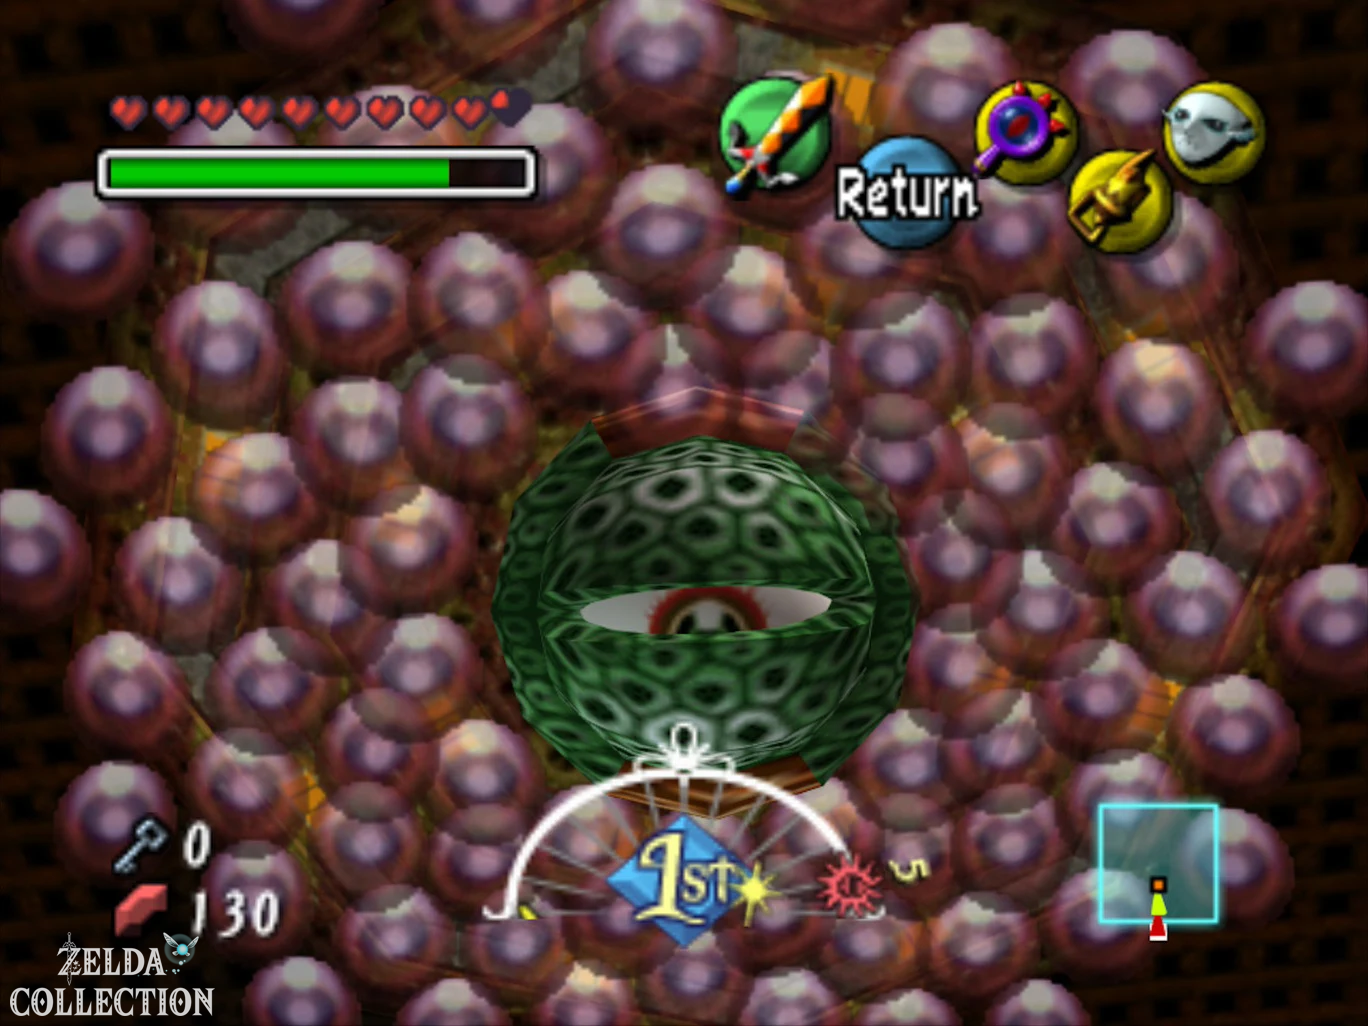
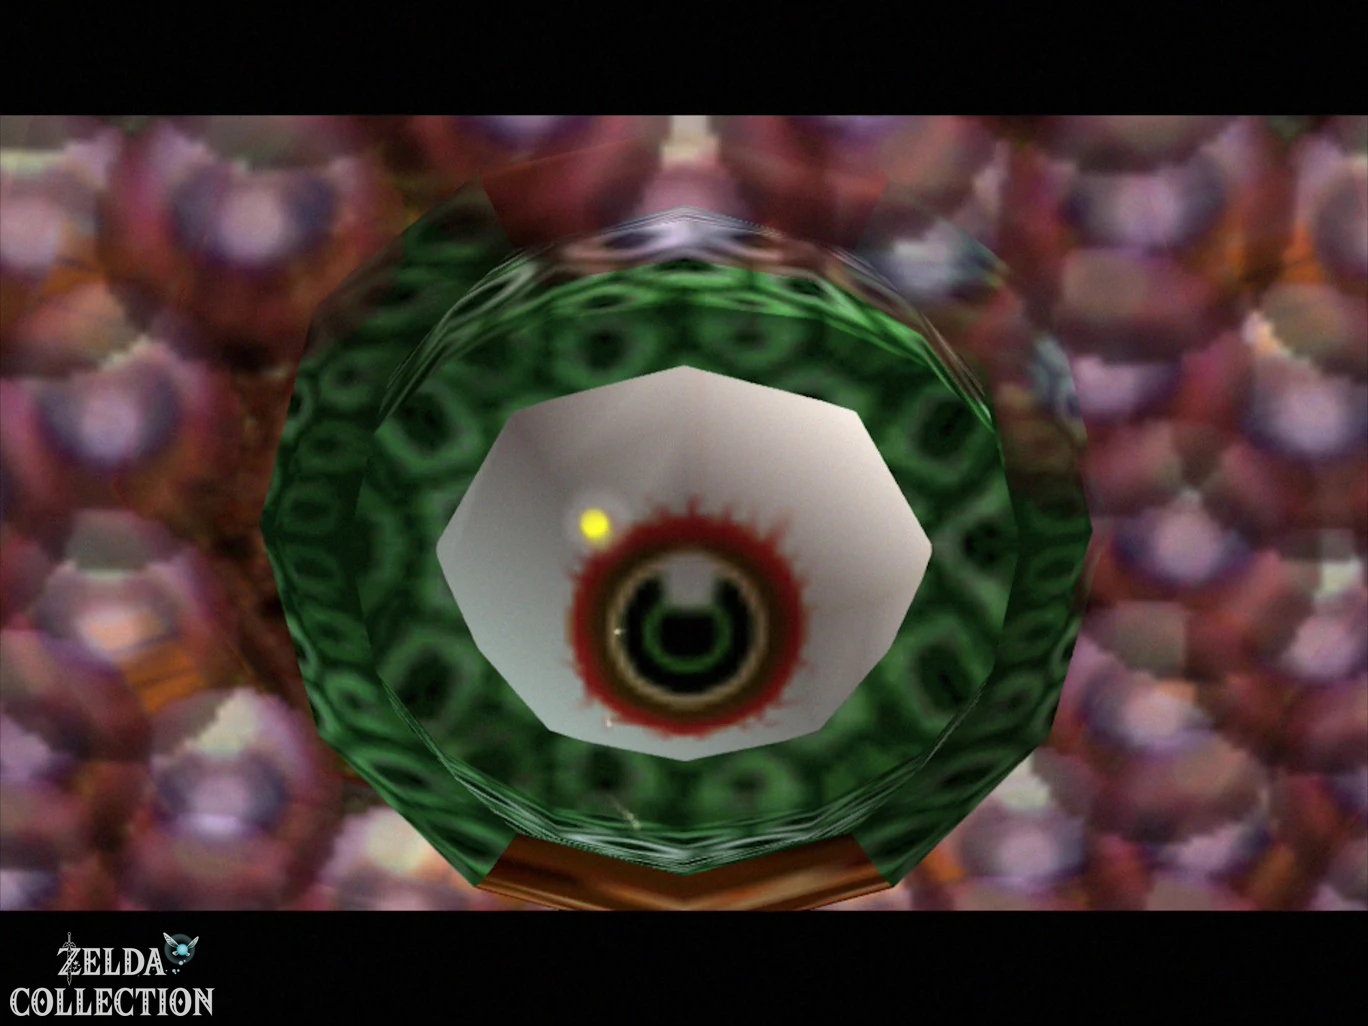
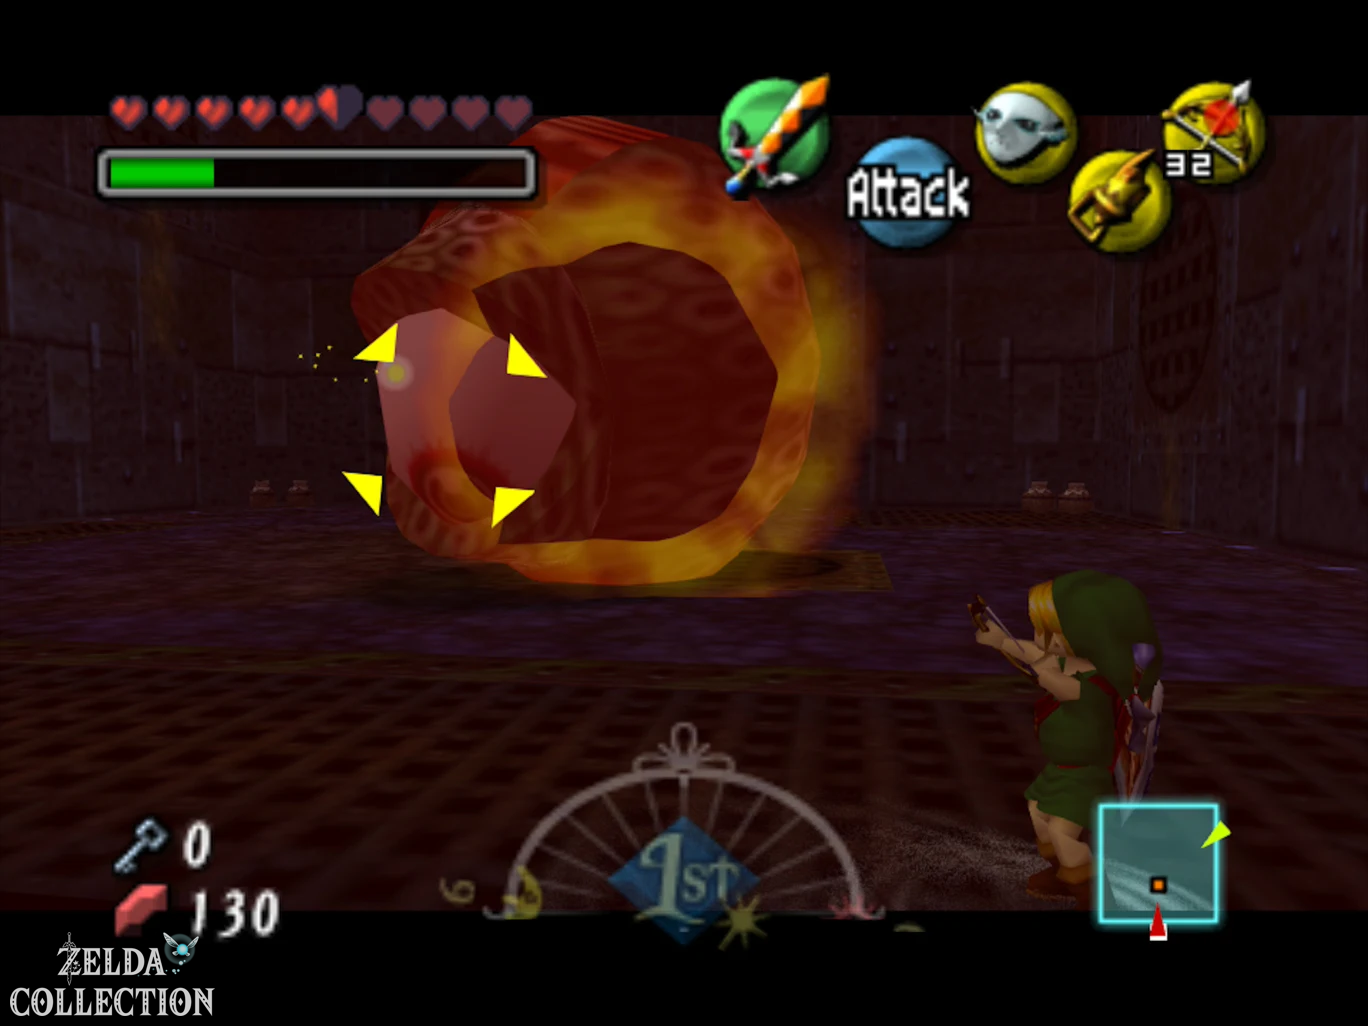
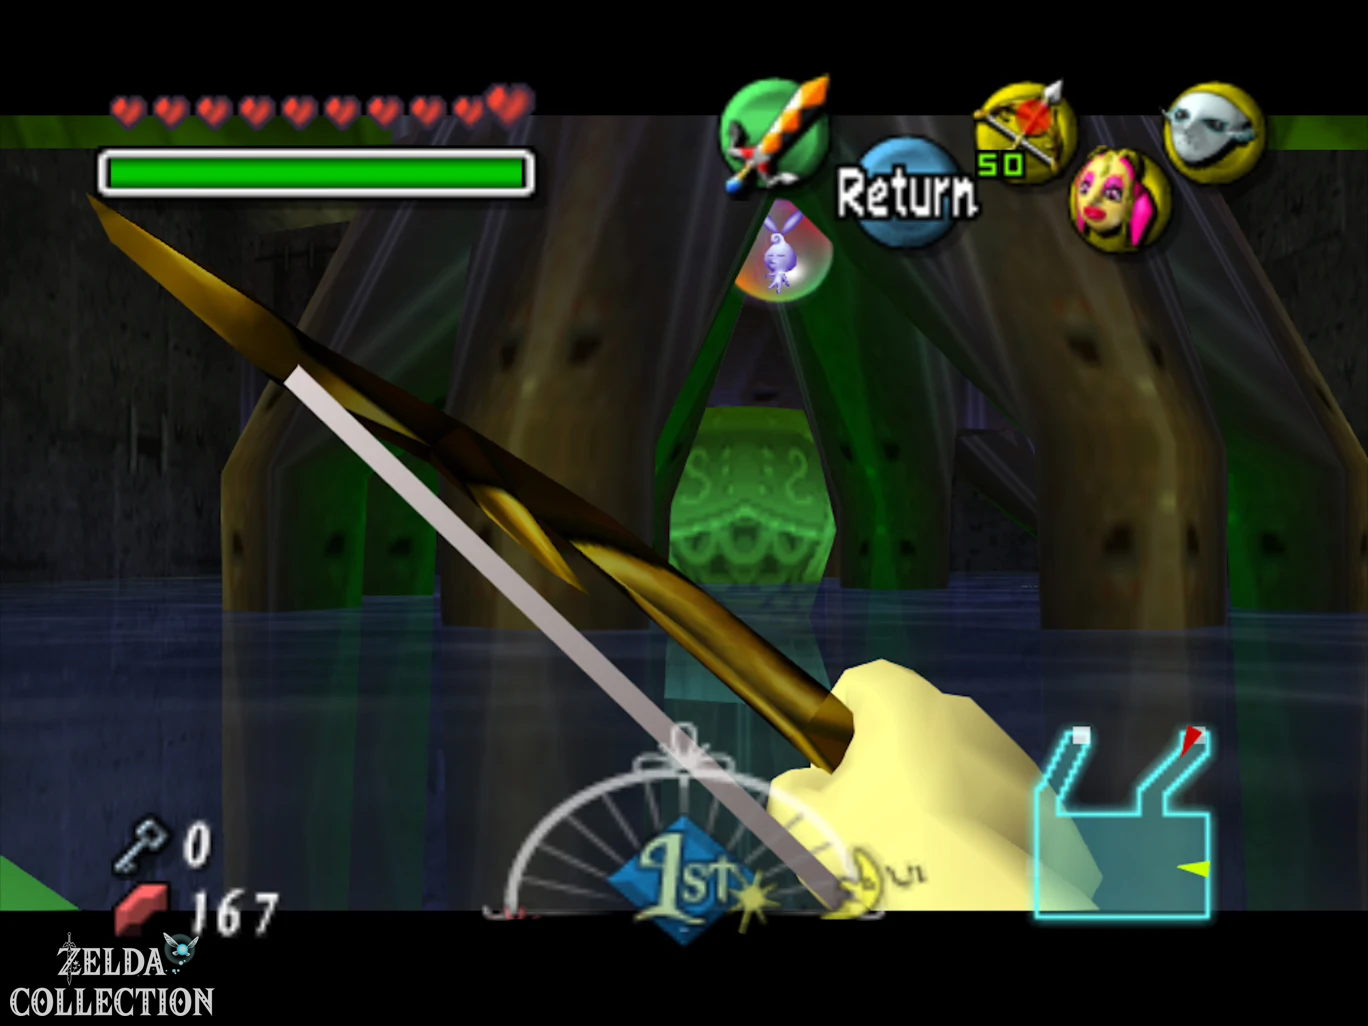
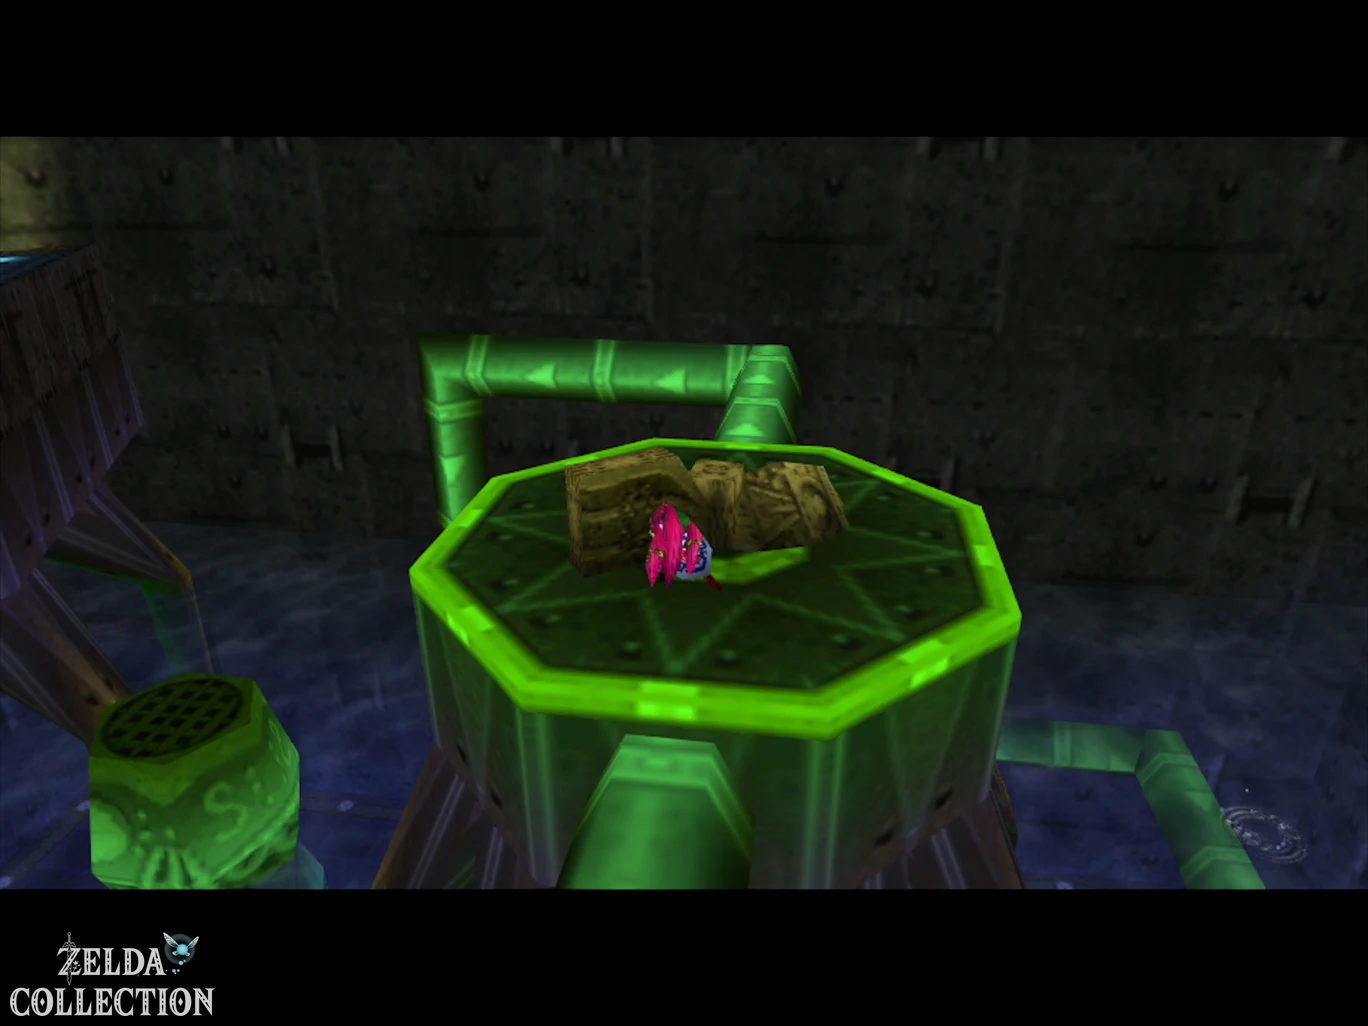
At first nothing special seems to be happening in the following room. Look up: Hanging from the ceiling is Wart, a giant eye surrounded by numerous smaller bubbles.
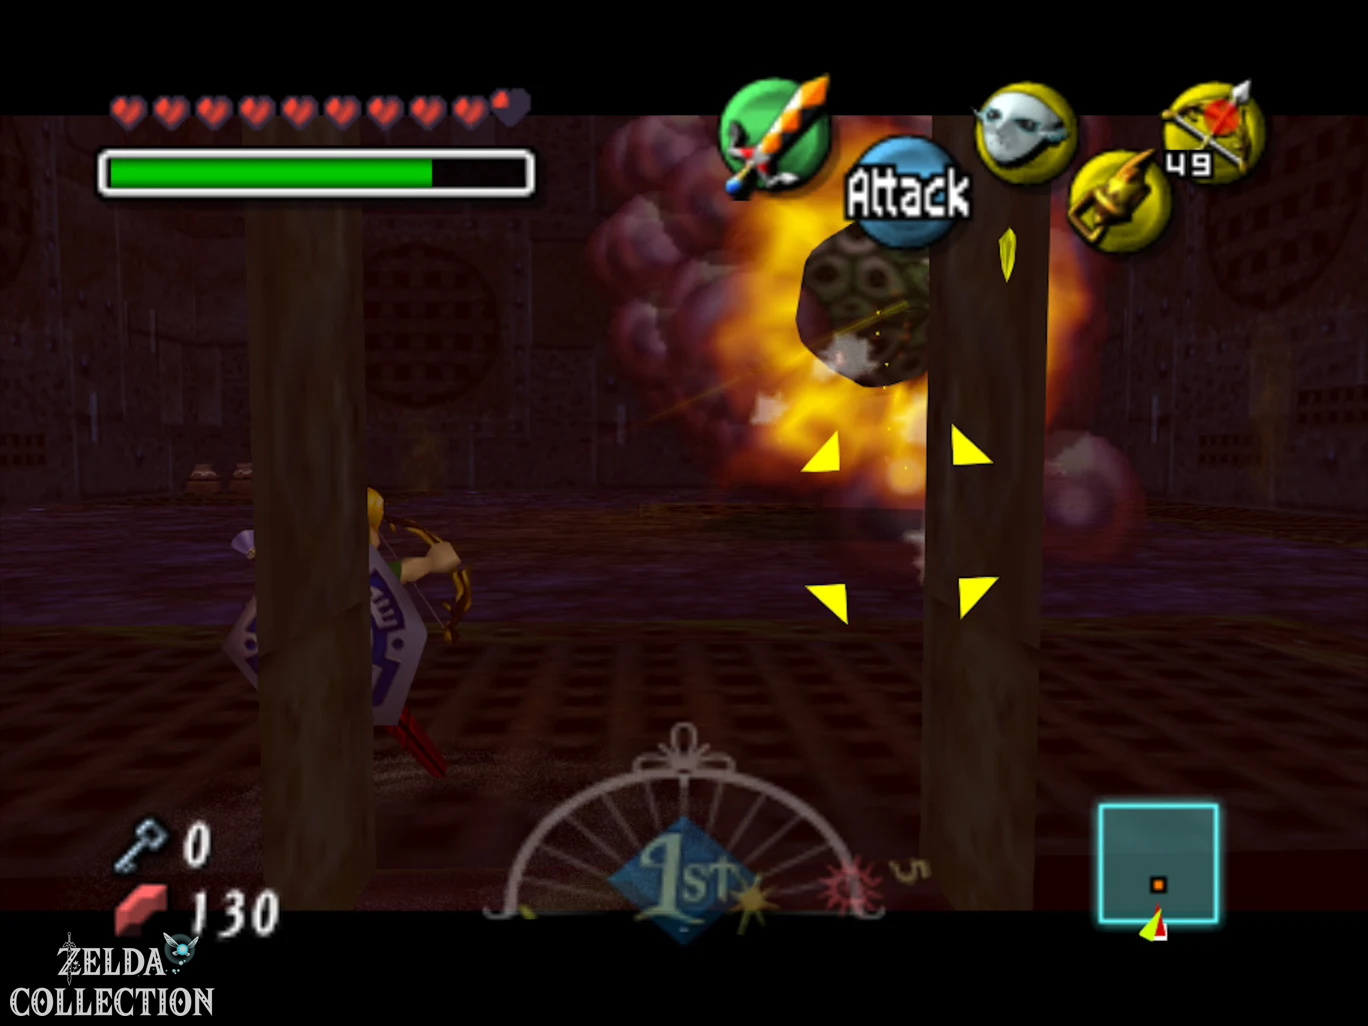
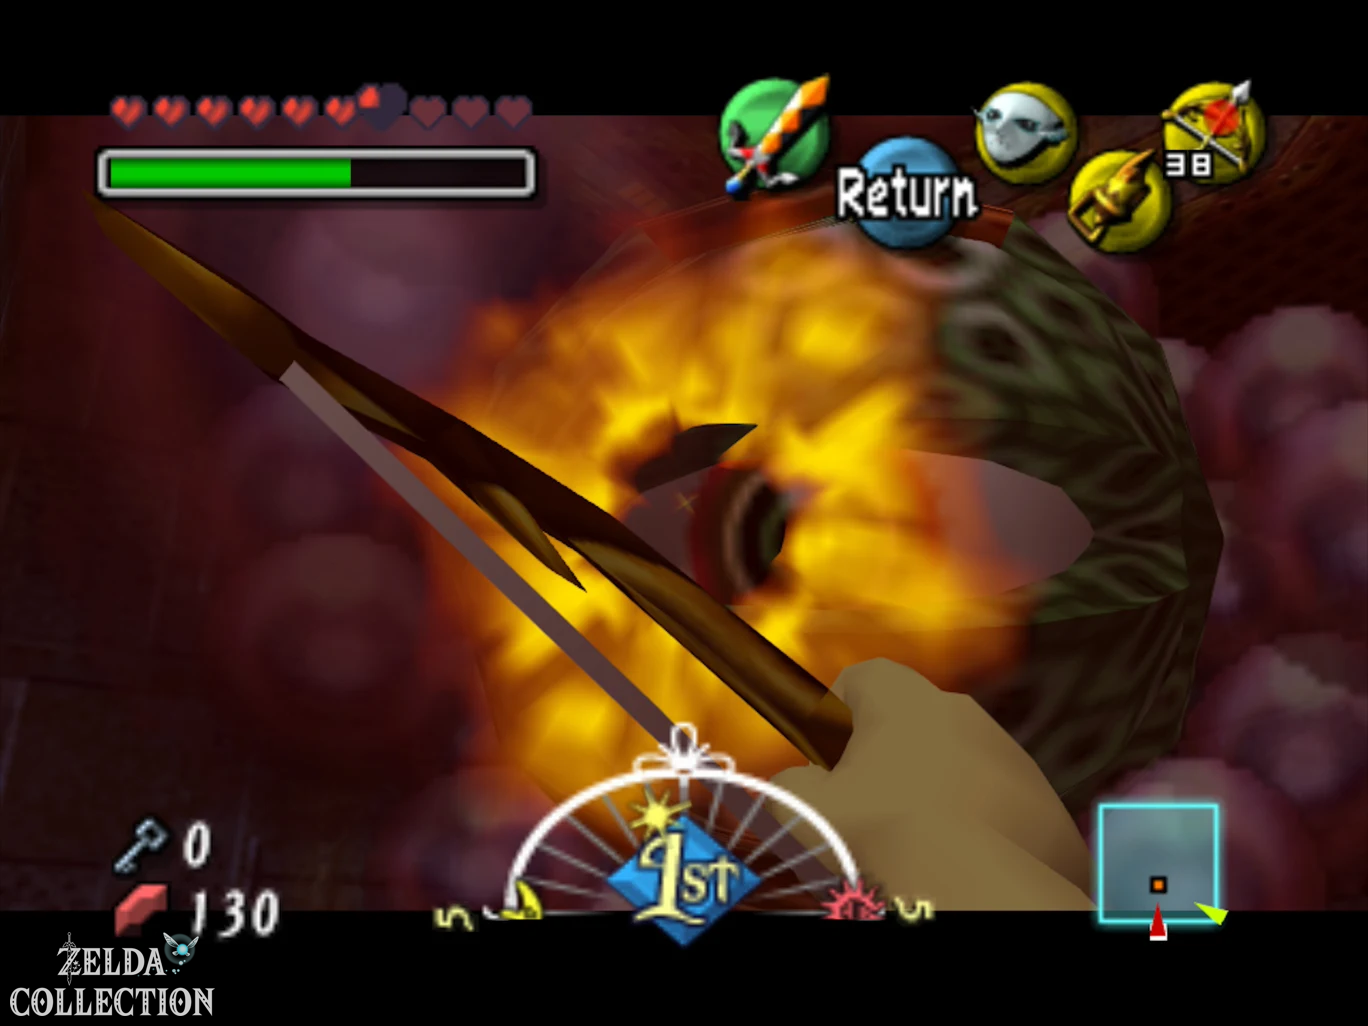
First, the protective bladder ring must be removed. Pull out individual bubbles with the Hookshot and destroy them with the sword. It’s quicker if you use Fire Arrows and hit several bubbles at the same time. Once enough bubbles have been destroyed, Wart falls to the ground and begins rolling or jumping around the room.
Keep your distance and wait until his big eye becomes visible. Shoot it with arrows. After several hits, Wart disintegrates and a large Treasure Chest appears.
Inside are the Ice Arrows.
The Ice Arrows are a central dungeon item, unlike Ocarina of Time. On Nintendo 64 you can freeze almost any suitable surface of water and create temporary ice floes. In addition, certain enemies can be frozen into solid blocks of ice, which then serve as steps.
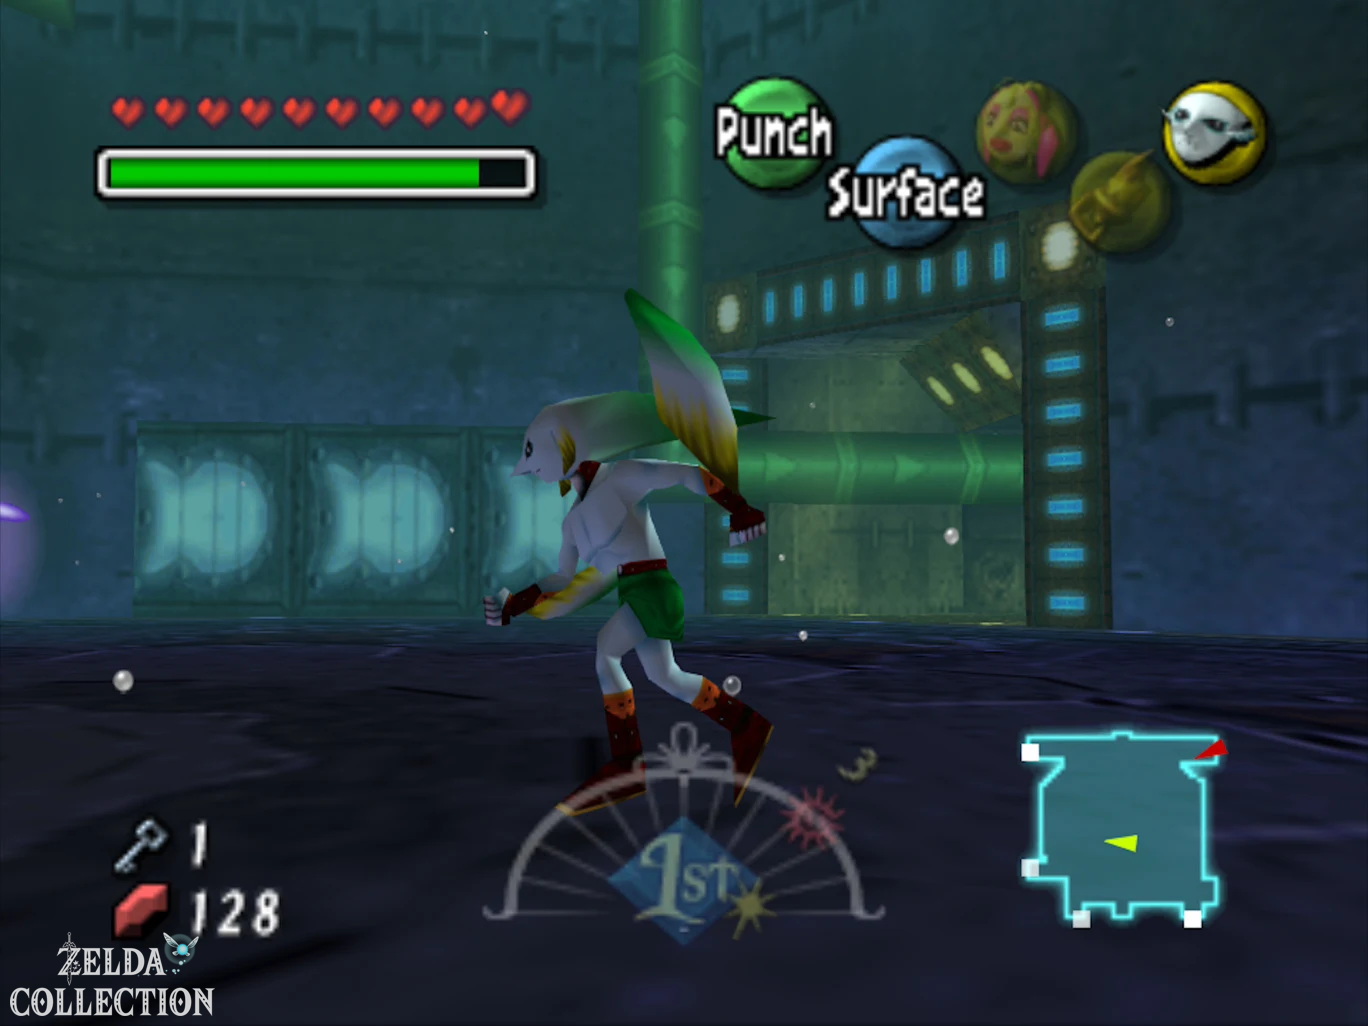
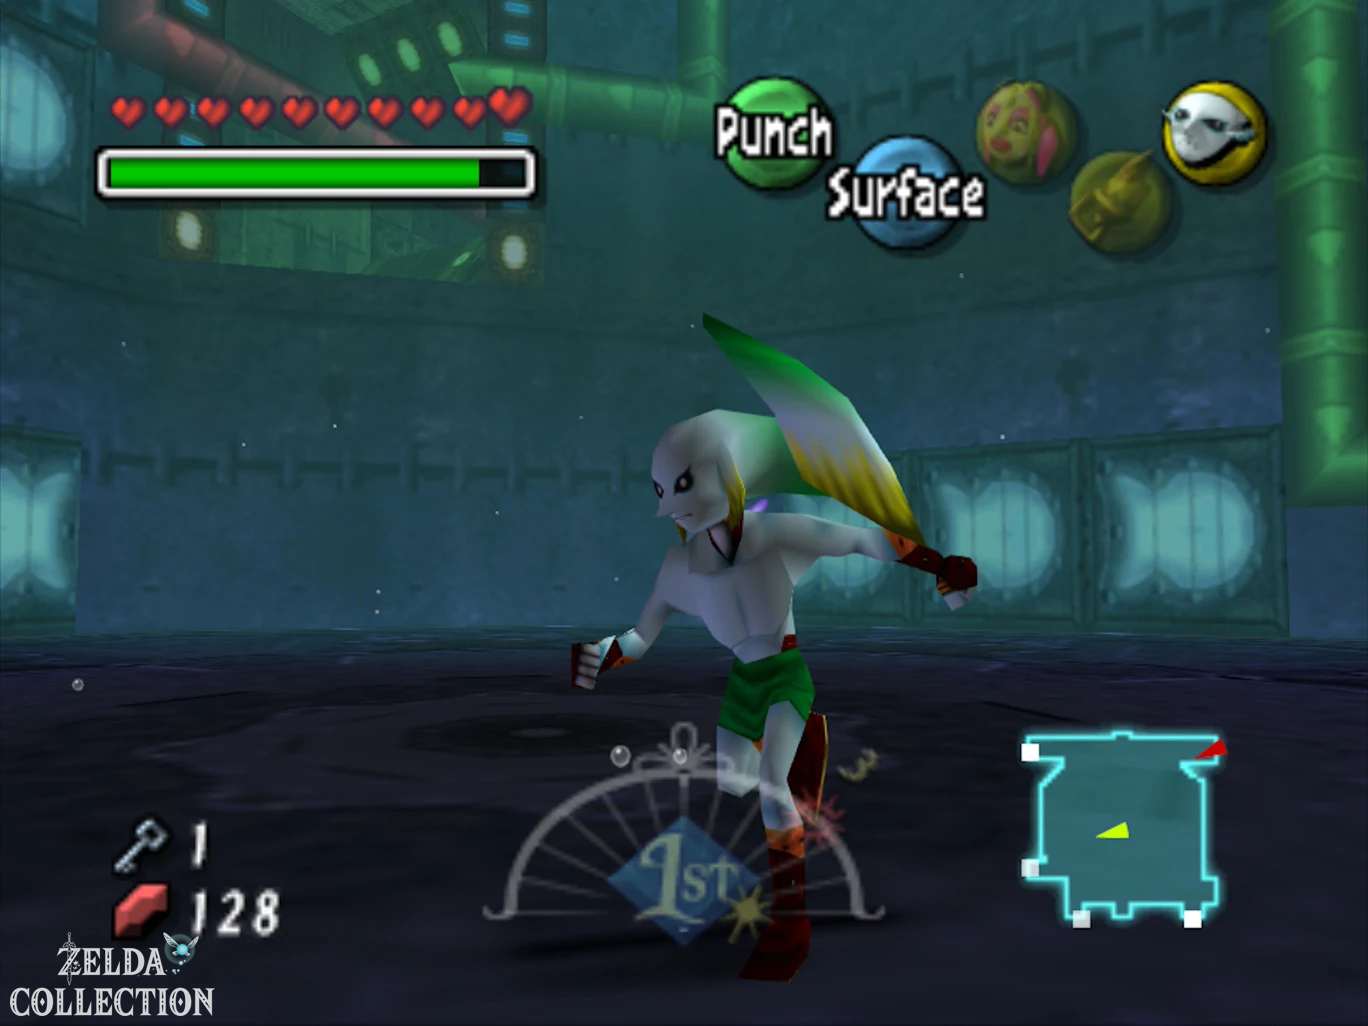
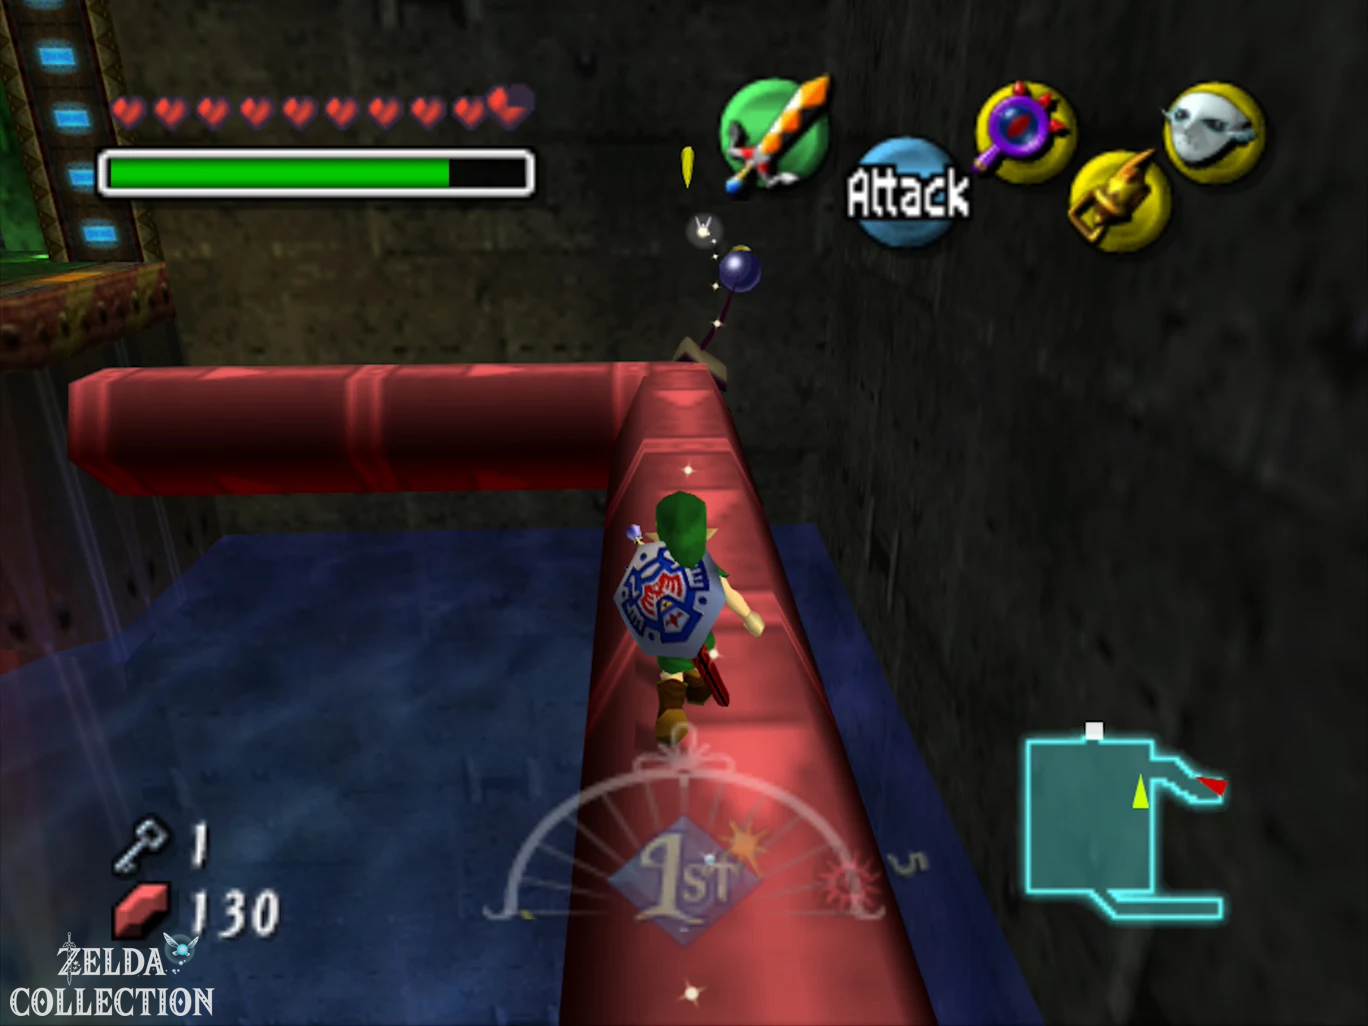
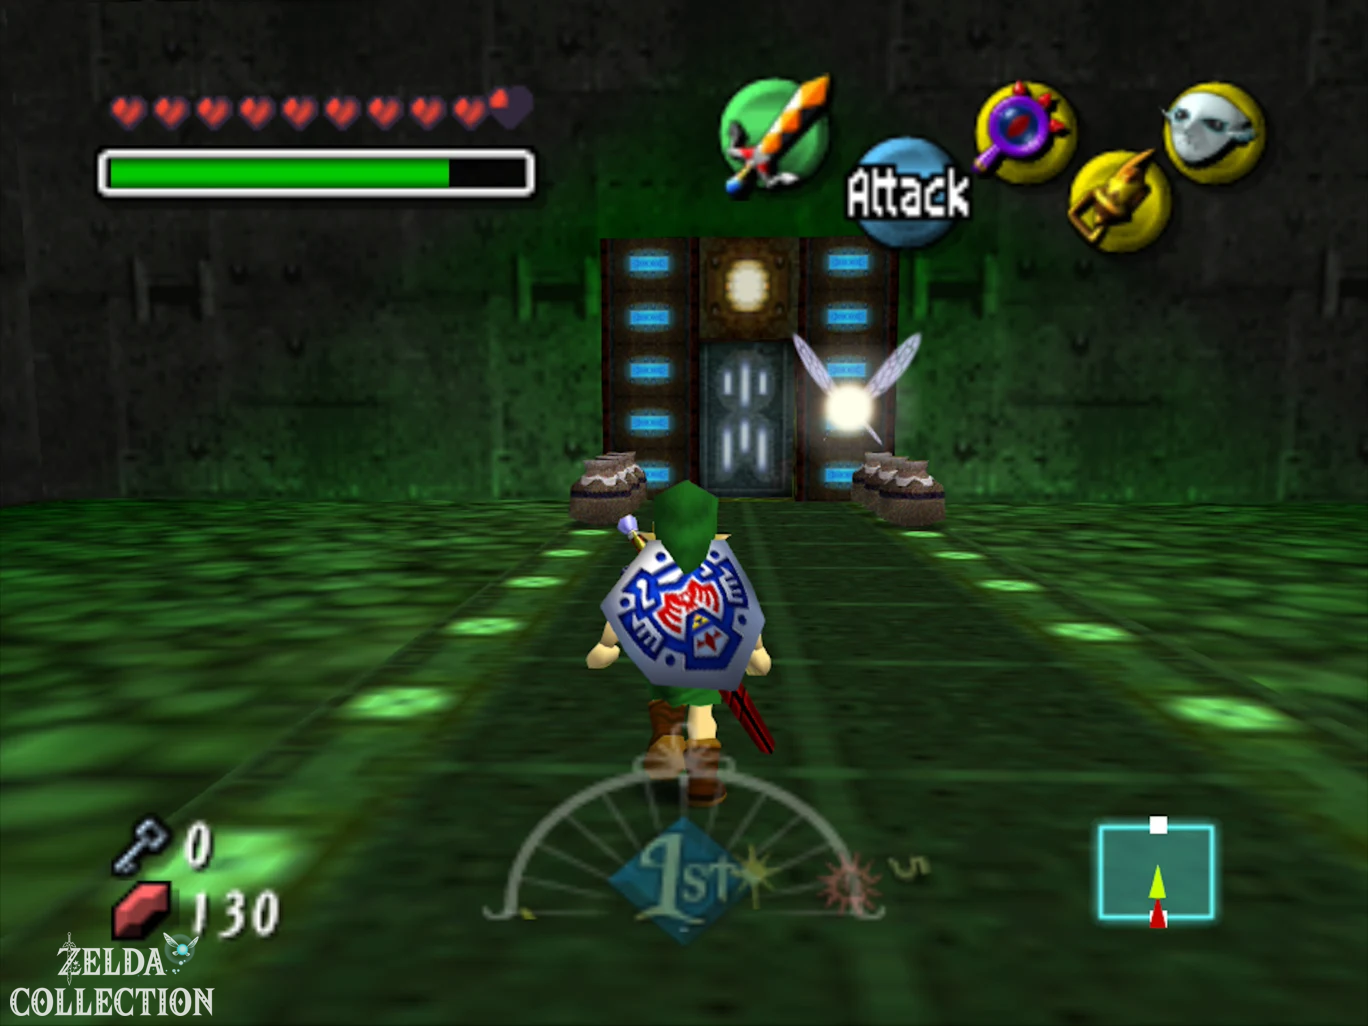
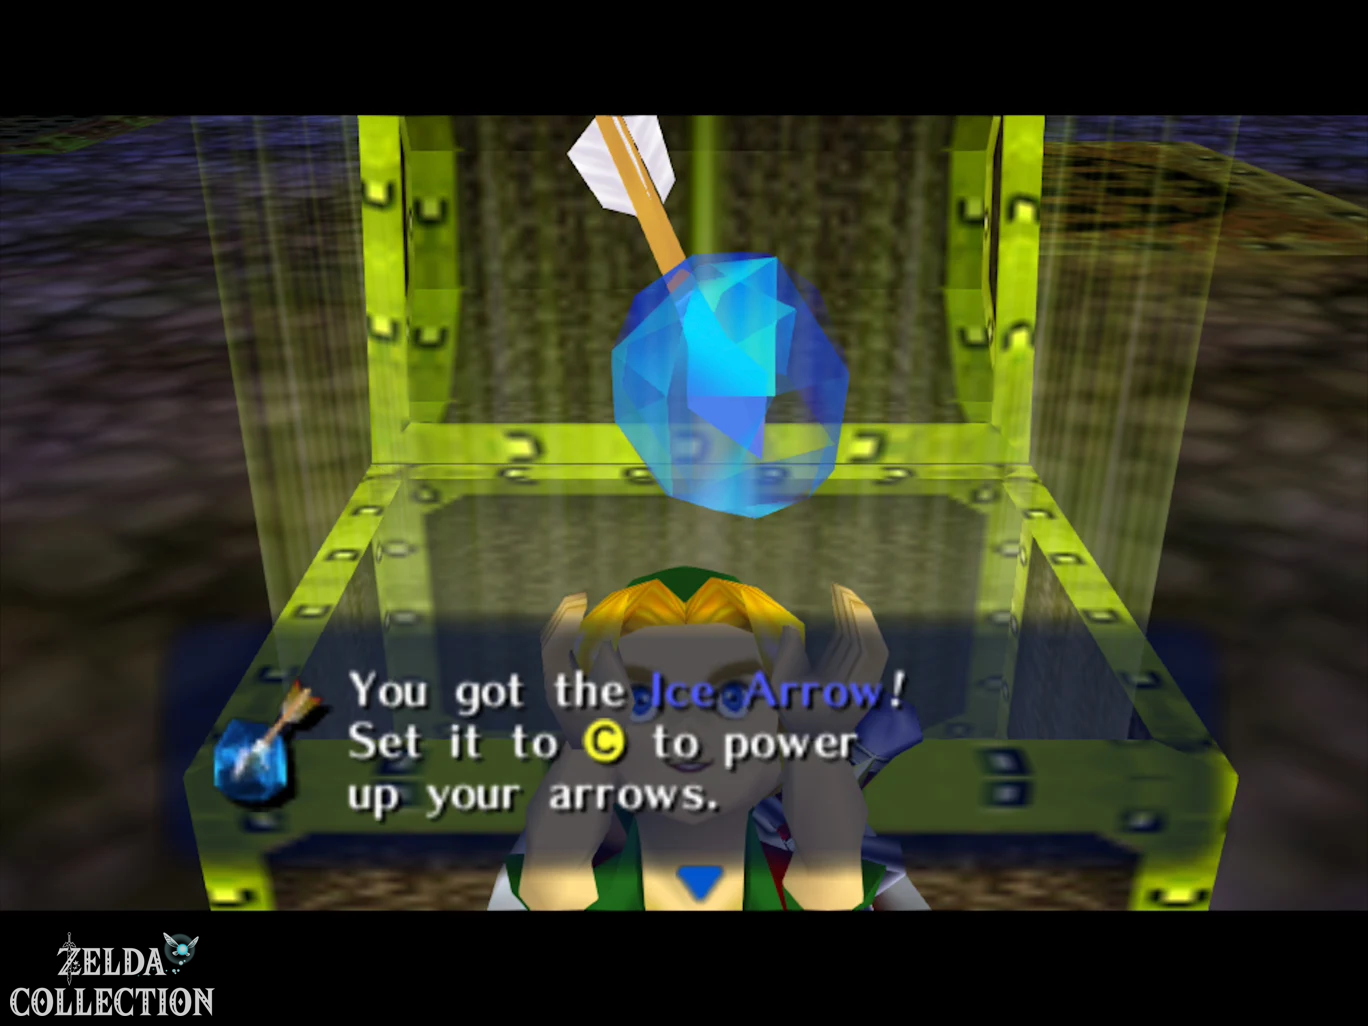
3D Difference: In Majora’s Mask 3D, ice floes can no longer be freely created on any water surface. Instead, there are clearly marked, glittering spots where Ice Arrows causes the water to freeze. This makes the intended route much clearer.
Activate red pipe system
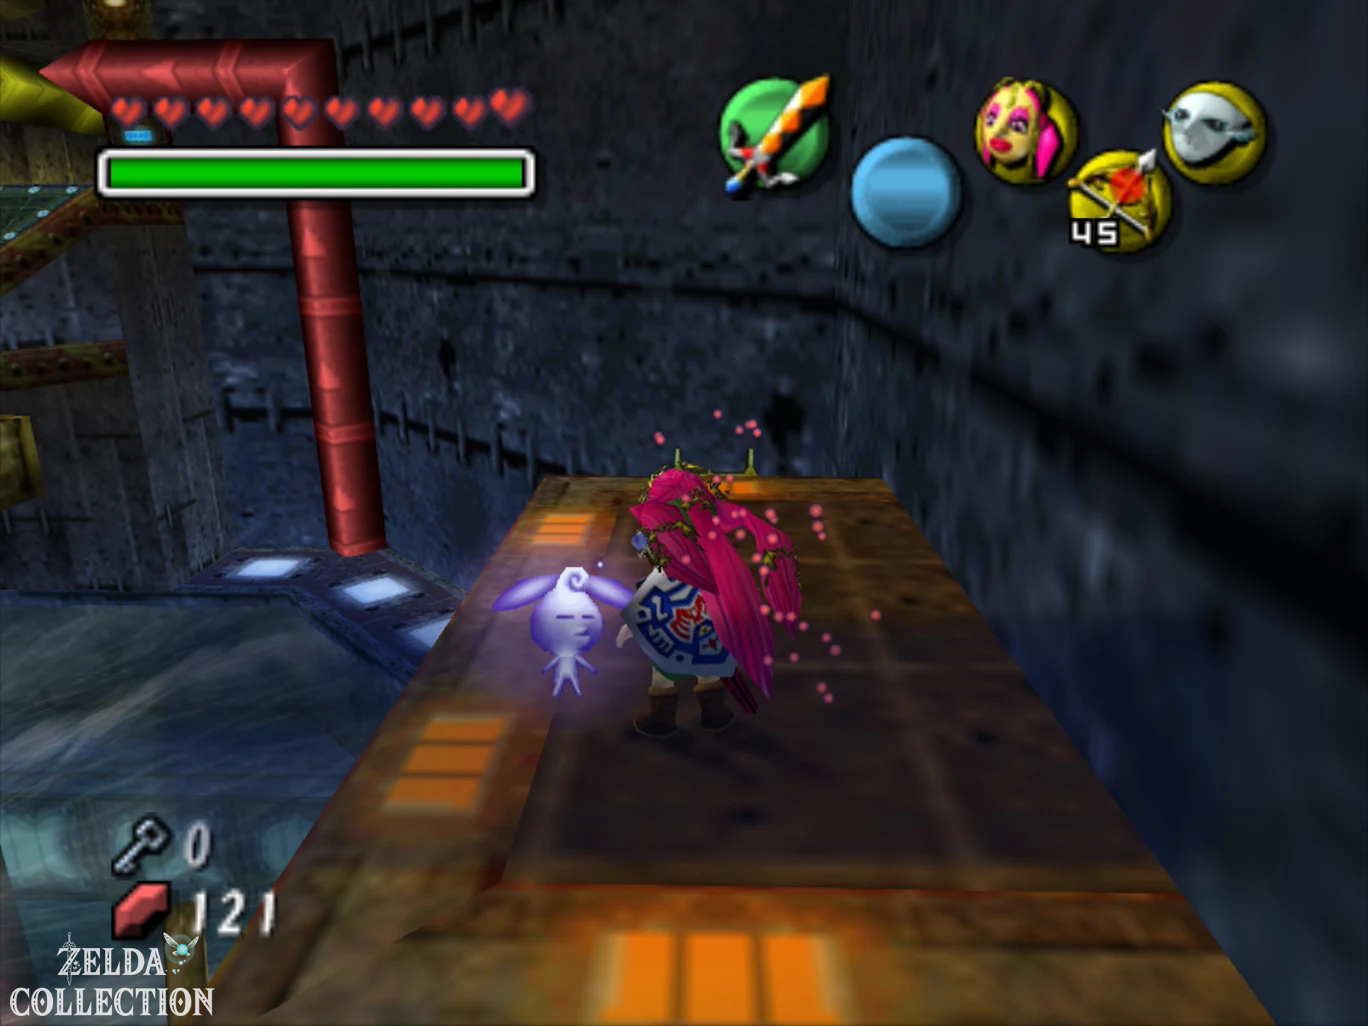
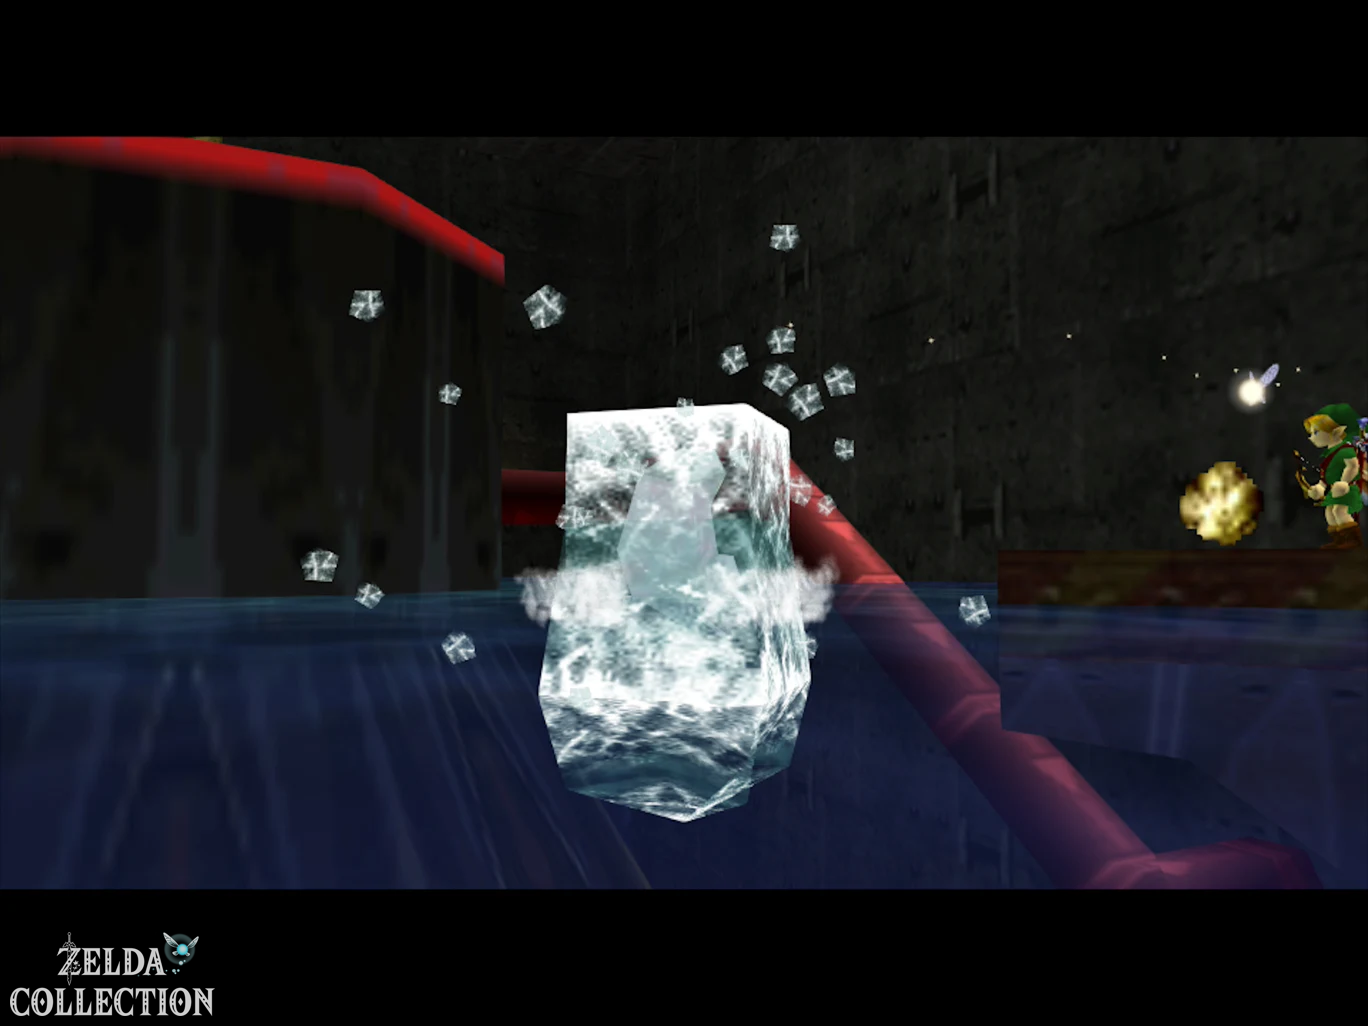
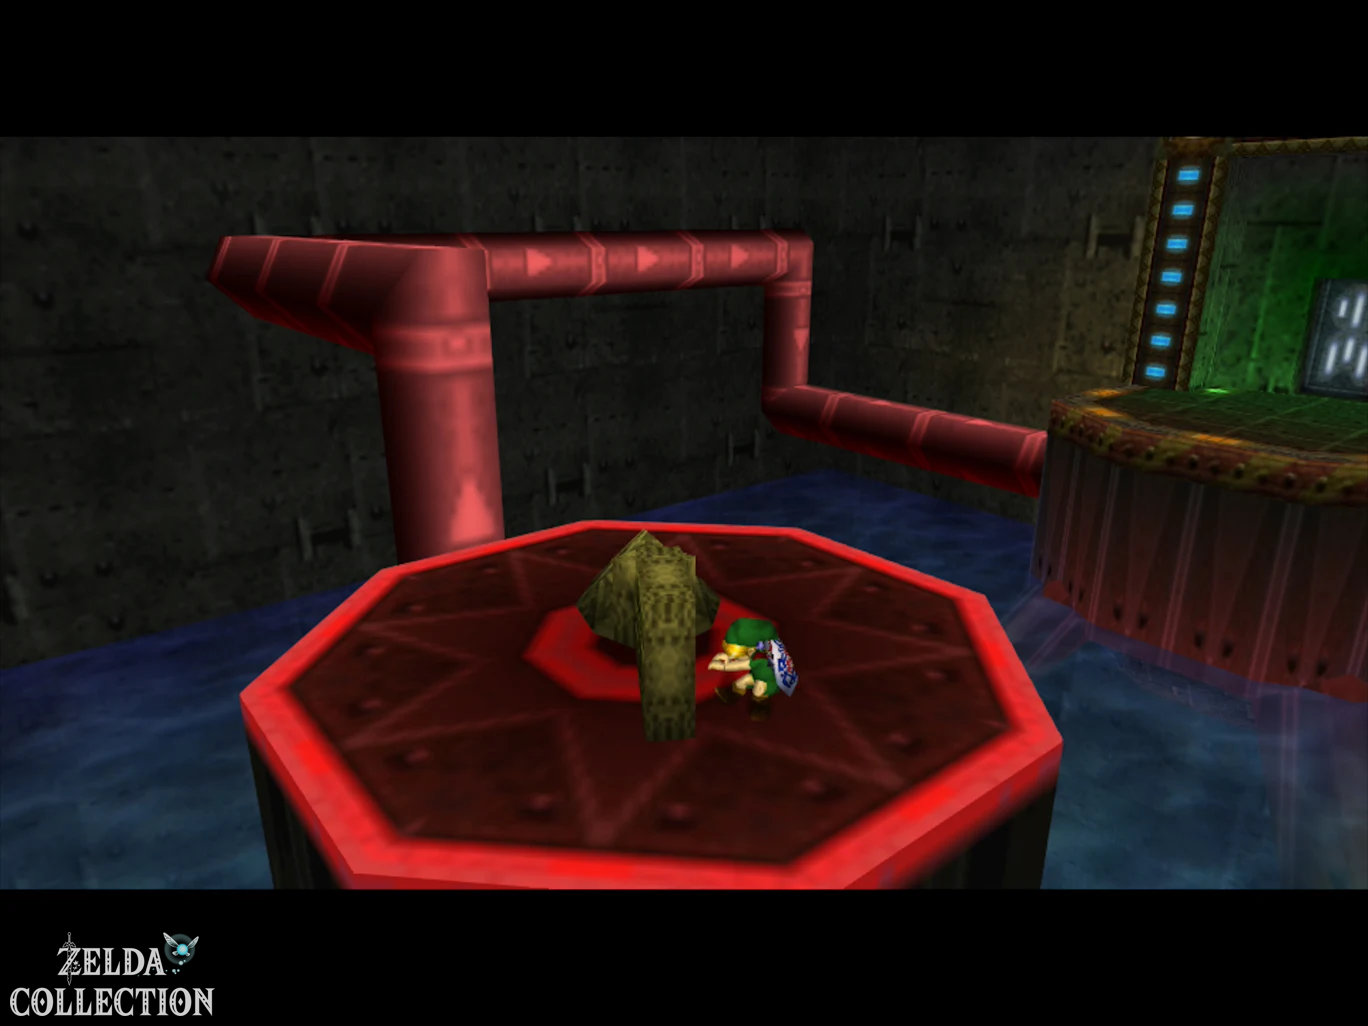
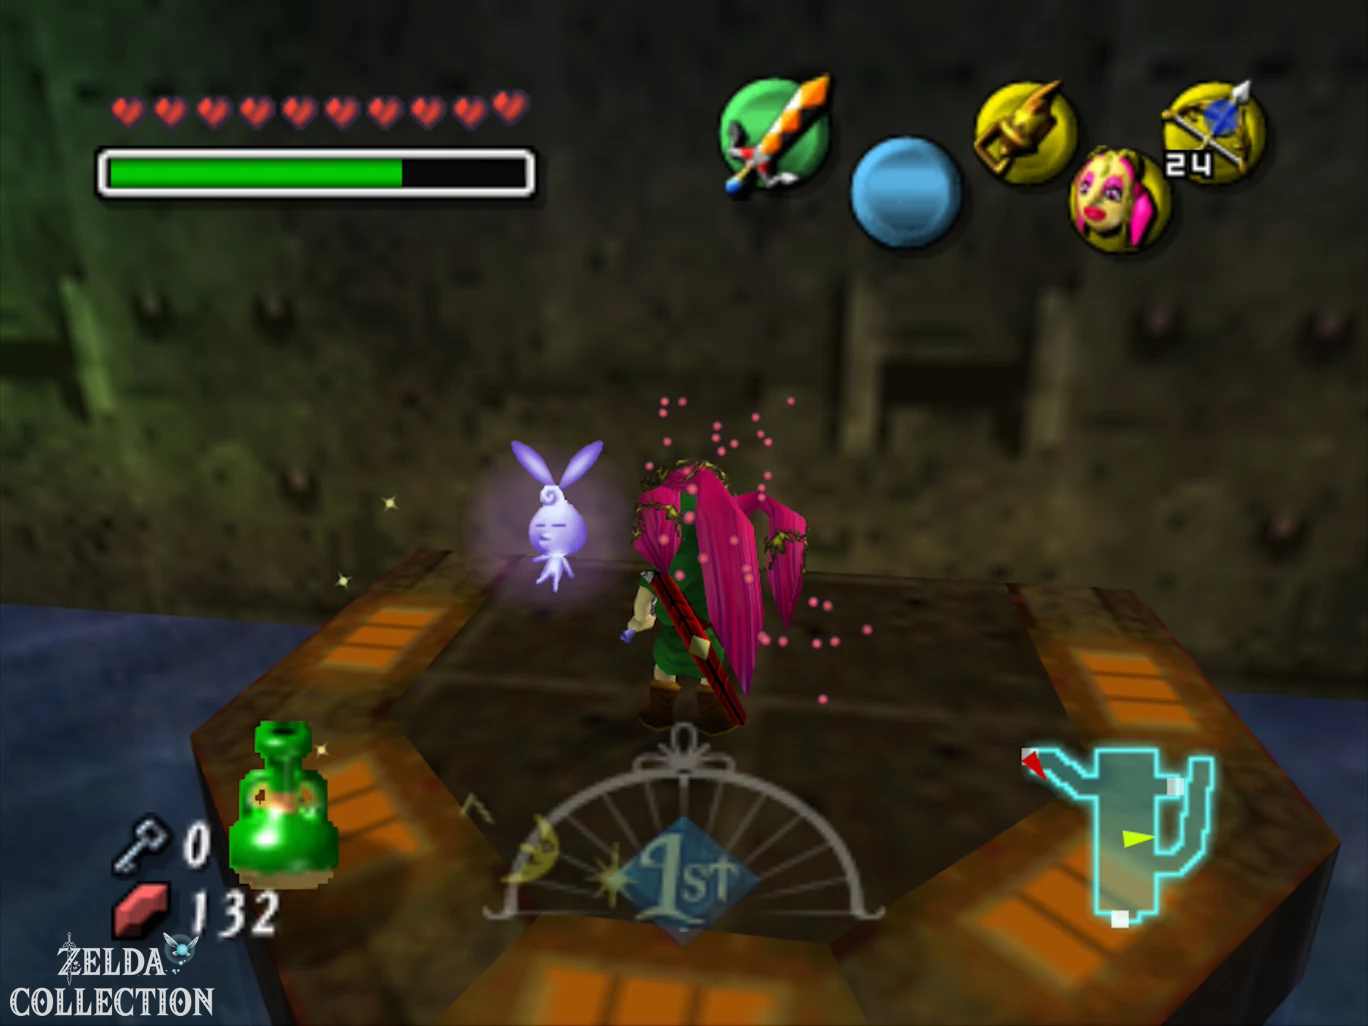
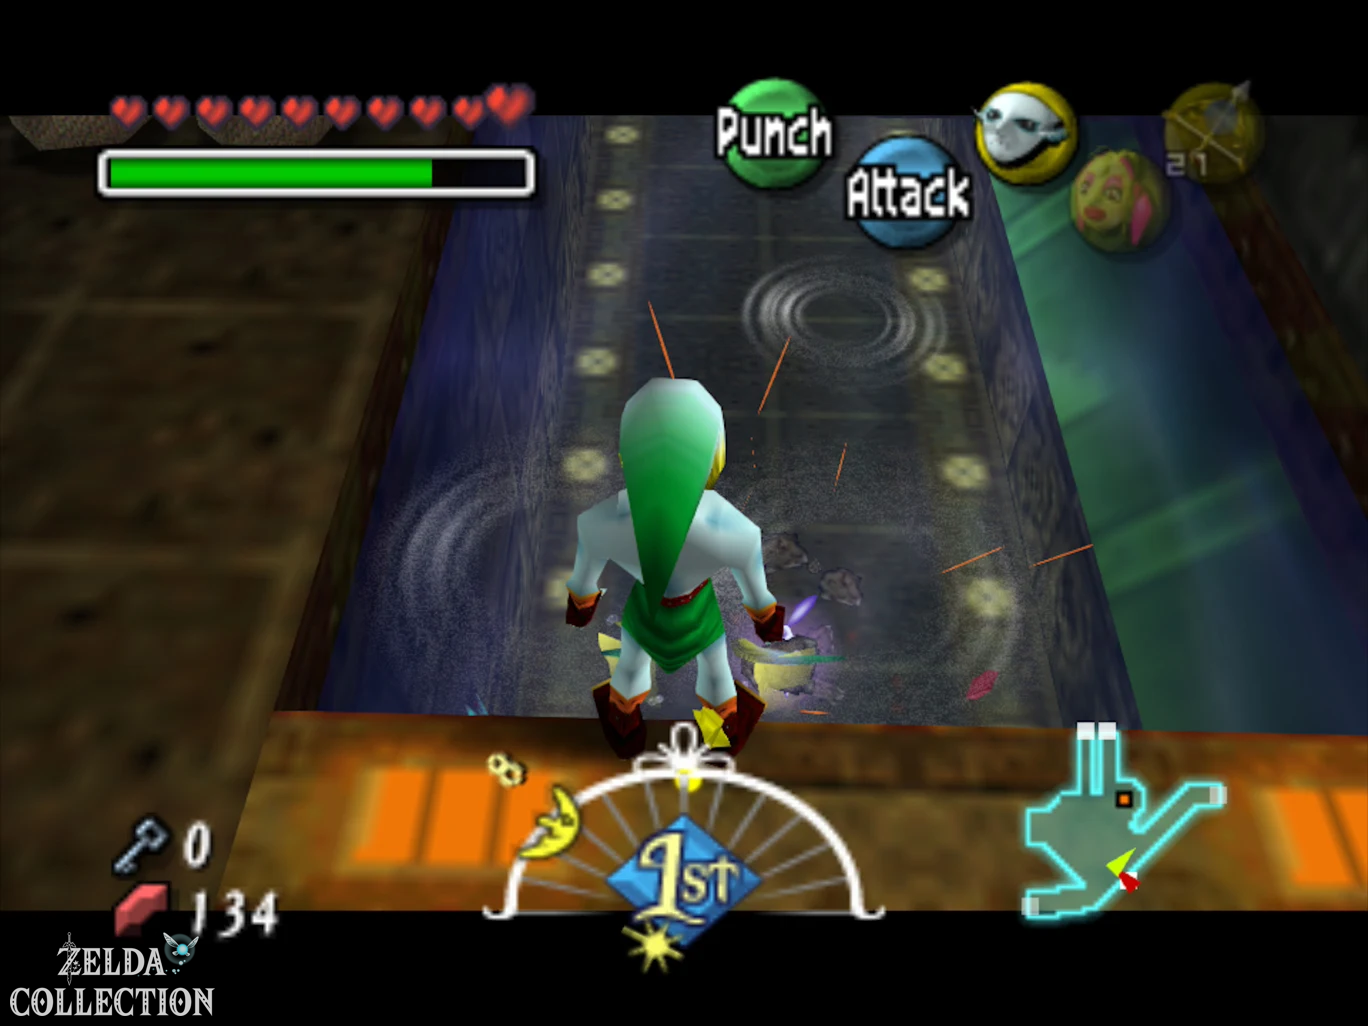
Returns to the previous room. There are two Octoroks swimming in the water. Shoot one of them with a Ice Arrow. The frozen Octorok becomes a fixed platform. Jump onto it and from there to the raised red valve. Rotate it so that water flows through another section of the red pipe system.
Then return to the elongated room with the Dungeon Map. With the ice arrows you can now create a series of small ice floes on the water and thus reach a previously unreachable platform. First destroy the jug in the current with the Hookshot; Inside is the eighth Stray Fairy.
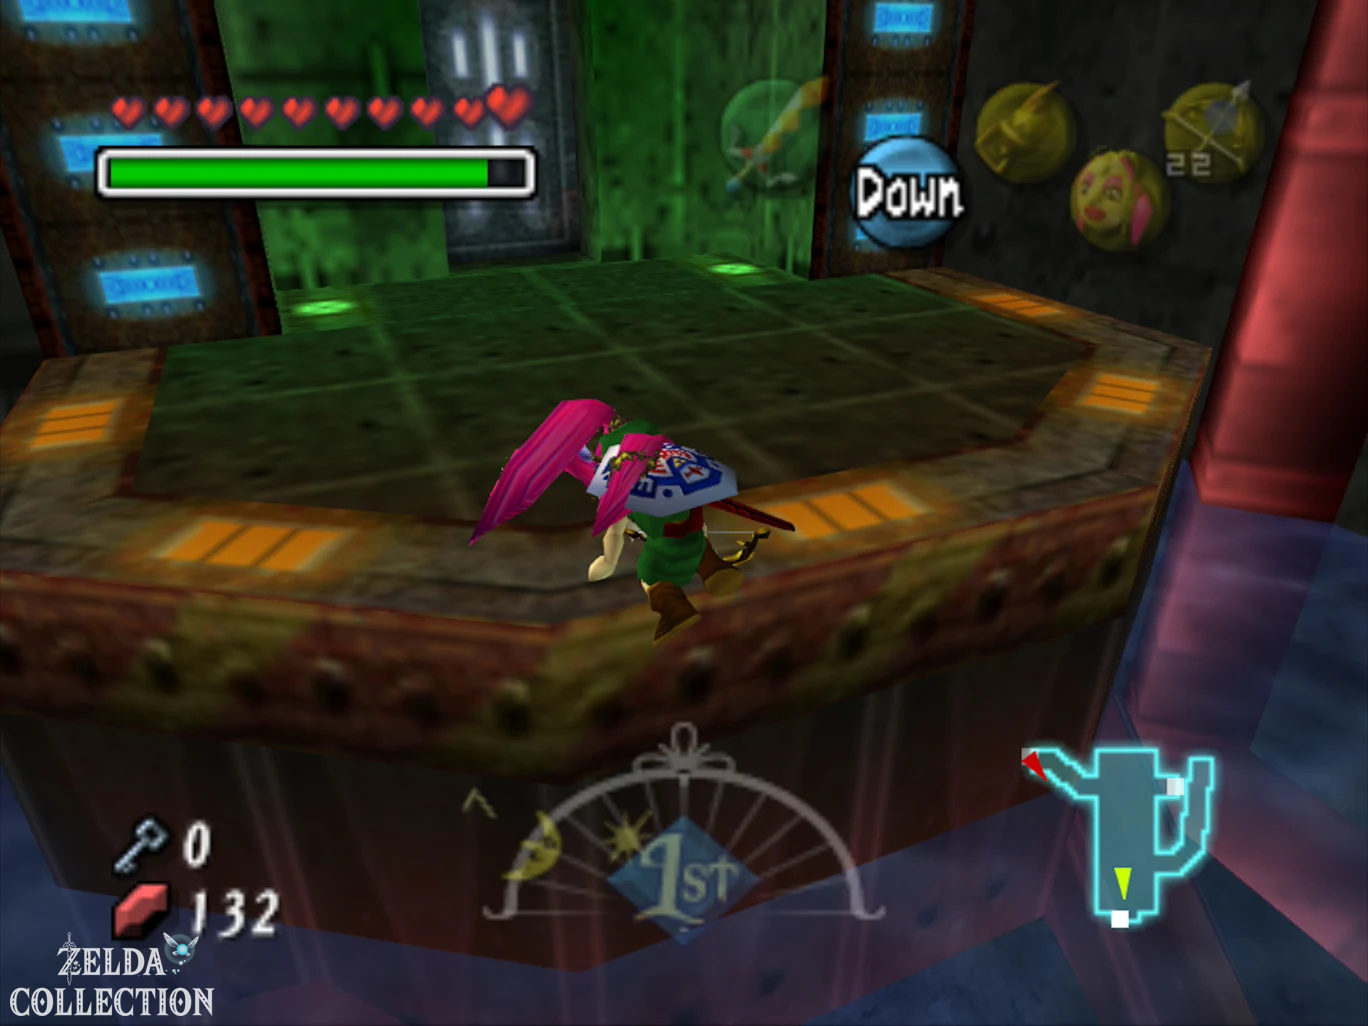
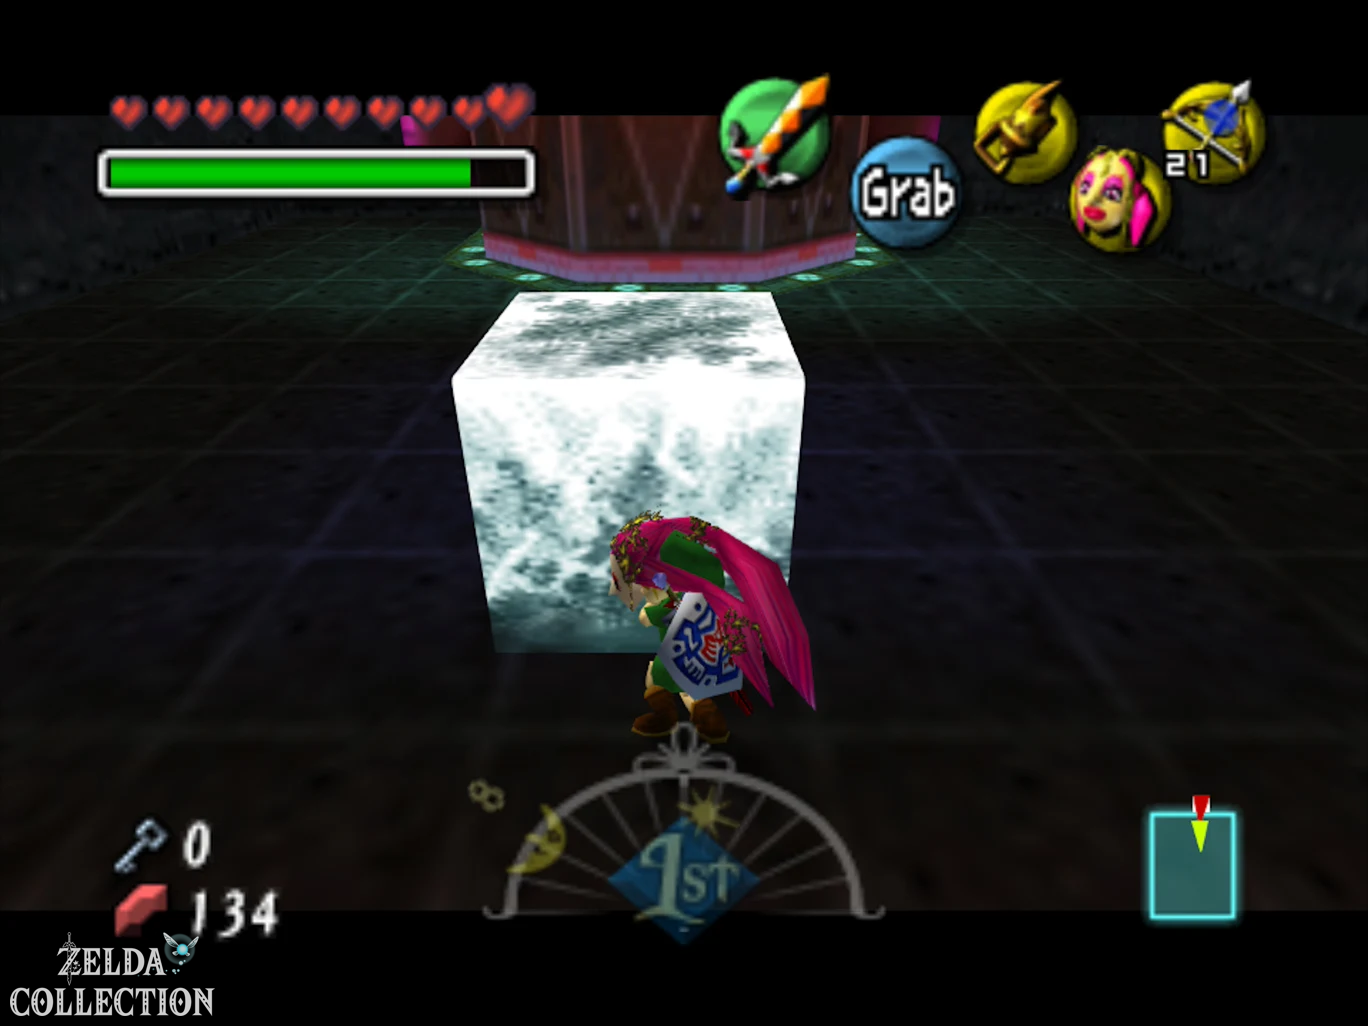
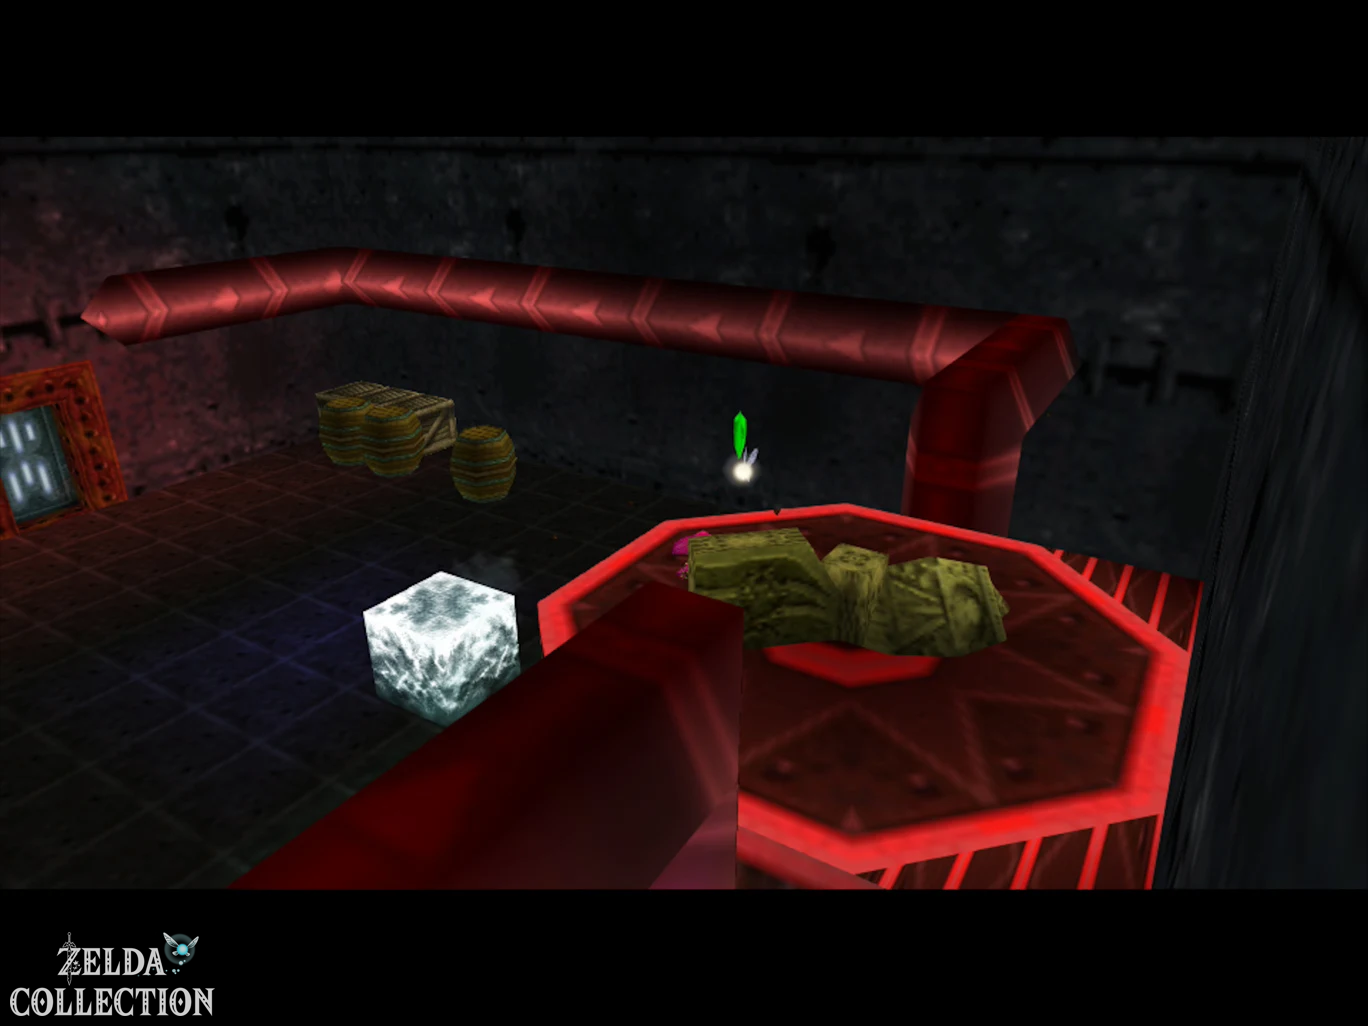
Then create more ice floes up to the opposite door and go through. In the next room there is a Blue Wobbler. Freeze it with an ice arrow, push the resulting ice block under the raised platform and climb up. There is another red valve there. Turn it all the way up.
The red pipe system is now activated.
Gekko and the Big Key
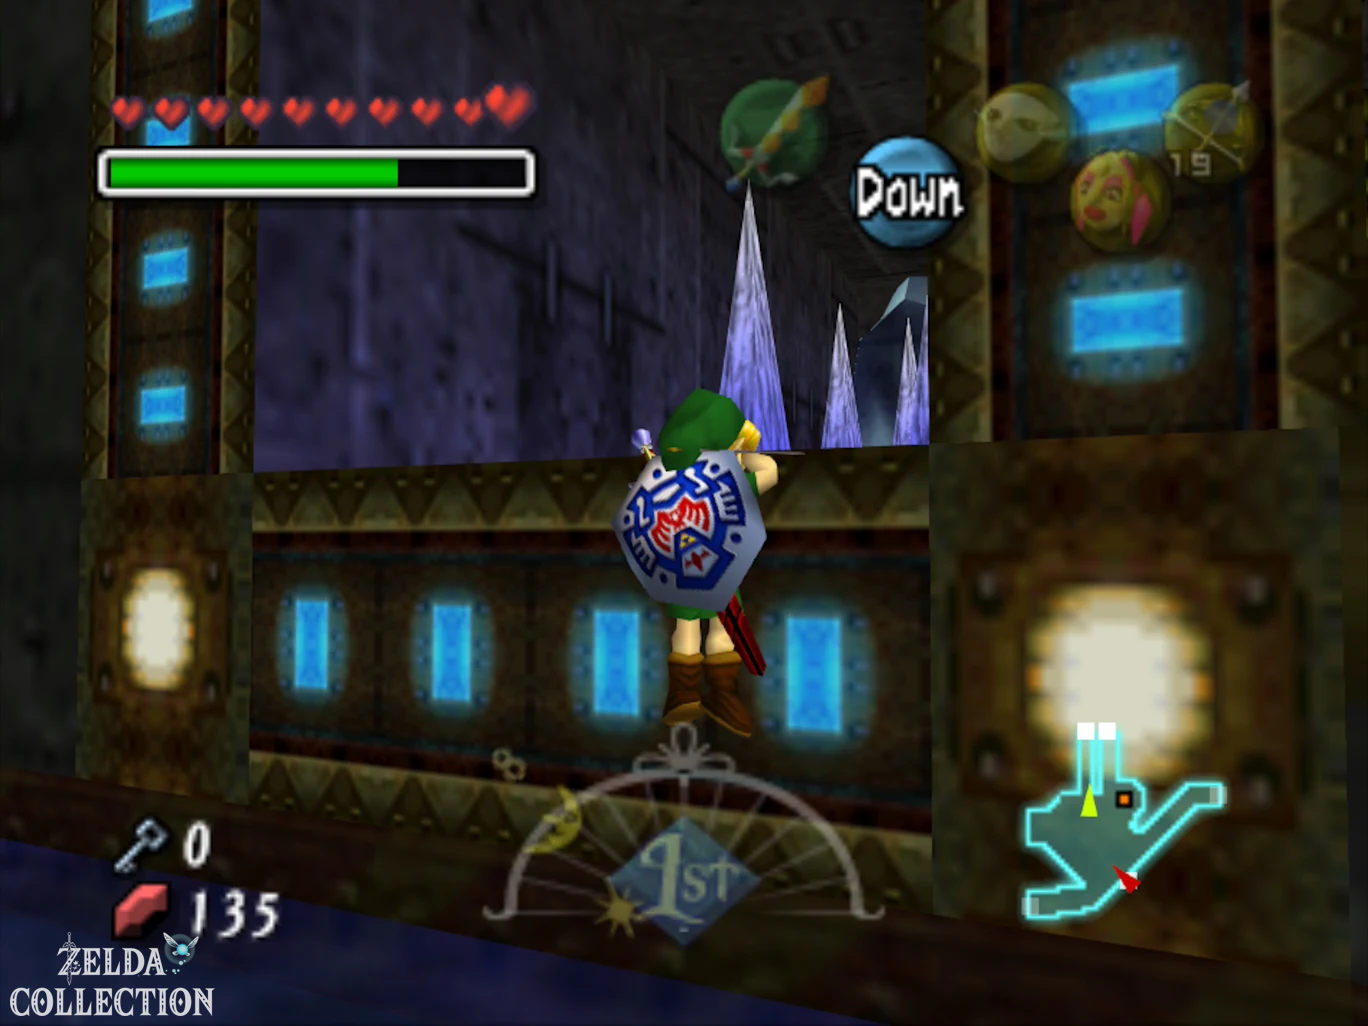
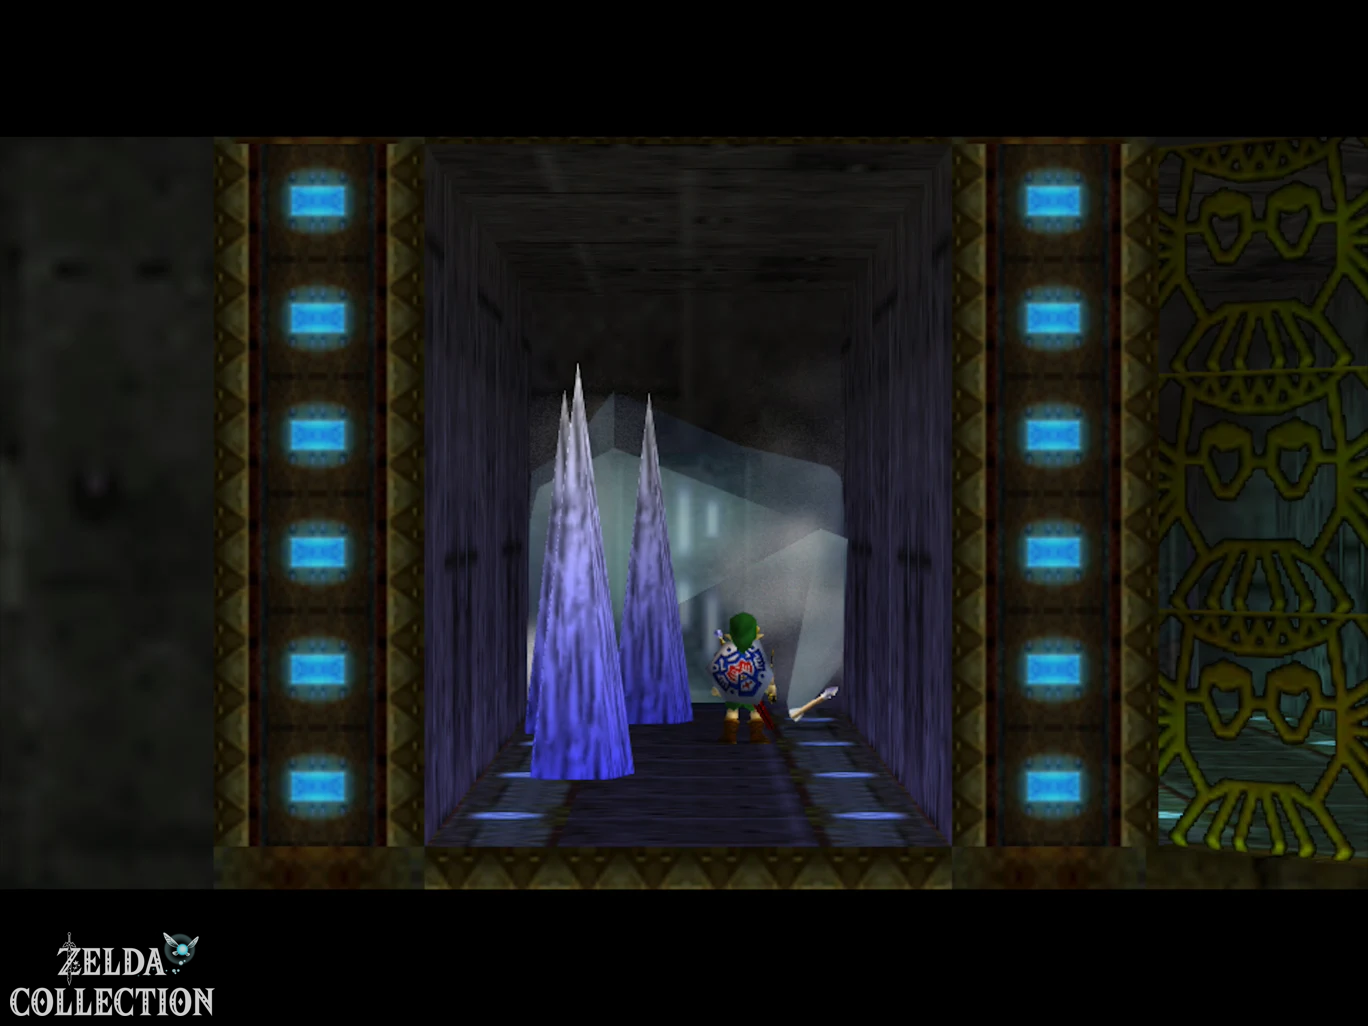
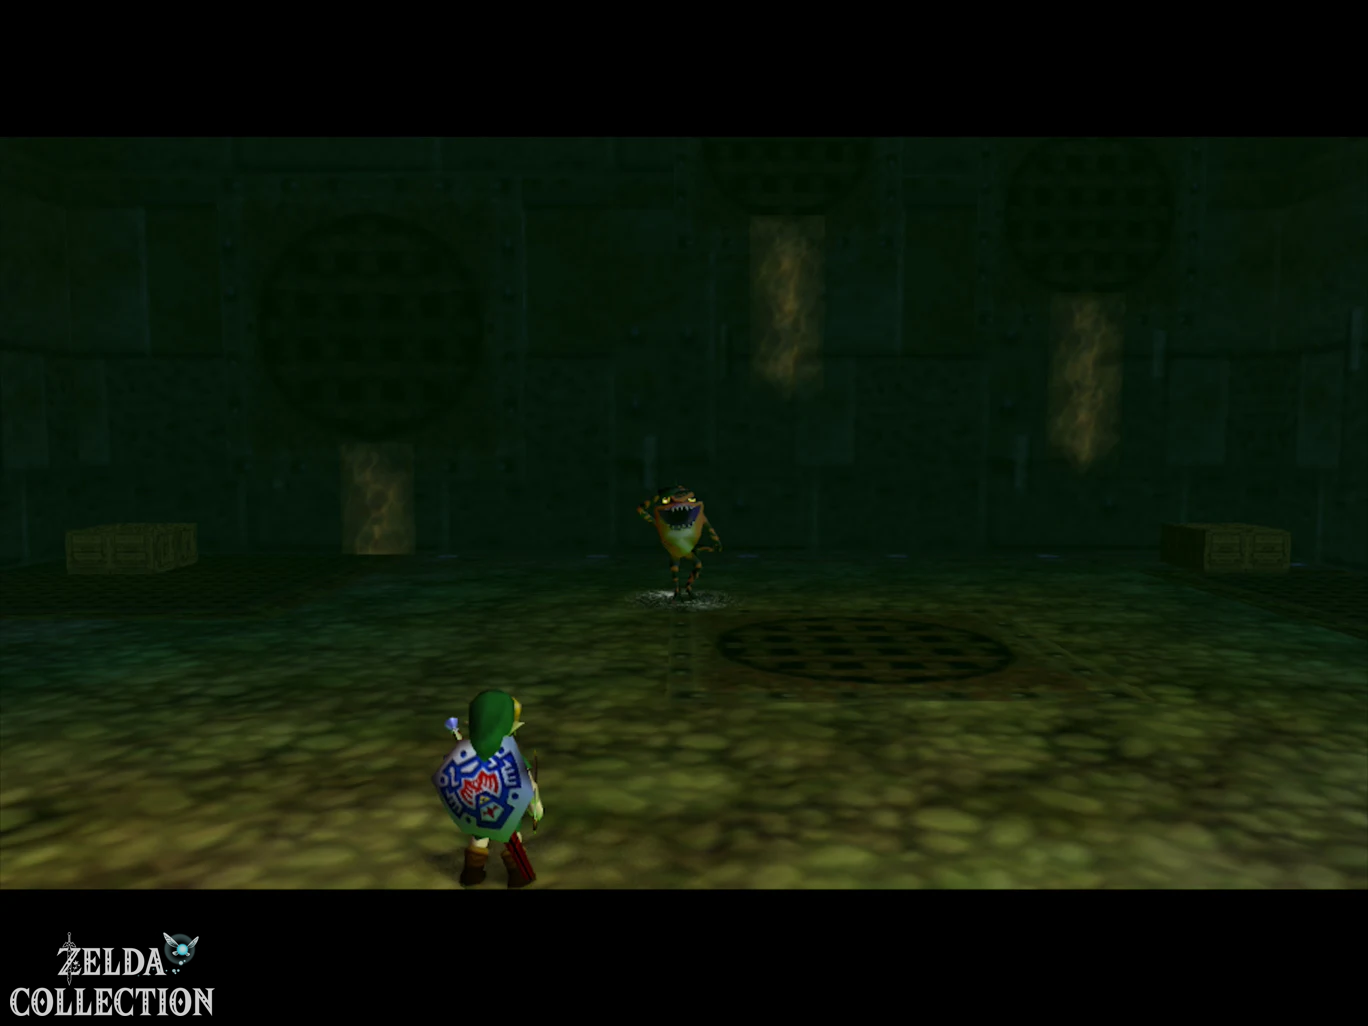
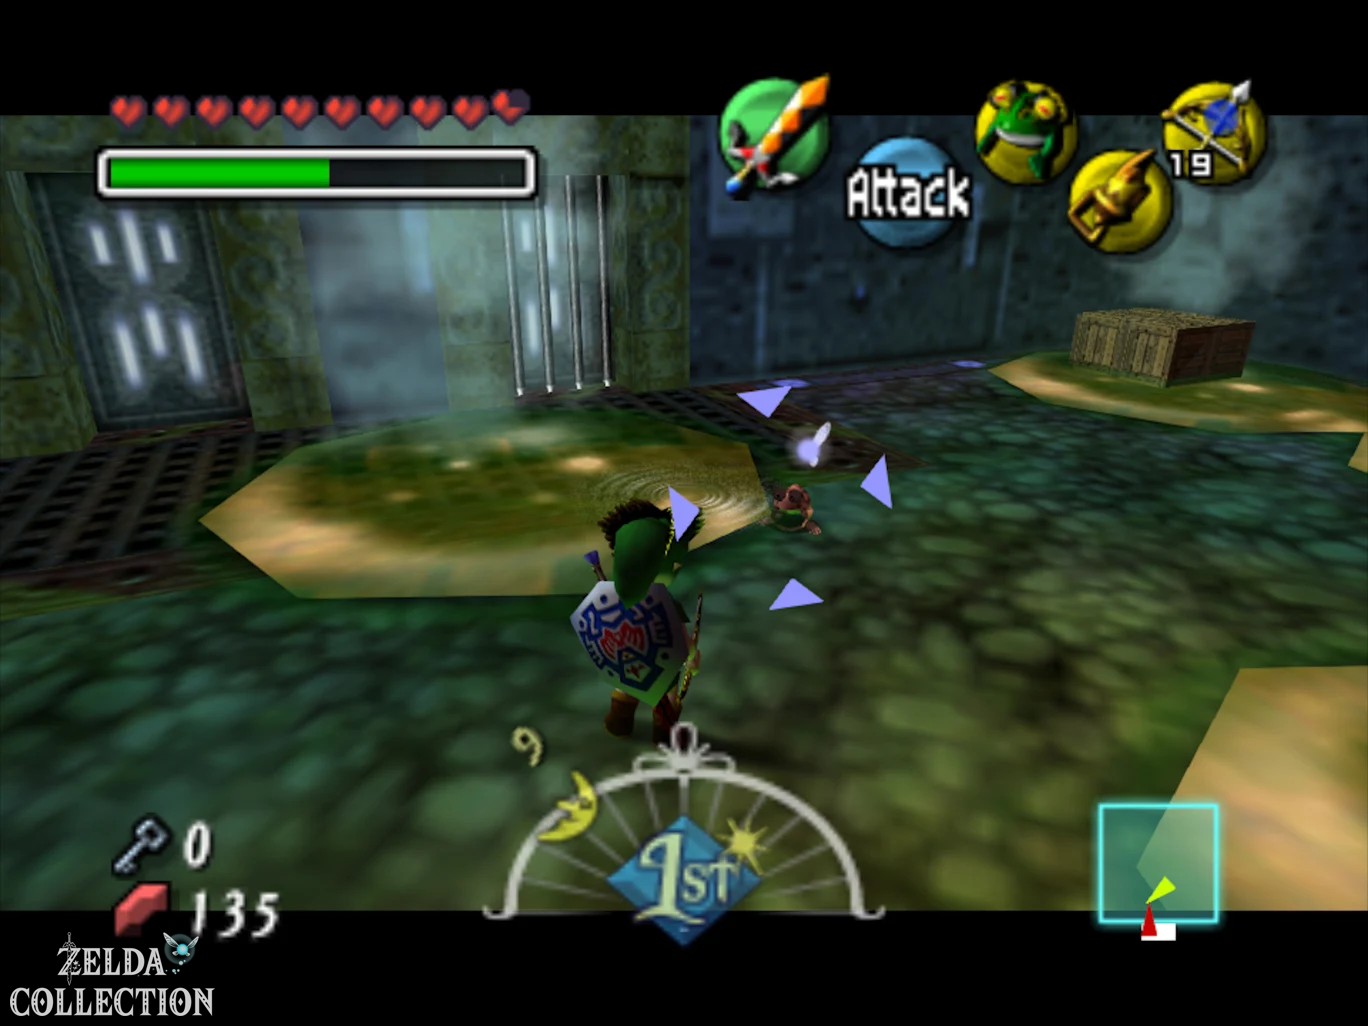
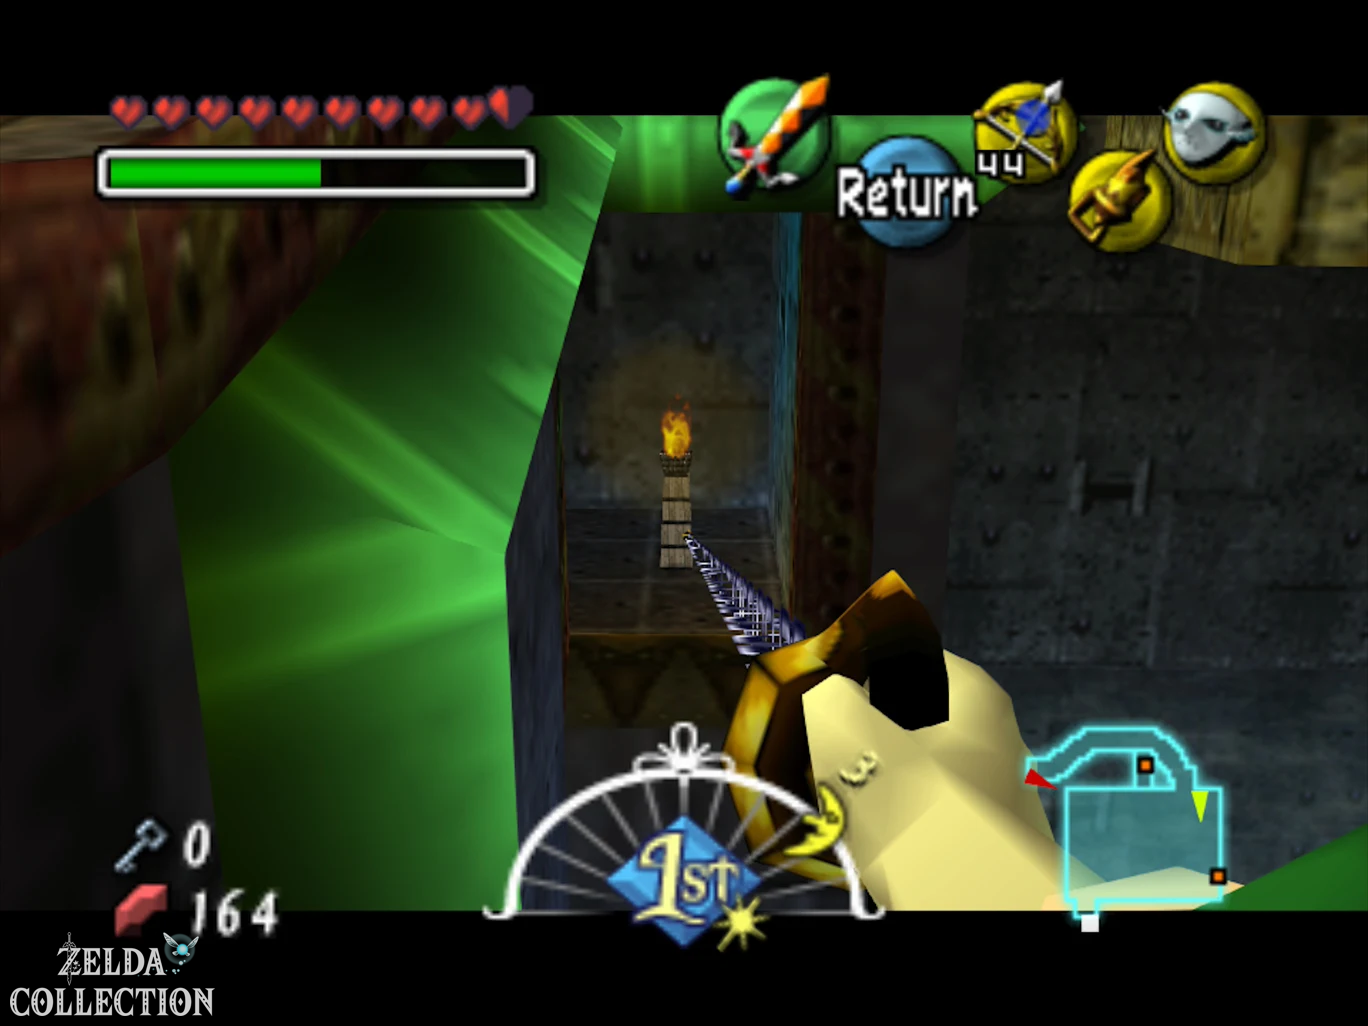
Return via the previous room and now take the entrance, whose ice barrier you can melt with a fire arrow. Behind him is waiting again Gekko, whom we have already defeated in the Woodfall Temple. This time he doesn’t use a turtle but a giant slime as protection.
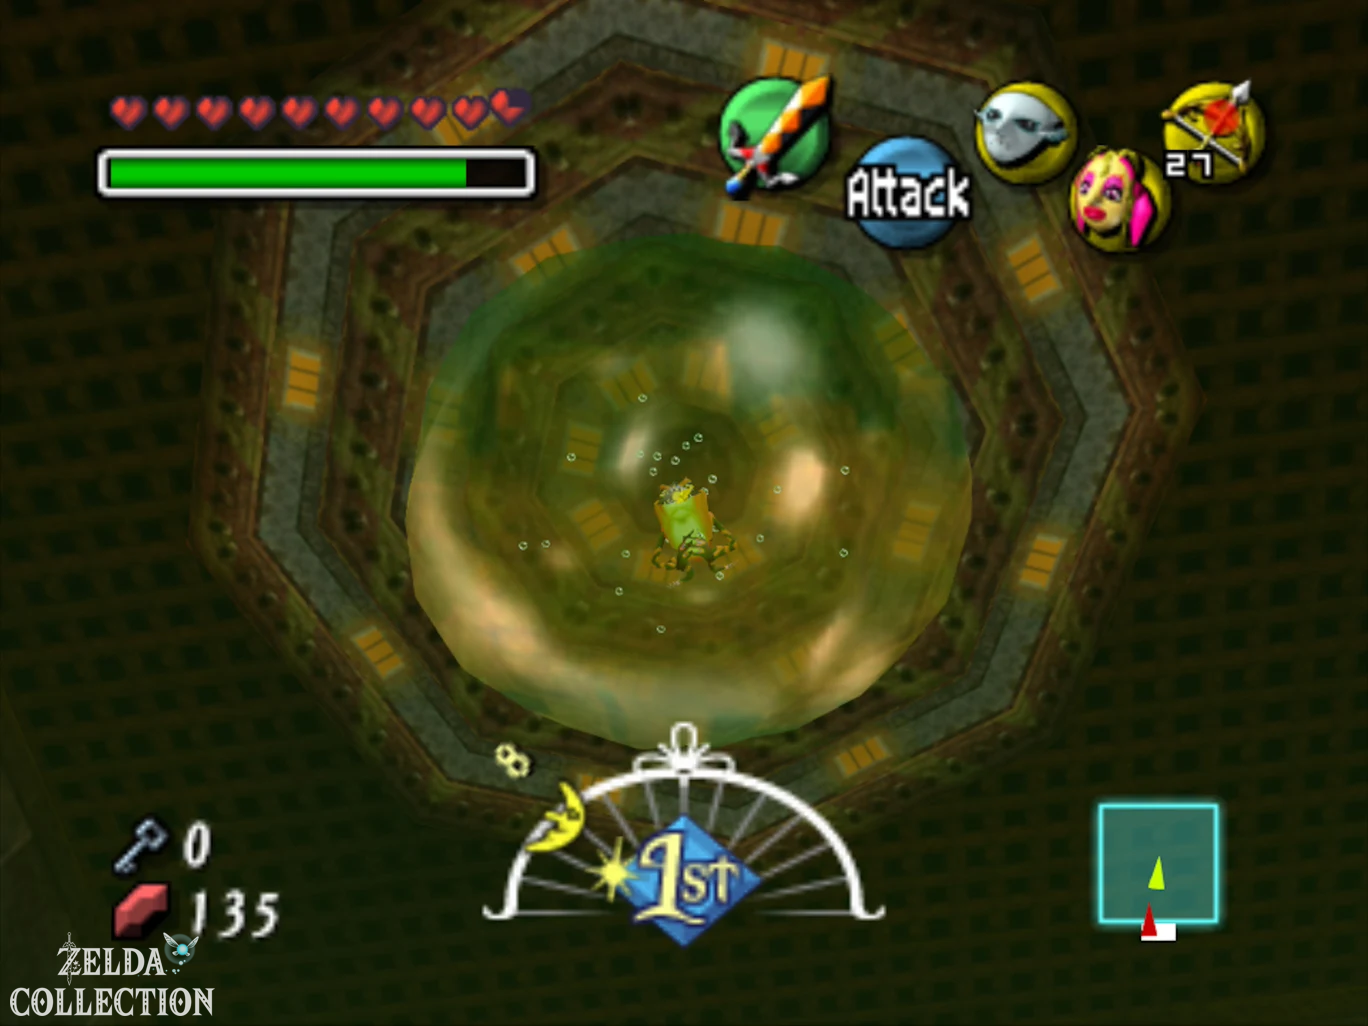
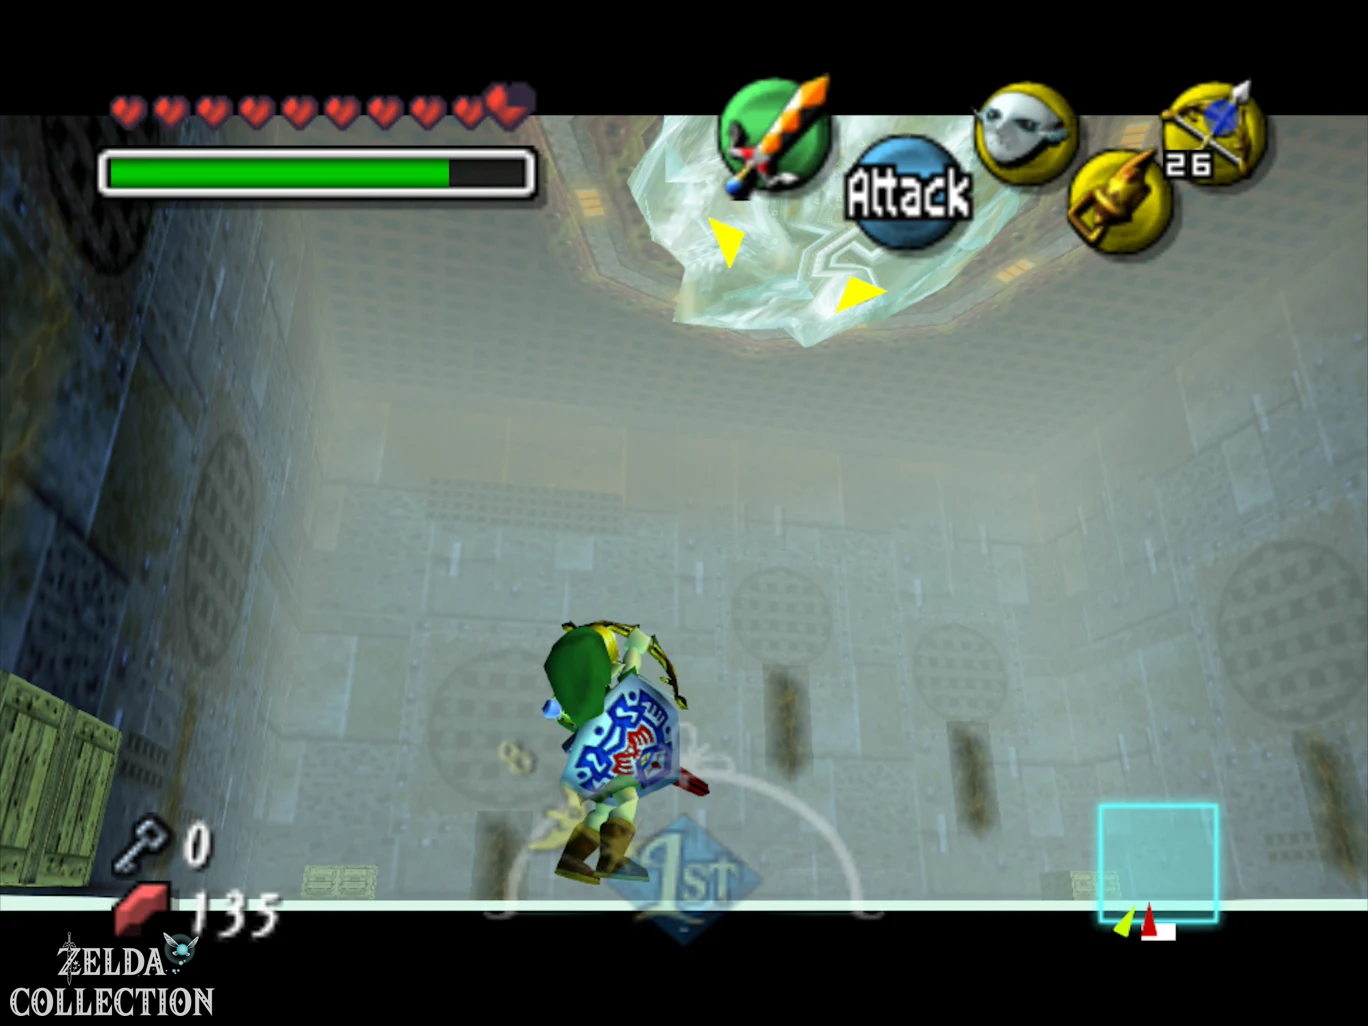
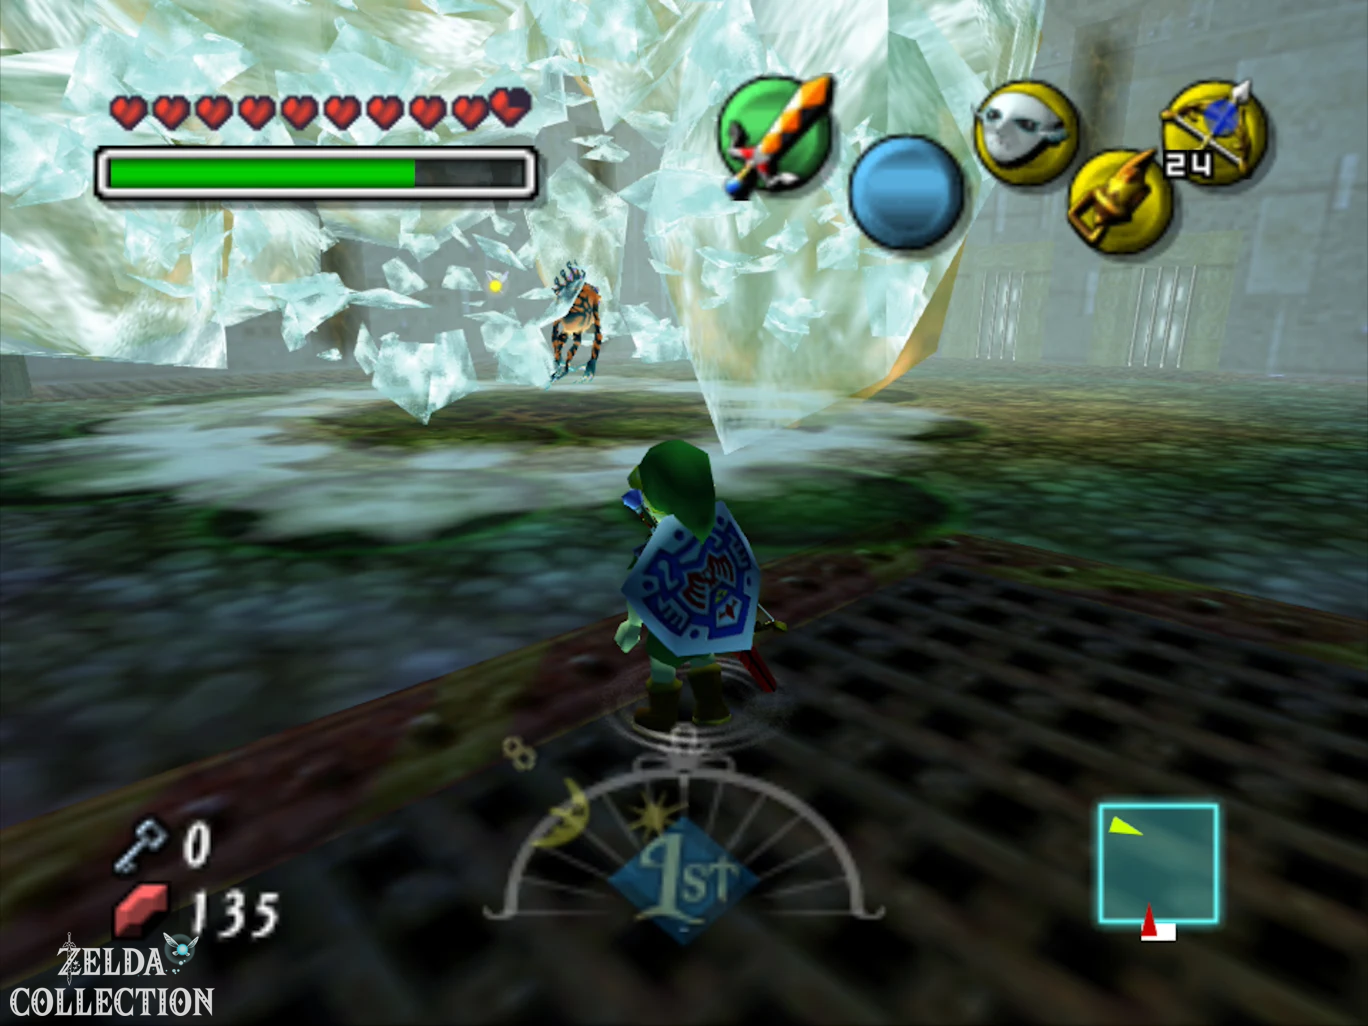
First attacks Gekko with the sword. After being hit, he jumps onto the slime, which, along with Gekko, pulls itself up to the ceiling and converges into a large ball. Don’t stay directly underneath it. Once the mass has collected on the ceiling, shoot a Ice Arrow at it. All the slime freezes, falls to the ground and breaks.
Gekko is defenseless for a short time. Hit him with an arrow or sword strike. Repeat the process until he is defeated and transforms back into a small frog again.
Now be sure to put on Don Gero’s Mask and talk to the frog. He then sets off to join the frog choir in the Mountain Village. This is the last of the two dungeon frogs and, after Gyorg, finally allows us to fully complete this Side Quest.
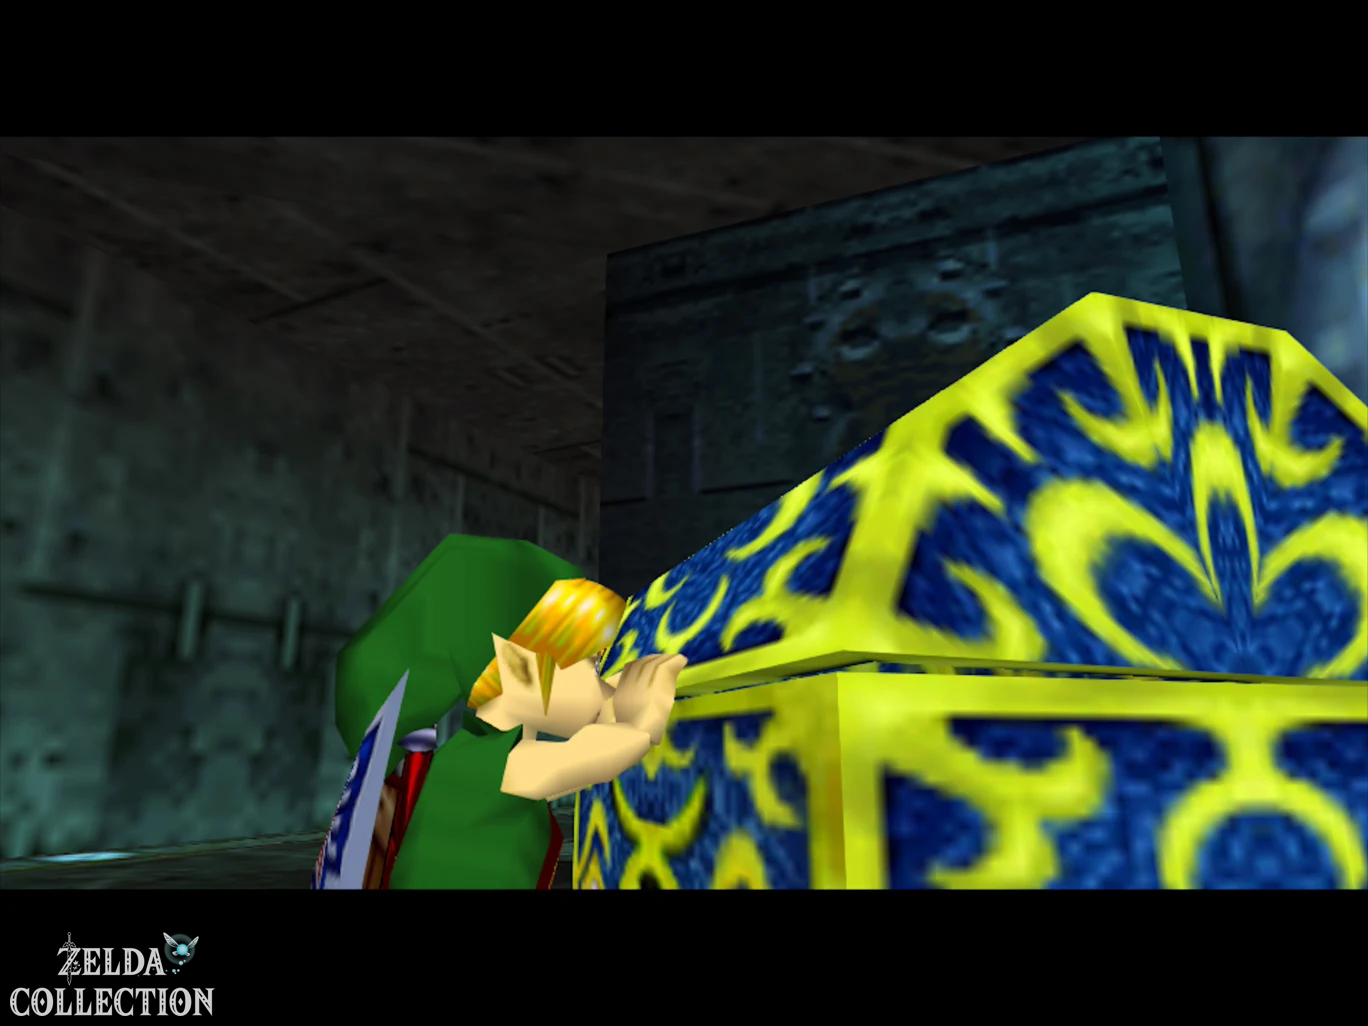
Then go through the open door and open the large Treasure Chest. Inside is the Big Key.
Reverse the flow direction of the central turbine
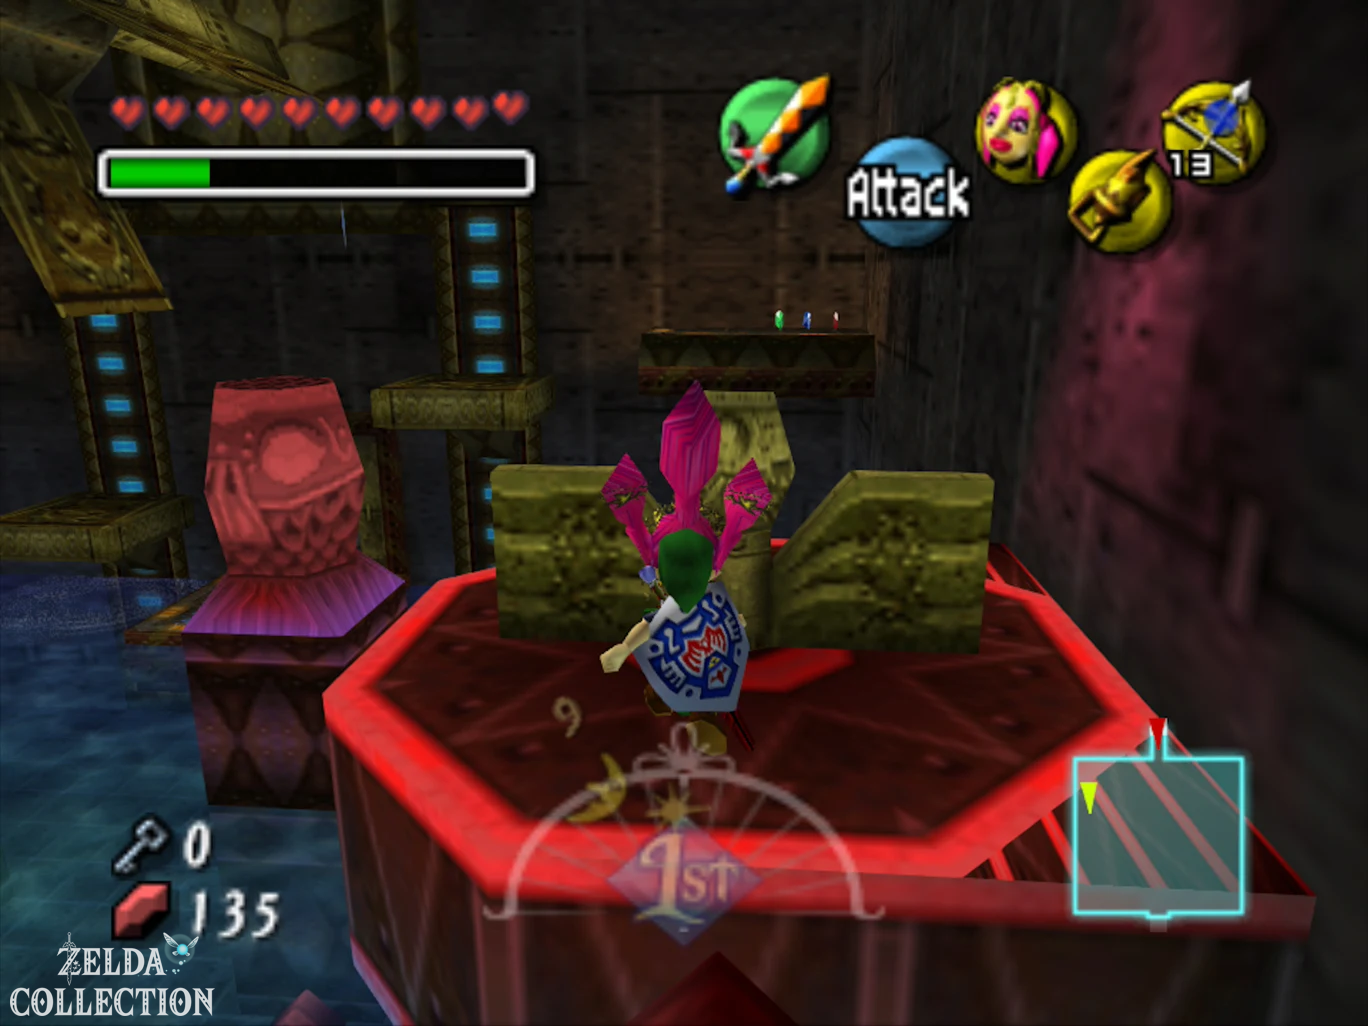
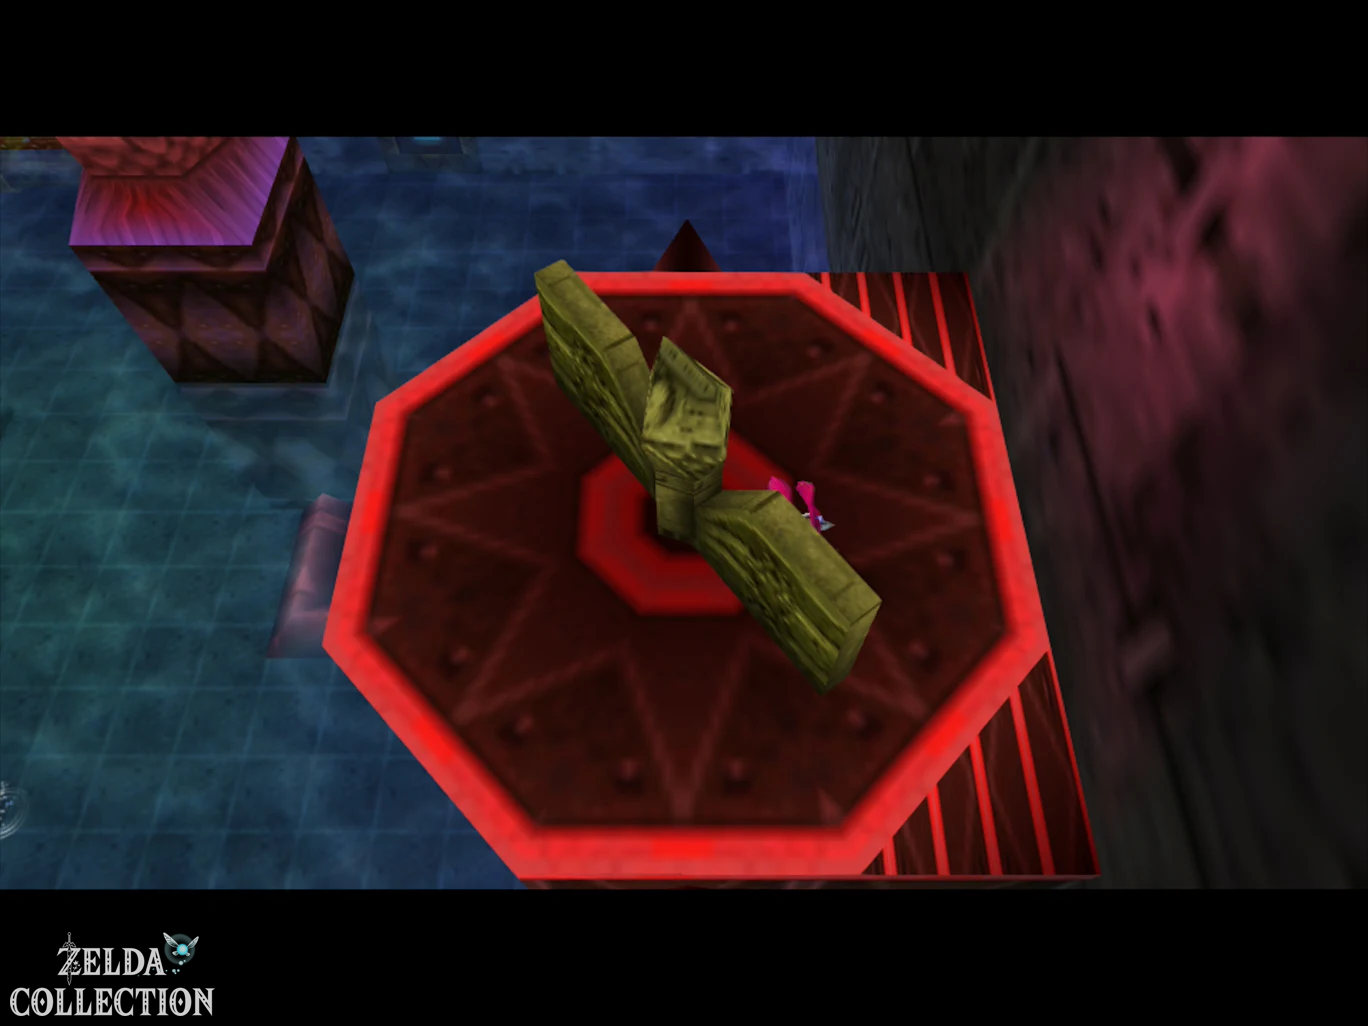
Return to the large hall with the first water wheel. With the red pipe system activated, we can now change the central machine. Use the Hookshot to pull yourself to the platform above the red water jet and turn the corresponding valve so that the previous water flow is interrupted. Then activate the yellow or opposite valve.
The large water wheel stops briefly and then sits down opposite direction in motion.
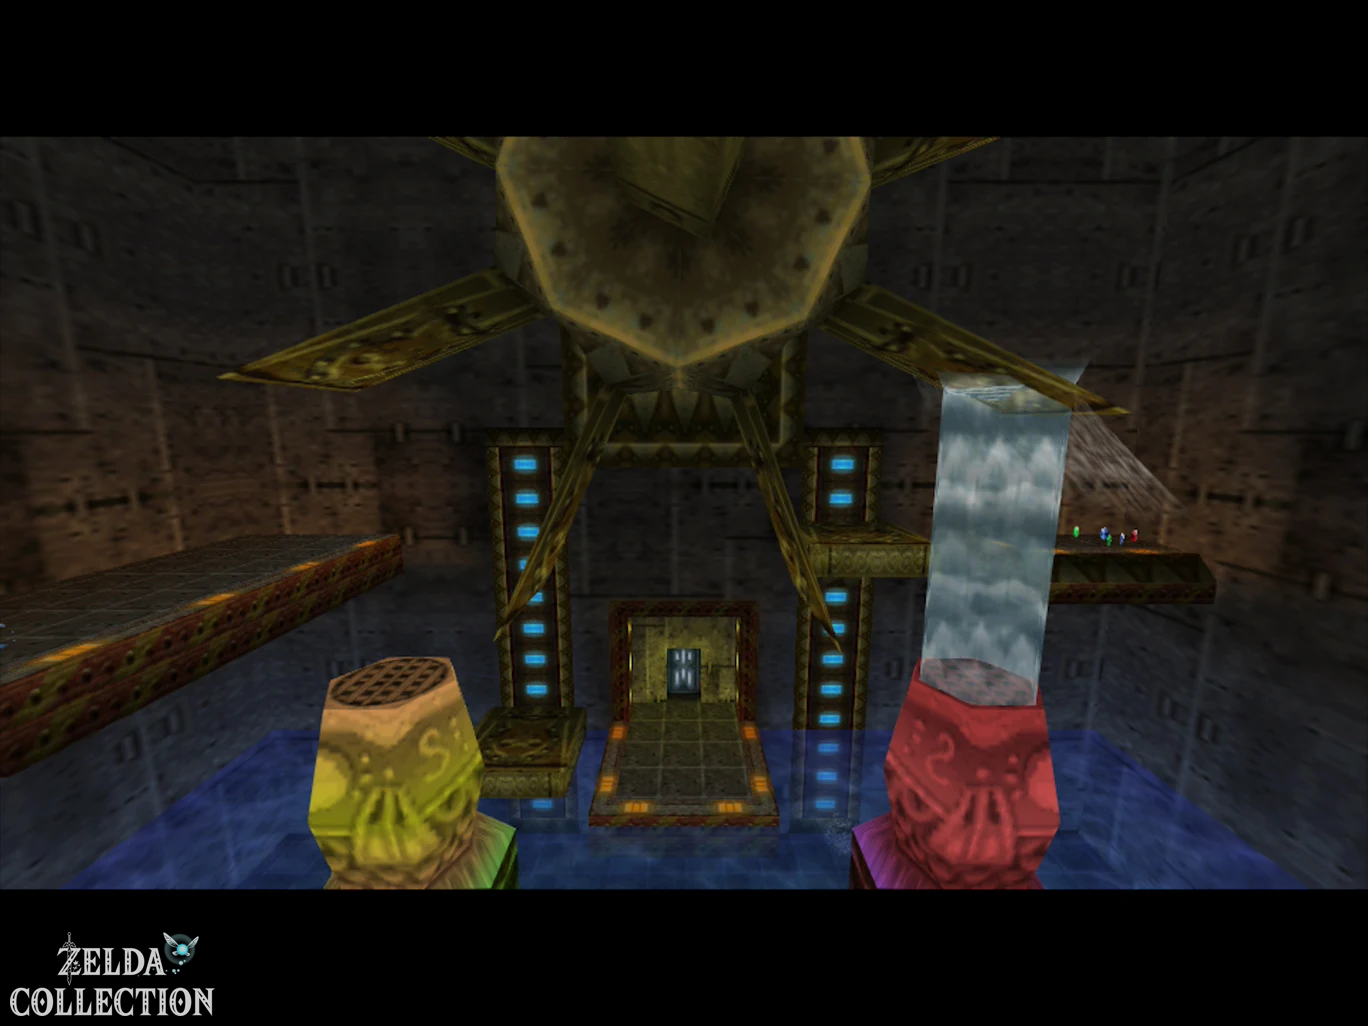
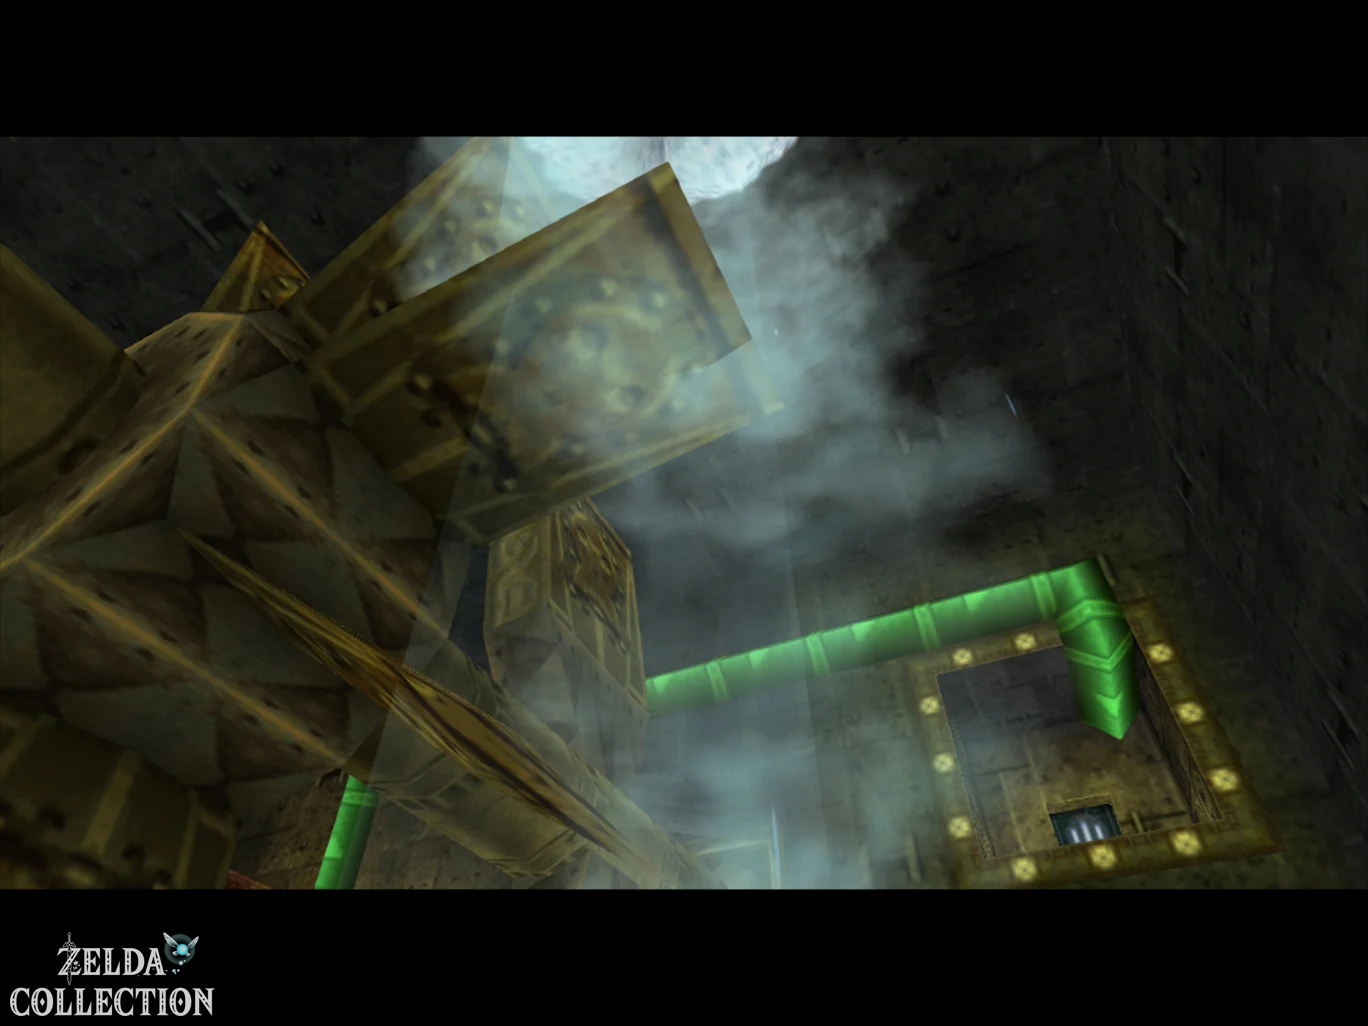
This also changes the flow in the central turbine hall. The previously inaccessible lower or opposite tunnels are now being opened. Ride the moving platforms back to the central hall and let the new flow carry you into the next areas as Zora Link.
Green pipe system and ninth stray fairy
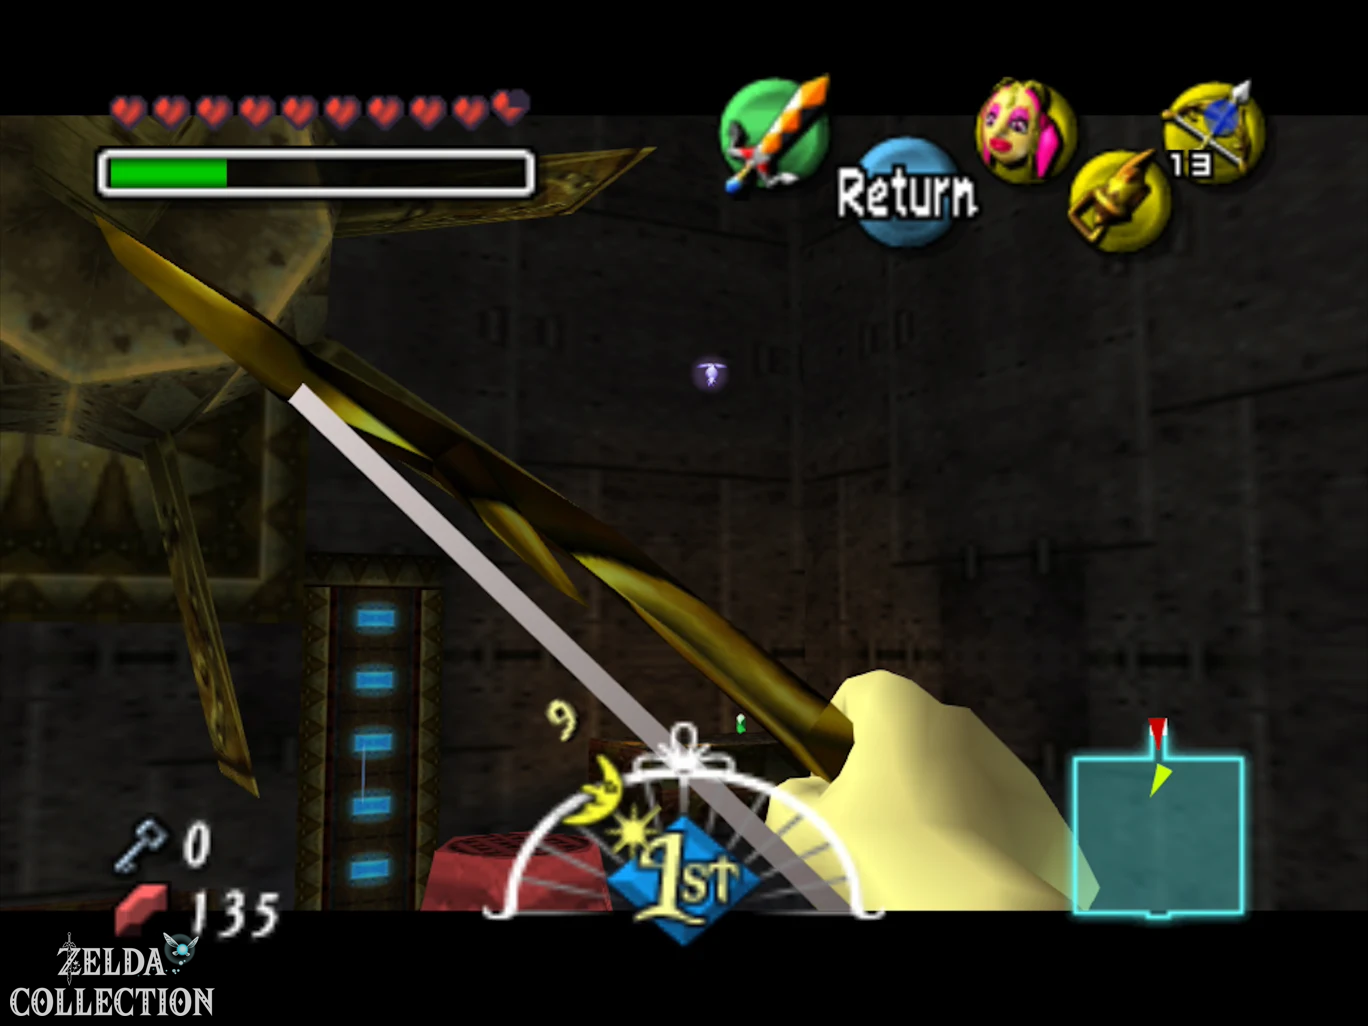
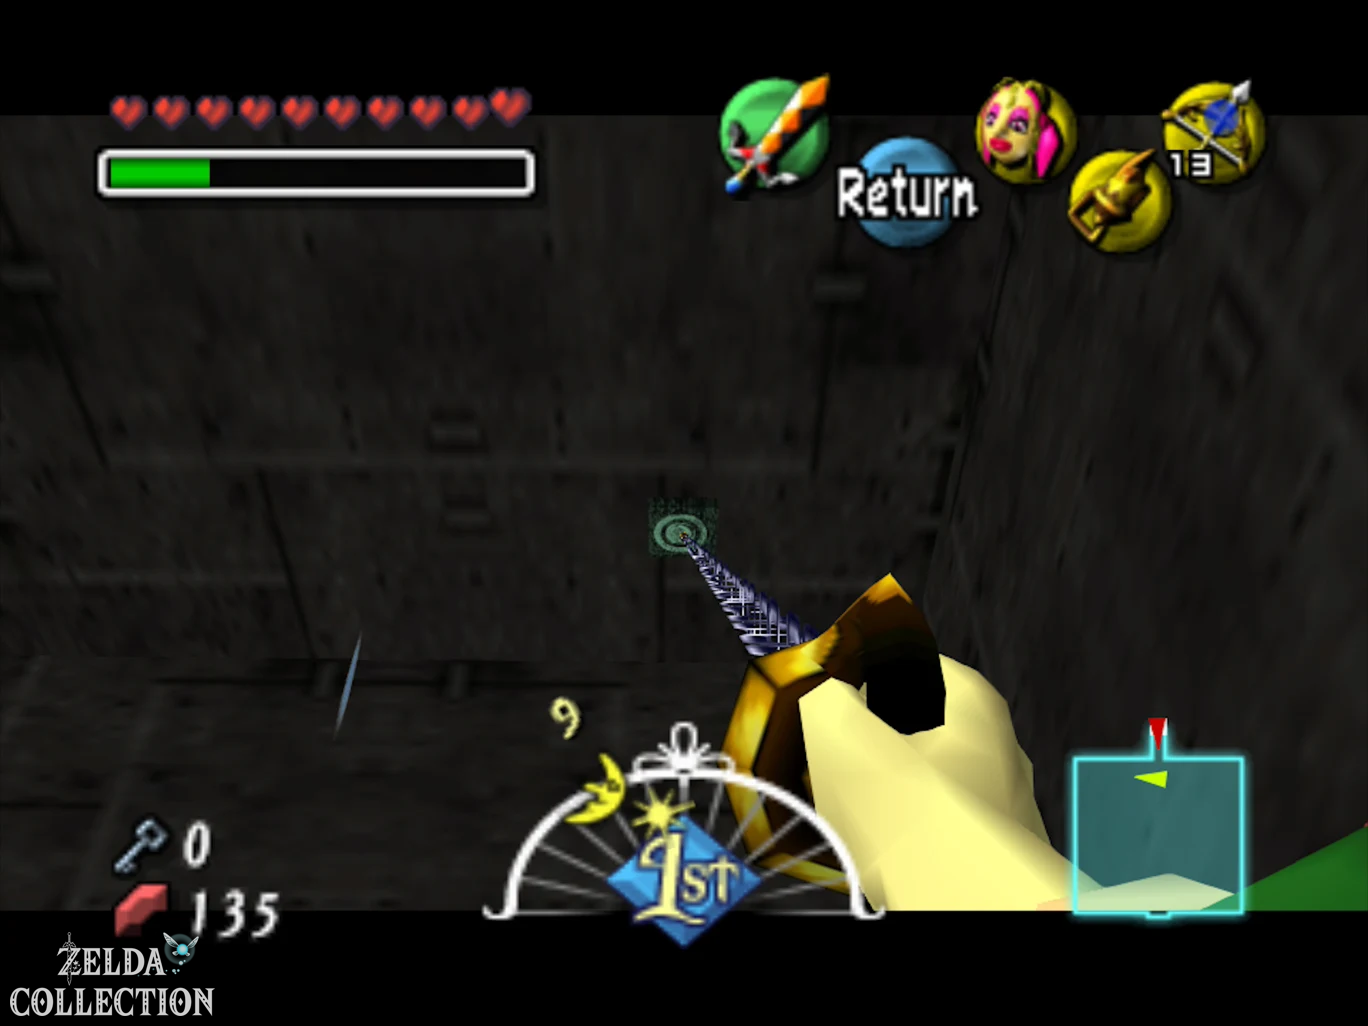
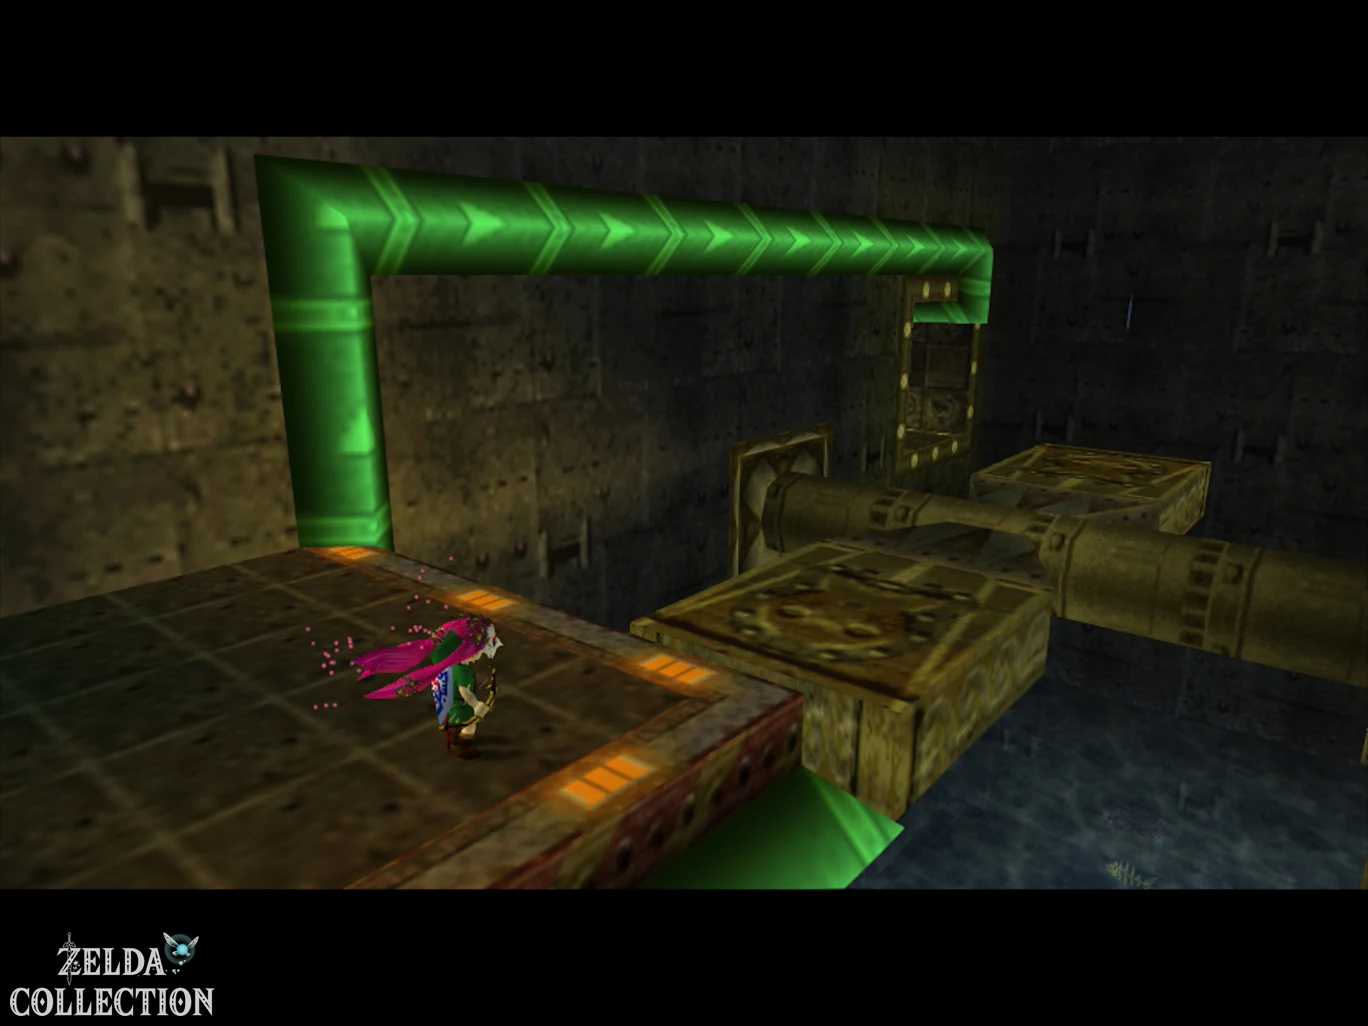
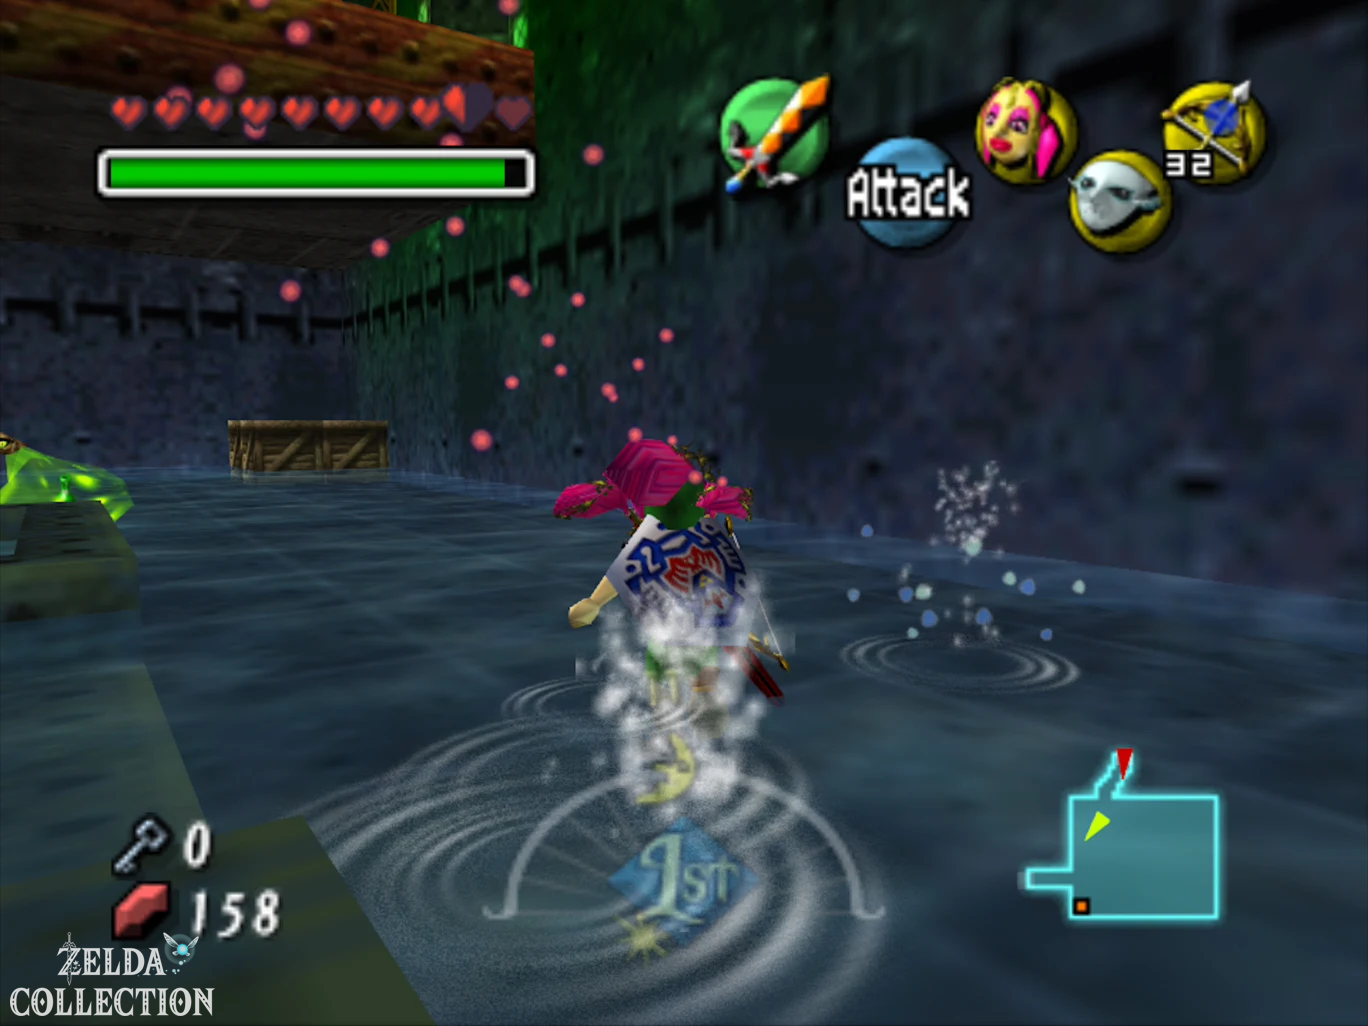
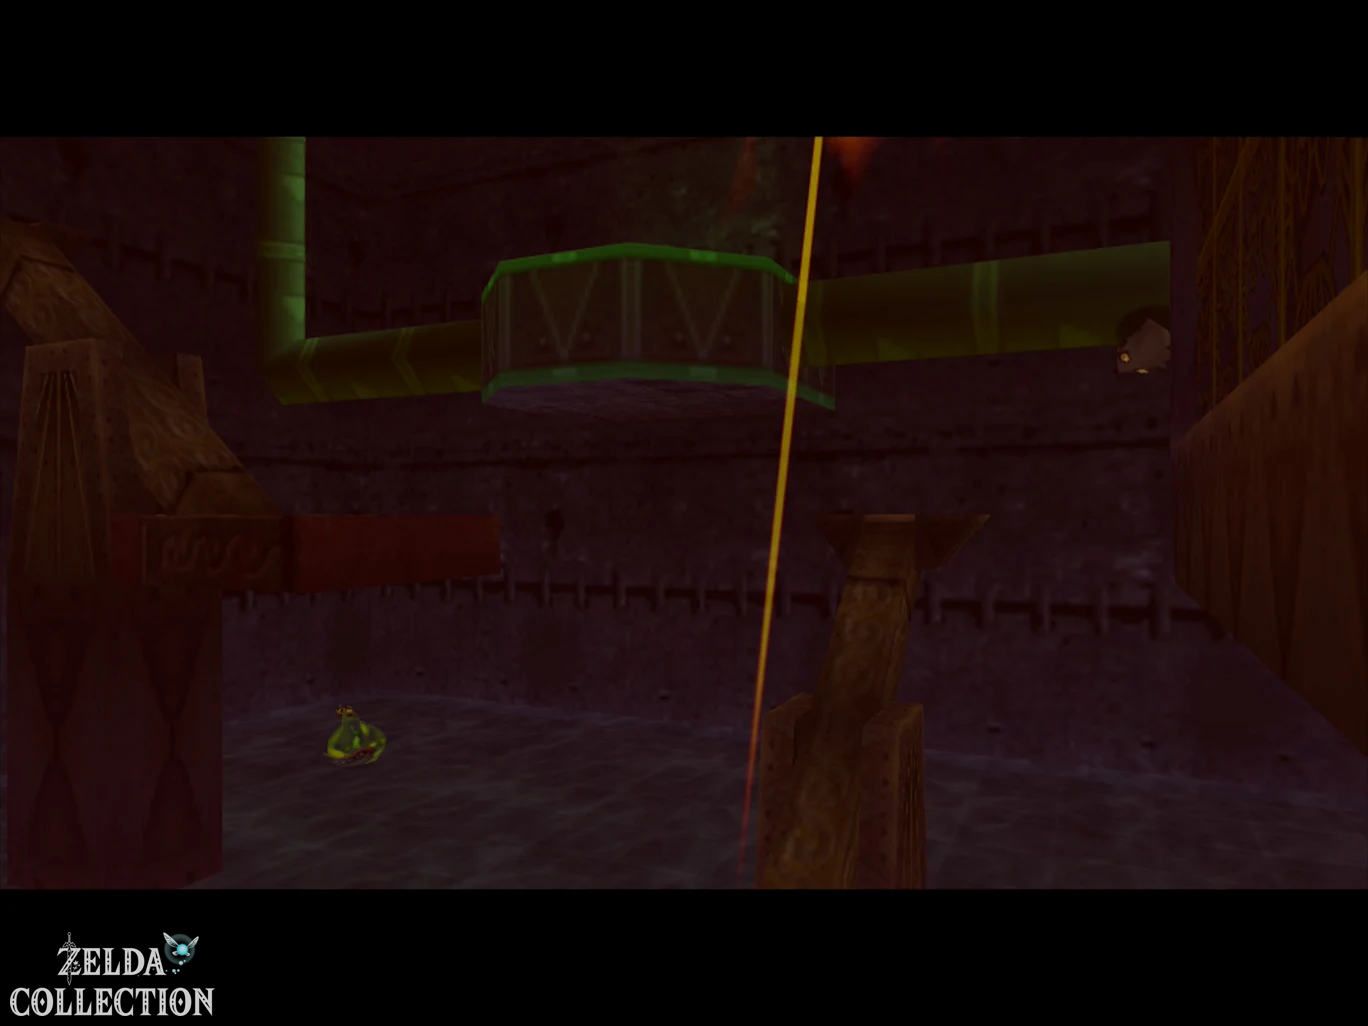
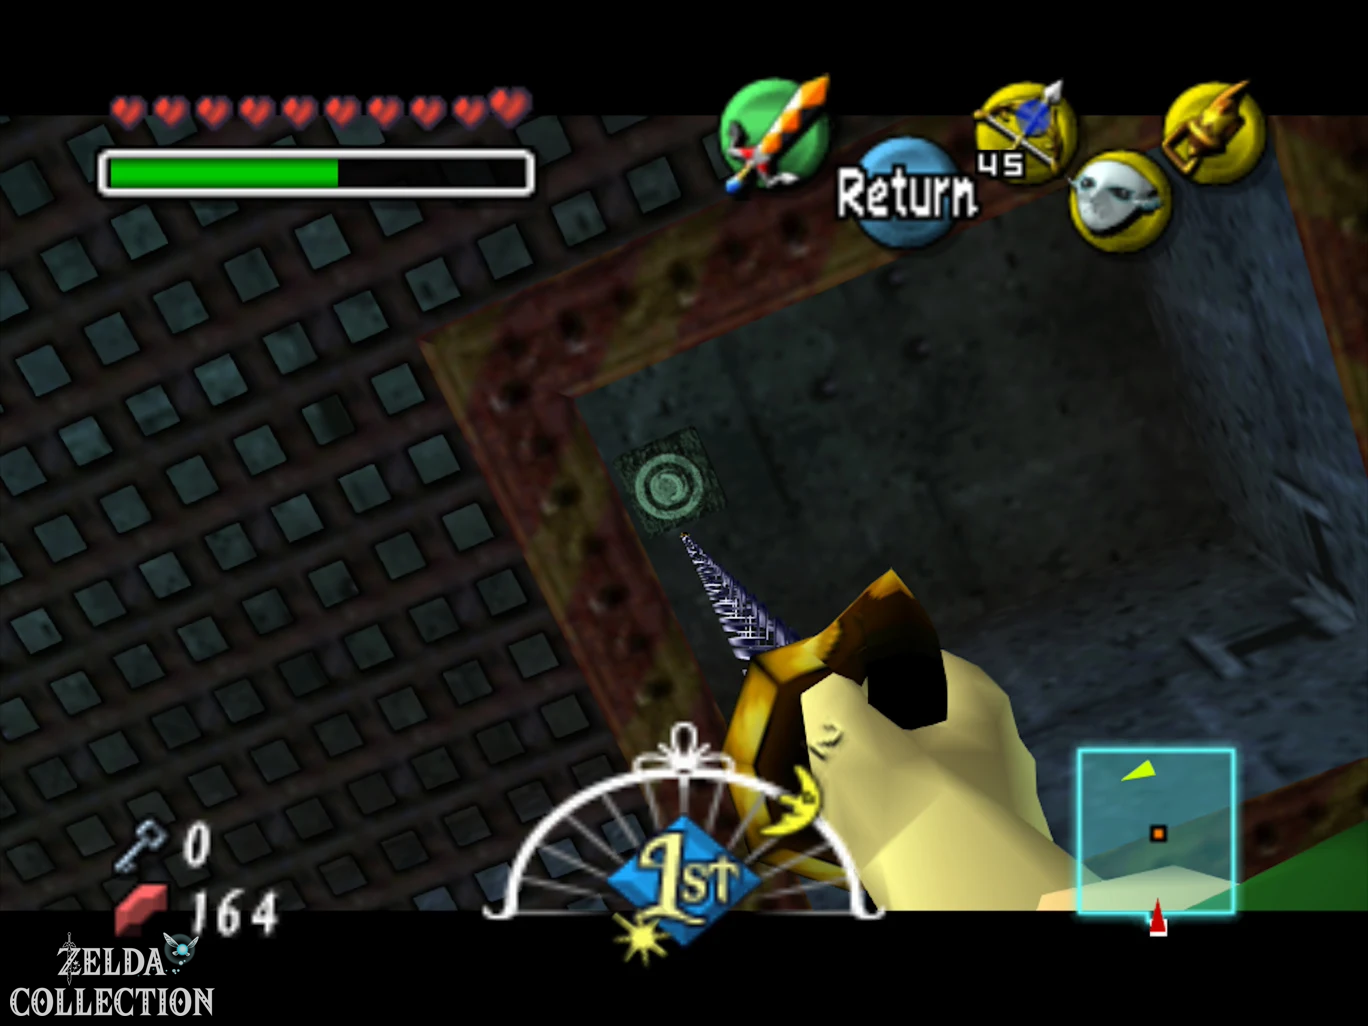
Take the tunnel that leads to the room with the still dry green pipe. There are several bodies of water here. Use the ice arrows to create ice floes and work your way to the raised platform with the green valve. Turn it up. Water now begins to flow through the first green pipes.
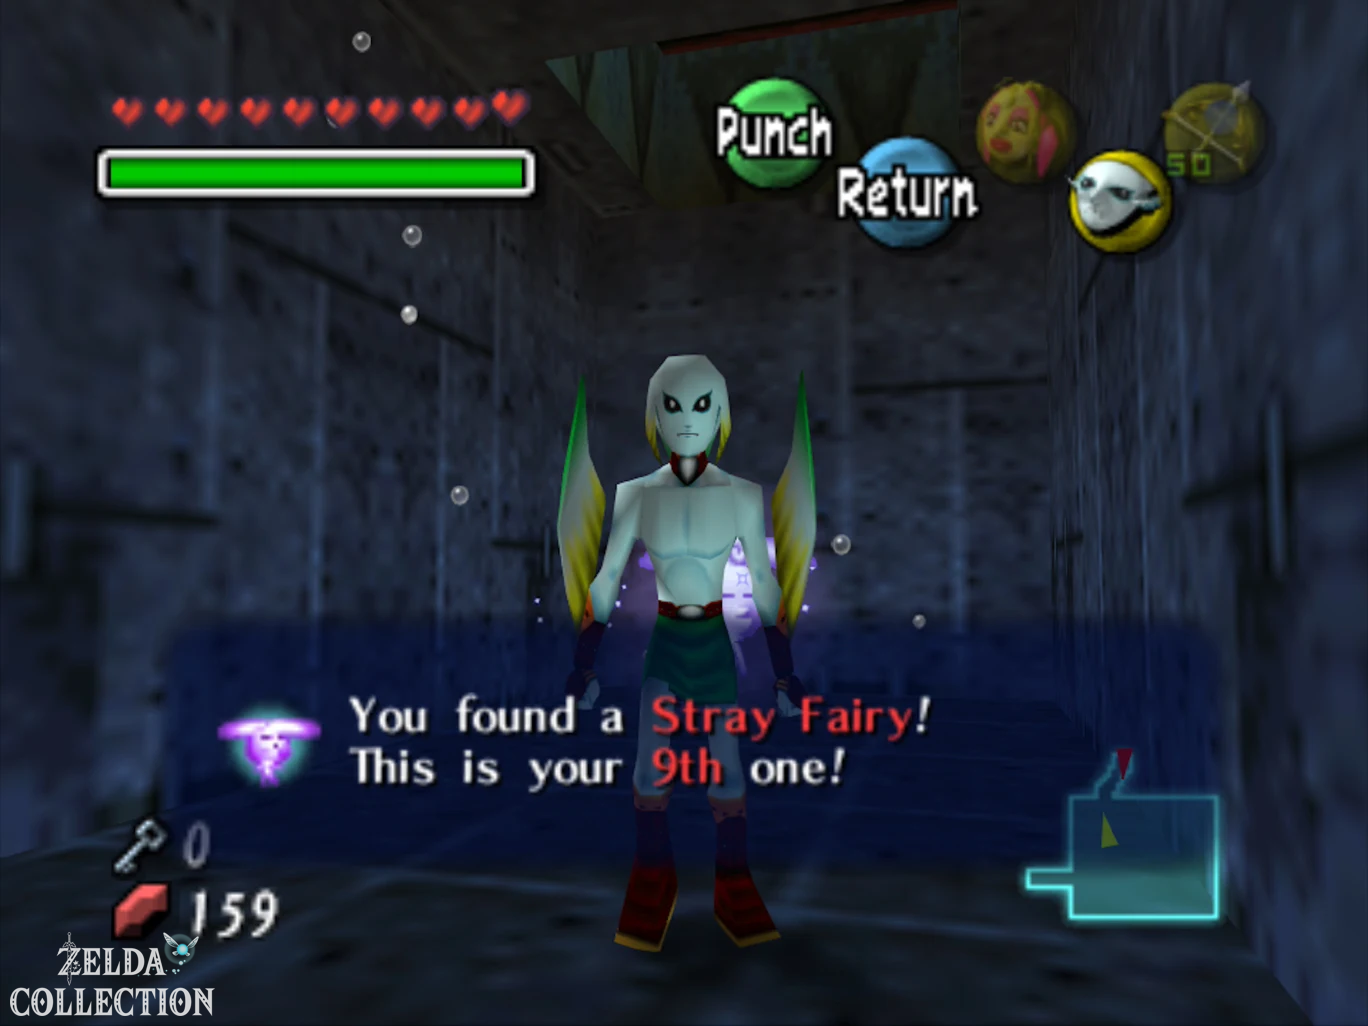
Before you leave the room, look at the ceiling. There is a Treasure Chest in one of the upper openings or niches. Create ice floes so that you get directly under the opening and use the Hookshot to pull yourself up on the target. Open the chest and collect the ninth Stray Fairy.
Large Water Wheel – Fairies 10 and 11
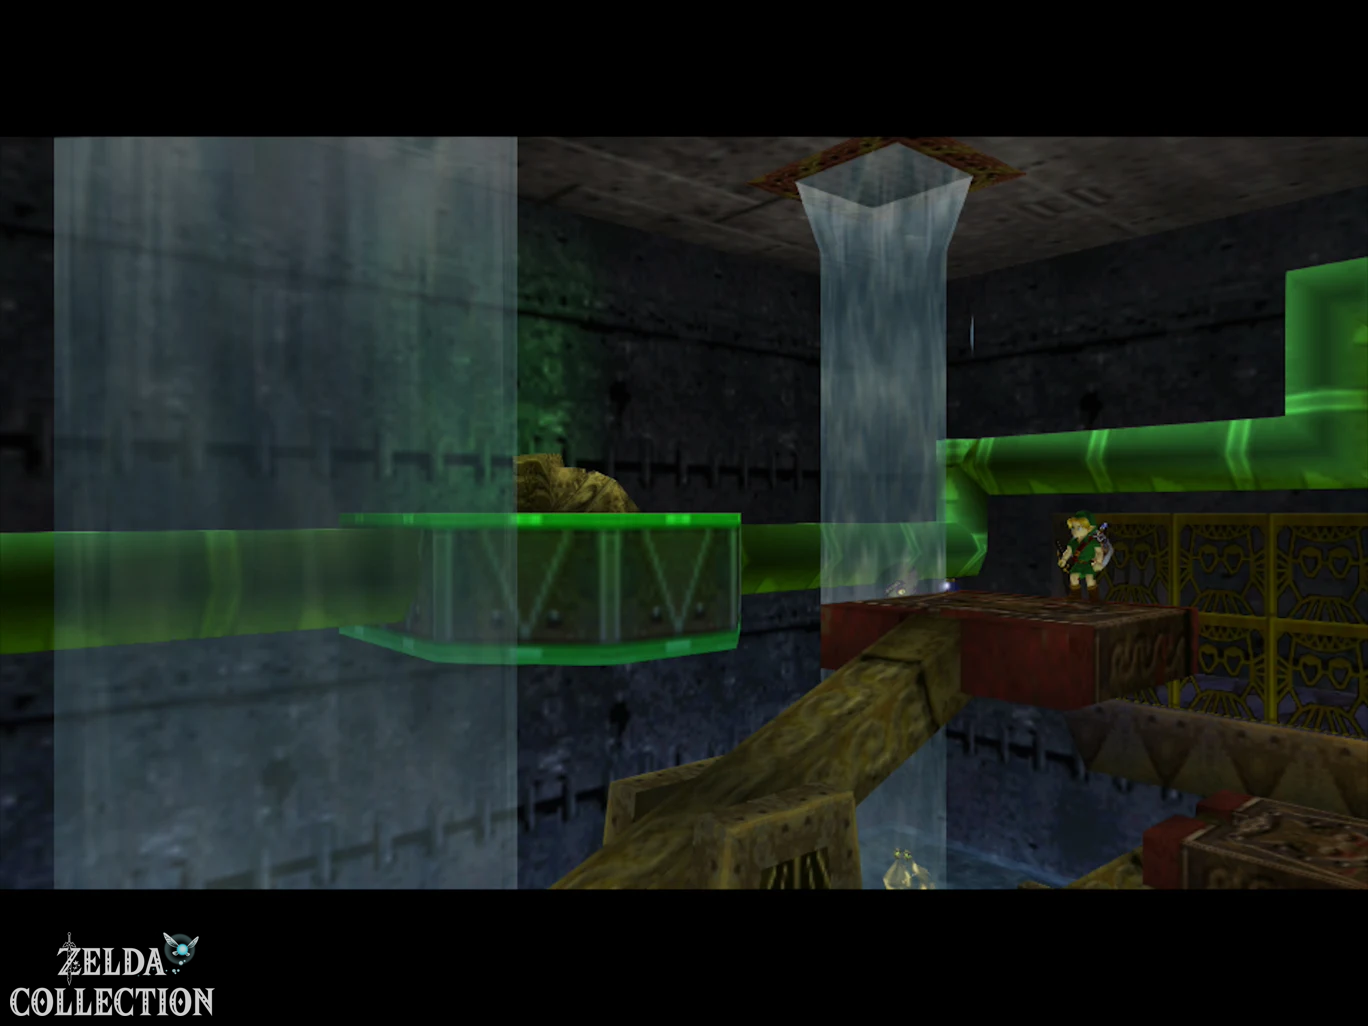
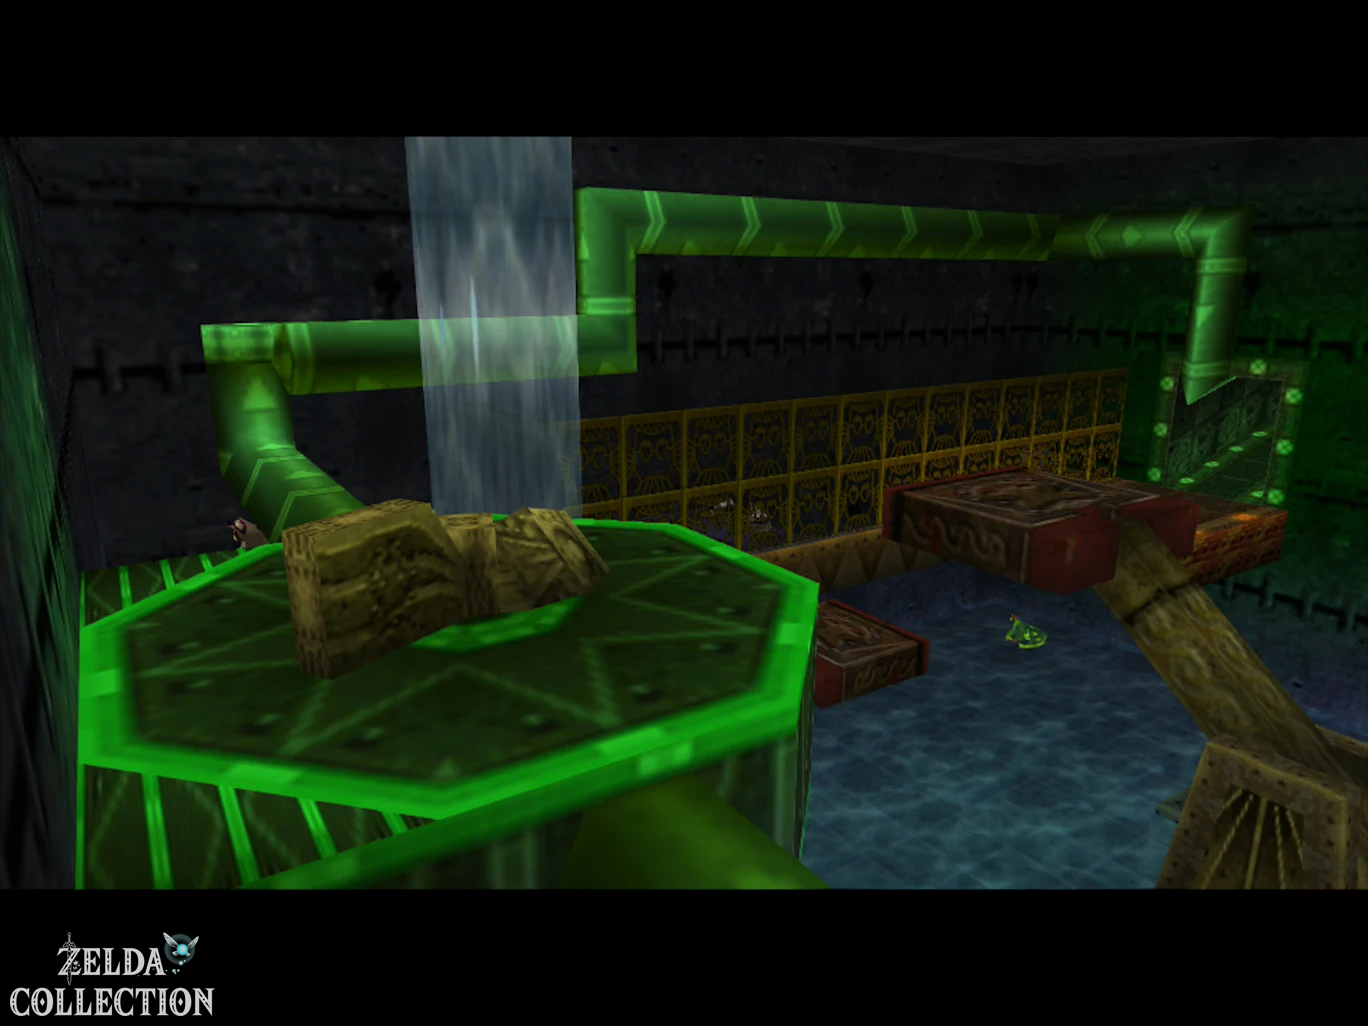
Return to the central turbine and drift through the next tunnel into a room with a second large waterwheel. First, ride the moving platform up. Shoot a Ice Arrow at the waterfall that powers the wheel. As soon as the water freezes, the entire mechanism comes to a standstill.
Jumps onto the axle of the water wheel. From there you can see a Treasure Chest in a wall niche. Use the Hookshot and pull yourself over. Inside is the tenth Stray Fairy.
From this niche or a lower platform you can see another hidden opening. Pull yourself in there too with the Hookshot and open the next chest with the eleventh Stray Fairy.
If you need to move the water wheel again, melt the ice with a fire arrow and then freeze the waterfall again as soon as the rotor blades are in a favorable position. Use one of the wide leaves as a bridge and reach the next door.
Seesaw Room – Fairies 12 and 13
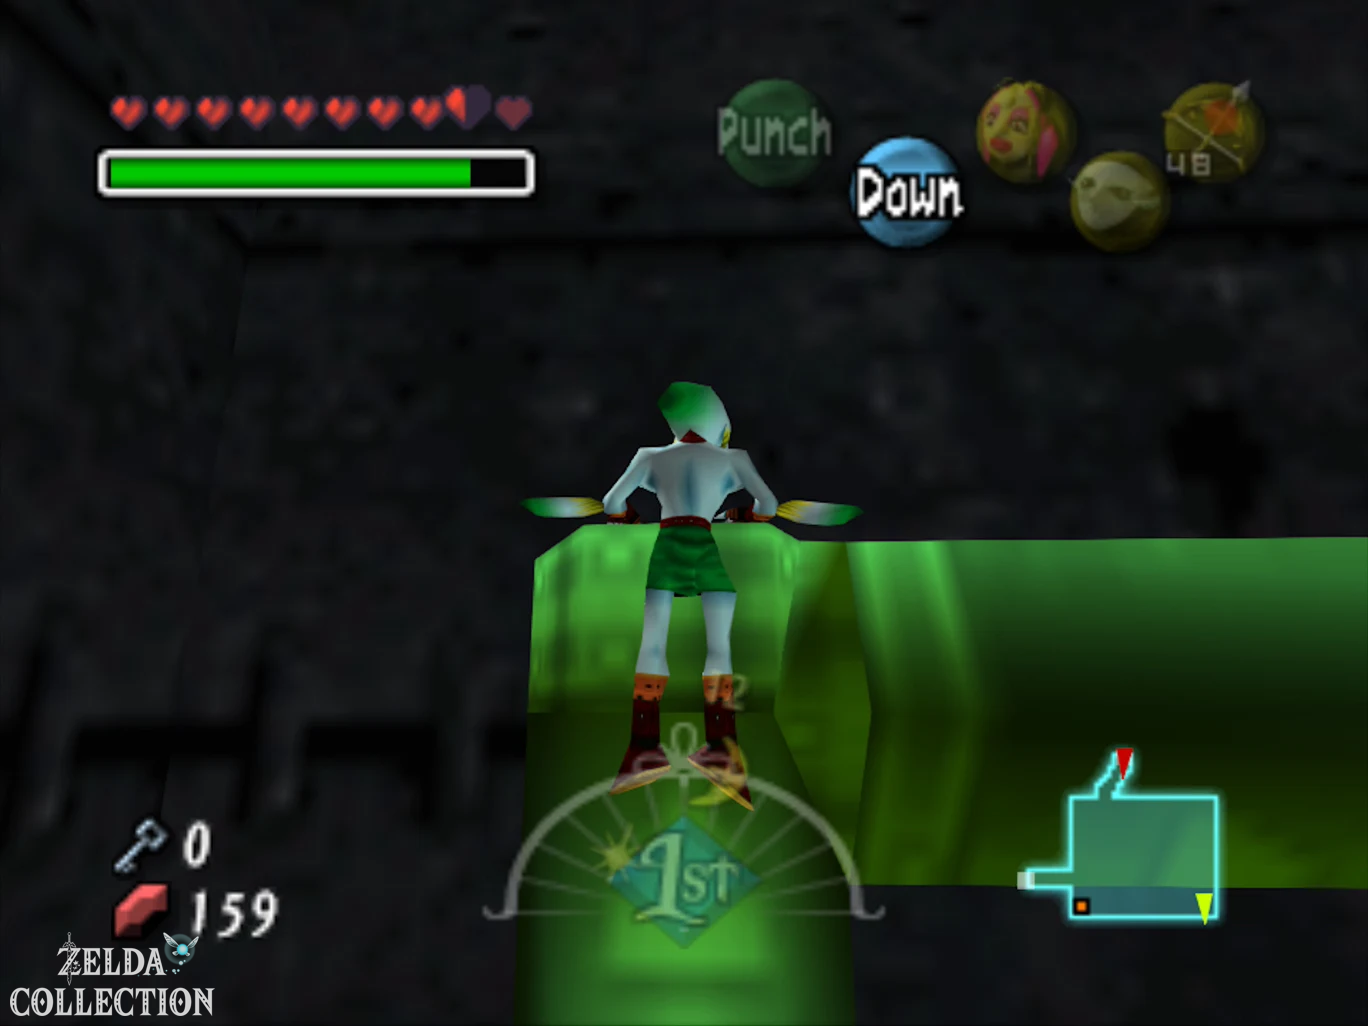
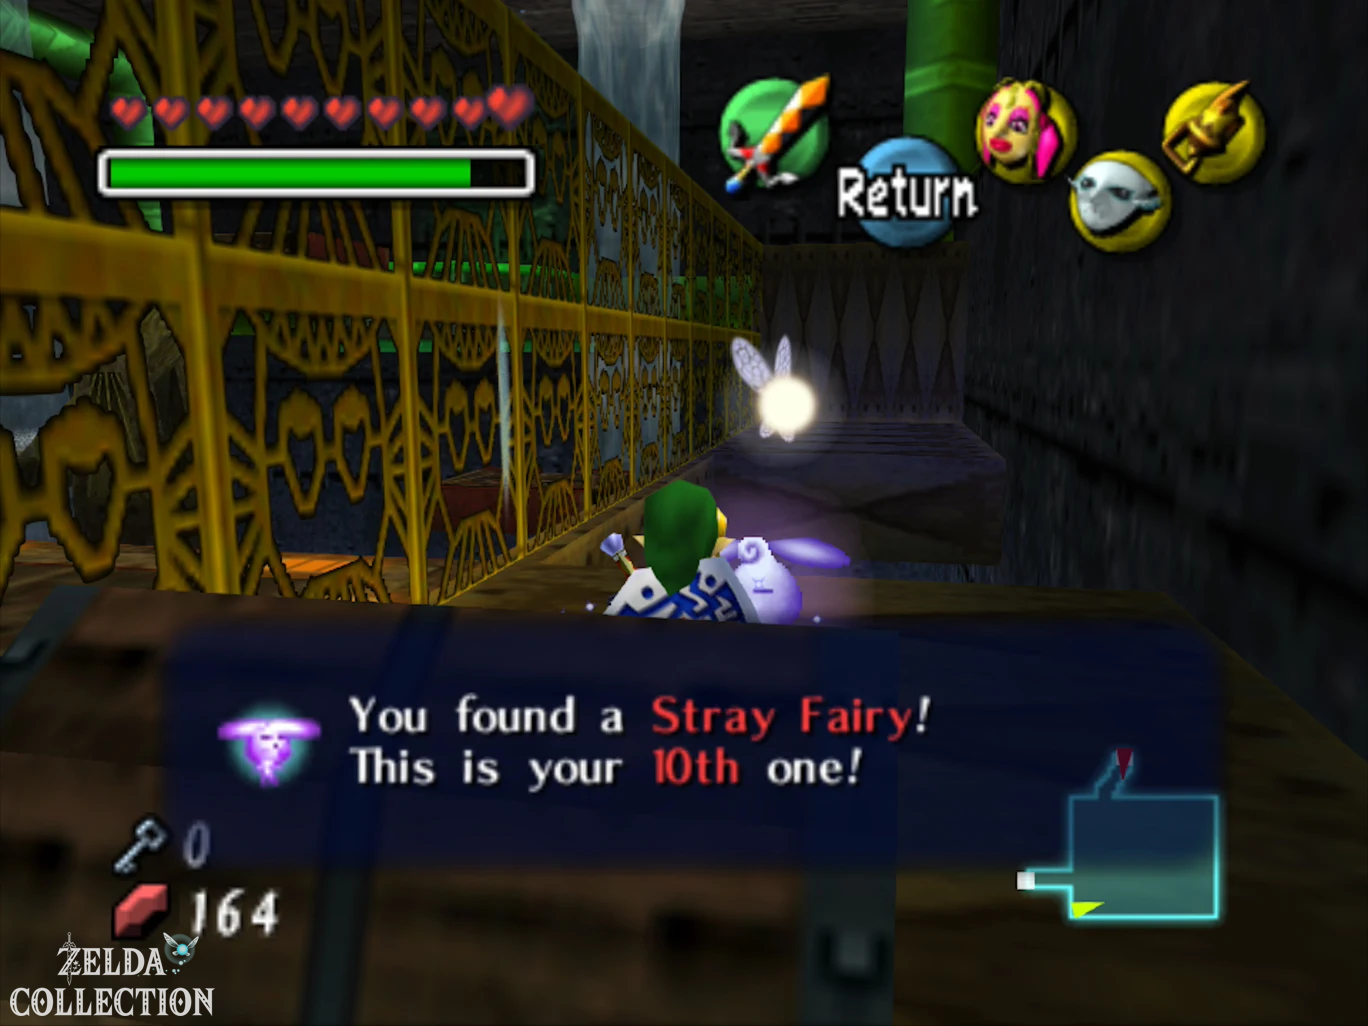
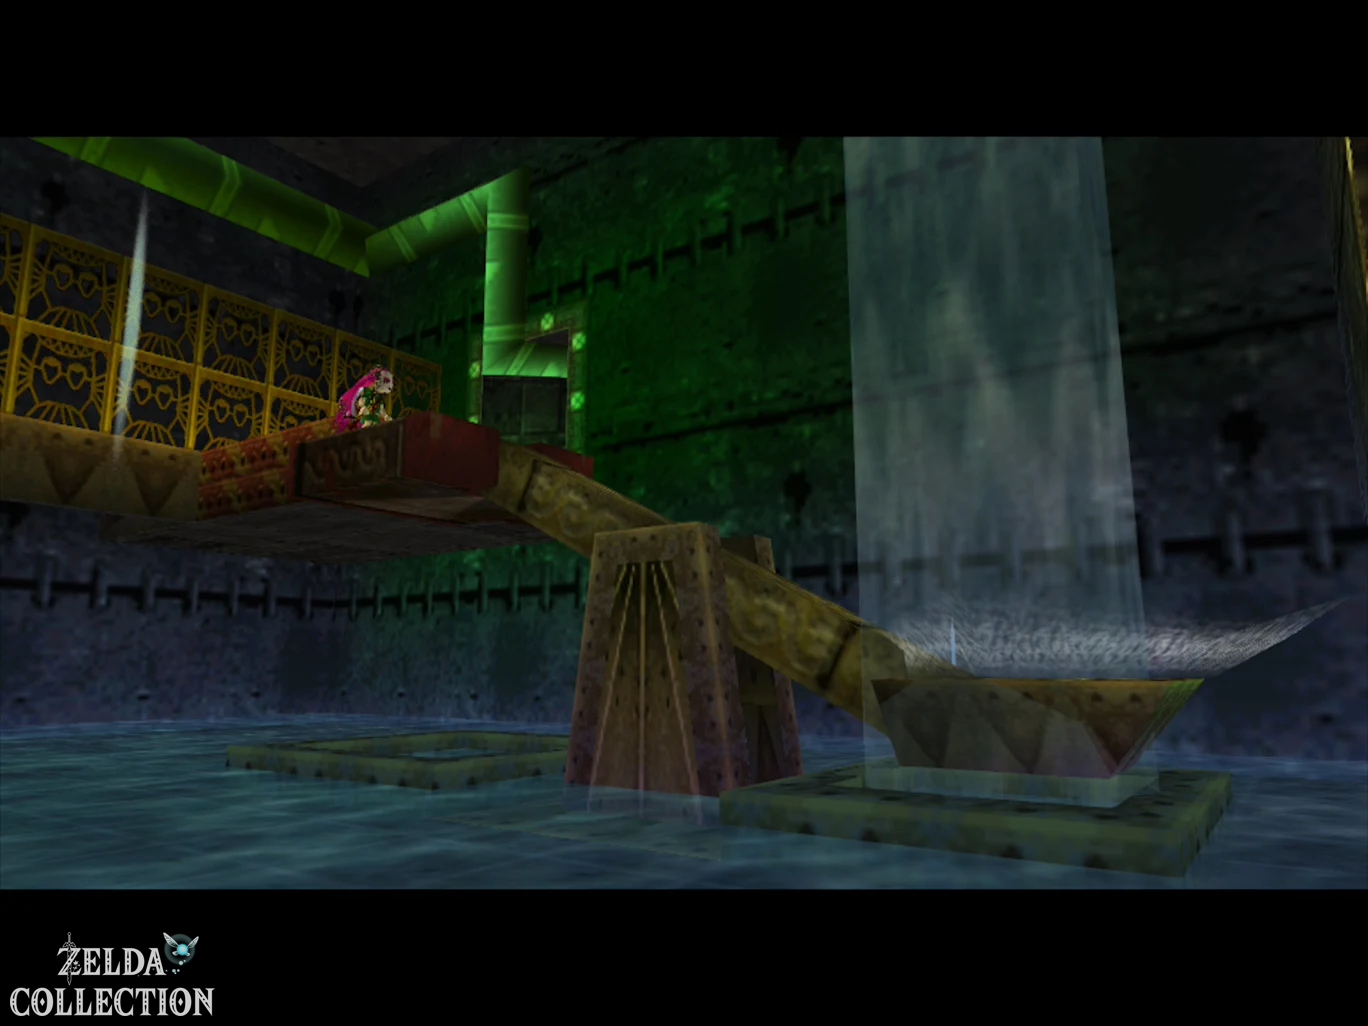
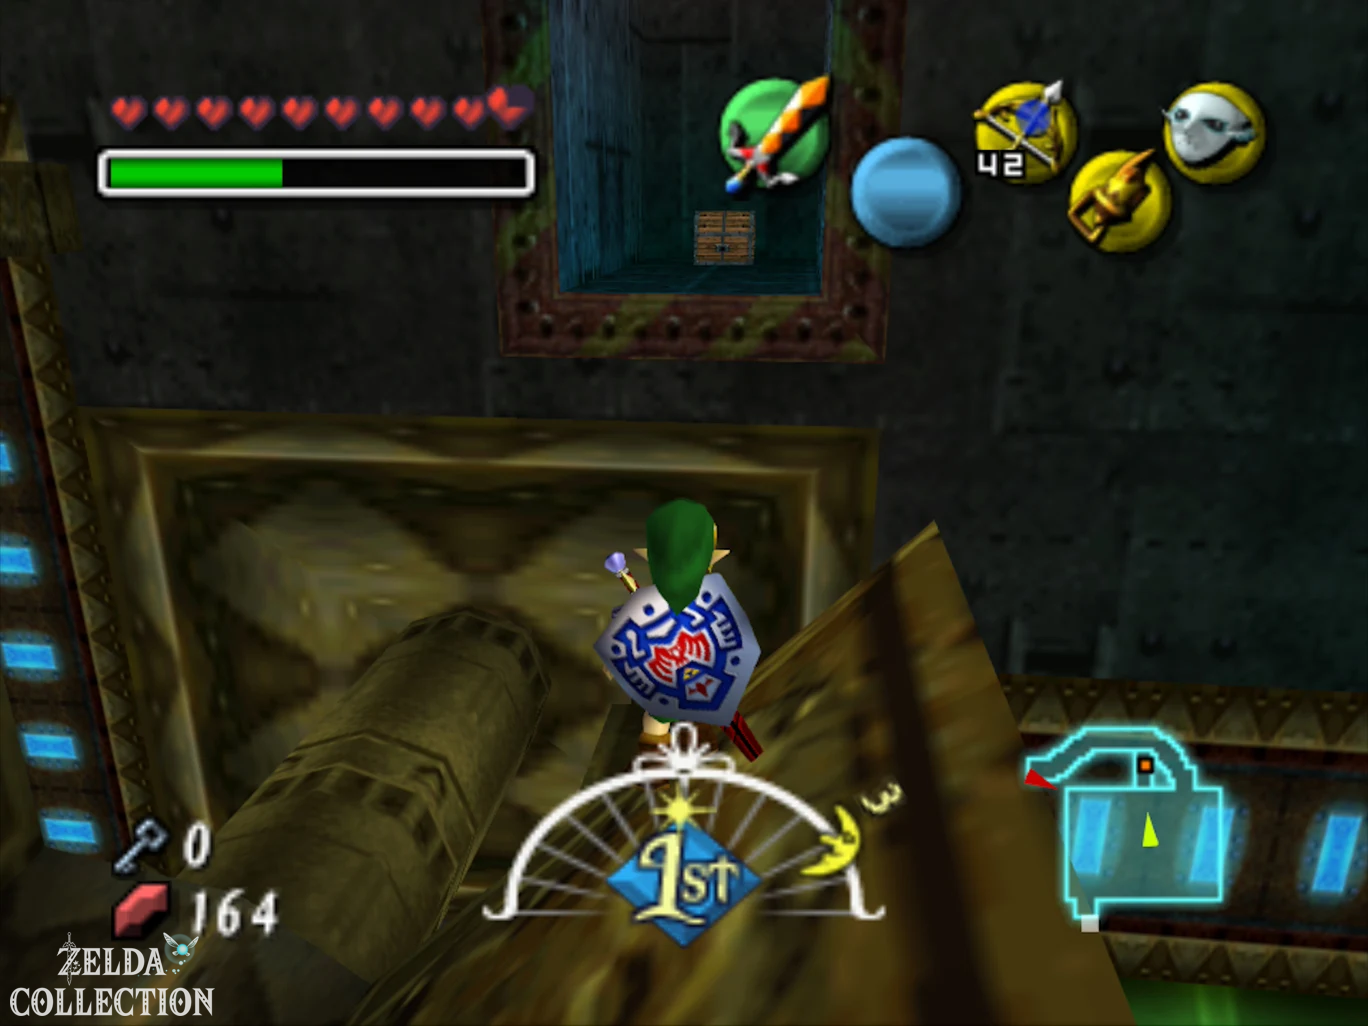
In the next room there are several large seesaws that are lifted by jets of water. First jump into the water and swim under the first seesaw. There is a barrel there. Ram it as Zora Link or destroy it with your electric shield. The one hidden inside twelfth Stray Fairy is released.
Get back on the first seesaw. Shoot a fire arrow at the frozen water inlet to activate the water jet and cause the seesaw to move up. Jump to the next construction and repeat the process. By alternating freezing with ice arrows and thawing with fire arrows you can bring the seesaws to the desired height.
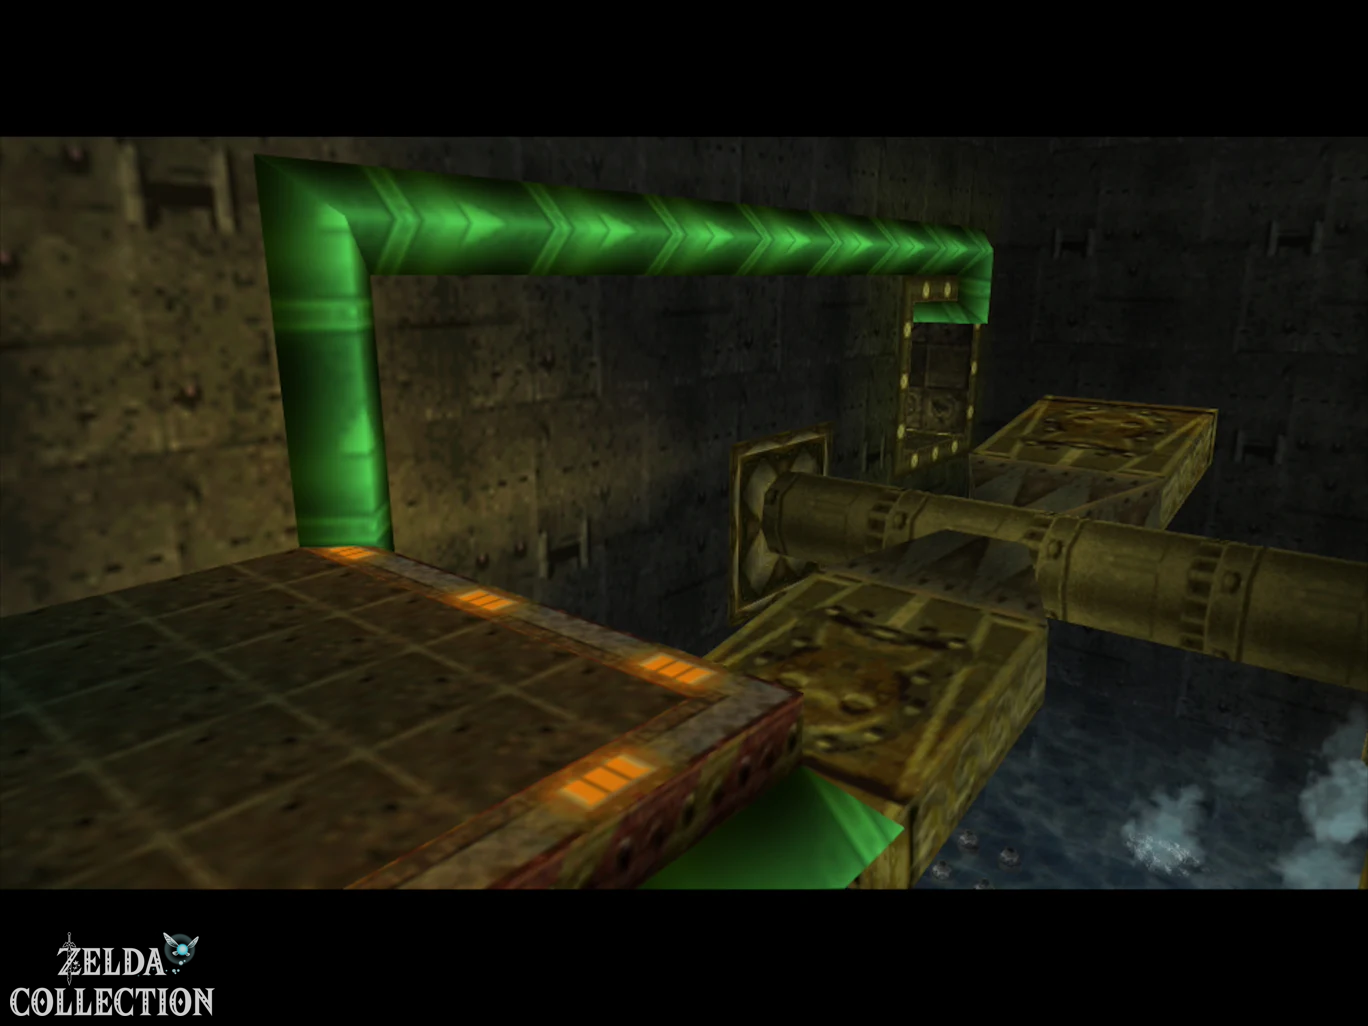
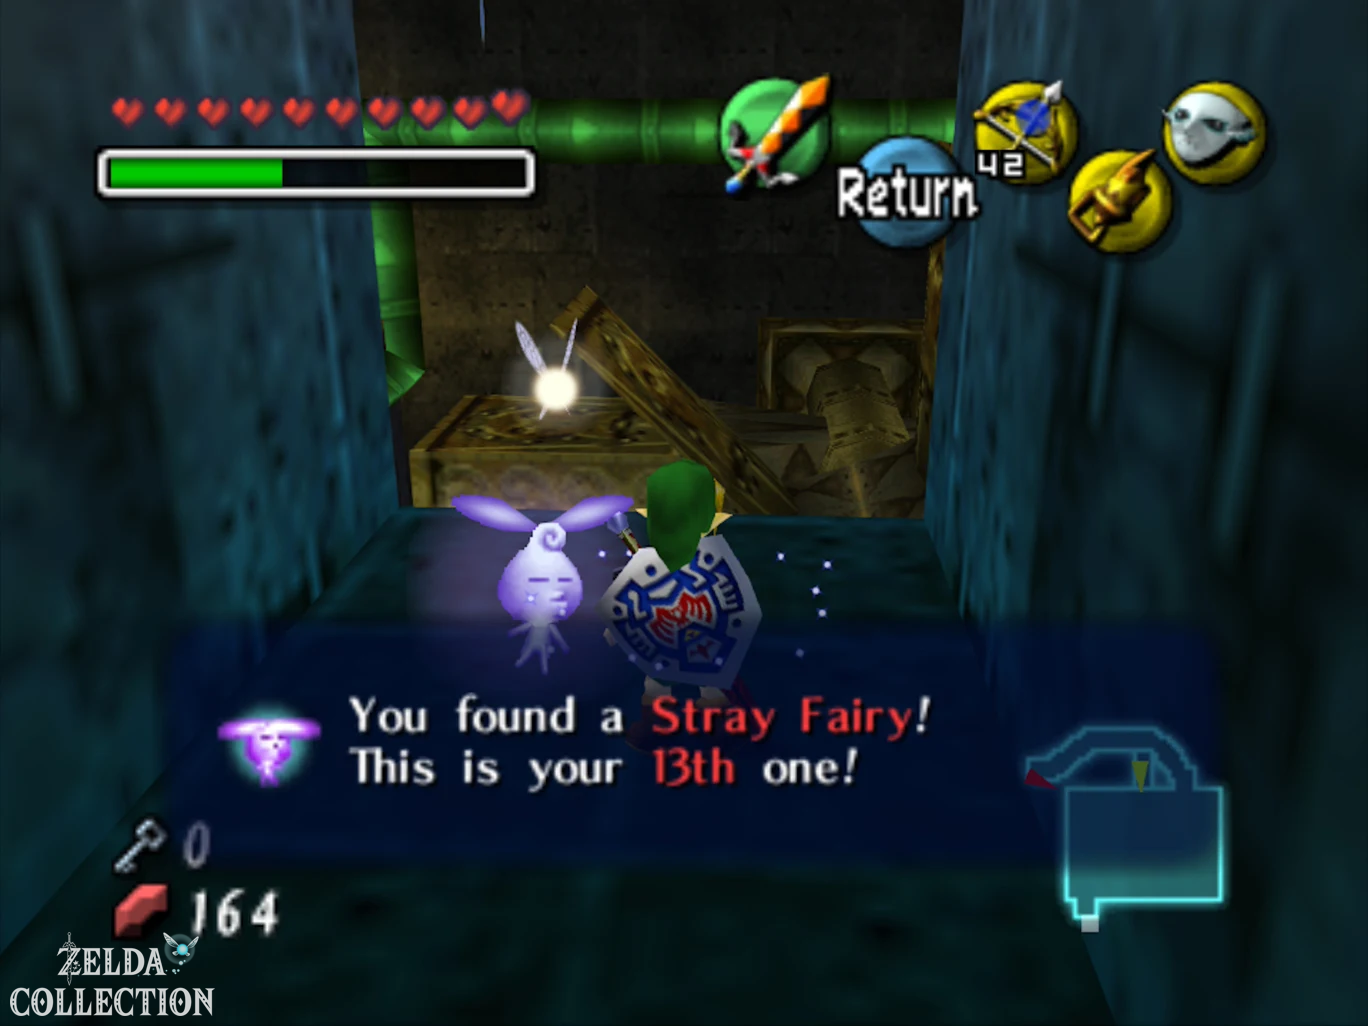
At the top you reach the next green valve. Turn it up. Then follow the green pipe to a blocked off platform. Use the Hookshot to move to the Treasure Chest there and open it. The thirteenth Stray Fairy is waiting there.
Water now flows through the entire green pipe system.
Use
The last two Stray Fairies
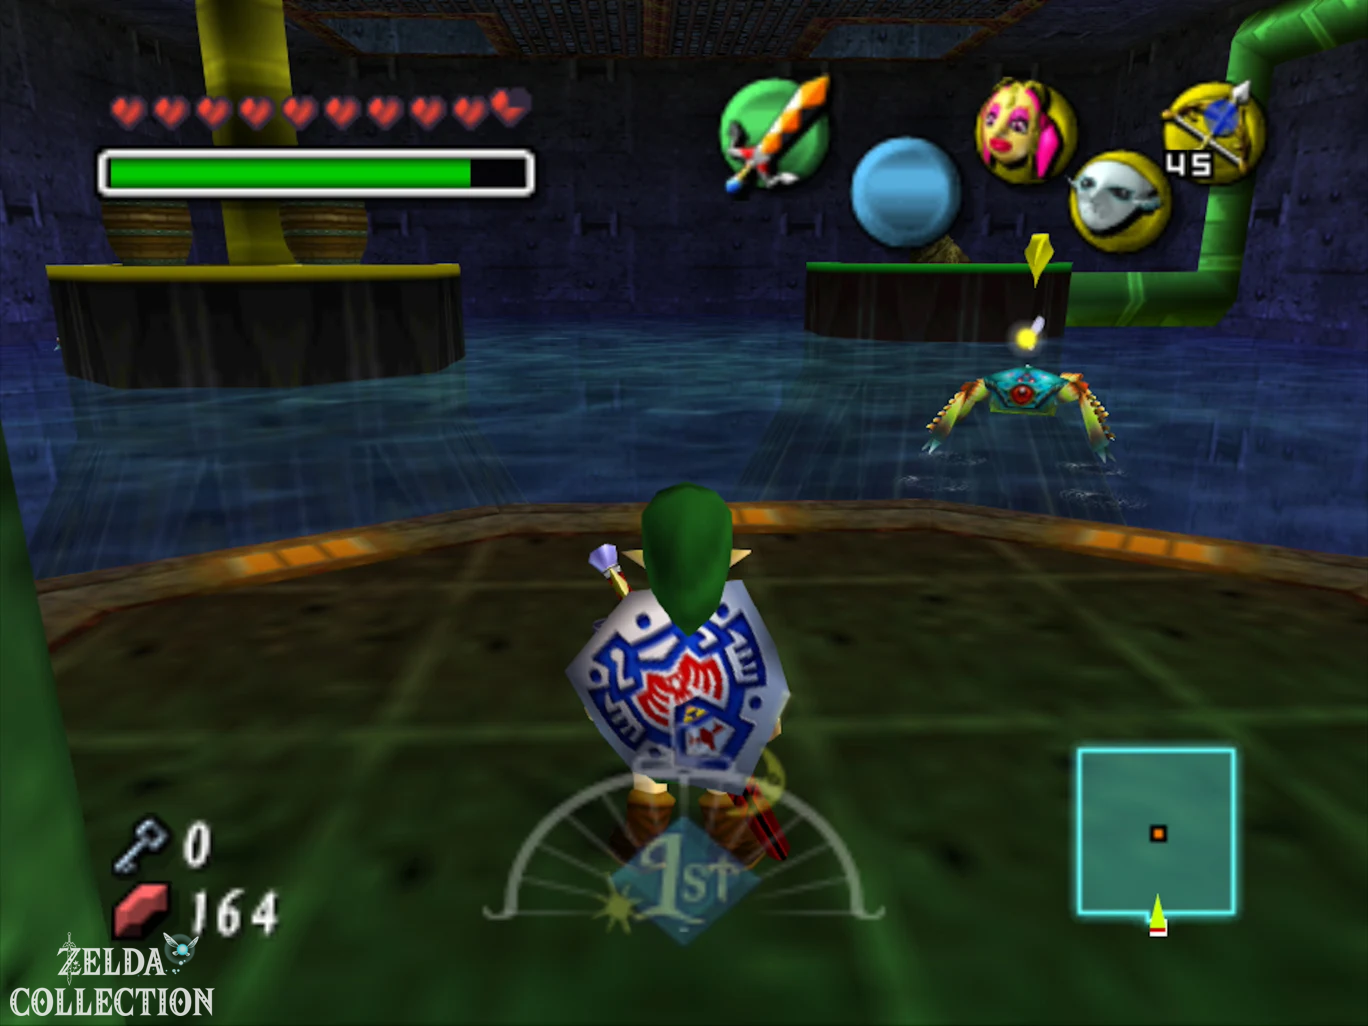
Return to the central turbine and now take the deepest tunnel through which the green pipe leads. This path takes you to the last large room before Gyorg.
First swim back to the exit towards the central hall. A fairy floats in a bubble in this short connecting tunnel. Destroy them with the Zora fins and then pull them towards you with the Great Fairy’s Mask. This is the fourteenth Stray Fairy.
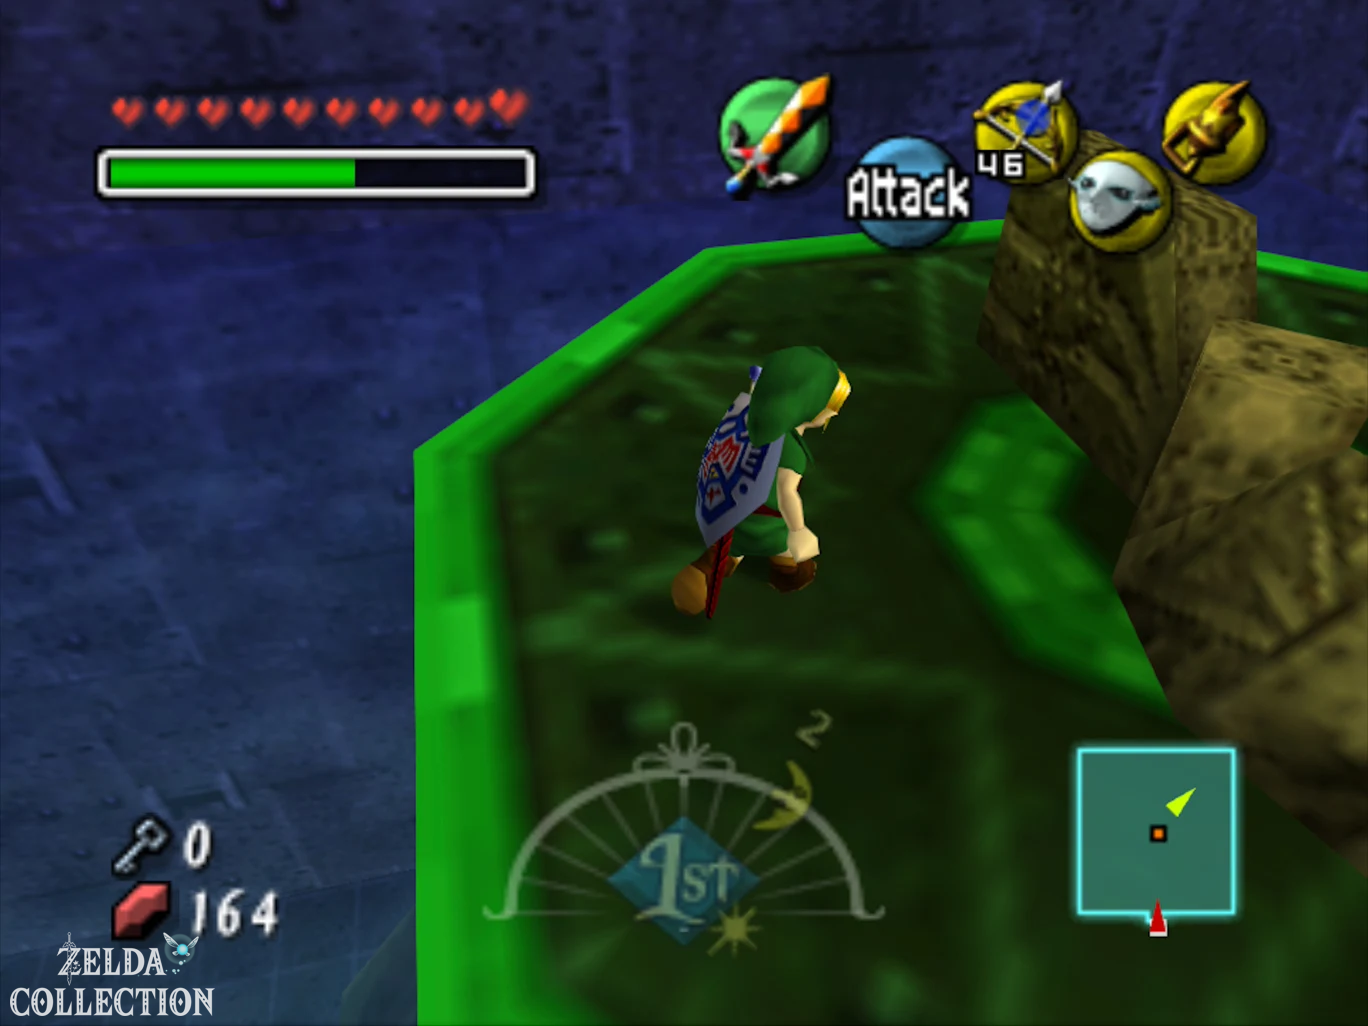
Return to the boss vestibule and climb the green pipe that leads out of the water. There is another bubble hanging under the central platform. Destroy them with an arrow, Hookshot or the Zora Fins and immediately put on the Great Fairy’s Mask. You now have the fifteenth Stray Fairy.
Then turns the last green valve. The water jet next to the boss platform activates. Wait until the water column is deep enough, jump onto it and let yourself be carried up to the door. Open it with the Big Key.
Boss: Gyorg
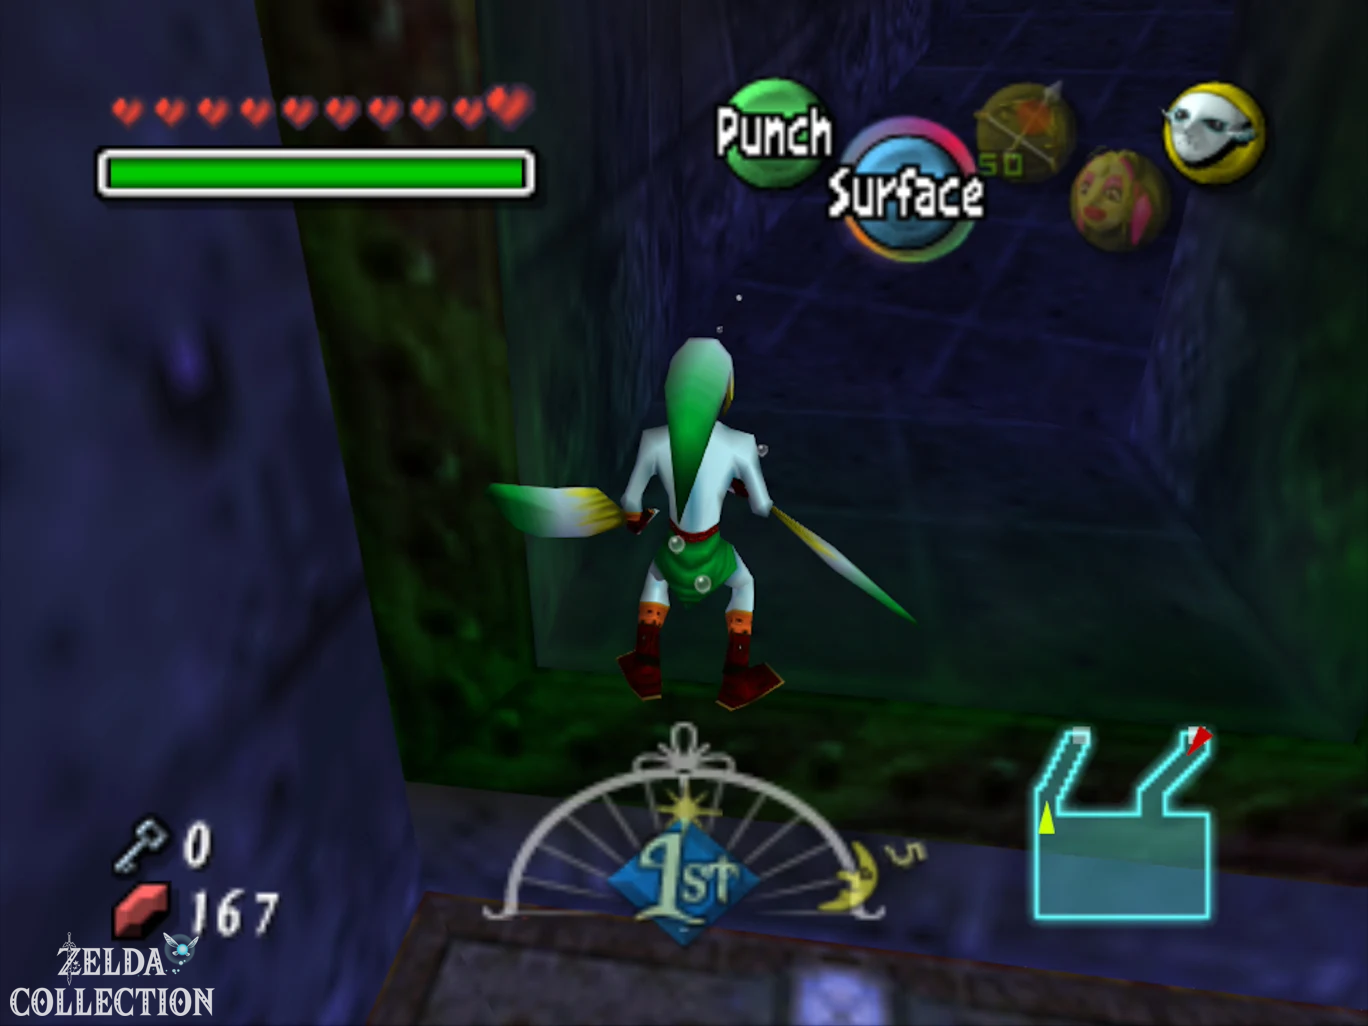
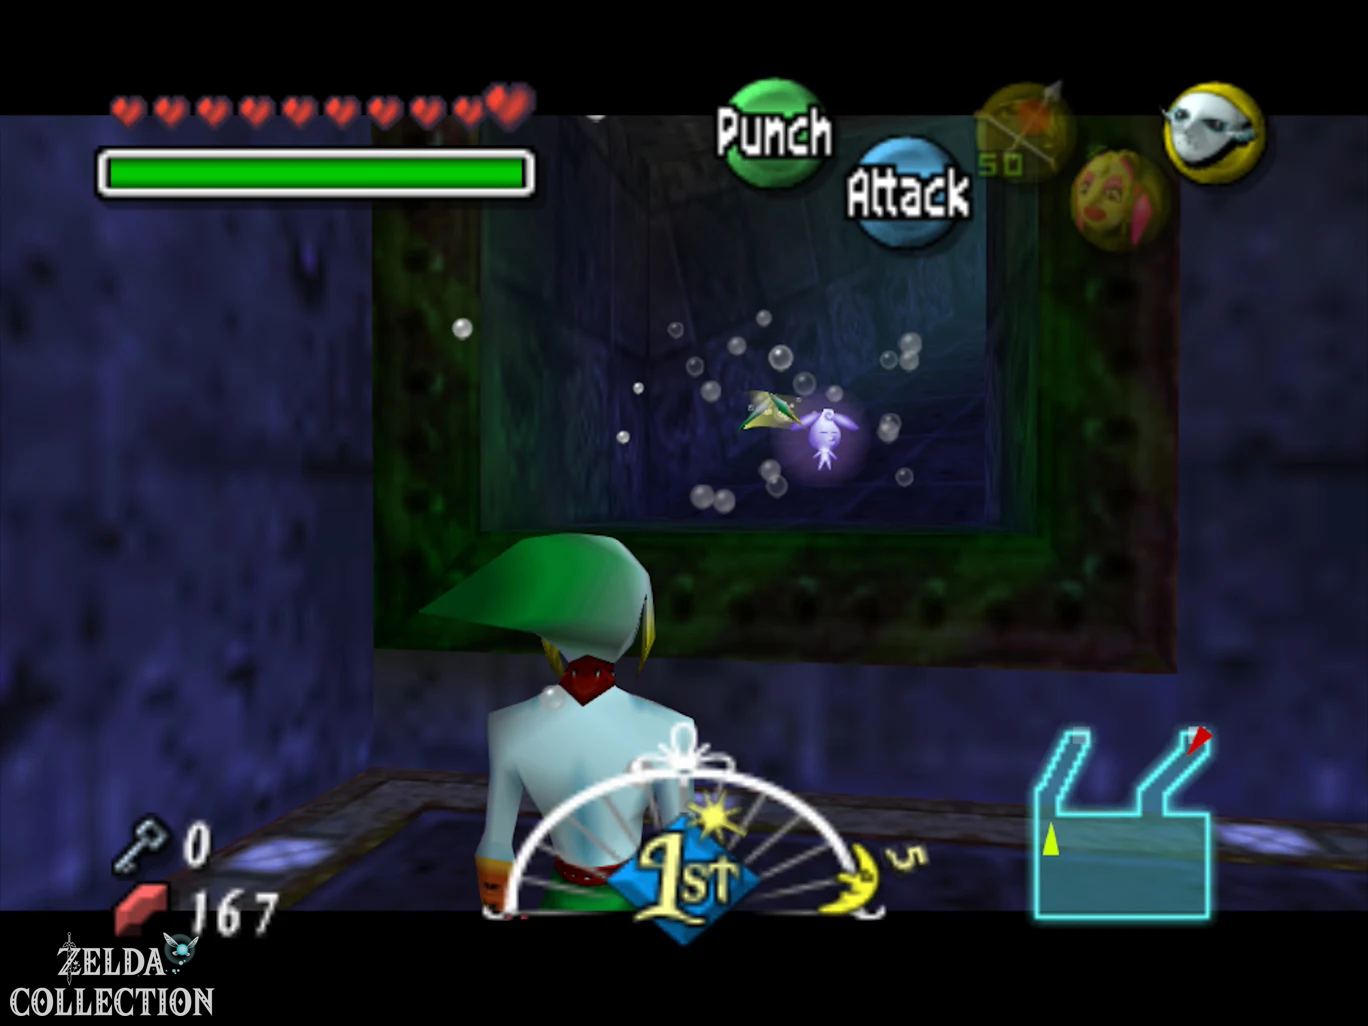
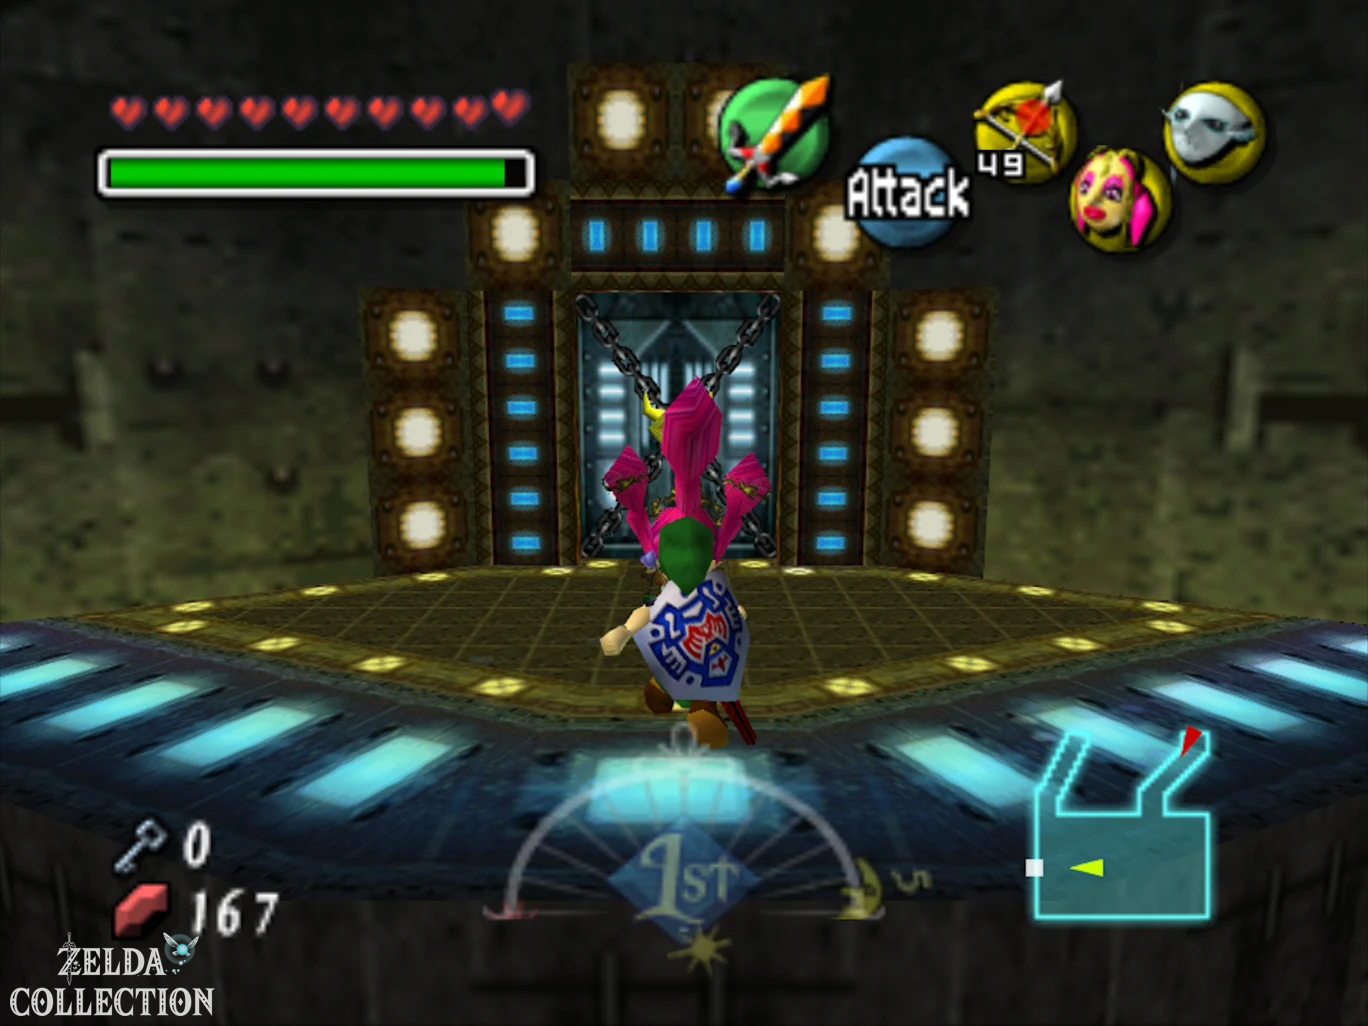
Behind the door there is initially just a large platform over a deep pool of water. Jump through the opening and the fight against the Enslaved Guardian of the Seas Gyorg begins.
In the Nintendo 64 version, Gyorg initially swims around the central platform. Stay at the top as a normal link and watch his movements. As soon as he swims close enough or jumps out of the water, hit him with an arrow or with the Zora fins. A clean hit briefly stuns him.
Immediately transform into Zora Link and jump into the water. Swim to Gyorg and attack him with the electric shield. As soon as he moves again, swim back to the platform as quickly as possible and jump out of the water. Don’t stay with him unnecessarily long, as Gyorg can swallow Link and spit him back out, causing significant damage.
After several hits, Gyorg summons smaller fish. The electrical shield eliminates them very effectively. Repeat the process: stun from the platform, enter the water as Zora, deal direct damage and immediately get out again. After enough hits, Gyorg is defeated.
Take the Heart Container and then Gyorg’s Legacy. Link meets the third of the four giants and now knows three of the beings who can save Termina from the falling moon.
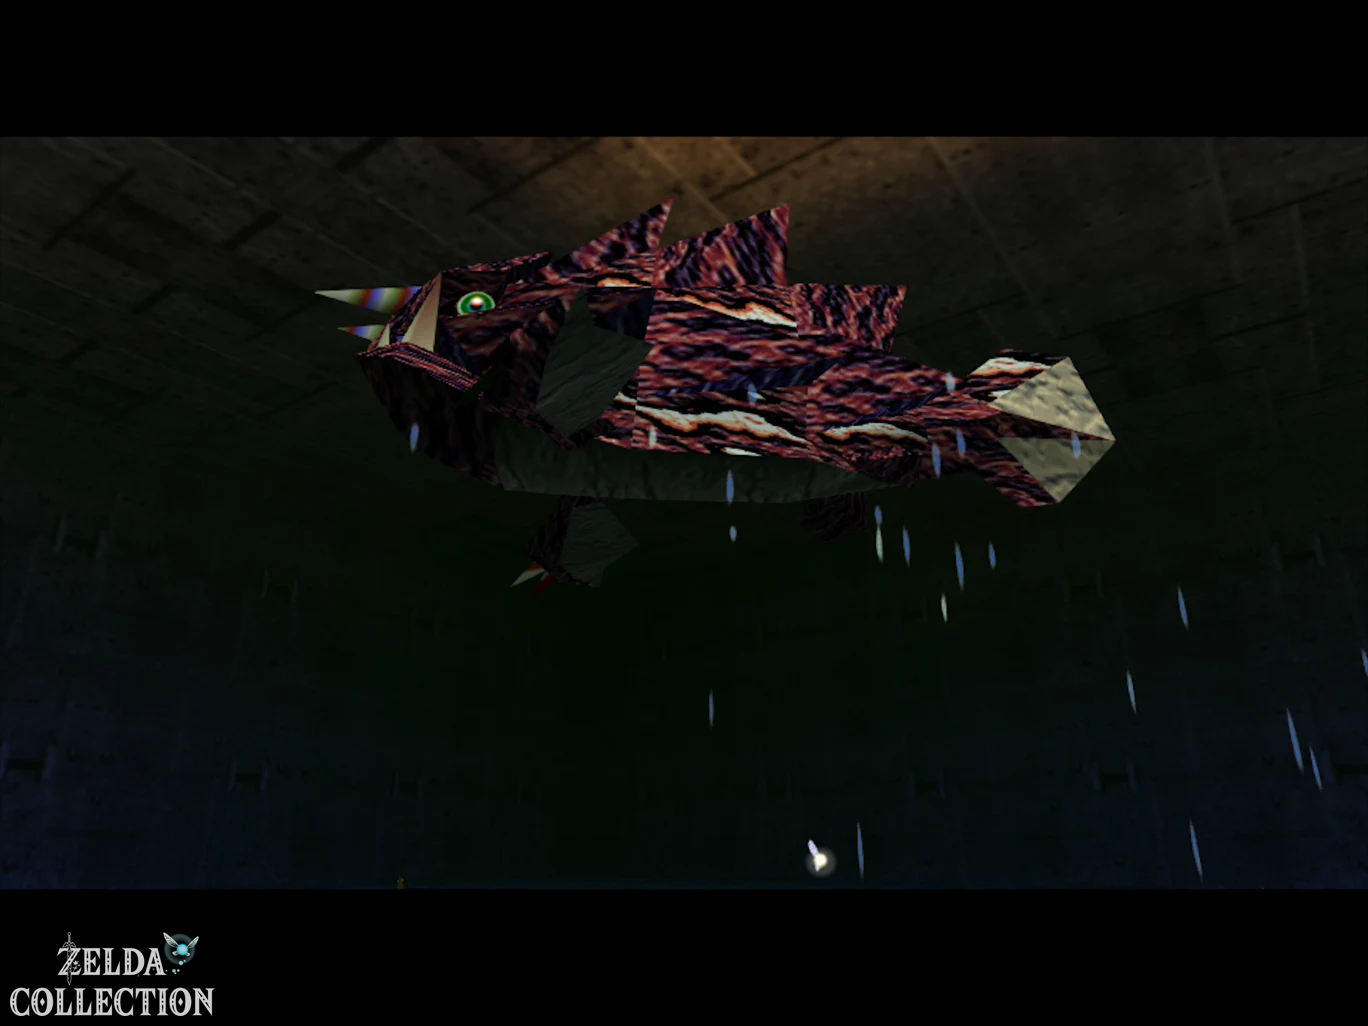
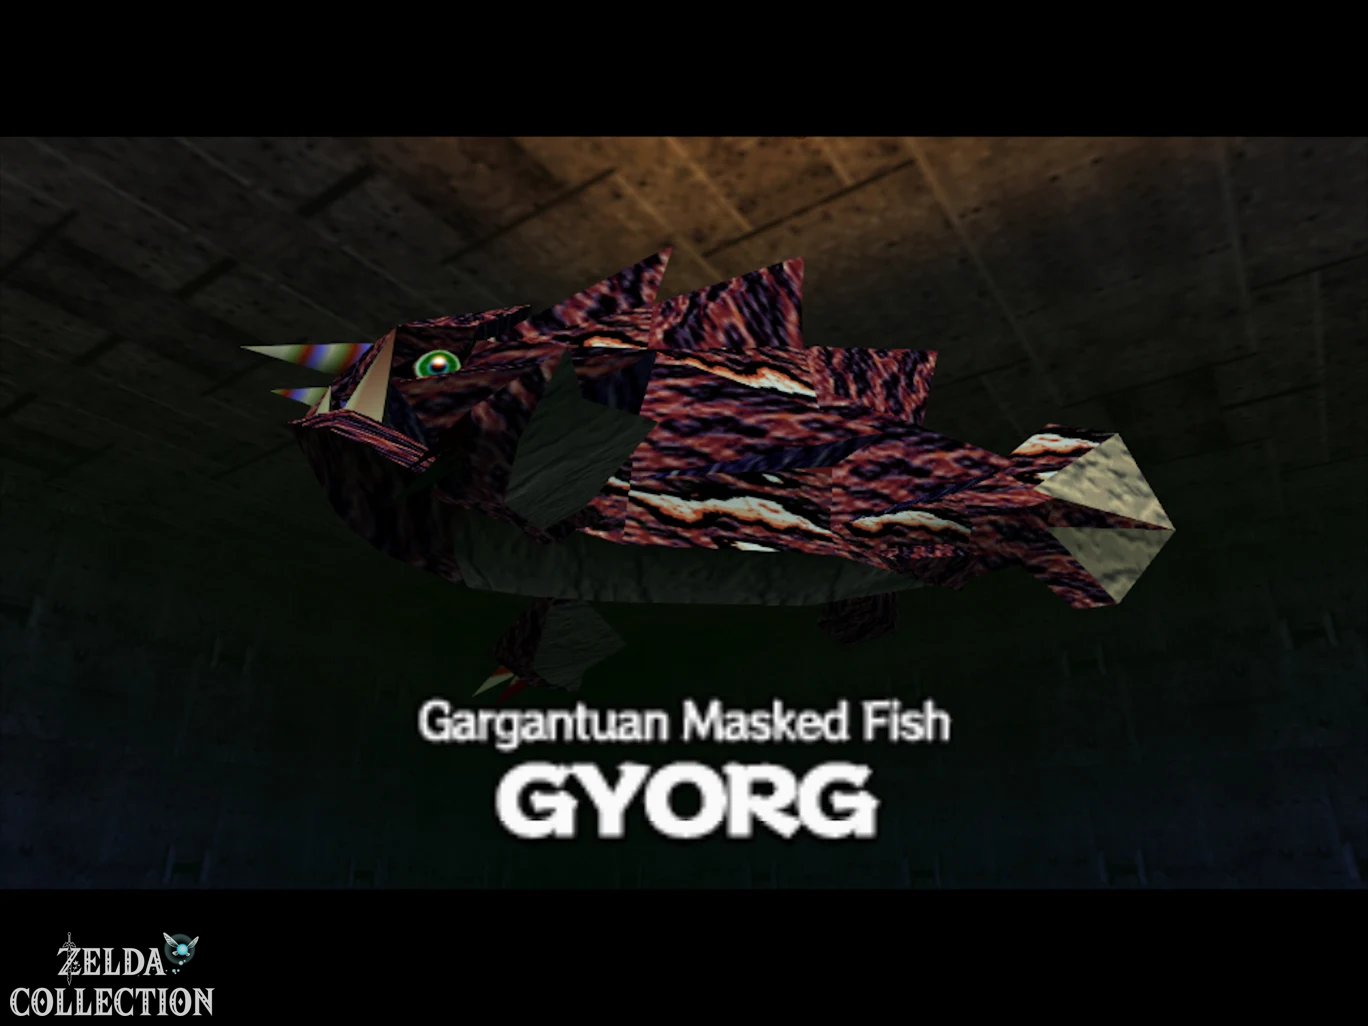
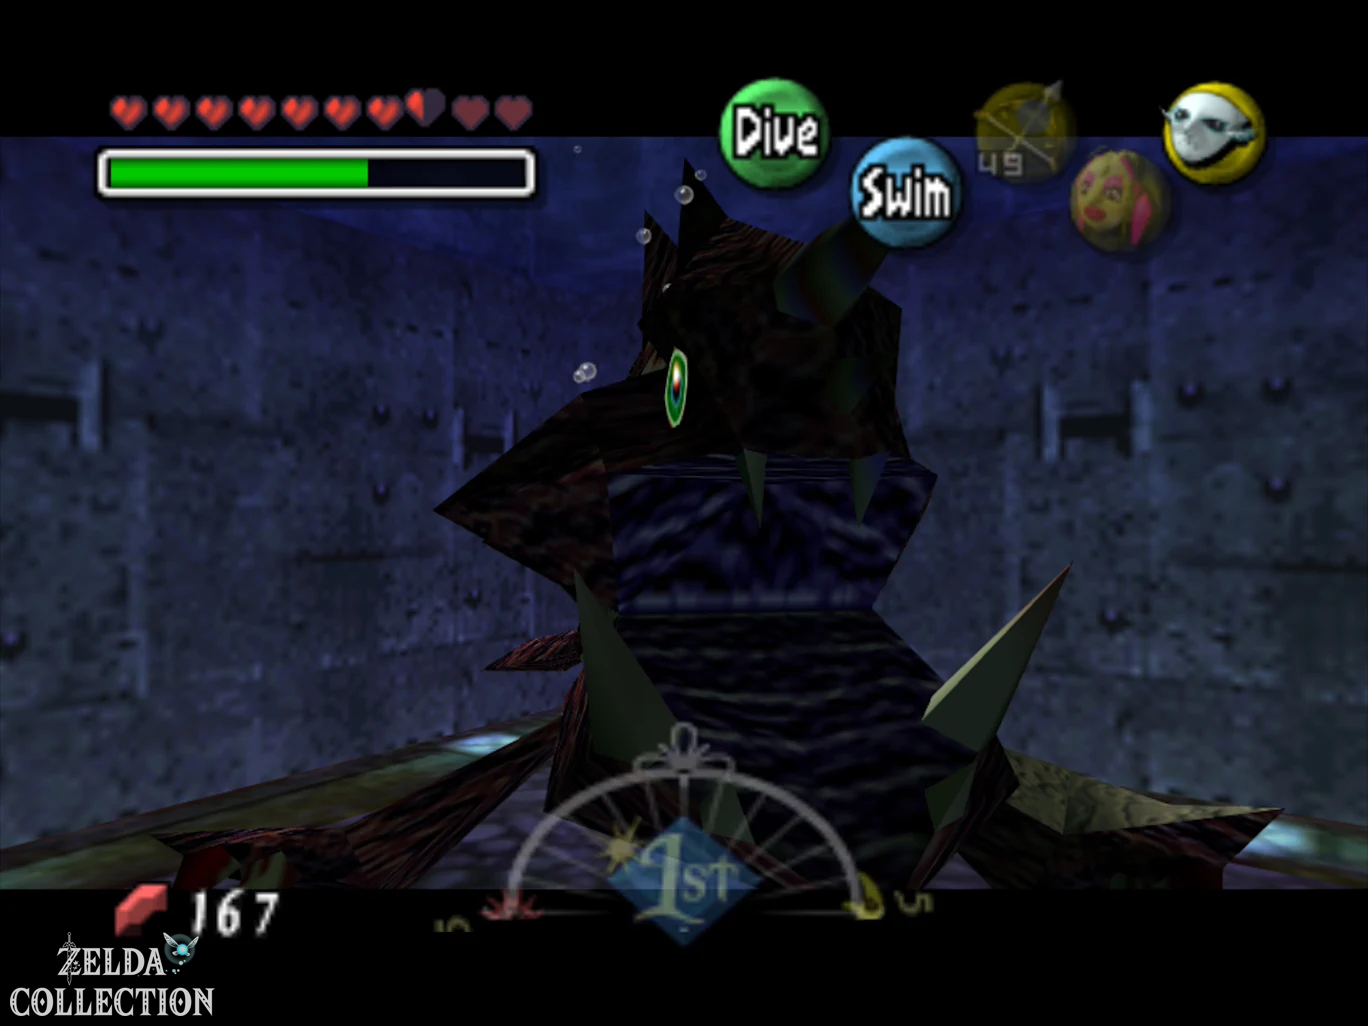
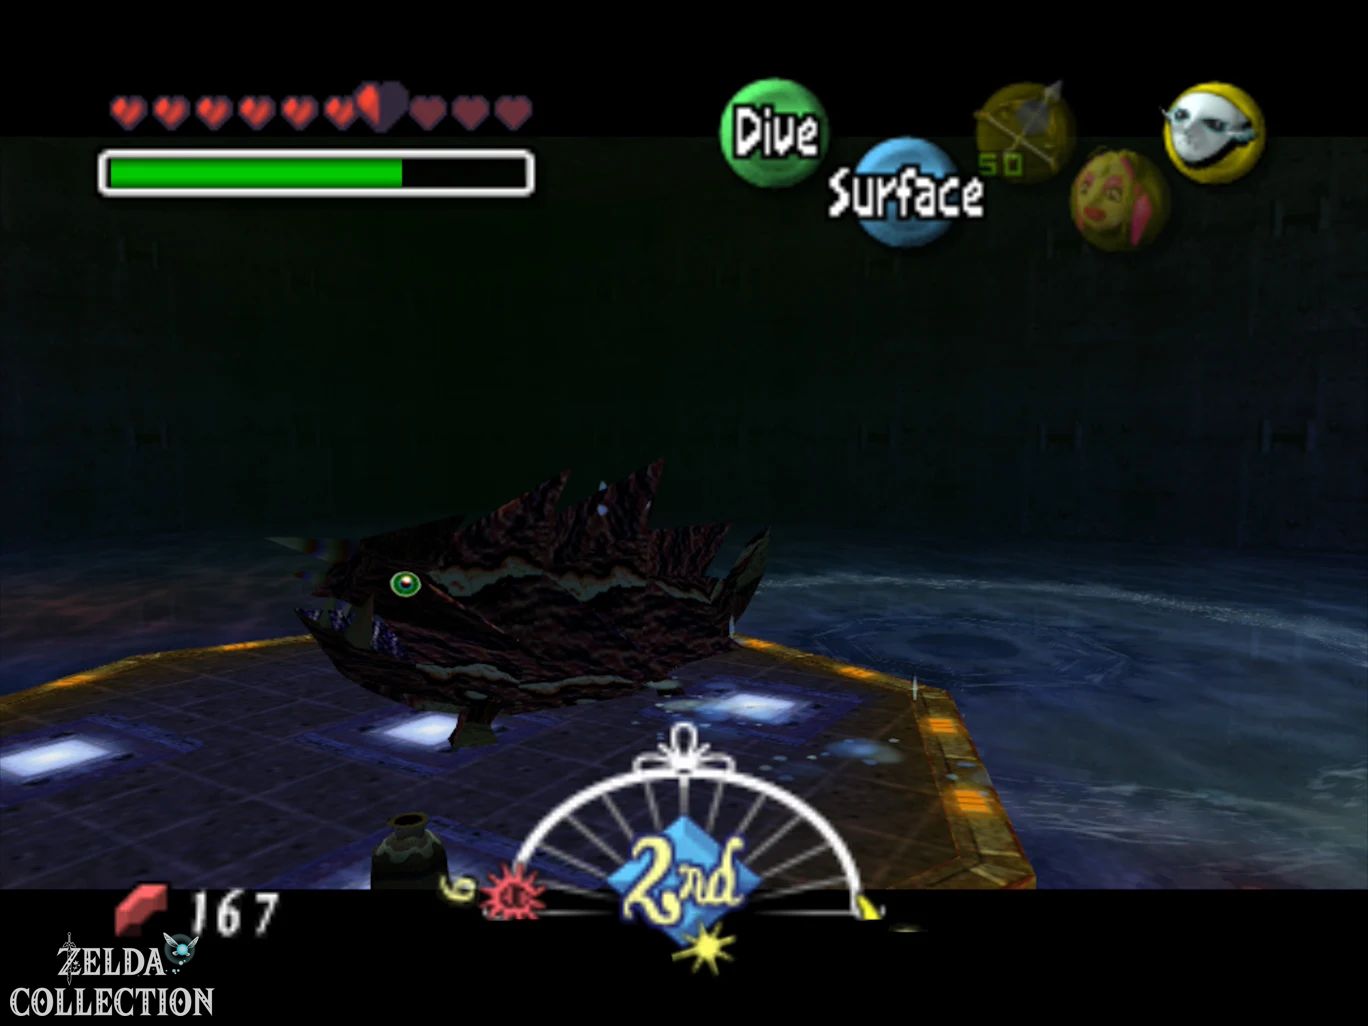
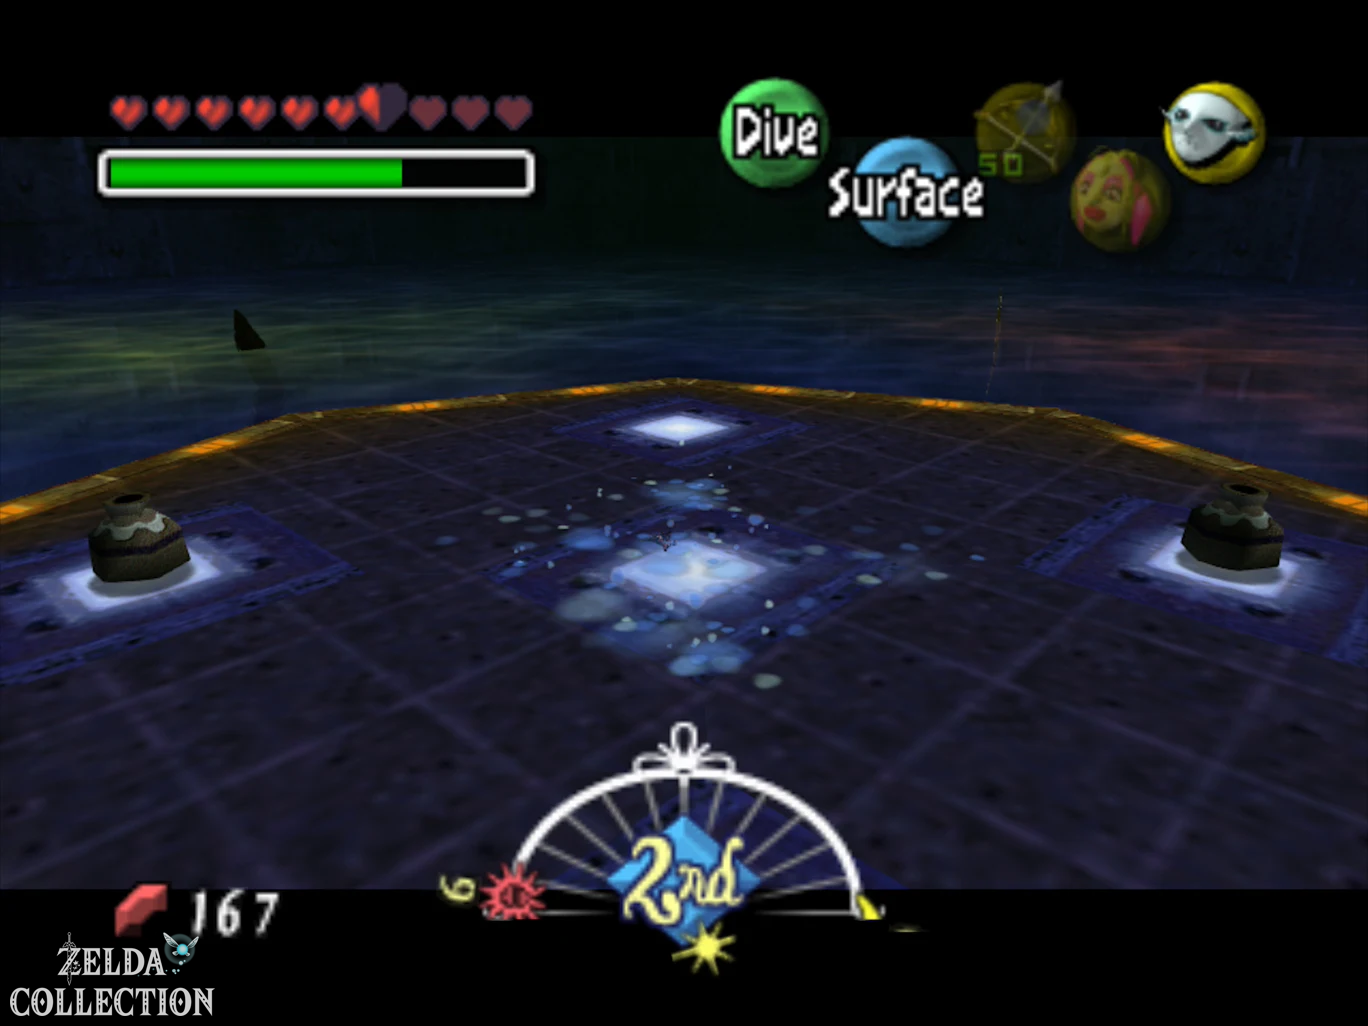
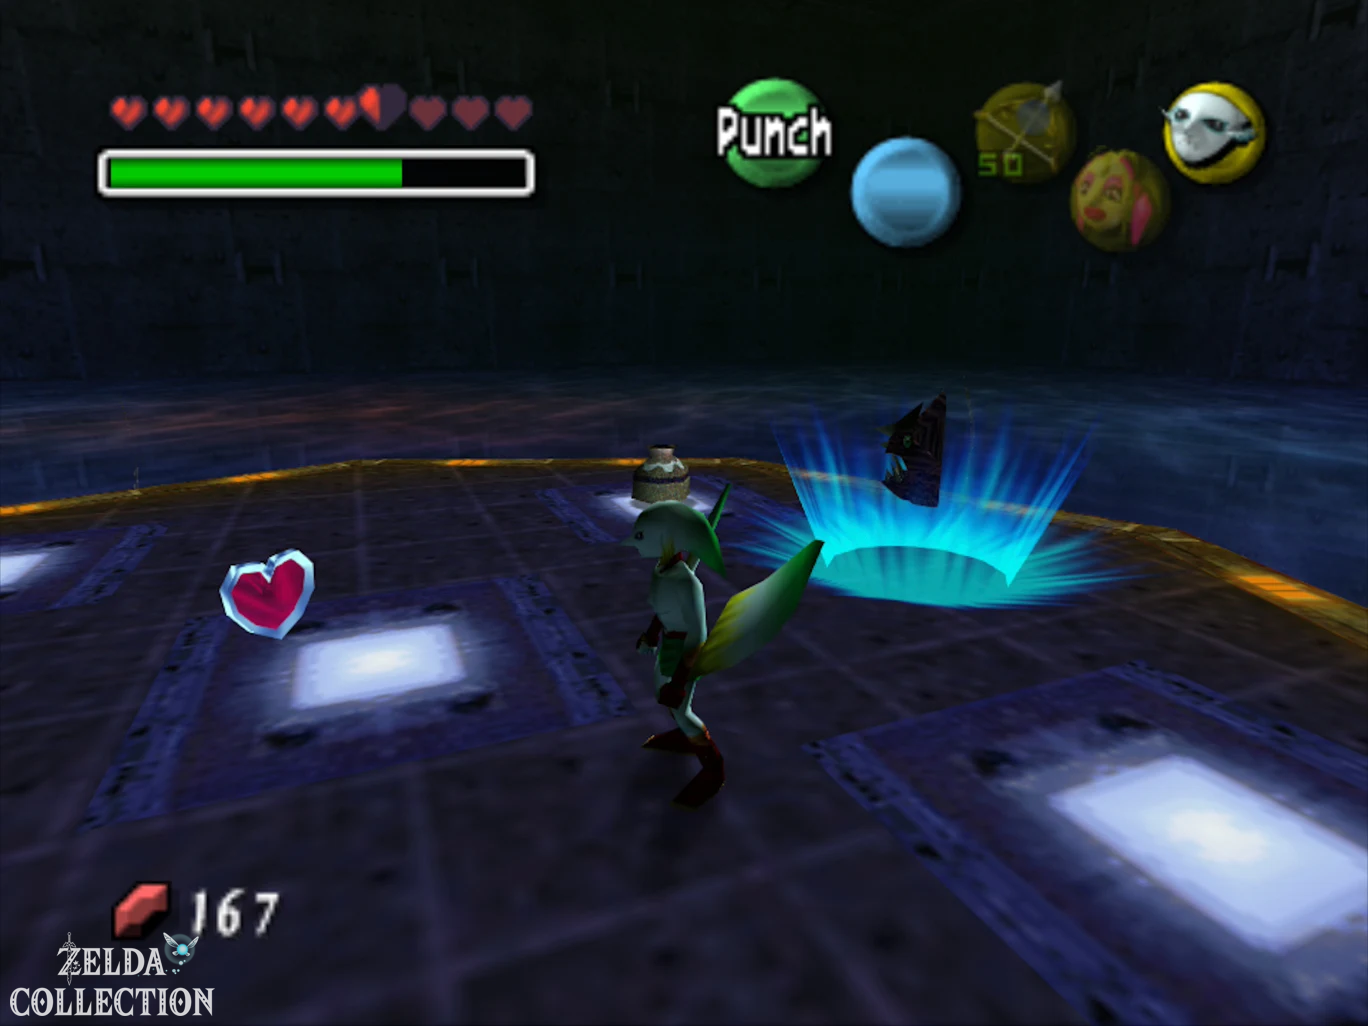
3D Difference: Combat has been significantly rebuilt in Majora’s Mask 3D. The first phase takes place more on the central platform and Gyorg has a clearly visible eye as a weak point. He then completely sinks the platform and the second part of the fight takes place underwater. There, Zora Link has to loosen mines and position them so that Gyorg swallows them when he sucks them in. The classic N64 tactics do not apply to this second phase.
Great Fairy – damage halved
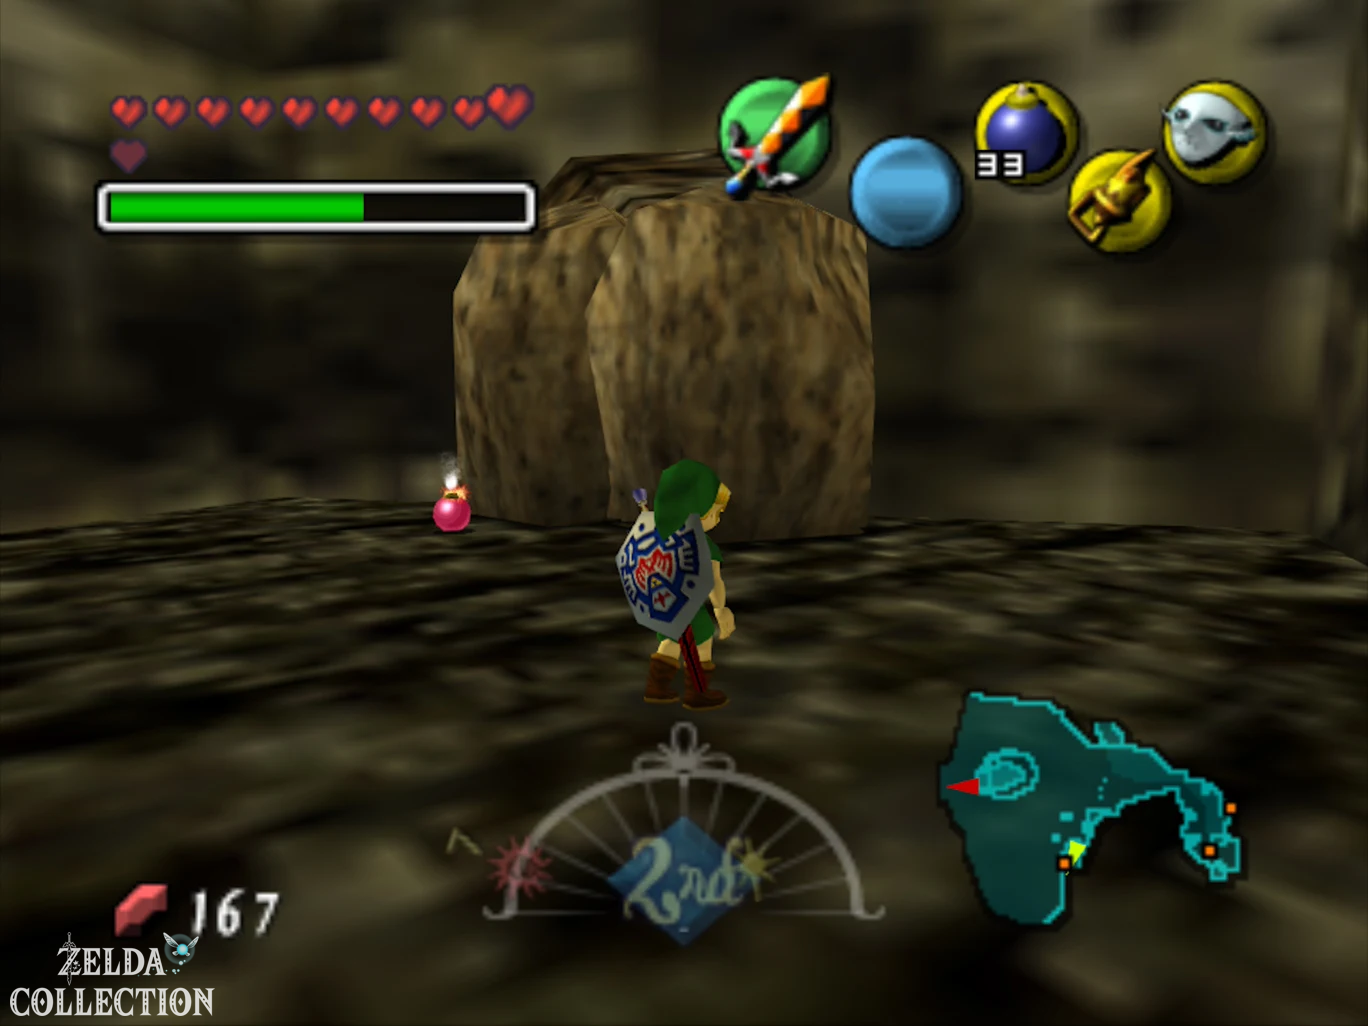
After Gyorg is defeated, teleport to Cape Zora. From there several small rocky islands lead across the sea. First jump onto the accessible platforms and then use the Hookshot on the palm trees of the more distant islands. Work your way from island to island until you reach a ledge with several large stones.
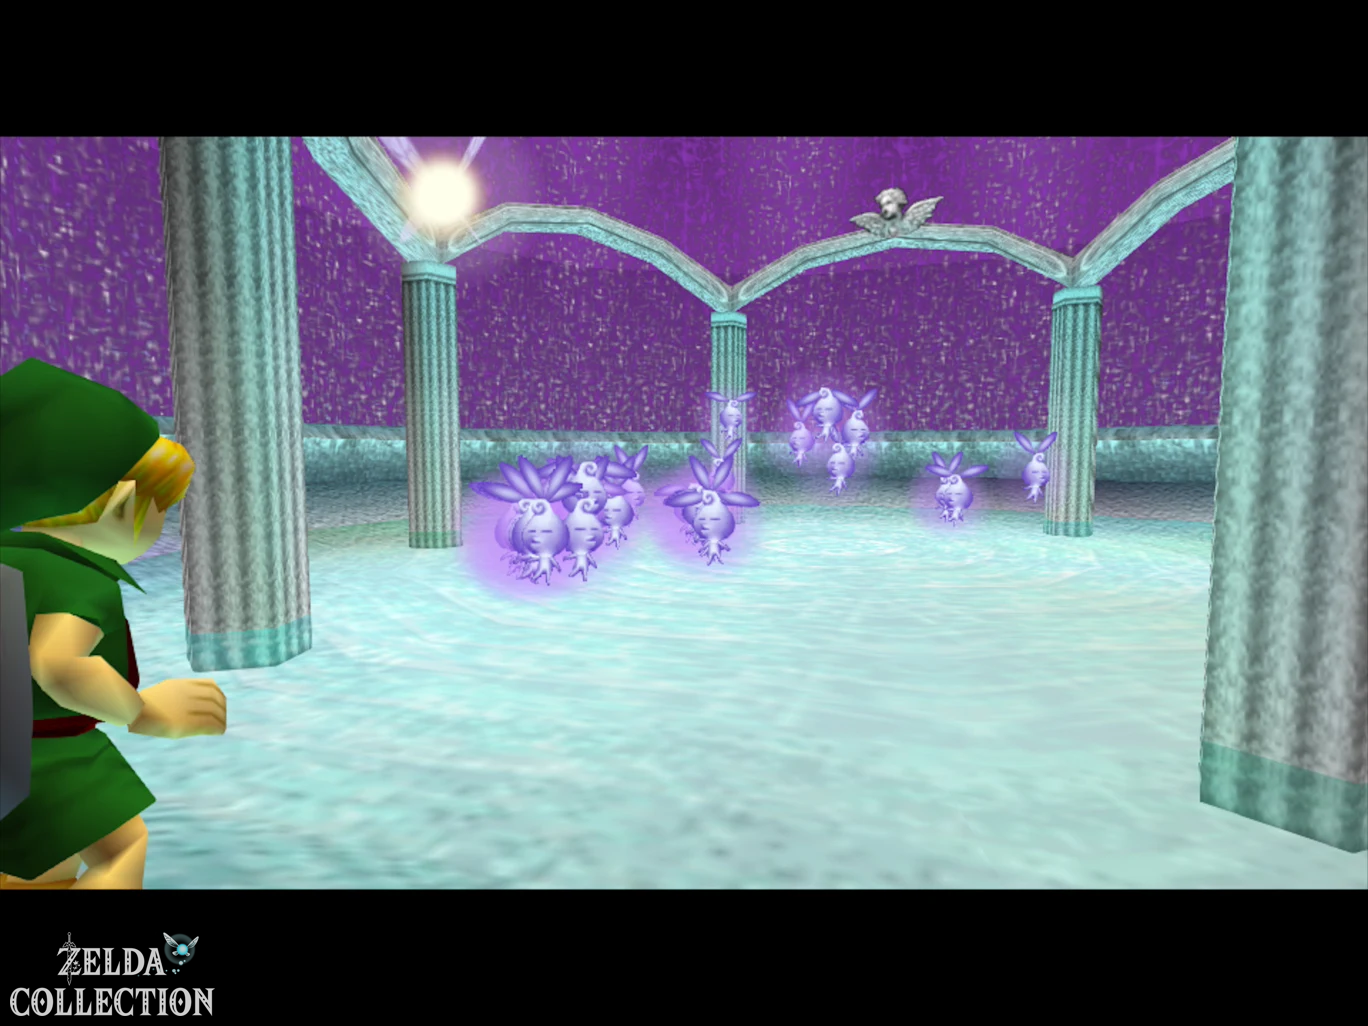
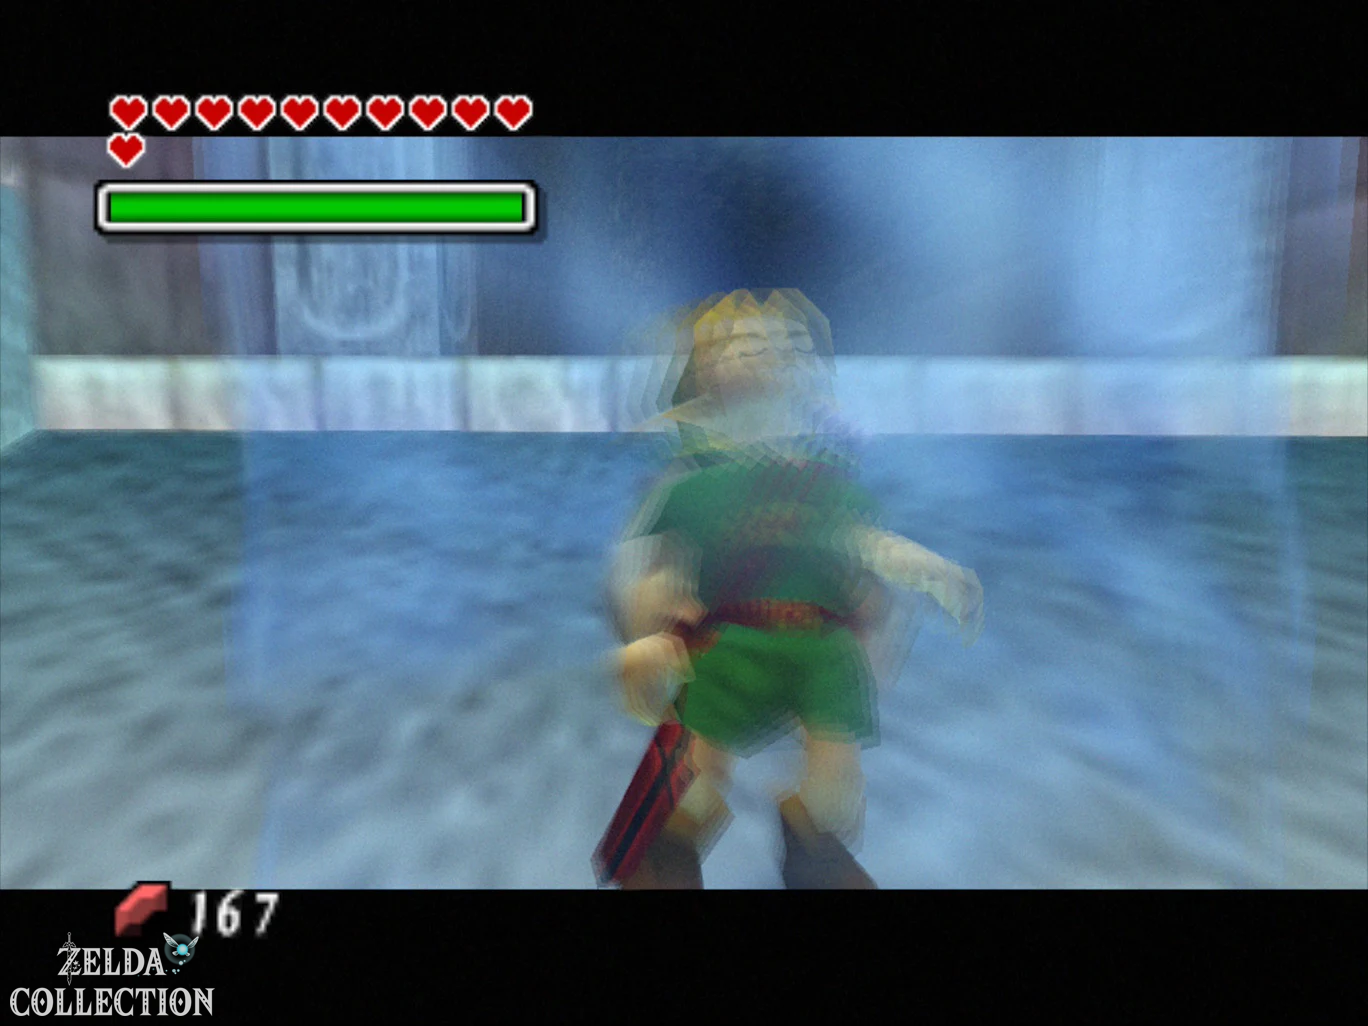
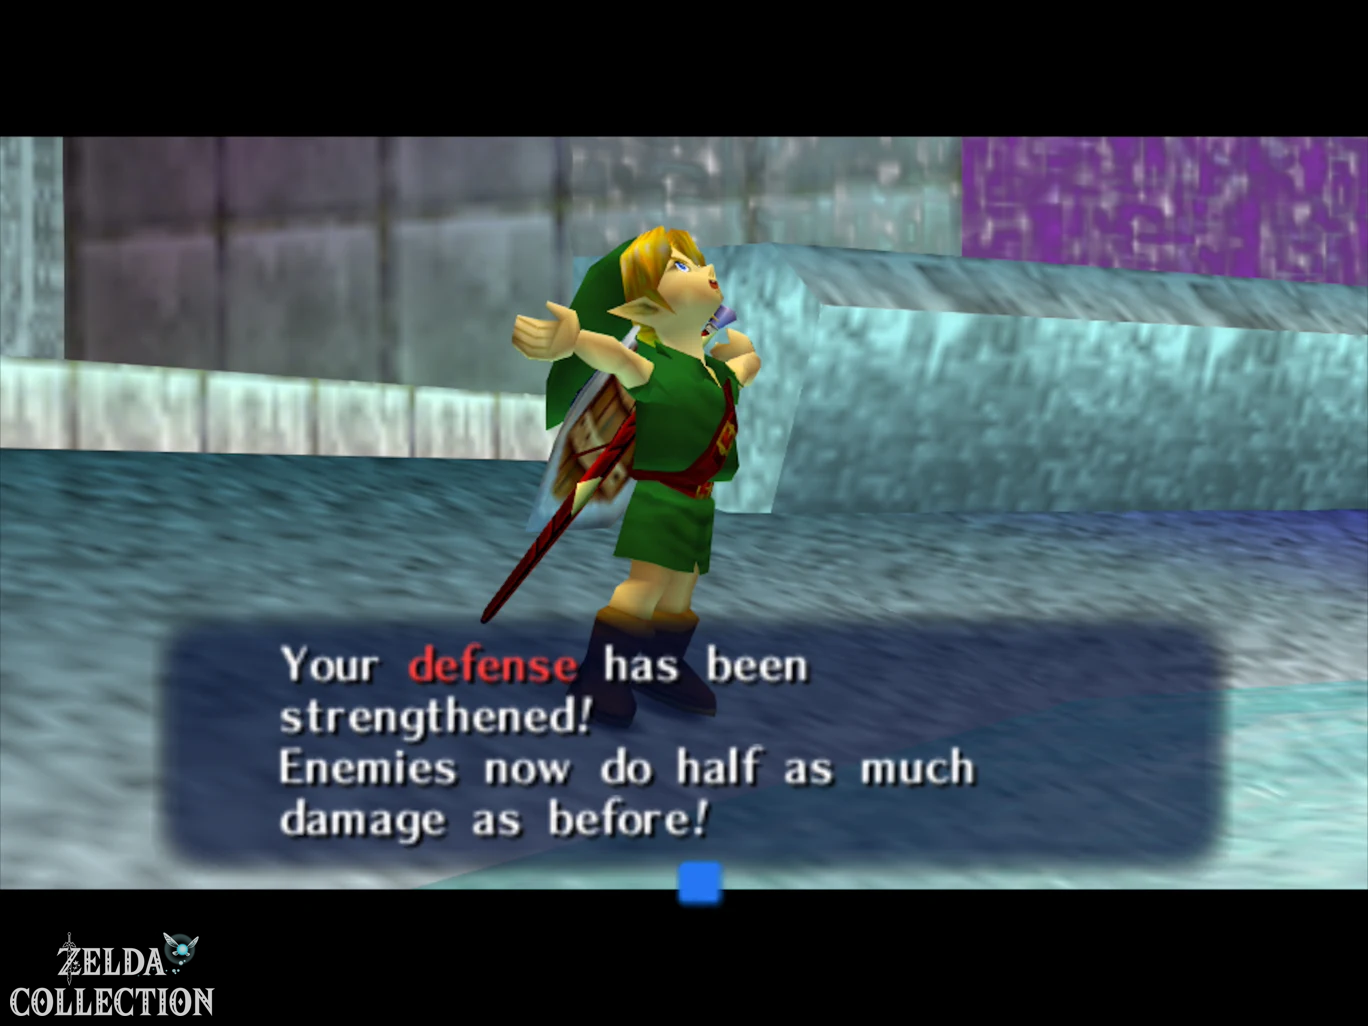
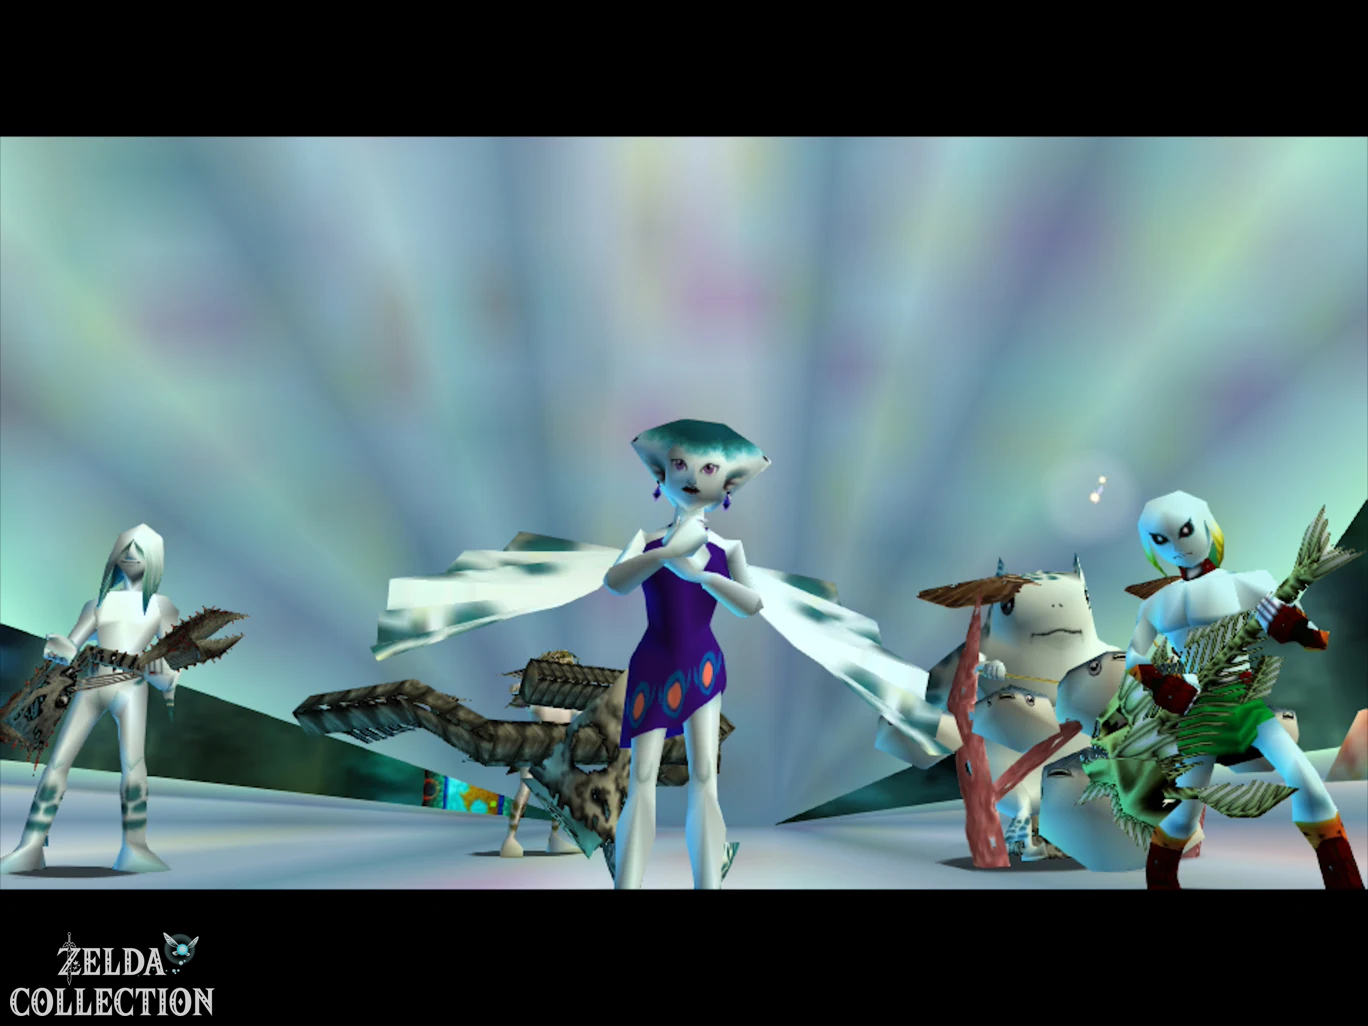
Blow up the rocks with a bomb or use the Blast Mask and enter the fairy spring. If you have collected all 15 Stray Fairies of the Great Bay Temple, the Great Fairy of Courage will be assembled again.
It permanently strengthens Link’s defense. From now on, enemy attacks only deal half as much damage. Visually, this improvement is indicated by a white border around Link’s hearts. This reward has remained the same on both Nintendo 64 and Majora’s Mask 3D.
Fishing Jumping Game – Piece of Heart
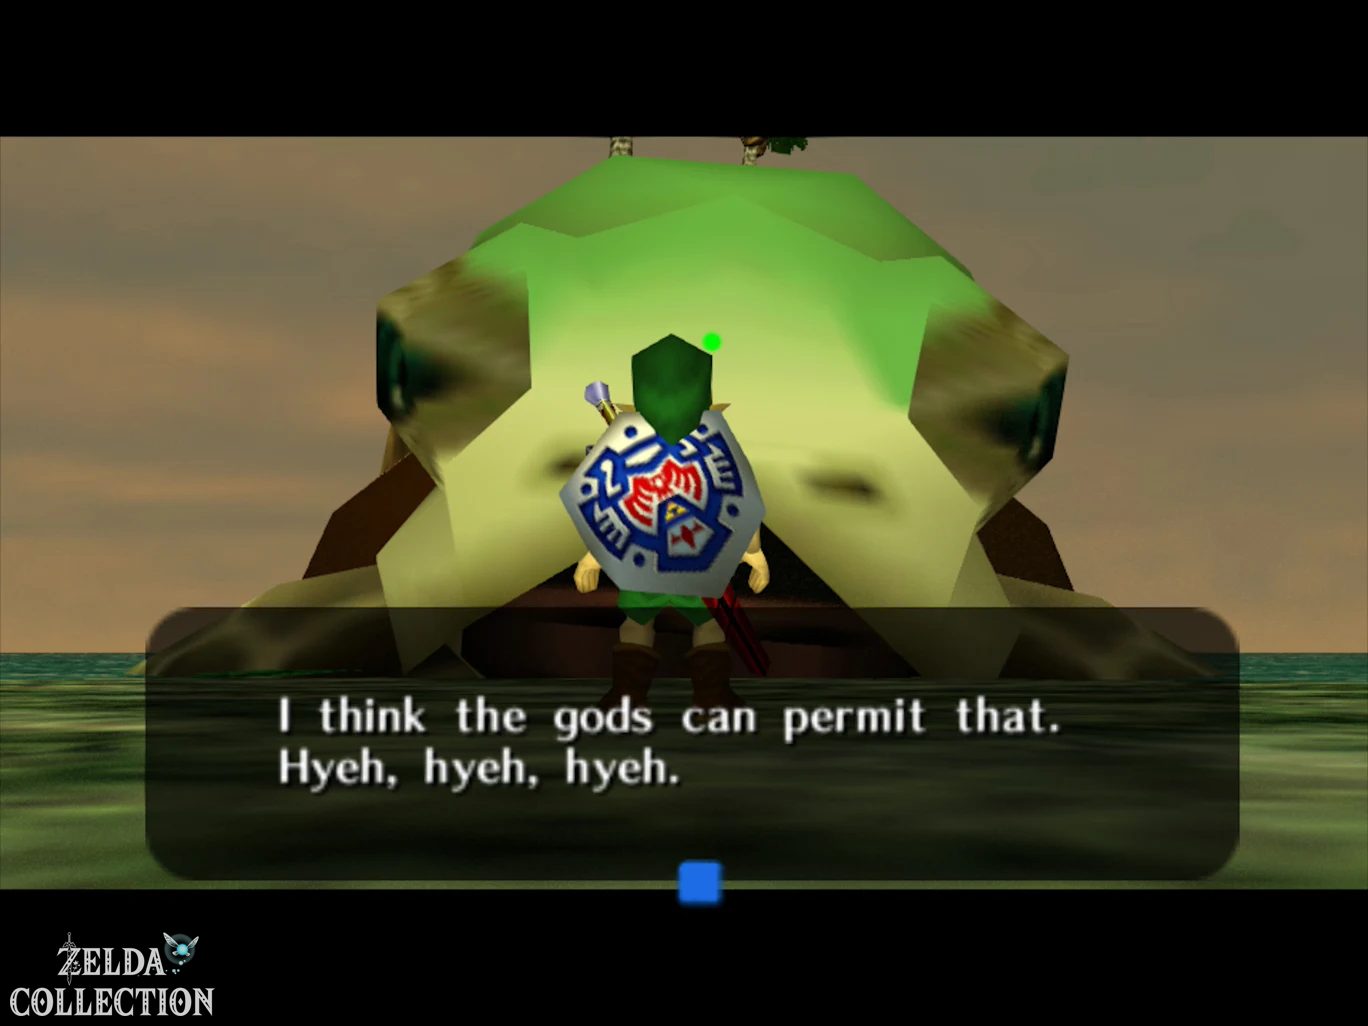
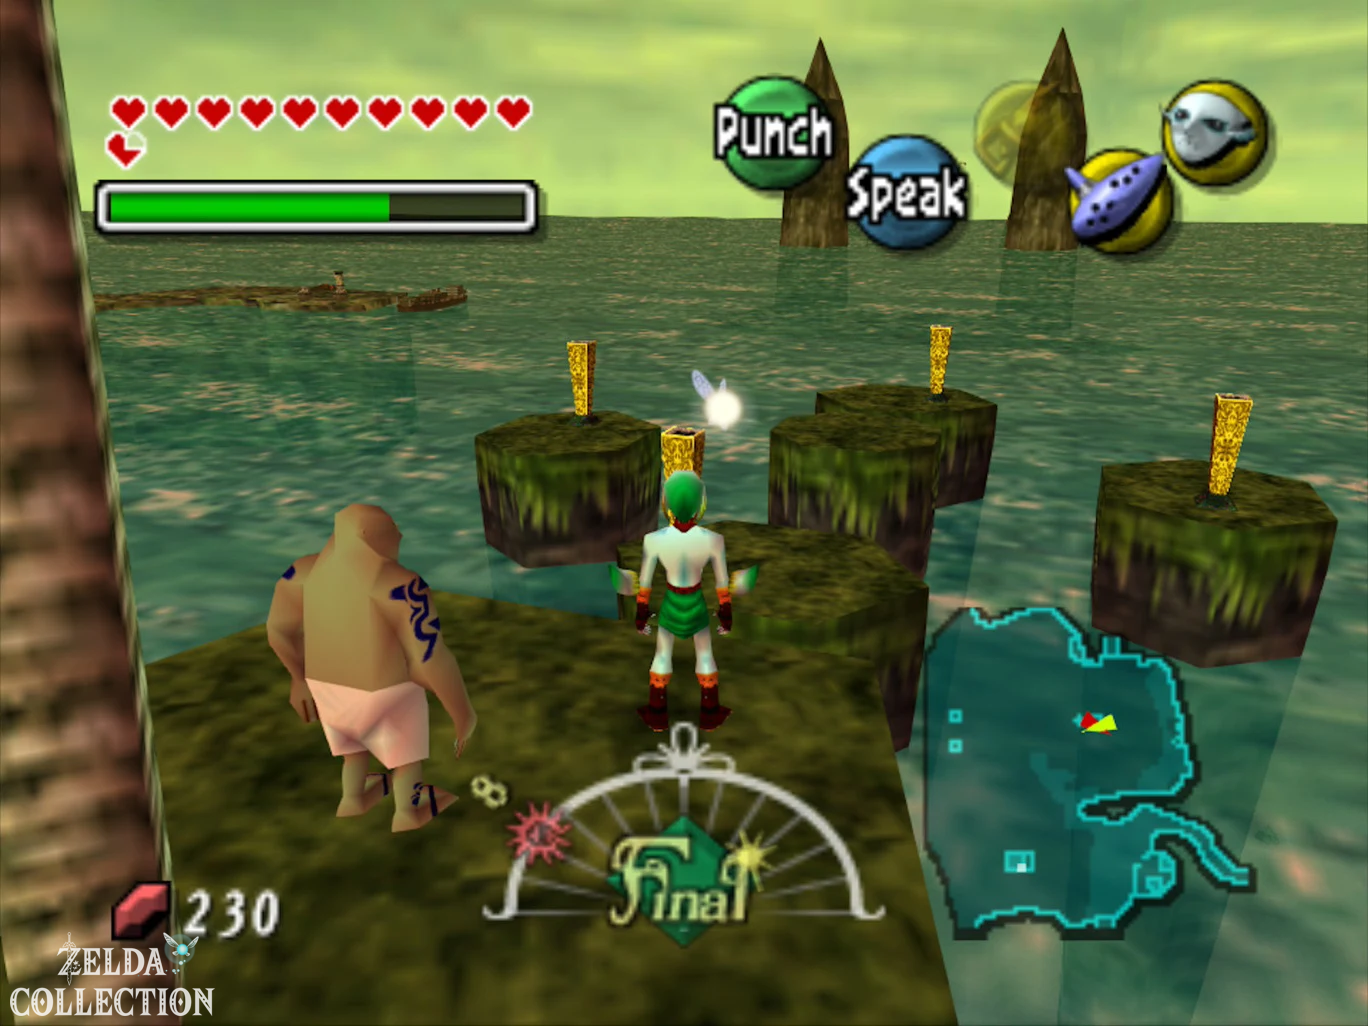
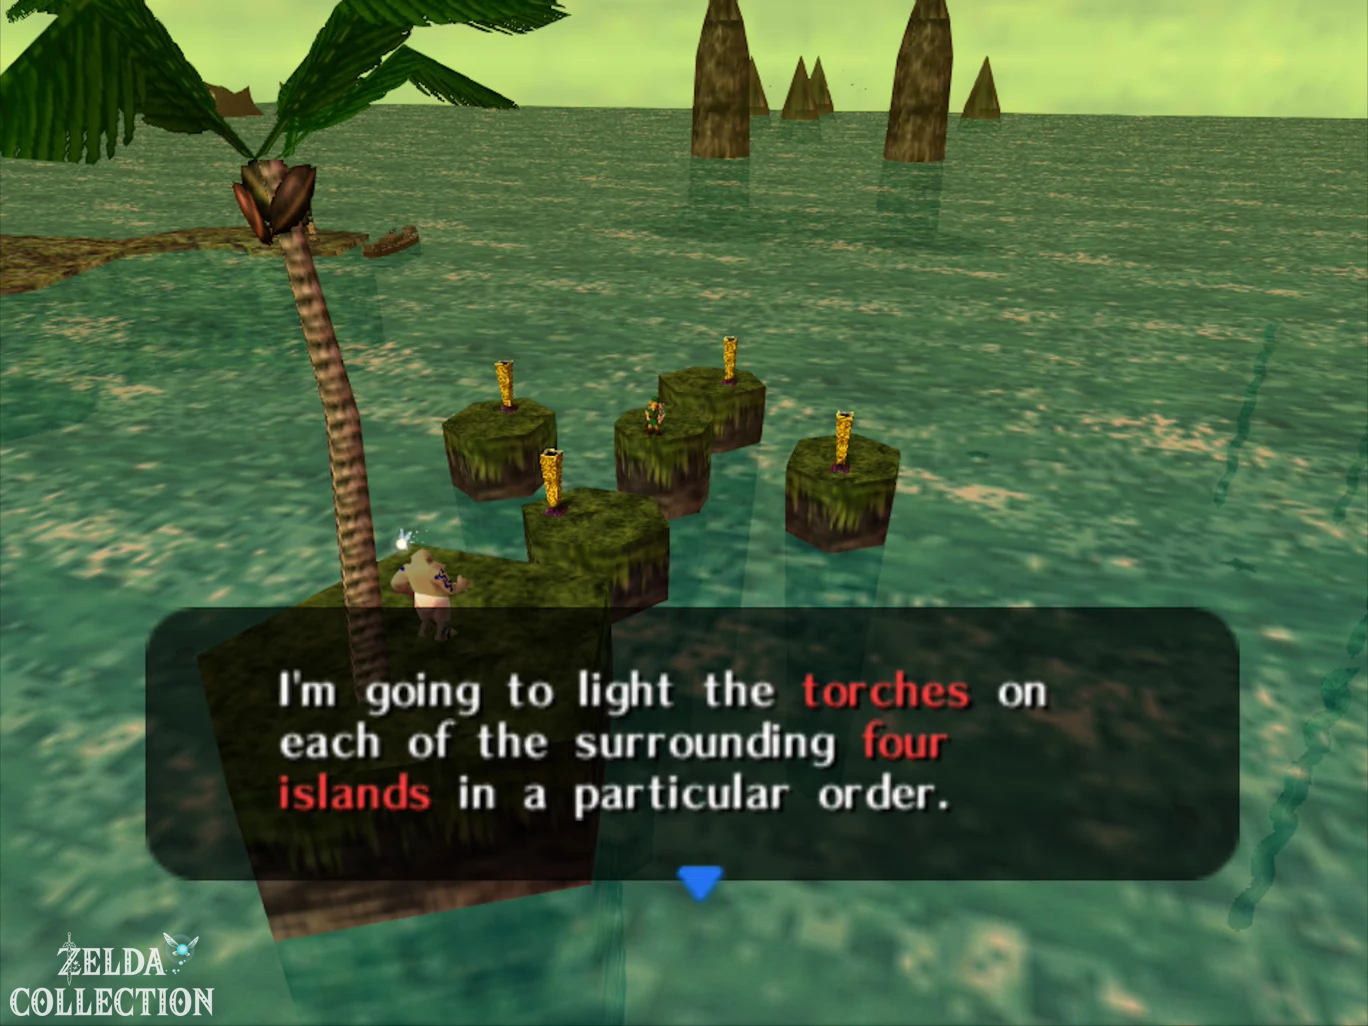
Due to Gyorg’s defeat, a new boat appears on the Skull Coast. Take it towards the small islands off the coast. As soon as the boat passes close enough to a palm tree, you can use the Hookshot to go to the fisherman on the island.
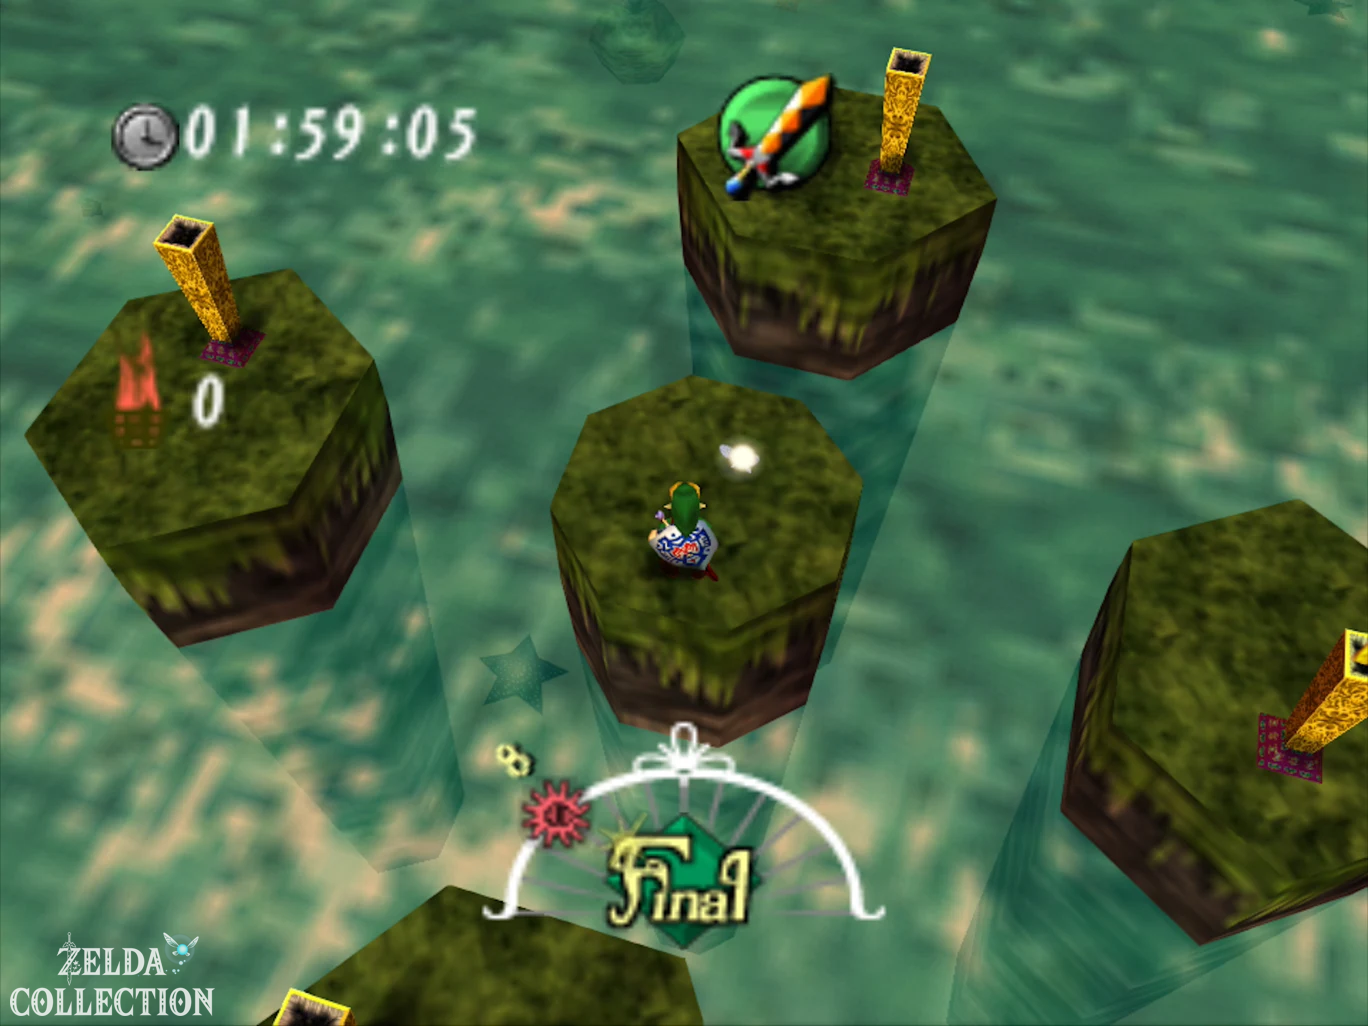
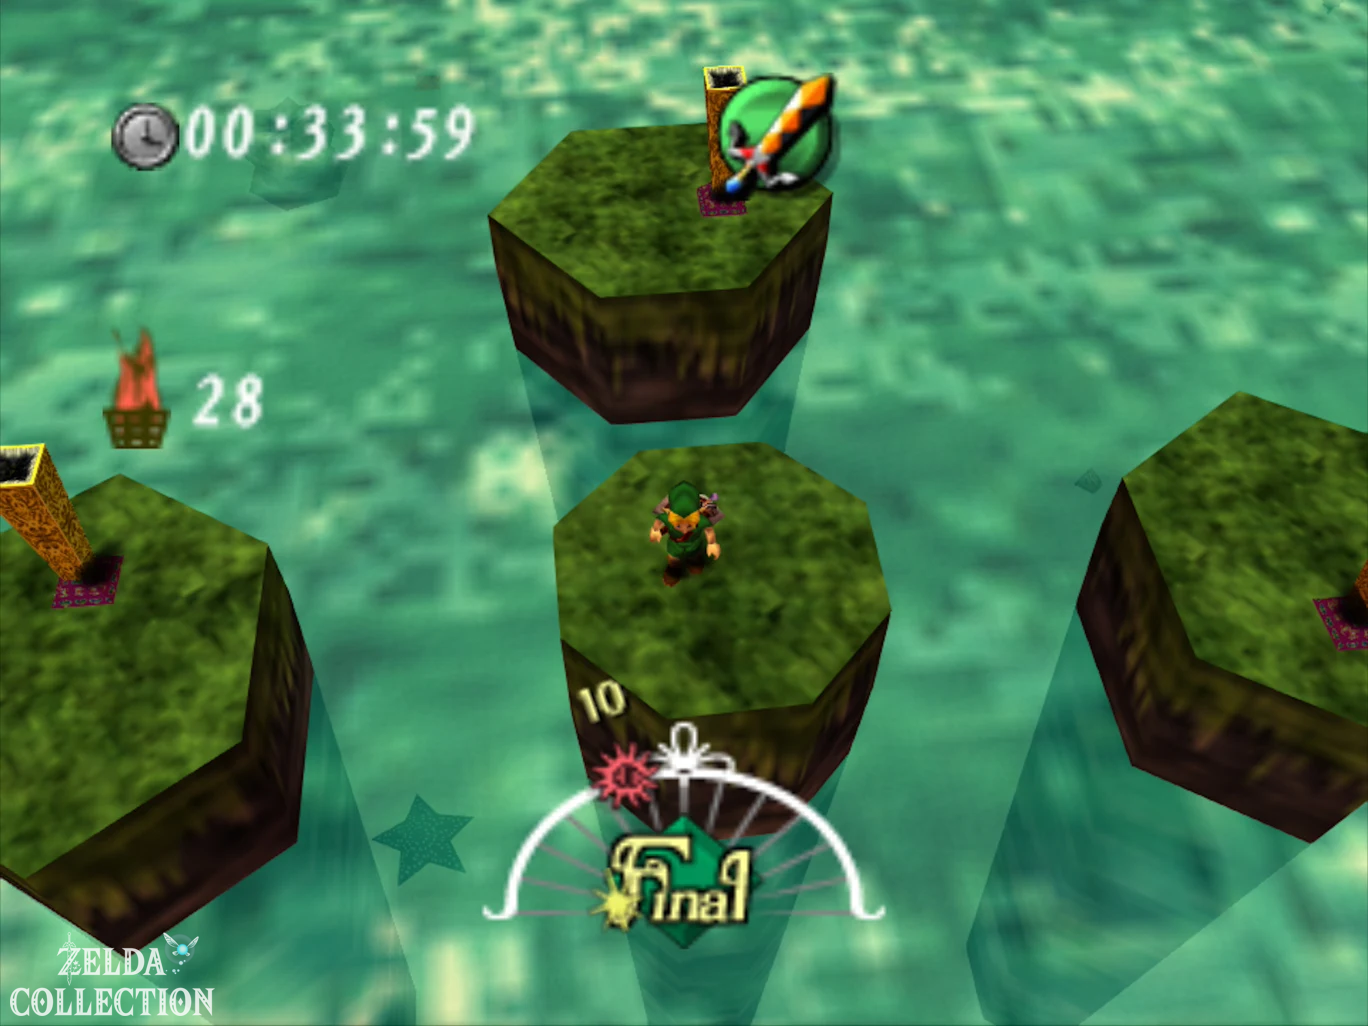
For 20 Rupees his jumping game starts. Several small island platforms surround the fisherman’s central platform. A torch burns on one of them. Jump from the center to the currently lit platform and immediately back again. Then another torch lights up.
For each correct touch you get one point. Reached at least 20 points, before time runs out. Jumps in a controlled manner and aims the camera as straight as possible before each jump; The bunny ears aren’t necessarily helpful here because the longer jump distance makes landing on the small platforms more difficult.
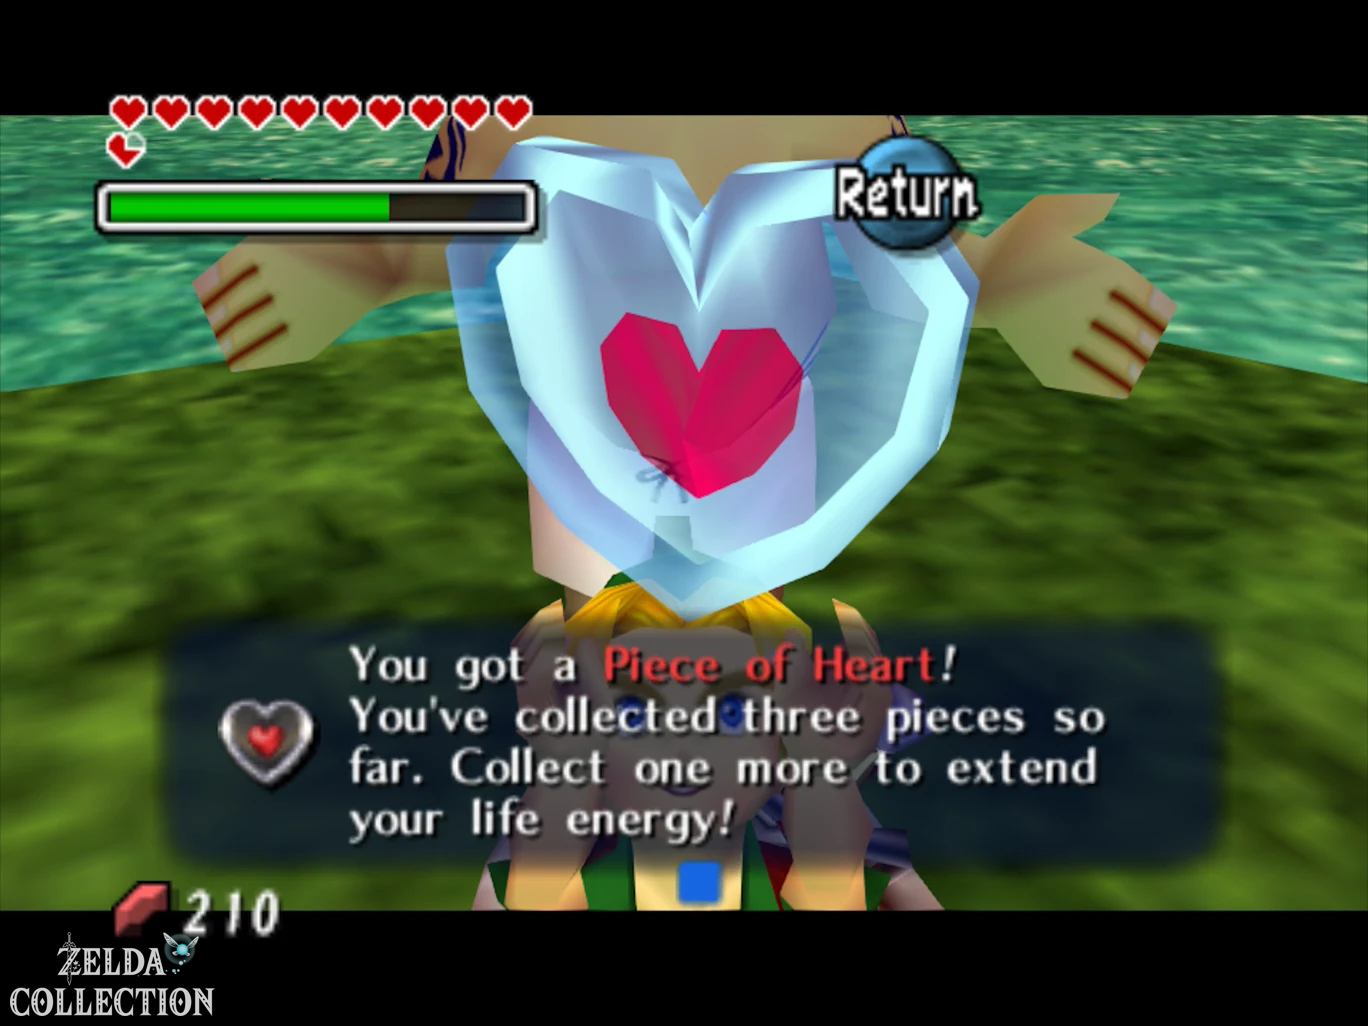
After a successful pass, the fisherman gives Link another Piece of Heart.
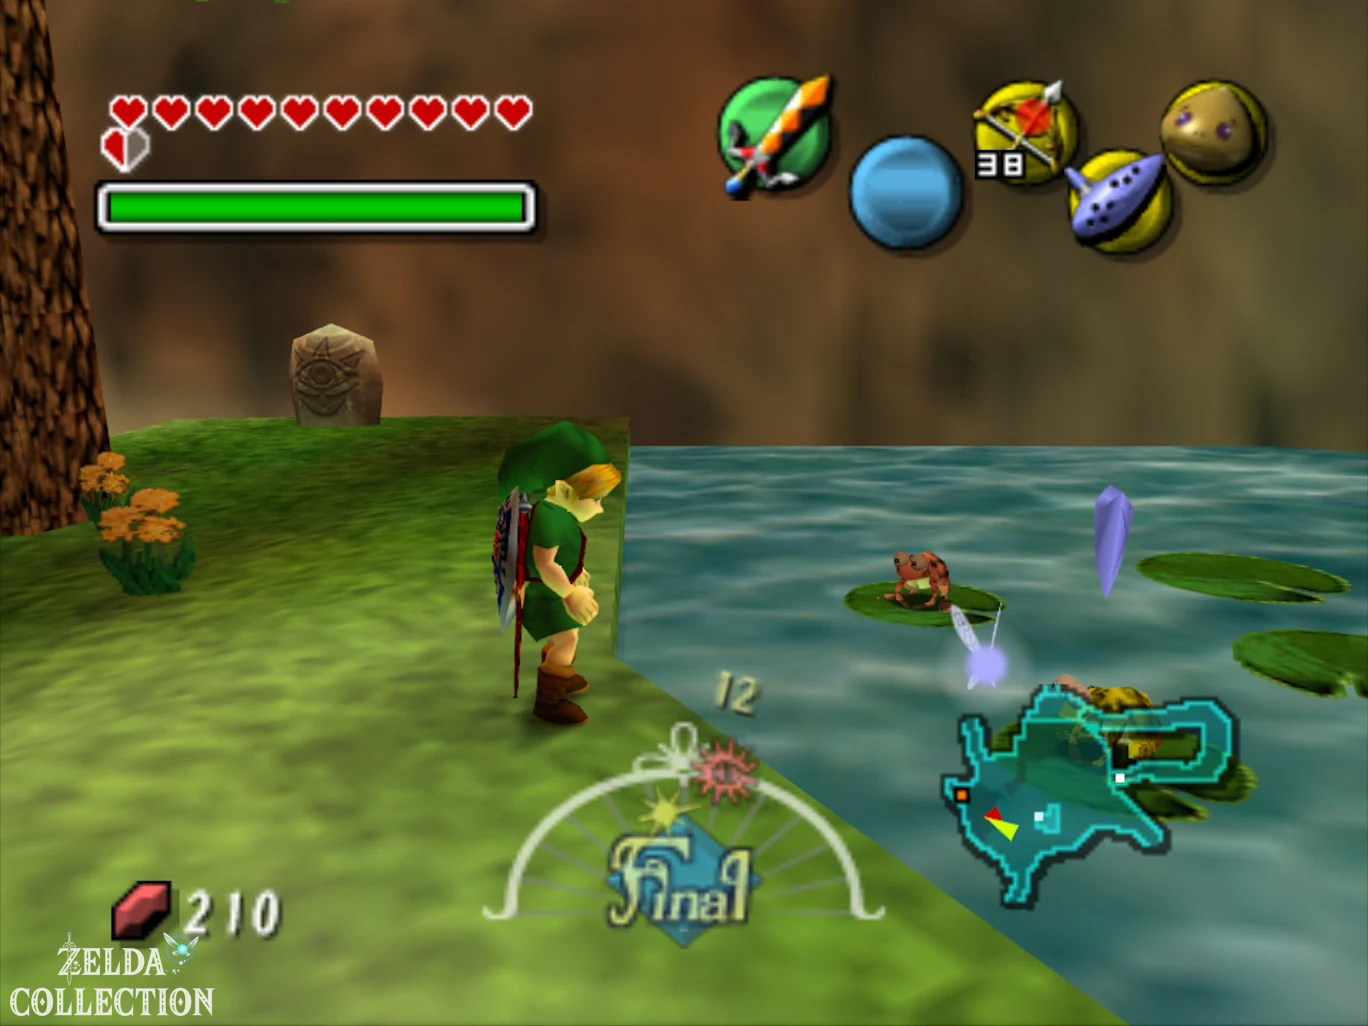
Don Gero’s Frog Choir – Piece of Heart
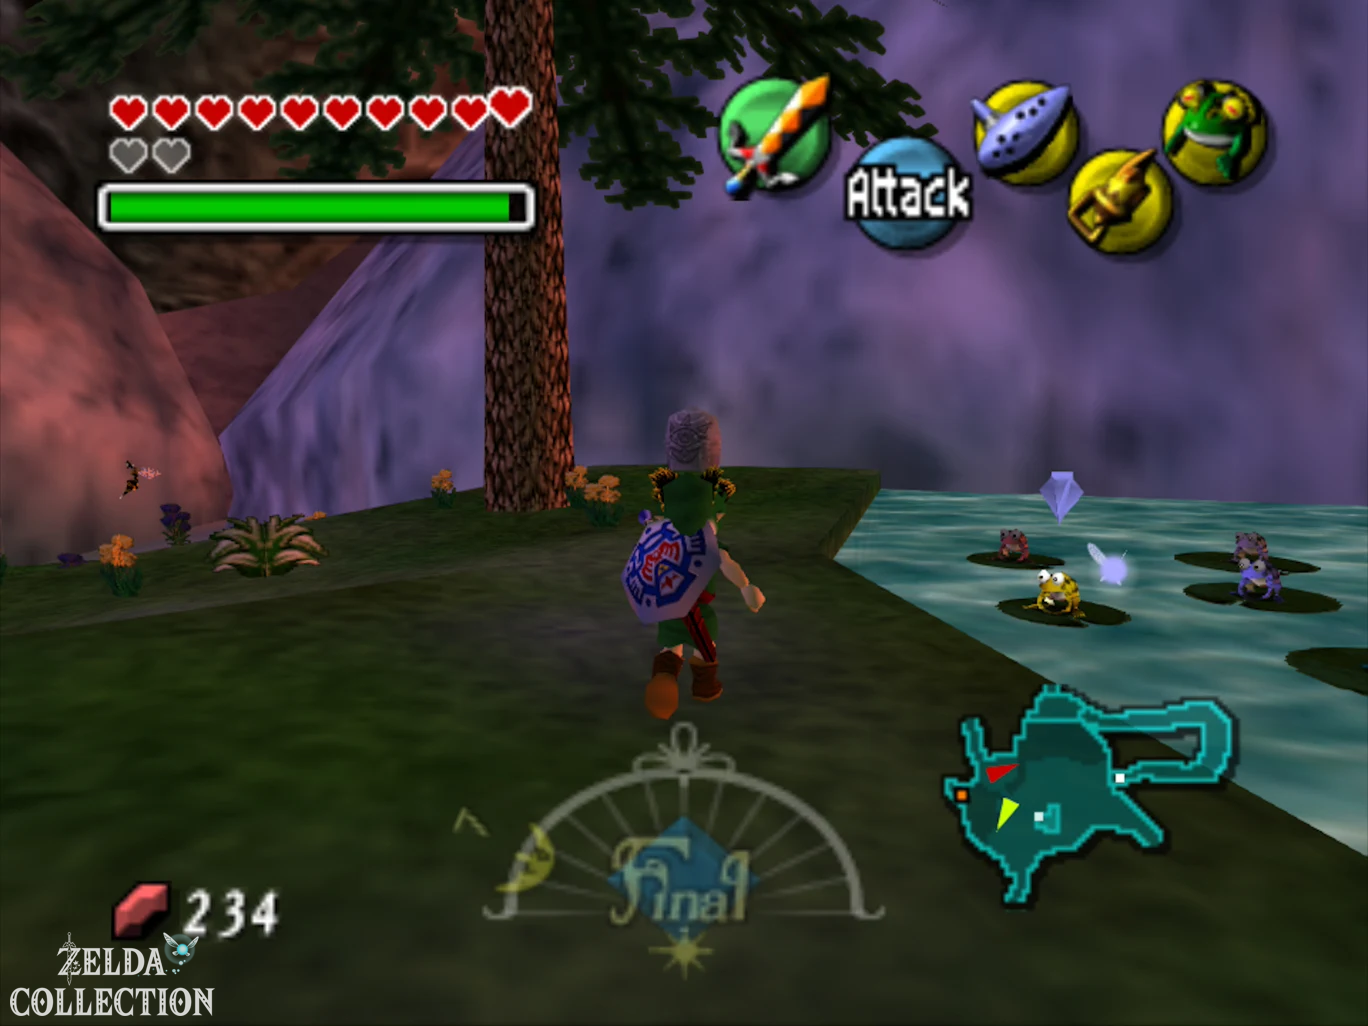
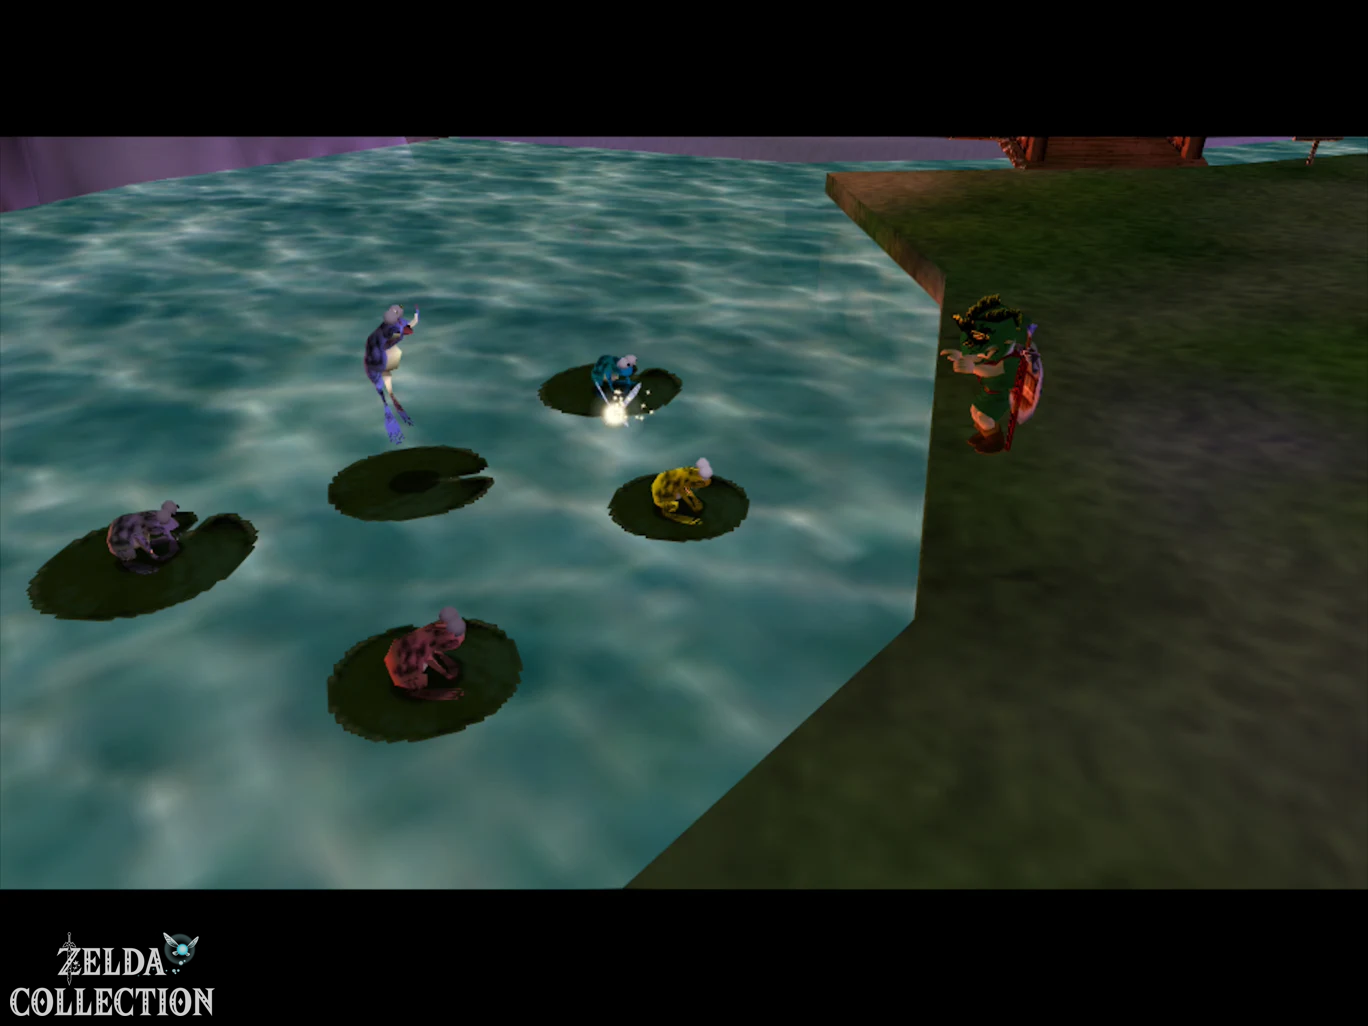
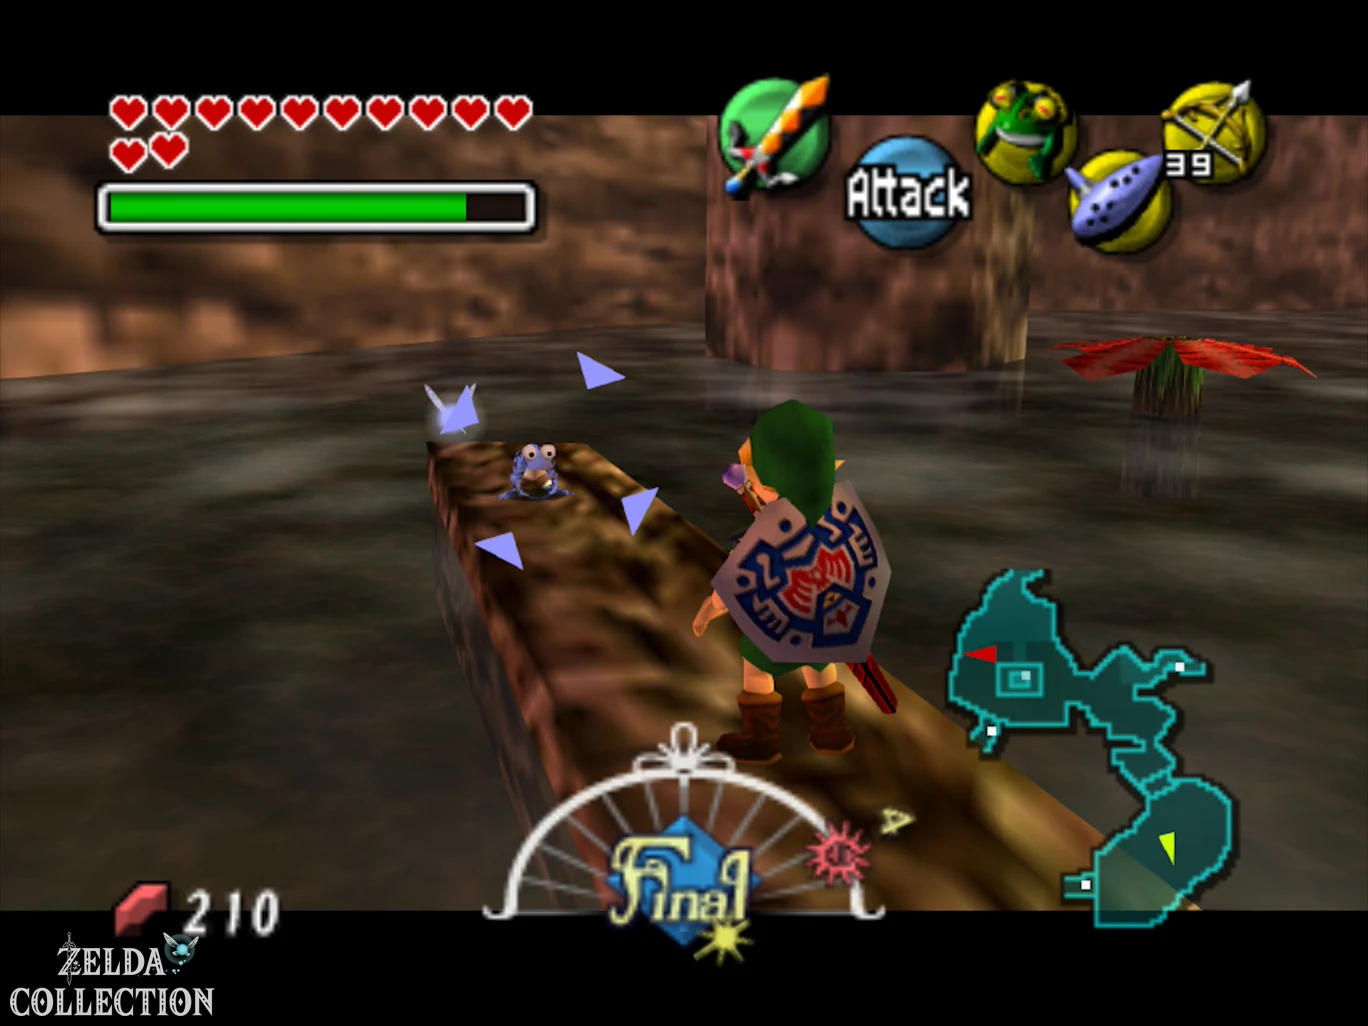
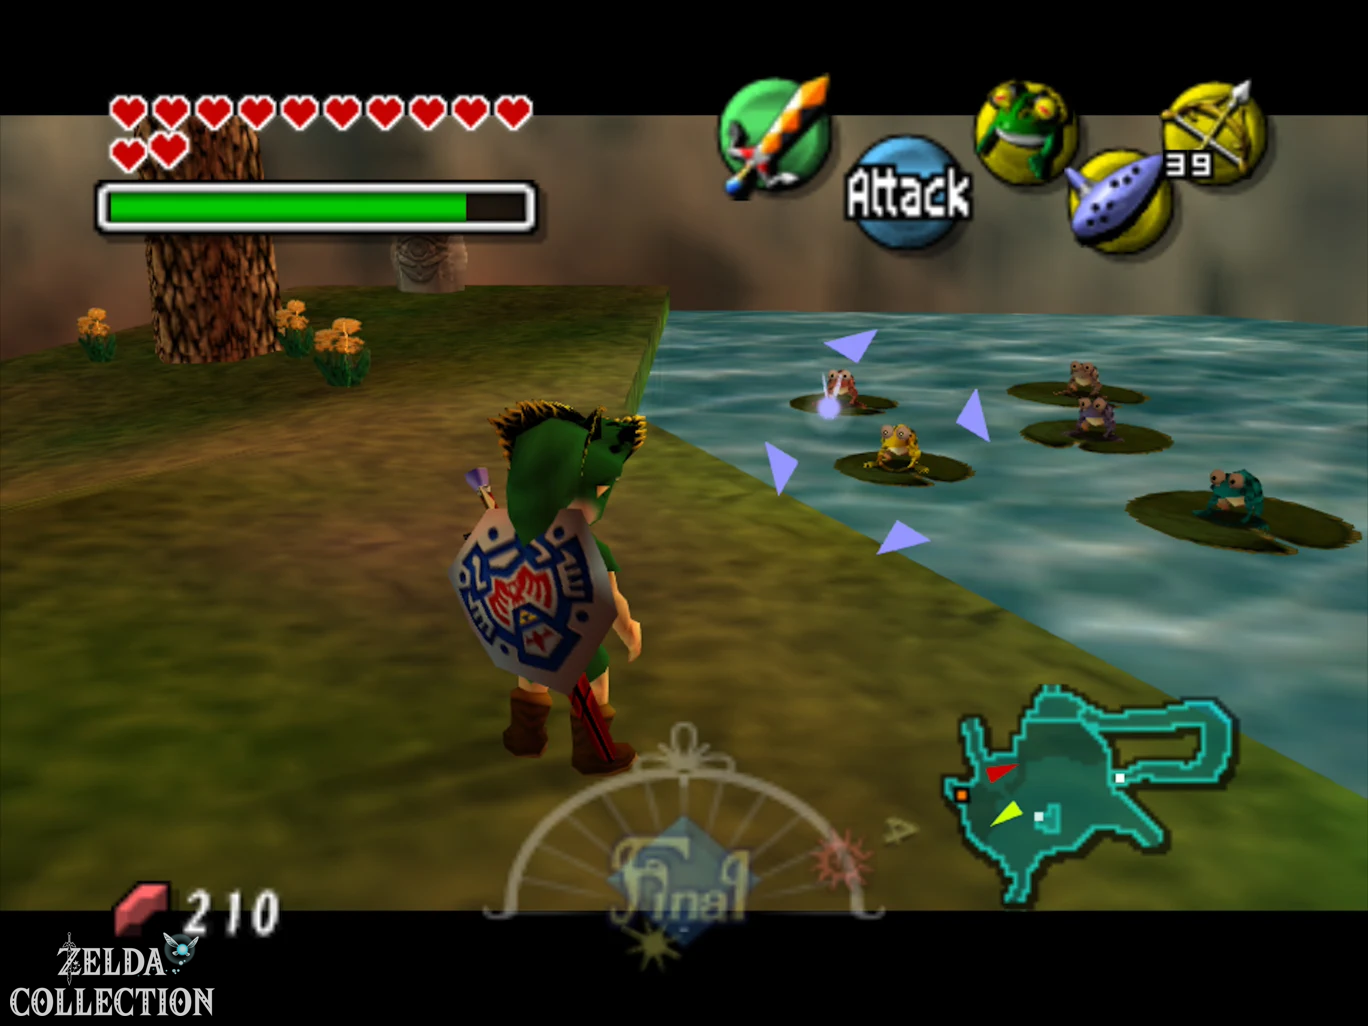
With the Gekko from the Great Bay Temple The last of the five frogs can now be reached. For the full chorus, all frogs must be addressed within the same time cycle. Bets with everyone Don Gero’s Mask on.
The first frog sits at the Laundry Pool of Clock Town. You can find another one on a log in the Purified Southern Swamp. For the third one you have to enter the Woodfall Temple again, go to the room of the previous Miniboss Gekko and defeat him again; Then talk to the reverted frog. We just touched on the fourth one after the Gekko fight in Great Bay Temple.
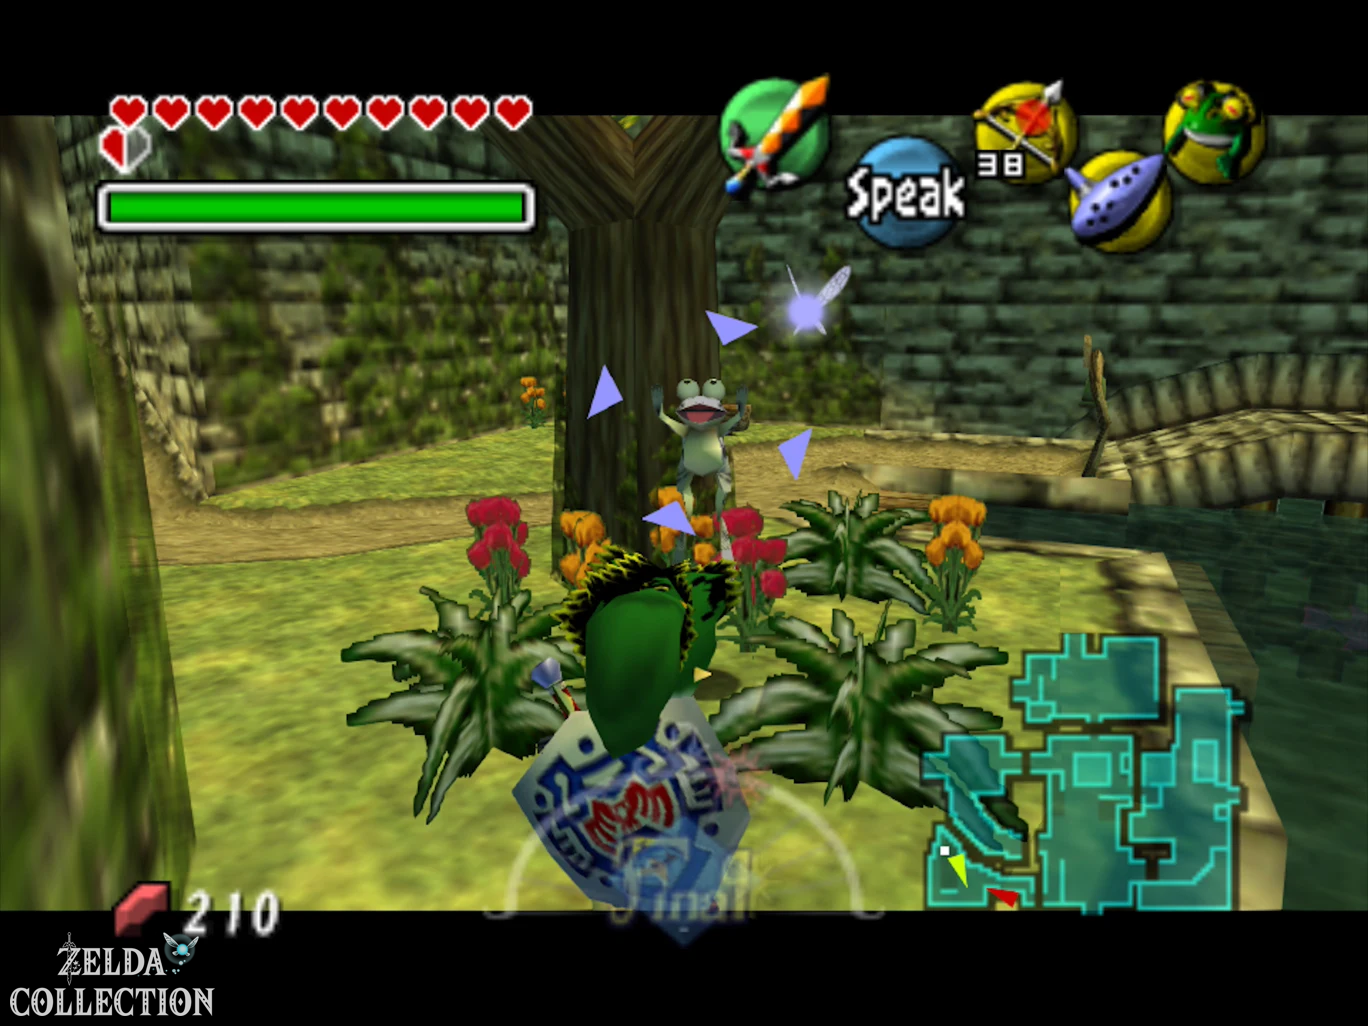
In order for the frogs to come together, the Mountain Village must also have spring. Therefore, teleport to Snowhead, enter the temple and use the boss teleporter to defeat Goht again. After his defeat, the mountain region thaws. The fifth frog is already waiting for his comrades in the pond in the Mountain Village.
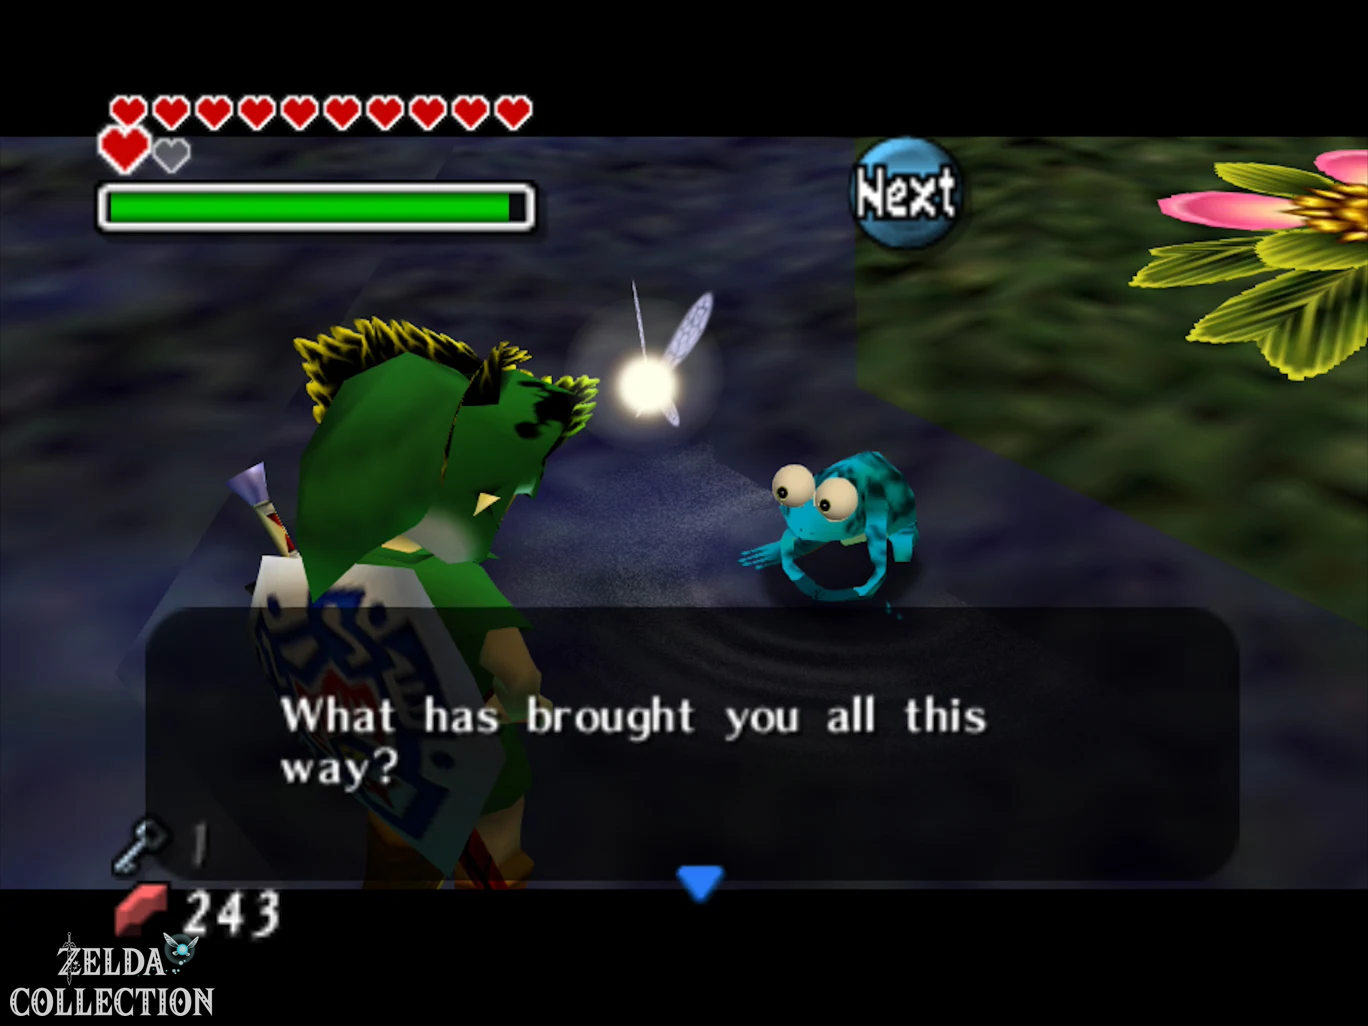
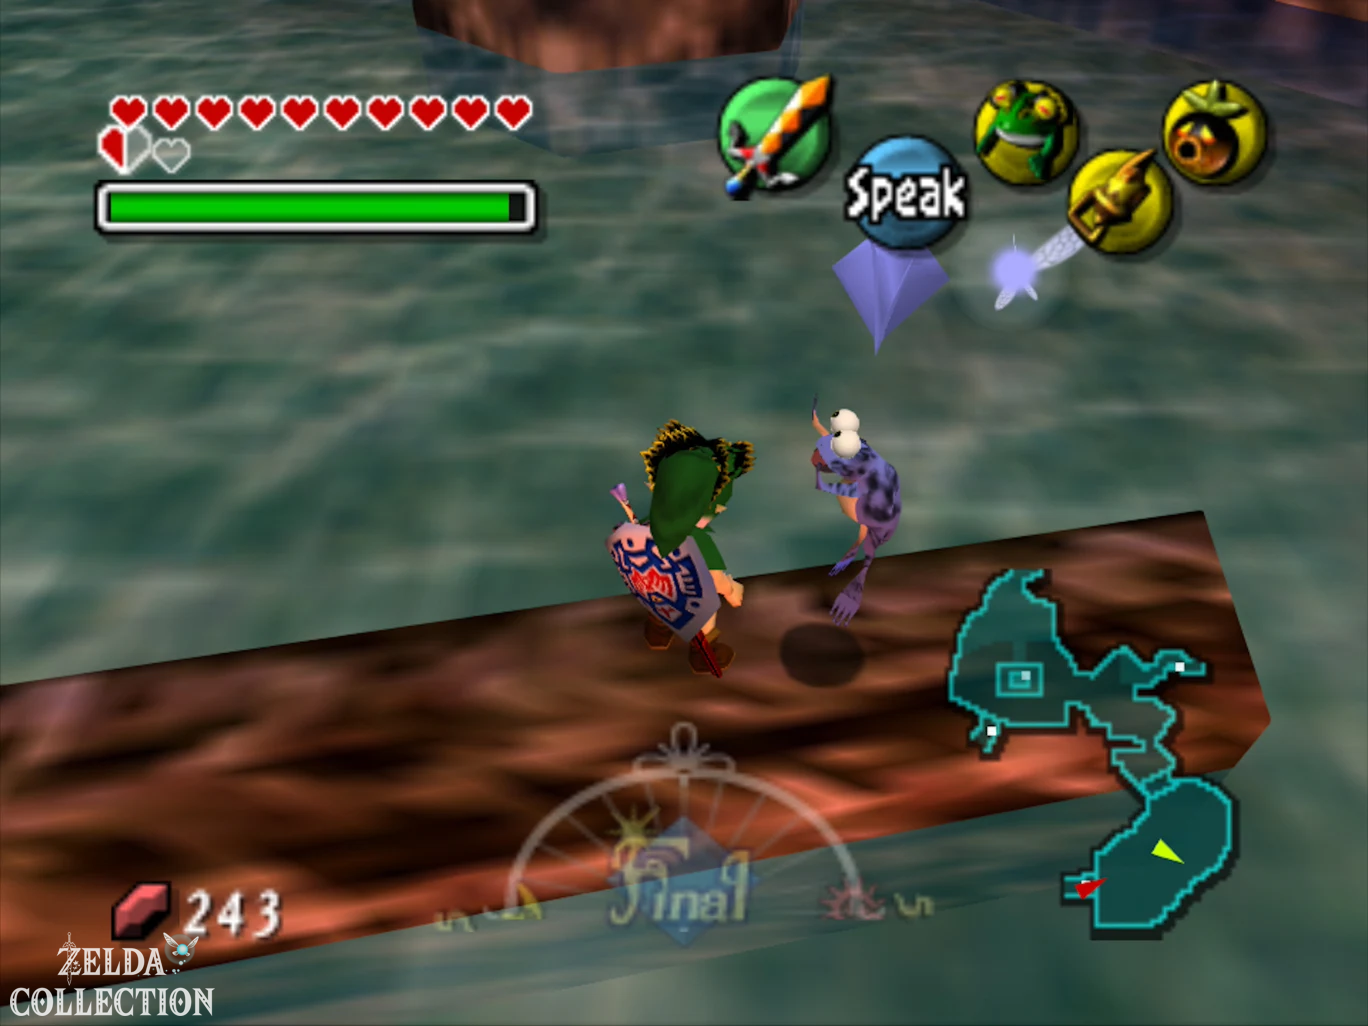
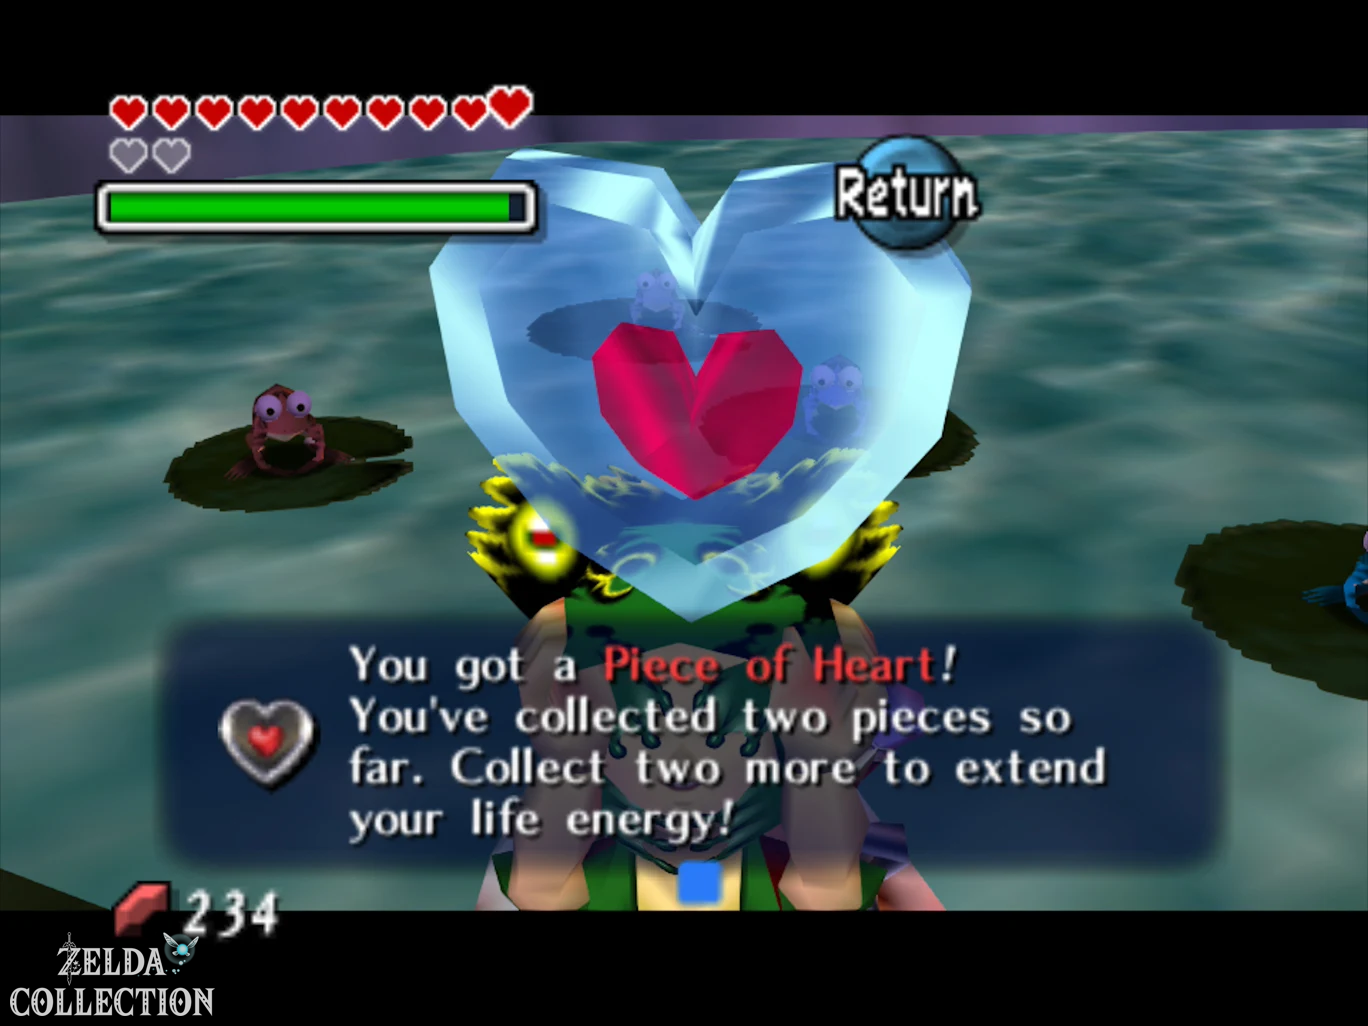
Speak to all the gathered frogs wearing Don Gero’s mask. Link conducts the full frog choir and receives another Piece of Heart as a reward.
Piece of Heart in the spring water of the mountains
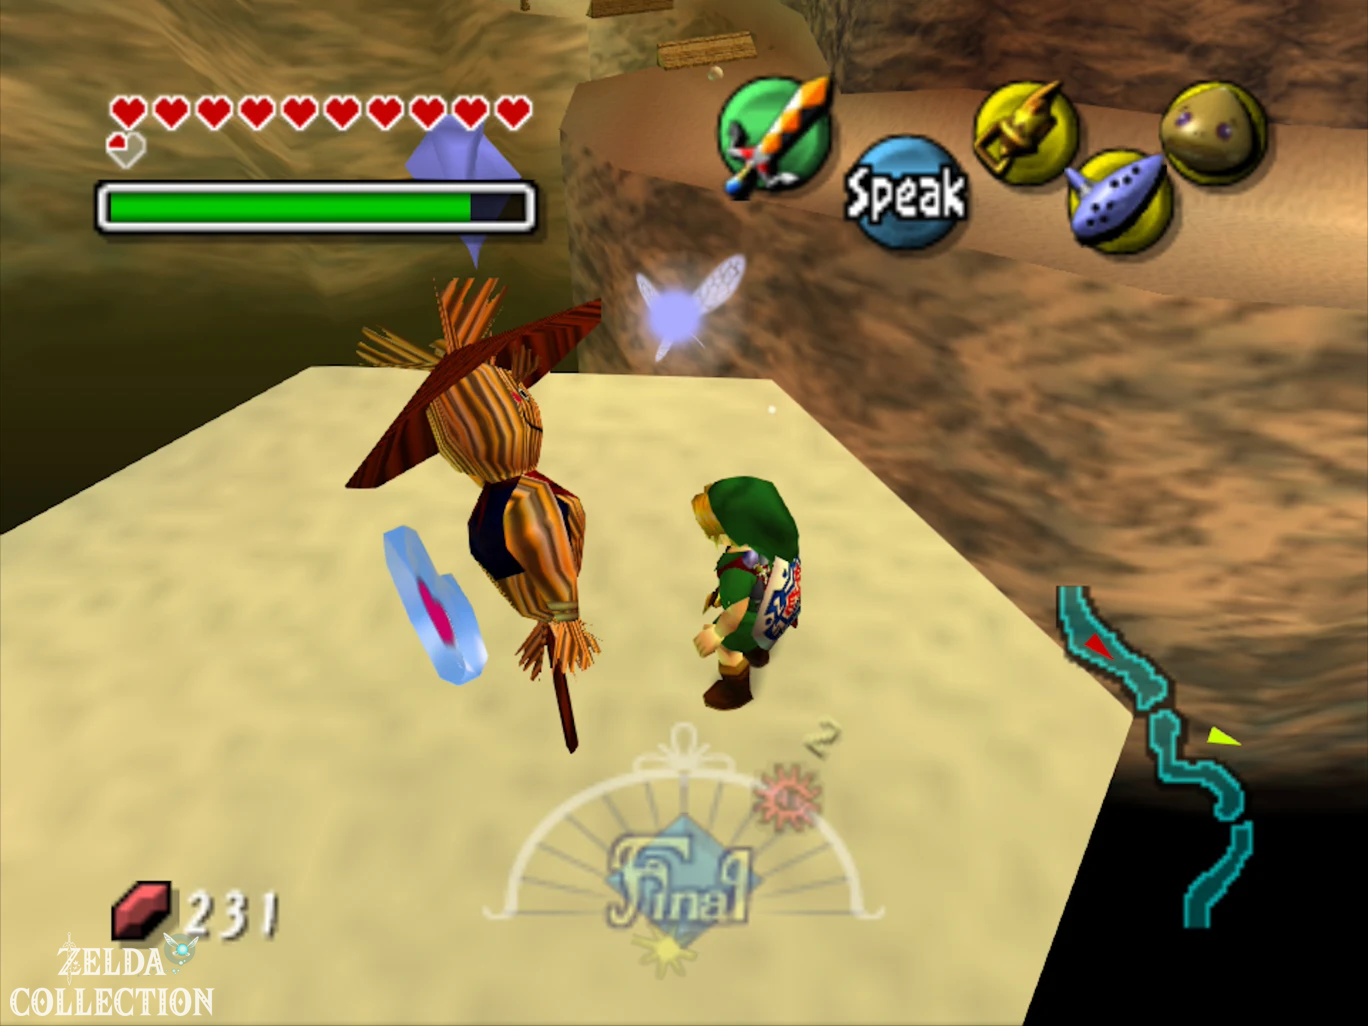
If you have defeated Goht again because of the frog choir, take a previously unattainable Piece of Heart with you. Go from the Mountain Village towards Goron Village or the twin islands. Spring has thawed the previously frozen water.
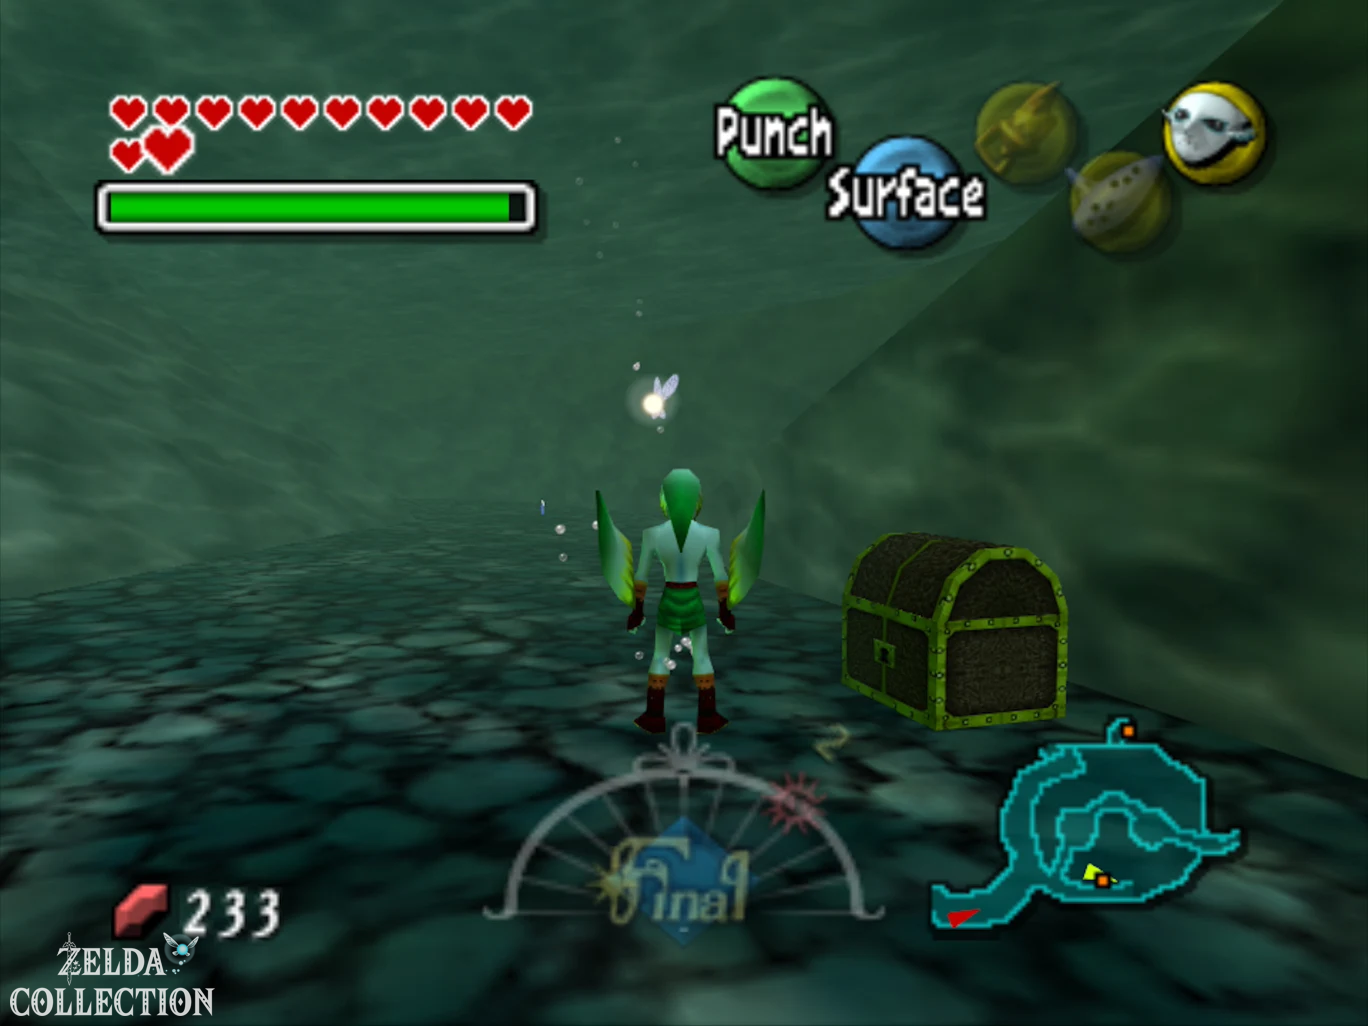
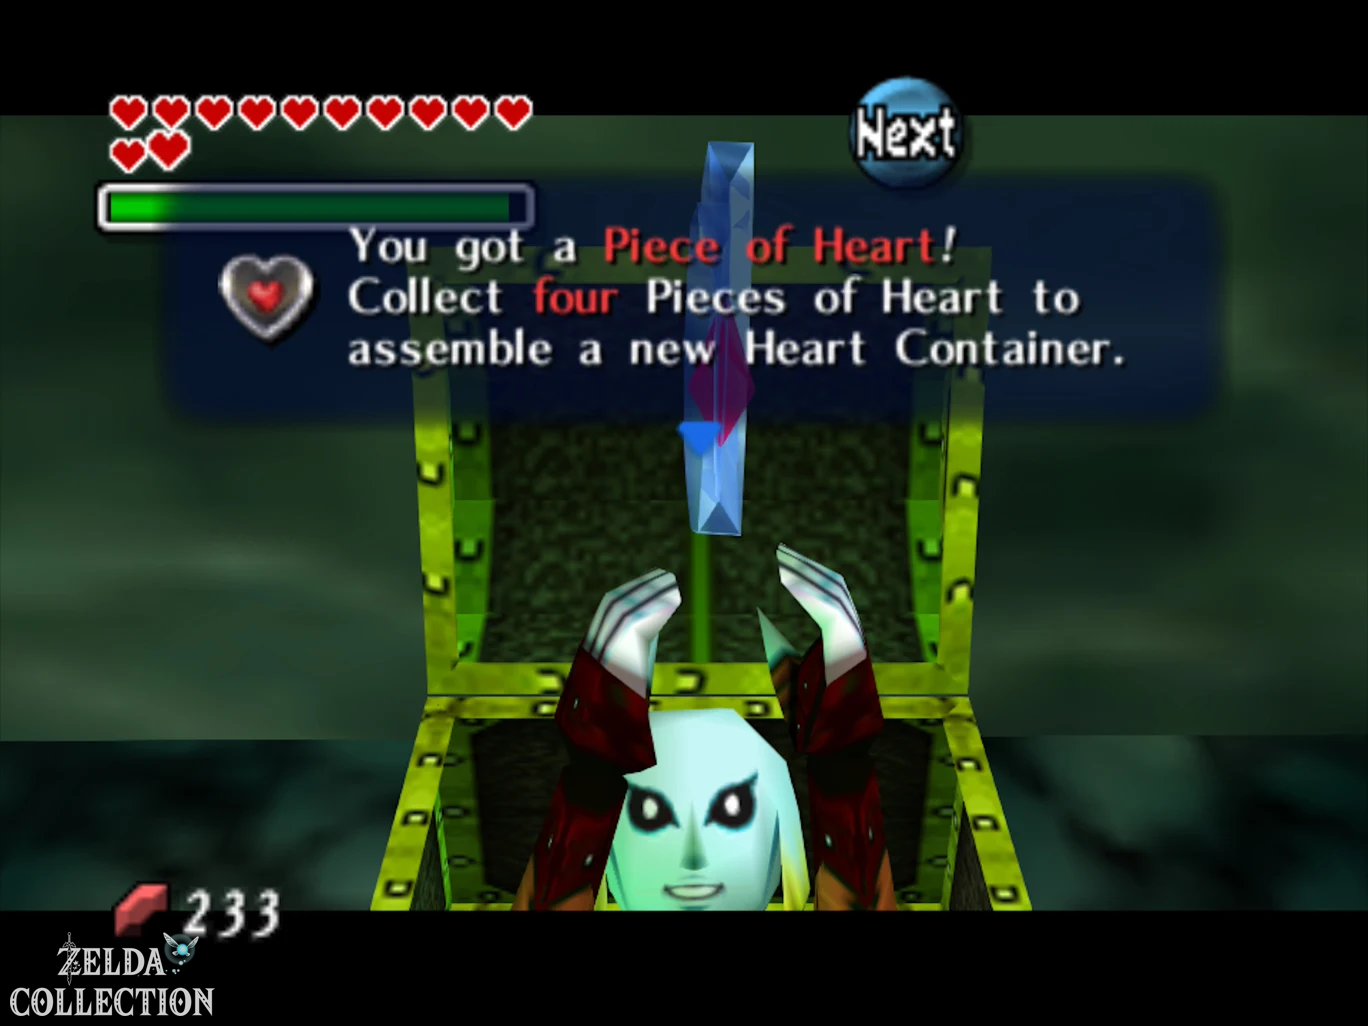
Transform into Zora Link and jump into the deep water. Sinks to the bottom and looks for the Treasure Chest standing there. Open it and take the next Piece of Heart with you. According to Goht, this Piece of Heart was basically visible, but could not yet be meaningfully recovered without the Zora Mask. Now we have all the prerequisites.
Continue to Ikana Canyon
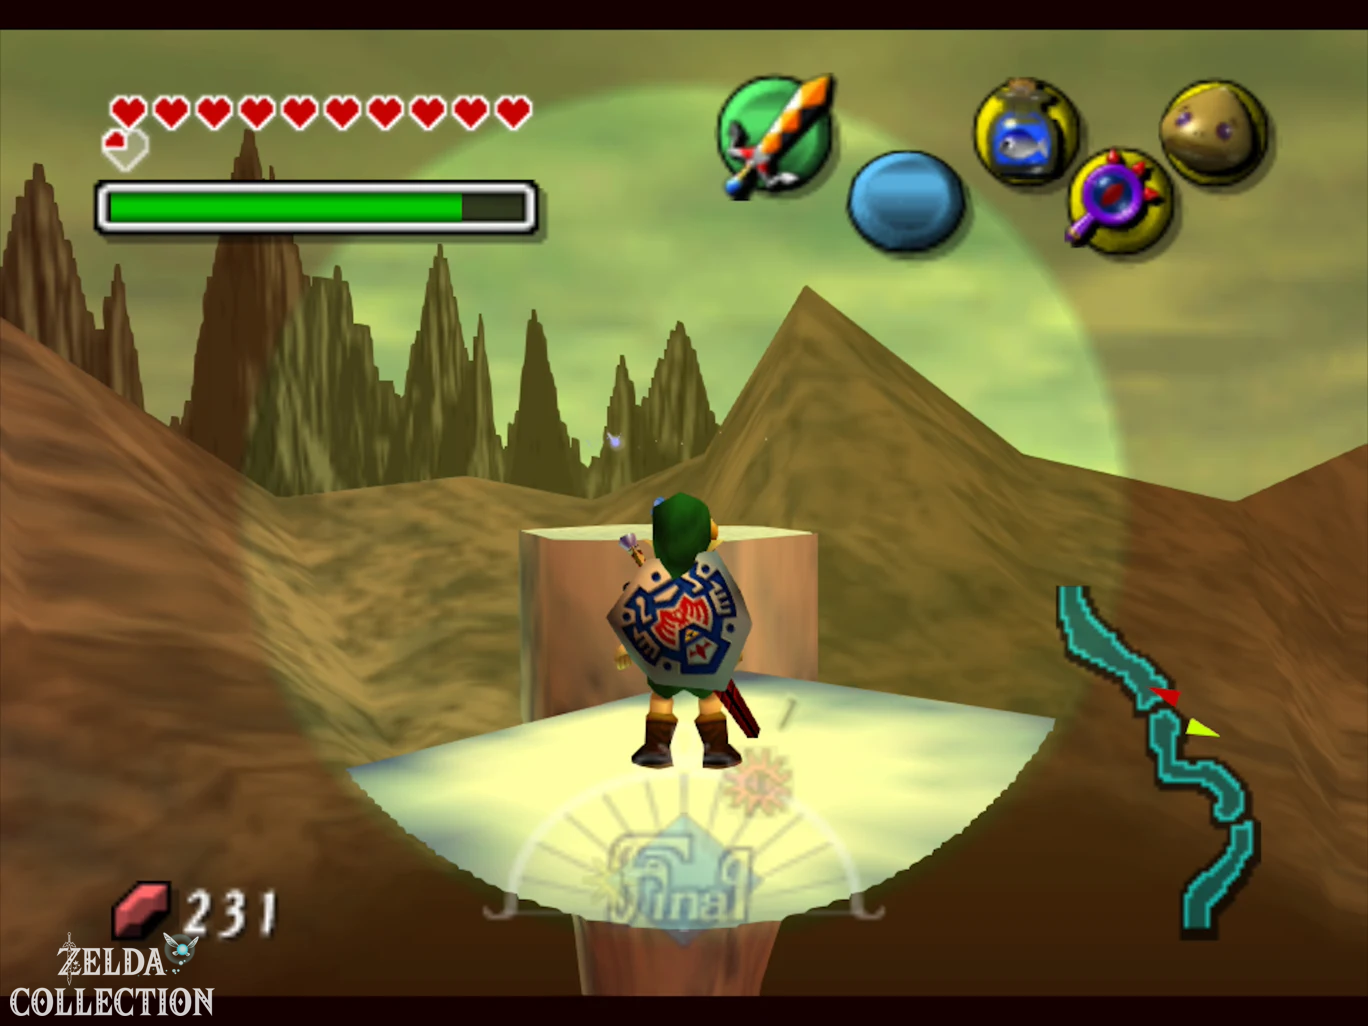
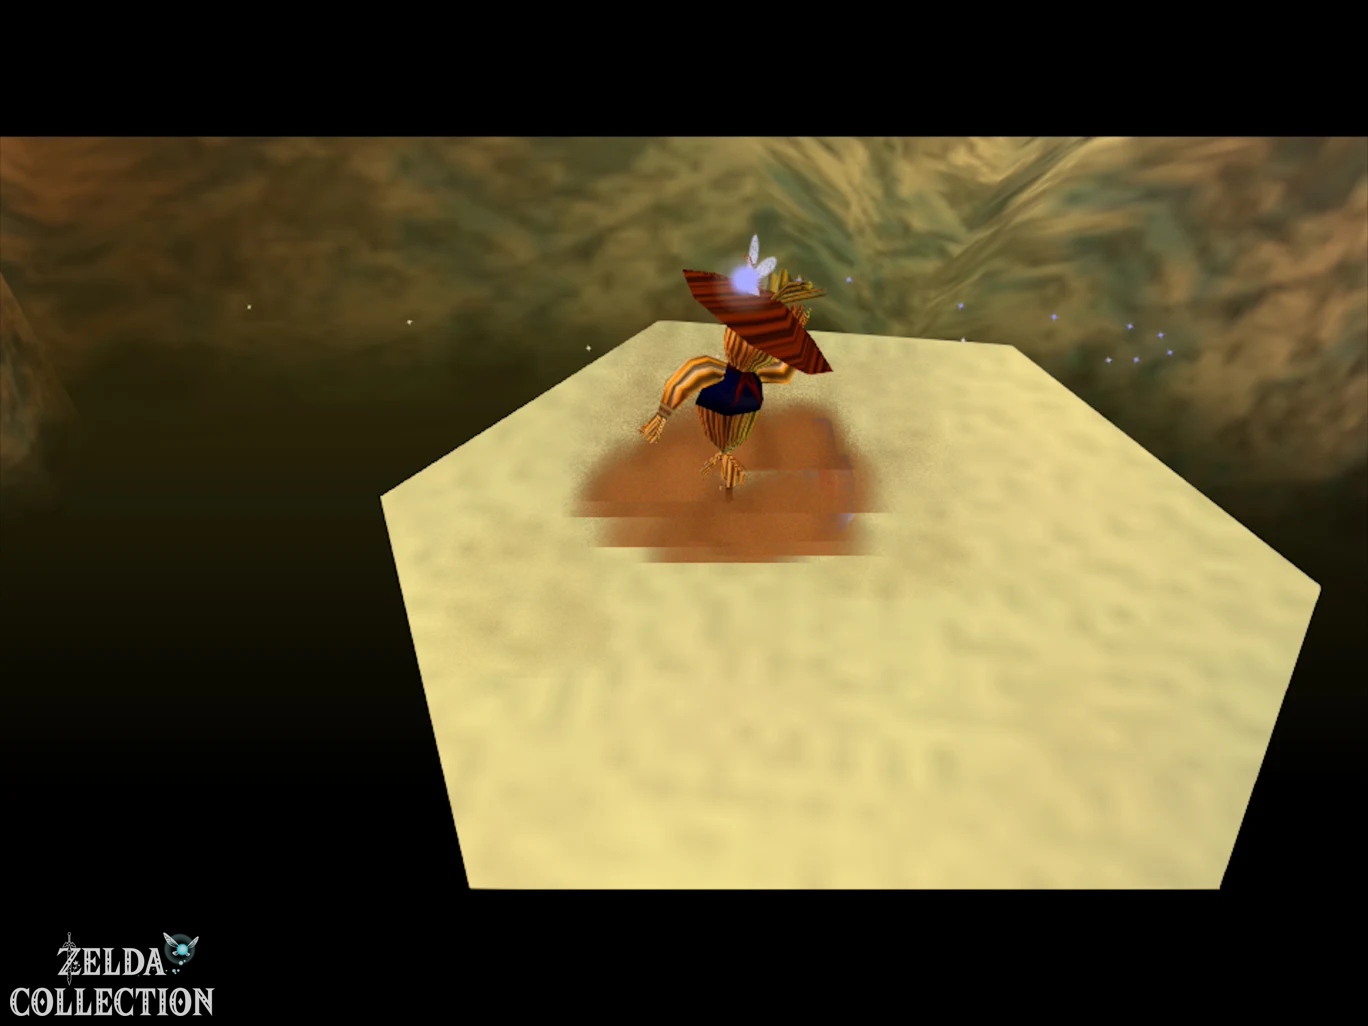
With the ice arrows the actual Ikana Canyon is now accessible. We already have Garo’s mask from the race against the Gorman brothers, we learned the anthem of the storm in the cemetery and with the Hookshot we also have one of the most important tools for the ruins.
After completing the Side Quests, play the Song of Time if you want to have a full three-day cycle for Ikana again. Deposit excess Rupees into the bank beforehand. Then call Epona and ride to the east of Termina.
We continue with the Ikana Canyon.