

After the Fortress of Winds, Link possesses the Ocarina of Wind and the Mole Mitts. This opens a large part of Hyrule’s, but our actual target is the teardrop element in Lake Hylia. First the path leads to Librari via the Royal Library and three overdue books. We get the Power Bracelet and then the swimming fins. We then use the new freedom of movement for a fixed 100% round before entering the Temple of Droplets. The existing screenshots of the old solution remain completely intact and this time are directly assigned to the appropriate sections.
For Lake Hylia and the reference to Librari
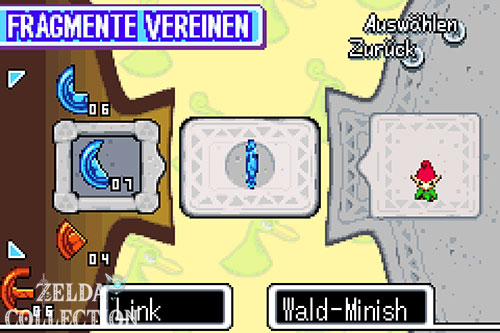
Play the ocarina and fly to the activated wind mark on Lake Hylia. Shrink Link at the nearby portal and enter the Minish House to the north. The resident explains that Librari knows more about the Temple of Droplets in the Hyrule Town library. If a Kinstone union with him is possible, do it directly: Such a merger opens access to another Piece of Heart in the Western Grove, which we take with us on the subsequent collection round.


The library and the three missing books
Fly to Hyrule Town. The Royal Library is now open. Go to the first floor, exit the building onto the roof and turn the vase over with the vortex rod. Shrink Link and enter the library through the small entrance on the left. City Minish live on the shelf with the tiny footprints. They explain that the path to Librari leads through several books – but these very books are on loan. Grow up again and talk to the left librarian downstairs. From now on we will retrieve the three books in the order given.
Book 1: Hyrule’s Wildlife
The first book is in the cat owner’s house in the southeast of the city. It sits on top of a shelf and is out of reach of Big Link. Fill a bottle with water and enter the neighboring house. Put out the fire in the fireplace, turn the vase over and shrink Link. Go through the chimney to the roof and across the footbridge to the neighboring house. The cat is dangerous at Minish size, so keep your distance. Climb onto the shelf on the left and push the book down. Return the same way, zoom in and then pick up the book as a normal-sized link. Take it straight back to the librarian.




Book 2: The Legend of the Minish
The second book was borrowed from the researcher in the western part of the city. Before you get there as Minish, you have to talk to the dog that is blocking the small path. Shrink yourself in the café or at the appropriate vase, go through the Minish exit and talk to the dog; he then moves to the side. Then put out the fire in the mill’s chimney, shrink Link and work your way across the roofs to the researcher’s house.
The direct route to the book is still blocked. Continue across the small footbridge and past the cats to the fountain. Jump in, use the hole loaded with the vortex rod and defeat the two scissor beetles in the next area. Once both are dealt with, a large chest will appear containing the Power Bracelet. This allows Link to move large objects such as shelves and cupboards, even at Minish size. Return to the researcher, push the two shelves aside and climb up. Remove the dust with the Gust Jar, duplicate Link on the floor tiles and stand on the shaky book with both Links. It falls to the ground. Grow up again and bring this book back to the library too.




Book 3: History of Masks
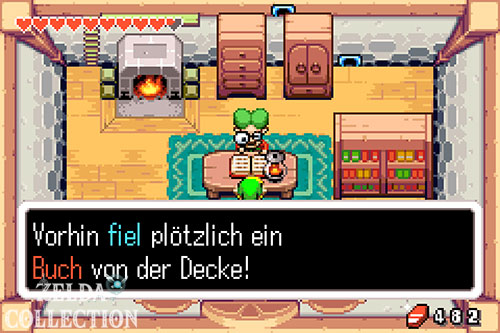
Mayor Hagen borrowed the last book. Talk to him and then use the Pegasus Boots to ram the wall below the masks. The decoration falls down, revealing a Minish path. The Minish there reveal that the book is in Hagen’s house at Lake Hylia. Go across Lon-Lon Farm towards Tyloria Forest and use the Mole Mitts to dig through the tunnel to the lake. In Hagen’s house, the book is on top of the stove.
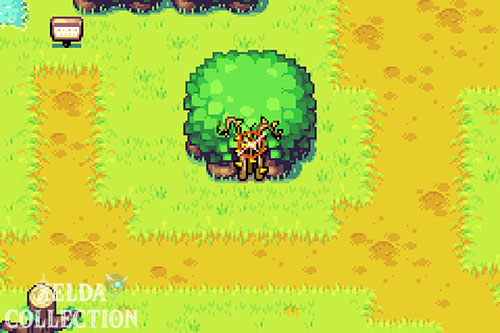
Leave the building, ram the sparkling tree with the Pegasus Boots and shrink on the exposed tree stump. Ride with the lily pad and the Gust Jar through the small waterway back to the house. Inside, push the shelf to the right, climb up and knock the book off the stove. Then you go out again, you enlarge yourself and take the normal-sized book. Return it to the library. This means that all three books are sorted again and the Minish path to Librari is complete.




Meet Librari and Obtain the Flippers
swimming fins
Shrink again on the roof of the library and return to the Minish on the shelf. Speak to the front resident for the reward of 50 Rupees and then follow the now complete books up to Librari. The library elder quickly sends Link through a trap door into a cave. Push the two lower blocks so that the path to the south is free, suck up the mushroom with the Gust Jar and let yourself be thrown to the other side.
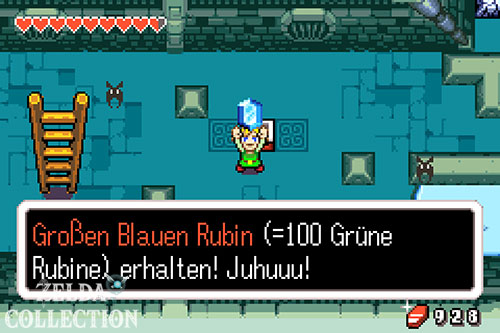
Two scissor beetles are waiting in the next room. Their claws serve as a shield; attacks from the side or at the moment they throw the scissors. After the fight, the large chest containing the flippers will appear. Link can now traverse deep water and use B to dive under. Swim south out of the cave and expand again.


Lake Hylia: Pieces of Heart and new sword technology
We use the swimming fins to retrieve the immediately accessible finds at Lake Hylia. First dive into the small pond to the left of Stockwell’s house for the Piece of Heart hidden there. Then swim along the lake to the southern shore and take the Piece of Heart, which is open on a small headland, with you. In the southwest of the lake is also the dojo of Waveblade or Waveblade. There is another Piece of Heart in his room. If you have enough full Heart Container, he will also teach Link another sword technique.
Important for the German PAL version: The Piece of Heart in the small well/fountain cave in Hyrule Town cannot be reached with the fins alone in every version. The required bank edge is missing in the PAL version; We will therefore postpone this discovery to the later round with Roc’s Cape instead of describing an impossible route.


100% lap in front of the temple
Before entering the Temple of Droplets, we use the new equipment. Above the bakery in Hyrule Town you can use the Mole Mitts to uncover a tunnel. Dig your way to the ladder and open all the chests with Kinstones along the way. There are also 100 Rupees at the bottom. Push the stone into the hole to create a permanent shortcut.
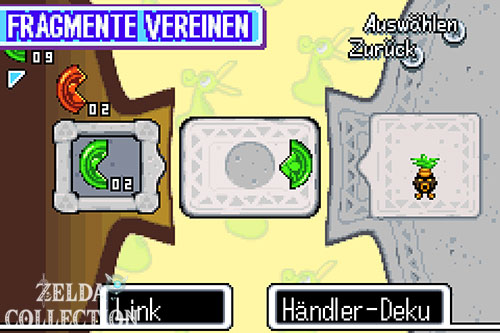
Then visit the house with the ghost symbol. Simon’s simulation takes place there. Pay the entrance fee and defeat all opponents in the dream test. The first time you complete it successfully, you will receive another Piece of Heart. Then work through the Pieces of Heart that can now be reached with the fins: in the Castor Wilds the northeastern cave, at the Veil Falls the find that can be reached directly from the water and – if the necessary Kinstone Fusions have already been triggered – the Minish paths in the swamp. The chicken mini-game in Hyrule Town can now also be completed in its entirety; the last round also rewards you with a Piece of Heart.
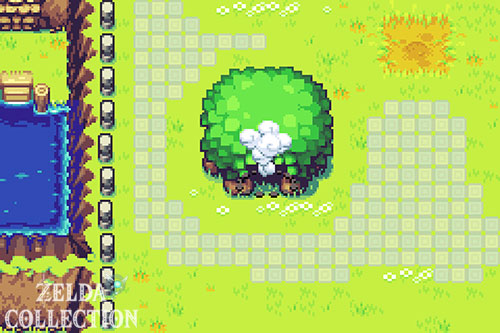
If you haven’t completely dealt with the Tingle brothers in the previous chapter, now complete the final necessary fusion in the earth cave west of Hyrule Town. Then activate the four switches in the open trees on the Northern Plains. The ladder in the middle leads to the large chest with the Magic Boomerang. If we already got it in the previous chapter, you can skip this part – the screenshots will still remain here because they are part of the old chapter version.










Enter Temple of Droplets
Fly back to Lake Hylia with the ocarina. The temple lies in the large ring of ice near the middle of the lake. Swim over, shrink Link on the portal and jump into the opening. Once inside, it quickly becomes clear that the dungeon revolves around ice, water, light and darkness.
First Small Key and Big Key
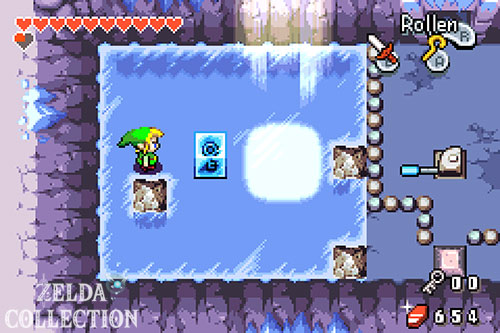
Go down the stairs from the entrance room and push one of the ice blocks out of the way. In the next room, immediately take the stairs down on the right and press the lever. This opens a flap in the ceiling and sunlight shines into the room above. Turn up, jump through the hole and push the ice block with the frozen Small Key down and then to the right into the light. The ice melts and you can pick up the Small Key.
Use it to open the western key door and jump through the hole. In the next ice block puzzle, the Large Key is already frozen. First push the upper block to the left, the lower one down and left and then move the key block in this order: left, up, left, down, left, up, right. The ice melts in the light. Take the Big Key and move the lever again to close the top flap.




The frozen drop element
Return to the entrance room and open the large door to the south. Behind it you can already see the Water Element, but it is completely embedded in a huge block of ice. To free it, two large light mechanisms on opposite sides of the dungeon must be activated. Starts on the left.
Go through the southwest door and follow the path to Dungeon Map. You can dive under the rolling spiked rollers with your flippers. Continue swimming until you reach solid ground again, then follow the waterways. Suck the mushroom with the Gust Jar and activate the switch to make the barrier disappear. Behind the waterfall you will reach a stone tablet with reference to a jug-shaped stone circle. Swim to this circle and dive into the center of the waves. There is another Small Key.

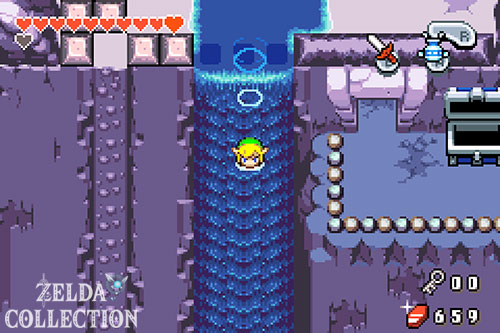


lily pad, Compass and first light lever
Return to the waterfall and open the key door at the top. Activate the switch and then take the lily pad. Ride it down the waterfall and back to the stone jug. Use another switch to open the eastern passage. There is an Imos waiting on the icy ground. Hit the head first, then the vulnerable tail once it is stunned.
After the fight you can open the chest with the Compass. Then move the blade to the left and then north. Pull the next lever and move the large ice block so that it releases the mechanism. You then reach an initially dark part of the temple. On the higher level you defeat three claw beetles; a blue teleporter appears. Follow the path to the first large light lever. Duplicates Link and activates it with both Links at the same time. Sunlight now falls into the central room and melts some of the ice.


Blue giant slime and lamp
Follow the newly opened path to the right and take the Kinstone from the chest. The following ice path is narrow and slippery; Move carefully and take the blue Kinstone from the left chest and the green fragment under the jars with you. You can use several levers to get the next Small Key and use it to open the key door.
A Blue Giant Slime appears behind it. The tactic is the same as the Green Giant Slime from the Deepwood Shrine, with one important caveat: only suck his foot with the Gust Jar when there is no electricity visible around his body. As soon as he tips over, hit his head. After several rounds, the Miniboss is defeated and the large chest with the lamp appears.
The lamp provides light in dark rooms, lights torches and can melt ice. Use them directly to work your way through the frozen passages to the next staircase.


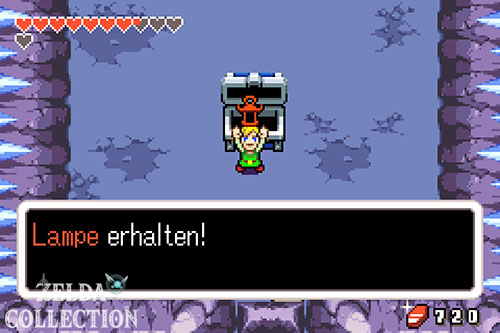


Dark rooms and duplication puzzles
The lamp makes dark rooms much clearer. Defeat the claw beetles and light the torches to make the blocking stones disappear. Blow up the cracked wall and defeat all the Ladybug Stachis; for this you will receive a Small Key. Also take the two Kinstones from the chests with you.
Behind the key door is a series of duplication and ice block puzzles. First create two links and move the large stones out of the way one after the other. In the following room, a block of ice must land on a Floor Switch while the doppelgangers activate the remaining two switches at the same time. Work slowly – on the ice, Link easily slips beyond the correct position.
In the next section, push the upper right stone up, eliminate the enemies and melt the ice block with the lamp. Duplicate Link again and push the large stone to the right. Then light all nine torches in another room. At the end you activate the red teleporter and blow up the cracked north wall.


Second light lever and boss path
Behind the blown up wall, defeat two Imos and then follow the linear path to the second large lever. Duplicate Link one last time and flip the mechanism with both Links. The second beam of light hits the central block of ice. The drop element thaws – but at the same time the boss of the temple also awakens.
Return to the central area via the now open paths. If necessary, use the red teleporter to replenish hearts or supplies before battle.


Boss: Large Octorok
The Large Octorok swims through the icy arena and spits large stones at Link. Knock back the projectiles with your sword. After several hits, the boss freezes itself and the arena goes dark. Run behind him and light his tail with the lamp. The ice melts and normal combat begins again.
Later the arena becomes more and more confusing and the Octorok moves faster. Stay moving at the edge, reflect the stones with concentration and only use the lamp during the frozen phase. After several rounds the boss is defeated.
drop element and Heart Container
After the victory, the complete Heart Container and the Water Element appear. Take both with you. The teleporter will take you back to the entrance to the temple. Enlarge link on the portal and leave the ice ring. The ghost of a former king of Hyrule appears outside and marks our next destination on the map.
Next: Royal Tomb and the Road to the Clouds
With the drop element we have three of the four elements. Next is the Royal Valley, the Royal Tomb and then the path to the People of the Wind. Thanks to the fins, lamp, Mole Mitts and ocarina, we can once again pick up numerous previously unattainable collectibles on this round.
For individual Locations our guides to the 44 Pieces of Heart, are still available Kinstones, four bottles, sword techniques and weapon upgrades available.