

After the Temple of Droplets, Link has the third element. Before we get to the People of the Wind, we return to the Holy Place and expand the White Sword to three doppelgängers. The path then leads through the Royal Valley and the grave of the royal family to King Gustaf. His golden Kinstone opens the source of the river at the Sela Falls. From there we climb above the clouds to the wind people, get the previously secured Light Arrows and finally cross the Palace of Winds. As in the previous chapters, we take all the collectibles, chests and upgrades that can be reached along the way with us.
Return to the Holy Place
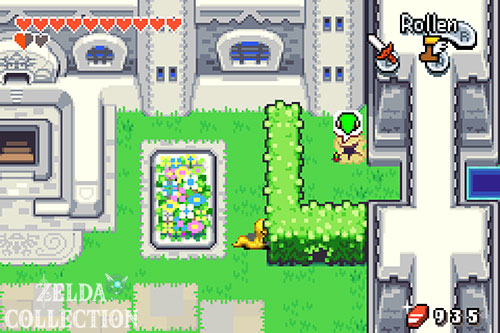
After the Temple of Droplets, the ghost of the former King Gustaf appears and marks a new destination on the map. Before we go there, fly to Hyrule Town with the ocarina. The castle is now more heavily guarded and the main entrance is blocked. Therefore, take the southwestern entrance in the castle garden, sneak past the guards and knock down the bushes in the upper area. Below them there is a secret passage through which you can get into the castle.
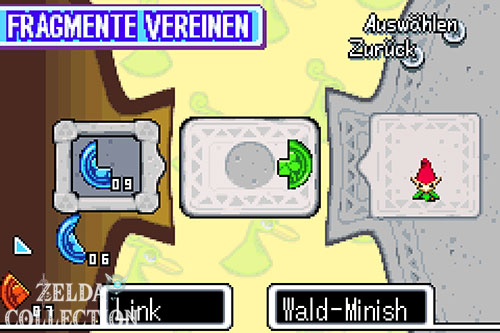
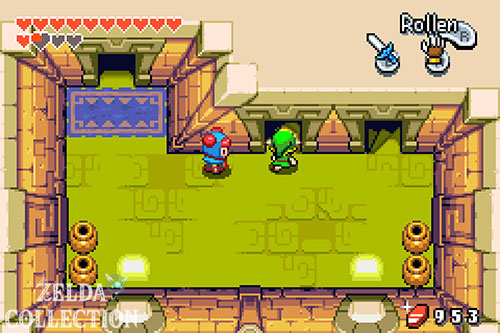
Go to Holy Site and place the White Sword in the base. The teardrop element is incorporated into the blade. From now on, Link can multiply in three additional positions – in effect, you now have three links available at the same time. Use the new fields to reopen the exit.


Before the valley: take sword beam with you
Since we own the lamp, it’s worth taking a short detour to the southeastern castle garden. Descend into Grimblade’s hidden dojo and light the two torches. Now he teaches Link the sword beam. When at full health, the sword shoots energy projectiles with normal strikes. We have already collected the Piece of Heart there earlier in our 100% route; If not, take it with you now at the latest.
The following also applies to the PAL version: The US-exclusive largest bomb bag upgrade is not part of our mandatory path. The German version does not offer this upgrade in the same form. Our already acquired bomb capacity is therefore correct for the European 100% run.
Path to the Royal Valley
Leave the castle and courtyard. In the Northern Plains, go west and blow up the prominent rock. Climb into the cave. Create three links in the appropriate vertical arrangement and together push the large block to the side. You can reach it via the stairs Royal Valley.
The area is almost completely dark. Equips the lamp. Immediately after the descent, two pairs of wooden pegs stand in front of a rock face. Place a bomb right between them and enter the hidden fairy spring.


Largest arrow quiver of the Great Fairy
The Great Fairy asks Link five questions. Answer in this order:
- No
- No
- Yes
- No
- No
If all answers are correct, Link will receive the largest arrow quiver and can carry up to 99 arrows. This means that the arrow capacity is fully expanded for the rest of the game. The answer sequence is also consistently confirmed by the major walkthroughs.
Through the jungle to Dampé
Continue north and keep the lamp on. There are signs in the dark forest with arrows that direct you to the correct exit. The full sequence is top → left → left → top → right → top. If you take a wrong turn, you end up back at the beginning.
At the end you reach the house of the gravedigger Dampé. Talk to him and take the Graveyard Key. As soon as you leave his house, a red pickra bird grabs the key and sits with it on one of the trees.




Retrieve the stolen cemetery key
Don’t get too close to the bird, otherwise it will fly into another tree. Find the tree with Pickra and ram it from a few meters away with the Pegasus Boots. The key falls down. Pick it up and talk to Dampé at the cemetery gate again. He opens the entrance.
Piece of Heart in the Royal Valley
In the cemetery, first go to the northwest corner. Push the tombstone there up and enter the crypt. On the right are reproduction fields. Create three links and push the large block aside together. Behind it is the next Piece of Heart. In the common 100% lists, this is the Royal Valley heart piece immediately after the White Sword expansion.


Entrance to the tomb of the royal family
Back in the cemetery, go southeast and destroy the small stones. Beneath there are reproduction fields. First push the middle gravestone out of the way. Then charge the sword, create three links and run left around the gravestones to the three floor switches in the north. If all three are pressed at the same time, the large tomb will open.
Now enter the Royal Crypt.
Royal Crypt
There are two Gibdos in the first room. Light it with the lamp; this causes their bandages to burn and they turn into Stalfos. One of the defeated enemies leaves behind a Small Key. Take it and continue north.
Use the left mushroom to launch yourself onto the upper platform. Of the three key doors, only the middle is the way to go; the two outer ones lead into traps. Opens the middle door.


Triple puzzle and King Gustaf
In the next area you have to activate Floor Switch twice with three links at the same time. Make sure that the blade traps do not hit Link or a doppelganger, otherwise the duplication will stop. Both puzzles give you a Small Key each. Then open the two key blocks in the middle.
Light all the torches in the large room and defeat the Gibdos. The northern door opens. The large stone tablet waits behind it. The ghost of Gustaf appears and gives Link a special Golden Kinstone. This fragment is needed directly at the source of the river.


Source of the river and Sela waterfalls
First fly to Hyrule Town and leave it to the north. In the Northern Plains, go northeast to Sela Falls. There is a fragment half on the large stone door. Combine Gustaf’s golden fragment with it. The door opens, revealing the cave behind the spring.
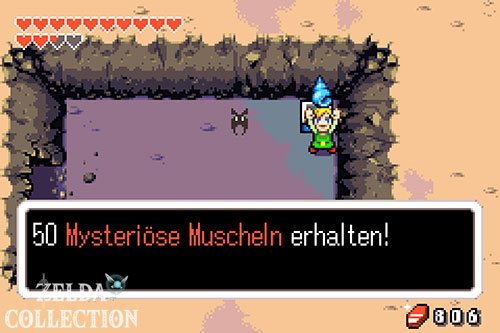
Turns on the lamp. Run through the dark rooms and pay attention to brittle floor tiles. Bomb walls can be opened in several side corridors; take the solid chests with Mysterious Shells with you. As soon as you arrive outside on the higher level, immediately activate the Wind Mal. This means we can come back here directly on any future detours.




Piece of Heart and optional fusion cavity
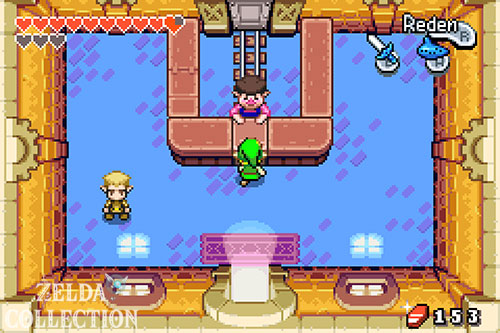
There is another Piece of Heart right next to the waterfalls, which can be reached with flippers. If you didn’t get it in the previous collection round, take it now. Another cave behind a waterfall only appears after a certain Kinstone union. If it is already marked on your map, get this Piece of Heart directly; otherwise it remains reserved and will be made up after the merger in question. The Piece of Heart lists contain several separate finds at the Sela Falls.
Then go into the upper cave, blow up the side wall and open the chest with more shells. Take the right stairs, loot the ruby chest and exit the cave to the right. Climb up the wall and jump into the whirlwind. Link is carried to the region Cloud Tops.




Above the clouds: five golden fragments of happiness
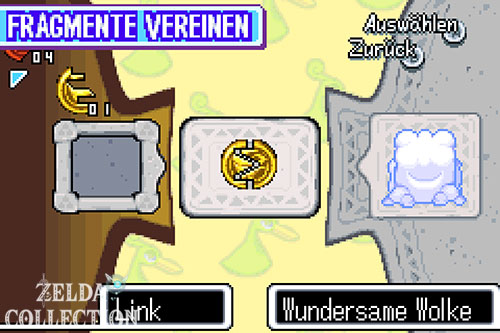
The cloud region is a large interconnected puzzle. The goal is overall five golden Kinstones to find and unite them with five mysterious clouds. Each complete fragment sets one of the wind turbines in motion. As soon as all five are running, the big whirlwind to the wind people is created.
First talk to the residents and use the red whirlwinds to switch between upper and lower cloud levels. Use your Mole Mitts to dig through the dense cloud walls. Open every chest – in addition to the golden fragments, there are several solid quantities of Mysterious Shells.






First and second fragment union
Get the first golden fragment from the chest on the upper level and then jump through the corresponding hole to a mysterious cloud. Unites the two halves. Then a normal whirlwind will take you back up.
Float to the next island, jump down and defeat the cloud enemies. The next golden fragment appears. Return up, fly to the next cloud island and repeat the process.




Activate All five wind turbines
Work your way systematically through the remaining cloud islands. Some fragments are found directly in chests, others only appear after defeating all enemies in a lower area. Use the Spinning Staff against enemies who need to be turned onto their backs, and pick up any Shell Chests along the way.
When the fifth golden fragment is merged with the final cloud, all five wind turbines start running. A large whirlwind appears in the center. Use it and immediately activate the next wind mark on the upper island.
Windvolk and the missable Light Arrows
Enter the Wind Folk building. We already know this house from our early Gregal side quest. Because we removed the spirit with the Gust Jar back then, Gregal is still alive. Now talk to him: As a thank you, he gives Link the Light Arrows.
This item is actually permanently missable. Anyone who did not save Gregal before the first regular visit to the wind people can no longer receive the Light Arrows later. Our early preparation is now paying off.


Then go up through all floors of the building and open the accessible fragment and shell chests. Speak to the Wind People Elder. It opens the way to the next dungeon. Climb the stairs and use the large whirlwind to Palace of Winds.
Palace of Winds – Bridges and Switches
Follow the path and hit the first Crystal Switch. The bridges react to the color of the switches. In the next section you have to switch the switch so that the western path is open. Move the stone blocks and use arrows, Boomerang or sword beam to hit further away switches.
Then multiply Link in three positions and push the large block together. Ride the platform up and avoid the Bombui – these enemies explode on contact and can easily knock Link off narrow paths.


Roc’s Cape
After several bridge and spiked roller passages you reach a closed battle room. Defeat the Pyromagi and Wizzrobes one after the other. After the last enemy, the large chest appears with the Roc’s Cape (Roc’s Cape).
With the cloak, Link can jump; hold the button to glide for a few seconds after jumping. This item is central to the rest of the dungeon and also opens several new ones later on the overworld Pieces of Heart.
Try the coat directly and jump over the gap to the right. Above the clouds you can move to higher and higher levels by repeatedly jumping.
fans, grilles and first key
Work your way up above the clouds and glide over the larger abysses. Watch out for crows and bombui. With the fans, you wait until the air flow stops or use it specifically to let the Roc’s Cape carry you over particularly wide gaps.
Several grids can be rotated by jumping. Combines this mechanic with the vortex rod, floor holes and moving platforms. Later you have to multiply Link three times and hit three switches at the same time with a spin attack. This will cause a Minish portal to appear. Shrink and solve the jug sliding puzzle in the small corridor before expanding again.





Use the Boomerang on the remote switch and take the Small Key that appears. Then open the key door near the spiked roller.
Outer Palace and First Big Key
Jump over the bridges and use the fans with the Roc’s Cape. Move the stone blocks to clear the paths and climb above the clouds to the higher levels. Open all fixed Luck Fragment chests you pass.
Later you defeat two iron ball soldiers. The fight becomes much easier with the Roc’s Cape because you can jump over the heavy balls and land behind the opponents. After the victory, a Small Key will appear.
In the following room, push a jug onto a switch and activate the remaining switches with three links. Through further flight passages you reach a chest with the next key and finally the large chest with the Big Key.


Nimbusgarde and the actual palace
Return to the room with the two iron ball soldiers and open the large key door. Fill up your hearts under the skulls and jump down. A Strato Guard is waiting as an Miniboss. Try to knock her off the platform with powerful hits; If it falls down, the fight is over immediately.
After the victory, a teleporter and a bridge will appear. Cross it and enter the inner part of the palace.
Compass, card and other keys
Climb the stairs on the right and open the chest with the Compass. Then use the left stairs and jump through the hole in the next room to collect a Small Key.
First defeat the enemies in the room with the brittle floor tiles. Then create three links on the two outer and middle fields and carefully walk to the three floor switches. If too many floor tiles have collapsed, leave the room and re-enter it – the floor will be reset.
You reach several whirlwind passages via spiked rollers and another key door. Enables shortcuts on the go. After a fight against Fire Pyromagi, the large chest appears with the Dungeon Map.
Piece of Heart in the Palace of Winds
The inner palace also contains one of the game’s few dungeon hearts. On the fourth floor you have to push the stone blocks in the northwest area into the abyss and then slide along the deeper walkway to Piece of Heart. Be sure to take it with you before the boss. The 100% guides specifically list this find as Piece of Heart of the Palace of Winds.
With the Roc’s Cape, the PAL-exclusive problem with the fountain heart in Hyrule Town can now be solved: the previously missing bank can simply be skipped. We will take this find with us in the next overworld round.
Final keys and boss path
Defeat the Death Grabbers, pull the lever and use the Boomerang on the moving bomb as it passes the brittle stones. Also activate the teleporter by lighting the torches.
Behind the next key door you blow up several bomb walls. In a room full of Bombui you are not allowed to touch any of the enemies, otherwise the northern door will close again. Move the two stones next to the exit and take the key.
Then fall through the brittle floor tiles, open the last key door and follow the path. Push the marked blocks into the abyss and slide to the right with the Roc’s Cape. You reach the big boss door via the clouds.




Boss: Gyorg Pair
The boss fight takes place entirely in the air on the backs of two giant Gyorgs. First, Link lands on the red Gyorg. When the three eyes appear, you have to divide Link into three positions on the multiplication fields and hit all eyes at the same time with the sword.
As soon as the red Gyorg starts to smoke, jump with the Roc’s Cape onto the blue Gyorg flying past. Only one eye appears here at a time. Hit it with the sword, but immediately jump over the swinging tail. Additionally, energy balls fly over the platform.
After a few hits you switch back to the red Gyorg. Repeat the process from hitting three eyes at the same time → jumping on the blue Gyorg → attacking single eye and jumping over the tail until both are defeated.
wind element and Heart Container
After victory, Link will automatically receive the Wind Element, the fourth and final element. Then take the complete Heart Container and use the green portal back to the wind people.
So we have all four elements. In the next chapter, the White Sword will be fully upgraded to the Four Sword. Before we face Vaati, however, there is a big final round for all the Pieces of Heart, techniques, bottles, Kinstone fusions and other 100% rewards that are now available.
- Water Element inserted into the White Sword and triple duplication unlocked
- Sword beam learned from Grimblade
- receive the largest arrow quiver of the Great Fairy – up to 99 arrows
- Cemetery key received from Dampé and retrieved from Pickra
- Piece of Heart collected in the Royal Valley
- Royal Crypt fully solved
- golden fragment from Gustaf received
- Source of the river with Gustaf’s fragment opened
- Wind Mal at Sela Falls activates
- all currently accessible Pieces of Heart and shell chests at the waterfalls taken or random fusion finds noted
- all 5 golden happiness fragments found above the clouds and combined
- Windmal at Windvolk activates
- Light Arrows received from Gregal
- Roc’s Cape obtained in the Palace of Winds
- Compass and Dungeon Map found
- Piece of Heart collected in the Palace of Winds
- Big Key found
- Gyorg pair defeated
- Boss Heart Container get
- Wind Element received – so all four elements complete
- all 201 existing screenshots of the original ZeldaCollection version included
Next: Four Sword and 100% Finish Round
With all four elements we return to the Holy Place. There the sword reaches its final form. We then use the Roc’s Cape, the Light Arrows and all the tools we have received so far for the big final round through Hyrule before we go to the Dark Hyrule Castle and the final fight against Vaati.
For individual Locations you can also find our guides for the 44 Pieces of Heart, Kinstones, four bottles, sword techniques and weapon upgrades.