

After the Cave of Flames we have the White Sword and Earth and Flame Elements. Before we tackle the third large area, we return the sword to the holy site and unlock the reproduction. This is followed by a big 100% round: Pegasus Boots, new sword techniques, more Pieces of Heart, bottles, Tingle Fusions and Kinstone rewards. Only when the currently accessible content has been processed do you go through the Castor Wilds, the wind ruins and finally into the Fortress of Winds.
The Holy Place
Return to Hyrule Town. If your ruby account is sufficiently full, you can now buy the Boomerang in the store for 300 Rupees. It’s not absolutely necessary for the main plot, but it’s part of a complete inventory and is very useful against Sparks. Also check with residents along the way to see if new Kinstone Fusions are possible.
Then go into Hyrule Castle and take the western stairs down. Follow the corridor north to the entrance to the Holy Site. Place the White Sword in the base. Earth and flame elements combine with the blade and give it new power.
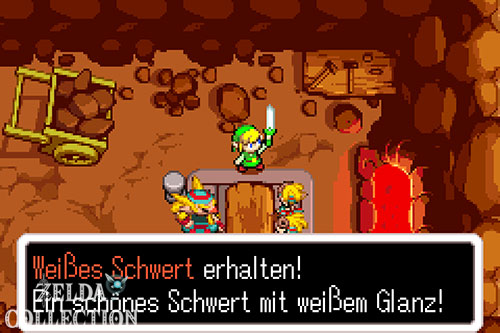


Duplication with two links
Stand on one of the glowing floor tiles and hold down the sword until the energy bar is completely filled. Then run onto the second plate. Link creates a doppelganger. Both move synchronously; If someone hits a wall or an obstacle, the copy disappears. Position the two links so that they are on the two floor switches at the same time. The exit opens.


Piece of Heart #9 and Ezelo’s story
As you leave the castle, Vaati appears and sends two Moblins at you. After the fight, Ezelo tells more about his past and Vaati’s origins. Before we go back to the city, we take Piece of Heart #9 west of the castle in the Northern Plains. Blow up the corresponding rock or access and collect the Piece of Heart. Status: 9/44.
Shoe Shop, Lon Lon Farm and Wake Up Mushroom
In Hyrule Town, enter the shoe shop. Rem sleeps so deeply that he is unresponsive. Turn the vase over with the whirling staff, shrink Link and go onto the table. The Minish there explain that only the wake-up mushroom Witch Syrup can wake up the shoemaker.
Leave the city to the east and go to Lon-Lon Farm. Talon and Malon have locked themselves out. Shrink the tree stump, enter the house through the small hole, expand again inside and look for the key in the jars. Give it back to Talon. This means the farmhouse is permanently open.


Piece of Heart #10 and Witch Syrup
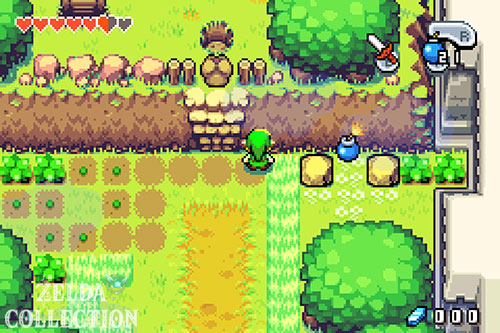
Follow the path through the farm, use vortex rods and whirlwinds and open the shortcuts with the small rocks along the way. In the northwestern Tyloria Forest you will now reach another Piece of Heart #10. Then go to Witch Syrup’s hut and buy the Wake-Up Mushroom.
Return to Hyrule Town and use the mushroom on Rem. He wakes up and gives Link the Pegasus Boots.


Rock Breaker and Dash Attack
Go directly to Swiftblade. Because Link now has the White Sword with two elements, Swiftblade teaches him the Rock Breaker. This allows you to destroy jars and small rocks directly with the sword. Speak to Swiftblade again: With the Pegasus Boots you also meet the requirements for the Dash Attack. Equip sword and boots at the same time and Link will hold the blade forward as he sprints.


Large 100% lap in front of the swamp
The following round is not mandatory for the main path, but makes sense for our perfect score. With duplication and Pegasus Boots, numerous previous dead ends are now open.
Pieces of Heart #11 to #13
At the Veil Falls you can now reach the previously inaccessible Piece of Heart #11. In Hyrule Town, a hidden Minish path behind the buildings leads to Piece of Heart #12. Another sparkling tree or Minish path becomes accessible with the Pegasus Boots and leads to Piece of Heart #13. Take all the solid red and blue Kinstones from the chests along the way.


Prepare Tingle mergers
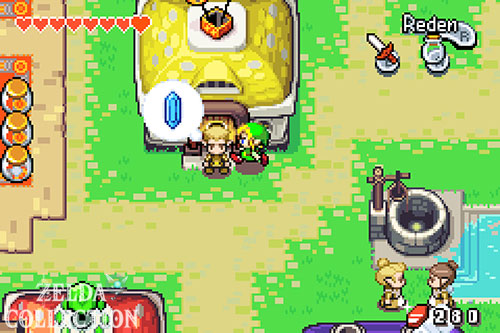
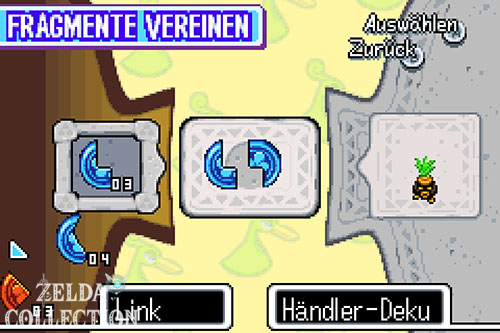
East of Link’s house sits Tingle. Combines a suitable Kinstone with him. This will open one of four trees in the Northern Plains. Ankle is waiting at the Lon-Lon Farm, and another of Tingle’s brothers is waiting at Lake Hylia. You also combine the appropriate fragments with them. The fourth brother can only be reached after receiving the Mole Mitts. The four mergers later lead to the Magic Boomerang.





Bottle with dog food and castle garden
Complete Stockwell’s job with the dog food. Bring the filled bottle to the dog at Lake Hylia and empty it into the bowl. After that you can keep the Empty Bottle.
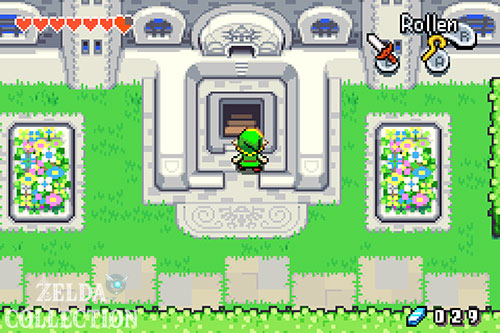
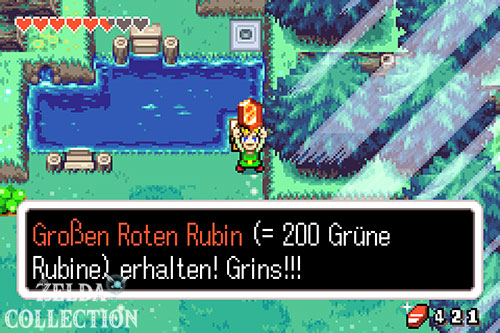
In the northeastern castle garden, a pond can disappear due to a certain red random fusion. If this has already happened, climb down and take Piece of Heart #14. If the pond is still there, mark this find as open; the necessary red fusion can appear in different residents. In the southeastern castle garden you cut away the bushes and climb into Grimblade’s dark dojo. His technology is not yet available without a lamp, but Piece of Heart #15 is already in the room.




Piece of Heart #16, Roll Attack and Piece of Heart #17
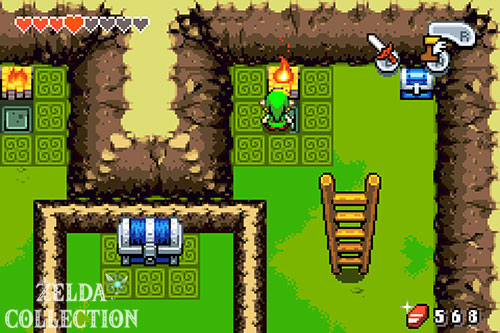
Return to Mount Crenel. In the cave with the reproduction plates, create two links and press both switches at the same time. Waiting behind the door is Grayblade. First take Piece of Heart #16 and the two 50 ruby chests and then learn the Roll Attack.
Then check with Melari to see if you can combine a red Kinstone with him. This causes a beanstalk to grow in the northwest of Mount Crenel. Climb up it and collect 160 Rupees and Piece of Heart #17 at the top. The optimal target position in front of the sump is 17/44. If the necessary red fragment half is not yet available, this one Piece of Heart simply remains reserved.




Castor Wilds
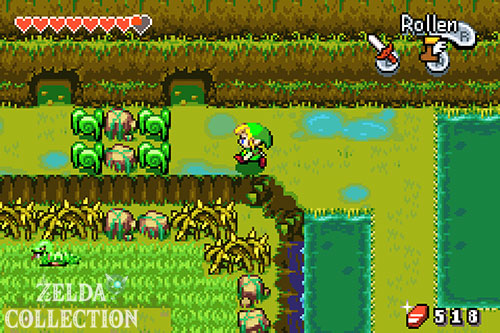
Go through the Western Grove into Castor Wilds. The dark swamp areas pull Link down when he walks over them normally. With the Pegasus Boots you can sprint over it with enough running speed.
First Golden Kinstone
Head northwest and enter the cave. A black shadow guard is waiting there. Frontally, the knight blocks almost all attacks. Wait for his blow, dodge to the side and then attack his back. After the victory, open the chest with the first golden Kinstone.



bow and Piece of Heart #18
Work your way to the shrink portal and shrink Link. Follow the Minish Tunnel and use the Gust Jar on the small water sections. Another Shadow Guard is waiting in the cave. After the victory you will get the bow.
Once again at normal size you can defeat the Eyegore statues. Shoot an arrow into the eye, wait until the statue wakes up and then continue hitting it. You reach the western gravestone via tendrils and whirlwinds. Push it up and descend into the crypt. Swiftblade the First is waiting there; his technique only exists after seven other scrolls. However, you can collect Piece of Heart #18 immediately.


All three golden fragments
Open the shortcuts in the swamp by pushing small rocks into their holes. Defeat more Eyegore statues and use the whirlwinds to reach the remaining two caves. The second and third golden Kinstones are there.
Then go to the three large statues in the southwest of the swamp. Combine one of the golden fragments with each statue. After the third union, the large rock breaks and the path to the Wind Ruins becomes clear.




Wind Ruins
Climb the stairs and blow open the hidden cave entrance. Take the Kinstone from the chest. The further path is guarded by Armos statues. Some can only be activated or deactivated in Minish size: shrink on the tree stump, climb into the statue from behind and flip the switch inside.


Piece of Heart #19
At the second shrinking portal, your link shrinks and goes back a bit. Climb down the small vines. If there are three tendrils next to each other, take the middle . Below is a small cave with a linear path. At the end, Piece of Heart #19 is waiting.
Return to the main path. At the four Armos you defeat the three normal statues and take the unlocked chests with you. You switch off the fourth Armos from the inside in Minish size. In the next section, defeat all the ropes and the dubious people hidden under stones. The path to the Fortress of Winds then opens.


Fortress of Winds – Compass
There are four doors in the entrance room. Starts on the far left. Climb up and shoot the Eye Switch. Then defeat the four blue Stalfos. In the next room, look out for the seemingly harmless Rupees – some of them are ruby slimes.
On the floating platforms you have to hit two Eye Switch quickly one after the other. Stand on the horizontal moving platform. Behind the door, multiply Link so that both are standing on the two floor switches at the same time. Defeat the Eyegore Statue and take the Compass.




Small Key and Dungeon Map
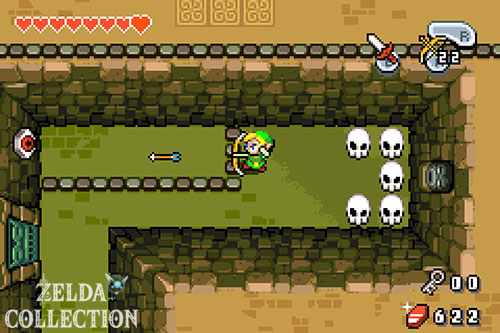
Also opens the eastern door with arrows. There are mimeograph plates beneath the skulls. Move the stones in two different double arrangements and pull the lever. A Small Key falls to the lower floor. Jump after it and collect it.
Return to the entrance room and take the middle door. Defeat the Stalfos and then the Eyegore statue. In the chest you will find the Dungeon Map.



Piece of Heart #20 in the eastern tower
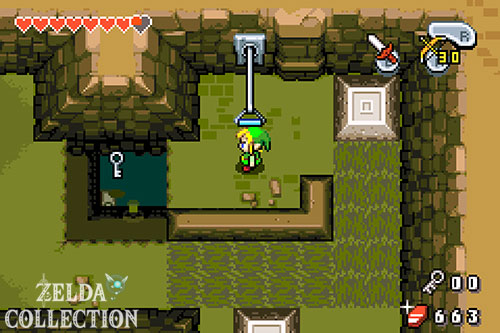
Back at the entrance, take the second door from the right. Pull the levers at the top, open the two fragment chests and work your way to the room with the two Armos. First, defeat the active statue, multiply Link and press both switches at the same time. Shrink yourself, activate the second Armos from within and then defeat him in normal size.
Jump in Minish size through the openings to the ground floor and go through the small corridor to the right. Zoom into the locked room and collect Piece of Heart #20. This means our target level is 20/44 Pieces of Heart; if one of the random red mergers has not yet been triggered, the corresponding earlier Piece of Heart remains open.


Deathgrabber and Shadow Guard
Get the dropped key and open the next key door. Pull the lever and sprint over the extending bridge with the Pegasus Boots. Defeat the Death Grabbers. Use the depressions as protection from the spiked rollers and solve the statue/double puzzle for the next key.
Behind the next door there is another Shadow Guard waiting. Let them attack, dodge and hit the back. After the victory, a teleporter will appear.




Mole Mitts and all treasures
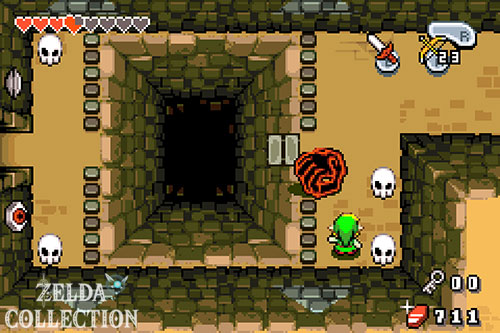
In the next area you notice three prominent symbols on a wall. Place a bomb there and open the secret room. In the large chest are the Mole Mitts. This allows Link to dig through loose soil.
Immediately dig to the chest containing 100 Rupees. As you continue, you uncover pillars, get several solid Kinstones and reach a chest with 80 Mysterious Shells. For our 100% run, none of these fixed chests will be missed.




Big Key and Boss Quartoxuma
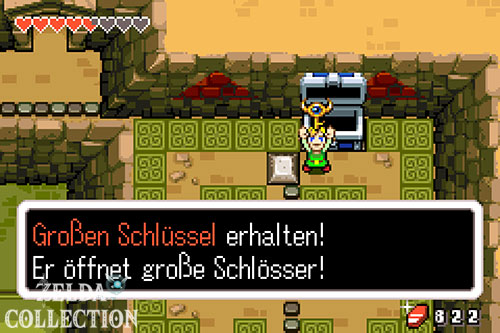
Work your way through the last earth passages and collect the remaining Small Key. The ladder takes you to the next key door. Then jump through the hole on the right and open the chest with the Big Key. Use the red teleporter and open the boss door.
The boss is called Quartoxuma in the German version and Mazaal internationally. First shoot the red eyes on both hands with the bow. As soon as one hand is stunned on the ground, hit the eye with the sword. If both hands are out of action, Link shrinks and enters the head.
Inside you have to find the vulnerable eye on a pillar. In the first round it is openly visible. Later it is surrounded by earth; dig through with your Mole Mitts. After three successful interior phases, Quartoxuma is defeated.
Take the Heart Container and go to the stone tablet in the north. Instead of the wind element, you will receive the Ocarina of Wind. From now on you can travel to all activated wind moles.


Magic Boomerang after dungeon
With the Mole Mitts you can now reach the last of Tingle’s brothers. Dig through the corresponding earth cave in the Trilby Heights and combine the Kinstone with Knuckle. Once all four Tingle Fusions have been completed, enter the four open trees in the Northern Plains and activate the switch in each case. A ladder appears in the middle. Below is the Magic Boomerang.
Next: Library and Temple of Droplets
With ocarina, Mole Mitts and Pegasus Boots, a large part of the world is opening up again. The next chapter includes the library quest, the Power Bracelet, the swimming fins and another extensive round of collecting. Then we go to the Temple of Droplets at Lake Hylia.
For individual Locations you can also find our guides for the 44 Pieces of Heart, Kinstones, four bottles, sword techniques and weapon upgrades.