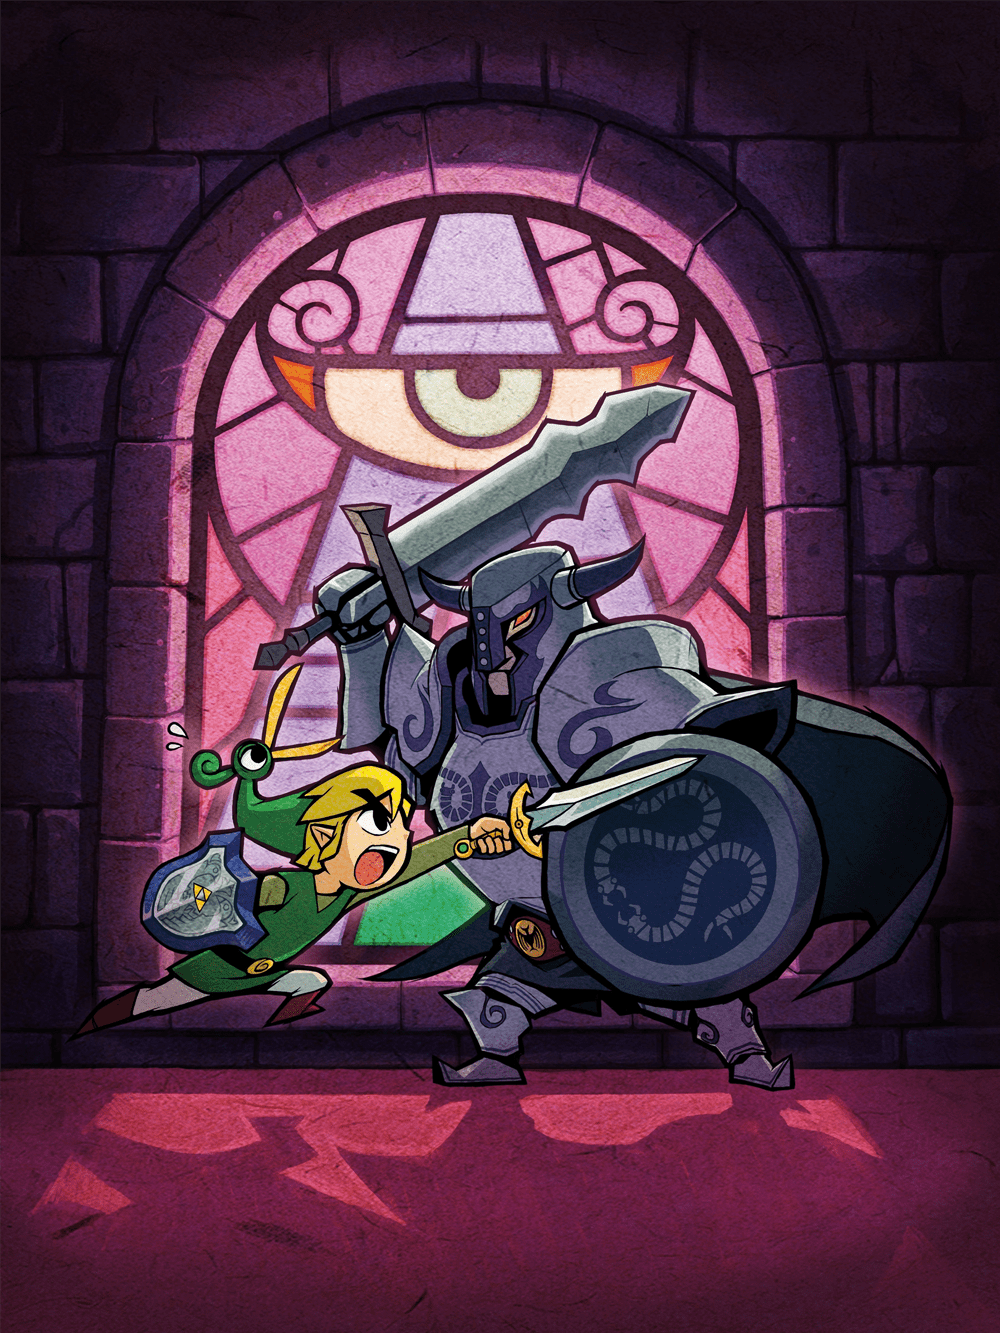

With the Roc’s Cape from the Palace of Winds, Link now has all the important skills to explore Hyrule almost completely. Before we unite the four elements in the holy site and enter the Dark Hyrule Castle, we clear out all the collectibles, side quests and upgrades that are still accessible.
This is particularly worthwhile with The Minish Cap: Even before Vaati you can complete all 44 Pieces of Heart, the additional complete Heart Container, all four bottles, all sword techniques and all 100 Kinstone Fusions. In addition, the first 130 figures can already be collected and the music store in Hyrule Town can be opened. After the credits roll, there’s only a little real postgame content left.
1. Collect the last Pieces of Heart
Let’s start with the Pieces of Heart, which are now accessible through the Roc’s Cape, the Mole Mitts, the flippers or previous Kinstone Fusions. If you have followed our route so far, you have already collected most of the 44 Pieces of Heart. The following Locations are among the typical candidates that are only dealt with towards the end of the story.
Piece of Heart #23 on Lake Hylia
At Lake Hylia there is a Piece of Heart lying open on a small island that Link couldn’t reach for a long time. With the Roc’s Cape, the gap is no longer an obstacle. Jump or glide over and collect the Piece of Heart.

Piece of Heart #24 on Lake Hylia
Swim north at the mayor’s house and climb the vine. In the cave you will meet a Minish with whom you can combine a Kinstone. This causes a large vine to grow in the north of Lake Hylia.
Use your Mole Mitts to dig through the burrows there to the new vine and climb up. The Piece of Heart is waiting at the top.

Piece of Heart #25 on Lake Hylia
Then return to the earth cave and this time dig to the left. The cave has several paths and exits. Take the appropriate exit and you will end up directly at another Piece of Heart.

Piece of Heart #32 – the bell in Hyrule Town
Go to the big bell in the middle of Hyrule Town. With the Roc’s Cape you can now jump high enough to hit them. Jump against the bell and the Piece of Heart hidden inside falls out.

Piece of Heart #44 in the Secret World of Tabanta
Zoom out in the Wind Ruins area and go left as Minish. Climb down over the three lianas and enter the small cave. Follow the path to Piece of Heart.

Piece of Heart #34 in the fountain of Hyrule Town
Reduce your size to the builders and follow the path into the well again as Minish. At the point that previously could not be crossed, you now use the Roc’s Cape. Jump to the other side and take the Piece of Heart.

Piece of Heart #11 at the Swordmaster at Mount Crenel
Climb up the four climbing walls from the foot of Mount Crenel and enter the cave. Multiply Link and stand on the two switches at the same time. The door opens and you reach a Blade Brother. This Piece of Heart is also in its range.

Piece of Heart #27 in the Southern Plain
Go west from Link’s house and hit the tree with the Pegasus Boots. Zoom out at the exposed portal, jump into the river and swim northeast. There is a small cave entrance there. Inside you will find the Piece of Heart.

Piece of Heart #33 behind the school
Enter the school in Hyrule Town and shrink down. Go outside to the running track and follow the narrow Minish path north. Later, enlarge yourself again, quadruple Link and push the large block to the side together. Behind it is the Piece of Heart.

Piece of Heart #41 at Sela Falls
East of the corresponding Minish area you will meet a Minish with whom you can combine a Kinstone. The merger opens a new cave at Sela Falls. Then go to the exposed entrance and follow the path to Piece of Heart.

Piece of Heart #28 in Tyloria Forest
Shrink near the Minish where Link received the bomb bag at the start of the adventure. There are three small passages in front of you. Take the left one, follow the icy path and you will shortly reach Piece of Heart.

Piece of Heart #15 in the Fortress of Winds
From the Fortress of Winds entrance, go through the second gate from the right and then go up two floors. Reduce your size, drop down near the two statues and go to the right. Size up again and take the Piece of Heart with you.

Piece of Heart #31 behind a waterfall
On the ground floor of the wind people’s large building, combine the appropriate Kinstone with the woman there. This opens a waterfall in the northwestern area of the Sela Falls. Enter the new cave entrance and take the Piece of Heart inside.

Piece of Heart #39 by Anju
In Anju’s chicken mini-game, a single successful round is not enough. Play the task again and again and work your way up to the highest difficulty level. Only after all rounds have been completed does Anju give Link the Piece of Heart.

2. Get additional complete Heart Container
In addition to the 44 Pieces of Heart, there is also a hidden complete Heart Container in The Minish Cap. Fly to the Forest Minish Village and visit the Minish in the northeast area across the water.
Multiple Kinstone unions are possible with this Minish. Combine suitable fragments with it until the required access appears on Lake Hylia. Then fly to Lake Hylia with the ocarina, shrink down and jump into the hole opened by the fusion.
In the underground passage, use the Gust Jar to remove the dust. The small holes in the ground serve as safe places from the rolling spiked rollers. Work your way all the way to the right, climb the ladder and enter the small house. The resident rewards Link with a complete Heart Container.


3. Complete all eight Tiger Scrolls
Control your sword techniques. To complete the game you need all eight Tiger Scrolls. The Roc’s Cape now specifically enables the dive attack on Swiftblade.
- Spin attack
- Sword Beam
- Dash Attack
- Emergency beam
- Rock Breaker
- Roll Attack
- Plunge Attack
- Large Spin Attack
If all you need is the Great Spin Attack, go to Swiftblade the First in Castor Wilds. Once Link has the seven other scrolls, he teaches him his final technique.


4. The three additional sword upgrades
In addition to the eight scrolls, there are three masters who improve skills already learned. These improvements do not create another Tiger Scroll, but are also included for our 100% route.
Open the corresponding dojos through Kinstone Fusions and visit the masters behind the waterfalls. Among other things, you can charge the whirl attack faster, speed up the multiplication and extend the duration of the great whirl attack.


5. Goron quest and fourth bottle
If you are still missing a bottle, complete the Goron quest now. The starting point is the Kinstone Association with Eenie in the Eastern Hills. Then you need several mysterious walls in the underground caves of Hyrule.
Use the Mole Mitts to dig through the corresponding caves and combine blue fragments with the mysterious walls. Little by little, more Gorons arrive at the cave southwest of Lon-Lon Farm.


As soon as the six Gorons have completely opened the cave, run to the end and take the fourth bottle from the chest.
Prepare Biggoron for the postgame
Then combine a Kinstone with the Goron on the far right. This will cause Biggoron to appear at Sela Falls. You can unlock it now; however, the actual Mirror Shield remains a postgame reward.


6. Arrow quiver, bomb bag and wallet maximize
Check your three most important capacity upgrades now. There are several extensions for the arrow quiver; after all upgrades, Link can carry 99 arrows.

The wallet should also be expanded to its maximum by now. As for the Bomb Bag, the European version has different limits than some other releases. It is therefore crucial for our route that you have collected all of the bomb bag upgrades available in your PAL version.

7. Remote bombs and other weapon upgrades
Through a Kinstone union in Minish Village, Belari can develop the ranged bombs. Then visit him and swap your normal bombs for the remote bombs. You can switch between the two variants at any time later.
Also check that the Magic Boomerang and the Light Arrows are present in the inventory. The Light Arrows are particularly important because the necessary Gregal sequence can be missed.
8. Pico Blooms and Picolyte Varieties
In Minish Village, a researcher is working on various Pico Blooms. Bring him the requested materials and complete the quest. Once a new flower has been grown, Beedle can sell the corresponding Picolyte variety in Hyrule Town.


9. Complete all Kinstone Fusions
Now it’s worth taking a systematic tour of Hyrule. Check all people and Minish for whom the symbol for a Kinstone union still appears. In total there are 100 associations.
We already needed many of them to unlock Pieces of Heart, Beanstalks, Gorons, Golden Enemies, Swordmasters and other rewards.


Tingle Trophy
Once all 100/100 Kinstone Fusions have actually been completed, talk to Tingle again in the Southern Plains. As a visible confirmation of the completion, he gives Link the Tingle Trophy.


10. Other optional completeness goals
If you really want to get the most out of the game, also control the three Joy Butterflies, the golden enemies, all eight wind moles and the eight swordsman newspapers in the post office.
The Swordsman Newspapers are unlocked through a Kinstone Association and can then be purchased one at a time.

11. Collect 130 figures and get Piece of Heart #38
Visit Carlov’s Figurine Gallery in the southwest of Hyrule Town. Before the first victory over Vaati are a total 130 figures available. Use your Mysterious Shells until you complete this current collection.
Once you have all 130 figures available before the finale, talk to Herb next to the cafe. Although the last six figures have not yet been unlocked, he recognizes your complete collection at this point and grants you access to his house.

Enter the house. In addition to ruby chests and the phonograph, you will also find Piece of Heart #38. This means that all 44/44 Pieces of Heart can actually be complete before Vaati.

Ready for Vaati
If you have completed this final round, Link can already go into the final with 20 hearts: three starting hearts, five Heart Container of the dungeon bosses, all 44 Pieces of Heart and the additional complete one Heart Container together result in the maximum health.
Now fill your four bottles with fairies or elixir, add arrows and bombs and save the game. Then we go through the well-known secret passage in the castle garden one last time to the holy site.
Our big 100% final round is over. Now we return to the Holy Place with all four elements, complete the sword and enter the Dark Hyrule Castle. In the last dungeon, several multiplication puzzles, garden, map, Compass and Big Key await again before we face Vaati in his various forms.
Complete the Holy Sword
Go to the Holy Site via the well-known secret passage in the courtyard of Hyrule Castle. Place the sword in the base and then stand on the colored floor tiles. The power of all four elements is now transferred to the blade.
The sword then reaches its final shape and Link can now quadruple on four corresponding fields. At the same time, the previously closed area in the north of the holy site opens.


Vaati learns the secret of the Force
Go north through the newly opened door. There you can see the old murals about history Hyrule’s. Shortly afterwards, Vaati appears. He realizes that the power of light or the Force he is looking for is hidden in Princess Zelda.


Entering the Dark Hyrule Castle
After Vaati’s attack, Hyrule Castle has completely changed. Several residents and guards are petrified. Charge the Holy Sword and hit the Petrified Ones with the Sword Beam to break the curse.
Then enter the castle and first go left. Follow the path north to the fire traps. Blow open a hidden wall on the right, shrink Link at the Minish portal and return to the large fire trap.


Free King Daltus
Drop down at the large fire trap and follow the small passage into the prison cells. Zoom in again and step on the switch to make the doors open.
In the right cell you will find the fossilized King Daltus. Fully charge the Holy Sword and hit him with the beam. The king is freed from the curse and gives Link a Small Key.


Dungeon Map
Return to the lower lock area with the key and open the locked door. Follow the path to the chest with the Dungeon Map.

Quadruple Puzzle and Western Castle Wing
After the map, continue along the left stairs. In the next part of the castle you have to use the new quadruple multiple times. Stand on the corresponding spaces, charge the sword and create four links.
At the statues you have to knock back the energy balls that have been fired at the same time. Position the four links so that each faces a statue. After the successful hit, the path opens.


floor puzzle
In the field puzzle you have to step on all colored floor tiles without touching an already activated tile a second time. Plan the route briefly beforehand and work your way through the pattern systematically.
This is followed by further switches and reproduction fields. Hold the four links together and make sure that they are not separated by obstacles or enemies.


Obtain Defeat Garden and Compass
There is a guard waiting in the next section. As with the previous knights: let the opponent attack, dodge to the side and then hit him from behind.


Continue following the path. In a room you will find a larger mechanism or switch and then the chest with the Compass.


Secret passage behind the throne
Return to the throne room and push the throne aside. A hidden path appears behind it. Follow him through the darker area of the castle.


Cross the Exterior Walls of Hyrule Castle
castle
You can now get outside. Use the whirlwinds and the Roc’s Cape to glide along the walls. Be careful not to get hit by enemies or projectiles, otherwise Link will crash.
At the bottom you have to hit a distant switch with the bow so that the next path opens.


Four switches and Bob-omb puzzle
Back in the castle, you quadruple your link again and place all four links on the switches at the same time.

In the next room you have to use a Bob-omb or a bomb to destroy the obstacles. You can then continue via the metal grille and other switches.


Black Knight and Garden Rooms
In the next larger section there is a particularly strong Black Knight waiting. Dodge his attacks and attack his back. Use your full sword strength and don’t stop directly in front of him.


After his victory, several Garden areas become accessible. Work through them one after the other. The red teleporter appears in one of the rooms, which later serves as a shortcut.


fire traps and other Small Key
In the following room you have to walk between moving fire lines. Wait for a safe gap and only then move on.


More garden and switch
The next rooms combine garden and reproduction puzzles again. First defeat the enemies and then take care of the switches.


Quad switch and key


Second floor puzzle and final rooms
Another colored floor puzzle again requires you to enter each field only once. Complete the pattern before leaving the room.

Then we go outside briefly and then back into the castle. Defeat the enemies in the next rooms and work your way to the last switches.


Four wall switches and last Small Key
In one of the next rooms there are several switches on the walls. Shoot them with arrows and follow the opened path.


Defeat the last enemies, solve the remaining switches and use your keys to open all key blocks.


Big Key
In the last puzzle before the boss area you have to quadruple Link again. Push the large block aside together and then open the large chest.


Last route to Vaati
Opens the large key door. From here the actual final spurt begins. Defeat the enemies along the way and use your four bottles if necessary. Once you have completed our 100% round, you should be well prepared with maximum equipment and a full heart bar.


Boss: Vaati – first form
Vaati floats in the middle of the arena, protected by small eyes. First destroy the eyes with the sword. As soon as the large eye becomes visible on its body, hit it as often as possible.
Later the small eyes will be surrounded by a black layer. Suck it out with the Gust Jar and then destroy the exposed eye with the sword. Dodge Vaati’s projectiles and fire attacks and repeat the process.


Boss: Vaati – second form
In the next form, Vaati is surrounded by several small eyes. Shoot the eyes with the bow until four of them react red.
Note the position of these four eyes and place the four links on the reproduction spaces in exactly the same formation. Then hit all four red eyes at the same time with the sword. This leaves the big eye in Vaati’s middle vulnerable.
Hit the big eye and repeat the process until the second form is defeated.


Princess Zelda freeing
After the victory you will find Zelda petrified in the next room. Charge the Holy Sword and hit her with the sword beam. The curse breaks.

The castle then begins to collapse. The normal exit is blocked, so the only way back is towards the holy site. Take hearts and a fairy from the jars along the way if you still have room in a bottle.
Final: Vaati’s final form
Vaati appears again and transforms into his final form. Two massive arms attack from the ground.
The two arms destroy
Wait for an arm to come out of the ground and hit it with the Cane of Pacci. This will turn the arm around. Shrink Link at the Minish portal and enter the arm.
Several eyes float inside. Only one of them is vulnerable. Detect the aberrant eye and attack it repeatedly with the sword. The second arm is dark; uses the lamp there.


Knock back four energy balls
If both arms are destroyed, Link quadruples. Vaati’s four small eyes now fire blue energy balls. Knock back the four projectiles at the same time.
If all four Vaati hit, his body becomes vulnerable. Run forward and attack him with the sword. Repeat this process several times.


After several successful hits, Vaati is finally defeated.
The end of Vaati
After the fight, the final scenes with Zelda, King Daltus and Ezelo follow. The threat of Vaati is ended and Hyrule is restored.


Let the credits play completely and then save your score. Only now will the final postgame content be unlocked.
After Vaati’s defeat and the credits, reload your saved game. Because we have already completed all of the attainable Pieces of Heart, Kinstone Fusions and side quests before the finale, the real postgame is pleasantly short.
There are only two essential things missing: the Mirror Shield and the last six figurines including the final Carlov Medal.
Mirror Shield by Biggoron
If you have completely completed our Goron quest and performed the final union with the Goron, Biggoron is already waiting at the top of the Sela Falls.
Visit him after Vaati’s defeat. Biggoron asks if he can have Link’s shield. Agreed. He swallows the shield and then takes some time to process it.

Then continue playing for a while and return to Biggoron later. He gives Link the shield back – but as an improved Mirror Shield. This means you can not only block projectiles, but also reflect them back at opponents.
The last six figures
After the first victory over Vaati, Carlov expands his Figurine Gallery with six new figures. As a result, the collection grows from 130 to a total 136 figures.
The final figures show characters and forms from the finale that could not have been available before the conclusion of the story. Spend Mysterious Shells at the machine again until you also have these six figures.

136/136 Figures: Minintendo Medal
As soon as you have collected all 136 figures, the Figurine Gallery is finally complete. As a visible reward you will receive the Minintendo Medal, which replaces the Mysterious Shells in the status screen.

You already got the Piece of Heart and the phonograph in Herb’s house in our route before Vaati with the first 130 figures. If you missed it back then, you can of course make up for the visit now.