

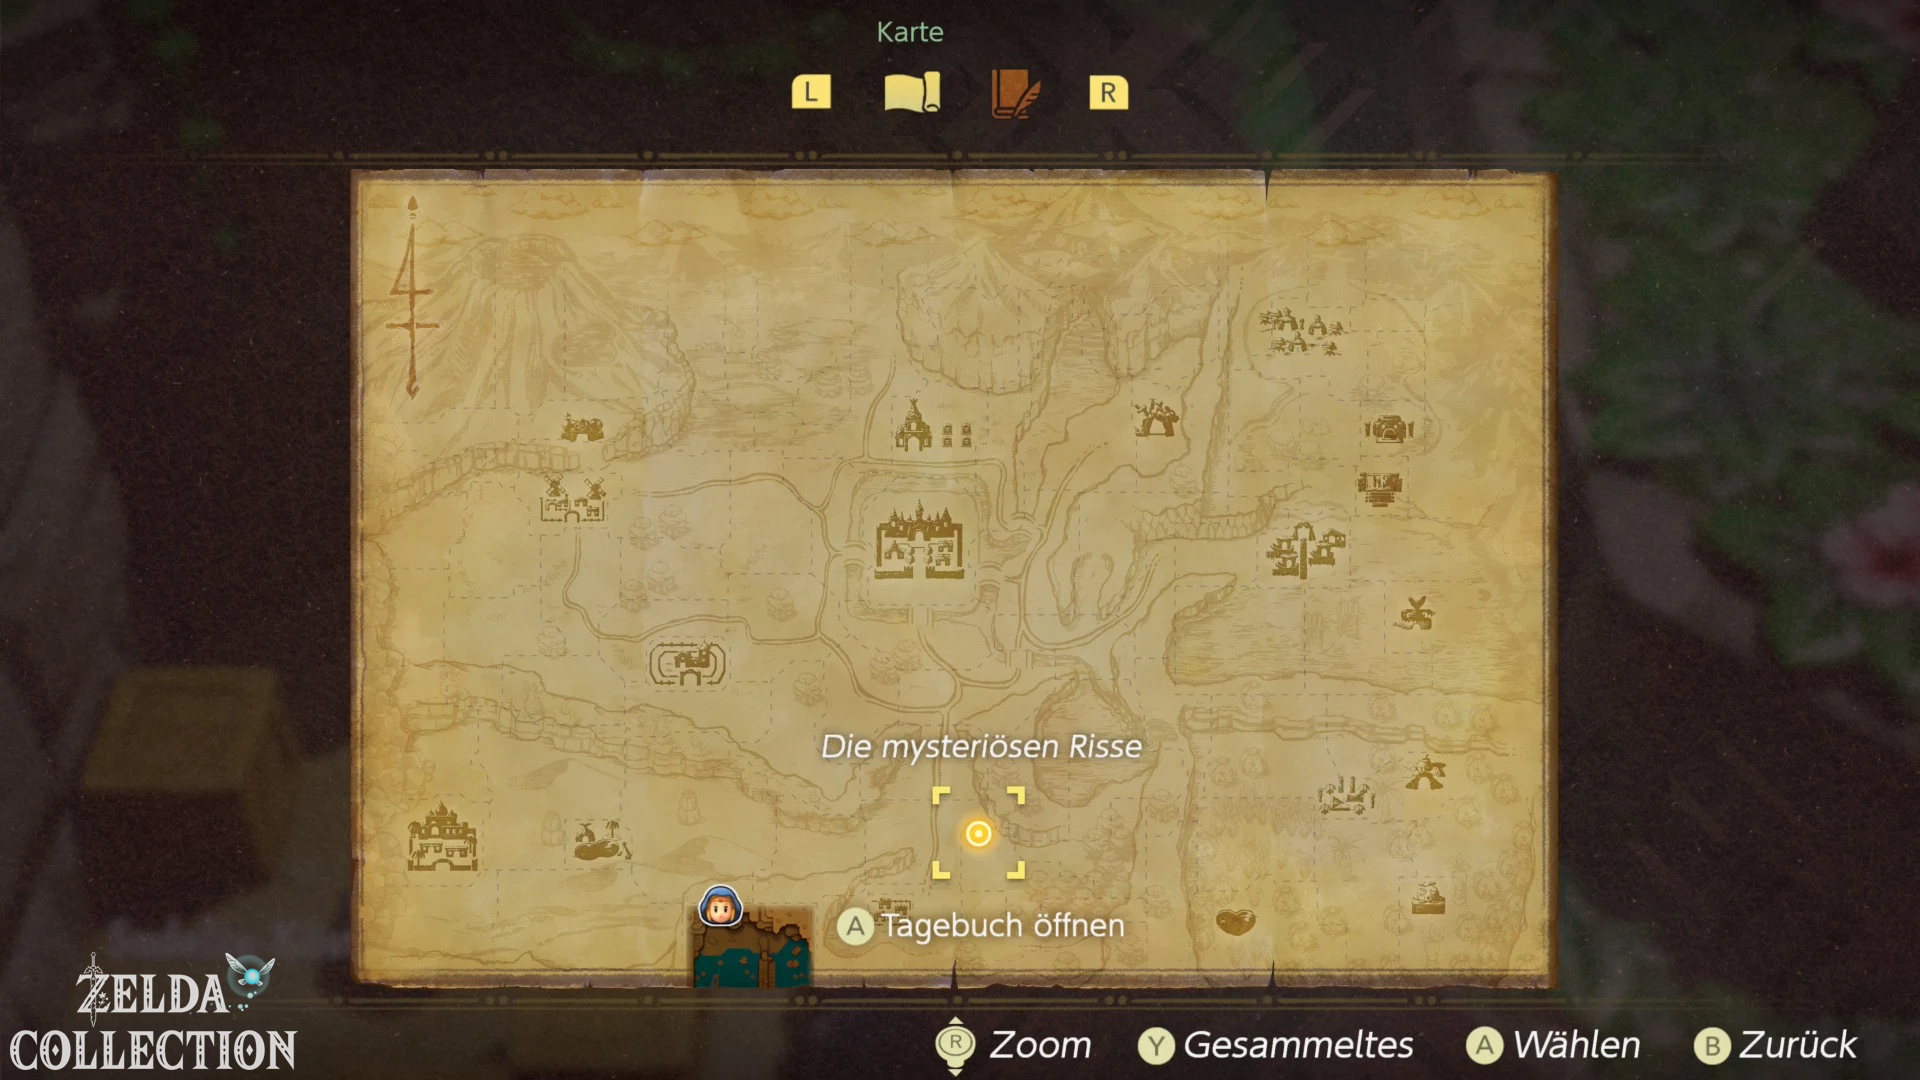
Link has reached Princess Zelda, but after the fight a rift opens and swallows him. In “The Mysterious Rifts” you take over Princess Zelda, escape from Hyrule Castle and follow Tri’s trail to Suthorn Ruins. On the way you pick up four Pieces of Heart, your first Fairy Bottle and the echoes for the upcoming puzzles.
Prologue: Link, Ganon and Zelda’s Escape
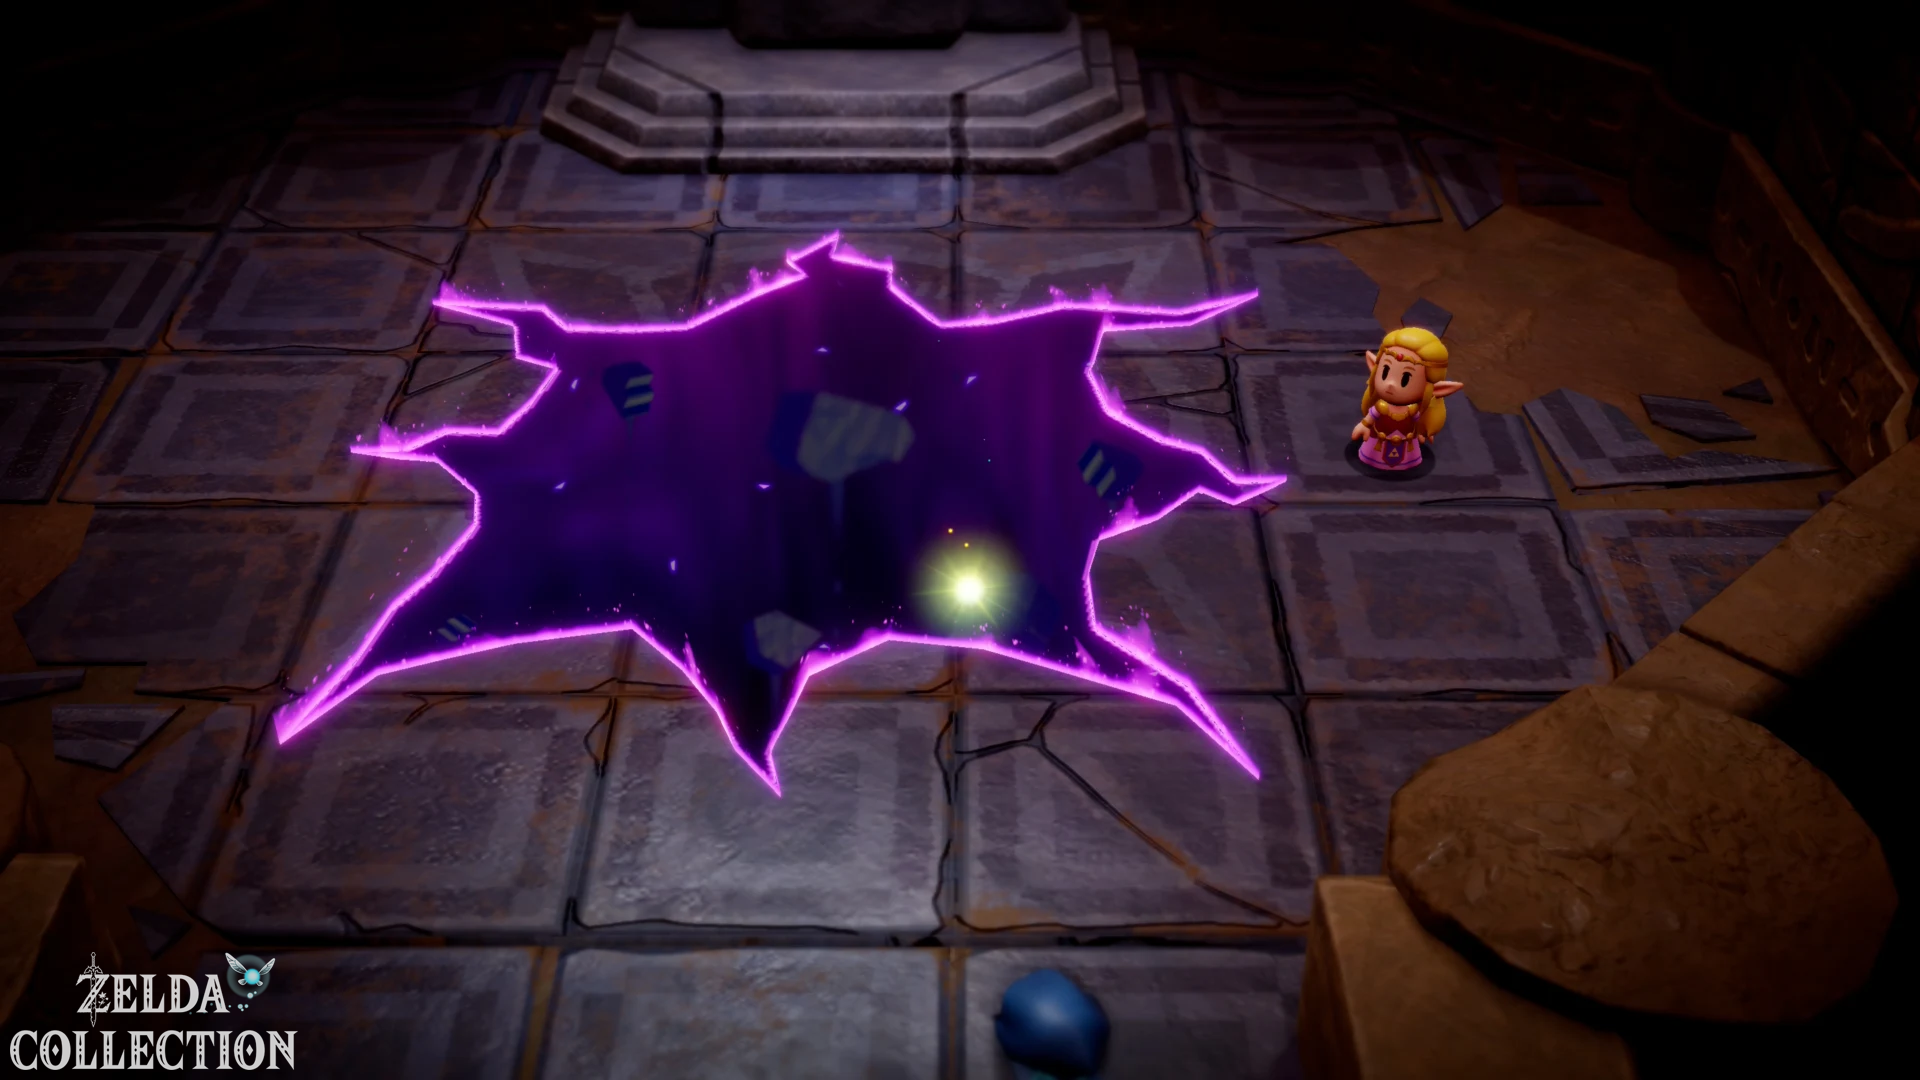
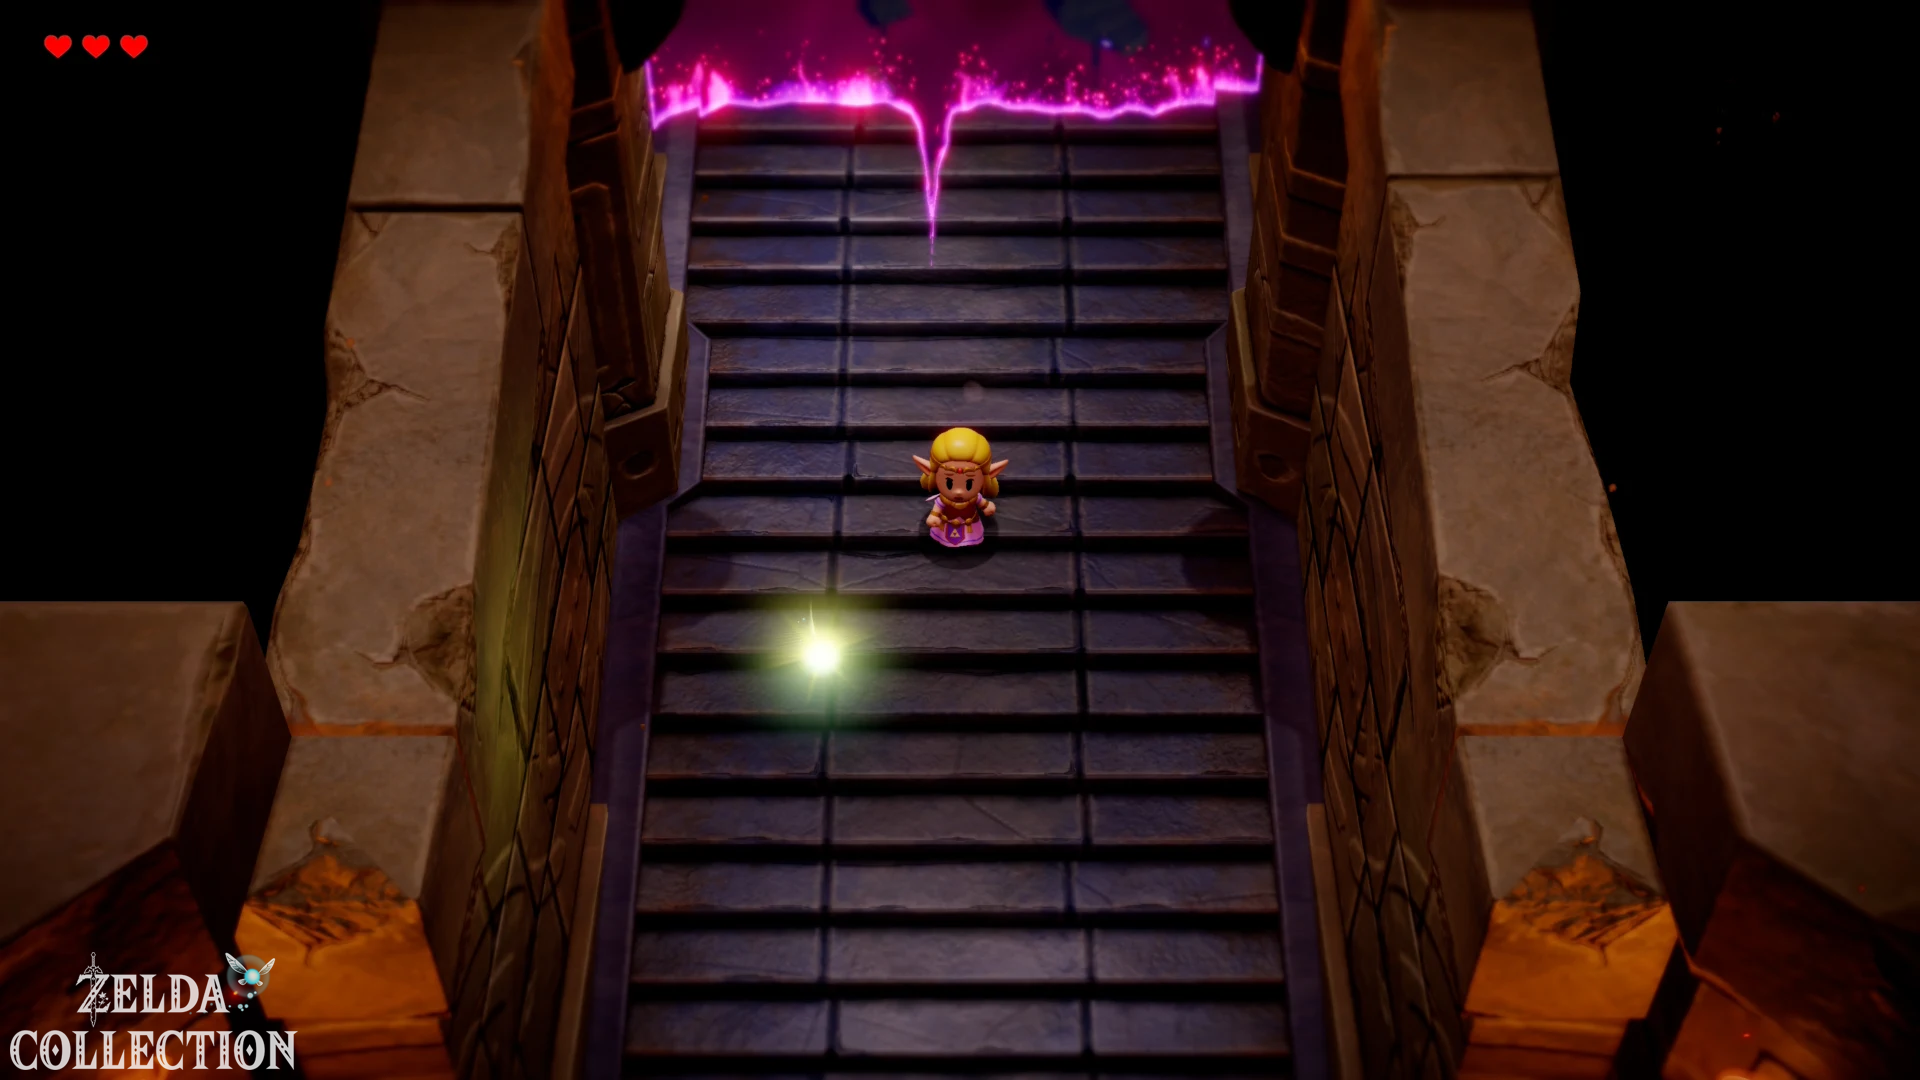
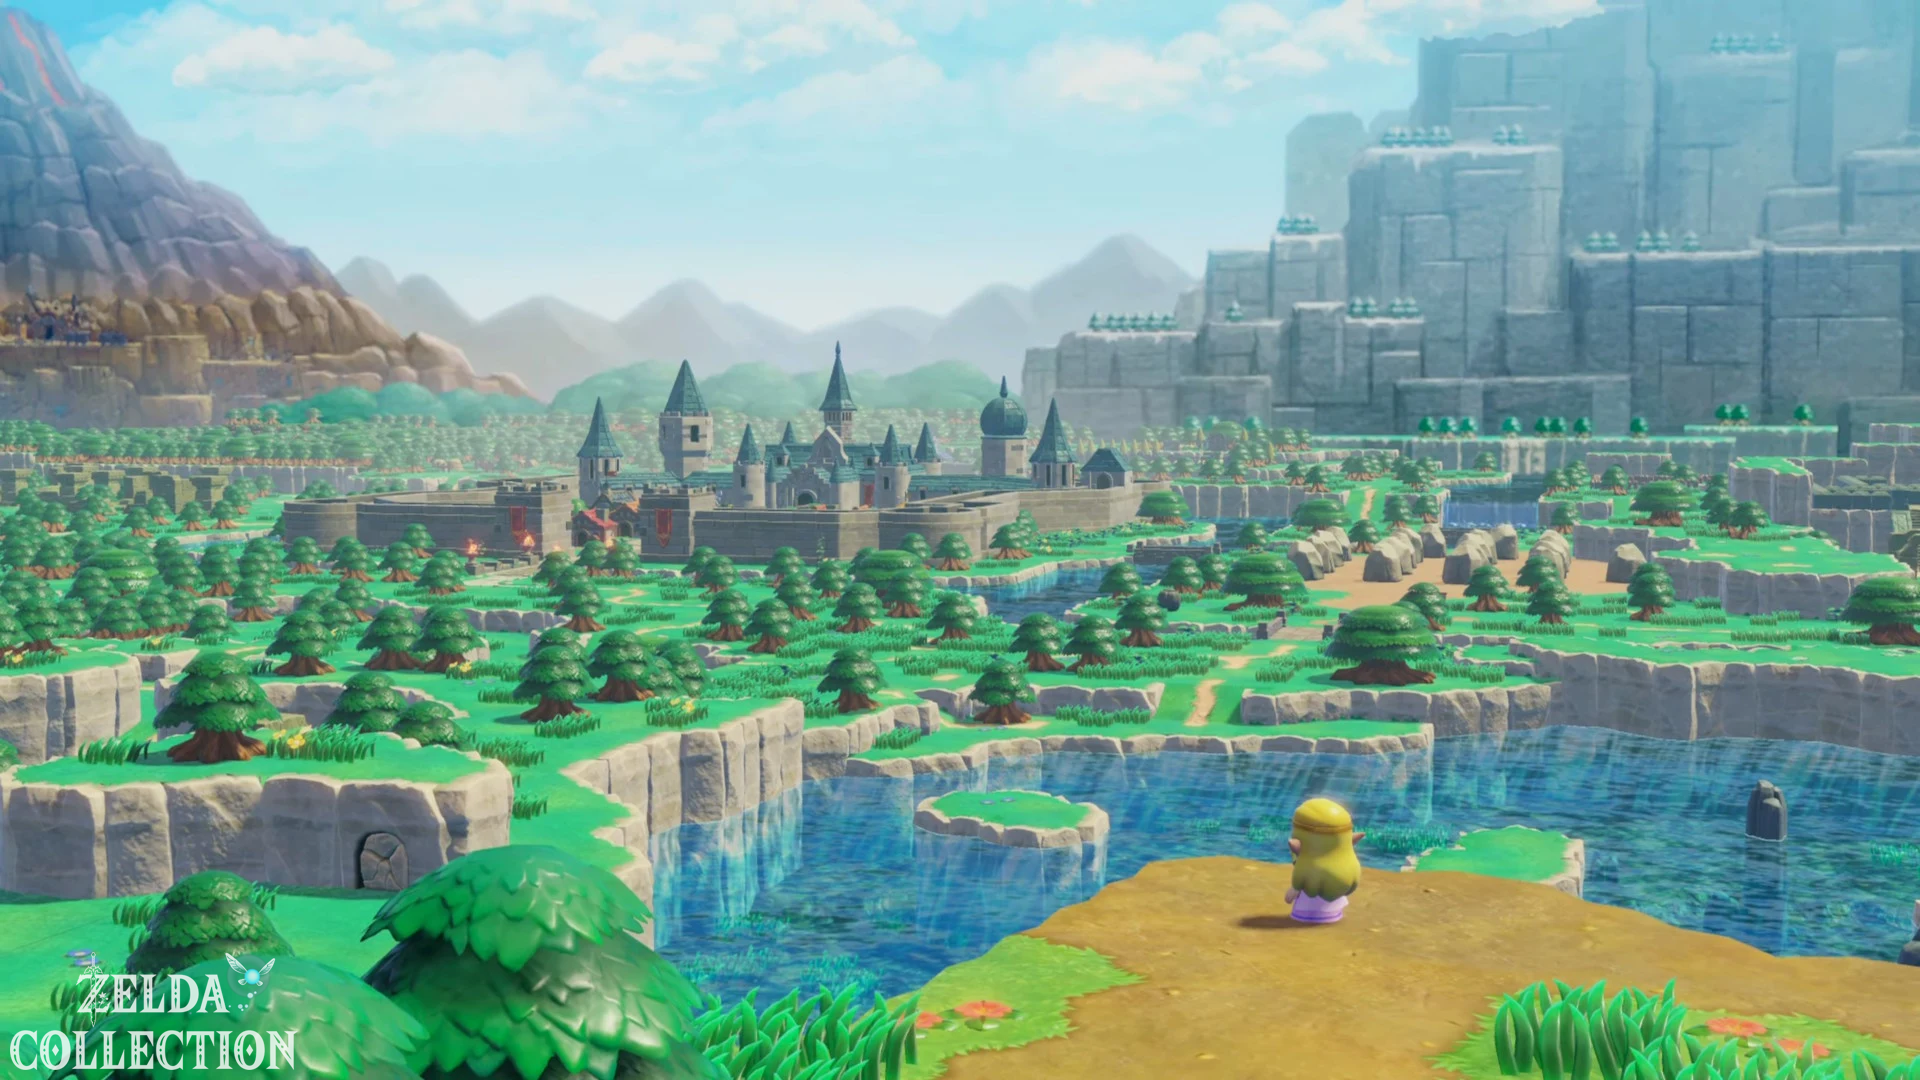
At the beginning you control Link. Follow the path through the ruins, use the elevator and jump over the low obstacles. Defeat the knights on the way to the grand staircase. In the arena, you dodge Ganon’s attacks and attack him during his breaks. You can knock back his energy ball with your sword. After the victory, Link is captured by the rift. As Princess Zelda, move the stick to break the damaged crystal prison. Take the coat that was left behind and follow the light out of the ruins. Keep moving while escaping and jump over small obstacles before the growing crack reaches them. After the scenes in Hyrule Castle Town, go to the castle, meet Impa and follow the carpet into the throne room. Events there end with Zelda’s capture.
Preparation: These collectibles are on your route
The numbers of the Pieces of Heart refer to the order of this guide. Four Pieces of Heart result in an additional Heart Container. Along with the boss reward, you can complete this chapter with five hearts.
| Collectible item | Location | Use |
|---|---|---|
| Piece of Heart 1 | Rock ledge at Suthorn Beach | Four Pieces of Heart increase your maximum health by one heart. |
| Piece of Heart 2 | Behind boxes in the Beach Cave | |
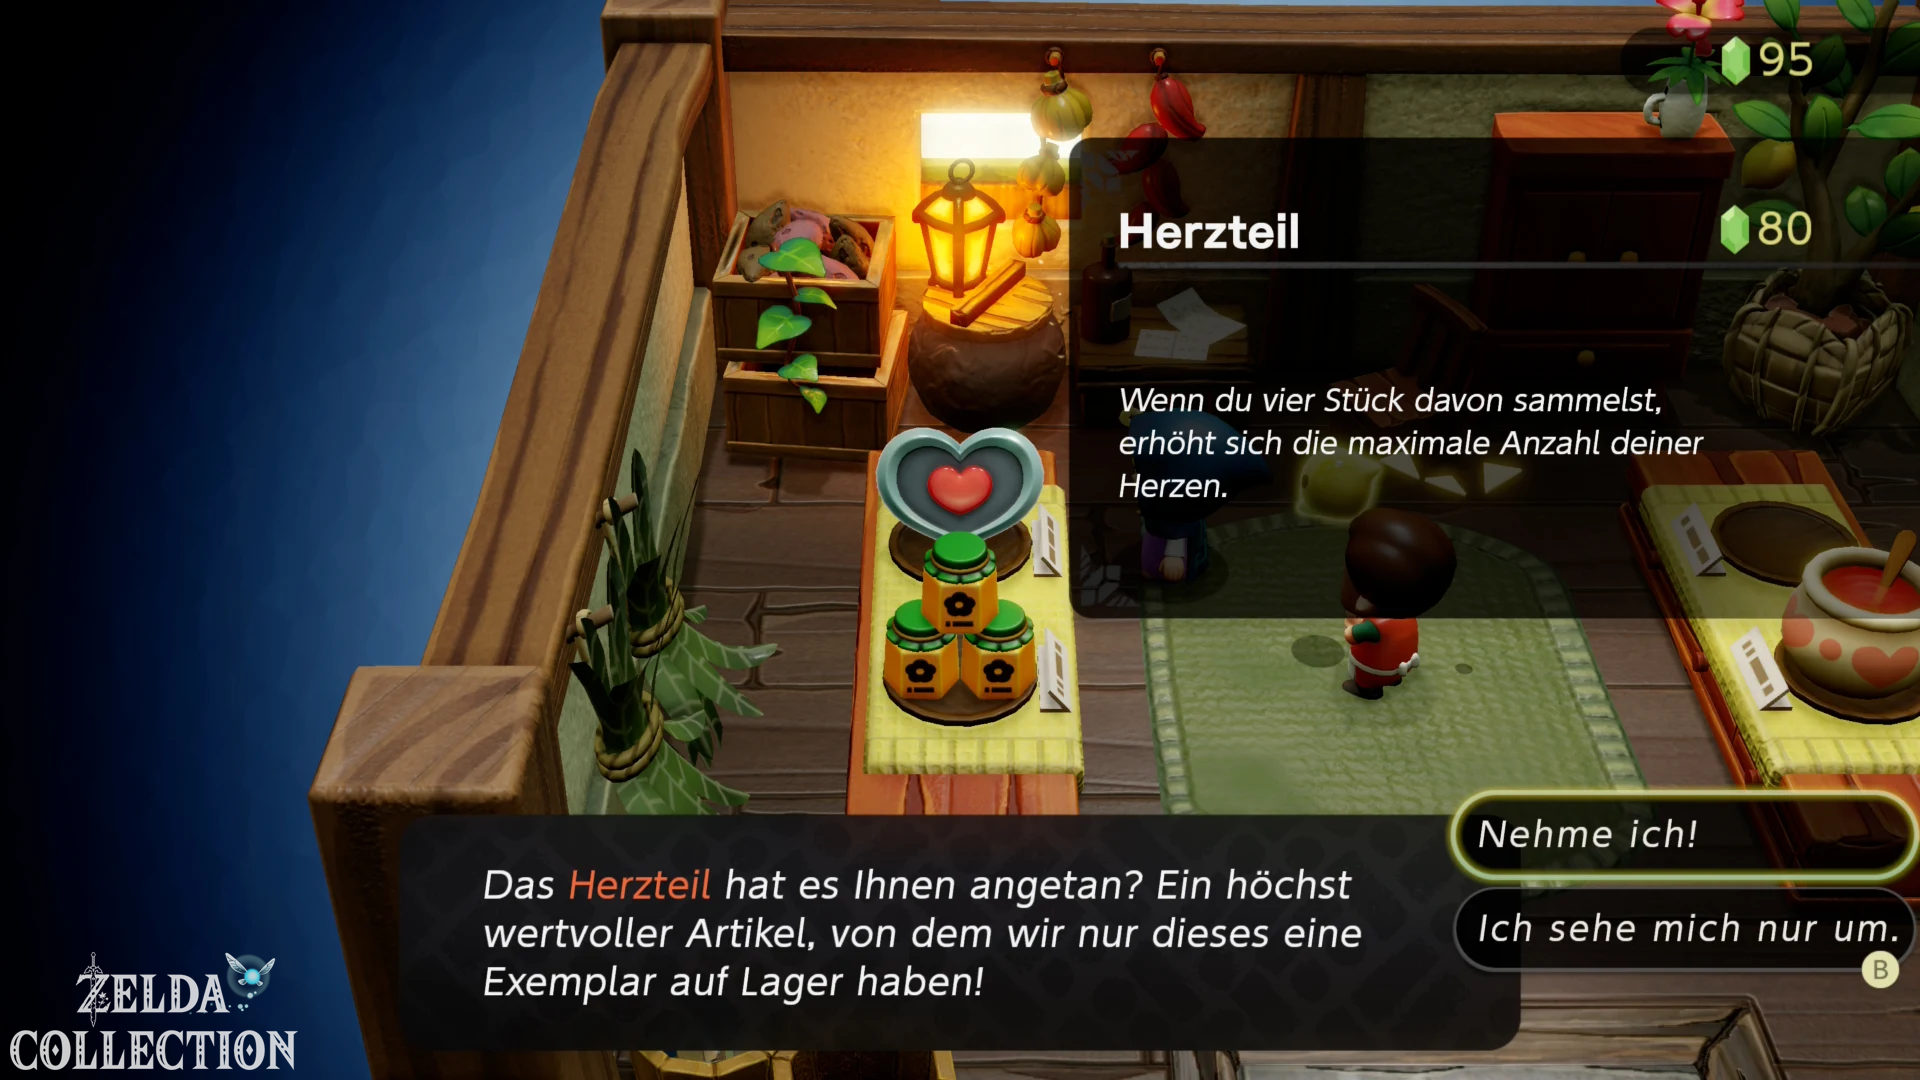
| Piece of Heart 3 | store in Suthorn Village, 80 Rupees | |
| Piece of Heart 4 | Caromadillo cave in the Suthorn forests | |
| Fairy Bottle | Ignizol cave in the Suthorn forests | A captured fairy saves you when your health is used up. |
| Heart Pin | Suthorn Ruins, after the Link battle | Increases the frequency of heart discoveries in normal mode. |
| Heart Container | After defeating Seismic Talus | Another permanent heart. |
| Five Might Crystals | Reward after the first dungeon | Are subsequently declared as Might Crystals. |
Rupees plan: If possible, don’t spend anything before visiting the village. The two early chests on the coast and in front of the village provide a total of 70 Rupees. Along the way, collect the open Rupees as well as finds made from grass and vessels so that you can buy the Piece of Heart for 80 Rupees. Using echoes correctly: At the beginning there are three triangles available. If you exceed this budget, an older echo will disappear. Especially with bridges, you should first be secure on the next section before you continue building. A Darknut or a Peahat initially takes up the entire budget.
You can also find all Locations and costs in the Echo guide.
1. Escape from Hyrule Castle
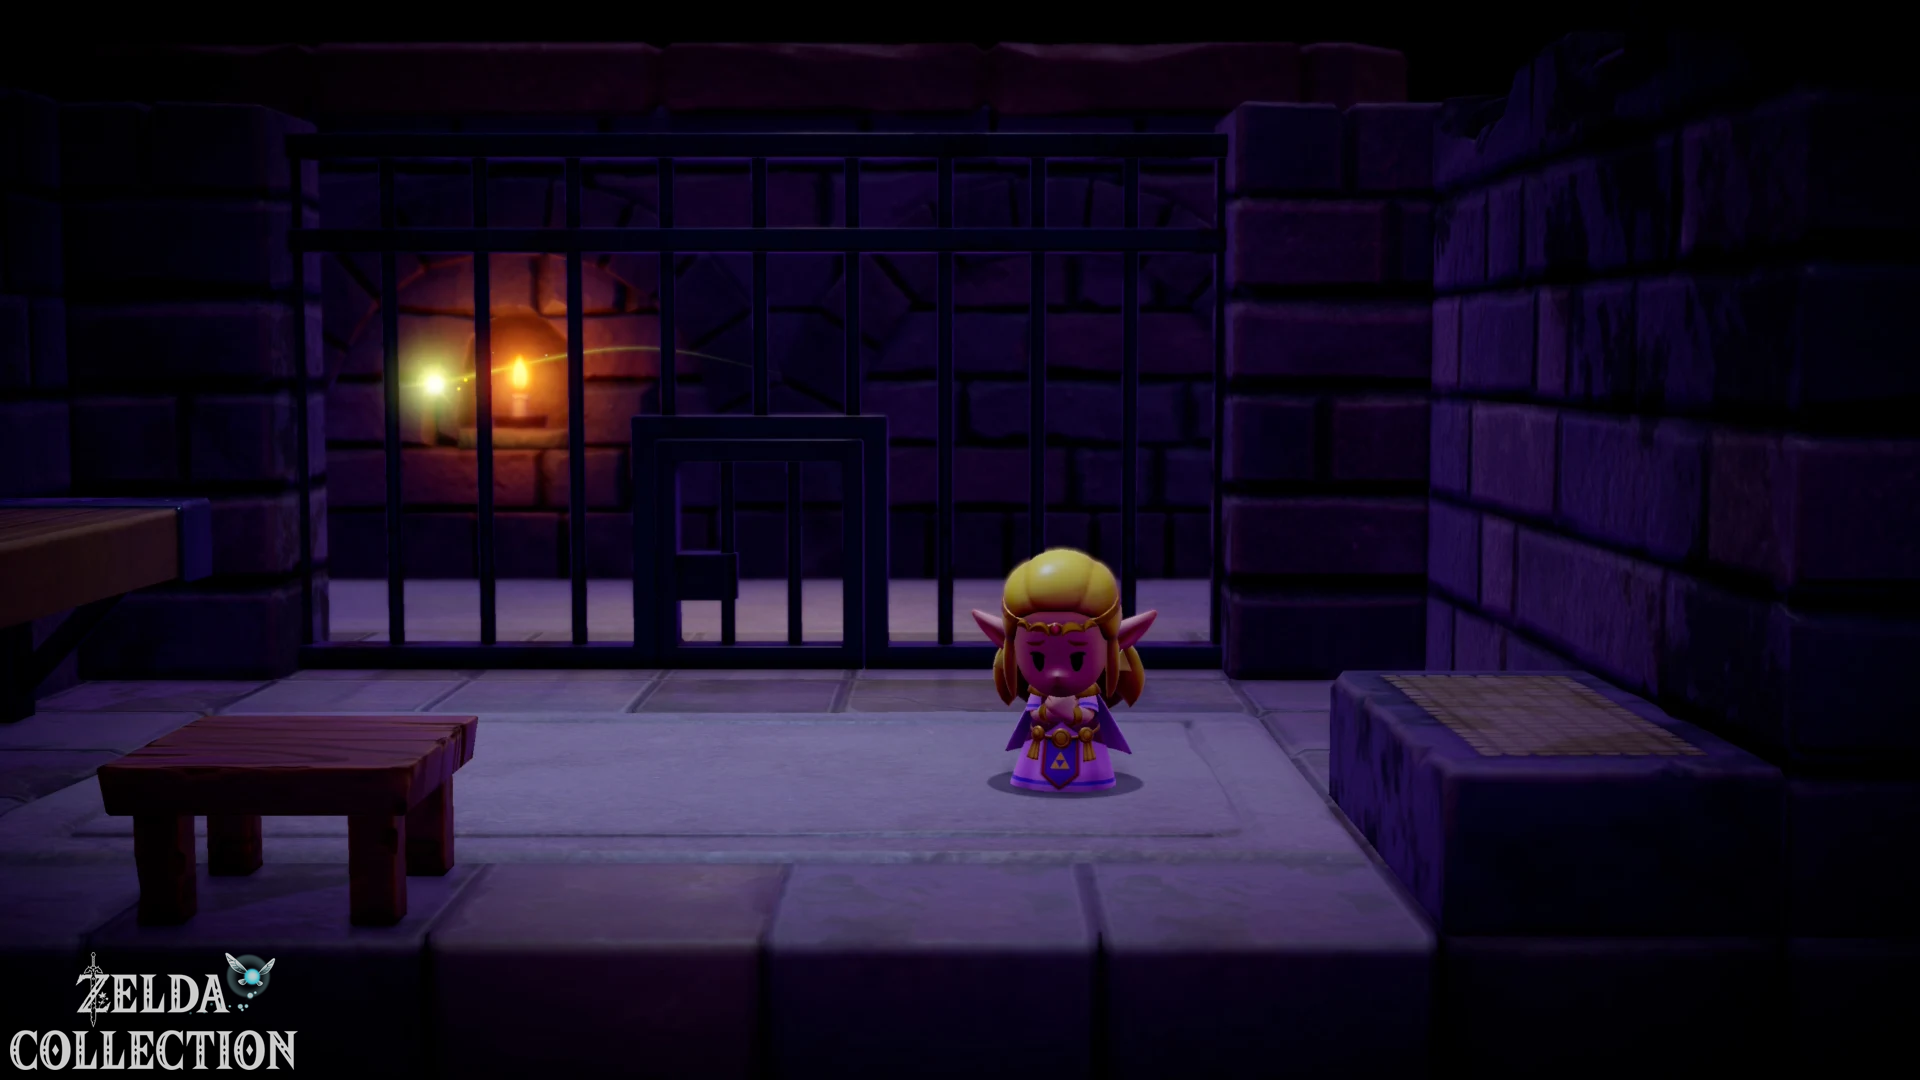
Wait in the cell until Tri appears and gives you the Tri Rod. You can remember shimmering objects with ZR; You summon the selected echo with Y. Tri can initially hold three triangles worth of echoes at once. If you exceed this value, an older echo disappears. Therefore, build the escape routes step by step instead of putting all the furniture you need at once.
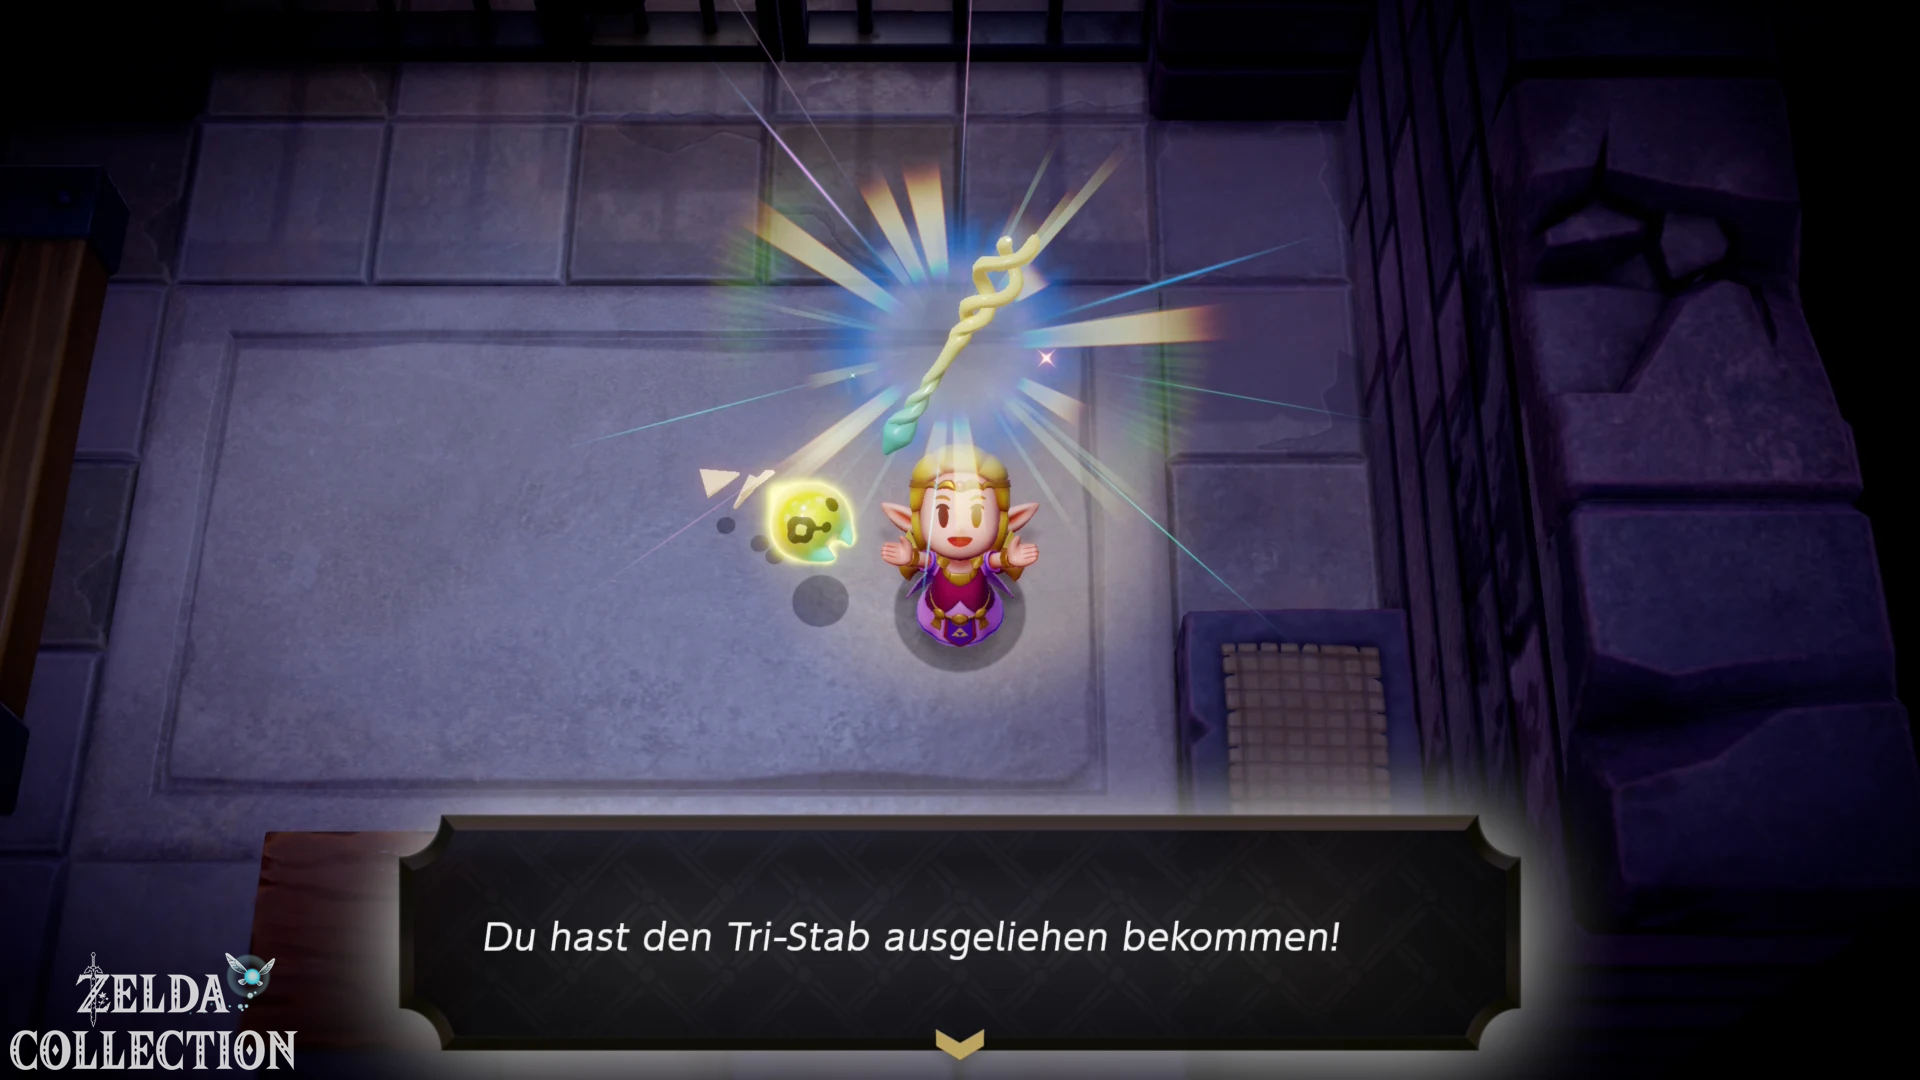
Leave the cell
Learn the echo of the table. Jump onto the existing table and further onto the shelf. A table echo on the shelf takes you to the opening in the left wall. Cross the neighboring cell and continue left.
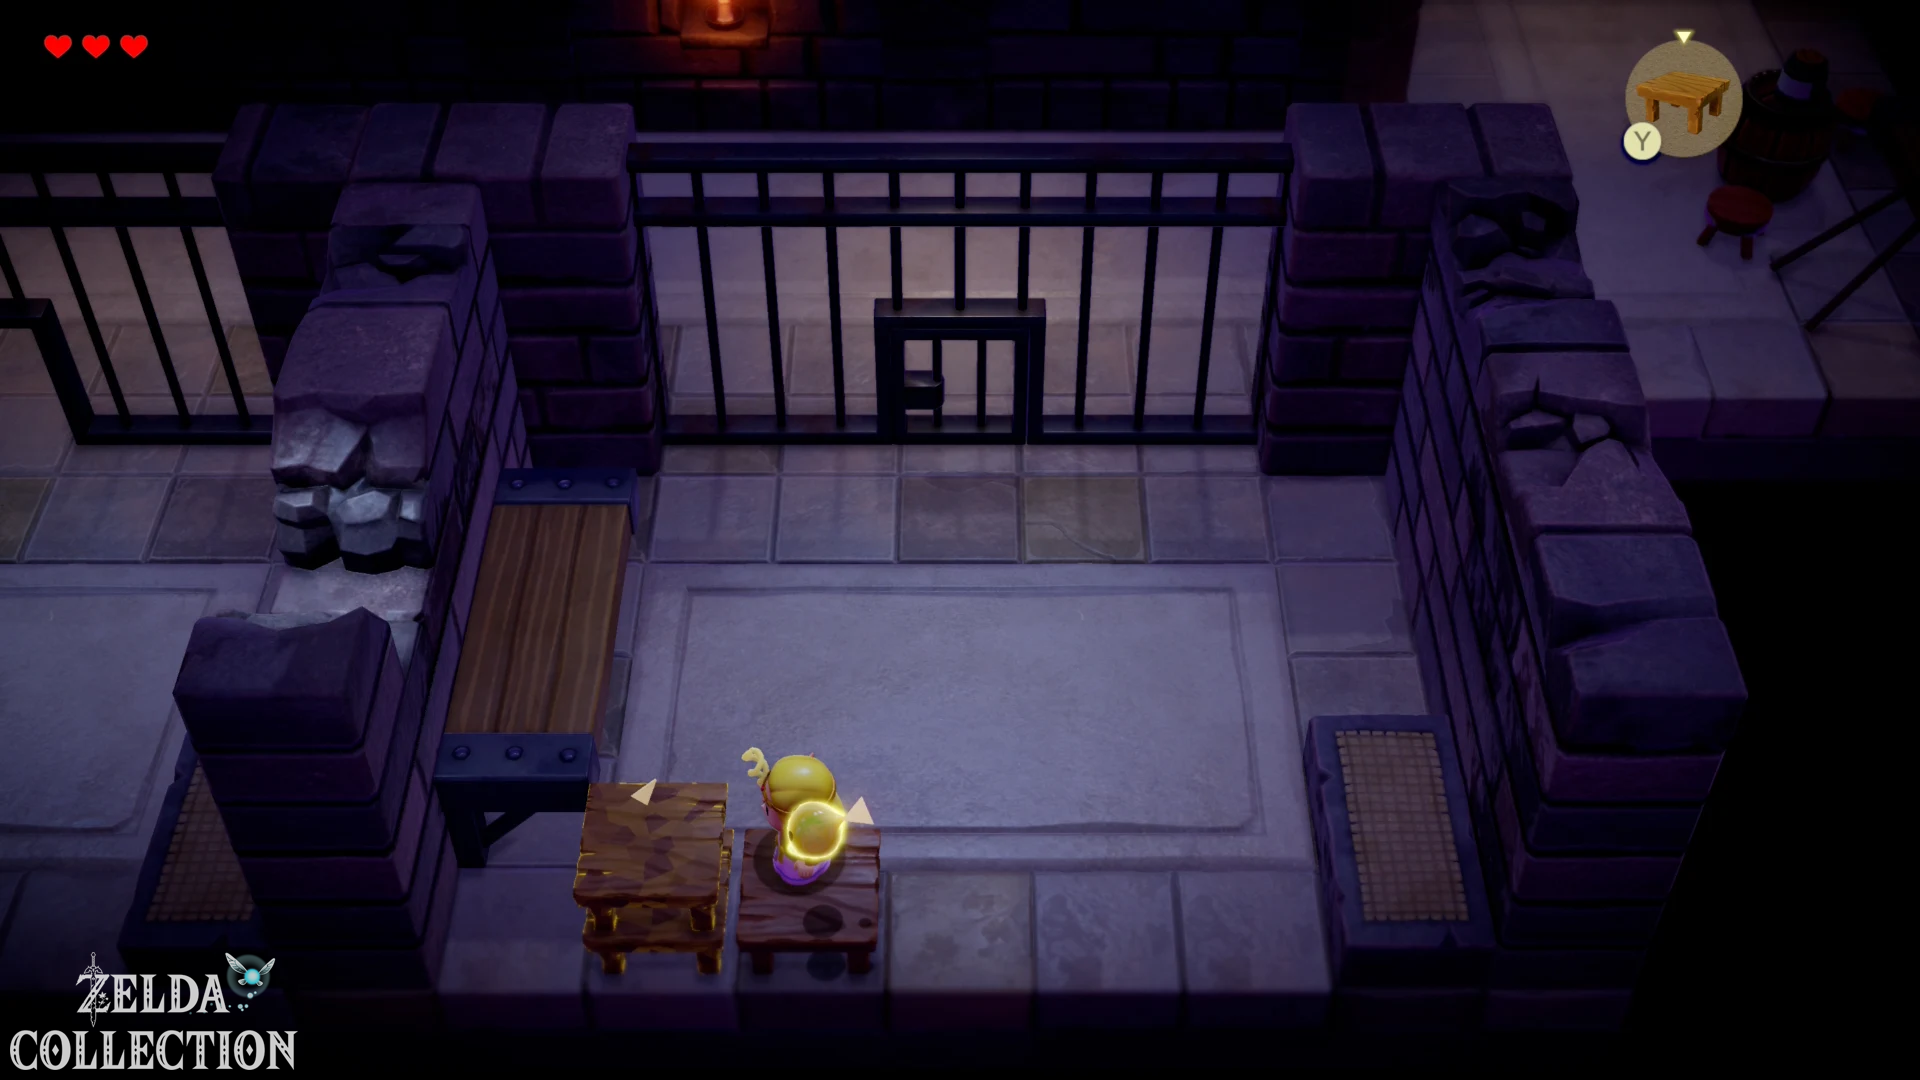
Get past the guards
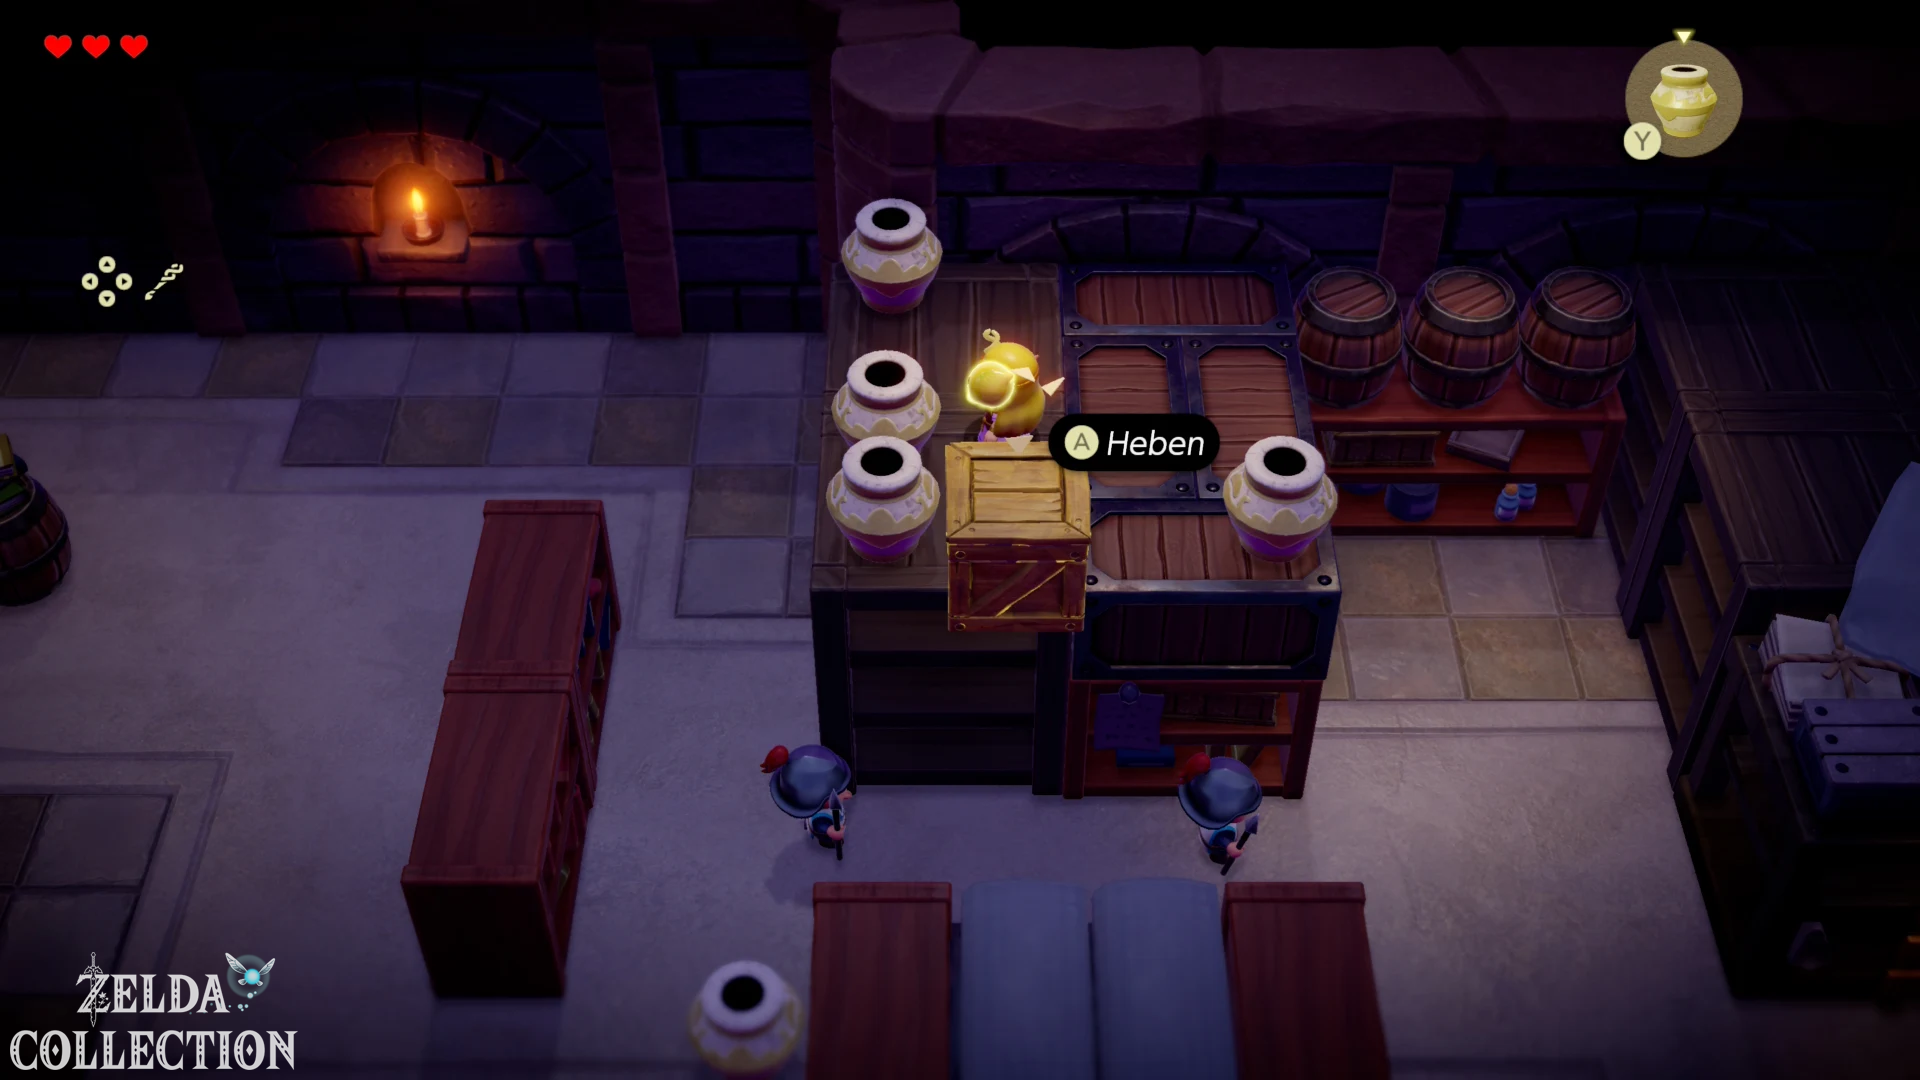
Build a staircase from tables to the shelves. Learn about the Wooden Box. You can use it to block walkways and create raised steps. You pass the two soldiers busy with each other behind their backs.
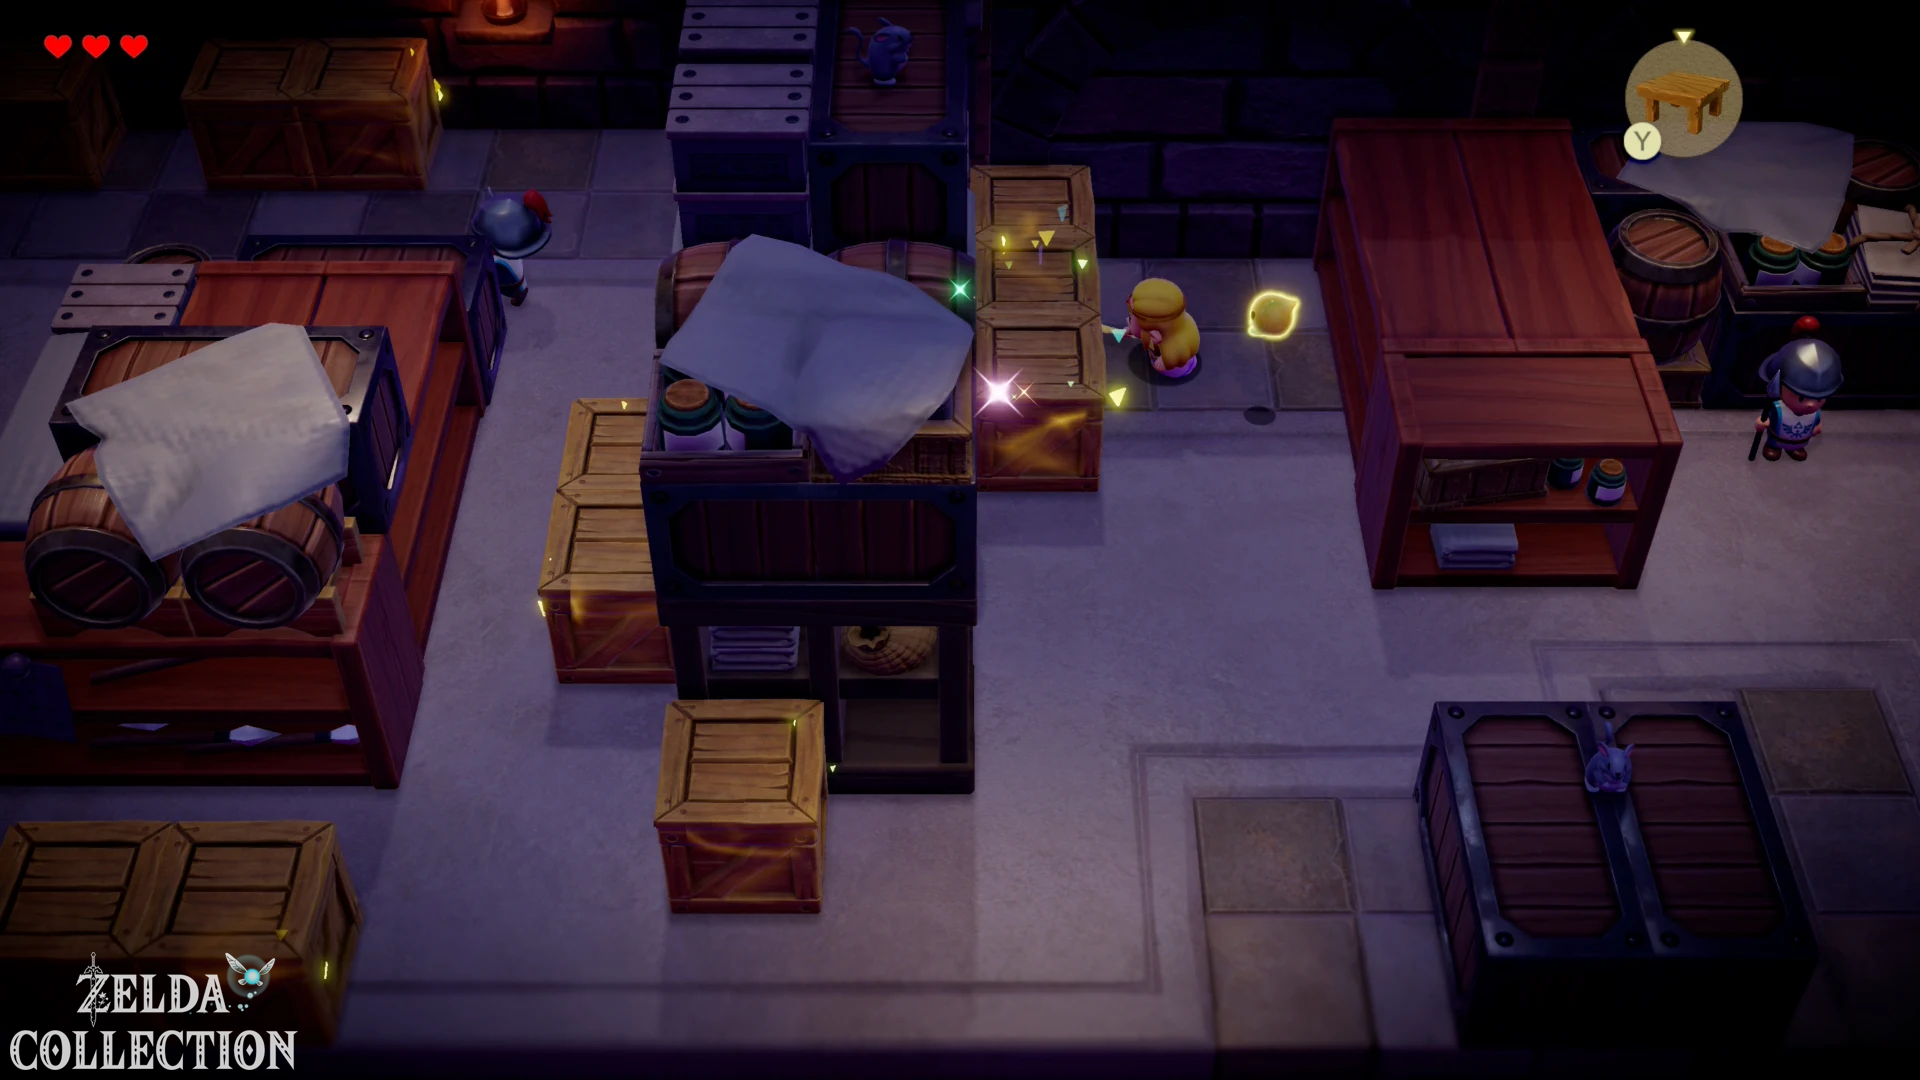
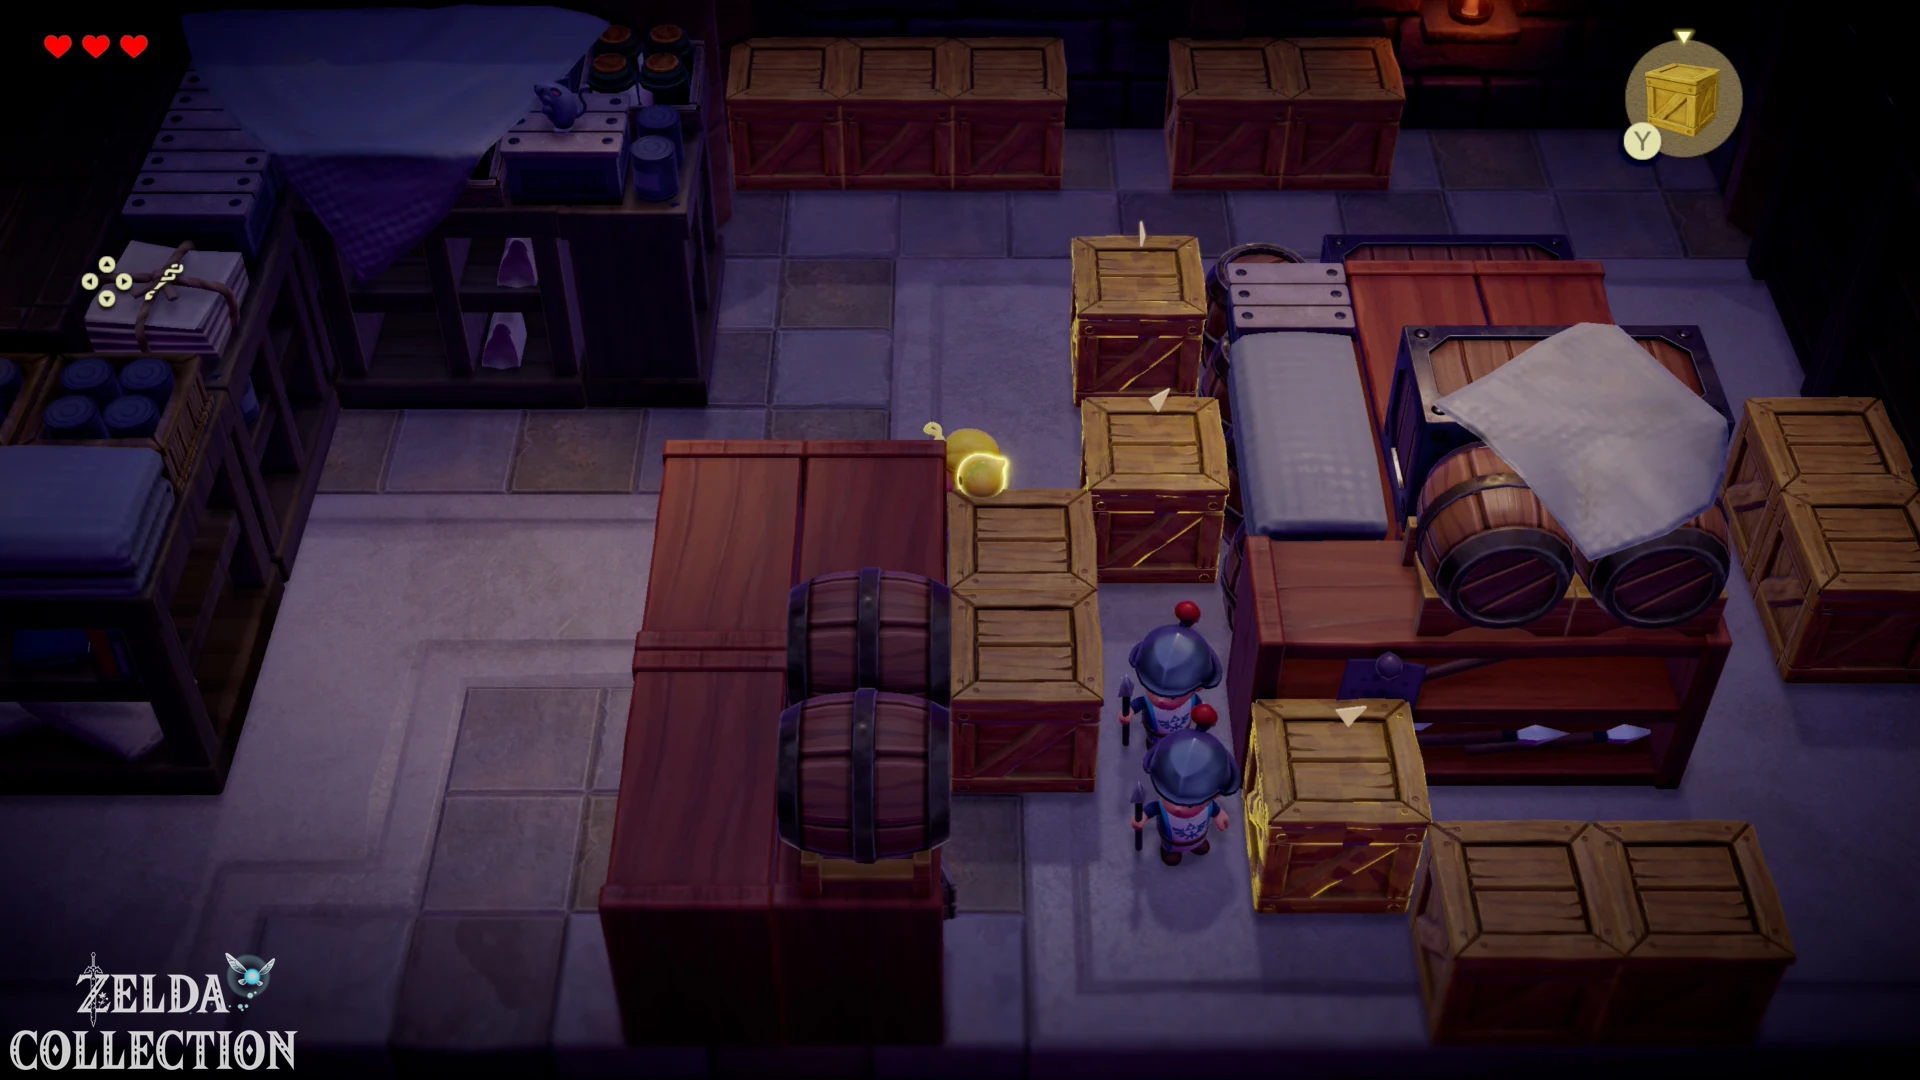
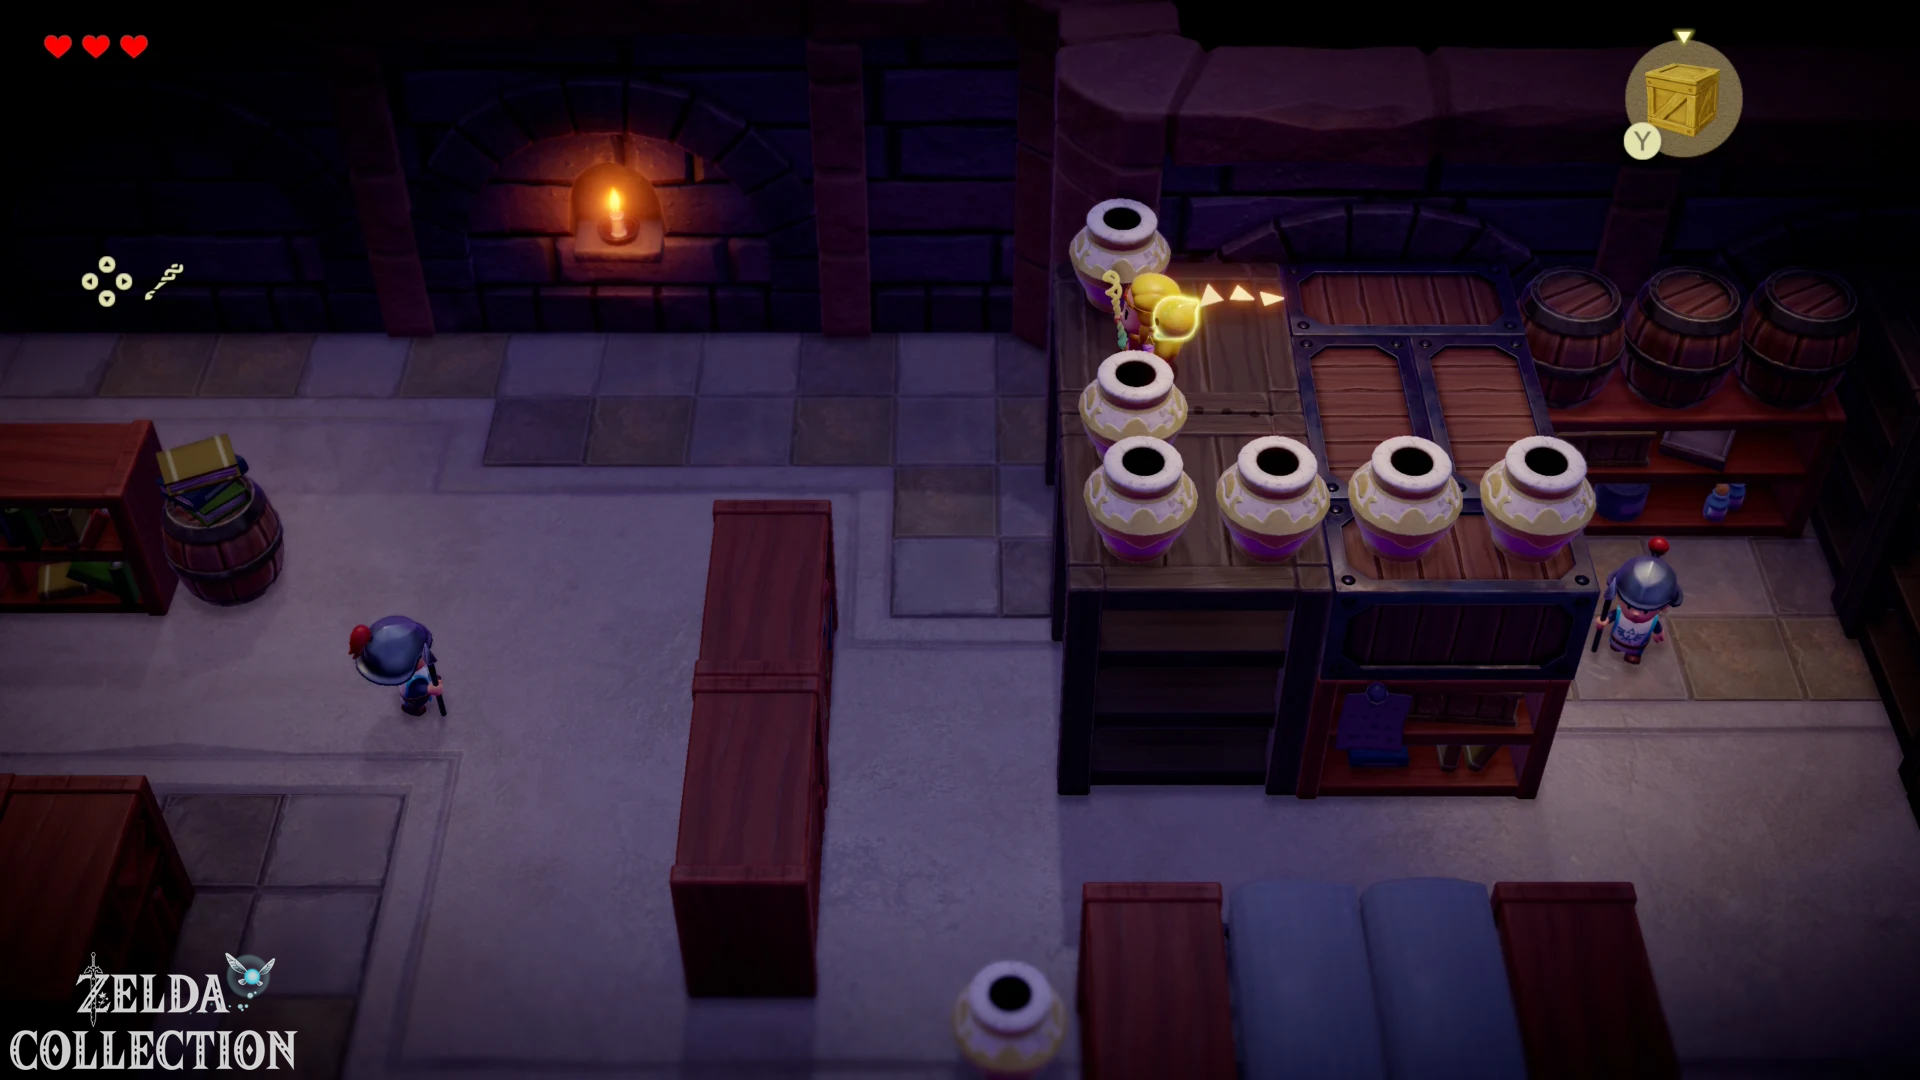
Climb the next ladder and learn the echo of the Hyrule Castle Pot. Throw a Pot so that the guard runs away from the passage. As soon as she looks at the noise, you walk past her. Repeat at the next guard post.
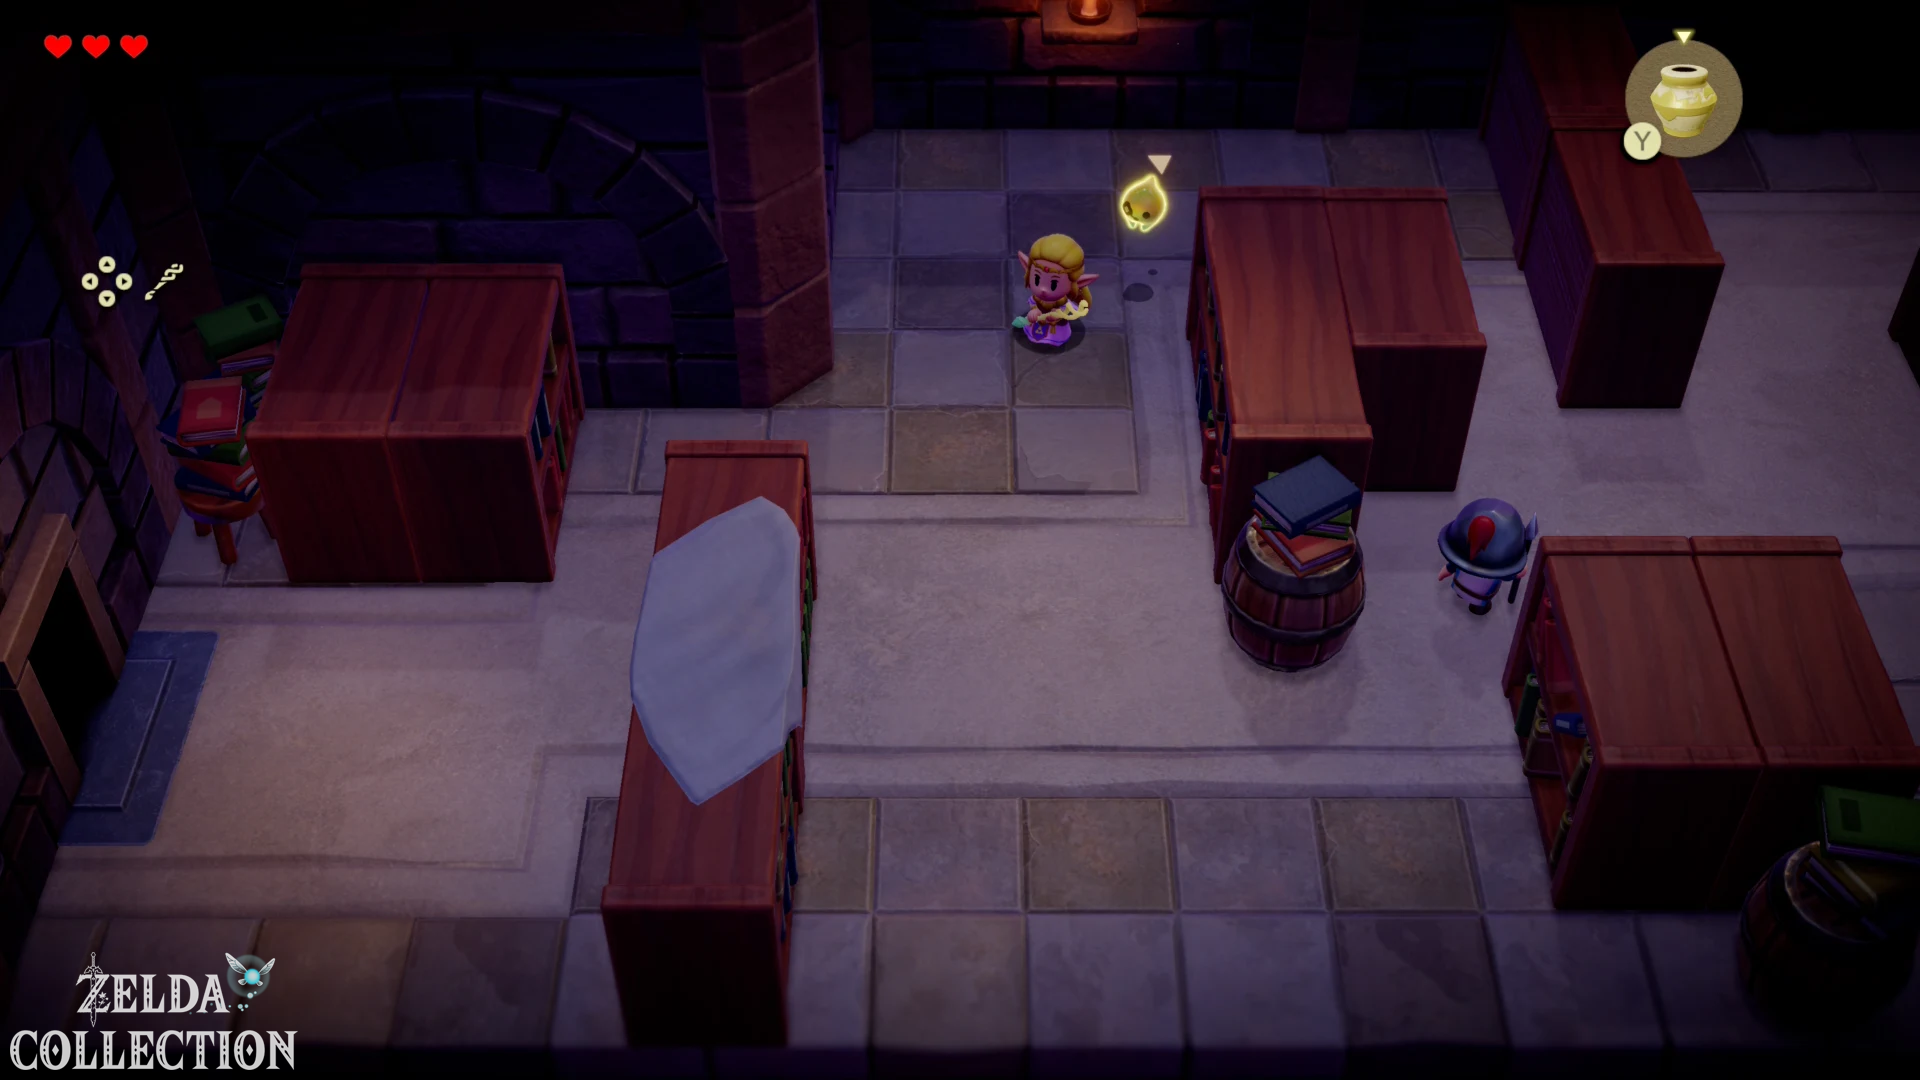
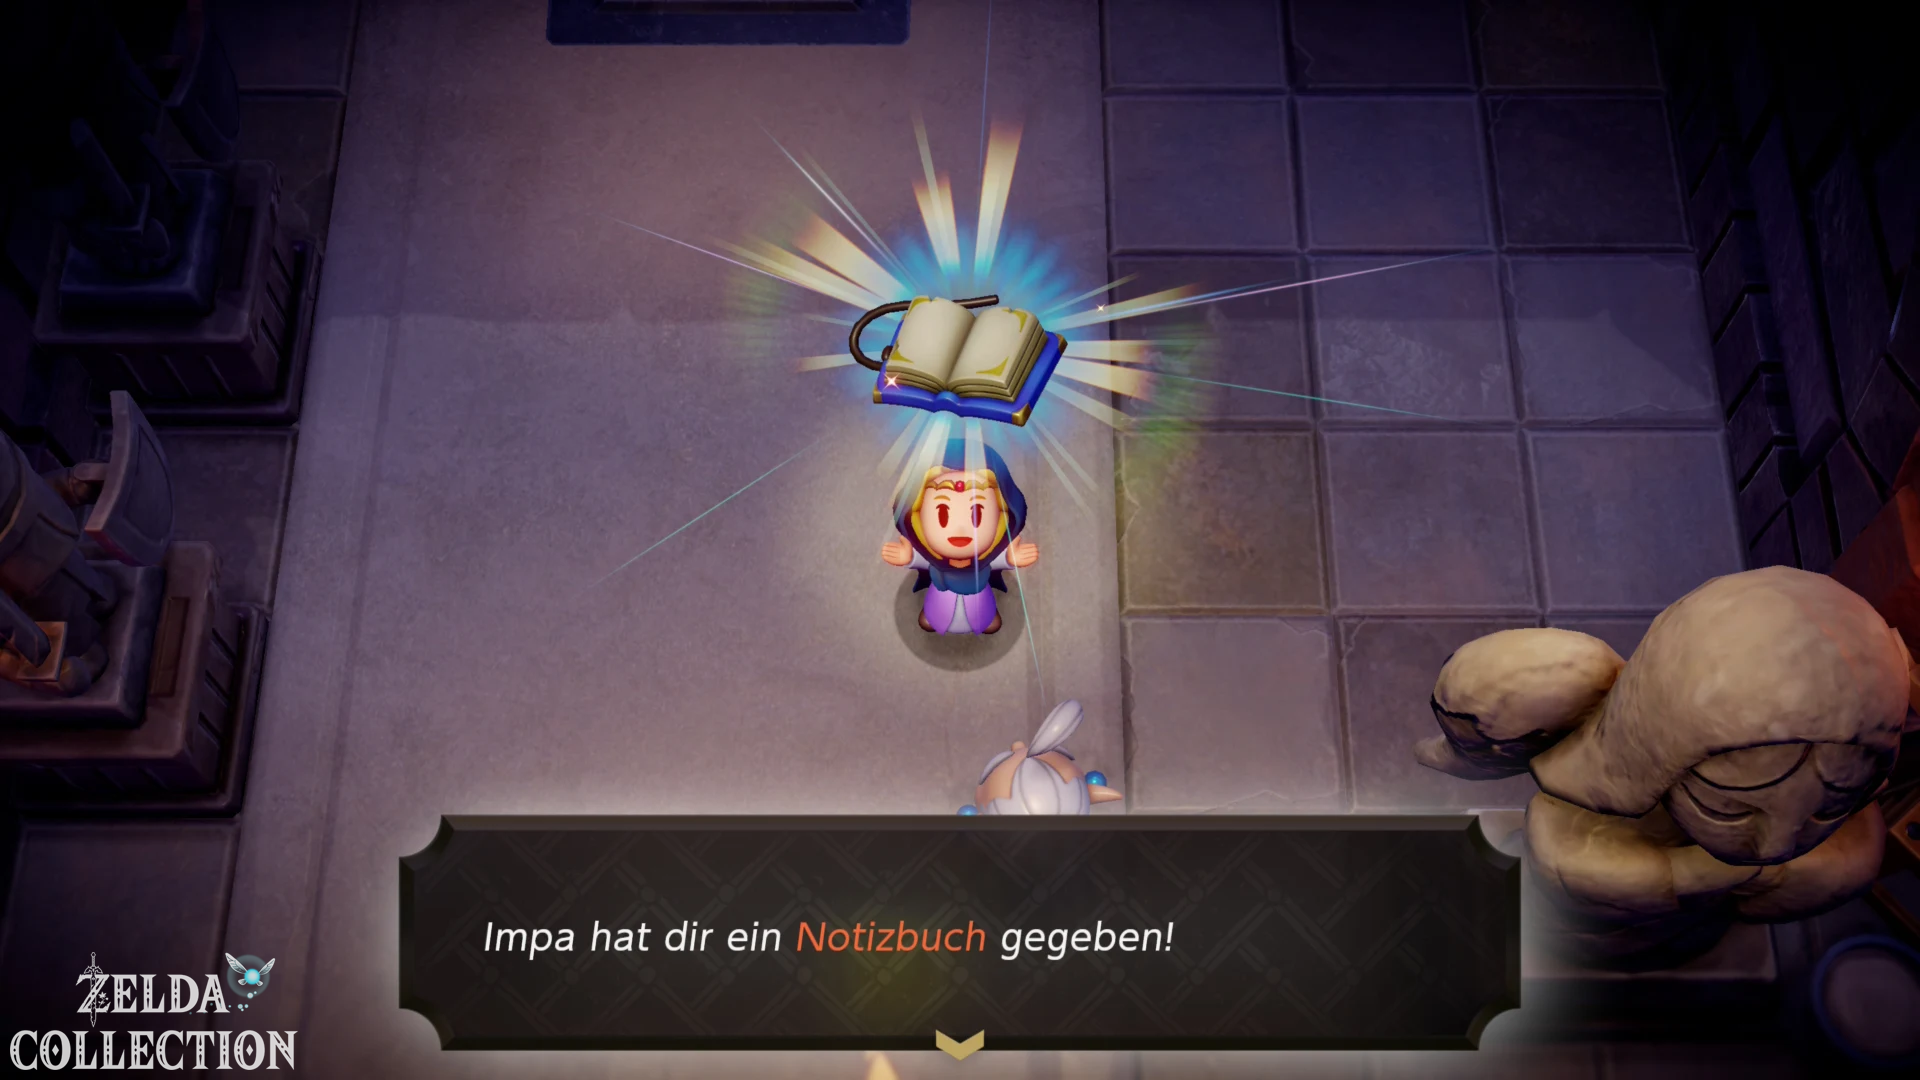
Impa will help you in the following area. You will receive the Adventure Log with the map and the marker of a house in Suthorn. Now the actual main mission “The Mysterious Rifts” begins.
Decorative Shrub and Old Bed learn
In the storage room you learn the echo of the Decorative Shrub. Climb the shelves on the left and close the gaps with their echoes. Then learn the Old Bed. Staggered beds form a staircase to the elevated exit.
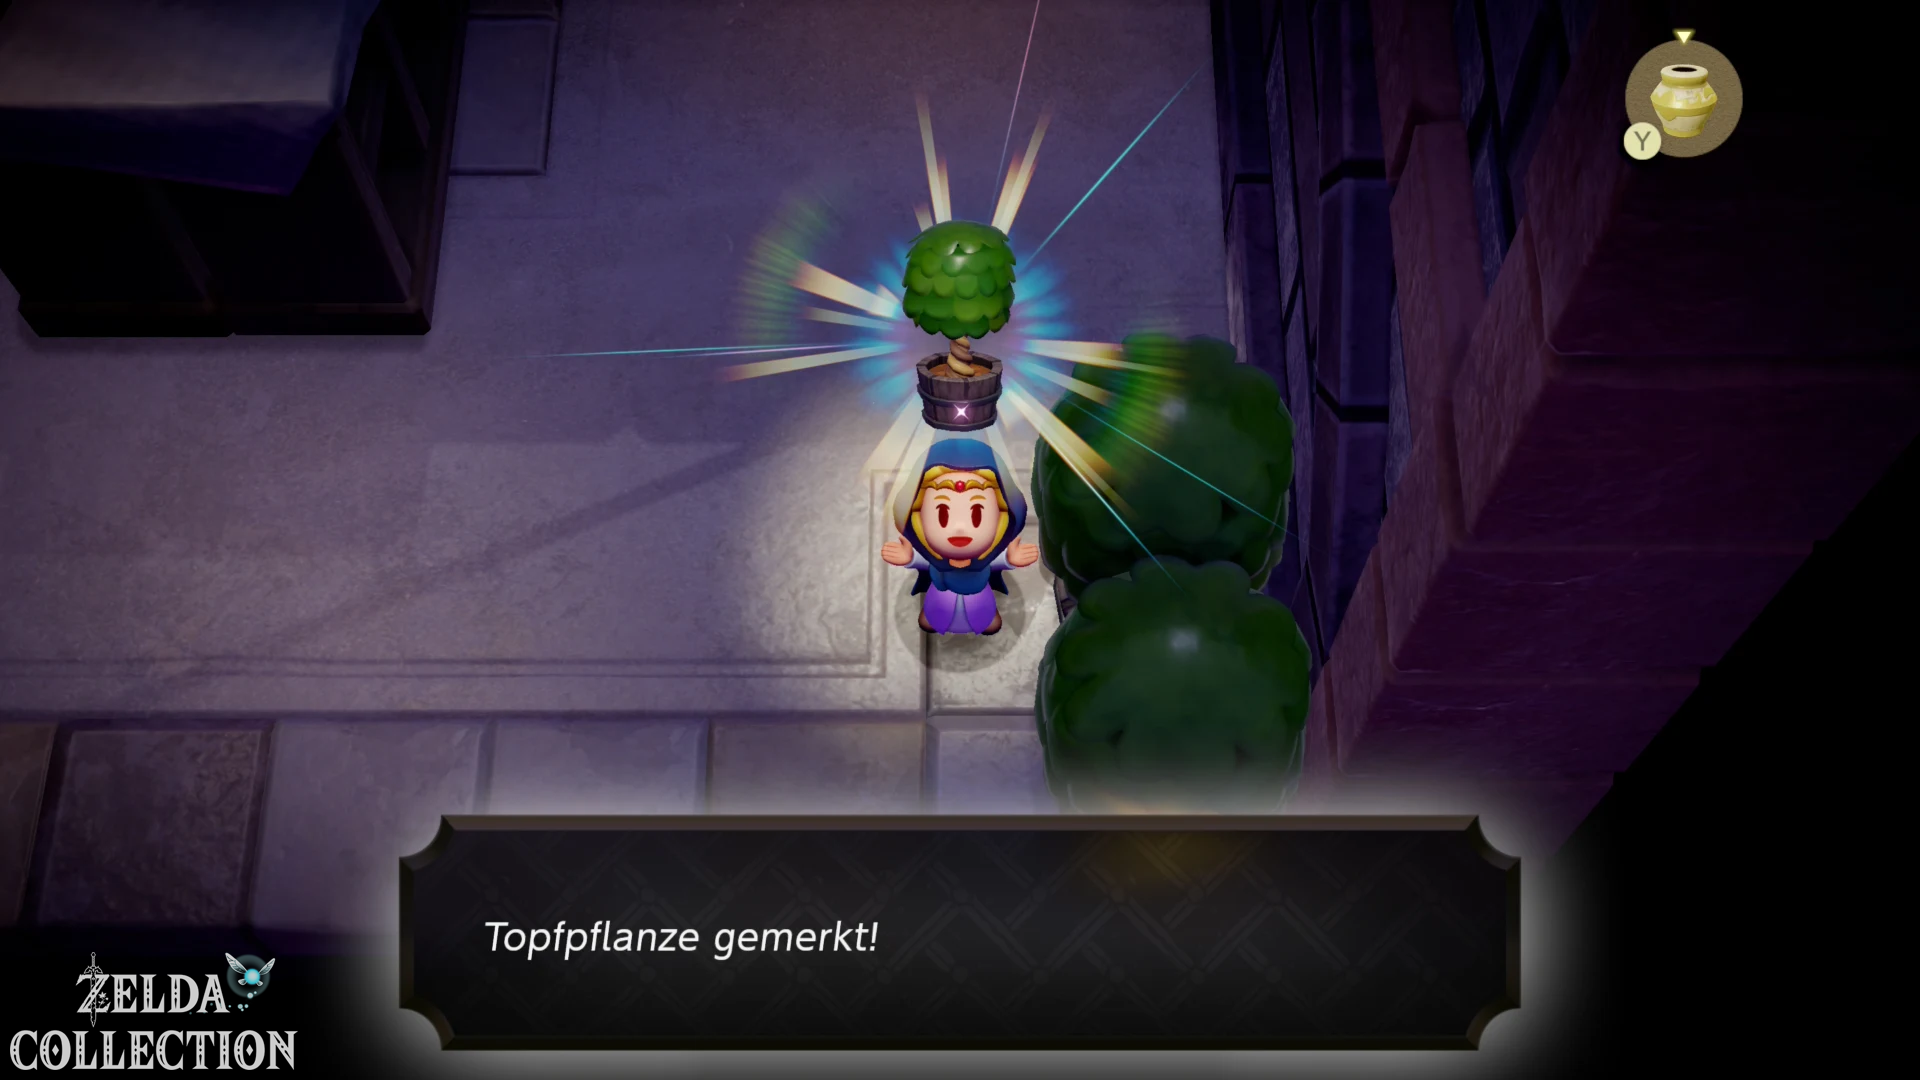
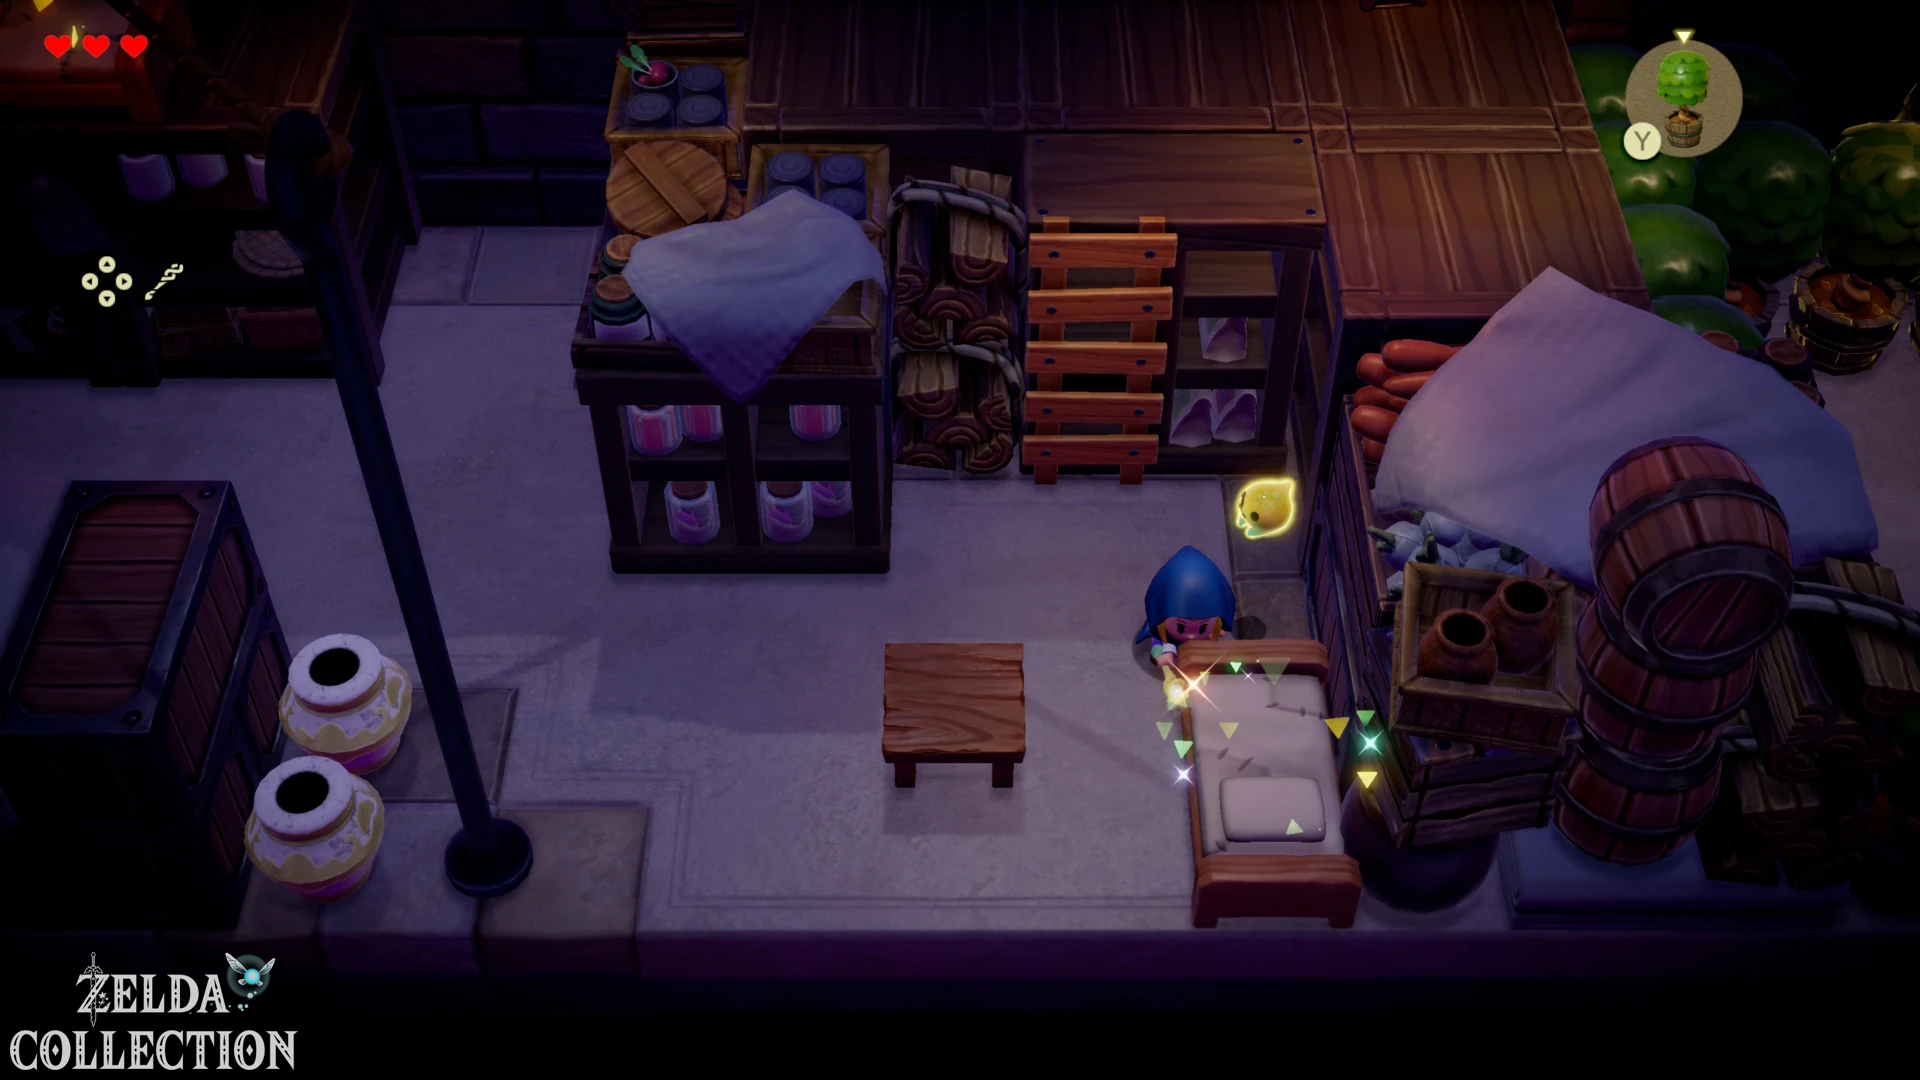
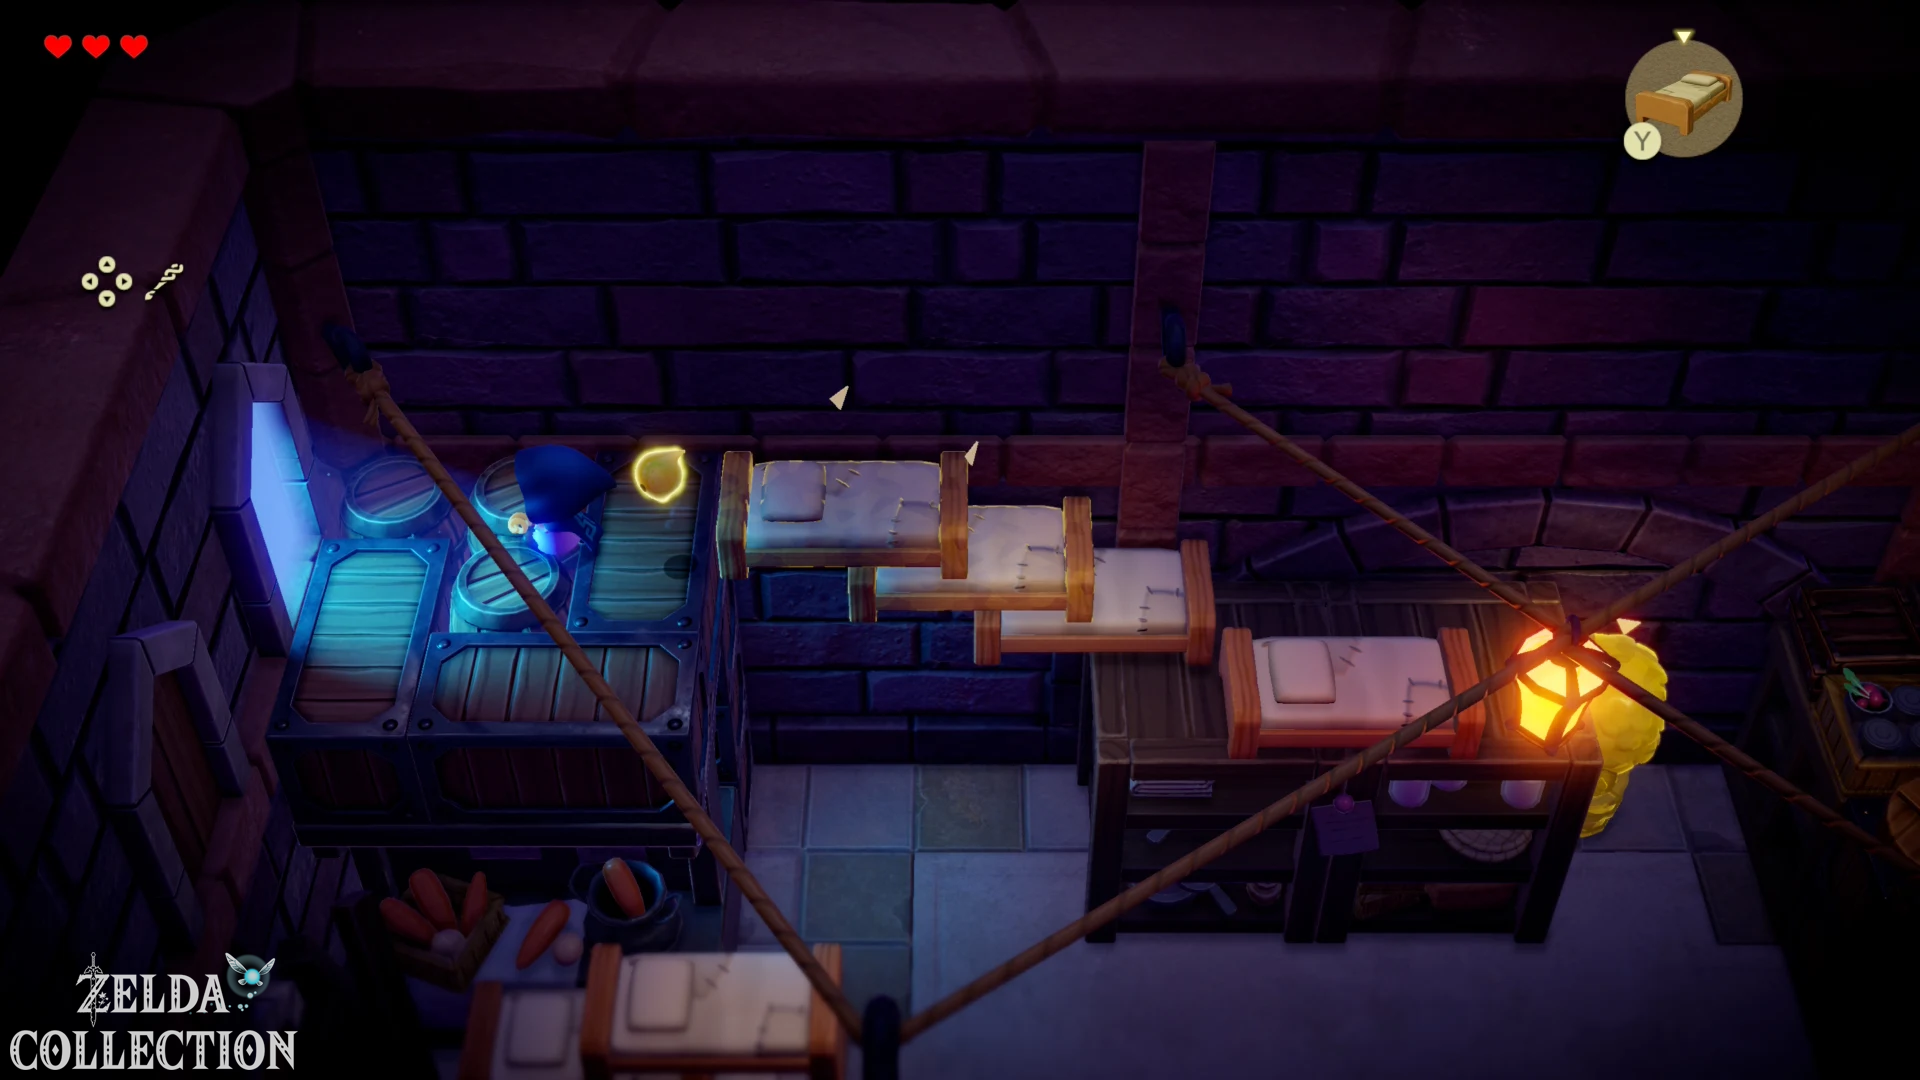
Check before leaving: table, Wooden Box, Hyrule Castle Pot, Decorative Shrub and Old Bed are learned.
2. Through the Royal-Family Shortcut to the coast
Outside you can use the spin to remove grass and collect Rupees. Then go to the fountain on the left and jump into it. In the tunnel you follow the path to the left. Collect the visible Rupees underwater and surface again in time. Use a bed to reach higher ledges. Learn the Boulder and push the existing copy into the water. Use the floating crate and additional bed or crate echoes to reach the opposite bank.
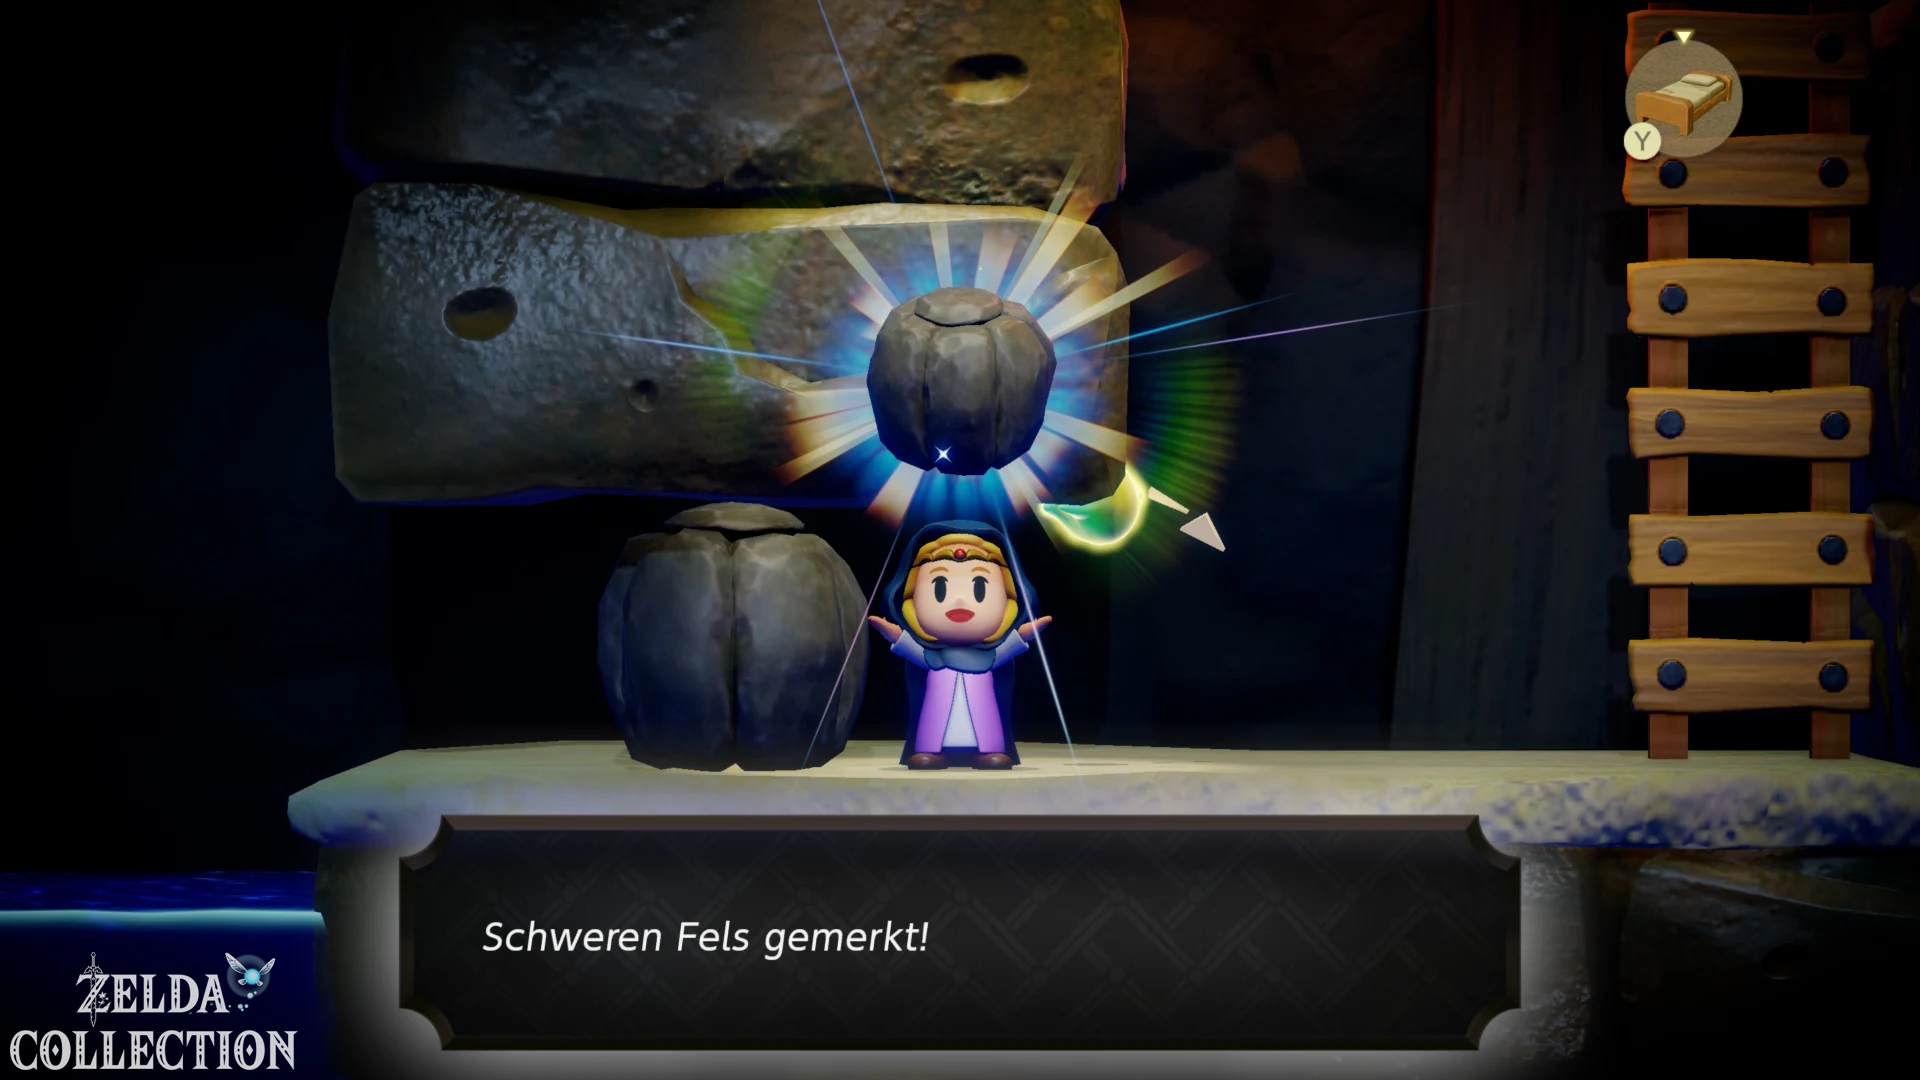
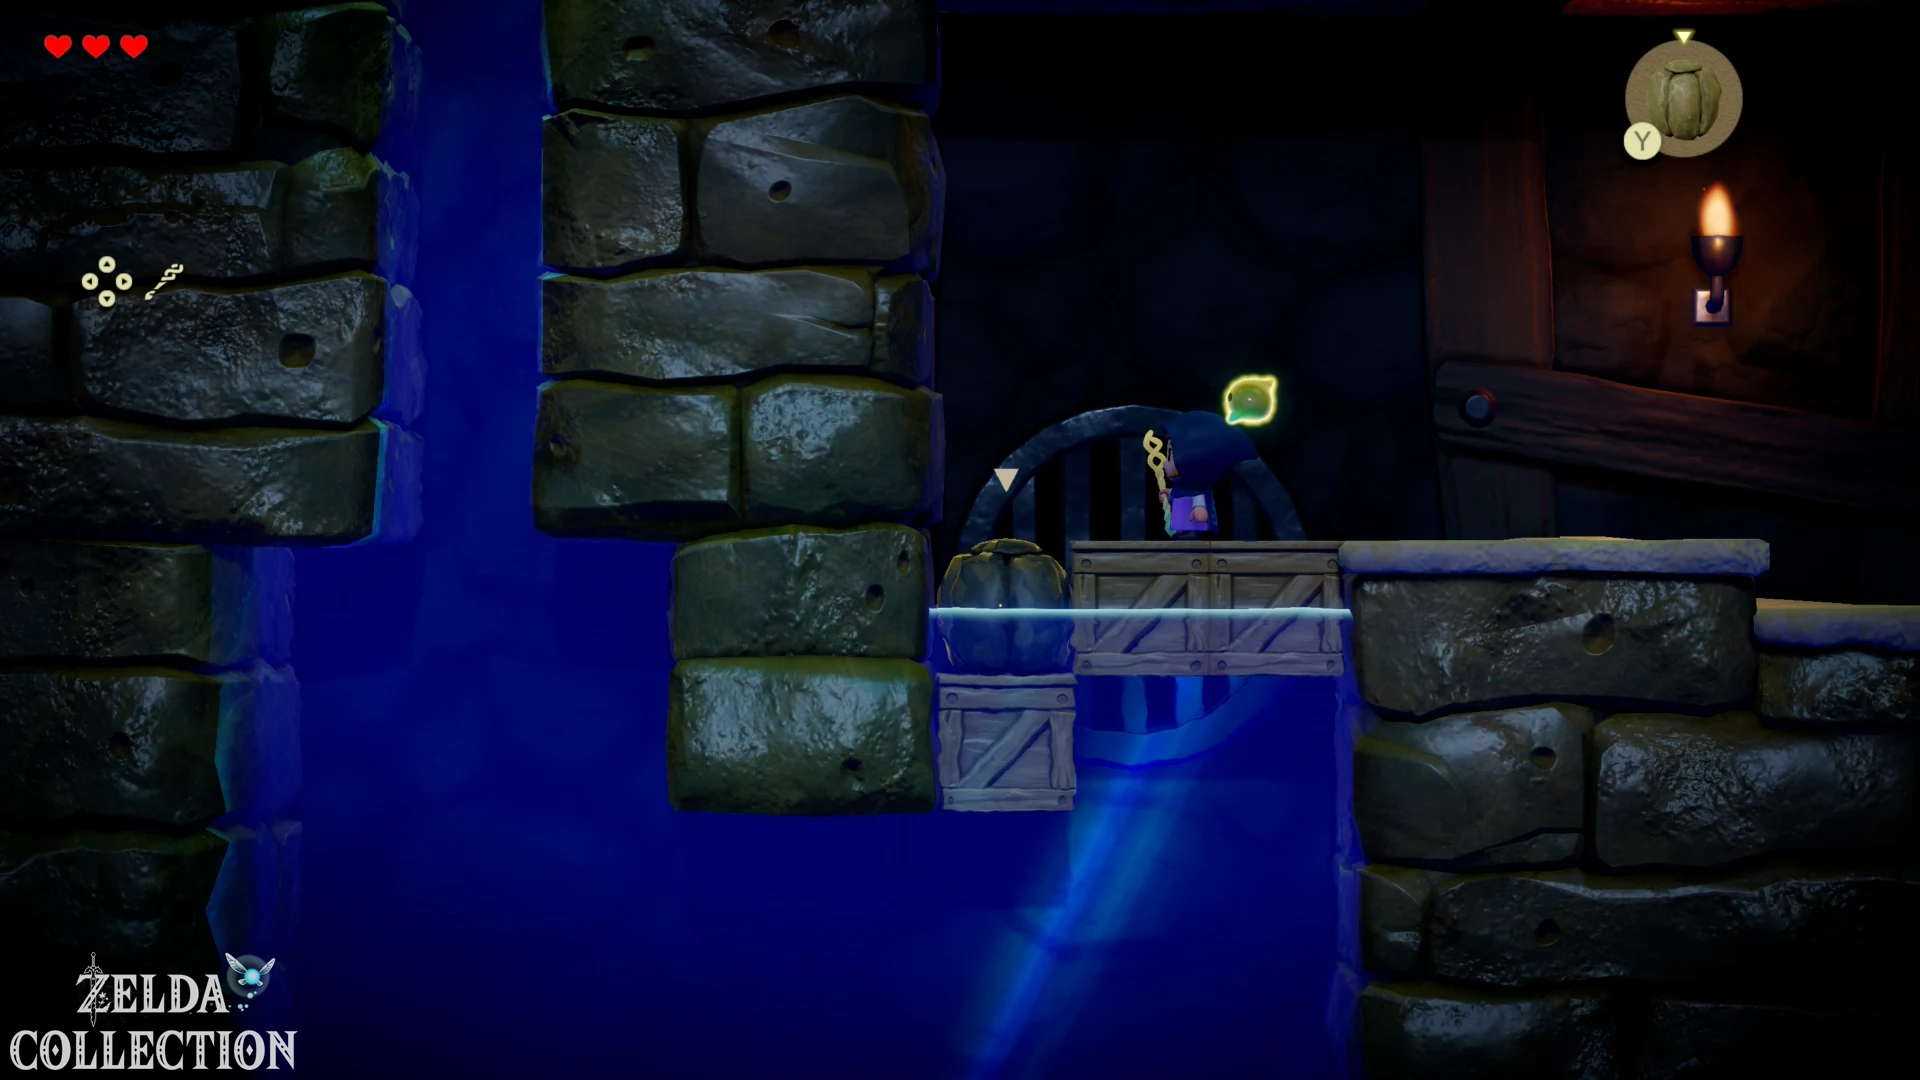
For the following crate barrier, you create a Boulder on a floating crate. The weight pushes them under water. Dive through the resulting opening and follow the passage. As soon as the Rift spreads out, keep running and jump into the current. Zelda is carried to a cave at Suthorn Beach.
3. Suthorn Beach: Echoes, Rupees and Piece of Heart 1
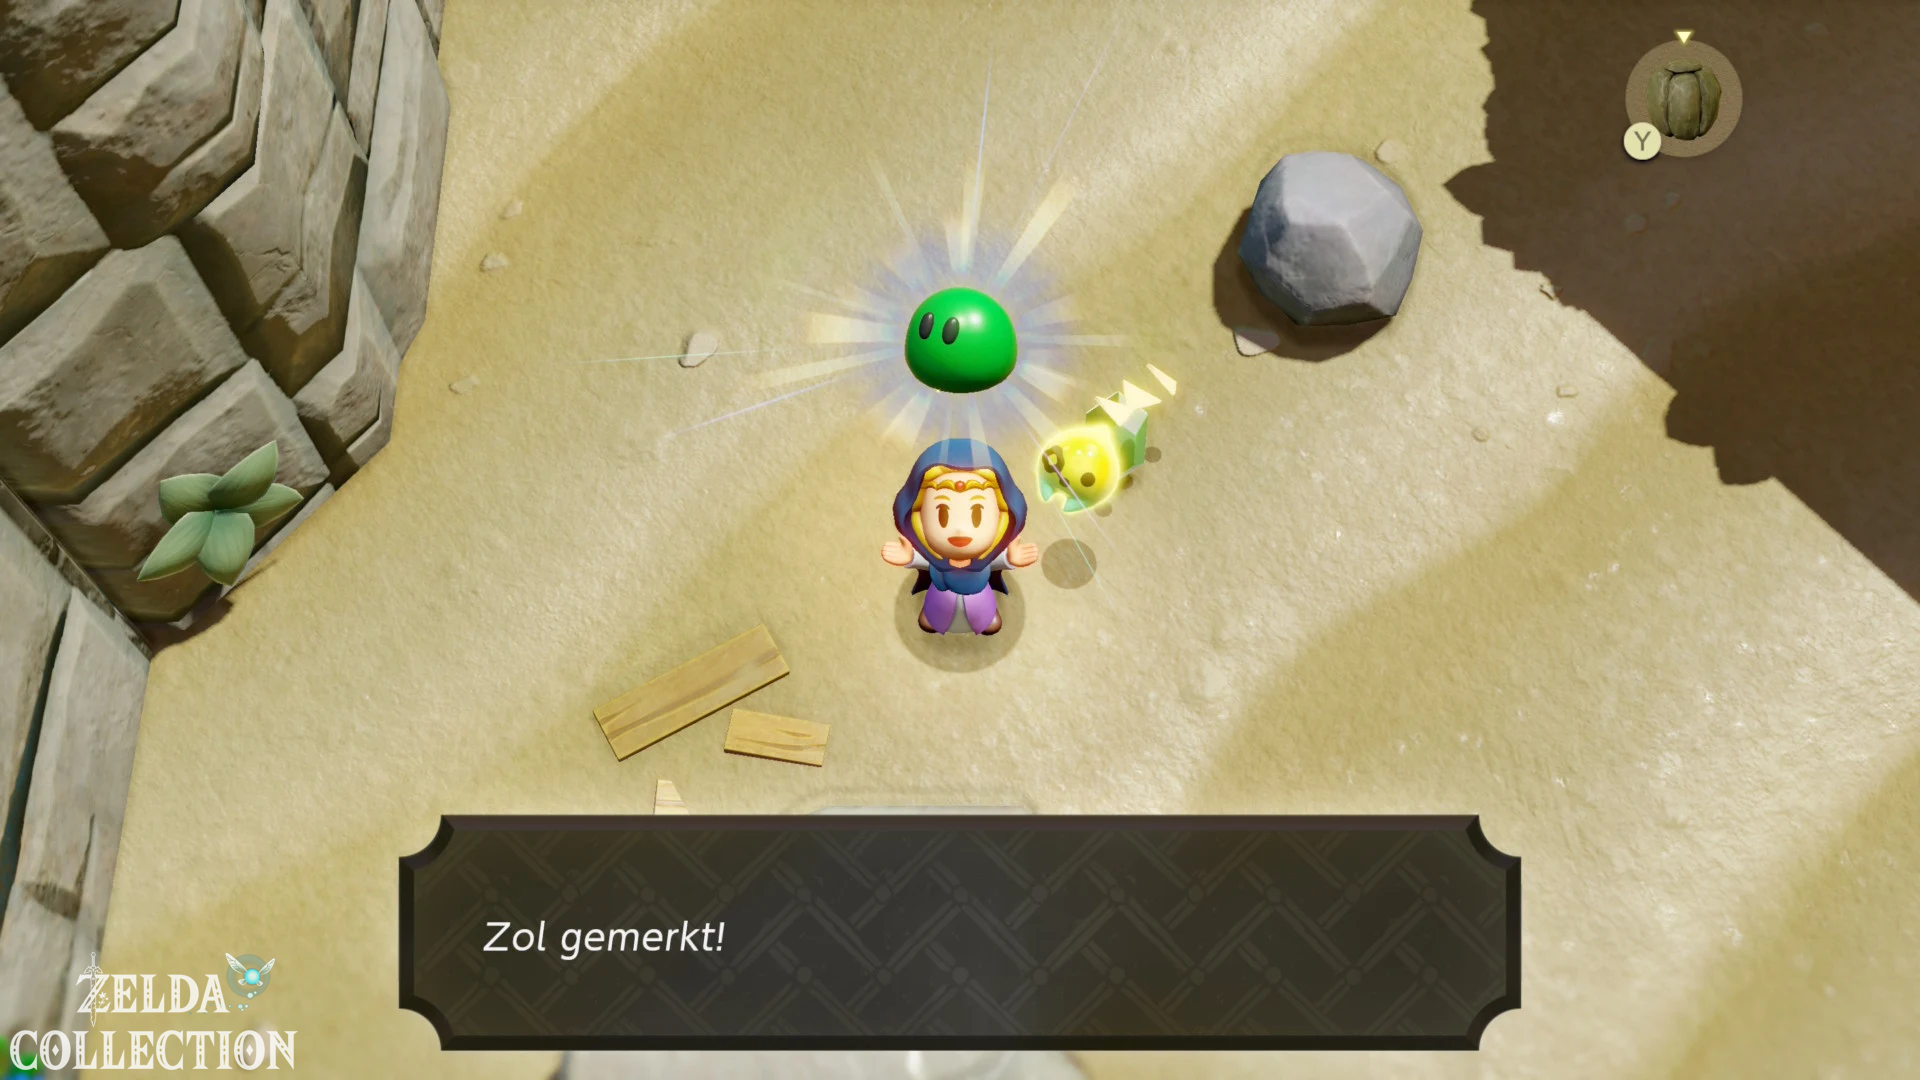
Learn the echo of the Rock in the cave and go out. Defeat the first Zol with a thrown Rock and learn the Zol Echo. Your summoned monsters attack targets you target with ZL.
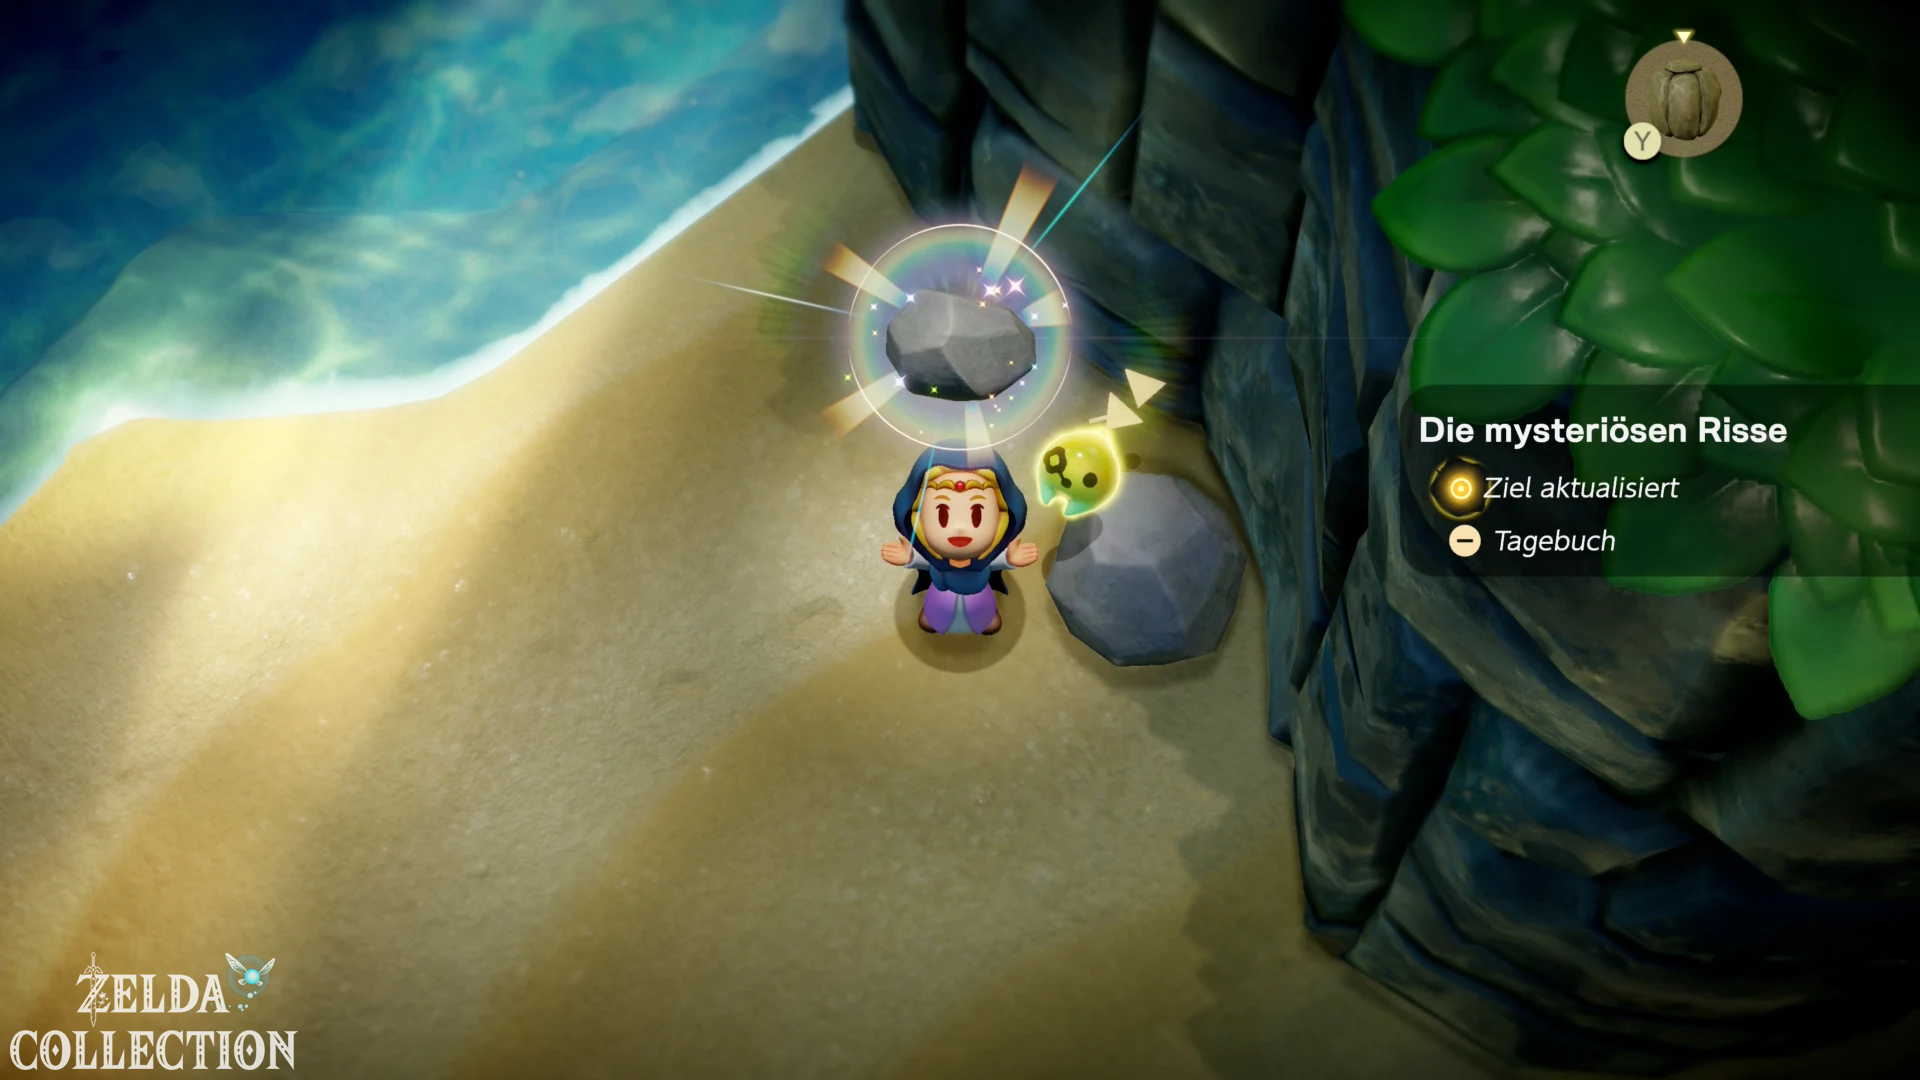
Follow the beach east. Also defeat a Sea Urchin with stones and learn its echo. Take the visible Rupees in the water with you.
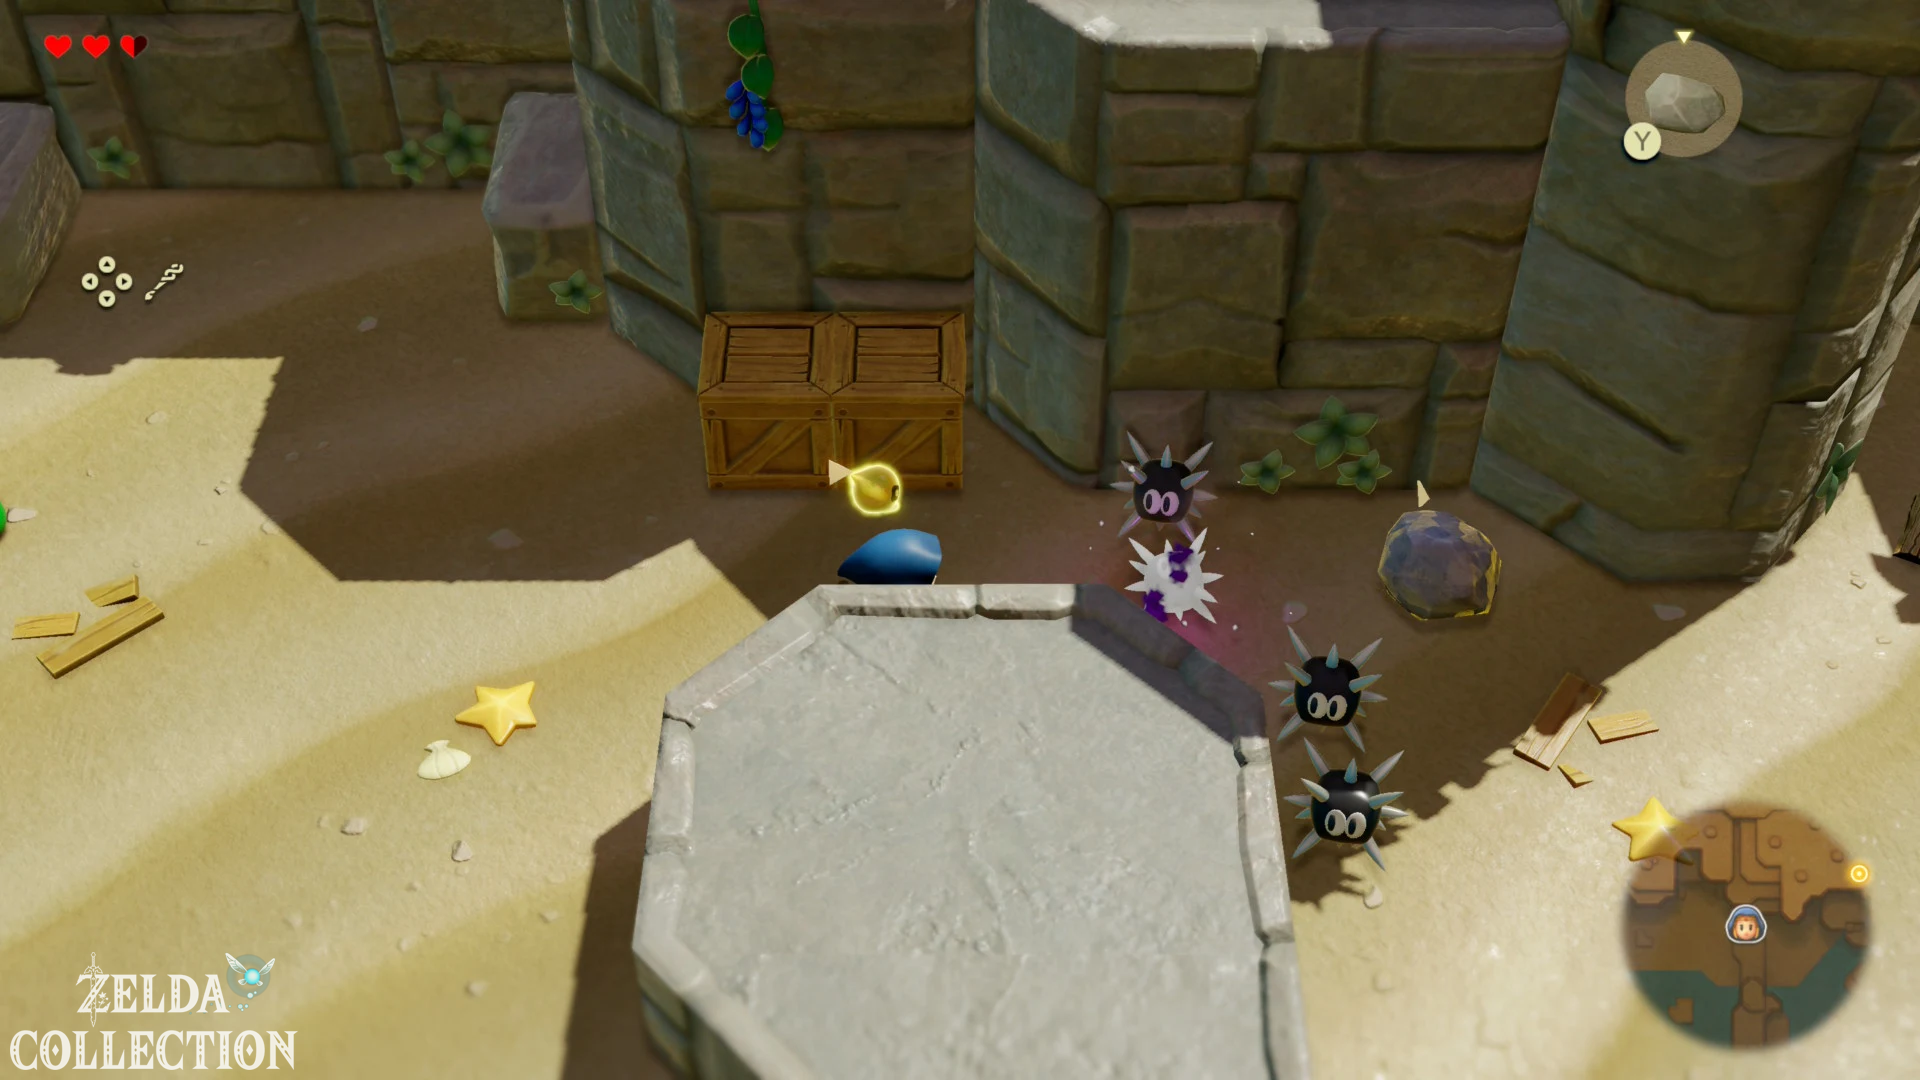
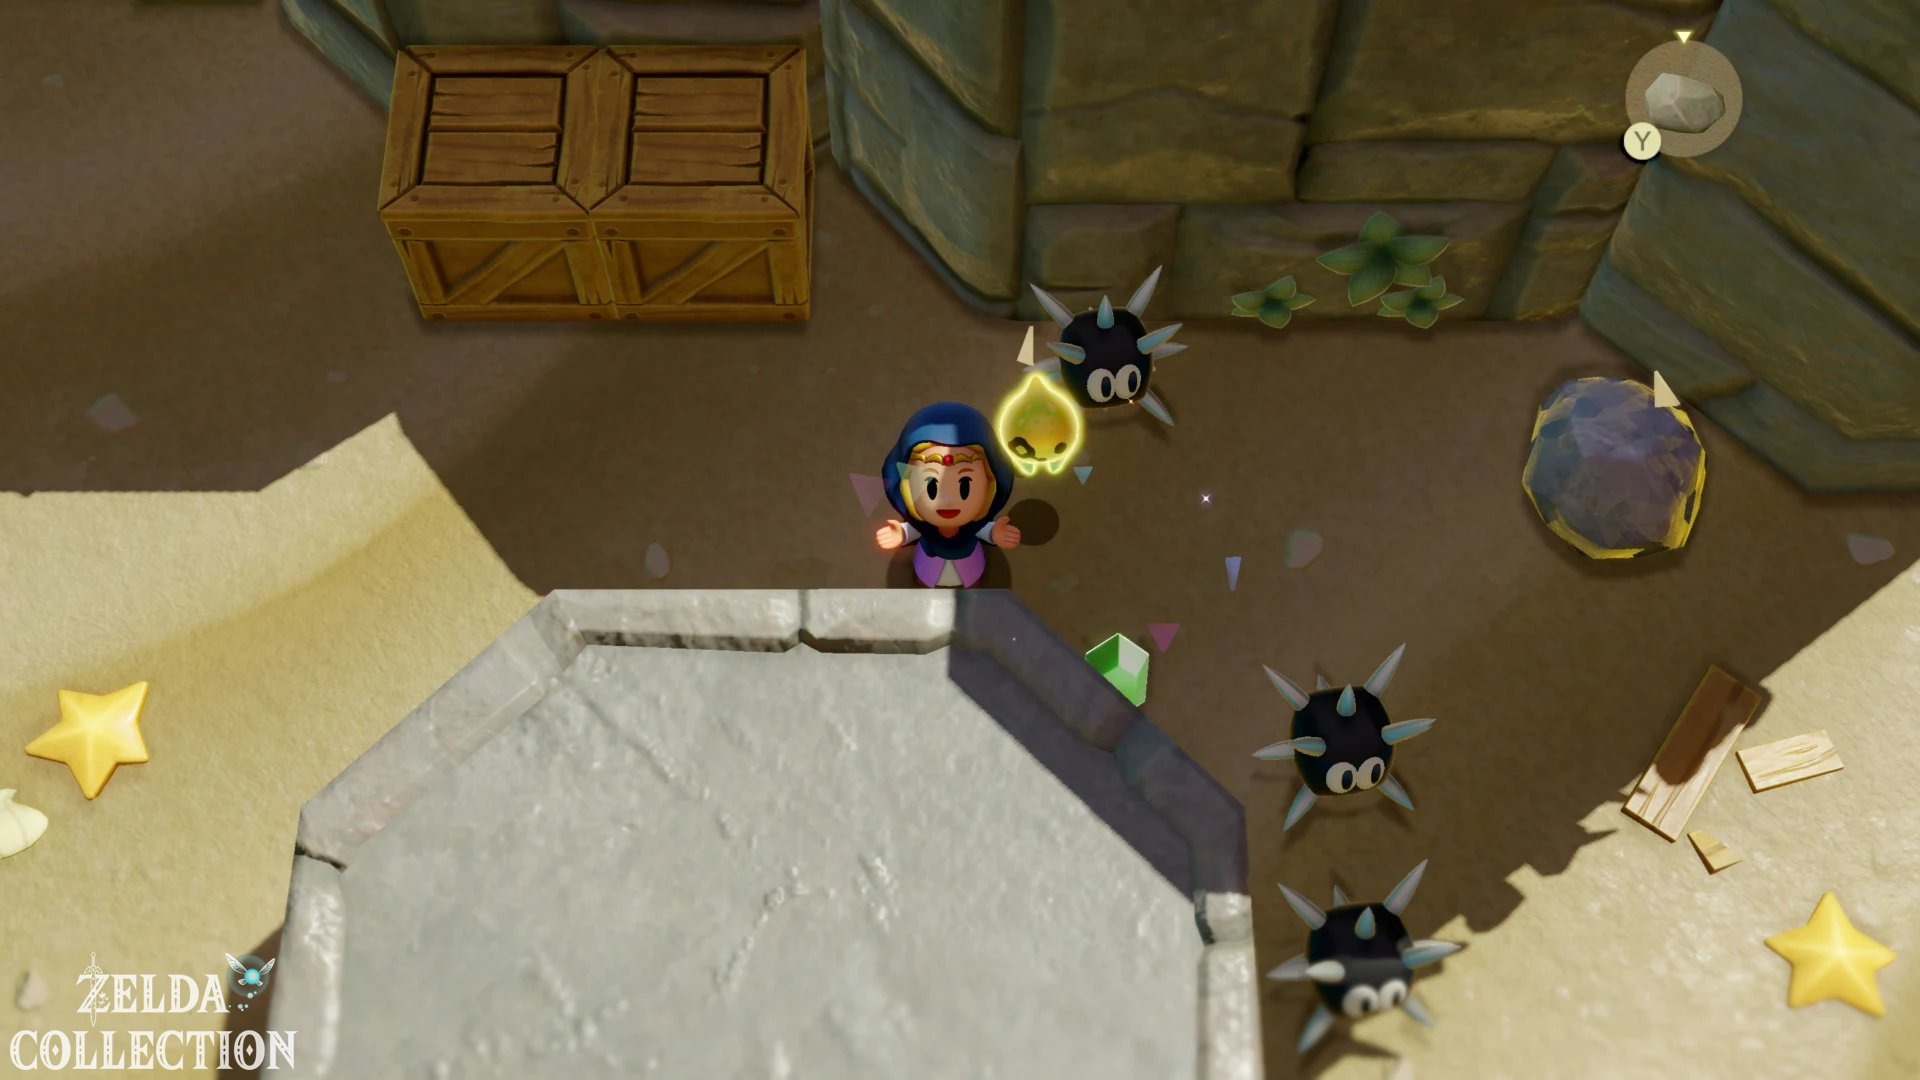
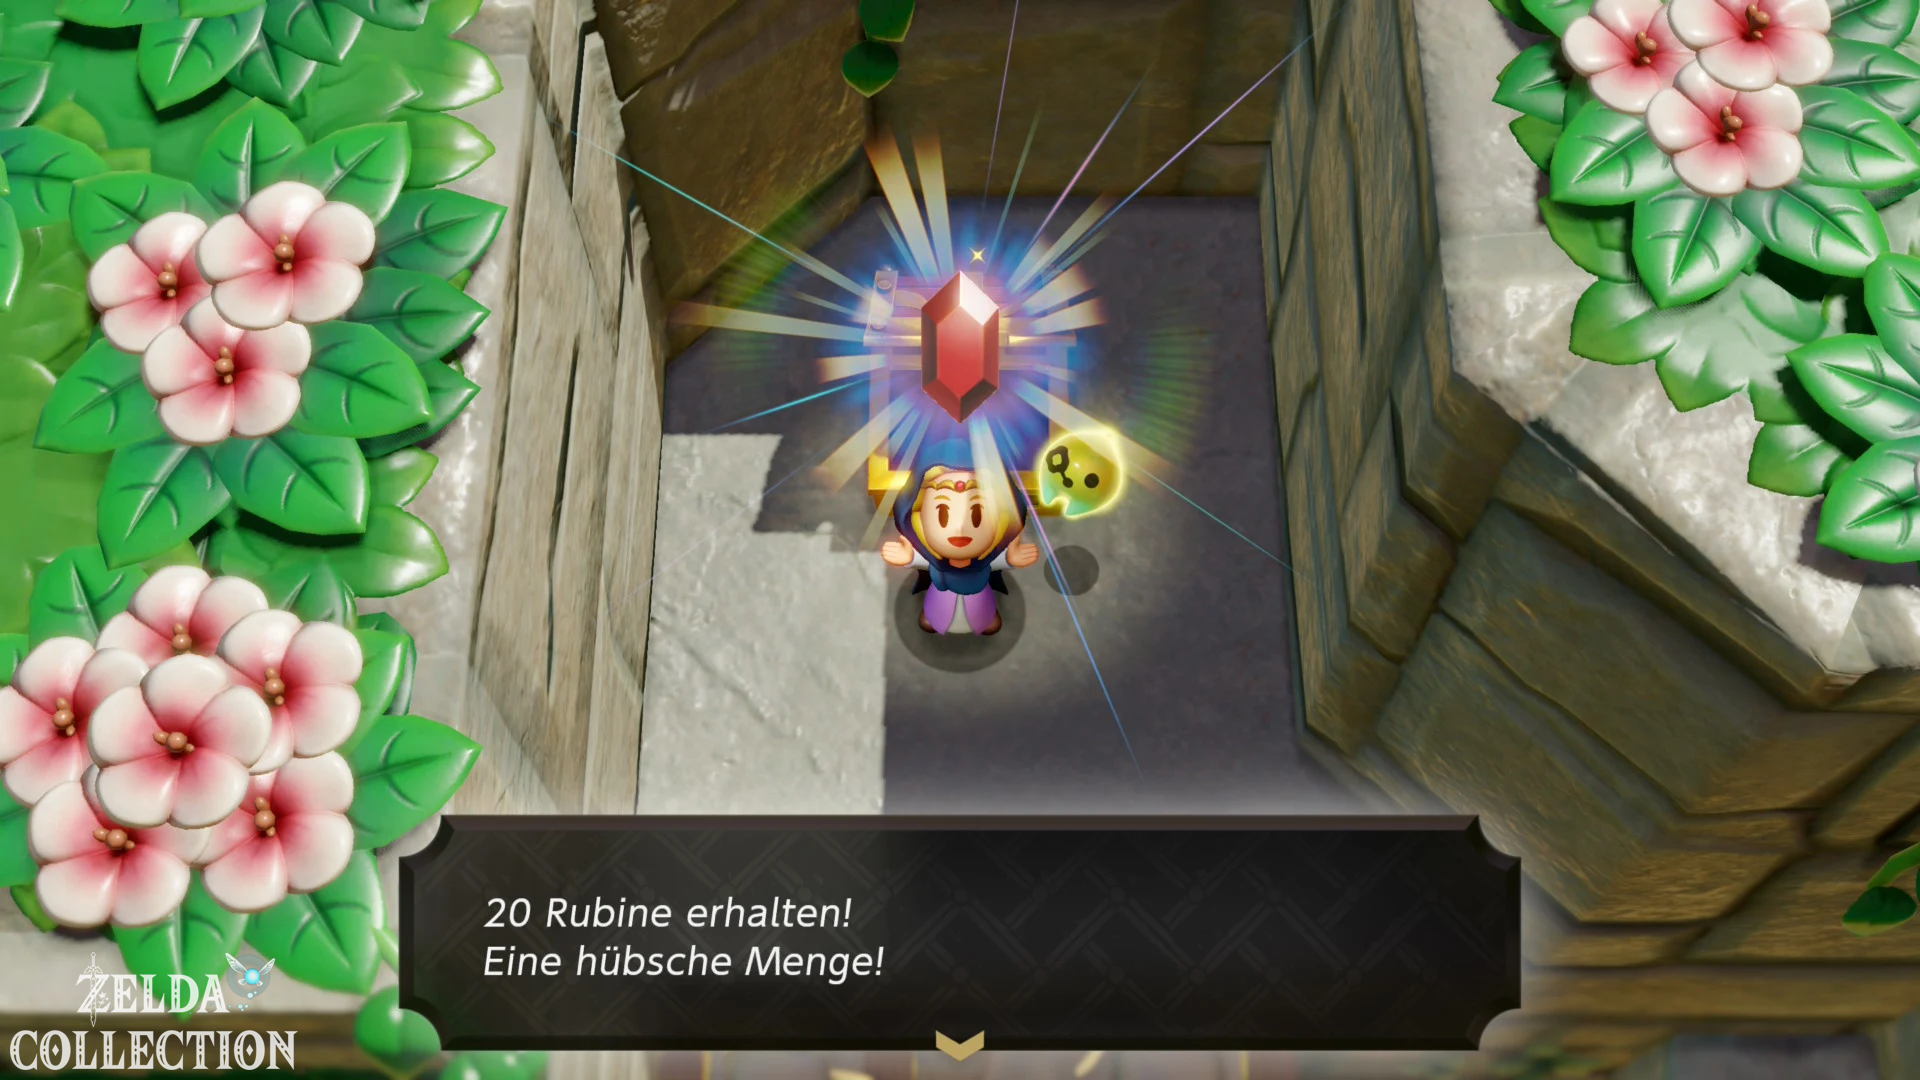
The chest with 20 Rupees
There is a chest on a raised ledge north of the beach path. Build a staircase over the lower rock using a table and a Wooden Box. Open the chest for 20 Rupees.
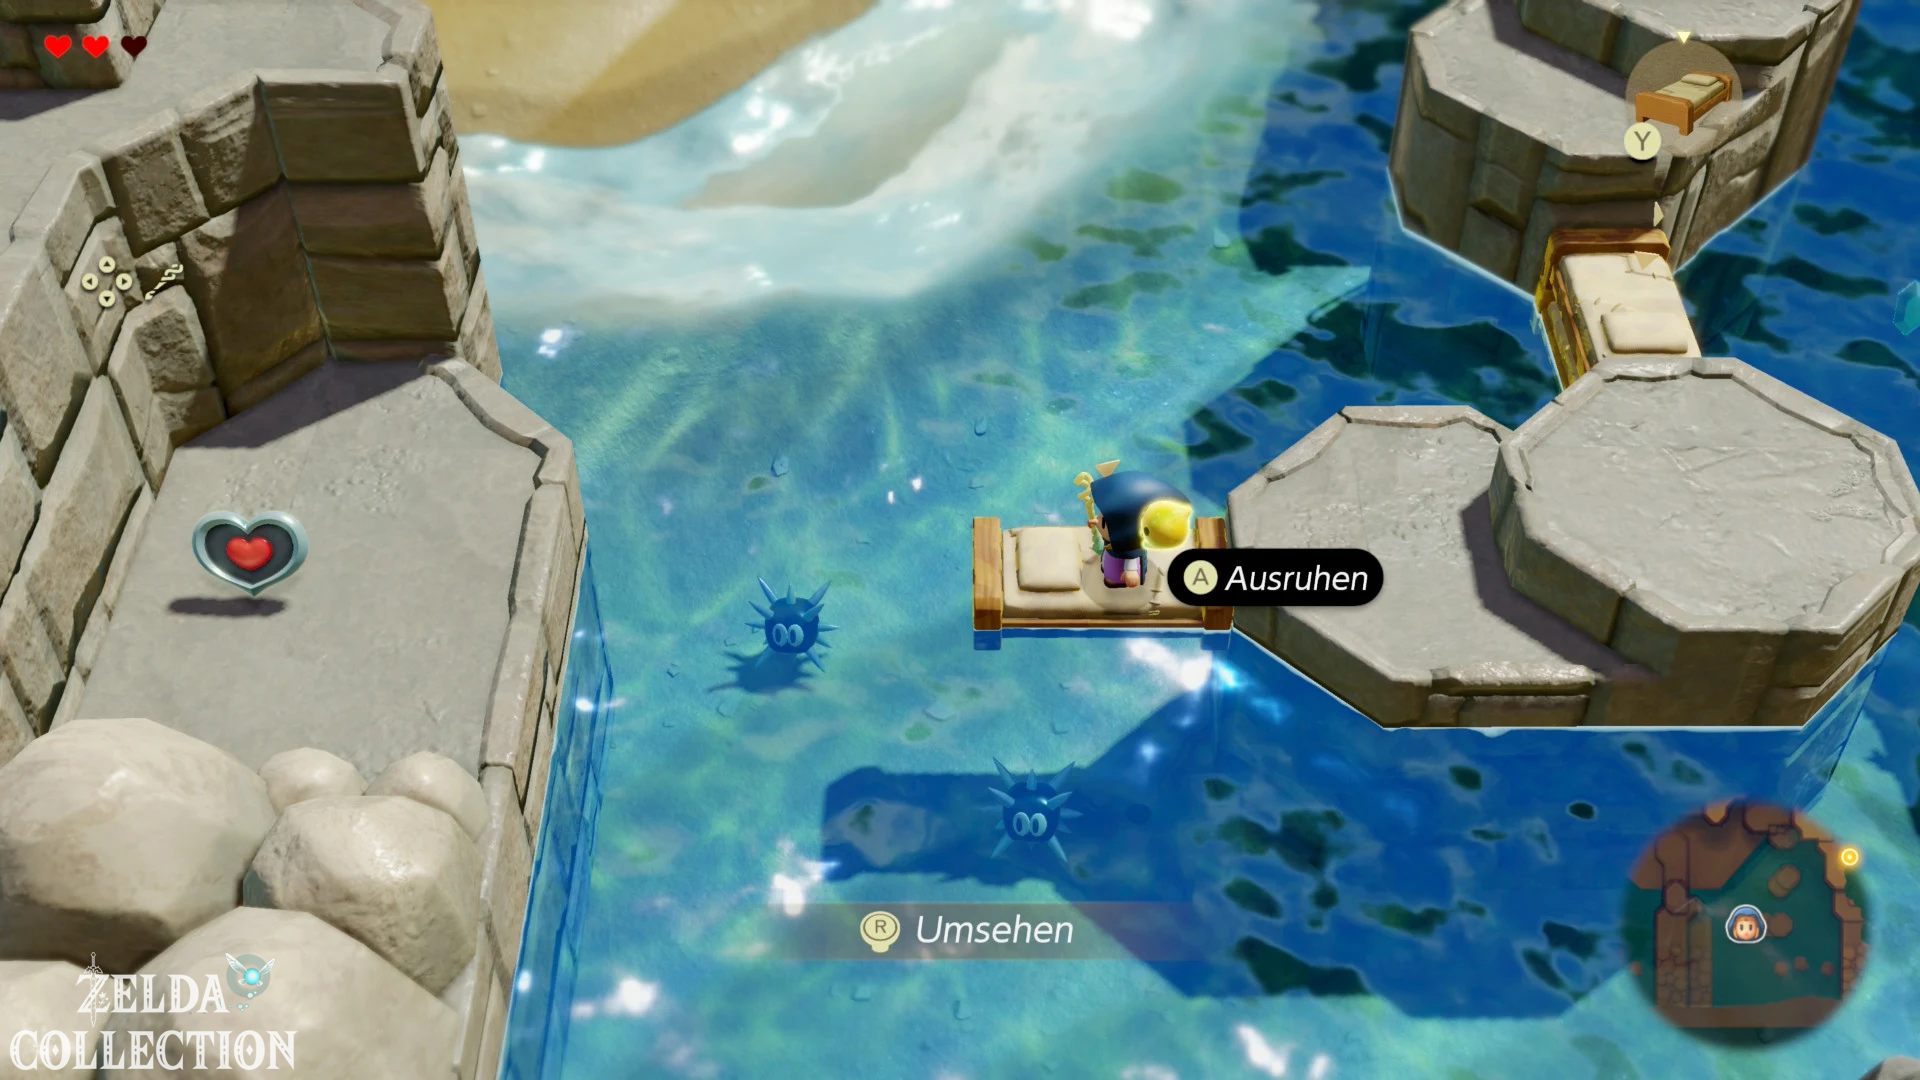
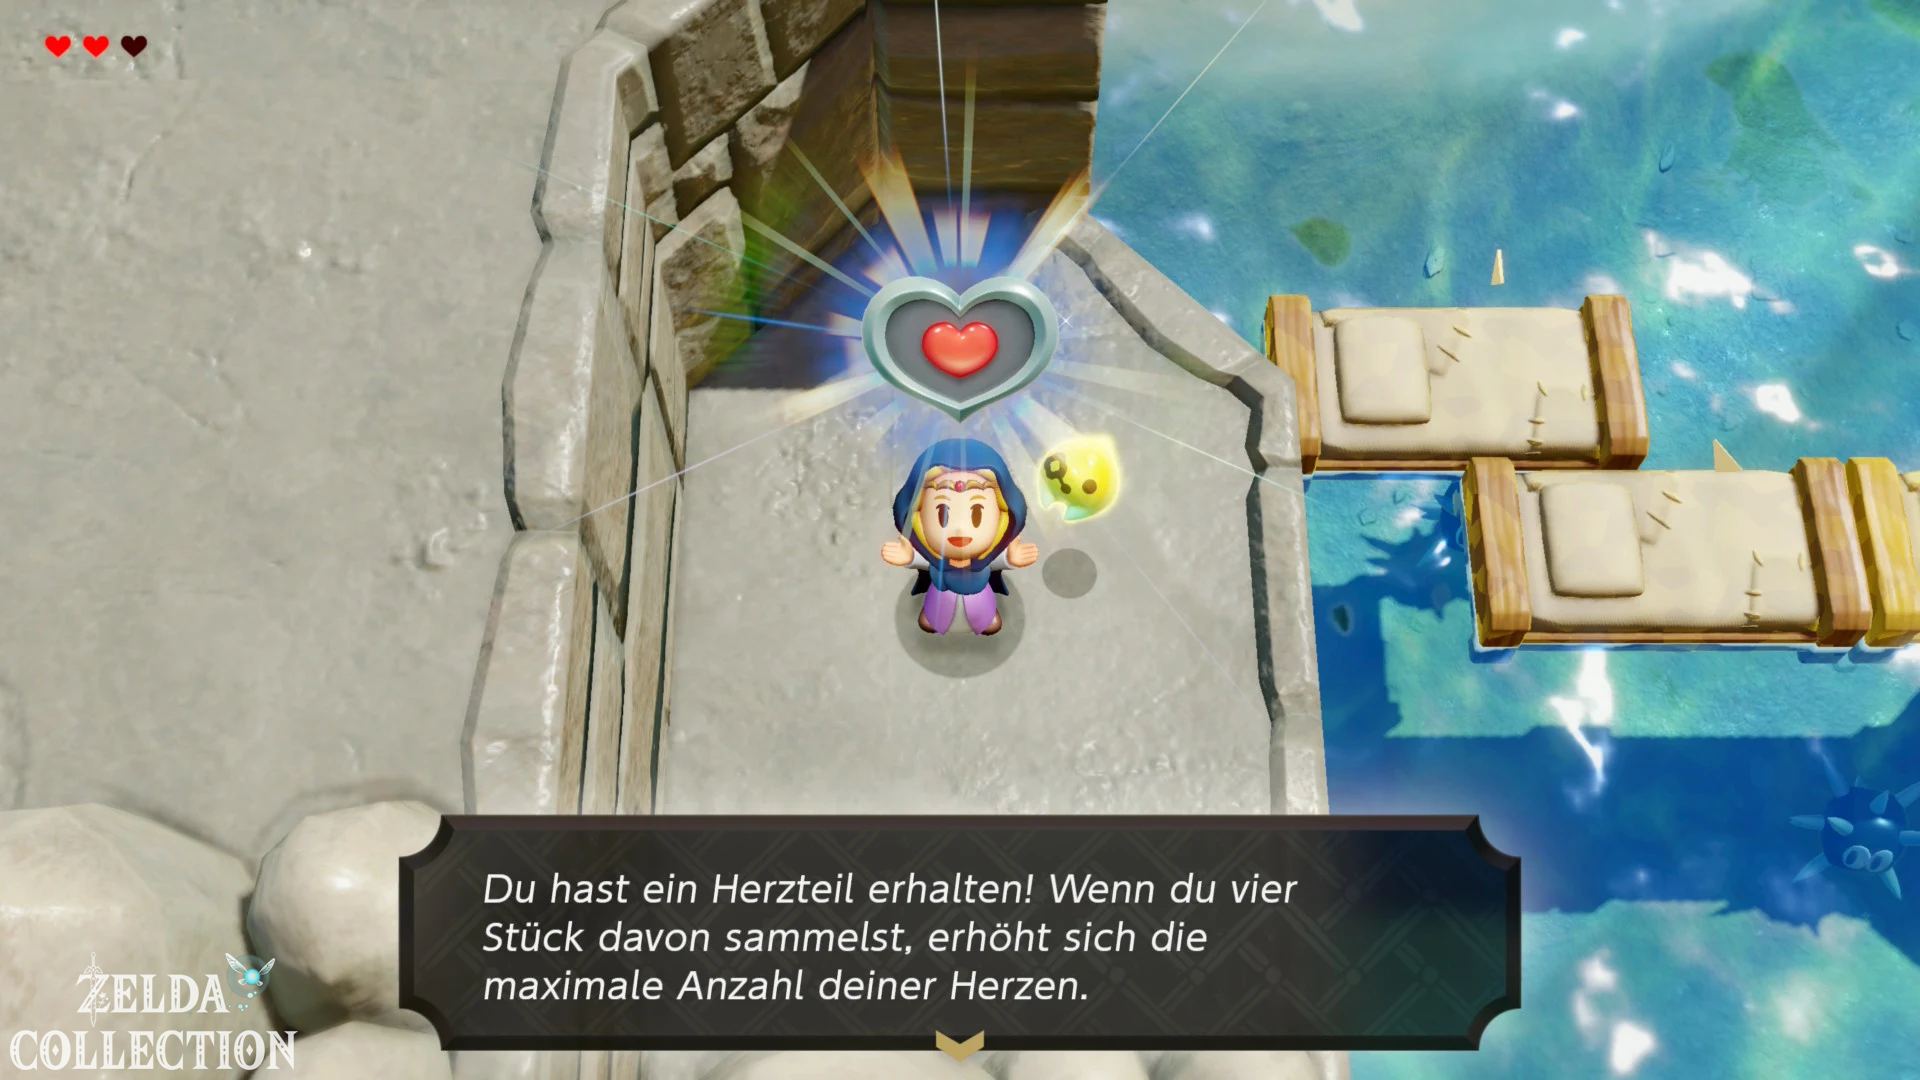
Piece of Heart 1 on the ledge
There is a Piece of Heart on a ledge in the water west of the middle rocky island. Swim to the island and from there build a passage to the west using floating beds and crates. A box at the end gives you the height you need for the final jump. Take Piece of Heart 1 and return to the middle island. From the higher section you build further north, where the connection to the Beach Cave is interrupted. Eliminate the Sea Urchin in front of the entrance.
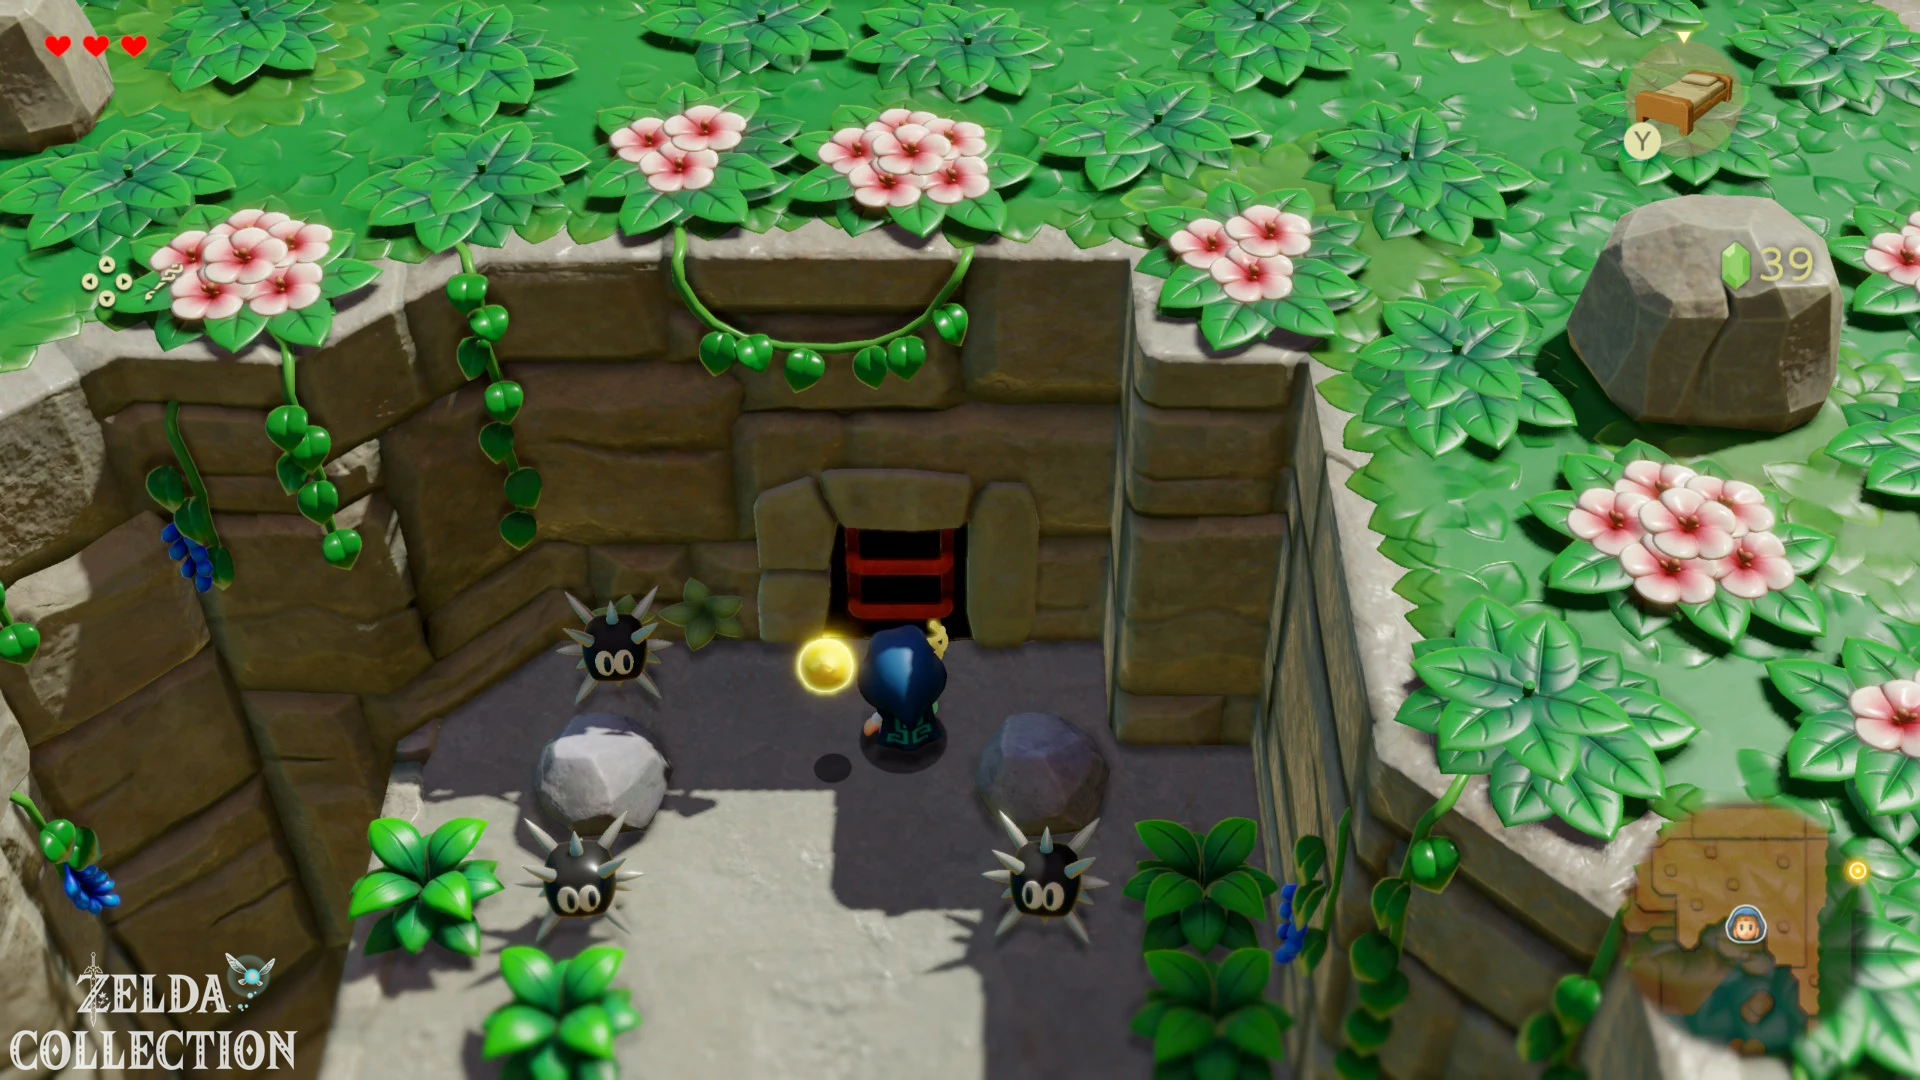
4. Beach Cave: Piece of Heart 2 and Keese
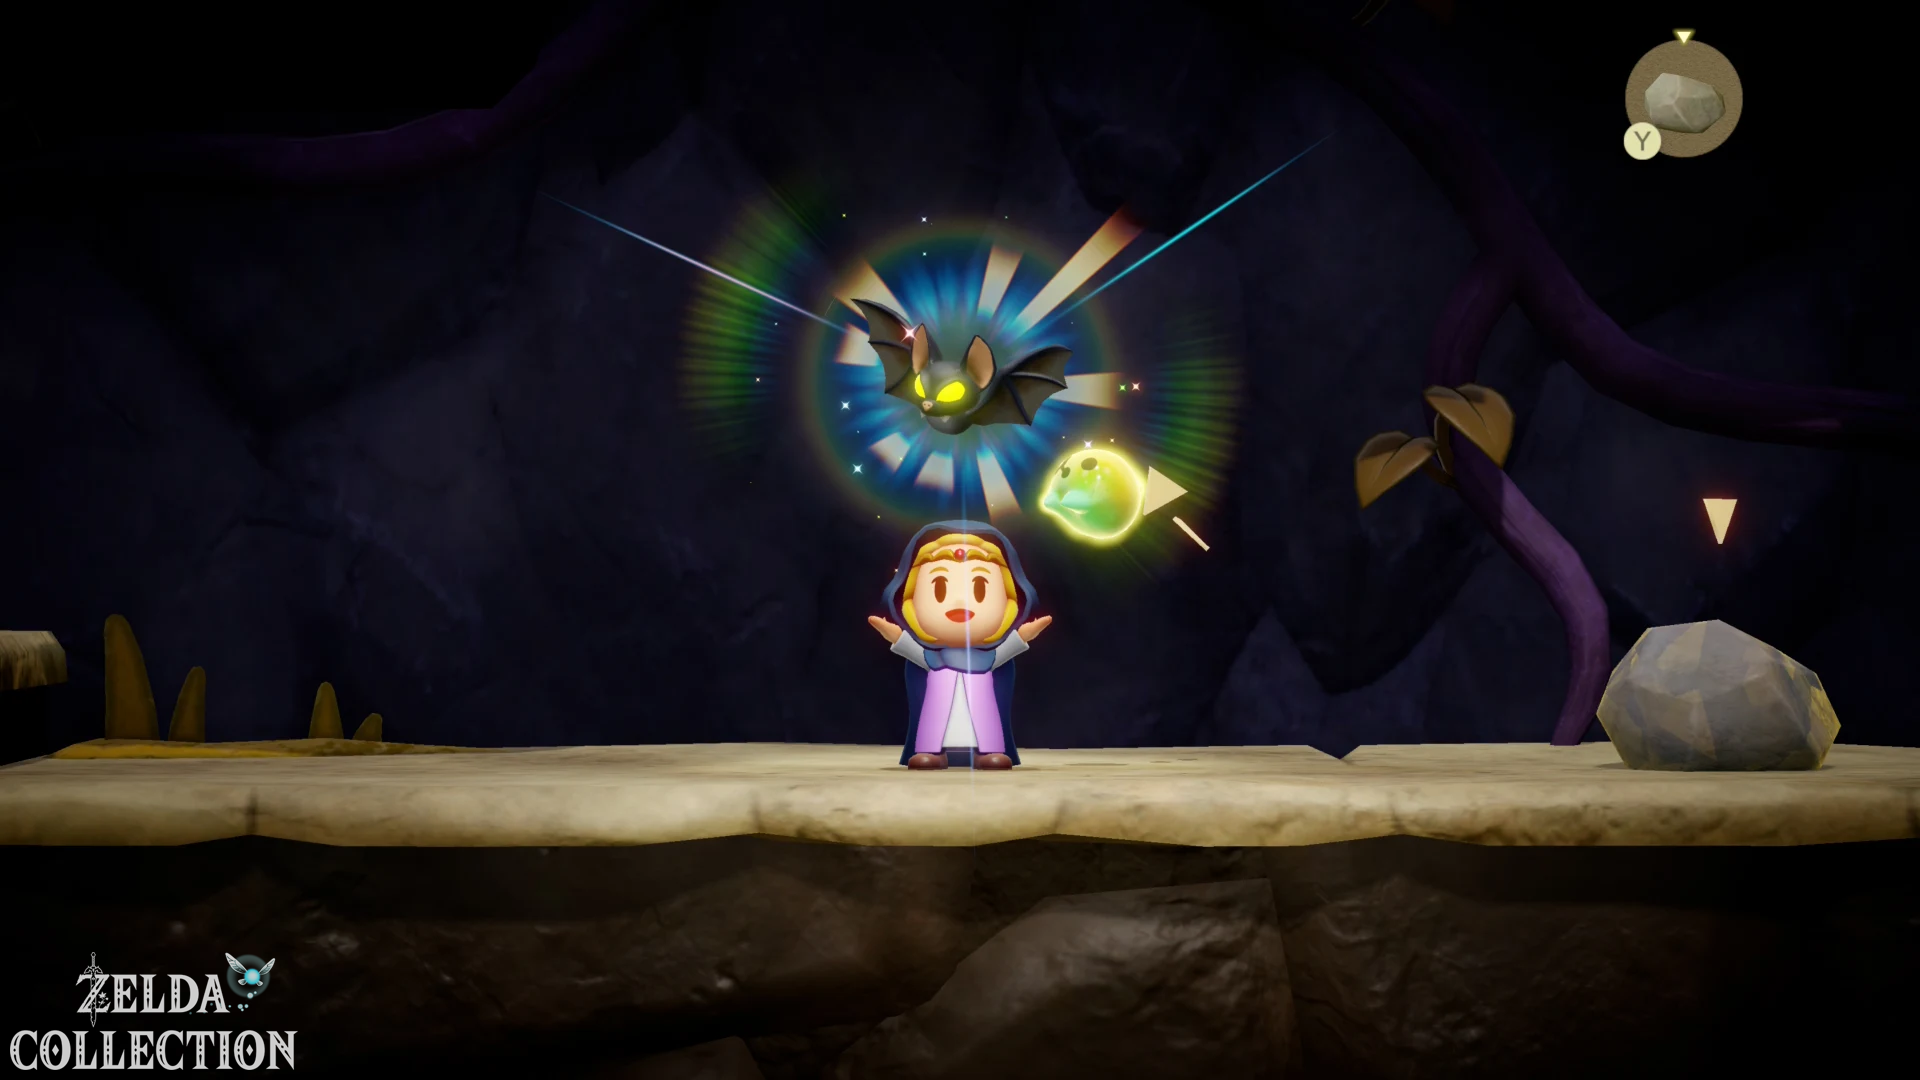
Climb down the ladders. Defeat a Keese with a thrown Rock and learn its echo before continuing to the right.
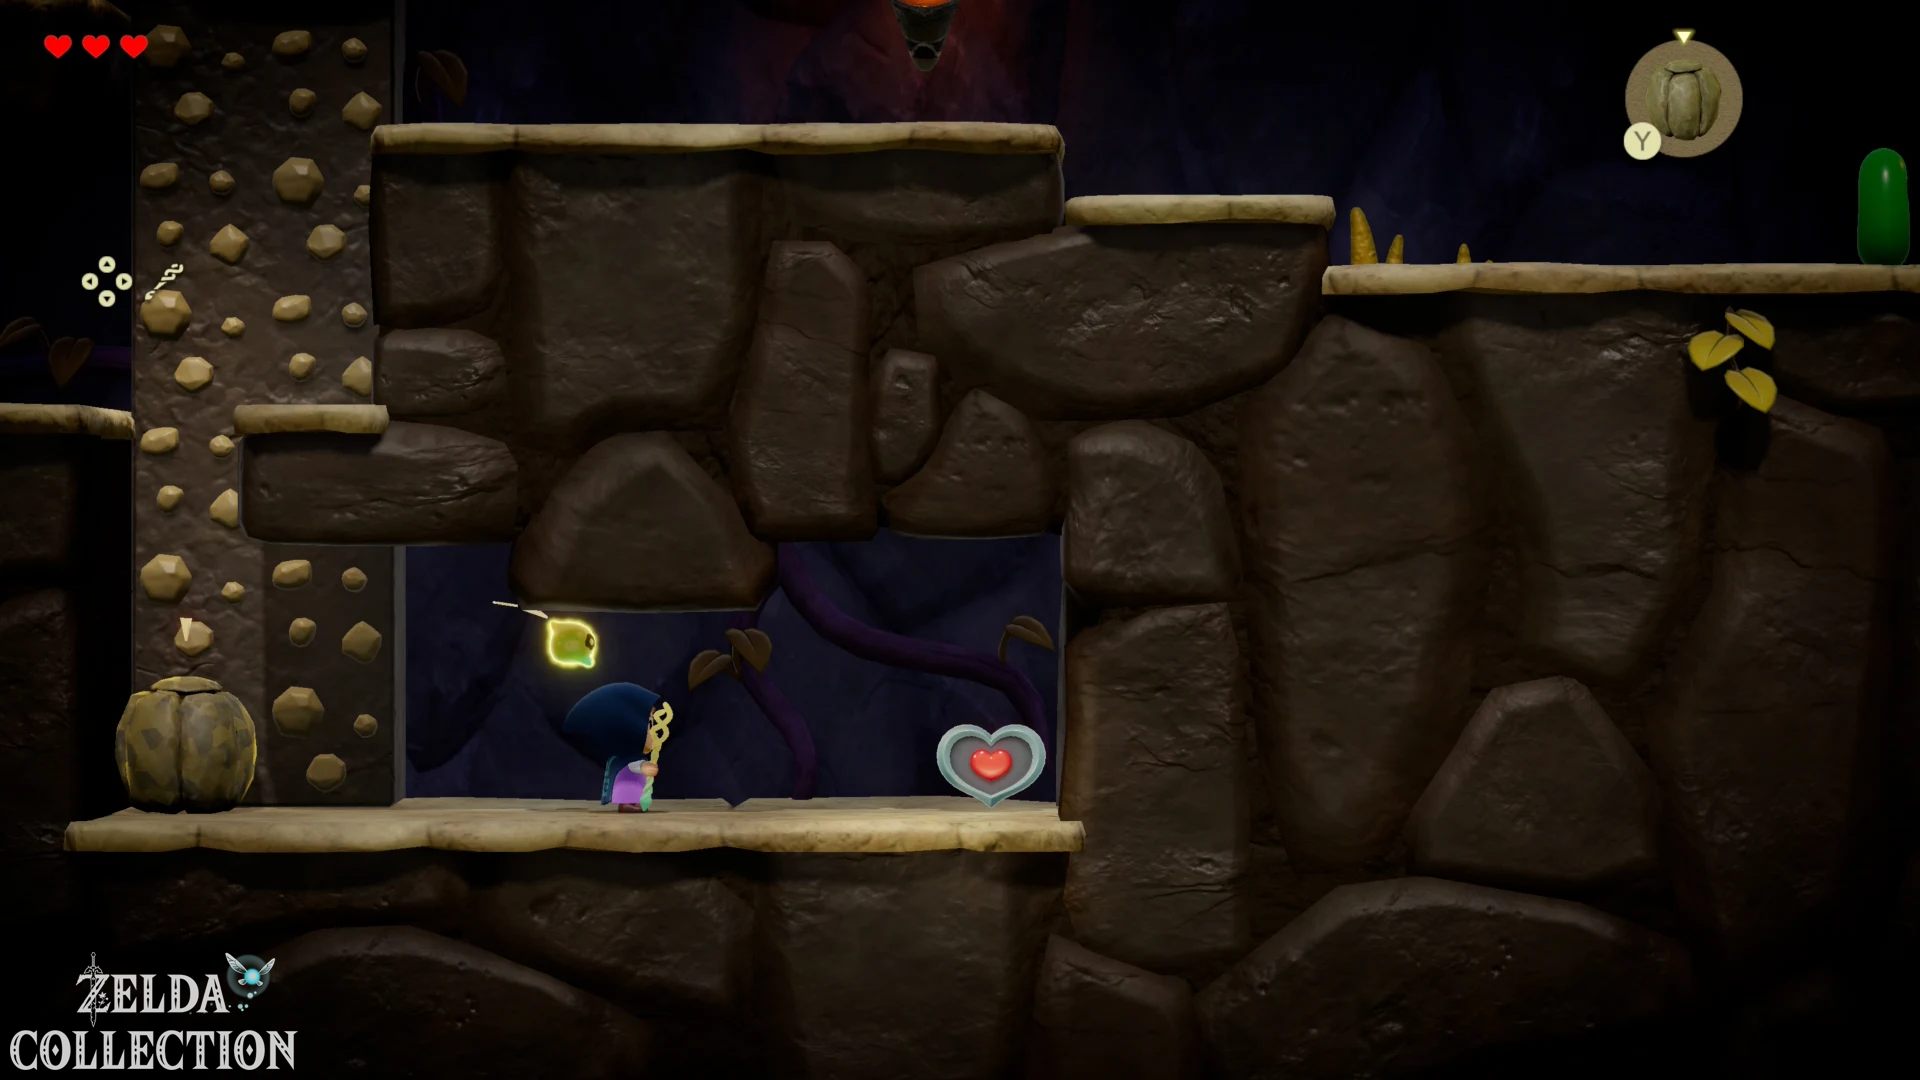
The second Piece of Heart is behind Wooden Boxes. Reach the upper ledge using beds and a table. Drop a Boulder onto the crates from above. Then delete it and repeat the process until access is free.
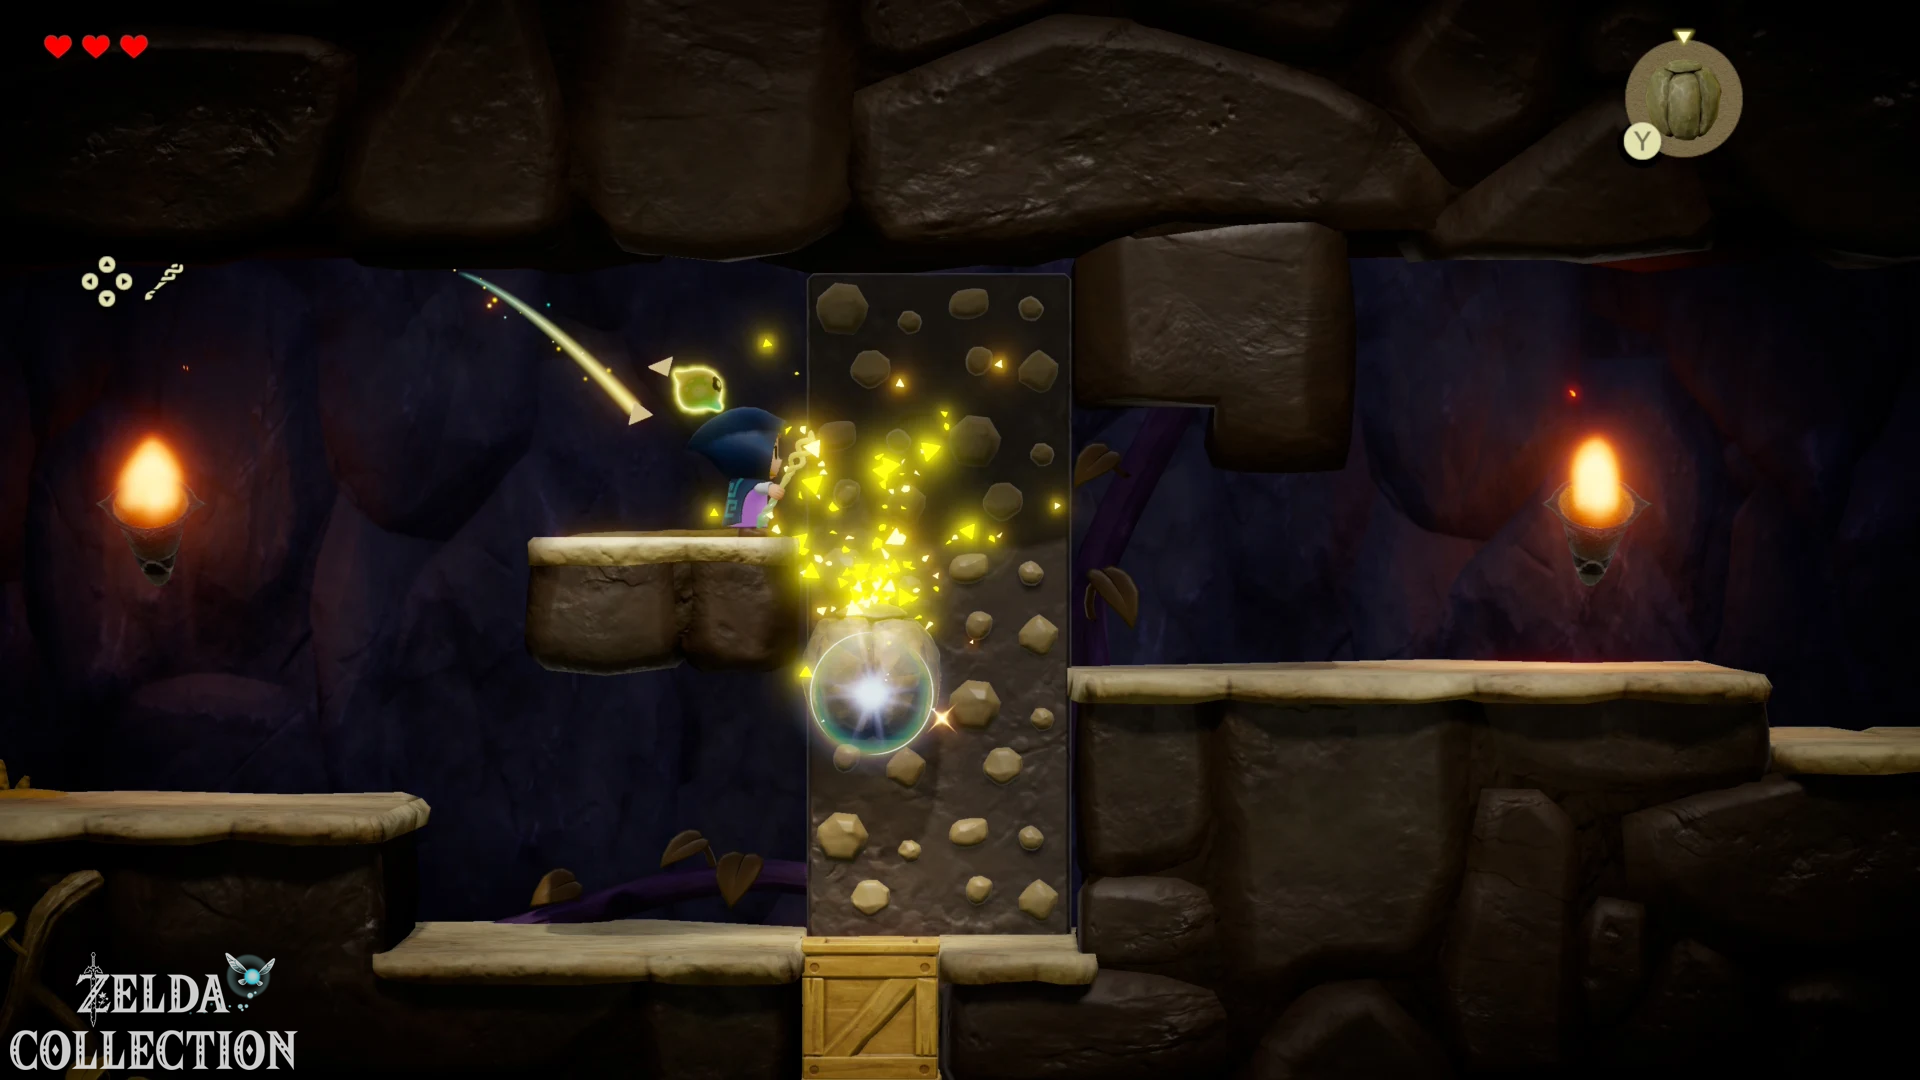
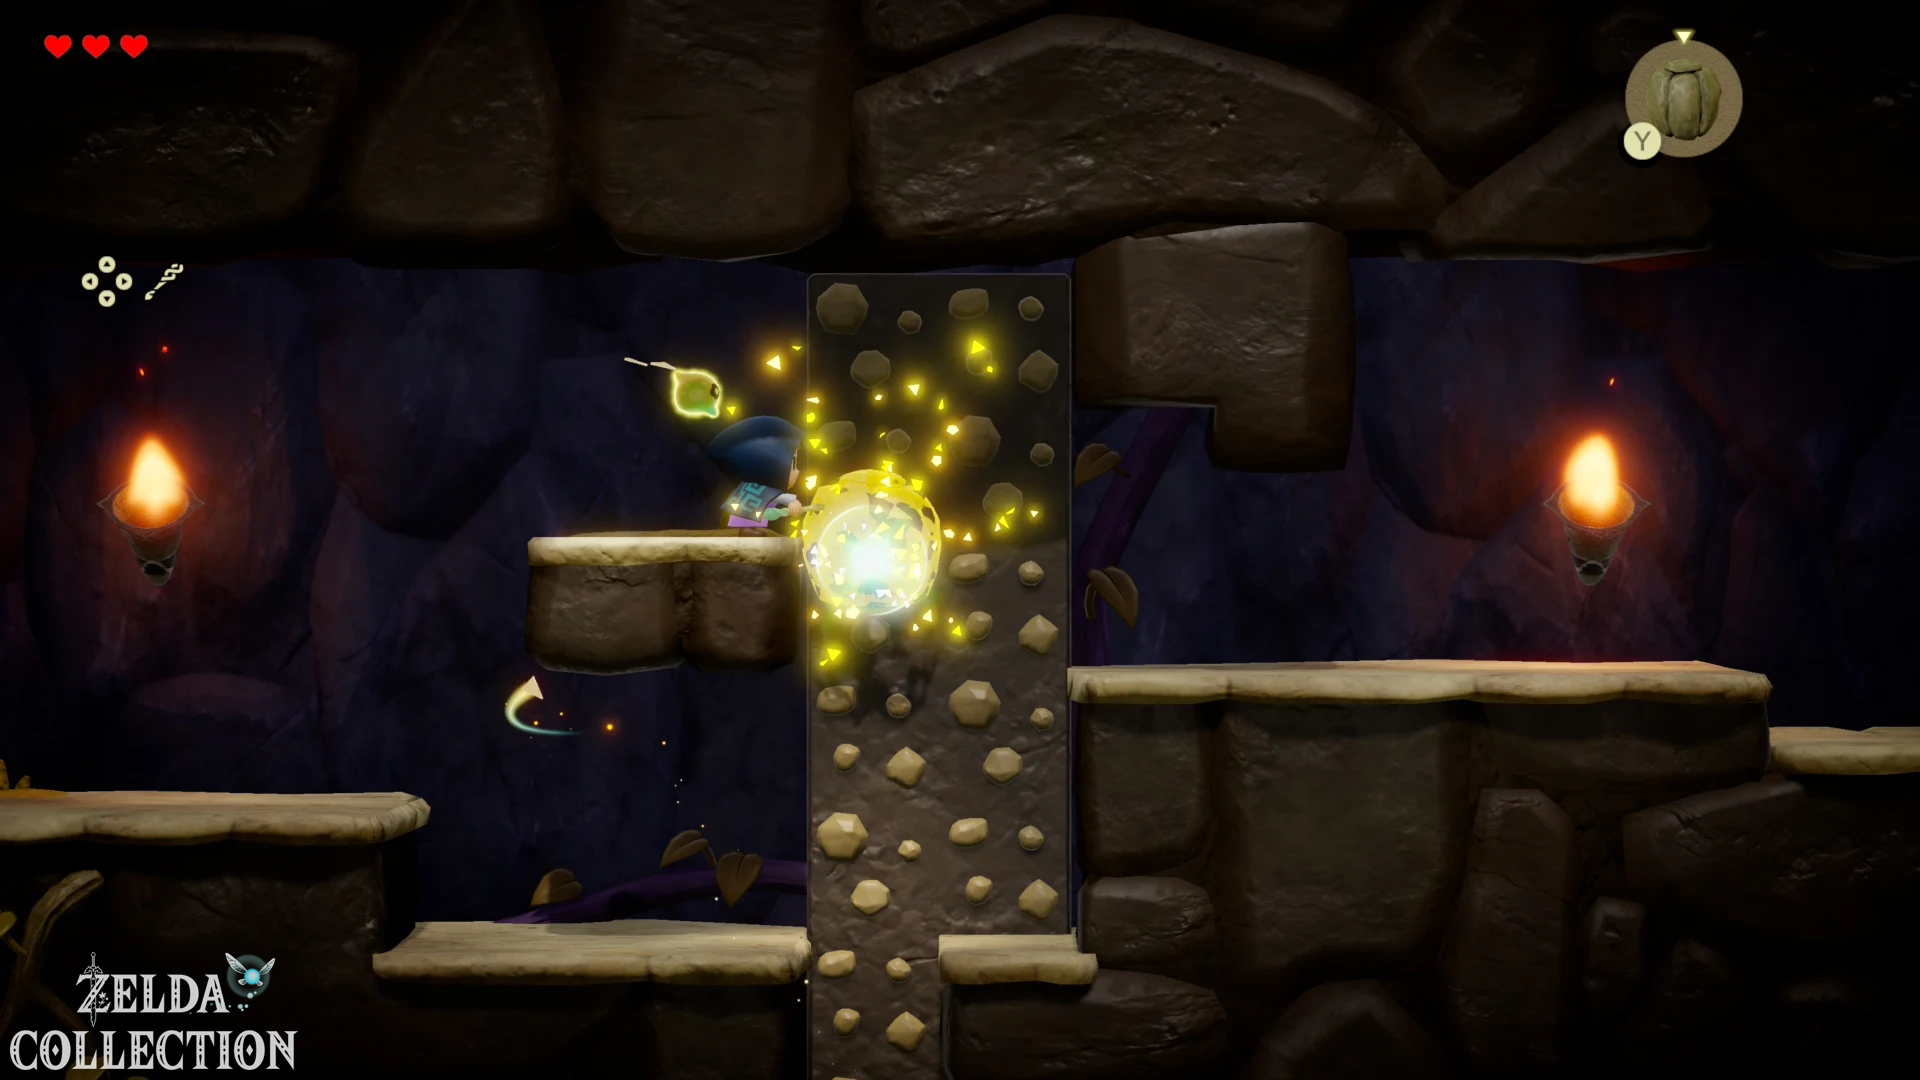
Climb down, collect Piece of Heart 2 and climb back up the climbing wall. Exit the cave on the right.
50 Rupees take
in front of the village
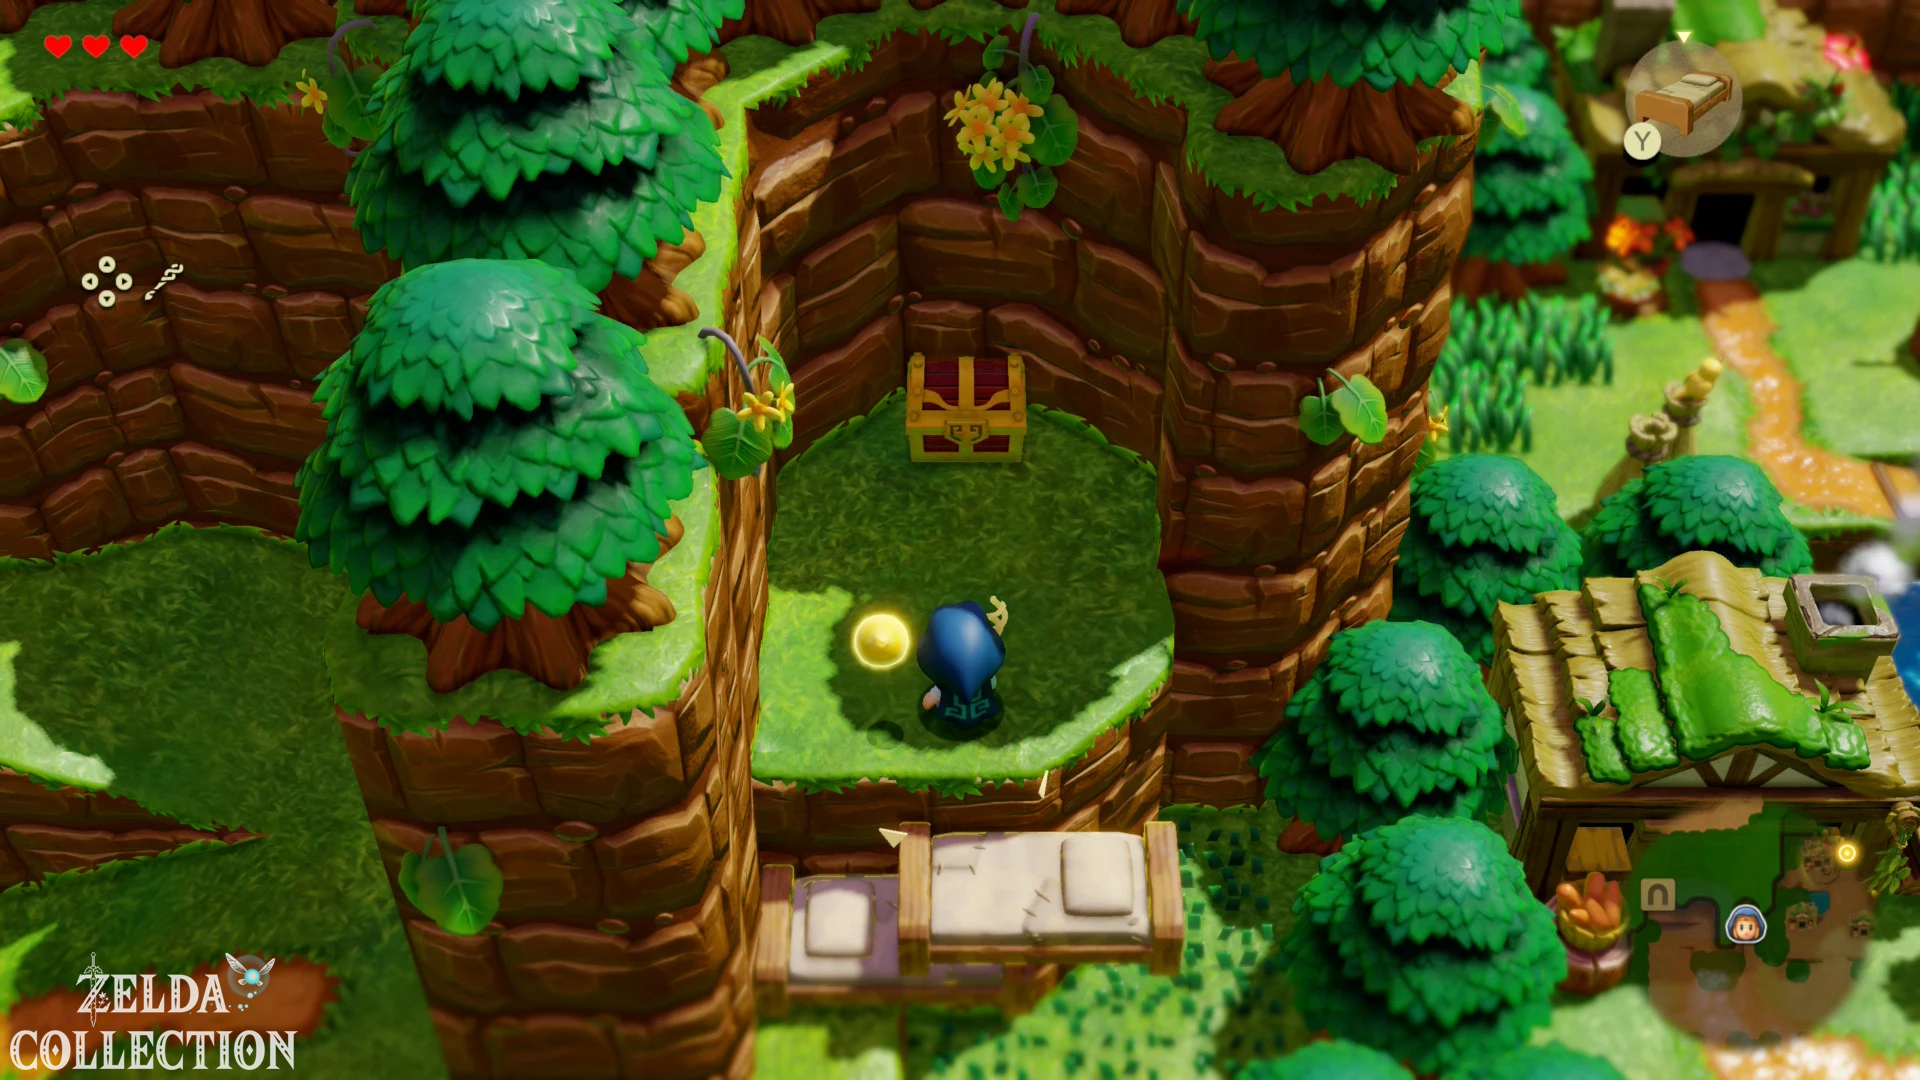
On the way to Suthorn Village you will see another chest on a raised ledge. Take advantage of the lower terrain level and add a bed with a table as a step up. The chest contains 50 Rupees.
Then go east to the village.
5. Suthorn Village: Piece of Heart 3, wells and new echoes
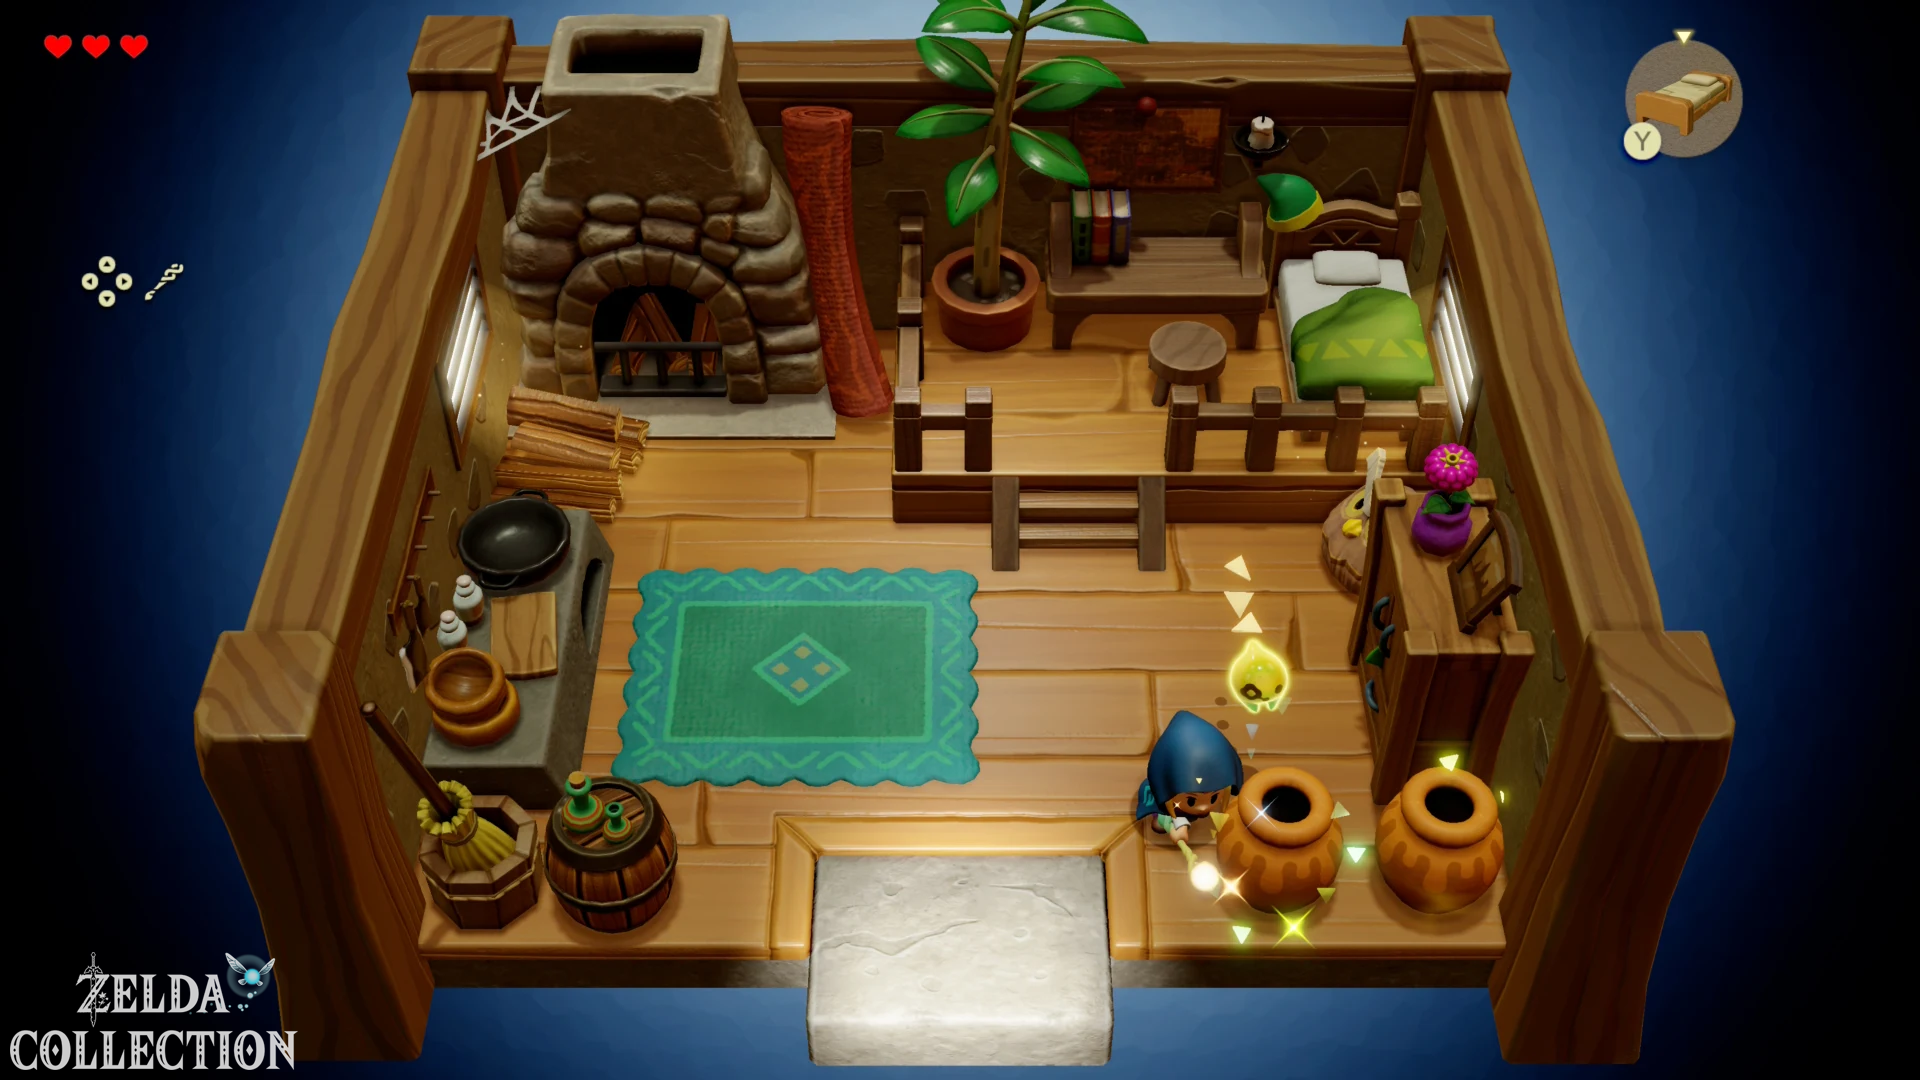
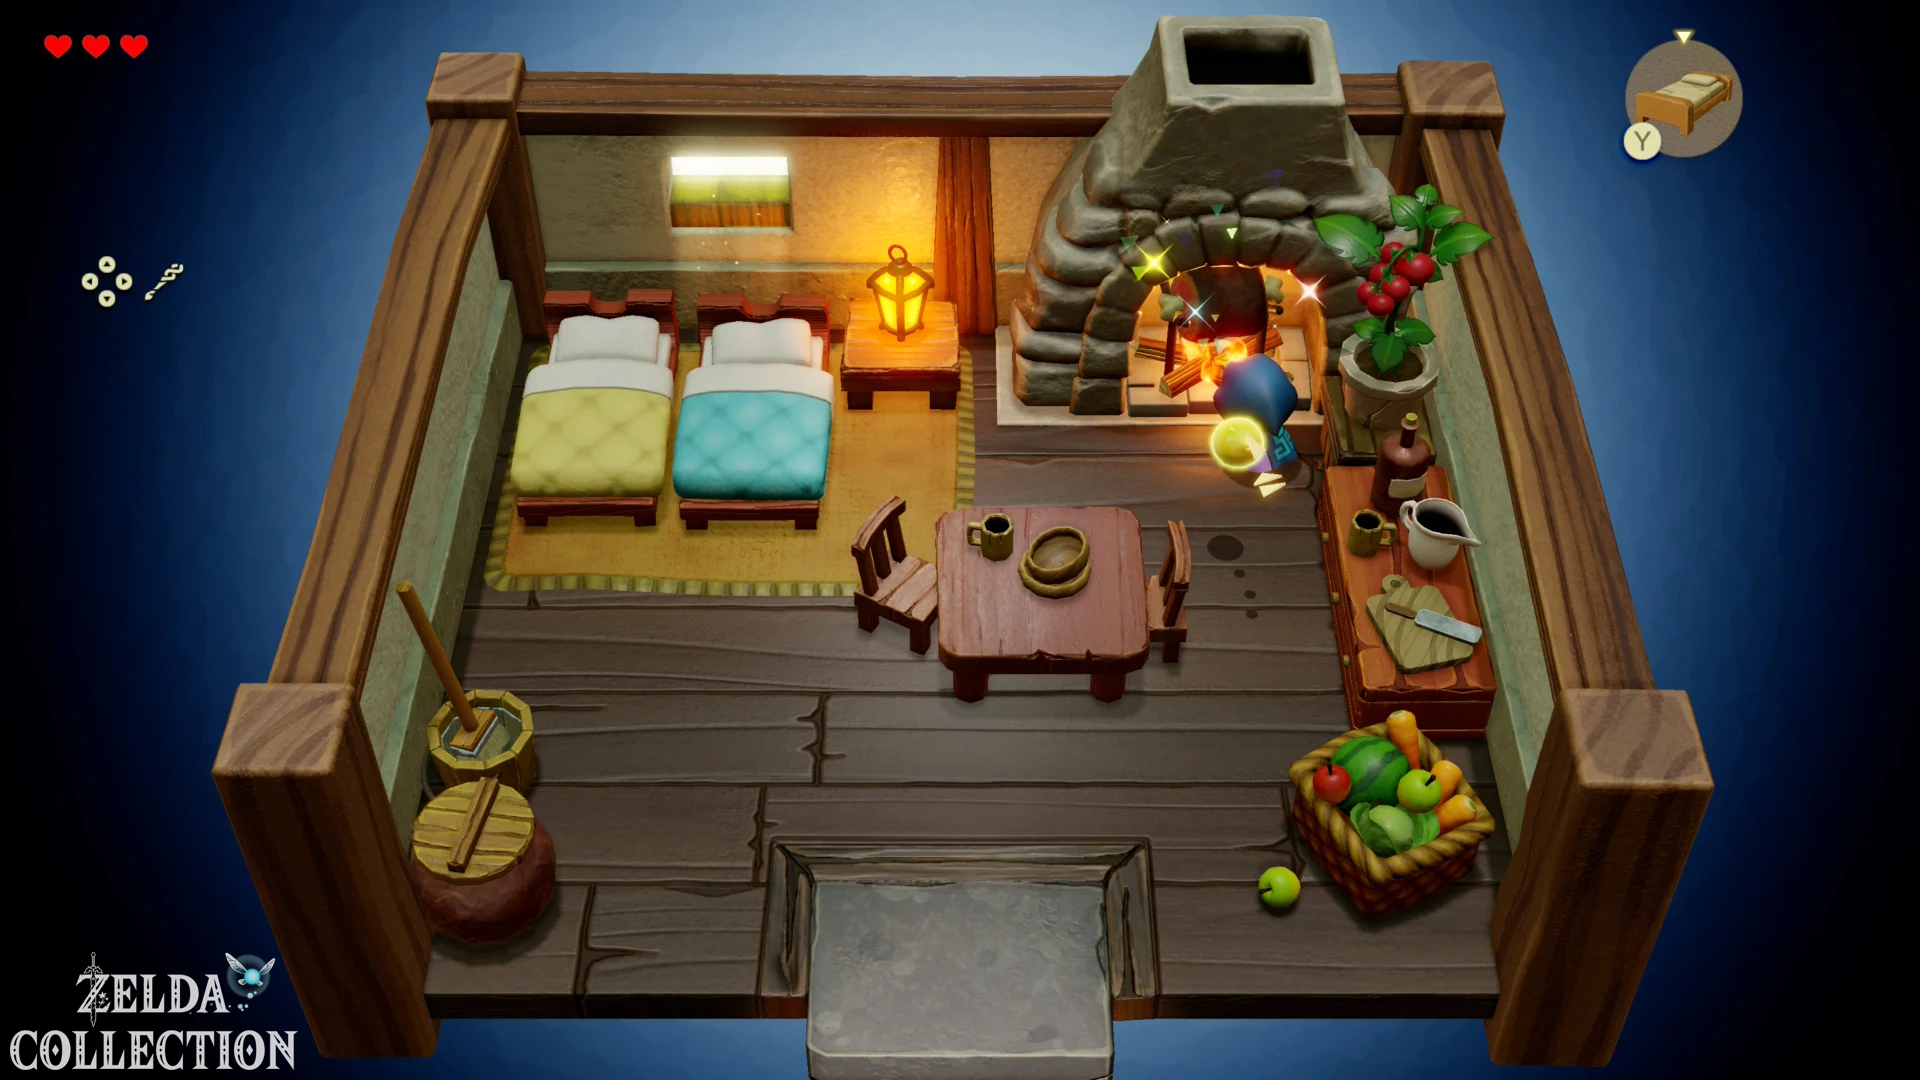
Explore the houses before moving on. Learn the echo of the Meat on the fireplace and the Pot. Near the store you will learn the trampoline.
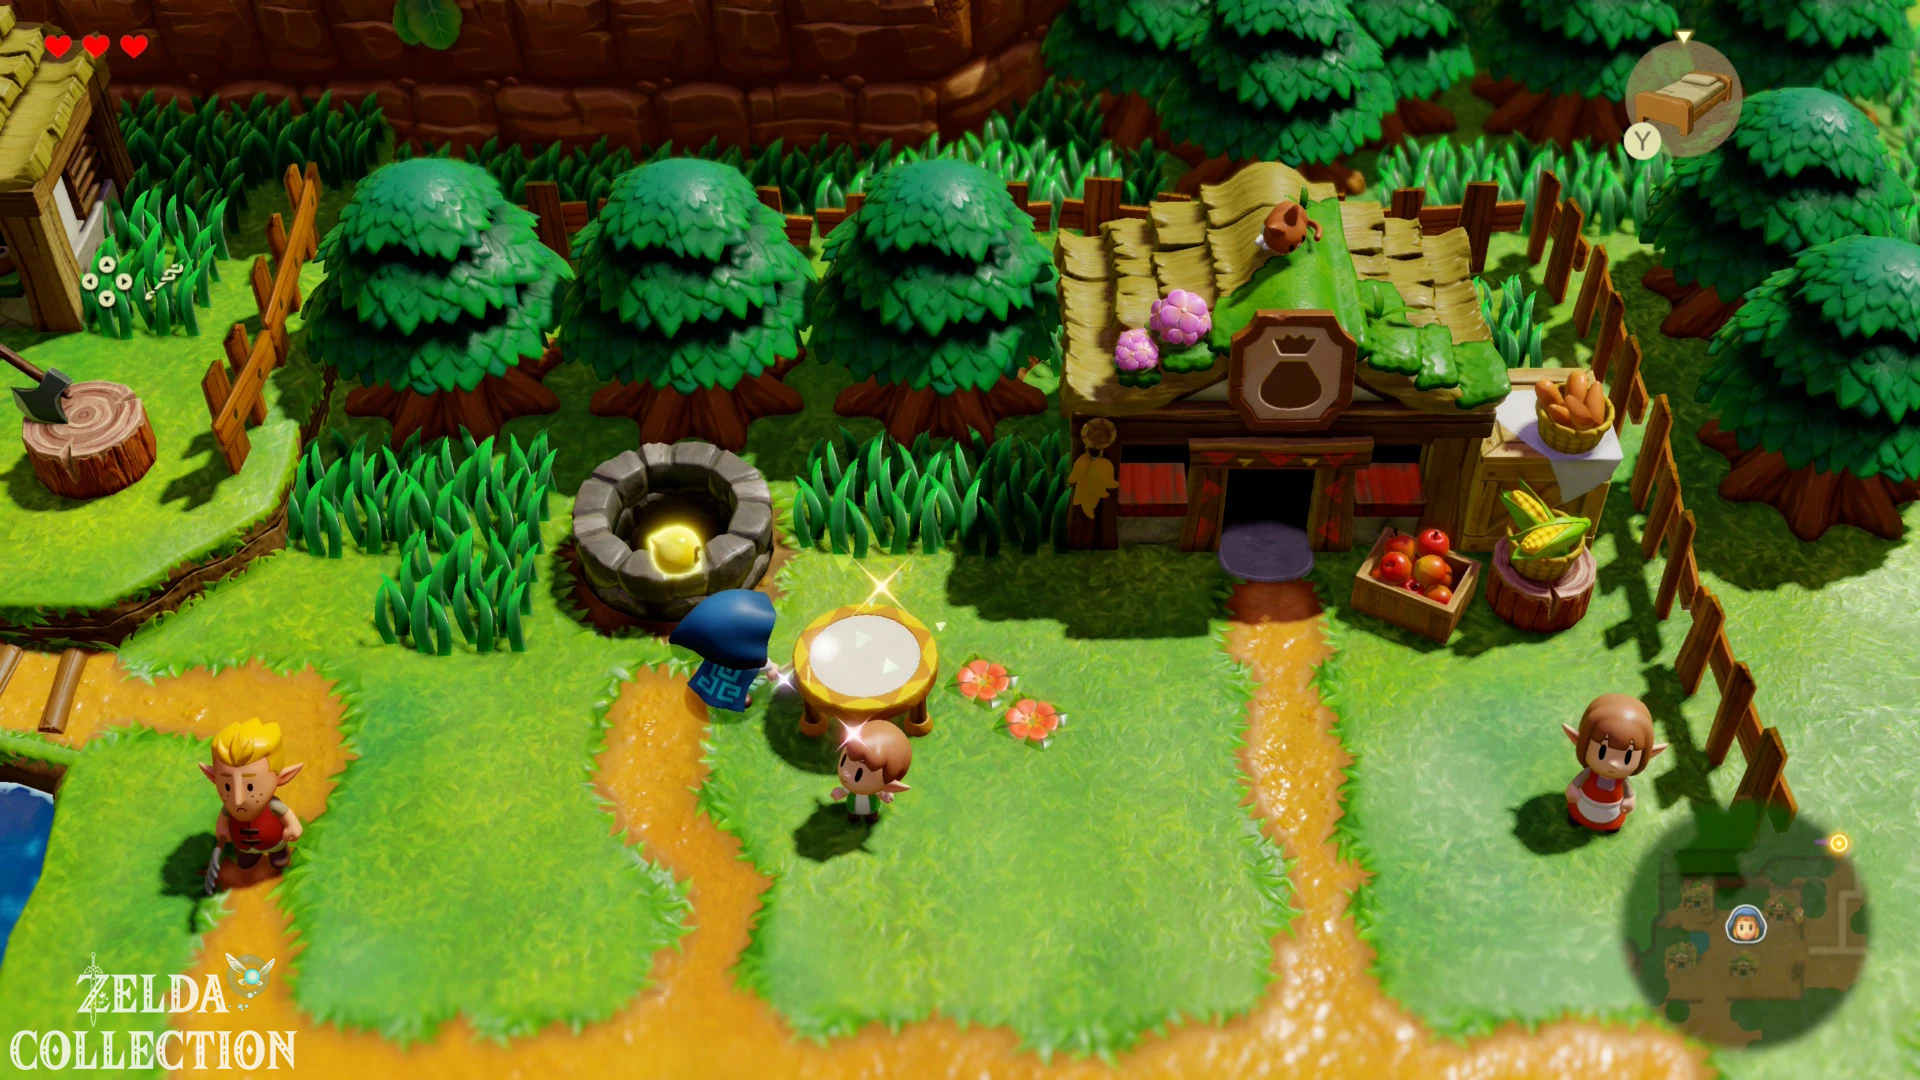
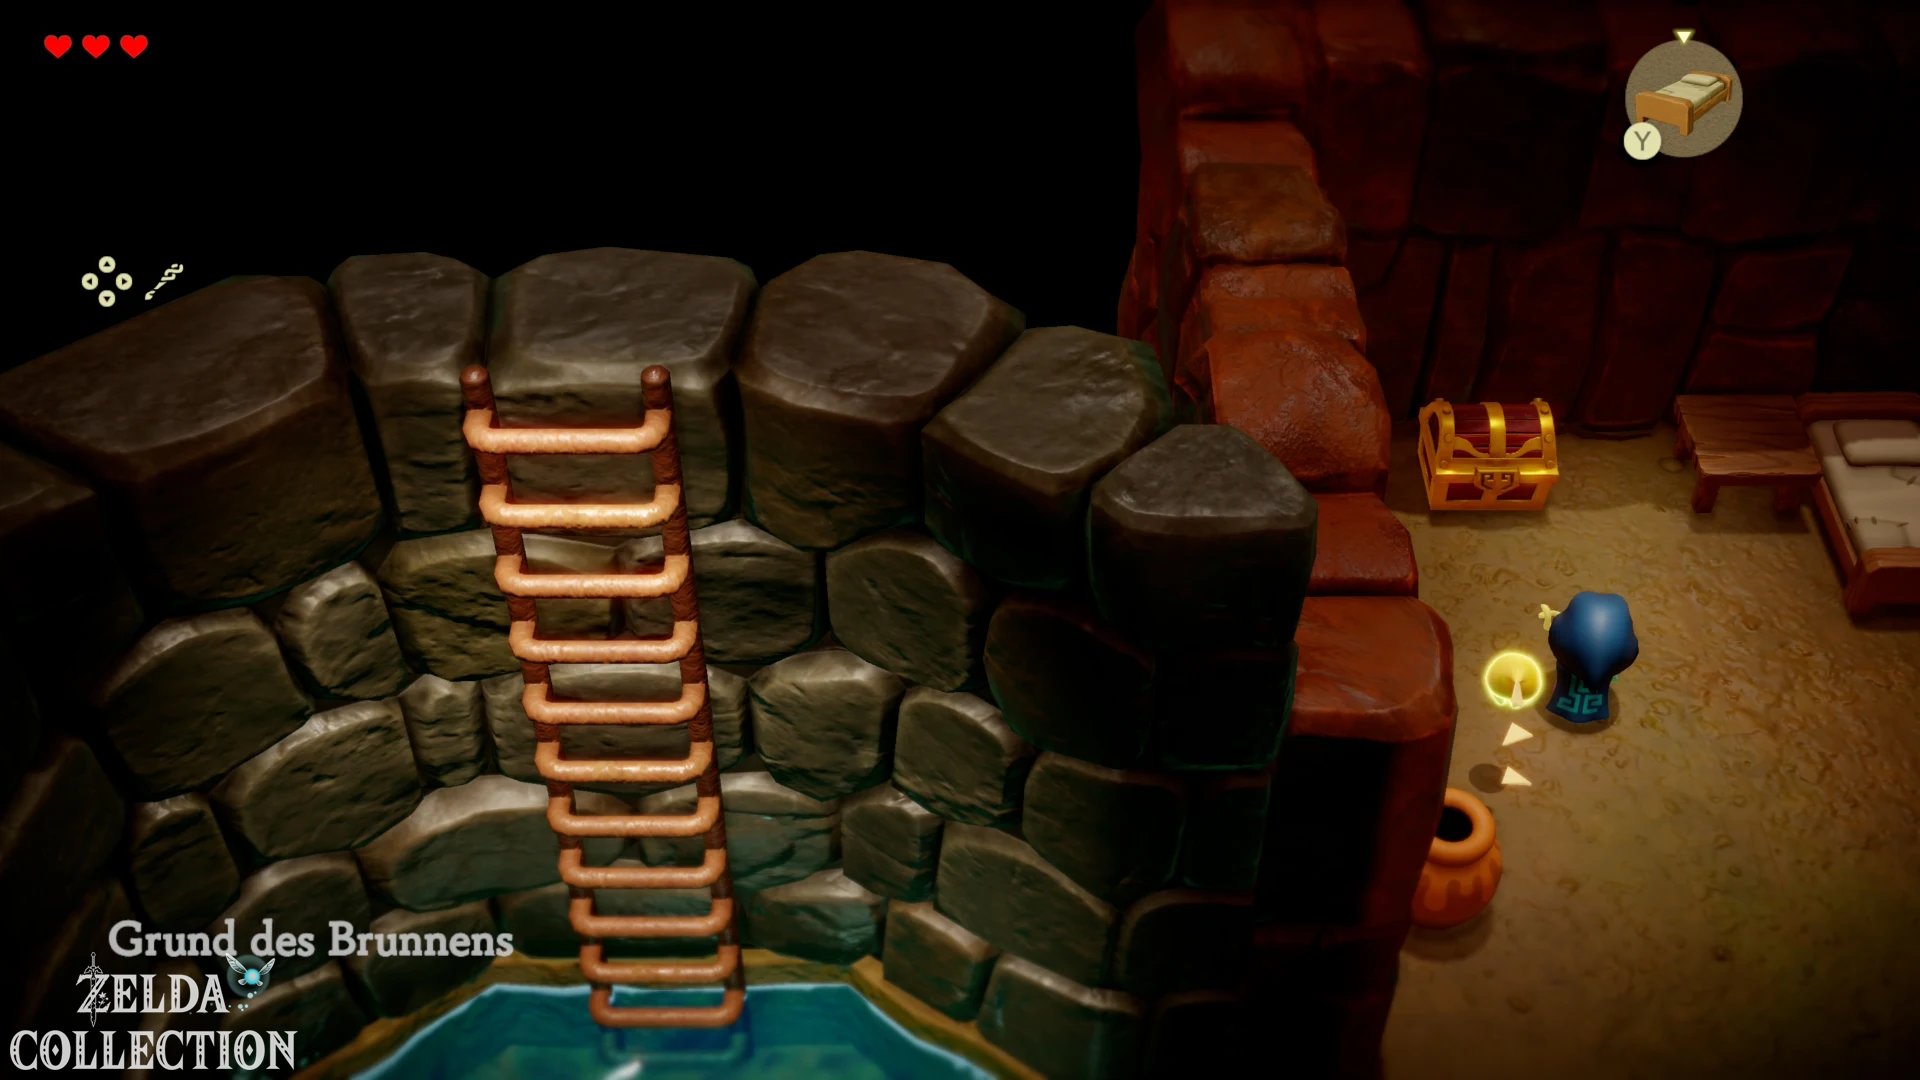
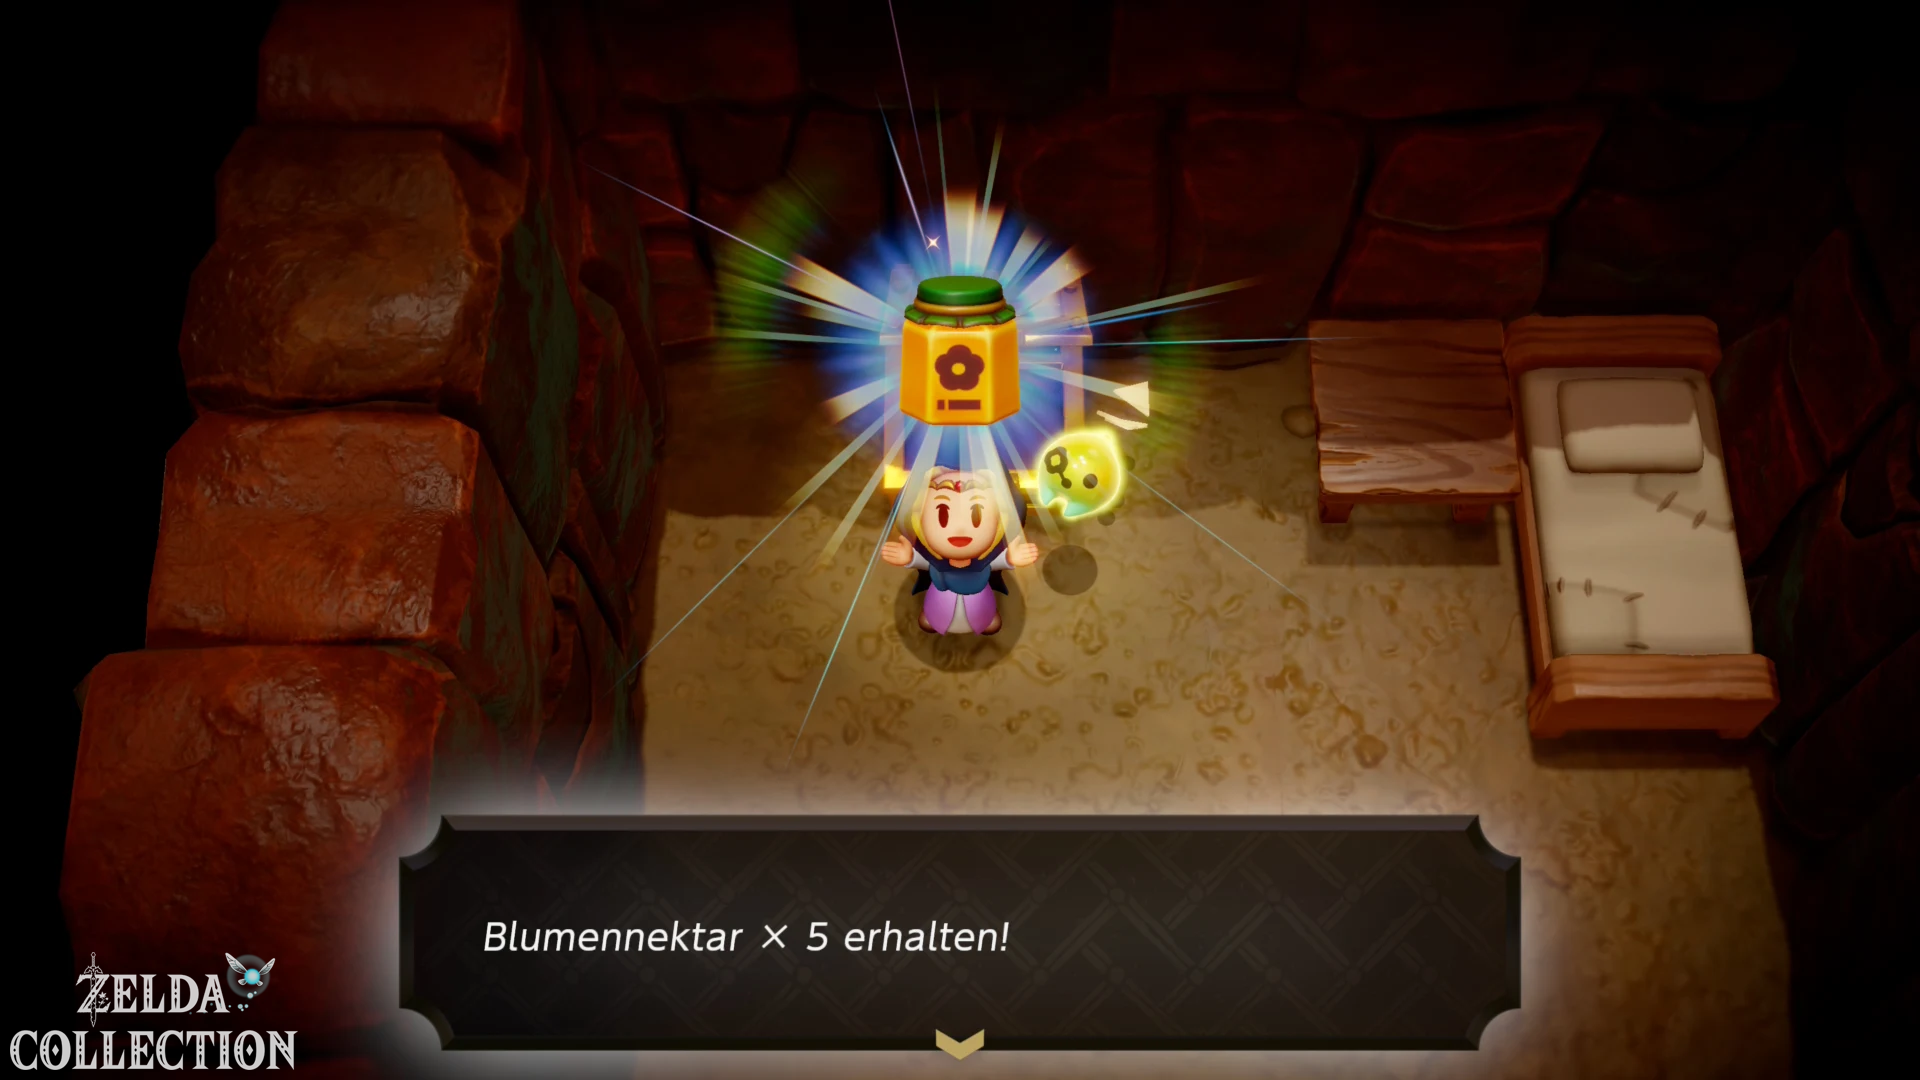
Jump into the village well. The chest below contains five portions of Floral Nectar. If possible, save ingredients for later smoothie recipes.
Buy in store Piece of Heart 3 for 80 Rupees. If you are still missing Rupees, make the purchase before the first dungeon at the latest. The Waypoint east of the village makes it easier to return.
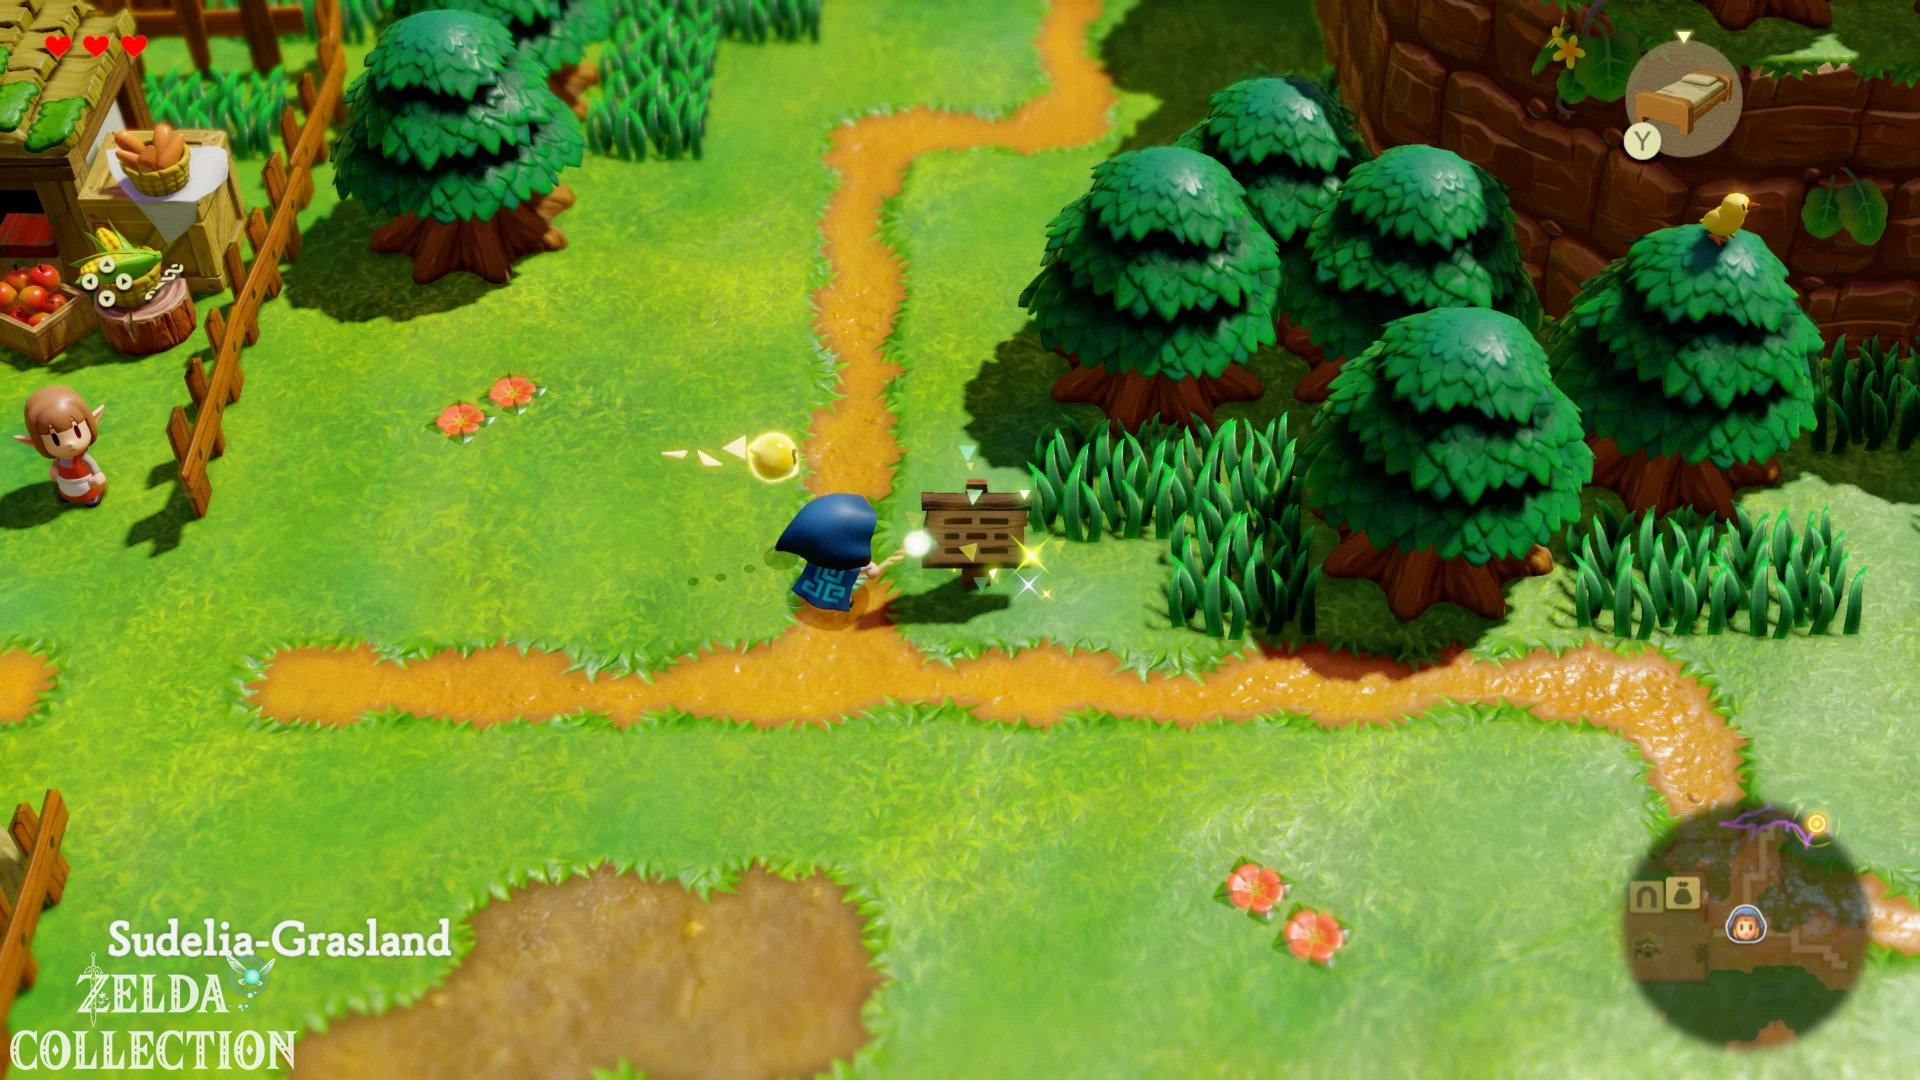
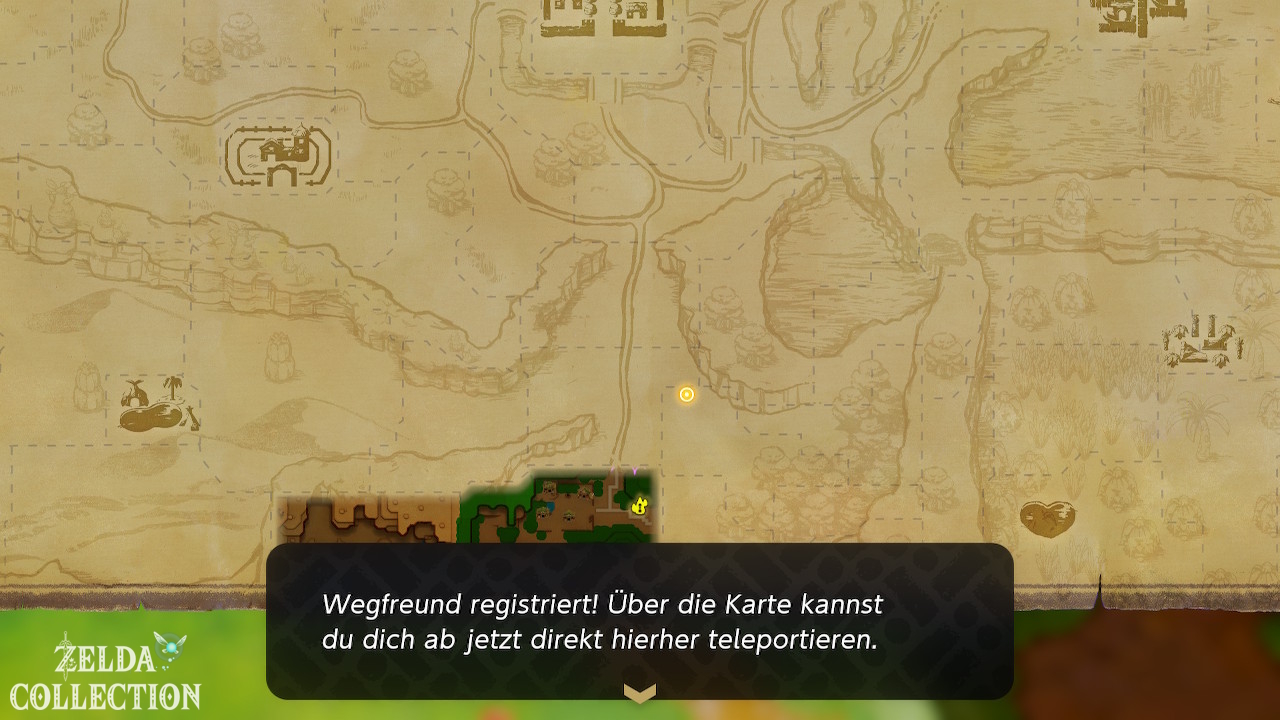
Leave the village to the east, learn the sign on the path and activate the first Waypoint. Further north a Rift blocks the road; Your path first leads east to Suthorn Forest.
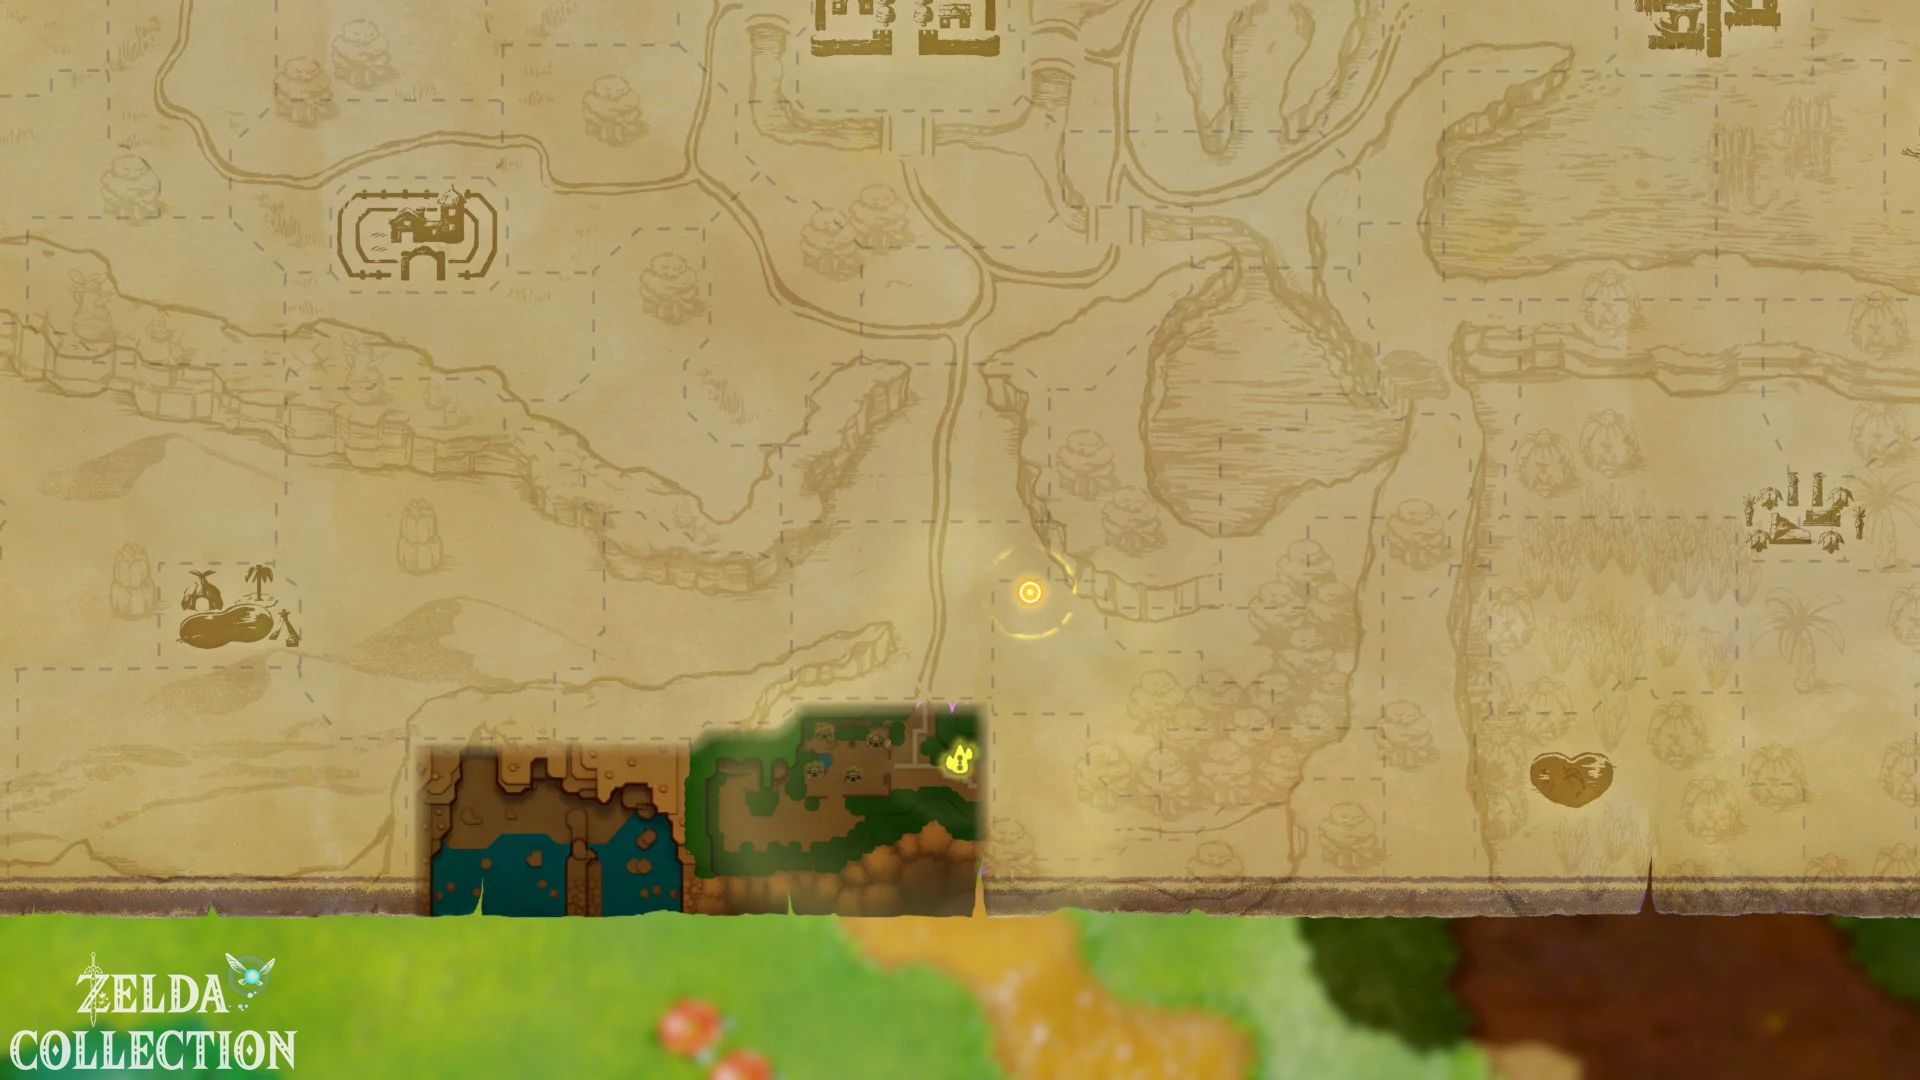
6. Suthorn Forest: Both caves and the forest chests
The first two forest chests
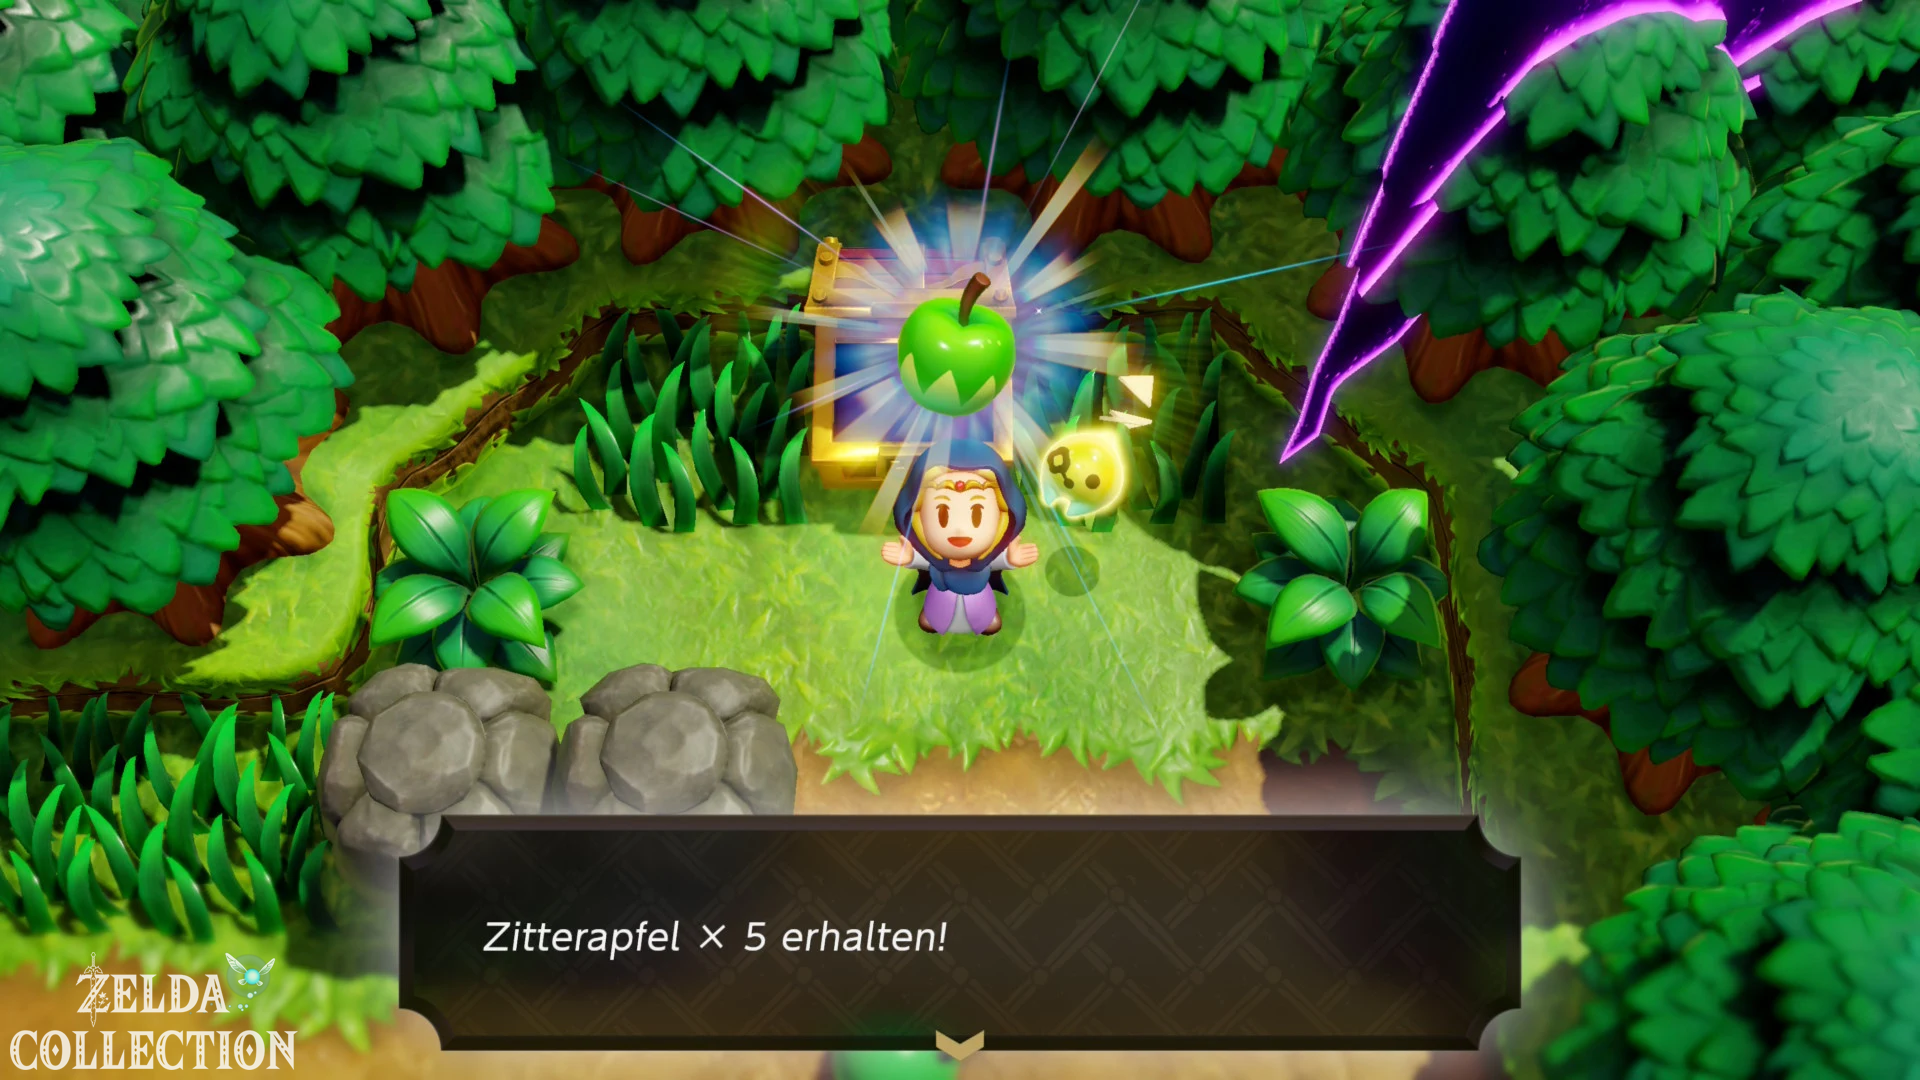
At the beginning of the forest area, swim north across the small body of water. Defeat the enemies on the shore and open the chest five Electro Apples. Return to the main path and stick to the raised ledge further east. Put a bed and a table on it as intermediate steps, jump up and open the second chest for 20 Rupees. Then you return to the cave entrance on the forest path.
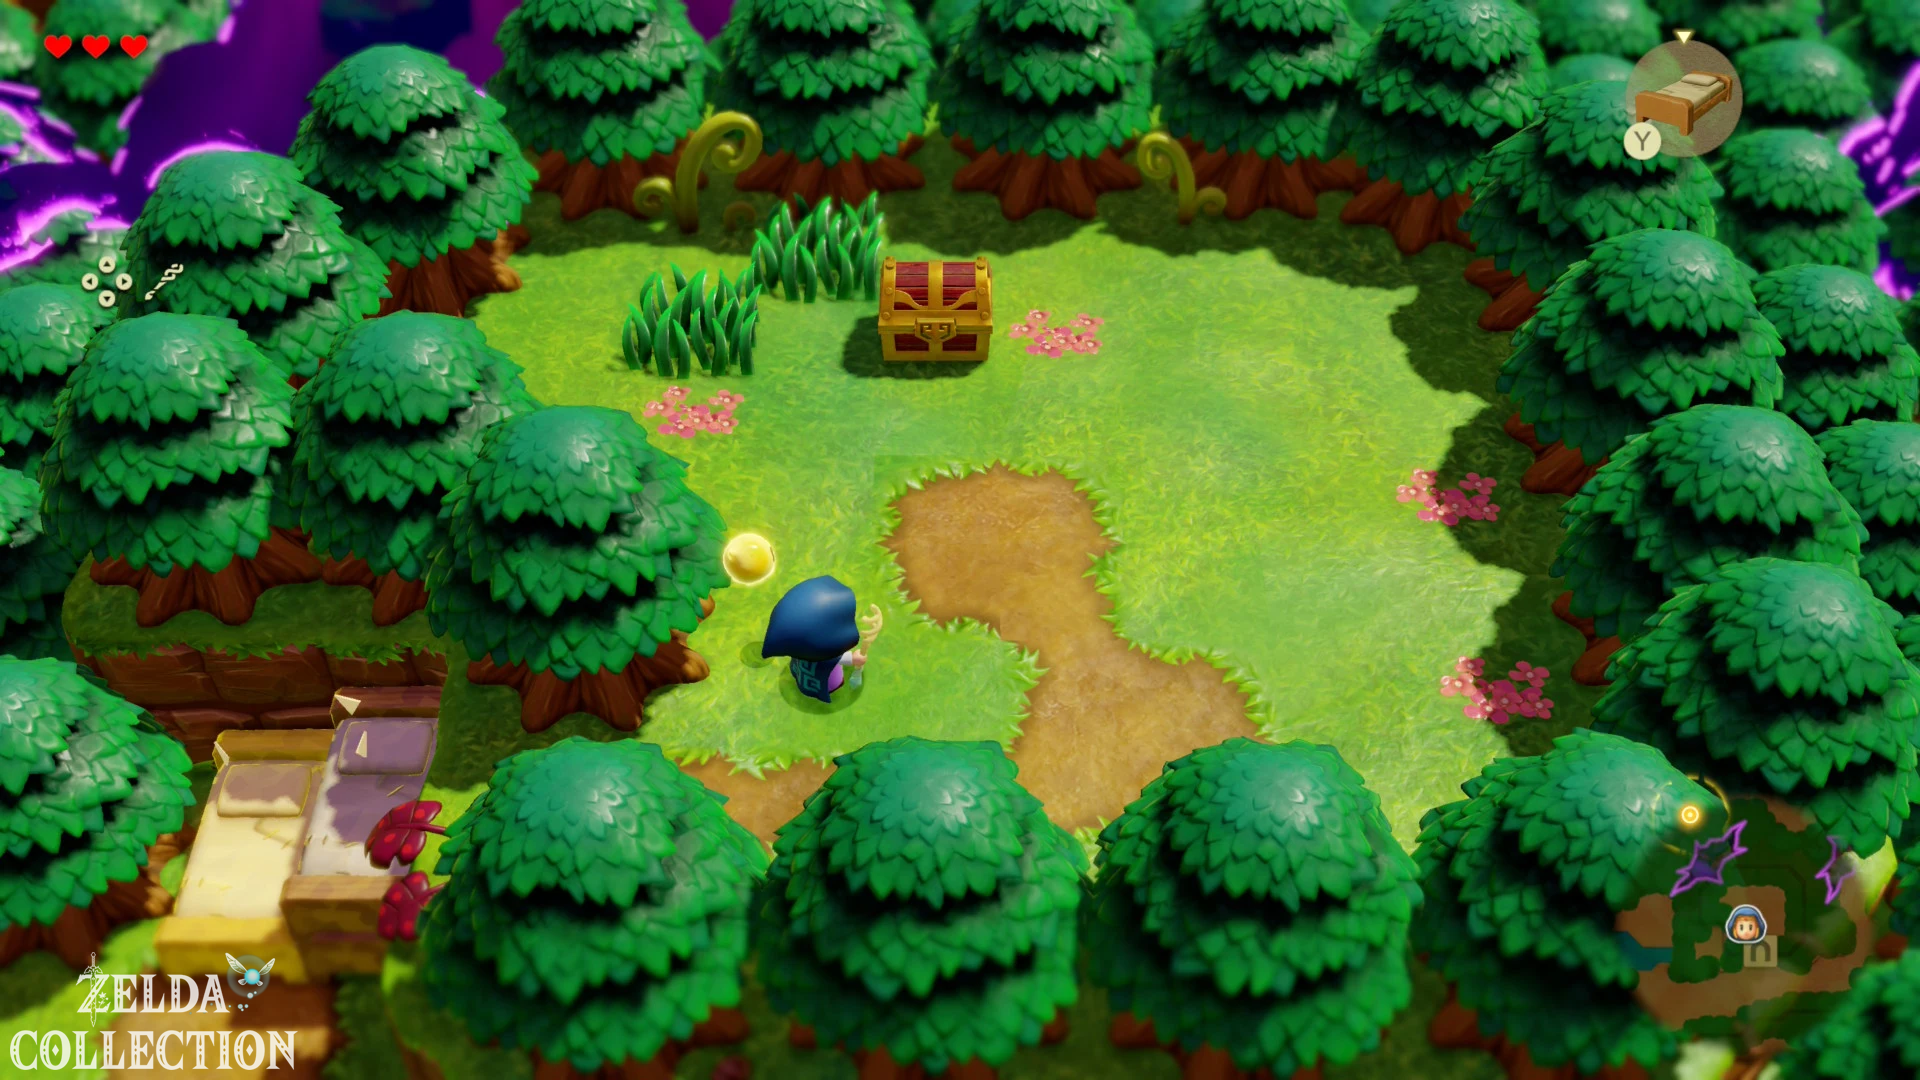
Ignizol cave: The first Fairy Bottle
Enter the cave on the further path. Defeat the burning Ignizol and learn its echo. In the next room you can use it to set the grass and the Zols hidden in it on fire.
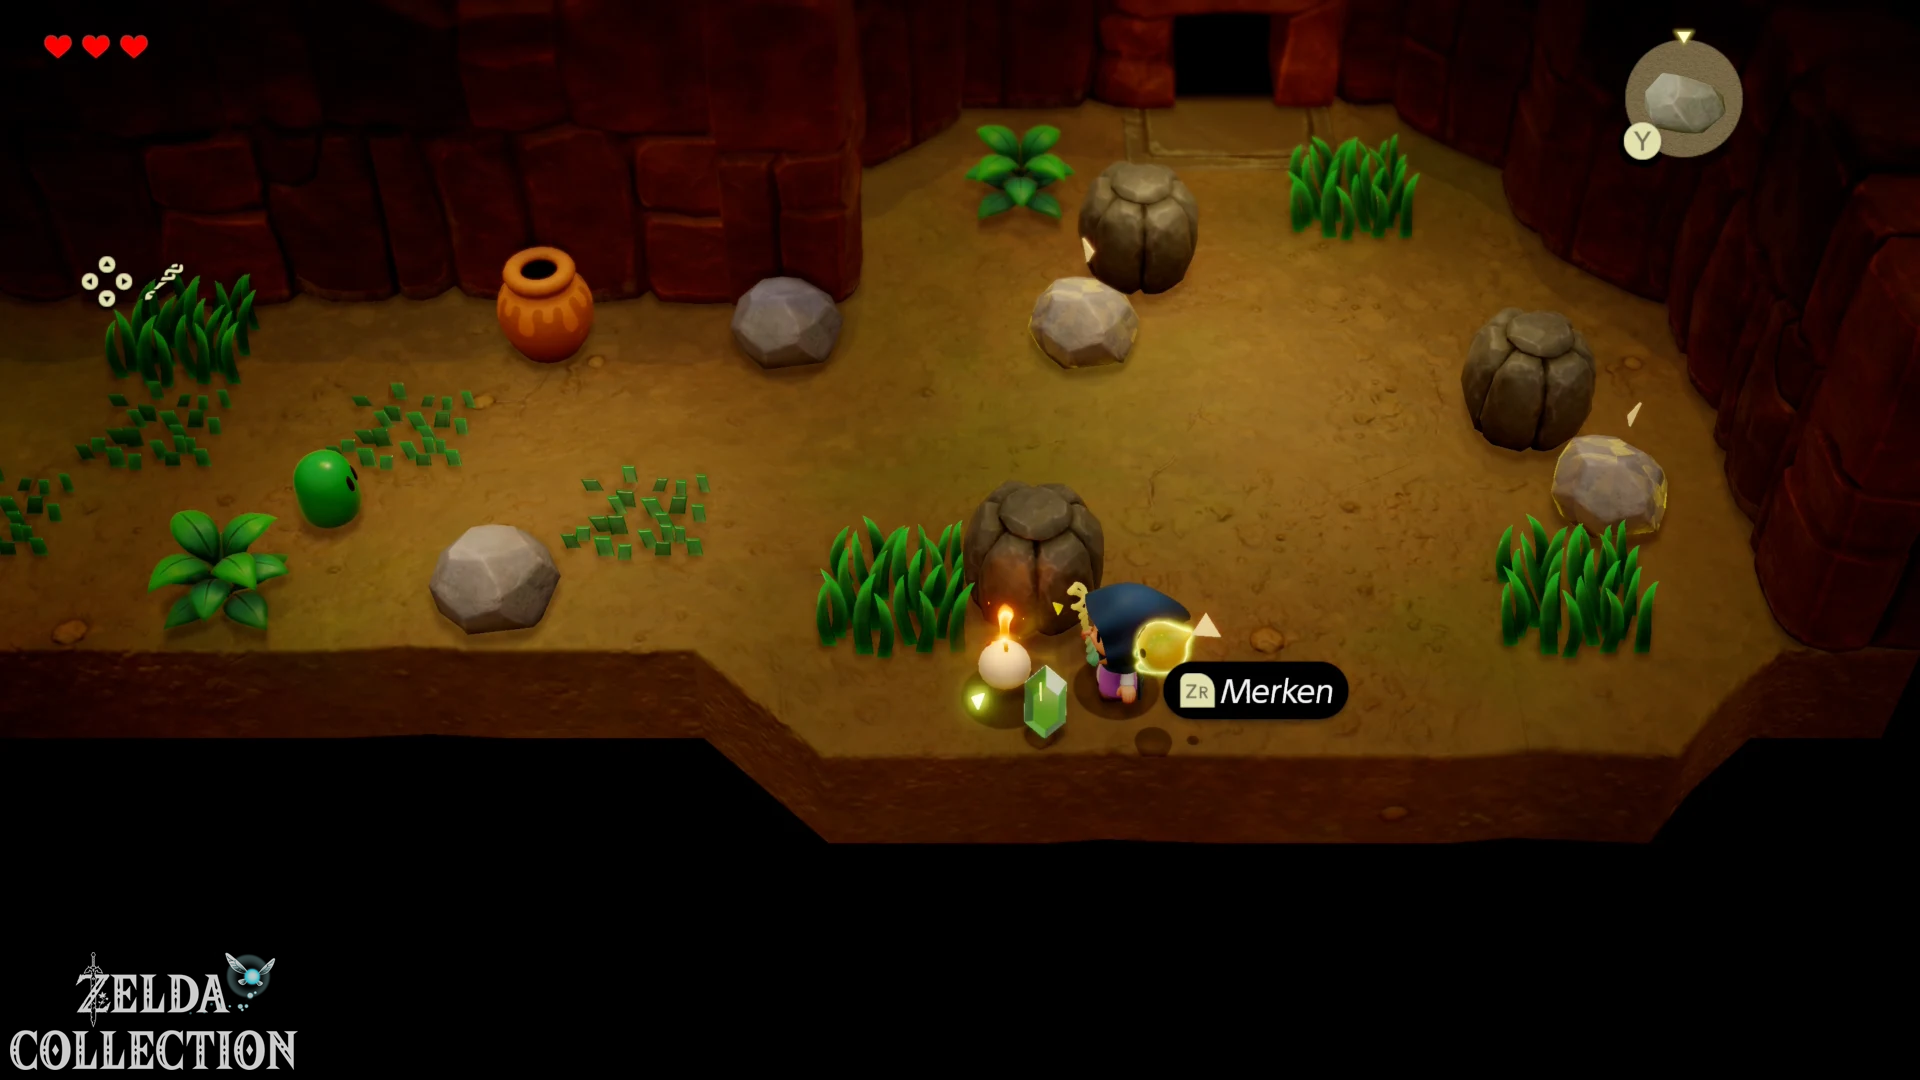
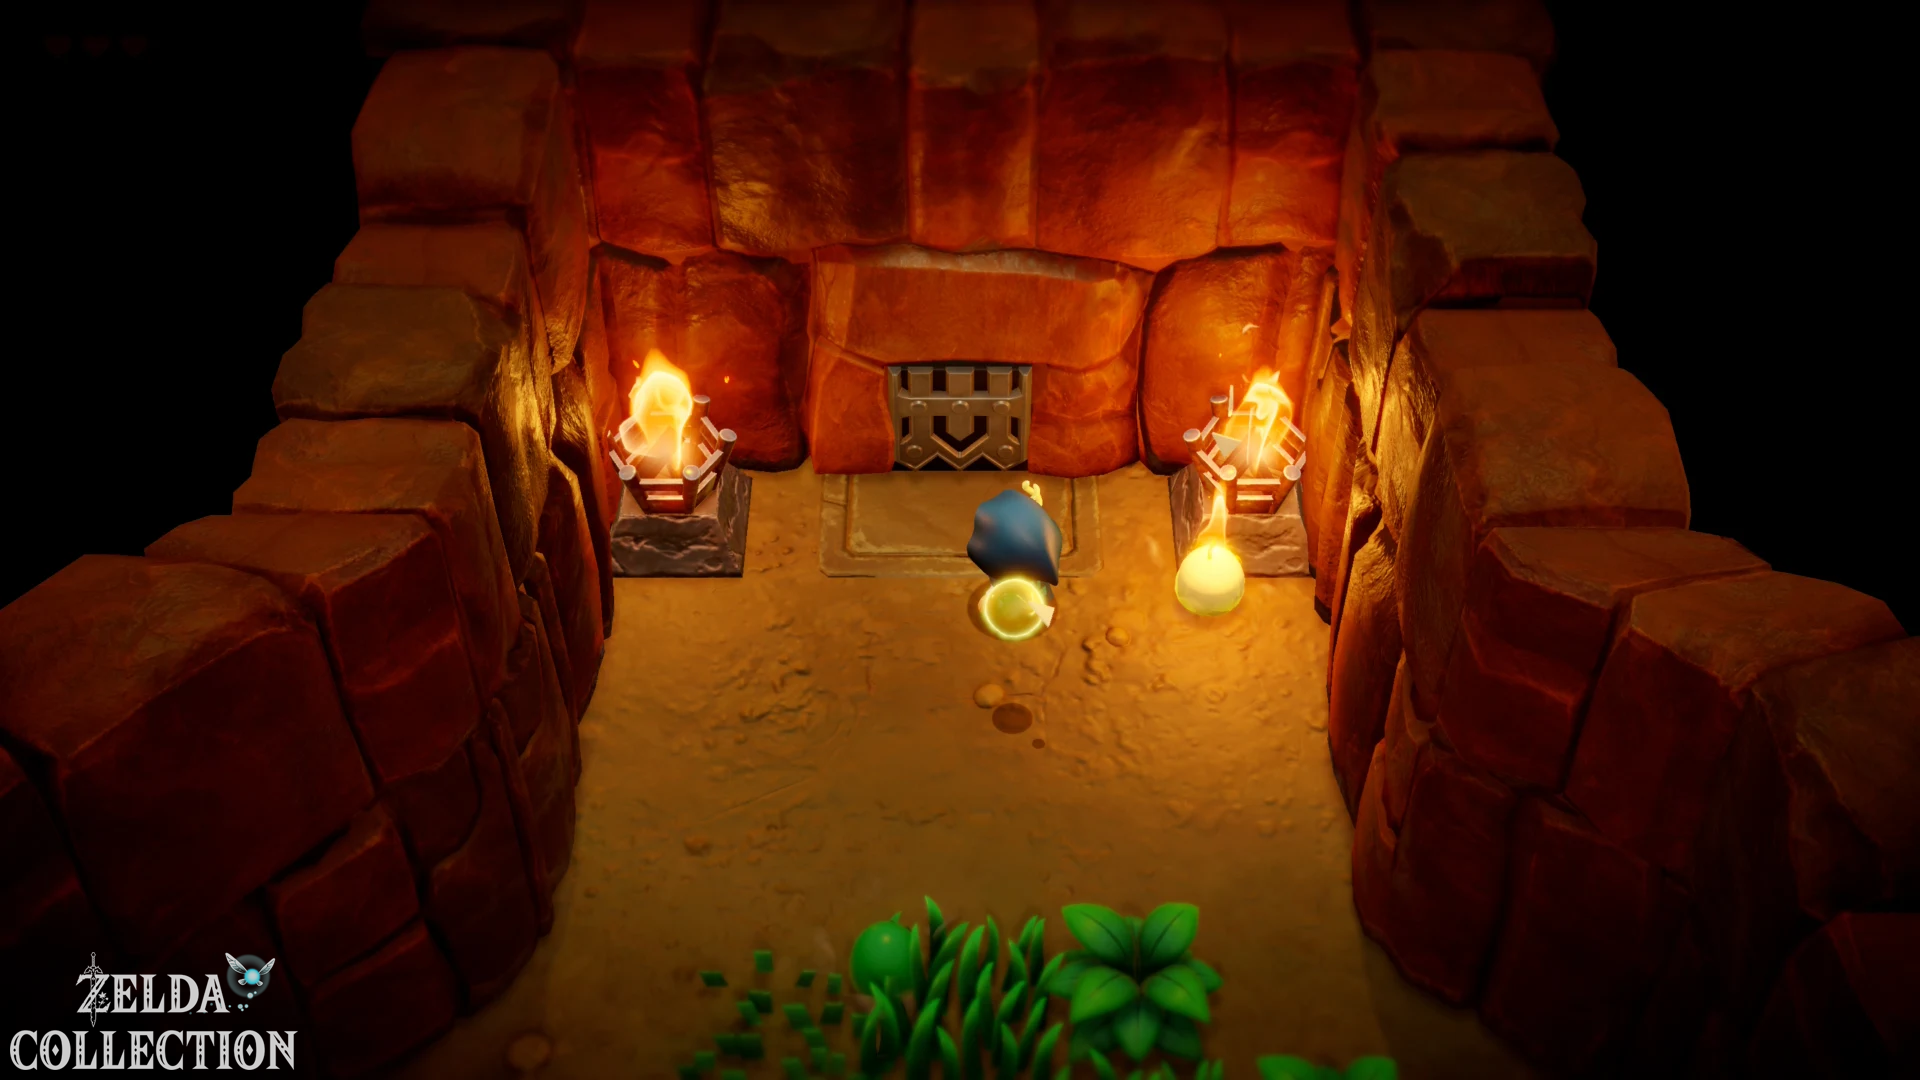
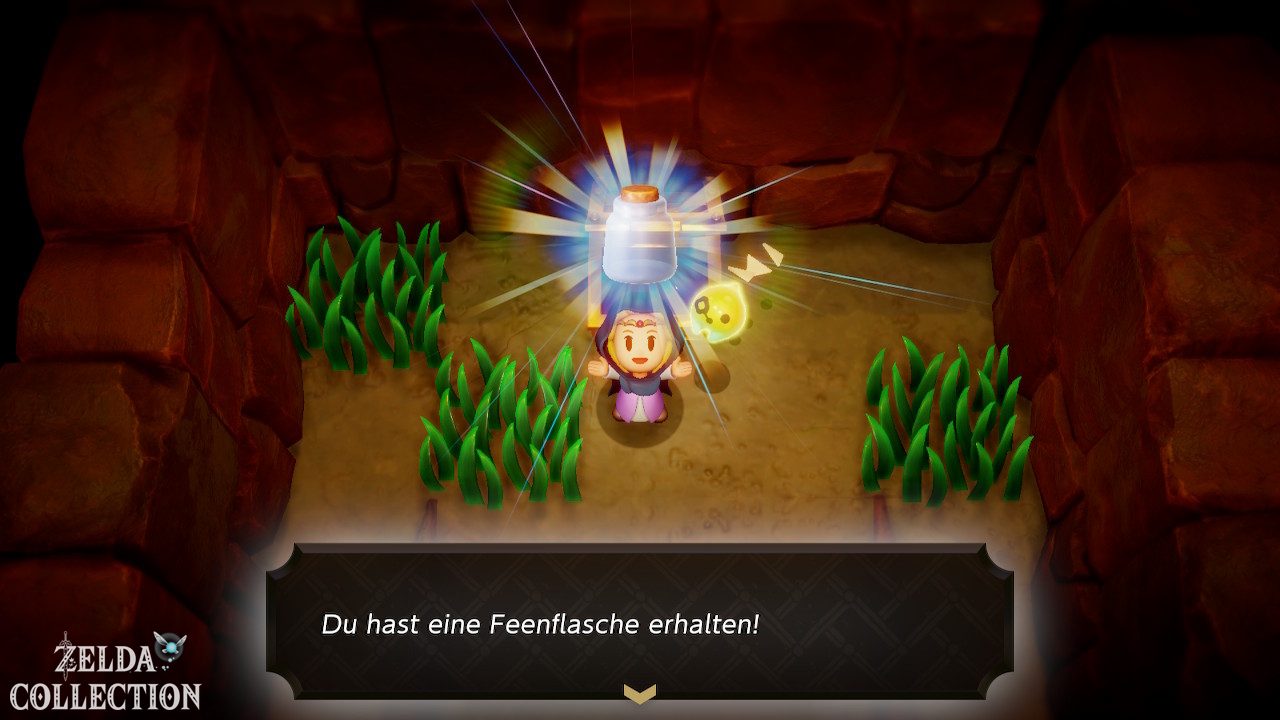
In the back area you can see the extinguished torch on the wall. Summon an Ignizol right next to it and wait for its fire to light the torch. This will open the grid. Go through and take the first Fairy Bottle from the chest. It is still empty; You will later find a fairy at the small body of water west of the next forest cave. The remaining Fairy Bottles follow on later detours.
Rope and Caromadillo learn
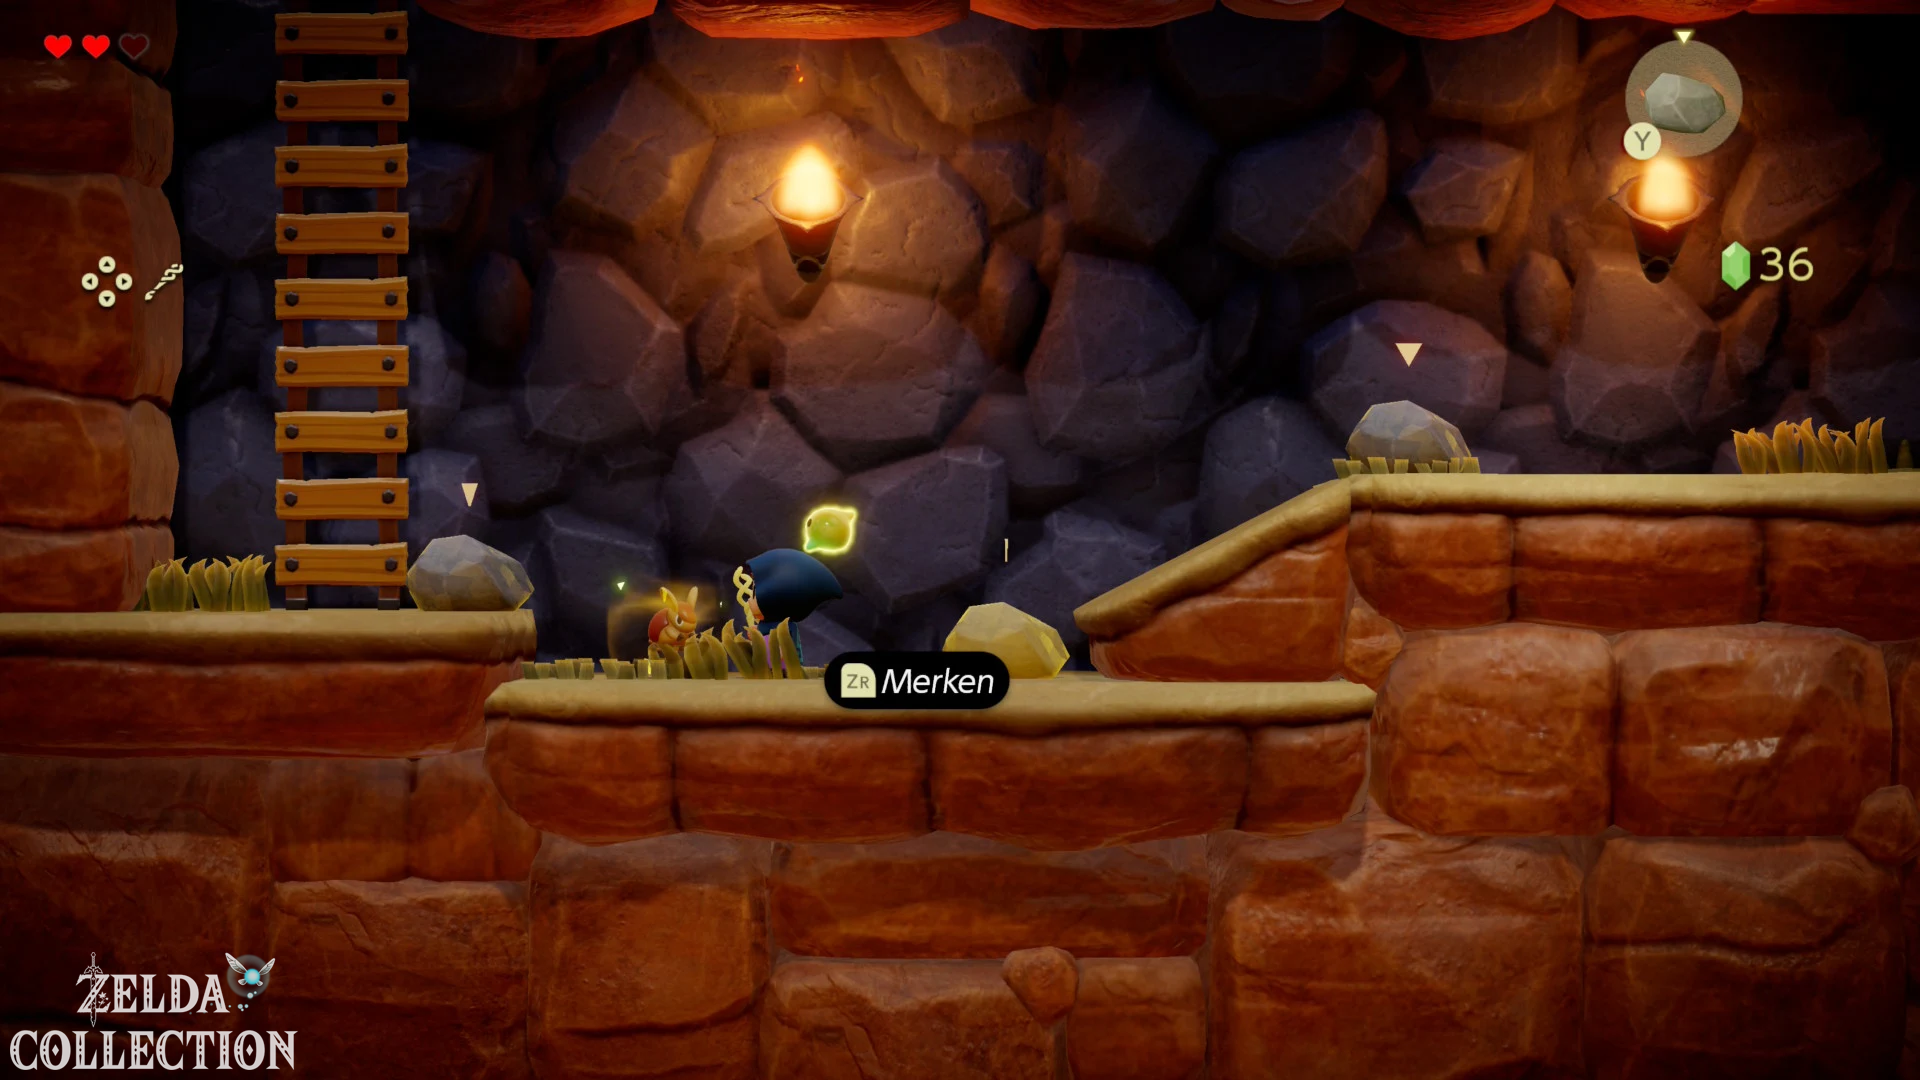
Back in the forest you come across snakes in the grass. Defeat one of them and learn the Rope. An Ignizol will help you clear the grass. Go north into the next cave. A Caromadillo is rolling towards you below. Place Sea Urchin in his path and learn his echo after victory.
Piece of Heart 4 in Caromadillo cave
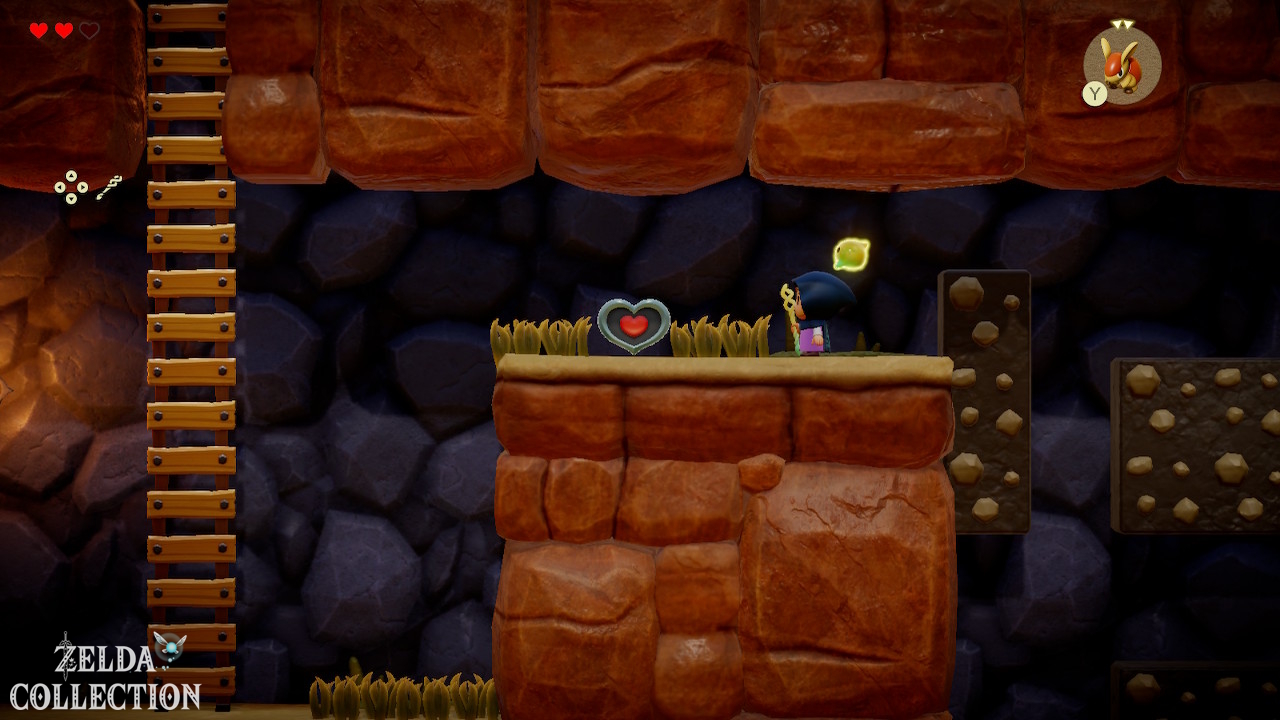
Have your Caromadillo destroy the boxes on the right. Climb up the wall behind it. Wait for the second Caromadillo to attack before moving on. At the top you reach Piece of Heart 4 on the left.
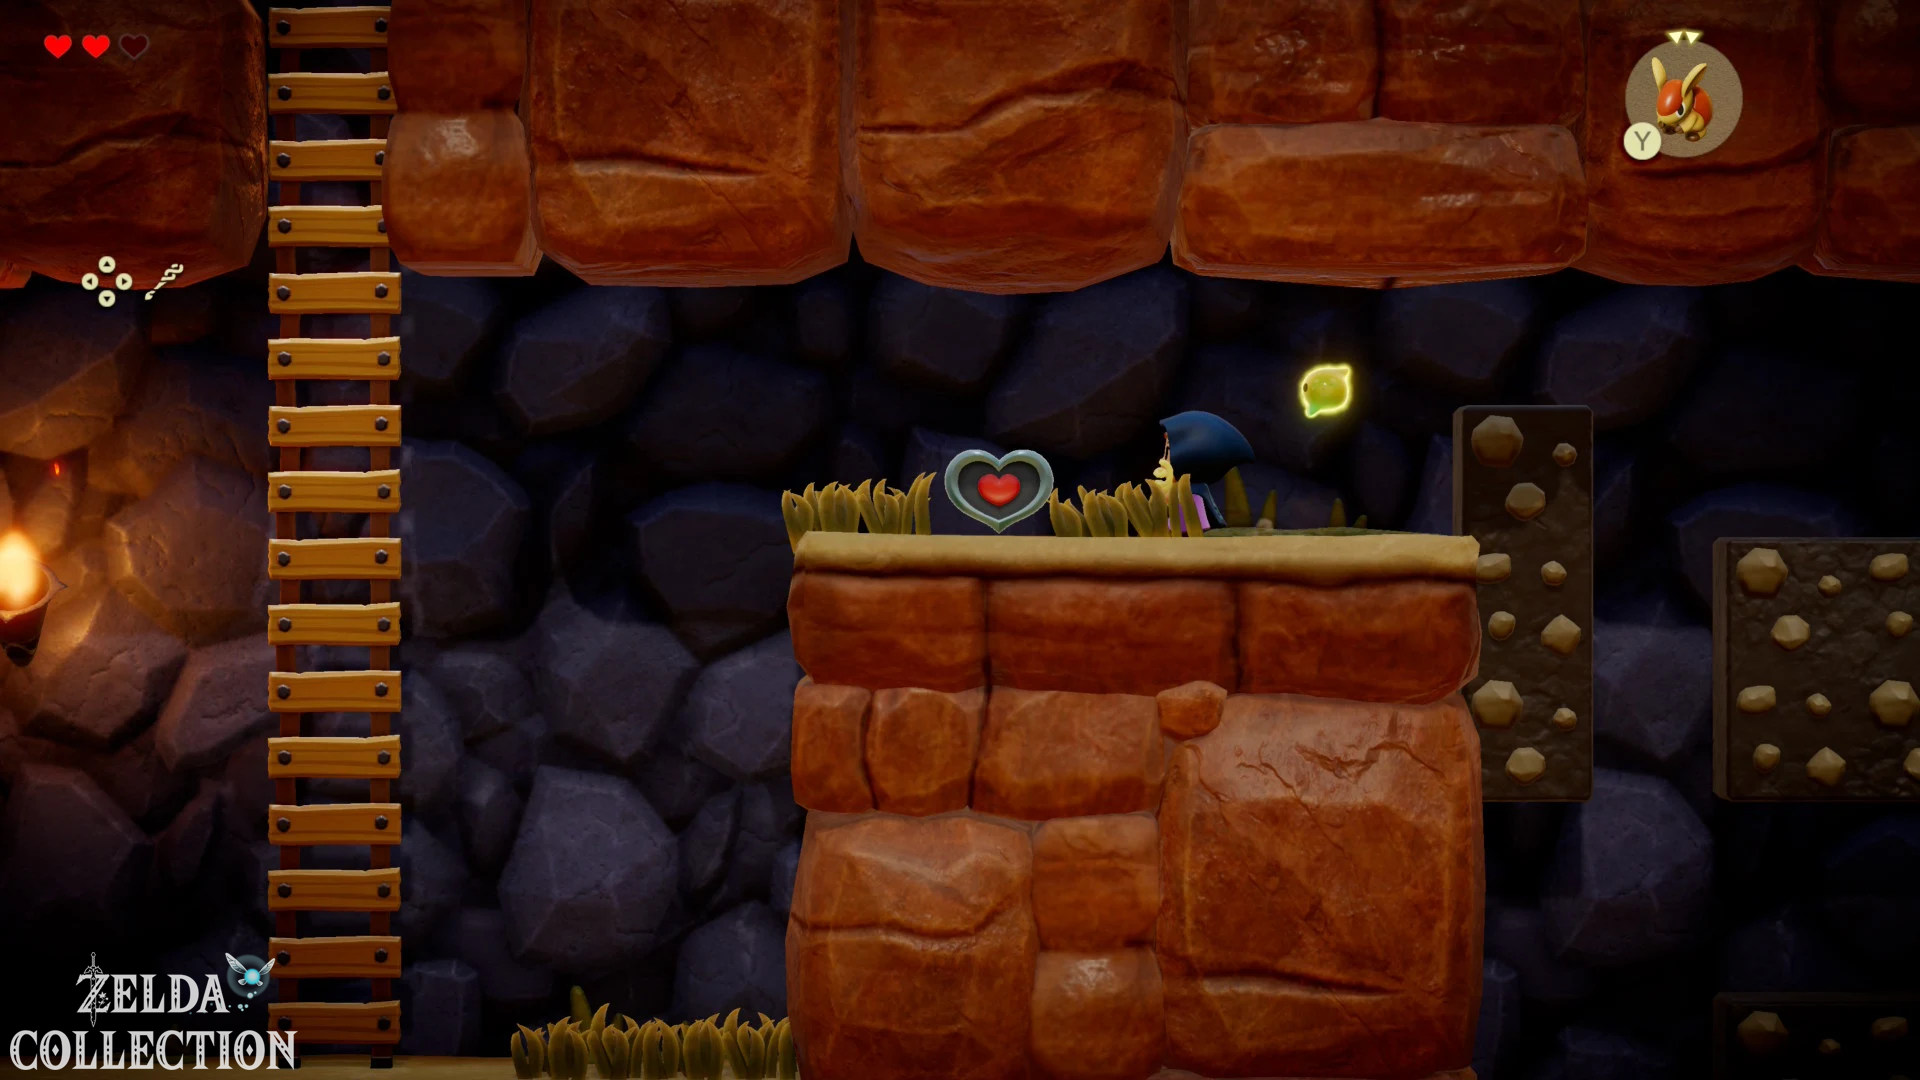
If you have already purchased the store Piece of Heart, you will now receive your first additional Heart Container. The Locations are also listed in our overview of Pieces of Heart.
7. Catch a fairy, clear the Moblin camp and get Peahat
Outside the cave, the route heads west. Defeat a Spear Moblin and learn its echo. At the water with the floating fairy, you approach it with your empty bottle. The fairy is automatically included.
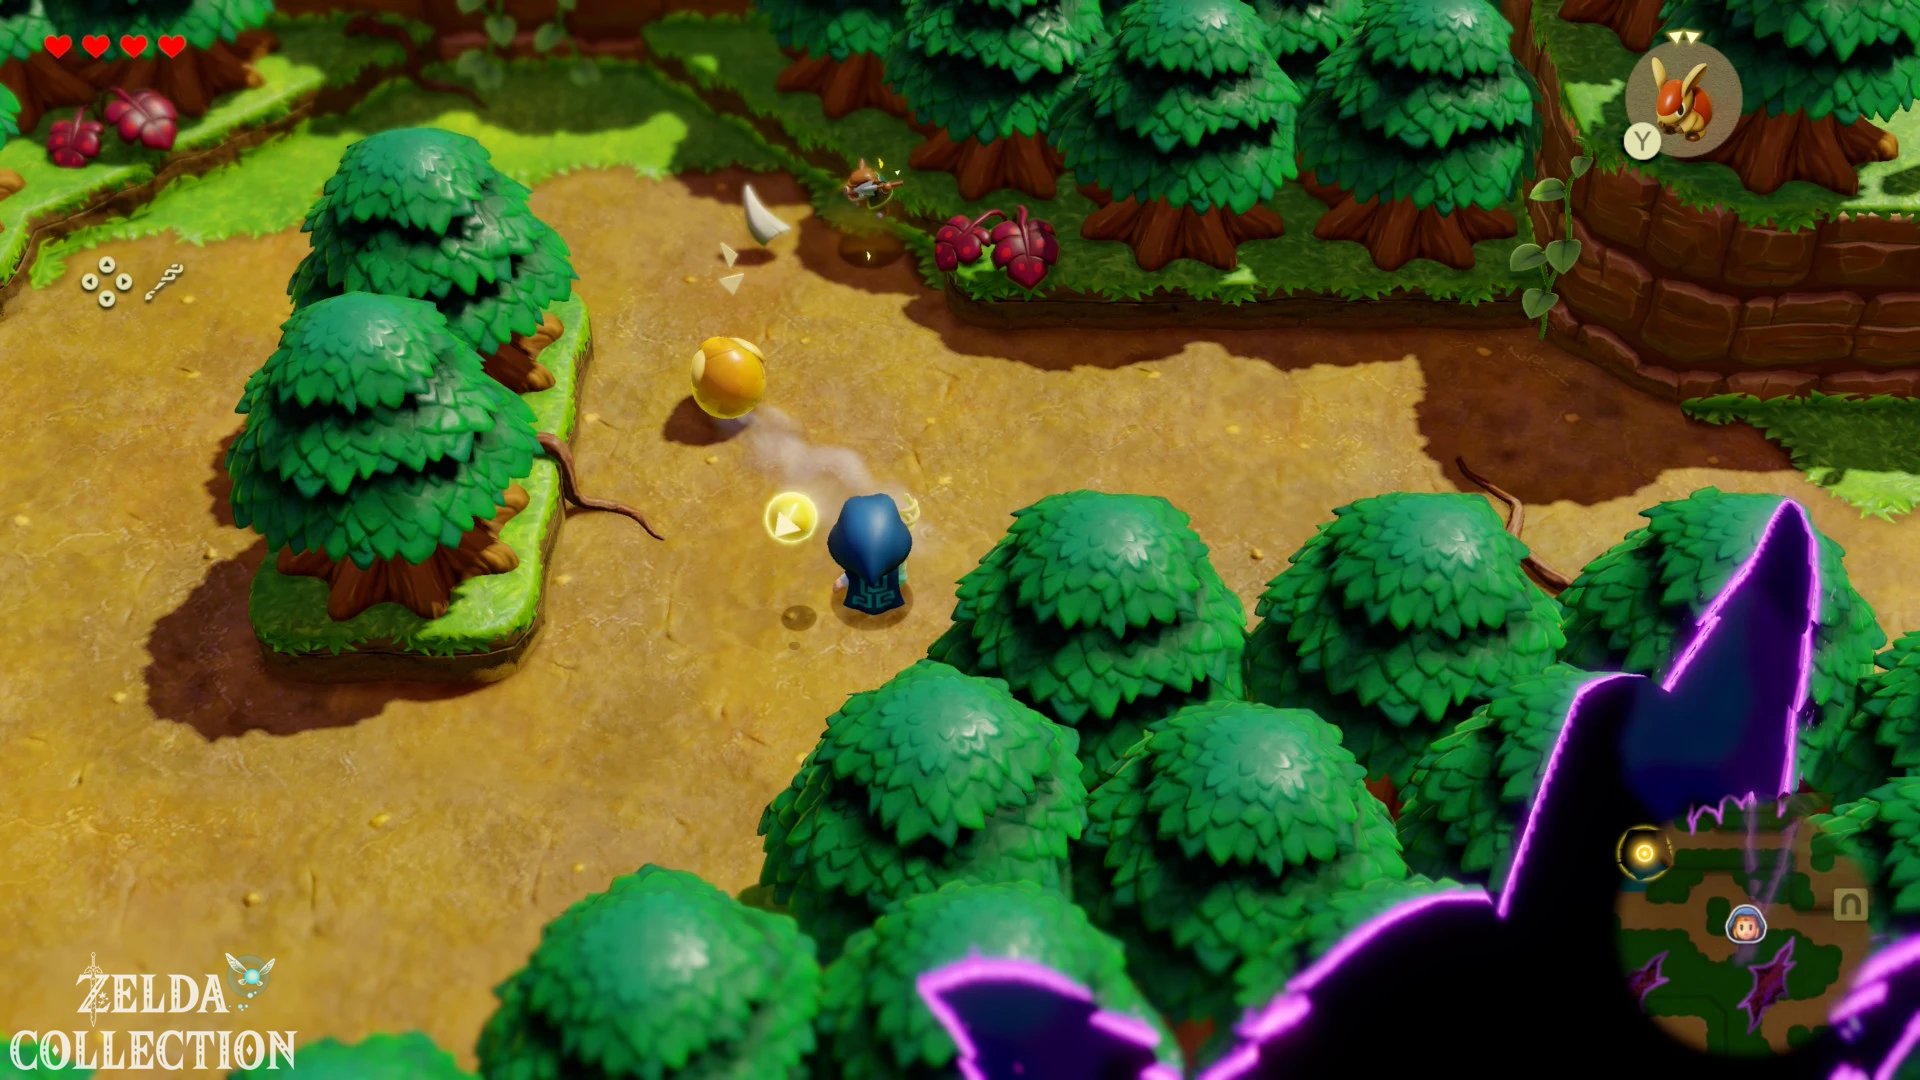
Examine the marked house to the northwest. The Rift prevents access. Return to the signpost and follow the path over the wooden steps to the northeast.
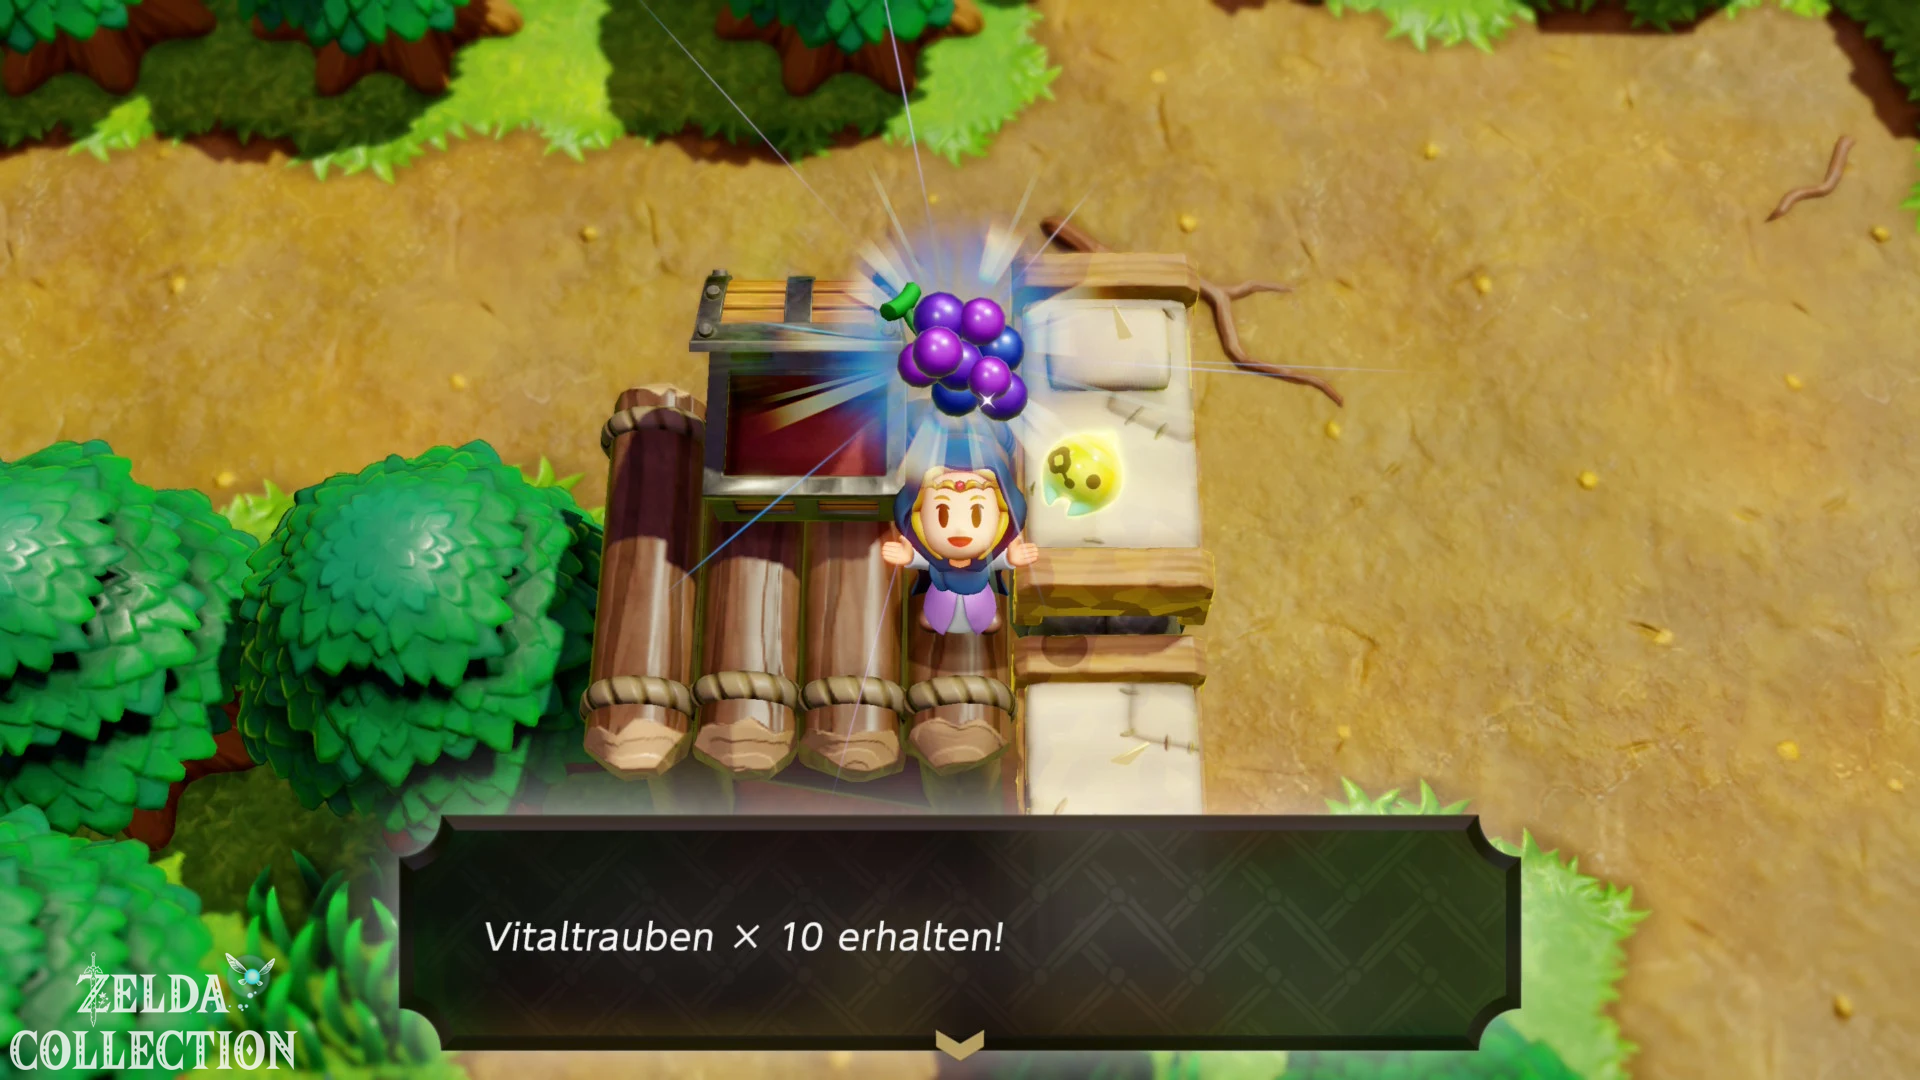
The camp chest with ten Refreshing Grapes
Defeat the three spear moblins at the wooden tower. A Meat Echo distracts them while your monster attacks. Once everyone is defeated, the chest will be released. Reach it via the trees or an echo staircase and take the ten Refreshing Grapes with you.
The additional detour to the Peahat
Before entering the Rift, descend to the lower path to the right of the camp. Follow him to the cave and learn the Brazier at one of the fire pits in front of it.
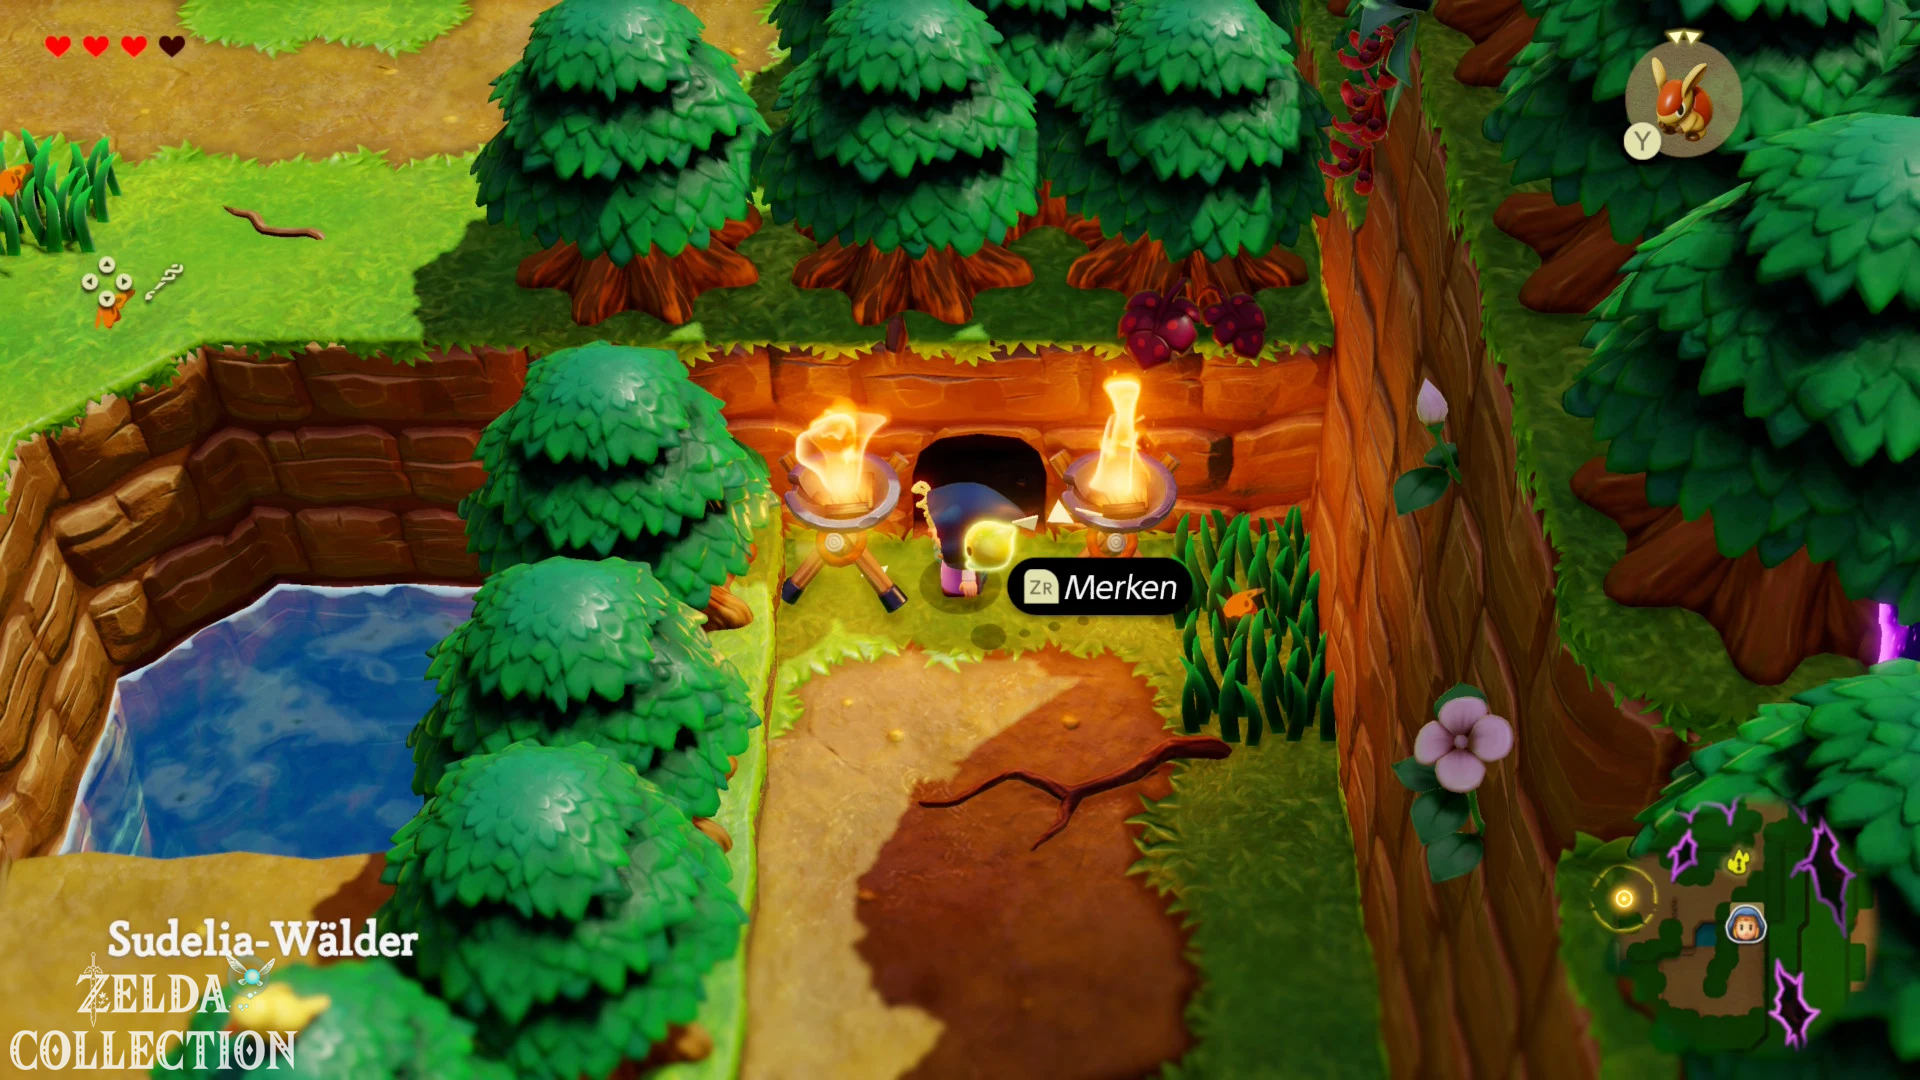
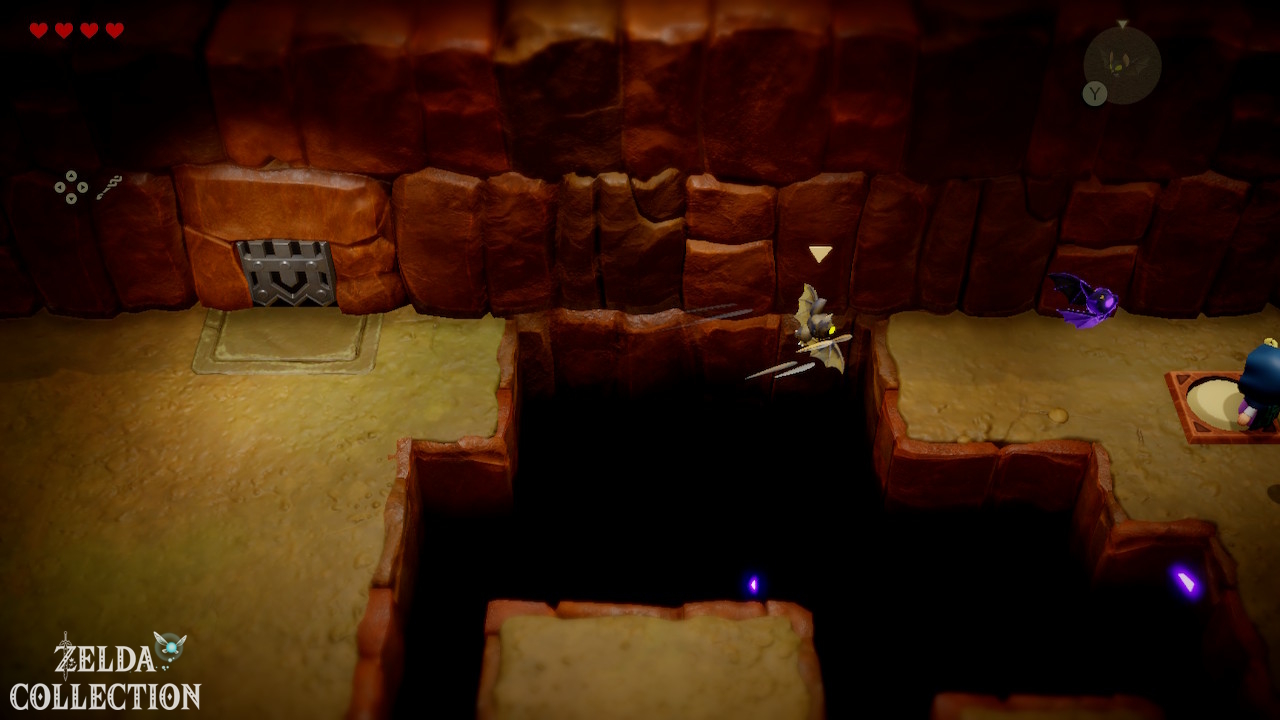
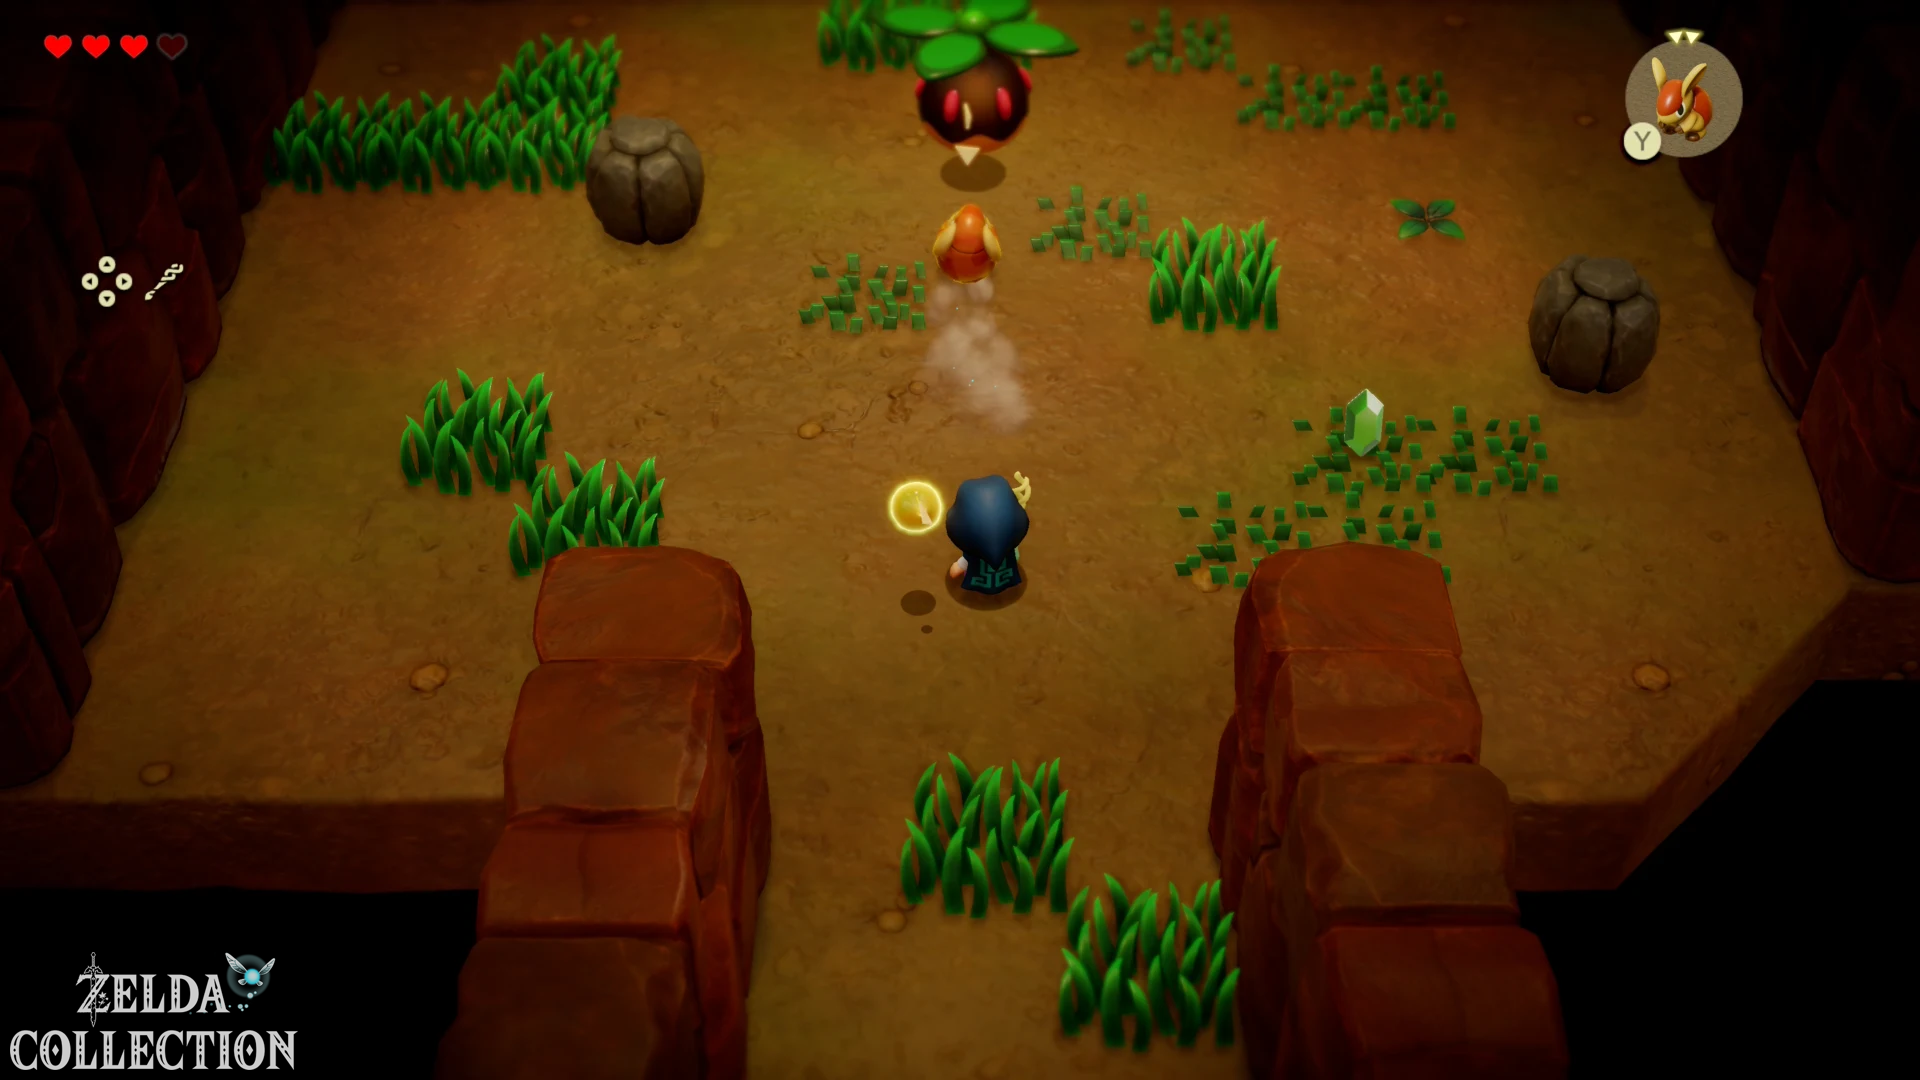
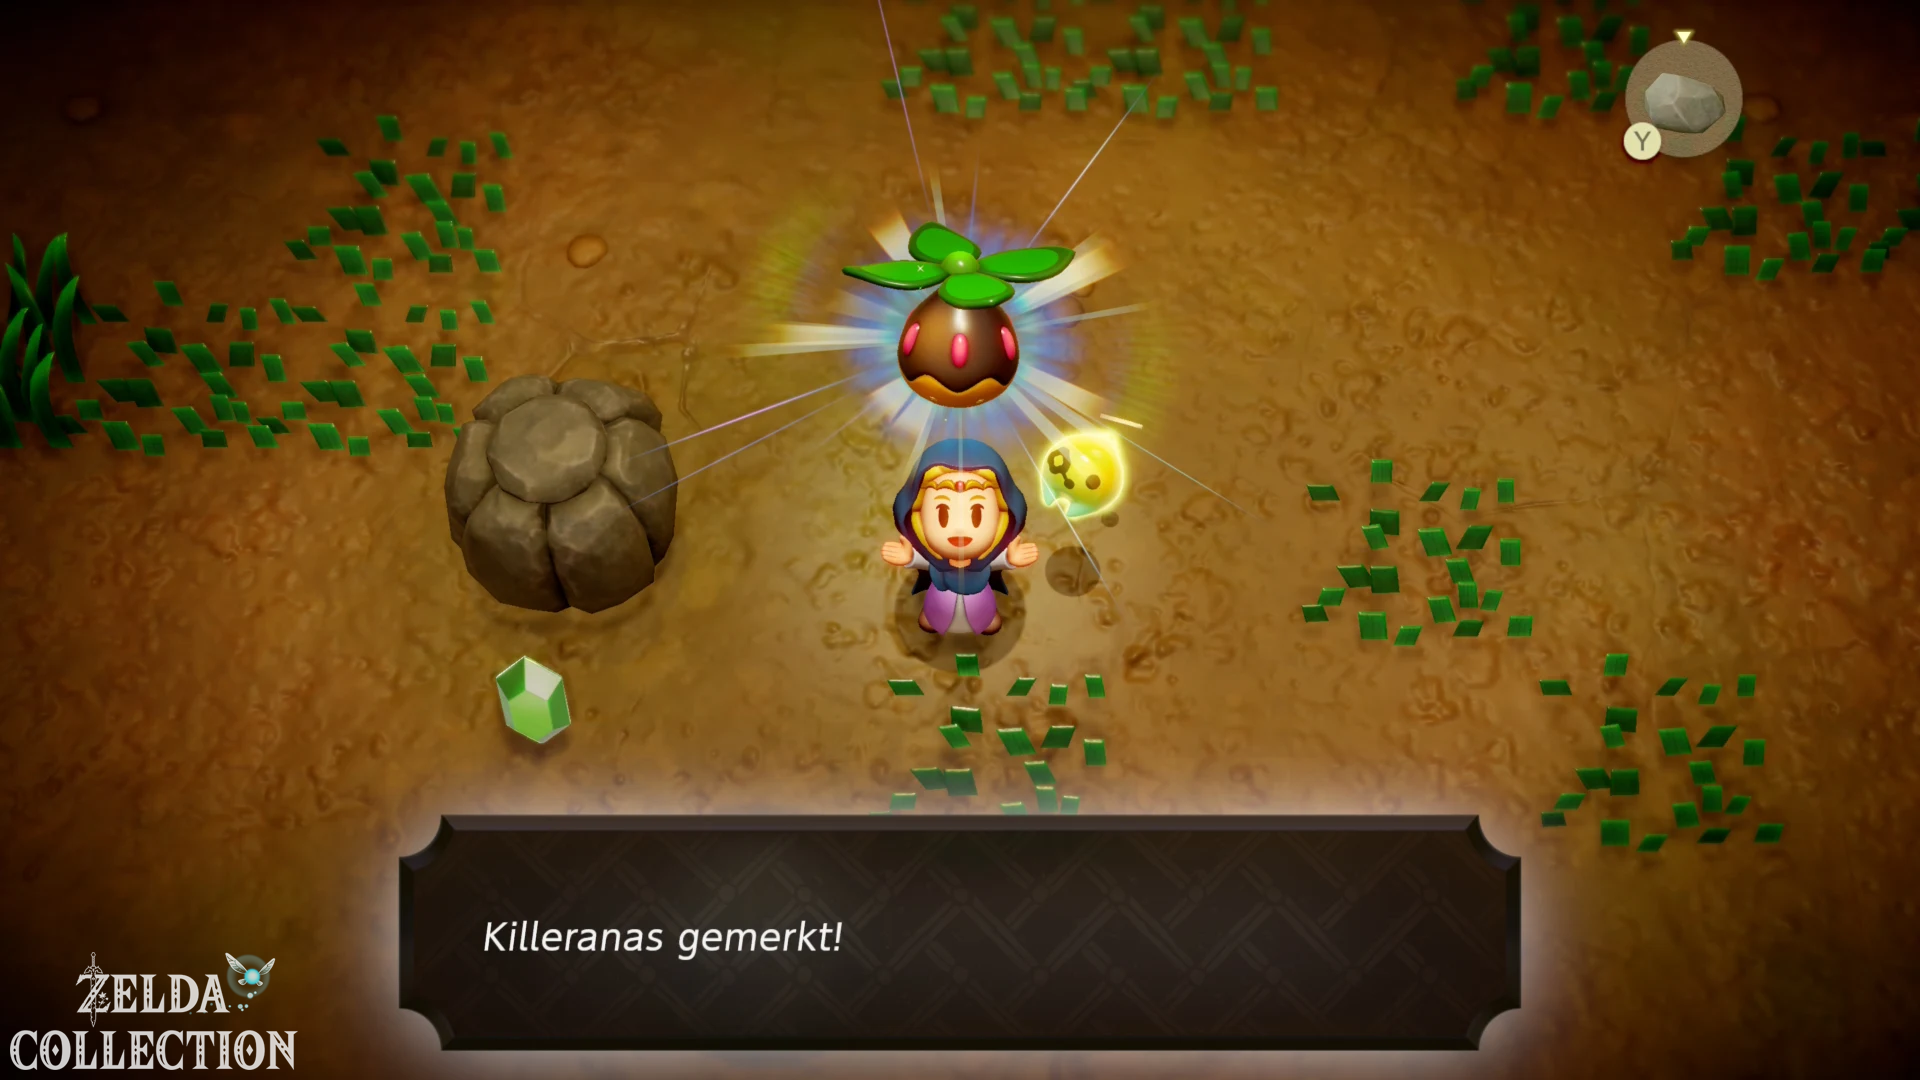
Inside there is a Peahat waiting. Stay away from its rotating blades and let an Ignizol attack, for example. After the victory learn its echo. Then return to the upper path via a table staircase.
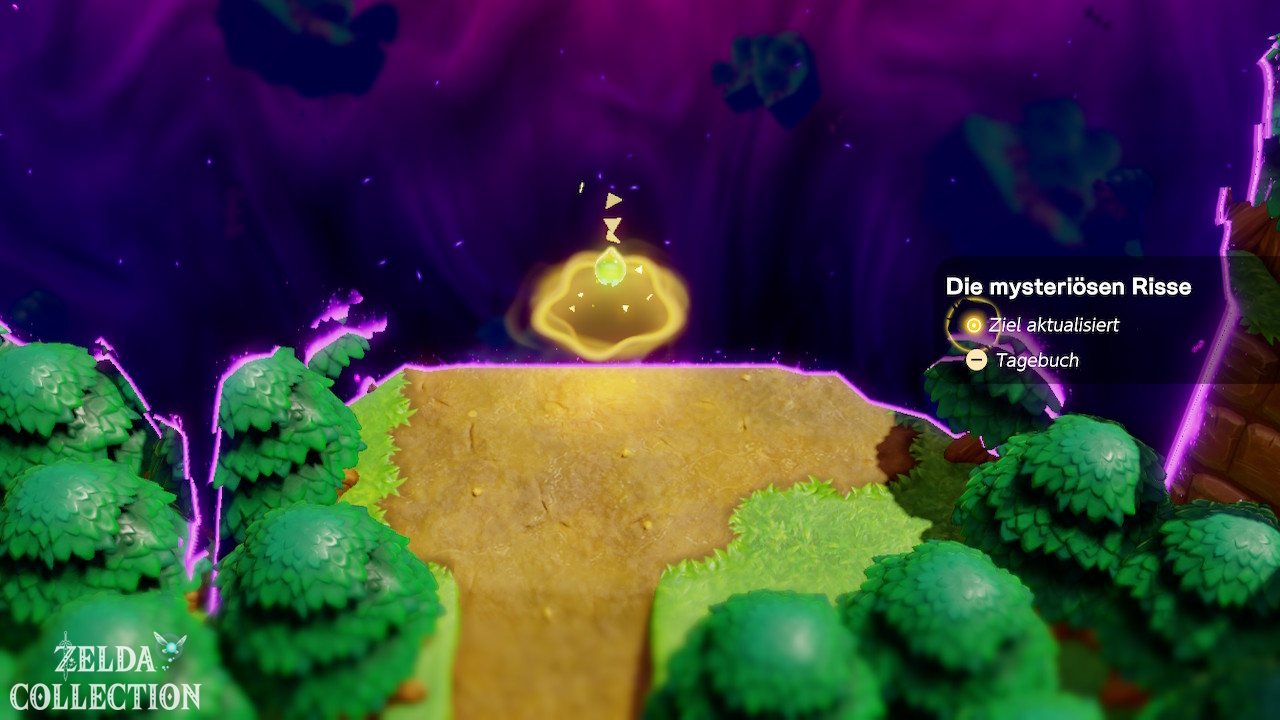
Activate the Waypoint before the Rift. Then enter the golden opening that Tri creates for you.
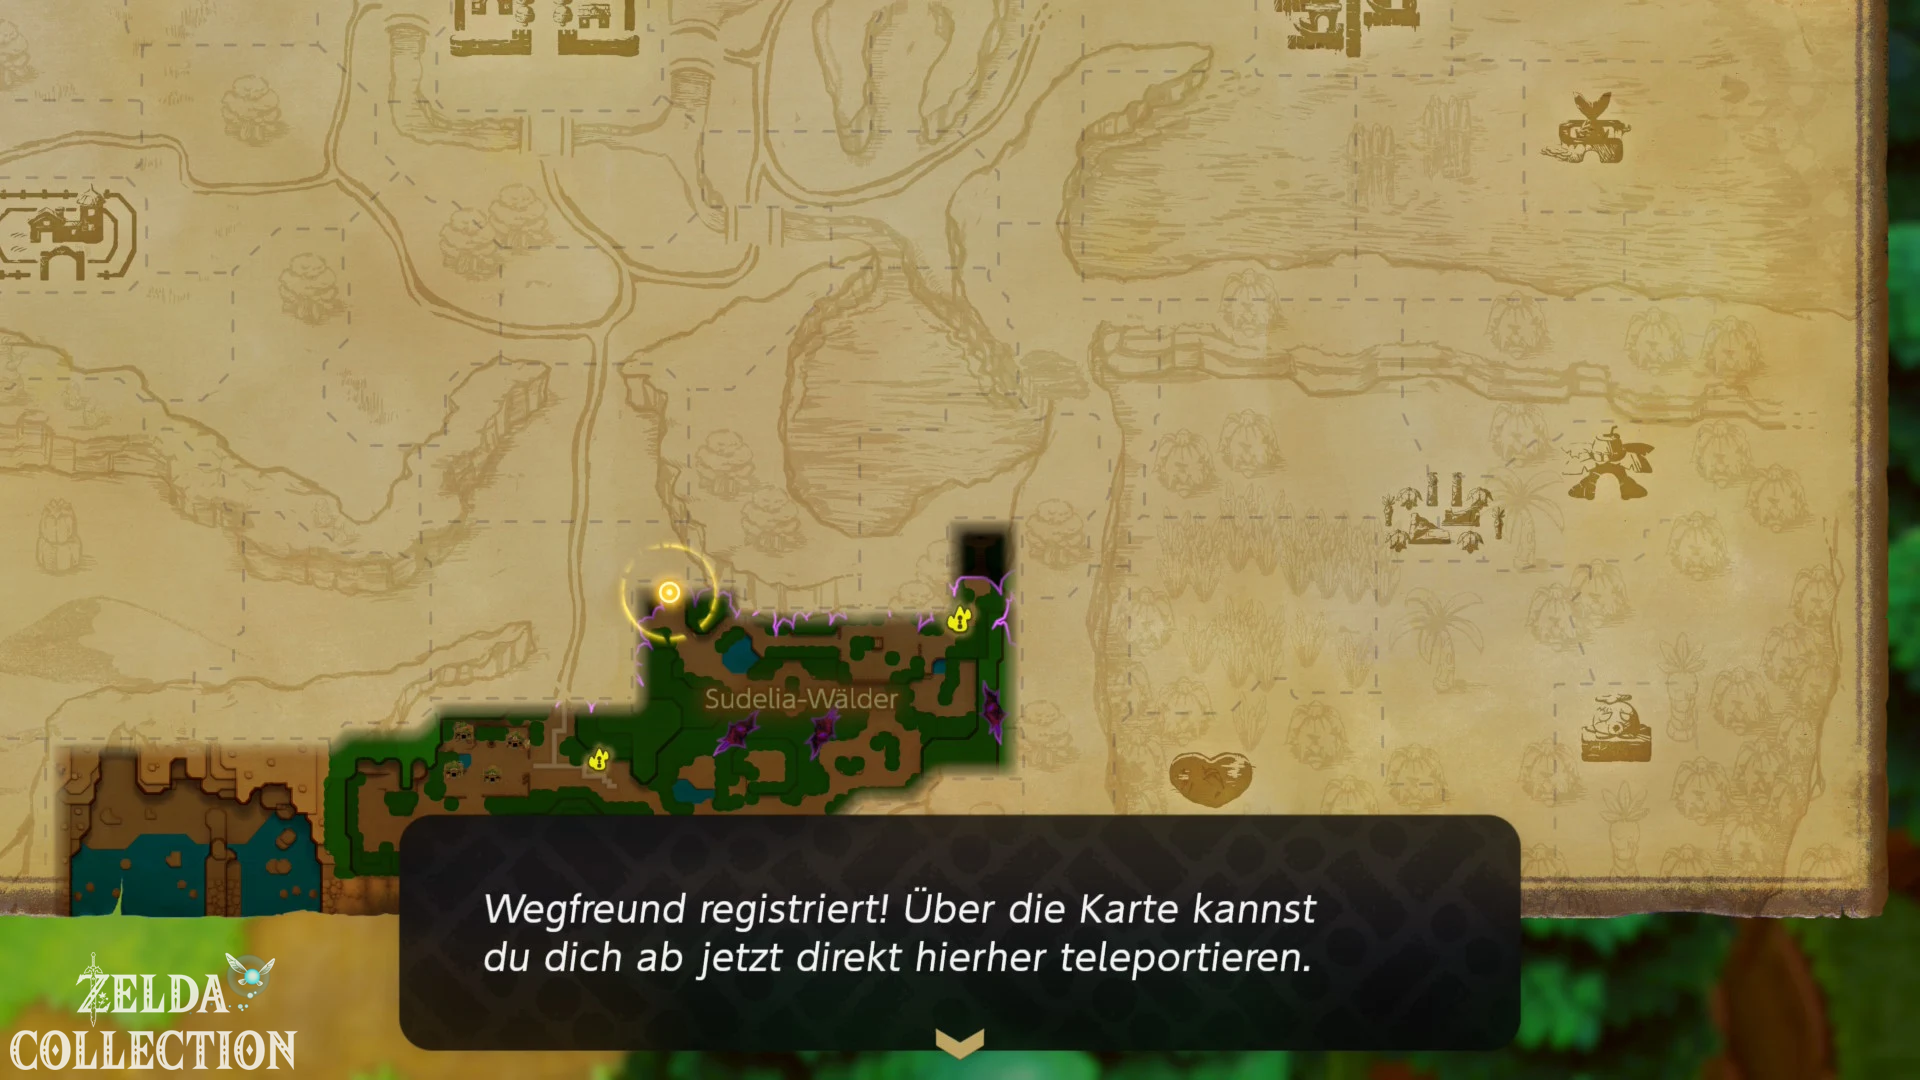
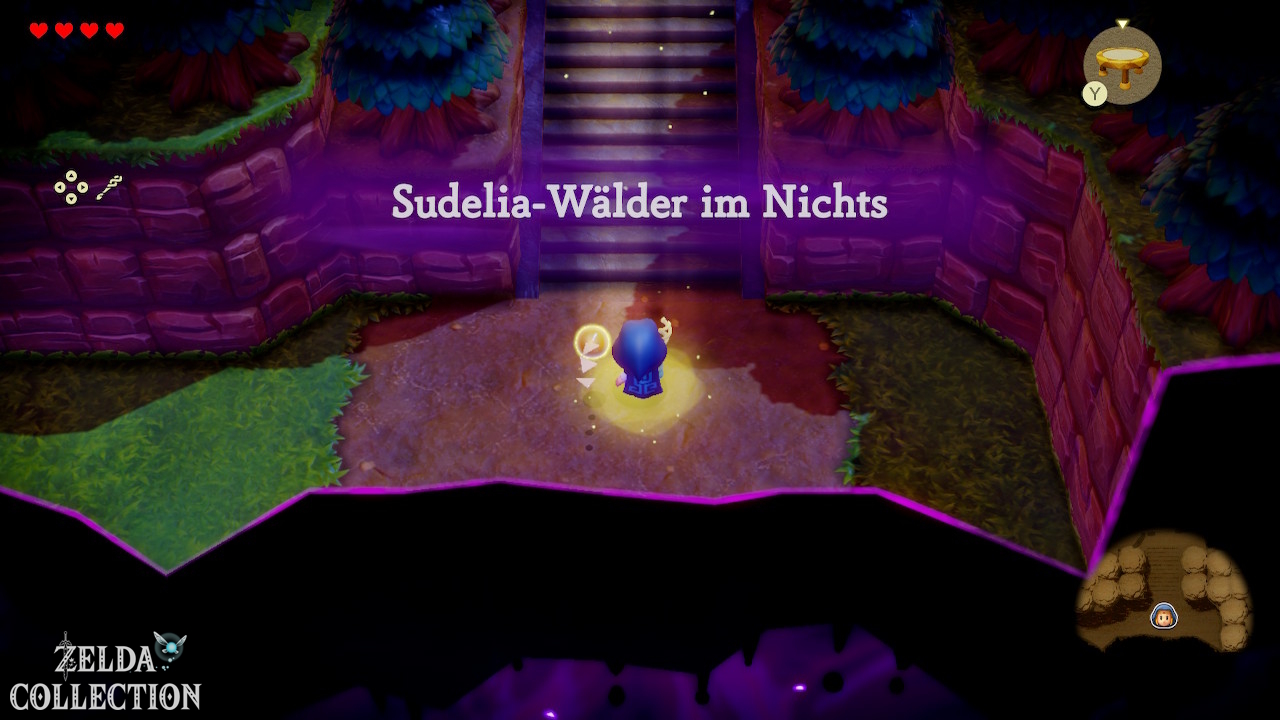
8. Stilled Suthorn Forest: Both chests in front of the dungeon
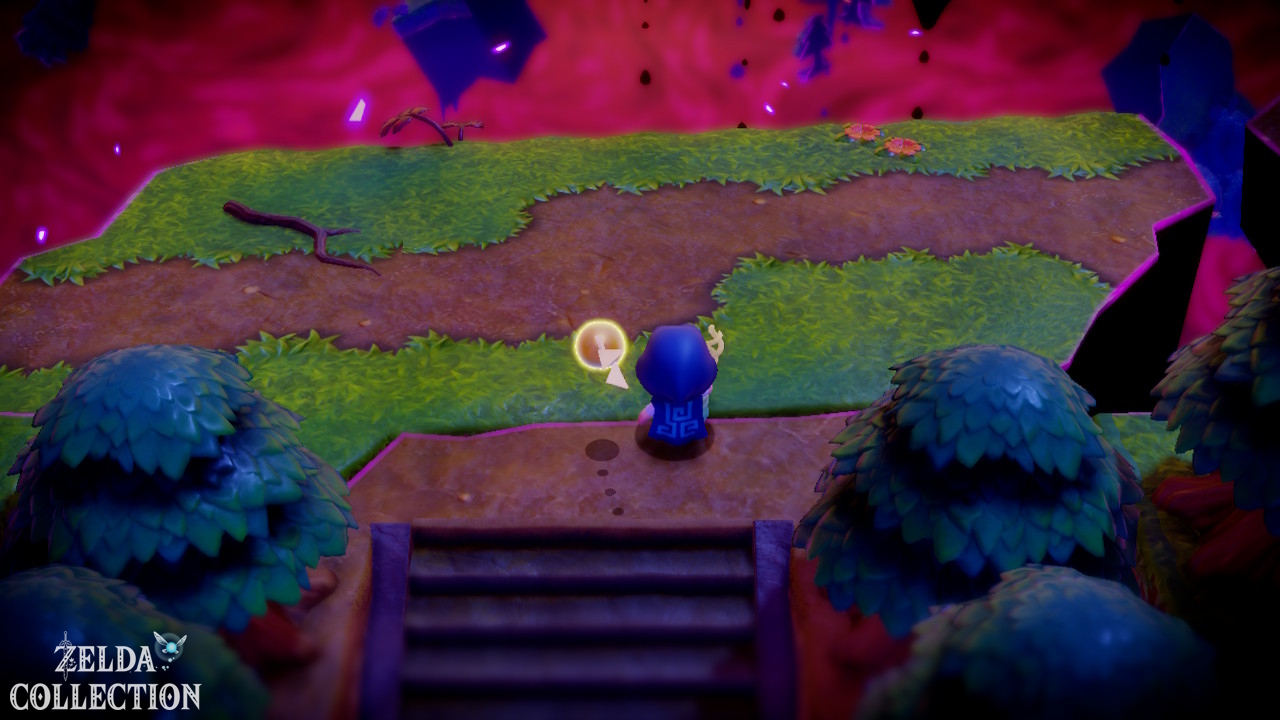
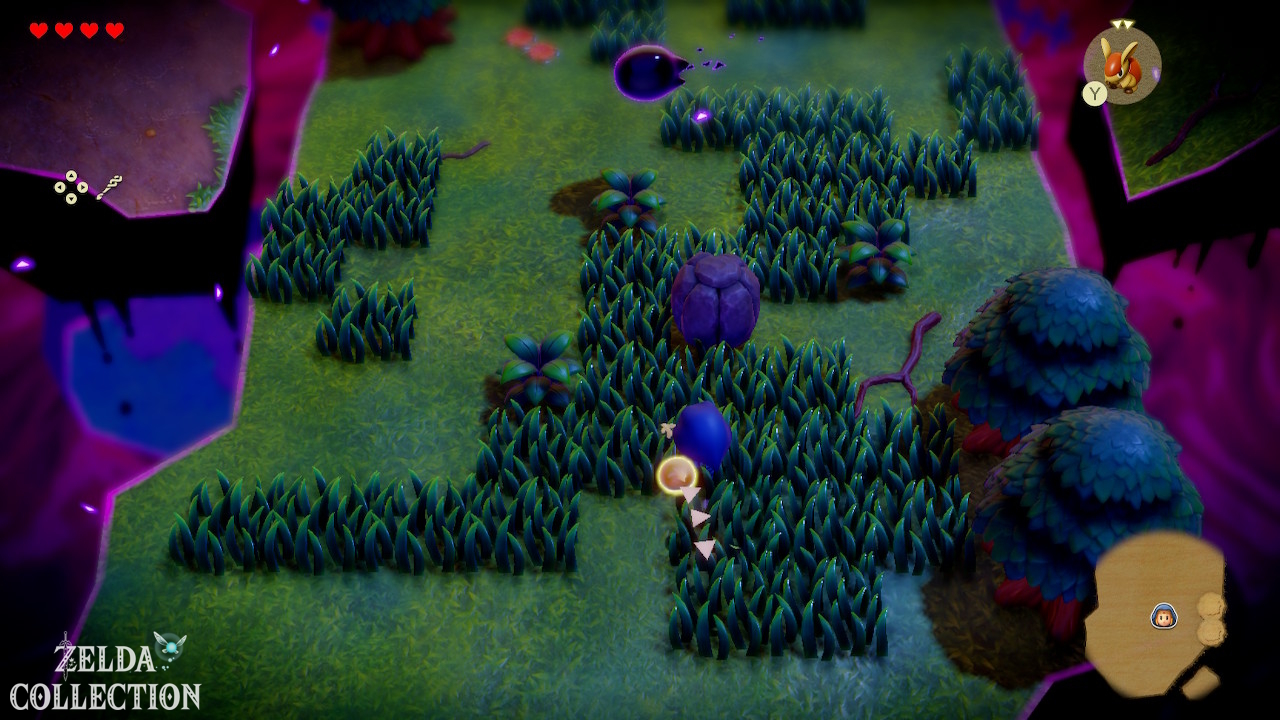
Follow the floating pieces of land north and east. Beds help bridge the gaps. Defeat the dark enemies with your monster echoes and go over the floating trees to the first cave. Inside, hit the switch to the northeast. In the next room all the dark Zols must be defeated. Only then will the northern exit open.
50 Rupees in the side room
On the larger island behind the cave, first take the southwest branch. A ladder leads to a small underground area. Defeat the Spear Moblin and open the chest with 50 Rupees.
20 Rupees on the upper island
Back outside, use a trampoline to jump onto the tree. Place beds in a staggered arrangement to reach the higher island with a chest containing 20 Rupees. Return to the large island. A detour northeast across the fallen trees leads to a blue Rupee worth five Rupees. Then take the northwestern route to continue the main quest. Pass the motionless Minister Lefte to reach the Suthorn Ruins.
9. Suthorn Ruins: Bind, Dungeon Map and torch puzzle
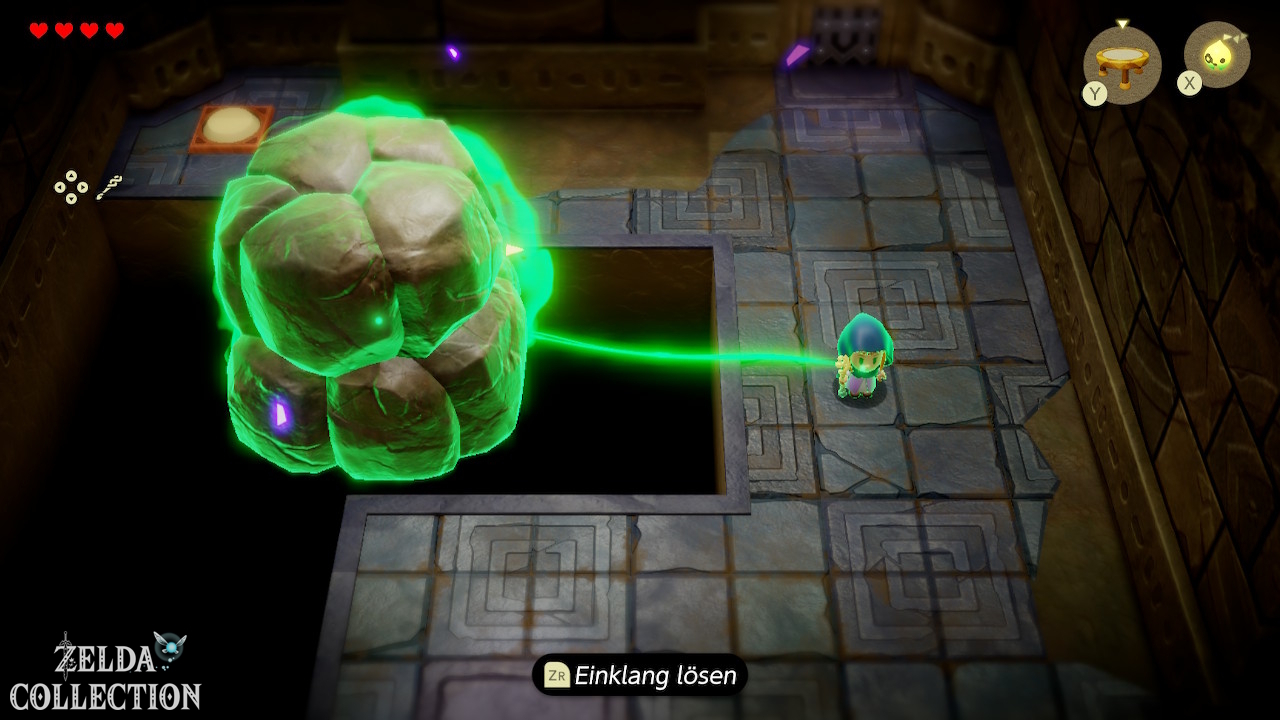
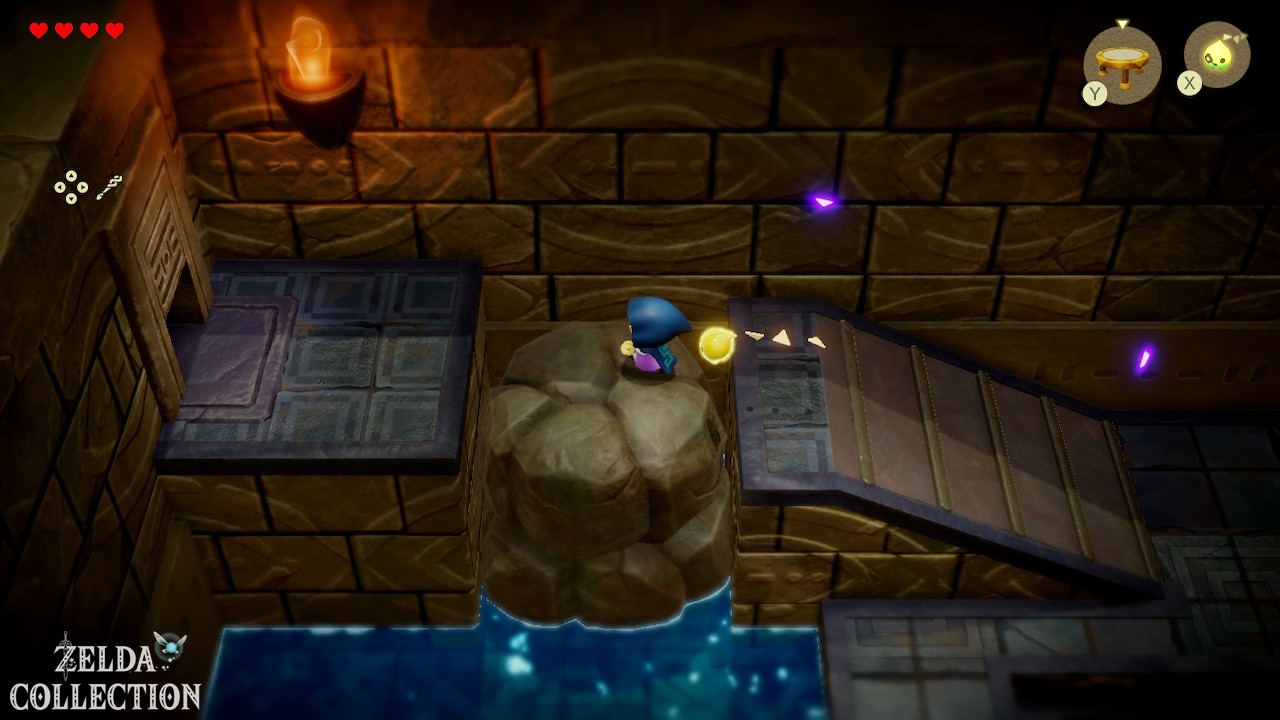
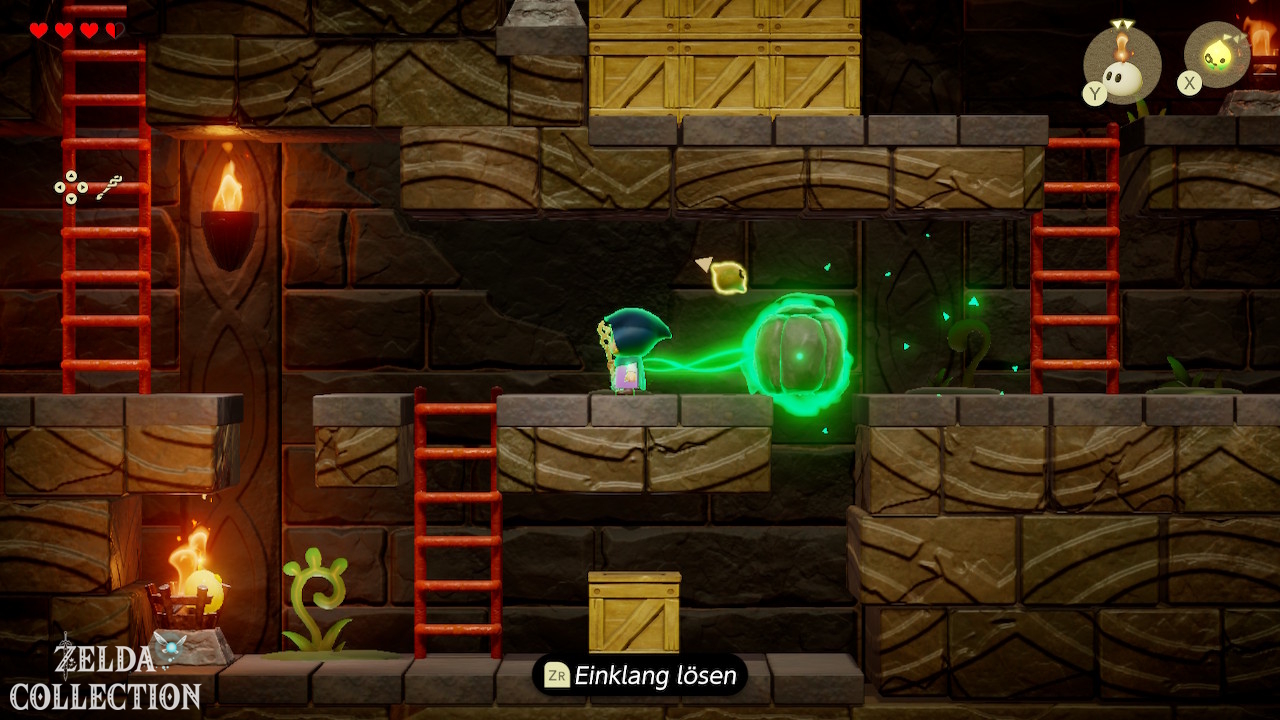
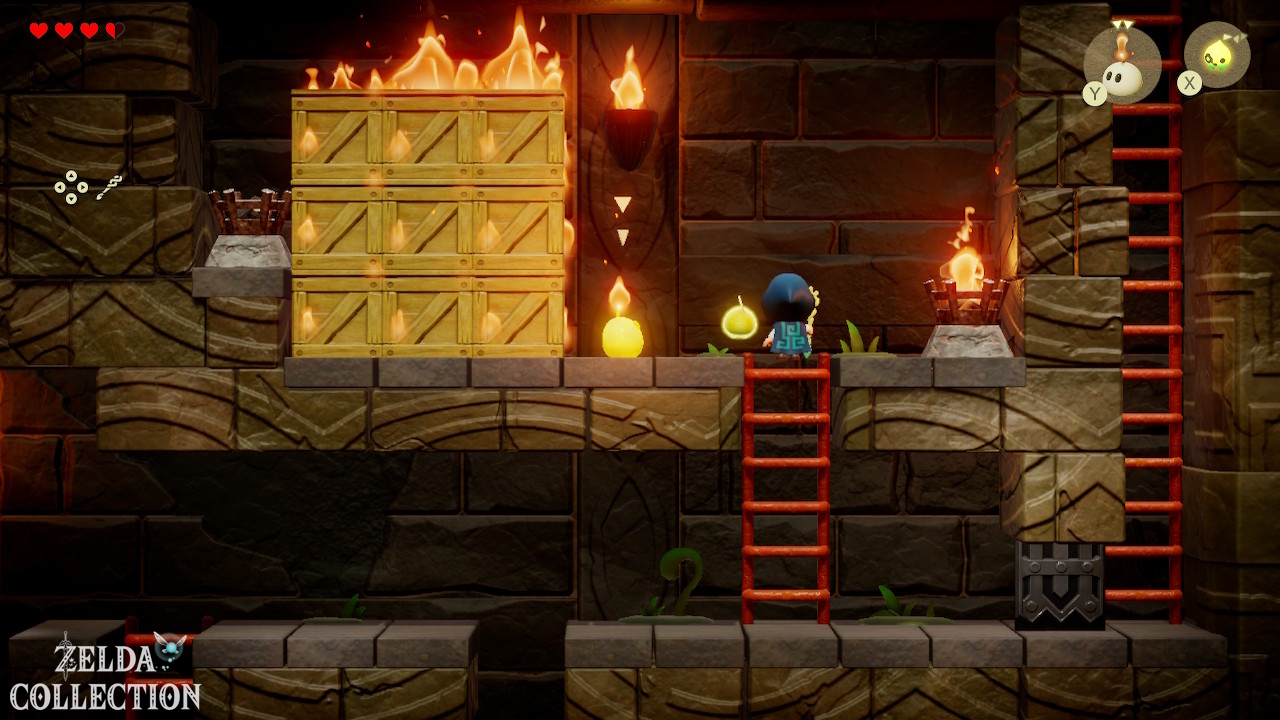
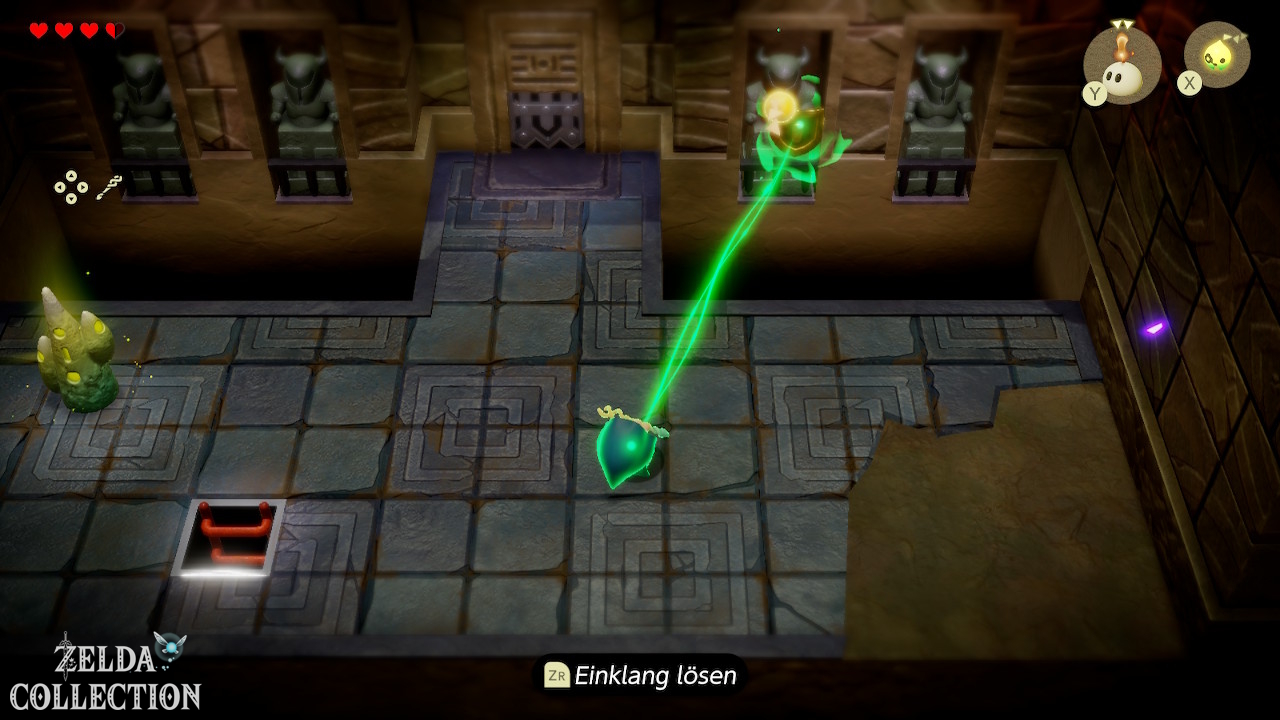
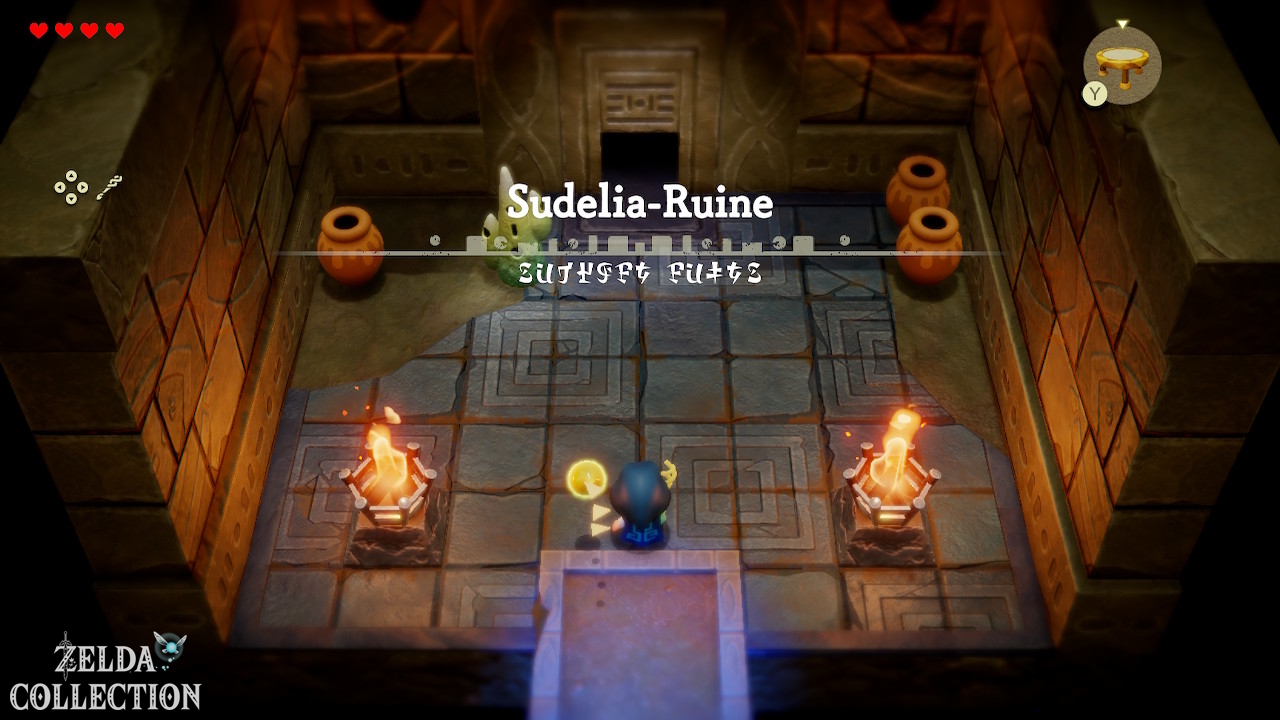
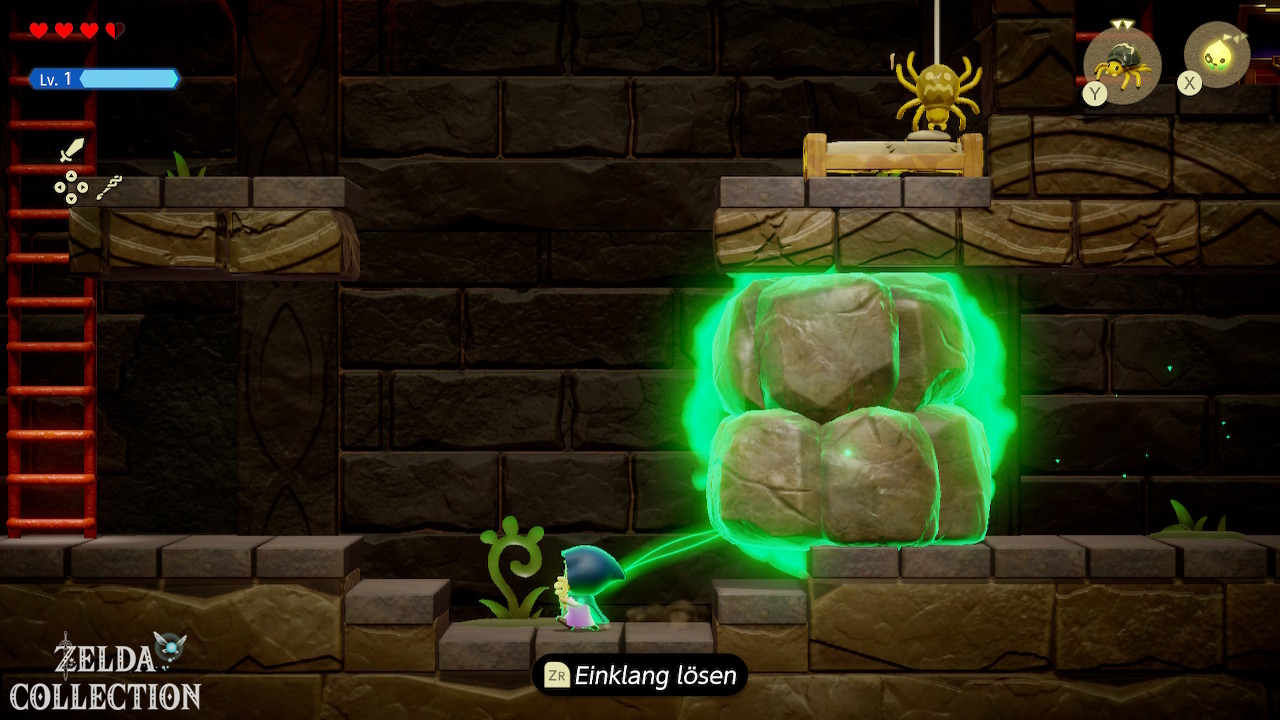
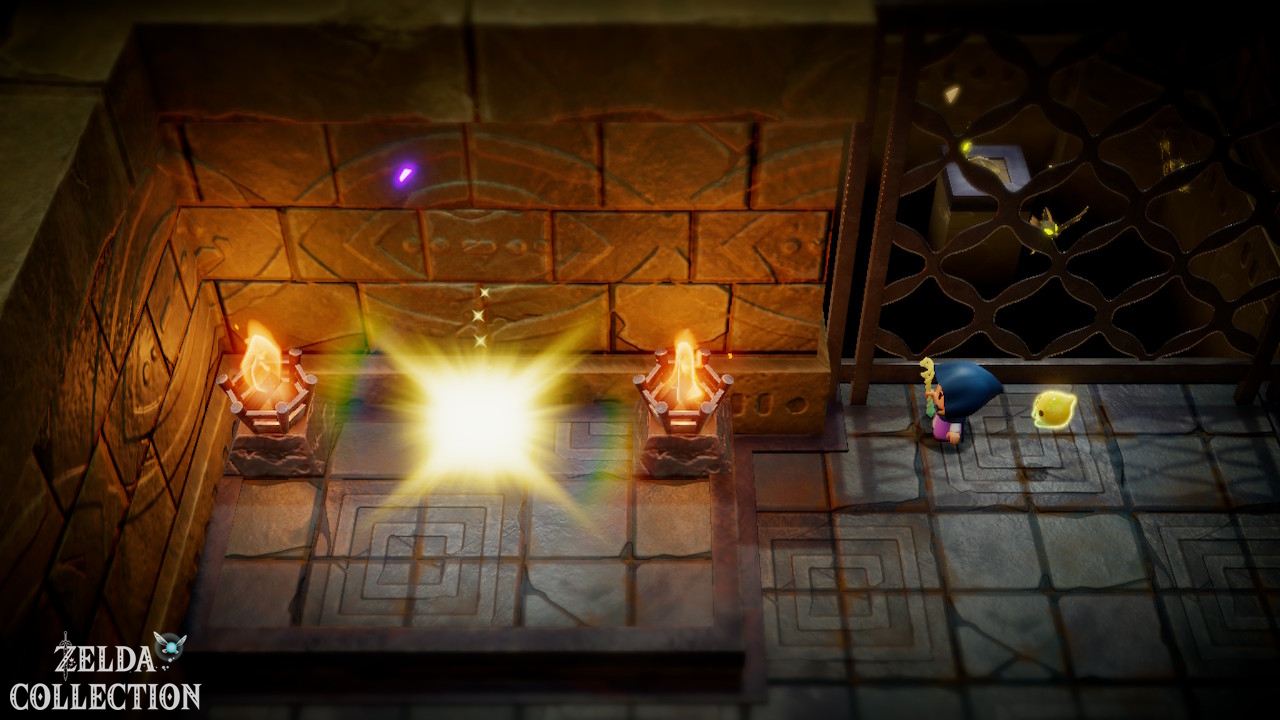
Activate the Waypoint in the entrance room. At the big rock, Tri explains to you Bind: Connect to the object with X and move it with your own steps. Clear the access to the Floor Switch and use it to open the next door.
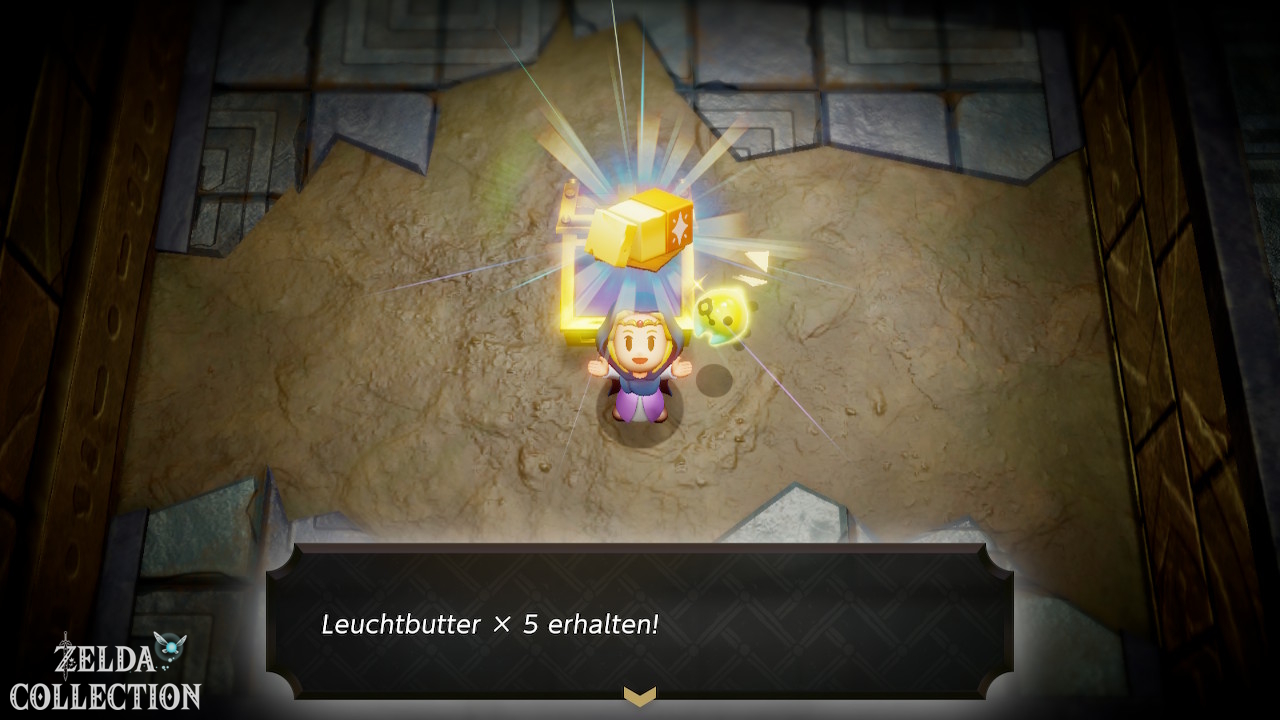
Chest 1: Five portions of butter
In the next room, move the rock above the ladder. Before you descend, use it as a connection between the ramp and the raised passage. In the side room, pull the buried chest out of the ground with Bind. It contains five portions of Radiant Butter.
Chest 2: Dungeon Map and Strandtula
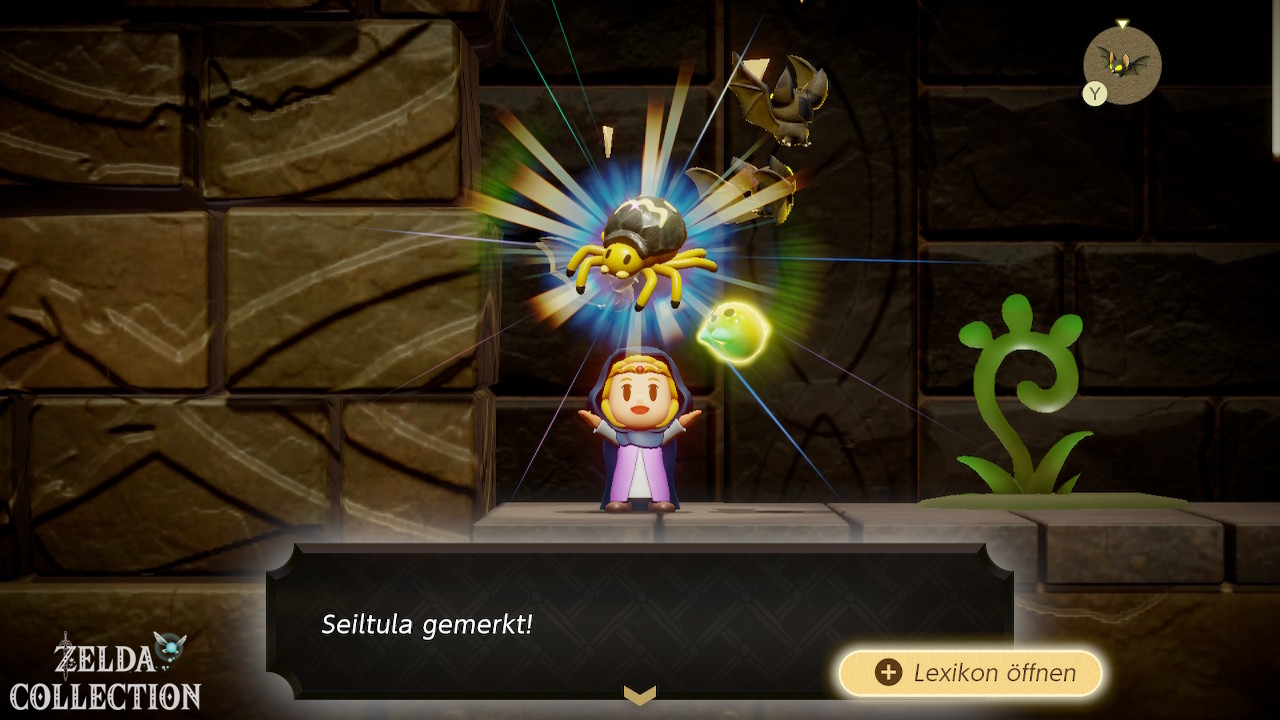
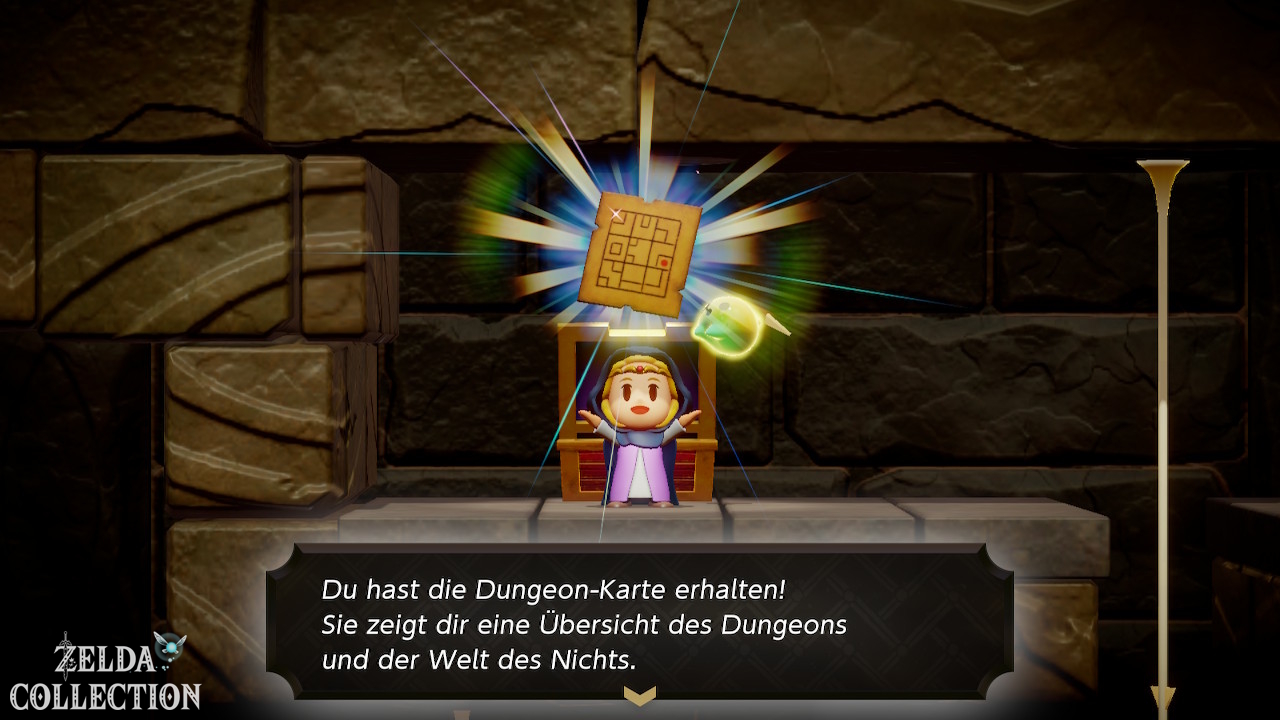
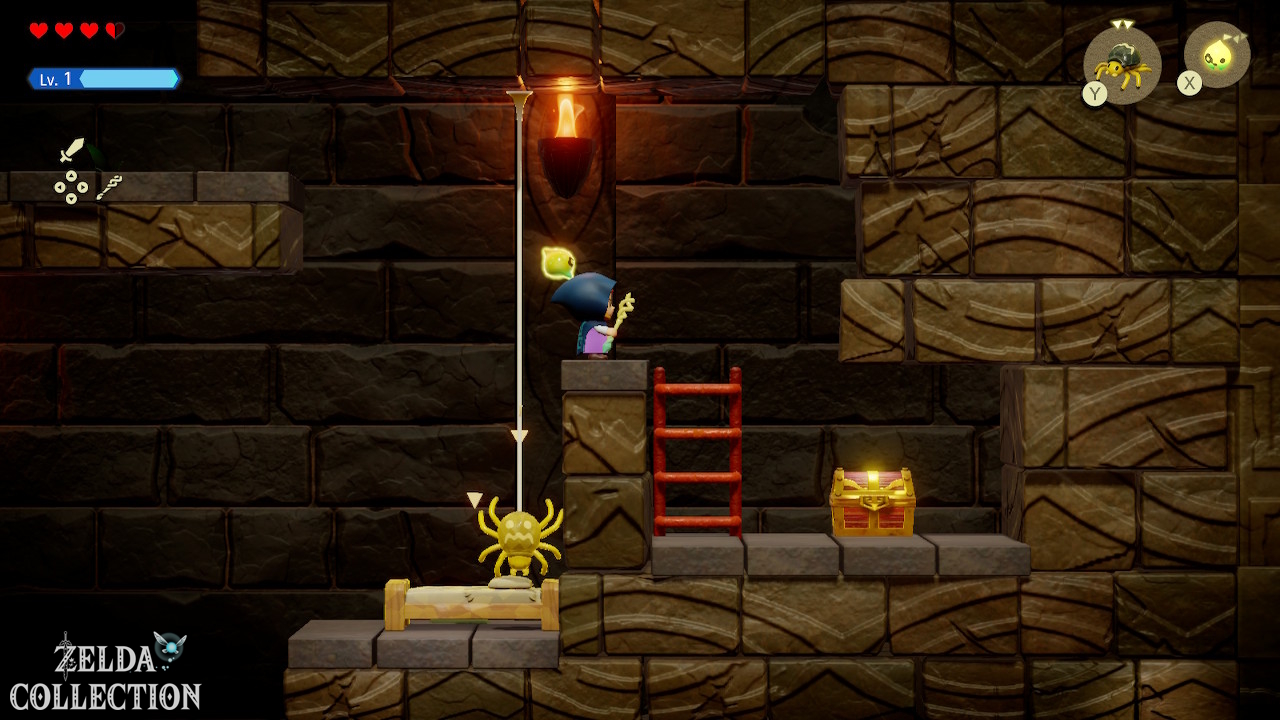
Now climb down the exposed ladder. Defeat a Strandtula and learn its echo. Their threads reach to the ceiling and can be climbed. Use it to reach the chest in the upper part of the room and take the Dungeon Map. Exit the section on the right. Get over the following ledge, go west and take the elevator up. Defeat the Darknut there and learn its echo.
Light all torches
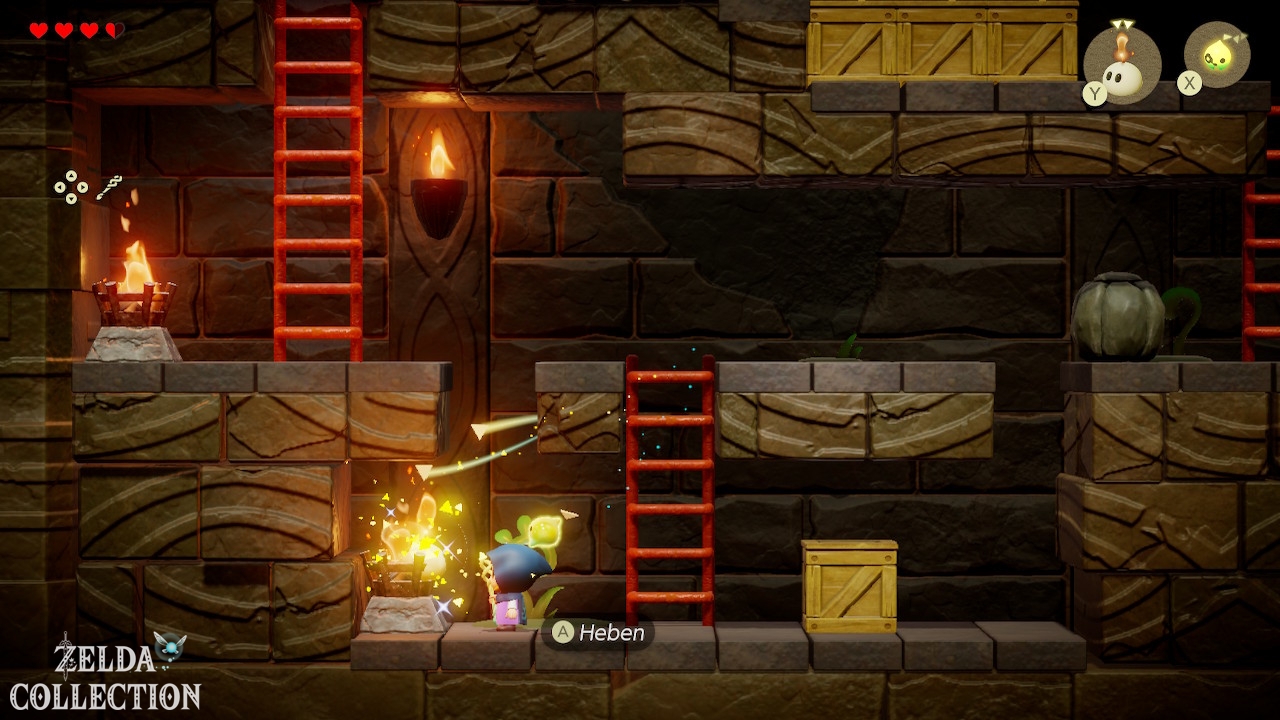
Go west and climb down the ladder. Light the extinguished torches with an Ignizol. You move the rock blocking the way with Bind; You burn the boxes before the last torch. Exit the opened path using the right ladder. Activate the Waypoint above. One of the statues carries a shield. Pull it off with Bind to open the door.
Chest 3: 50 Rupees before the Link Battle
Clear the next enemy area. Climb the raised area on the left to the chest. Beds and a trampoline help with the climb. Collect the 50 Rupees and then go north to the miniboss.
10. Defeat the false Link and get the sword
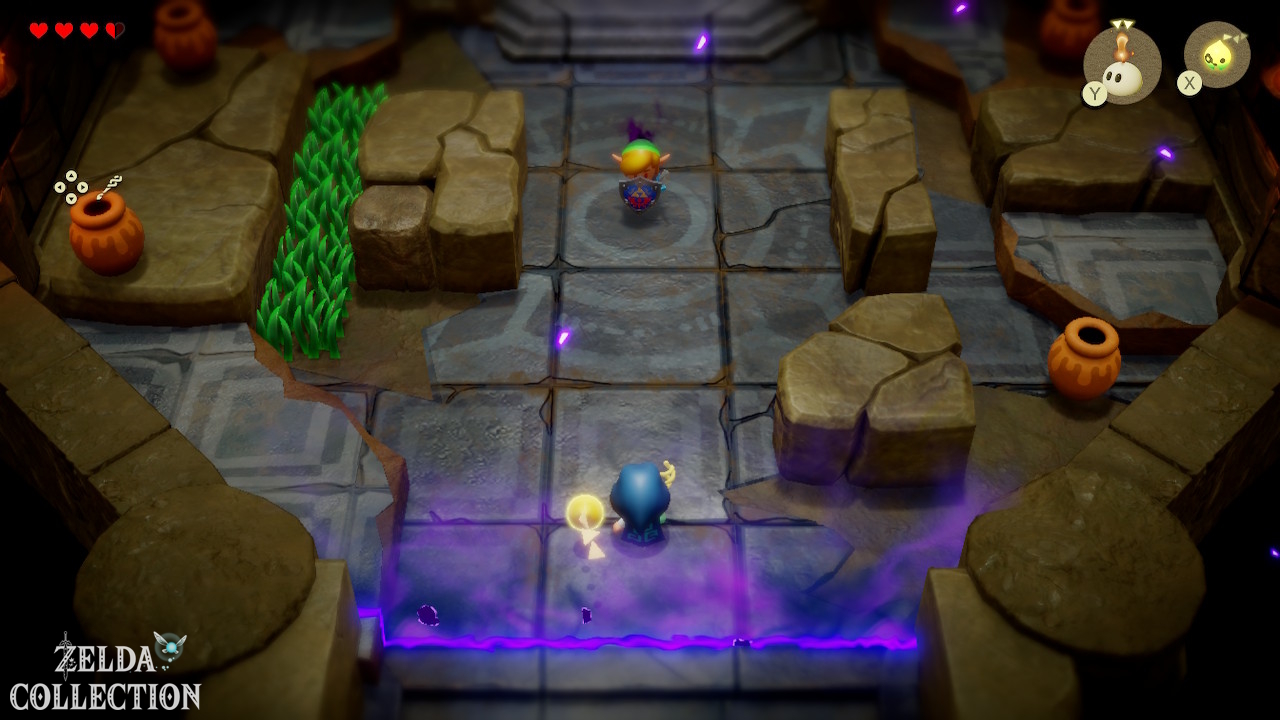
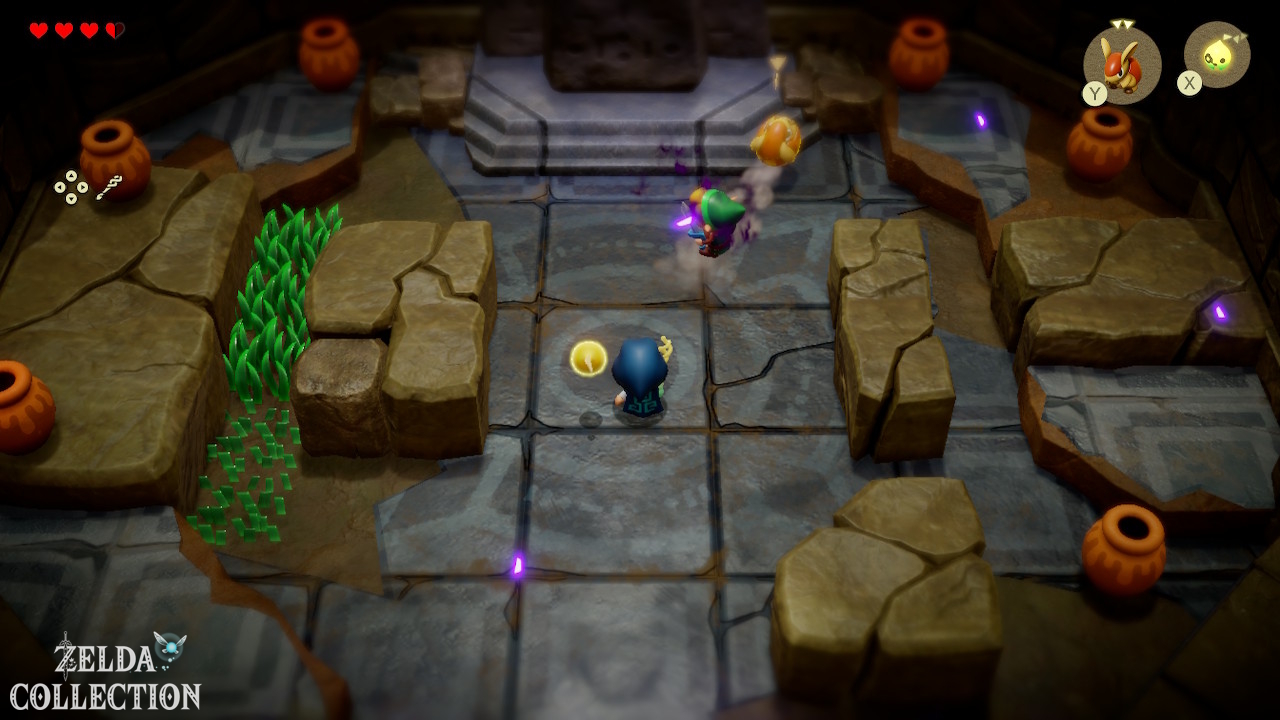
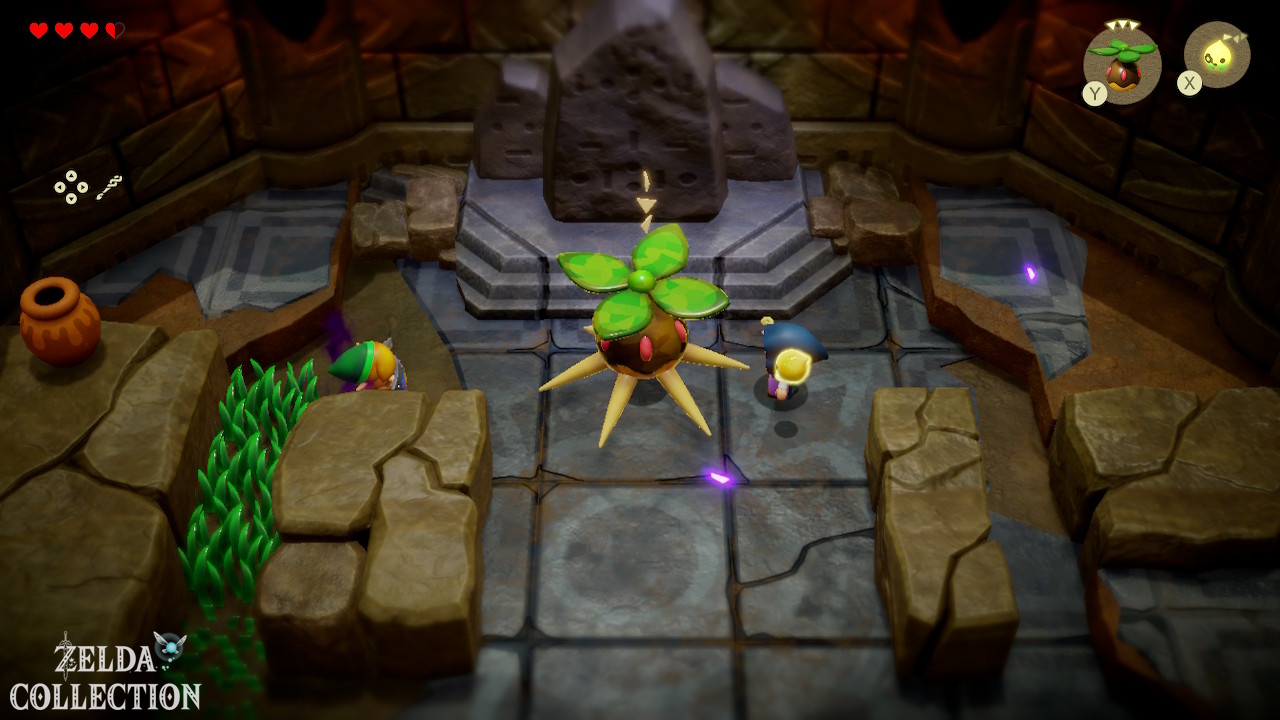
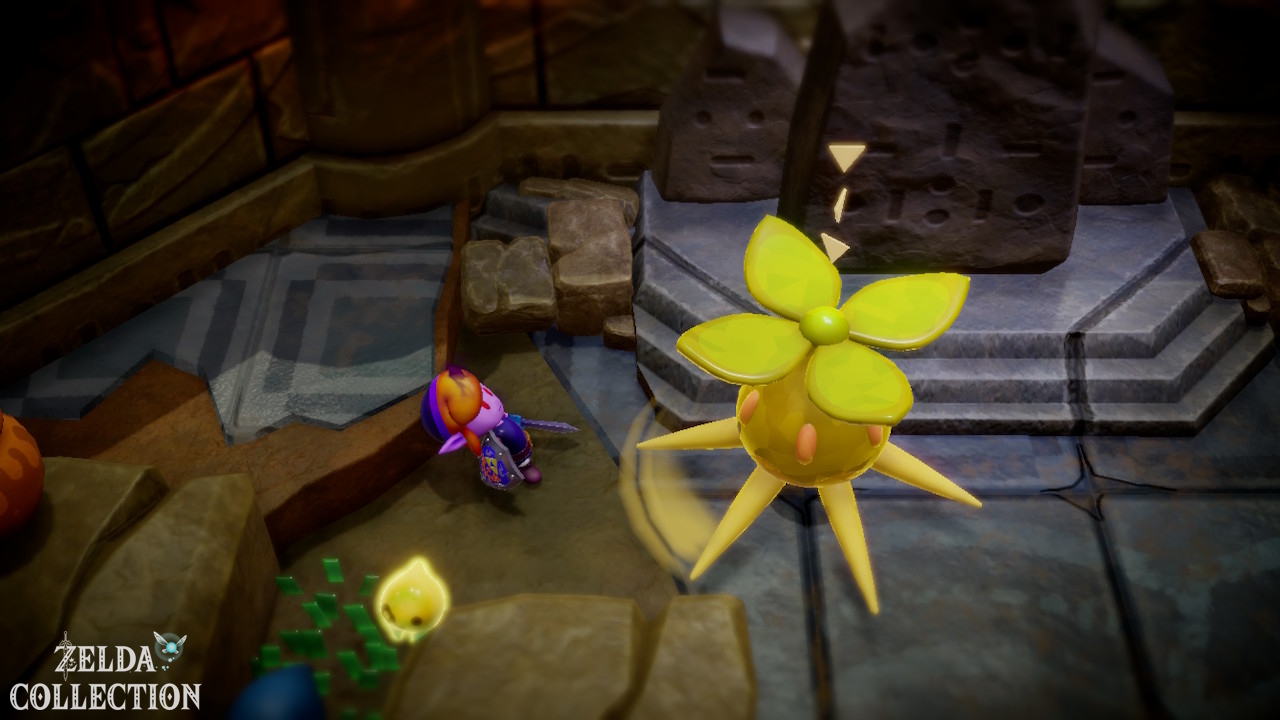
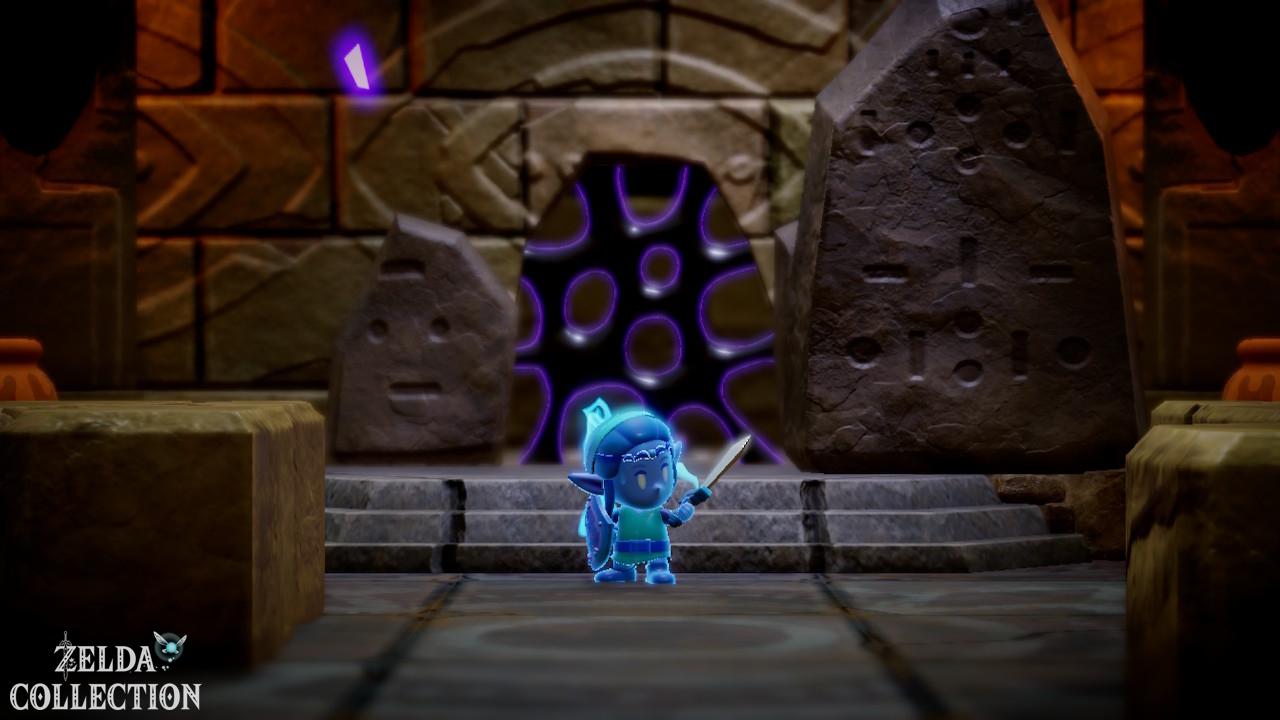
Link blocks attacks from the front with his shield. Remove it from him with Bind and summon a Darknut or a Peahat. Keep your distance while your Echo attacks. Alternatively, distract him and place your monster behind him. Remember Tri’s limit: A second expensive summon replaces the first. In the next phase of the fight, Link becomes more dangerous, but attacks from behind remain effective. After the victory, pick up the sword that was left behind. With D-pad Up you switch to the Swordfighter Form. Use it to destroy the dark barrier to the north.
The form consumes energy. After use, turn it off again and collect the blue energy particles along the way.
11. Heart pin, Small Key and Big Key
Chest 4: Take the Heart Pin
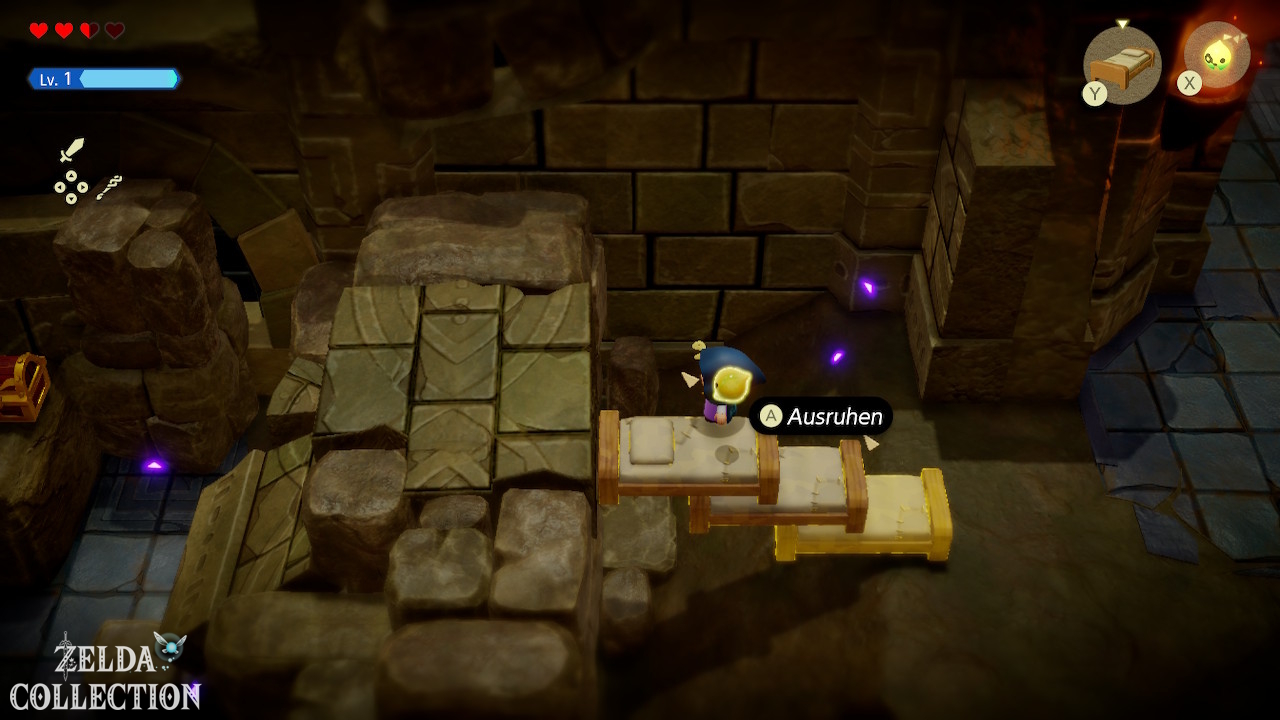
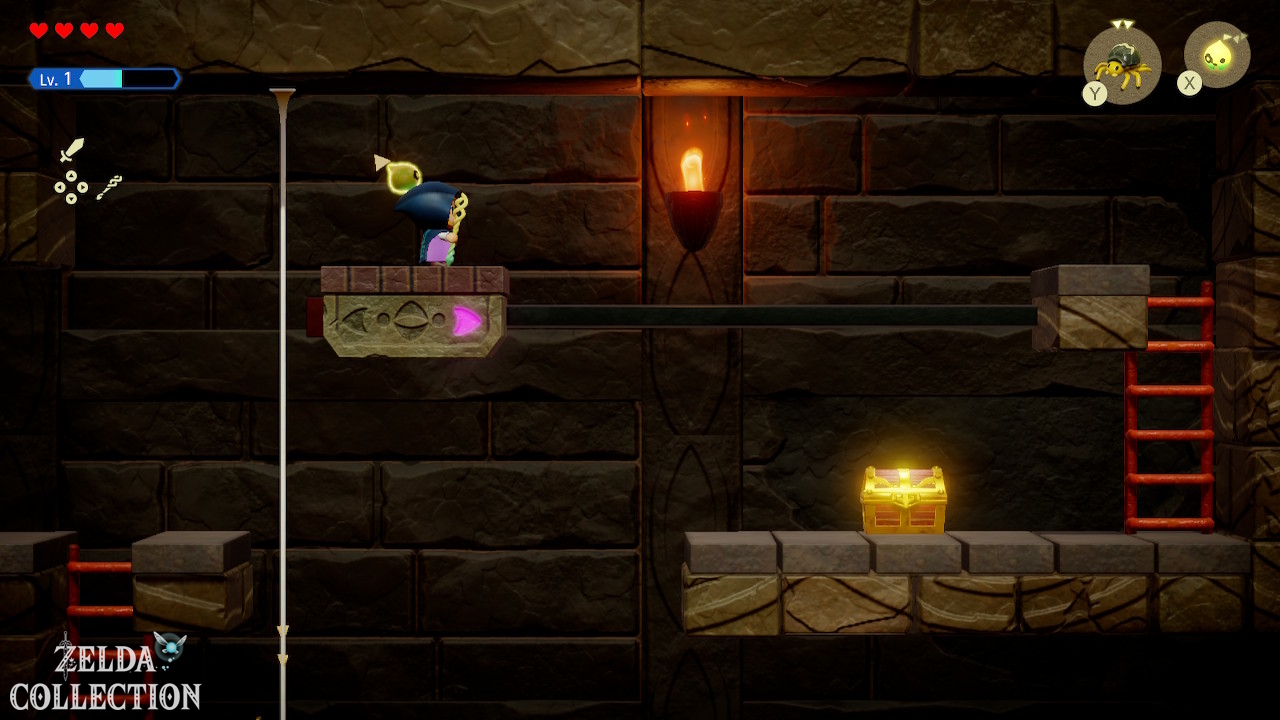
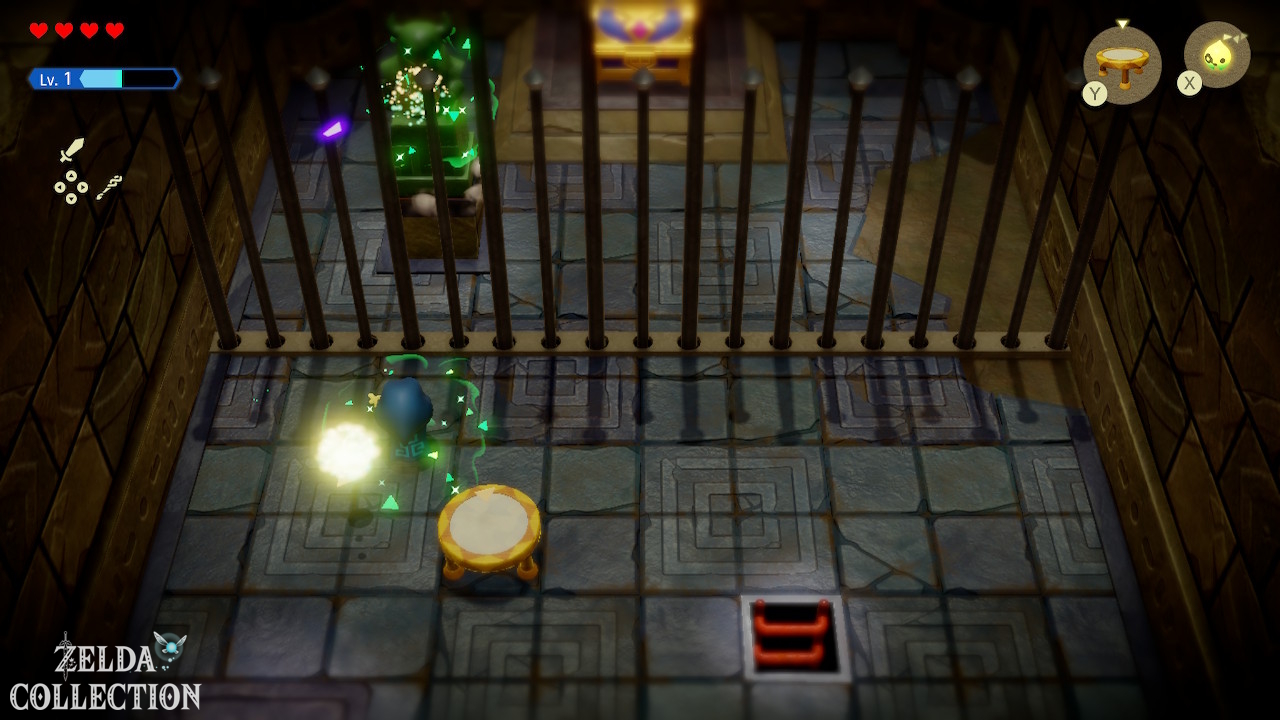
Behind the barrier you descend into the section shown on the side. Move the large rock into the depression on the left. From the higher level you can reach the right ledge via it and a Strandtula. Open the chest with the Heart Pin and equip it in the menu. In normal mode it ensures more frequent heart discoveries. In hero mode, he does not remove the heart find restriction. You can find more items in the Equipment Guide. Exit the bottom right section and activate the Waypoint in front of the large boss door. First go through the left door.
The Deku Babas eliminate
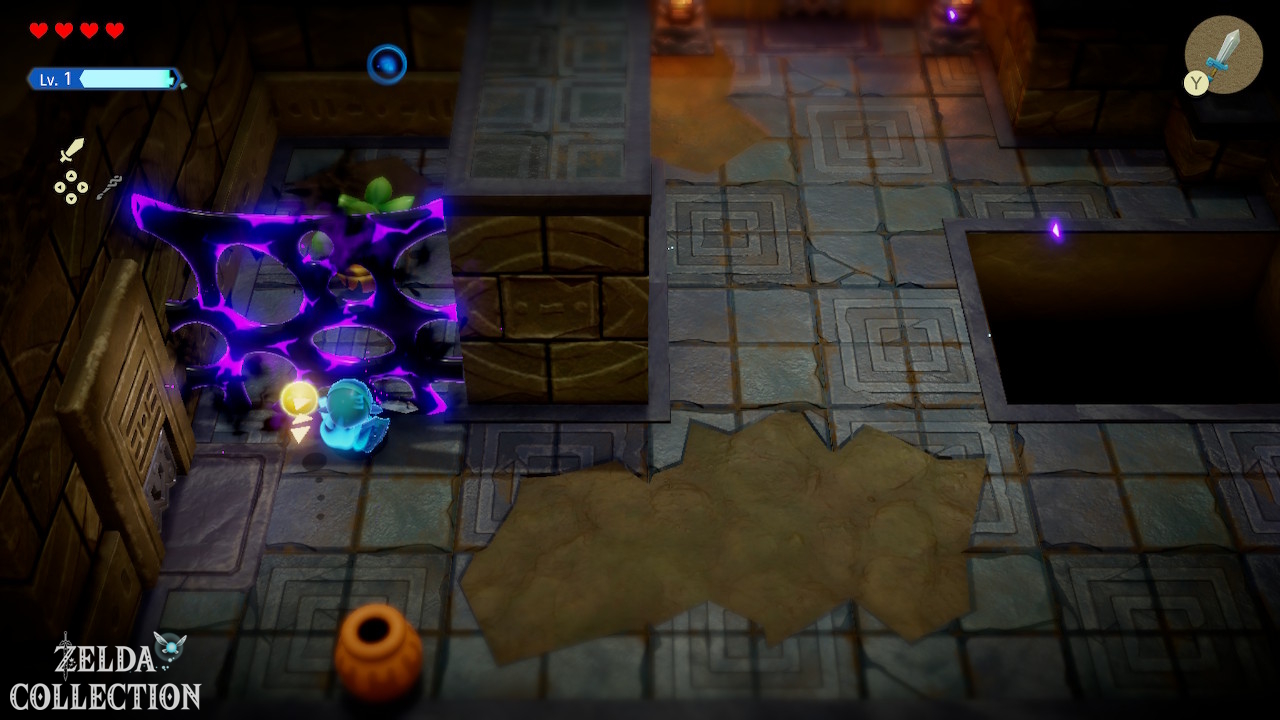
Defeat all plant opponents and learn the Deku Baba Echo. You can grab their heads and pull them out with Bind. You can remove the dark barrier in the Swordfighter Form.
Chest 5: 50 Rupees behind the grate
Take the western exit first. Connect to the statue behind the grate. Go up the ramp, take the statue to the right on the raised track and place it on the switch. The accessible chest contains 50 Rupees.
Chest 6: The Small Key
Return to the Deku Babas and go north. Use Bind to pull out the plant behind the trellis. Take the Small Key from the chest and return to the room in front of the boss door.
Chest 7: 20 Rupees at the moving platforms
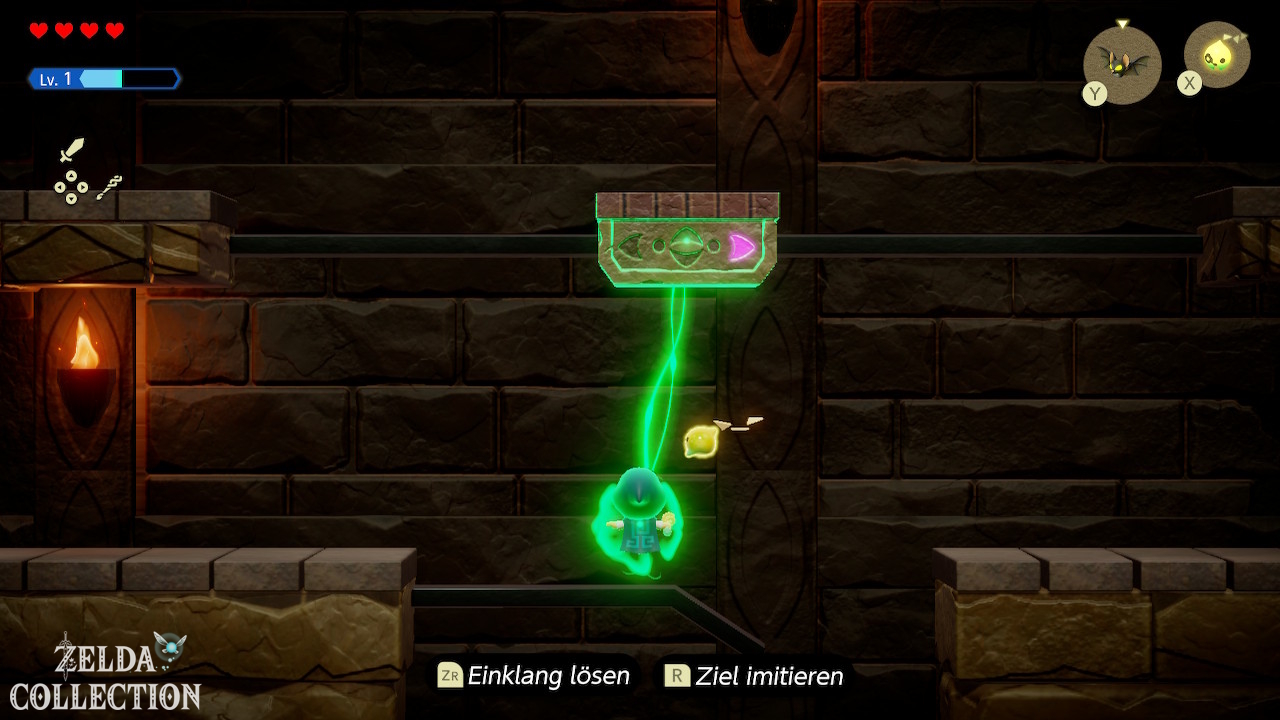
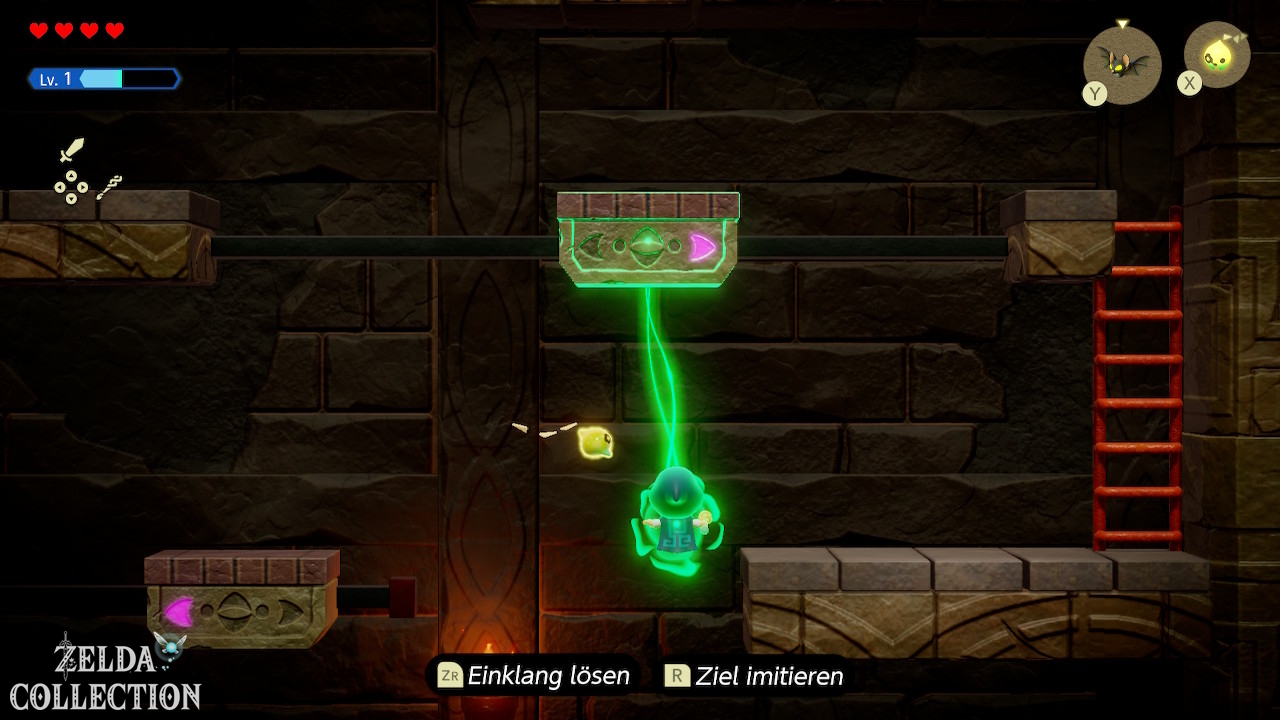
Open the right locked door. Move the incorrectly positioned statue to the marked space so that the four statues form a square. Then climb down the ladder. With the platforms you learn to follow a movement: Make a Bind connection and then hold R. Let yourself be carried over the gaps and through the room. Before leaving, get the chest in the top right with 20 Rupees.
Chest 8: The Big Key
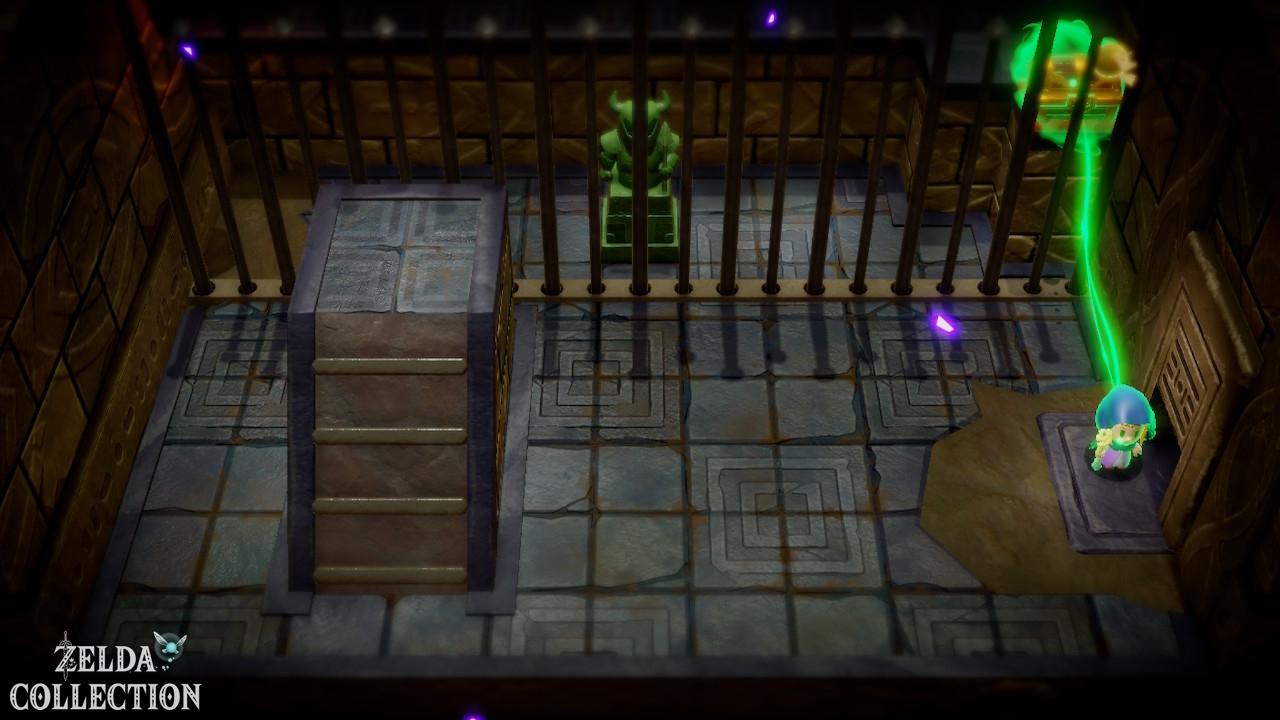
At the top there is a statue waiting behind a grille. Connect with her and lead her across the elevated path to the switch. A table as a step or a suitable jump brings them to the required height. Take the Big Key. Travel back to the Waypoint in front of the boss door and check your health before opening.
12. Seismic Talus defeat
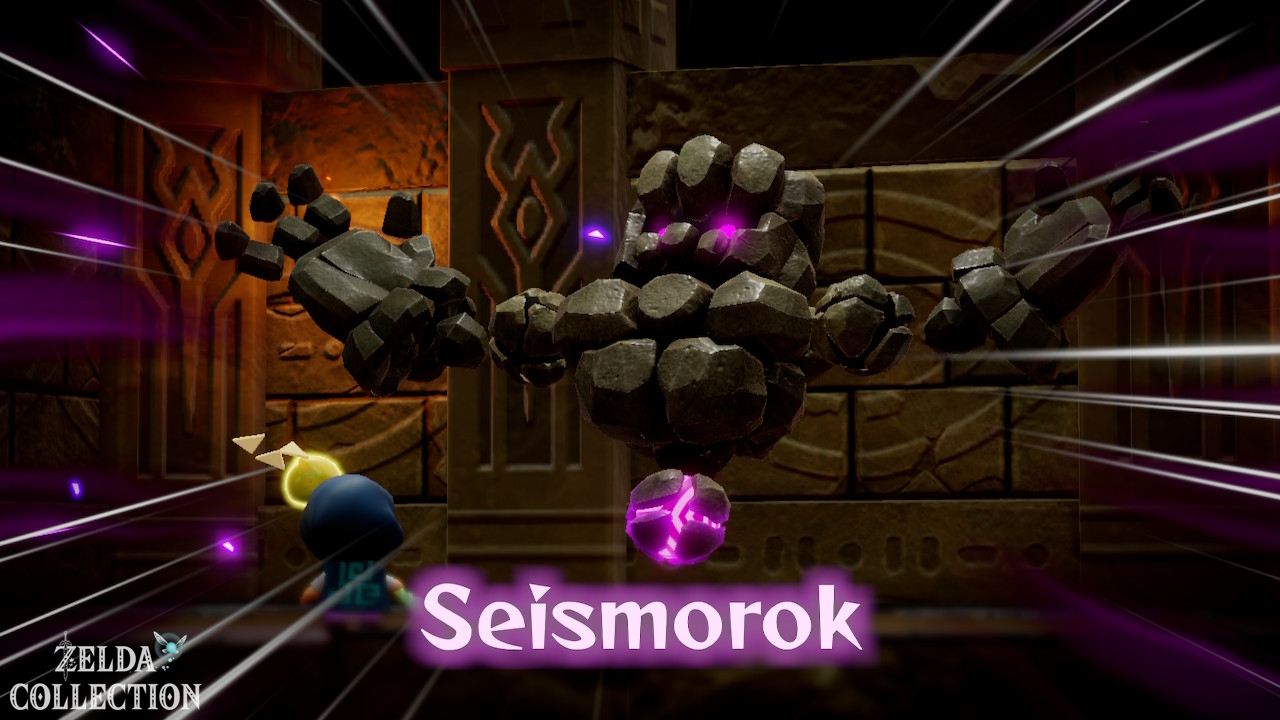
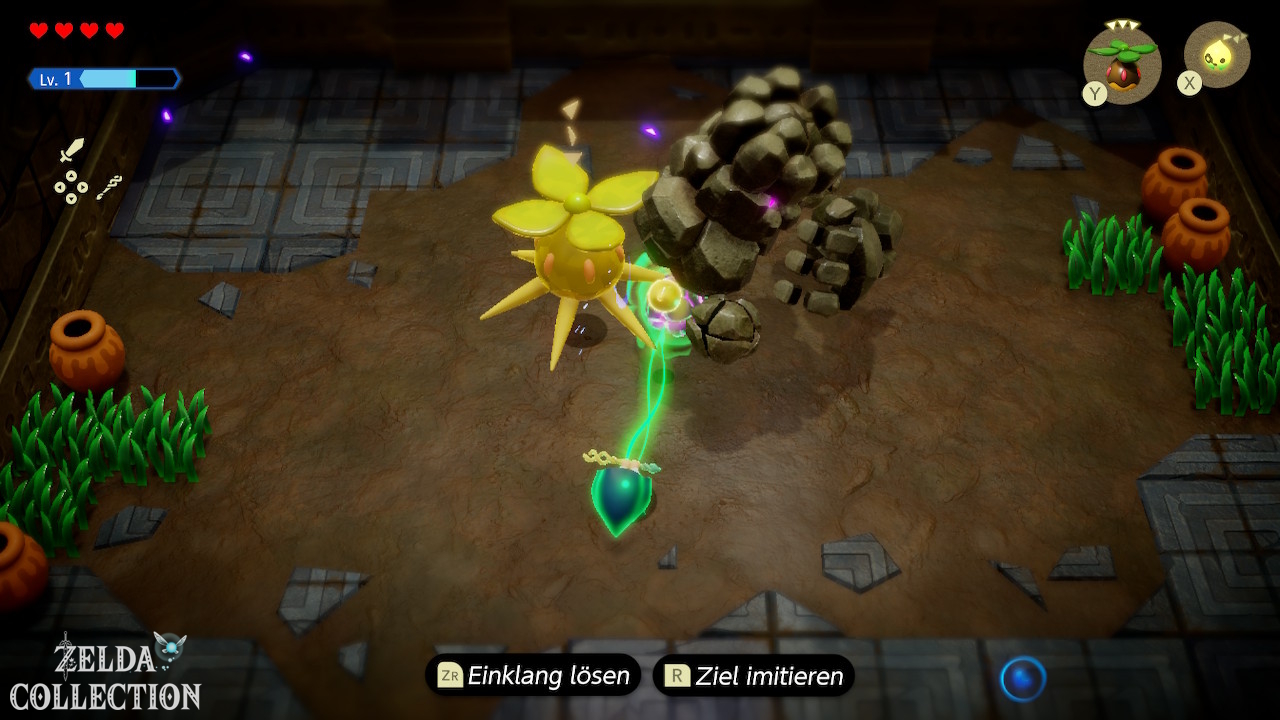
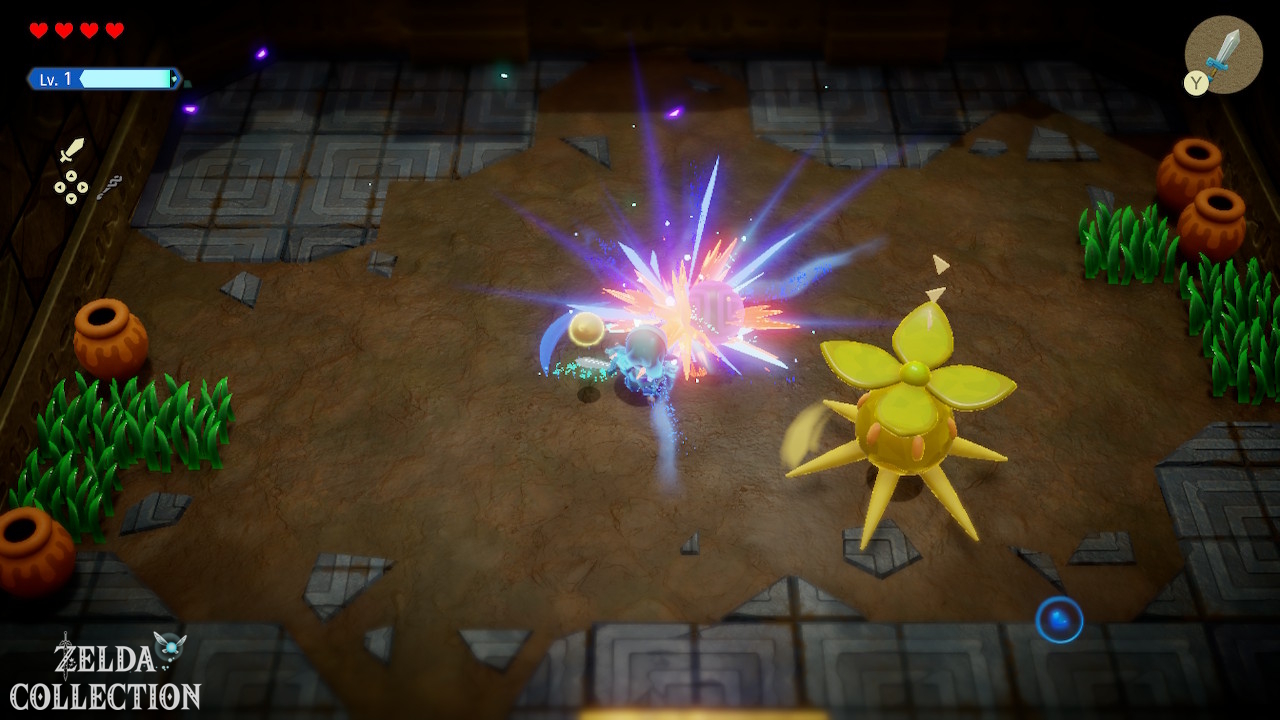
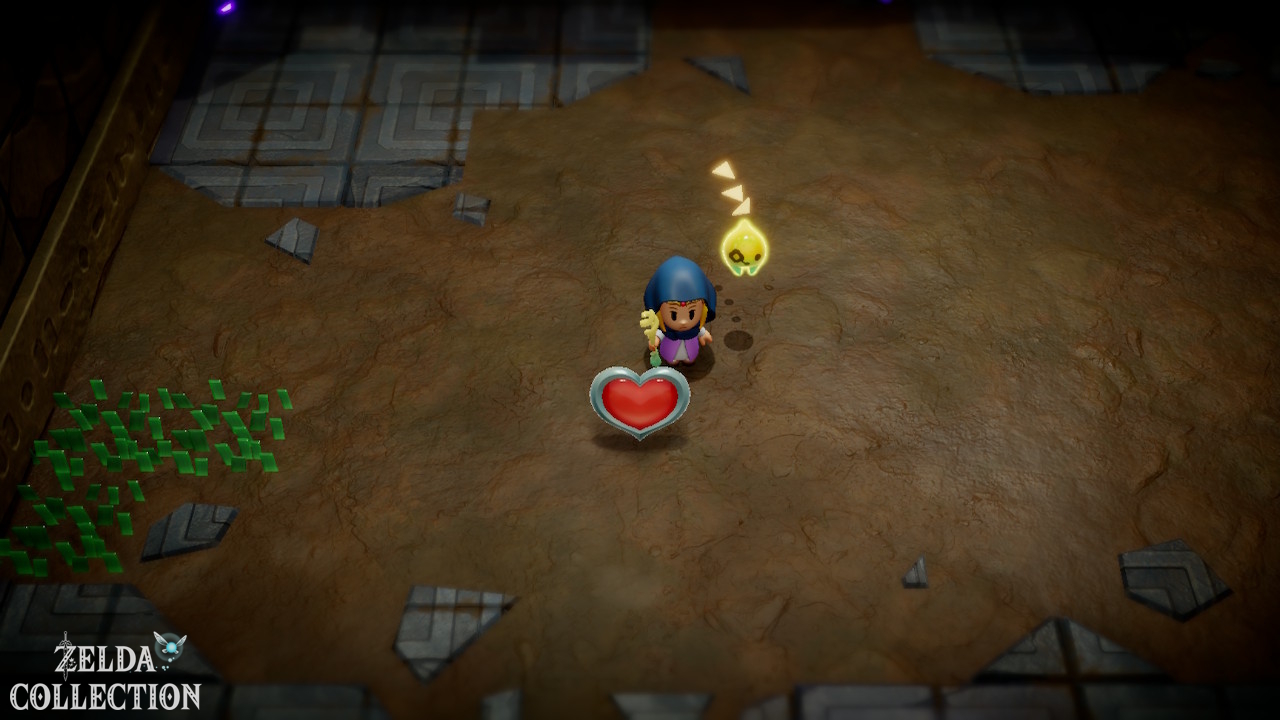
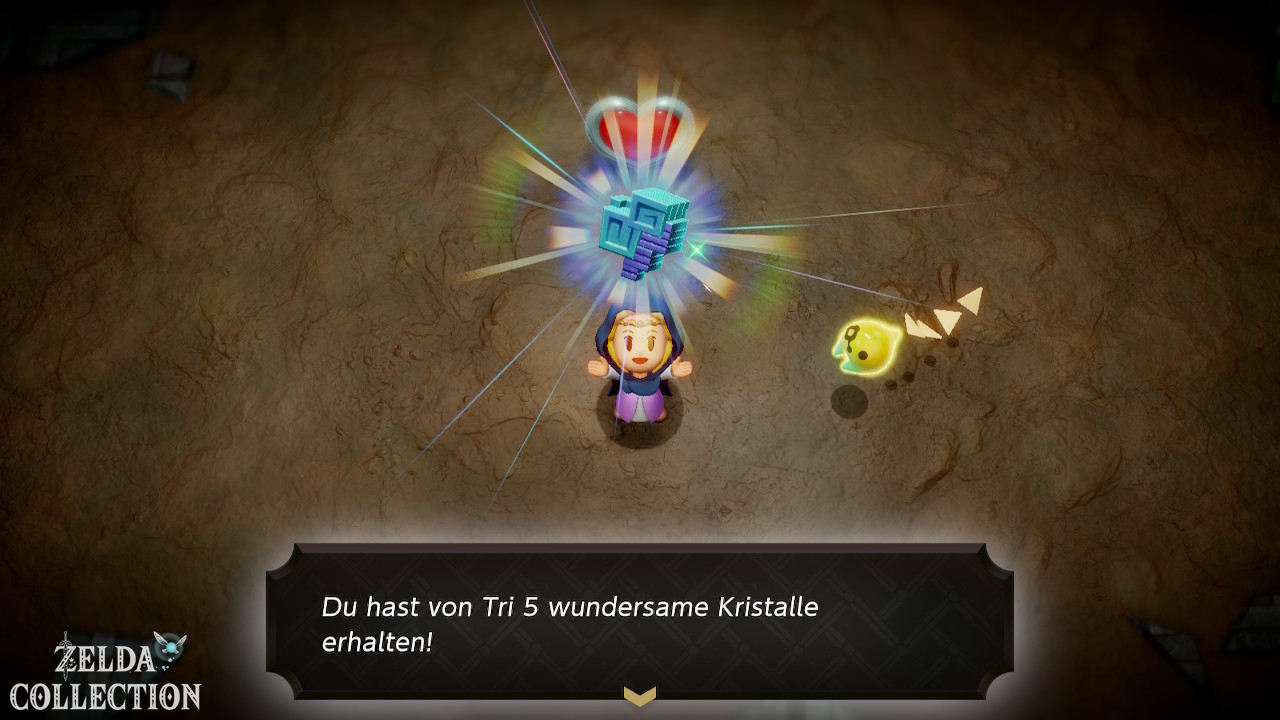
Seismic Talus’s weak point is its glowing orb. Keep your distance while he swings his fists or hits Princess Zelda. After a missed attack, connect to the ball with Bind and run in the opposite direction until it is pulled out of the stone body. Only now is the Swordfighter Form worth it: hit the exposed core several times, collect the energy released and end the transformation again as soon as Seismic Talus puts its body together.
- Ball at the bottom of the body: Dodge the fists. After the two-handed hit, go behind the boss and pull out the ball.
- Ball on the shoulder: Keep your distance from the circling arms. Use the pause again after hitting the ground.
- Ball on the head: Wait for the red colored boss to smash both hands into the ground. Use your lowered hands and head to reach the weak spot.
Collect the blue energy released. After winning, Tri gets a level up and you get five unusual crystals. Be sure to take that one Heart Container in the arena before you go over Tri’s return point.
13. At Lueburry’s house: “The Mysterious Rifts” complete
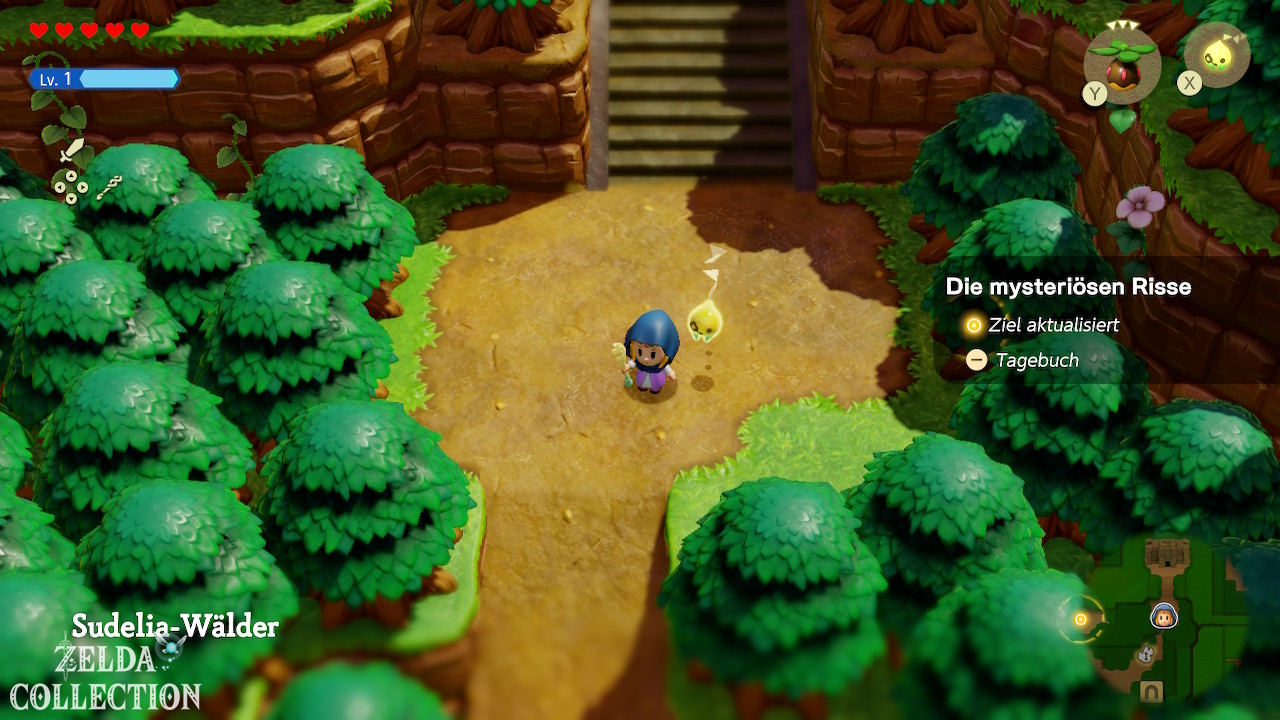
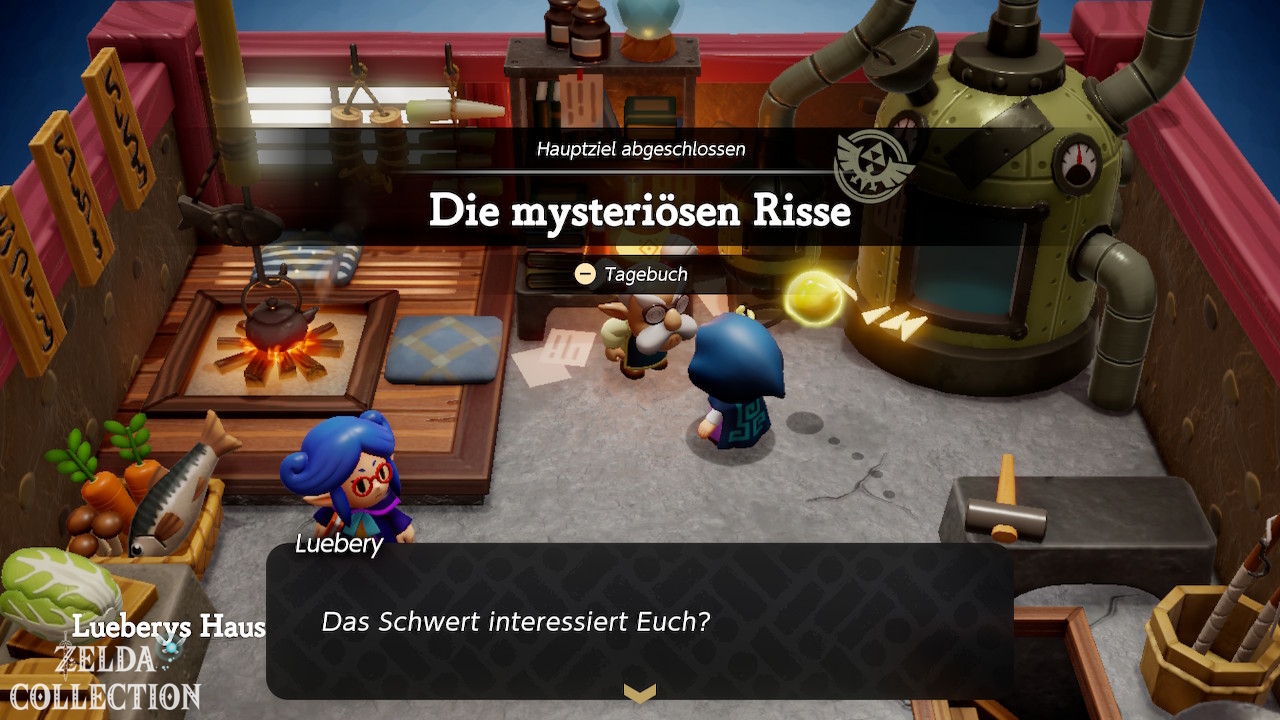
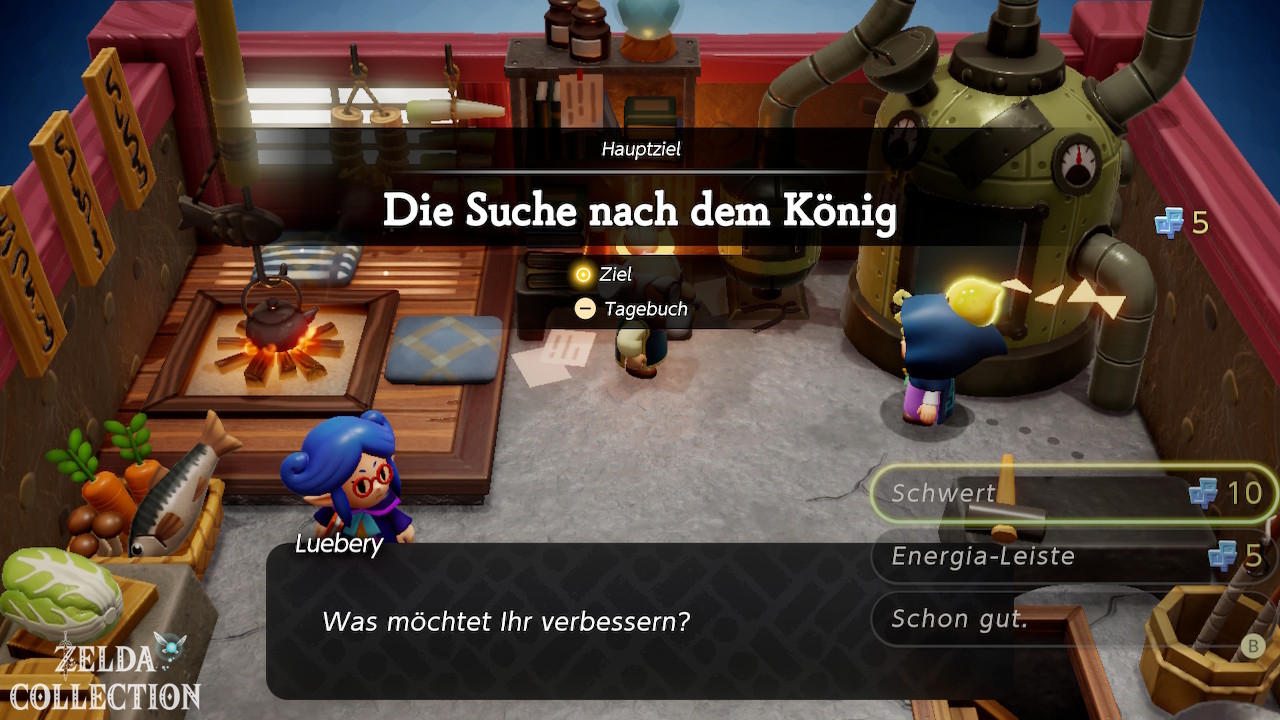
After returning, follow Minister Lefte to Lueburry’s House. The conversations complete this quest and begin Searching for Everyone. Then speak to Lueburry about the crystals. He explains the Might Crystals and upgrades available at his machine. Your next main quests lead to the Rift in the Gerudo Desert and to the Rift in the Jabul Waters. You can choose the order yourself.
Frequently asked questions about “The Mysterious Rifts“
Why is the mission not yet completed after the escape?
The escape is just the beginning. You have to examine the Rift in Suthorn, complete the Suthorn Ruins and then conduct the conversations in Lueburry’s House.
How do I get to the marked point near the house?
Examine the fromRiftSwallow the house and then follow the path to the northeast. Tri opens an entrance farther along the route.
What do I do if I am missing Rupees for the Piece of Heart?
Get the early Rupee chests and collect the open Rupees. You can make up the purchase using the Waypoint. For the collection route described here, the Piece of Heart should be in your possession before the dungeon at the latest.
Do I absolutely need Peahat?
No. The Echo is an optional find. We include it because this route also takes into account the additional echoes and it can help you in the following fights.
Do all later Suthorn locations belong to this chapter?
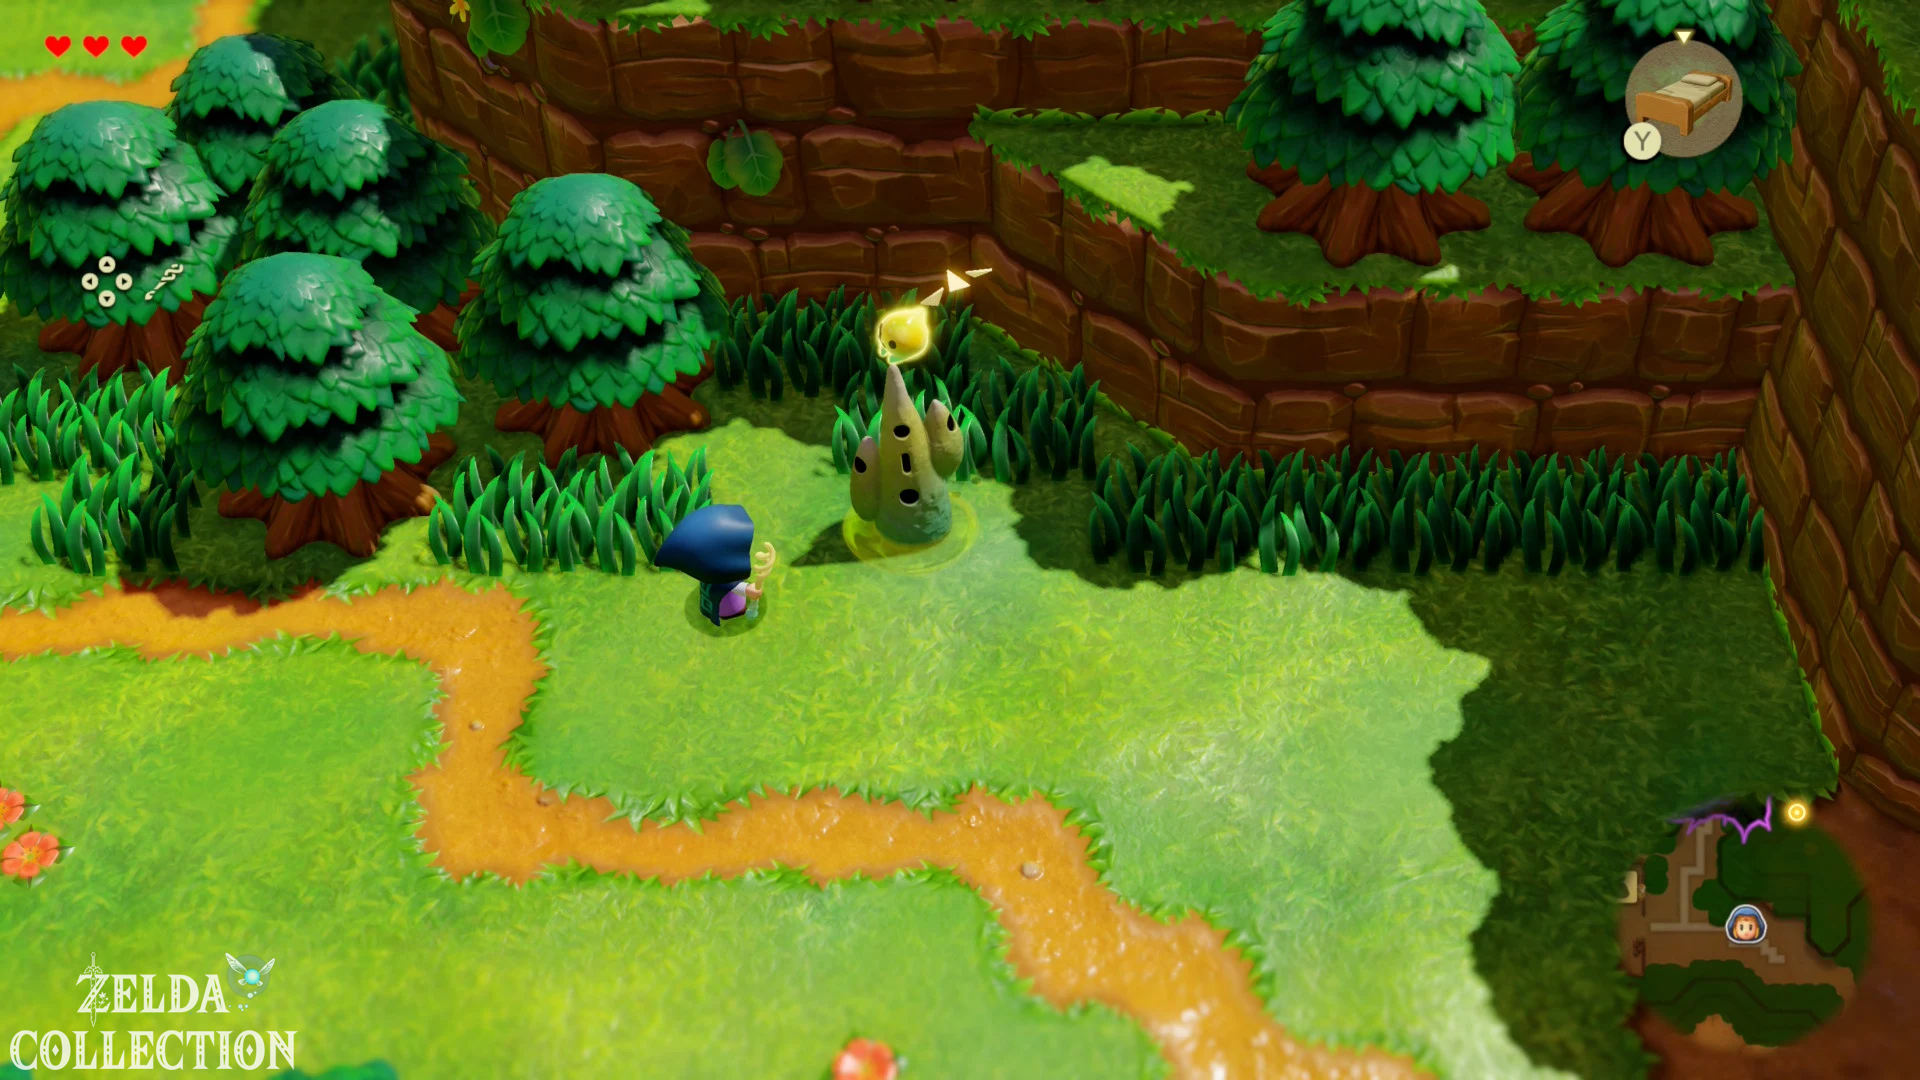
This guide covers the path to completing the first main mission. Other parts of the Suthorn grassland subsequently become relevant. This also includes the Piece of Heart on a stone pillar north of the village. You can find the next exploration section at Searching for Everyone.
After the conversations in Lueburry’s House, Searching for Everyone takes you to the now open Suthorn Prairie. There you can learn the Crawltula and get the next Piece of Heart on the high column.