

“The Rift on Eldin Volcano” is one of three regional main missions within “Lands of the Goddesses”. You can play Eldin, Lanayru and Faron in any order.
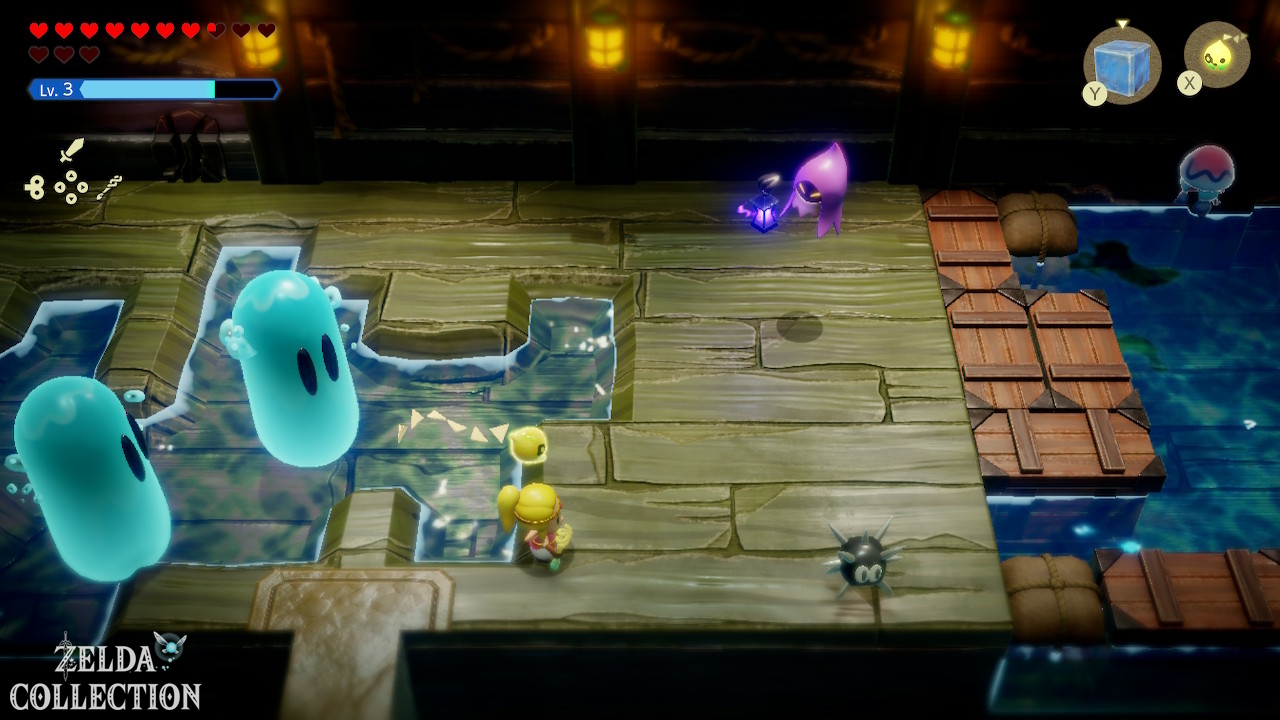
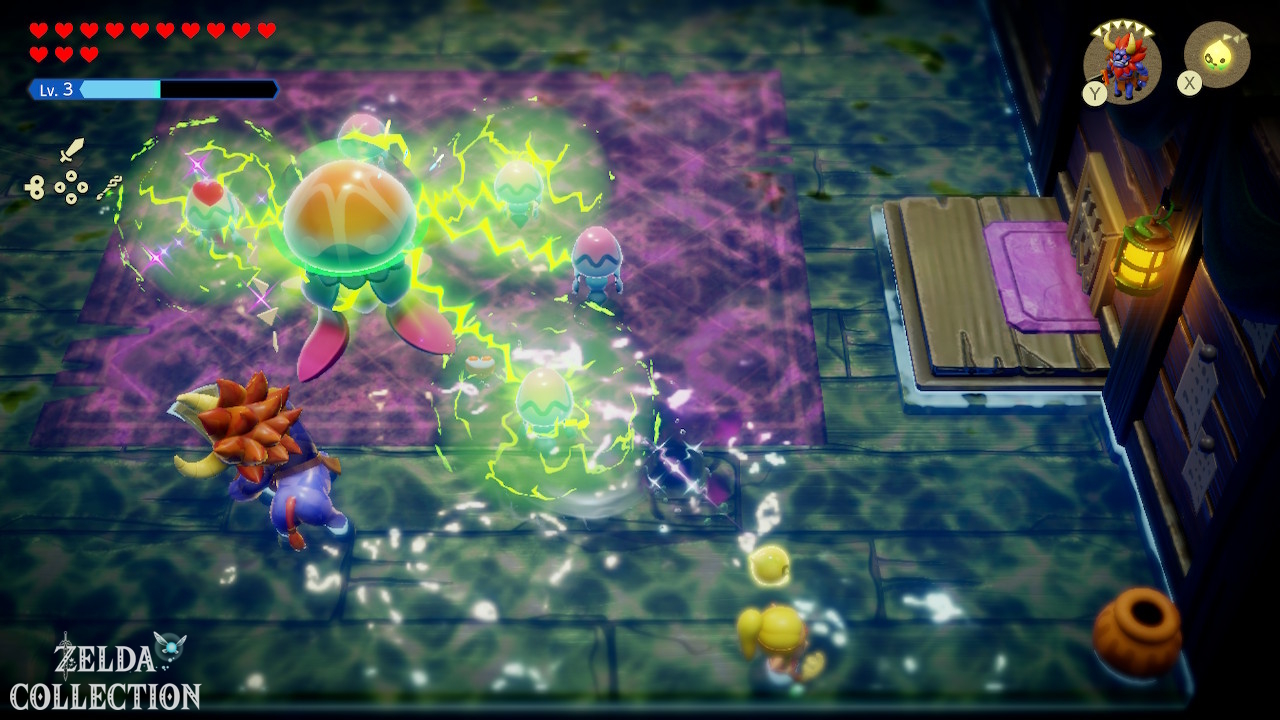
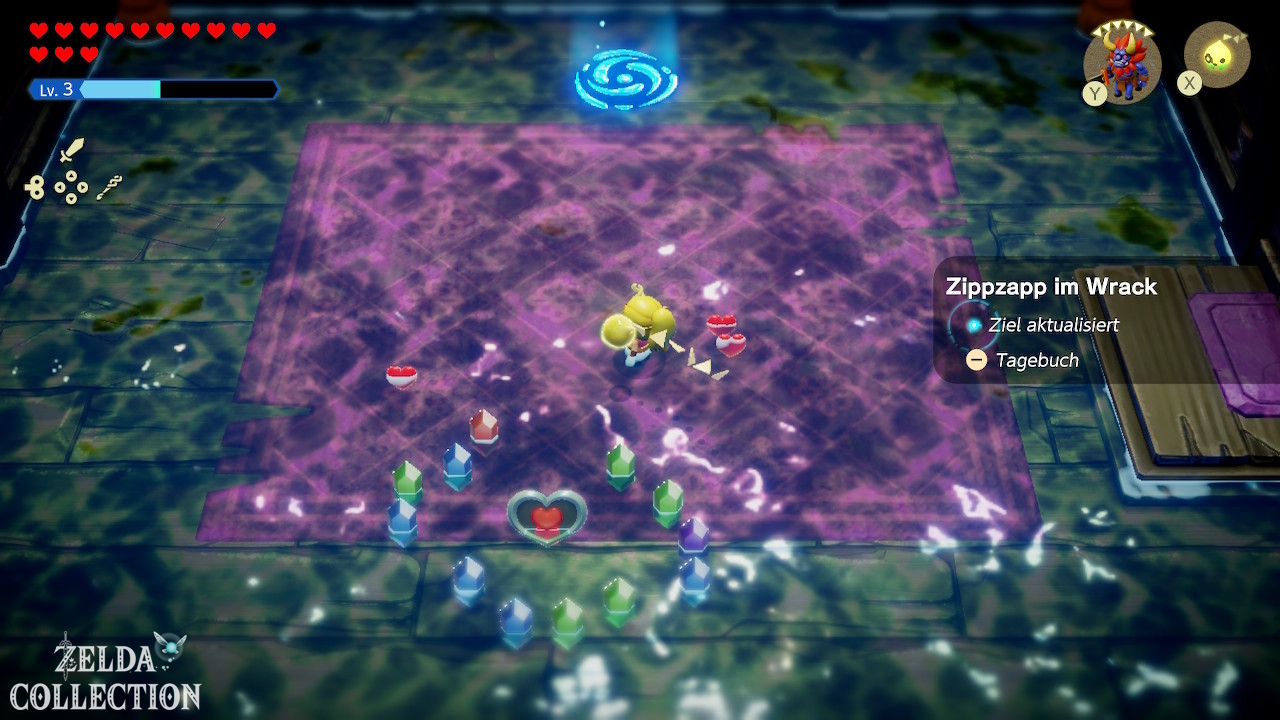
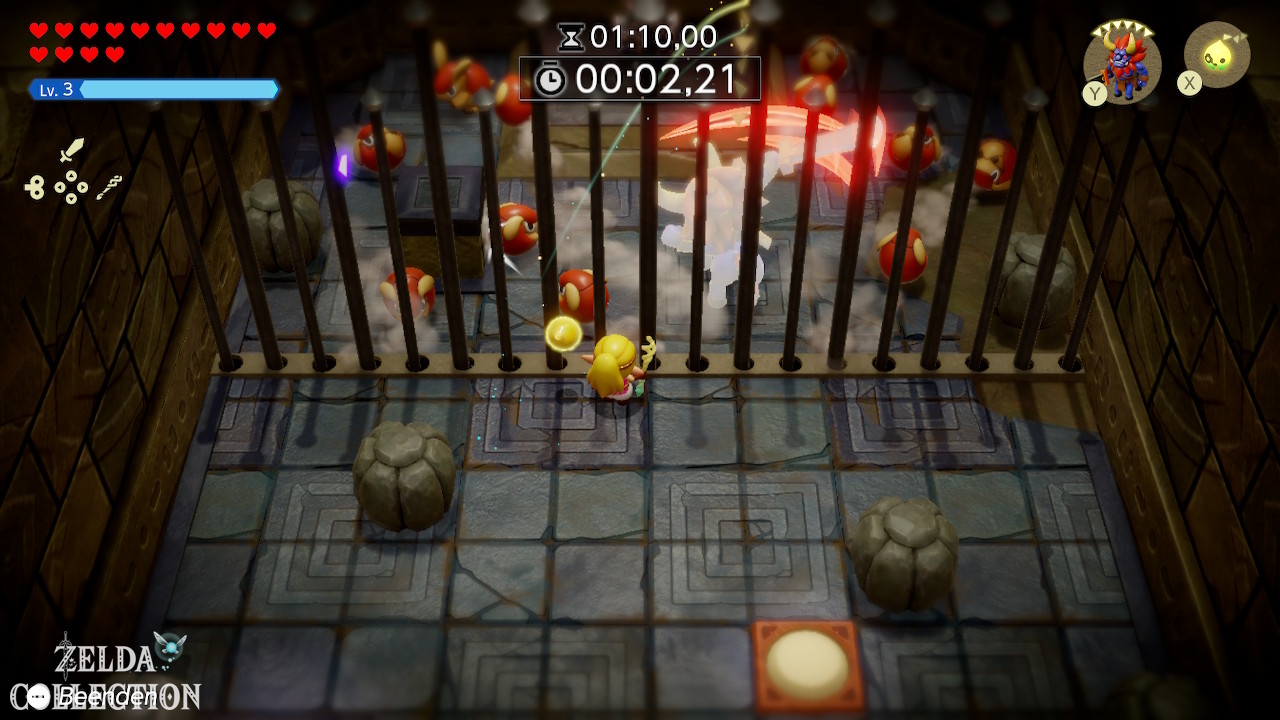
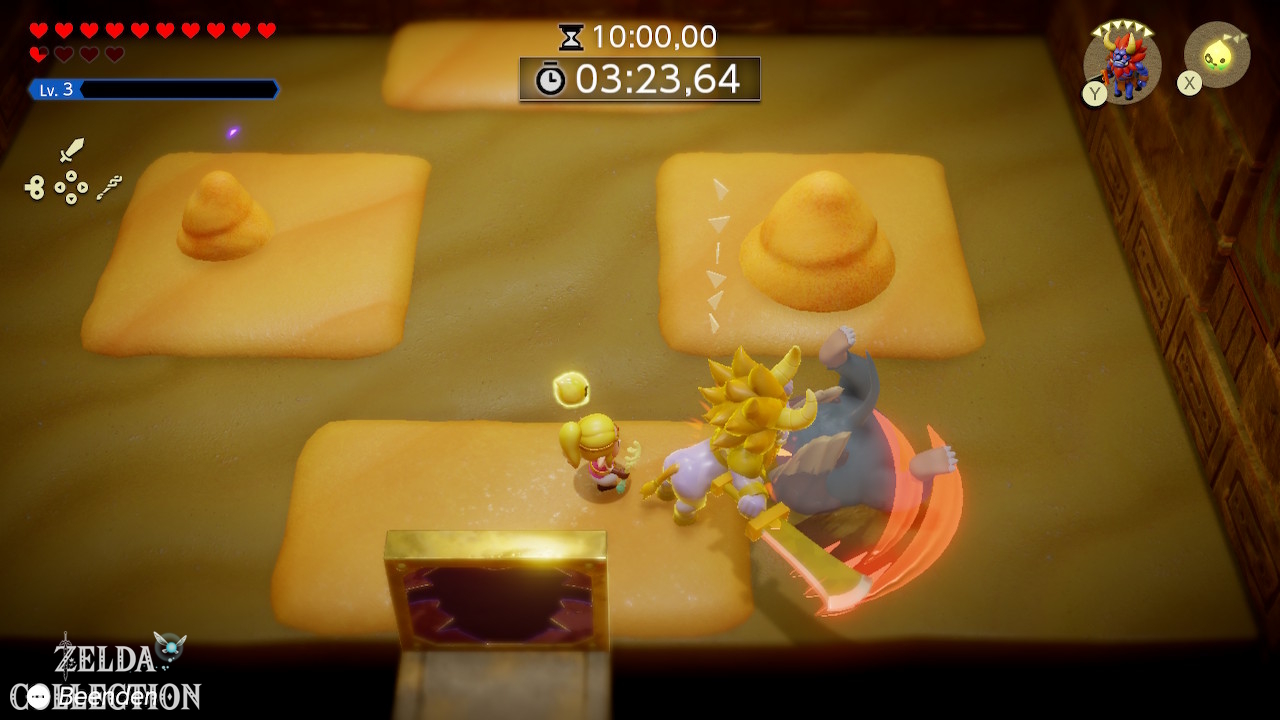
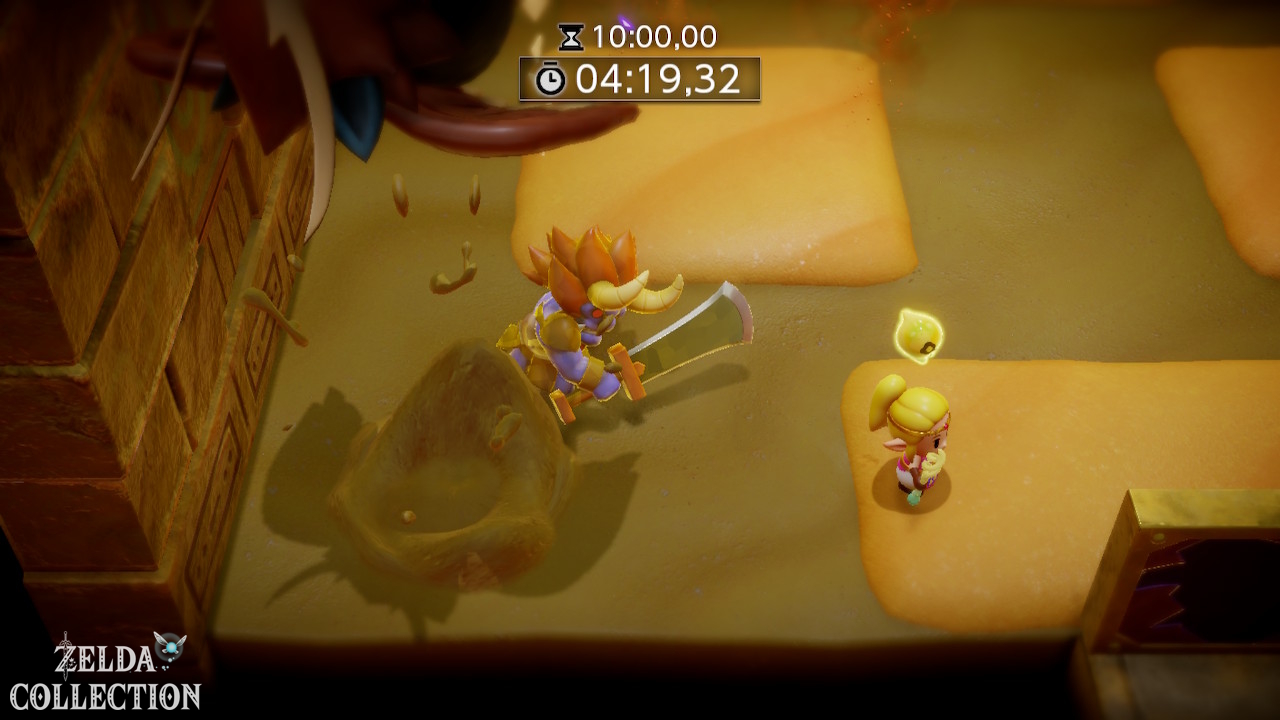
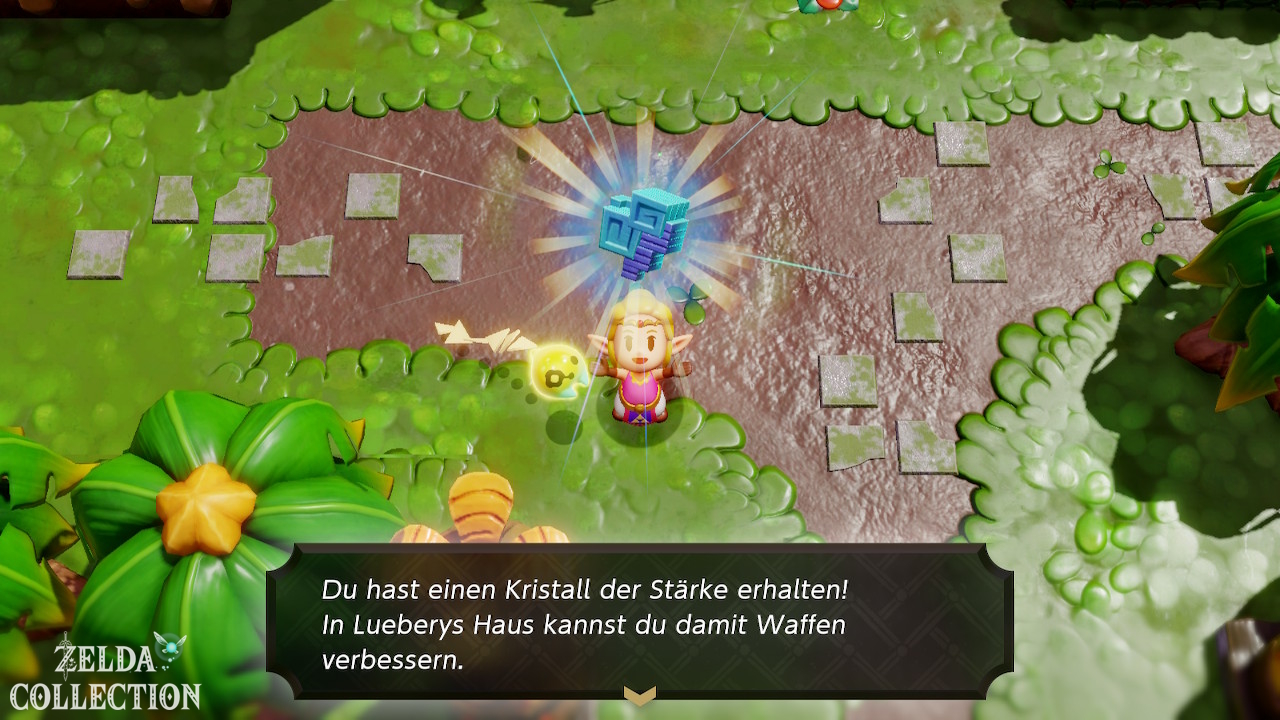
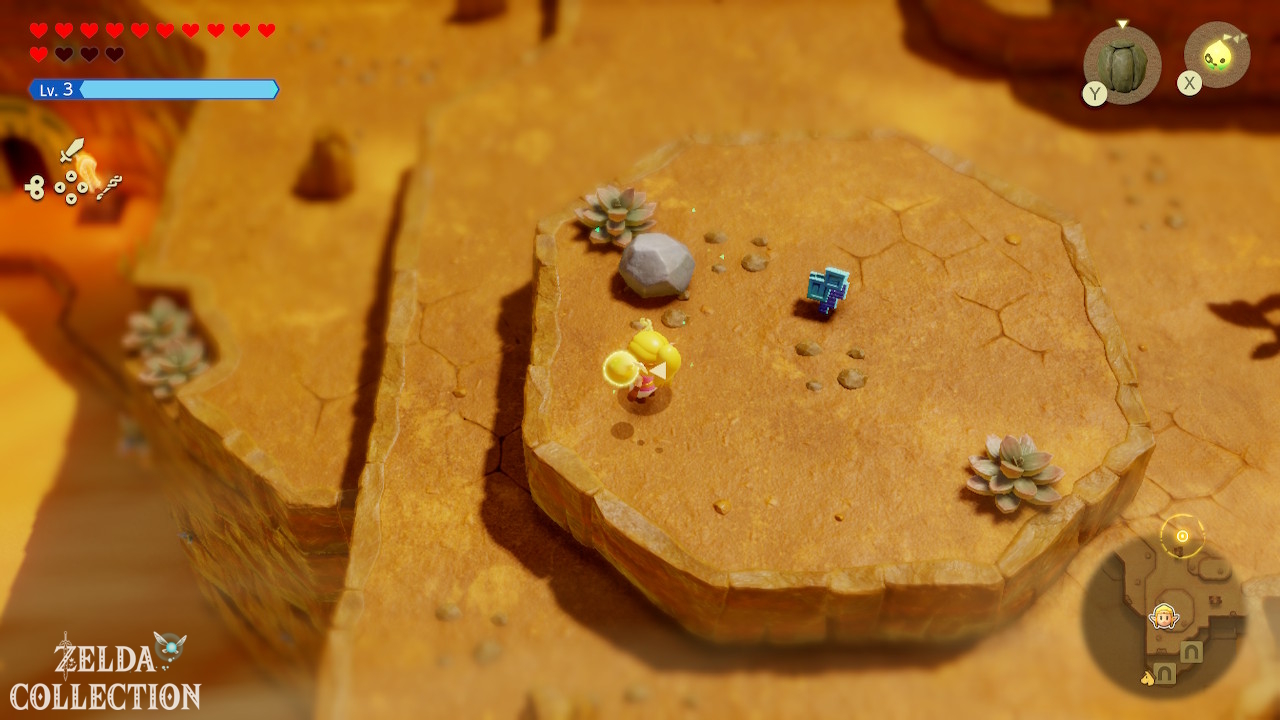
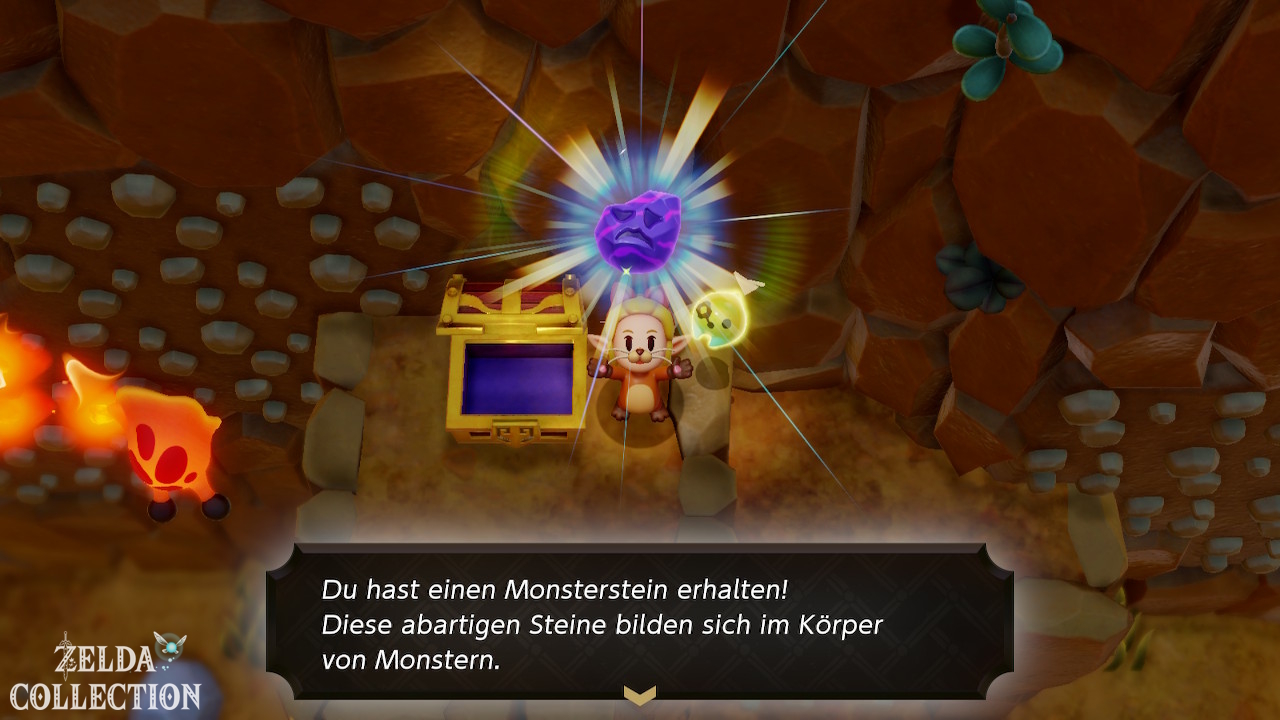
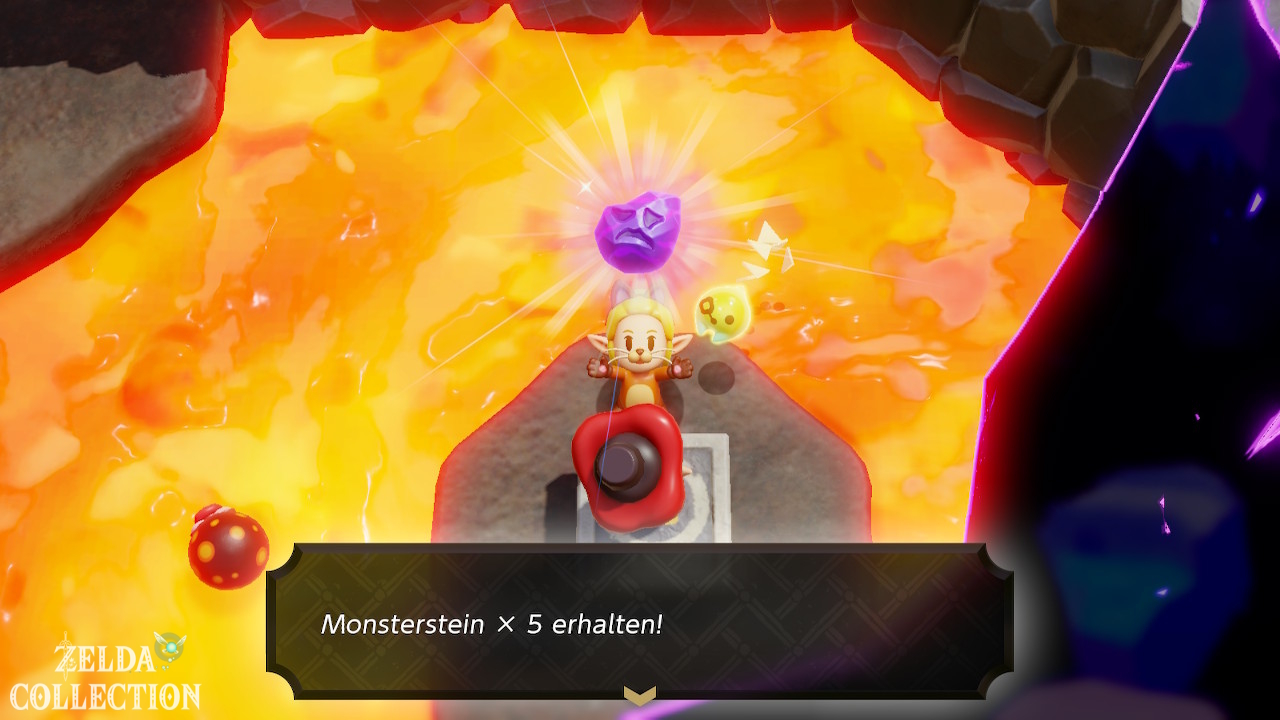
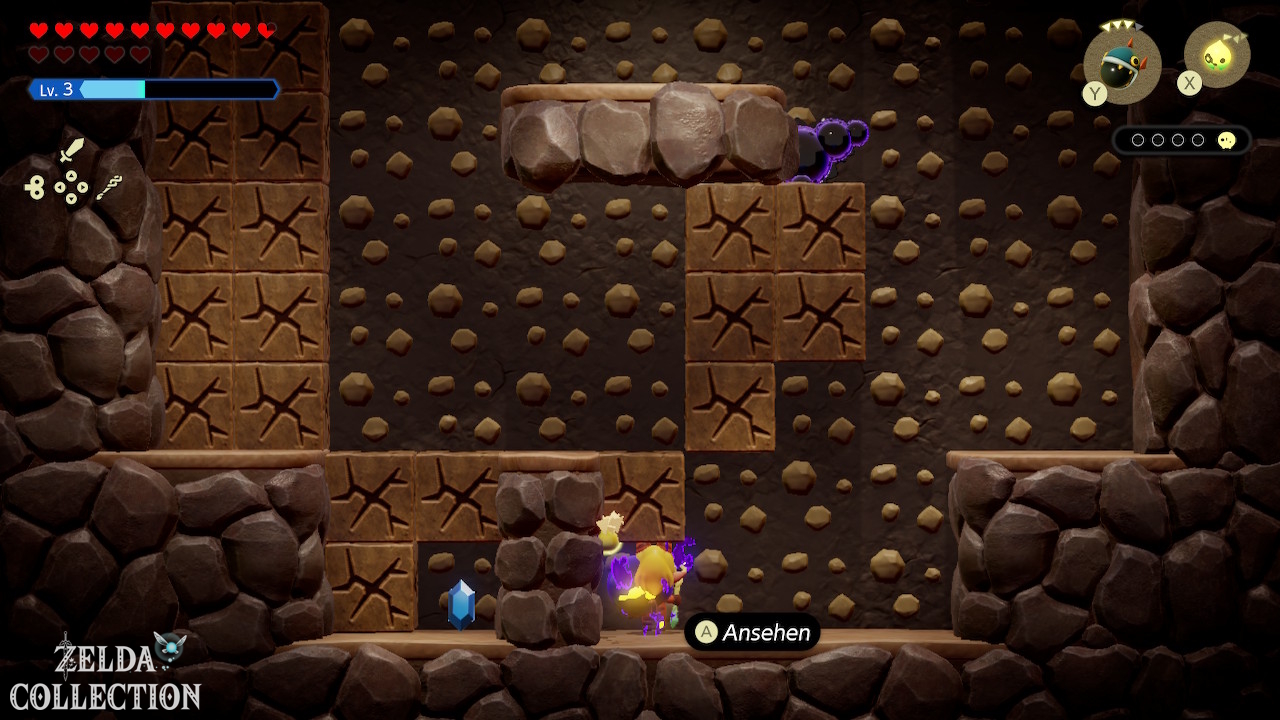
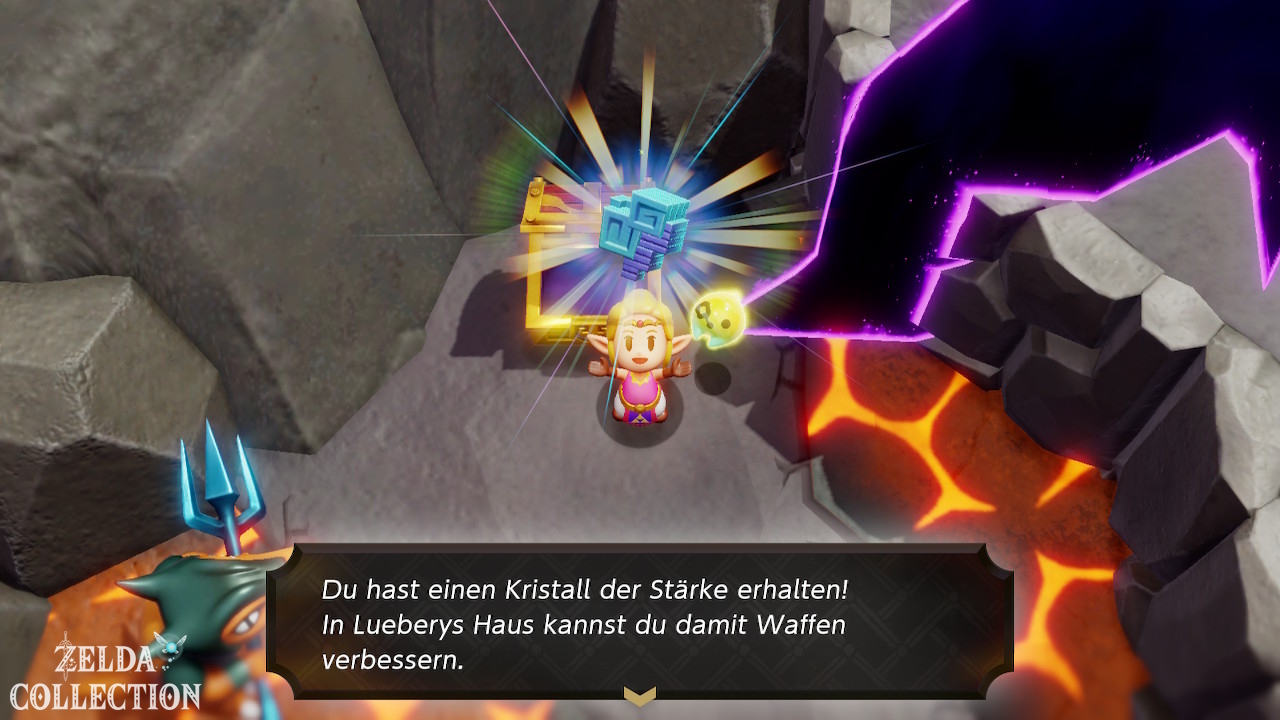
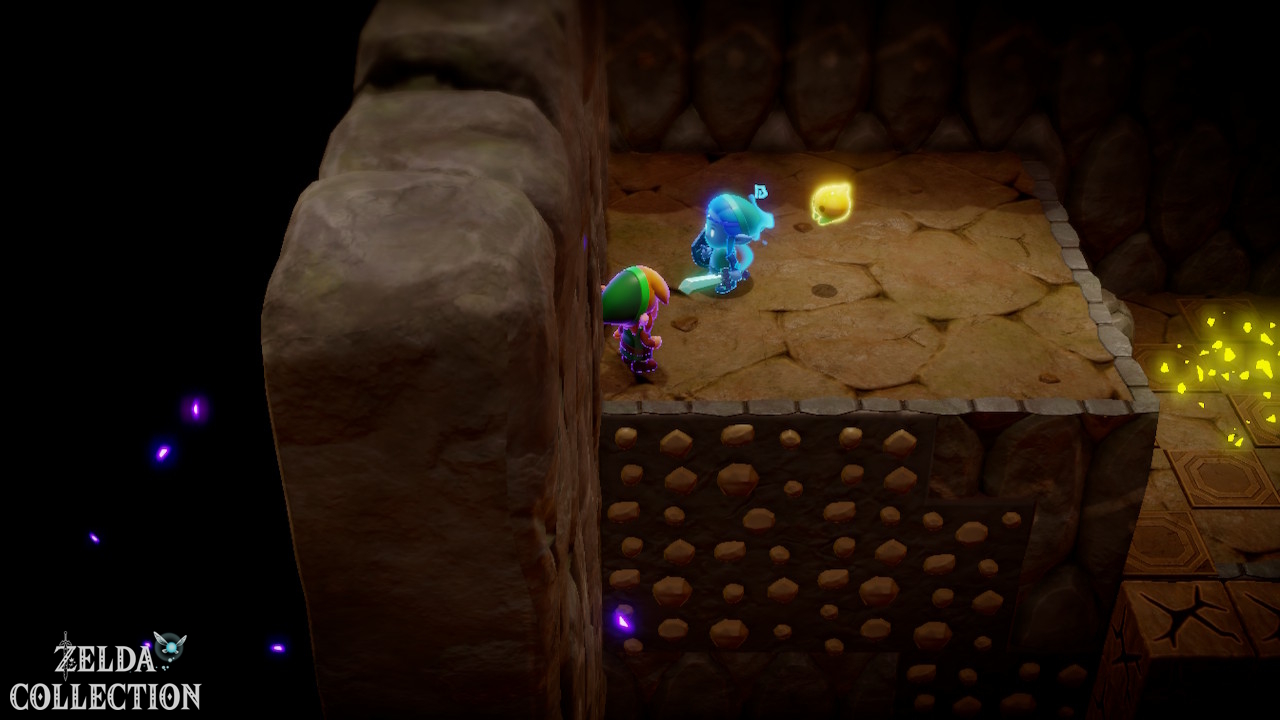
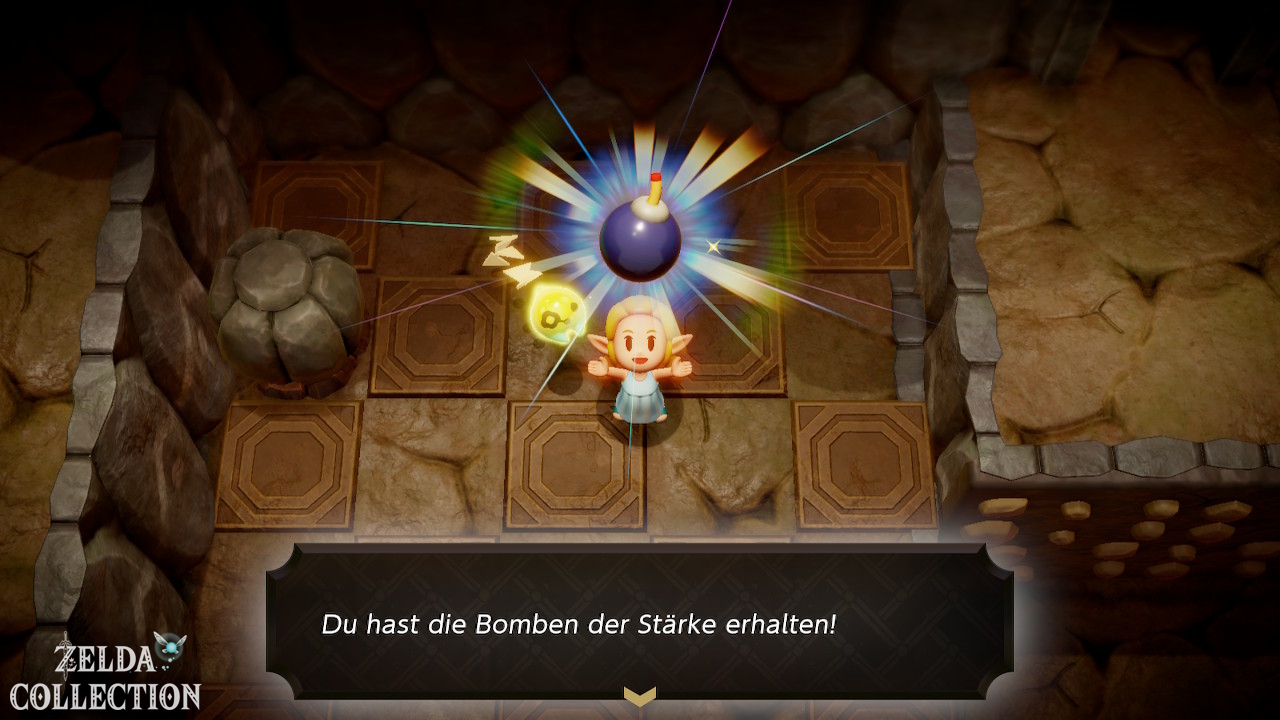
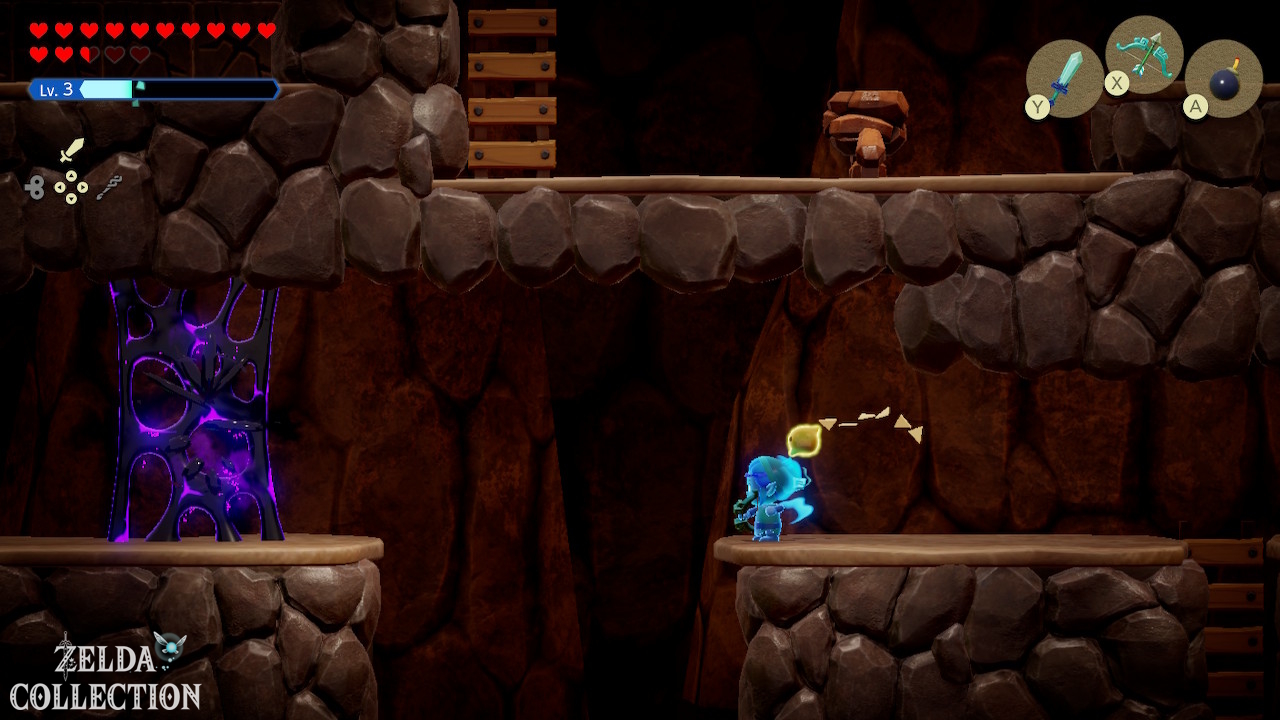
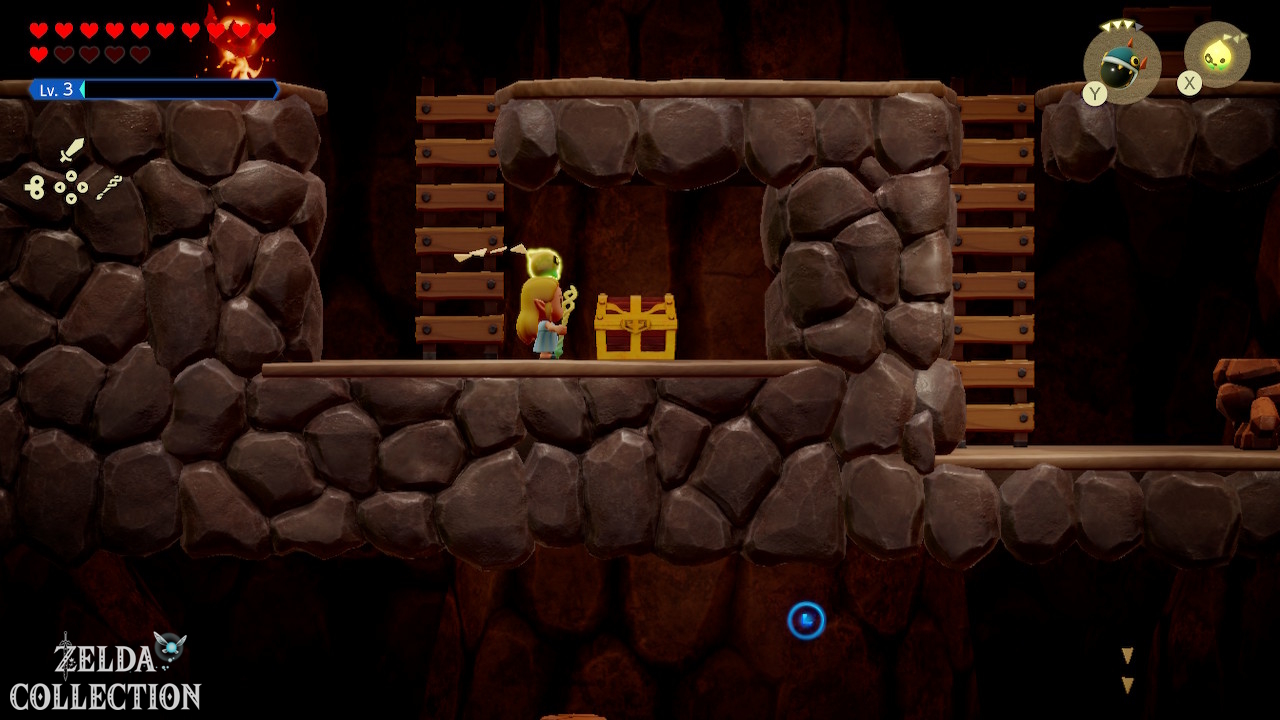
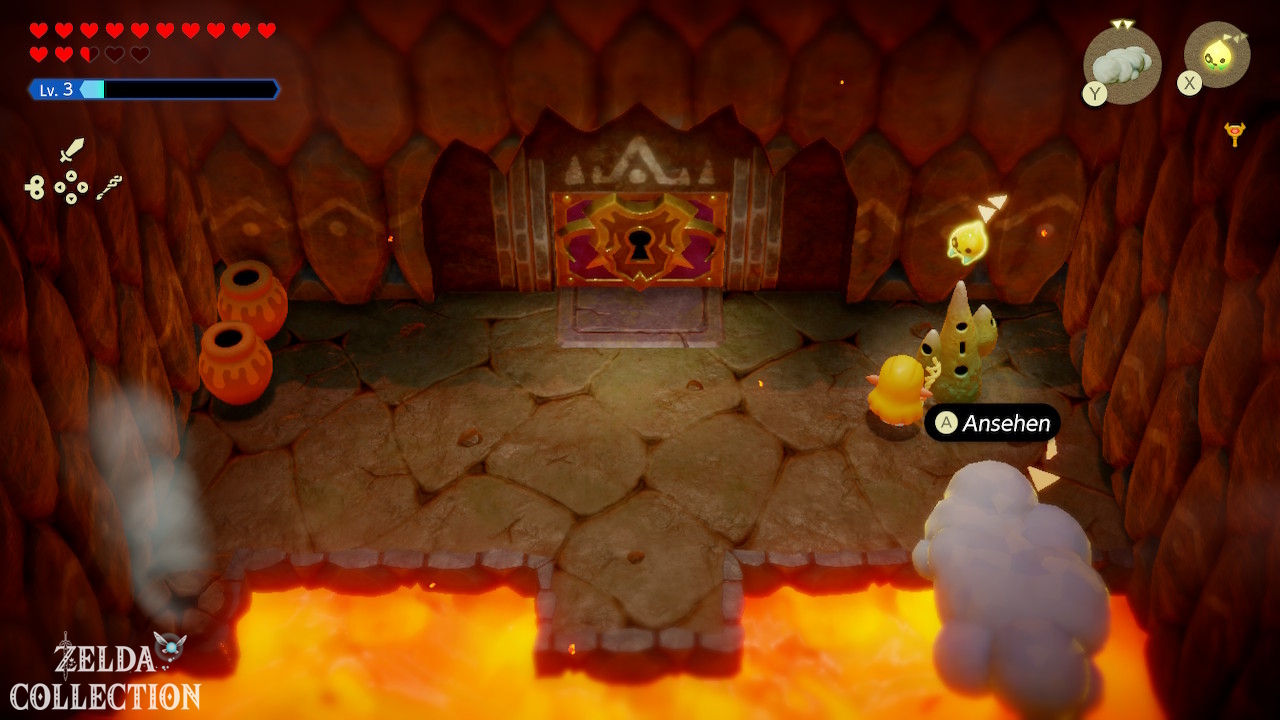
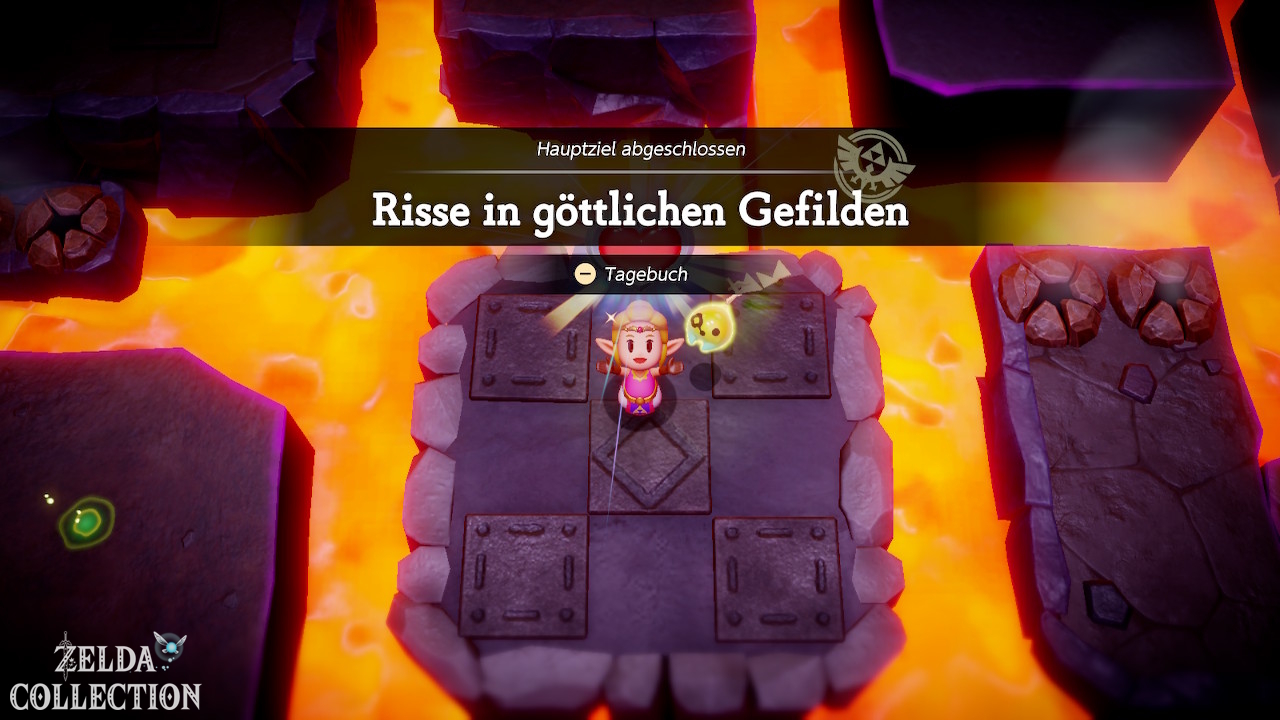
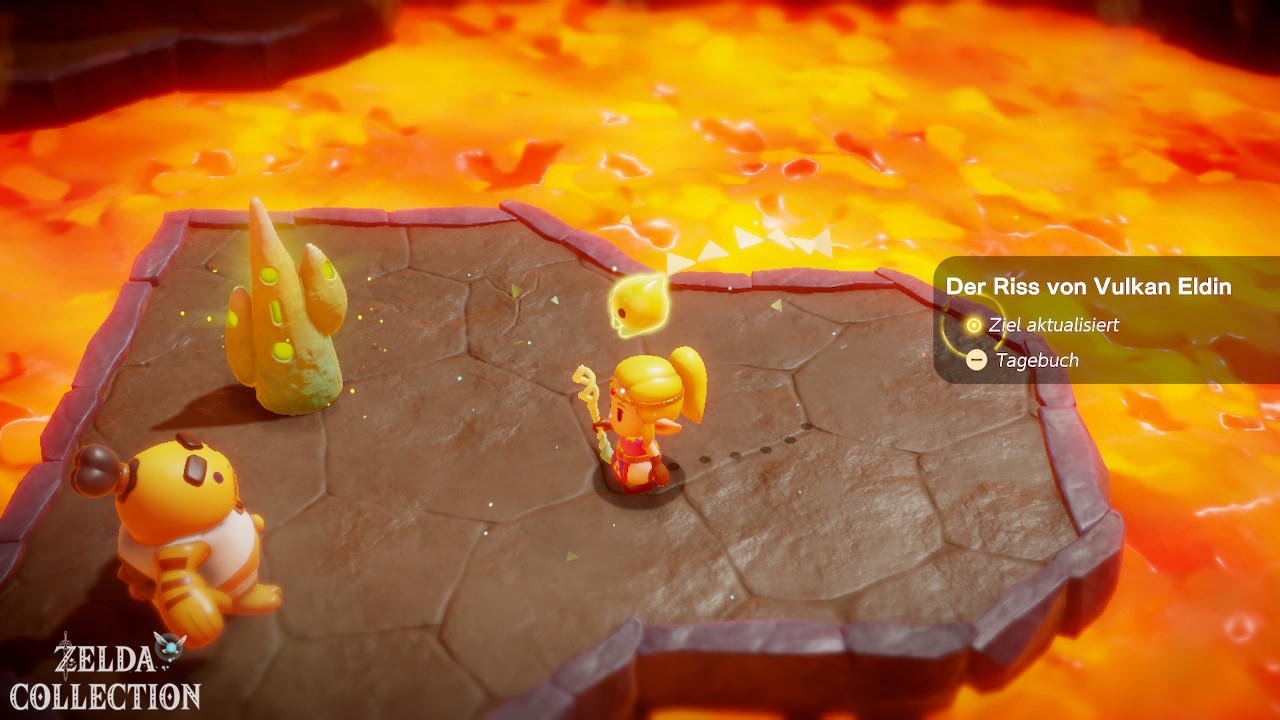
We recommend Eldin first. In addition to several strong fire echoes, you get the in the Eldin Temple Bombs of Might, which are then also useful in the other regions.
Getting to Eldin Volcano
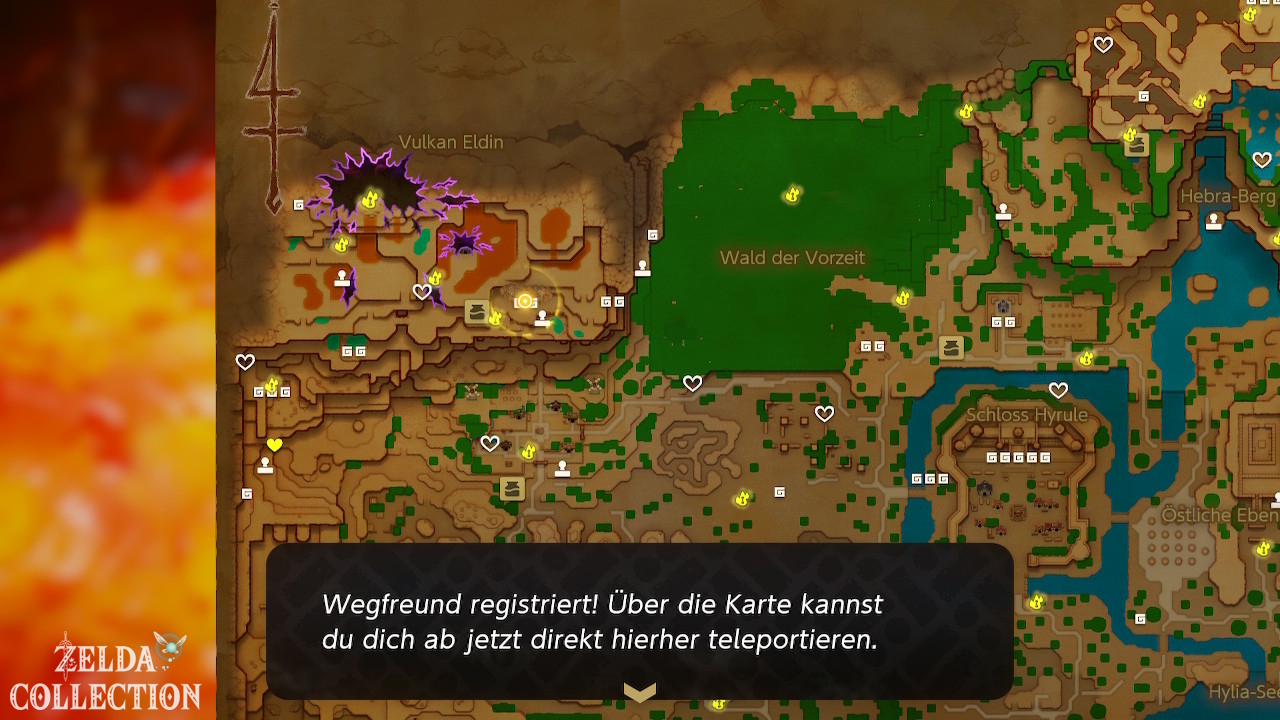
Travel to Kakariko Village and from there follow the path north to the volcano. Activate every Waypoint on the climb. With Frog Ring, Platboom and Water Block you can shorten many smaller climbing passages.
Optional: Cuccos on the Loose in Kakariko Village
If you haven’t completed the task yet, bring the five escaped Cuccos back into the enclosure.
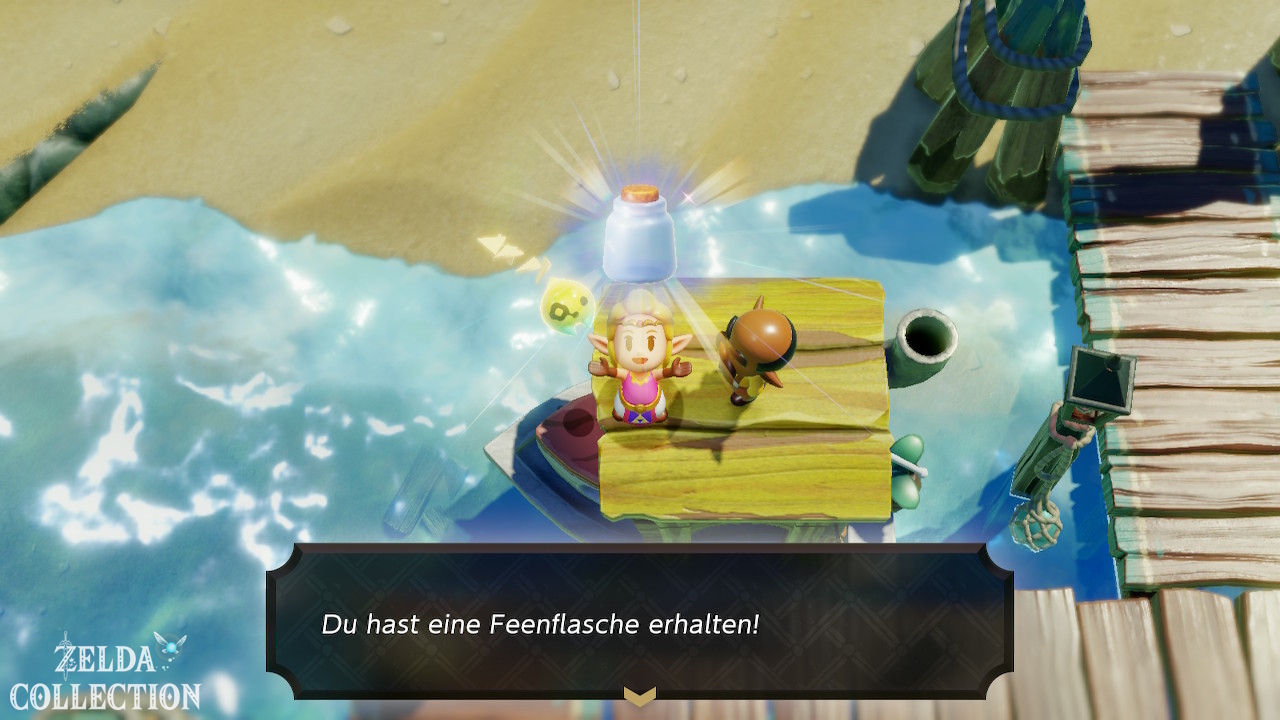
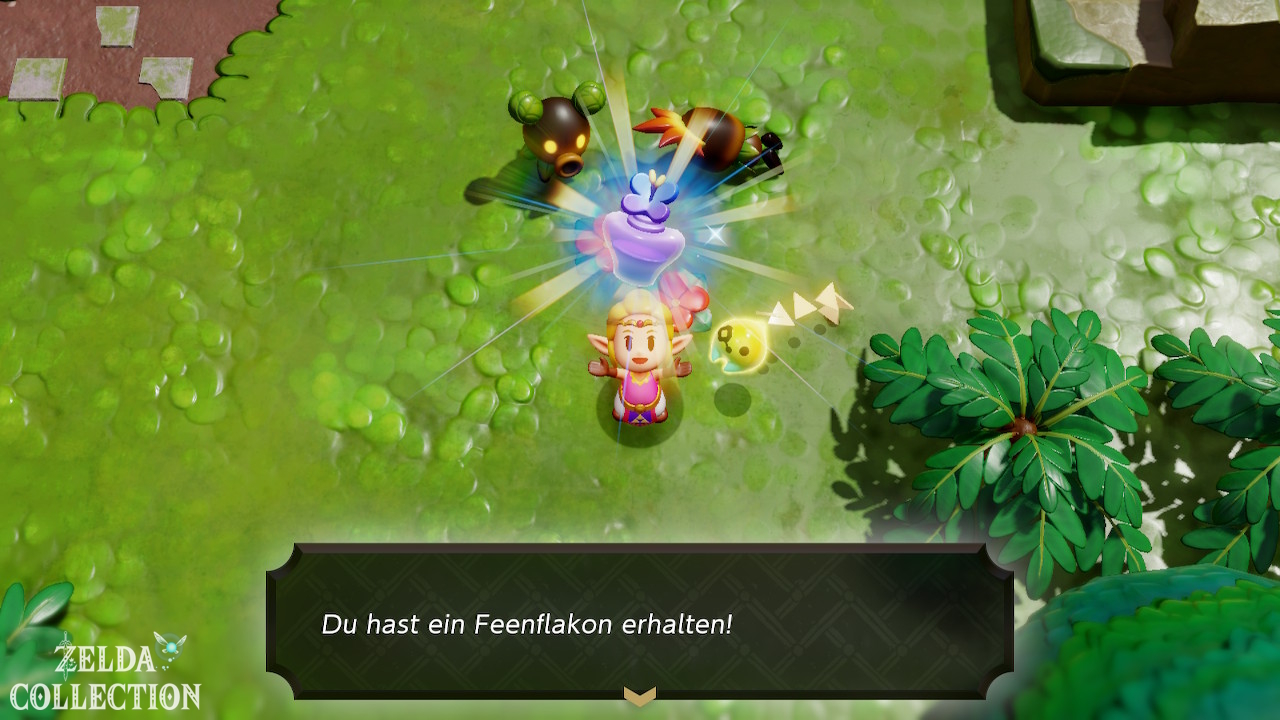
Reward: Fairy Bottle.
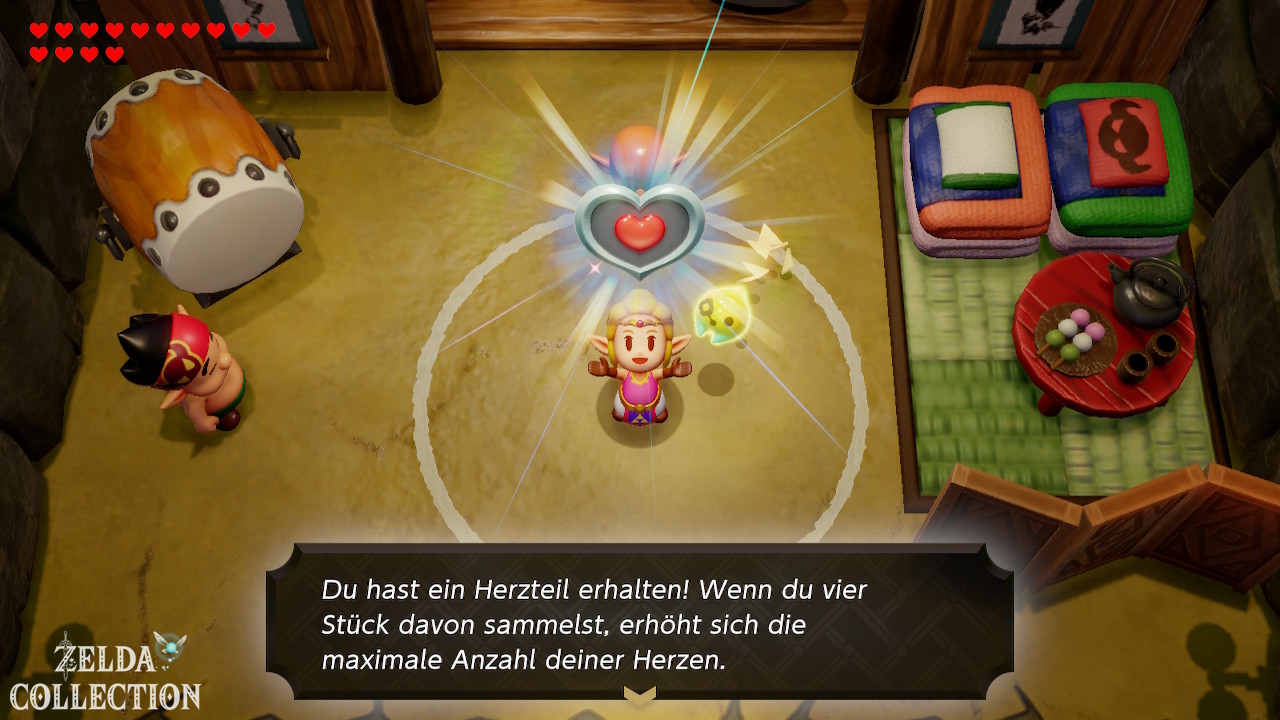
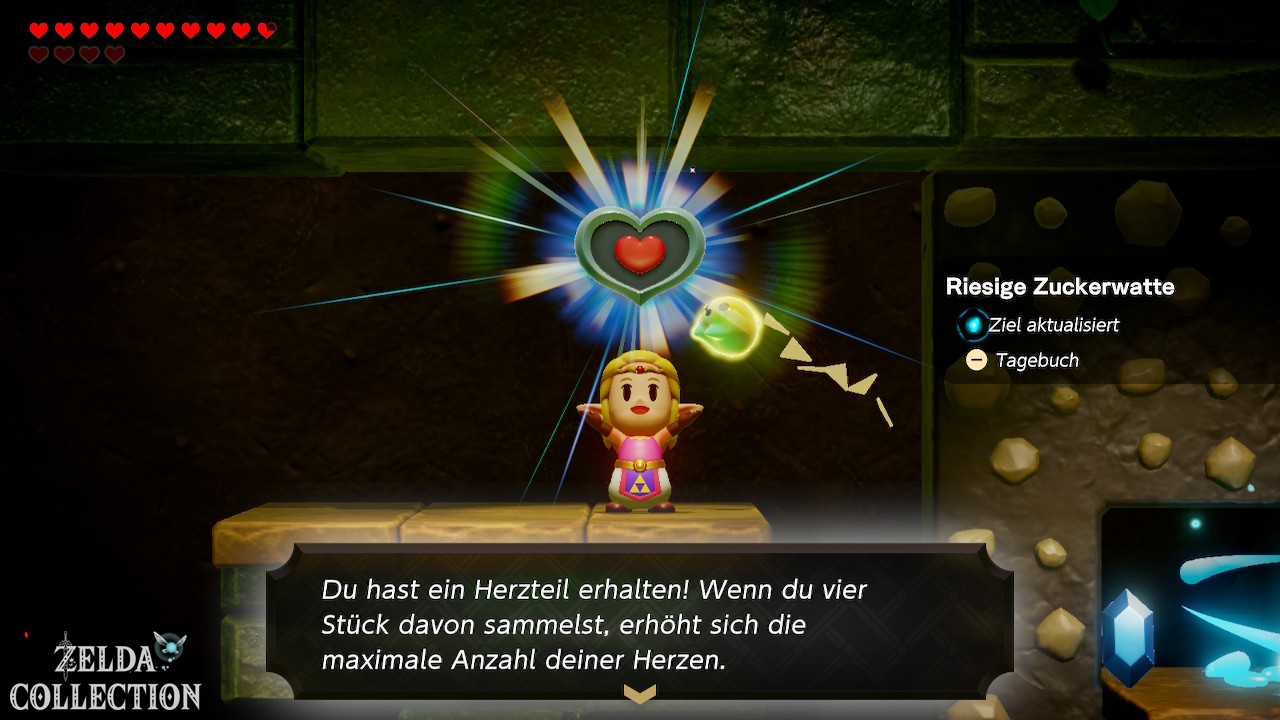
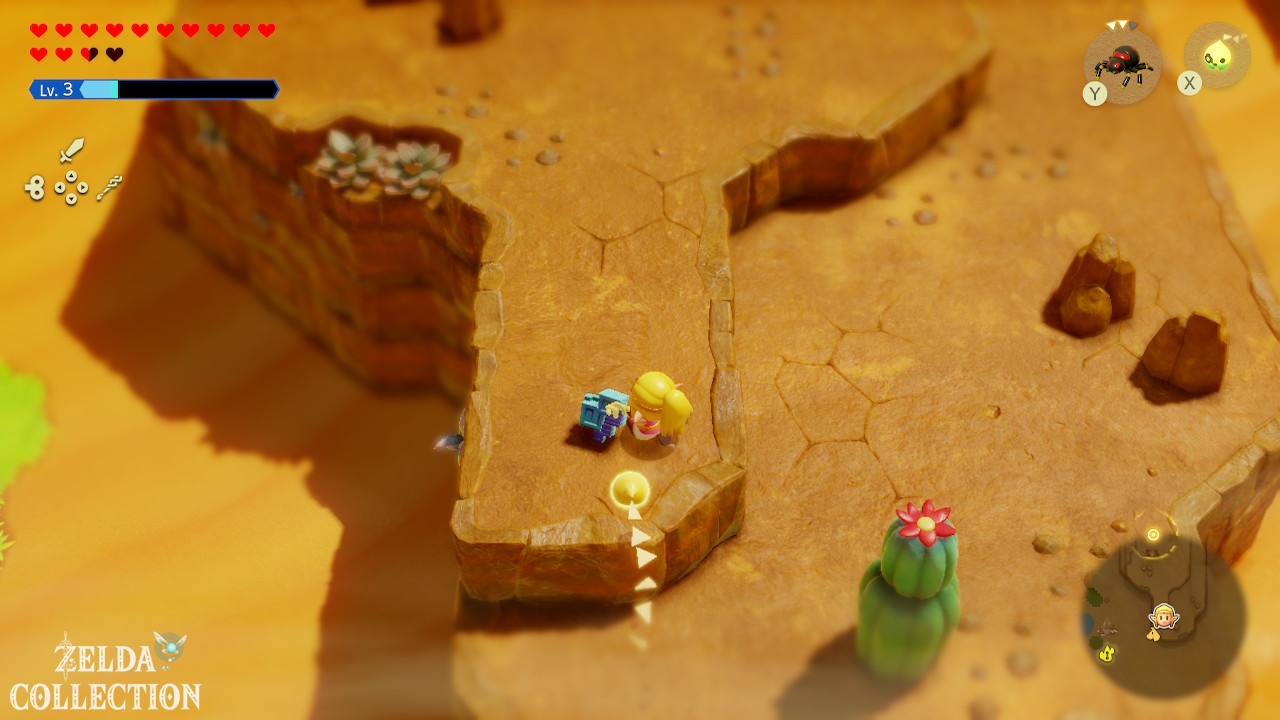
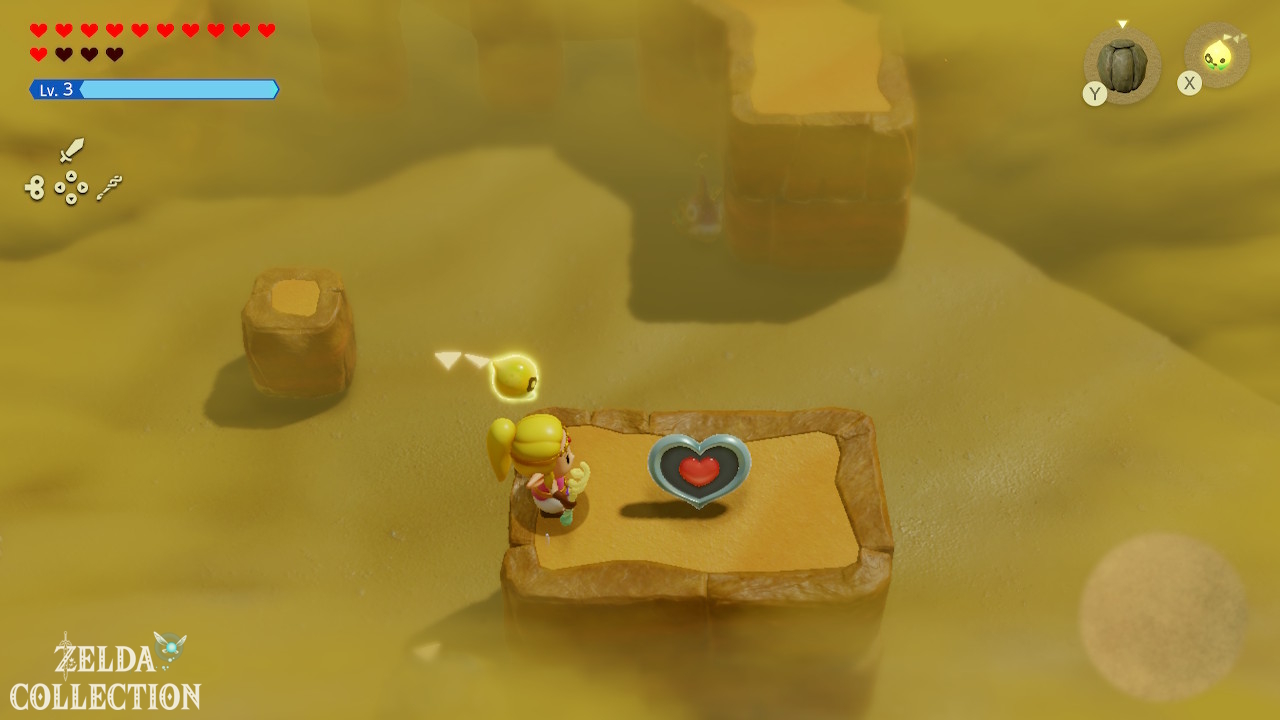
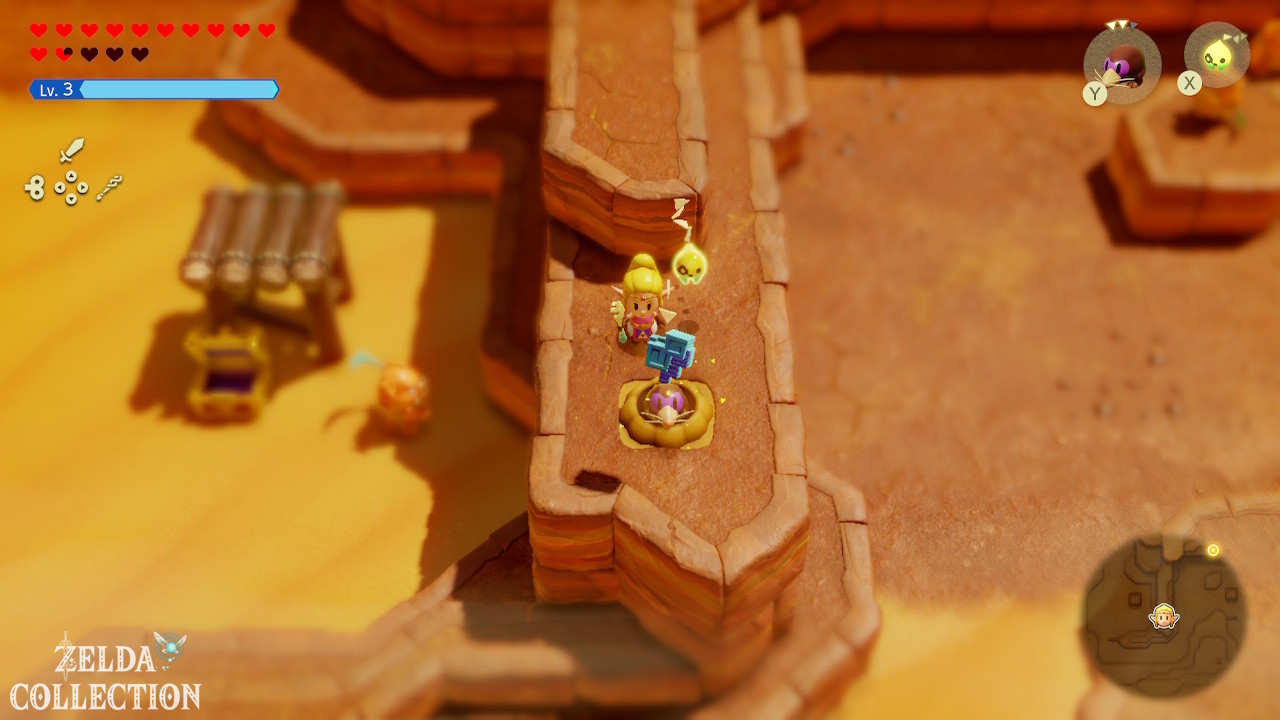
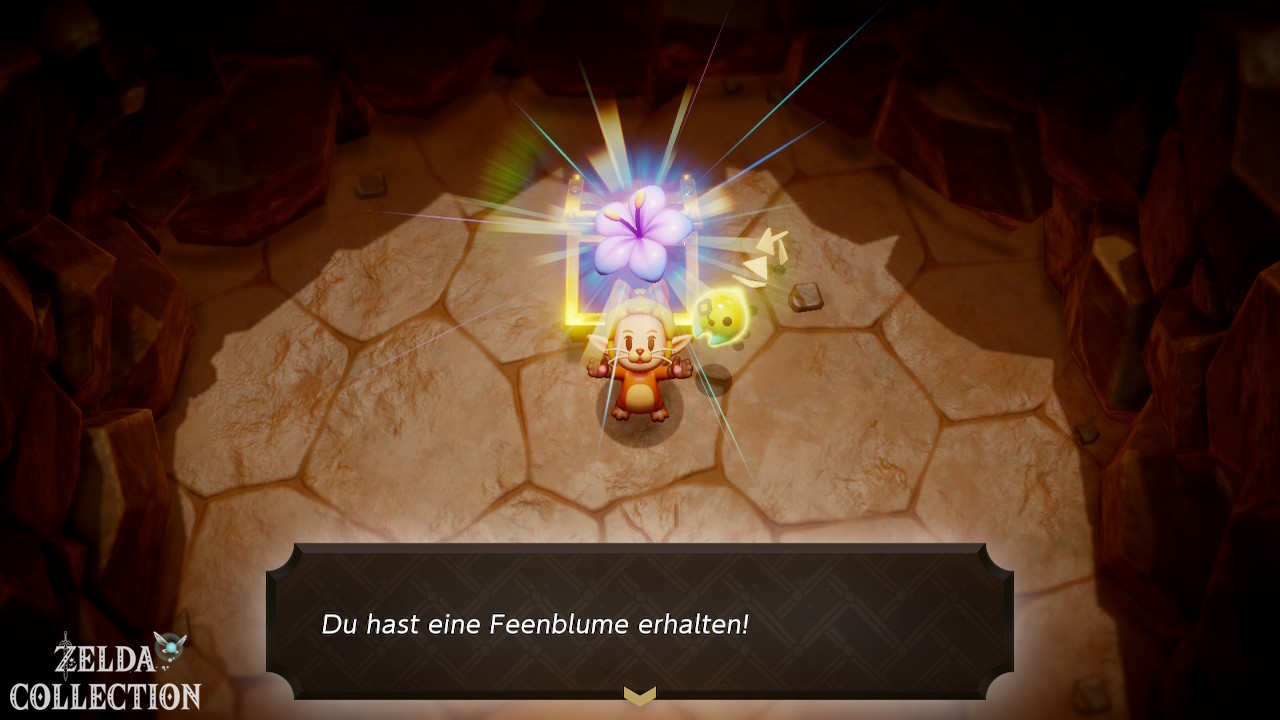
Piece of Heart on the western volcano trail
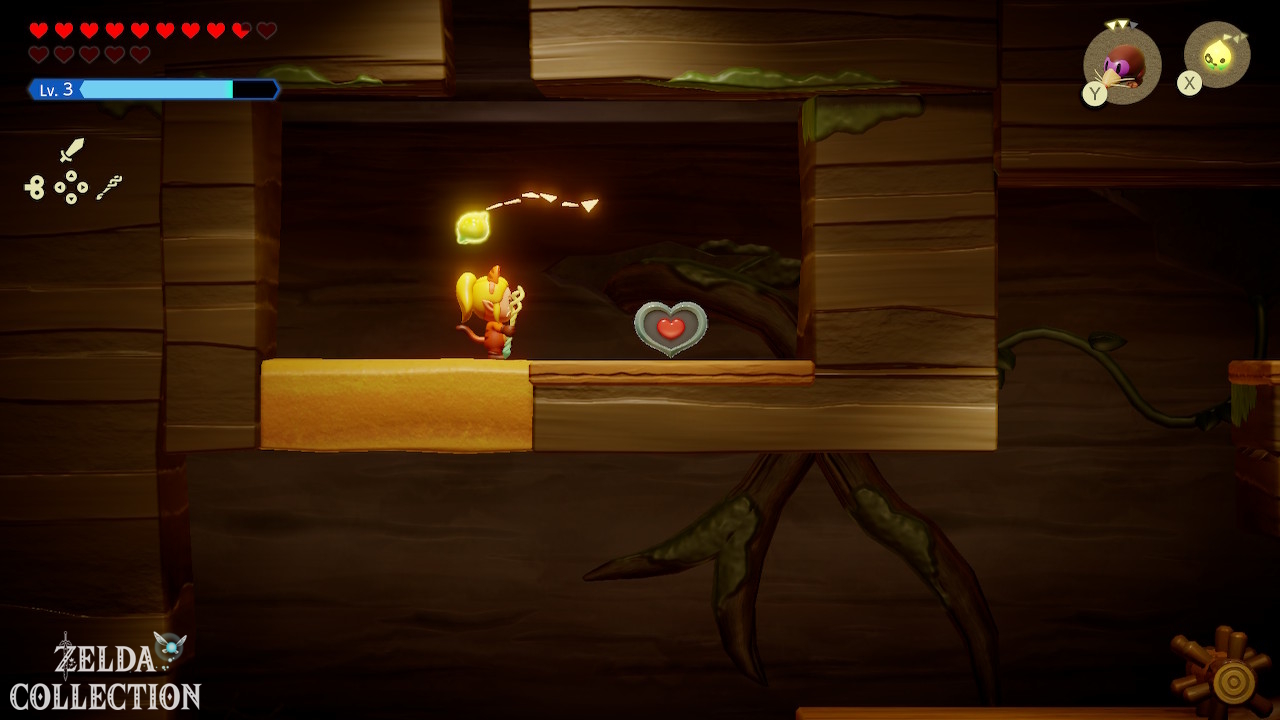
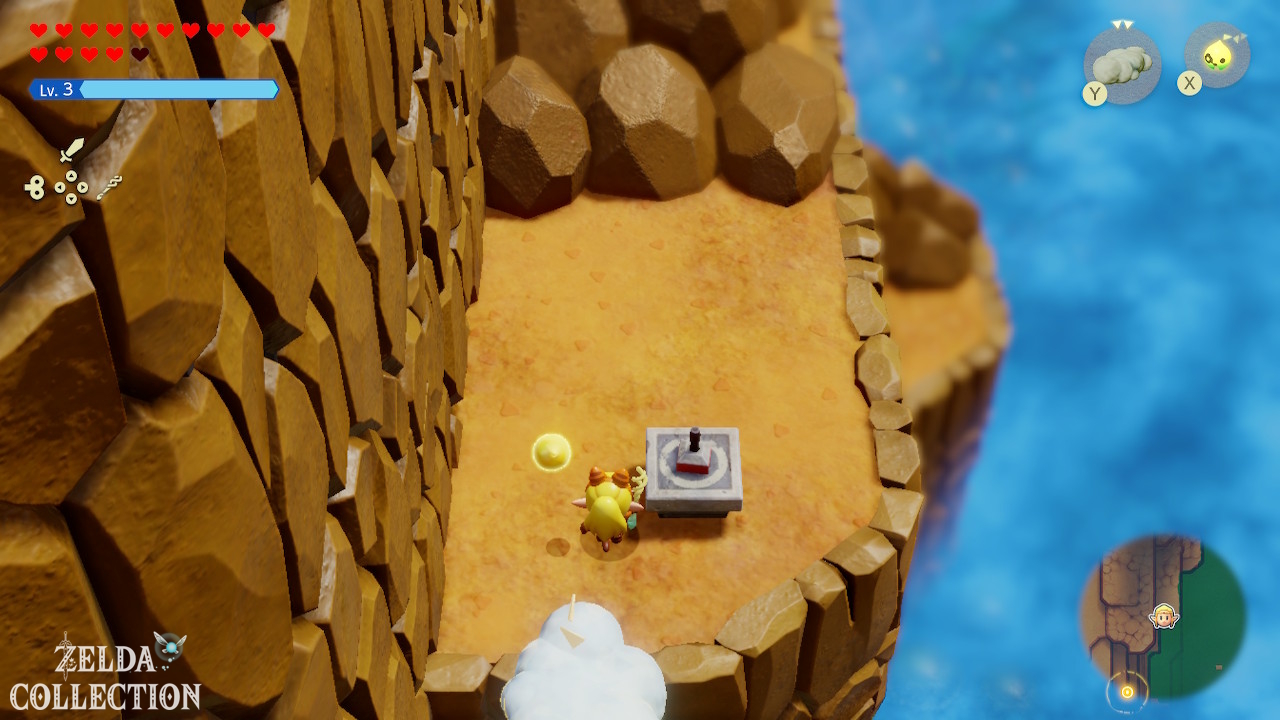
On the far western volcano path there is a Piece of Heart on a small ledge. The detour is practically on the way there. Use Water Block or Platboom to gain the necessary height.
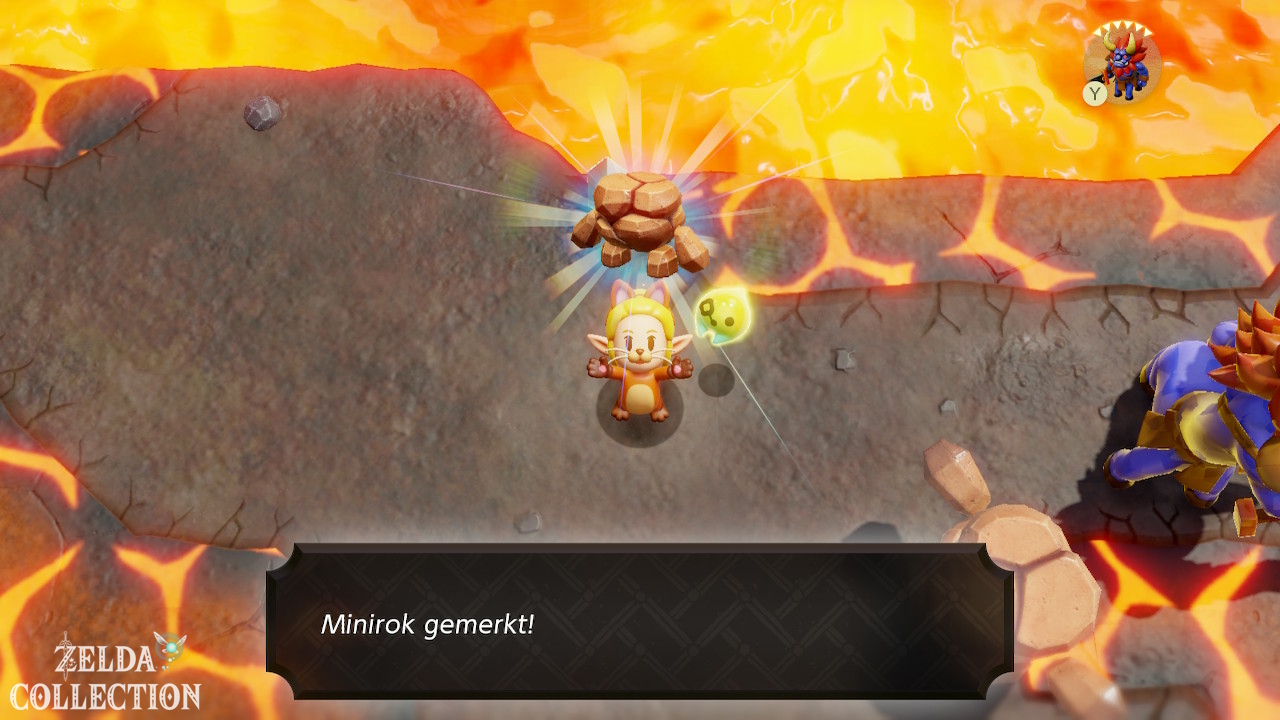
Echo: Lava Rock
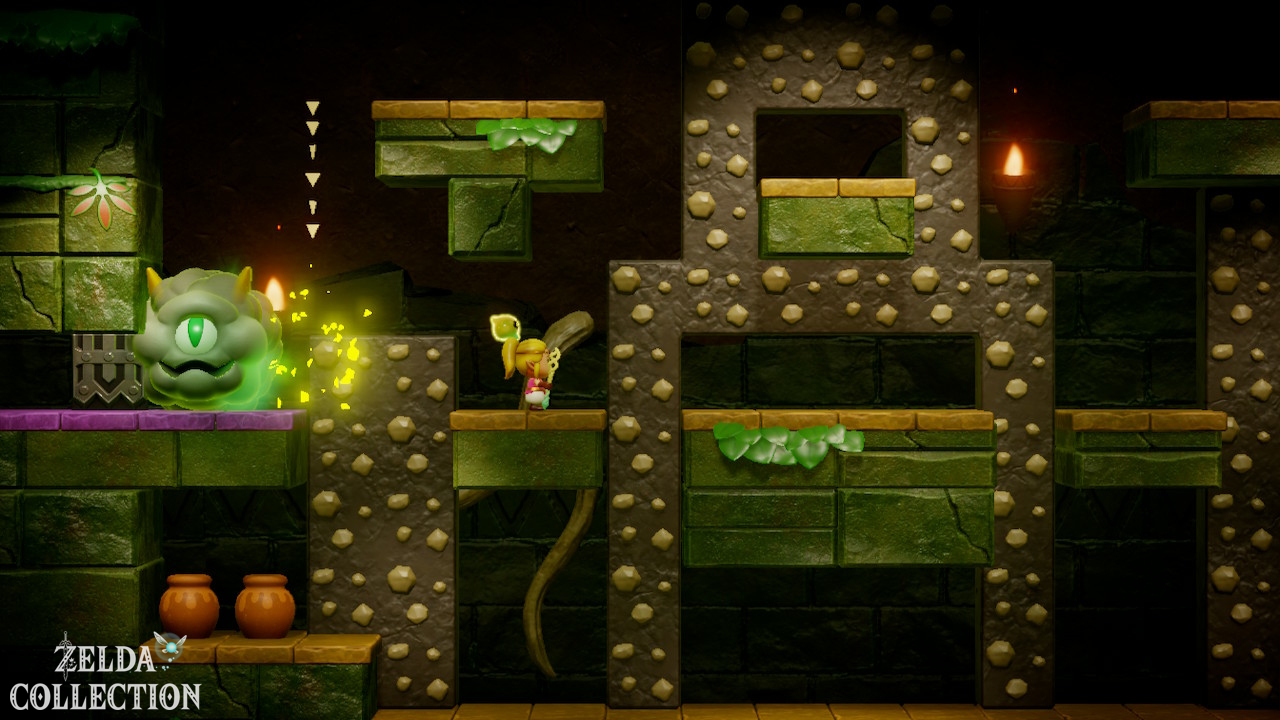
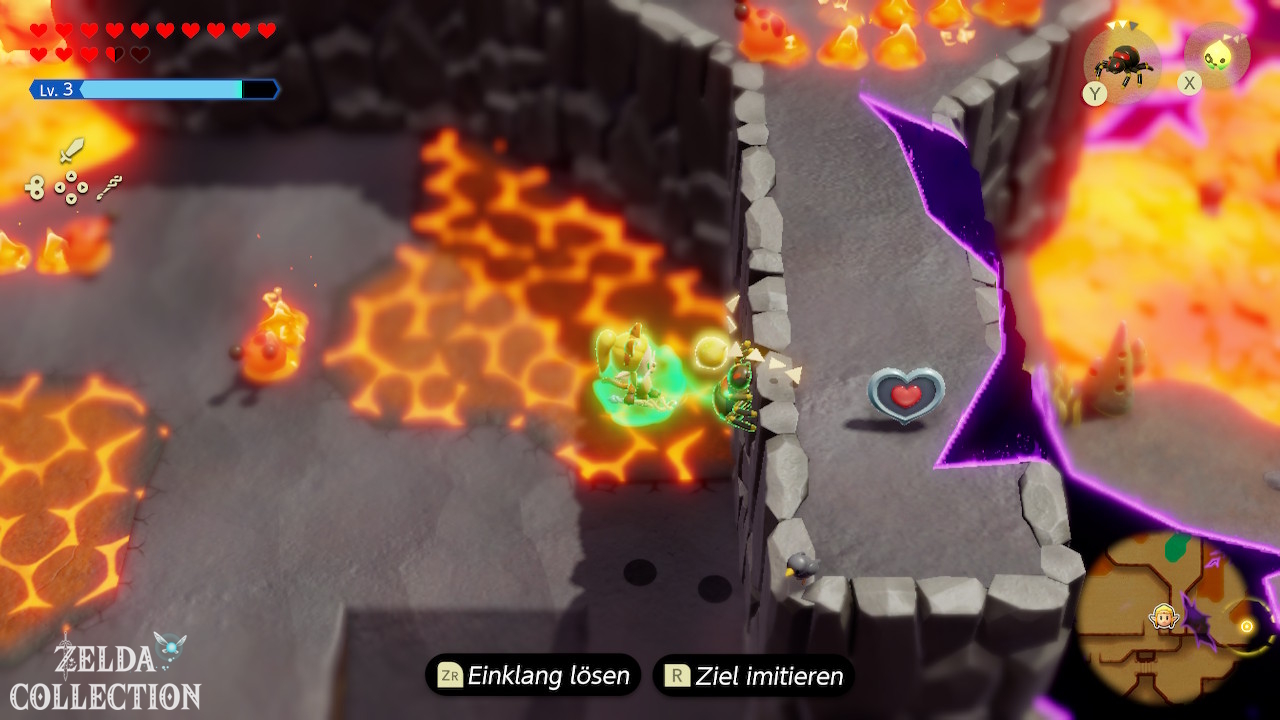
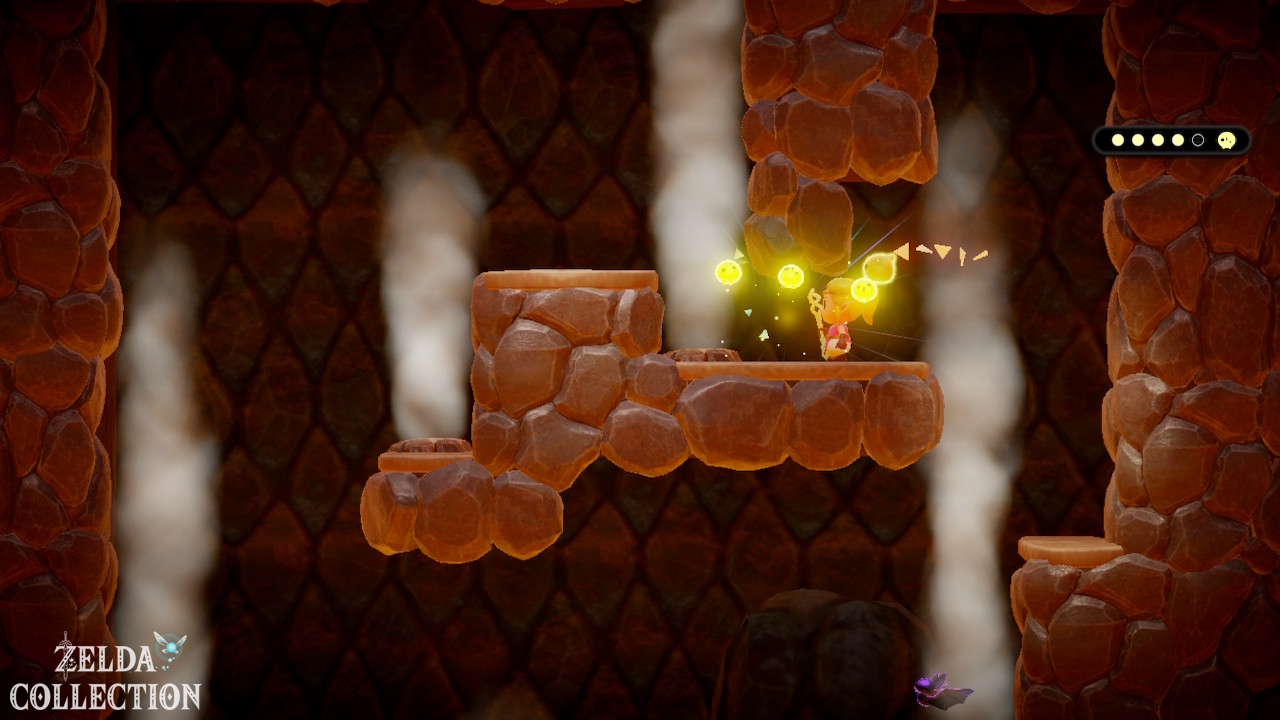
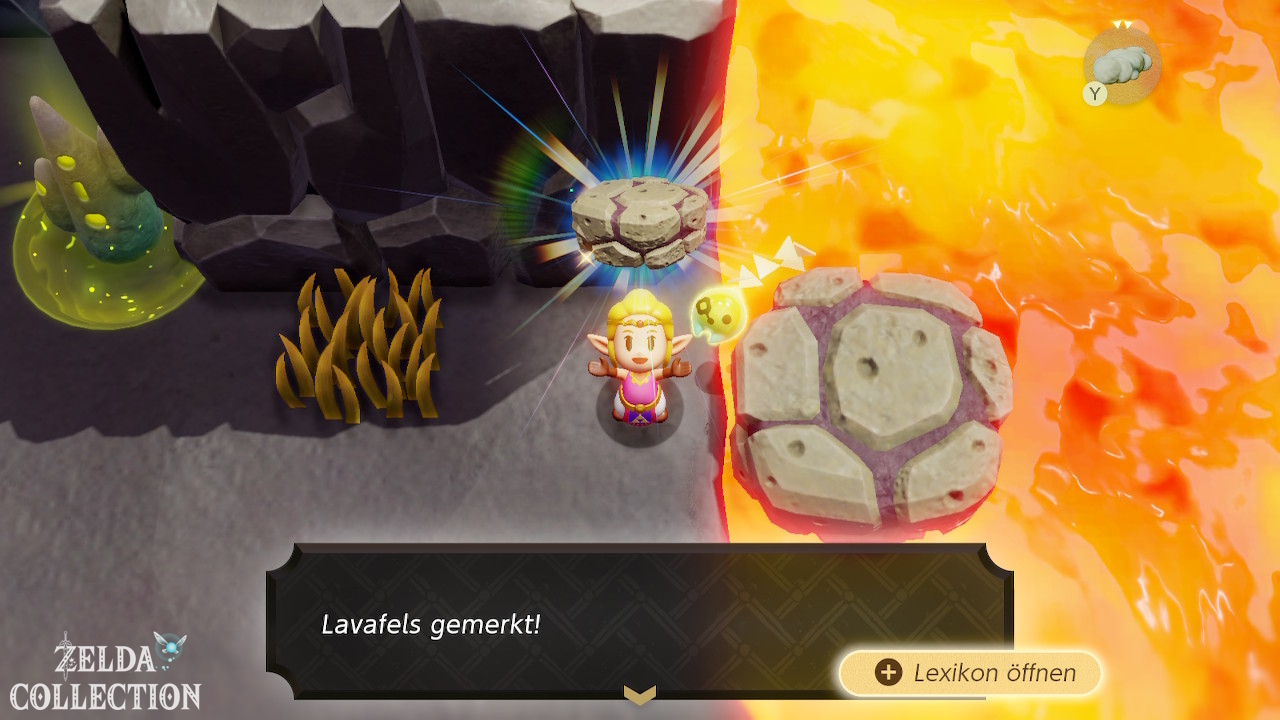
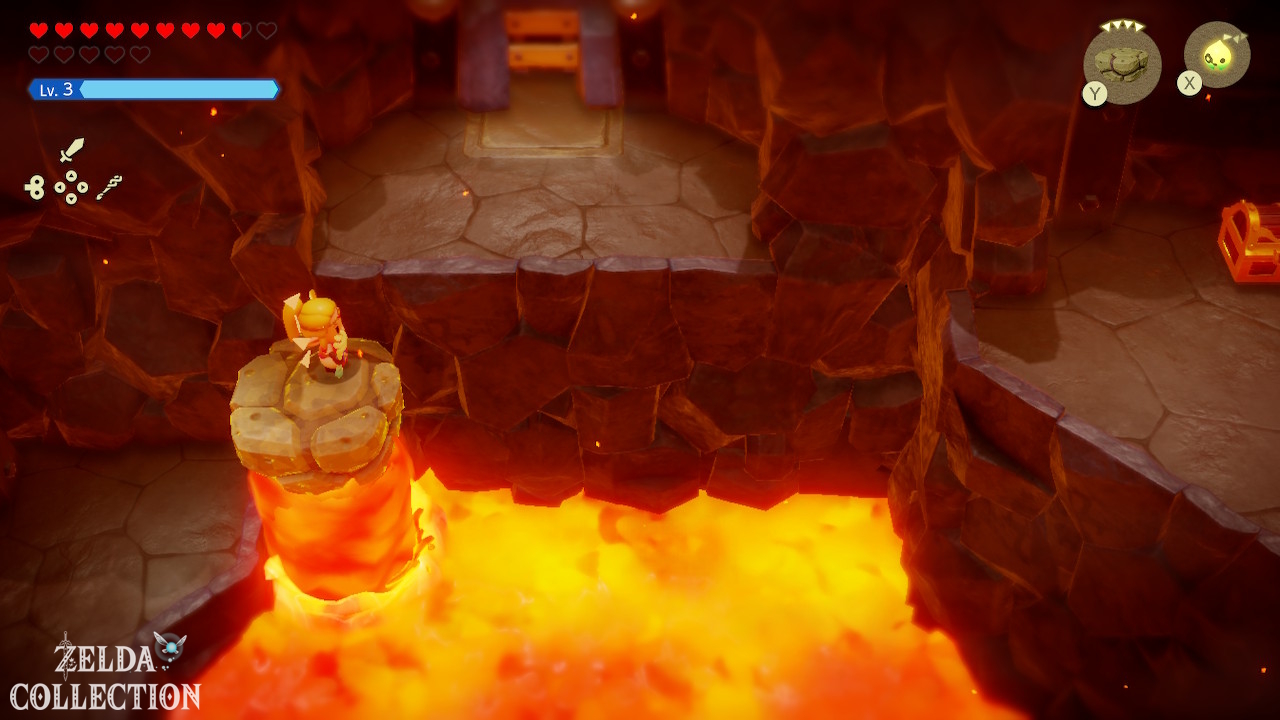
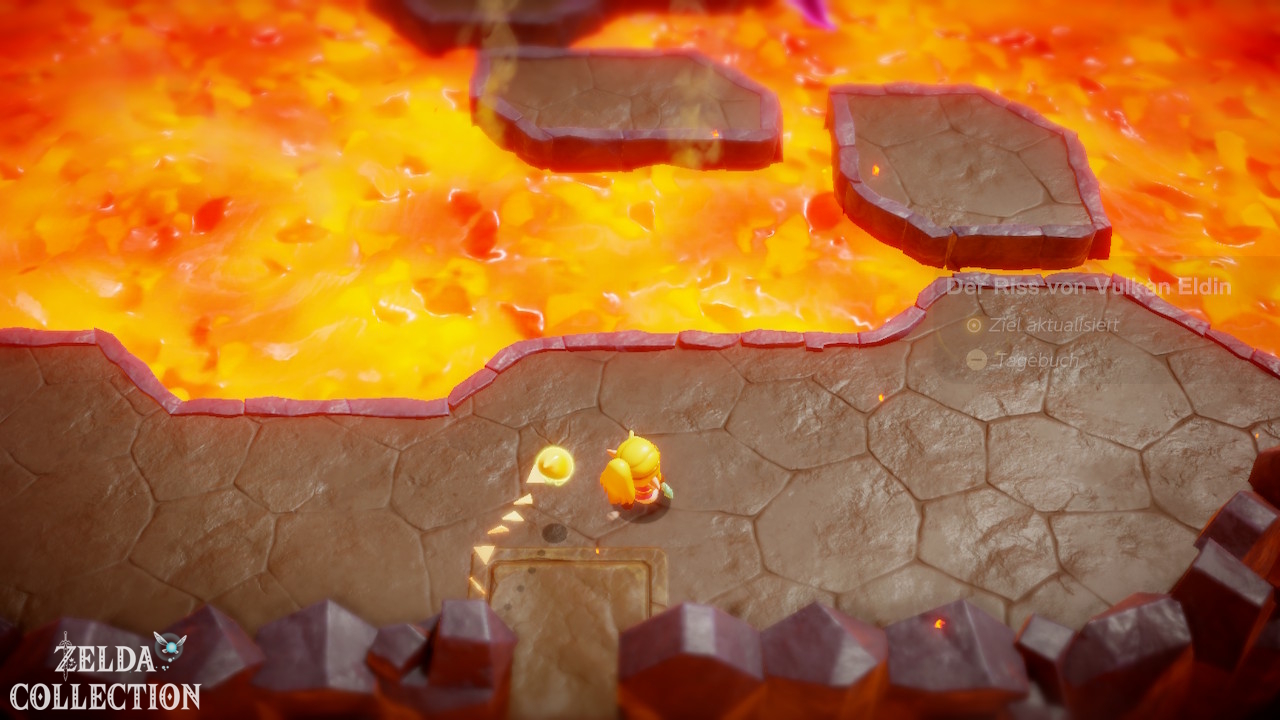
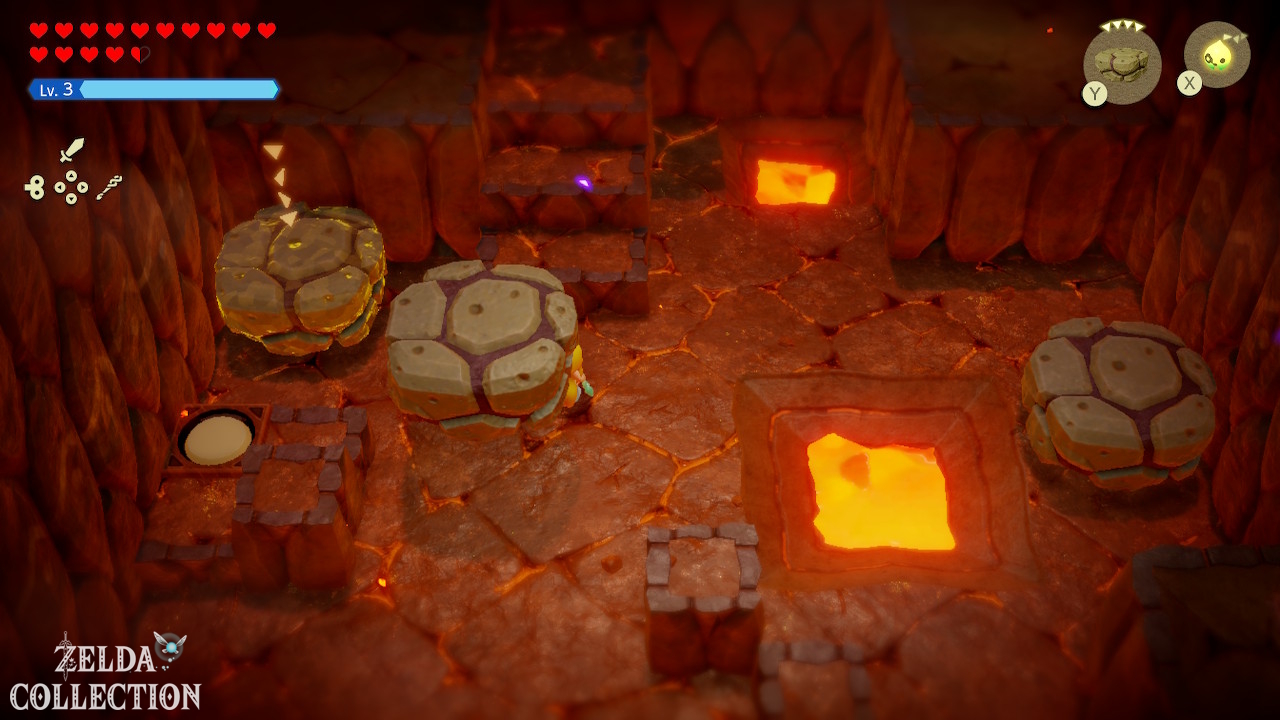
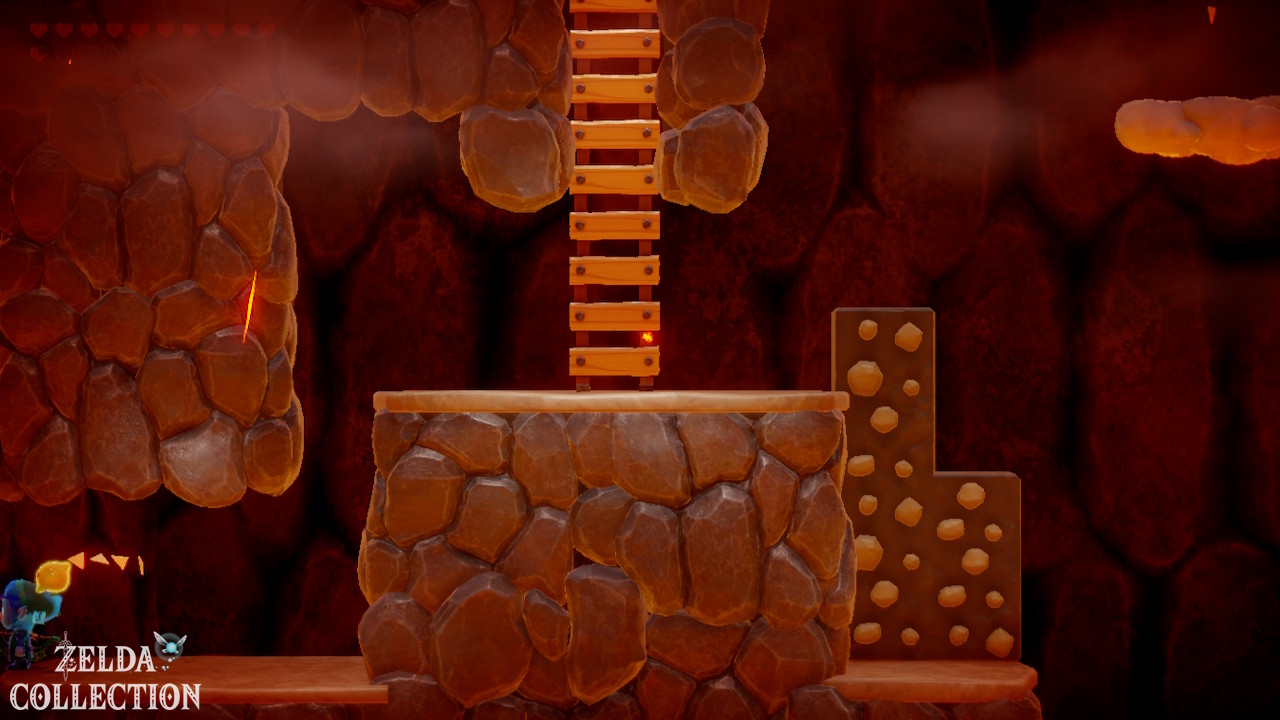
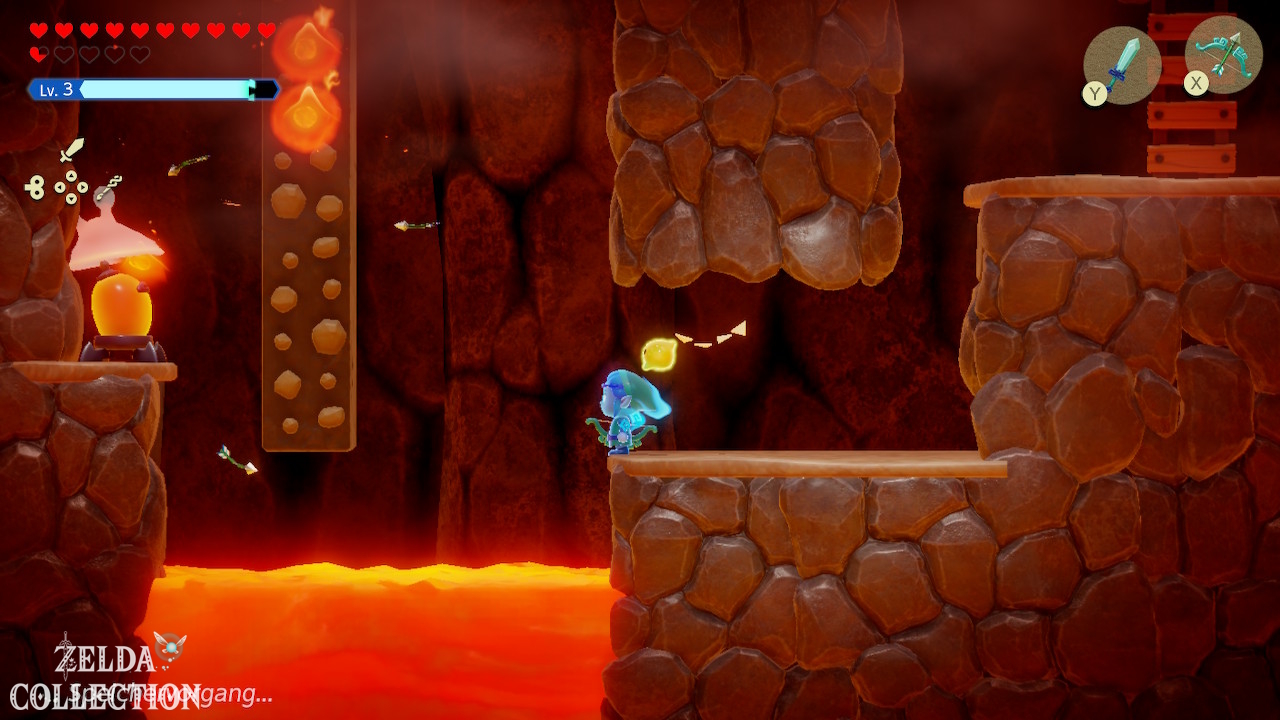
As soon as you encounter a lava rock, learn the echo. Lava rocks float on lava and can even be carried up by lava fountains. In the Eldin Temple they are one of the most important movement tools.
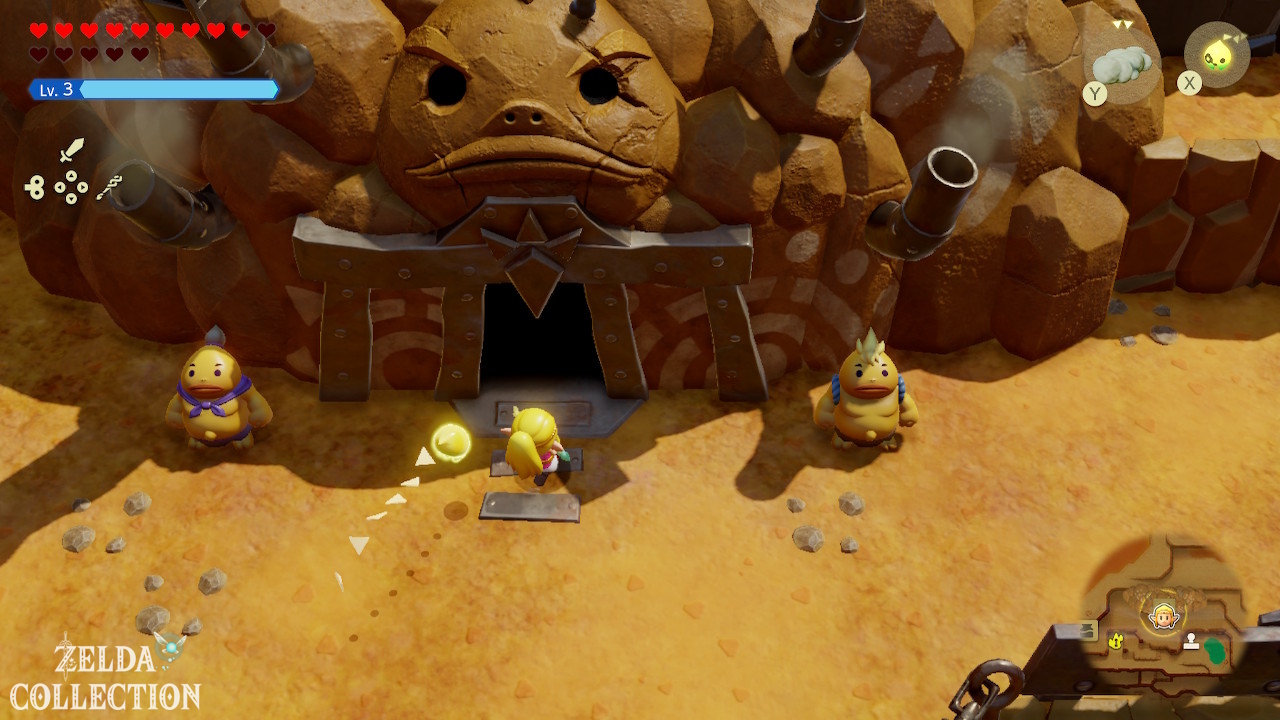
Reach Goron City
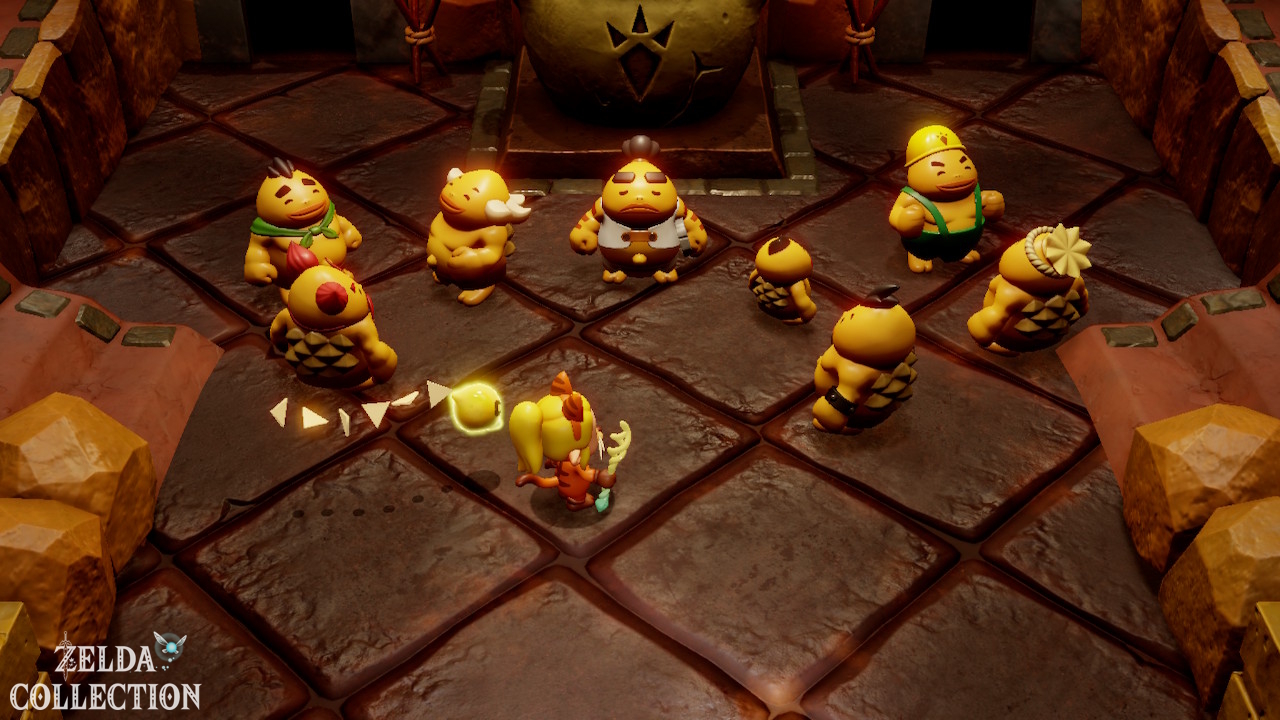
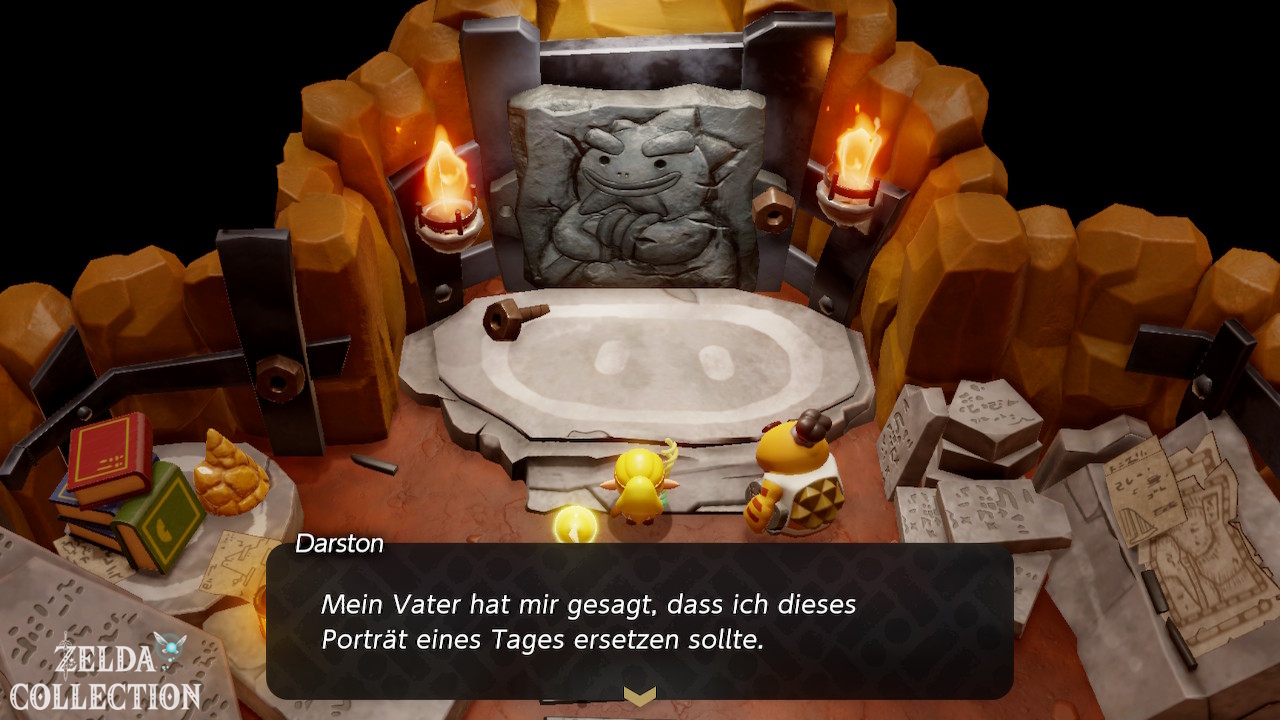
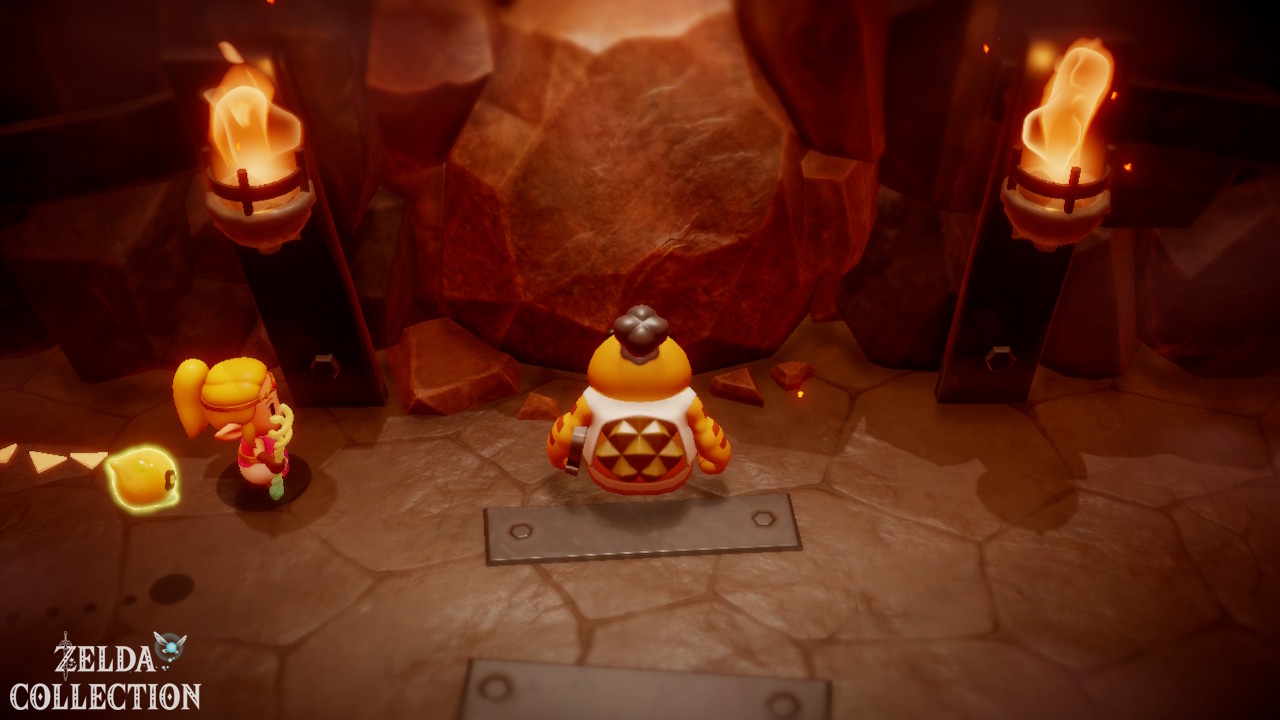
Follow the main path to Goron City. The city is affected by a rift and several Gorons have disappeared. Speak to Darston and the remaining residents.
stamp at Goron City
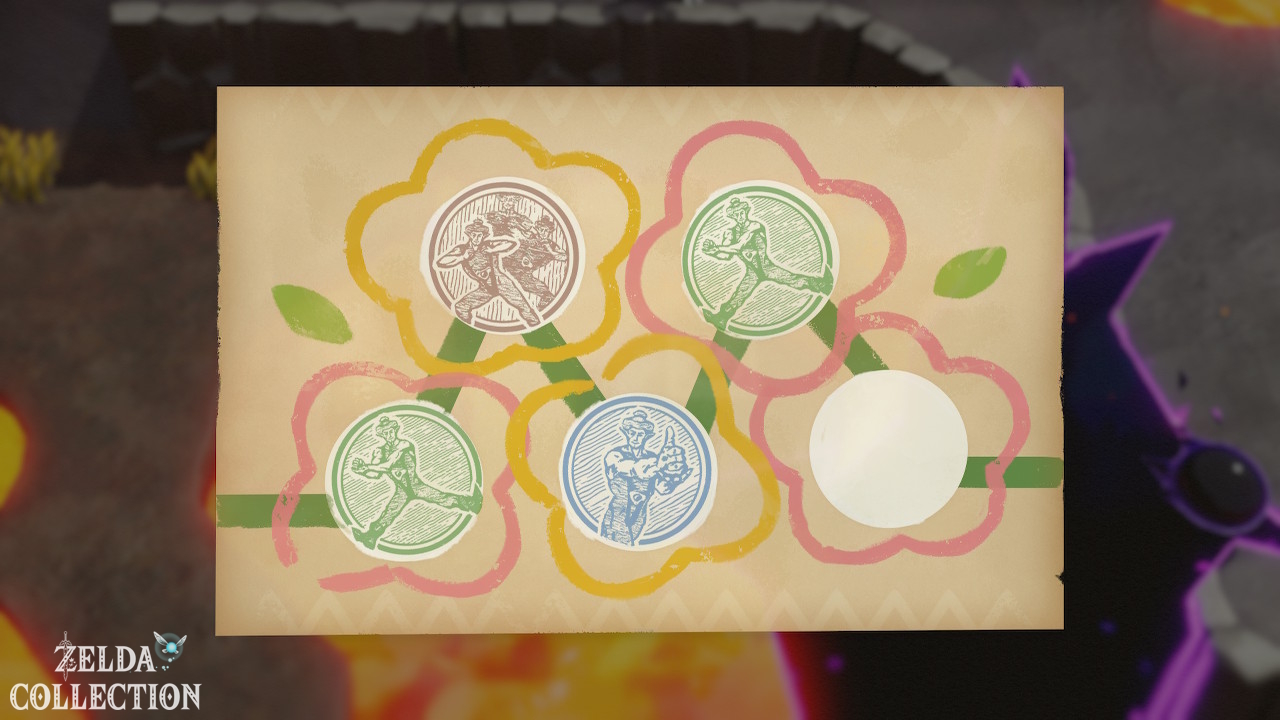
Directly south or below the entrance of Goron City is the first regional Stamp Stand. Take her with you immediately.
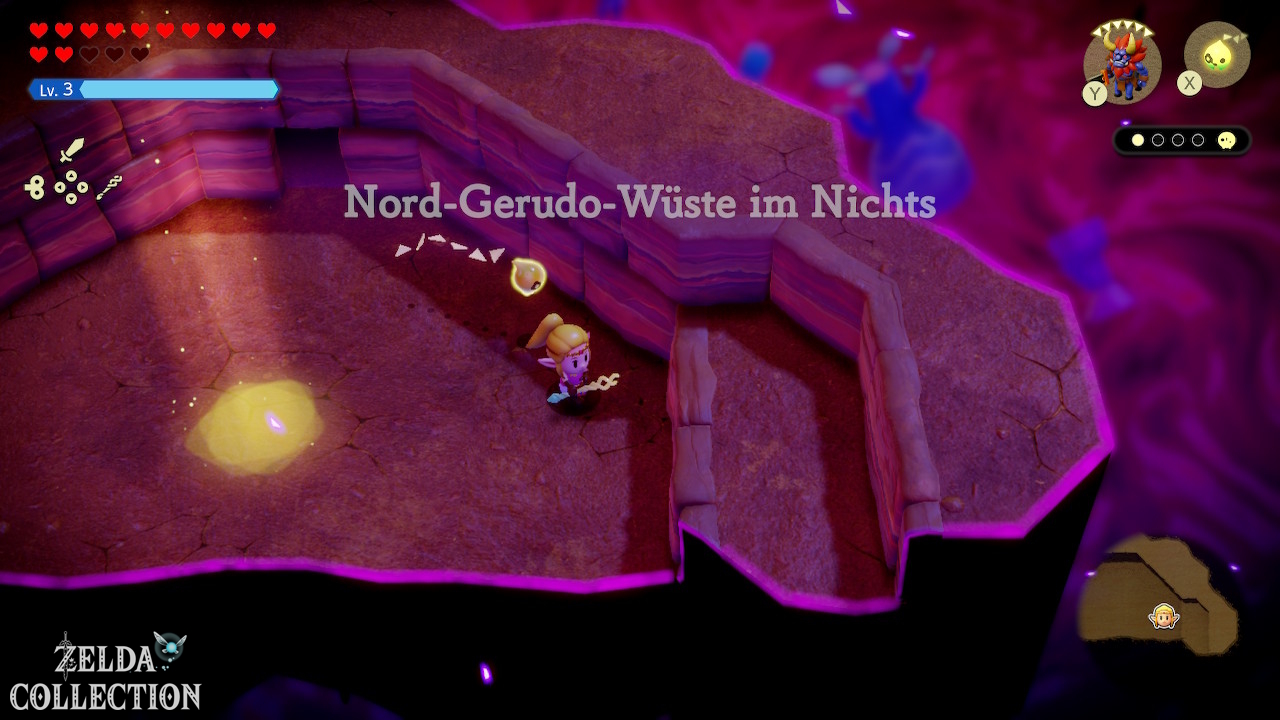
Goron City in the Still World
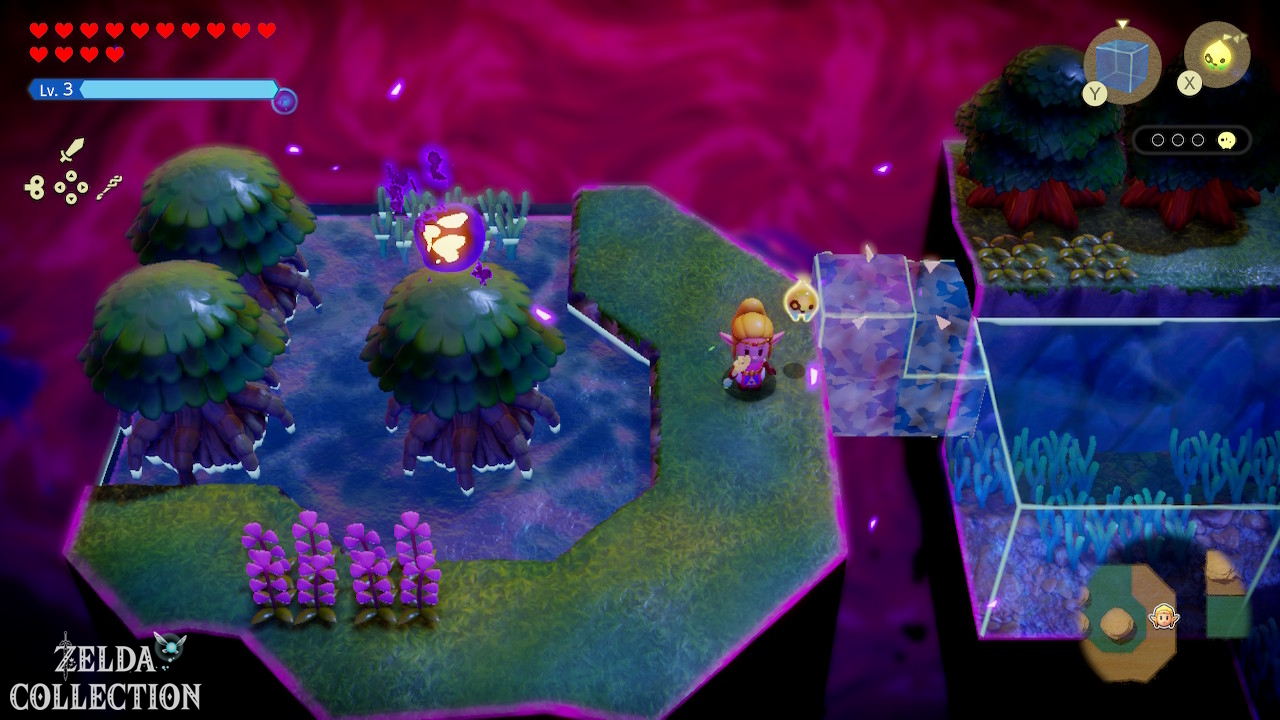
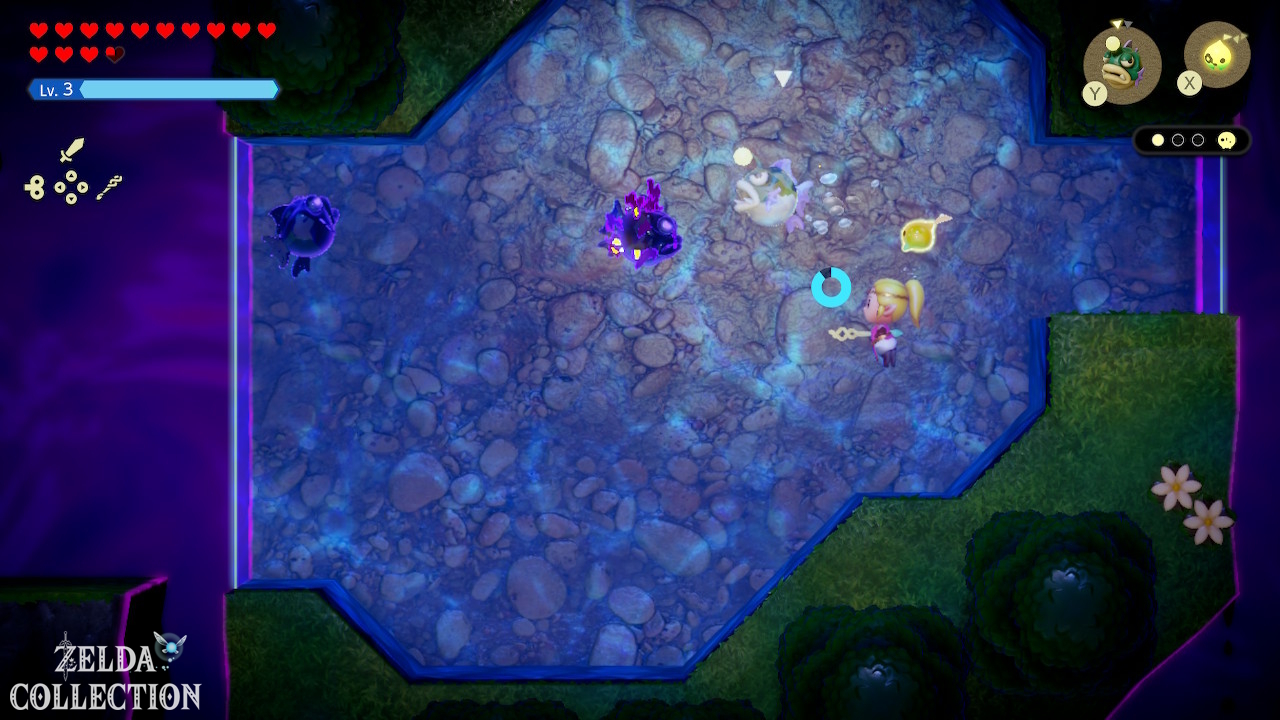
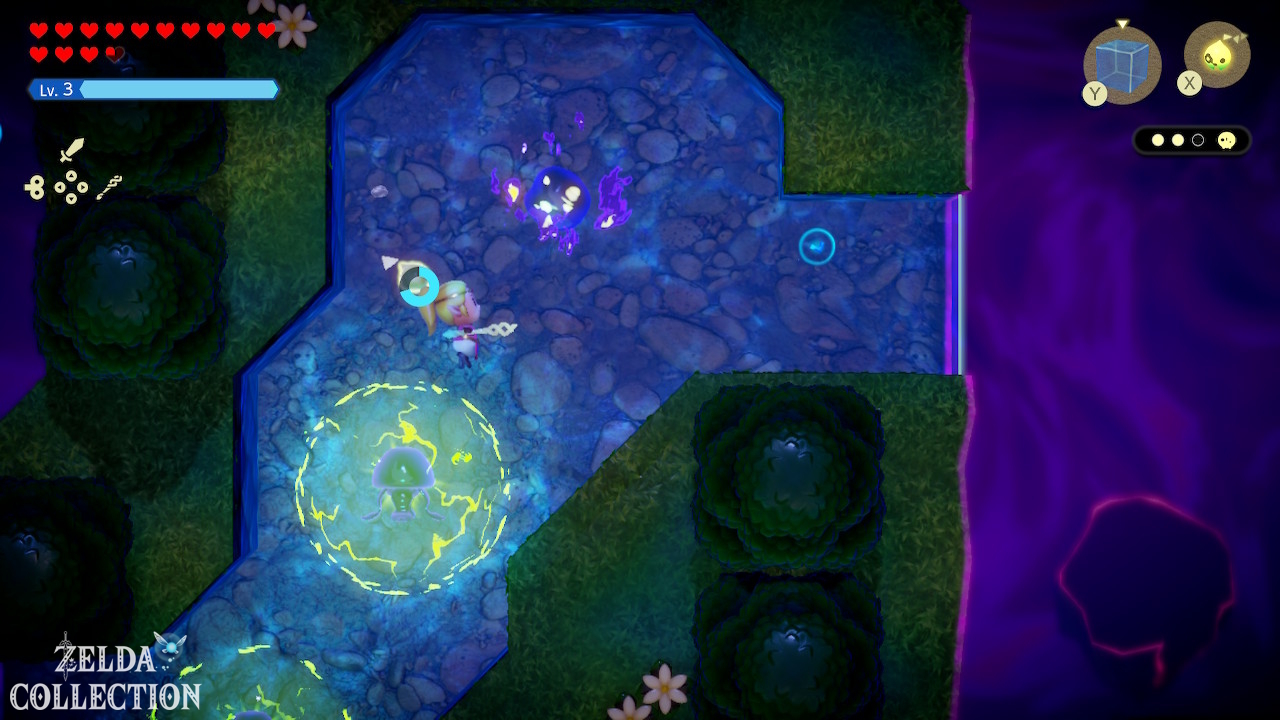
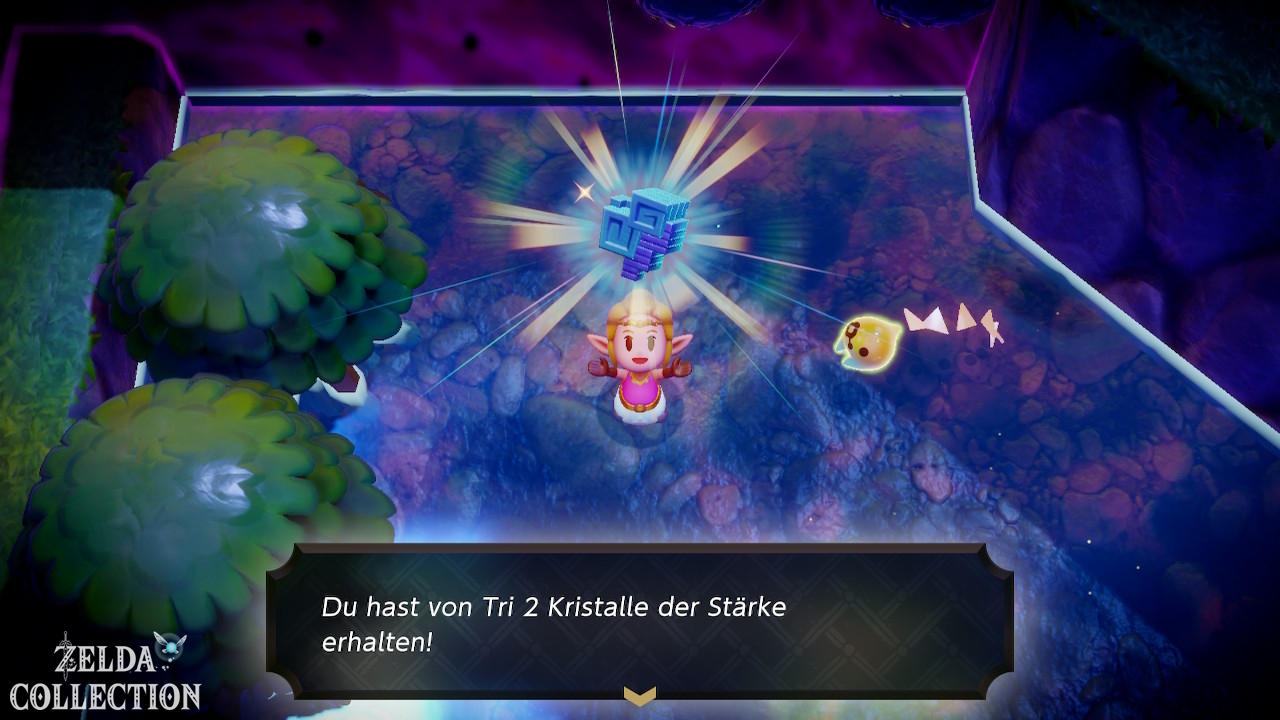
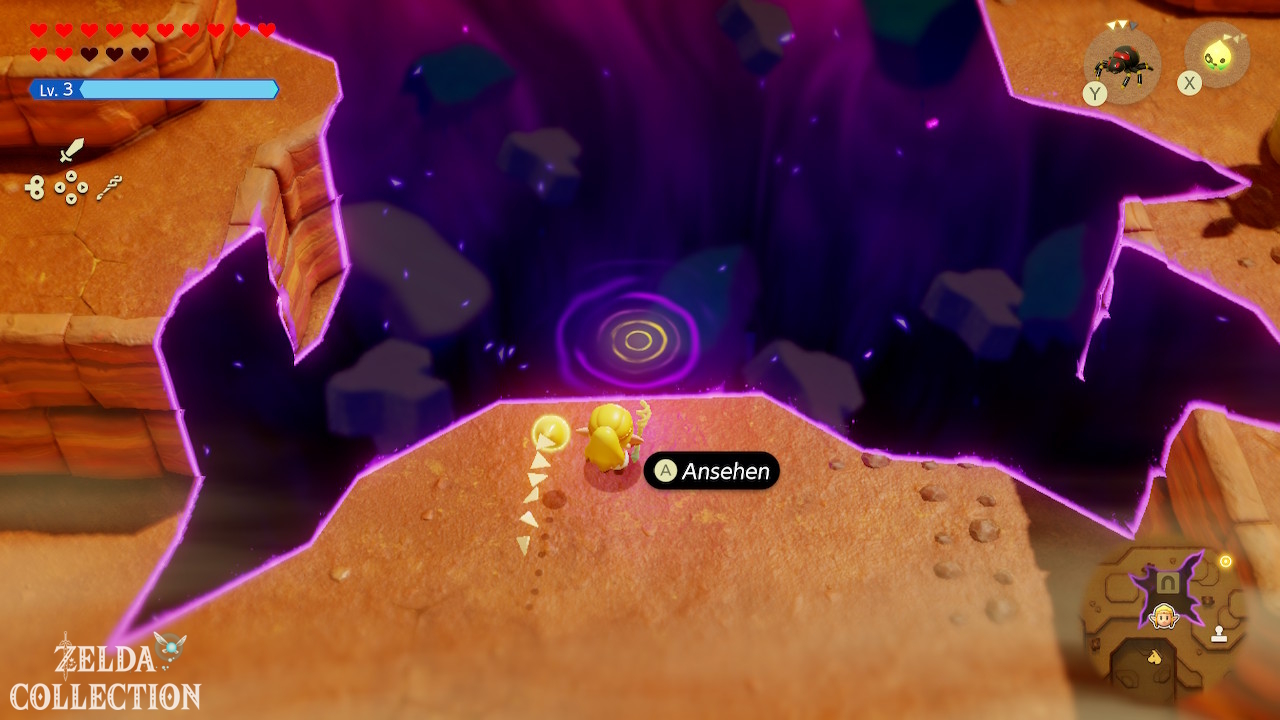
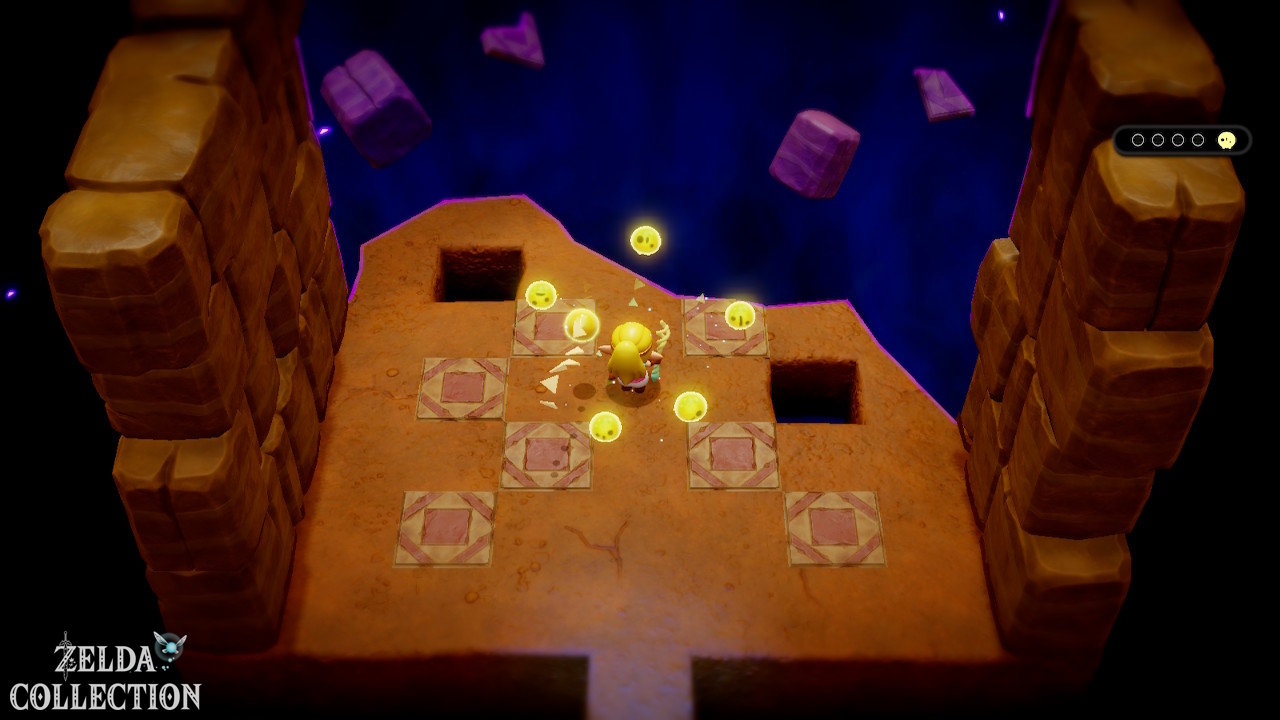
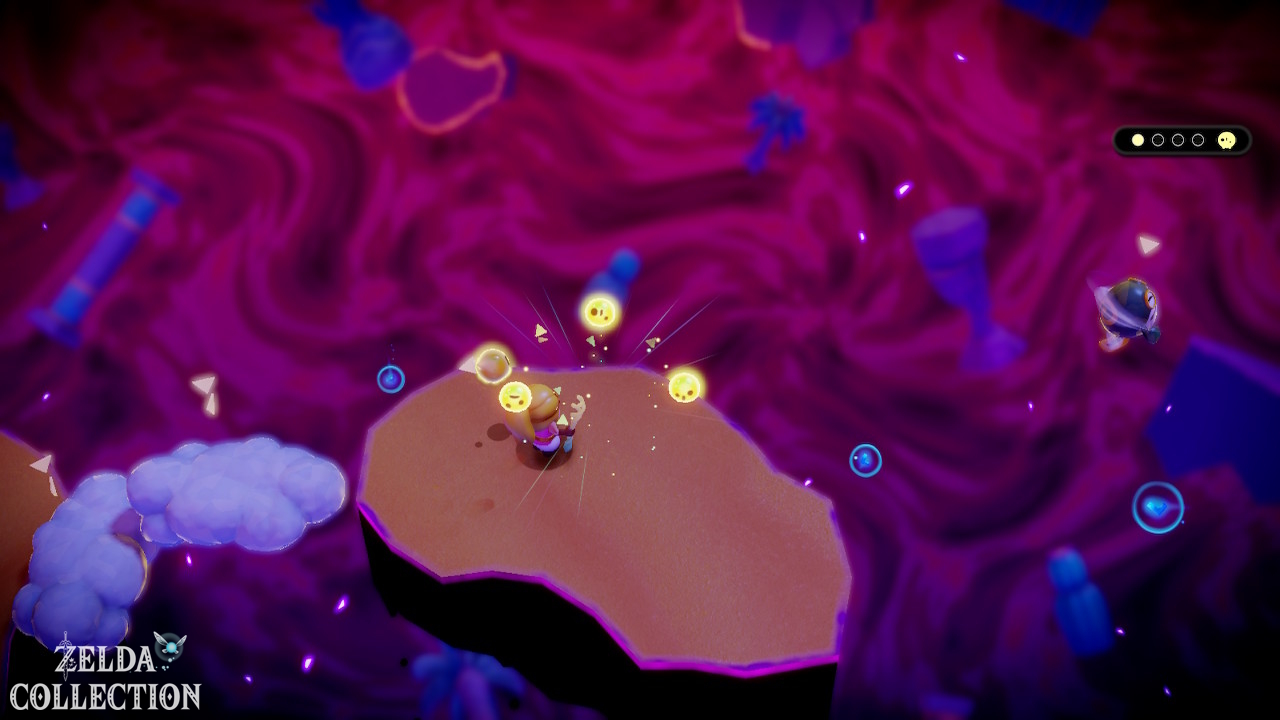
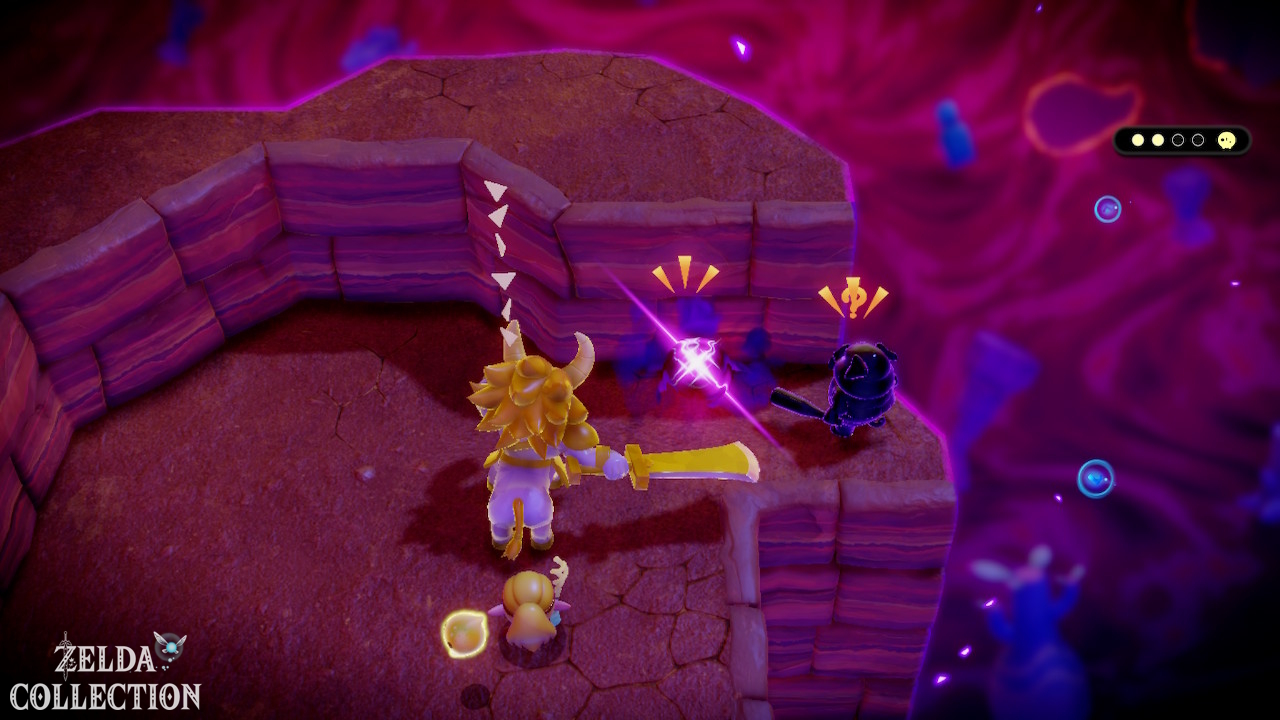
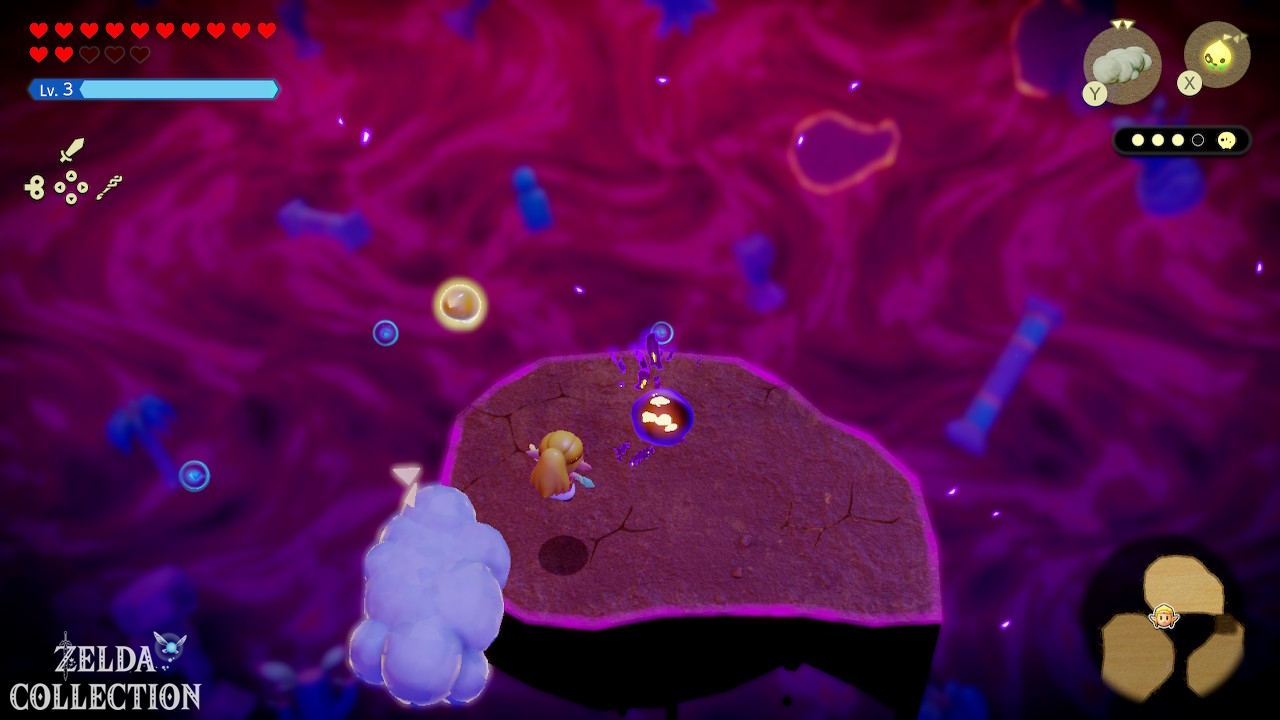
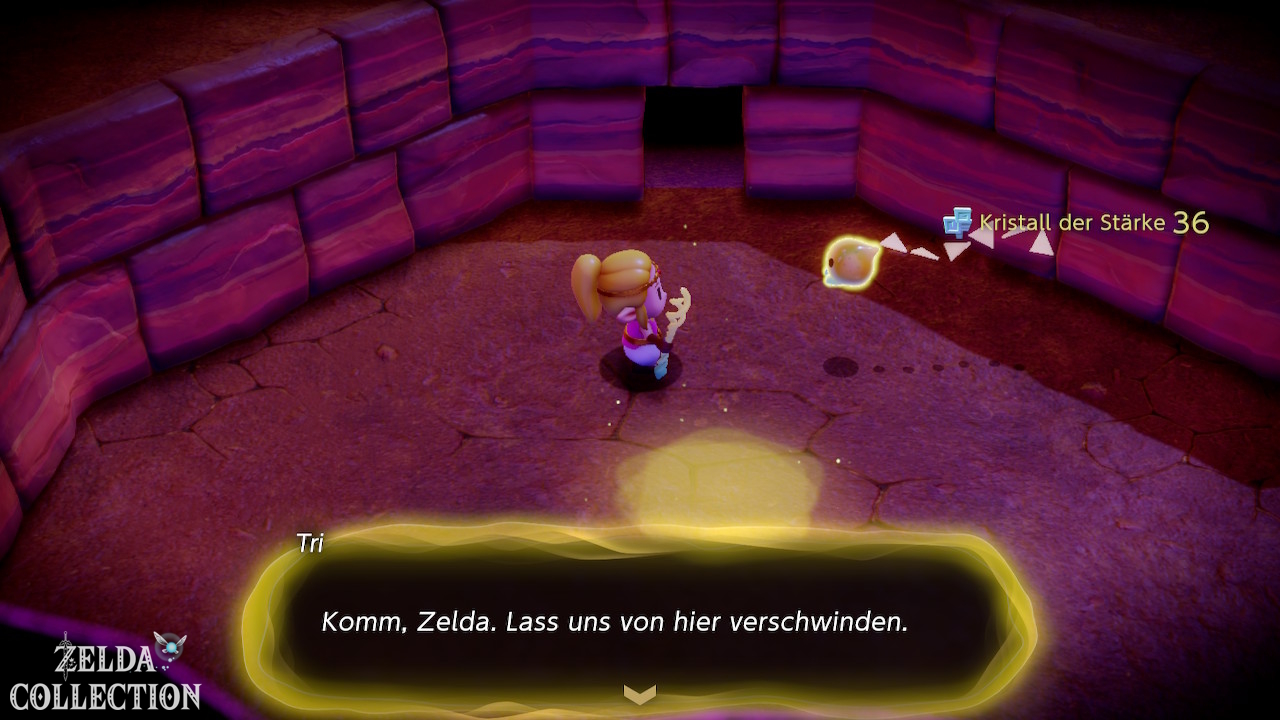
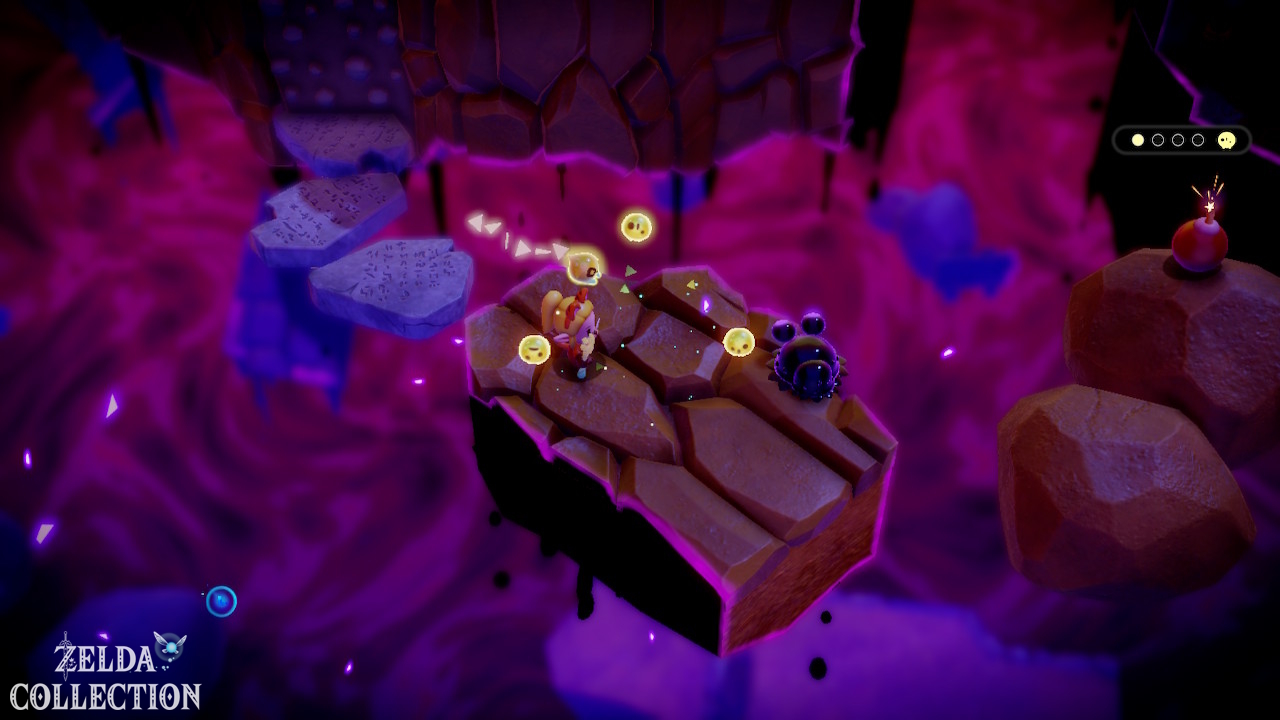
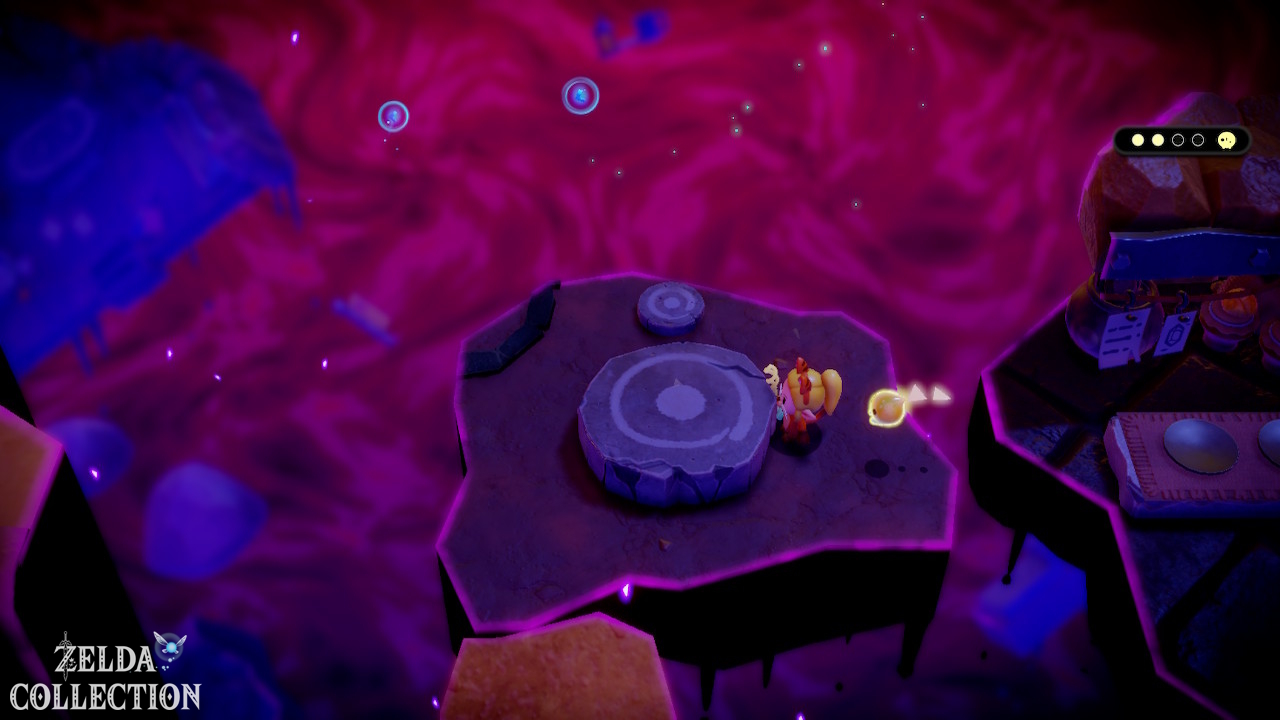
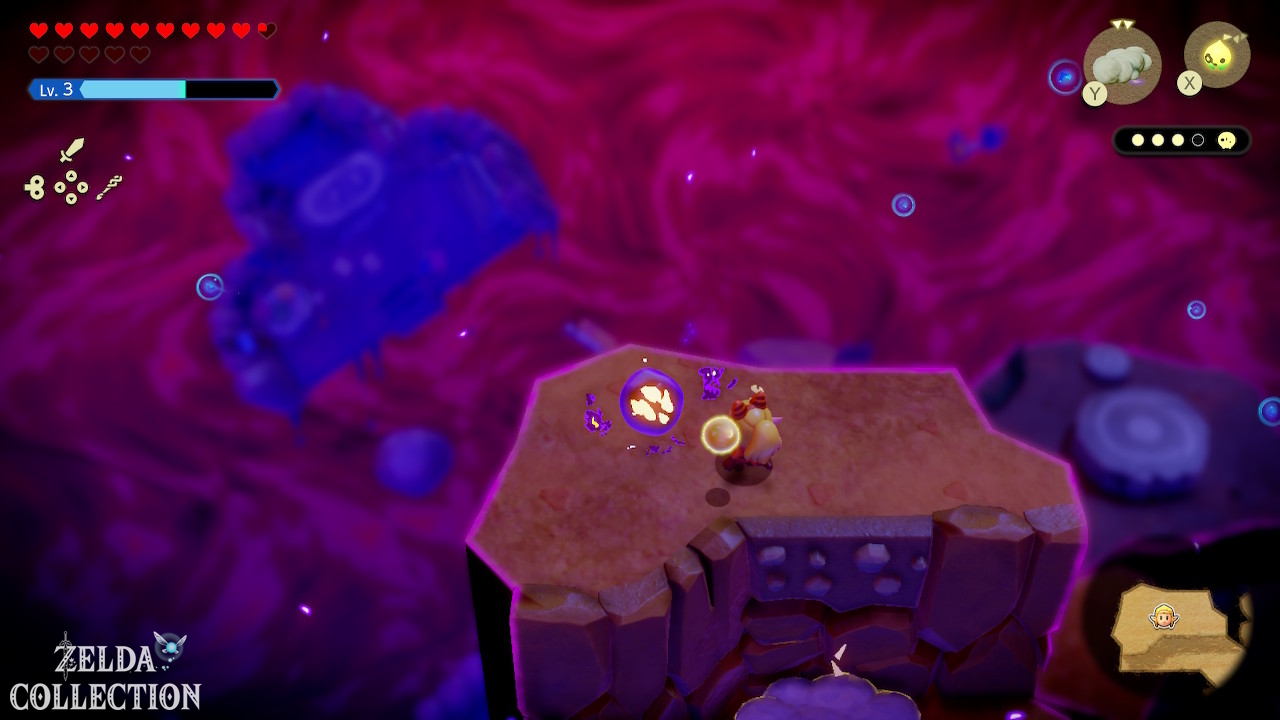
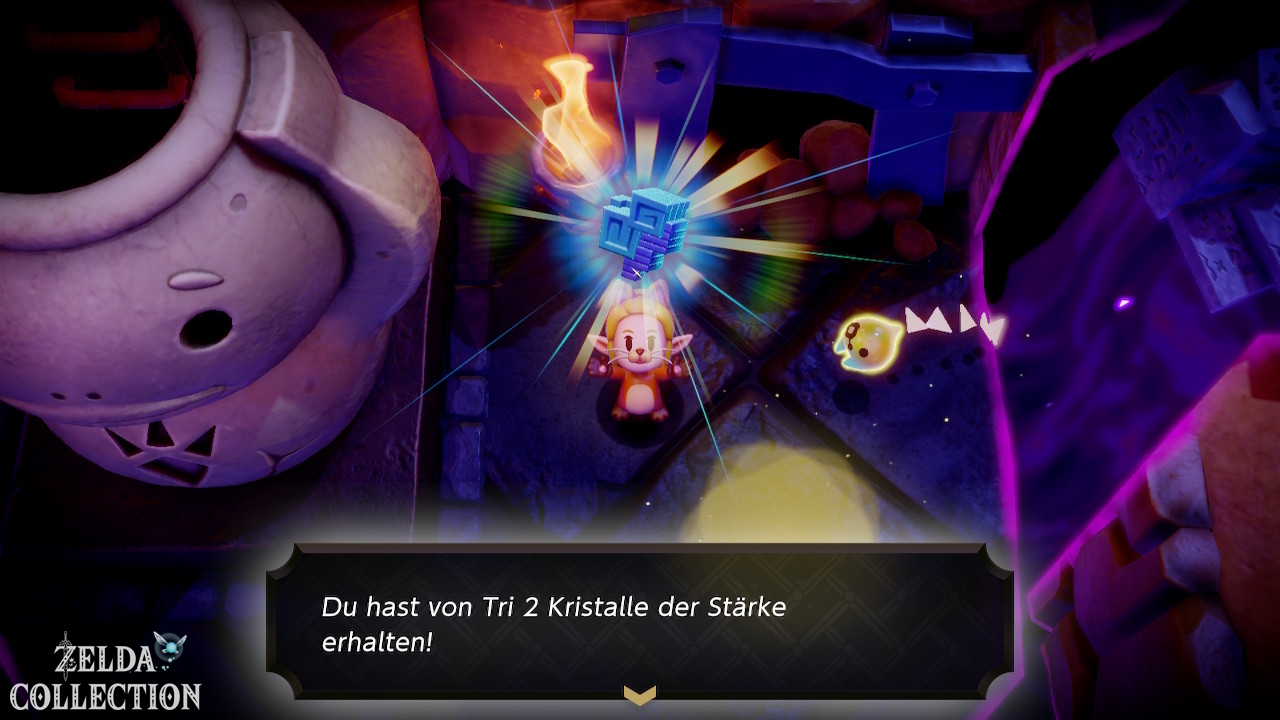
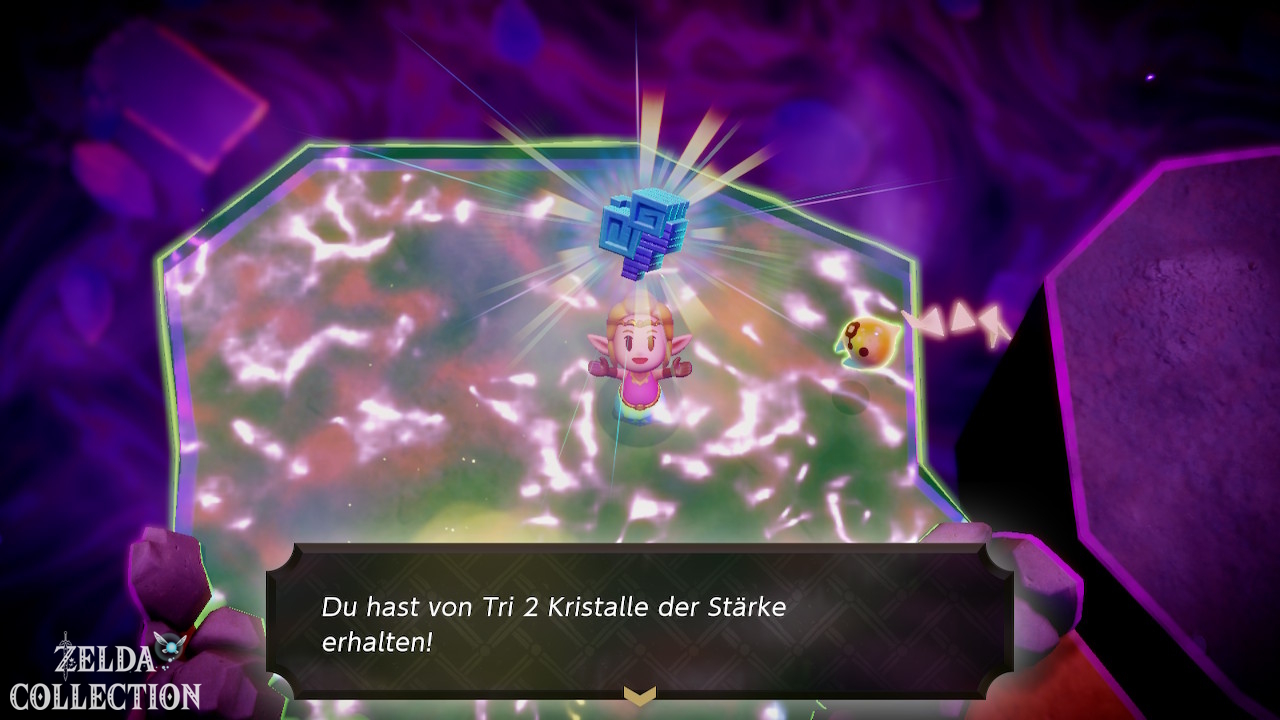
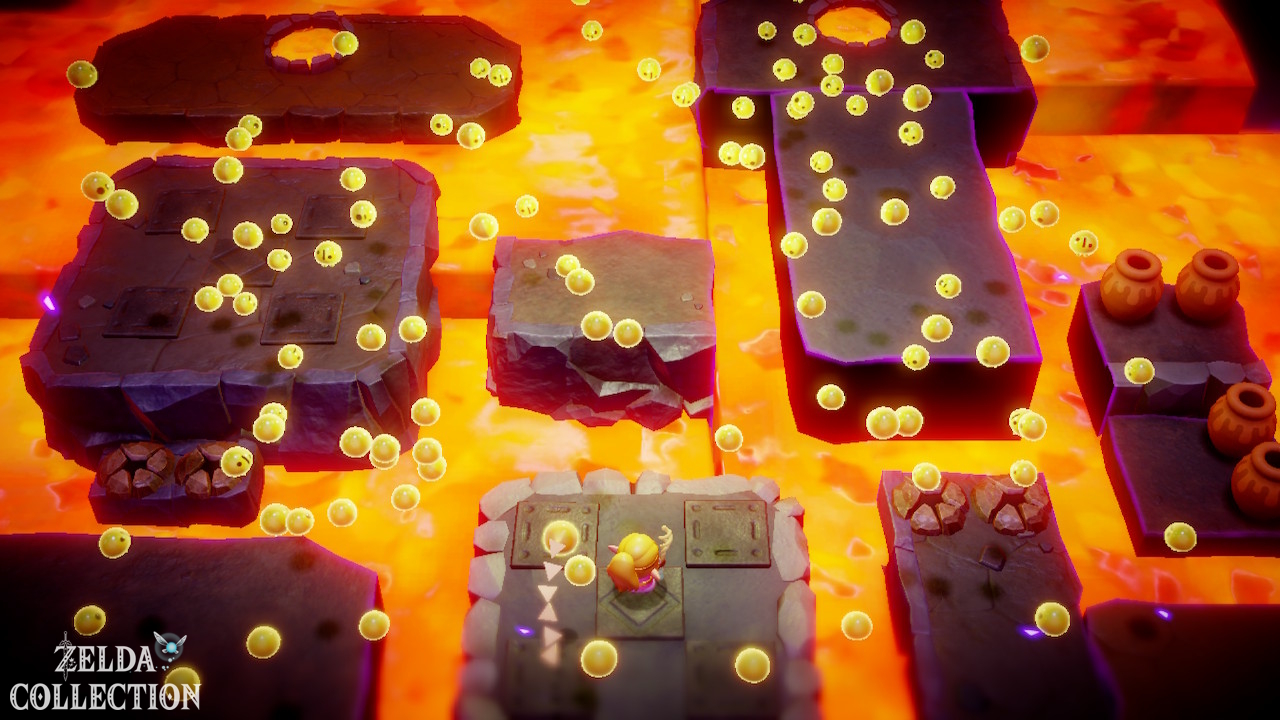
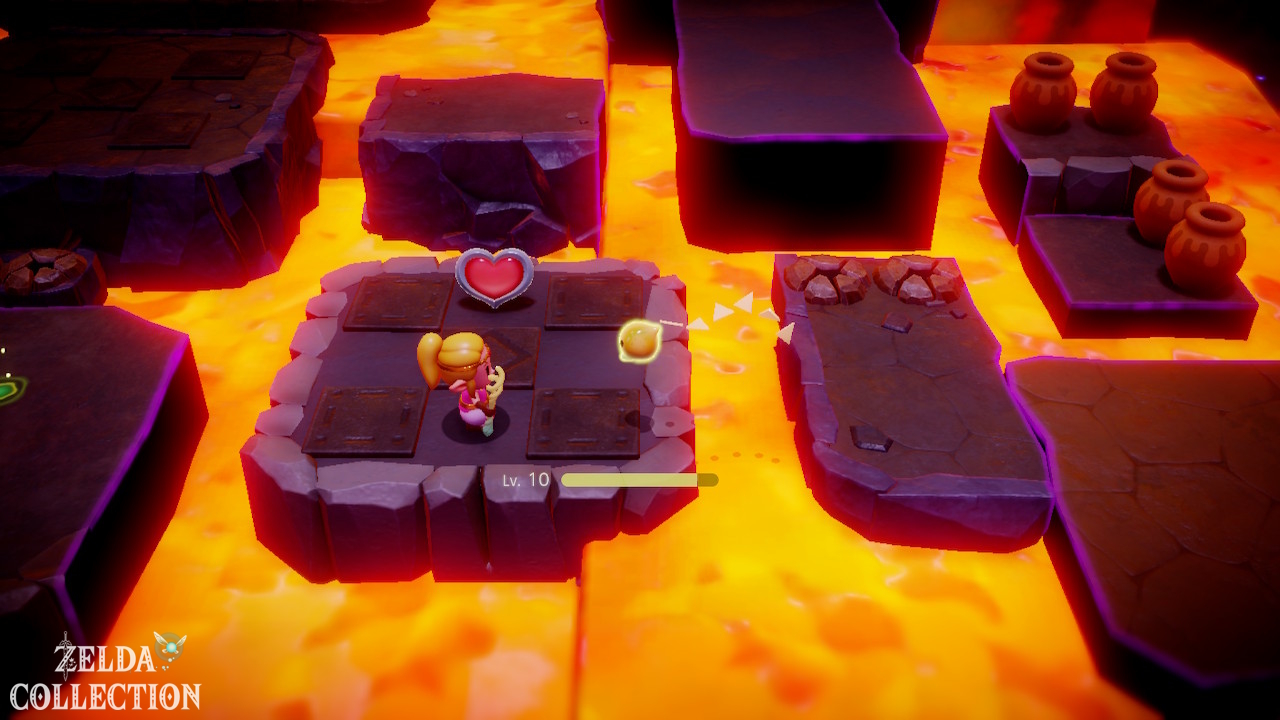
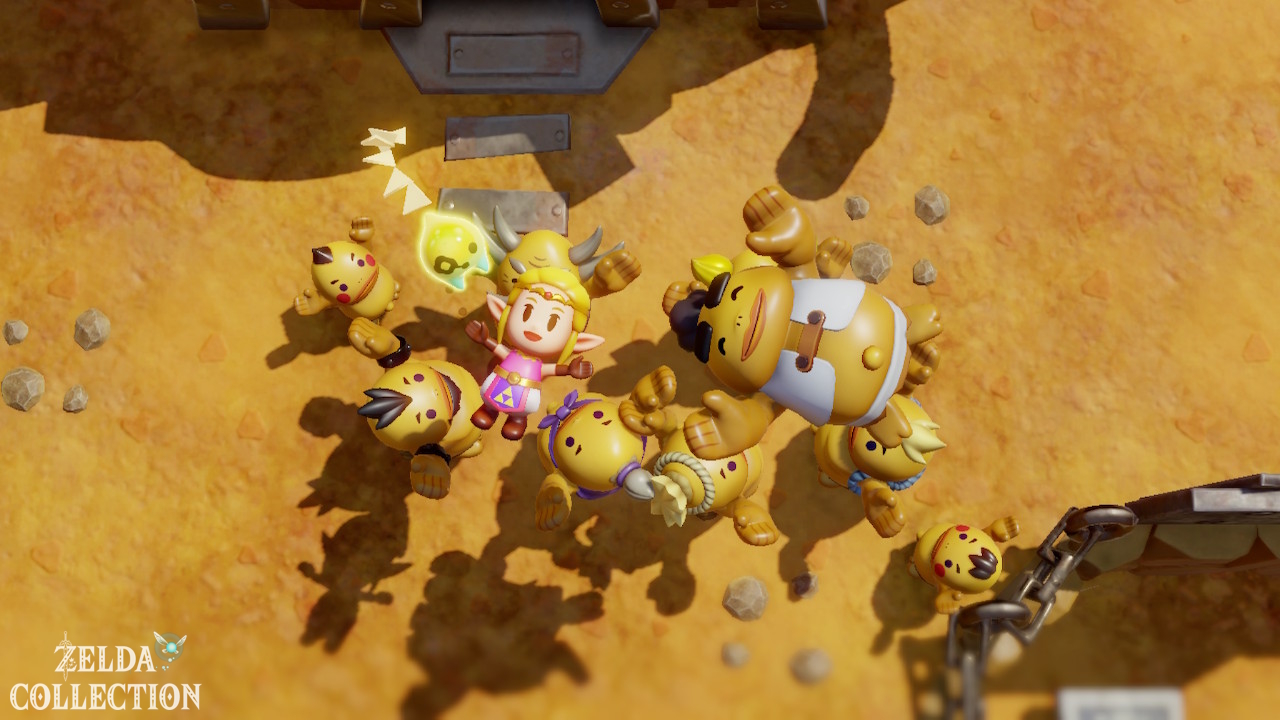
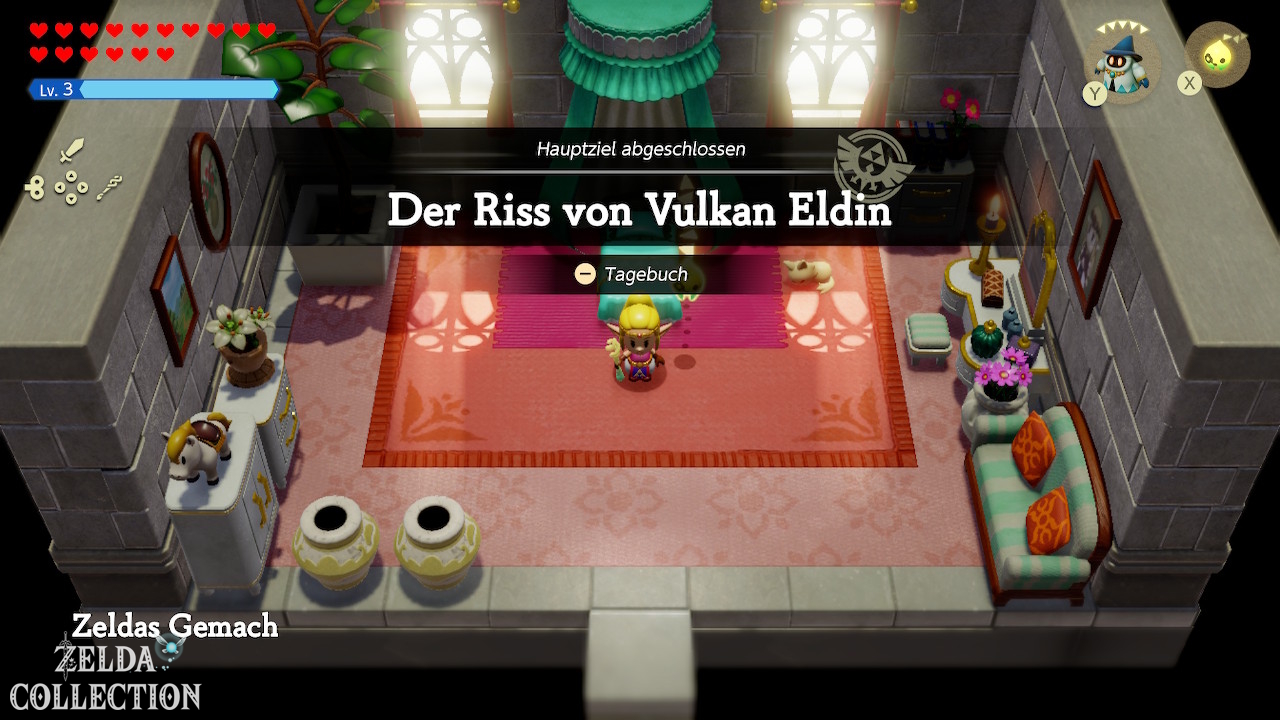
Enter the rift in Goron City and rescue all four groups of Tri’s friends. Search the floating buildings and the passages inside them, using Platboom or Water Blocks to reach the higher ledges. Once all four groups are free, Tri mends the rift.
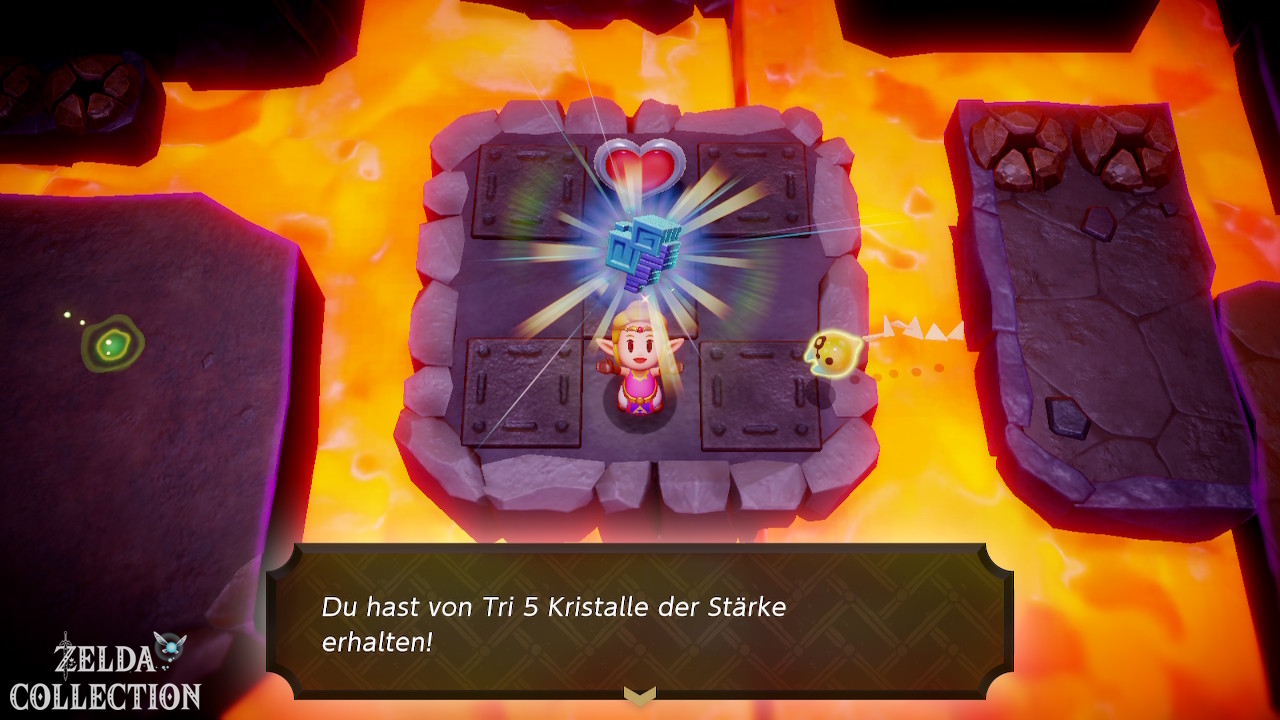
Reward: 2 Might Crystals.
Darston then explains that there are more Gorons at the Lizalfos Burrow and at the Rock-Roast Quarry.
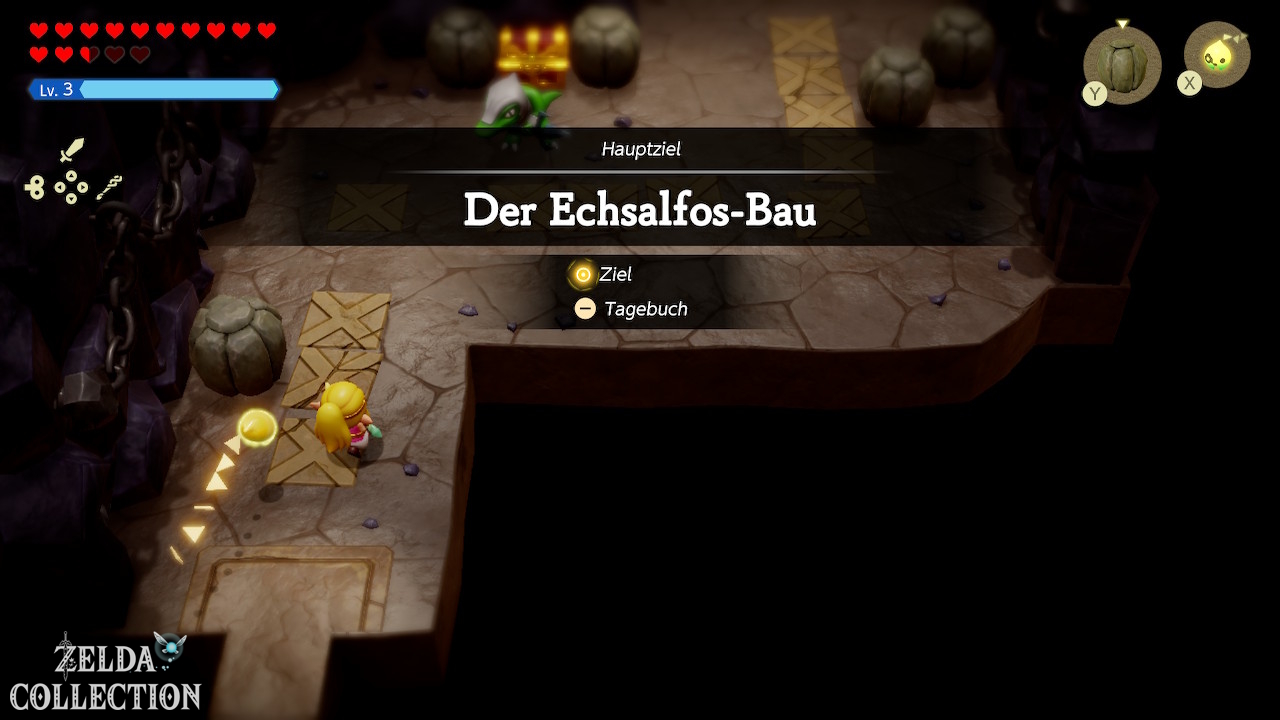
Lizalfos Burrow
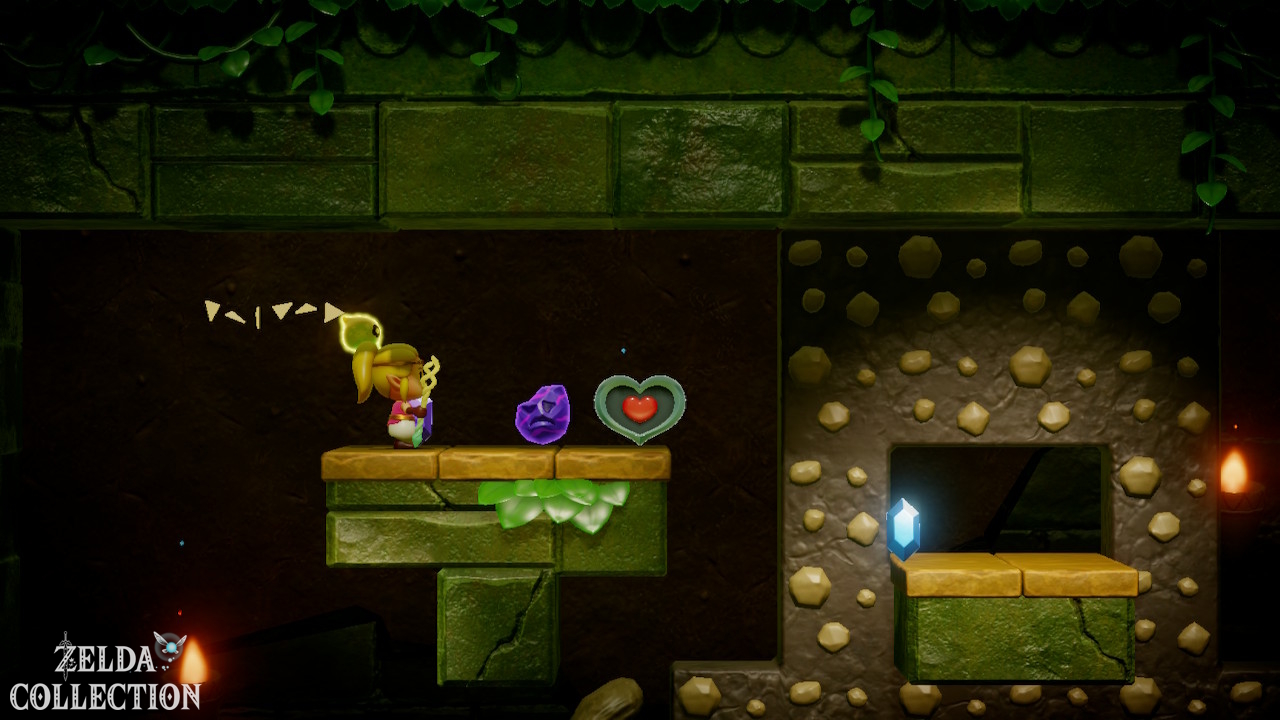
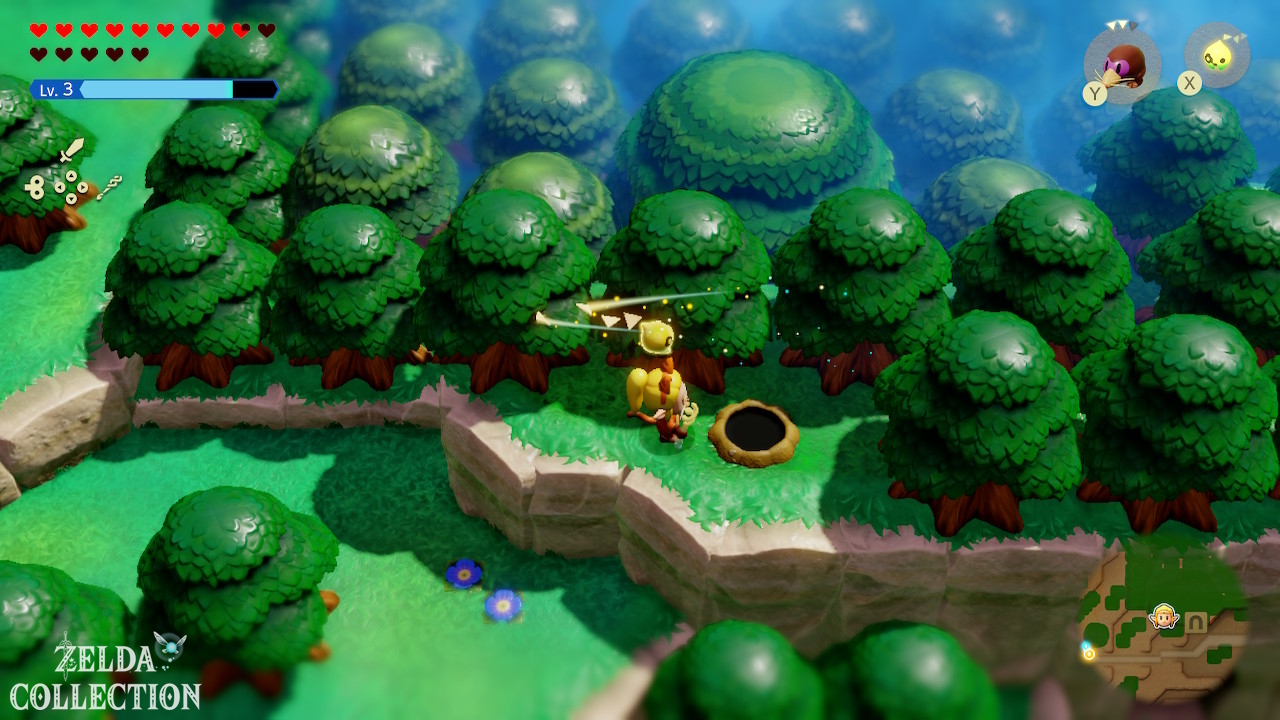
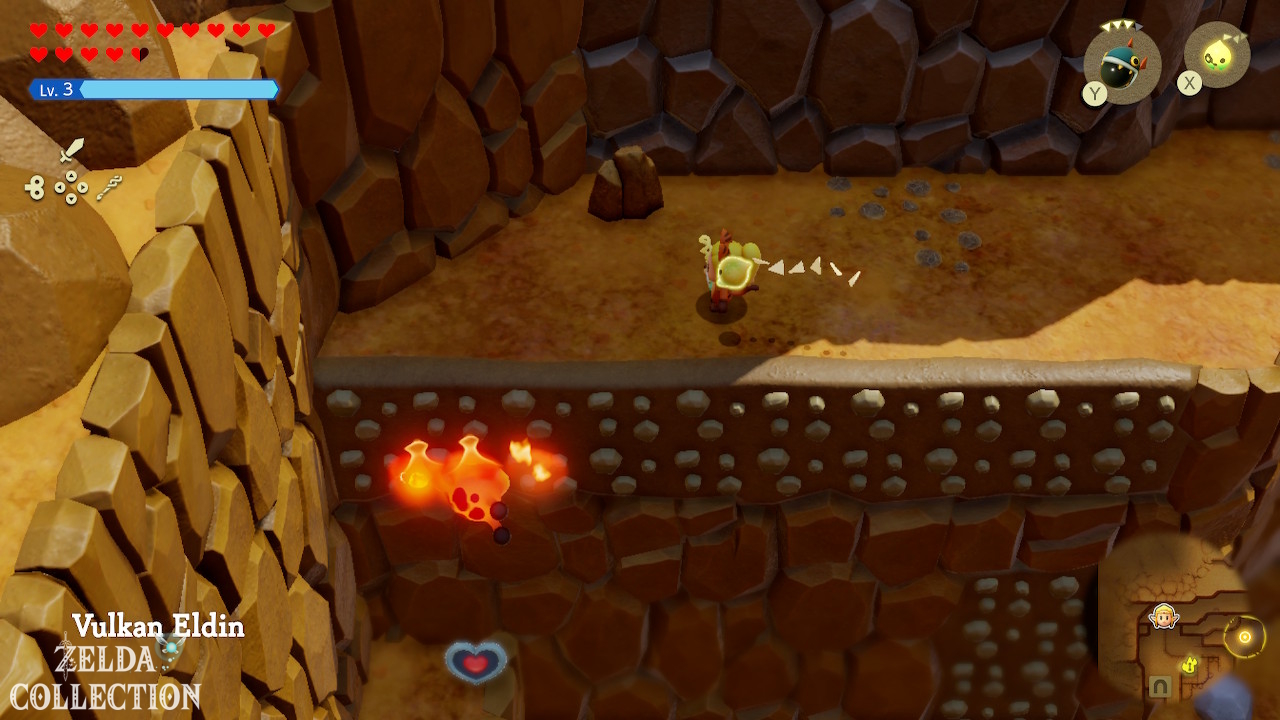
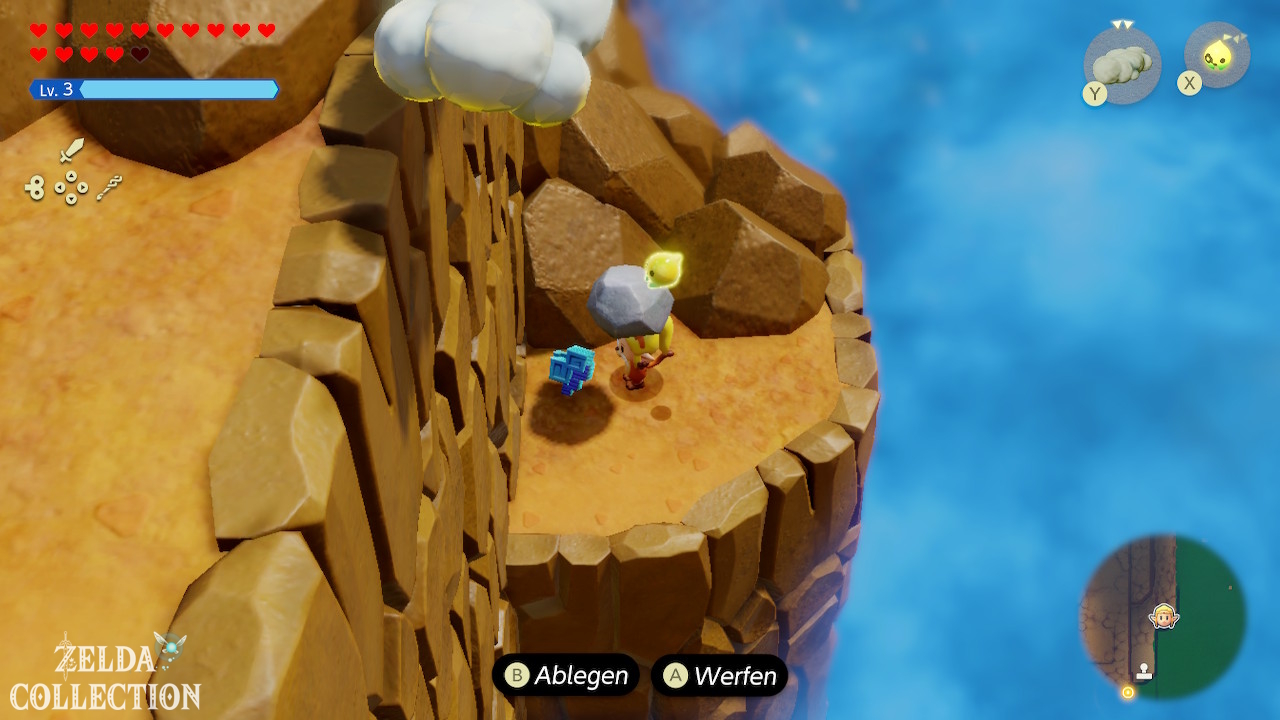
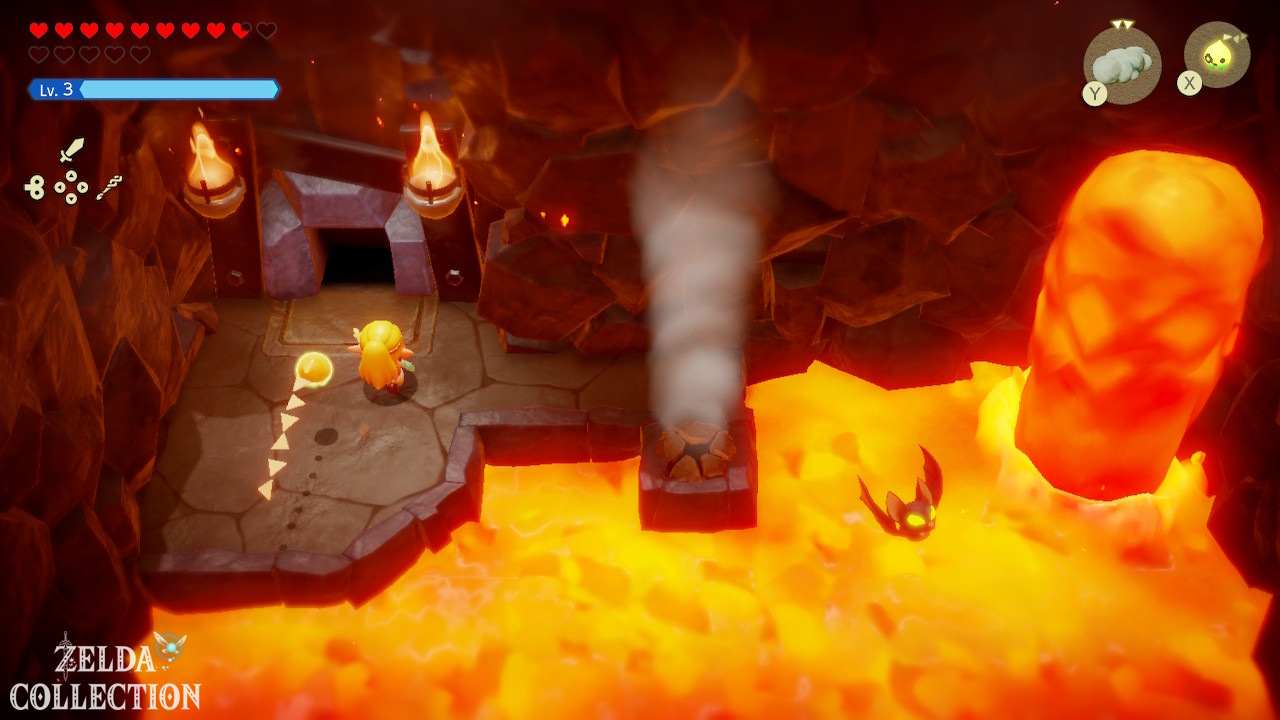
Move northwest of Goron City towards the large lava lake. There is another Piece of Heart on a small island or platform in the lava. Use lava rock as a stepping stone and get it. Another Piece of Heart is on the high western rock face of the region. The Frog Ring and Water Block make the climb easier.
In Lizalfos Burrow
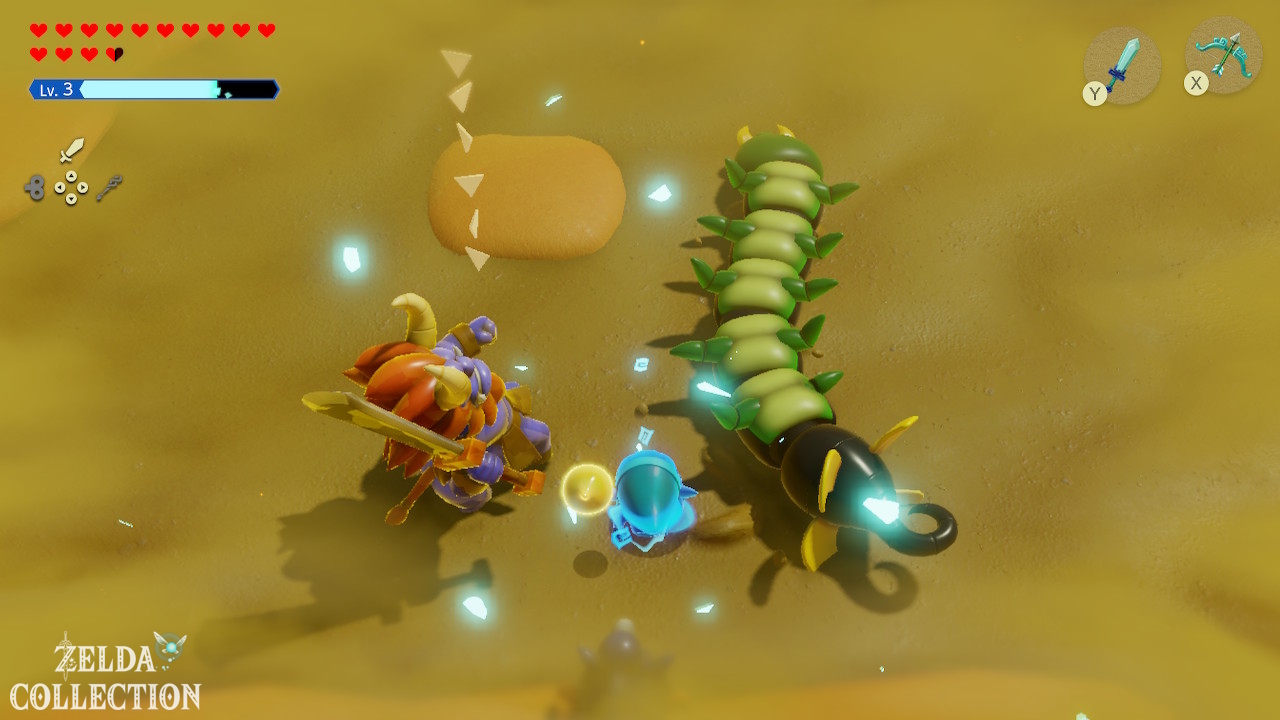
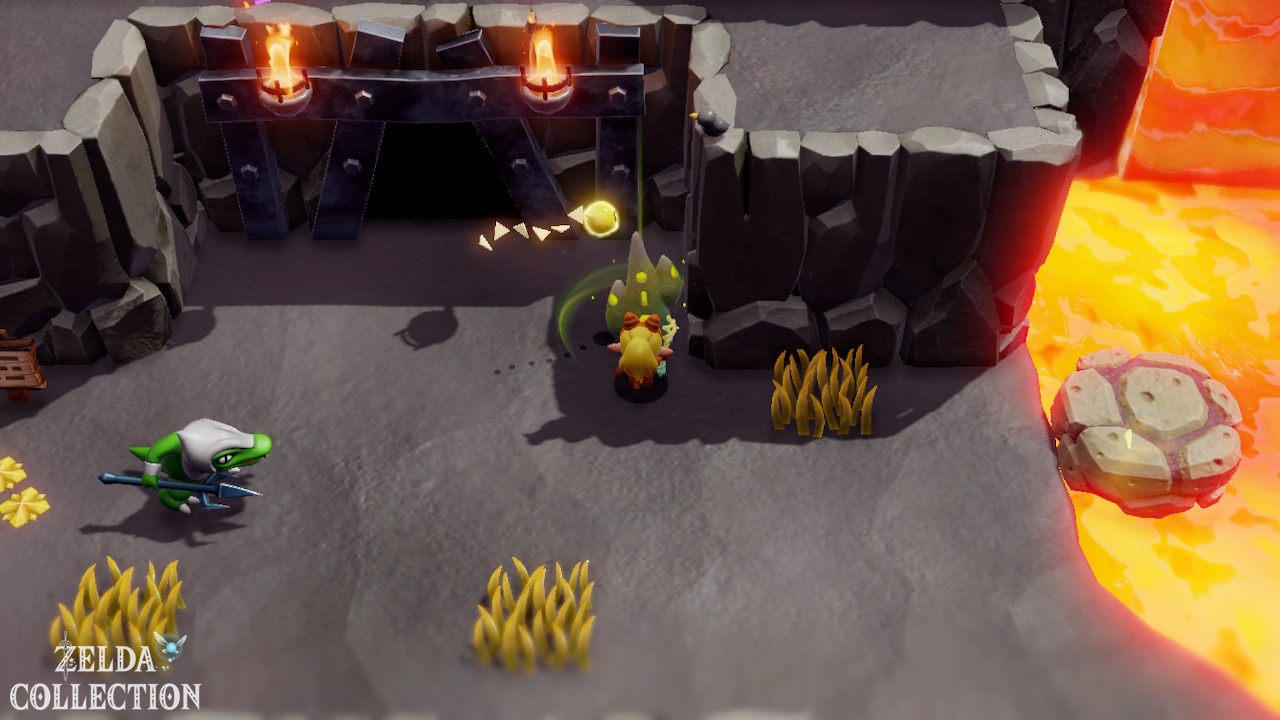
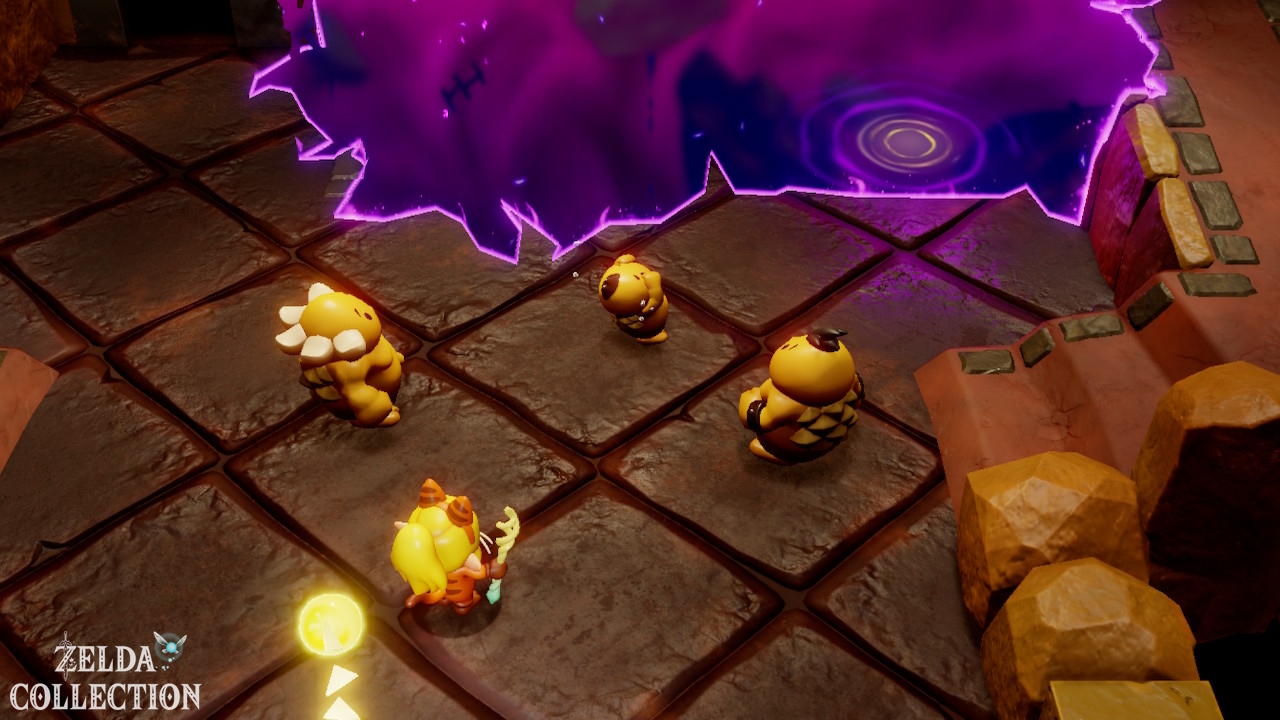
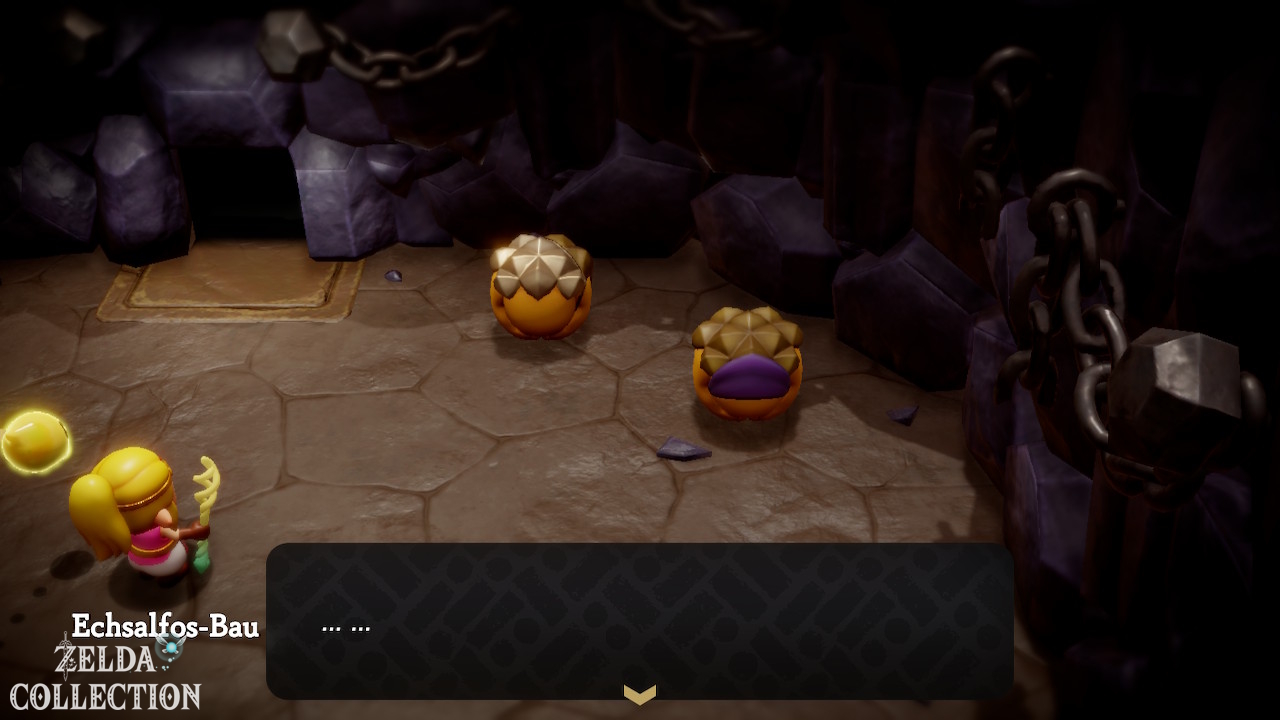
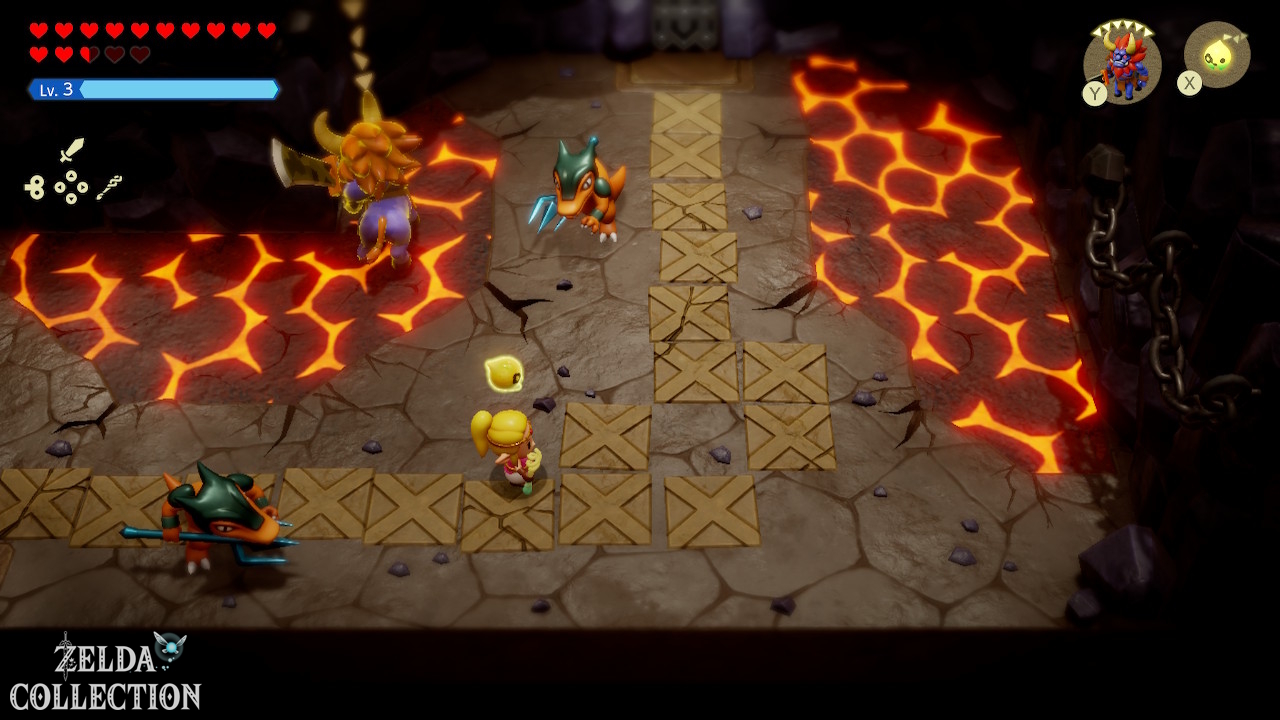
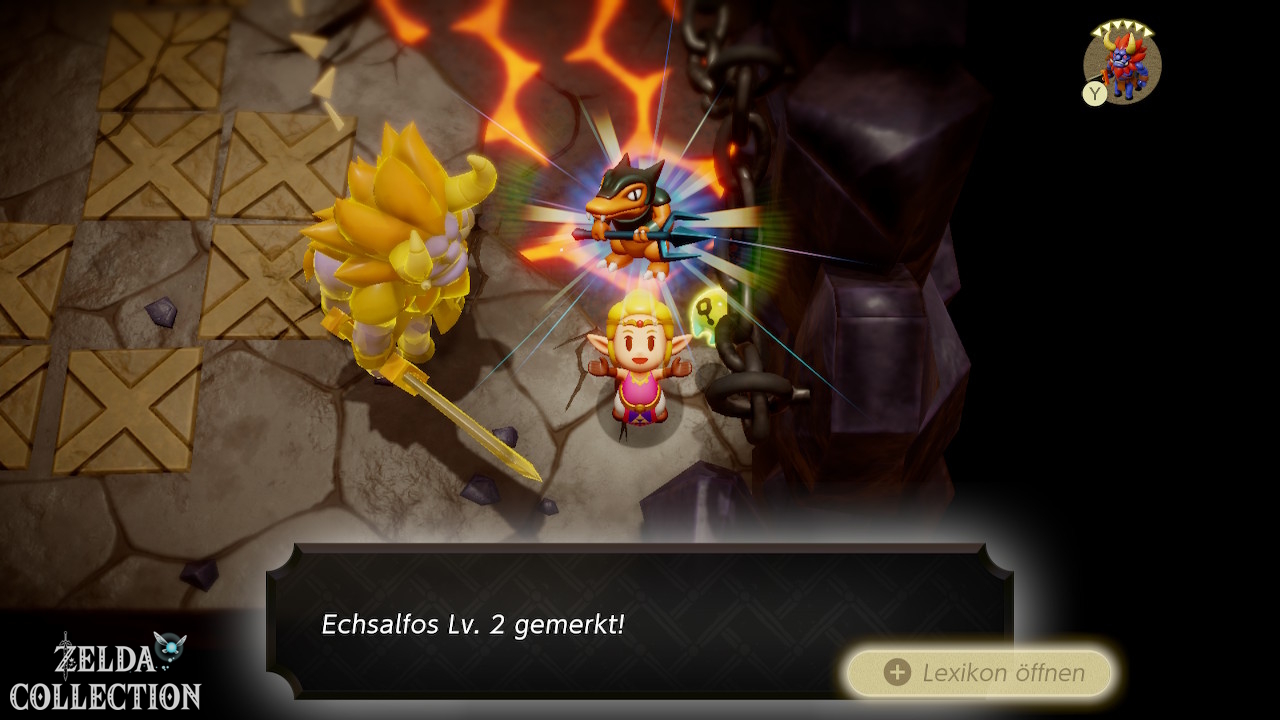
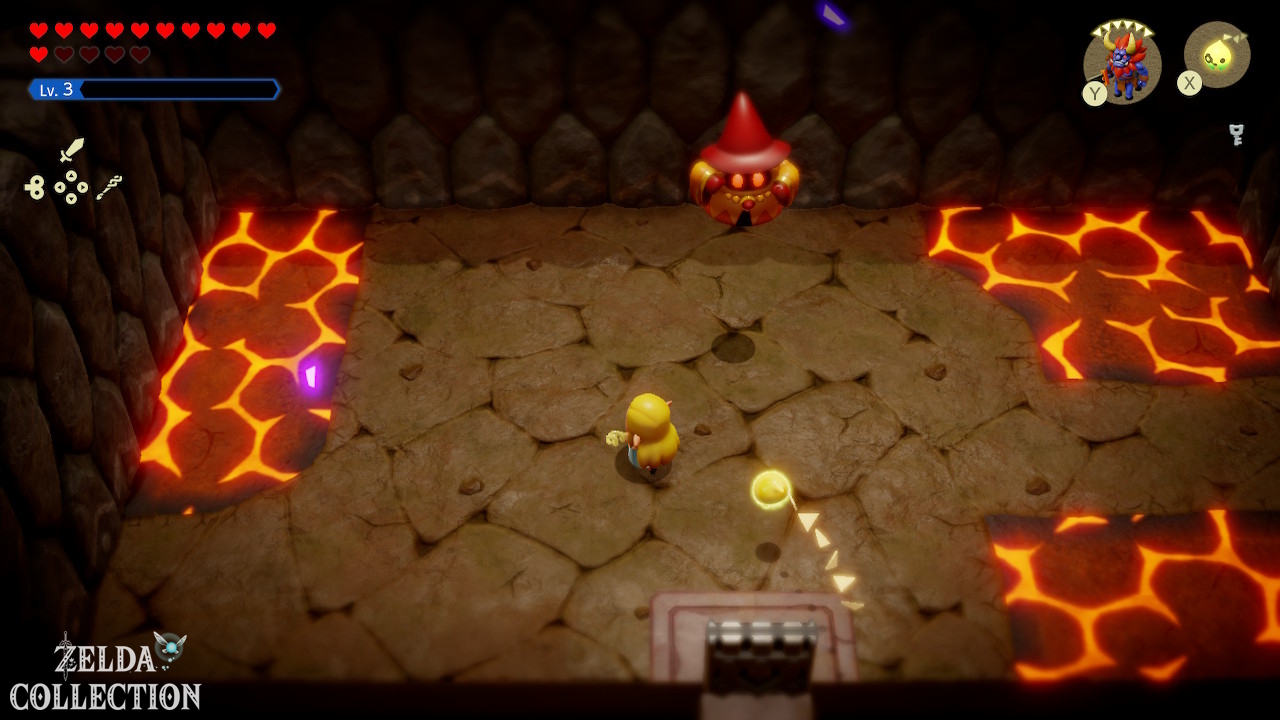
Enter the cave and follow the passages. In the Lizalfos Burrow, opponents attack quickly and avoid direct attacks. Let a robust combat echo hold their attention and stay on the safe side of the platforms. Defeat the enemies in each room before moving across the next lava area. A flying echo reaches them even if there is lava between you. In particular, learn Lizalfos Lv. 2 if you are still missing it. Defeat all enemies that threaten the Gorons.
After the area is secured, this part of the main mission is complete.
Might Crystals in the Lizalfos camp
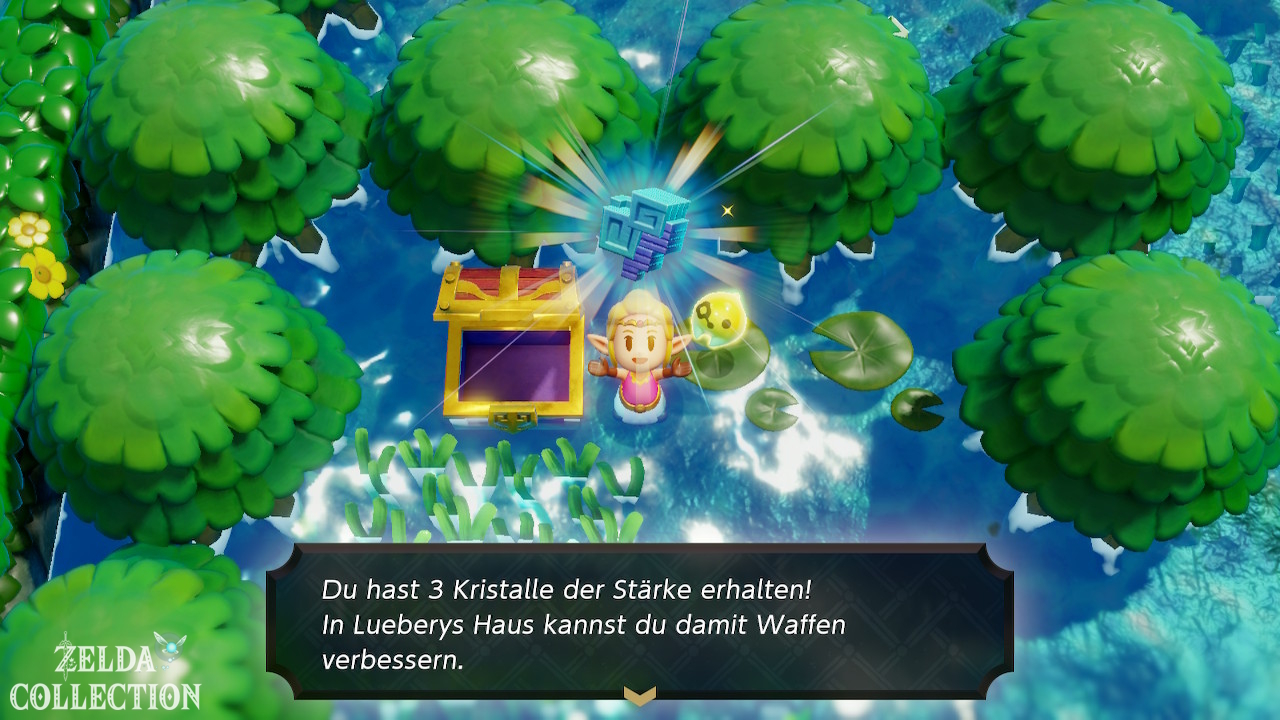
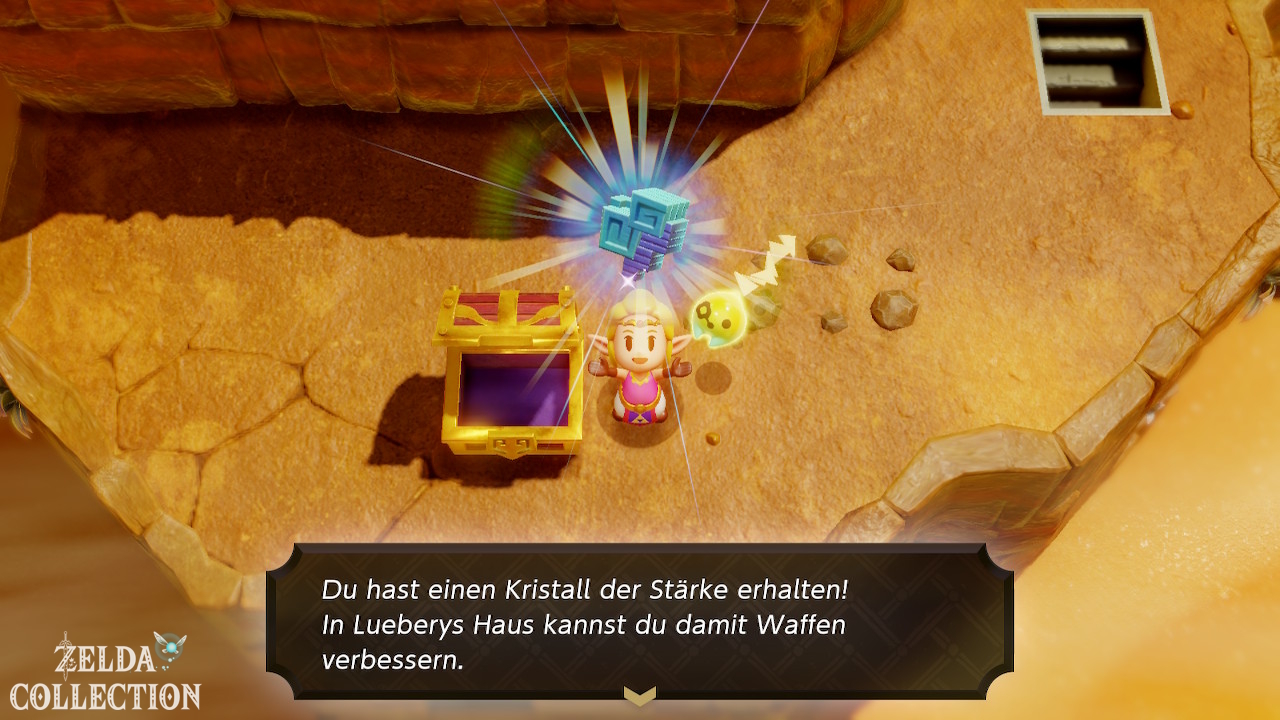
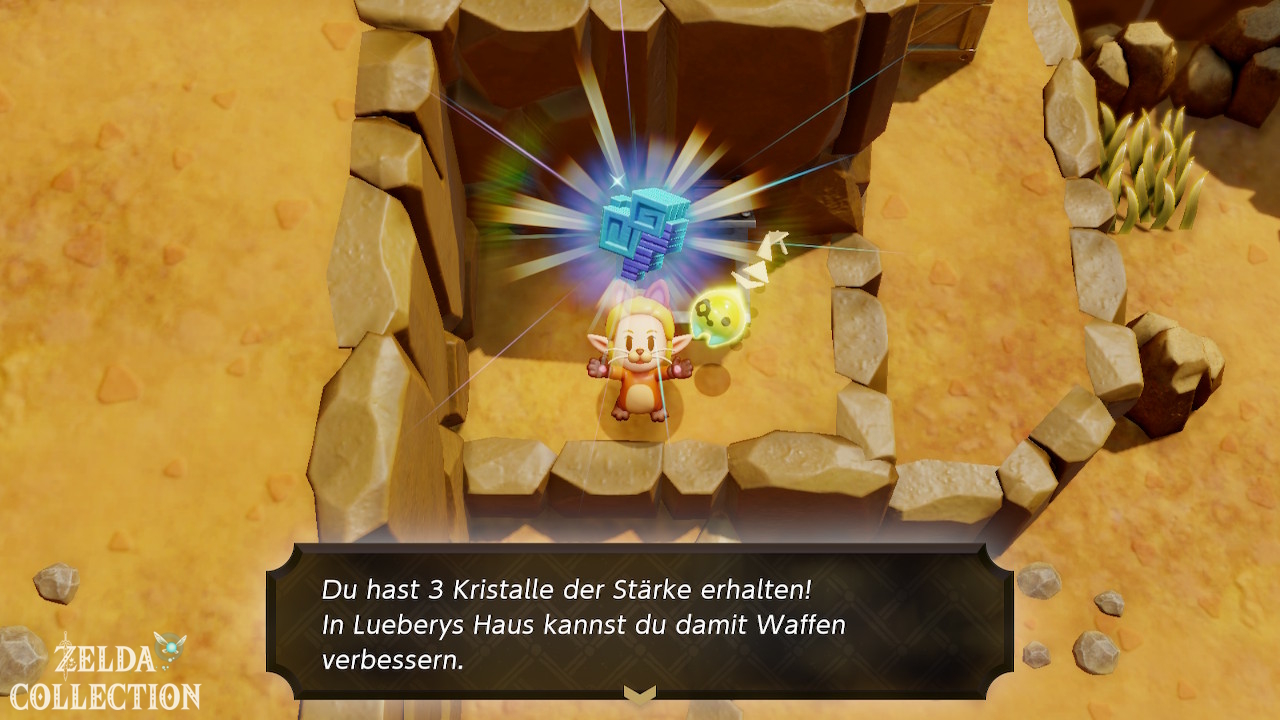
Clear the Lizalfos camp and open the chest for three Might Crystals.
Rock-Roast Quarry
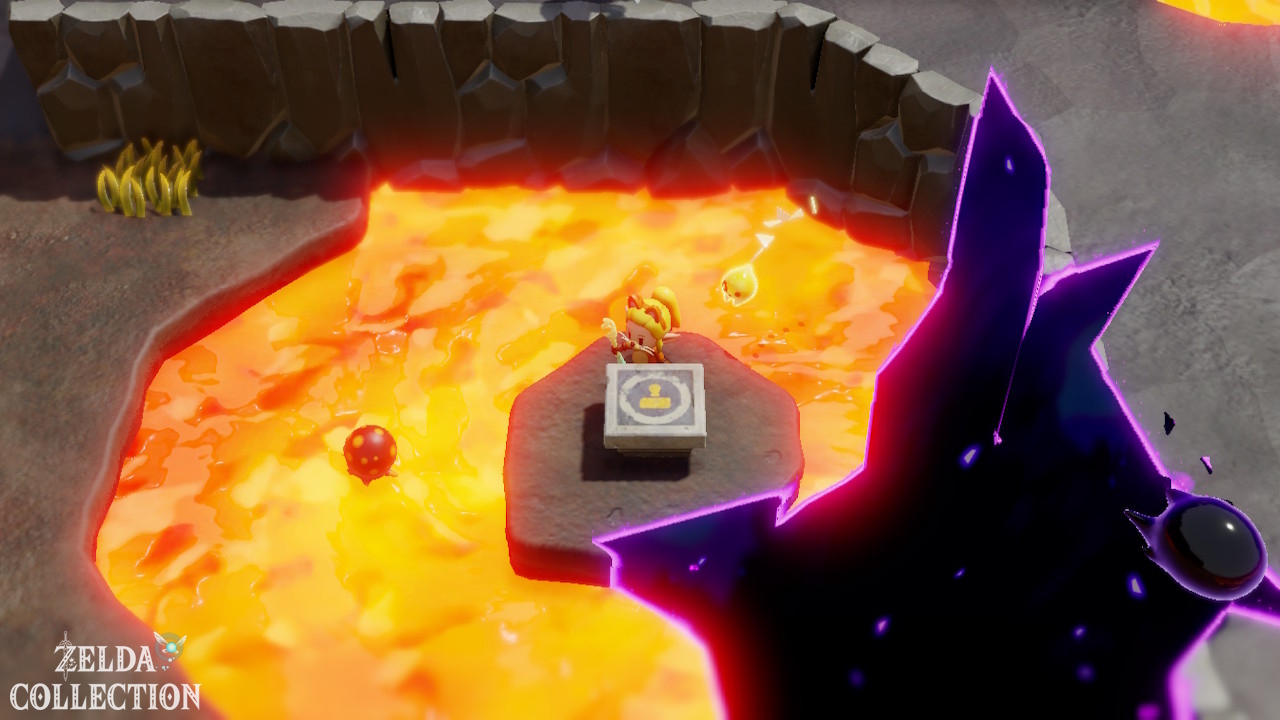
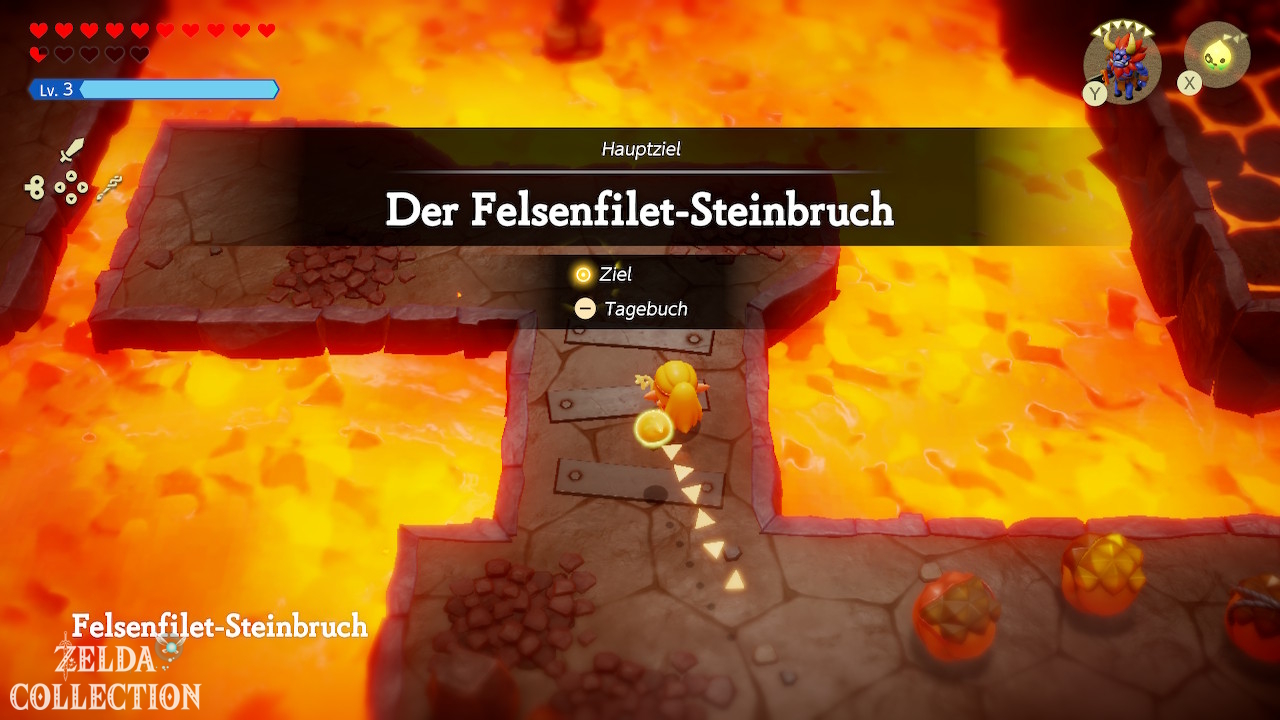
The second mandatory route leads to Rock-Roast Quarry. On the way you can collect the second Stamp Stand. It stands in a small lava lake south of the quarry.
Echo: Rock Roast
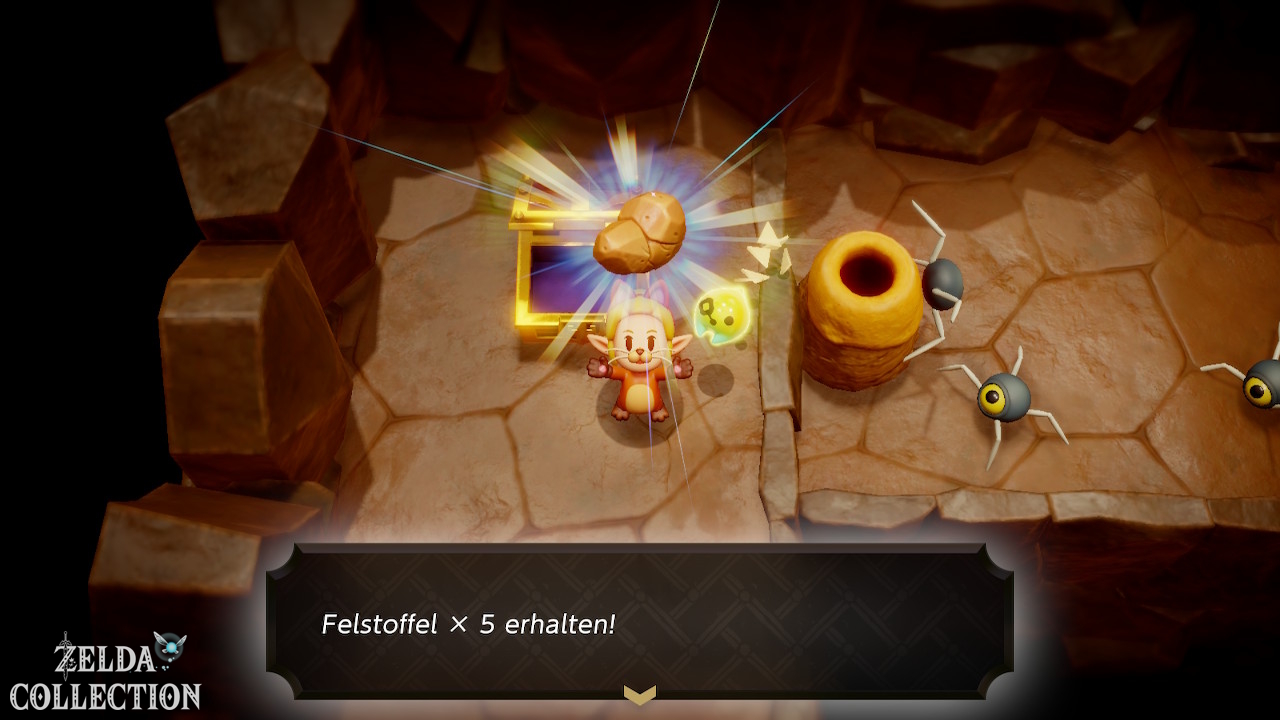
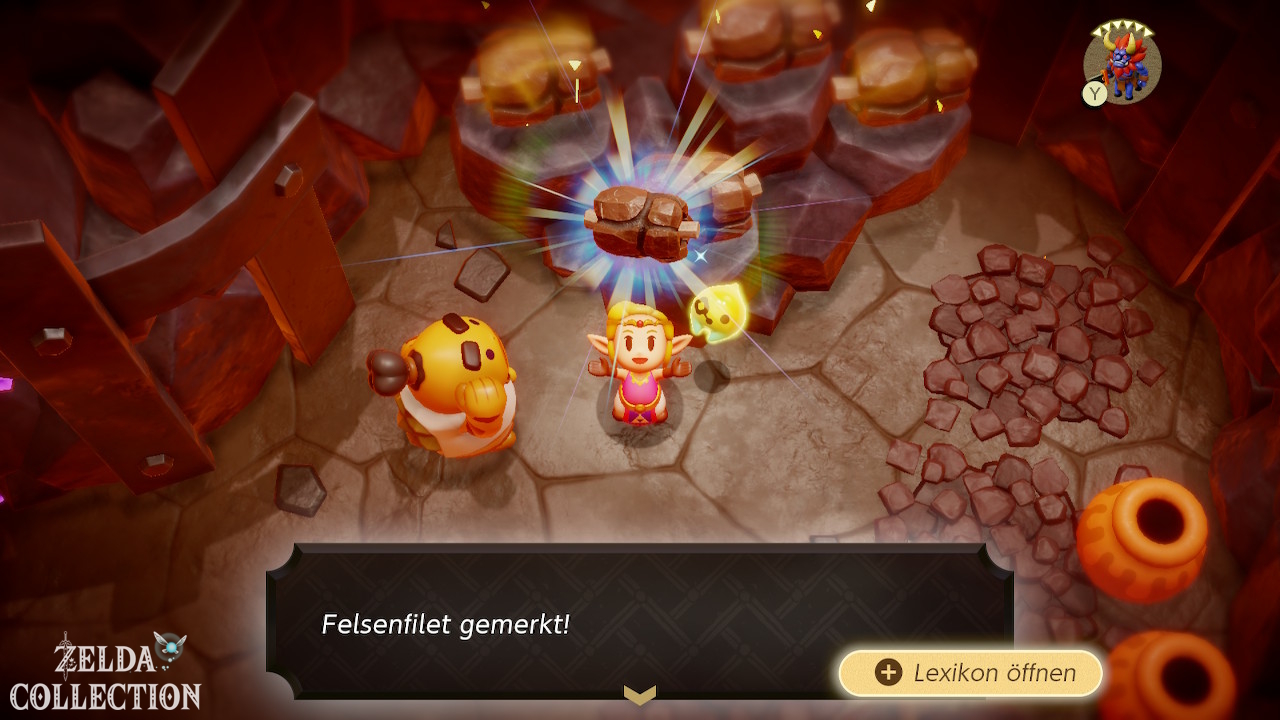
In the quarry you will find the distinctive rock fillets. Learn the Rock Roast Echo. It only costs one triangle and will also be useful for Side Quests and distractions later on.
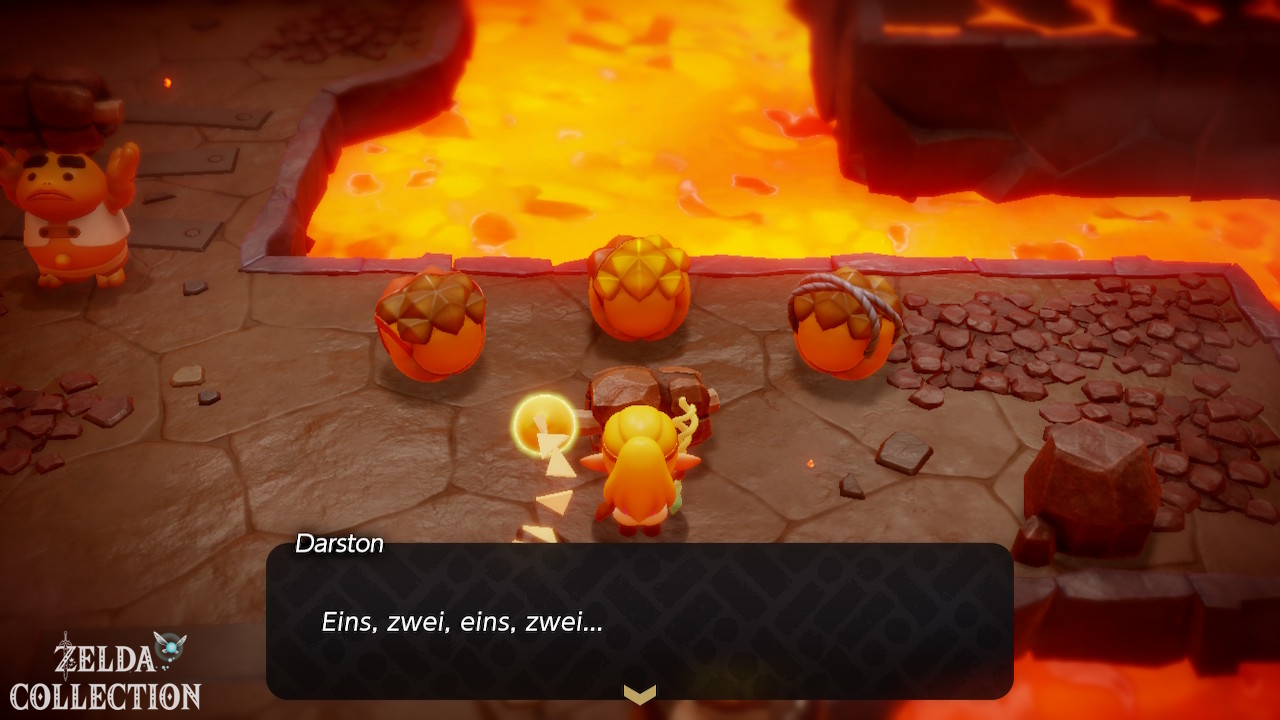
Feed the three Gorons
The first two Gorons will eat Rock Roast Echoes, but Elder Gol recognizes the imitation and insists on a real one. Learn the echo at the pile in the back of the quarry, then use Bind to carry an actual Rock Roast back to Gol. Clear the enemies from the return path before transporting it. Feeding all three Gorons completes this part of the quest.
Stilled Eldin Volcano
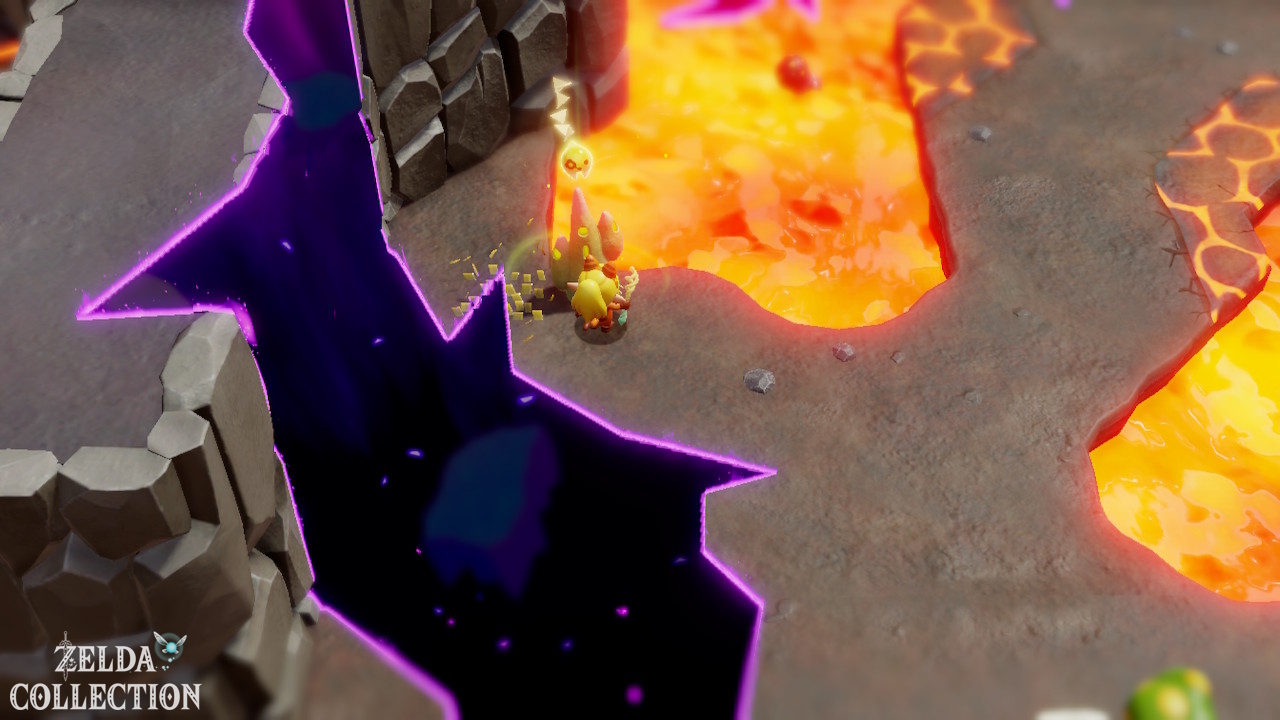
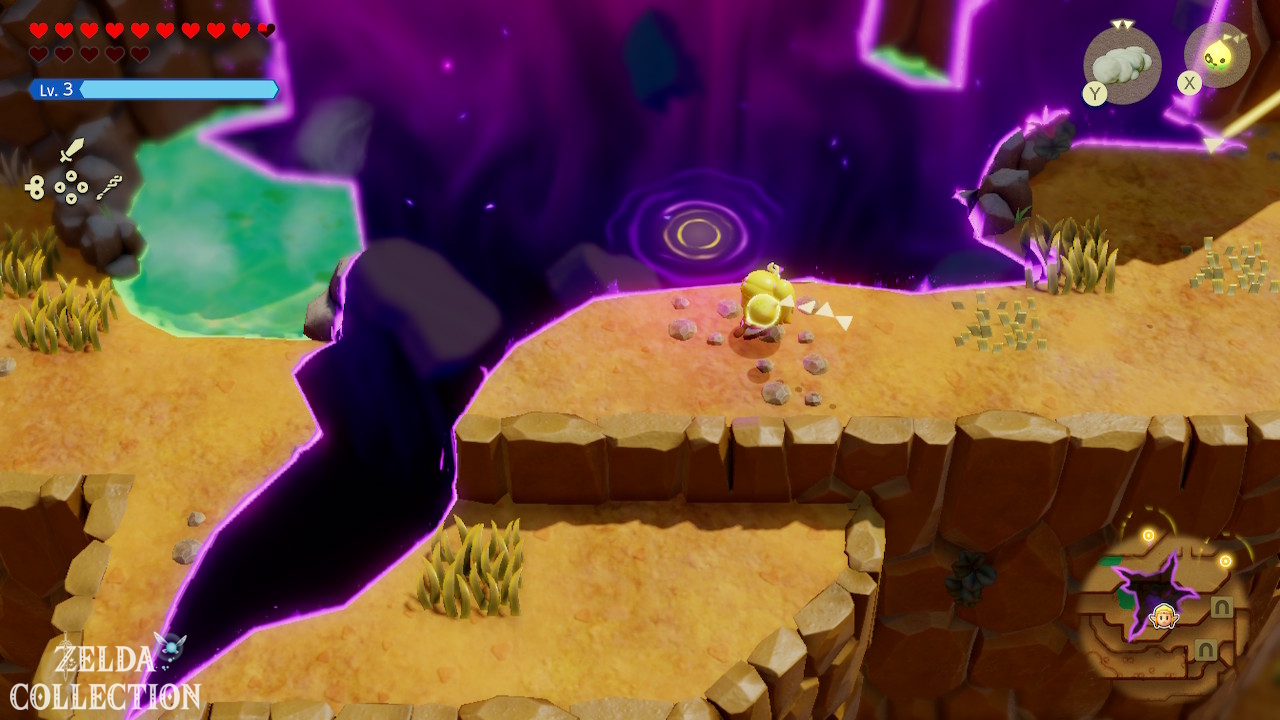
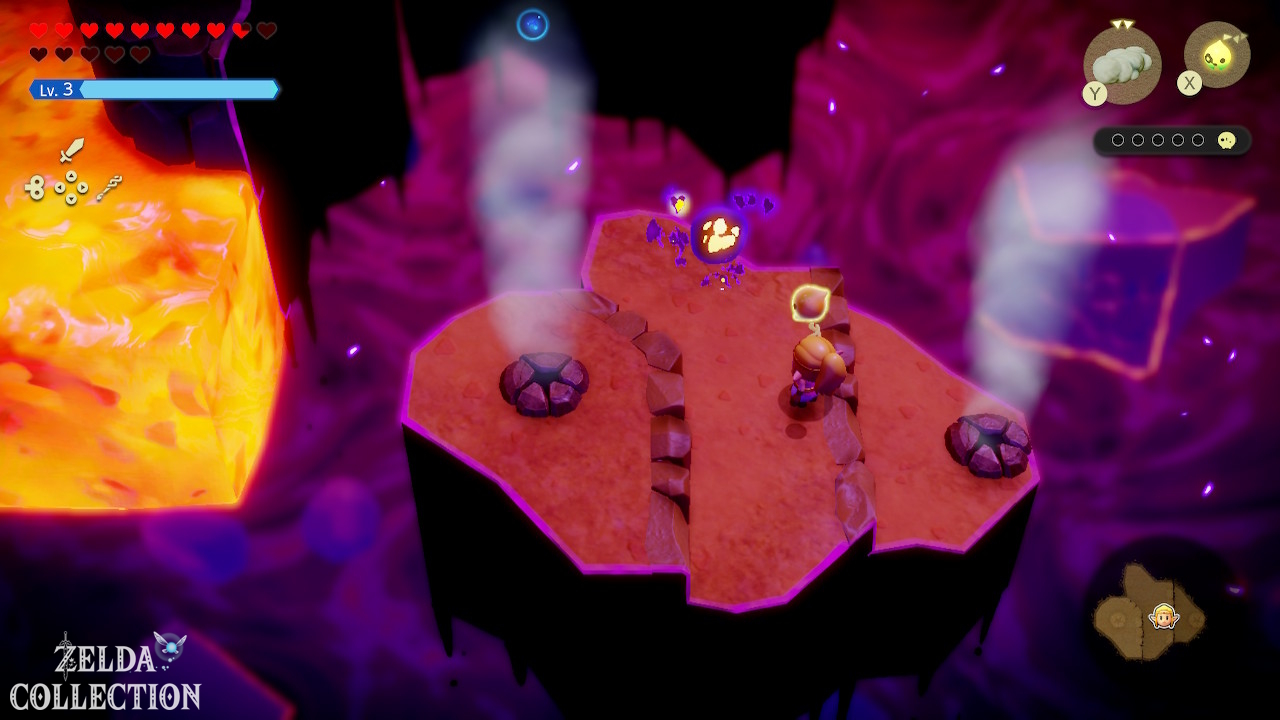
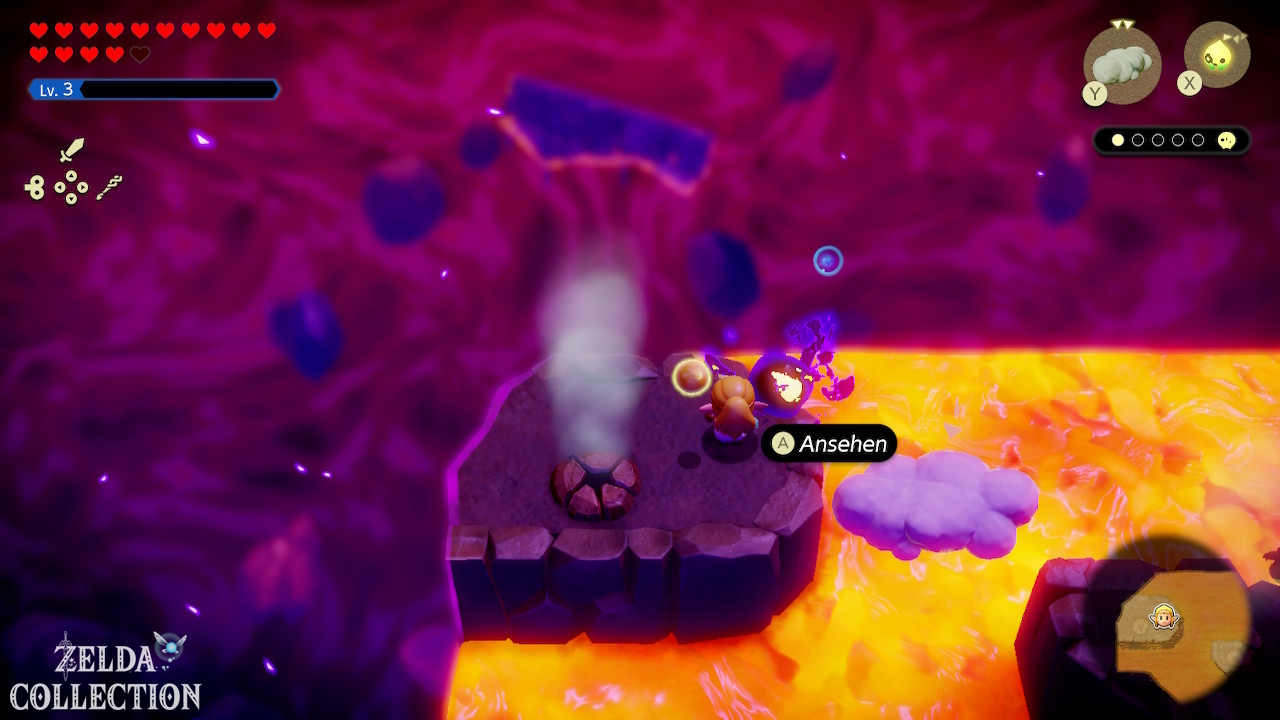
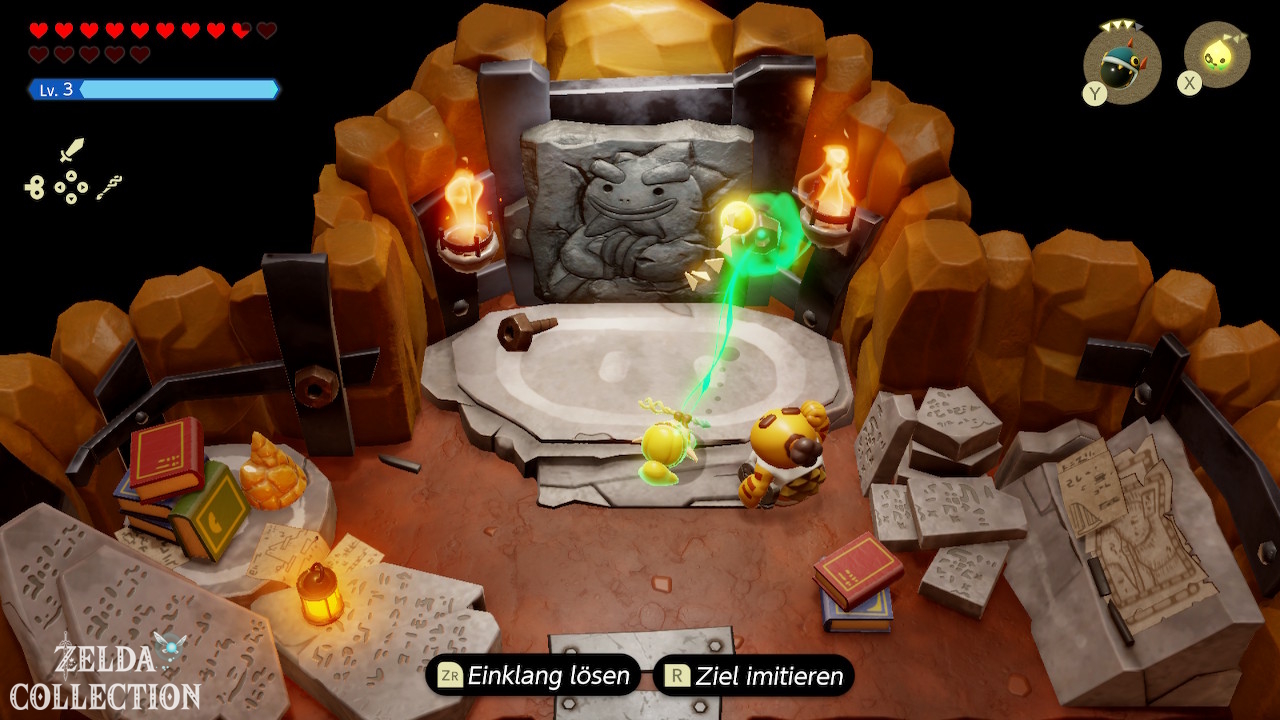
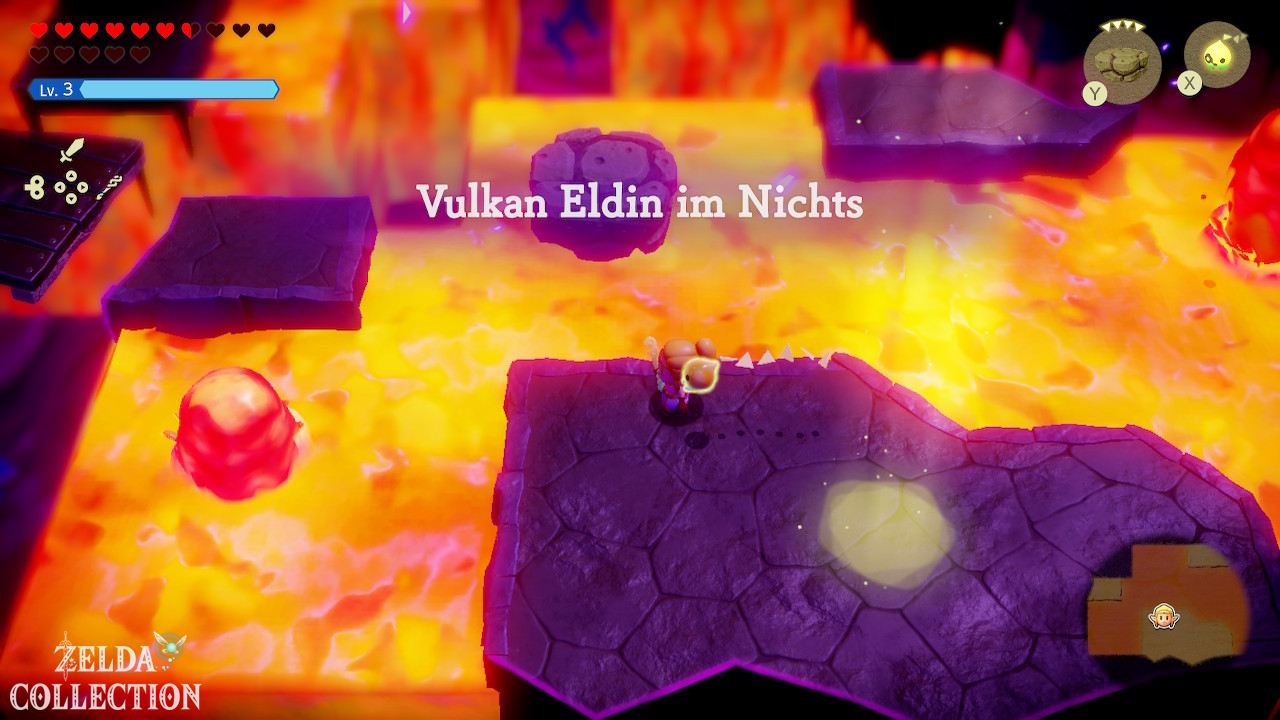
After Lizalfos Burrow and Rock-Roast Quarry you return to Darston. His father’s clues ultimately lead to a hidden entrance to the volcano. Follow Darston and enter the large rift. Floating rocks, lava and strong enemies alternate in the Stilled Eldin Volcano. Use lava rocks on lava fountains and flying echoes for longer distances. On the way you will meet more new fire opponents. Specifically learn:
- Fire Keese
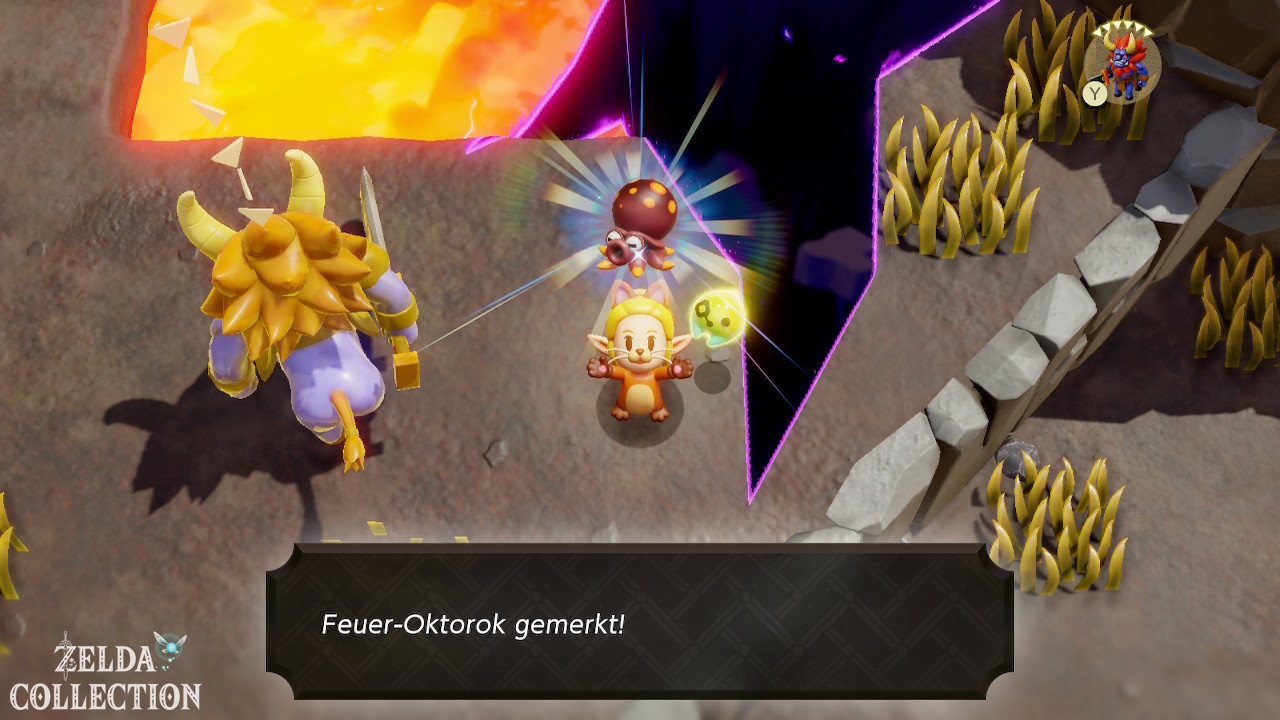
- Fire Octo
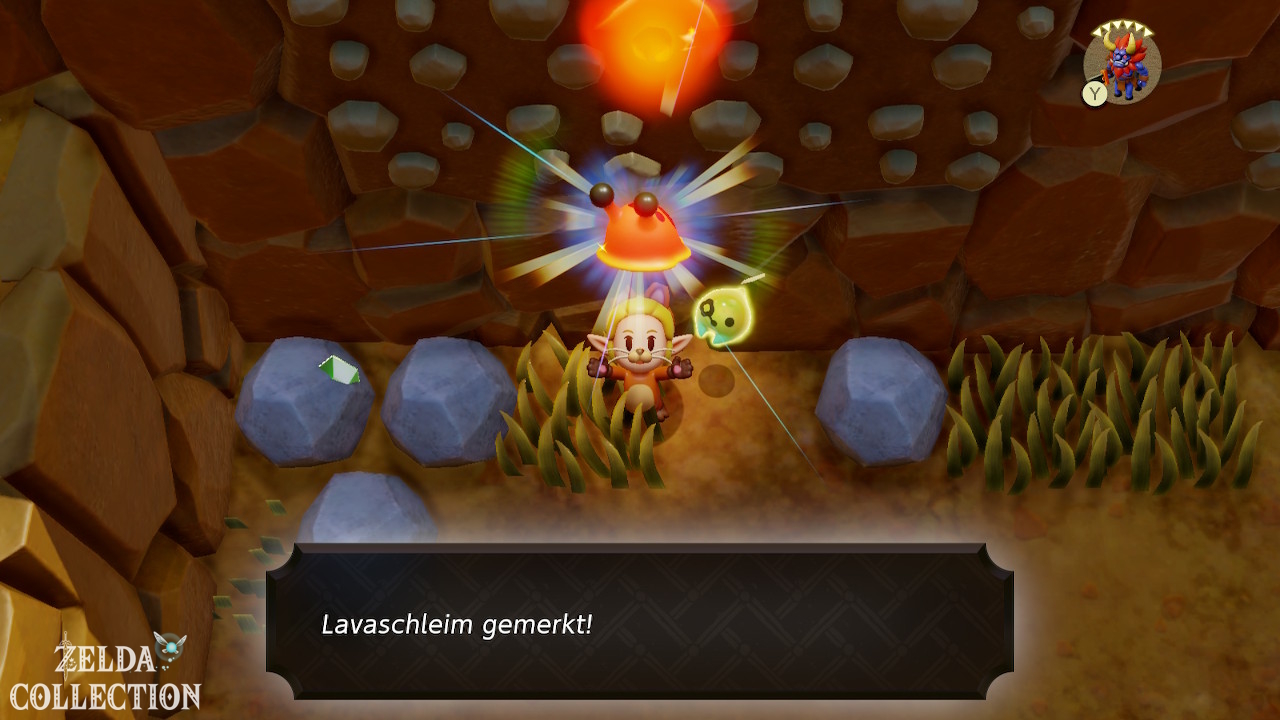
- Torch Slug
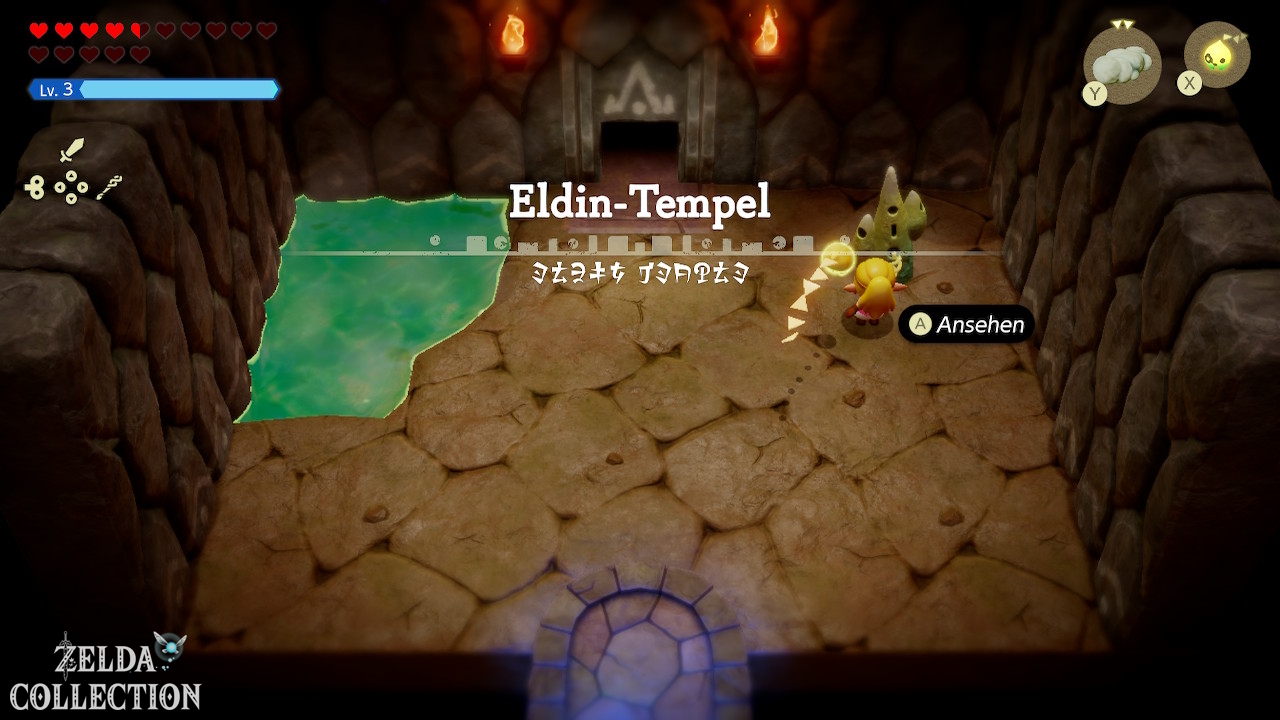
The path ends at Eldin Temple.
Eldin Temple walkthrough
Activate the Waypoint at the entrance.
First Small Key
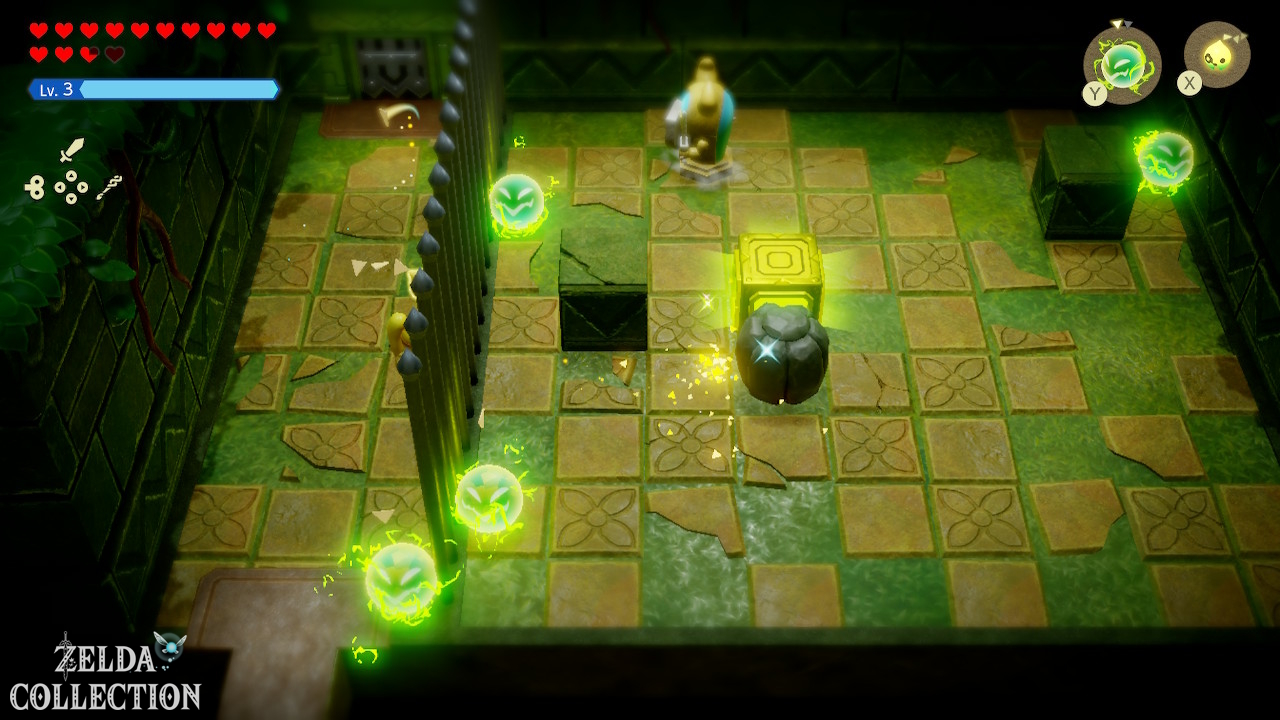
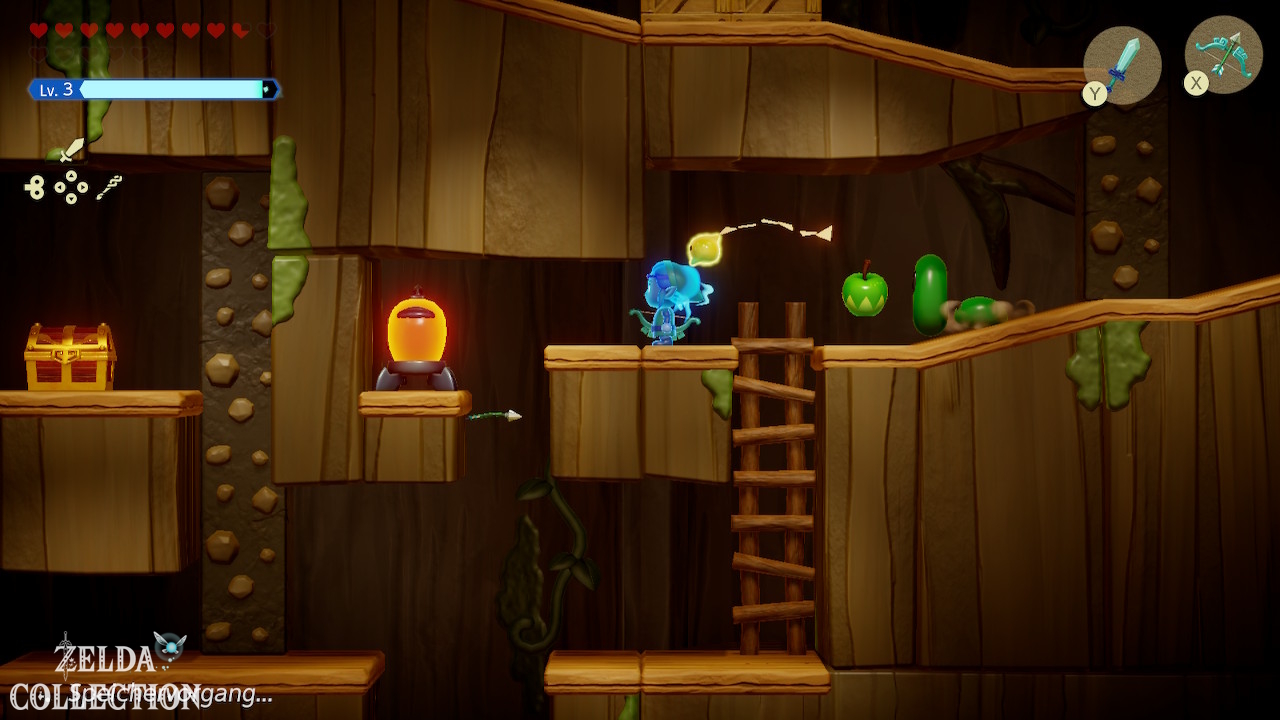
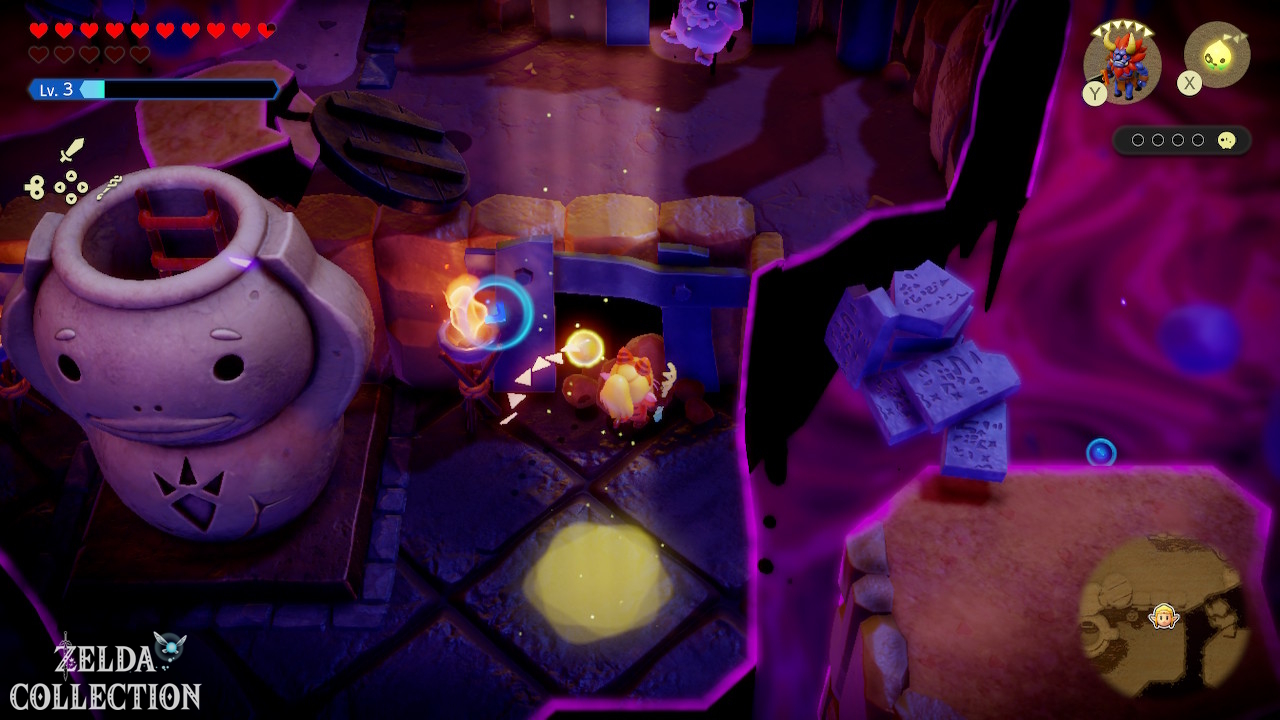
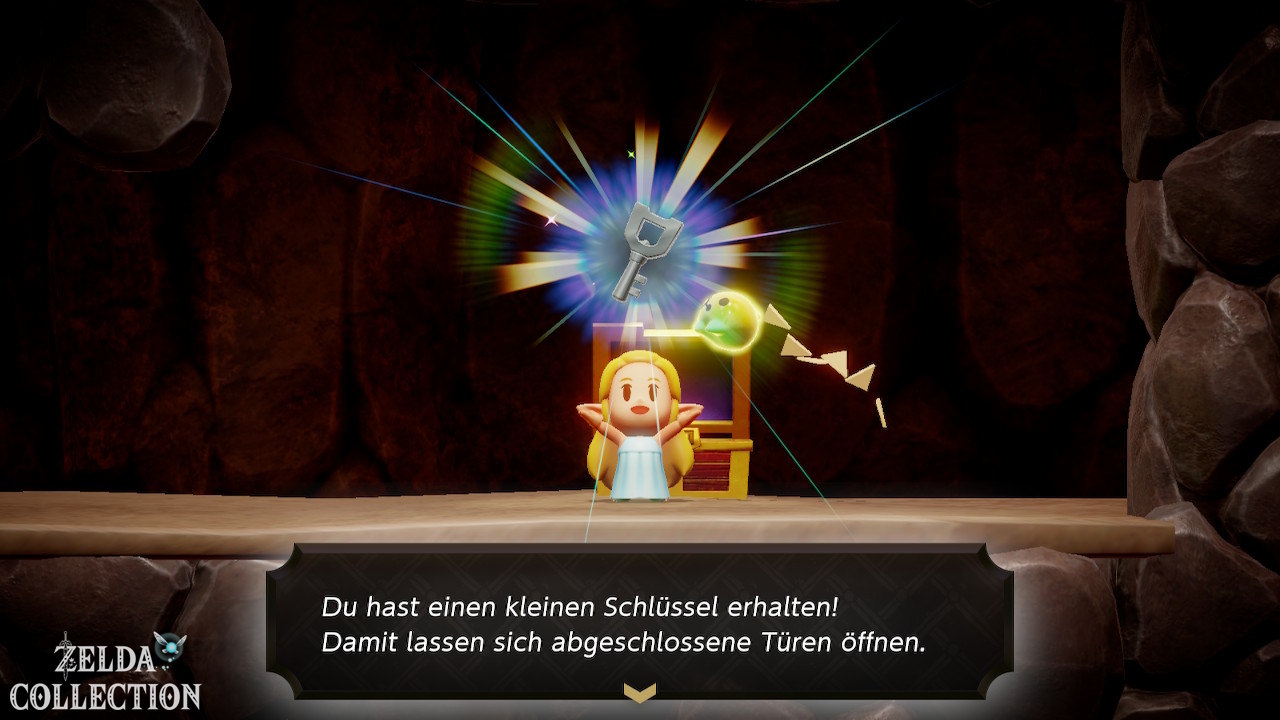
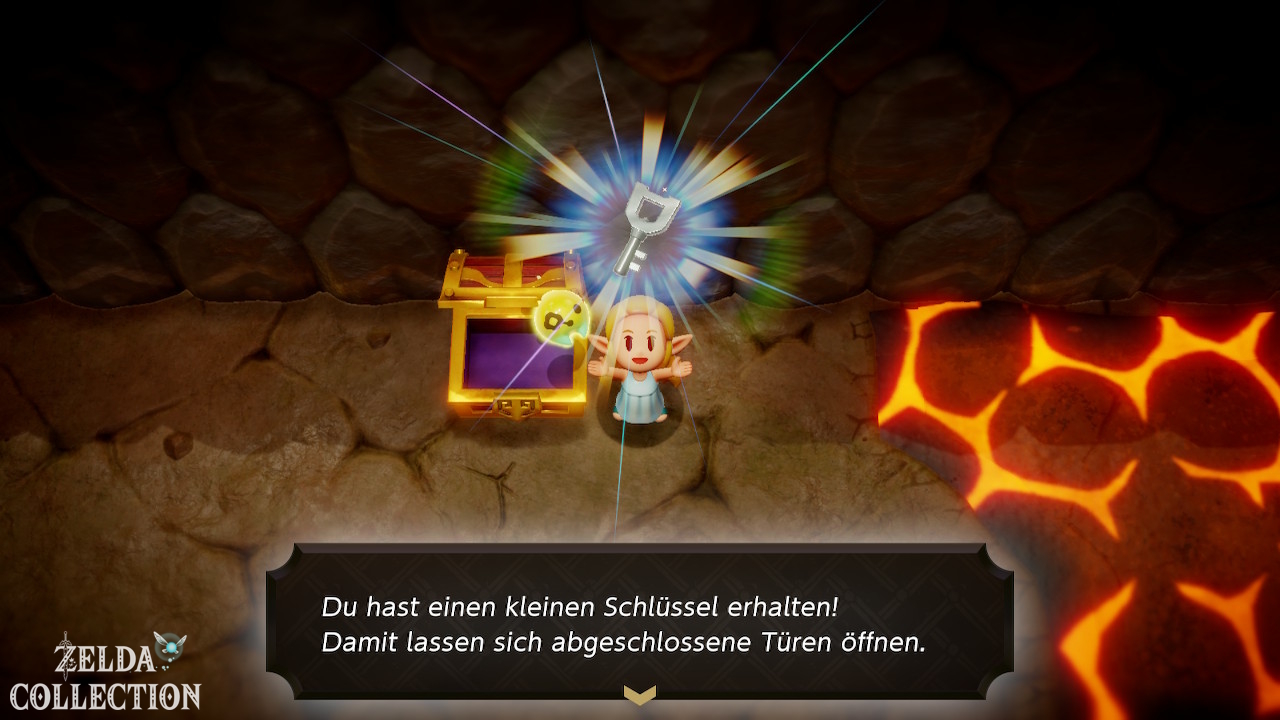
In the left side room you blow up the brittle rocks with Bombfish and open the chest with eight Twisted Pumpkins. Return to the entrance hall and continue right. Place a lava rock on the fountain, jump up and let it carry you to the raised door. In the room with the air currents you lift a flying echo like Ghirro over Zelda and glide over the updrafts to the side platform. There is the first Small Keys.
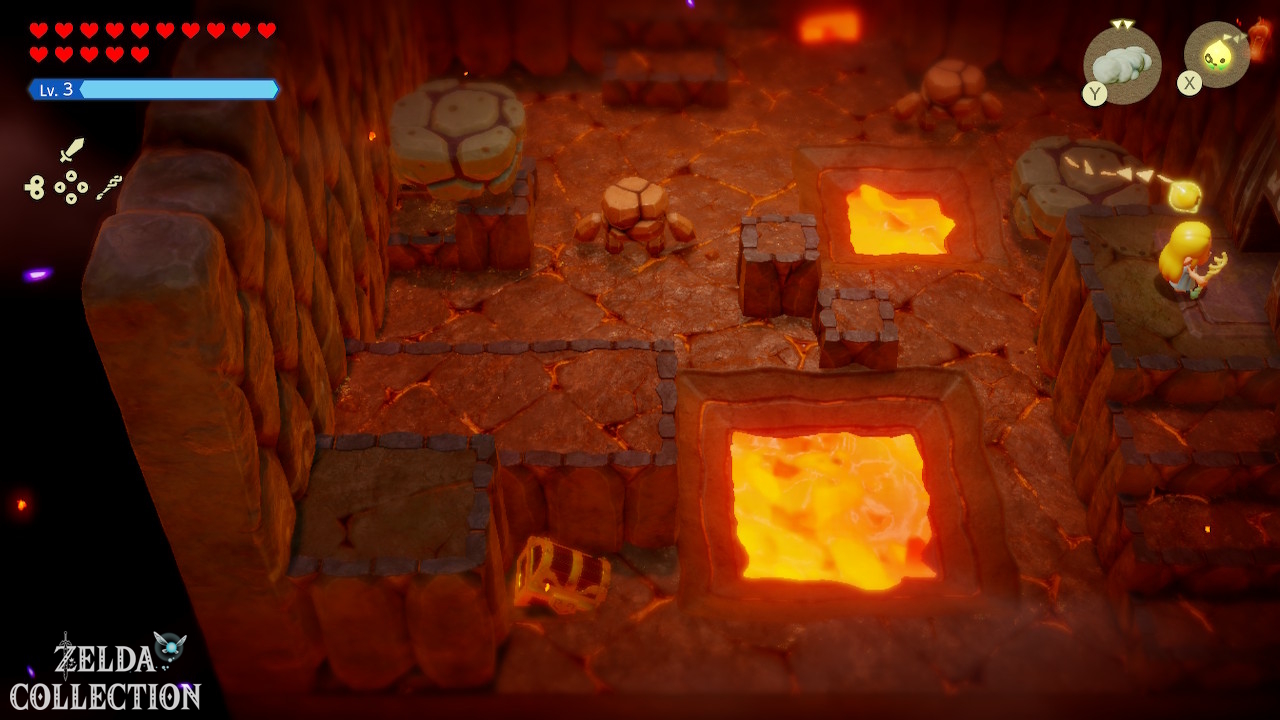
Lava rises and falls
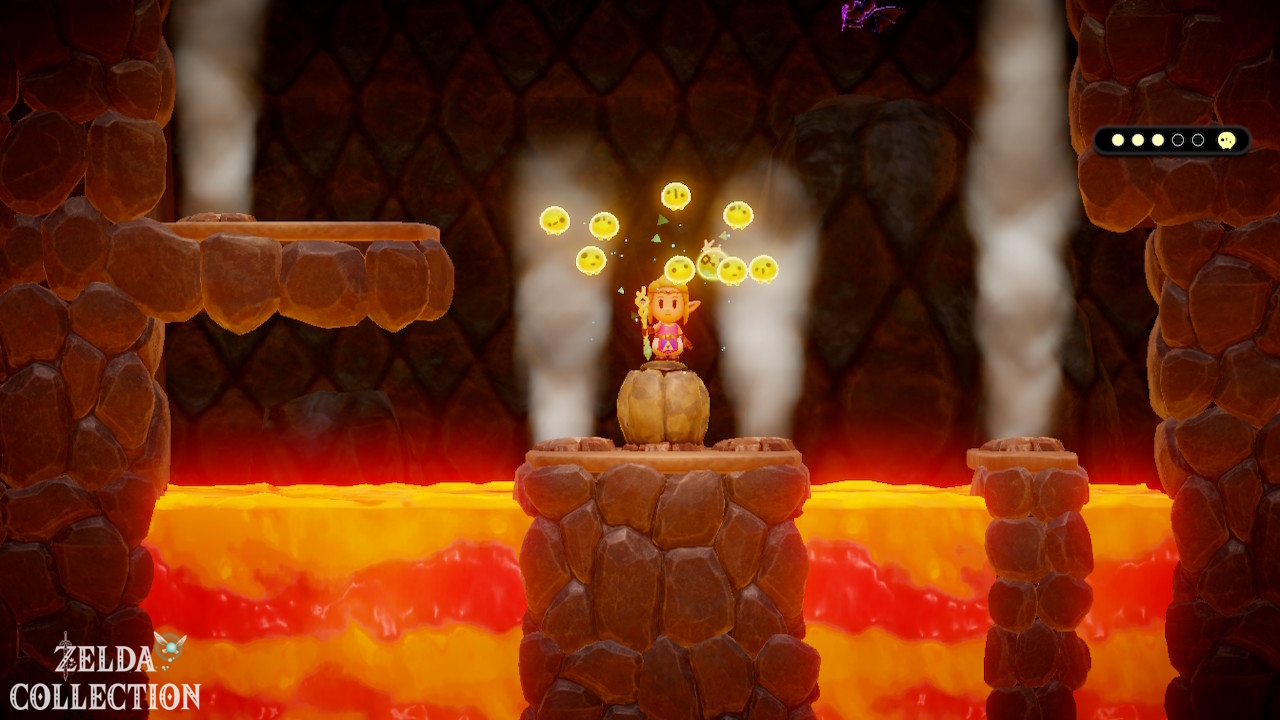
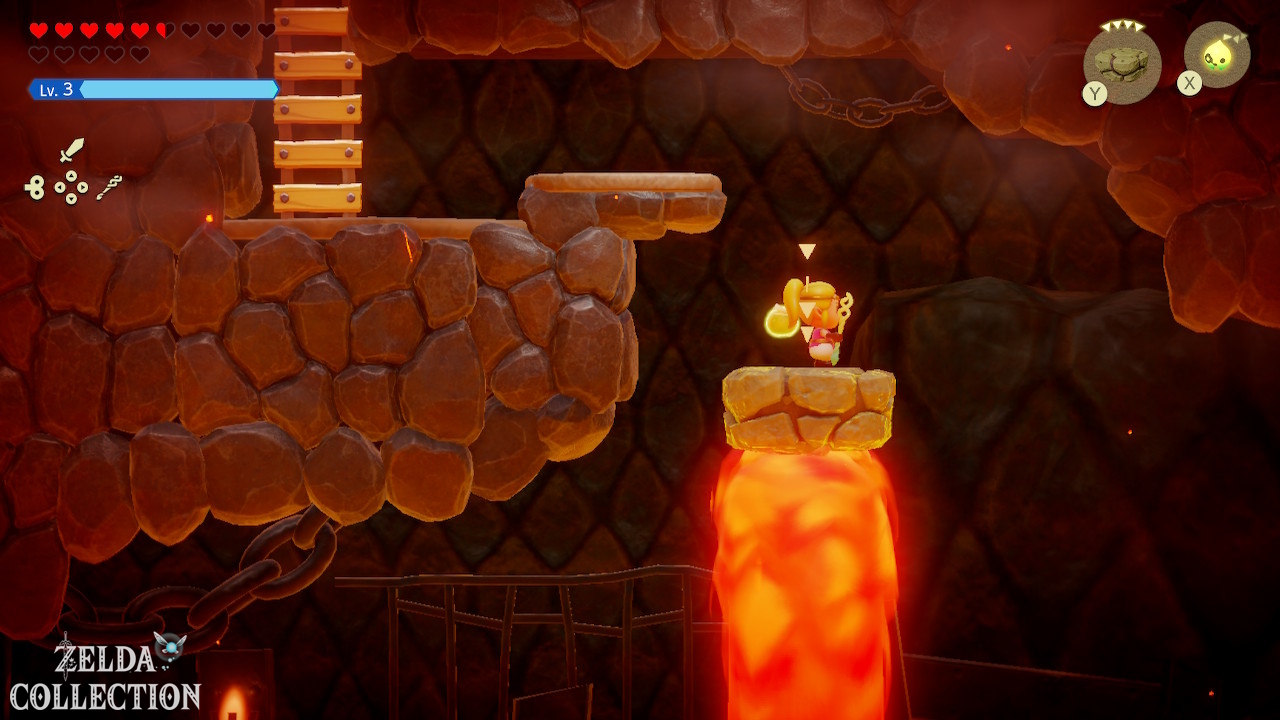
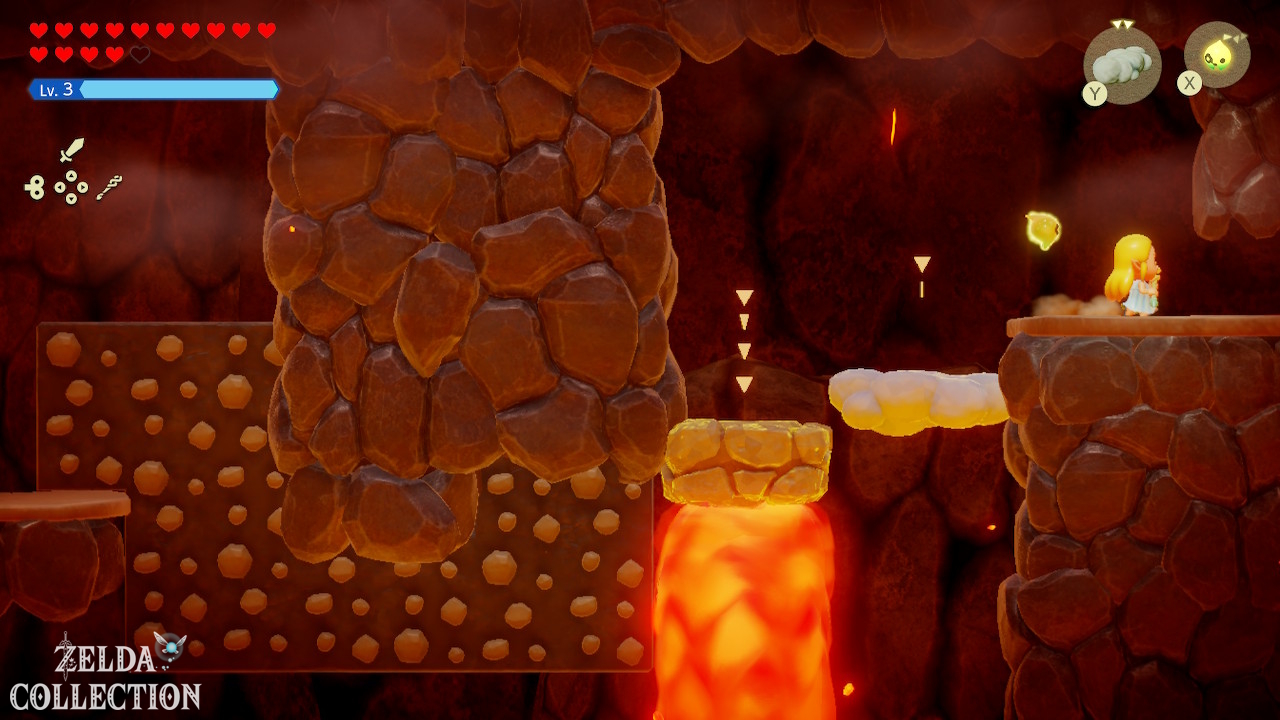
Return to the main area and open the corresponding door. The lava rises and falls regularly in several rooms. Place a lava rock on the surface while the lava is low. If it rises again, your platform will be carried up with it.
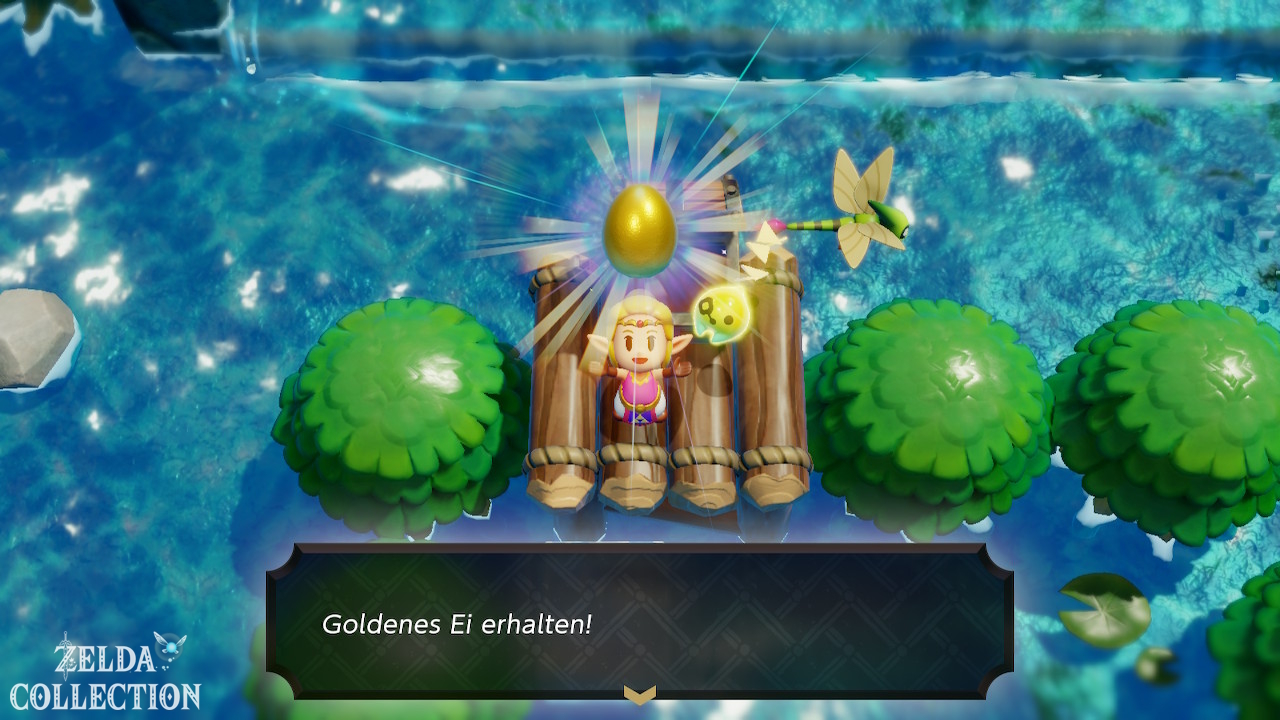
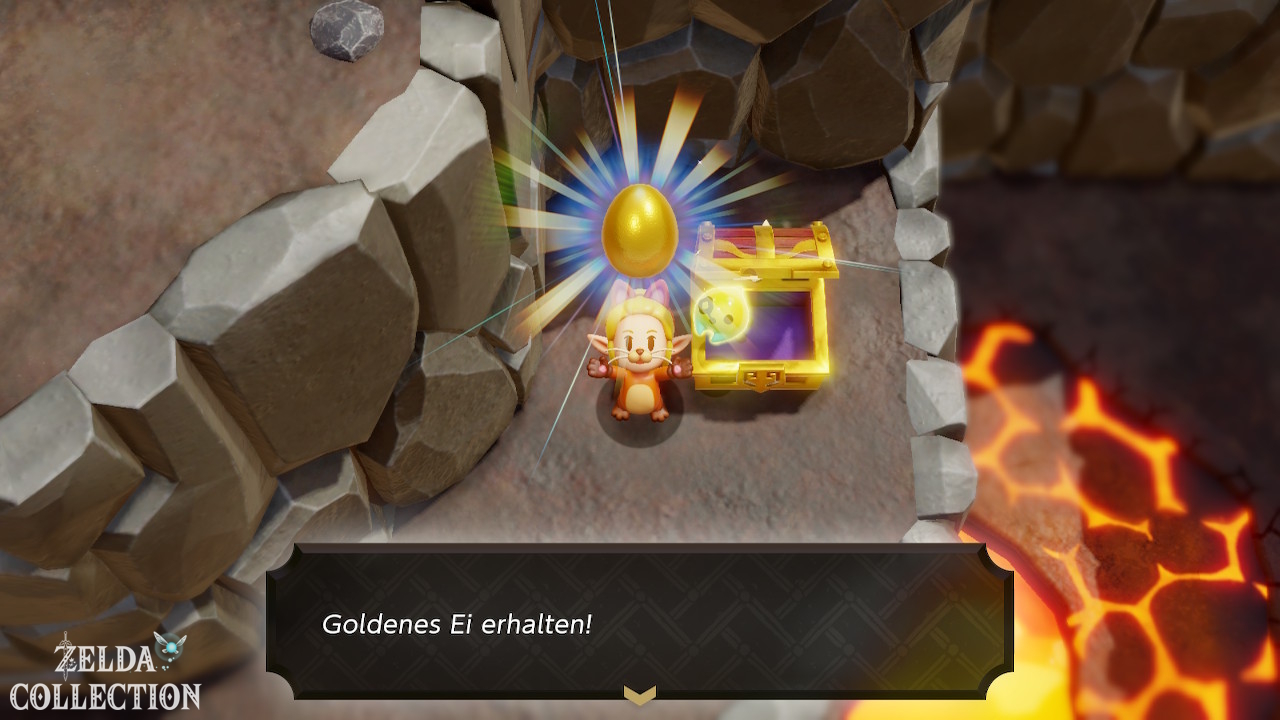
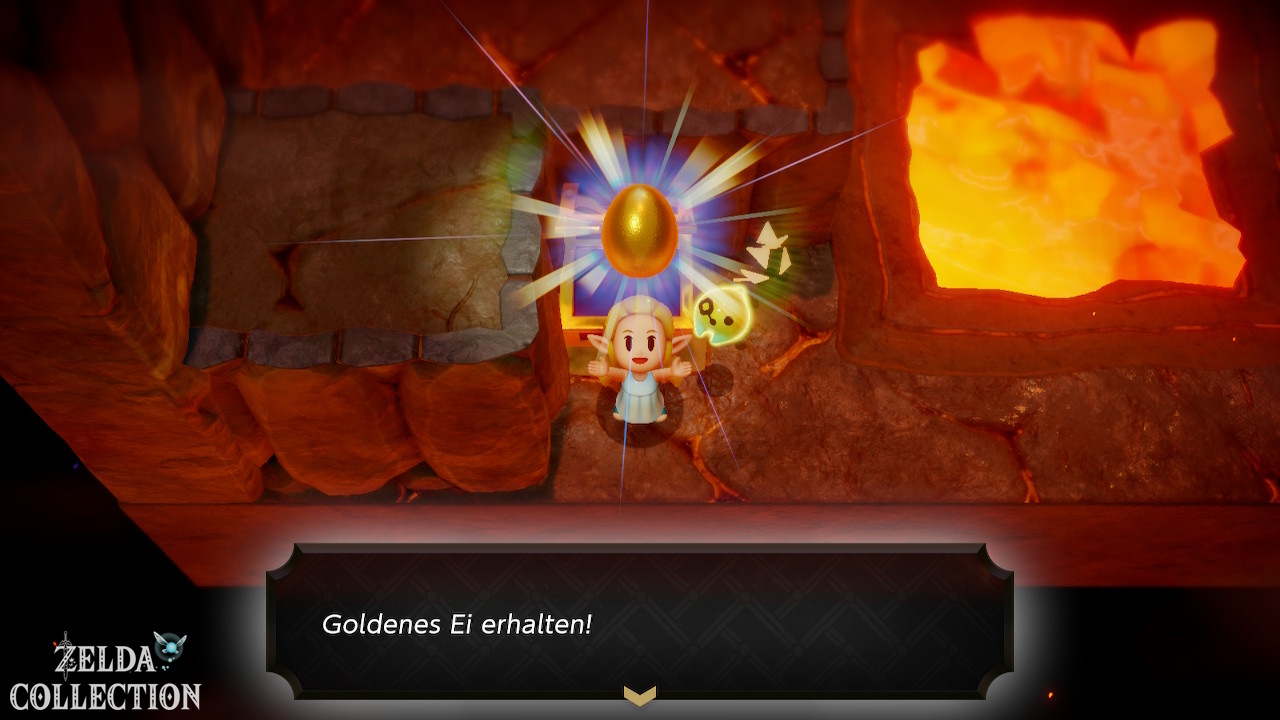
Golden Egg
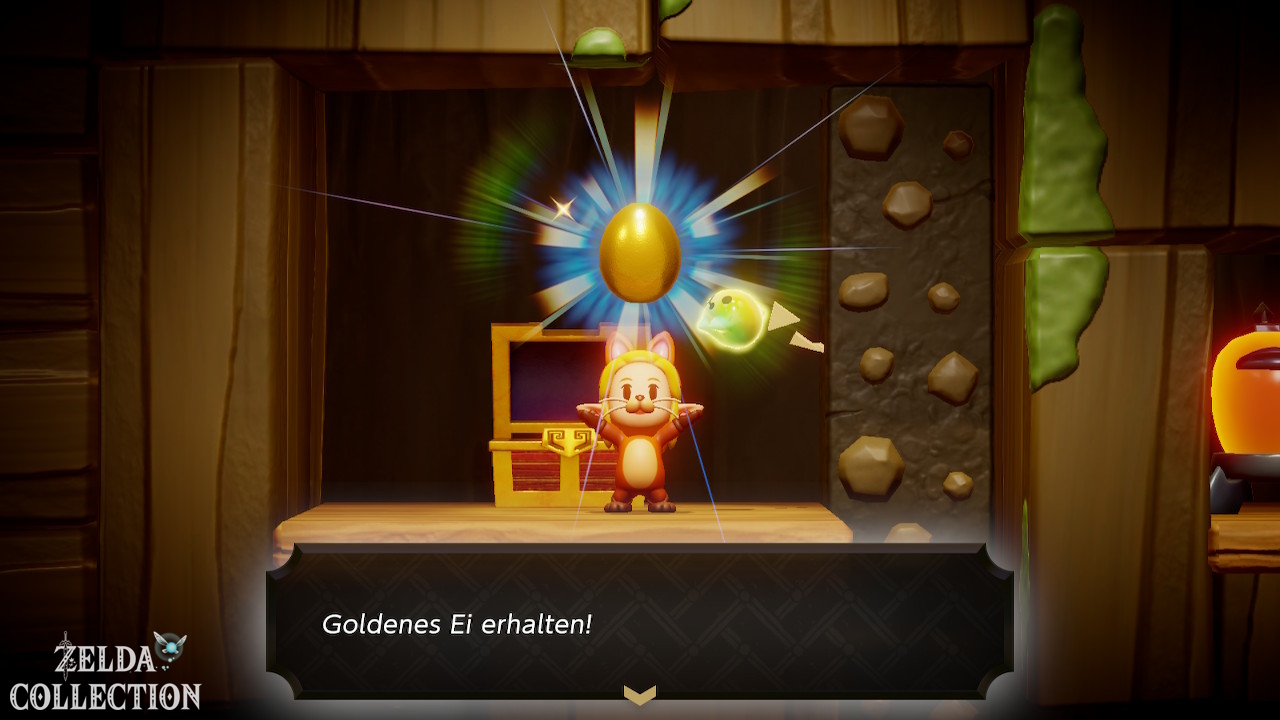
In one of the lower side areas there is a chest with a Golden Egg.
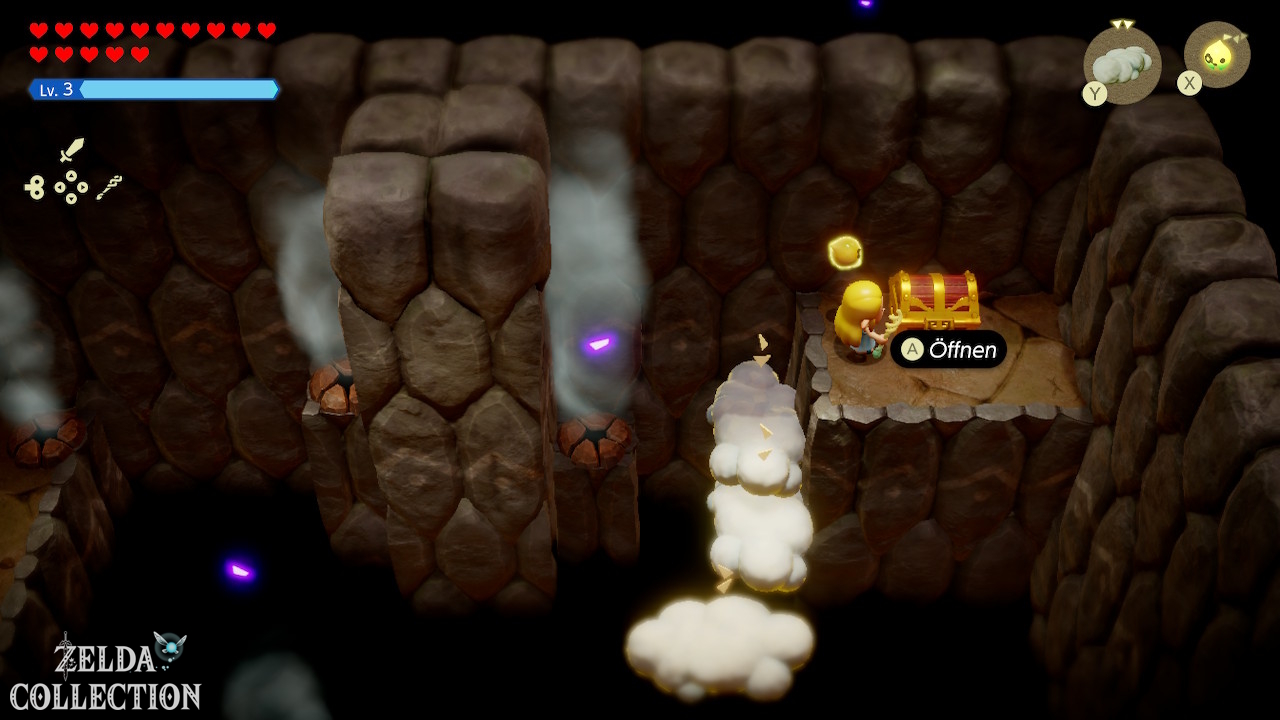
Block the steam jets
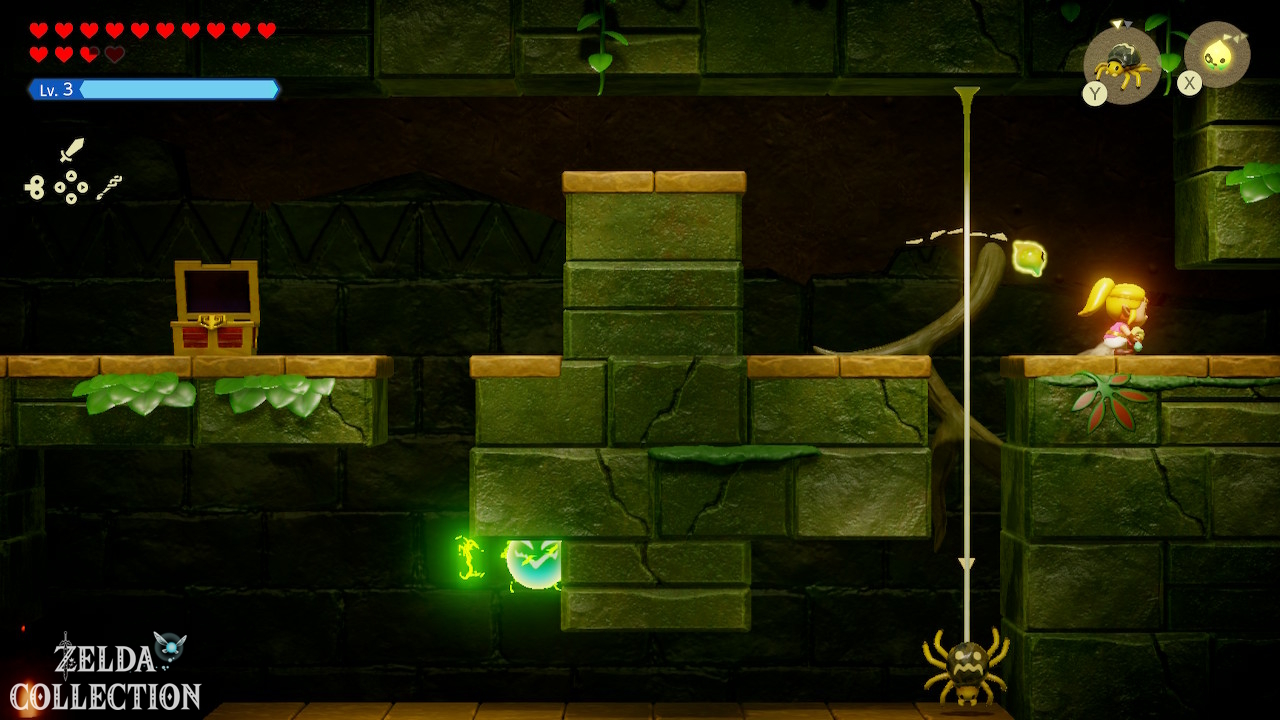
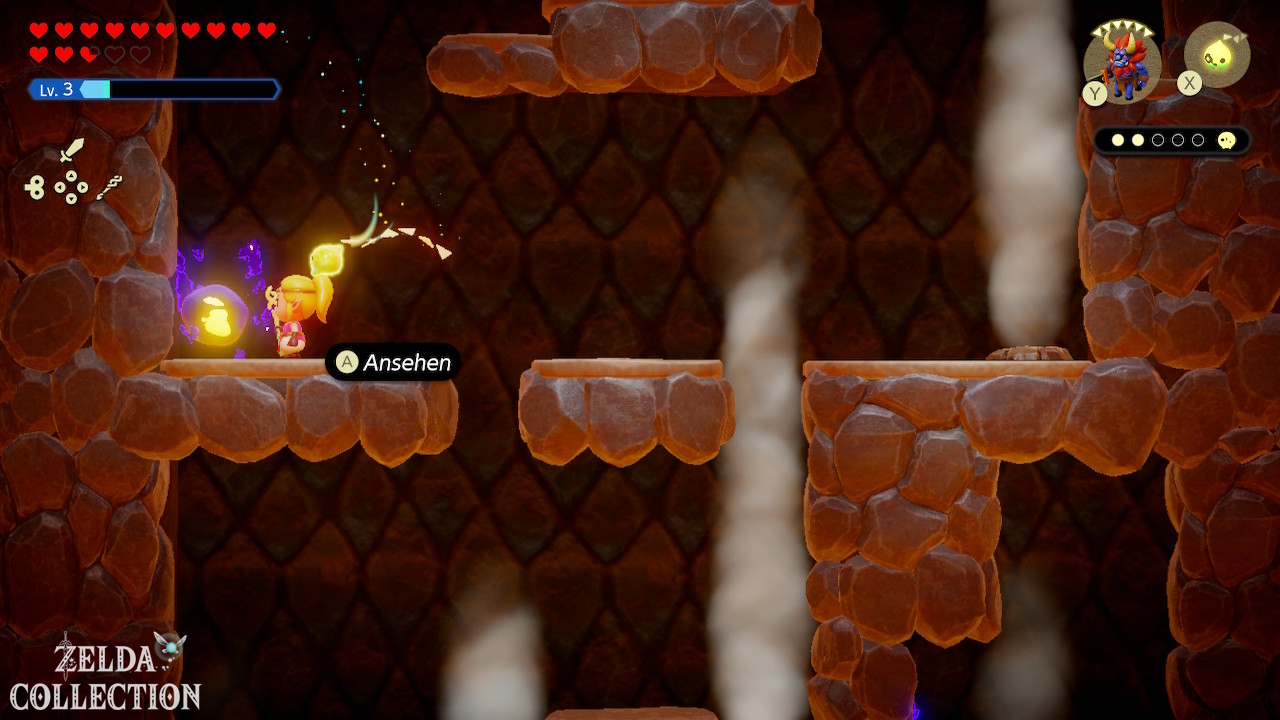
In the side views, steam jets push Zelda from the climbing surfaces. Place rocks on the solid ledges in front of the exit openings to stop the steam blowing across your route. Use existing lava rocks with Bind instead of summoning additional expensive ones. Don’t continue climbing until the next safe landing is clear; As the lava rises, keep an eye on the ladder.
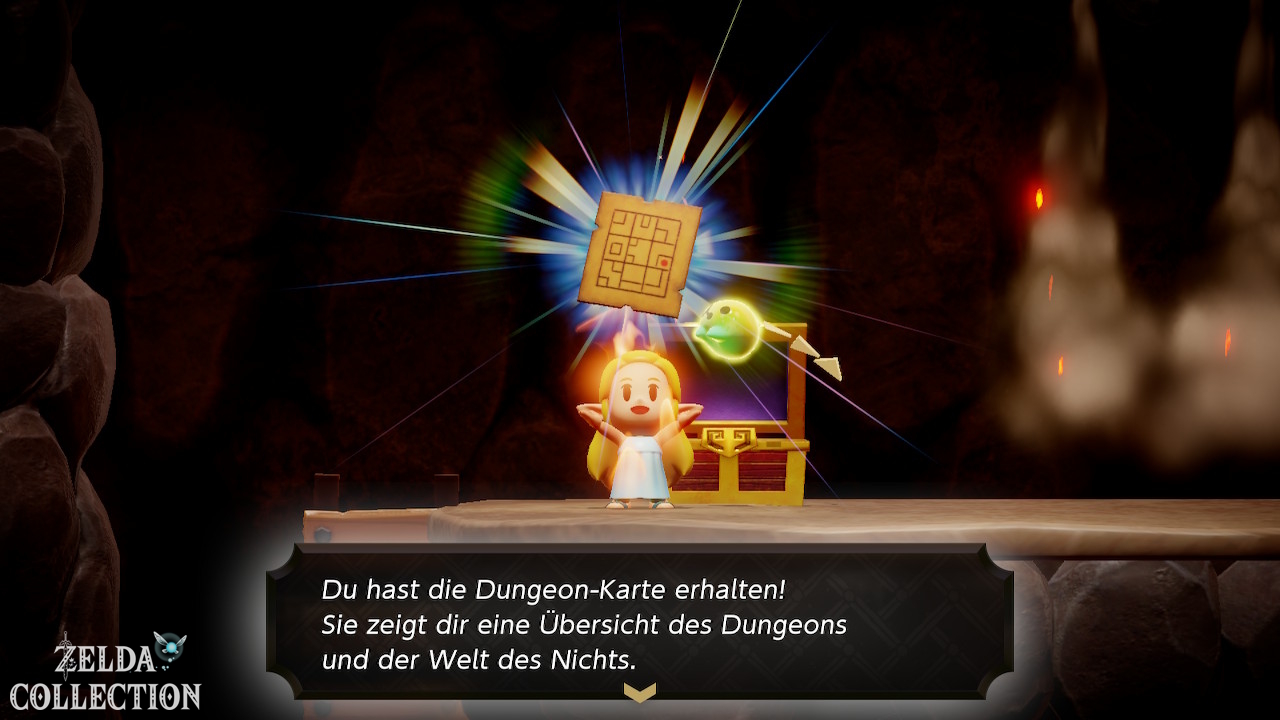
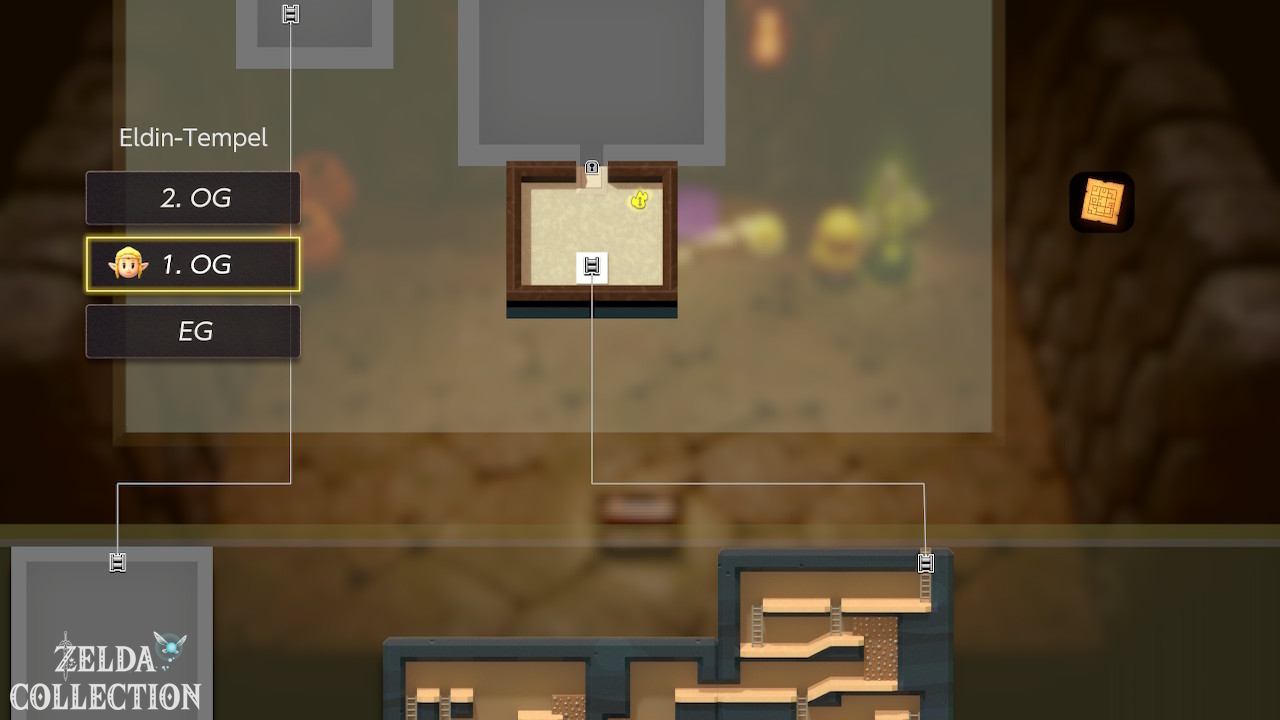
Dungeon Map
You can reach a higher chest with Bind. Drag it towards you and take the Dungeon Map.
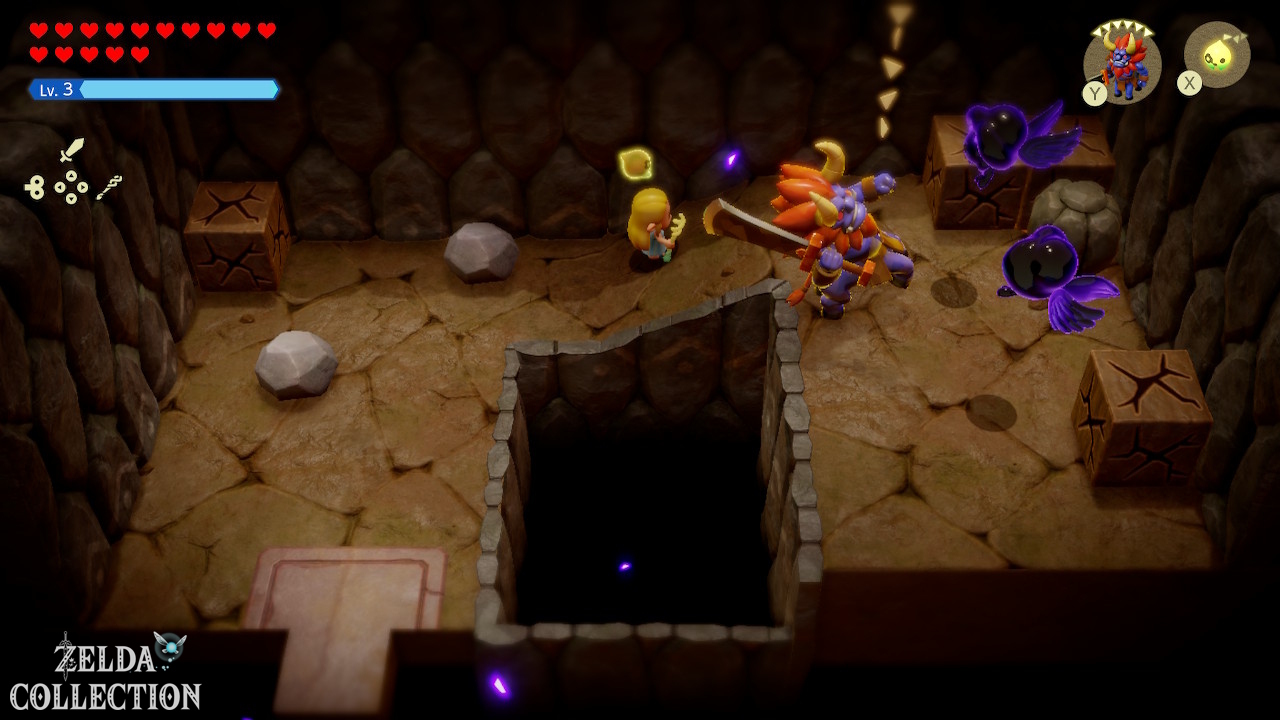
Miniboss: Bomb Link and Bombs of Might
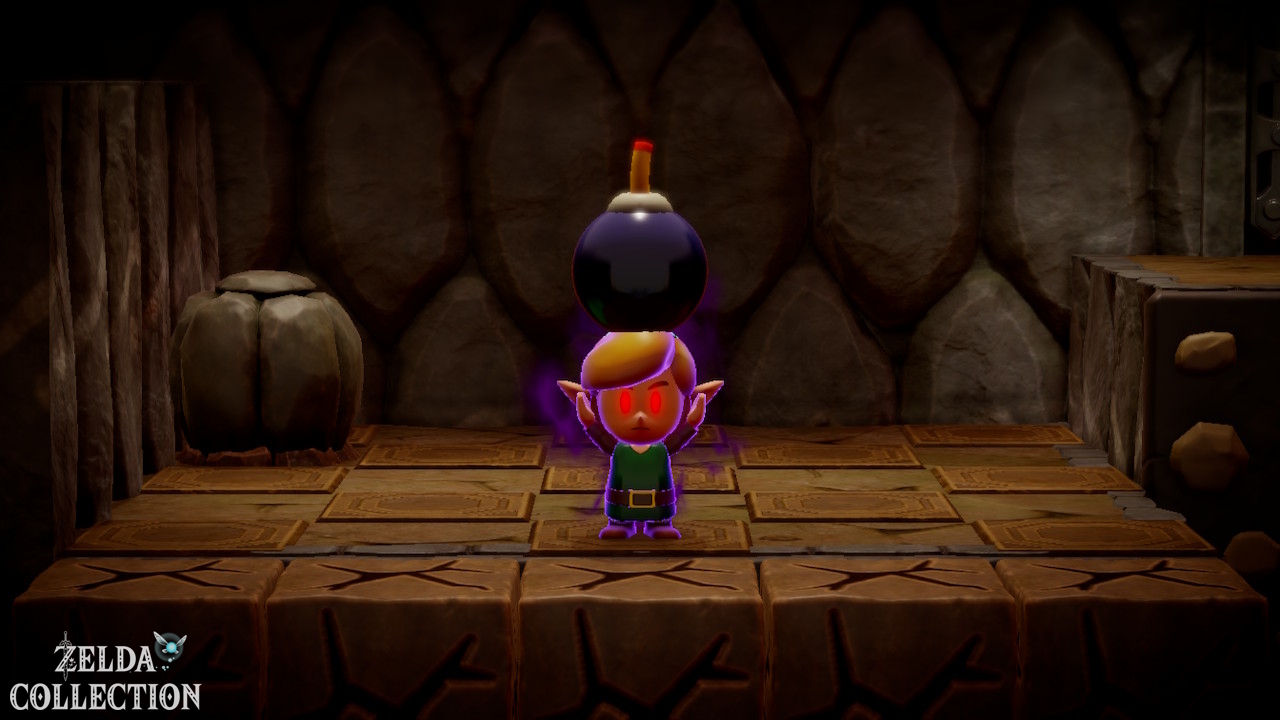
In the next large room, an echo of Link appears again. This time he uses bombs. Keep moving and force him to throw his own bombs in awkward positions. Bombfish and ranged echoes are suitable for applying pressure without running into the blast radius. In the second phase, Link also uses bombs that move across the ground. After winning you will get the Bombs of Might for the Swordfighter Form. They consume energy. For normal explosive puzzles, the Bombfish often remains the more economical solution.
Other Small Keys
Blast crumbling walls and black obstacles in the following rooms. A chest contains another Small Key. In a later section you will also find 100 Rupees.
Fire Wizzrobe
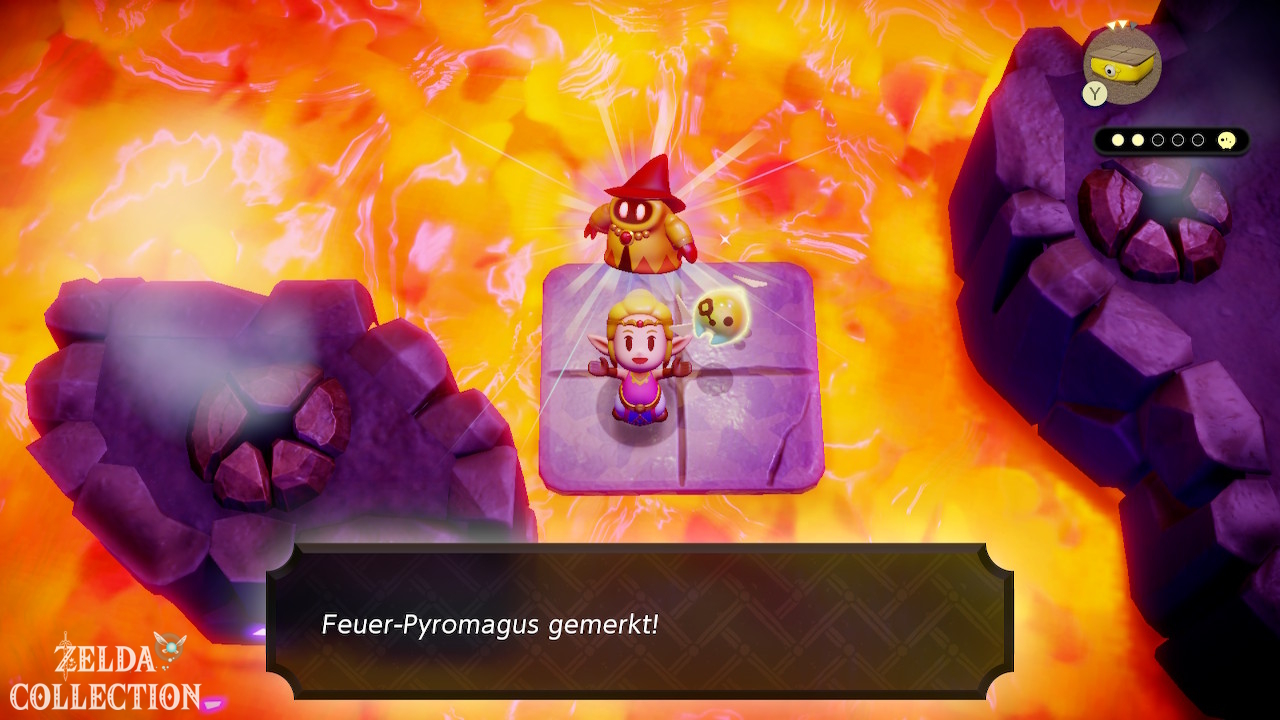
Defeat the Fire Wizzrobe and learn its echo. It requires a high triangle budget when first found, but is one of the best fire echoes for automatic ranged combat.
Big Key
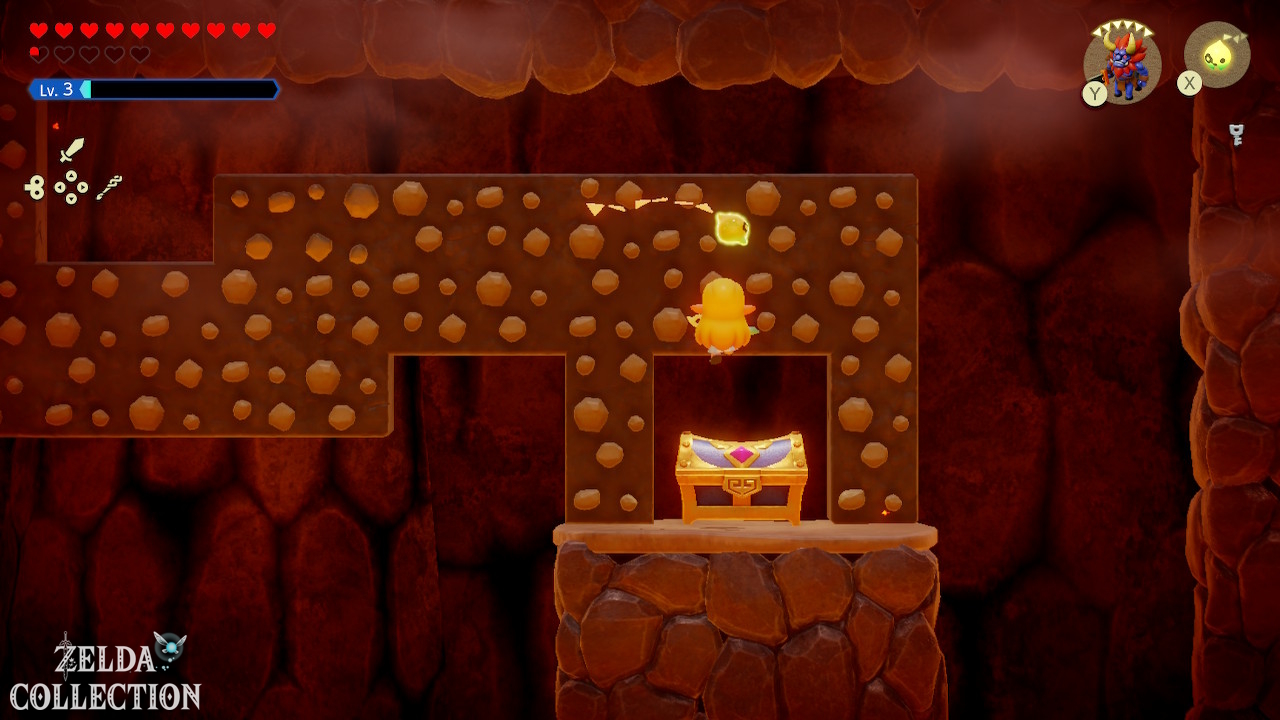
After fighting the Fire Wizzrobe, take the released Small Key and note its echo. Return to the area shown to the side and open the lower locked path. Behind it, climb down the left wall to the large chest. Opening the chest with the Big Key triggers the rapid rise of lava. Plan the way back in advance: Climb up the ladders on the right. If the upper ladder breaks away, you move a Flying Tile to the left and reach the climbing wall above. Don’t stop at the bottom to collect enemy scraps or common Rupees.
Reach the boss door
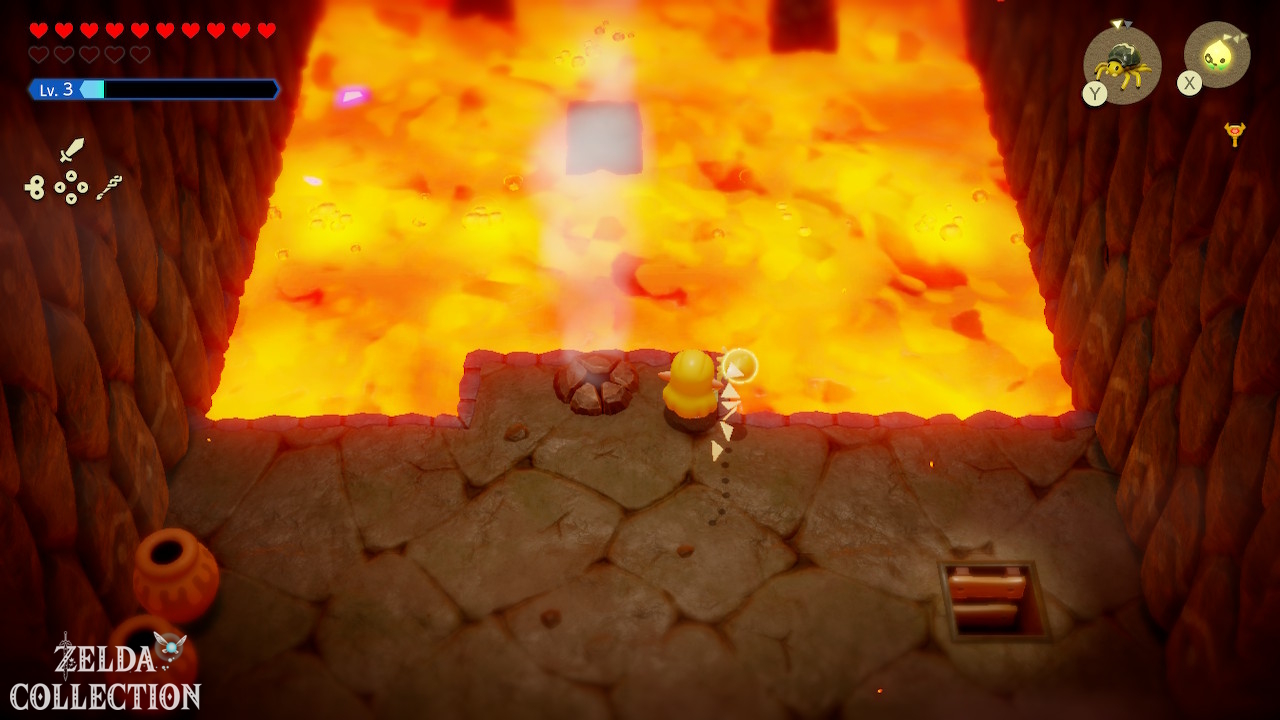
The last section leads over a large lava flow. Combine lava rock with flying echoes and the air currents. Activate the Waypoint in front of the boss door and heal yourself.
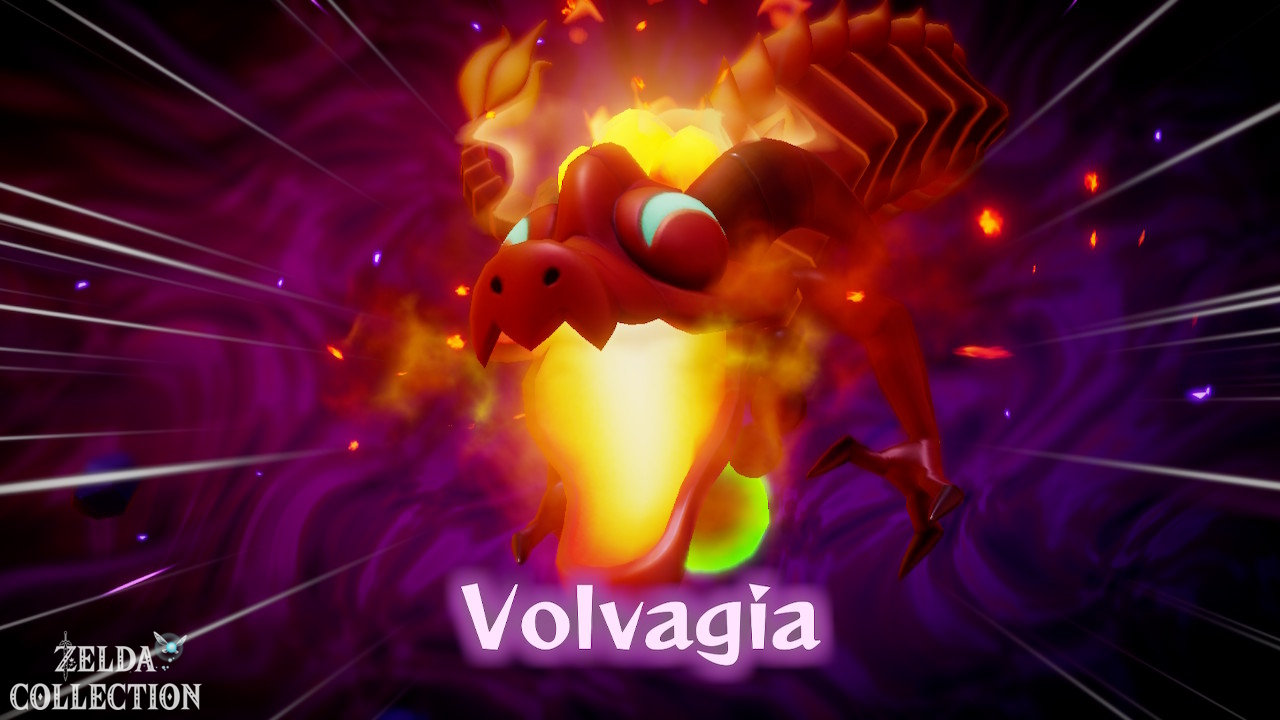
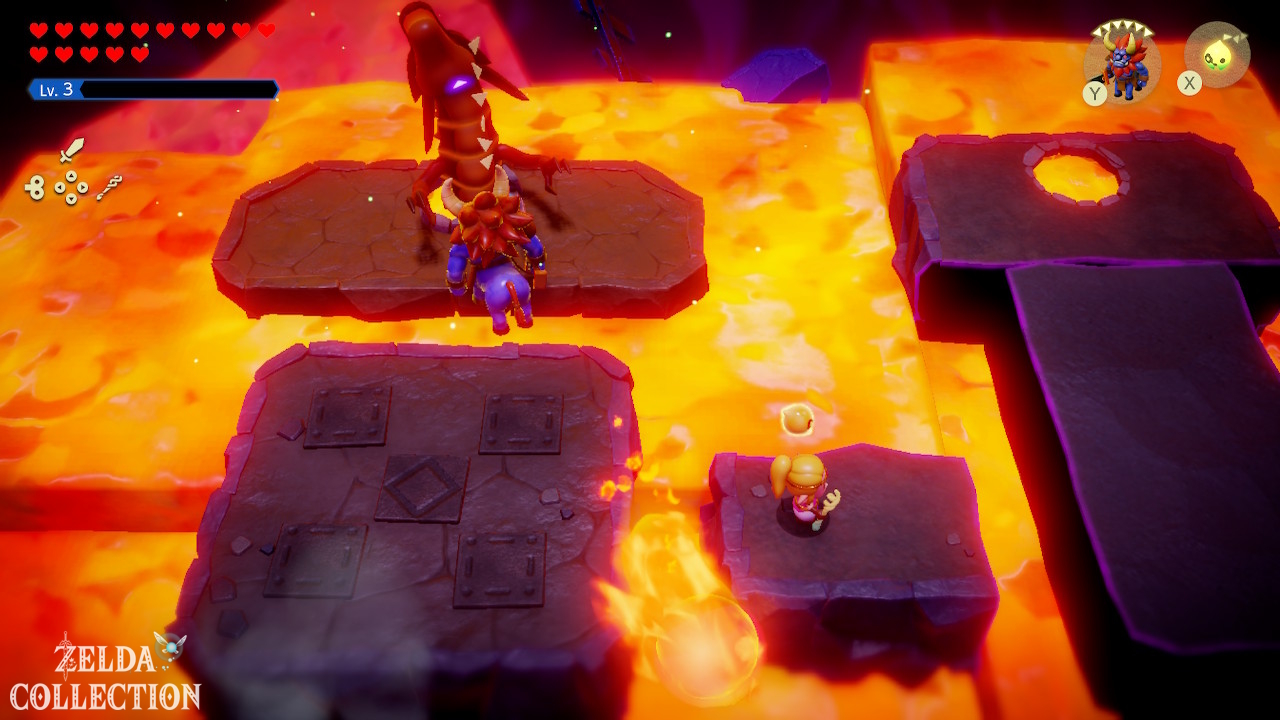
Boss: Defeat Volvagia
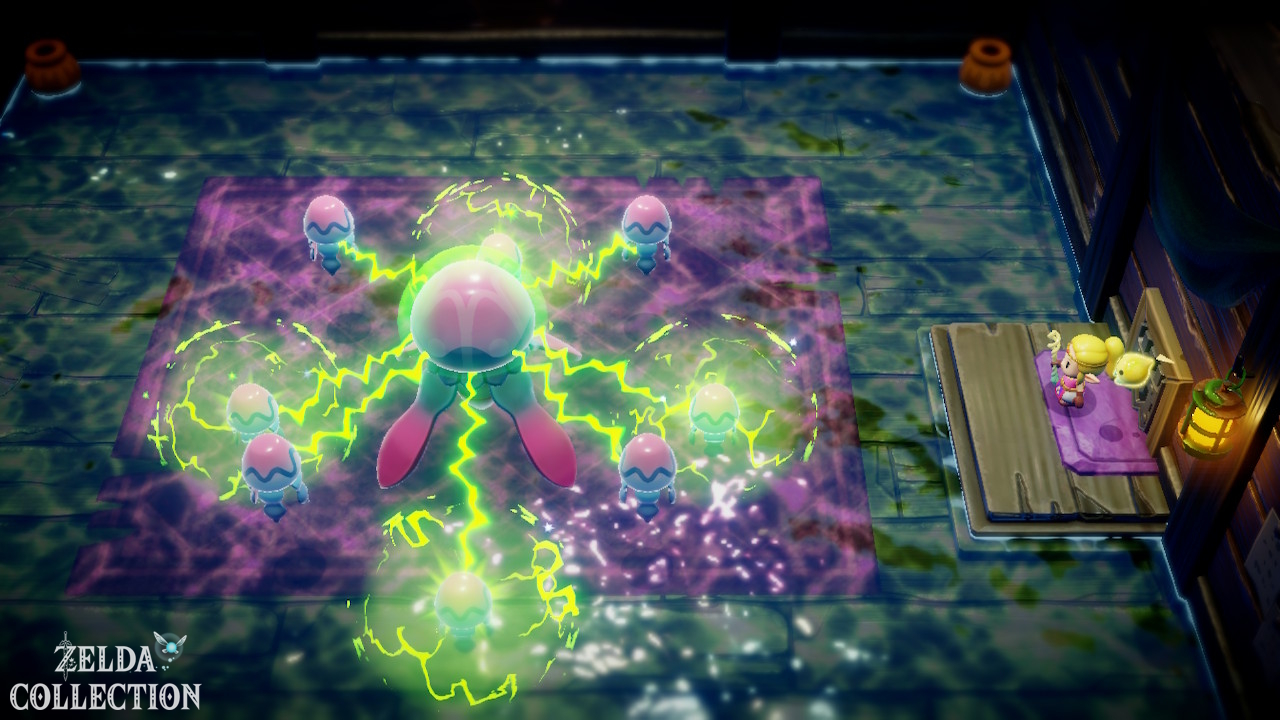
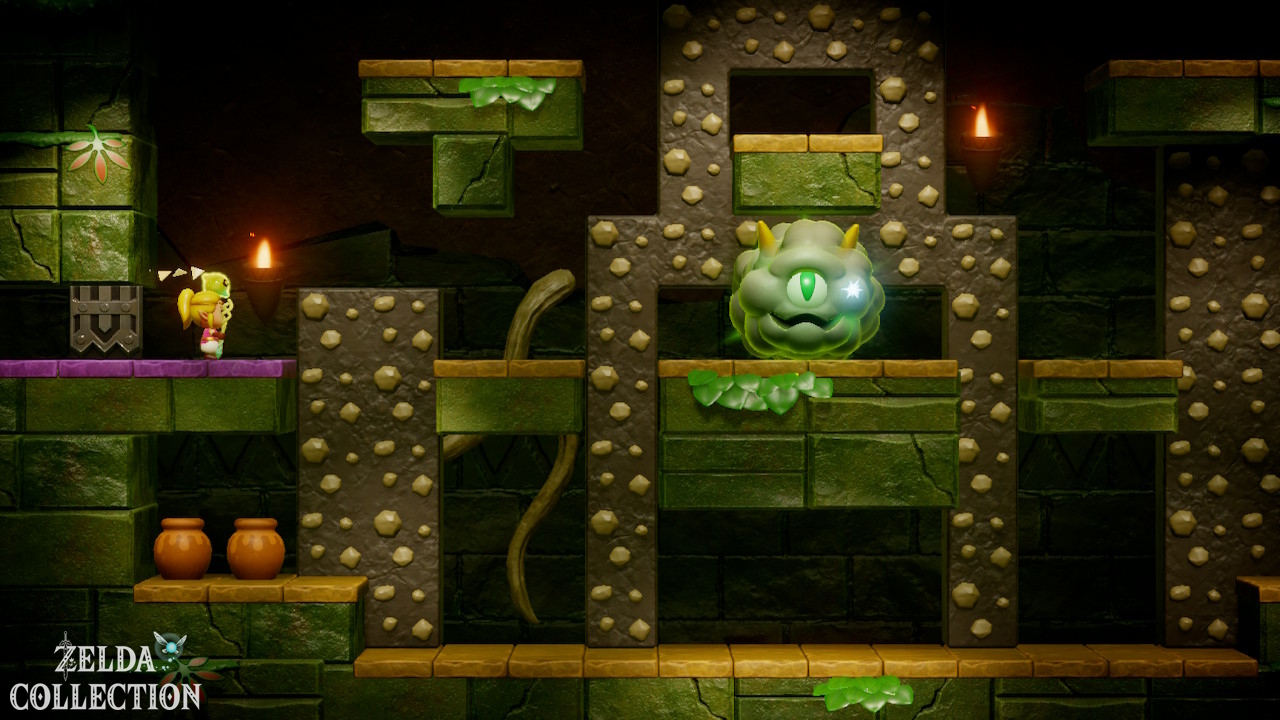
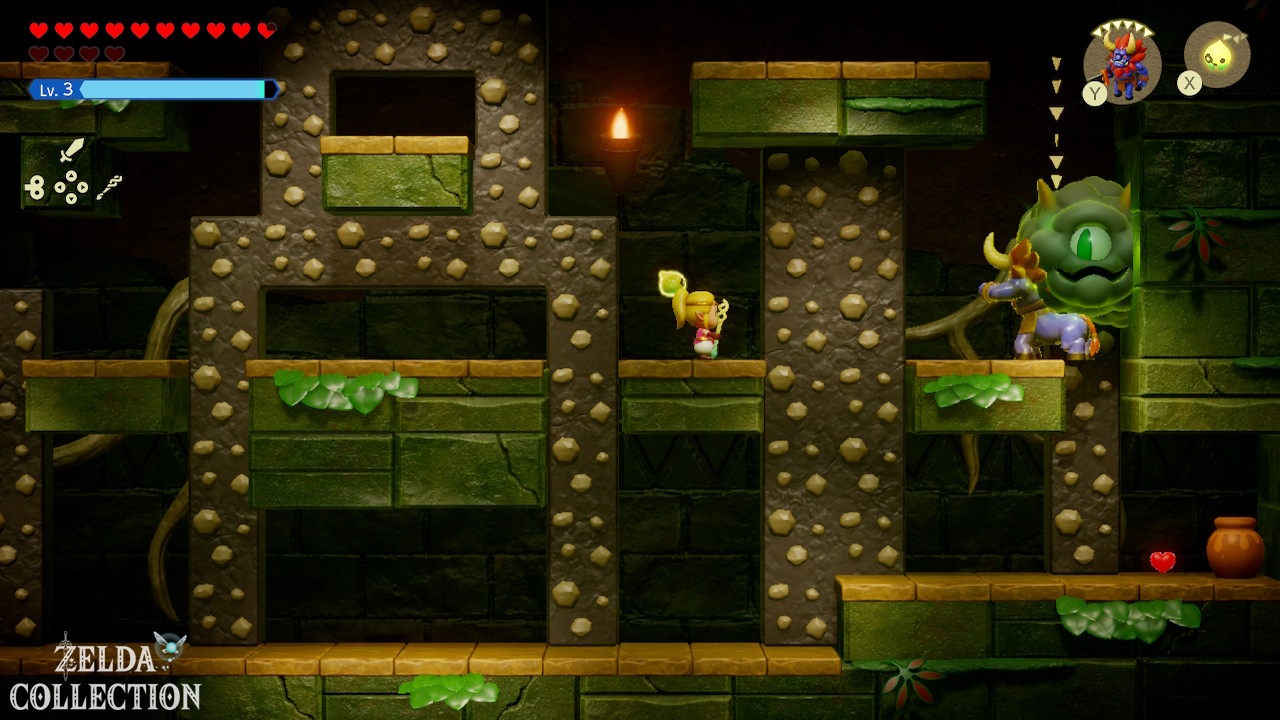
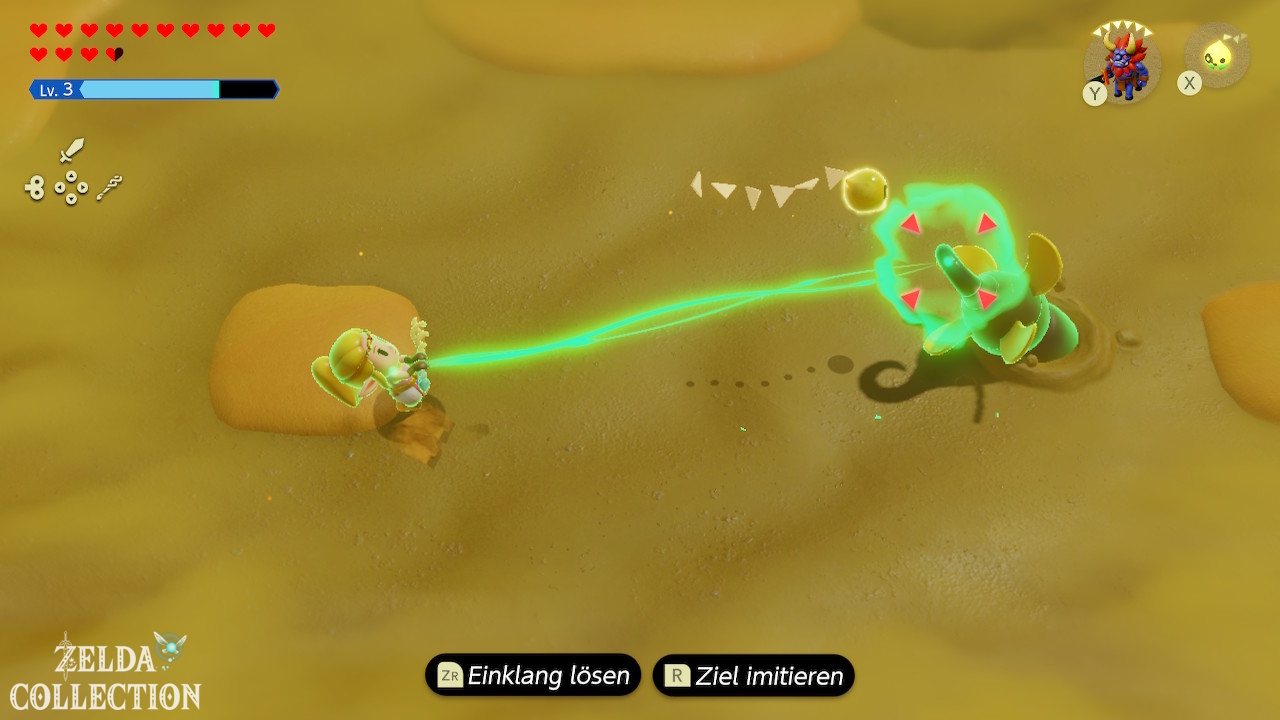
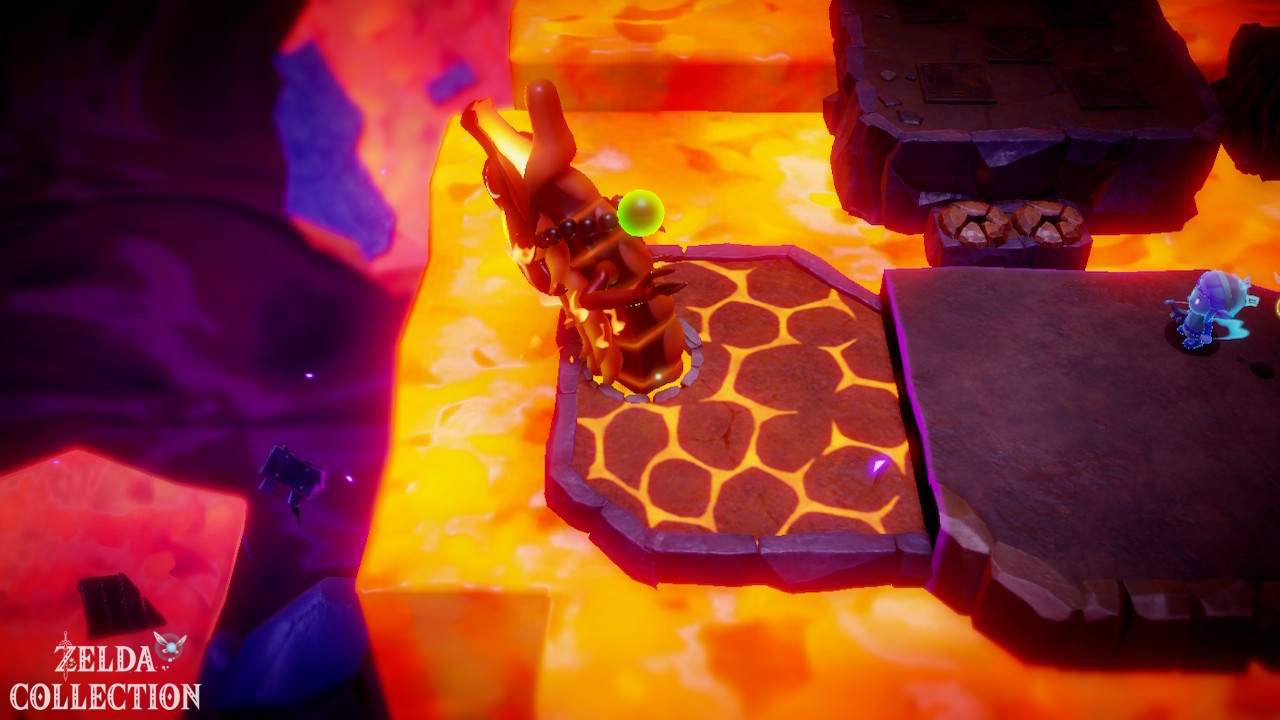
Volvagia moves between several holes or lava areas in the arena. His real weak point is the green ball on his neck.
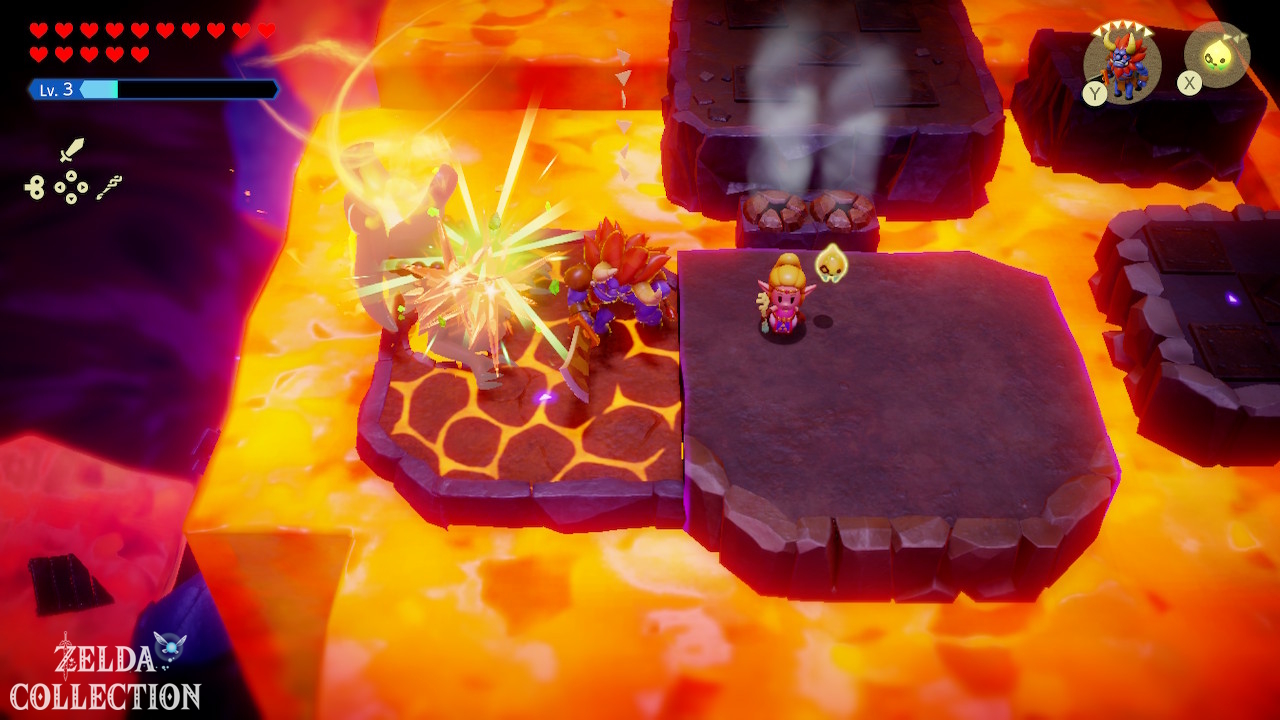
Pull the green orb with Bind
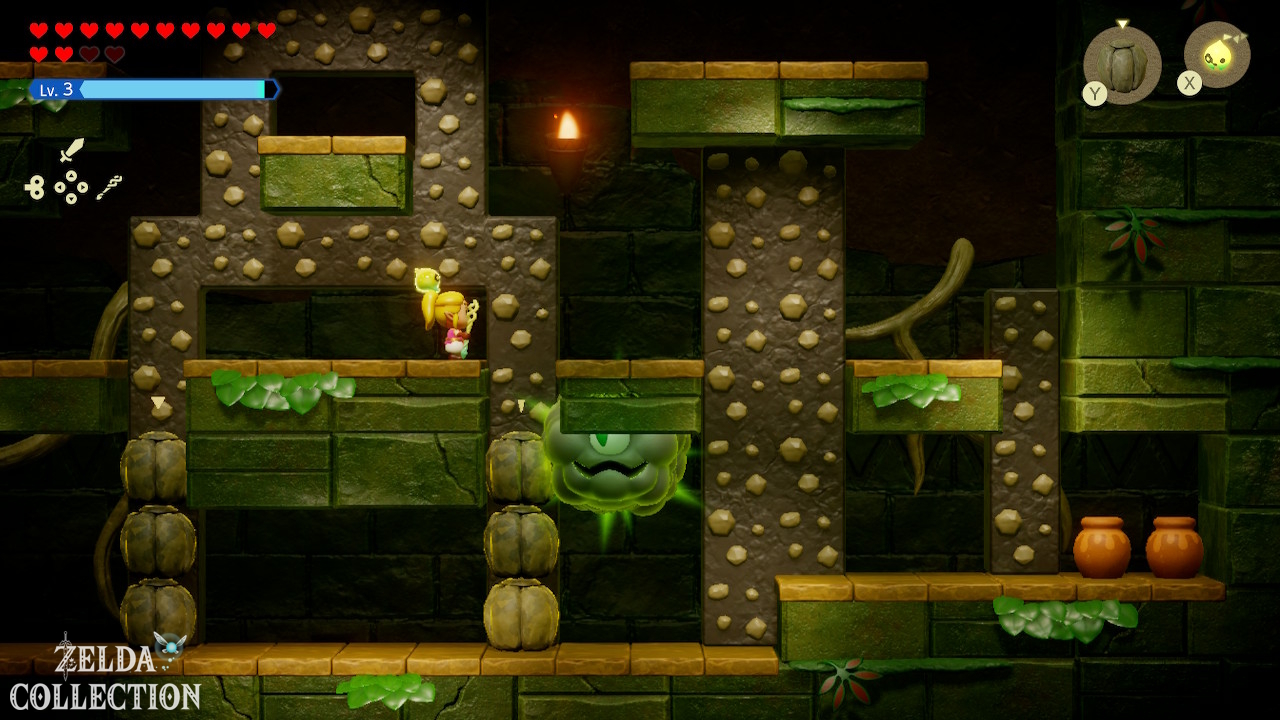
First, dodge fireballs and the slow-tracking energy projectiles. When you get close enough, grab the green neck ball with Bind and pull it. Alternatively, ranged echoes can damage the sphere. If it breaks, Volvagia will be stunned. Then activate the Swordfighter Form and attack.
Second phase of combat
Later, Volvagia changes positions more frequently and attacks over longer distances. The Bow of Might and strong flying echoes are safer than close combat here. The principle remains the same: destroy the neck ball, take advantage of the stun window, gain distance again.
Reward
- 1 Heart Container
- 5 Might Crystals
- experience for Tri
- Din’s Sanction
After Volvagia: Eldin complete
Third stamp
After closing the main rift you can reach the Stamp Stand near the summit.
Ready? Set? Goron!
Southeast of Goron City, after the main dungeon, the big Goron race becomes available. Use your movement echoes to shorten paths.
Reward: 50 Rupees.
Glide Path and Glide Path Trailblazer
In the gliding game you have to hold on to a flying echo and navigate a given course. The easy task brings 10 Rock Salt. Once completed, the more difficult variant “Glide Path Trailblazer” becomes available.
Reward: 2 Might Crystals.
The Flames of Fortune
Near the summit, after the Eldin Rift, the Side Quest “The Flames of Fortune” begins. Grab the Coal with Bind and transport it to Goron City. The Rock cools down on the go. Therefore, hold it regularly in a fire source until it glows again.
Reward: 2 Might Crystals.
A Mountainous Mystery
After Volvagia, “A Mountainous Mystery” will also be available in Goron City. Find Darston in Summit Cave. An optional mini-dungeon awaits there with a strong fire opponent at the end. Defeating the boss earns a Piece of Heart. For completing the Side Quest you will also receive the Goron’s Bracelet. More about this at Optional Dungeons.
After Volvagia: fireworks and the eastern stamp
After mending the Eldin rift, visit the back room of Goron City. For “The Fireworks Artist”, collect the shimmering Blastpowder Soil from the Rock-Roast Quarry and bring it to him. Then learn the Firework Echo. It is used for Dampé’s Tocktorok. In addition to Goron City, the quarry and summit, the regional stamp collection also includes the deep edge on the eastern volcanic slope. Glide down from the upper path in a controlled manner; The stamp overview shows the assignment to the Eternal Forest.
If Eldin is your first of the three blessings, the recommended route now leads to Mount Lanayru. Other regions that are still open also remain possible.