

After defeating Seismic Talus, Minister Lefte will take you to Lueburry’s House. Talk to both of them and have them explain the machine to you. Tri marks the major rifts in the Gerudo Desert and the Jabul Waters. For “Searching for Everyone” you have to save both regions. Their order is free; our chapters first lead to Gerudo and then to the Zora. Before the next dungeon, explore the now open Suthorn Prairie and the Hyrule Field. The detours below bring you echoes that help with traversal, another Piece of Heart, a horse and another Fairy Bottle. If you want to follow the main story directly, you can head west from Lueburry’s House to Gerudo Desert and catch up on the free exploration later.
Improve at Lueburry and return to Suthorn
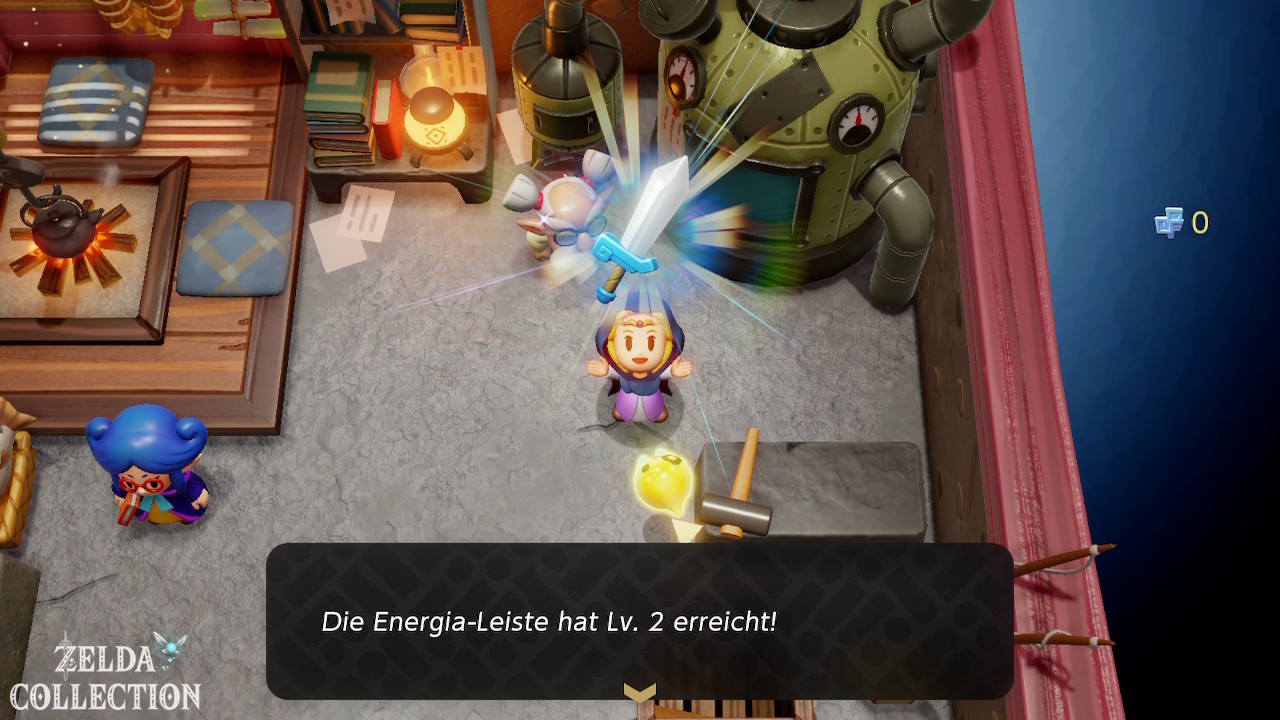
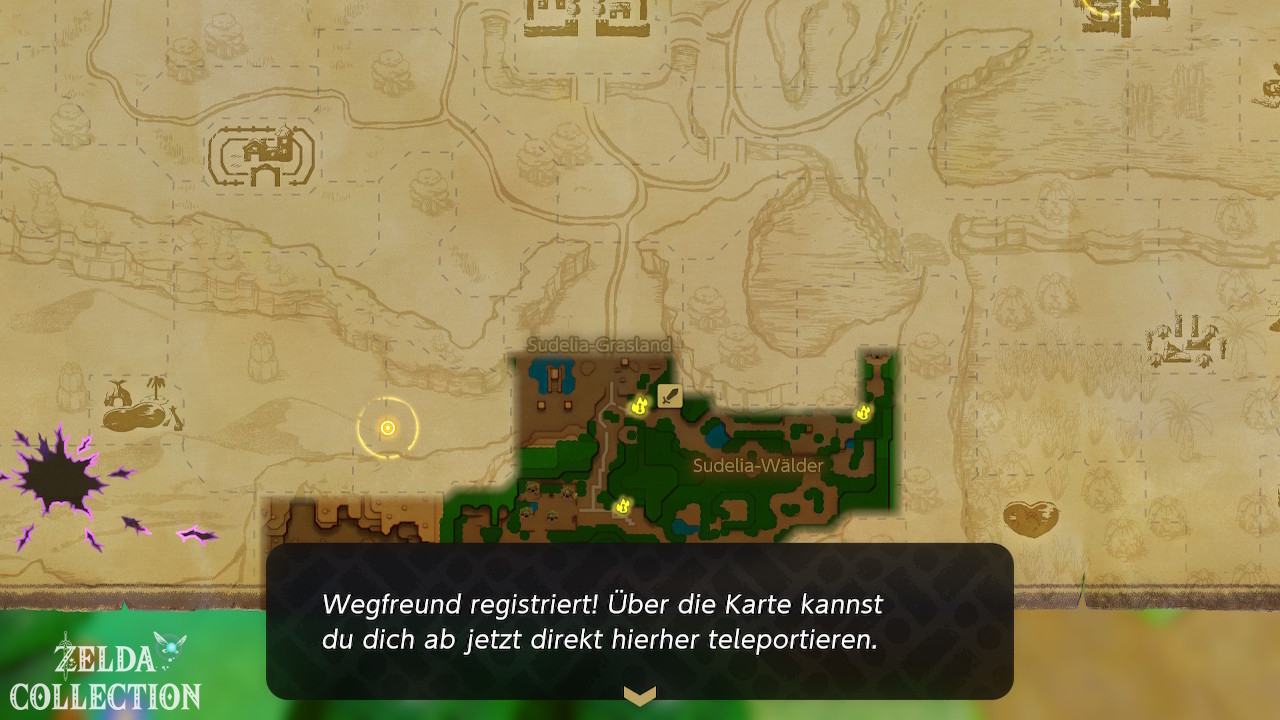
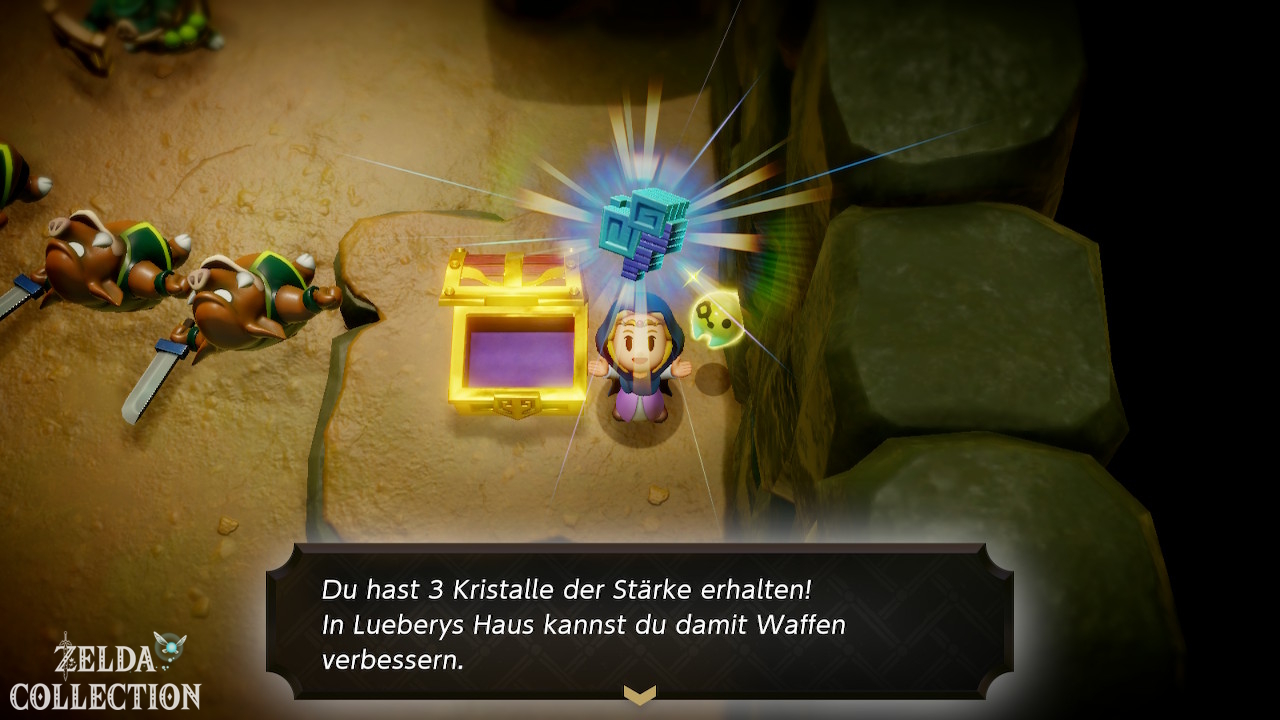
With the five crystals from the Suthorn Ruins you can buy the first Energy Gauge upgrade. To do this, open the machine in Lueburry’s House and select the bar. For the first sword upgrade you need ten crystals. The overview of all crystals and upgrade costs helps you plan further investments. Before you leave, activate the Waypoint at the house.
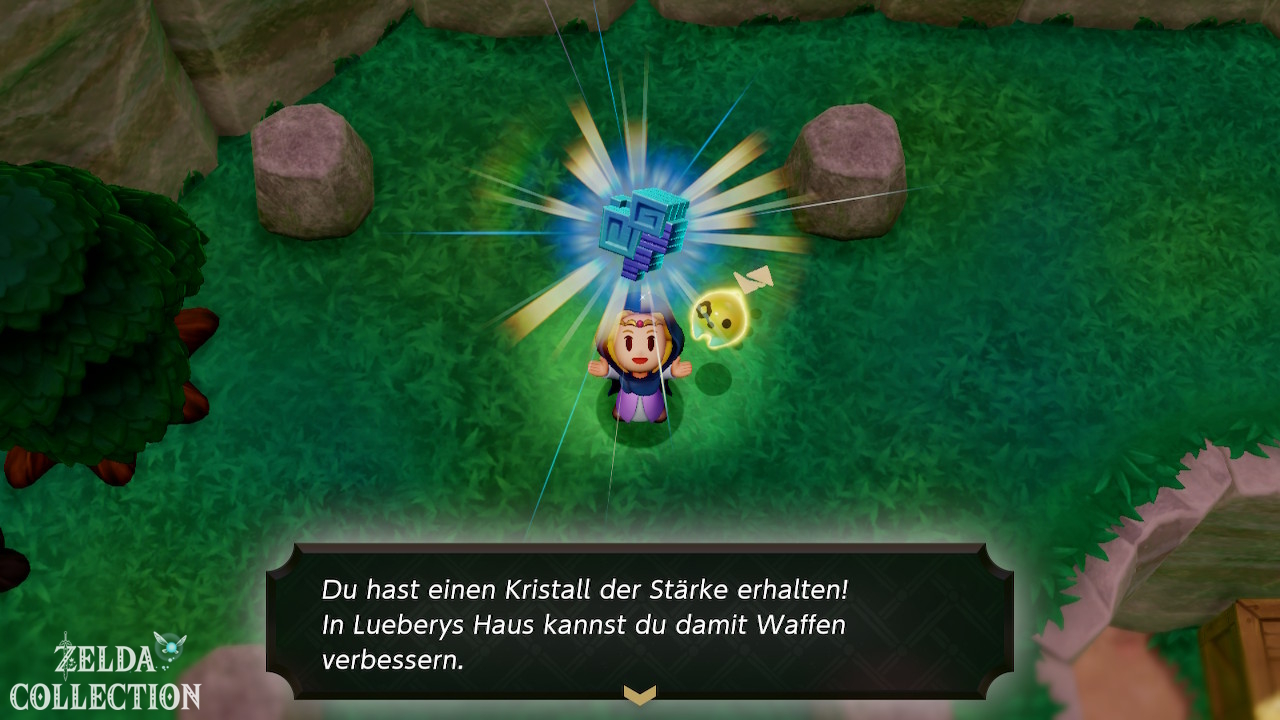
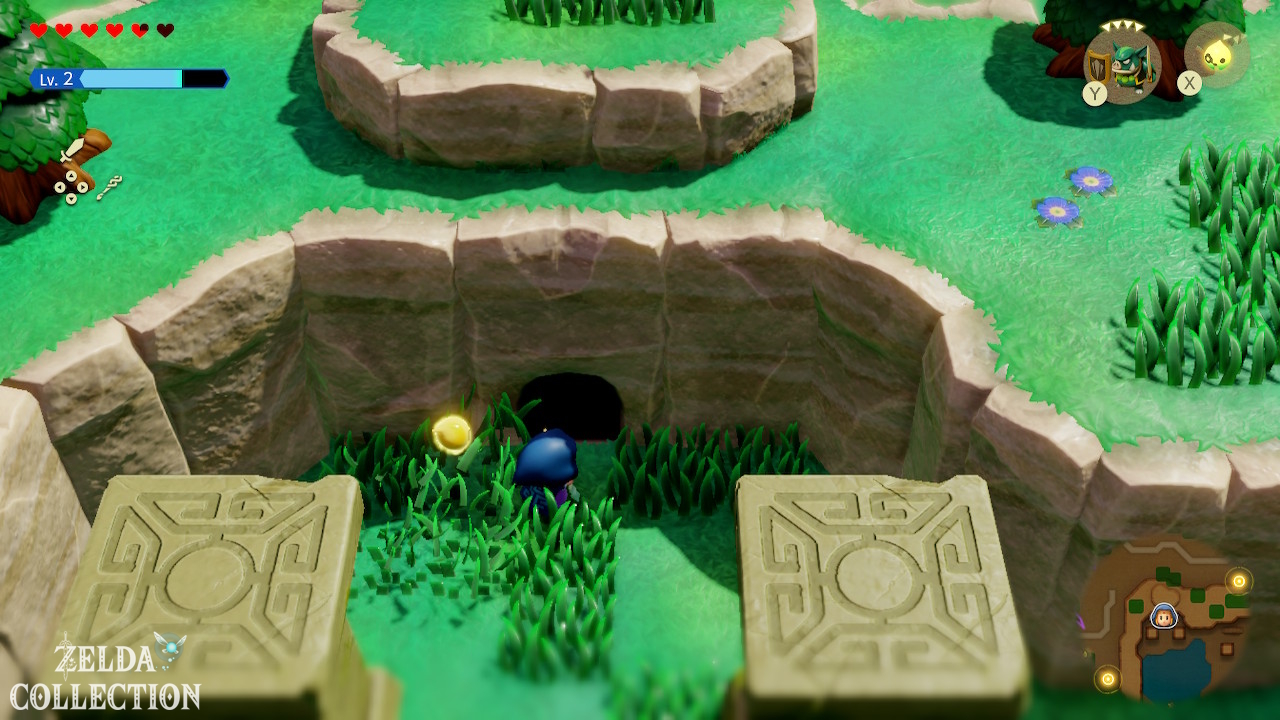
Make a short return trip to Suthorn Village. The resident in front of one of the houses begins with “Finding the Flying Plant”. Summon the Peahat that you learned in the previous chapter in the forest cave and receive a Might Crystal. If you don’t have the Echo yet, get it in the cave south of the large Suthorn Rift.
Learn
Crawltula and get the Piece of Heart on the column
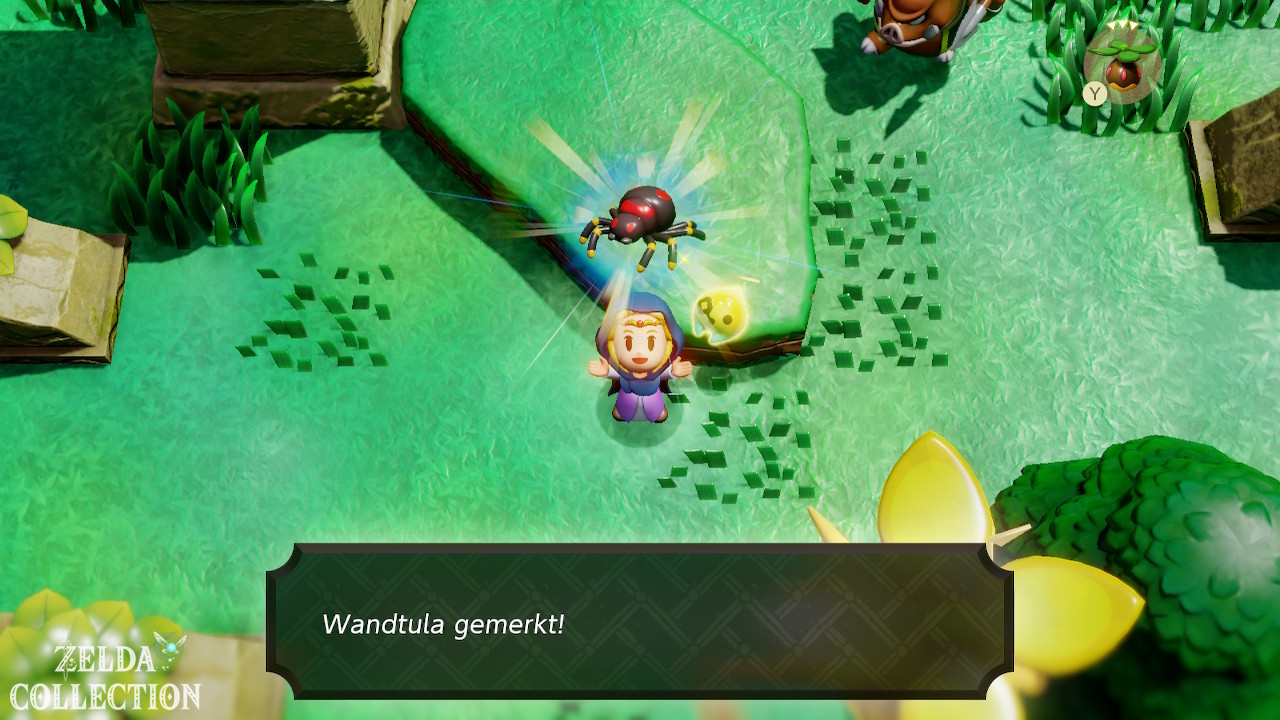
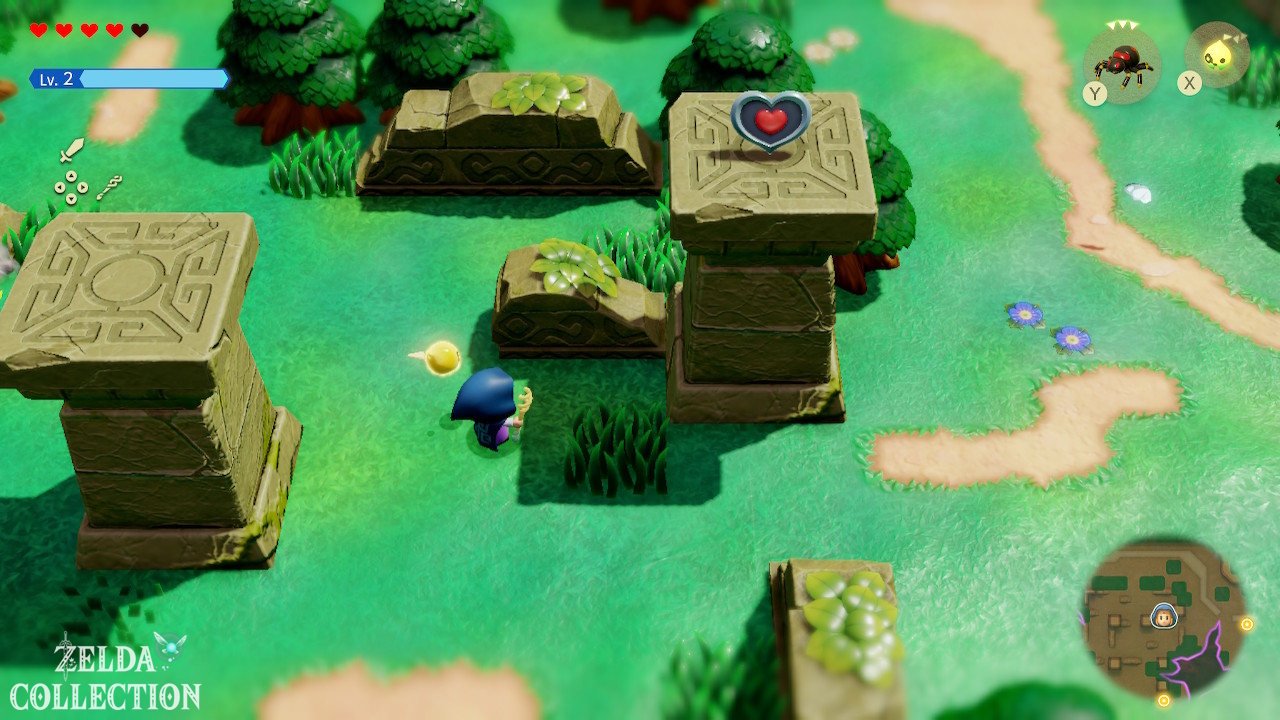
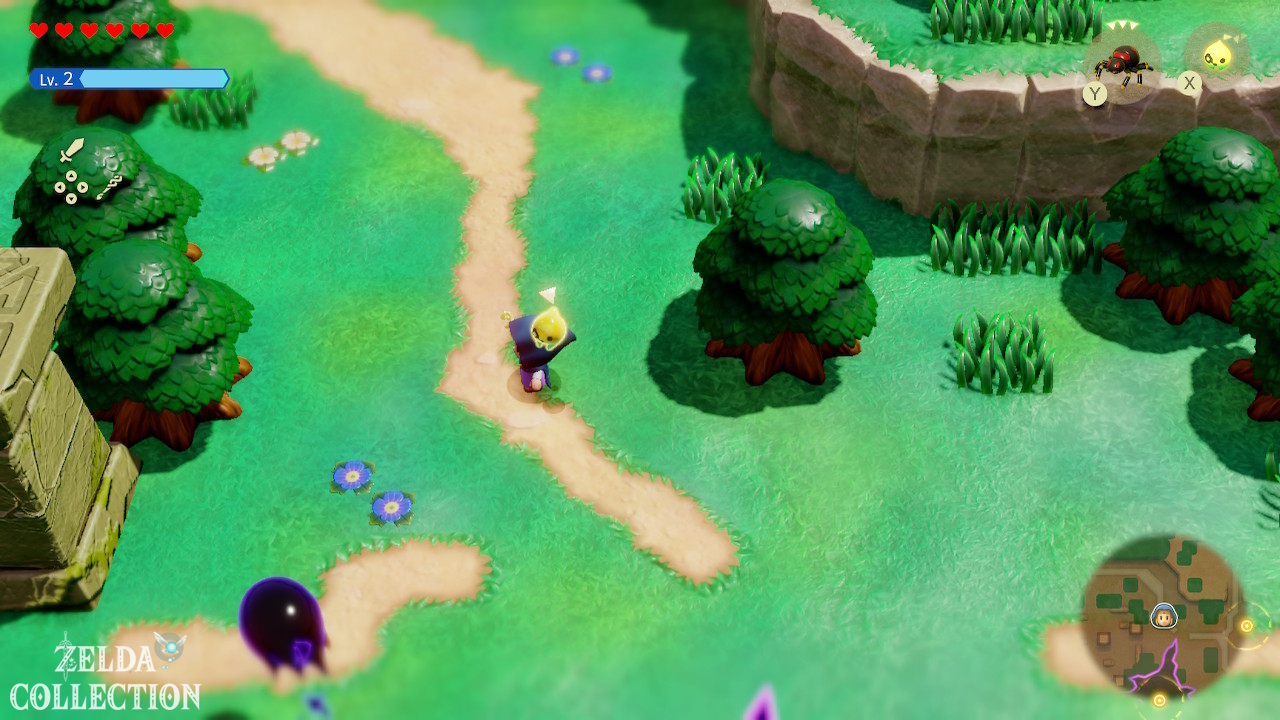
Head north into the newly accessible grassland. Defeat a Crawltula near the tall stone pillars and learn its echo. Unlike the Strandtula from the ruins, it climbs vertical walls. Use X to Bind to a summoned Crawltula, then hold R to follow its movement. Face the wall you want it to climb before summoning it.
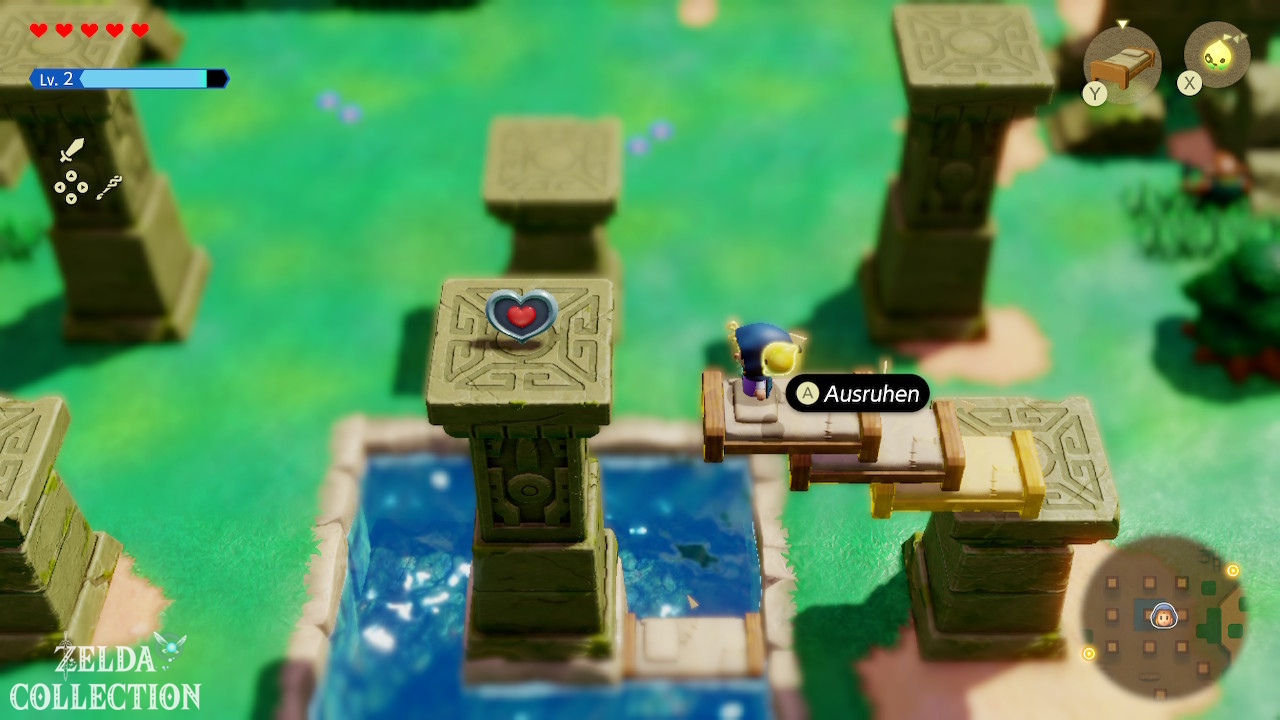
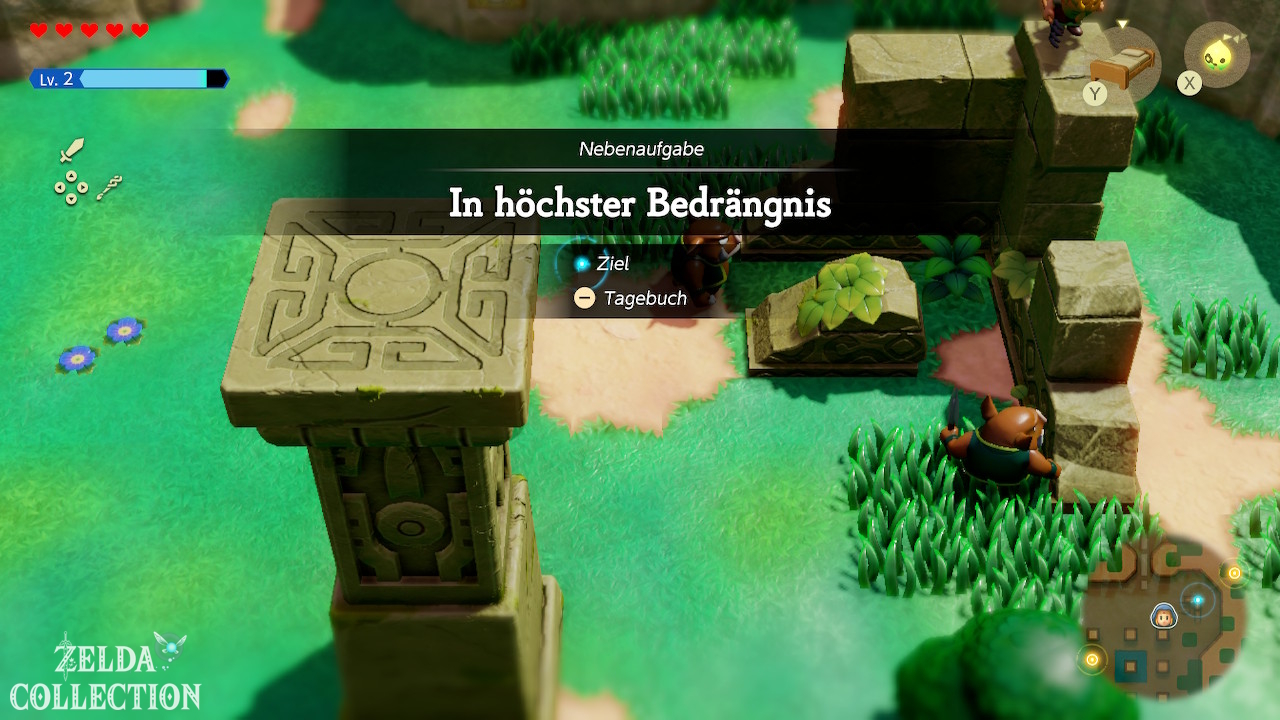
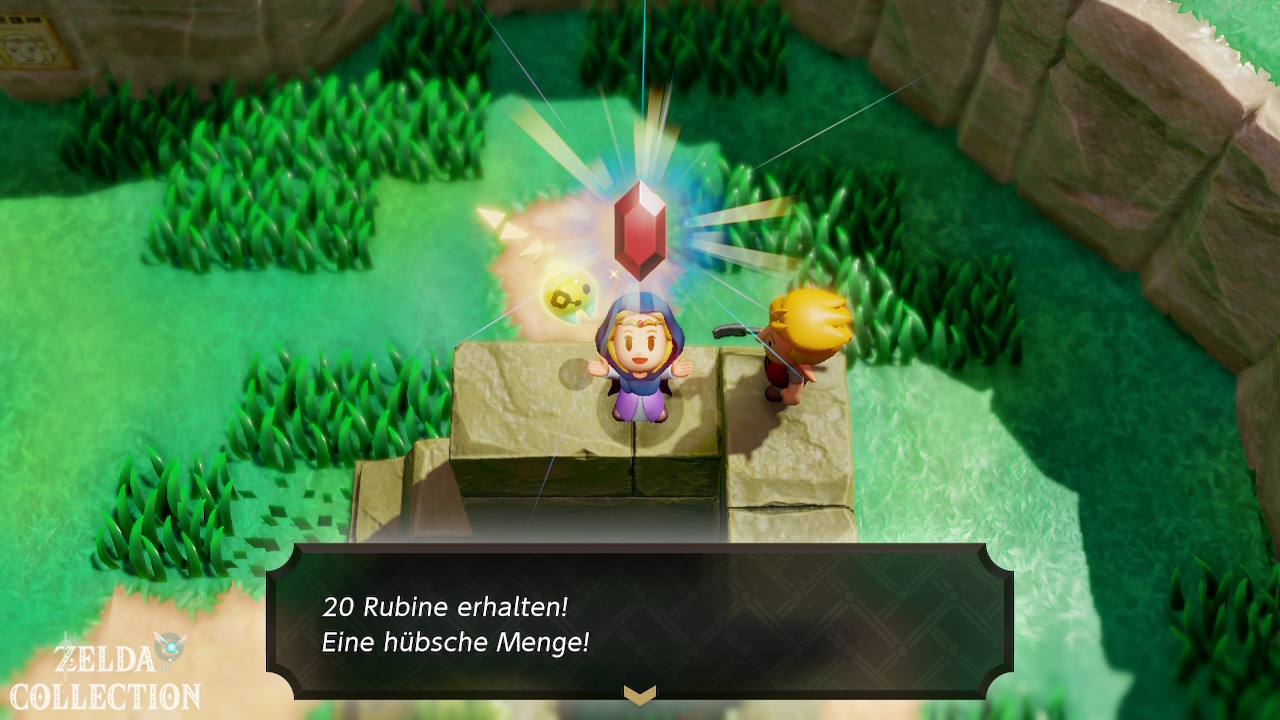
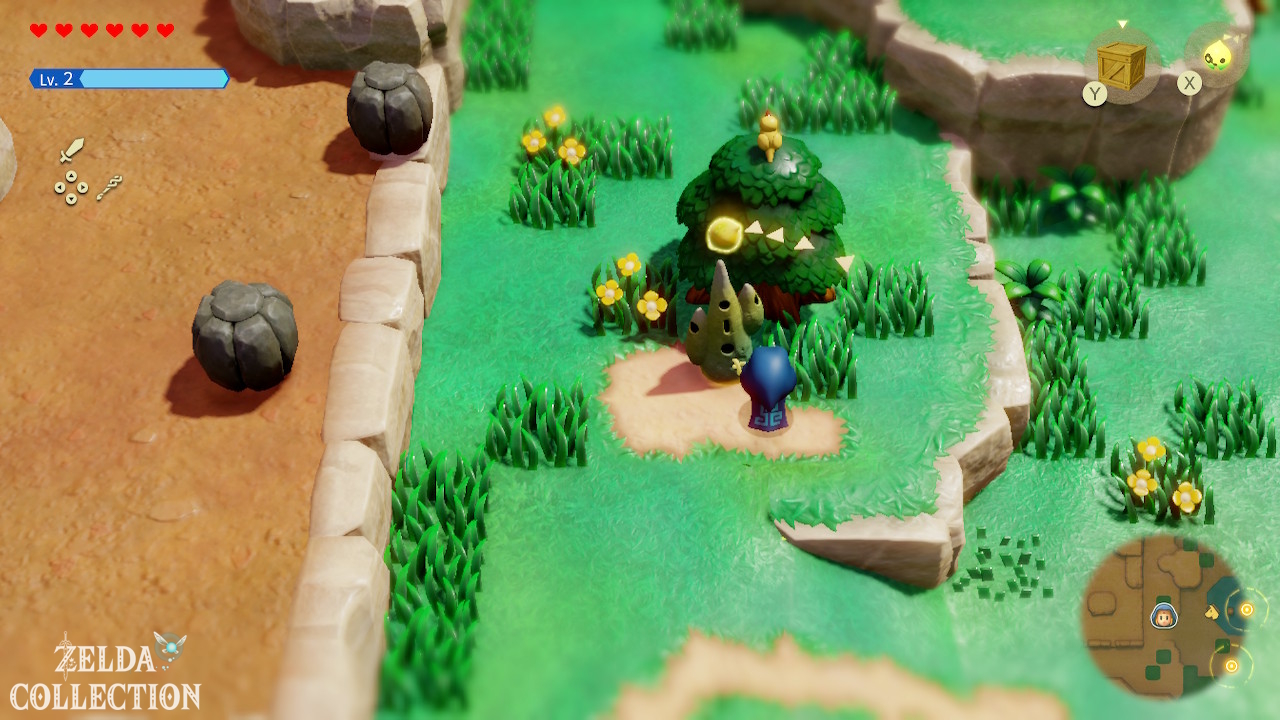
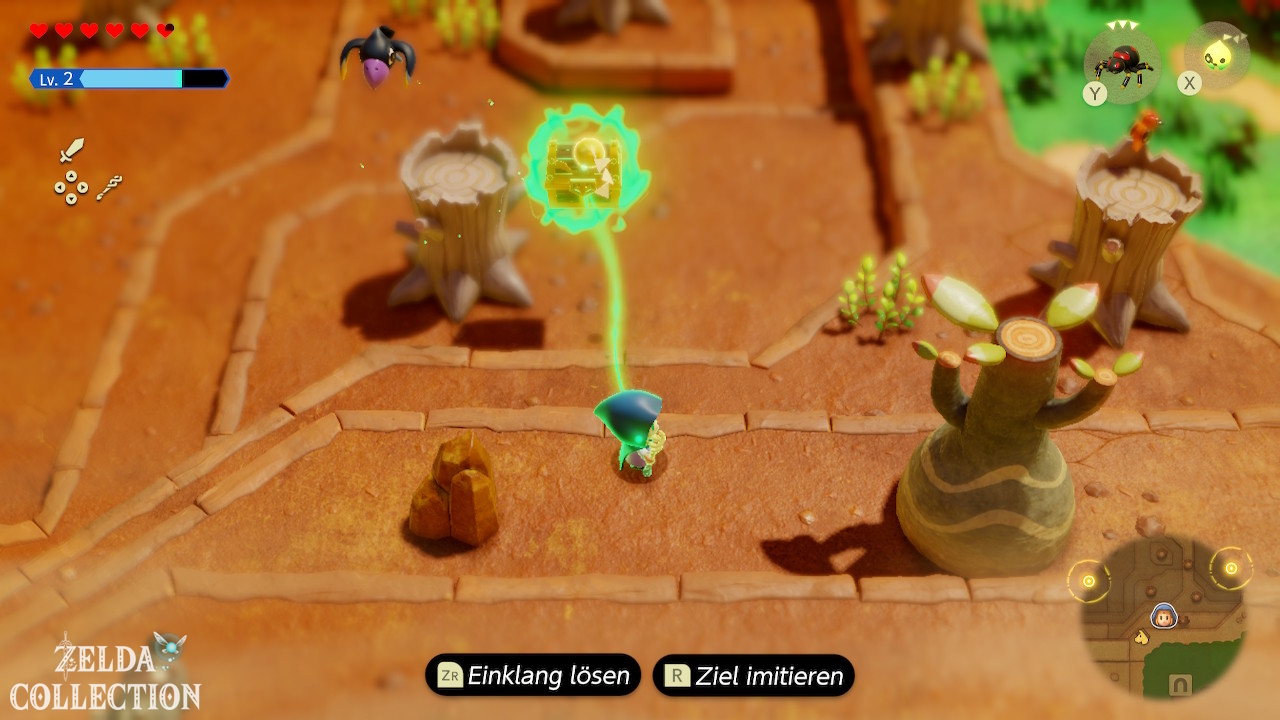
There is a Piece of Heart on one of the pillars. If necessary, place an Old Bed in the water as a starting platform, summon the Crawltula in the direction of the pillar and let yourself be carried along. Release the bond only when you can safely jump off at the top. Not far away, a man is harassed by spear moblins. Defeat the two opponents and talk to him: For “Up a Wall” you get 20 Rupees.
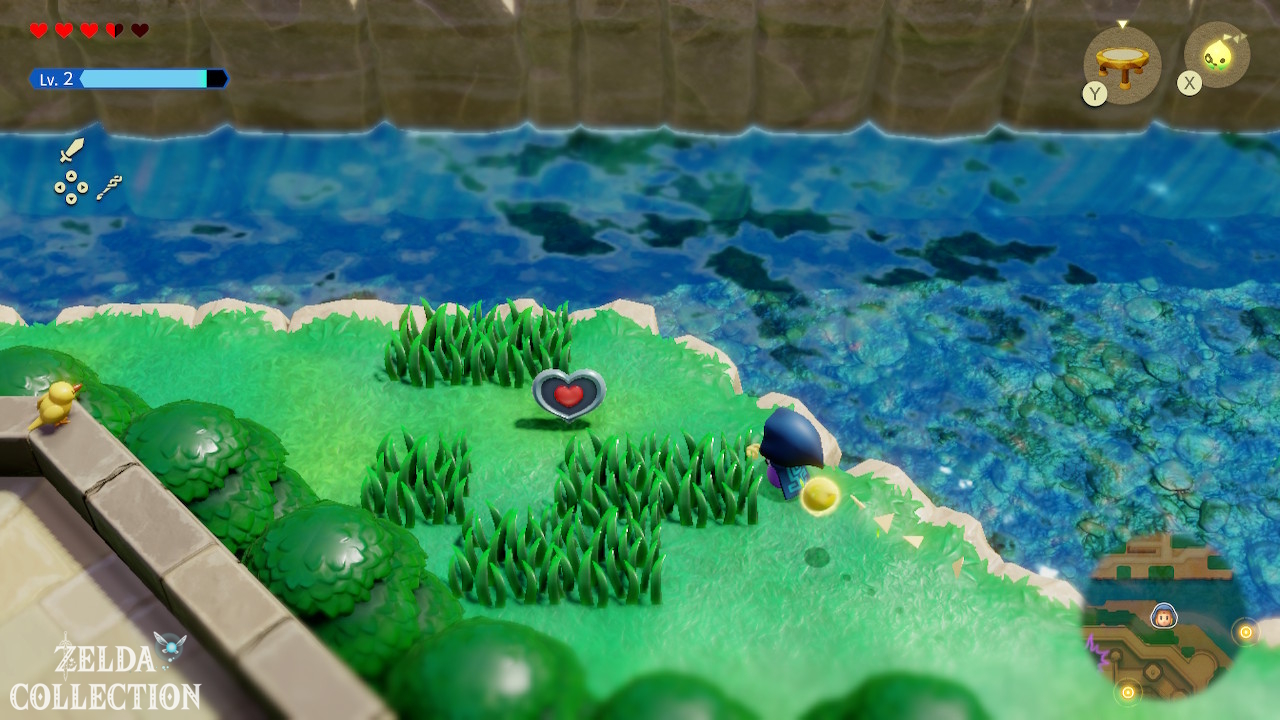
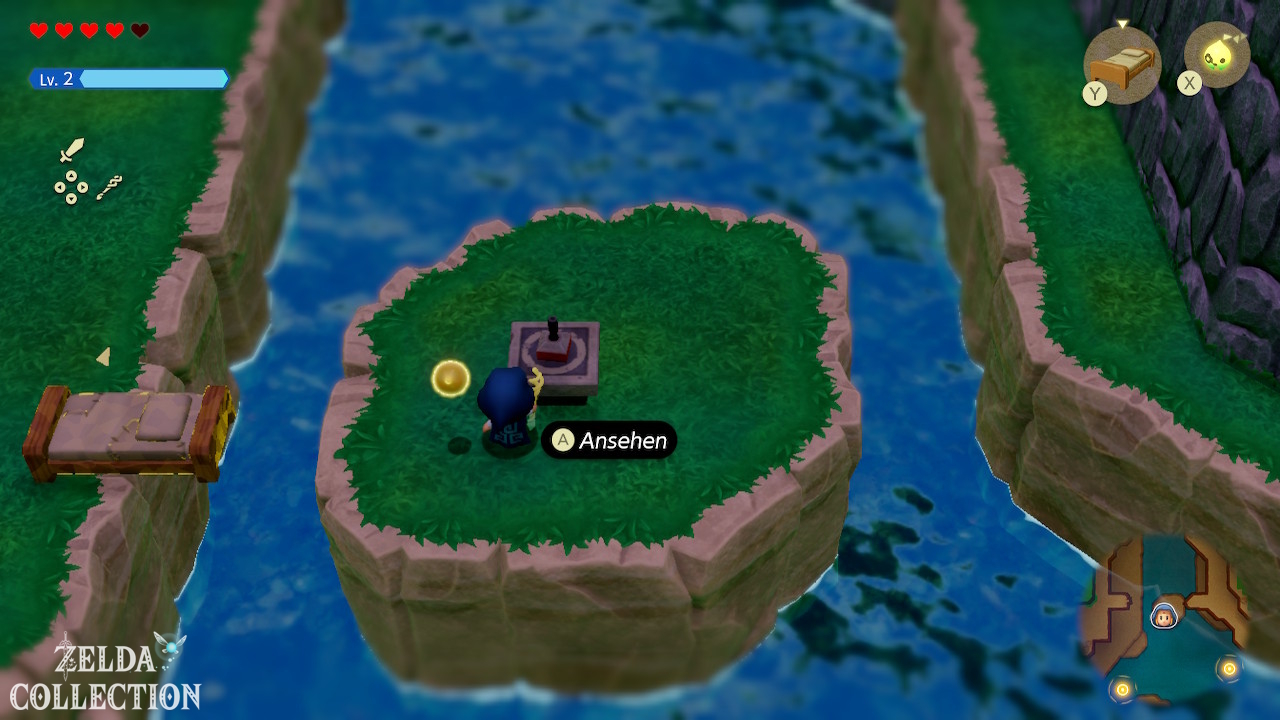
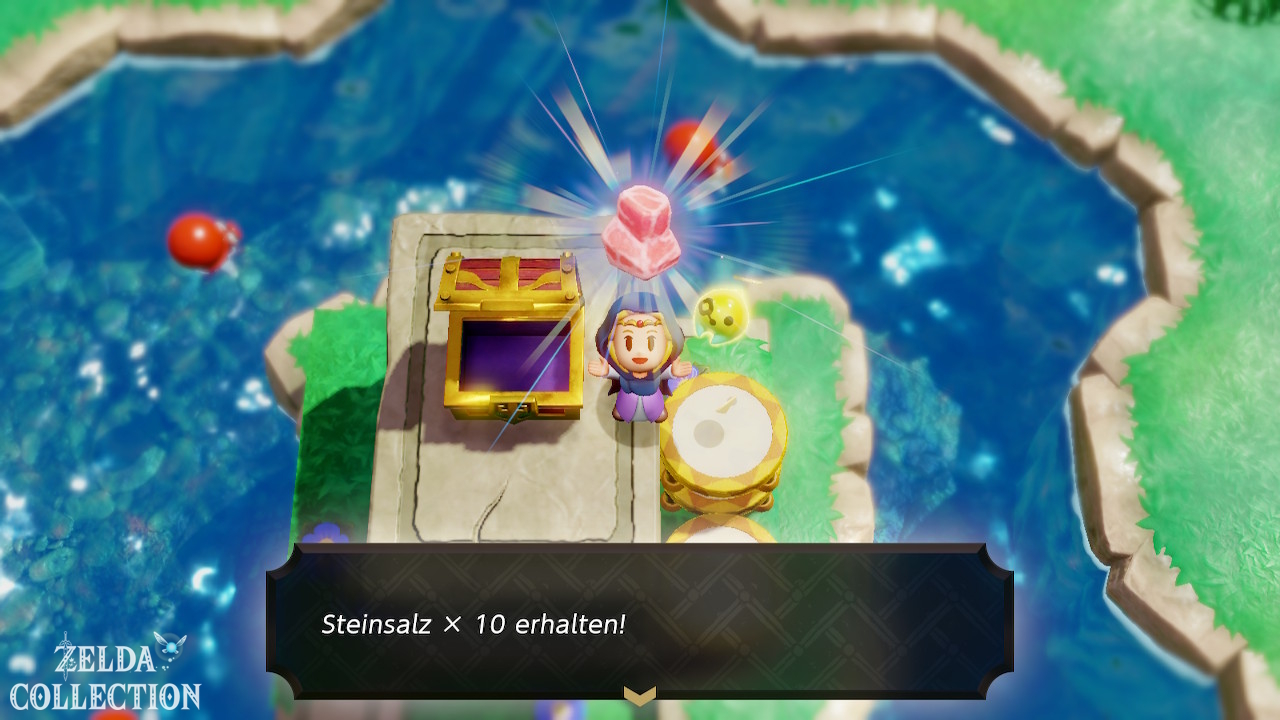
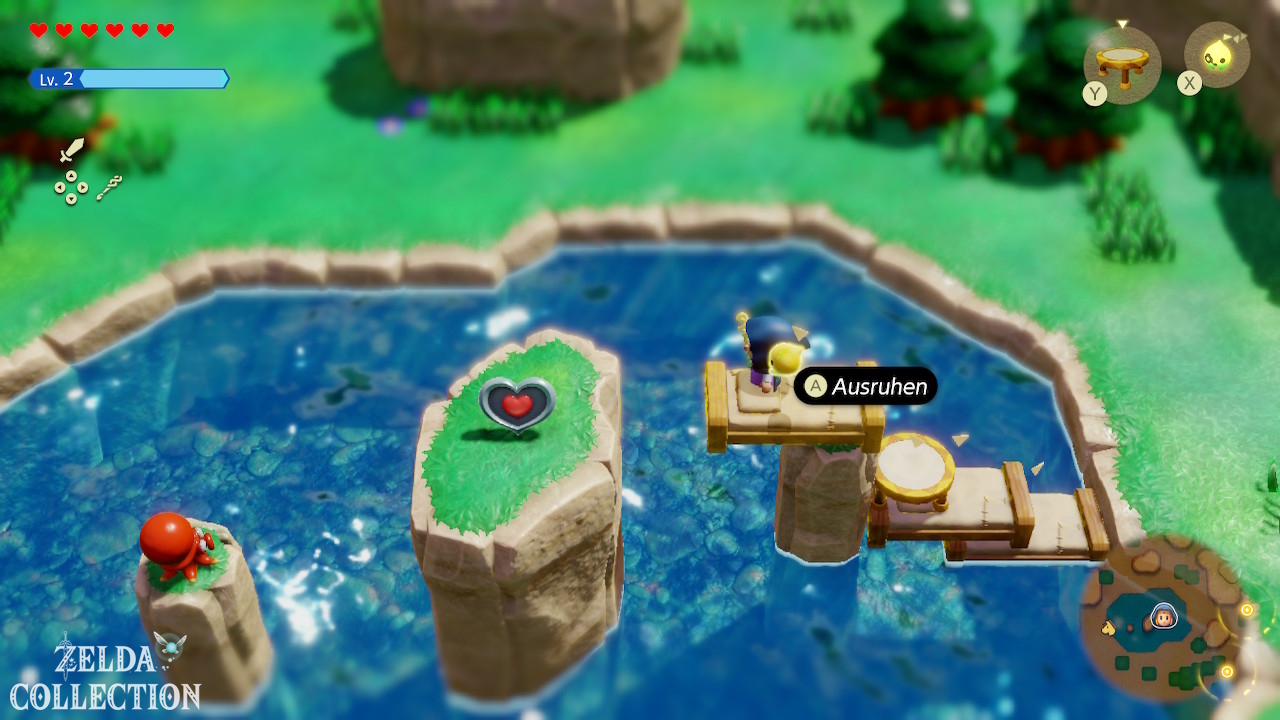
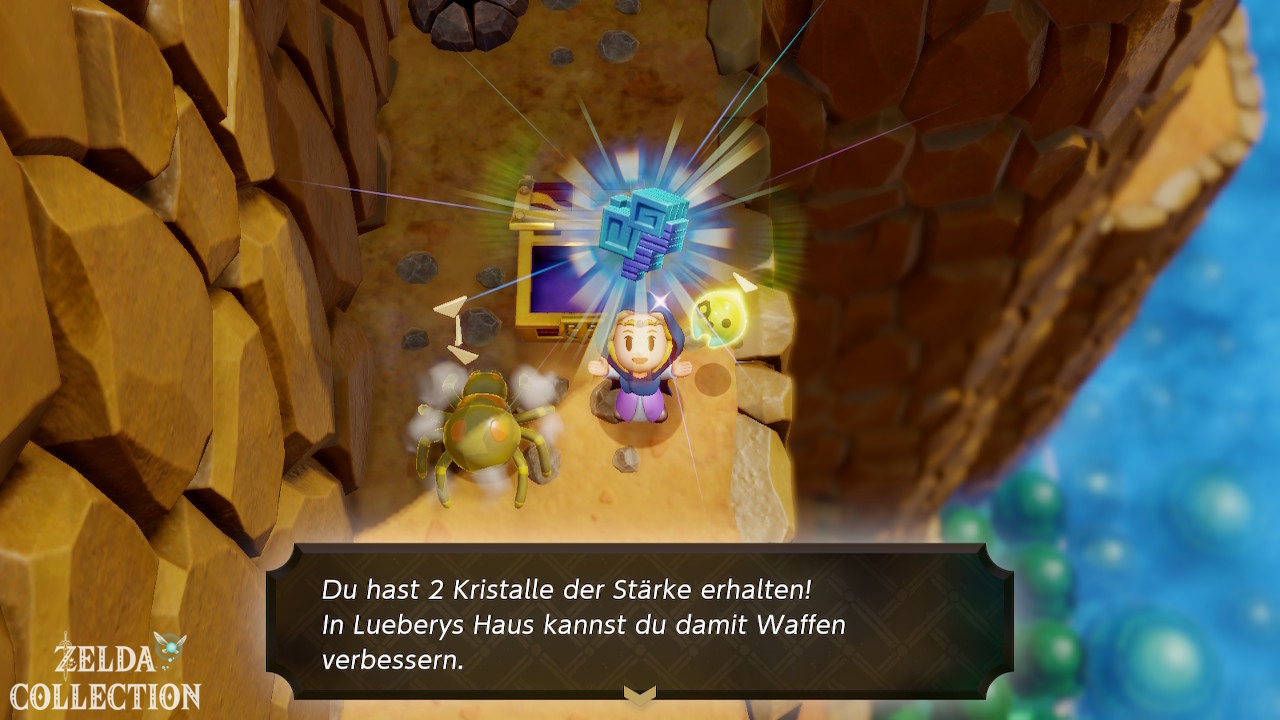
Investigate the small bodies of water in this area. Defeat a Octorok and learn its echo. Might Crystals can be hidden in the seaweed; dive down with full air gauge and clear it with a spin. An elevated chest in the pool contains ten portions of rock salt. Crawltula or a staircase made of beds and boxes takes you up. The crevices and chests at the edge of the area are worth the same climb before following the path west.
Open the passage to Hyrule Field
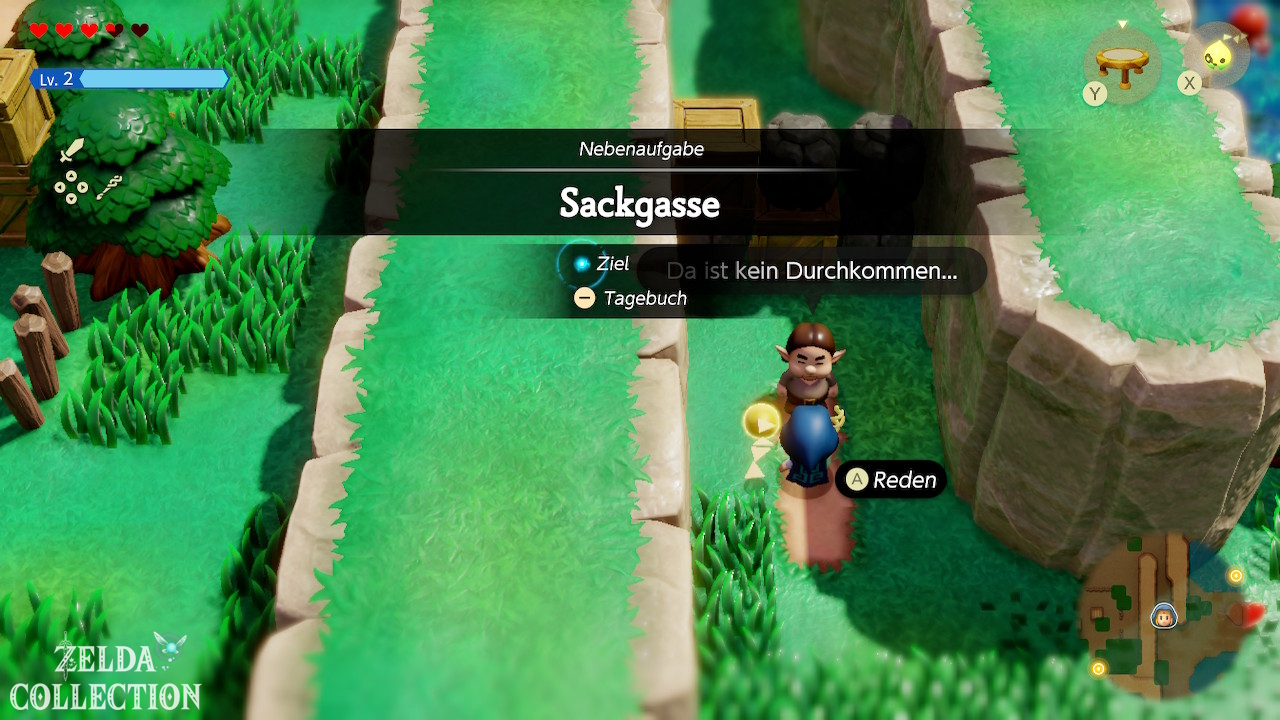
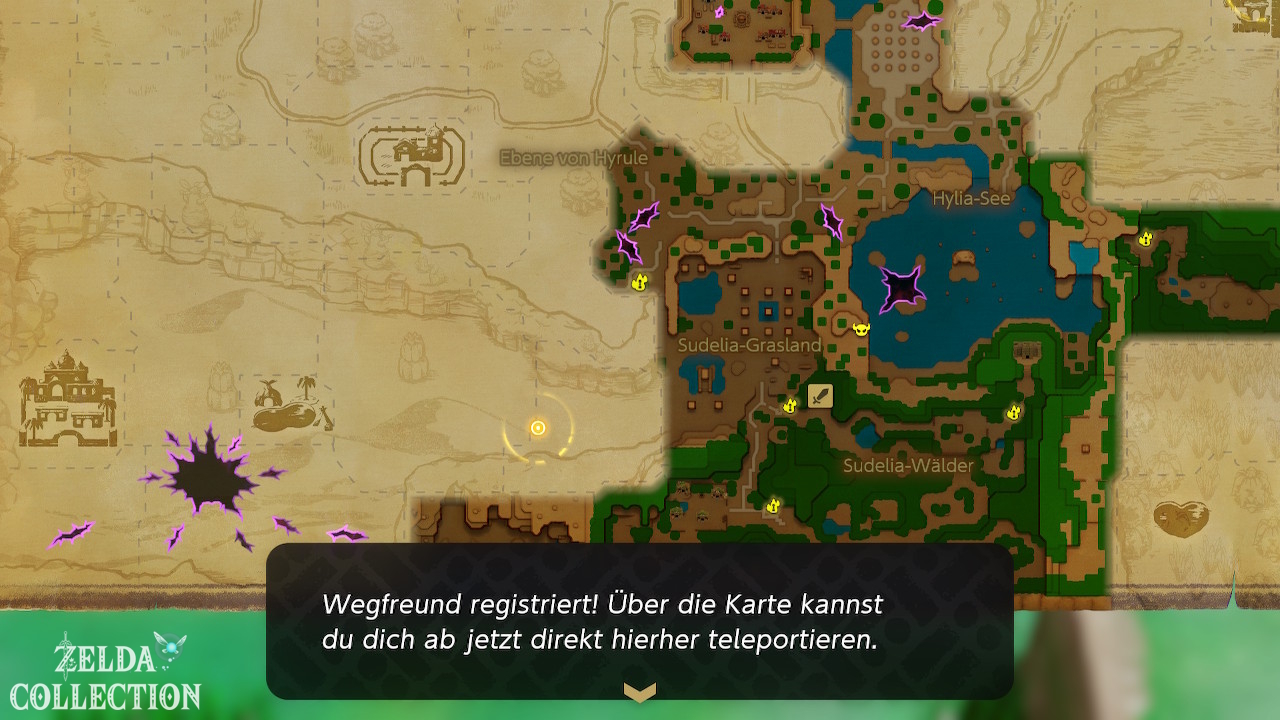
At the narrow exit of the grassland a man stops you in front of a blockade. Accept “The Blocked Road” and clear the heavy rocks with Bind. Also move or destroy the wooden crates until the passage is clear. Talk to the man again for 20 Rupees. Behind the passage you activate the next Waypoint.
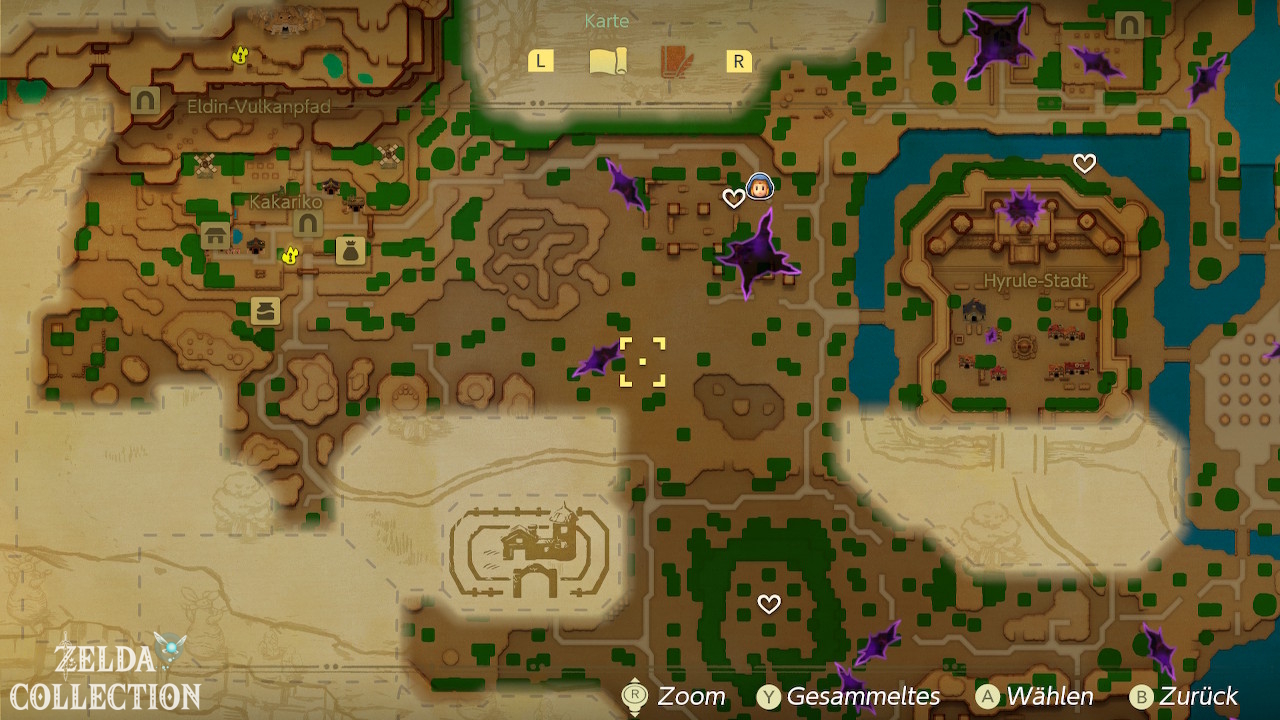
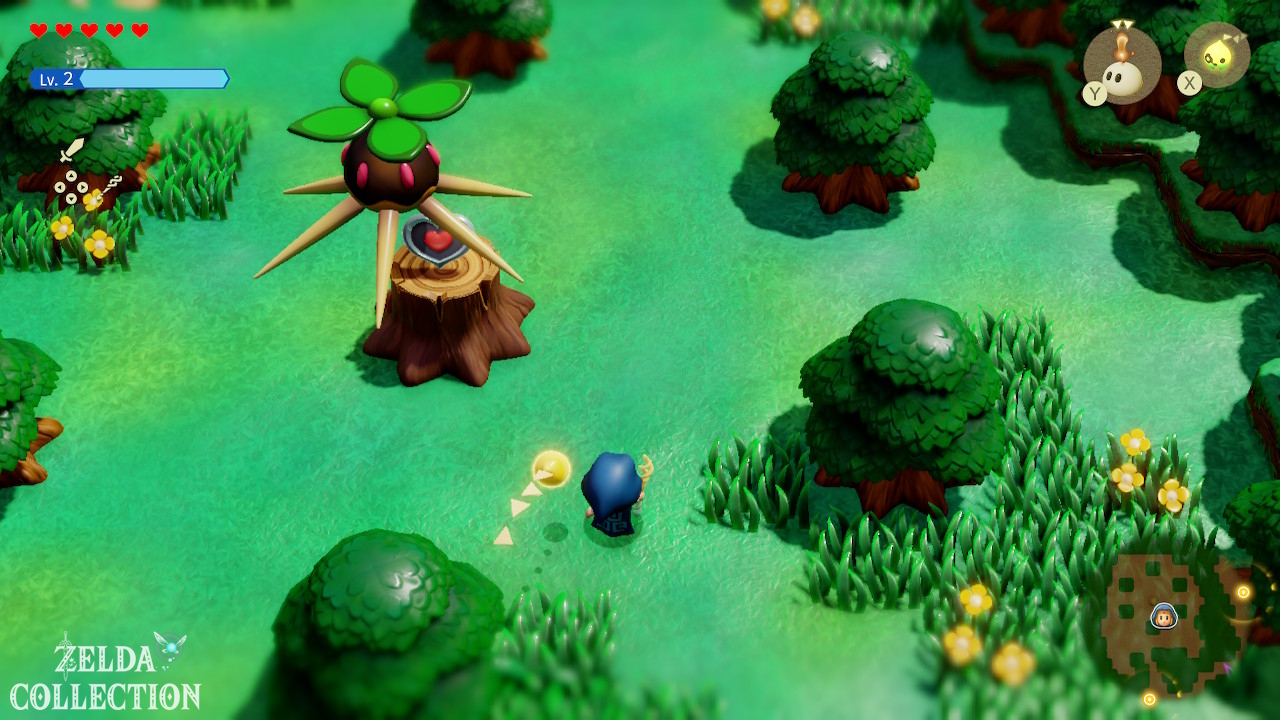
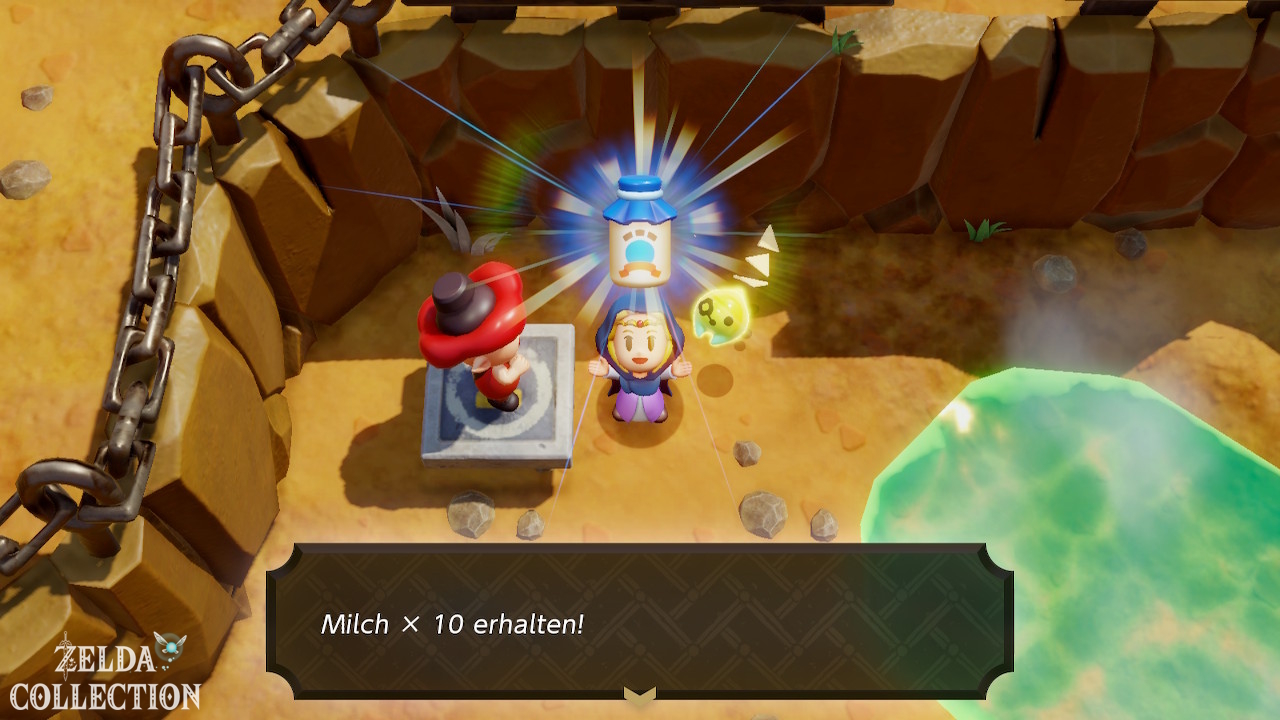
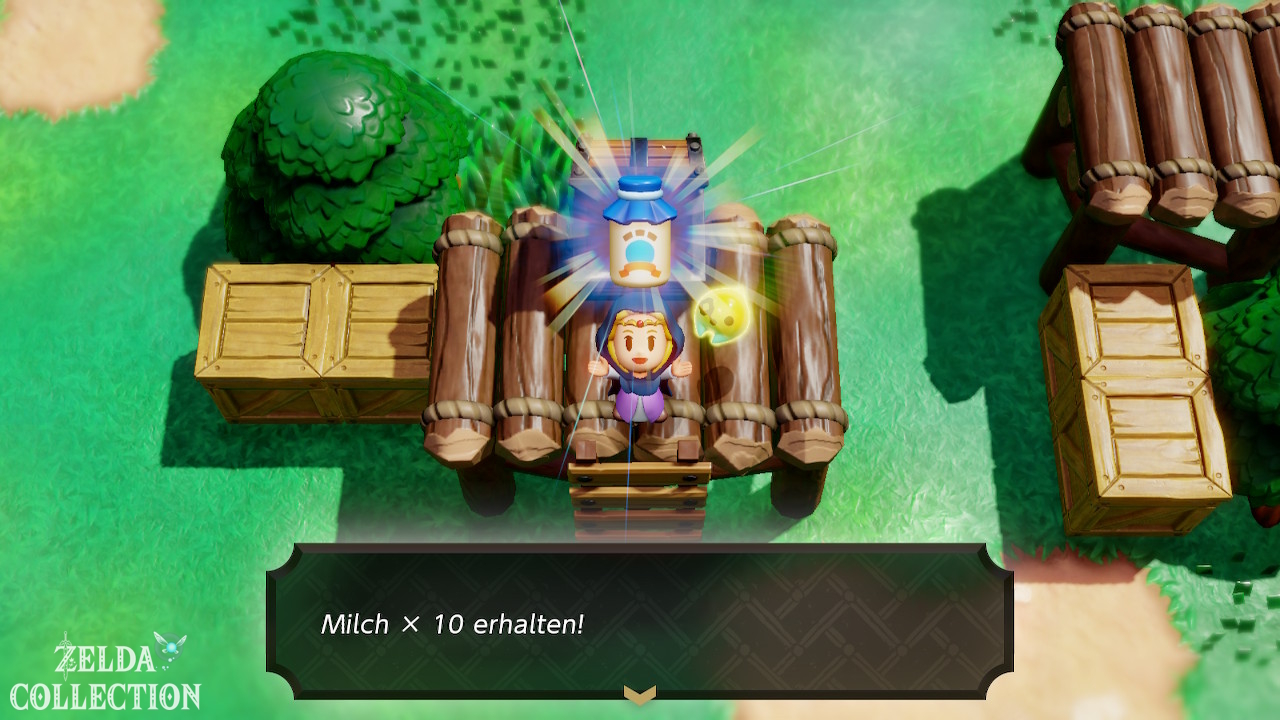
On your way through the plain you will encounter more monster camps. Defeat the entire party at a time to unlock the locked chest and learn new Sword Moblin or Bird Echoes. An early monster-camp chest contains ten portions Fresh Milk. In the small forest there is a Piece of Heart lying on a tree stump; After the fight against the guarding Peahat you can reach it with the trampoline. The best way to attack Guays above the trees is with a flying echo.
Hyrule Ranch: Return the runaway horse
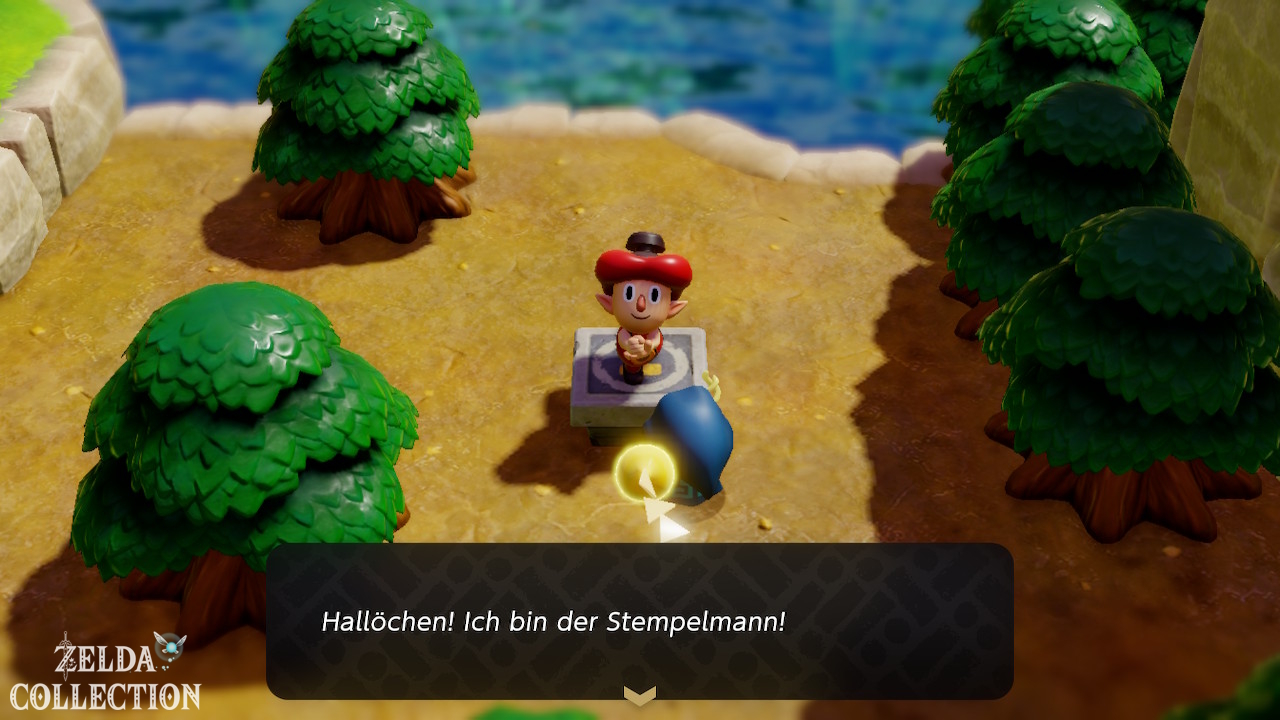
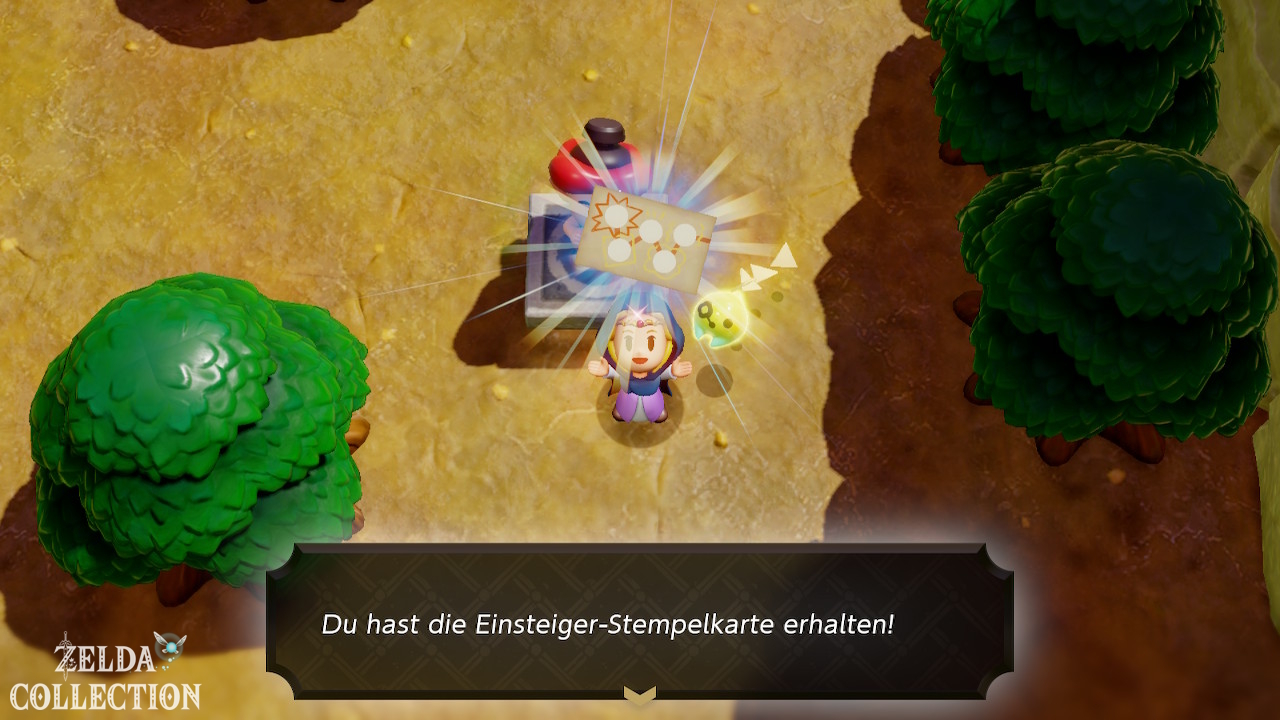
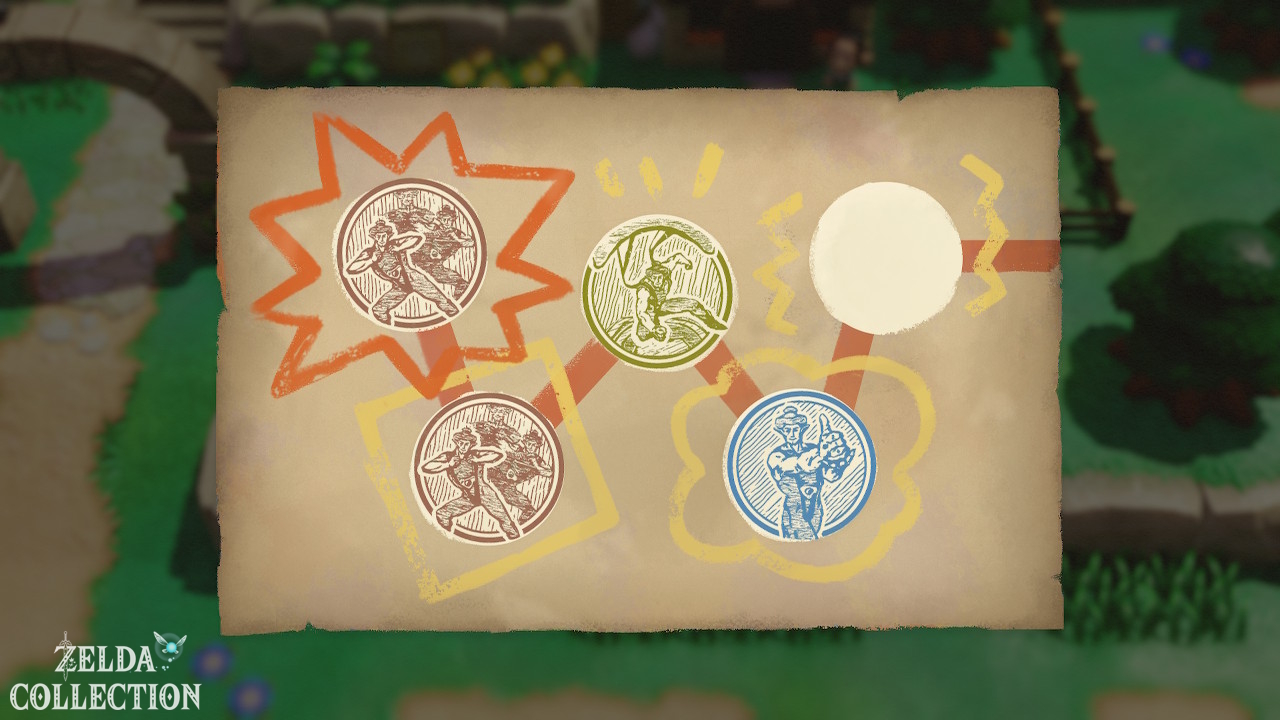
Follow the signs to Hyrule Ranch. Use the Stamp Stand in front of the entrance: On your first visit, the Stamp Guy appears and gives you a Stamp Card with five spaces. It doesn’t matter which station you visit first. In the stamp guide you will find all locations and the rewards for full cards.
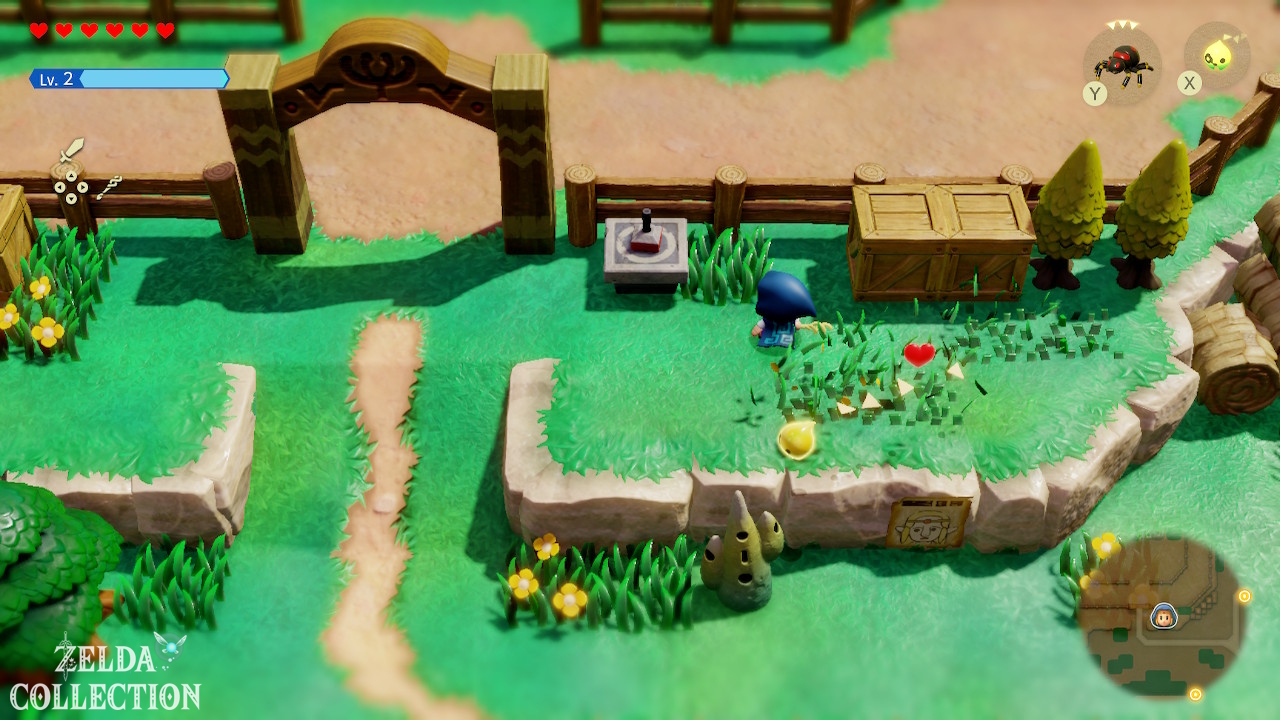
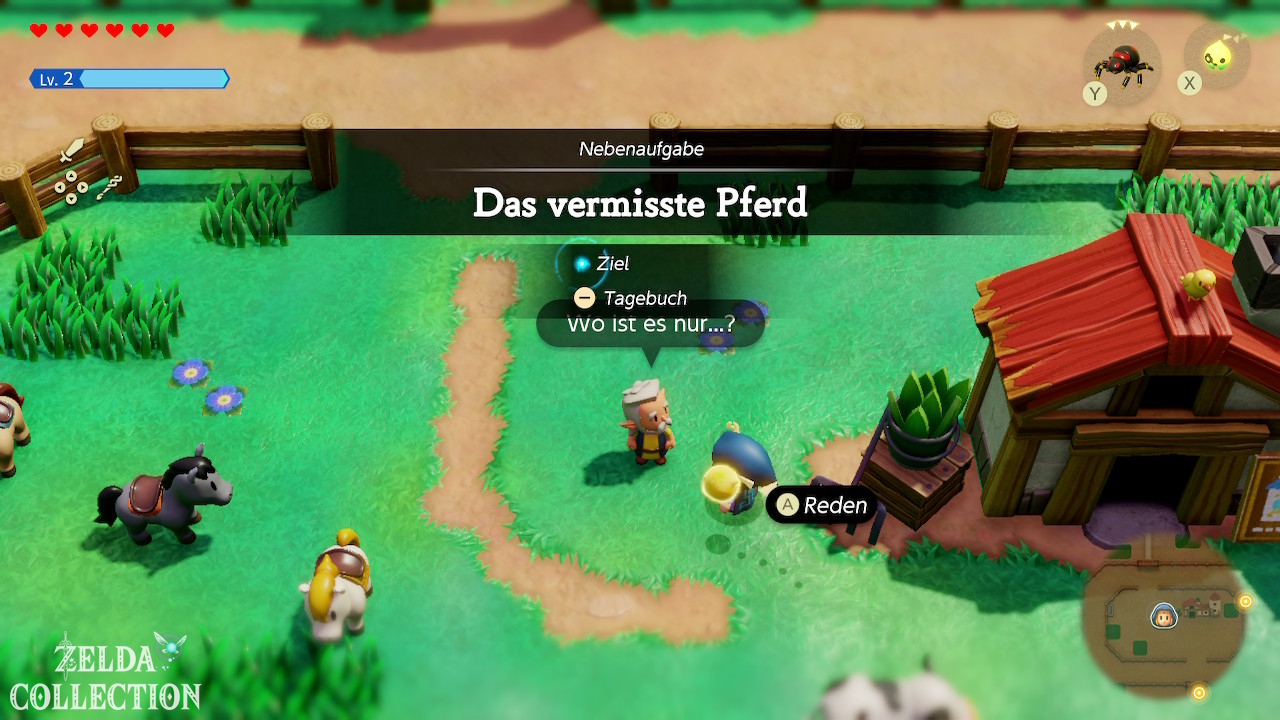
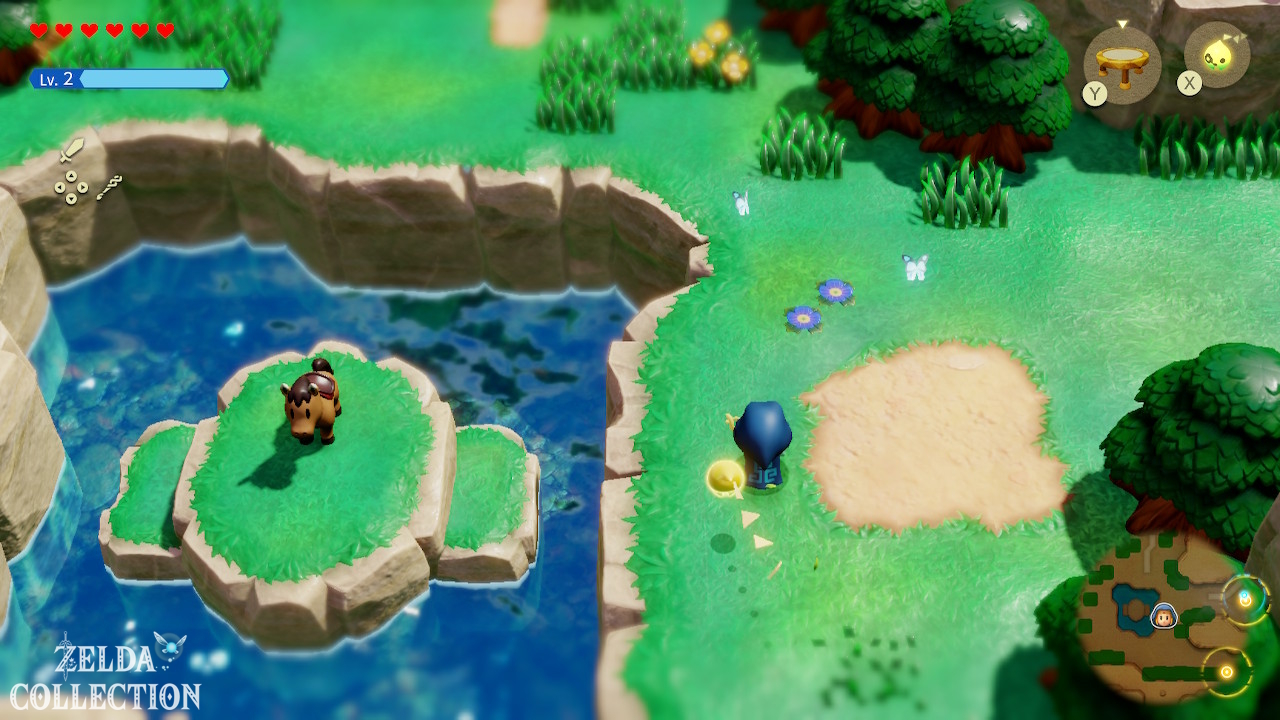
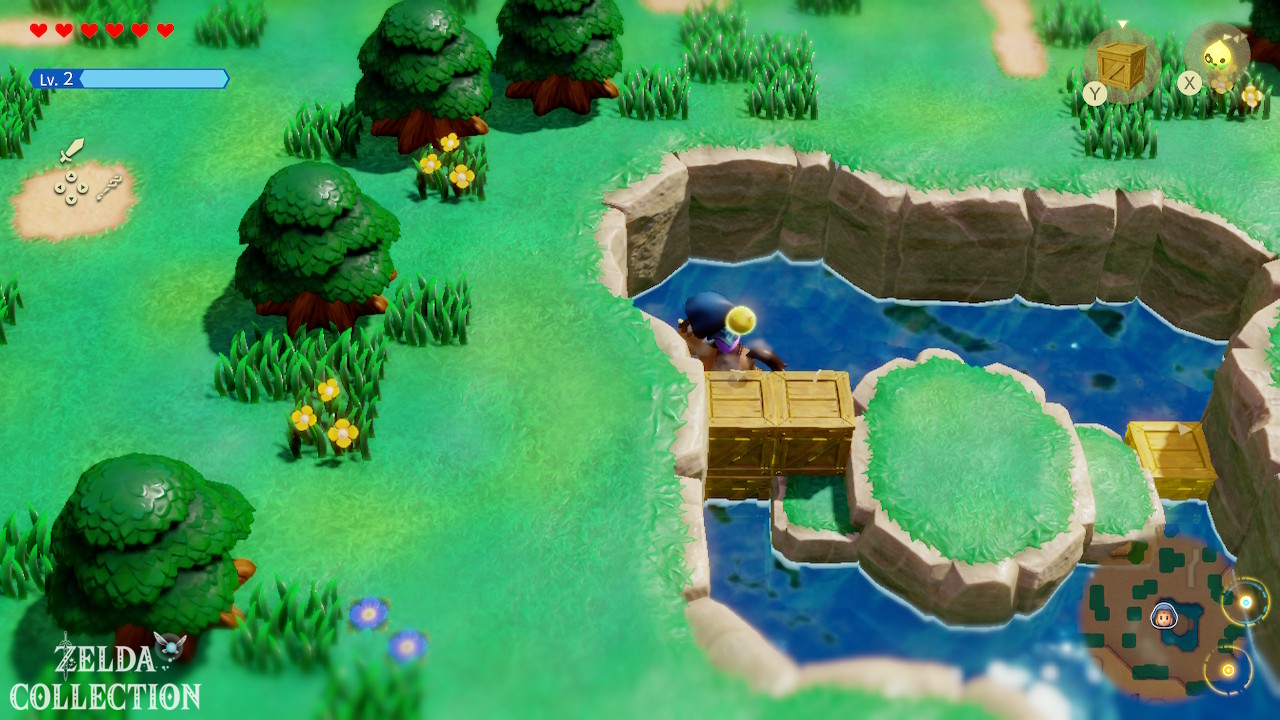
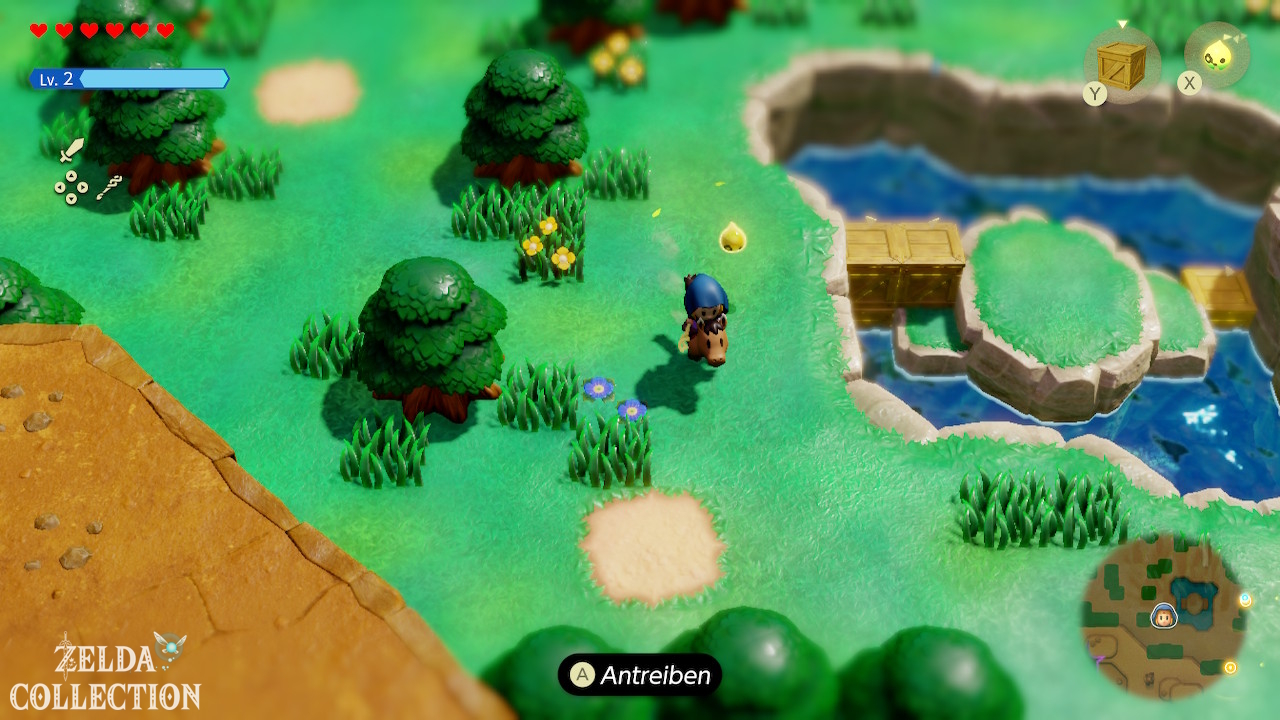
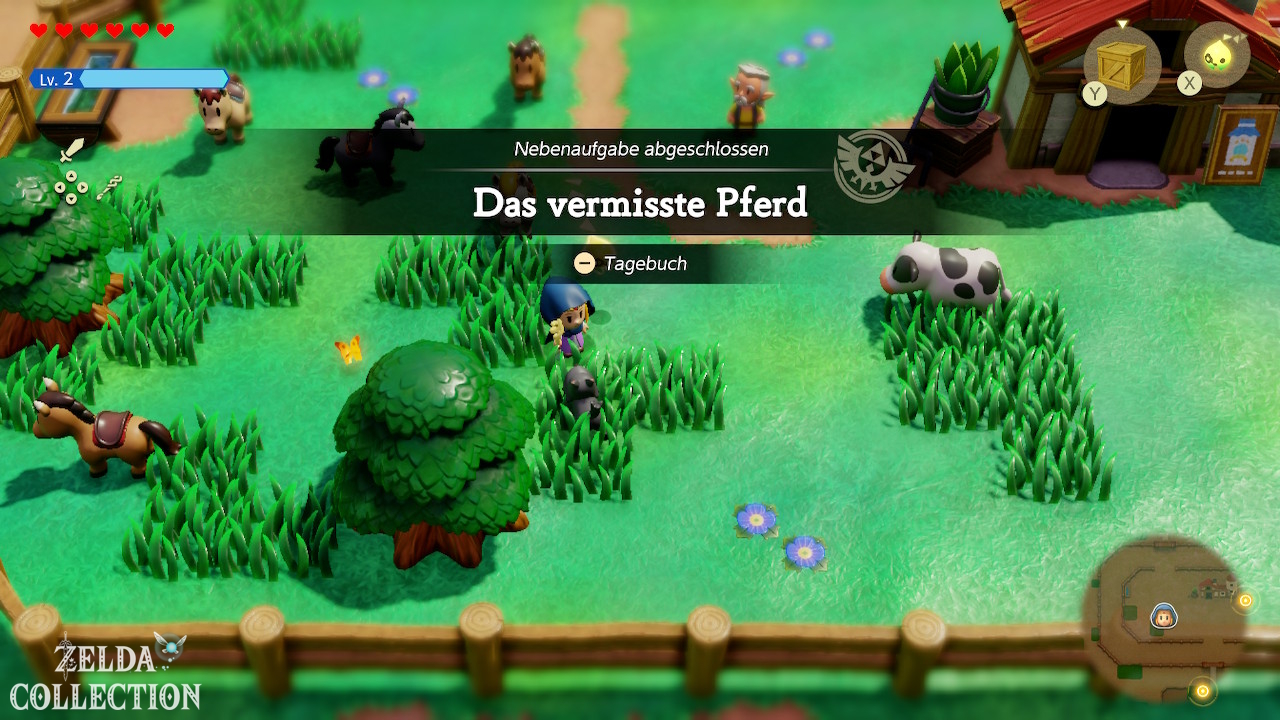
At the farm, talk to the man who is missing his horse. Go west to the sunken pool with the small island. The horse is stuck there. Build a sturdy ramp of beds or boxes from the deeper area to the bank. Get on the horse and ride it out of the pool. Return to the quest giver to complete “Runaway Horse”. Afterwards you can borrow the farm’s horses. Zelda’s own white horse and the flag races follow later with “Impa’s Gift”.
Kakariko Village: Fairy Bottle, fountain and first dojo exercises
For a worthwhile additional detour, travel northwest from the farm to Kakariko Village. Activate the Waypoint and use the station at the village entrance. You can start at the smoothie stand “Recipes, Please!” and mix specific ingredients for the first time. A helpful drink for the heart and energy is created from Fresh Milk and rock salt. The recipe list prevents you from using rare ingredients unnecessarily.
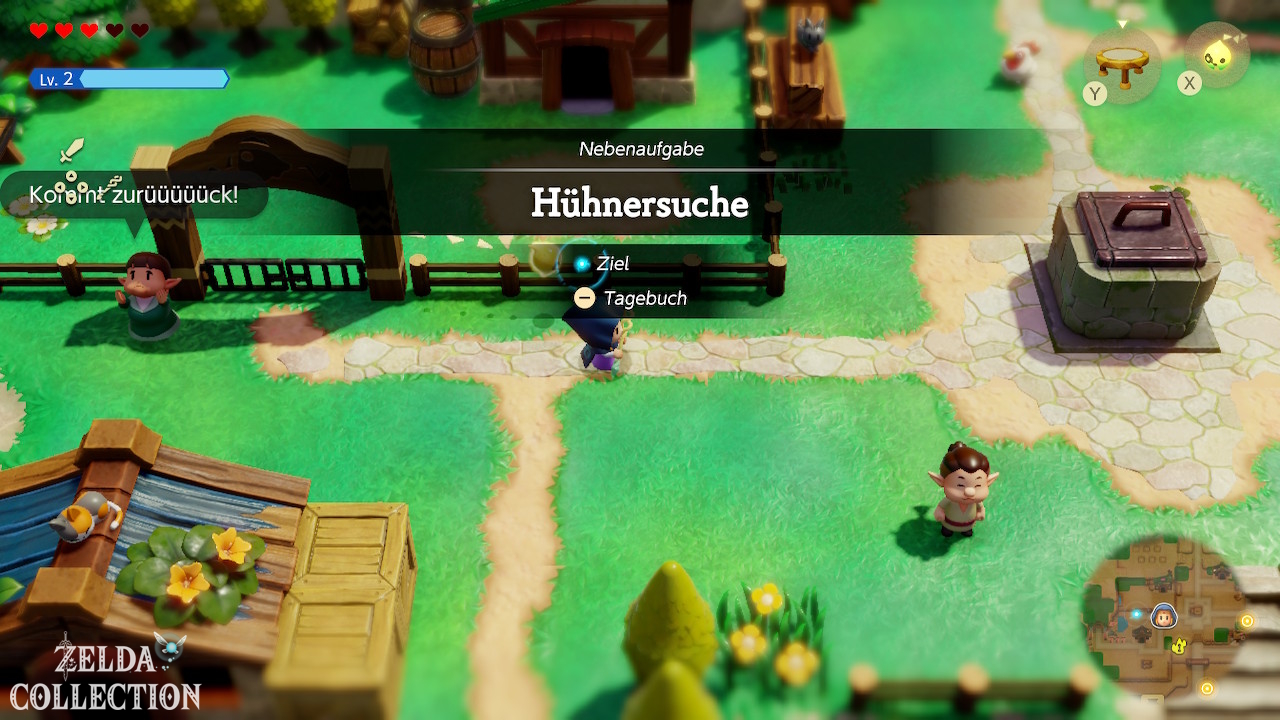
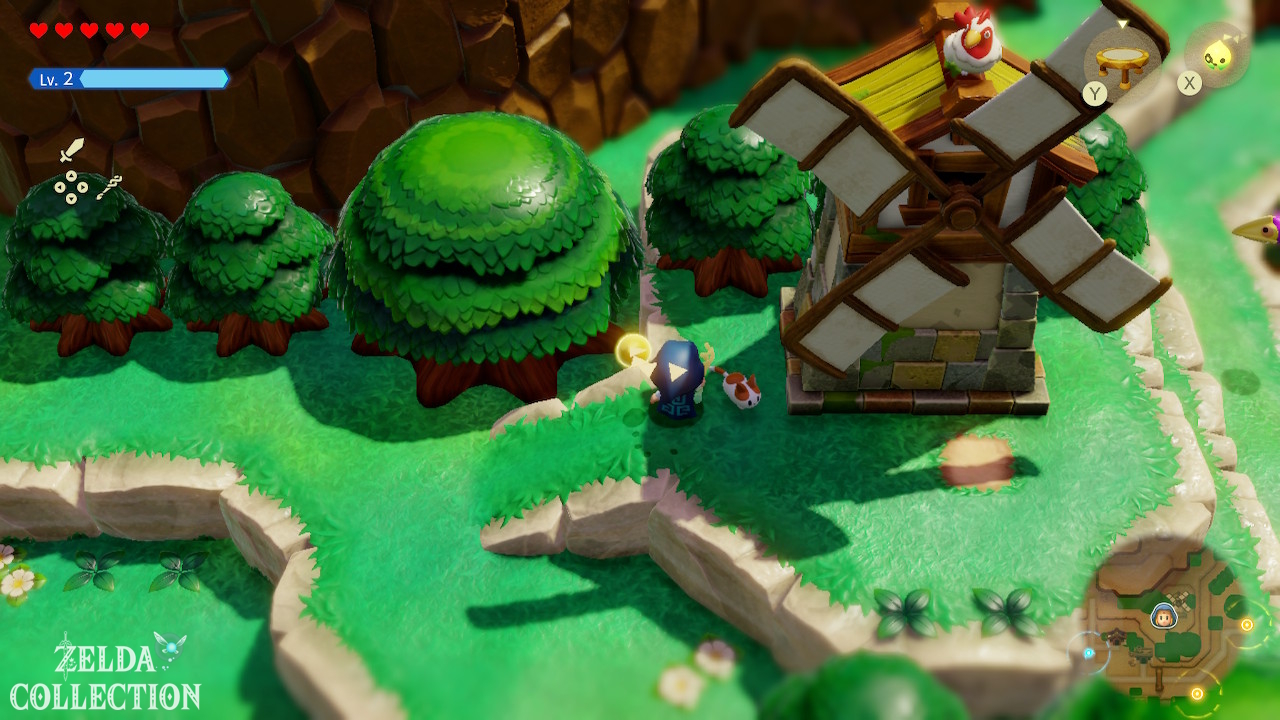
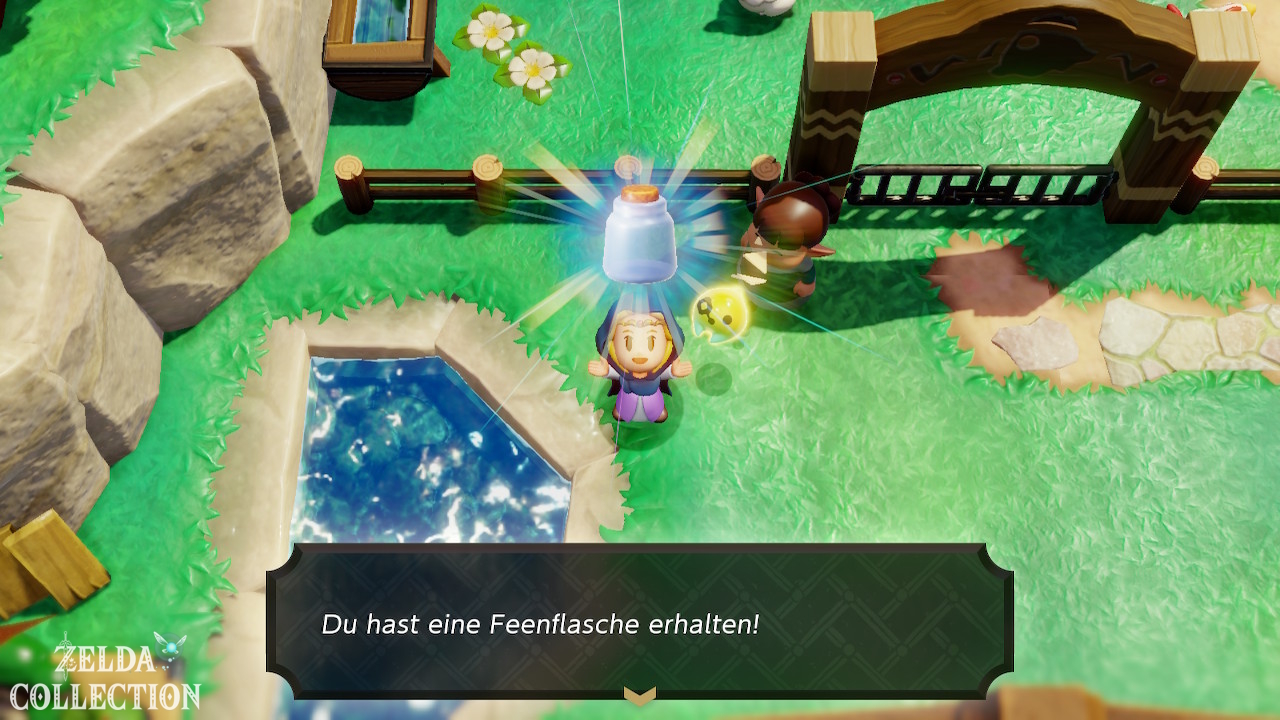
Accept “Cuccos on the Loose” from the woman beside the enclosure. Carry the five escaped Cuccos back to her. Search near the village entrance, along the rocky ledges and beside the enclosure. Reach the Cucco on the eastern windmill by climbing the buildings and placing echoes as steps. Carry a Cucco to glide back down. Returning all five earns a Fairy Bottle. Our guide to the four Fairy Bottles has the detailed locations.
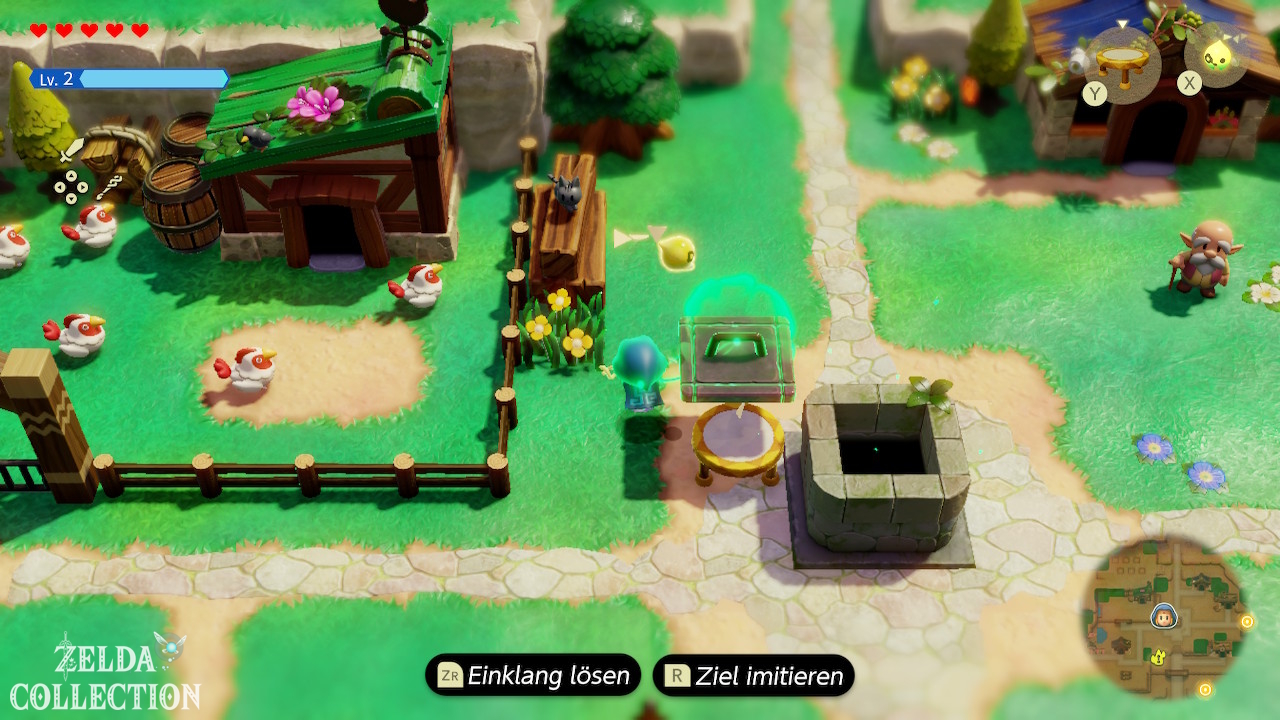
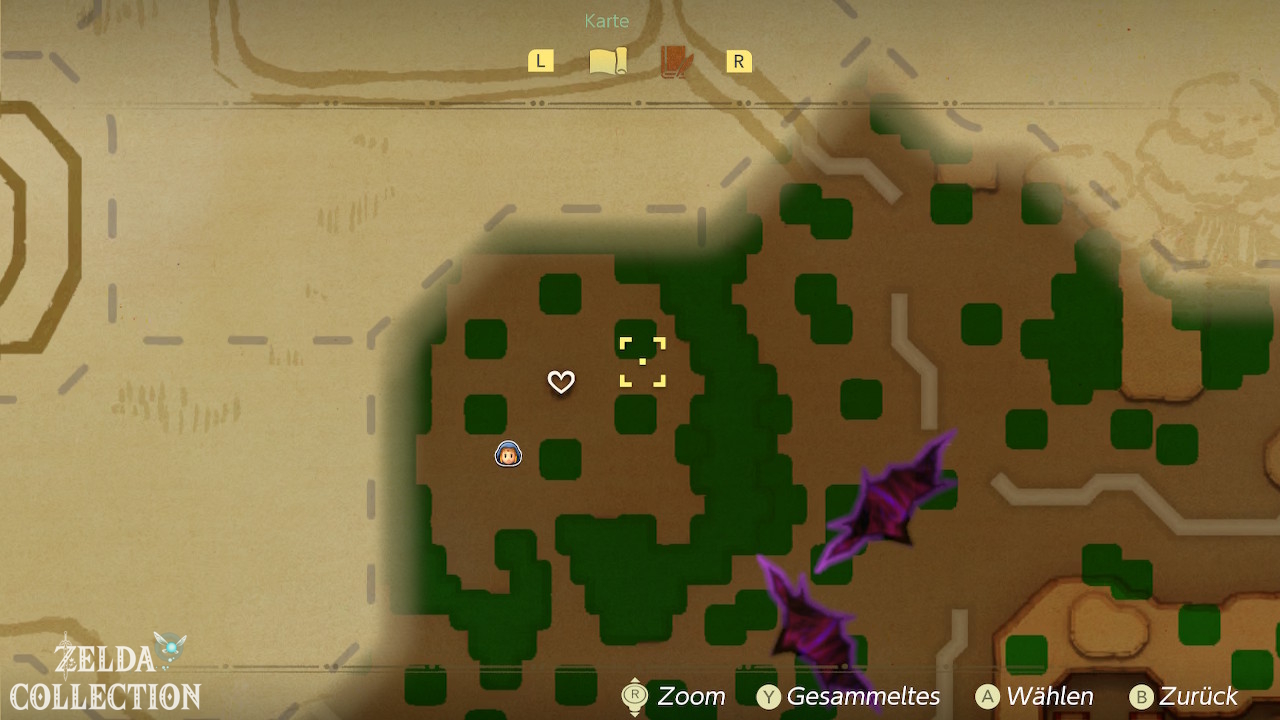
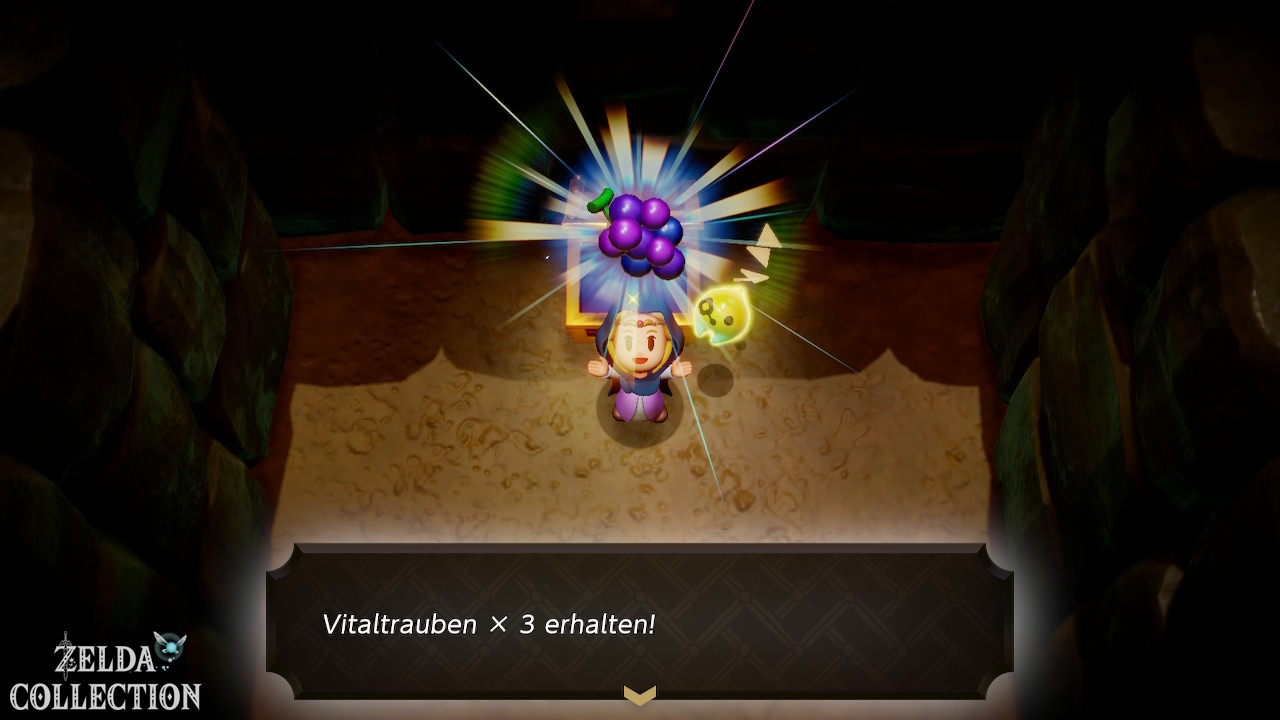
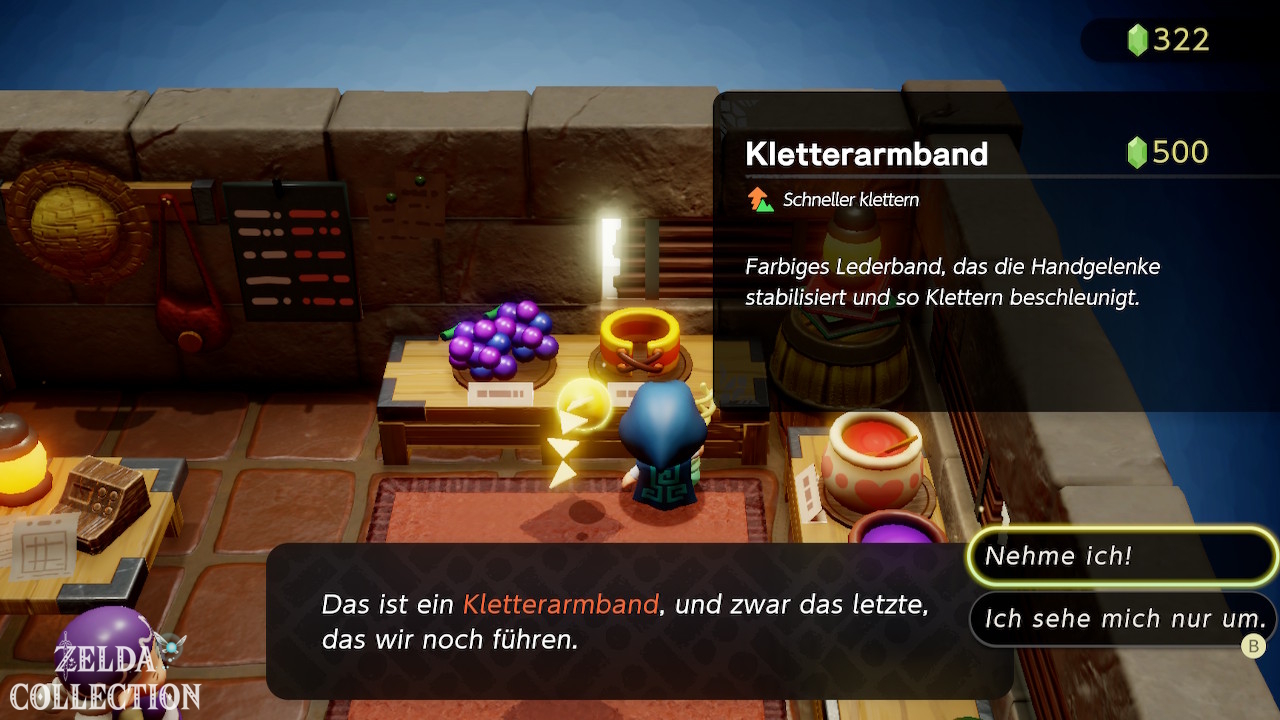
Move the cover of the village well with Bind and jump down. There are three Refreshing Grapes in the chest. The Climbing Band is offered in the store for 500 Rupees; the purchase is voluntary. The Slumber Dojo in the western part of the village is already offering the first dream fights. Complete two different challenges to earn a Piece of Heart. Further exercises only appear after later dungeons, so you don’t have to complete everything now.
Further detours and later returns
As you continue exploring the central plain, look for raised ledges with isolated stones or noticeable tufts of grass. A Crawltula can carry you up many rock faces; You can reach individual Treasure Chests with a small echo staircase. The Map with collecting progress distinguishes between the locations so that a crystal that has already been collected is not searched for twice. For mini-games, the organizer displays the current task and the specifications for additional prizes.
The cemetery cave after the rescue of the Northern Sanctuary
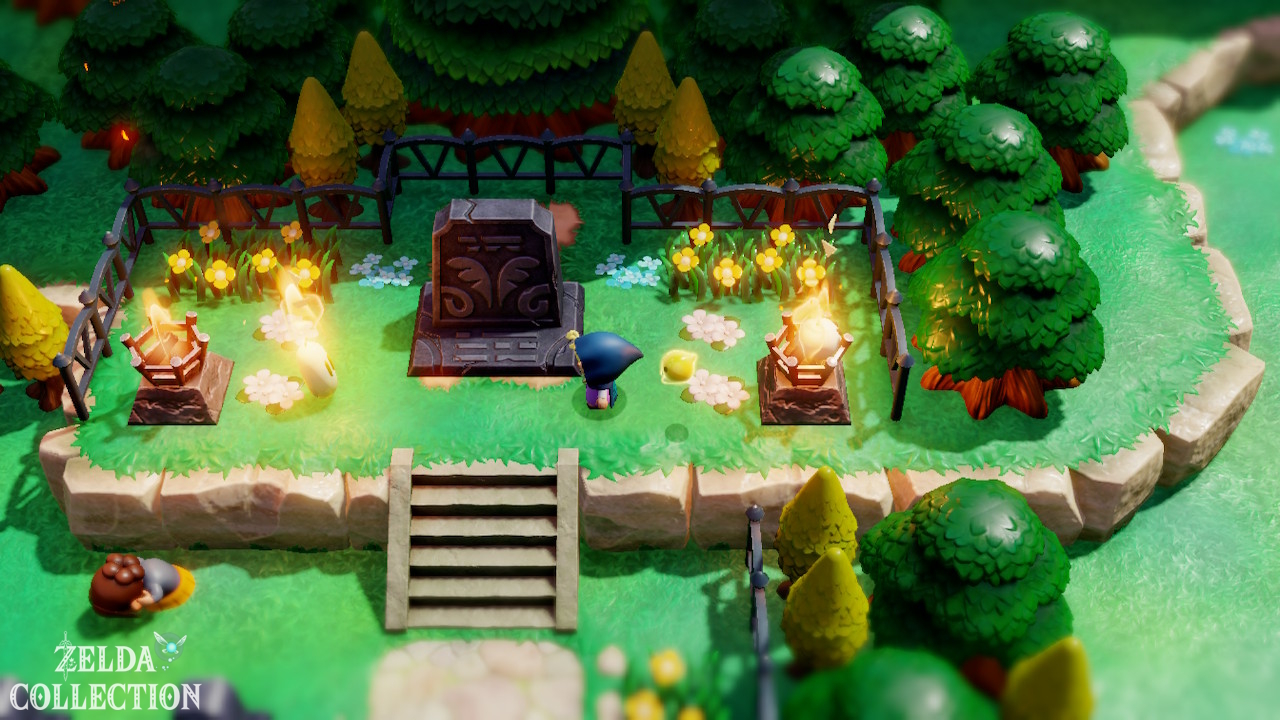
The graveyard is in northern Hyrule Field, west of the Northern Sanctuary. If the area is still blocked by a Rift, close this small Rift first. Then light the two fire bowls on the large gravestone to reveal the stairs to the cave. Learn indoors Ghini and the Stuffed Toy. For the switch behind the wall, aim at the target and send a Ghini echo through it with a distant summon. If this function is still missing from your save, return after the next region dungeon.
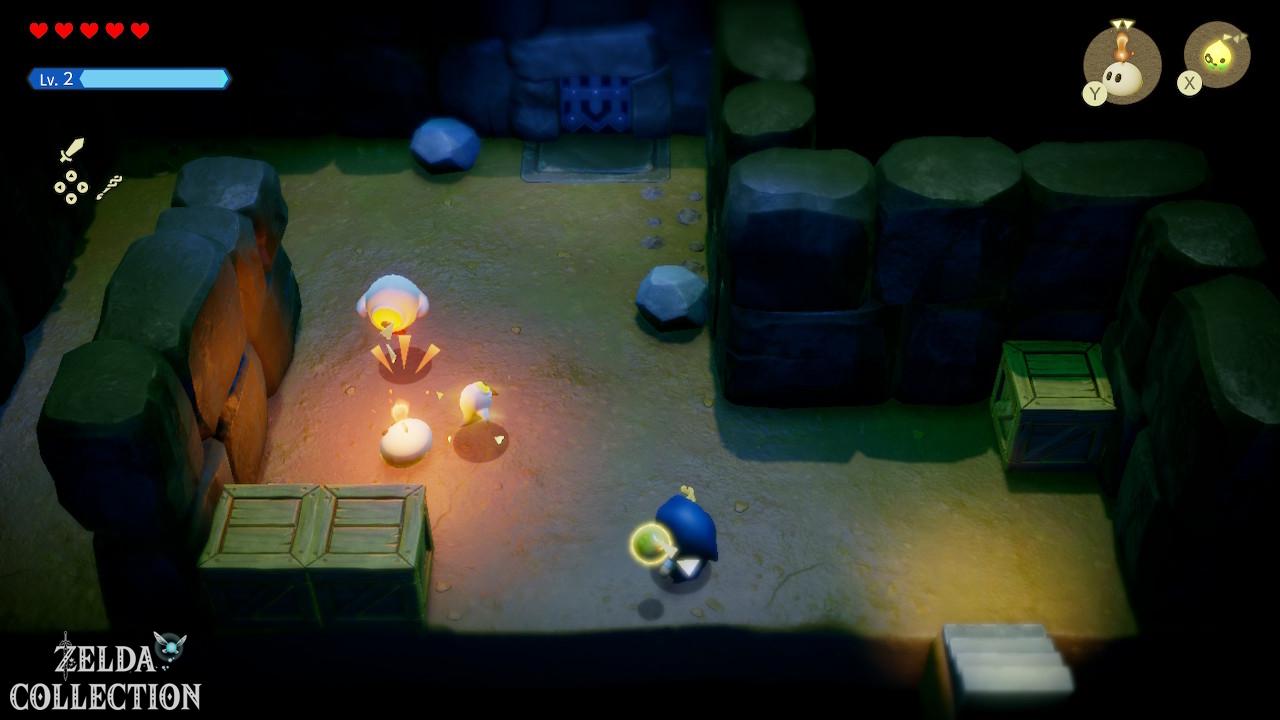
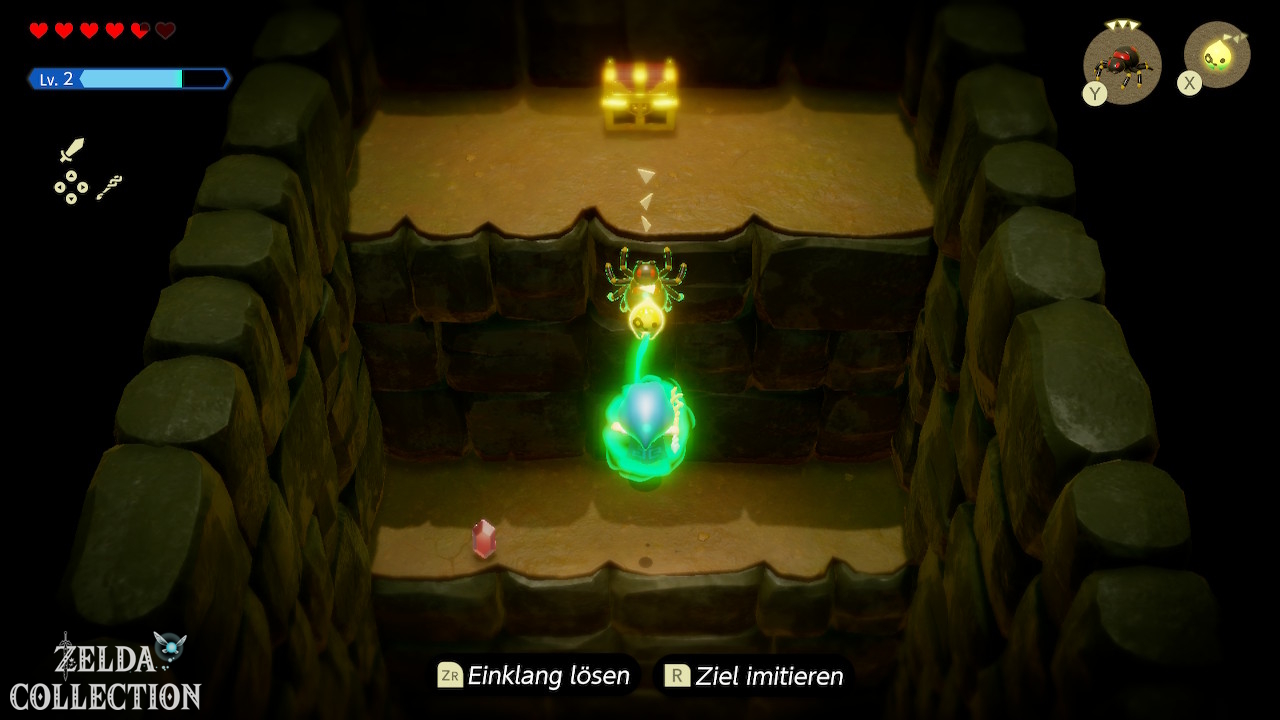
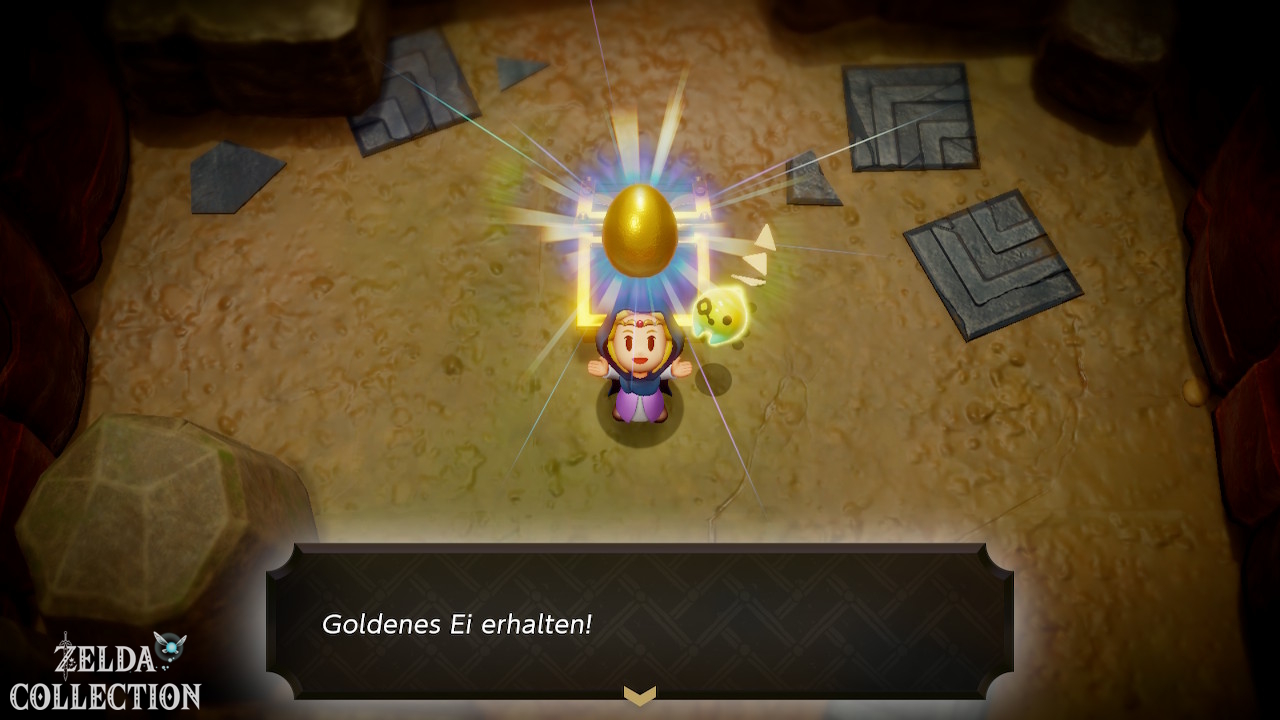
Behind the opened path is Ghini Lv. 2, then a chest with a Golden Egg. Also note the stronger ghost echo before you leave the cave. Additional Rupee chests along your exploration are useful for accessory slots and later purchases; Also clear out accessible caves with switches and pulling mechanisms.
Gerudo or Jabul: continue the main search
For the main mission you don’t need to finish searching the entire region or buy expensive accessories. Gerudo delivers early Holmill, Platboom, Flying Tile and the Bow of Might; in Jabul you can get bombfish and Water Block. Our Gerudo route does not require a Water Block, and the Jabul route mentions solutions without a prior Gerudo visit. Now travel to the Waypoint at Lueburry’s House and follow the western path into Gerudo Desert. If you prefer to start with the Zora, open The Jabul Waters Rift. After both regions it continues with Still Missing. The additional Pieces of Heart and stamps you collect depend on the detours you choose; The numbering of the collection pages is not a fixed inventory requirement for the next chapter.