

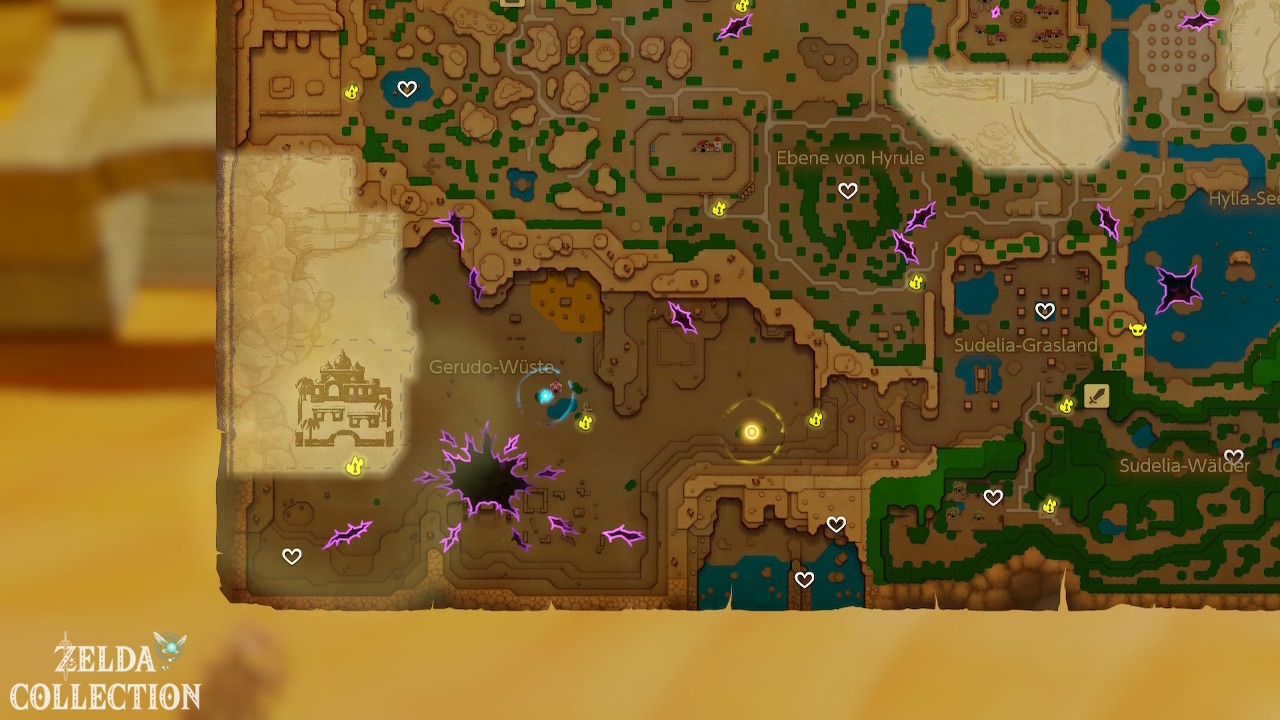
Leave Lueburry’s House and head west through Suthorn Prairie. Follow the natural passage between the rocks until the vegetation becomes drier and you reach Gerudo Desert.
Might Crystal at the desert entrance
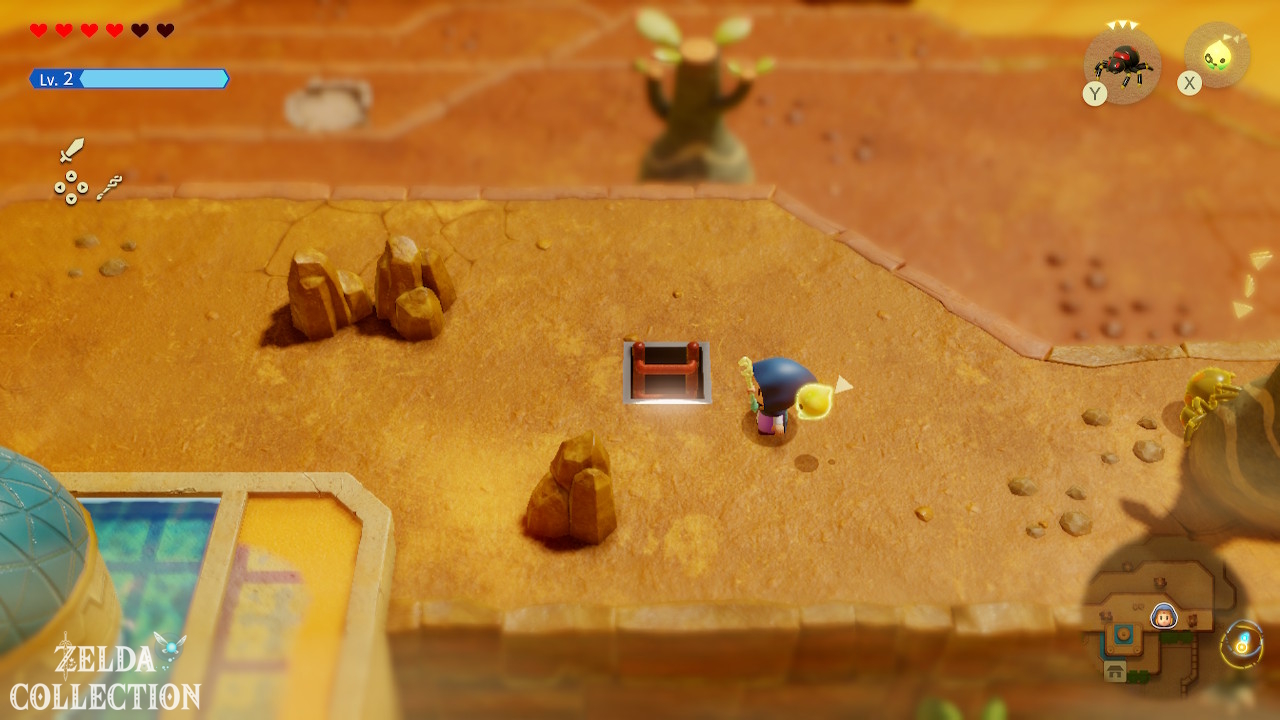
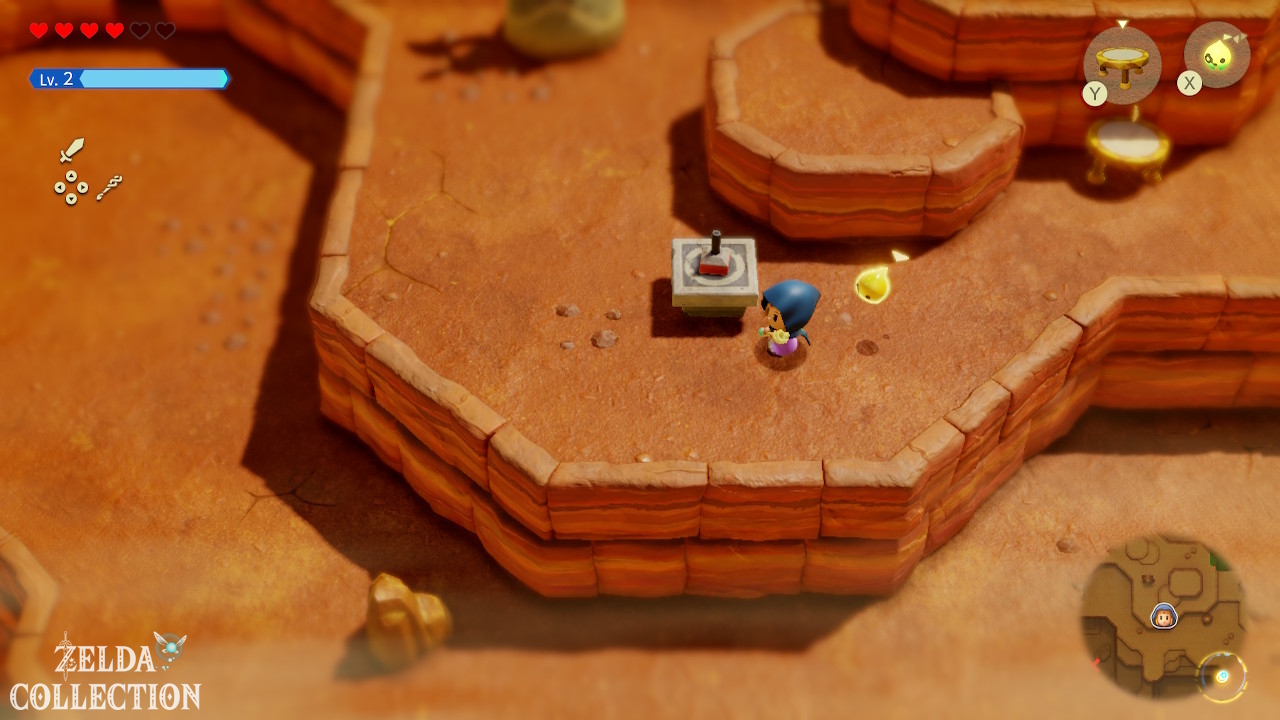
Optional: Before you walk deeper into the desert, you will see a raised rock or tree stump with a stone on it in the entrance area. Come up with the trampoline or a small echo staircase and lift the stone. Below that is a Might Crystal. Then stay on the route to the oasis. Wind Cannon, Holmill and Platboom help you reach the collectibles along this route.
The Oasis: Waypoint, Soft Bed and Mango Rush
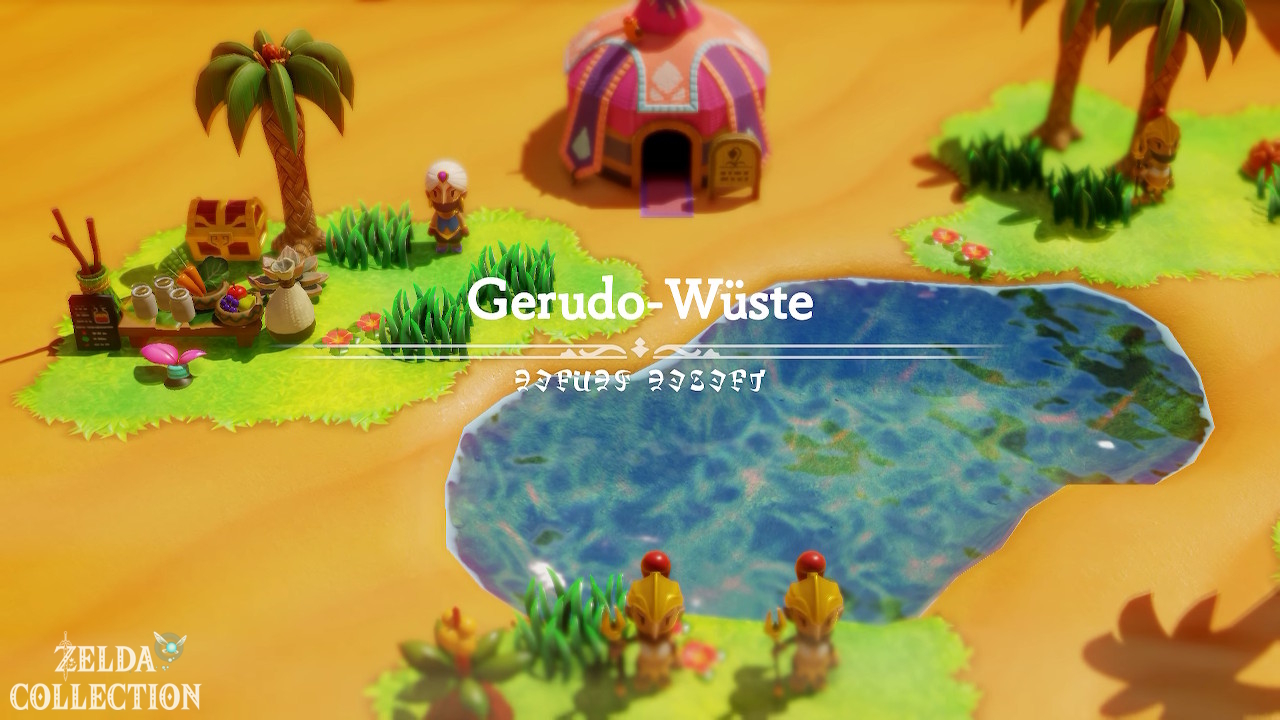
The Oasis is your central travel point for the Gerudo Desert. Activate the Waypoint immediately.
Echo: Soft Bed
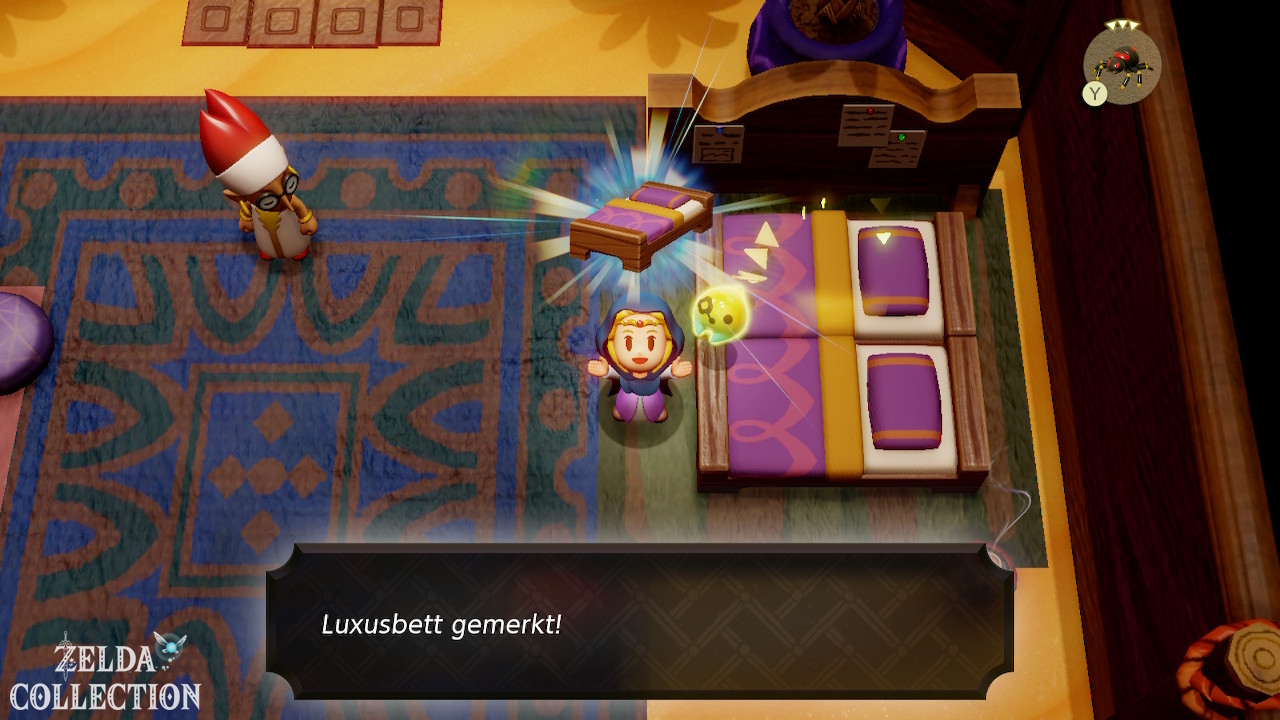
Enter the Tough Mango Plant Lab and note the Soft Bed Echo. It costs two triangles. The Old Beds remain cheaper for pure height puzzles, but the Soft Bed is particularly practical if you want to heal yourself on the go.
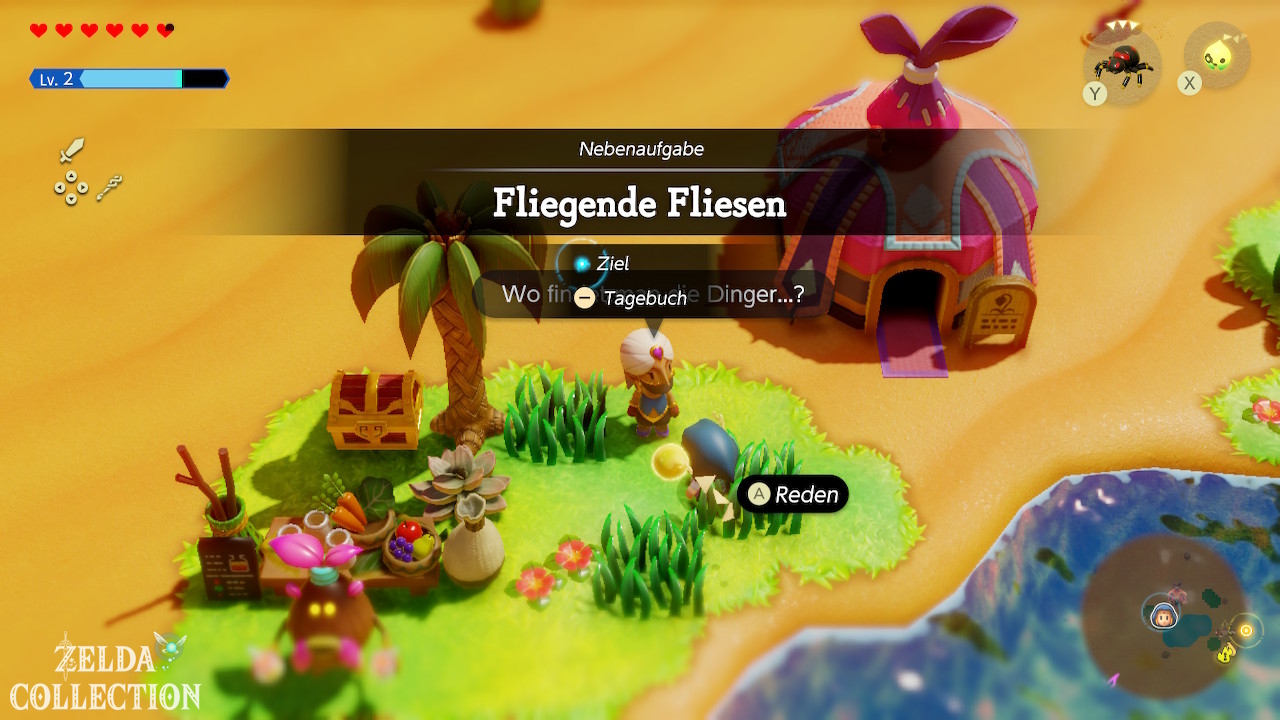
Side Quest: The Flying Tile start
At the oasis you can accept the Side Quest “The Flying Tile”. We are looking for the echo of a Flying Tile. The Flying Tile is in the cave on the desert’s northwestern boundary, which this route visits below. Once you have it, fast travel back to the oasis and present the echo.
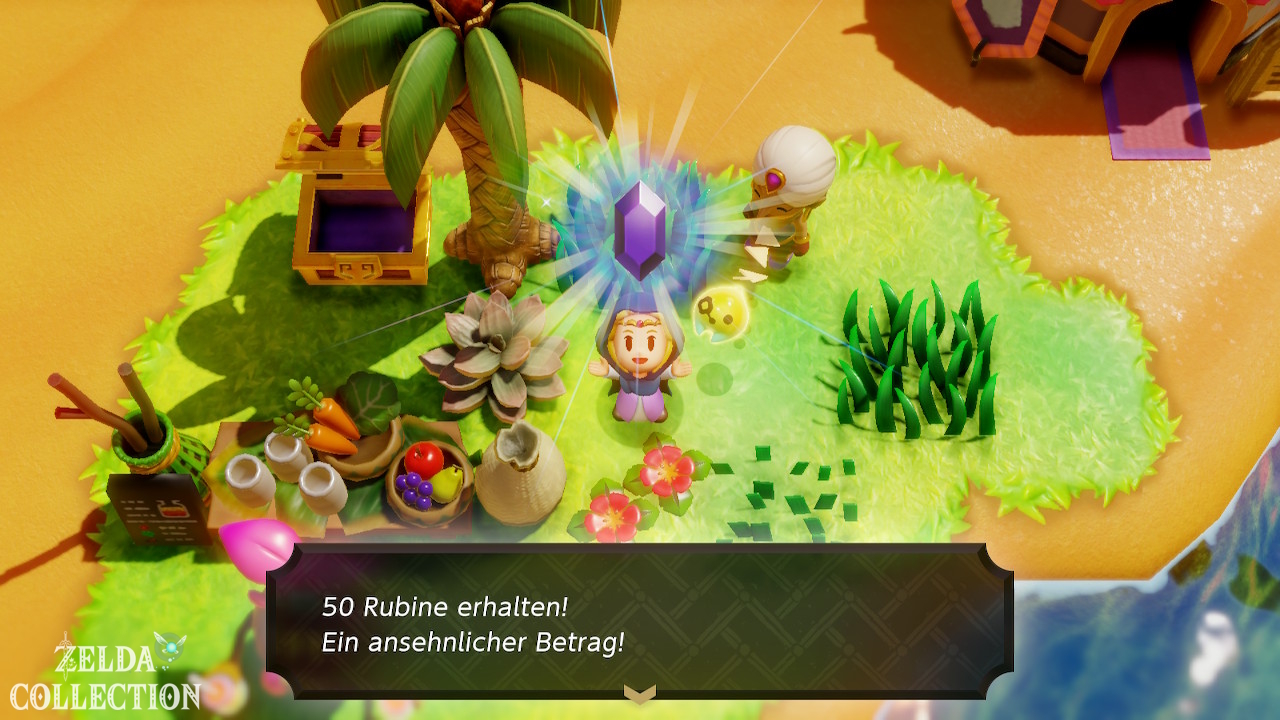
Reward: 50 Rupees.
Side Quest: Recipes, Please!
At the smoothie shop you can also advance “Recipes, Please!”. The task works at any smoothie shop Hyrule’s.
- 10 different smoothies: Survey Scope
- 30 different smoothies in total: Survey Binoculars
Since you get several new ingredients in Desert and Jabul Waters, it’s worth trying out unknown combinations. You can find all recipes in our overview All smoothies.
Mango Rush: 3 Might Crystals
Optional: The Mango Rush is already worth it. Once you have unlocked the appropriate level, collect all 60 fruits in the 60 Mango Challenge. In return you will receive 3 Might Crystals upon your first successful completion. However, you cannot yet receive the Piece of Heart for the later challenge “Ultimate Seeds” with 70 mangoes. This stage will only become available after the upcoming Hyrule Castle section.
Piece of Heart north of the oasis
Piece of Heart: Directly north of the oasis lies a Piece of Heart on a raised ledge. Place the trampoline in the appropriate place and jump up. If you feel uncomfortable with this approach, you can also use a bed or crate as an intermediate step. This is the first of the three currently available Pieces of Heart and Gerudo Desert that we include in this chapter.
Crystal east of the oasis
Run onto the raised ledge east of the oasis. Under a loose Rock you will find another Might Crystal.
Stamp at the oasis
Also take the regional Stamp Stand at the oasis. You can find the exact complete list under All stamps.
Southern Desert Ruins: Wind Cannon and Hidden Crystals
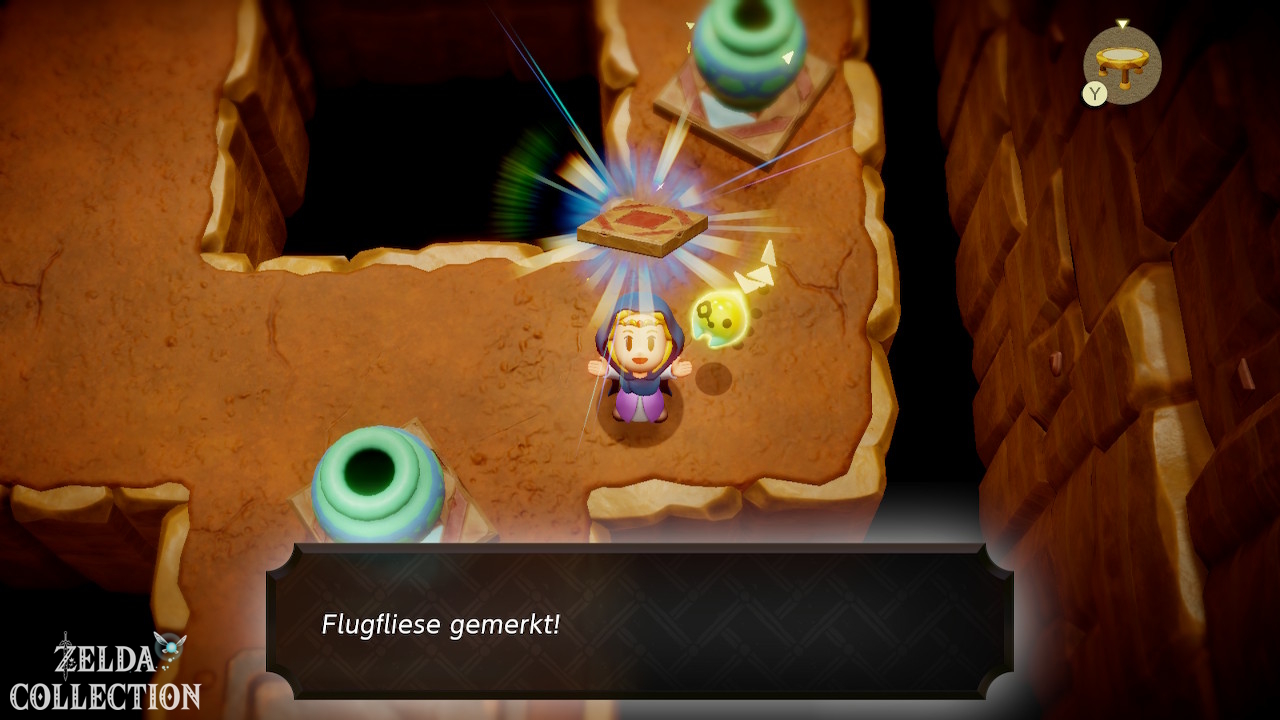
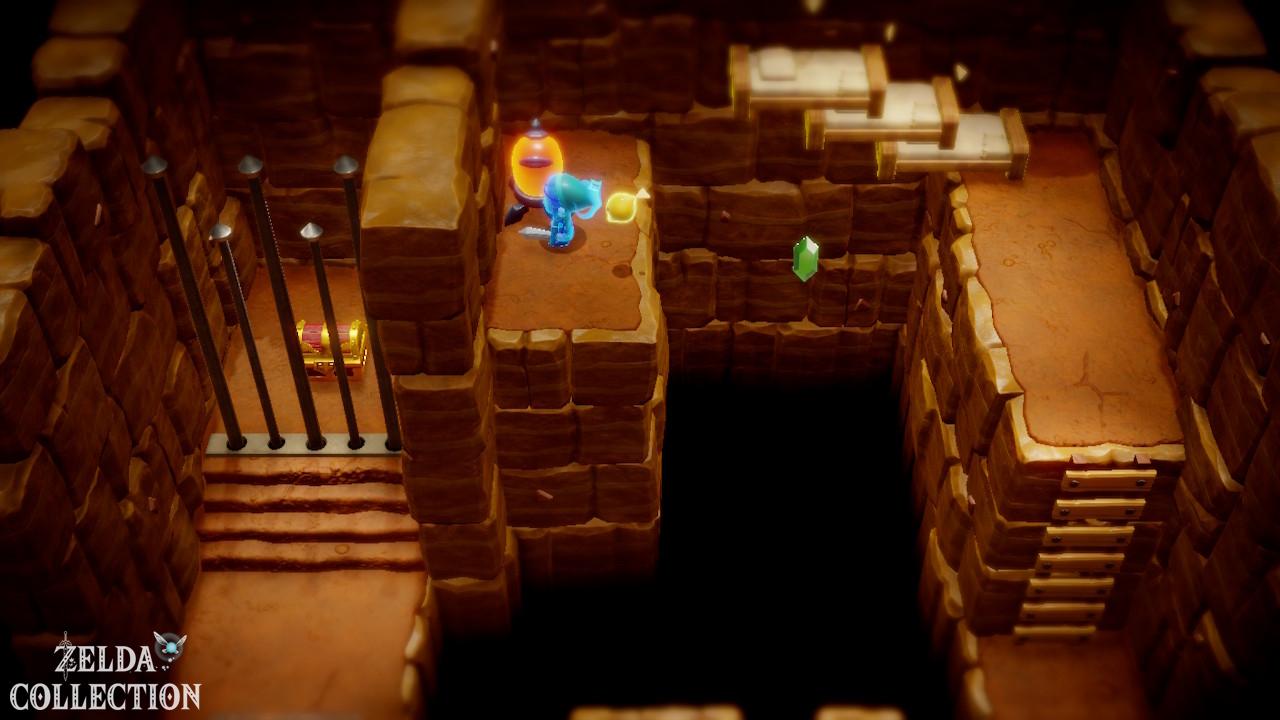
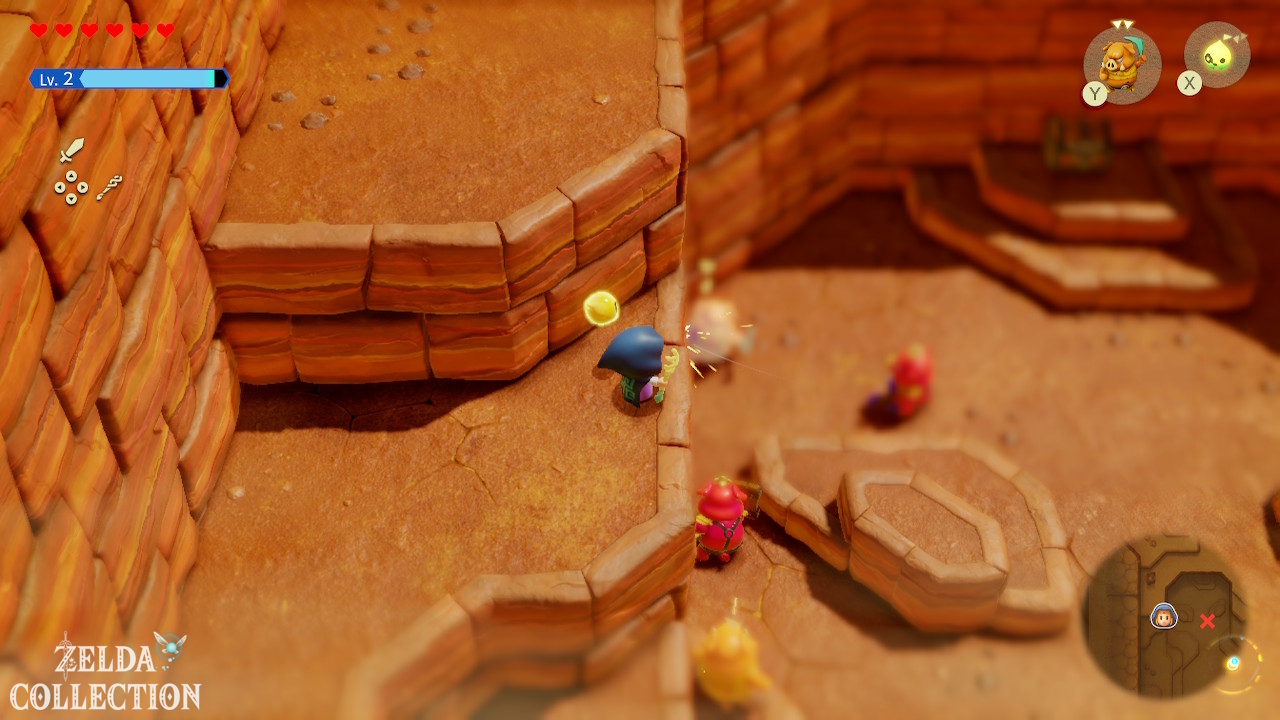
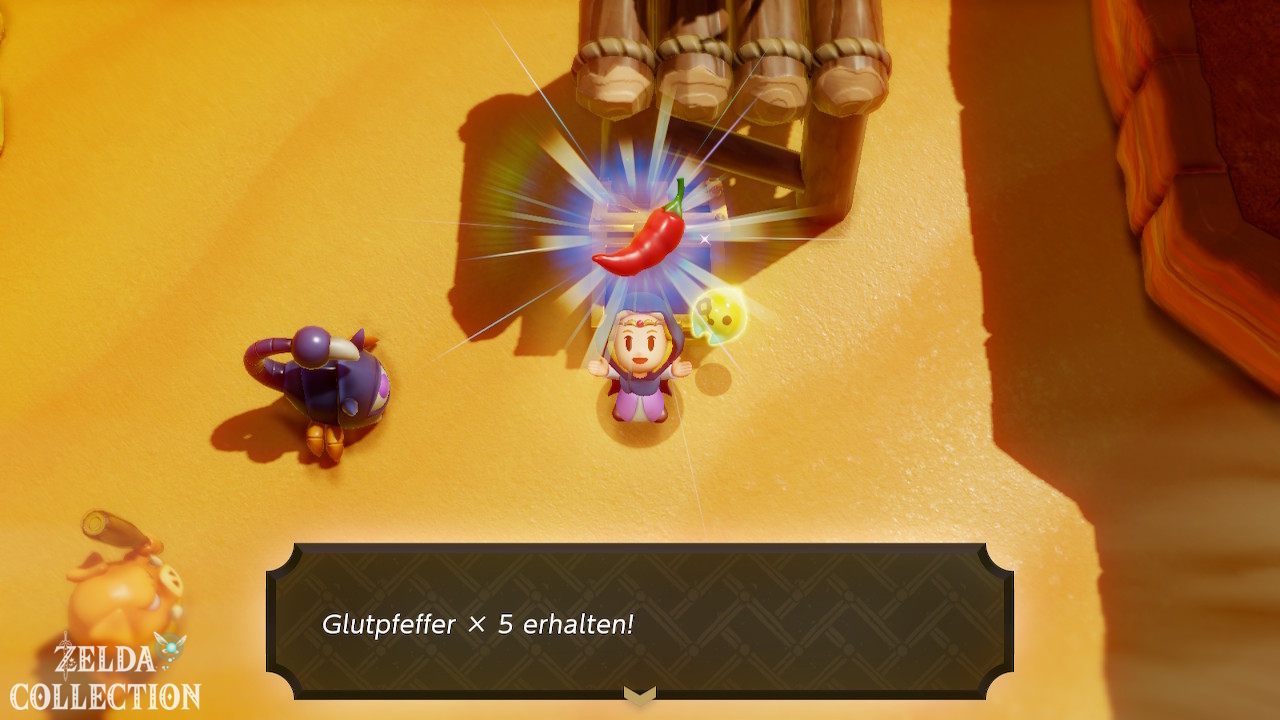
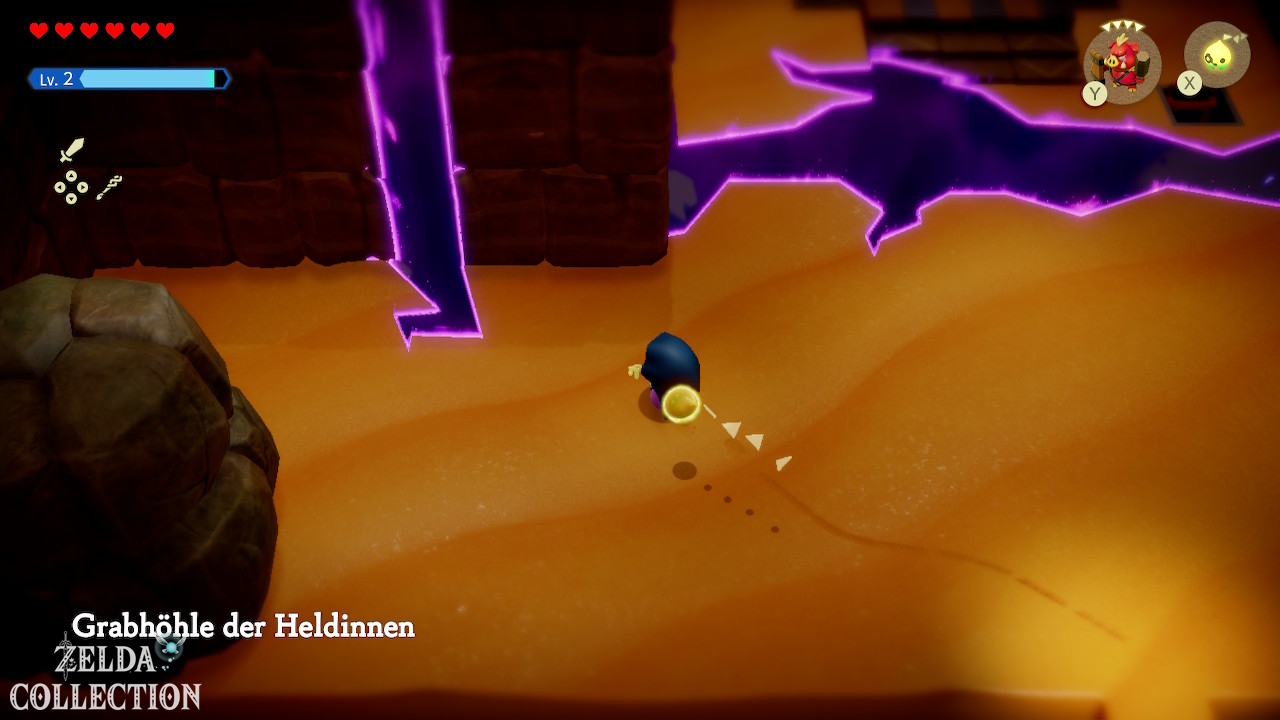
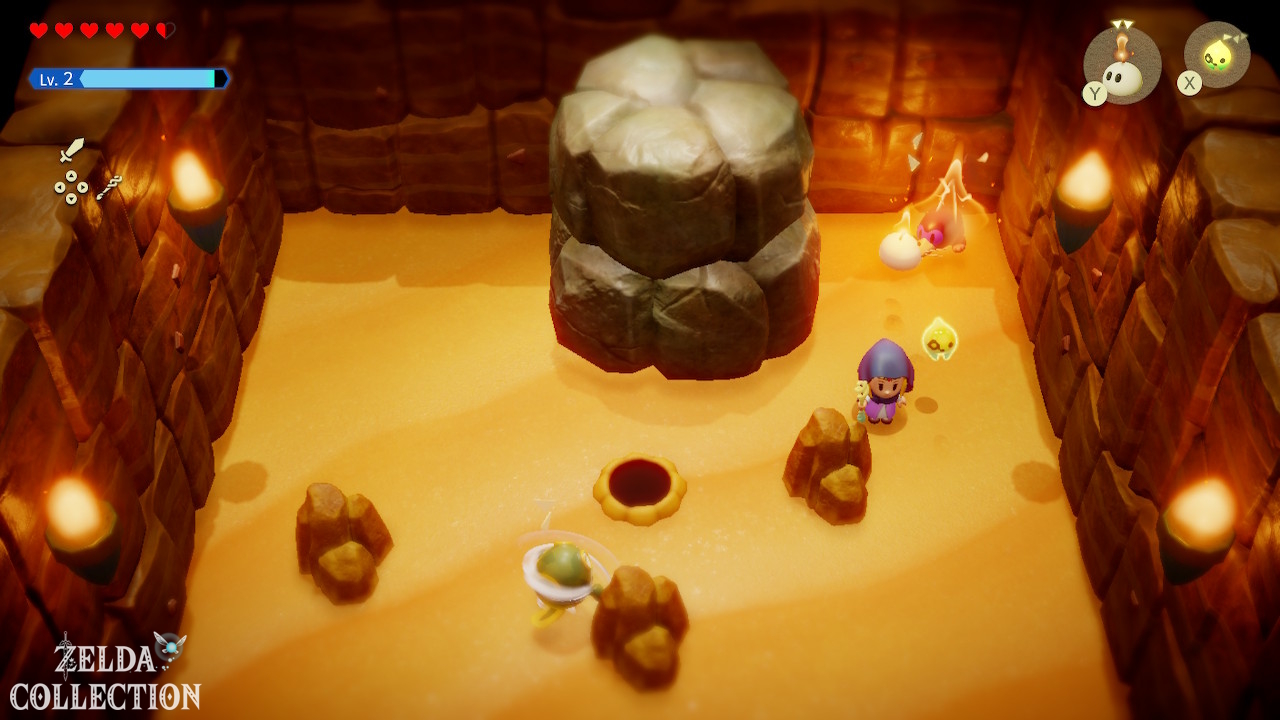
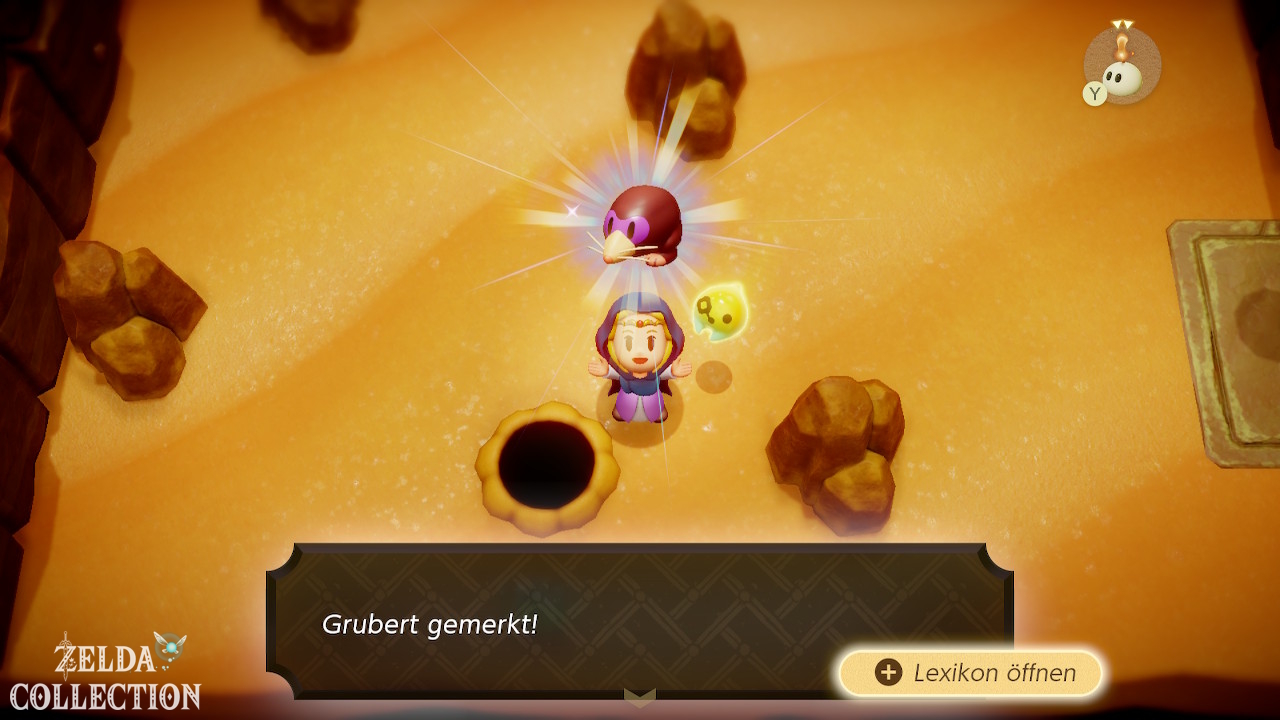
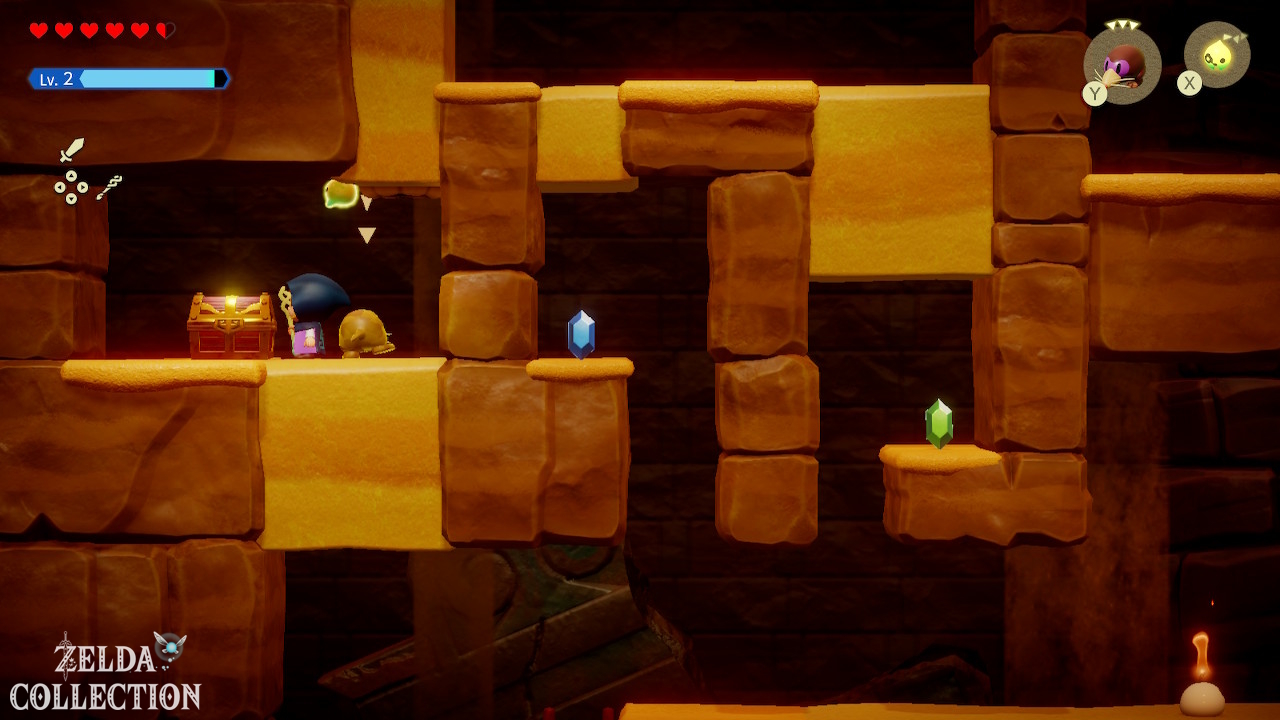
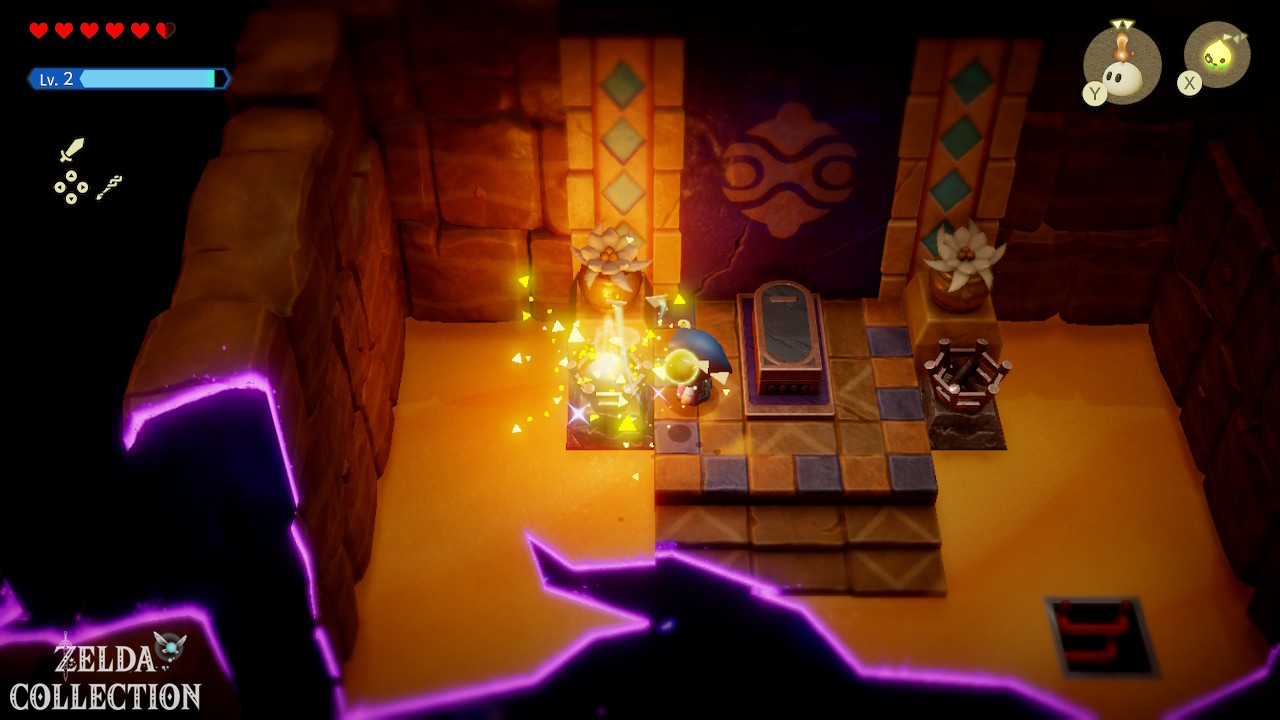
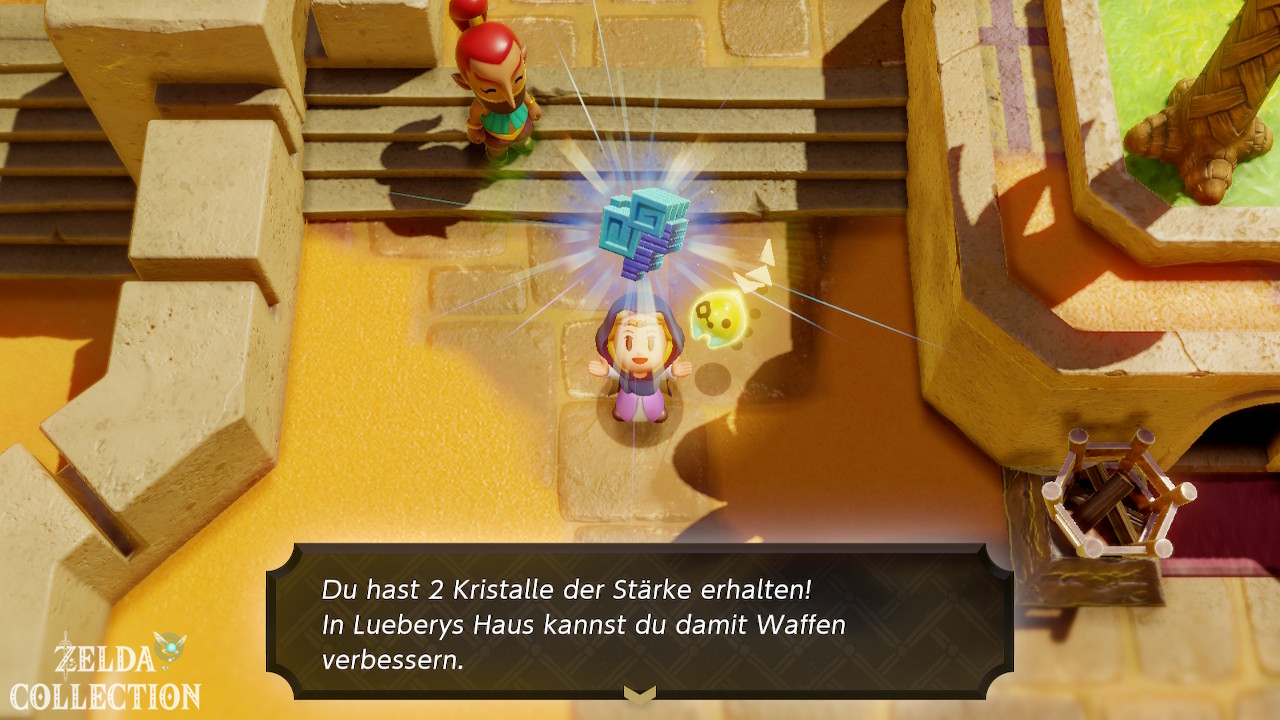
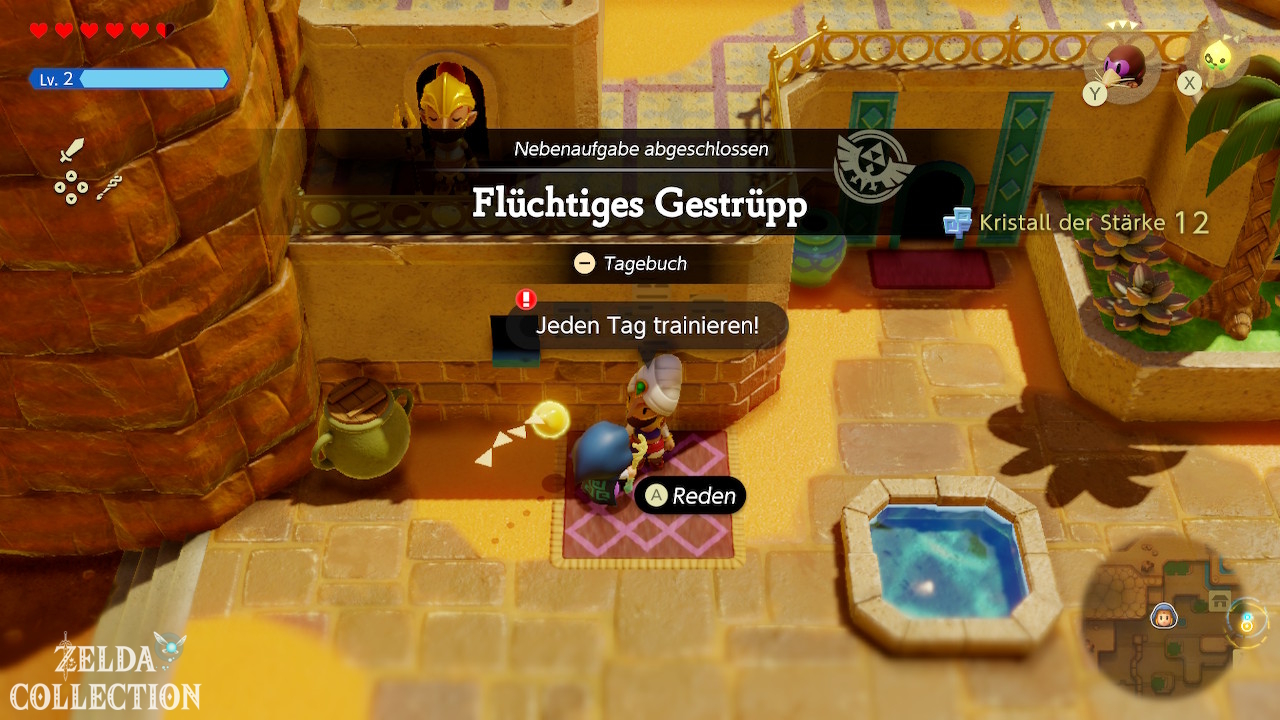
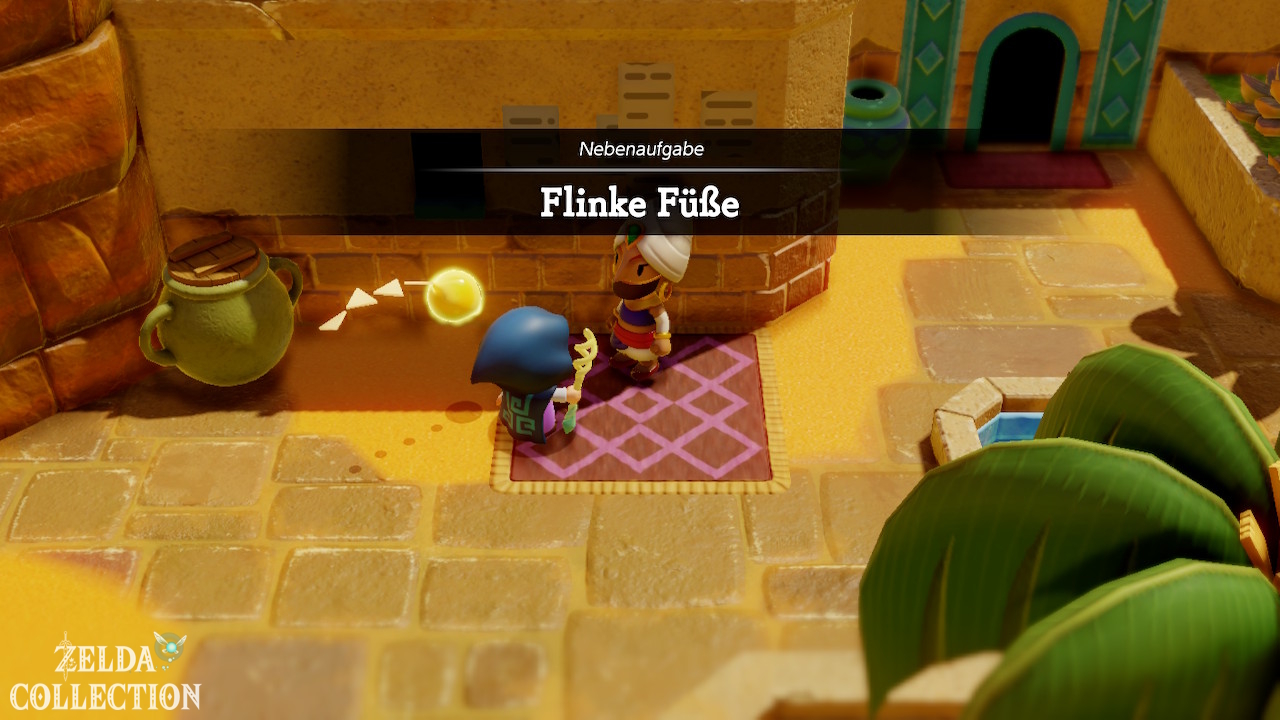
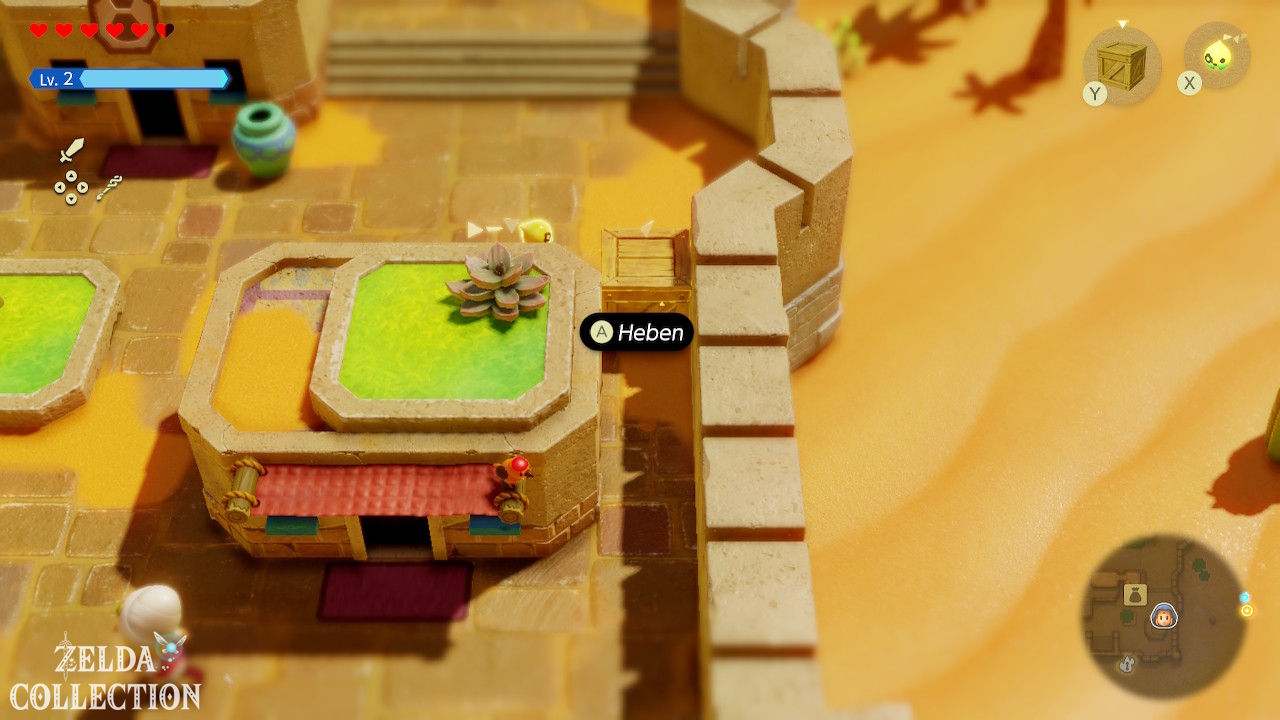
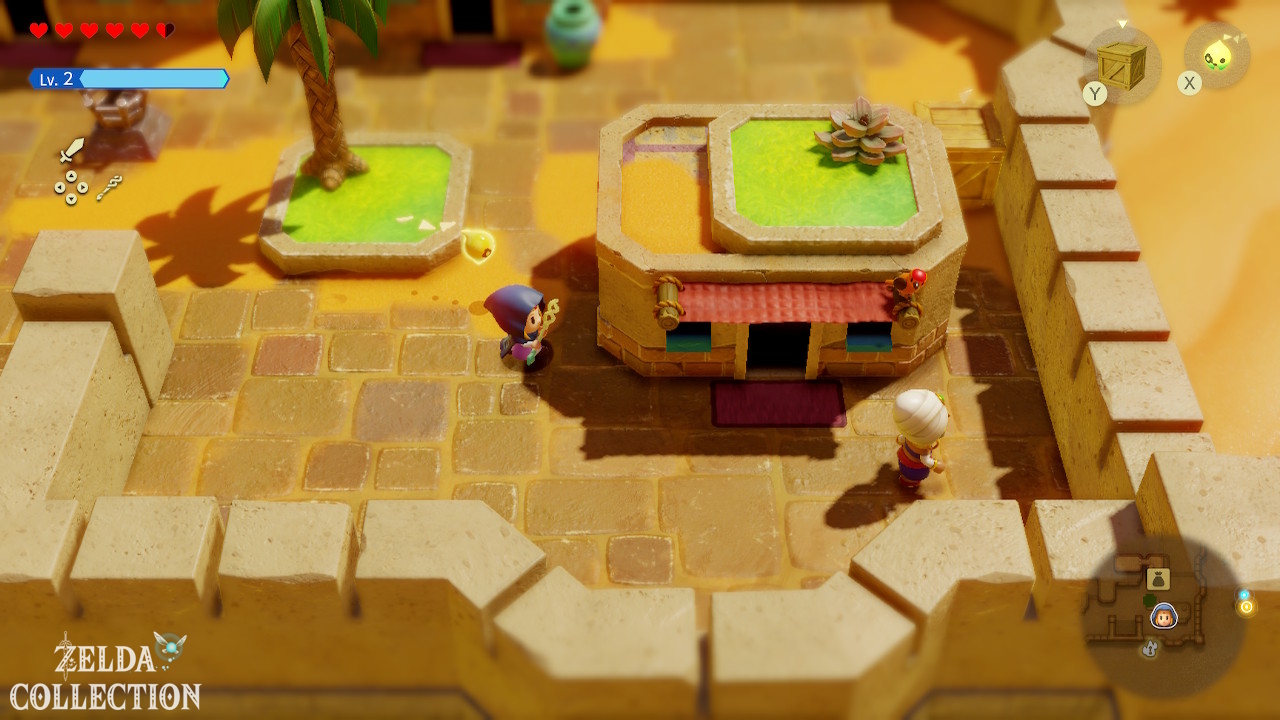
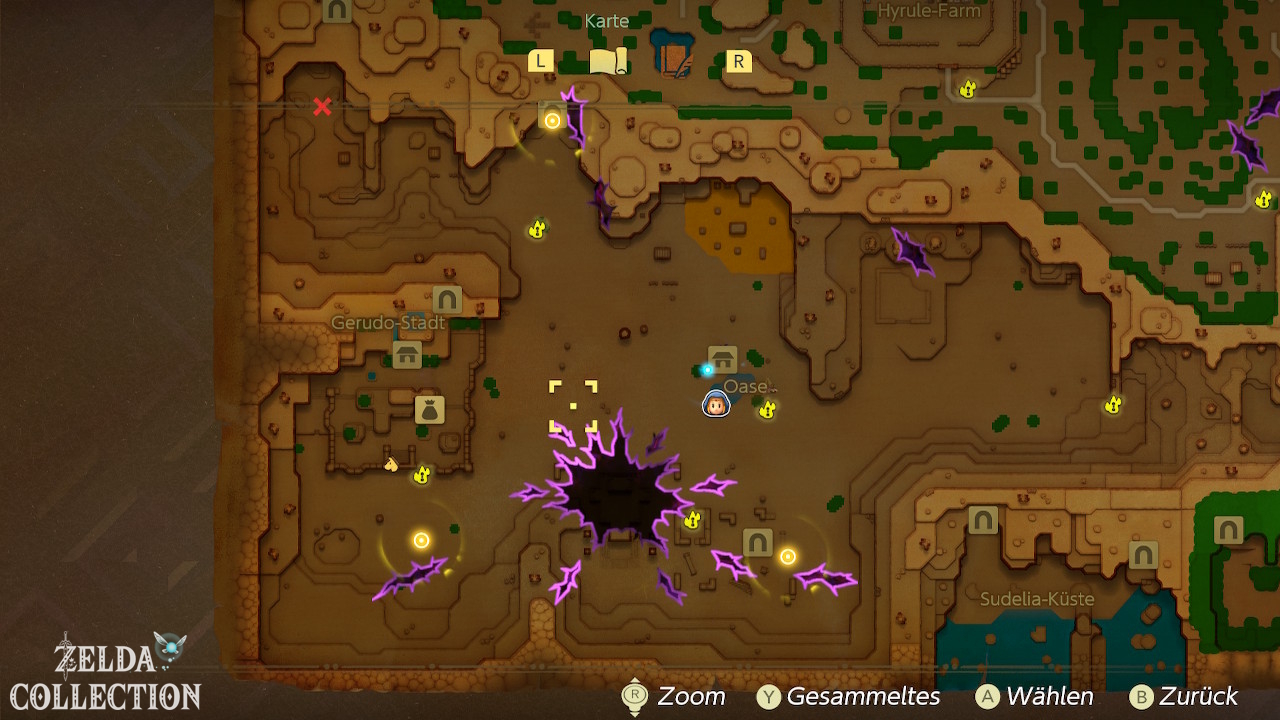
Move south or southeast from the oasis to the ruins. Here you will find several echoes that we need for the main mission.
Echo: Gerudo Pot
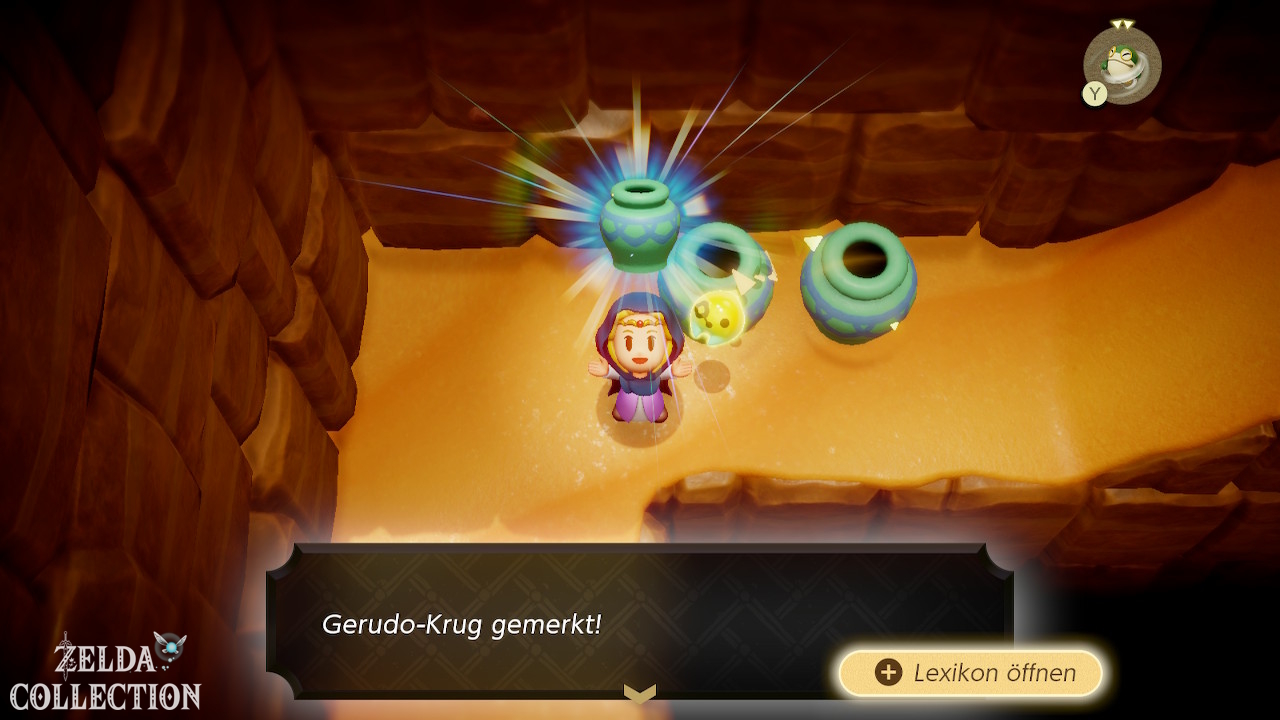
Remember a Gerudo Pot. It only costs one triangle and can be used as a projectile as well as for smaller pressure plate and distraction puzzles.
Echo: Wind Cannon
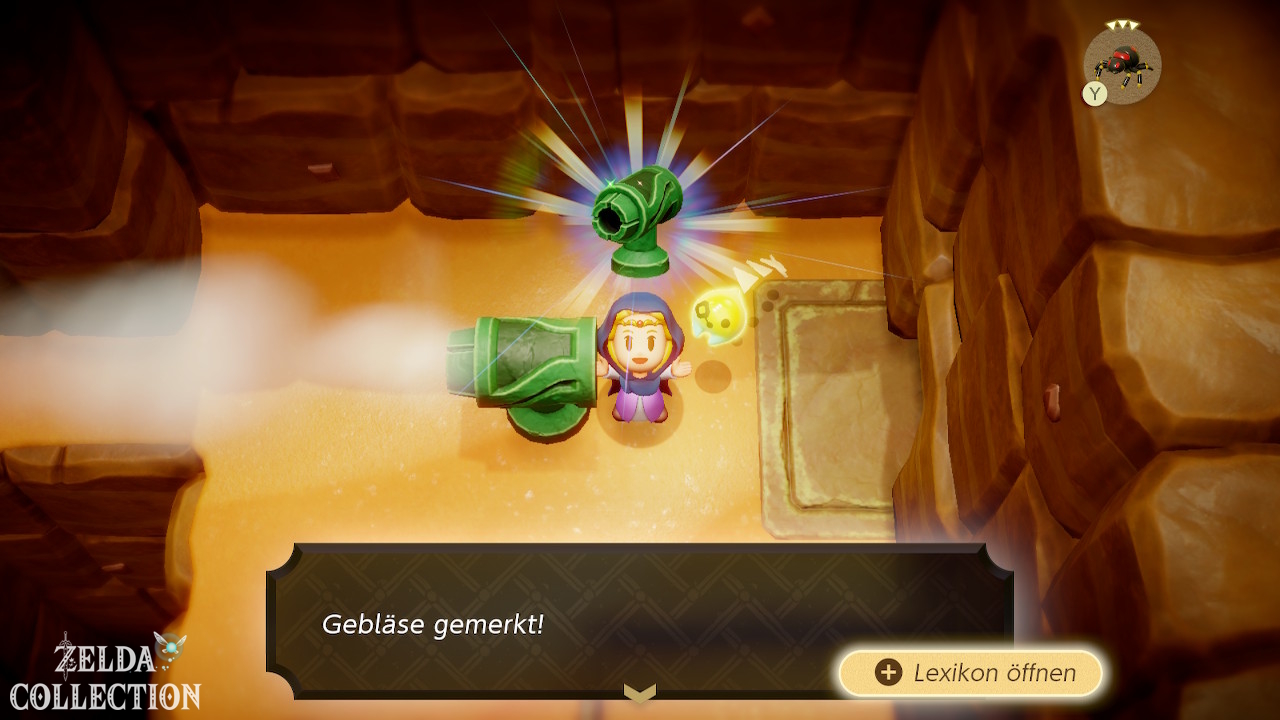
Enter the cave at the southern ruins. Here you will find the Wind Cannon. Defeat or survive the room and learn the echo. It costs two triangles and blows away piles of sand and light objects. This is one of the most important tools of the Gerudo Desert.
Chest: 2 Might Crystals
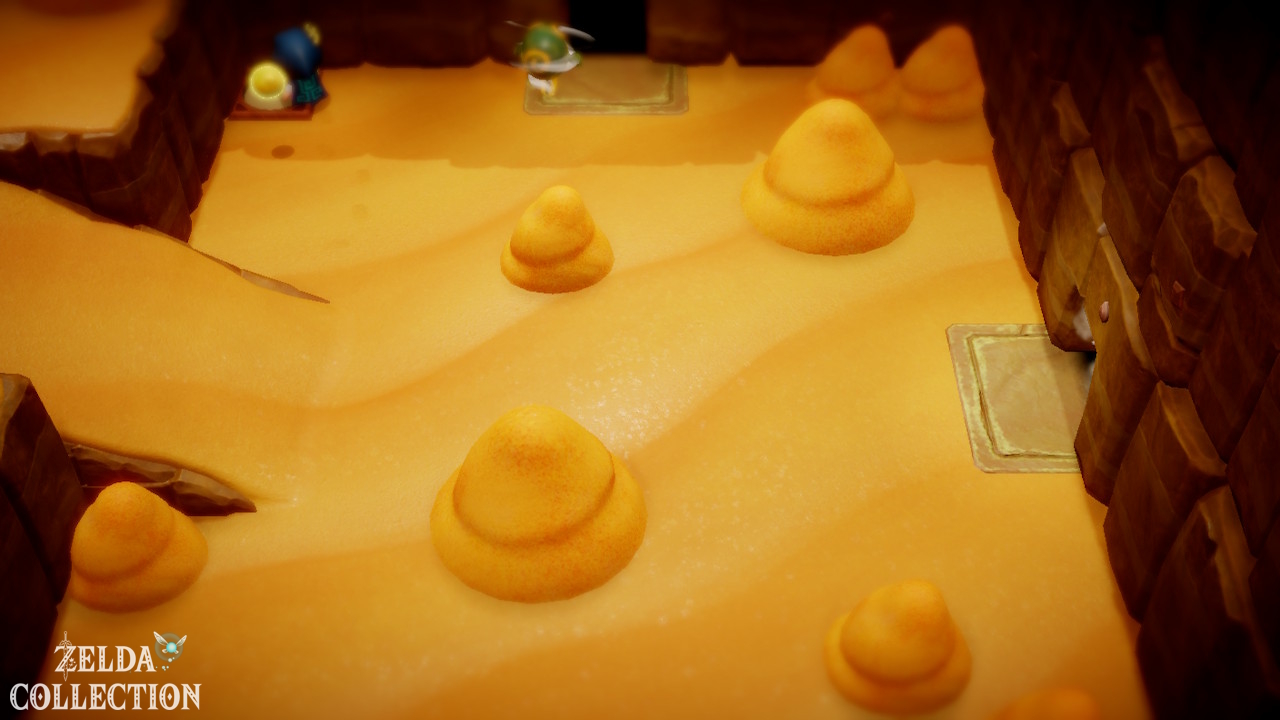
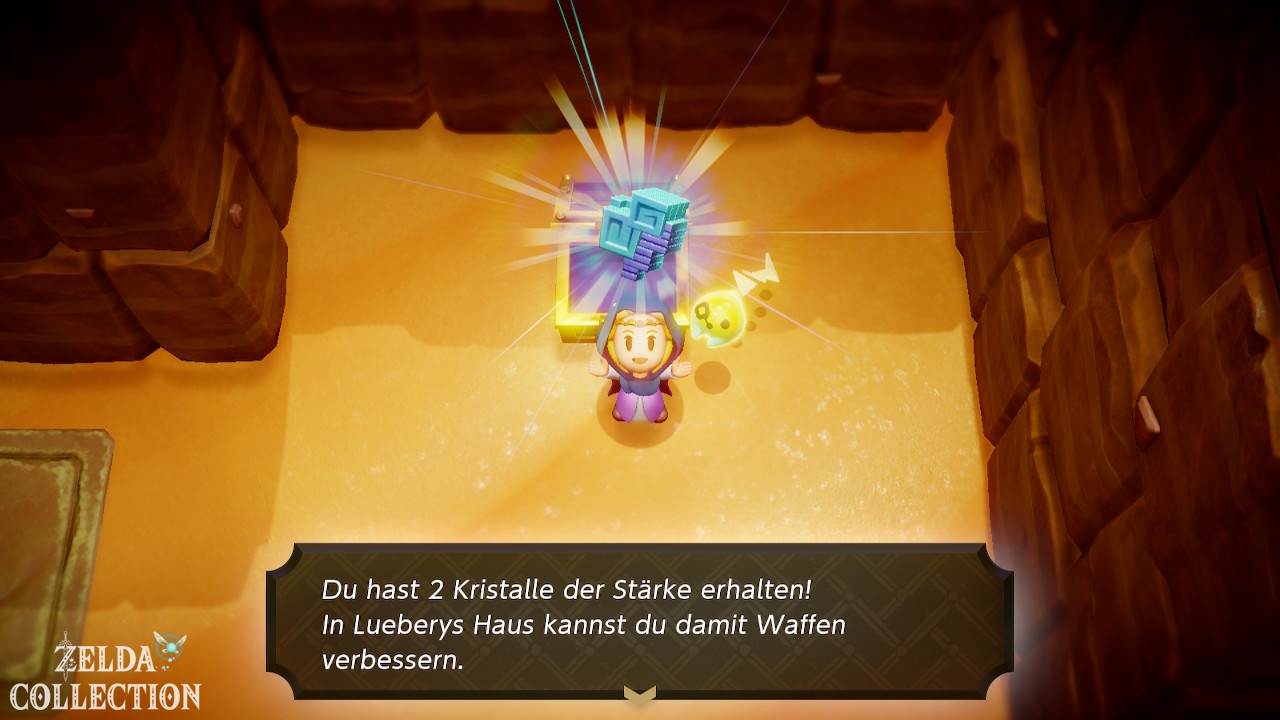
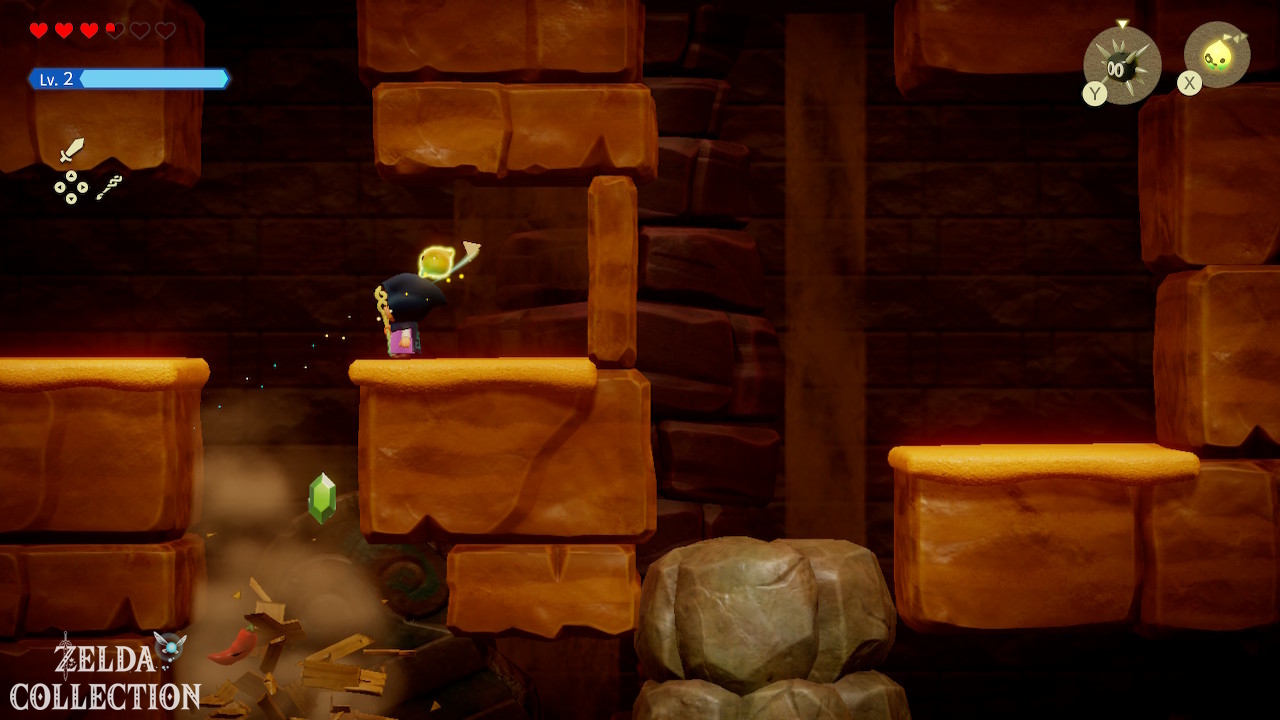
Stay in the cave. A switch is hidden under a pile of sand. Place a Wind Cannon so that the airflow removes the sand. Activate the exposed switch and go into the opened area. The chest there contains 2 Might Crystals.
Crystal in the sand
There is still a noticeable pile of sand on the elevated area to the east or southeast of the ruins. Blow it away with the Wind Cannon or a Tornando. Below is 1 Might Crystal.
Southeast stamp
The Stamp Stand in the southeastern desert area is on elevated ground. A combination of a trampoline, boxes and Old Beds is enough. Platboom is not necessary.
Echo: Tornando
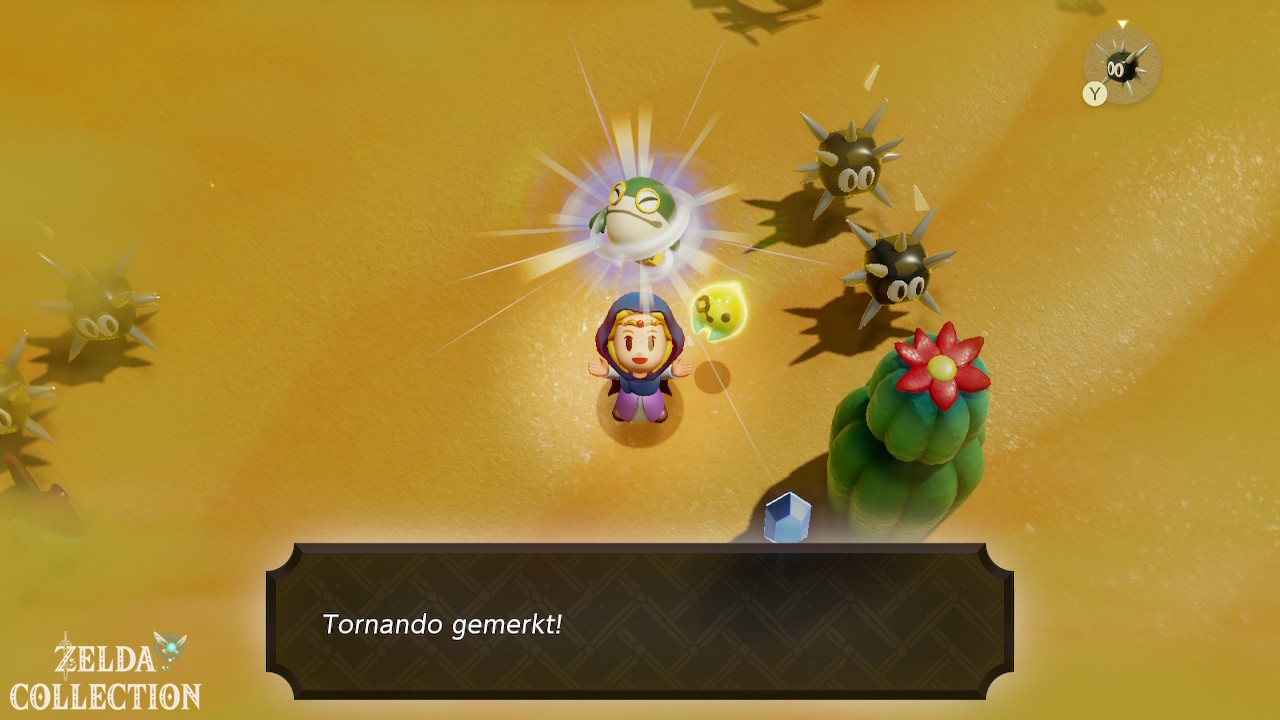
If you encounter a Tornando in the desert, learn its echo. It costs two triangles and fulfills the same basic function for sand piles as the Wind Cannon. We also need it for a Side Quest in Gerudo Town.
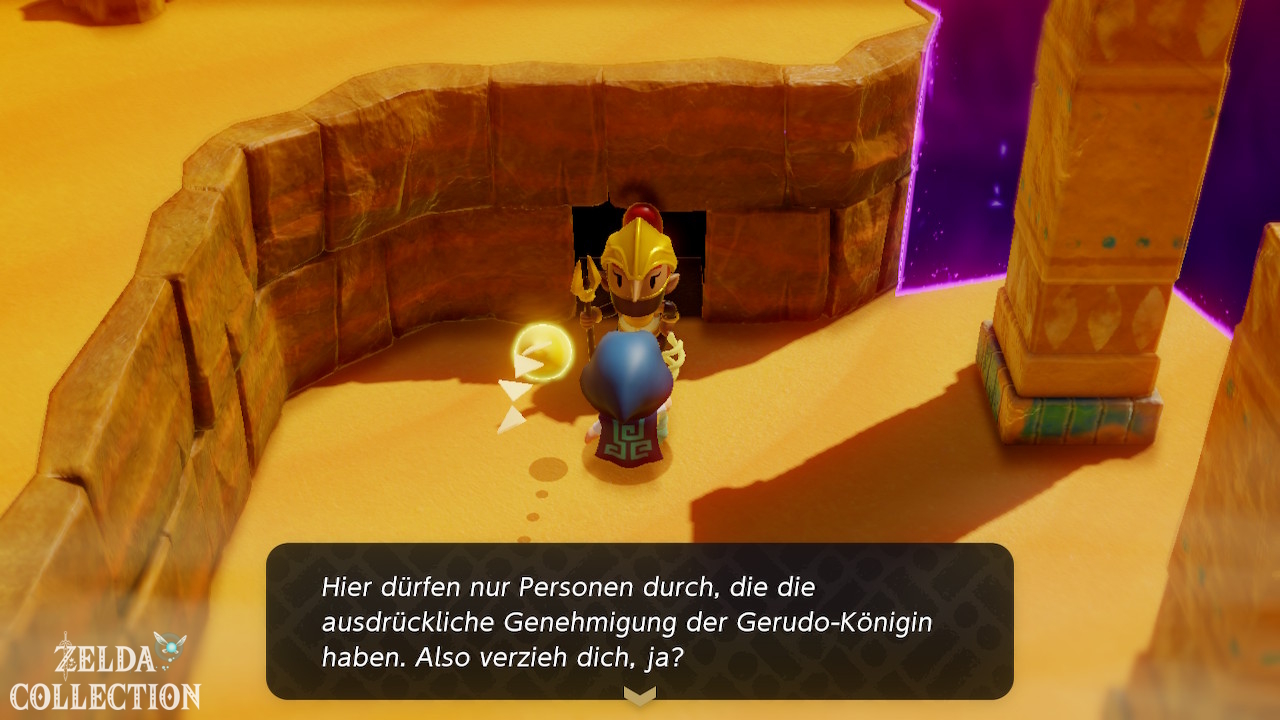
At the rift entrance in the Southern Oasis Ruins, speak to the guard who blocks the way. Head back east and defeat the rift monsters attacking a Gerudo warrior. She introduces herself as Dohna and asks you to speak to Chief Seera in Gerudo Town. Dohna brings you into the palace when you arrive there.
Gerudo Town: Piece of Heart, Equipment and Side Quests
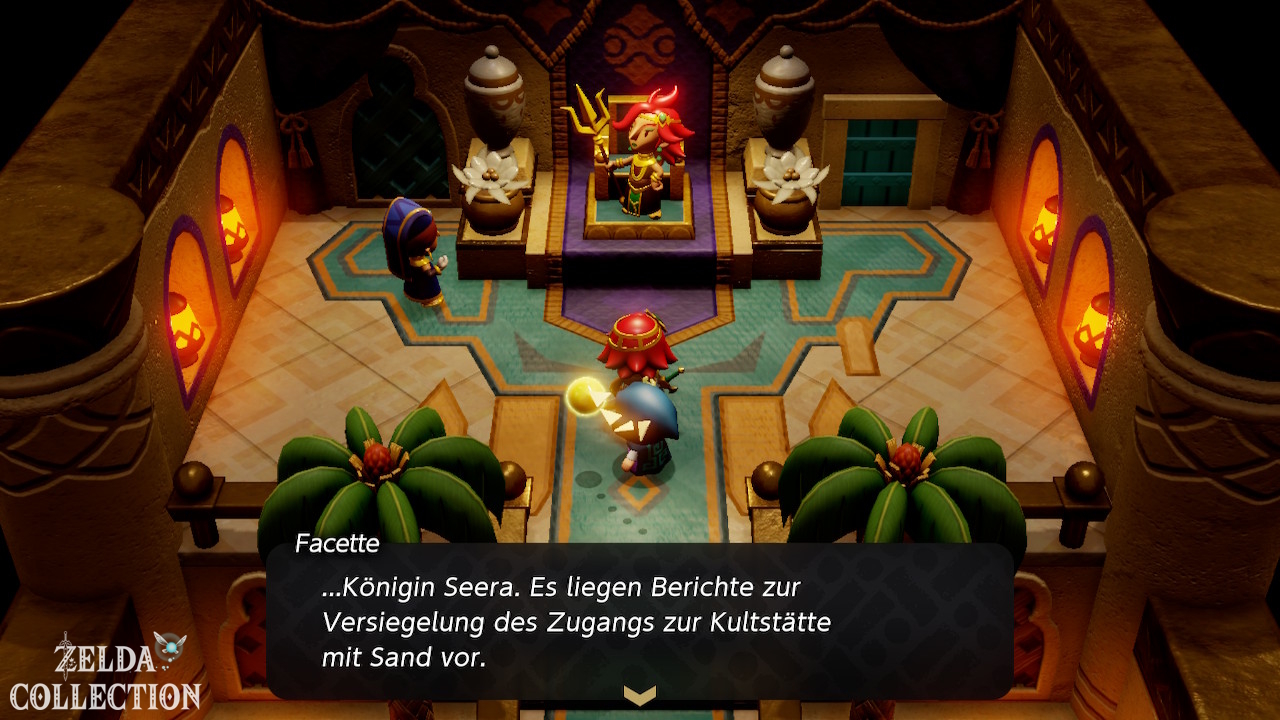
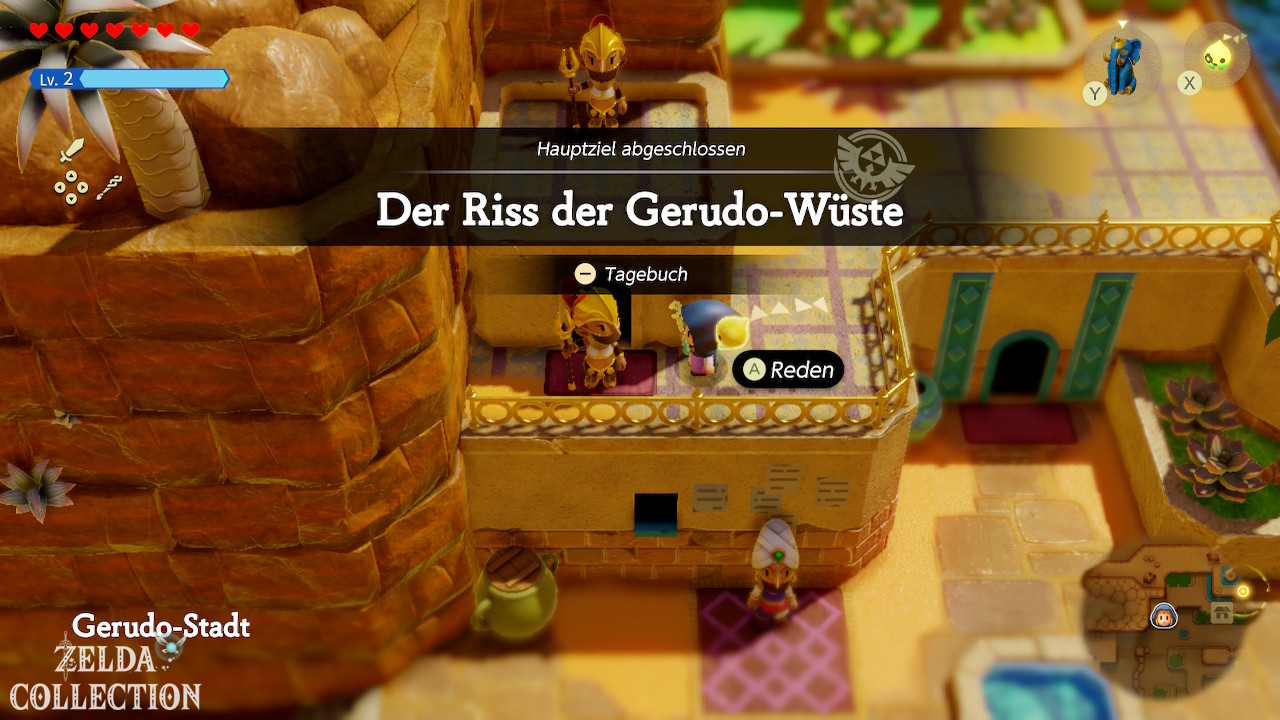
Now move west towards Gerudo Town. As the story progresses, you will first be made aware of problems with the rifts and Gerudo guards. Follow the conversations and then go into the city and the palace. Activate the Waypoint here too.
Gerudo Sandals for 400 Rupees
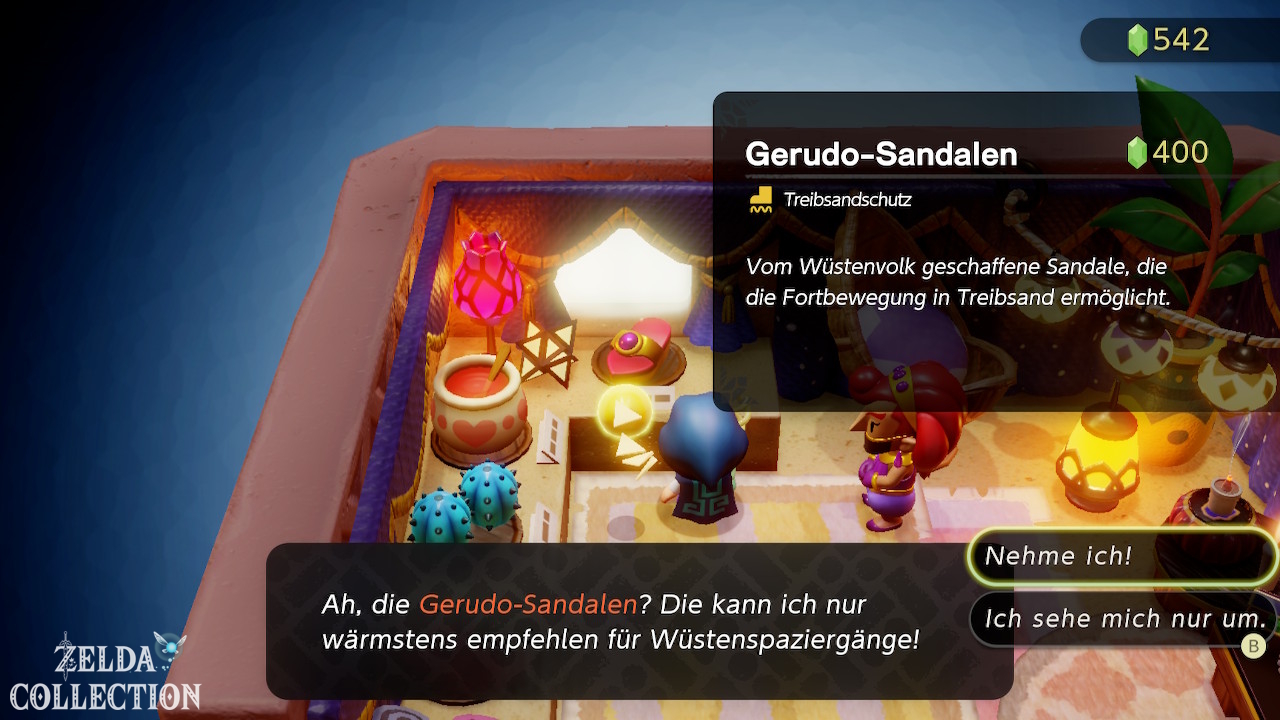
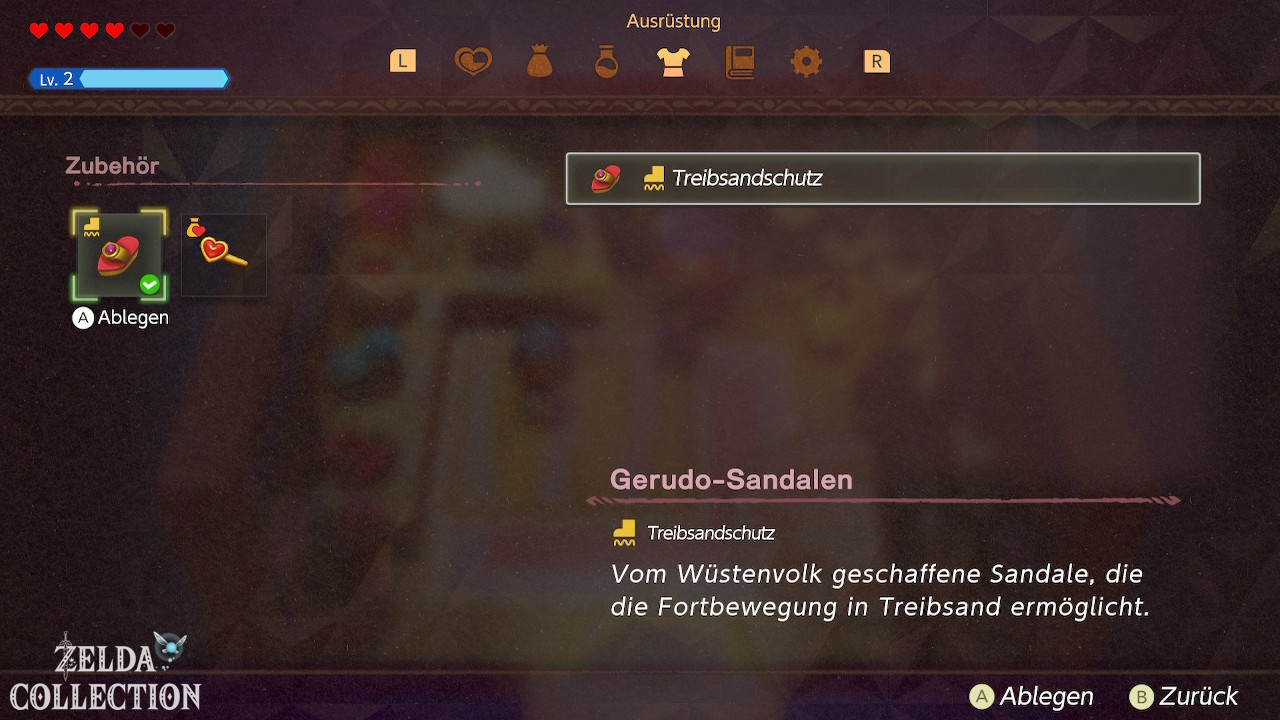
The store offers Gerudo Sandals for 400 Rupees. They prevent Zelda from sinking into quicksand. They are not necessary, but they make the rest of the desert more pleasant. If your Rupees are in short supply, the Energy Glove, which we’re about to get for free, is more important in terms of play. You can find all accessories in our equipment overview.
Piece of Heart south of Gerudo Town
Optional: Leave the city to the south. There are several piles of sand on a hill. Climb up with the trampoline and, if necessary, an additional echo. Remove the sand piles with Tornando or Wind Cannon. Under one of them you will find the next Piece of Heart.
stamp west of Gerudo Town
On the raised ledge west of the city stands another Stamp Stand. Climb up from the lower side and bridge the last few meters with a trampoline and bed.
Side Quest: Tornado Ghost?
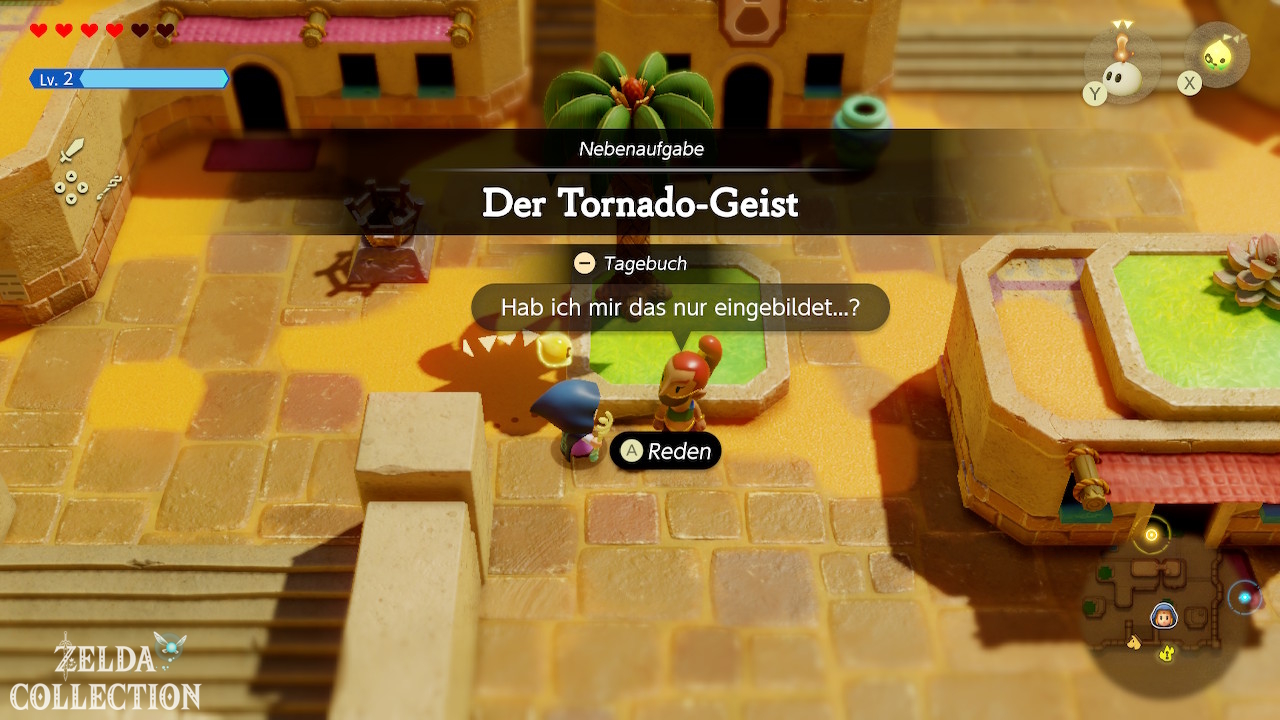
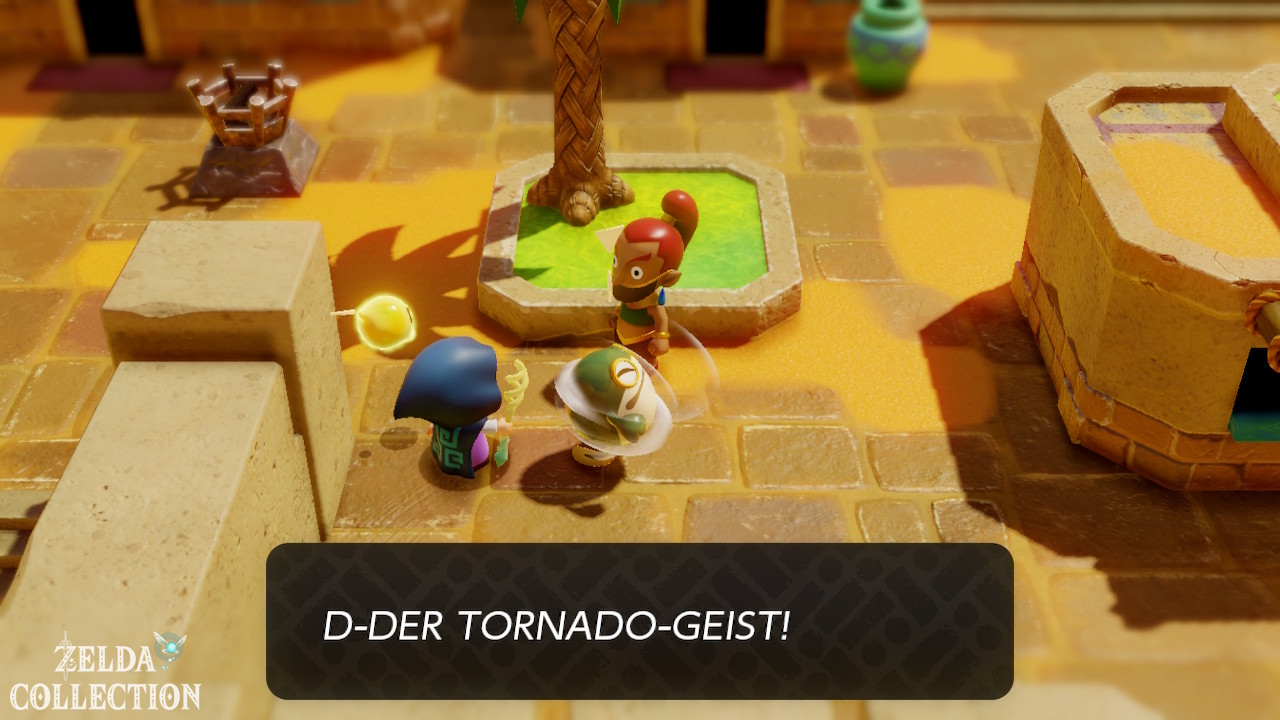
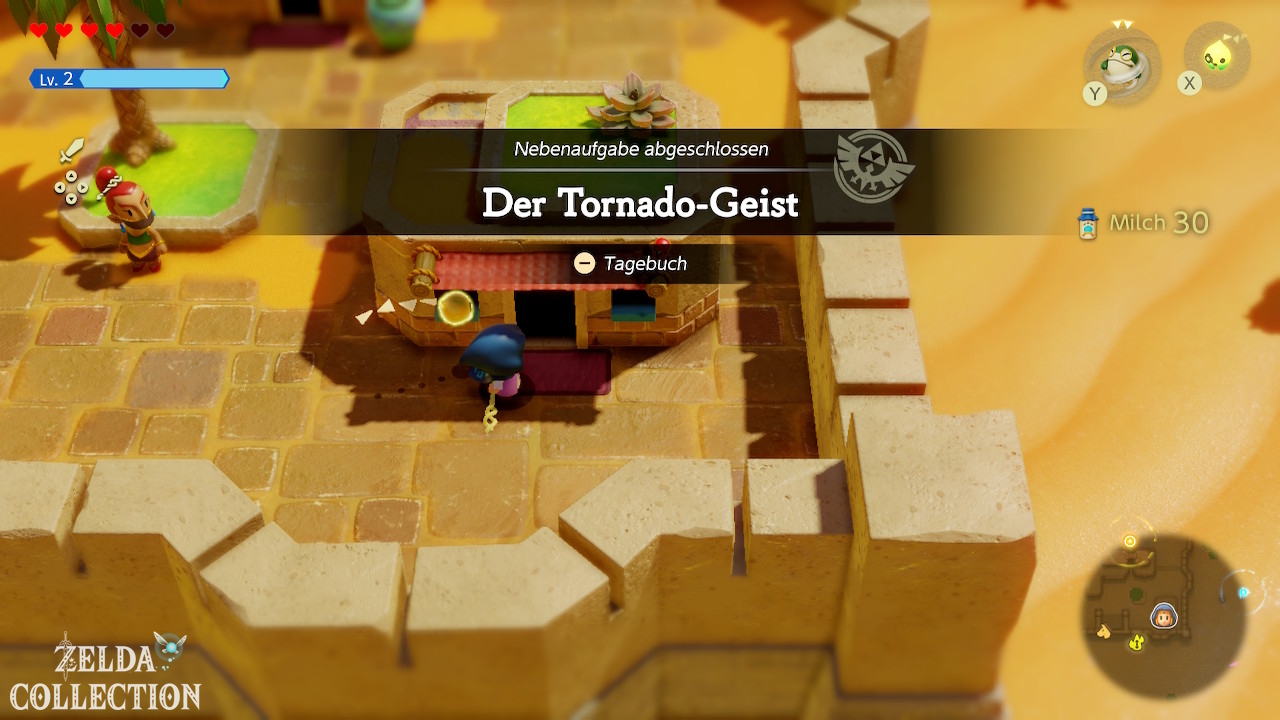
In Gerudo Town, talk to the corresponding resident and summon a Tornando Echo in front of her.
Reward: 10 Fresh Milk.
Side Quest: Gerudo Tag Training
With “Gerudo Tag Training” you have to catch up with the nimble Gerudo. You can make their running route easier by blocking their path in a narrow spot with a box. Alternatively, repeated spinning helps to close the distance more quickly. Once you’re close enough, catch them.
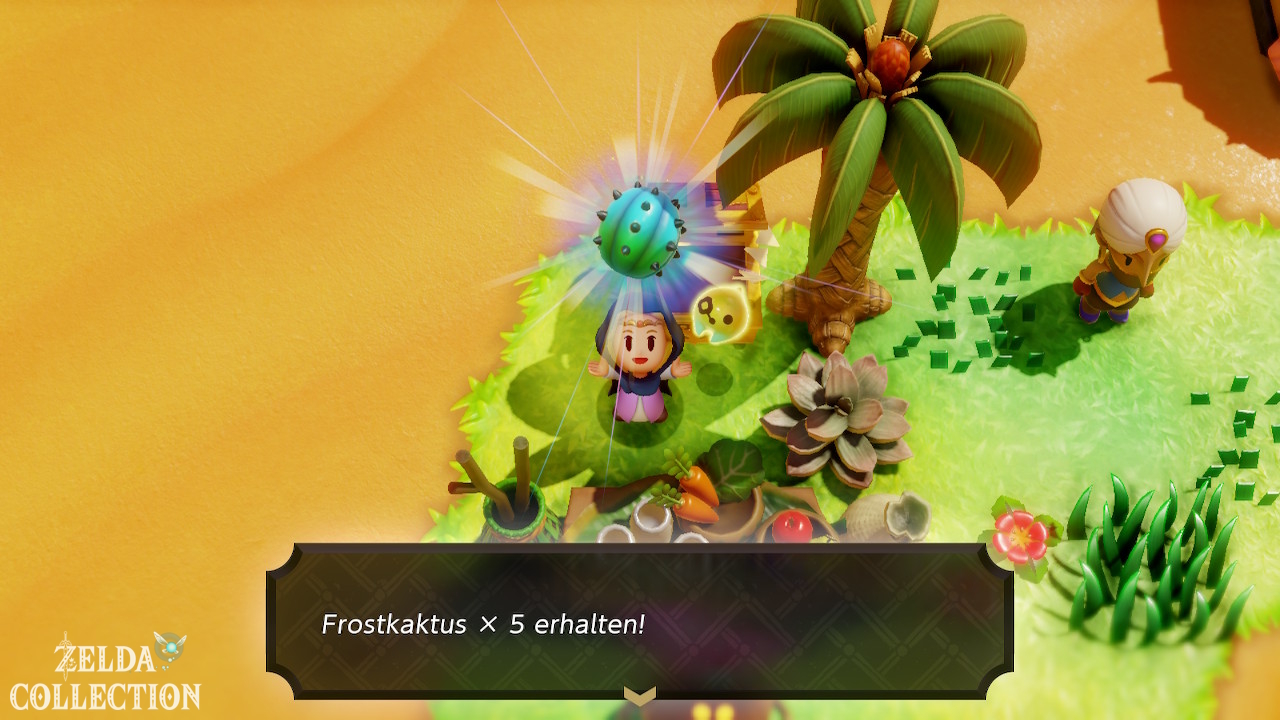
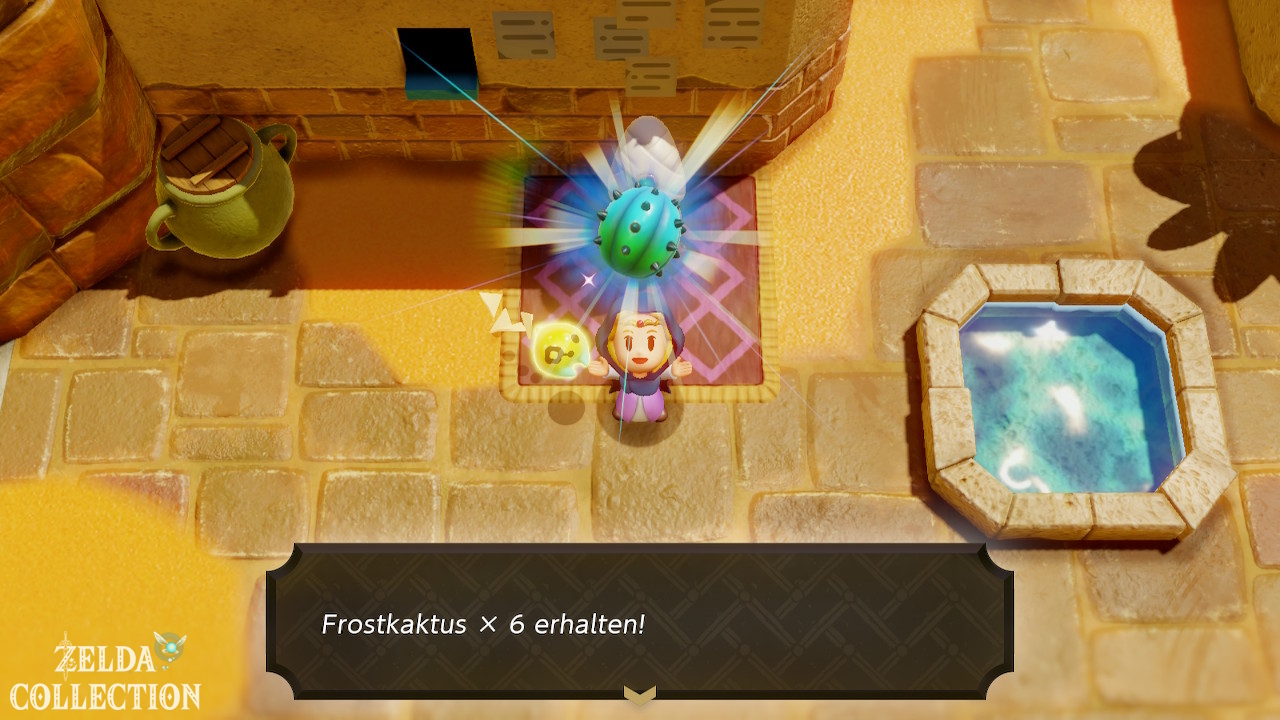
Reward: 6 Chilly Cactus.
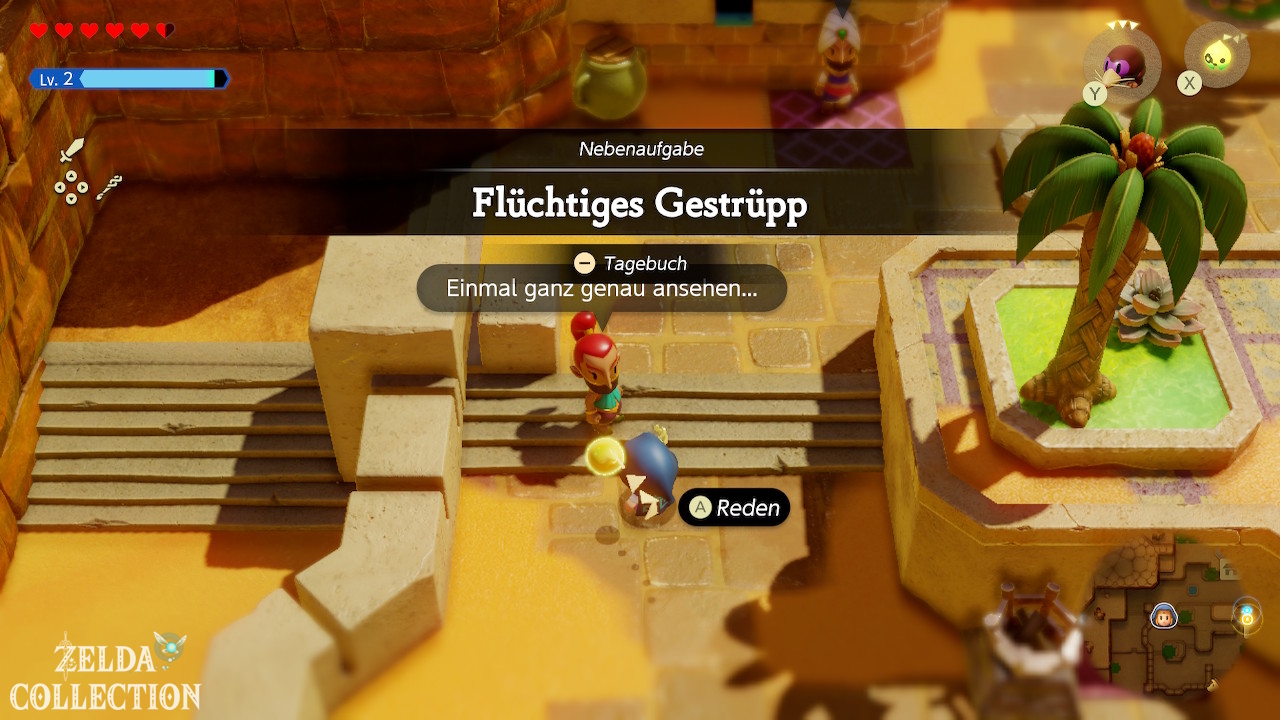
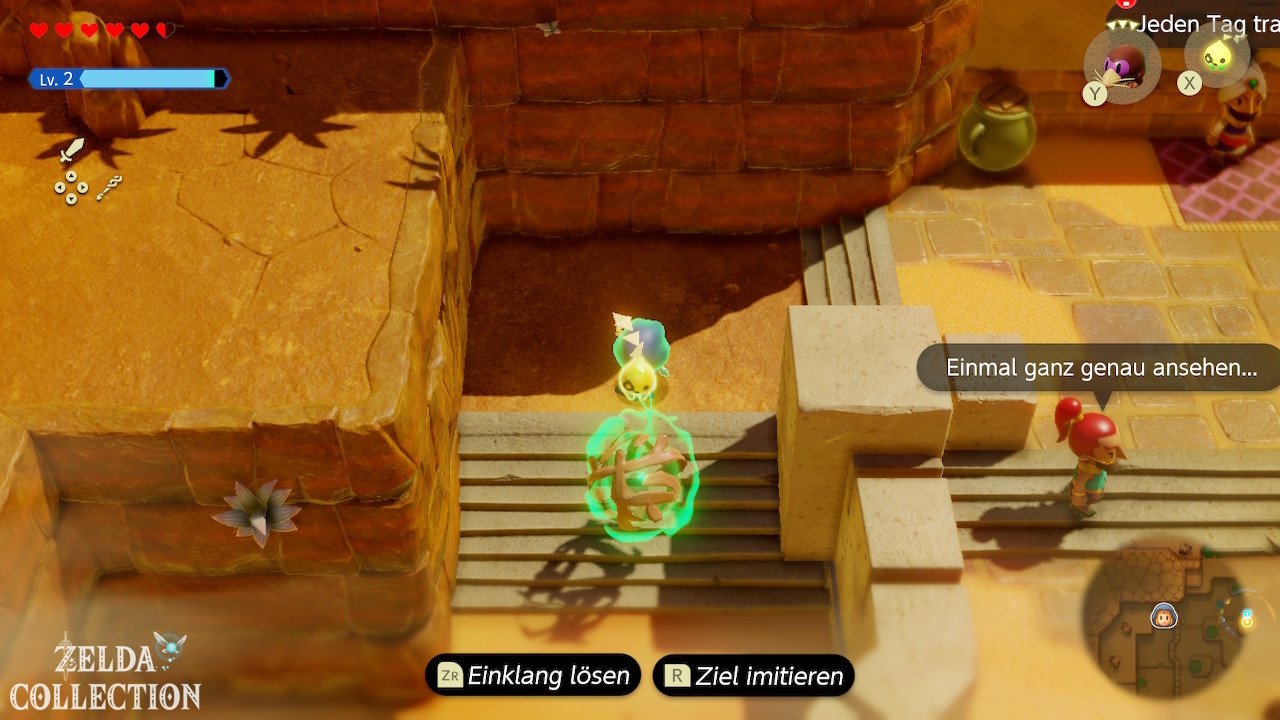
Side Quest: Elusive Tumbleweeds
For “Elusive Tumbleweeds”, the Gerudo wants to see one of the rolling bush balls. Leave the city, find a whirling orb and grab it with Bind. Instead of running after her, you hold her and lead her back to the client.
Reward: 2 Might Crystals.
cave north of the city: Platboom and Piece of Heart
Now the route directly north of Gerudo Town is worth it. There is a cave there where you will meet Platboom. The echo costs three triangles. Platboom first goes up and then crashes back down. After summoning the Echo, stand on the platform and let it carry you up. This means you can reach high edges much more easily than with bed stacks. In the same cave, a large rock blocks the path to a Piece of Heart. Use Platboom or the height mechanism provided and remove the obstacle with Bind.
You have now collected the three Pieces of Heart, which can be reached in the Gerudo Desert during this main mission without later story activation.
Northwest desert: Energy Glove, Flying Tile and crystals
Before you continue the main story, let’s take a look through the northwest. This detour is particularly worth it because you get two permanently helpful things at the same time.
Energy Glove
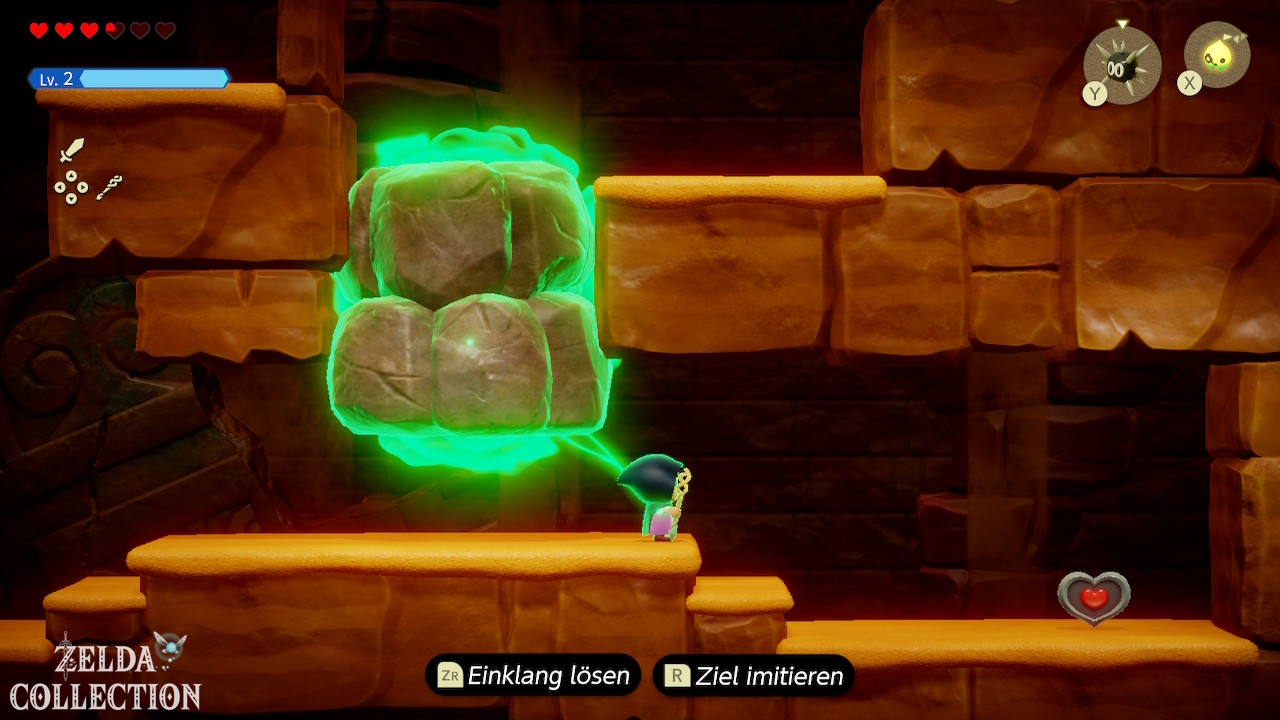
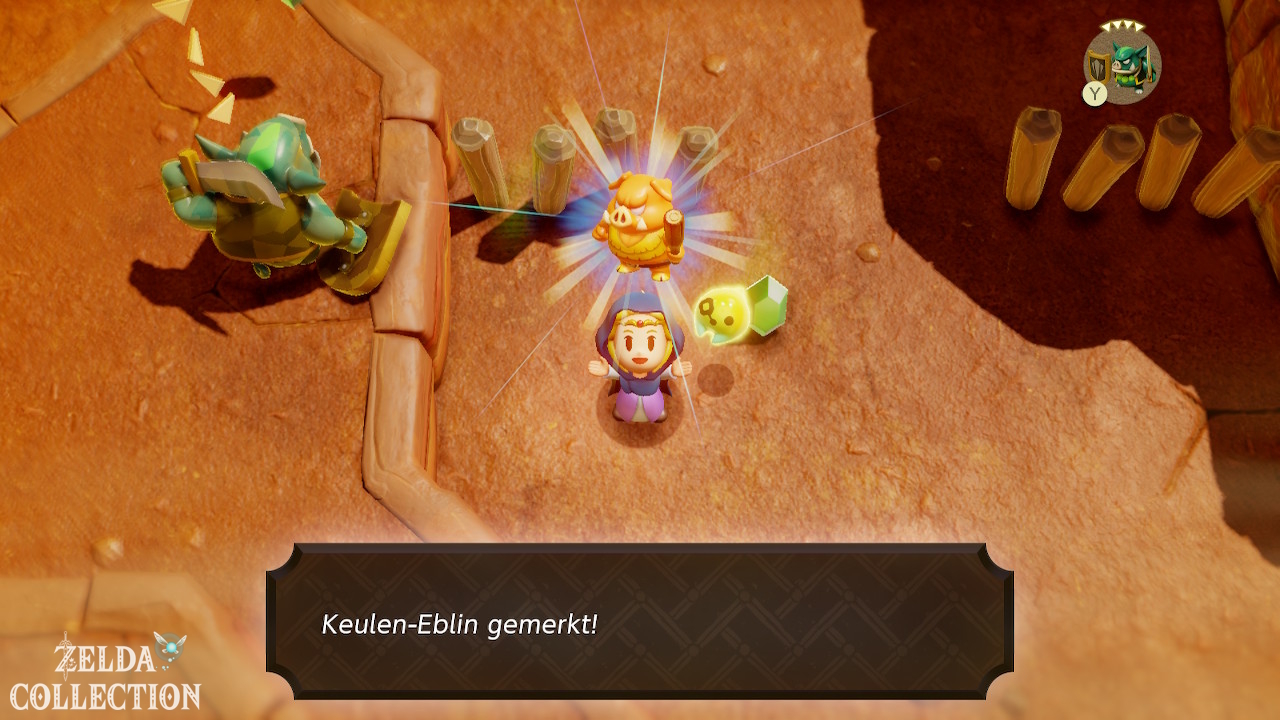
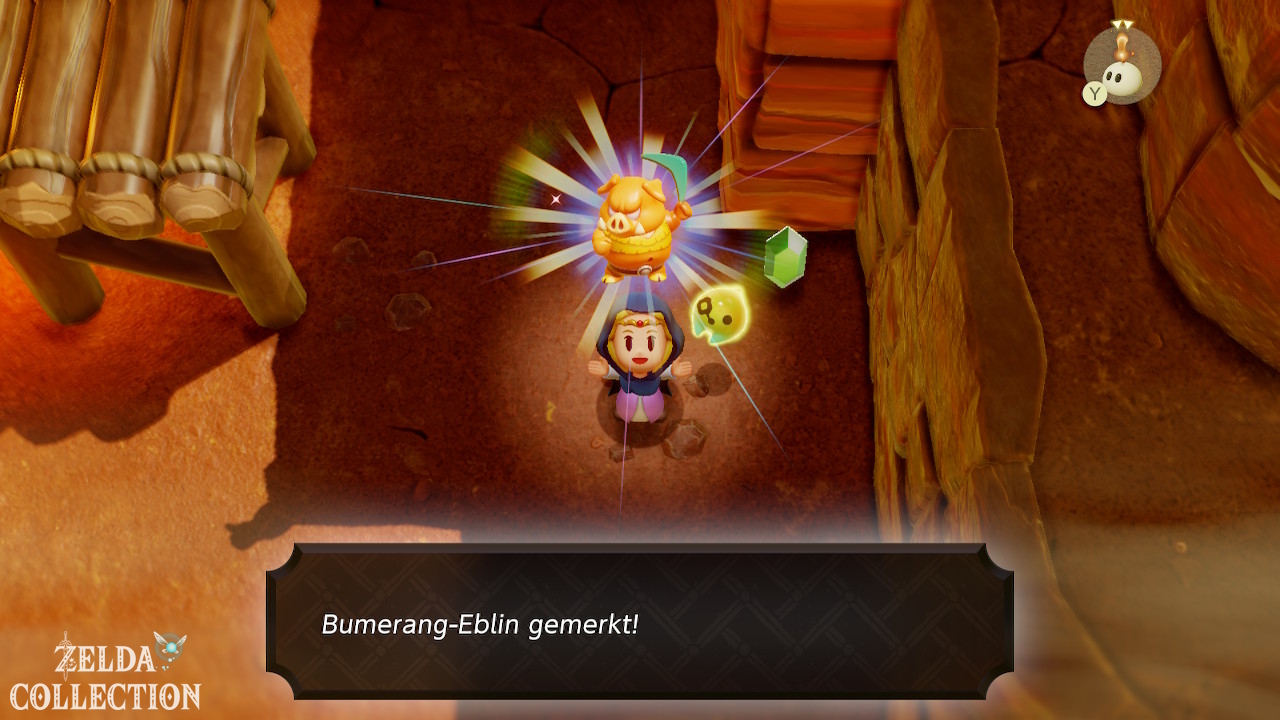
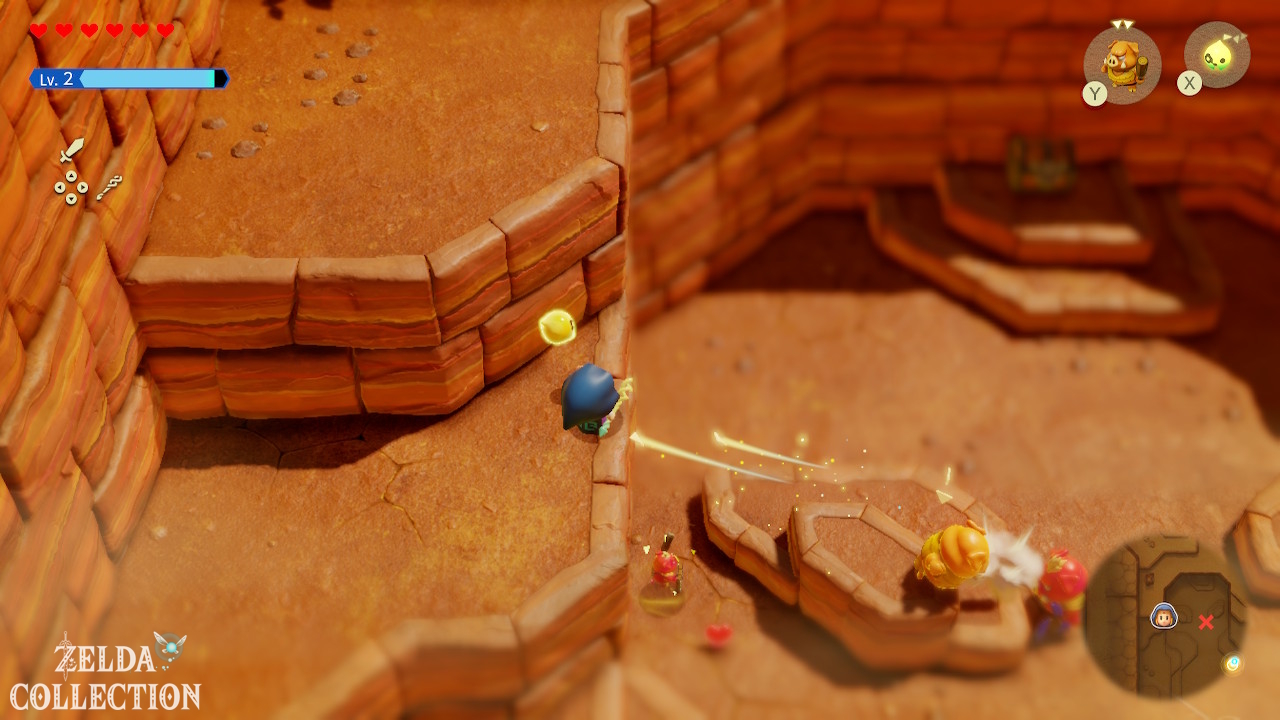
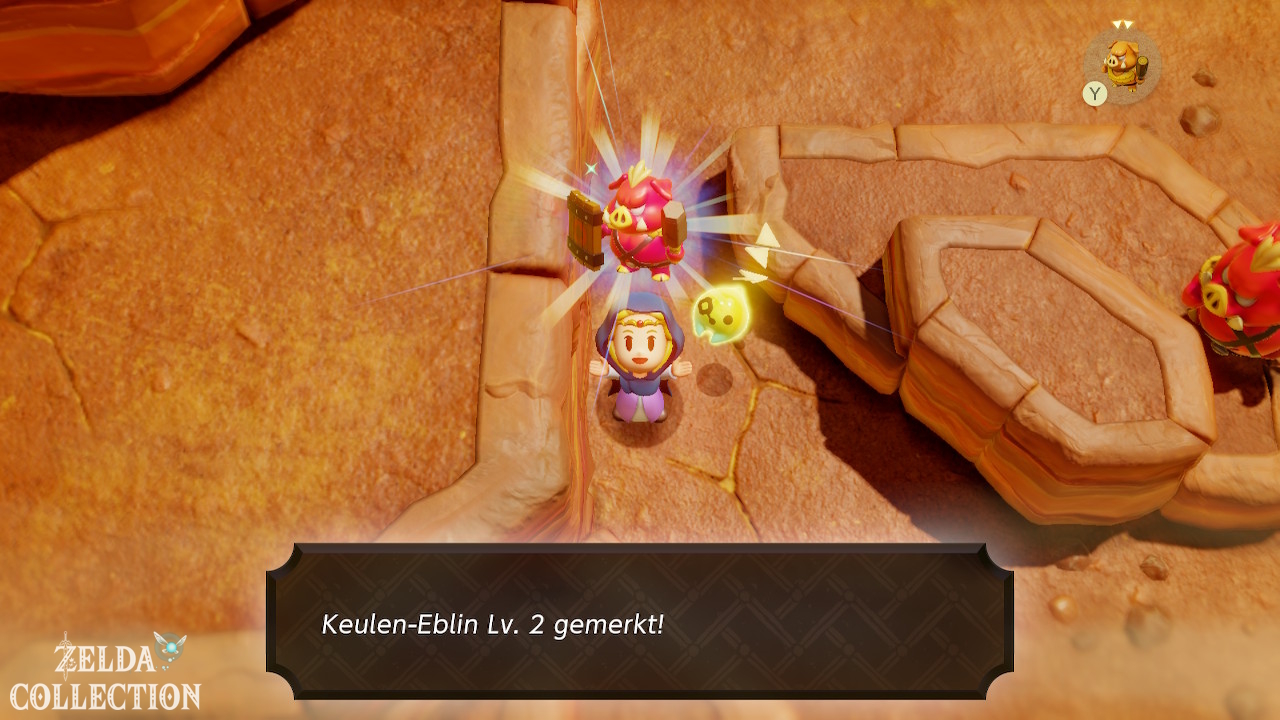
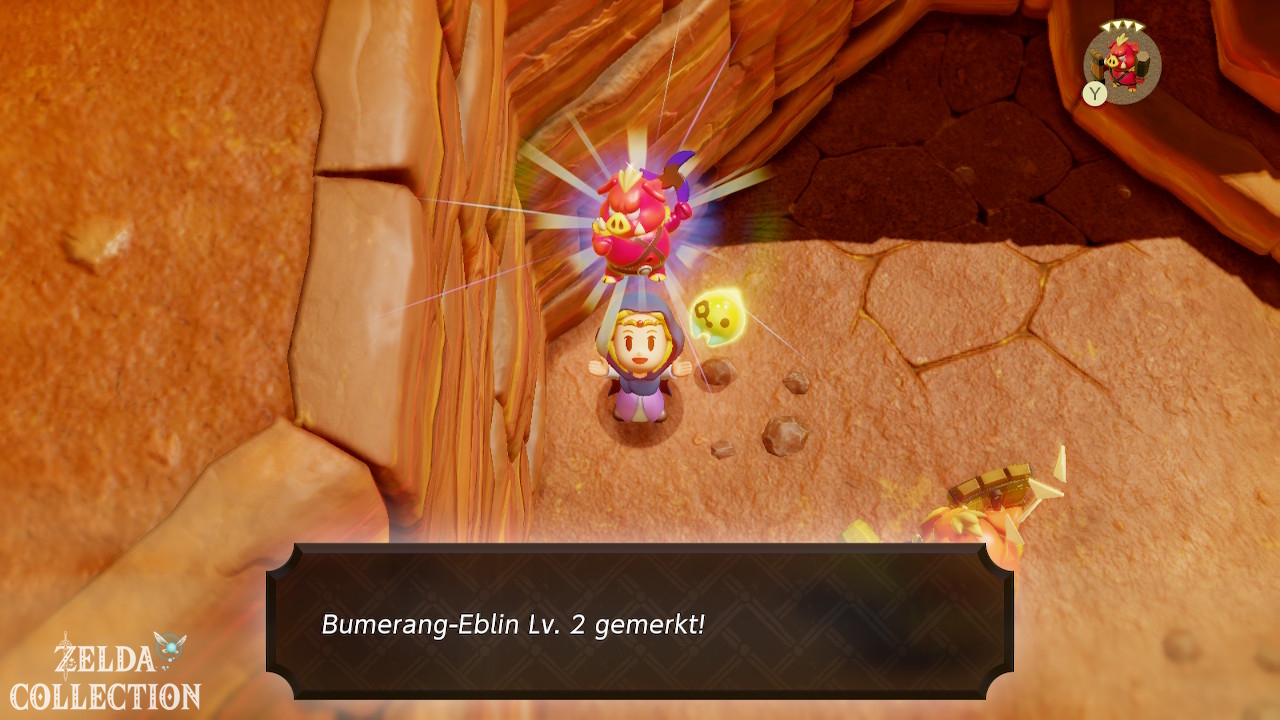
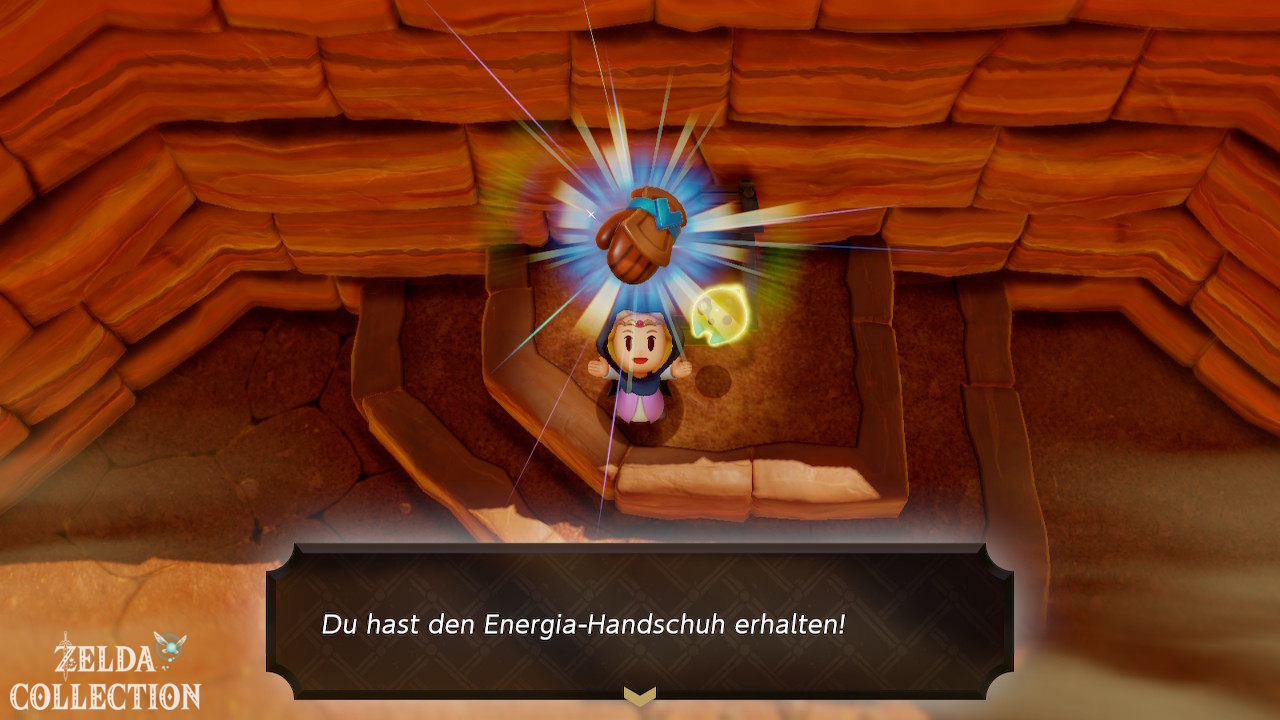
In the large Boarblin camp in the northwest you first have to defeat all enemies. Stay at a distance and let your own echoes work. Boomerang Boarblins are particularly nasty here, so if possible, bind them with Bind or attack them from an elevated position. Learn the Club Boarblin- and Boomerang Boarblin echoes along the way, if you are still missing them. After the victory, the storage chest opens. Inside is the Energy Glove. With it there is a higher chance of finding Energy for the Swordfighter Form.
This is one of the most useful accessories in this section for the two upcoming bosses.
Crystal with Holmill Unearth
On the long rocky ridge near the northwestern Boarblin camp you will find a single earthy spot. As soon as you have the Holmill Echo, you can dig a Holmill there. He exposes a Might Crystal. If you don’t have Holmill at this point, note the position. You will get the echo a little later in the area of the grave cave.
More crystals northwest of the oasis
There are two more crystal locations on the raised rocks northwest of the oasis:
- Under a loose Rock on a small plateau lies 1 Might Crystal.
- In or behind the nearby cave route there is a chest with 1 Might Crystal.
With Platboom you can now overcome the height differences much faster.
Echo: Flying Tile
In the cave on the high northwest boundary wall of the desert you will find the Flying Tile. Avoid the attacking tiles or stand behind an obstacle so that they break. Then you can learn the echo. A Flying Tile costs three triangles when first found. Summon them towards the target and immediately jump up. It flies in a straight line and only for a limited time. Find a safe landing spot before takeoff; another summon can cause older auxiliary echoes to disappear.
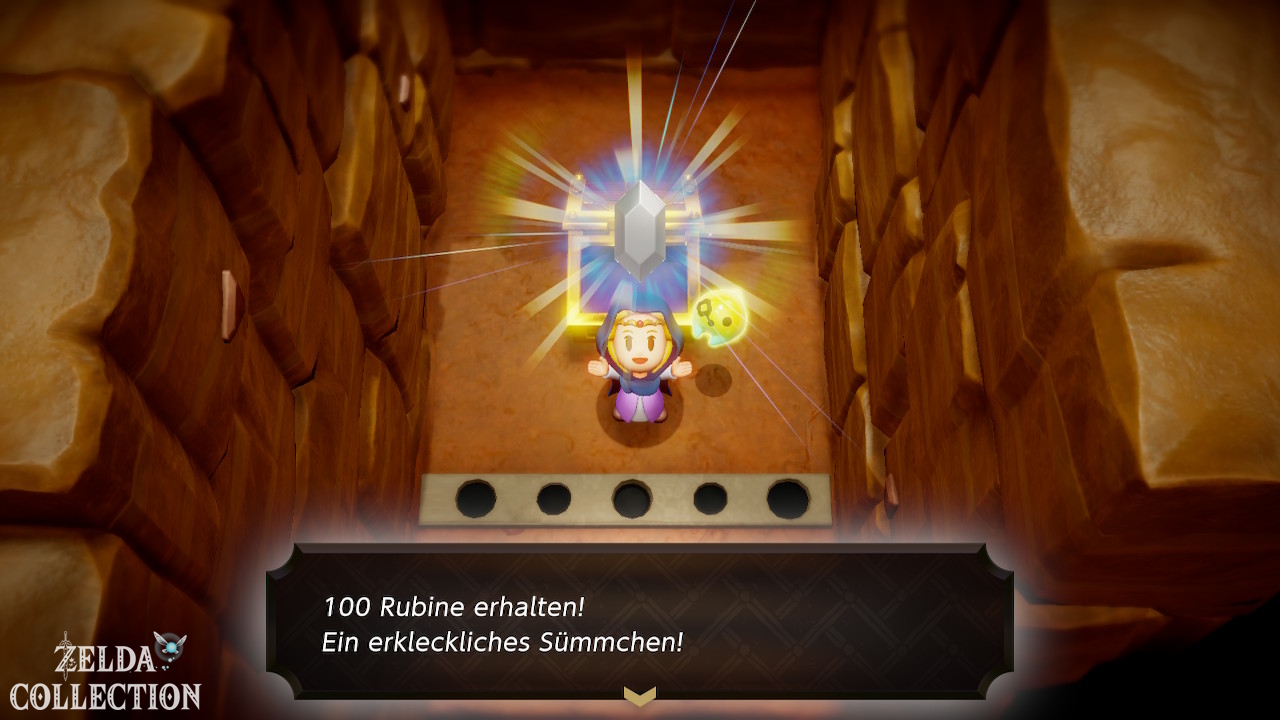
Also open the cave chest; it contains 100 Rupees. Then travel back to the oasis and show the Flying Tile for the Side Quest “The Flying Tile”. You will receive 50 Rupees.
Fourth Gerudo stamp
The fourth Gerudo stamp station is located in the northwest or northern edge of the desert. With Platboom or a combination of Flying Tile and bed you can get there without any later skills.
Important: The small rift in the north is not yet available
On maps or in later 100 percent guides you will also find the crack “Stilled Northern Gerudo Desert” in this area. You cannot complete this crack during “Searching for Everyone”. He only appears after the later Hyrule Castle section. His 2 Might Crystals are therefore expressly not included in our current collection balance.
solves the three problems of Gerudo
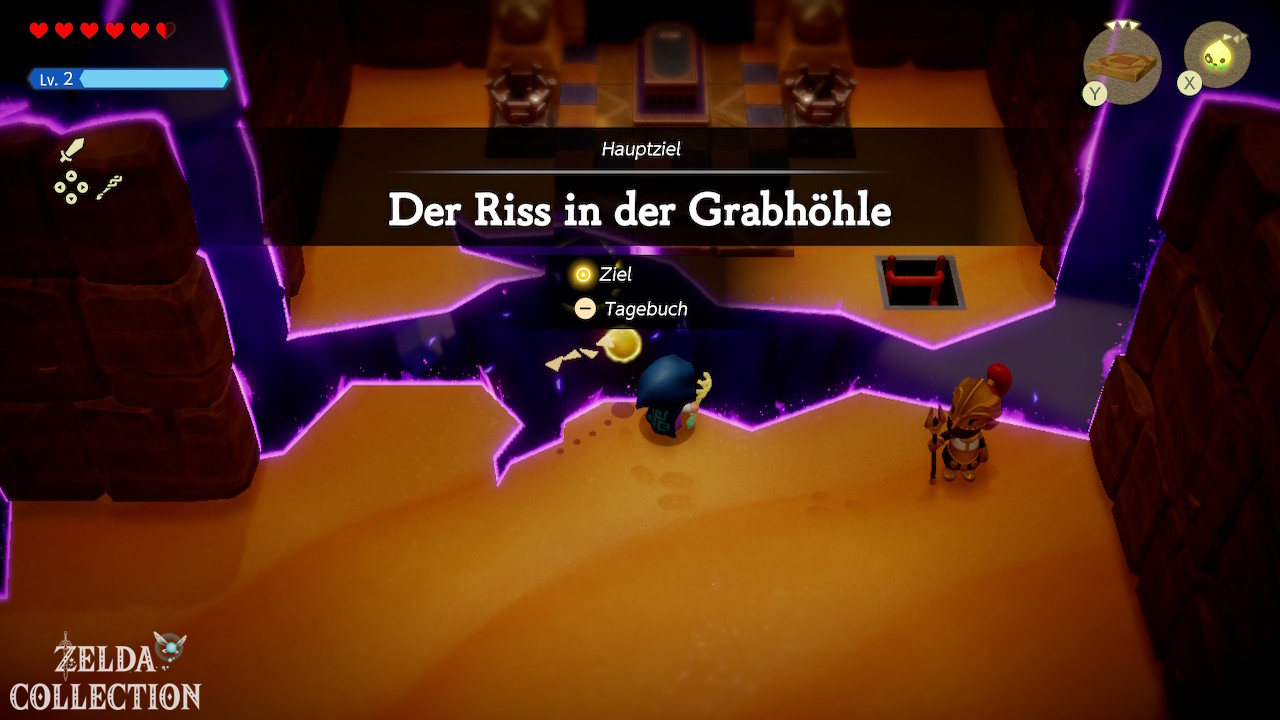
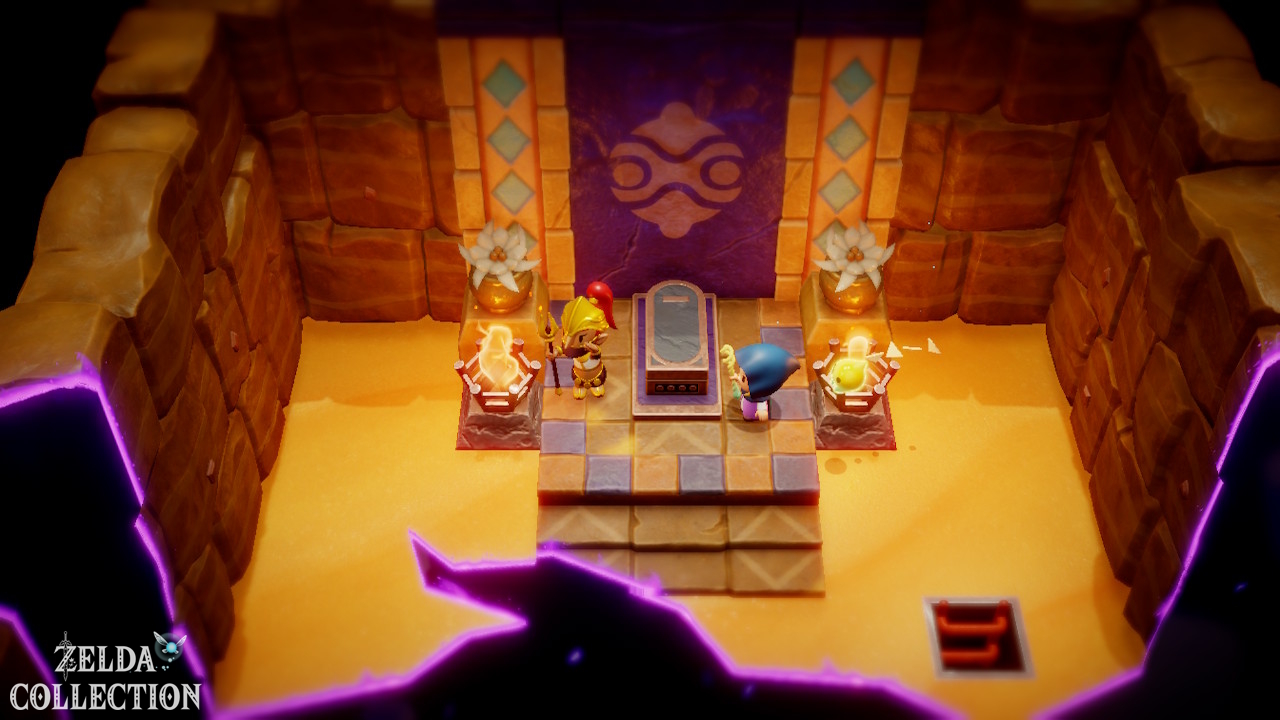
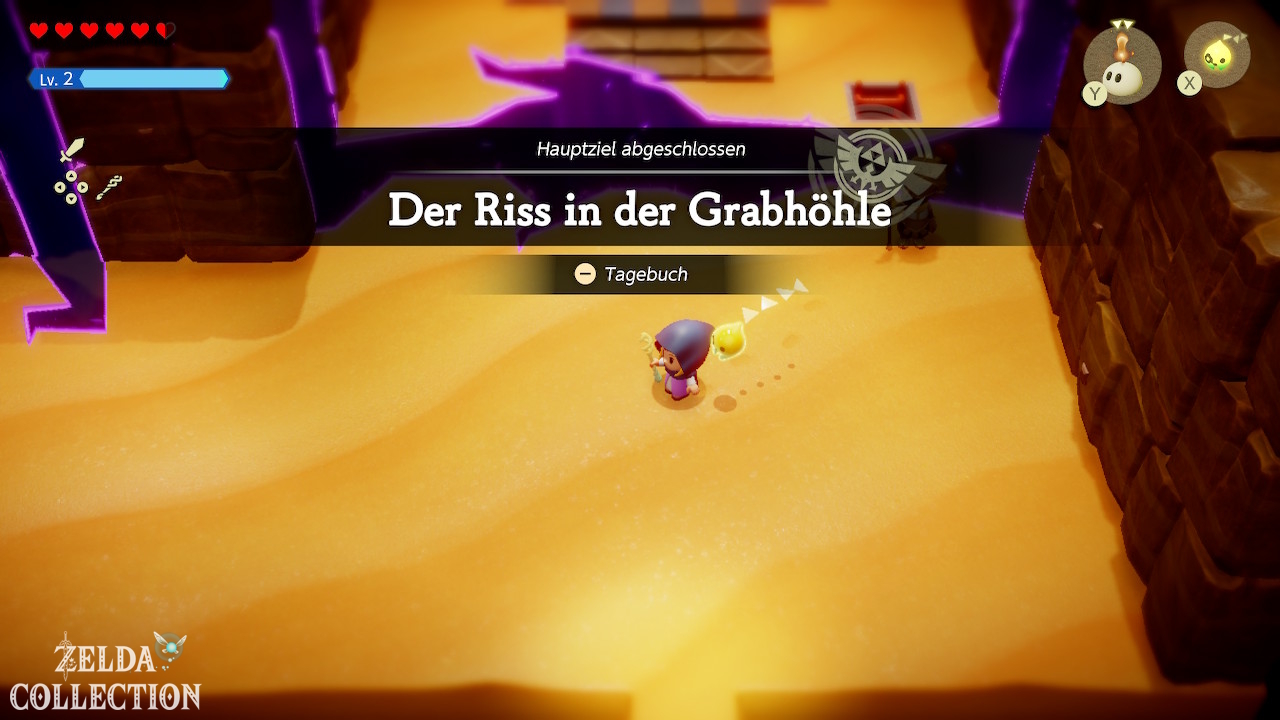
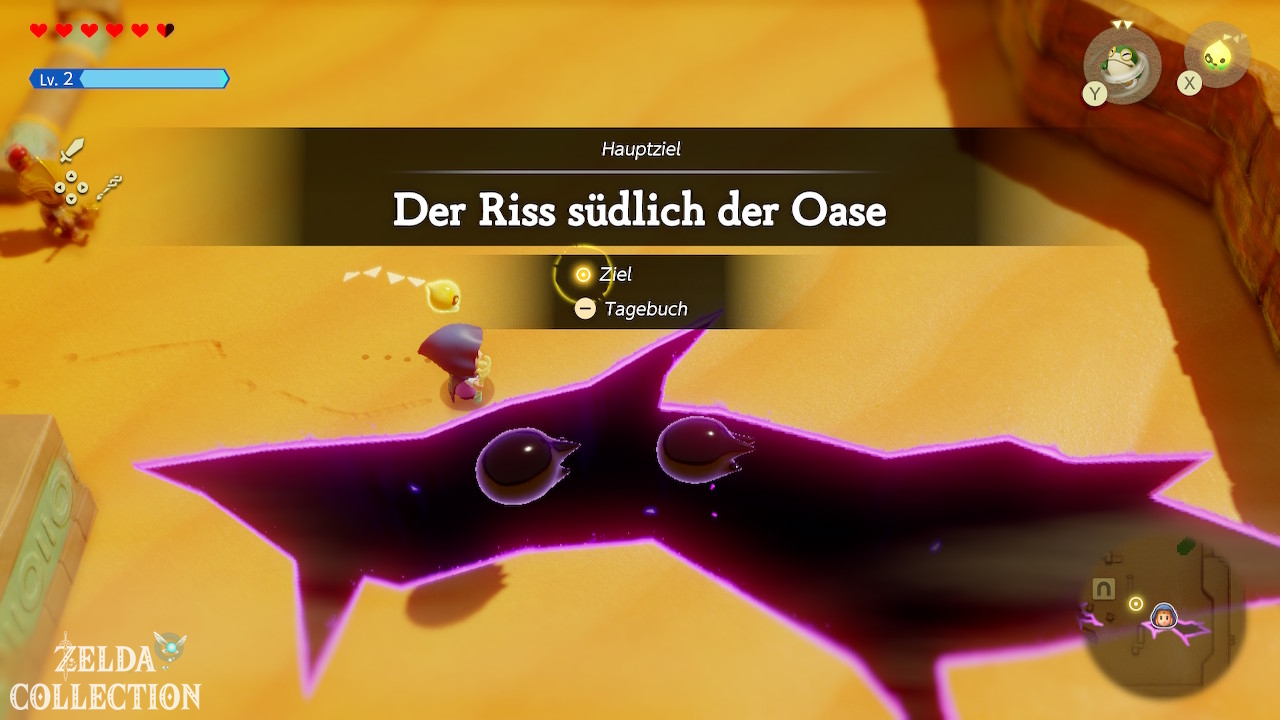
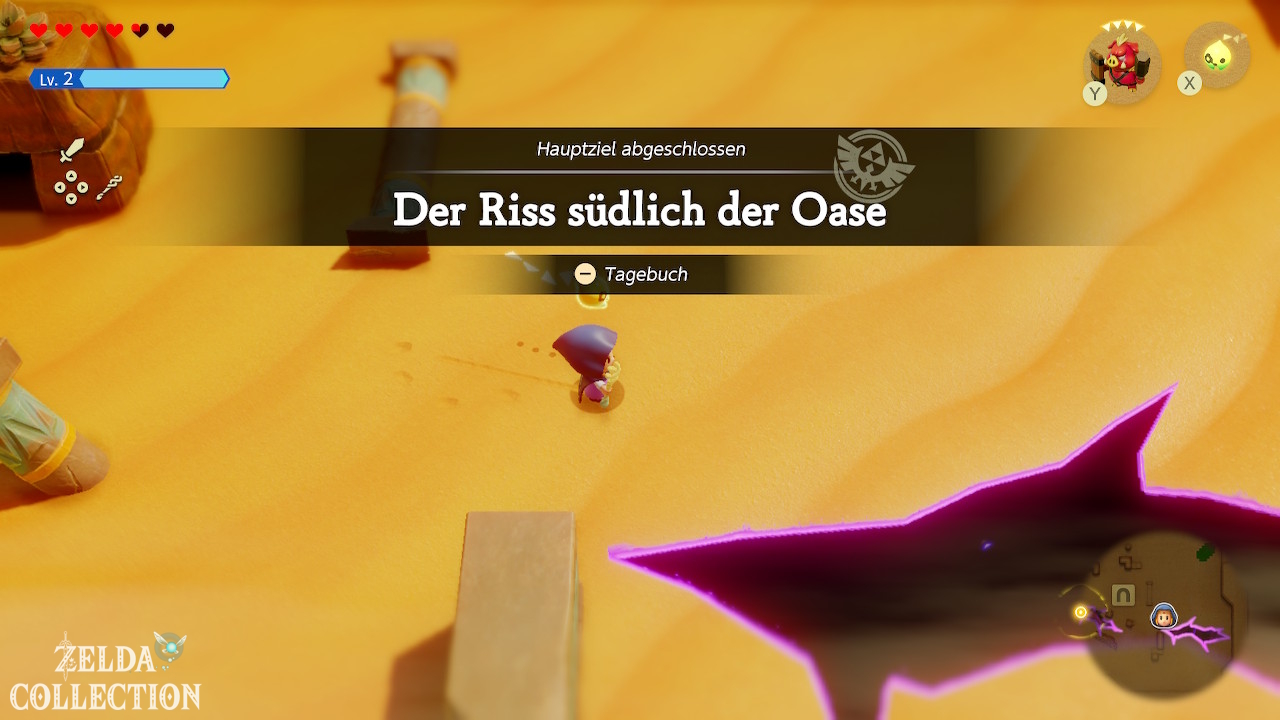
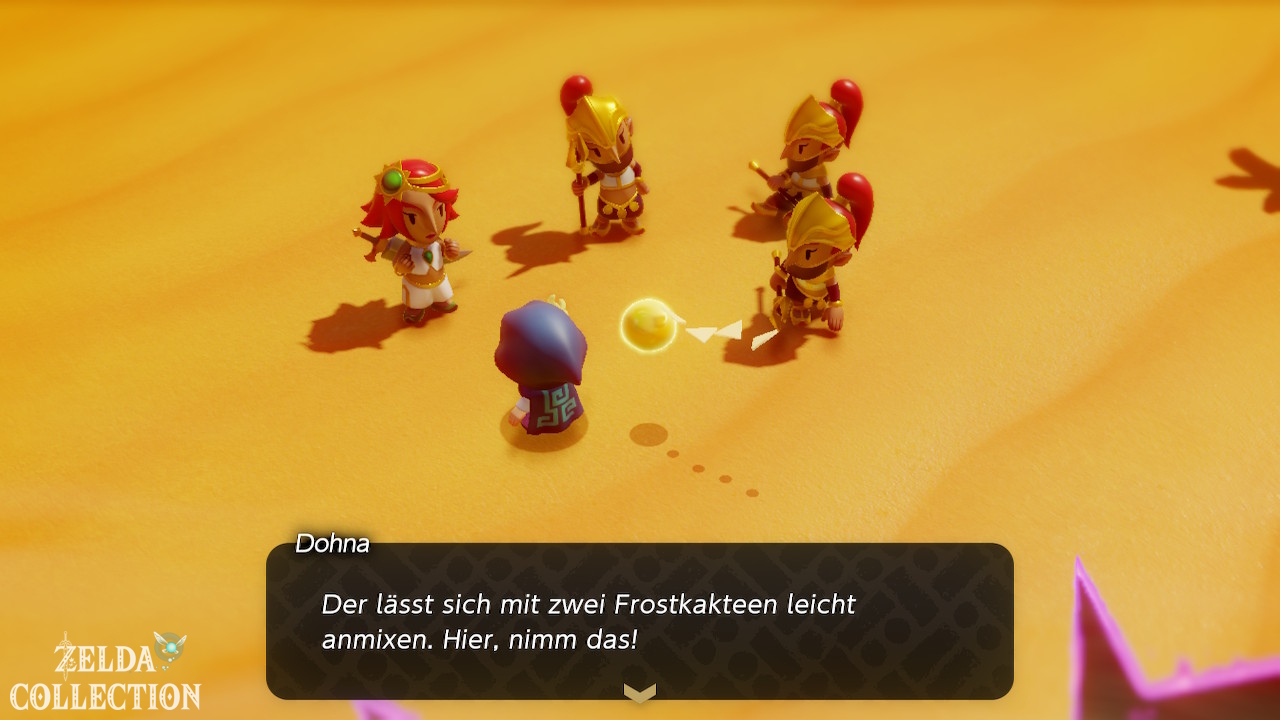
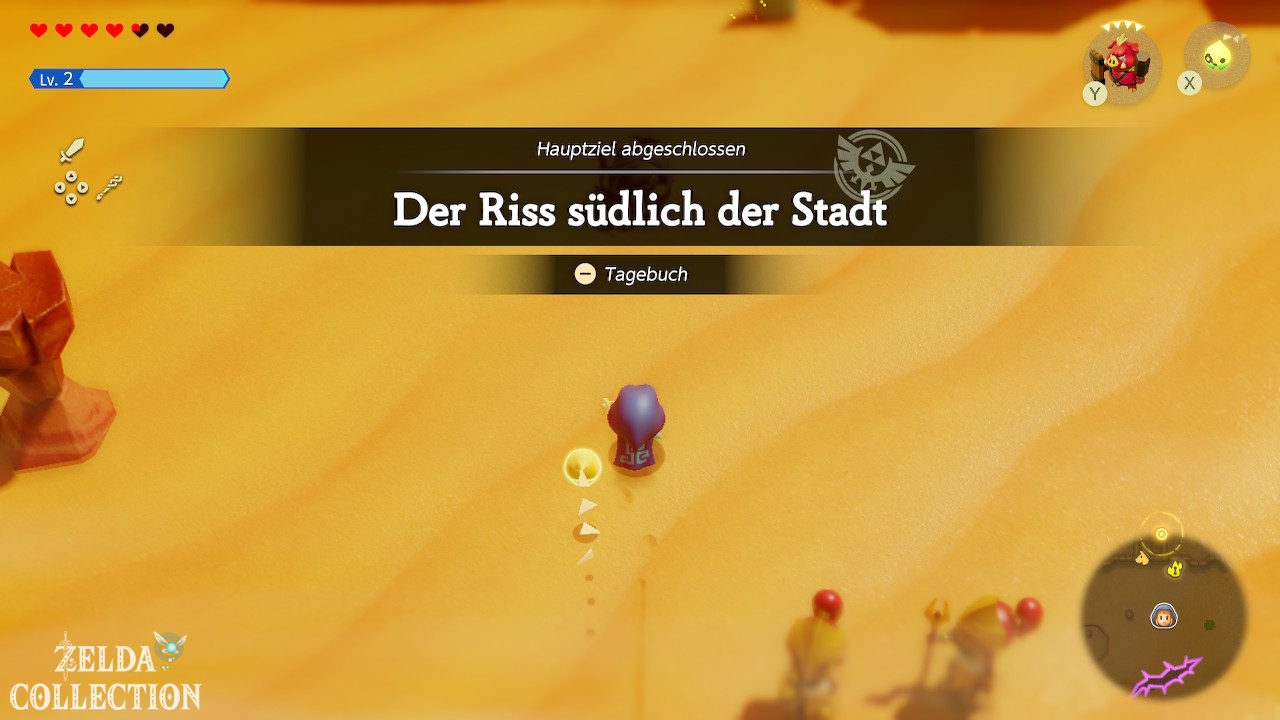
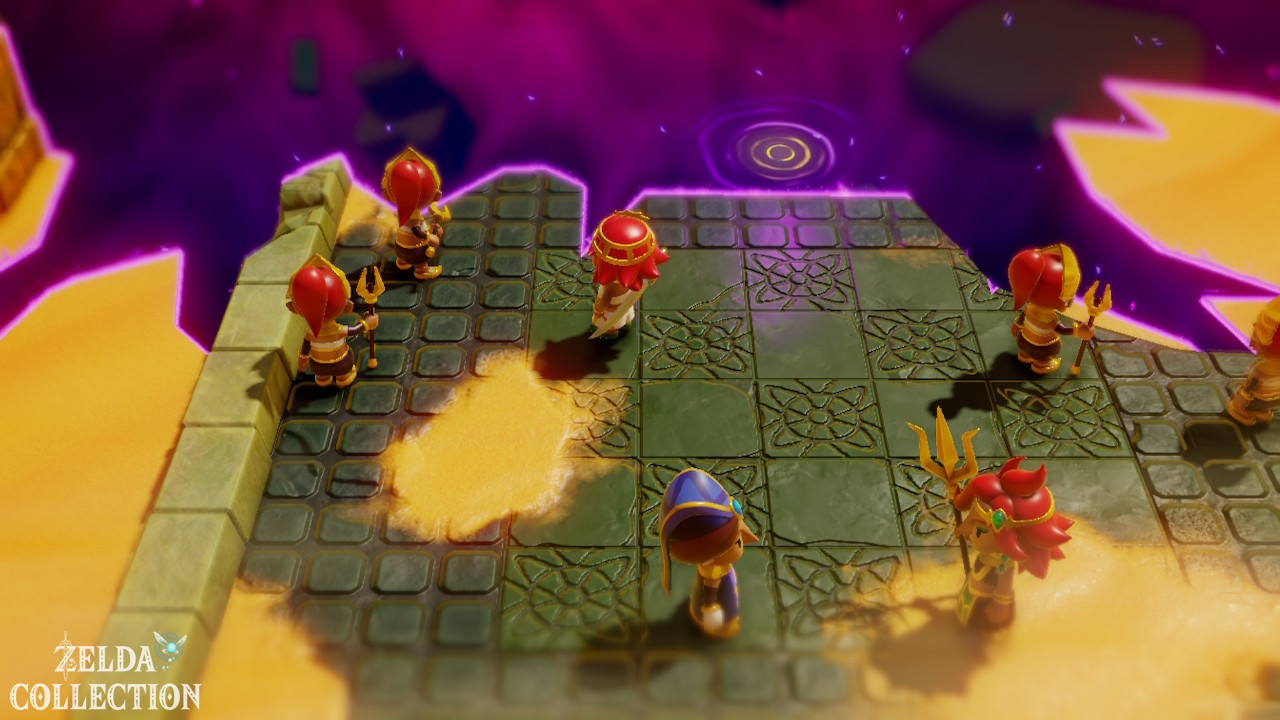
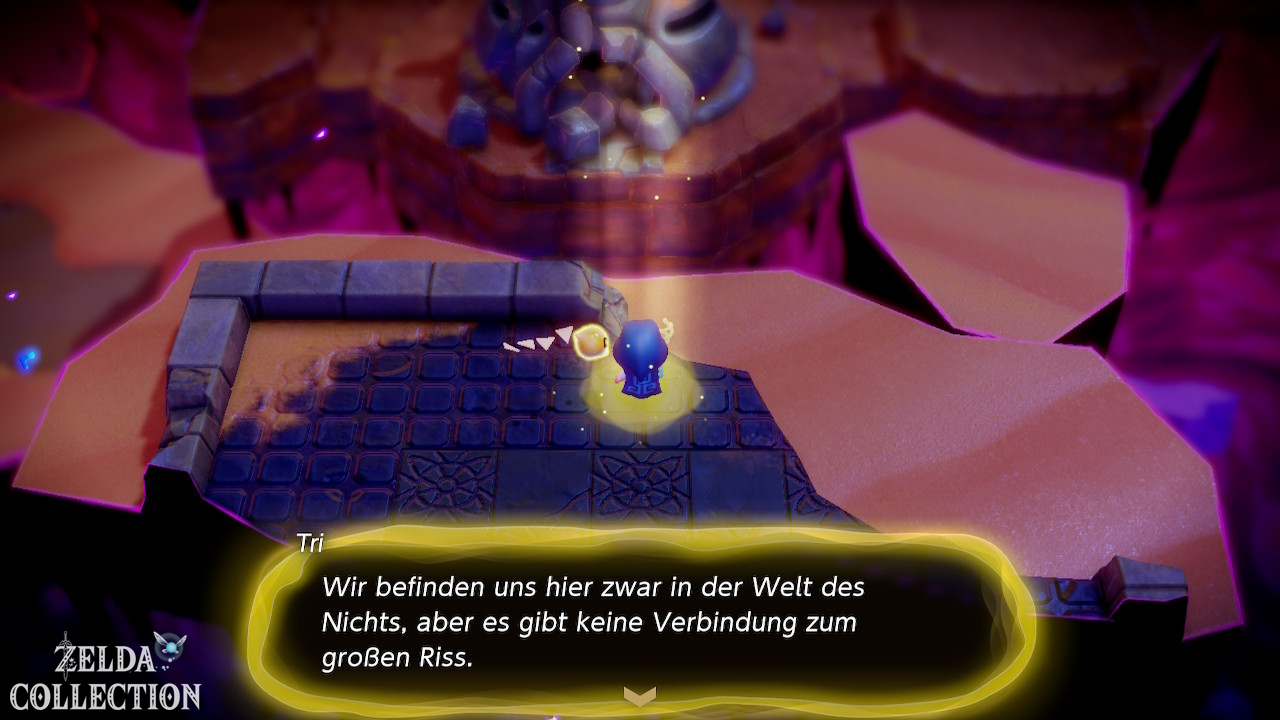
During the main story, speak to the Gerudo in the palace and then to Dohna at the oasis. Now you have to solve three smaller problems around the desert. The order doesn’t matter.
1. Southern Oasis Ruins Rift
Go to Southern Oasis Ruins. There Gerudo female soldiers are harassed by monsters. Defeat the opponents. Don’t stand in the middle of them, instead summon echoes from a safe distance and use Bind to lock down particularly aggressive opponents. Once all enemies are dealt with, this part is complete.
2. Southern Gerudo Desert Rift
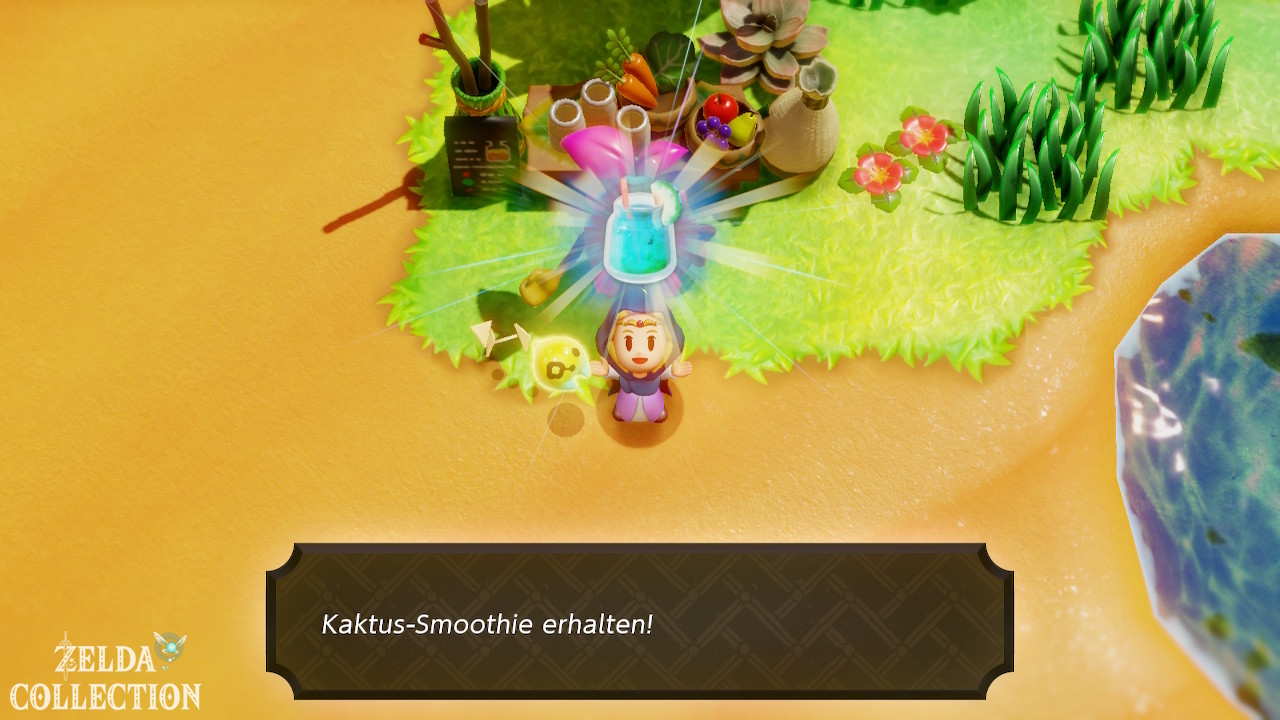
South of Gerudo Town you will find exhausted guards. You need something to combat the heat. Dohna provides you with two Chilly Cactus. Travel to the oasis and have the smoothie merchant make the requested smoothie from the two Chilly Cactus. Then bring the drink back to the guards. This also solves this problem.
3. Ancestor’s Cave of Rest Rift
The third path takes you to Ancestor’s Cave of Rest. At the entrance, move the large rock with Bind and enter the cave. Inside you will find Holmill. Defeat at least one and be sure to learn the Holmill Echo. It costs three triangles at this point. Holmill can dig through certain sandy or earthy soils. Summon him on the sand area provided to open the way down.
Optional Chest: Golden Egg
Use Holmill also on the accessible sand areas of the side rooms. One of the chests contains a Golden Egg. Finally, on the other side of the grave cave you have to light two fire pits. Your already known Ignizol Echo is sufficient. If both fires are on, the job is done. Then return to Gerudo Town.
Stilled Desert Temple Ruins: five groups of Tri’s friends
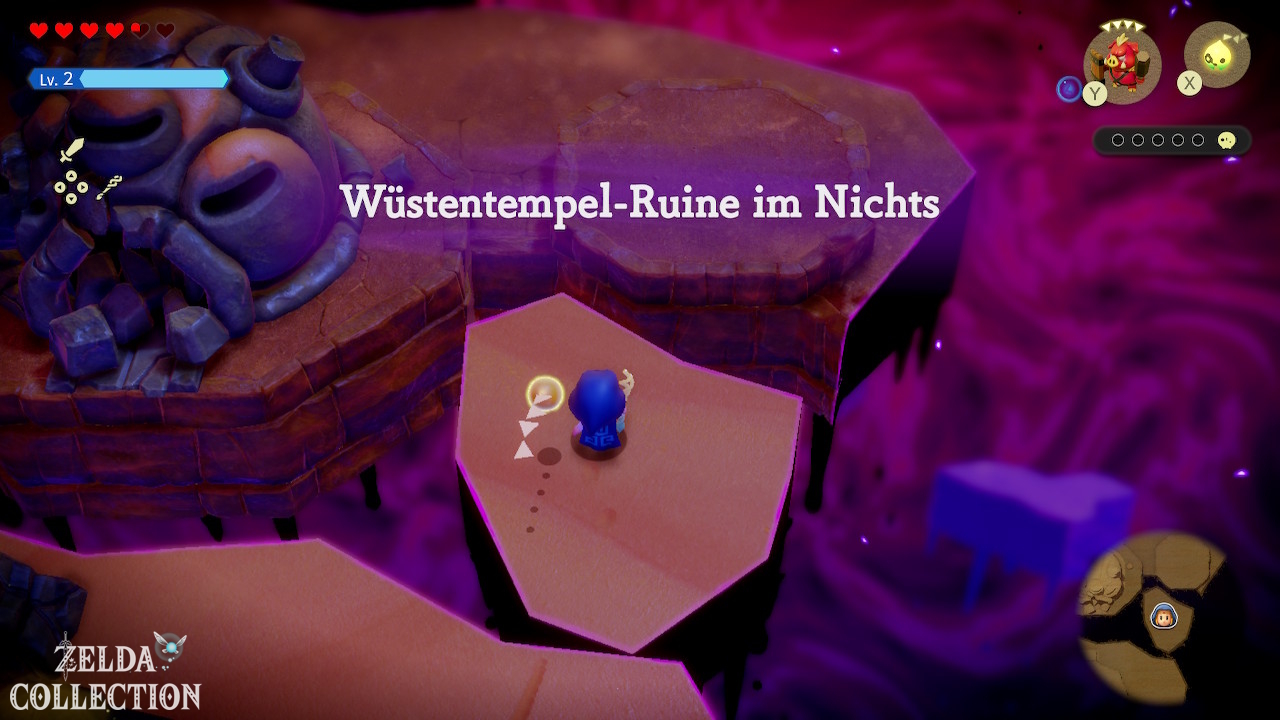
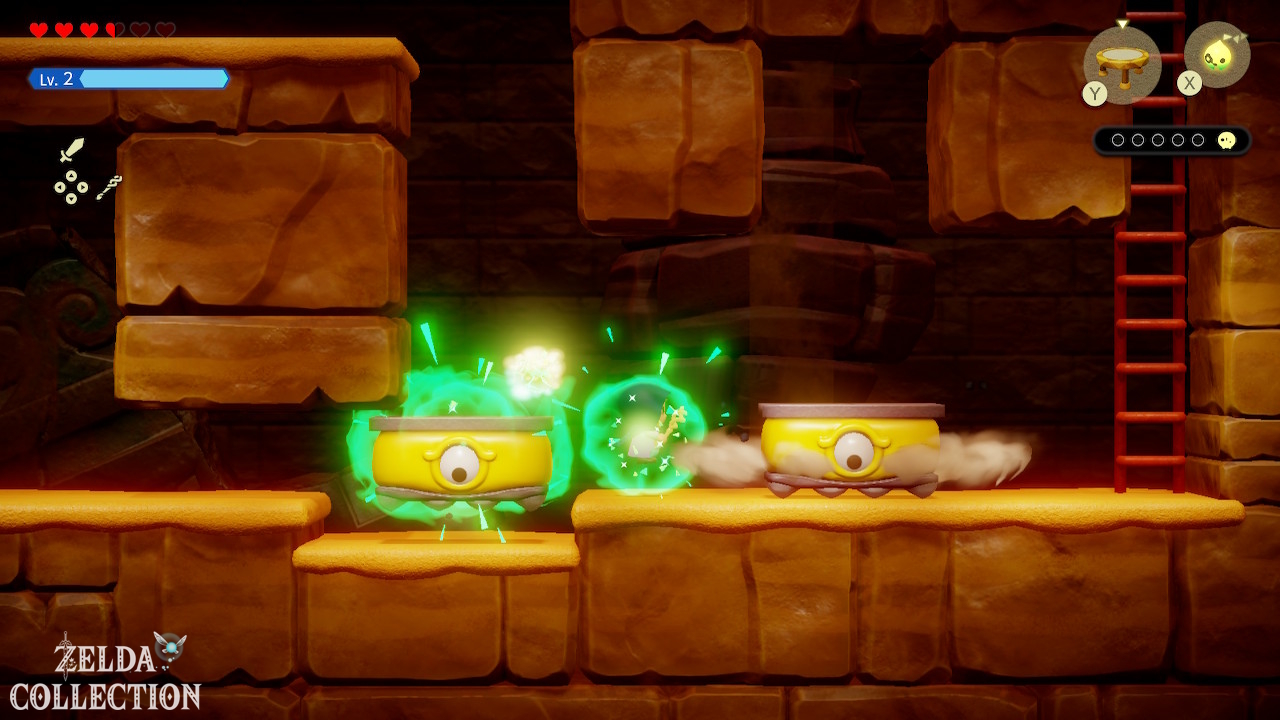
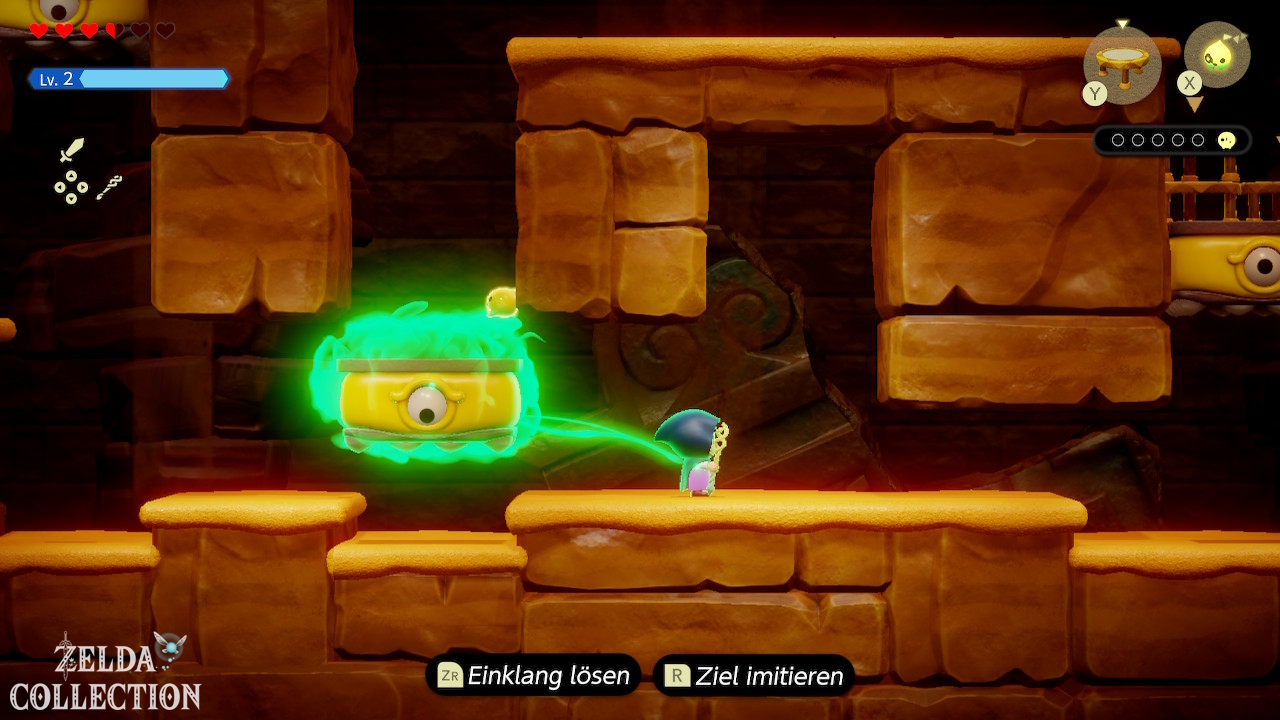
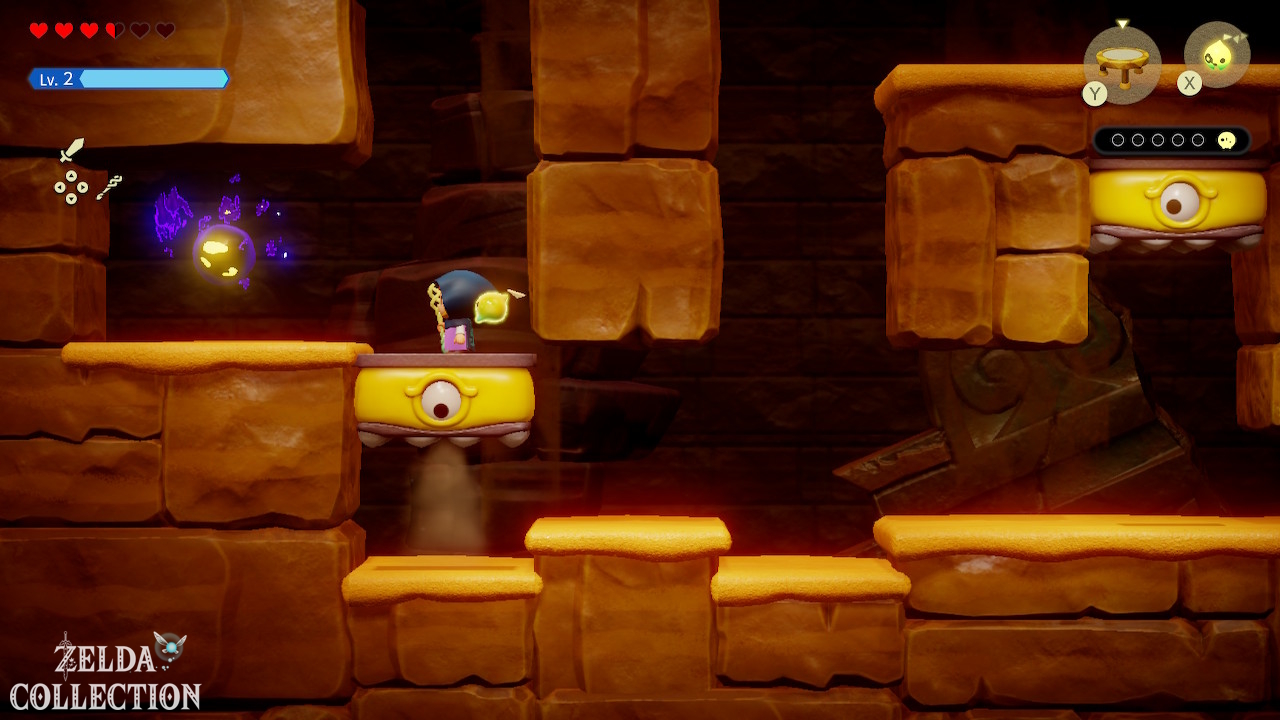
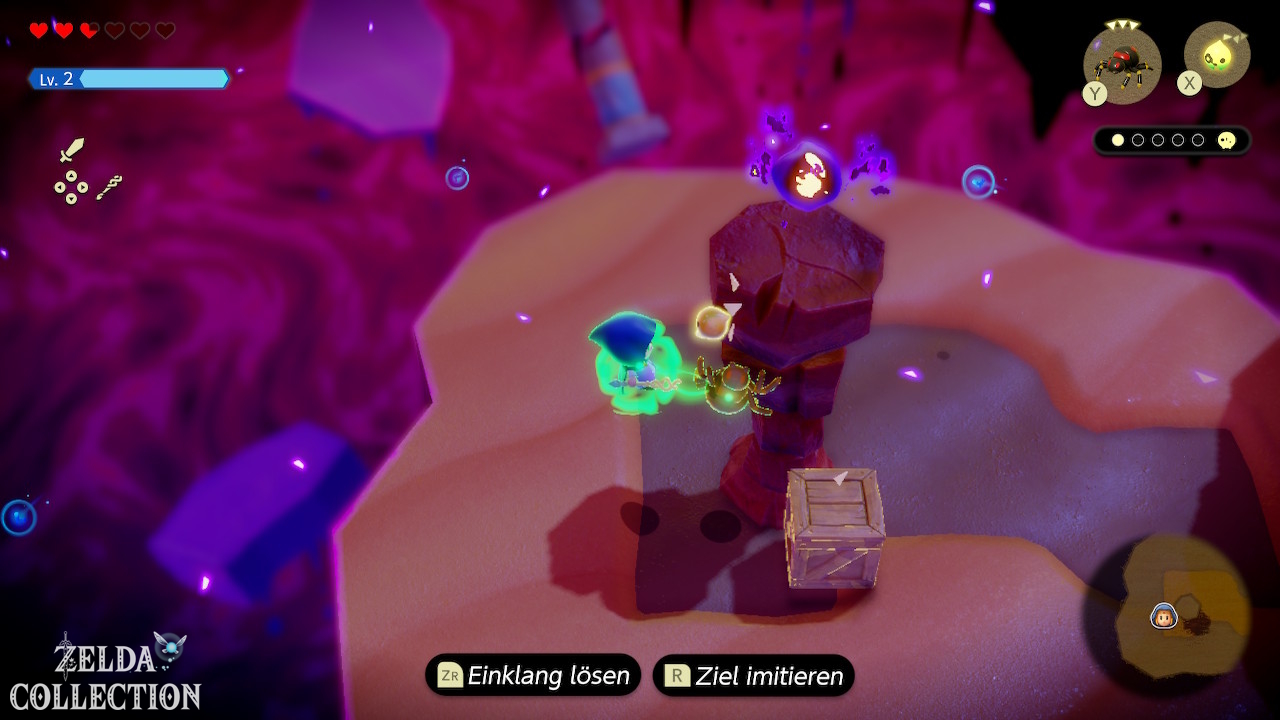
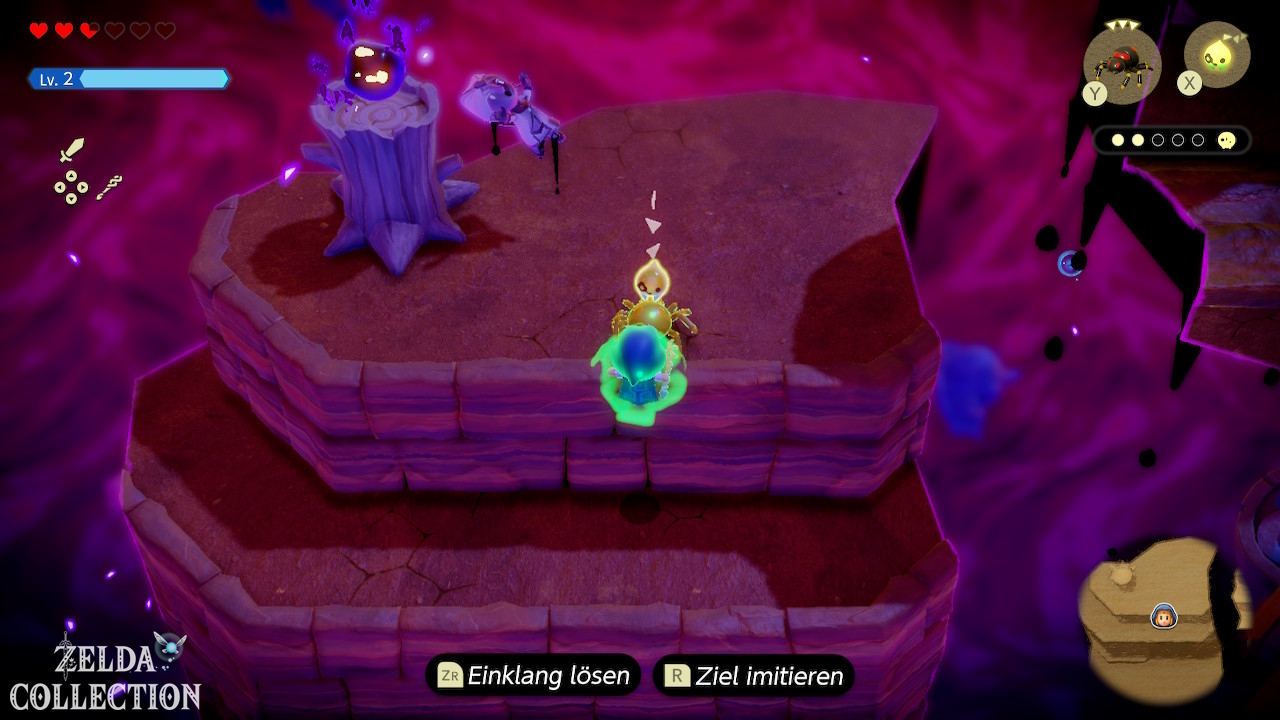
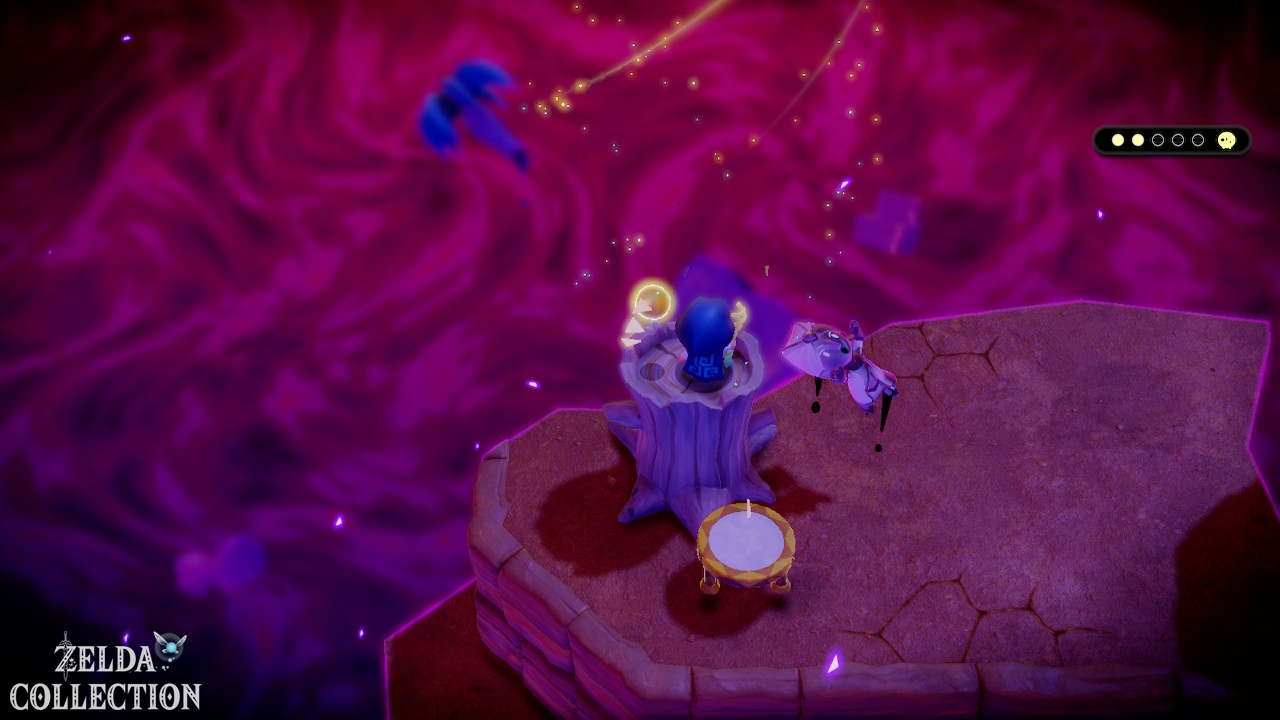
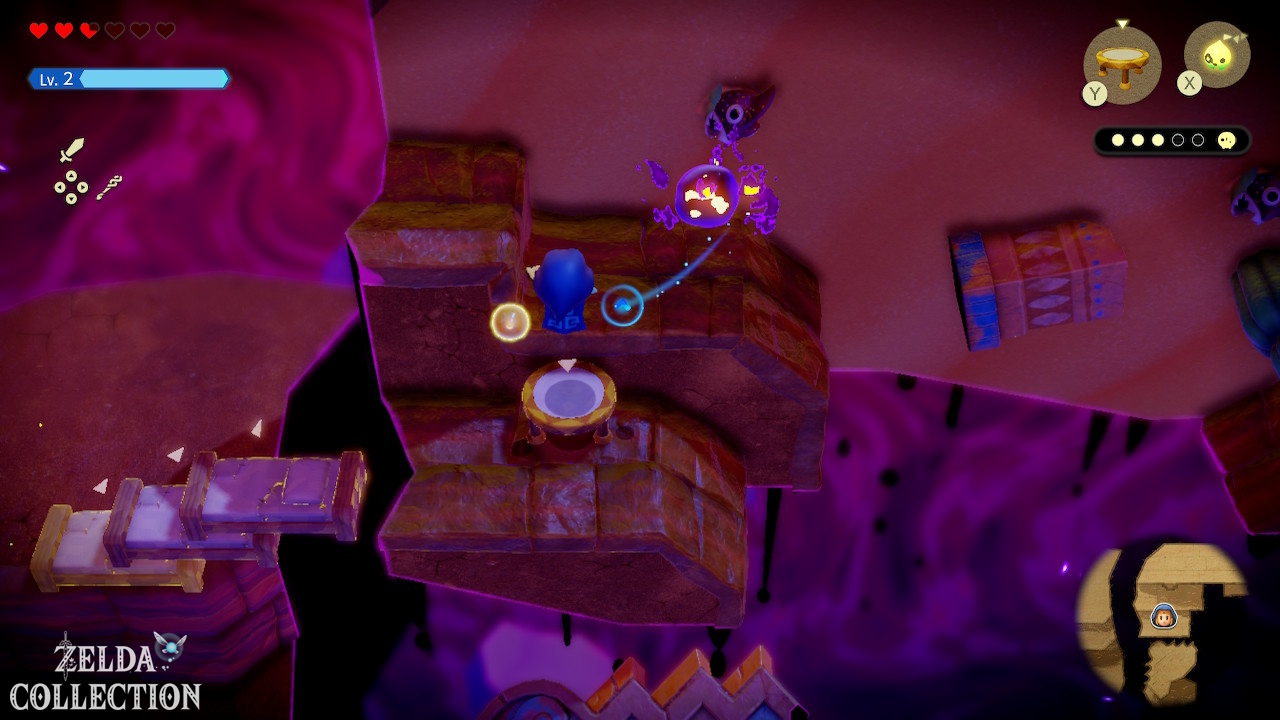
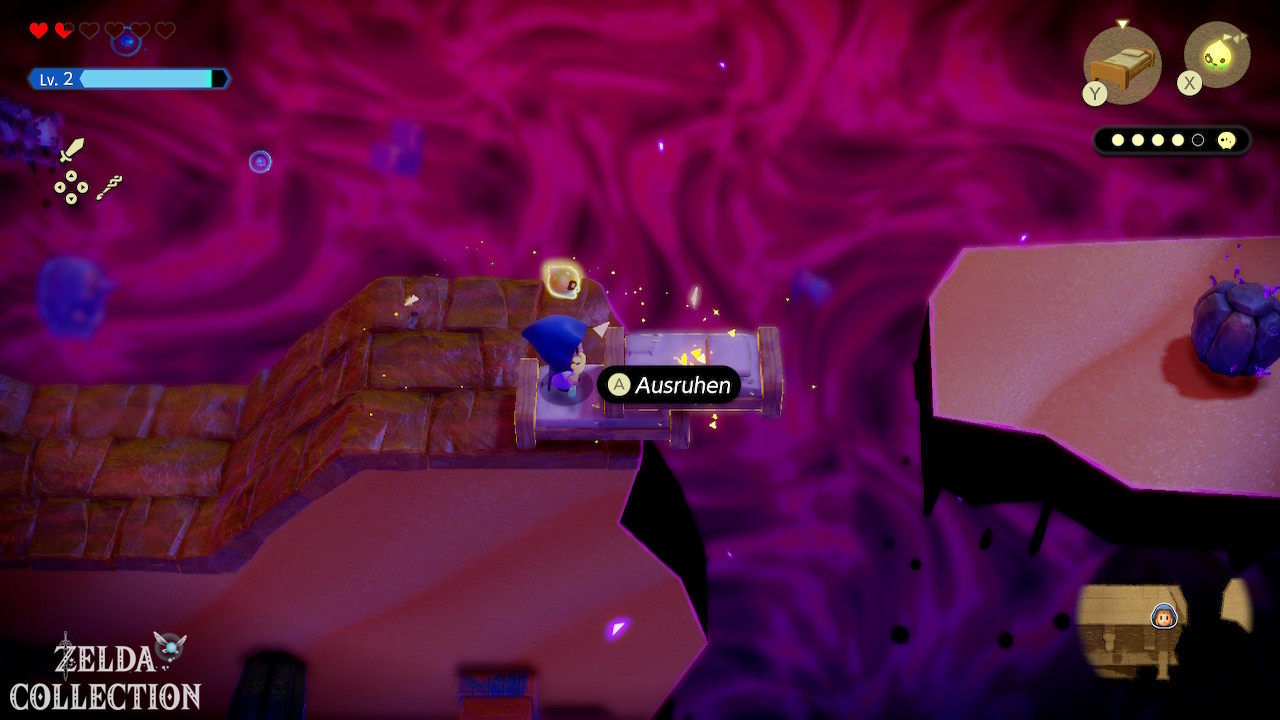
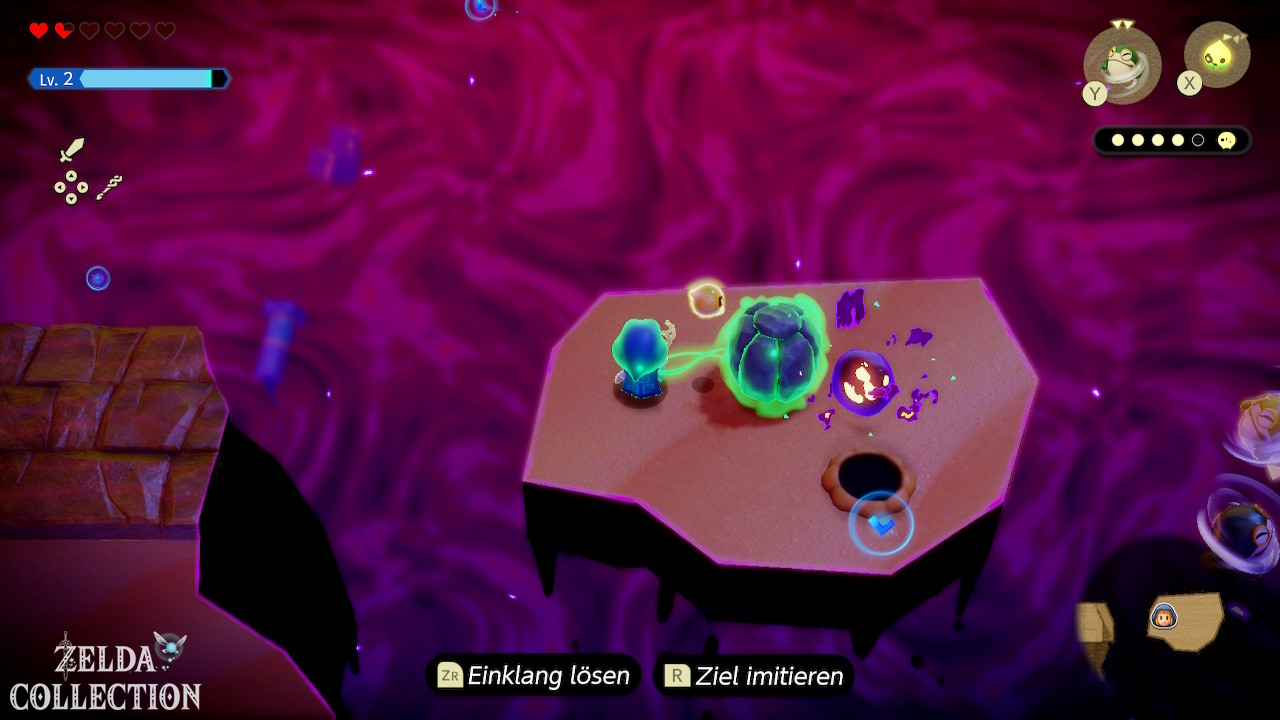
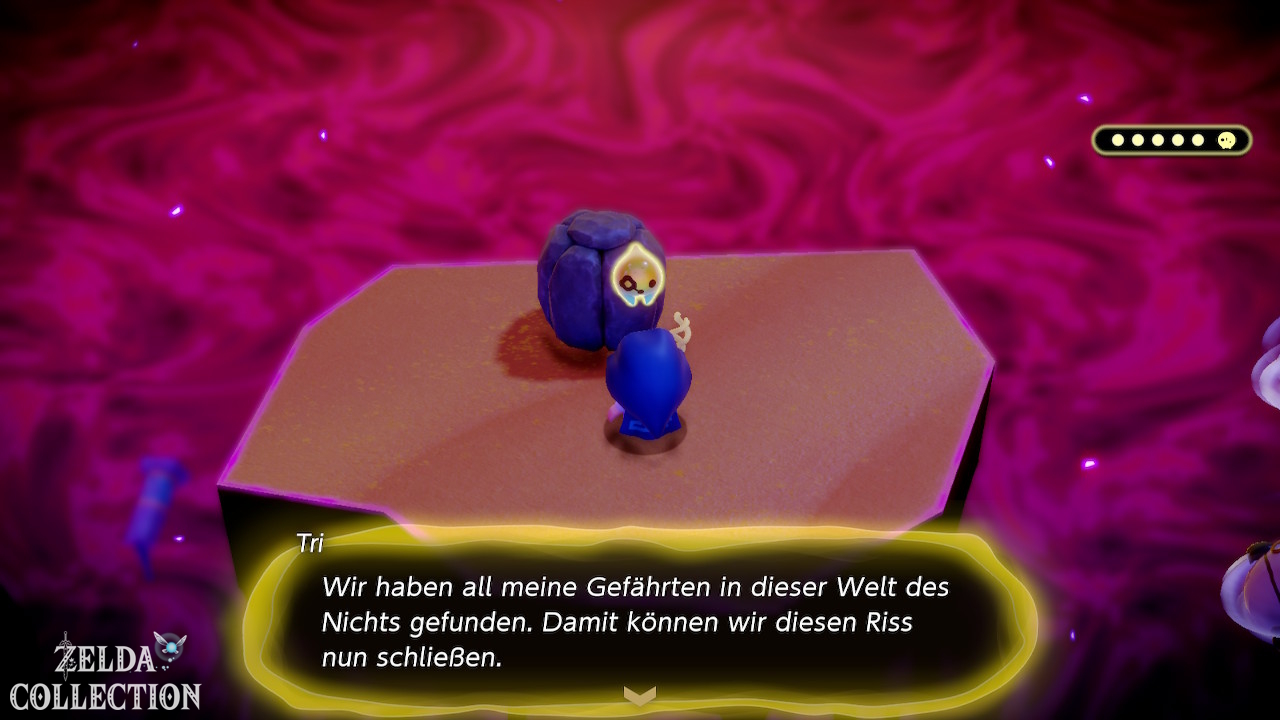
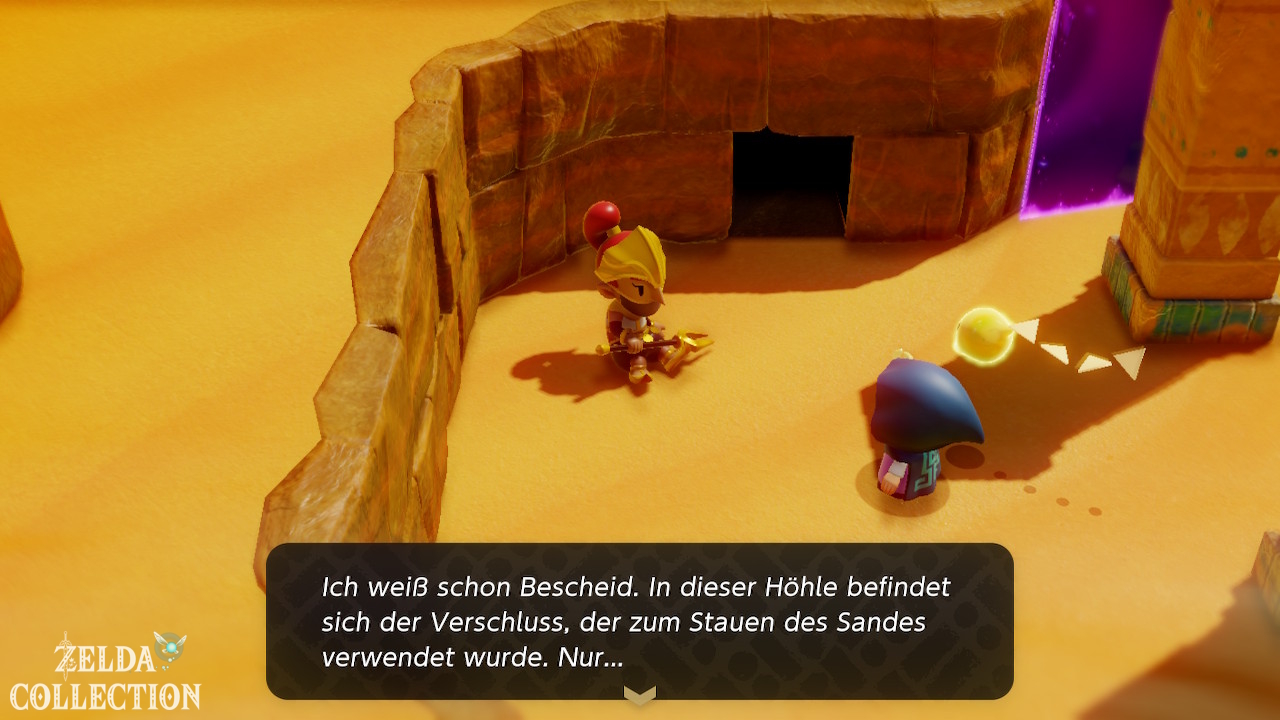
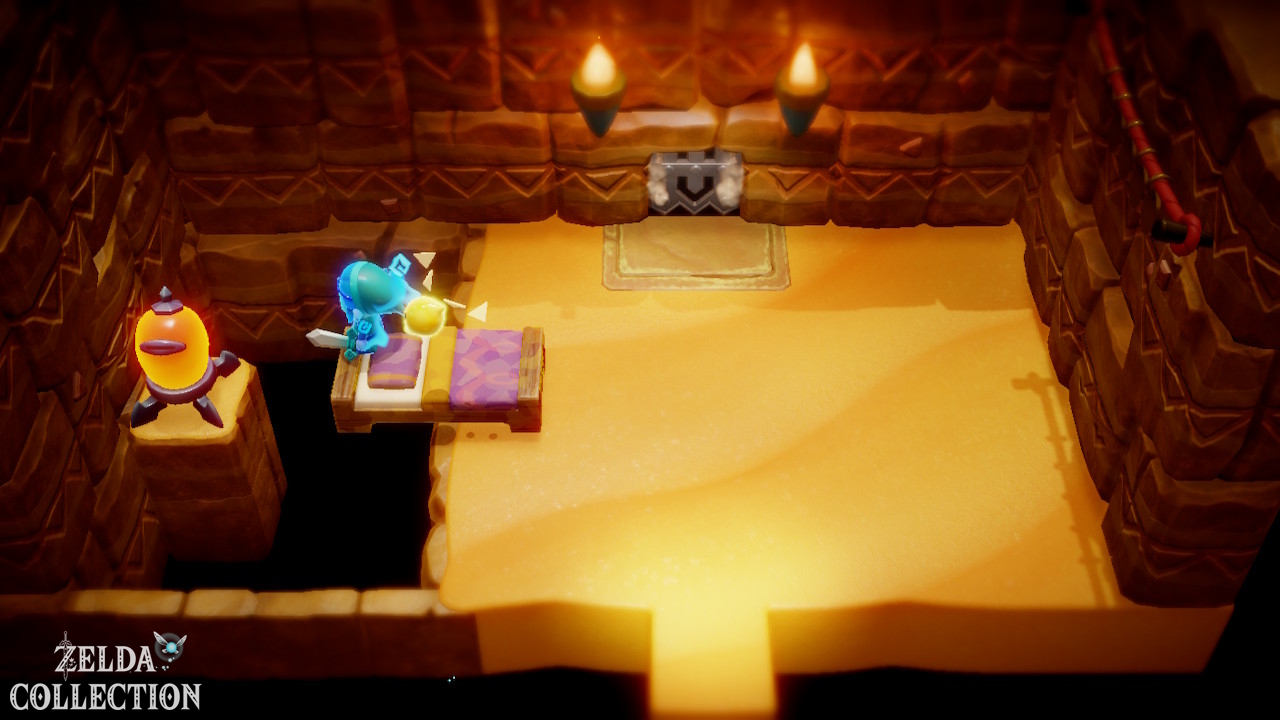
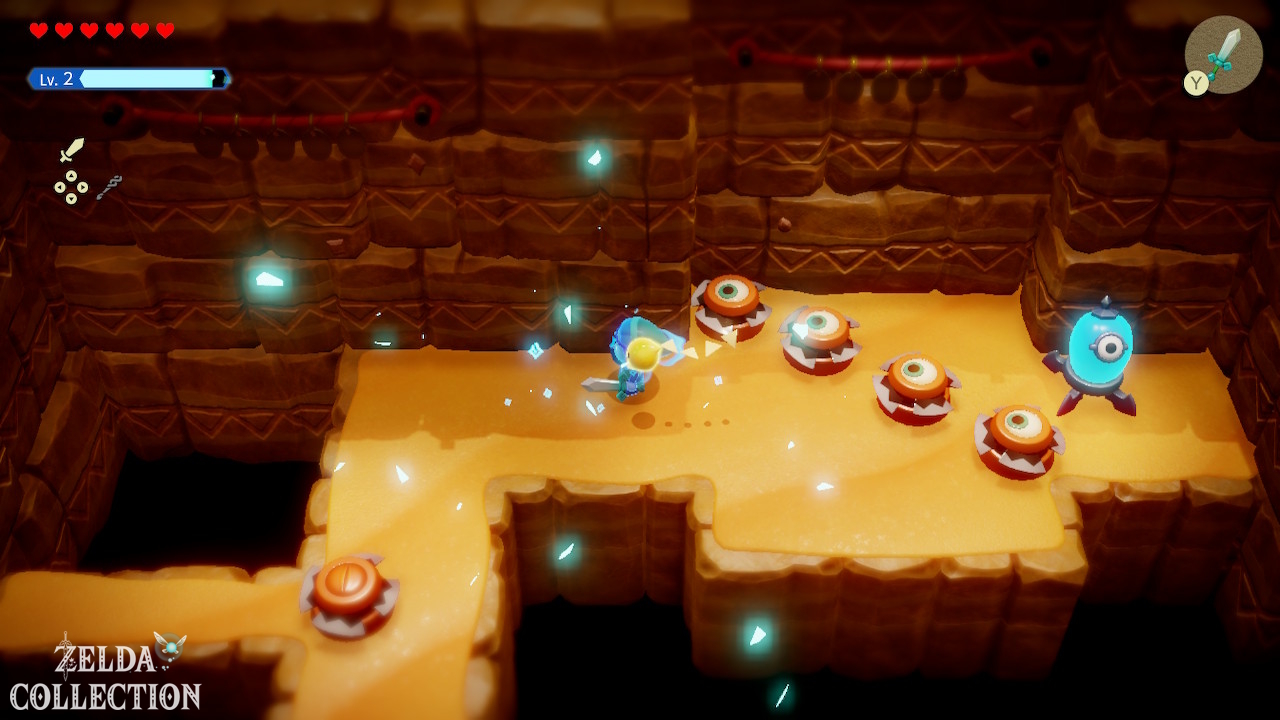
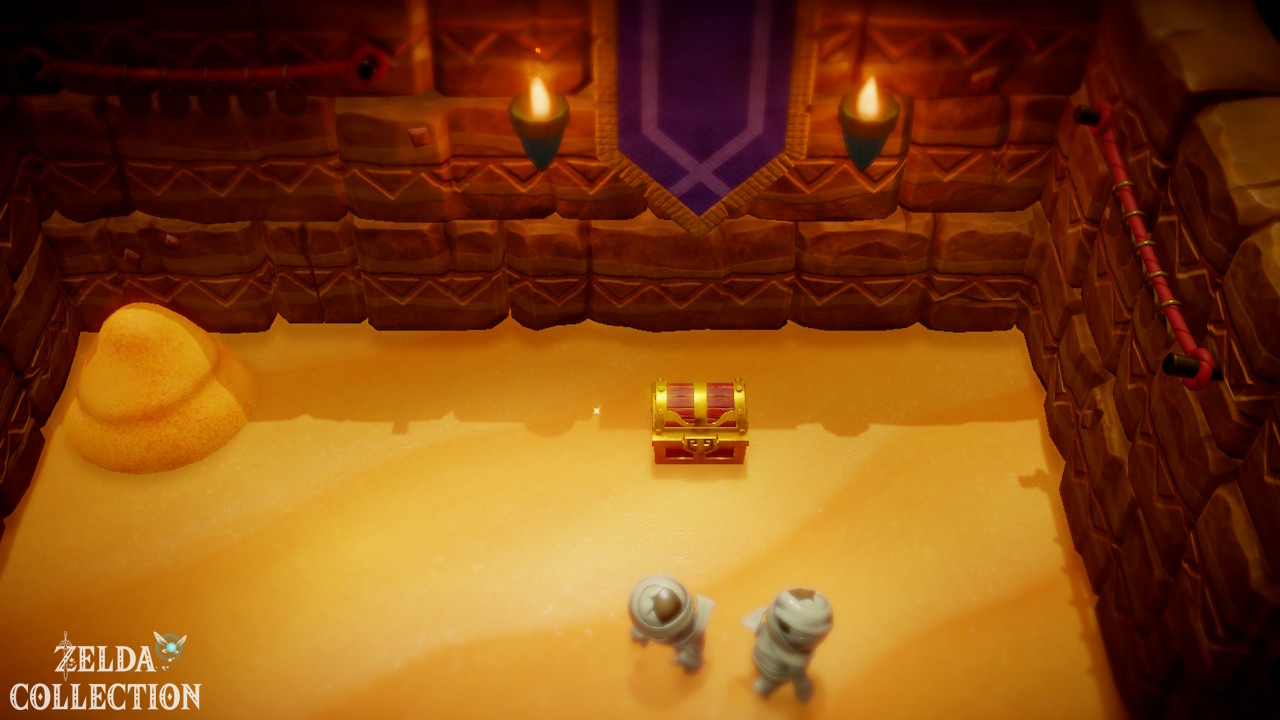
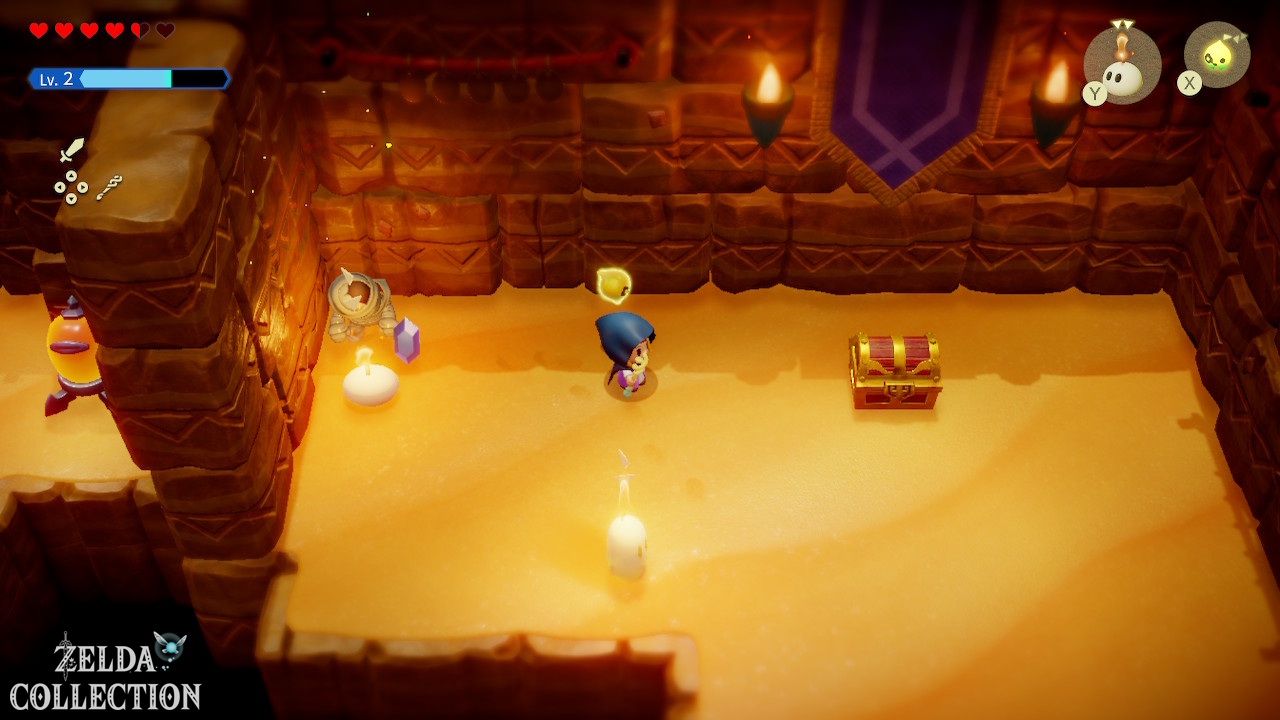
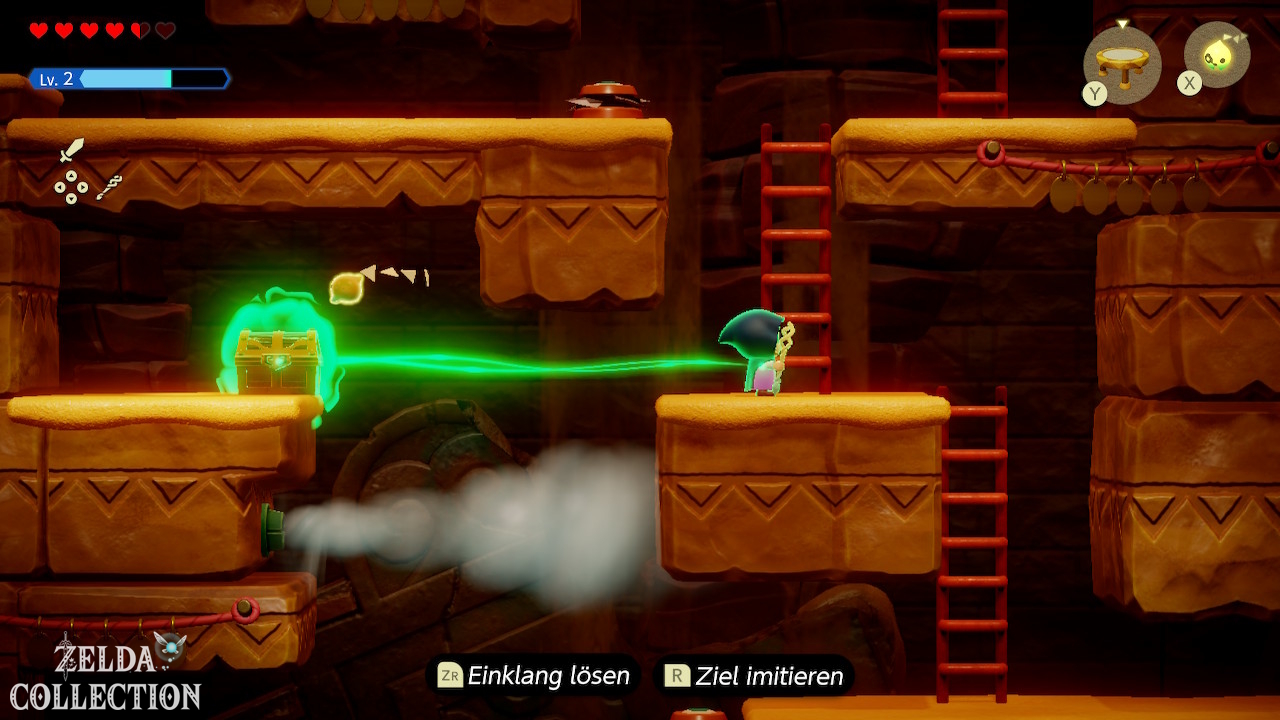
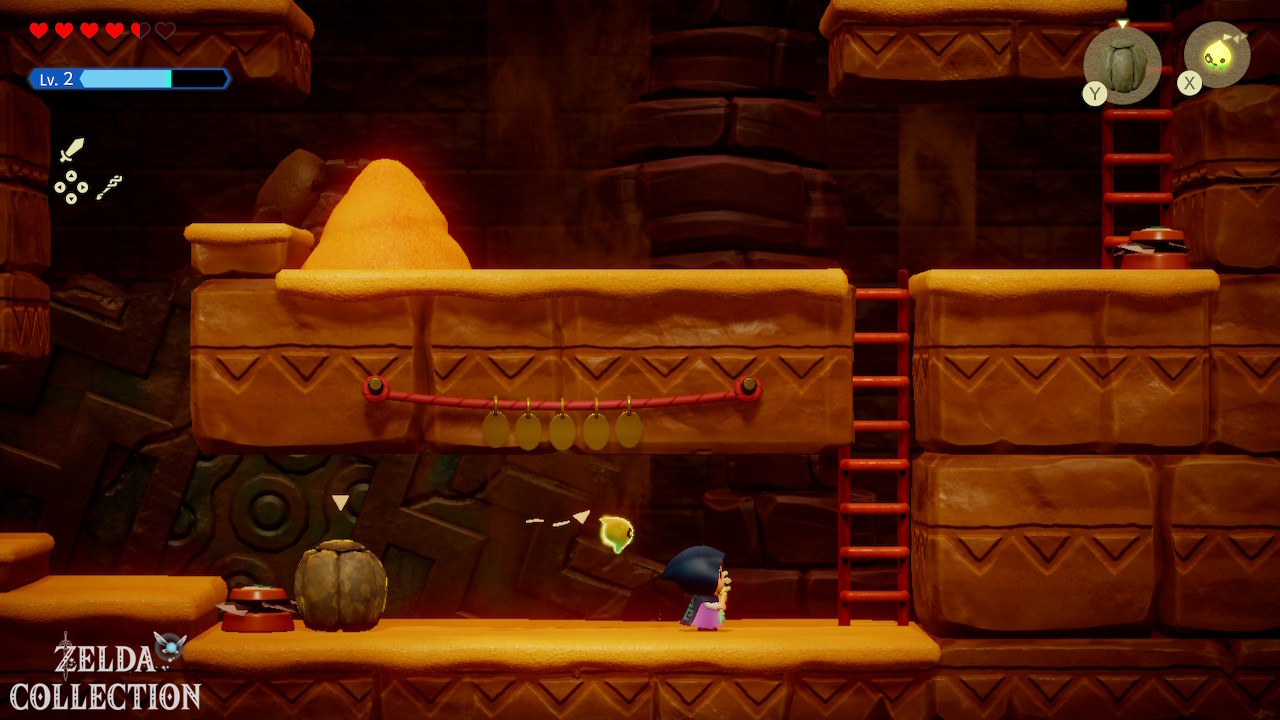
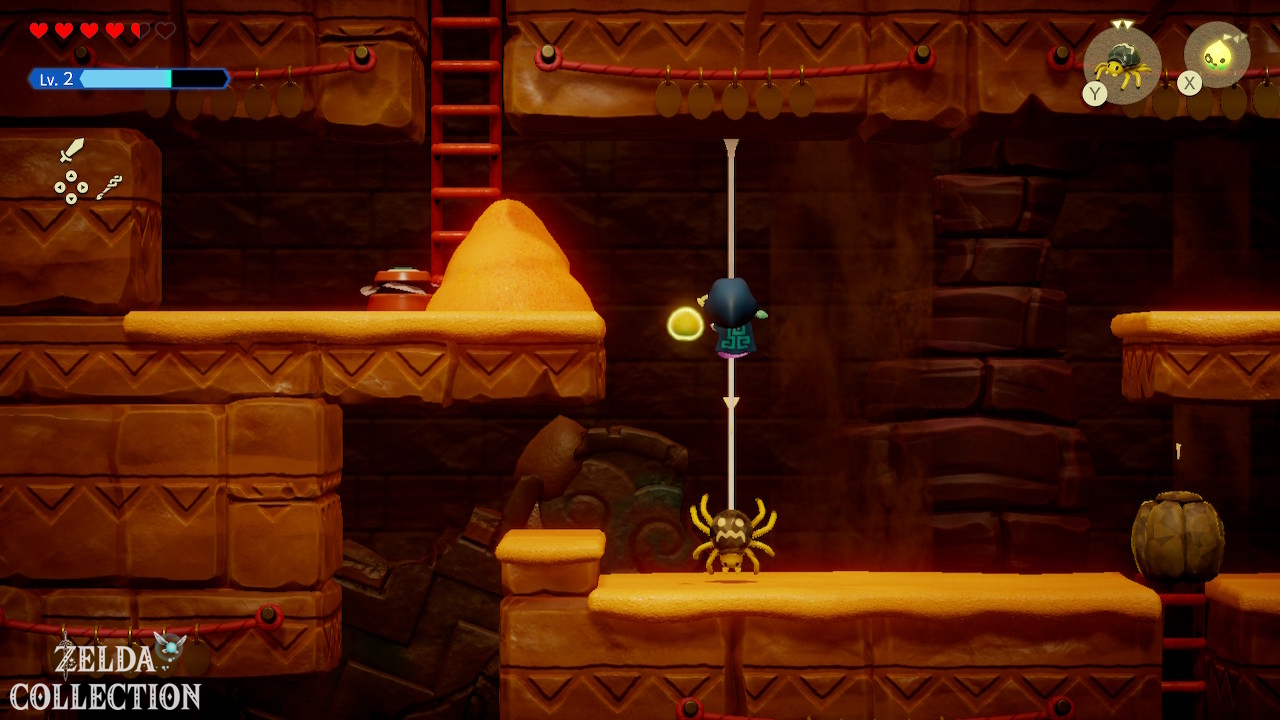
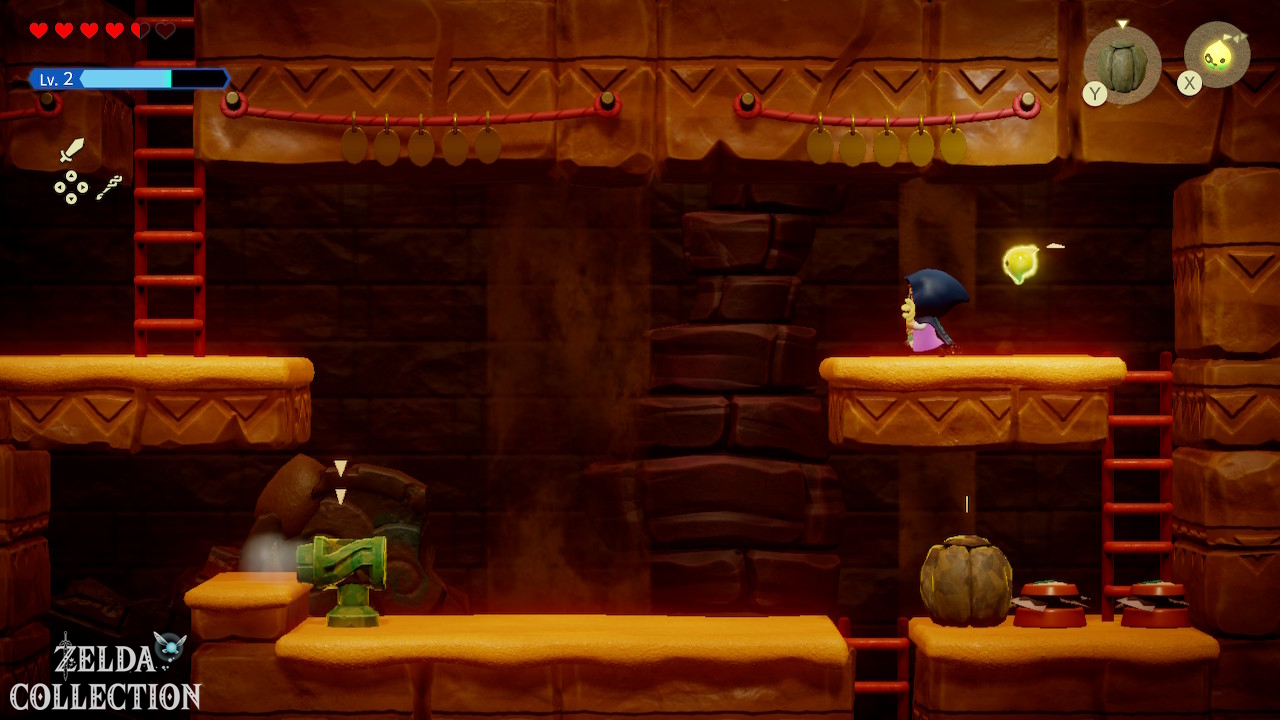
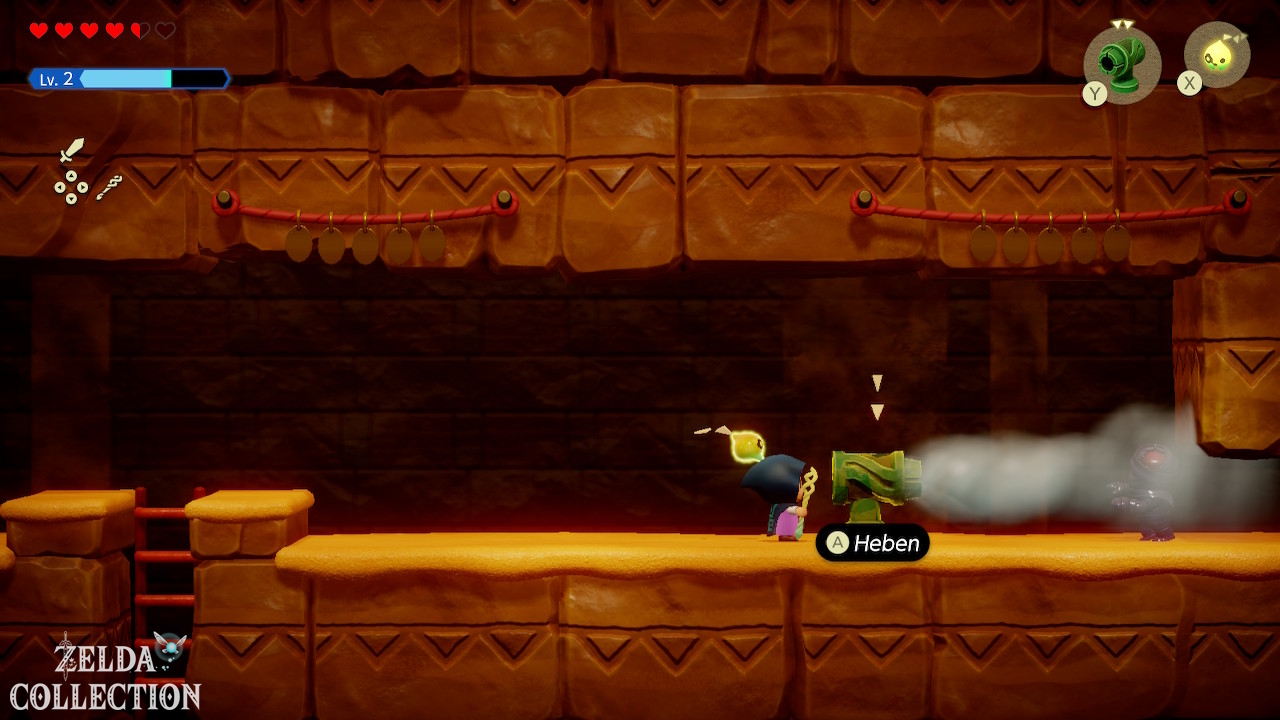
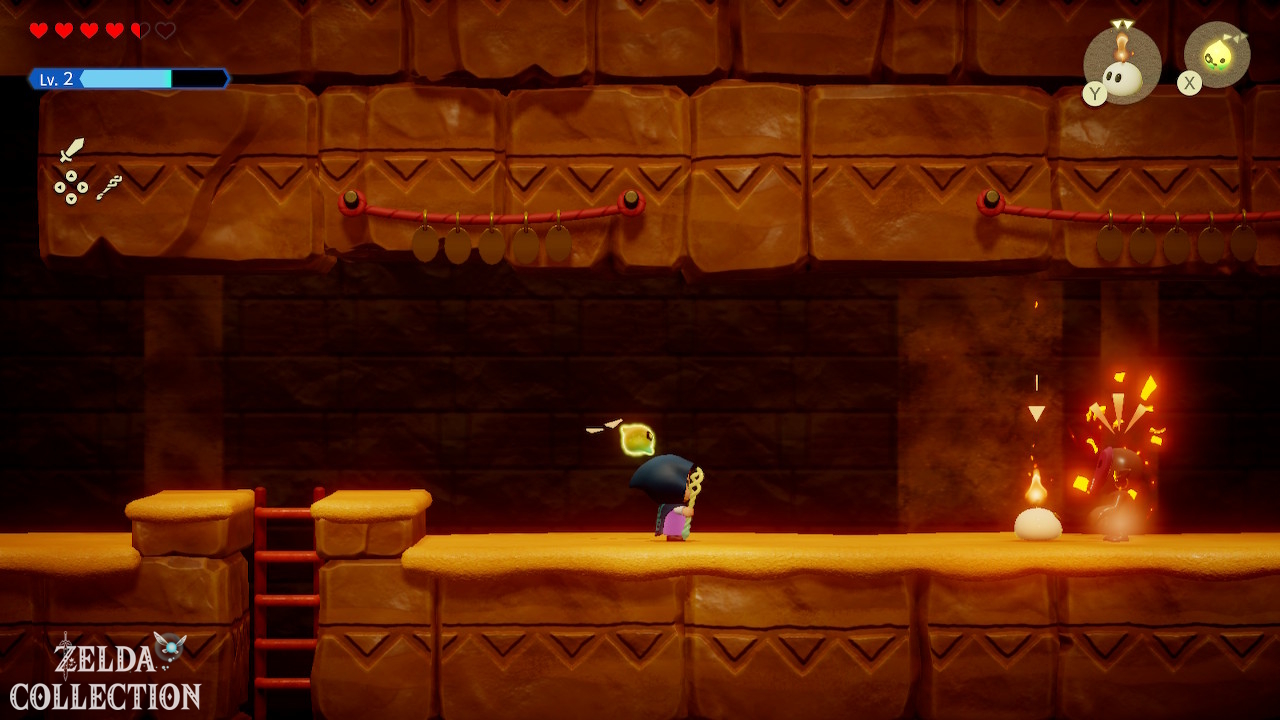
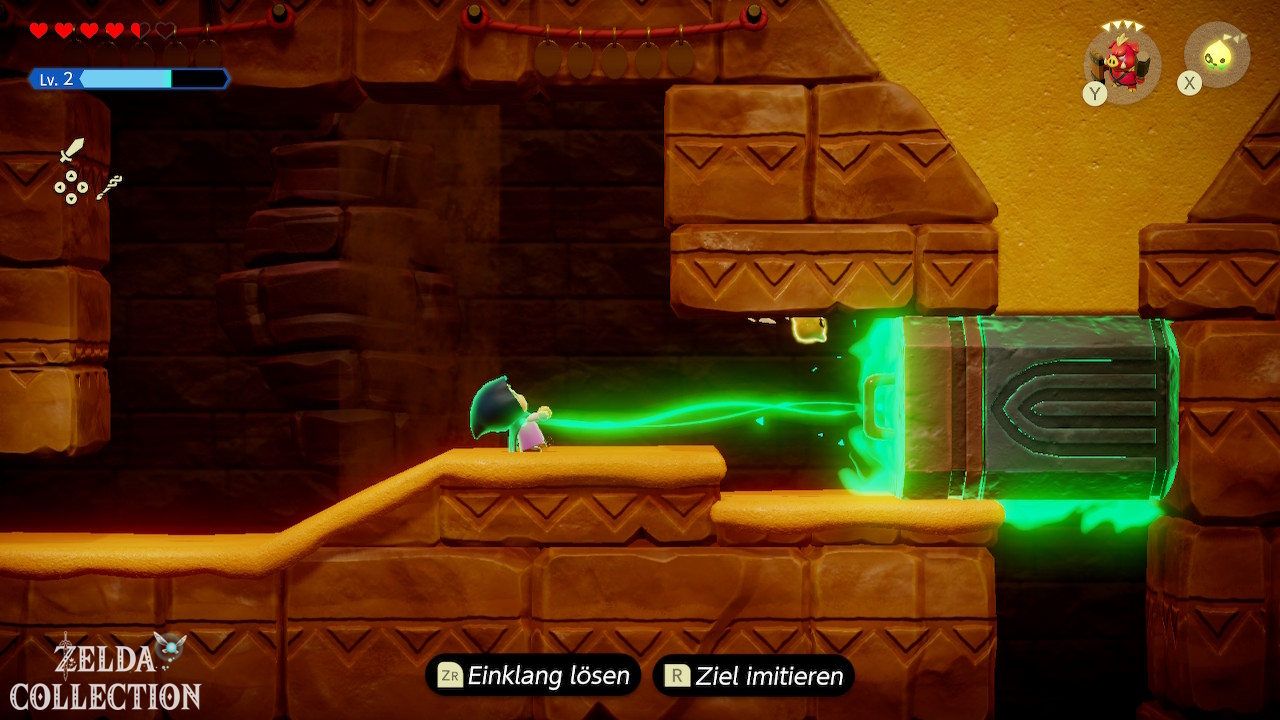
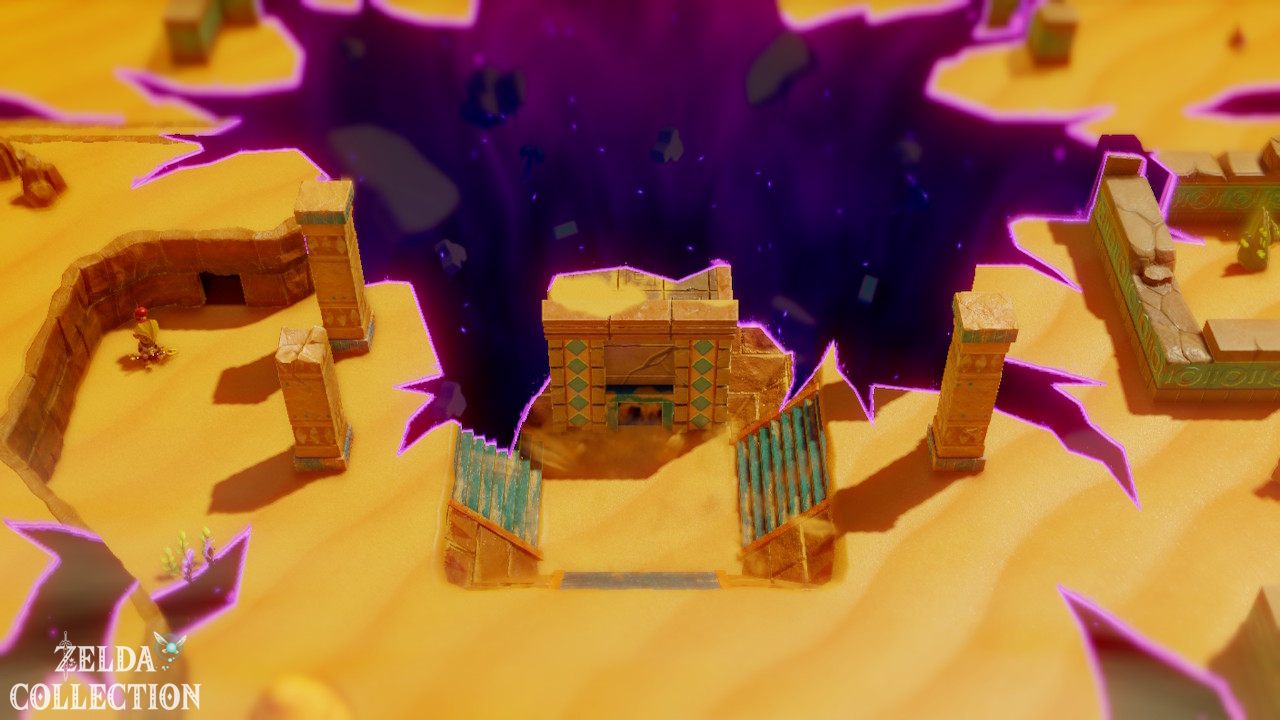
After the three tasks, the large Rift changes at the ruins in the east of the desert. Go there and enter the Stilled Desert Temple Ruins via Tri. Here you have to save five groups of Tri’s friends.
- First group: From the entrance, follow the floating islands and go to the lower platform to the west. Use Platboom, Bed or Flying Tile to reach the target platform.
- Second group: Go back and then onto the northeast platform. Descend the ladder and follow the lower path west.
- Third group: Return upstairs and continue working your way across the northern islands.
- Fourth Group: Go west from there. One group is on or near a dead tree.
- Fifth group: In the northeastern part a large rock blocks the last group. Move it with Bind.
Once all five groups are freed, Tri closes the rift.
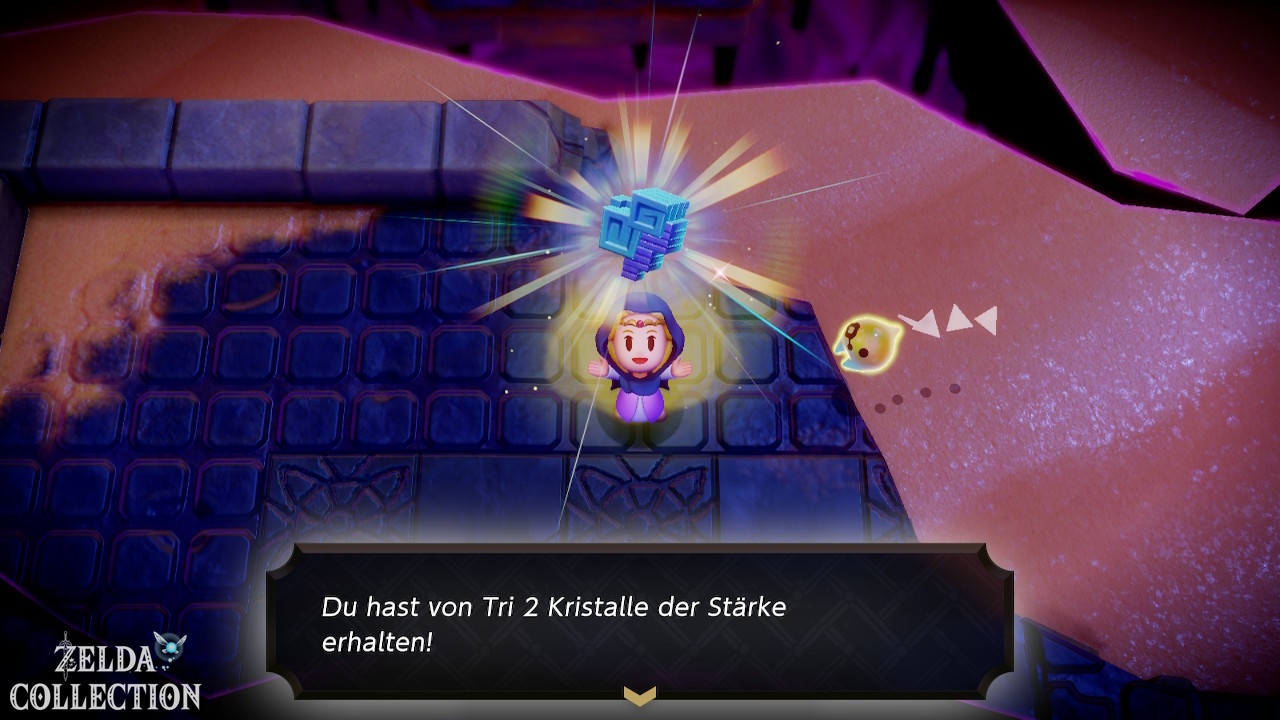
Reward: 2 Might Crystals and progress for Tri’s level.
After returning to the normal world, Princess Zelda finally gains access to the next part of the Gerudo story.
Cryptic Cavern: Way to Gerudo Sanctum open
The actual Gerudo Sanctum is initially blocked by sand. You must therefore first go through the Cryptic Cavern. Here, counter rooms, wind traps and underground passages alternate.
switch and wind
Hit glowing switches with a thrown echo or ranged attacker. Your Flying Tile is also suitable for switches that are in a straight line. With the strong wind currents, you can move rocks so that they block the airflow. If you are missing Wind Cannon Echo, learn it here at the latest.
Echo: Gibdo
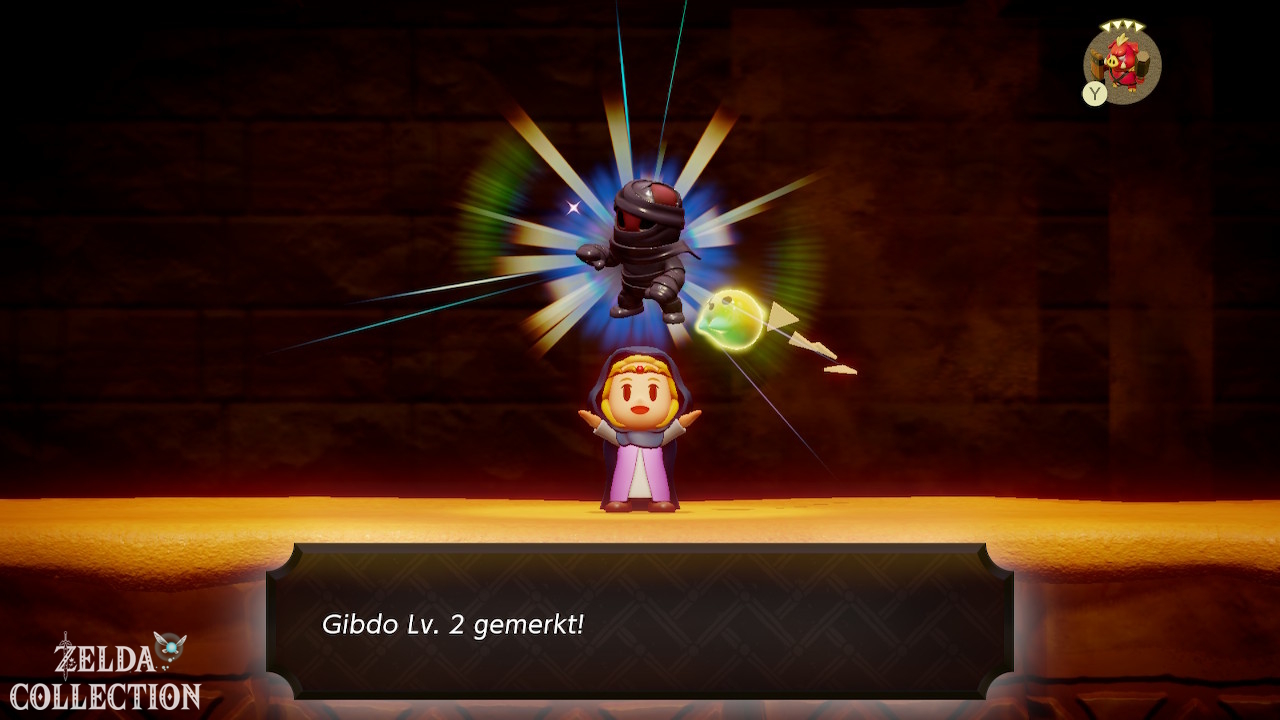
In the next section you will encounter Gibdos. The normal Gibdo costs three triangles. Fire is a good way to weaken tough enemies more quickly. Open the accessible key chest and continue following the unlocked path.
Echo: Pathblade
In the passages shown on the side you will encounter the Pathblade. Also learn this inexpensive echo. It moves on its fixed path and is later useful for switches and opponents.
Gibdo Lv. 2 and the four-triangle limit
Later, Gibdo Lv. 2. His echo costs four triangles at our current tri-stand. This means: If you summon it now, your entire triangular budget is occupied. The echo is strong, but several cheaper echoes are usually more flexible for puzzles.
Drain the sand from the sanctum
At the end you will reach a large plug or mechanism above the sand filling. Grab it with Bind and pull it out of the opening in the intended direction. The sand drains away, allowing access to the Gerudo Sanctum.
Gerudo Sanctum
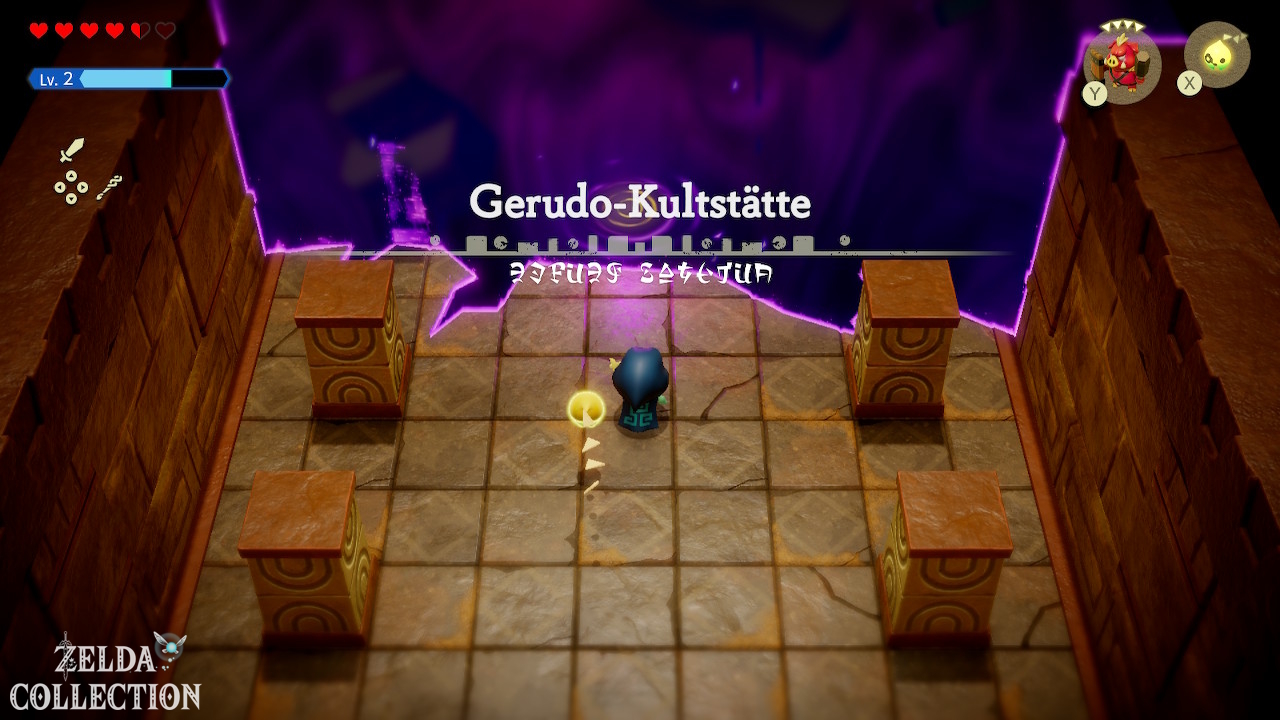
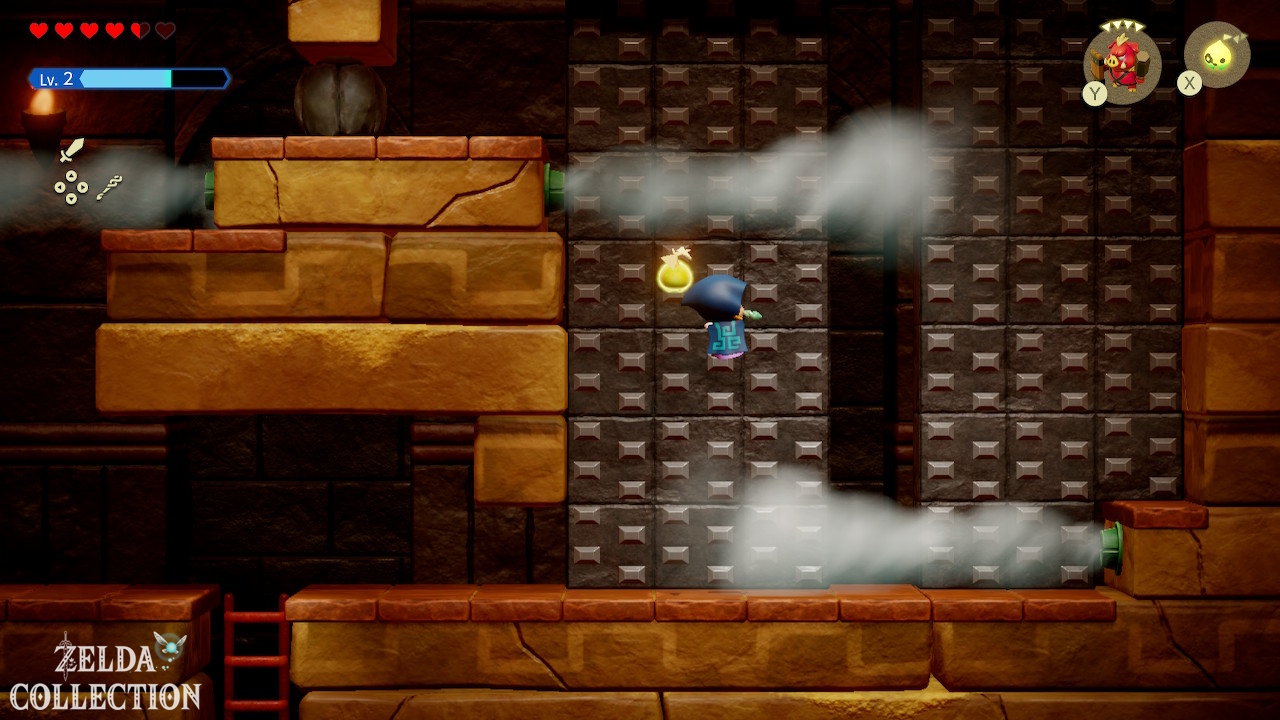
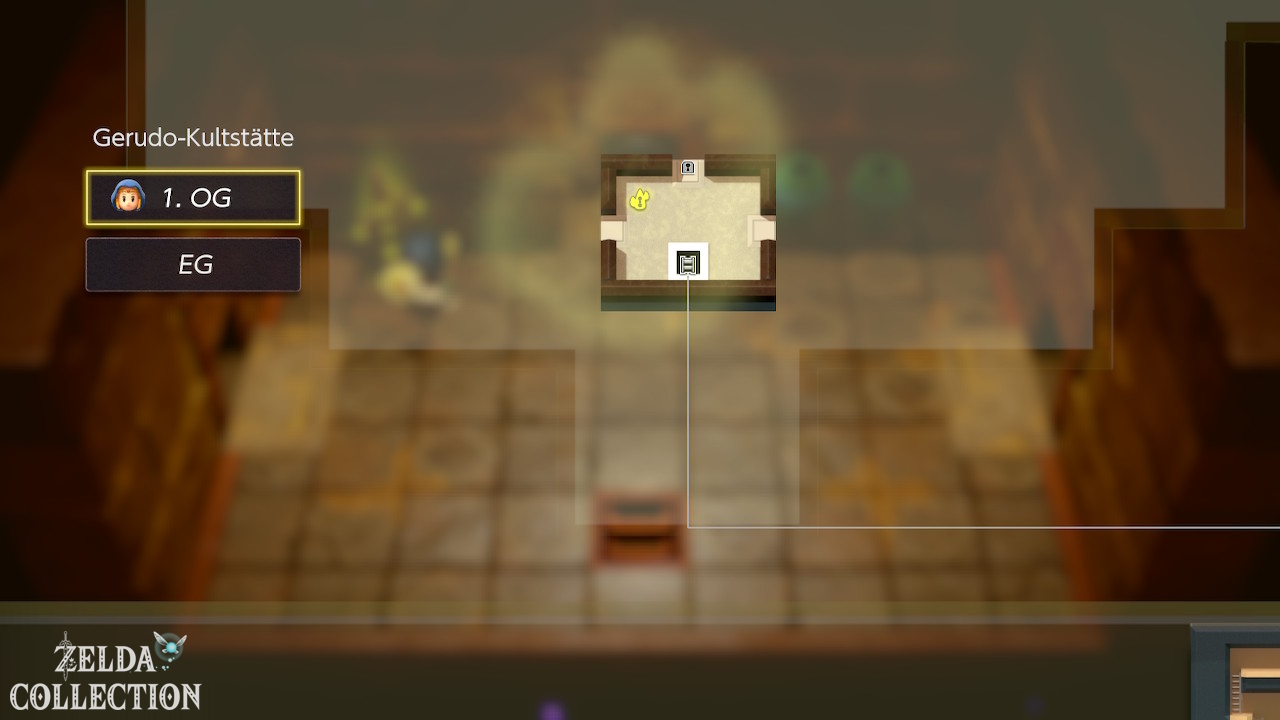
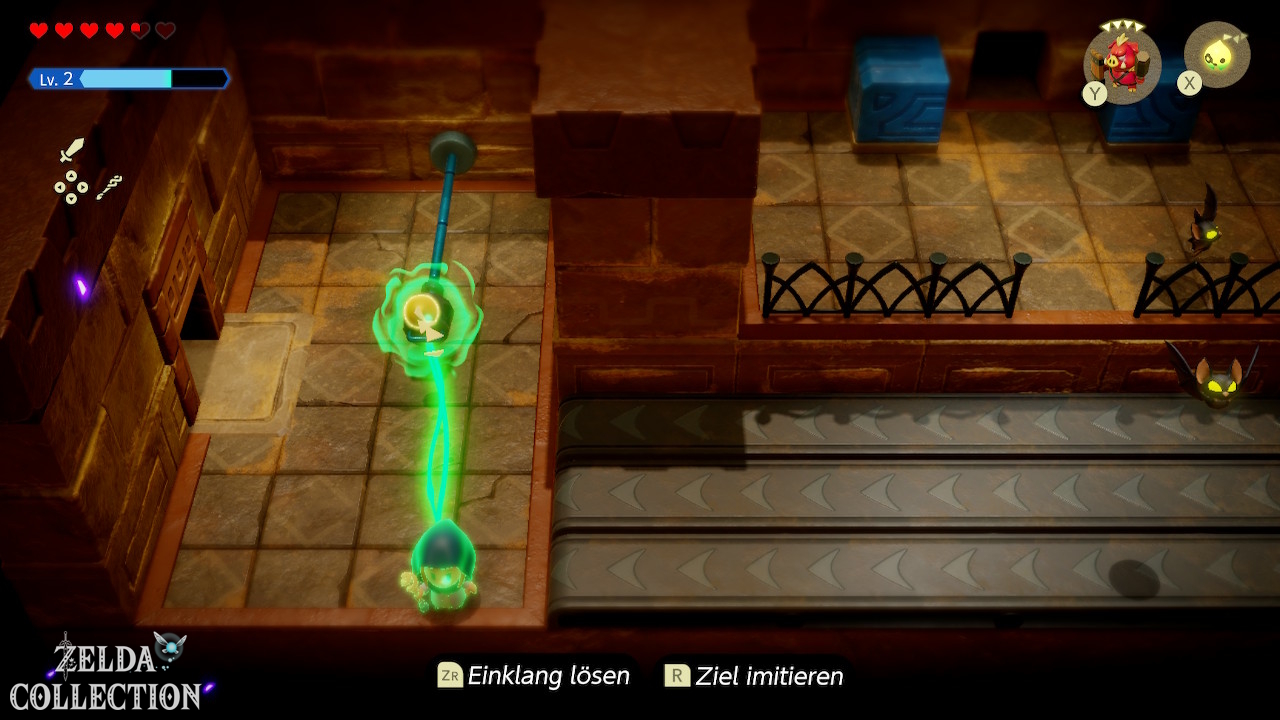
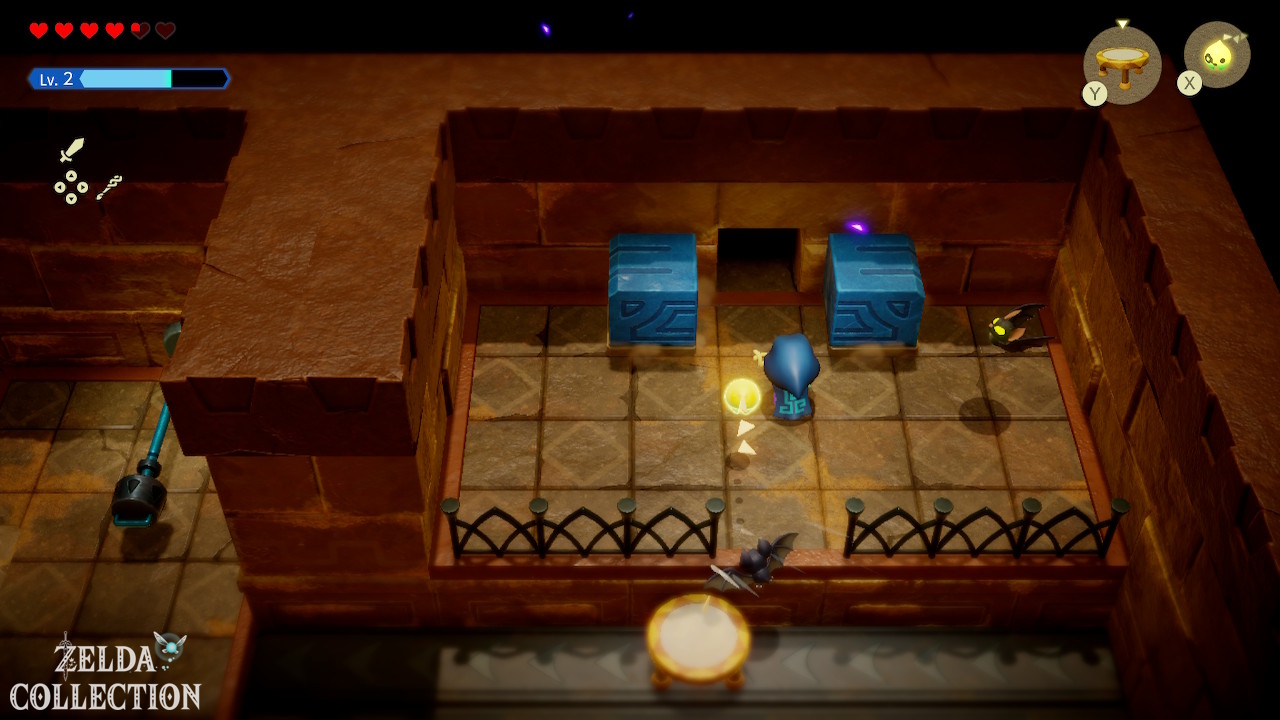
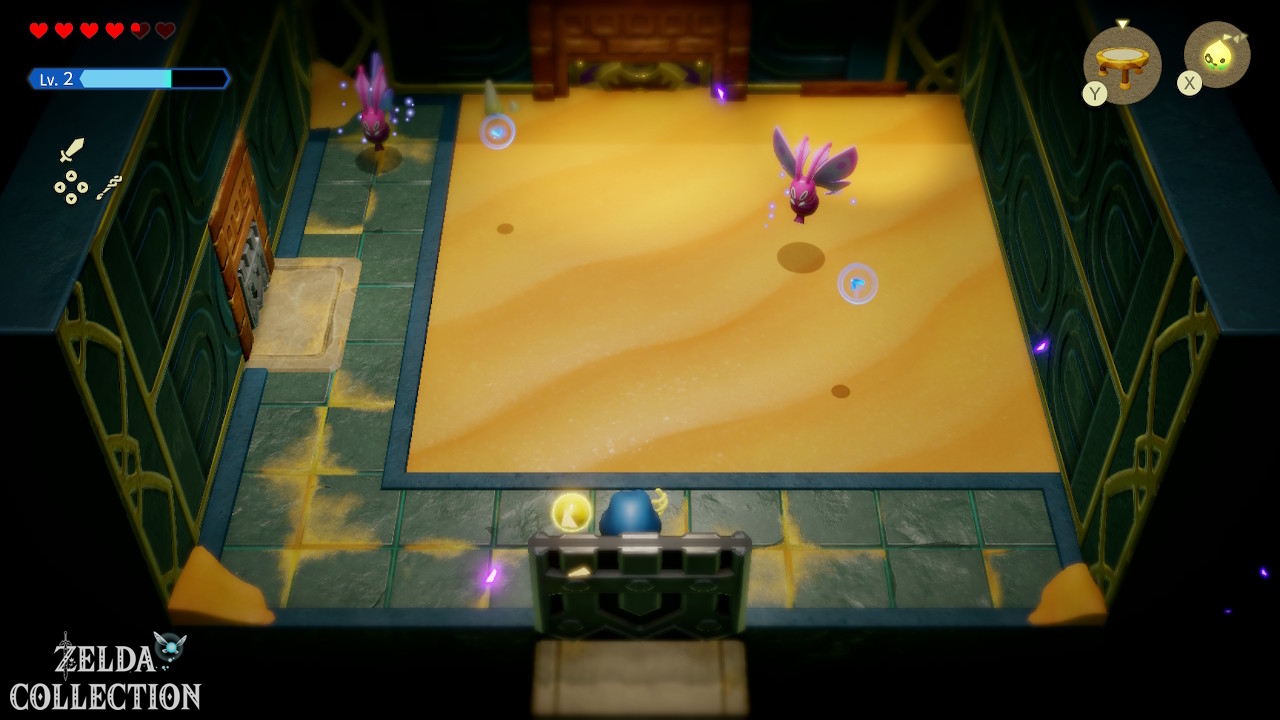
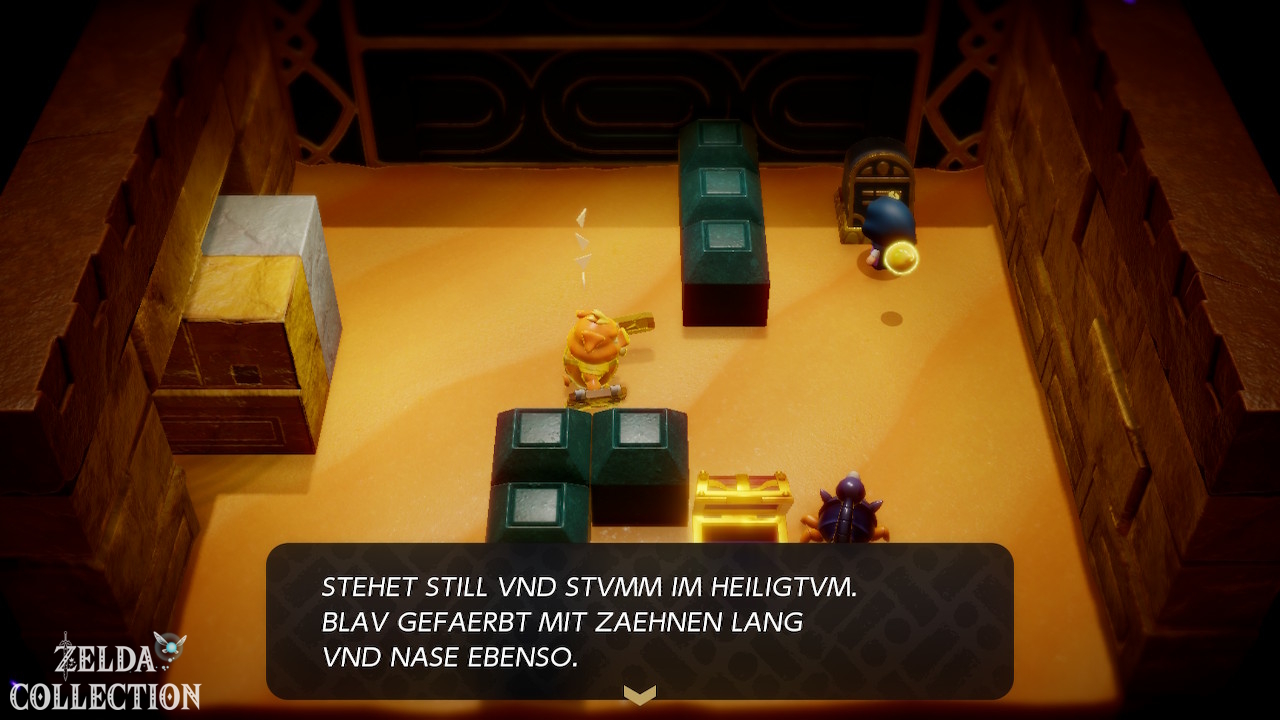
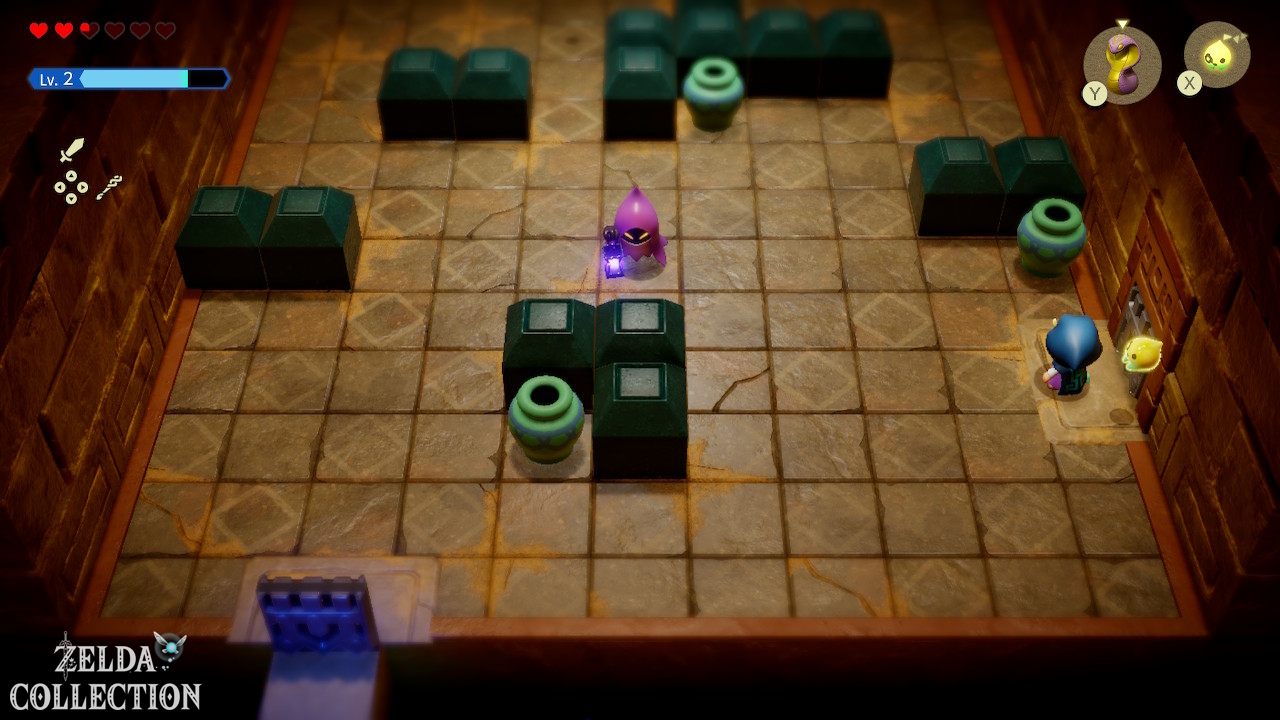
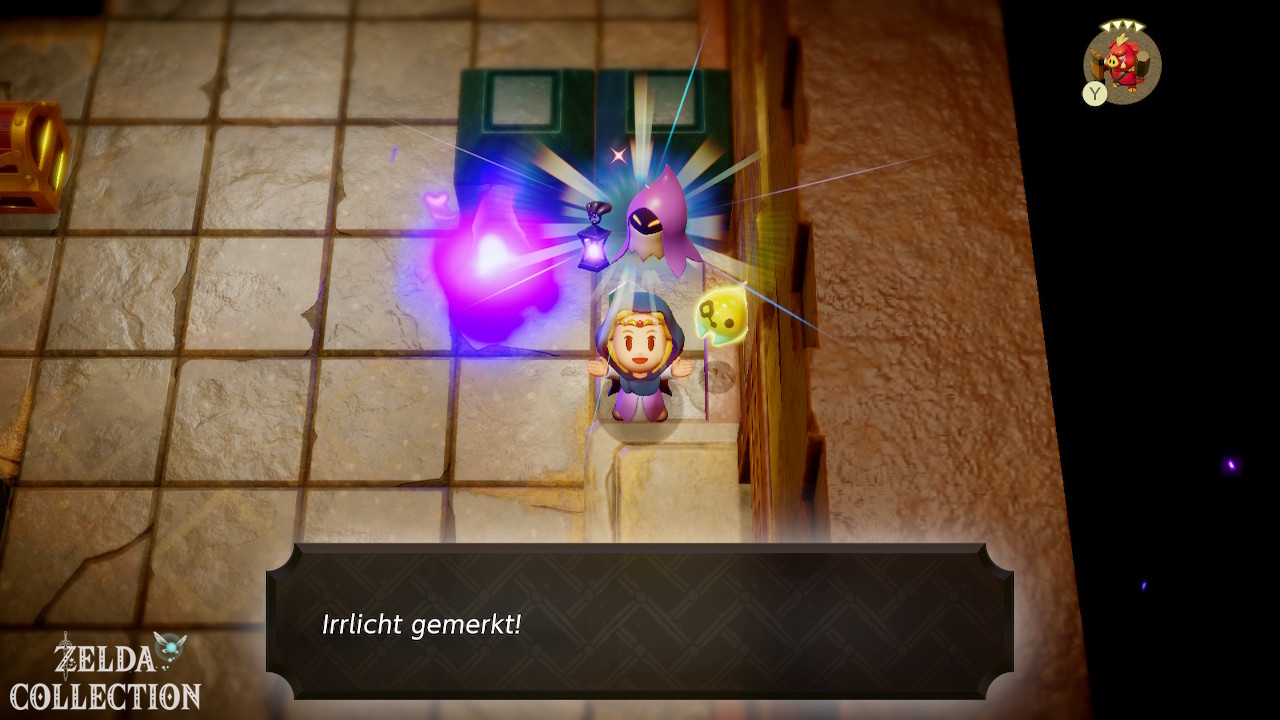
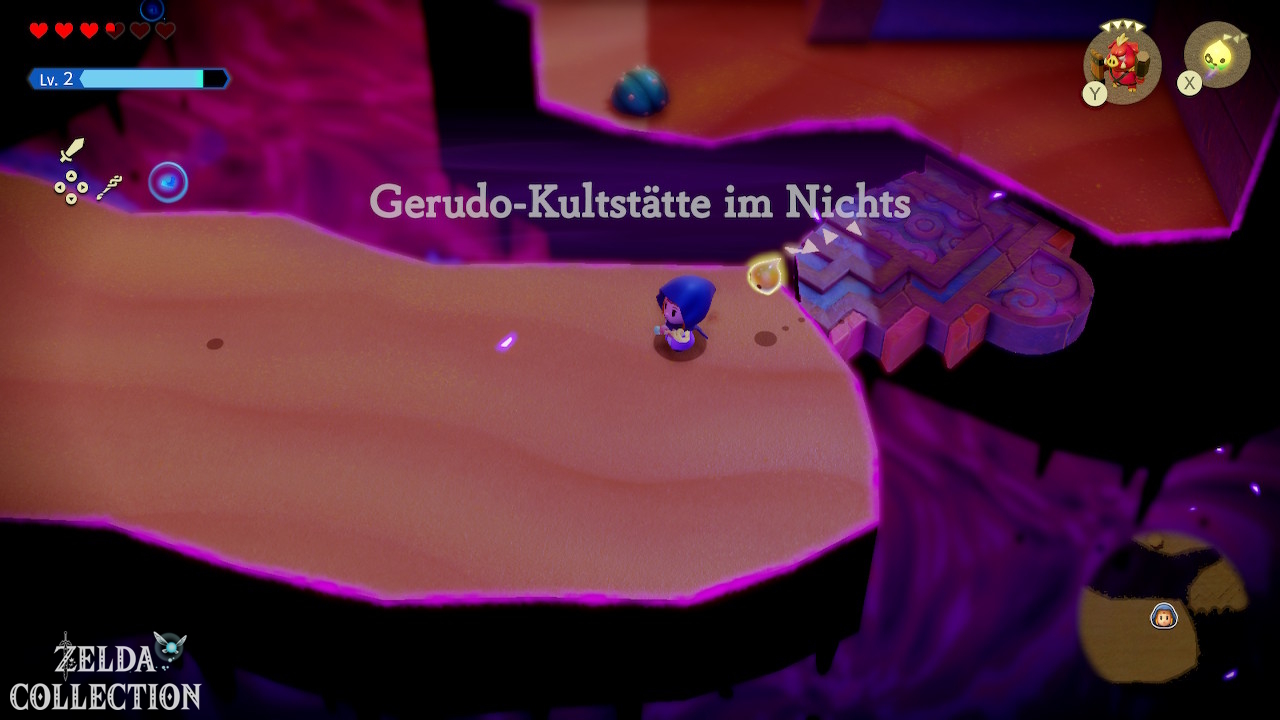
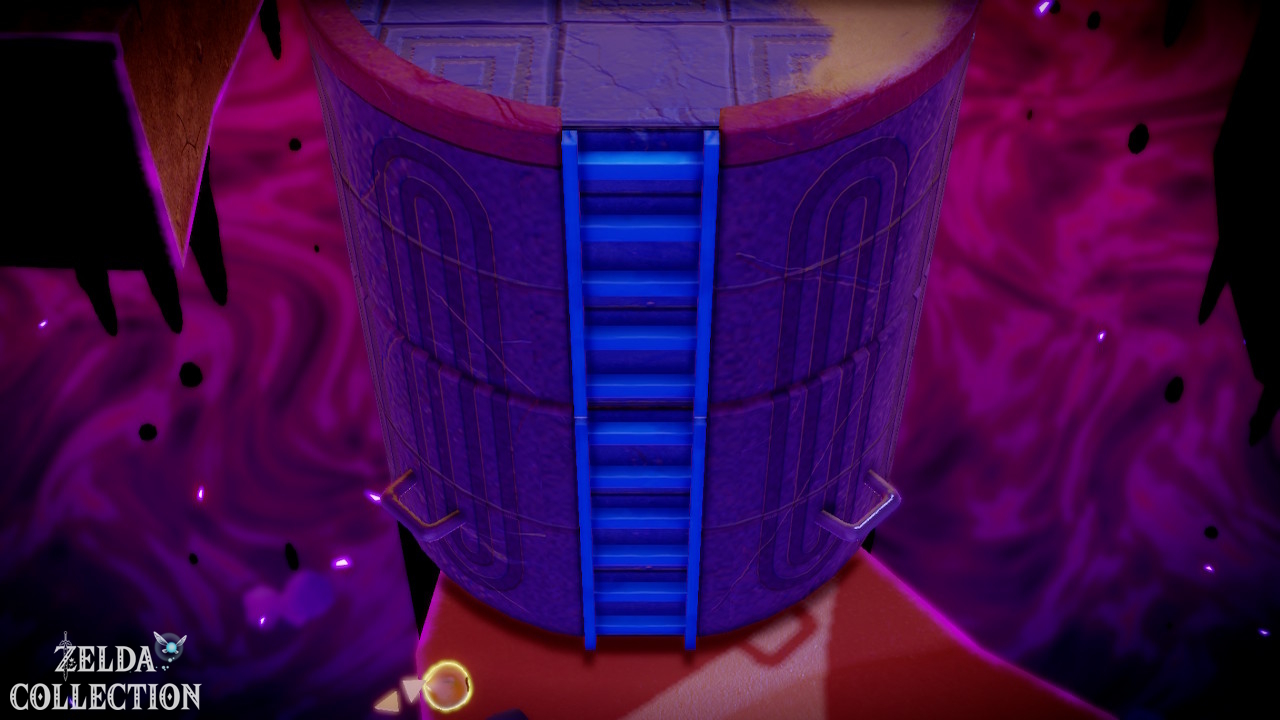
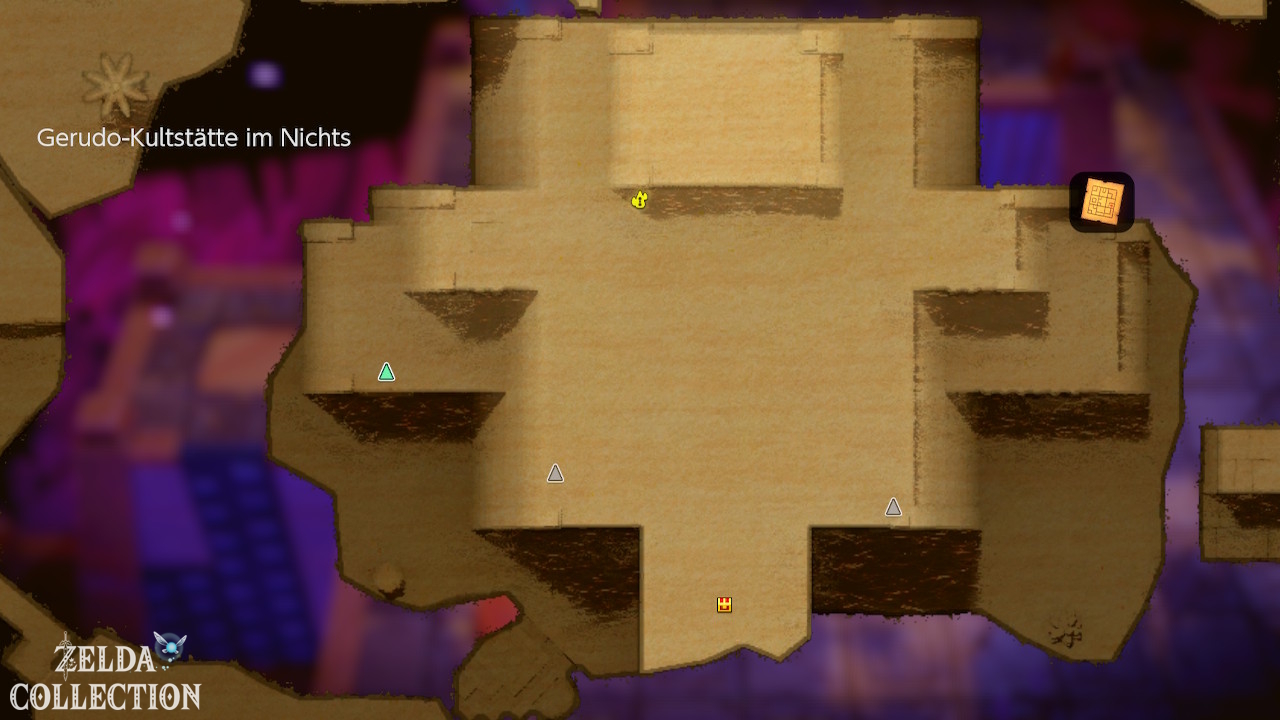
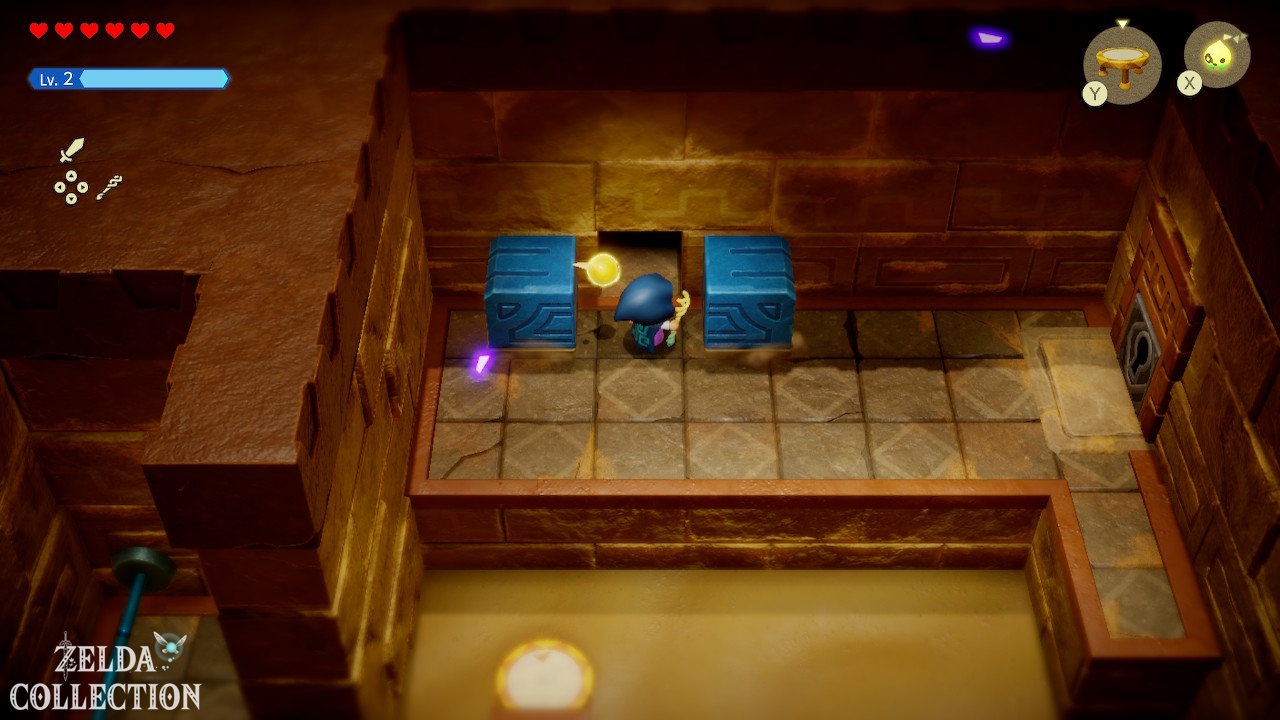
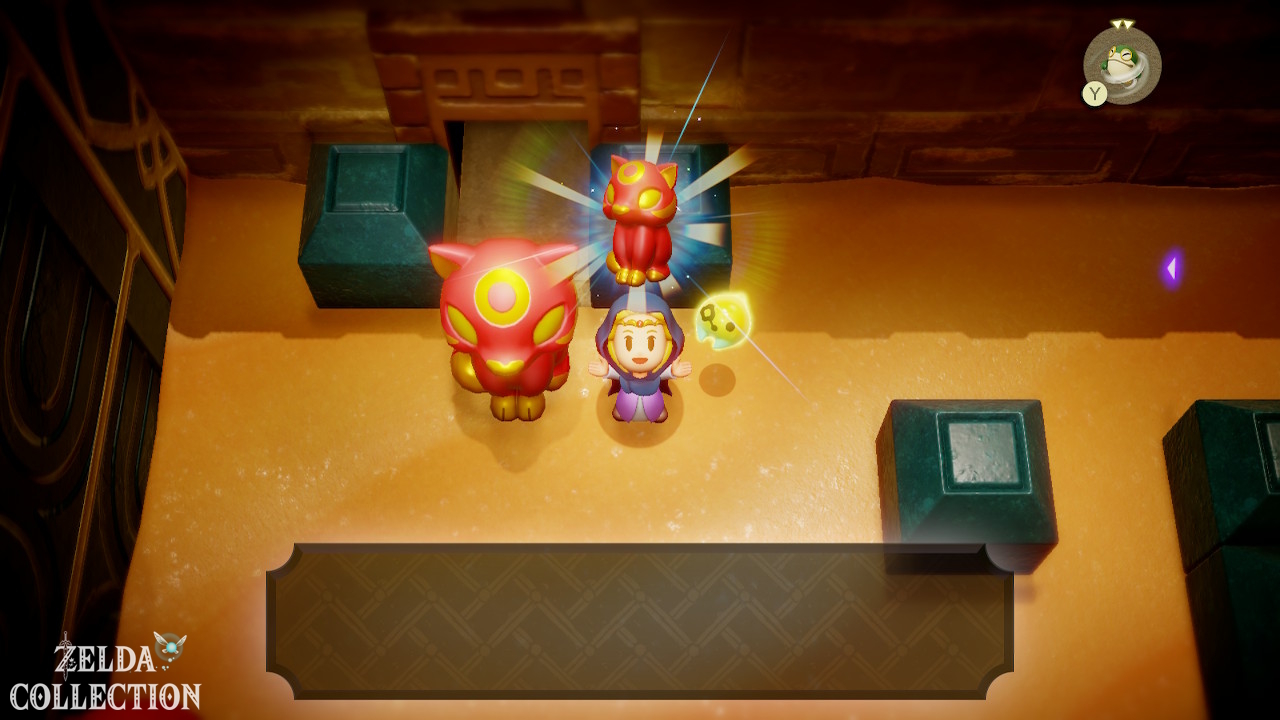
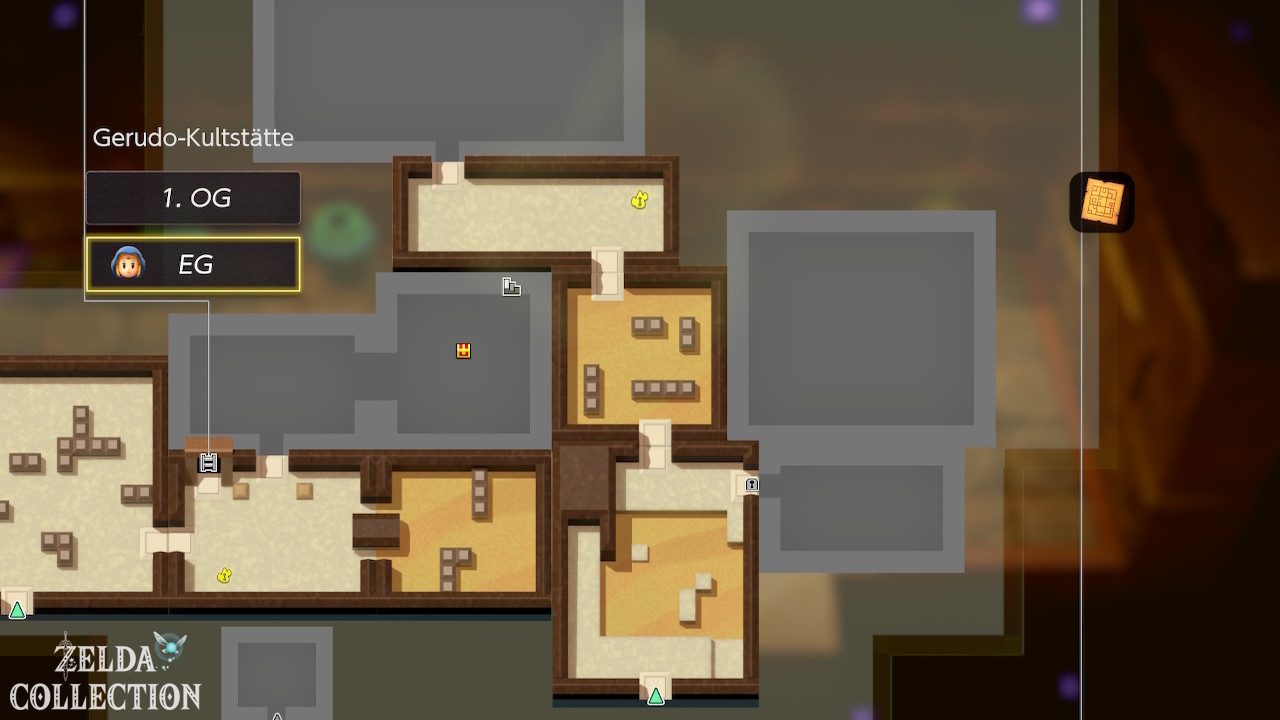
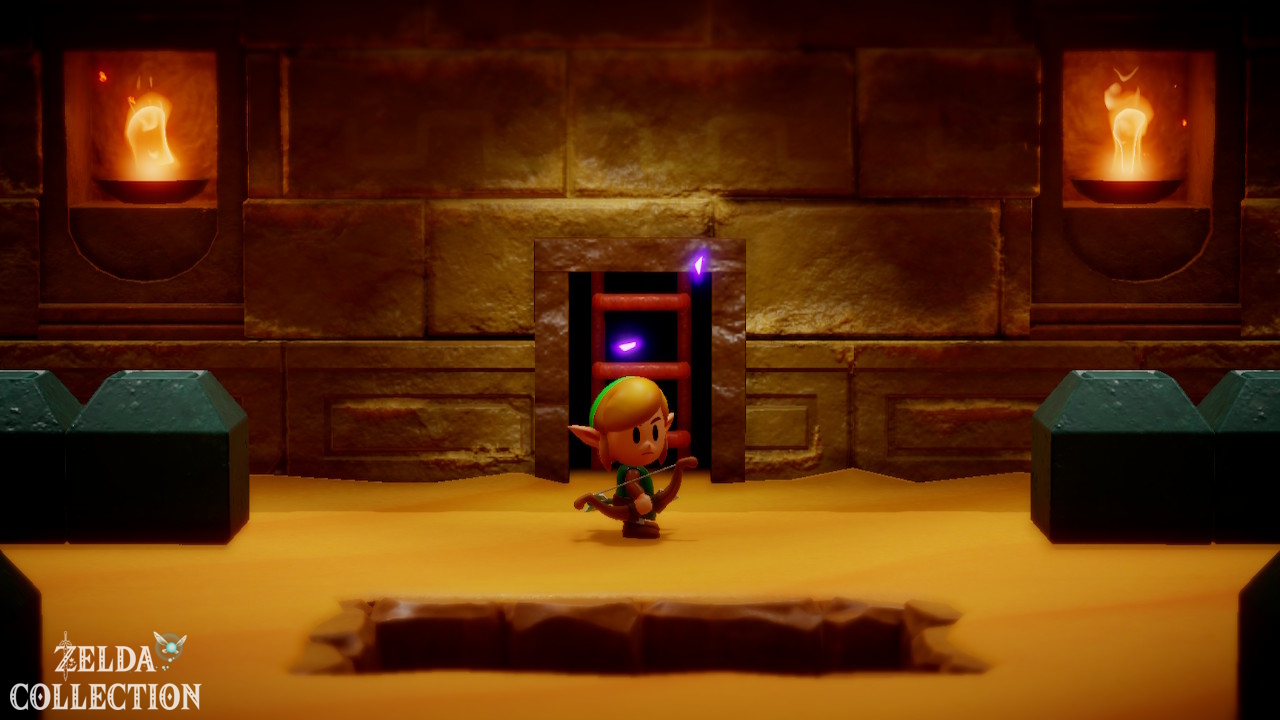
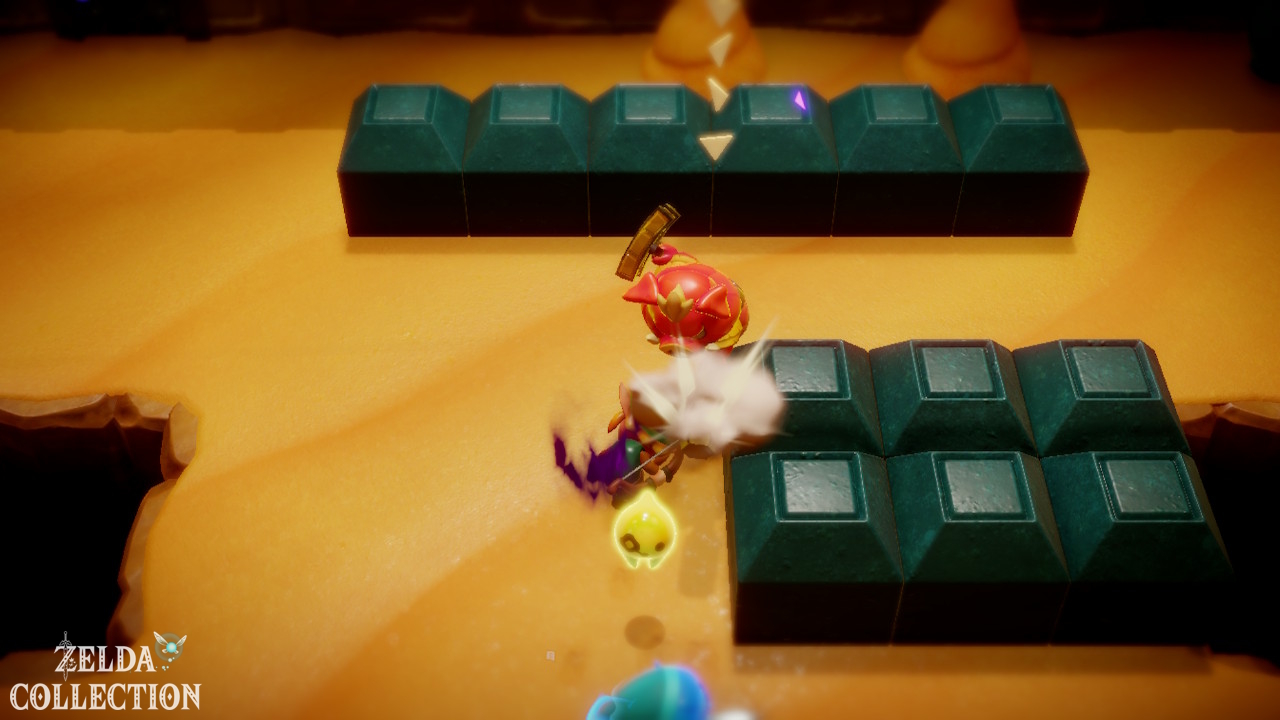
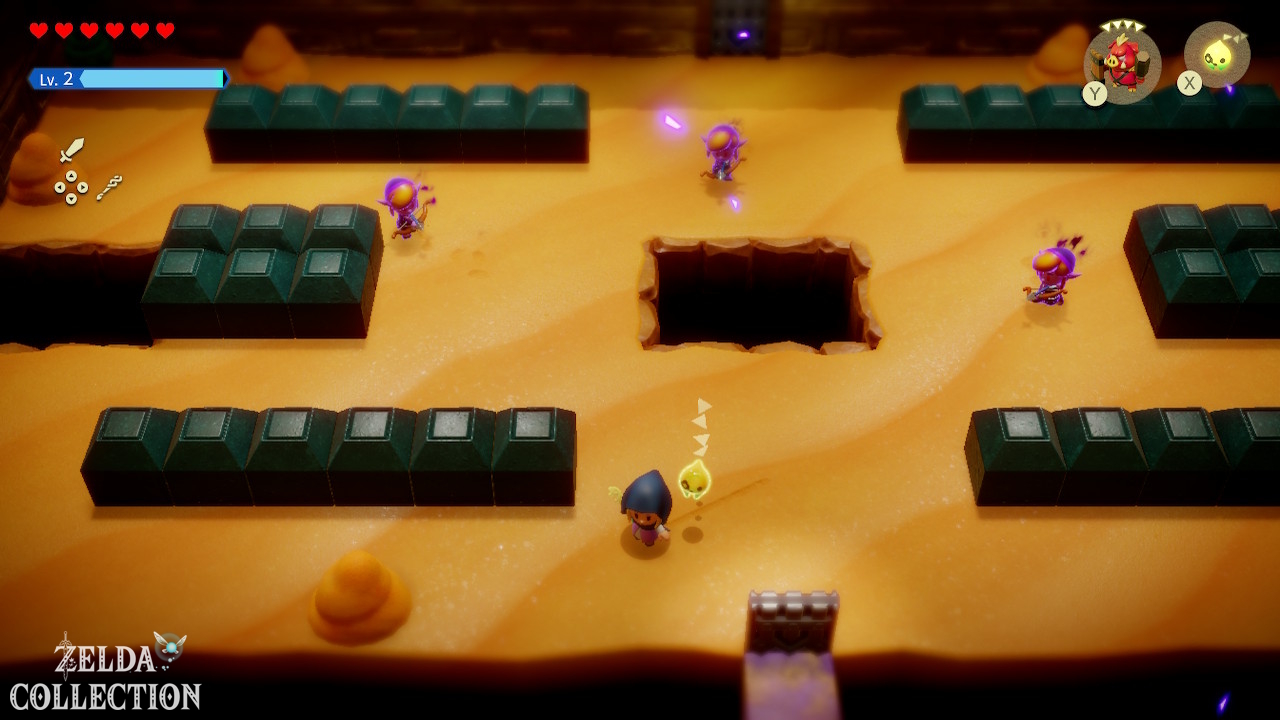
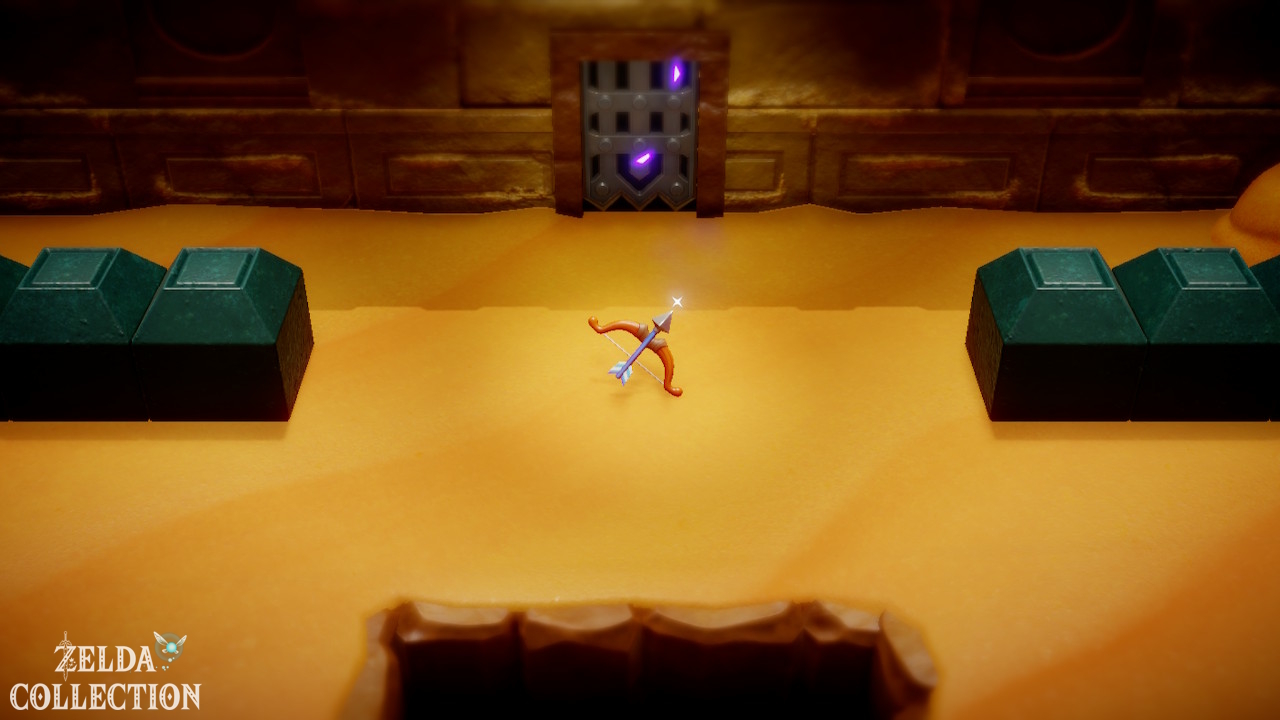
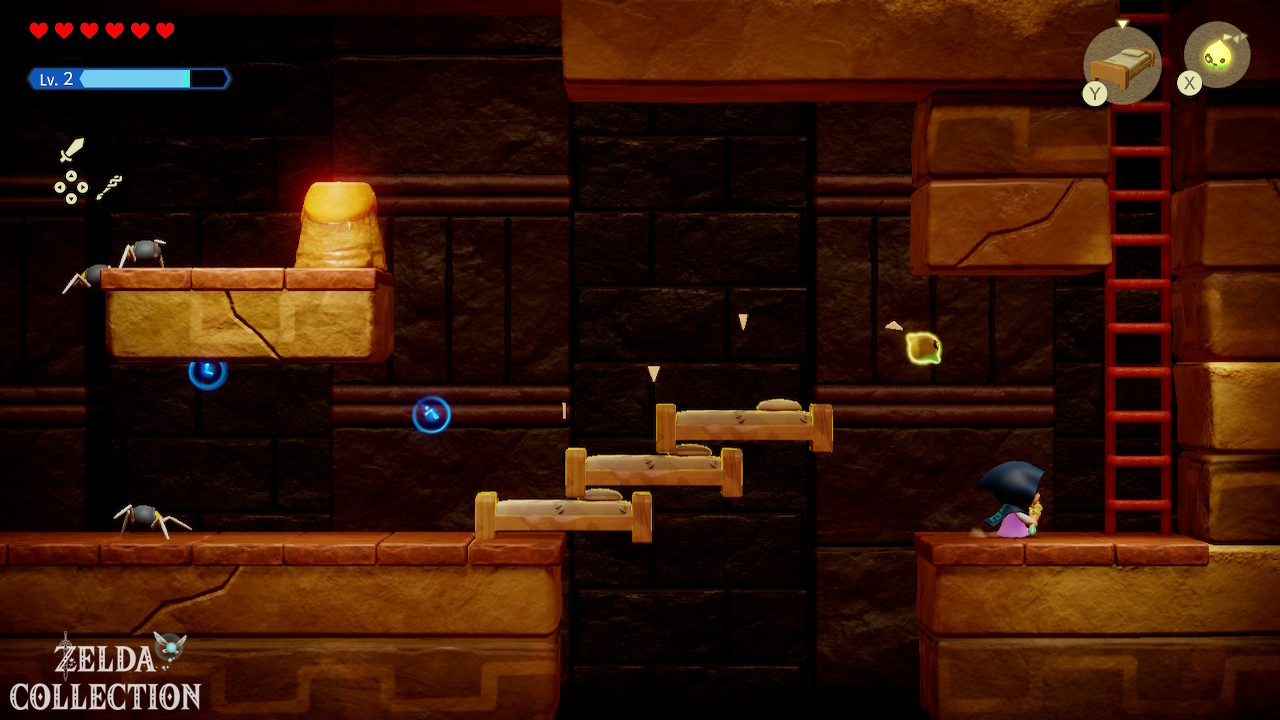
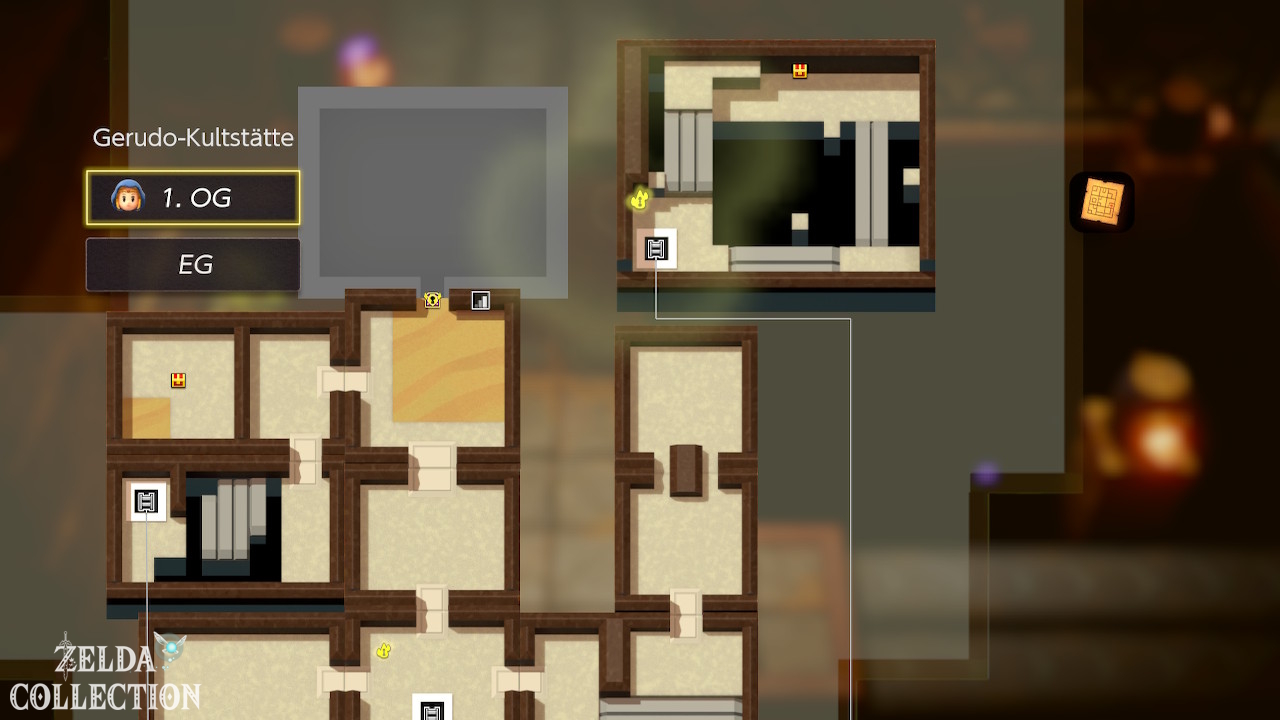
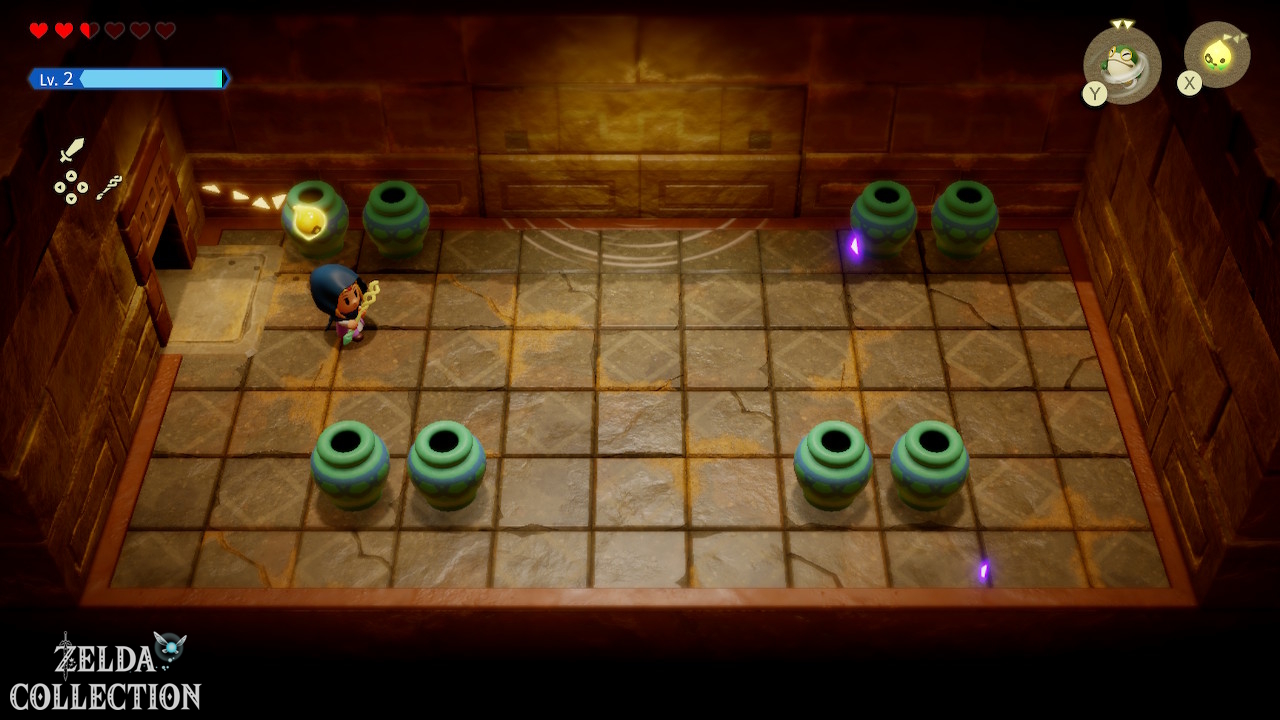
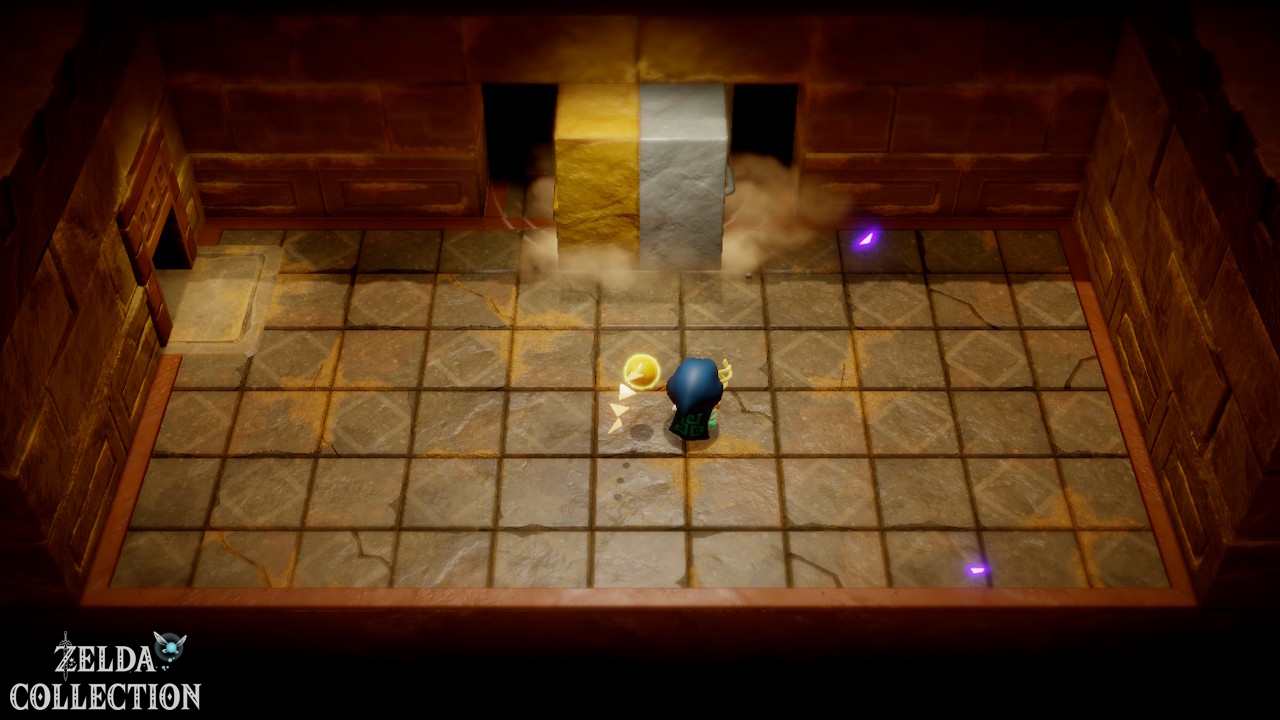
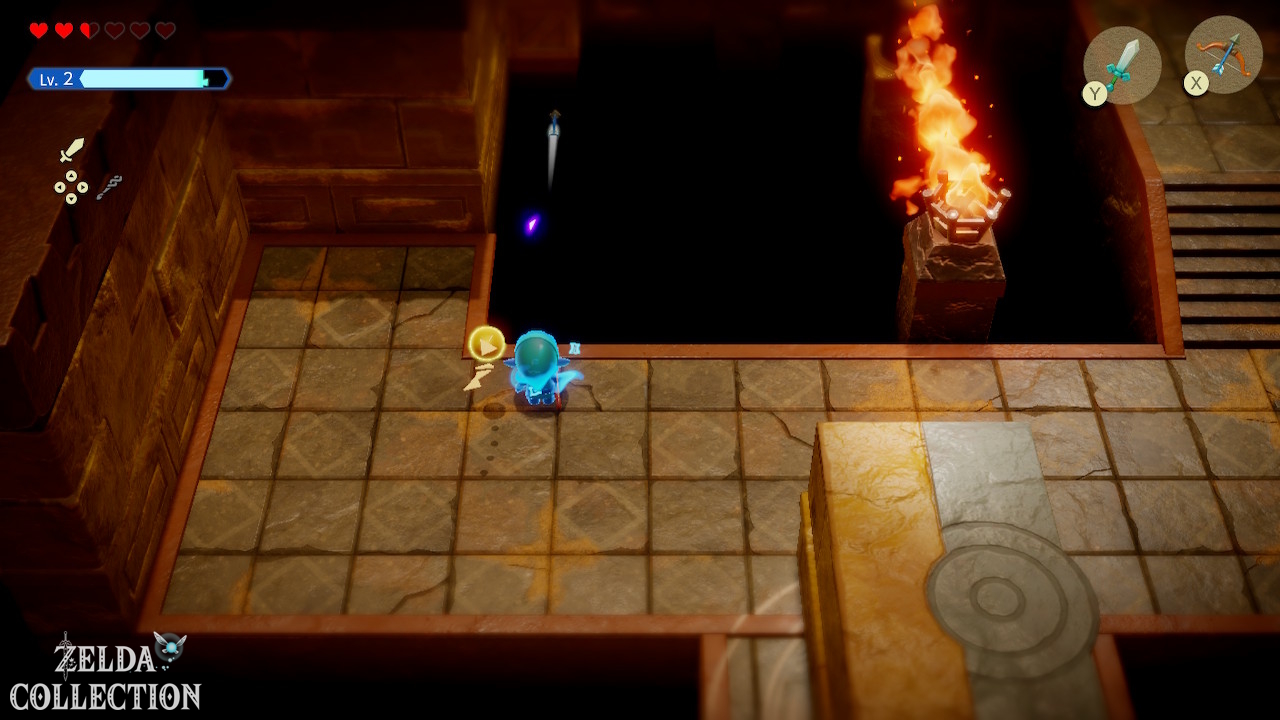
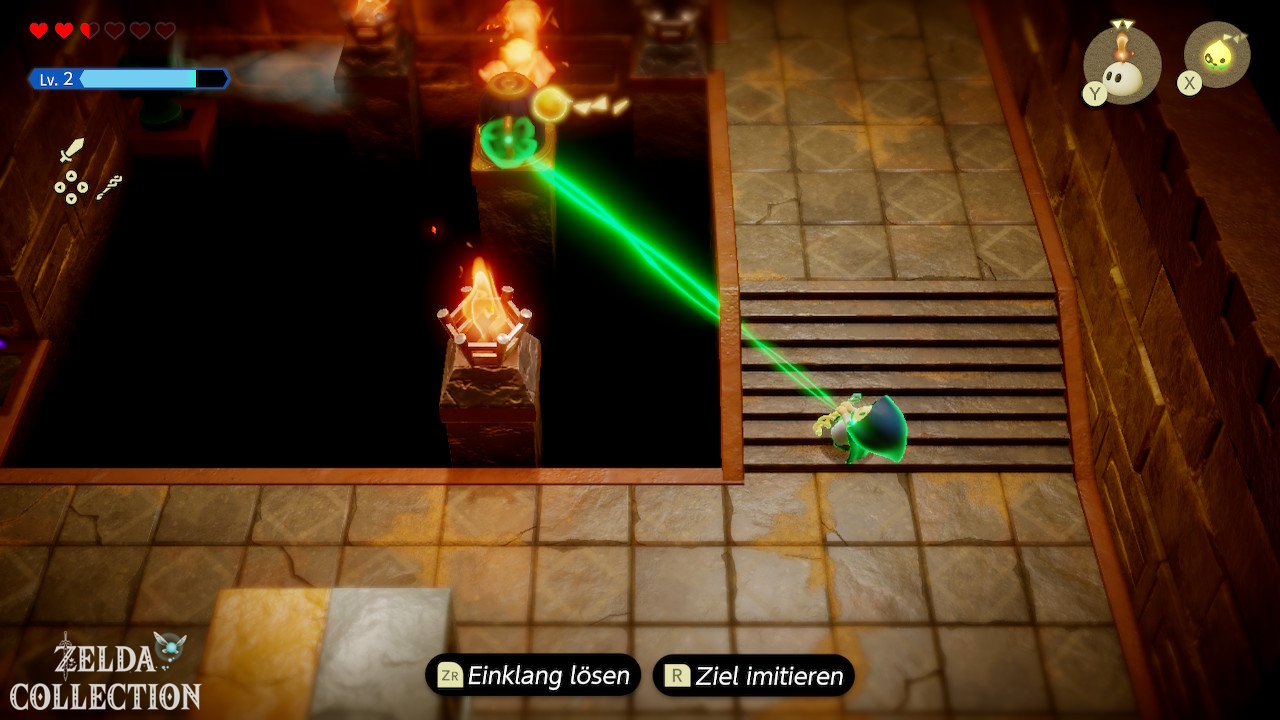
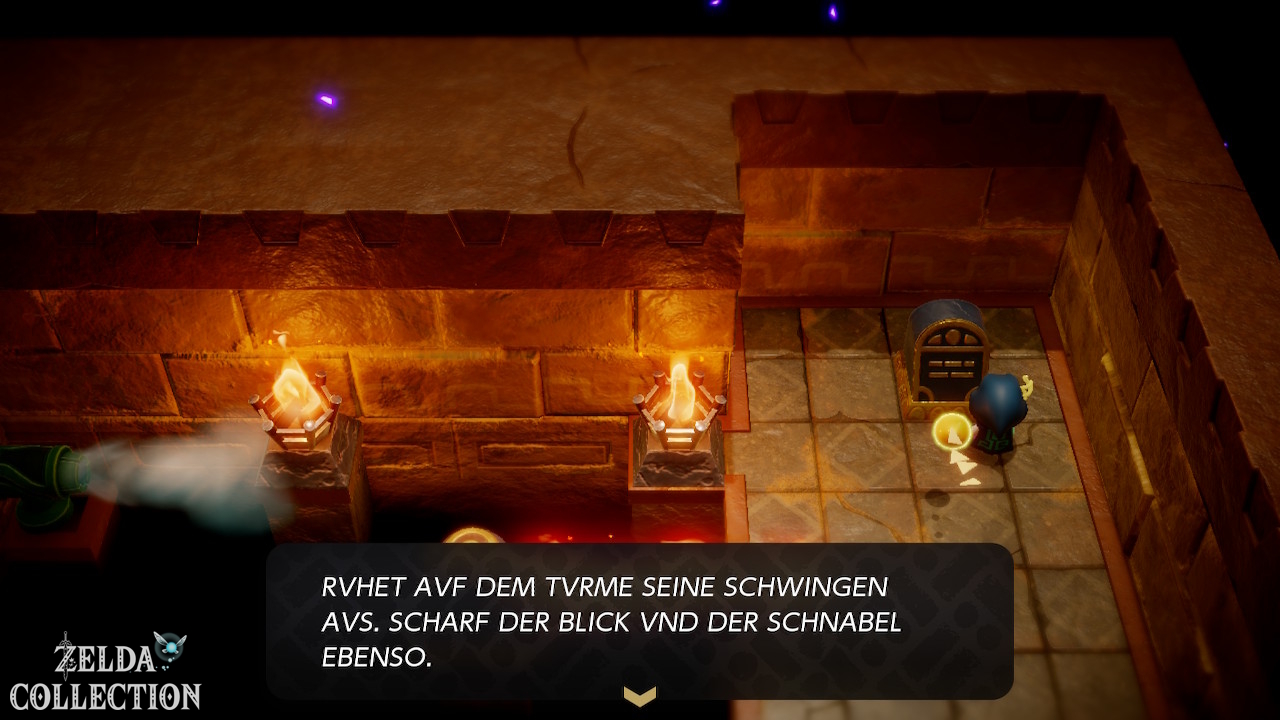
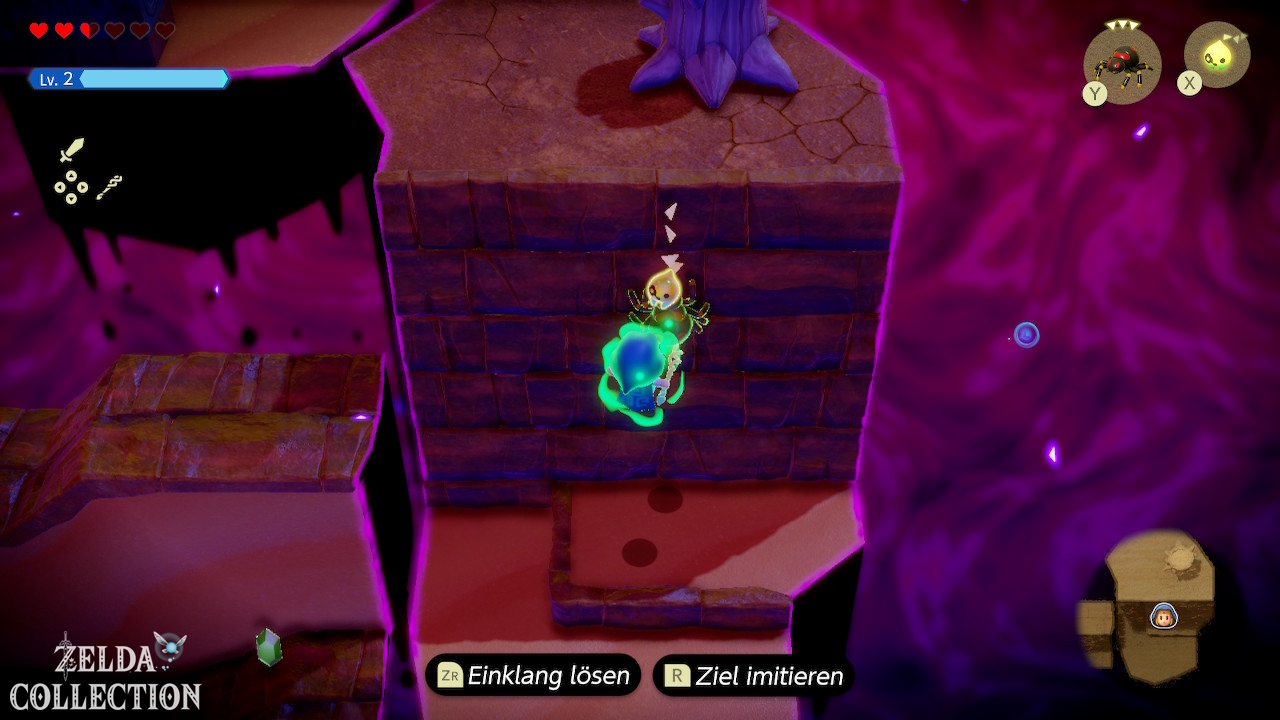
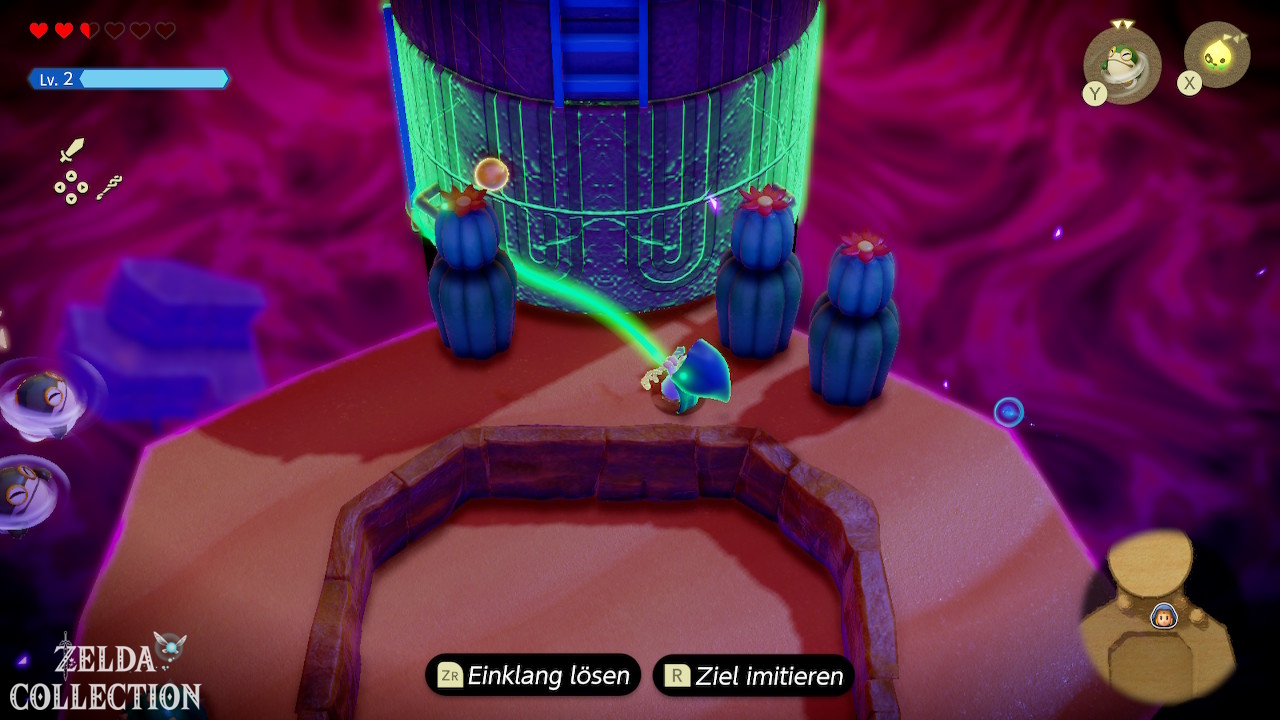
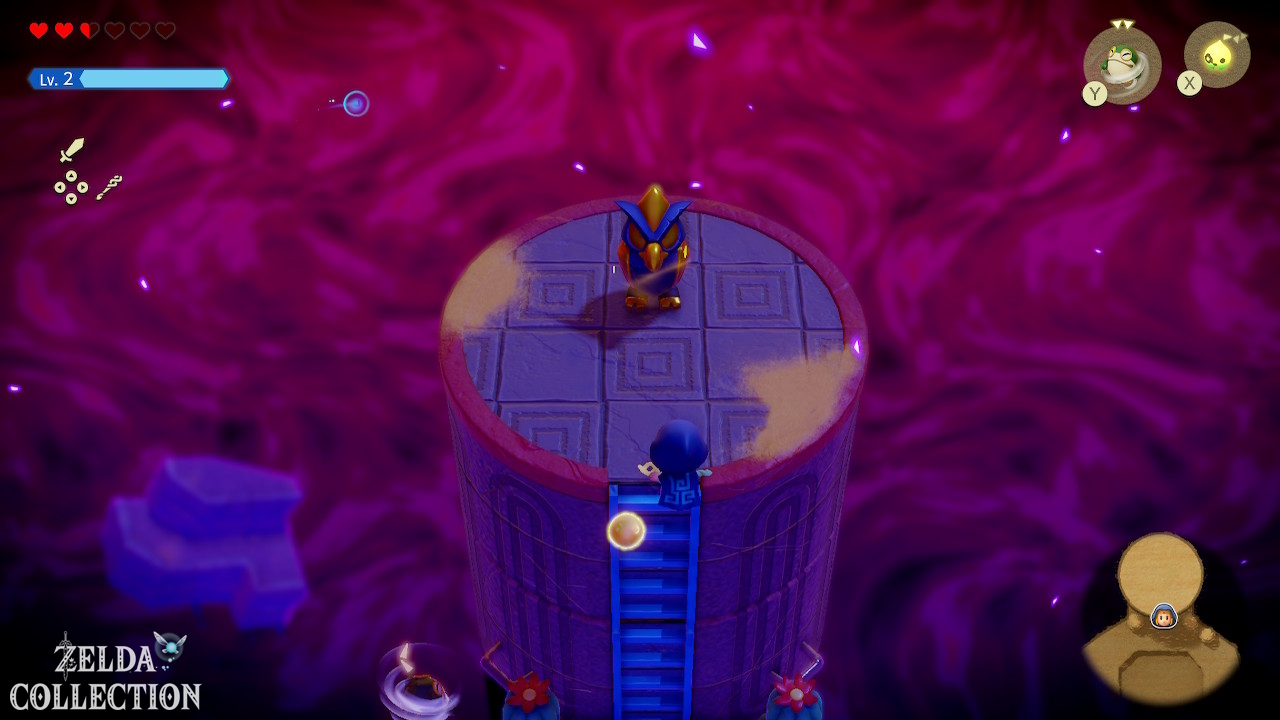
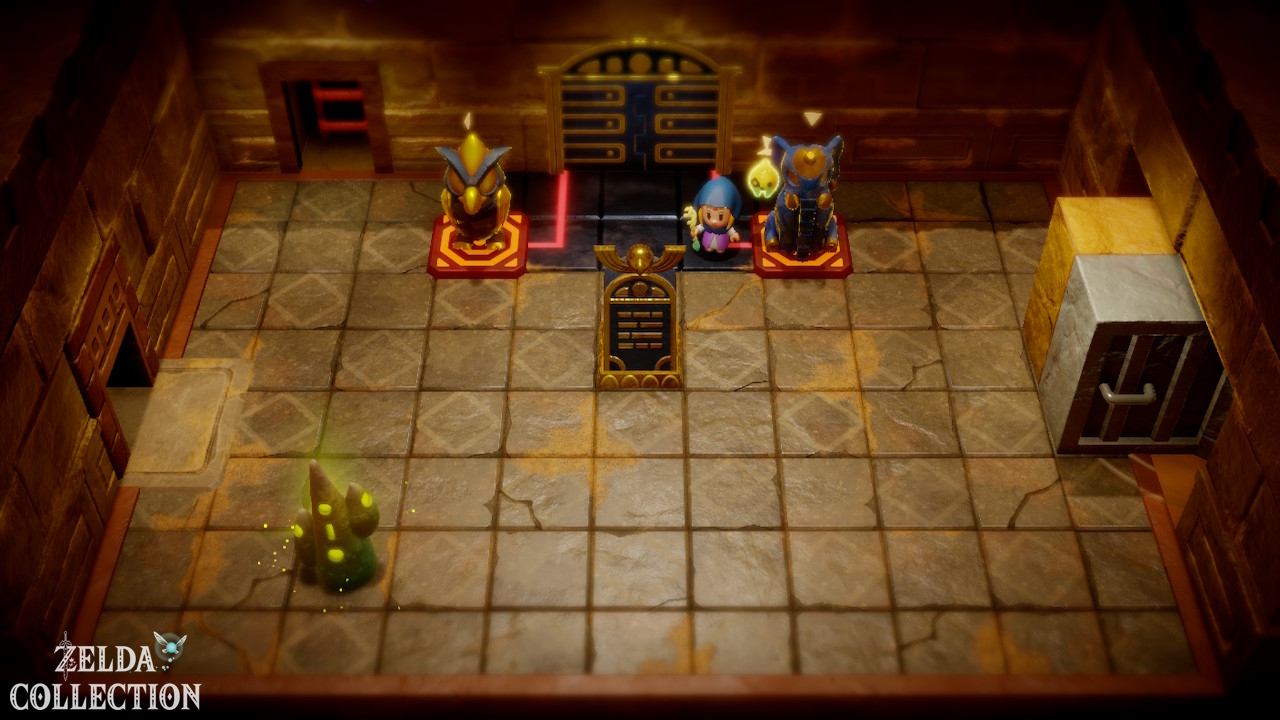
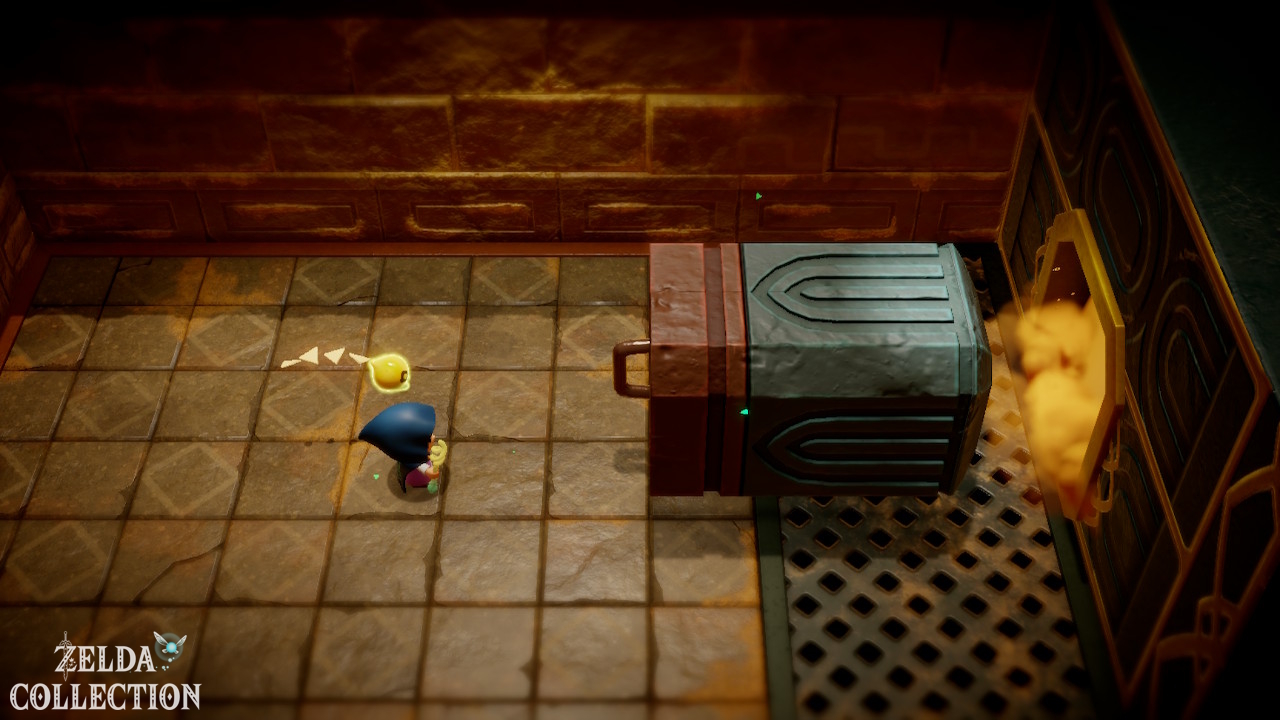
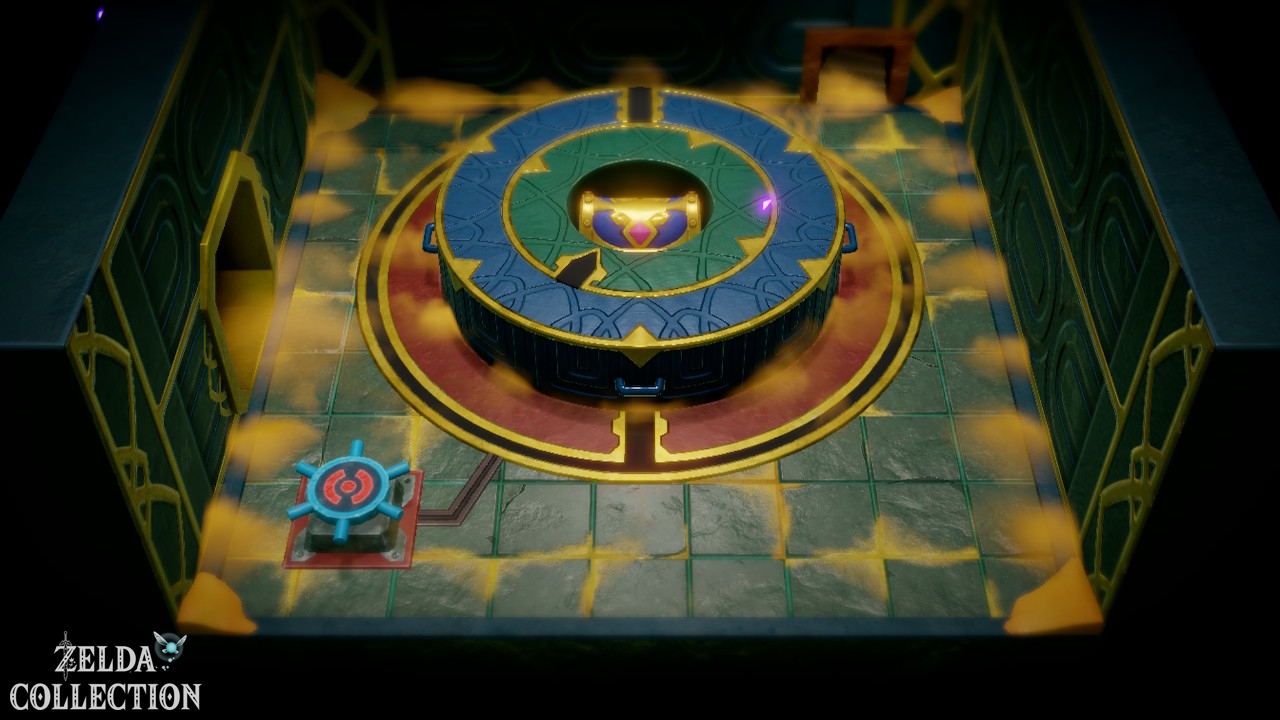
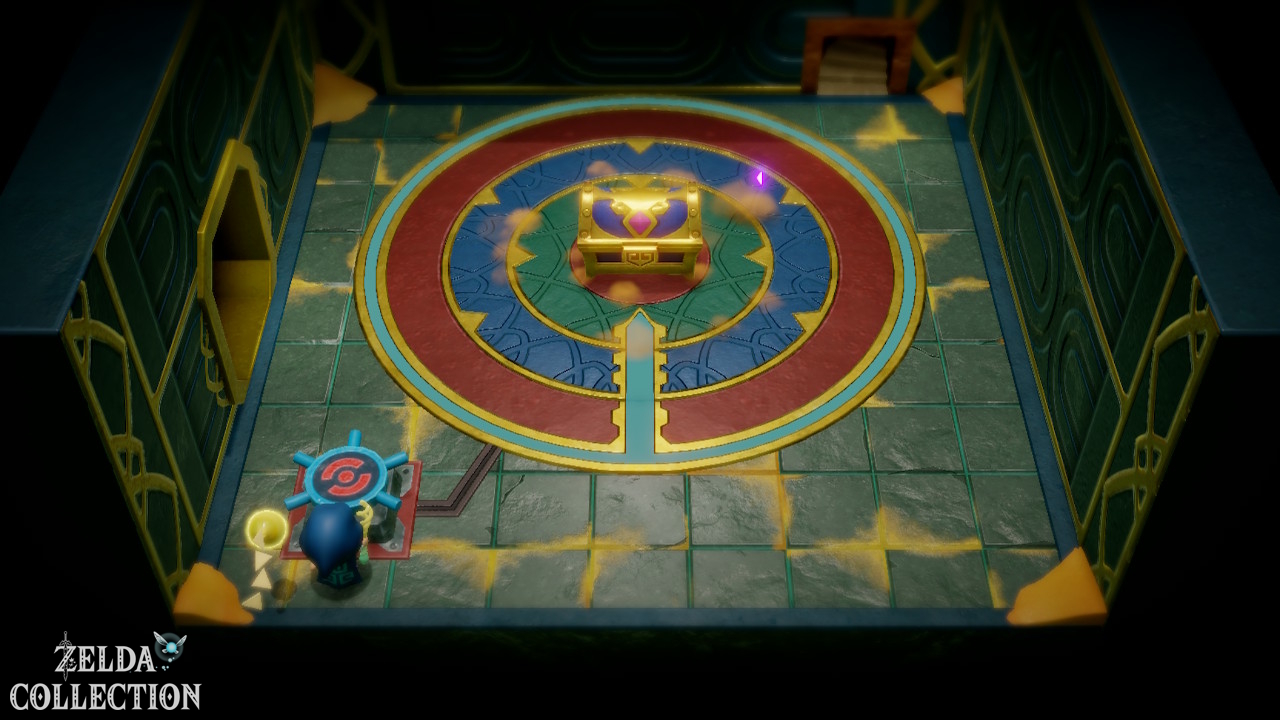
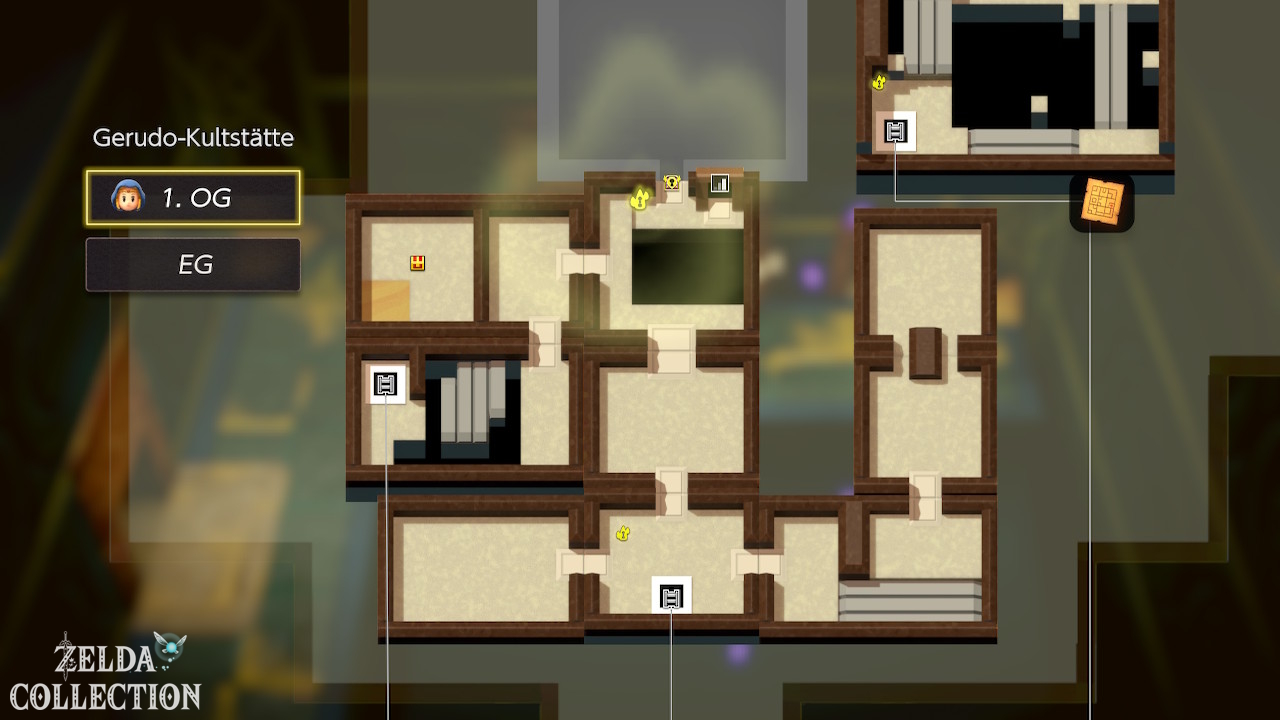
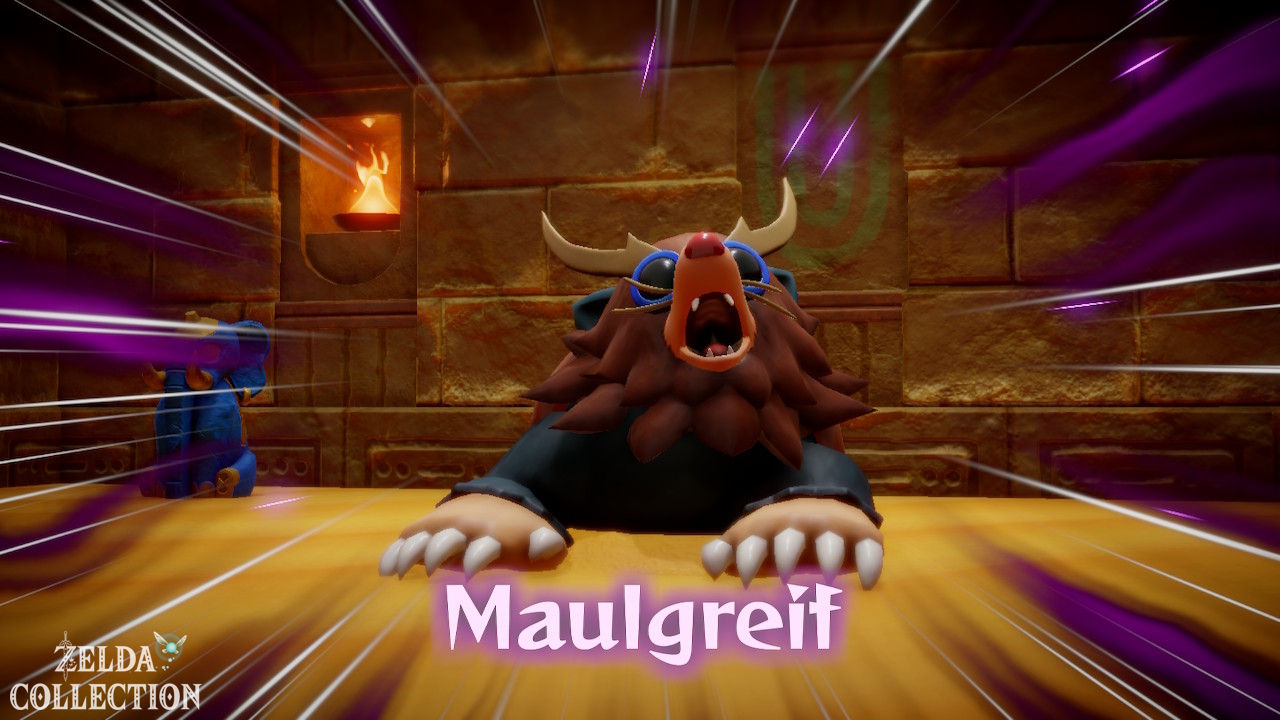
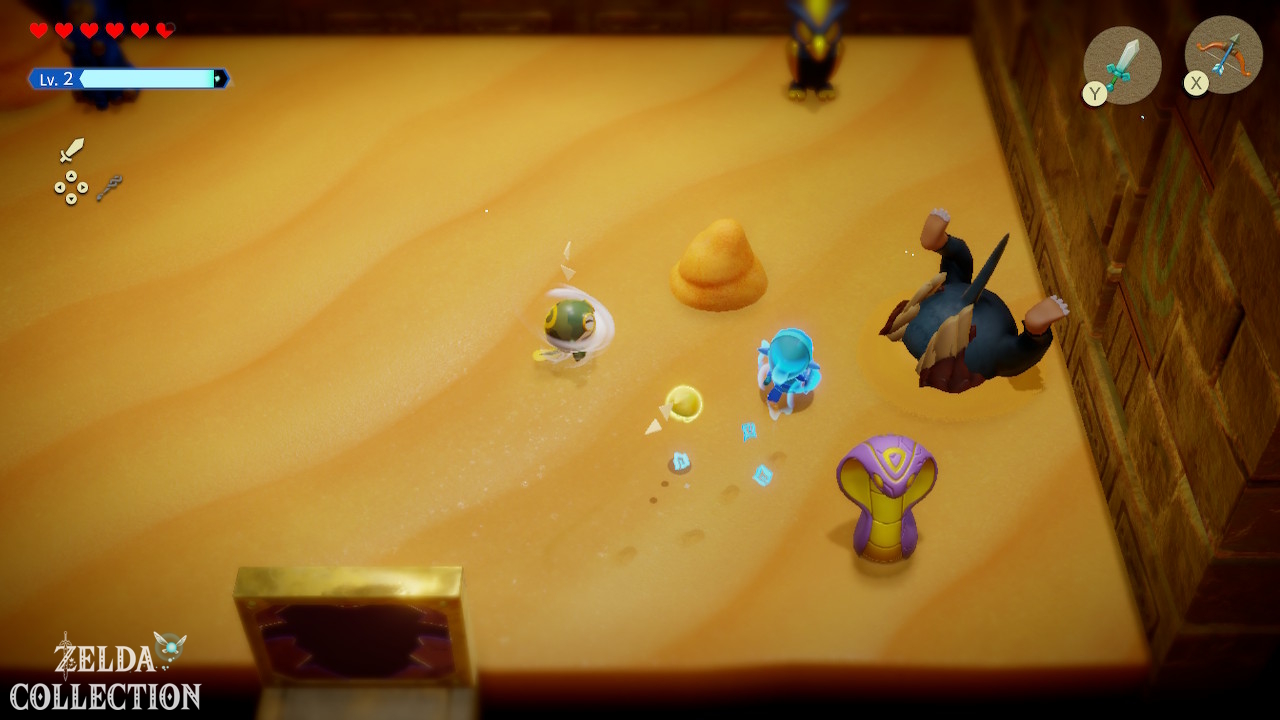
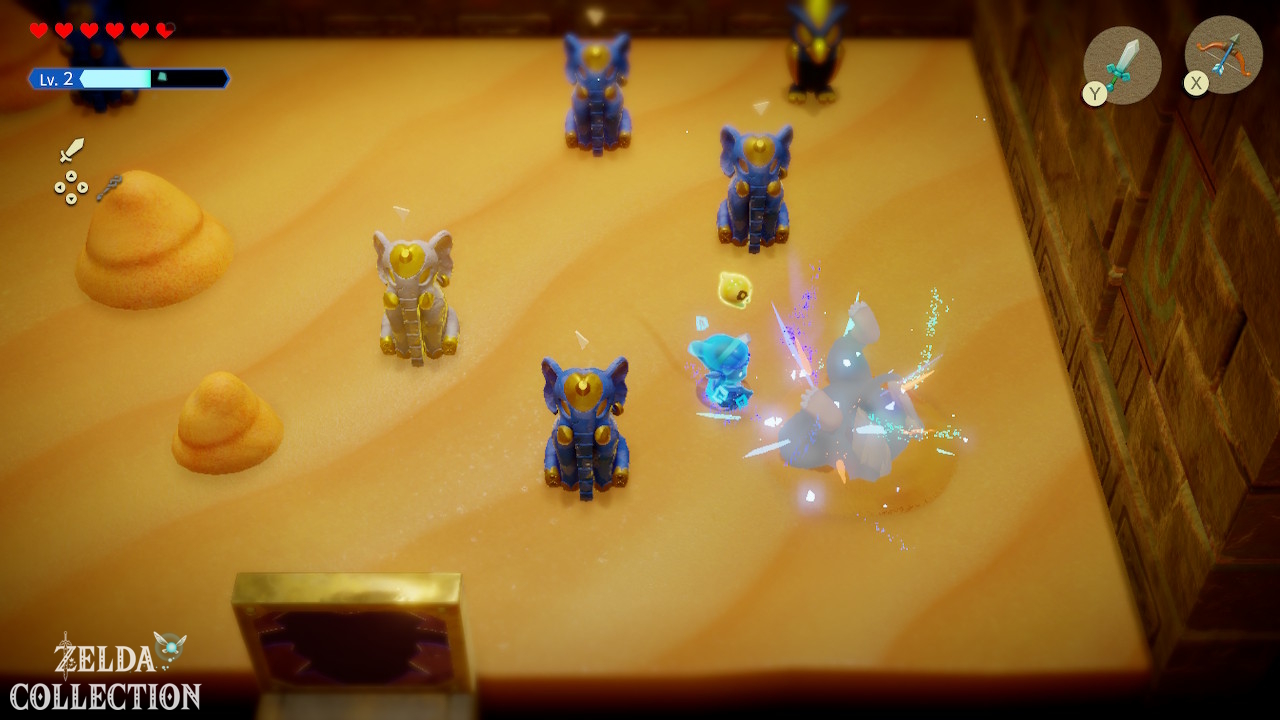
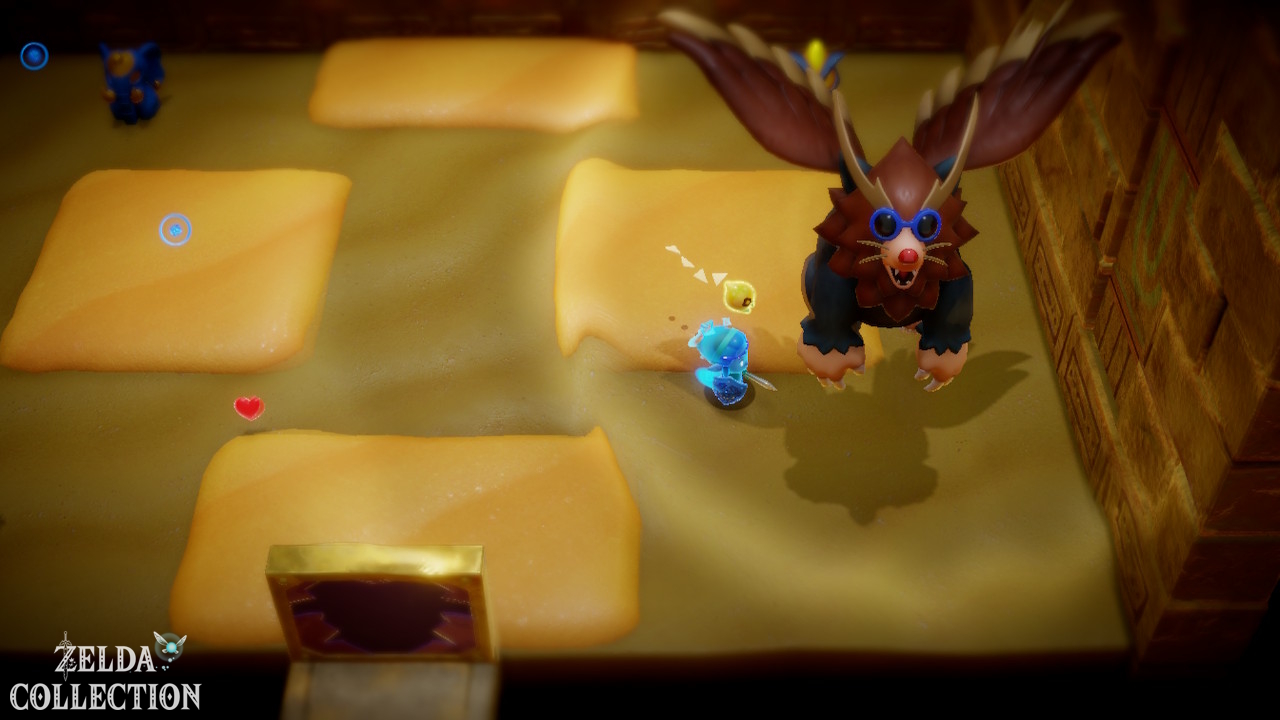
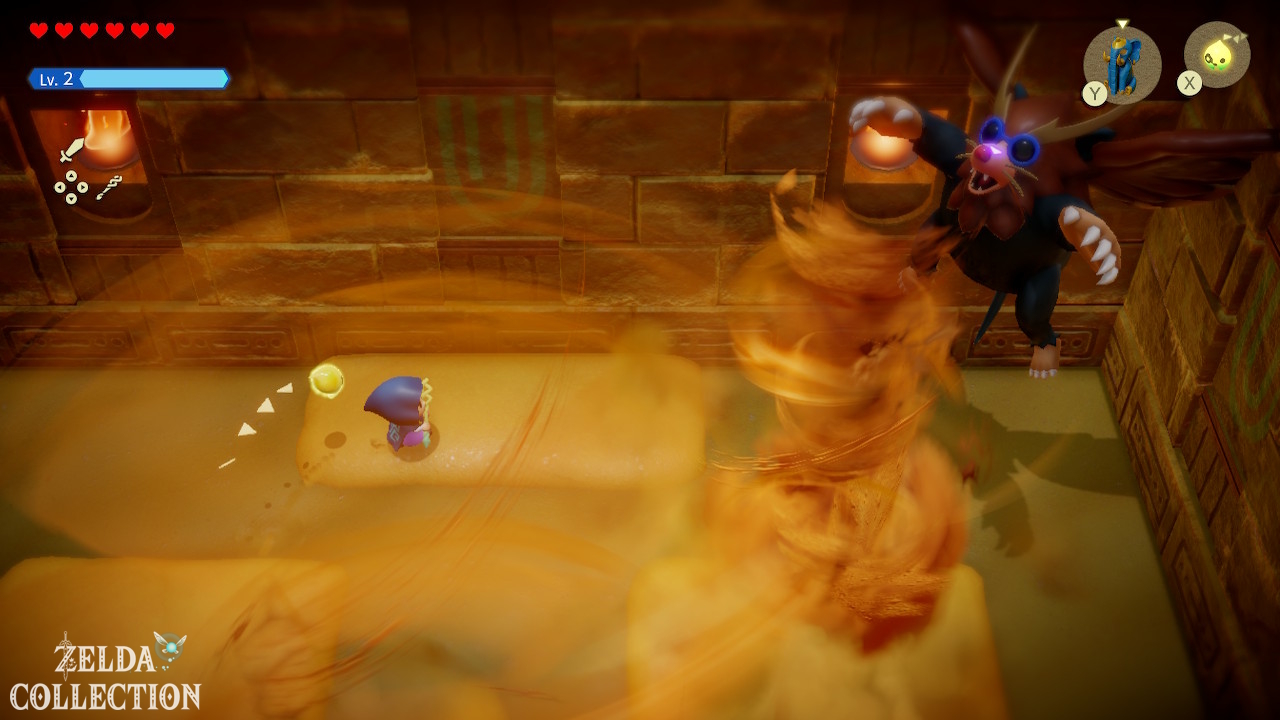
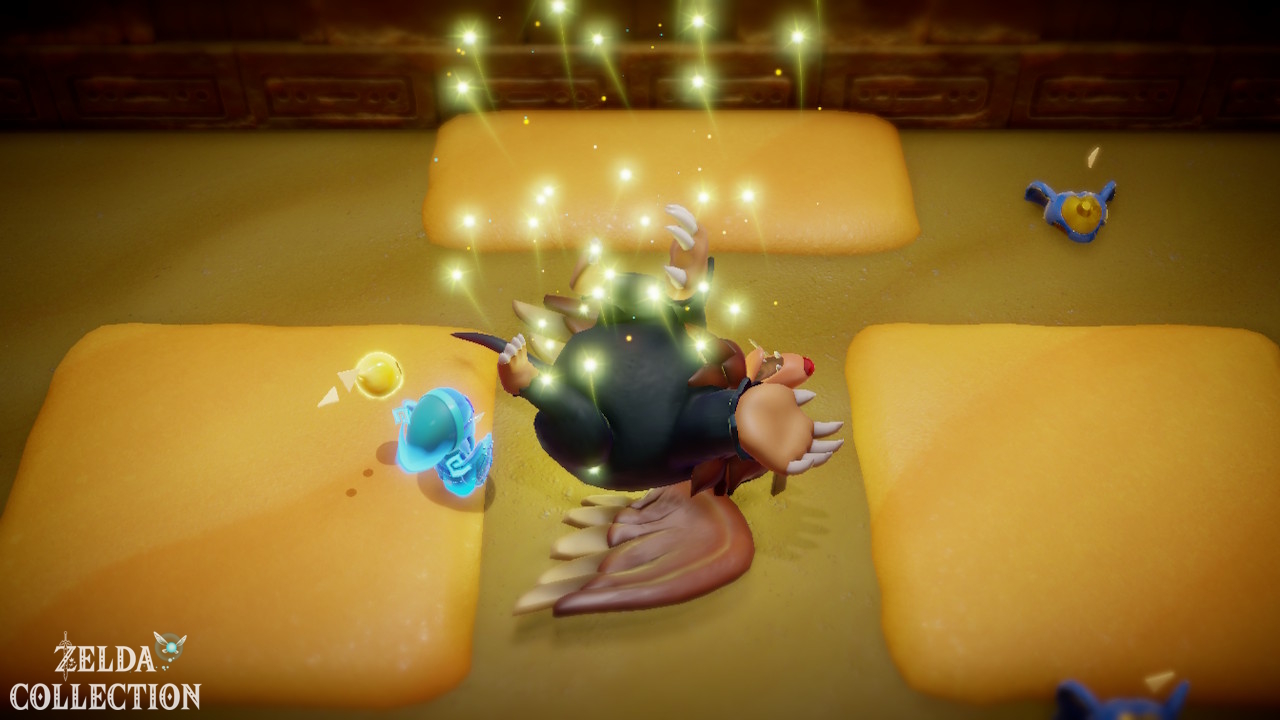
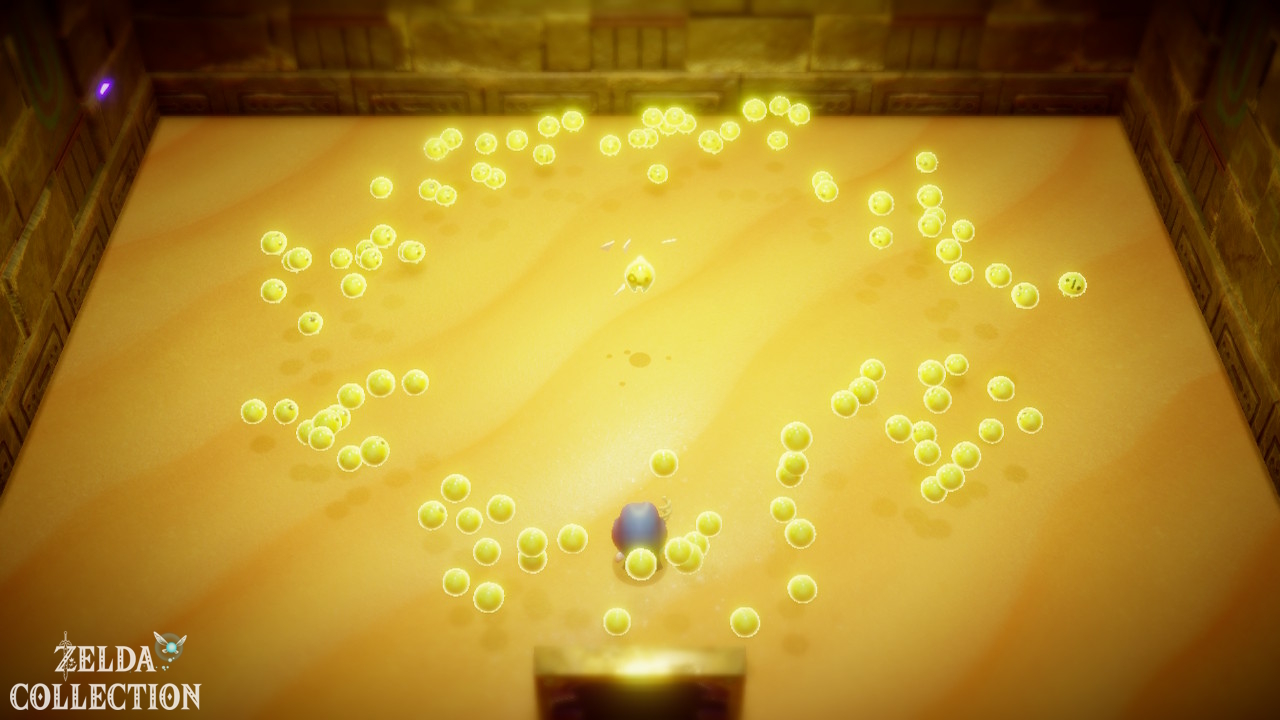
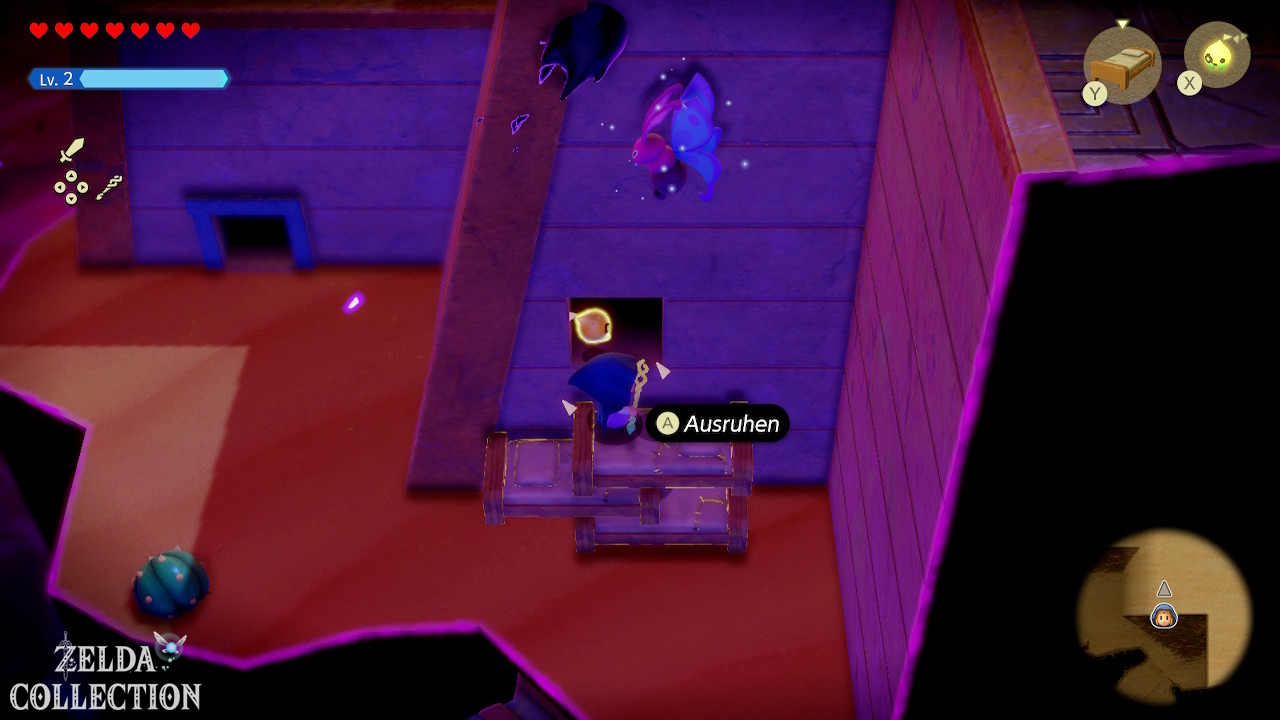
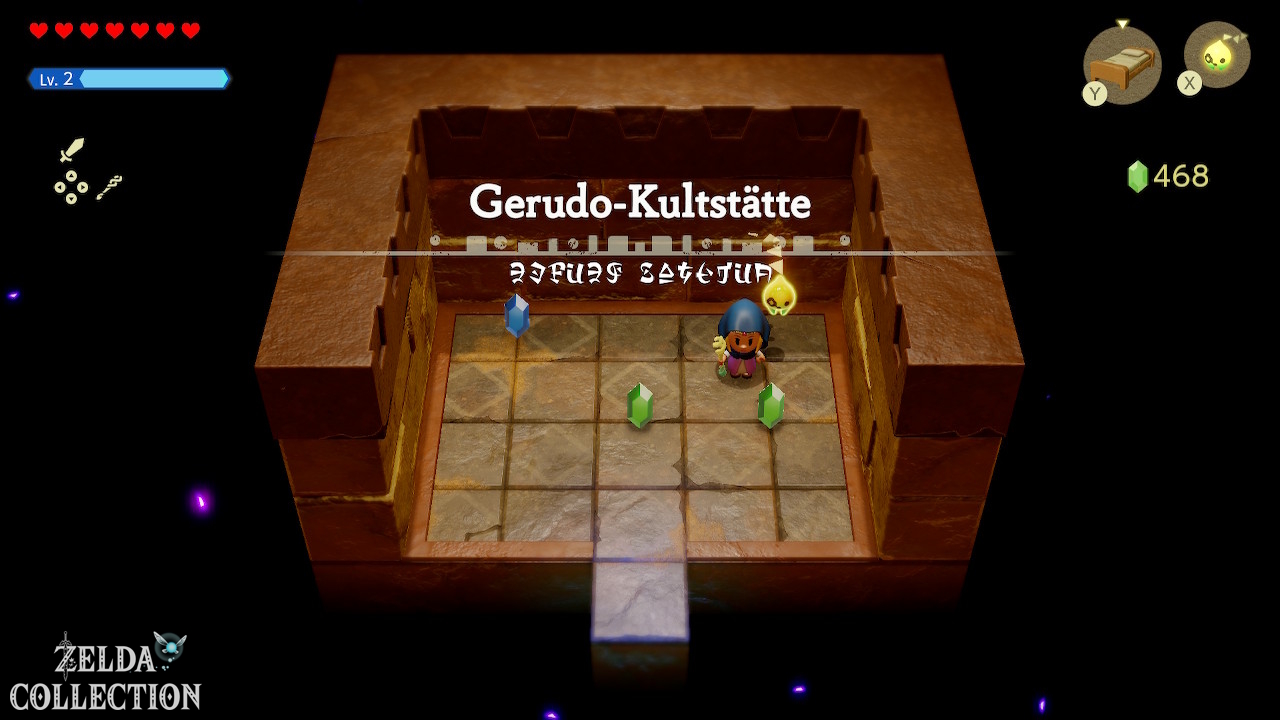
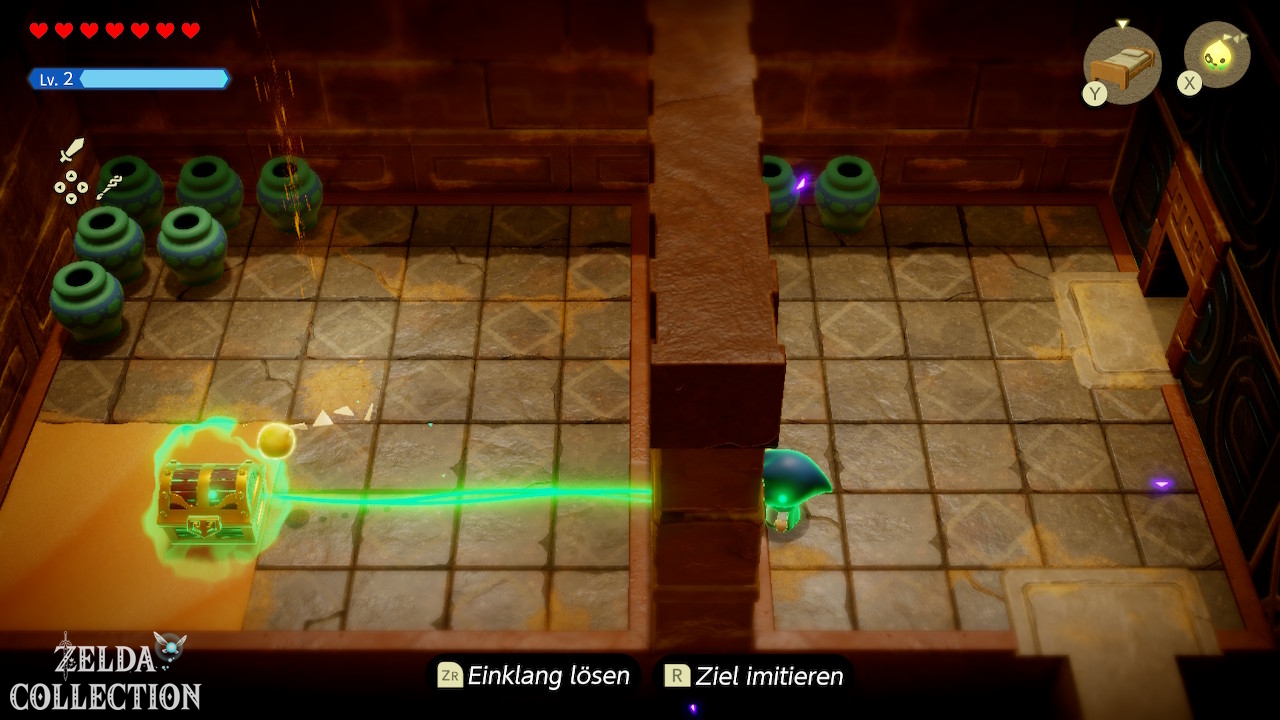
Activate the Waypoint immediately after entering. In this dungeon you switch several times between interiors, exteriors and parts of the Stilled Gerudo Sanctum.
The first timed pass
In the first larger puzzle you have to pull a mechanism completely with Bind. This means that a gate only opens for a short time. Pull the mechanism as far as it will go, let go immediately and walk straight through the open door. Get rid of annoying echoes beforehand so that Princess Zelda doesn’t get stuck on them.
First Small Key
In one of the following rooms, a heavy stone door or stone slab can be moved with Bind. Behind it you will find a Small Key. Use it on the locked door on the main path.
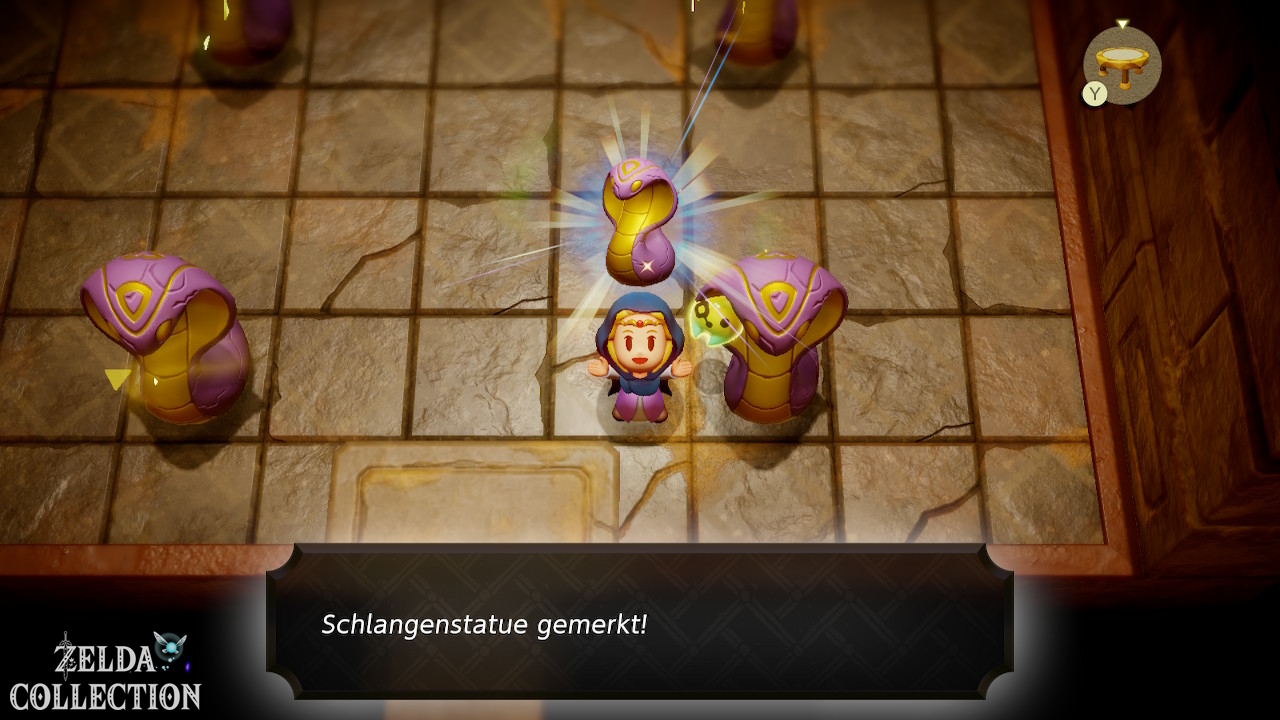
Echo: Snake Statue
In the area north of the first Waypoint you will find the snake statue. Learn their echo. The statue only costs one triangle. Not only is it important for the later puzzle, but it also makes an excellent cheap obstacle.
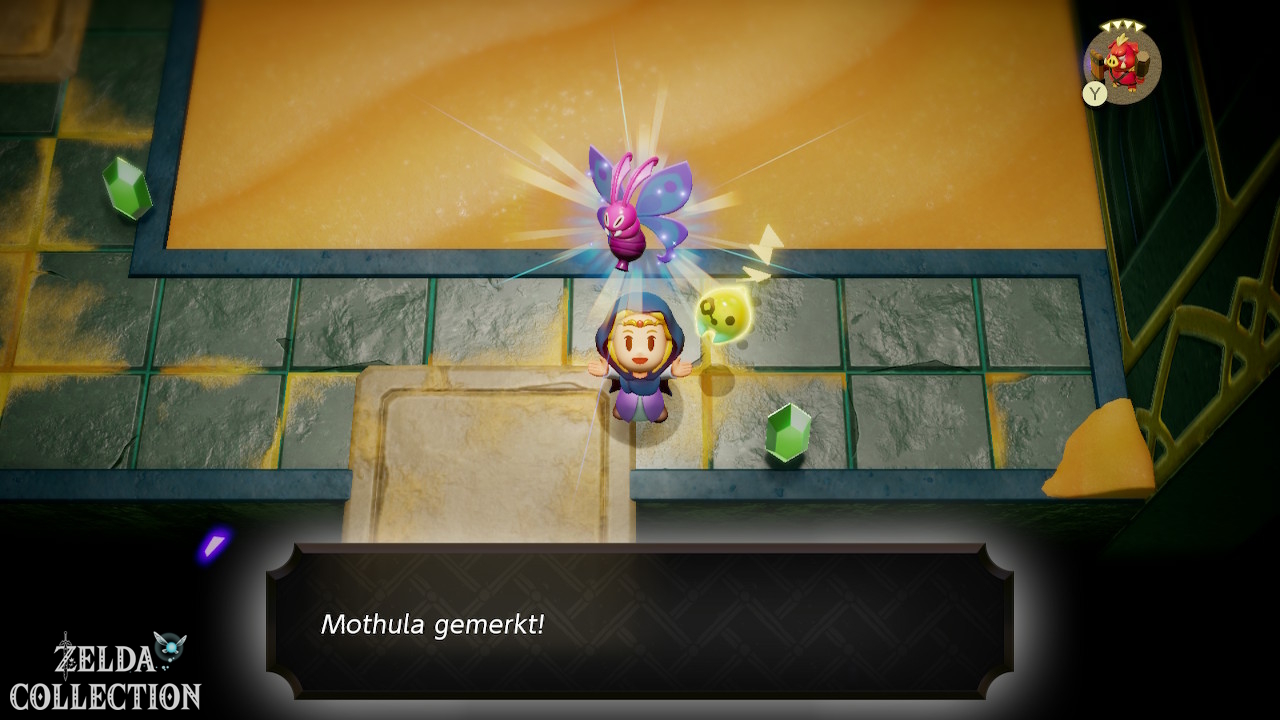
Echo: Mothula
Defeat a Mothula in the following rooms and learn its Echo. It costs three triangles and can independently track flying targets.
Conveyors and moving platforms
First observe the direction of travel of the conveyor belts. Place heavy echoes where you need to block an area and only move Princess Zelda when the platforms are in a good position. You don’t have to try to force every obstacle with the Swordfighter Form.
Chest: Golden Egg
There is a digging spot in a room with sandy soil. Summon Holmill on it and follow the route it opens to the chest containing a Golden Egg.
Notes on the animal statues
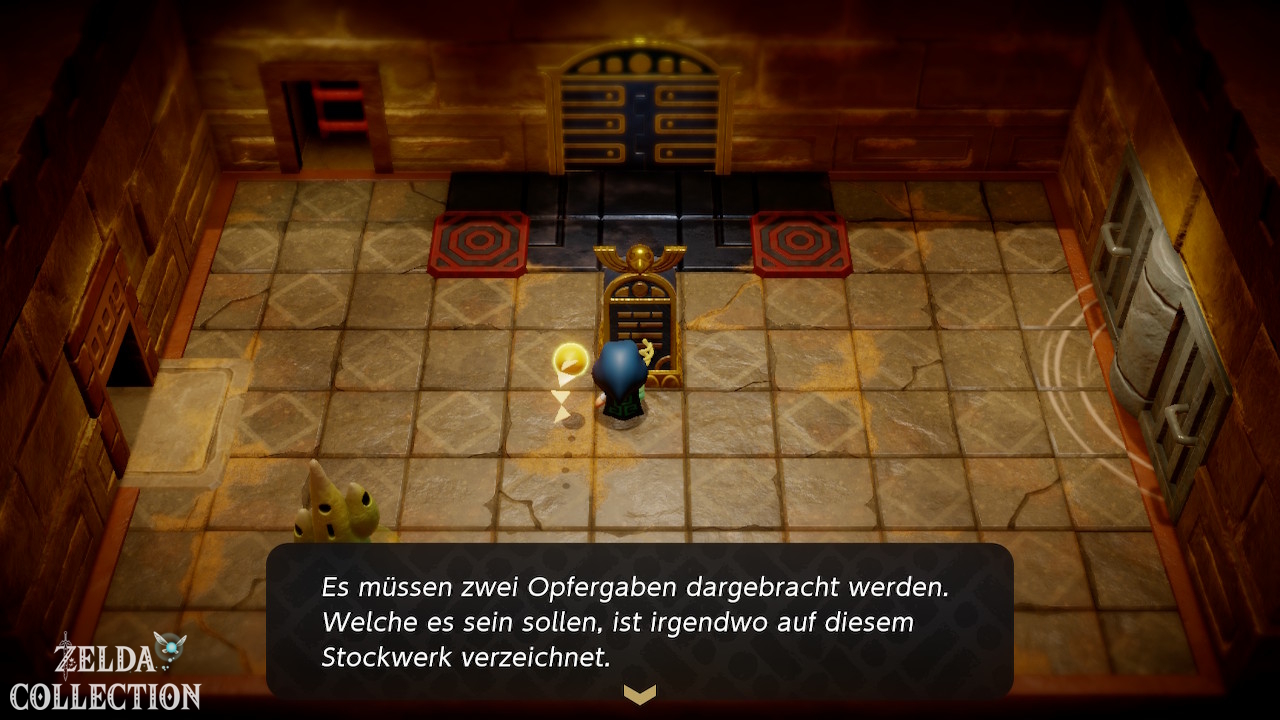
In the sanctum you will find boards with information about the statues that will be needed later. Elephant and Hawk are particularly crucial for the final puzzle. You don’t have to carry a real statue halfway across the dungeon. Once you have learned the corresponding echo, you can resummon the statue at the target.
Echo: Poe
Another opponent is the Poe. Its Echo is expensive at this point and can take up your entire budget. Learn it for the Echo guide, but use cheaper combinations for normal fights.
Dungeon Map and outdoor part
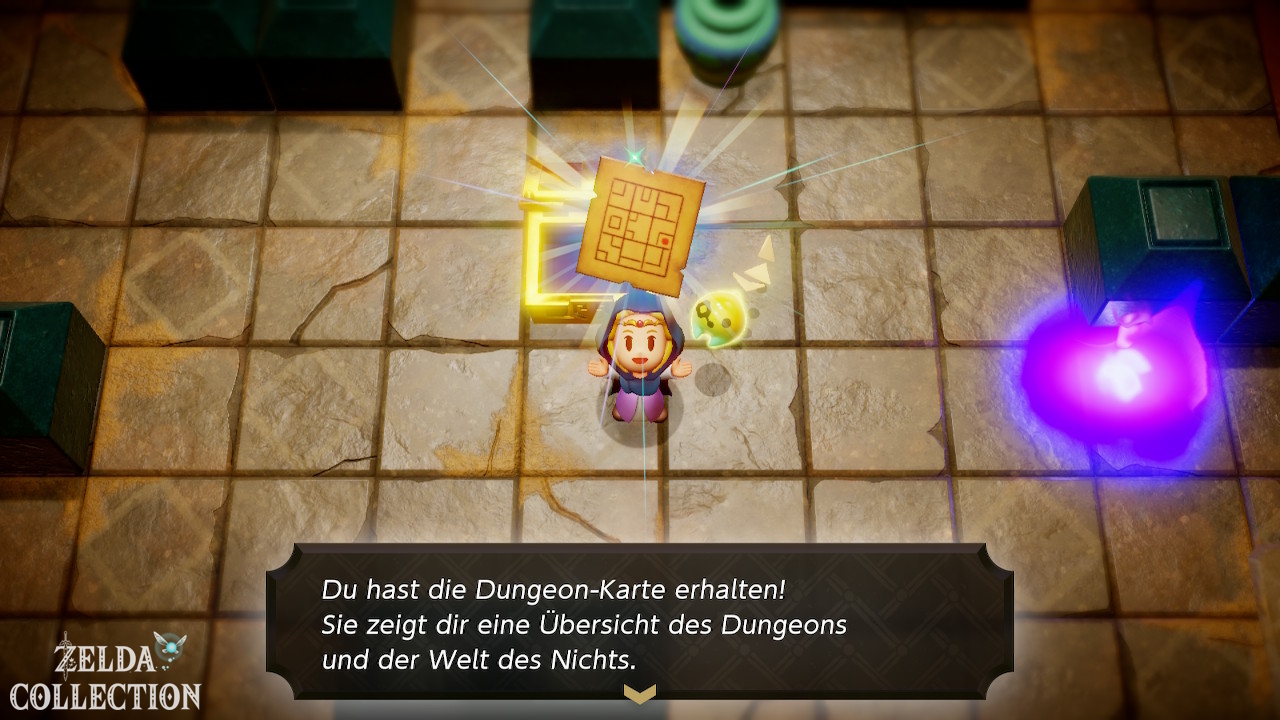
Open the chest with the Dungeon Map and then follow the route outside. In the outdoor area you have to move columns and platforms with Bind so that ladders and ledges are connected to each other. First turn or pull the elements completely into position and then continue climbing. Look for several chests here. On the regular route you will find, among other things, Rupees and a monster stone.
Echo: Hawk Statue
In the outside part or shortly afterwards you will find the Hawk Statue. Note the echo. It only costs one triangle.
Echo: Cat Statue
You can also learn the cat statue later on. It is not crucial for the current obligatory path, but it is one of the unique object echoes of the sanctum and should therefore not be left out.
Intermediate boss: Echo of Link
In the next major fight, you will face another echo of Link – this time with a bow. The most important rule is: don’t run head-on after. His arrows hit from long distances and punish long sword combinations. Instead, summon ranged attackers like a Boomerang Boarblin or other available Echos and keep moving. If Link hits an echo, you summon again. Keep moving to avoid the arrows while your echo attacks. After the first phase, the Link echo splits into several images. Concentrate your attacks on one target and use obstacles to avoid being hit by multiple arrows at the same time.
Only activate the Swordfighter Form when a Link echo is currently in a bad position. Short series of attacks are better than a completely empty energy bar. After winning you will receive the Bow of Might. From now on it is available to you in the Swordfighter Form and uses the same limited energy as the sword.
Echo: Elephant Statue
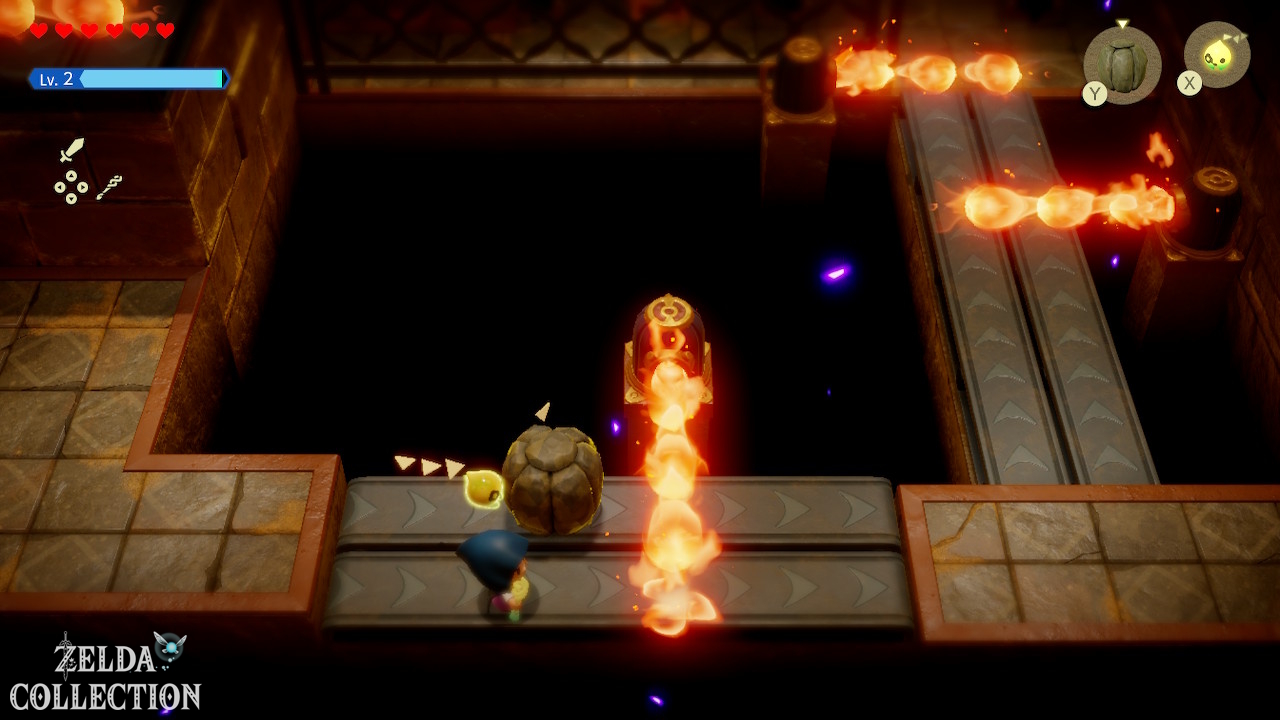
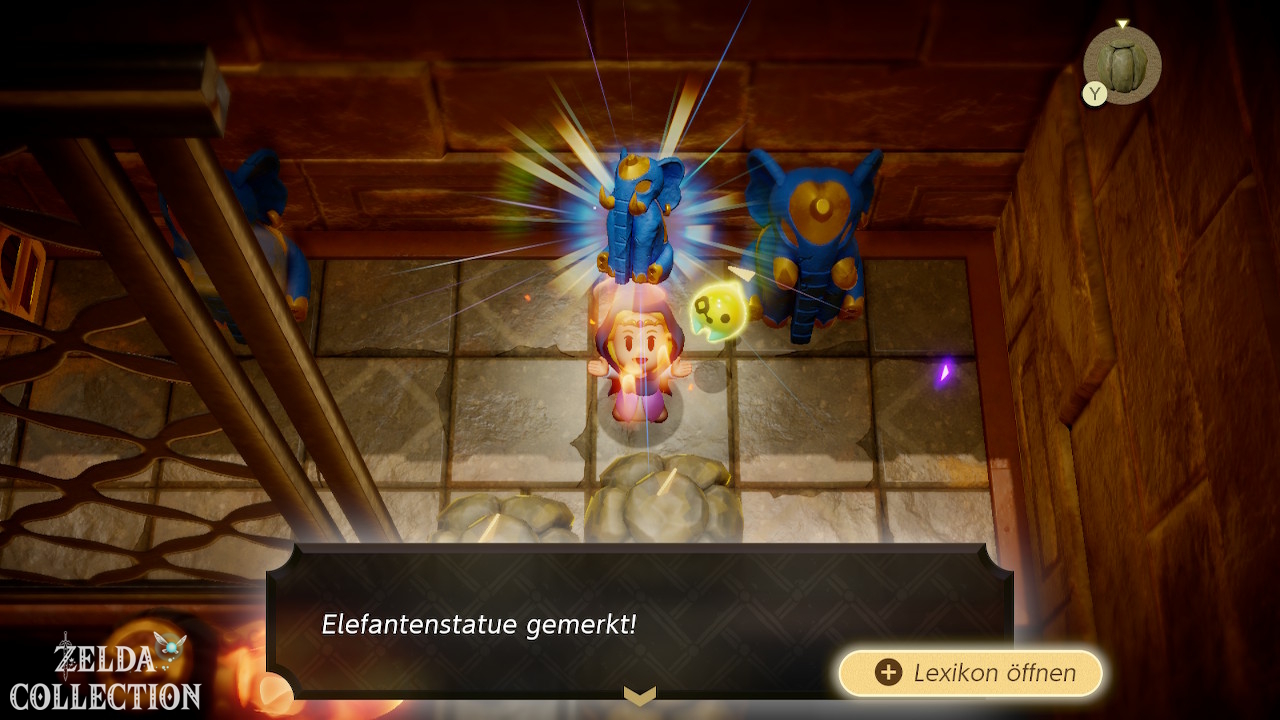
In the area with fire traps you will find the Elephant Statue. Block the flames with Boulders, learn the Elephant Statue Echo at the back of the room and open the chest for a Small Key.
Torch puzzle
In a later room you have to light several torches. Summon Ignizol right next to a torch or lead it to the flame with Bind. As soon as all the required fires are burning, the further path opens.
Hidden chest on the roof
There is a striking sandy area on the roof of the sanctum. Summon a Holmill there. He digs a passage into an otherwise closed room. Drop in and open the chest with 50 Rupees.
Insert elephant and falcon
In the room with the two bases, implement the instructions on the boards:
- Summon a Elephant Statue on the designated pedestal.
- Summon a Hawk Statue on the other pedestal.
As soon as both correct statues are in place, the further path opens.
Big Key get
In the central mechanism, pull out the large plug with Bind to drain the sand. You can then rotate the central platform or the large component with Bind. Adjust it so that the path to the large chest becomes clear. Open the chest and take the Big Key. If necessary, travel to Waypoint again, heal yourself and then go to the boss door.
Boss: Mogryph defeat
Mogryph is particularly dangerous as long as you try to pursue it directly. The key trick is to use its charges against it.
Phase 1
Keep your distance and watch Mogryph. It dives through the sand before charging straight ahead. Place one of the animal statues you just learned in its path. Each statue costs one triangle, so you can easily replace it for the next charge. Mogryph crashes into the statue and is stunned. Now enter Swordfighter Form and attack its exposed body. End the transformation when it recovers to conserve energy while you reposition.
Repeat the principle.
Phase 2
Later, Mogryph takes off and generates stronger sand attacks. Keep moving and watch out for his shadow as he swoops down from above. Now the moment comes again when he races through or over the sand towards Princess Zelda. Place an animal statue in his path again. After the collision, your next damage phase follows. The Bow of Might can hit Mogryph in the air, but it is not absolutely necessary. Since each shot costs energy, it is more efficient to save most of your energy for the guaranteed stun periods.
Reward
After winning you will receive:
- 1 Heart Container
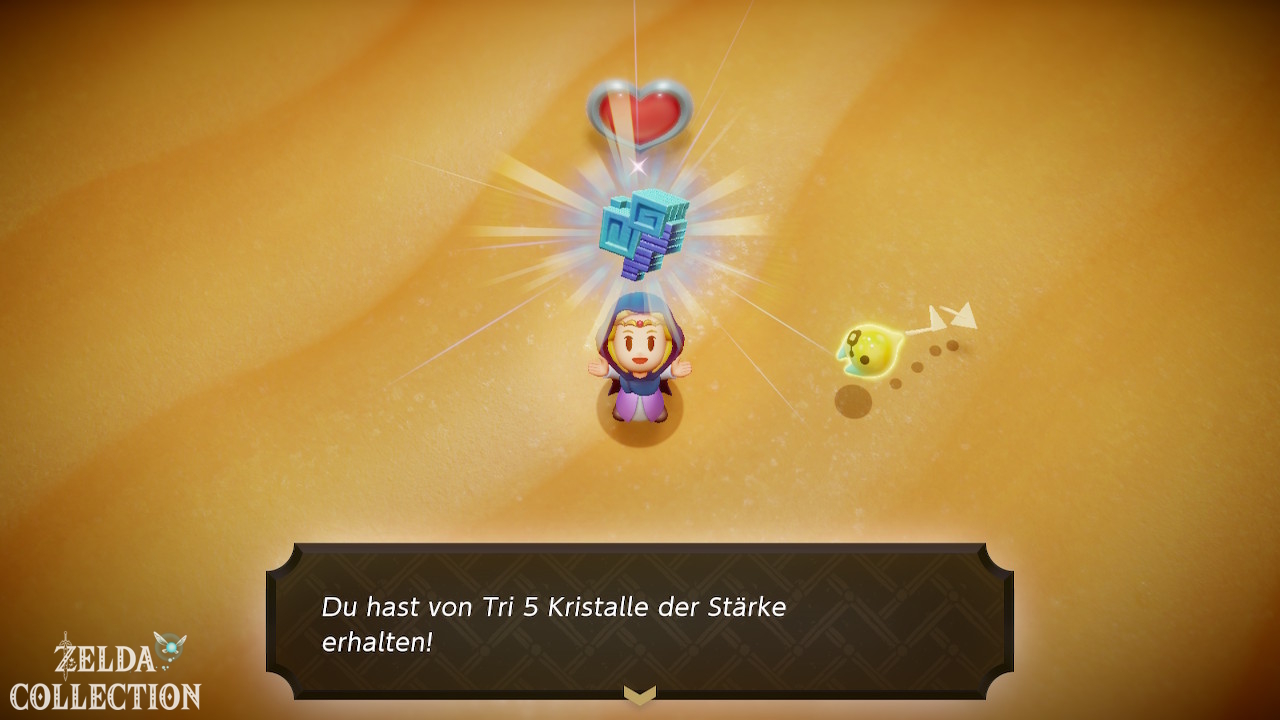
- 5 Might Crystals
- Progress or a new level for Tri
If you follow our order and completed Gerudo as the first of the two regions, Tri will now normally reach level 3. You can now hold down the button while summoning and make echoes appear further away. This function is extremely practical in the Jabul Waters.
Gerudo collection level after the boss
During “Searching for Everyone” 20 Might Crystals are currently accessible in the Gerudo region if you complete the Mango Challenge and “Elusive Tumbleweeds” count. The two additional crystals from “Stilled Northern Gerudo Desert” are still locked. This explains guides who later count a total of 22 crystals for the entire region. Two Pieces of Heart are also intentionally missing:
- “Wild Sandstorms”: The associated later Side Quest requires the completion of the Hyrule Castle Rift.
- Mango Rush – Ultimate Seeds: The 70 Mango Challenge also becomes available after the Hyrule Castle stage.
Optional on the way east: Eastern Temple and another Piece of Heart
For the second large Rift we now head east. You can travel directly to the Jabul Waters. If you want to play our collection route as efficiently as possible, you might want to take a detour to Eastern Temple on the way.
stamp for Eastern Temple
Use the Stamp Stand near the Eastern Temple. The reward depends on how many stamps you have already collected; your third completed card, at 15 stamps, earns a Fairy Bottle.
Side Quest: Let’s Play a Game
Before the Eastern Temple you can accept the Side Quest “Let’s Play a Game”. The only requirement is that the Rift of the Suthorn Forest has already been completed. Enter the temple.
Electric Puzzles
The Eastern Temple is all about electric enemies and yellow devices. Learn the electrical echoes that appear there and direct or summon them so that they reach the intended recipients. If you have multiple receivers, you have to limit the paths with rocks or other obstacles. This means that the electric opponents do not miss the target. On the way you will find, among other things, a chest with 50 Rupees and another with 5 rock salt.
Boss Smog
In the end you fight against Smog. After enough damage, the boss will break into several smaller clouds. You can’t just defeat the little pieces one at a time. They must collide with each other again and combine to form smog. Use rocks and other solid echoes to redirect their paths. Bind can also help to briefly move individual parts into a more favorable position. As soon as Smog is full again, attack him. Ranged fighters are safer than standing permanently next to the electric cloud in the Swordfighter Form.
In later phases, Smog breaks down into even more individual pieces. The principle remains the same: limit paths, merge partial clouds, attack the reassembled Smog. After winning you will receive a Piece of Heart. Then talk to the client again in front of the temple.
Side Quest Reward: Ancient Charm, which reduces damage taken.
After defeating Mogryph, the desert is freed from its great rift. If Jabul is still open, The Jabul Waters Rift will take you to the Zora. Once you have saved both regions, return to Lueburry and continue the story with Still Missing. The desert missions that are activated later remain reserved for the way back to Hyrule Castle.