

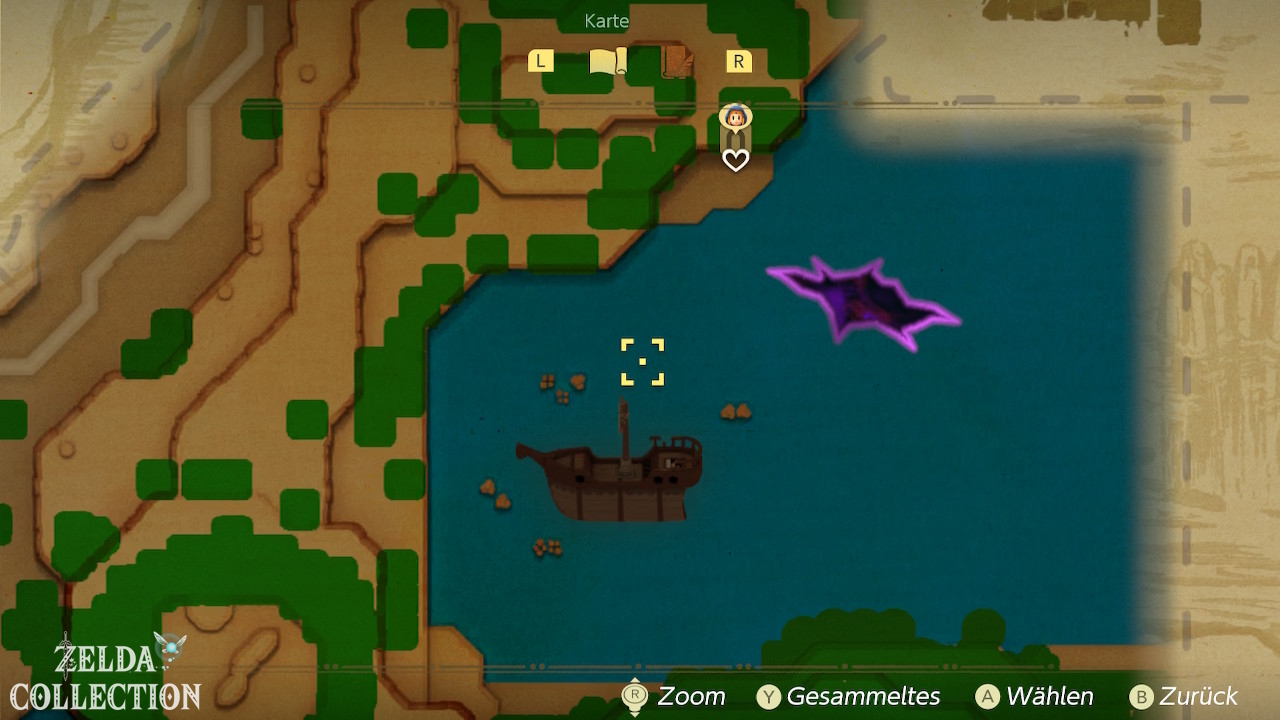
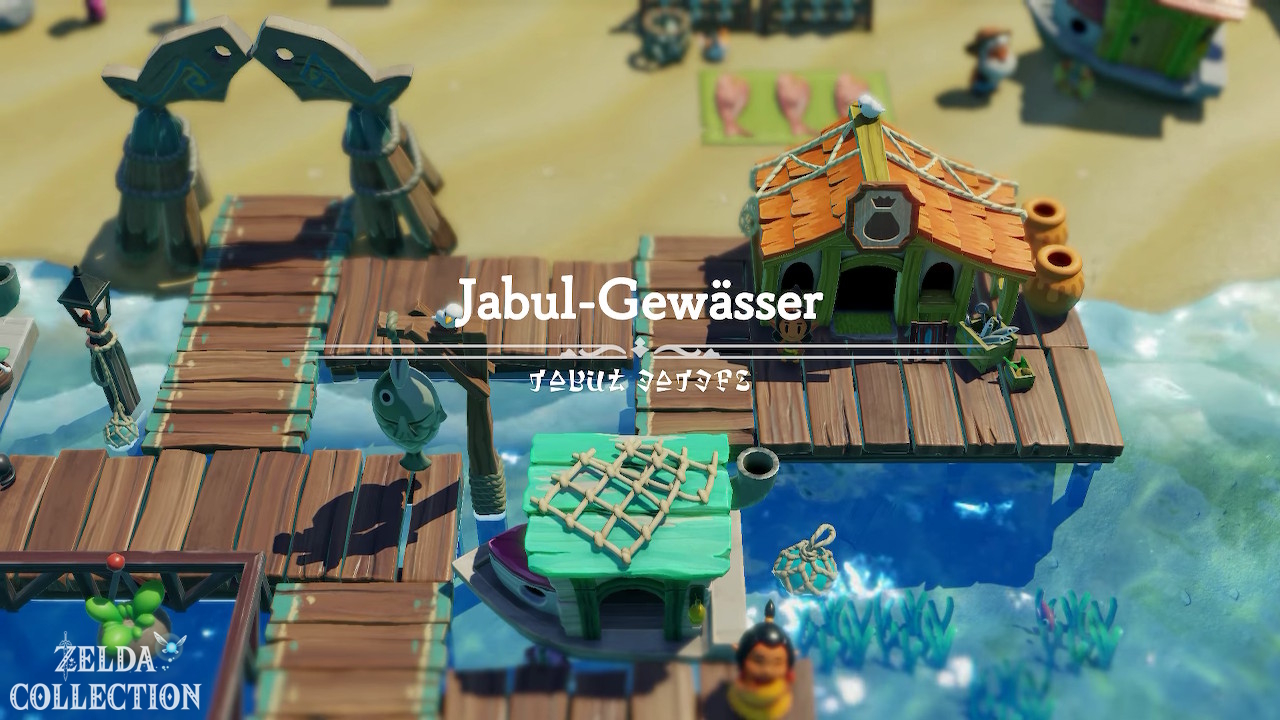
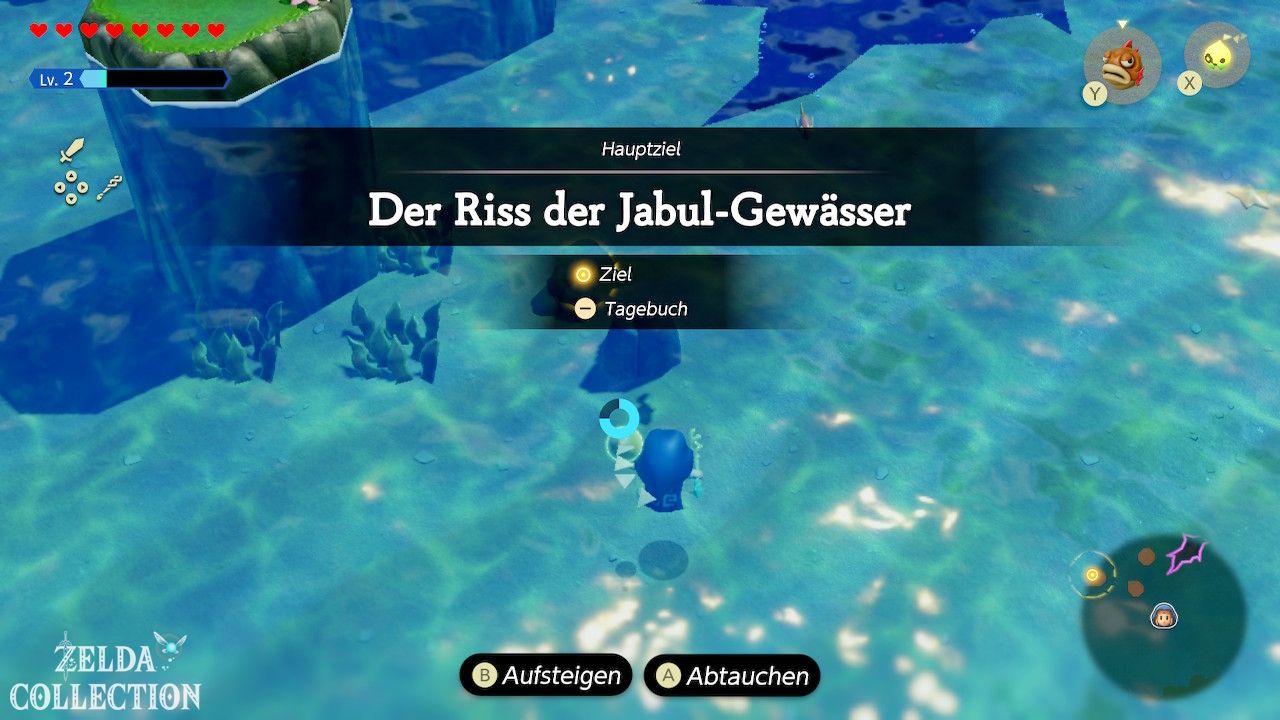
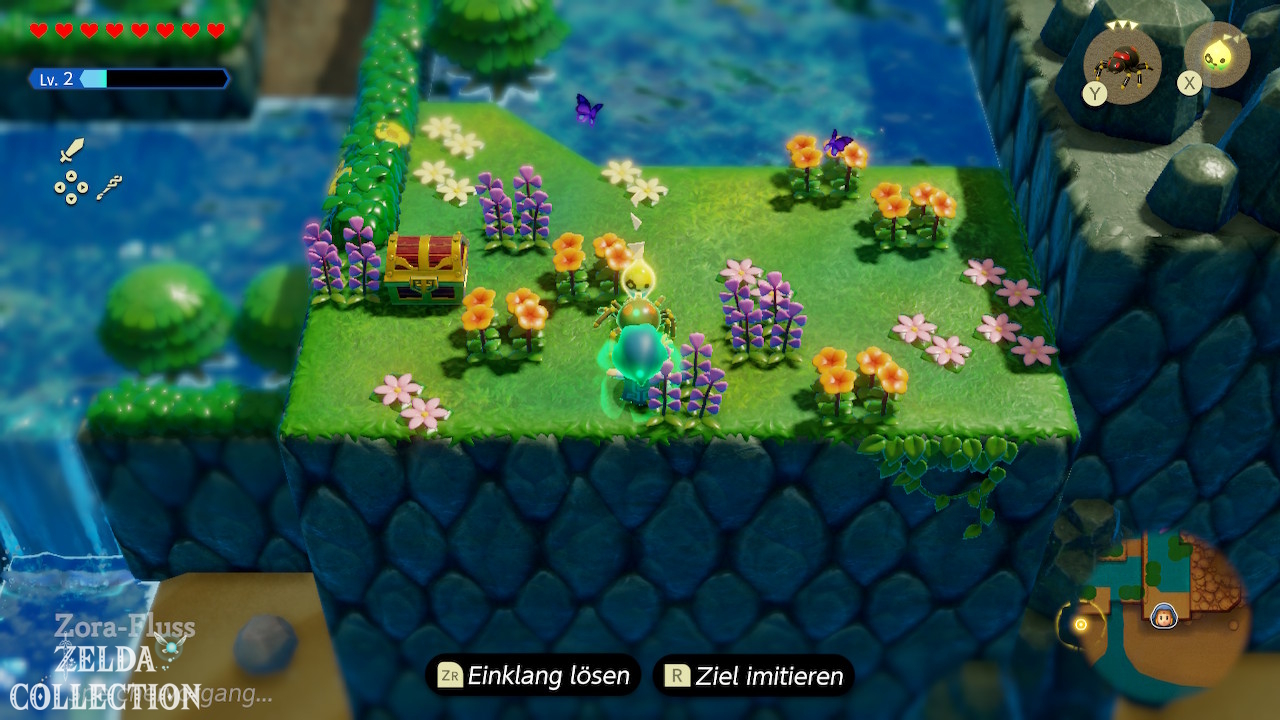
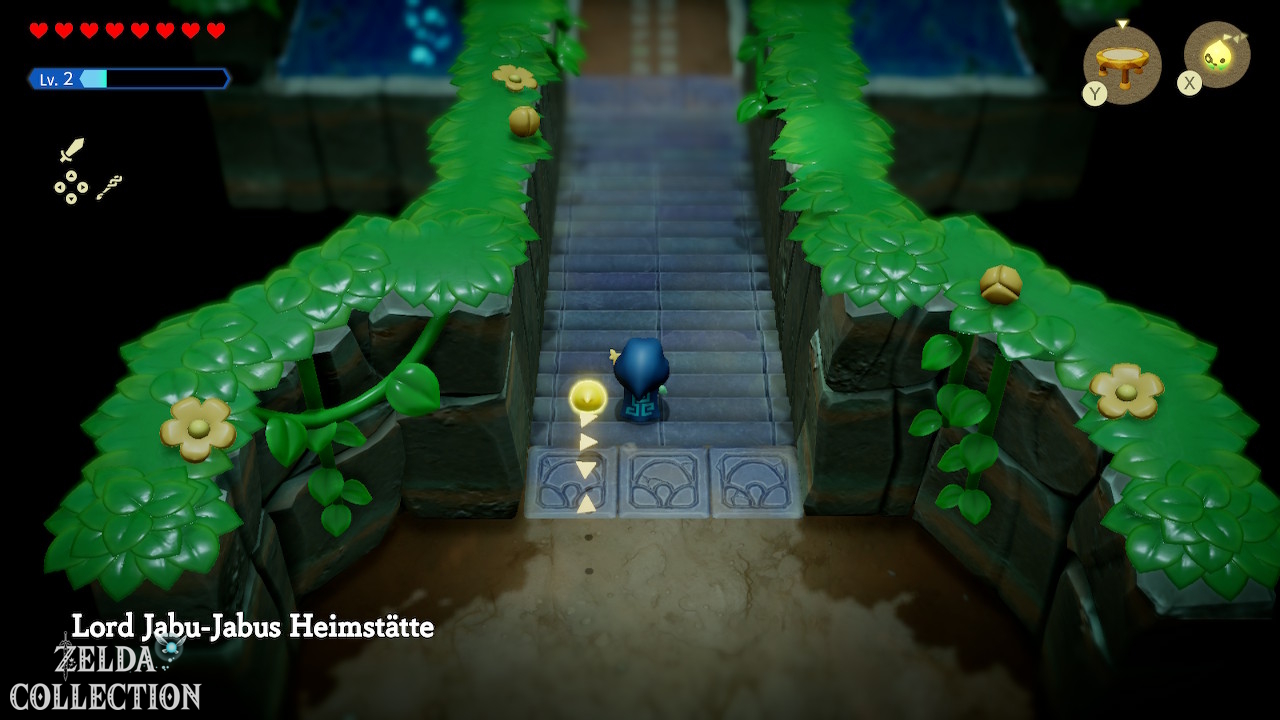
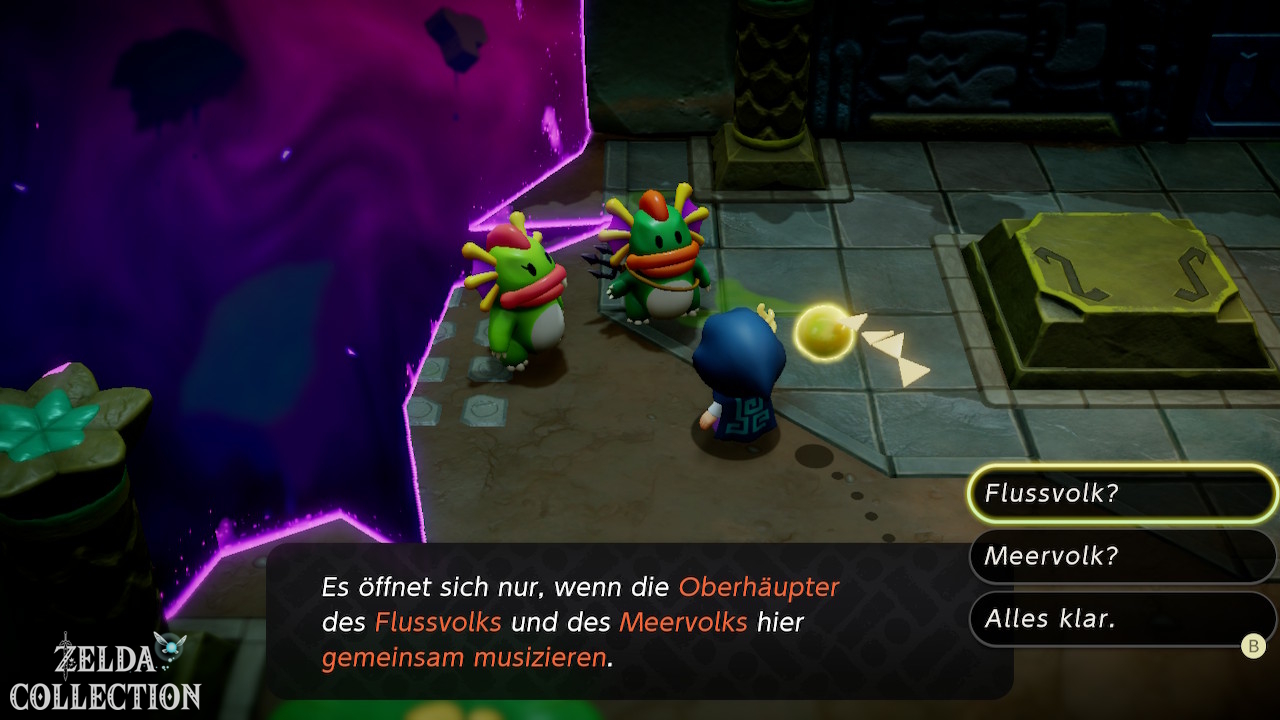
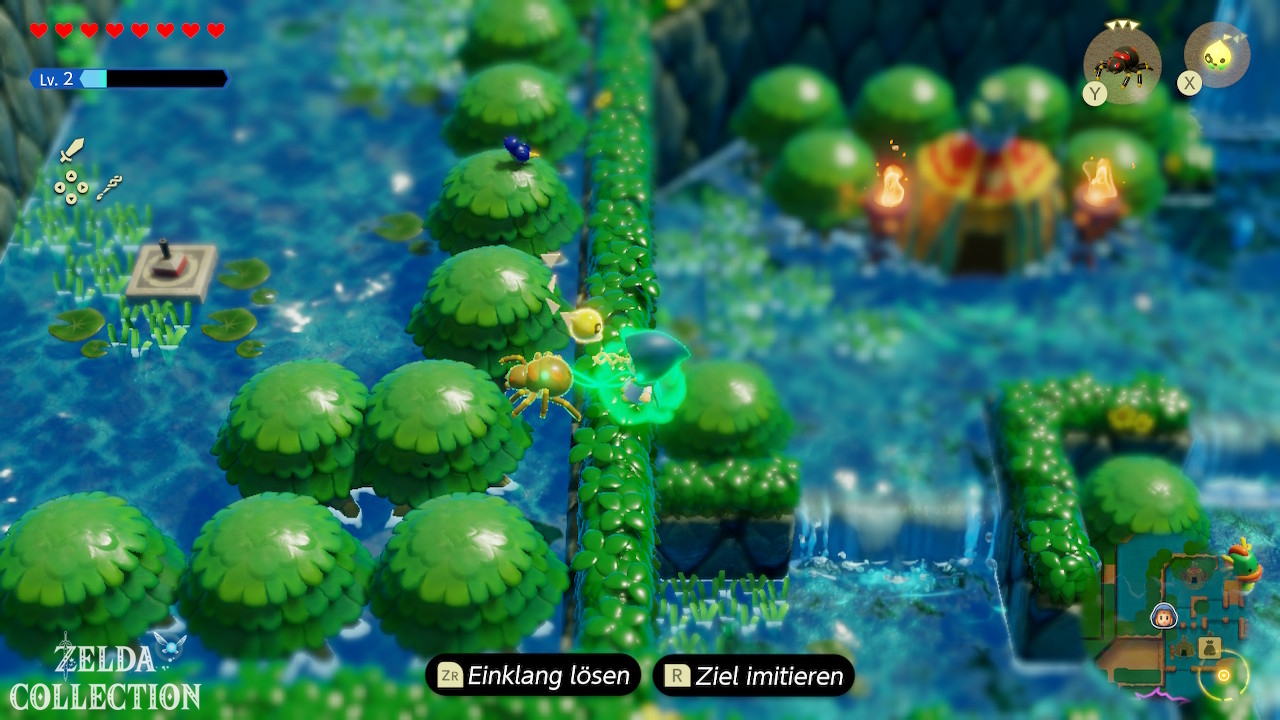
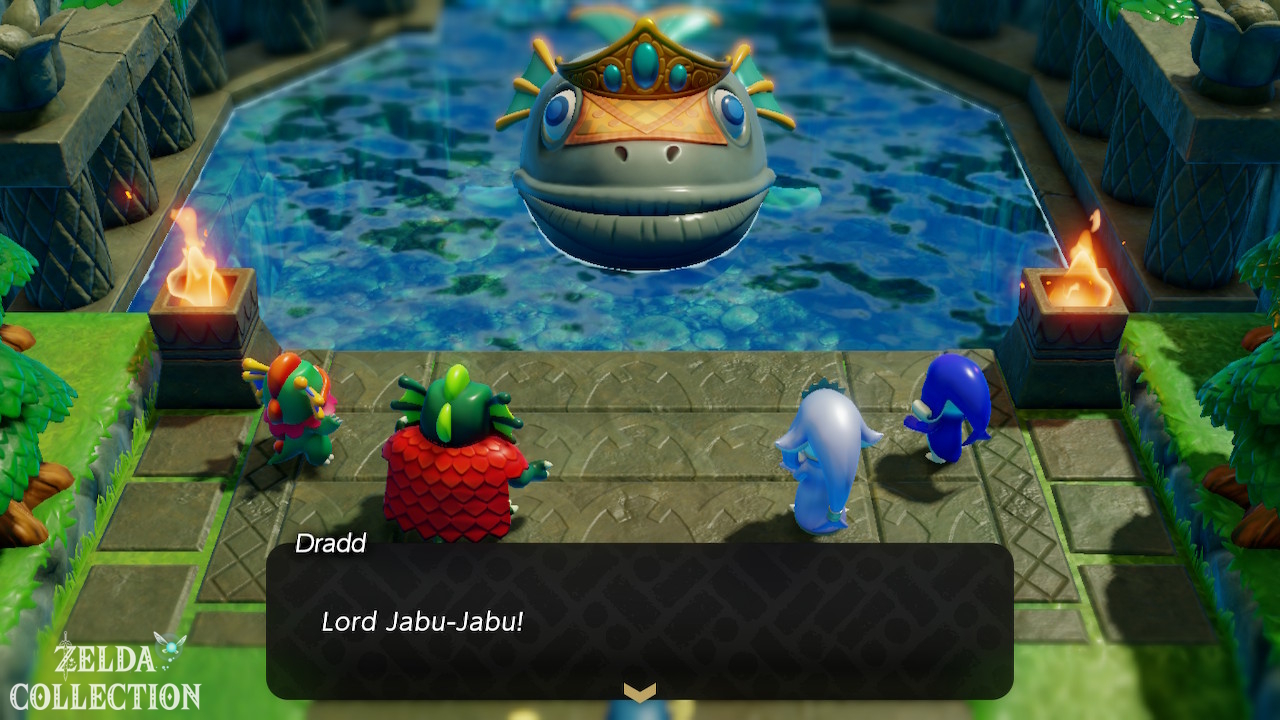
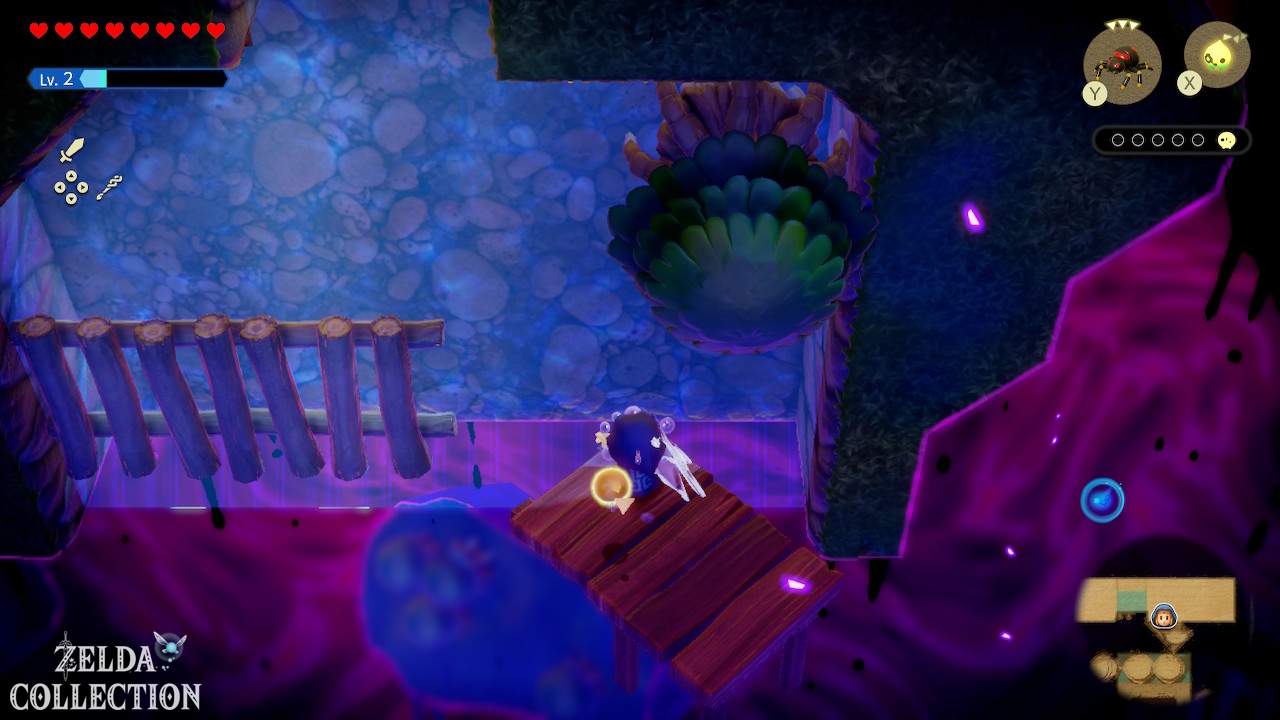
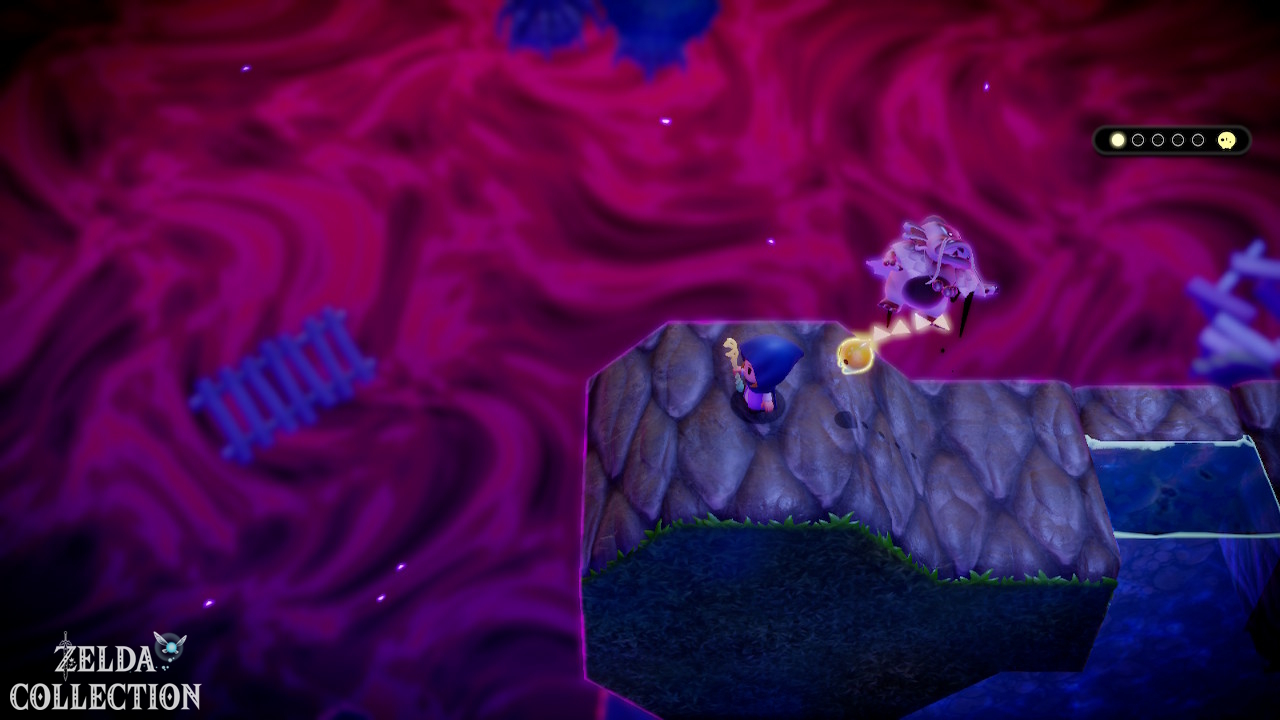
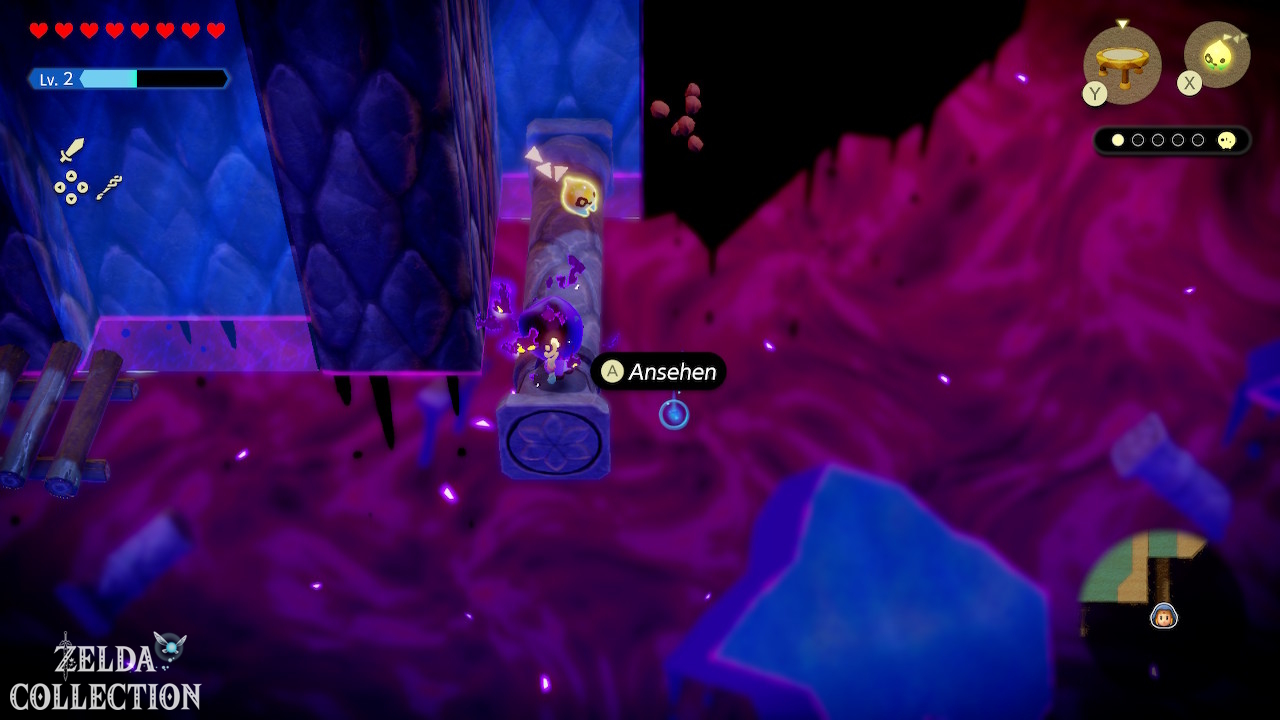
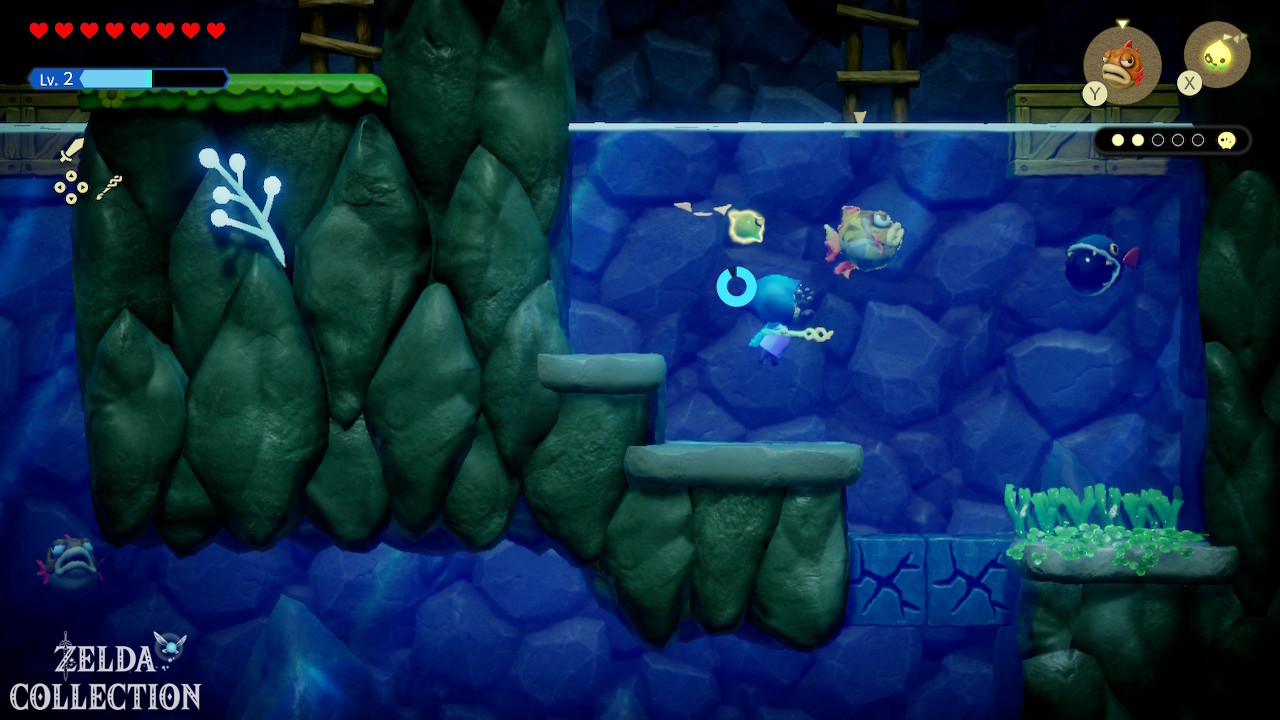
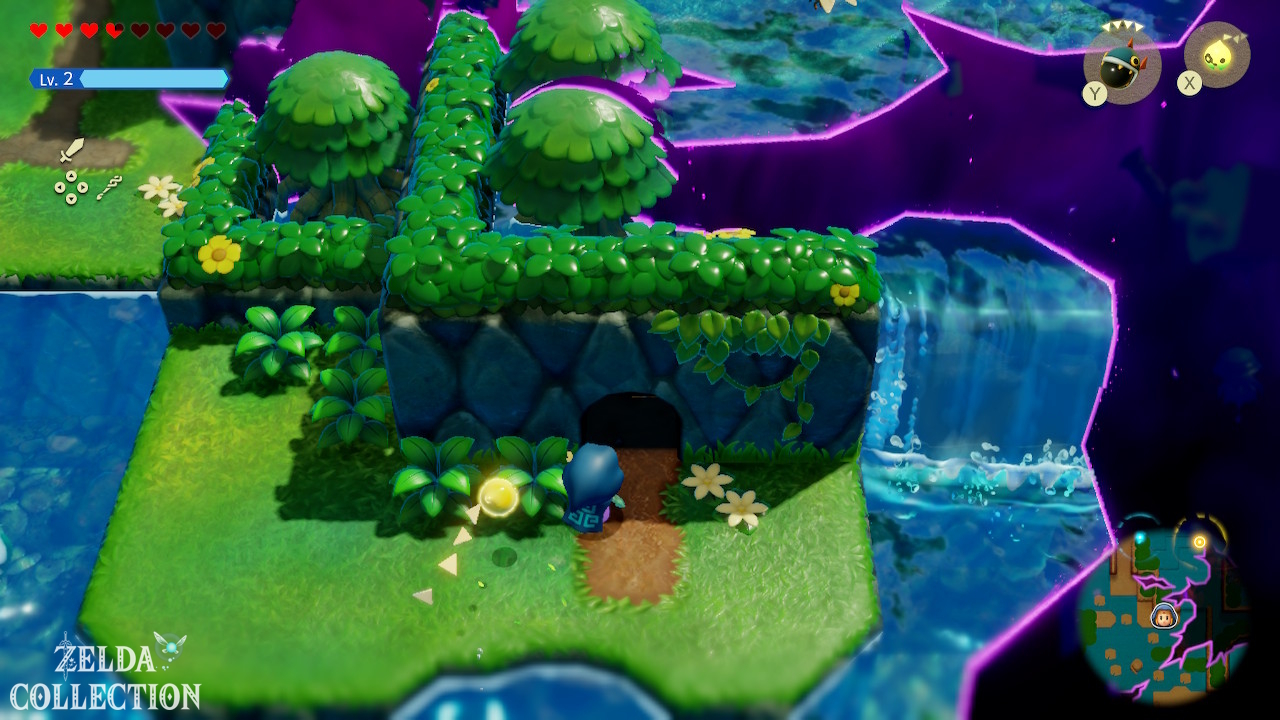
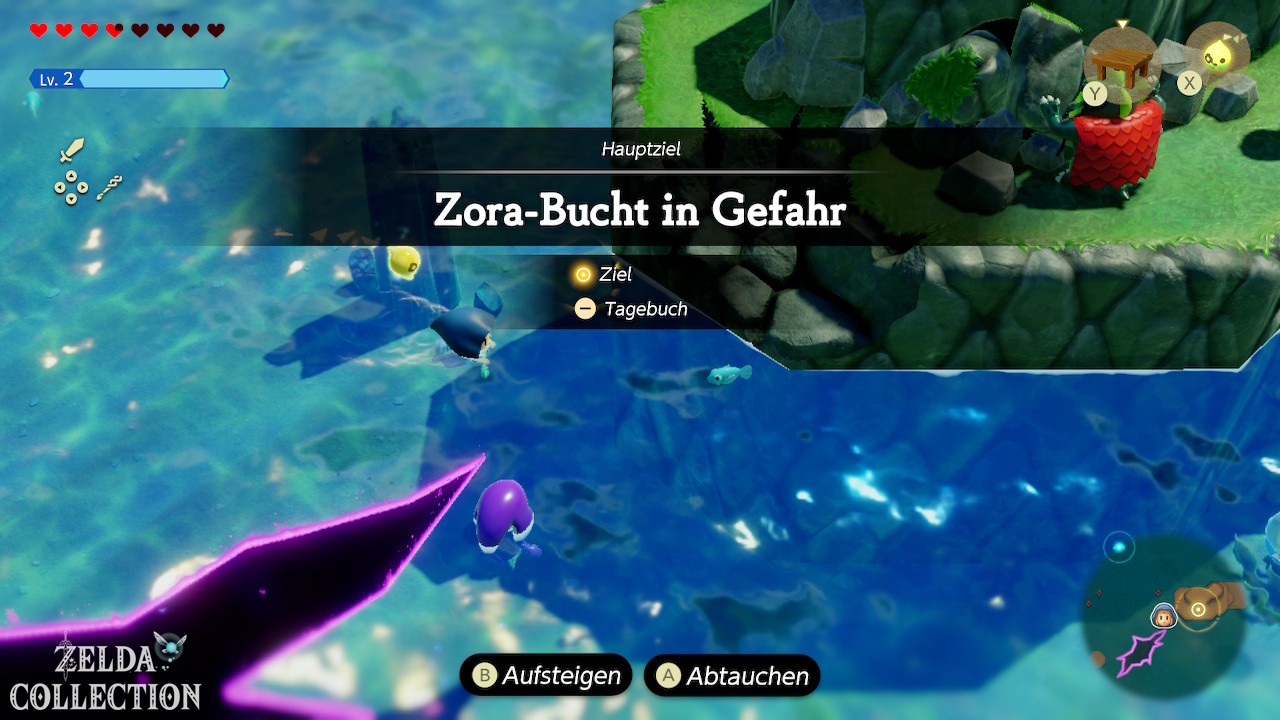
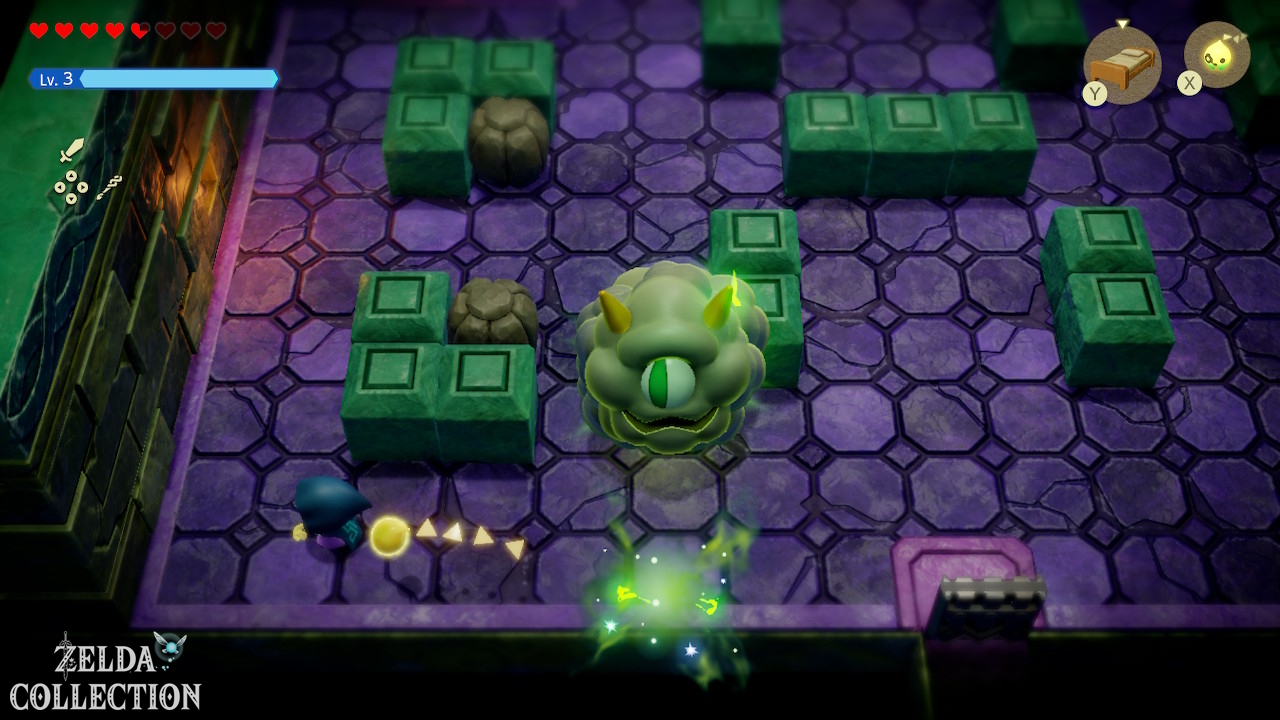
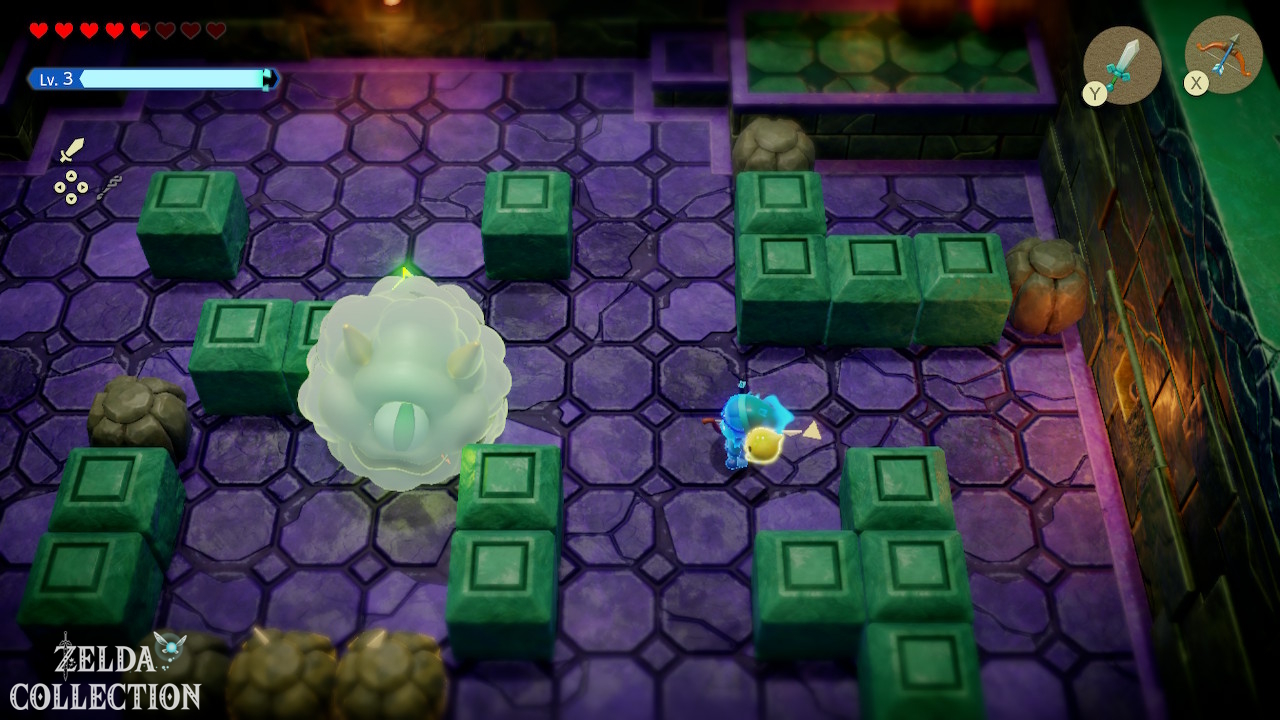
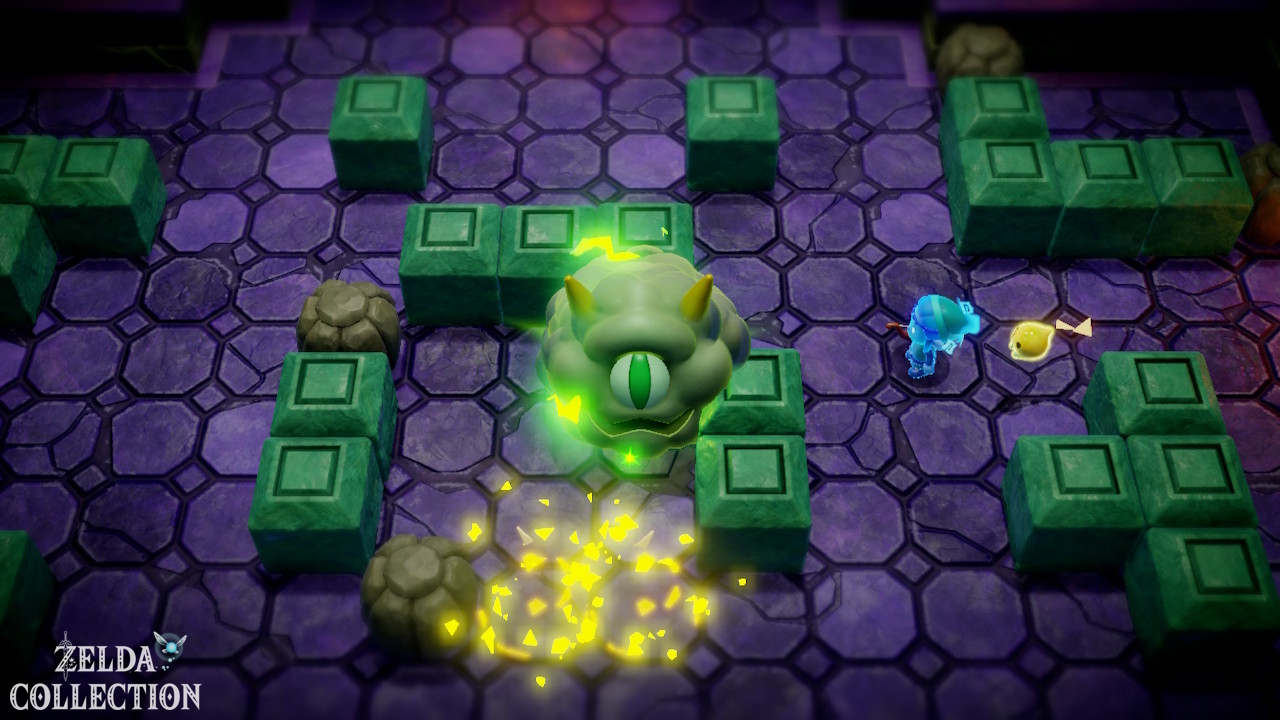
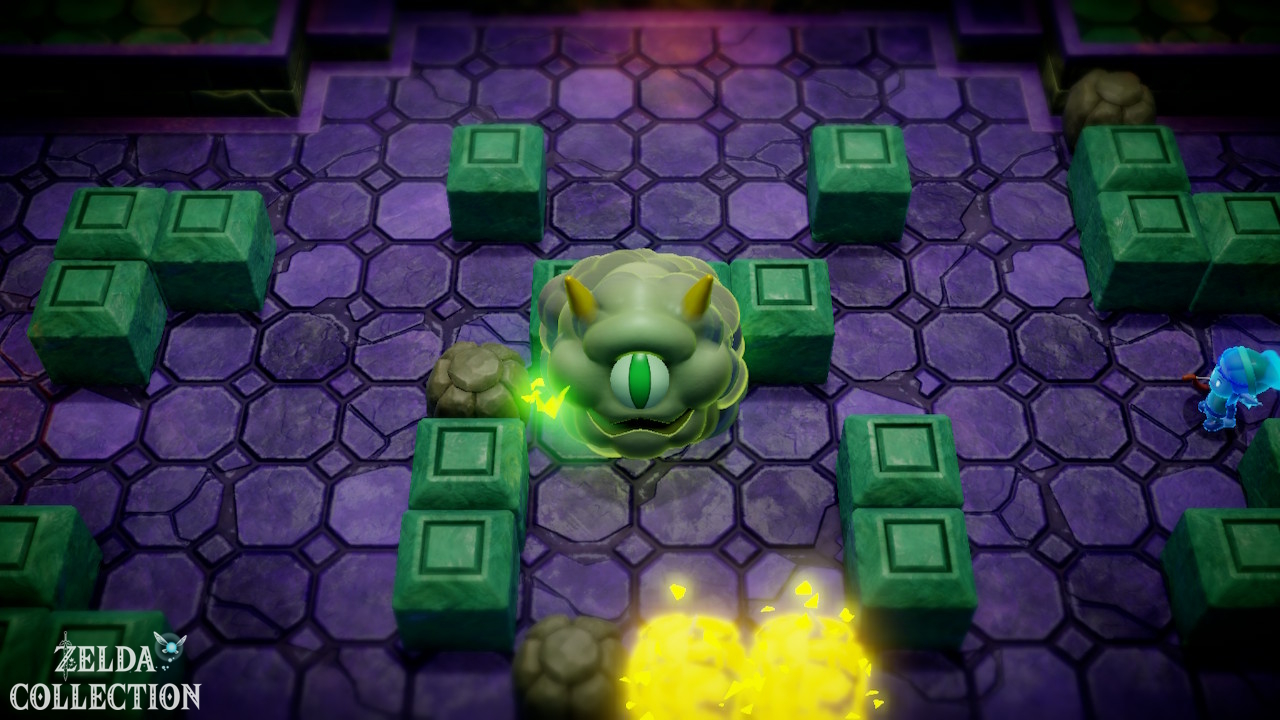
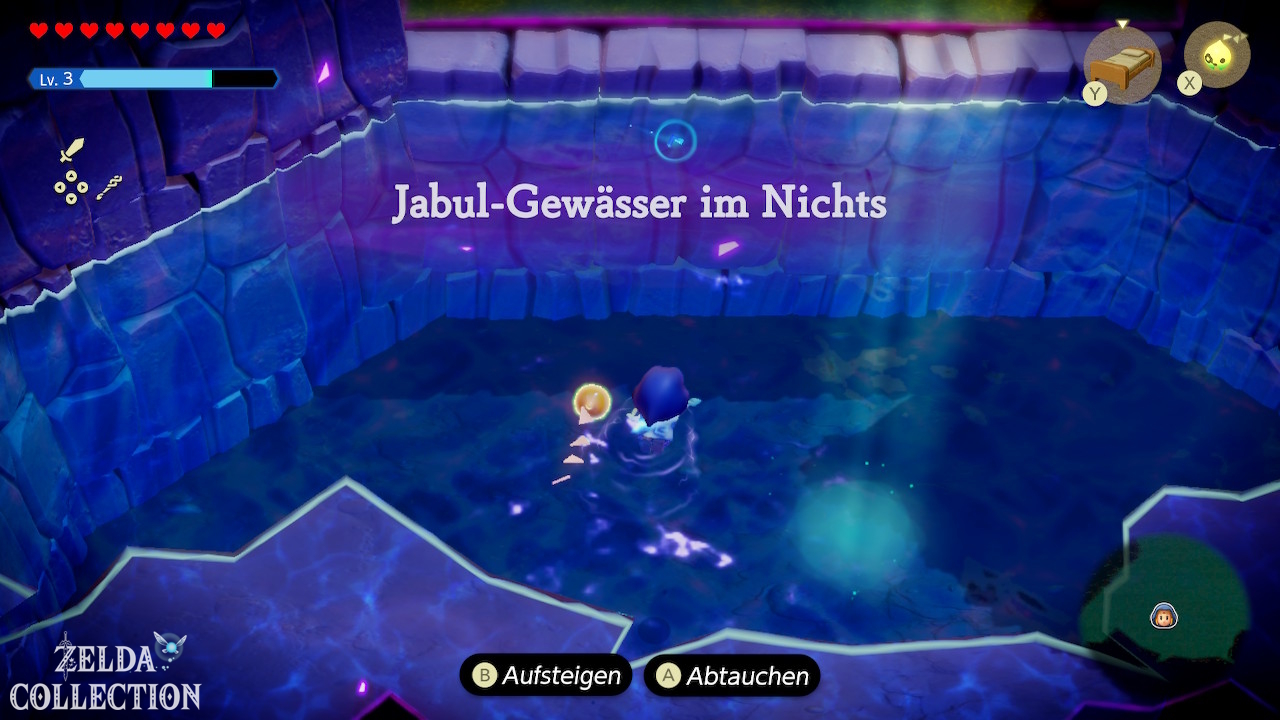
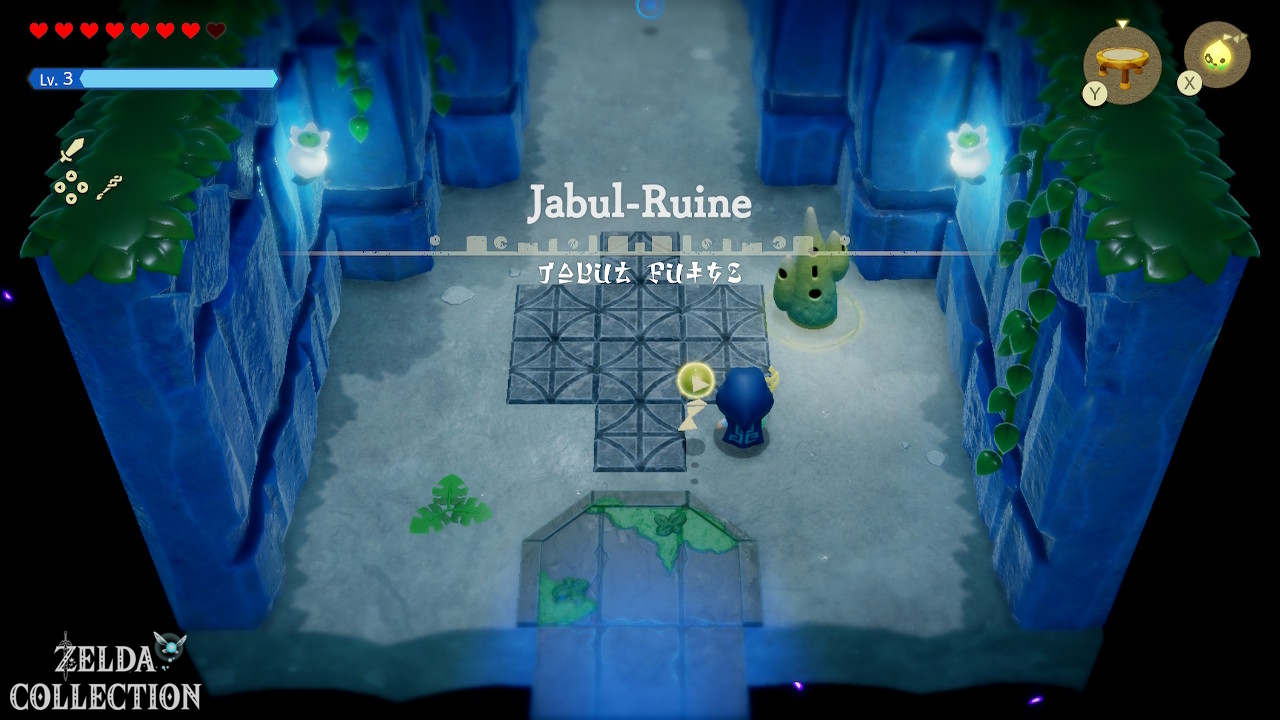
Continue east and southeast to the Jabul Waters. As soon as you reach the area, the Main Quest “The Jabul Waters Rift” begins. You can find the separate region guide at The Jabul Waters Rift. The story takes you to two groups of Zora: the River Zoras and the Sea Zoras. Both must work together before you can open Lord Jabu-Jabu’s Den.
Seesyde Village: first Waypoint, grilled fish and crystals
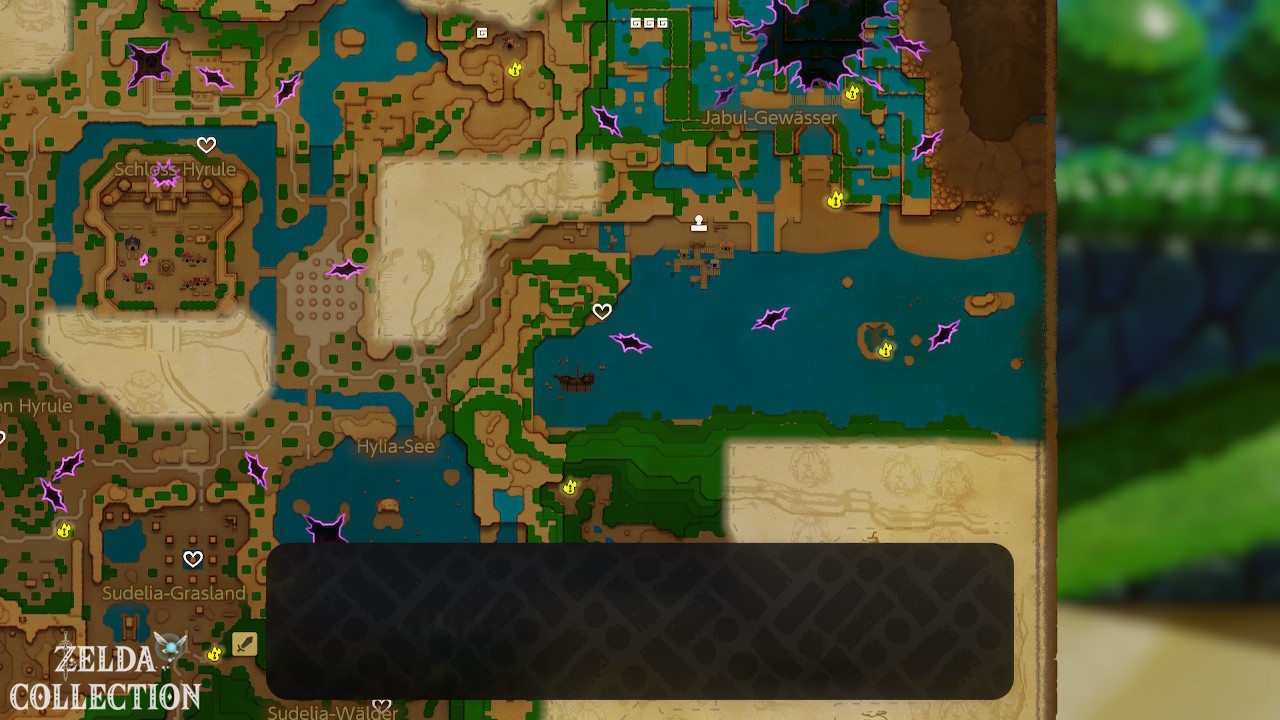
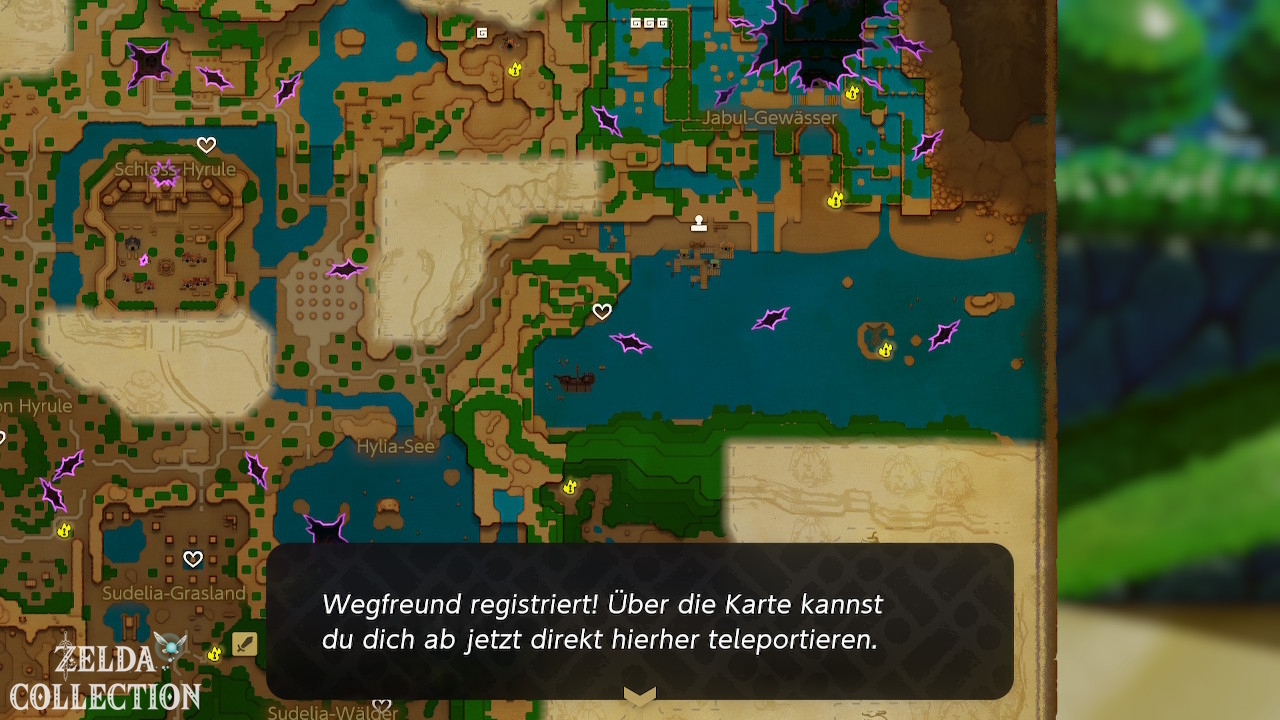
First enter Seesyde Village and activate the Waypoint.
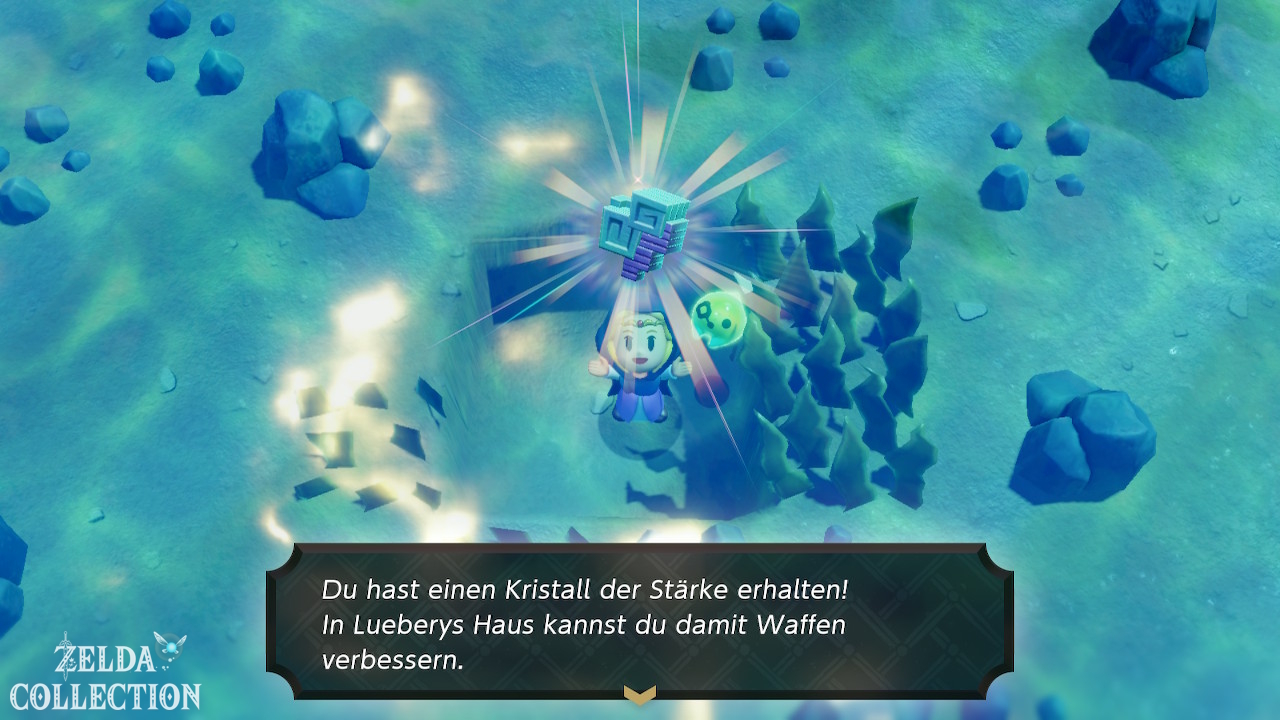
crystal under the bridge
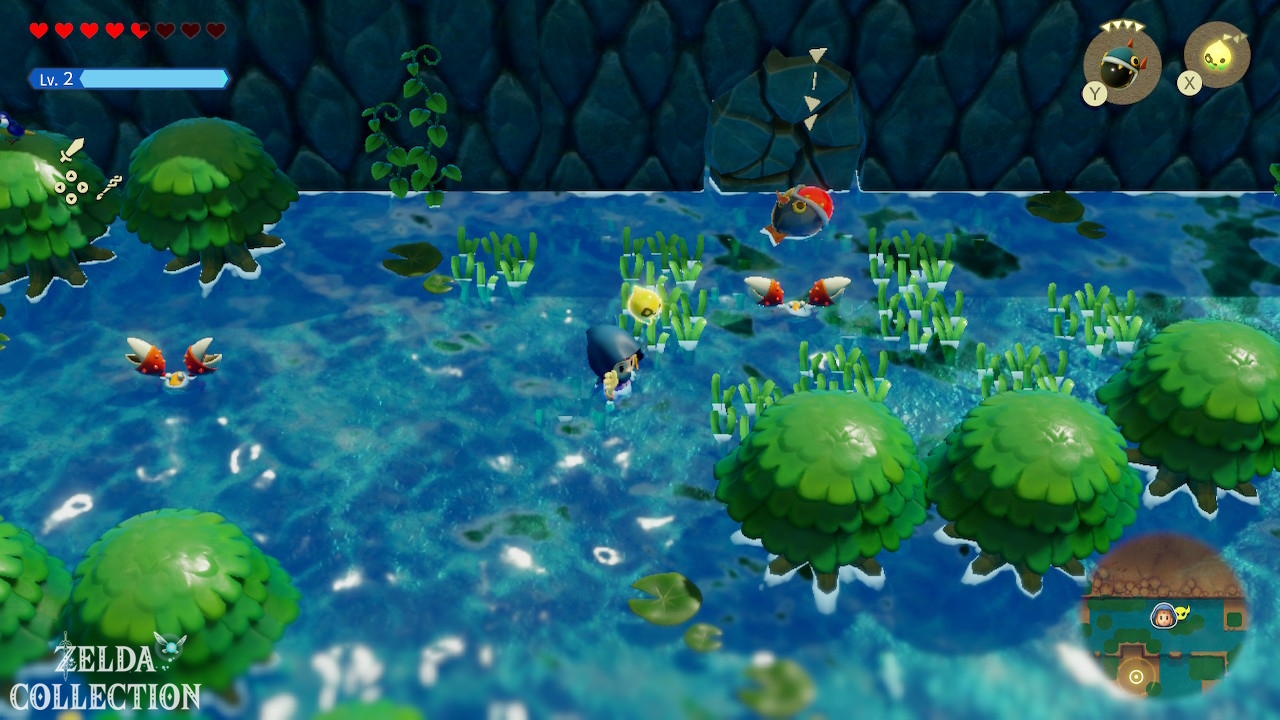
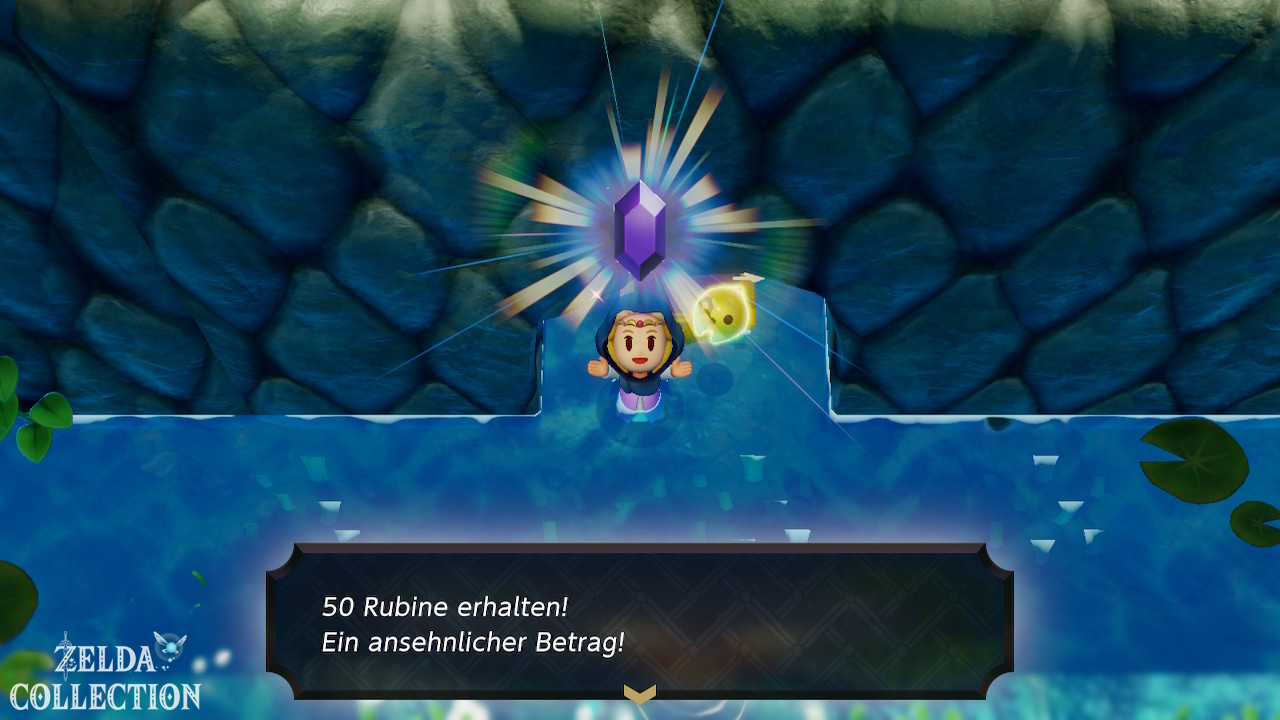
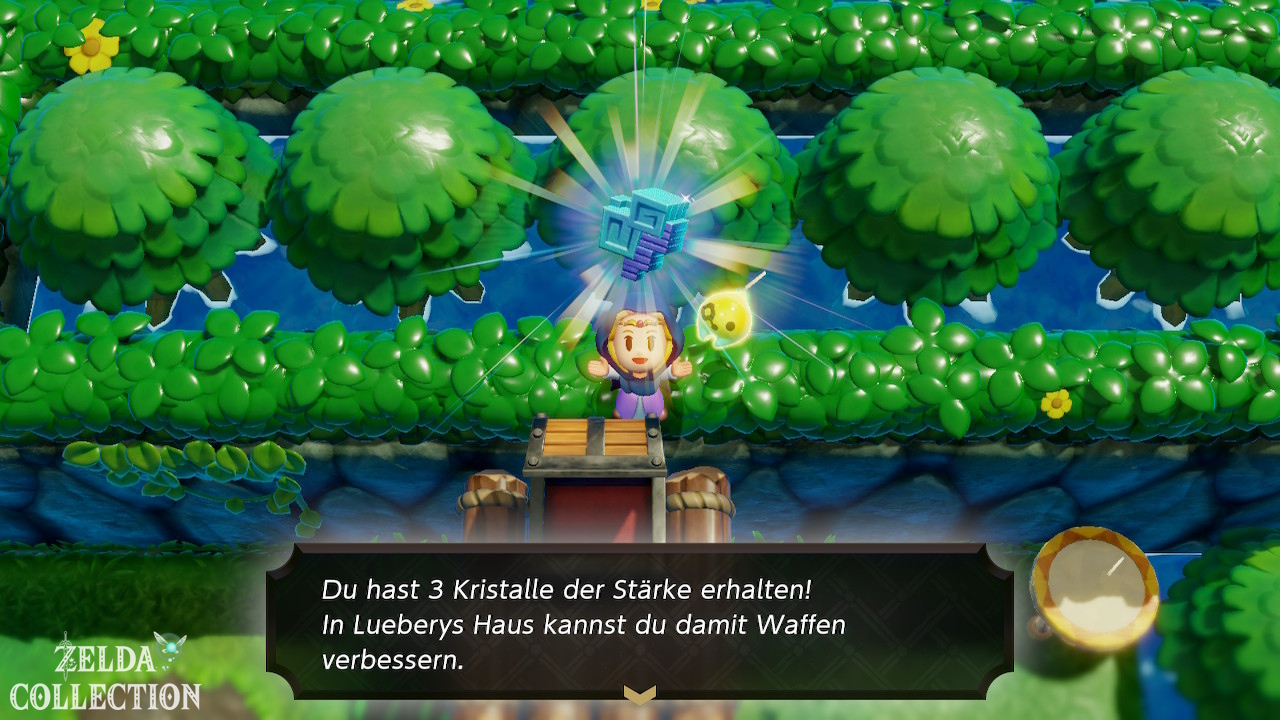
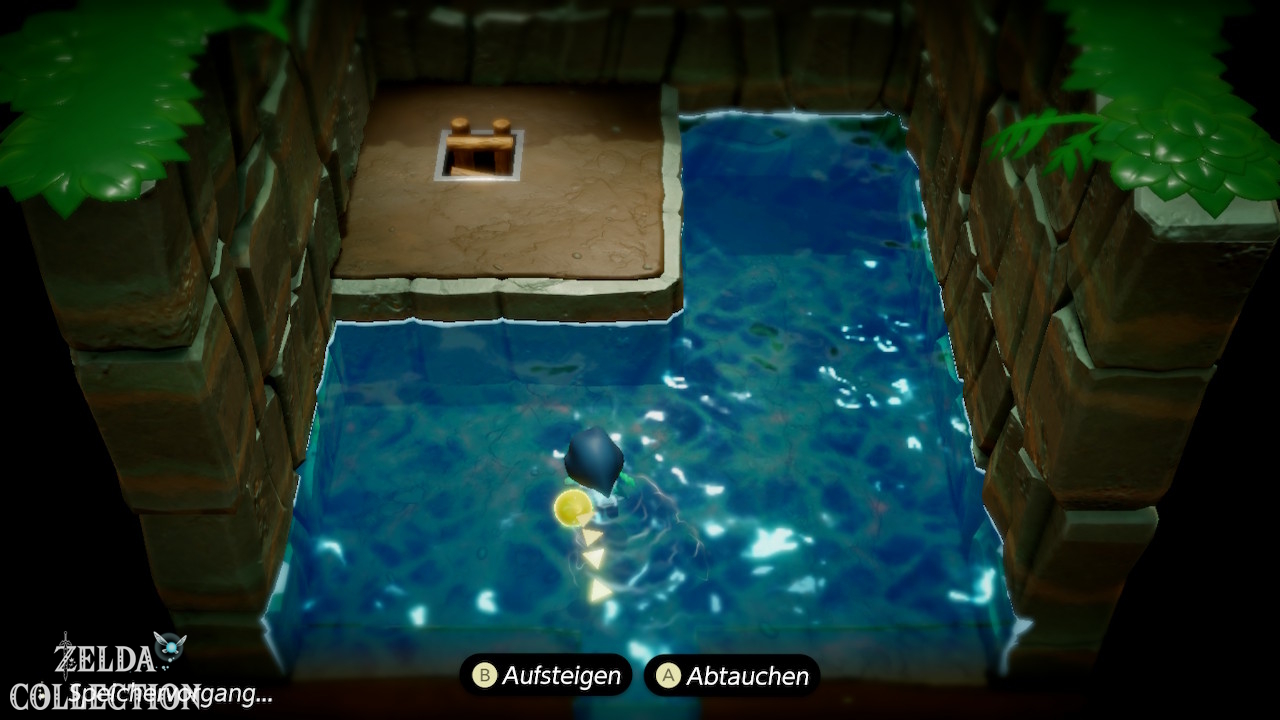
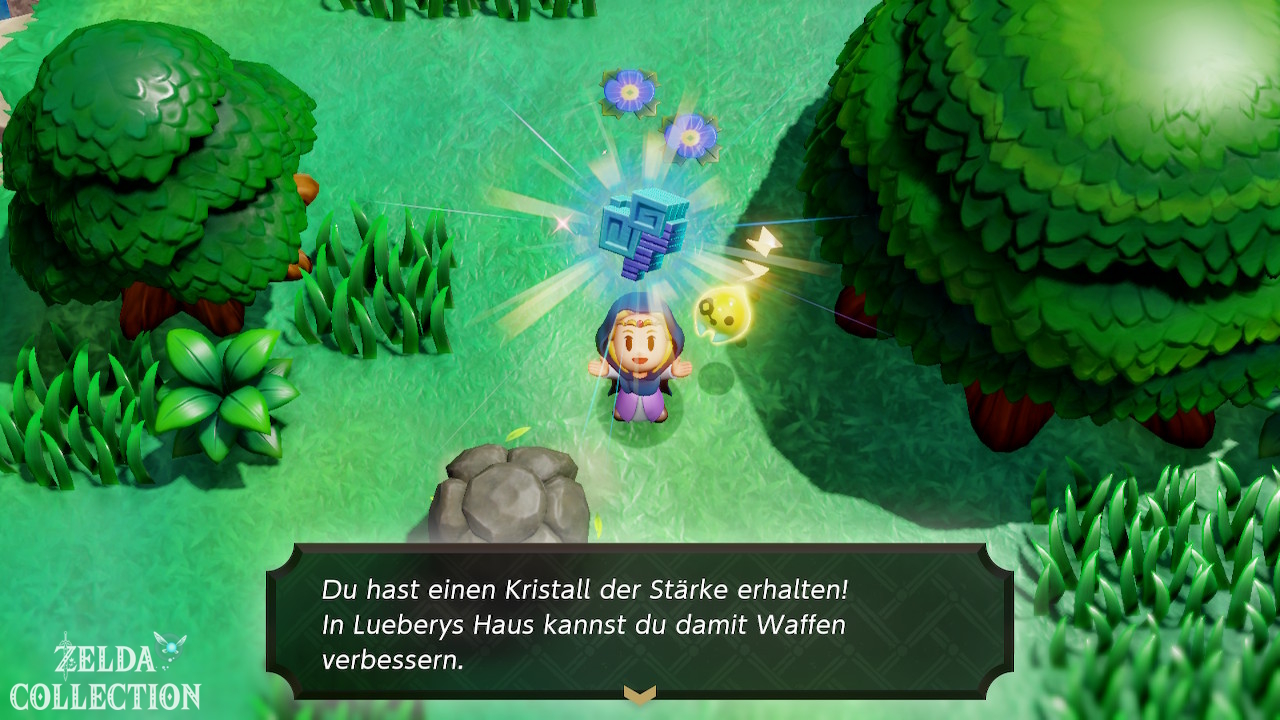
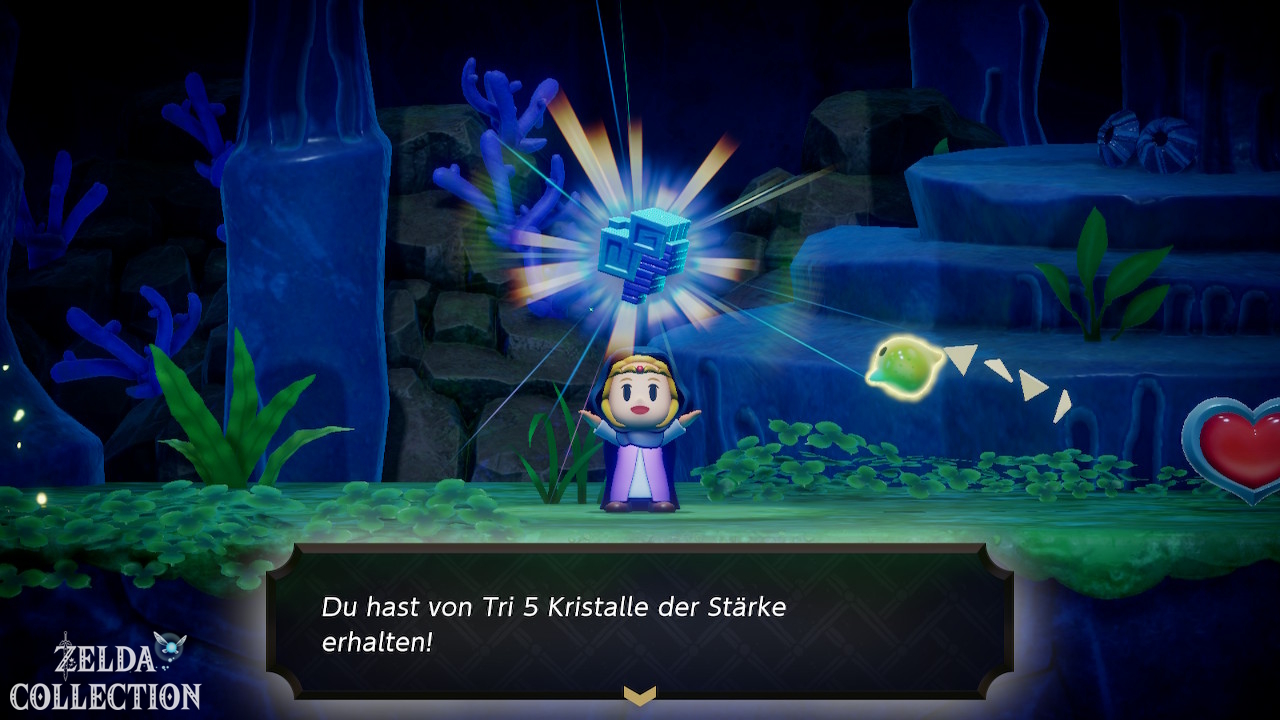
Jump into the water at the southern area of the town and dive under the jetty. There you will find a Might Crystal.
stamp in Seesyde Village
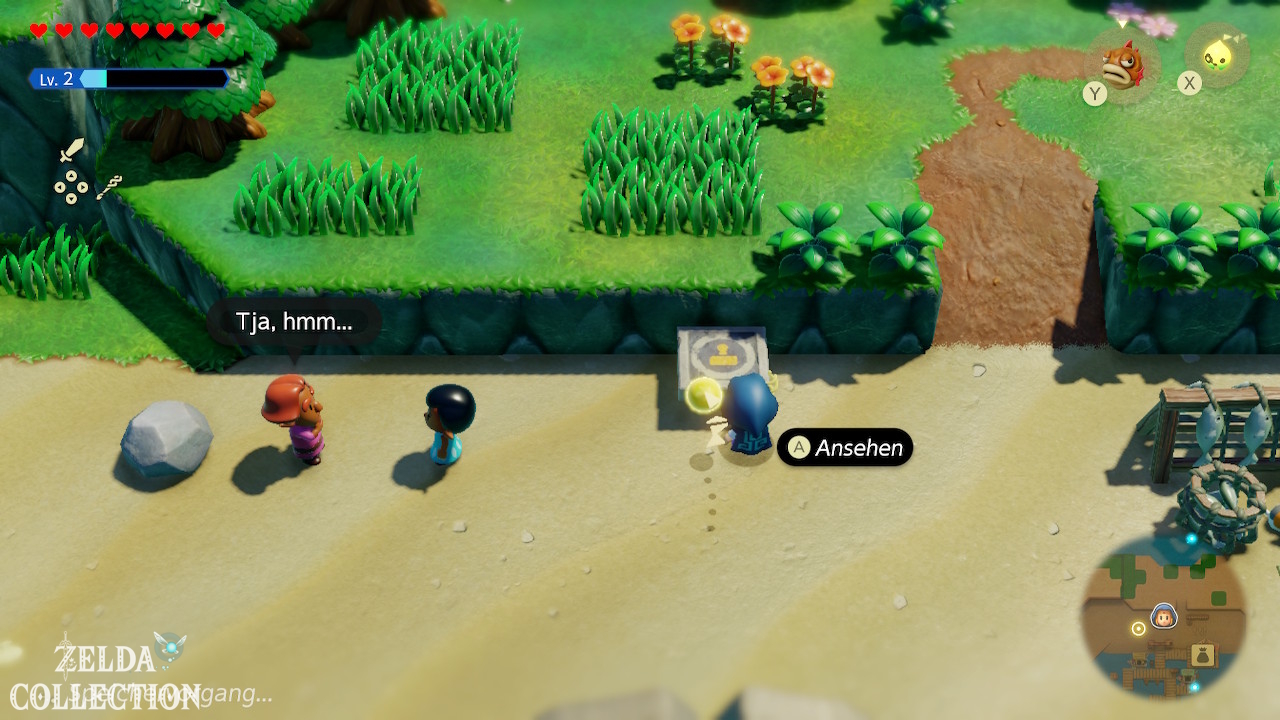
Also take the Stamp Stand with you in or directly from Seesyde Village.
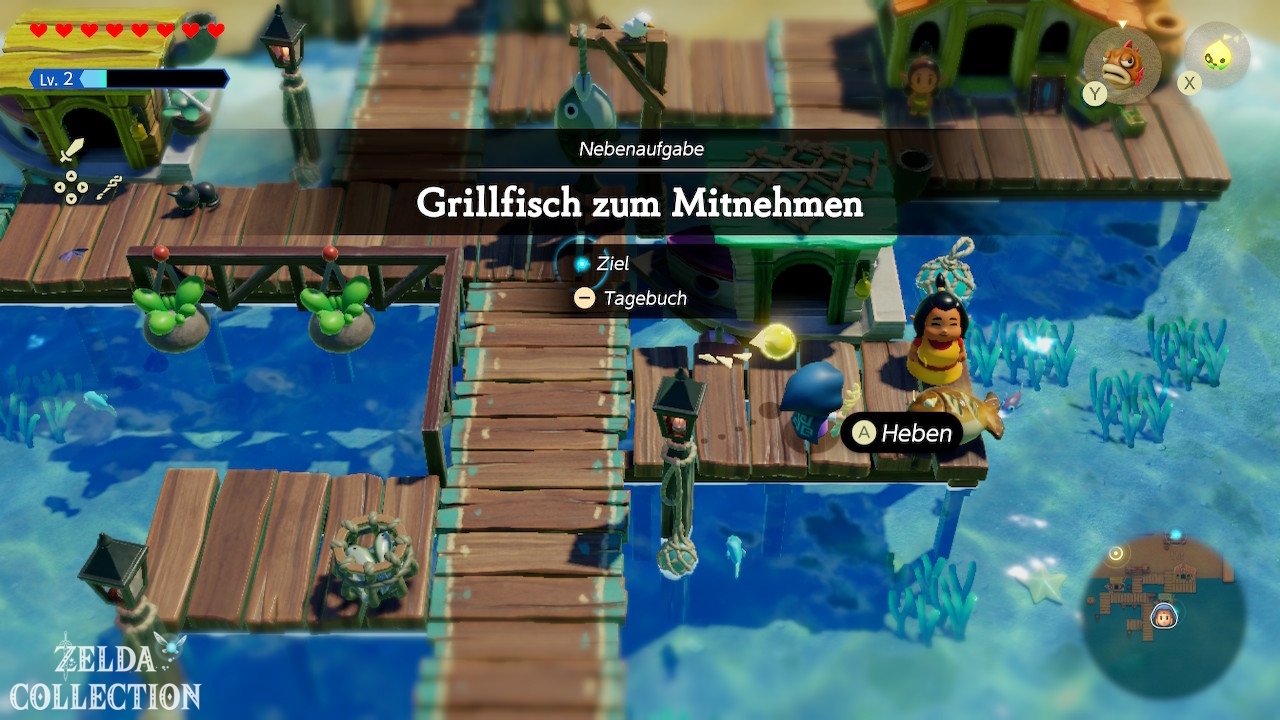
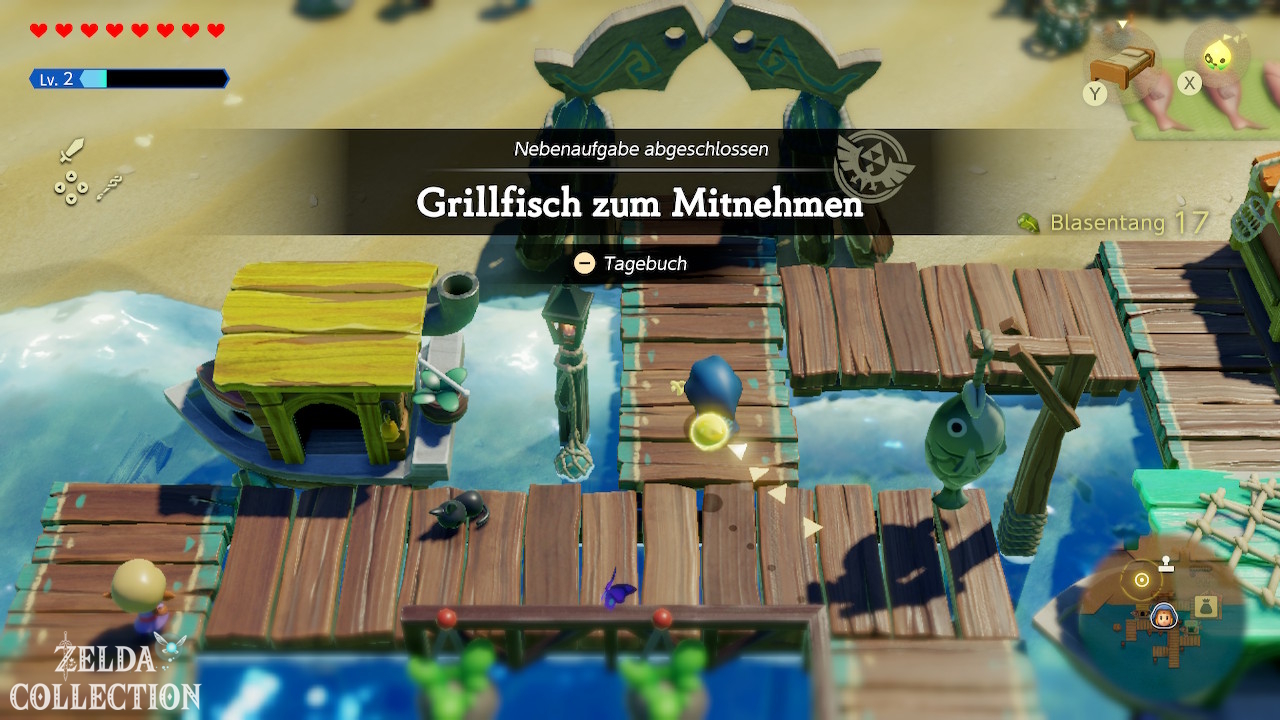
Side Quest: Deliver the Grilled Fish!
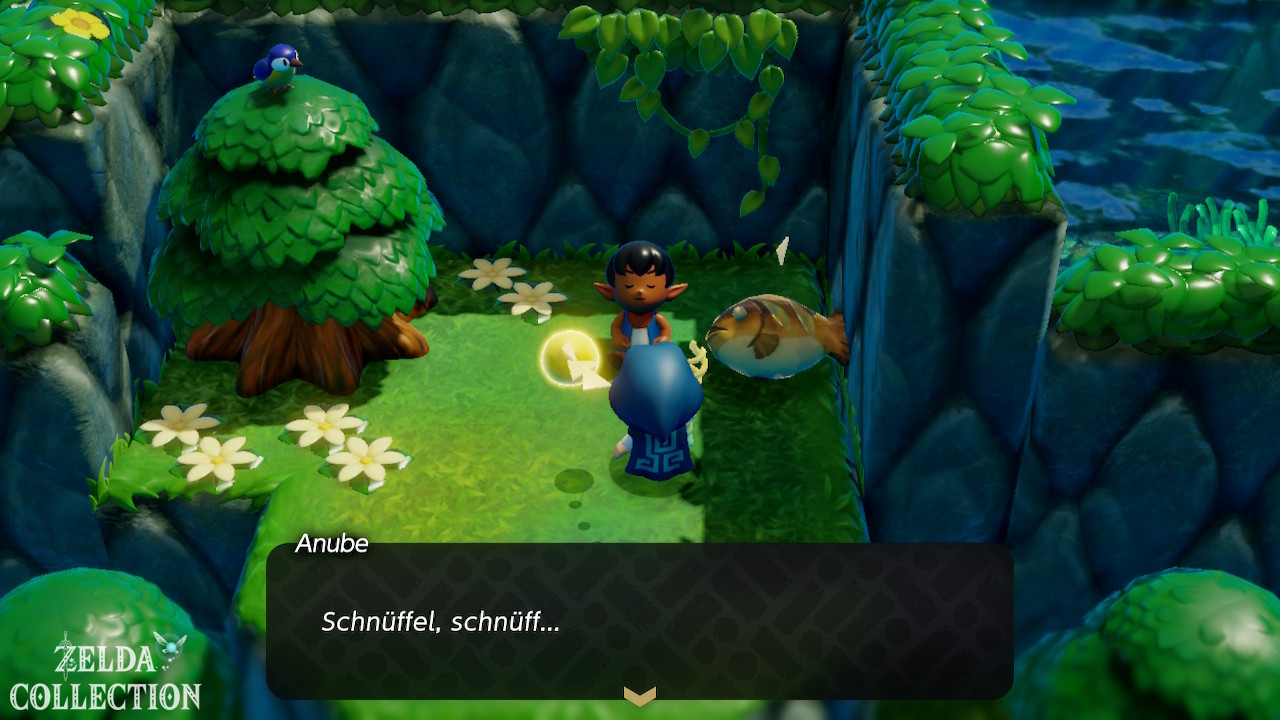
Talk to the woman in Seesyde Village and accept “Deliver the Grilled Fish!”. You should bring a grilled fish to her son. Important: The real grilled fish that you get from the client counts for transport. A newly summoned Grilled Fish Echo does not replace the quest item. Nevertheless, remember the grilled fish echo immediately. It only costs one triangle. First clear out the monsters on the way to the son. Then you grab the real grilled fish with Bind and transport it to the destination via the safe route.
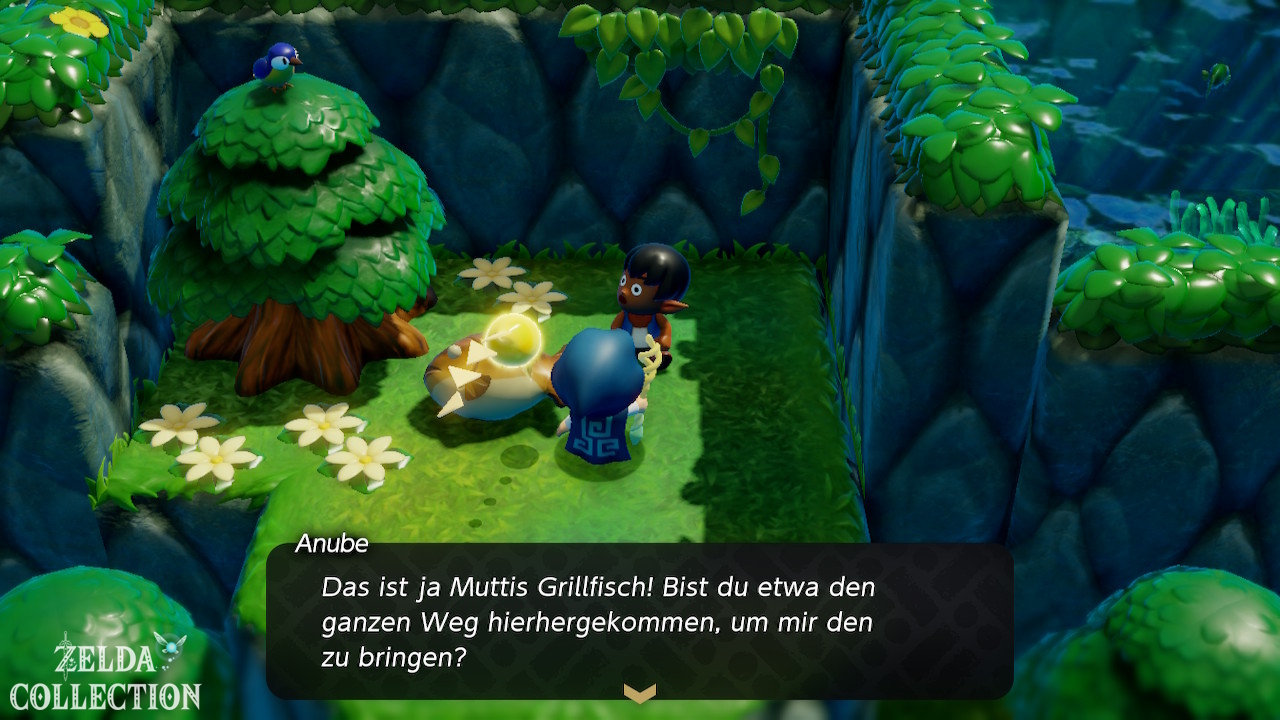
Leave it with the son and return to the client.
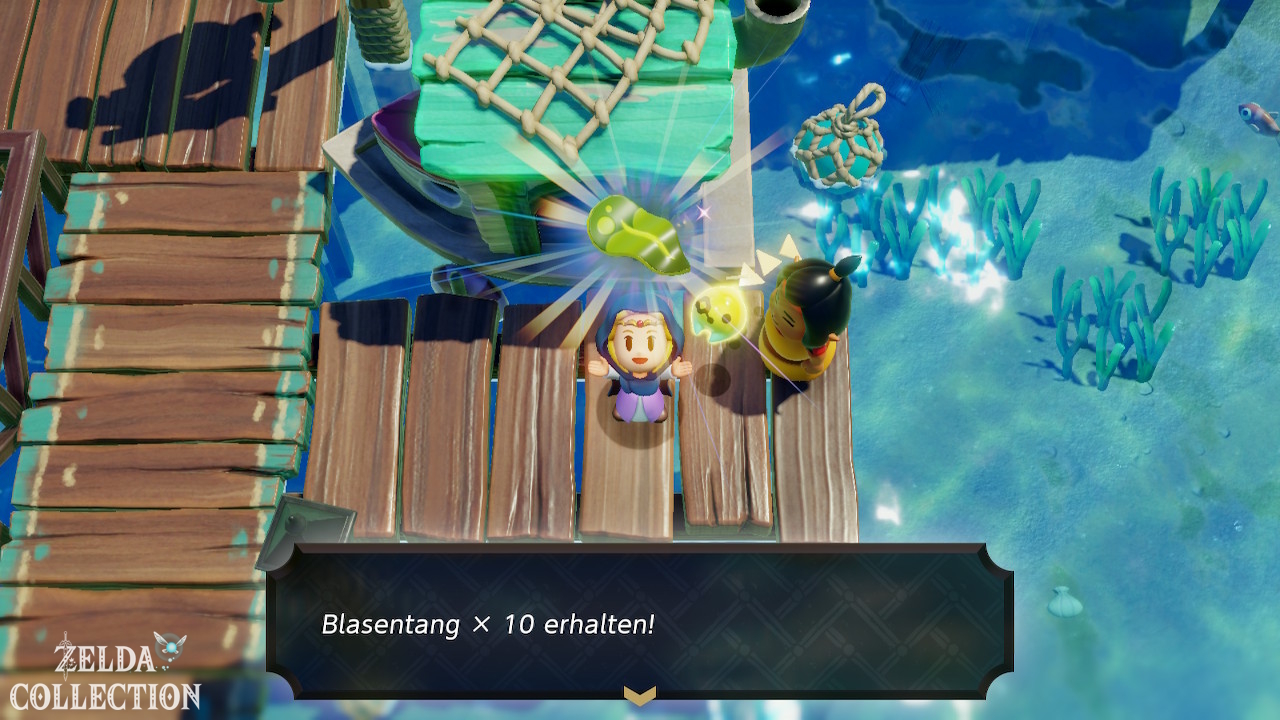
Reward: 10 Bubble Kelp and permanent access to the Grilled Fish Echo.
Chest in Monster Camp
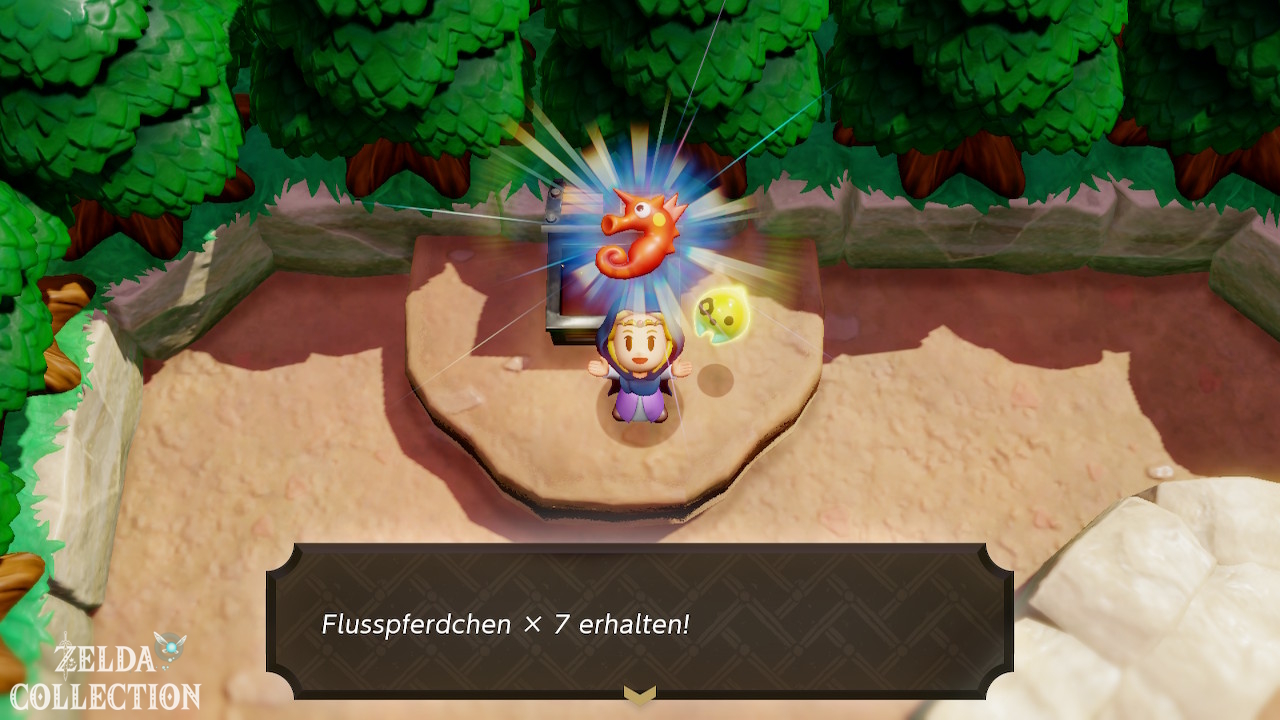
If you clear the monster camp on the delivery route, a chest will open containing 10 Riverhorse.
Crystal north of Seesyde Village
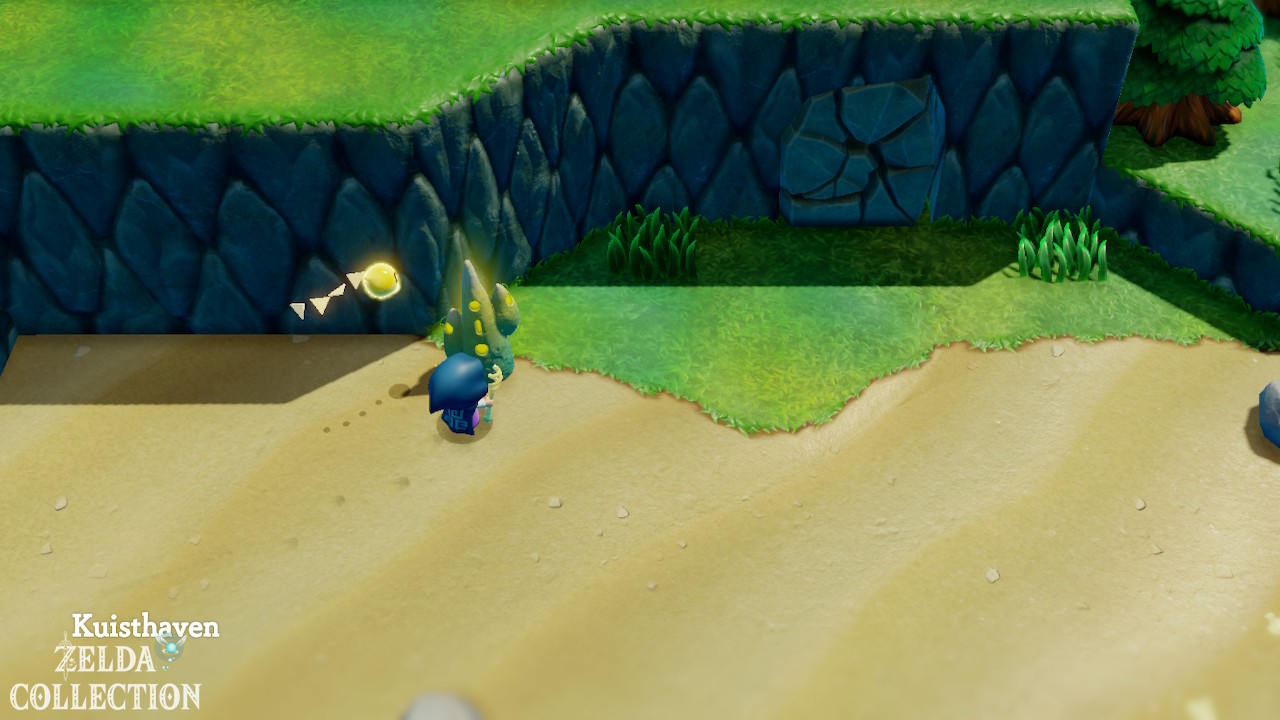
Since you already brought Holmill with you from the Gerudo Desert, you can also examine the suspicious area of earth in the area north of Seesyde Village. Have Holmill dig on it and take the exposed Might Crystal with you.
Cracked wall: come back later with Bombfish
You cannot yet open a fragile wall in the area of Seesyde Village with normal attacks. Remember the spot. We’ll come back once we’ve learned the Bombfish.
Crossflows Plaza and southern Zora Cove
Continue following the waterway to Crossflows Plaza. This is where sea water and river water meet.
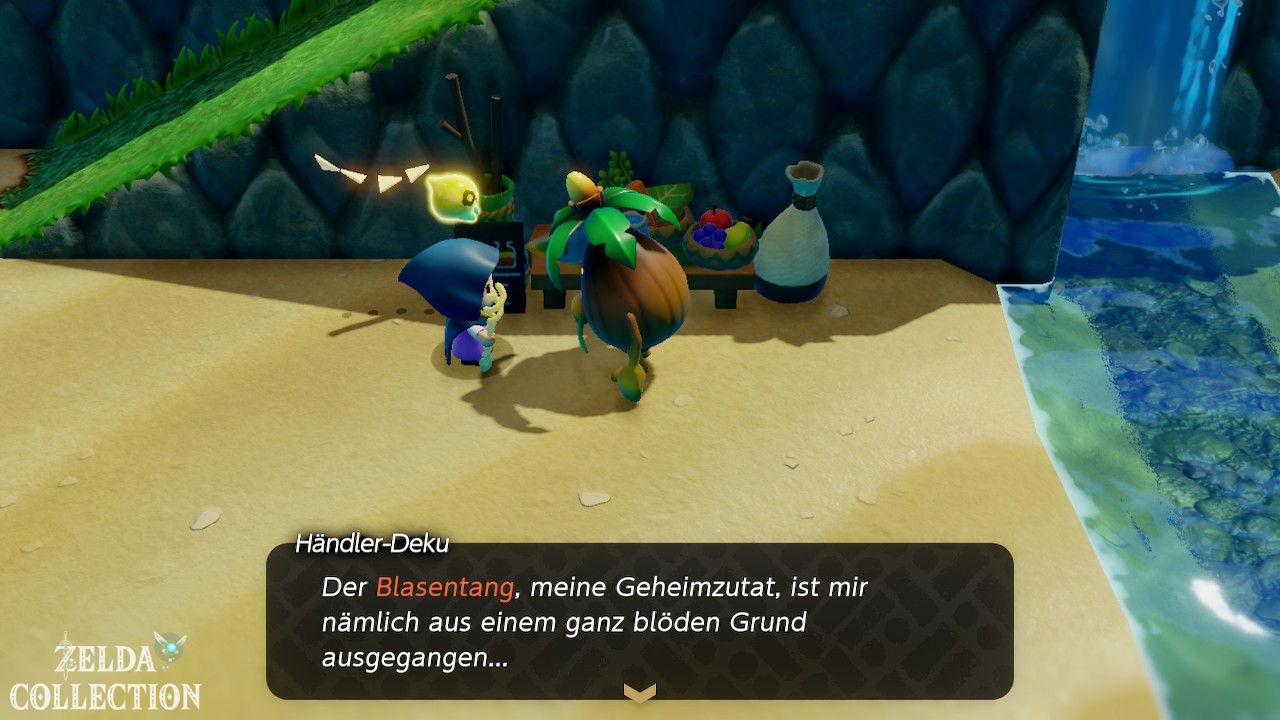
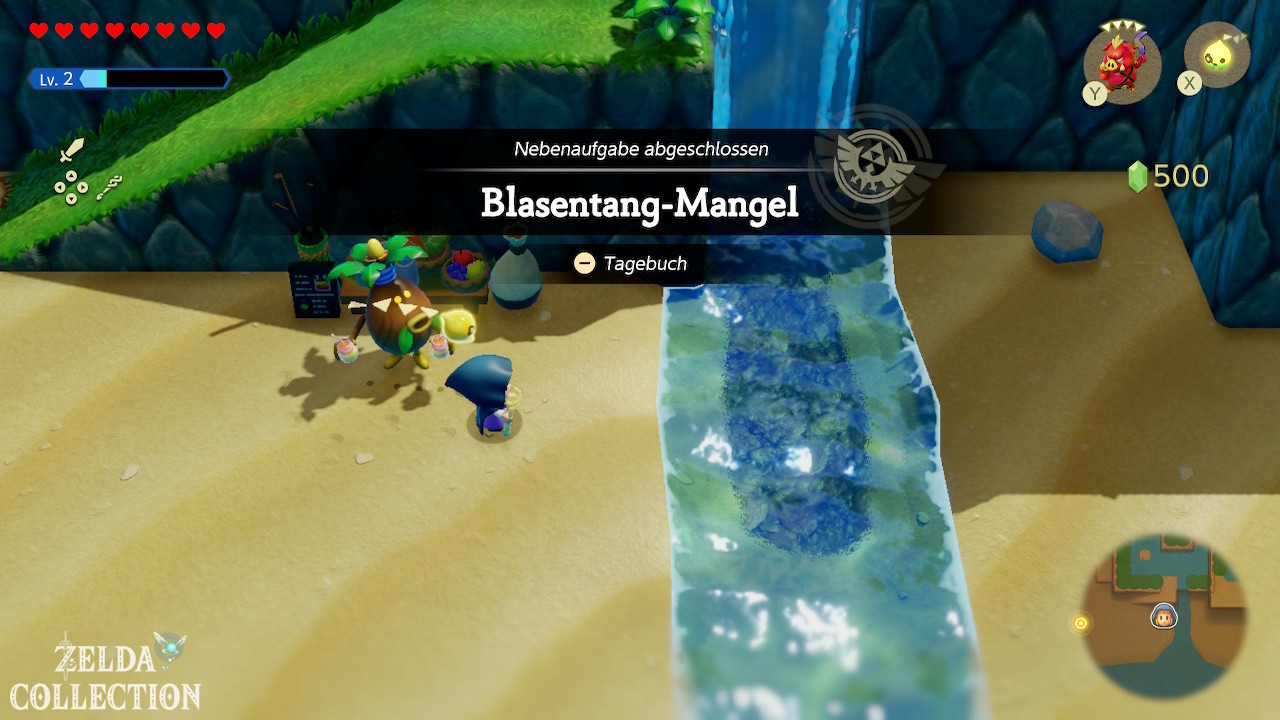
Side Quest: Out of Bubble Kelp
You can accept “Out of Bubble Kelp” from the smoothie dealer. Give him 3 Bubble Kelp. If you have just completed “Deliver the Grilled Fish!”, you have more than enough of it.
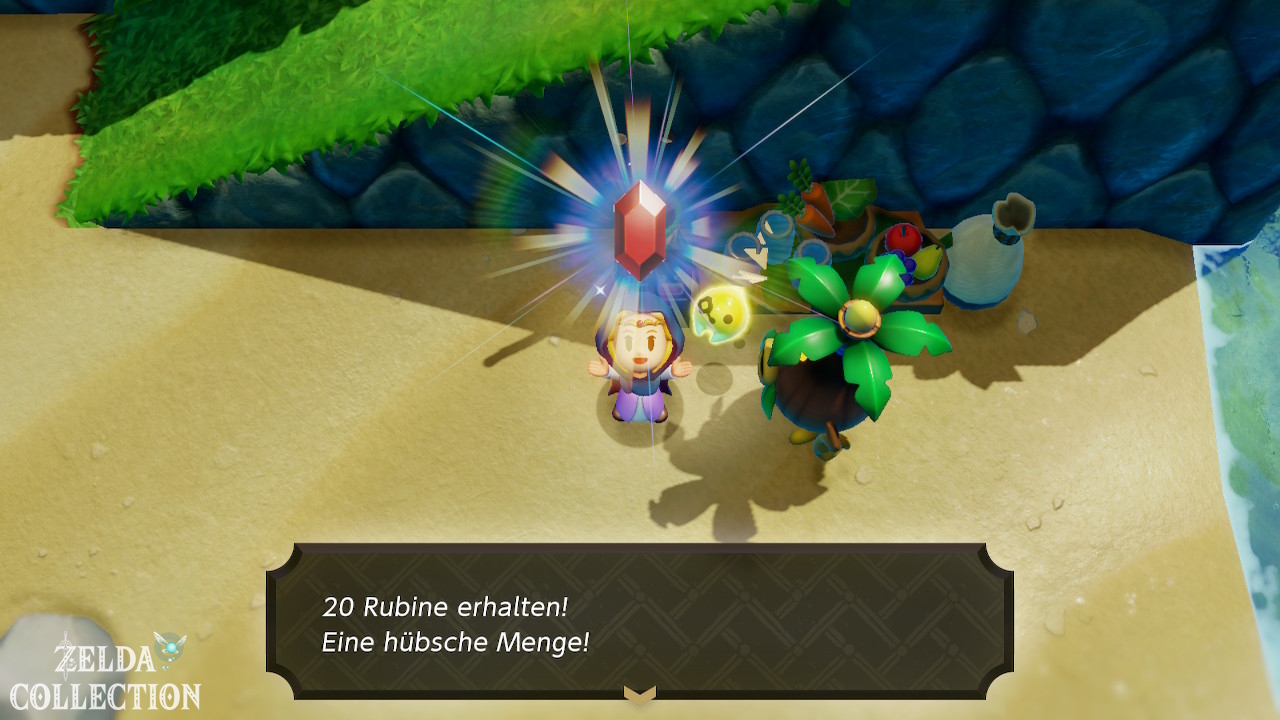
Reward: 20 Rupees.
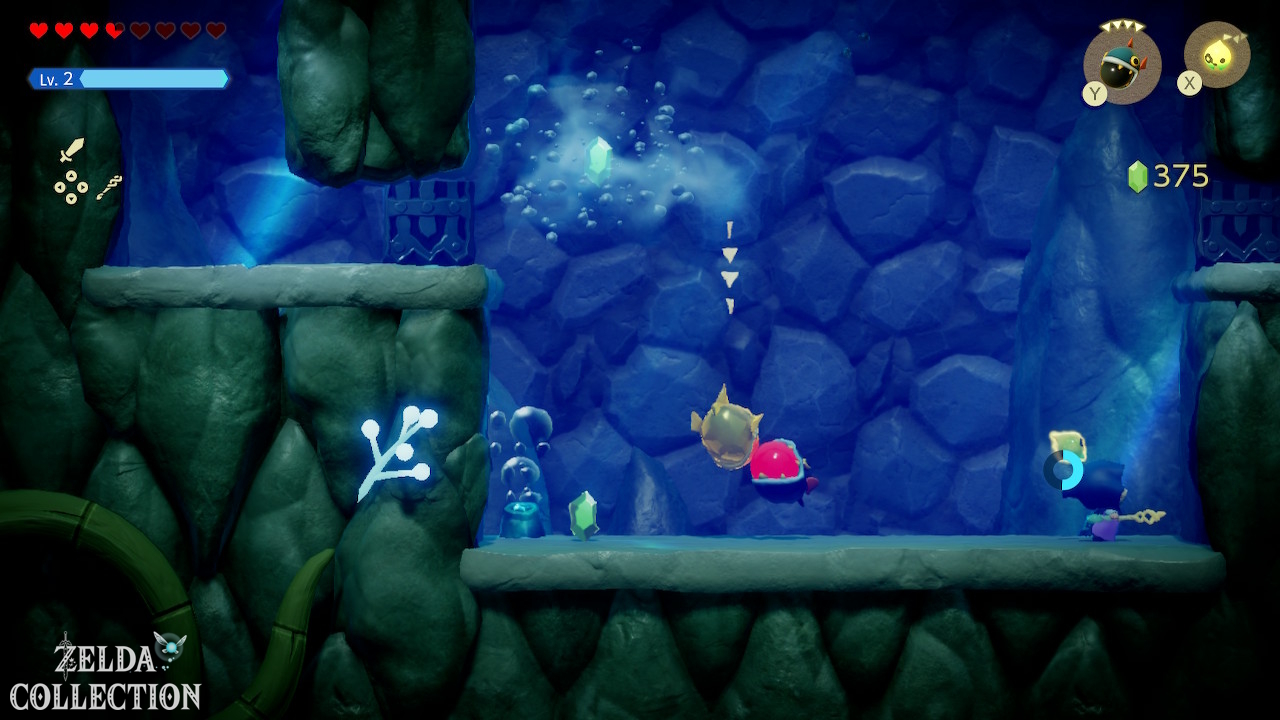
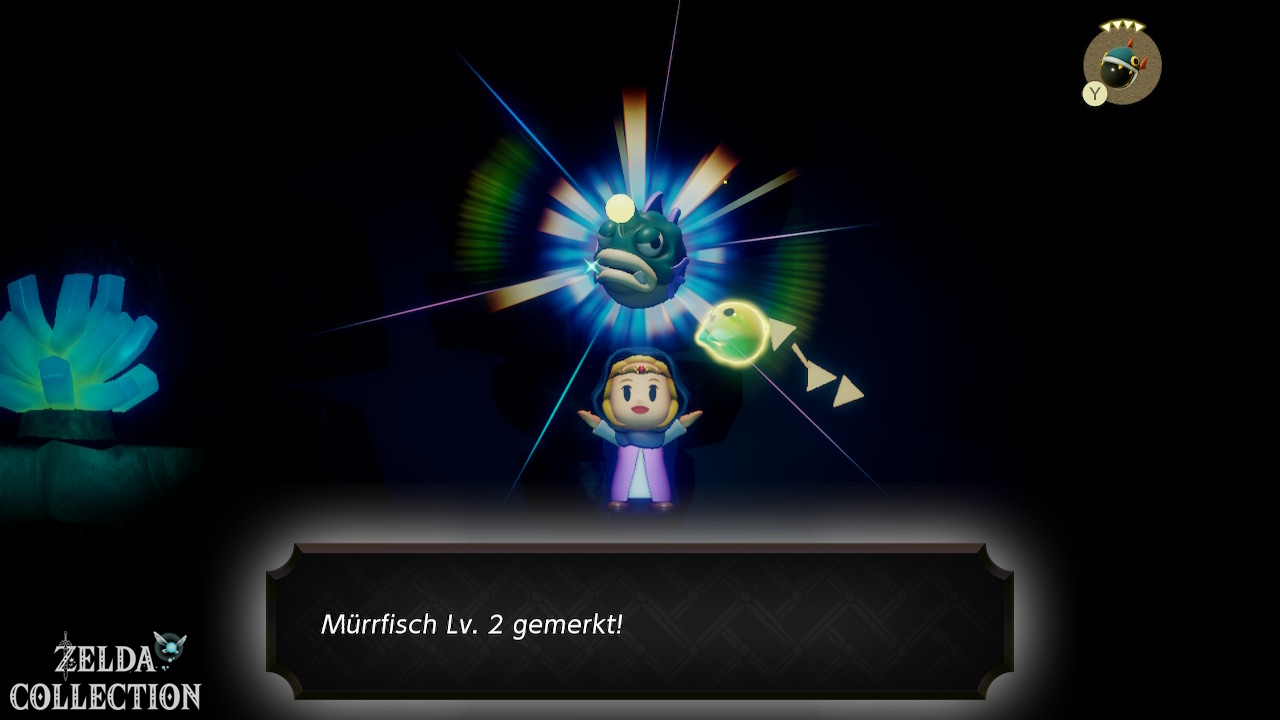
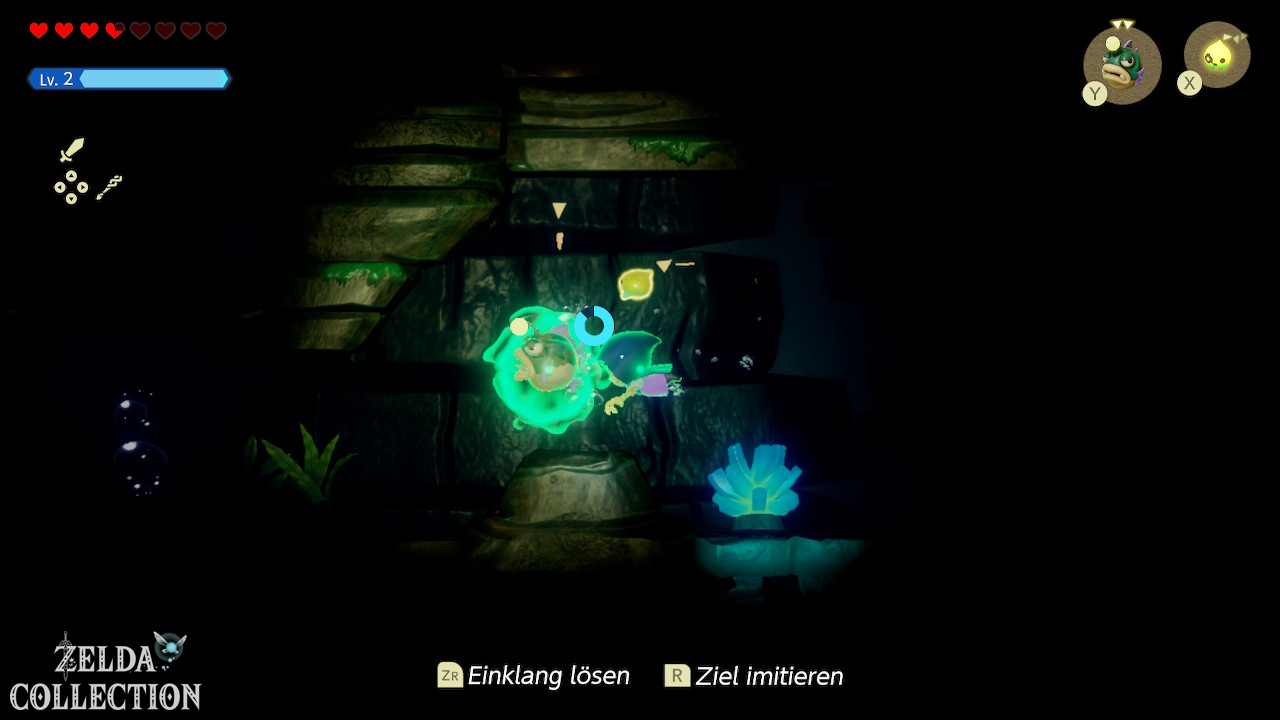
Underwater Cave: Biri and Tangler Lv. 2
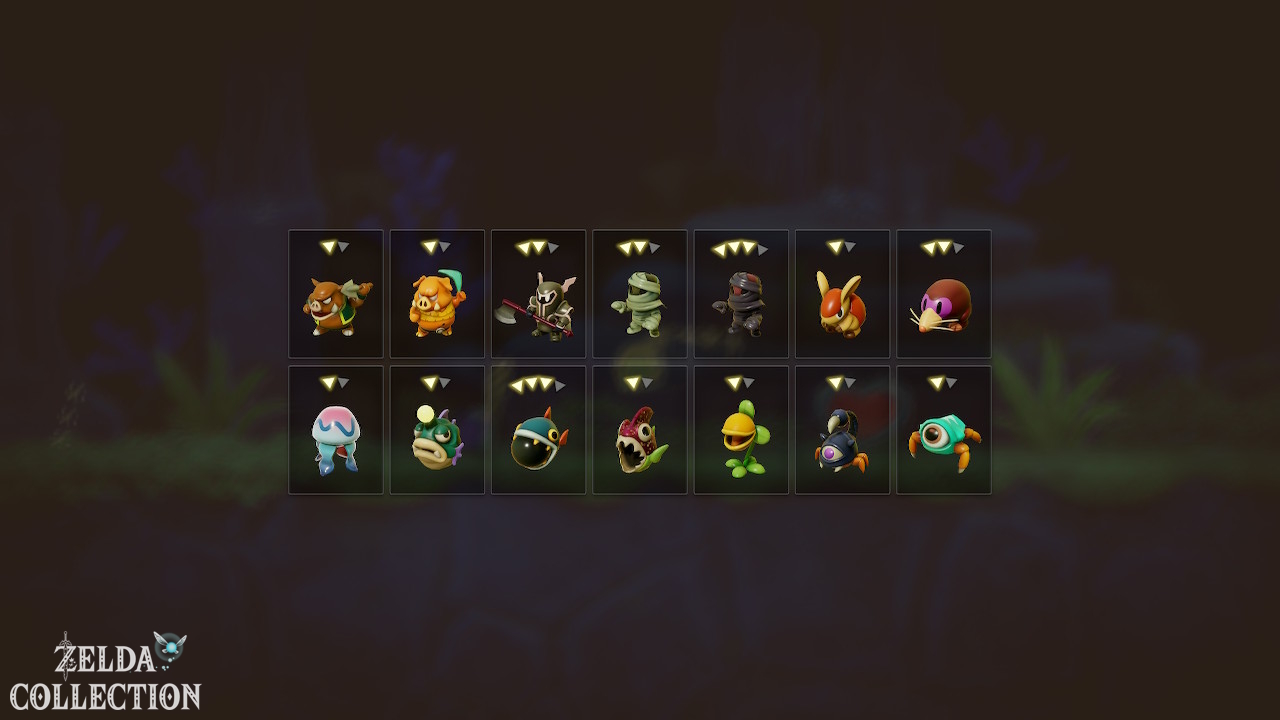
Explore the cave or underwater area on the southeast side of the bay. Here you can learn the following echoes, among others:
- Biri – important for the later Side Quest “The Zora Child’s Fate”
- Tangler Lv. 2 – also suitable for “The Zora Child’s Fate”
Also open the chest with 10 Bubble Kelp.
Stamp on the southeast island
Swim on to the island in the southeastern part of the Zora Cove and use the Stamp Stand there.
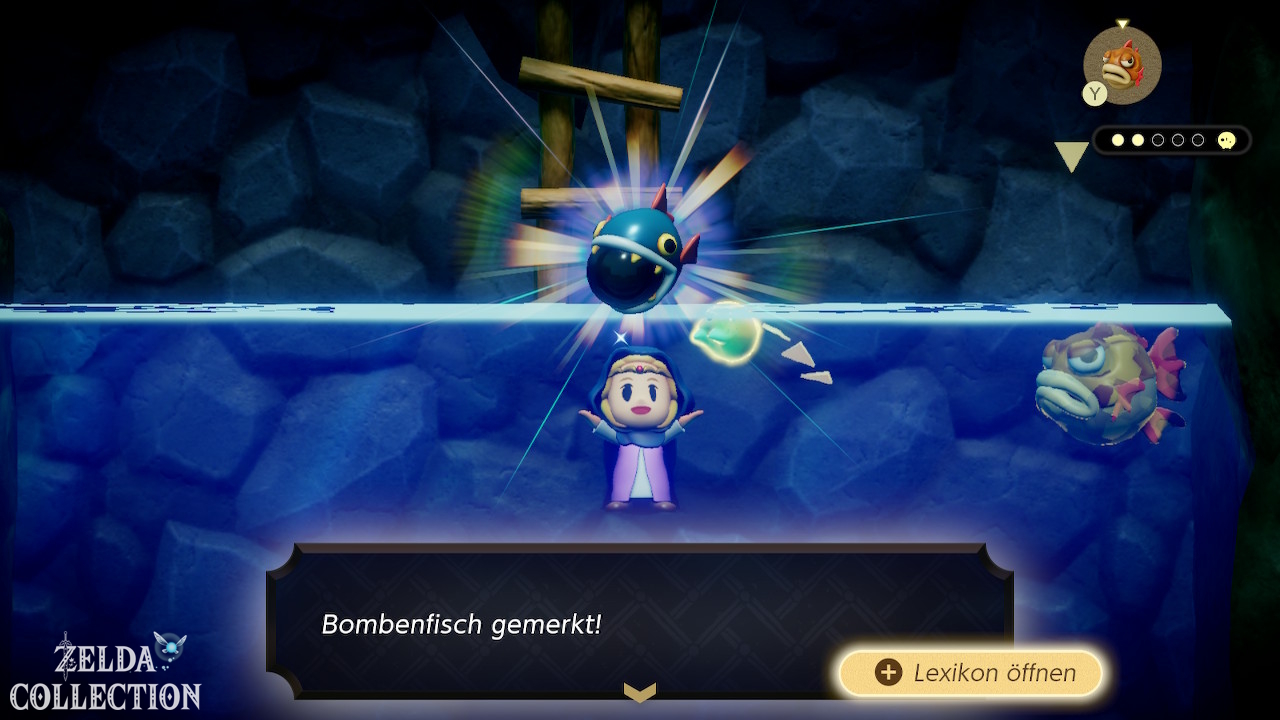
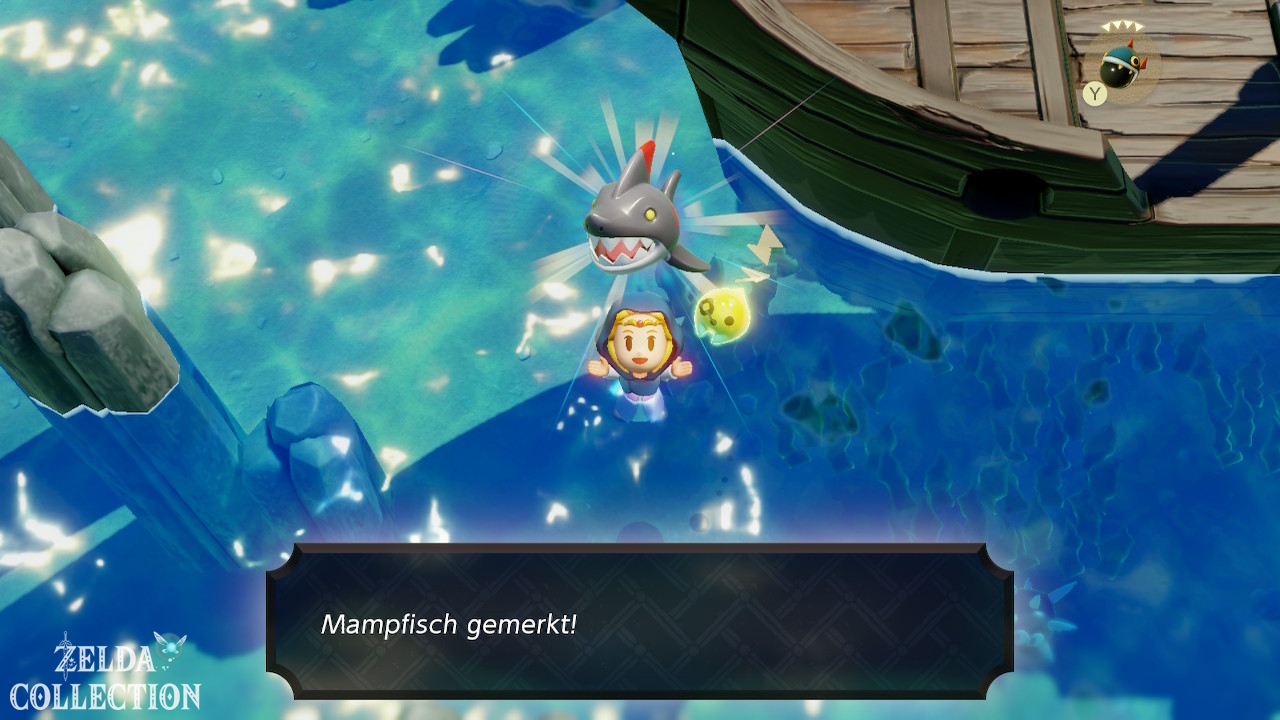
Bombfish get
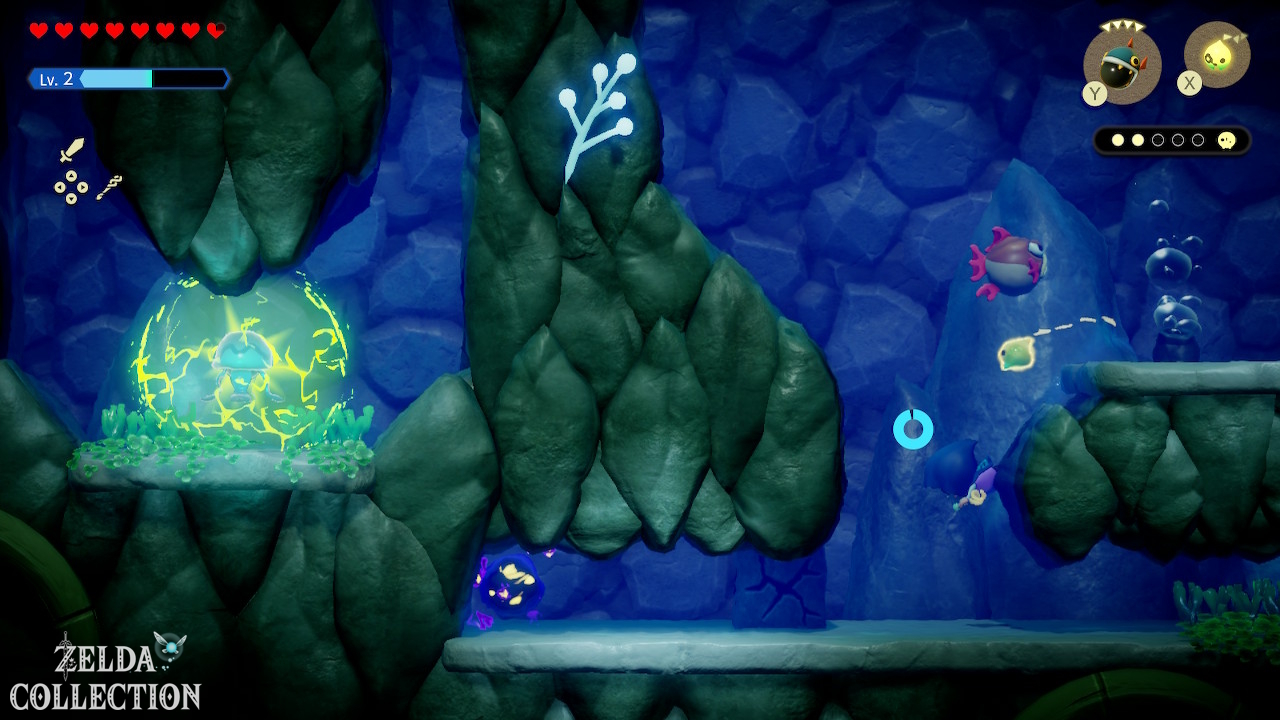
First learn one of this region’s most useful echoes: the Bombfish. Find Bombfish among the cracked rocks in the cave in northern Jabul Waters and defeat one to learn its echo. At this stage, summoning one costs four triangles and uses your available allowance. Summon it beside a cracked obstacle, let it explode, then switch back to your other echoes.
Bombfish destroy fragile stone walls and rock slabs. You don’t need the Swordfighter Form’s bomb capability to do this.
Chest: Golden Egg
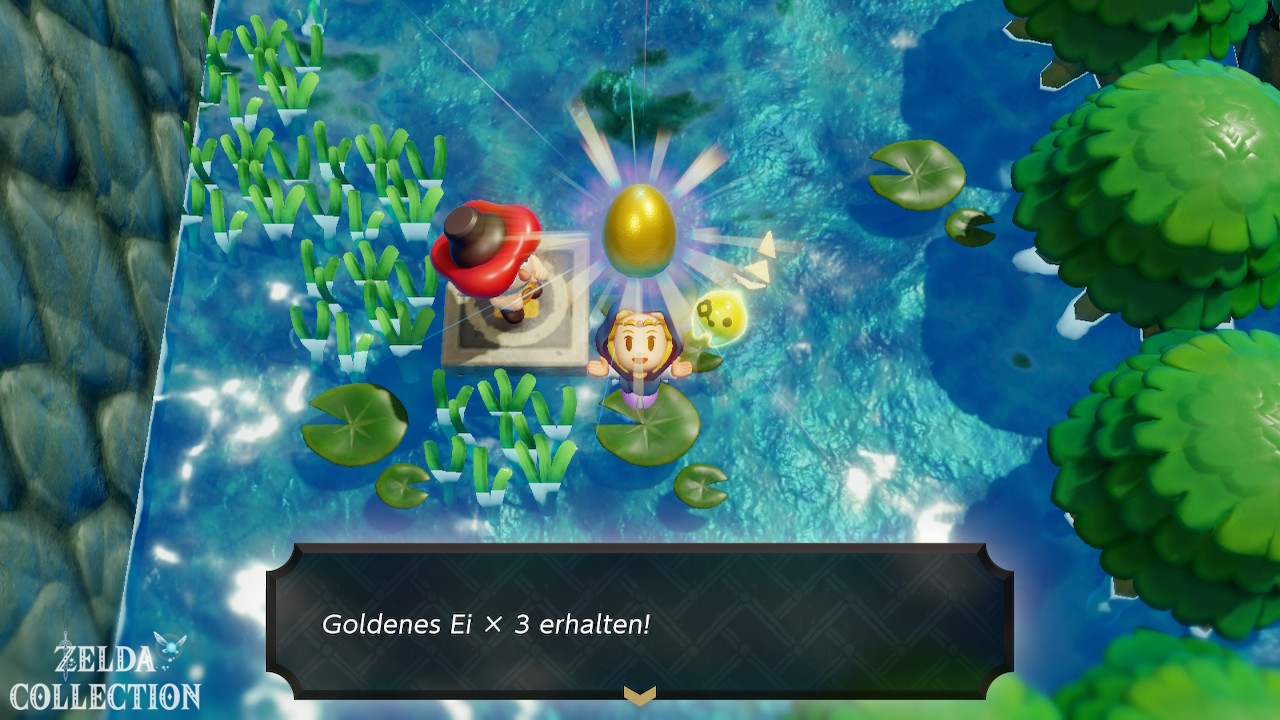
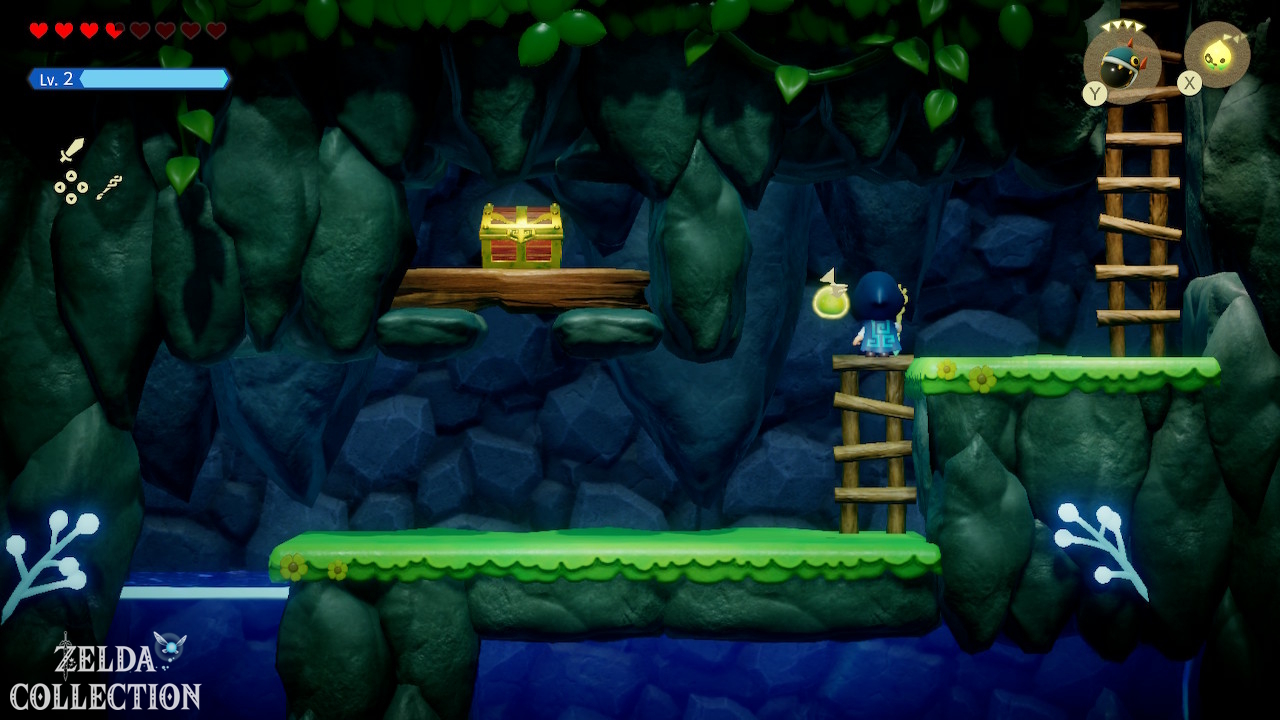
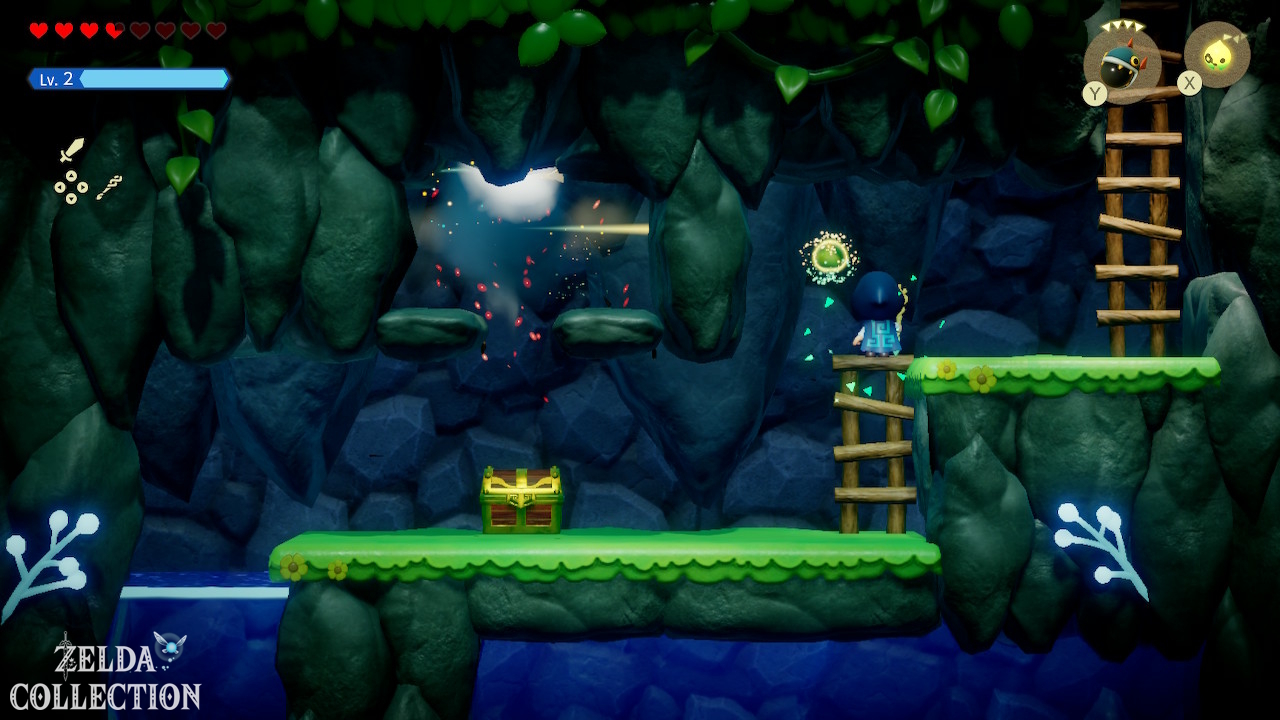
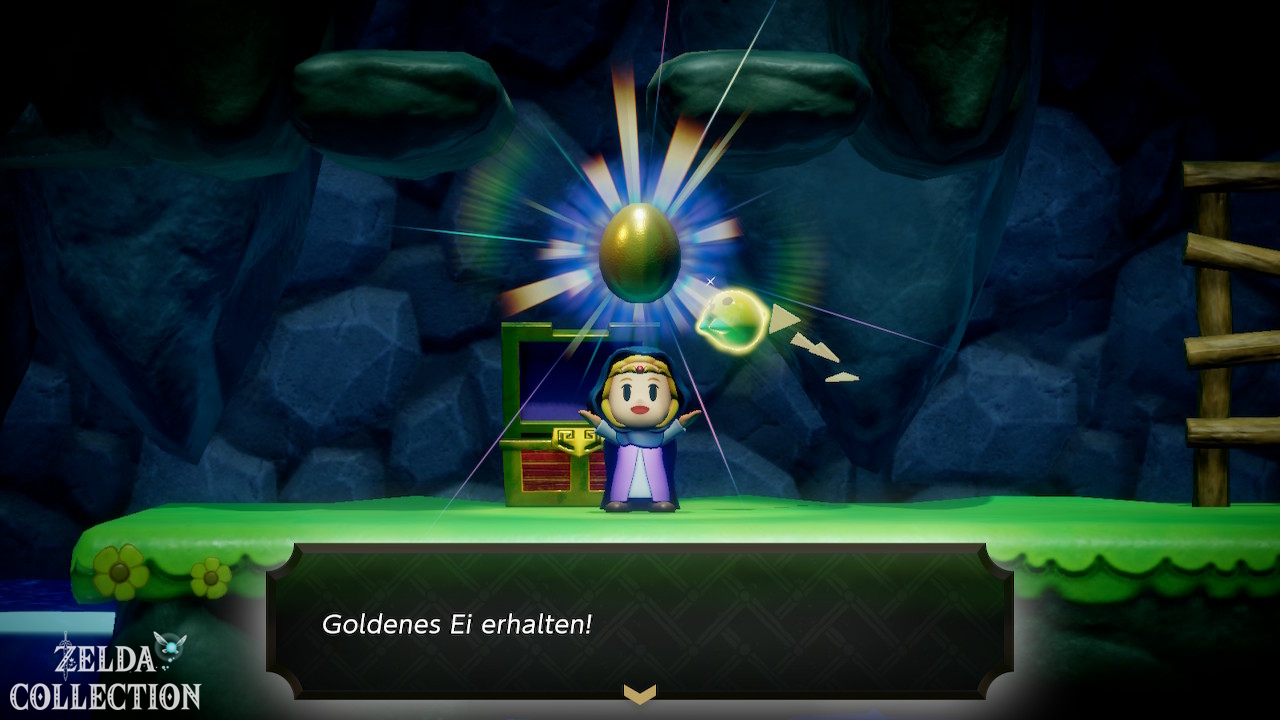
In the Bombfish Cave, blow up the cracked stones and follow the revealed path. There is a Golden Egg in the chest.
Return to Seesyde Village
If you still have the previously marked fragile wall at Seesyde Village open, you can now blow it up with a bombfish and take the chest behind it with you.
River Zora Village
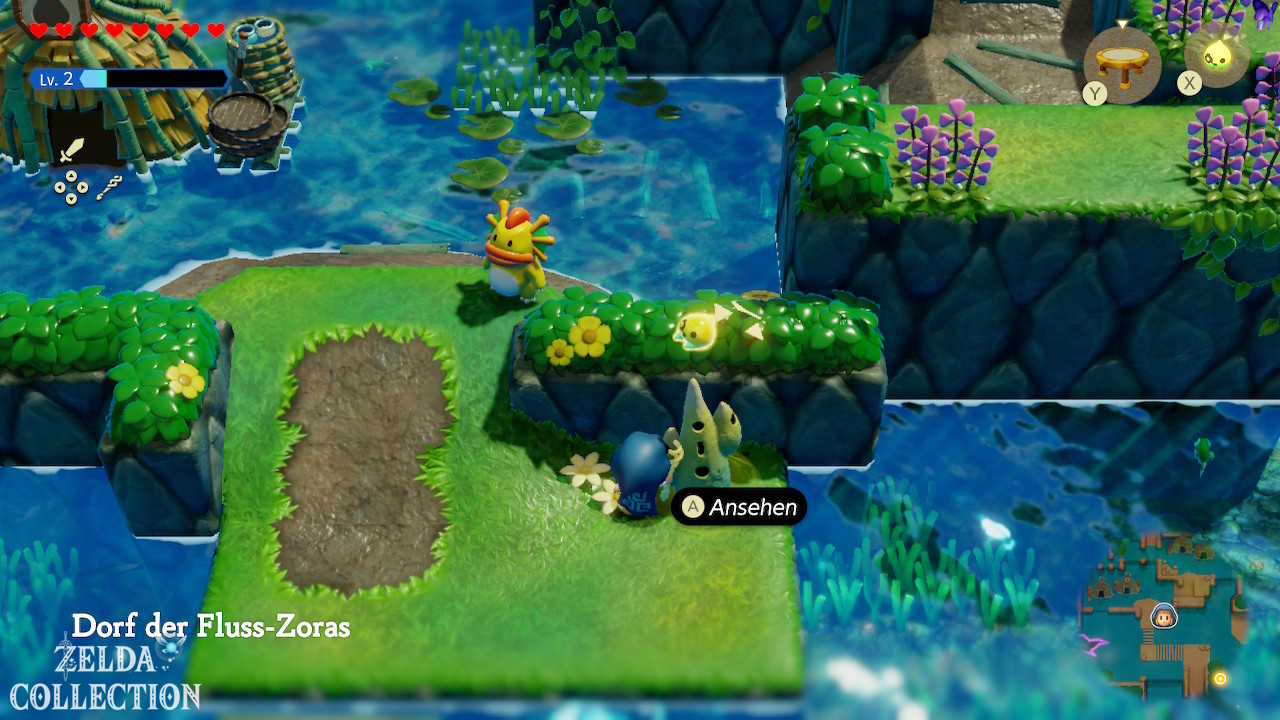
Follow the river north or northwest to River Zora Village. Activate the Waypoint and talk to the residents and Dradd to advance the main story.
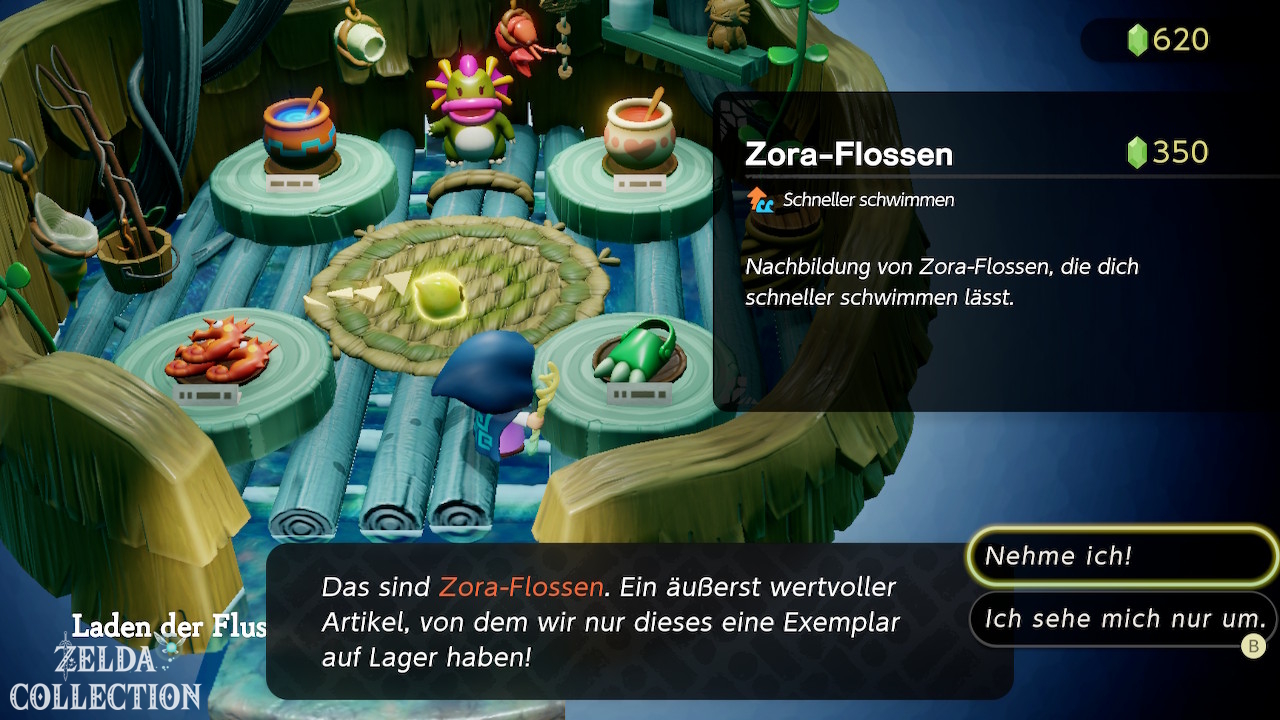
Zora’s Flippers for 350 Rupees
In the store you can buy the Zora’s Flippers for 350 Rupees. With them Princess Zelda swims faster. They are nice for the Jabul dungeon, but not essential.
Silver Brooch
To the west or on the elevated side of the village there is a crumbling wall. Blast it with the Bombfish and open the chest behind it. You will receive the Silver Brooch, which will spawn Rupees more frequently.
stamp at River Zora Village
The next Stamp Stand is elevated near the village. Get up with bed steps, trampoline or – if you played Gerudo first – especially easy with Platboom.
Piece of Heart above the waterfall
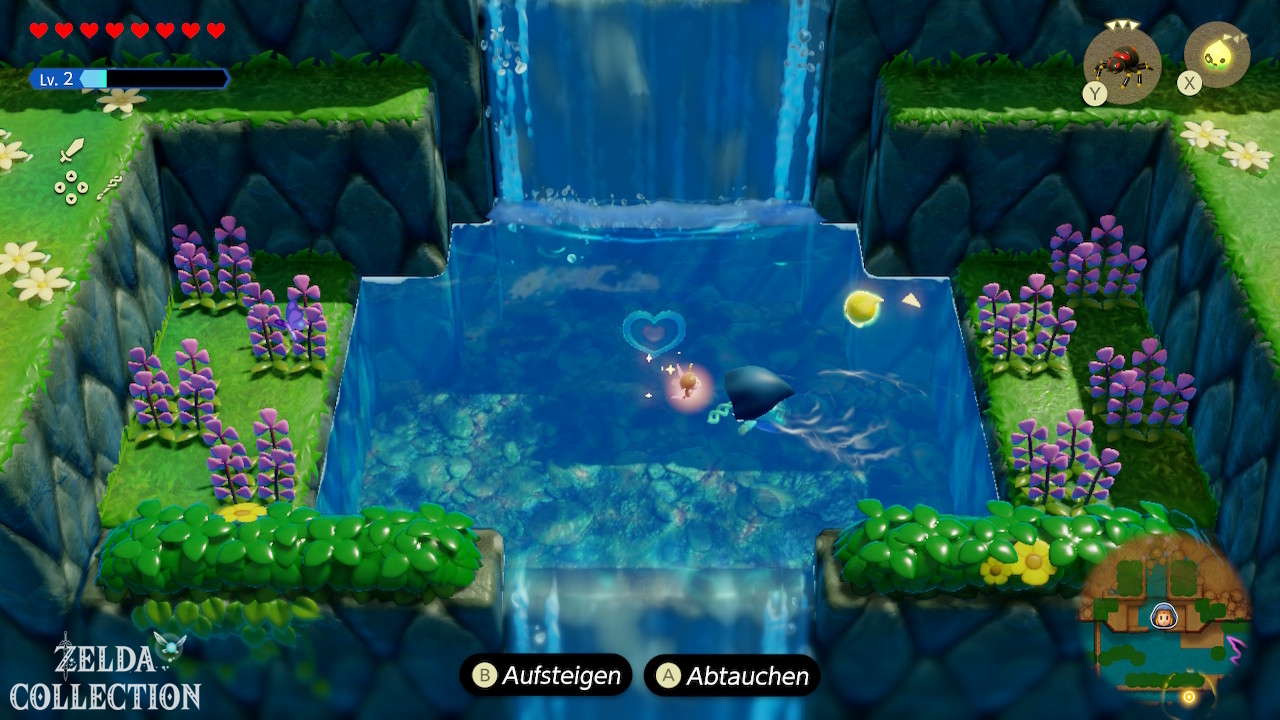
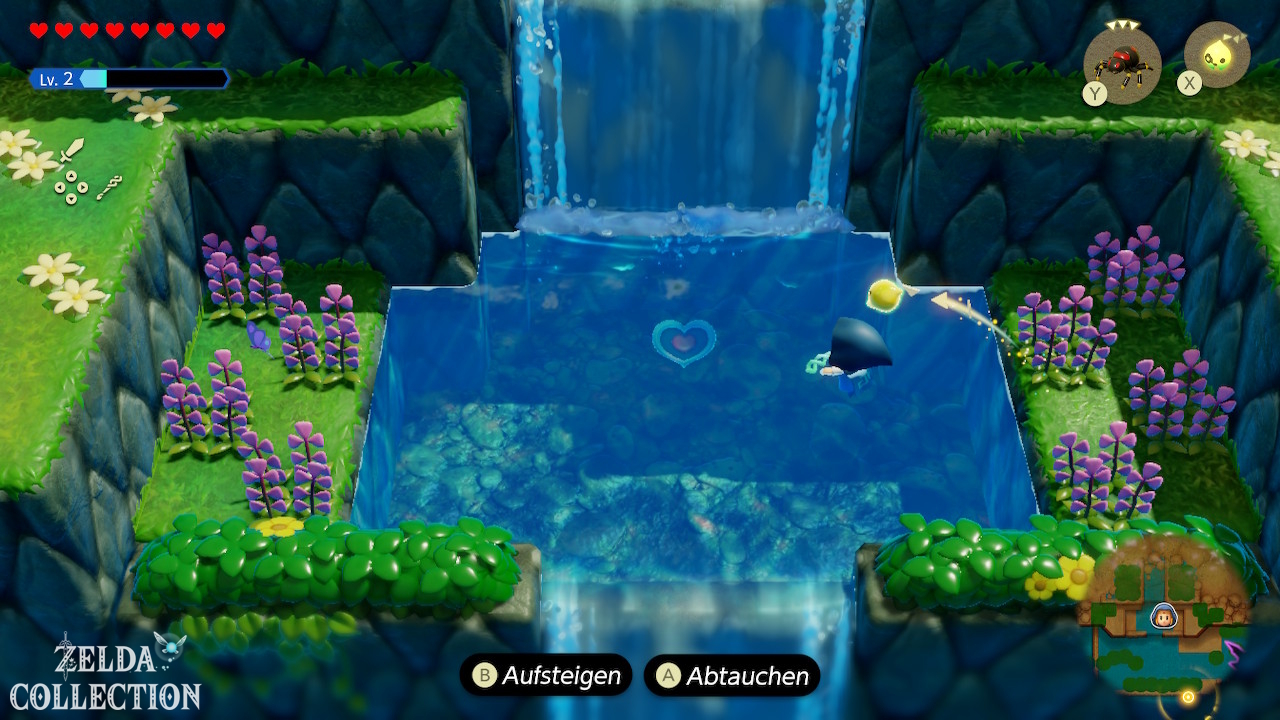
Follow the stream north of the village to the top of the large waterfall. In the upper water basin there is a Piece of Heart. You don’t have to own a later item for this. With Platboom and Flying Tile you can shorten several climbing passages.
More chests by the river
Also examine the areas behind or next to the waterfalls. You can use the bombfish to open up brittle rocks. On our route you will find, among other things, chests with Rupees.
Zora Cove and Sea Zora Village
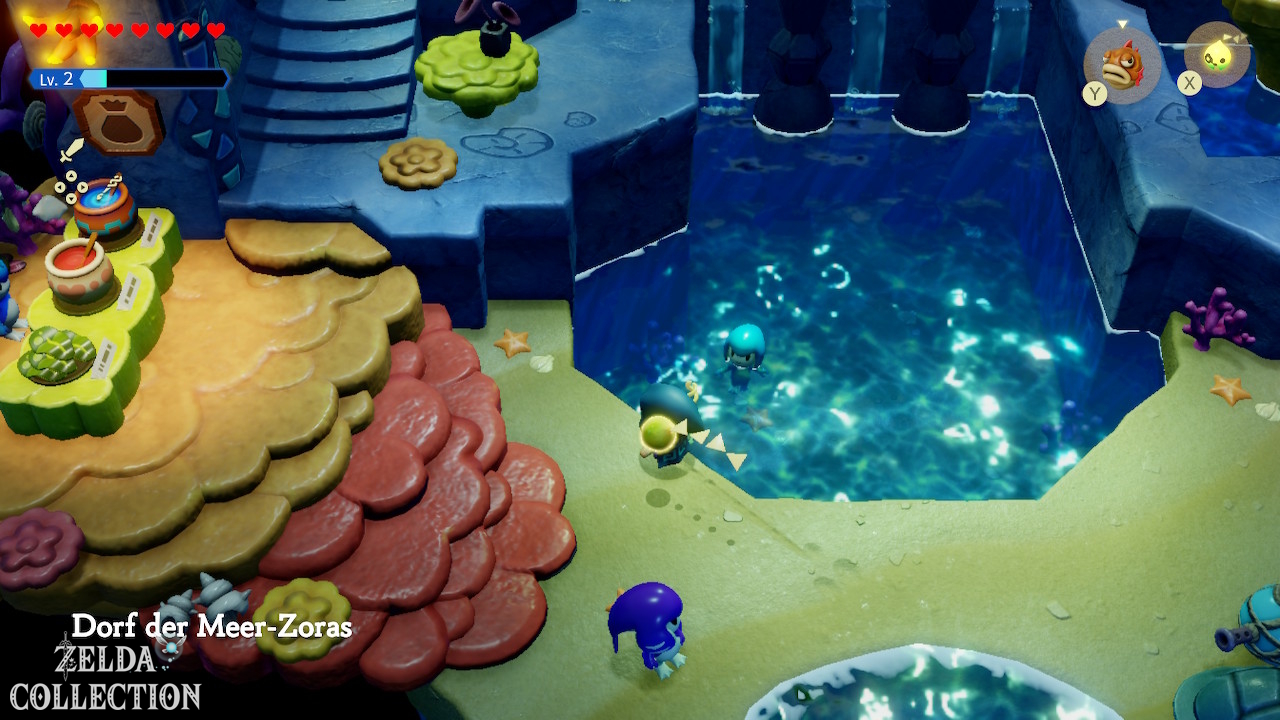
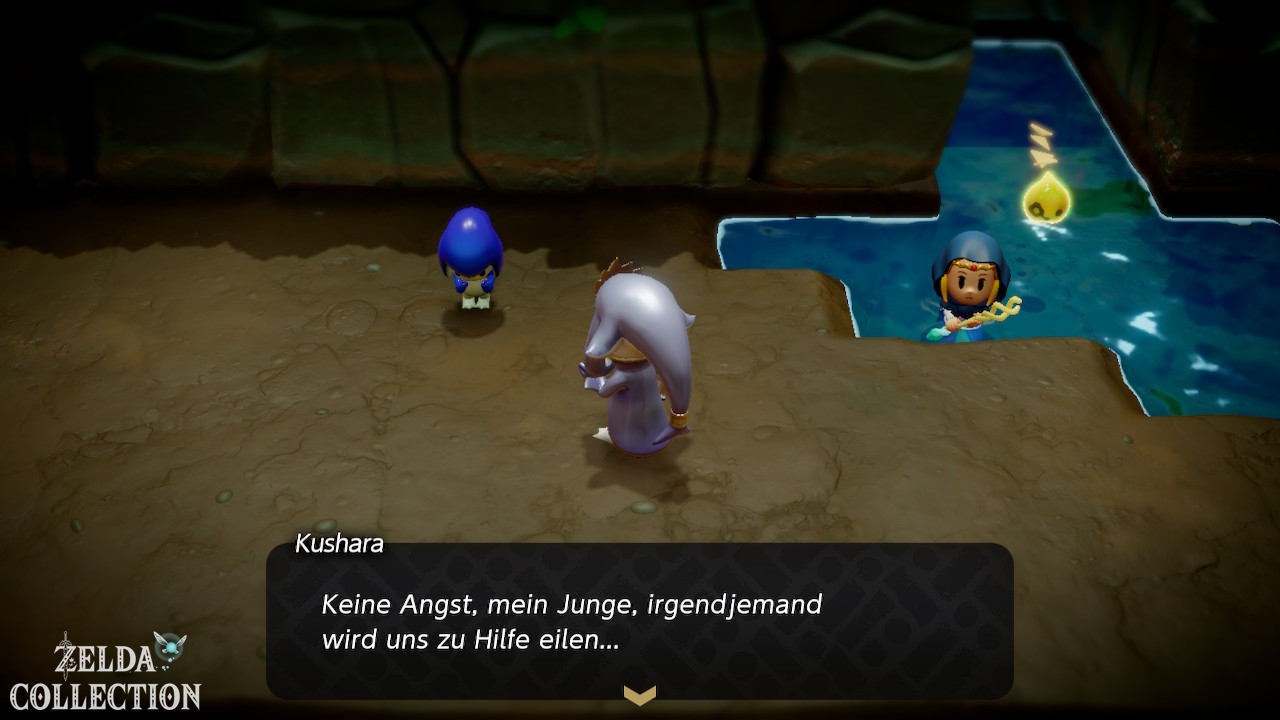
Now we go to the southern or western Zora Cove to the Sea Zora Village. Activate the Waypoint and talk to Kushara to advance the story.
Crystal in Seaweed
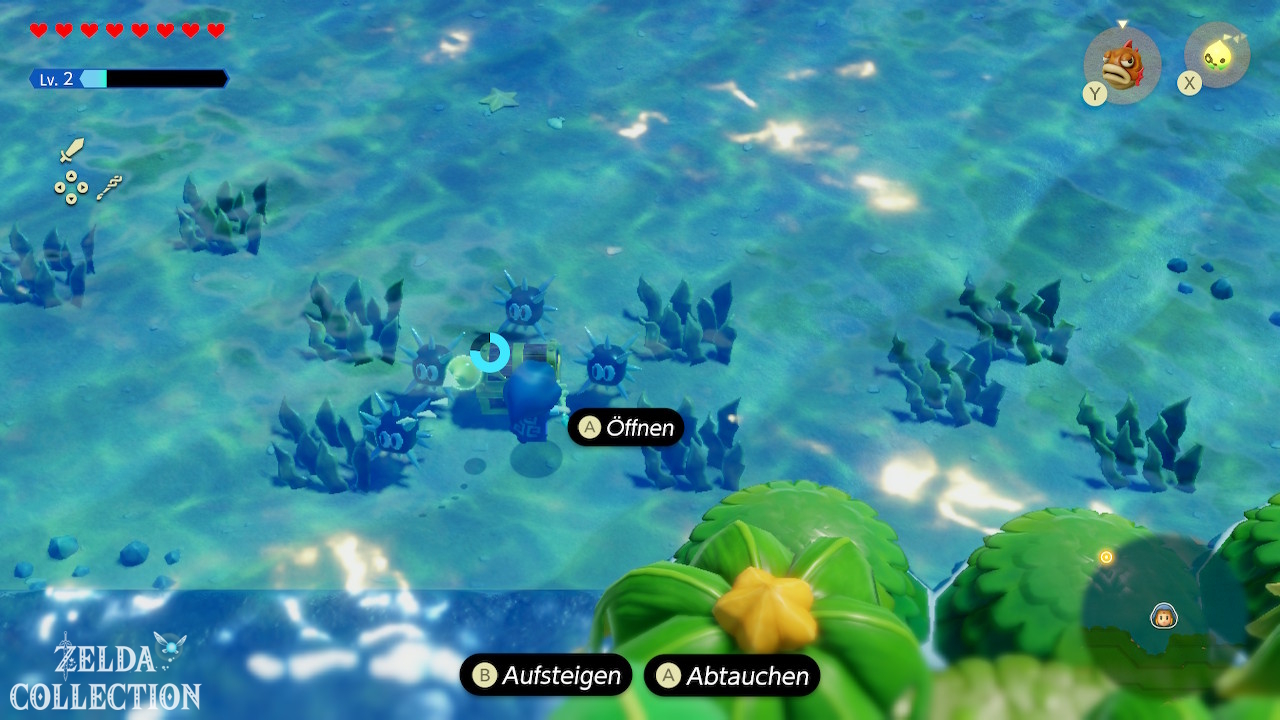
North or northeast of the Sea Zoras Village there is a striking collection of dense aquatic plants underwater. Remove the seaweed with a spin attack or an appropriate attack. Below that is 1 Might Crystal.
Crystal under the brittle rock slab
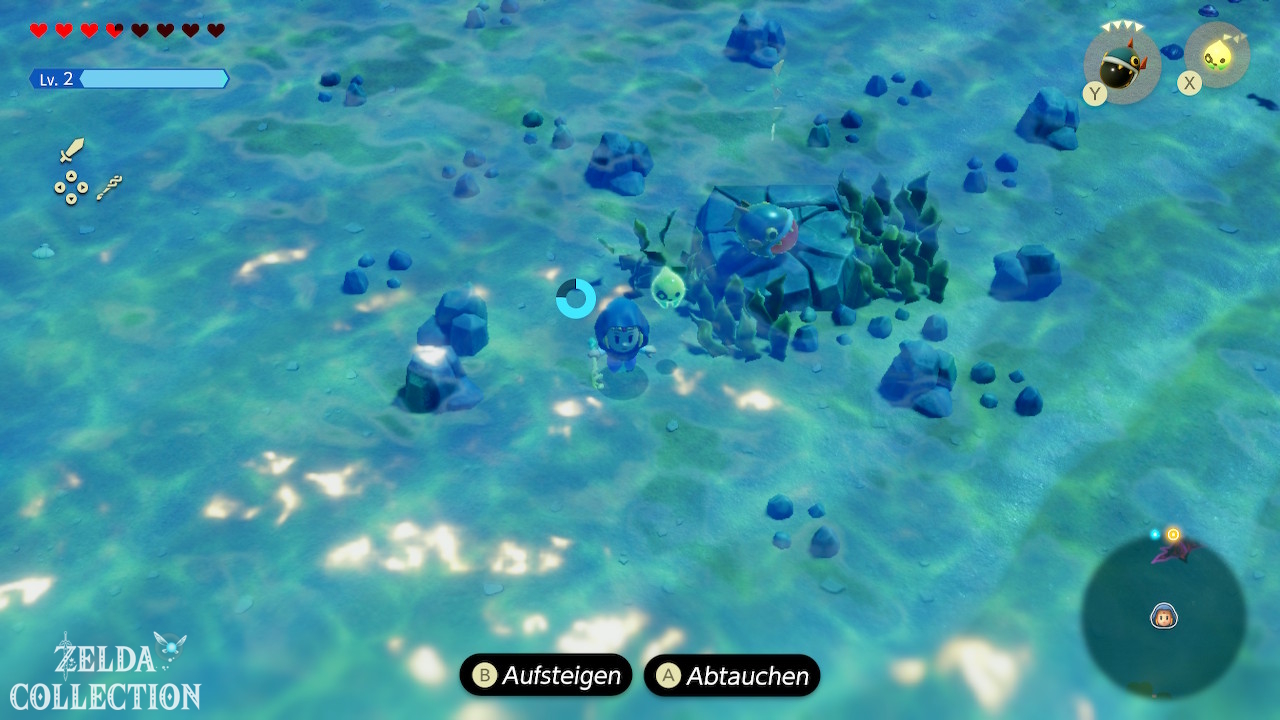
In the southern or central area of the Zora Cove there is a brittle rock slab under water. Summon a Bombfish next to it and make it explode. Then take the exposed Might Crystal.
Piece of Heart in the cave southwest of Seesyde Village
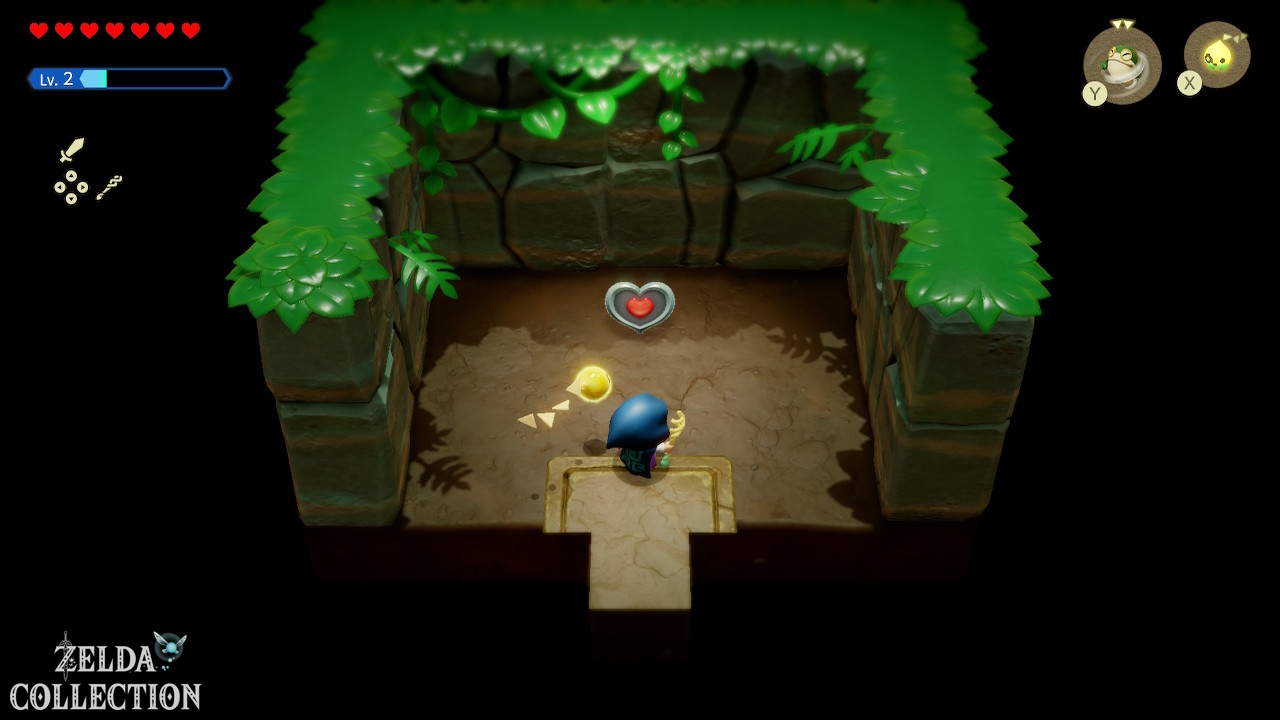
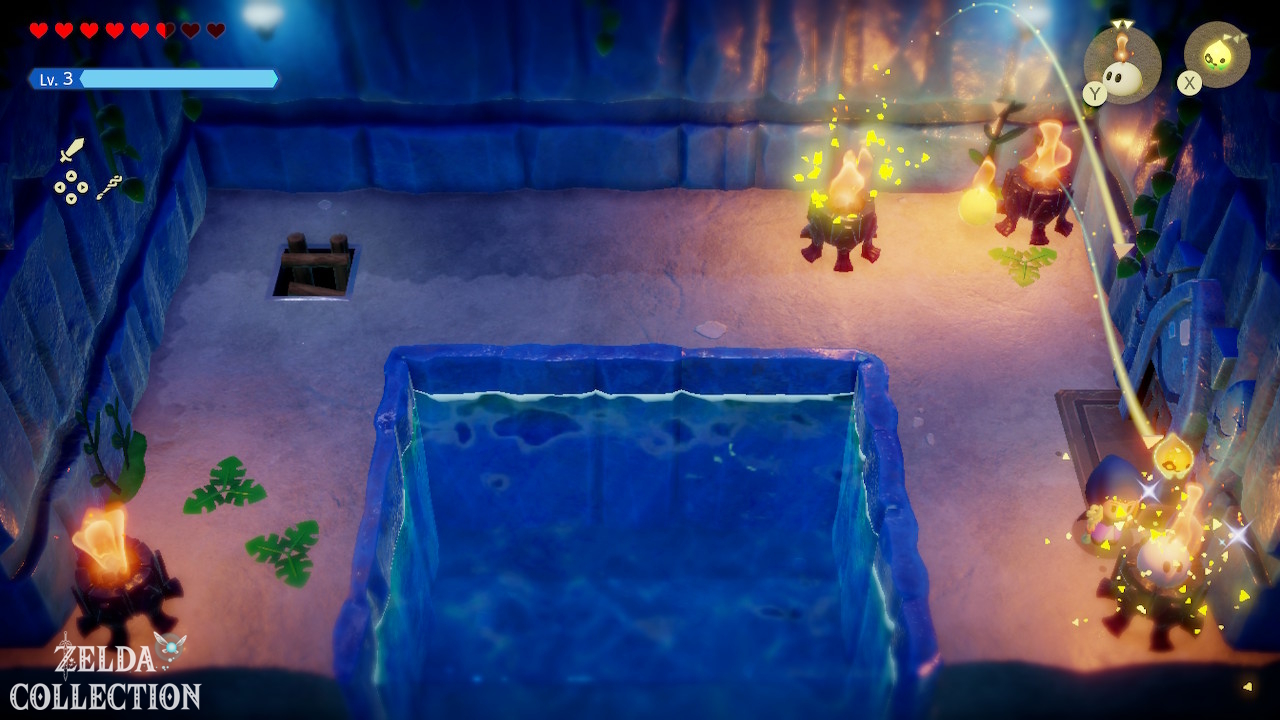
In a cave southwest of Seesyde Village, burning torches block the path to Piece of Heart. Here you need a water echo. Learn the Hydrozol in the cave. Allow the Hydrozol to absorb water so it grows larger, then transport it to the burning torches. Once all the necessary flames have been extinguished, the path opens. In the back you will find a Piece of Heart.
Piece of Heart under a stone slab in the southeast
Another Piece of Heart lies in the southeastern area of the Zora Cove under a brittle stone slab. Swim over, summon a Bombfish and blow up the plate. Below that is the Piece of Heart.
More useful echoes in the bay
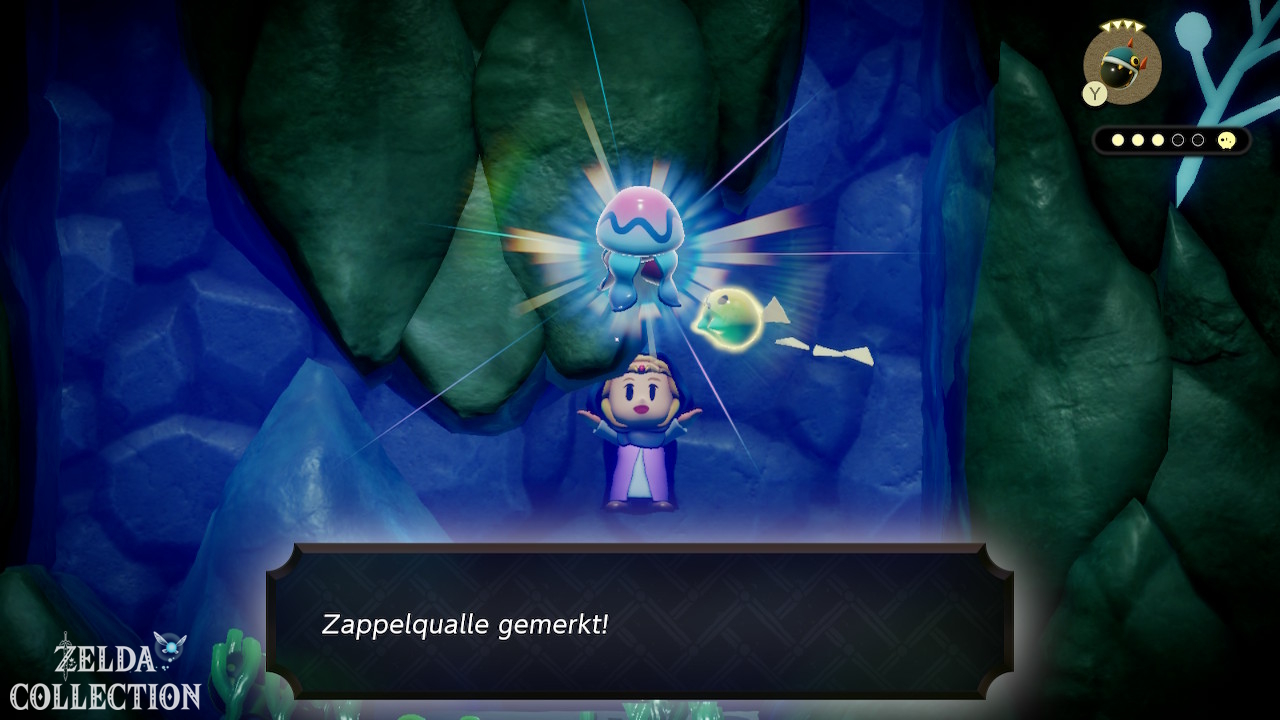
If possible, learn the typical opponents of the region on your round:
- Albatrawl – flying attacker, later useful against the Jabul boss
- Chompfin – strong water opponent, but expensive
- Tangler or Tangler Lv. 2
- Biri
- Sand Crab
With four triangles, you should not leave expensive echoes permanently summoned. A four-triangle echo always means: no second helper at the same time.
Return to Crossflows Plaza
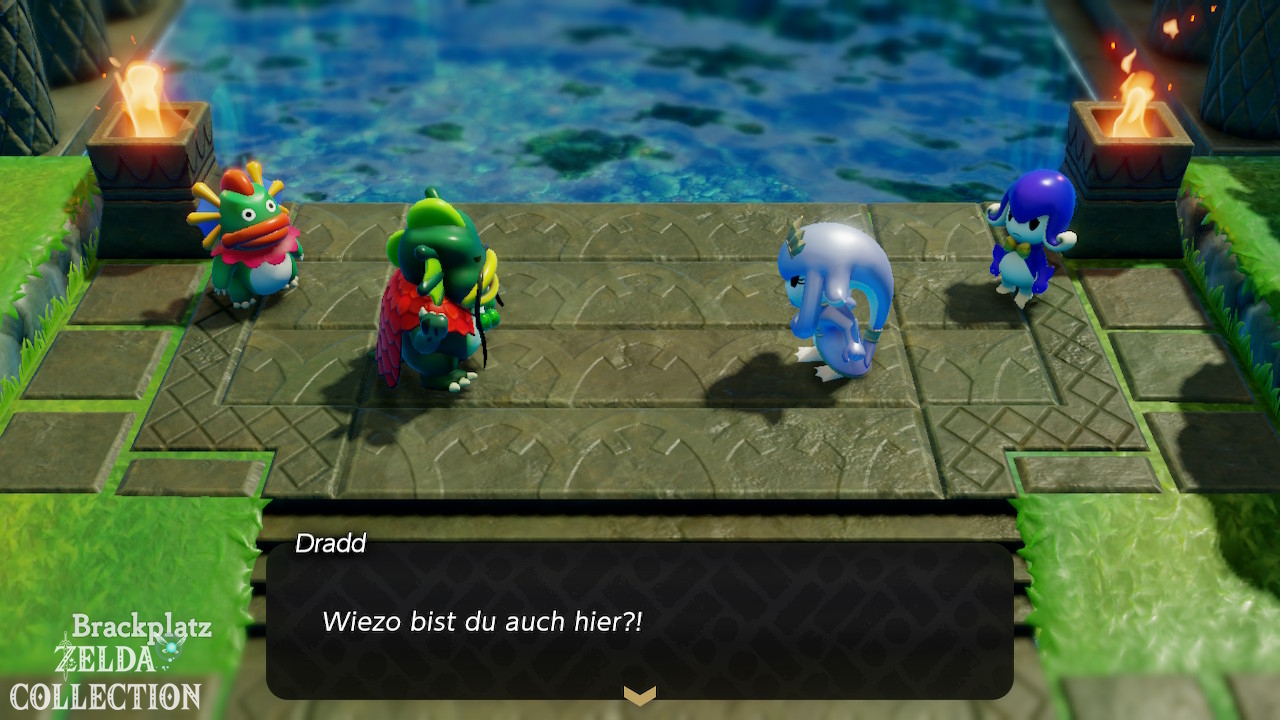
After speaking to Dradd and Kushara, they both return towards Crossflows Plaza. Travel there too and observe the scene. The differences of opinion between the two Zora groups and Lord Jabu-Jabu’s behavior mean that you first have to solve two smaller crises.
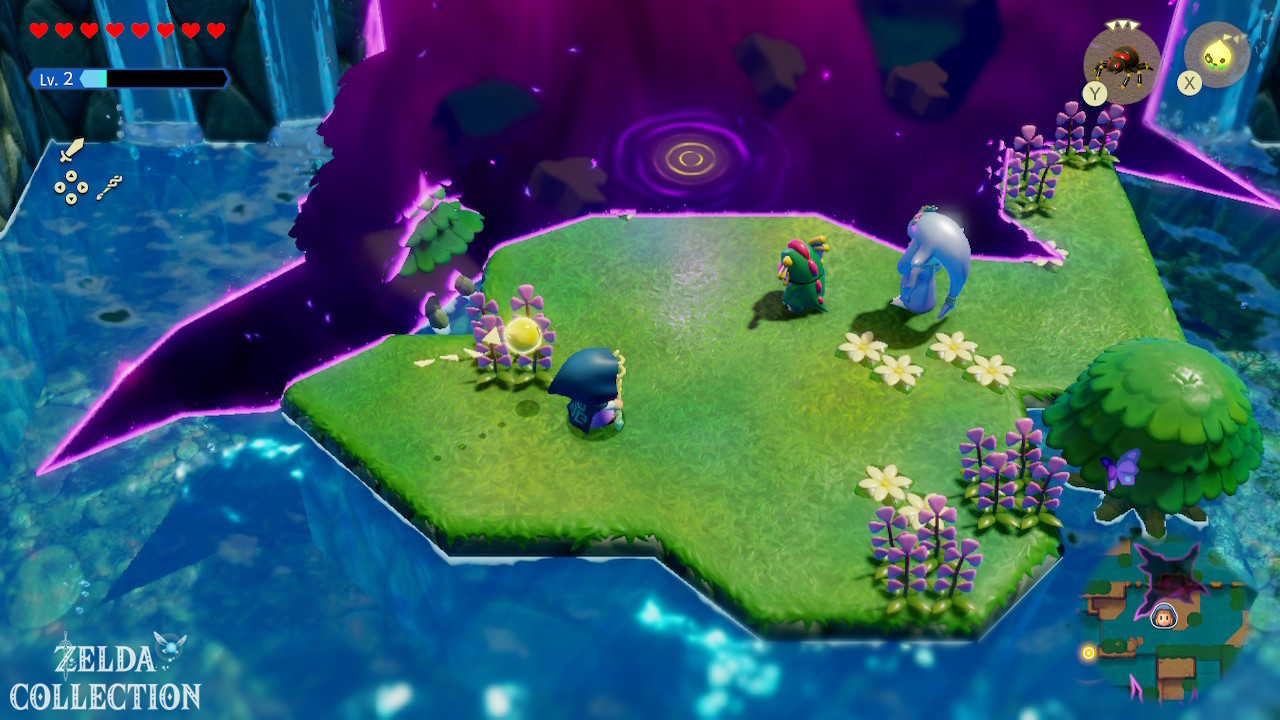
Chaos at River Zora Village
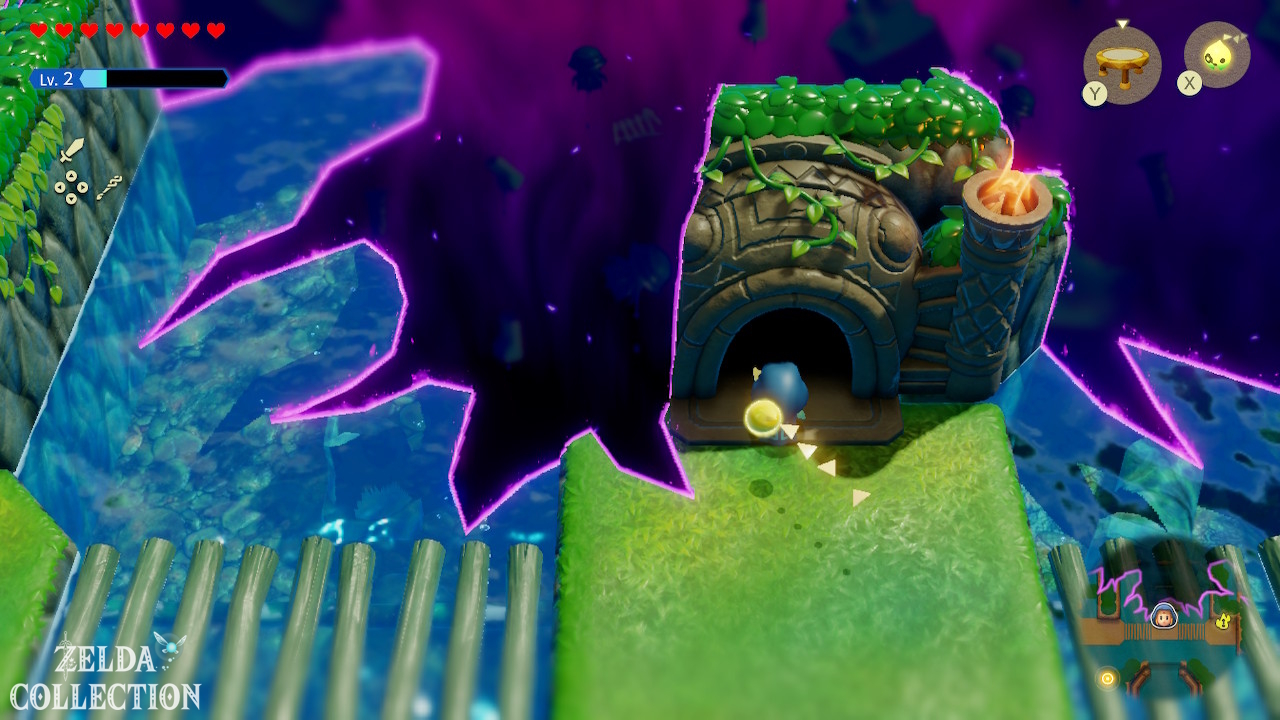
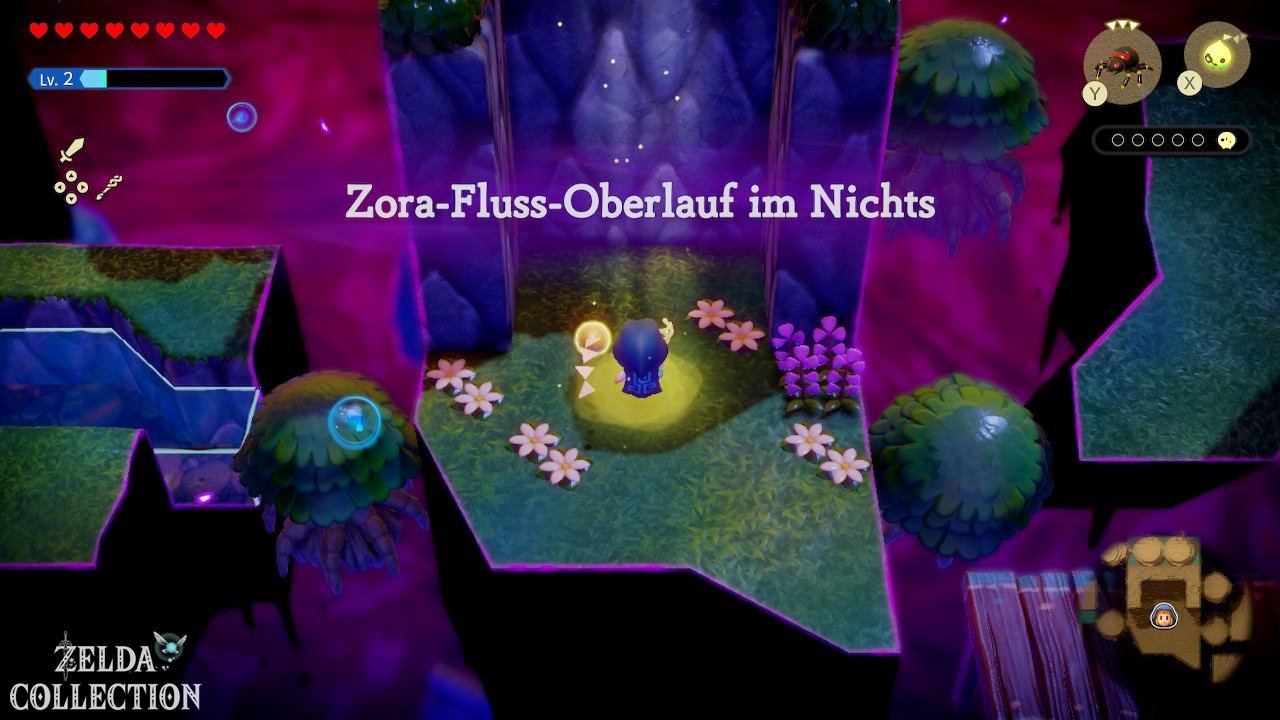
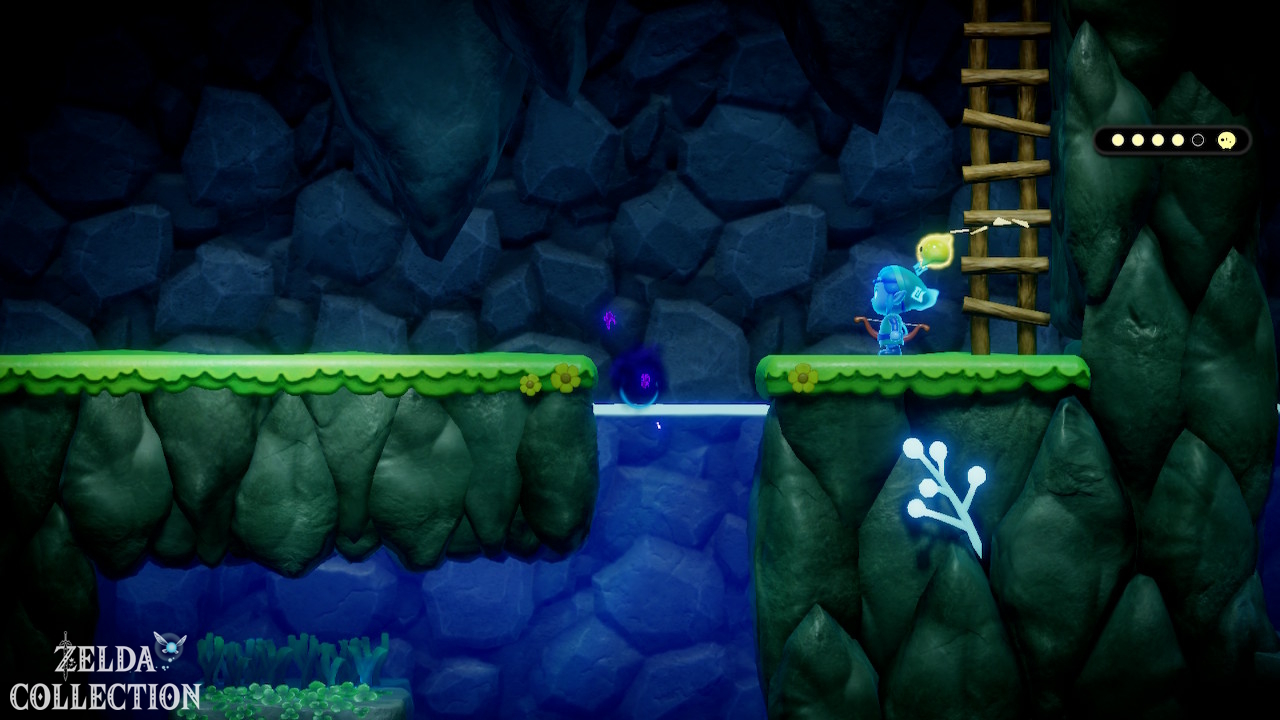
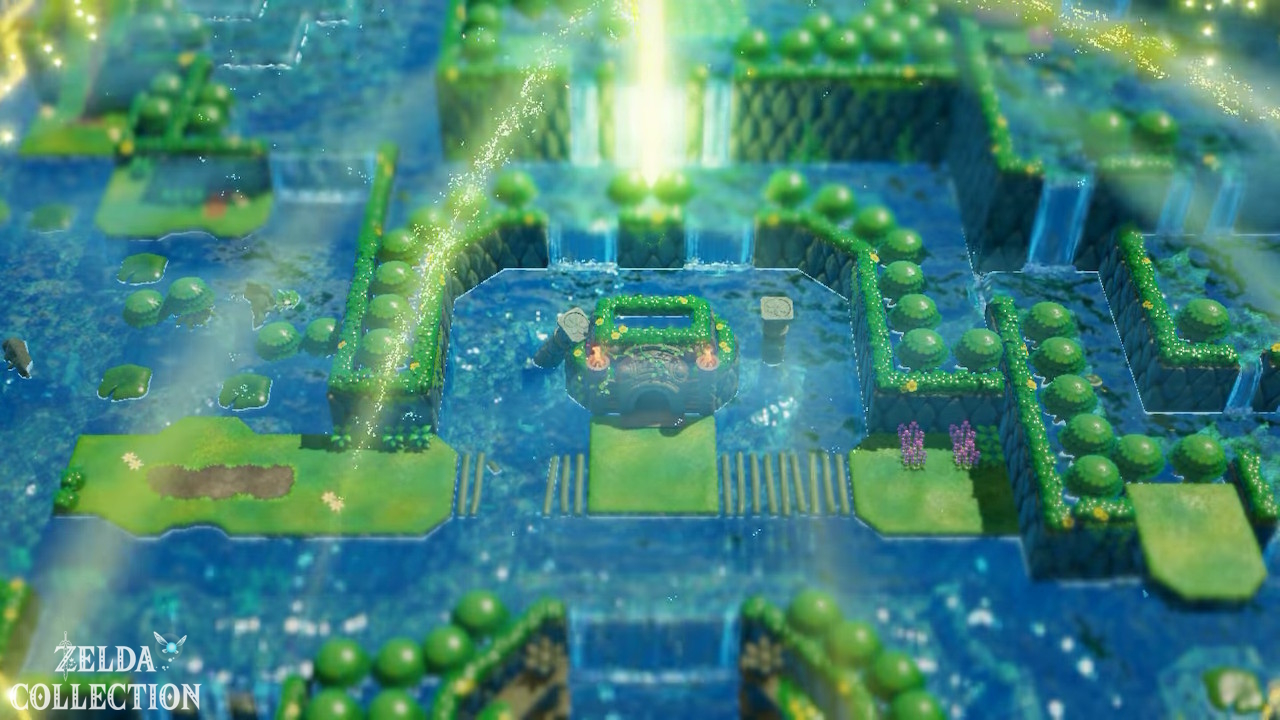
Travel to River Zora Village and follow the river towards the new rift. Tri opens the entrance to the area in the Still World. Here you have to find five groups of his friends.
The five groups of Tri’s friends
- The first group is in the western area near the starting zone.
- Another is located southeast or on the adjacent platforms.
- Continue climbing over the higher islands. You will find the next group on the upper route.
- In the eastern cave area, brittle stones block the path. Blast them with the Bombfish and look for the next group in the lower area.
- The final group is further up the same cave route. Clear the enemies out of the way and climb up to her.
If you have saved all five groups, Tri will close the rift.
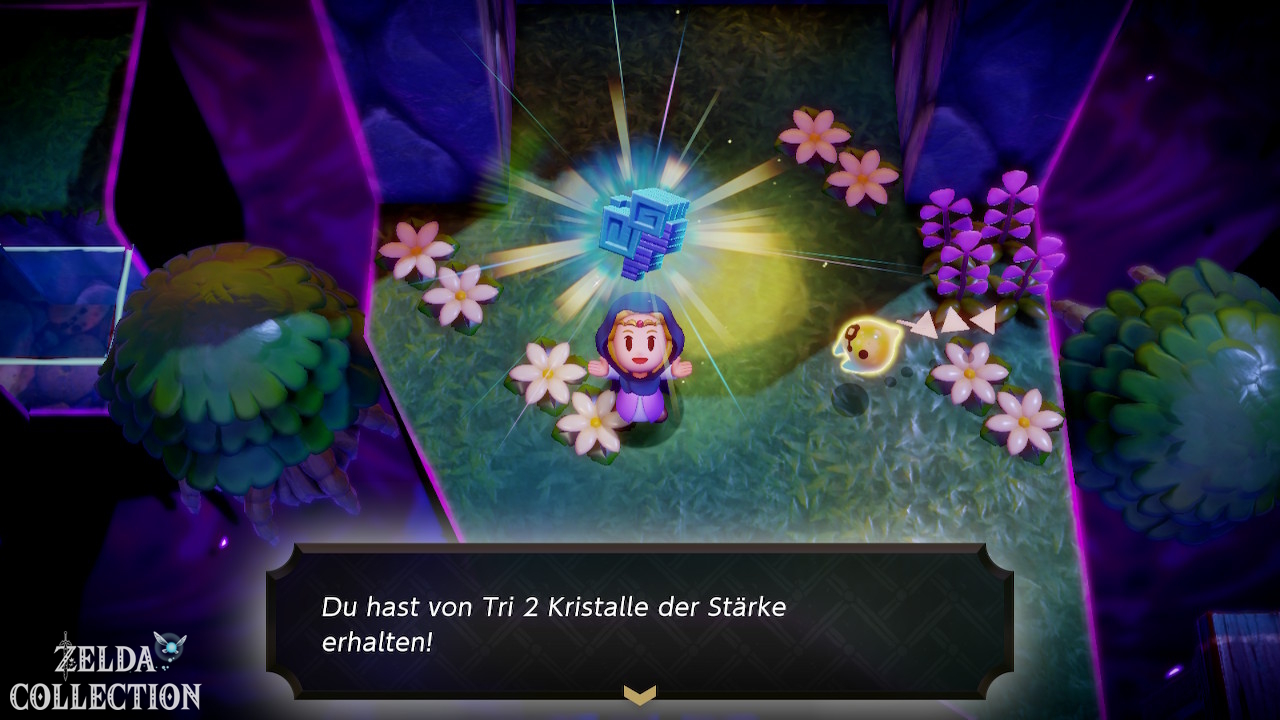
Reward: 2 Might Crystals.
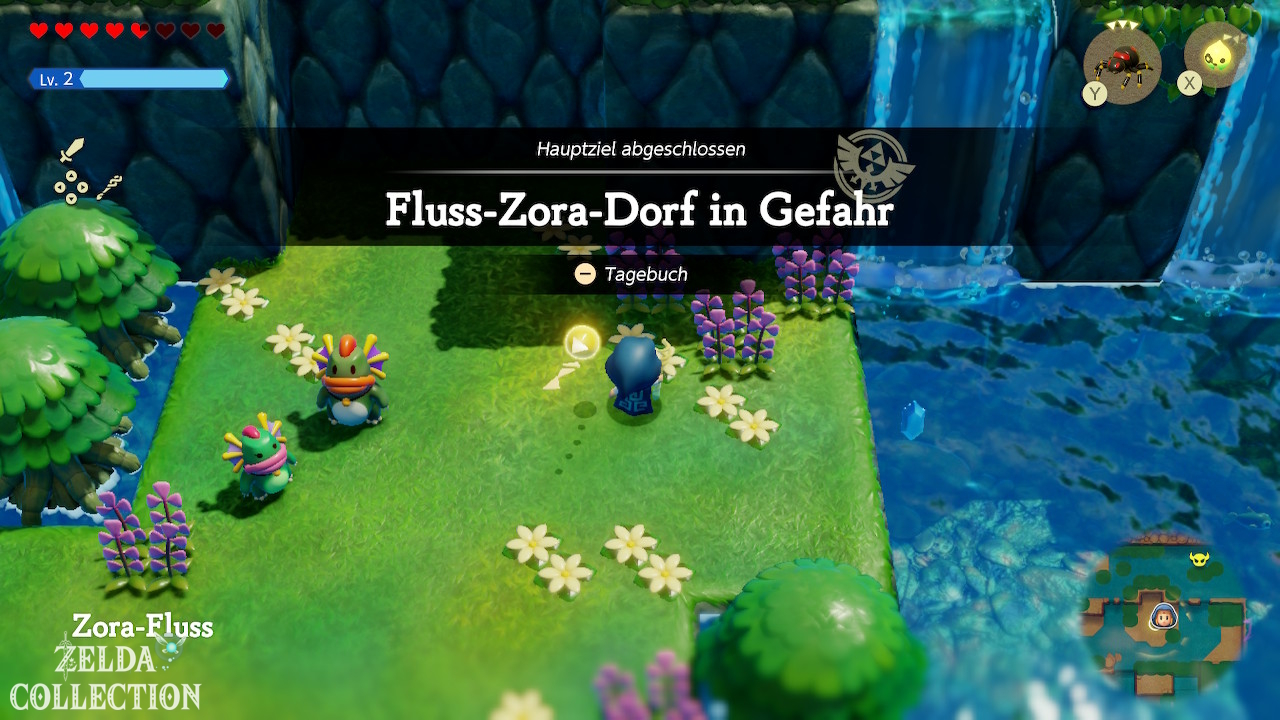
In addition, Dradd is saved and the River Zora Village is no longer in danger.
The Zora Child’s Fate: Get the Zora Scale
After rescuing Dradd and closing the Upper Zora River rift, return to River Zora Village. Speak to Medaka and visit his mother inside their house. Summon the requested echoes in her pool in this order:
- Tangler or Tangler Lv. 2
- Bombfish
- Biri
If you followed our route, you already own all three. As a reward you will get the Zora Scale. It extends Zelda’s diving time and helps with later underwater excursions. After Vocavor, the large cracks of the Jabul Waters disappear. Before you leave the region, there are several things that only now make sense or are even achievable.
Rampage in Zora Cove
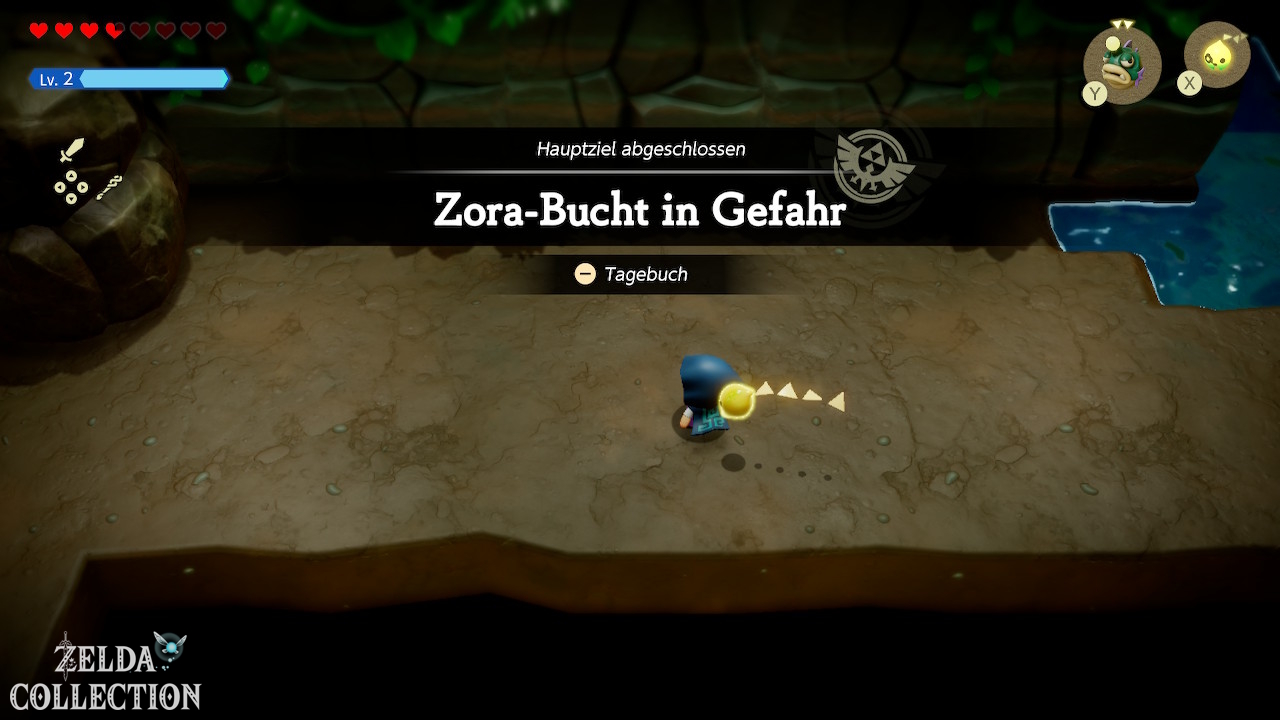
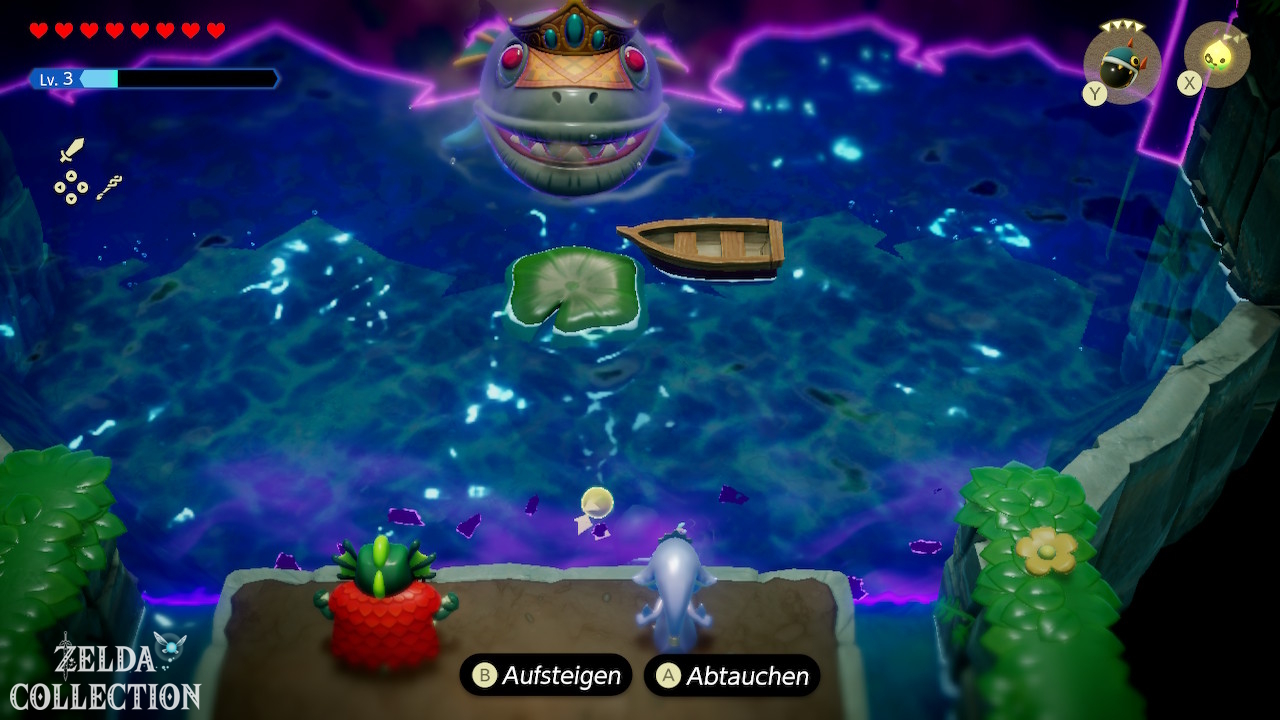
Then travel to Sea Zora Village and continue to the small island or cave east of it. Dive into the cave through the lower entrance. Follow the underwater path, continue climbing the ladder and work your way through the western part. You find Kushara and a trapped child. A large rock blocks the exit. Grab it with Bind and pull it out of the opening. As soon as the path is clear, the Zora can escape. This also completes the second regional Main Quest.
Lord Jabu-Jabu’s Den open
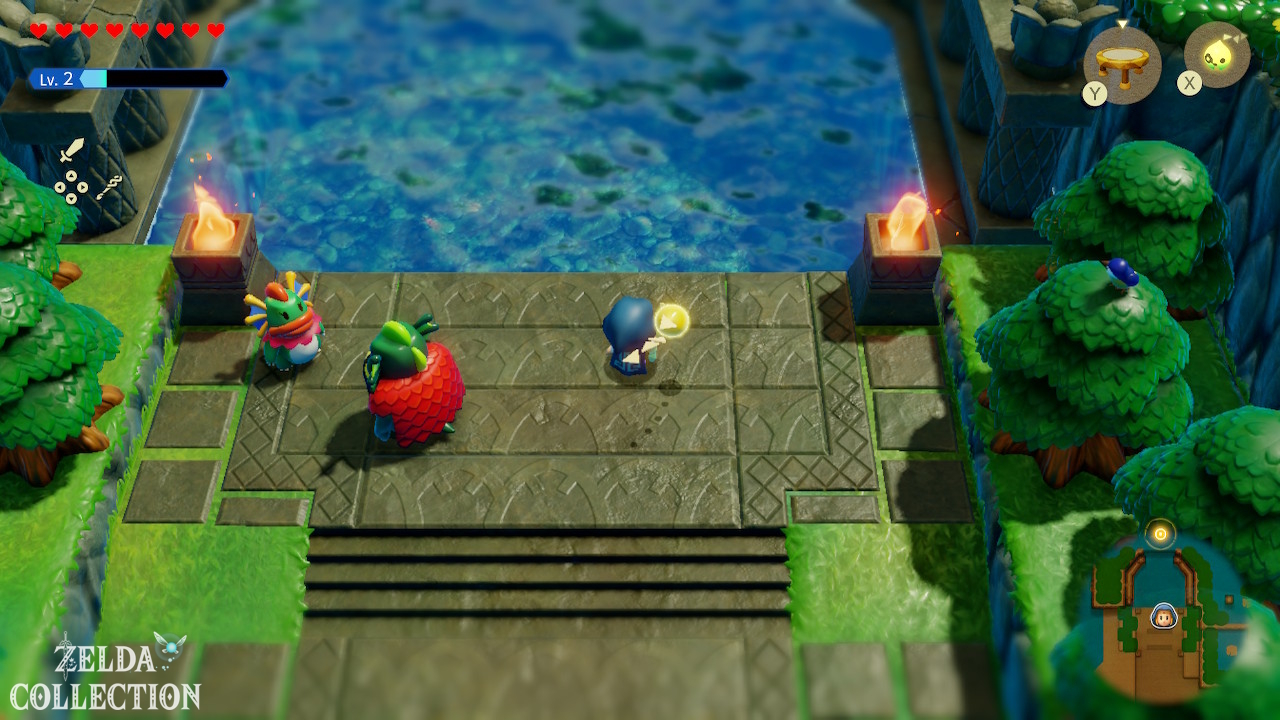
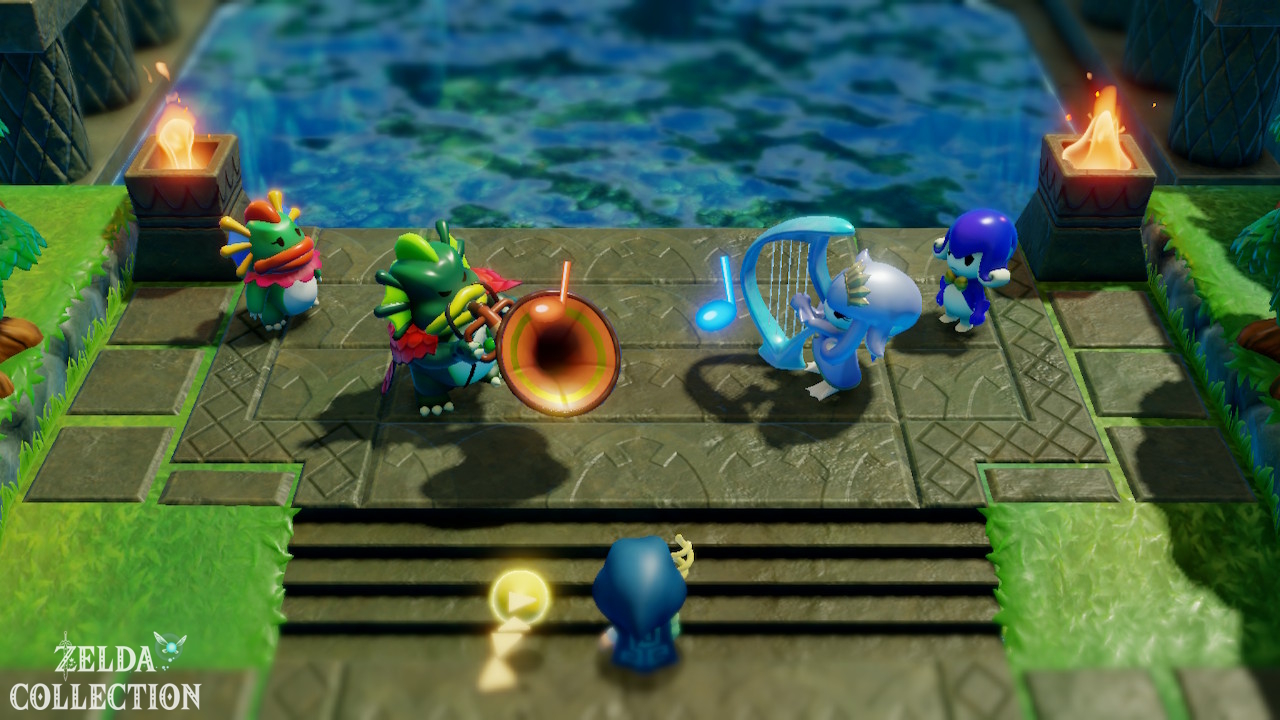
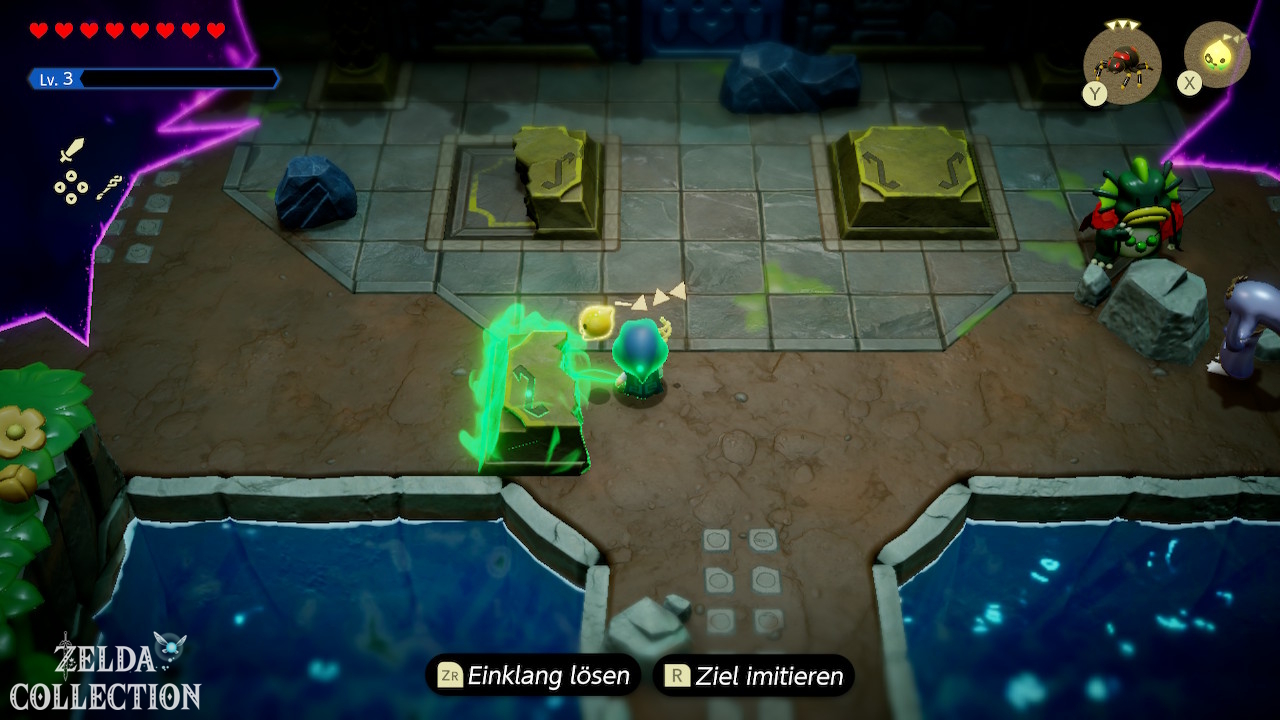
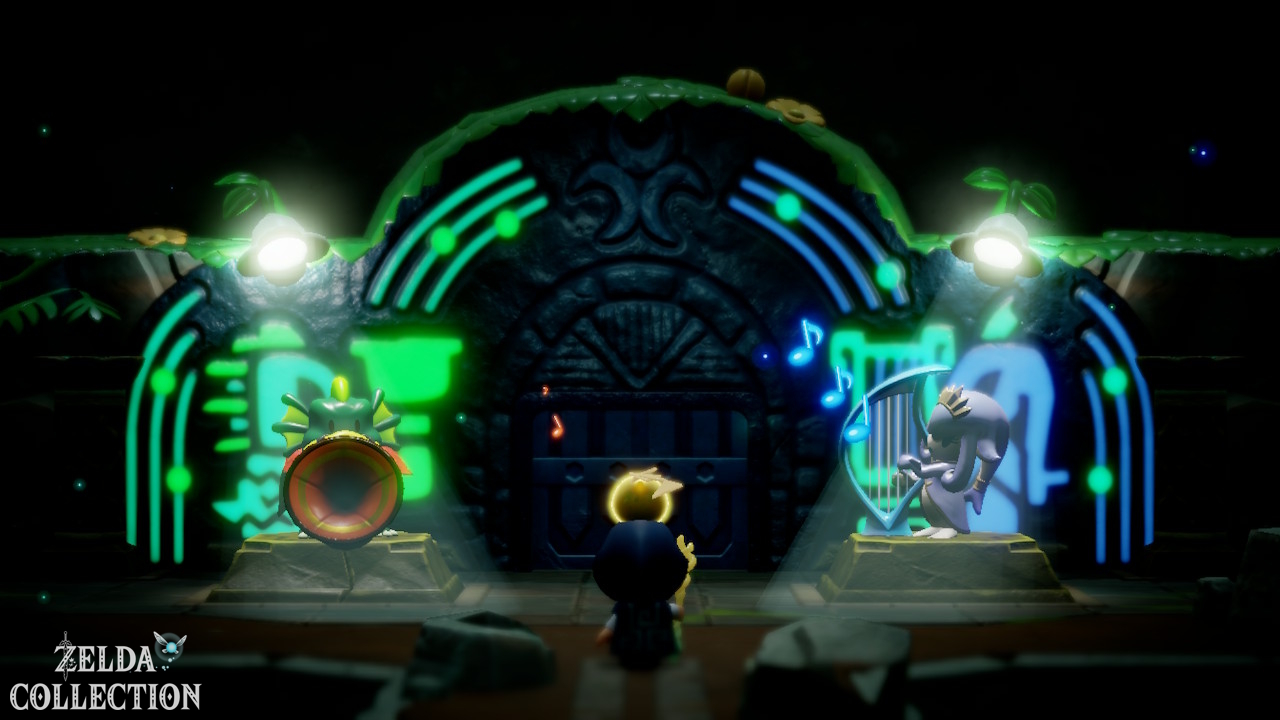
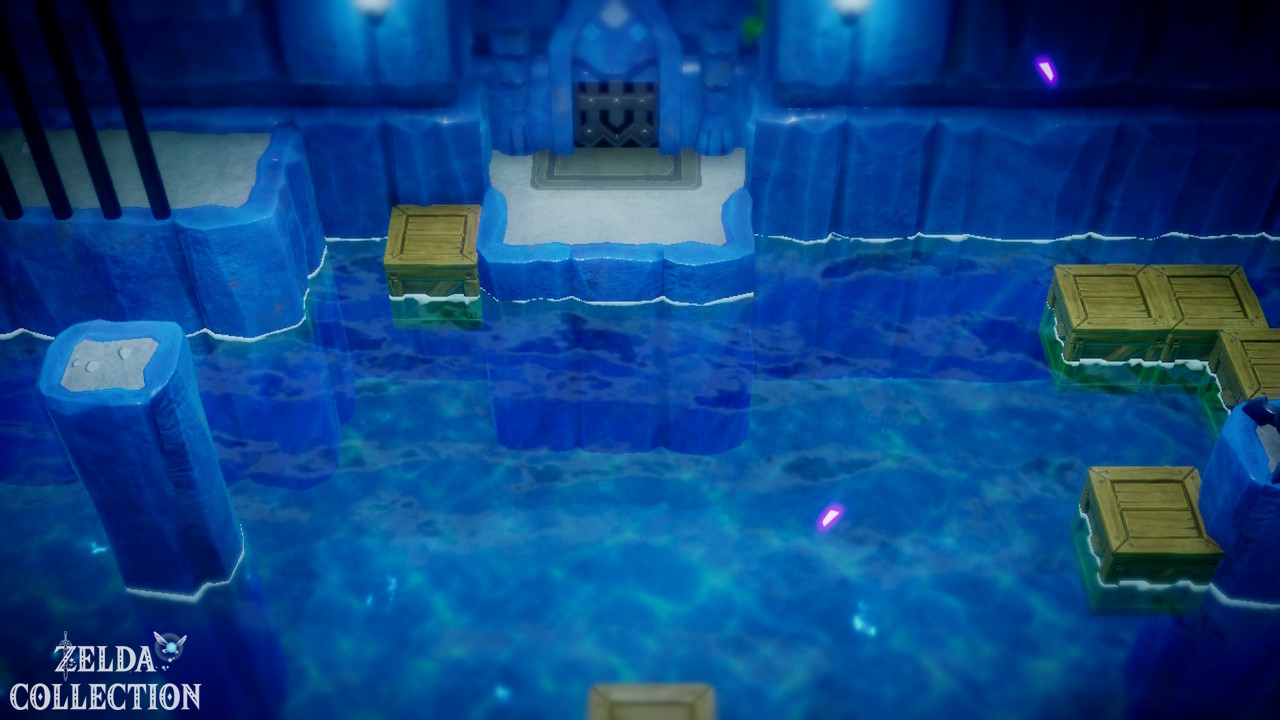
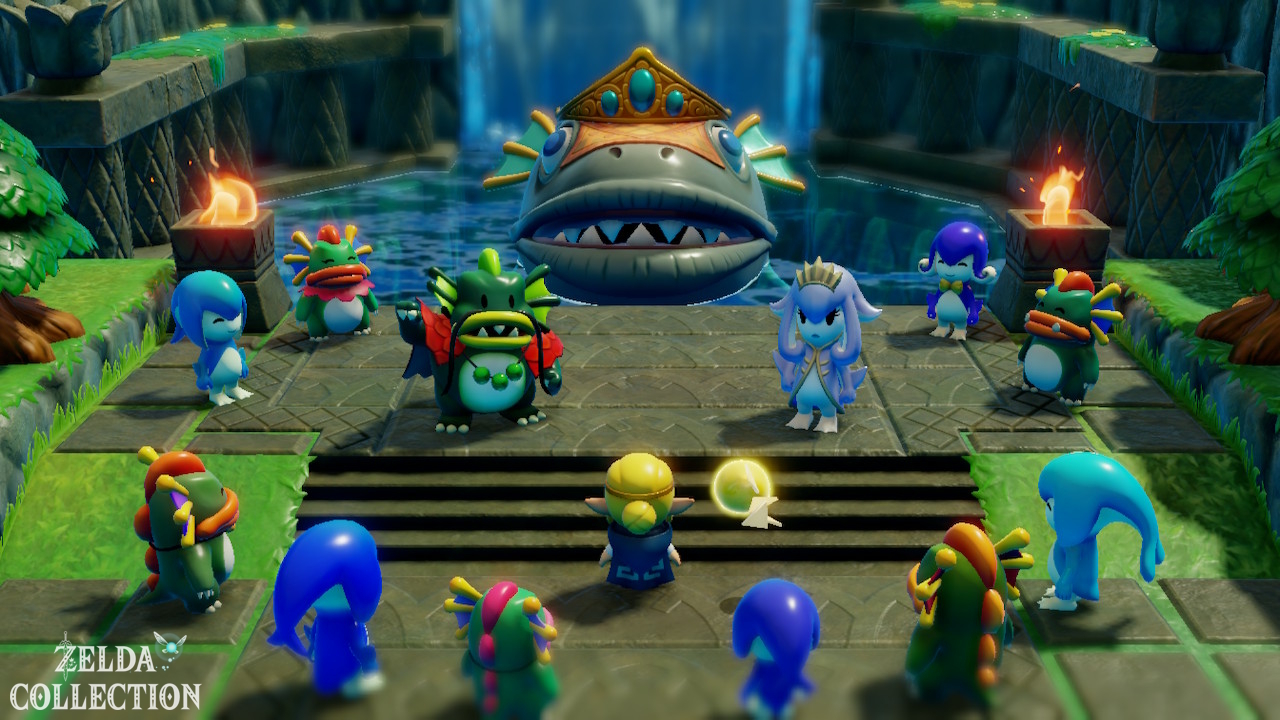
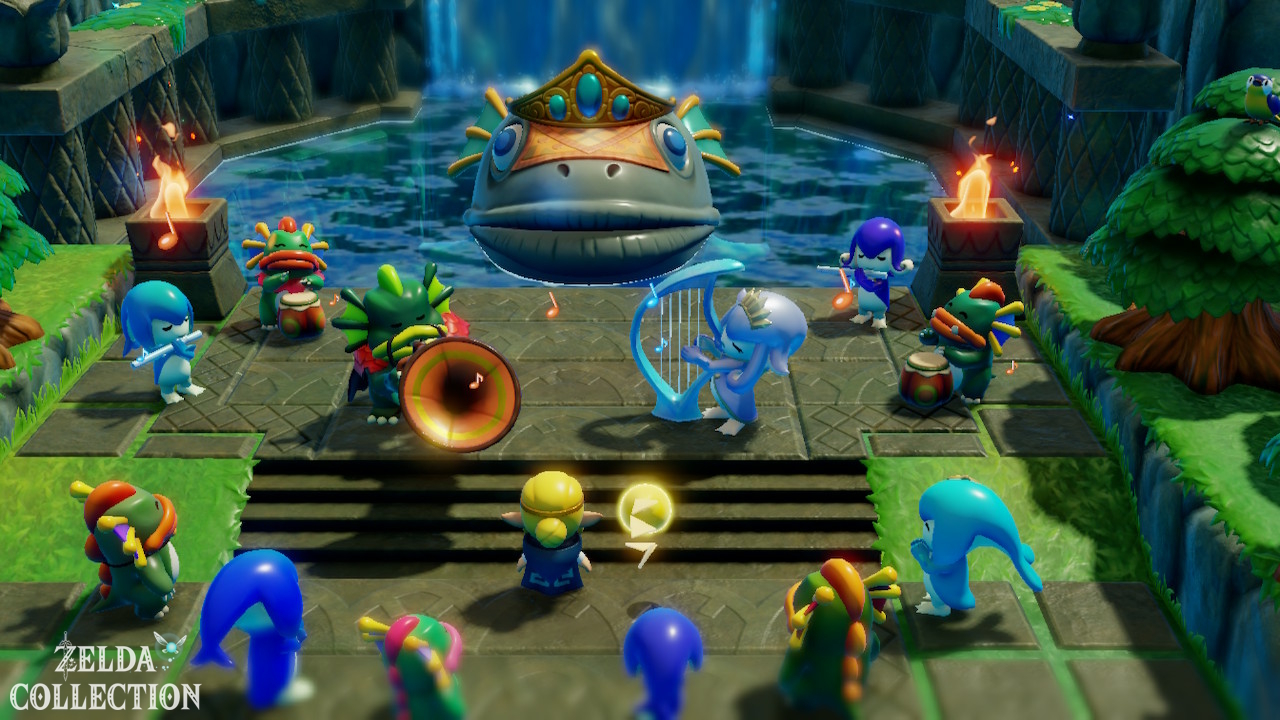
Now travel to Lord Jabu-Jabu’s Den. Dradd and Kushara are there too. Before the actual opening you have to restore the stage. Some of it is in the water. Grab the sunken stage element with Bind and drag it to the damaged area. Position it so that the stage is complete again. After the following scene the path opens.
Fight against the false lord Jabu-Jabu
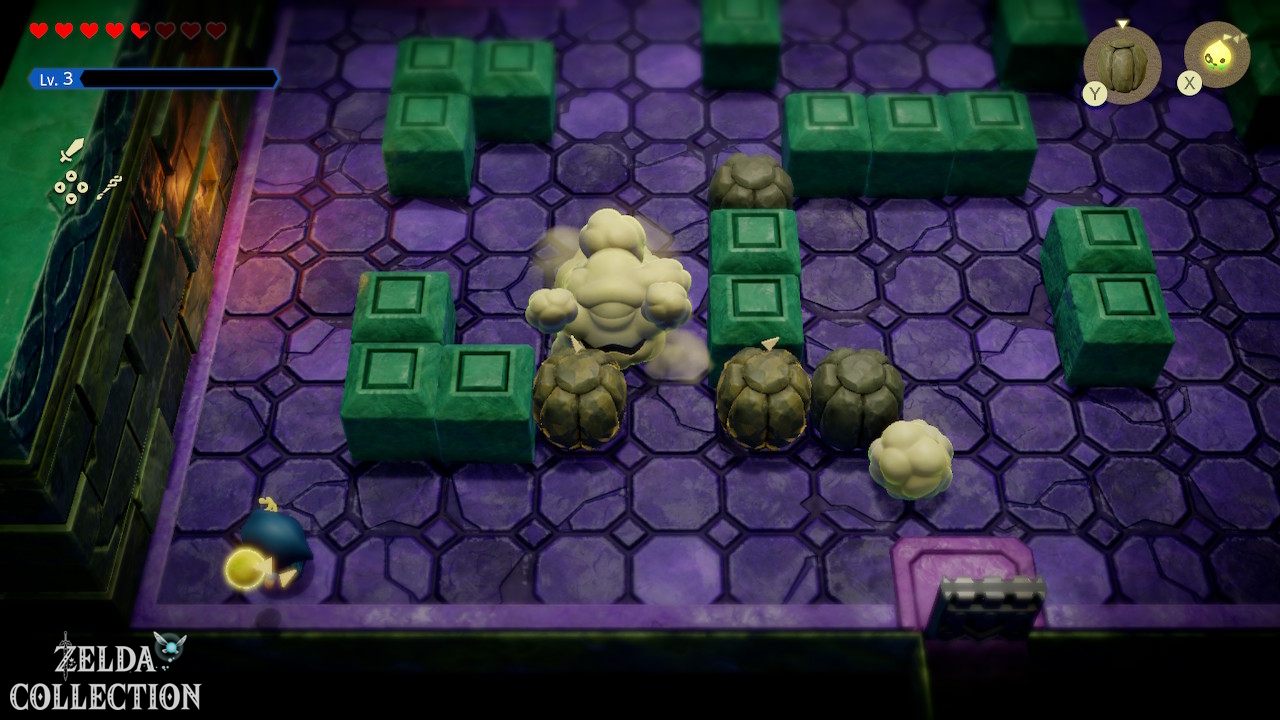
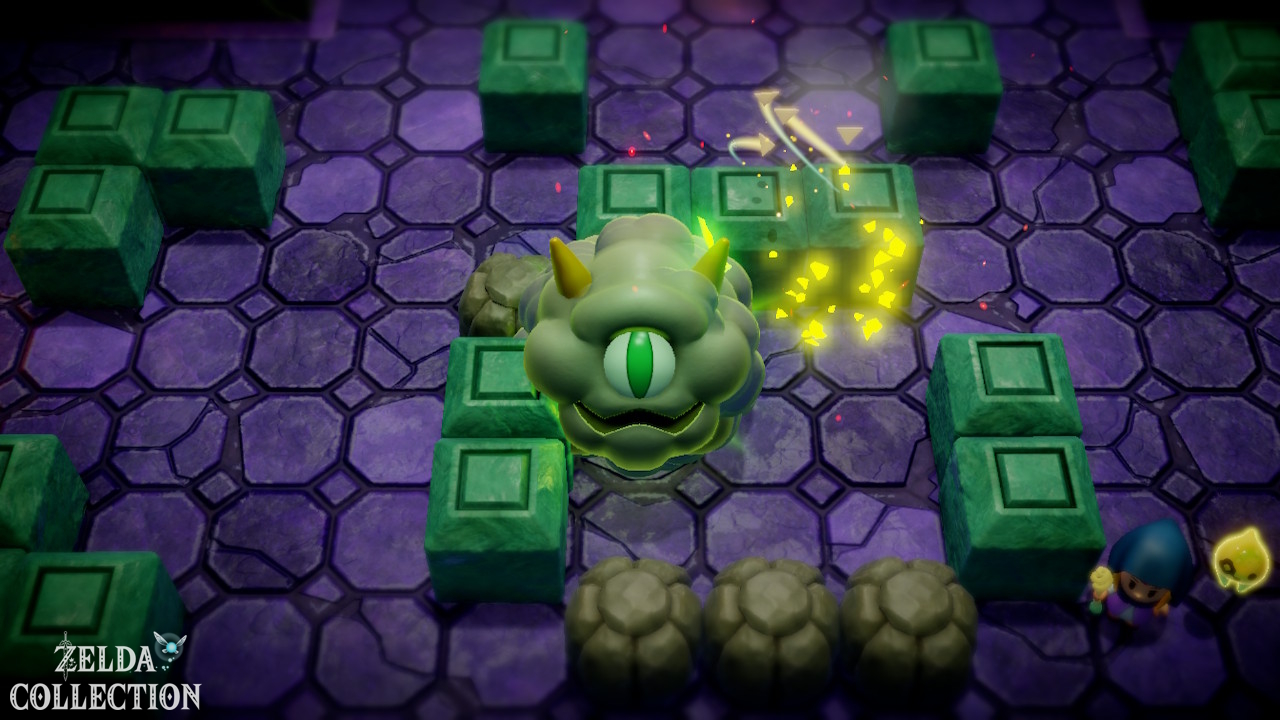
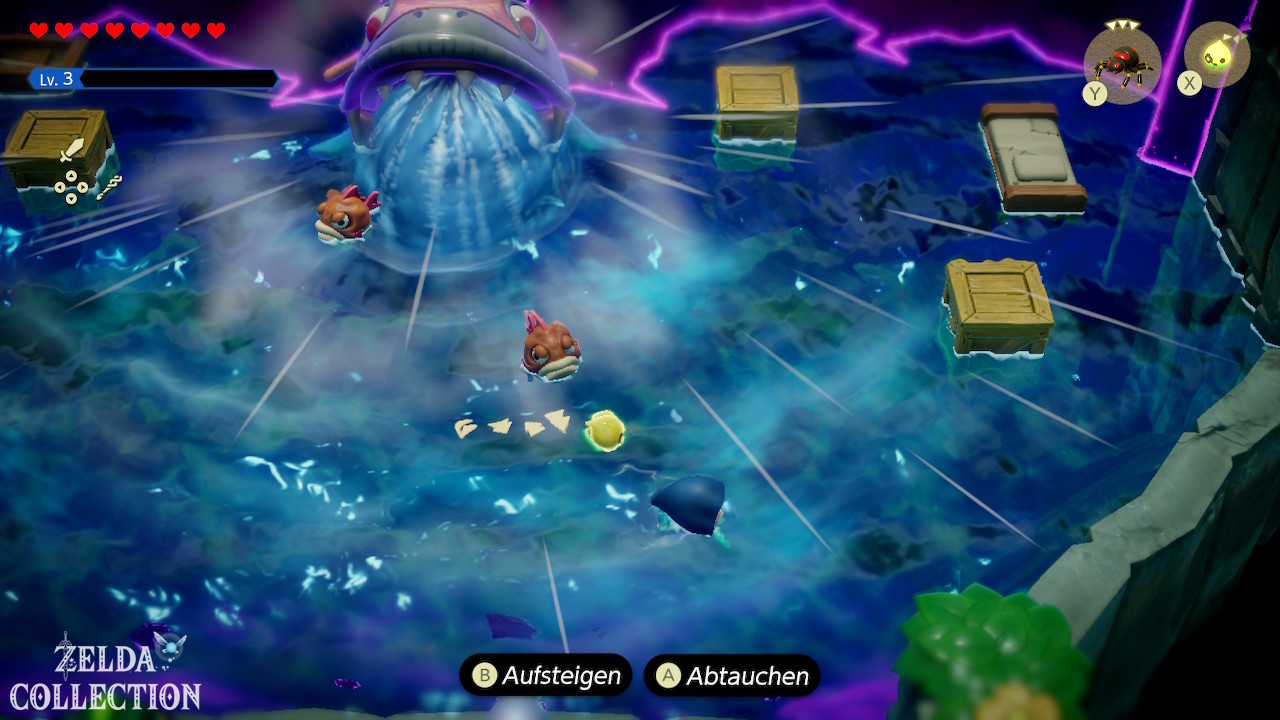
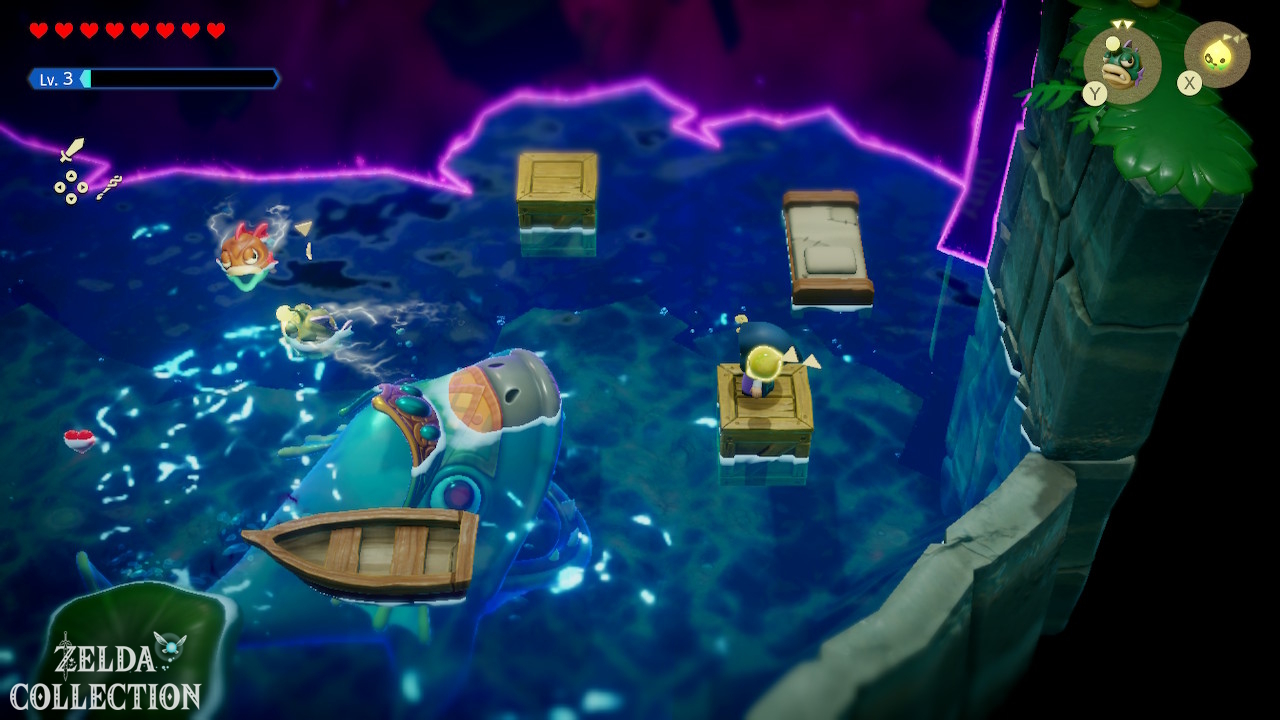
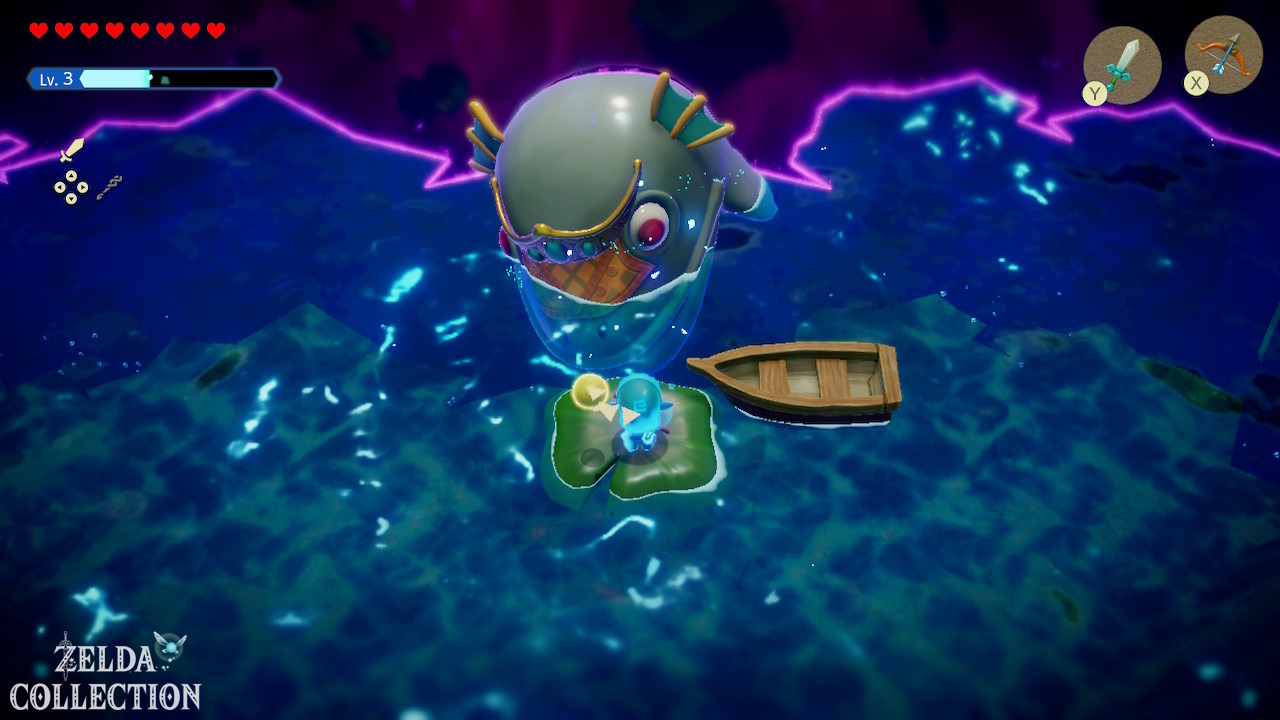
Inside, a Rift impostor of Lord Jabu-Jabu attacks. It spits out fish and other objects, then tries to inhale Princess Zelda. When it starts sucking in everything in front of it, summon a Bombfish. The swallowed Bombfish explodes inside, leaving the boss vulnerable. Enter Swordfighter Form briefly or summon a strong attacking echo. Repeat until you win.
Then the large Rift opens.
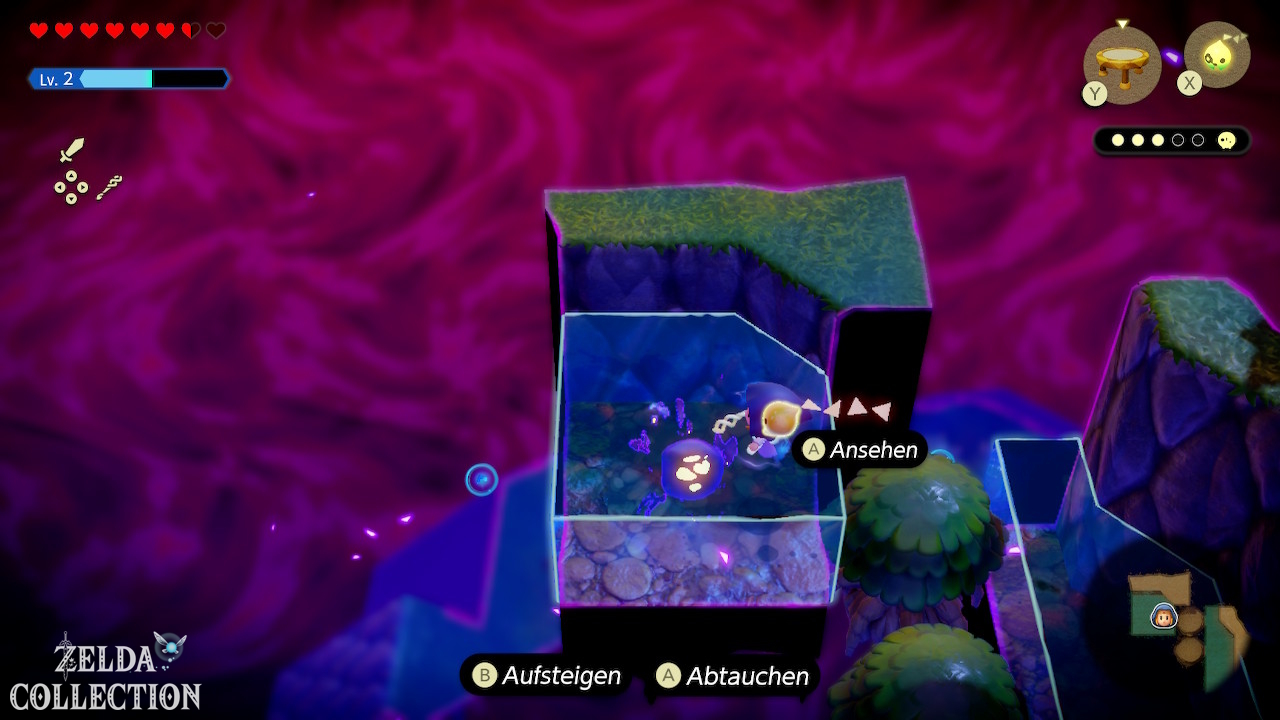
Jabul Waters in the Still World: Water Block learn
Enter the rift and follow the floating islands north. In the eastern or right part you will find an inconspicuous but extremely important item: the Water Block.
Echo: Water Block
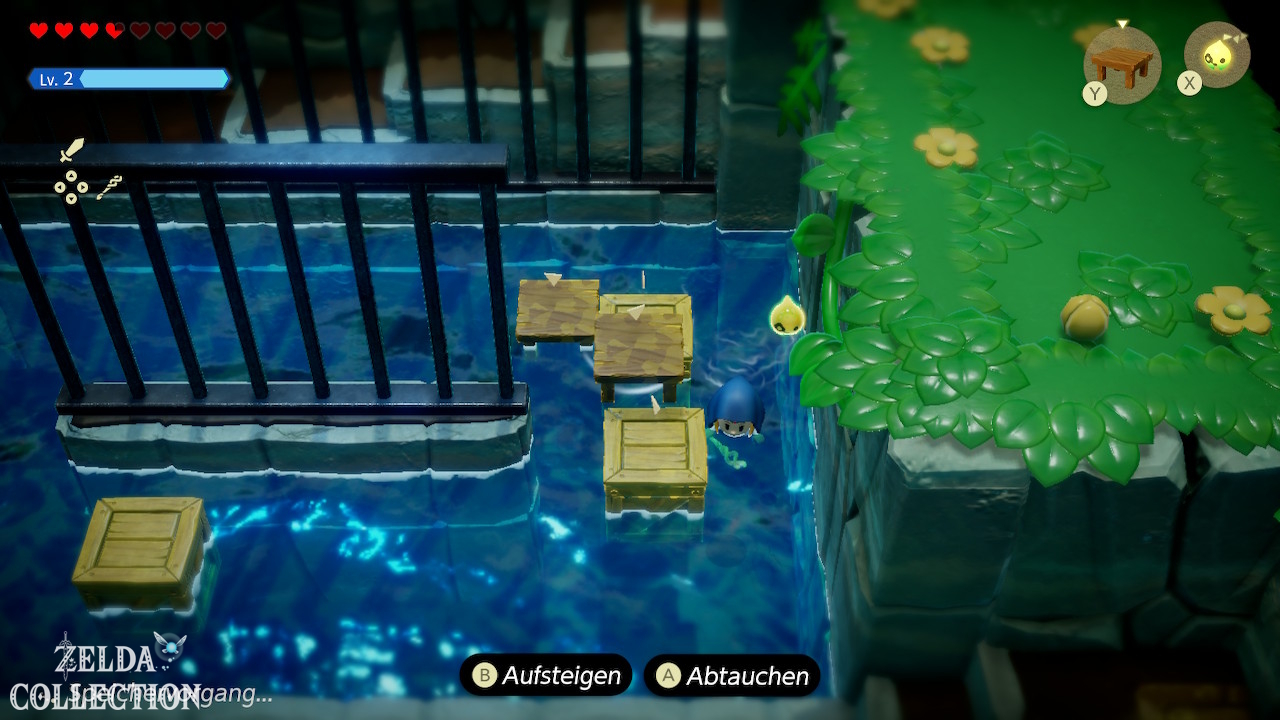
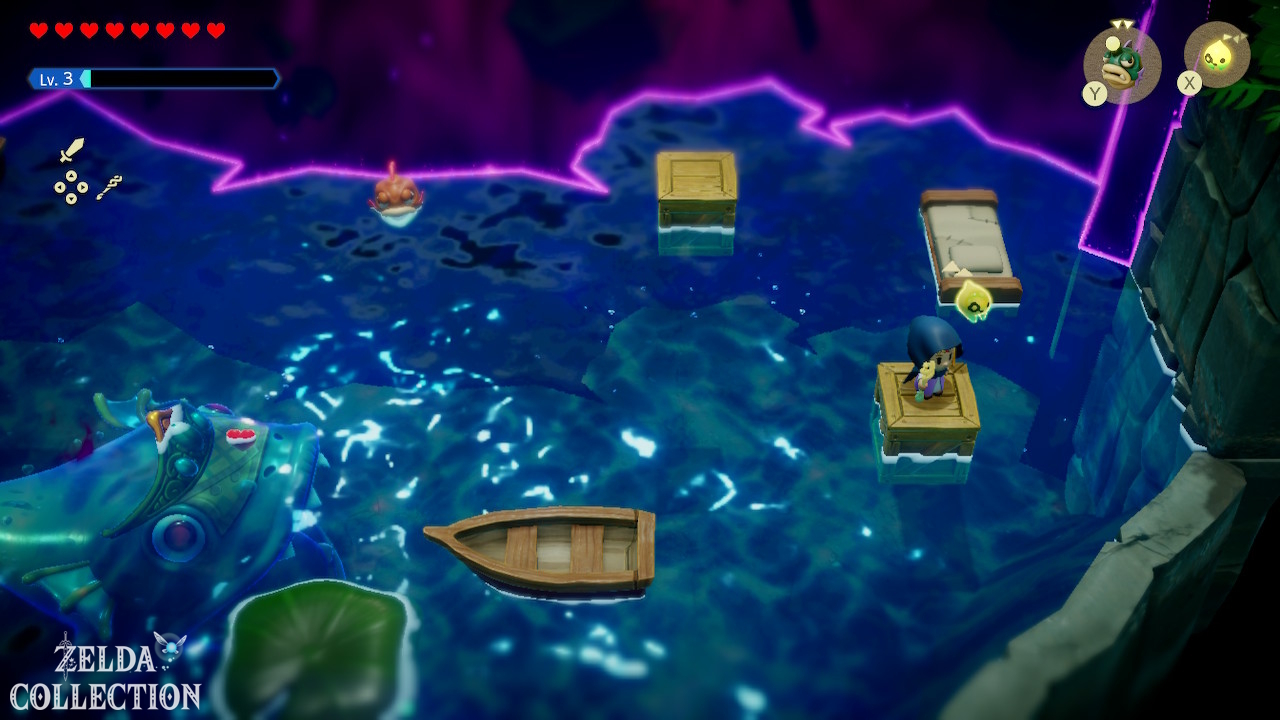
The Water Block only costs a triangle. If you summon several Water Blocks directly next to each other, they will connect. Princess Zelda can swim in this artificial water column. This allows you to overcome vertical walls, build safe bridges and significantly simplify many later climbing puzzles. With four triangles, four Water Blocks are possible at the same time. If Tri already has a higher level according to Gerudo, the basic principle remains the same.
Chests in the Void
Use water block chains to reach the higher islands. On the way there are, among others:
- a chest with 10 Riverhorse
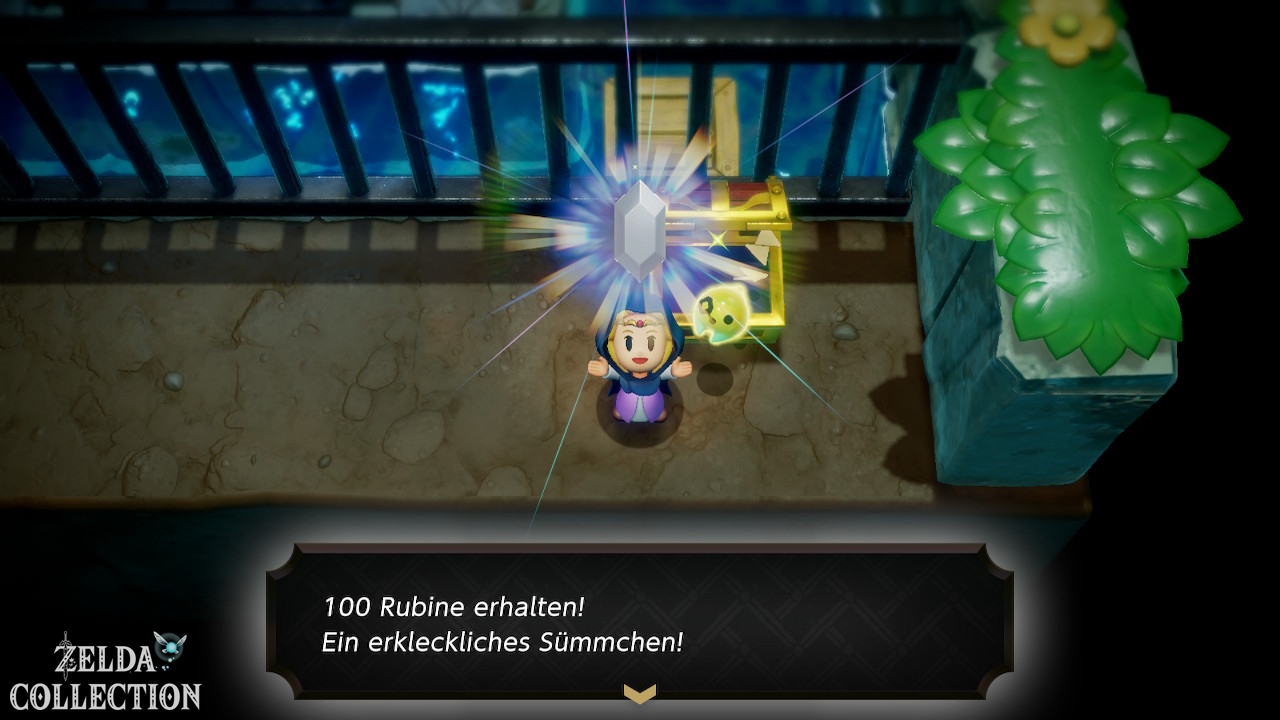
- a chest with 50 Rupees
Then work your way across the frozen parts of Lord Jabu-Jabu to the entrance of the Jabul Ruins.
Jabul Ruins walkthrough
Activate the Waypoint at the entrance. After just a few steps, the floor collapses and Princess Zelda lands in the water. From here the dungeon revolves around raising the water or the central water jet.
Underwater escape at the beginning of
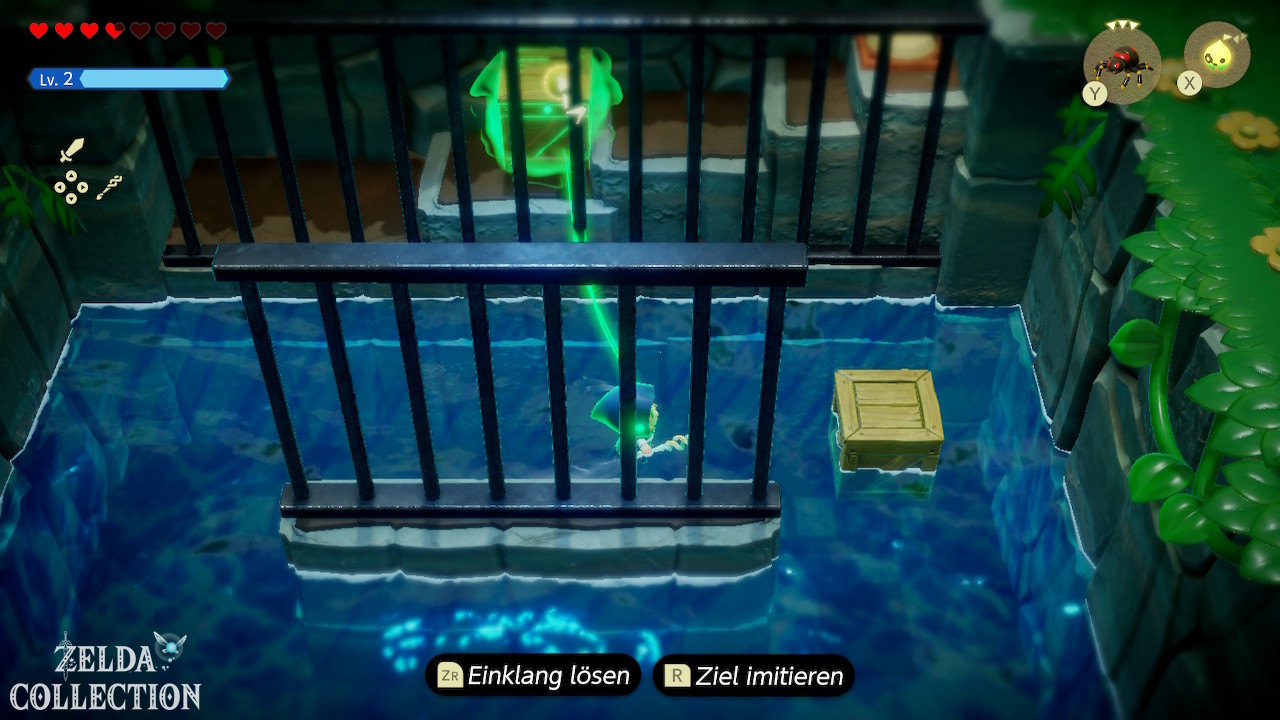
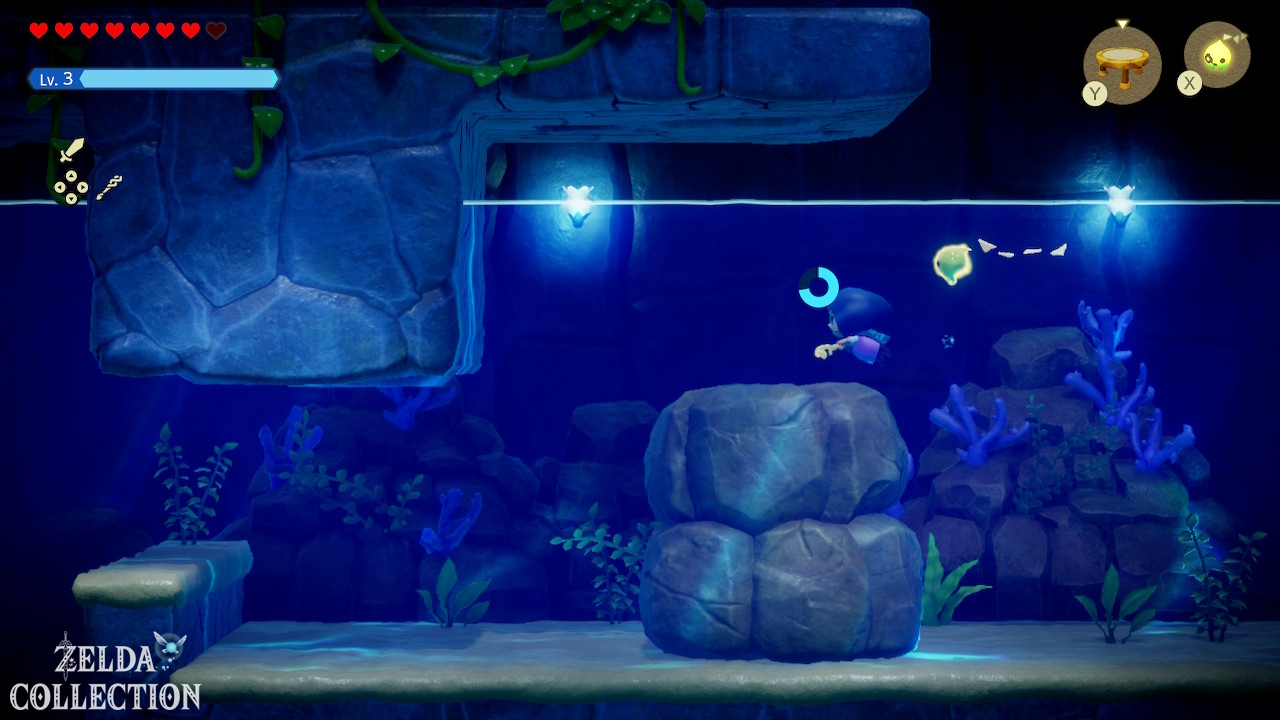
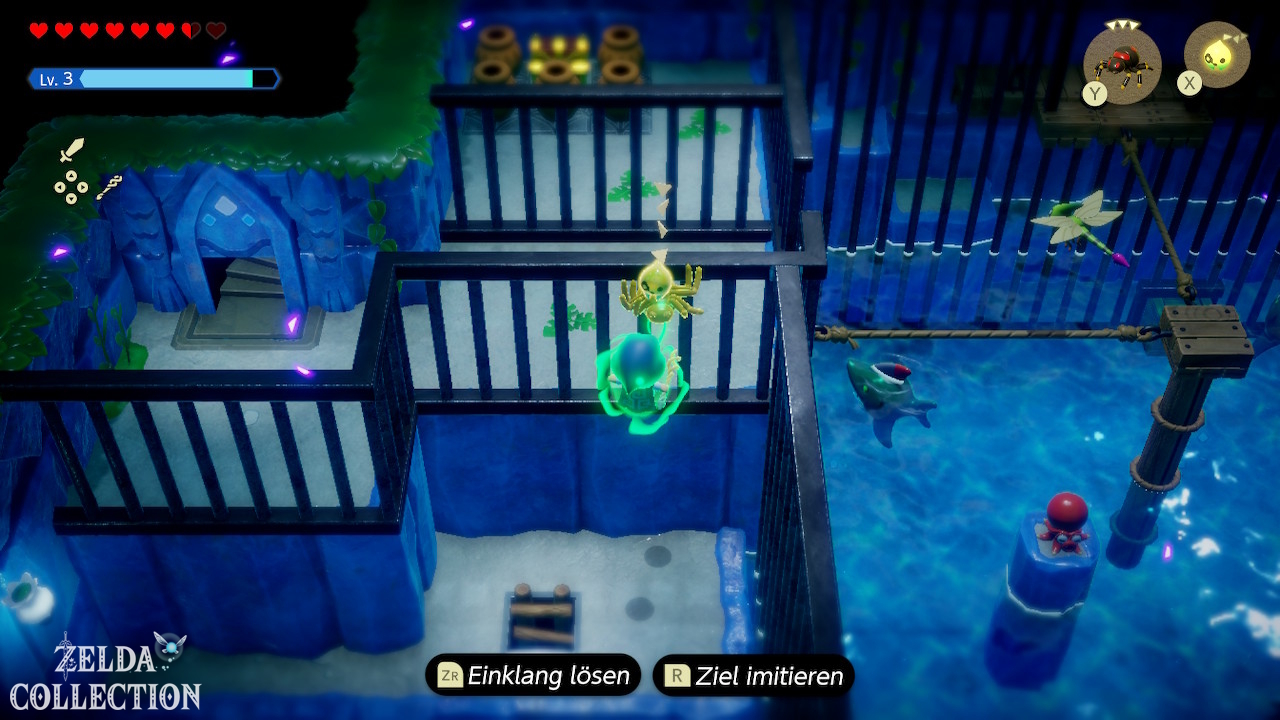
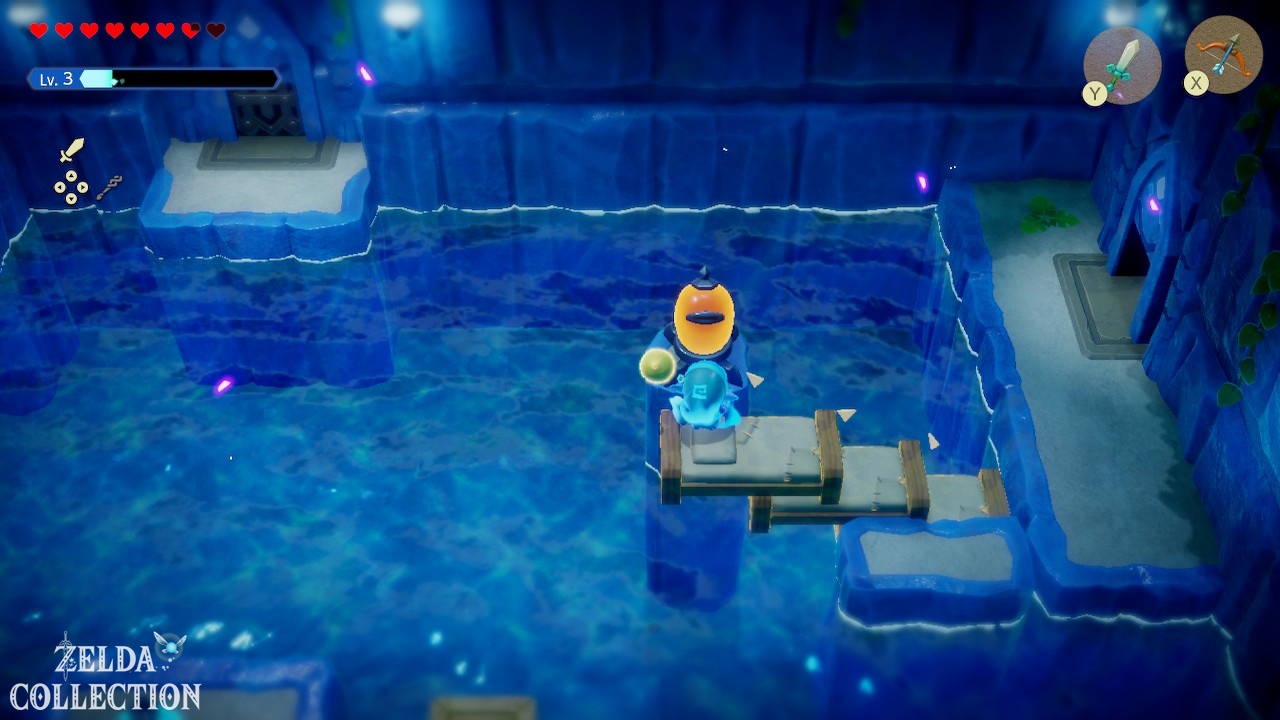
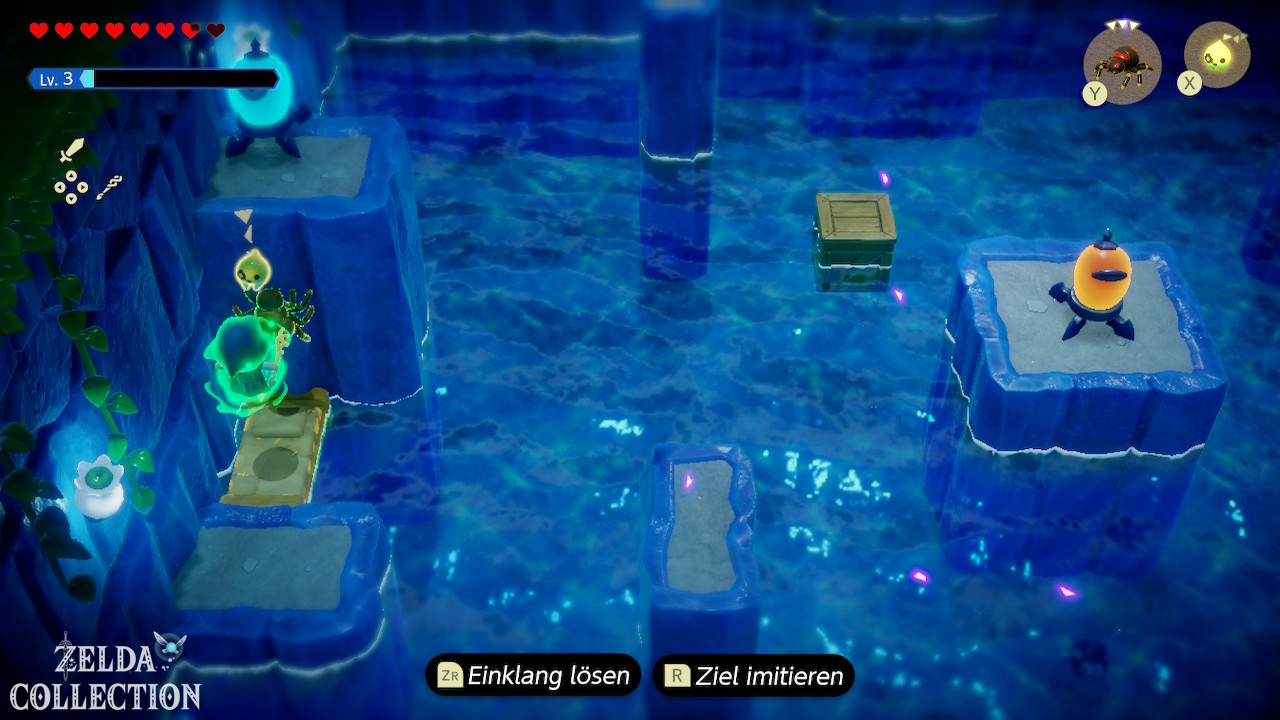
Remove the two large rocks with Bind and swim east. A strong whirlpool follows you through the underwater area. Don’t try to fight every enemy along the way. Swim quickly from bubble to bubble. At the end another rock blocks the exit. Move it and climb up the ladder.
The central hall
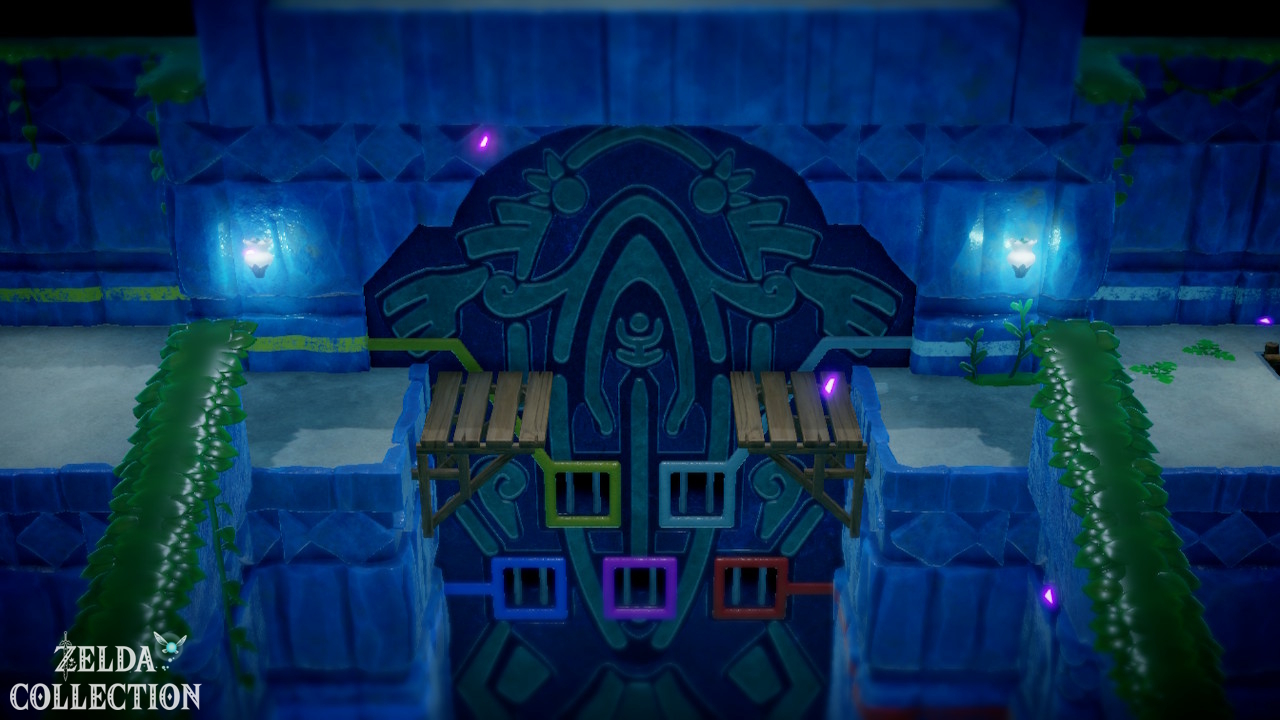
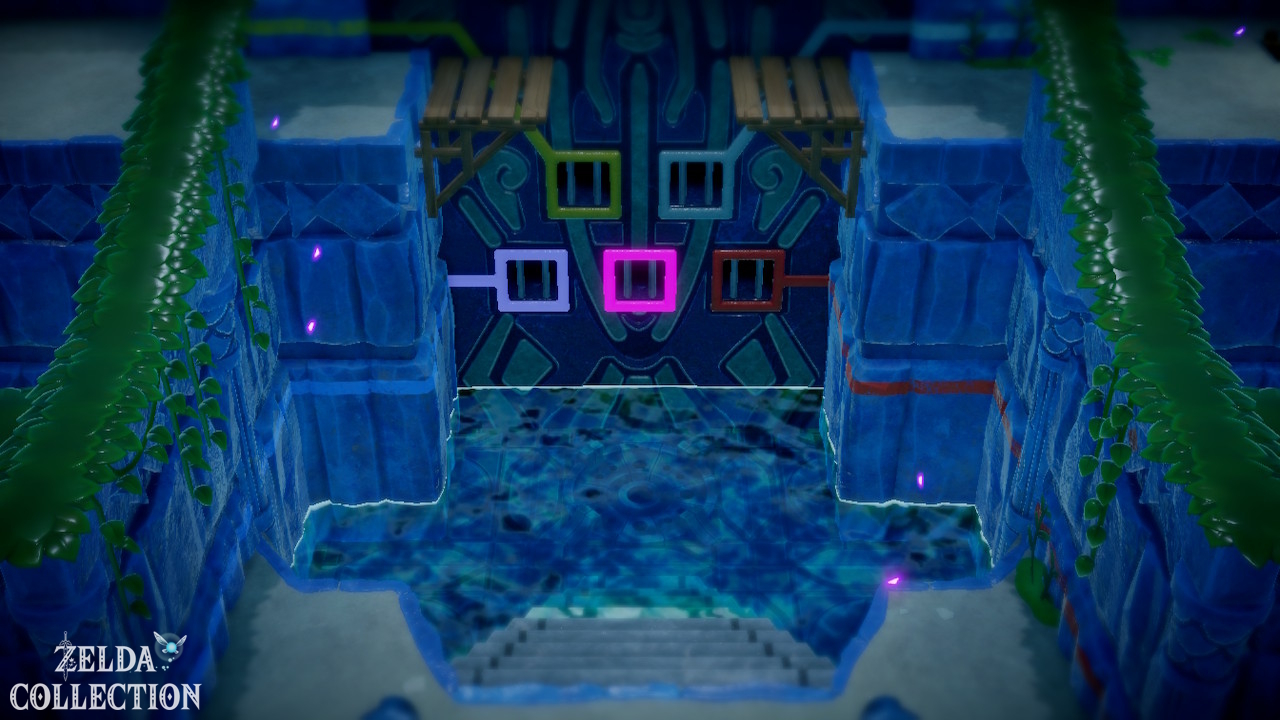
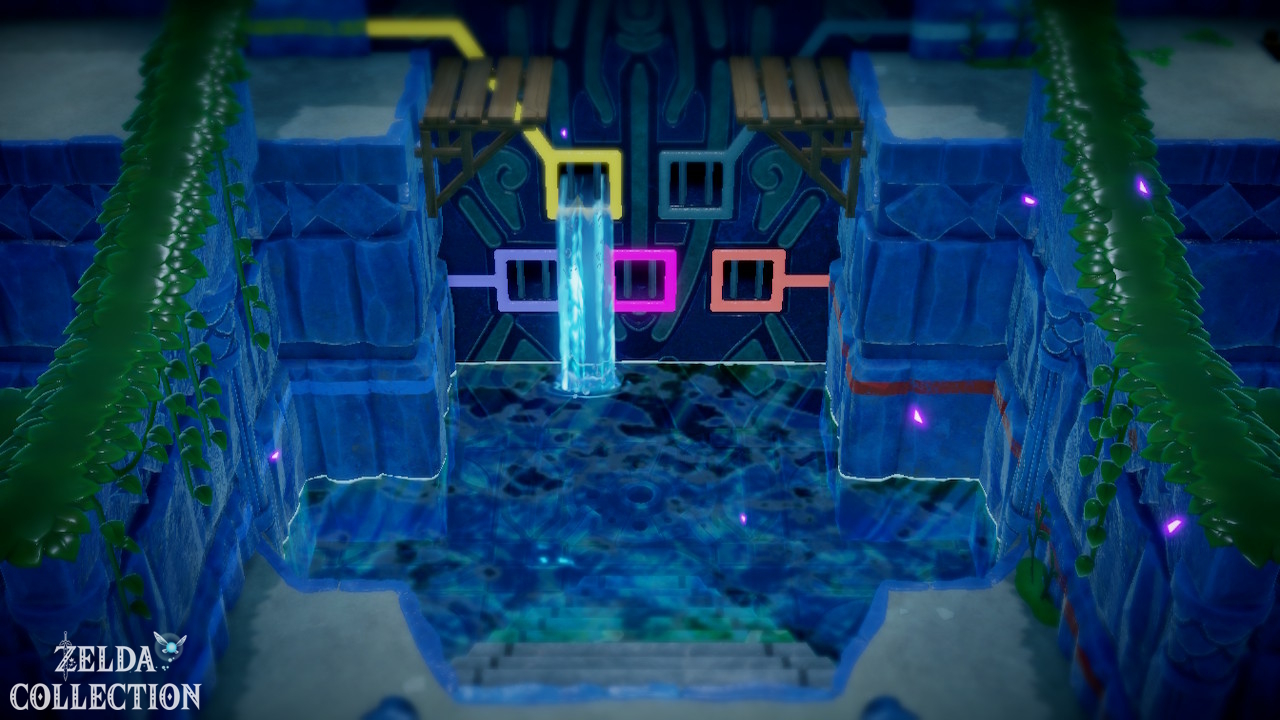
Activate the Waypoint in the large hall. In front of you is the central mechanism. Activate the first purple switch. Your goal now is to activate several colored switches in the side areas. With each switch, the central water jet rises higher. This will allow you to gradually reach the upper floors.
Lower left path
First take the western or lower left exit. The hallway is dark. Use the glowing plants and stay close to the bubbles.
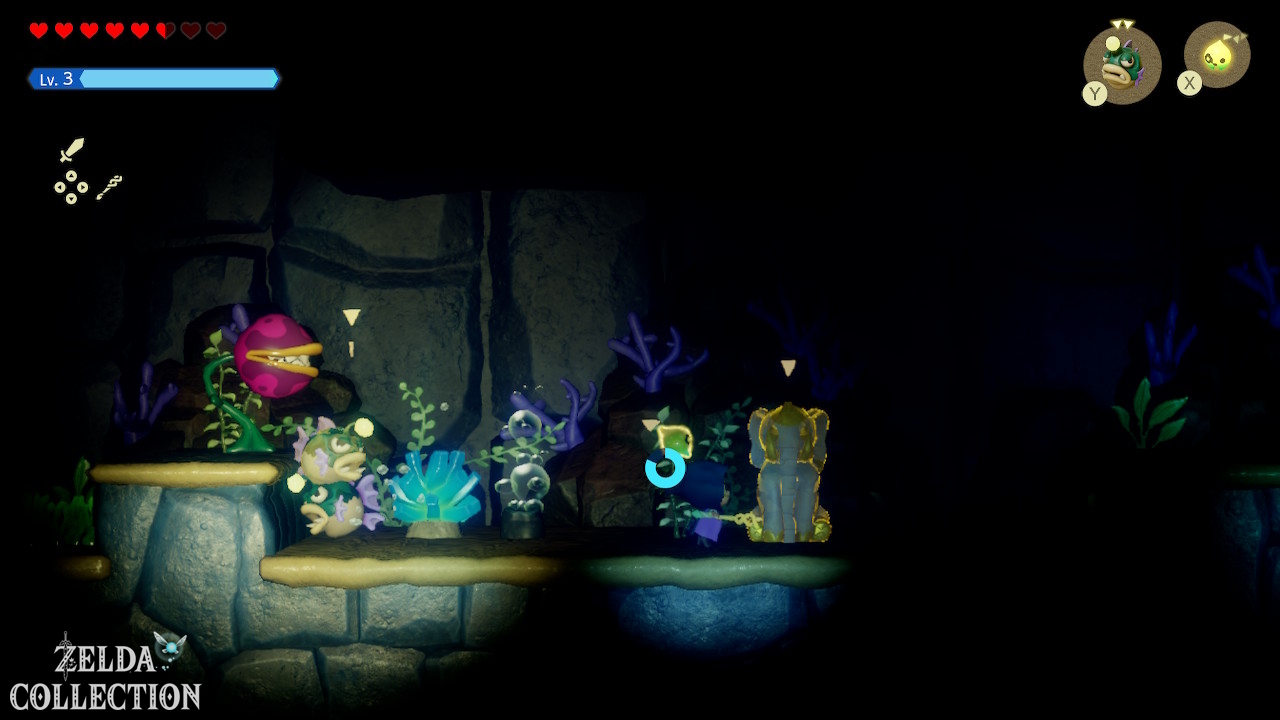
Echo: Bio Deku Baba
Surface at the upper-left exit to reach the room with four torches. Bind to the submerged torch, bring it onto dry ground, then use Ignizol to light the unlit torches. Once all four burn, go through the opened door, press the blue switch and take the shortcut back to the central hall.
Lower right path
Now take the lower path on the right.
Echo: Needlefly
Here you can learn the Needlefly. As a flying echo, it is also useful later on the boss.
Dungeon Map
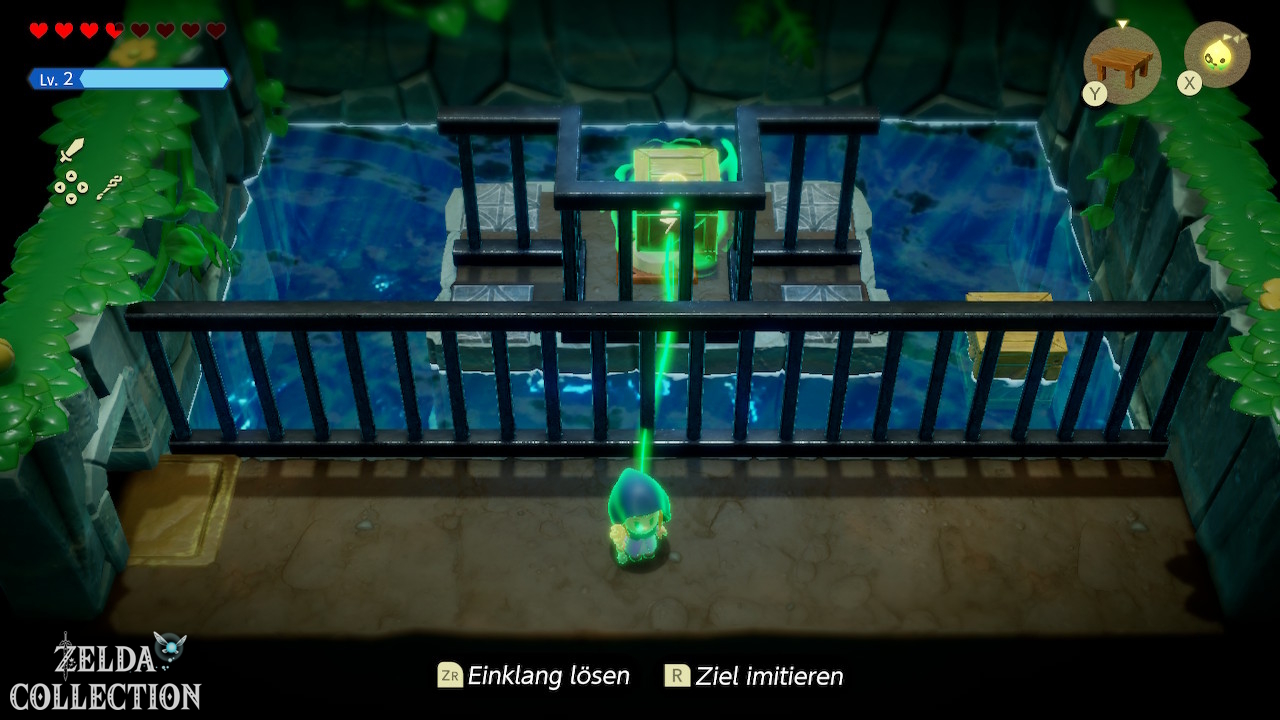
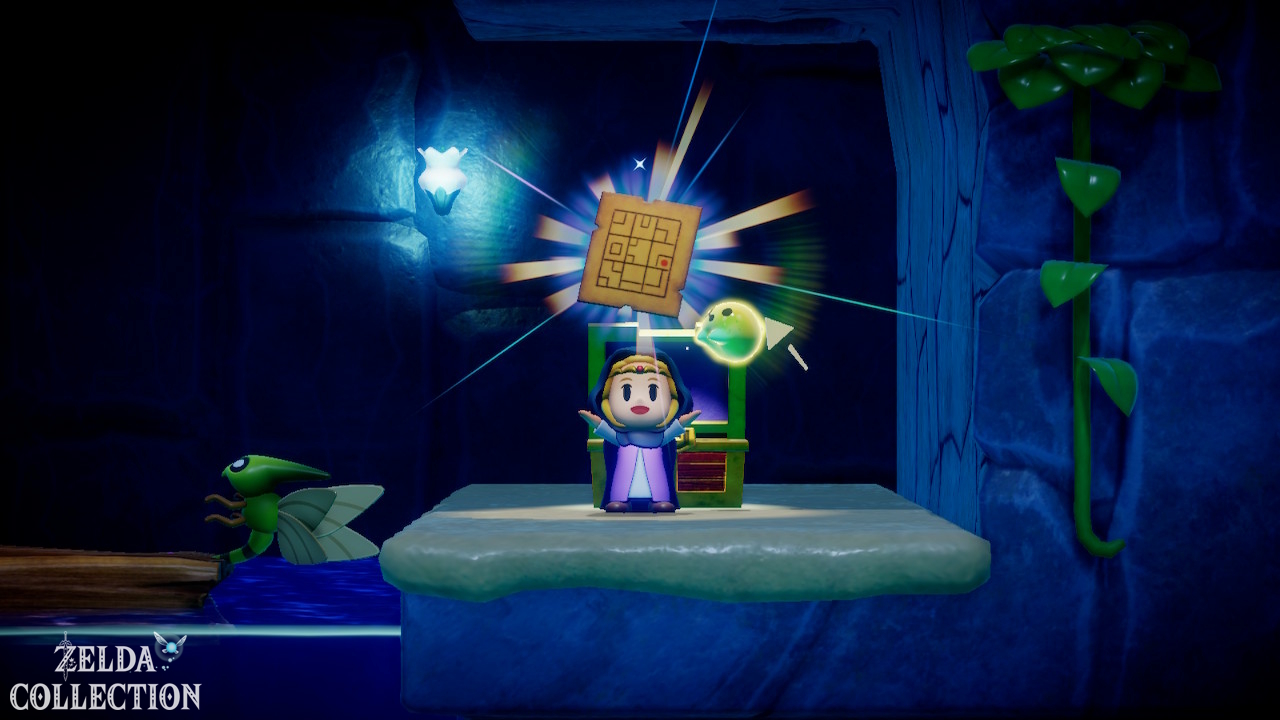
Open the chest with the Dungeon Map. Then swim east through the area with bombfish and other water enemies. Clear the enemies out of the way and move the wooden box or wooden object with Bind to get through the narrow space. In the northwest part of this section you will find a chest with 50 Rupees. Continue following the path and activate the red switch. Return to the main hall. The central water jet now reaches significantly higher.
Upper left path
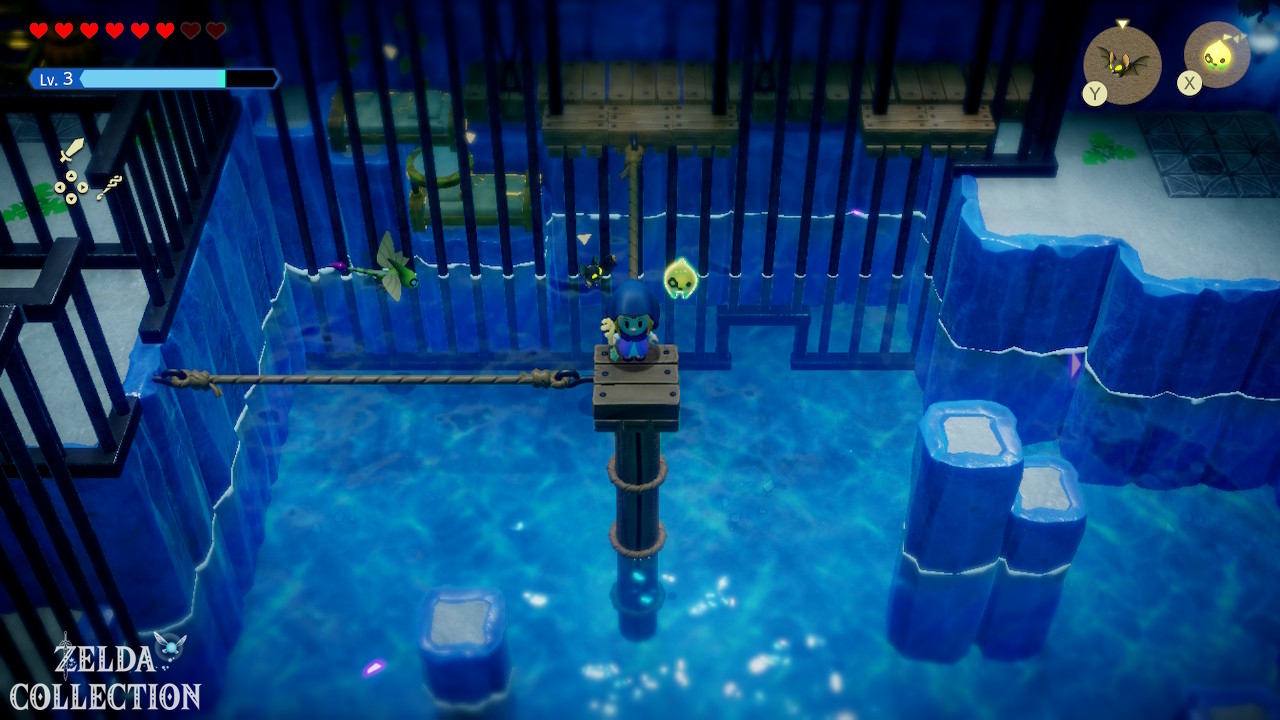
Ride or swim up with the central water jet and take the upper left exit. Use the floating boards and currents to get safely across the water.
Five switches meet
In the next room you have to activate five switches. You can meet them with the Bow of Might. Since the bow consumes energy, ranged echoes are often cheaper. For example, summon a suitable Boarblin so that its projectiles have a clear view of the switch. After all five have been activated, continue up, eliminate the Tektites, and hit the yellow switch. The shortcut takes you back to the center.
Upper right path
Now take the top right exit. This section again contains dark underwater passages and several movable obstacles.
Chest: Golden Egg
In the lower left area of the passage there is a chest with a Golden Egg. Move boards and rocks with Bind and blow up brittle blocks with Bombfish.
Big Key
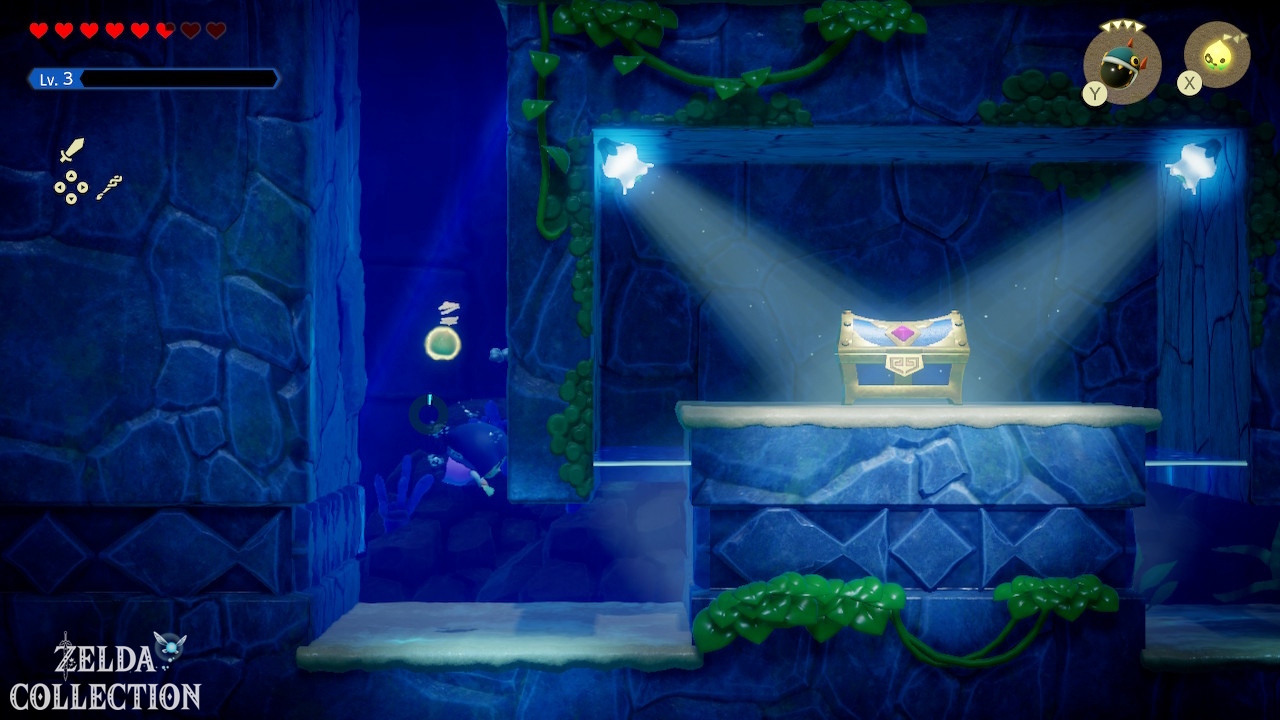
Follow the uncovered path down to the large chest and take the Big Key. Then blow up or remove the blocking wooden crates and work your way to the exit on the upper right side.
Keep the green switch pressed
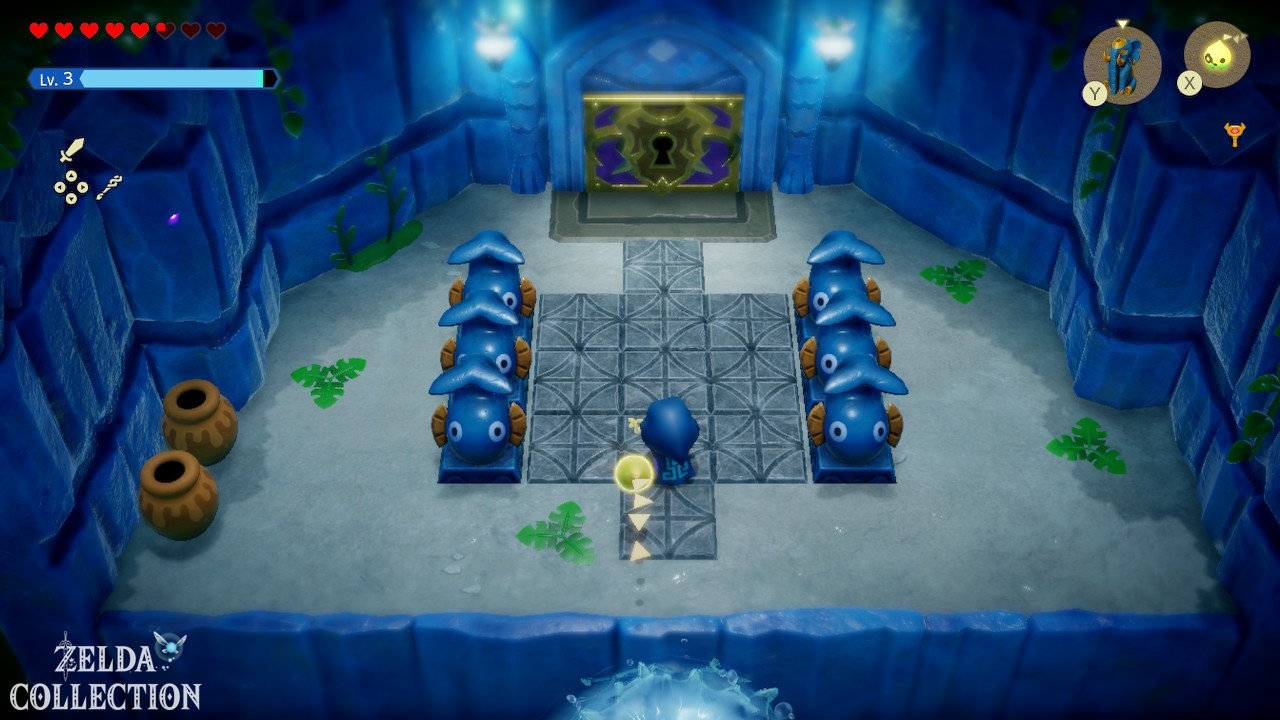
Defeat the enemies in the last room, then place a Pot or another suitable echo on the green floor switch. Leave it there to keep the switch pressed. Dive through the hole on the left and move the plank and boulder with Bind to return to the central hall.
To the boss
The central water jet now extends to the top level. Go up, open the big door with the Big Key and activate or use the Waypoint beforehand. Heal yourself completely. For the following fight, Zora’s Flippers are pleasant, but not essential.
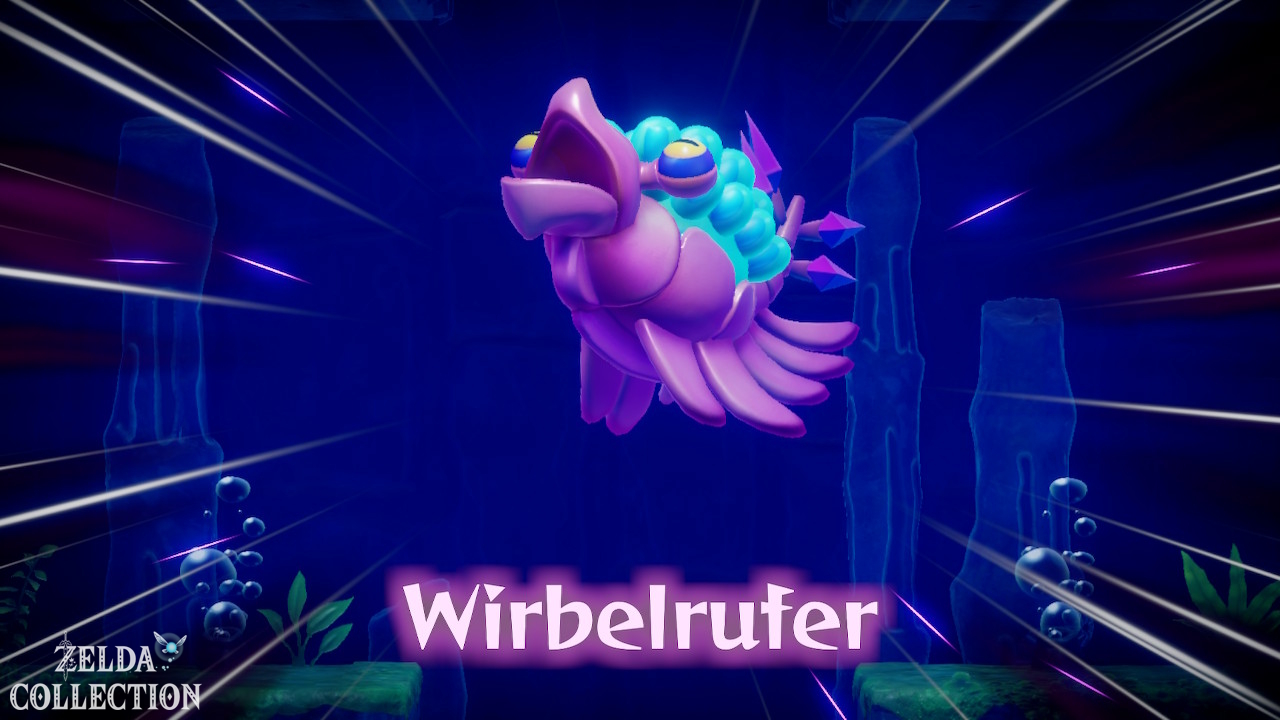
Boss: Vocavor defeat
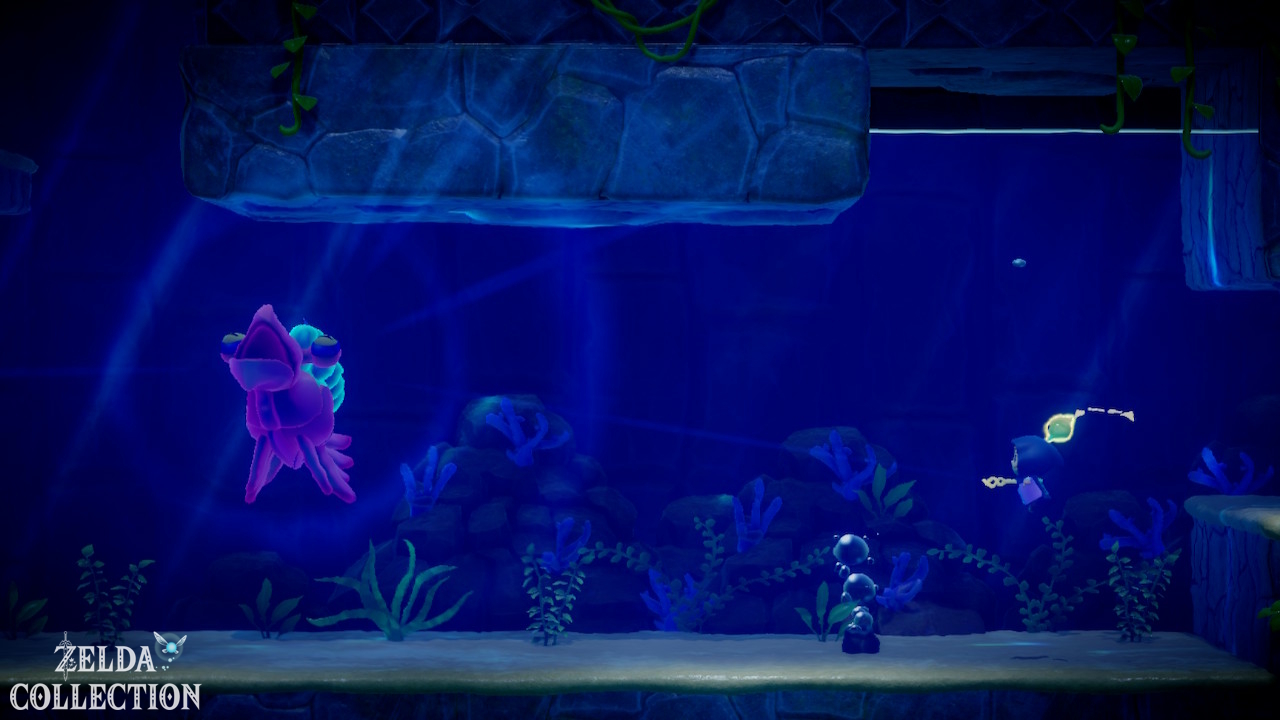
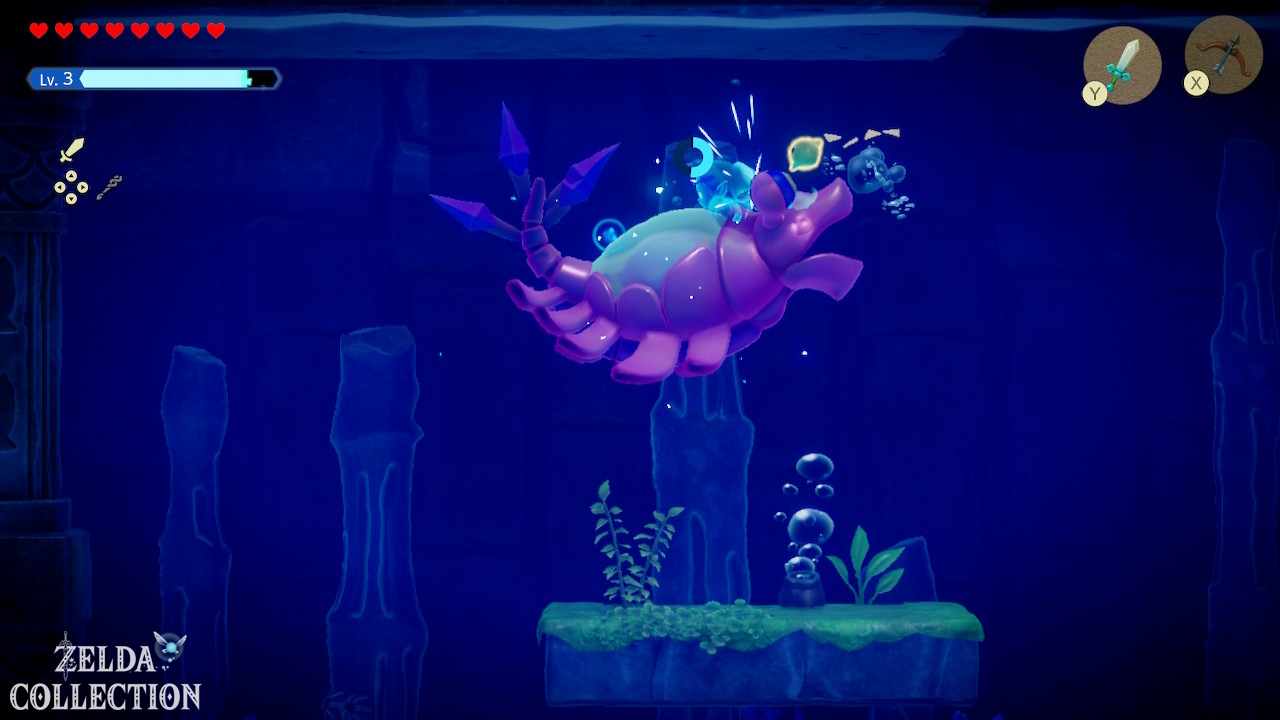
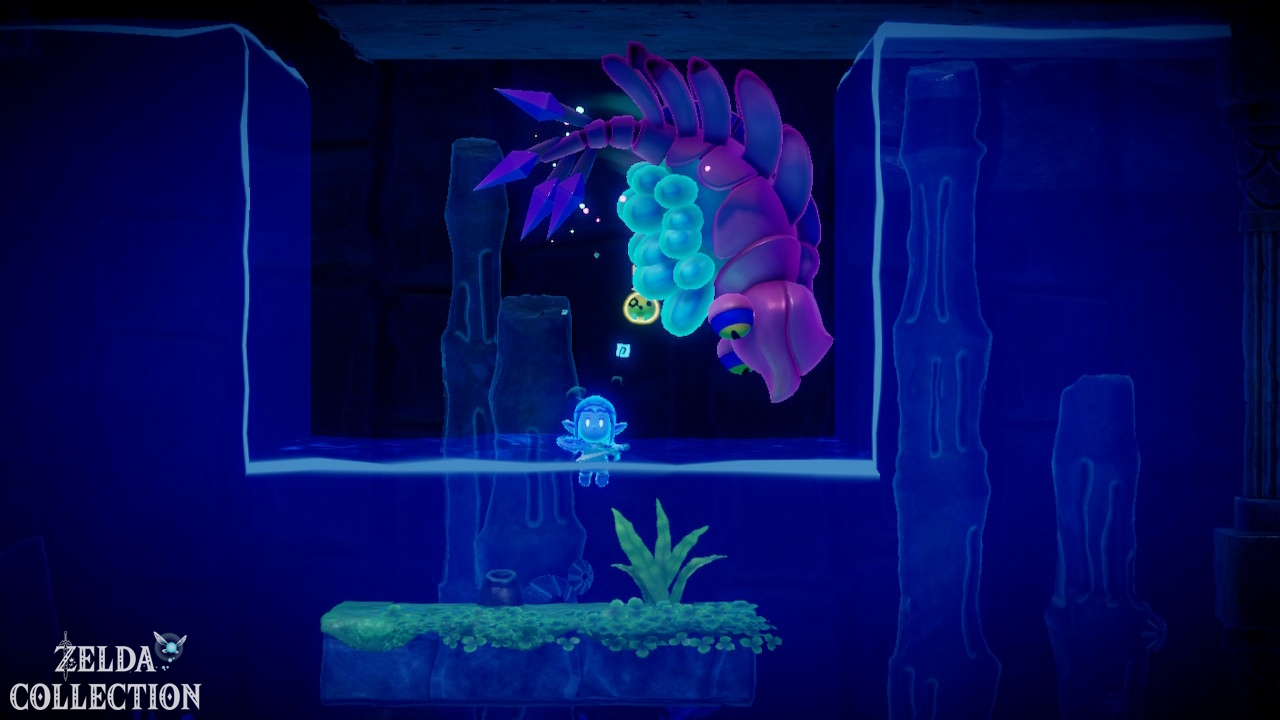
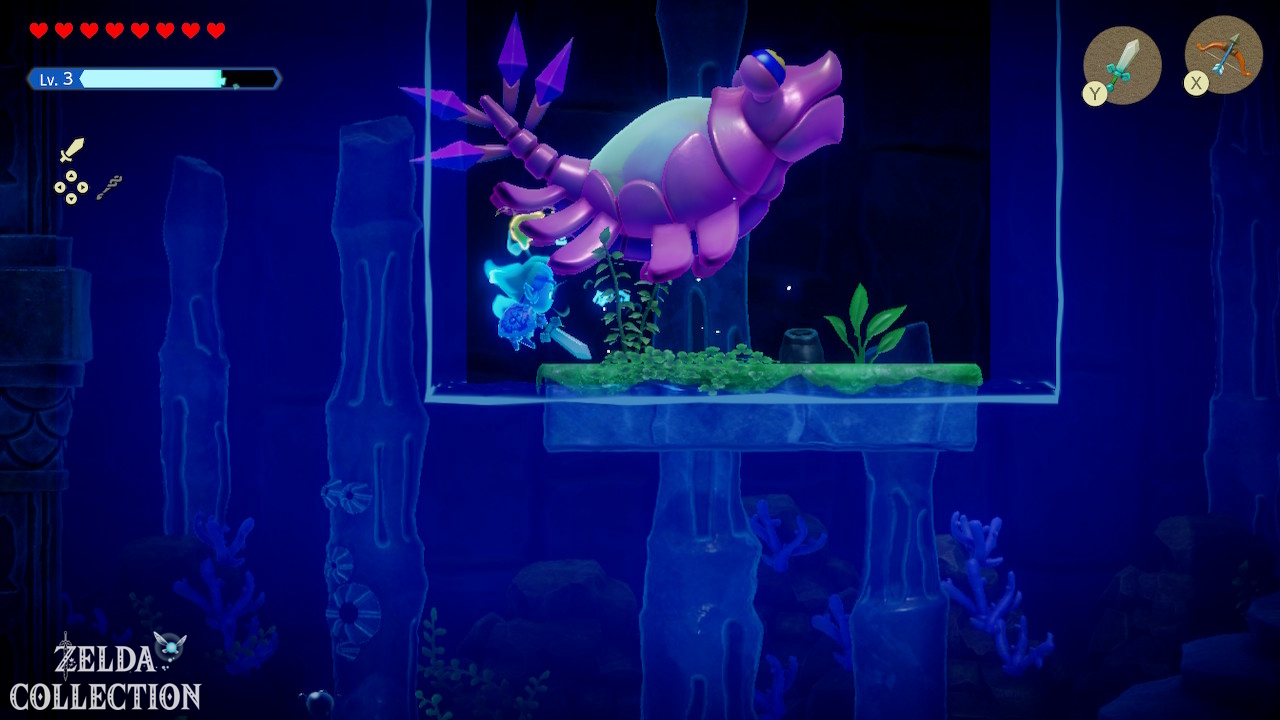
Vocavor is an underwater boss. Its sensitive areas are on the body or back and cannot be safely reached at all times.
Phase 1
Stay at a distance at first and avoid the small vertical vortices. Underwater, it is often easier to swim above or below an attack rather than rushing off to the side. Summon water enemies like Tangler or Bombfish near the boss. These echoes attack independently, while Princess Zelda focuses solely on dodging. Target and burst all the bubble clusters on Vocavor’s back. Once Vocavor is stunned, switch to Swordfighter Form and cause as much damage as possible.
Exit the mode again as soon as the boss moves away.
Phase 2
In the second section, the water level or combat area changes and air areas are created. Vocavor now uses larger whirlpools and moves more aggressively between areas. A Albatrawl or a Needlefly can now be particularly useful because the enemies can also pursue the boss above the water. Don’t try to constantly shoot after the boss with the Bow of Might. The bow uses the same energy as your sword. Let your echoes work on the weak points and save the energy for the next safe stunning phase.
Repeat this process until Vocavor is defeated.
Reward
After the battle you will receive:
- 1 Heart Container
- 5 Might Crystals
- a further improvement of Tri
If you completed the Gerudo Sanctum first, Tri will now normally reach level 4. This reduces several echo costs. This is particularly pleasant with echoes, which have previously taken up your entire four-triangle budget. For example, the bombfish will now be cheaper. If you played Jabul as your first region, you will initially get the level 3 function for summoning at a distance here instead. The cost reduction then follows the Gerudo Sanctum.
After the Jabul ruins: now get the newly accessible treasures
Piece of Heart next to Lord Jabu-Jabu’s Den
travel to Lord Jabu-Jabu’s Den. On the pillar right next to the entrance is a Piece of Heart. After the big Rift disappears, you can easily reach it. It’s particularly easy with Water Blocks: Build a vertical column of water next to the ledge, swim up and jump to the Piece of Heart. You have now collected the four Pieces of Heart in the Jabul Waters that can be reached within this story section.
Side Quest: Precious Treasure
In Sea Zora Village, “Precious Treasure” is now available. The Zora would like to see a Treasure Chest. Dive northwest for the chest at the bottom and grab it with Bind. Transport the real chest to the client and leave it with him.
Reward: 3 Monster Stones.
3 crystals north of Lord Jabu-Jabu’s Den
After completing Jabul Ruins, another chest is accessible in the area north of Lord Jabu-Jabu’s Den. Open it for 3 Might Crystals.
3 crystals in the Zora River monster camp
The monster camp in the southwest or western area of the Zora River is now also worthwhile. Defeat all enemies. As soon as the camp is considered cleared, the locked chest opens. Contents: 3 Might Crystals.
After Hyrule Castle: Stilled Eastern Zora River
After completing Still Missing and the Hyrule Castle dungeon, a new rift appears in the northeastern Zora River. Reach it through the cave behind the upper buildings in River Zora Village. Rescue all three groups of Tri’s friends to mend it and receive two Might Crystals.
Reward: 2 Might Crystals.
Might Crystals before and after Hyrule Castle
Of the region’s 20 Might Crystals, 17 can be collected before completing Hyrule Castle. The two from Stilled Eastern Zora River and the one awarded by A Treat for My Person belong to later visits.
After Hyrule Castle: The Zappy Shipwreck
After completing the Hyrule Castle section, return to the Wrecked Ship in southwestern Zora Cove for The Zappy Shipwreck. Its rewards include a Fairy Bottle, with another Piece of Heart inside the ship.
Searching for Everyone complete
To complete the main mission, both of the following main objectives must be completed:
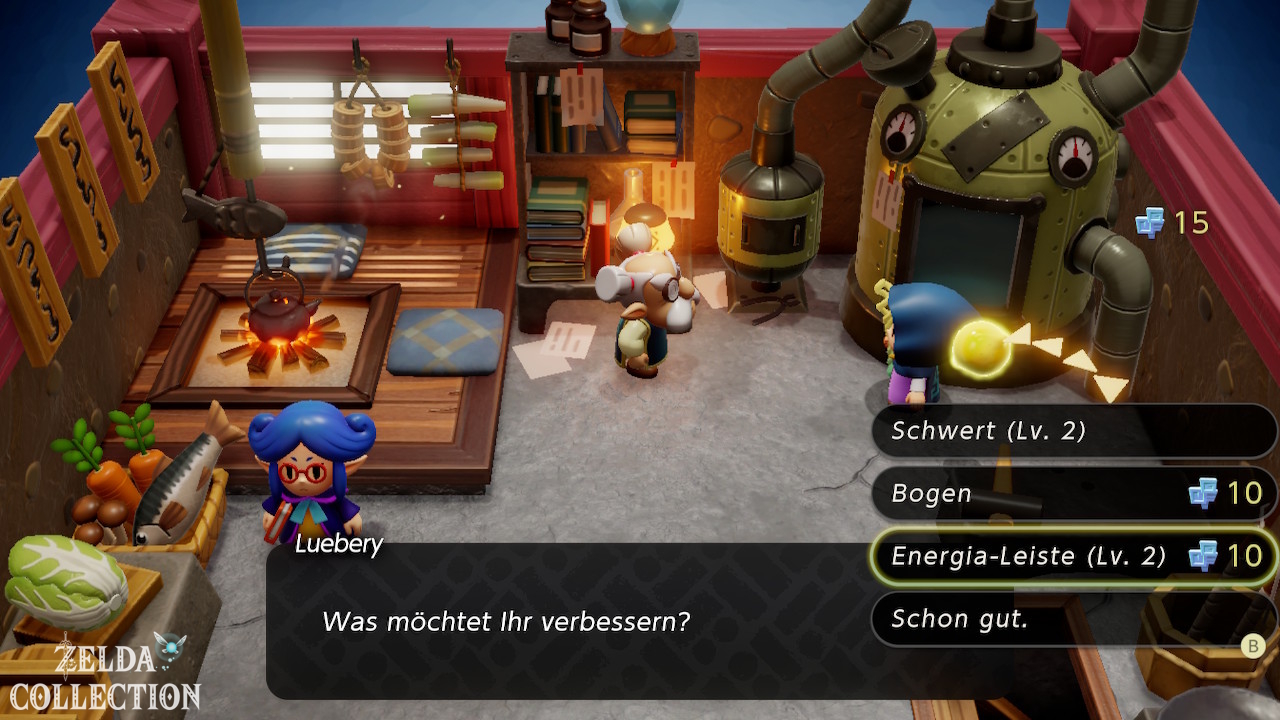
The order doesn’t matter at all. After the second region boss, it becomes clear that although more missing people have returned, King Hyrule and Link are still missing. This ends the actual search in Gerudo and Jabul. Then travel back to Lueburry’s House. There the action continues with the general and the minister and your next goal takes you back towards Hyrule Castle. The following main mission is called “Still Missing”. Before you head out, it’s worth taking a look at Lueburry’s improvement machine. Through Gerudo and Jabul area you should now have significantly more Might Crystals. Since the sword and bow use the same energy, an improved energy bar is particularly valuable.