
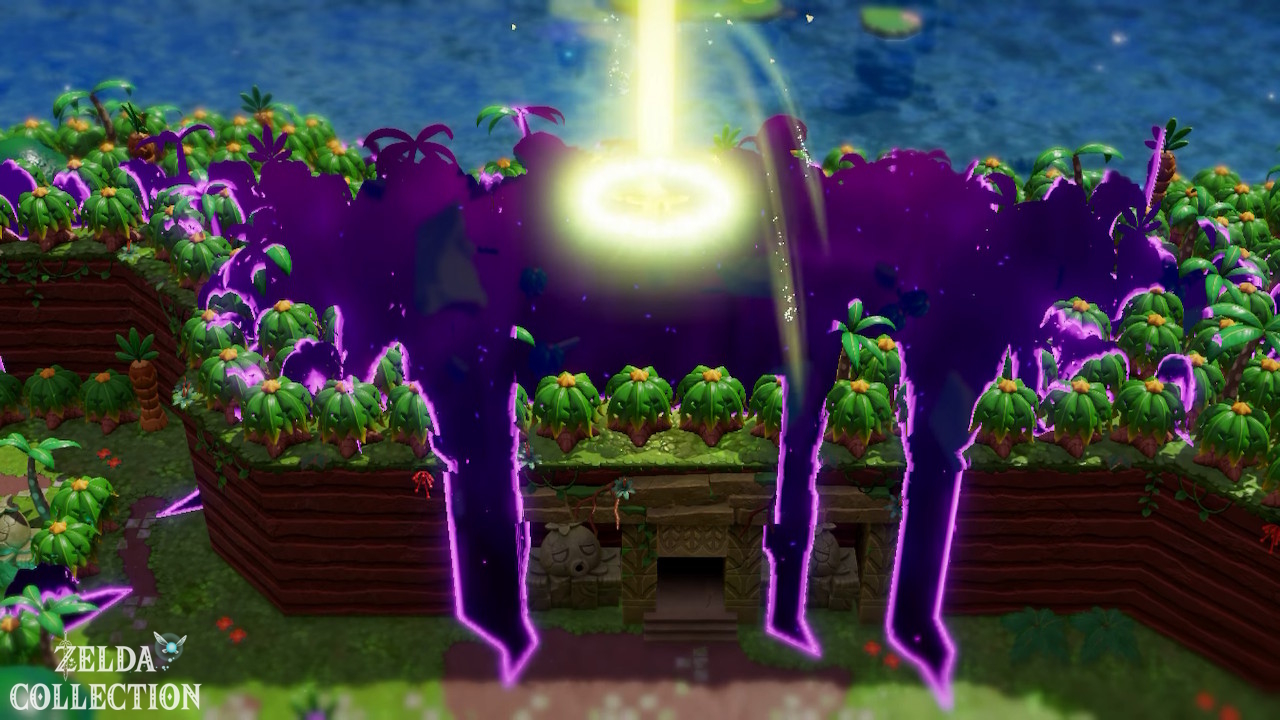
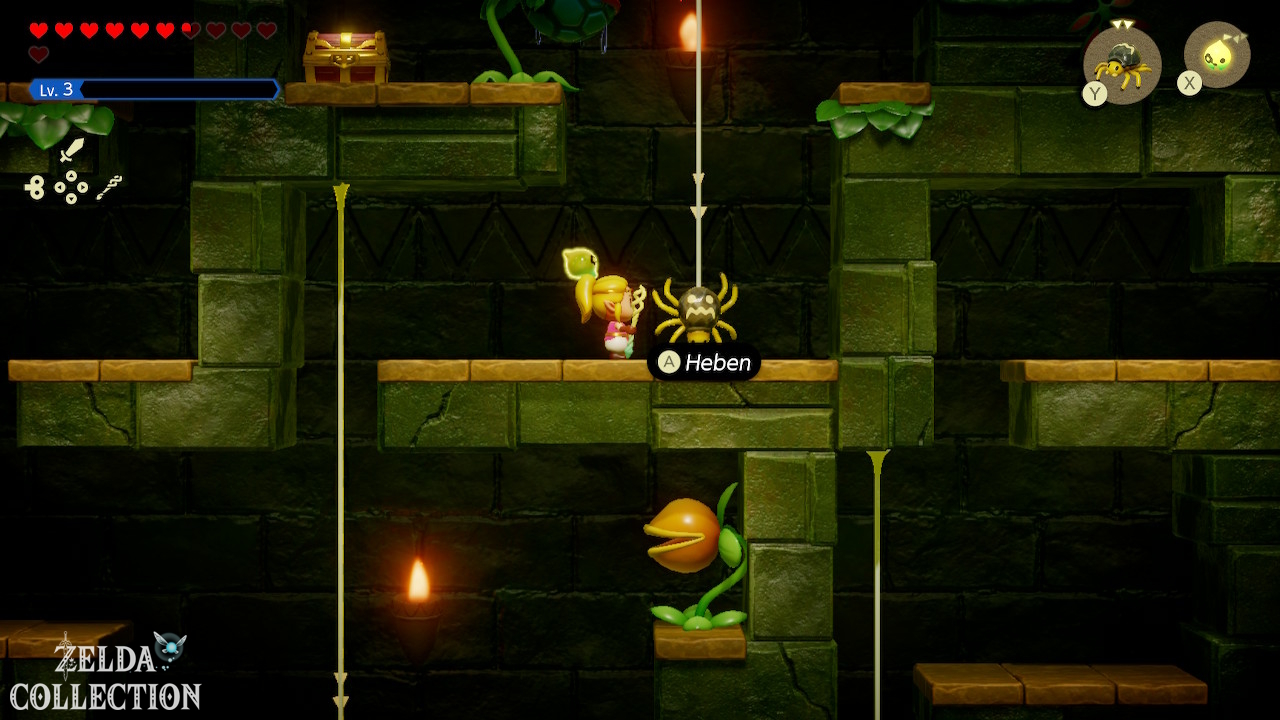
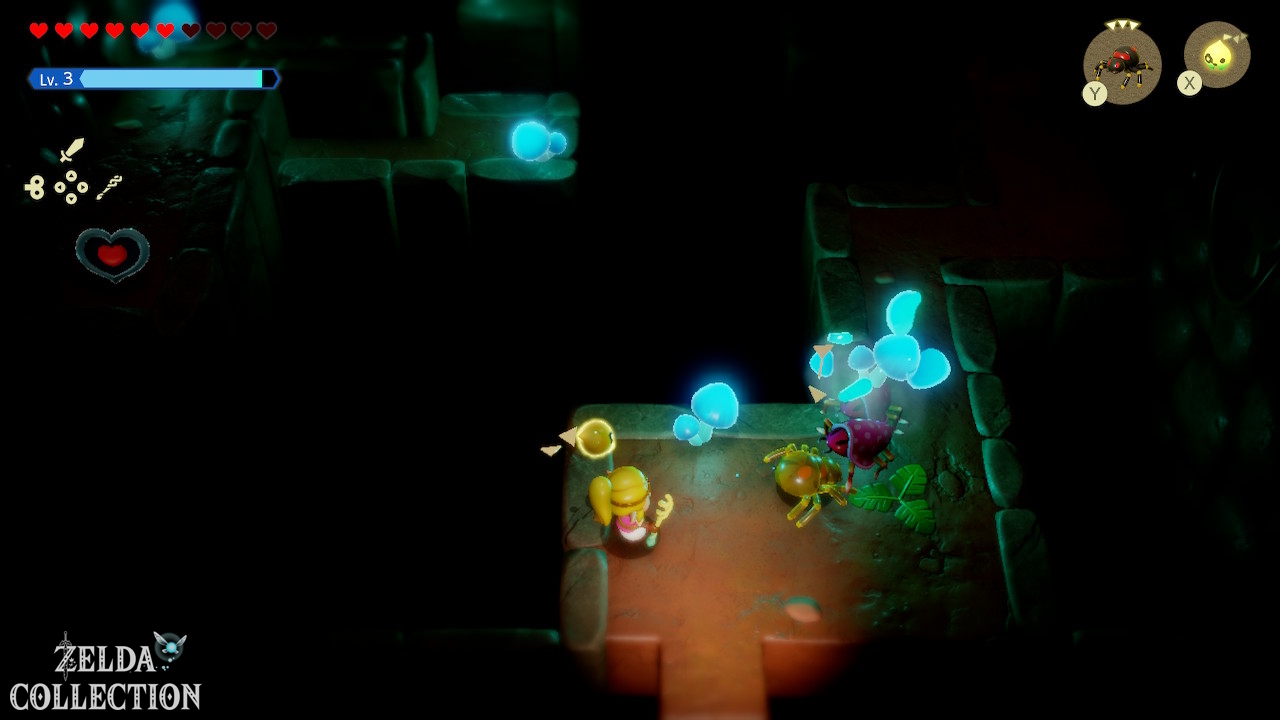
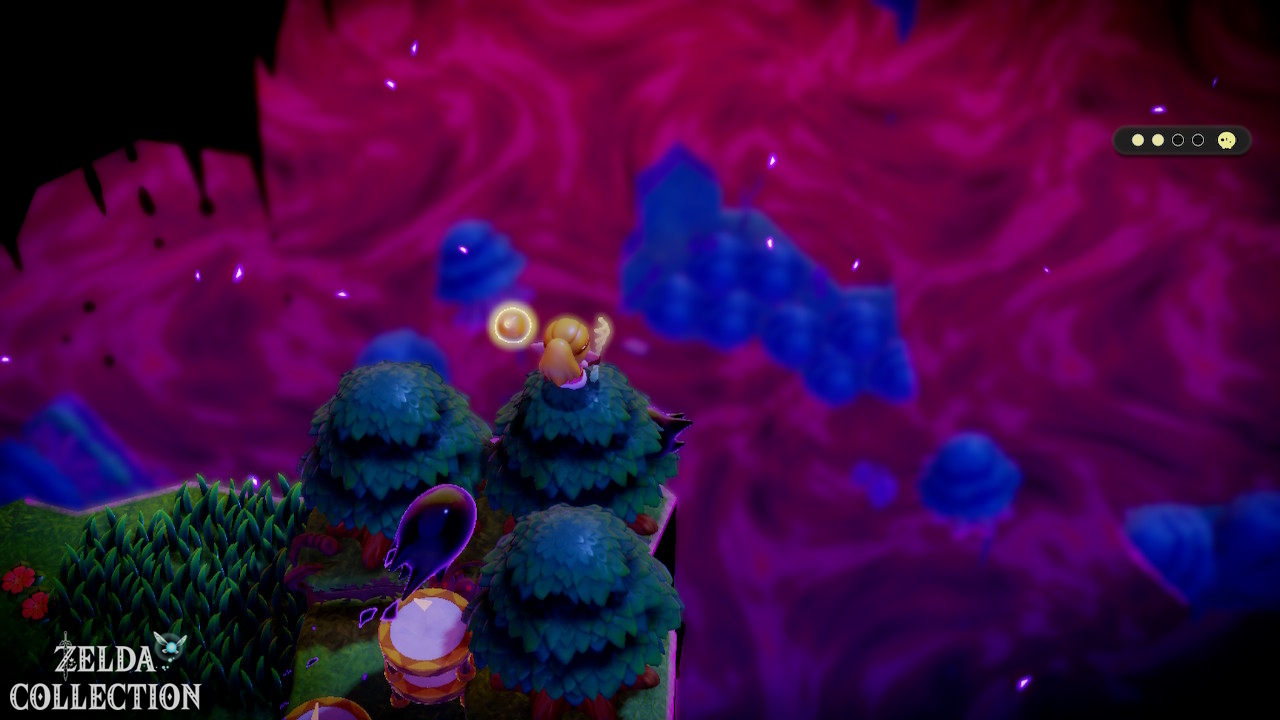
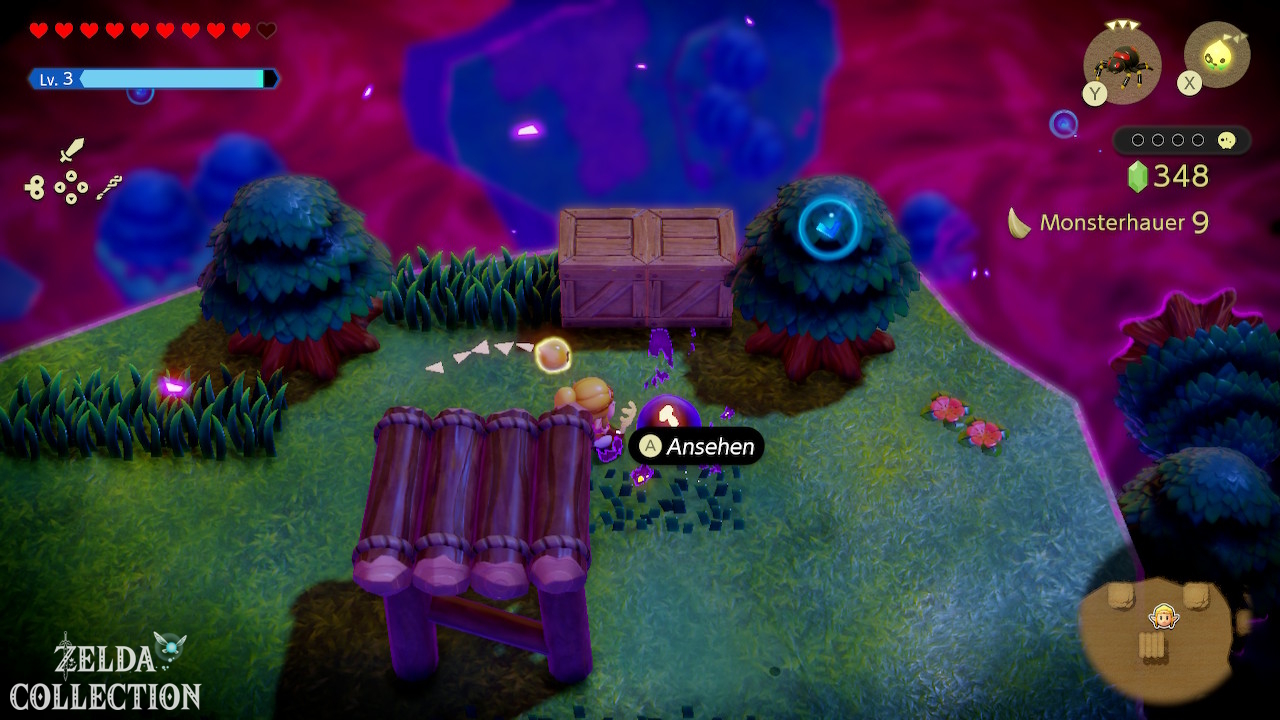
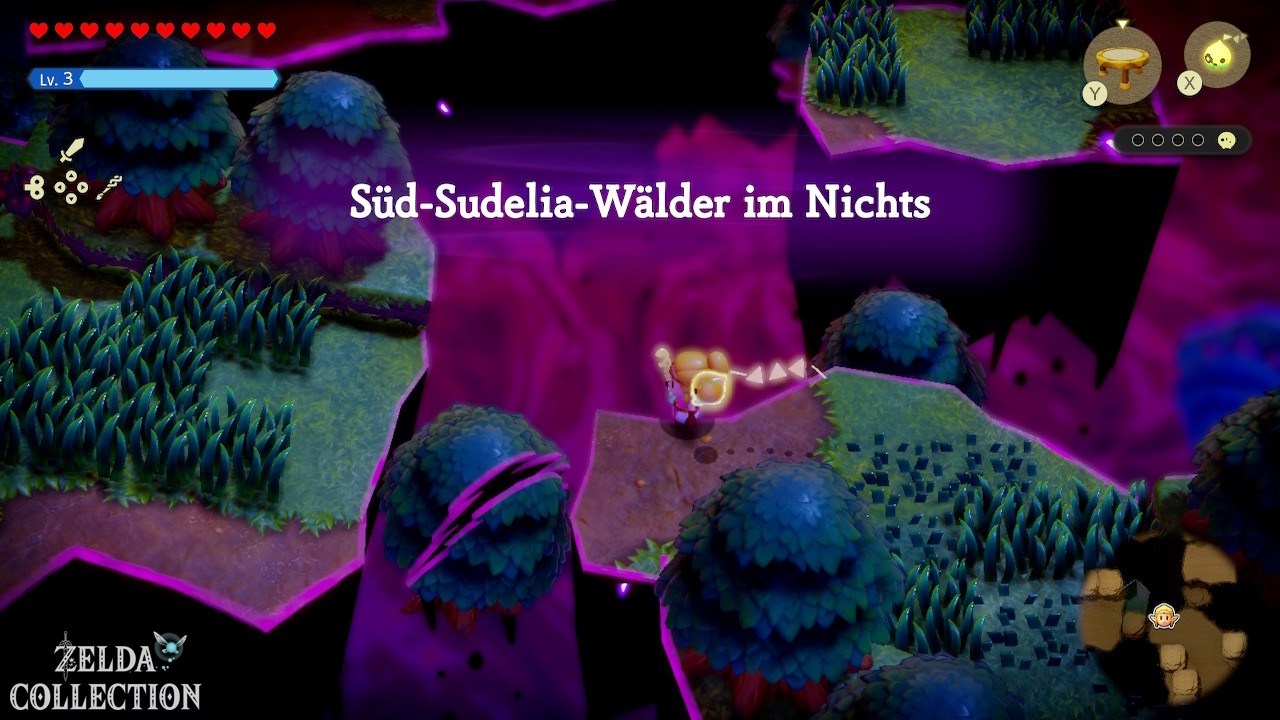
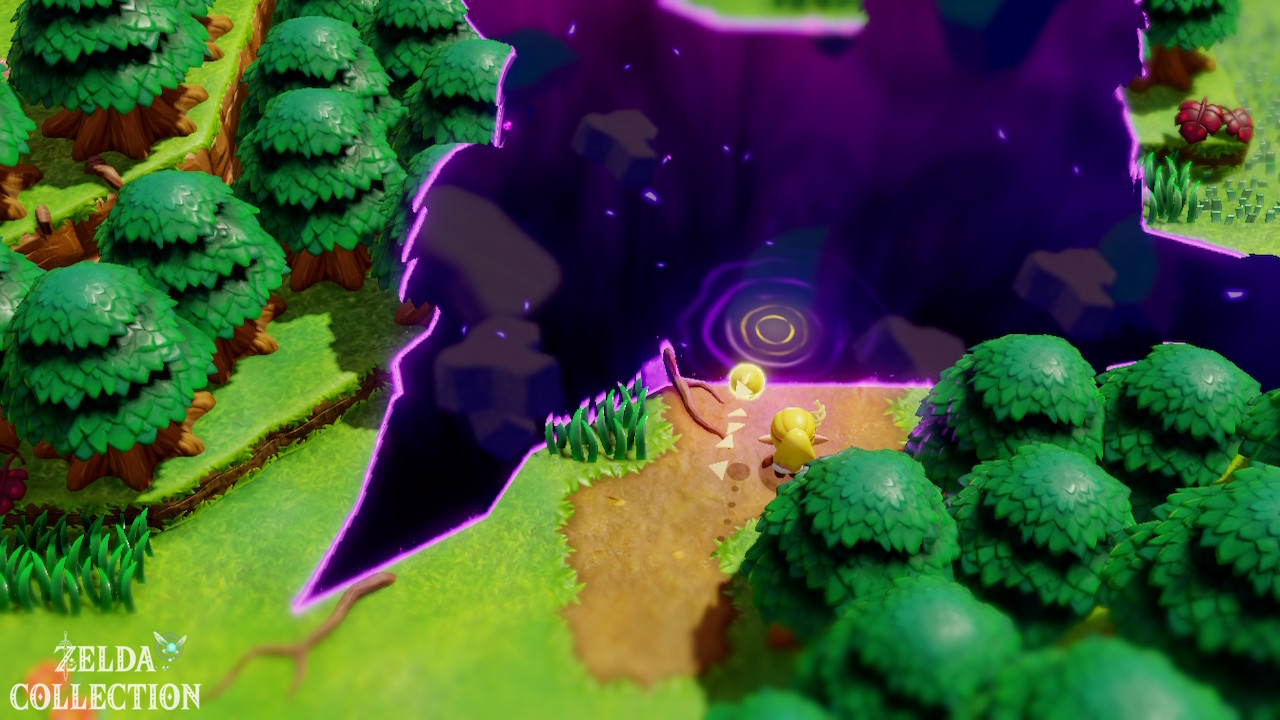
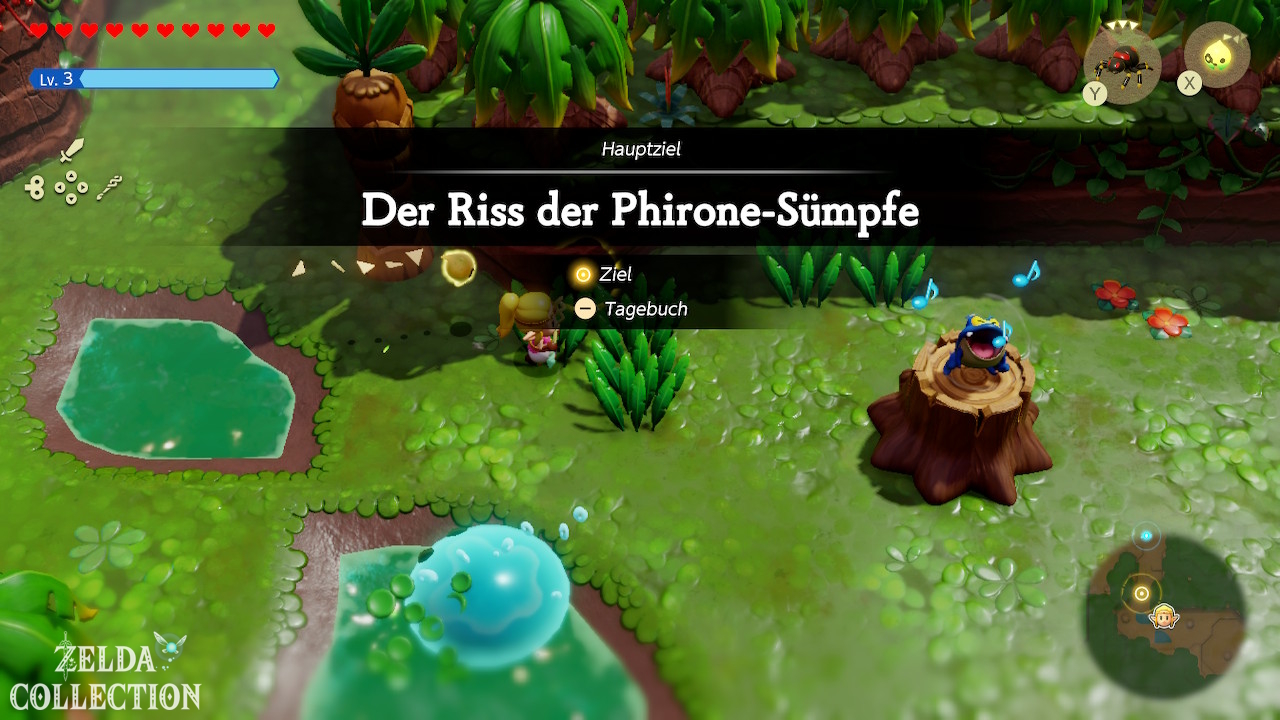
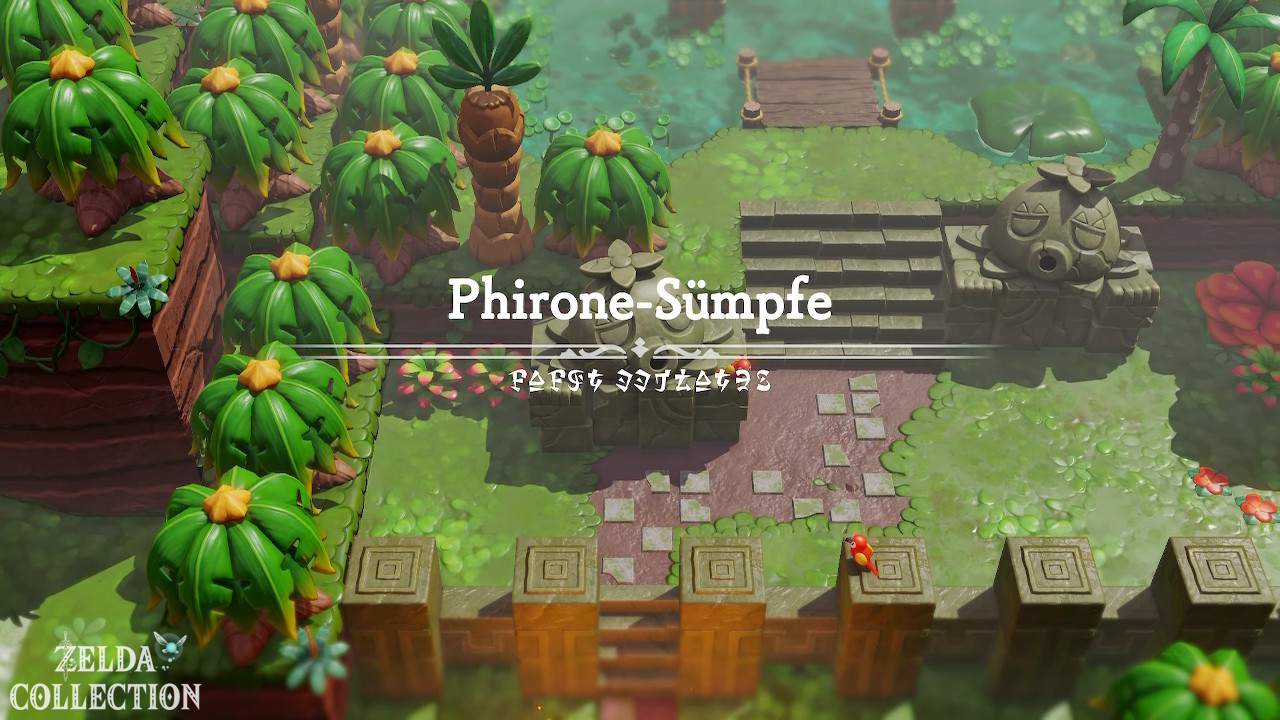
The main mission “A Rift in the Faron Wetlands” belongs to “Lands of the Goddesses”. You can play Faron before or after Eldin and Lanayru. We take the swamps as the third region. As a result, Zelda already has a lot of fire, ice and movement echoes, which make the long and convoluted Faron Temple much more pleasant.
Arrival in the Faron Wetlands
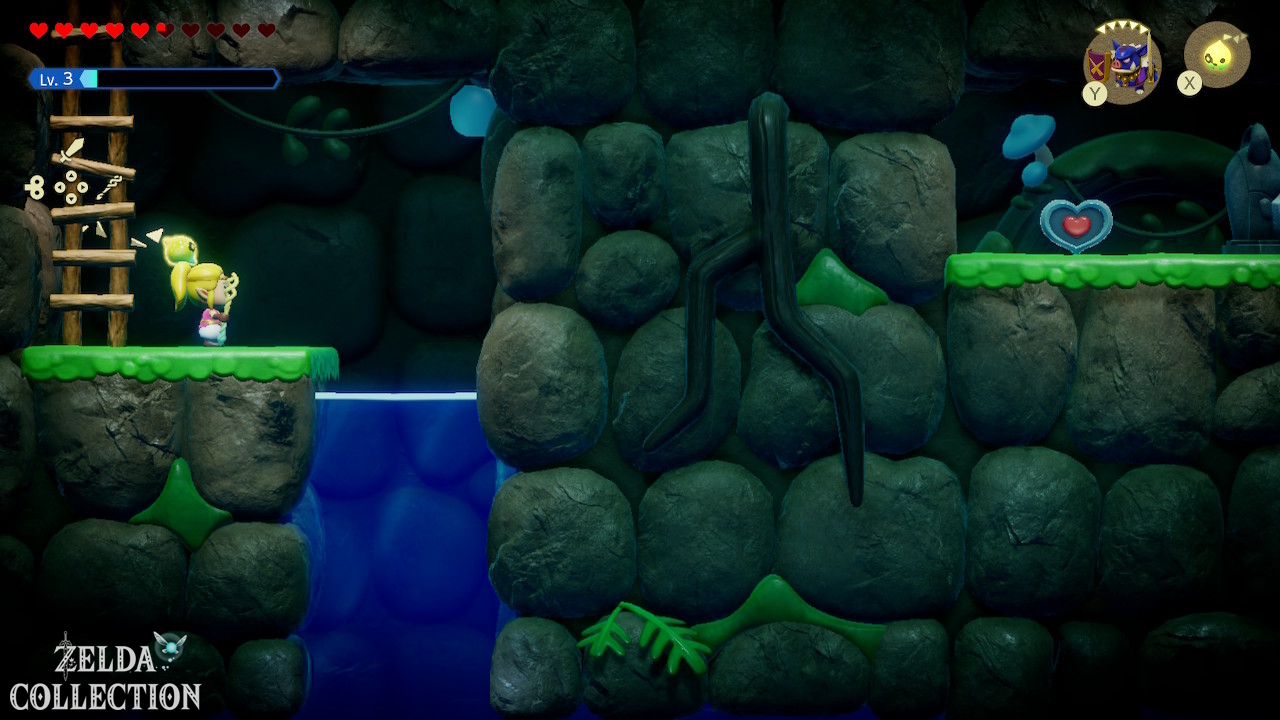
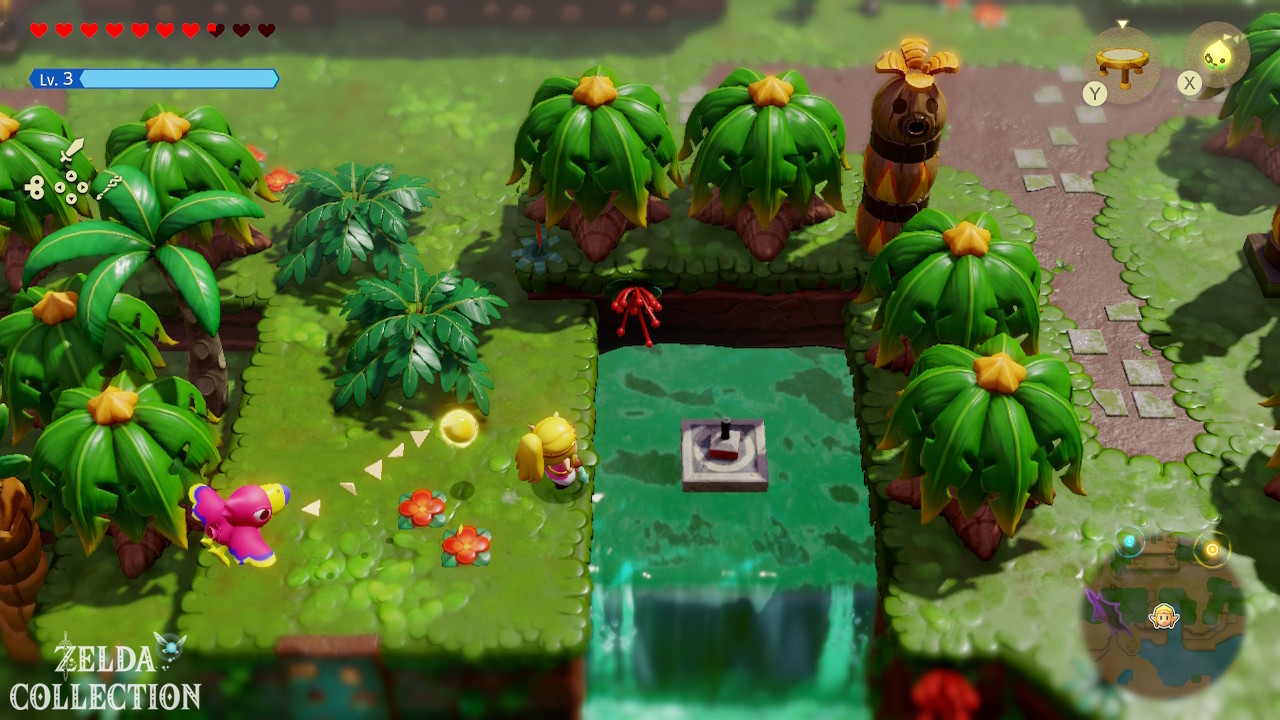
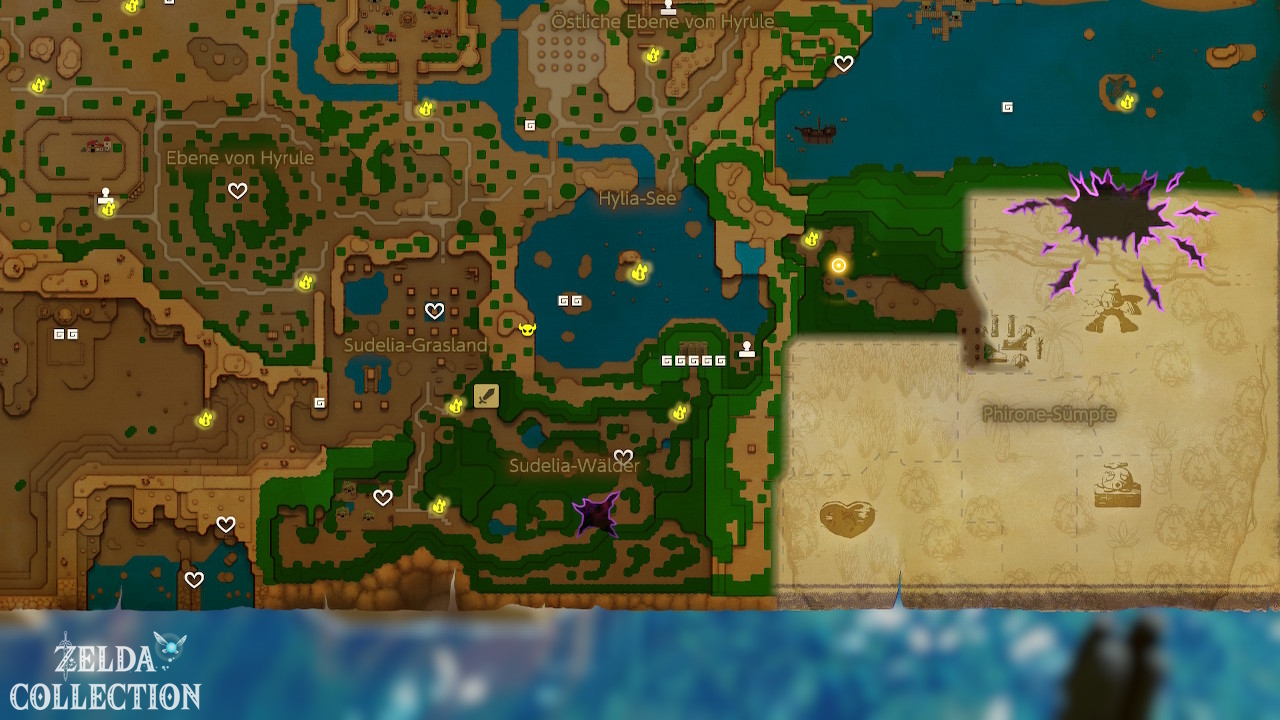
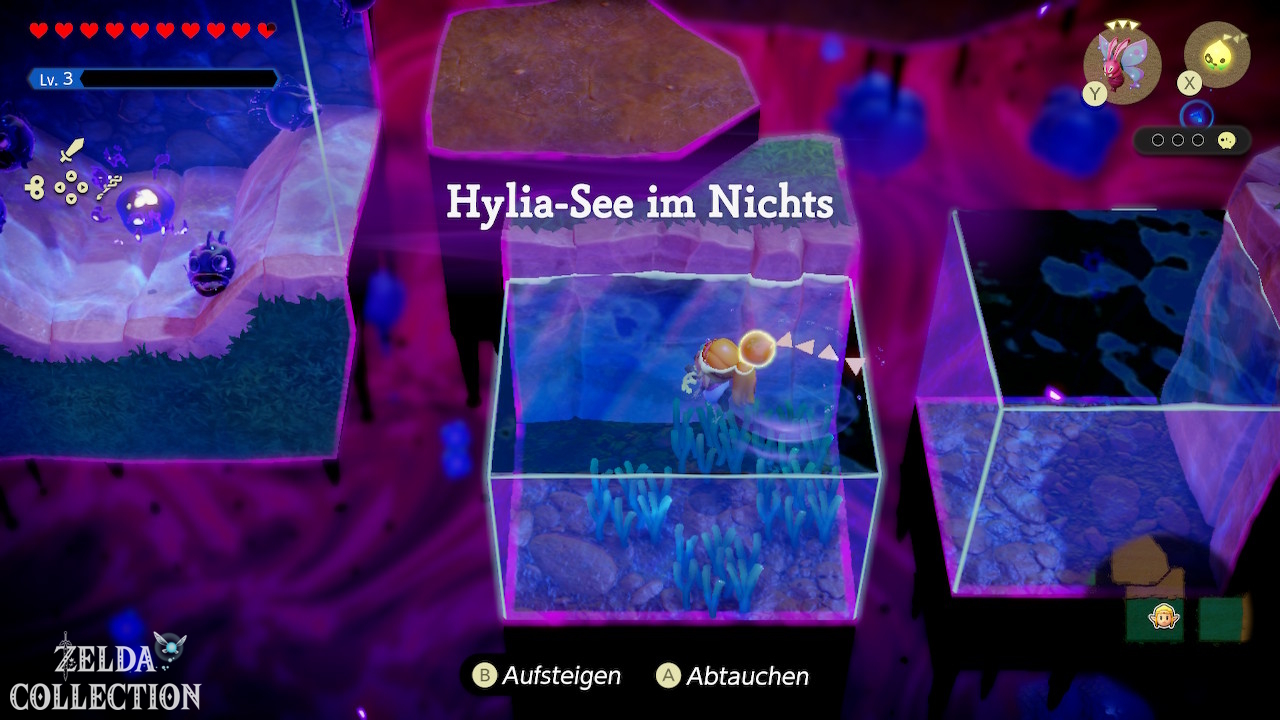
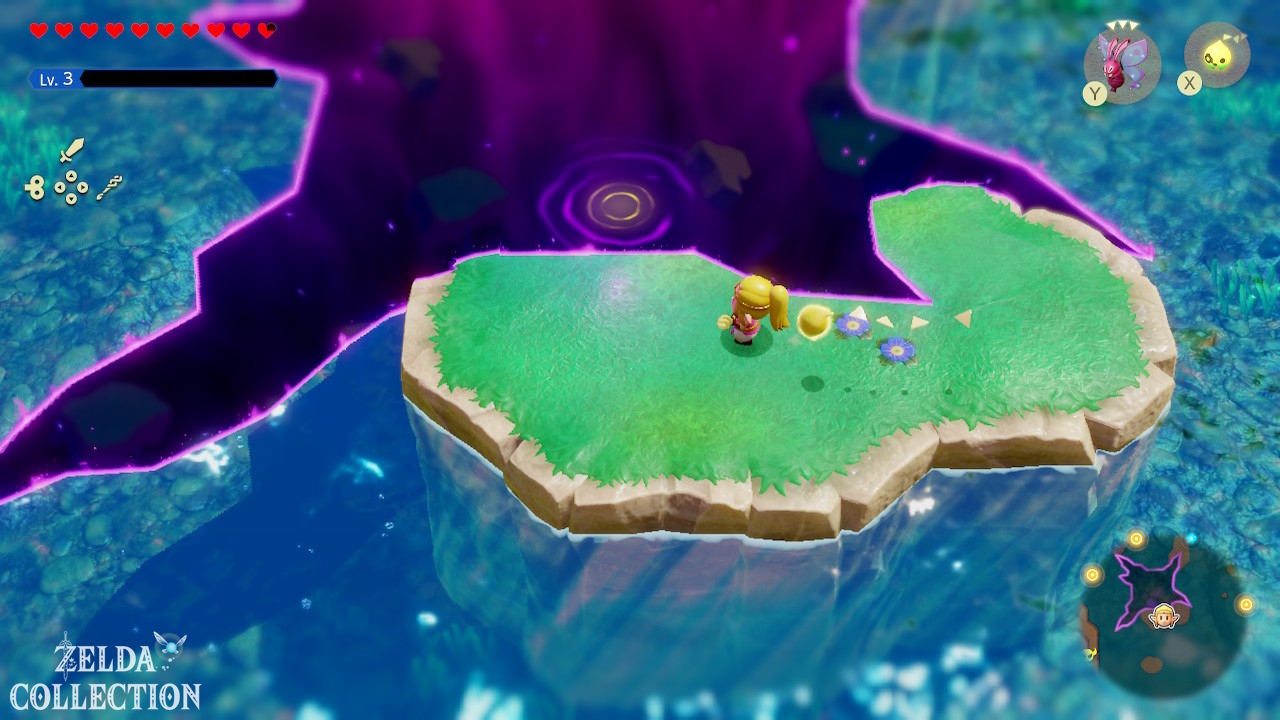
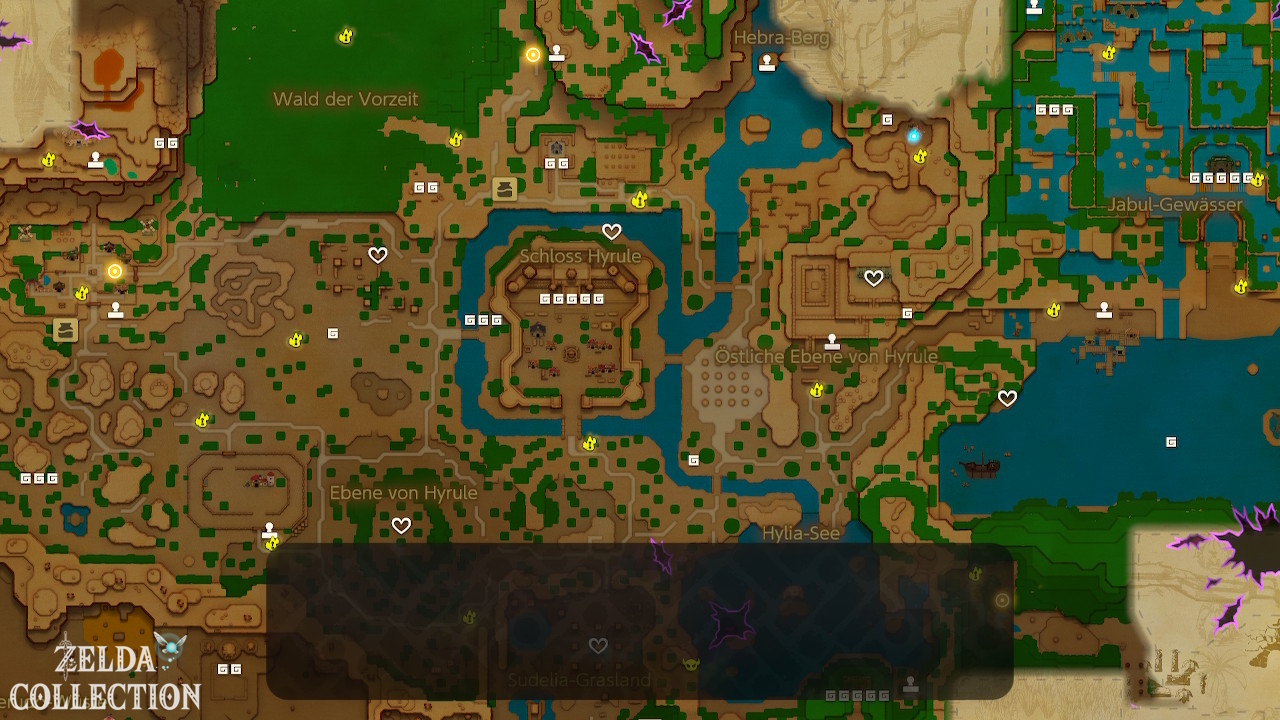
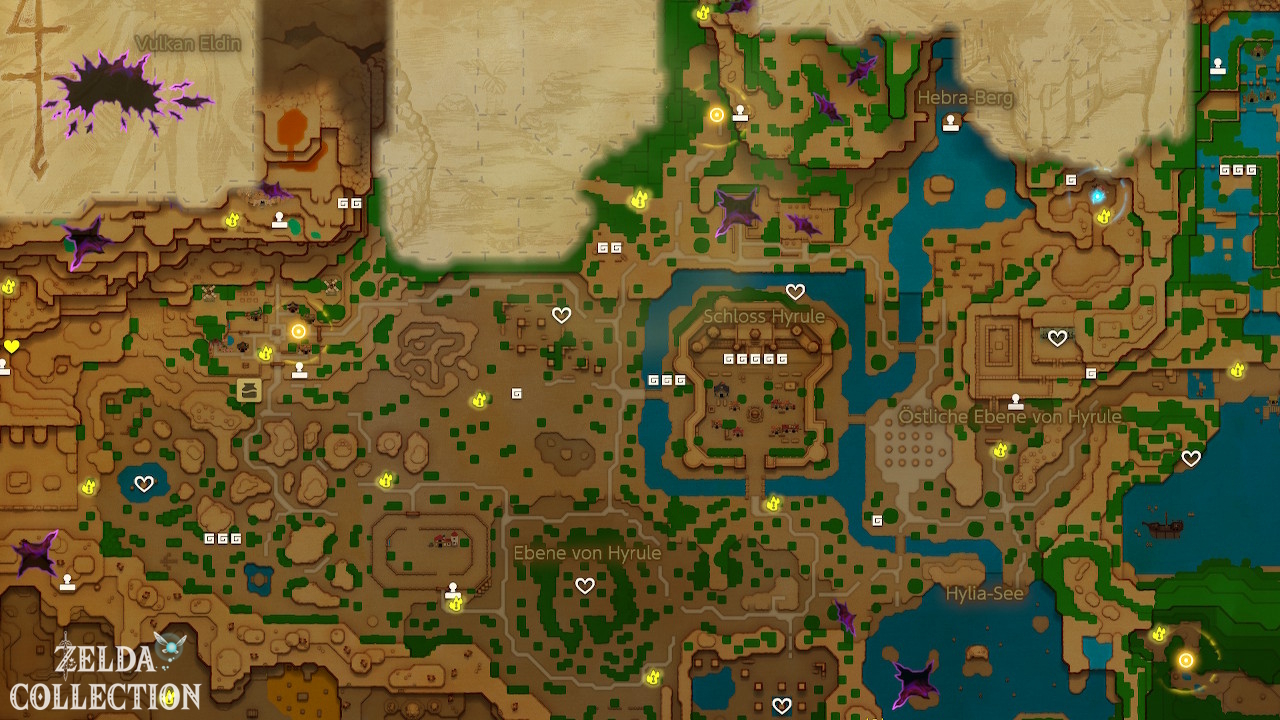
Faron is located in the far southeast of Hyrule. Good access is via the Lake Hylia. Go to its southeastern edge and use Water Blocks to build a pillar on the waterfall. Swim up and then head east into the jungle.
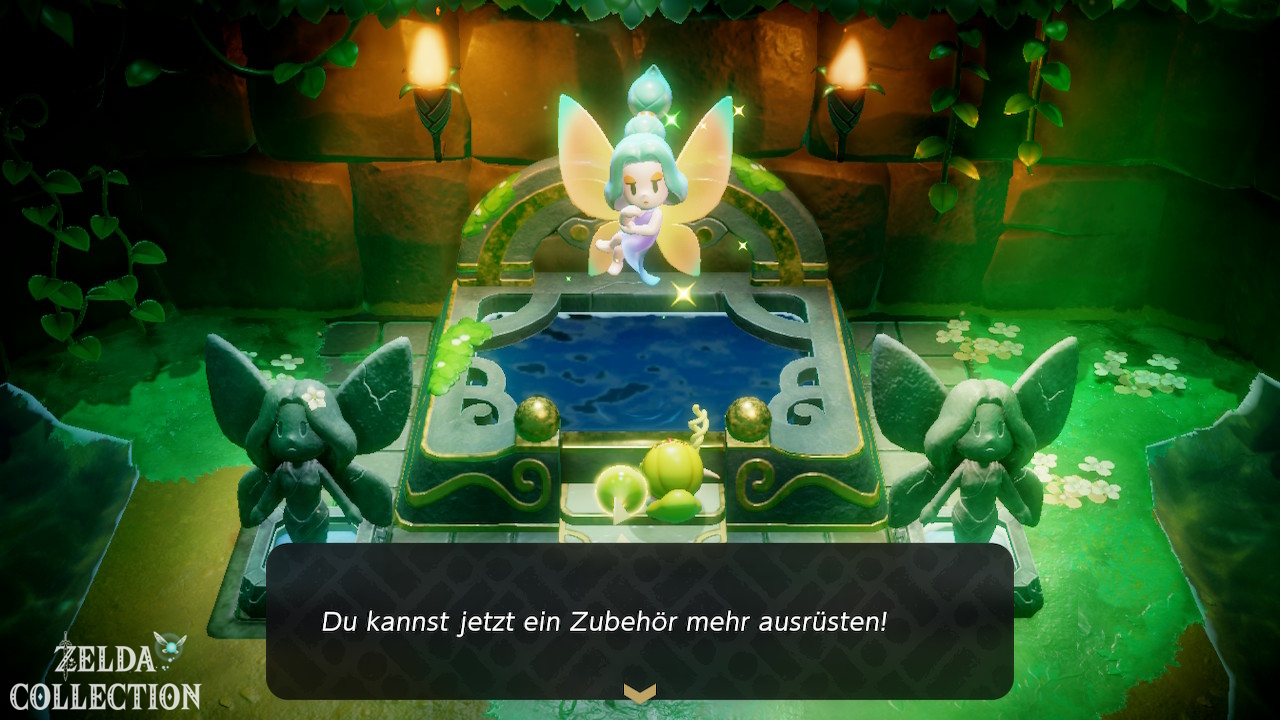
Optional: Great Fairy
If you haven’t already, you can visit the shrine of Great Fairy in the center of Lake Hylia. Additional accessory spaces are particularly useful for the long Faron Temple.
Scrubton and Sweet Spot
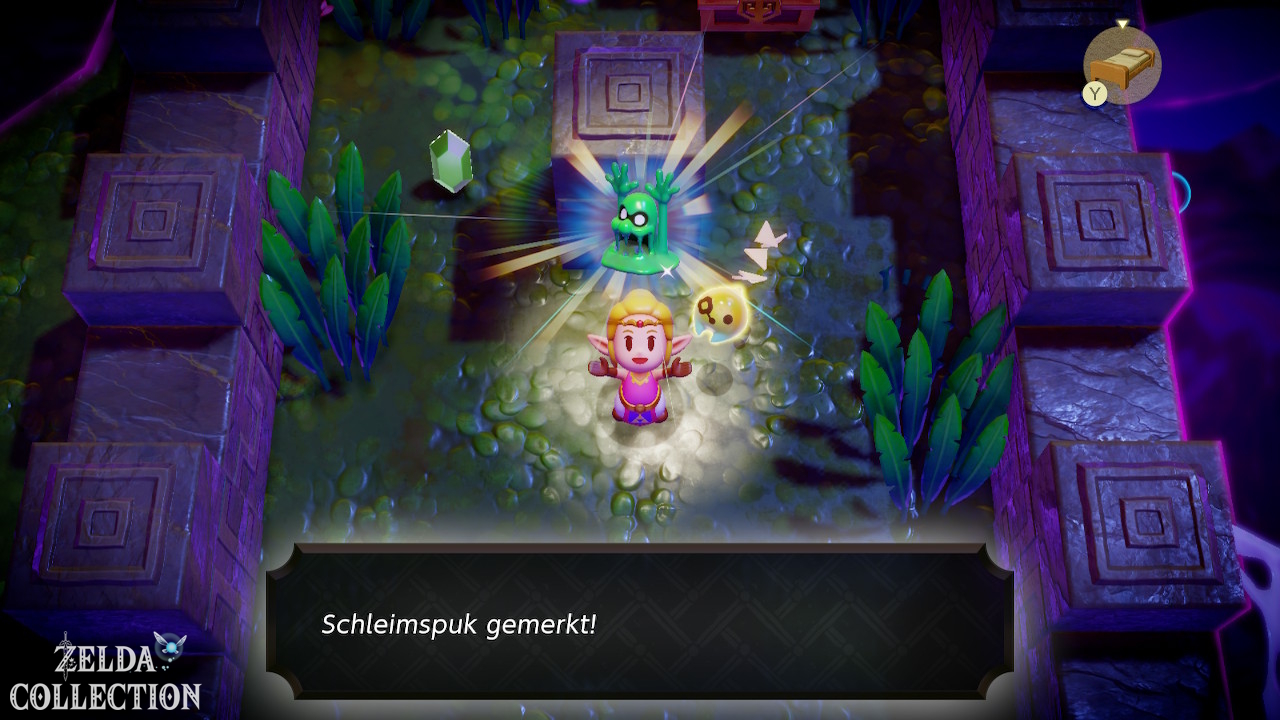
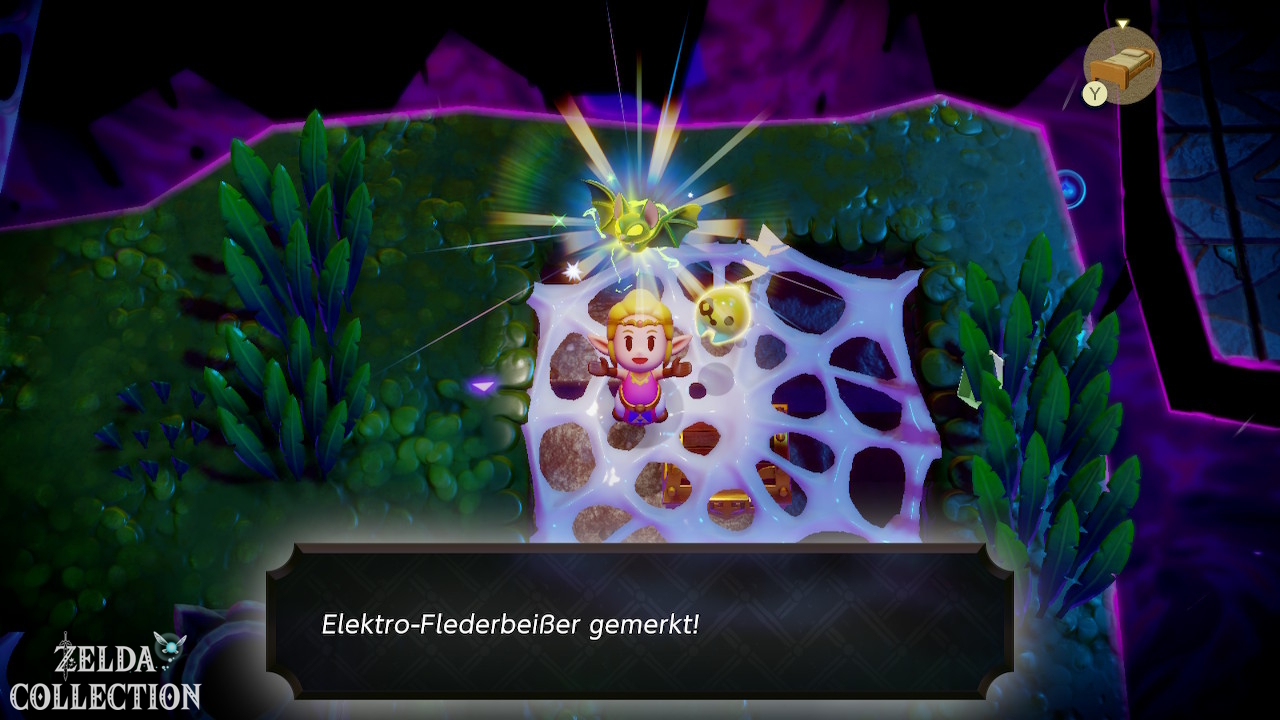
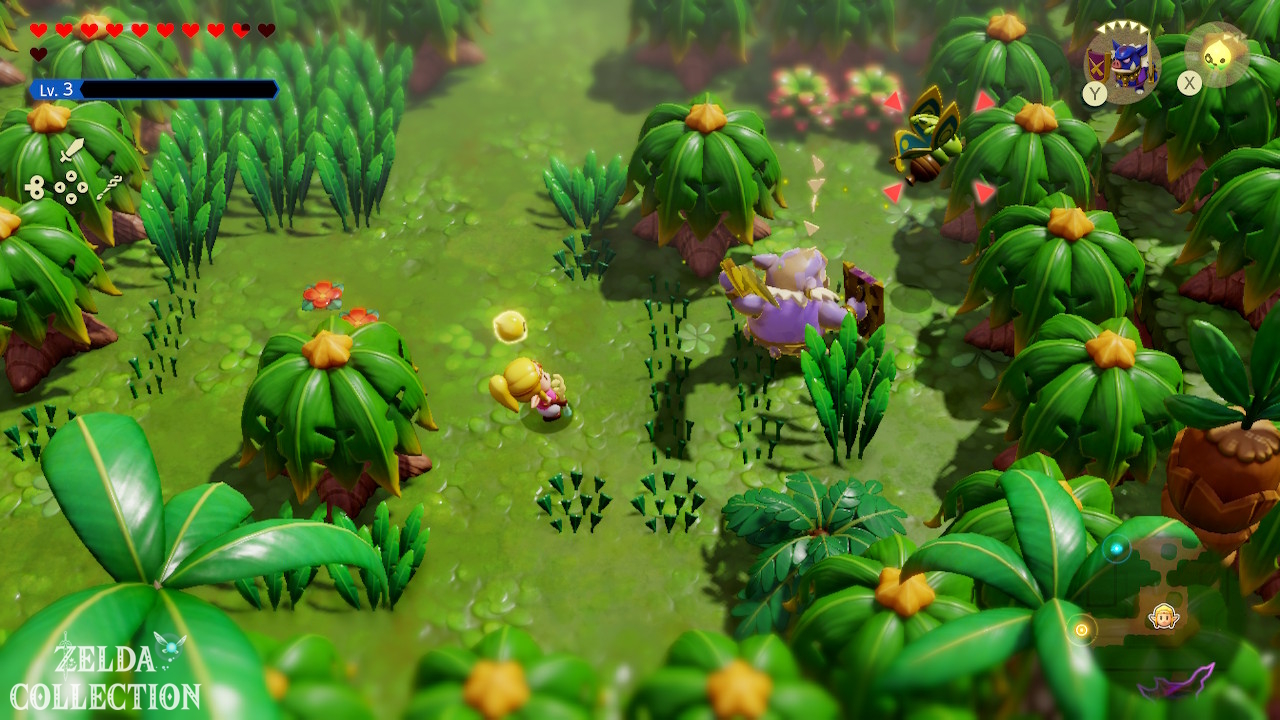
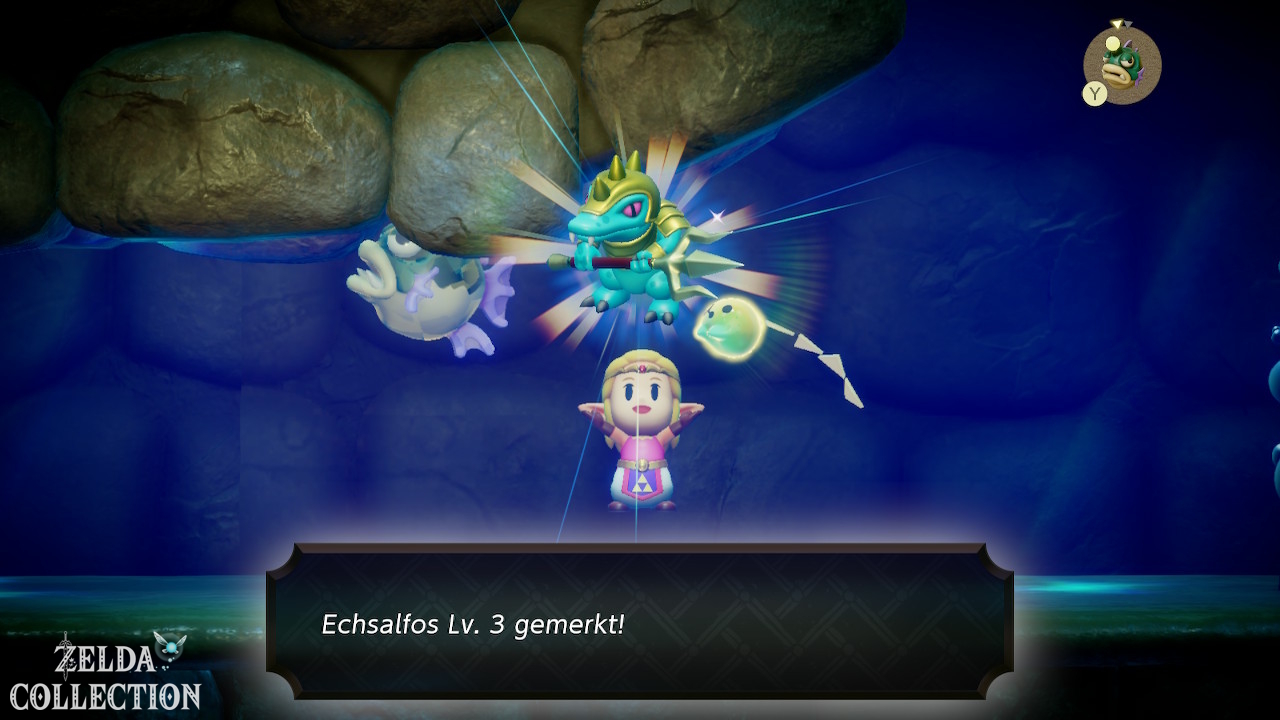
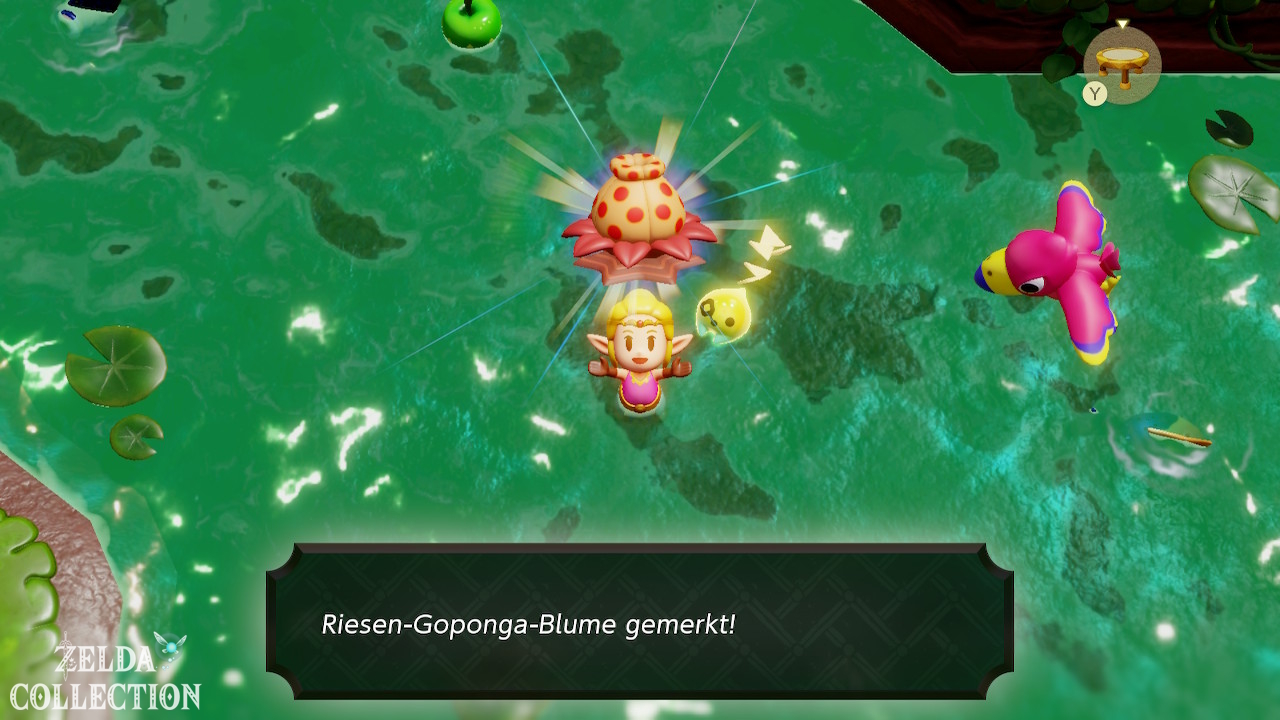
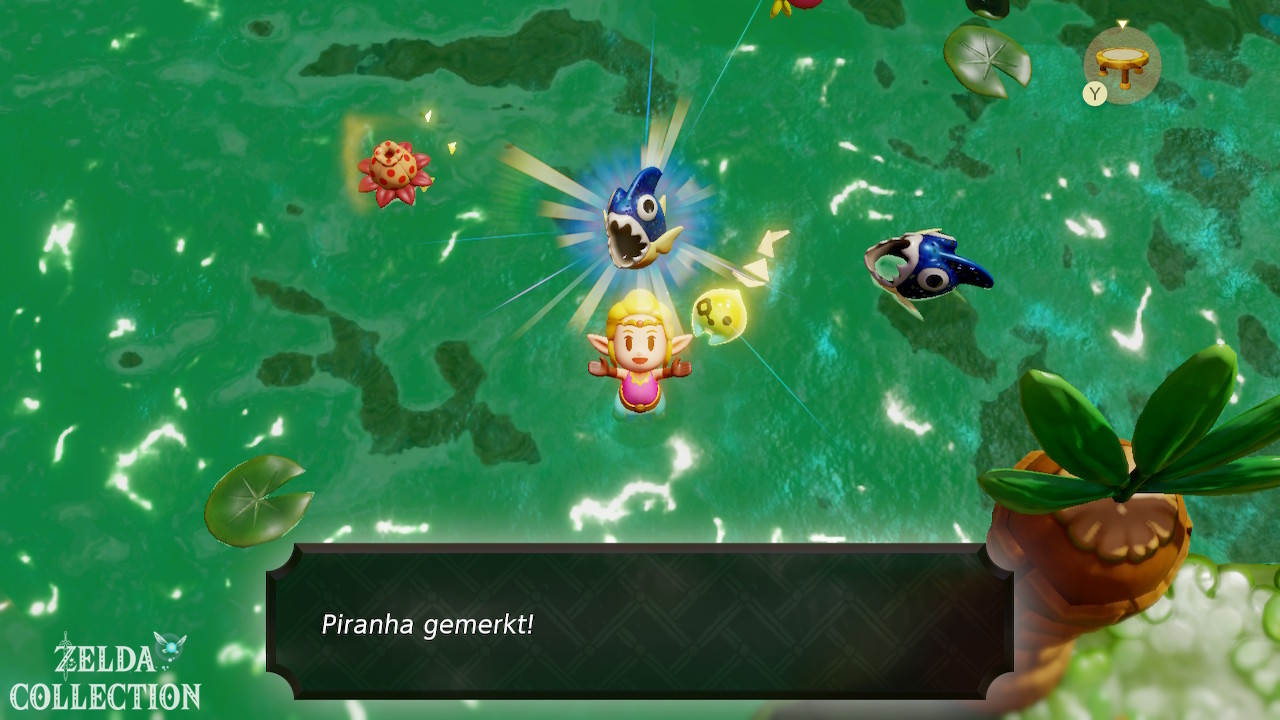
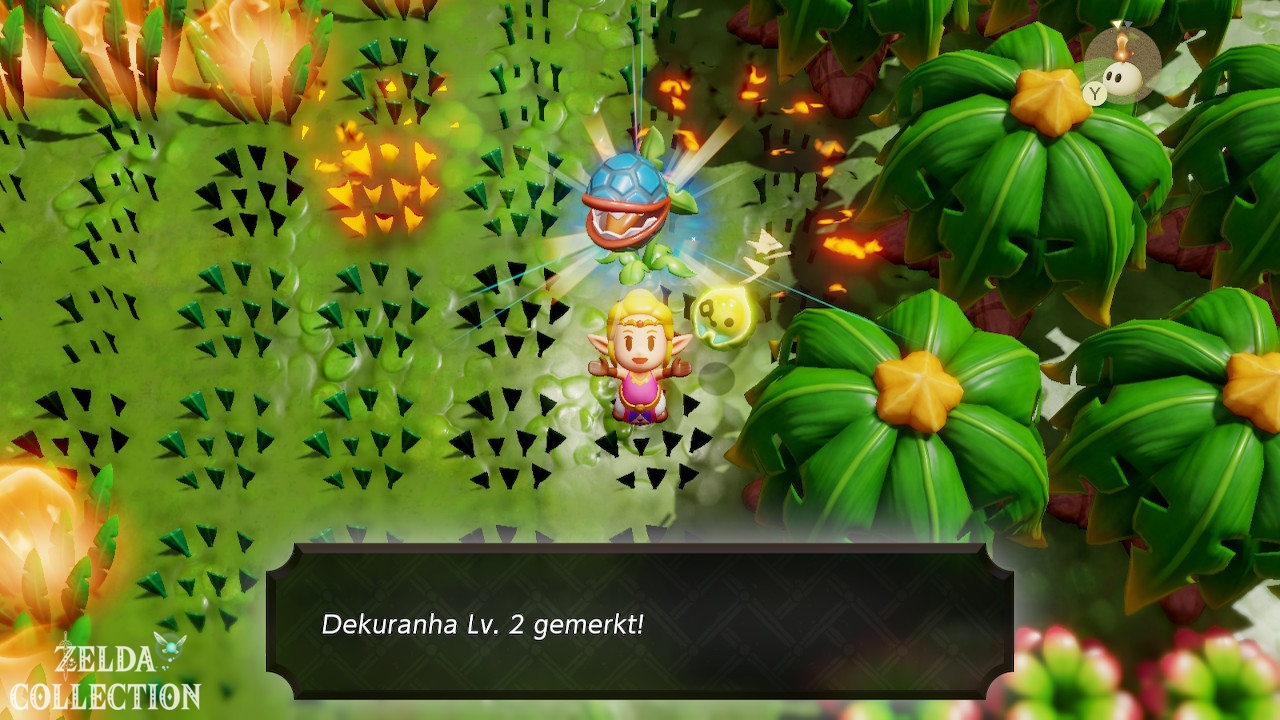
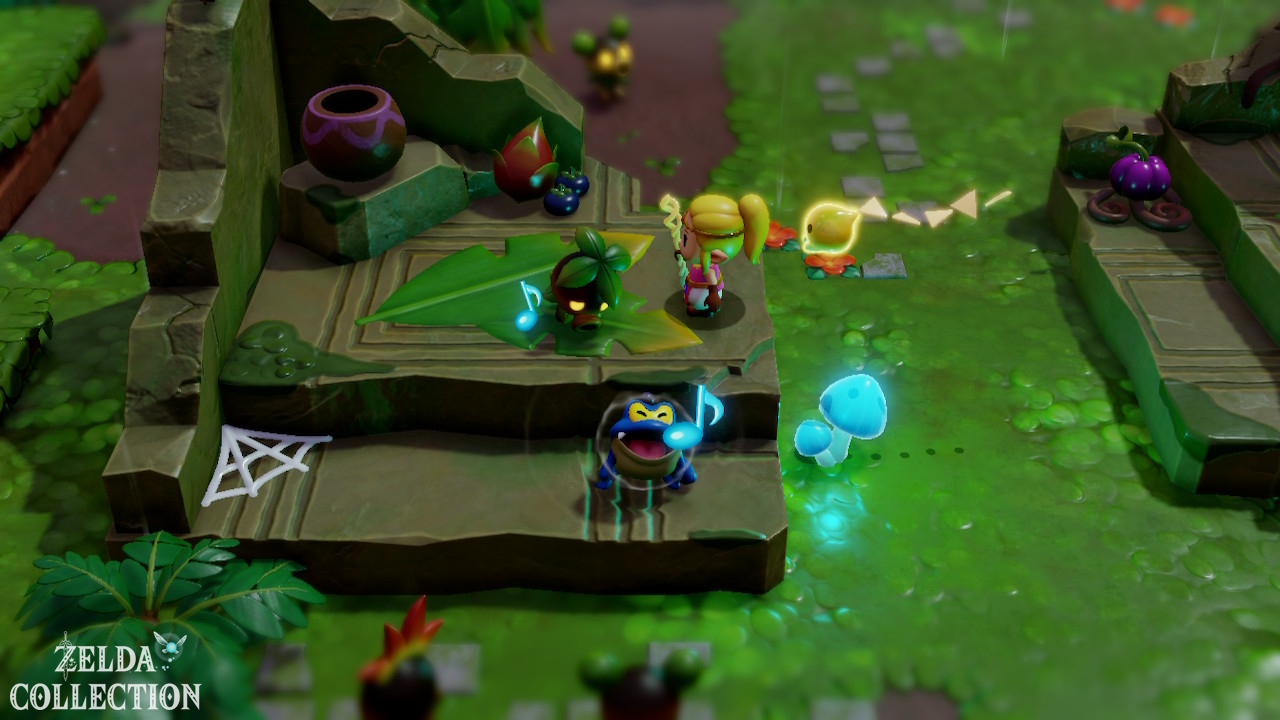
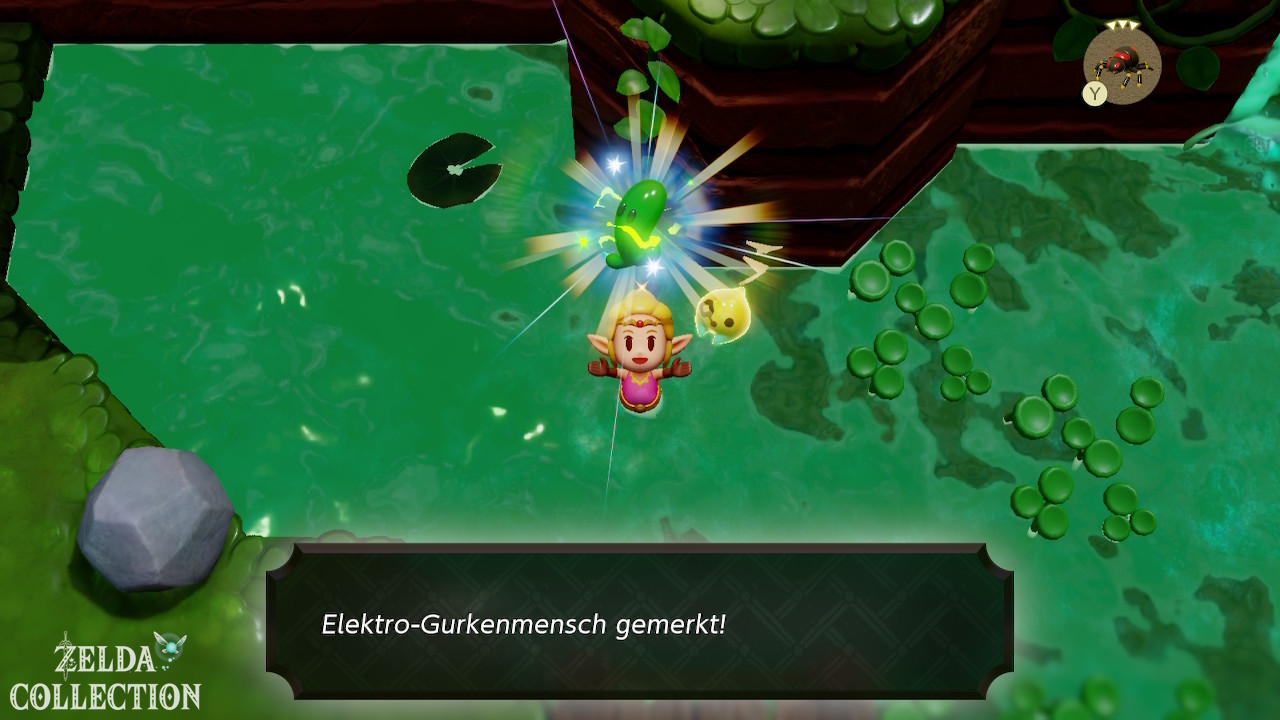
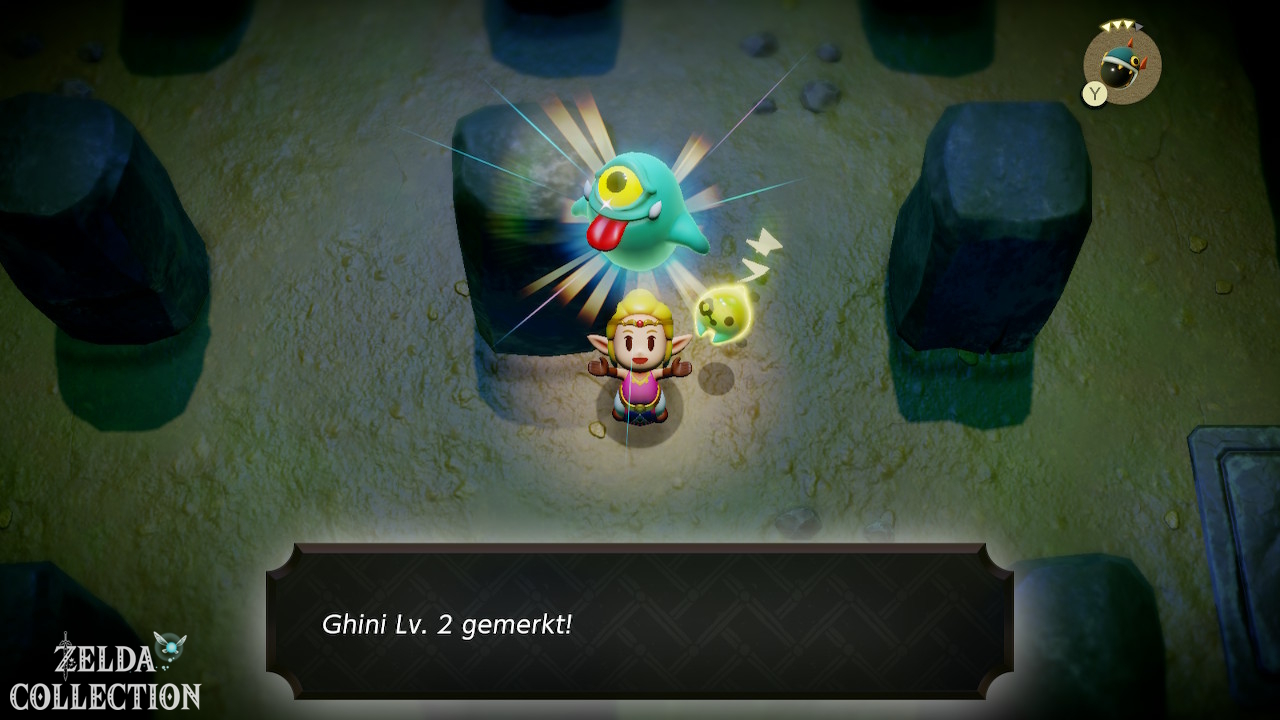
Move through the swamp to the east or to the large rift marker. Learn new enemy echoes on the go. The following will become particularly important later:
- Drippitune
- Piranha
- Giant Goponga Flower
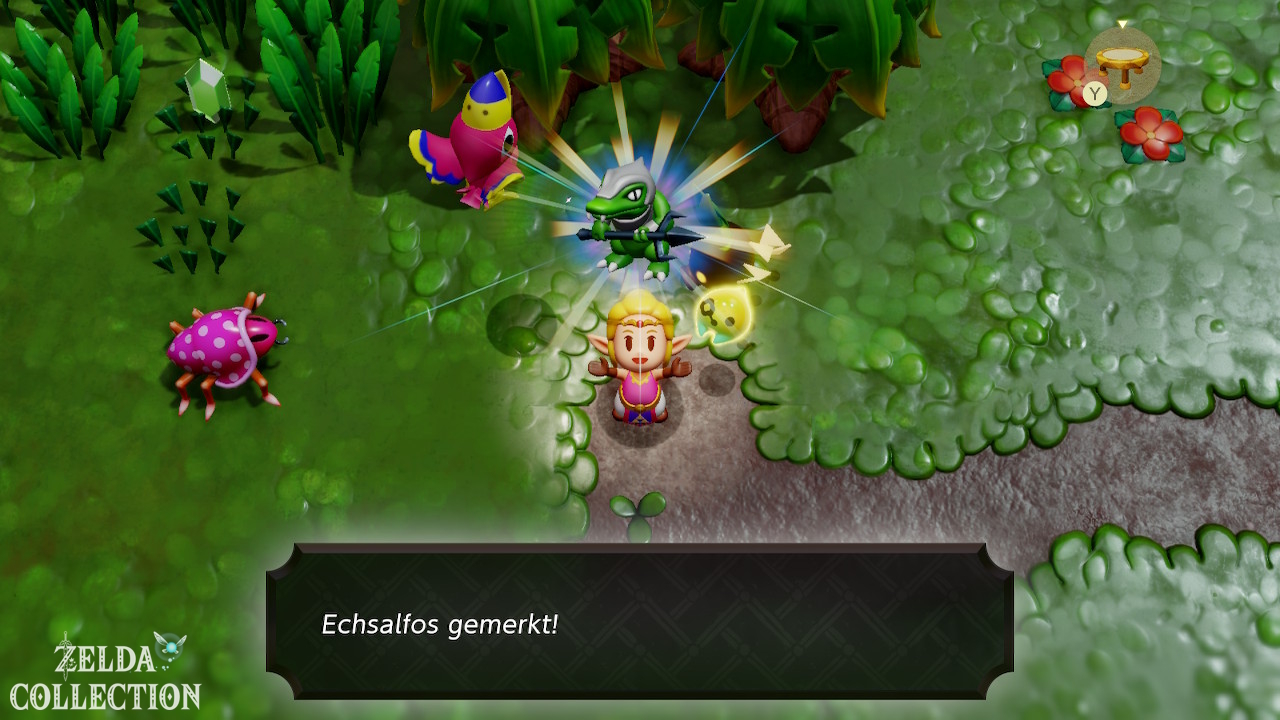
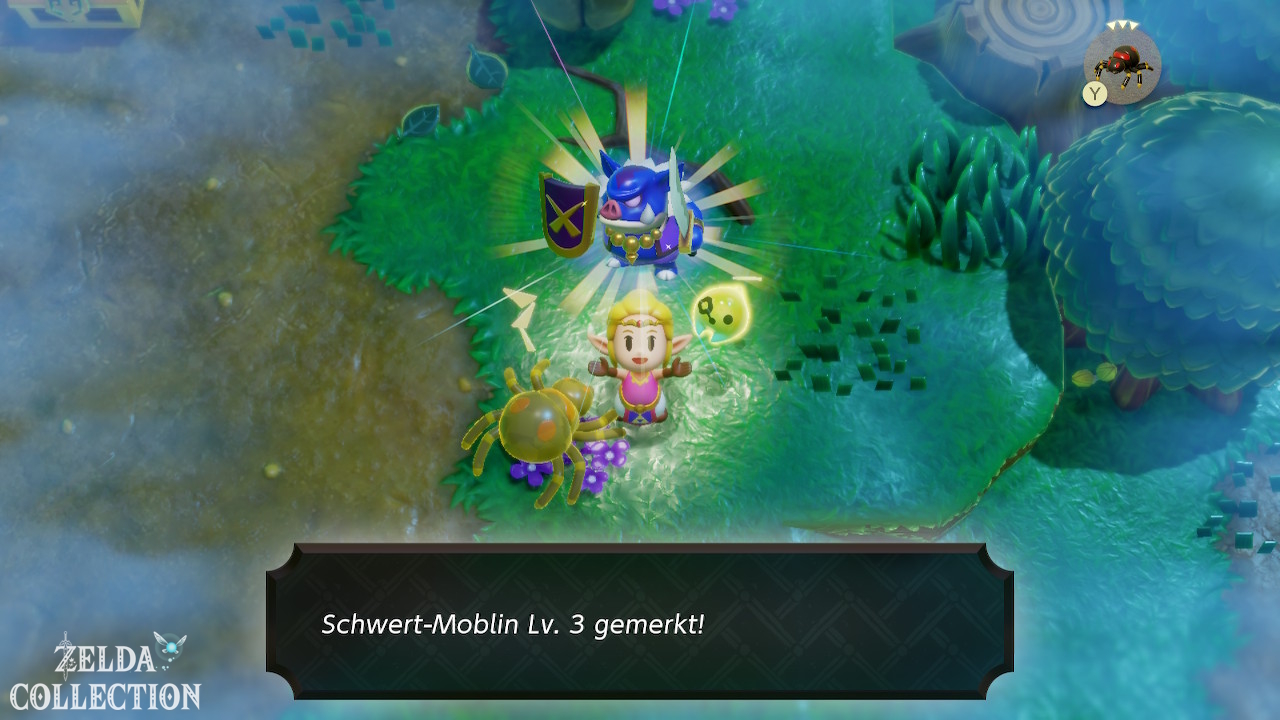
- Lizalfos Lv. 3
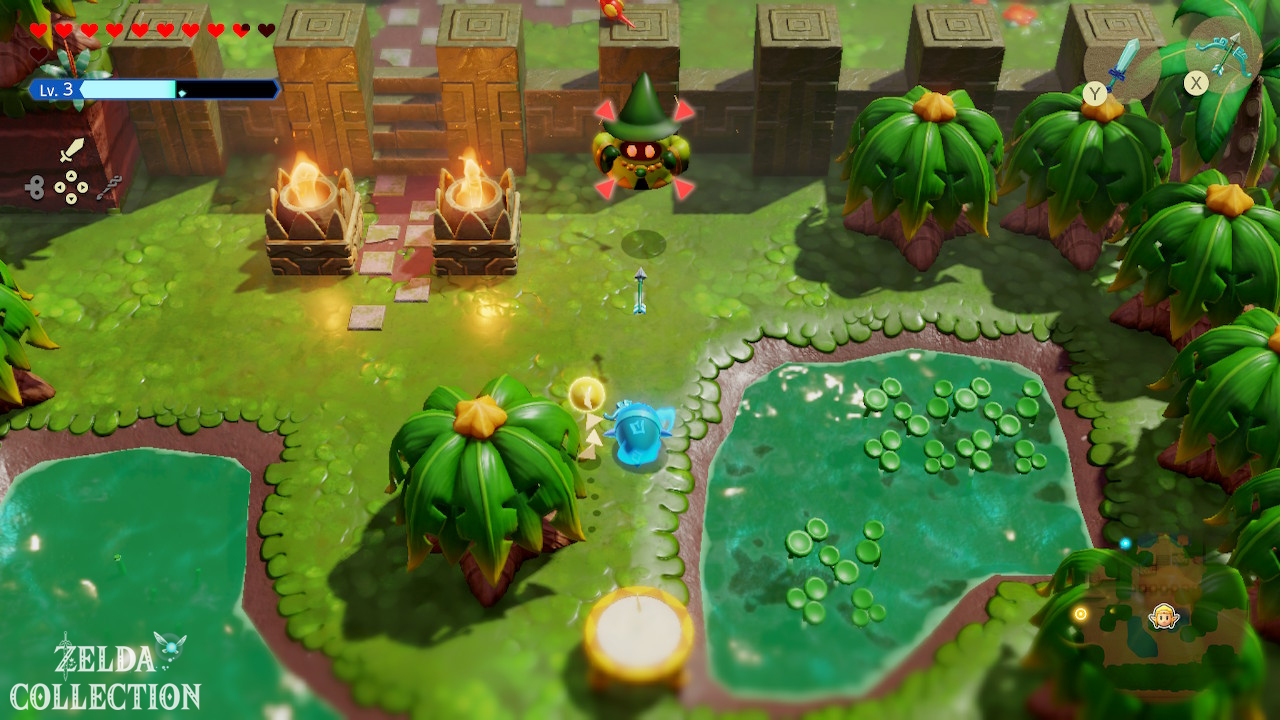
- Electric Keese
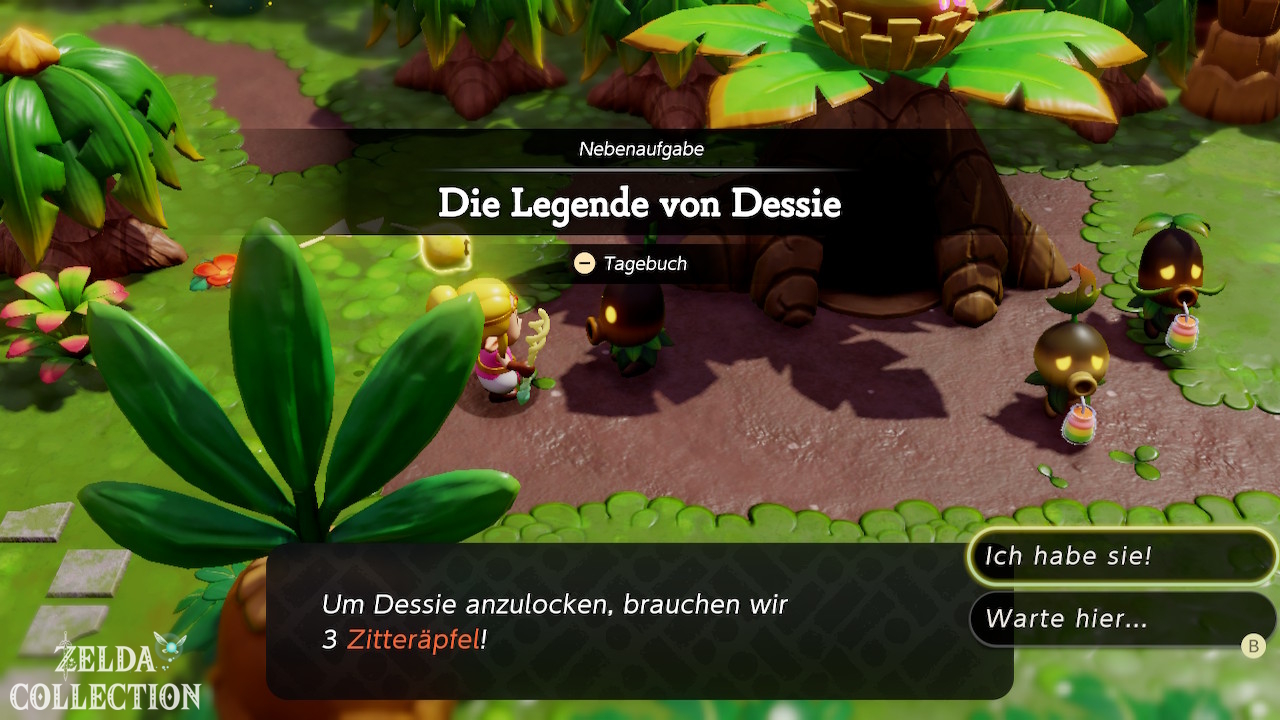
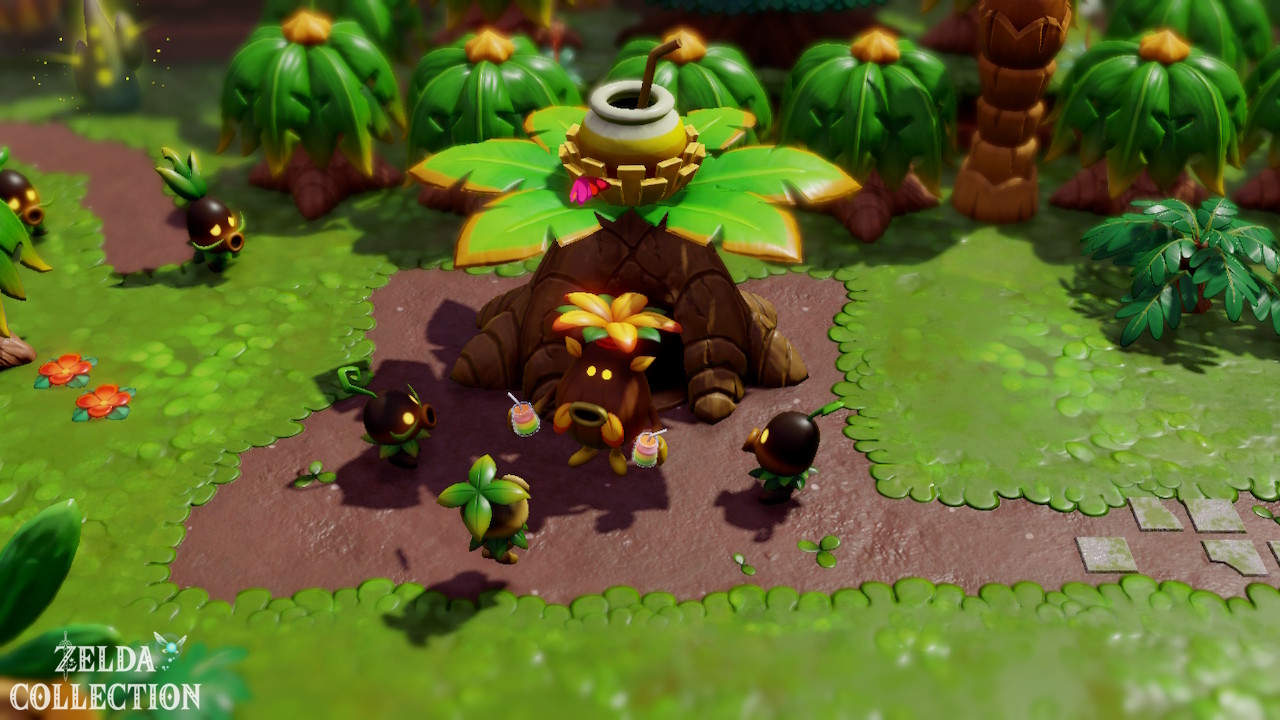
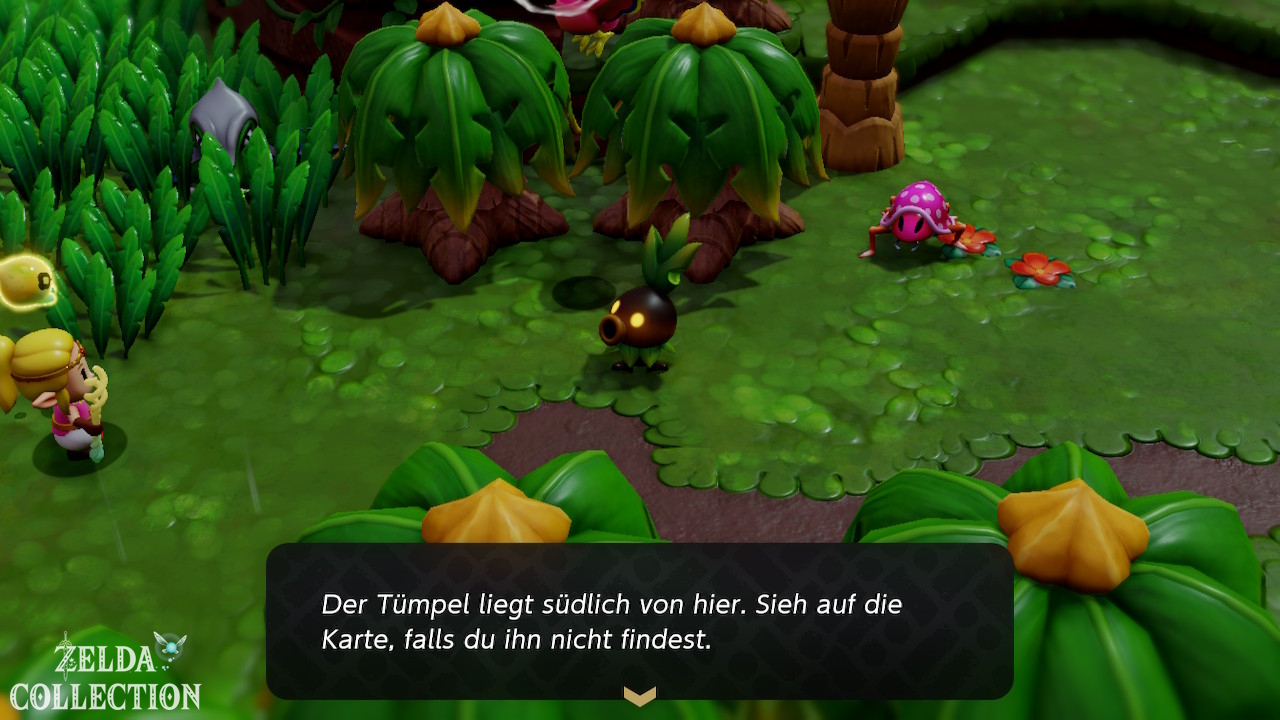
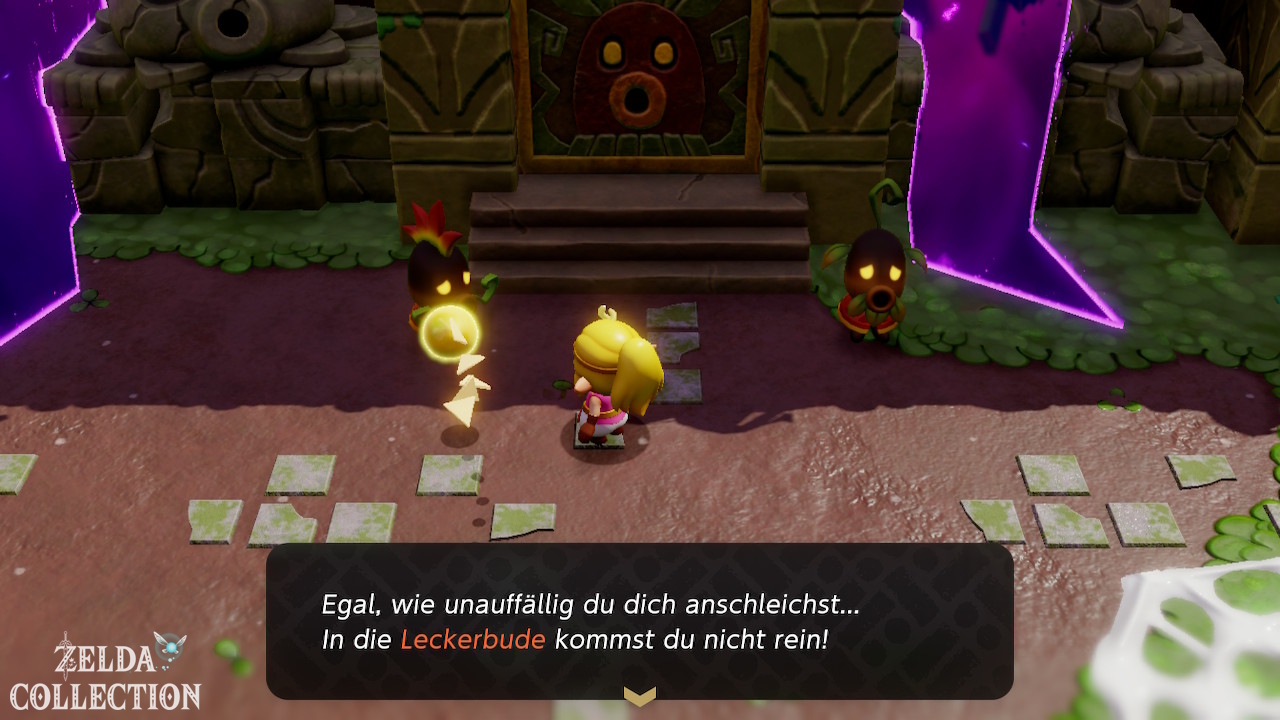
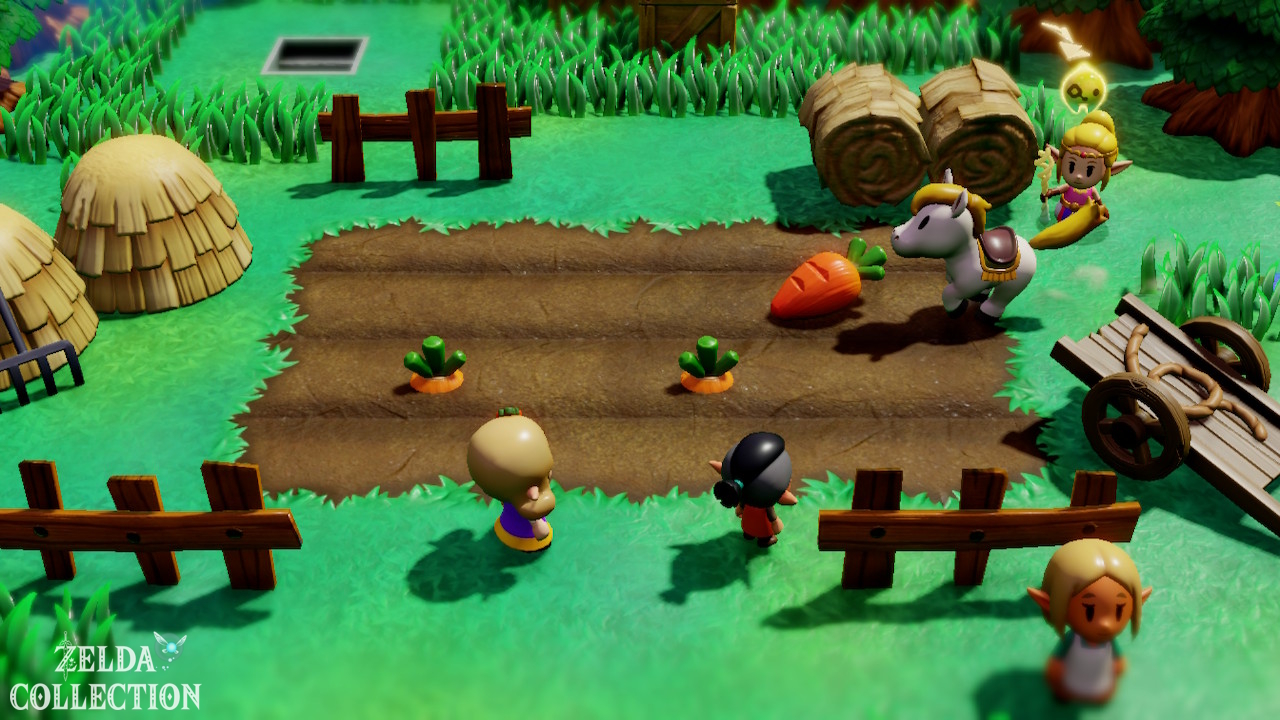
Finally you reach Scrubton. The Dekus are excited about a new “cotton candy,” which is obviously sticky spider webs. The large Rift is in the Sweet Spot. However, Zelda is not allowed in without membership. Talk to the residents. You will receive the clue about someone on Heart Lake.
stamp in Scrubton
The Faron region contains a total of four stamps. You can find one of them near the southern exit of Scrubton on or near a small waterfall.
Travel to Heart Lake
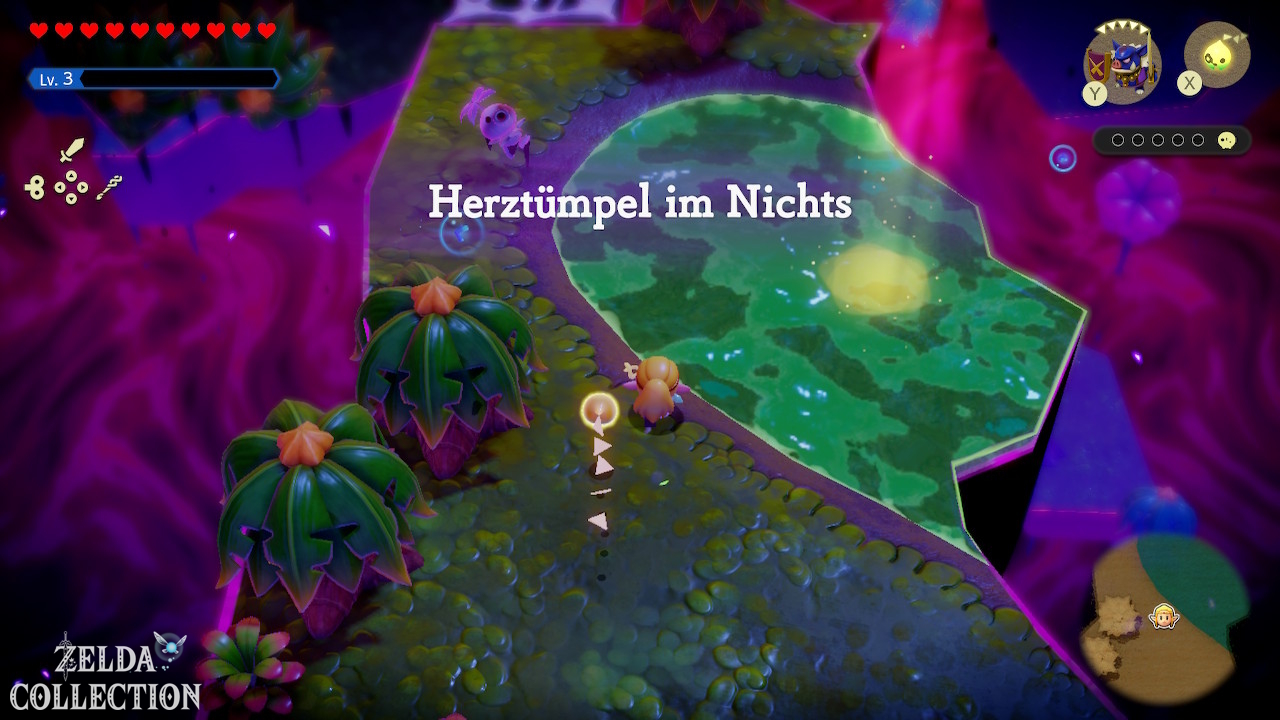
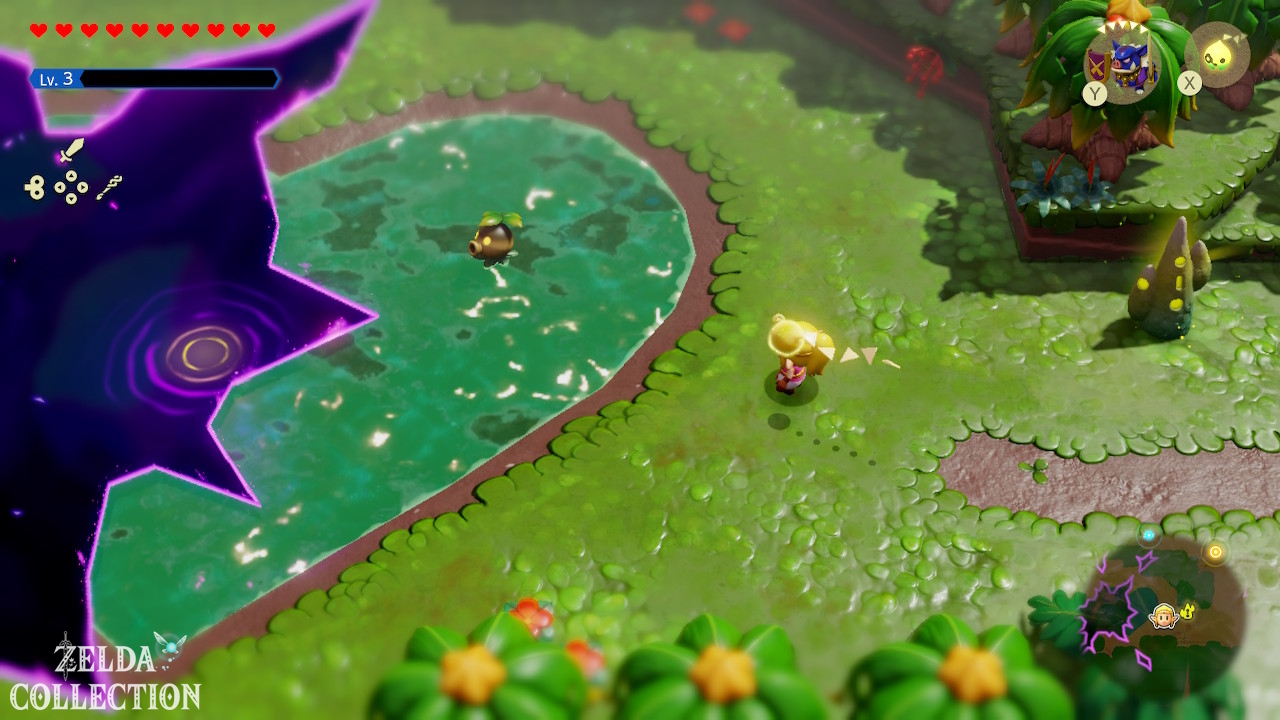
Exit Scrubton to the south and follow the path into the southwestern part of the swamps. Activate the Waypoint on the Heart Lake. There is a small Rift here.
Stilled Heart Lake
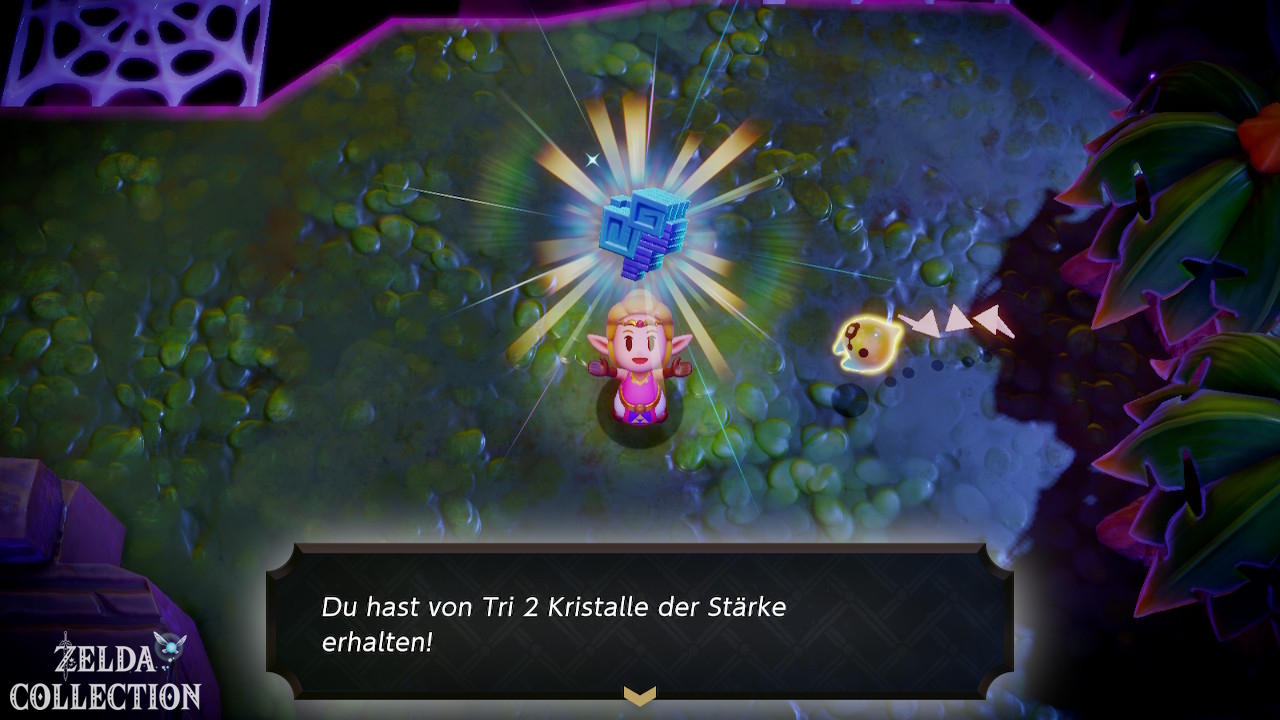
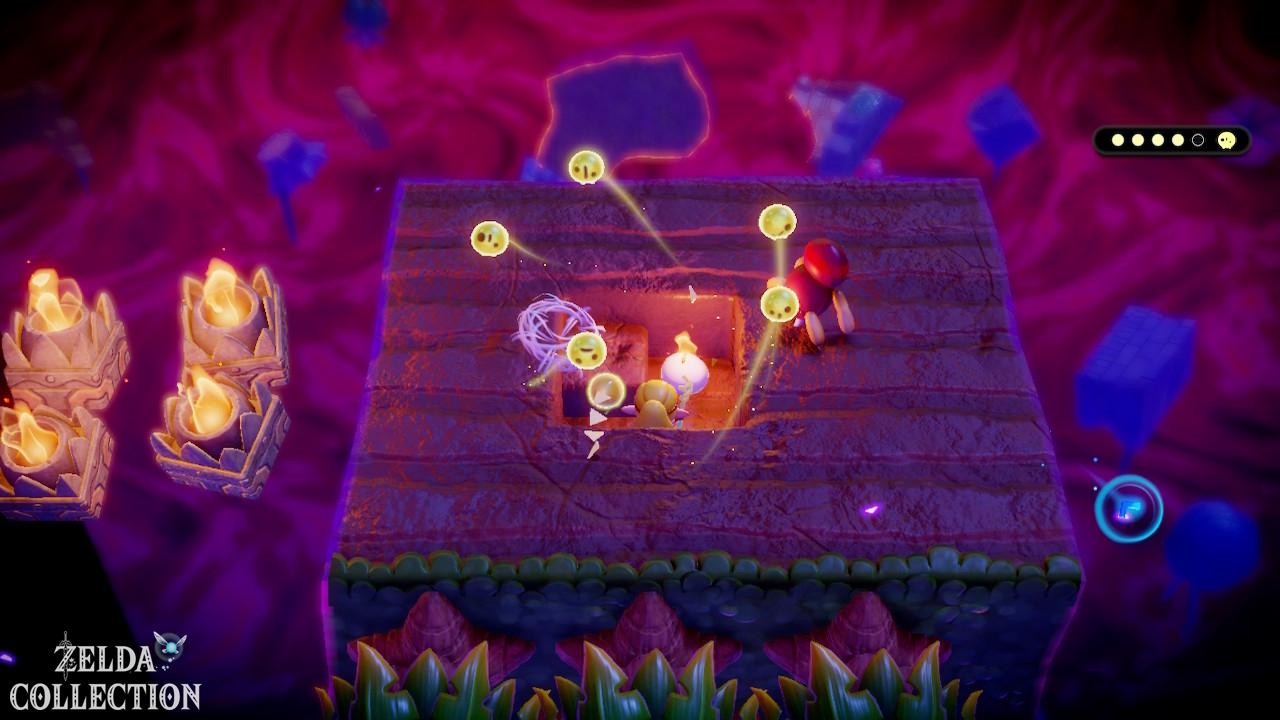
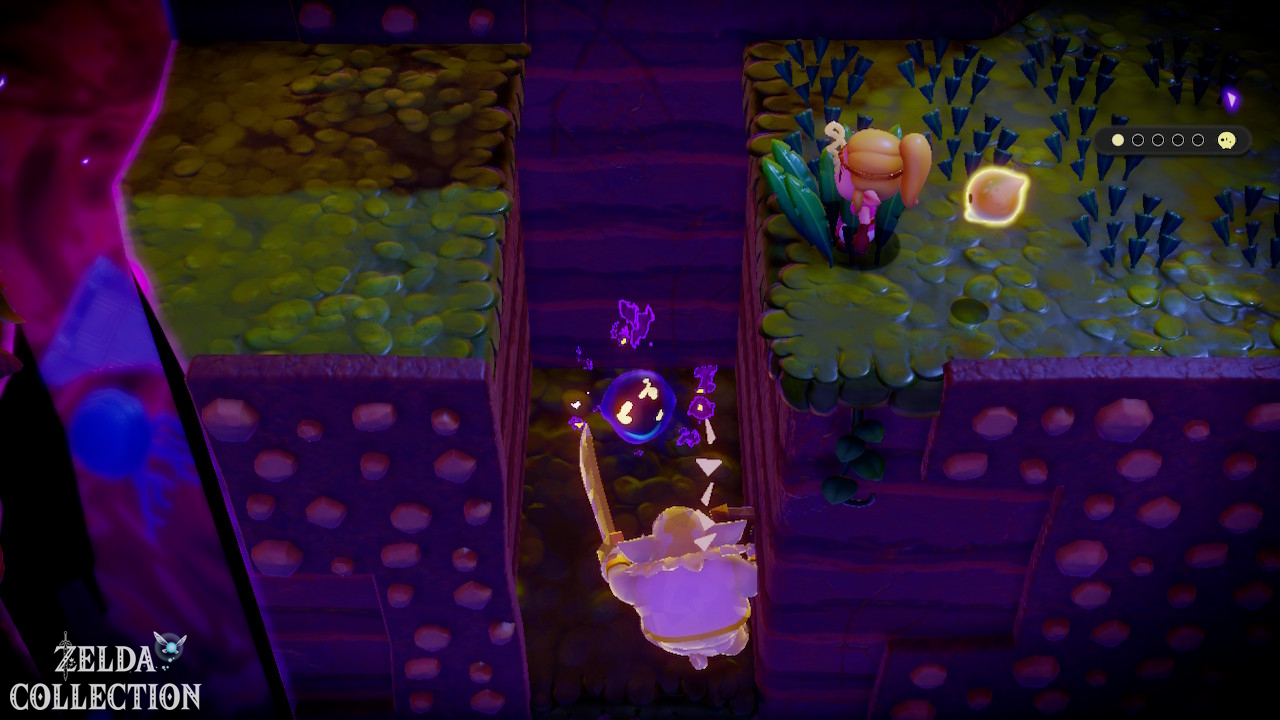
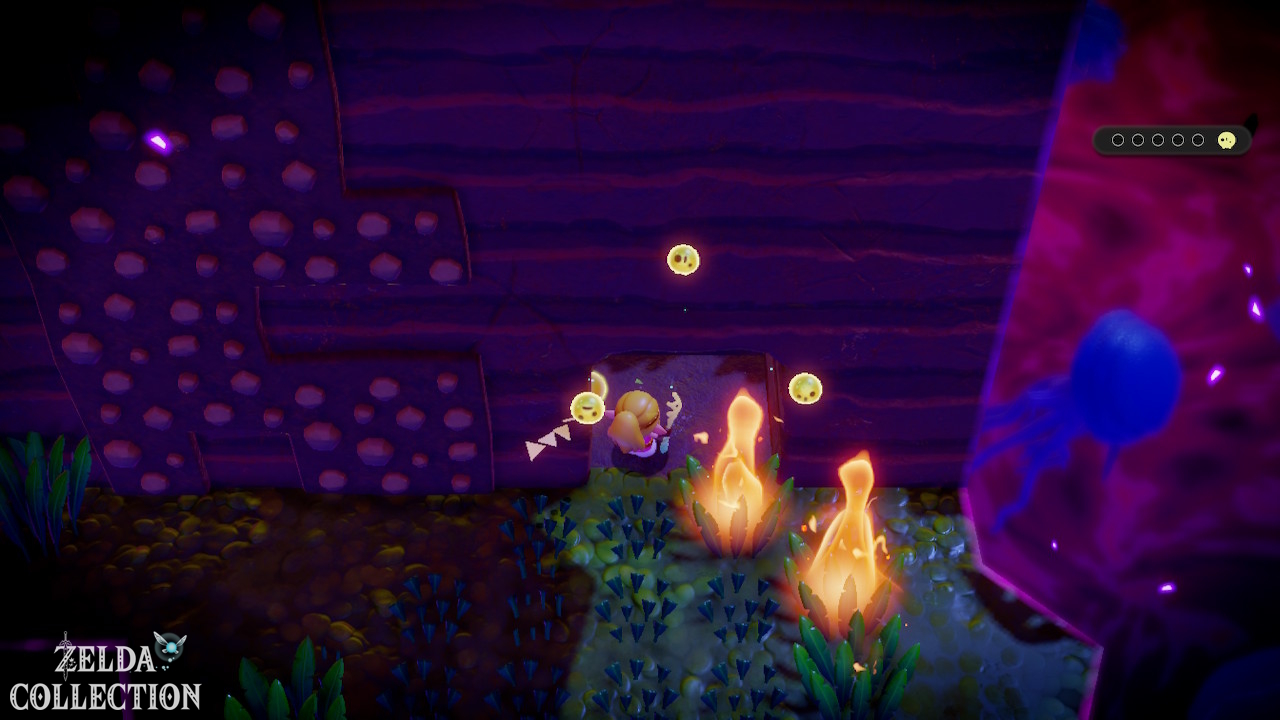
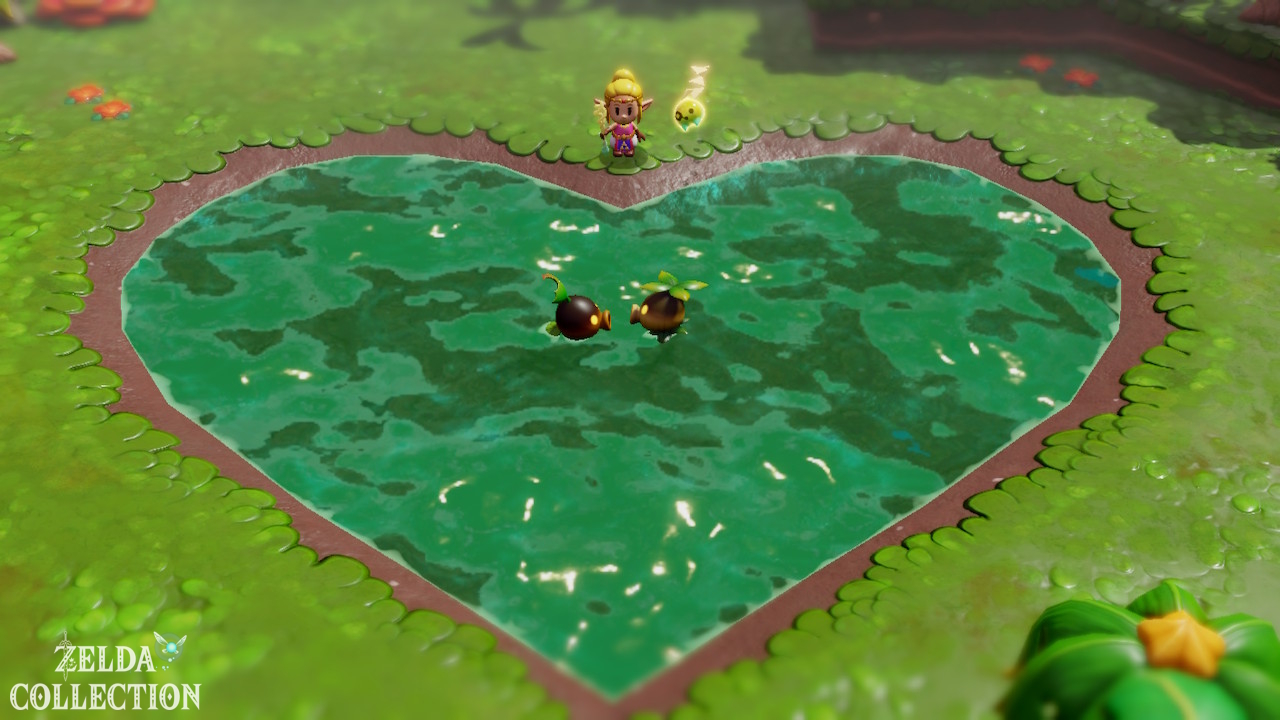
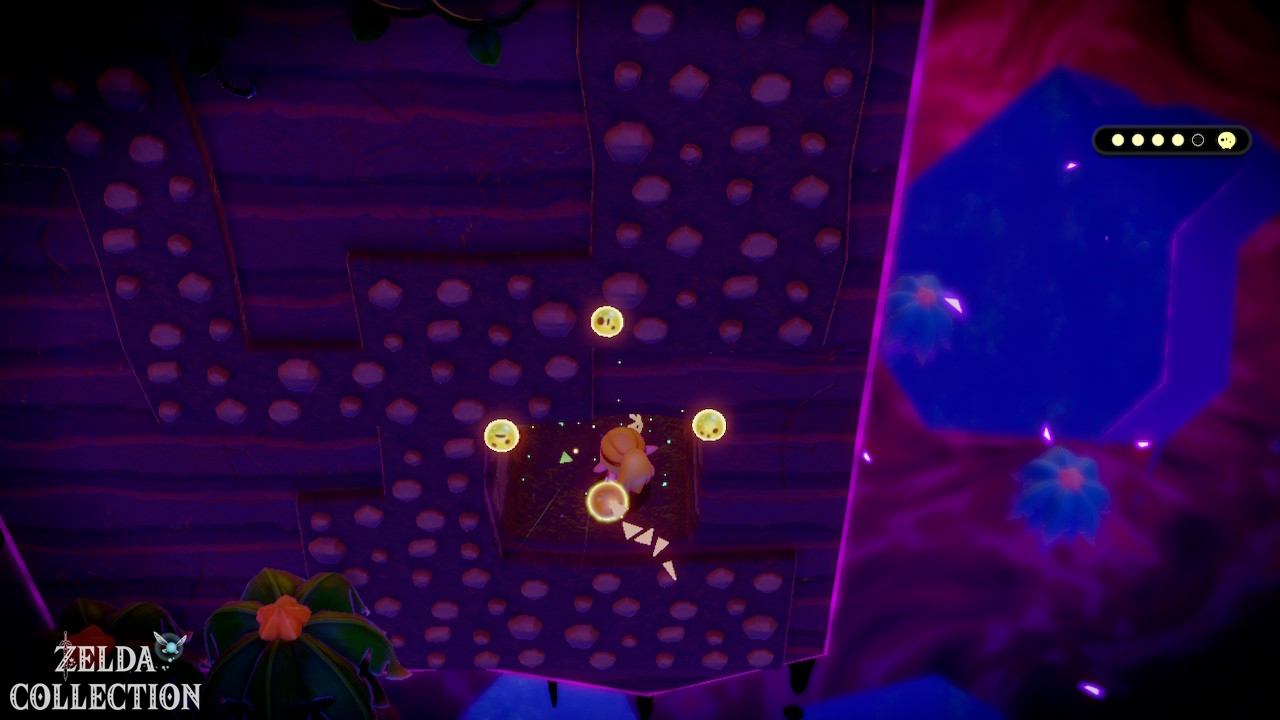
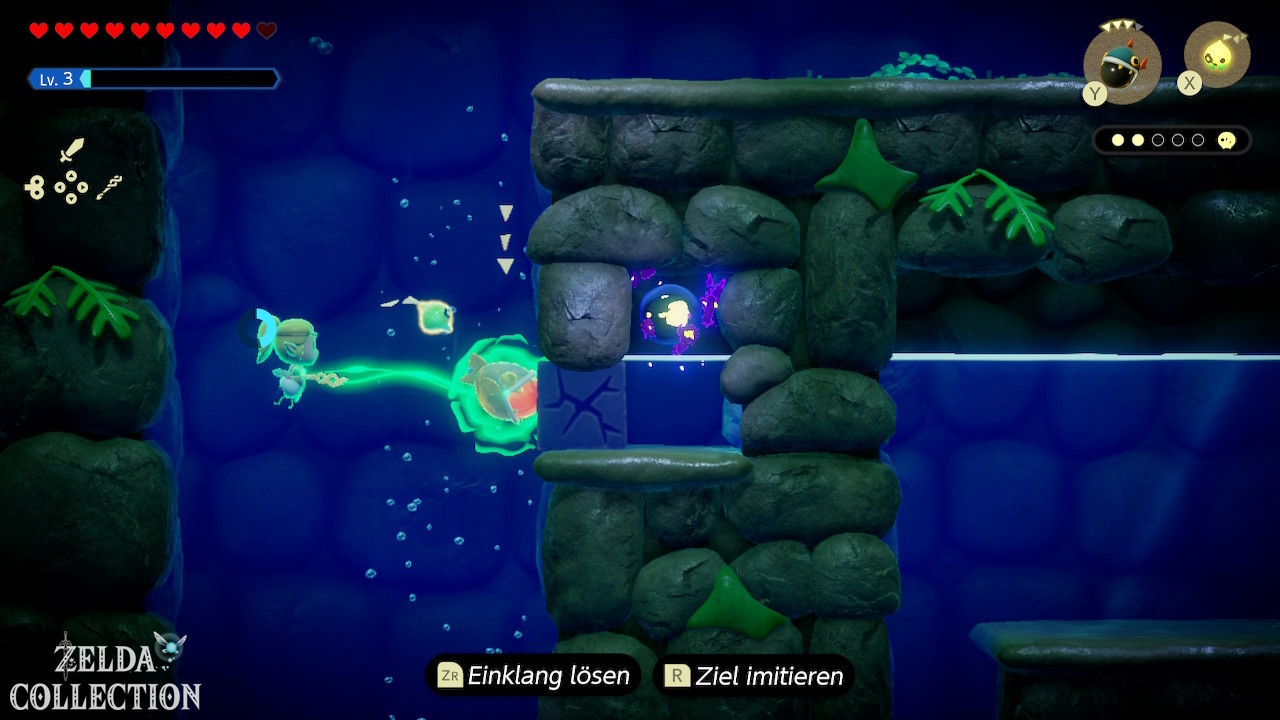
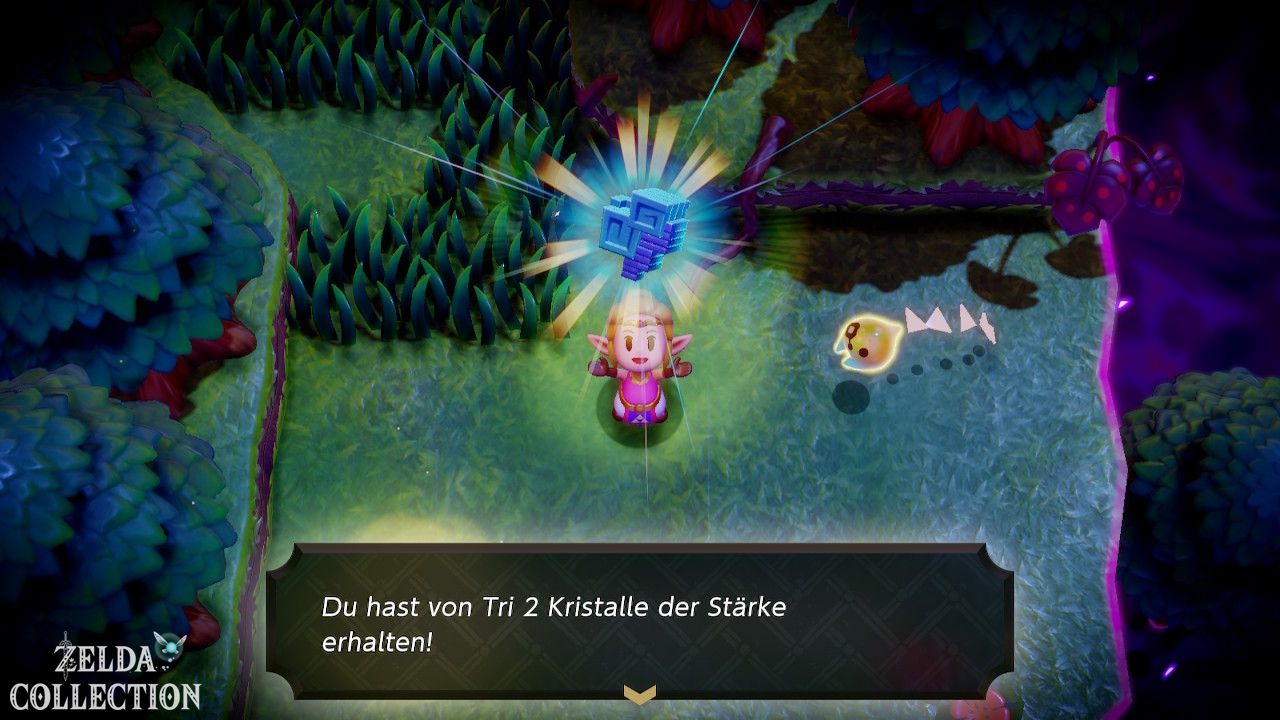
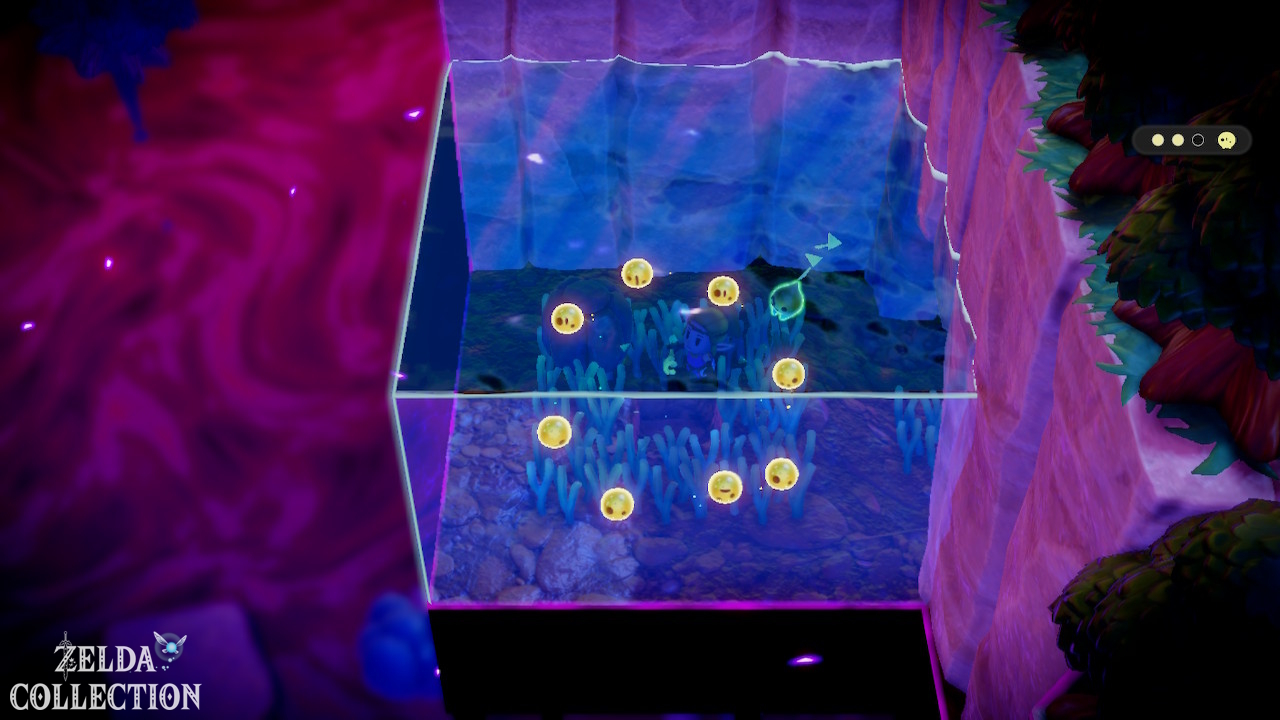
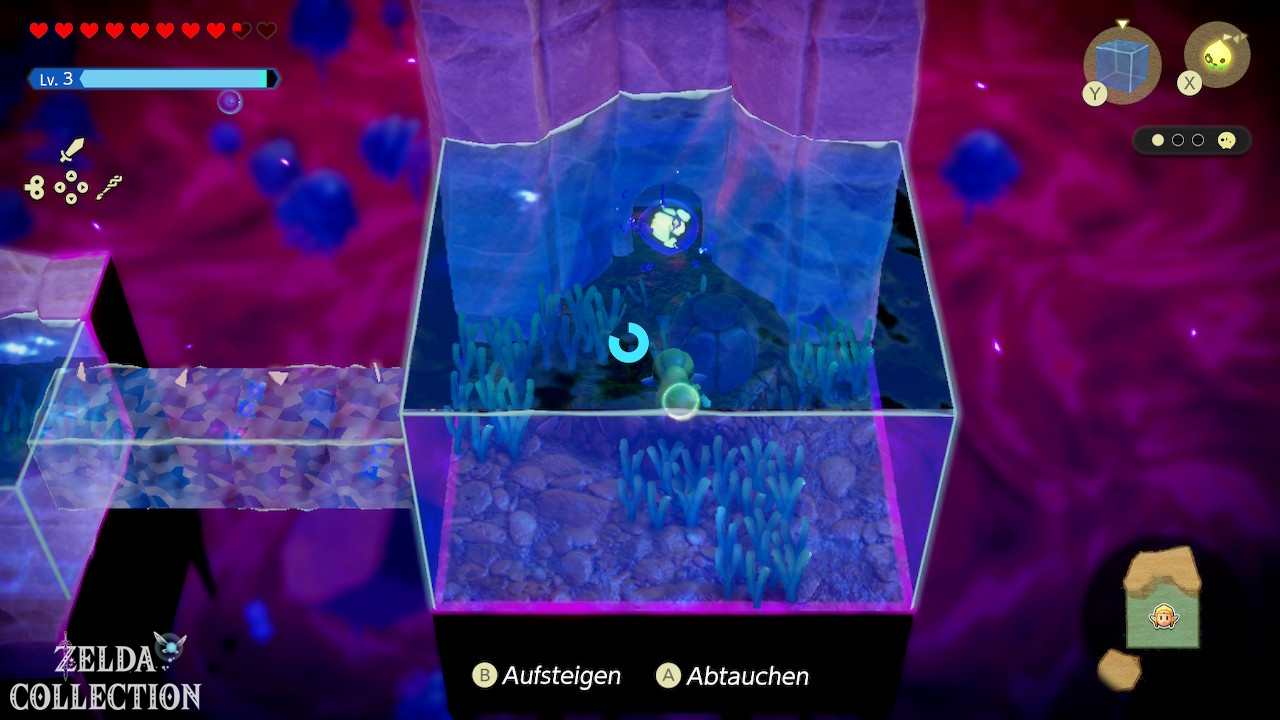
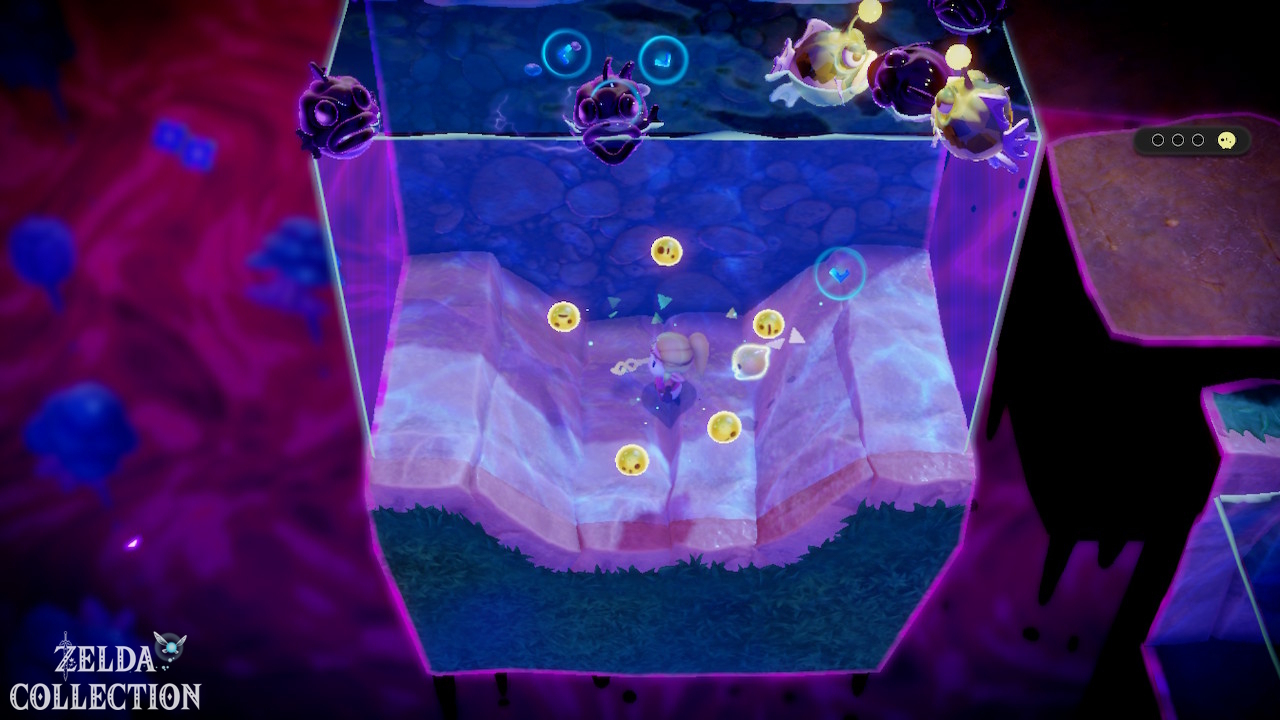
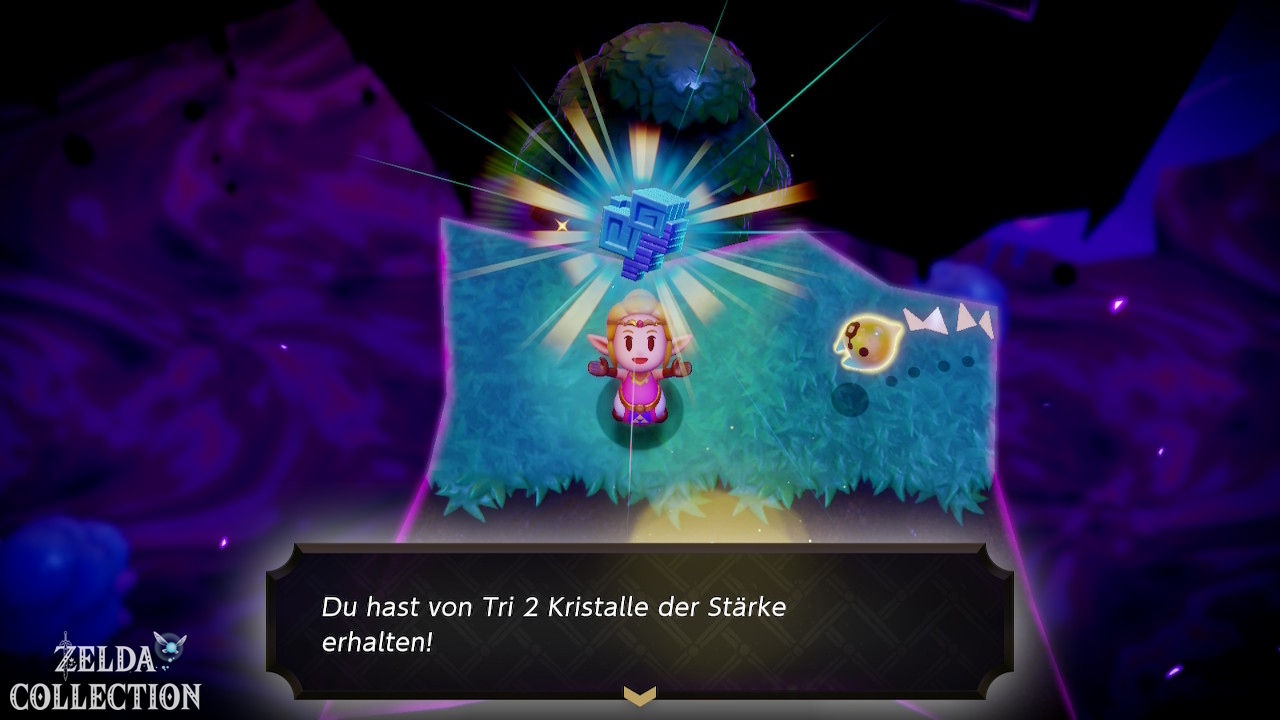
Enter the rift and find the groups of Tri’s friends. You burn cobwebs with Ignizol or another fire echo. Underwater, brittle rocks block some paths. Blast them with Bombfish. Once all groups are rescued, Tri closes the rift.
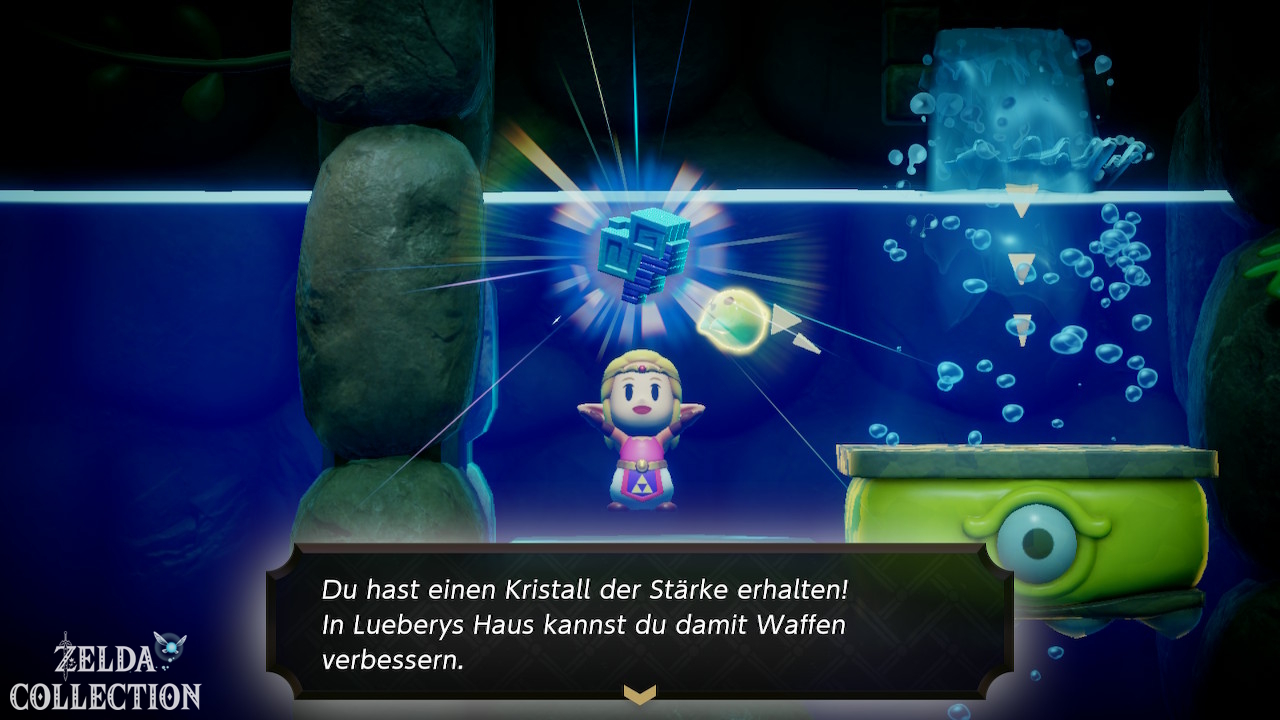
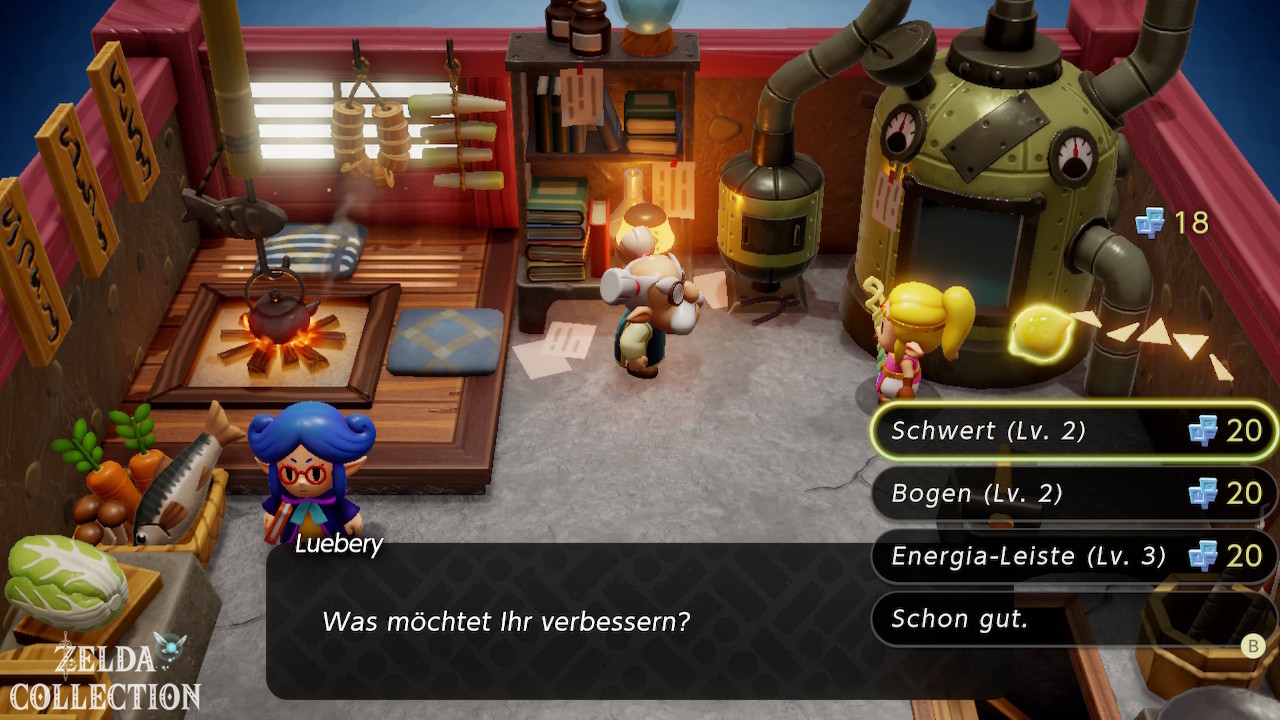
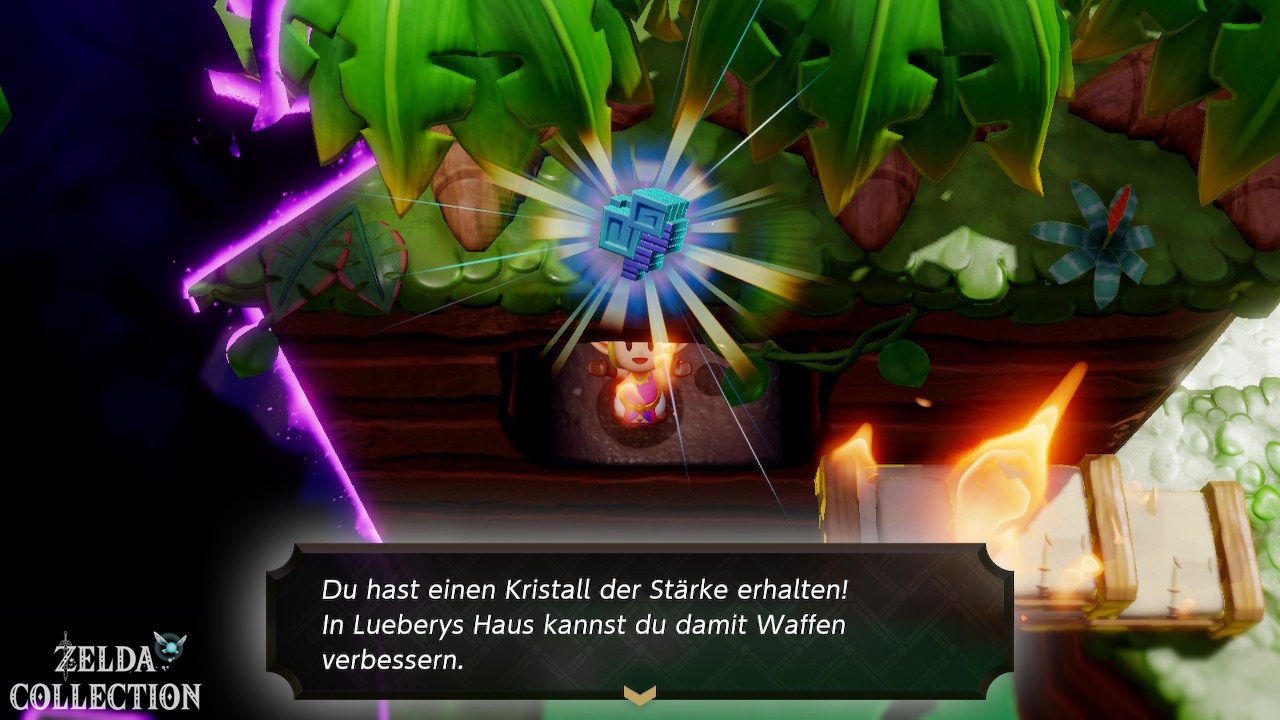
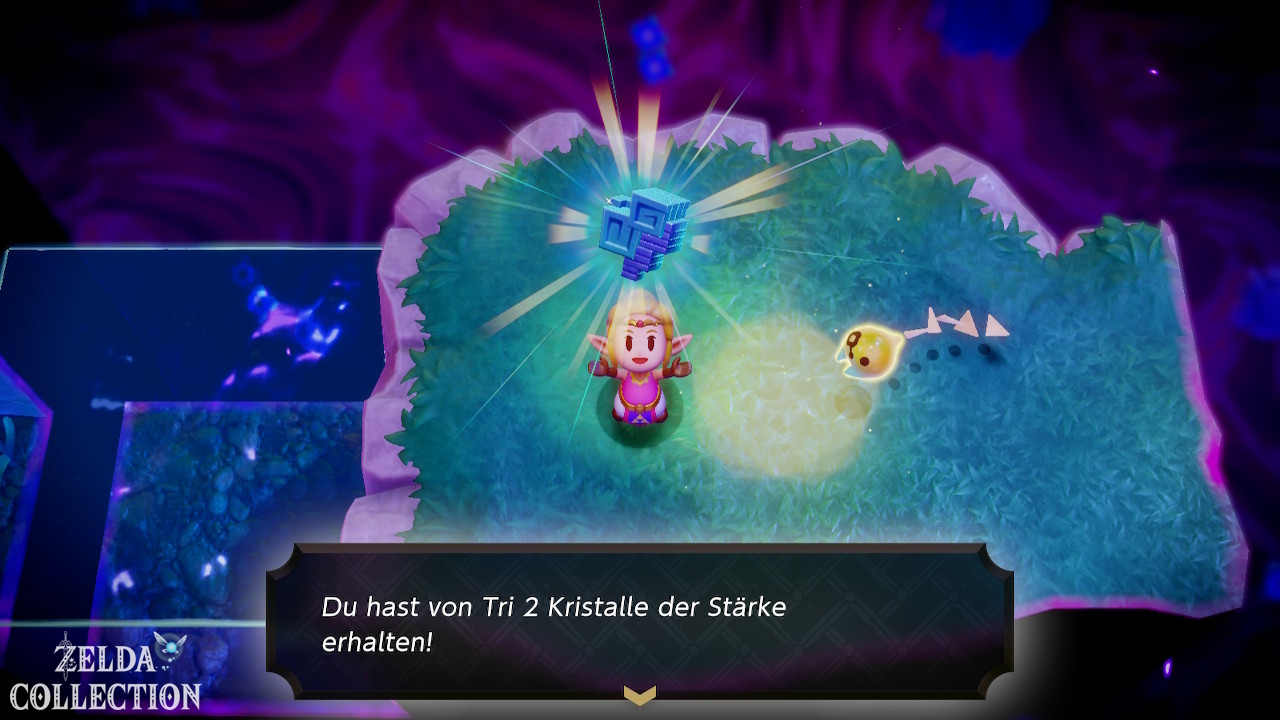
Reward: 2 Might Crystals.
The plot then refers you to Blossu.
Find Blossu in the southeast
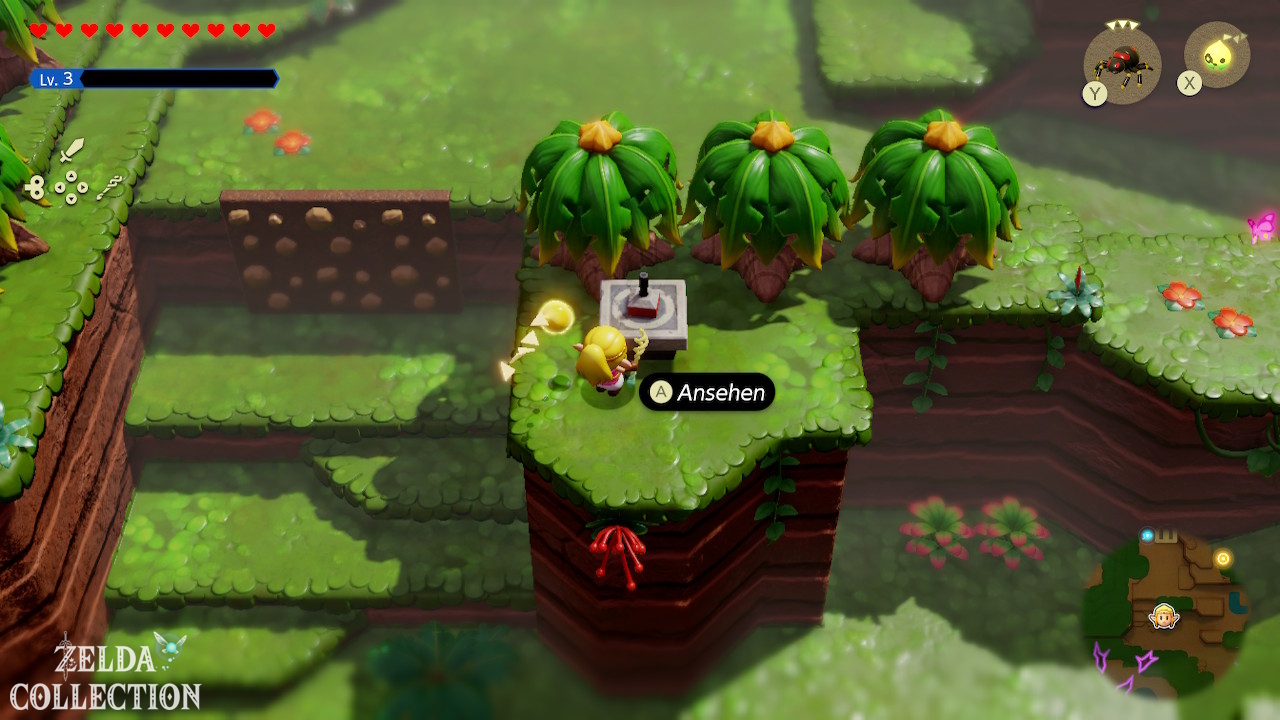
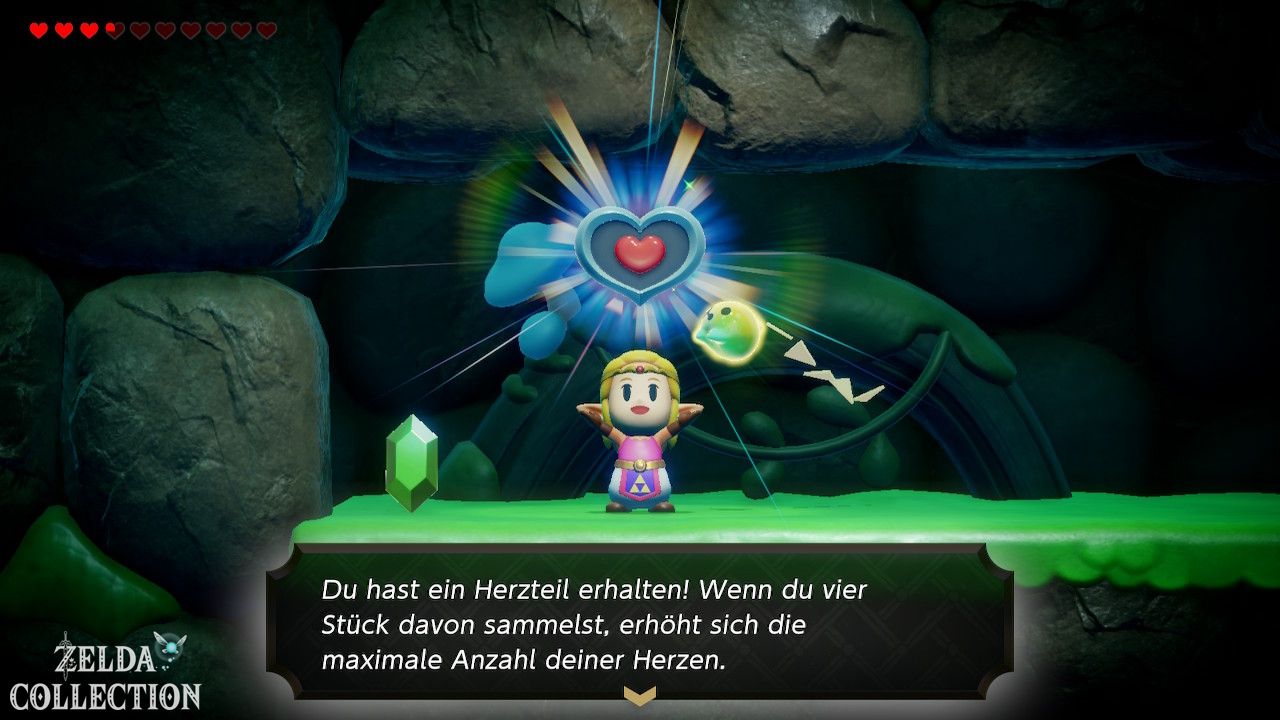
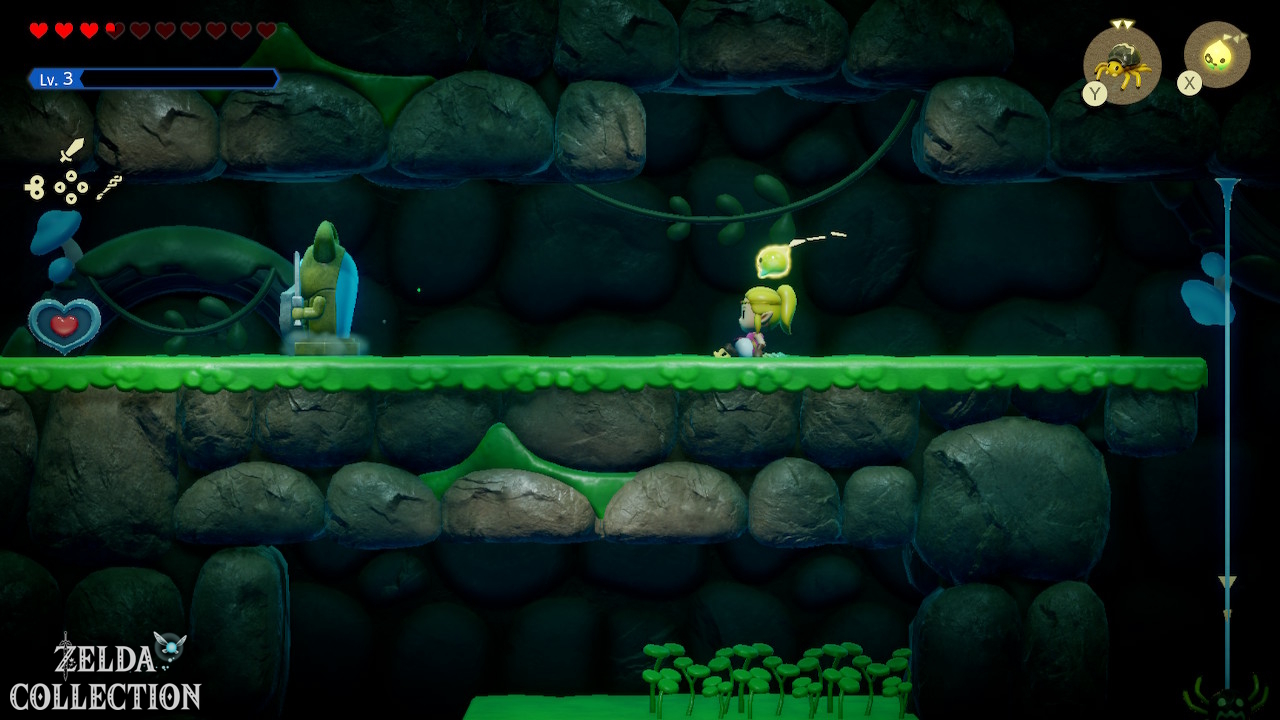
Travel back towards Scrubton and then follow the river far to the southeast. On the way there is a cave with larger abysses. Use Cloud, Water Block or Flying Tile. In this cave lies one of the four regional Pieces of Heart. At the end you reach Blossu’s house and the Rift there.
Stilled Blossu’s House
Here you have to save five groups of Tri’s friends again. The main obstacles are:
- Cobwebs – burn
- Deku Babas – defeat
- brittle rocks – bombfish
- elevation differences – Water Block or cloud
After all five groups you get 2 Might Crystals. However, the joy only lasts for a short time: Zelda is then arrested by the Dekus.
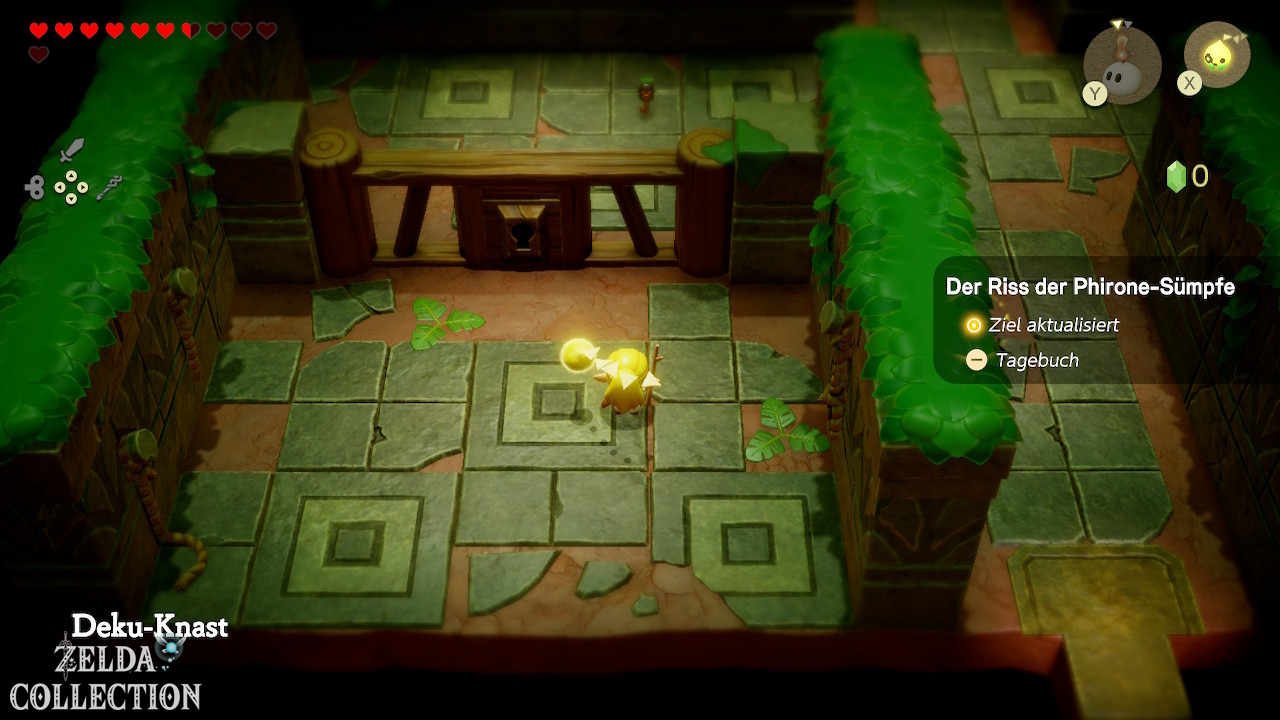
Deku Scrub Lockup – escape without Tri Rod
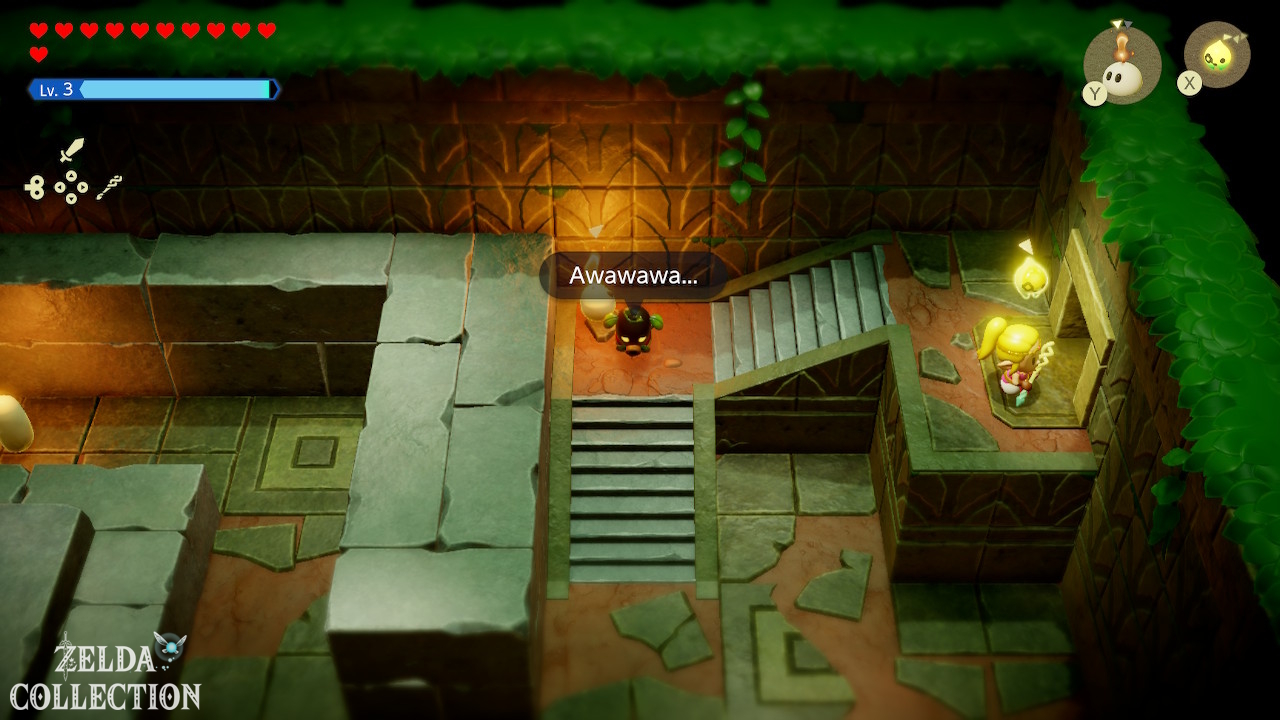
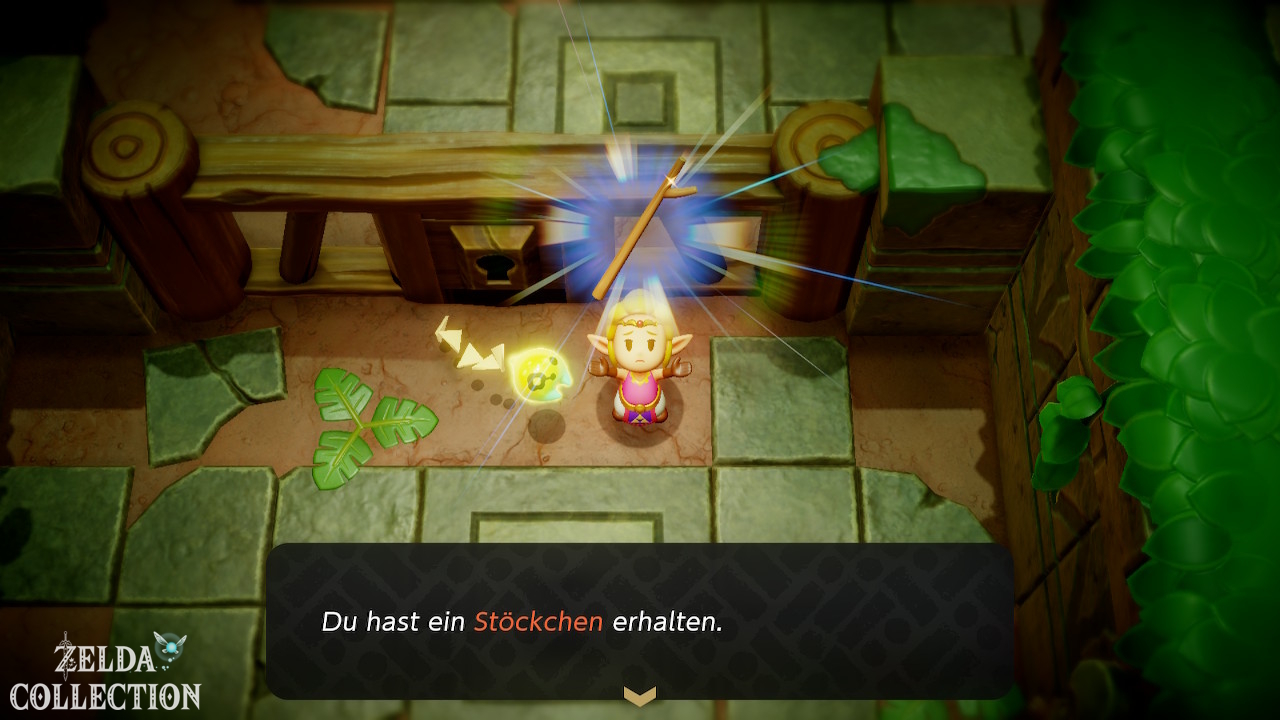
Zelda ends up in prison again. This time the Tri Rod is temporarily taken away from her. Therefore, you cannot summon new echoes at first. Bind remains available.
Escape the cell
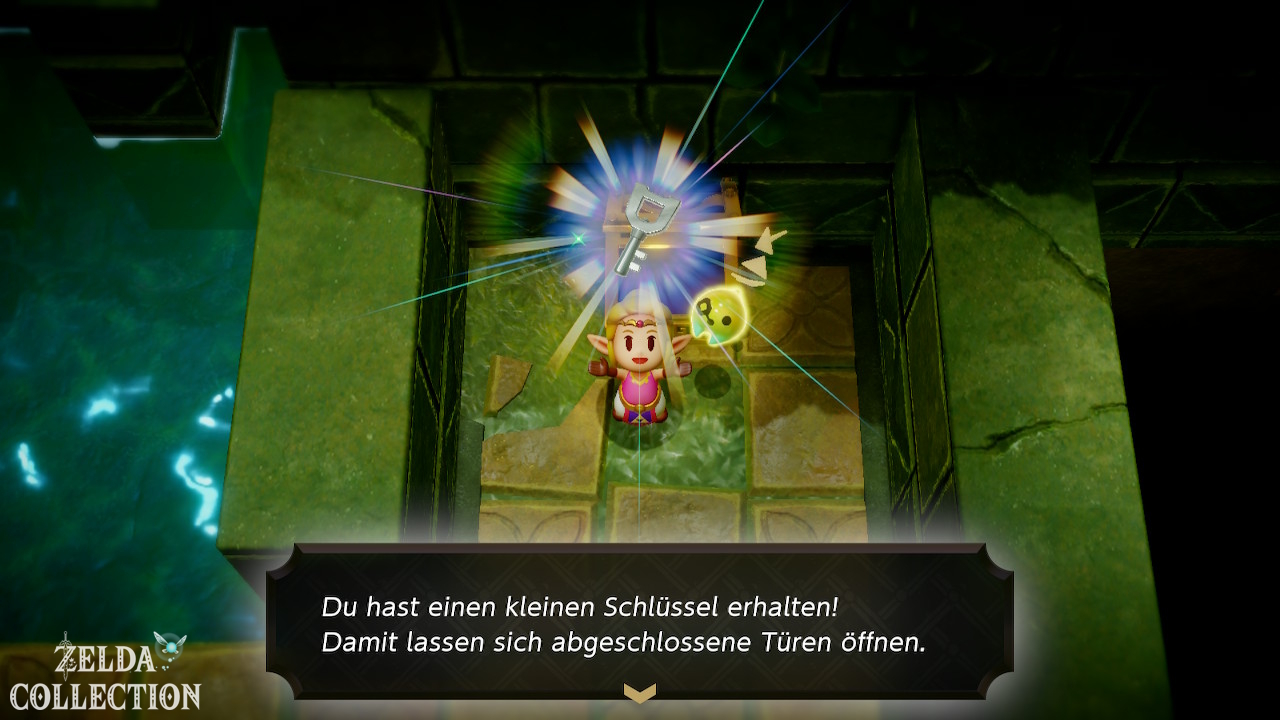
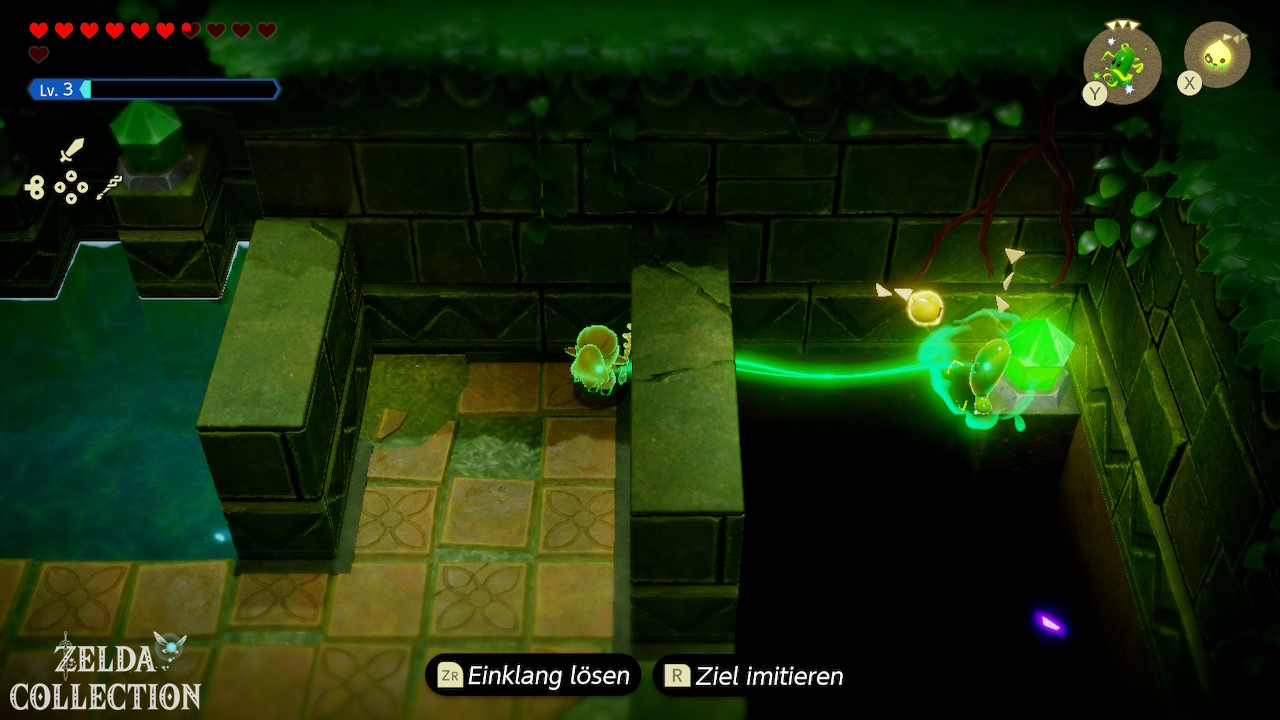
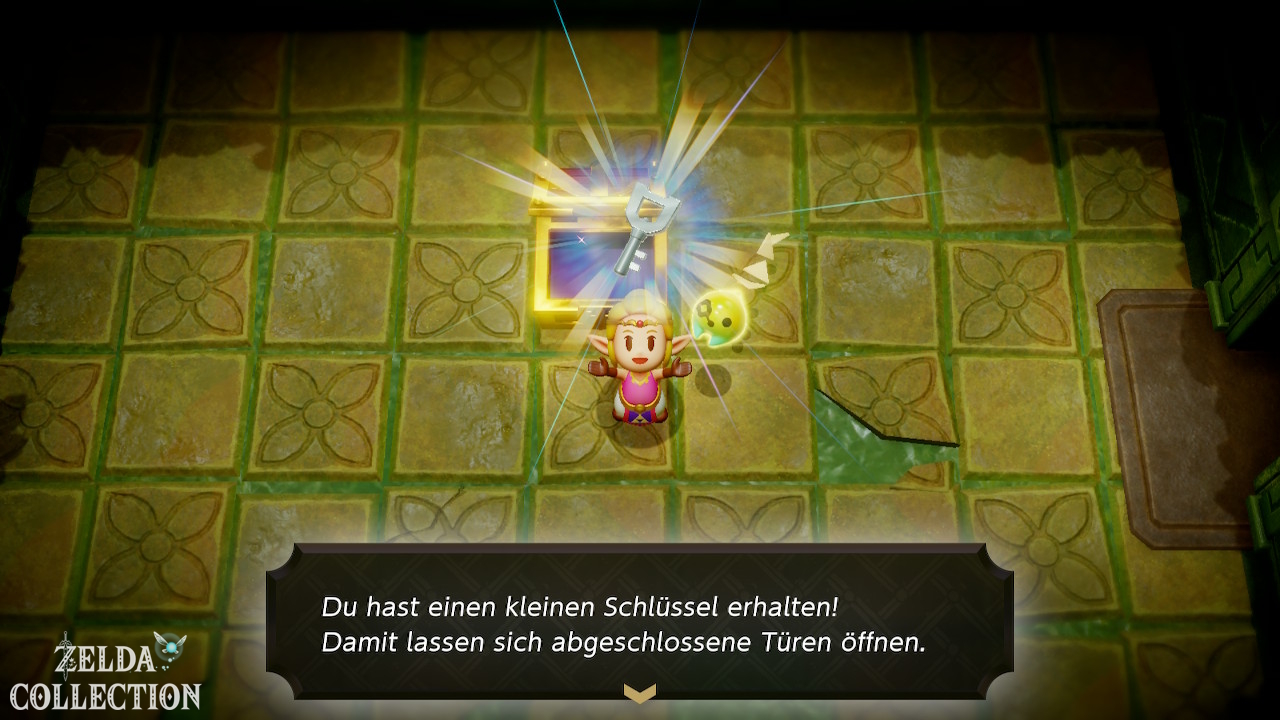
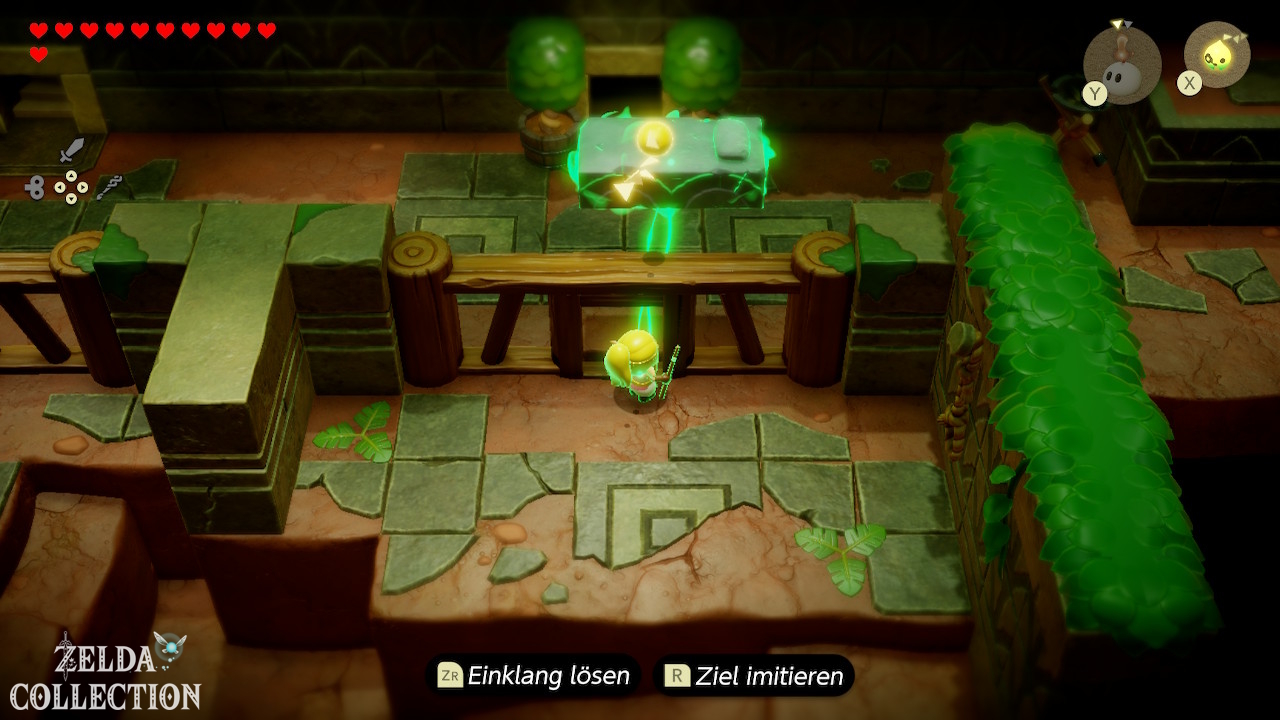
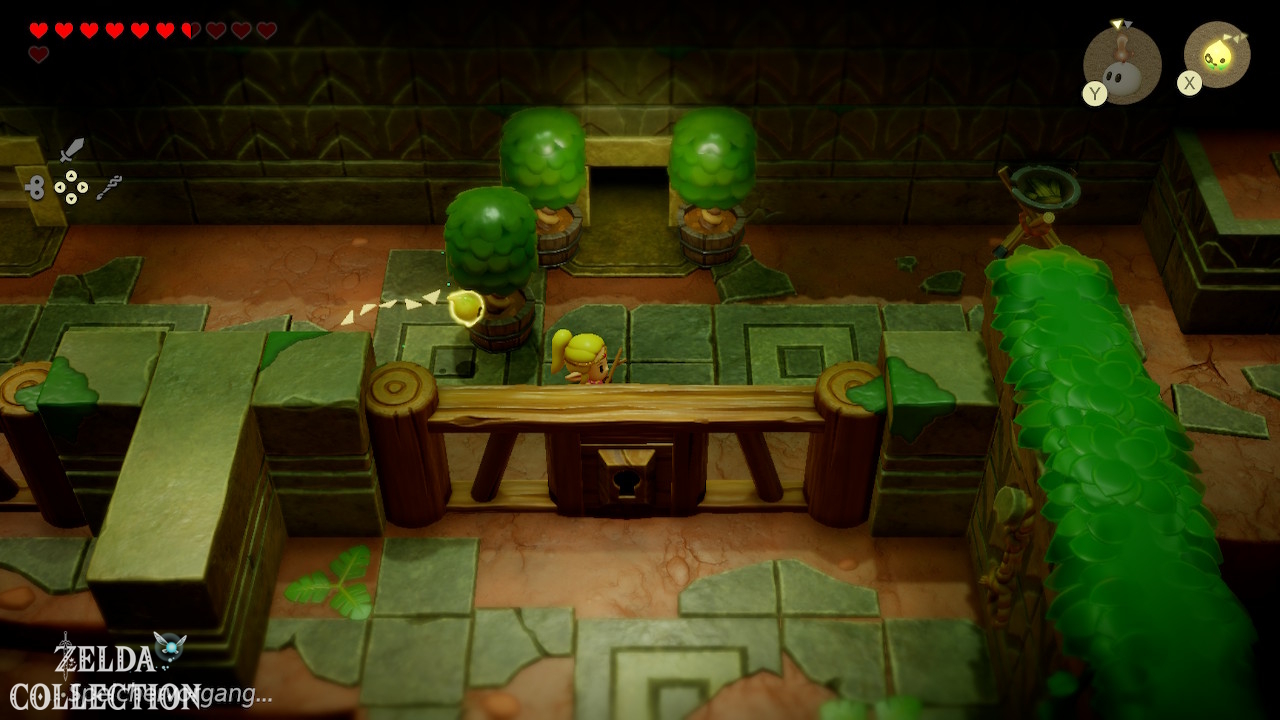
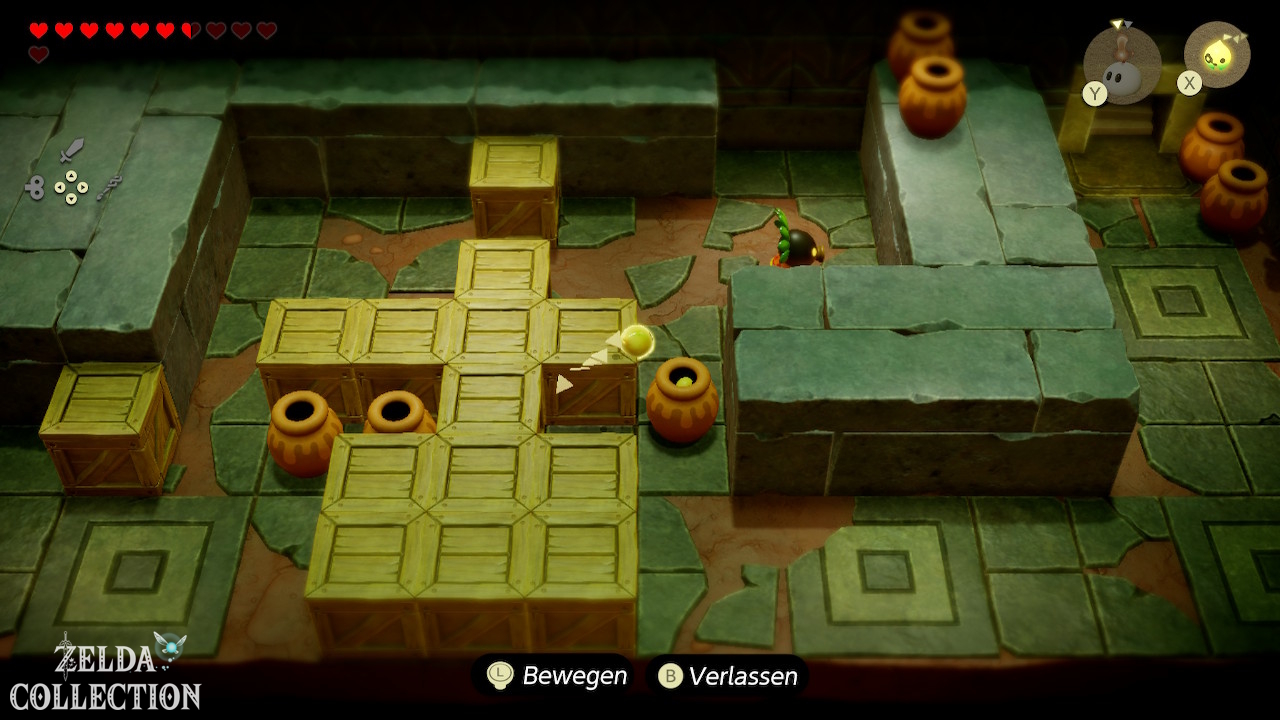
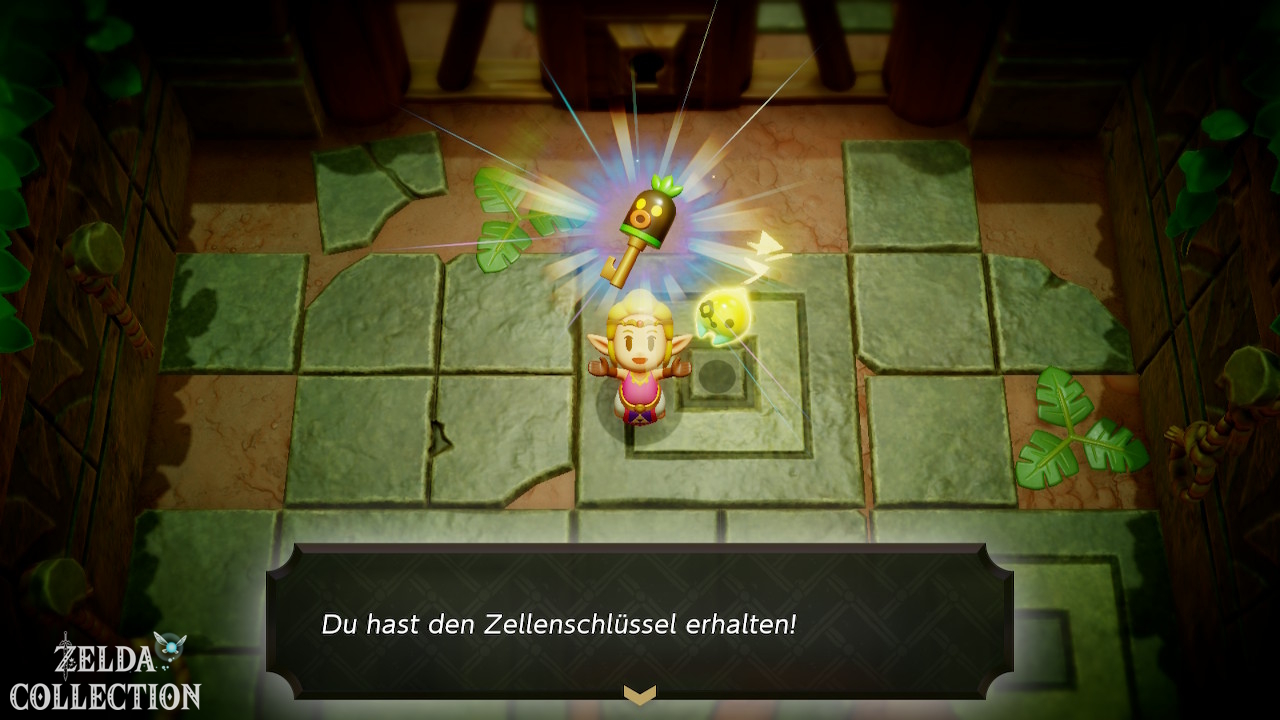
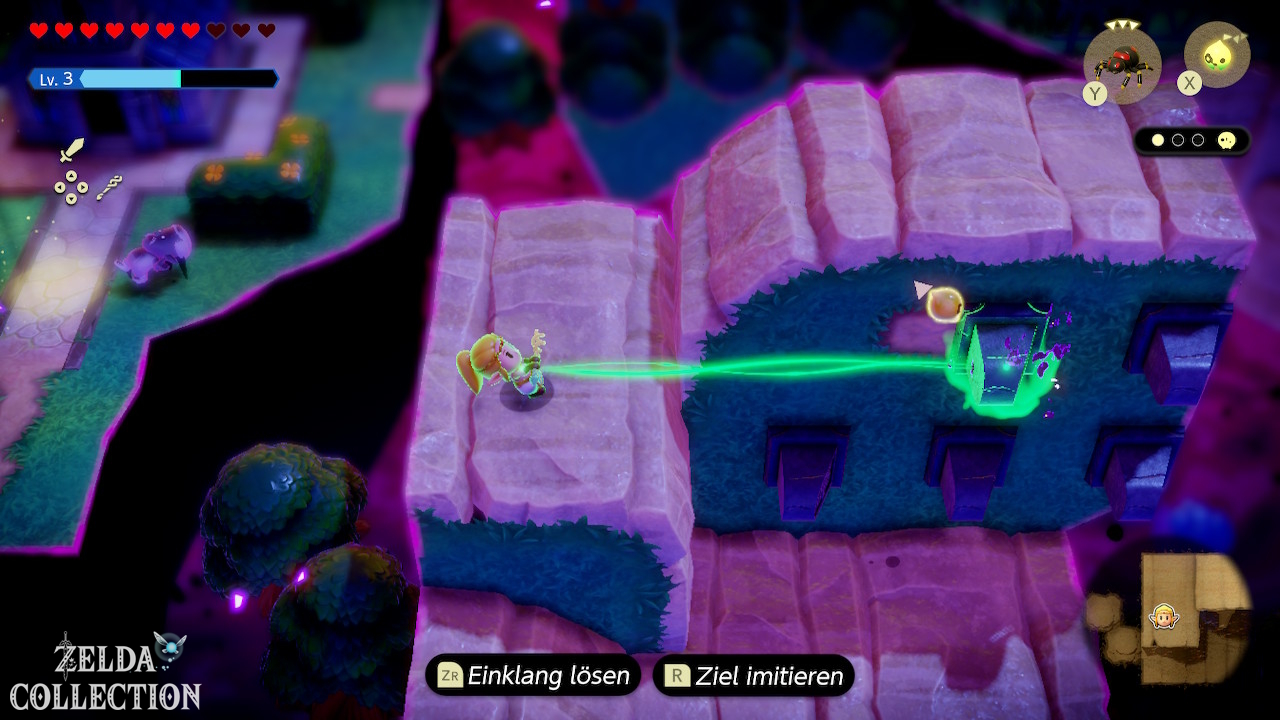
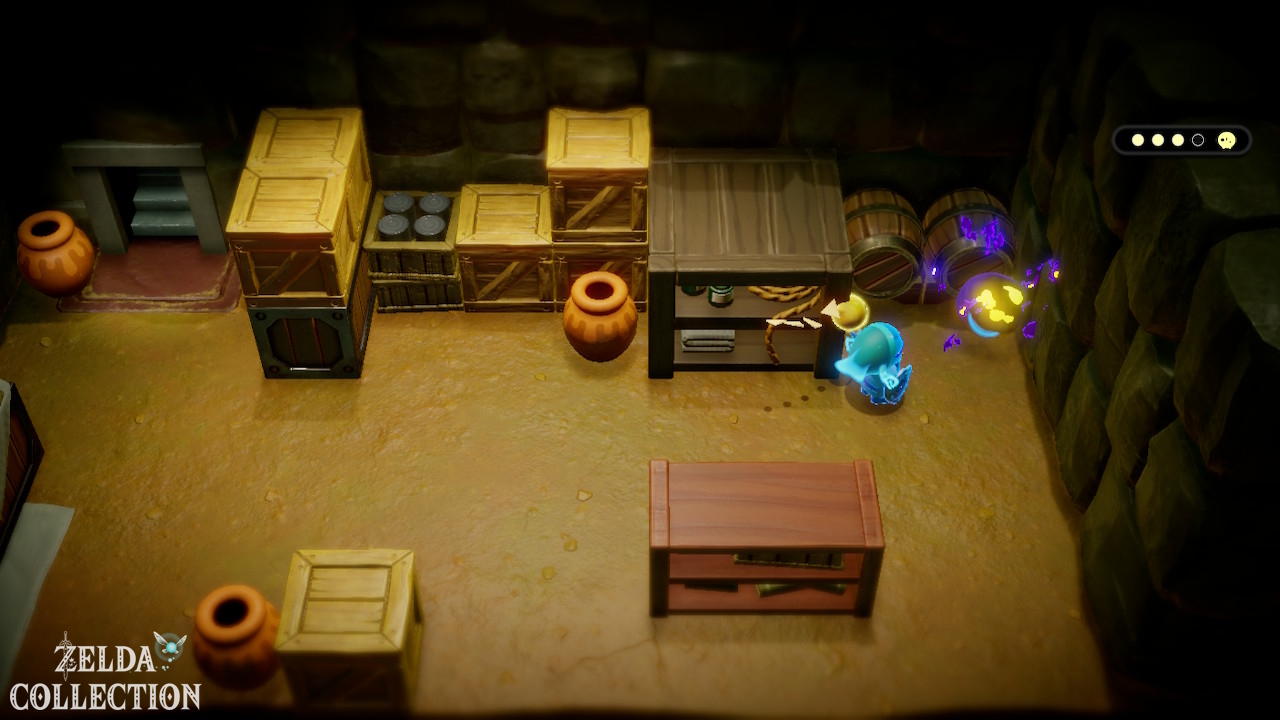
Use Bind to pull the key through the bars and unlock the cell. Move the existing crates to block the guards’ view, then pass behind them when they turn away. Continue down the left staircase and through the guarded corridors.
Past the guards
In the following corridors you have to avoid sight lines. Move boxes and other items for cover. Wait until the guards look the other way and only then move on.
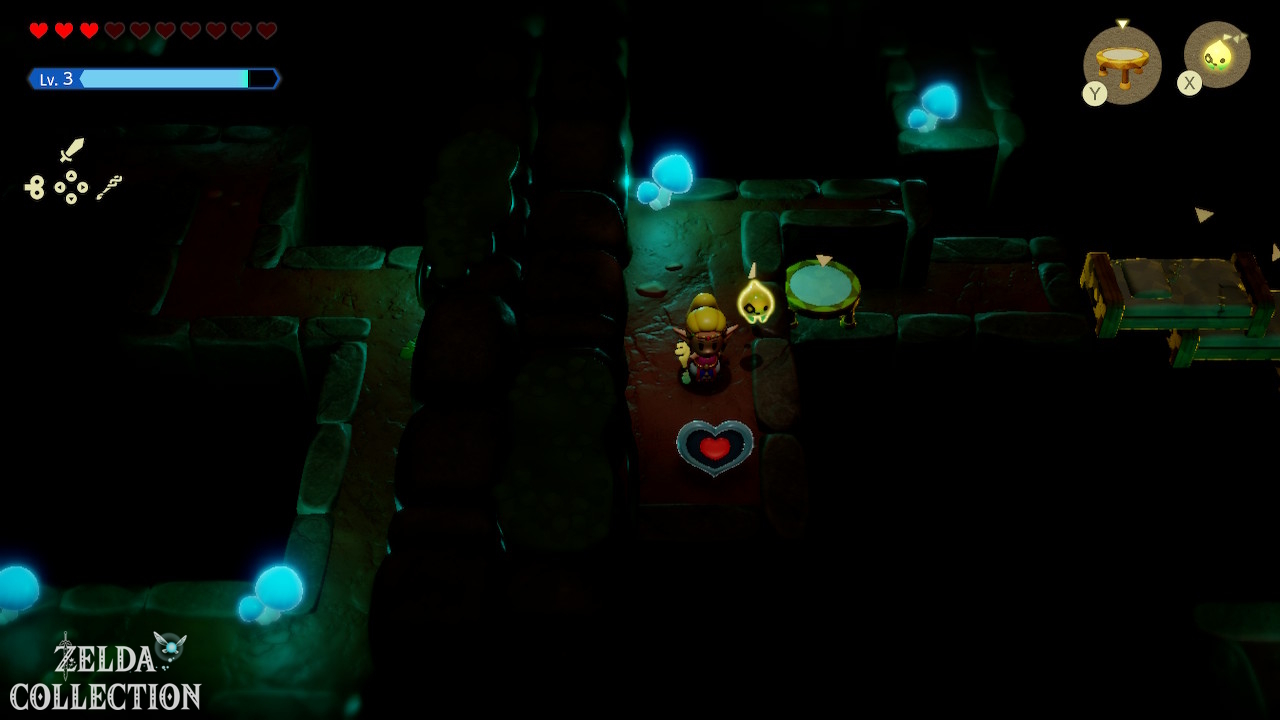
Piece of Heart in Deku Scrub Lockup
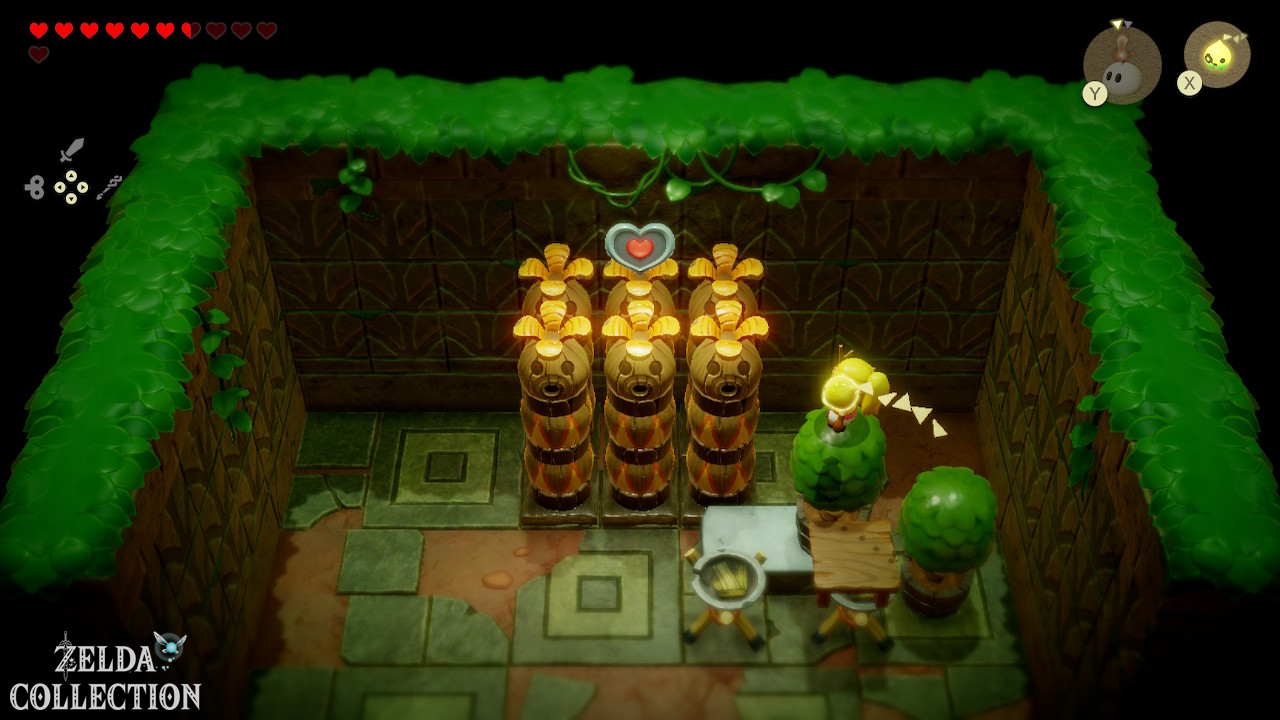
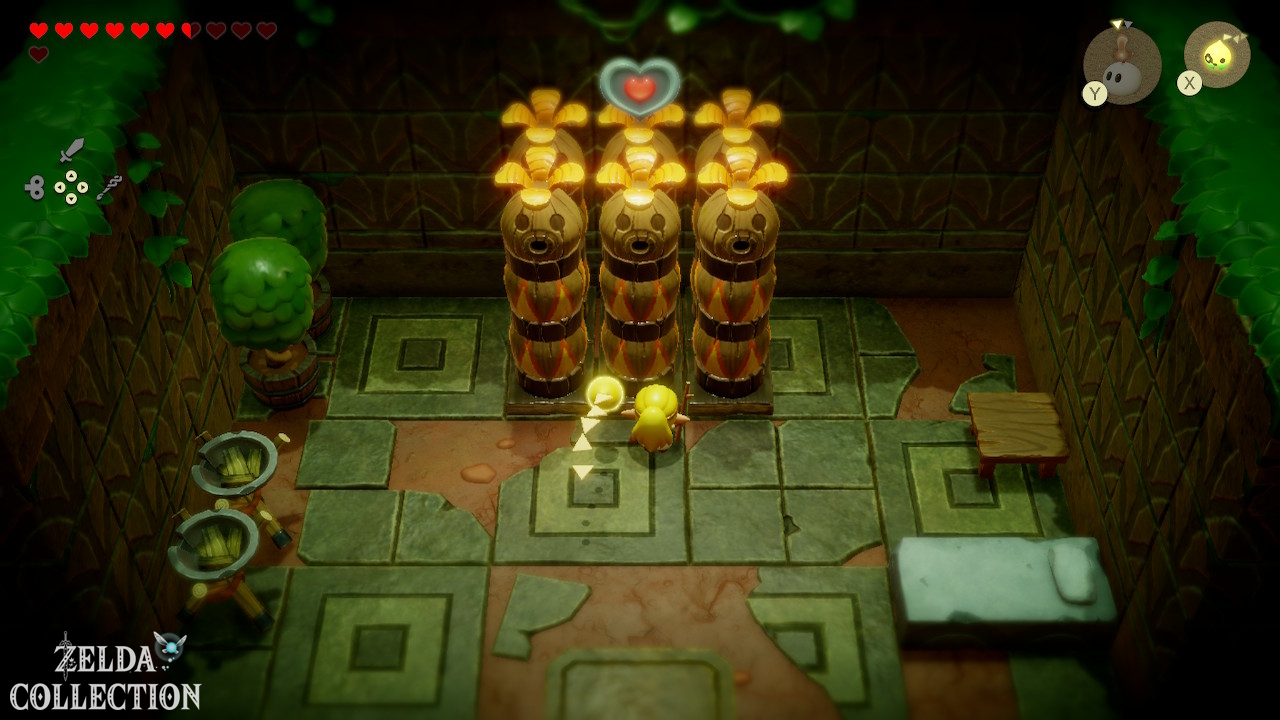
In the room with the potted plants, examine the middle plant on the wall. Use Bind to pull it away to reveal the hidden passage. Behind it lies the Piece of Heart on raised wooden bases. Arrange the existing objects according to their height to form a staircase and climb up. If you don’t manage to build it yet, you can come back after escaping with the Tri Rod you’ve retrieved; the Piece of Heart is not permanently missable.
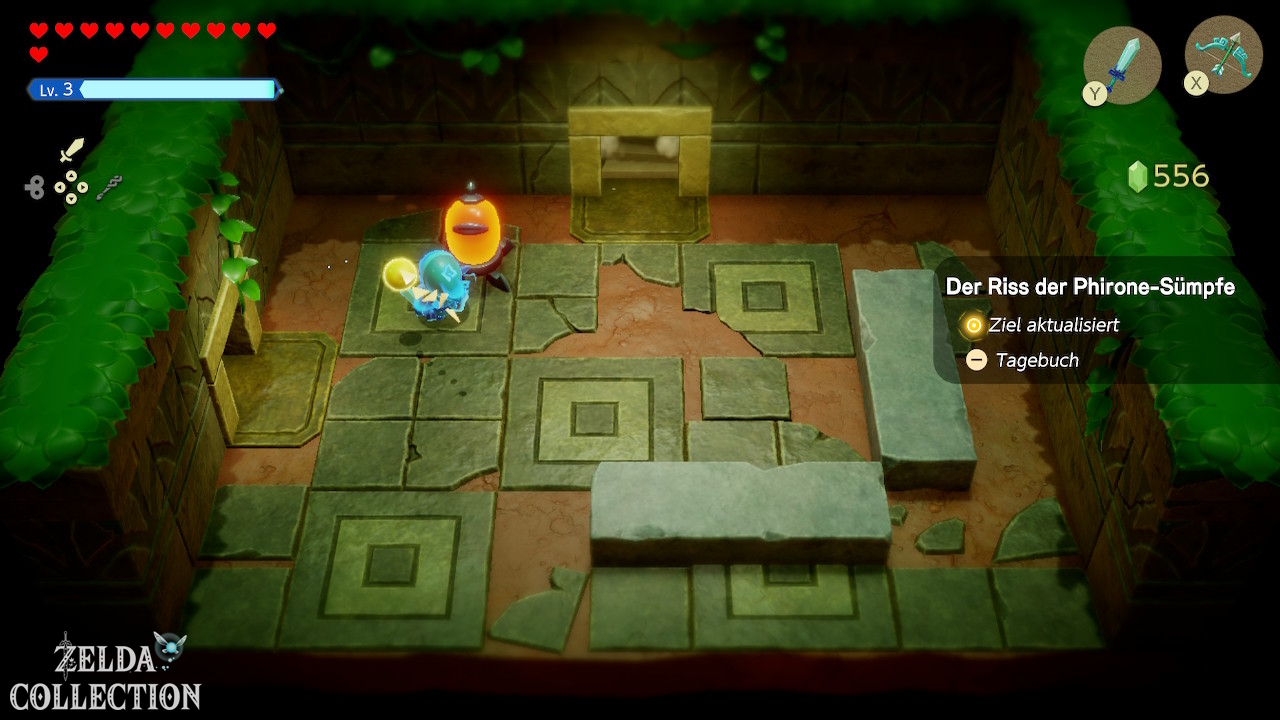
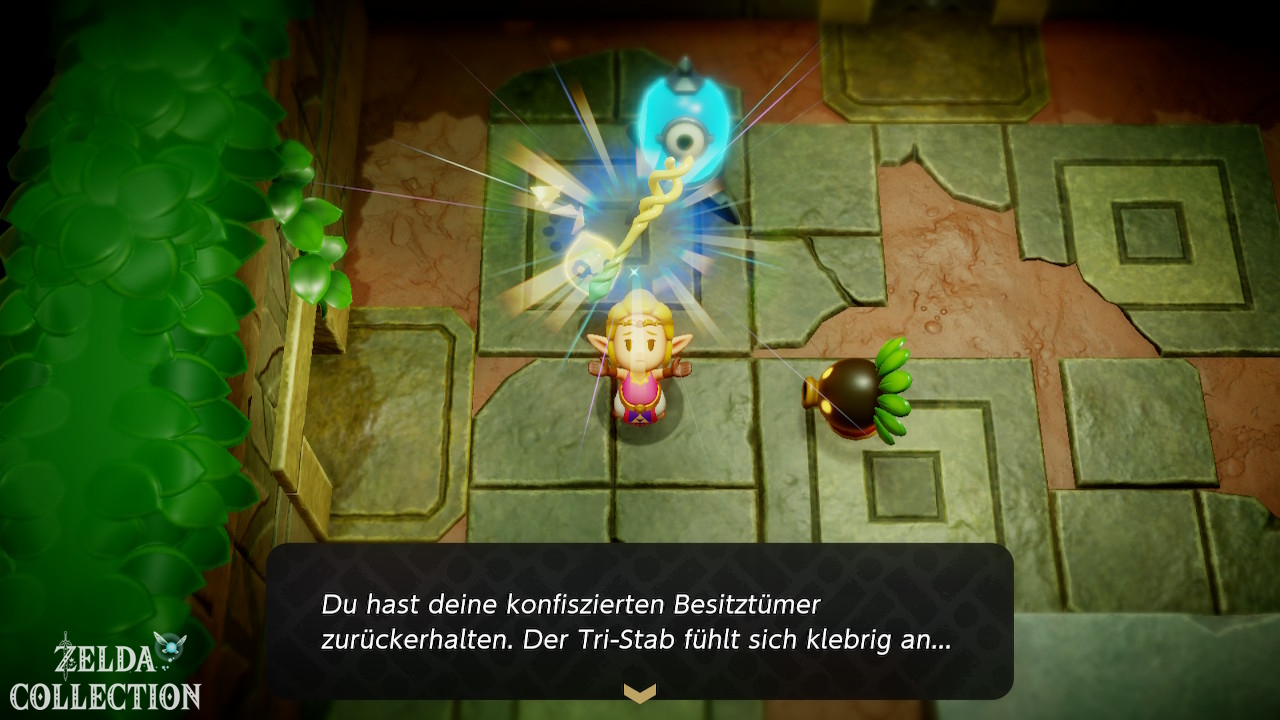
Retrieve the Tri Rod
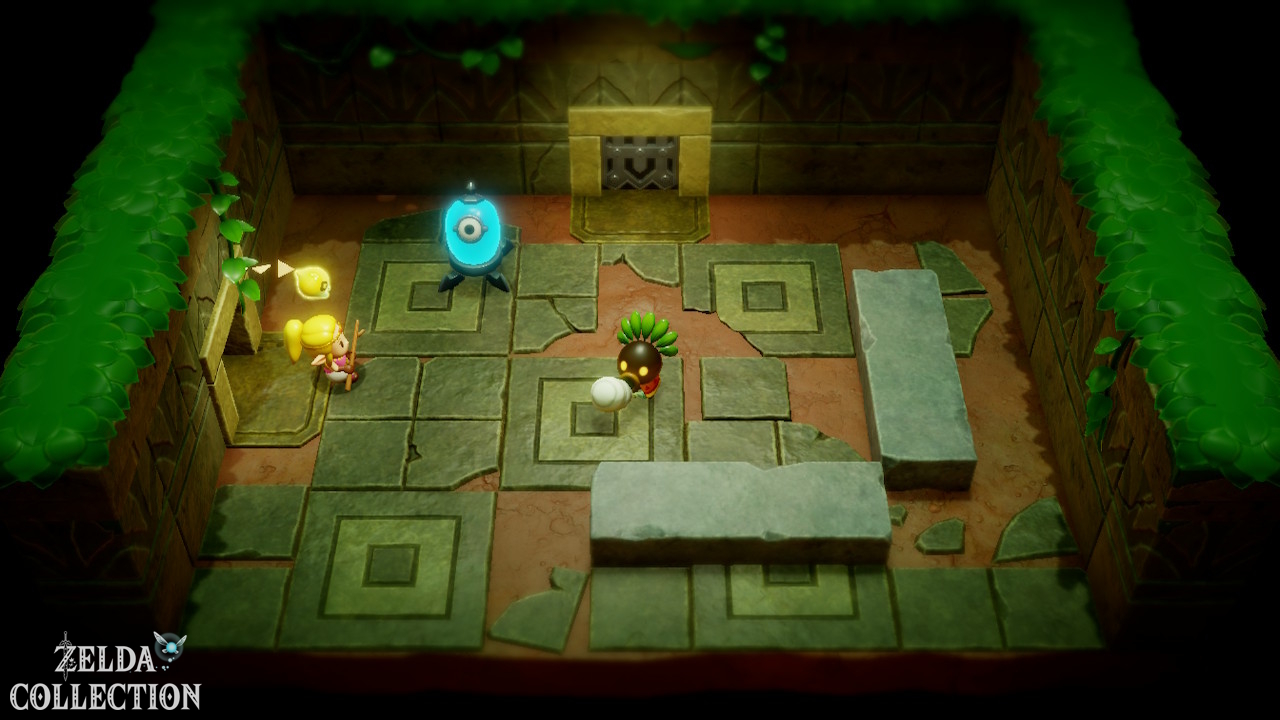
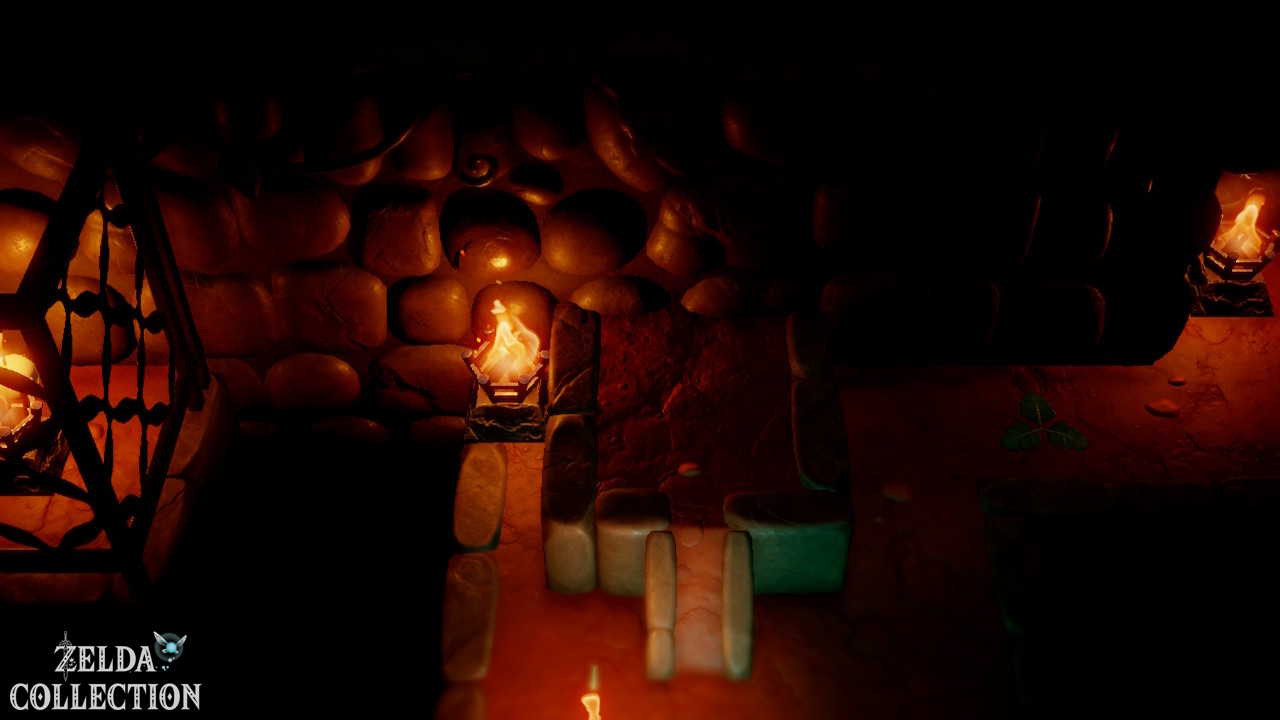
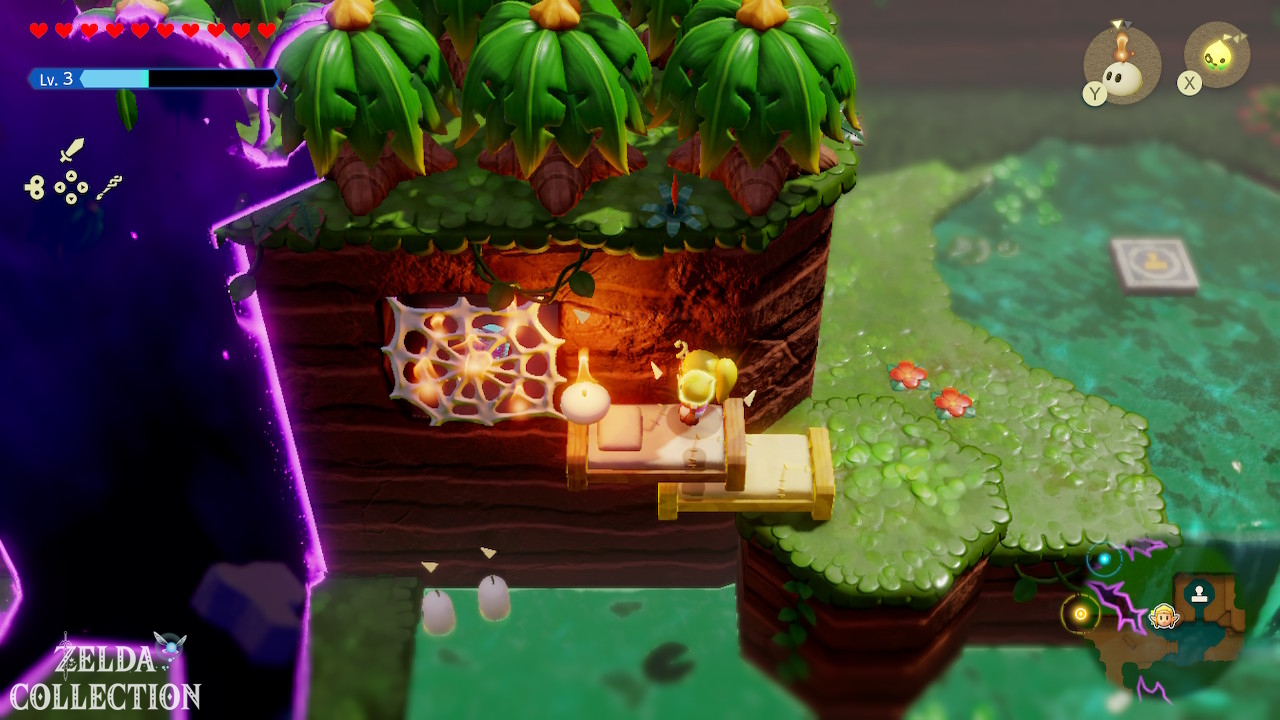
After the room with the hidden Piece of Heart, use the stone beds, table and torches as steps to reach the right-hand door. Retrieve the Tri Rod in the next room and press the switch. Return to the starting area, take the right staircase and summon monsters to scare the guards out of your path. Drop into the well to reach the final underwater section.
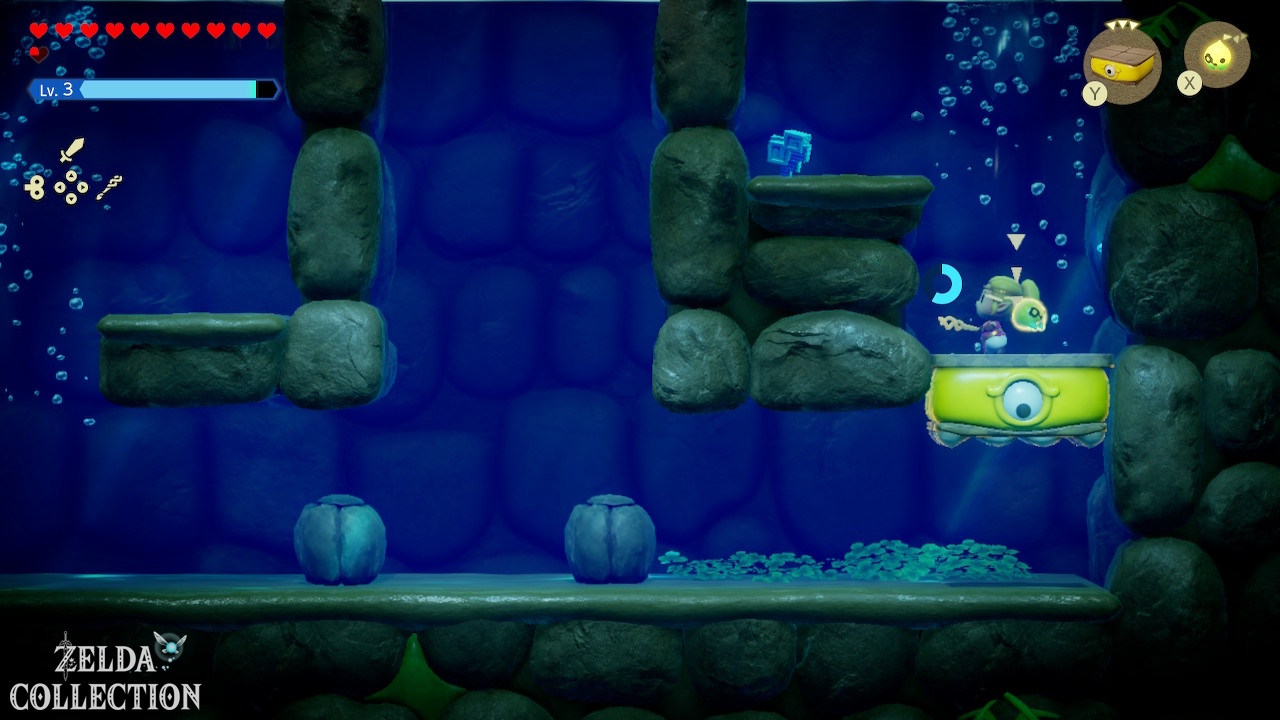
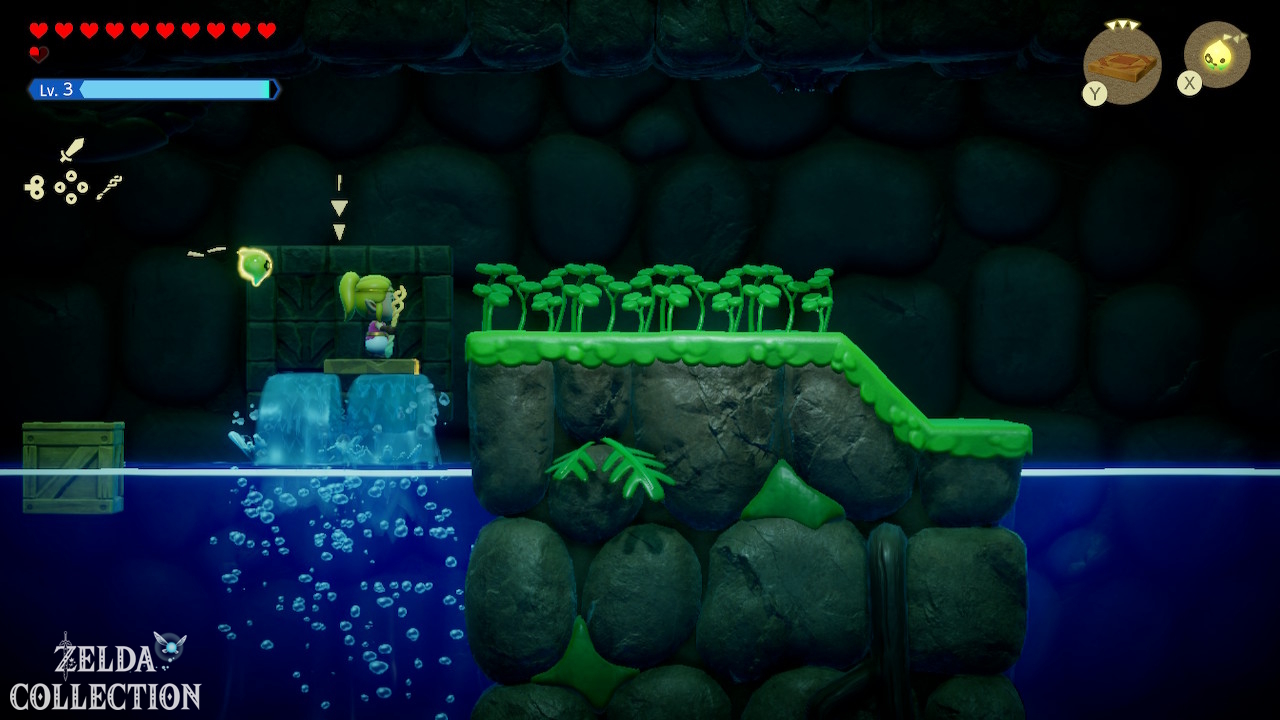
Crystal in the underwater section
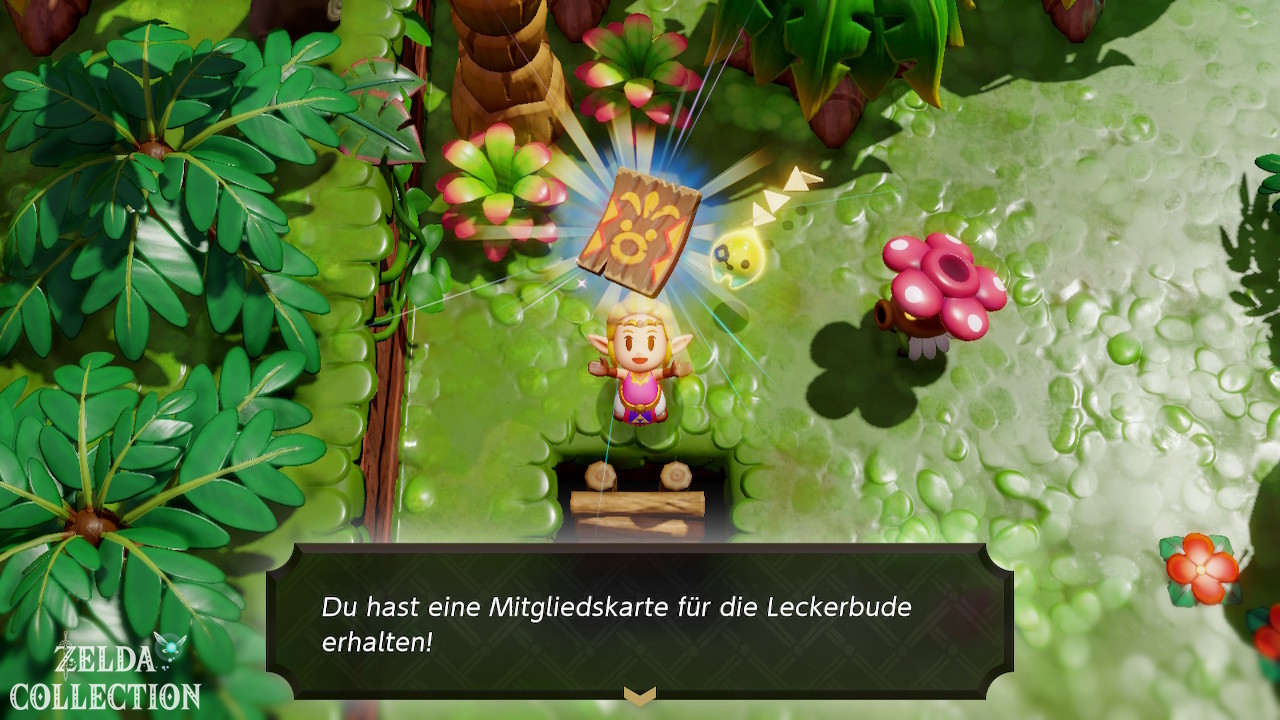
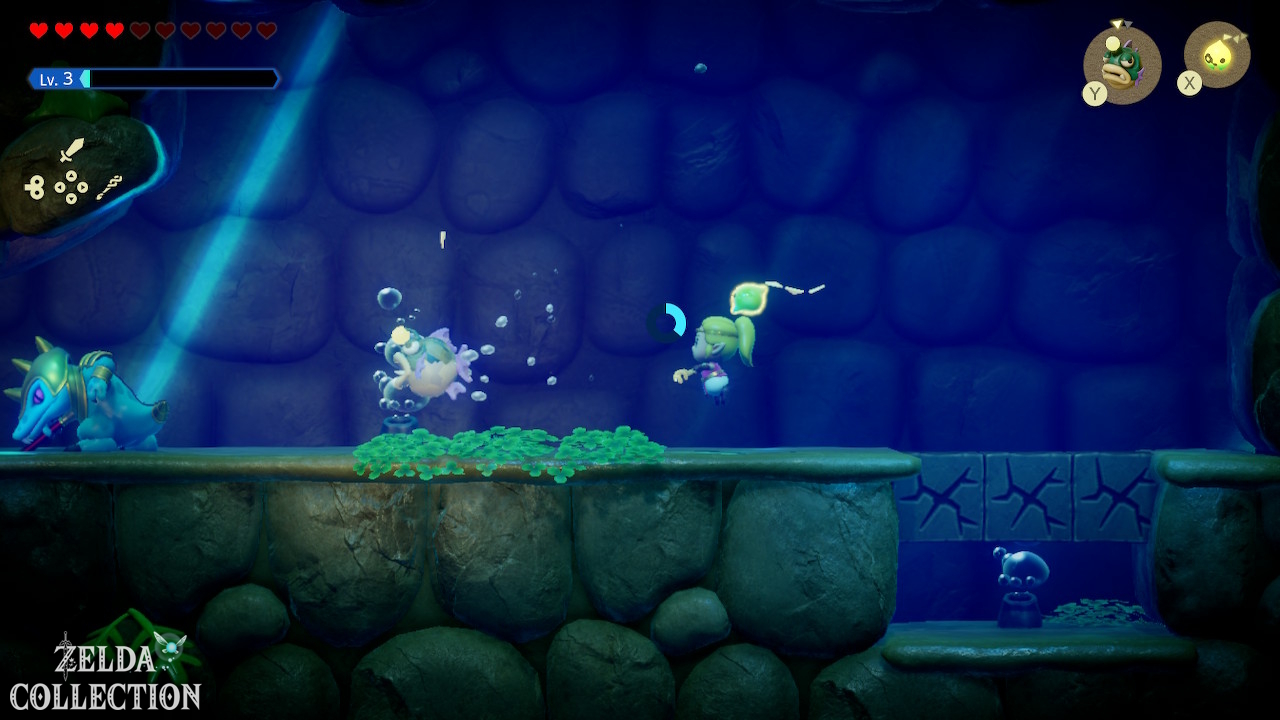
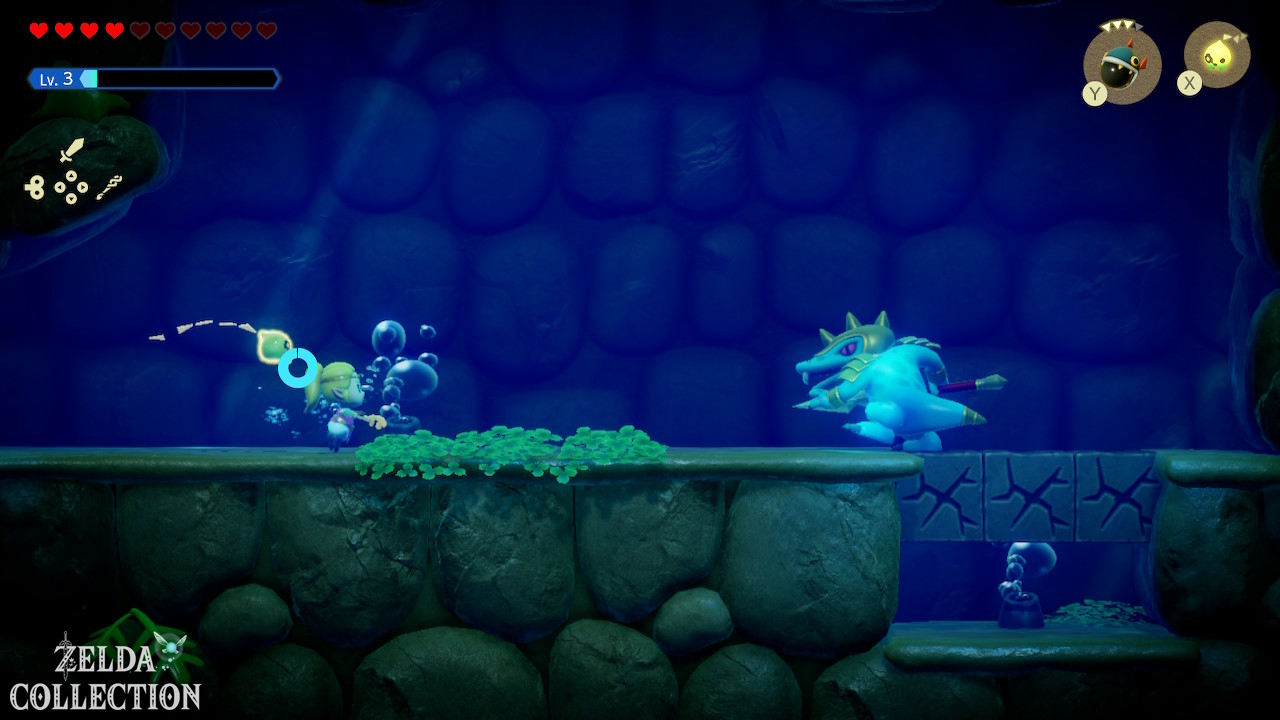
In the well, use Boulder Echoes to sink floating crates and Bind to move obstructing boxes. Beyond the strong currents, collect the Might Crystal above the final air-bubble column. You can Bind to a Piranha Echo and use Reverse Bond to rise through the current, or Bind to a floating Wooden Box. Leave through the exit, where Blossu gives you the Membership Card for Sweet Spot.
Faron Wetlands in the Still World
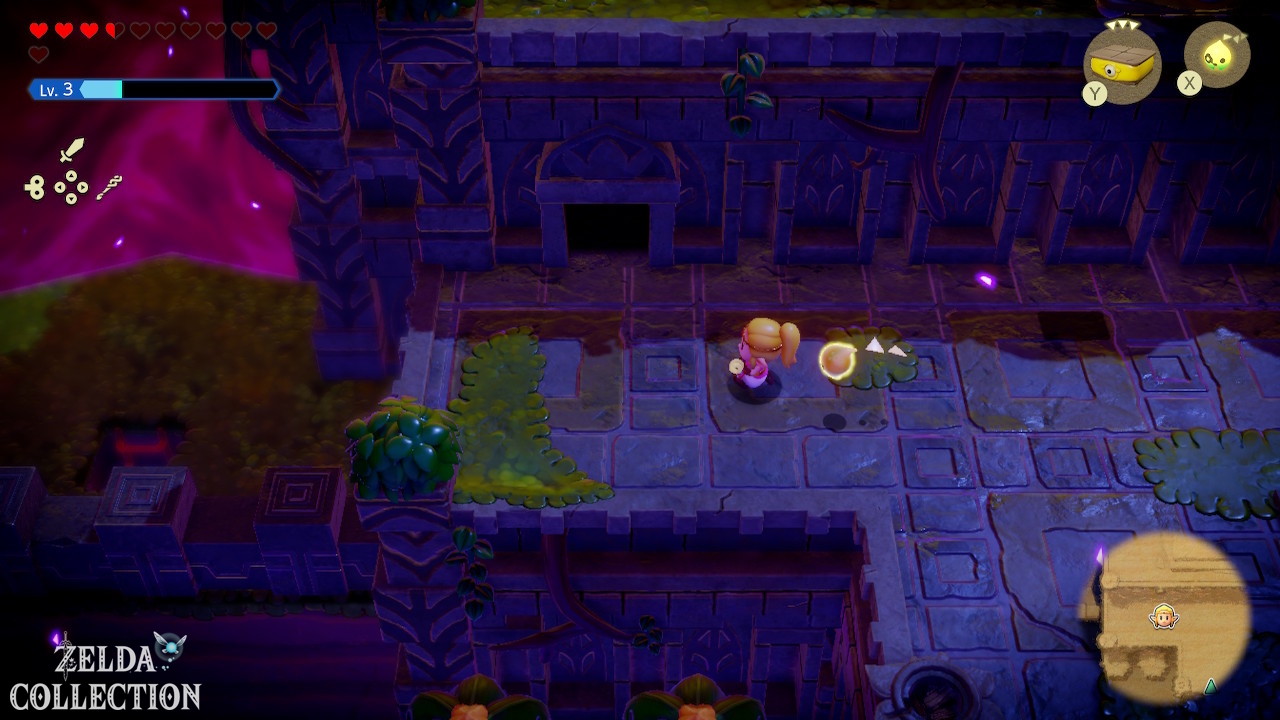
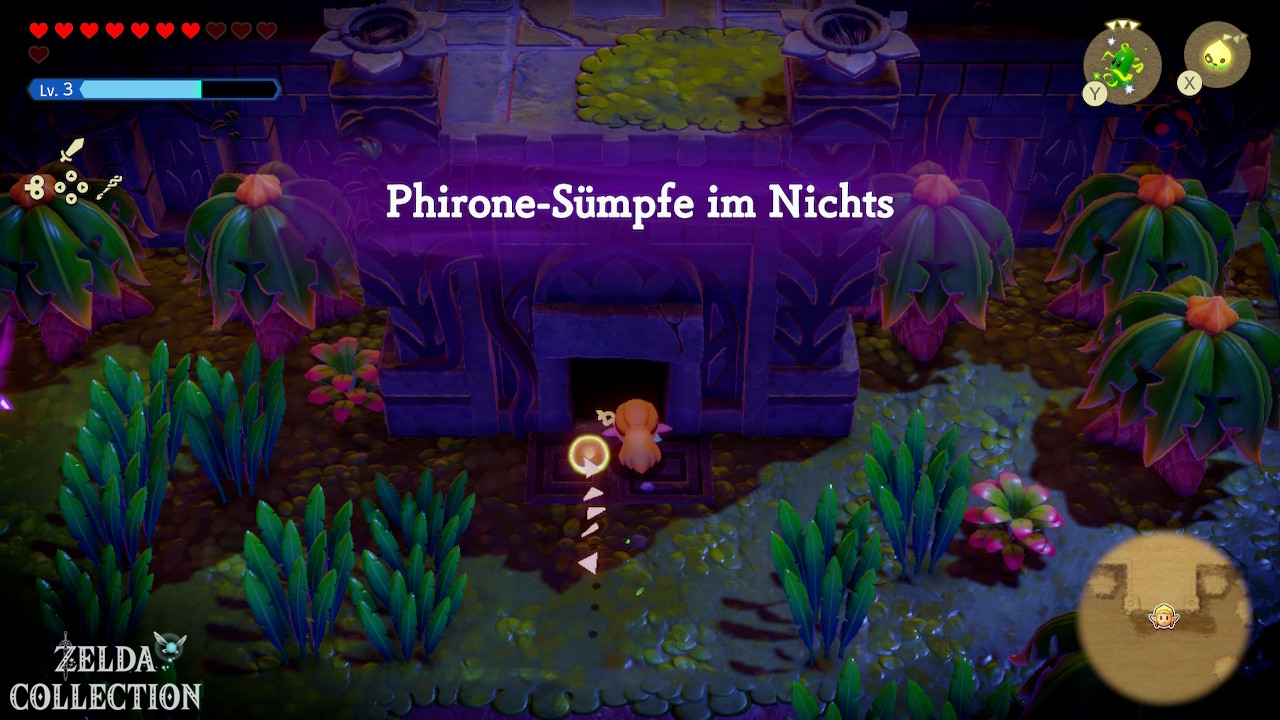
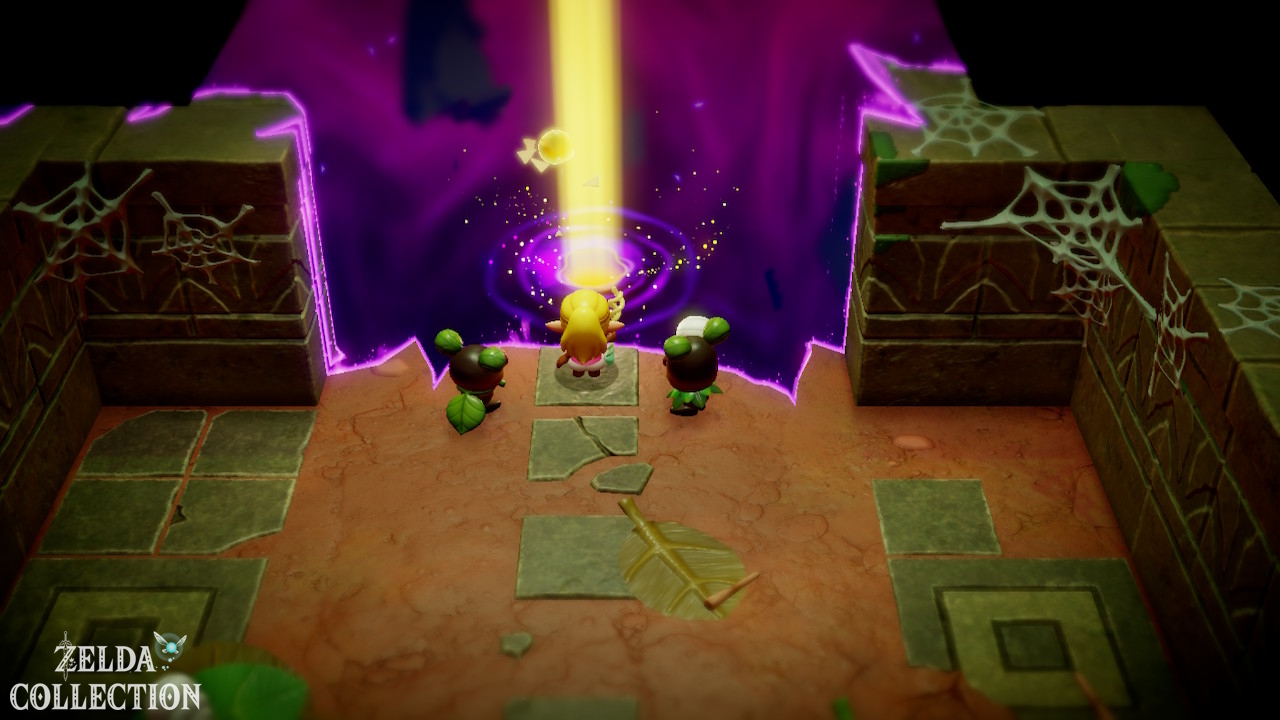
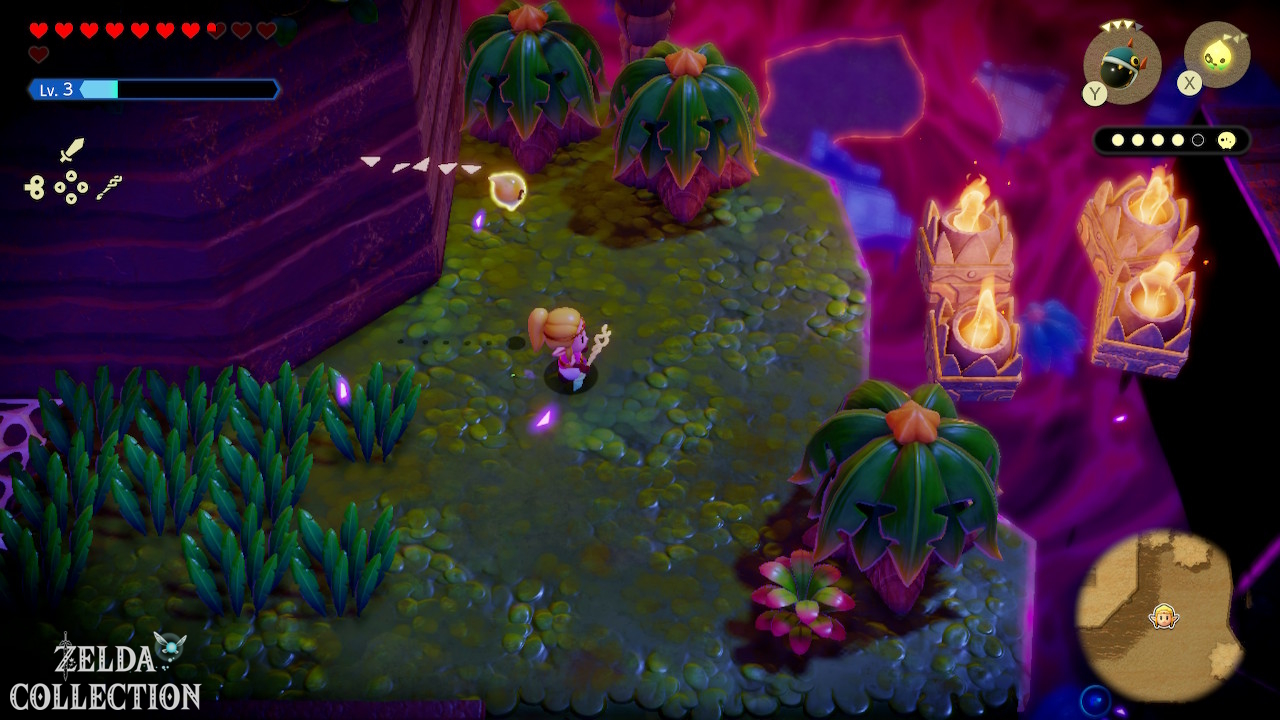
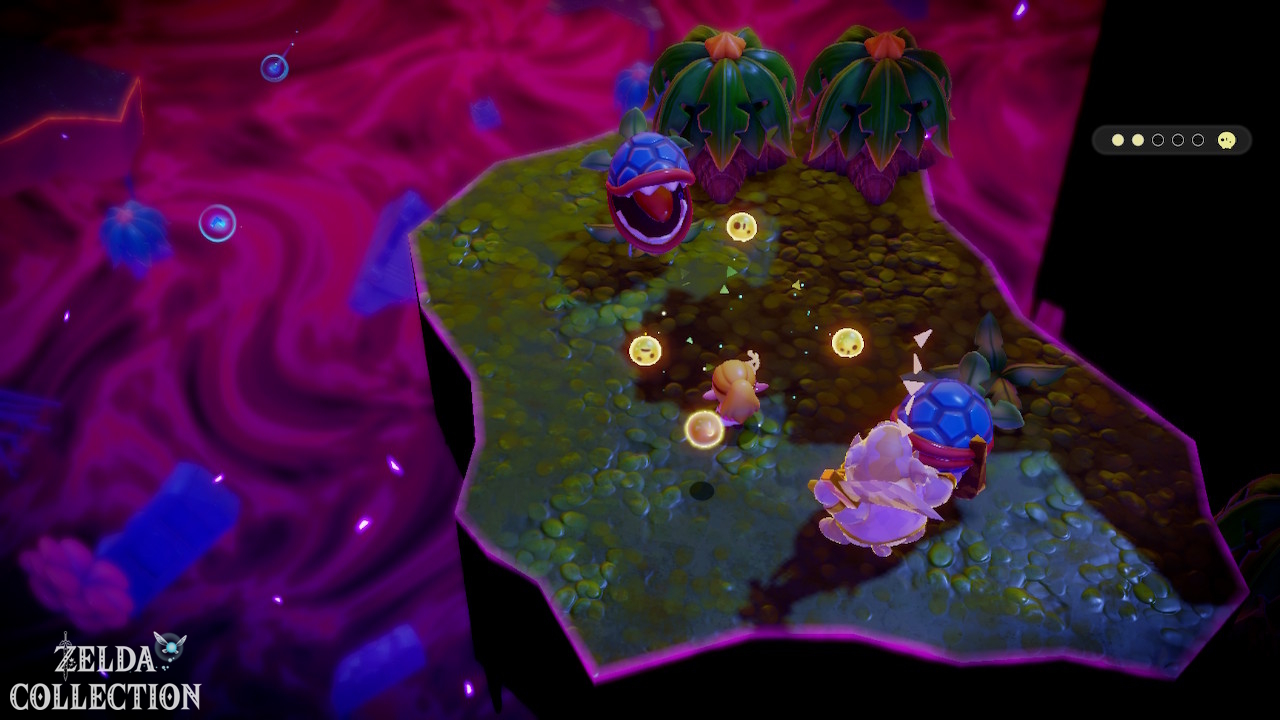
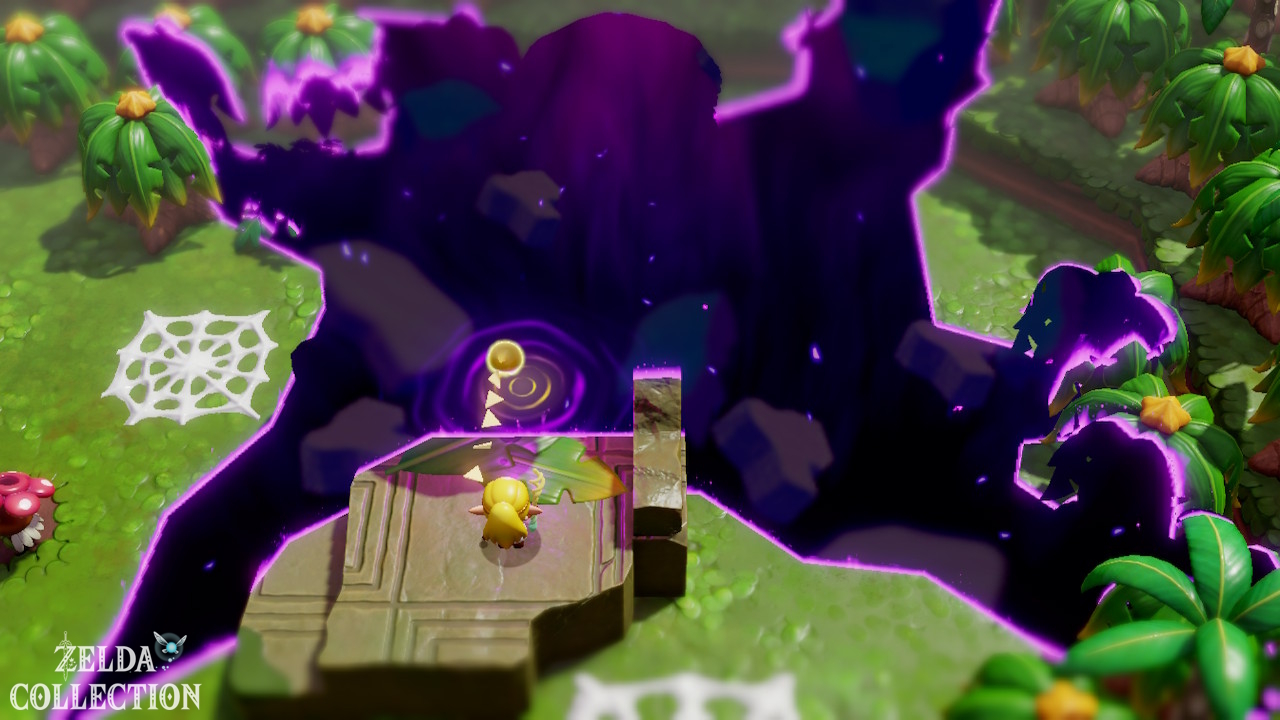
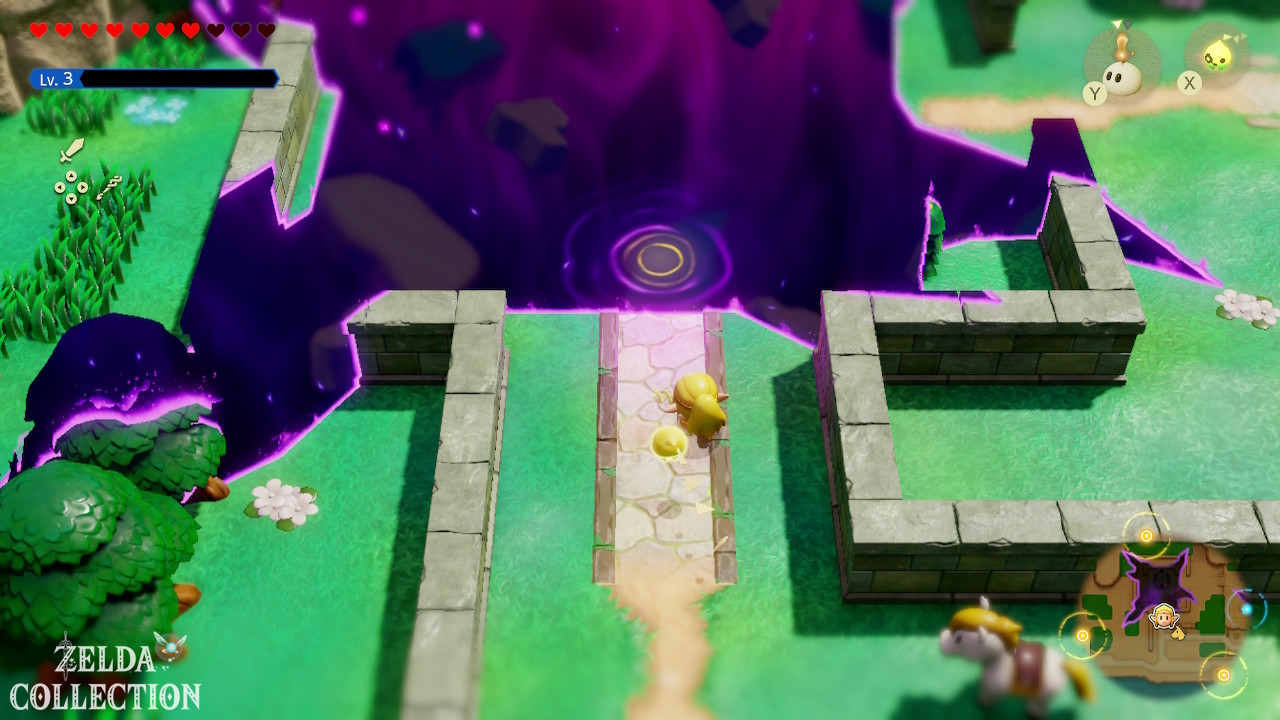
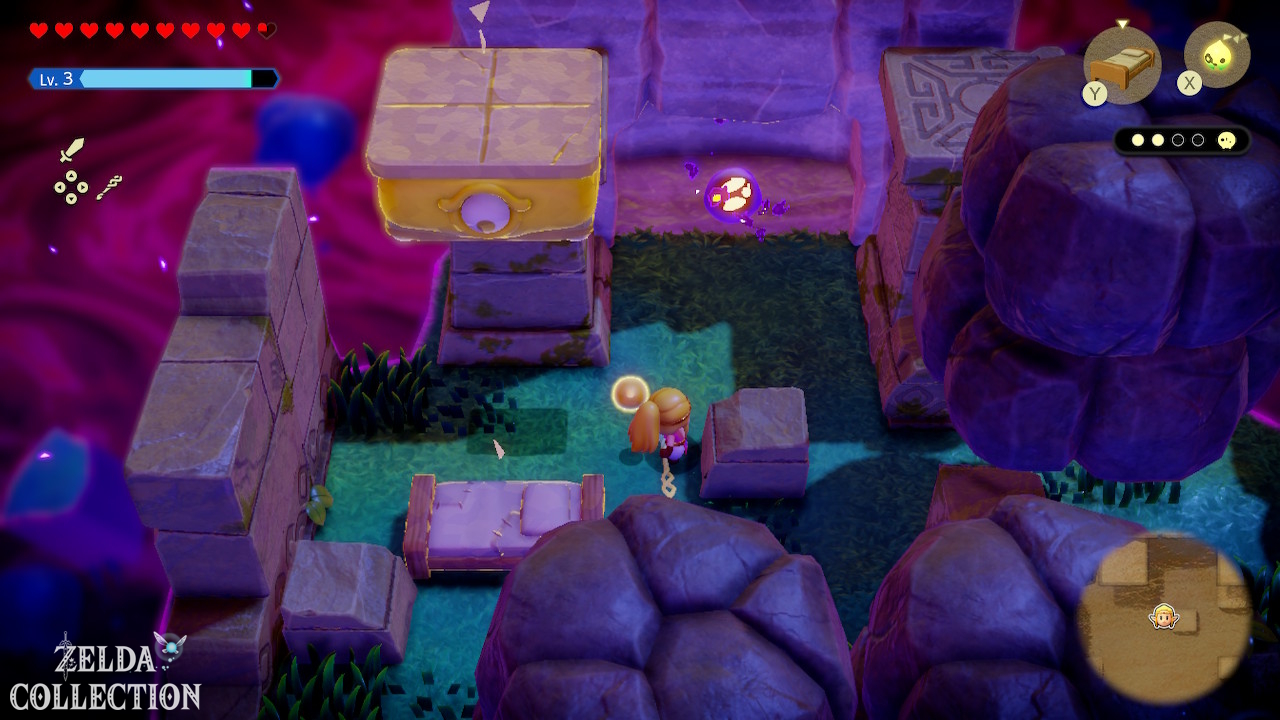
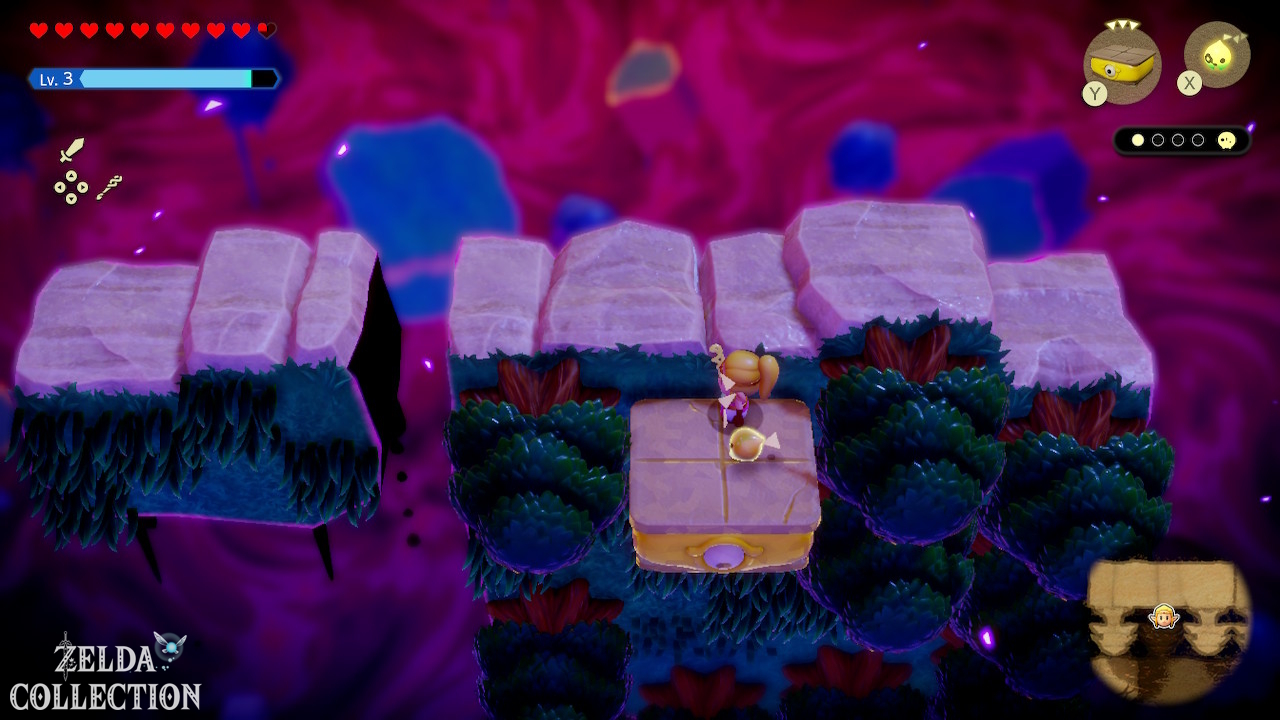
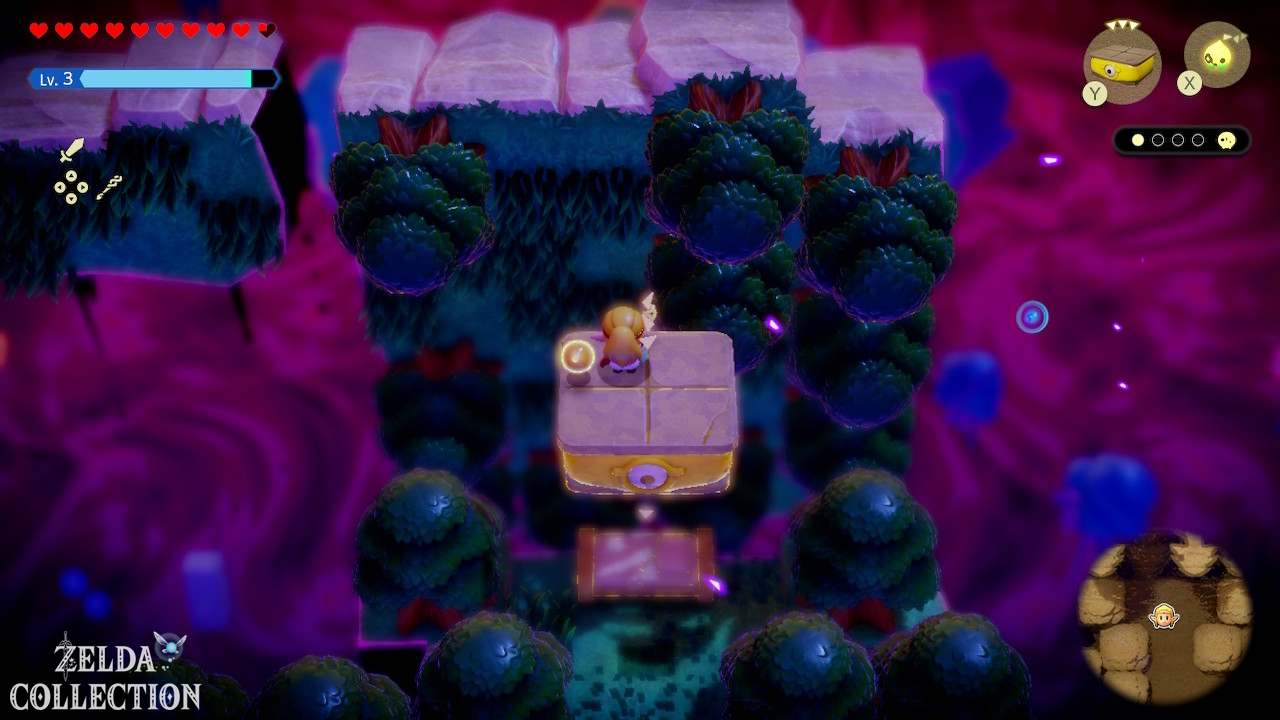
Return to Sweet Spot and enter the large rift. The path to the temple is marked by cobwebs, plants and strong shadow enemies. Burn webs with fire echoes and use clouds for the floating islands.
Important echoes
If possible, you should learn on this route or in the temple:
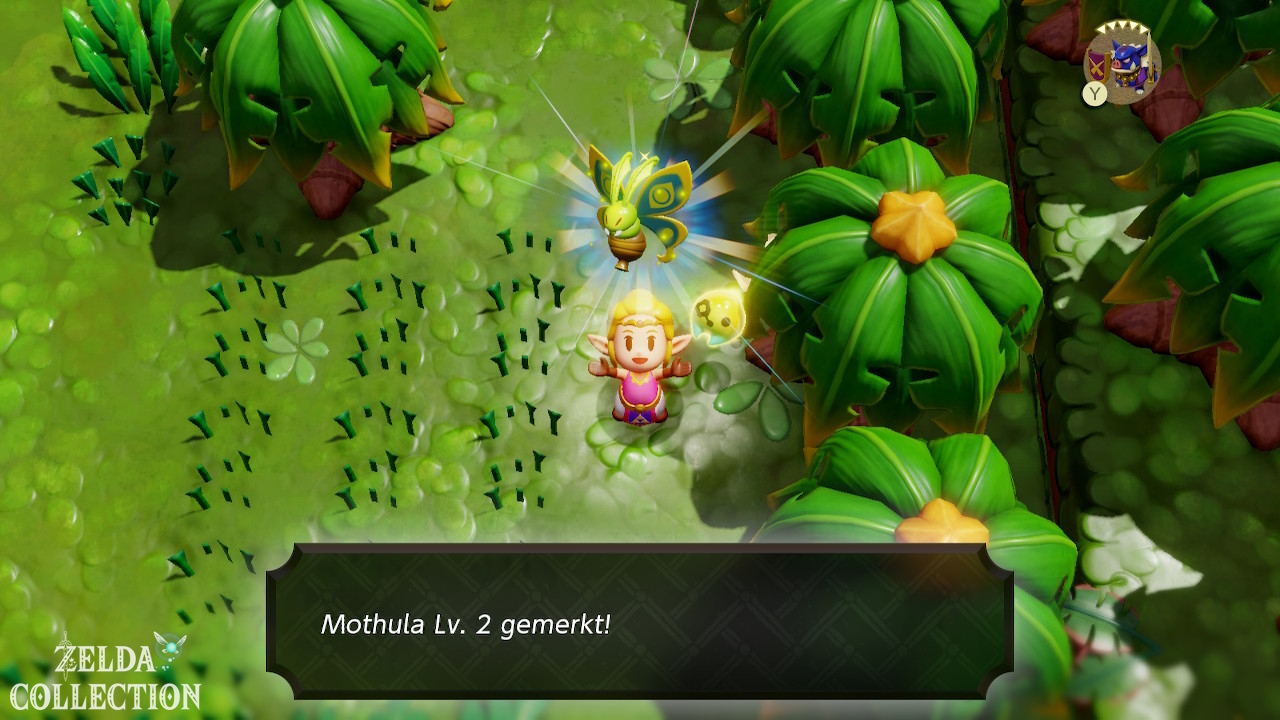
- Mothula Lv. 2
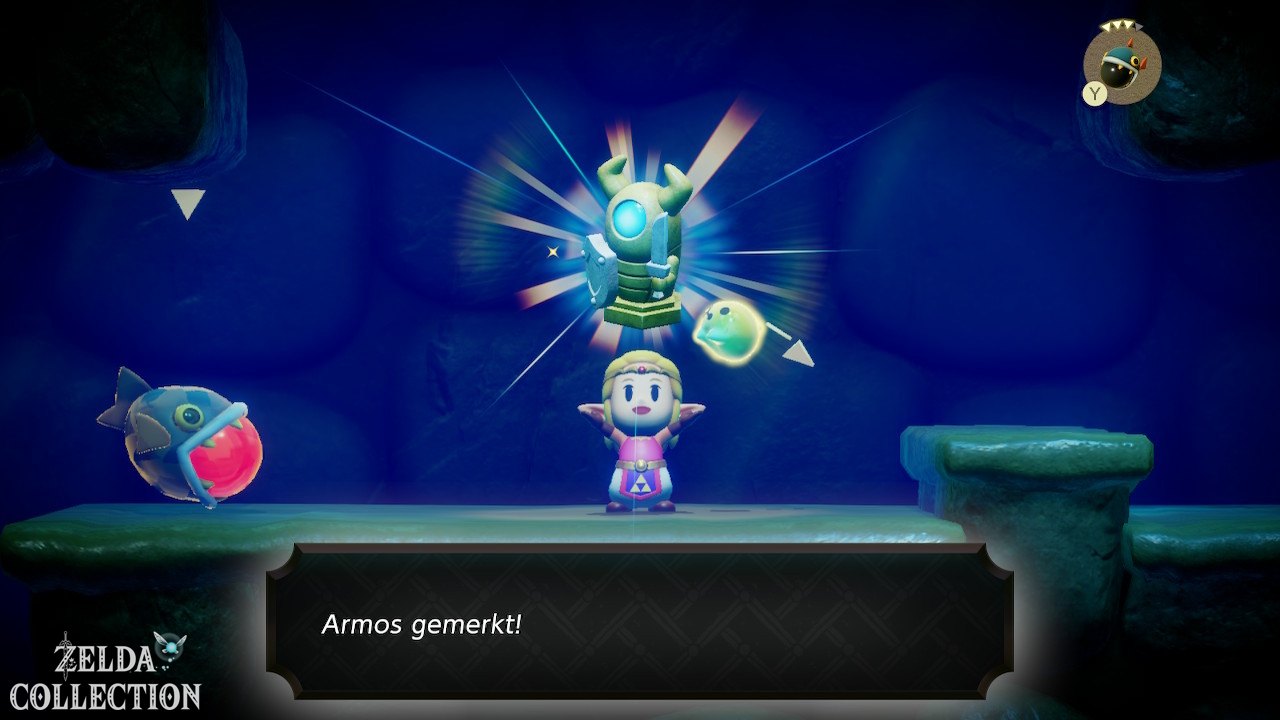
- Armos
- Darknut Lv. 3
- Lizalfos Lv. 3
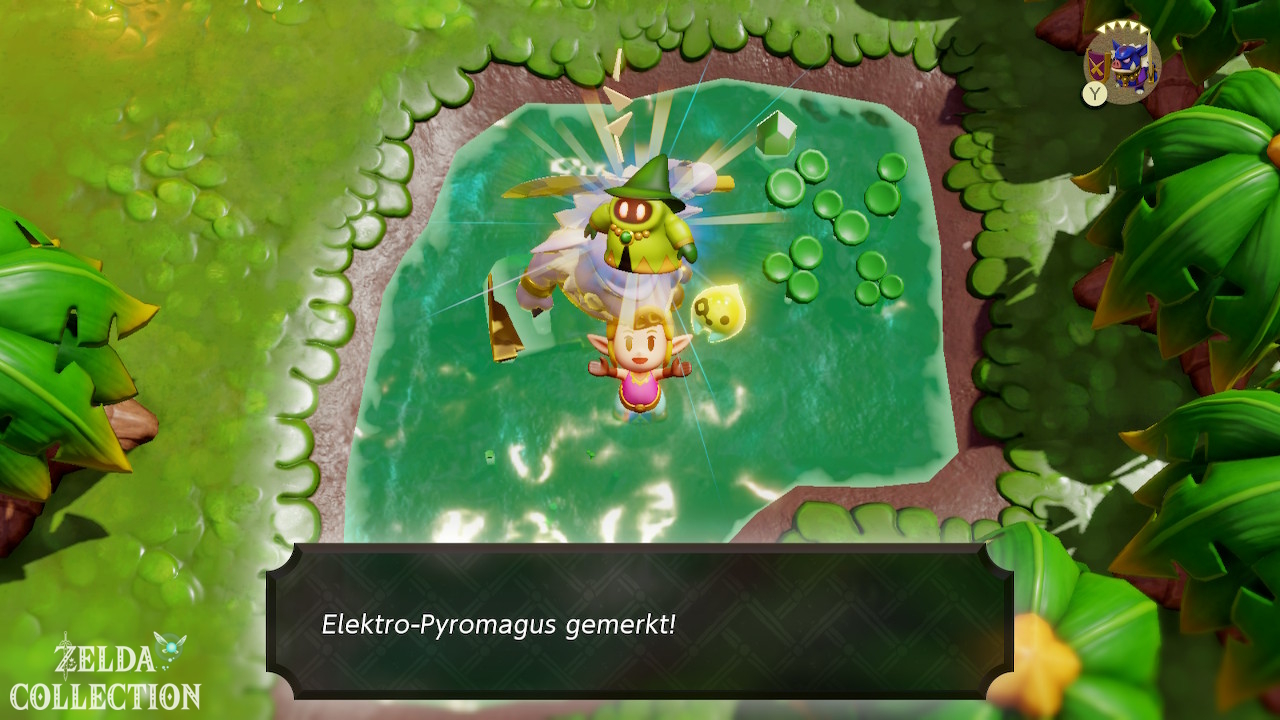
- Electric Wizzrobe
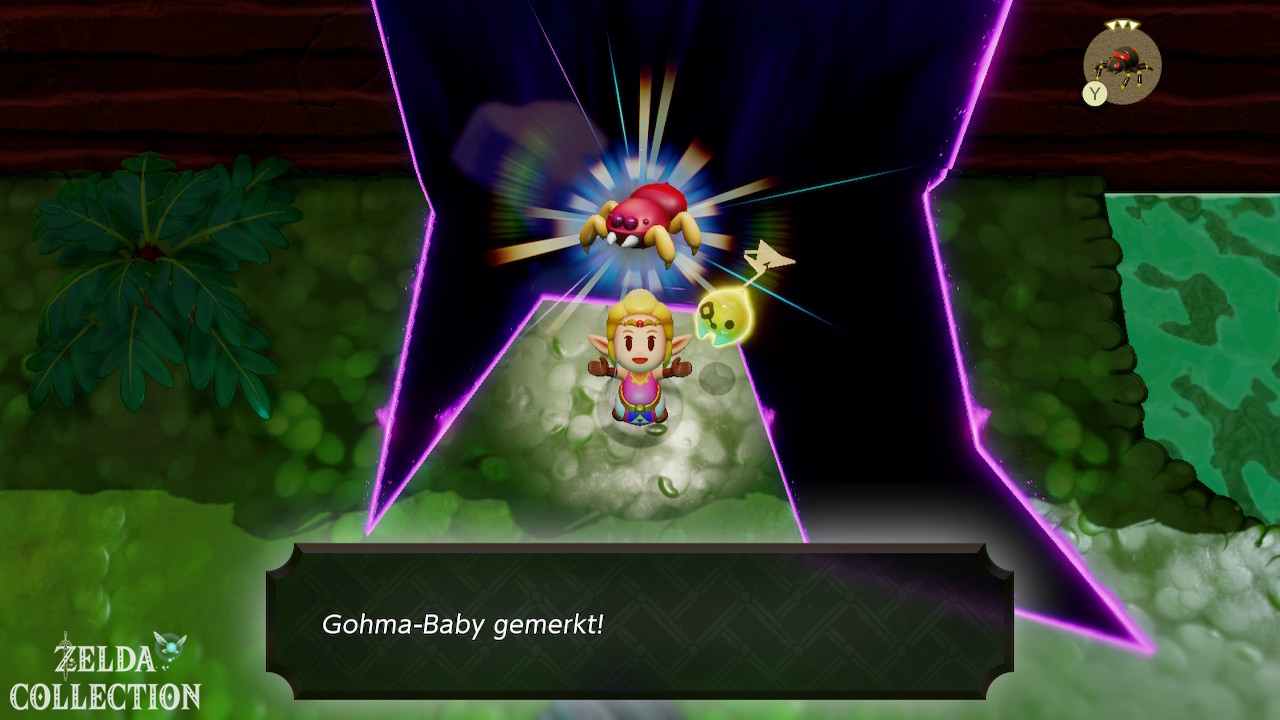
Electric Wizzrobe in particular becomes valuable later against Gohma.
Faron Temple – walkthrough
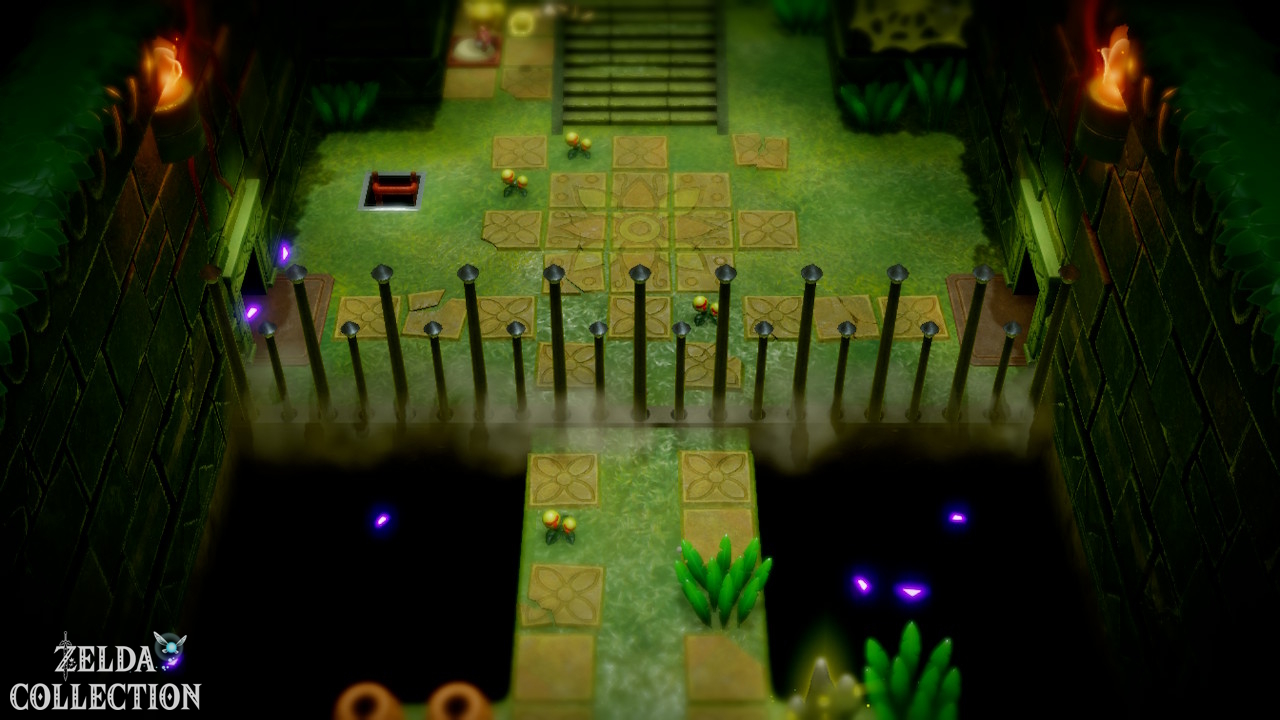
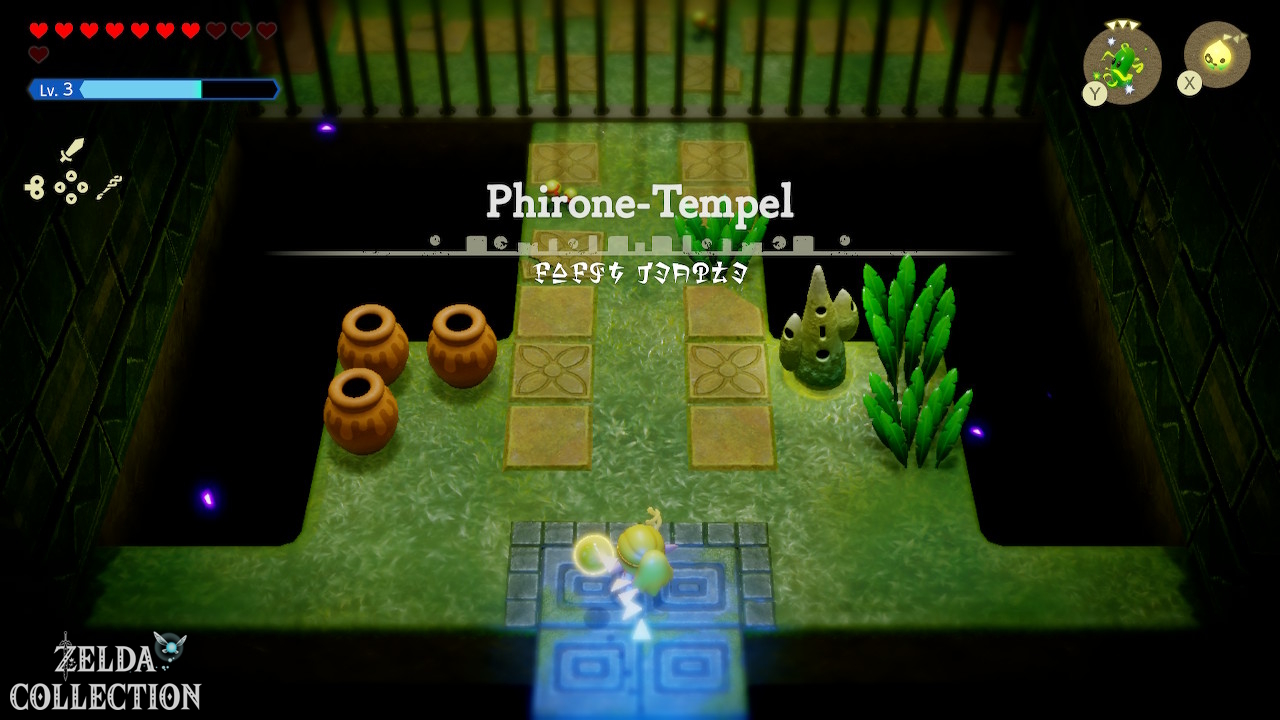
The main entrance to the temple is initially blocked. Activate the Waypoint and go left around the building.
Mothula Lv. 2 and side entrance
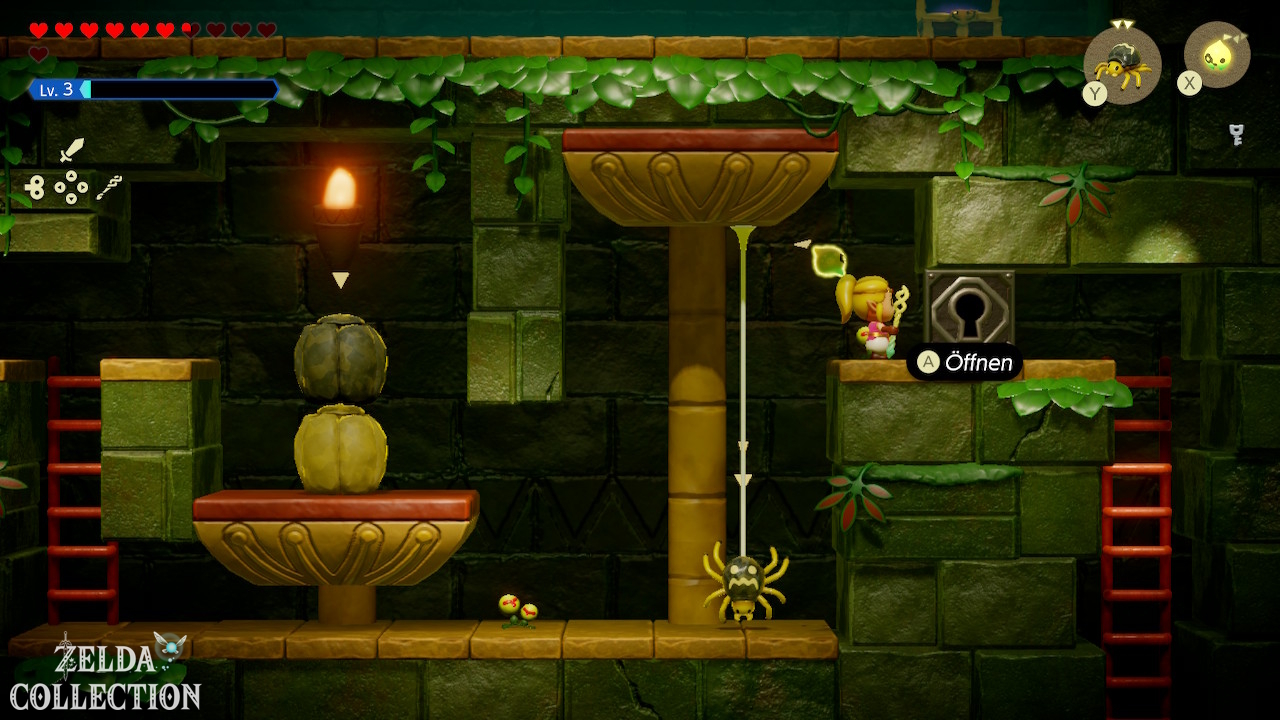
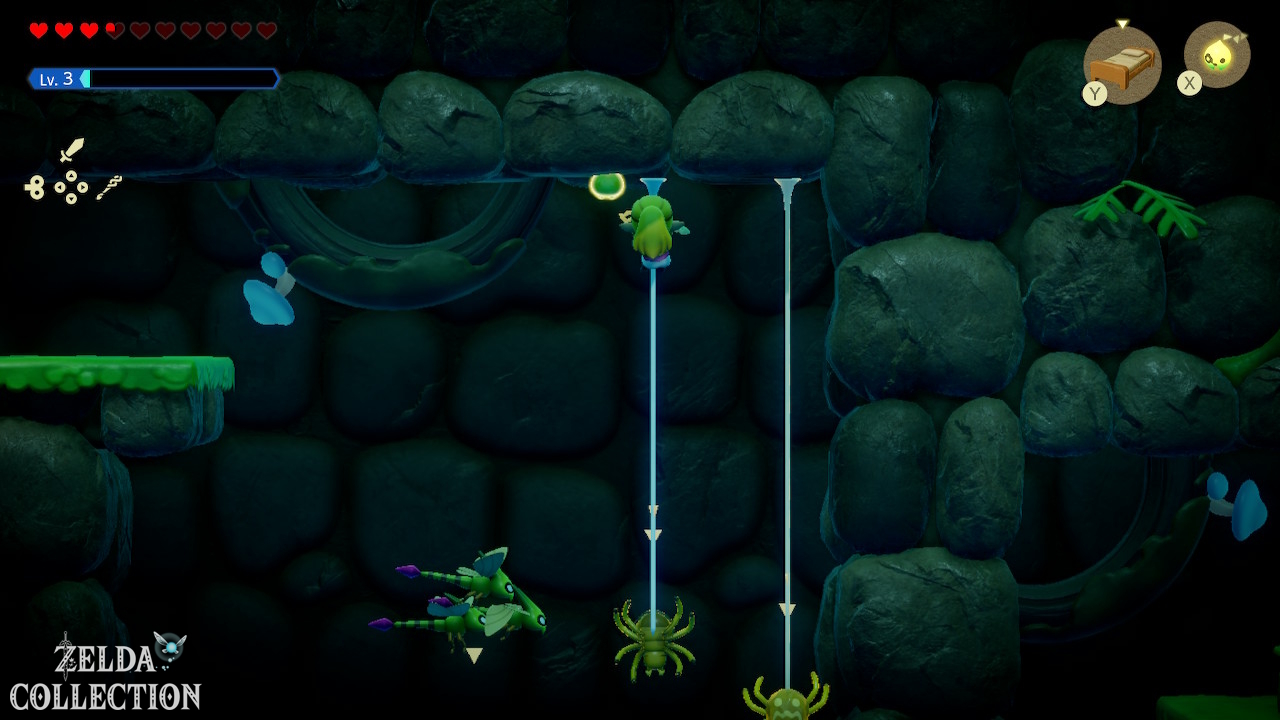
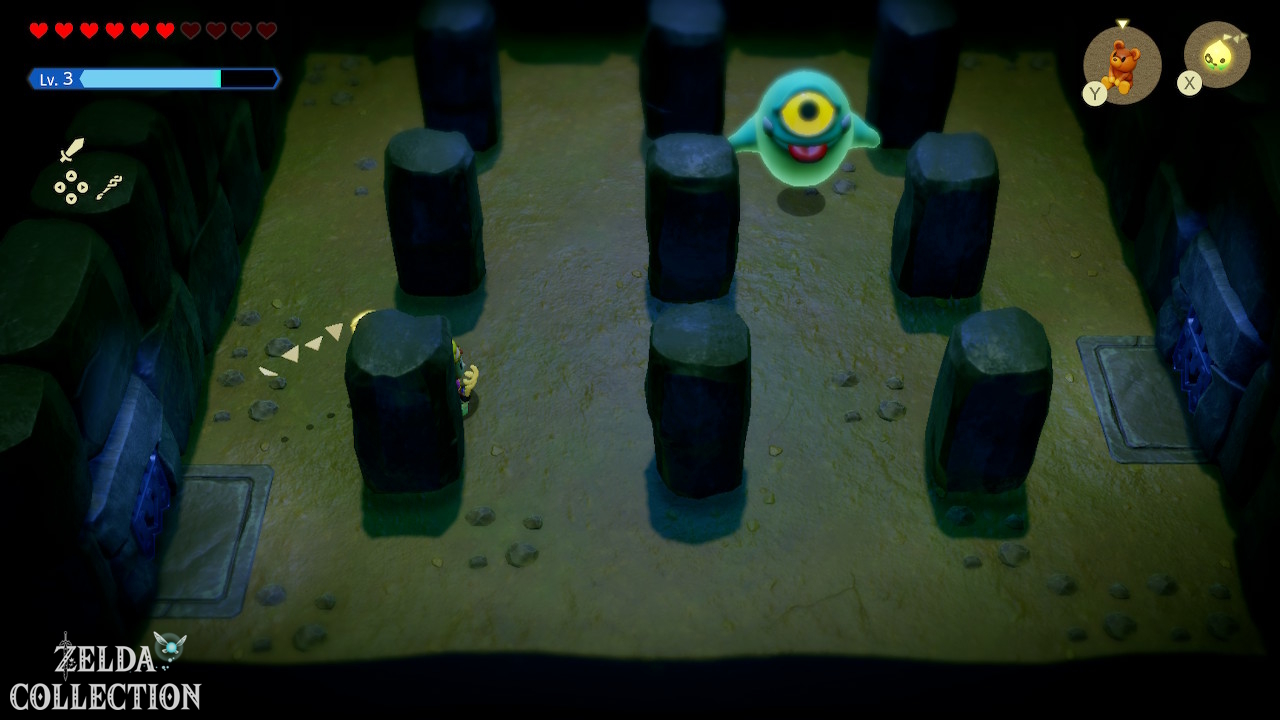
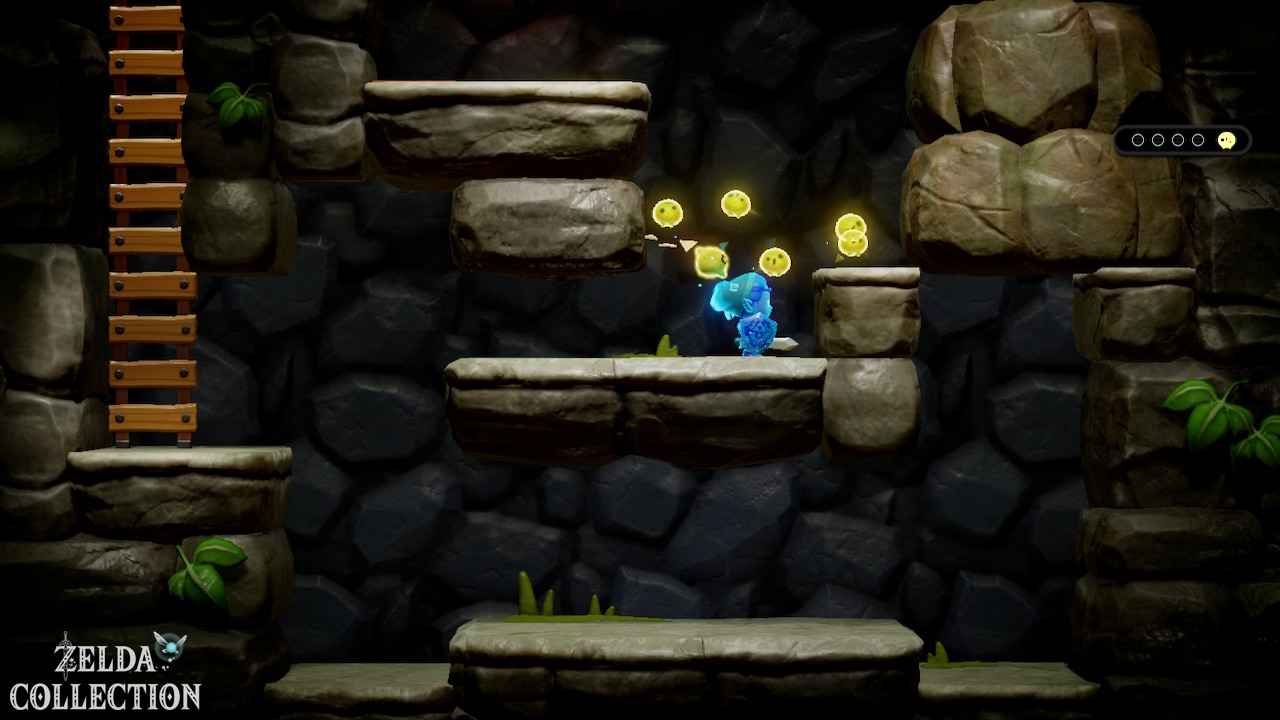
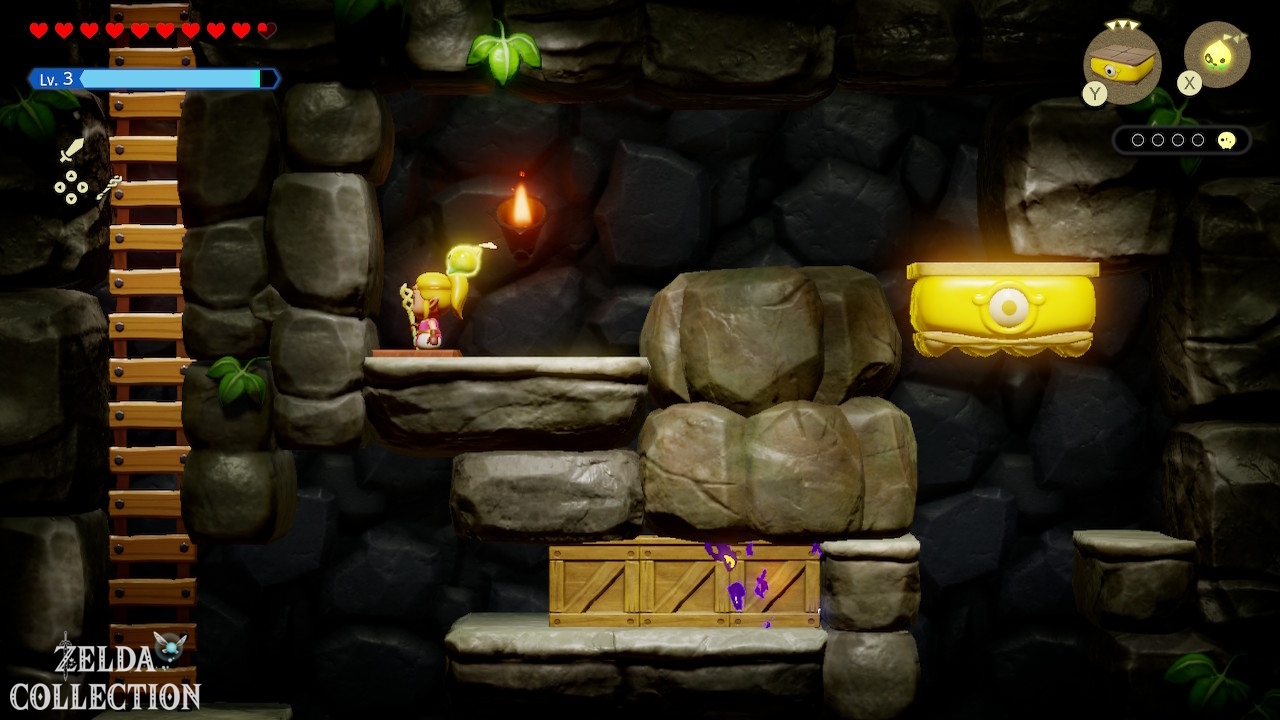
You can reach a side entrance via the outer platforms. Defeat a Mothula Lv. 2 there and learn the Echo. In the room shown on the side, you use Strandtula’s threads or other climbing echoes to get to the top.
Weighted platforms
Multiple platforms respond to weight. Place rocks on one side to raise the other. Add a second heavy echo if necessary. This is how you reach a switch that finally opens the main entrance to the temple.
Electric Crystals
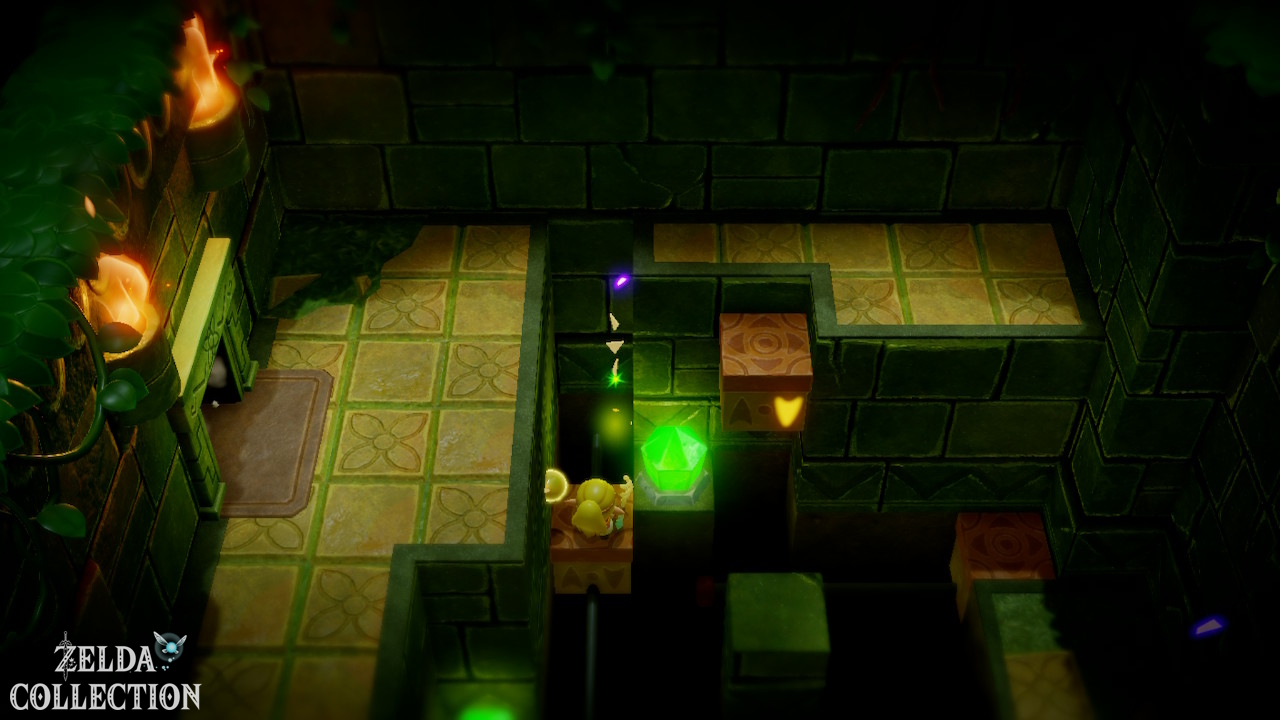
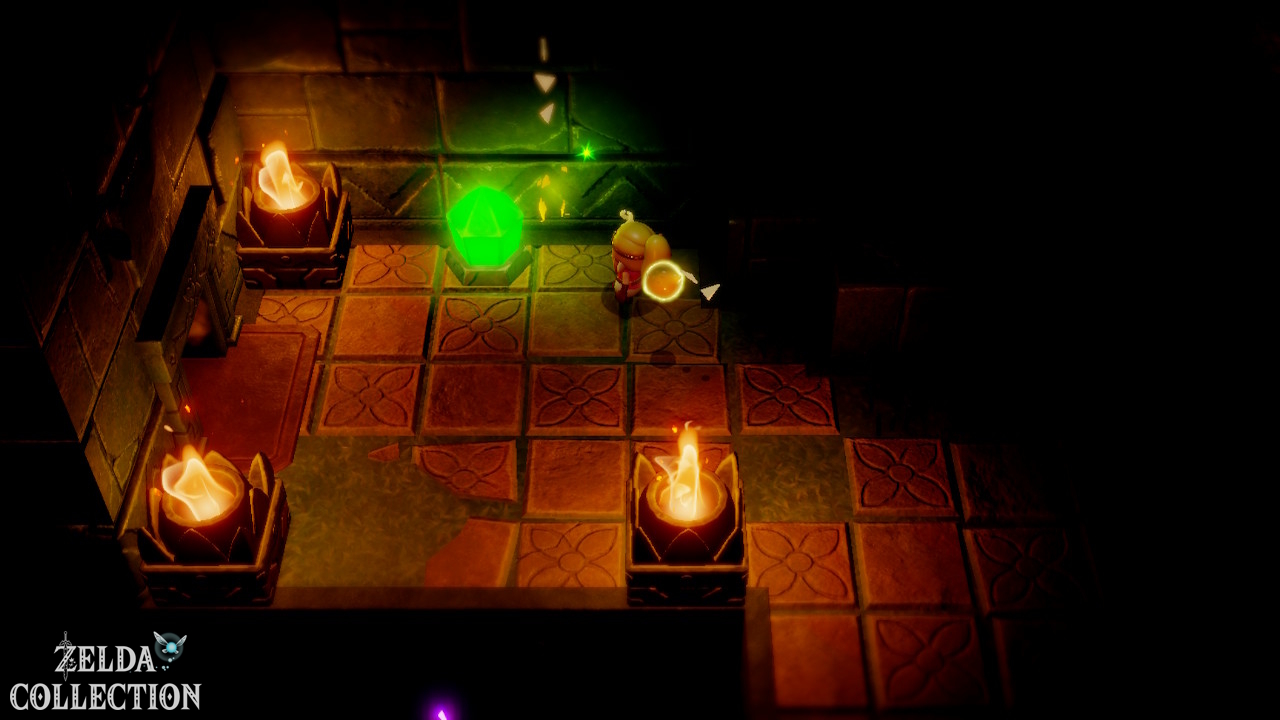
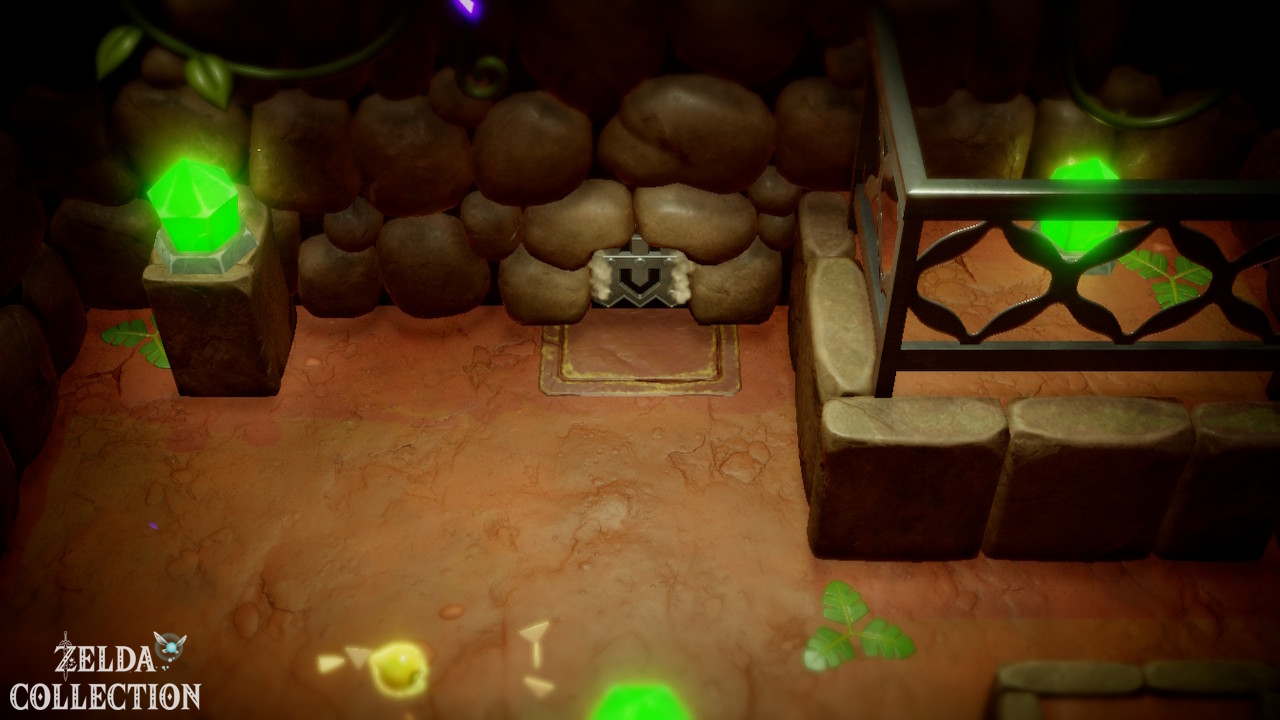
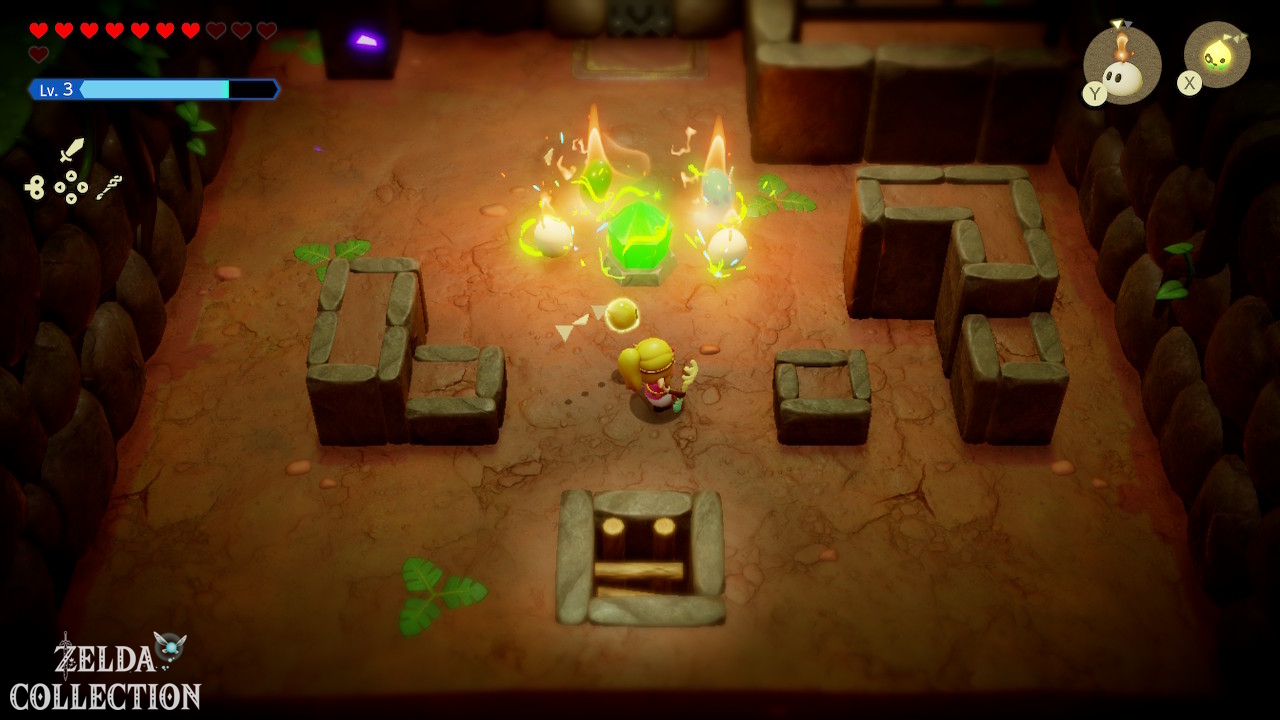
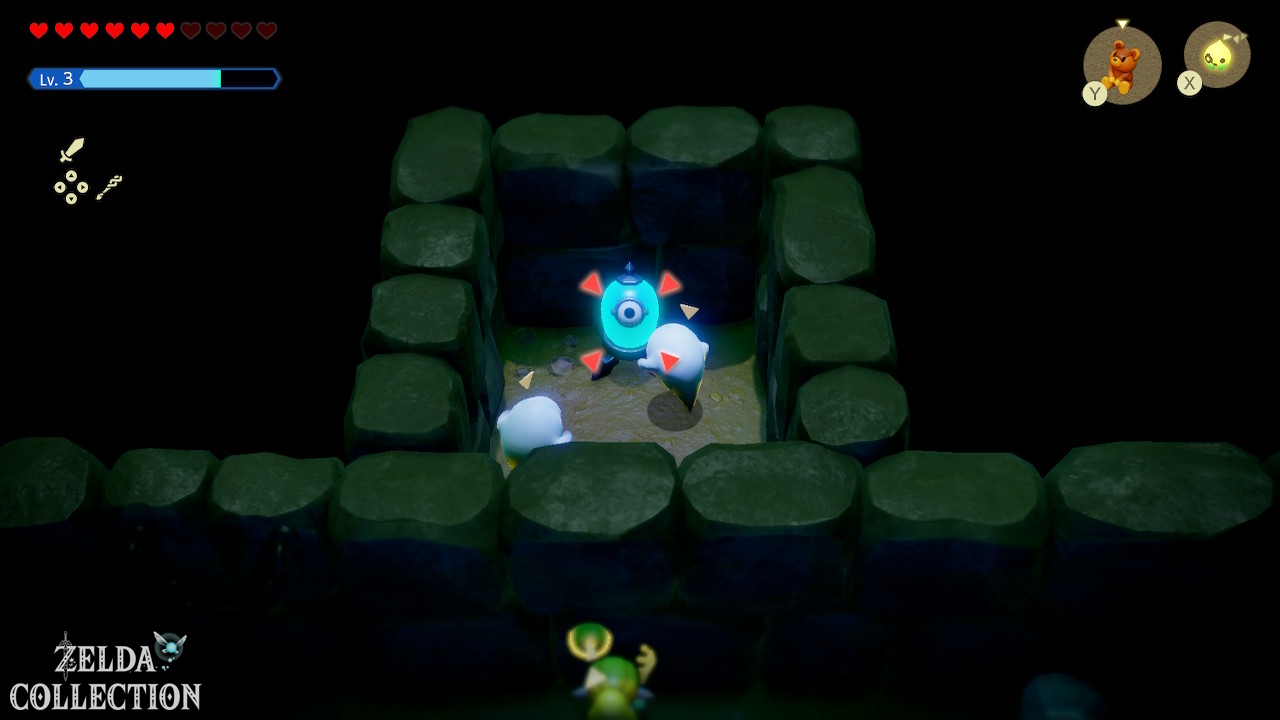
Many doors are controlled by green or electrical crystals. Summon Electric Keese or later Electric Wizzrobe and target the crystal. If several targets need to be activated almost simultaneously, position your echoes beforehand so that they attack different crystals.
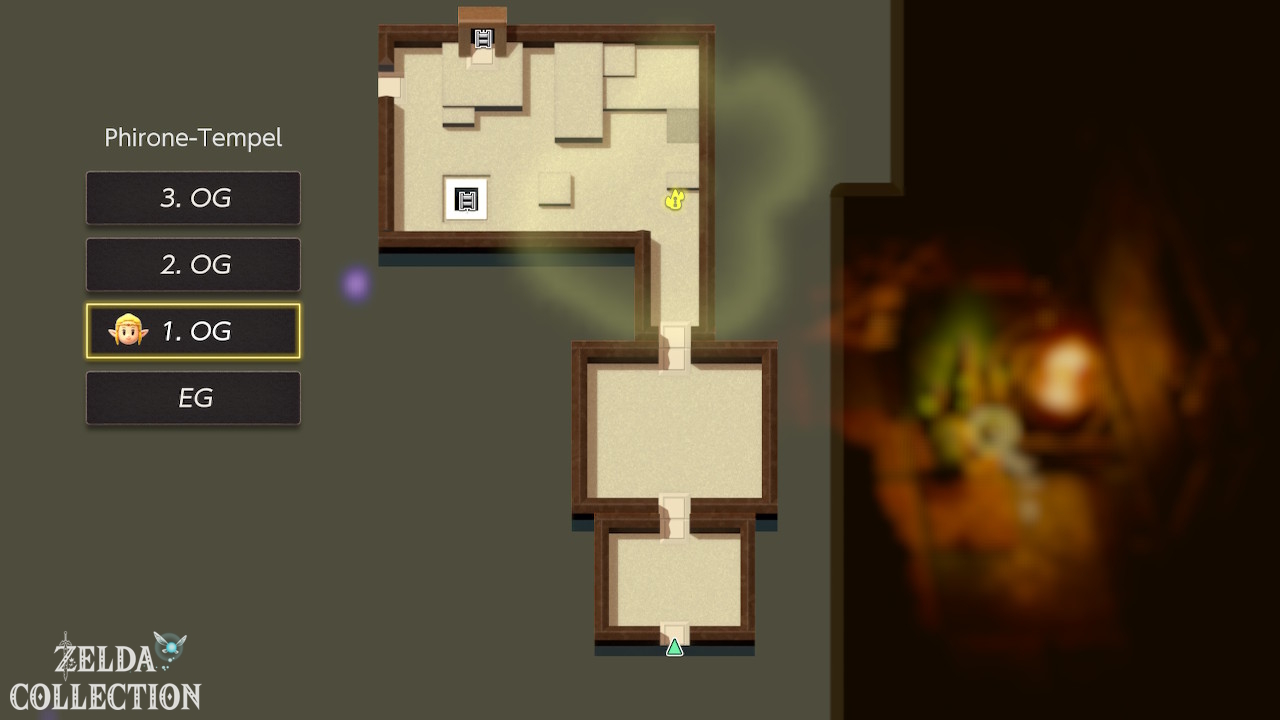
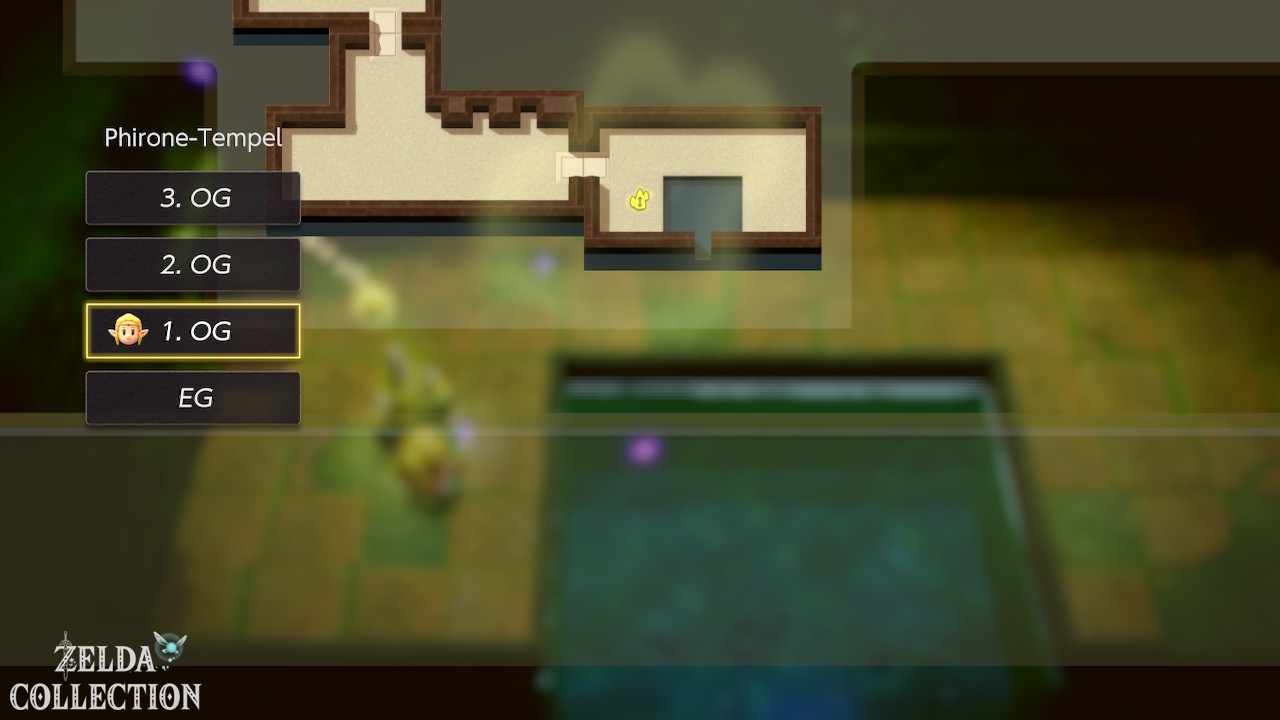
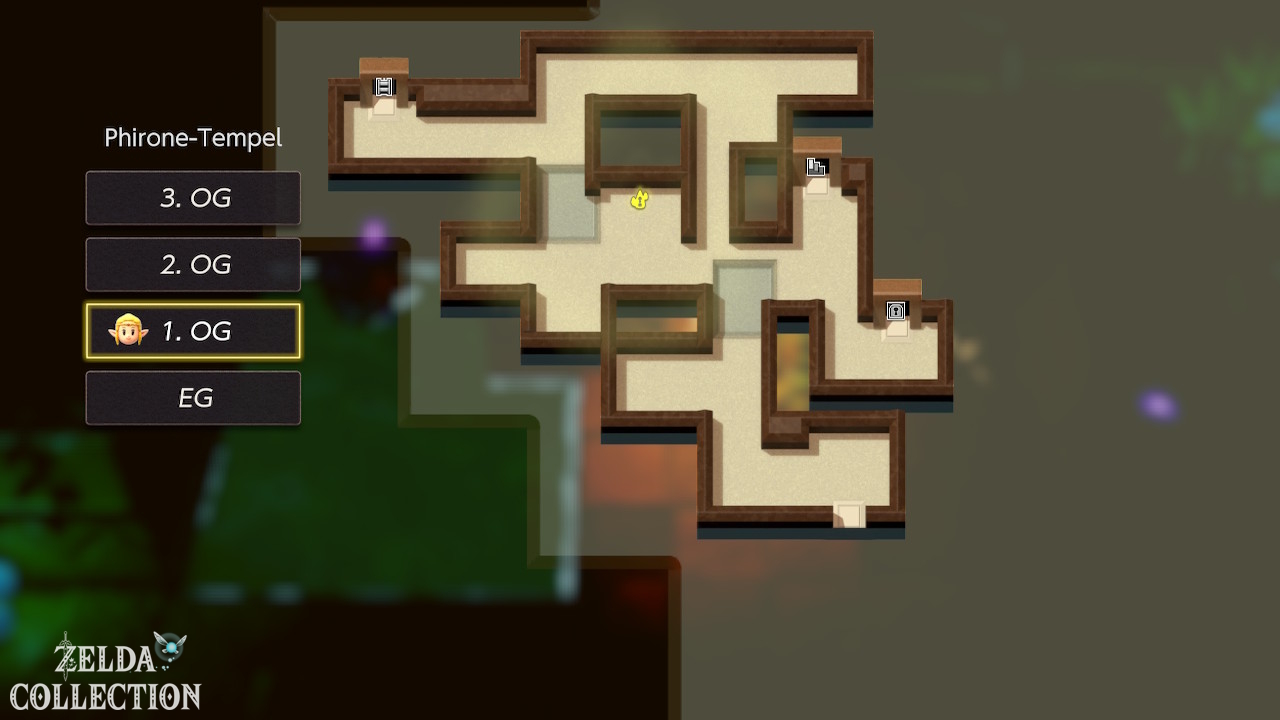
Dungeon Map
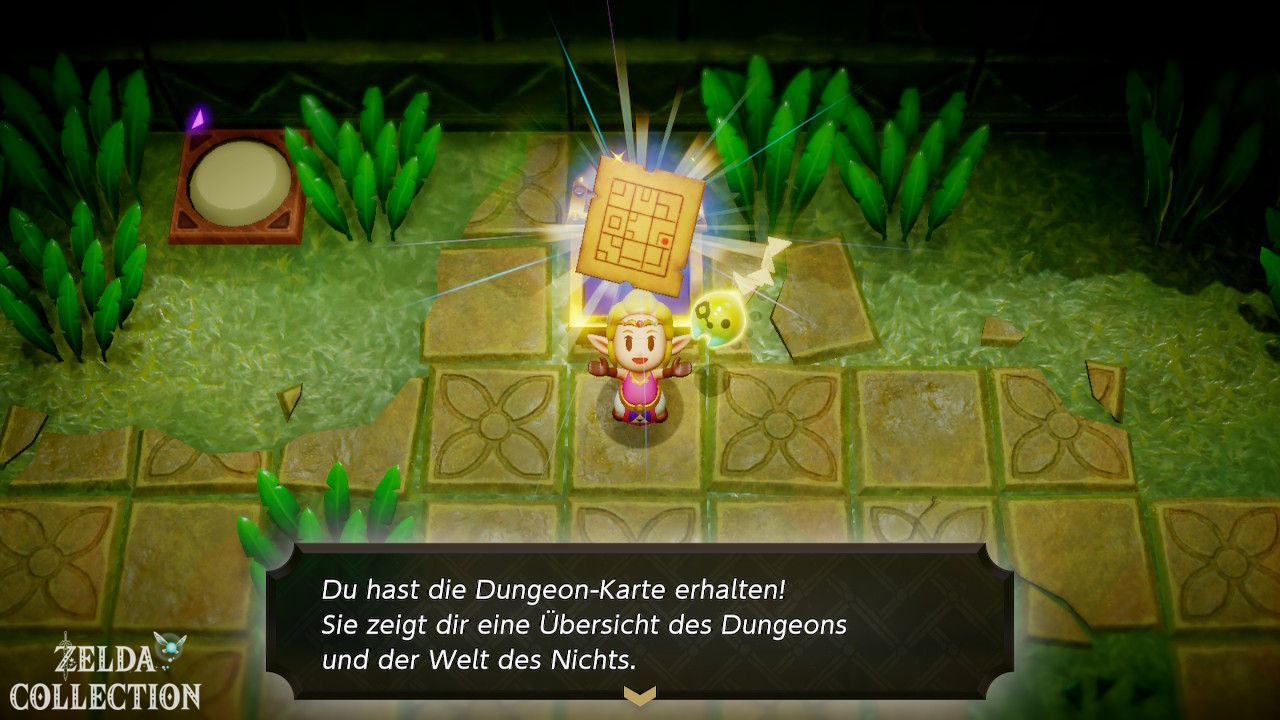
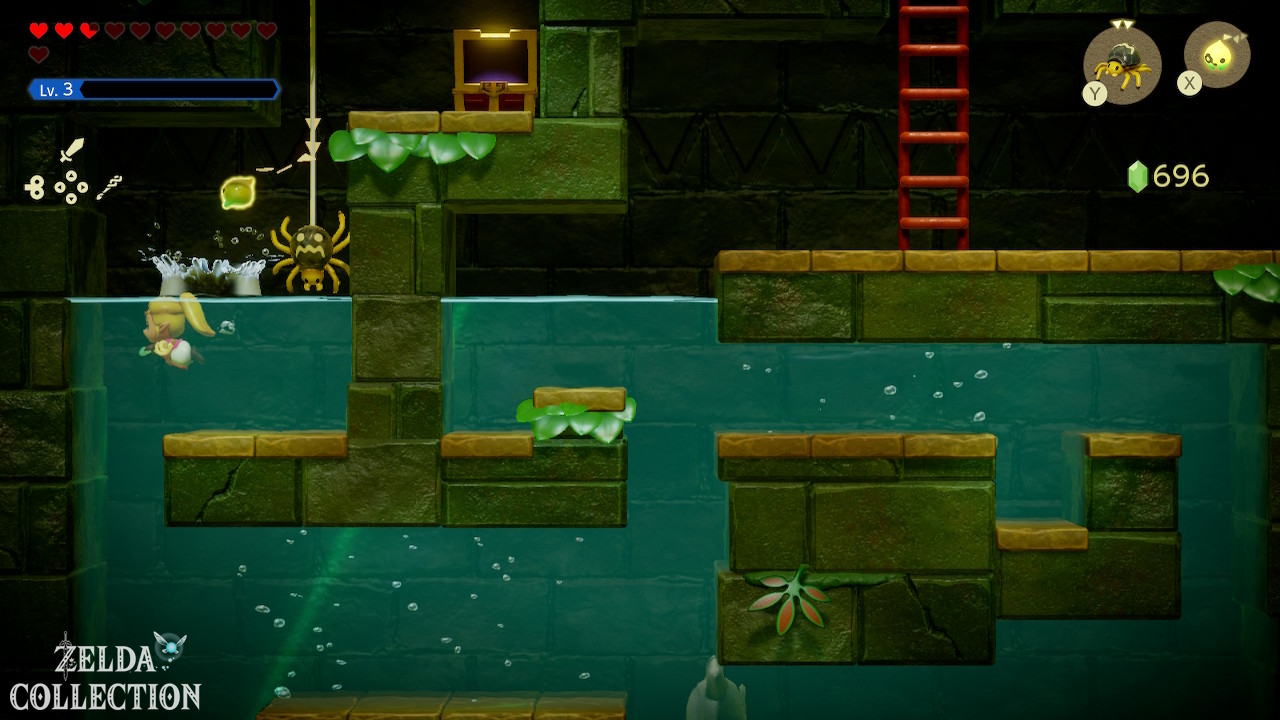
At the beginning of the temple, a ladder in the grass on the right outside leads into the underwater side path. After crossing you will reach the room with three electric crystals. Activate them quickly one after the other with electric echoes. The moving platform takes you to higher goals; use a Water Block climb to the open door at the top left. Behind it is the Dungeon Map. Press the switches to open the shortcut back to the entrance hall.
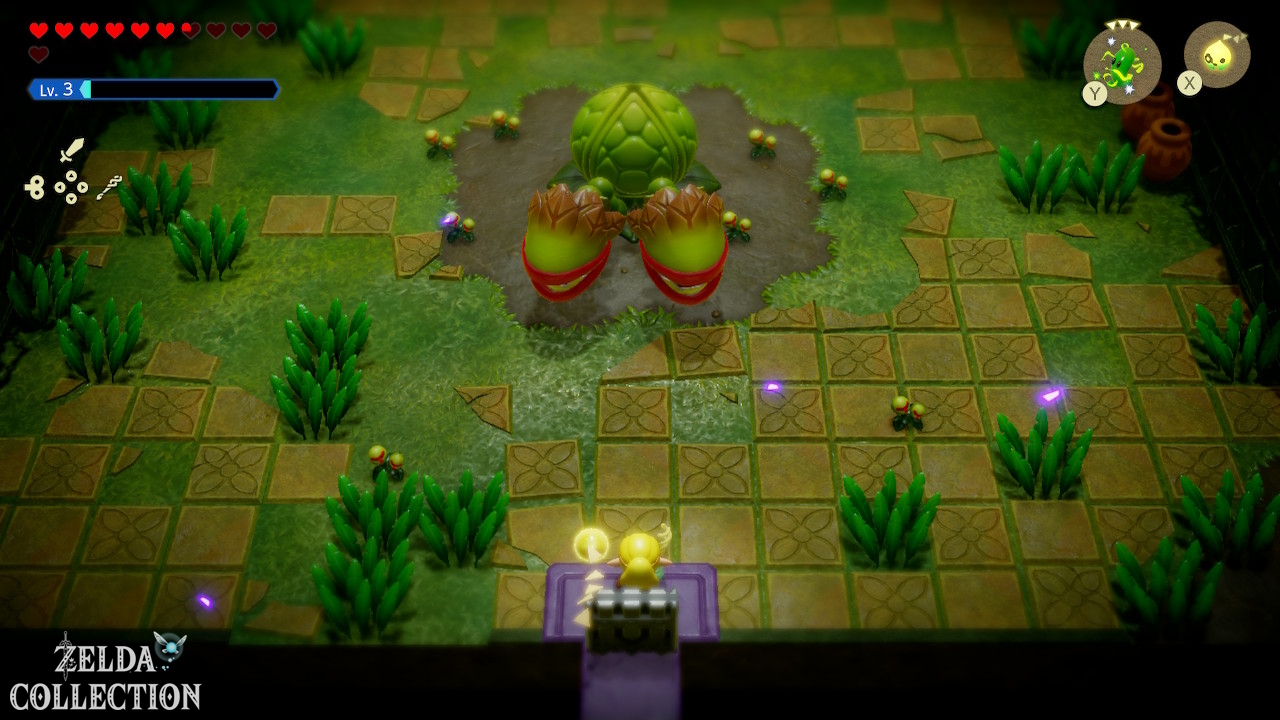
Miniboss: Manhandla
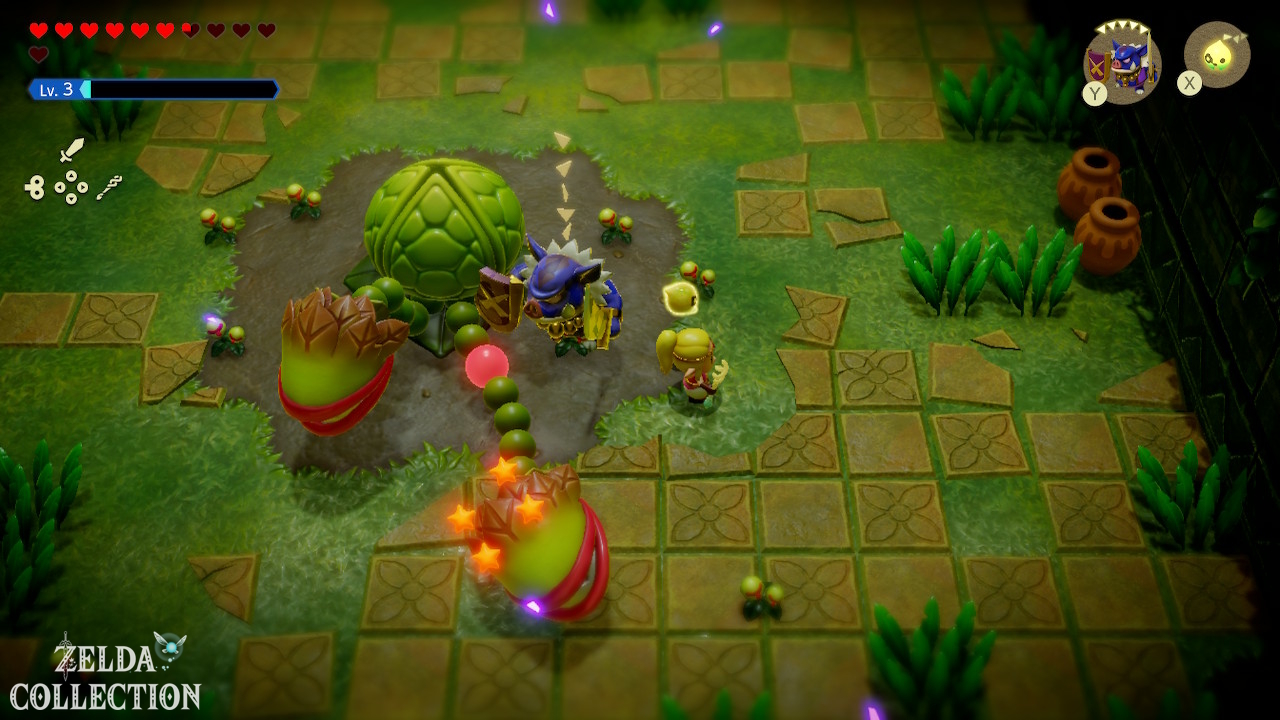
Manhandla has two heads in the first encounter. Bind to a head and pull it back to expose the pink neck, then strike the weak point in Swordfighter Form or let a combat echo attack it. Destroy both heads to make Manhandla retreat deeper into the temple.
Lower Temple Area
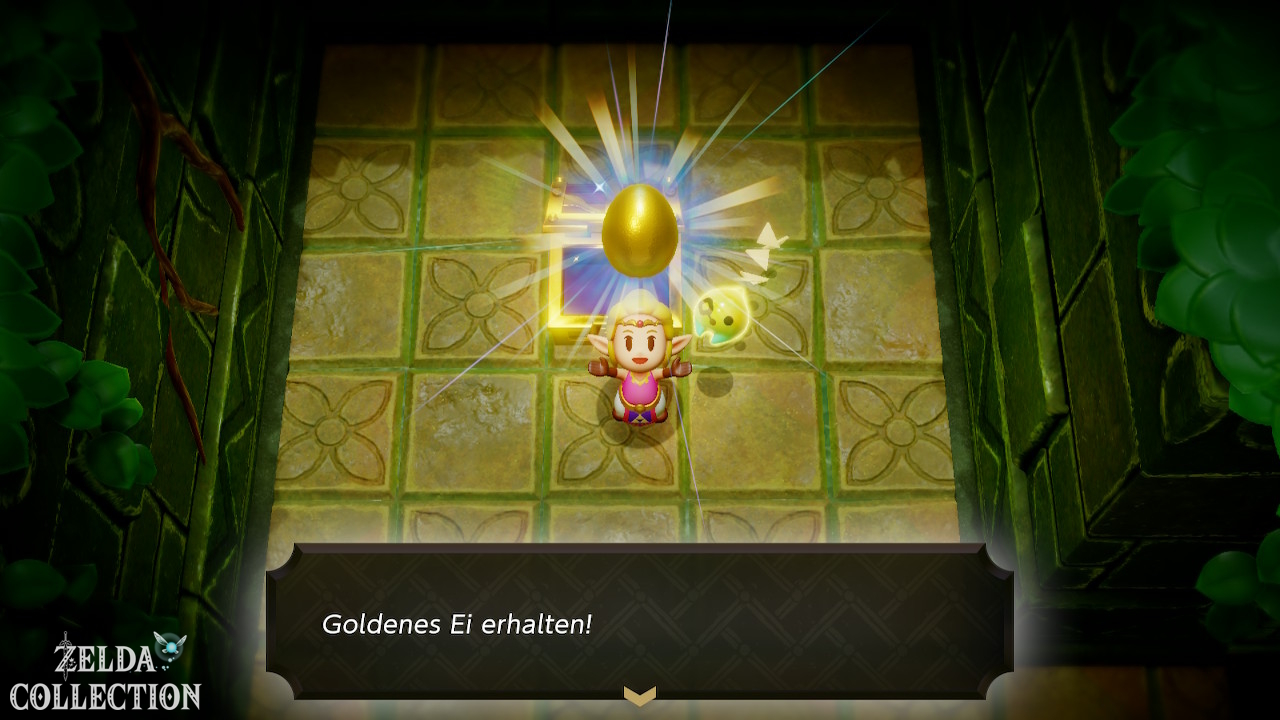
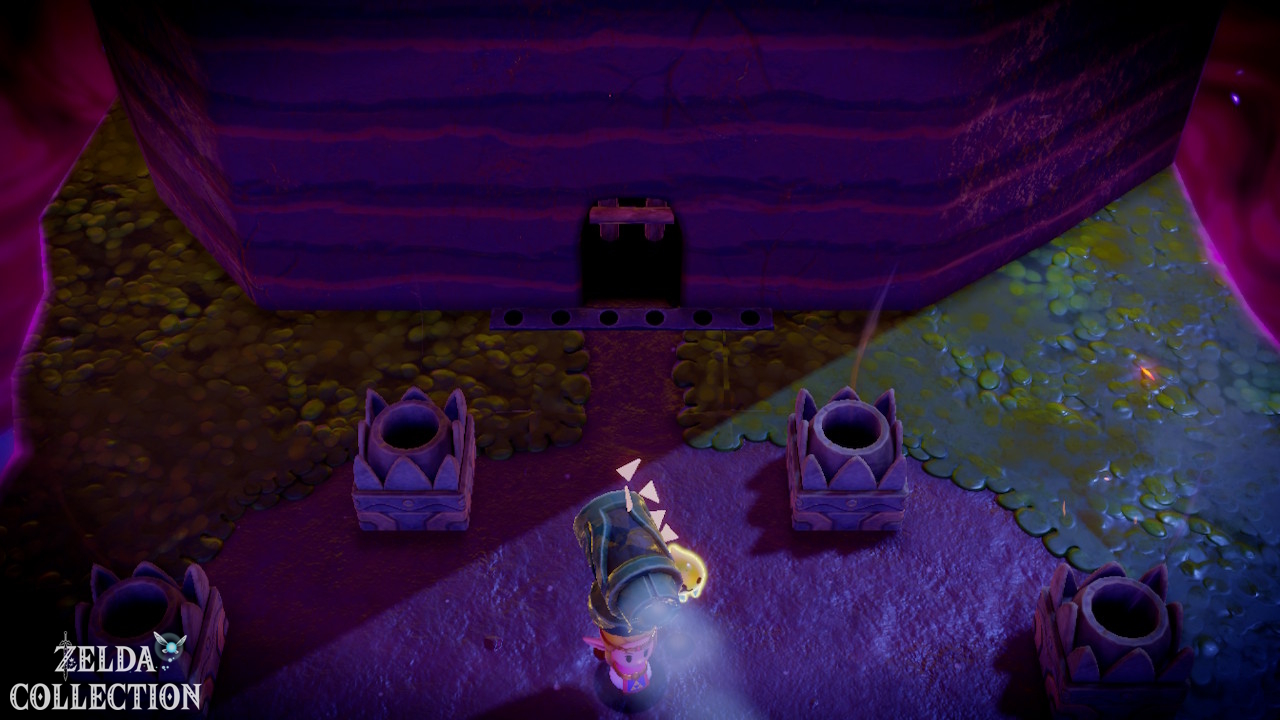
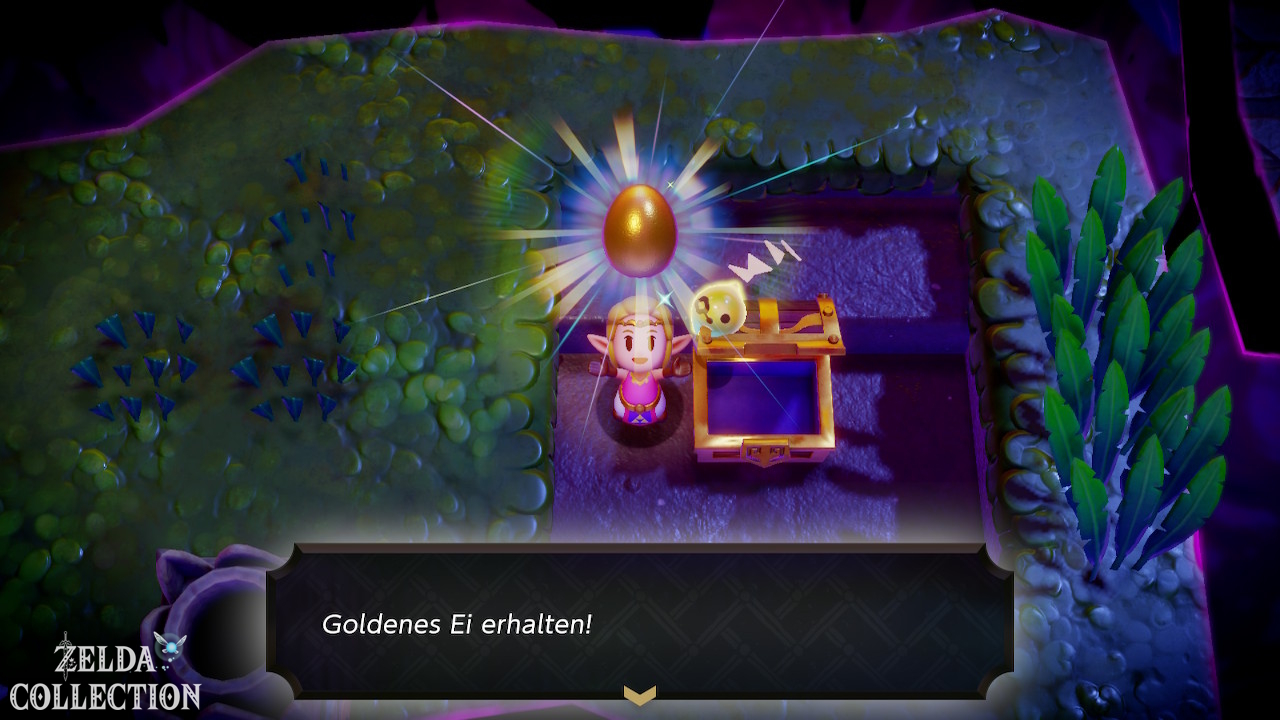
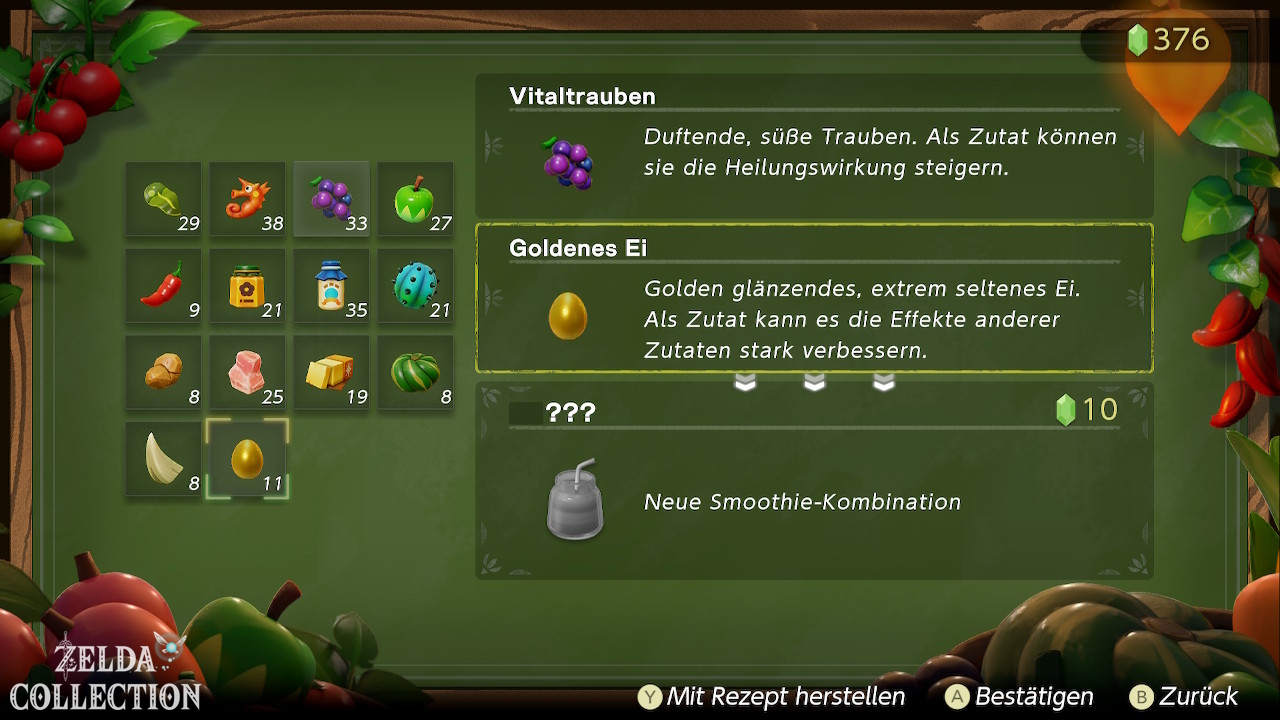
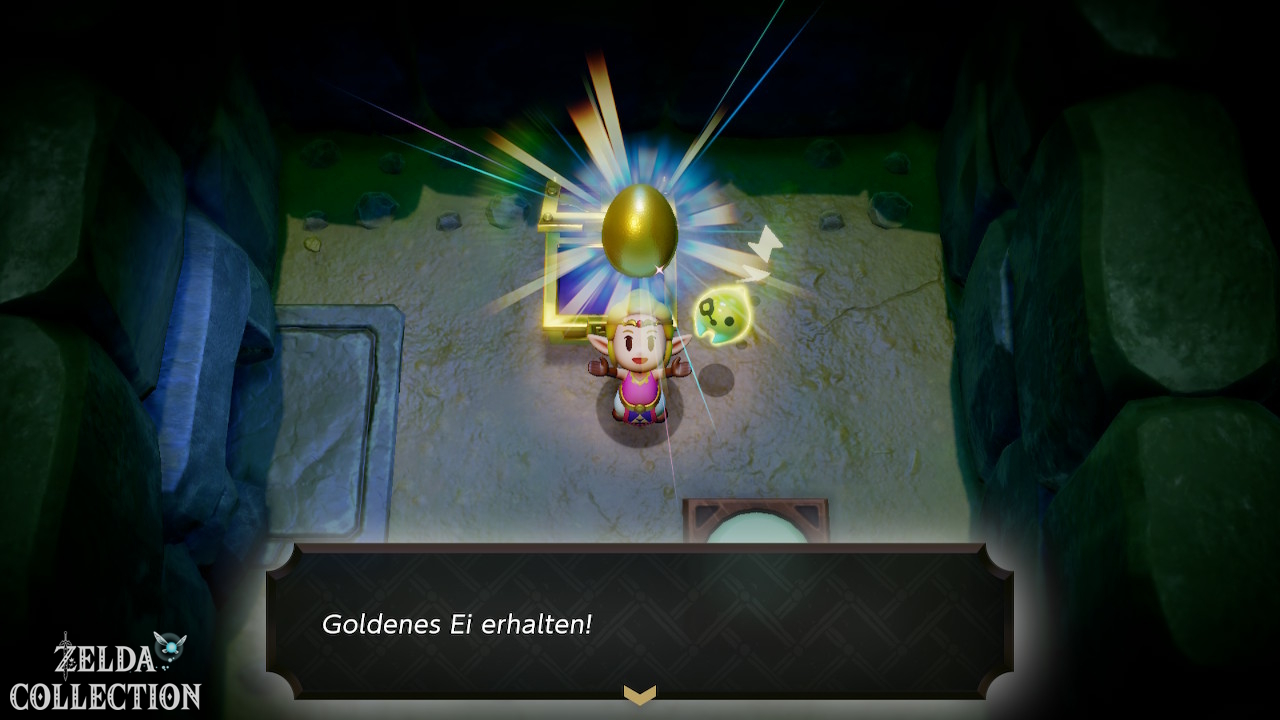
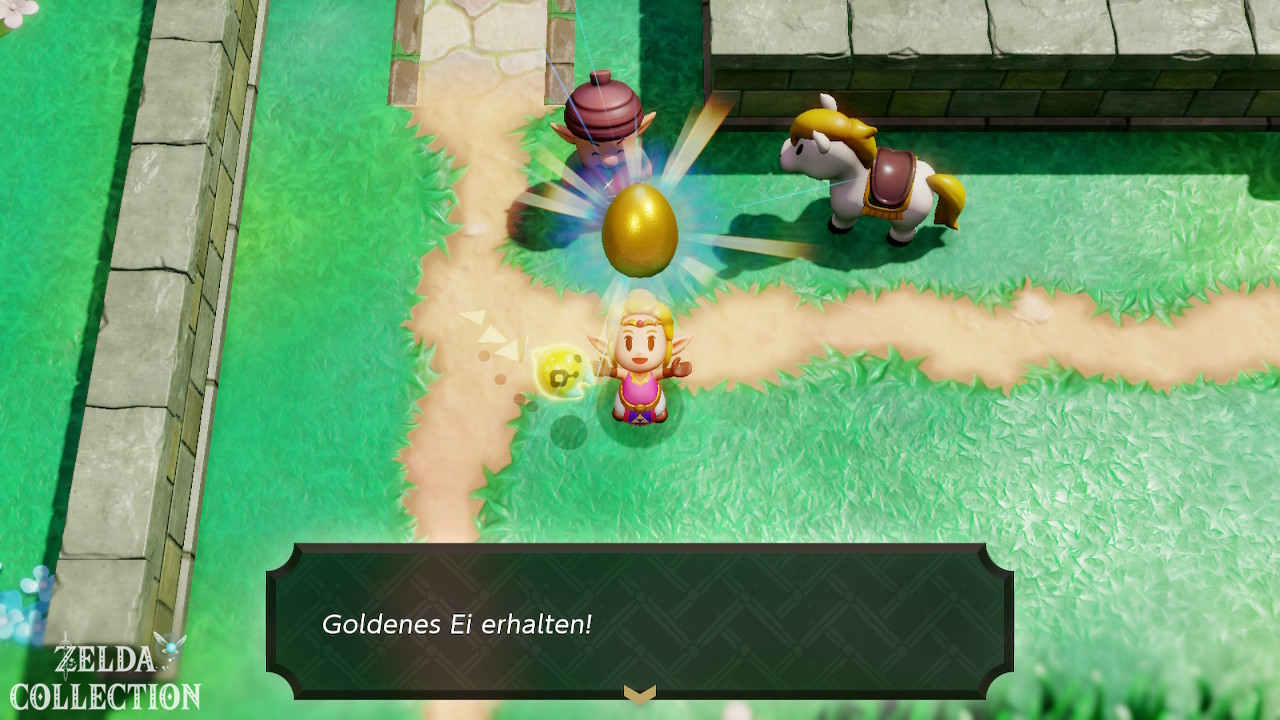
After Manhandla the path leads deeper into the temple. You pass through several water and dark rooms. A locked side door leads to a Golden Egg.
Armos switch
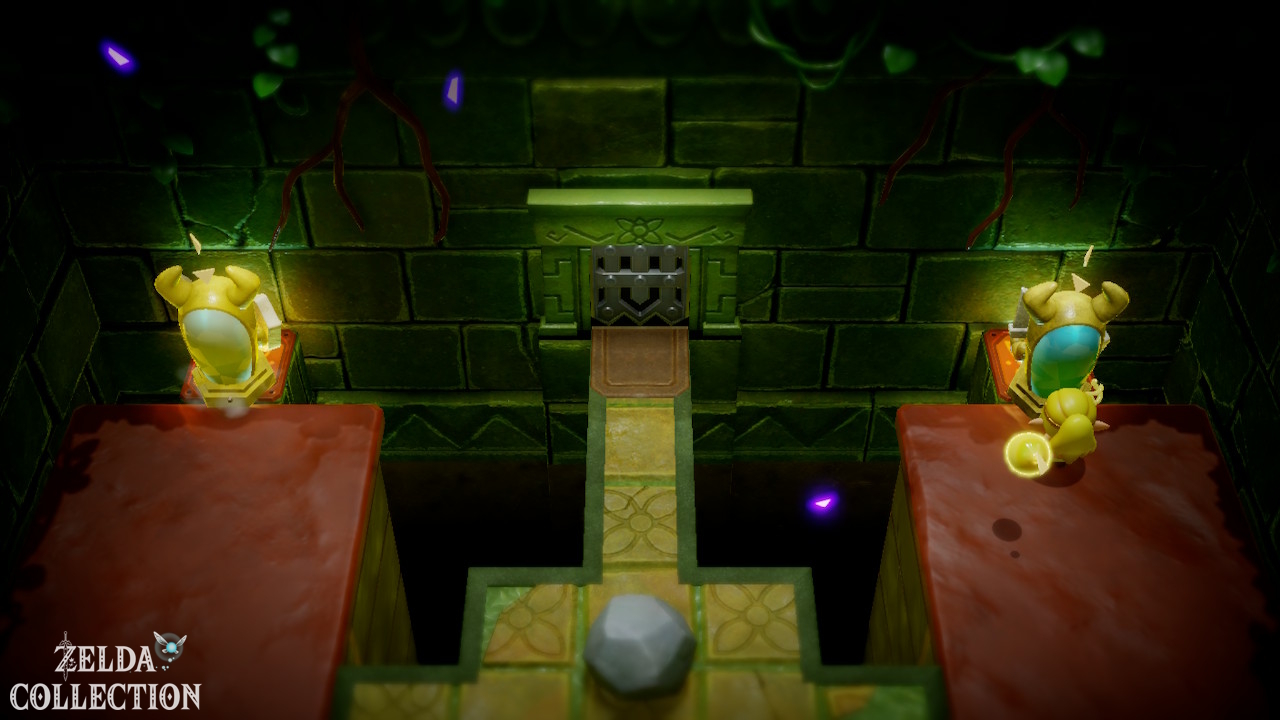
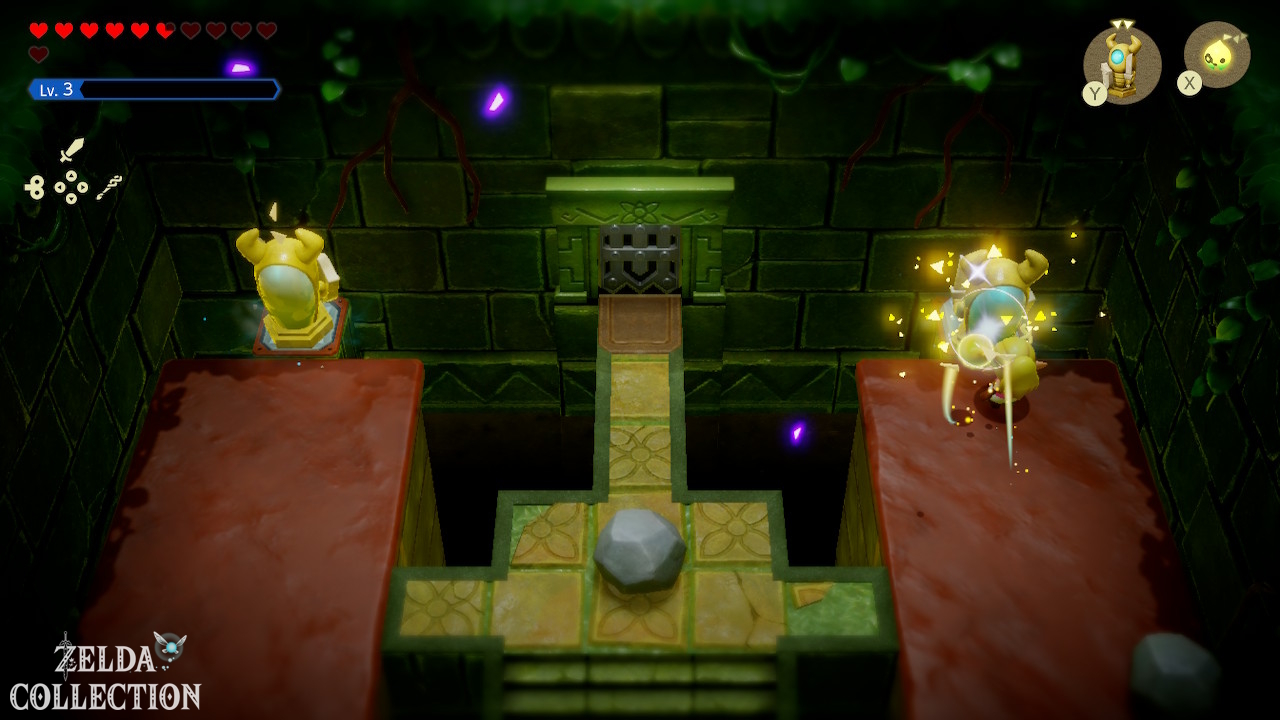
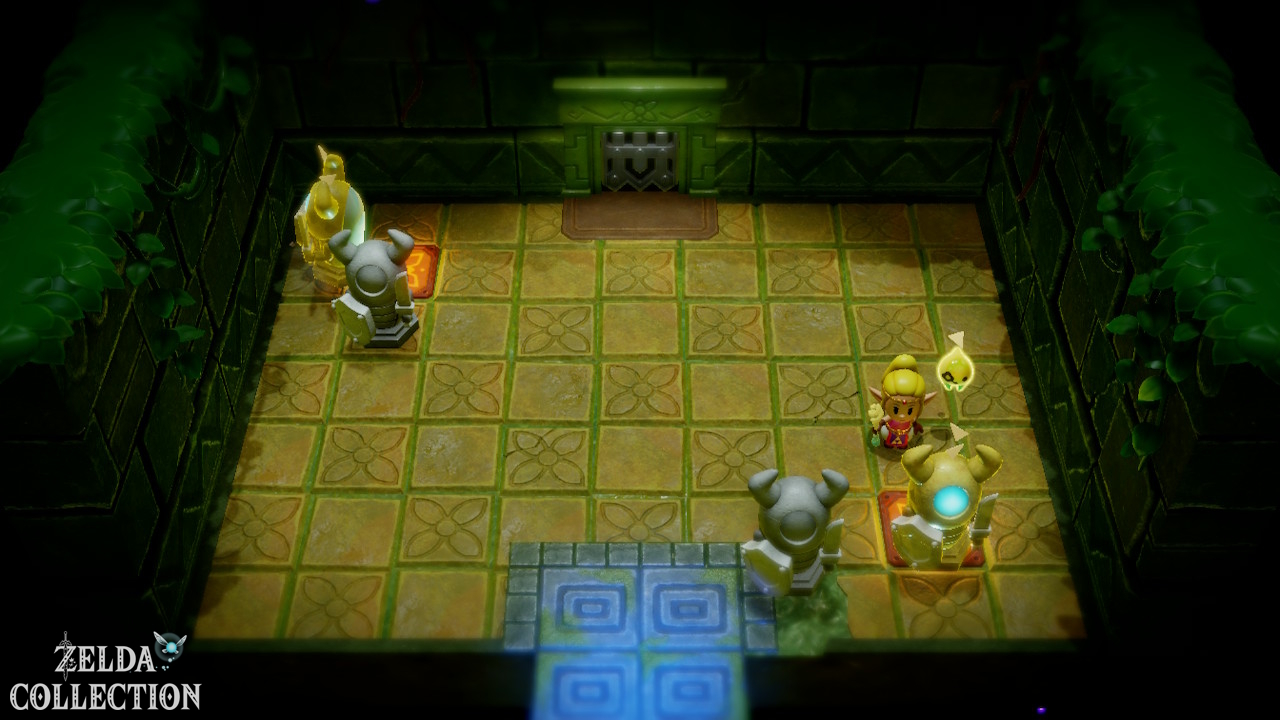
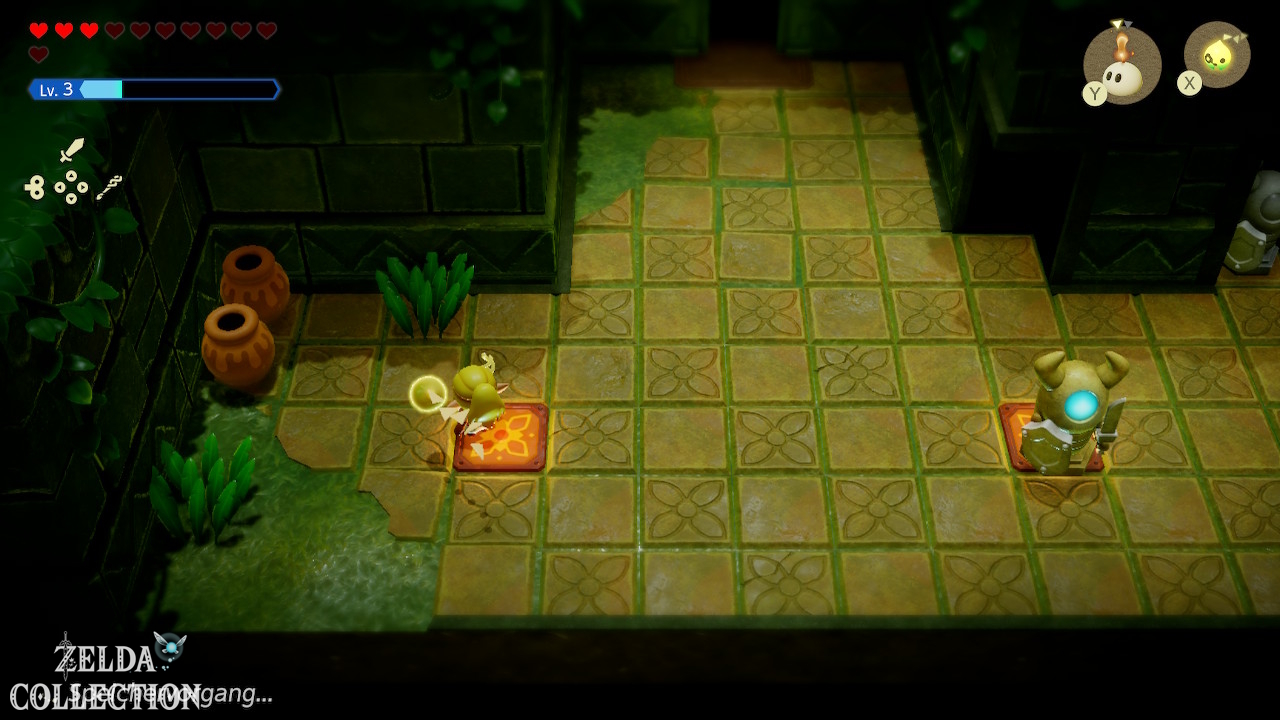
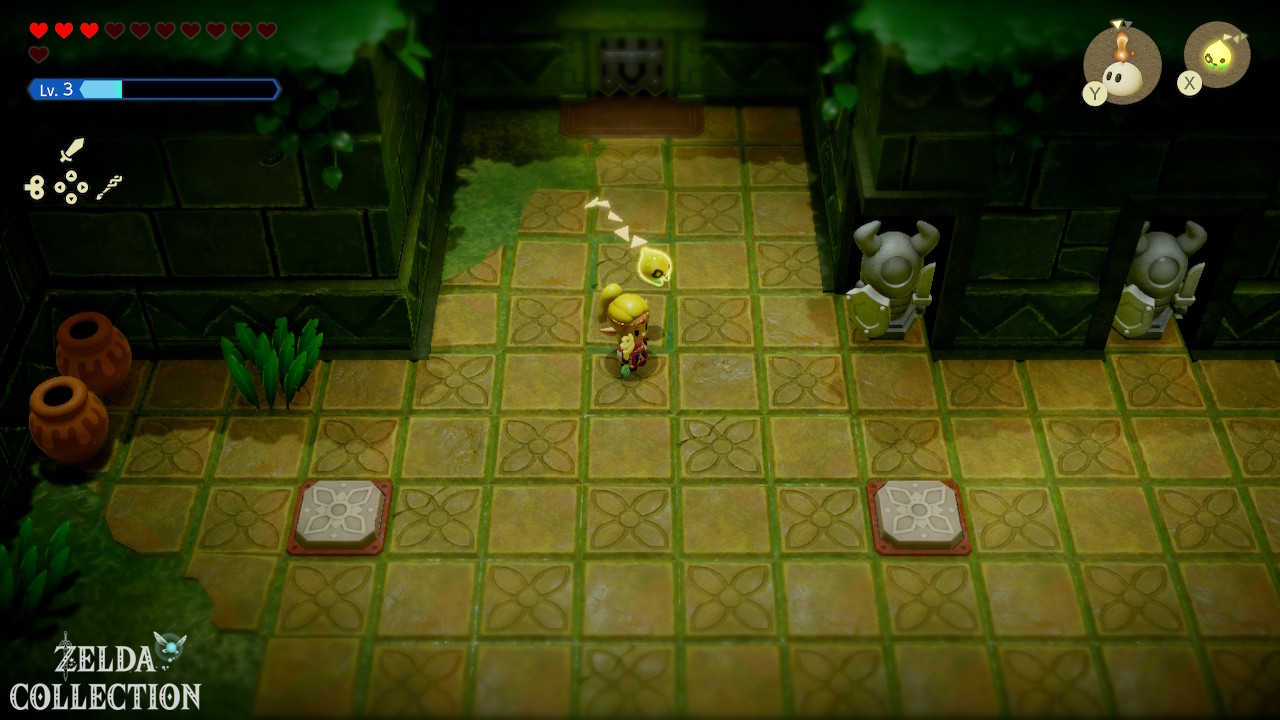
Several puzzles require that two floor tiles be activated at the same time. The Armos Echo is intended for this: Position the statues so that they reach both switches at the right moment.
Electric Wizzrobe
In a room with Gohma babies you will meet the Electric Wizzrobe. Defeat him and be sure to learn the Echo before the final boss.
Second Manhandla fight
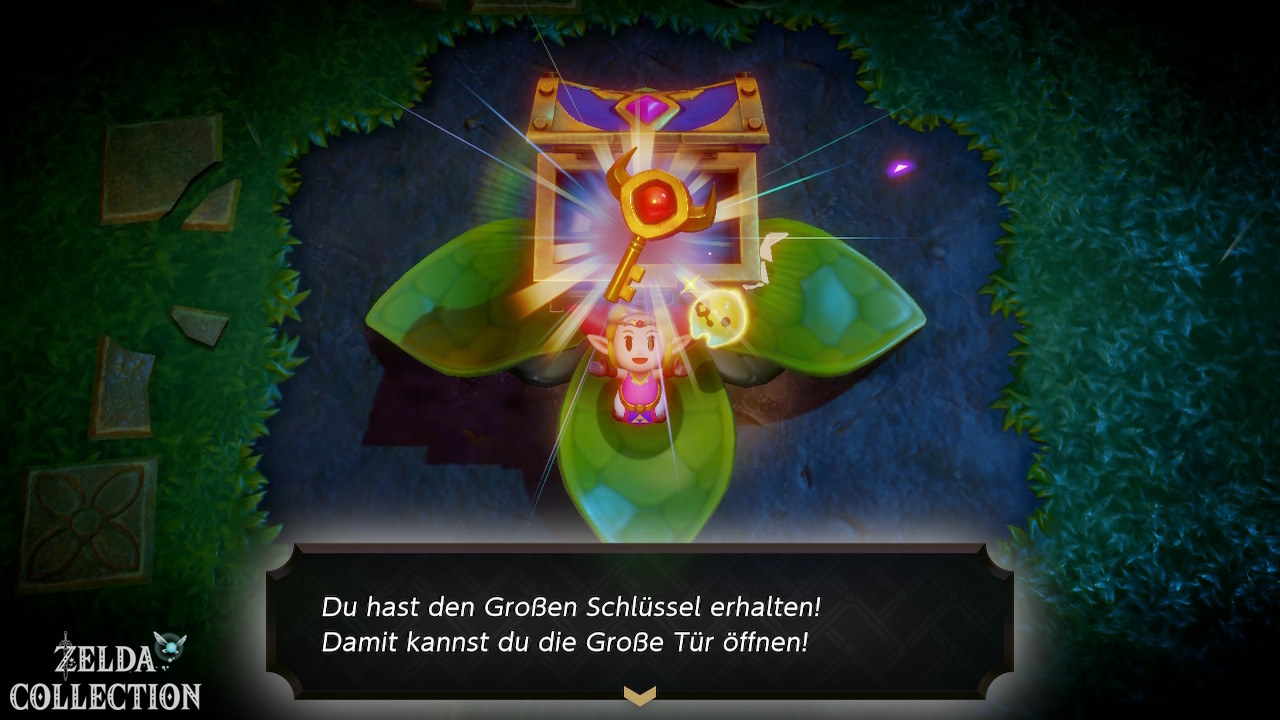
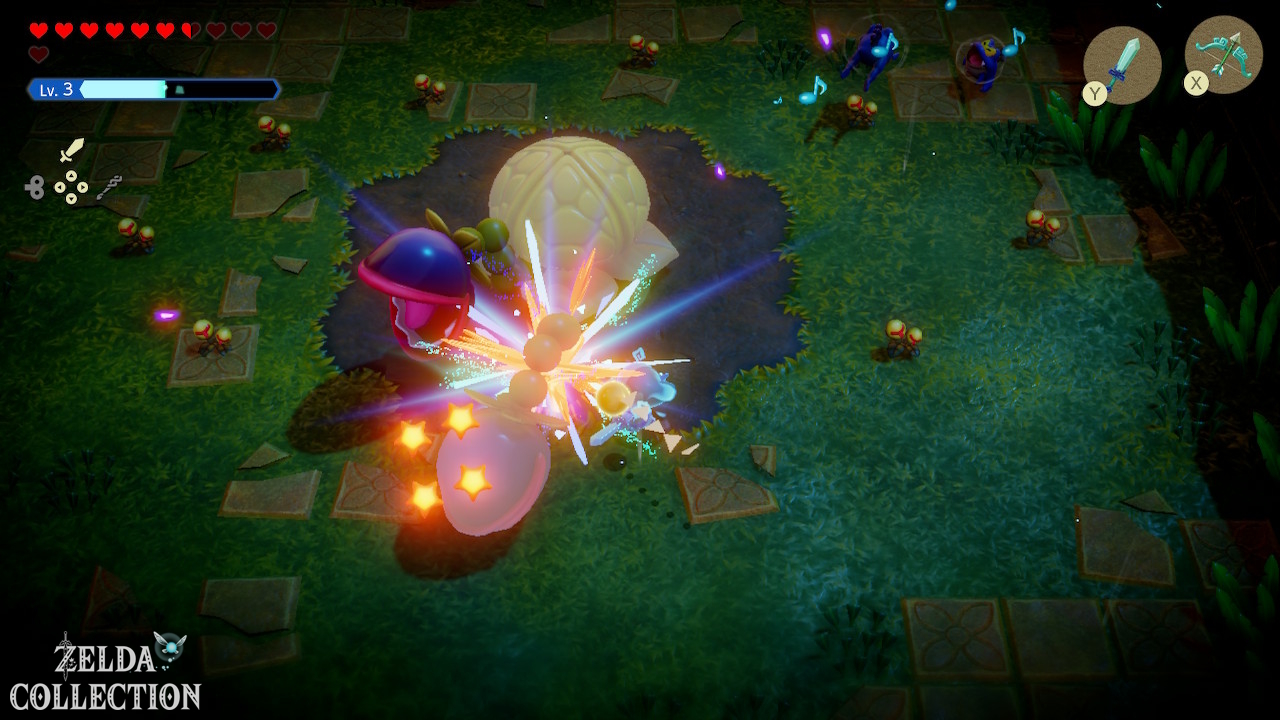
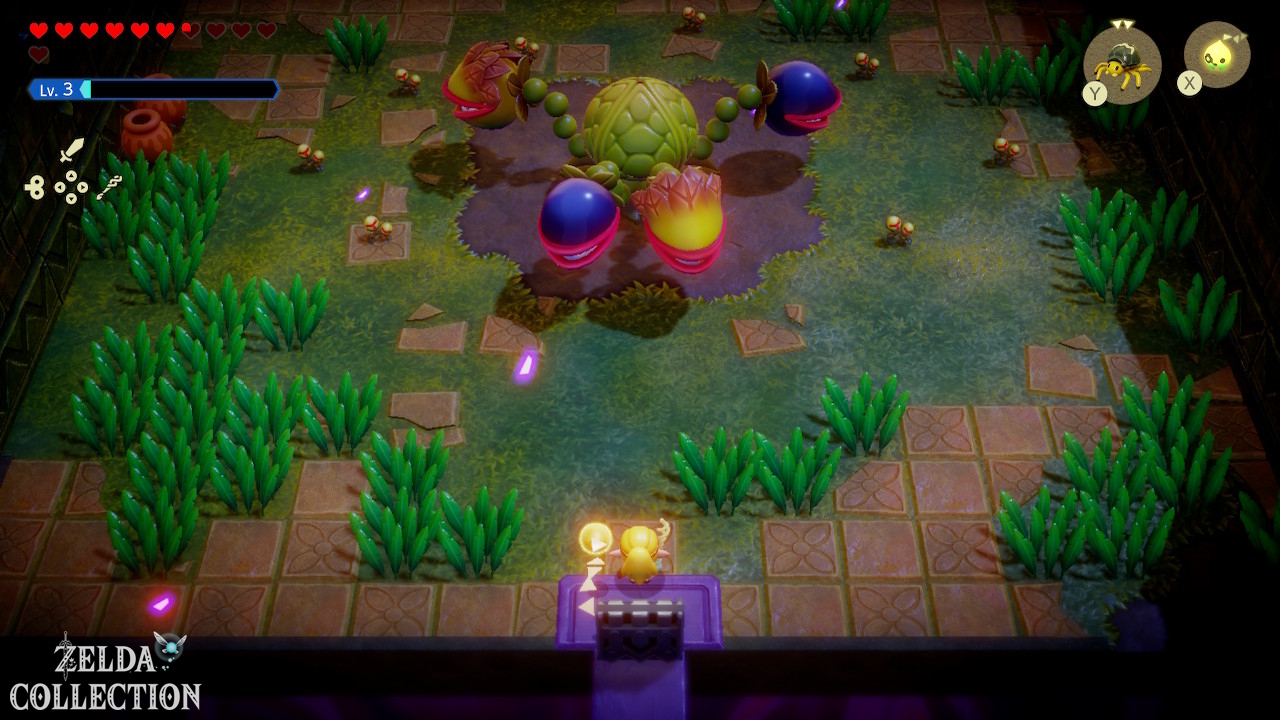
The second encounter has four heads. Pull the ordinary heads with Bind and attack their exposed necks. Feed a Bombfish Echo to a blue head; the explosion stuns it and exposes its weak point. Destroy all four heads to release the chest containing the Big Key.
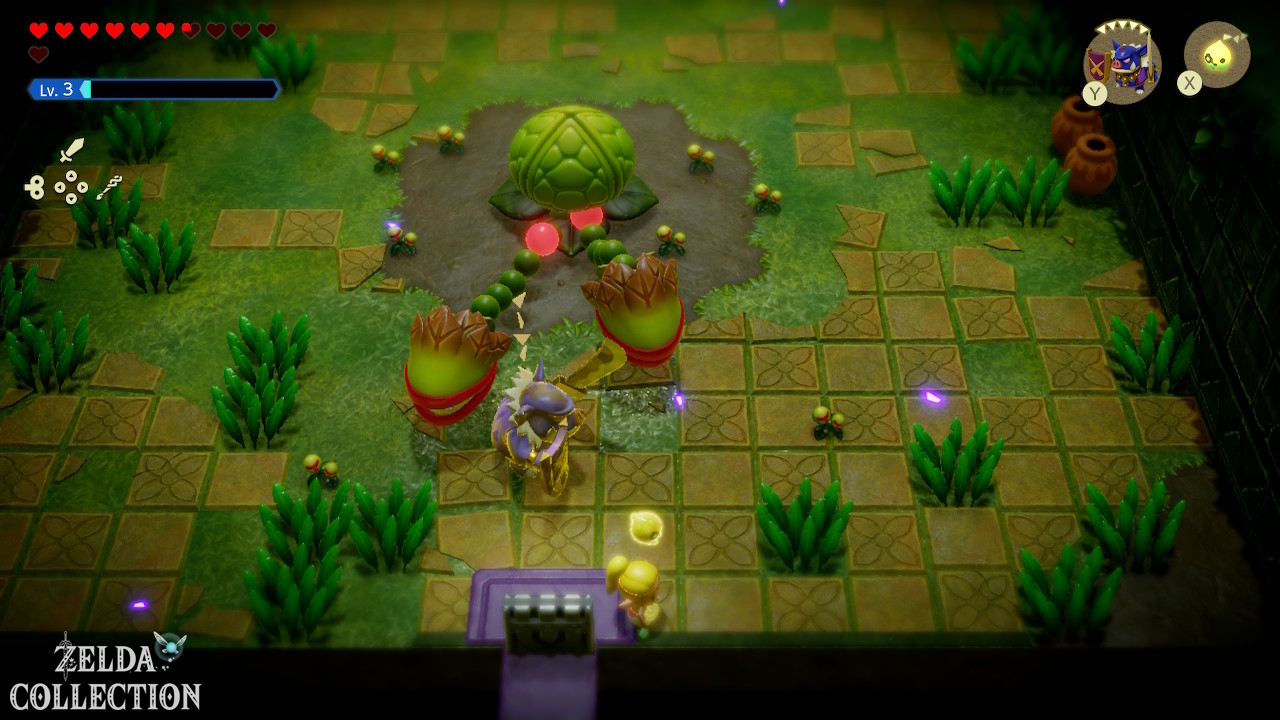
Boss: Defeat Gohma
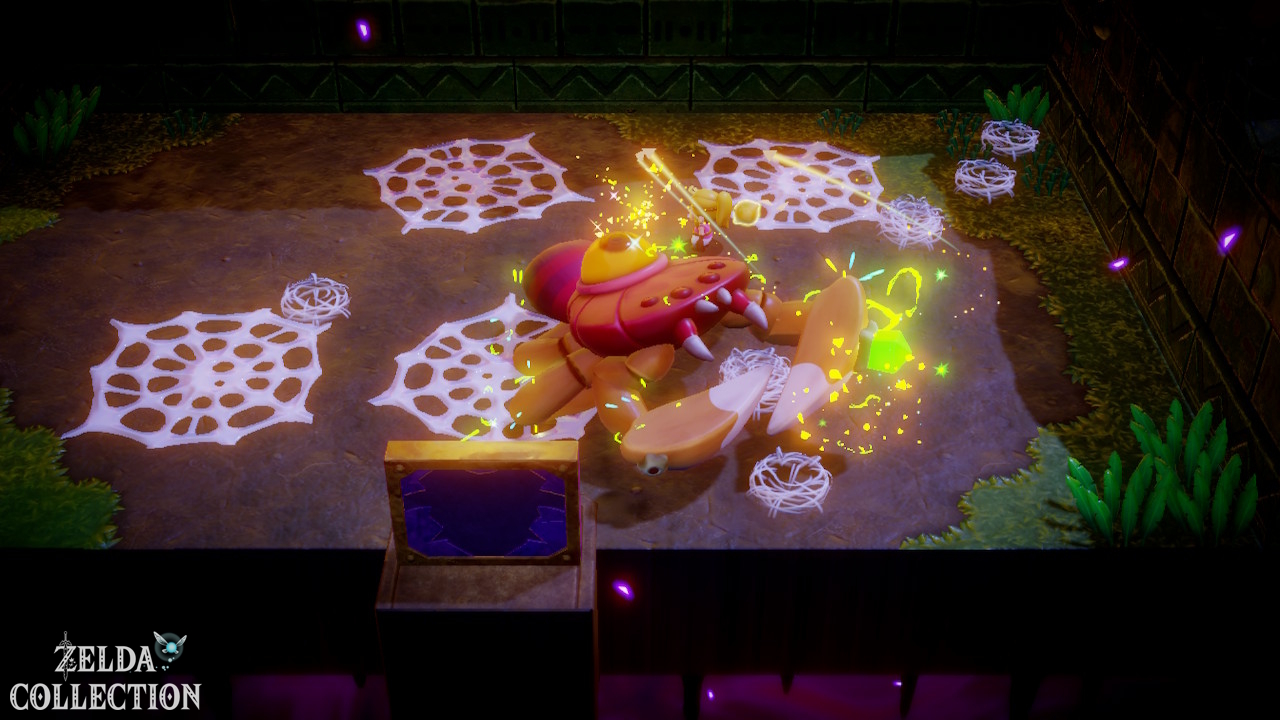
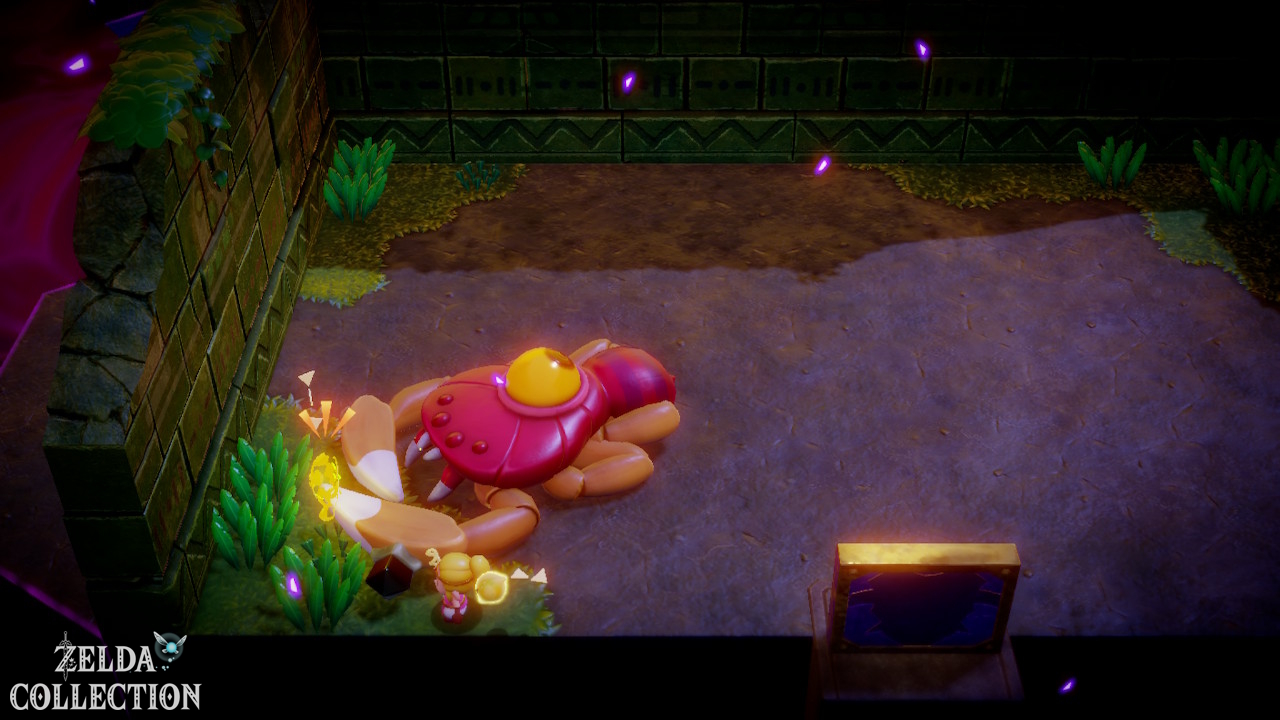
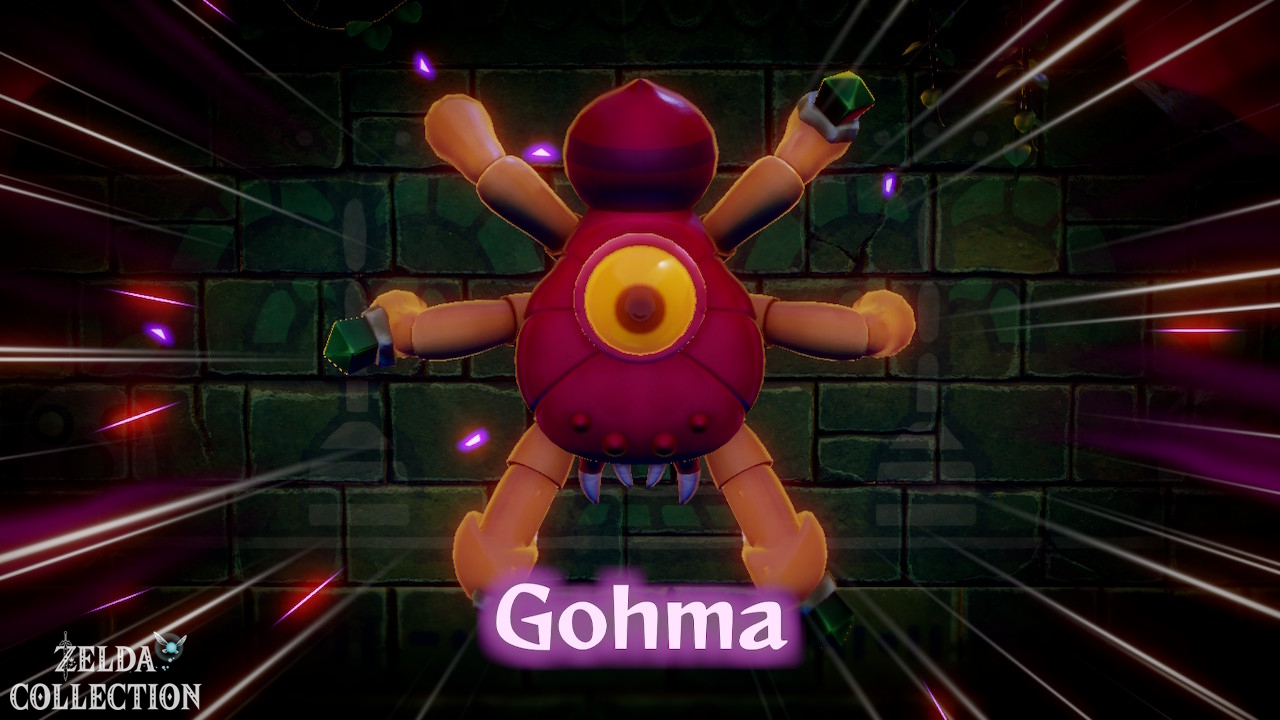
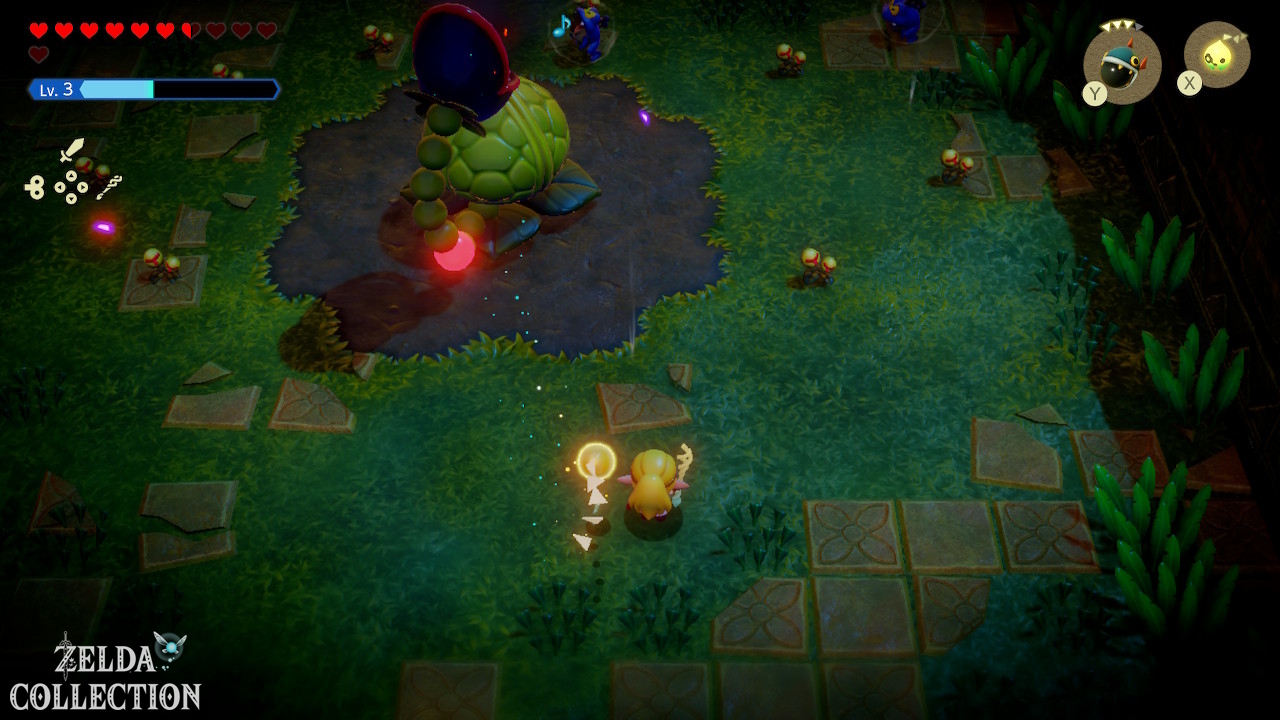
Gohma’s eye is the real weak point. First, however, the boss hangs on the wall and protects himself.
Electrify the three green crystals
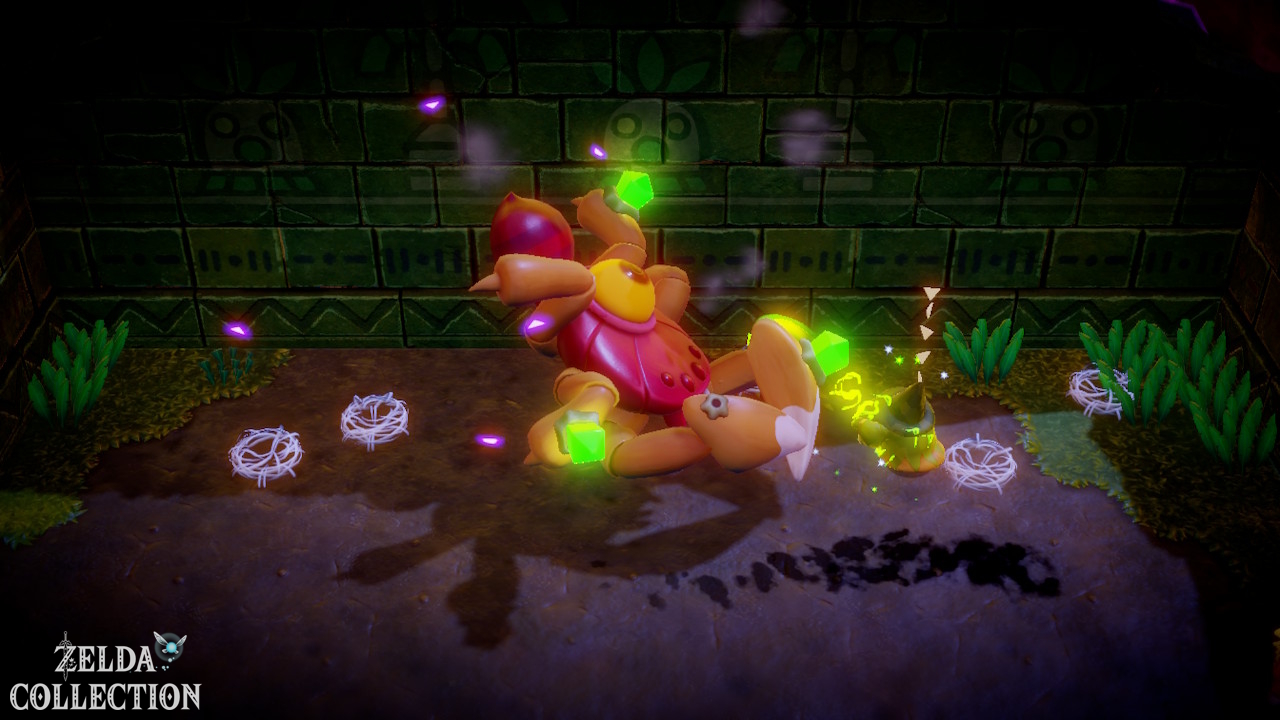
There are three green crystals on Gohma’s legs. They must be met with electricity. Electric Keese and especially Electric Wizzrobe are ideal. Target the individual crystals specifically. If all three are activated in time, Gohma falls to the ground and the eye becomes free. Switch to the Swordfighter Form and attack the eye.
Eliminate cobwebs
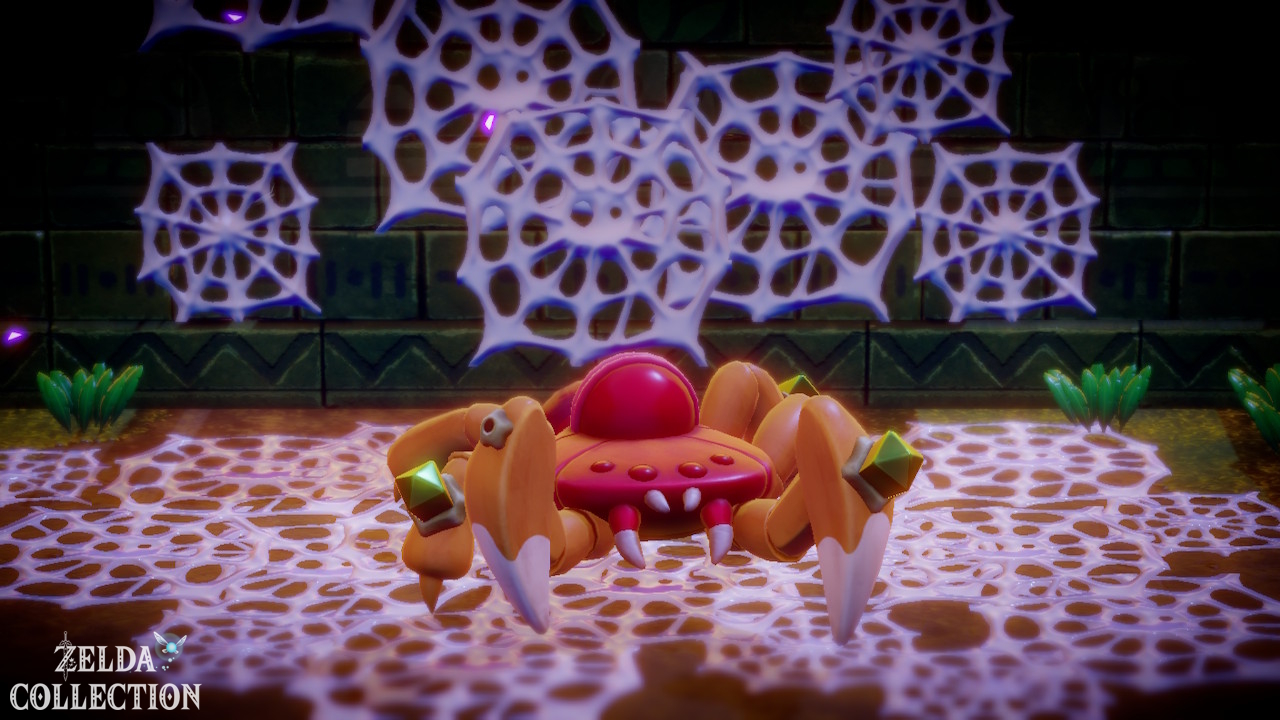
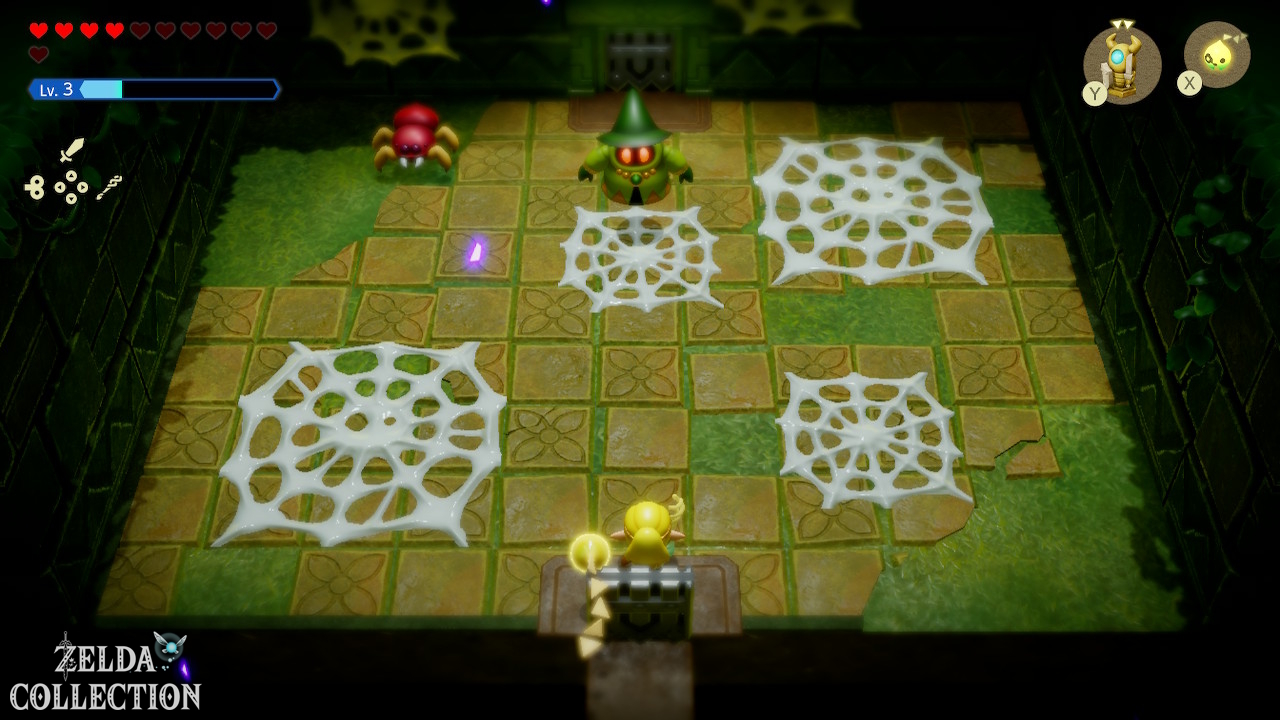
Gohma spreads cobwebs in battle and summons smaller enemies. Burn the webs with fire echoes to keep the arena clear.
Later phases
Gohma later stays on the ground more often and attacks more aggressively. The basic principle does not change: activate electric crystals, stun Gohma, attack eye.
Reward
- 1 Heart Container
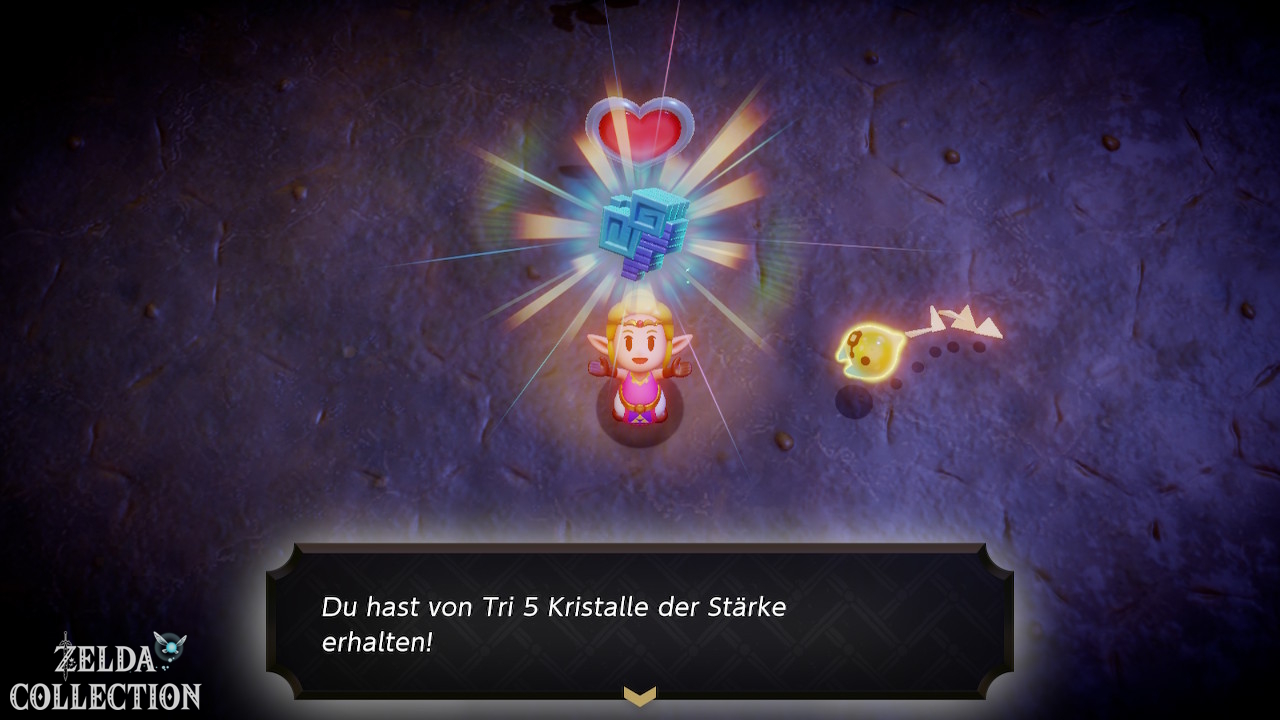
- 5 Might Crystals
- experience for Tri
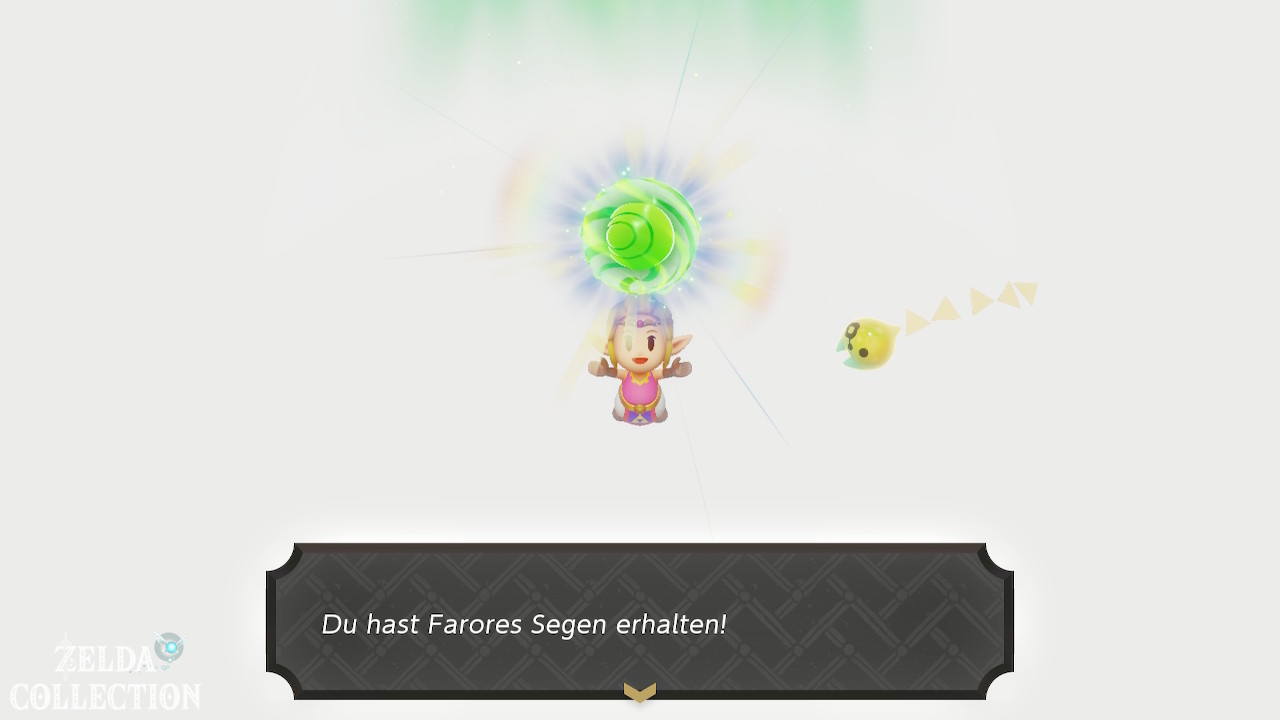
- Farore’s Sanction
Faron after Gohma
Mobbing Mothulas!
After the big Rift, the Side Quest “Mobbing Mothulas!” appears. Defeat the wanted Mothulas southeast of Scrubton.
Reward: 1 Might Crystal.
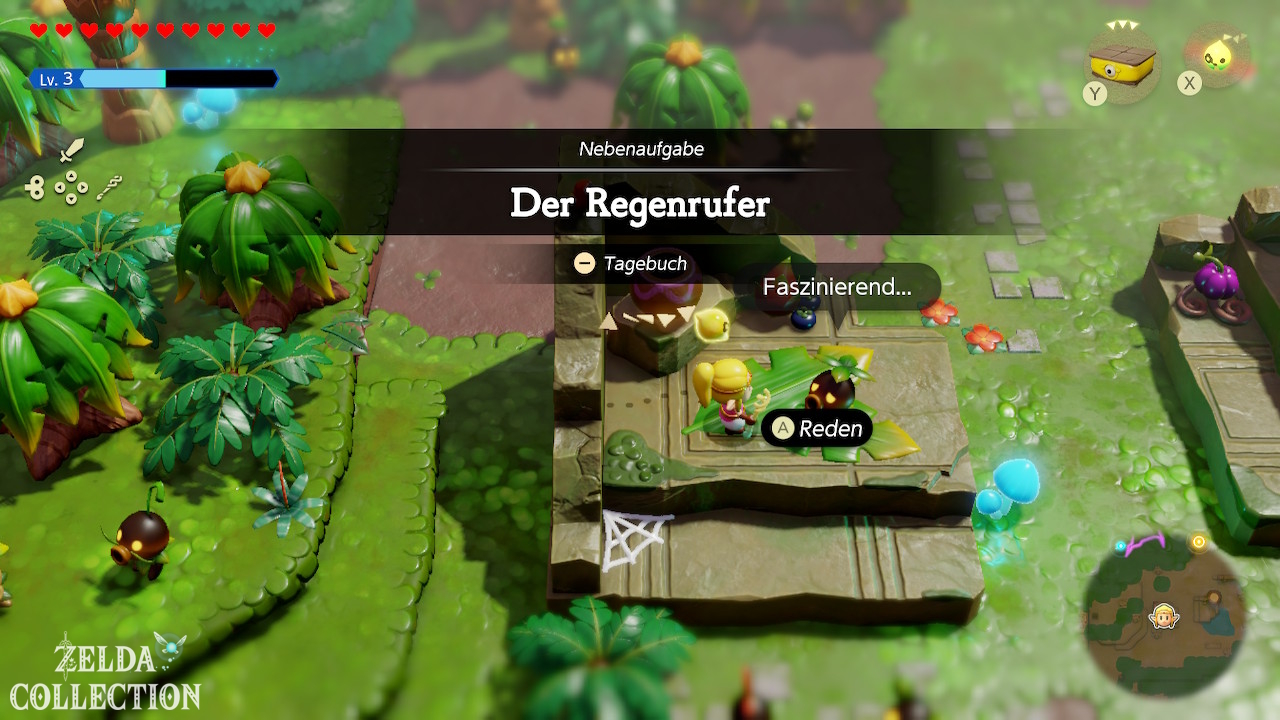
The Rain-Making Monster
Show the client a Drippitune Echo.
Reward: 8 Electro Apples.
Looking for Bempu
After the Faron-Rift, a game of hide-and-seek begins in Scrubton. Looking for Bempu consecutively:
- at the smoothie shop,
- northwest of the Heart Lake,
- at the stone statues north of Scrubton,
- at Blossu’s house in southeastern Faron Wetlands.
After finding Bempu at all four hiding places, return to Buzzu to receive the Fairy Fragrance.
Cotton-Candy Hunt and Hidden Ruins
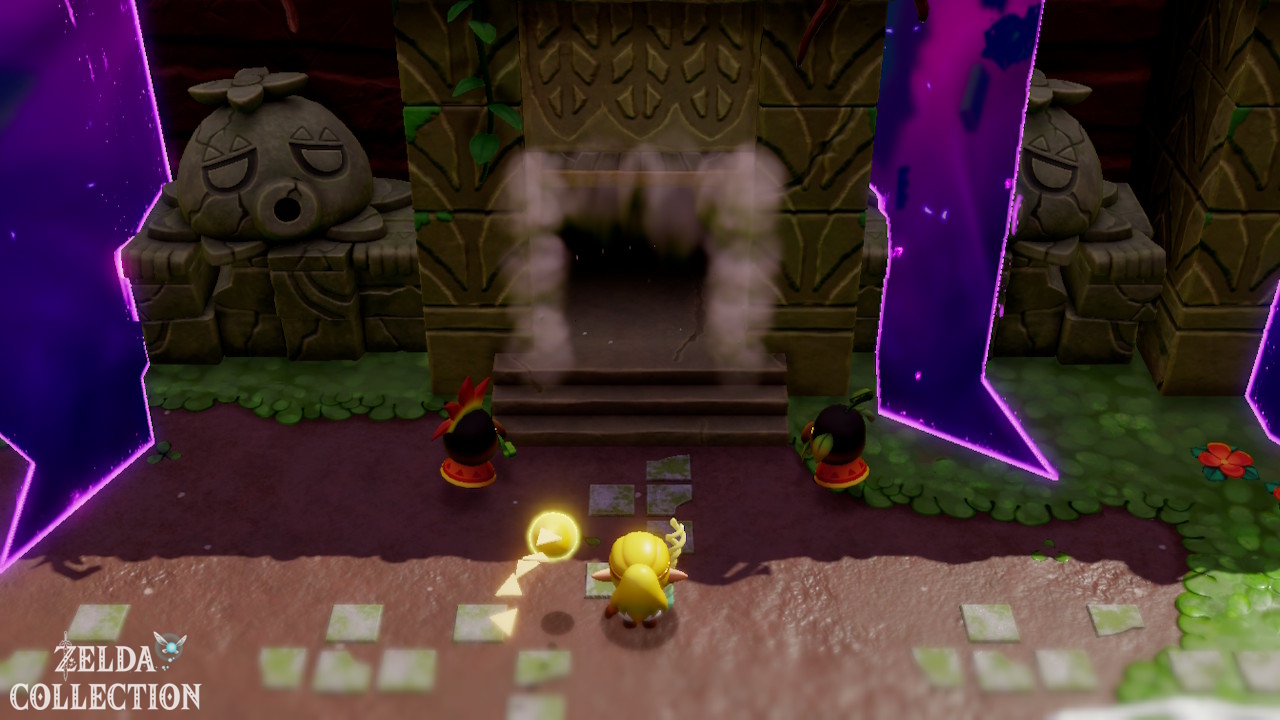
After defeating Gohma and completing Let’s Play a Game at the Eastern Temple, accept Cotton-Candy Hunt in Scrubton. At the Hidden Ruins, defeat the Drippitunes to stop the rain before lighting the entrance torches. Complete the optional dungeon and defeat Smog again for a Piece of Heart. Report back to upgrade the Ancient Charm to the Curious Charm.
Spin Brace
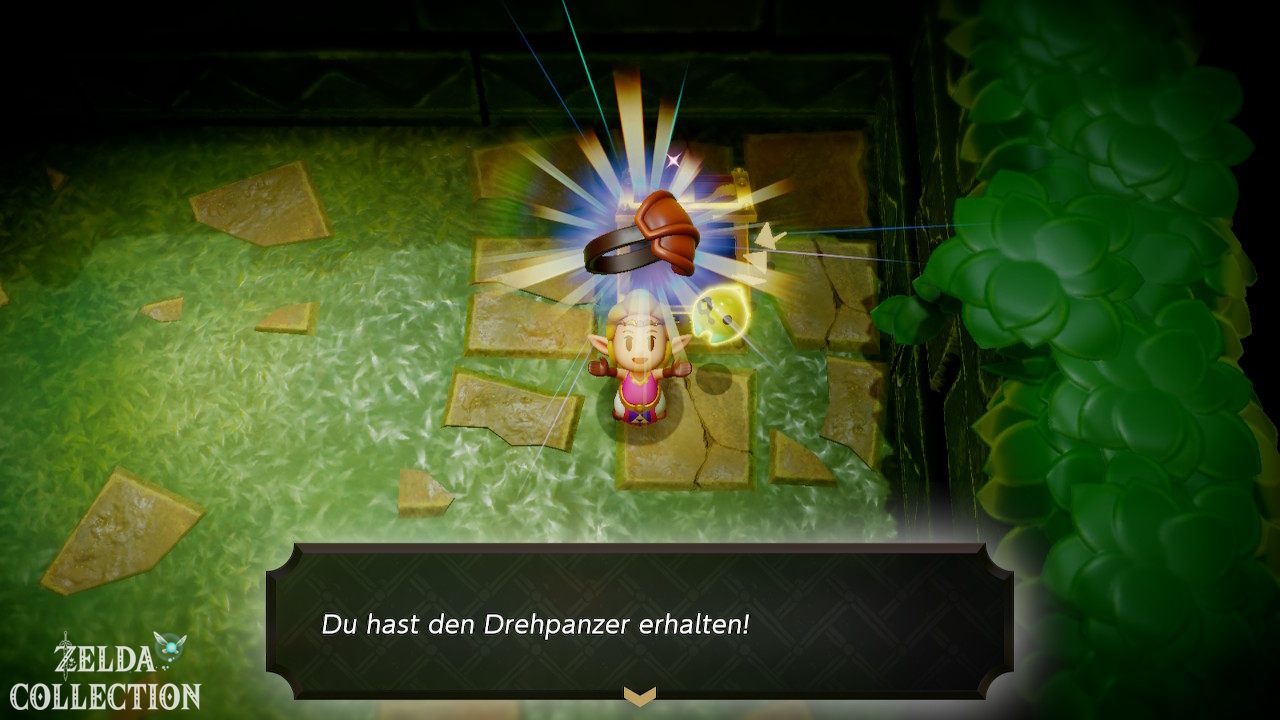
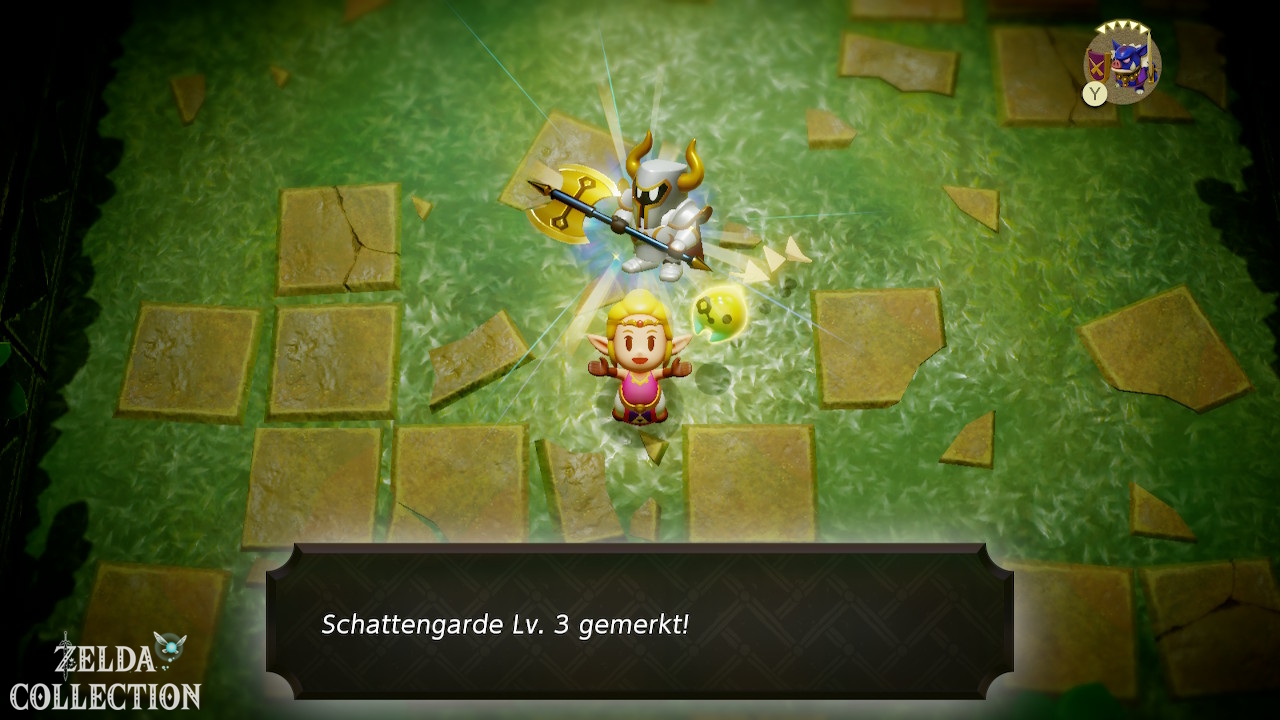
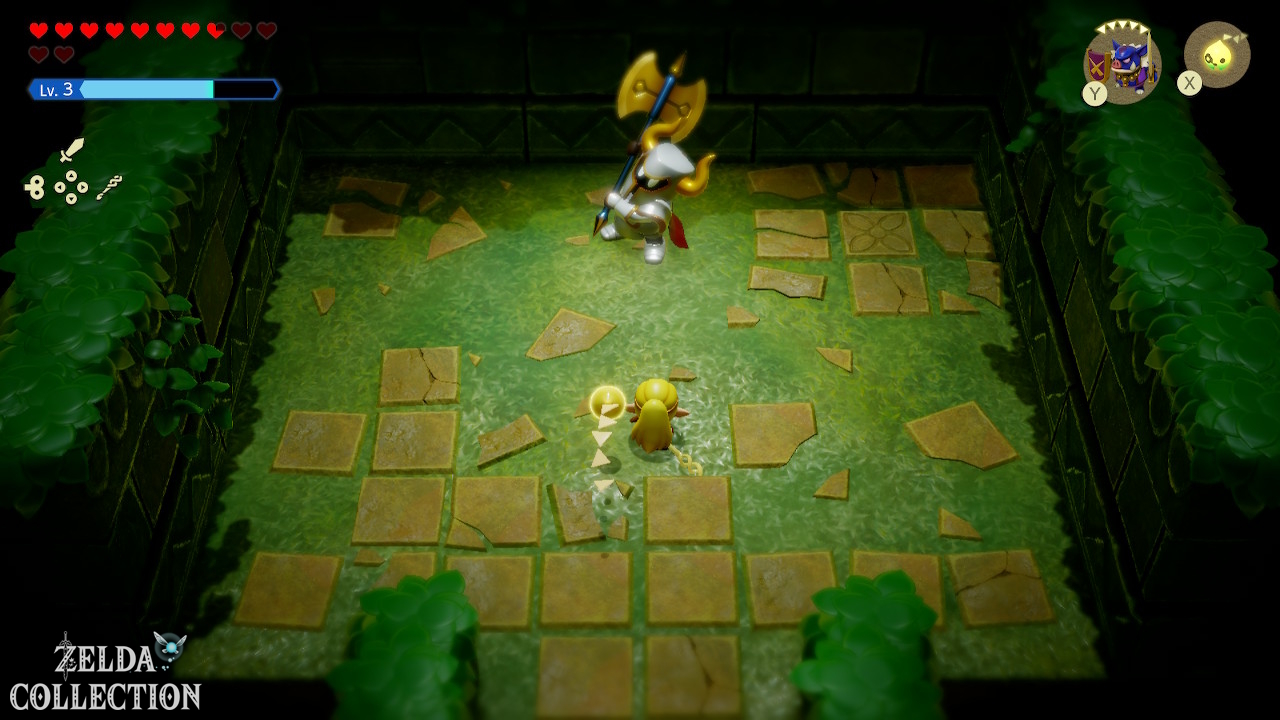
East of Scrubton there is also a cave with a strong Darknut Lv. 3. Defeat them and open the chest with the Spin Brace. You can find all accessories under Equipment.
Finish the remaining regional side quests, then continue to any goddess’s temple still outstanding. Once you have all three Sanctions, Rescuing the Hero Link continues in the Eternal Forest.