

Use the Tail Key southeast of Mabe Village to open Tail Cave. The first dungeon contains Roc’s Feather, the item that lets Link jump over gaps.
In addition to the map, Compass and several keys, one of the most important items of the entire adventure is waiting for you here: the Roc’s Feather. You can also already discover another Secret Seashell – if you have bombs. If not, we will simply remember your Location for later.
Enter the Tail Cave
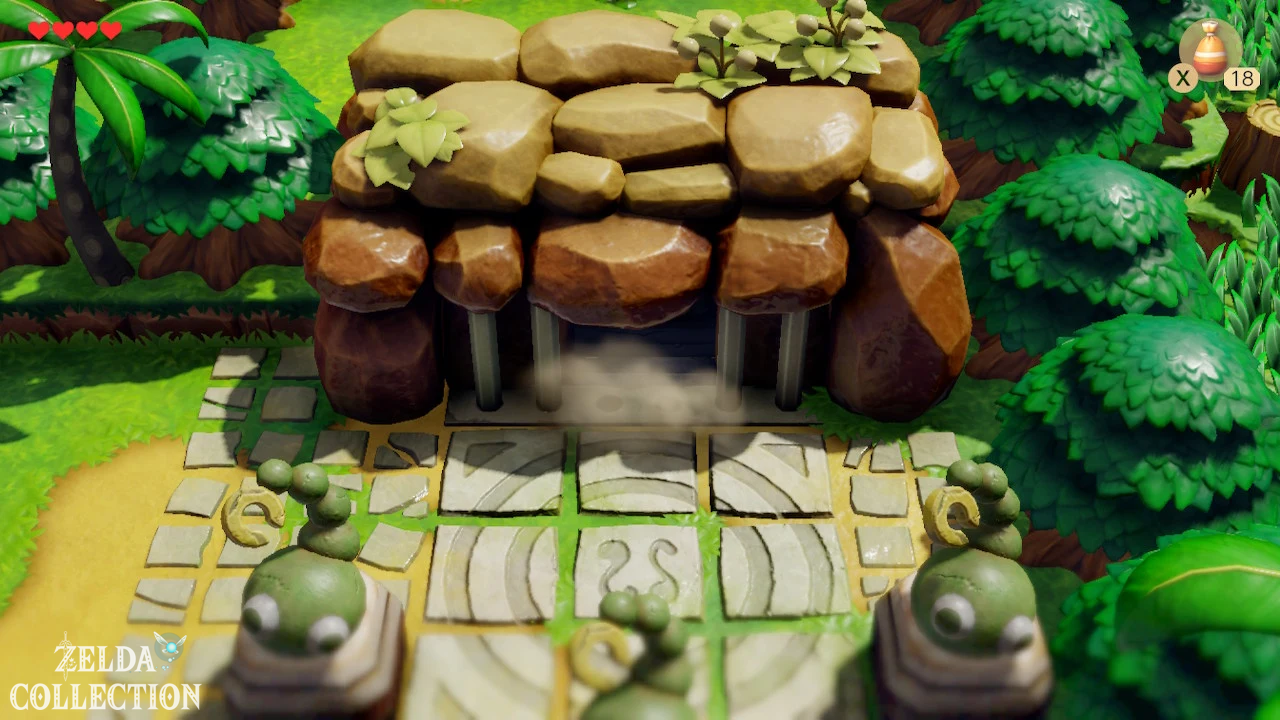
Go to the entrance to the Tail Cave southeast of Mabe Village and insert the Tail Key into the keyhole. The entrance opens and you can enter the first dungeon.
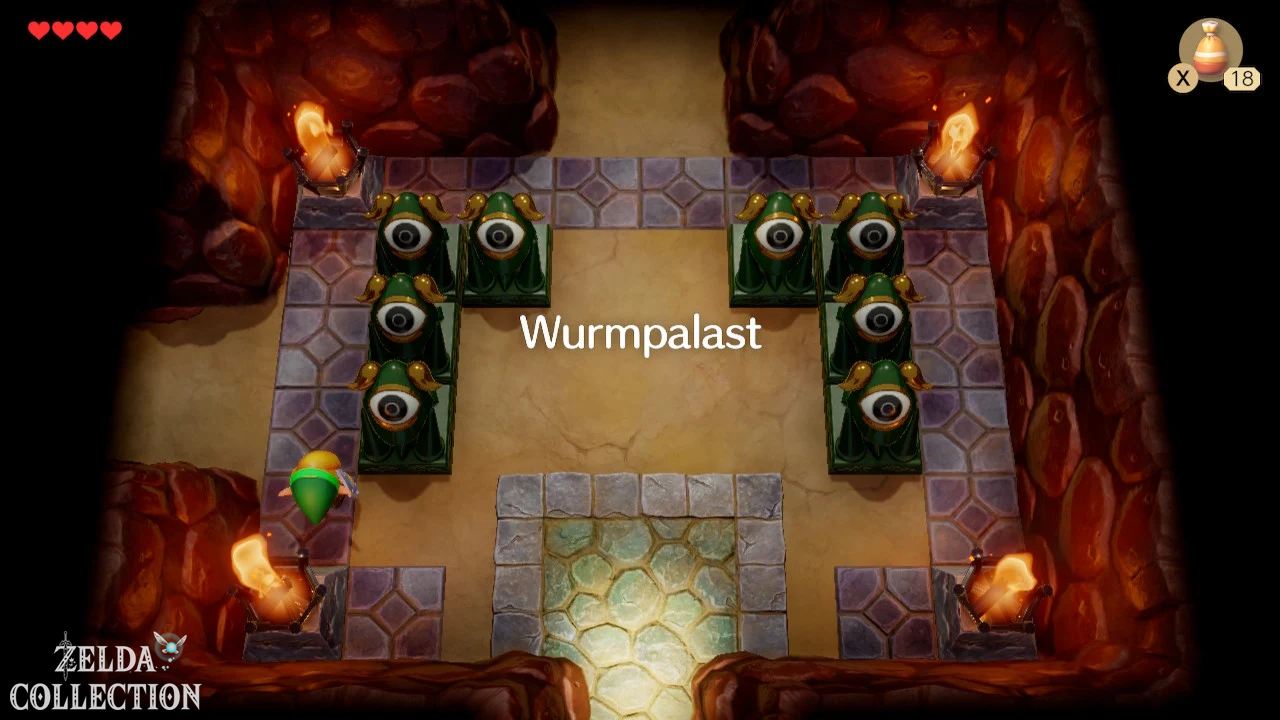
Go from the entrance room first to on the left.
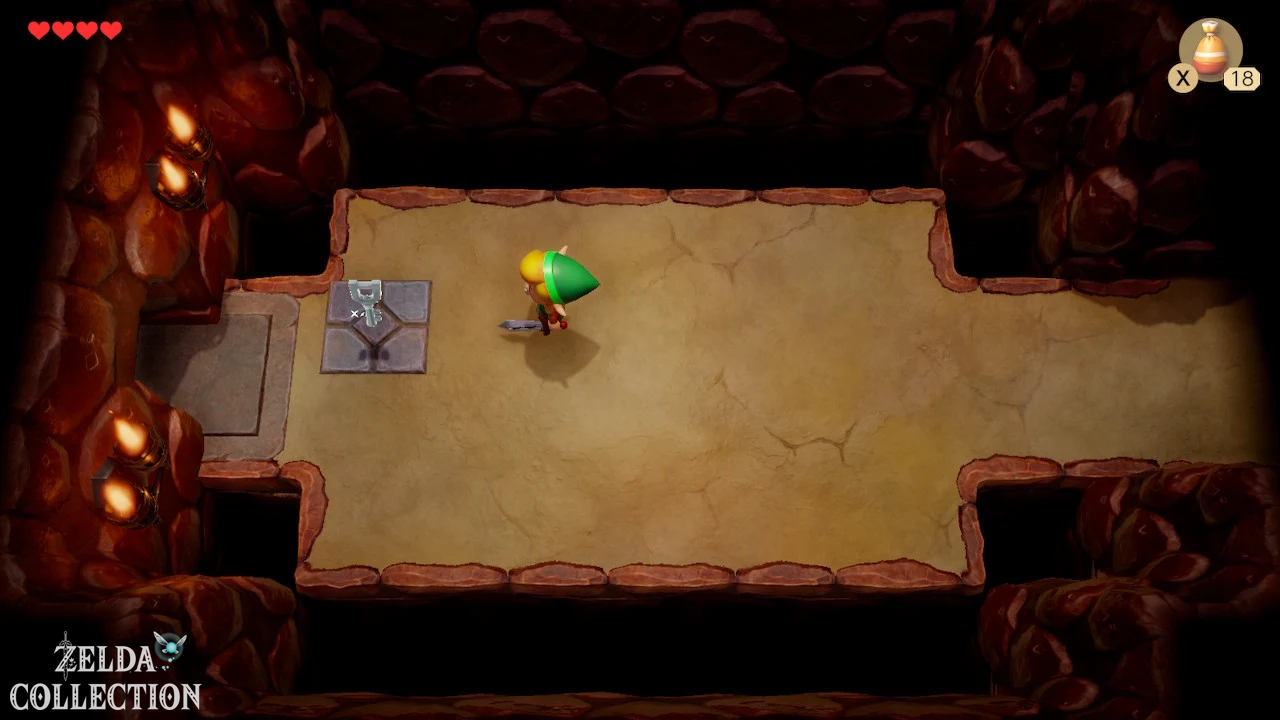
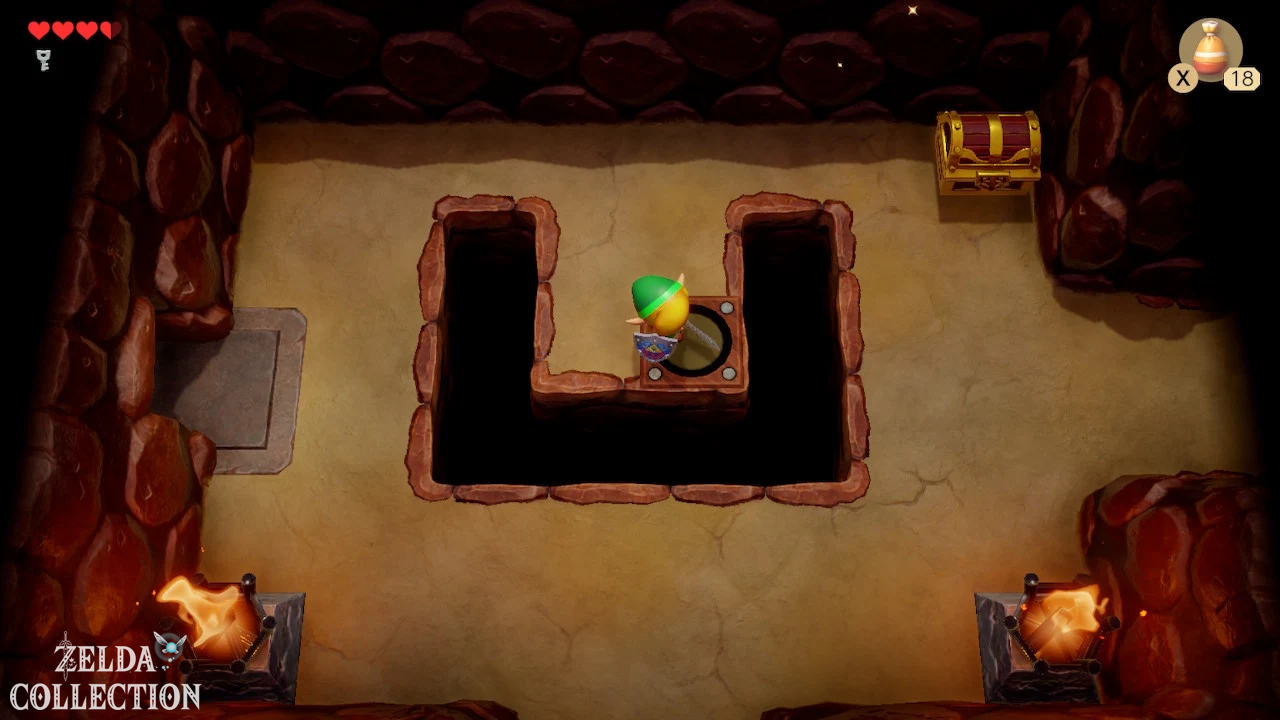
Two Hardhat Beetles are waiting for you here. You can hardly harm them with normal sword strikes. Instead, hit them so that they are gradually pushed back into the abyss. Once both enemies have disappeared, you will receive a Small Key.
Pick it up and continue to the left.
Use
Find Compass and Dungeon Map
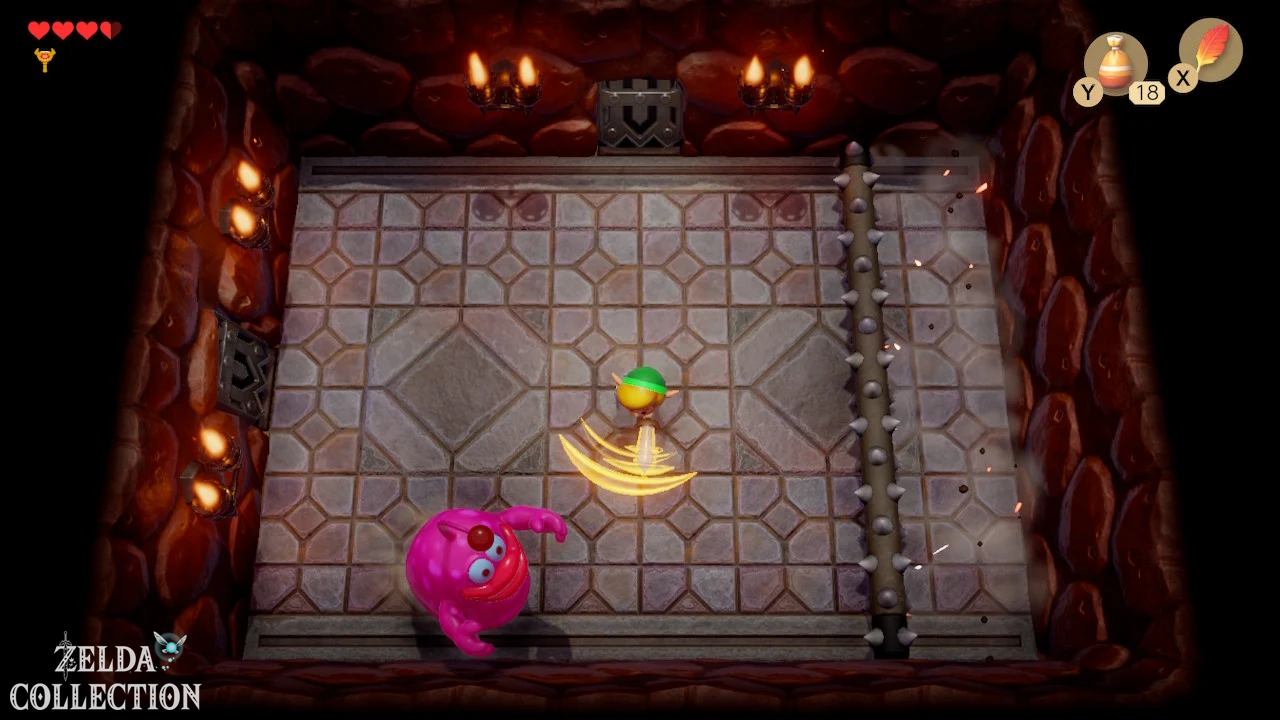
Several slimes appear in the next room. Kill them as quickly as possible, because the statues at the edge of the room will shoot at you as long as enemies are present.
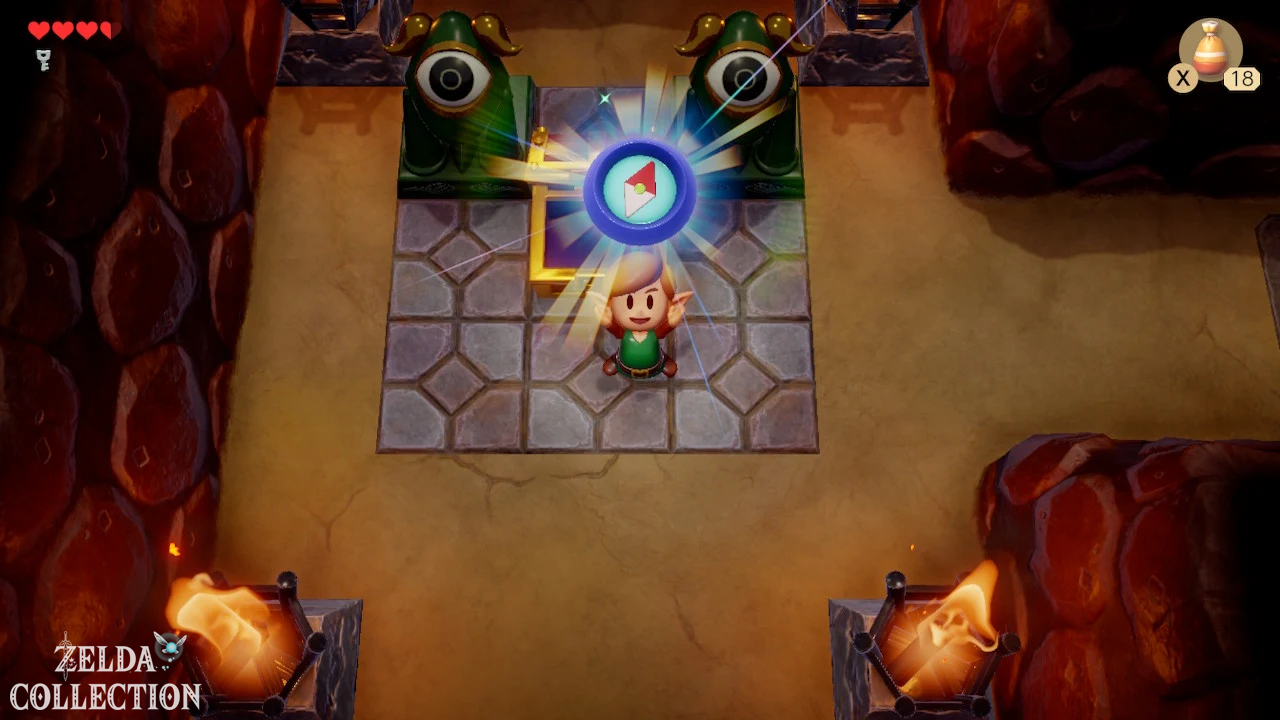
As soon as all slimes are defeated, the door will open and you can open the chest. Inside is the Compass.
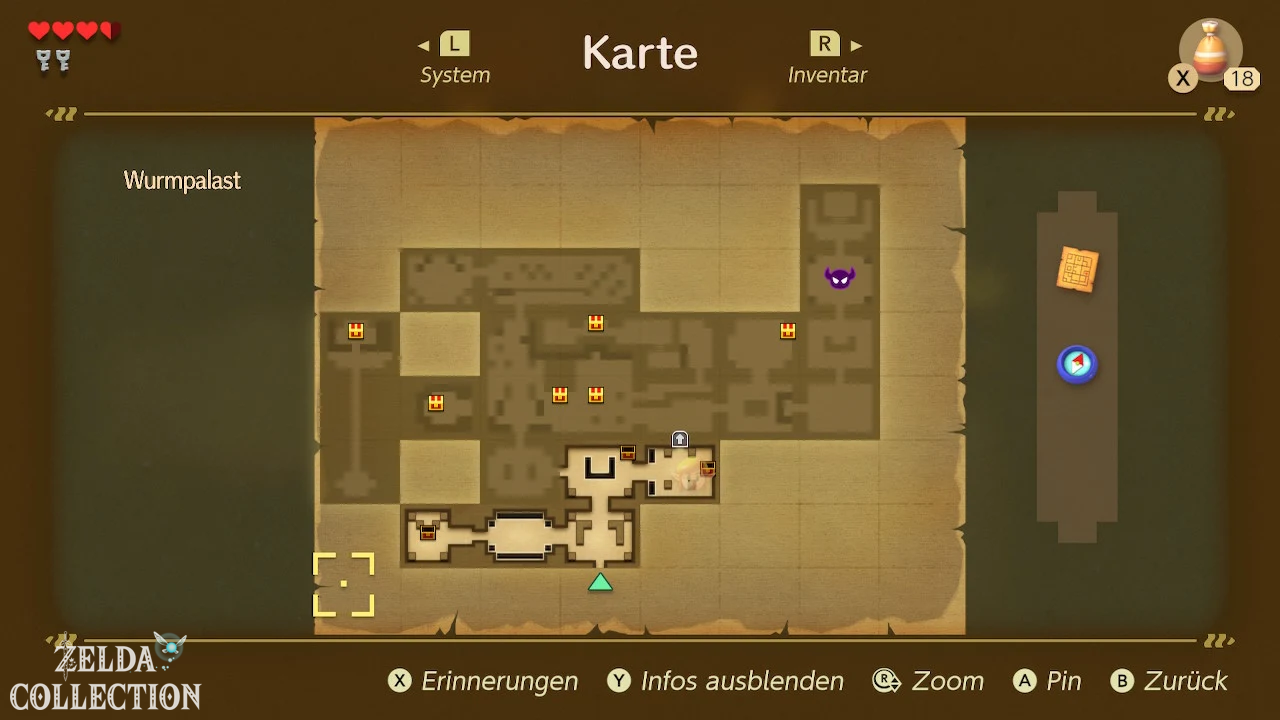
The Compass shows you at the Dungeon Map, among other things, the location of the final boss and the still unopened Treasure Chests. In addition, a signal sounds when entering a room if a hidden Small Key is found there.
Then return to the entrance to the Tail Cave and this time go to above.
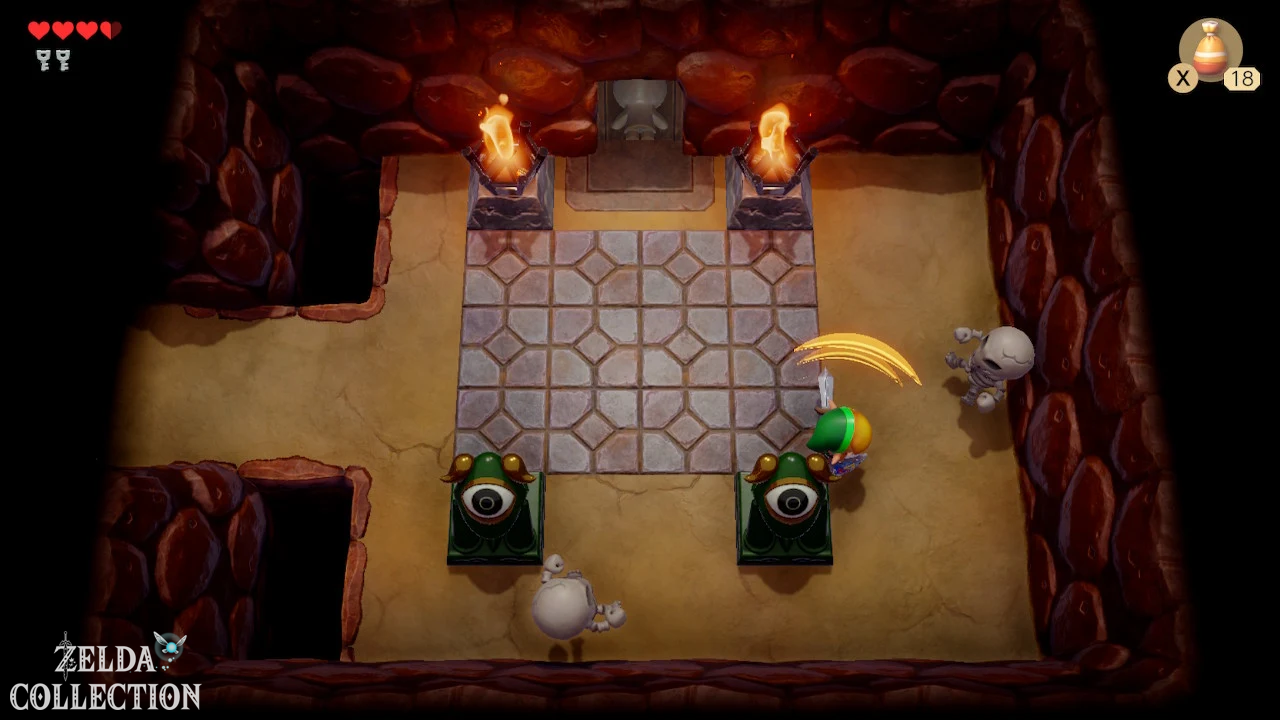
Defeat the two slimes and the Hardhat Beetle. Then stand on the Floor Switch. This will cause a chest to appear with another Small Key.
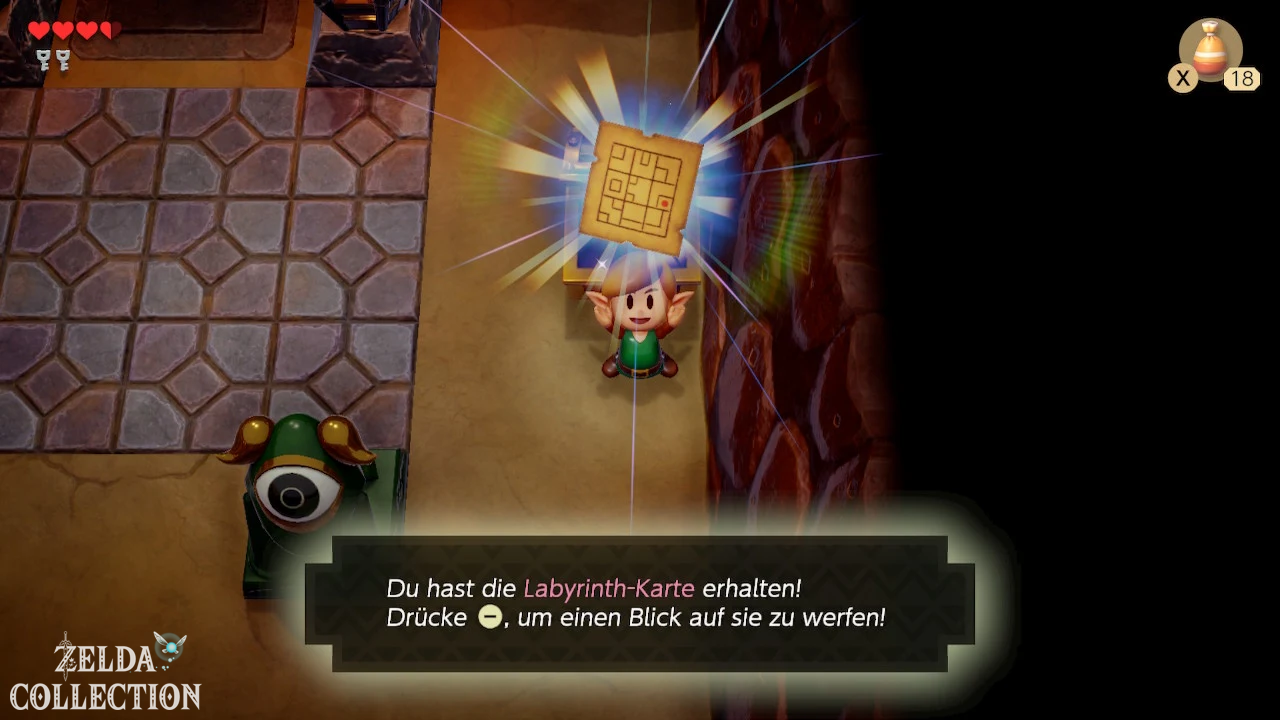
Now go through the right door. Defeat all opponents here too. Once the room is empty, a chest will appear containing the Dungeon Map.
With the map you can see the complete structure of the Tail Cave and also see which rooms you have already visited.
20 Rupees and a hidden Secret Seashell
Return to the previous room and continue left.
Defeat the four bats to open the door to the north. Smash the crystals and then kill the little Moldorm worm. Once he is defeated, a chest will appear containing 20 Rupees.
You will also notice a suspicious cracked spot on the left wall of this room.
If you already have bombs, place a bomb in front of the cracked wall. The explosion opens a secret passage to a hidden room. There is a chest waiting there with a Secret Seashell.
Of course you should take this shell with you for a complete 100% score. If you don’t have any bombs at the moment, that’s not a problem. Just remember the Location. Once you have bombs, you can return to Tail Cave at any time.
You can find an overview of all the shells in our guide to the 50 Secret Seashells in Link’s Awakening.
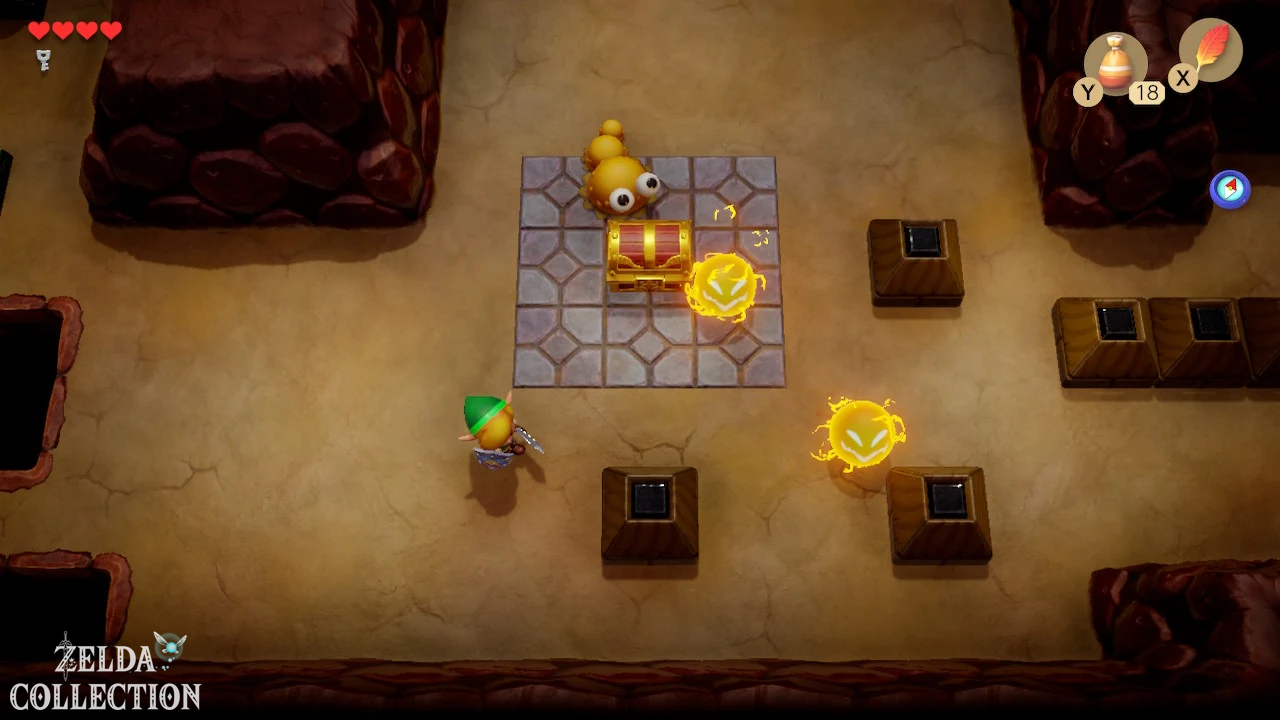
The path to Roc’s Feather
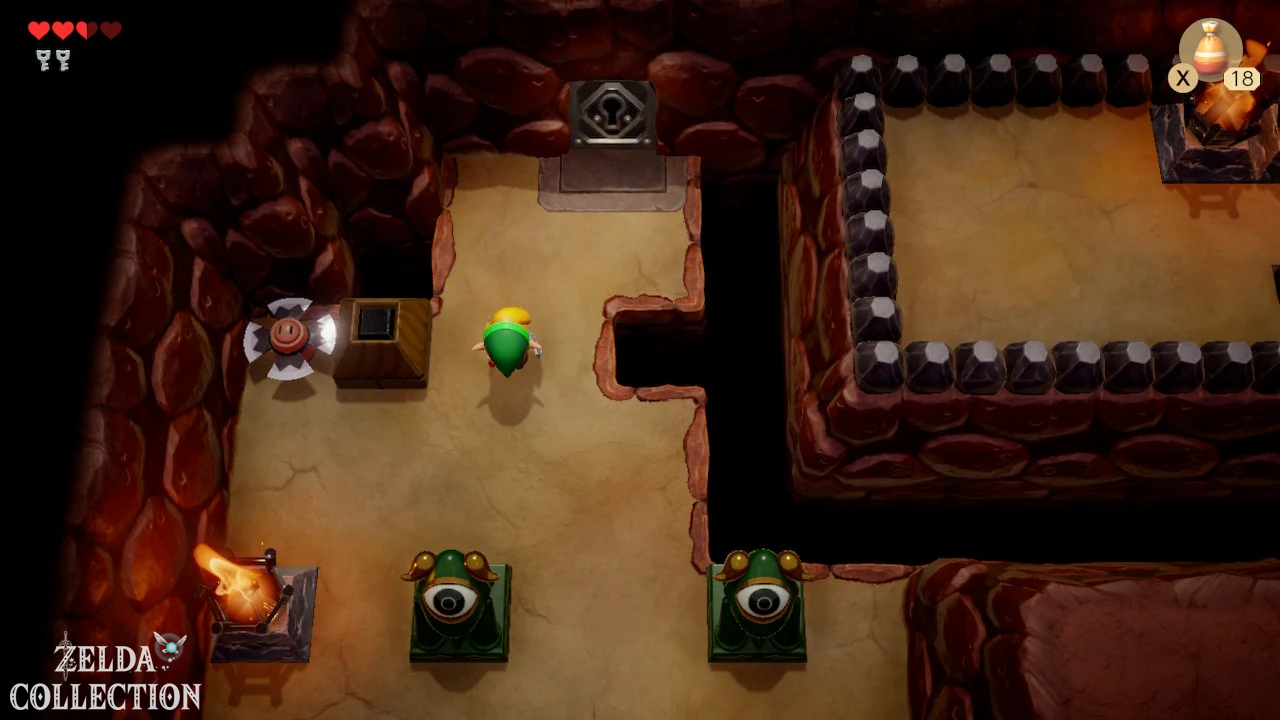
Then go north. A Blade Trap awaits in the next room. You can avoid it or put a block between you and the trap so that it can no longer reach you.
Open the locked door with one of your Small Key.
In the next room, go right, walk past the circling Sparks and follow the path north. Then you go left again.
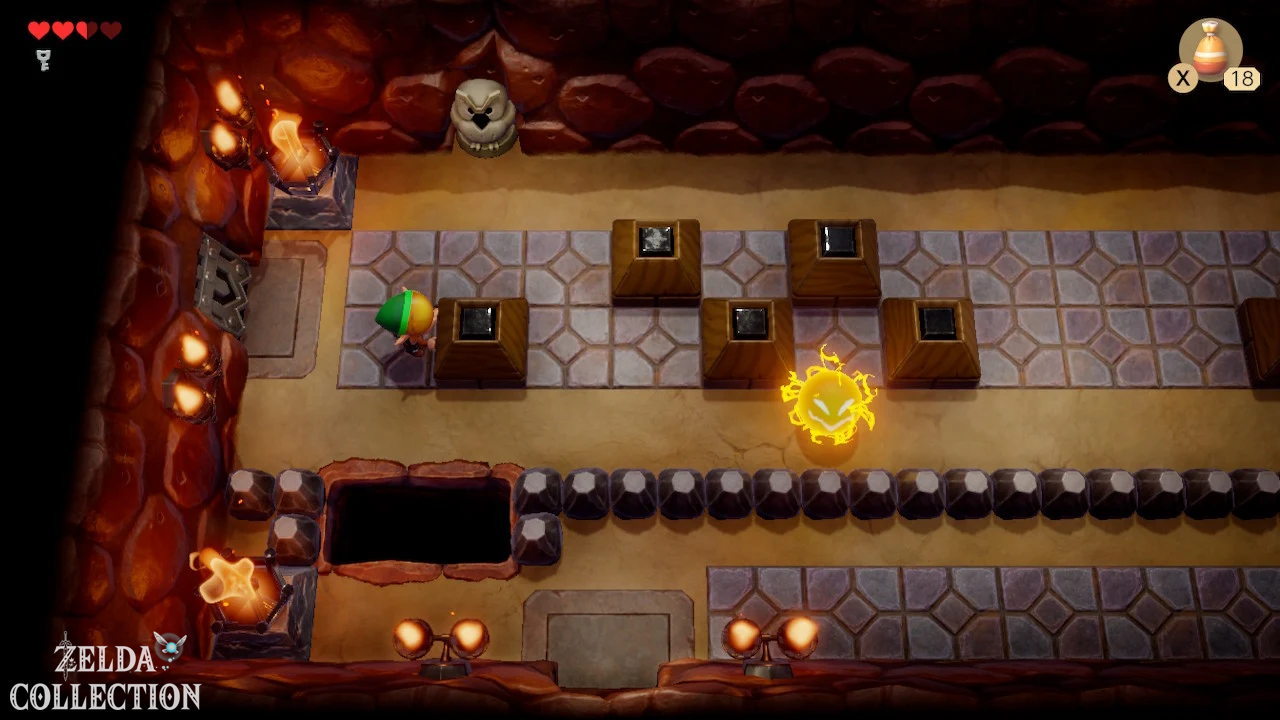
Here the next door seems to remain closed at first. Push the single block on the left in any direction. This will open the door.
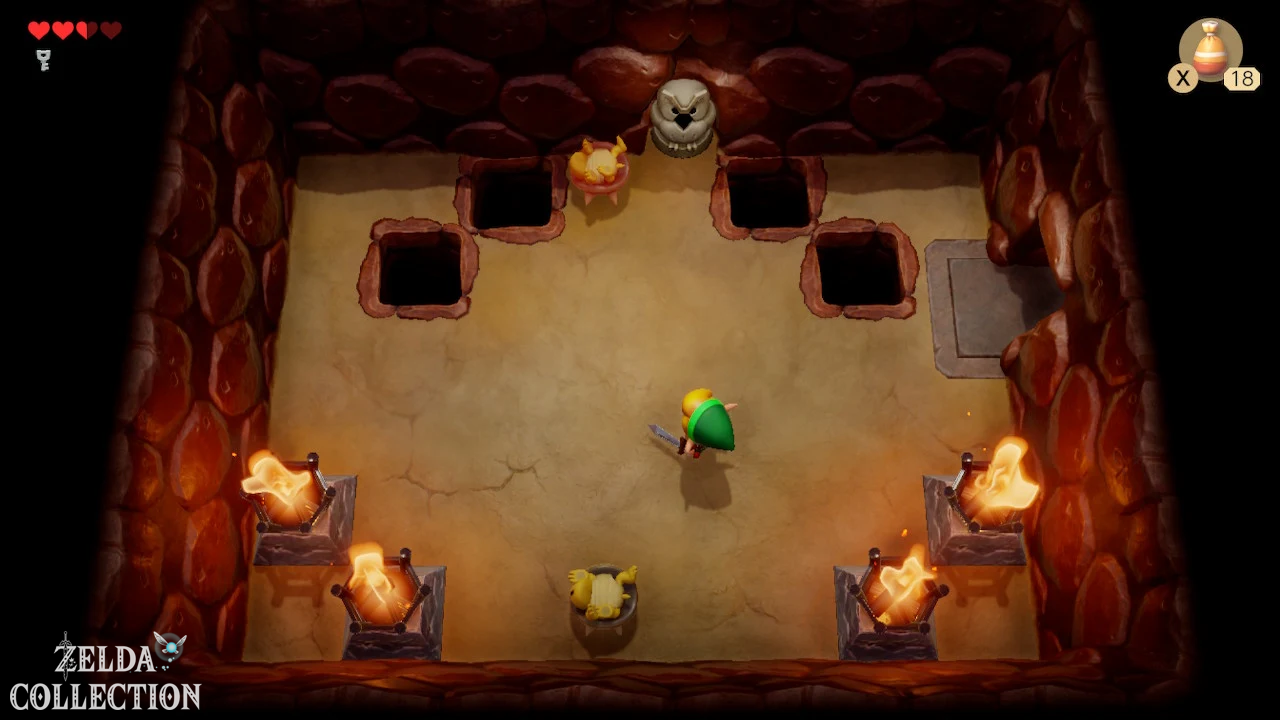
In the next room you will meet Spiked Beetles. These armored enemies cannot be easily defeated with the sword.
Hold up your shield and touch the Spiked Beetles with it. They tip over onto their backs and present their vulnerable underbelly. Then strike with the sword. Alternatively, you can push the opponents directly into an abyss with the shield.
Once all Spiked Beetles are defeated, a staircase will appear.
The Roc’s Feather receive
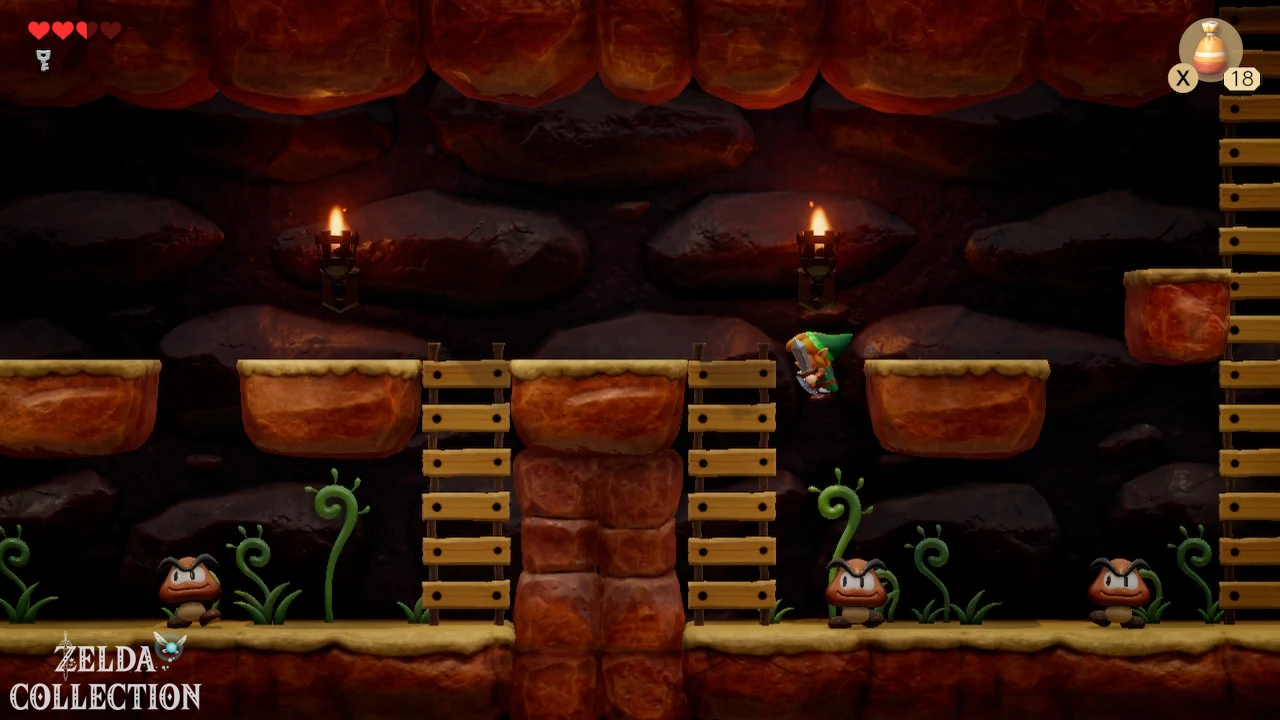
Climb down the stairs. The game now switches to a side view for the first time.
Follow the short corridor to the left and climb the ladder again at the other end. Then run north.
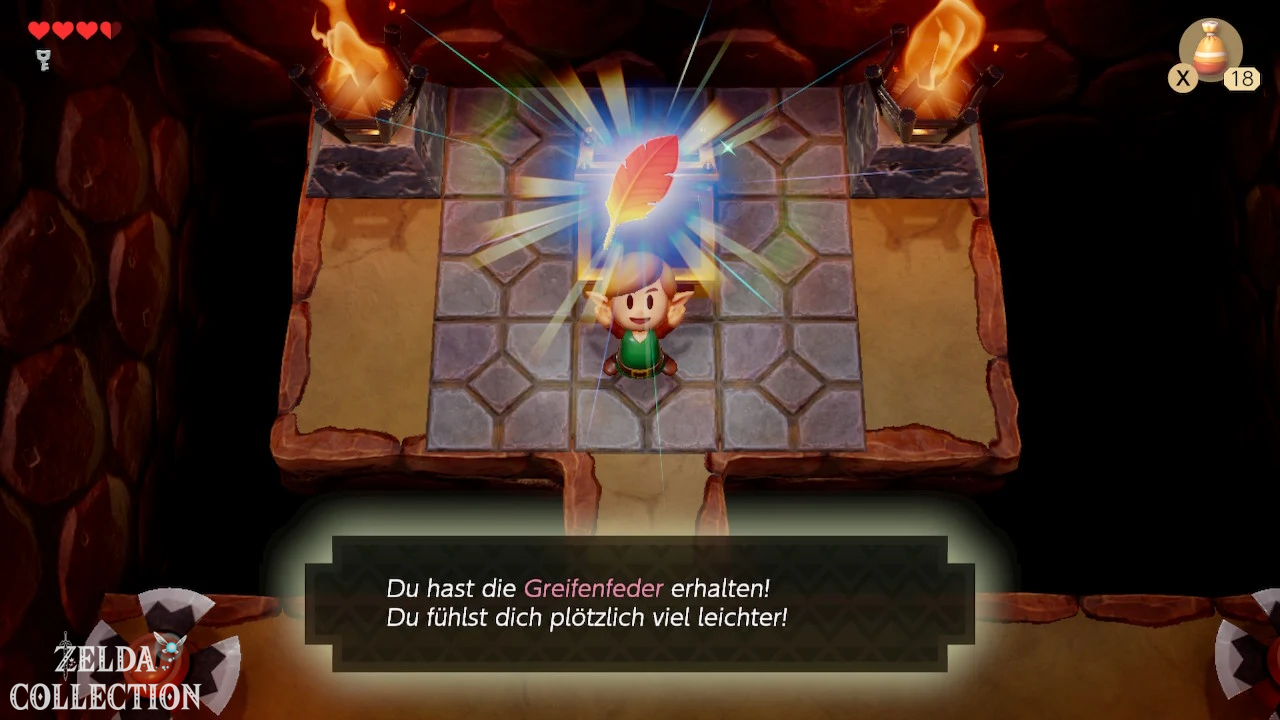
Avoid the blade traps and open the large chest at the end of the room.
Inside is the Roc’s Feather.
With the Roc’s Feather, Link can now jump. This allows you to overcome short gaps, jump over some attacks and even attack enemies from the air.
Floating hearts and other items that you couldn’t reach before can now also be collected.
The Roc’s Feather is one of the most important items in Link’s Awakening and opens up several new paths outside of the dungeon.
With the Roc’s Feather to the Nightmare Key
First return to the room with the Spiked Beetles.
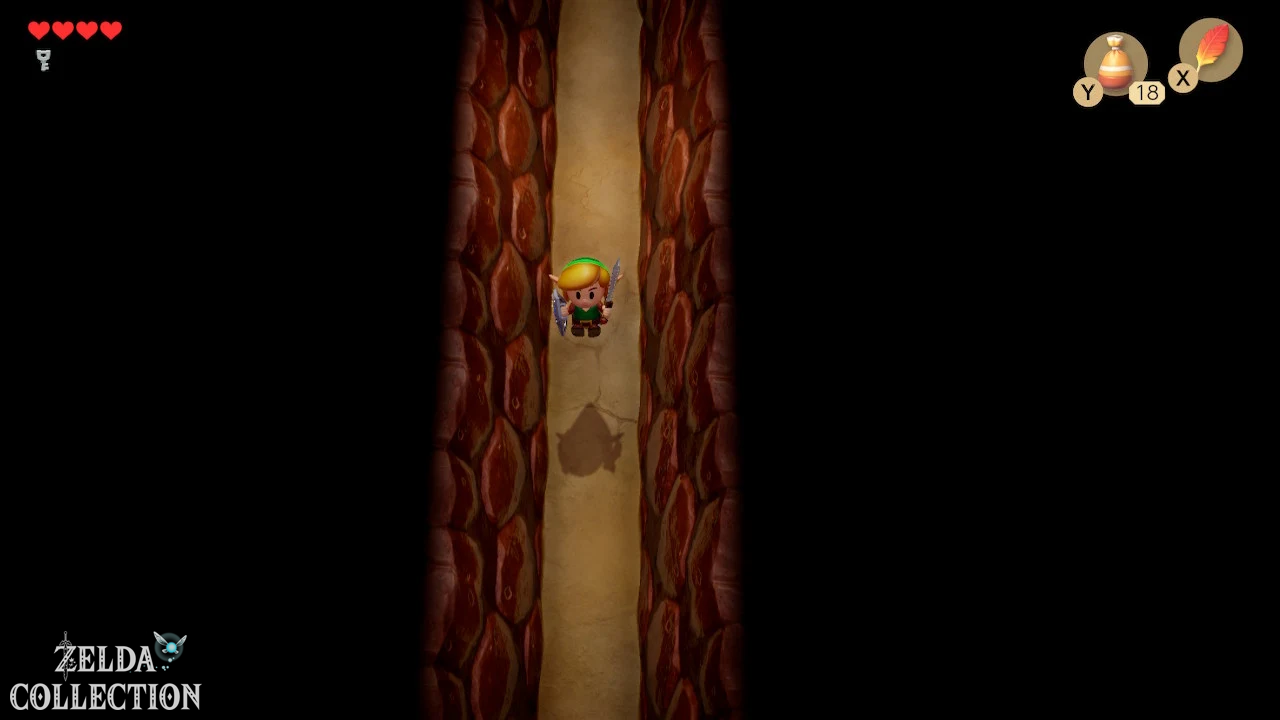
Then go right. Thanks to the Roc’s Feather you can now jump over the abyss at the bottom of the room and reach the exit much faster.
In the following room you can also jump over the blade trap.
Continue south until you reach the room where you previously defeated the Moldorm worm for 20 Rupees. From there, run to the right.
You will come to a room with a chest with a Spark circling around it. Wait for the right moment and open the chest. Inside is another Small Key.
Then take the upper path on the right side. This will take you to the upper level in the next room.
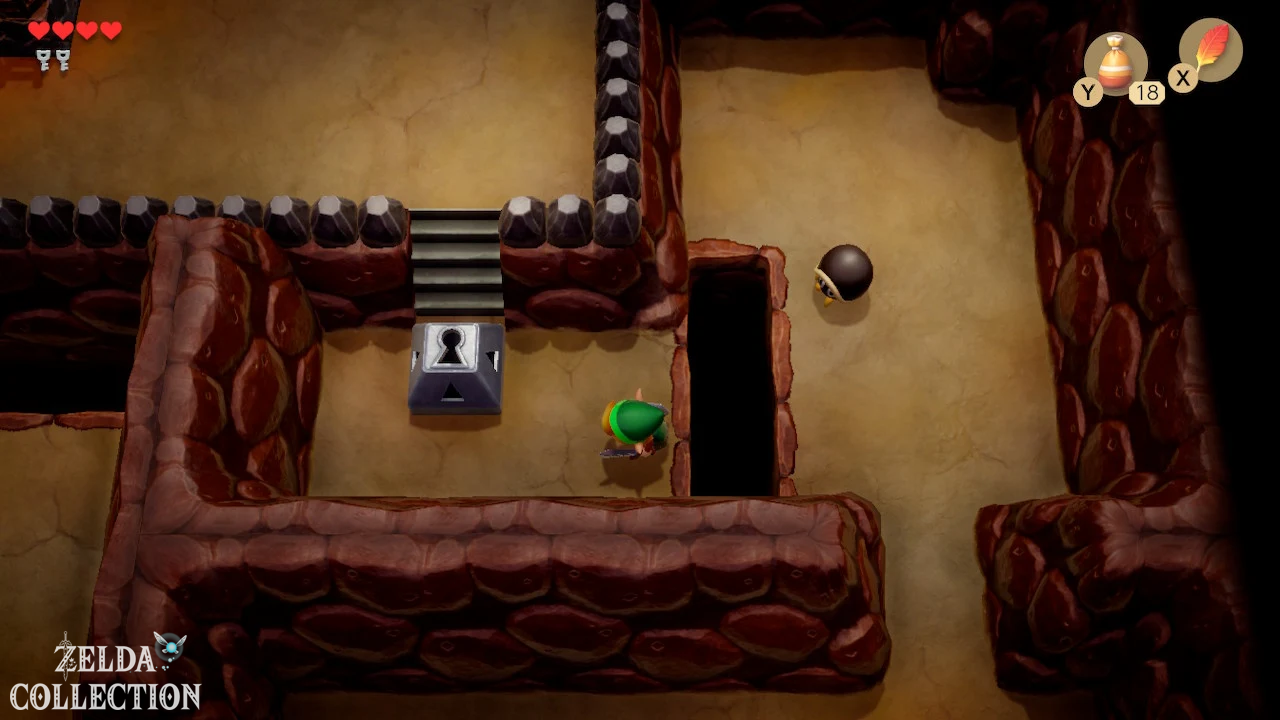
Go north. Another Hardhat Beetle is waiting here. Jump over the abyss with the Roc’s Feather and open the key block.
Climb the stairs and go left.
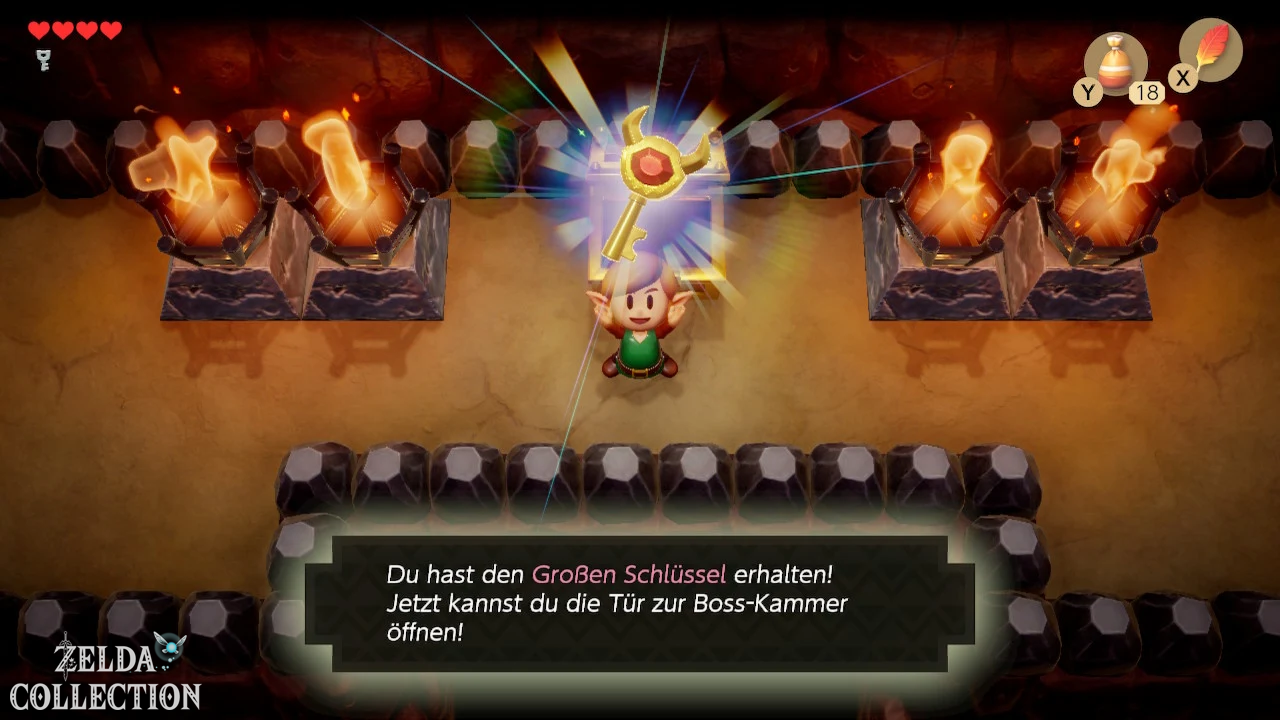
In the chest there is the Nightmare Key. You can use it later to open the door to the final boss of the Tail Cave.
Get the Stone Beak
Now return to the room with the chest and the circling Spark.
This time take the lower path on the right and open the locked door.
Two Sparks are orbiting in the following room. Use the Roc’s Feather to avoid their attacks and go up first.
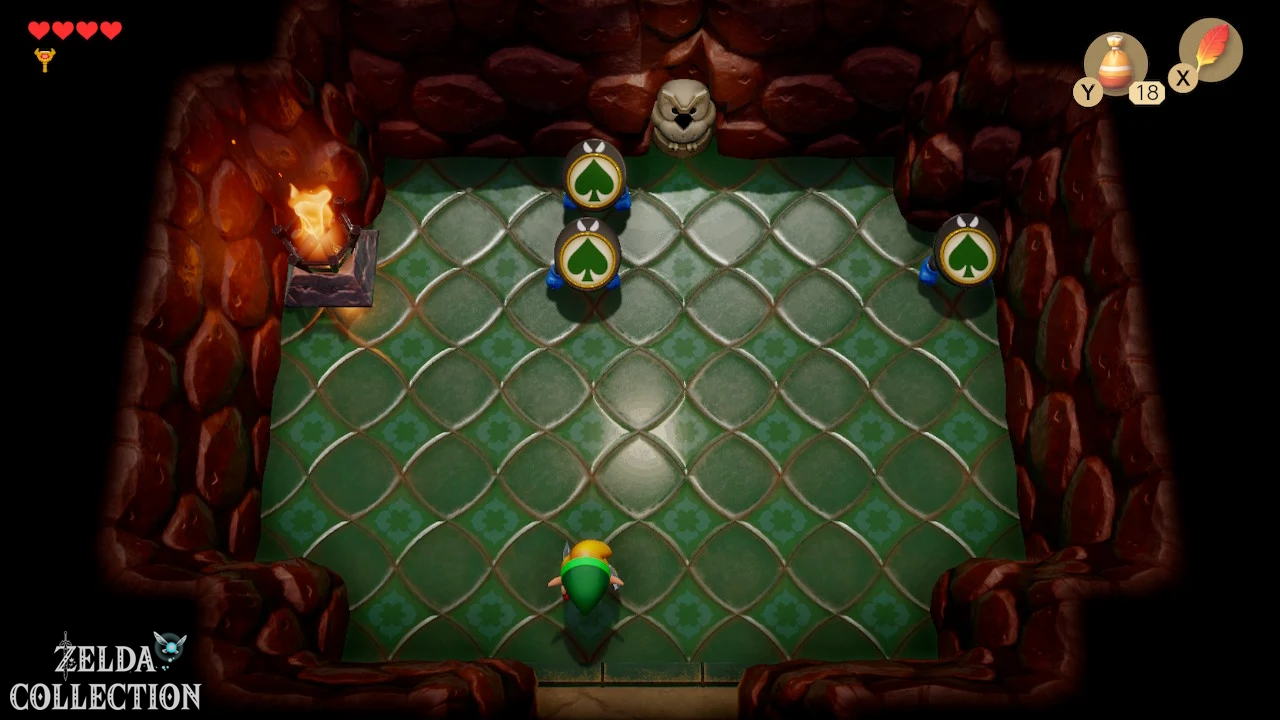
A little puzzle awaits you here. Three opponents show constantly changing symbols such as hearts, diamonds, spades or clubs on their stomachs.
Your goal is to hit all three enemies so that they end up same symbol show.
This works particularly easily with a charged whirl attack. Position yourself so that you can hit all three opponents at the same time.
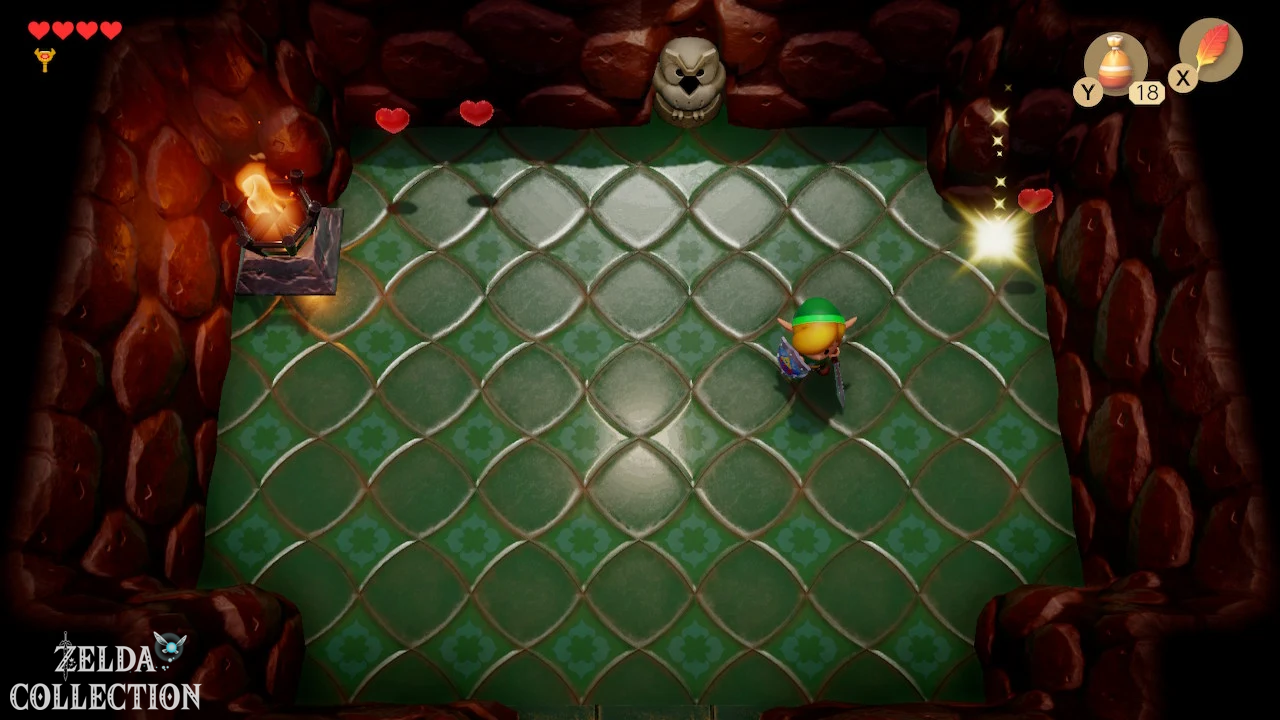
Once all symbols match, a chest will appear. Inside is the Stone Beak.
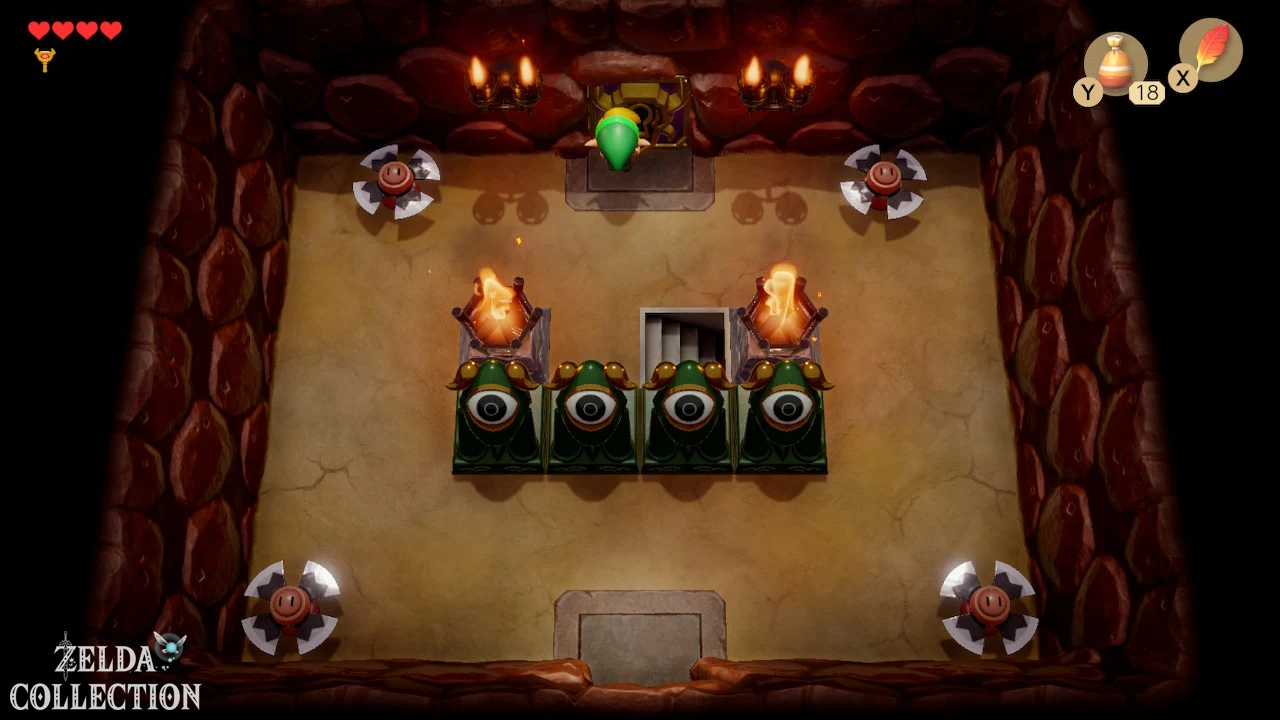
You can use the Stone Beak to read the owl statues within the dungeon. Their clues explain, among other things, how to defeat certain opponents or solve individual puzzles.
Then return to the previous room and jump over the abyss to the right.
Intermediate boss: Rolling Bones
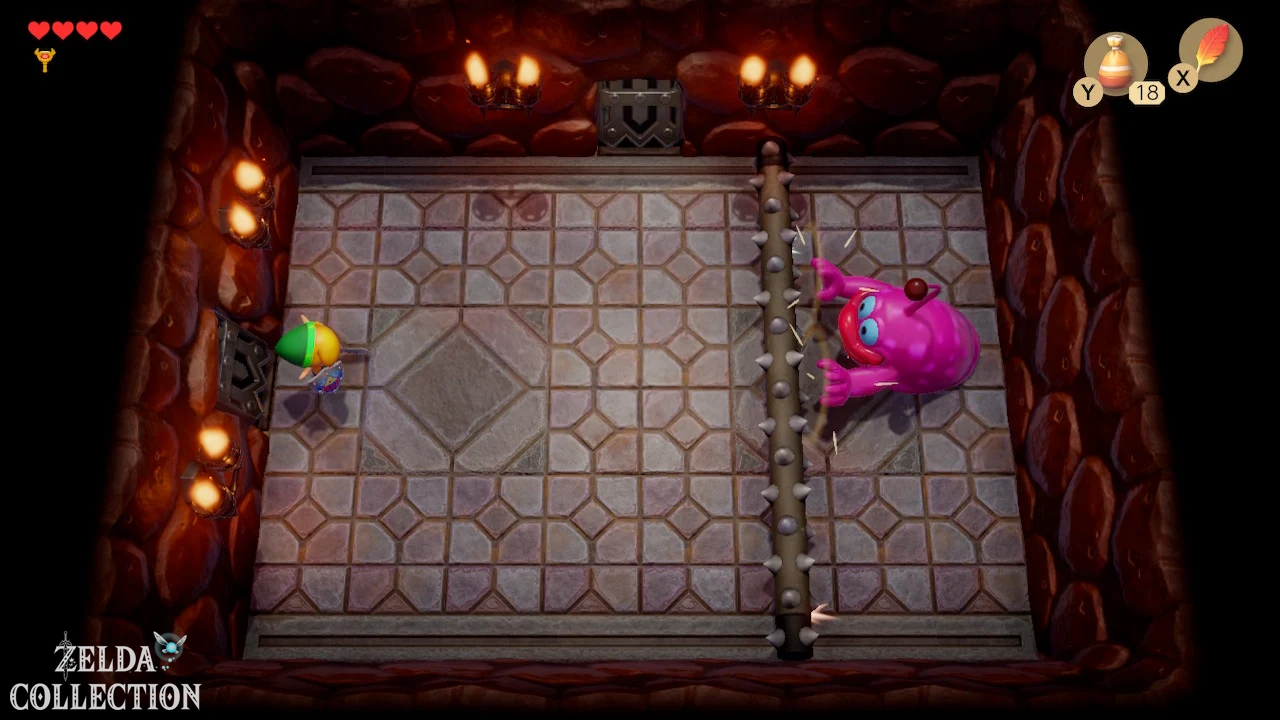
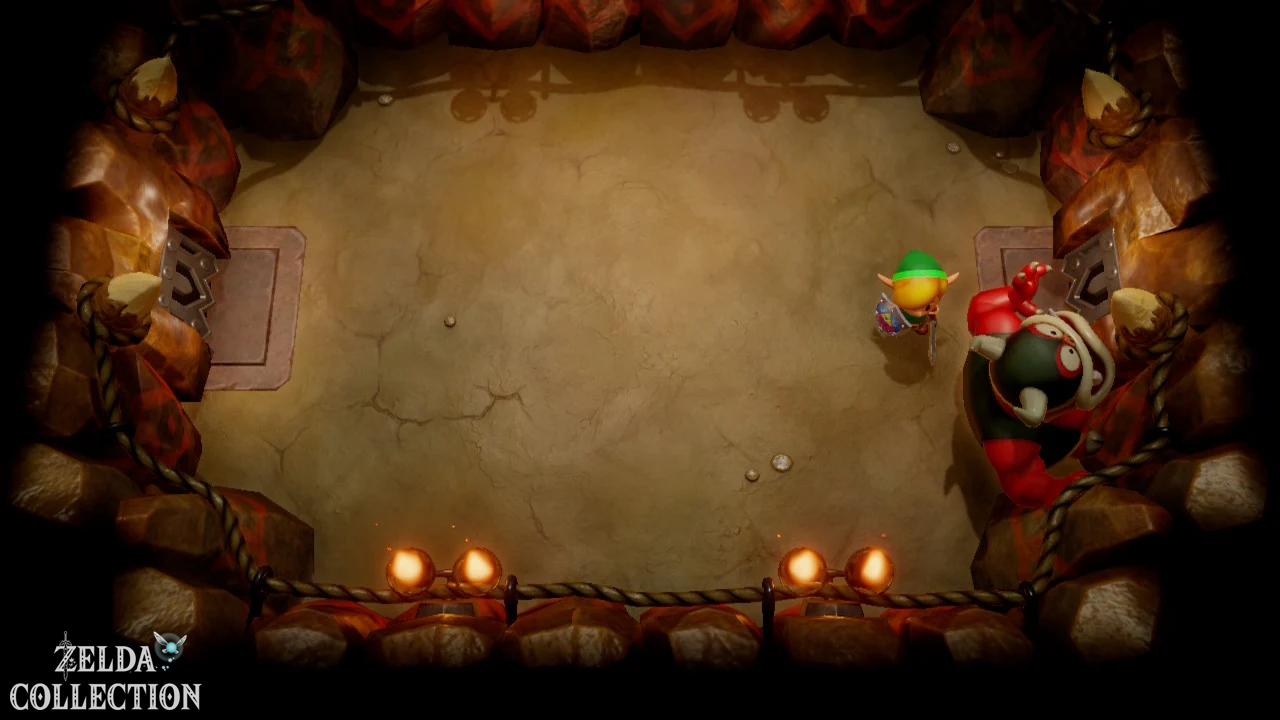
The first intermediate boss of the game is waiting for you in the next room: the Rolling Bones.
The opponent pushes a large roller across the room towards you. The fight is also a small test for the Roc’s Feather you just received.
Wait until the roller comes towards you and jump over it with the Roc’s Feather.
Then run to the enemy and attack him with the sword. As soon as he walks back to the roller, put some distance between you and repeat the process.
After several hits, the Rolling Bones is defeated.
A small fairy appears and heals you. At the same time, a teleporter is activated, connecting this room to the entrance to the Tail Cave.
If you need to leave the dungeon or return after a game over, this will allow you to get back to the boss area much more quickly.
Then go north. In the next room, avoid the blade traps and open the upper door. You can ignore the stairs at this point.
Boss: Moldorm
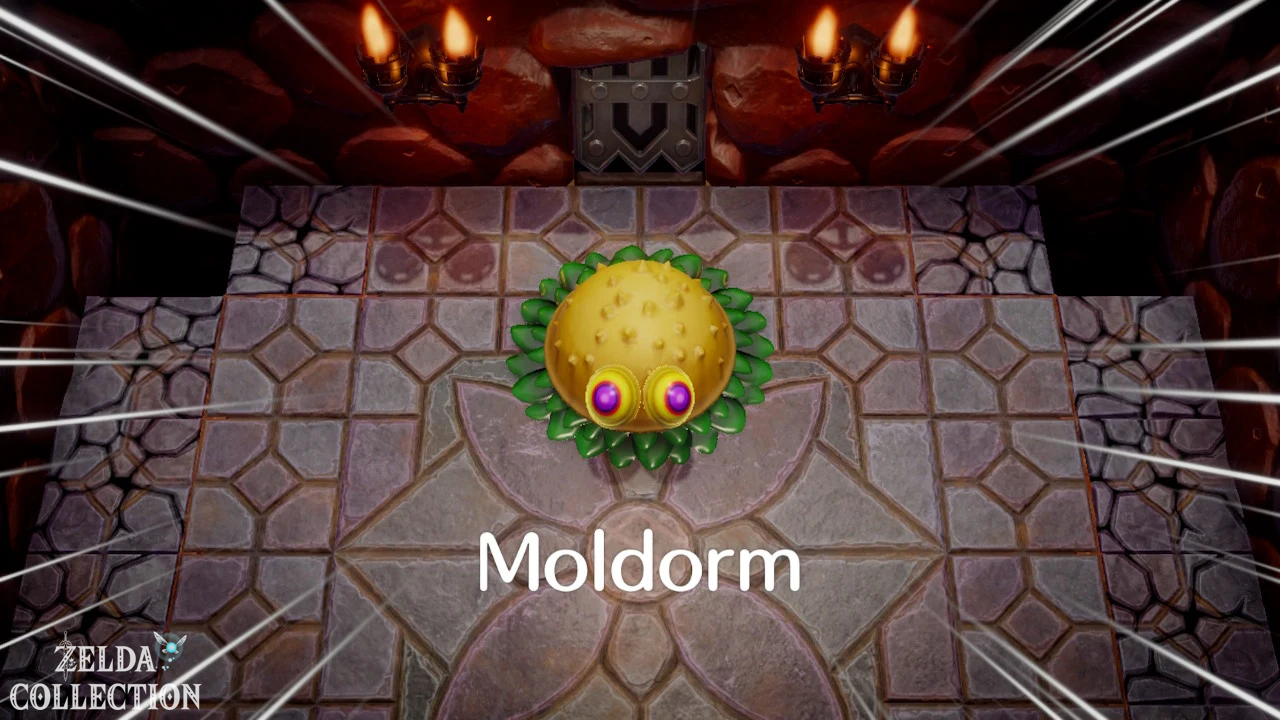
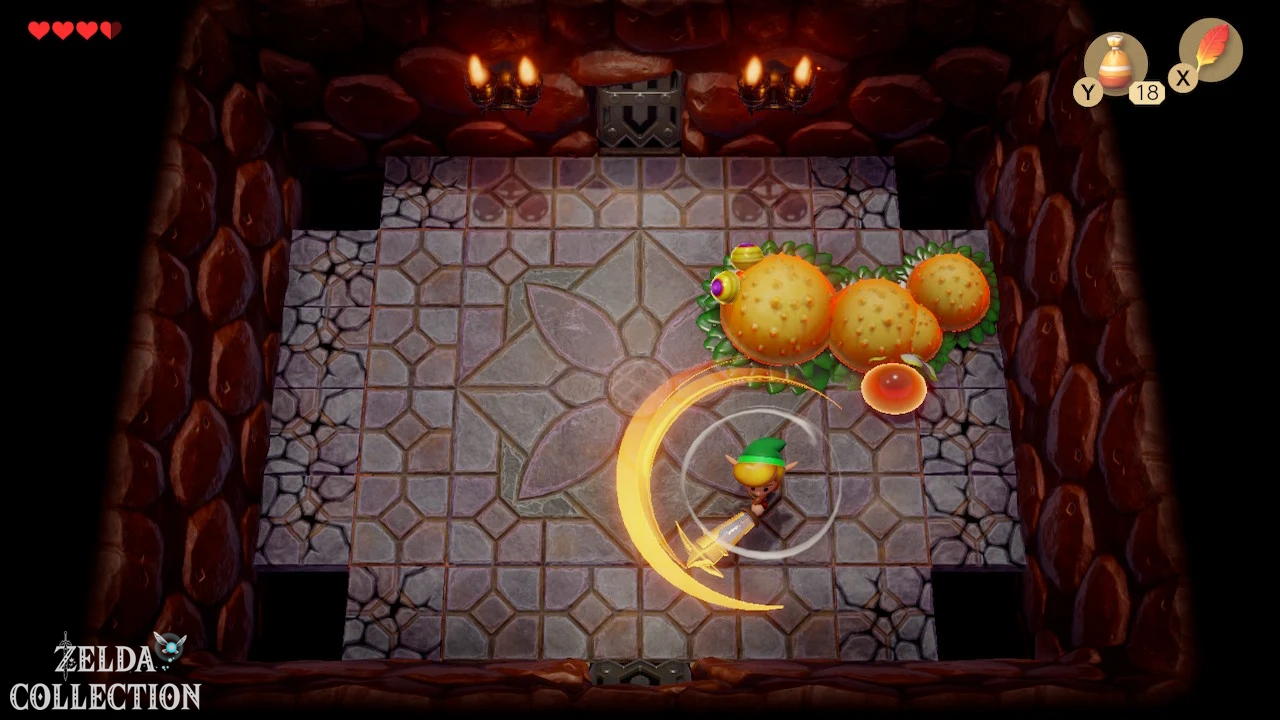
Behind the door with the Nightmare Key is Moldorm, the final boss of the Tail Cave.
Veterans of the Zelda series may already know the opponent from The Legend of Zelda: A Link to the Past.
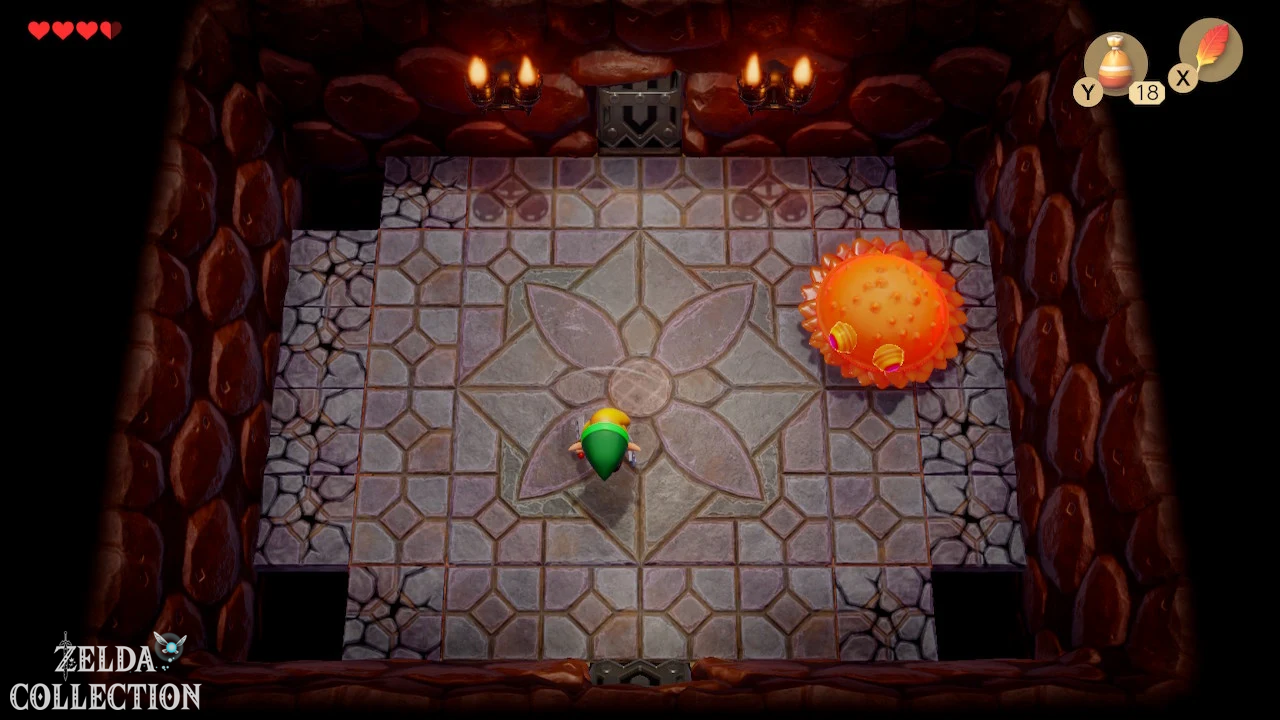
Moldorm moves quickly and erratically across the platform. Its only vulnerable point is the glowing tip of its tail.
Stay in the middle of the platform if possible and do not try to unnecessarily follow Moldorm to the edge. One of his hits can send Link flying back a long way. If you fall into the abyss, you have to go back to the arena and the fight begins again.
The safest method is to wait for Moldorm’s movements and aim for his tail with normal sword strikes.
Alternatively, you can prepare a spin attack. It causes significantly more damage, but there is a risk of being knocked off the platform by Moldorm when charging.
After several hits, Moldorm is defeated.
Heart Container and Full Moon Cello
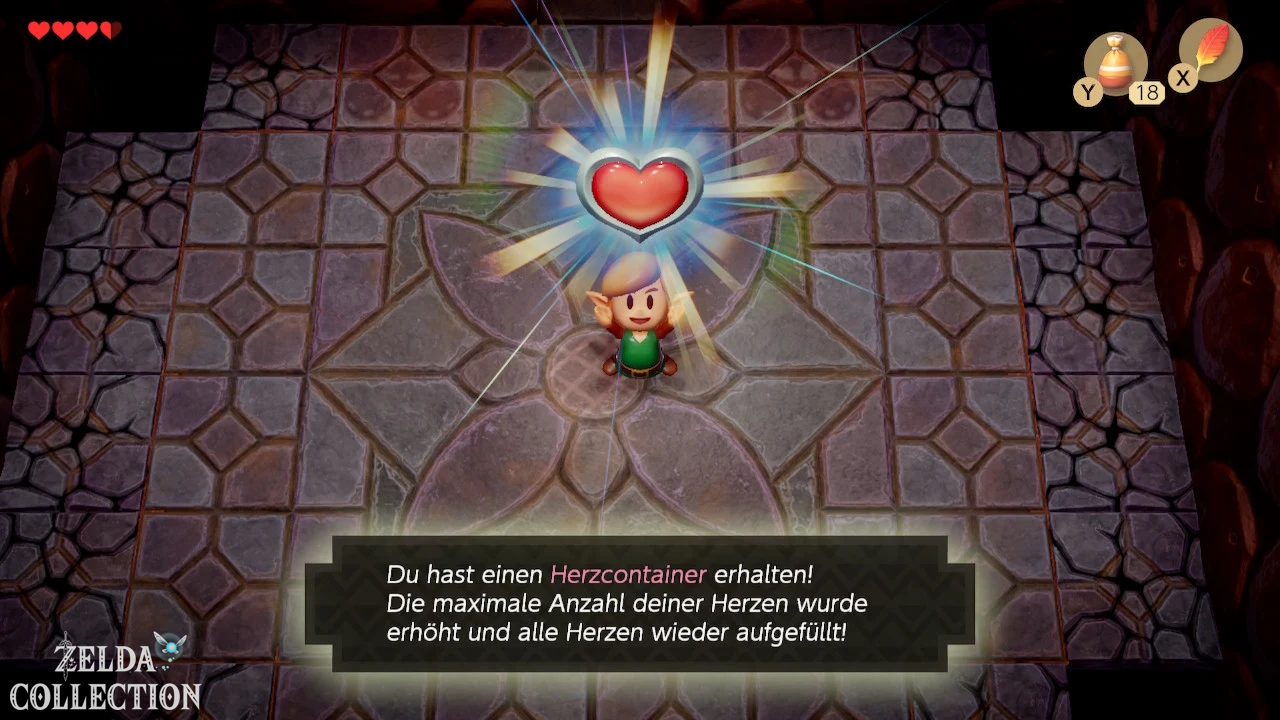
After Moldorm’s defeat, a Heart Container appears.
Be sure to take it with you. Unlike a Piece of Heart, a complete Heart Container immediately increases your maximum health by a whole heart.
Then go through the door into the last room of the dungeon.
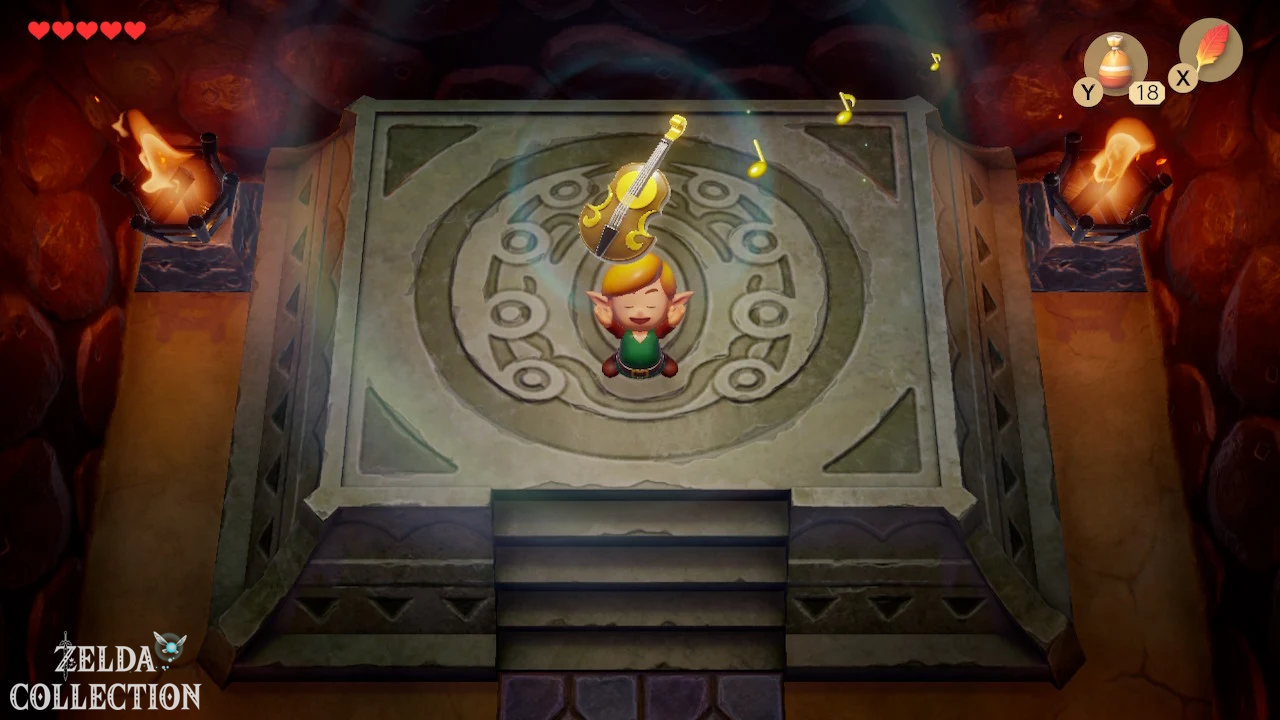
There floats the first of the sirens’ eight instruments: the Full Moon Cello.
As soon as Link touches it, a short melody plays. A mysterious voice then tells you that your next destination is in the swamp.
Optional content after the Tail Cave
Make up for the Secret Seashell in the Tail Cave
If you didn’t pick up the secret Secret Seashell behind the cracked wall because you were missing bombs, keep its Location in mind.
It’s not worth spending too much time looking for bombs now. As soon as you have enough bombs in the further course of the game, we briefly return to the Tail Cave and get the shell.
New figure in the Trendy Game
After completing the Tail Cave, another figure will become available for the figure collection in the Trendy Game.
If you have already started the series of figures in the first section, you can win the Goomba figure the next time you return to Mabe Village.
Then bring the figure to the designated base in Mabe Village. Although the characters have no influence on the main story, they are part of a complete save game in the Nintendo Switch version.
You can also find all figures and their respective installation locations in our overview of the figures in Link’s Awakening.
Back to Mabe Village
Leave the Tail Cave and make your way back to Mabe Village.
However, a nasty surprise awaits you there: BowWow was kidnapped by Moblins.
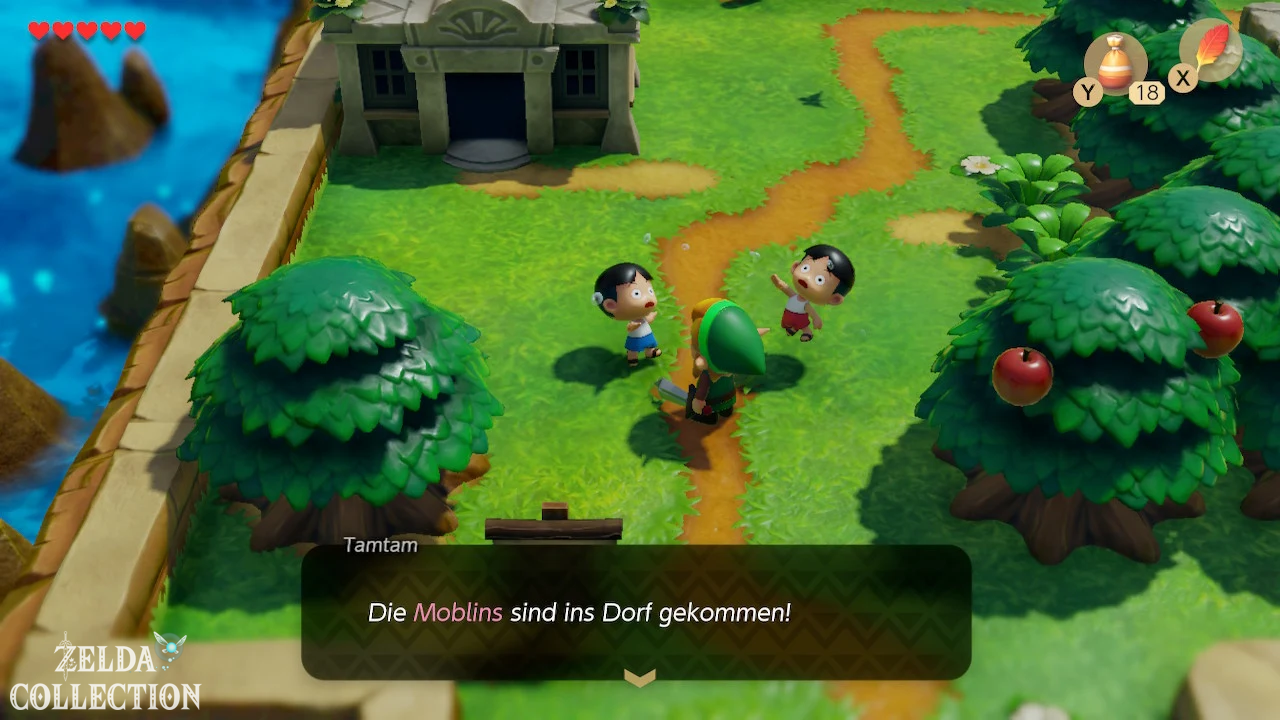
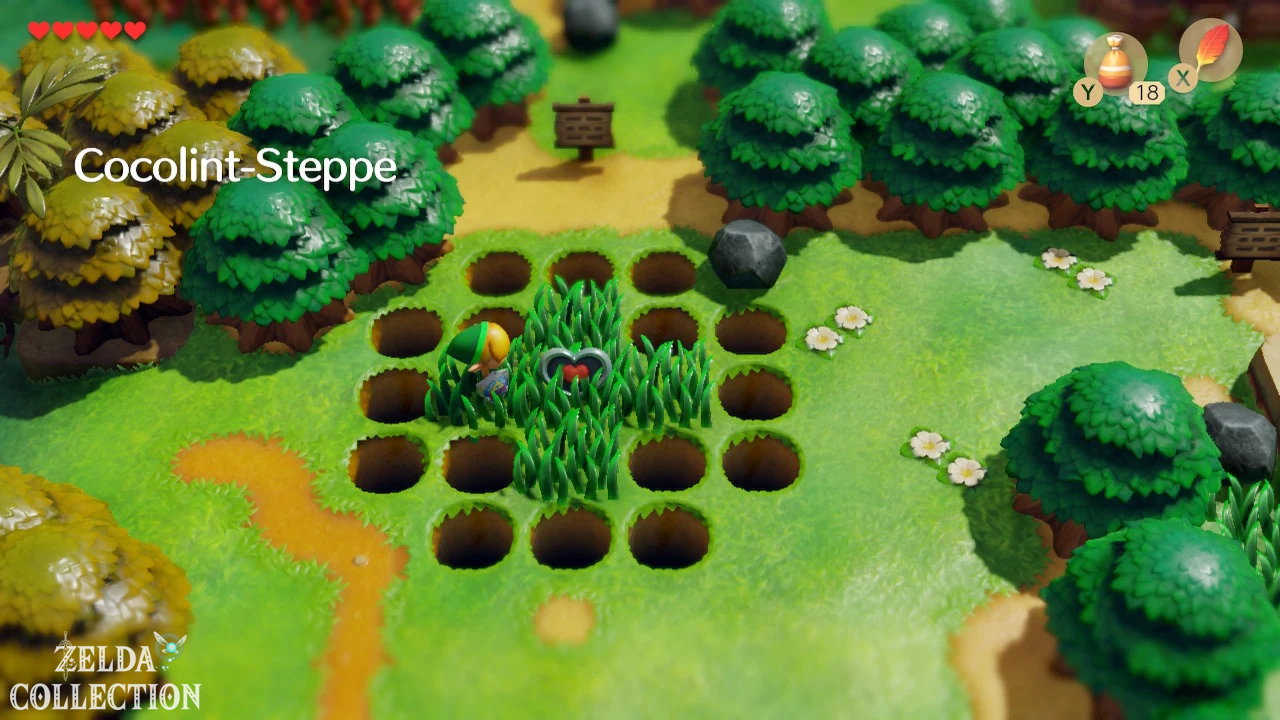
Before you can reach the second dungeon, you must rescue Madam MeowMeow’ chain dog. Thanks to the Roc’s Feather you just received, you can now jump over the chasms north of the Mysterious Forest and reach the Moblin hideout.
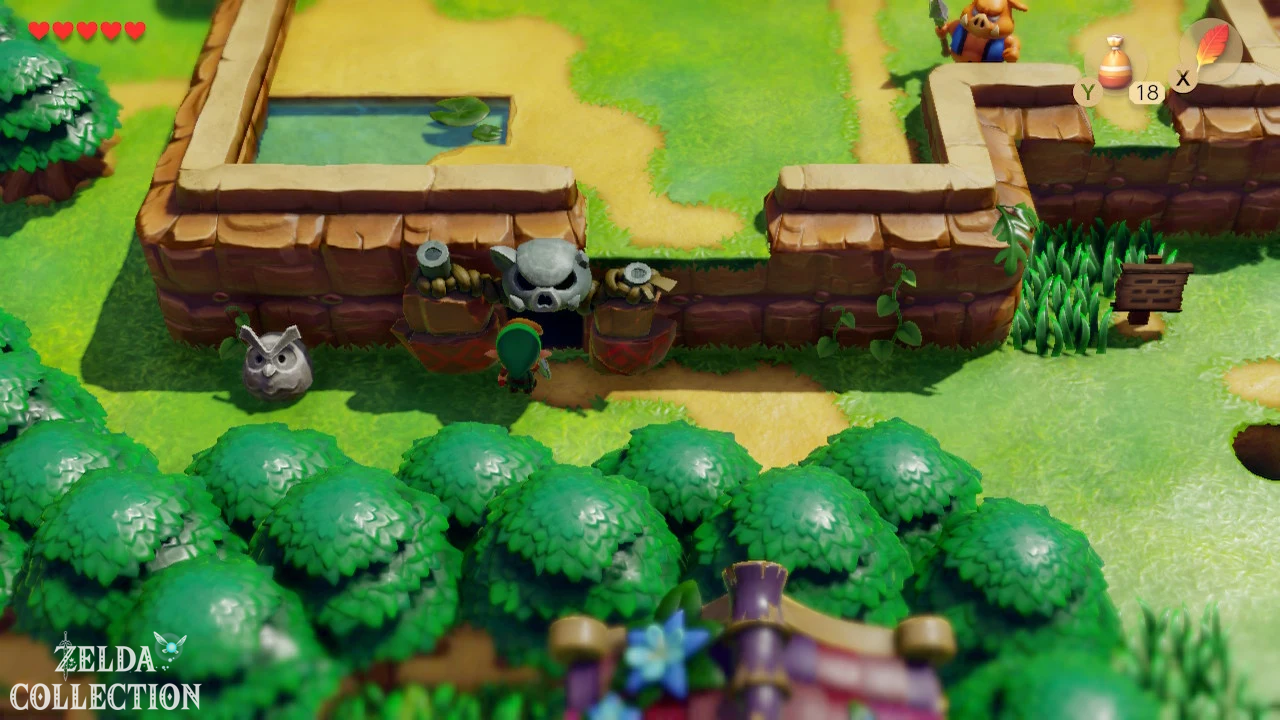
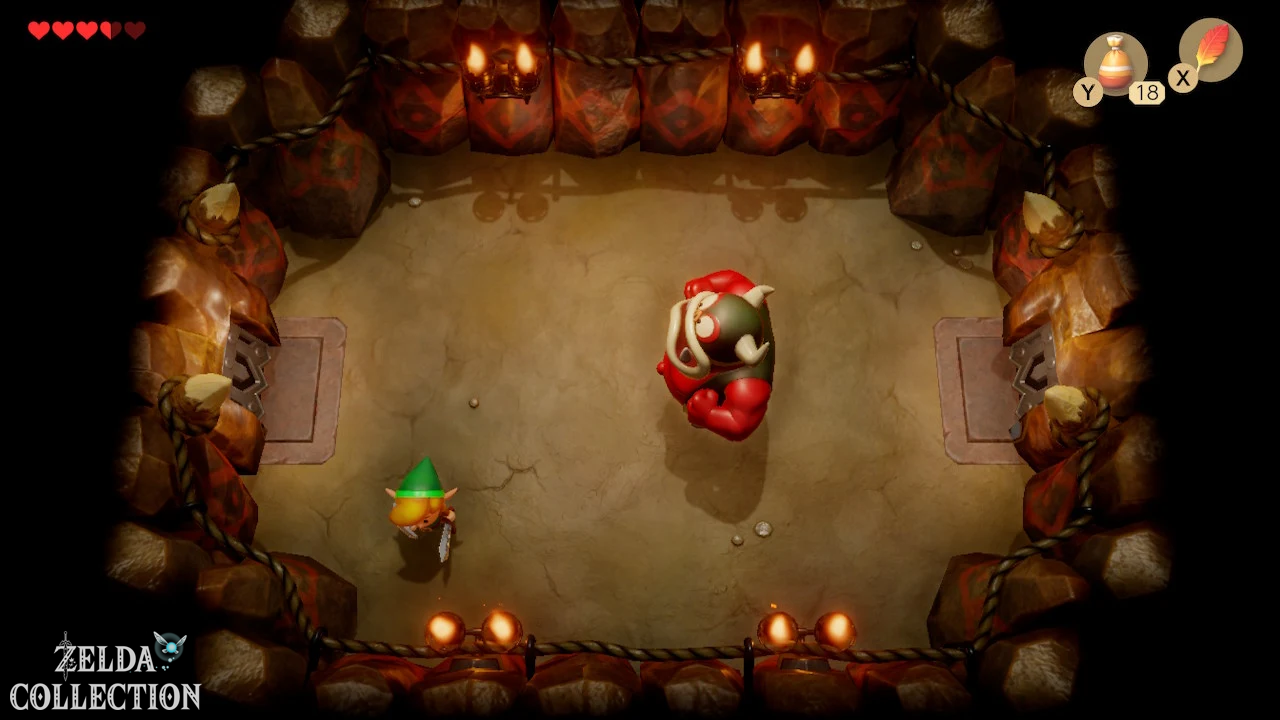
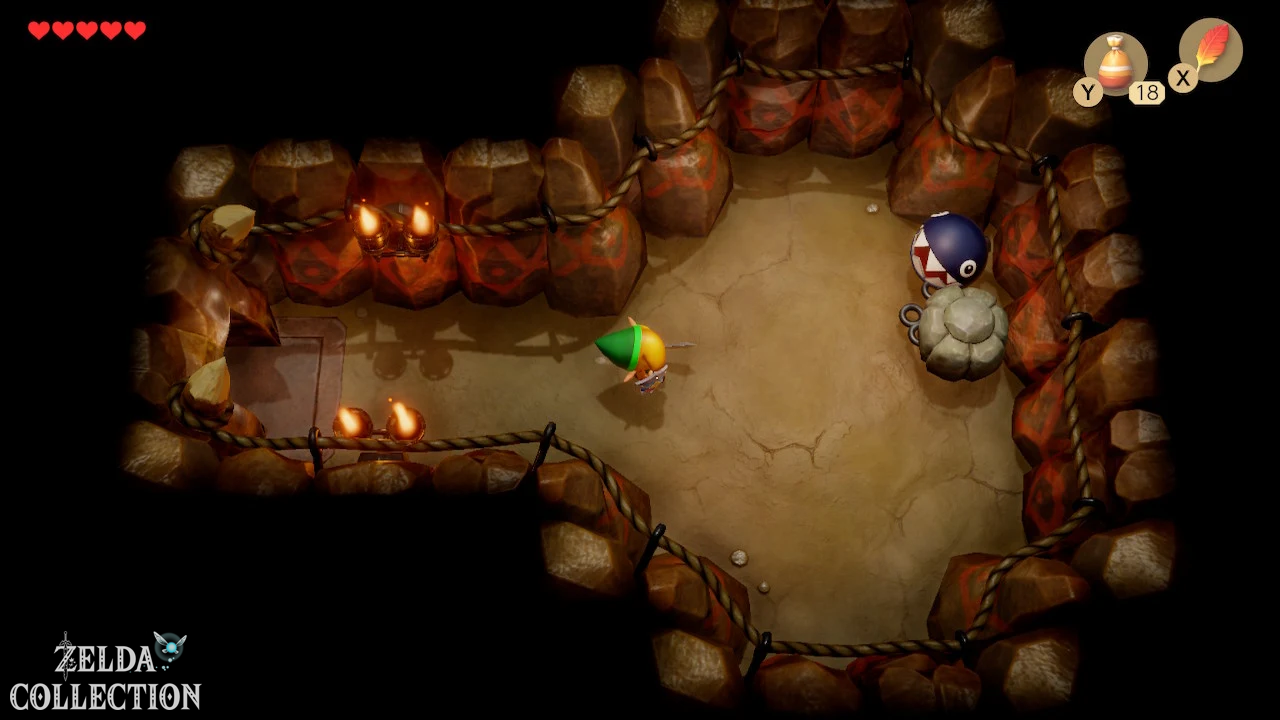
This begins the next major section of the Walkthrough: BowWow’s rescue, the Goponga Swamp and the Bottle Grotto.