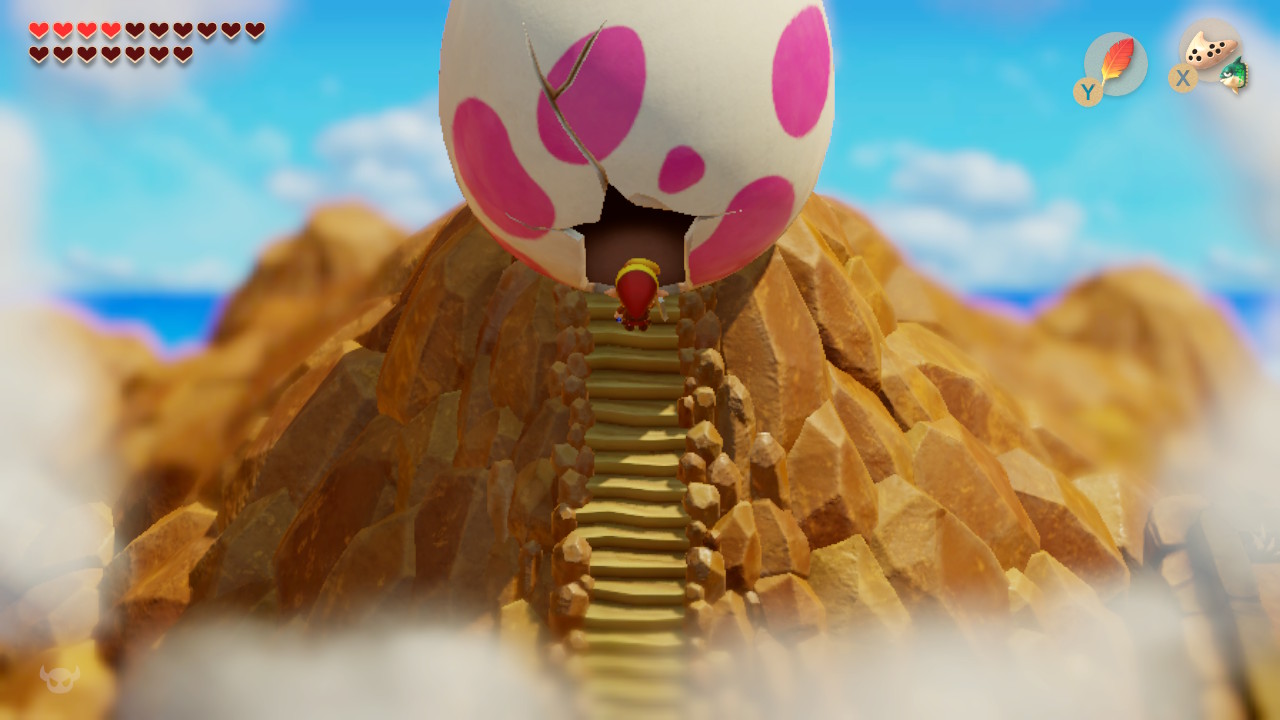

All eight instruments of the Sirens are finally in Link’s possession. If you’ve followed our 100% route this far, Koholint practically completely processed: all of them 32 Pieces of Heart and 50 Secret Seashells were collected, Link has three bottles, all figures, Magnifying Lens and Boomerang, the Koholint Sword, all three capacity upgrades, the reward from the Color Dungeon and the special ones Chamber Stones. Also Dampé’ last important challenge should be completed, giving Link the maximum of 20 hearts reached. There are no others in the Wind Fish’s Egg itself Pieces of Heart, shells or exclusive pieces of equipment – from now on it’s all about uncovering the secret of the Wind Fish and Koholint to leave.
Final preparation before the Wind Fish’s Egg
Before you set off for the egg, it’s worth taking a last look at your supplies. With our three Mad Batters you can have up to 40 units Magic Powder, carry 60 bombs and 60 arrows. What you need most for the final battle is:Magic Powder, sword,Roc’s Feather and bow; Boomerang and Magic Rod offer additional options. Fill your hearts completely and take fairies into them if necessary three bottles with. A Secret Medicine from Crazy Tracy is also good insurance. If you want to achieve the special ending for a round without Game Over, you should also check on the file selection screen that the death counter is still at 0 stands.
Use the collectible guides to check the 32 Pieces of Heart, 50 Secret Seashells, three Fairy Bottles and equipment before entering the egg. The final BowWow figurine and its associated Chamber Stone become available after the credits.
Read the dark secrets of Koholint
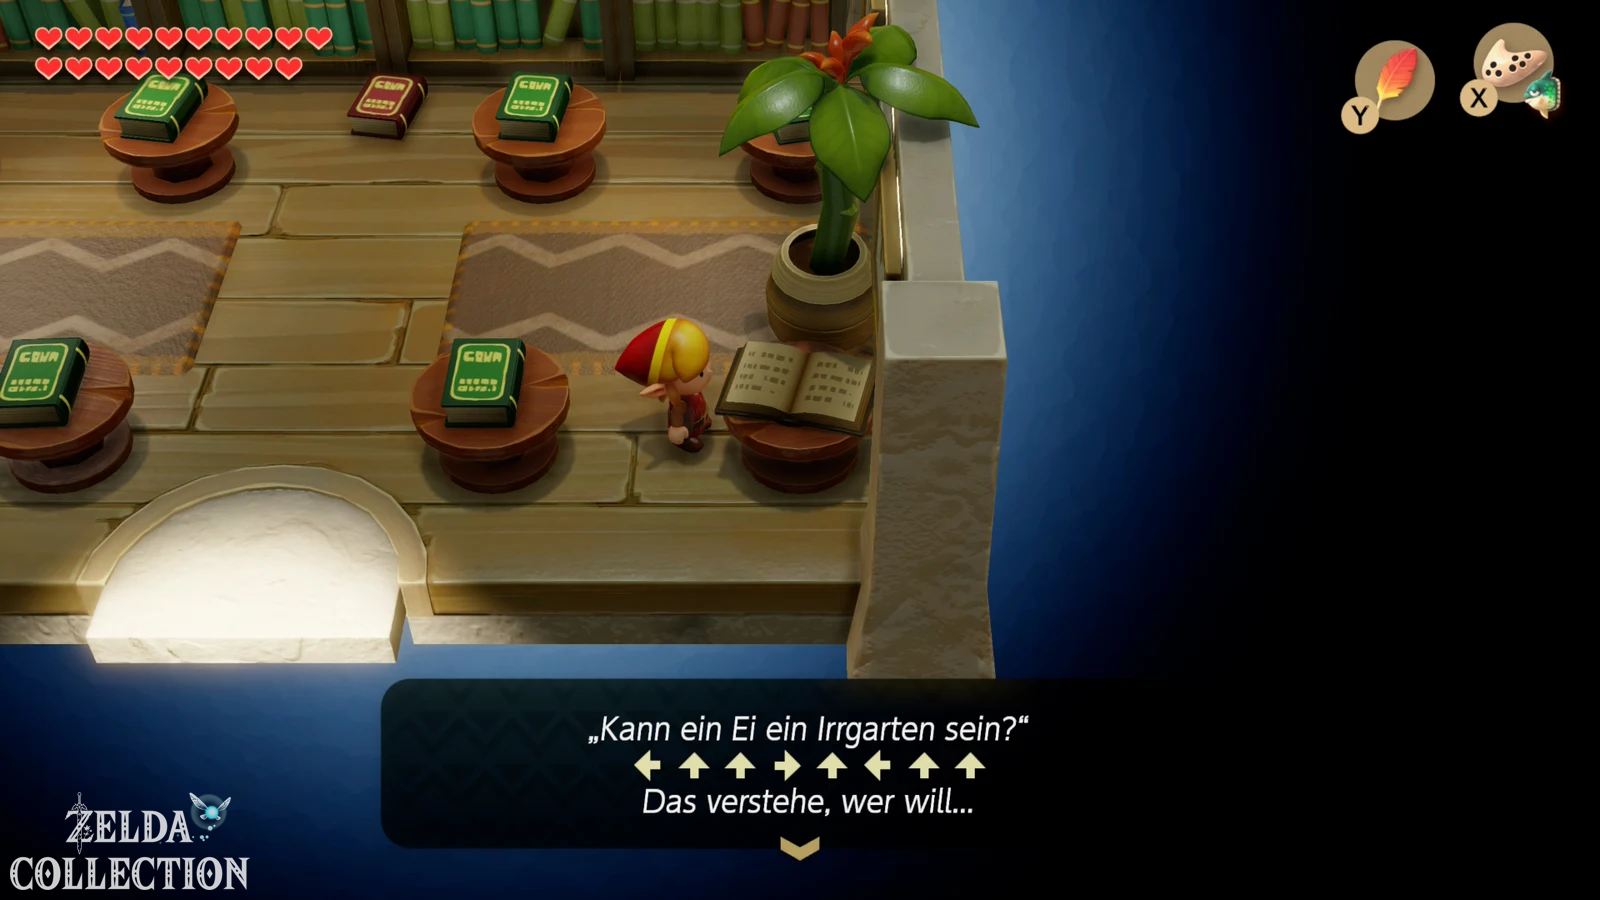
First return to Mabe Village and enter the library south of Marin and Tarin’s house. In the bottom corner is the book “The Dark Secrets of Koholint”. At the beginning of the adventure the letters were too small, but thanks to the Magnifying Lens you can now read the text. The book shows you a sequence of directional arrows. Memorize this order exactly or write it down, because it is the only reliable way through the labyrinth in the Wind Fish’s Egg.
Important for the Nintendo Switch version: Do not take the arrow sequence from any Walkthrough. In the remake, the path through the Wind Fish’s Egg is completely randomized and you have to use the combination from your own book. In the original Game Boy game and in Link’s Awakening DX, however, there are only a small number of predefined arrow patterns, one of which is selected for the respective game state. This change actually makes the Magnifying Lens indispensable for a regular walkthrough in the remake.
If you are still missing the magnifying glass, you have not completely completed the exchange series. In this case, you first follow our guide to the exchange transactions and the Magnifying Lens.
For the Wind Fish’s Egg on the Mt. Tamaranch
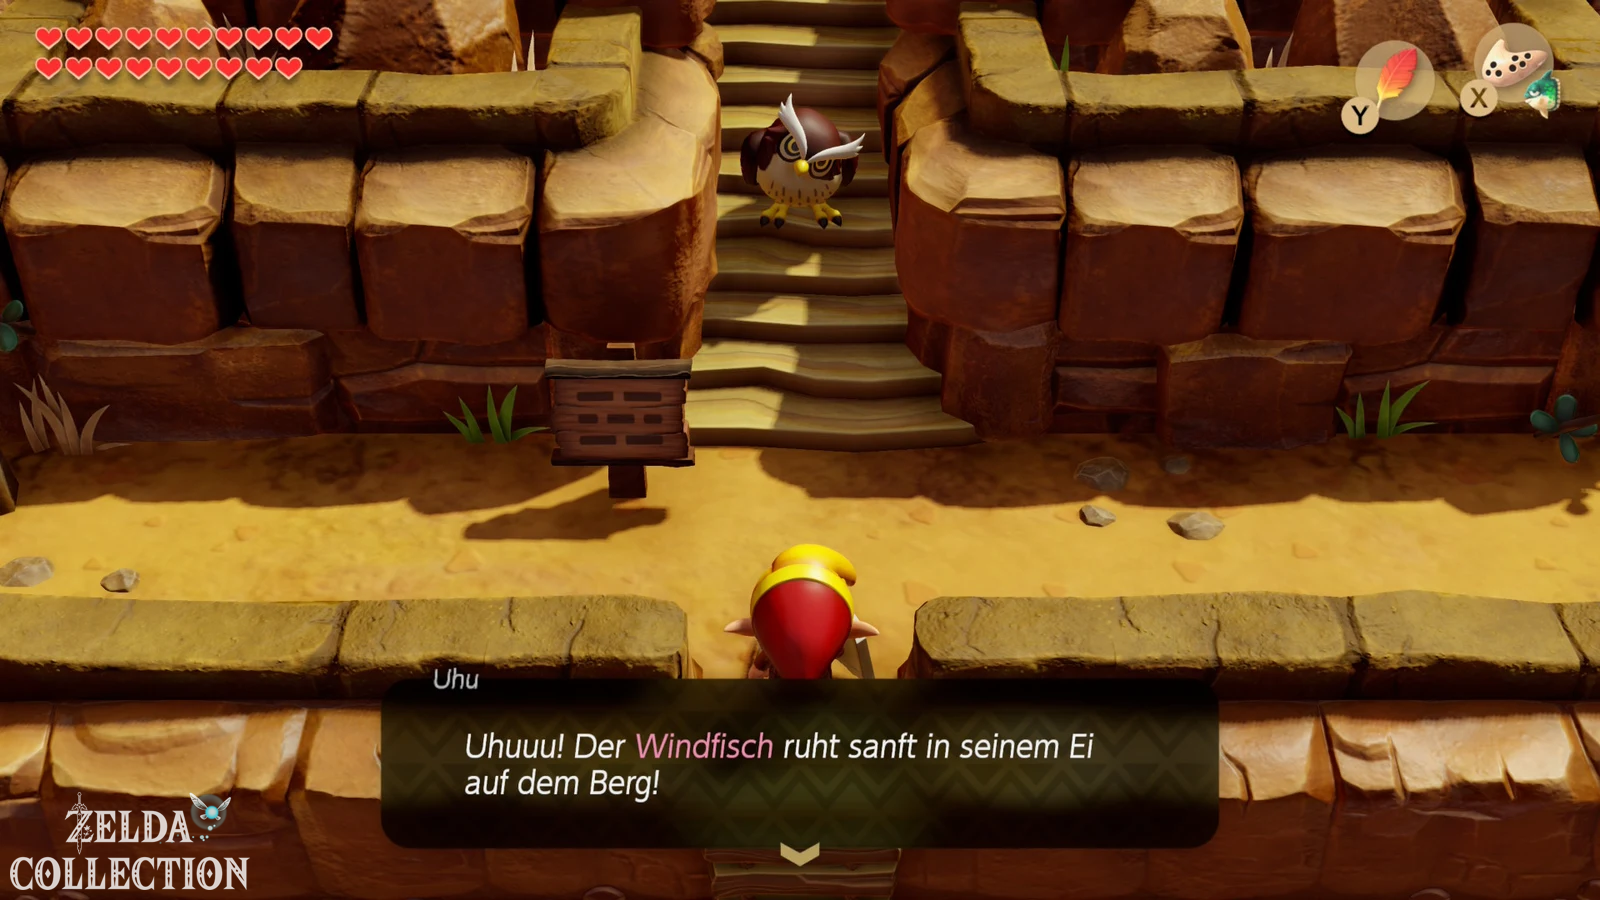
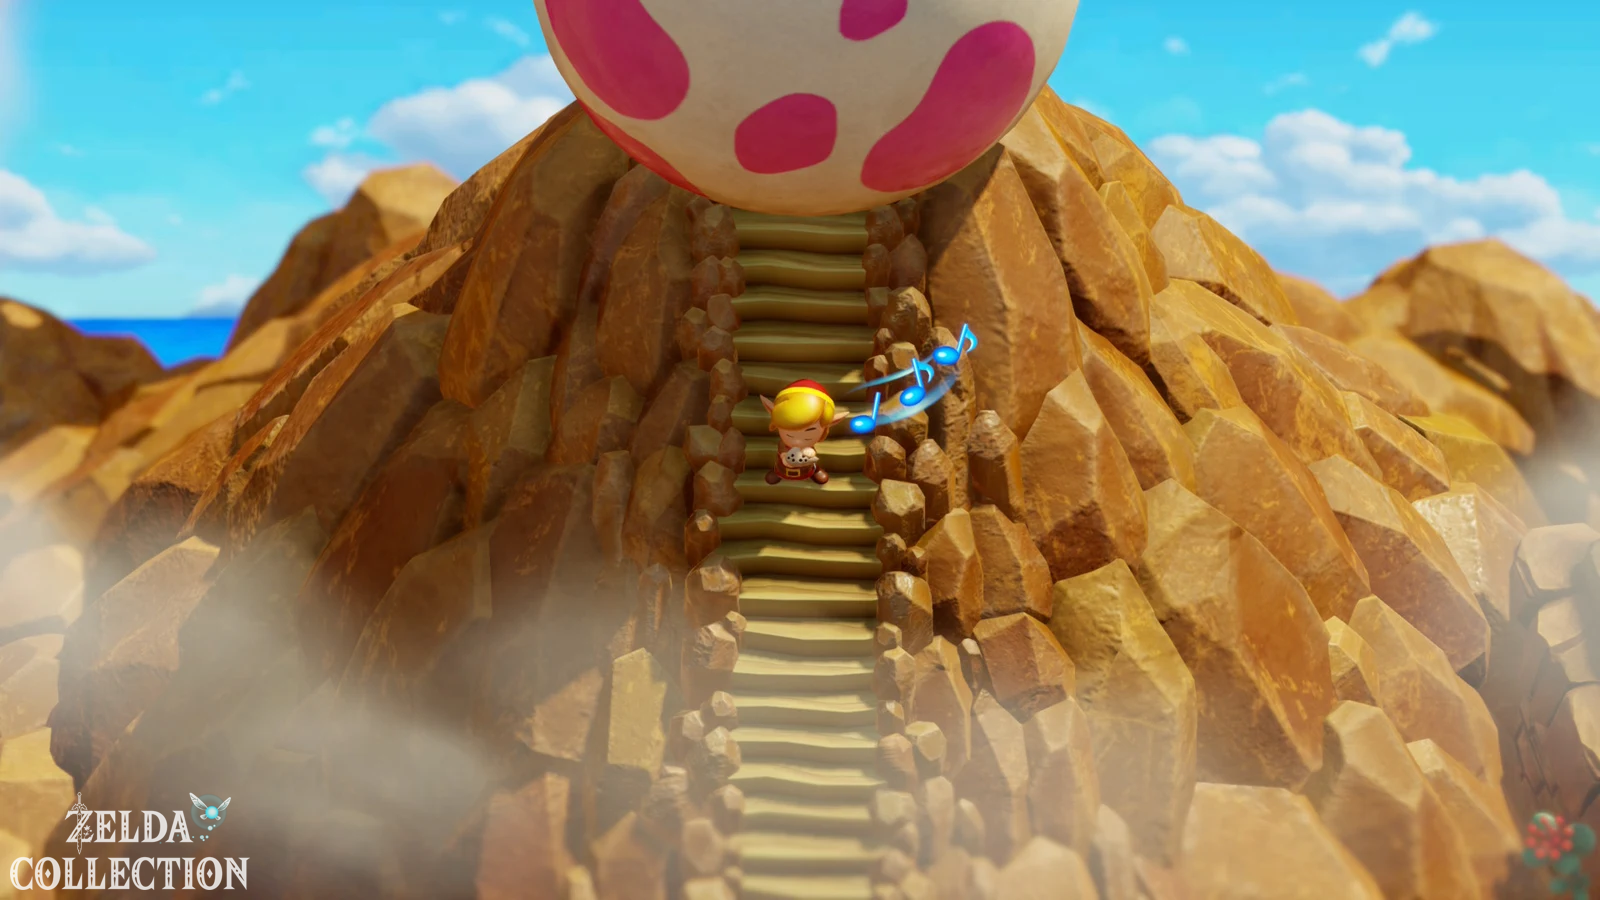
Leave Mabe Village and use Manbo’s Mambo to travel as close as possible to the Tal Tal Mountain Range. The huge Mt. Tamaranch with the Wind Fish Egg is located north of the Mysterious Forest and was visible from afar throughout the game. Climb up the familiar ladder and go right in front of the egg. Make sure that the Ballad from Wind Fish is available on your ocarina.
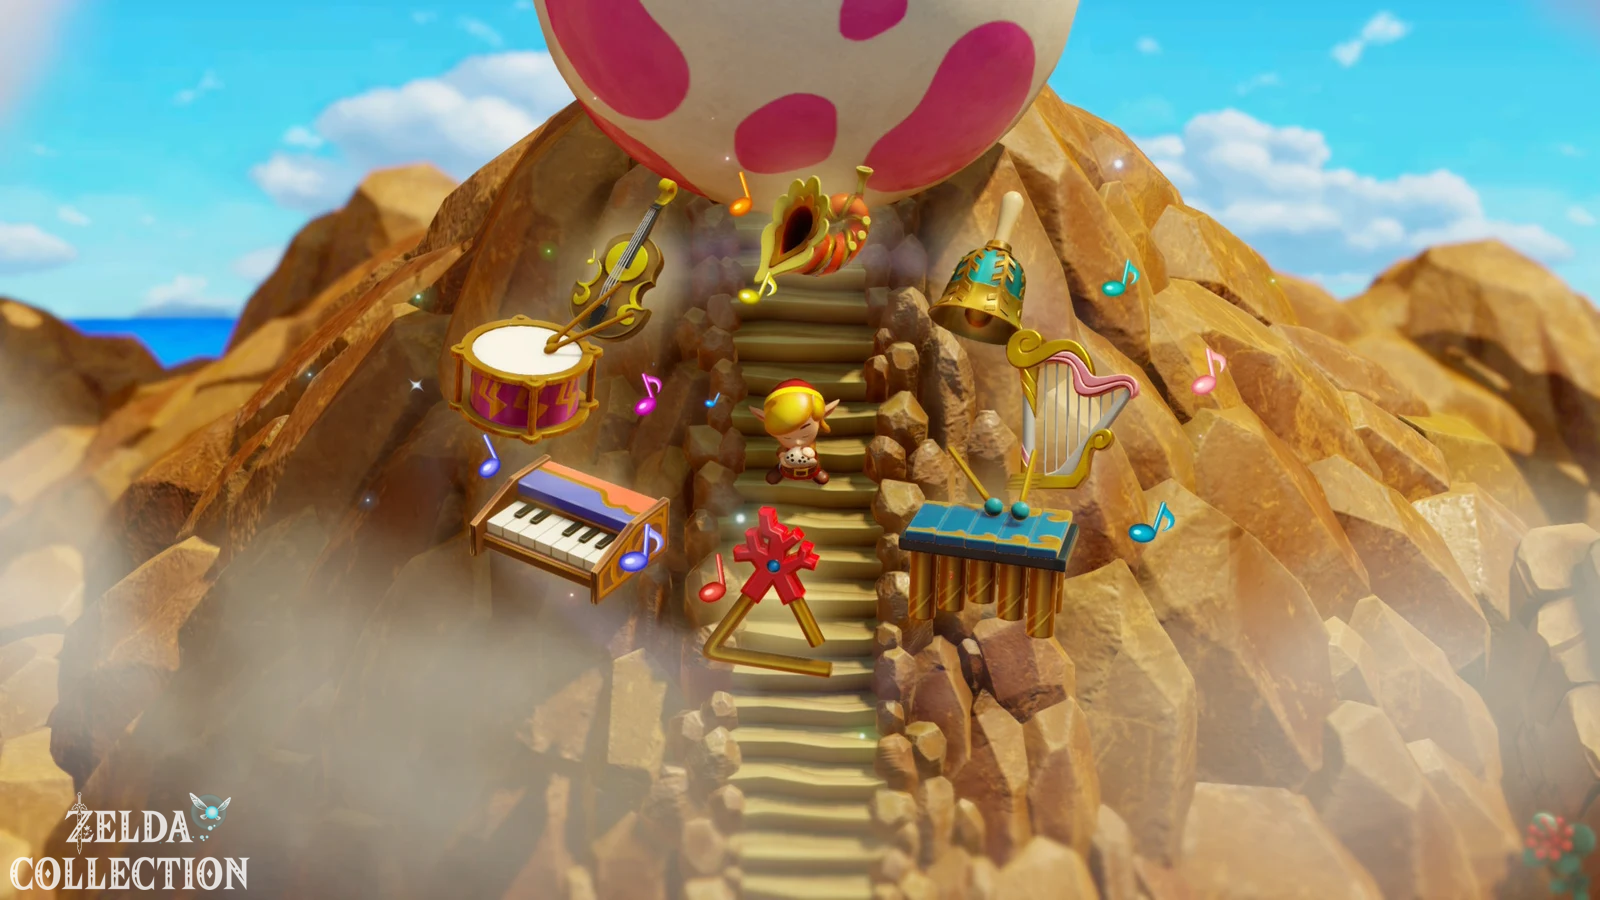
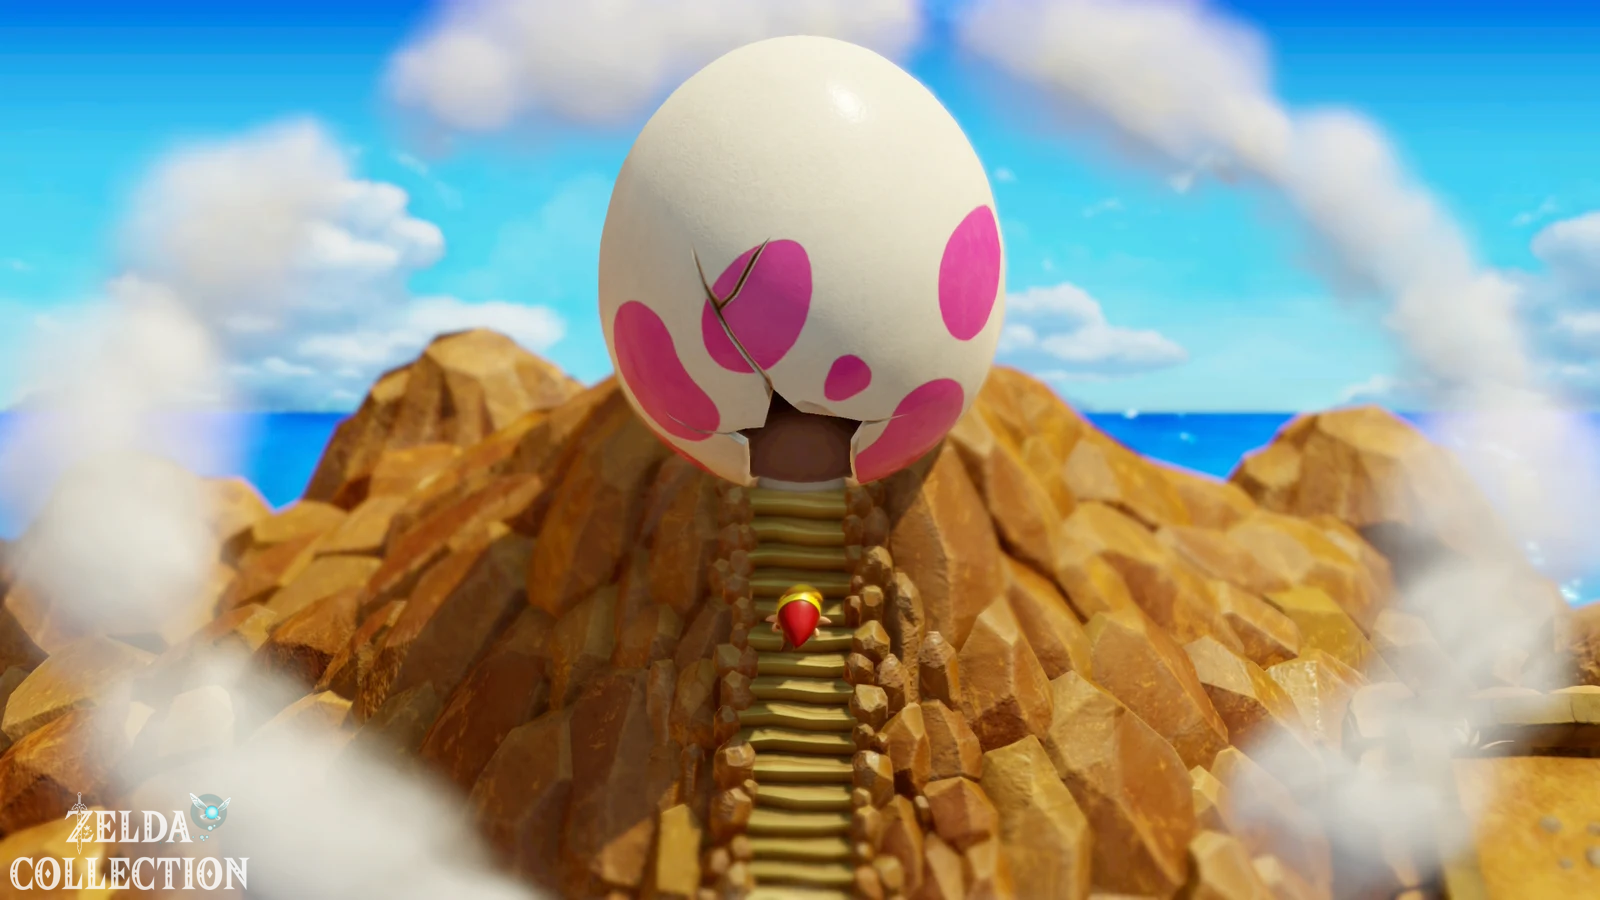
Imagine the Wind Fish’s Egg and play the ballad. The eight instruments of the sirens appear one after the other and join in the melody together. The power of the music creates huge cracks in the shell until an entrance finally breaks open. The eagle owl appears one last time before entering the egg and explains that the decisive moment has come. Then go in through the crack.
the Wind Fish’s Egg: Jump into the depths
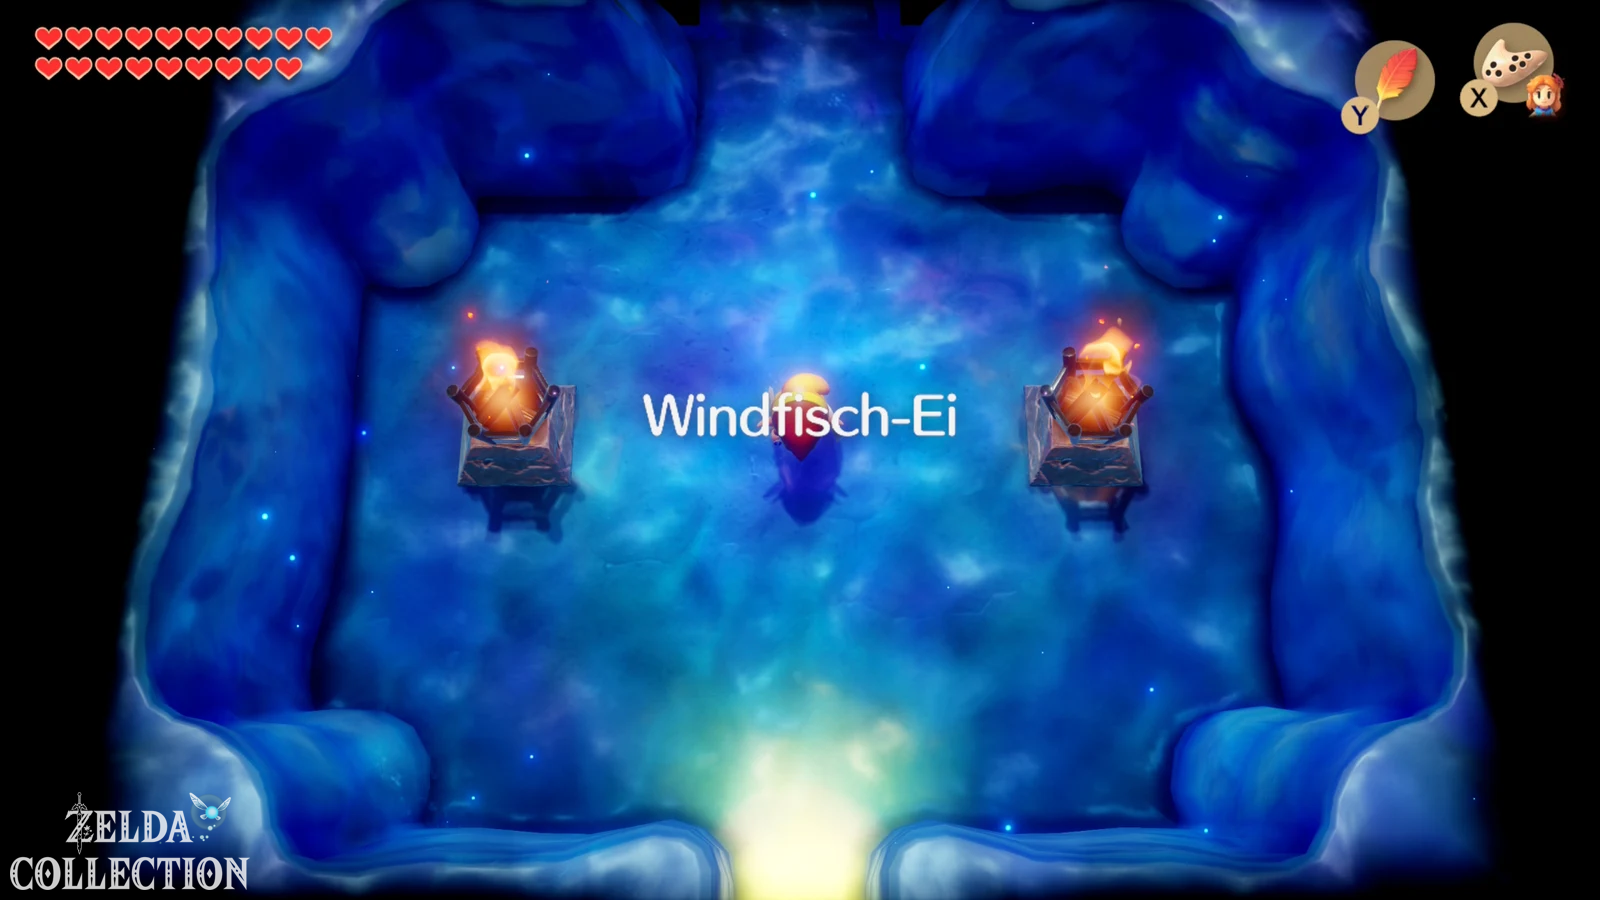
Inside it is unusually quiet and dark. In contrast to the eight normal dungeons, the Wind Fish’s Egg does not have a map, Compass, key or Treasure Chests. First just run straight ahead to north. After a few rooms the floor breaks or Link automatically falls into the depths.
You end up in a seemingly endless labyrinth of almost identical rooms. Anyone who walks around here without the clues from the library always ends up in the same place. Therefore, get out the arrow sequence you wrote down beforehand.
Find your individual path through the Wind Fish’s Egg
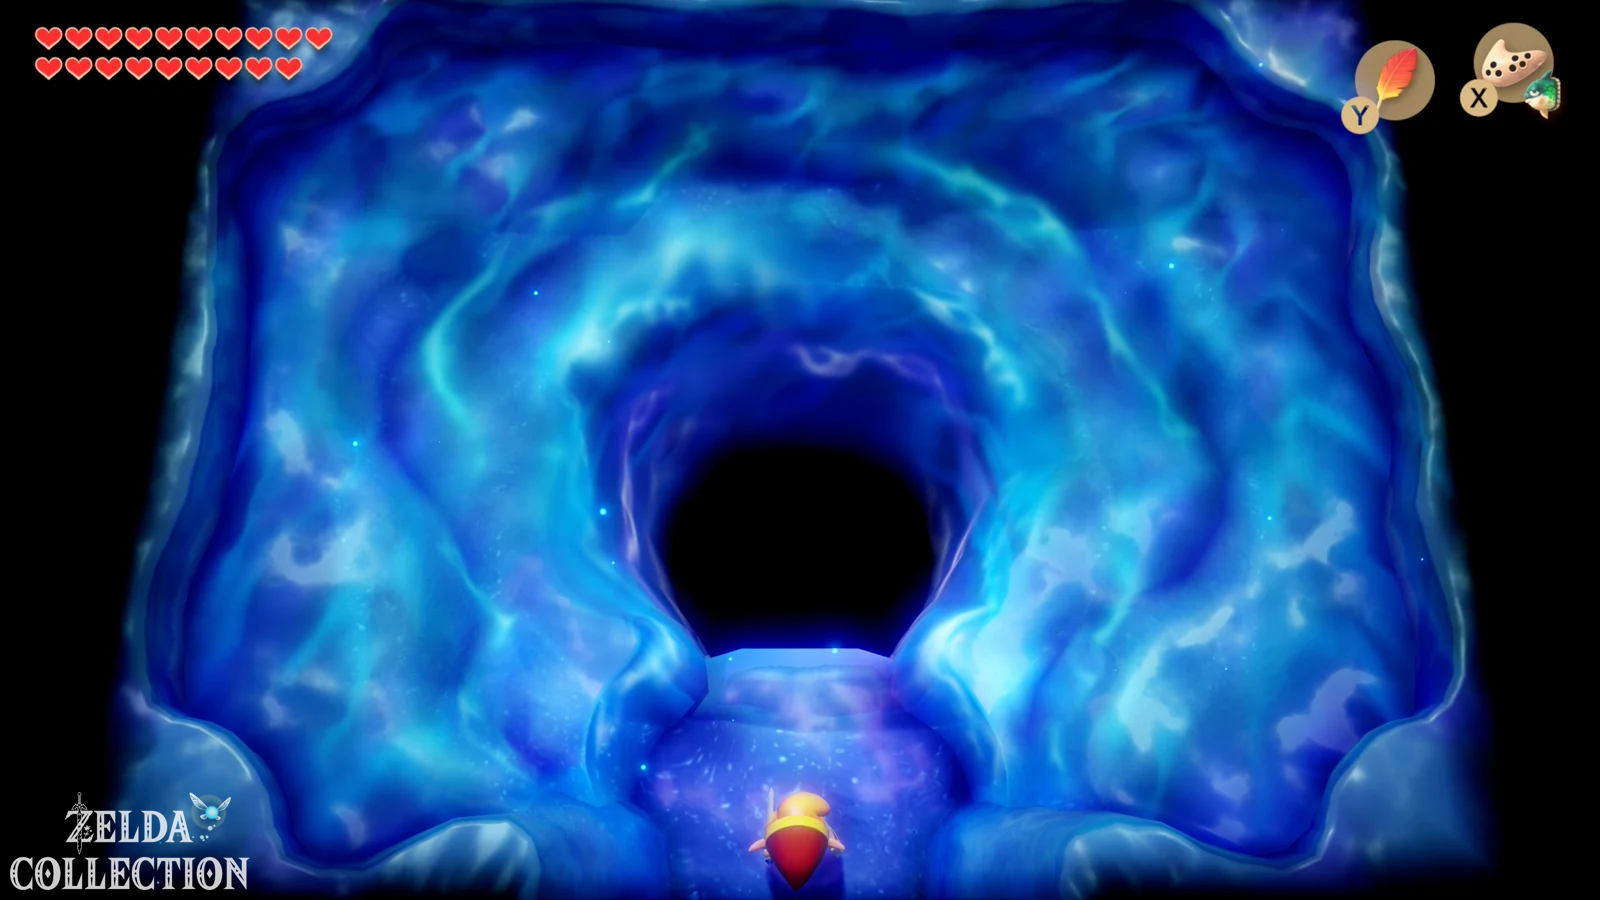
Now follow exactly the directions from the book. For example, if the first arrow points to the left, you leave the first room to the left; This is followed by the second arrow and so on. Don’t be confused by the fact that all the rooms look almost identical. There are no visible markings to confirm that you are correct. Only when you have entered the complete combination correctly will you reach a room in which the structure changes significantly.
If you have taken the wrong door on the way, you will get back into the cycle of the labyrinth. In this case, you don’t have to reload the entire game: reorient yourself and start the arrow sequence again cleanly. As soon as the last direction is correct, you will end up in a dark room with a large opening in the floor.
Jump in. There is no other way forward – the final battle of the game awaits at the bottom.
The Nightmares of the Wind Fish
The final enemies do not oppose Link as a single boss. Instead, the nightmares merge into a series of different shadow forms. A total of six phases await you, some of which are reminiscent of enemies from this adventure and some of which are reminiscent of characters from other Princess Zelda games. There is no complete cure between each form. However, with 20 hearts, red armor and Koholint sword, Link is excellently prepared.
Before the fight begins, the nightmares explain their motivation: They want to put Wind Fish to sleep permanently because Koholint can only continue to exist during his dream. If he were to awaken, not only the nightmares but the entire island would disappear. The final battle thus finally confirms the warning from the southern shrine.
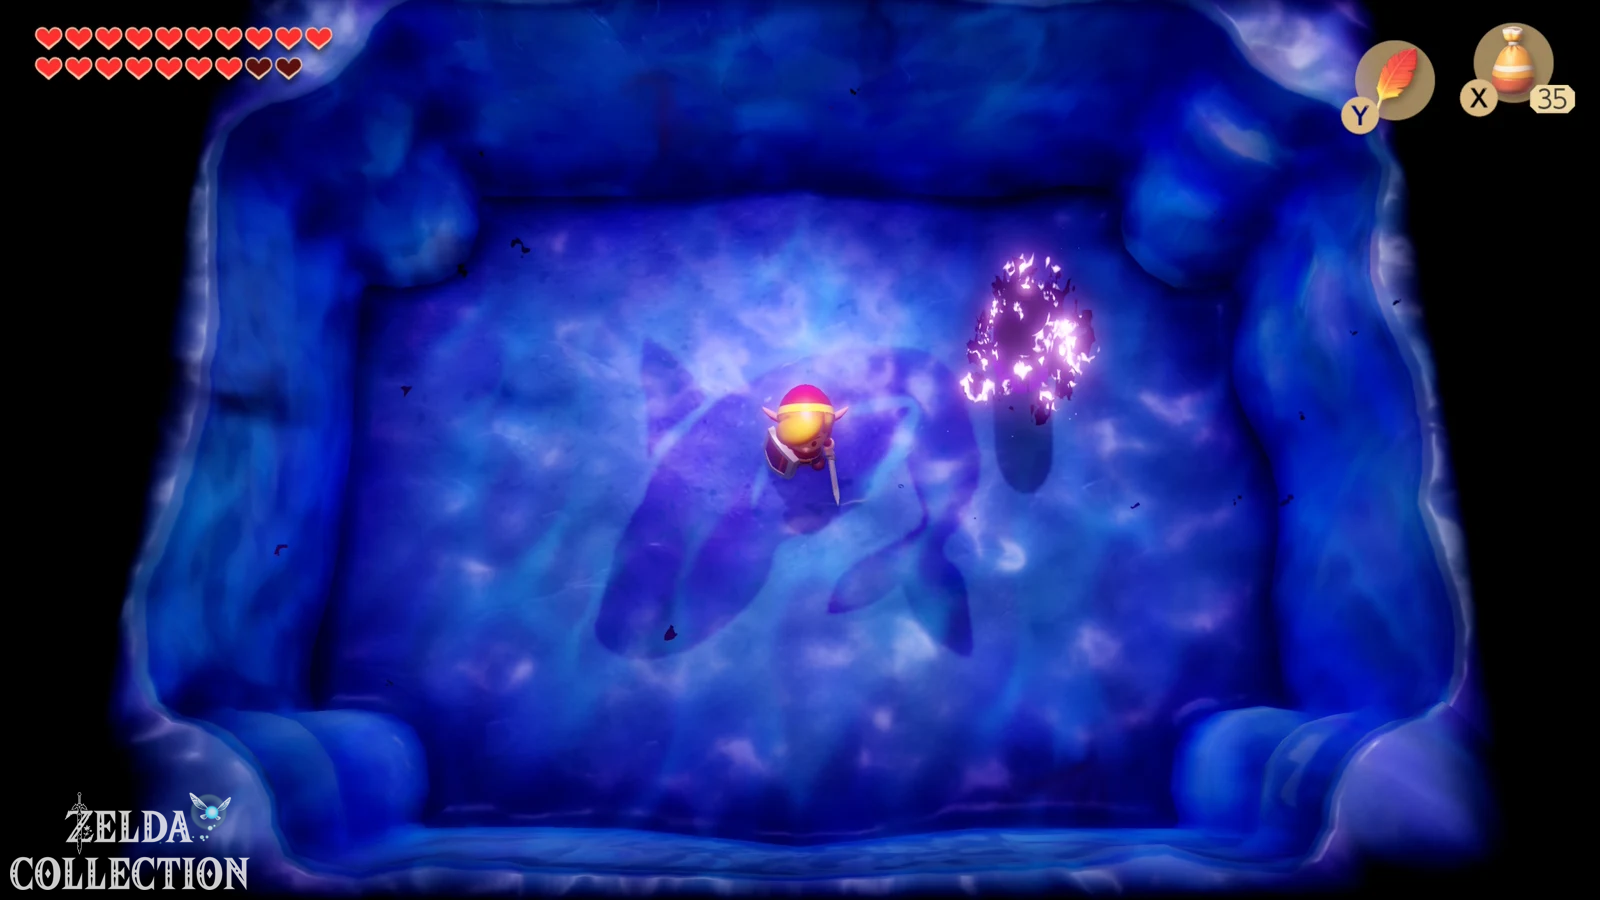
Nightmare Phase 1: Giant Slime
The first form is a large black slime that bounces around the room. Normal sword attacks, arrows or the Boomerang do nothing. Equip the Magic Powder instead. Wait until the slime jumps near you, move to the side and sprinkle the powder on its body. After several successful hits, the shadow will begin to rotate and transform into its next form.
With our maximum magic powder capacity, there is no risk of running out. However, only use the powder if the slime is actually within reach.
Nightmare Phase 2: Agahnim Shadow
The second form is clearly reminiscent of Agahnim out of A Link to the Past. The shadow teleports to different parts of the room and hurls magical missiles at Link. Two different types of projectiles are important: You can use this to create large, round energy balls Strike back sword, but smaller cross-shaped or star-like projectiles do not. Just dodge the smaller projectiles Roc’s Feather or a quick sideways movement.
Position yourself as far away as possible from Agahnim and wait for a large bundle of energy. Strike with the sword just before the hit. The bullet flies back and hurts the shadow. Repeat the process several times. Don’t try to attack Agahnim directly with the sword – his own missiles are the intended weak point.
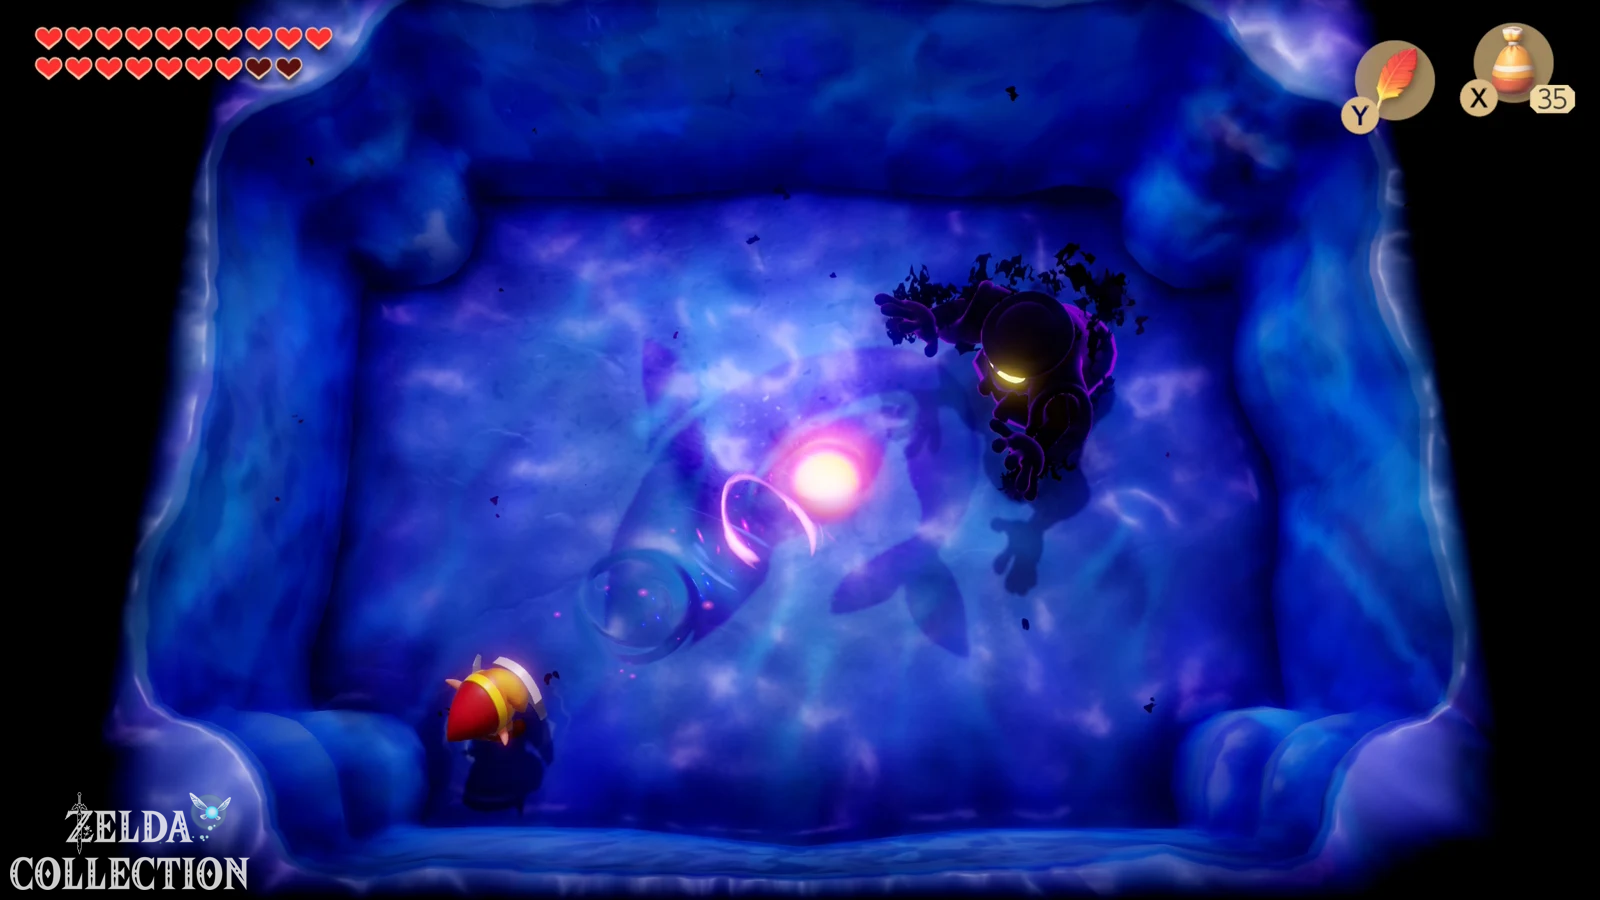
Nightmare Phase 3: Moldorm Shadow
Next, Moldorm, the boss of the Tail Cave, returns as a shadow form. The mechanics are the same as the first fight: only the glowing tail is vulnerable. The crucial difference is that this time there are no dangerous abysses around the arena. So you can fight much more aggressively.
Stay a little to the side of Moldorm and hit the tail as it passes you. With the Koholint sword and red armor, just a few hits are enough. After each hit, Moldorm accelerates briefly, which is why you shouldn’t run after it blindly. Just wait until his movement calms down again.
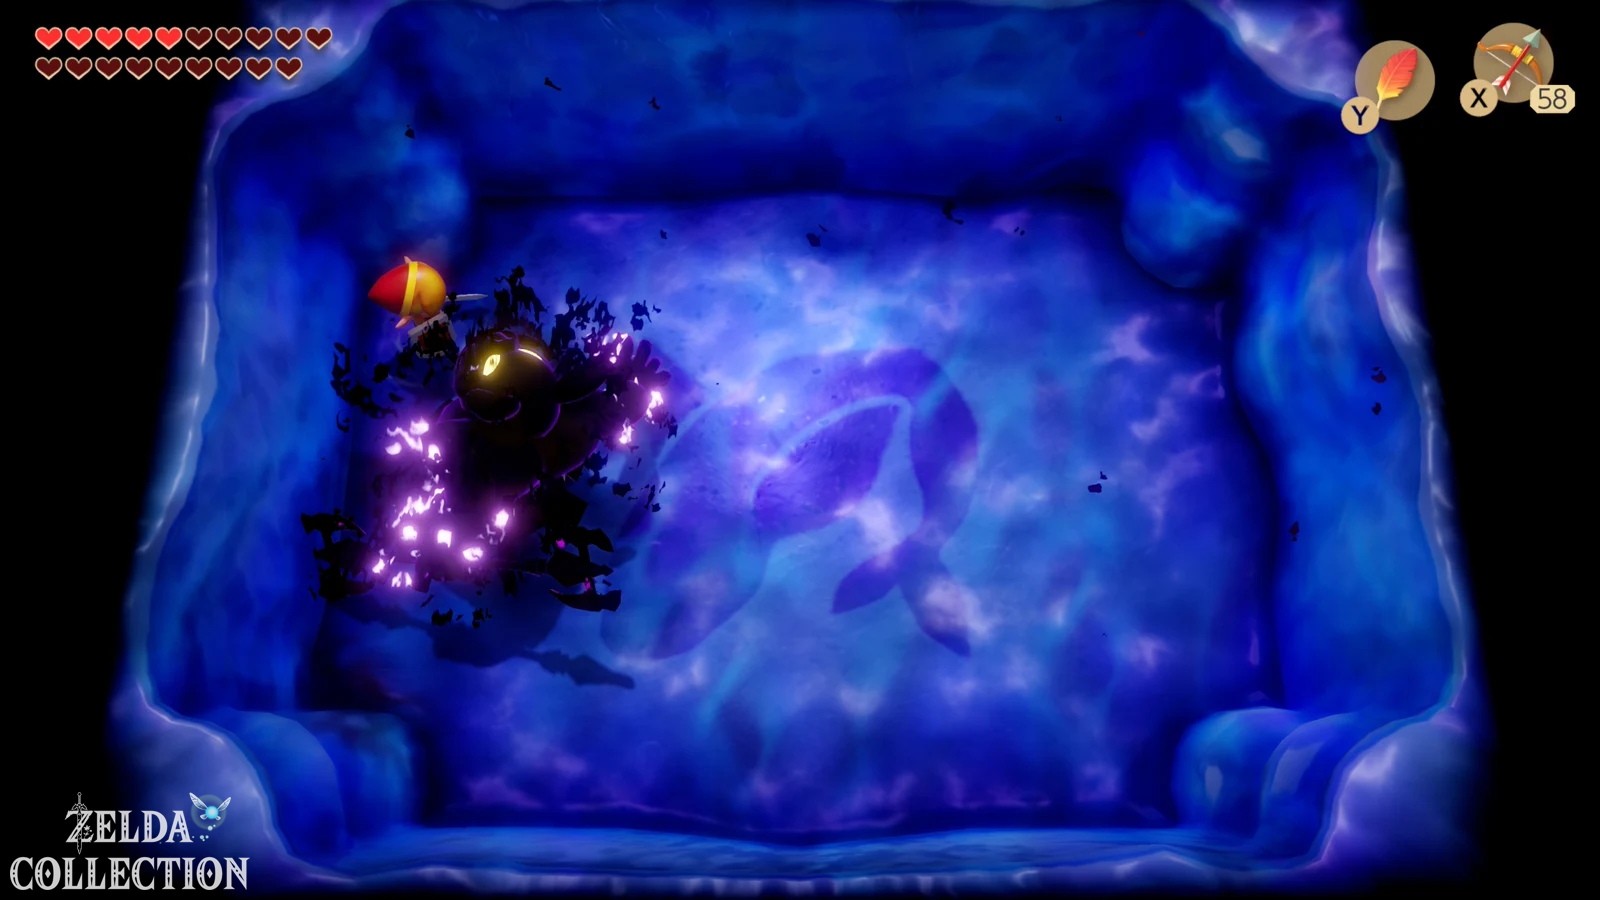
Nightmare Phase 4: Ganon Shadow
The fourth form takes the form of Ganon. He summons flaming bats and hurls his trident across the arena. Normal frontal attacks are largely repelled by the weapon. Instead, charge up a Spin Attack and stay out of the direct path of his trident. As soon as Ganon throws the weapon and his cover is briefly open, dodge the trident and hit him with the spin attack.
A sprint with the Pegasus Boots and drawn sword can also cause damage, but the spin attack is more controlled. With the burning bats, you keep moving and then immediately look for a good position for the next trident throw. Repeat the process until the shadow transforms again.
Difference between versions: The basic Ganon form exists in Original, DX and Switch, but hit numbers and the behavior of individual attacks differ. The safe basic strategy – dodge the trident and use the short opening for a spin attack – works in all three versions.
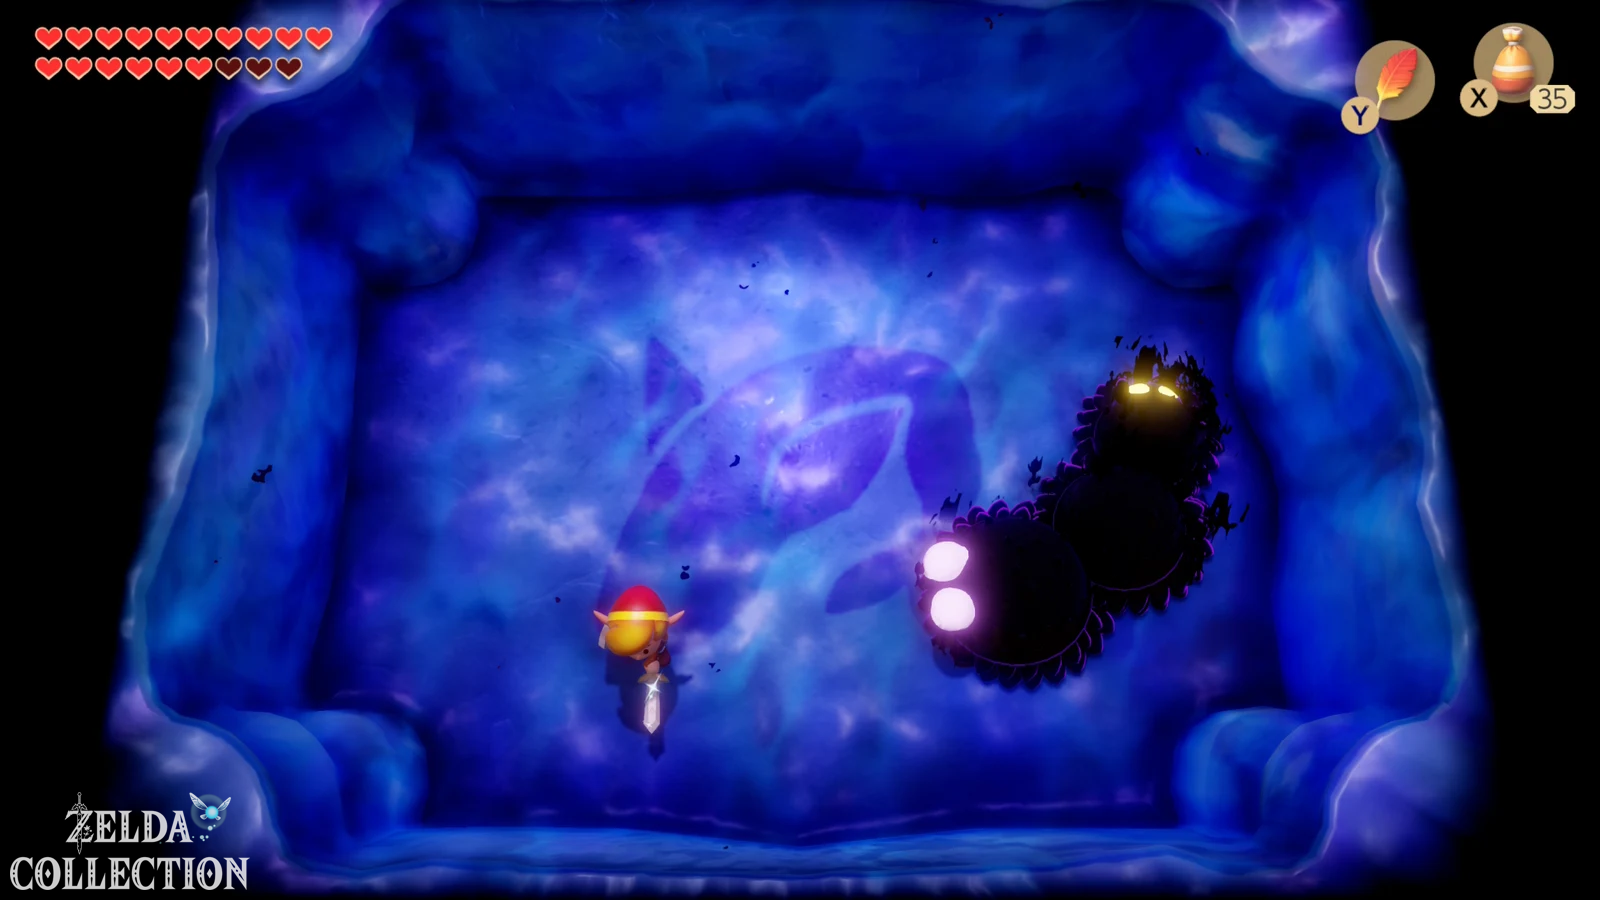
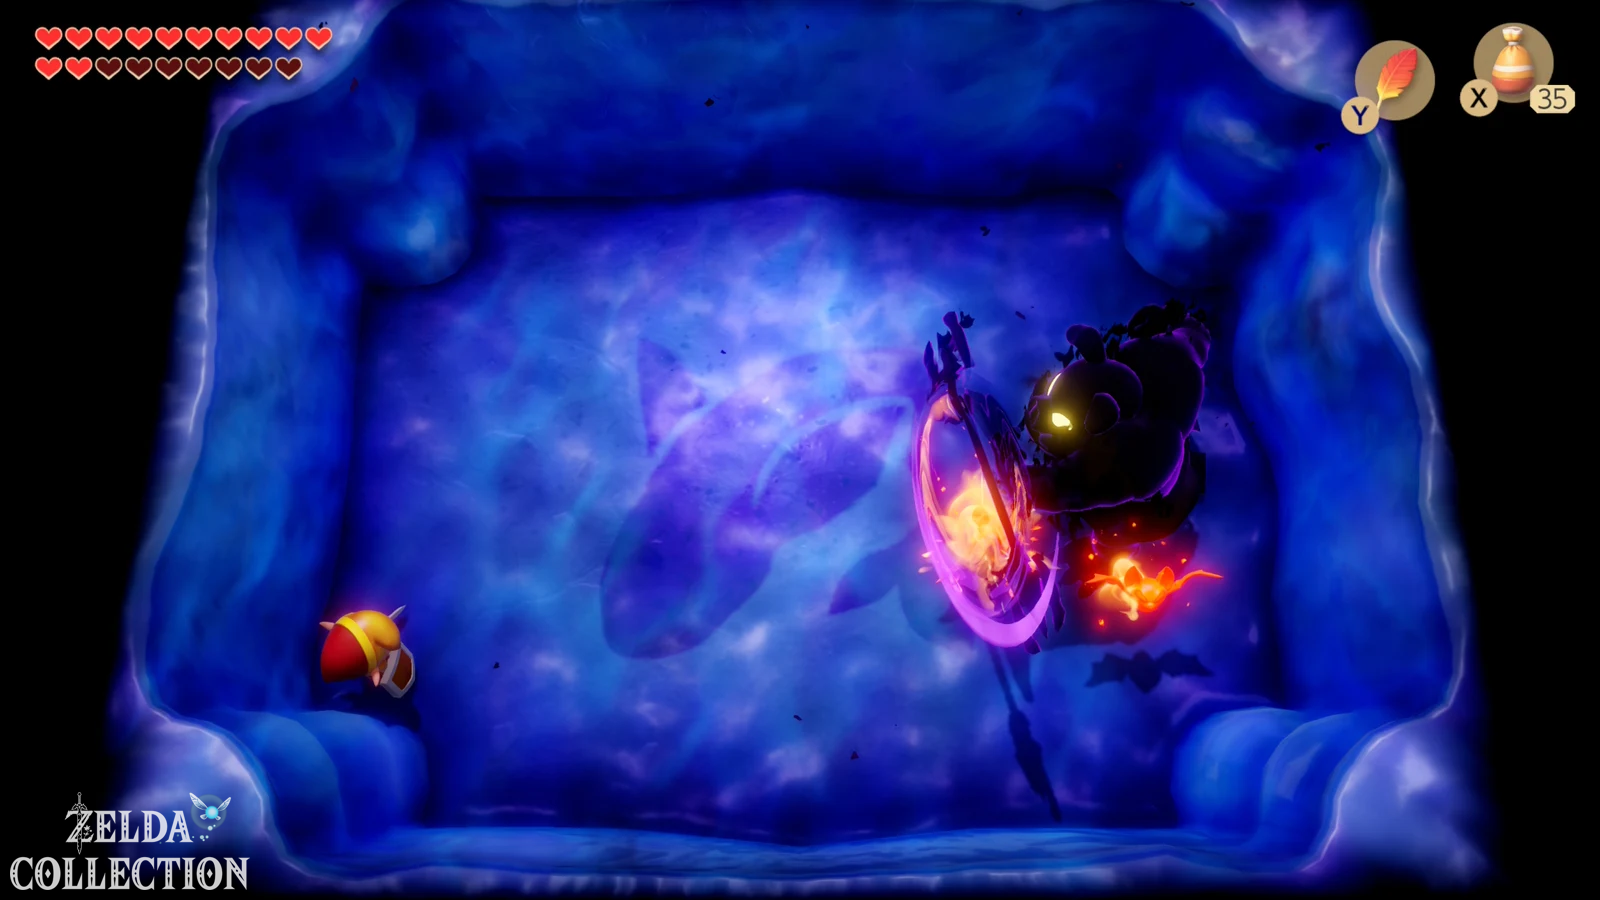
Nightmare Phase 5: Lanmola Shadow
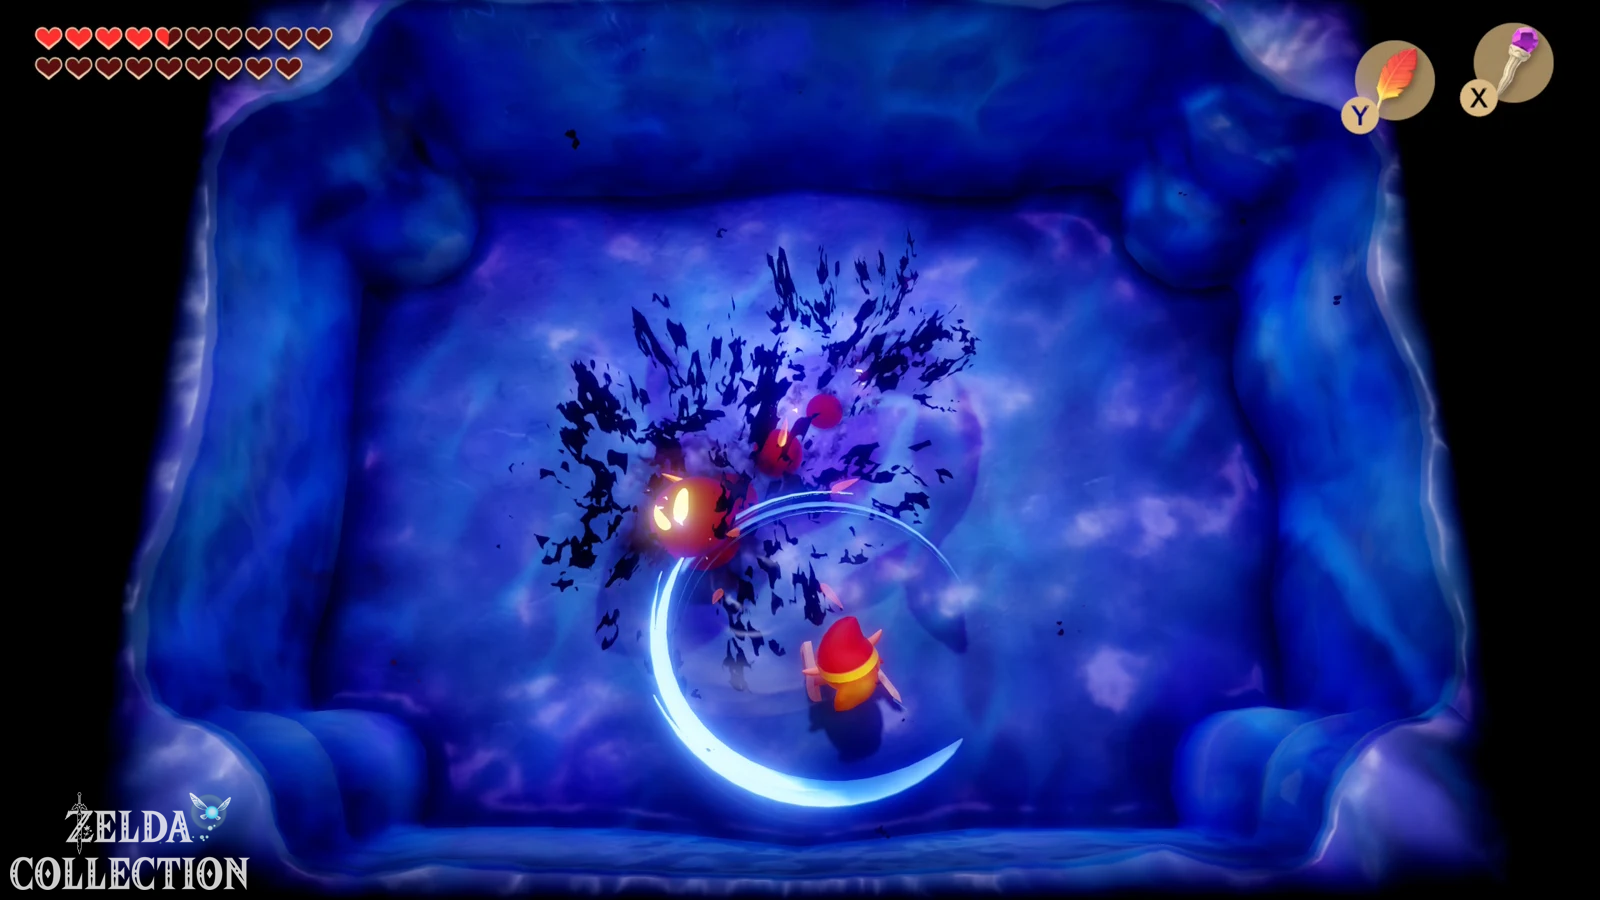
After Ganon, the nightmare transforms into a long black Lanmola shadow, which quickly moves through the room and pursues Link. There is an important difference here compared to many old Game Boy solutions: In the Switch remake, this phase cannot simply be completed with a single hit from the Magic Rod. Stay moving and attack the head or body as Lanmola passes you.
A charged spin attack reliably causes high damage. Alternatively, you can use bows, bombs, Boomerang or Magic Rod, although in the remake the enemy needs several hits. With our strong equipment, the phase is still over quickly. Above all, don’t try to stand right in front of Lanmola, as his high speed can cause multiple hits in a row.
Nightmare Phase 6: DethI
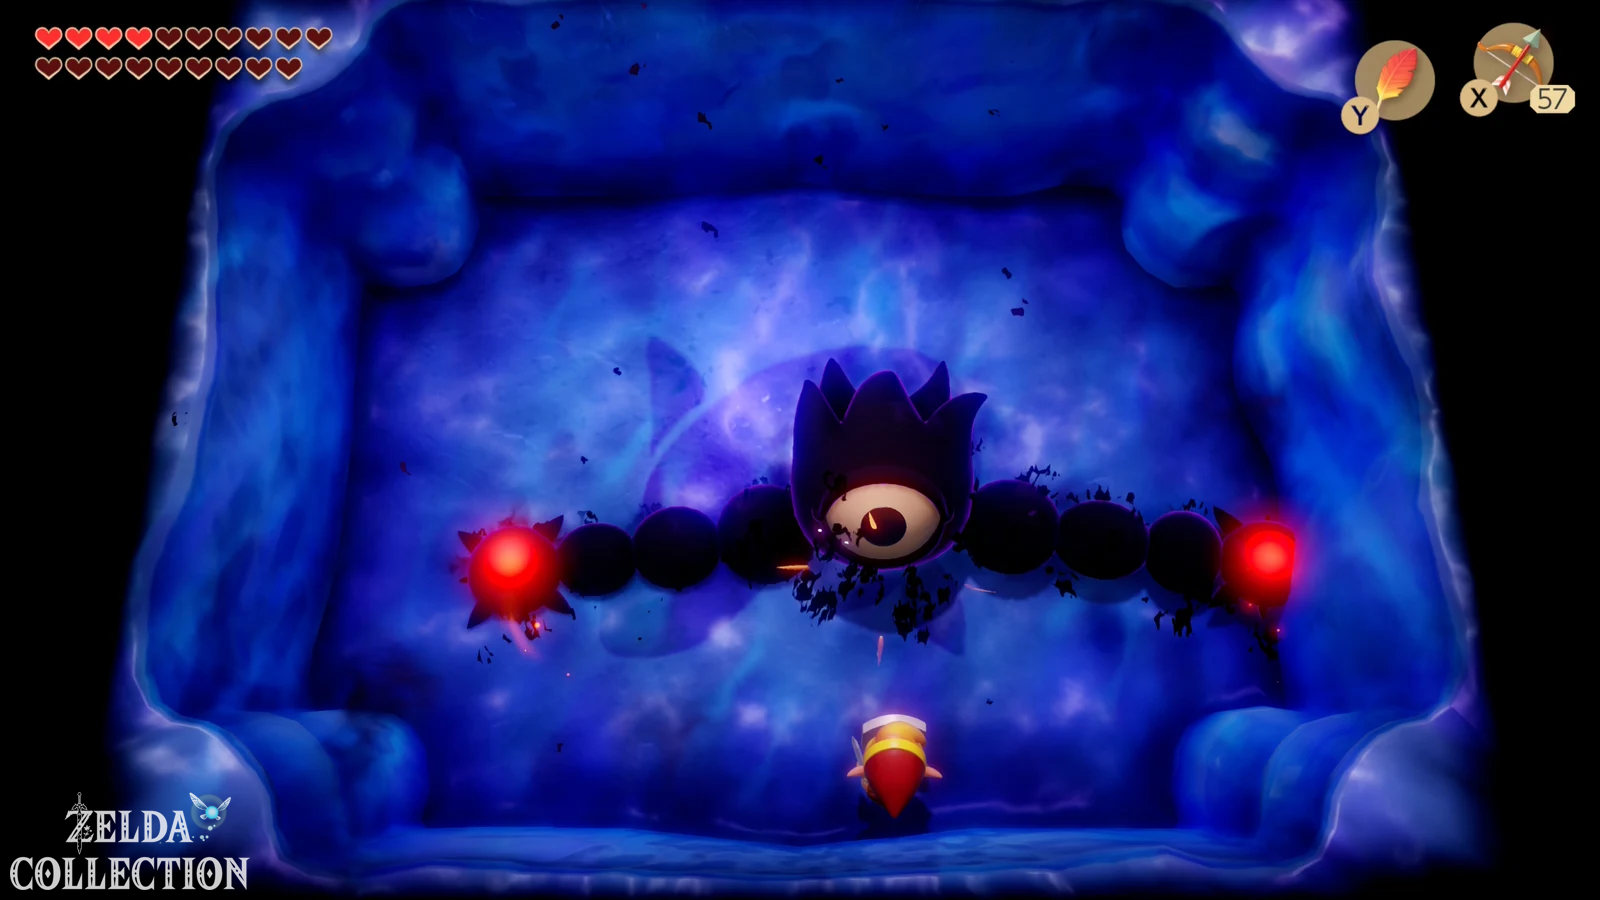
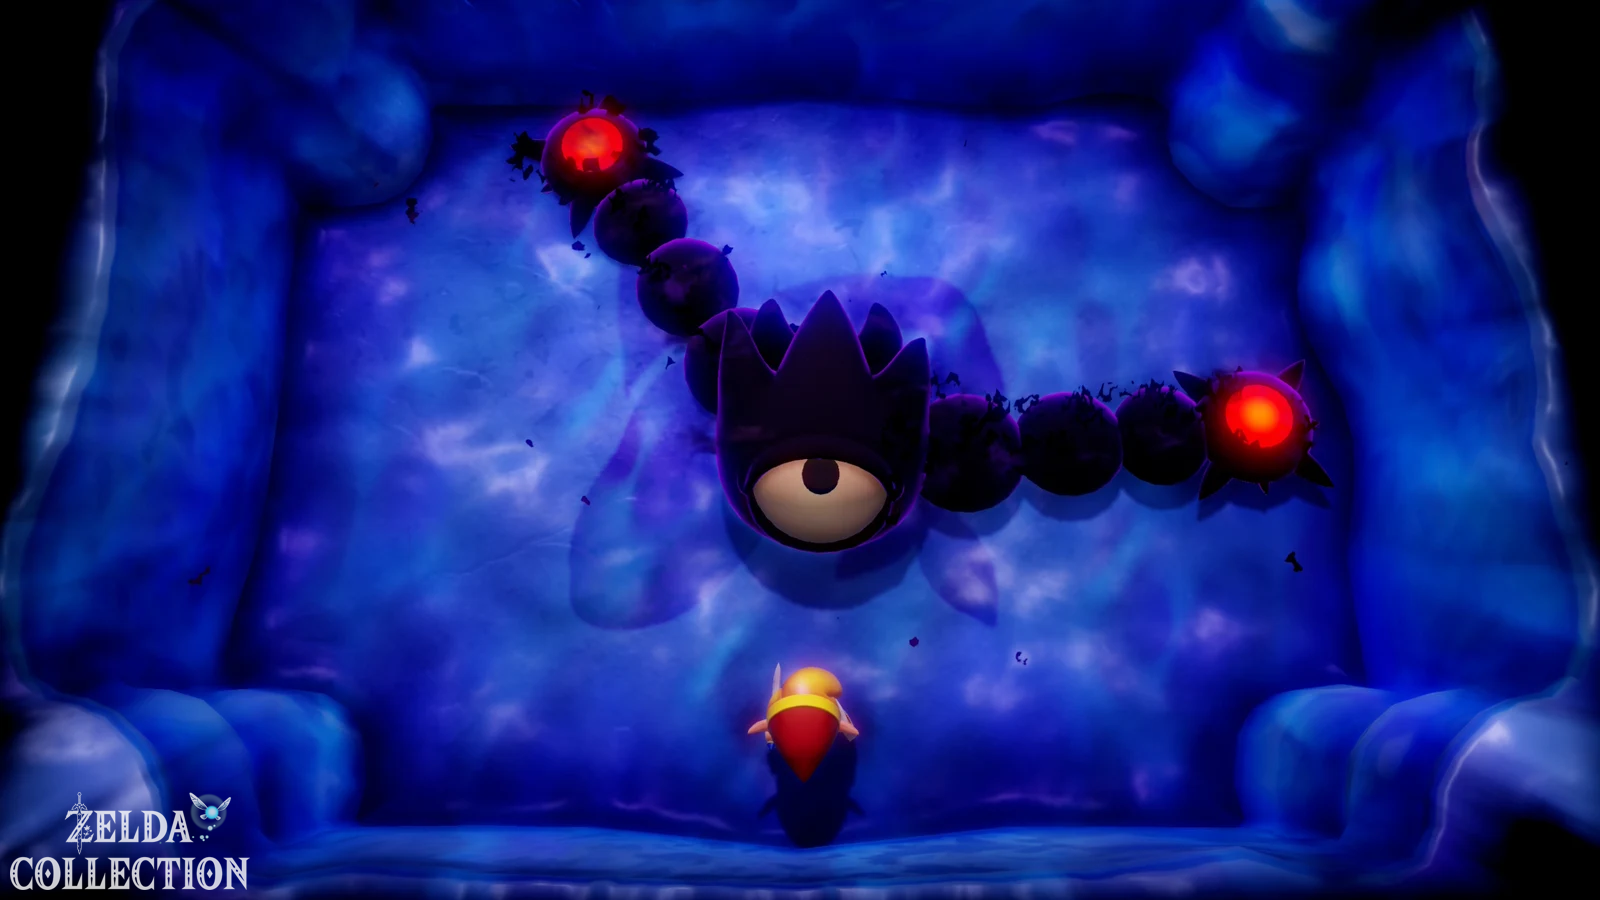
The final form is DethI, a giant black eye with two long rotating arms. The eye is only vulnerable when it opens. At the same time, the two arms constantly rotate through the arena and become faster and faster as the fight progresses. Equip the Roc’s Feather and jump just before an arm reaches Link. Try to stay in the same place as much as possible instead of running hectically around the arena – a well-timed jump is much safer.
As soon as DethI’s eye opens, shoot into it with the bow. With the Switch bow you need several successful hits, but its high speed makes it the most reliable weapon. Once you have just found a safe jumping rhythm, you can often fire one or even two arrows before the eye closes again. The Boomerang and the Magic Rod can also deal damage in the Switch remake, but require significantly more hits.
Important difference from original and DX: In the Game Boy versions, the Boomerang is notorious against DethI because a single hit in the open eye can defeat the boss. This extreme weakness was removed in the Switch remake. The Boomerang also needs numerous hits there. Old walkthroughs that promise instant victory with the Boomerang therefore do not apply to the Nintendo Switch version.
With each successful hit, DethI’s arms become faster. Therefore, towards the end, concentrate completely on the timing of the Roc’s Feather and only shoot when the eye is really open and no arm is passing directly in front of Link. After the last hit, the final nightmare form disintegrates – the battle is won.
The final route to Wind Fish
After DethI’s defeat, the Nightmares admit that their plan has failed. They had deliberately trapped the Wind Fish in his endless sleep because only his dream could keep their world alive. With her disappearance, the windfish egg begins to collapse.
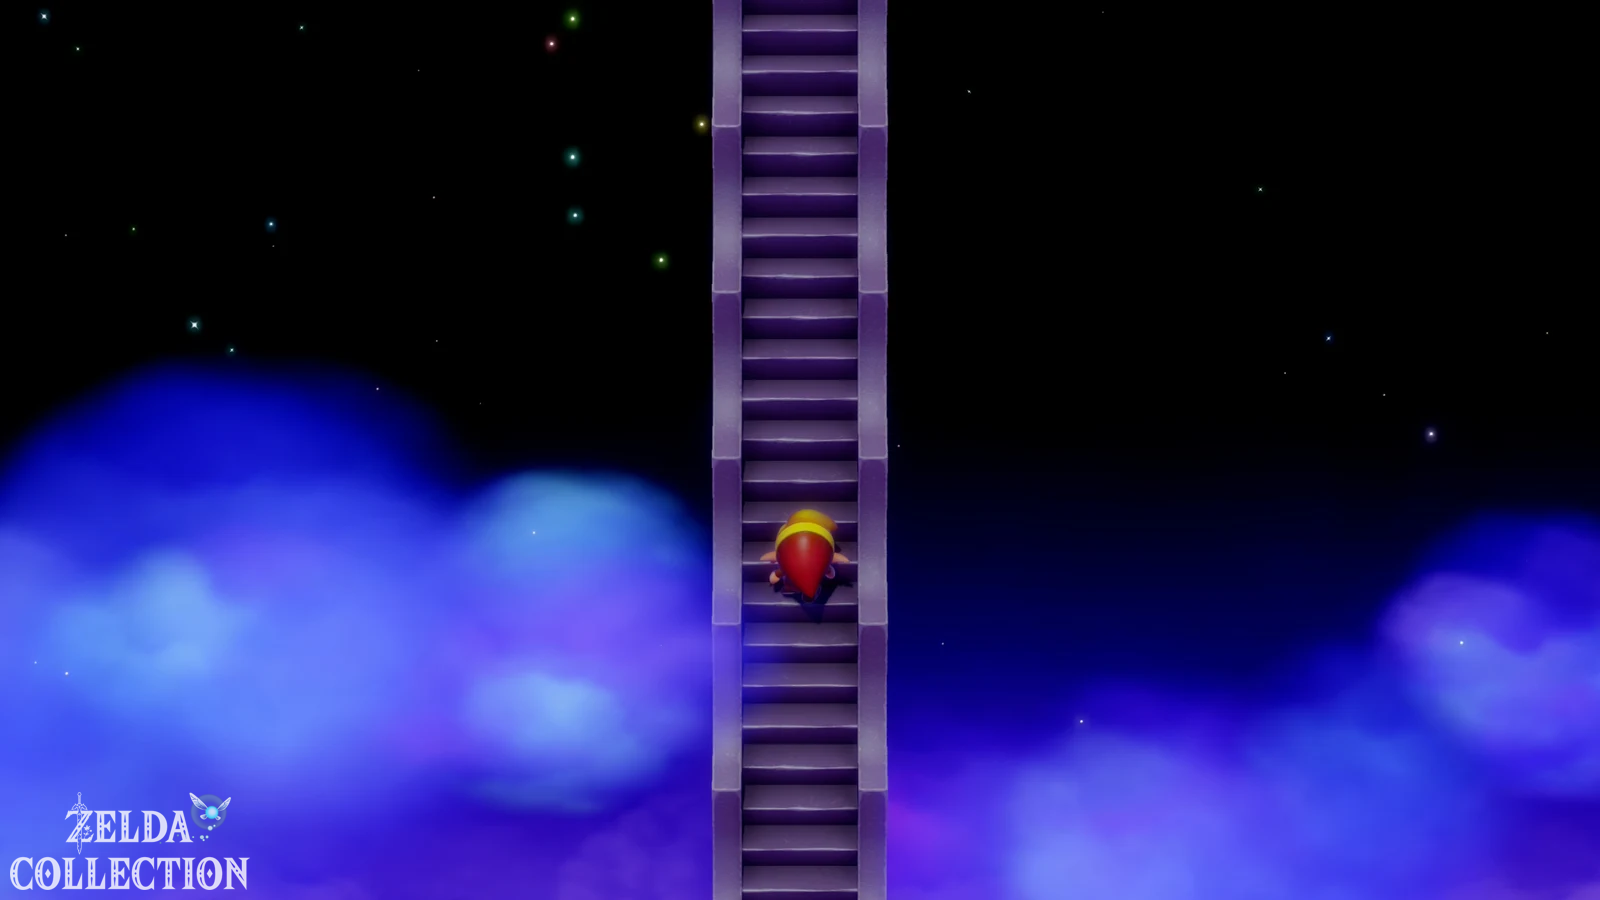
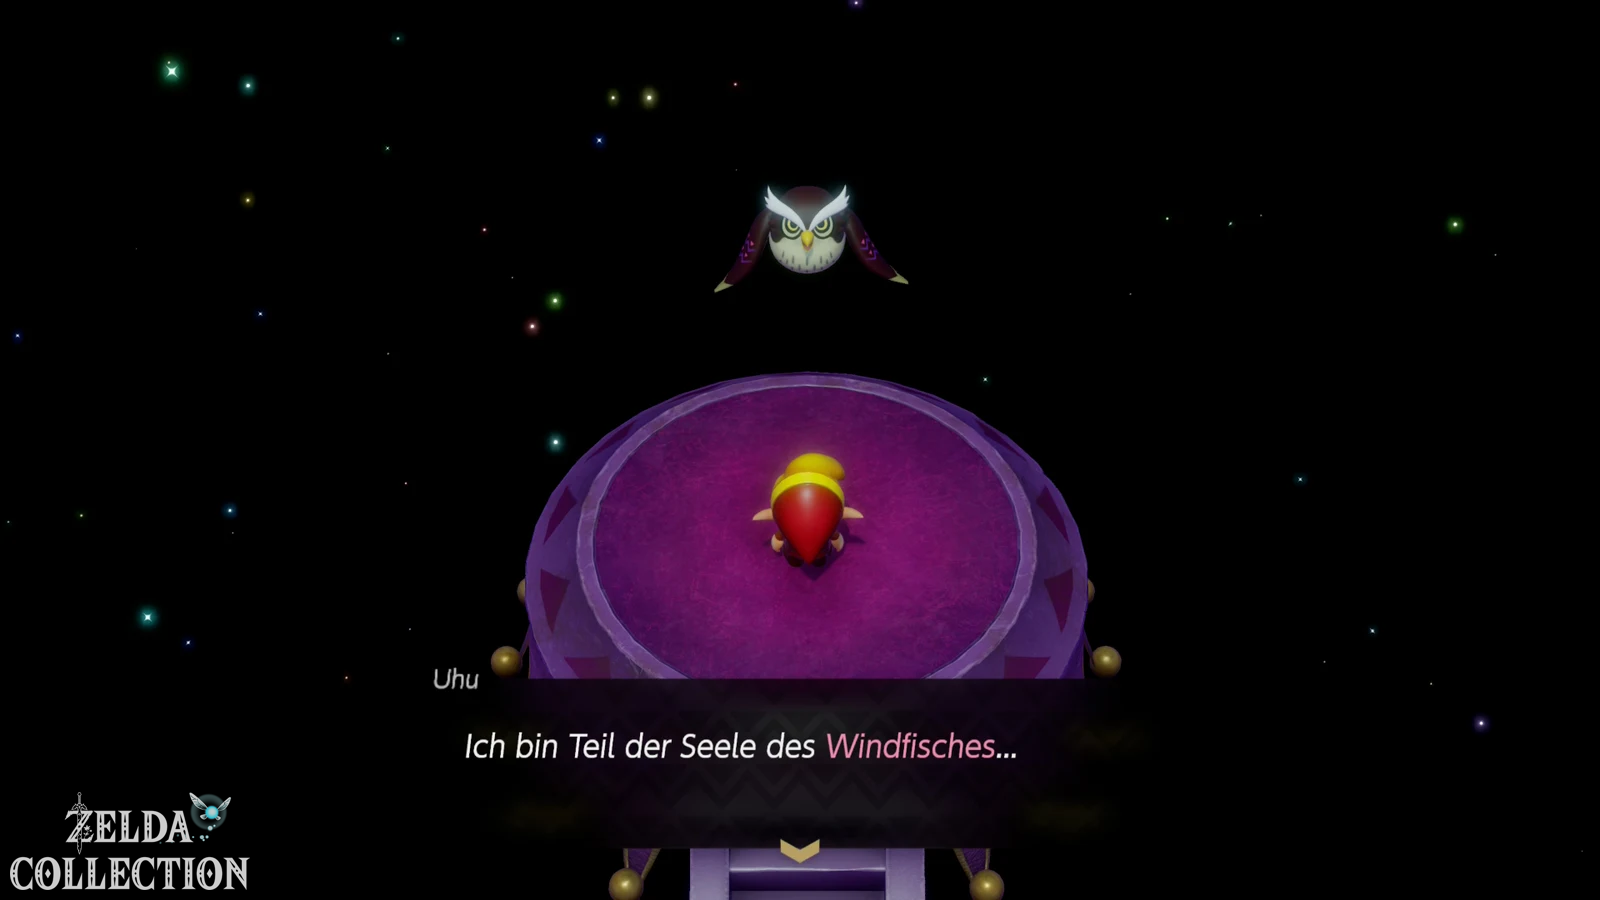
A long staircase appears. Climb up. At the end you will meet the eagle owl again. He reveals that he was a part of the Wind Fish’s mind and the guardian of his dream world. His job was to guide Link through Koholint and ensure that the Nightmares are defeated. After he says goodbye, you continue climbing.
The Wind Fish awakens
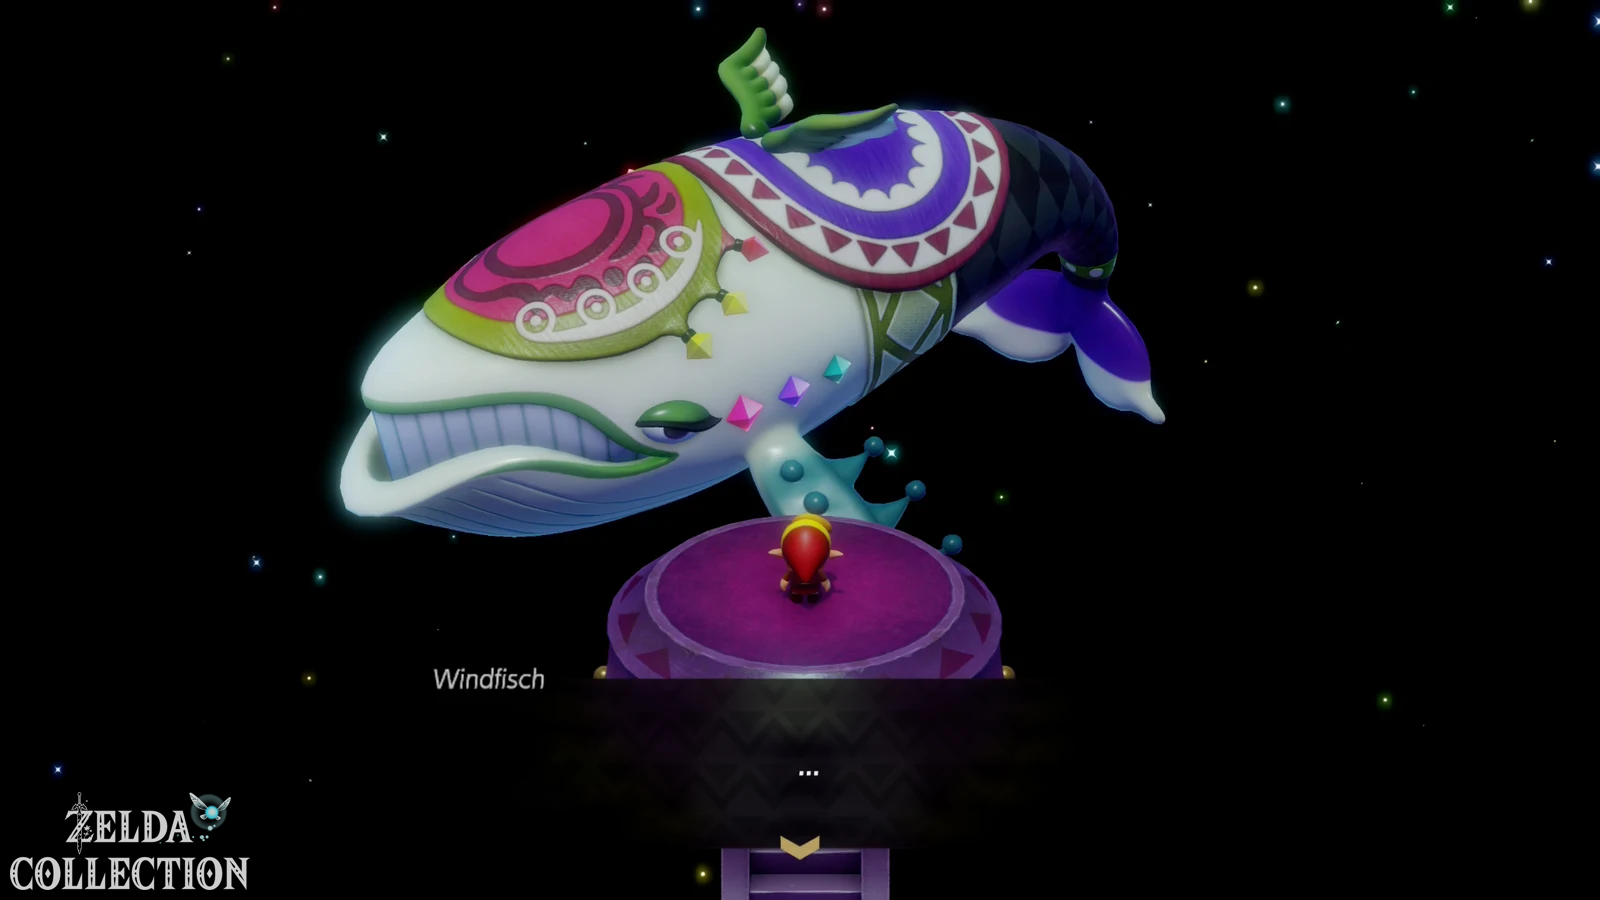
Finally, Link encounters the massive Wind Fish itself. He confirms what the southern shrine has already hinted at: Koholint, its inhabitants, animals and landscapes exist within his dream. But every dream has to end at some point. When the Wind Fish awakens, the island will disappear – only the memory of it can live on in Link’s real world.
Link and the Wind Fish together once again awaken the eight instruments of the sirens. The ballad of Wind Fish sounds and Koholint begins to dissolve. Little by little, the places and inhabitants that Link got to know during his adventure disappear until finally the Wind Fish’s Egg and the entire island disappear into the light.
The end of Link’s Awakening
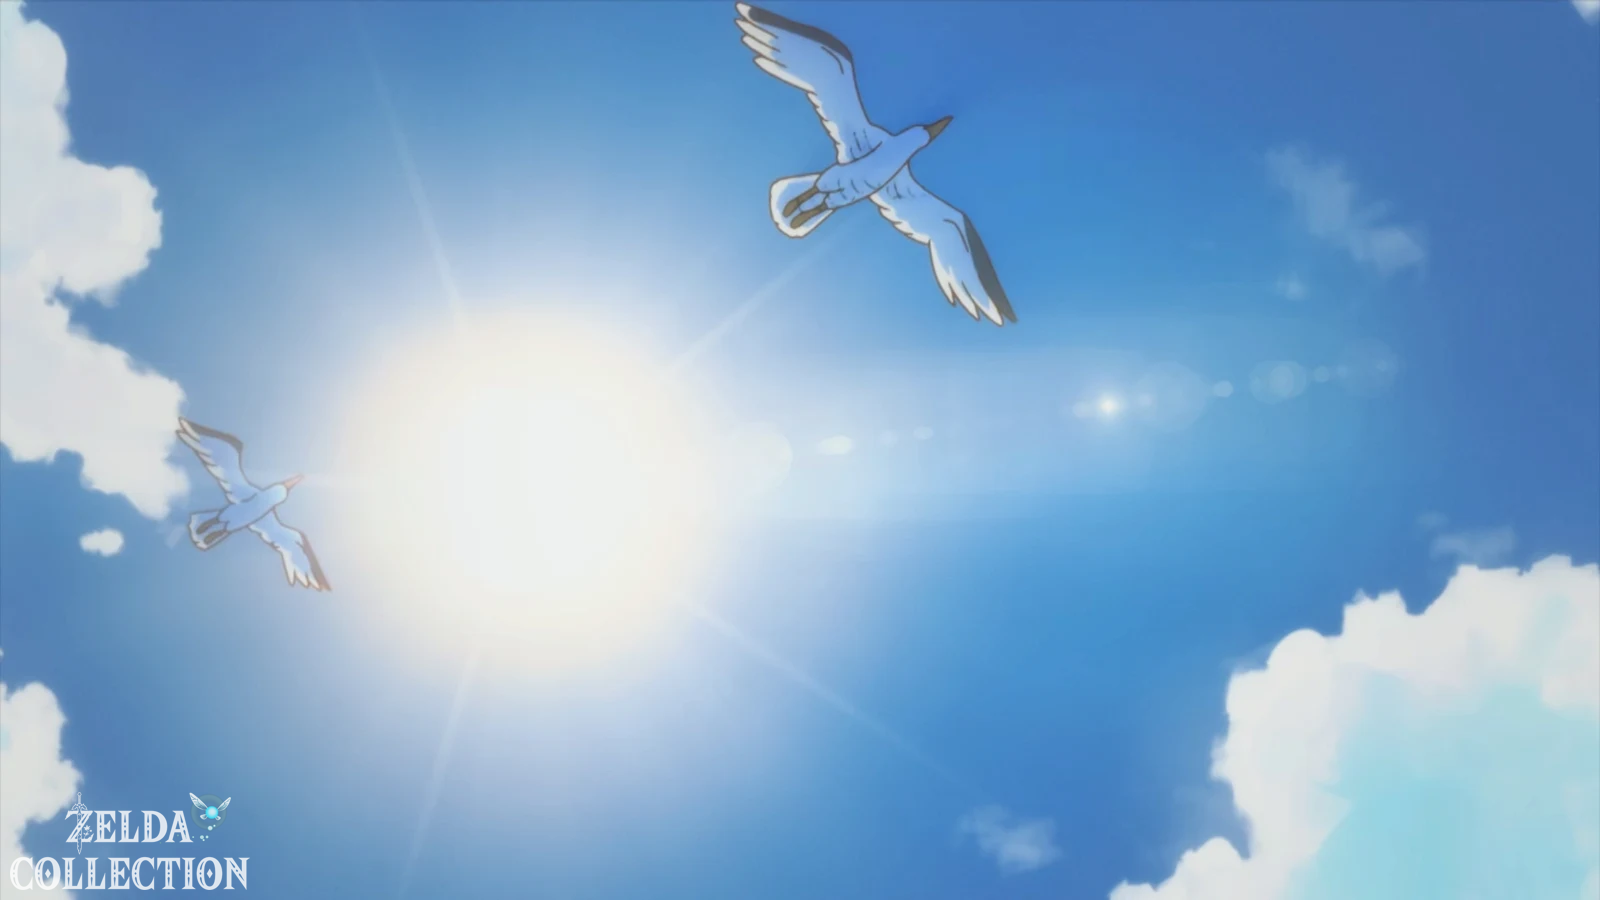
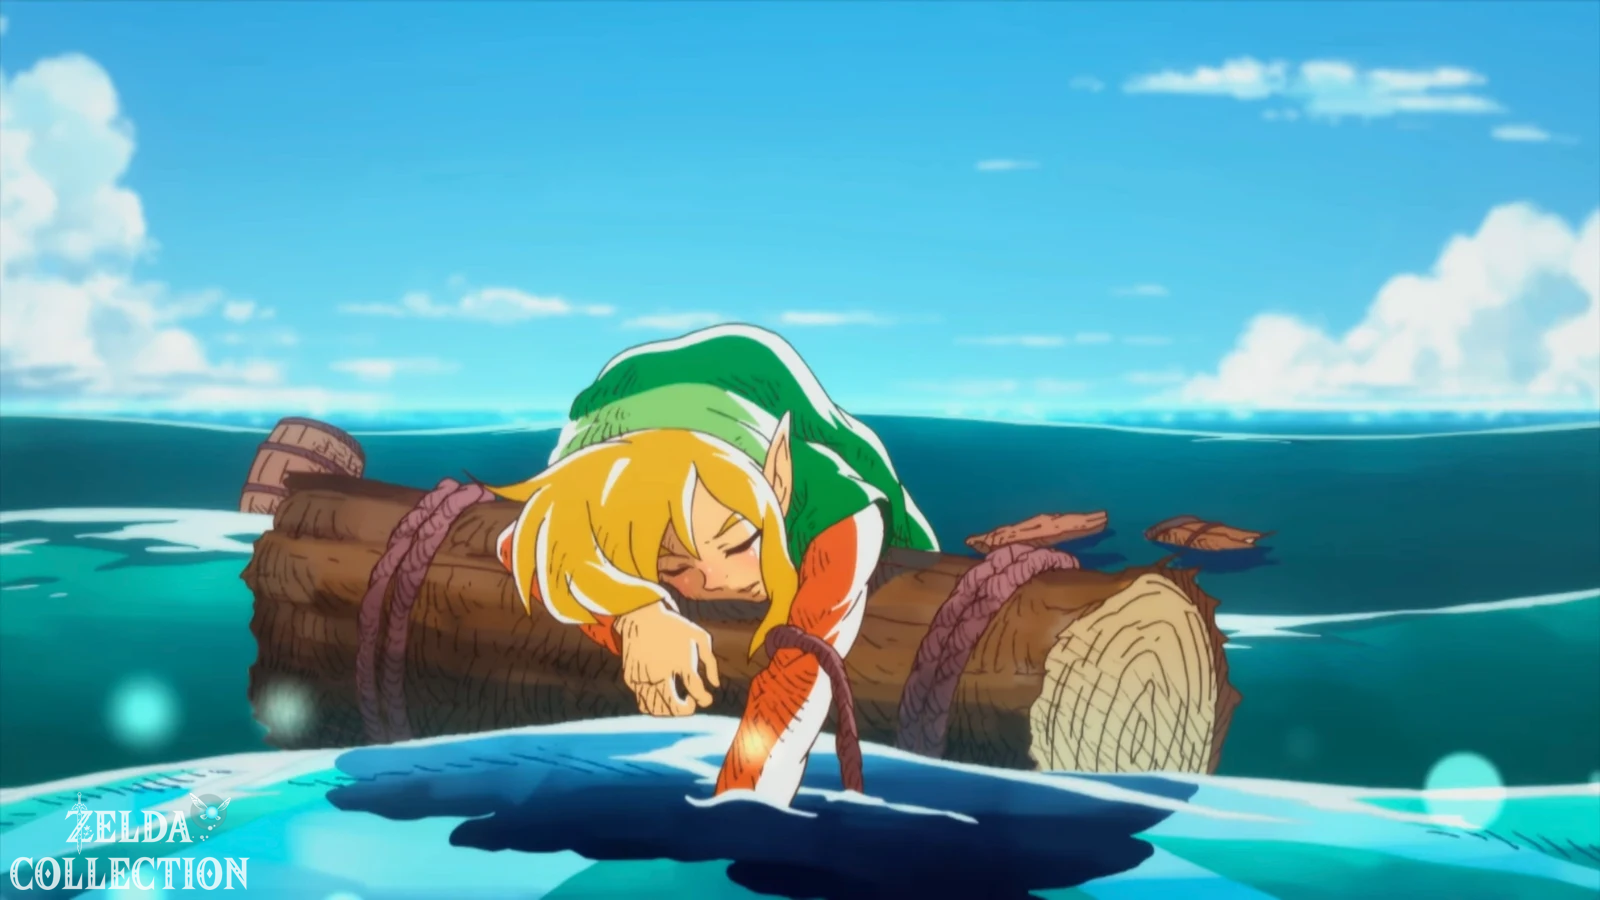
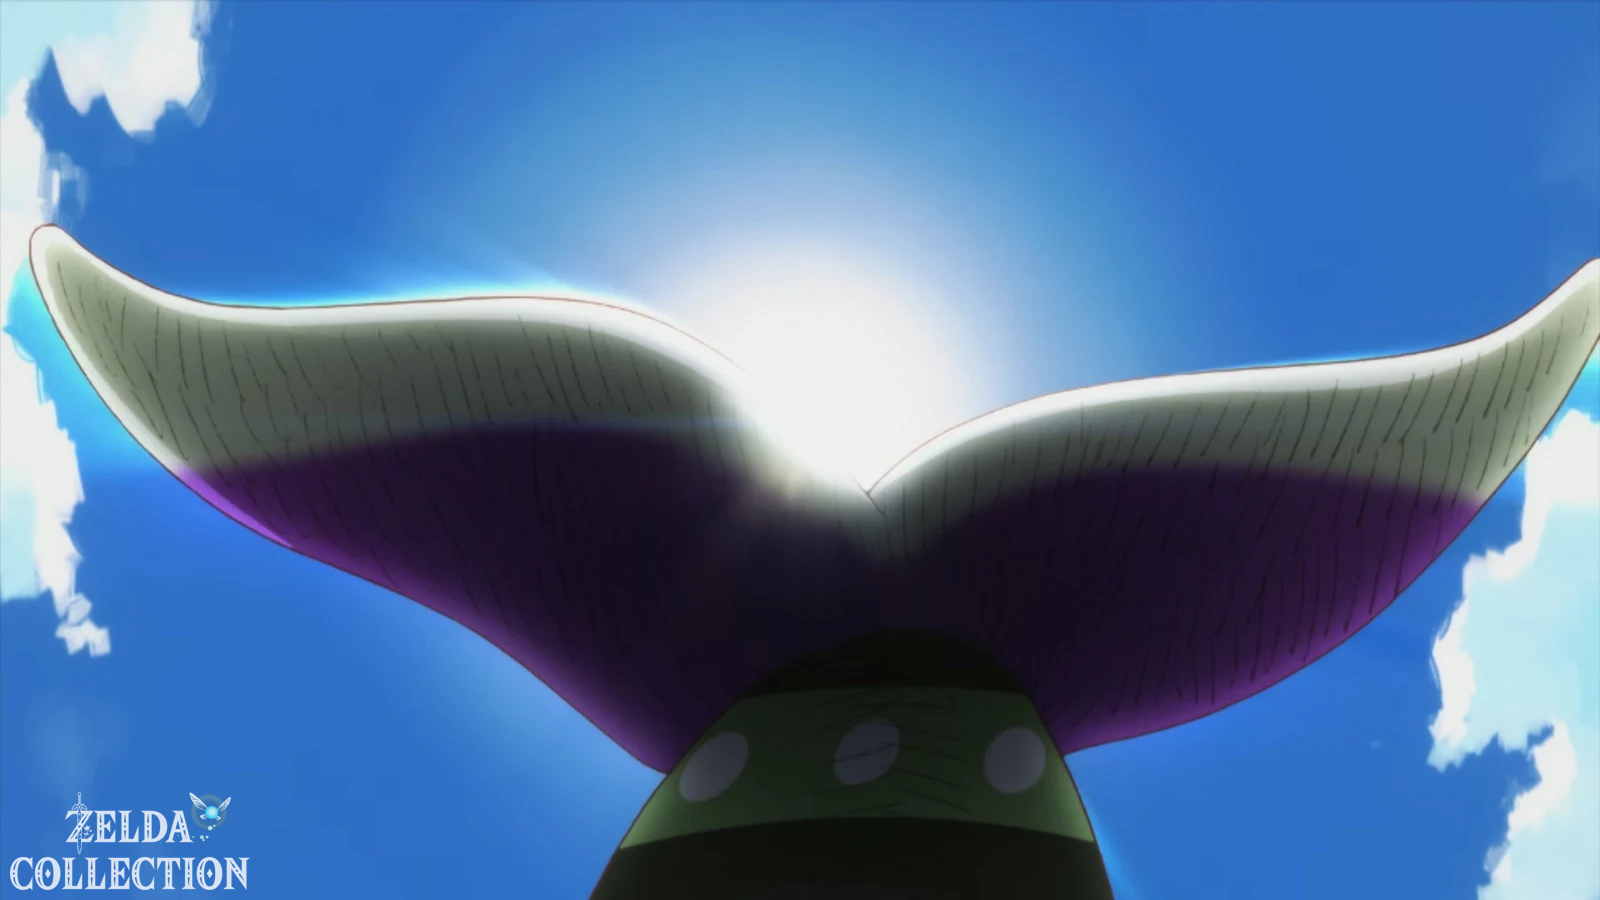
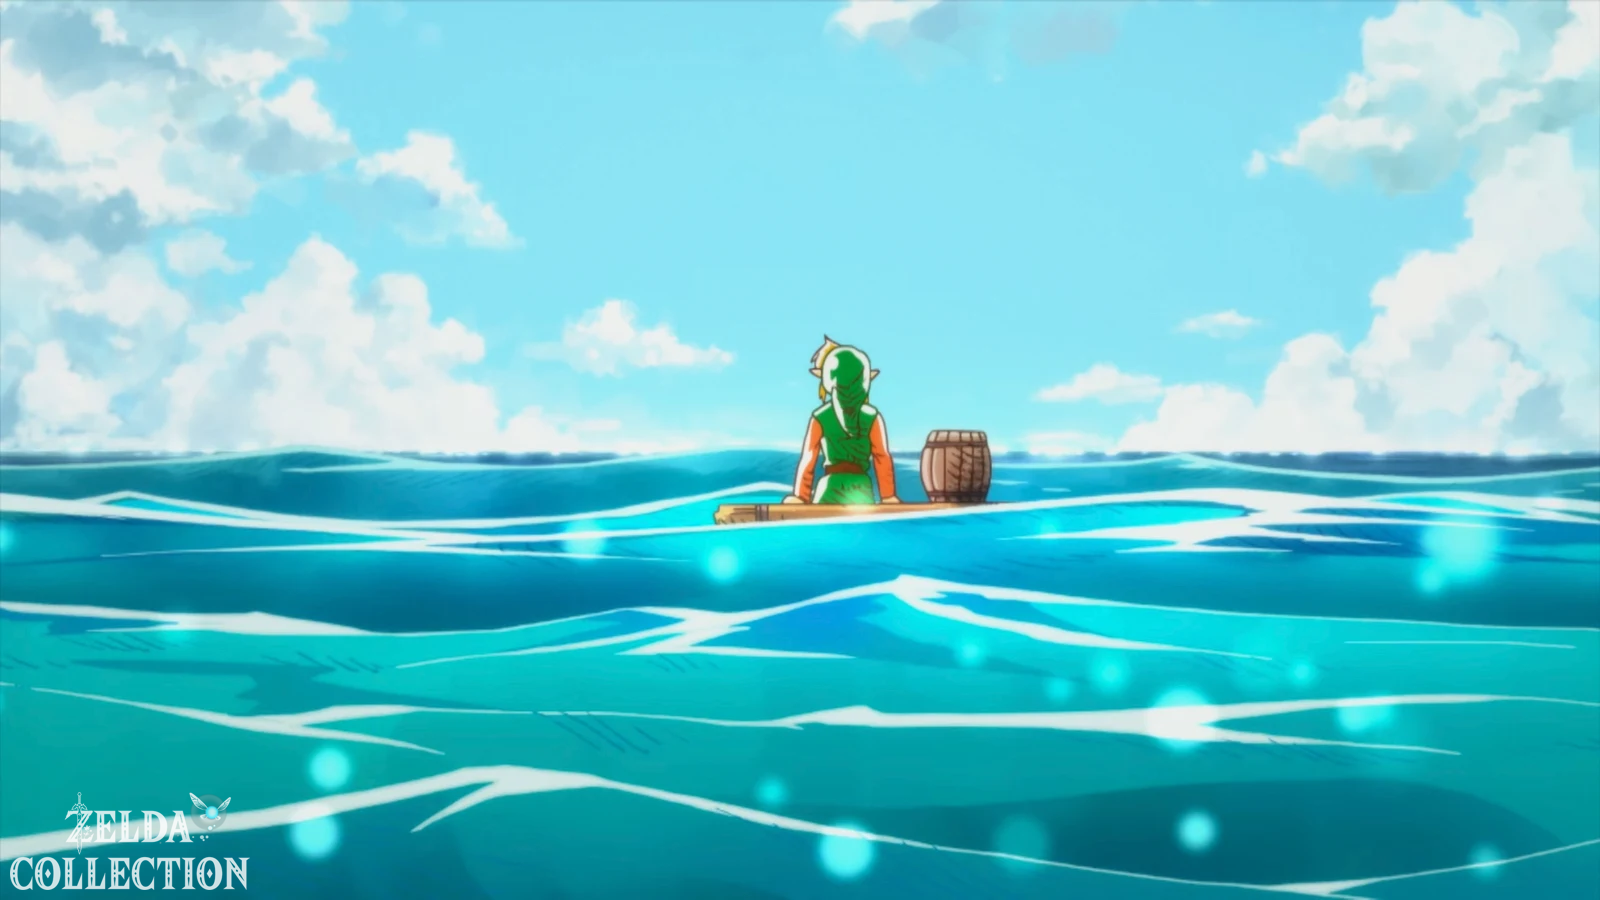
Link awakens on the wreckage of his ship in the middle of the open sea. For a brief moment it looks like he has Koholint maybe just dreamed. But then he hears the ballad of the Wind Fish again. The real one flies high above him Wind Fish through the clouds, at least confirming that Link’s adventure must have been more than just an ordinary dream.
Afterwards the credits begin. Unlike many other Princess Zelda games, there is no actual playable epilogue on an awakened Koholint – the island has disappeared. This is precisely why the emotional conclusion is an essential part of the story.
The special ending without a single death
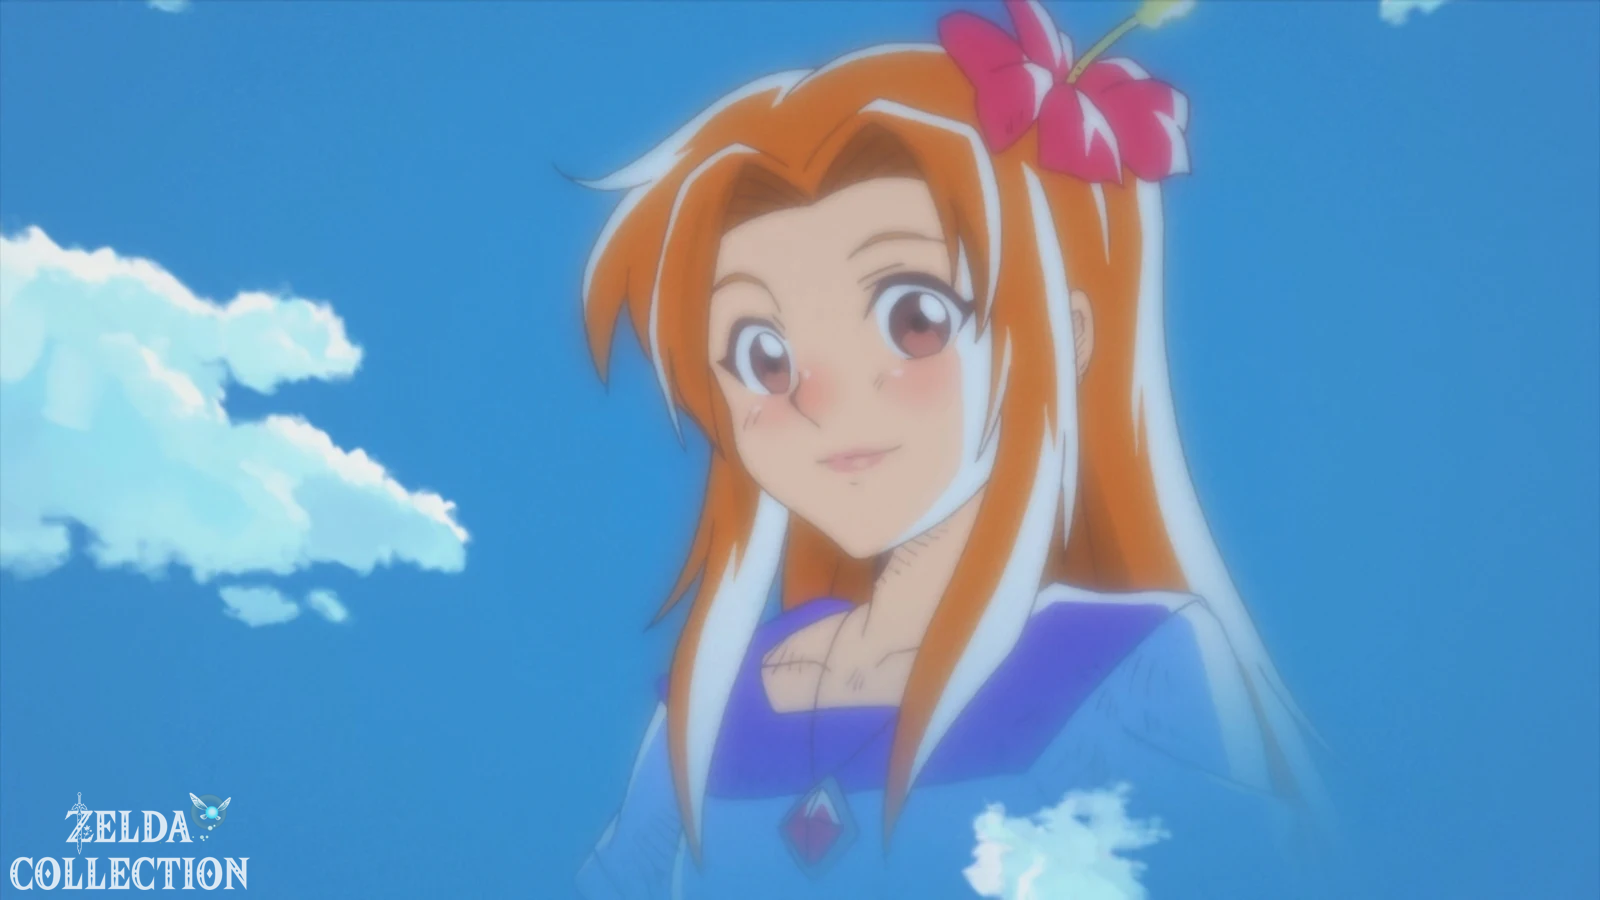
If you have completed the entire adventure without the death counter of your score rising above 0, an additional scene follows the normal end. She takes up Marin’s wish from Toronbo Shores to one day be able to fly over the sea like a seagull and see the world beyond Koholint’s.
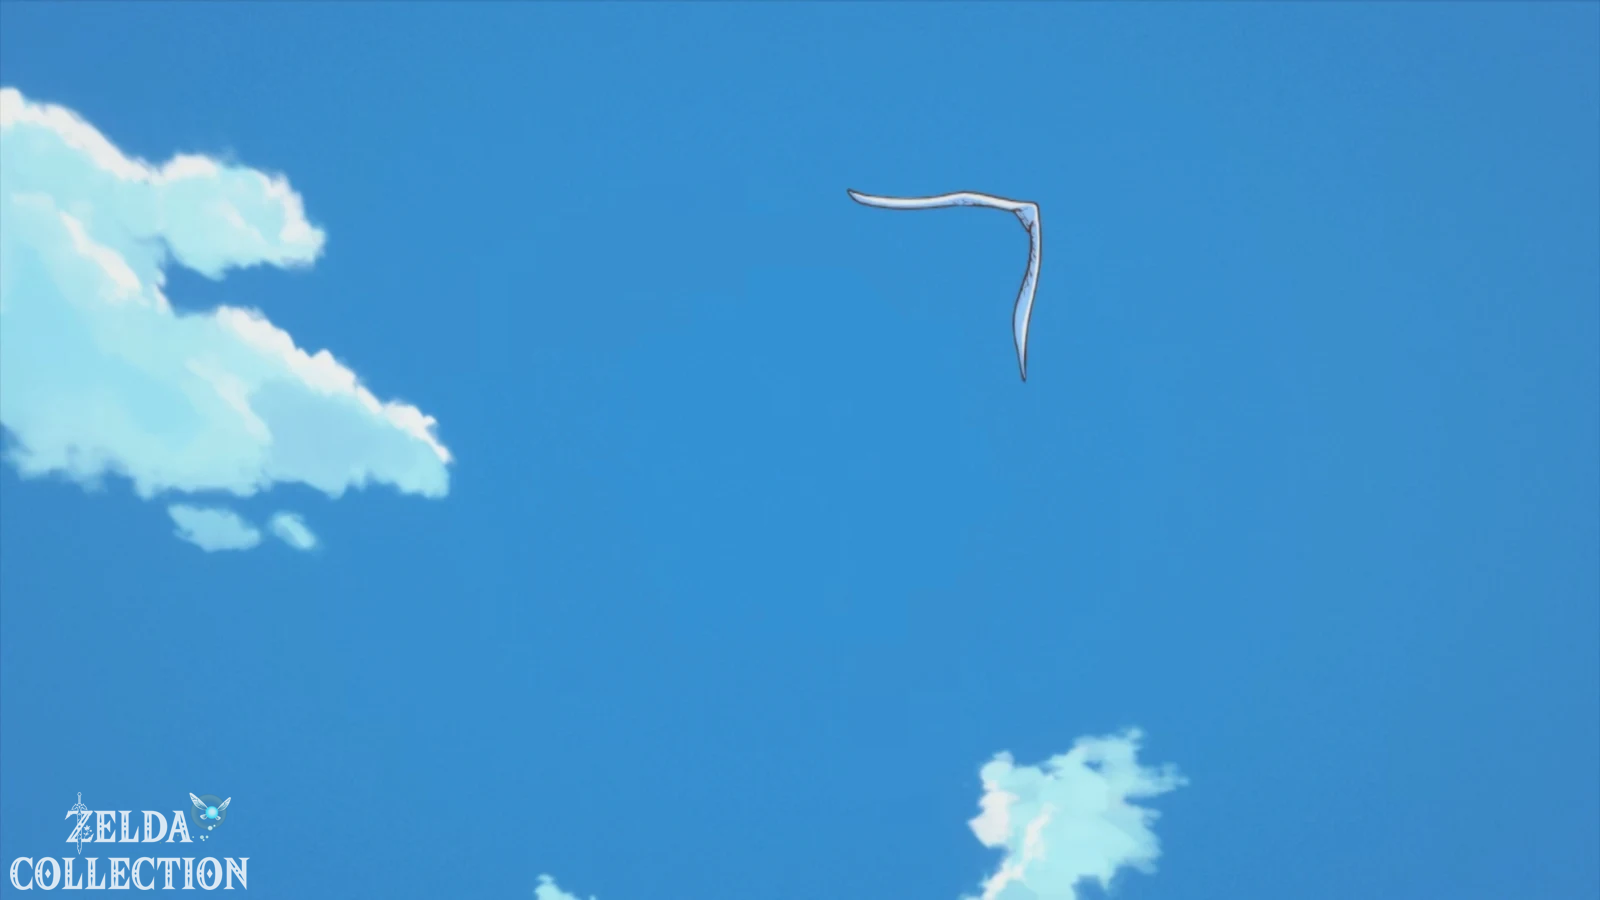
In the original Game Boy game, a depiction of Marin with wings flies across the screen after the end. In Link’s Awakening DX, a colored image of Marin appears in the clouds instead, which then turns into a seagull flying away. The Nintendo Switch remake is based on the DX version, but also animates Marin: she moves or closes her eyes briefly before her image disappears and the seagull flies over the sea.
The scene suggests that Marin’s great wish has somehow come true despite the ending of Koholint. The game deliberately leaves open whether she actually continues to exist as a seagull in Link’s world or whether Link simply remembers her and her wish.
What counts for the special ending?
The death counter of the score is crucial. It is already listed in the classic versions and is also visible on the file selection screen in the Switch remake. For the additional Marin sequence there must still be a 0 at the end. If you want to specifically achieve the special ending, you shouldn’t just rely on being particularly careful shortly before the finale – every previous game over in the adventure also counts.
For a future no-death run, our 100% route is even more comfortable than it initially seems: with red or blue armor, 20 hearts, three bottles, Koholint sword and full equipment, the second half of the game becomes significantly safer. The early dungeons, before Link has these upgrades, are particularly dangerous.
After the finale
After the finale: BowWow and the last Chamber Stone
After the credits, reload the save file marked with a star. Return to the Trendy Game in Mabe Village, win the BowWow figurine and place it at Madam MeowMeow’s house. All nine earlier figurines must already be on their stands. Speak to the Trendy Game owner afterward for the last special Chamber Stone and the reduced entry price.
A separate final checklist is not necessary, as all optional content has already been integrated into our solution in the most appropriate place. If you are still missing a single item, you can find the respective special guides for Pieces of Heart, Secret Seashells, bottles, figures, Chamber Stones, fishing pond, Color Dungeon on our overview page for Link’s Awakening and barter transactions.
Koholint remains a memory
This ends The Legend of Zelda: Link’s Awakening. What began as a seemingly small adventure after a shipwreck develops into one of the most unusual stories in the Zelda series: In order to wake up from the dream and return home, Link has to dissolve a world whose inhabitants have long since become real to him. It is precisely this conflict that makes Koholint one of the most memorable settings in the series, even decades after the Game Boy original.
The Nintendo Switch remake does not change this core. Instead, it complements the classic structure with numerous additional Pieces of Heart and Secret Seashells figures, bottles, the expanded fishing pond, new rapids rewards, warp points and Dampé’ Chamber Dungeons. Link’s Awakening DX remains an interesting intermediate step between the original and the remake thanks to the Color Dungeon and its unique photo album. Anyone who knows all three versions will recognize the same journey – but each with its own little secrets.