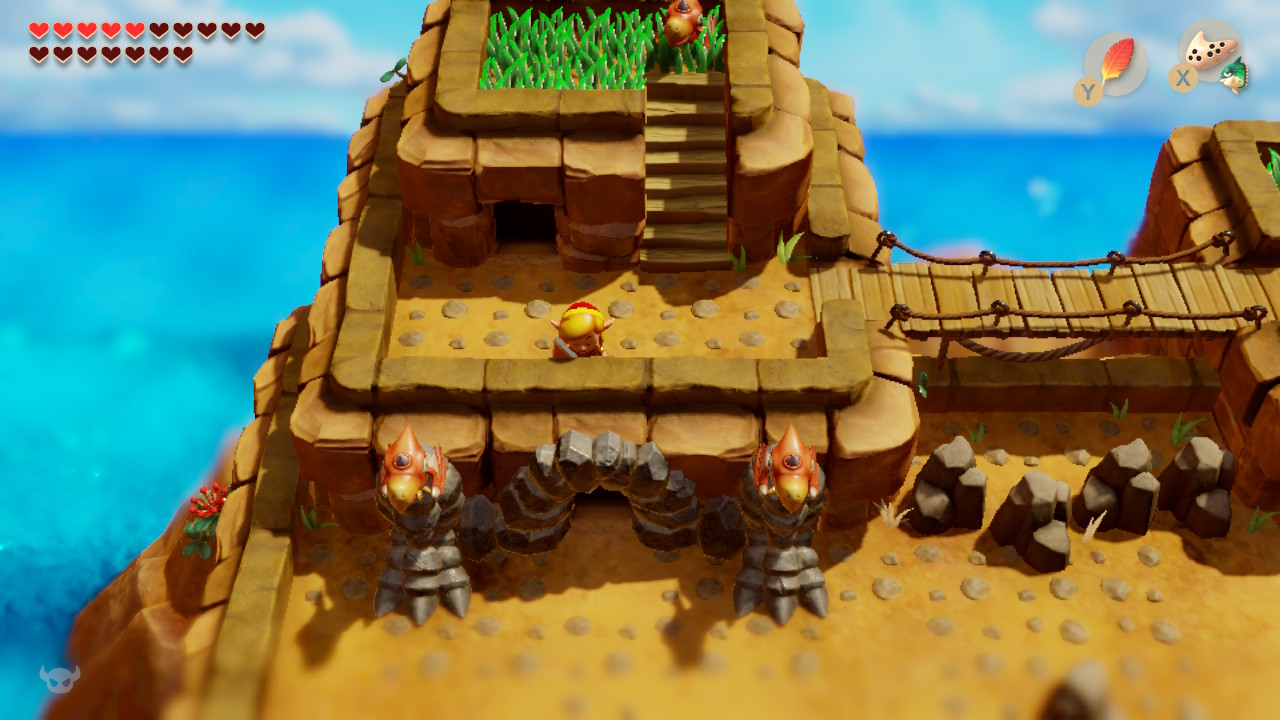

With the Organ of Evening Calm, Link is only a few steps away from the last instrument of the sirens. Our path now leads to the westernmost part of the Tal Tal Mountains and finally to the Turtle Rock. Before we enter the eighth dungeon, however, the overworld can be almost completely completed: we rescue Marin from a destroyed bridge, take another Piece of Heart with us, collect the last two Secret Seashells on Koholint, visit the third Mad Batter for the final capacity upgrade and activate the important warp point of the western mountains. The 32nd and last Piece of Heart of the Switch remake as well as the Magic Rod, with which Link can melt ice and defeat the last dungeon boss, are waiting in the Turtle Rock itself.
Back to the chicken coop
After the Eagle’s Tower, the blue rooster is no longer with Link. But you don’t have to worry about him: travel with Manbo’s Mambo to the Tal Tal Heights and climb again to the chicken coop. In the building you will find the revived rooster with his new friend. His help is no longer needed for the further course of the story.
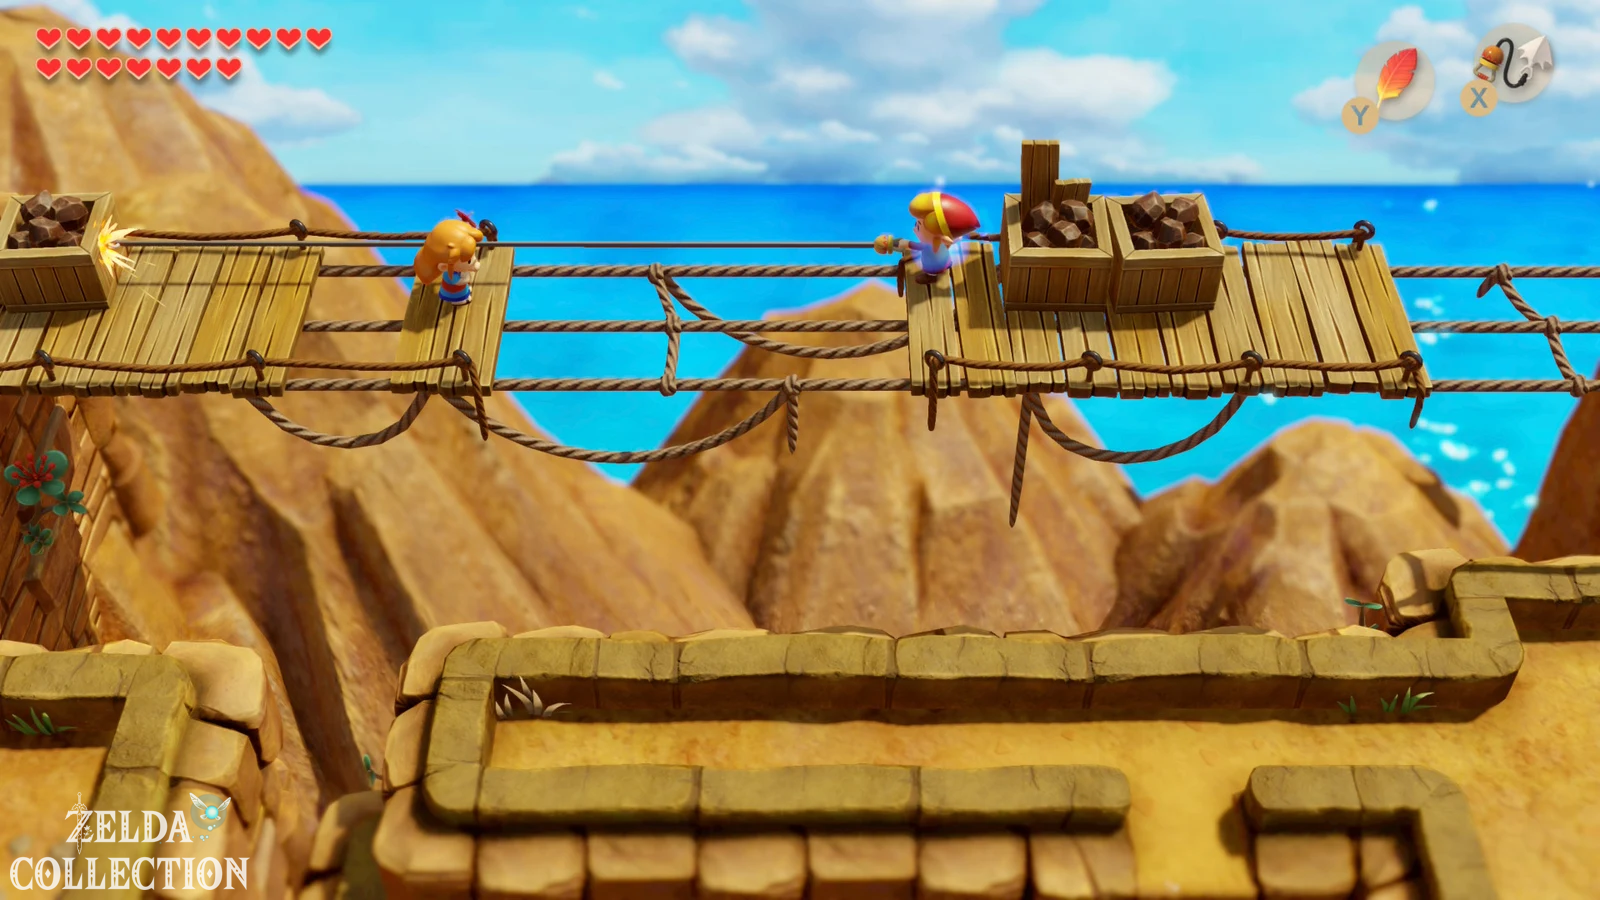
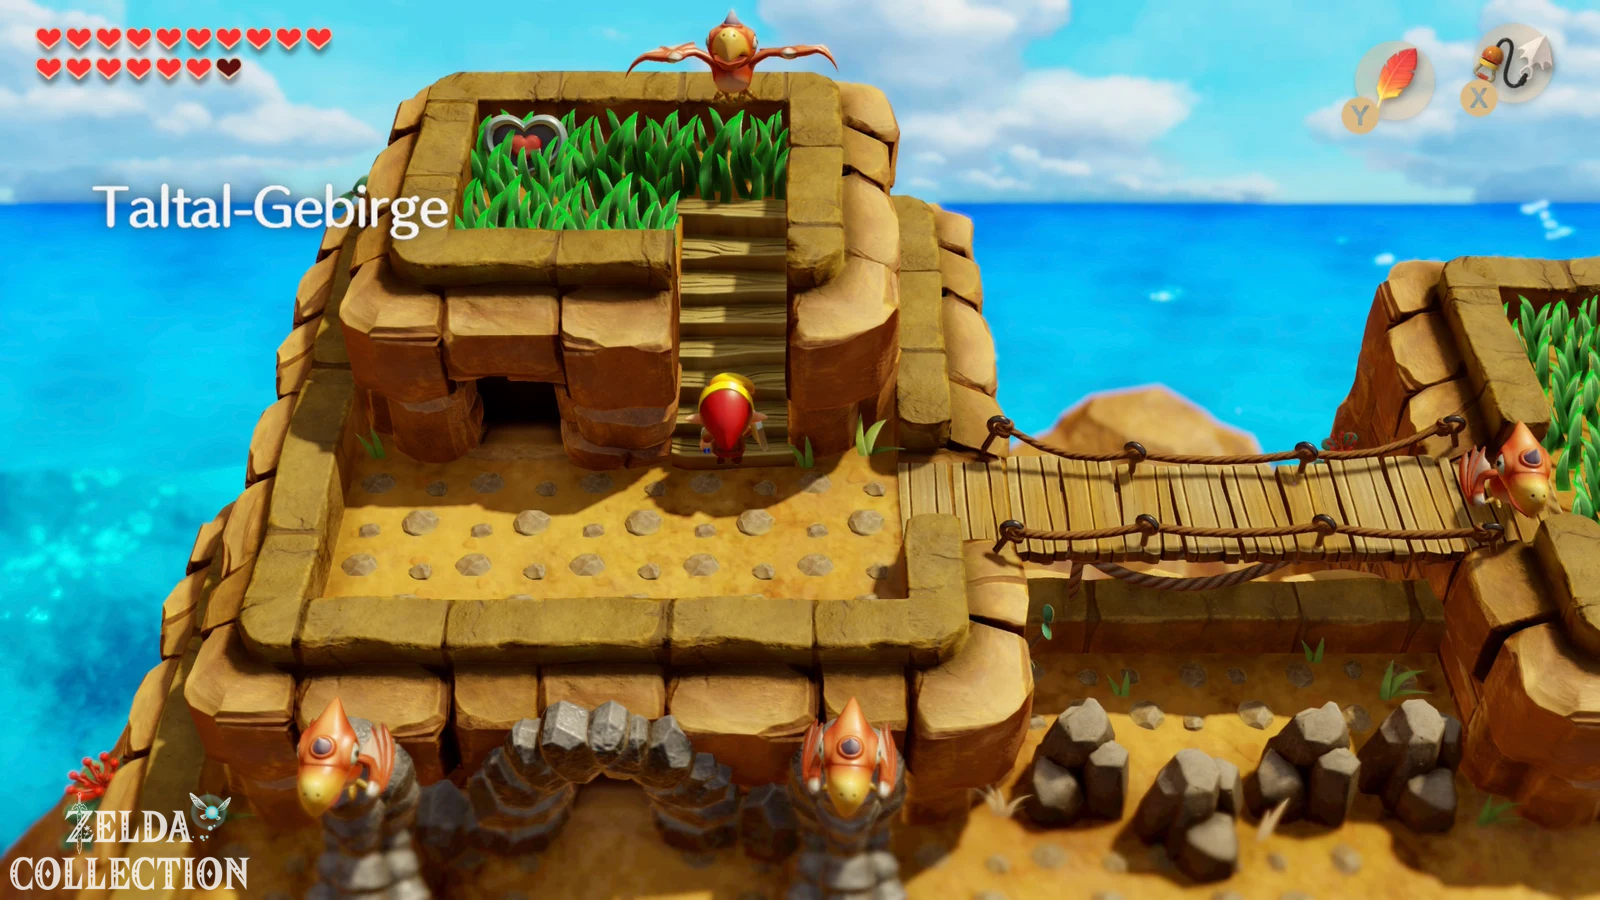
Leave the chicken coop and go to left. Cross the destroyed suspension bridge with the Hookshot. If you haven’t already collected the Piece of Heart in the cave under the bush west of the bridge from a previous section, now is the last really useful opportunity to do so. In our route, however, this Piece of Heart should already be in your collection.
Save Marin on the broken bridge
Follow the mountain path further west. After a short time you discover Marin, who is stuck on a broken part of the bridge and cannot come back. Stand on the opposite side and use the Hookshot. Link pulls himself across the gap, taking Marin with him. After the rescue, Marin is about to say something to Link when Tarin shows up and interrupts the scene. Marin is now safe and you can continue your journey west.
The eagle owl appears again shortly afterwards. He reminds you that the ballad of Wind Fish is a song of awakening and gives a crucial clue about the supposedly lifeless rock at the end of the mountains.
Through the western mountain cave
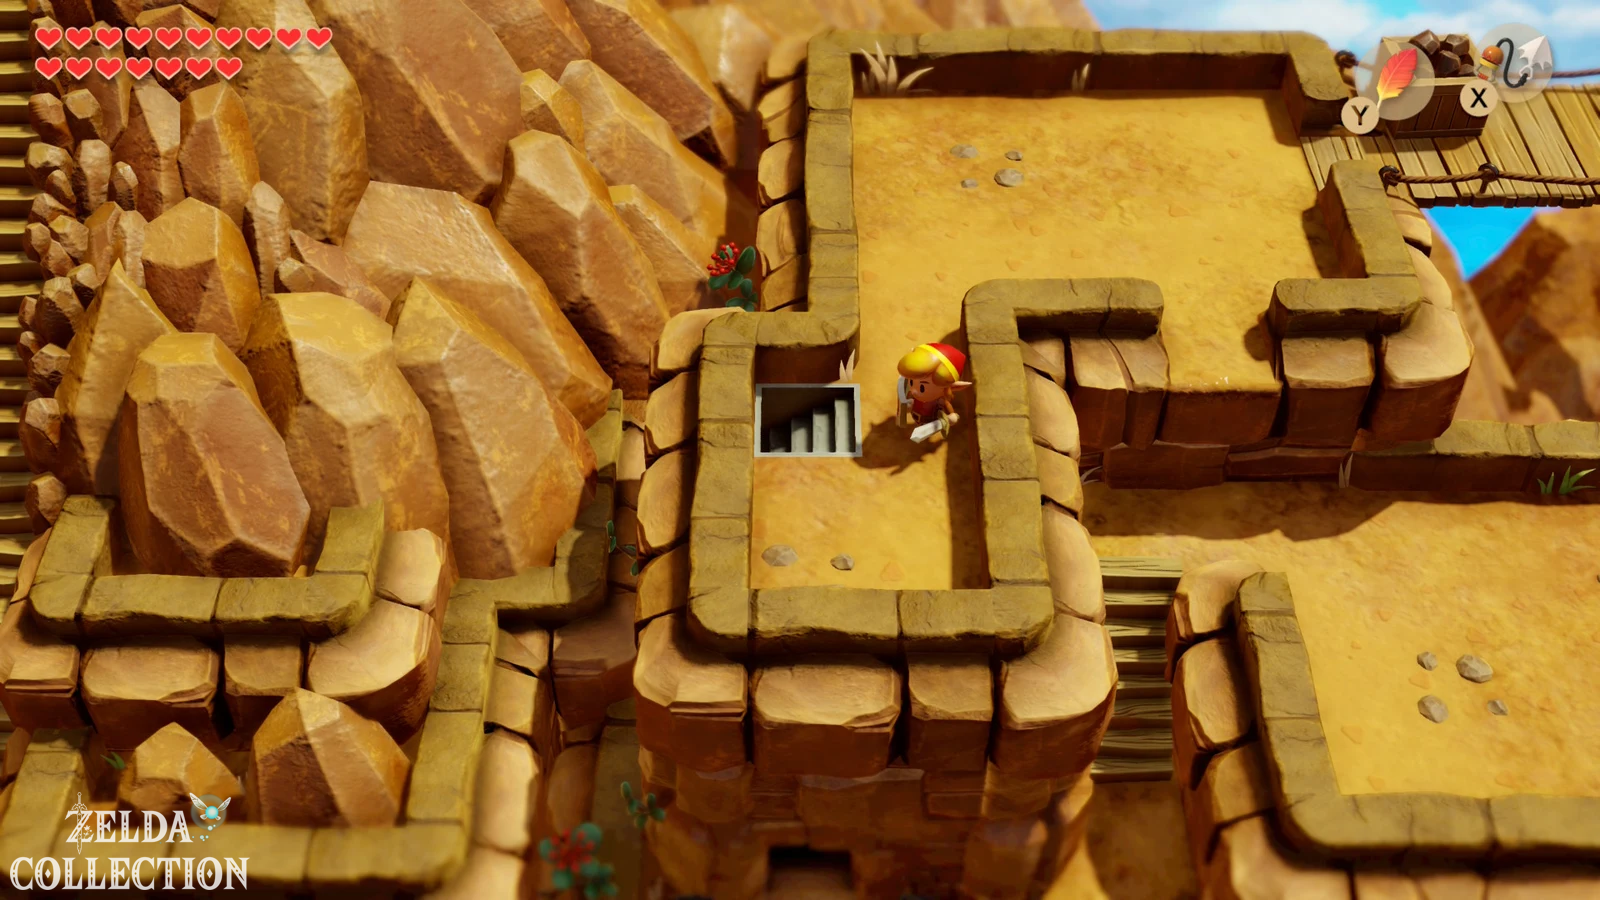
Cut away the bush west of the bridge and climb down the stairs below. Once in the cave, examine the southern wall. If the Piece of Heart there from our grappling hook section is actually still missing, blow up the cracked wall and take it with you now. For the normal route, go left from the cave entrance, jump down from the ledge and climb down the next set of stairs. Cross the wide gap in the lower area with the Hookshot and follow the path further west until you leave the cave again.
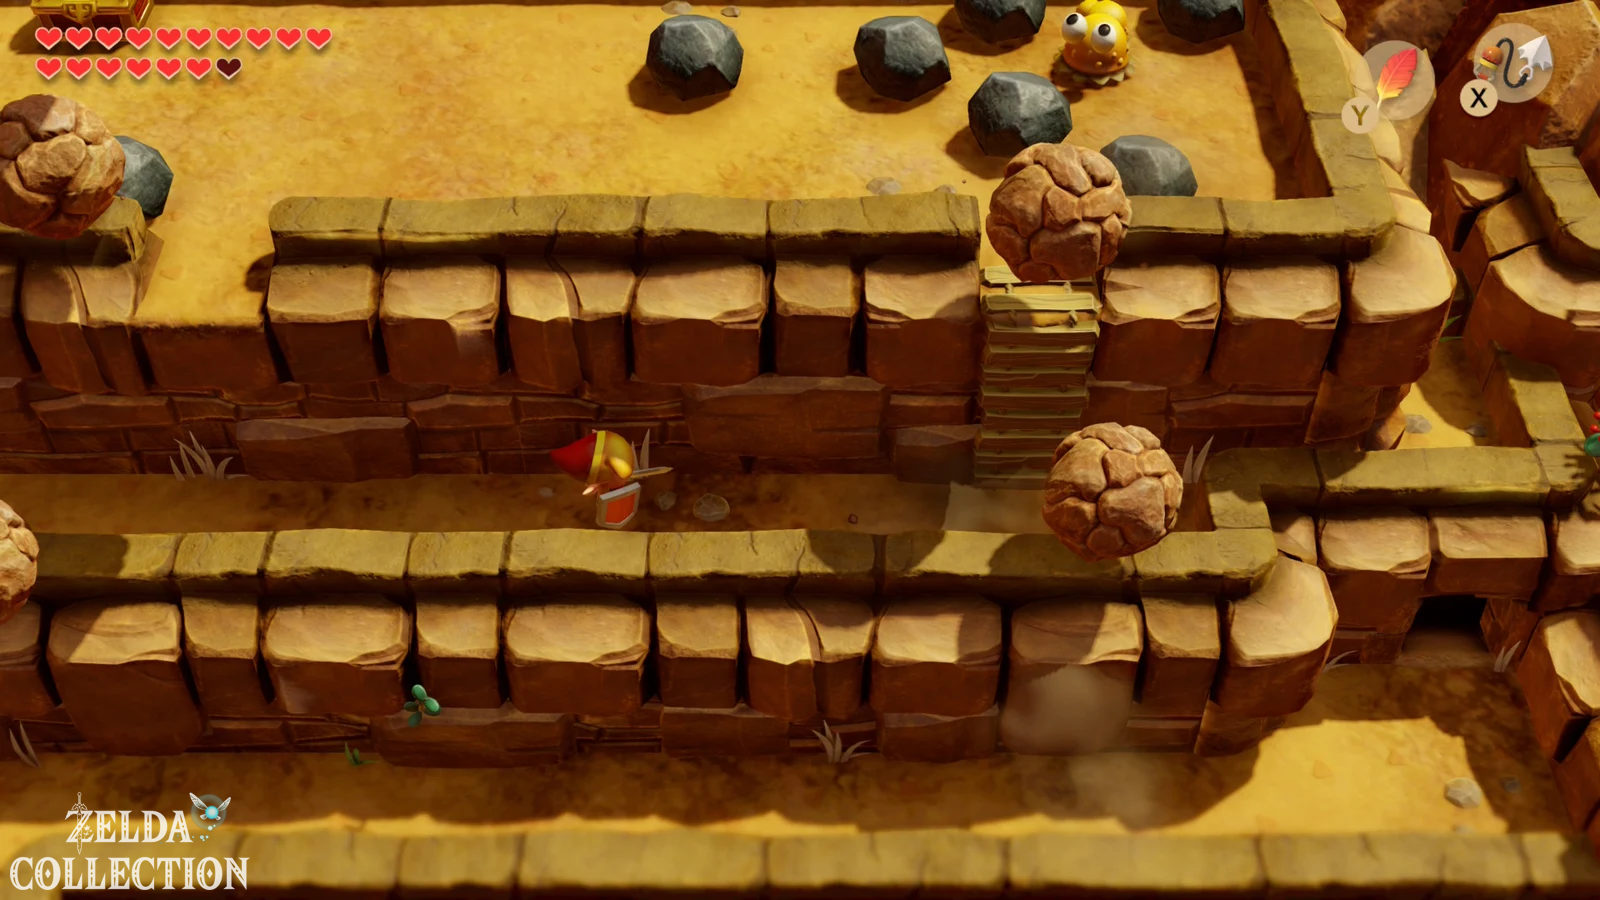
From here the mountain path is largely linear. Defeat the opponents and work your way up little by little. A small Moldorm or worm enemy blocks your path on the way, but is dispatched within a few hits with the Koholint sword.
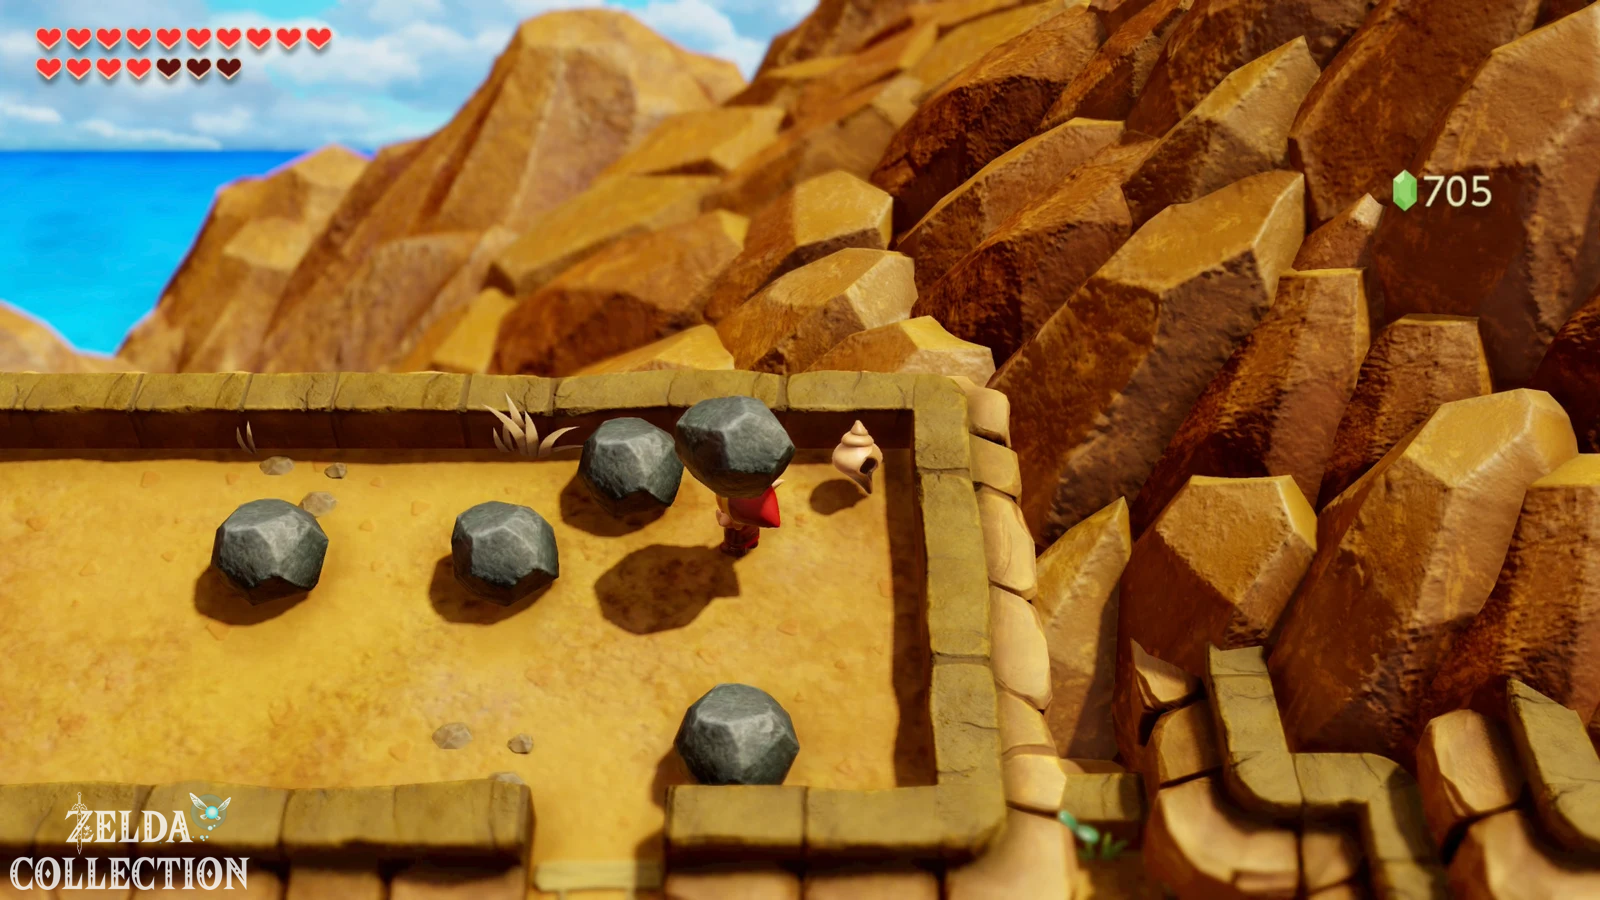
Secret Seashell 49 on the Mt. Tamaranch
Once you reach the highest section of this mountain path, there are several heavy rocks lying around. Lift the rock at the top right. Below that is another Secret Seashell. If you’ve followed our route so far, this is the second to last shell of the entire Nintendo Switch version.
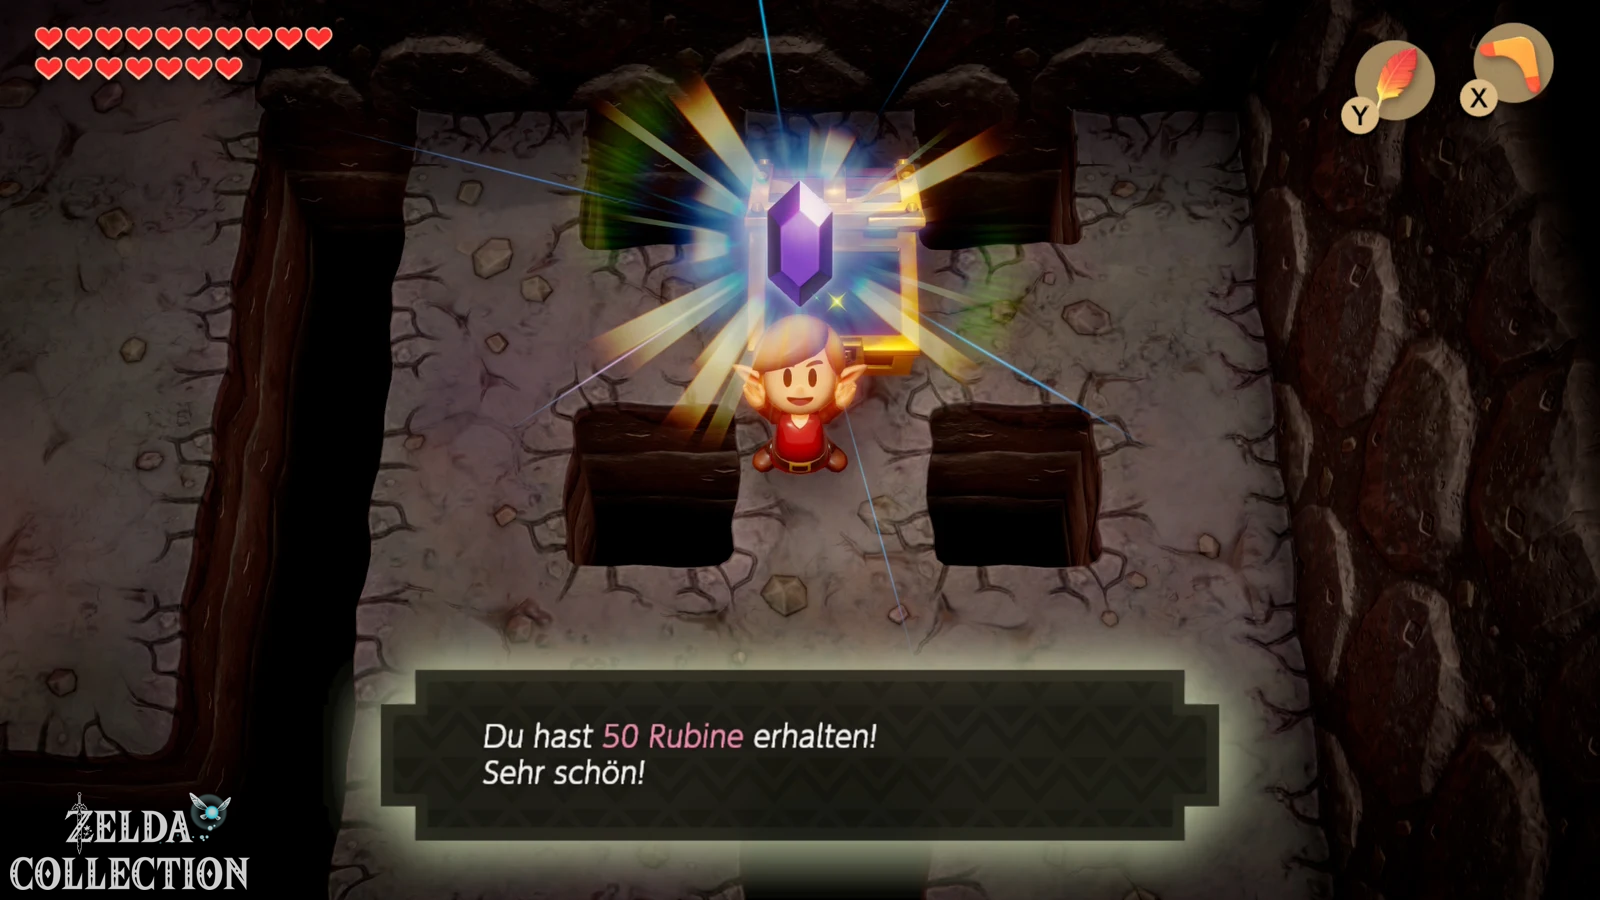
Then go one screen to the left. There is a chest there with 50 Rupees. Take the money with you – even this late in the game, Rupees can still be used for Chamber Stones, Secret Medicine or the last side activities.
The third Mad Batter and the final capacity upgrade
There is a single heavy rock near the ruby chests. Lift it with the stronger Power Bracelet and you will uncover a hidden staircase. Descends. The third and final altar of the Mad Batters is located in the secret room. Sprinkle Magic Powder on it and the familiar devil appears.
If you followed our route, you used the first two devils to upgrade two different supplies. Now select the missing category. Afterwards, Link has all the maximum capacities: up to 40 units Magic Powder, 60 bombs and 60 arrows. This completes this optional collection category.
You can also find the Locations of all three altars in our guide to more bombs, arrows and Magic Powder.
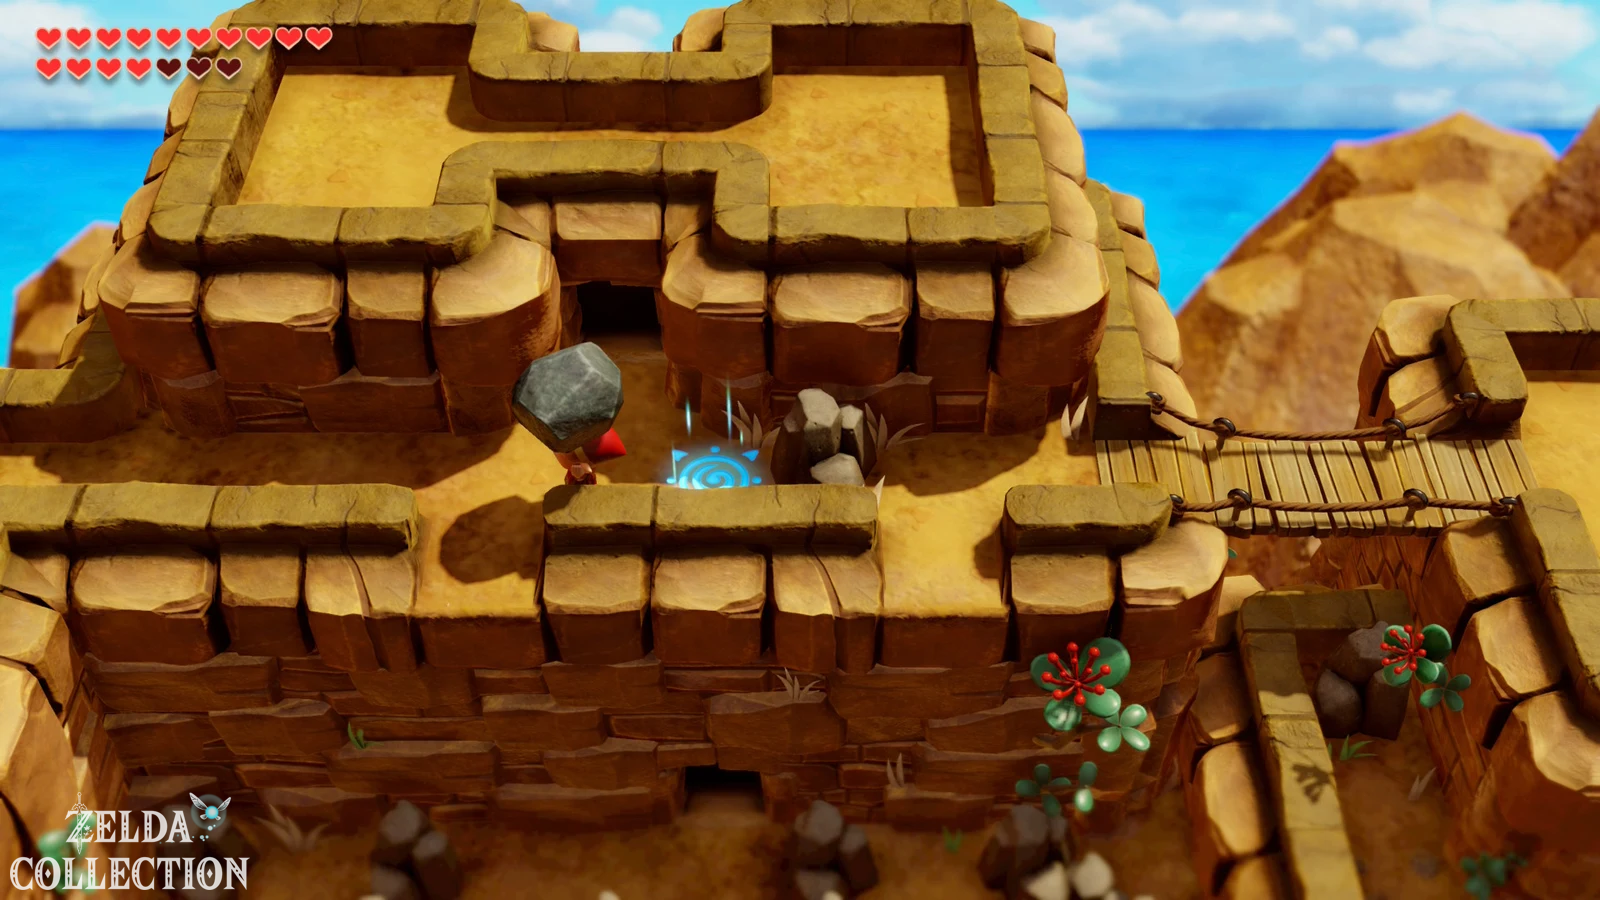
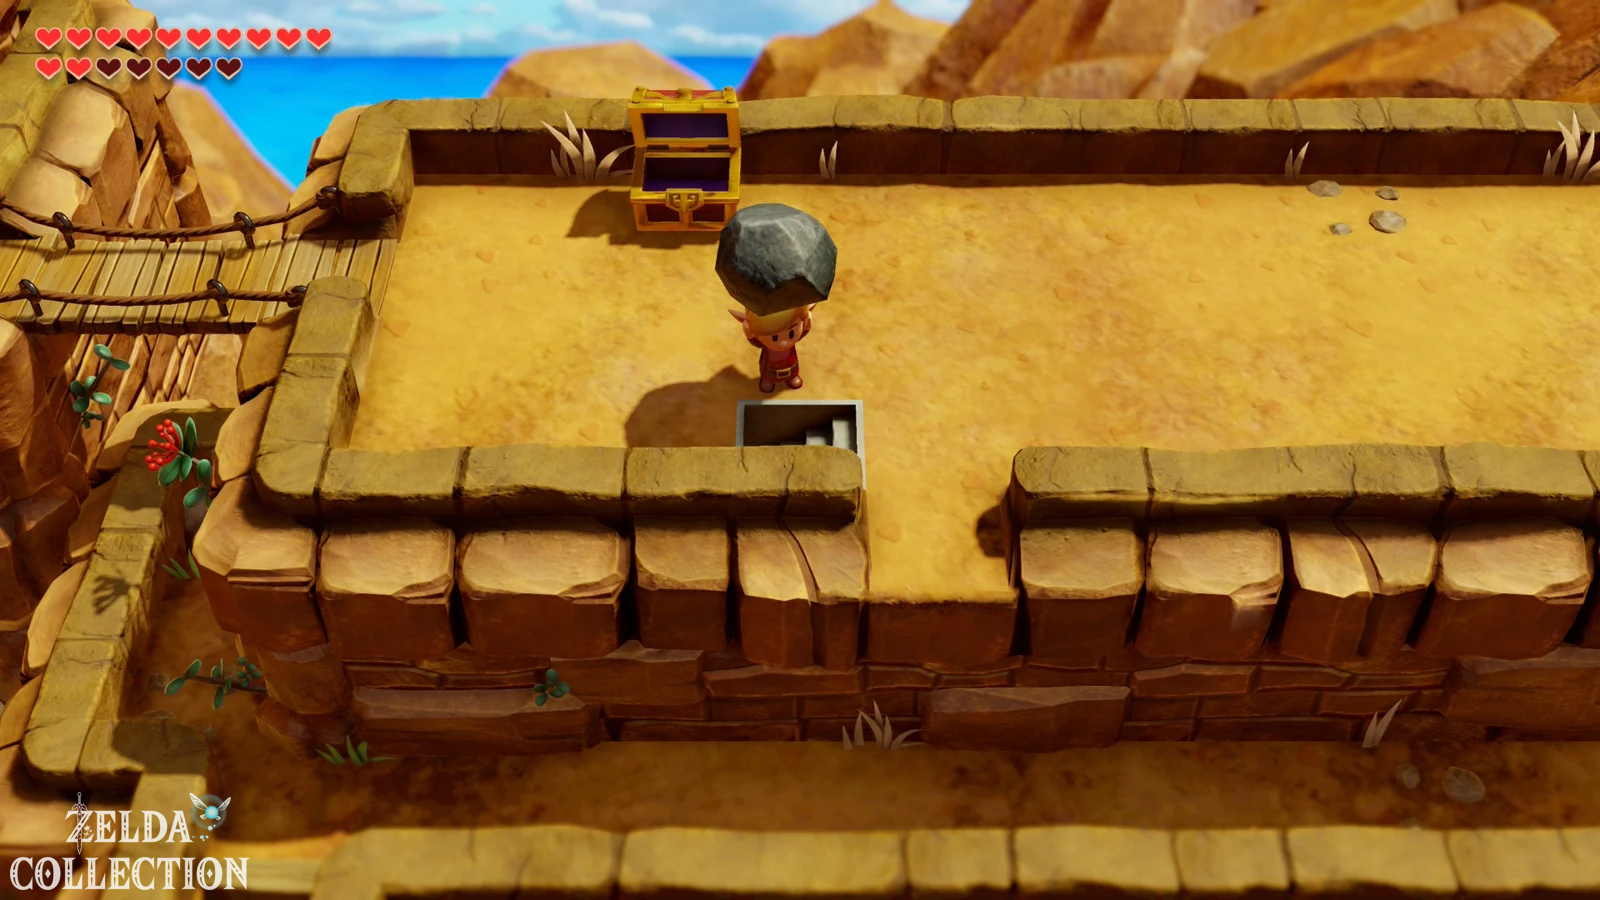
Piece of Heart 31 on the western ledge
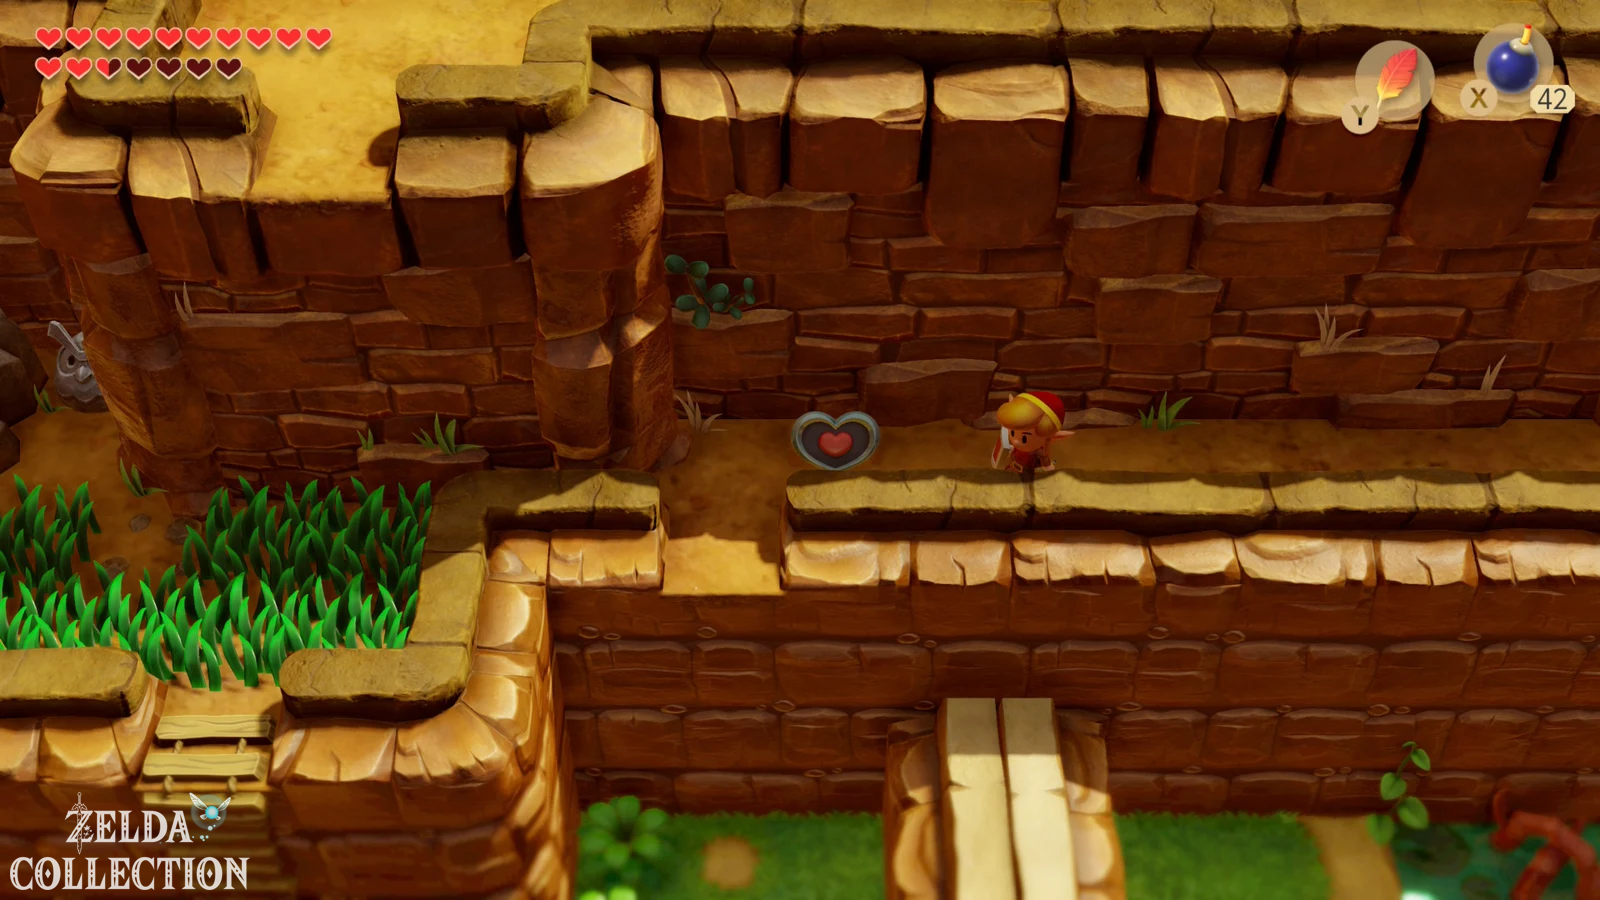
Leave the Mad Batter’s cave and go left. Jump down from the ledge. You end up in a narrower area with a Like Like and a cloaked Stalfos. Instead of immediately running to the noticeable cracked wall in the north, you first go all the way to the west . A narrow ledge leads to an exposed Piece of Heart.
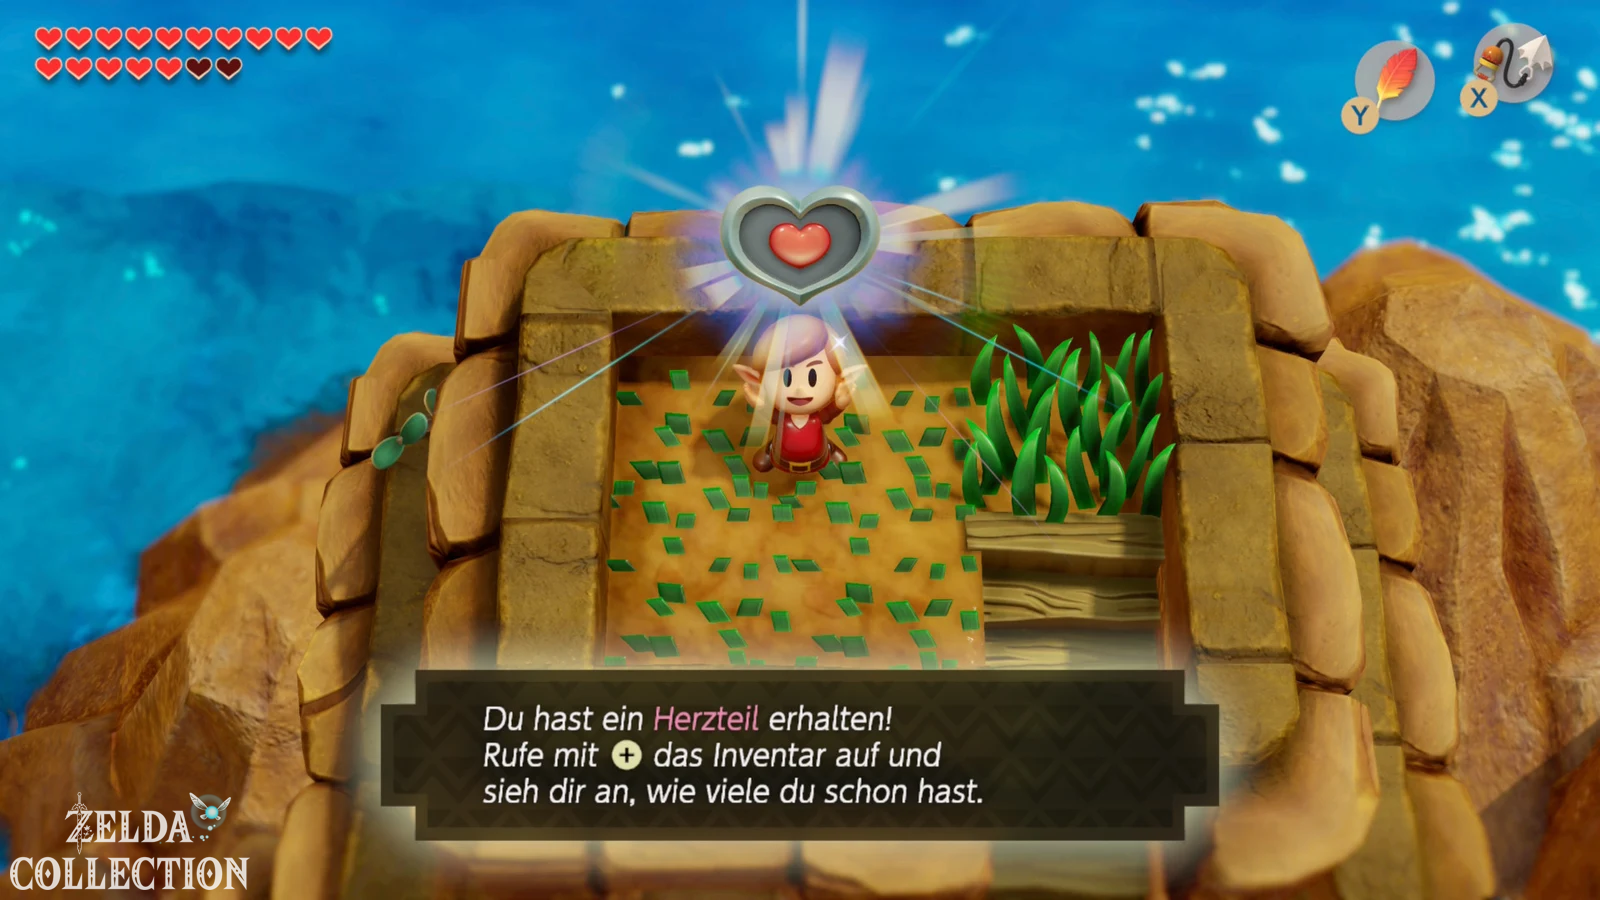
Be sure to take it with you. If you have followed our route completely, you now own 31 of 32 Pieces of Heart. The very last Piece of Heart is located in Turtle Rock and can only be reached via an exit from the dungeon.
You can find a complete cross-check in our guide to the 32 Pieces of Heart in Link’s Awakening.
With the Mirror Shield through the fire stream
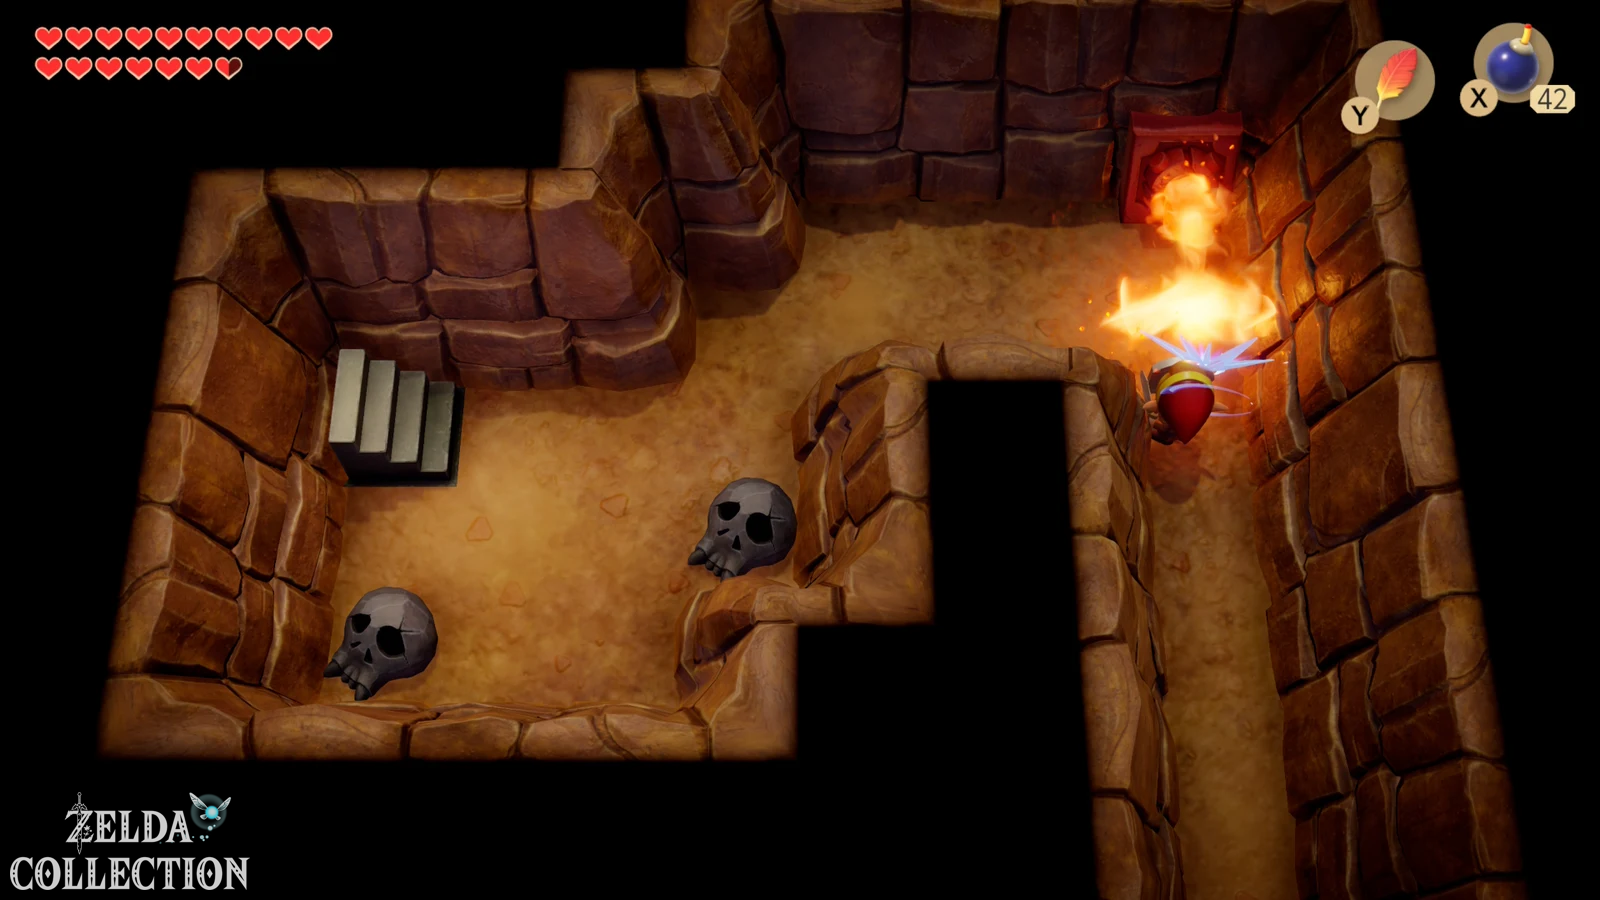
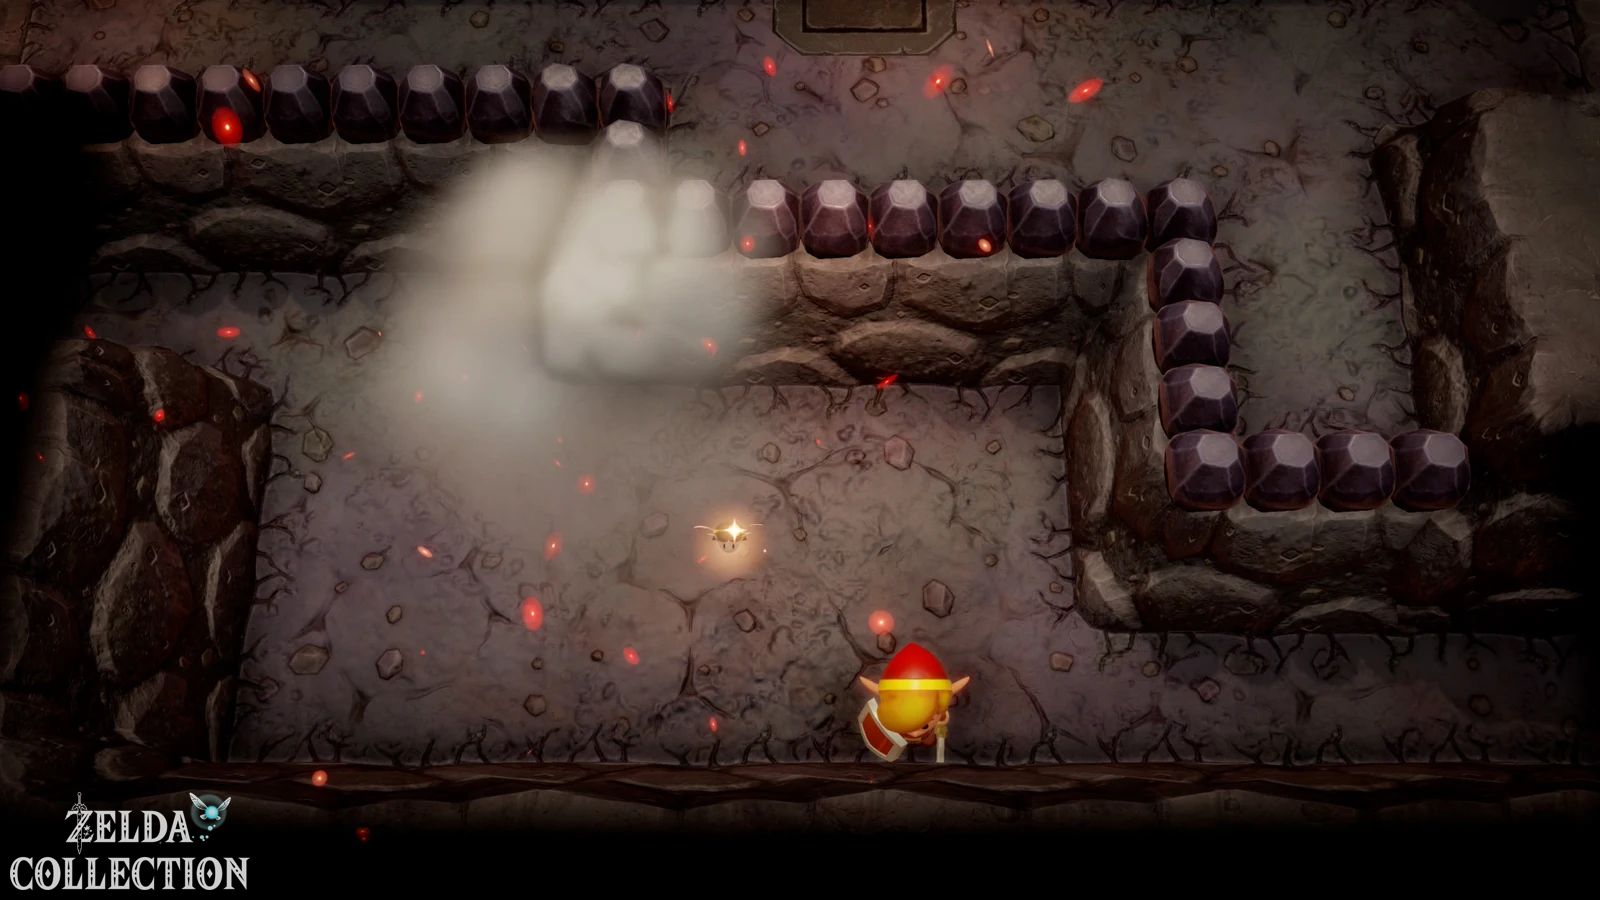
Return east from Piece of Heart and examine the northern cliff face. Blow up the cracked area with a bomb and enter the cave. In the very next section, a huge stream of fire shoots across the corridor. The old sign would have ended here for good. Now hold up the Mirror Shield and slowly attack the flames. The stream of fire bounces off the shield and Link can safely run to the stairs at the other end.
Climb up and leave the cave. You have now reached one of the few places where the Mirror Shield is absolutely necessary for normal story progression.
Activate warp point in western Tal Tal Mountain Range
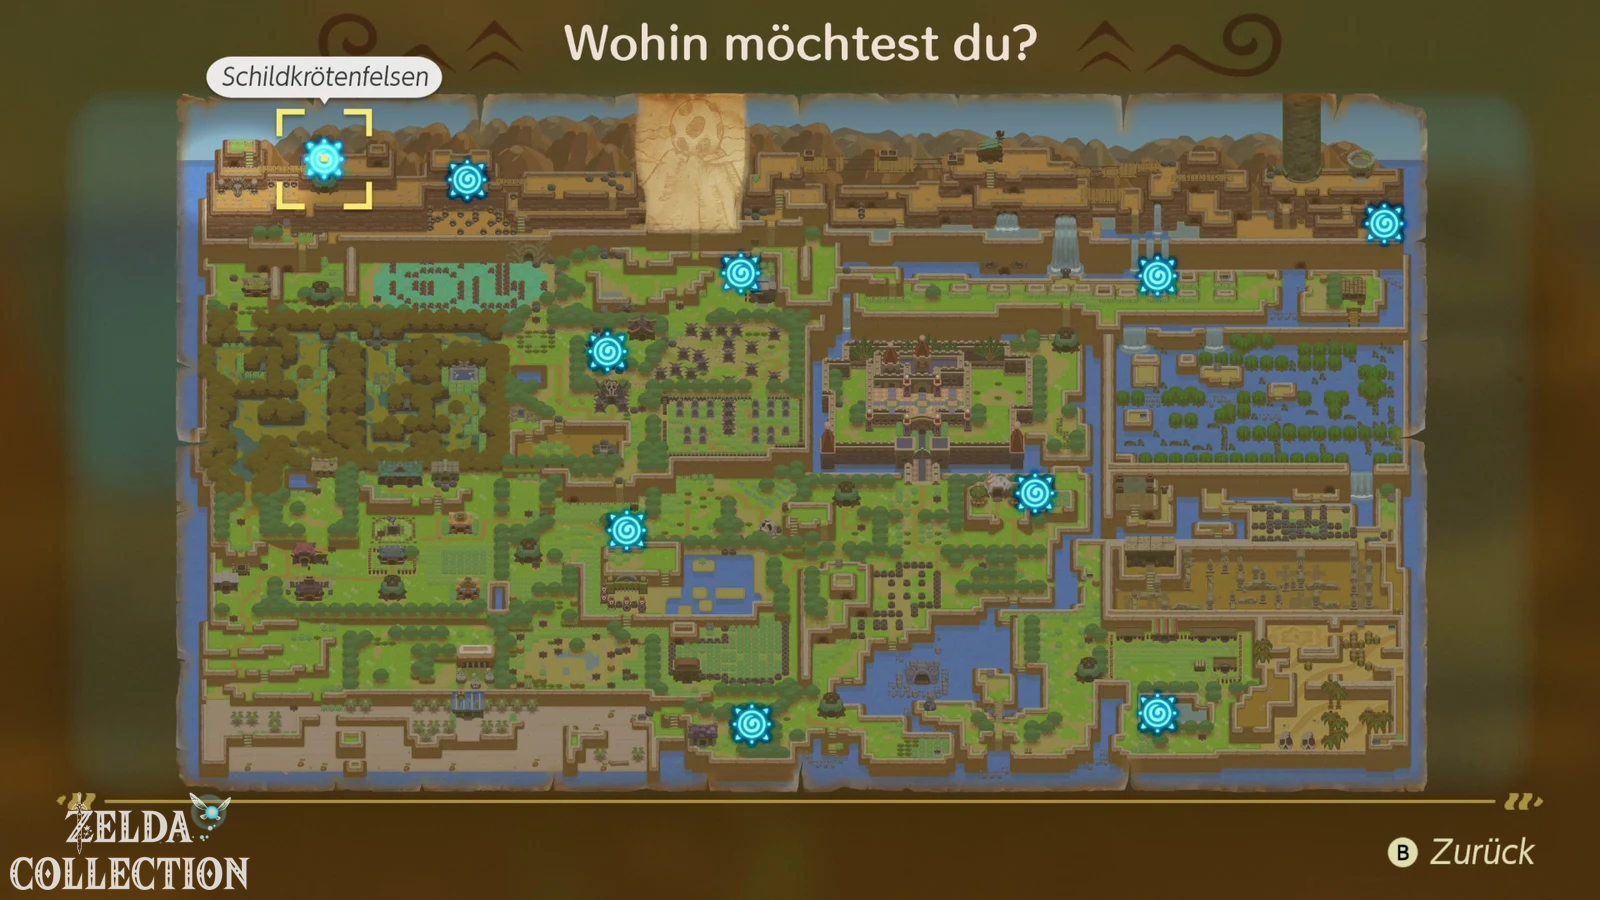
Immediately after leaving the fire cave there is another warp point under a heavy rock. Lift the rock and be sure to activate the portal. The Turtle Rock has another access to the summit later, and if you want to return after the dungeon for Side Quests, this point saves a lot of time.
Secret Seashell 50 – the last shell
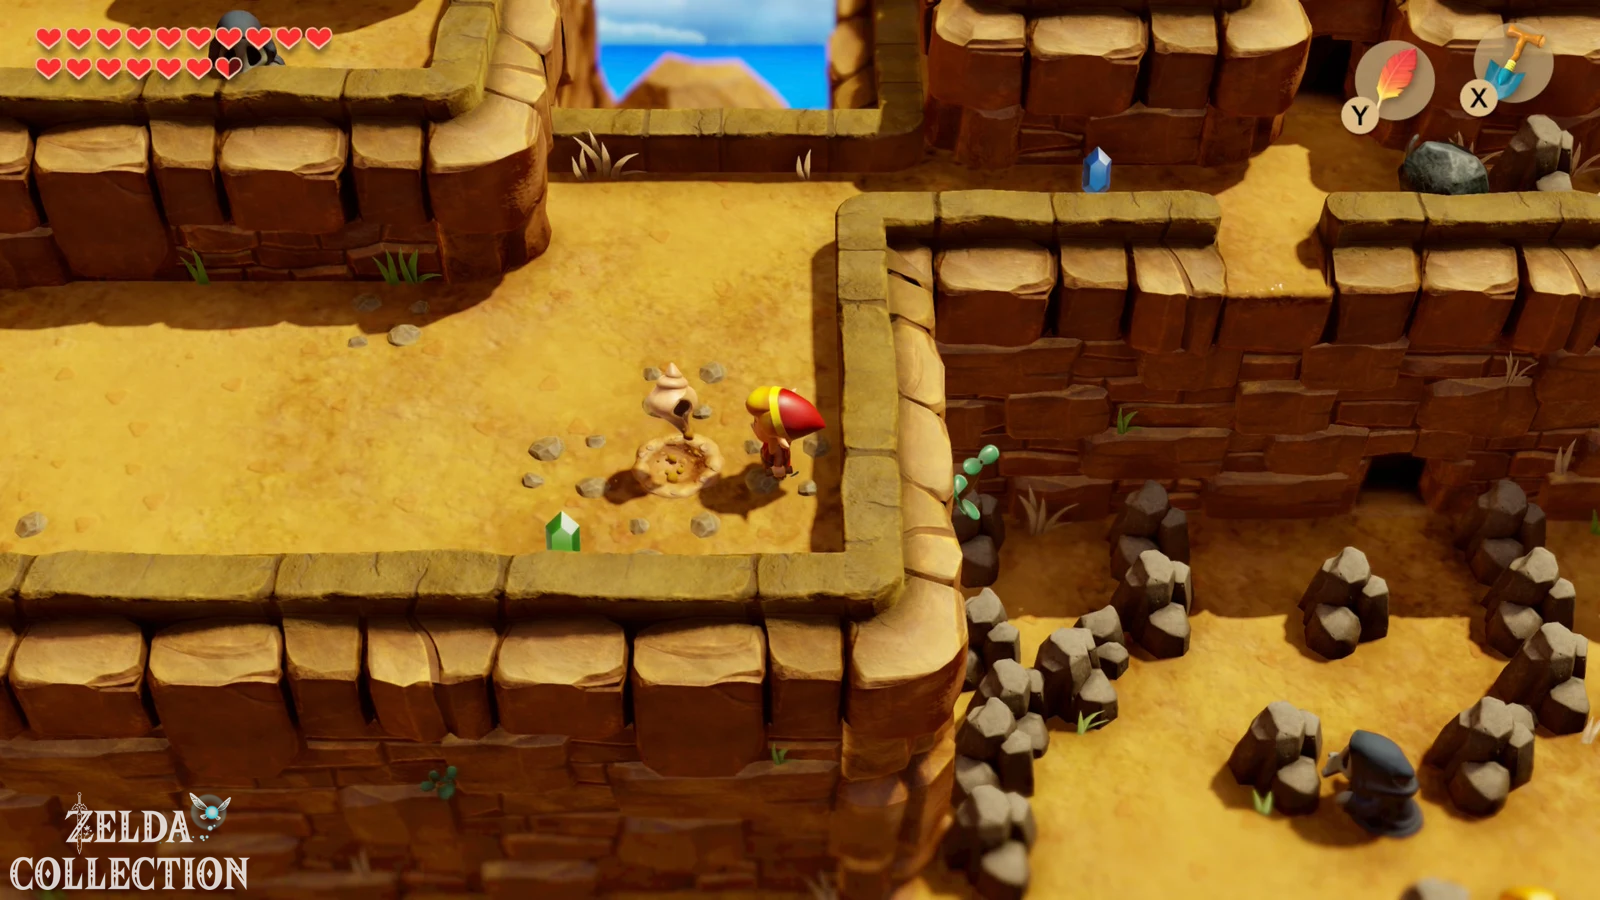
Goes from the warp point to left. In the sand you can see four small groups of tiny stones that together form a cross or a free center. Stand right in the middle of this formation and use the shovel. There is the last Secret Seashell of the Nintendo Switch version.
If your ours Walkthrough If you have followed it throughout, you now actually own it every 50Secret Seashells. This completes the entire shell collection. Before we enter the Turtle Rock, it’s worth taking a short detour to the Seashell Mansion.
If necessary, you can compare all Locations again with our guide to the 50 Secret Seashells.
Reward for every 50 Secret Seashells
Play Manbo’s Mambo and travel to the Seashell Mansion. Step on the large platform there. For every 50 shells found, you will receive the final reward of the bazaar: a special Chamber Stone for Dampé as well as a ruby effect for the Chamber Dungeons. You have already received the Koholint sword for 40 shells.
This completes the entire shell side quest of the Switch remake. Then travel directly back to the just activated warp point in the western Tal Tal Mountain Range via Manbo’s Mambo.
Bringing the Turtle Rock to life
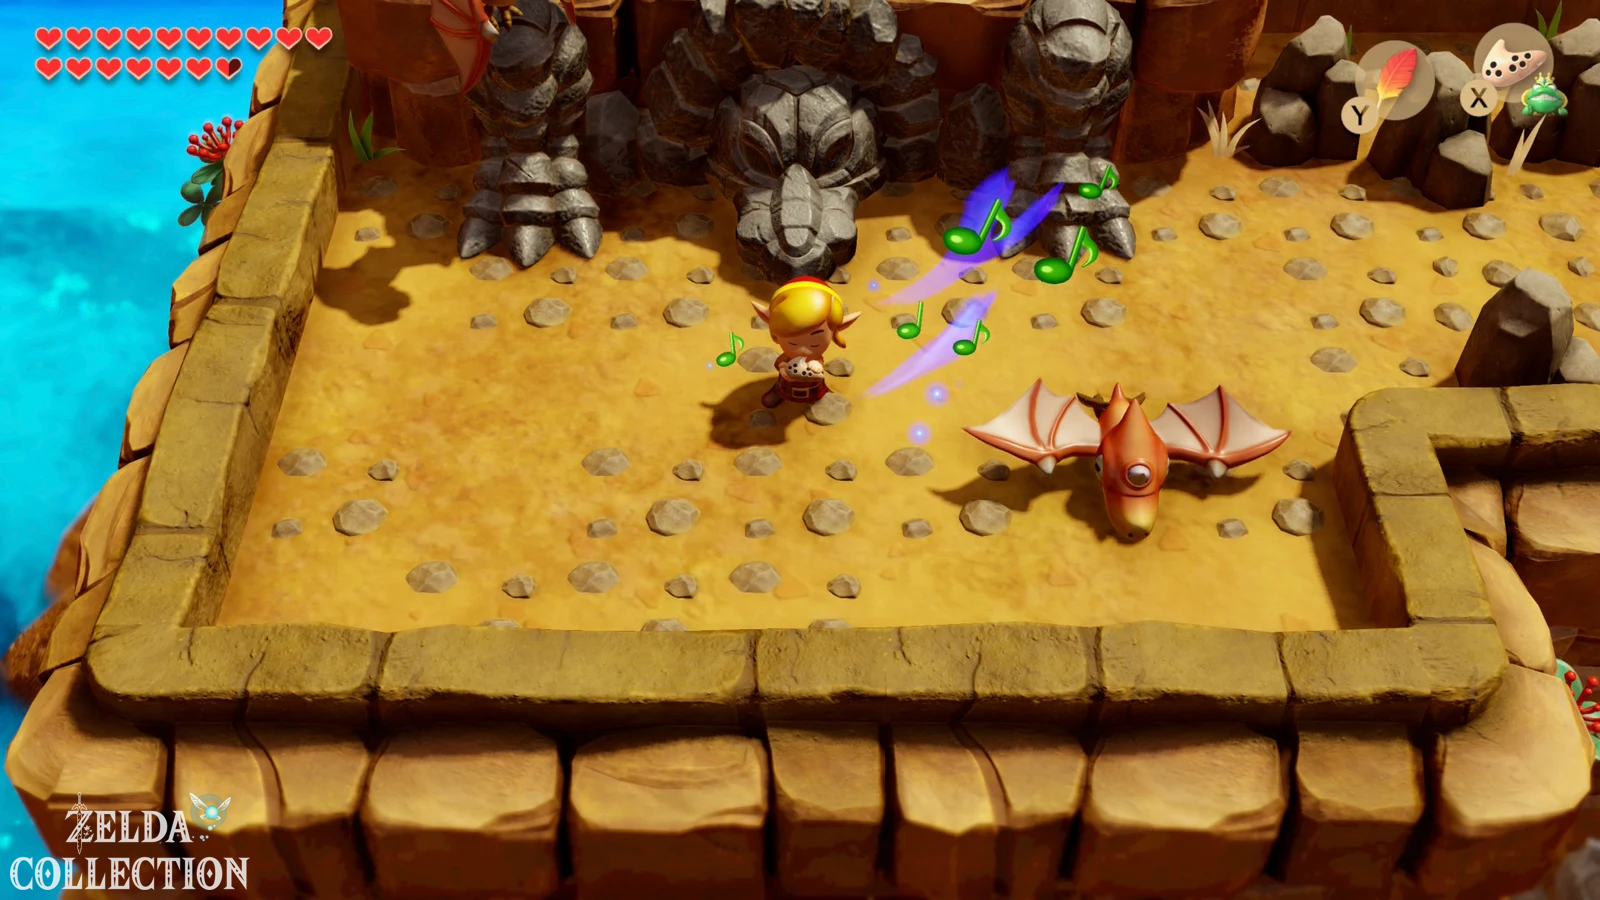
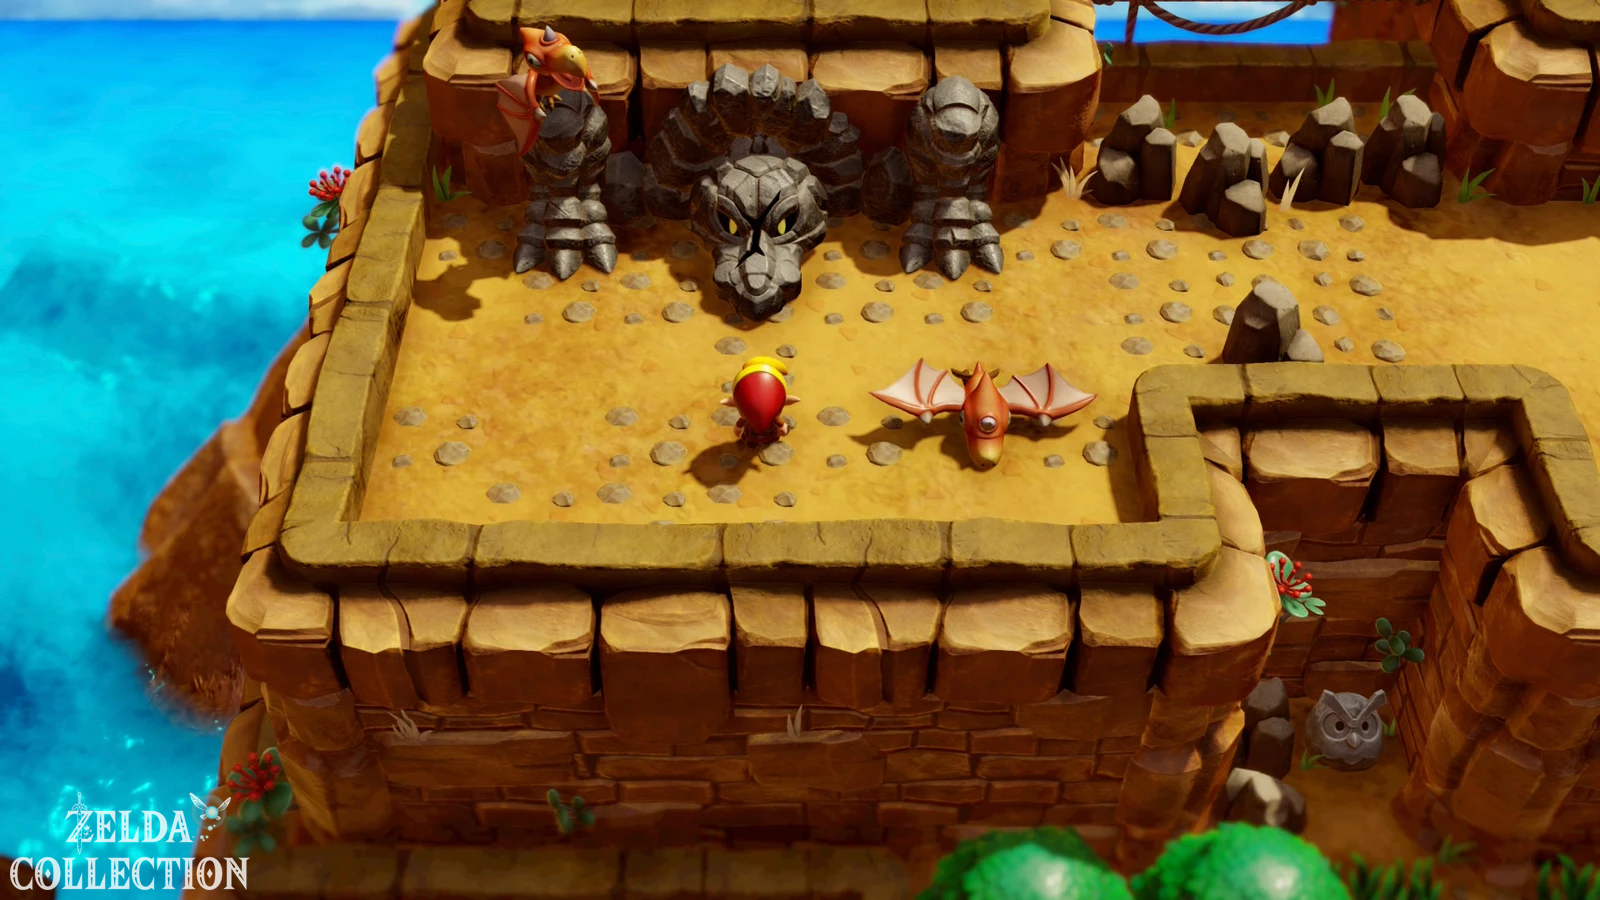
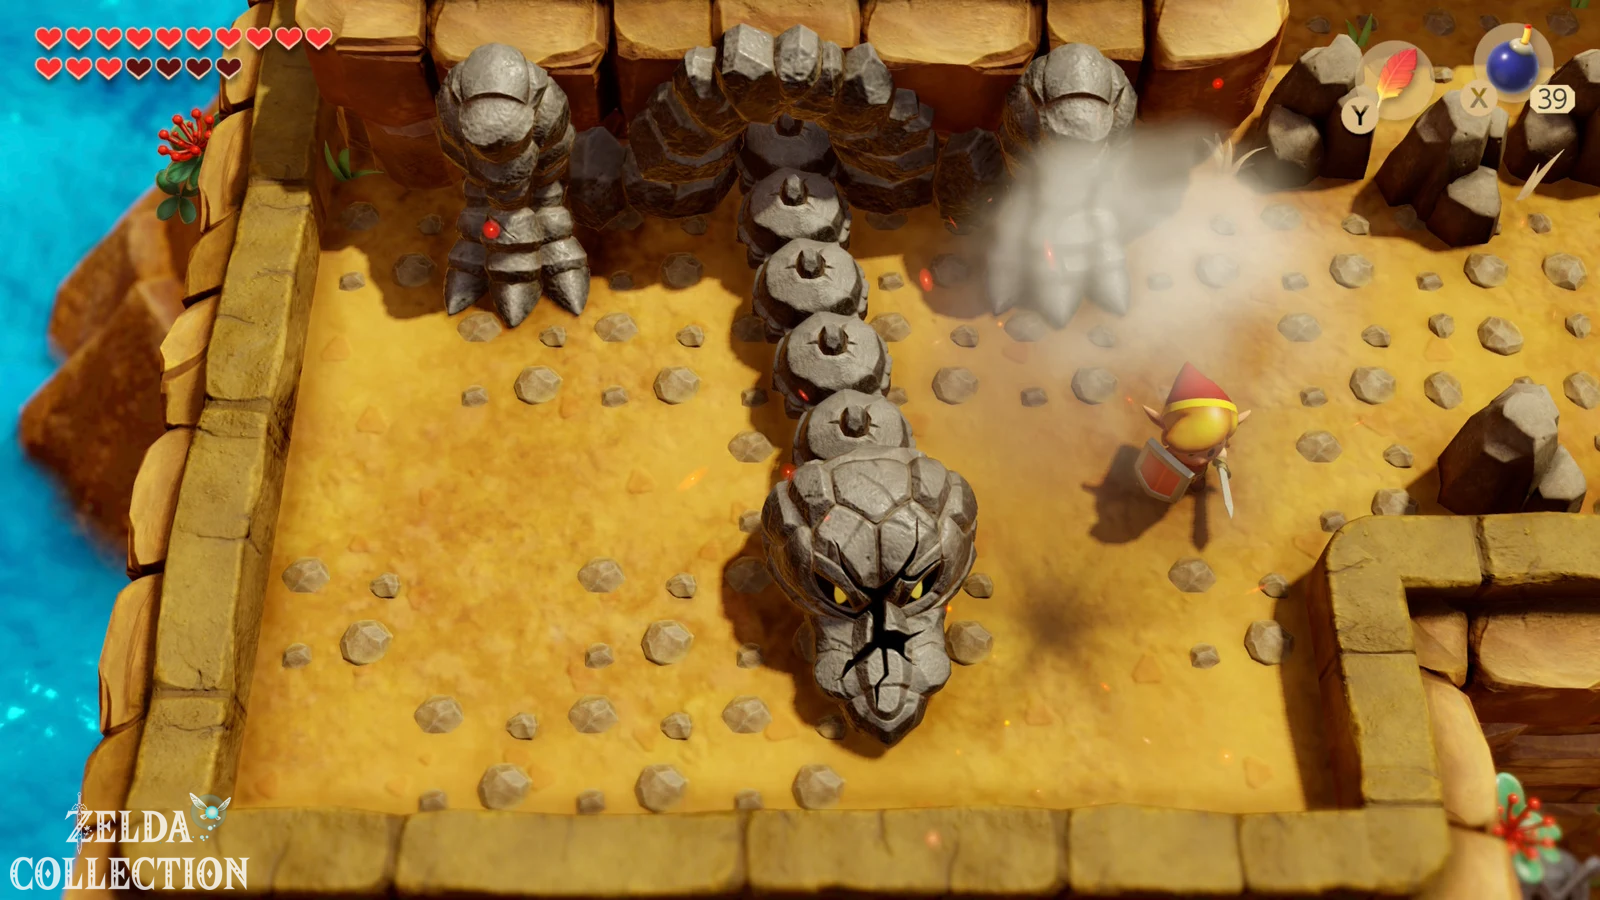
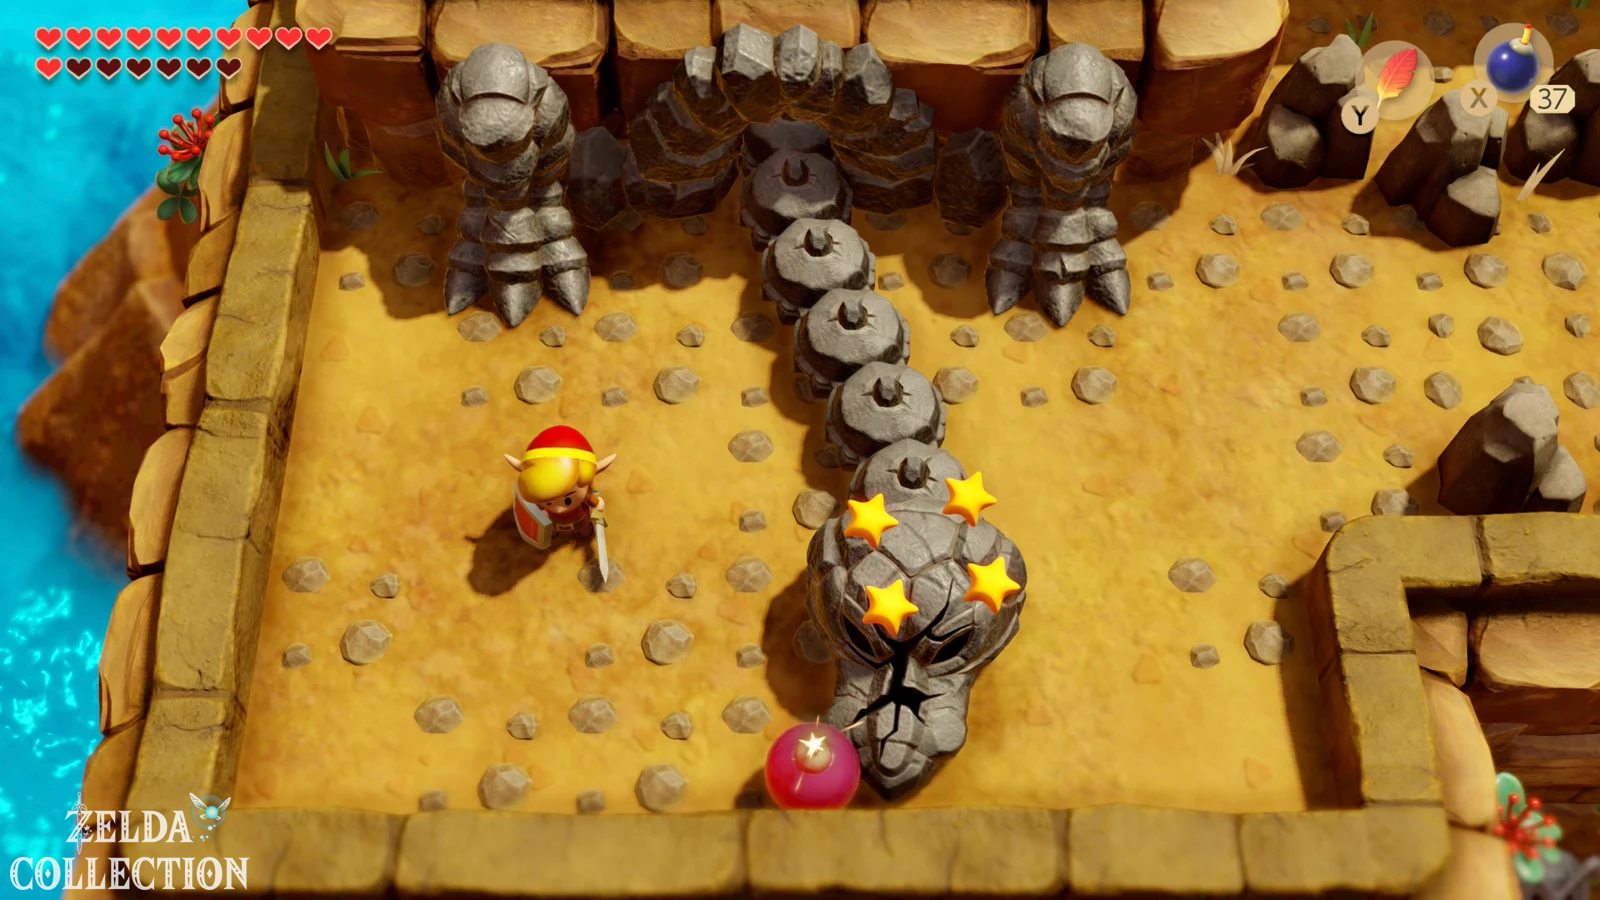
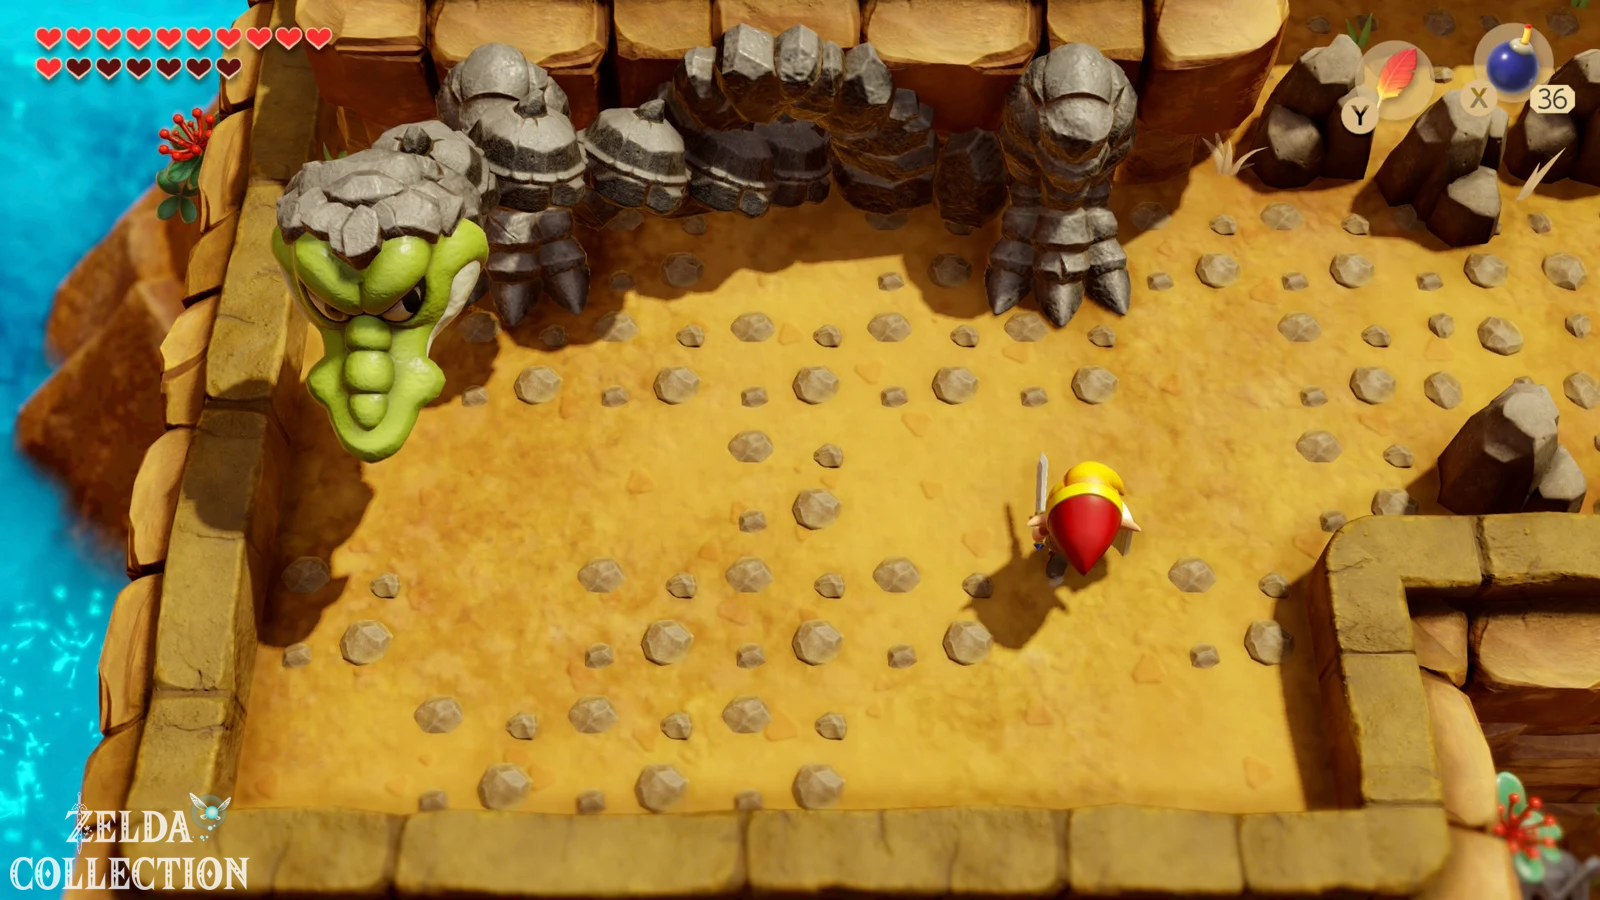
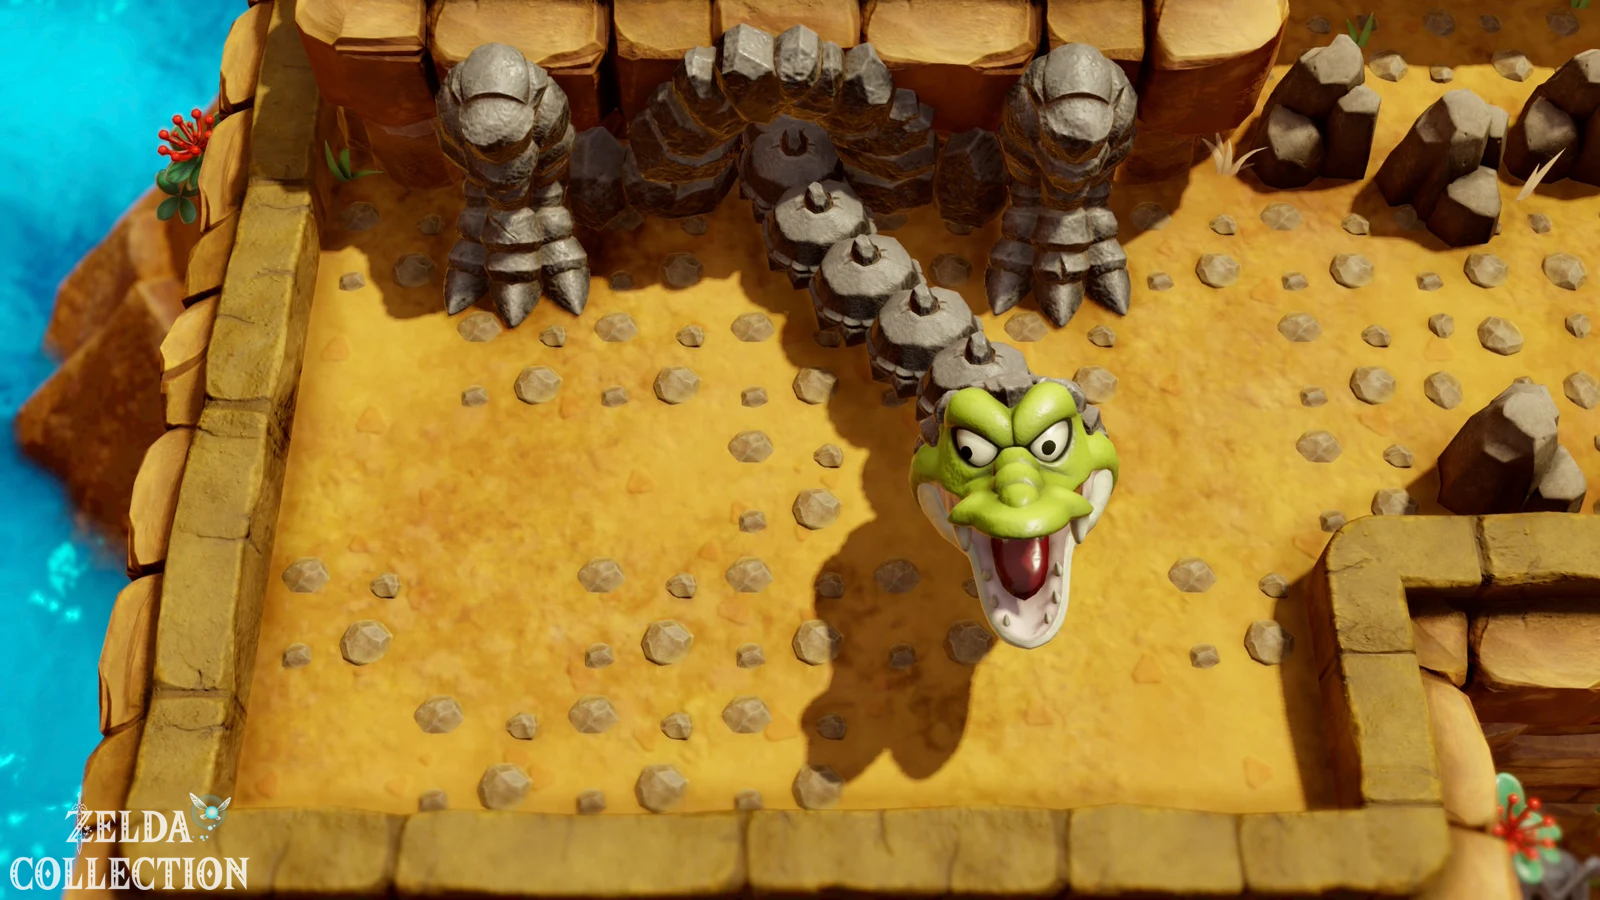
Go left from the warp point. You reach a huge stone turtle head, which forms the entrance to the last regular dungeon. Stand in front of it and play the Frog’s Song of Soul on the ocarina. The song brings the supposedly lifeless turtle to life – but anything but peaceful.
The reptile head moves sideways and periodically charges towards Link. In the Switch remake he initially has a hard stone mask. Wait until the turtle pushes forward and comes to a stop on the rock. Then place a bomb in front of her head or throw a bomb at the mask. Repeat this several times until the stone protection breaks. As soon as the actual face is exposed, you can attack with the sword. Jump with the Roc’s Feather as the head rises and hit it while jumping too. After several hits, the giant turtle is defeated and the entrance opens.
Dungeon 8: Turtle Rock
The Turtle Rock is the eighth and final regular dungeon of Link’s Awakening. Along with the Eagle’s Tower, it is one of the largest and most non-linear dungeons in the game. Several paths are already open at the beginning, Small Keys can be collected in different orders and the controllable ground platforms sometimes require longer, precise sequences of movements. Our solution leads through the dungeon in such a way that we run back as little as possible and at the same time take the last Piece of Heart and all permanent items with us.
The first opponents and the first floor laying puzzle
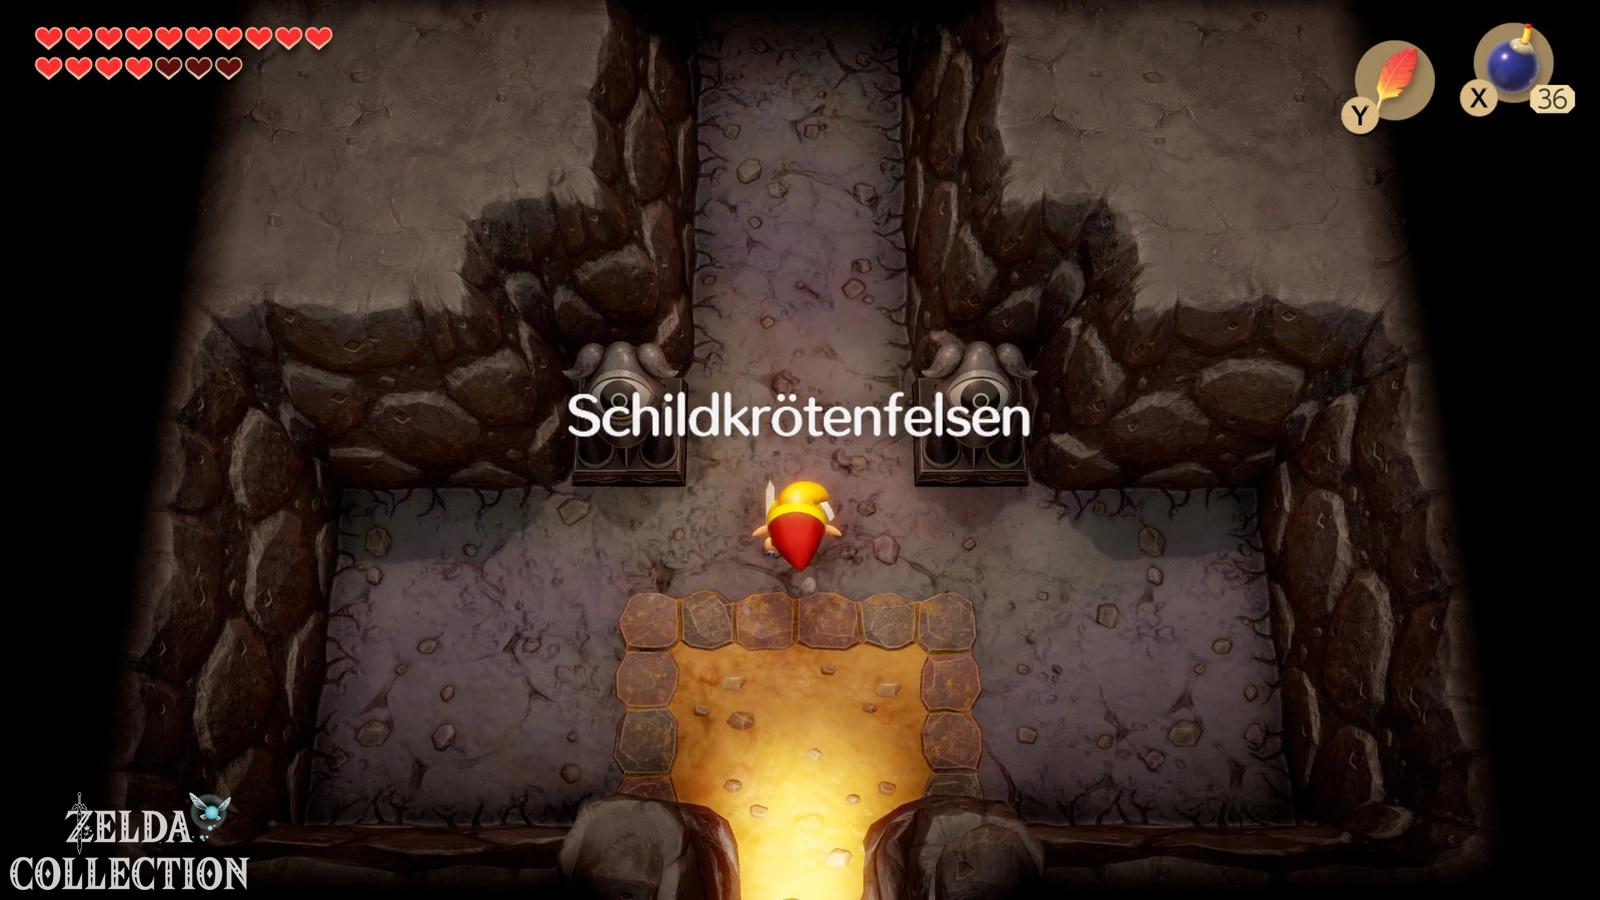
Goes from the entrance to above. A Vire is waiting in the first room, constantly keeping his distance and shooting blue energy projectiles. The Boomerang is ideal for stunning or quickly eliminating him; Alternatively, you wait for his short advance and then hit him with your sword. As soon as the enemy is killed, the left door opens.
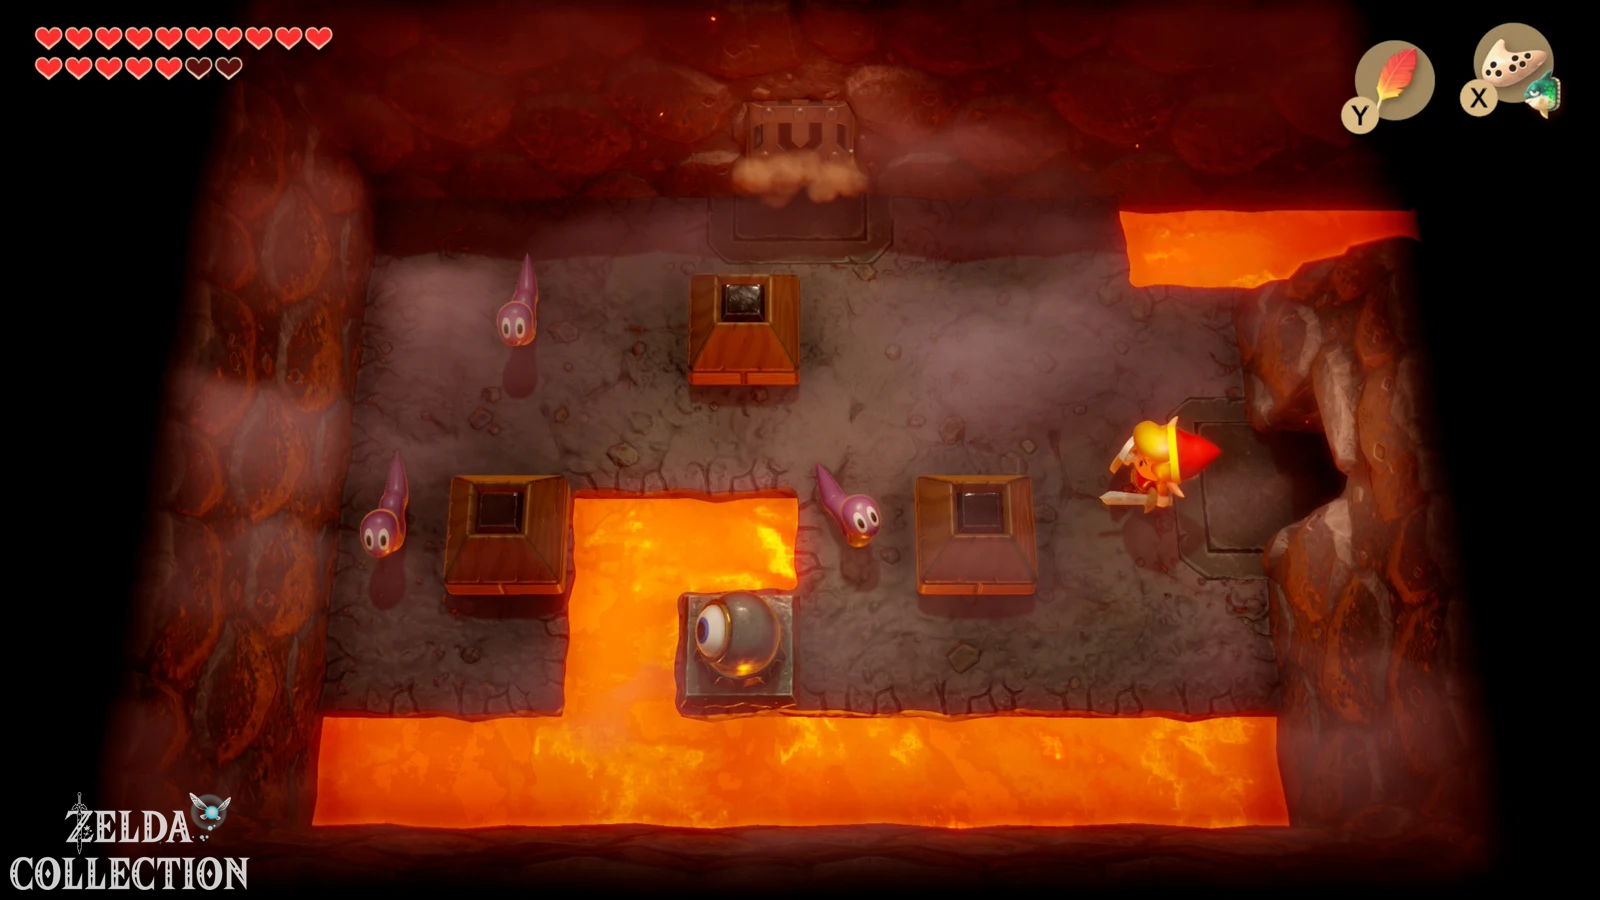
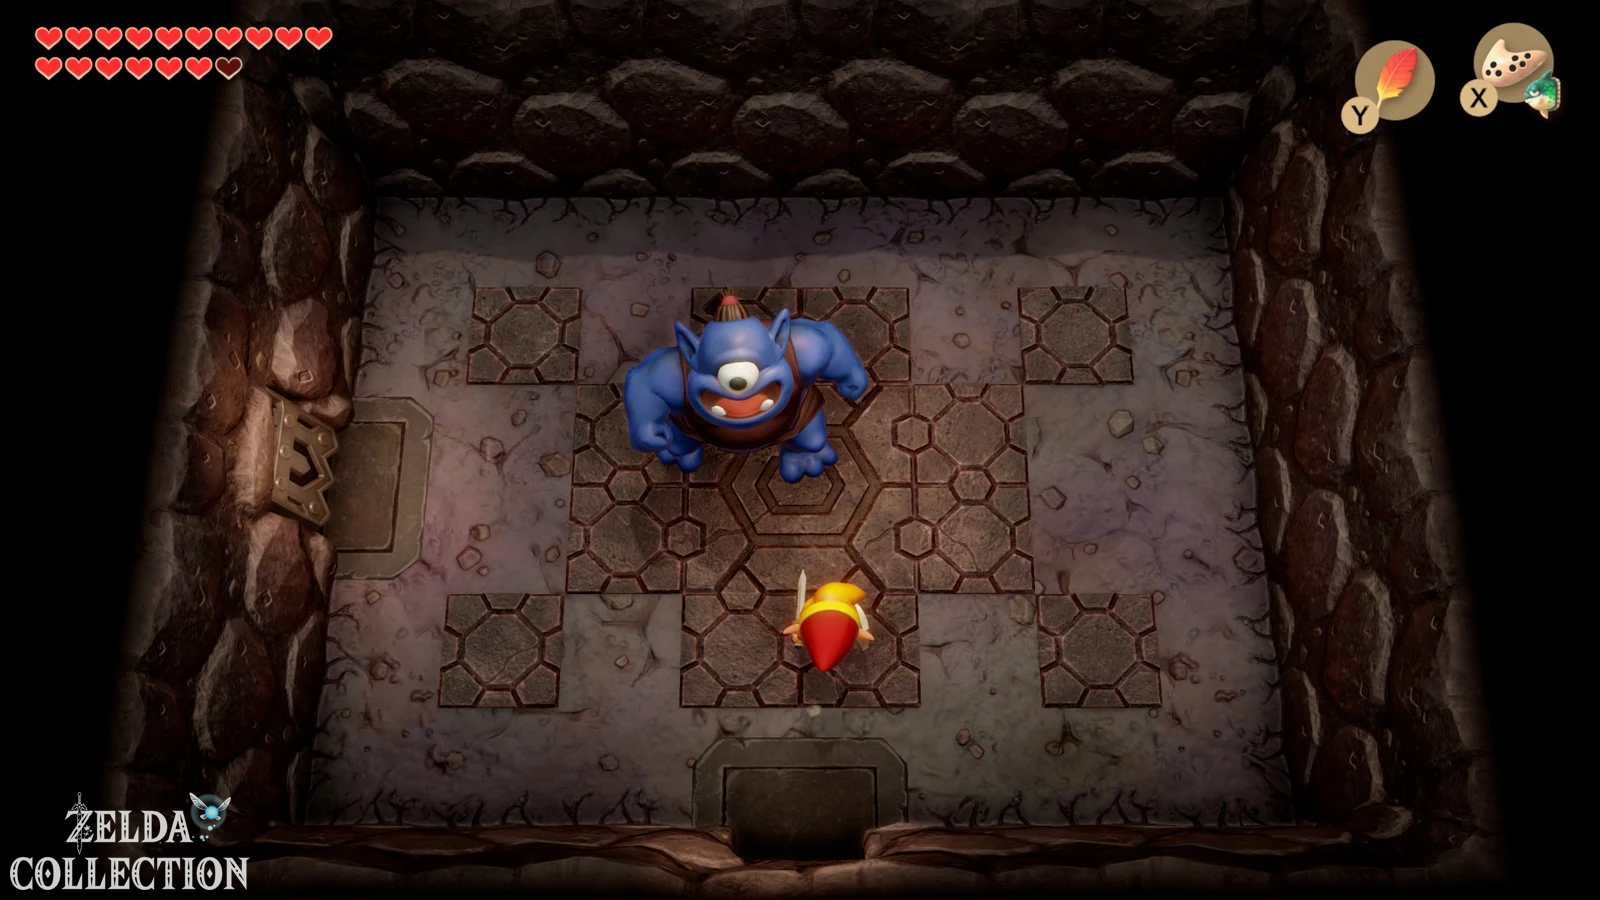
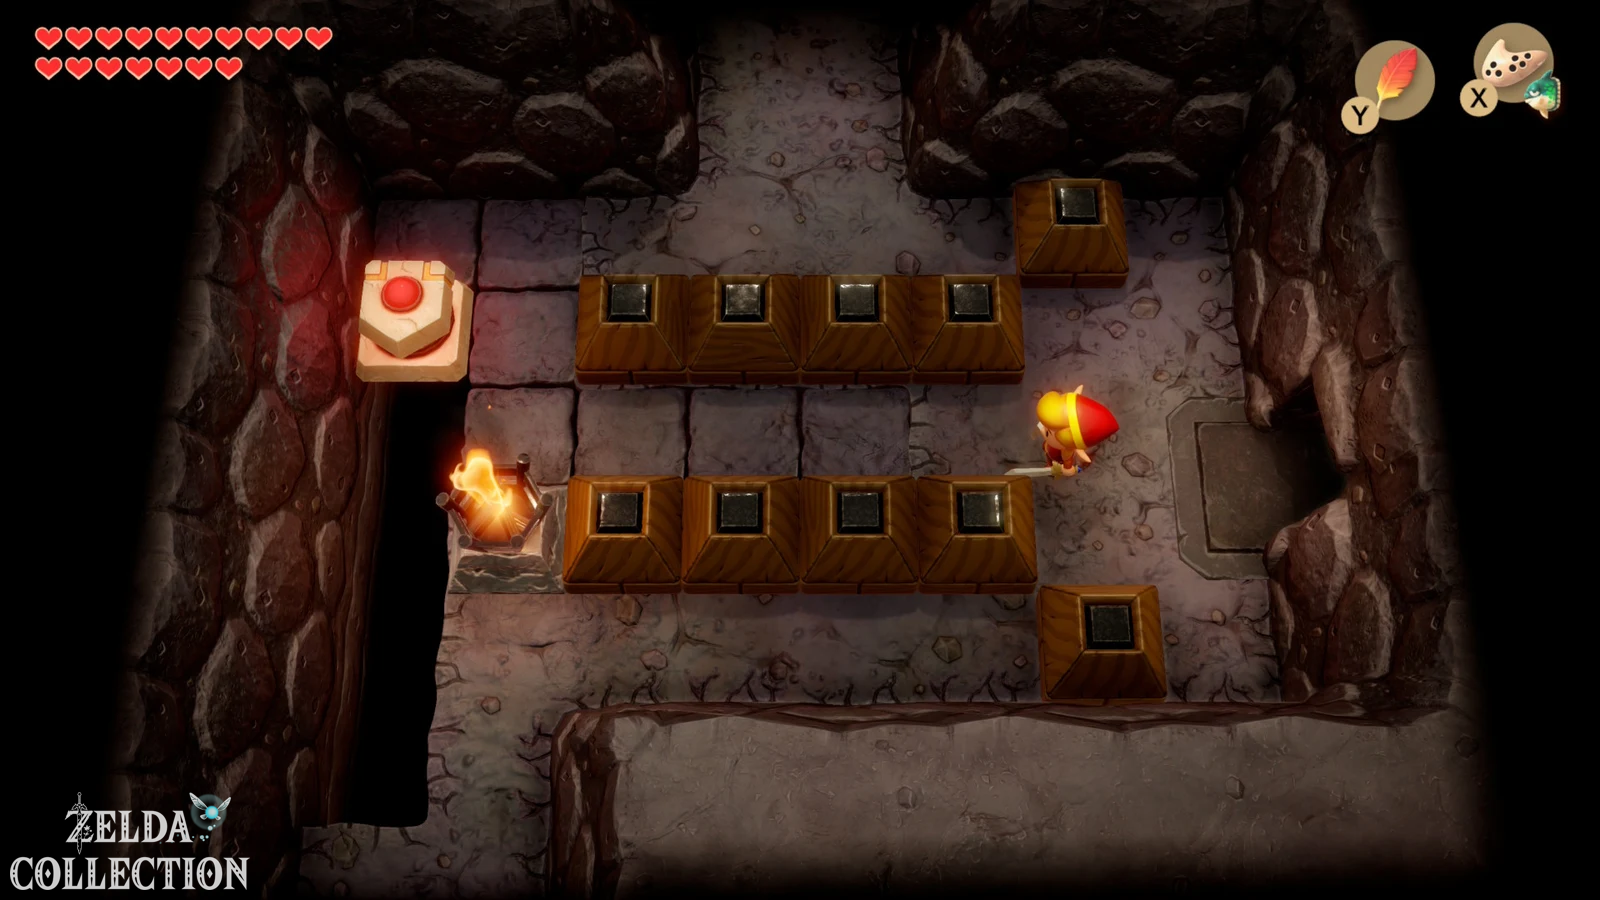
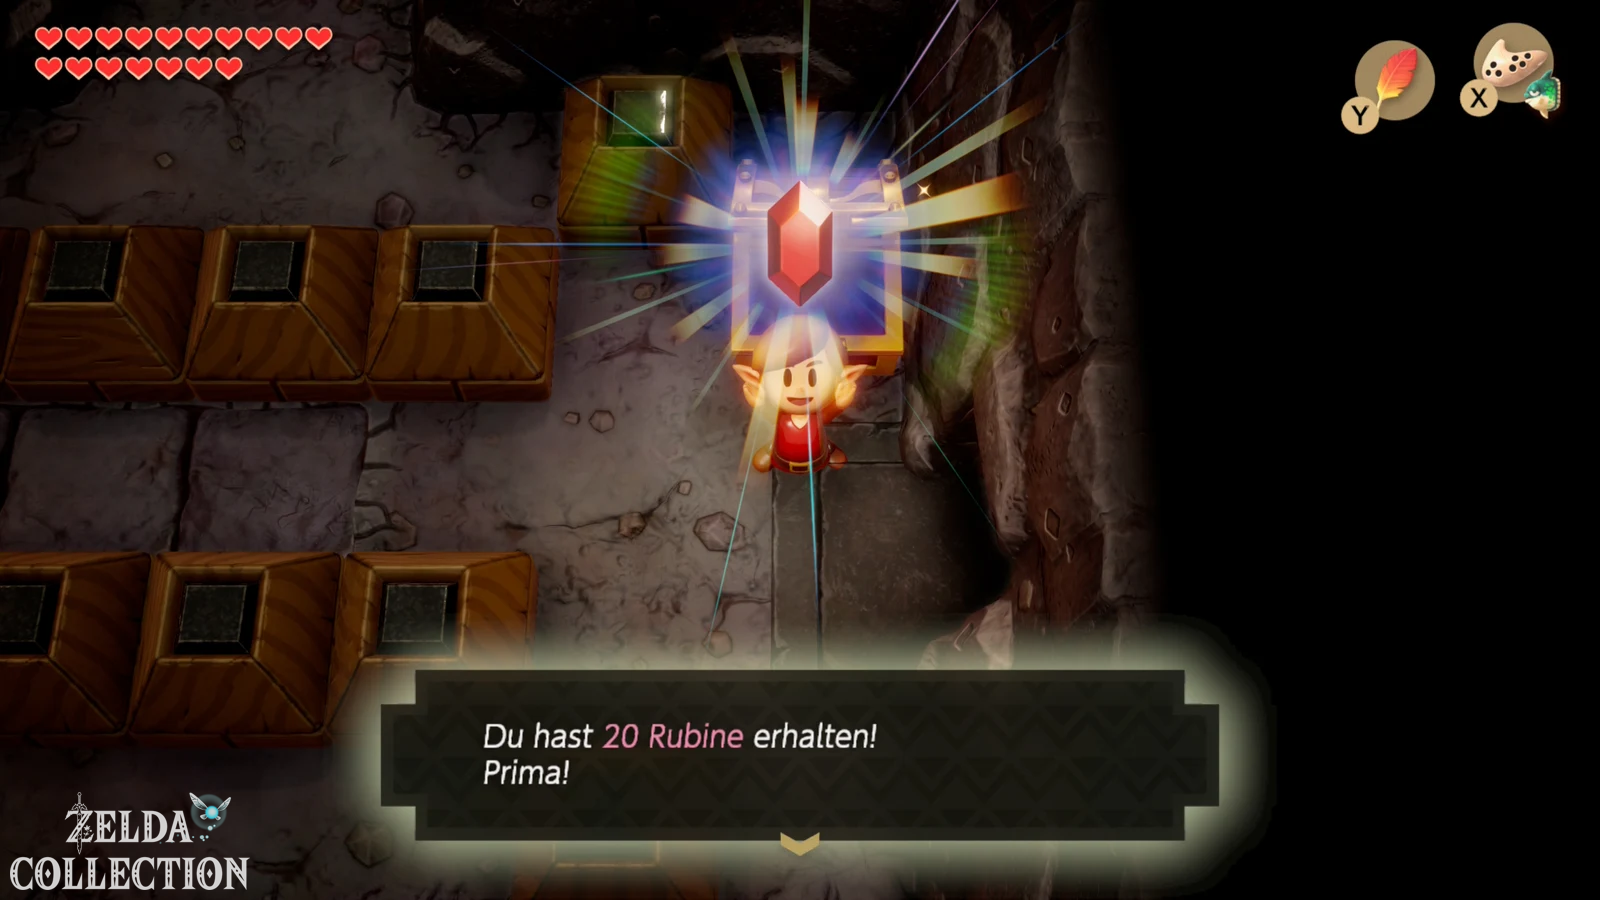
Go left, defeat the three snakes and then go up. A blue Hinox is waiting there. With Boomerang or Koholint Sword he now falls very quickly. In the room on the left there is a controllable floor platform for the first time. As soon as you touch it, it moves in the direction you specify with the control pad or stick. The goal is to drive over every free space on the ground exactly once. For this first puzzle you lead the platform four spaces to the left, two spaces up, one space to the left and then five spaces down. If the entire floor is covered, a chest with Rupees will appear.
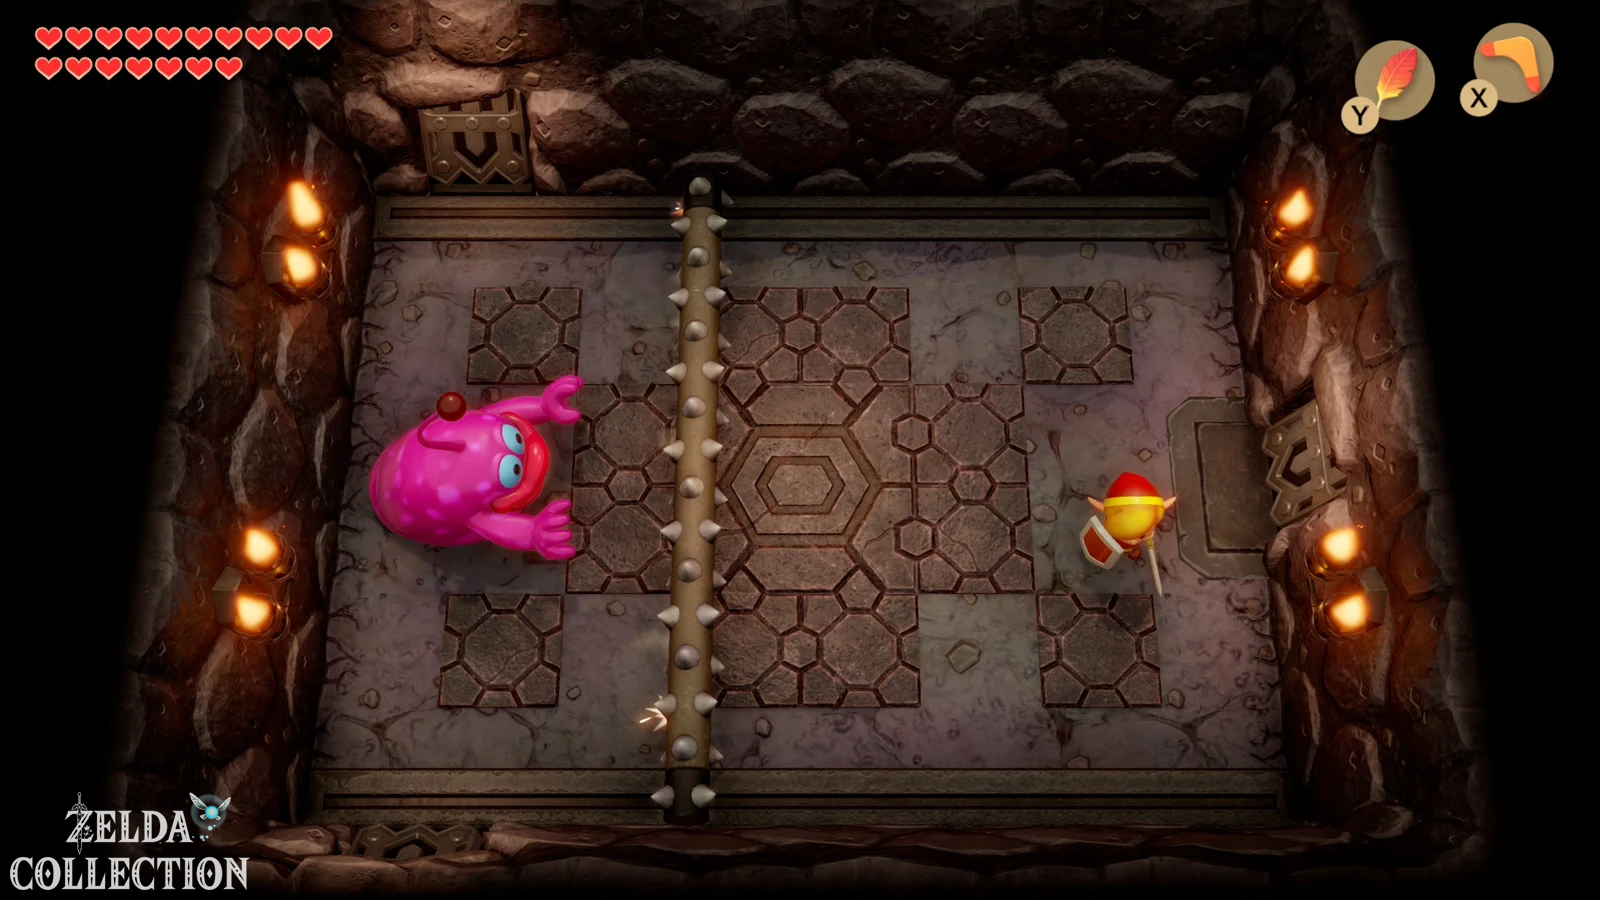
Then go downstairs. Defeat the two sparks with the Boomerang and take the Rupees from the chest. The Rolling Bones from the Tail Cave is waiting again in the room on the left. Jump over the spiked roller and hit the enemy; With the Boomerang the fight is now over almost immediately.
First Small Key and Compass
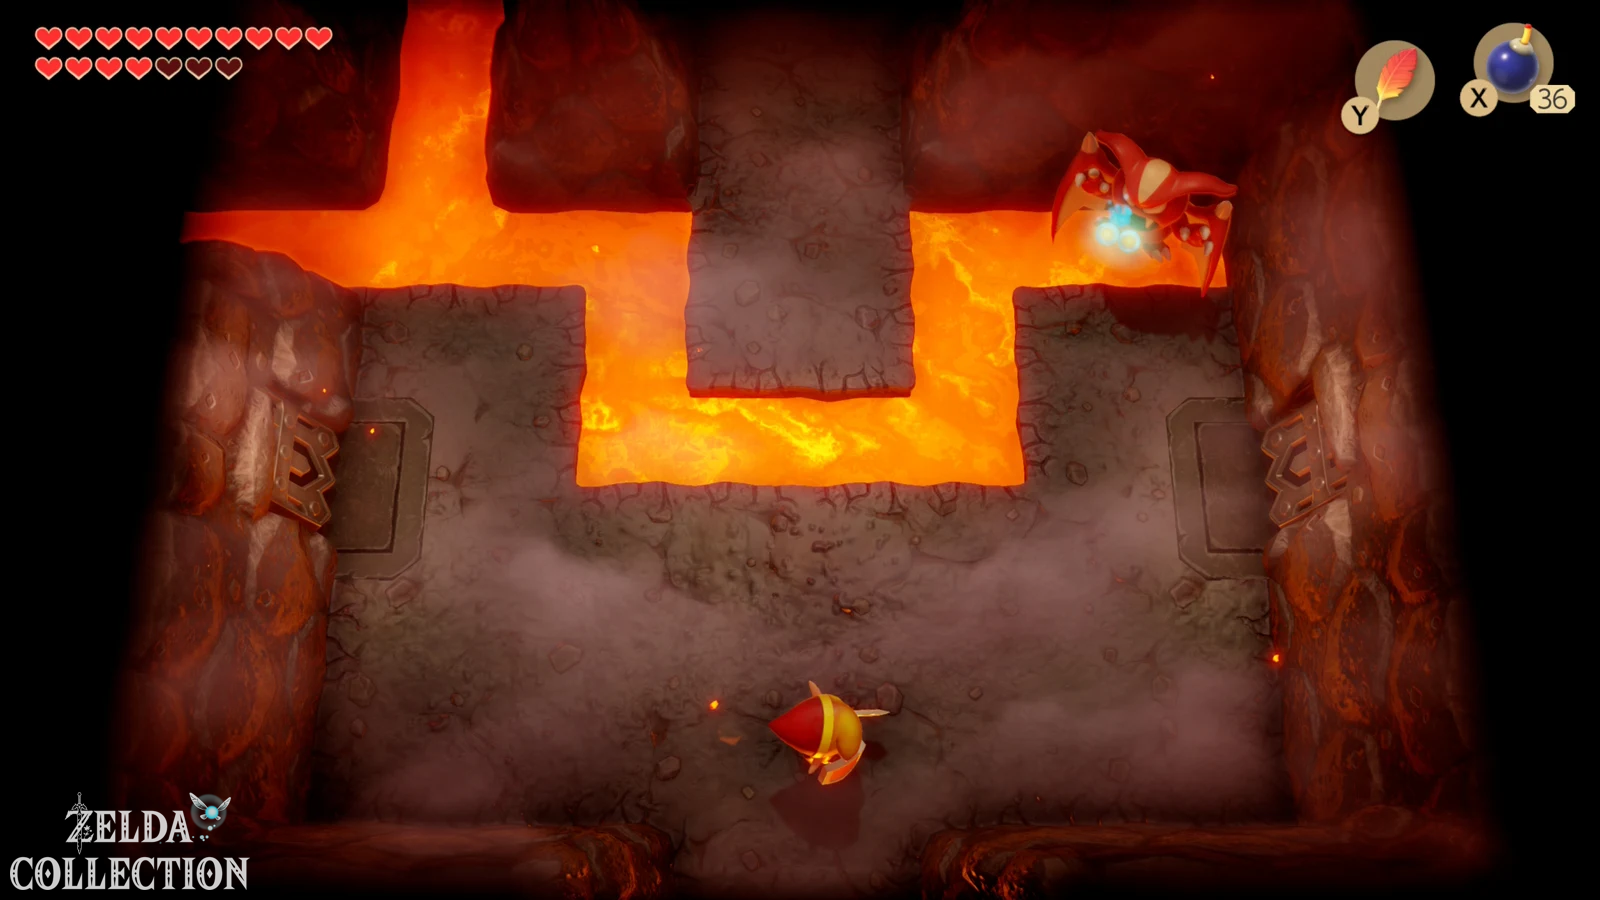
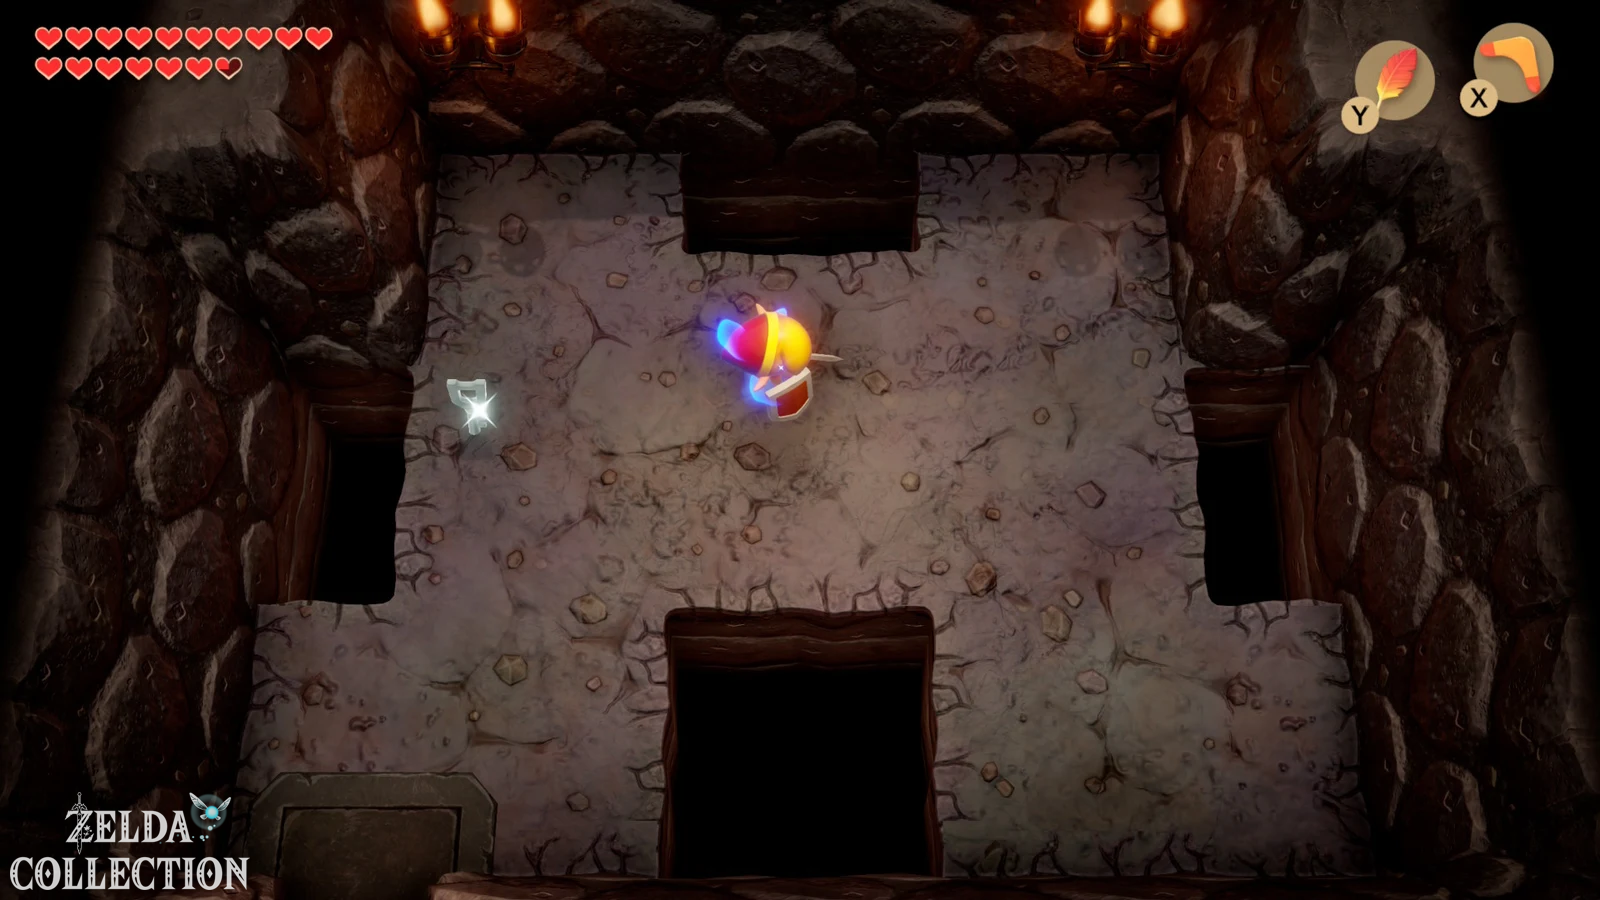
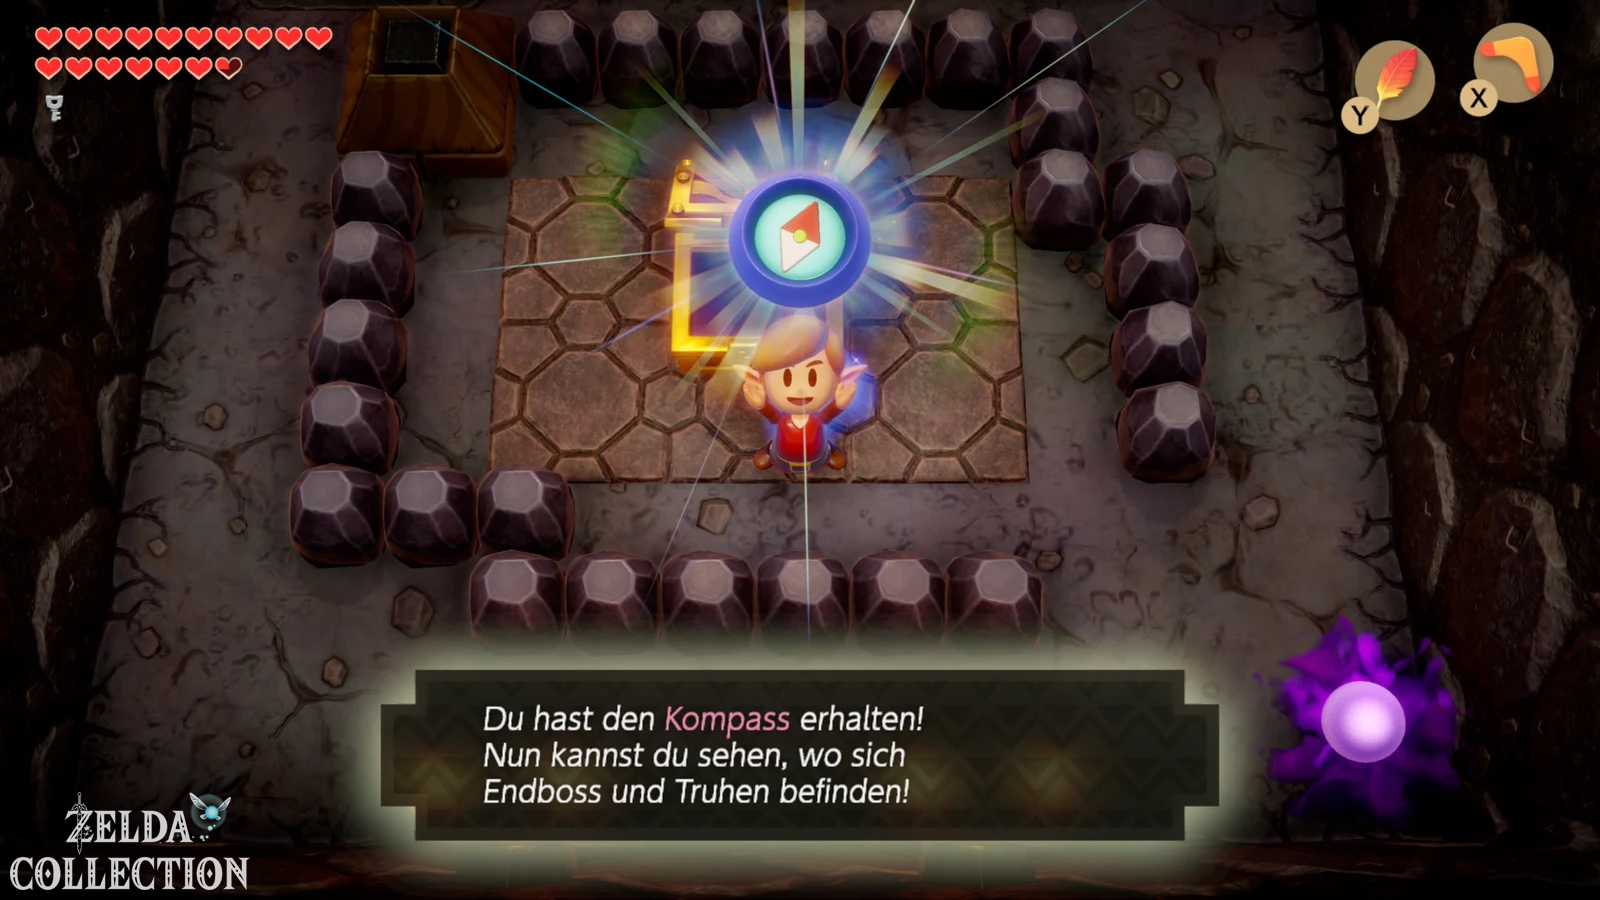
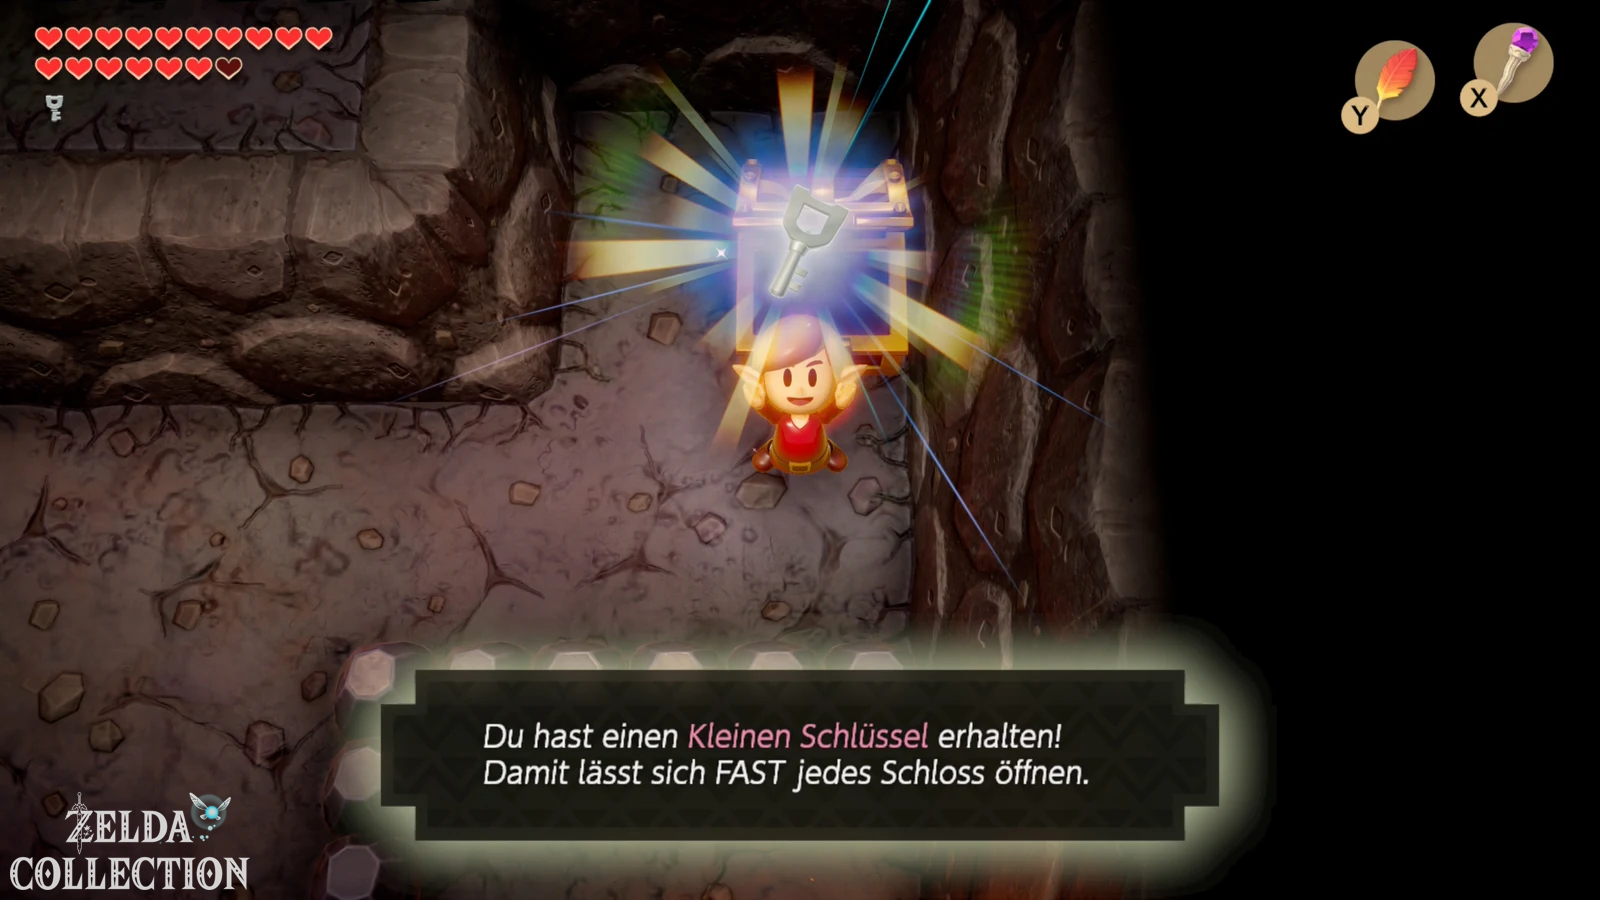
Go up after the intermediate boss. Another Vire is waiting there. Defeat him and take the Small Key that appears. Then go two rooms down. In the room with the large suction opponent or fan, destroy the enemy with Boomerang or a sword and then open the chest. Inside is the Compass.
From here you can use Manbo’s Mambo to return directly to the entrance or take the footpath. Since the Turtle Rock has numerous return routes, the song saves a lot of time in this dungeon.
Find The Dungeon Map
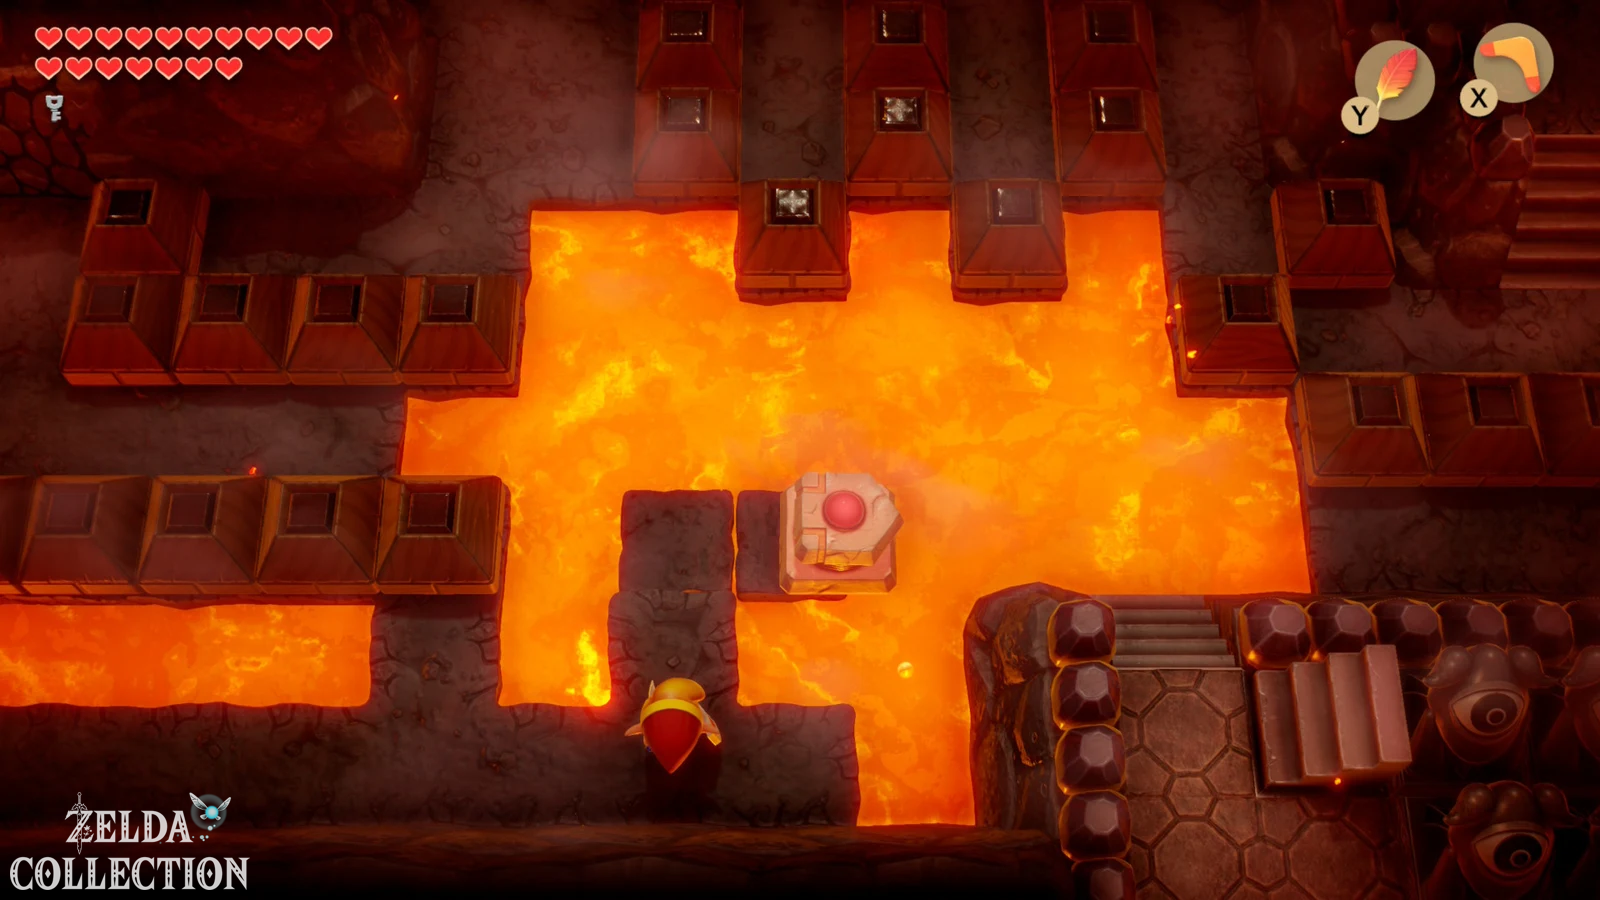
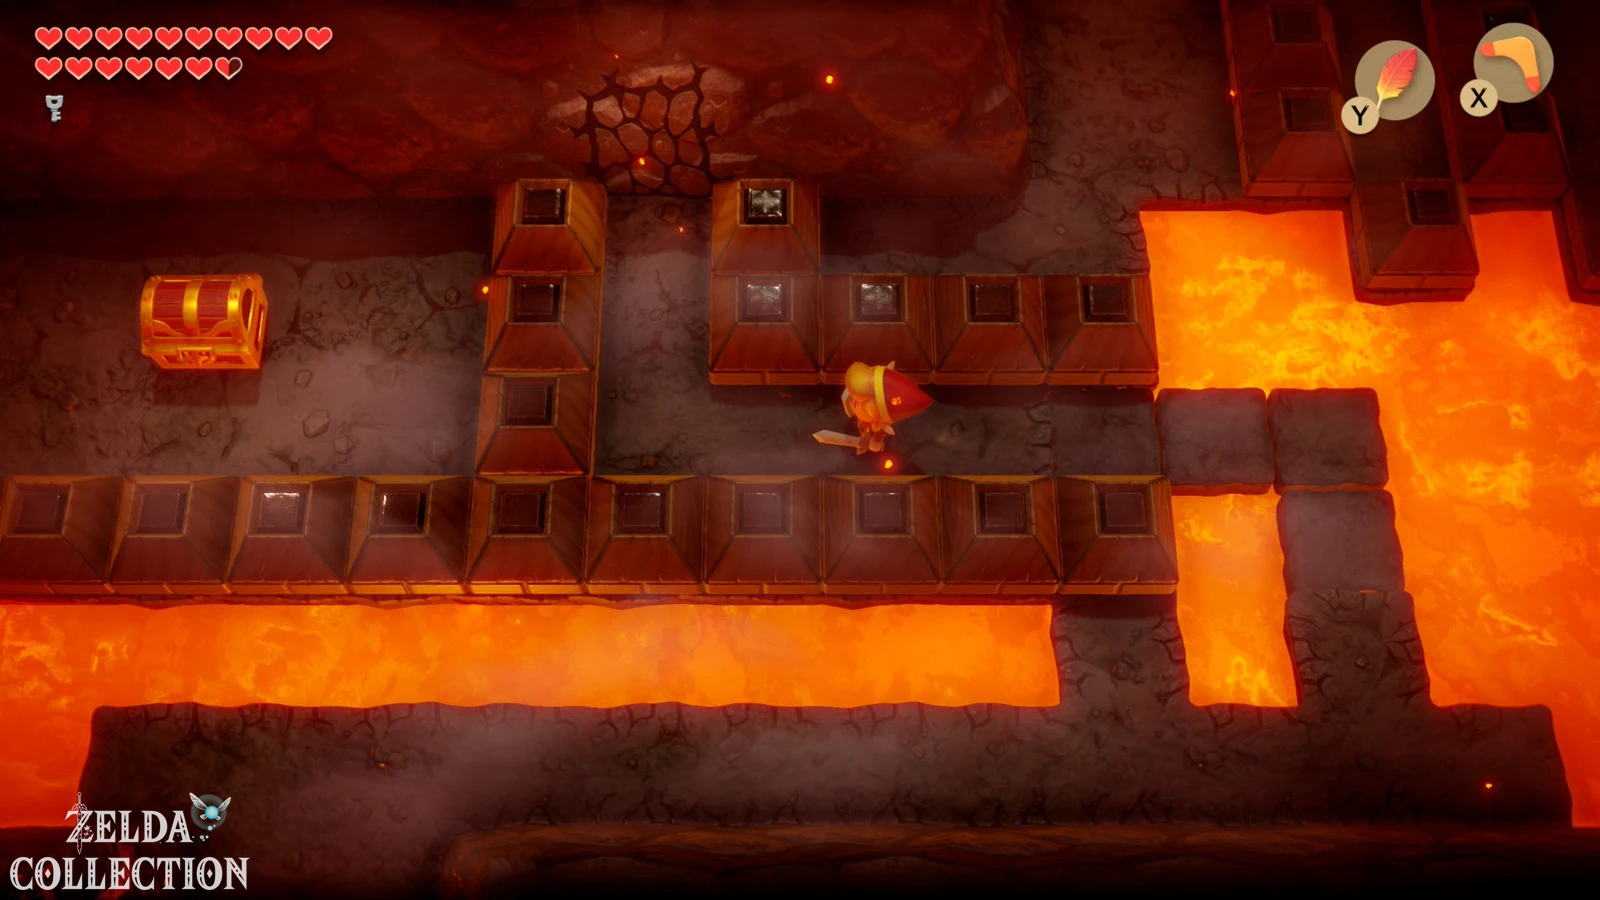
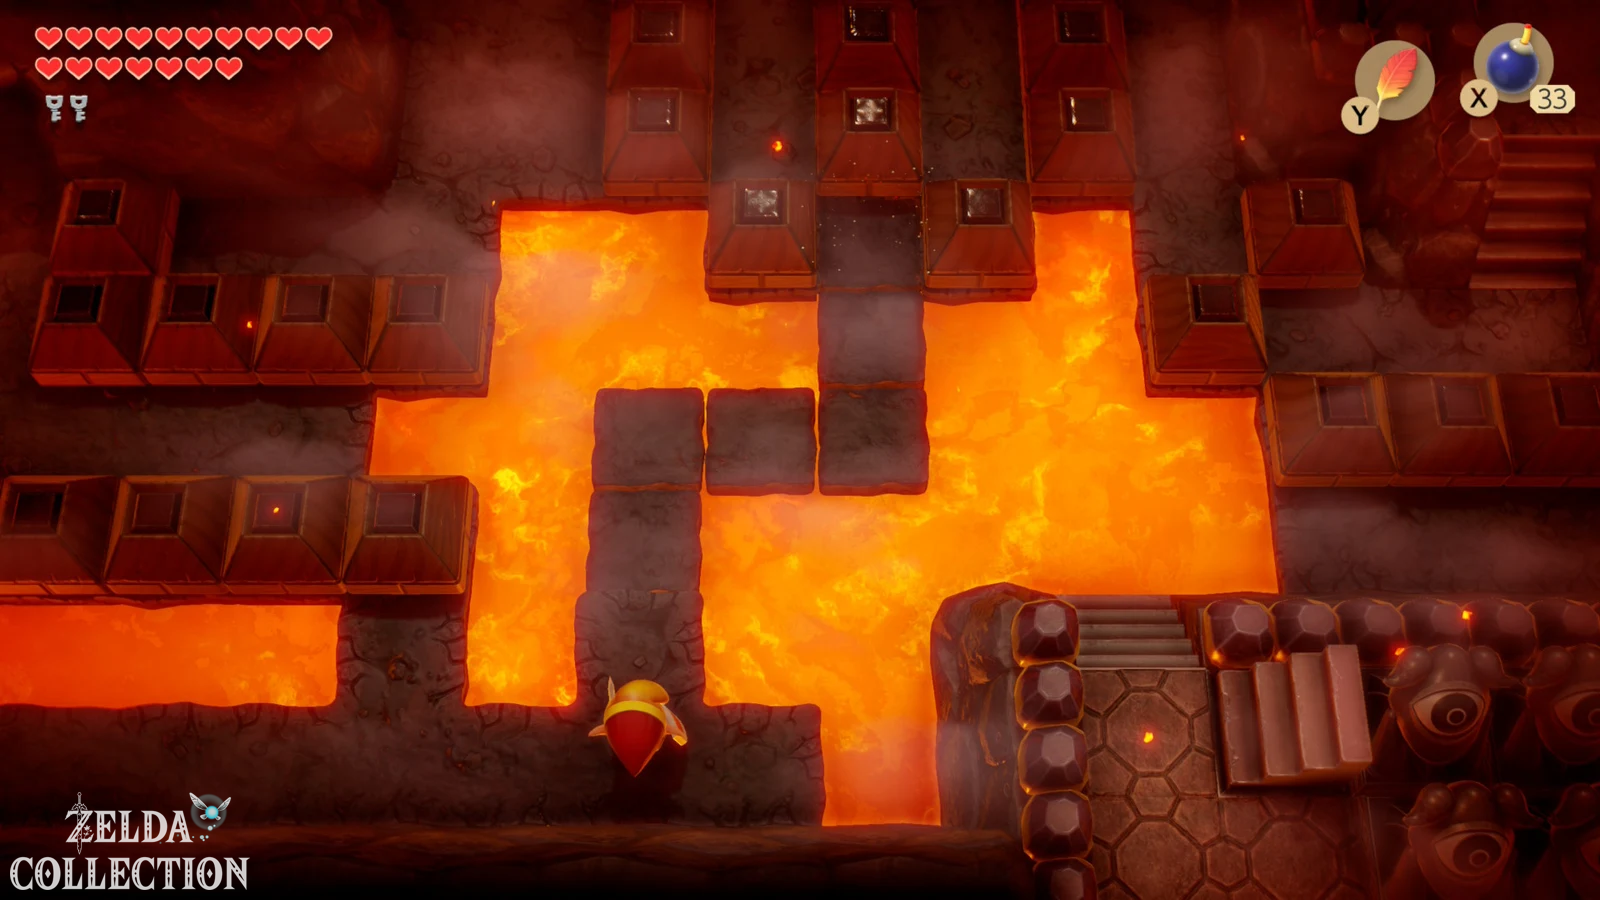
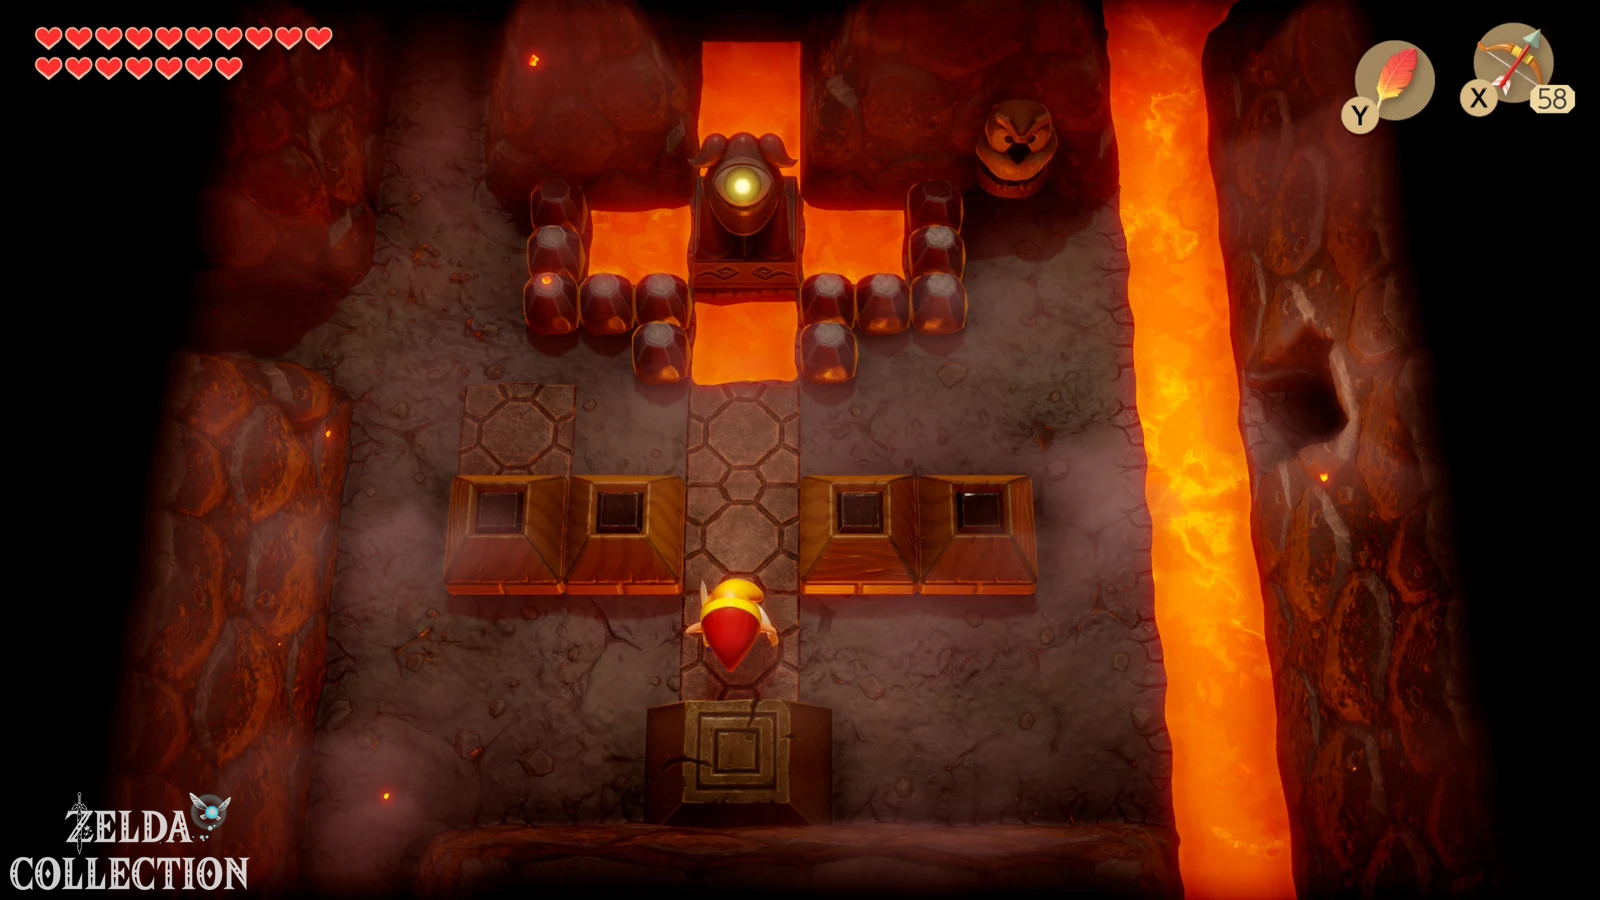
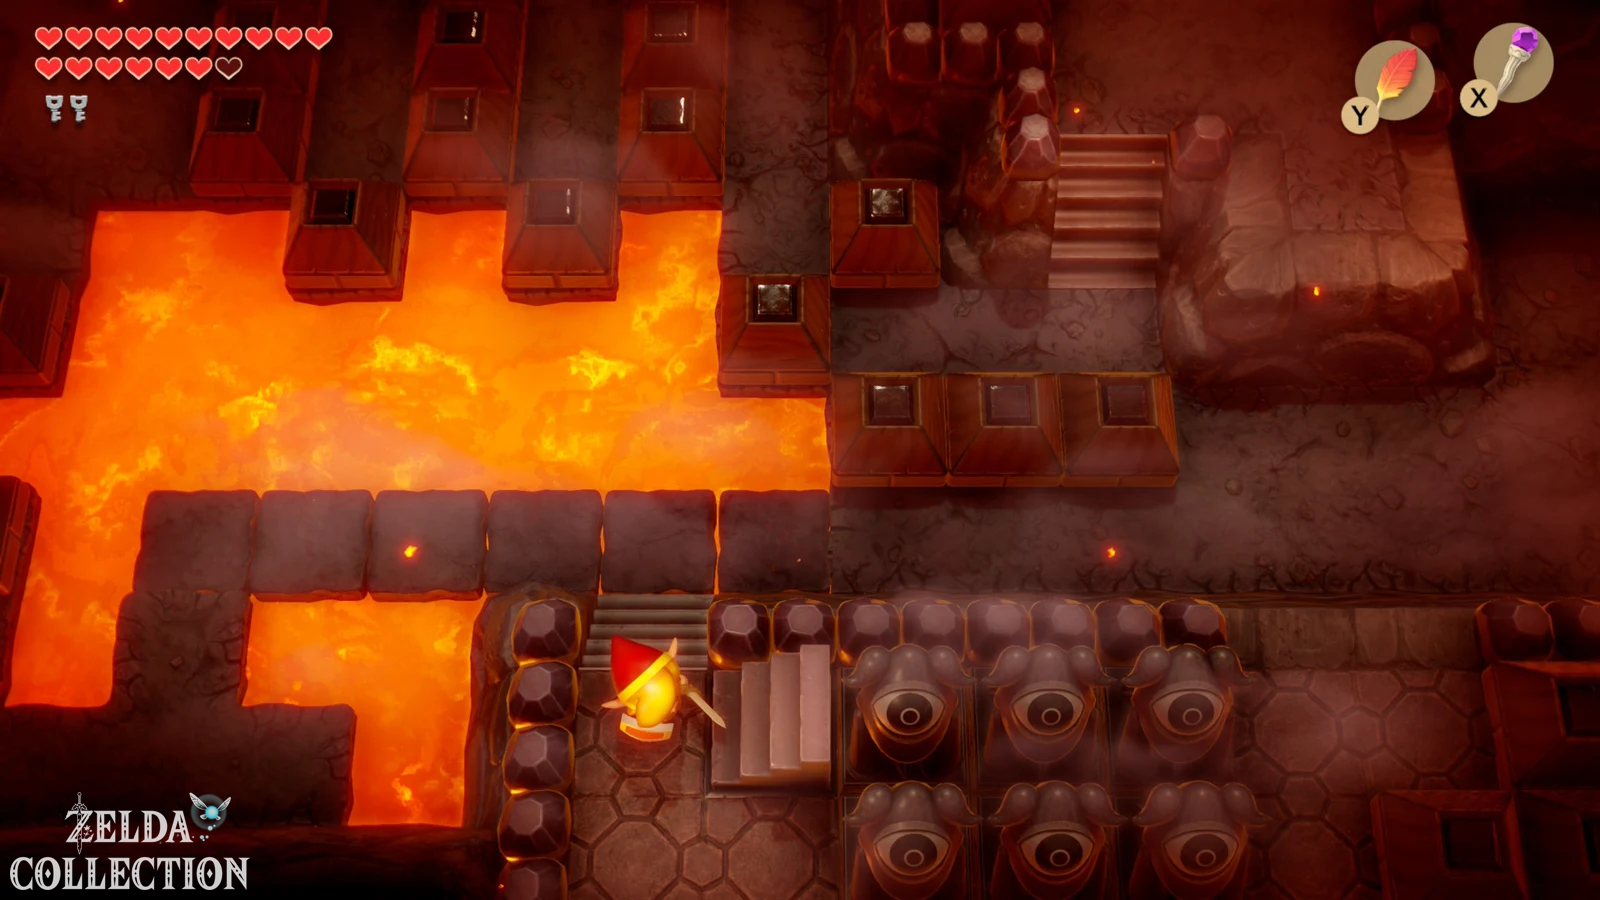
Go back up from the entrance area and then go right into the room with the movable floor platform. First steer it up one space and then far to the right so that you reach the eastern area. In the next large lava room there is another controllable platform. Lead it two spaces up and two spaces to the left so that you can reach the western ledge.
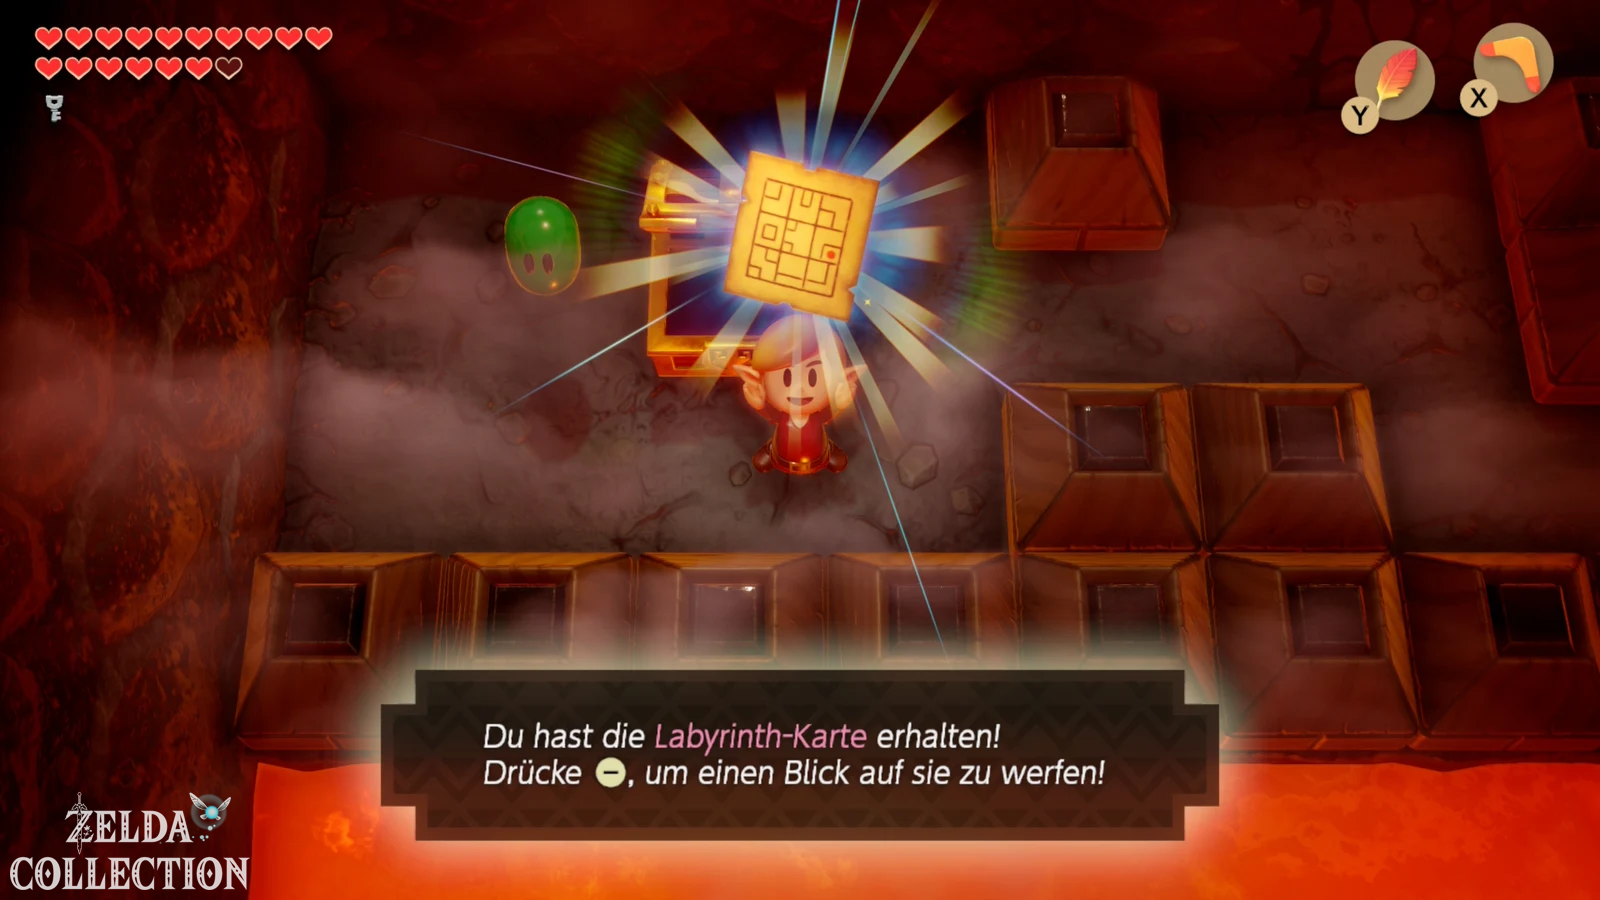
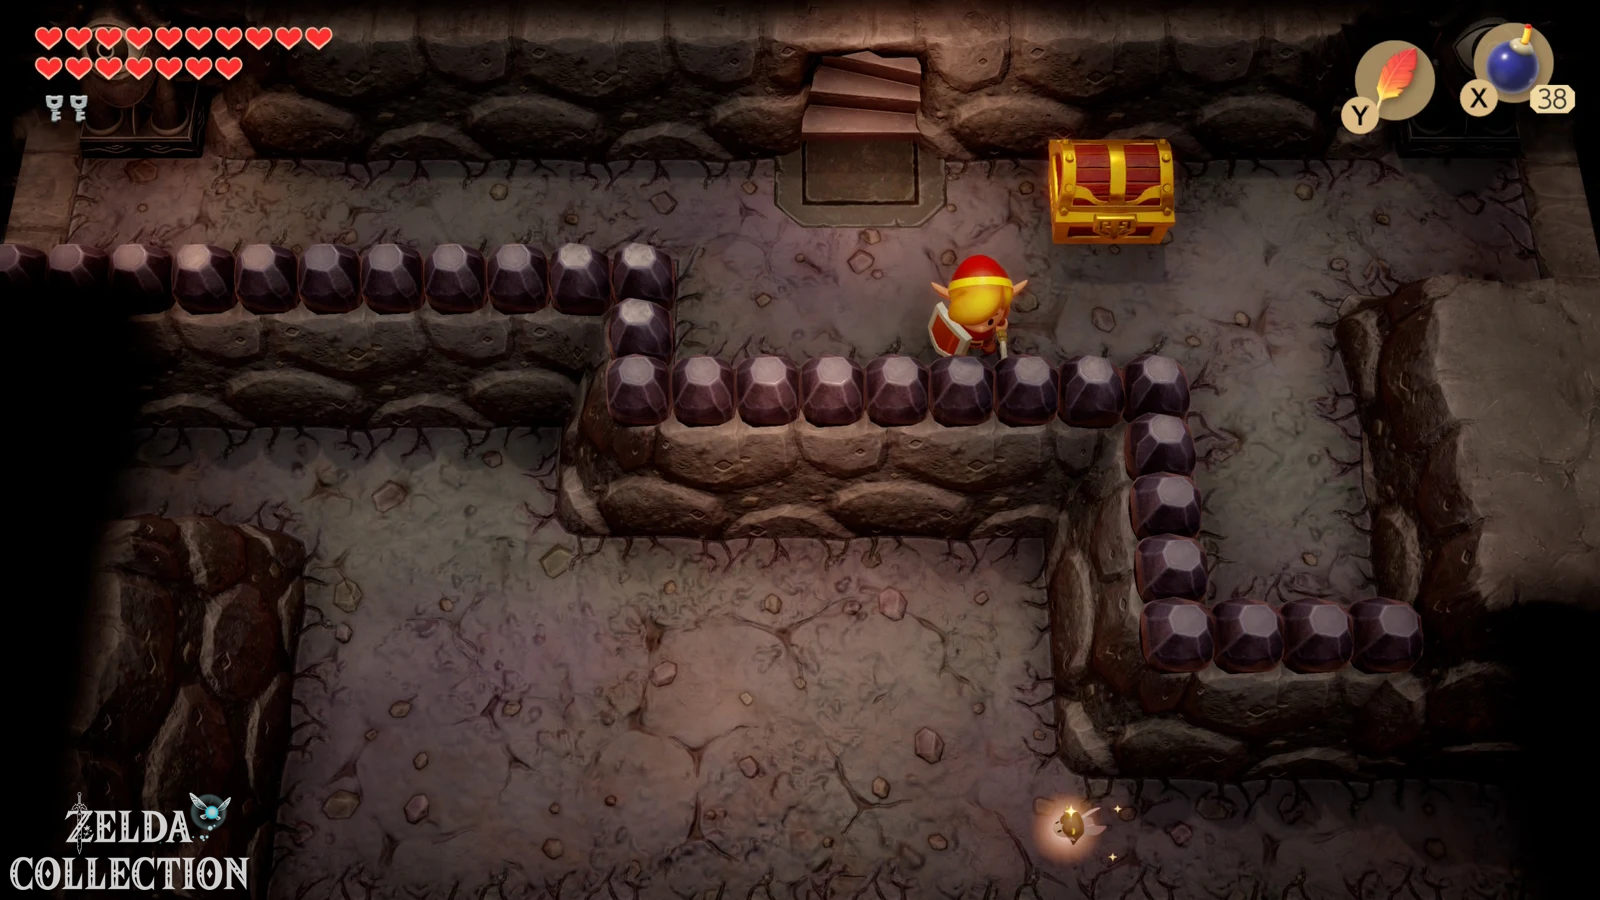
In the room with the chest, move the top and bottom stones to the left and the middle stone down. This creates a path to the chest. Open it and take the Dungeon Map with you. Then examine the northern wall of the same room. A cracked spot reveals a secret passage. Blow them up with a bomb.
Through the underground to the Stone Beak
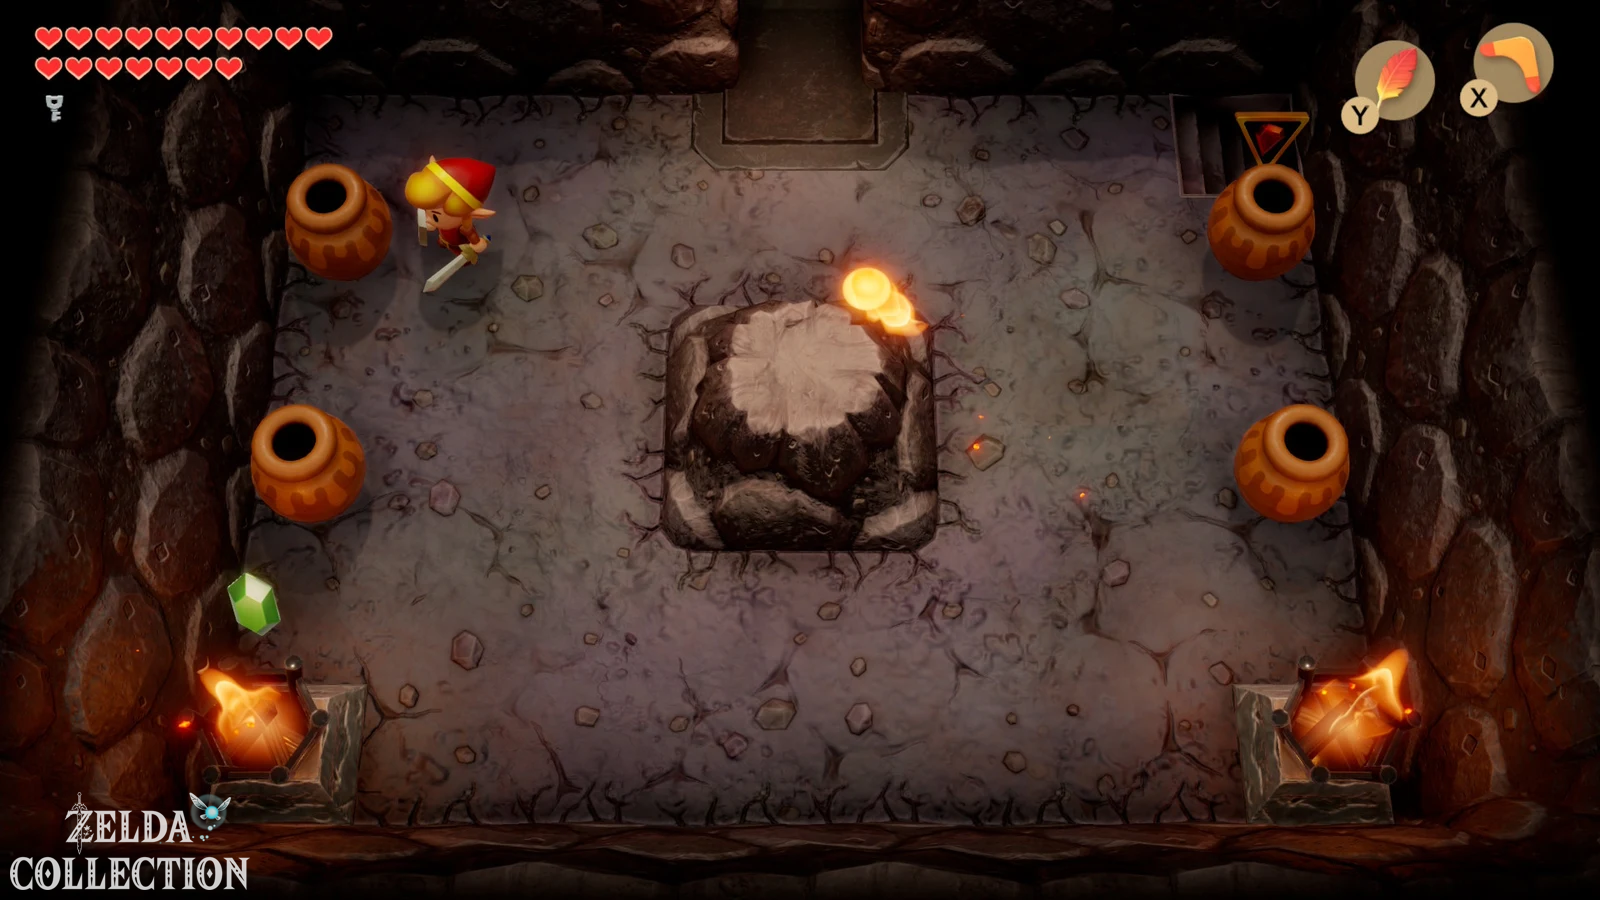
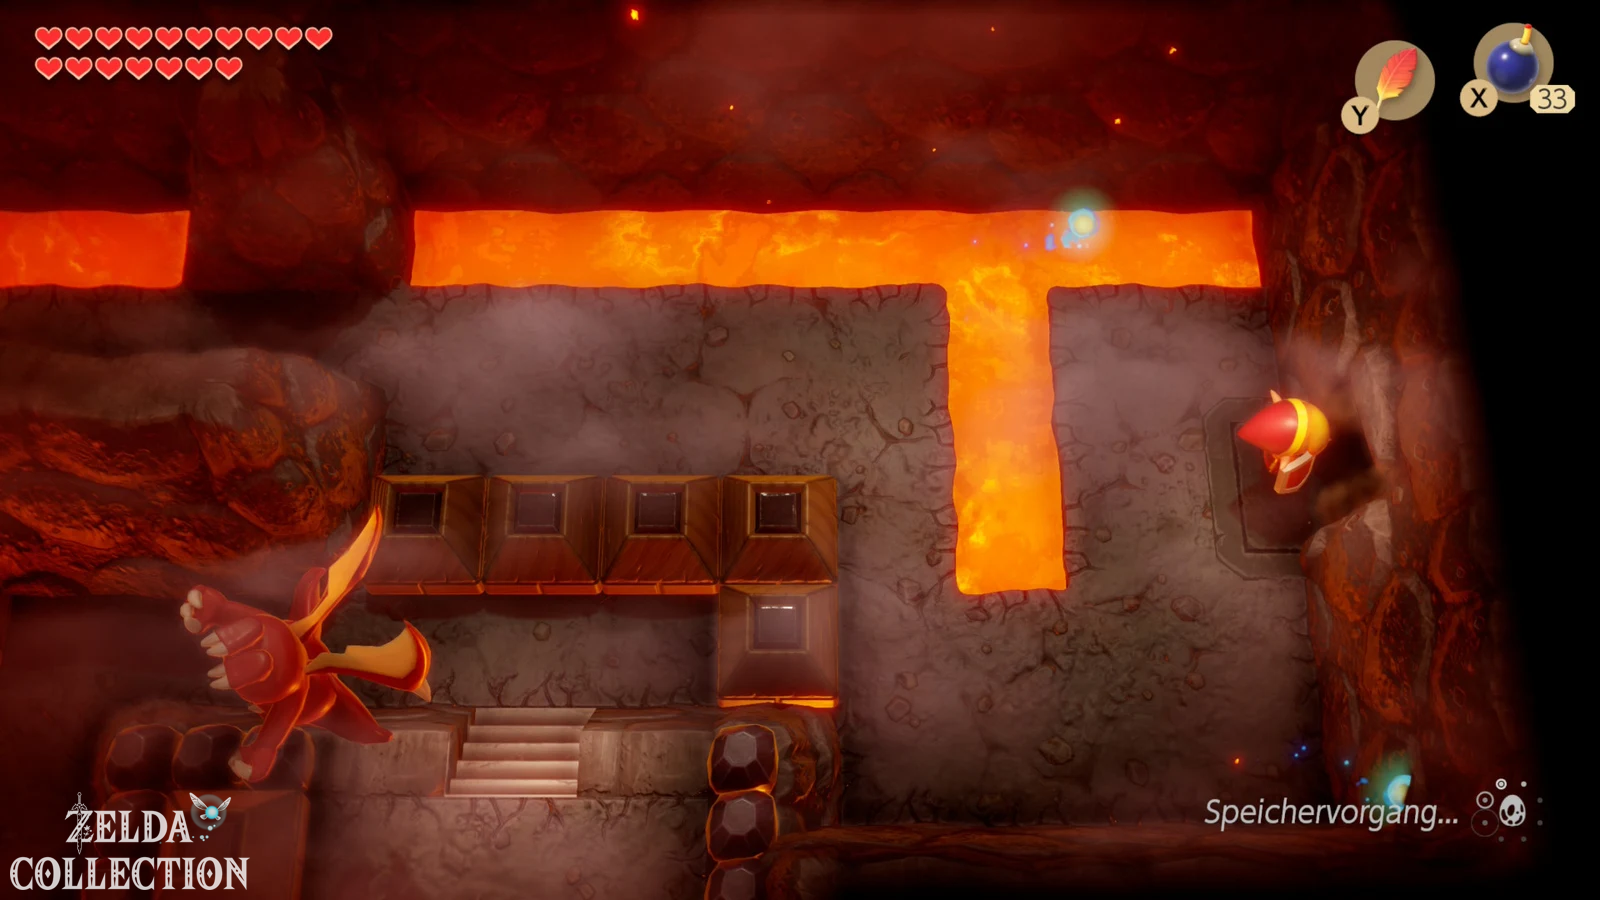
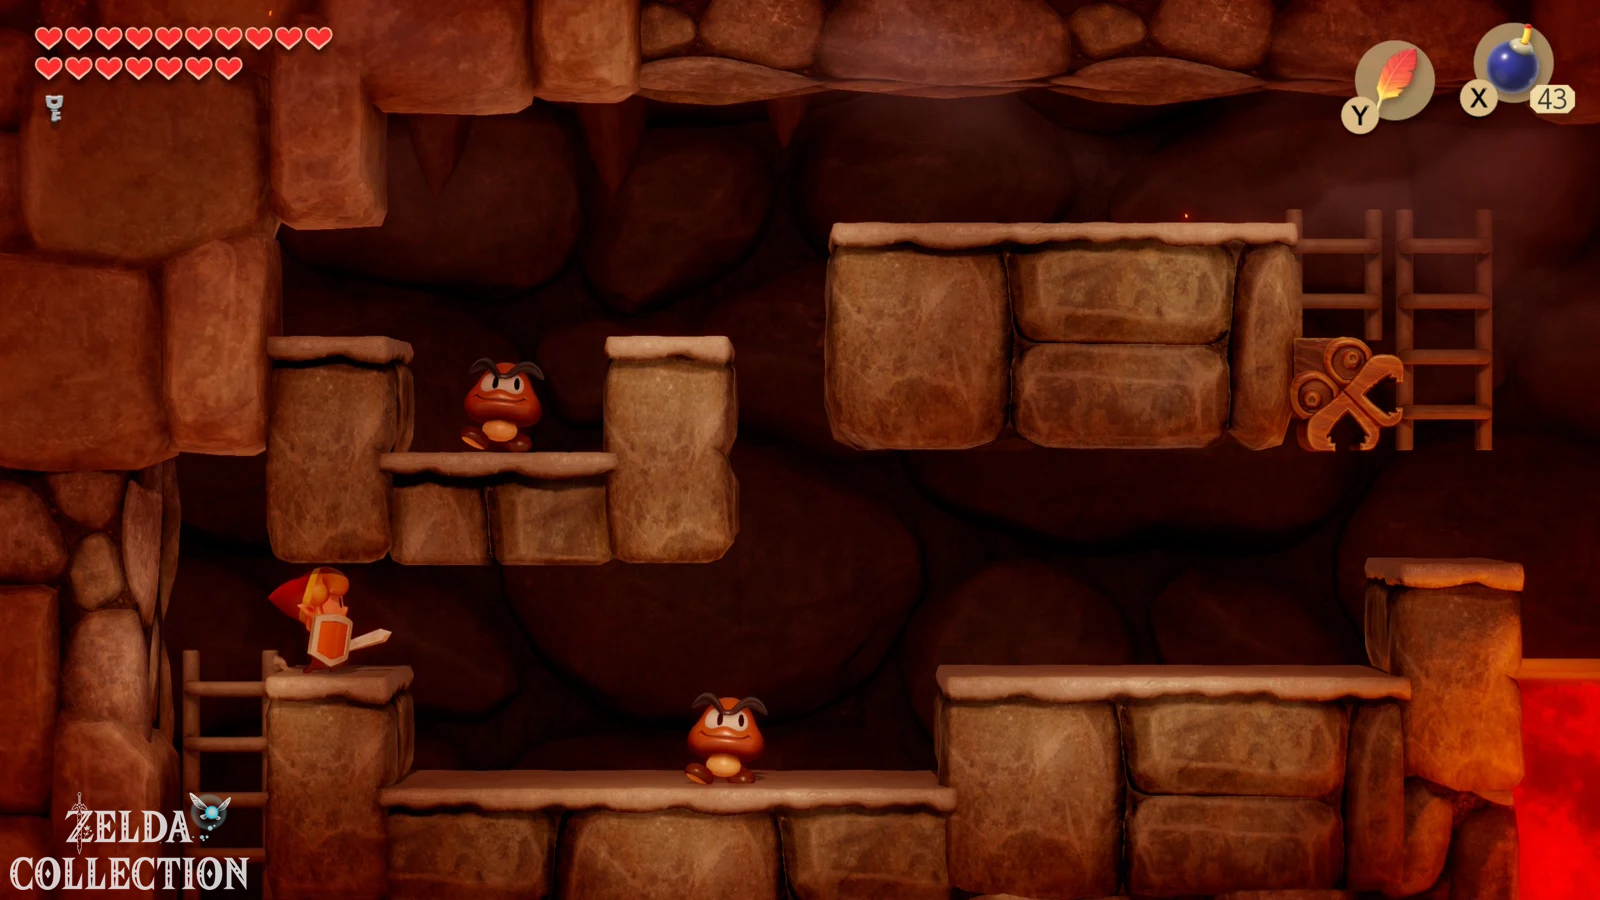
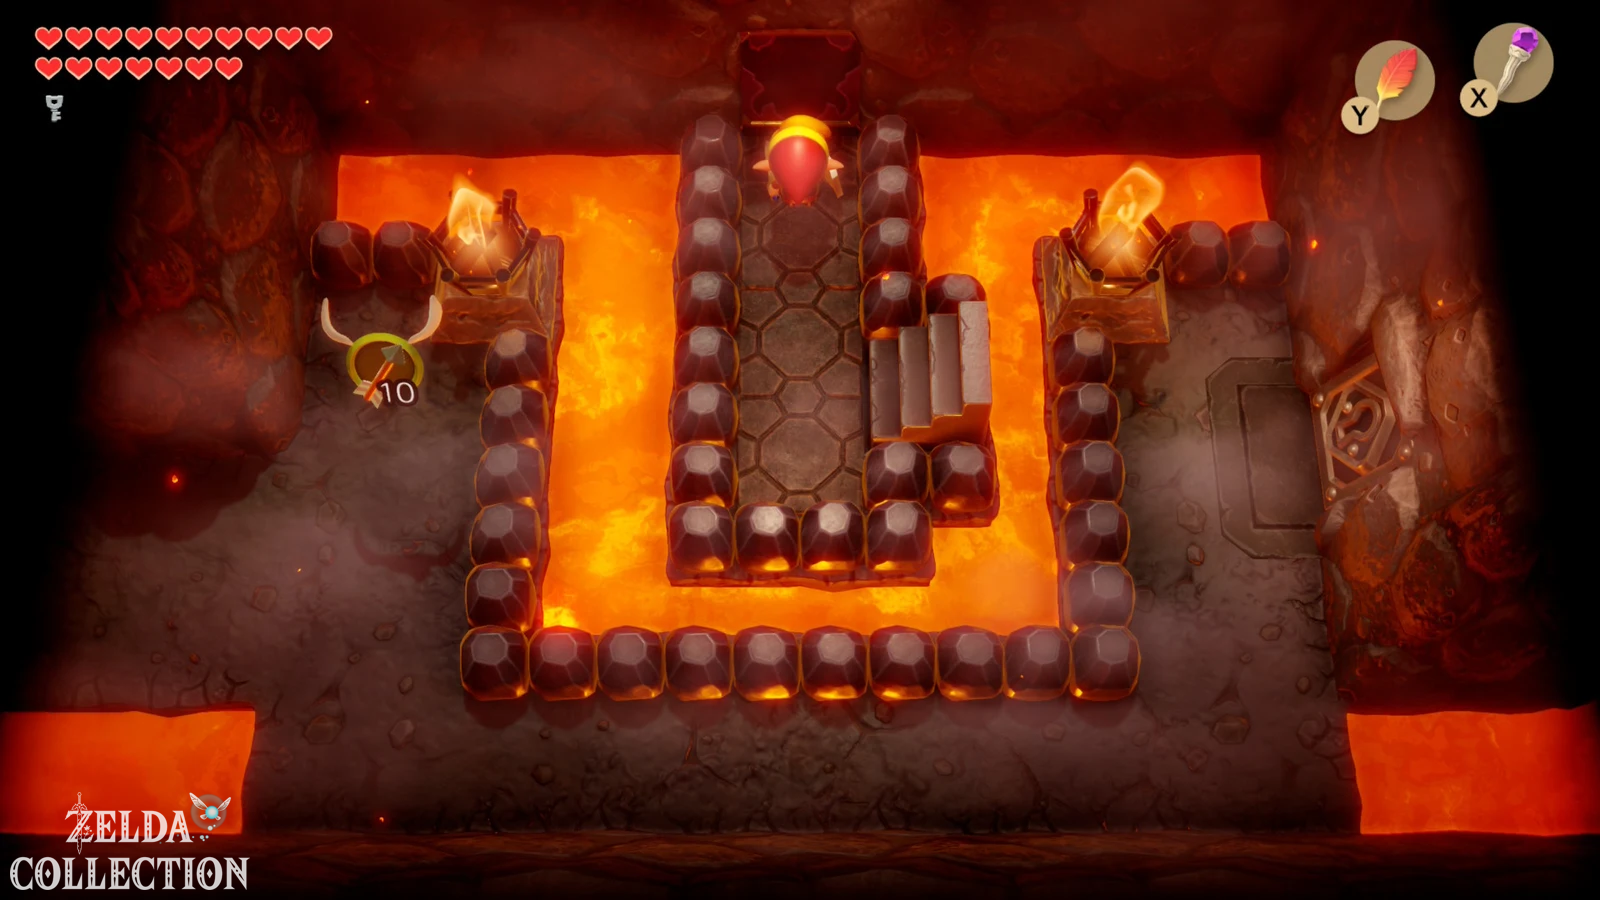
Go through the blown wall and climb down the left stairs. You reach a side view area with fireballs that regularly shoot out of the lava or the ground. Use the Roc’s Feather to jump over the gaps in a controlled manner and use the ladders until you get back up at the other end.
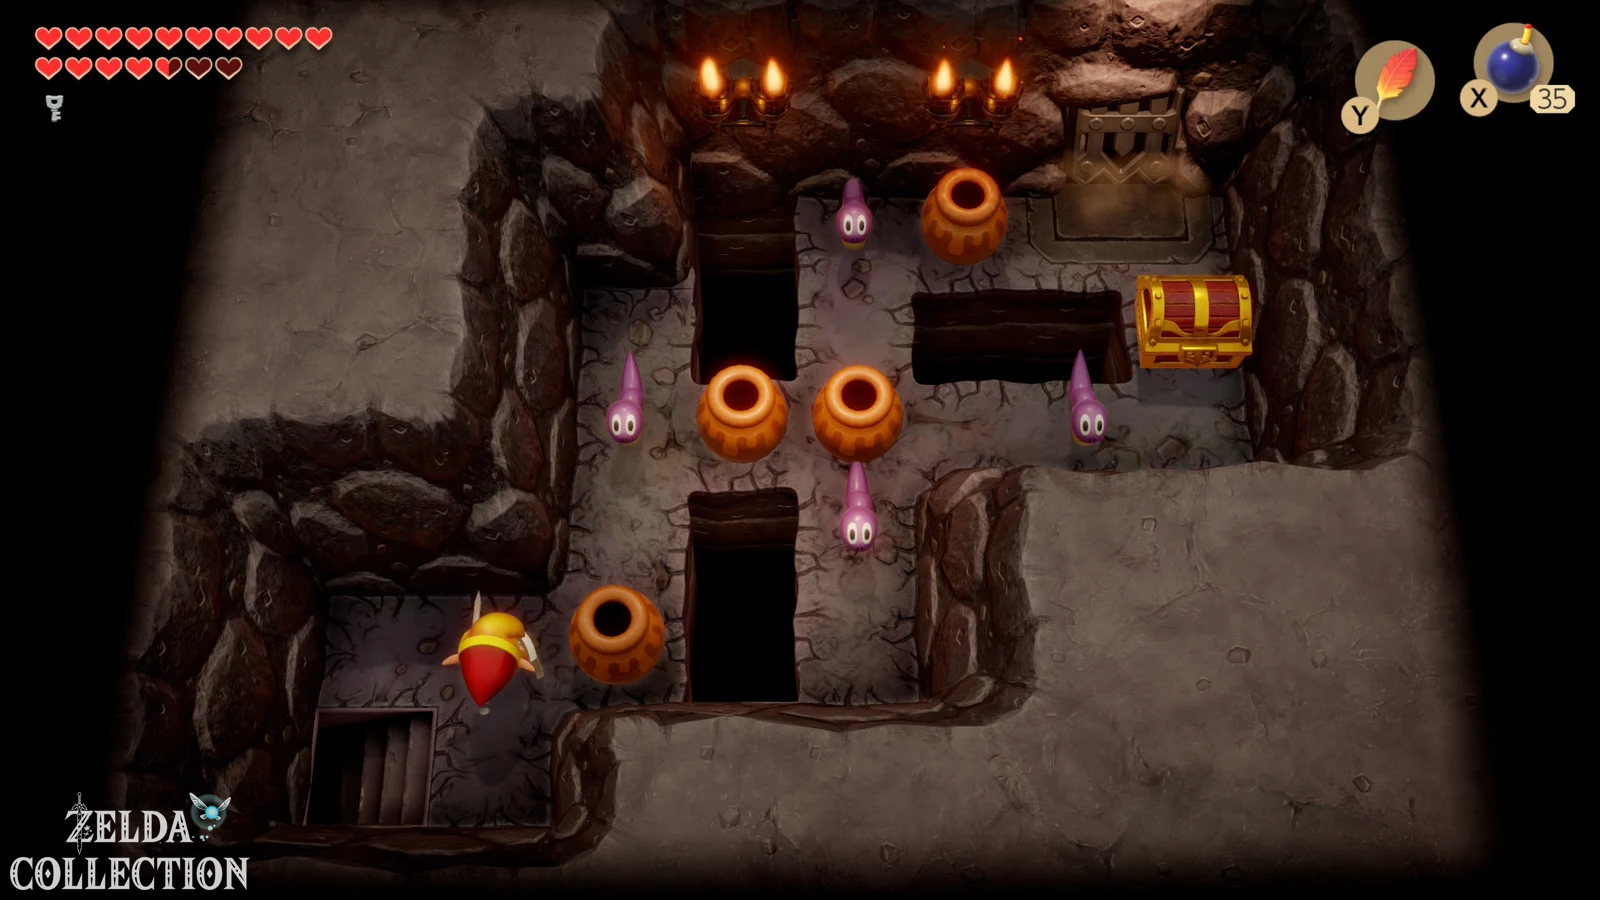
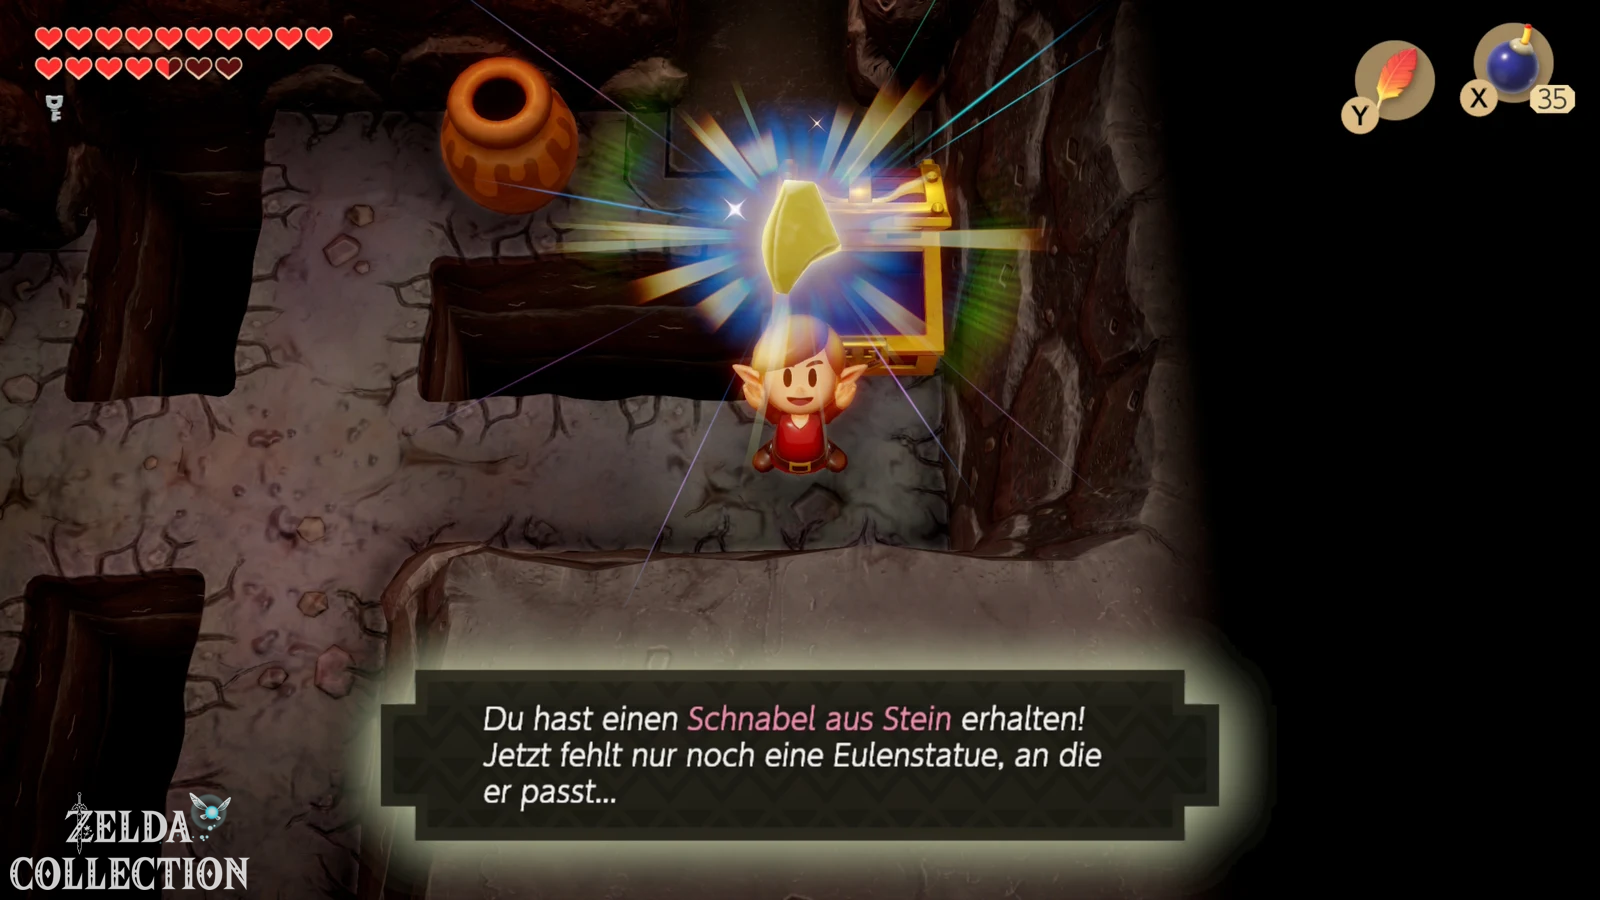
In the next room there are several jars and snakes. Lift the jugs out of the way and kill the opponents. Then open the chest with the Stone Beak. This means you can now read the owl clues for the last dungeon.
Smasher and the second flooring puzzle
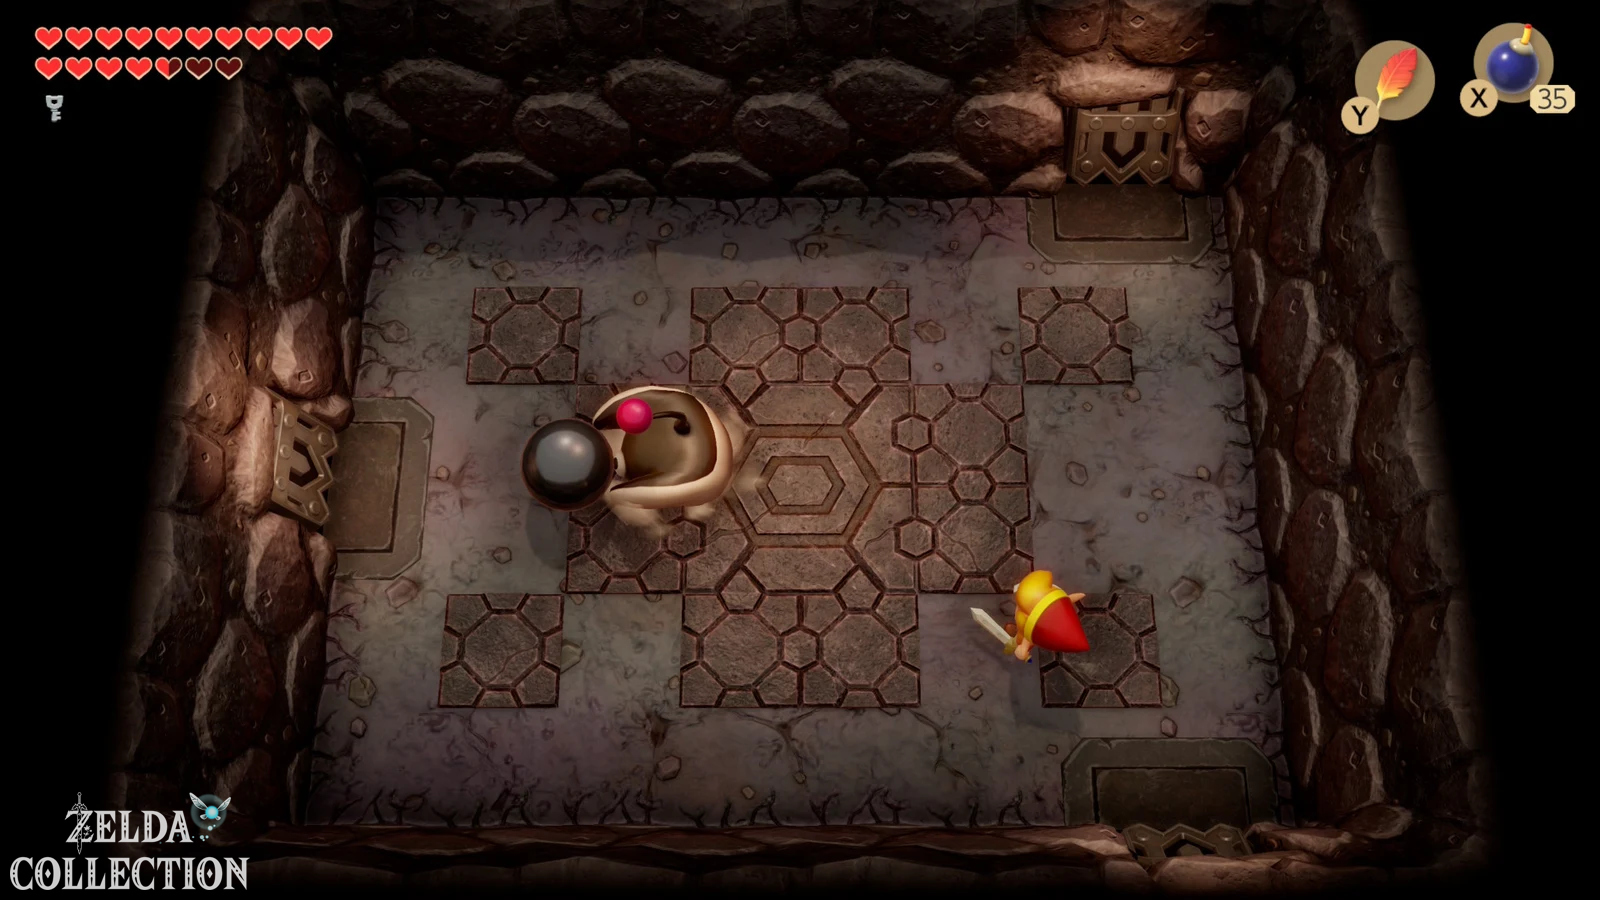
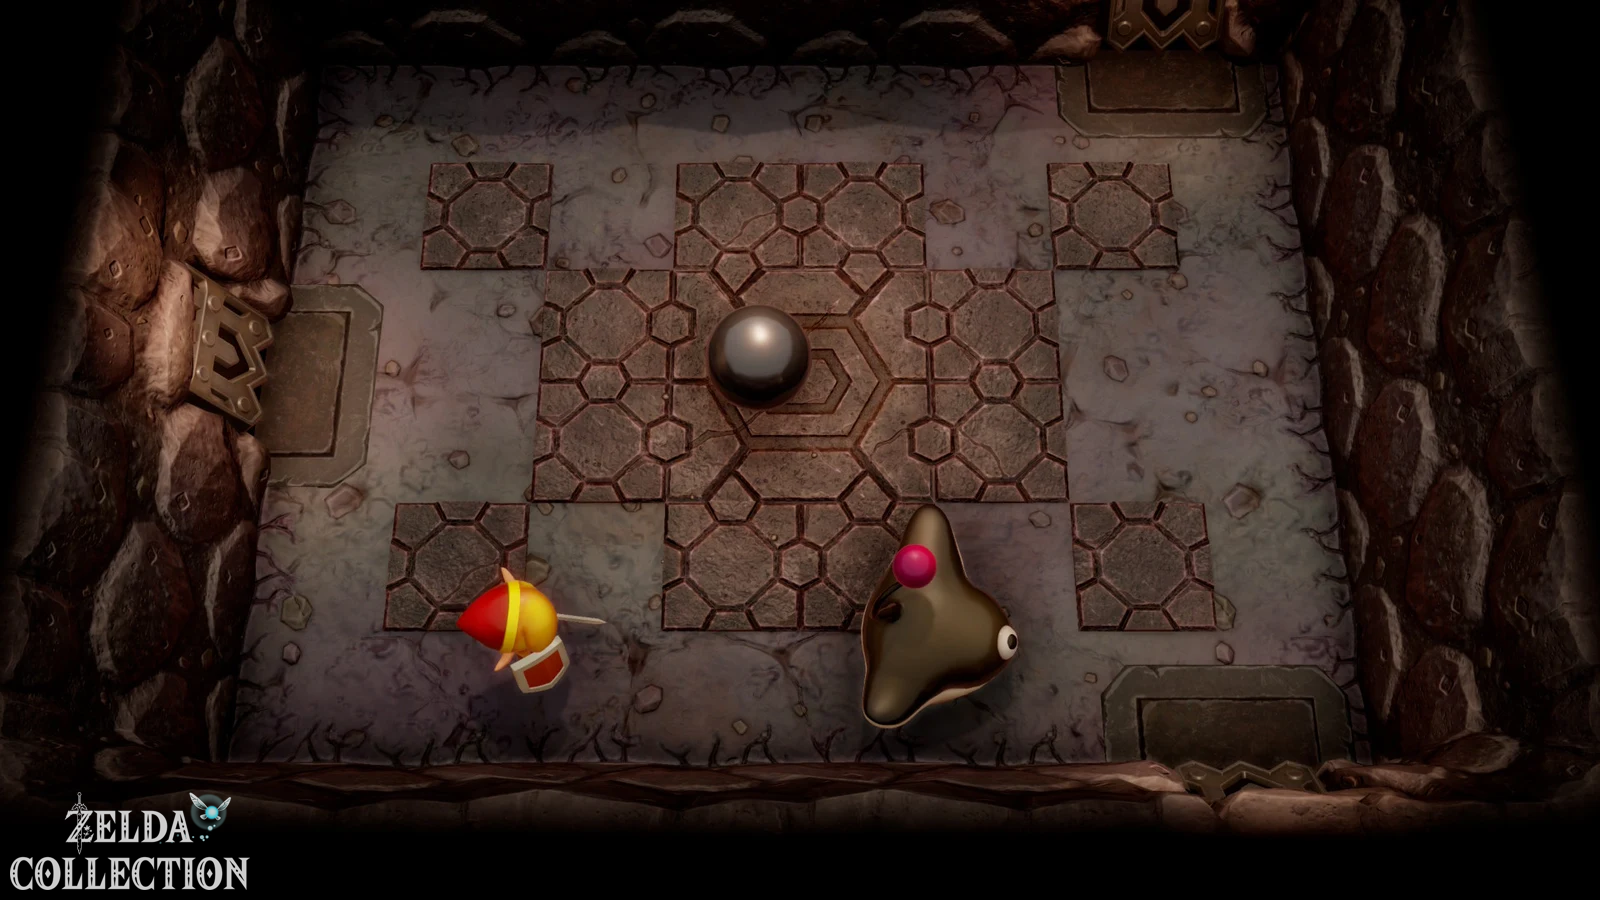
Go north. Smasher from the Face Shrine is waiting there again. The strategy is unchanged: pick up his big ball with the Power Bracelet and throw it at him. After several hits, the intermediate boss is finished. There is a floor tile under a jug in the next room. Activate it and then return to the Smasher room.
Now go left. A much longer floor laying puzzle awaits here. First, steer the platform twice to the left, once up, once to the left, once up, once to the left, once up and twice to the left so that you reach the upper left corner. From there you drive down once, right, down, right, down, right, down, right, down, right, up, right, down and finally right. When all fields are covered, another Small Key falls down.
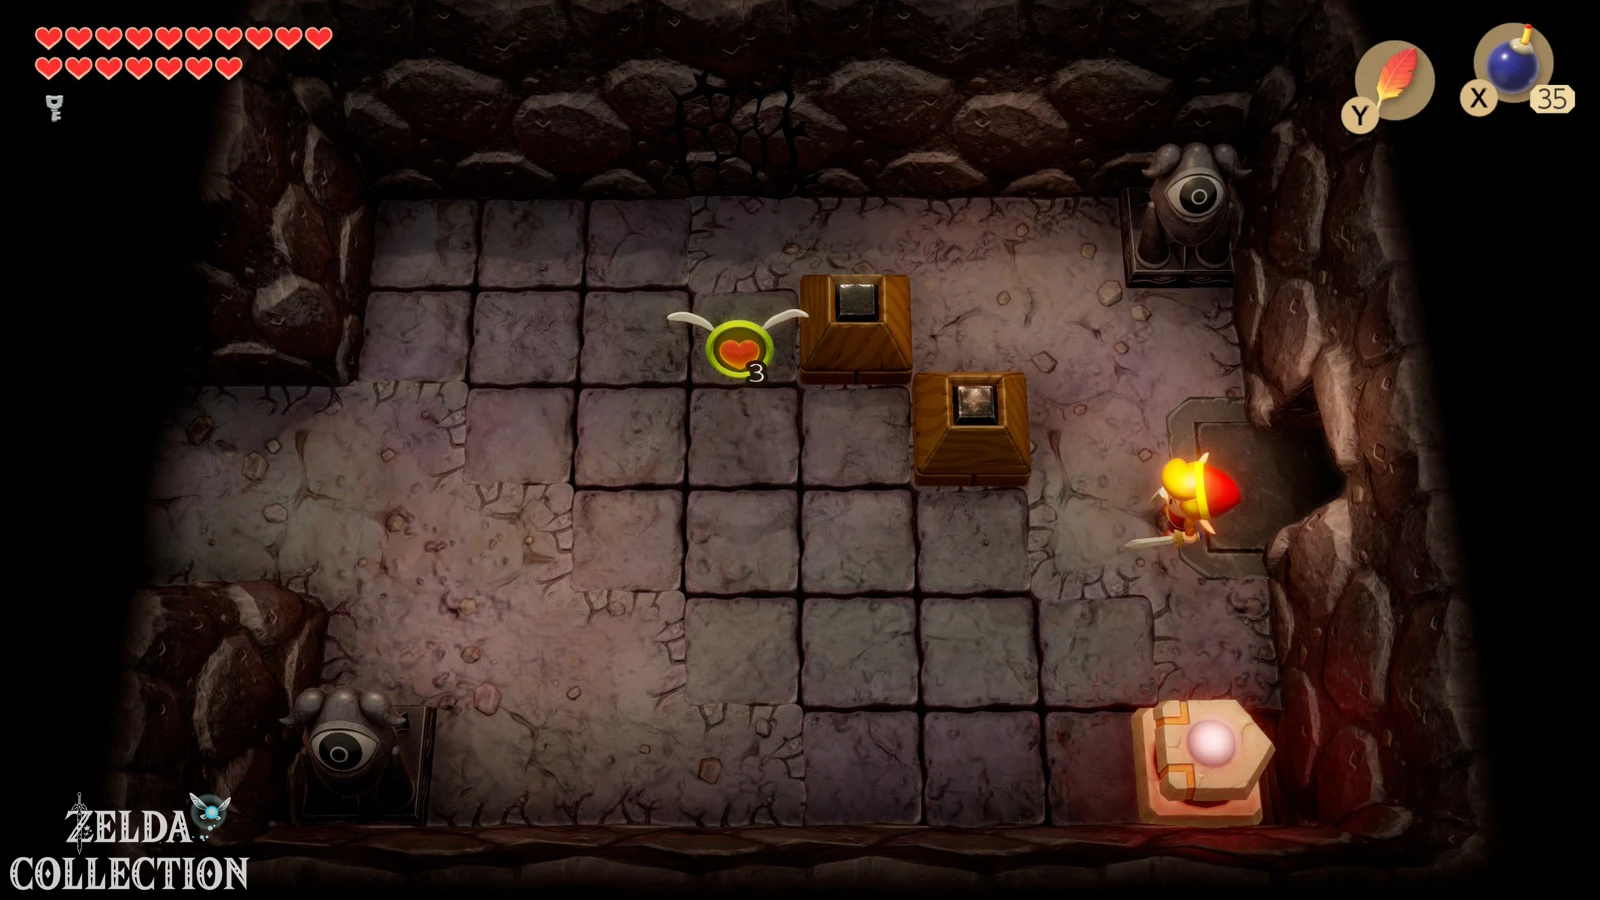
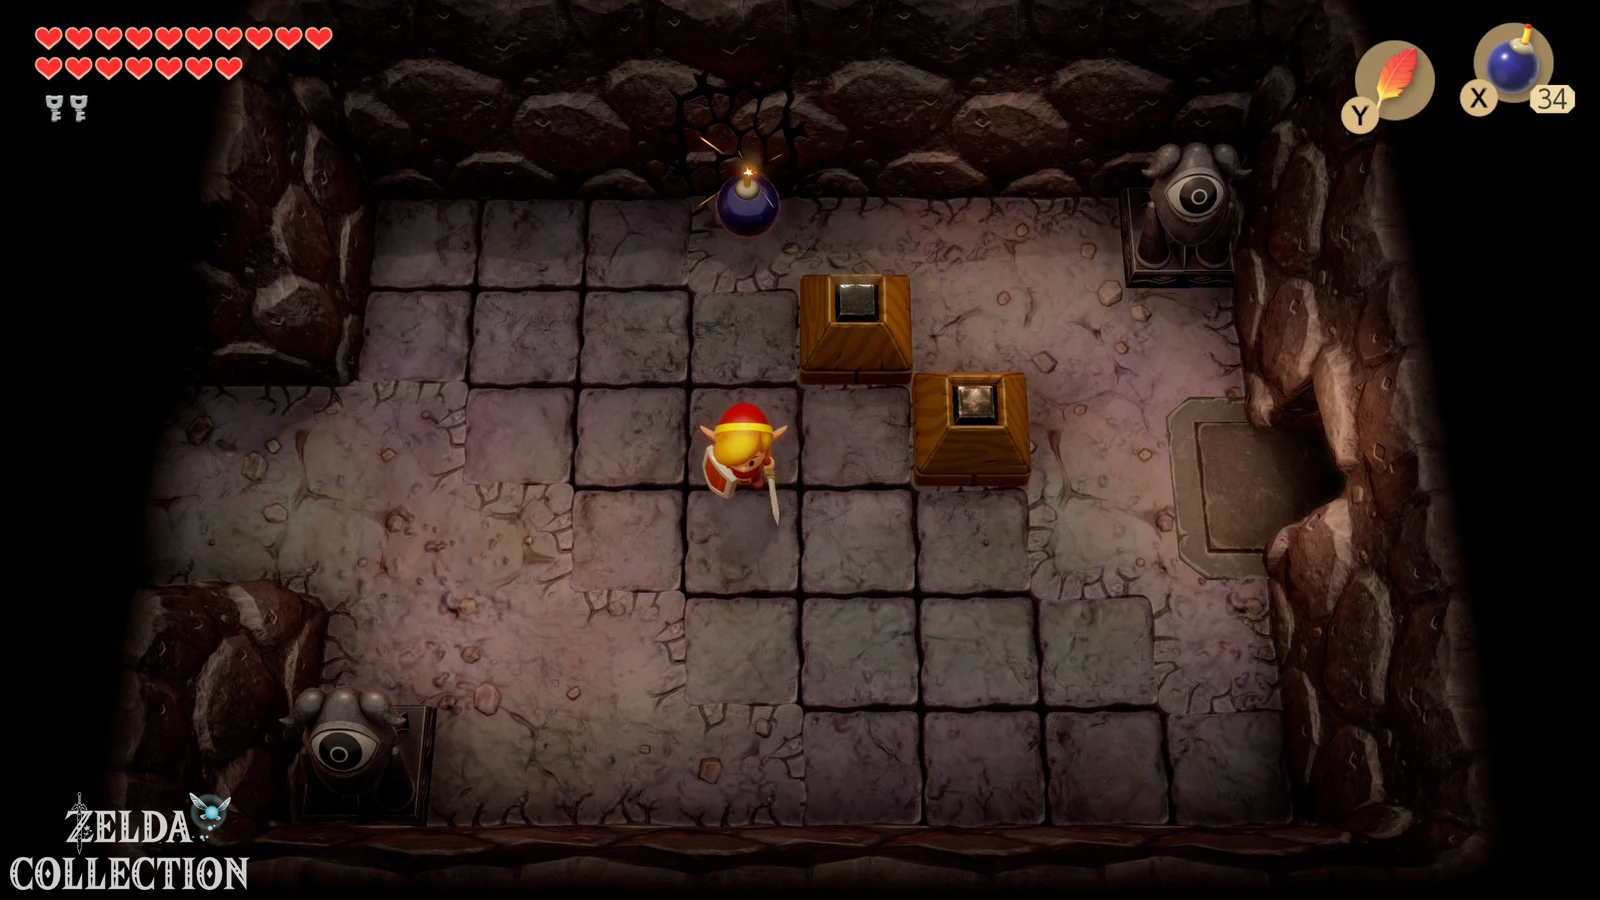
Then examine the northern wall. Blow up the cracked area with a bomb. In the room above there is a Crystal Switch, which we will need later. Also blow up the left wall so you can use a shortcut later.
More keys and the reference to the Dodongo snakes
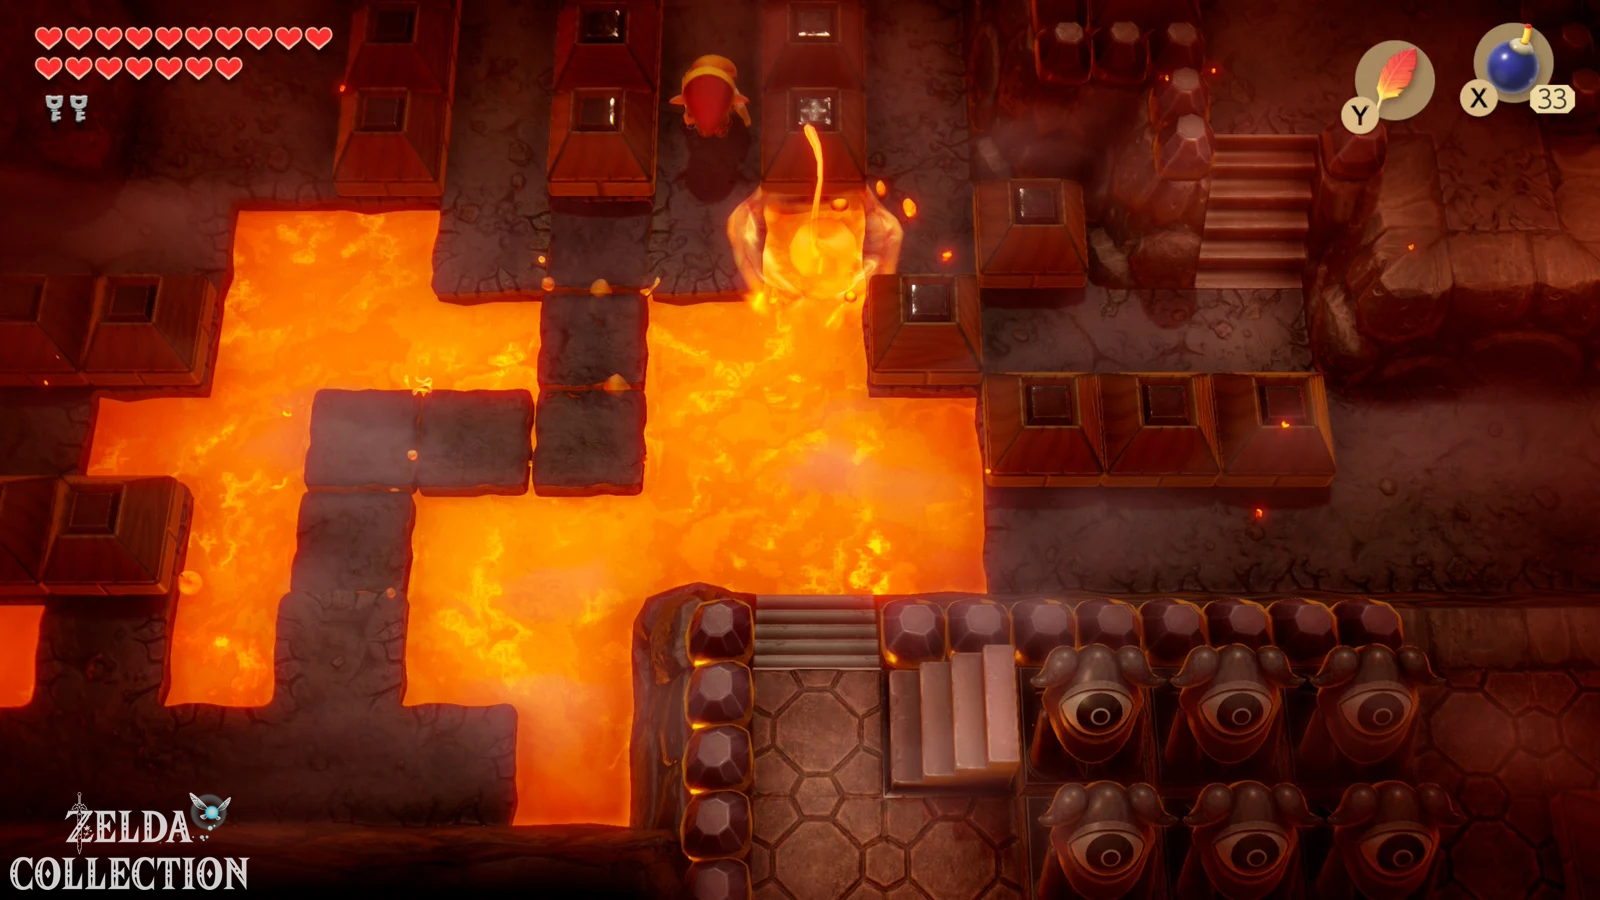
Return to the large lava room near the entrance and this time control the moving platform so that it ends between the two upper blocks. Push the right stone into the lava and go north. Open the key block and then the next locked door.
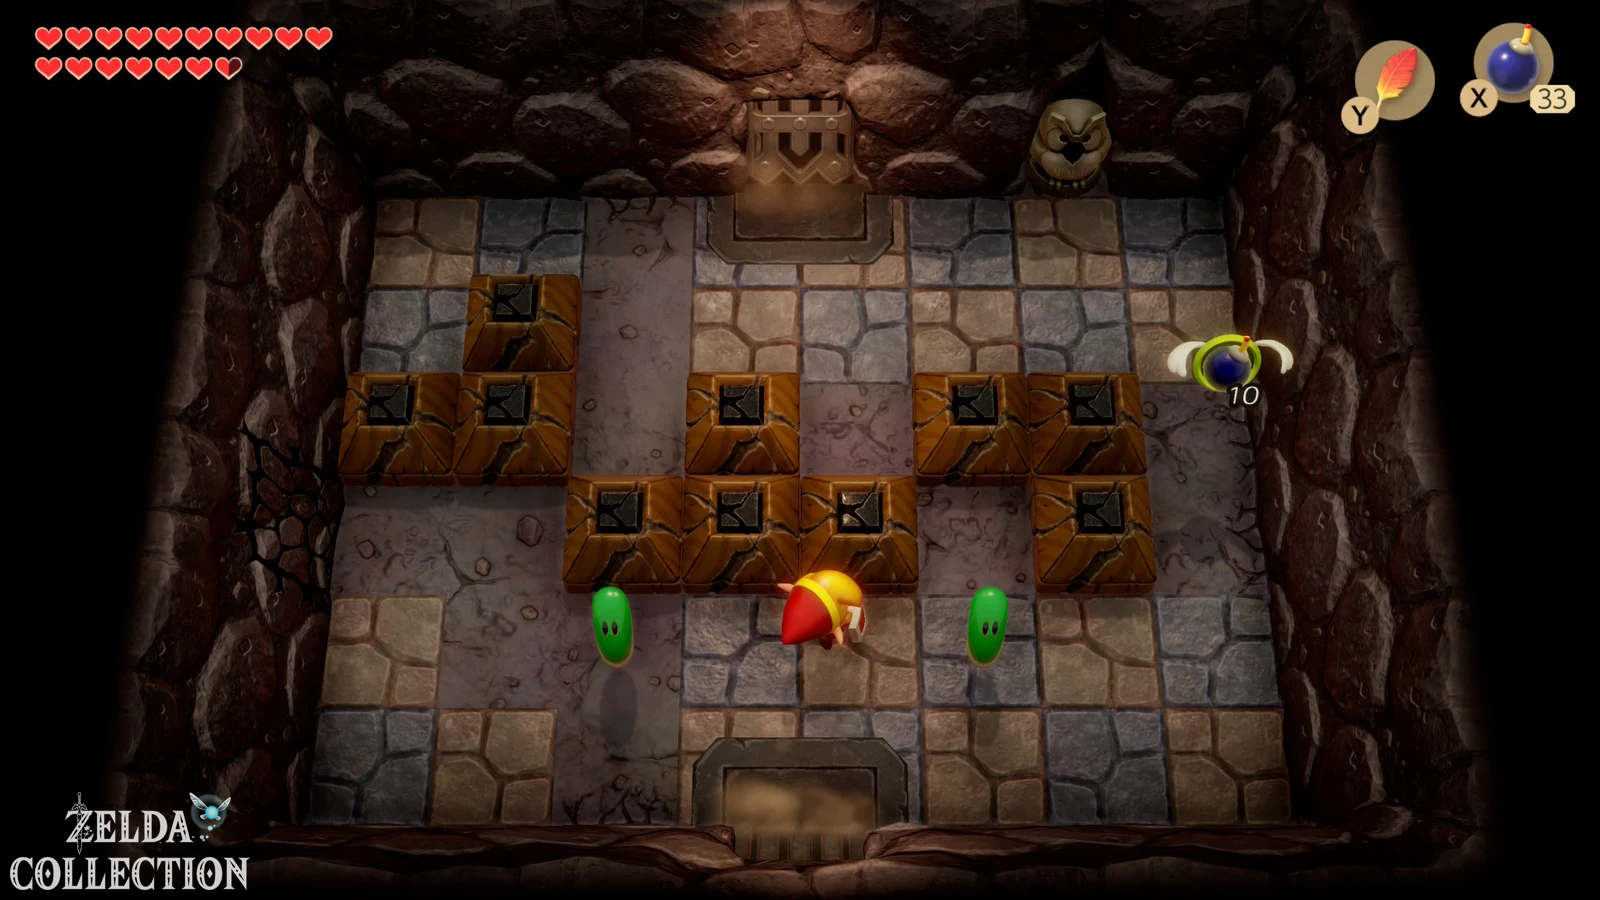
The following room has blade traps and a one-way door. Ignore the stairs for now and go through the upper door. Defeat the slimes, take the bombs with you and read the owl statue if you wish. Your advice is that you have to attack the opponents with the key from a higher position.
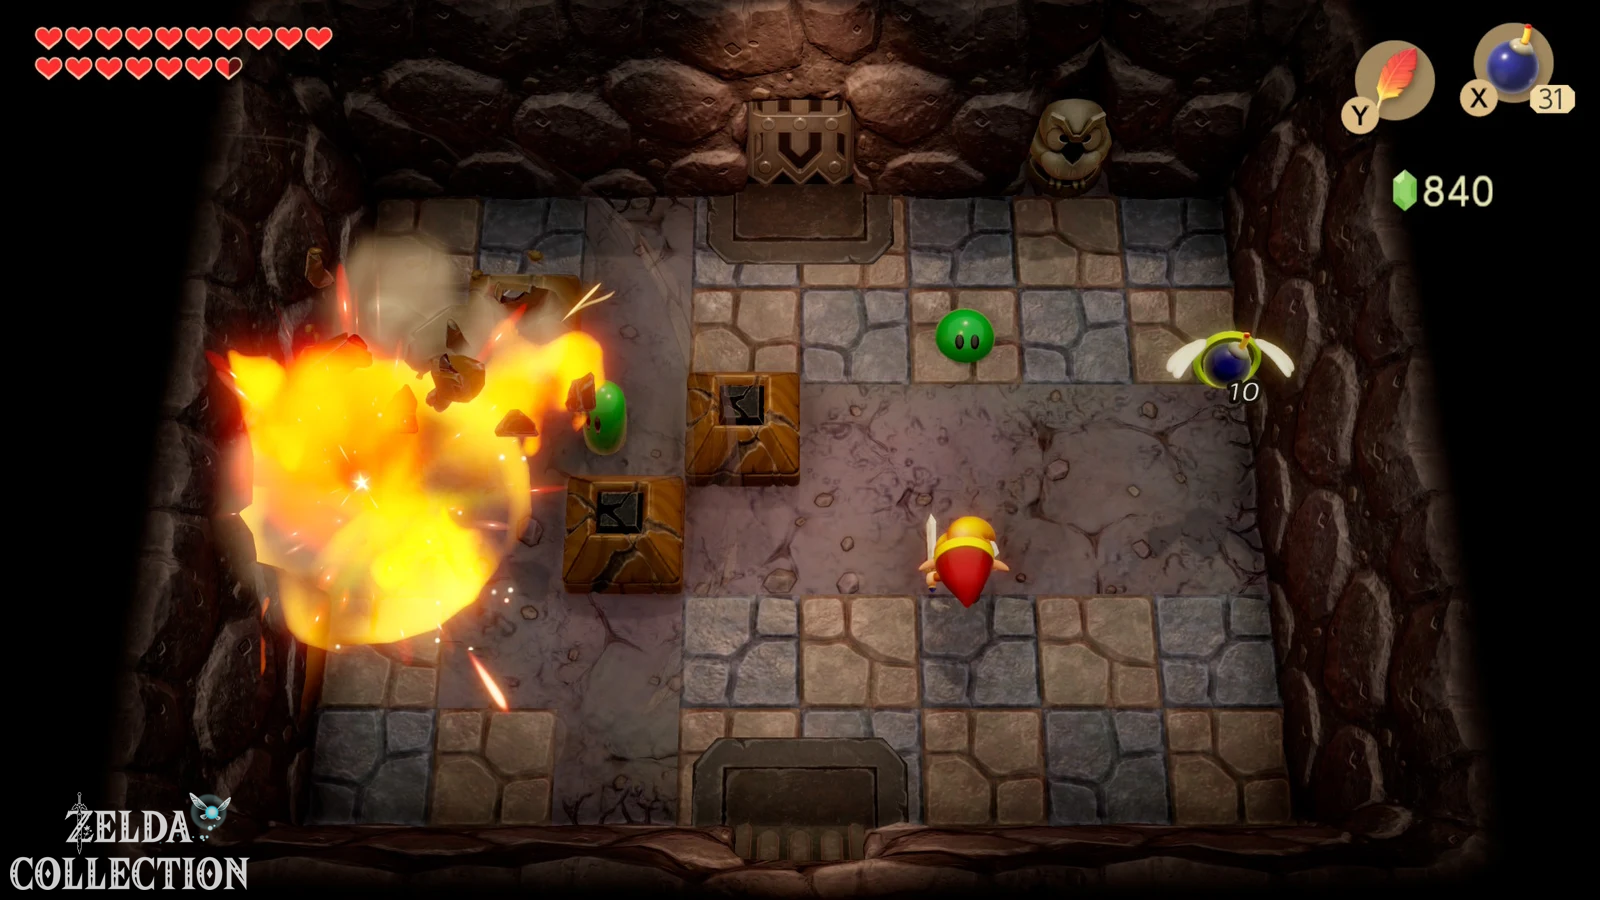
In the next room you keep running because the floor breaks under Link’s feet. Defeat the two gibdos or mummies as quickly as possible with Boomerang or sword. After that you will get another Small Key.
There are two Dodongo snakes in the room on the left. Ignore them at first. If you defeat them now, the chest will appear on the elevated level, which you cannot reach from here – and when you return later, the enemies would be there again. The owl clue referred to exactly this puzzle.
Optional Secret Medicine
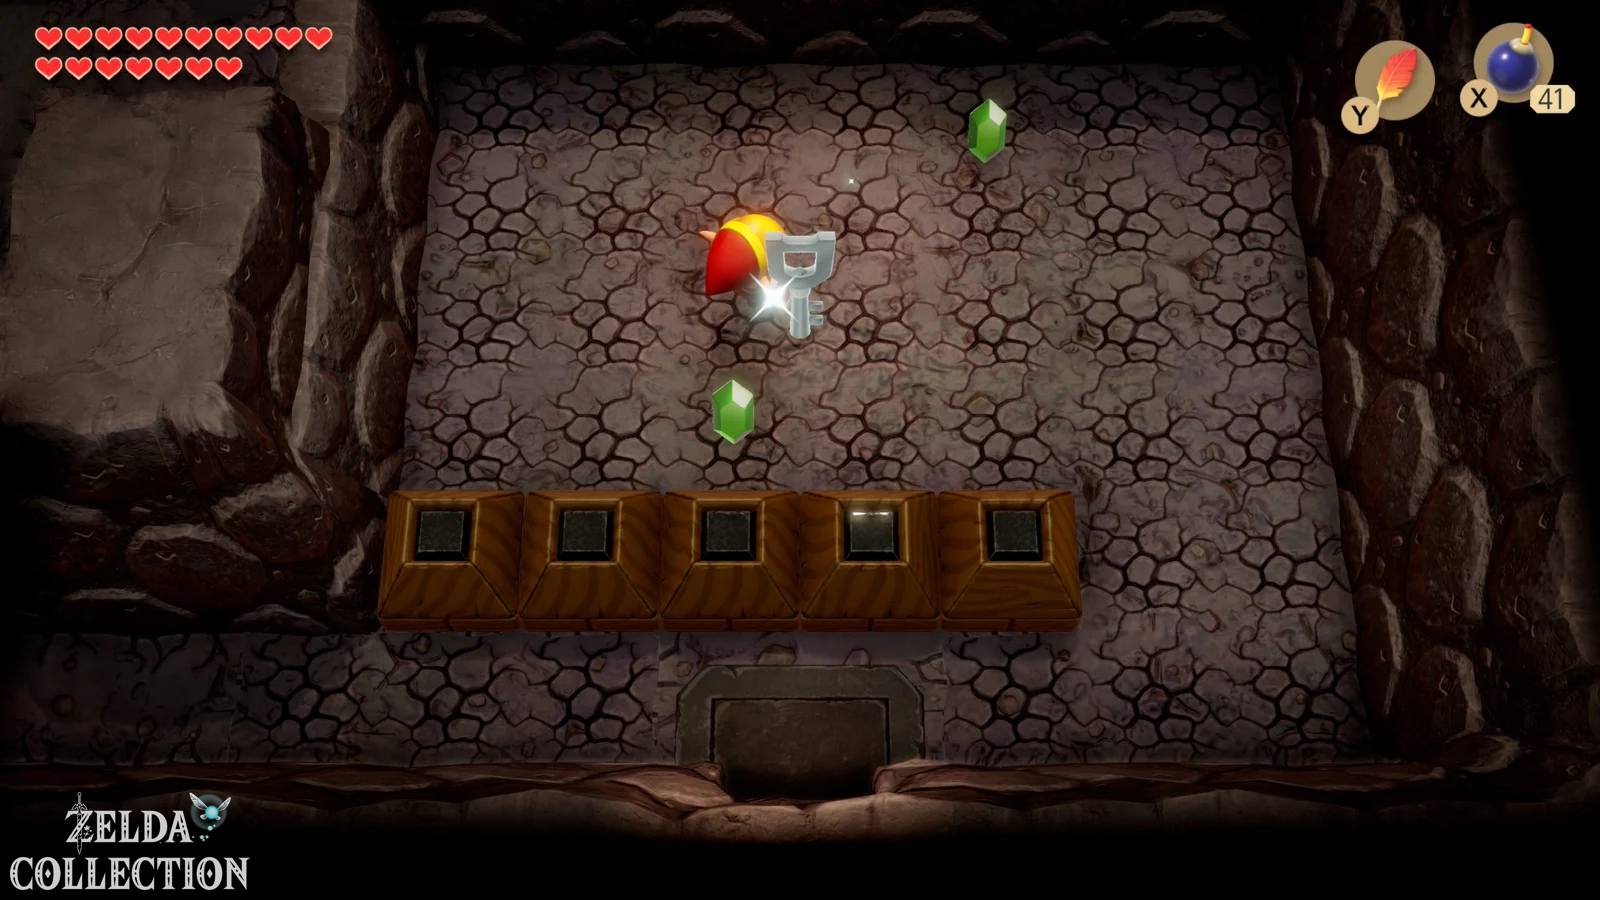
From the Dodongo room, go left and then up. Use the Hookshot to pull yourself to the chest on the higher ledge and open it. Inside lies a Secret Medicine. If you already own one, you cannot carry a second one at the same time and the chest will therefore have no lasting use. If your supply is empty, this is excellent insurance for the final battles of the game.
Then jump down from the ledge and climb the stairs into the side view area.
Secret passage with the ground arrow
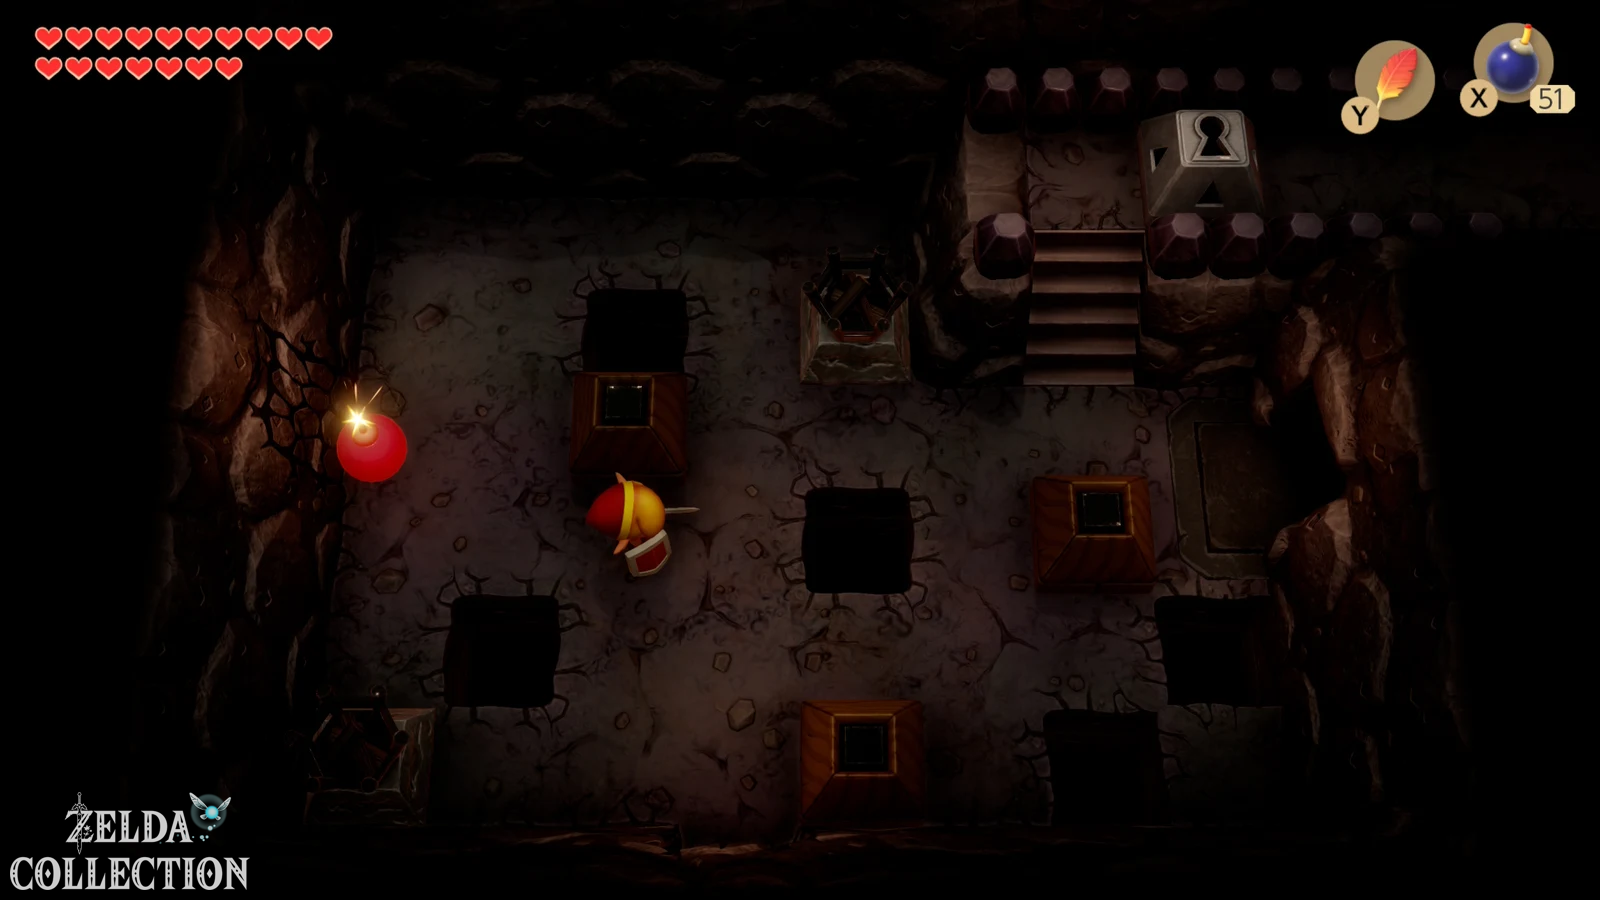
Crosses the underground. At the lava lake you use the Hookshot to pull yourself to the statue on the opposite side. You will then return to the room with the blade traps. Blow up all the cracked stone blocks there. Below them, a large arrow appears on the ground, clearly pointing to the left. Place a bomb on the left wall and open another secret path.
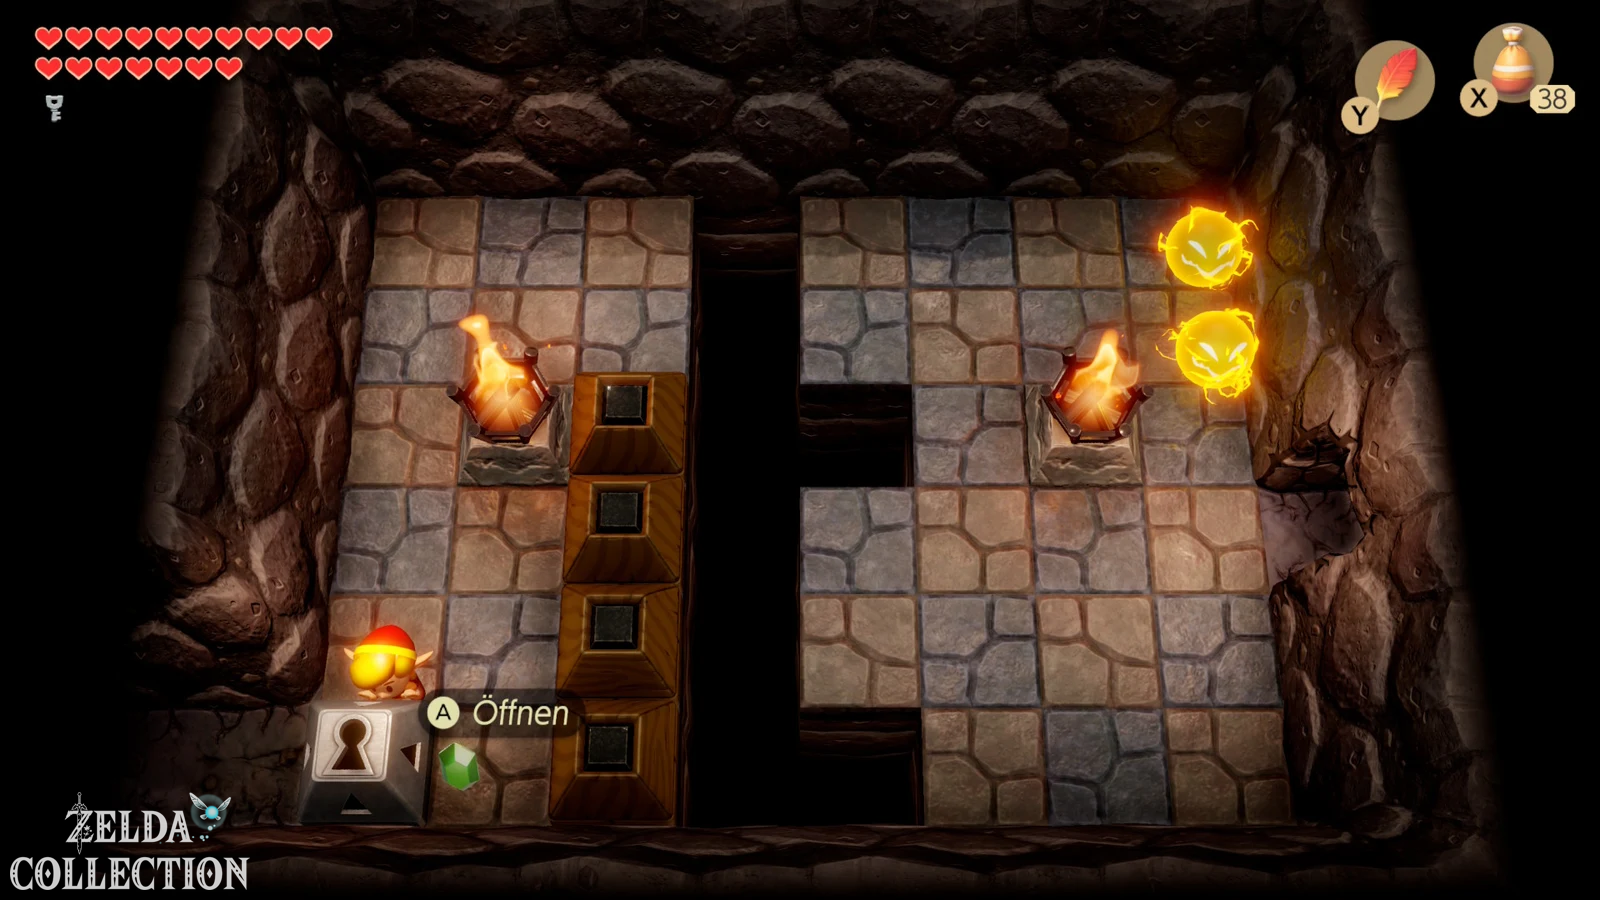
In the dark room, jump over the abyss, open the key block and continue to the left. In the next dark area, light the two torches with Magic Powder so that the cracked areas on the wall become more visible. Blow up the left wall; the southern passage only serves as a shortcut to an already known area.
Two more Small Keys
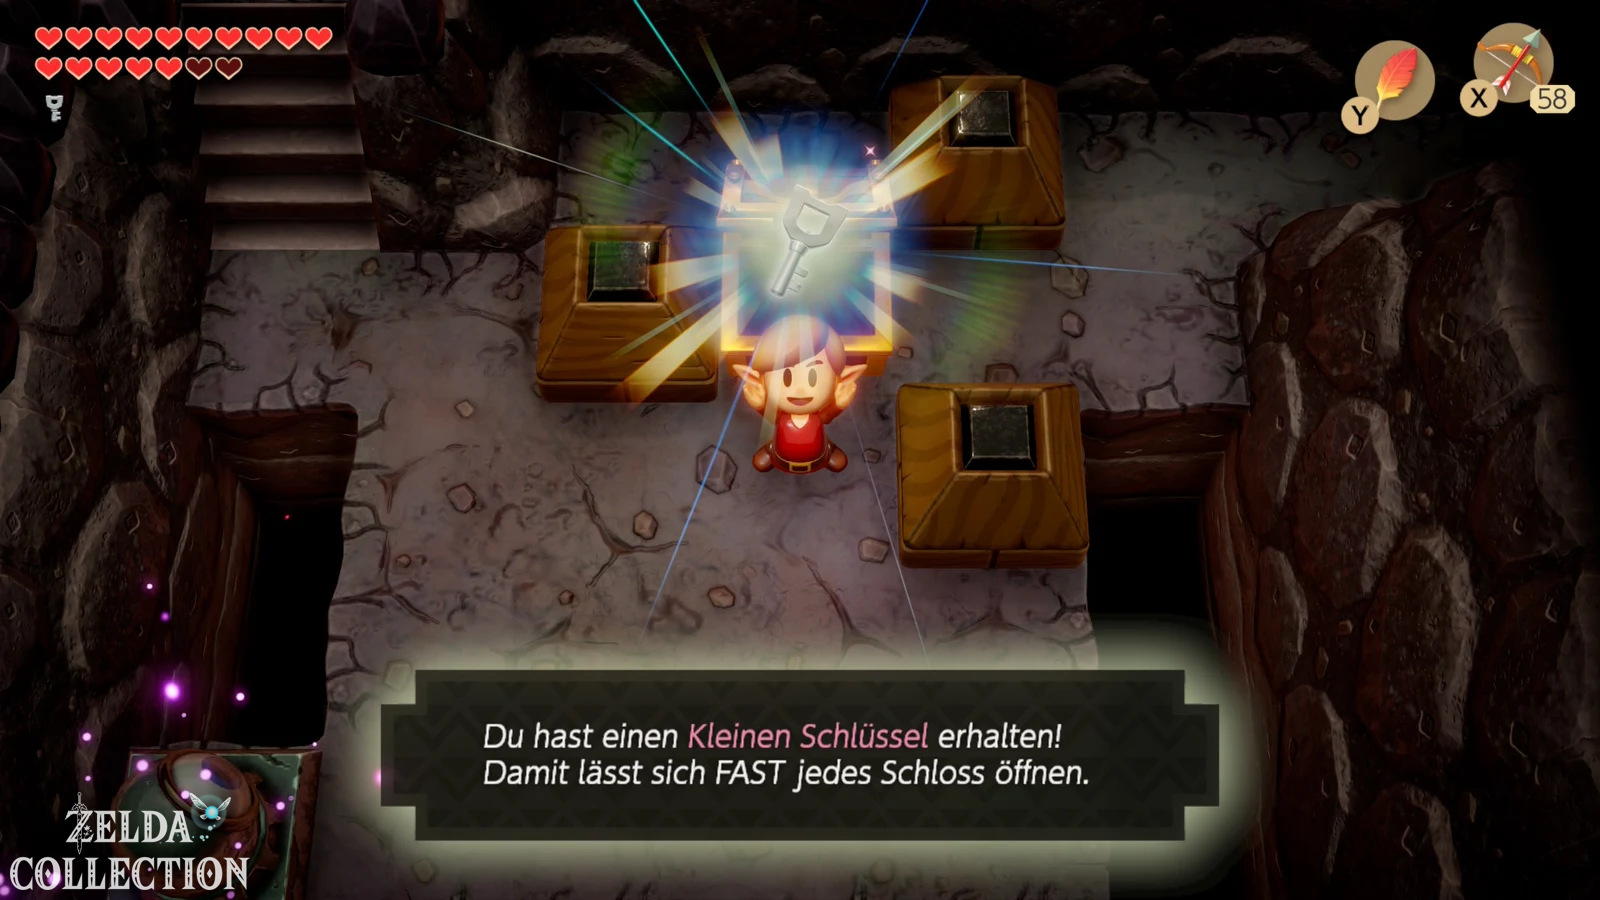
In the next room there is a stone eye statue. Shoot a arrow directly into her eye. A Small Key falls down. Then go left. In the room with the chest, push the block to the left of the chest up once and then the adjacent block to the left. Open the chest and take the next Small Key.
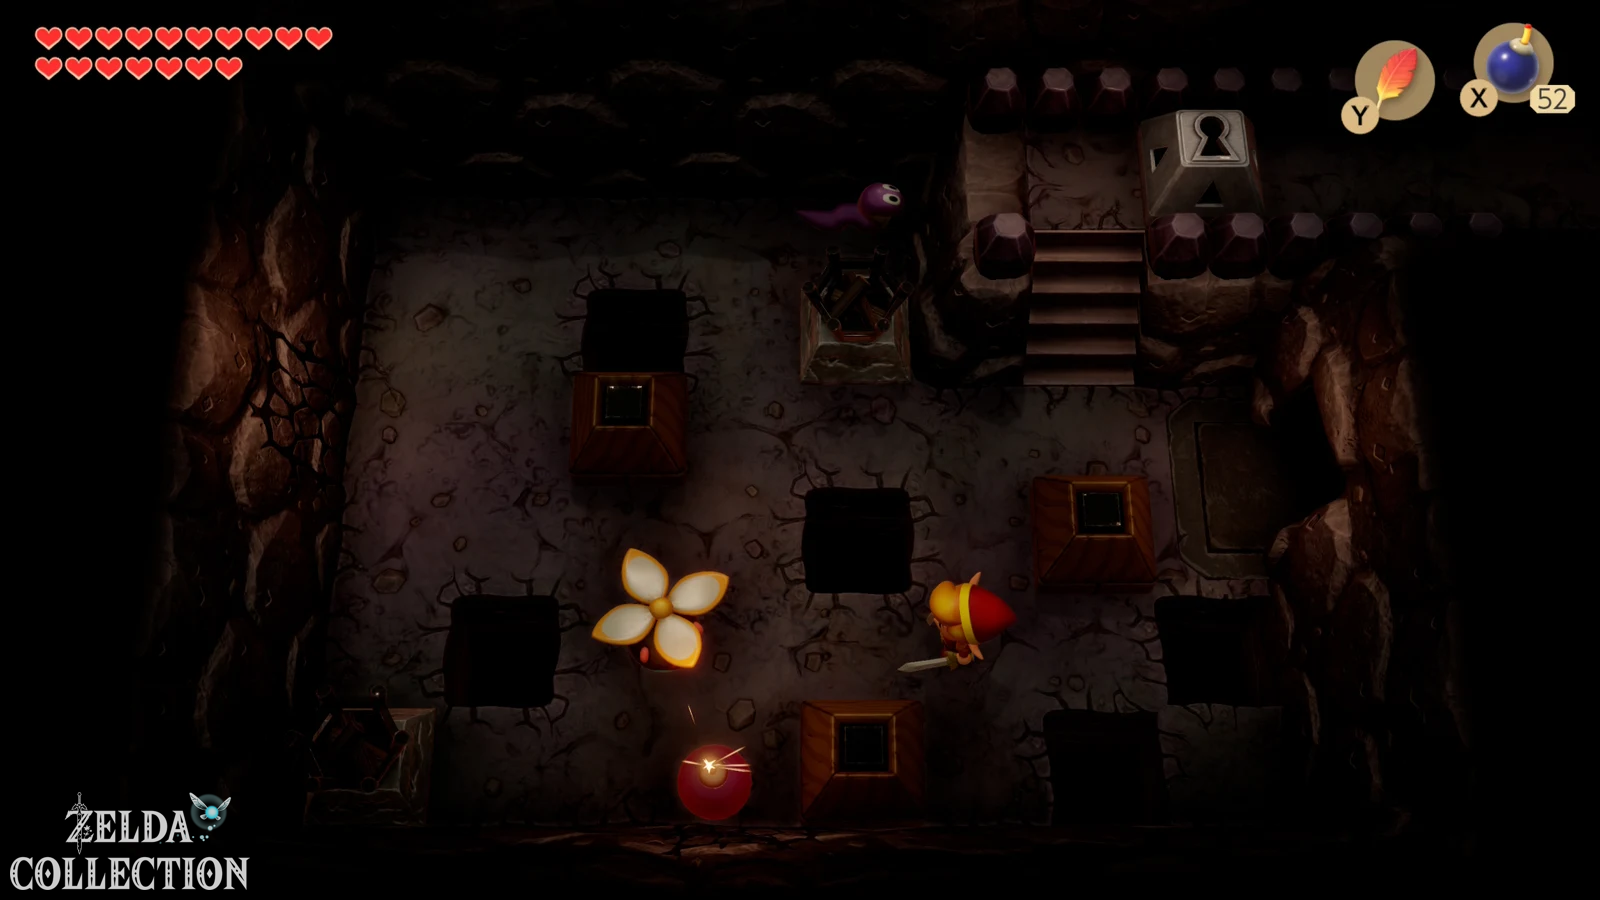
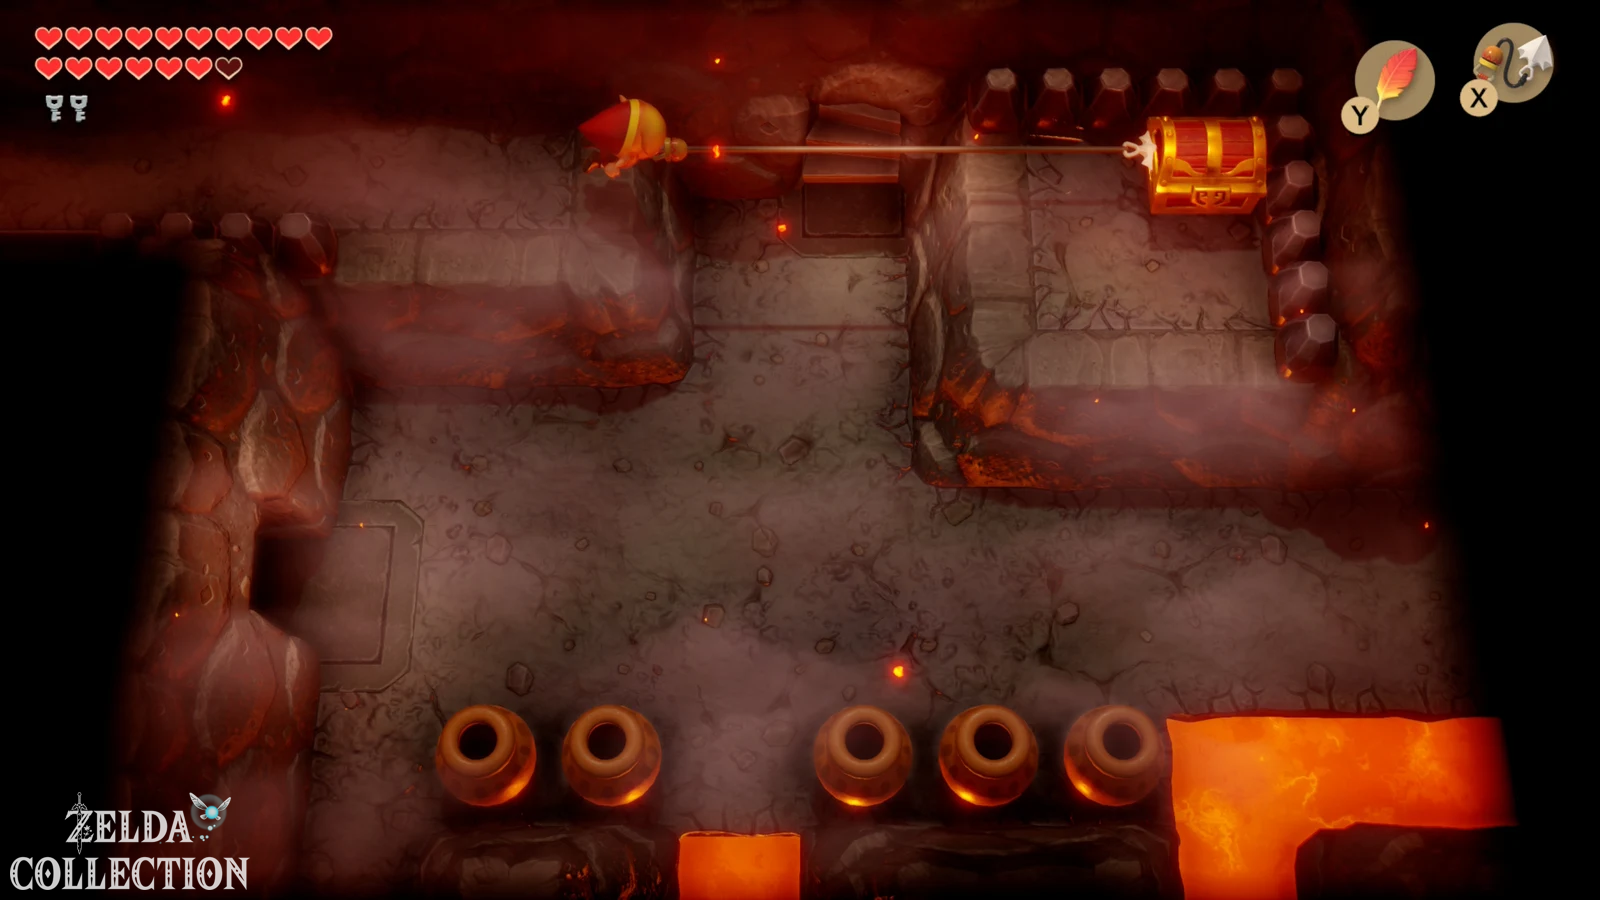
Go right again and then up. Defeat the two snakes and the Vire there. This will open the left door. Follow the path over the raised ledge, pull yourself to the chest with the Hookshot and take the Rupees with you. Then jump off the ledge and climb the stairs.
Piece of Heart 32 – the last Piece of Heart of the game
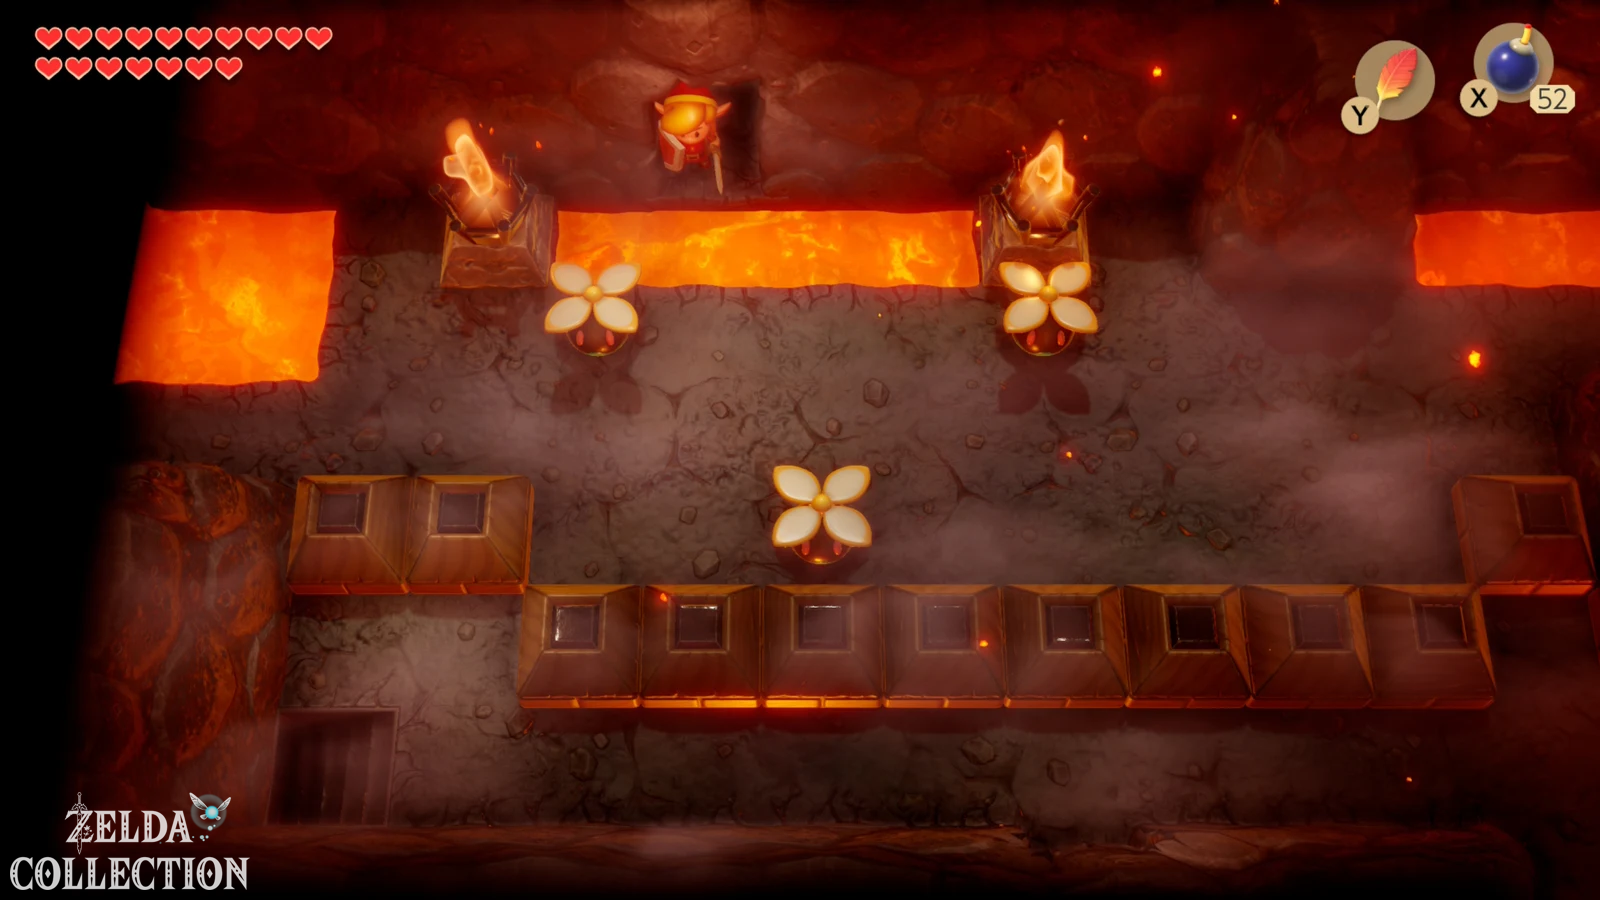
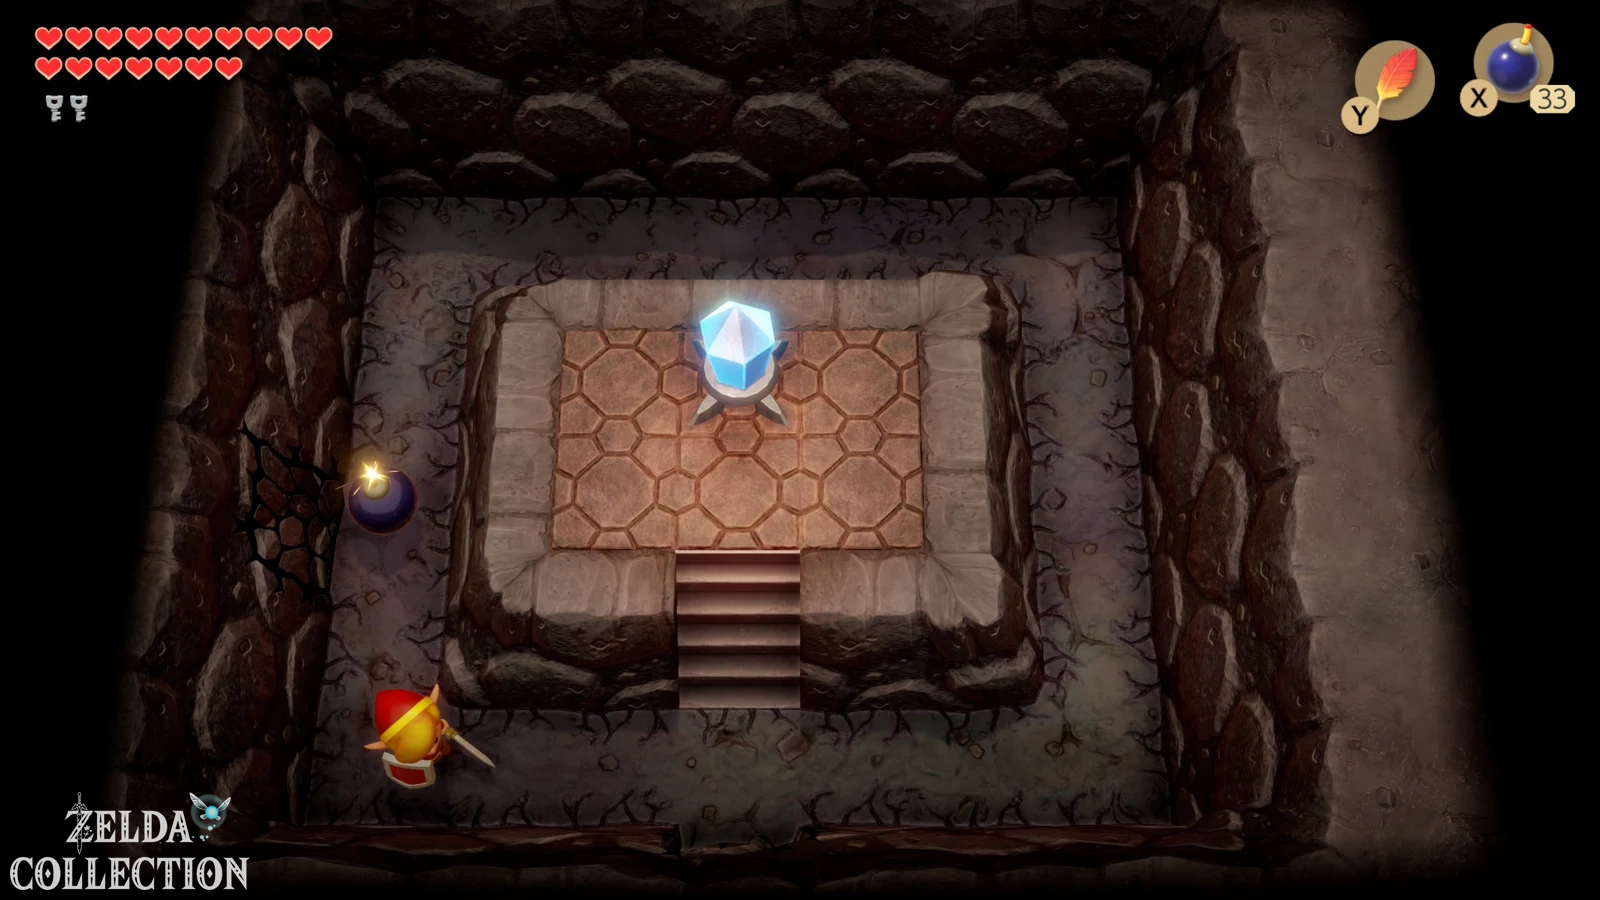
You are now outside Turtle Rock on the northwesternmost edge Koholint’s. Climb the steps. Open at the top is the , the 32nd and final Piece of Heart of the Nintendo Switch version. If you followed our route, the entire heart piece collection is complete.
You can check all 32 Locations again in our overview of the Pieces of Heart in Link’s Awakening.
Activate the last warp point
Goes to the right from Piece of Heart. There is another warp point. Activate it even if you don’t see any immediate benefit for it at the moment. It is the highest teleporter on Koholint and provides convenient access to Tamaranch Peak later.
Then enter the eastern entrance of the Turtle Rock. You will now land on the raised ledge above the Dodongo Serpents.
Defeat Dodongo snakes from above
Now the earlier owl reference becomes clear. Take a bomb, pick it up with the Power Bracelet and throw it from above directly in front of the mouth of a Dodongo snake. Each of the two snakes has to swallow several bombs. Since you are standing on the raised ledge, they can hardly pose a threat to you.
Once both are defeated, the chest will finally appear on your level. Open it and take the Small Key. Then play Manbo’s Mambo and return to the main entrance of the Turtle Rock.
Prepare Crystal Switch properly
From the entrance go up again and then right to the first controllable floor platform. Take it up and all the way to the right so you can reach the eastern area. Cross the previously blasted passage to Crystal Switch. Press it now. This causes the colored blocks to change further back in the dungeon so that we can get to the big chest after the next intermediate boss.
Then return to the area with the first Vire and take the path across the floor platform again. Lead them between the upper blocks, push the stone into the lava and go north. Cross the familiar rooms to the dark section behind the floor arrow.
To the intermediate boss Blaino
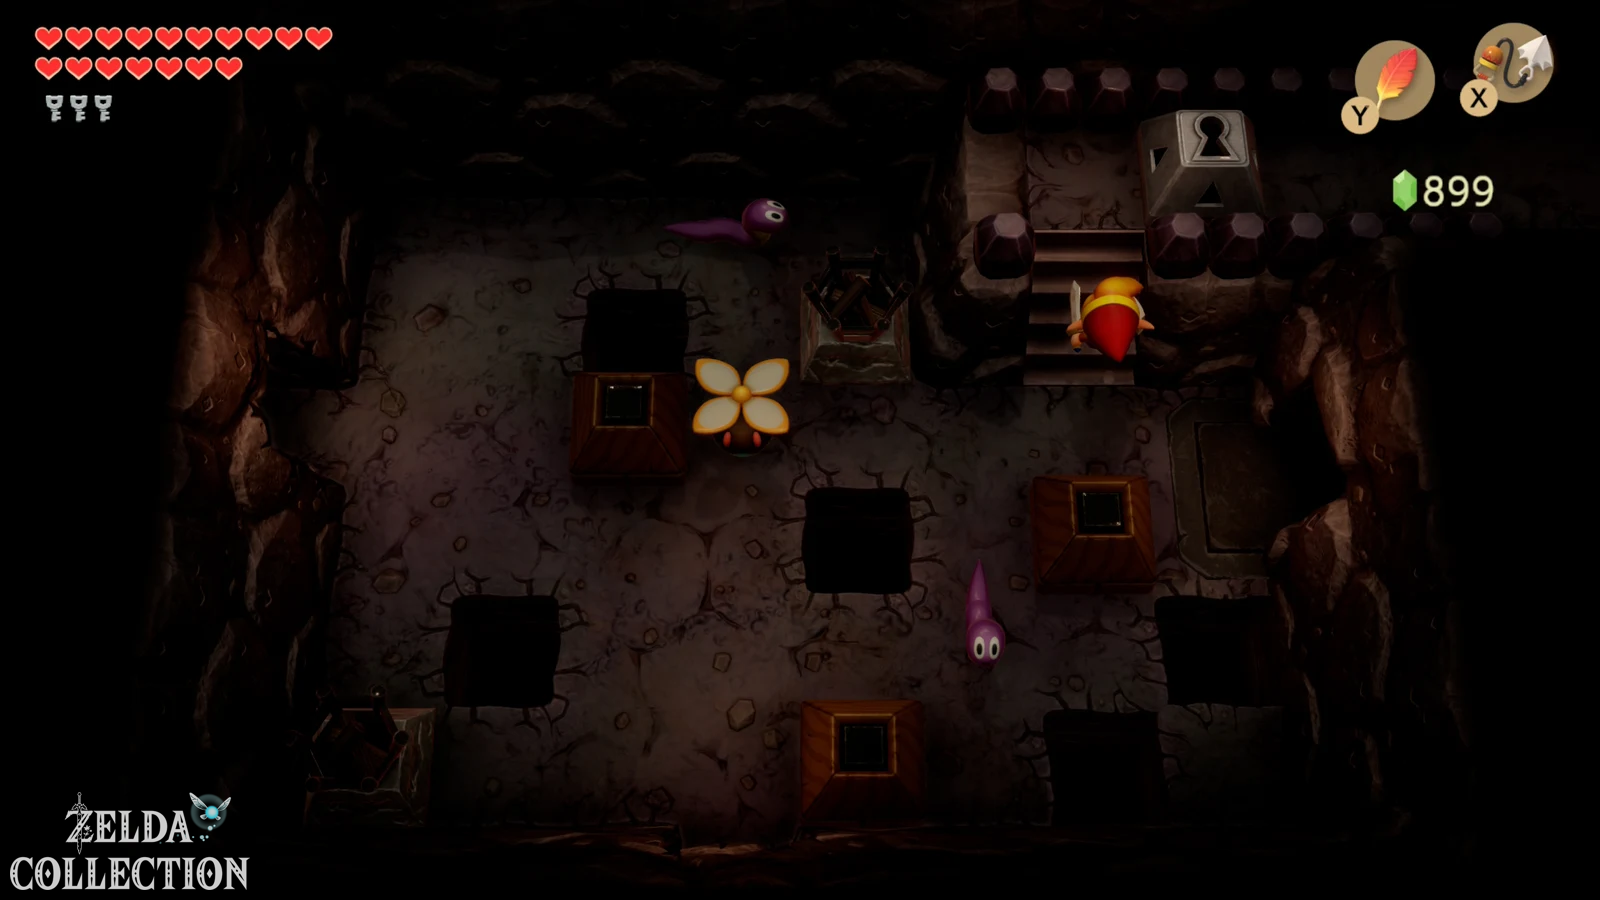
Go left through the three dark rooms. At the end, climb the stairs and use a Small Key on the key block. In the following room, use the Hookshot to pull yourself onto the raised platform, open the next key block and climb down the stairs.
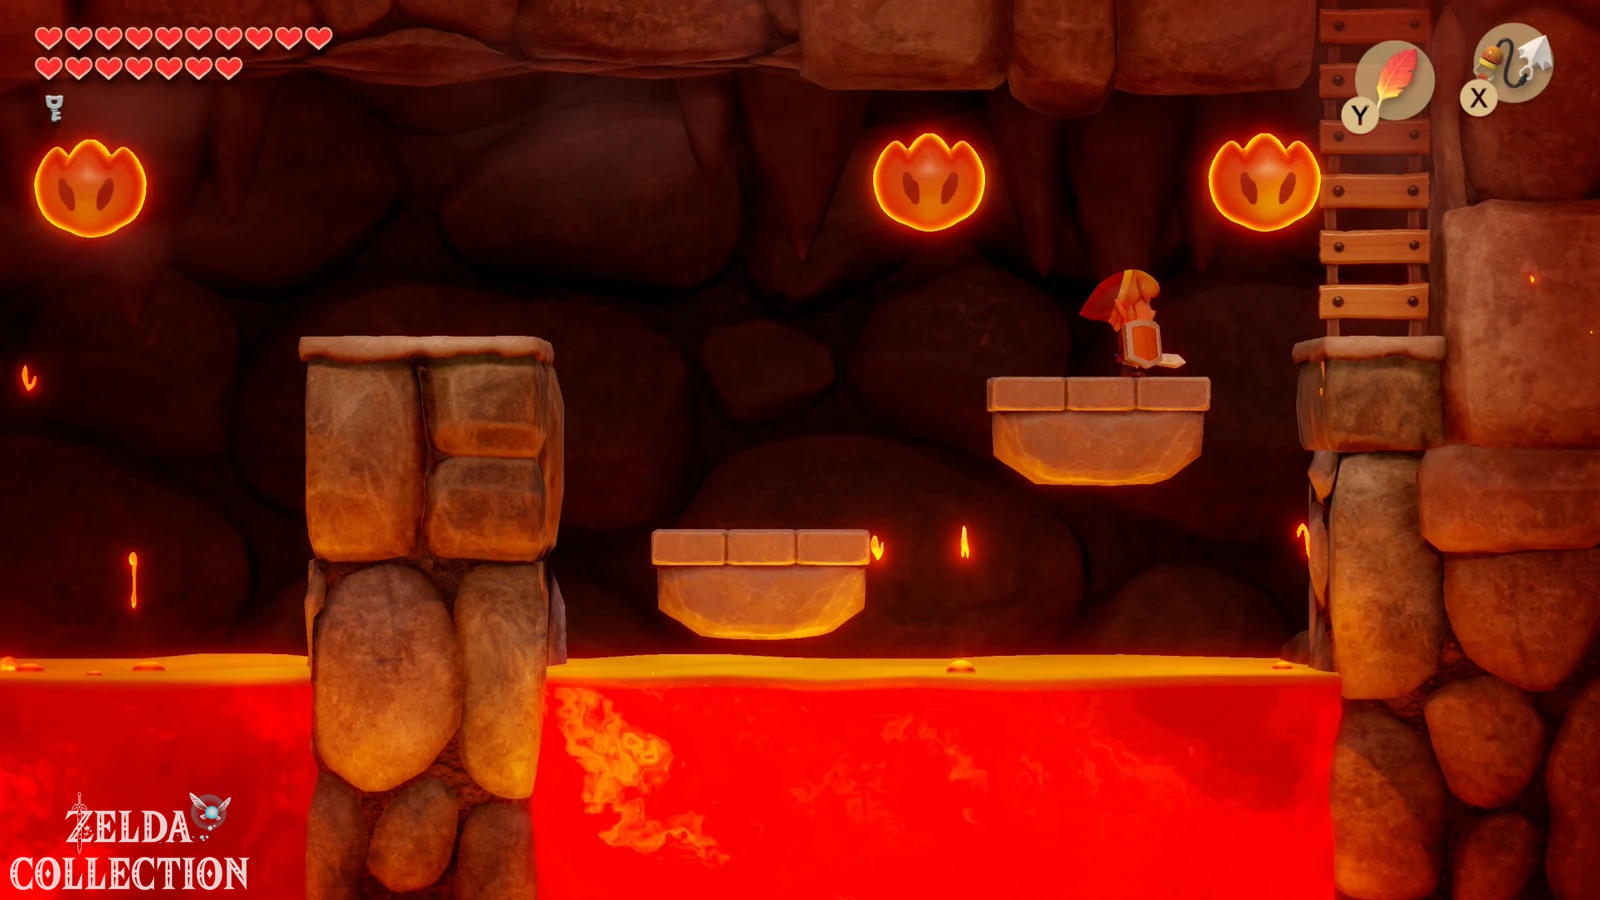
In the side view area you have to jump over a moving platform with the Roc’s Feather and at the same time avoid the fireballs shooting out of the ground. Work your way to the large ladder at the right end. After respawning, jump off the ledge and go south.
Intermediate boss: Blaino
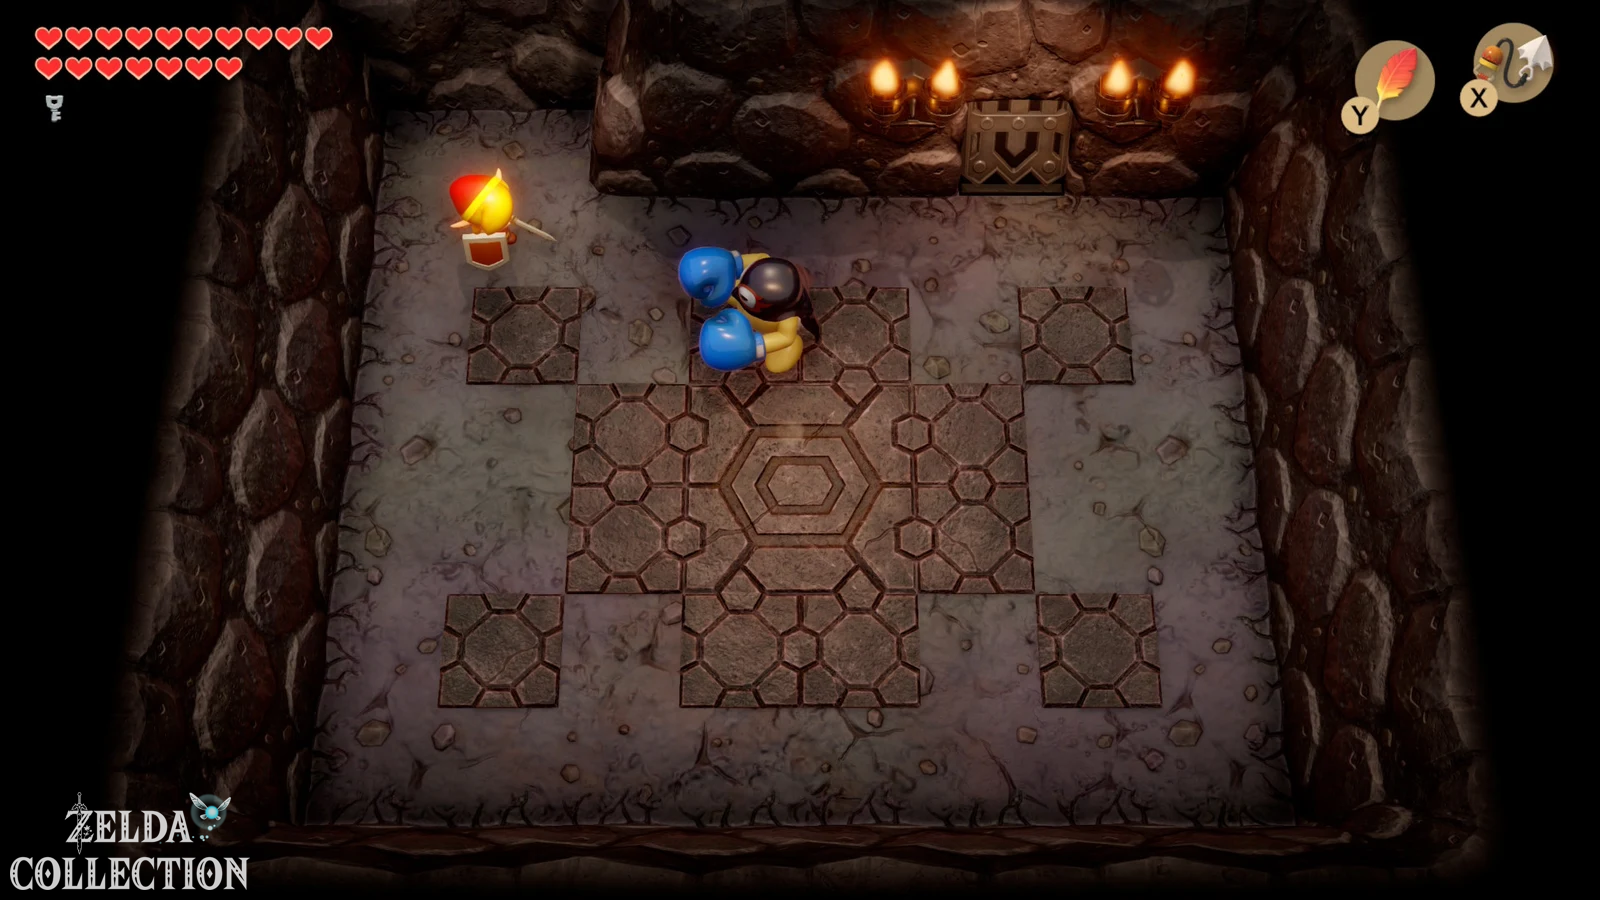
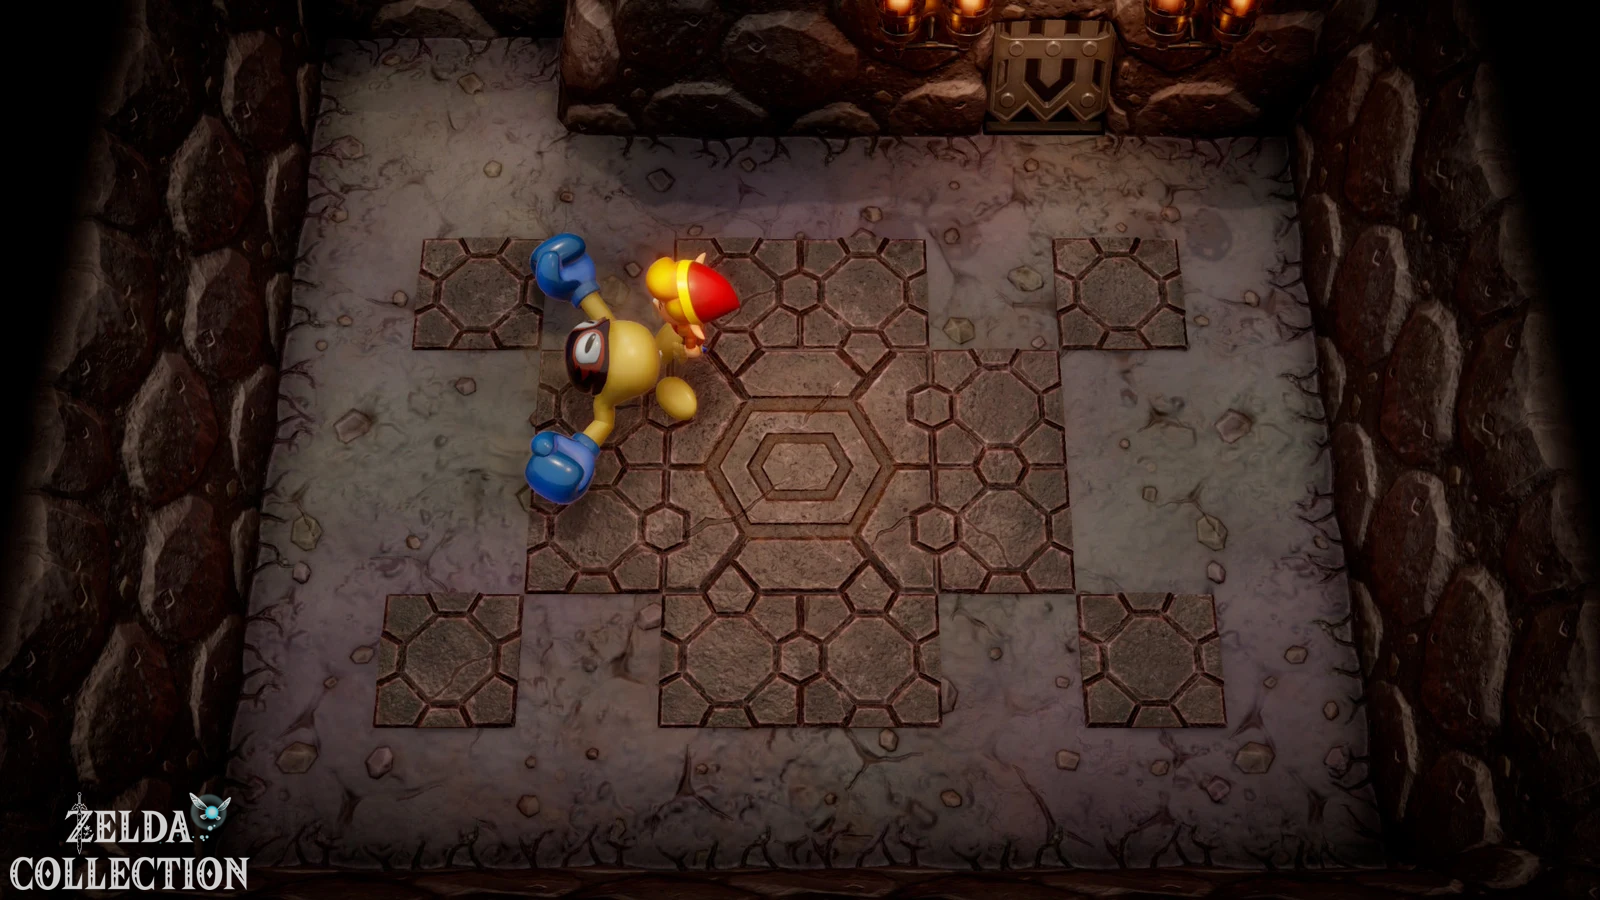
The Boxer Blaino guards the most important item in the Turtle Rock. Frontally, he blocks almost every attack with his gloves. So don’t try to overwhelm him with a series of normal punches. Instead, wait until he delivers his big charged punch. Dodge up or down, run right behind him and hit his unprotected back.
His powerful special strike is particularly dangerous. If he hits Link with it, Link will not only be injured, but can be thrown back to the entrance to the dungeon. Therefore, always stay sideways and only attack after Blaino has missed his blow. With the Koholint sword, a few clean hits are enough.
After his victory, a fairy appears. Then go north.
Obtain the Magic Rod
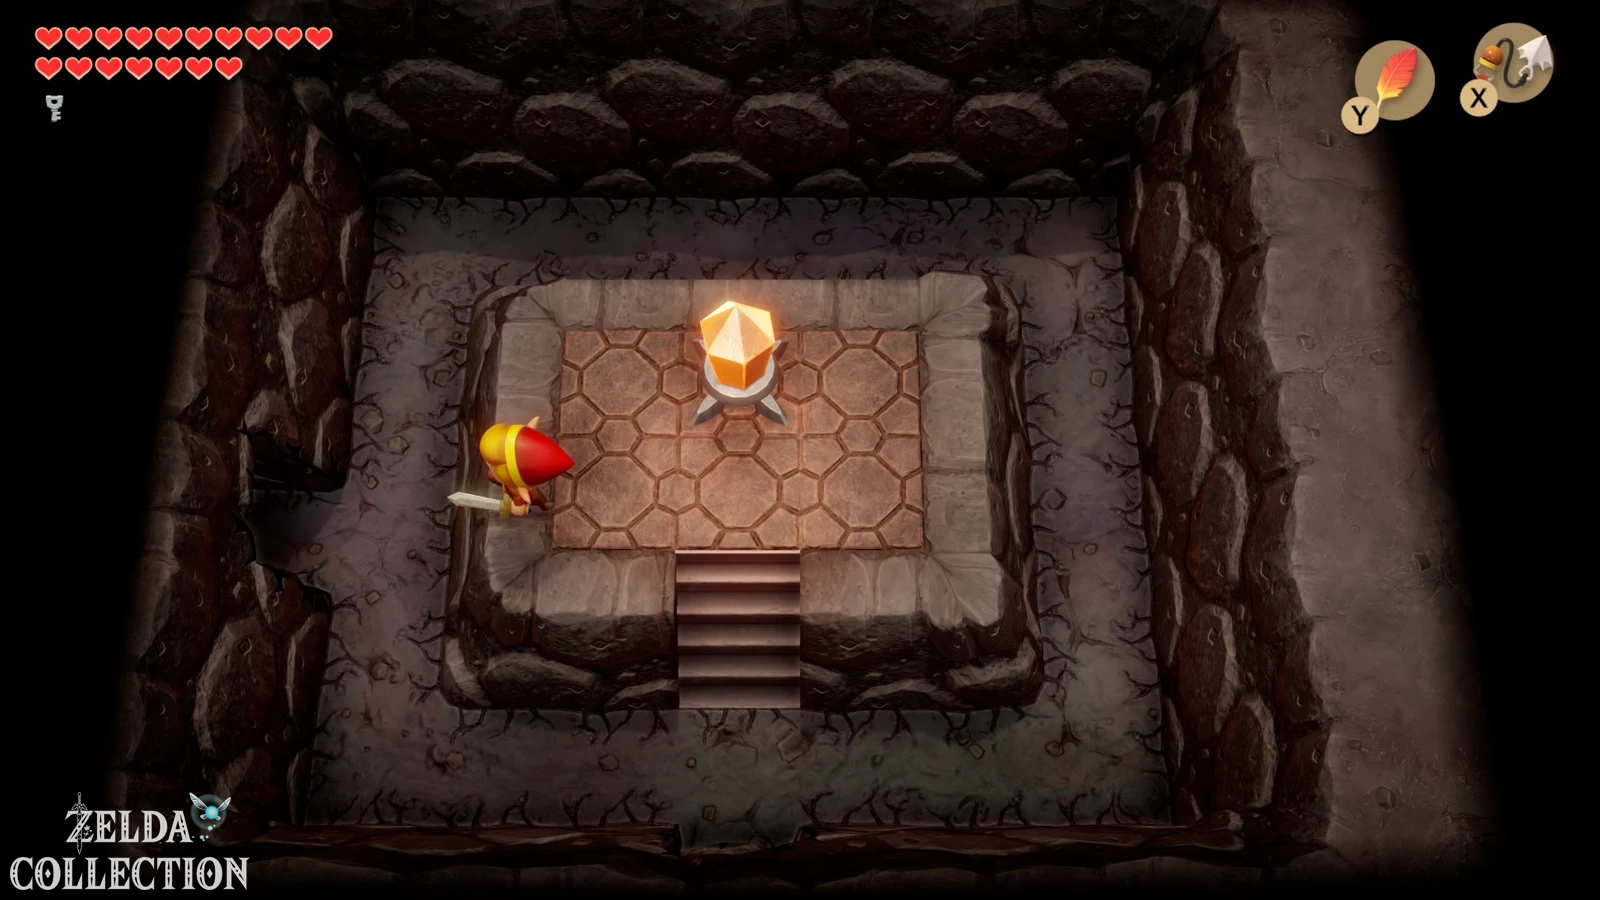
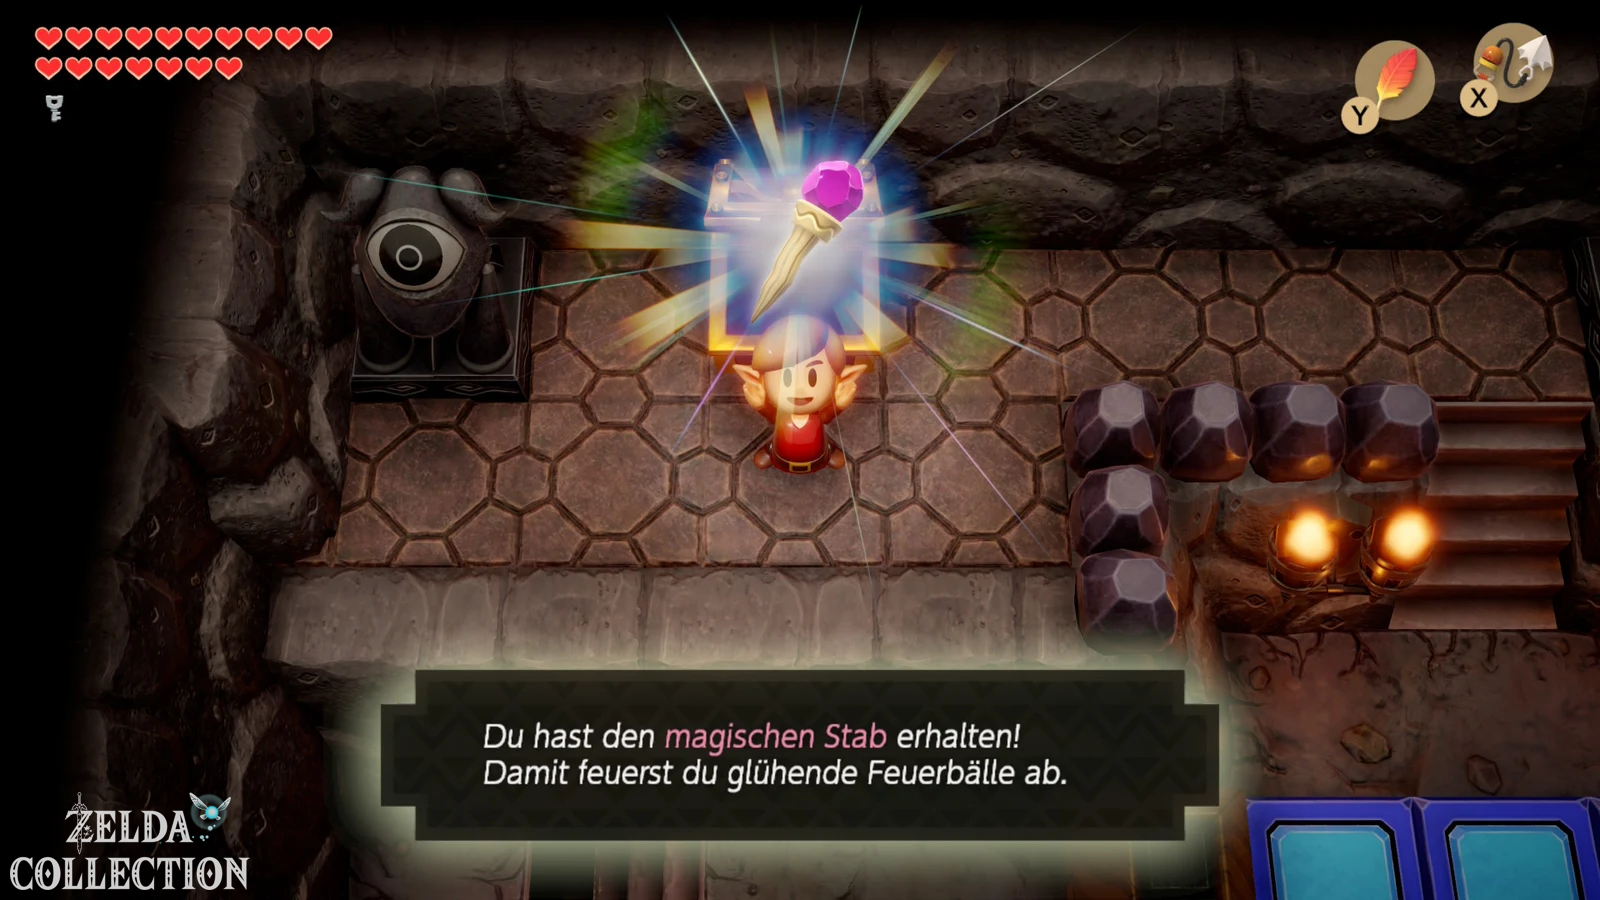
Climb the stairs in the next room. If you have previously activated the Crystal Switch as described, the colored blocks are lowered and the large chest is accessible. Open it and take the Magic Rod.
The Magic Rod shoots powerful bursts of fire. It can destroy almost any normal enemy, light torches from a distance and – especially important for the Turtle Rock – melt large blocks of ice. The staff requires no ammunition, making it one of the most powerful weapons in the entire game.
Get the last Small Key with the Magic Rod
After obtaining the Magic Rod, return through the side view area and work your way to the dark rooms. There are two torches on a raised ledge that you previously couldn’t sensibly light at the same time. Fire at both of them with the Magic Rod. Once they burn, a chest will appear with another Small Key.
From this point on, you practically no longer need Magic Powder to light torches. The Magic Rod performs the same task at long range and without consumption.
The ice blocks melt
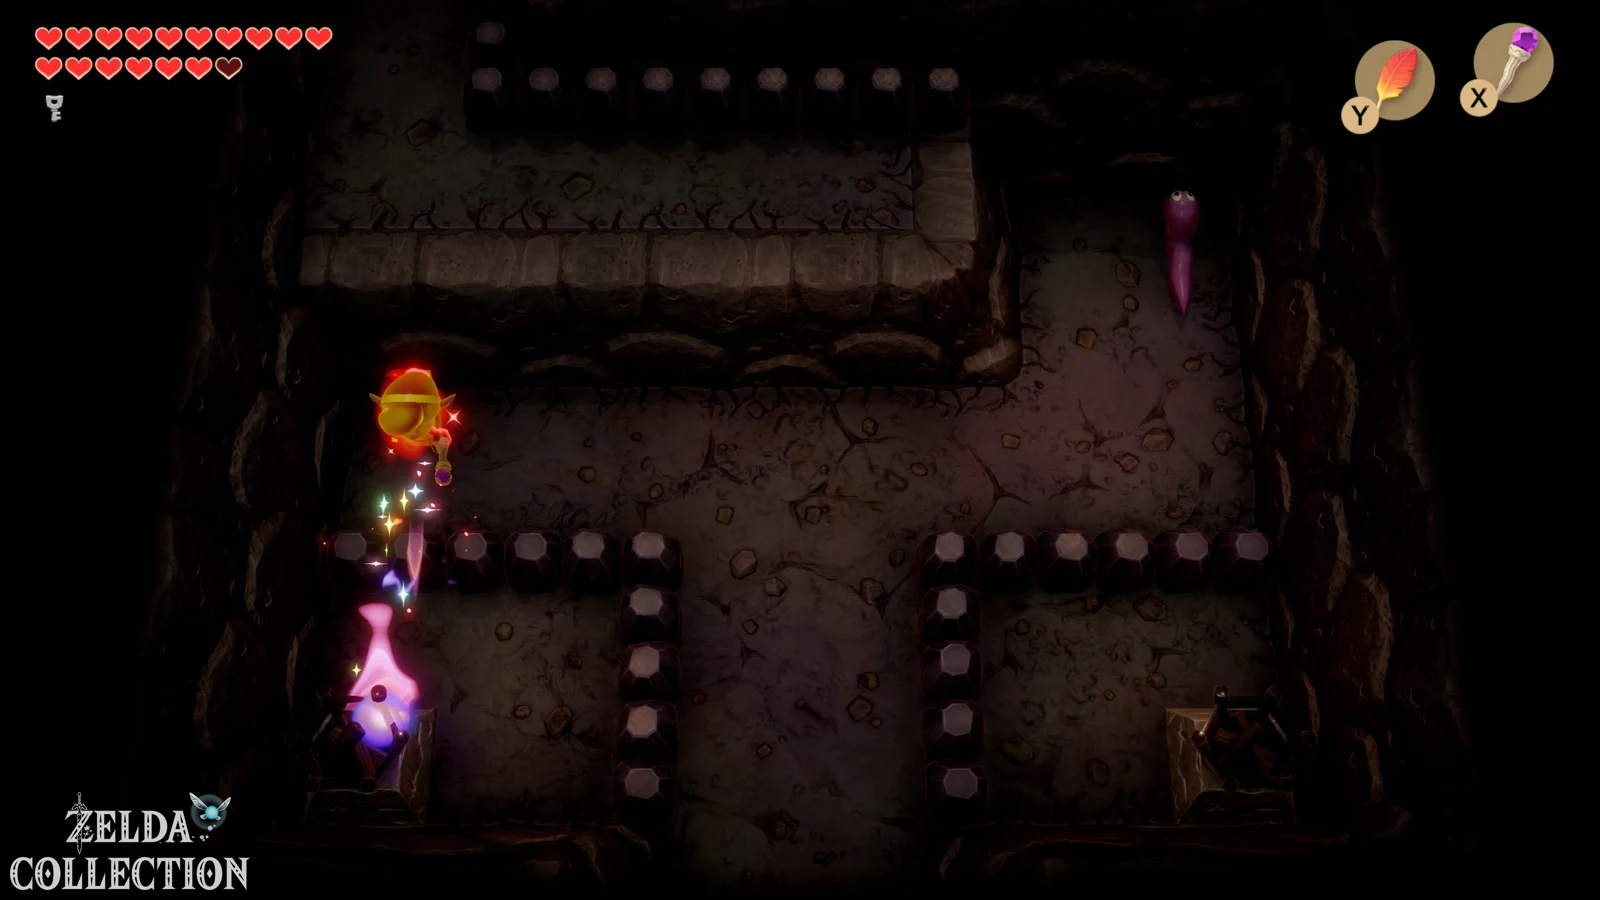
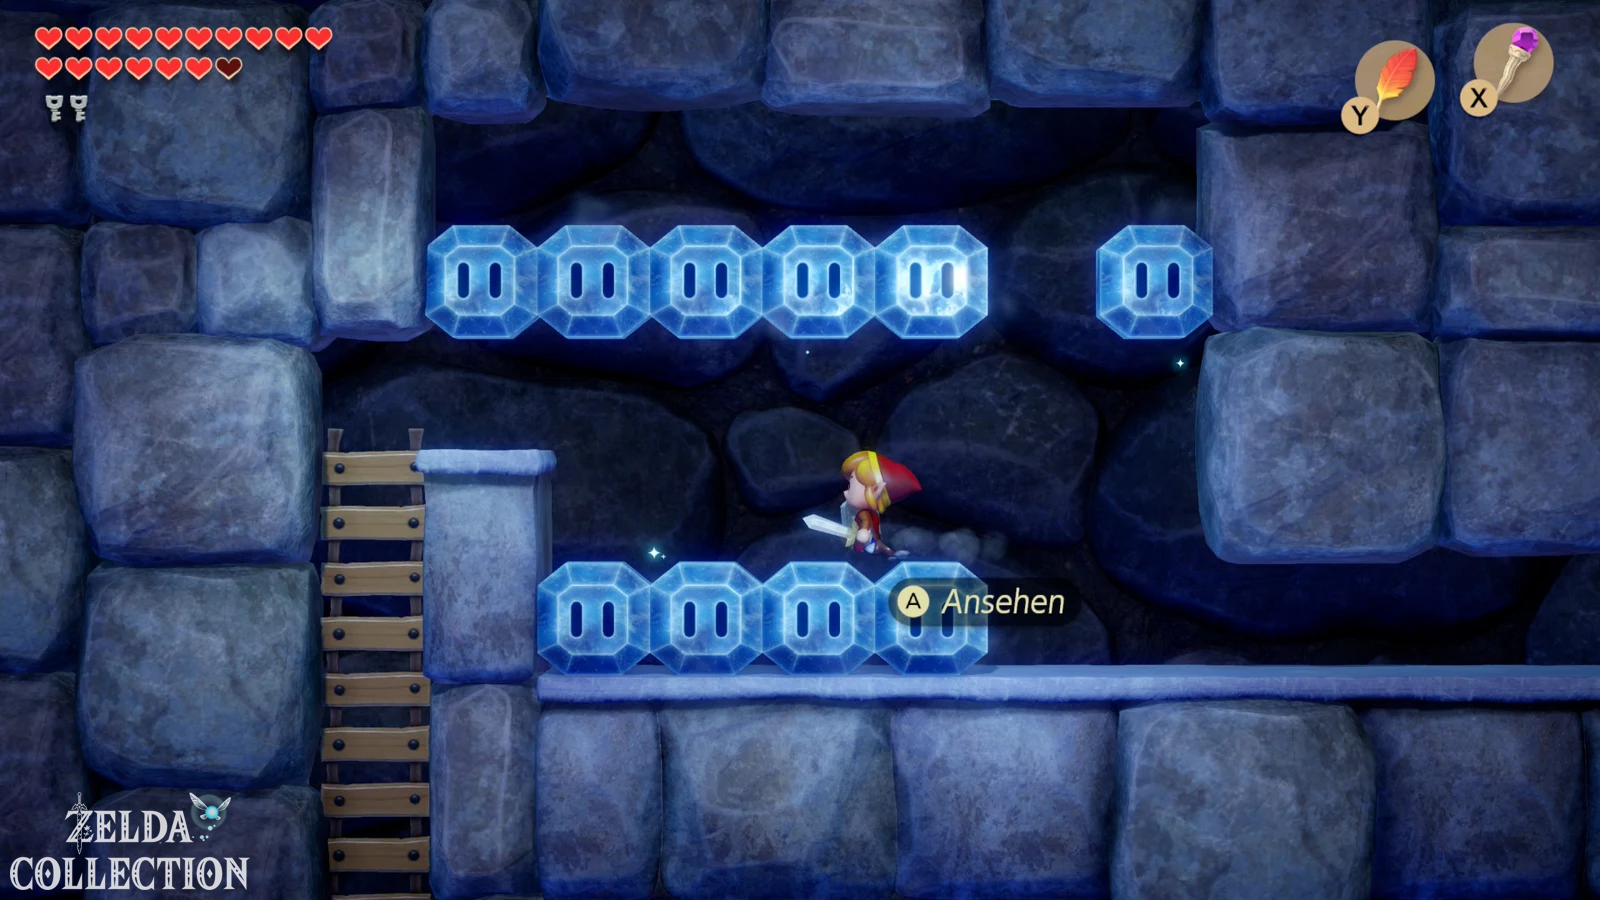
If necessary, play Manbo’s Mambo and return to the large lava area near the entrance. Steer the floor platform to the stairs in the lower right area and climb up. You will enter a side view section full of ice blocks.
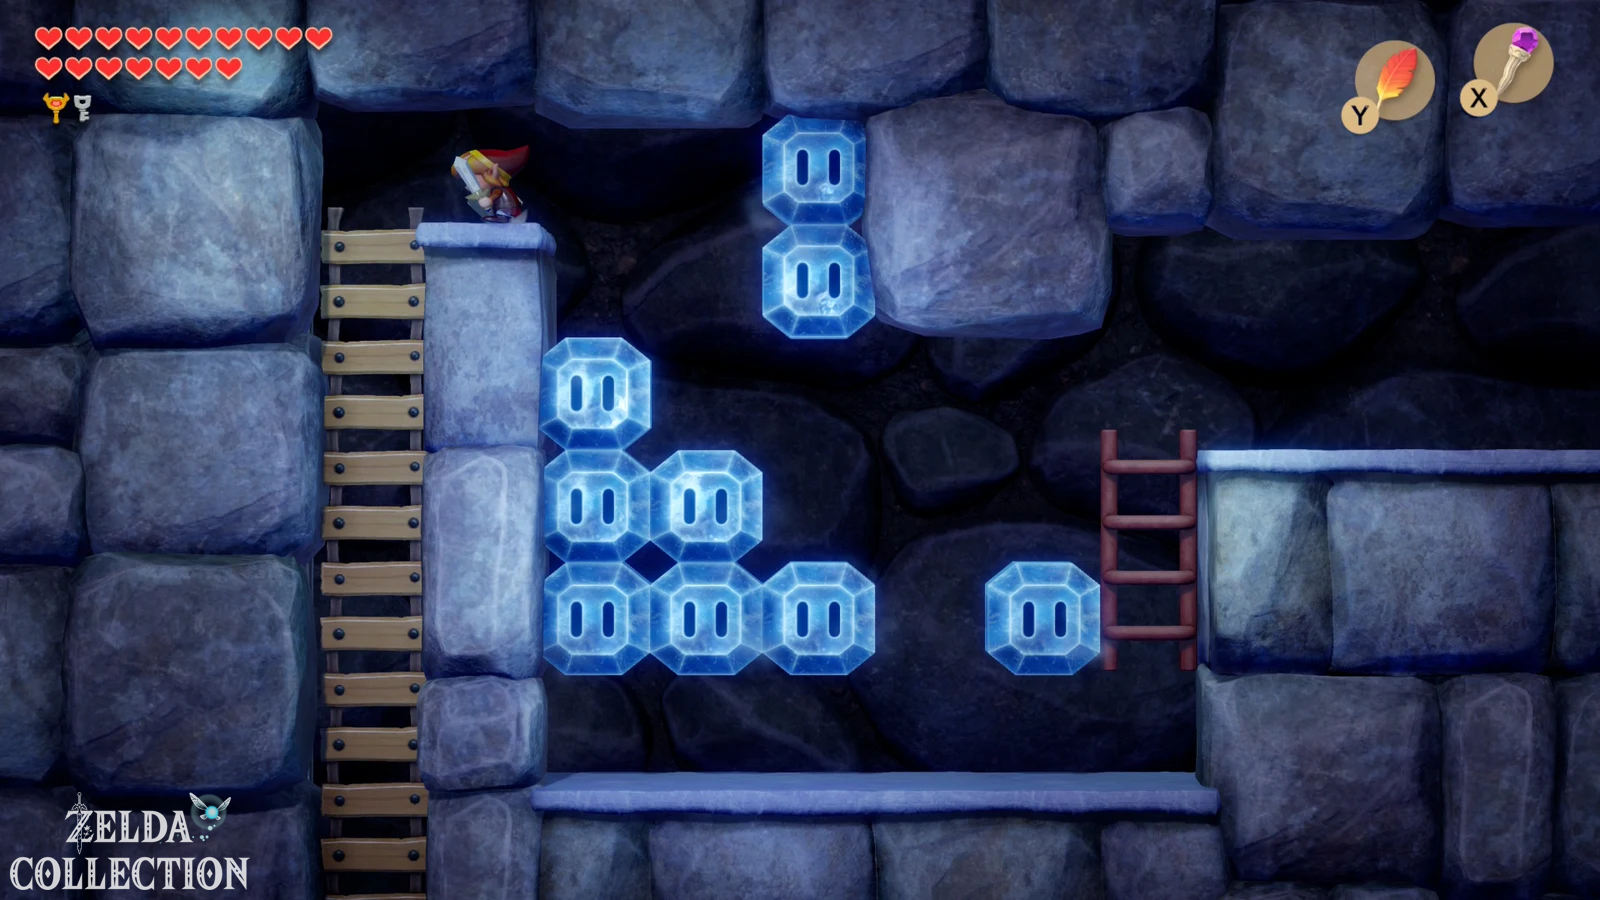
Use the Magic Rod to specifically melt away the rows of ice. In the first room you can simply destroy most of the lower blocks directly. In the next section you have to combine Roc’s Feather and Magic Rod: Jump and fire at the top row of ice while jumping. Leave some of the lower blocks standing for now so you can use them as platforms. Then work your way to the stairs at the other end.
Old intermediate boss Cue Ball
After the ice section you open the locked door and meet Cue Ball again, the intermediate boss from the Angler’s Tunnel. His strategy hasn’t changed: Dodge his attack, jump over him if necessary and hit his back. With Koholint Sword and red armor, he can only take a few hits.
After the victory, the upper door will open. Behind it awaits the longest floor laying puzzle in the entire dungeon.
The Final Flooring Puzzle and the Nightmare Key
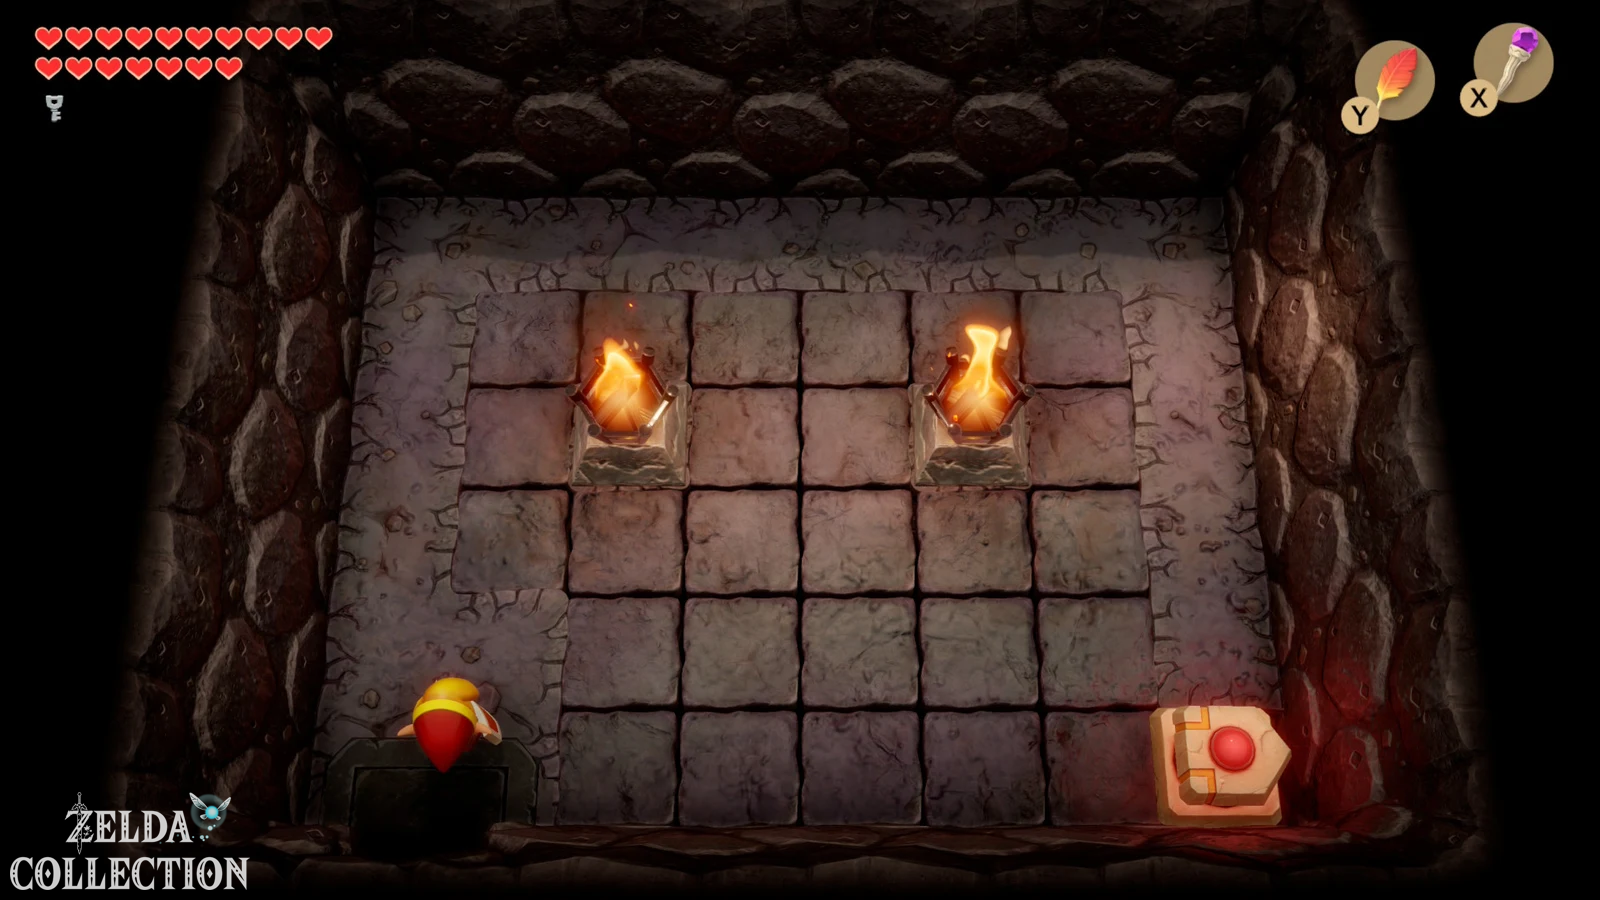
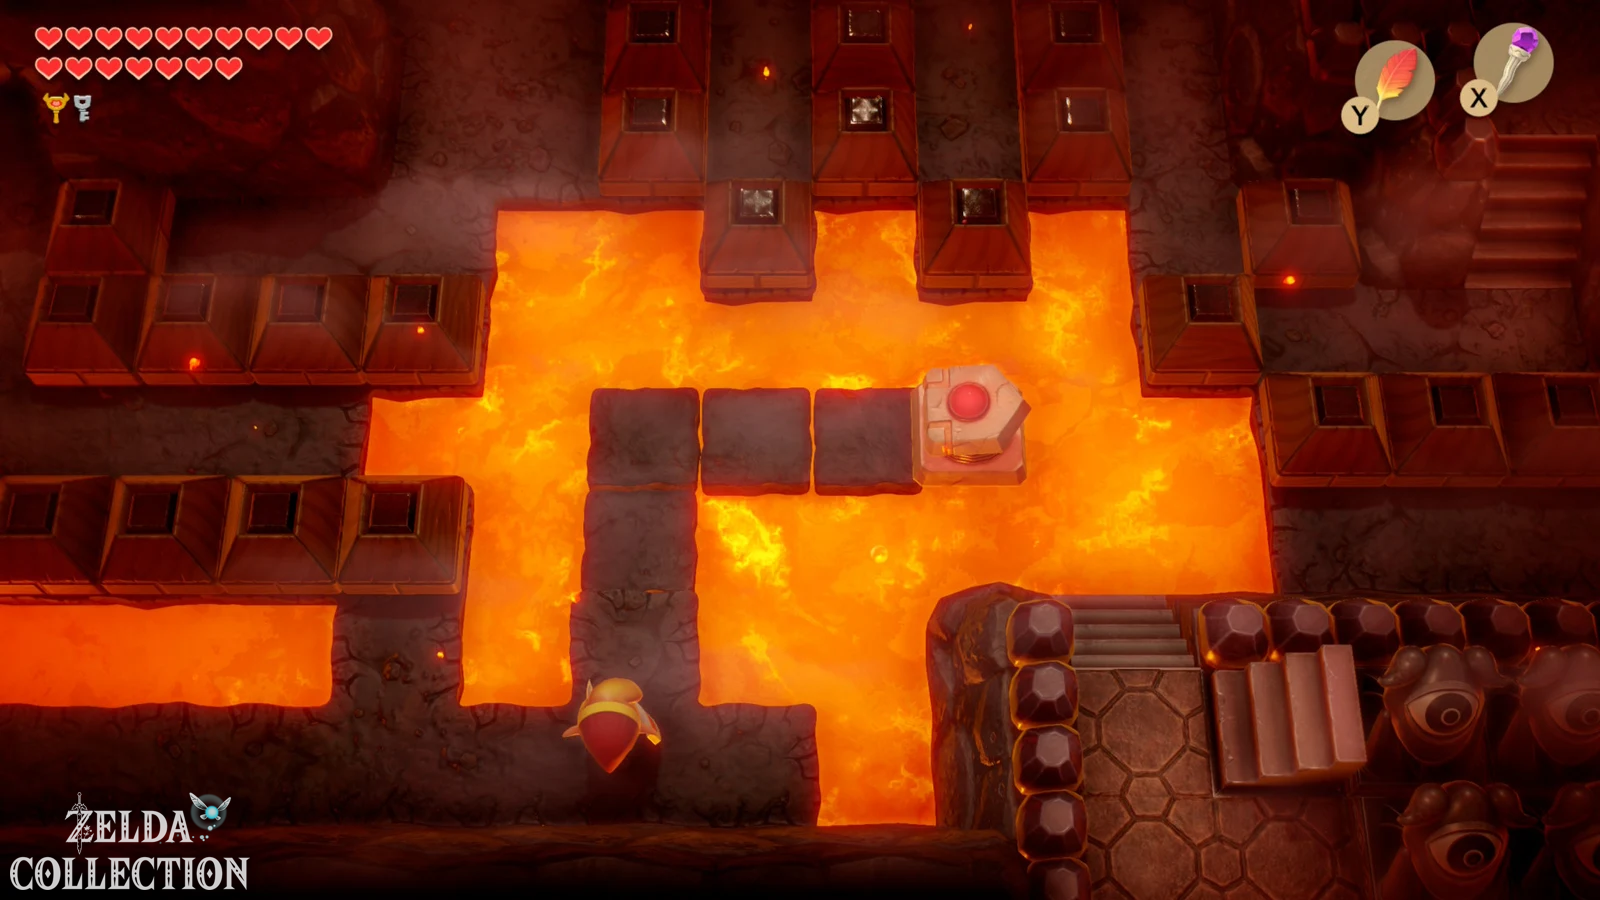
Touches the controllable platform. For a safe solution, first move it three spaces up, two to the right, one down, one to the right, one up and two to the right. You are now in the upper right area. Then move three spaces down, one to the left, one up, one to the left, one down, one to the left, one up, one to the left, two down and finally five to the right. When all free spaces are covered, the large chest appears.
Open it and take the Nightmare Key. This opens the way to the final dungeon boss.
Final ice path to the final boss
Plays Manbo’s Mambo and returns to the entrance. Go up and right to the floor platform again and steer it all the way east. This time climb the stairs in the northeast area. You come to another ice maze in side view.
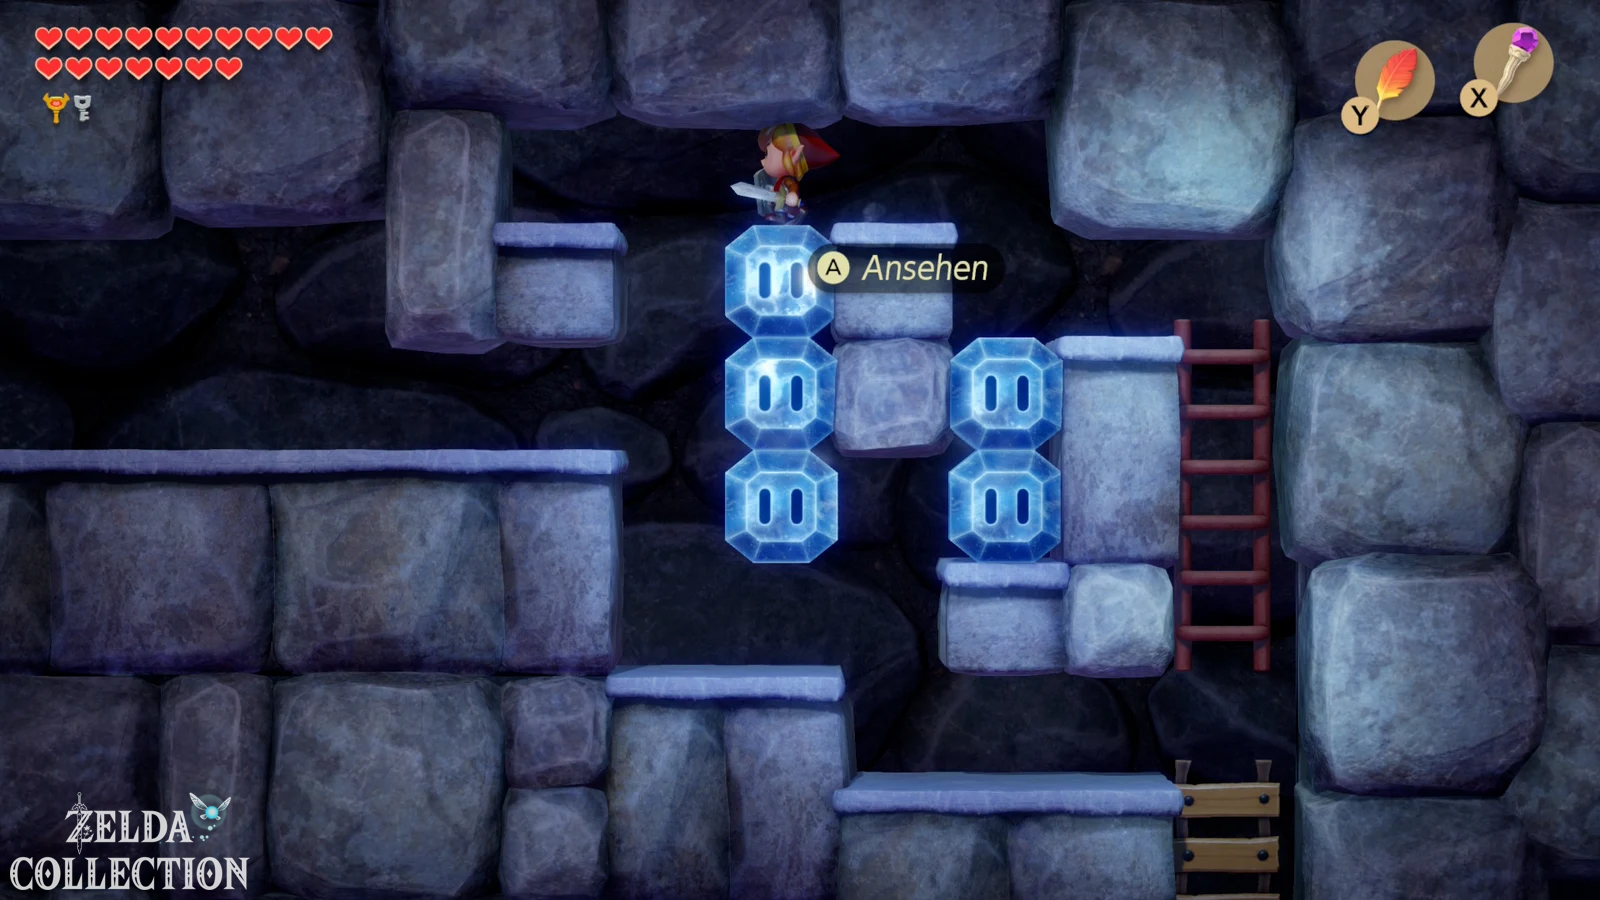
Equip Roc’s Feather and Magic Rod. First melt the ice blocks on the left side and gradually work your way from top to bottom. Jump regularly and fire while jumping to hit higher blocks. Be careful not to destroy all the ice blocks immediately – some will be needed as steps for a short time.
In the second section you first melt the bottom row of ice. Then stand under the second pillar from the right and fire upwards to create a vertical passage. Climb up the stairs and work your way across the remaining ice platforms to the left side. Then climb down the last staircase. You are now directly in front of the final boss.
Boss: Hot Head
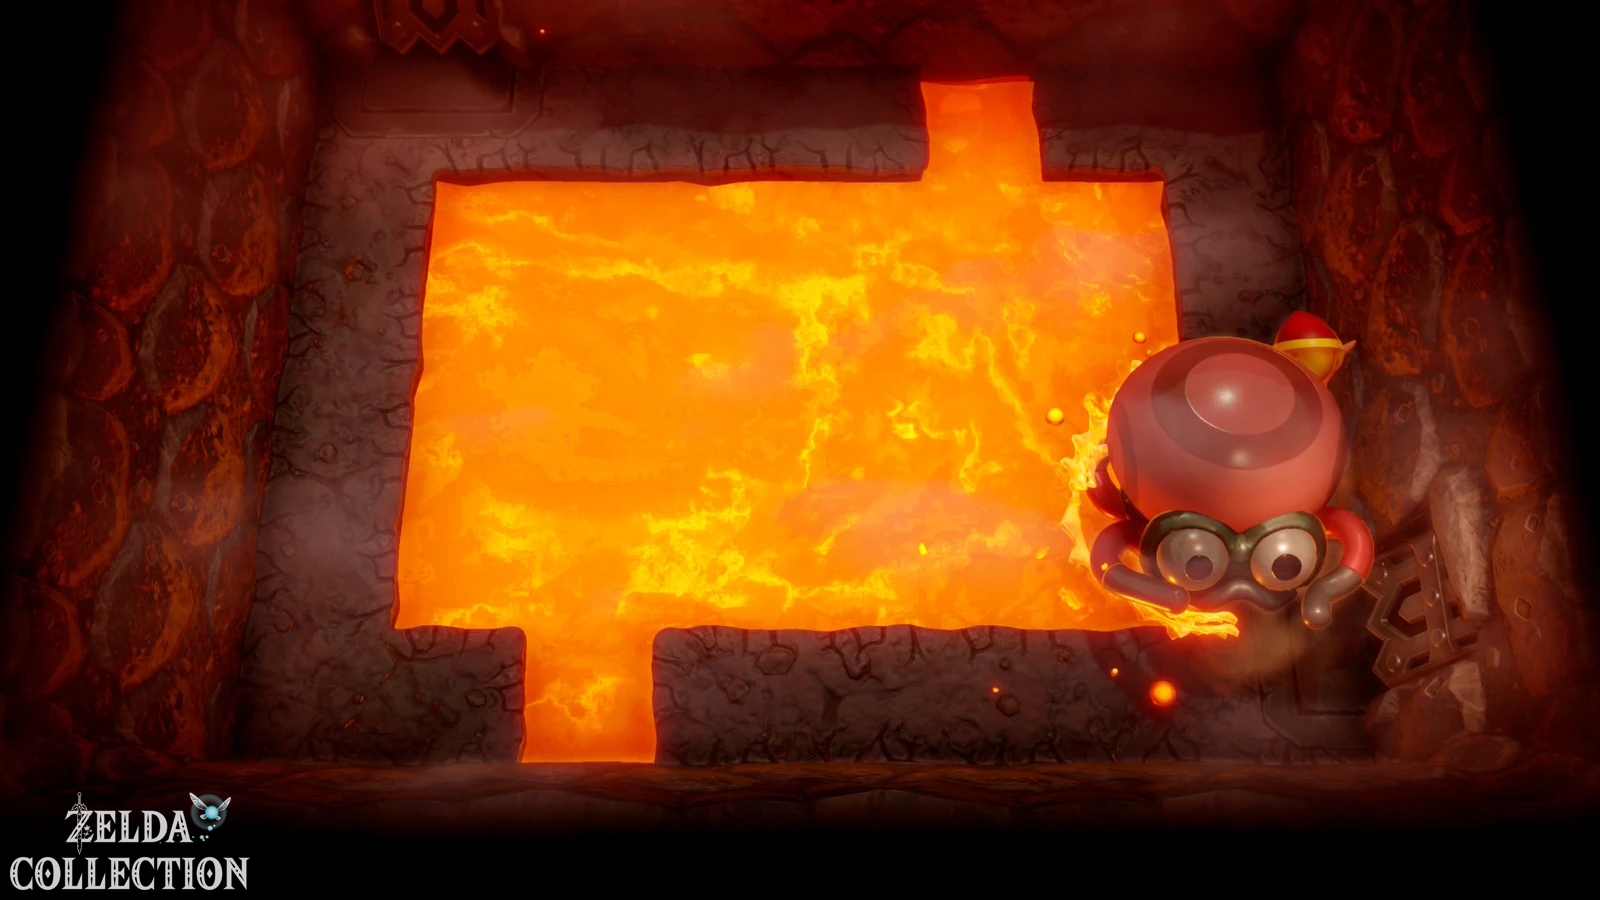
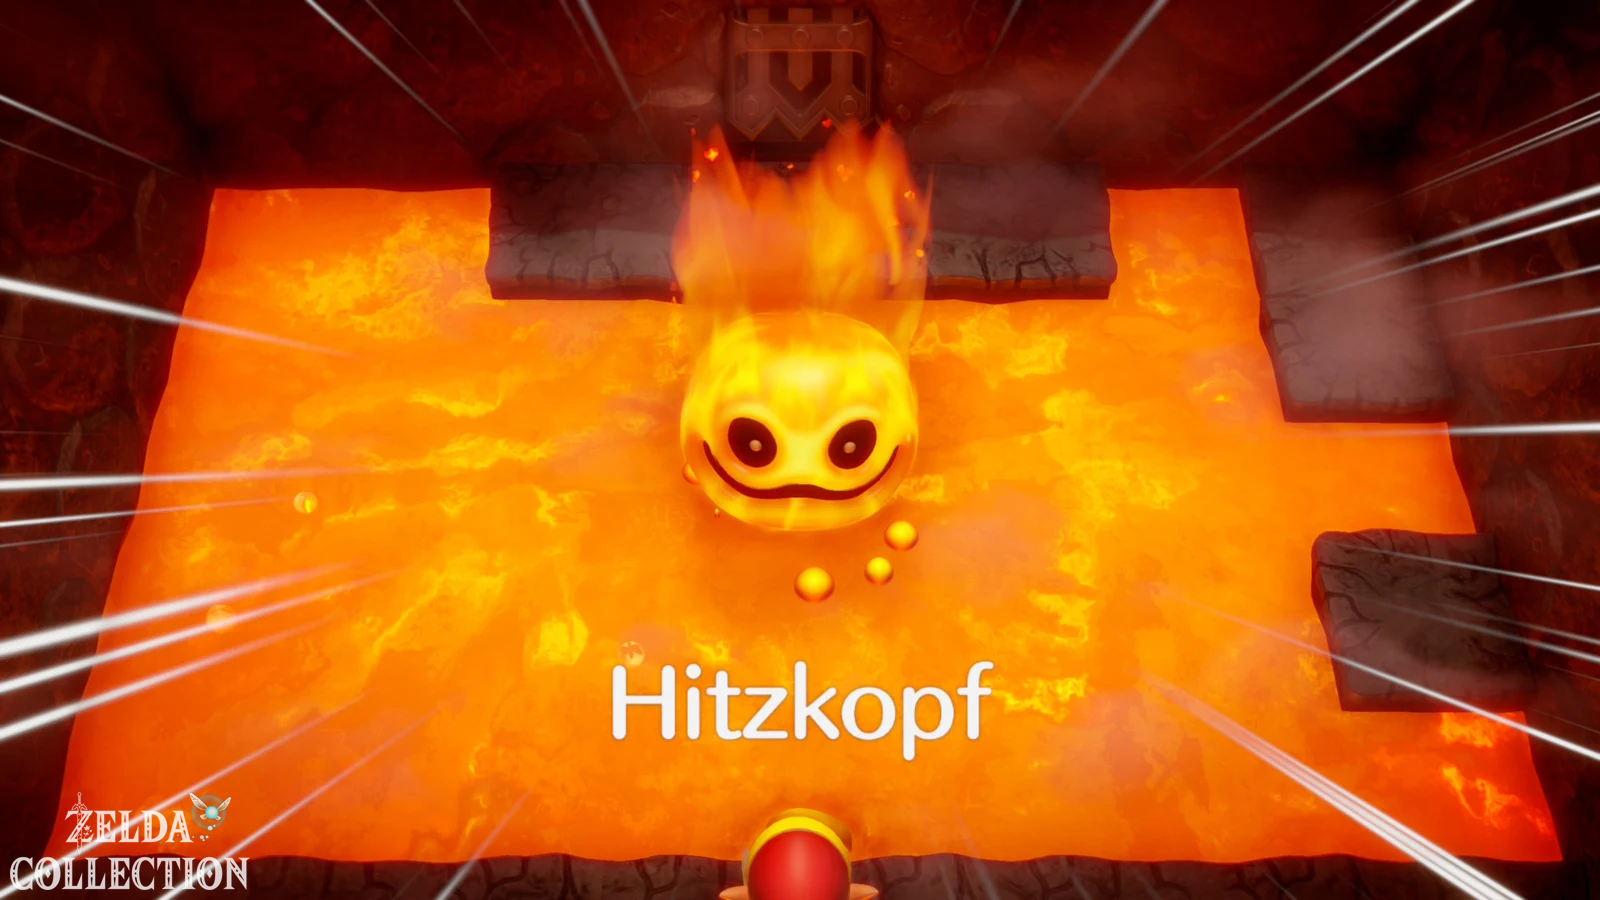
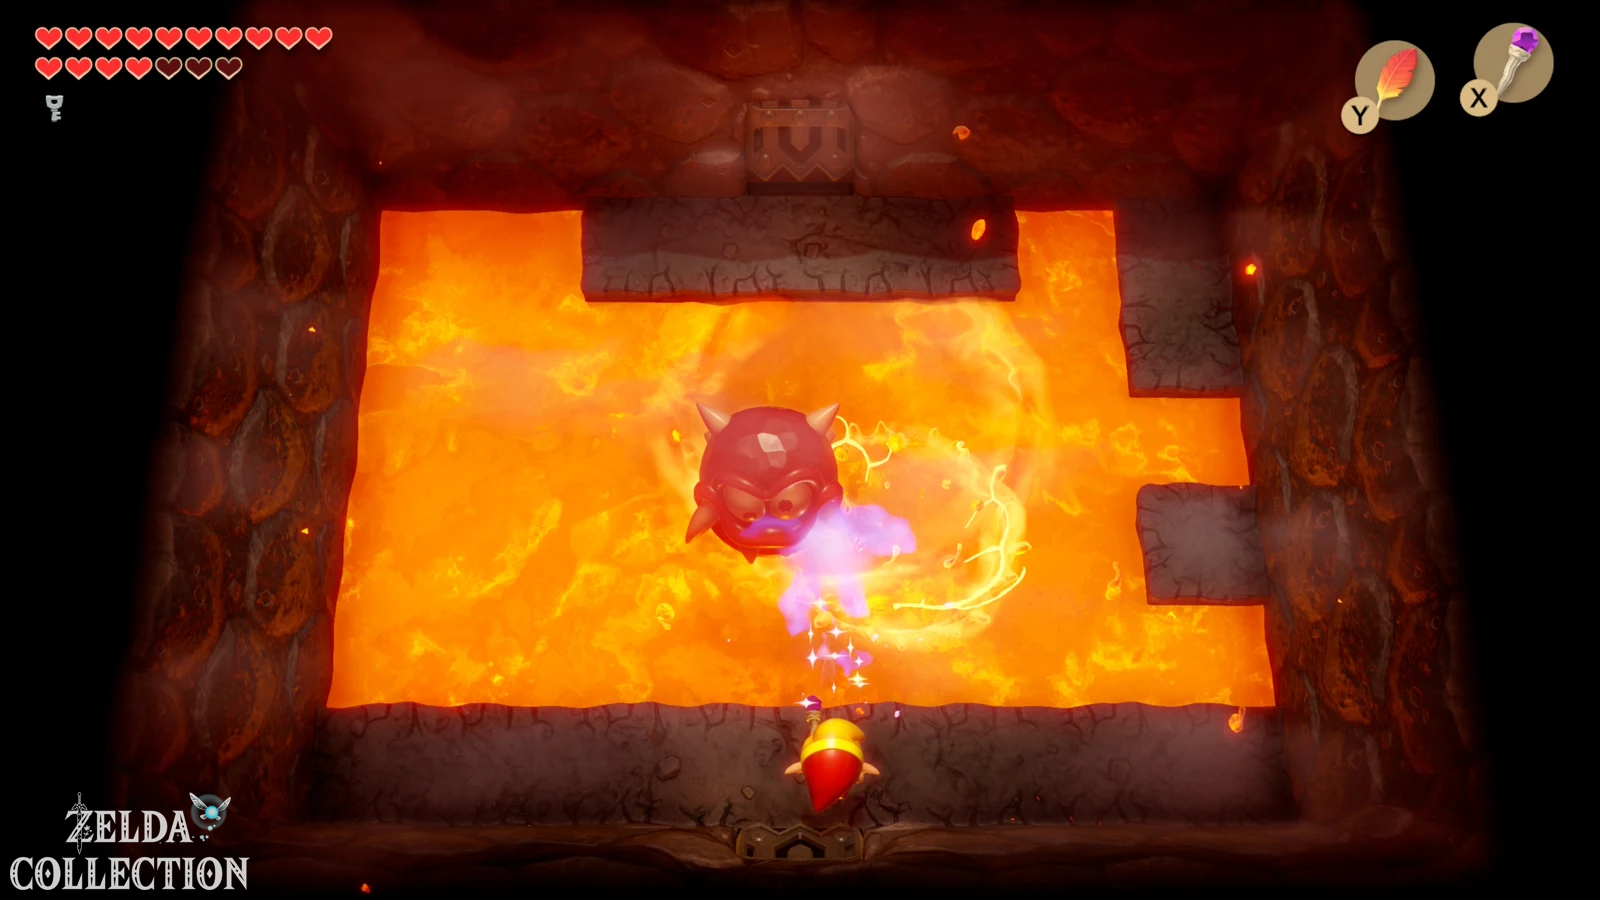
Opens the boss door with the Nightmare Key. The final boss of the Turtle Rock is the Hot Head, a fiery enemy that constantly jumps out of the lava and sprays fire in multiple directions when it hits it. Normal weapons are practically useless – the Magic Rod you just obtained is specifically intended for this fight.
If possible, stay below or slightly to the side of the point where Hot Head falls into the lava. This makes it easier for you to avoid the fire fountains flying diagonally away. Fire the Magic Rod as soon as the enemy appears. After the first hit, Hot Head moves through the arena much faster; stay calm and keep shooting as soon as there is a clear line. Since the staff doesn’t consume ammunition, you can fire without holding back.
After several hits, the outer fire shell breaks and the smaller Hot Head appears. Continue attacking with the Magic Rod. A few more hits are enough and the last regular dungeon boss is defeated.
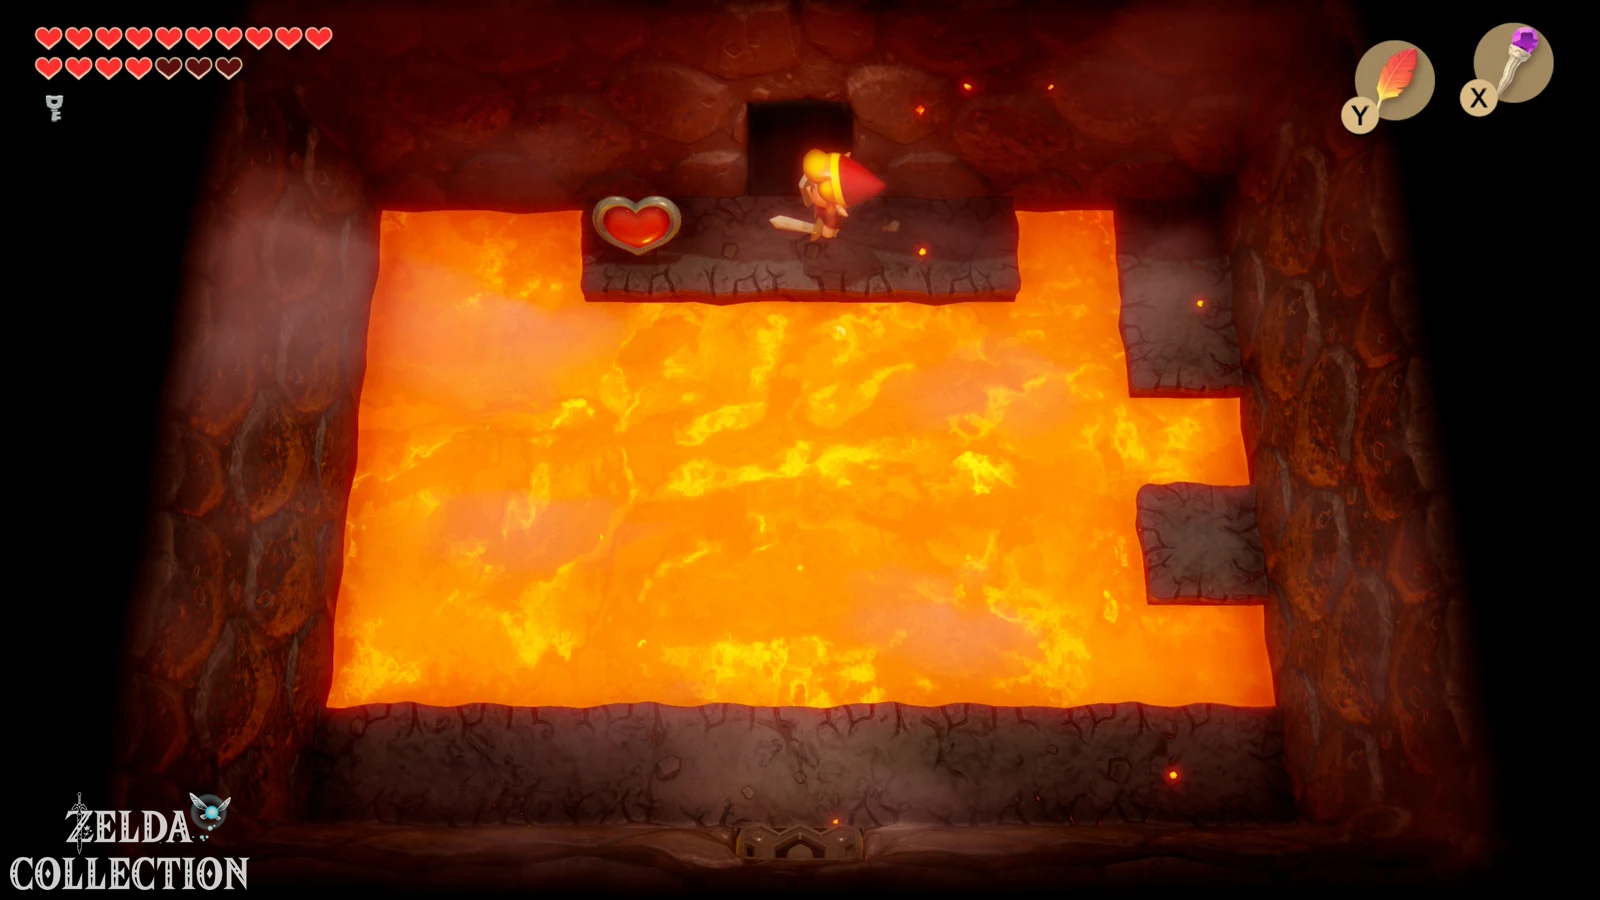
Last Heart Container and Thunder Drum
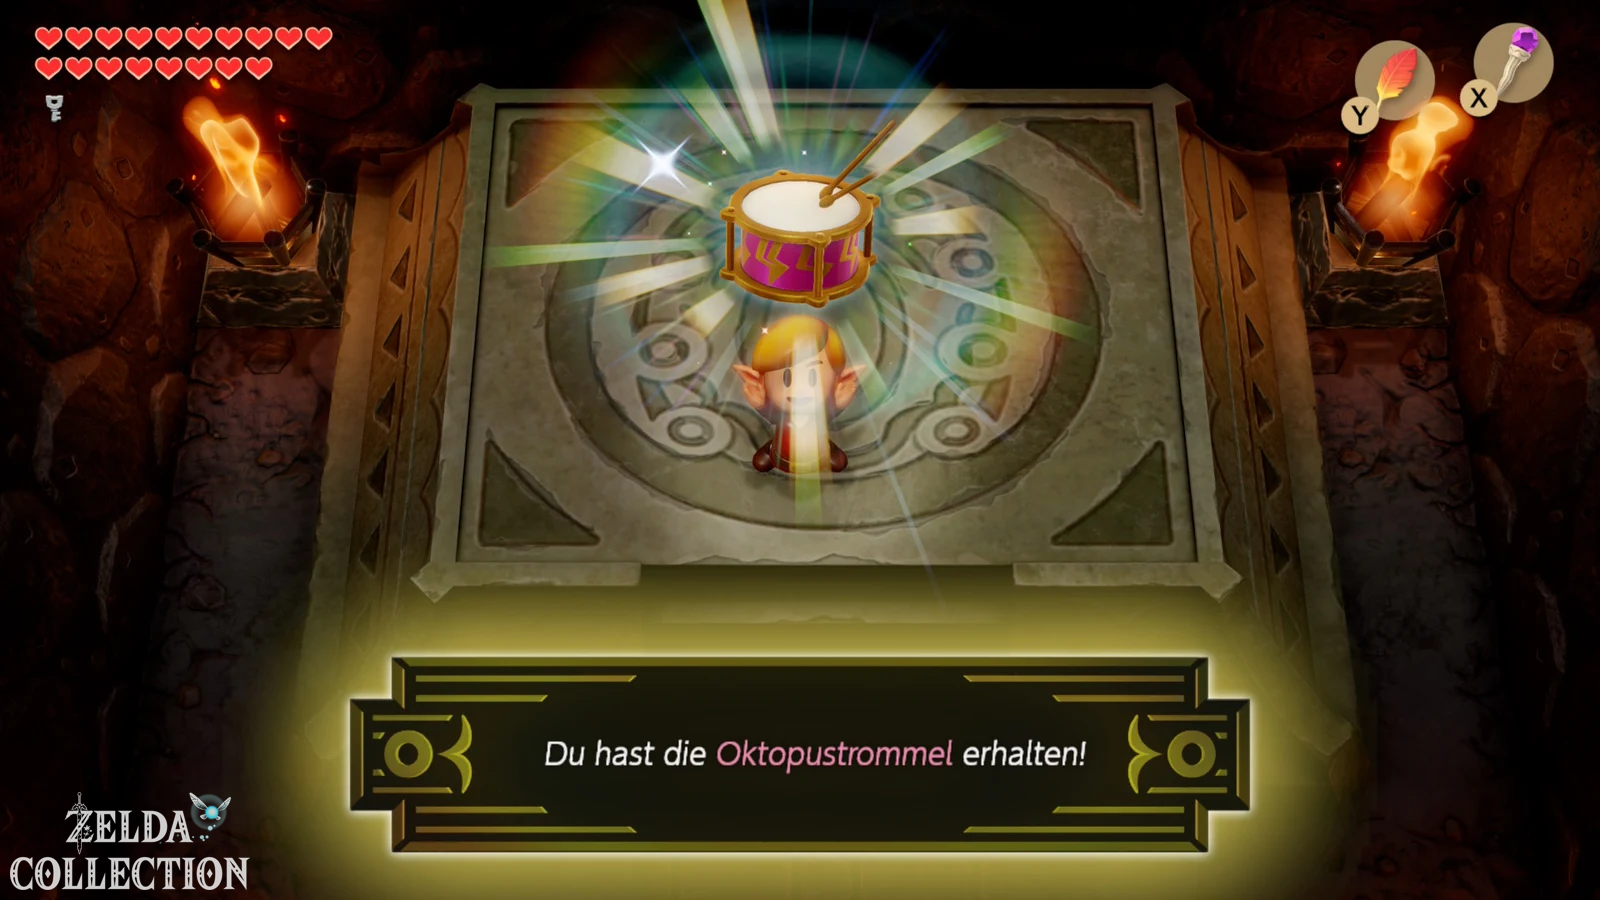
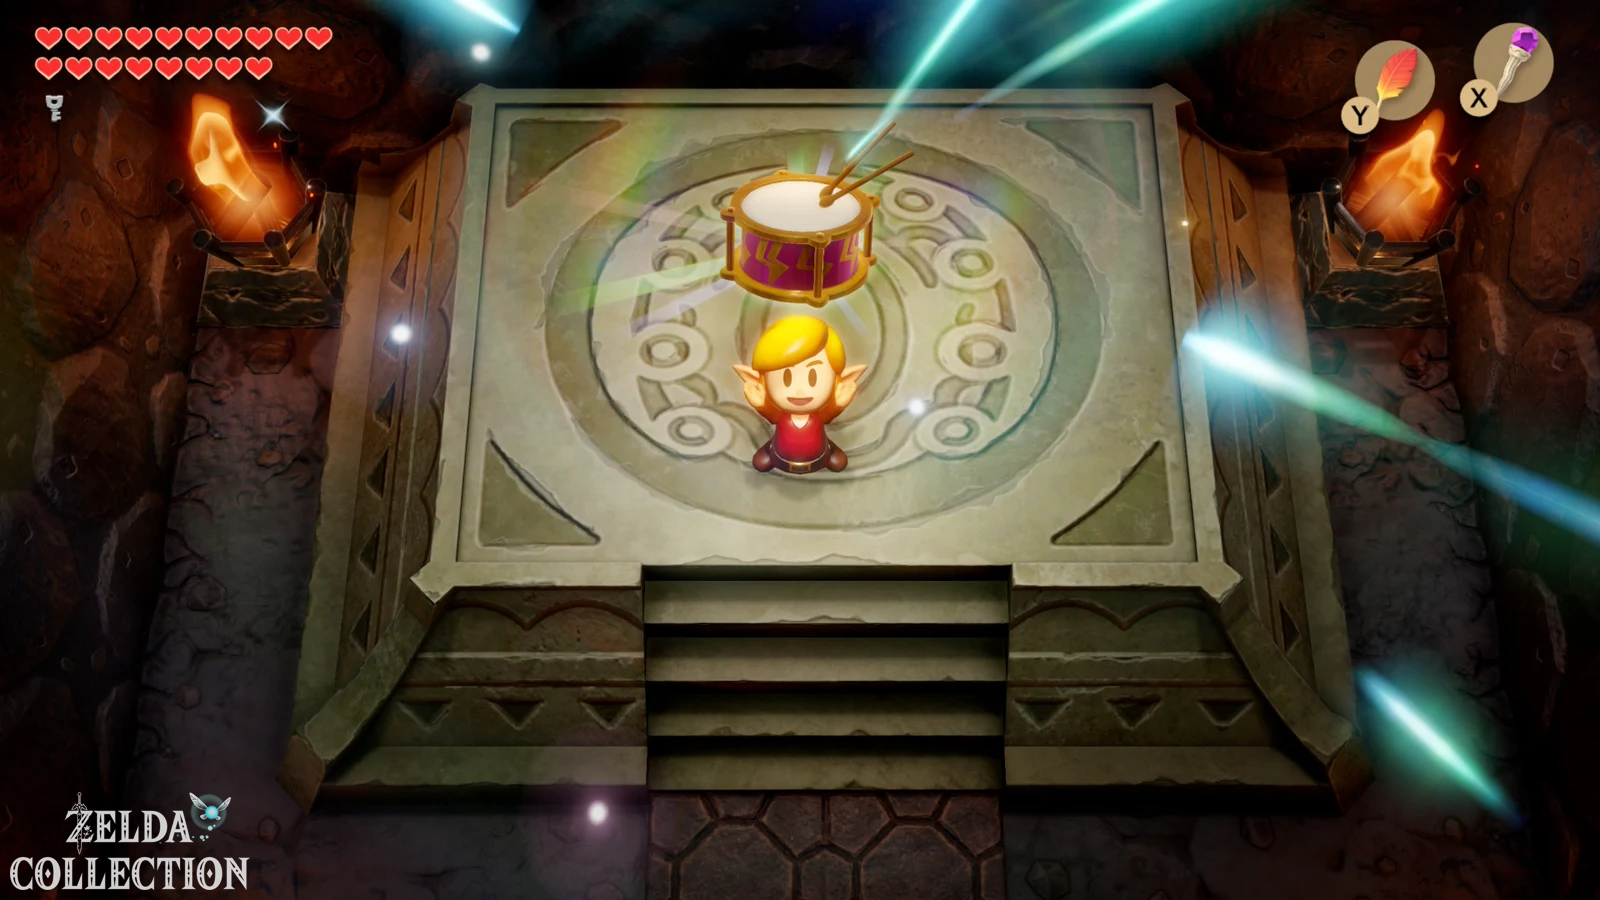
After the victory, the eighth and final dungeon appears – Heart Container. Take him with you and then go north. The eighth siren instrument is waiting in the last room: the Thunder Drum.
With her melody, Link finally has all eight instruments. The mysterious voice is now calling you to the Wind Fish’s Egg on the Mt. Tamaranch. The normal story path could lead straight to the finale – but we’re not quite ready for our complete Walkthrough yet.
After the Turtle Rock: Pokey figure
Travel to Mabe Village and visit the Trendy Game. After the Turtle Rock, the Pokey figure will appear if the previous Piranha Plant figure has already been set up. Win Pokey and then bring the figure to Mamasha and Papahl, where the last free base of their house is.
You can find an overview of all figures and bases in our guide to the figures in Link’s Awakening.
Dampé: The Final Three Shovel Challenge
Now turn back one last time Dampé back. If you have already completed the previous challenge without a sword and have now also completed the Turtle Rock, the final challenge of the third level will be unlocked. It puts you under a lot of time pressure: you have to complete the self-made labyrinth within approximately five minutes Completely traverse and defeat the final boss.
Therefore, don’t build a beautiful or complicated labyrinth, but rather the most efficient one possible. Place the entrance and boss room as close together as the given spaces allow. For necessary connecting rooms, use the smallest possible chambers without time-consuming opponents and set the required stairs so that there are no long detours. Avoid rooms with Hinox, Dodongo snakes, long switch puzzles, or other time-consuming mechanics.
If you complete the challenge on time, Dampé will give you a complete Heart Container. Together with the eight dungeon heart containers and all 32 Pieces of Heart, Link reaches the maximum of 20 hearts.
The subsequently unlocked golden chamber challenges are no longer necessary for a complete collection: They mainly reward you with Rupees and do not have any other exclusive Pieces of Heart, bottles or Secret Seashells. If you really want to complete all of the remake’s side challenges, you can of course complete them too.
Continue to the Wind Fish’s Egg
The next section takes us to the finale. Before we open the egg, we visit the library of Mabe Village again and read the book about the dark secrets Koholint’s with the Magnifying Lens. The sequence of arrows displayed is crucial for the path through the Wind Fish’s Egg. Then we play the Ballad of the Wind Fish in front of the egg, let all eight instruments sound together and face the last nightmares.