

After the Face Shrine, Link has the stronger Power Bracelet, the Frog’s Song of Soul and practically all the equipment needed for the journey to the east Tal Tal Heights is required. Our next big goal is the Eagle’s Tower, but as usual we don’t just walk to the dungeon. First we awaken the legendary flying rooster, check the last collectibles that have been reached so far, get the eagle key and activate another warp point on the way. The Eagle’s Tower itself is one of the most complex dungeons in the game: a heavy iron ball must be transported through several rooms in order to destroy four supporting pillars. Only then does part of the tower collapse and the path to the final boss becomes clear.
Equipment before departure
If you followed our previous solution exactly, at this point you should have all three bottles, have completed the exchange series, Magnifying Lens and Boomerang in the Items wear, have received the Koholint sword and the two of them Pieces of Heart from the first two Dampé-have levels. Also check the fishing pond again: the first Ol’ Baron brings one Chamber Stone, an Ol’ Baron with at least 150 centimeters a second. The second fishing pond Secret Seashell On the other hand, it does not hang firmly on the blooper, but is awarded between 100 and 150 centimeters for the first catch. If you haven’t received this size reward from the Blooper or a smaller Baron yet, get it now. This means the shell collection remains truly complete.
Also in Tal Tal Mountain Range, two previous finds should already have been taken care of: the mussel under the rock to the right of the chicken coop and the mussel for which you threw a bomb into the hole under the western suspension bridge. We have also already got the Piece of Heart behind the left suspension bridge with the Hookshot. If you are still missing something, take it with you on the following route. You can find the complete cross-checks in our overviews of the 50 Secret Seashells, 32 Pieces of Heart and 14 special Chamber Stones.
Move the rooster statue to Mabe Village
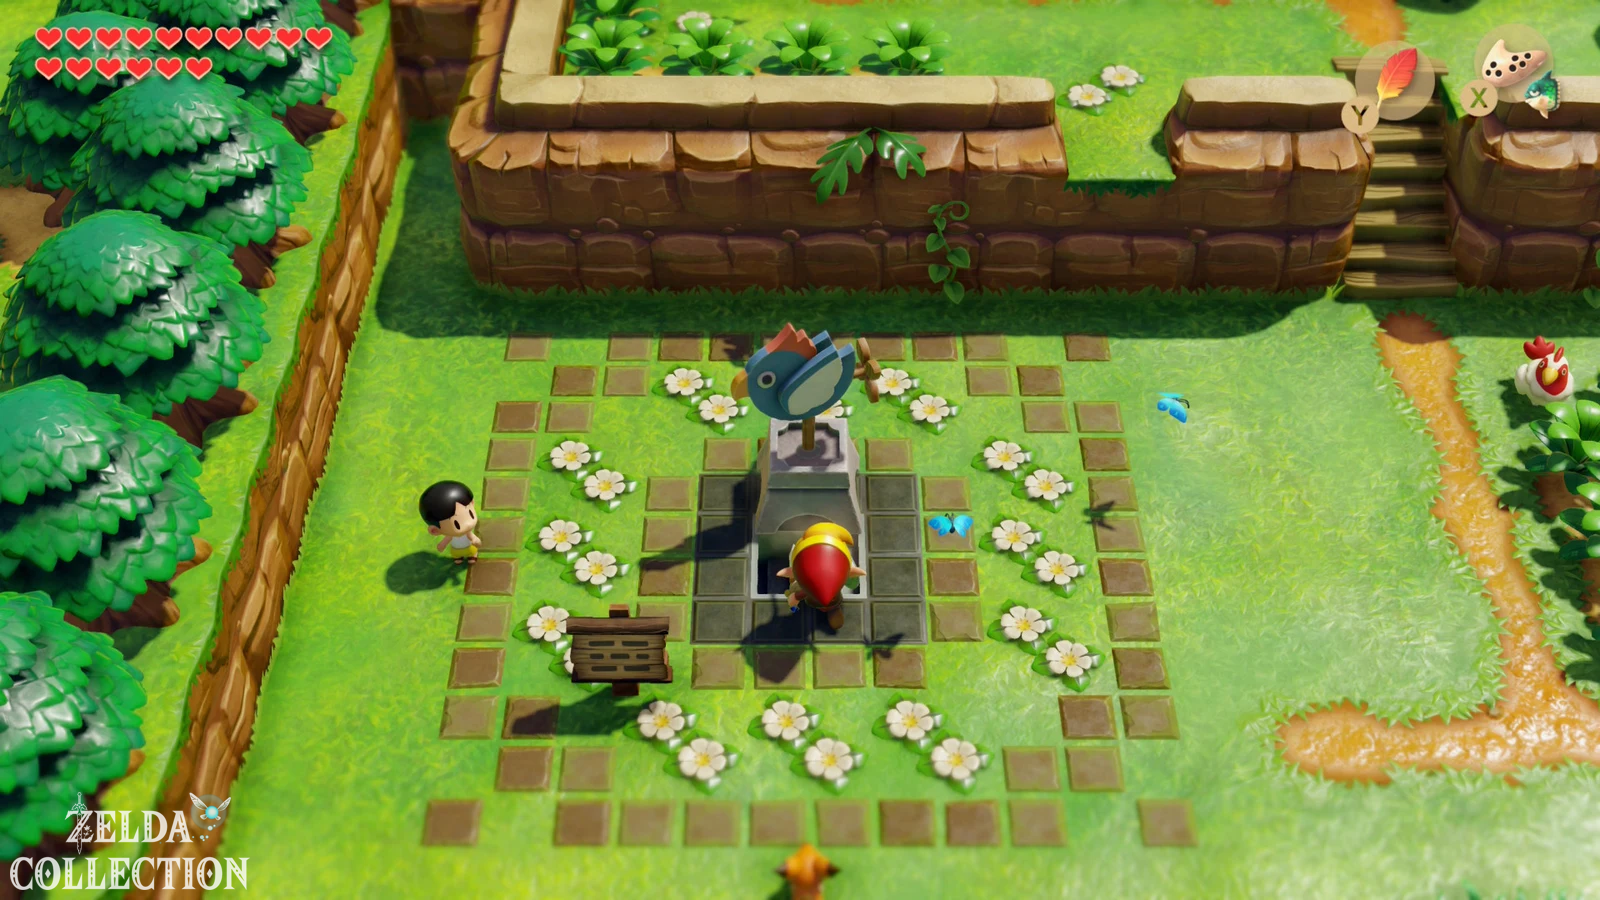
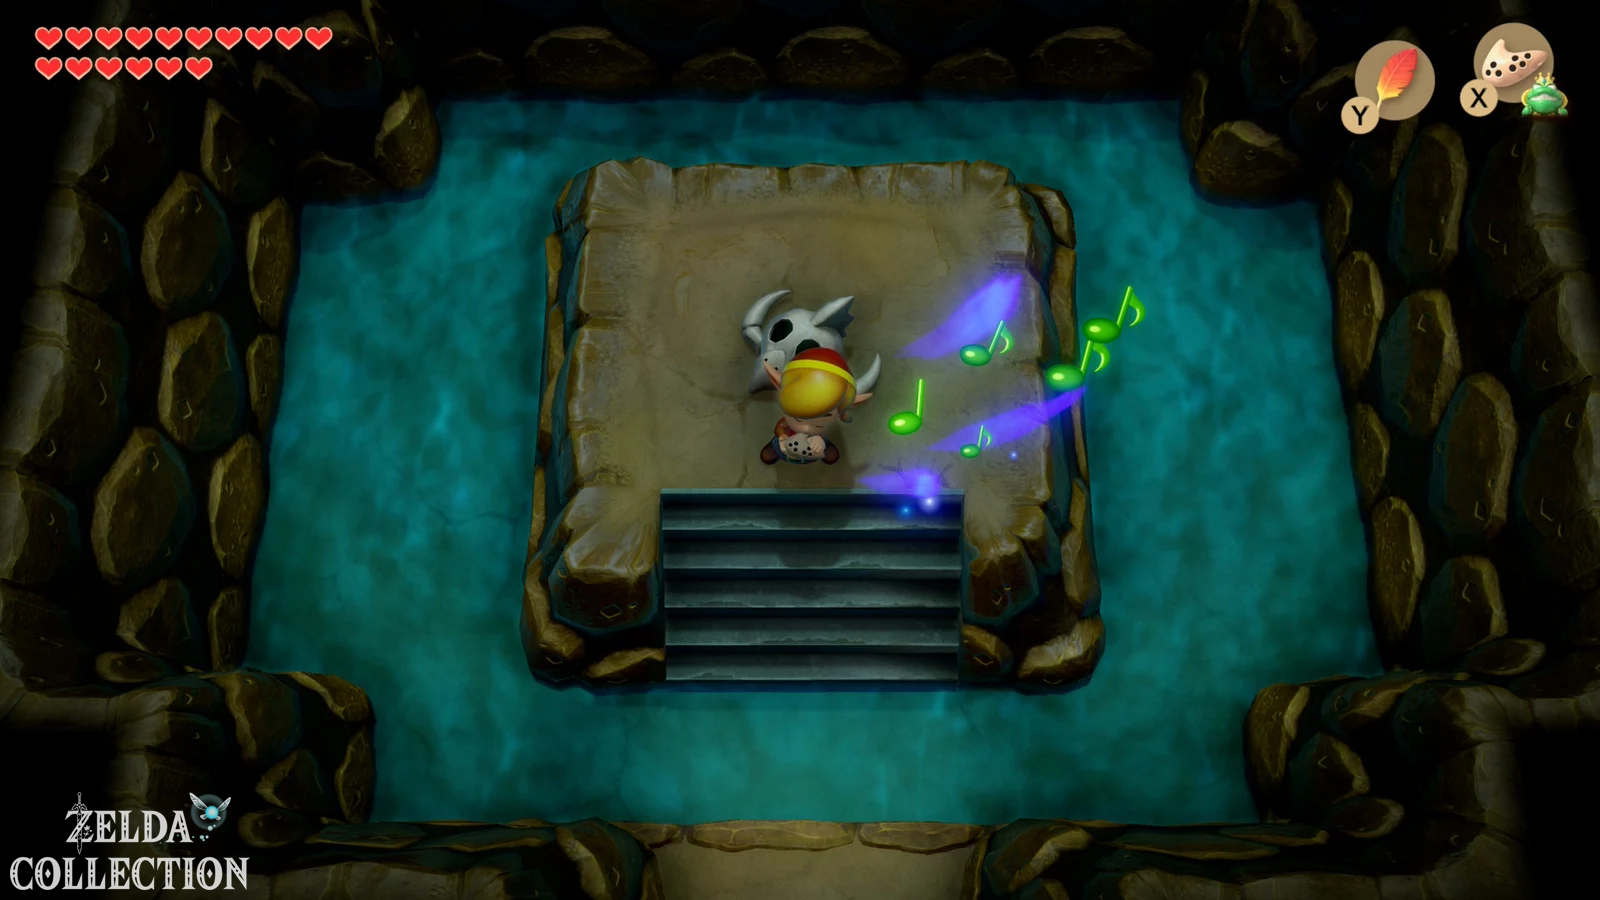
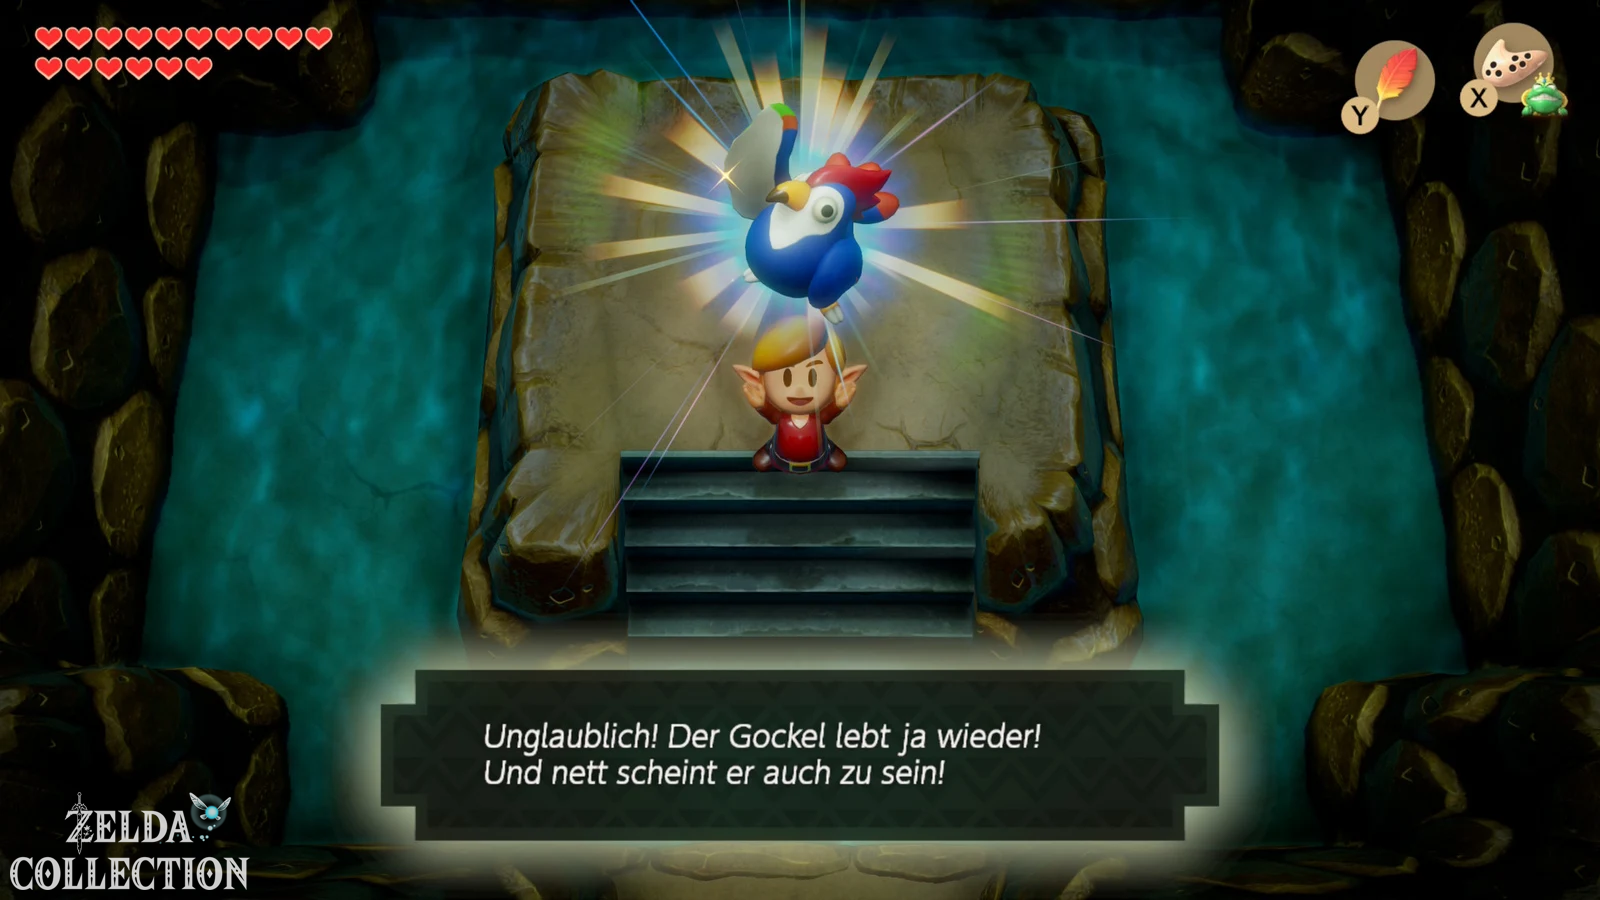
Return to Mabe Village and go to the large rooster statue in the village square. Since the beginning of the adventure it has seemingly only been there for decoration, but with the stronger Power Bracelet you can finally move it. Push the statue aside and climb down the stairs revealed below. In the underground room you will find the remains of a long-dead rooster. Imagine the bones, play the Frog’s Song of Soul on the ocarina and watch as the legendary blue rooster comes back to life.
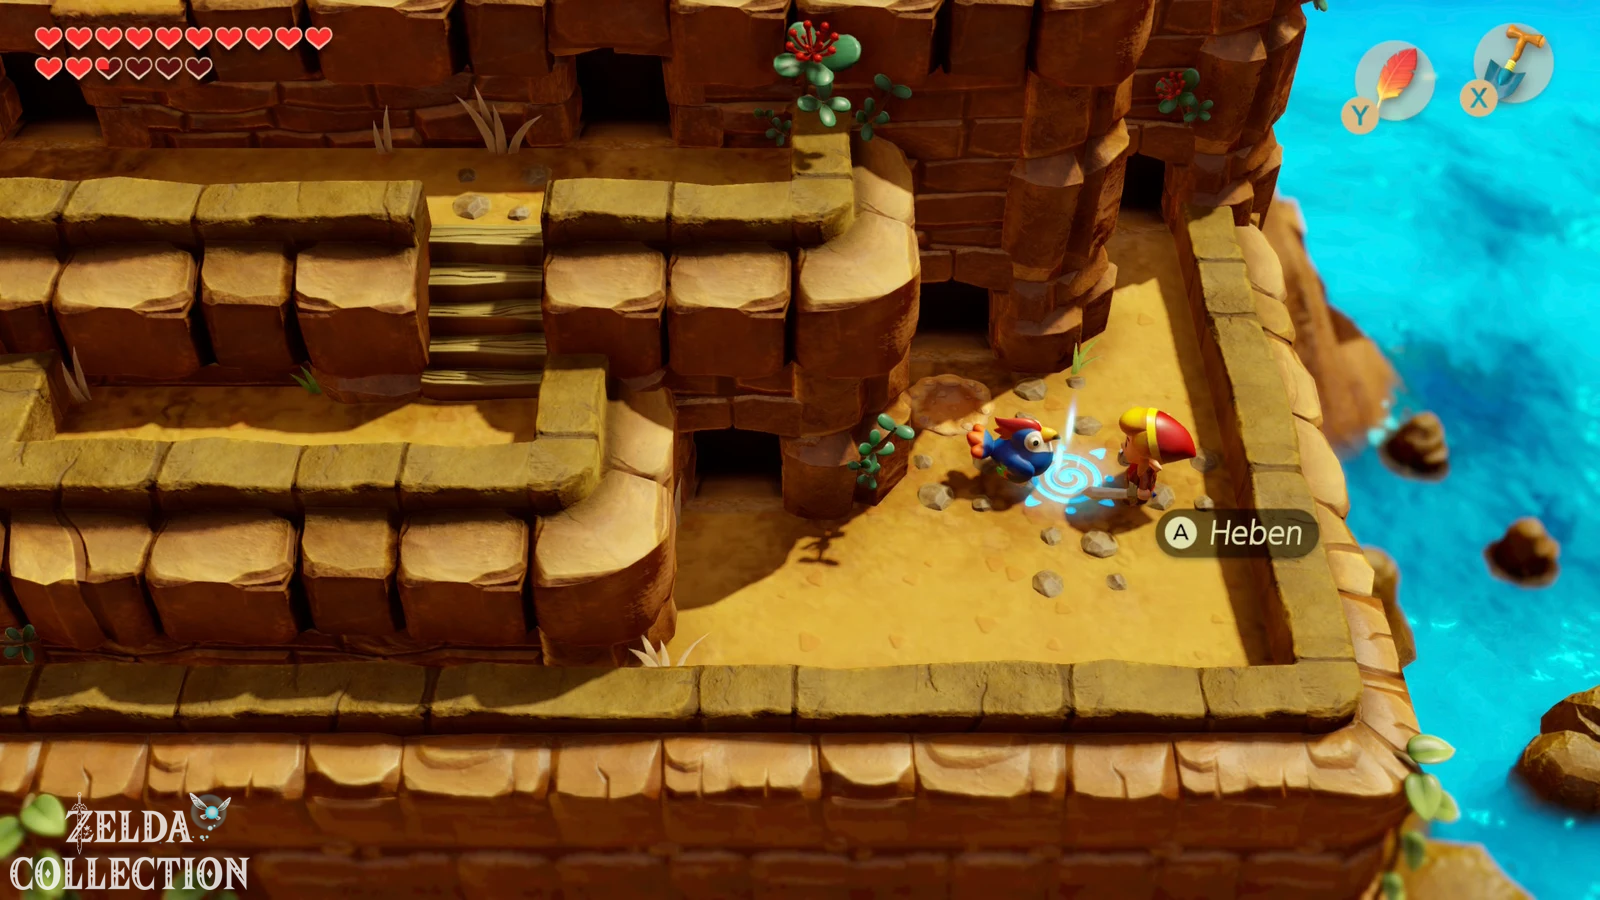
The rooster follows Link from now on, similar to BowWow or Marin. His special ability becomes apparent as soon as you pick him up with the Power Bracelet: Link holds on to his feet and can use him to float over abysses. You can move freely during this as long as there is enough space. We need exactly this ability for the Bird Key.
Difference from original and DX: The revival of the rooster and its function are already part of the original Game Boy version and were also adopted unchanged in DX as an important story step. The Switch remake simply modernizes the operation and display. Unlike figures, bottles or Chamber Dungeons, the flying rooster is not new remake content.
With the rooster into the Tal Tal Mountain Range
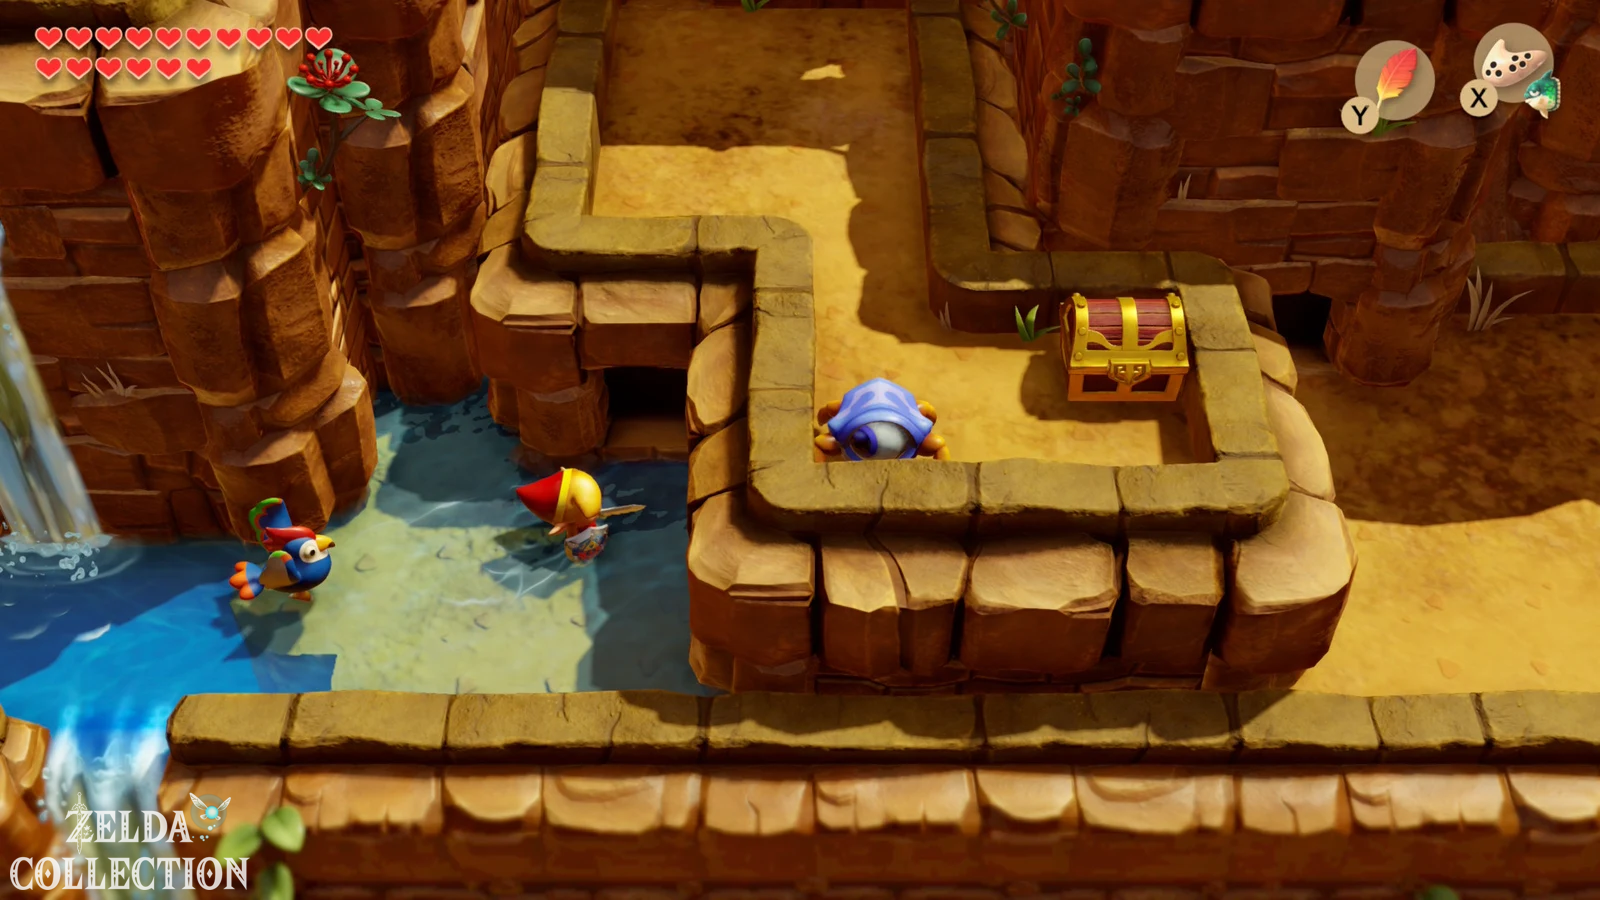
Use Manbo’s Mambo and travel to the cheapest warp point in the range of Tal Tal Heights. Climb up via the famous mountain cave. In the cave system that you have already crossed on the way to Angler’s Tunnel, you can use Hookshot or Gockel to reach a chest with Rupees. It’s not unique for 100% progress, but feel free to take it with you if you want to fill up your wallet for the expensive Chamber Stones.
Leave the cave and follow the mountains further east until you reach the deep water and the long ladder. If you are still missing the Secret Seashell in the waterfall area from an earlier section, dive down to the corresponding deep spot here. Then climb up the long ladder. The chicken coop is upstairs. By the way, the flying rooster will not disappear permanently after completing this story section, but will find a new home here later.
Find the Bird Key
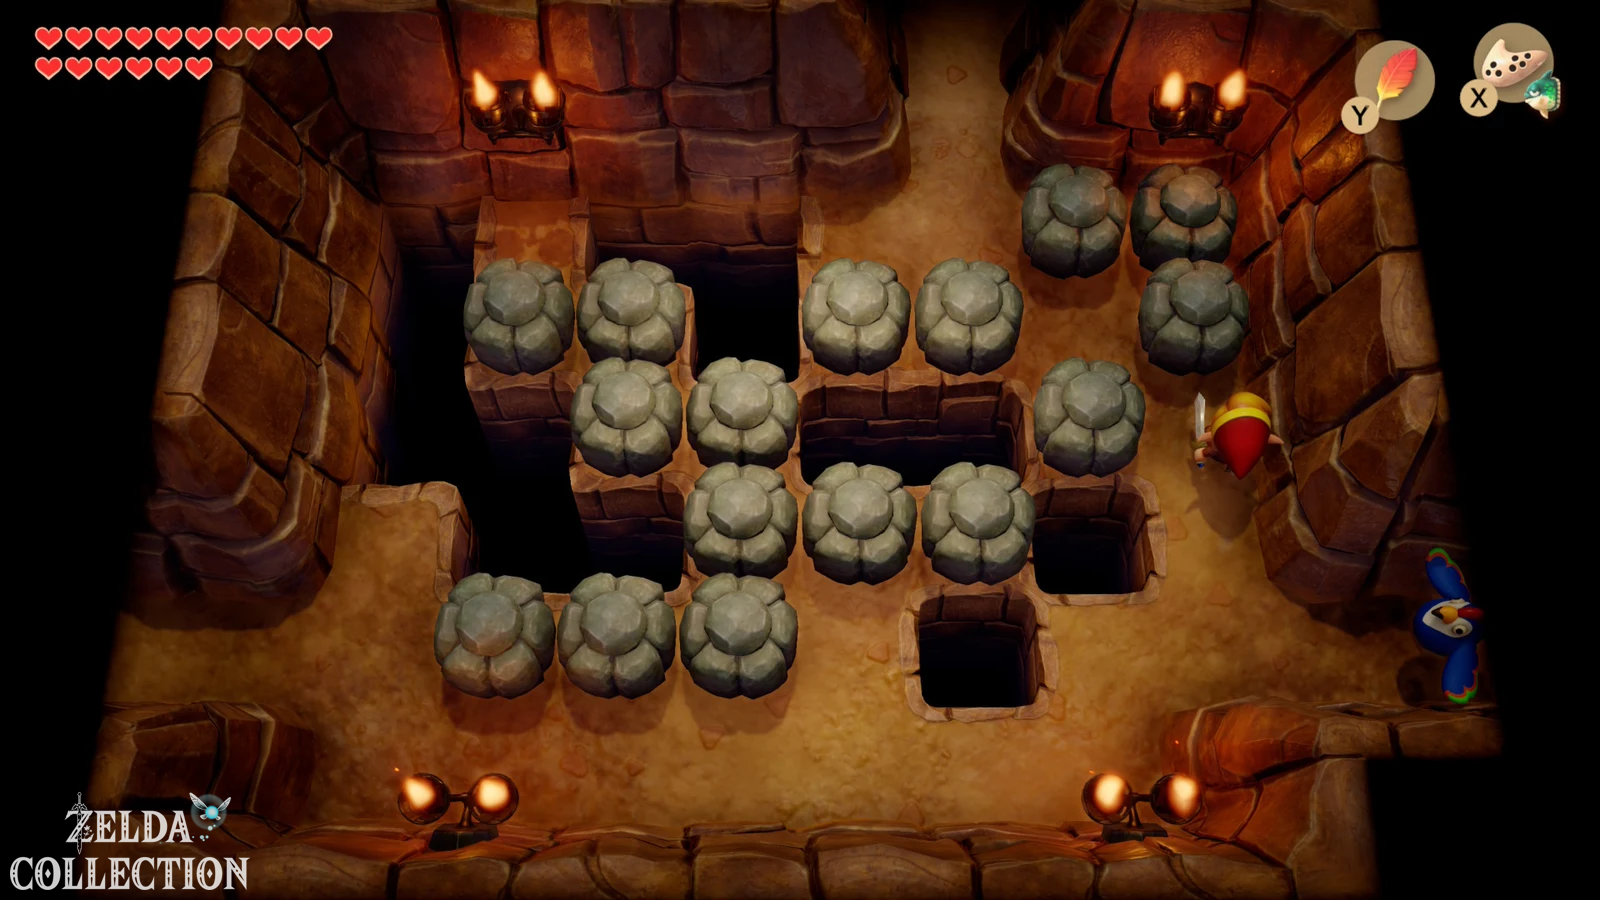
Go west from the chicken coop and enter the cave immediately south or below the building. There are numerous rocks in the first room. Move it so that you clear a path to the north. Then pick up the blue rooster with the Power Bracelet and float it over the wide abyss. Without him, despite Hookshot and Roc’s Feather, this gap could not be overcome as planned.
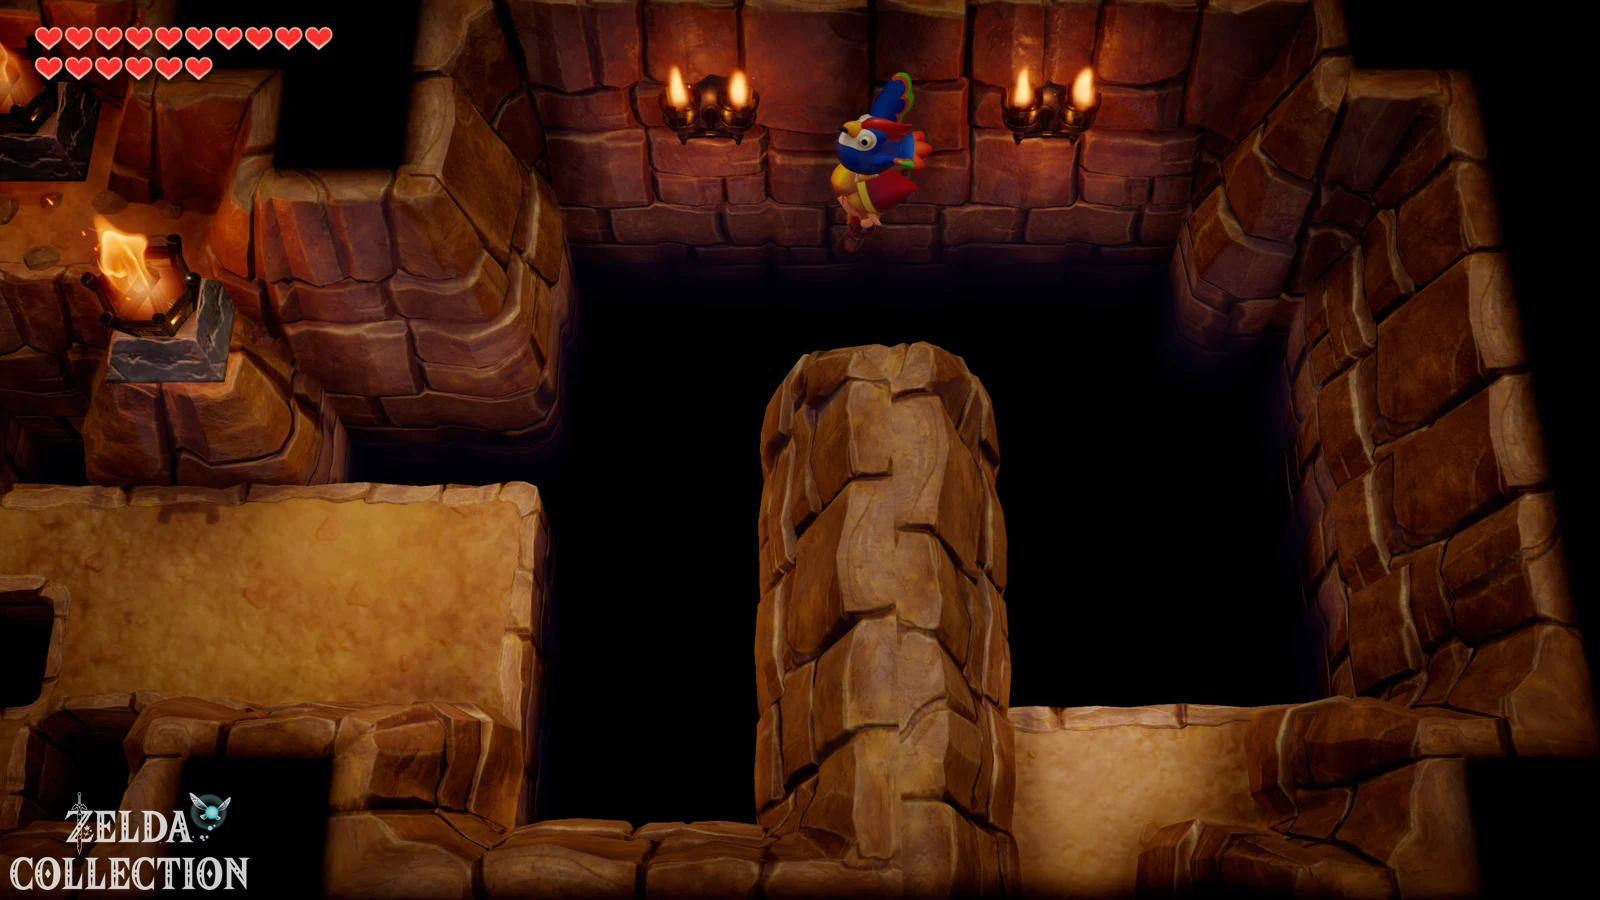
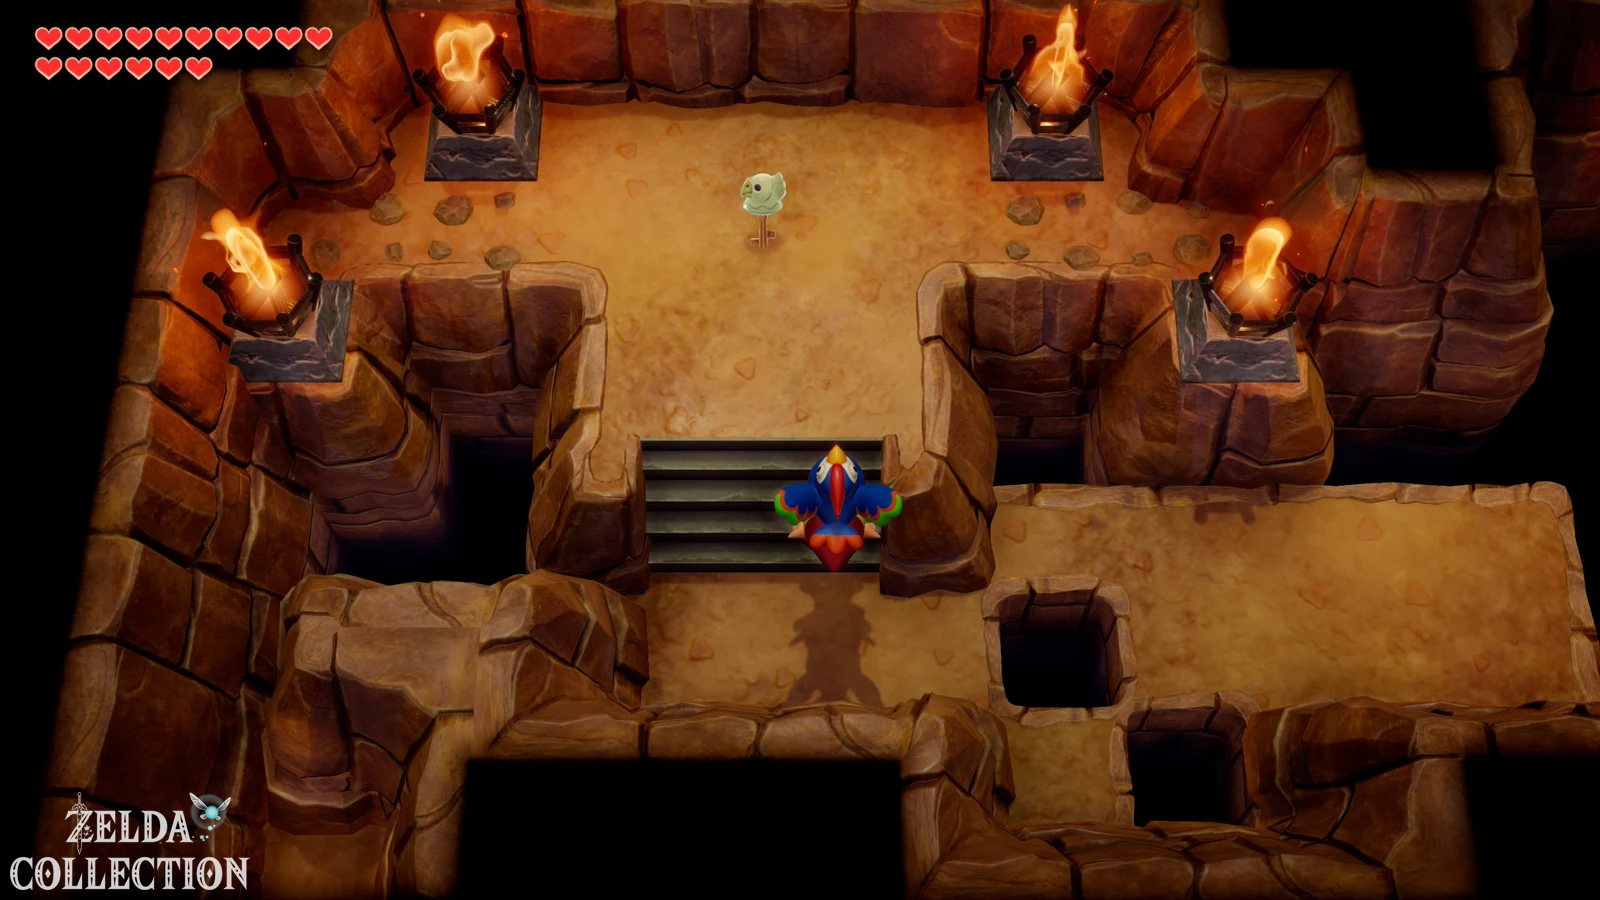
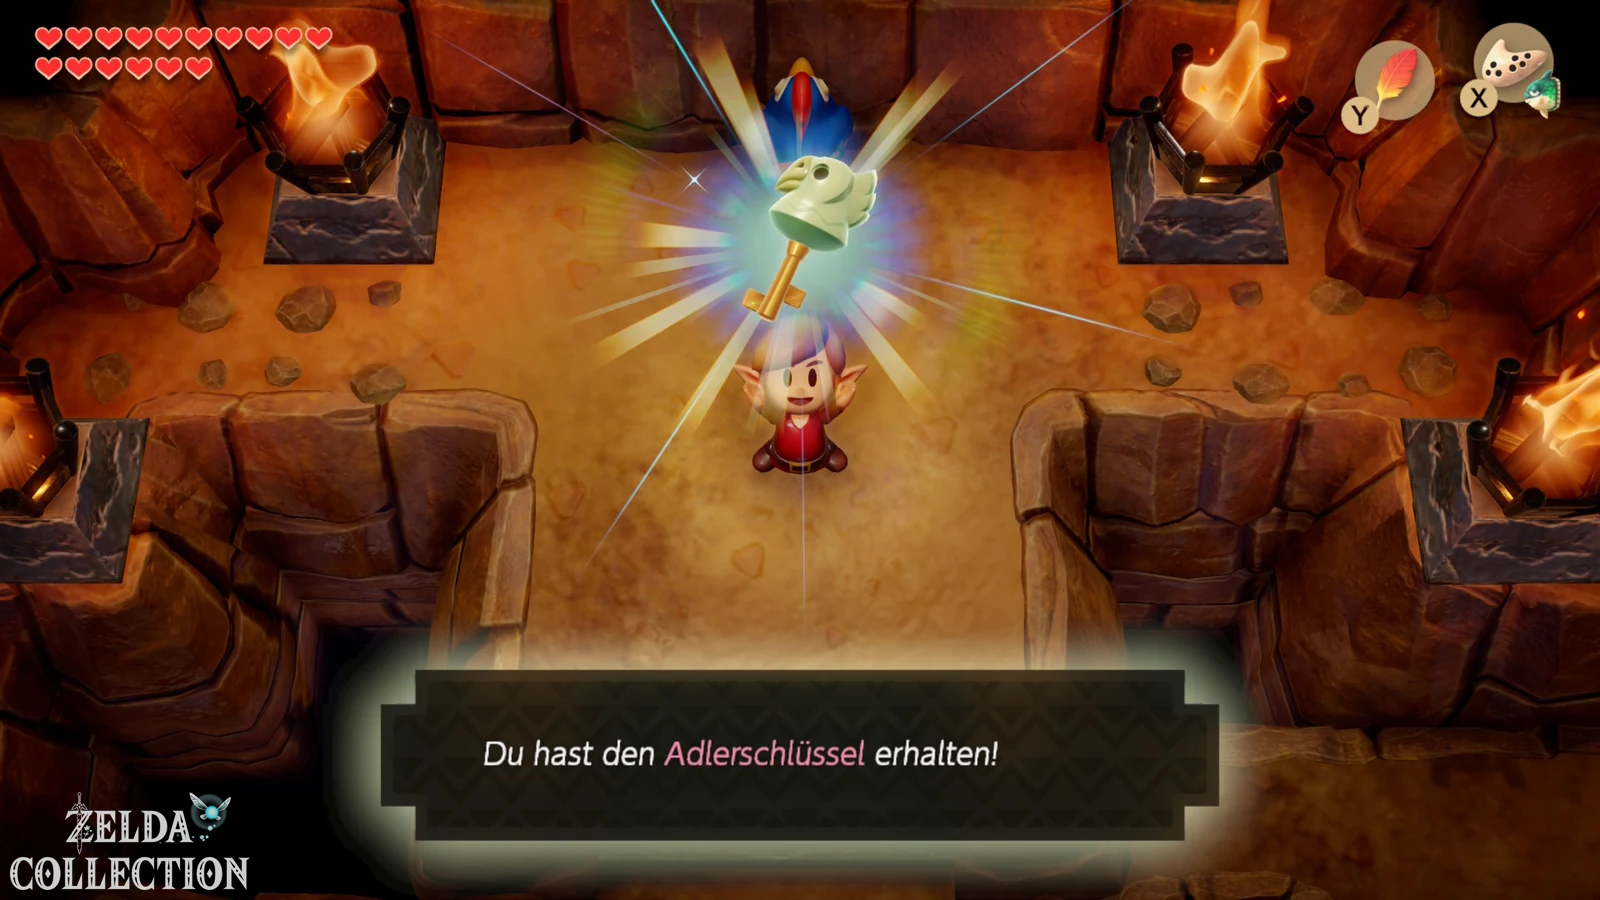
In the next room you repeat the principle and fly over the large gorge to the platform opposite. There is the eagle key. Take it and then leave the cave the same way. The rooster has fulfilled its most important purpose, but can continue to accompany you on the rest of the mountain path.
Secret Seashell check the chicken coop
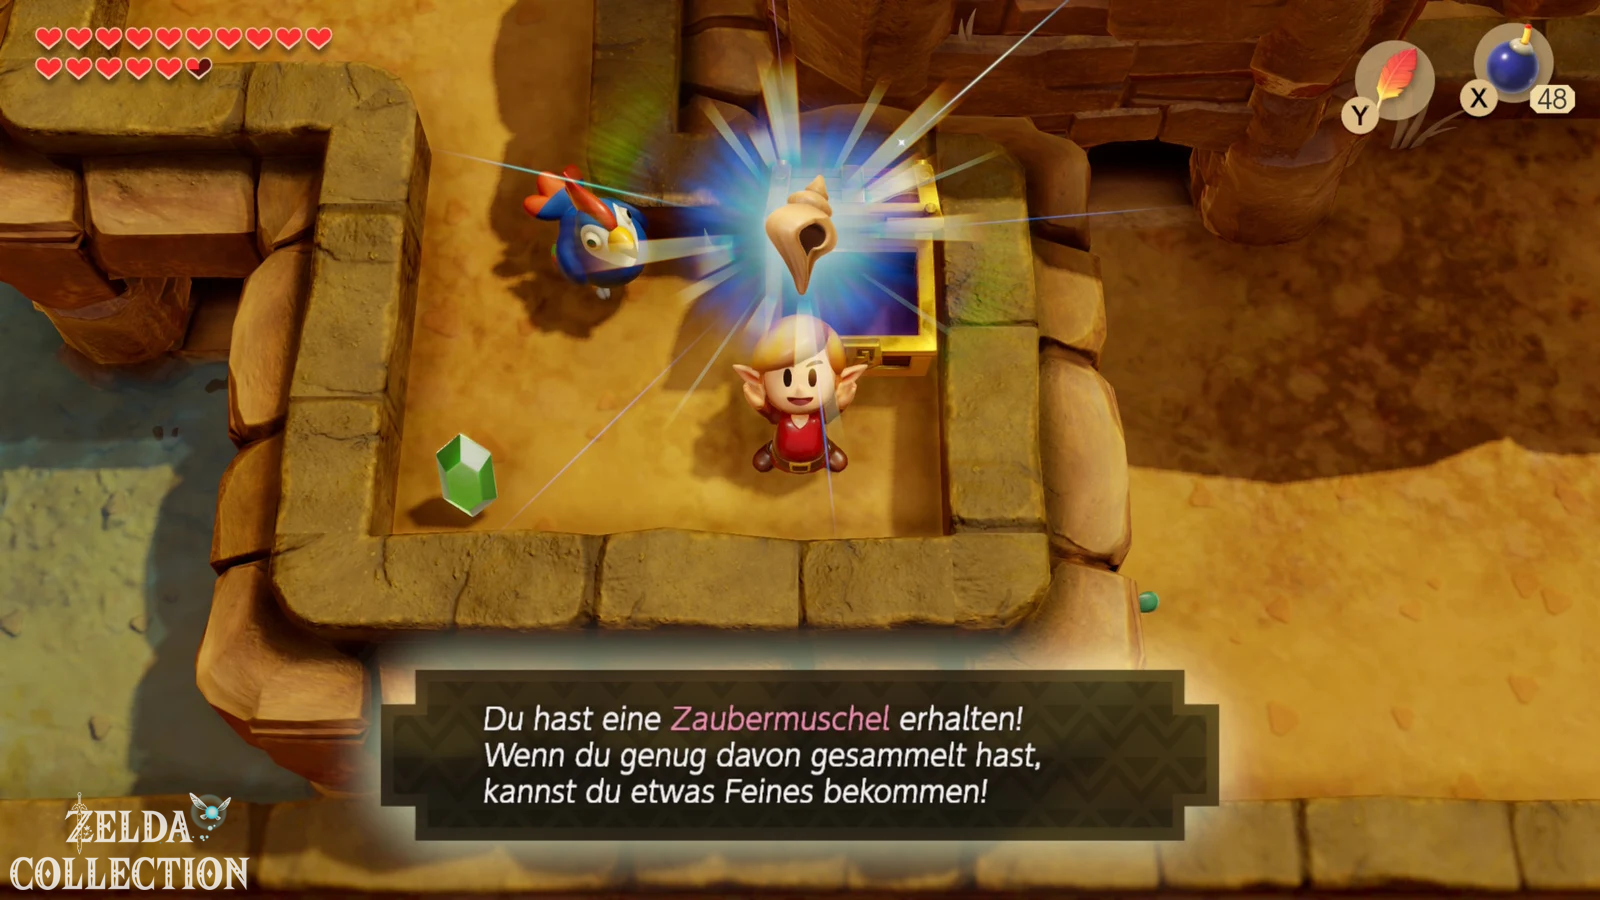
Before you climb back down the long ladder, check the area to the right of the chicken coop again. Cross the eastern suspension bridge and lift the stones there. Under one of the upper rocks lies a Secret Seashell. If you followed our Hookshot roundup, you already own it; If not, now is the last really sensible opportunity to take them with you without an additional return trip.
This shell is one of the additional locations in the Switch remake. The classic Game Boy/DX collection has different priorities in the Tal Tal Mountain Range and only includes a total of 26 possible shells.
Through the eastern Tal Tal Caves
Climb down the long ladder again and go right into the cave. The following section is a small maze of rocks, chests, and multiple entrances and exits. First blow up the fragile area on the northern wall and climb the exposed stairs to the higher area. Some chests in this cave system only contain enemies or Rupees; You don’t necessarily have to open it for permanent 100% progress. But if you really want to empty every chest, leave the block room once to the south and enter it again so that the blocks are reset. In this way, all paths to the chests can be pushed one after the other.
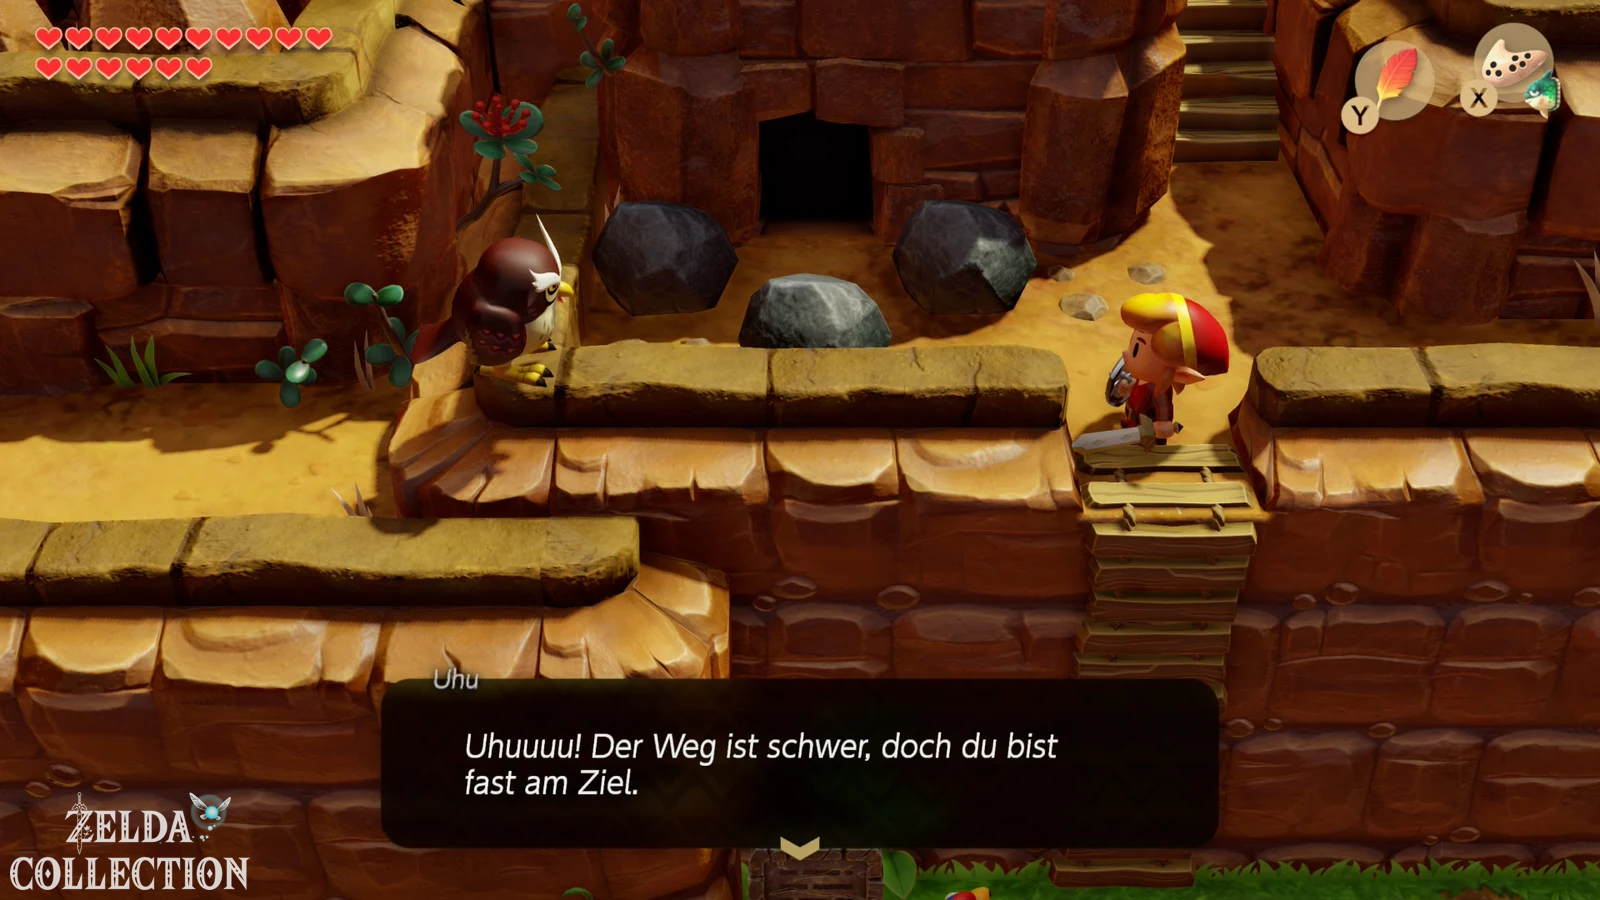
Then follow the actual path further east. At an owl statue you will receive the not-so-subtle hint that the Eagle’s Tower is nearby. Climb the steps, enter the next cave and traverse the linear sections. At a large gap you pull yourself to the other side with the Hookshot. A little later you will be outside again.
Great Fairy and warp point in front of Eagle’s Tower
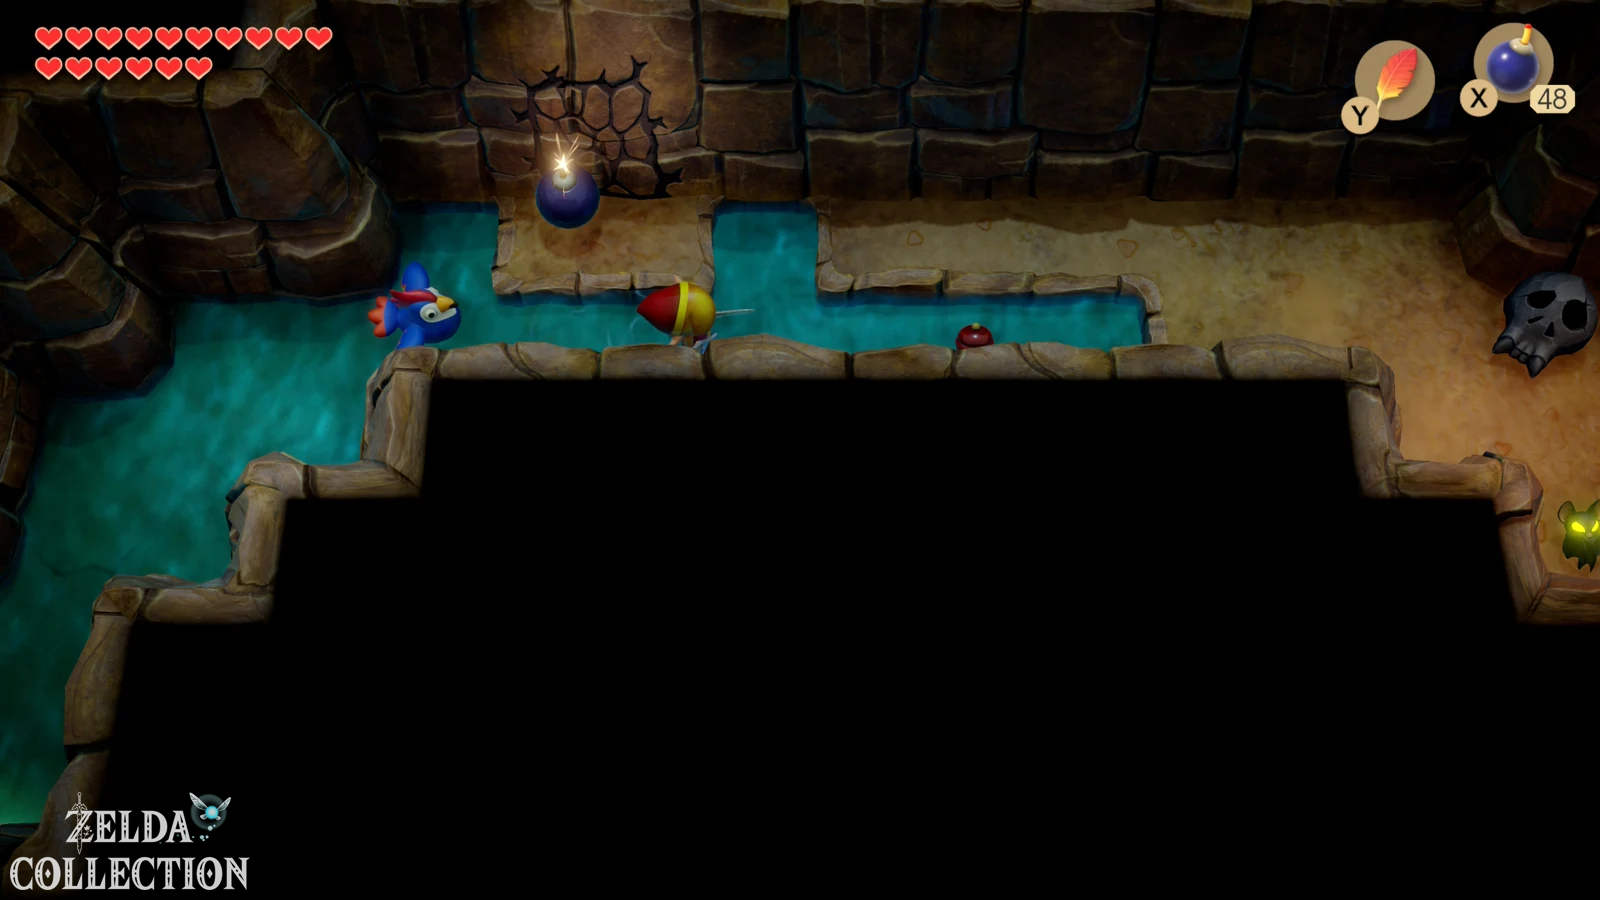
Immediately before the last section of the cave you will discover a fragile spot on the lower rock wall. Blow them up with a bomb. Behind it is a Great Fairy, where you can completely replenish your health. This isn’t a unique collectible, but it’s an extremely handy healing point before one of the longest dungeons in the game.
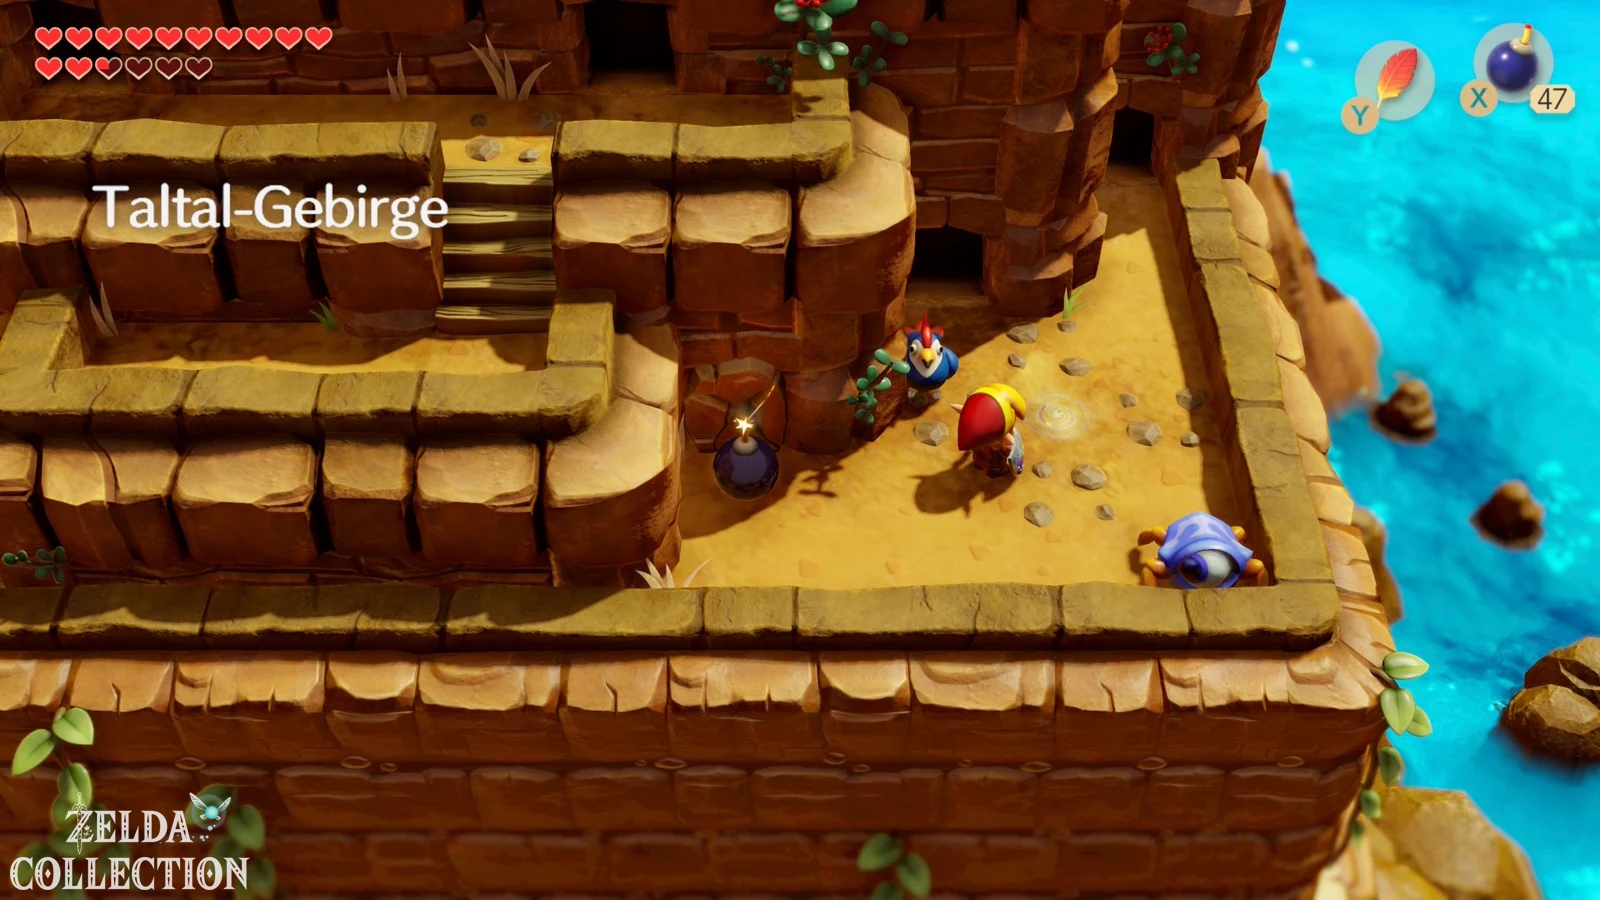
Then examines the floor of the outdoor area. In the Switch version you can activate another warp point by digging or interacting. Absolutely do that. For the following Turtle Rock section we have to go back to the west Tal Tal Mountain Range later, and this teleporter shortens the distance considerably. The additional freely selectable warp points are an improvement on the Switch remake; Original and DX use the much more limited warp holes instead.
Open the Eagle’s Tower
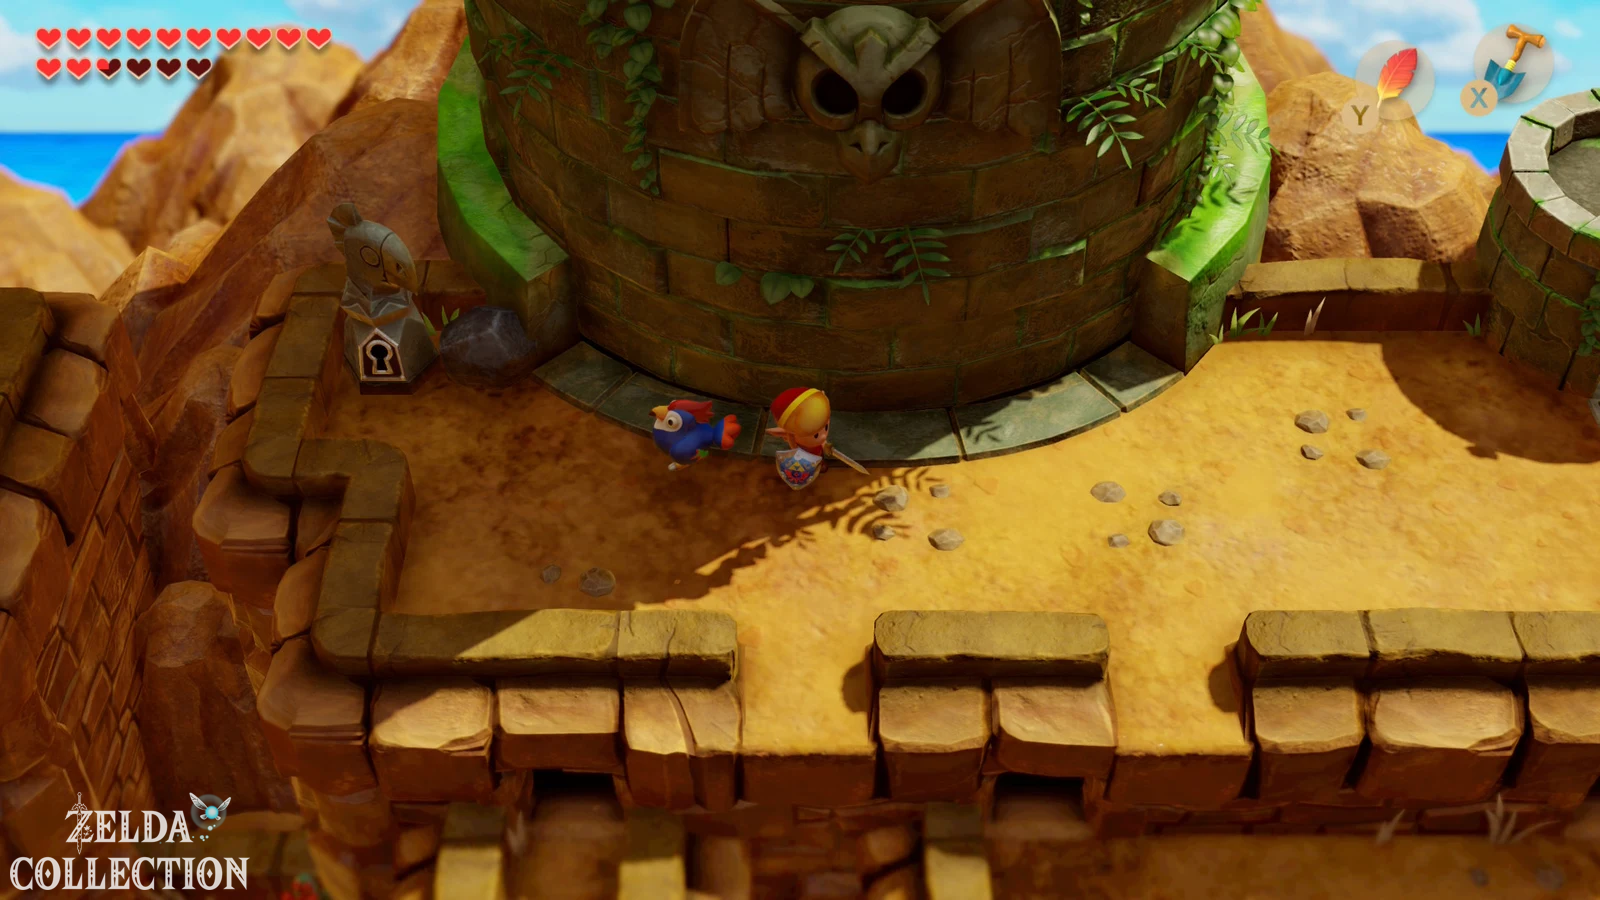
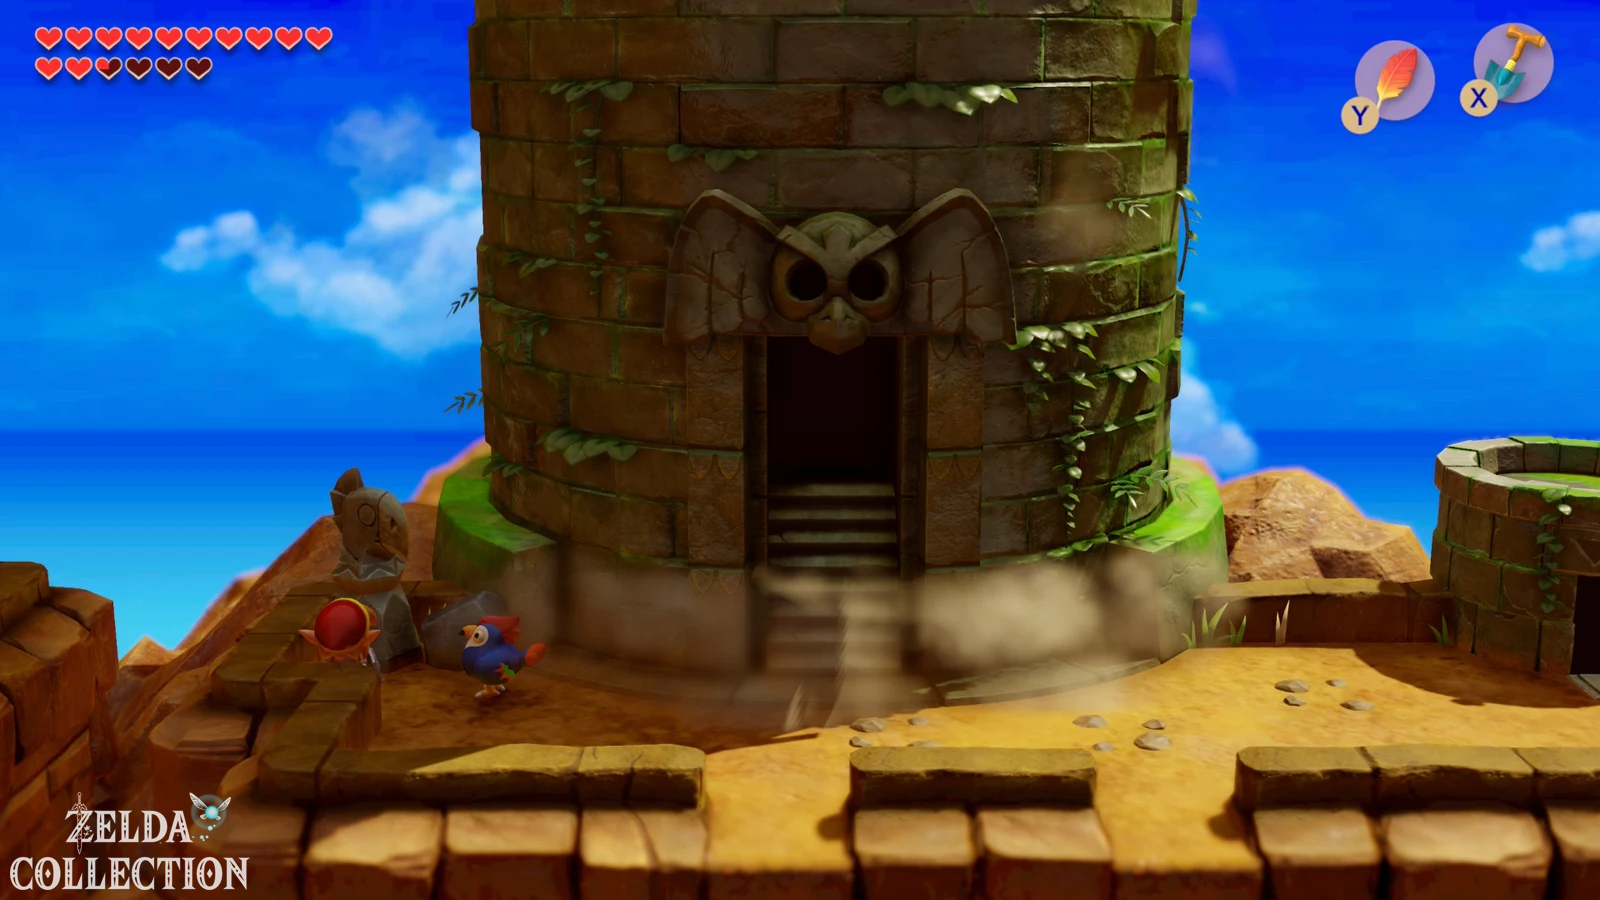
Cross the last cave and go left outside. The Eagle’s Tower rises in front of you. Lift the stone next to the entrance and examine the keyhole underneath. Use the Bird Key. The huge tower rotates and reveals the actual entrance.
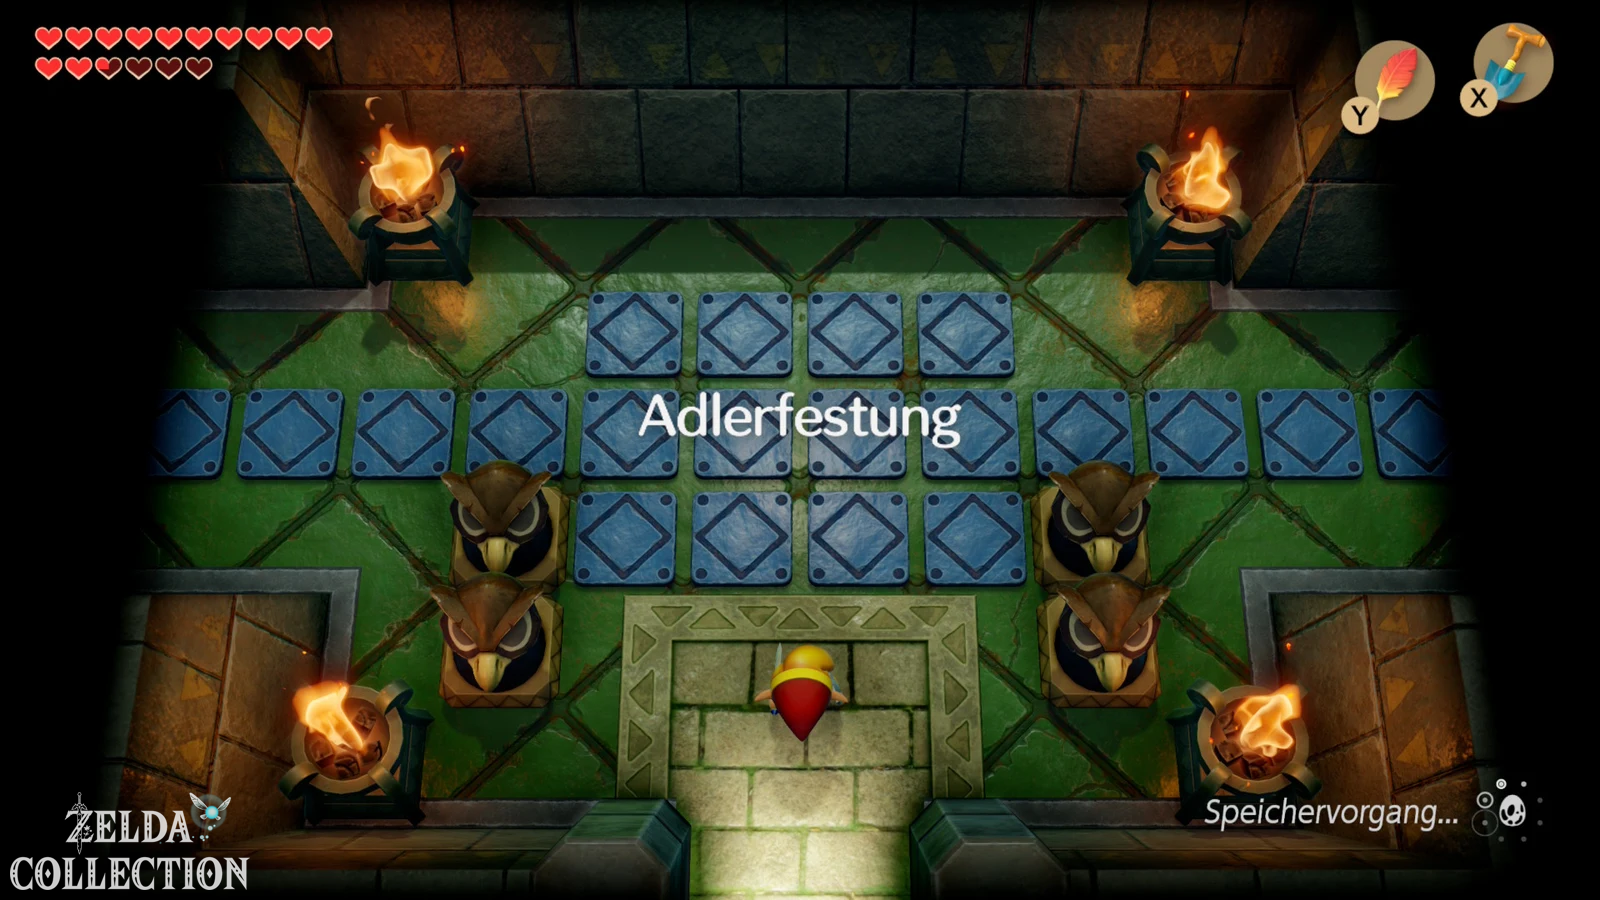
The Eagle’s Tower is the seventh dungeon and for many players the most complicated dungeon in the game. This is less due to individual opponents than to its central puzzle: There are four supporting pillars on the second floor. You have to transport a heavy iron ball through large parts of the floor and destroy every pillar with it. Only when all four collapse does the upper part of the tower fall down one floor and the path to the final boss becomes possible.
Eagle’s Tower: First Small Key
From the entrance, go right and right again. Dodge the blades and enemies along the way with the Roc’s Feather. Two Like Likes are waiting in the second room. Defeat both of them before they can swallow Link and a Small Key will fall from the ceiling. Use it to open the locked door and climb the stairs to the second floor.
There is already a chest on the left, but raised blocks block the way. Ignore them for now and go upstairs. You reach the central room with a large iron ball, a lever and an owl statue. The ball is needed for the four pillars, but first we get several dungeon items so that the subsequent path remains as straight as possible.
Stone Beak and Crystal Switch
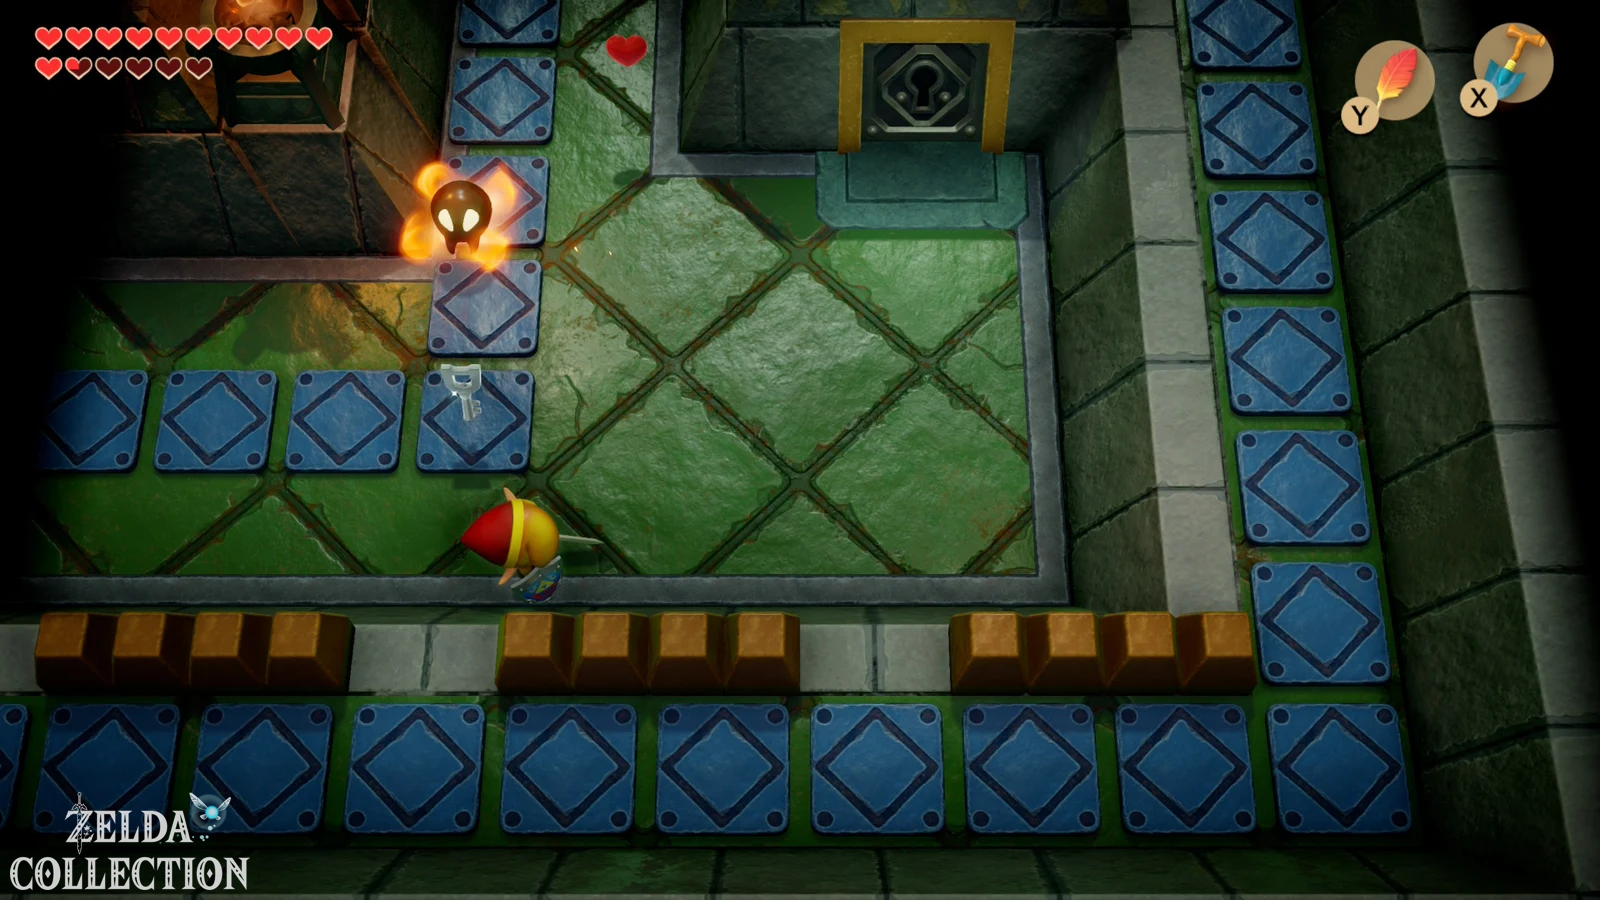
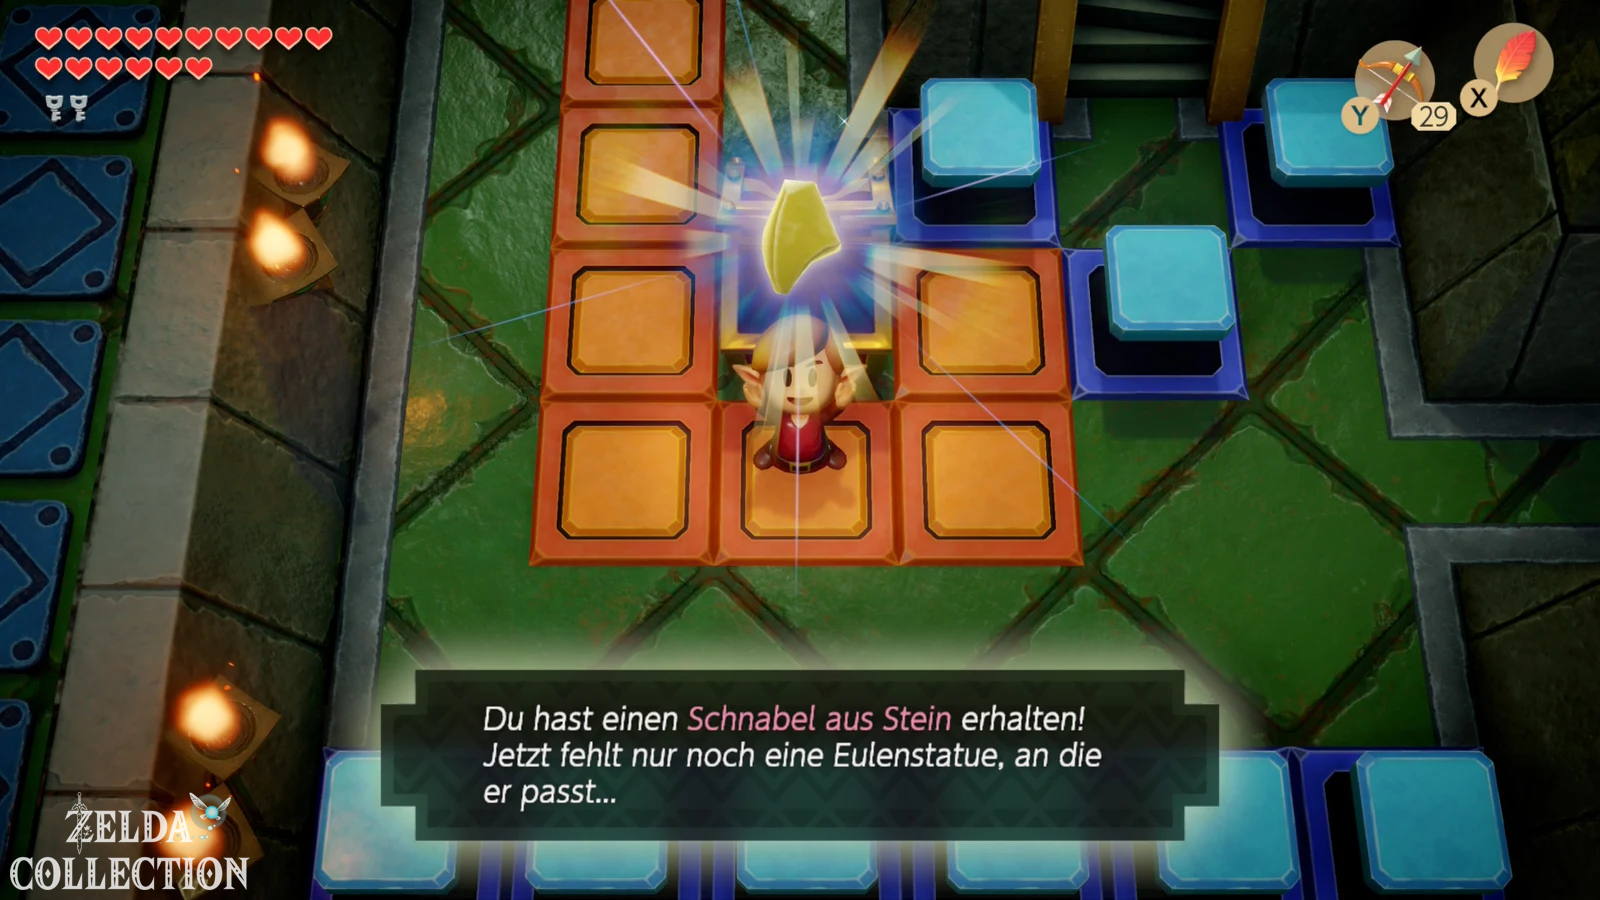
Pull the lever on the right wall back completely. This causes the two blocks to move apart. Release the lever and use the Pegasus Boots to sprint through the opening to the left before it closes again. In the next room, drop down through one of the holes. On the first floor you defeat all enemies and follow the elevated path to the left and then down. Open the chest and take the Stone Beak with you.
Returns to Crystal Switch. As in Bottle Grotto and Face Shrine, hits on the switch change the position of the colored blocks throughout the dungeon. Activate it so that you can get back to the stairs via the southern or right path. Climb to the second floor again.
Get the Mirror Shield
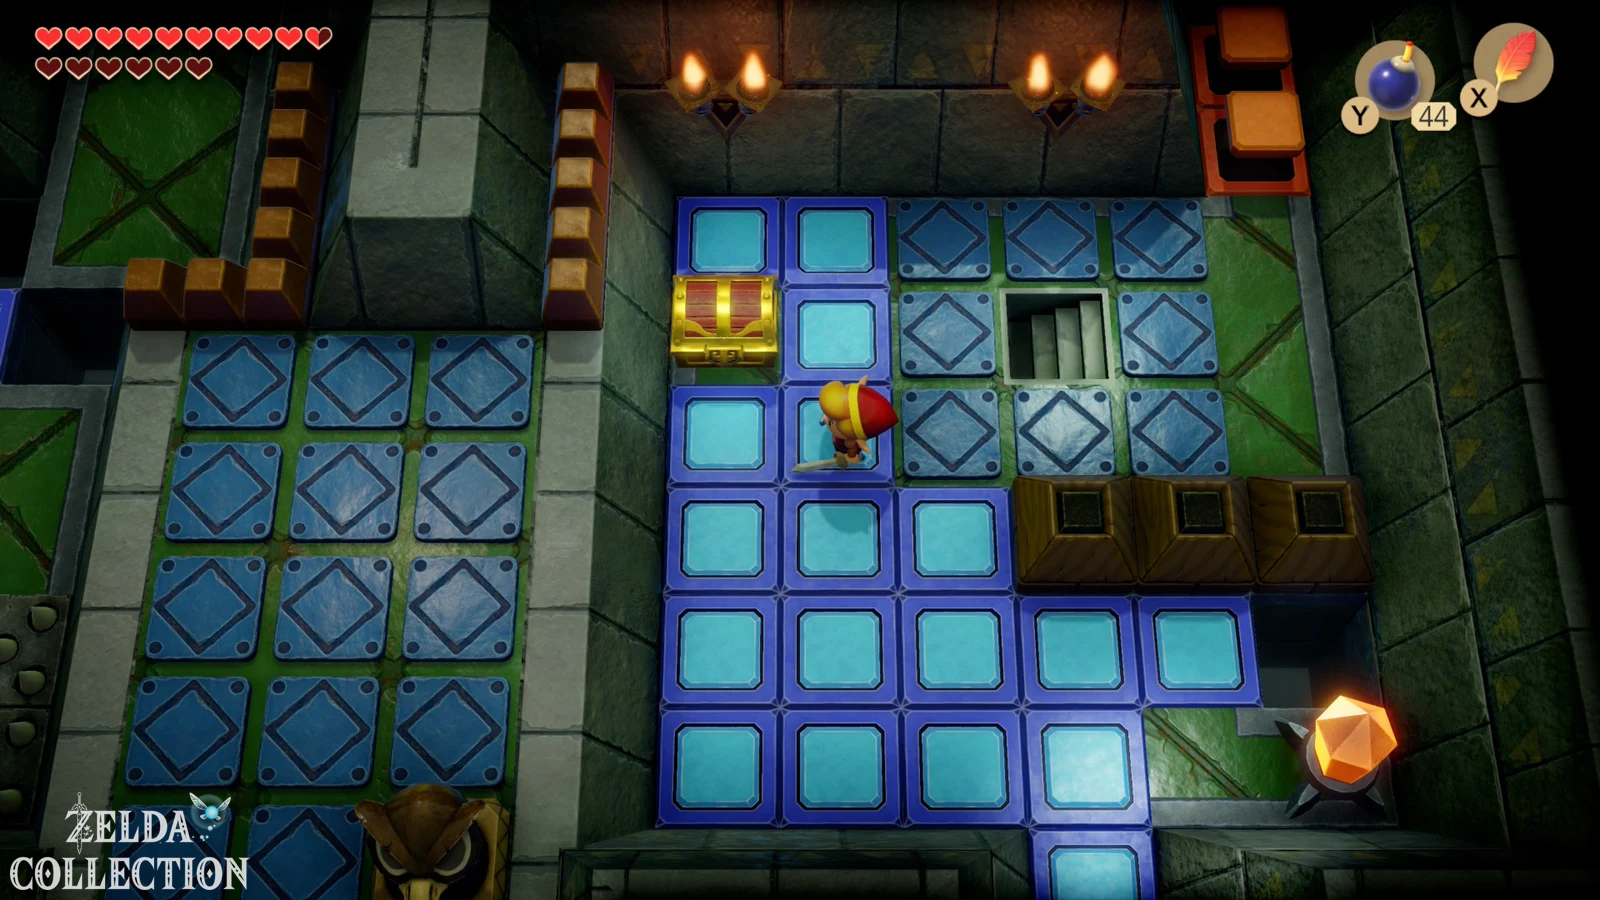
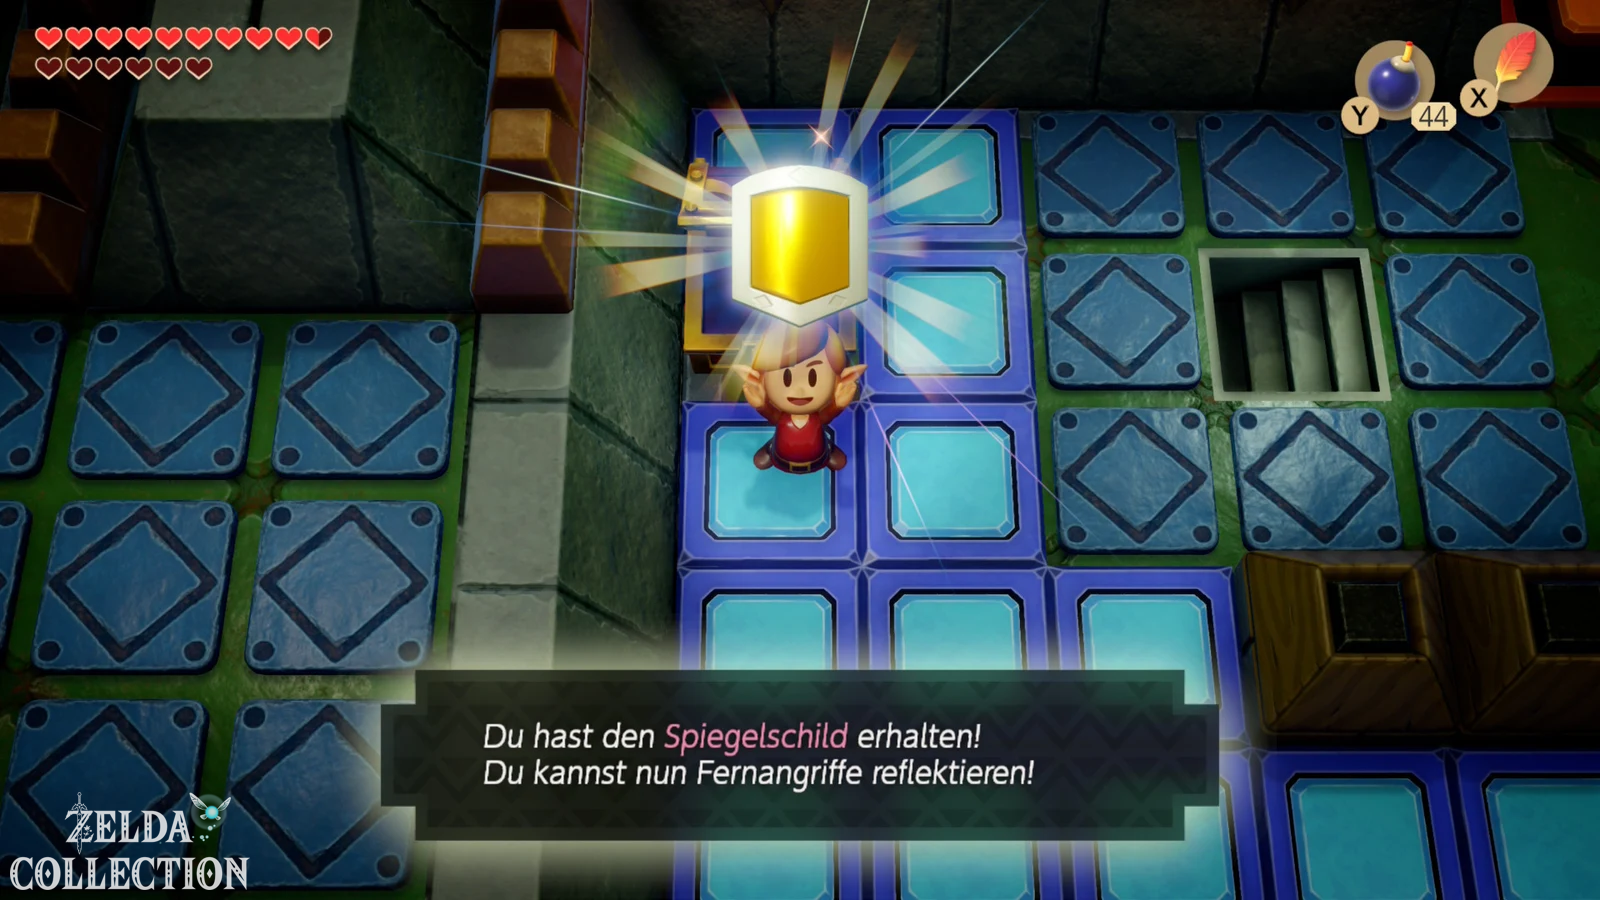
Due to the changed block position you can now reach the previously blocked chest. Open it and you will receive the Mirror Shield. It automatically replaces your current shield and can block much stronger attacks, including fire and certain energy projectiles. It becomes particularly important in the upcoming mountain section, where a huge stream of fire blocks the way to the Turtle Rock.
Use
Small Key and Dungeon Map
After opening the Mirror Shield Chest, drop down through the small hole on the right side. You land on a raised ledge on the first floor. Follow him two rooms north and open the chest there with another Small Key. Then jump down from the ledge and return to the second floor via the stairs.
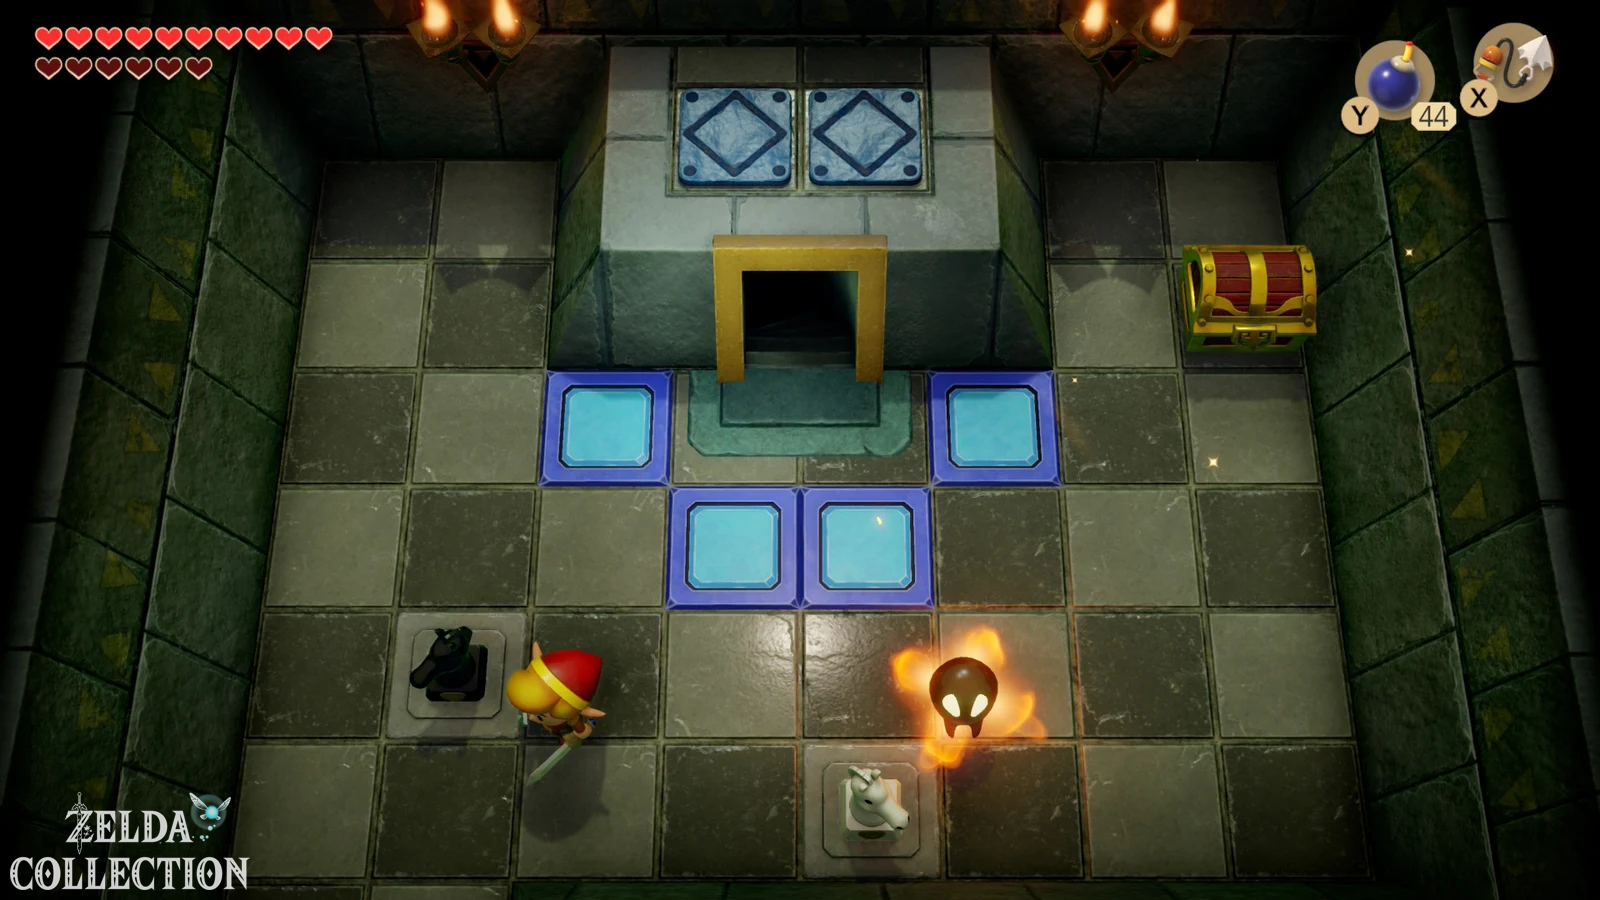
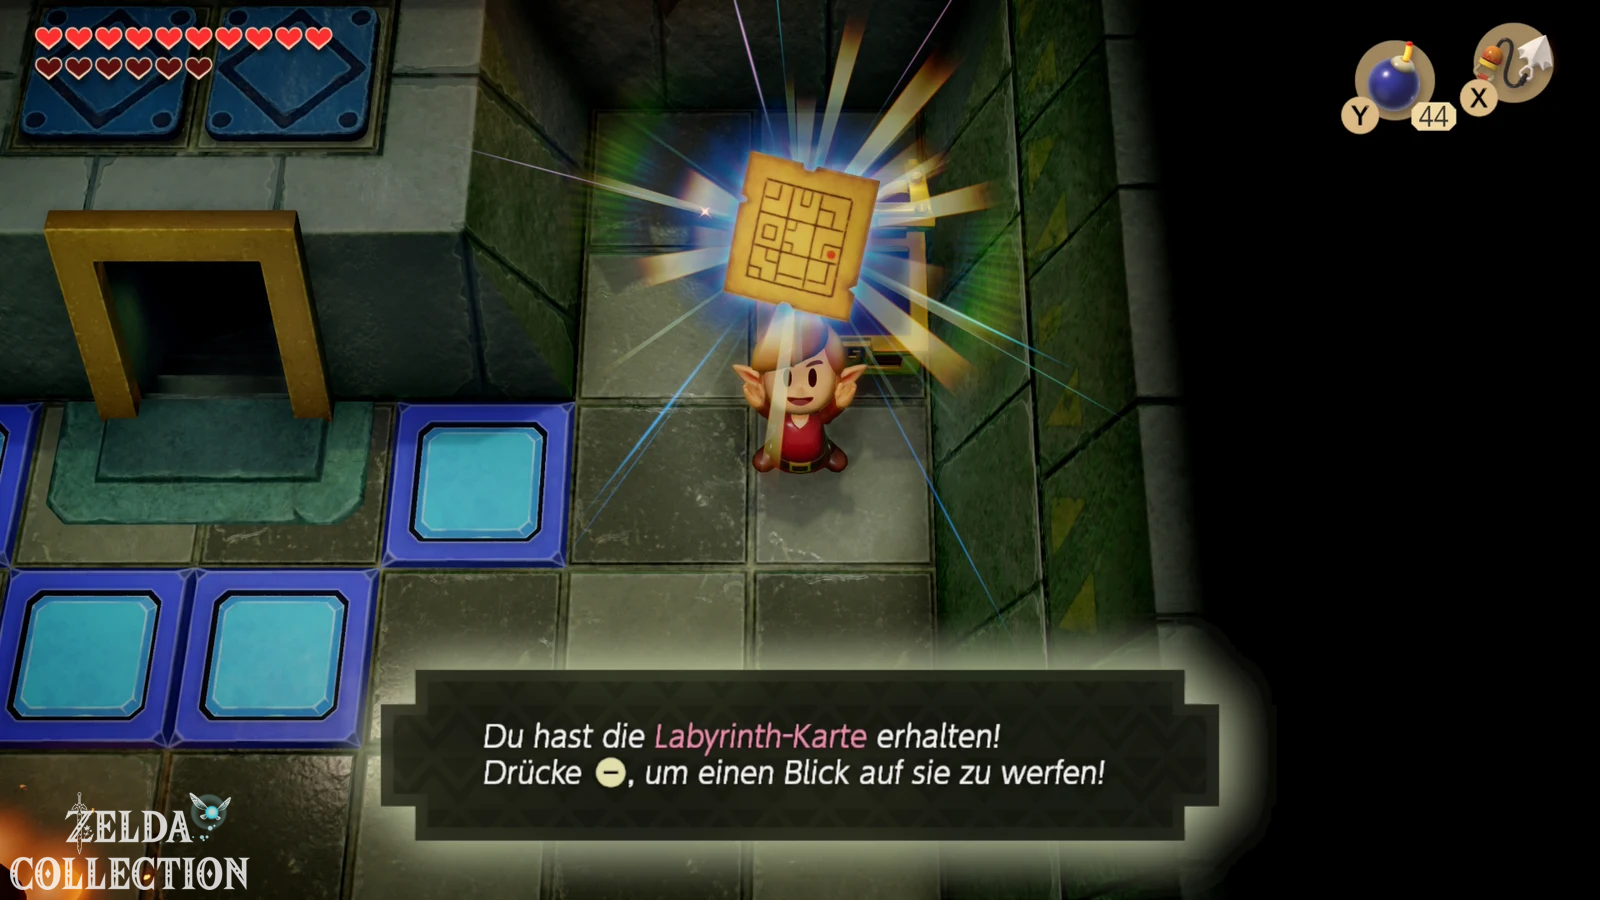
In the next room there are two large horse heads. As in Face Shrine, you have to throw them so that both land upright on their marked spaces. The mechanics have a certain random factor; If a throw doesn’t work, raise your head again and change your position slightly. As soon as both are correctly positioned, a chest will appear with the Dungeon Map.
The iron ball and pillar 1
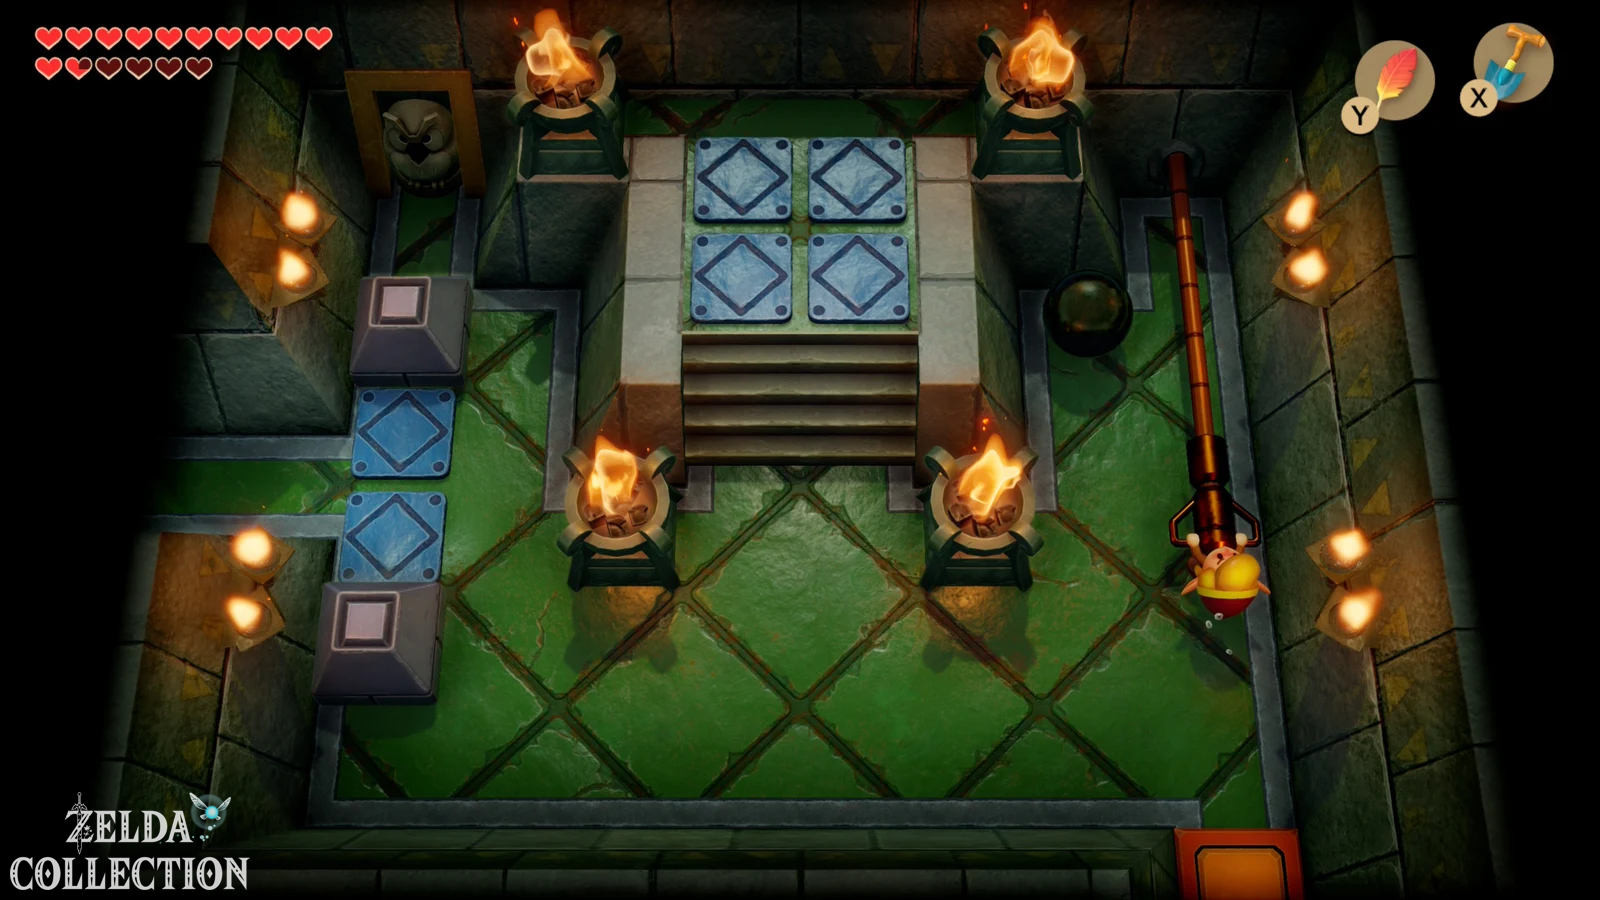
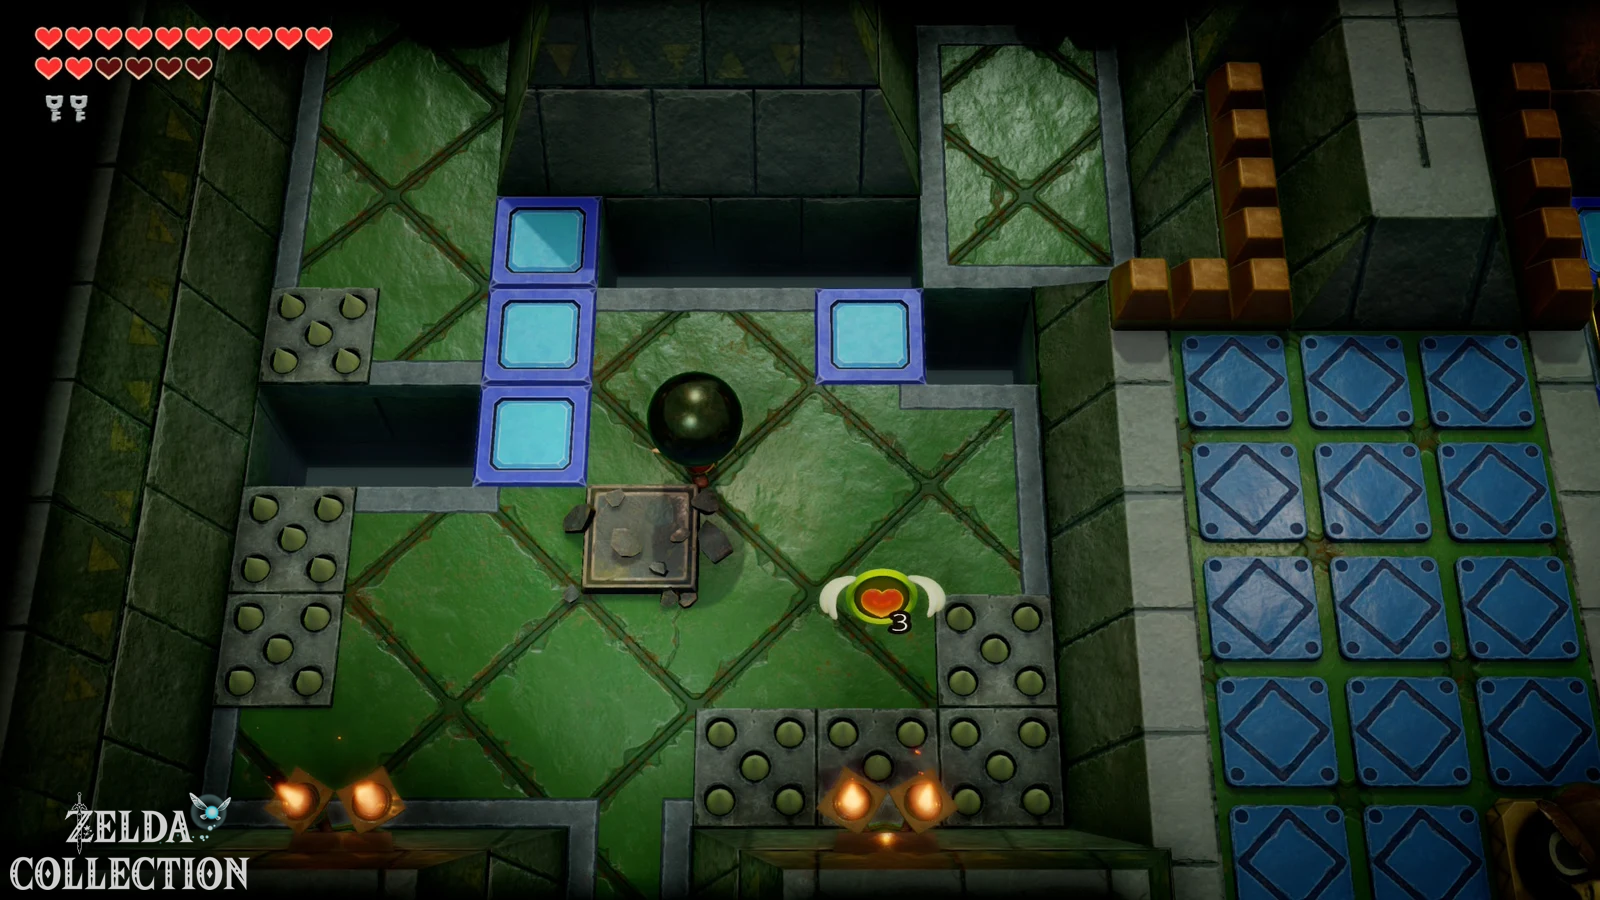
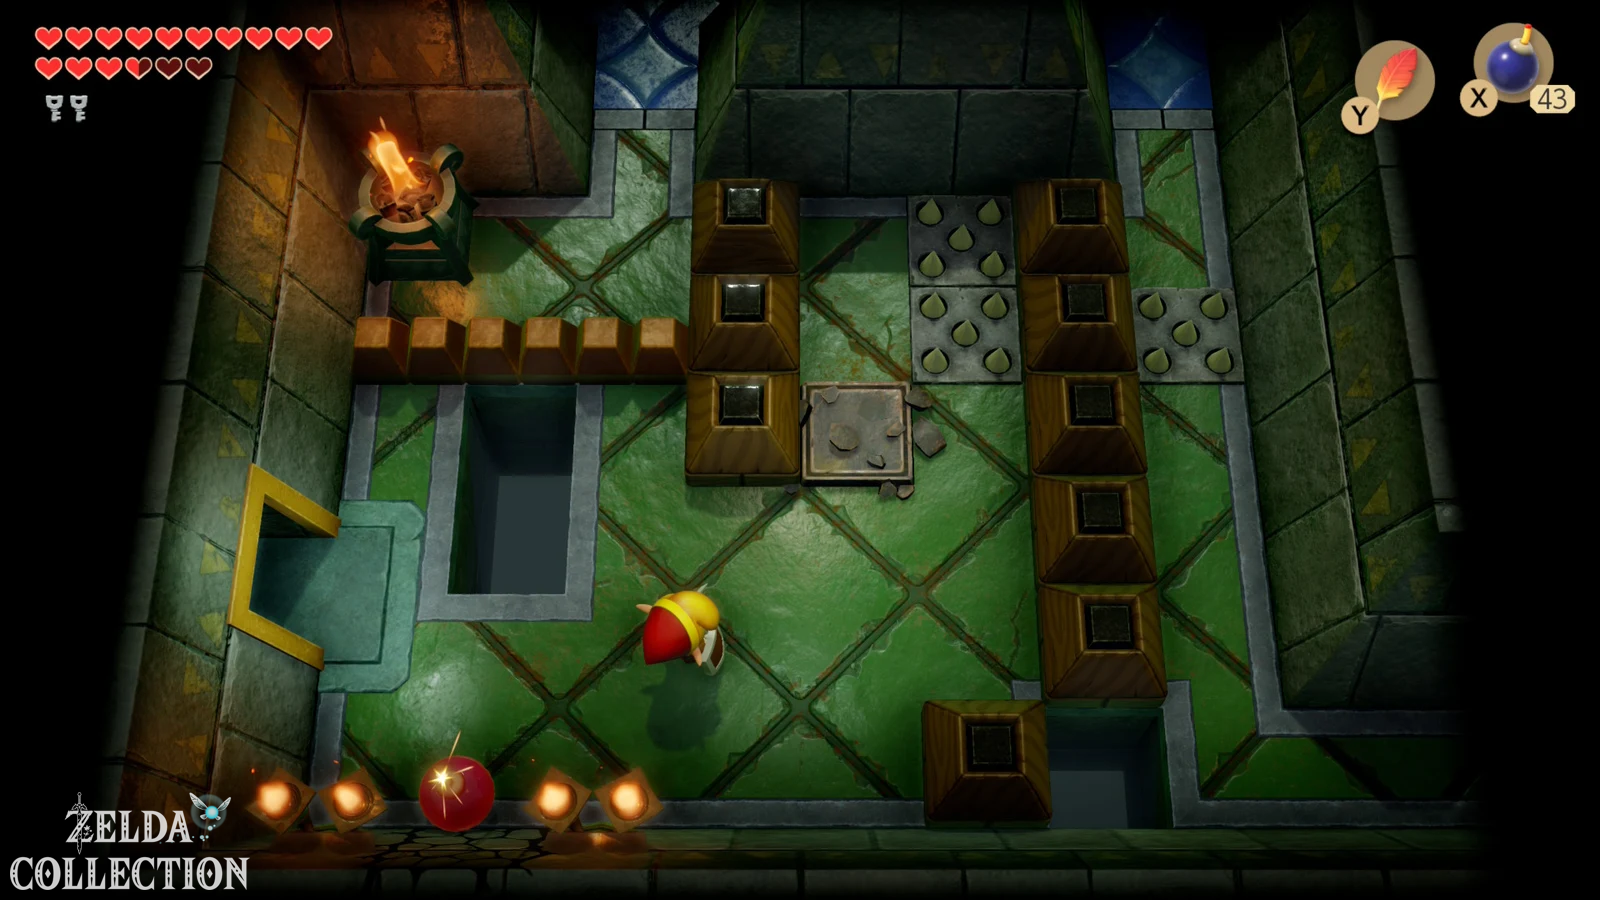
Now return to the room with the iron ball and the lever. From now on the real main puzzle begins. Lift the iron ball with the stronger Power Bracelet and first throw it over or next to the two movable blocks on the left side. Then pull the lever back completely, sprint through the opening and pick up the ball again. Carry them into the room on the left.
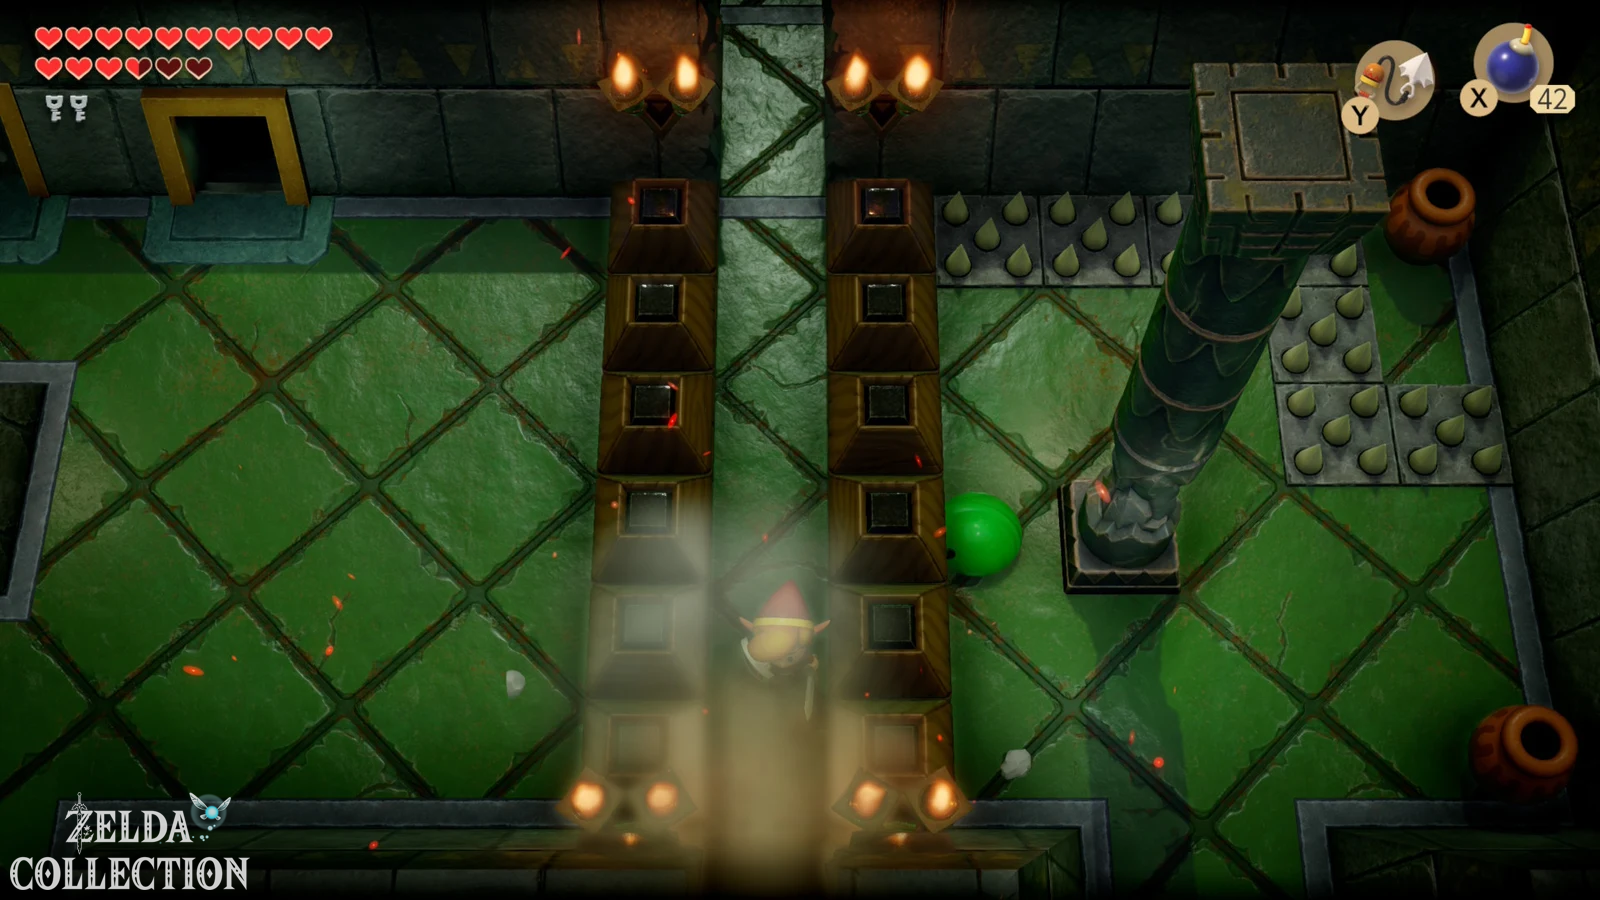
There is the first supporting pillar. Clear the slimes out of the way and throw the iron ball against the pillar. It breaks after a single direct hit. Make sure to throw from the right side if possible so that the ball doesn’t then fall into one of the holes. If that happens, nothing is permanently lost – it will reappear at its starting point – but you will then have to walk the transport route again.
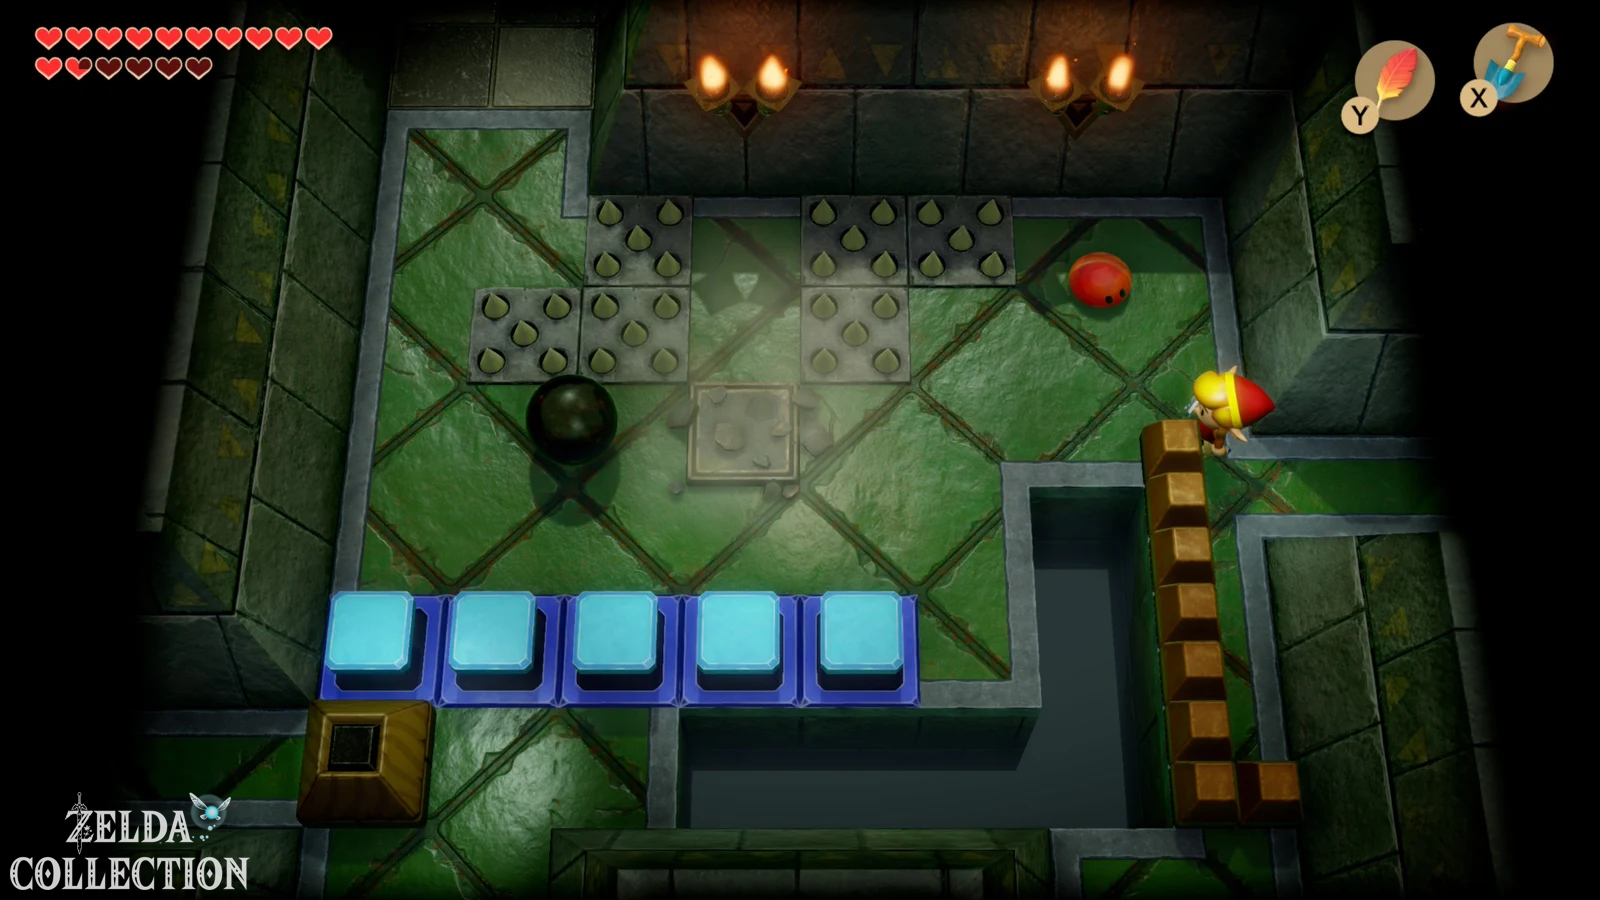
Destroy Pillar 2
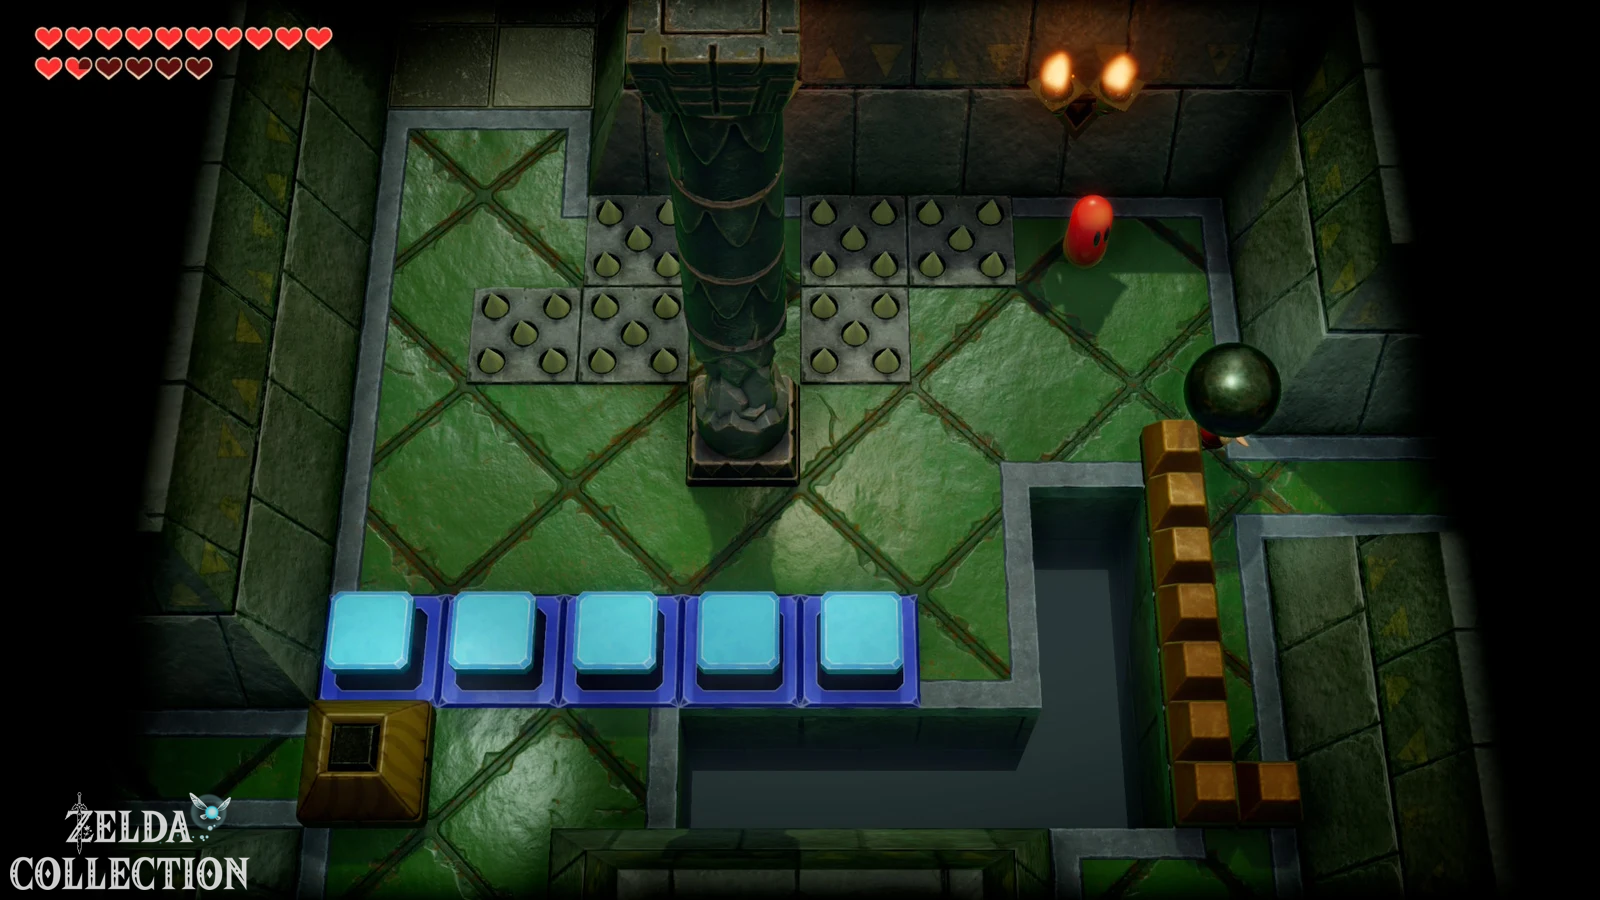
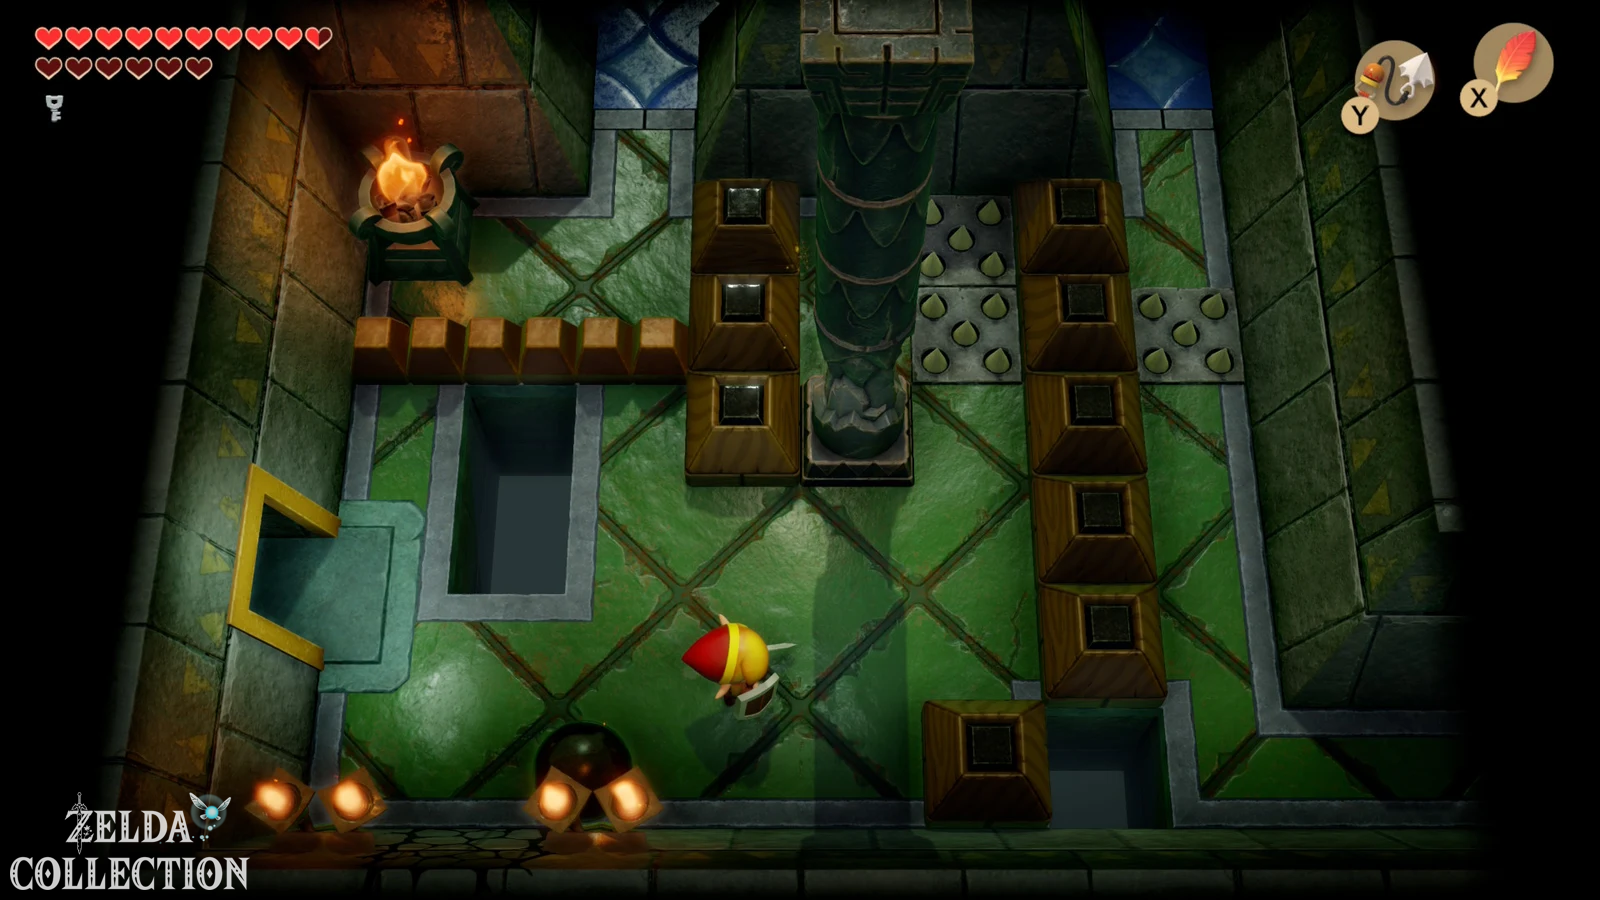
After the first hit, pick up the ball again and go downstairs. It’s already in the next room second pillar. Throw the ball at it from below or from a safe position and destroy it too. Then take the iron ball back, return one room up and move the left block there to open the western path. Run over the spikes with the ball or use your equipment to take as little damage as possible and go north.
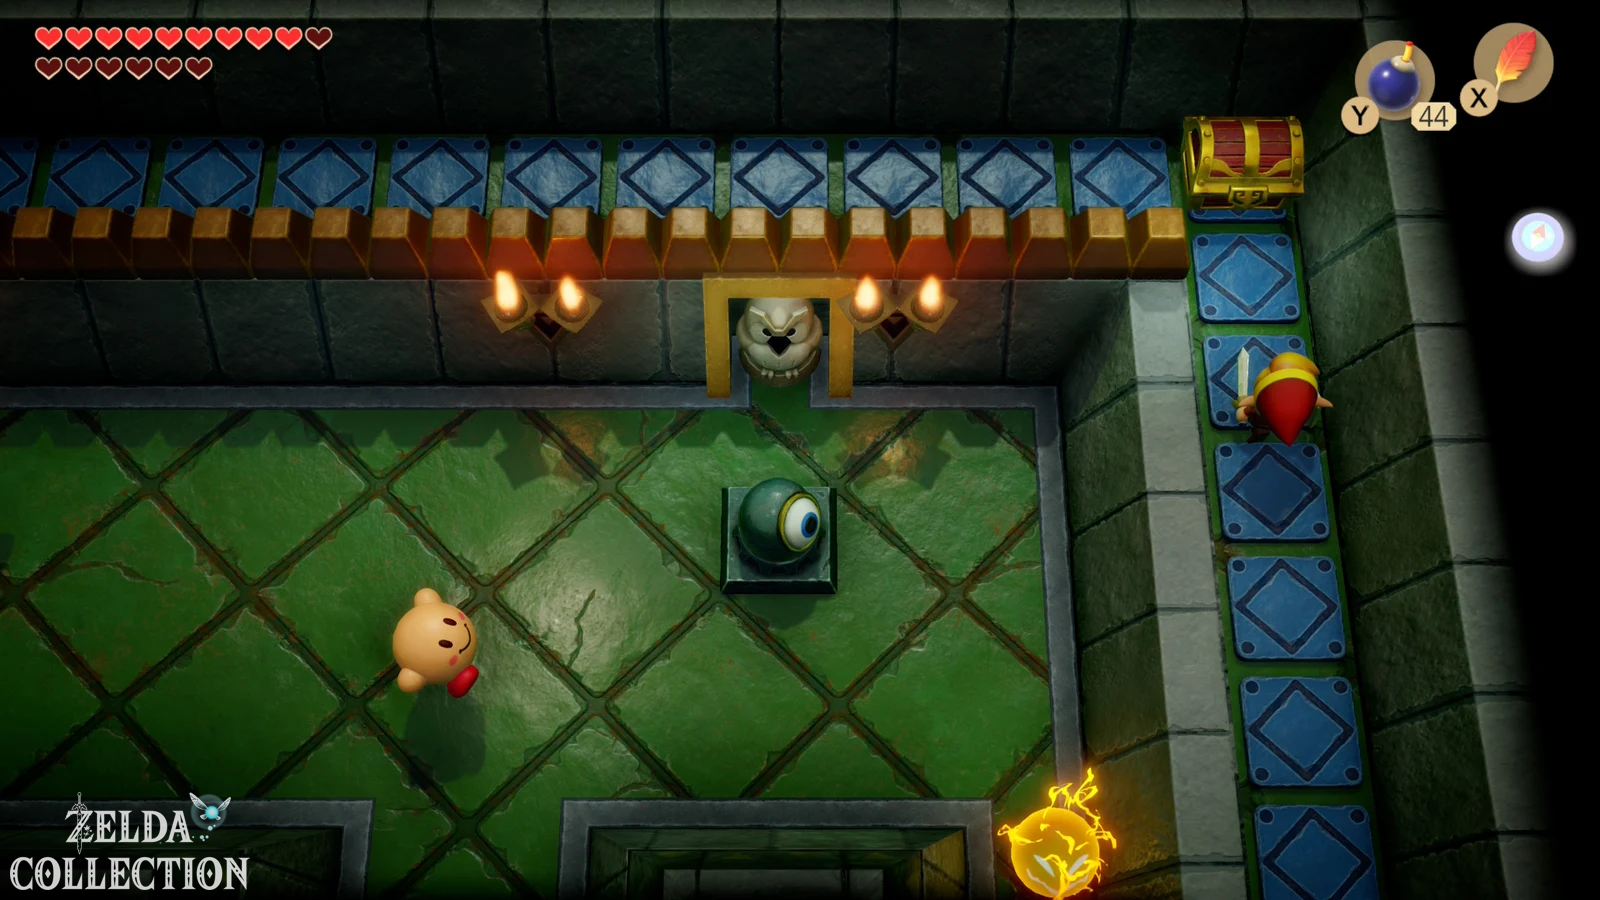
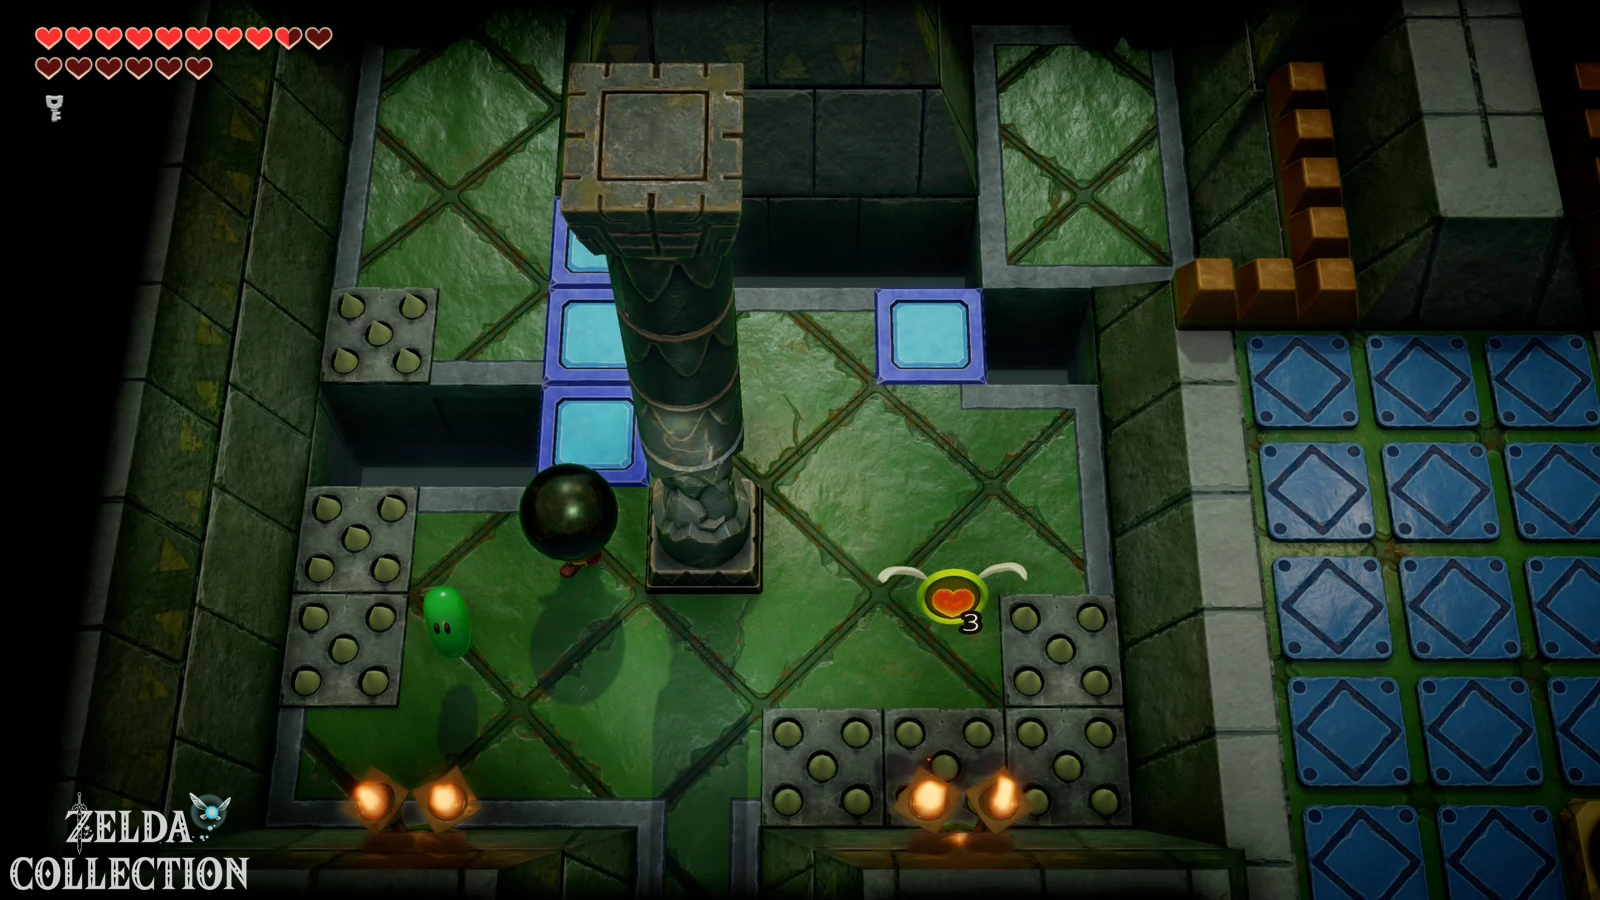
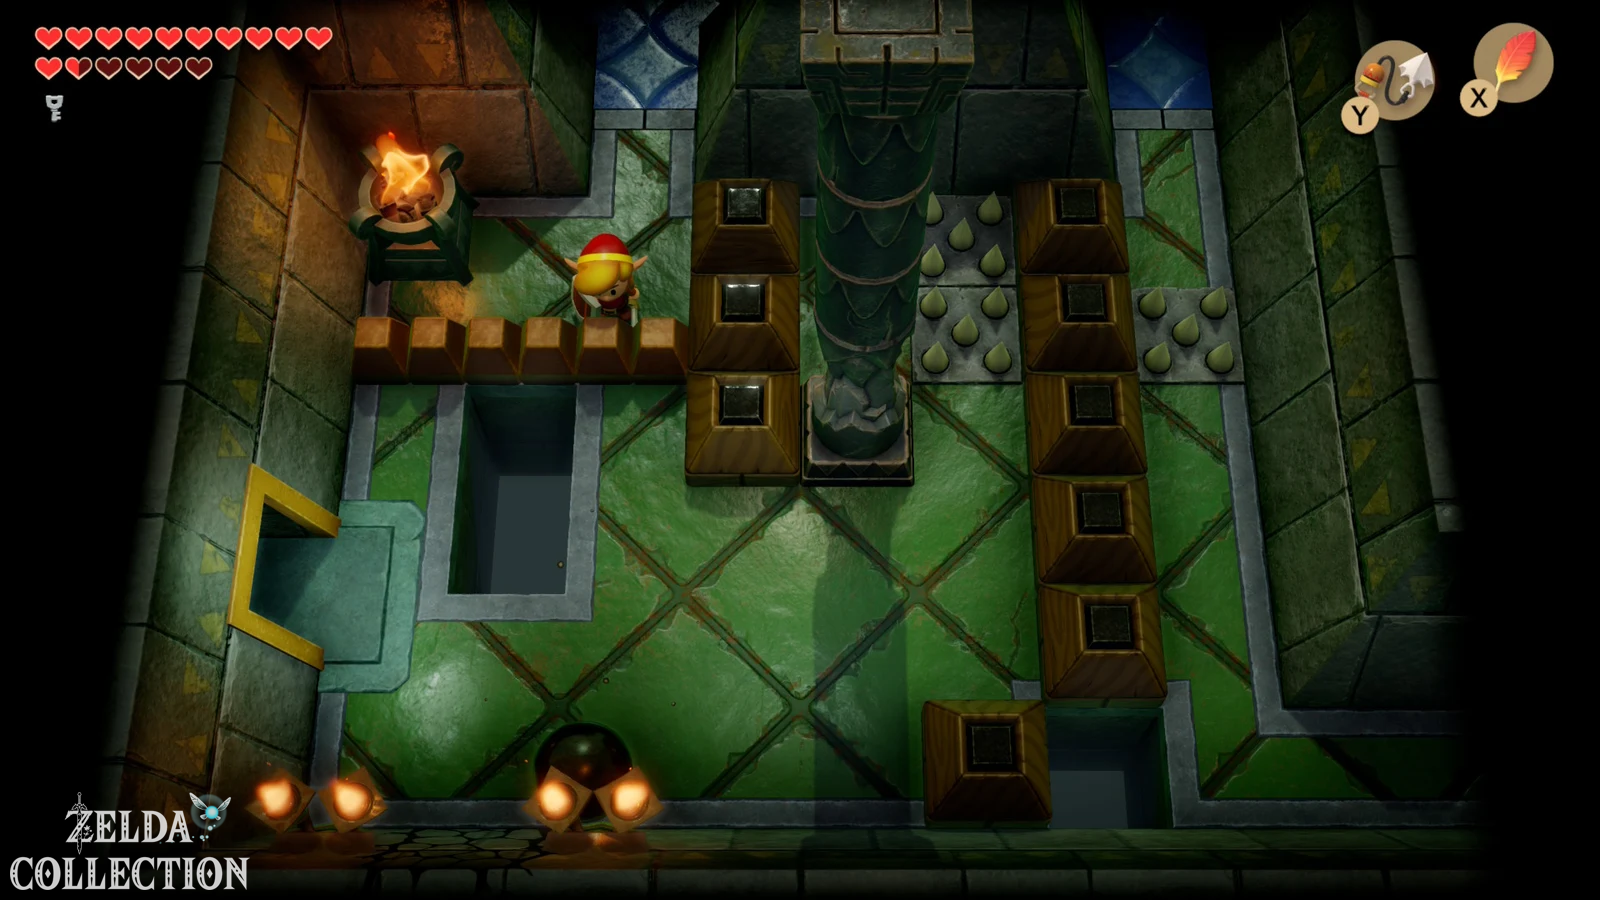
Get the Compass
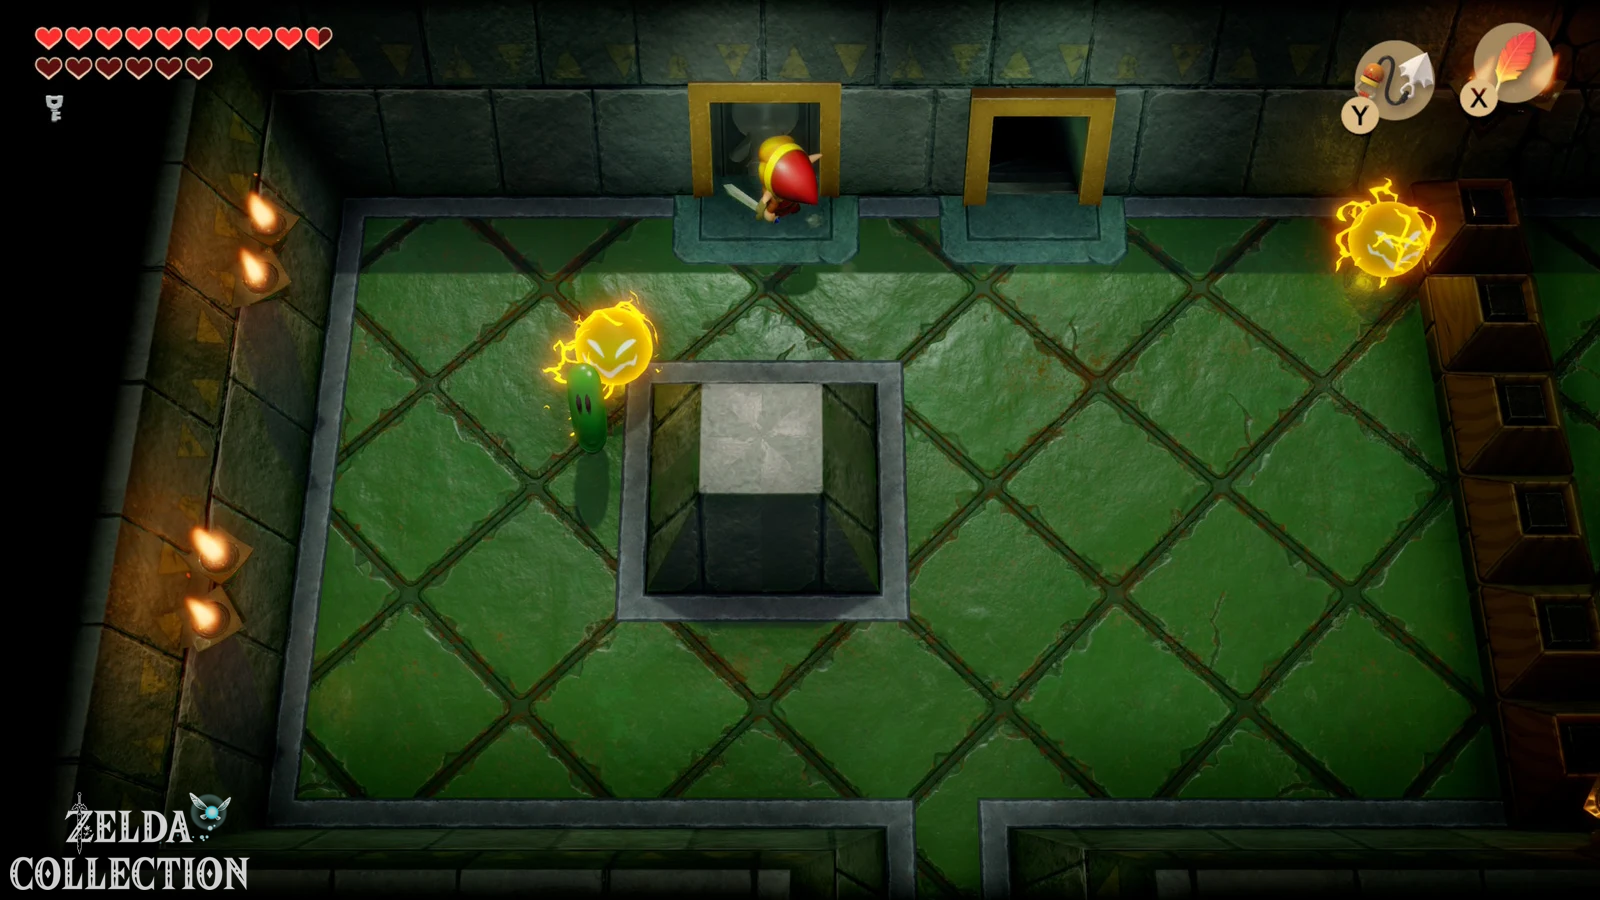
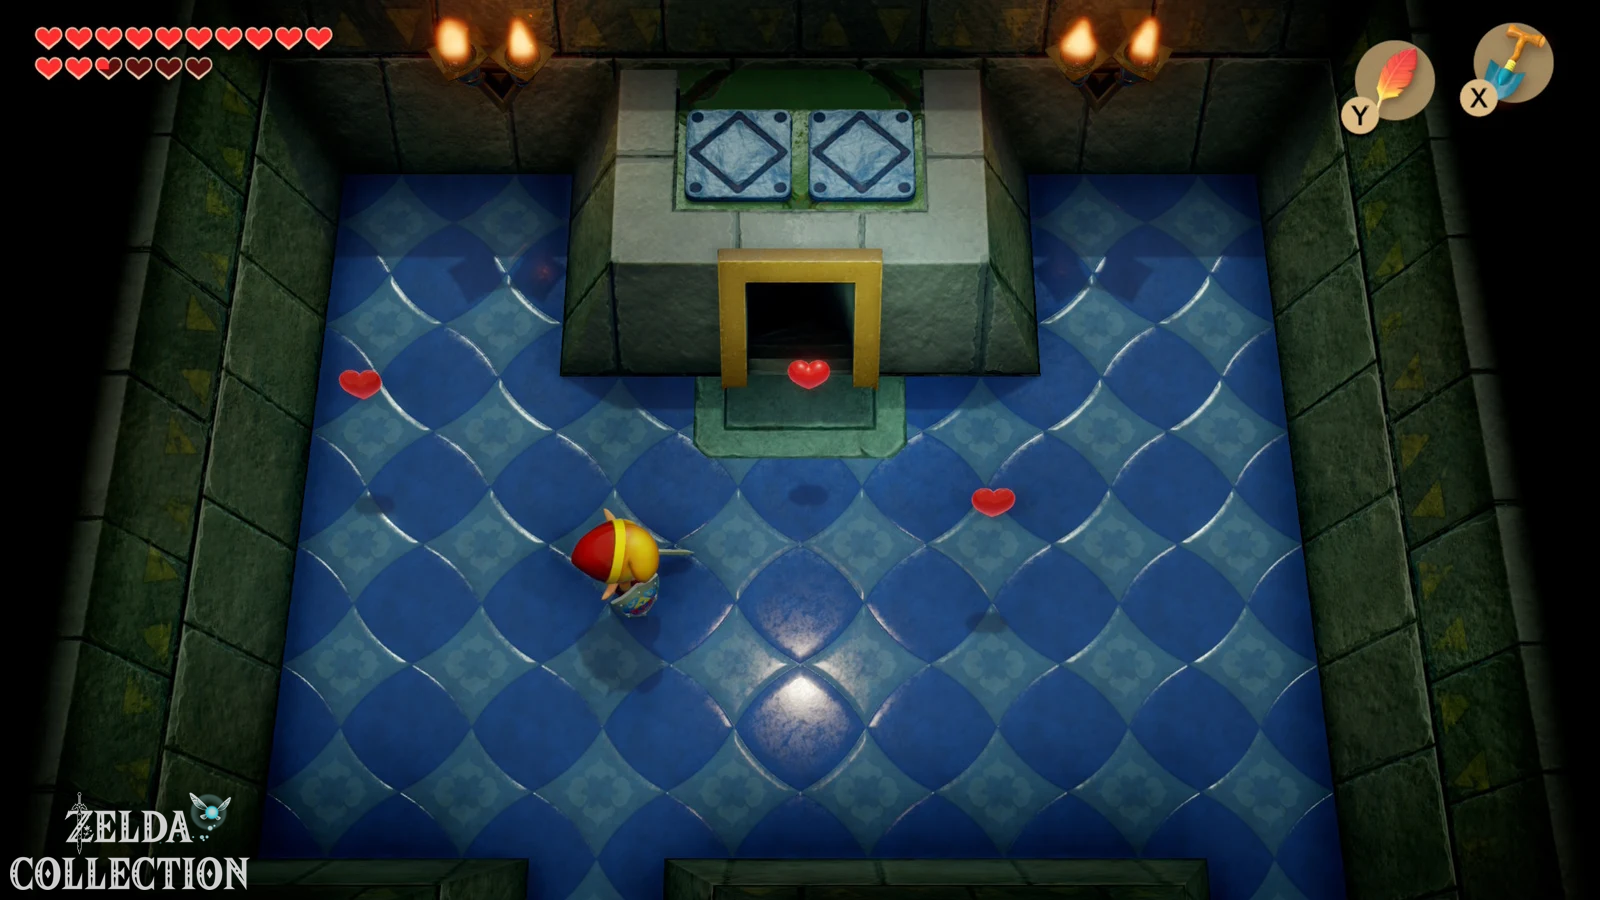
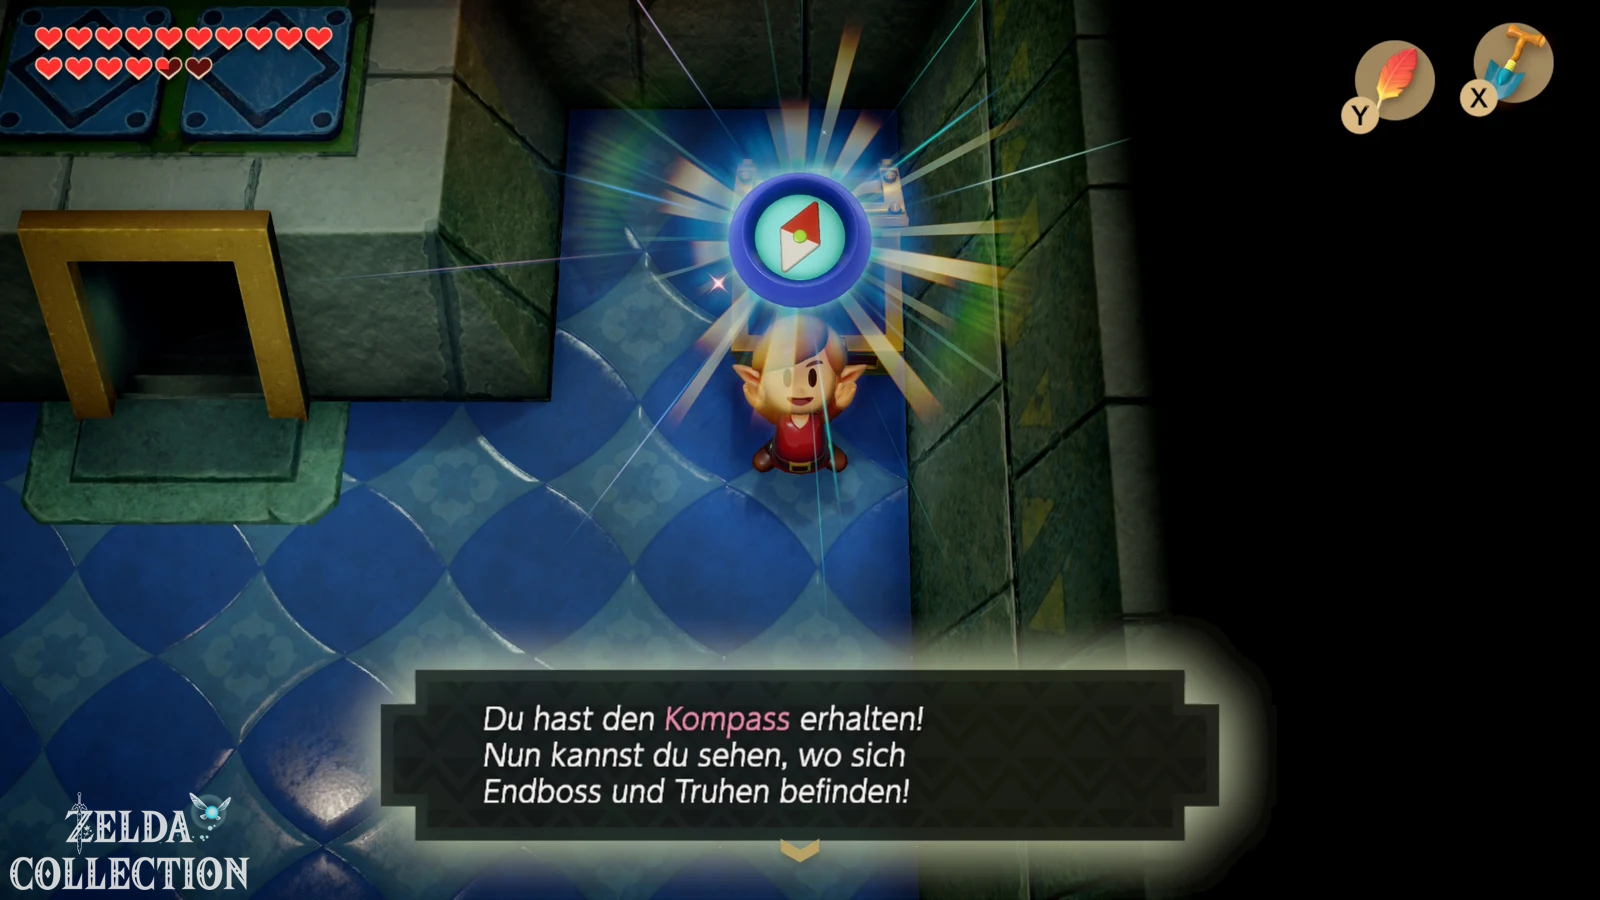
In the next room there are three opponents waiting again with changing card symbols. As in the Tail Cave, they all have to show the same symbol at the end. It’s best to charge up a spin attack and try to hit multiple enemies at the same time; Alternatively, hit them one at a time in a controlled manner until all three symbols match. The chest will then appear with the Compass.
Then take the iron ball down through the left passage. The third pillar is already there, but on the wrong side of a barrier. Throw the ball over the obstacle and leave it there for now. We have to take a different path to get to the right side ourselves.
Return via the flying floor tiles to the sphere
Go back and climb the stairs down one floor. Follow the raised ledge to the left, defeat the Anti-Kirby and take the path back to the second floor. Then go through the one-way door. In the next room, all the floor tiles fly towards Link one after the other. Stand in a corner and hold up the Mirror Shield or shield. The plates break on impact. Once the room is empty, the door to the right opens.
You now reach the other side of the room where you previously threw the iron ball. Pick it up again.
Destroy Pillar 3
Throw the iron ball at the third pillar in the middle of the room. As soon as it collapses, push the block at the bottom into the hole. This creates enough space for the next ball transport. Pick up the iron ball and throw it over the abyss or the low barrier to the right. Jump over with the Roc’s Feather, pick it up again and go into the next room.
Then carry the ball two rooms south to the area with the Crystal Switch. Throw it over the lower barrier there and leave it there again. You now have to take another longer circular route to get to the other side.
Red Hinox and Small Key
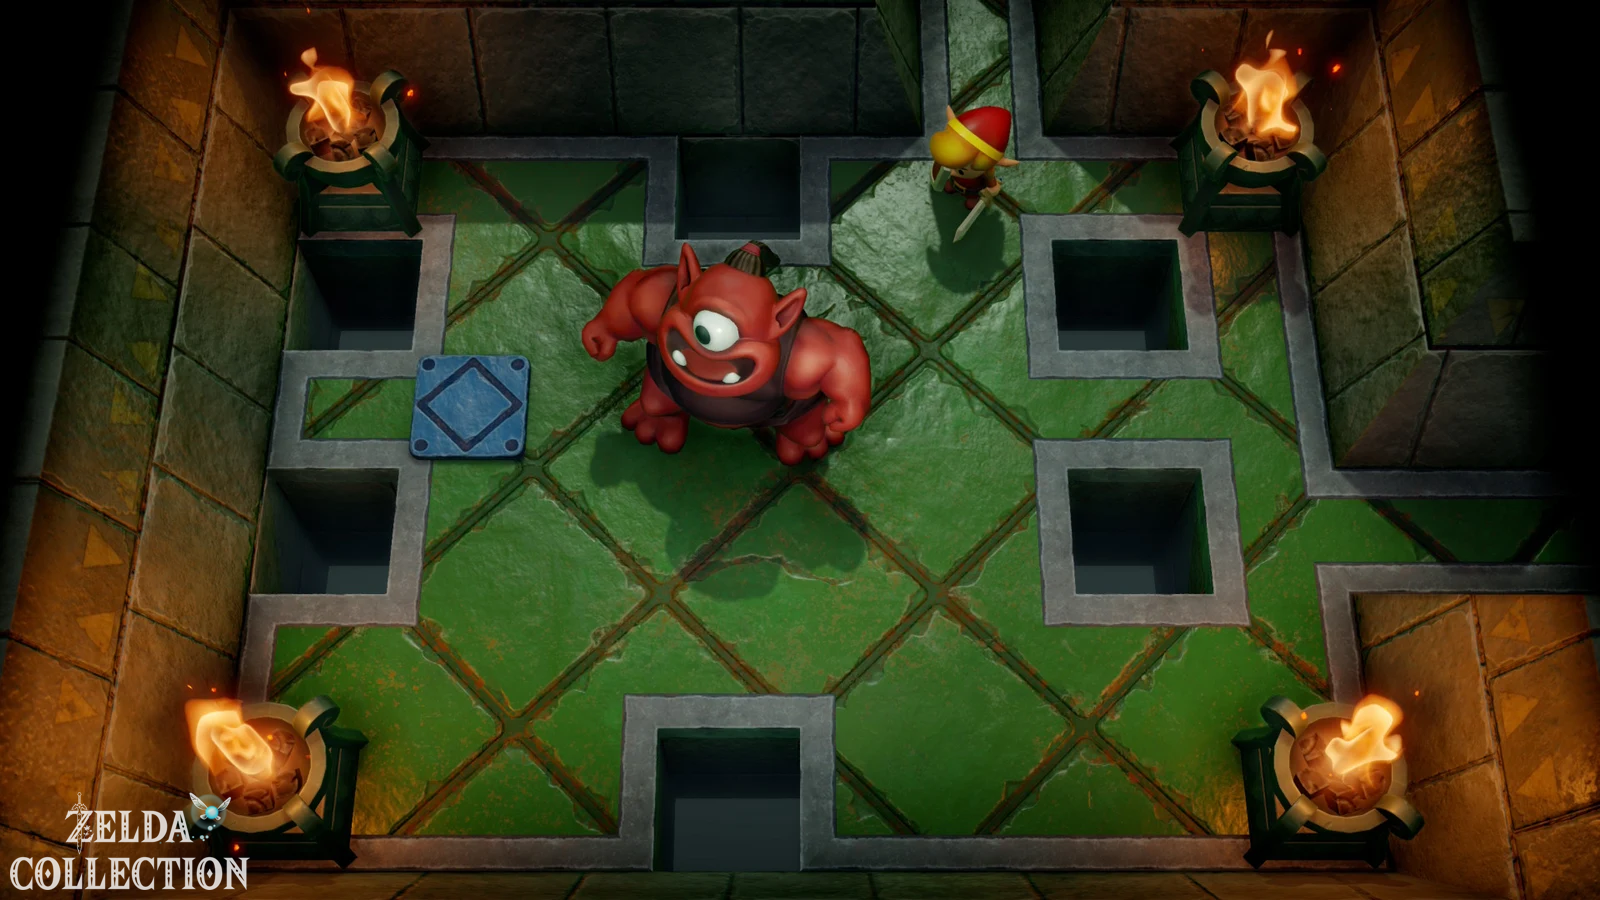
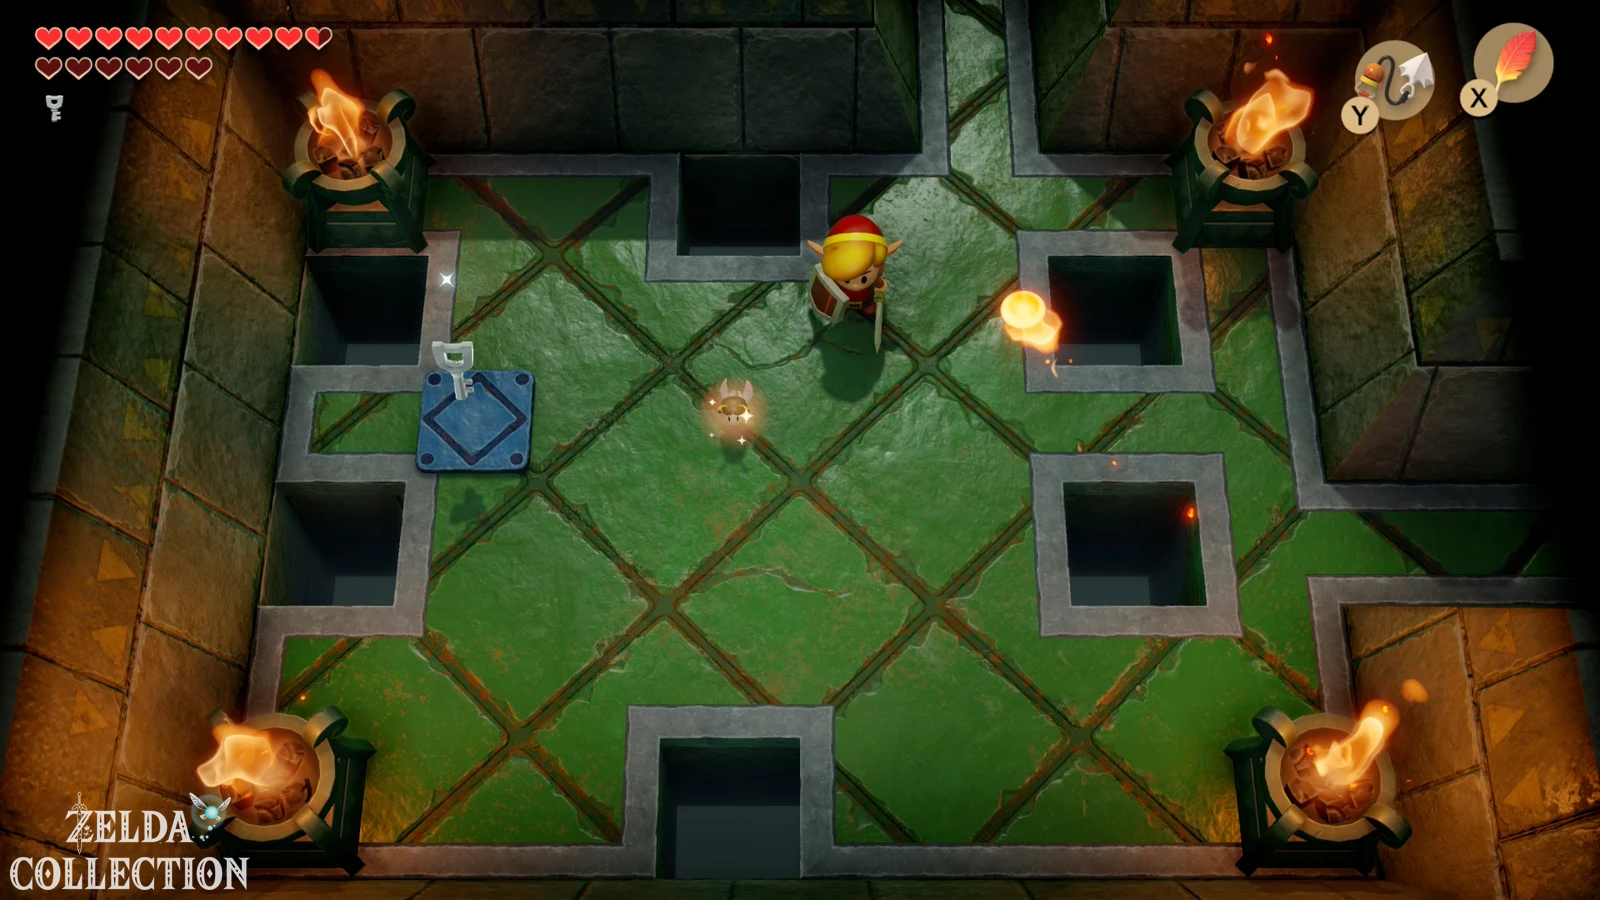
Return via the already familiar rooms and stairs until you reach the area below the upper floor. This time you go south and encounter a red Hinox. It can withstand more than the previous version and also throws bombs. With the Boomerang, the fight is now extremely simple: stay at a distance and hit him repeatedly while dodging his bombs. After the victory, another Small Key falls from the ceiling.
Secret Seashell in Eagle’s Tower
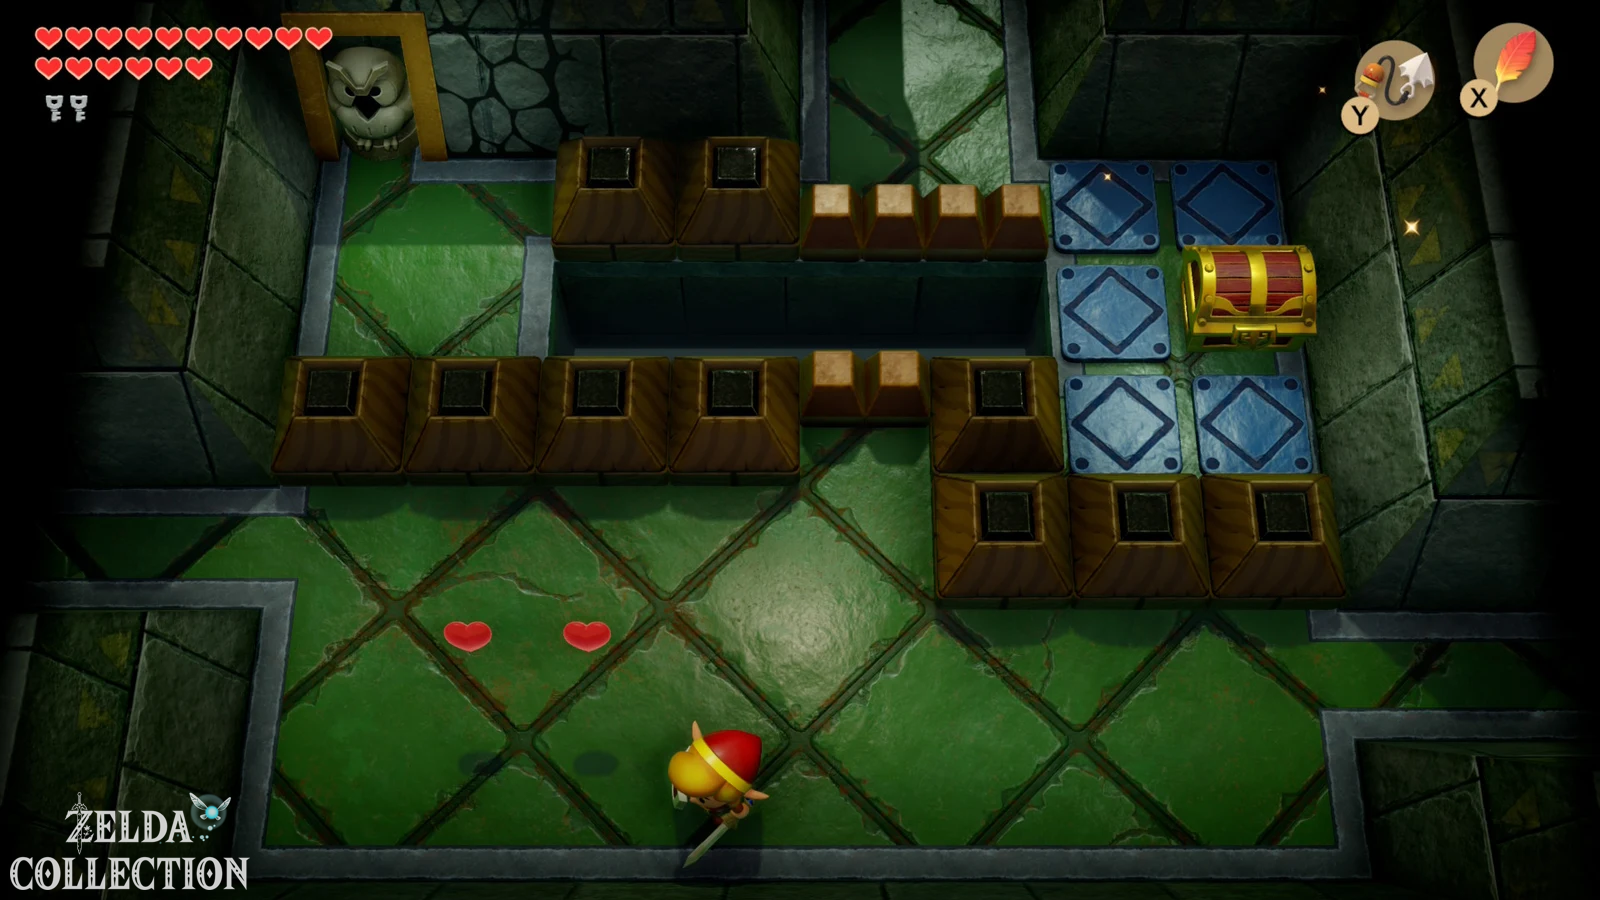
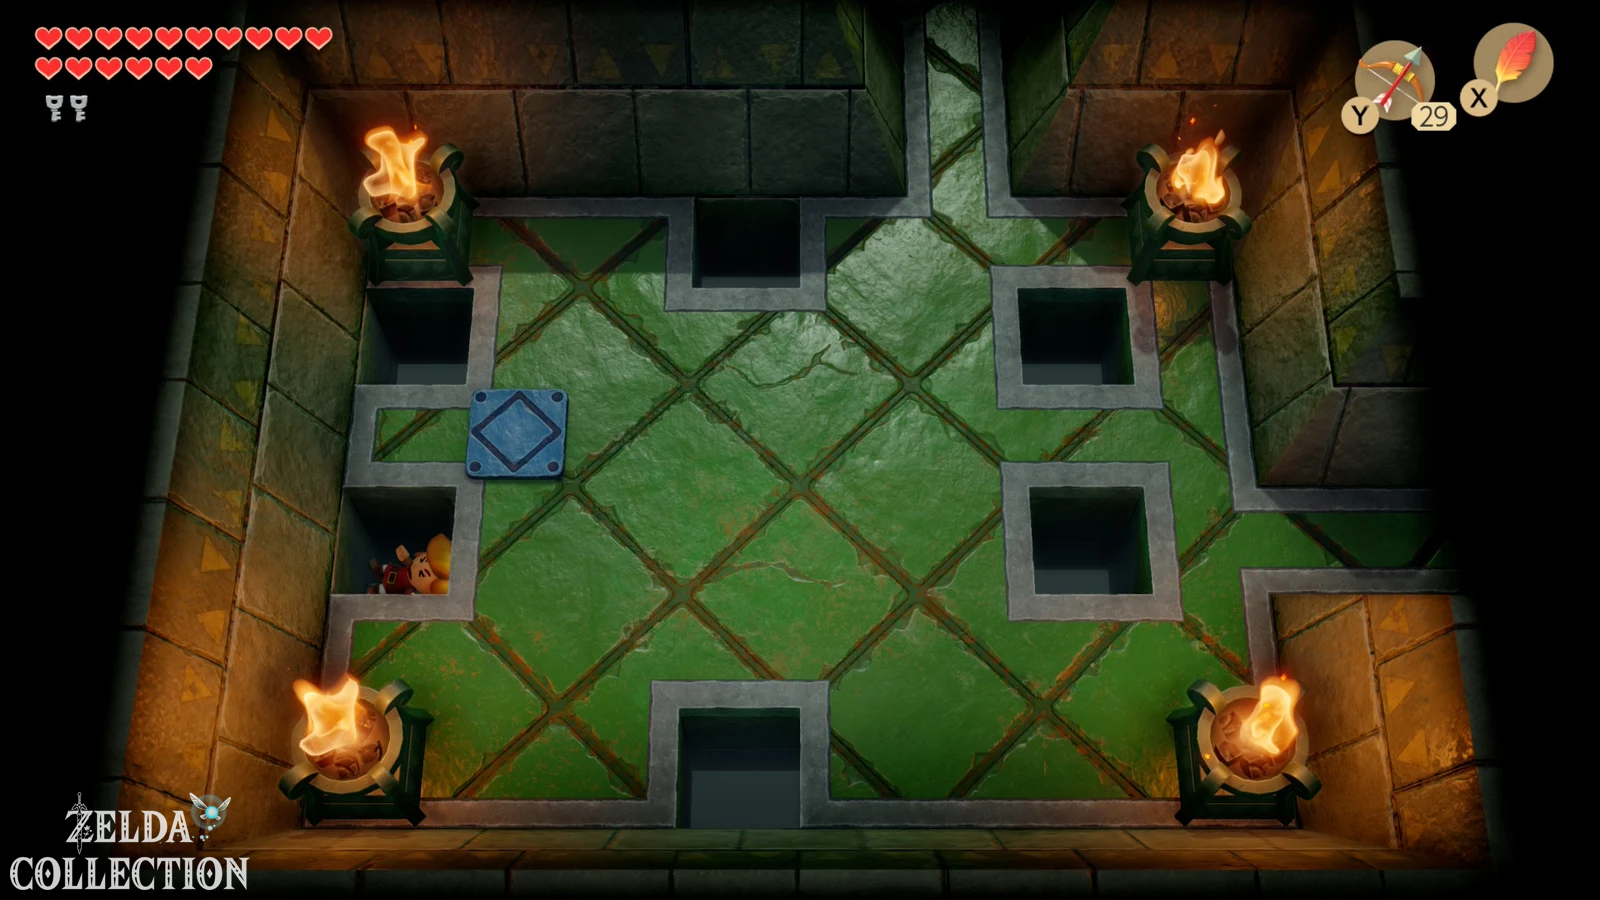
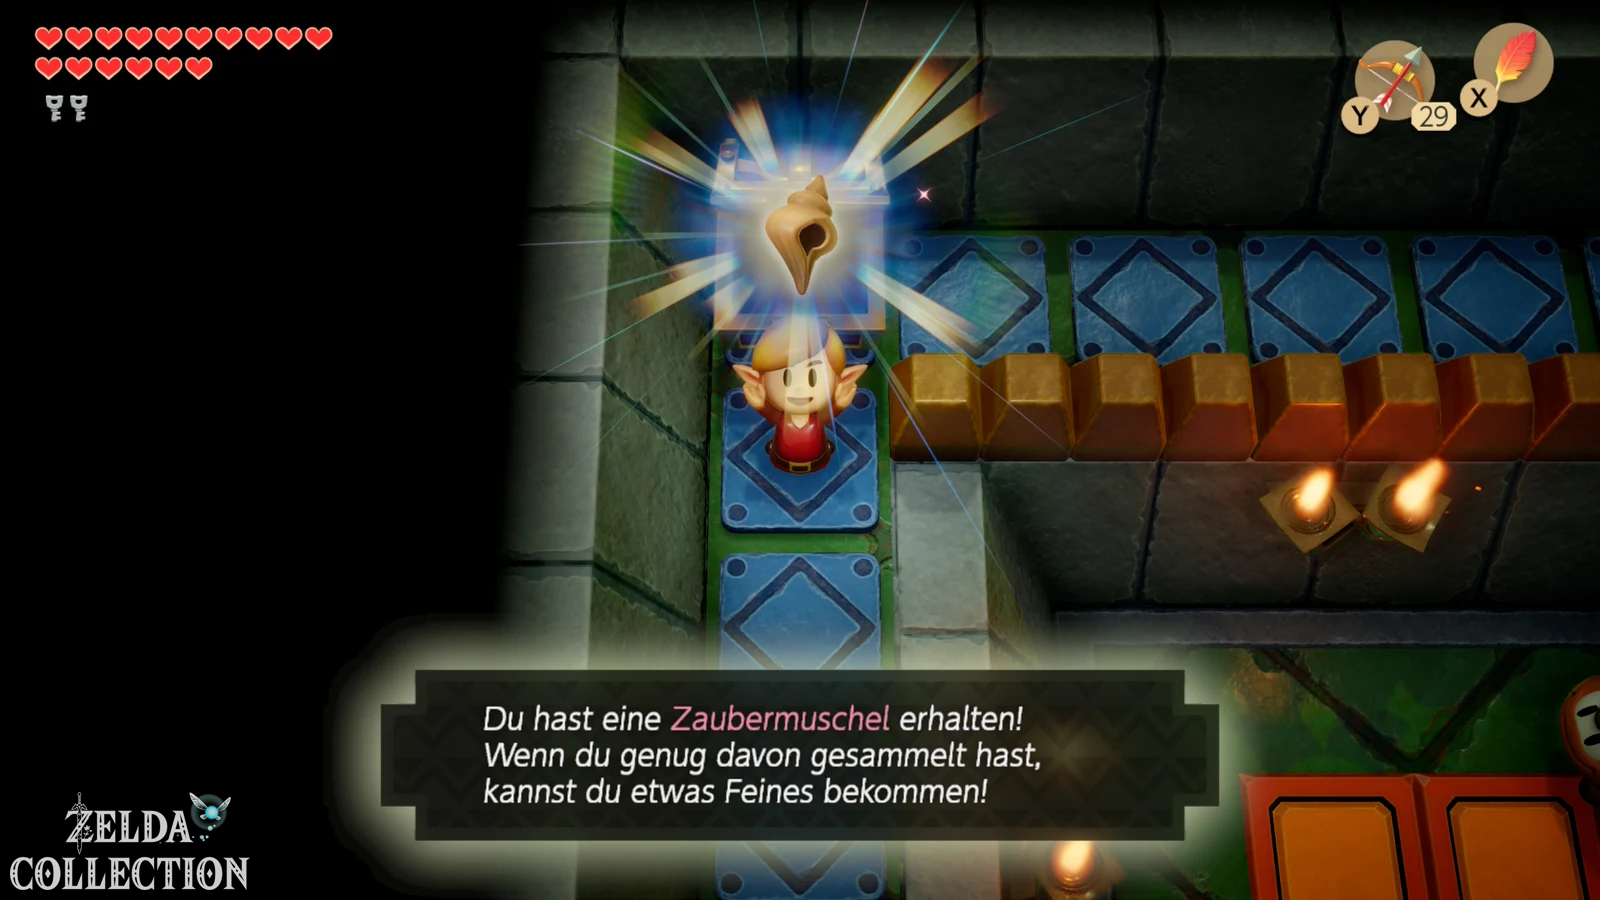
Don’t leave the Hinox room yet. For a 100% score, an easily overlooked Secret Seashell is waiting here. Drop down through one of the left holes in the ground. Link lands on a narrow, raised ledge on the floor below. Follow this ledge north to Treasure Chest and open it. Inside lies the only Secret Seashell of the Eagle’s Tower.
This Location is notable because it already exists in the classic versions. In the original and DX you can also reach one of the last shells by falling onto a raised ledge. The difference lies primarily in the total number: in the remake it is one of 50, in the original/DX it belongs to the much smaller 26 collection.
You can compare all previous Locations at any time with our overview of the Secret Seashells in Link’s Awakening.
Take the iron ball to the fourth pillar
Return to the Hinox room and go right. Defeat the three card opponents there so that their symbols match. A chest appears and also serves as a target point for the Hookshot. First go one more room to the right and pick up the iron ball that you previously threw over the barrier. Carry them back to the room with the card opponents and throw them over the barrier at the top.
Leave the ball there and take the circular route over the one-way door and the room with the flying floor tiles. Then go into the room to the right. On the southern wall you can see a fragile spot between or near the torches. Blow them up with a bomb. In the following short corridor you also blow up the next wall and get back to the area with the iron ball. Pull yourself across the gap with the Hookshot at the chest or the suitable target, pick up the orb and go north.
Destroy pillar 4 and collapse the tower
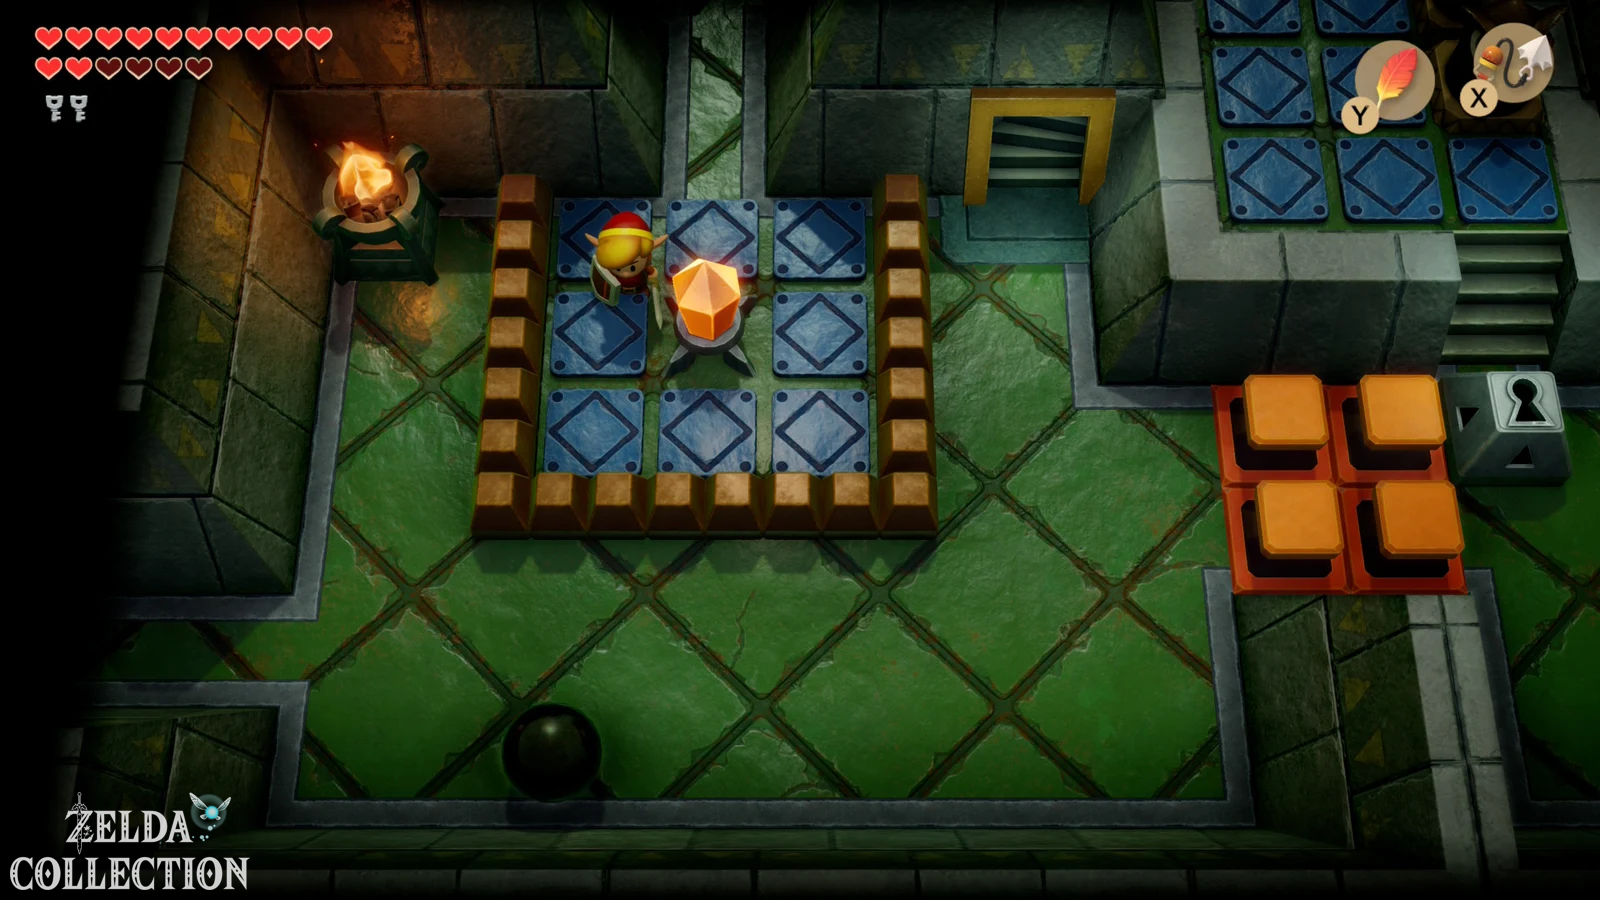
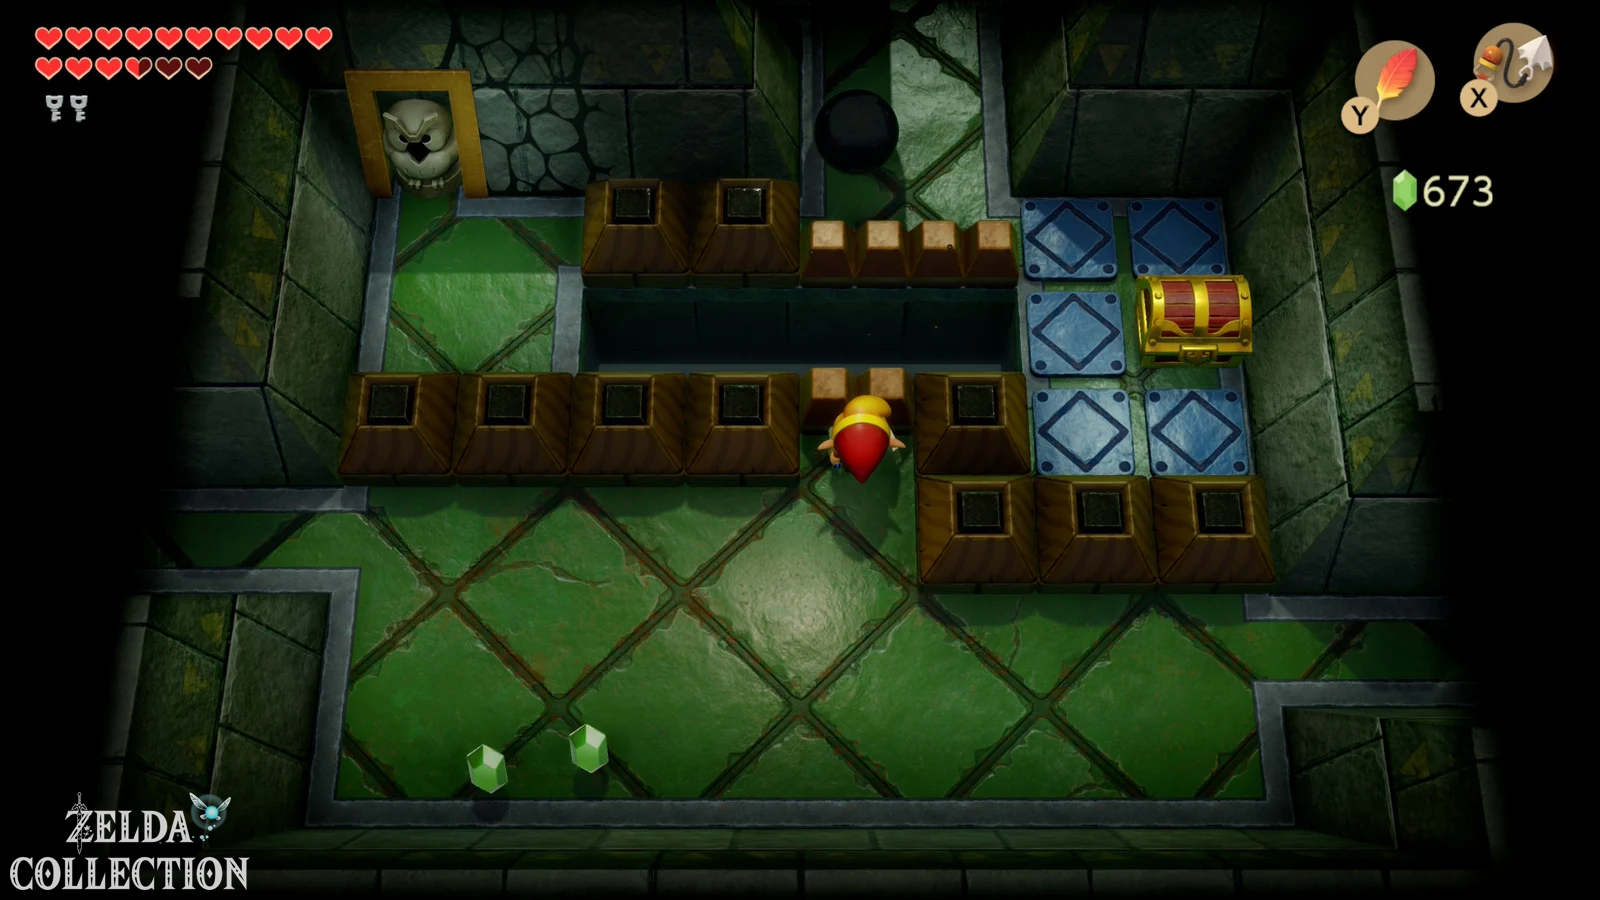
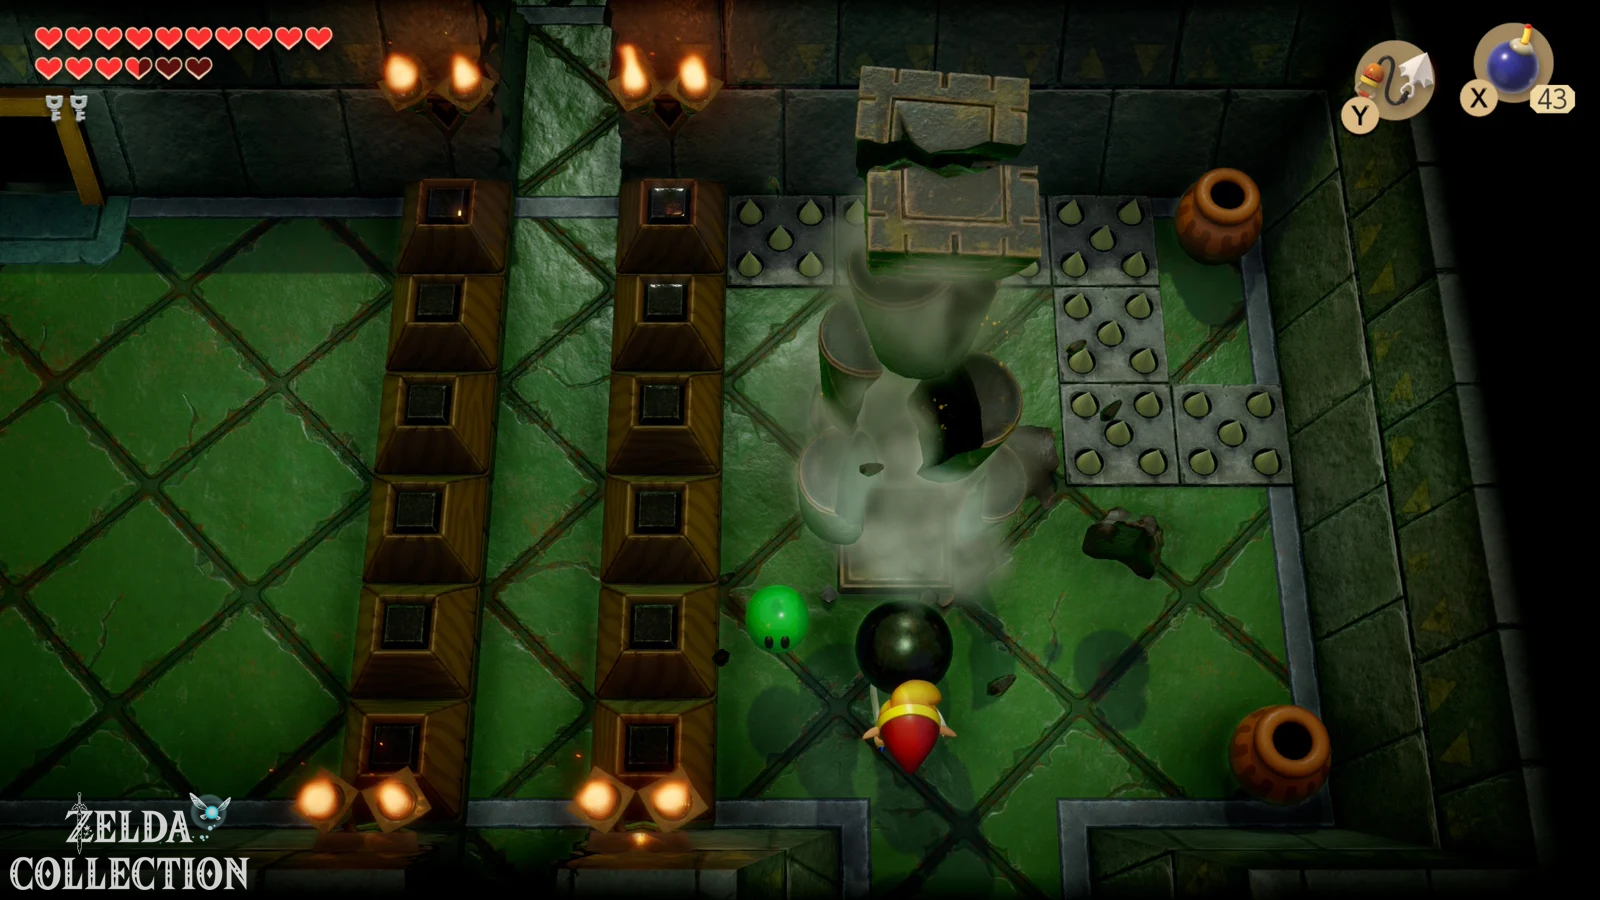
In front of you stands the fourth and final pillar. Throw the iron ball at it. As soon as it breaks, a short sequence follows: The four supports give way and an entire part of the eagle fortress falls down one floor. This permanently changes the architecture of the dungeon and the previously inaccessible upper floor is connected to the rest of the tower.
The iron ball is no longer needed from now on. Drop through the nearby abyss or use Manbo’s Mambo to quickly return to the entrance. The most complicated puzzle of the Eagle’s Tower has been completed.
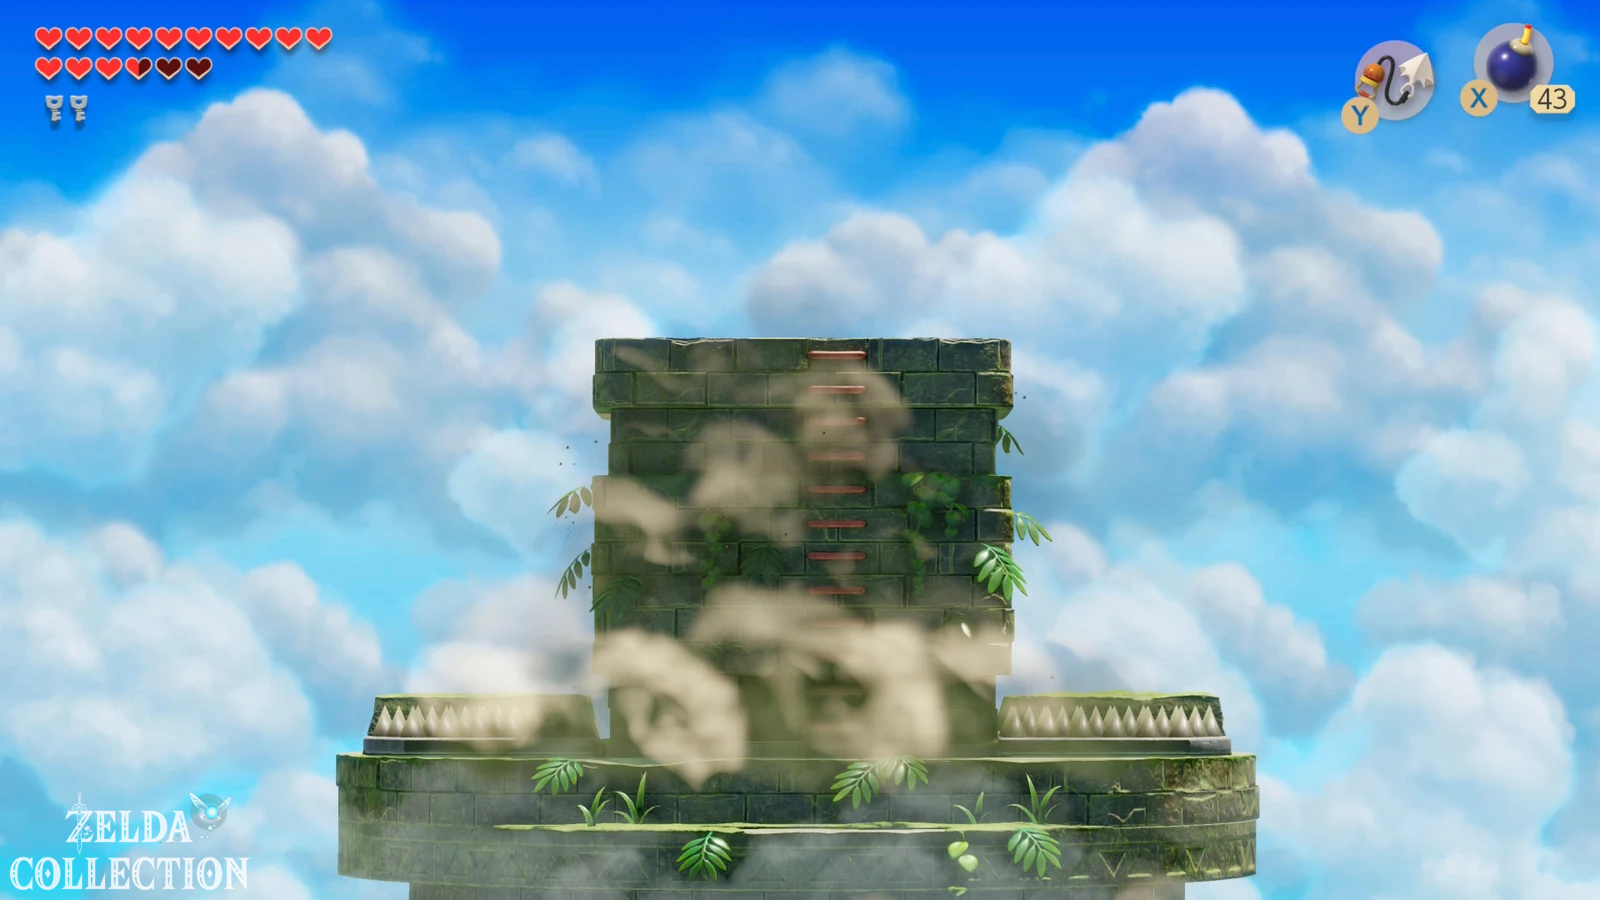
To the newly lowered third floor
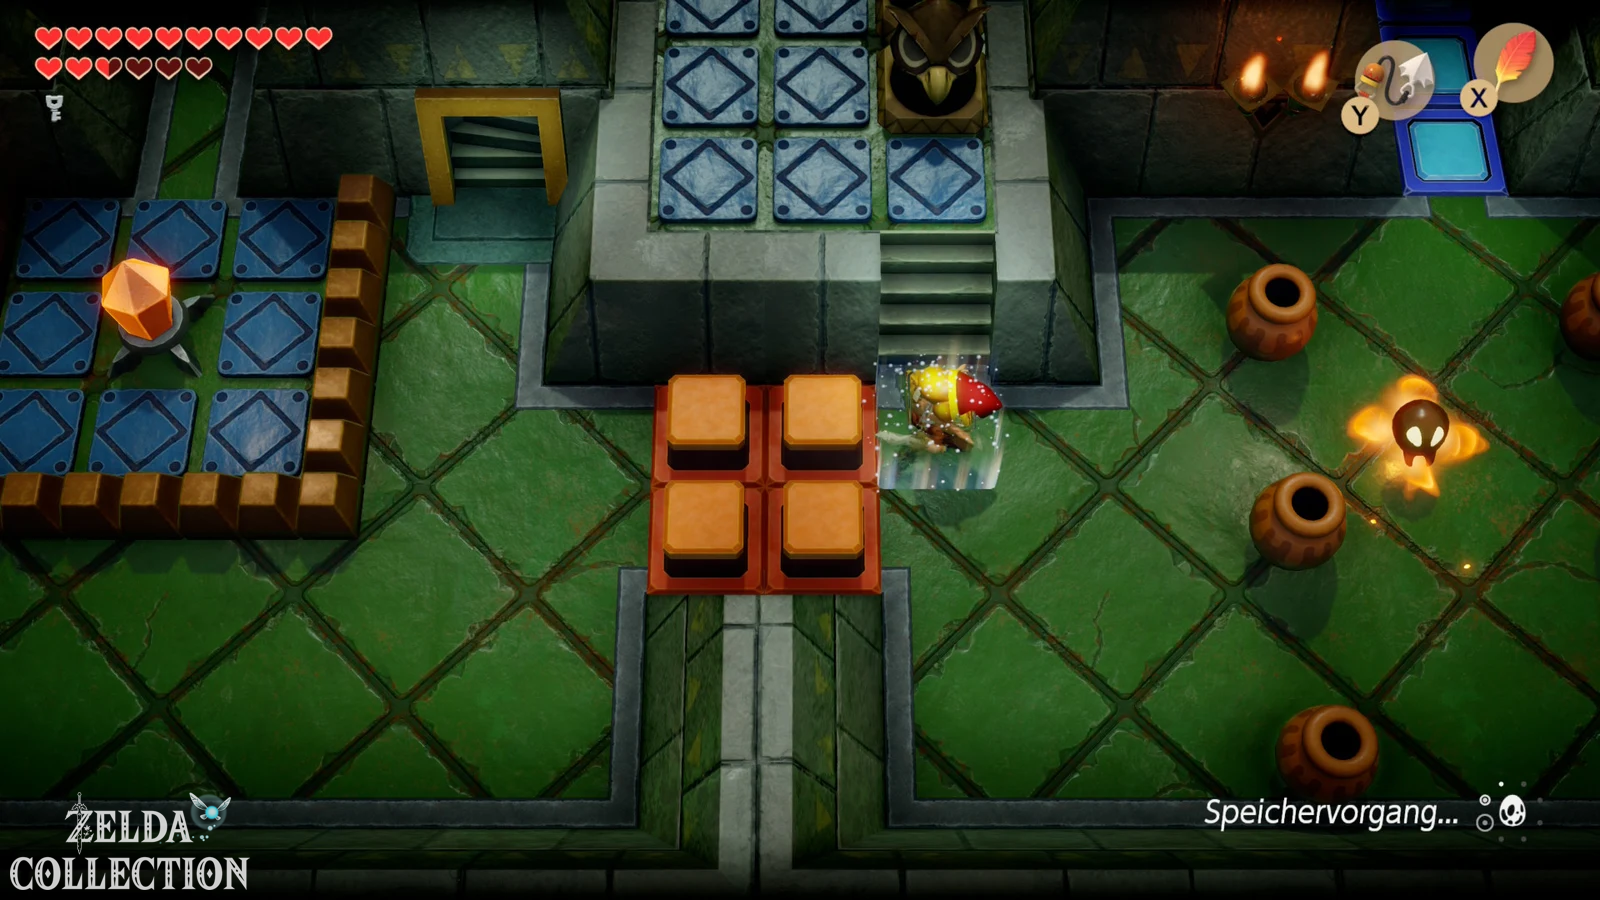
From the entrance, go right twice, then north and up the familiar stairs again. Due to the changed architecture, you can now open a key block, climb the steps and use the newly created connection third floor to reach. Press the button on the way Crystal Switch so that the required blocks are lowered.
You could theoretically enter this floor before, but without the four destroyed pillars, crucial paths were blocked. Now the upper part of the Eagle’s Tower can be completely detached.
Intermediate boss: Grim Creeper
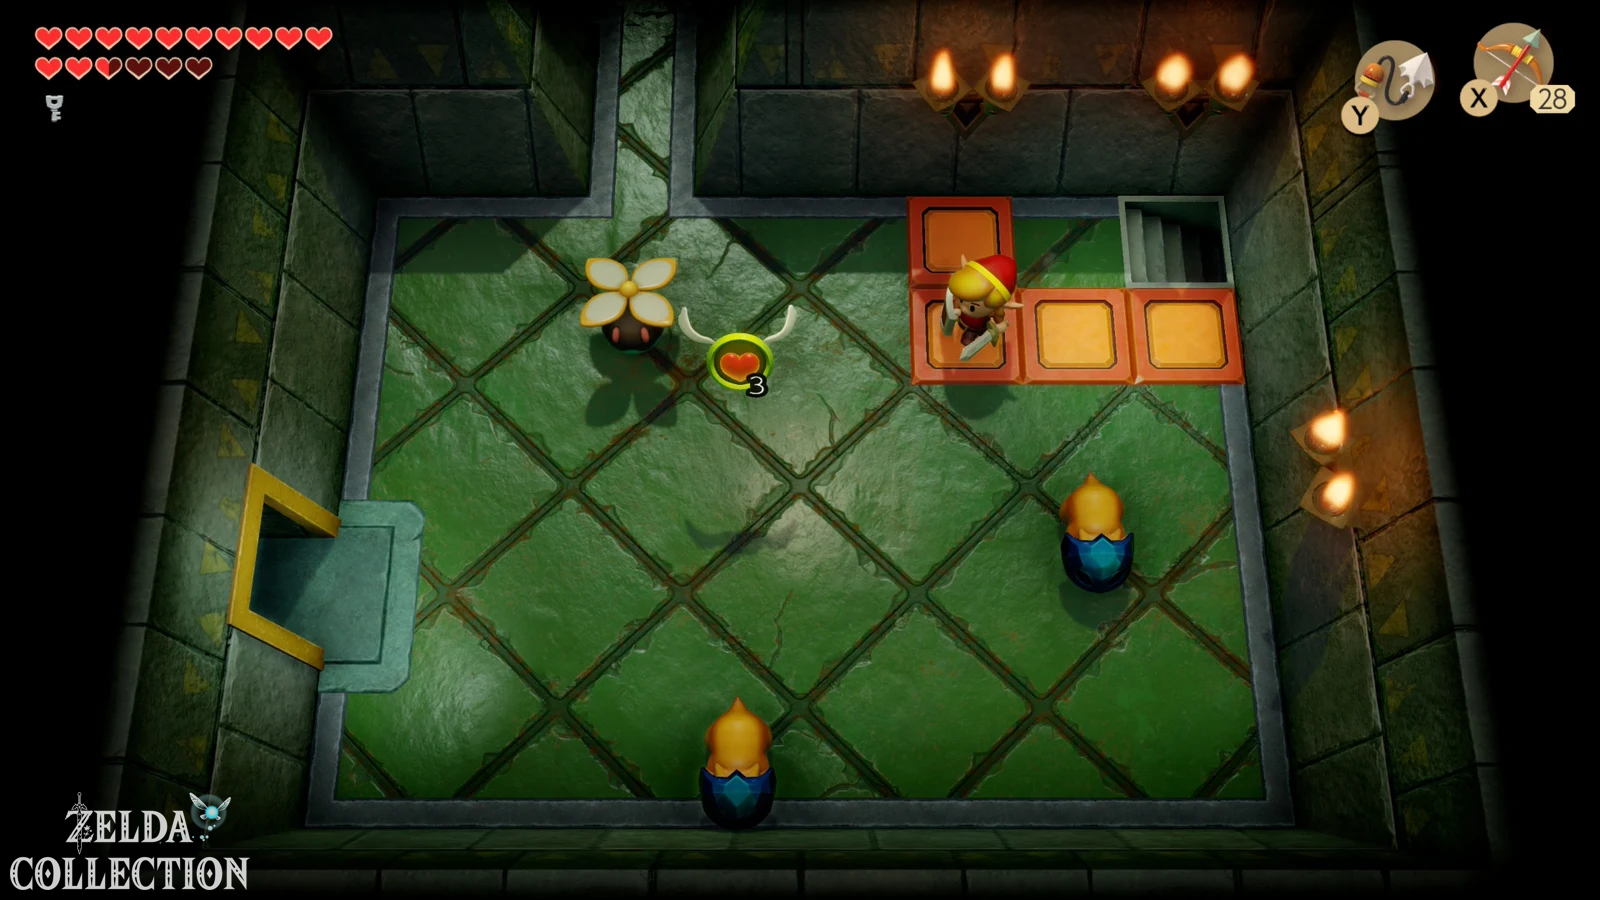
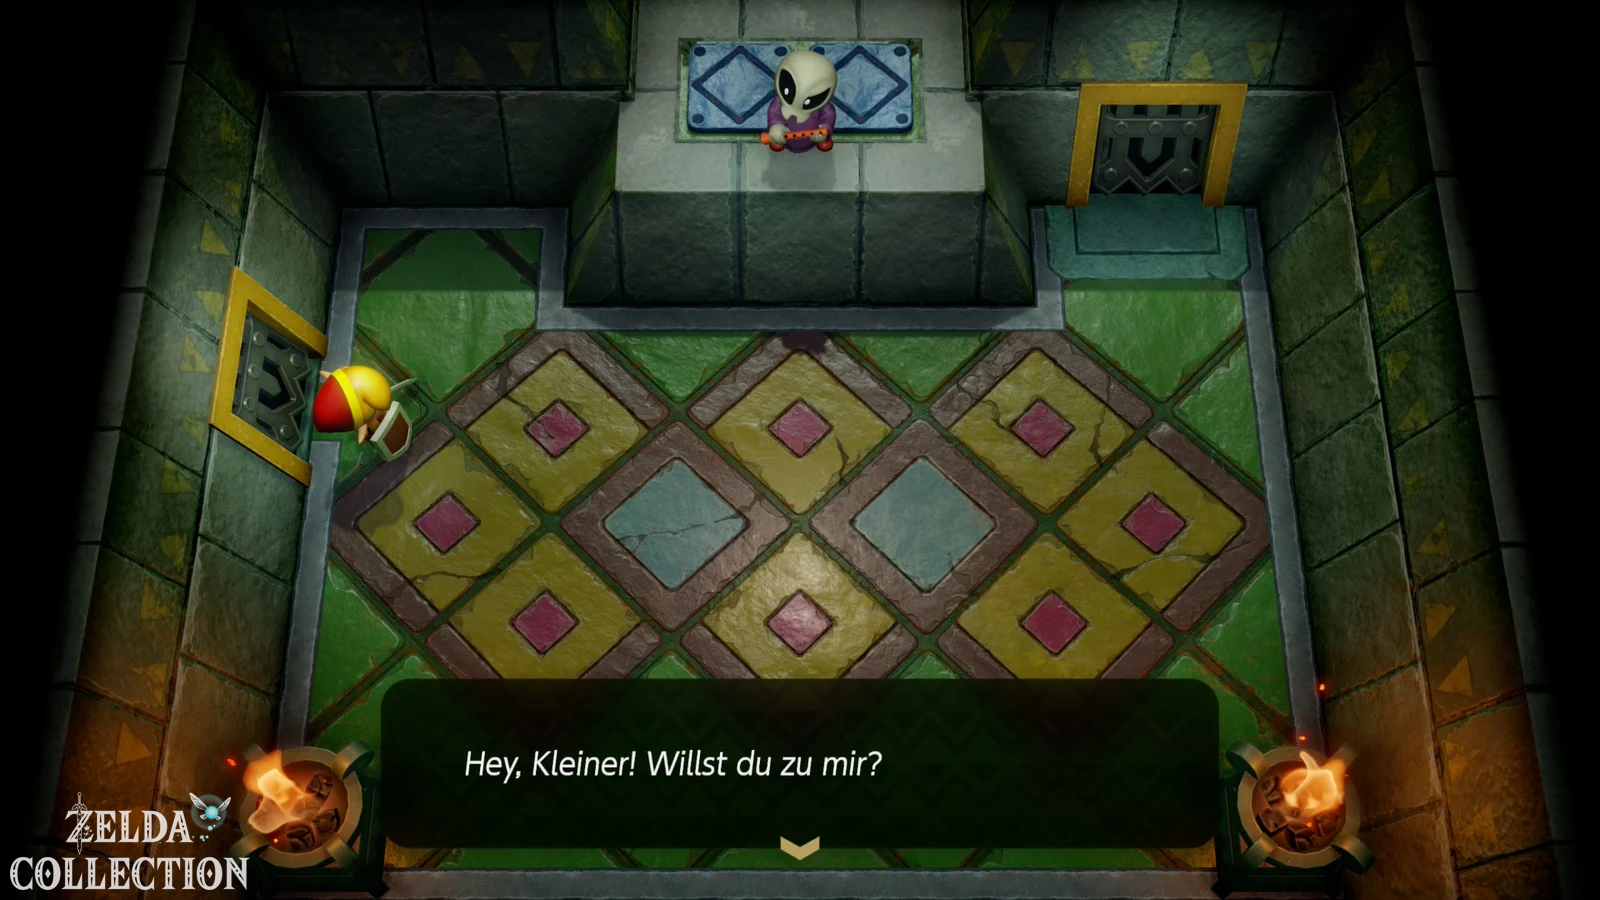
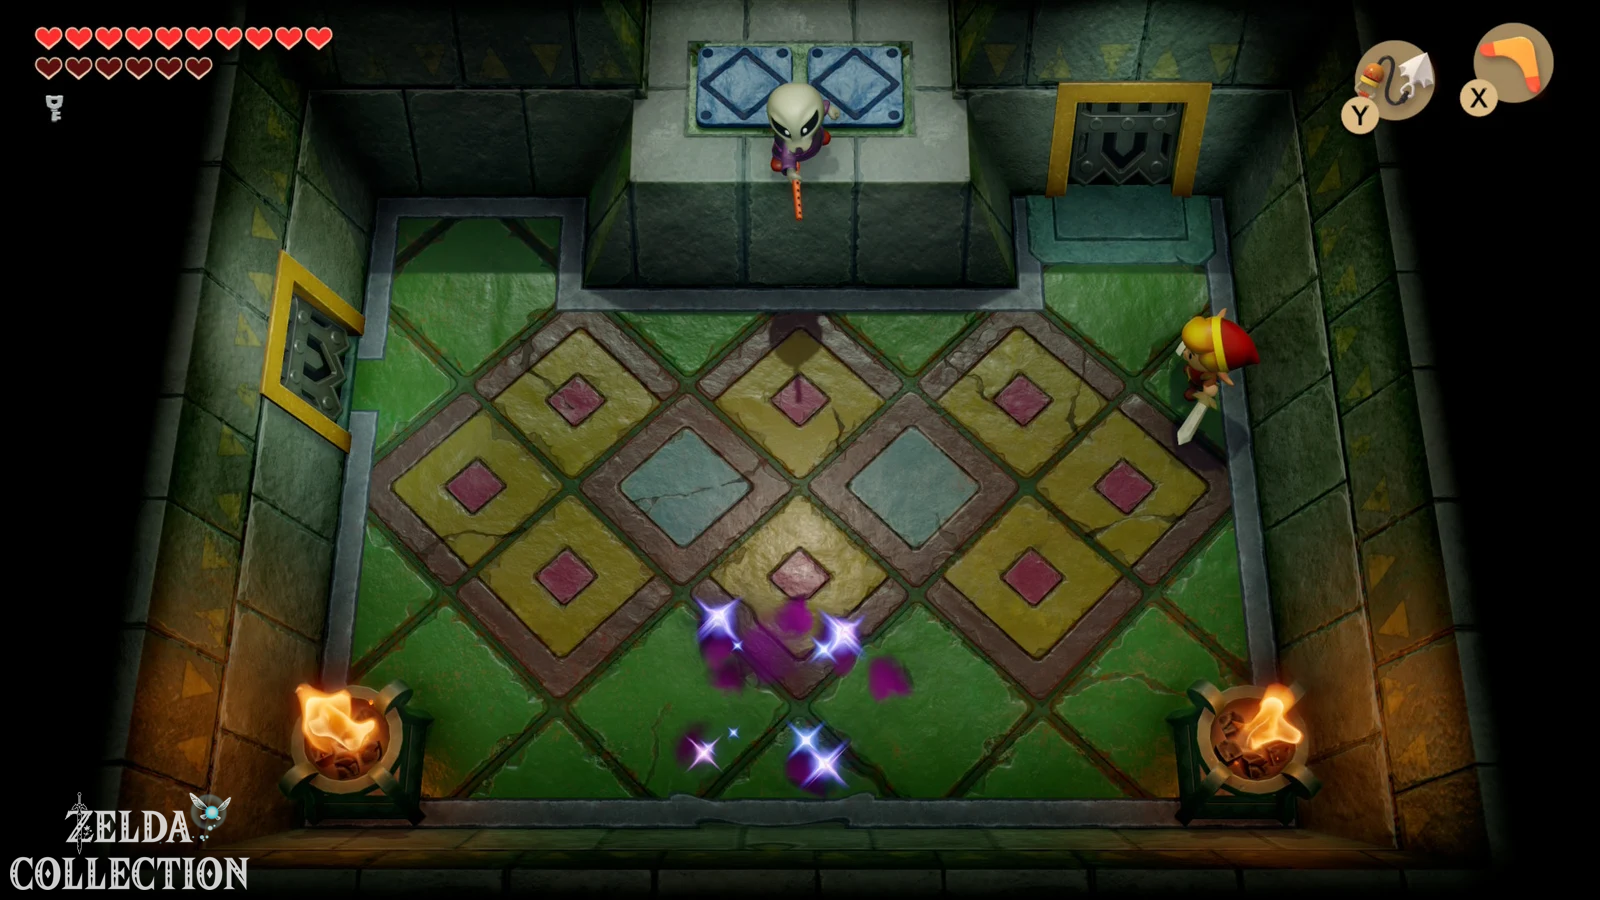
Go up the third floor and then go right. Waiting there Grim Creeper, which doesn’t attack you directly. Instead, he summons six flying creatures, which first form a formation and then rush towards Link one after the other. The key to this fight is not speed, but completeness: you must all six opponents within one attack round defeat. If only one remains, Grim Creeper calls six helpers again and the fight begins again.
Position yourself as centrally as possible or slightly to the edge and hit the approaching enemies with controlled sword strokes. With the Koholint sword and the red armor you now have enough damage so that every hit is reliably enough. The Boomerang can also help, but timing is usually easier with the sword. Once all six have been defeated in one round, Grim Creeper will retreat, leaving a teleporter to the entrance.
Get the Nightmare Key
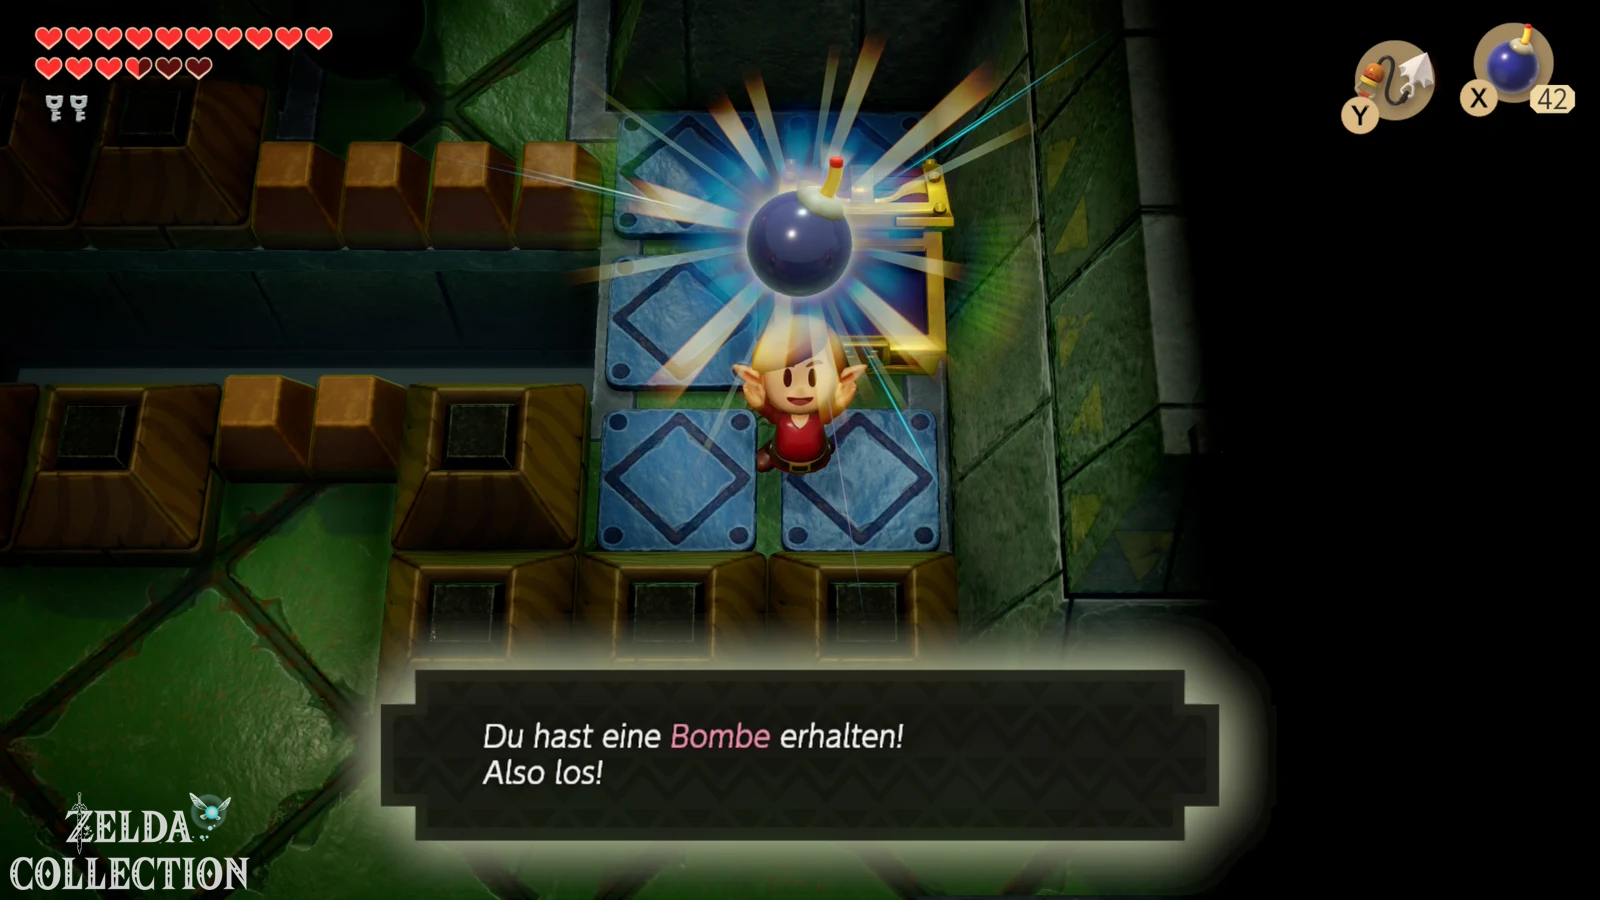
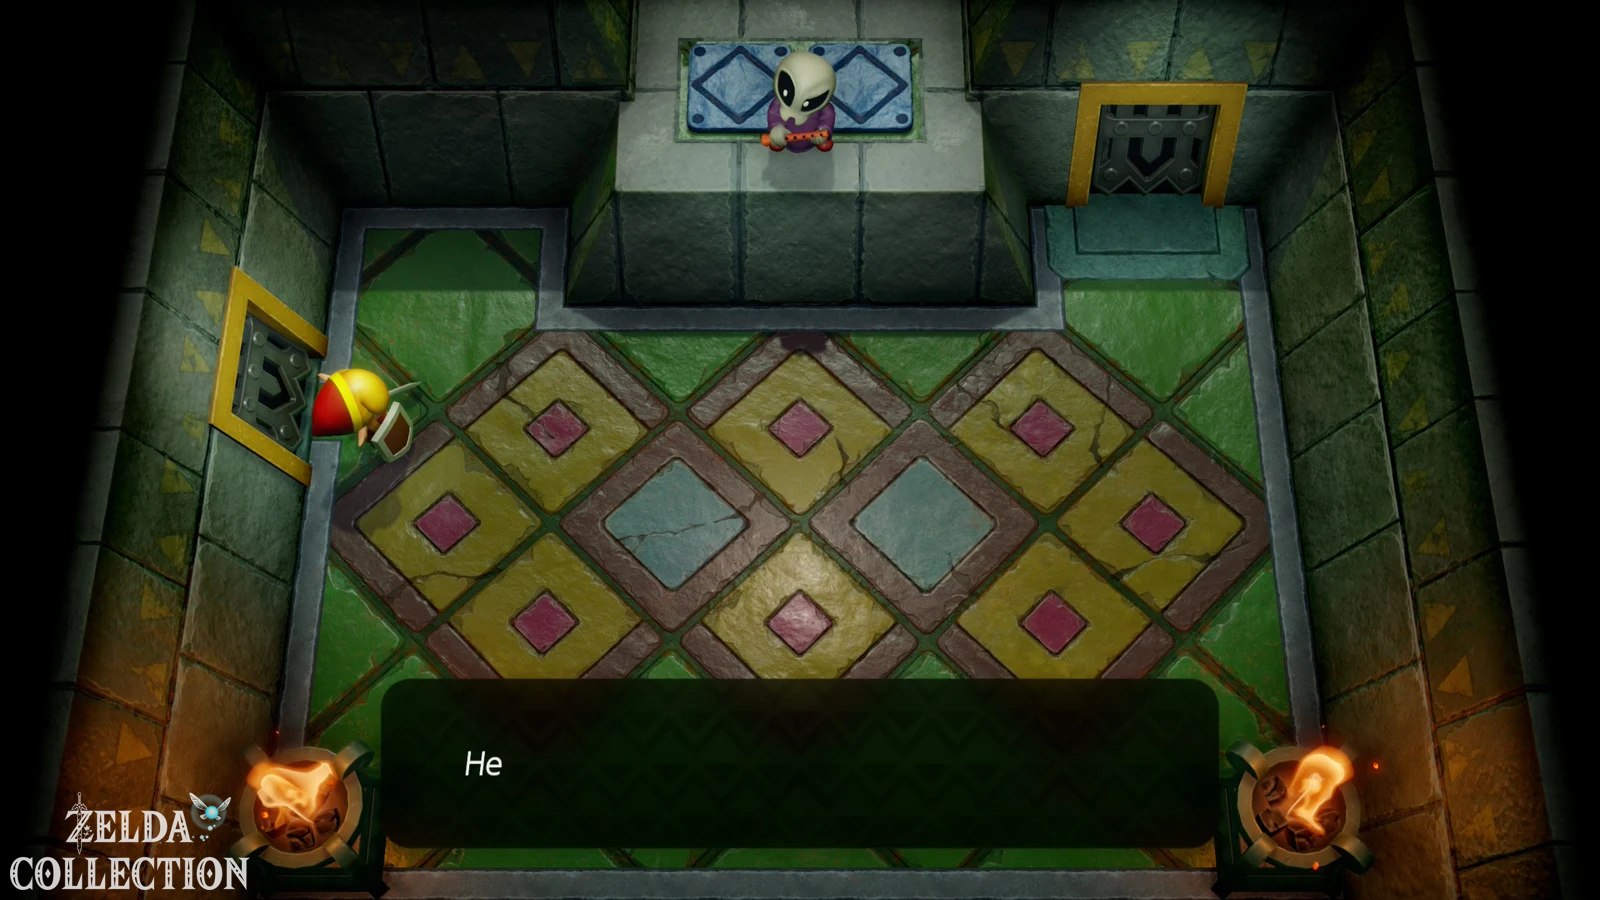
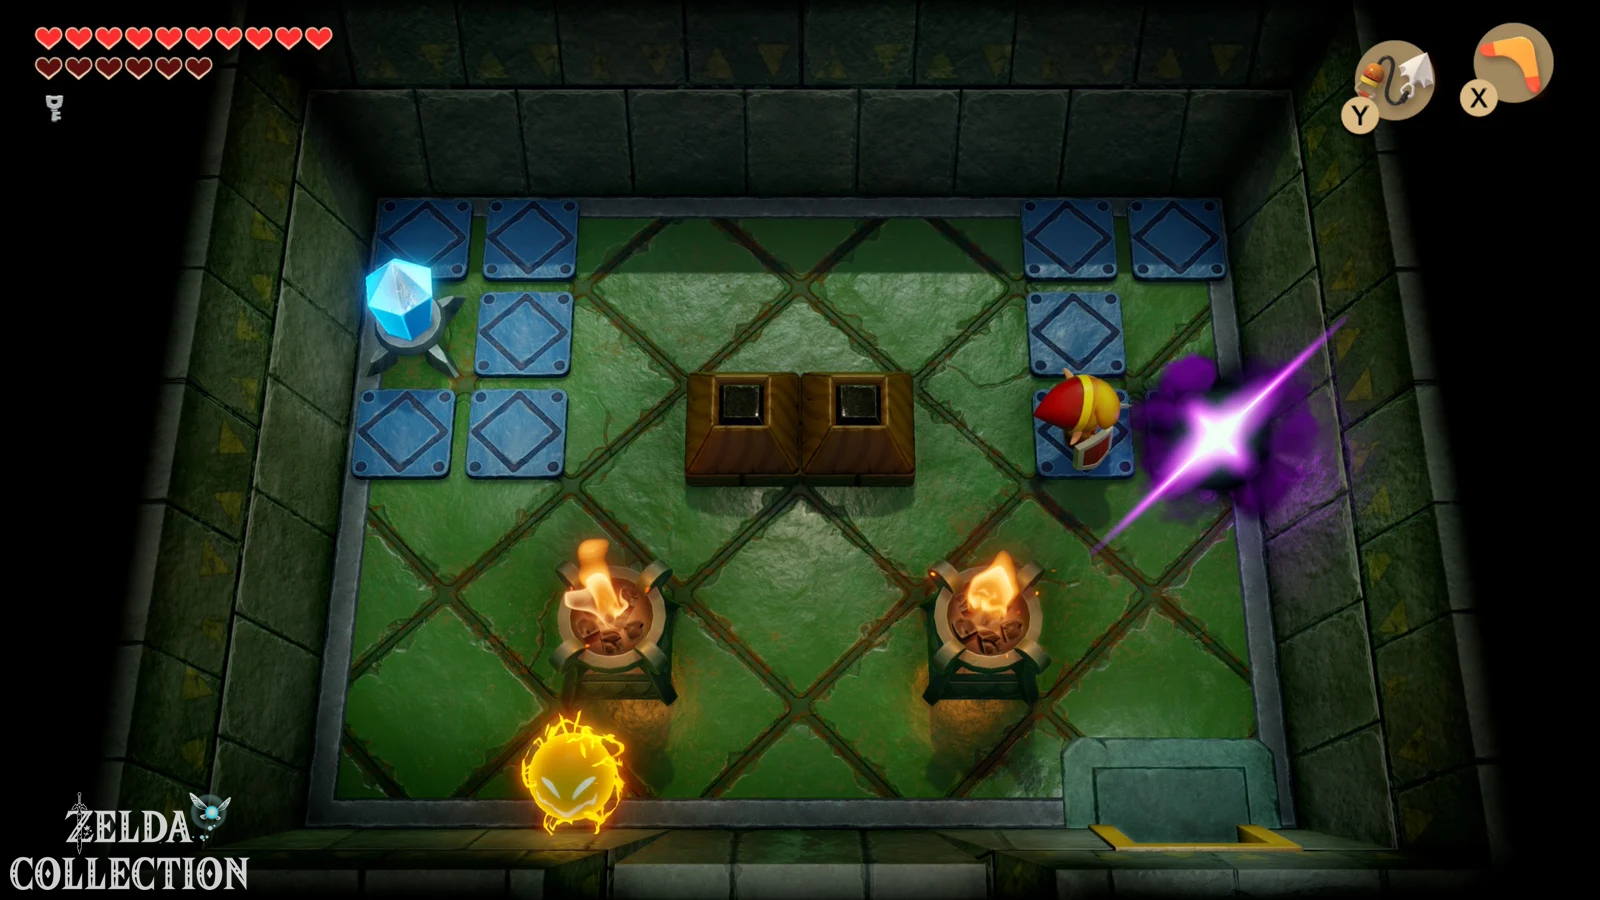
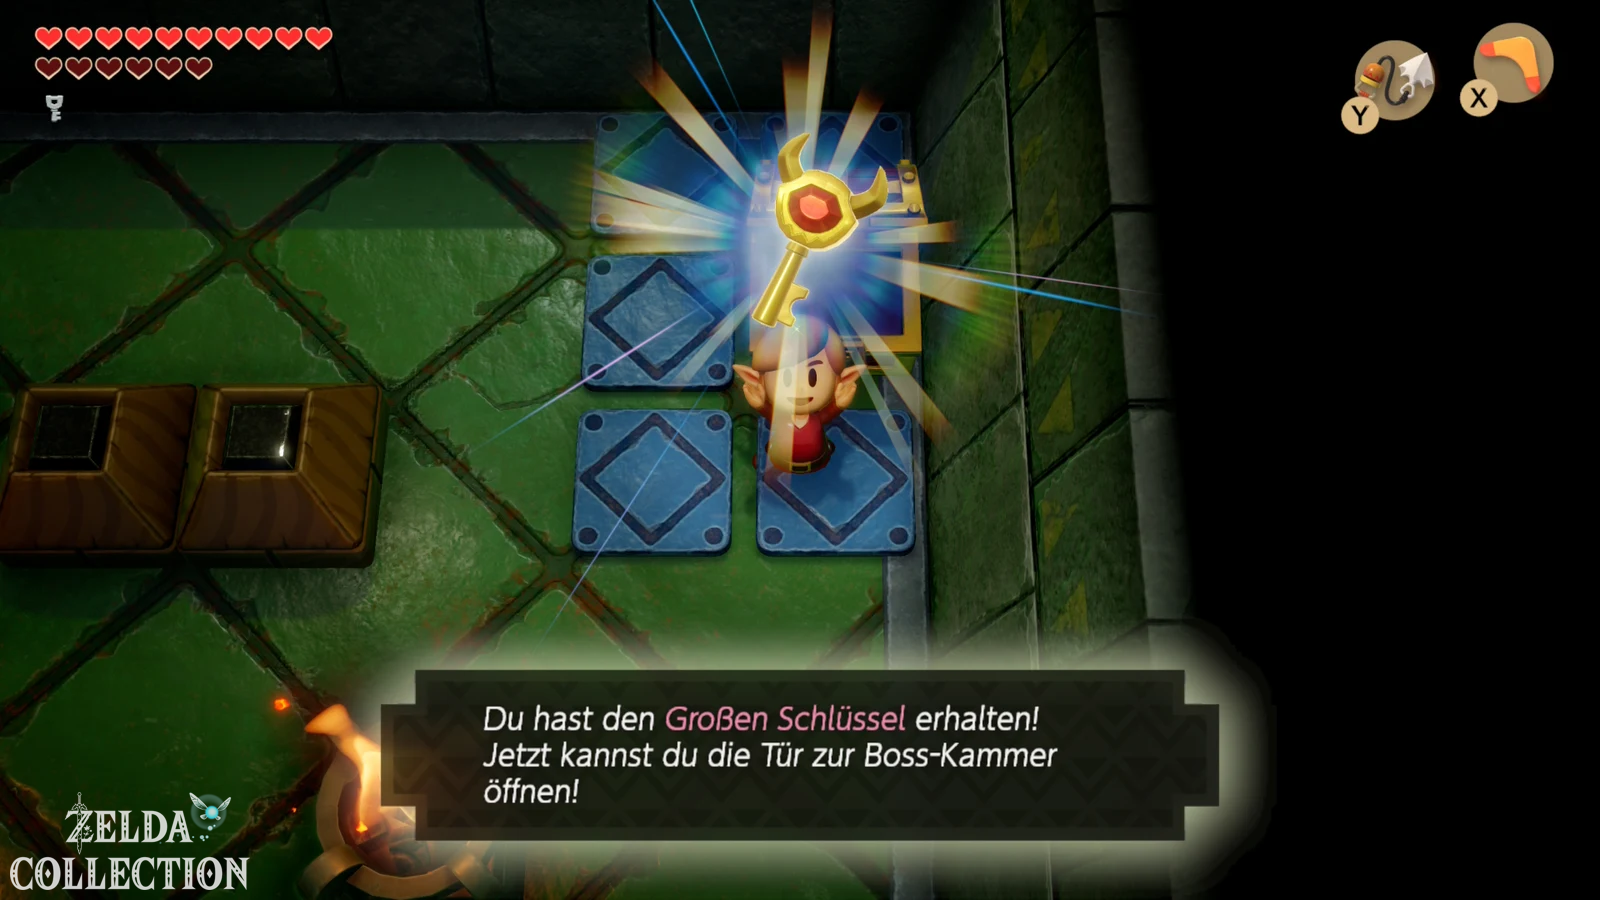
Go north after the intermediate boss. There are several spark opponents in the room, a Crystal Switch and two movable blocks. The Boomerang can even destroy the sparks or transform them into useful fairies so that you can clear the room in peace. Operate the Crystal Switch if necessary and then push both blocks from the outside to the center of the room. As soon as they touch, a chest will appear. Inside lies the Nightmare Key.
Optional Secret Medicine in front of the boss
Follow the western path with the Nightmare Key and open the boss door. The final boss isn’t waiting immediately behind; First you cross several rooms with blade traps and beamos. There are two more horse heads in one of the upper rooms. Throw them until both are standing correctly. This will cause a chest containing Secret Medicine to appear. You can only wear one of these at a time. If you have already bought one from Crazy Tracy or Tracy, the chest remains less important. If you don’t have one yet, be sure to take it with you: The Secret Medicine automatically restores Link’s entire health if you lose all of your hearts in battle.
It’s not a unique 100% collectible, but it’s an excellent backup for the immediate boss fight.
On the roof of the Eagle’s Tower
Return one room and go south. Climb onto the raised area in the upper left corner and use the Hookshot to pull yourself across the large gap to the block on the right. Then go south, to the right and climb the last stairs. Link leaves the dungeon and stands on the roof of the Eagle’s Tower.
Heal yourself with a fairy from a bottle if needed and make sure the Mirror Shield is handy. The seventh boss awaits at the highest point of the tower.
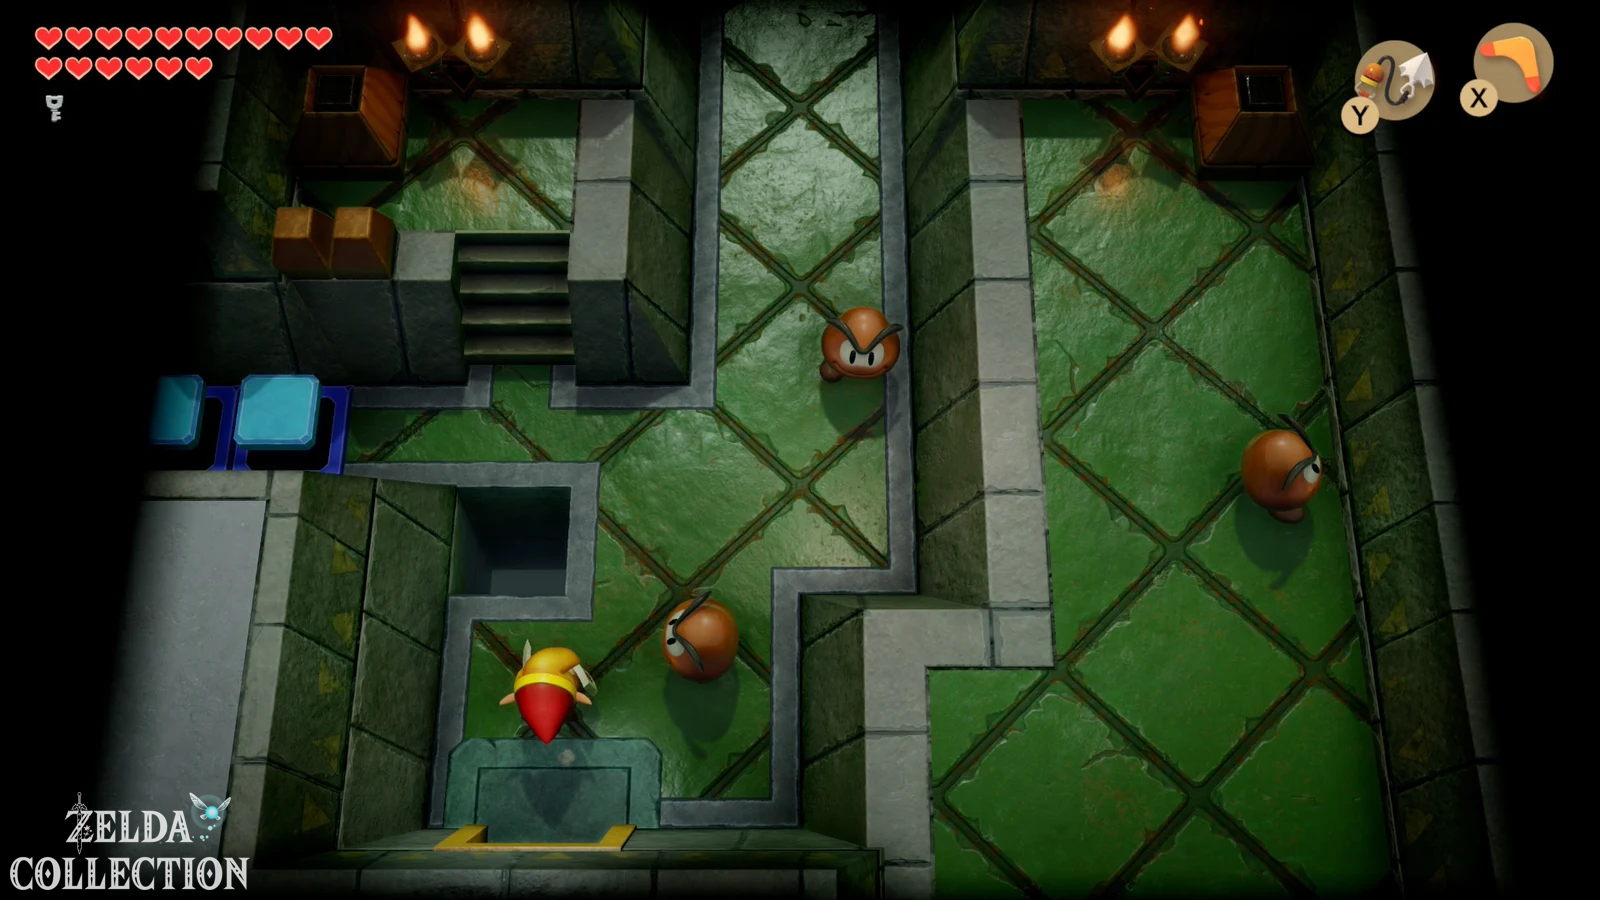
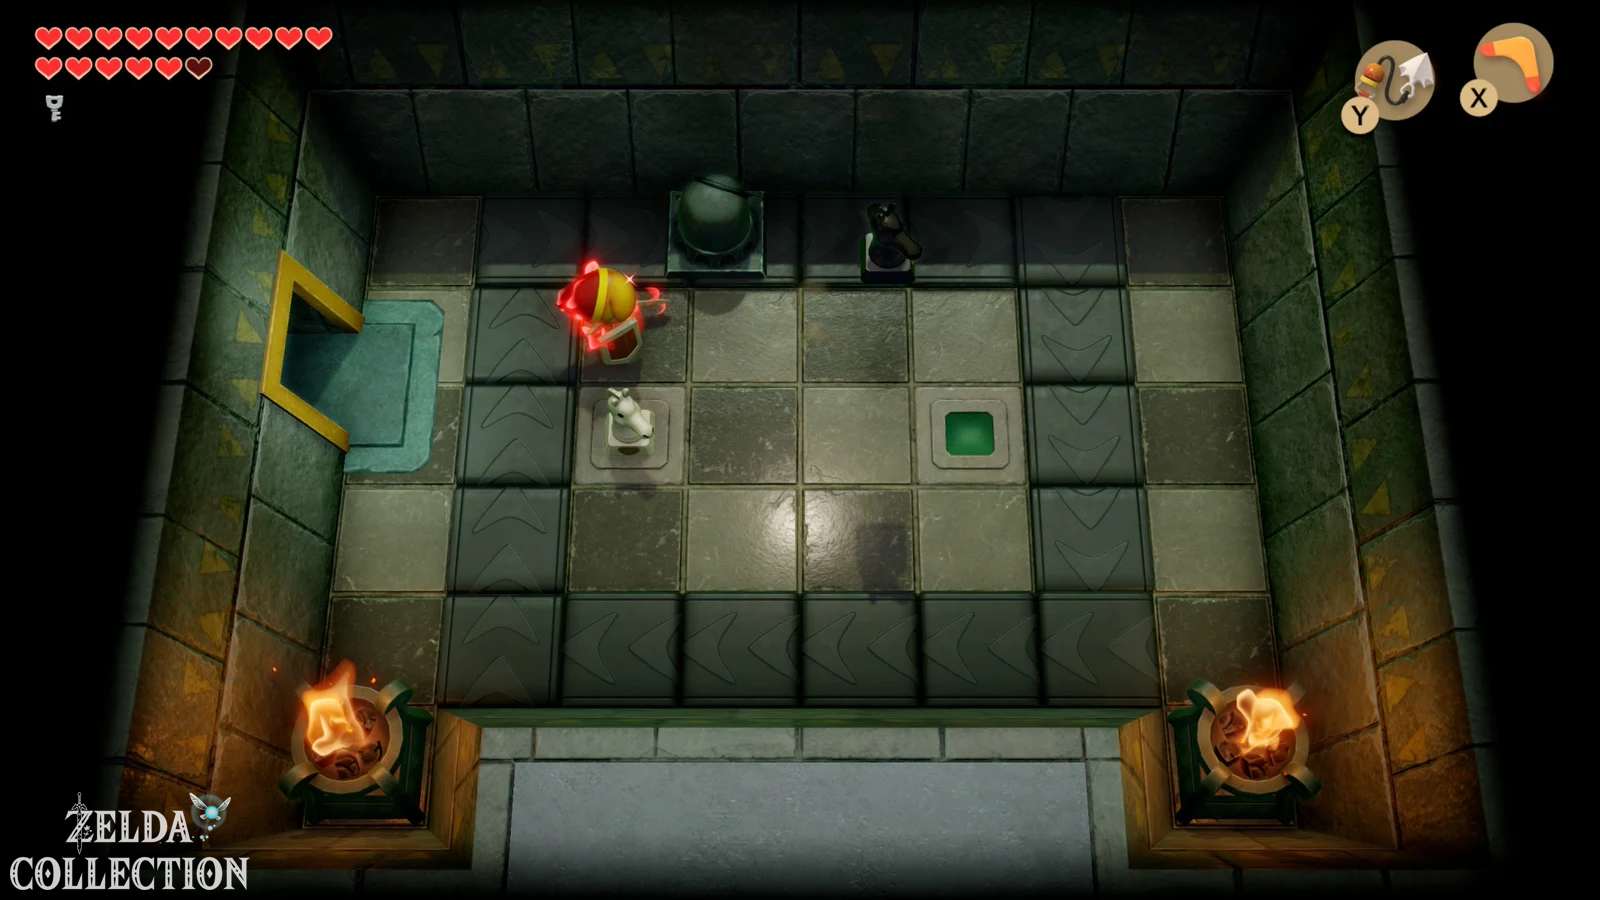
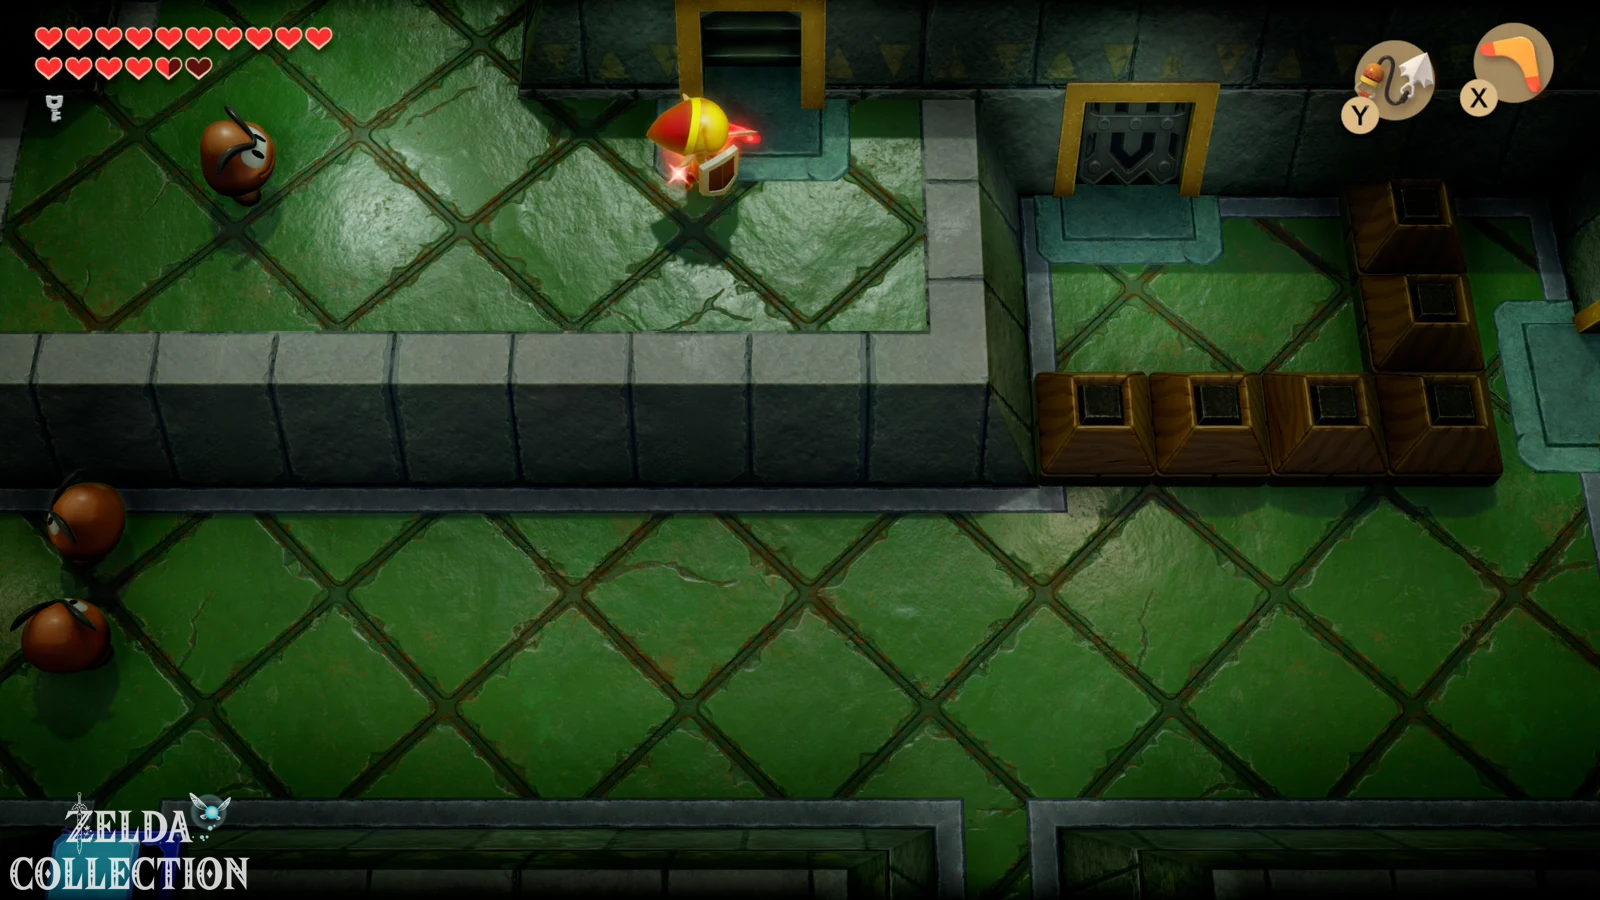
Boss: Evil Eagle
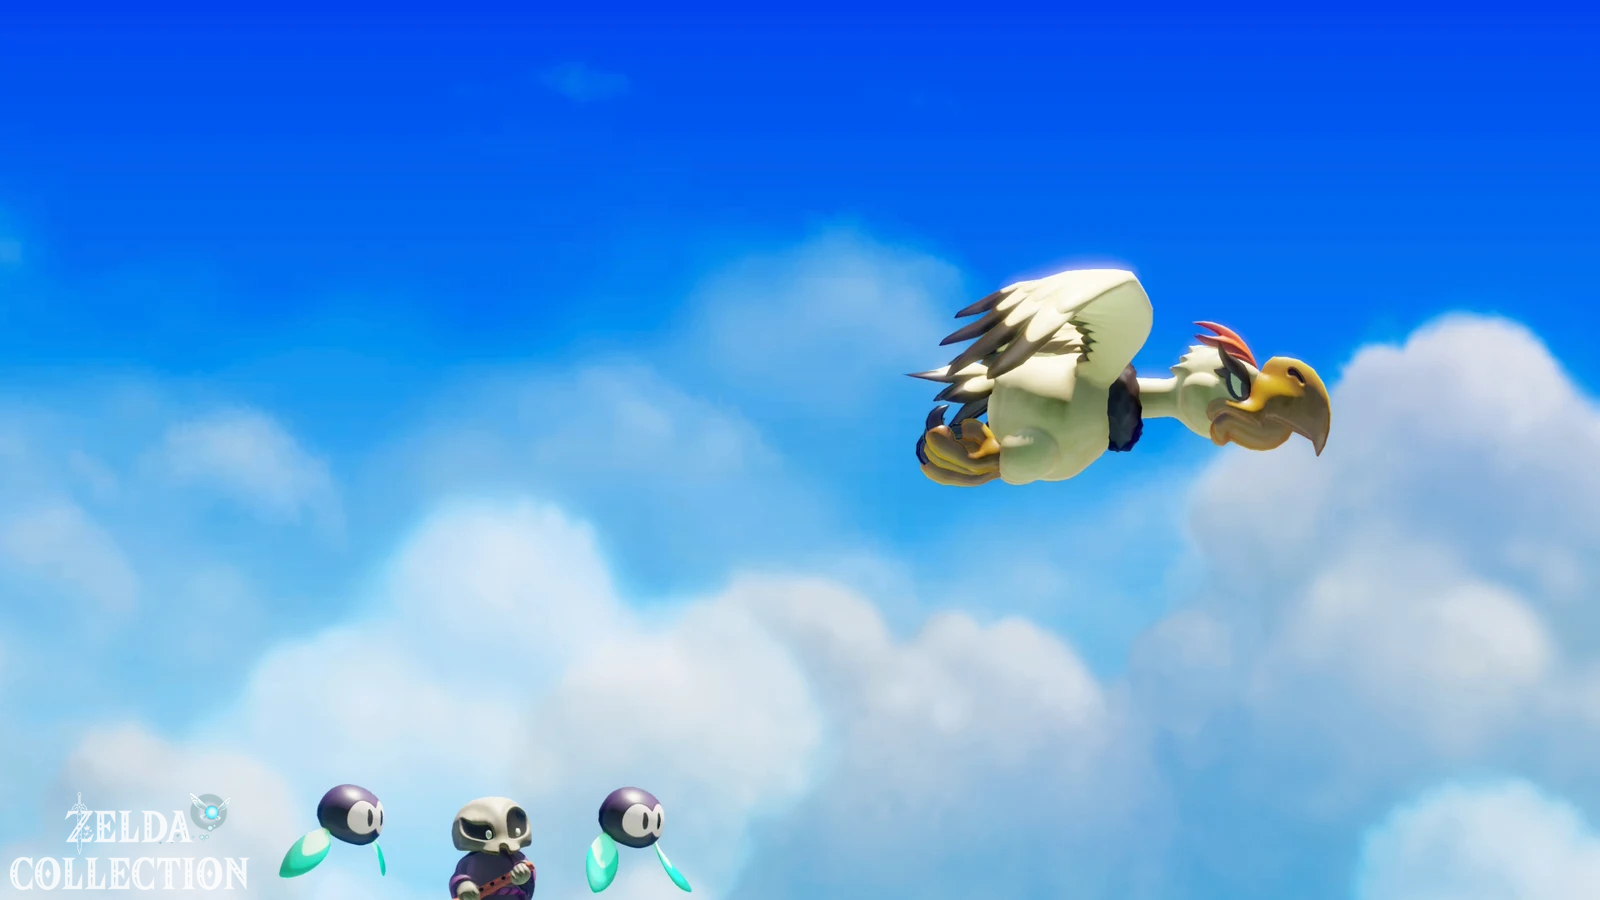
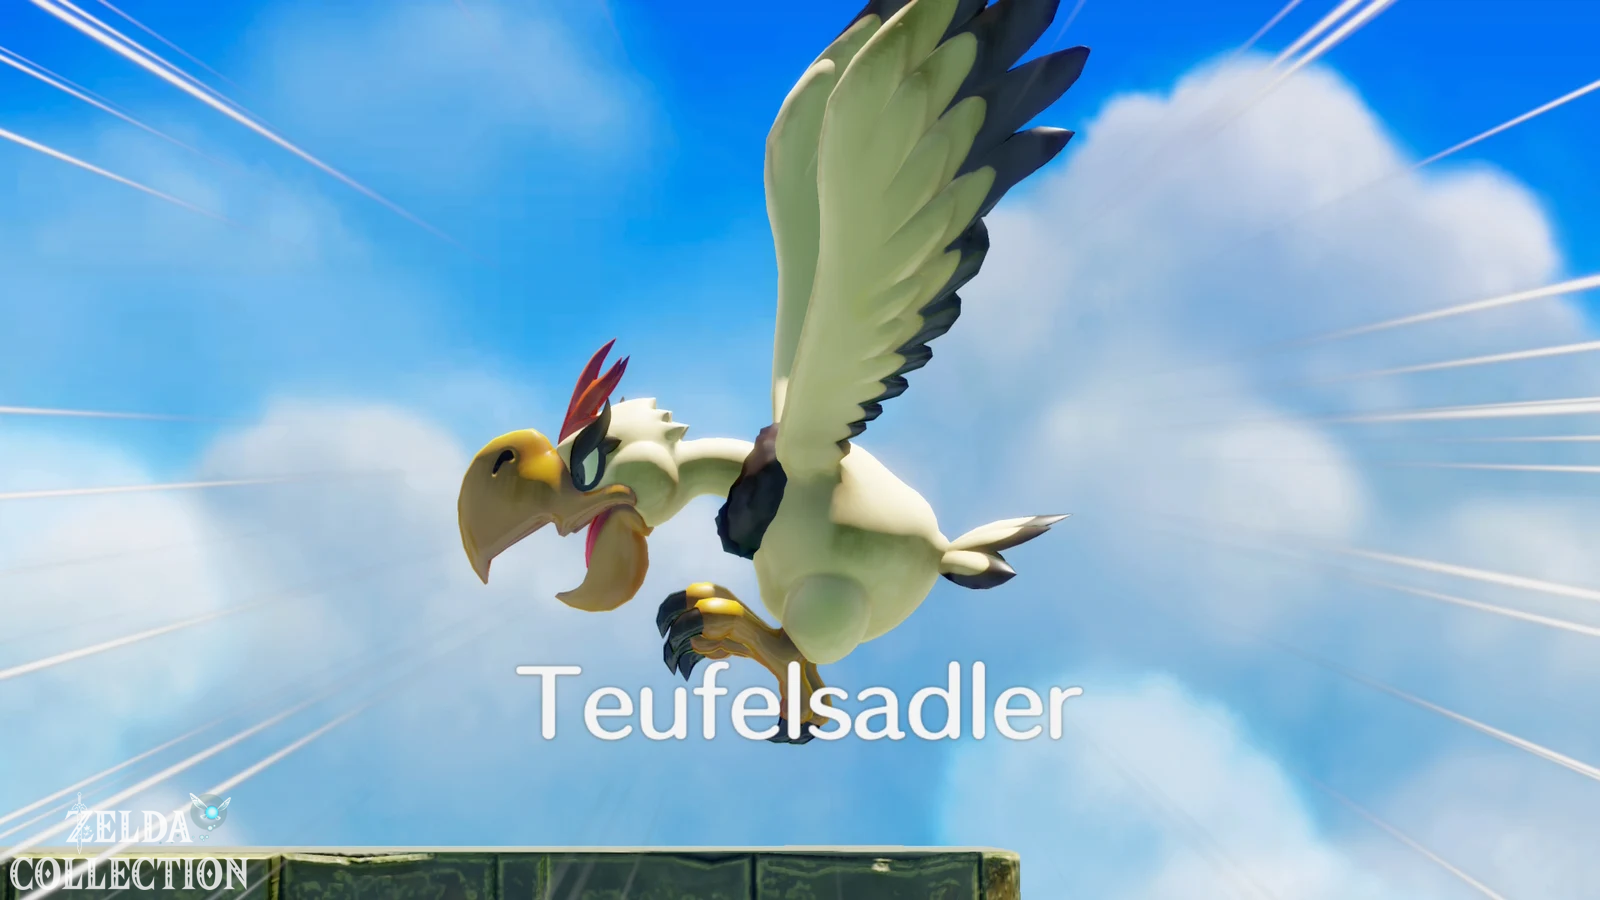
Grim Creeper appears on the roof again and calls his huge devil eagle. The fight takes place on a narrow platform, and the biggest danger is not losing all your hearts, but being blown off the tower. Therefore, stay as close to the ladder or in the middle of the platform as possible so that you can react to both sides.
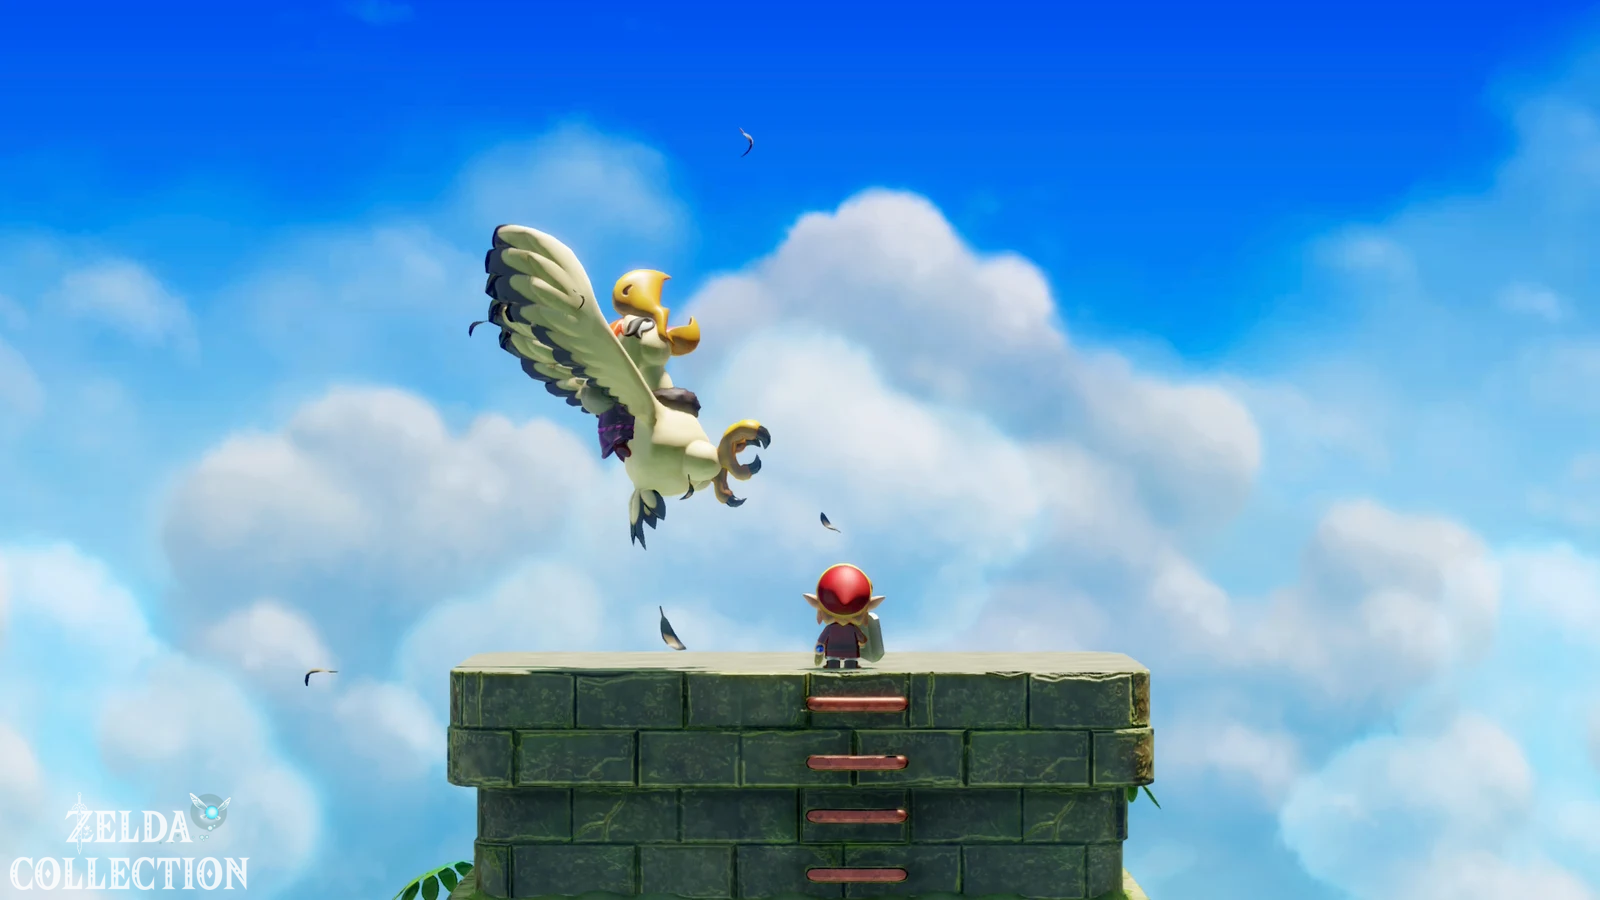
If the eagle flies low towards Link, hit him with the sword. With the red armor and the Koholint sword, these hits cause enormous damage. If it flies a little higher, you can jump up with the Roc’s Feather and attack while jumping. Alternatively, bow, Boomerang or Hookshot will hit the head as long as your aim is clean. The Hookshot is particularly safe if you want to keep your distance.
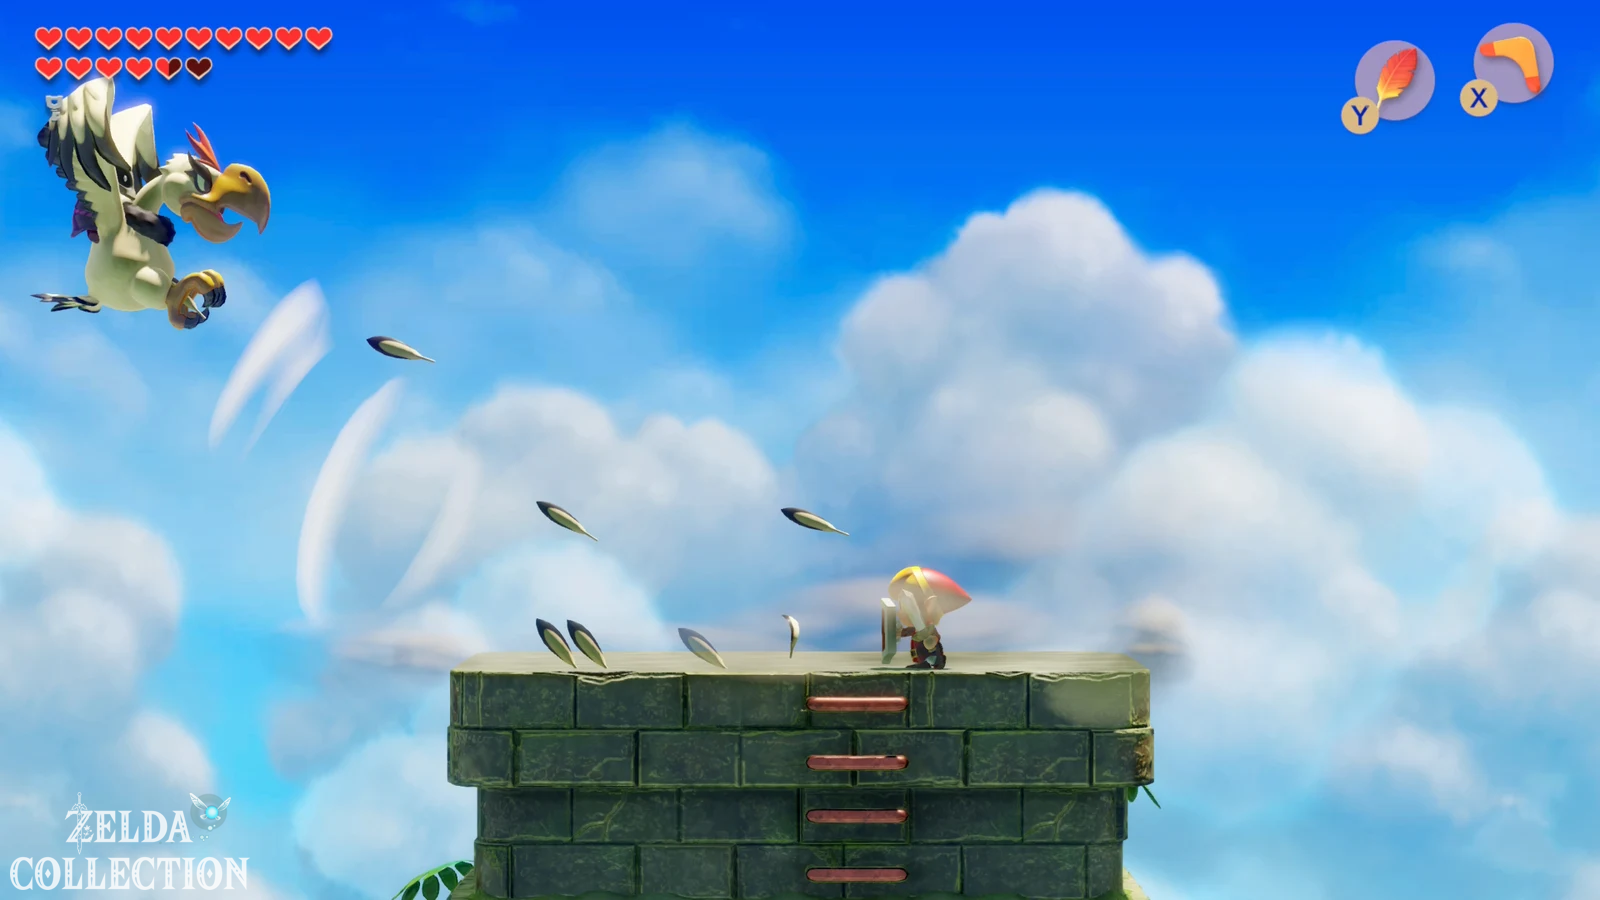
In its most dangerous attack, the eagle sits on the left or right edge of the screen and flaps its wings violently. This creates a strong wind while at the same time feathers fly towards Link. Aim the Mirror Shield directly at the eagle and run into the wind at the same time. The shield blocks the projectiles and, together with your movement, prevents Link from being pushed off the platform. If the eagle then swoops in, you can also intercept this attack with the Mirror Shield or hit it in time with your sword or Hookshot.
If you actually fall from the roof, you will lose health, but you won’t have to start the fight all over again. Climb back up and continue the argument. Stay patient and focus entirely on defense during the wind attack. After enough hits, the devil eagle is defeated.
Heart Container and Organ of Evening Calm
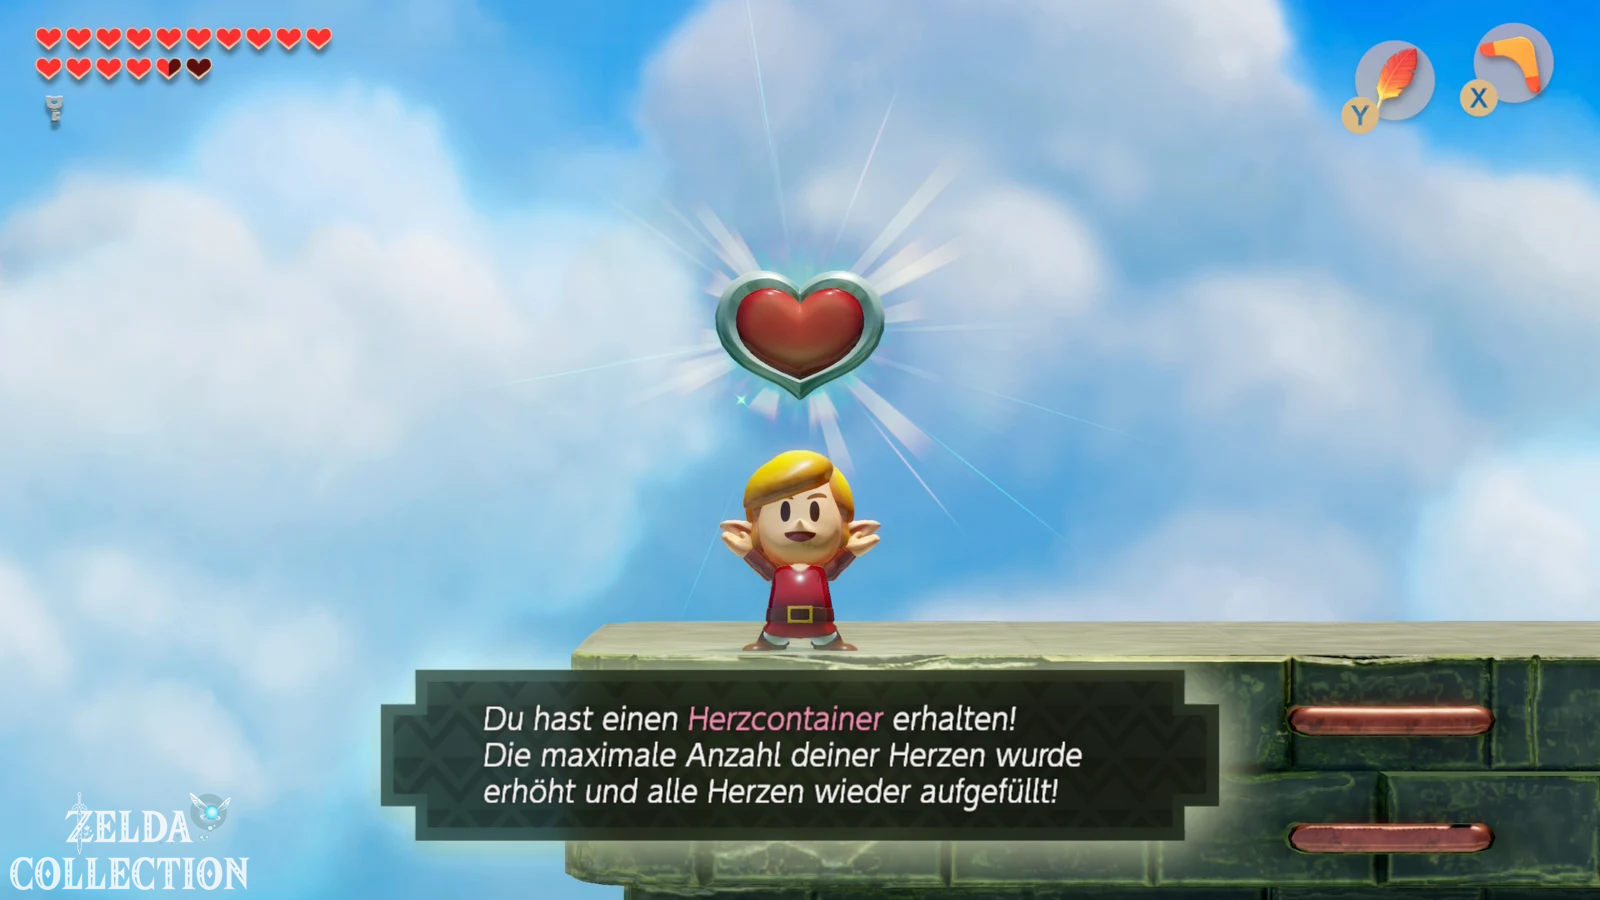
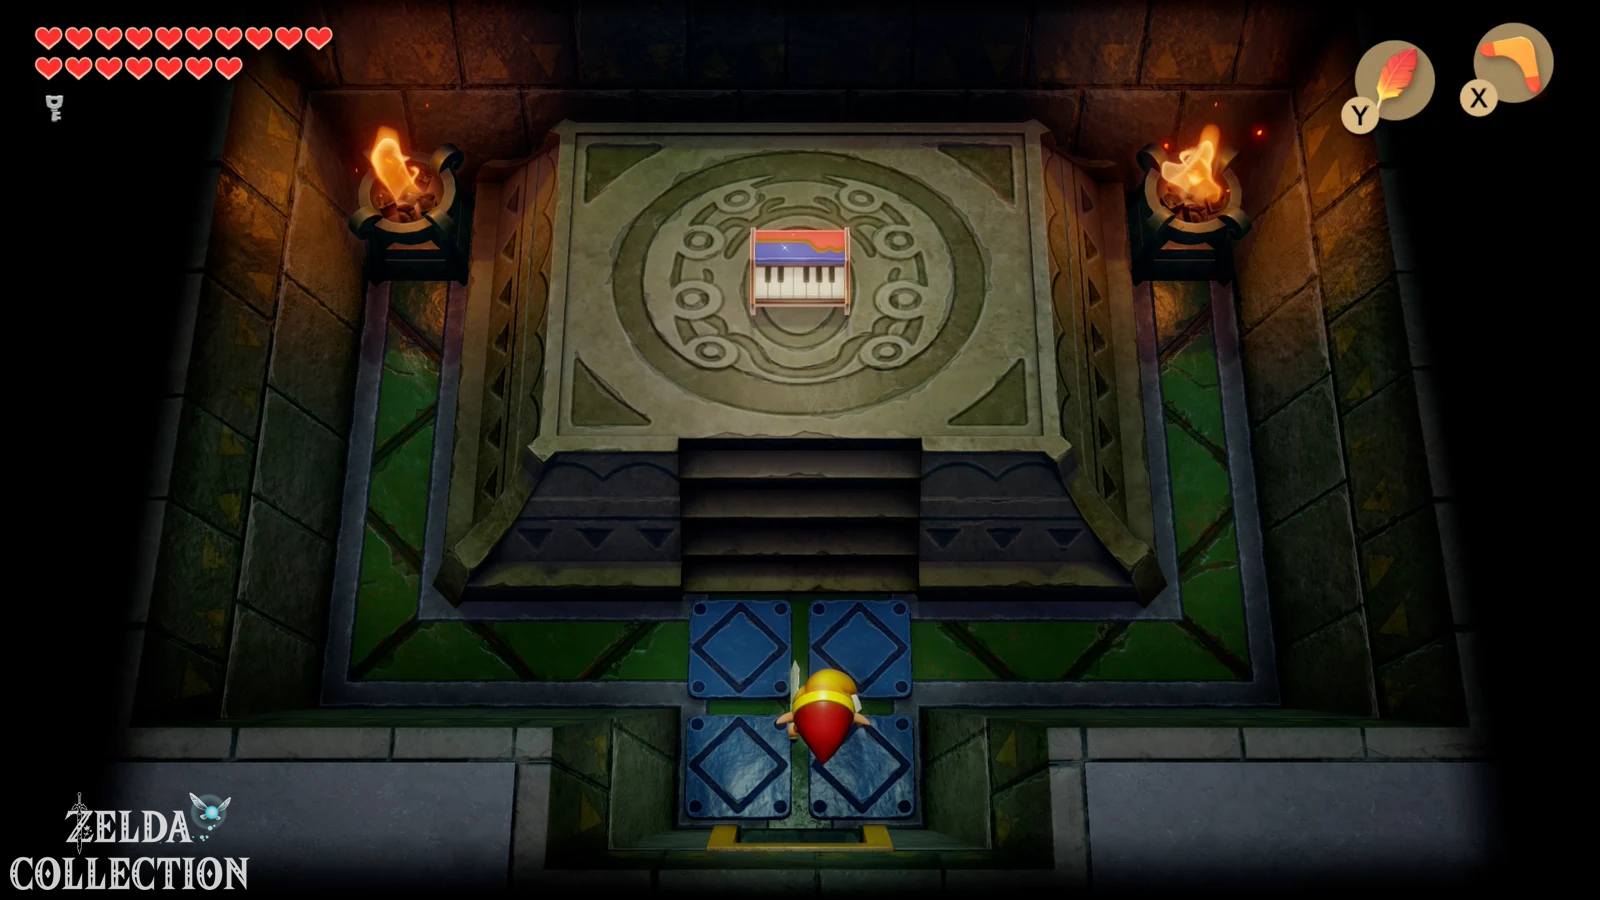
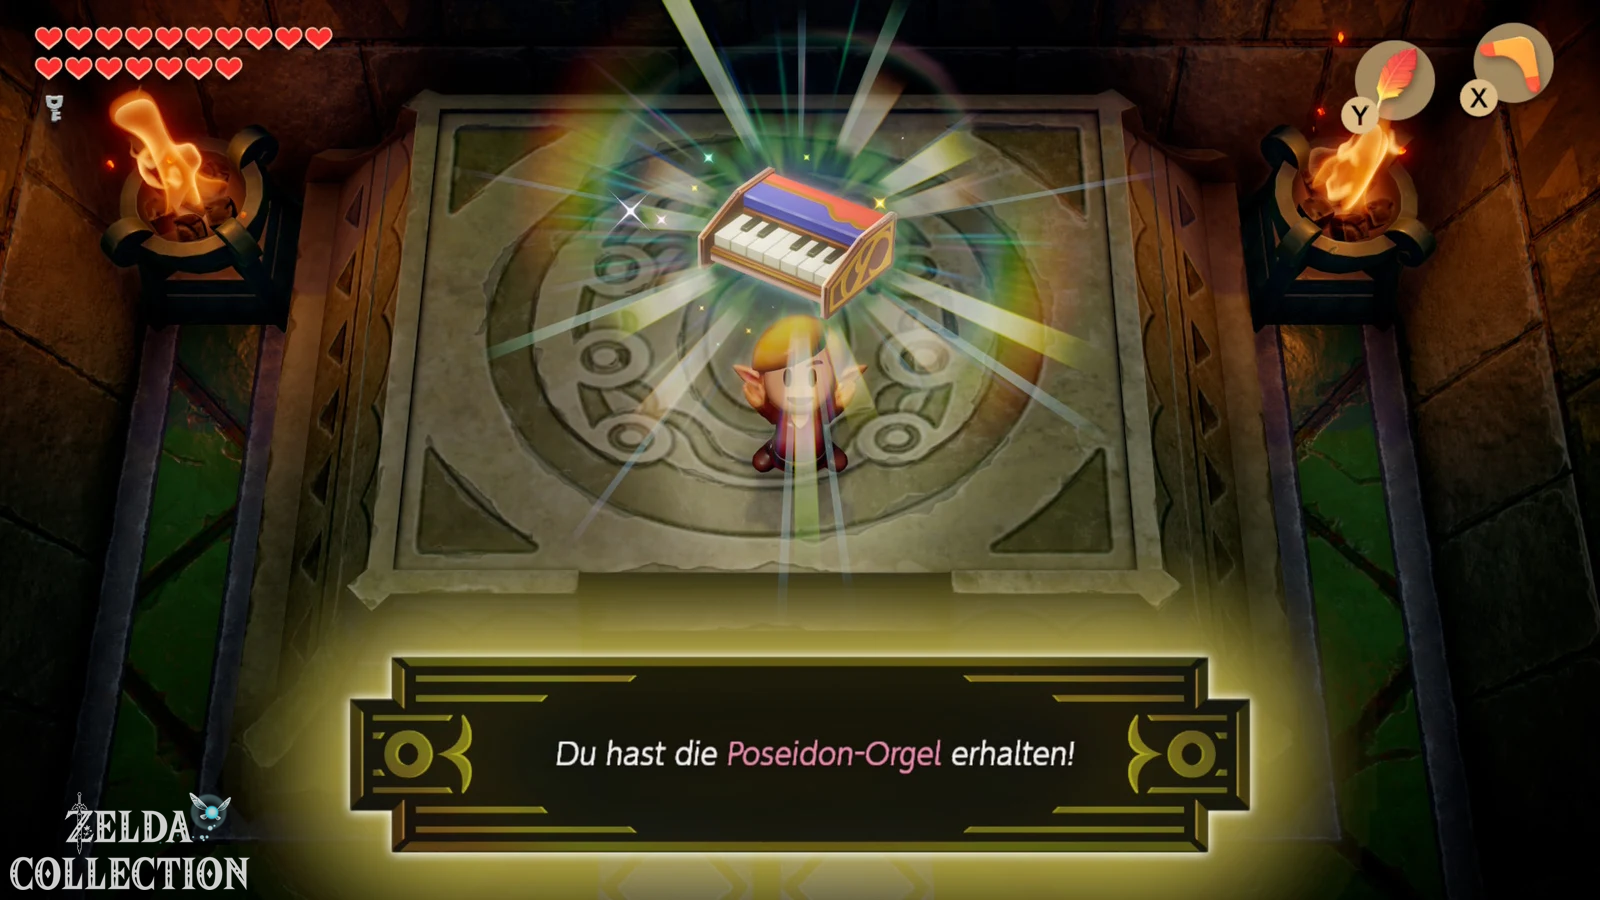
After the victory, the next Heart Container falls on the roof. Be sure to take him with you. Then climb back down the ladder and enter the Eagle’s Tower. Jump down from the raised ledge on the right and head north. The seventh instrument of the sirens, the Organ of Evening Calm, is waiting there.
This means that only one instrument is missing. The mysterious voice gives you another clue about the ocarina. The next story section, however, first leads to the western part of the Tal Tal Mountains and finally to the Turtle Rock.
After the Eagle’s Tower: Piranha Plant Figure
Before we head to the western mountains, we return to Mabe Village, as we do after every dungeon. In the Trendy Game, after completing the Eagle’s Tower, the Piranha Plant figure appears, provided the previous figures are properly on their bases. Win her with the grappling arm and then take her to the house of Marin and Tarin. There is a matching free base next to the Goomba figure.
The series of figures is now coming to an end. After the Turtle Rock, Pokey is unlocked; the last figure only appears under an additional condition. You can find all bases and requirements in our internal guide to the figures.
Dampé: Challenge without a sword
Dampé also unlocks the next third level task after the Eagle’s Tower. If you have already completed “Heartbreak” and received the third bottle, the challenge is now ready in which Link has to overcome the self-made labyrinth without a sword. Plan the setup accordingly: If possible, use rooms with enemies that can be easily eliminated with bombs, bows, Boomerang or other tools, and avoid chambers whose doors must be opened by sword fighting.
For successful completion you will receive another Chamber Stone and an additional heart effect for Dampé’ labyrinths. This means that this remake-exclusive task is already completed before the last regular dungeon begins. The final time-limited dungeon Dampé only becomes available after the Turtle Rock and later rewards us with a full additional Heart Container.
What’s still missing in front of the Turtle Rock
If you followed the previous 100% route, the island is now almost completely cleared. Of the 32 Pieces of Heart, only the Piece of Heart on the western ledge and the Piece of Heart, which is accessed via an exit in Turtle Rock on Tamaranch Peak, are missing. For the Secret Seashells, mainly the last mountain finds and possibly a fishing reward or Dampé’s earlier shell remain open. This is exactly the level we want to reach before the eighth dungeon.
In the next section we go to the western Tal Tal Mountain Range: We save Marin from the broken bridge, collect the penultimate Piece of Heart and the last upper world magic shells, visit the third Mad Batter for the last one Capacity upgrade, block the massive stream of fire with the Mirror Shield and awaken the Turtle Rock with the Toad Rap. We then detach the entire Turtle Rock including the last piece of heart and the Magic Rod.