

The exchanges are among the longest Side Quests in The Legend of Zelda: Link’s Awakening. What starts with an inconspicuous Yoshi doll from the Trendy Game takes you all over Koholint and finally ends with the Magnifying Lens. Unlike many Side Quests, the exchange series is not completely optional: the bananas are needed to open the way to Kanalet Castle with Kiki’s help and thus prepare the third dungeon. That’s why it’s always worth doing the individual exchanges when you’re passing by the respective location anyway.
There is also a particularly valuable reward waiting for you after the Magnifying Lens. On Toronbo Shores you can discover the invisible Goriya and get the Boomerang from him. In the Nintendo Switch remake, the item given for it can then even be bought back, so that you can end up owning both the Boomerang and the shovel. Our order corresponds to the optimal path from our Link’s Awakening Walkthrough.
1. Yoshi doll in the Trendy Game win
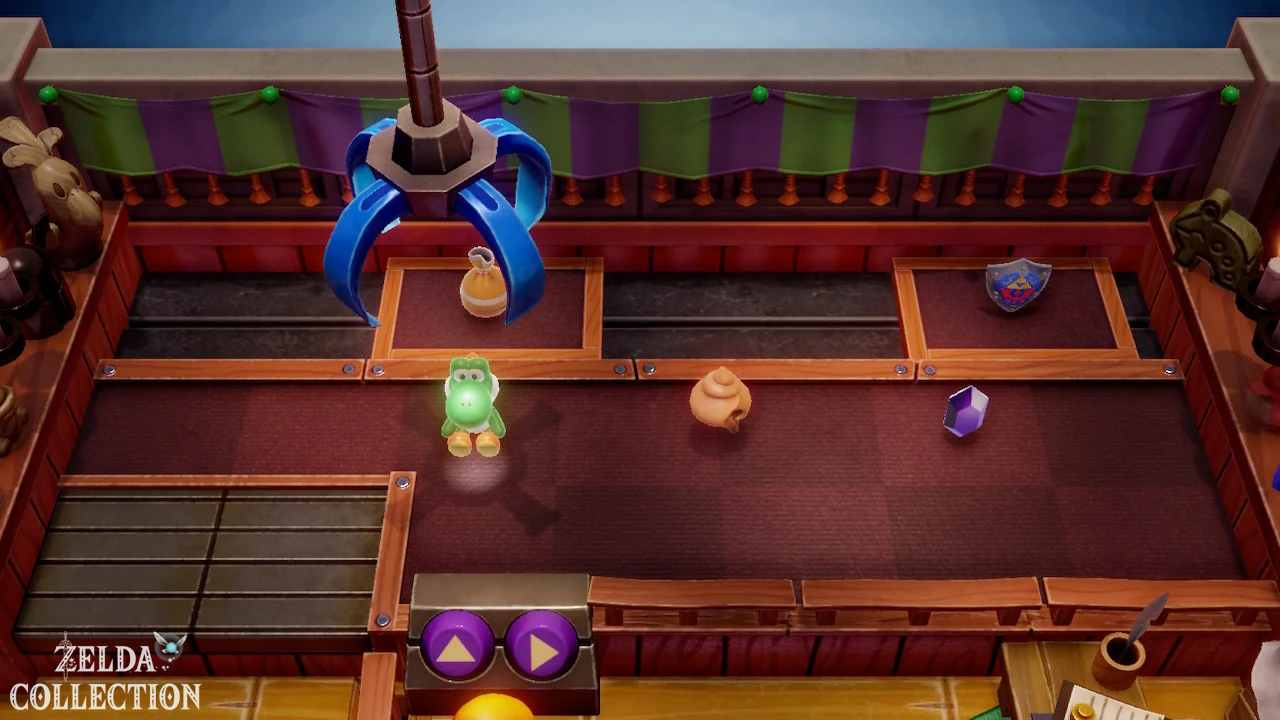
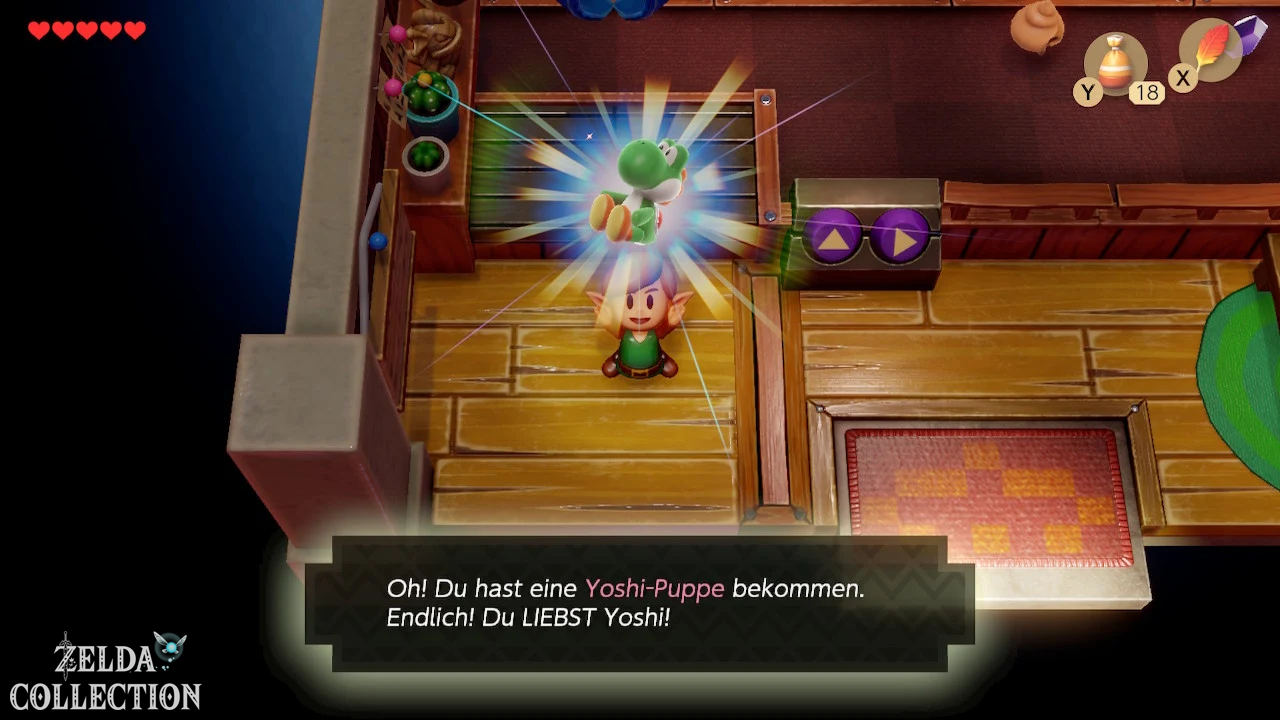
The series of exchanges begins in the first minutes of the game. Visit the Trendy Game in the southeast of Mabe Village. Between the prices is a Yoshi doll. Position the gripper arm as precisely as possible above her and take into account the short delay between pressing the button and lowering the claw. If the doll doesn’t end up in the output slot immediately, you can first move it closer to the edge in another round.
Since the Trendy Game in the Switch remake contains numerous additional permanent rewards, you should also take this opportunity to keep an eye on the first Piece of Heart and later the Secret Seashells, figures and Chamber Stones. However, the Yoshi doll itself is the first item in the actual exchange series.
2. Swap Yoshi doll for Ribbon
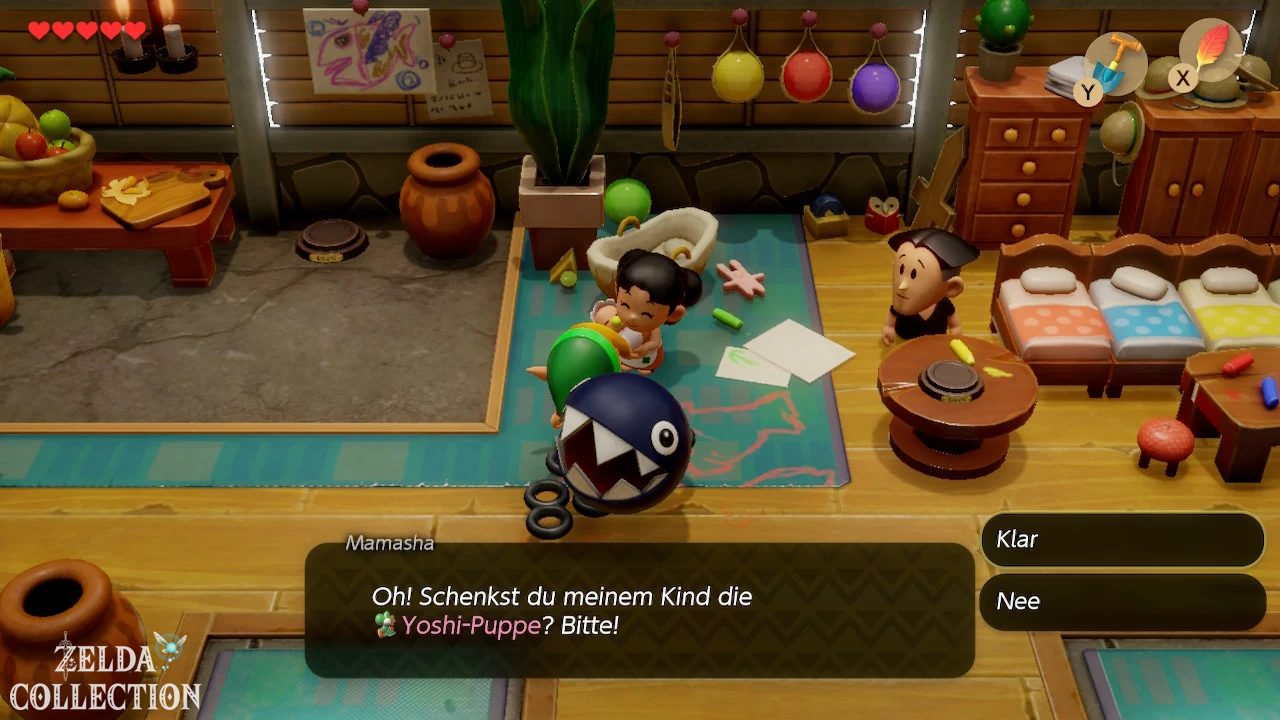
Bring the Yoshi Doll to Mamasha. She lives with Papahl and the children in the big house in the north of Mabe Village. Mamasha is happy about the doll for her baby and will give you a Ribbon in return. This completes the first actual exchange transaction.
3. Exchange Ribbon for dog food
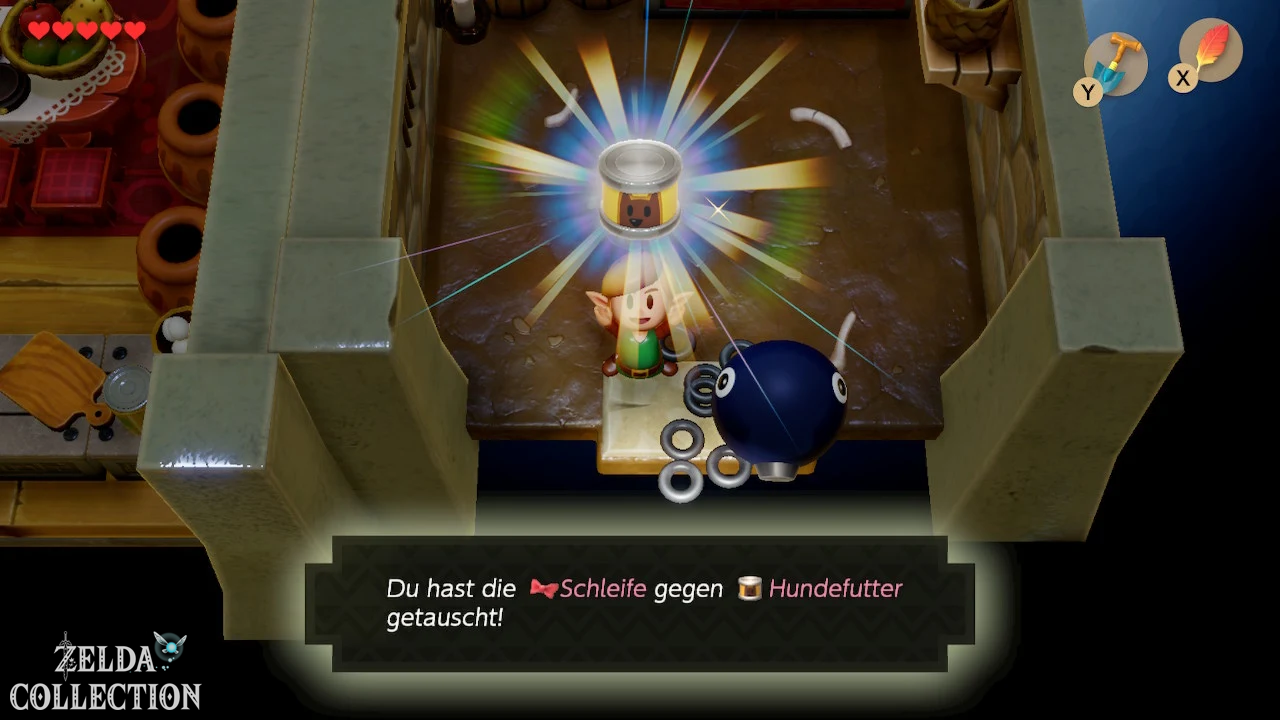
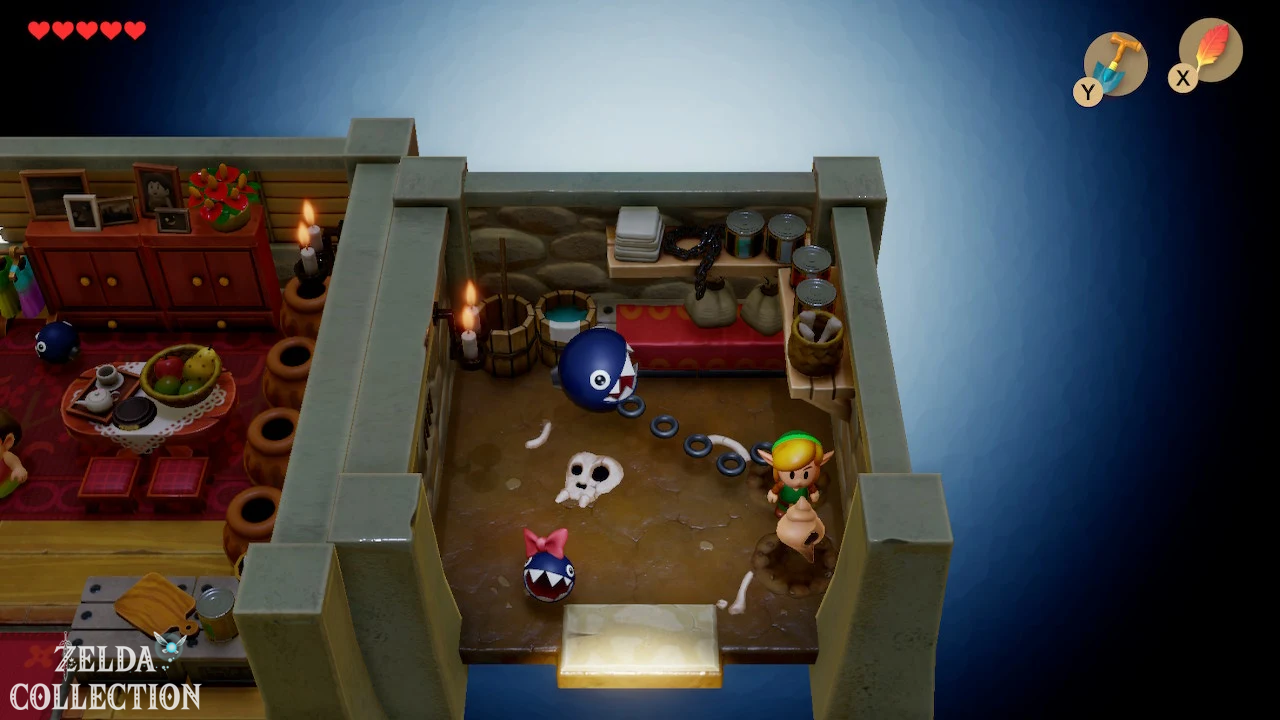
Go to Madam MeowMeow’s house. In the right area you will find the little chain dog CiaoCiao. Show him the Ribbon. CiaoCiao is thrilled and will give you a can of dog food.
You can do this step very early. It makes sense to have the dog food directly in Items before you have to go to Toronbo Shores again later.
4. Swap dog food for bananas
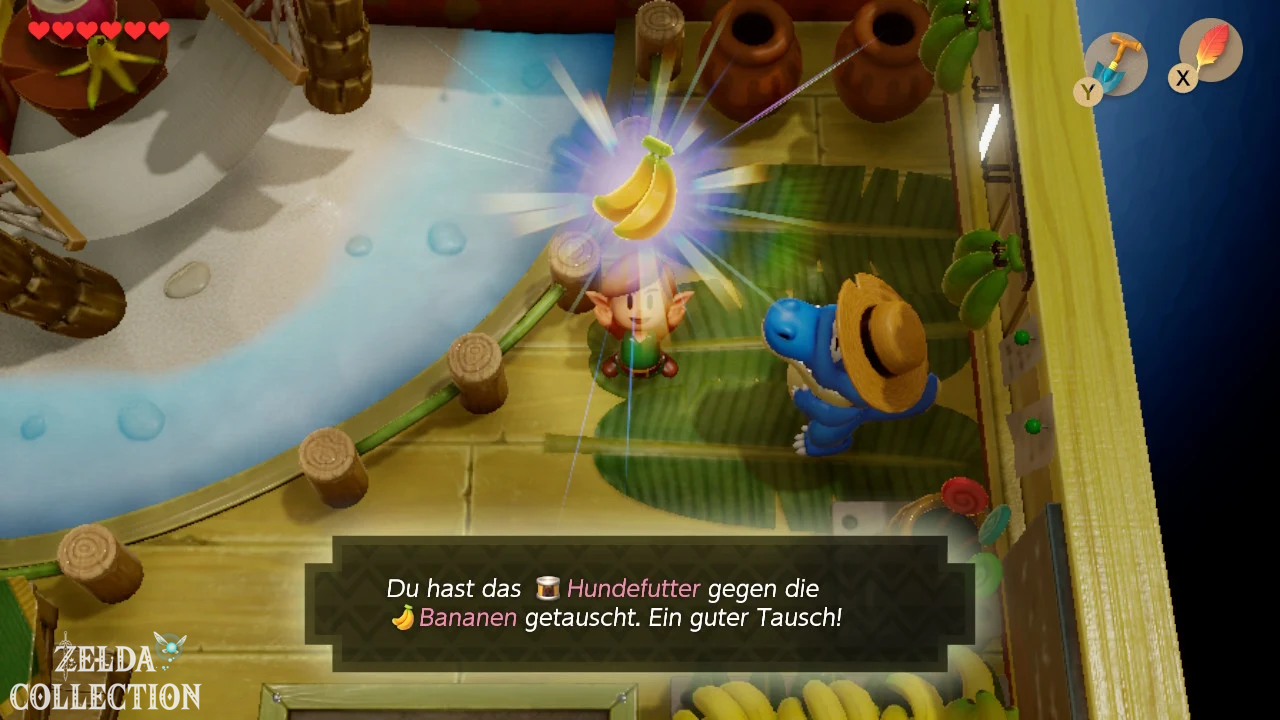
Go to Toronbo Shores and look for the crocodile’s house Sale. He actually deals in bananas, but is much more interested in the dog food in your Items. Give him the can and you will get a bunch of bananas.
This step is particularly important because the bananas will be needed a little later for normal story progression. Without it, you will not be able to enter Kanalet Castle via the intended route.
5. Give bananas to Kiki
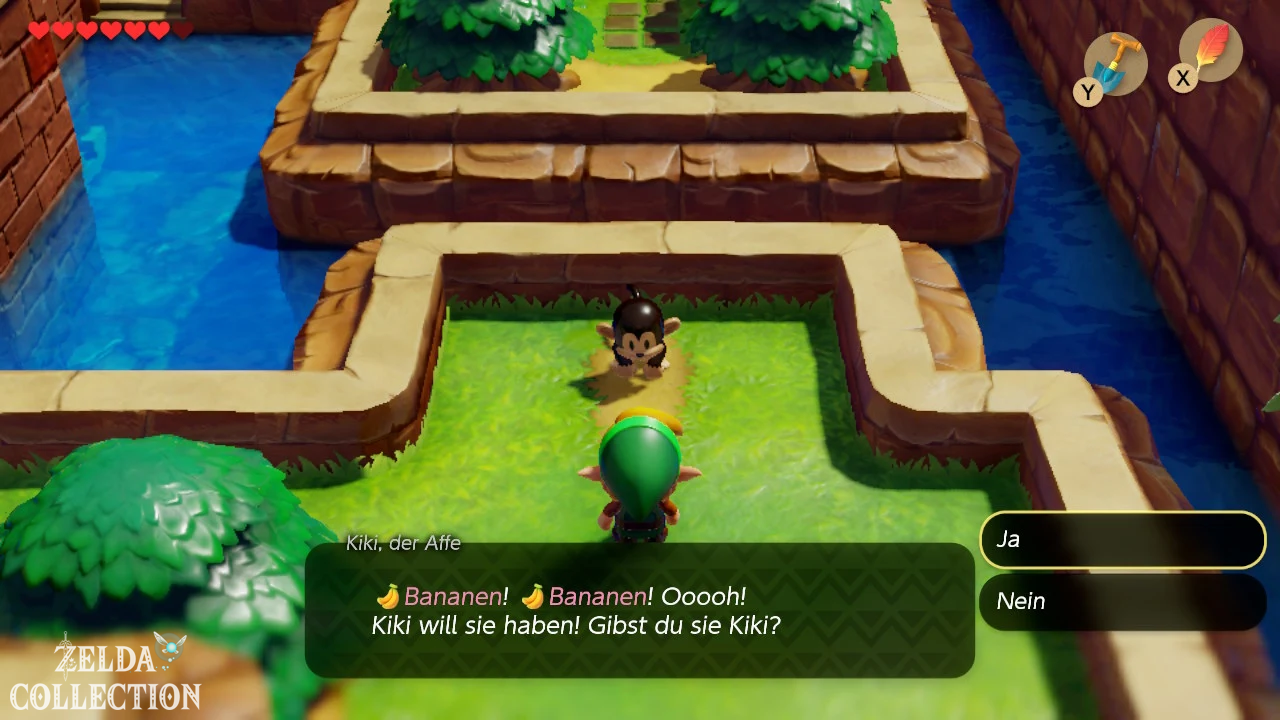
After you have received the Power Bracelet in the Bottle Grotto, the action takes you towards Kanalet Castle. The large entrance gate is closed. However, east of the castle you will meet the monkey Kiki. Talk to him and give him the bananas.
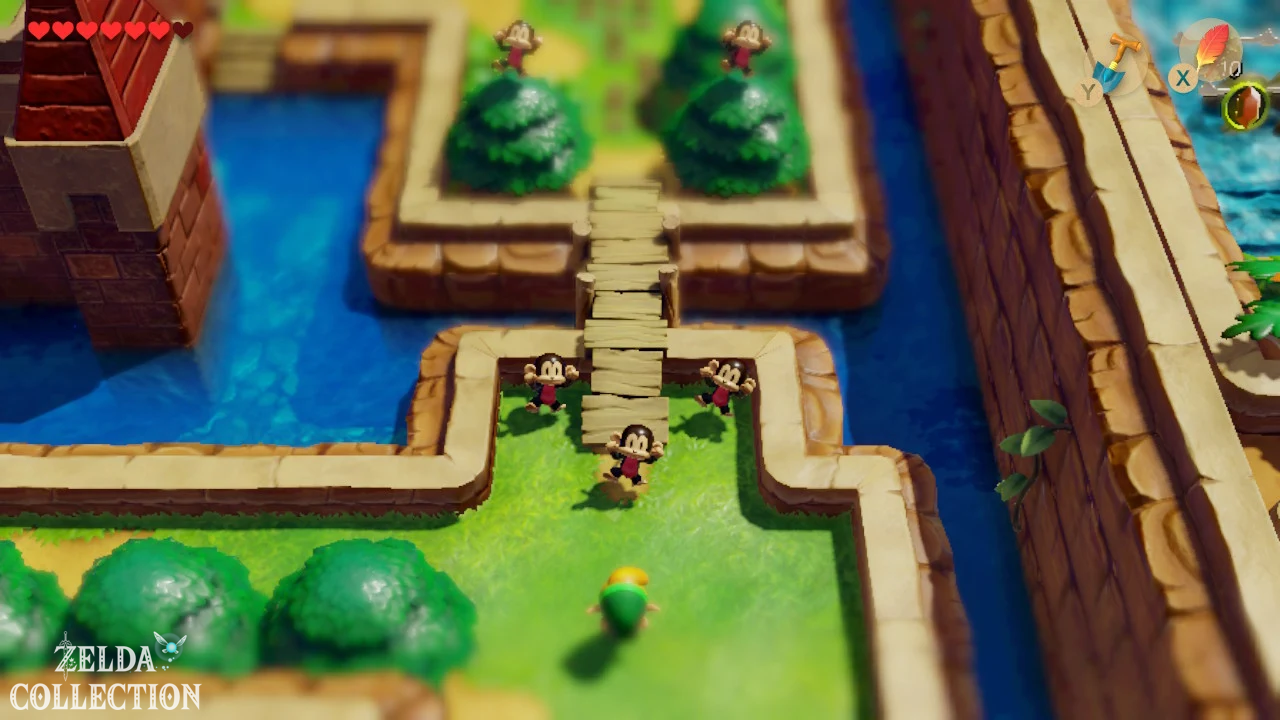
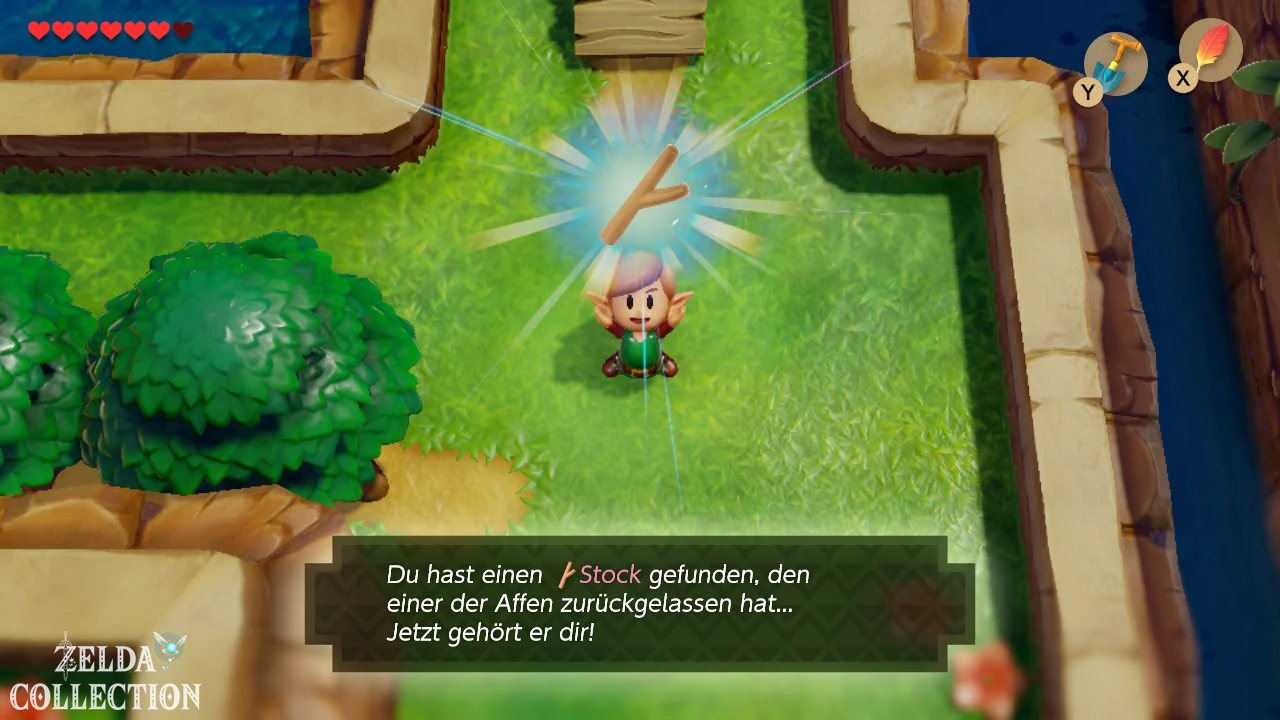
Kiki then calls over his monkey friends. Together they build a bridge over the moat in a very short time, giving you an alternative access to the castle. After the work is done, a stick remains lying there. Be sure to take it with you – it will be the next exchange item.
The step with Kiki is the reason why the trade line is not fully optional in Link’s Awakening. The golden leaves from Kanalet Castle are needed to get to the Slime Key via Prince Richard and thus to the Key Cavern.
6. Trade the Stick for Honeycomb
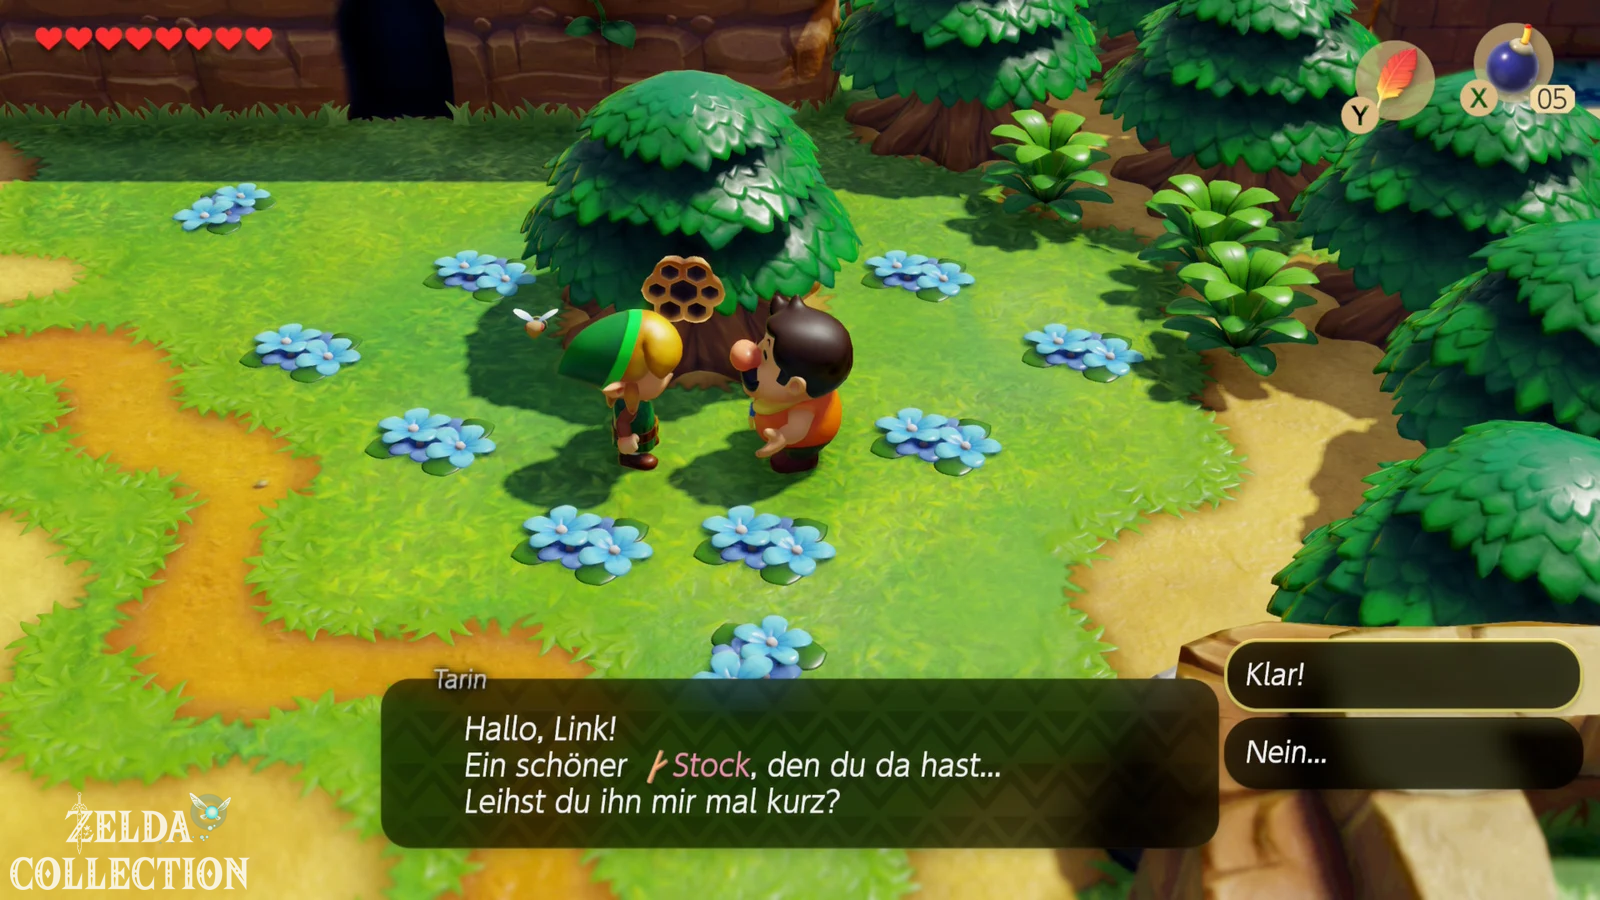
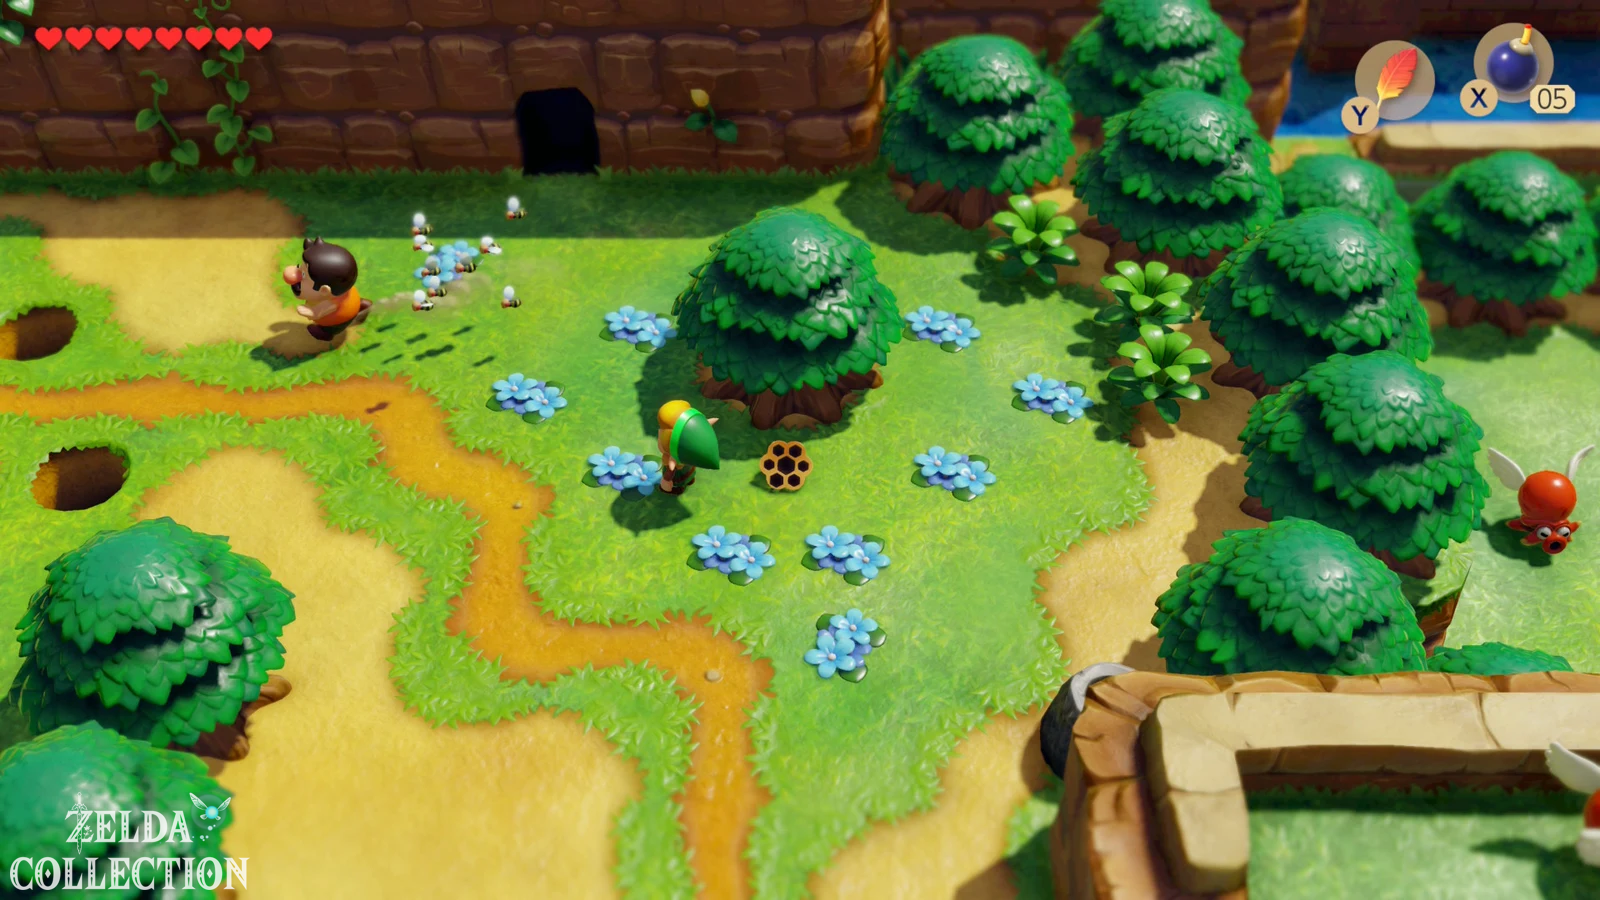
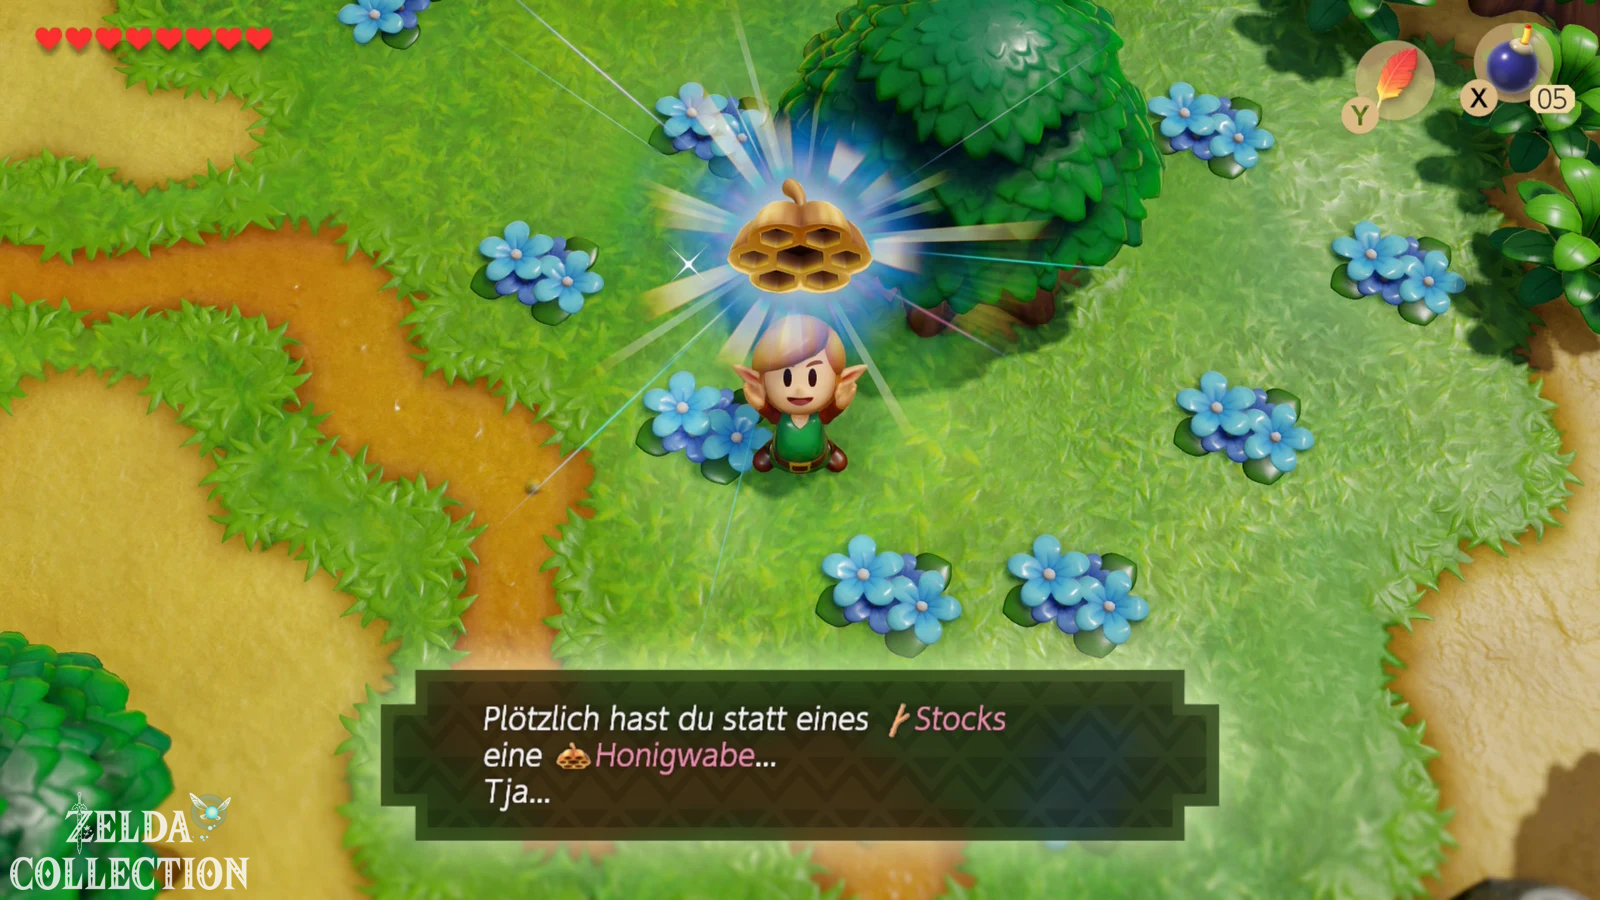
At the latest in the course to Kanalet Castle or around it Key Cavern you find Tarin in the Ukuku Prairie in front of a tree with a large beehive. Speak to him with the stick Items to. Tarin uses it to poke around the beehive, with predictable results. The bees chase him away and Link can then find the ones left behind honeycomb collect.
7. Swap honeycomb for pineapple
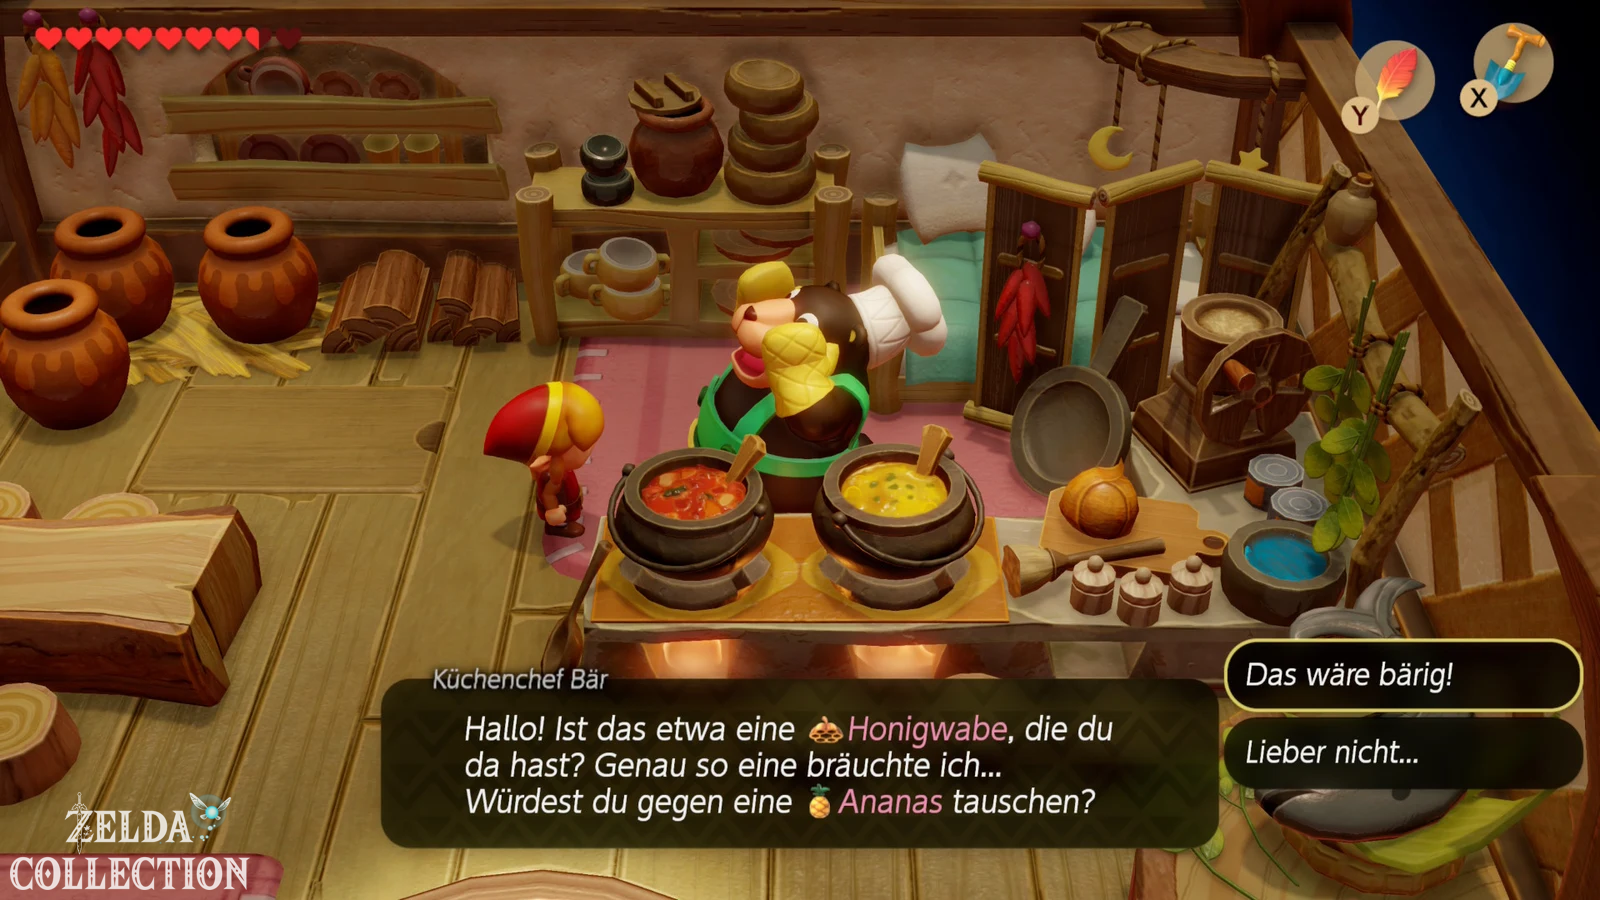
In the Animal Village there lives a bear in the southeastern house who works as a cook. Give him the honeycomb. He uses them for his cooking and in return gives you a pineapple. At the same time he points out the large walrus that is blocking access to the Yarna Desert.
You should under no circumstances sell the pineapple or look for it elsewhere – it will be needed a little later in the Tal Tal Mountain Range.
8. Give pineapple to Papahl
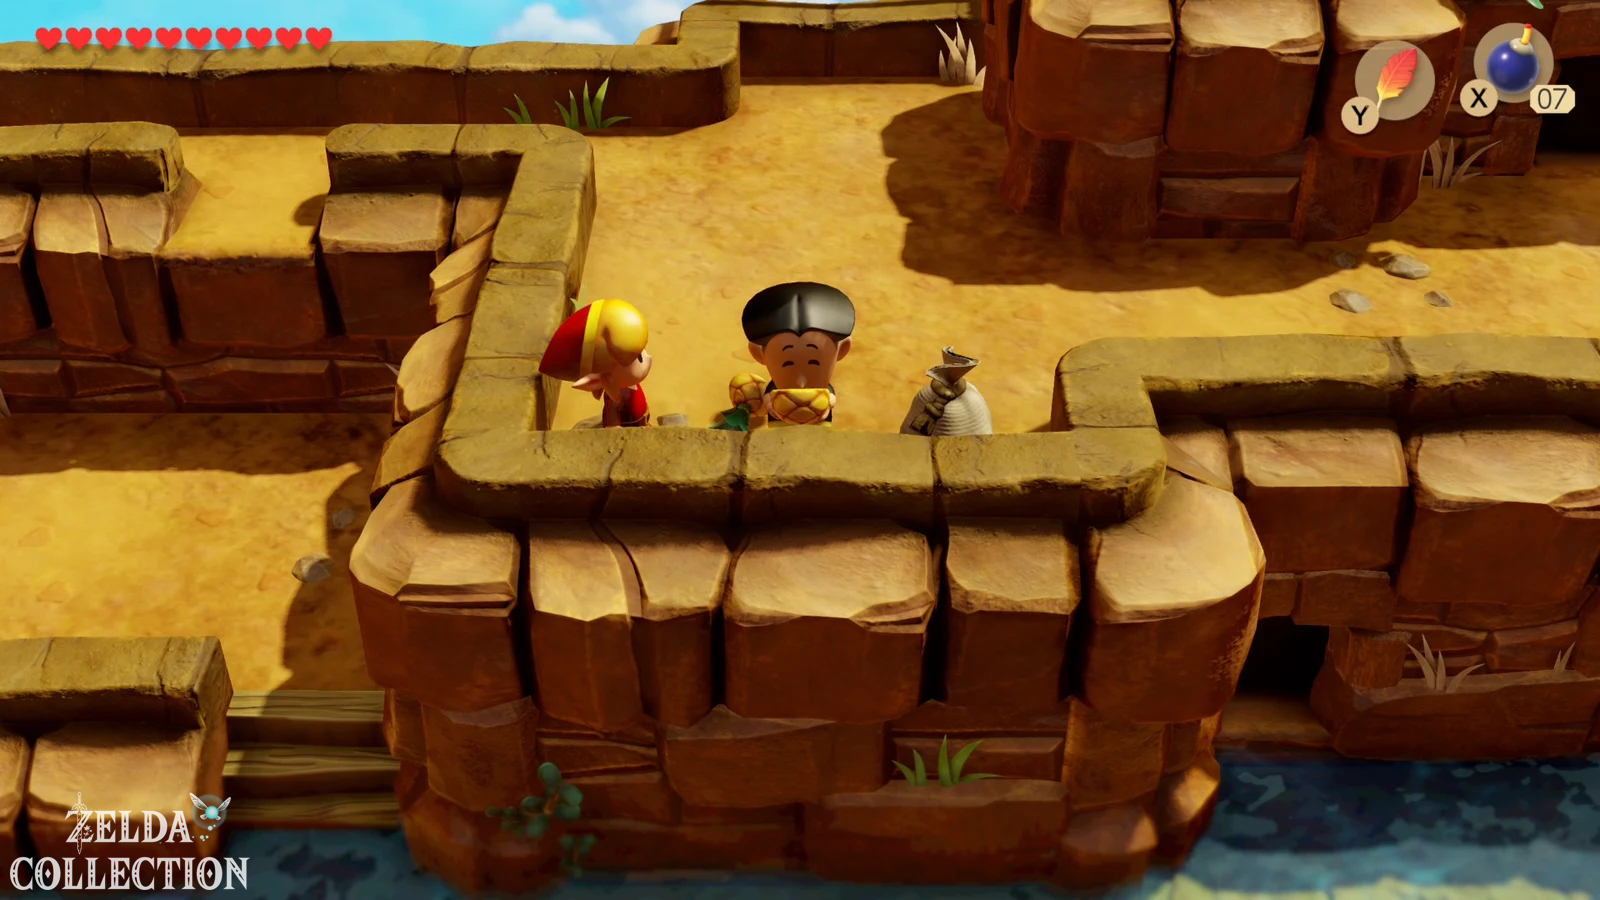
On the way to Angler’s Tunnel you will meet Papahl in Tal Tal Mountain Range. At the beginning of the game he jokingly announced that he would get lost in the mountains at some point, and that’s exactly what apparently happened. Papahl is completely exhausted and asks for something to eat.
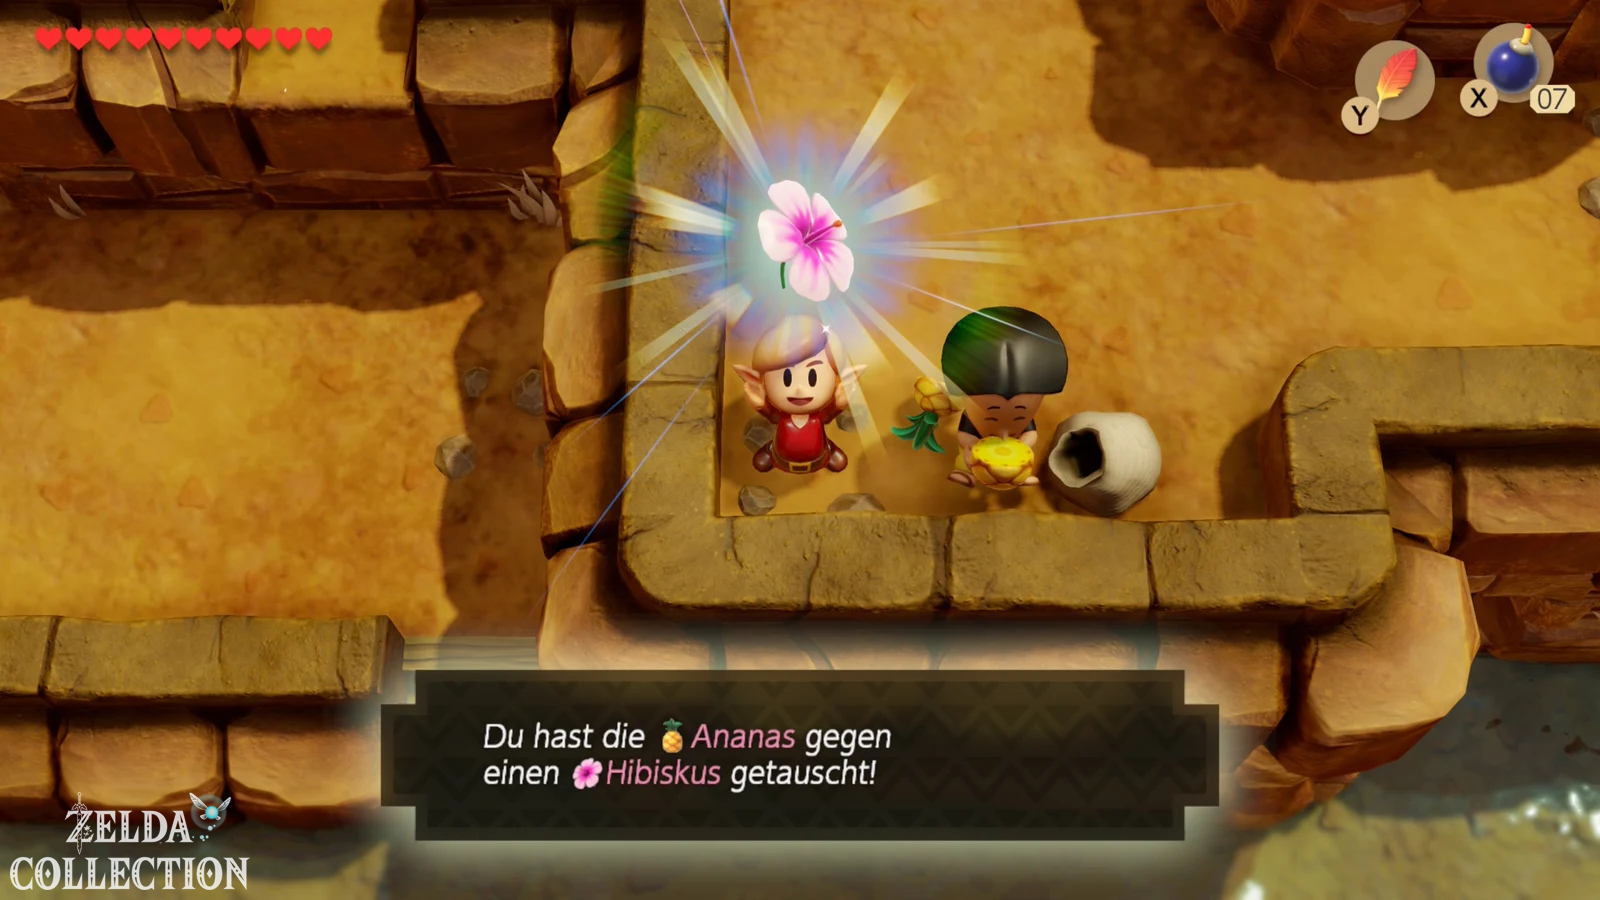
Give him the pineapple. As a thank you he gives you a Hibiscus. Since the way back to Animal Village is relatively long at this point and we get the flippers in Angler’s Tunnel anyway, it’s worth keeping the hibiscus for now and continuing the exchange series after the dungeon.
9. Swap Hibiscus for Letter of the Goat
After Angler’s Tunnel, return to Animal Village and visit Christine. The goat is happy about the hibiscus and gives you the Letter from the Goat. The letter is intended for Mr. Write, who lives northwest of the Mysterious Forest.
In the Nintendo Switch remake it is worth returning to Christine later: After you have successfully delivered the letter, she will also give you a Secret Seashell. This bonus does not exist in the older Game Boy versions. You can find all Locations in our guide to the 50 Secret Seashells.
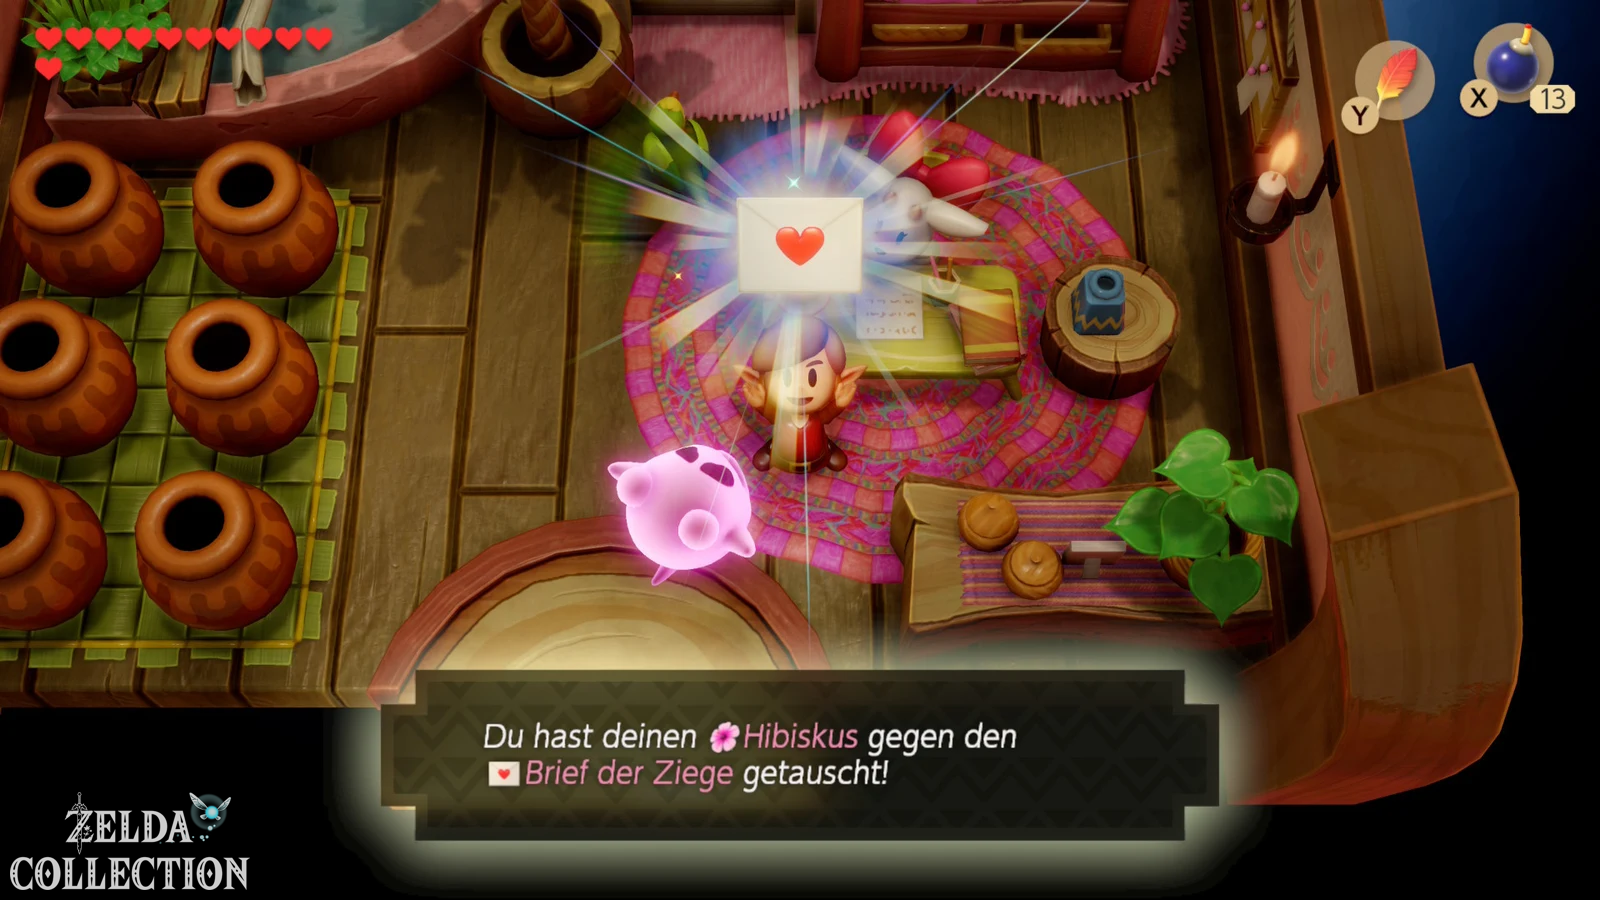
10. Bring the Goat’s letter to Mr. Write
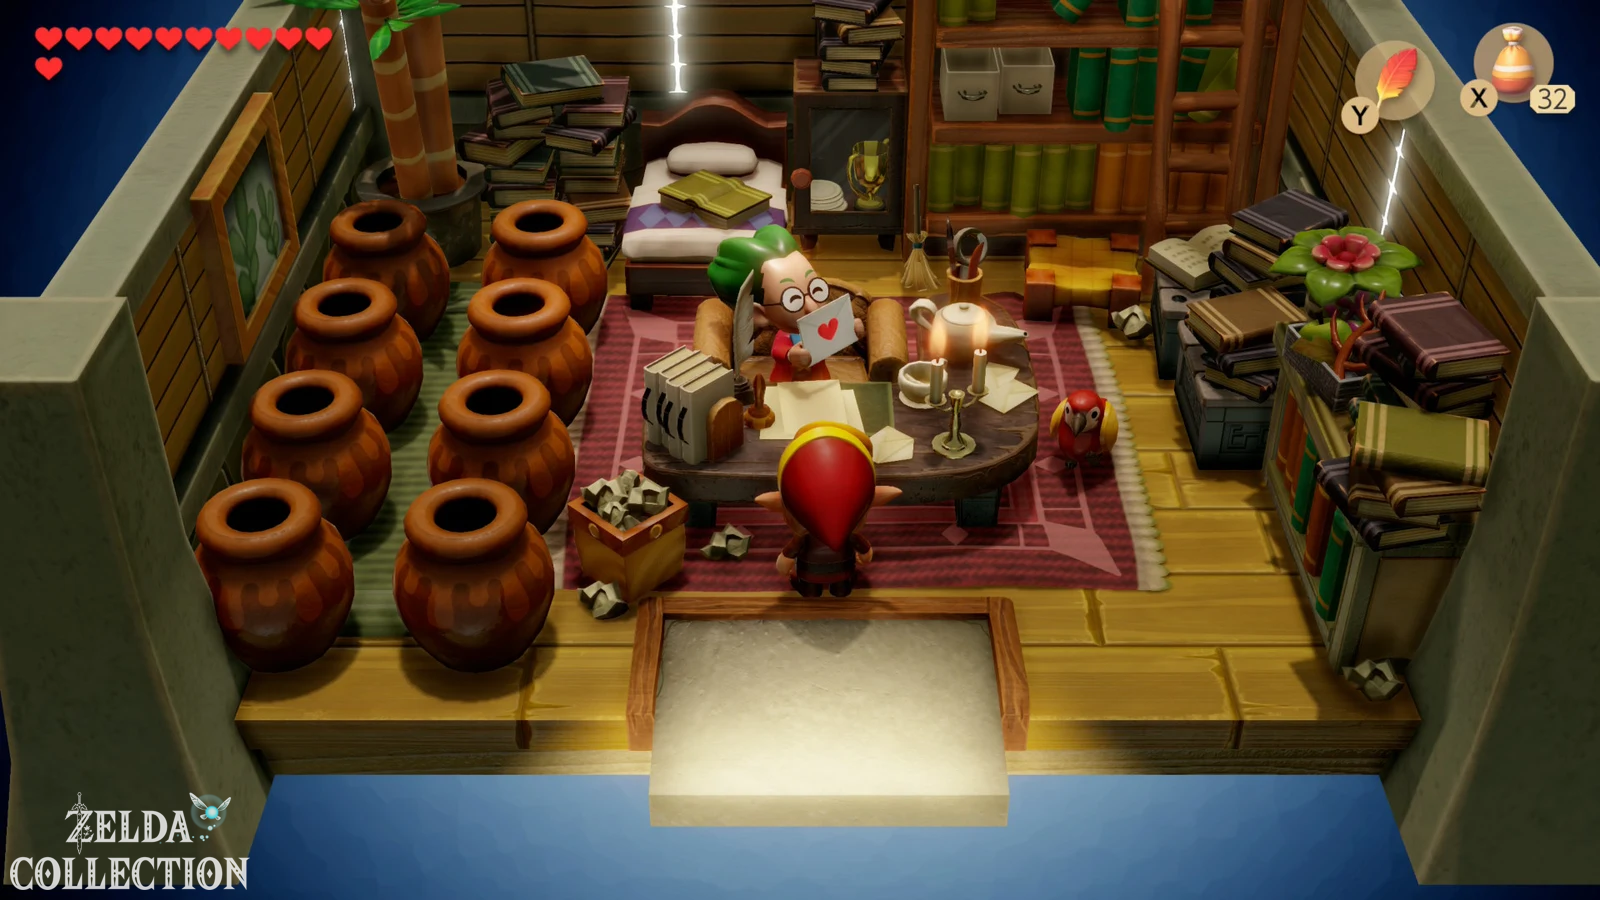
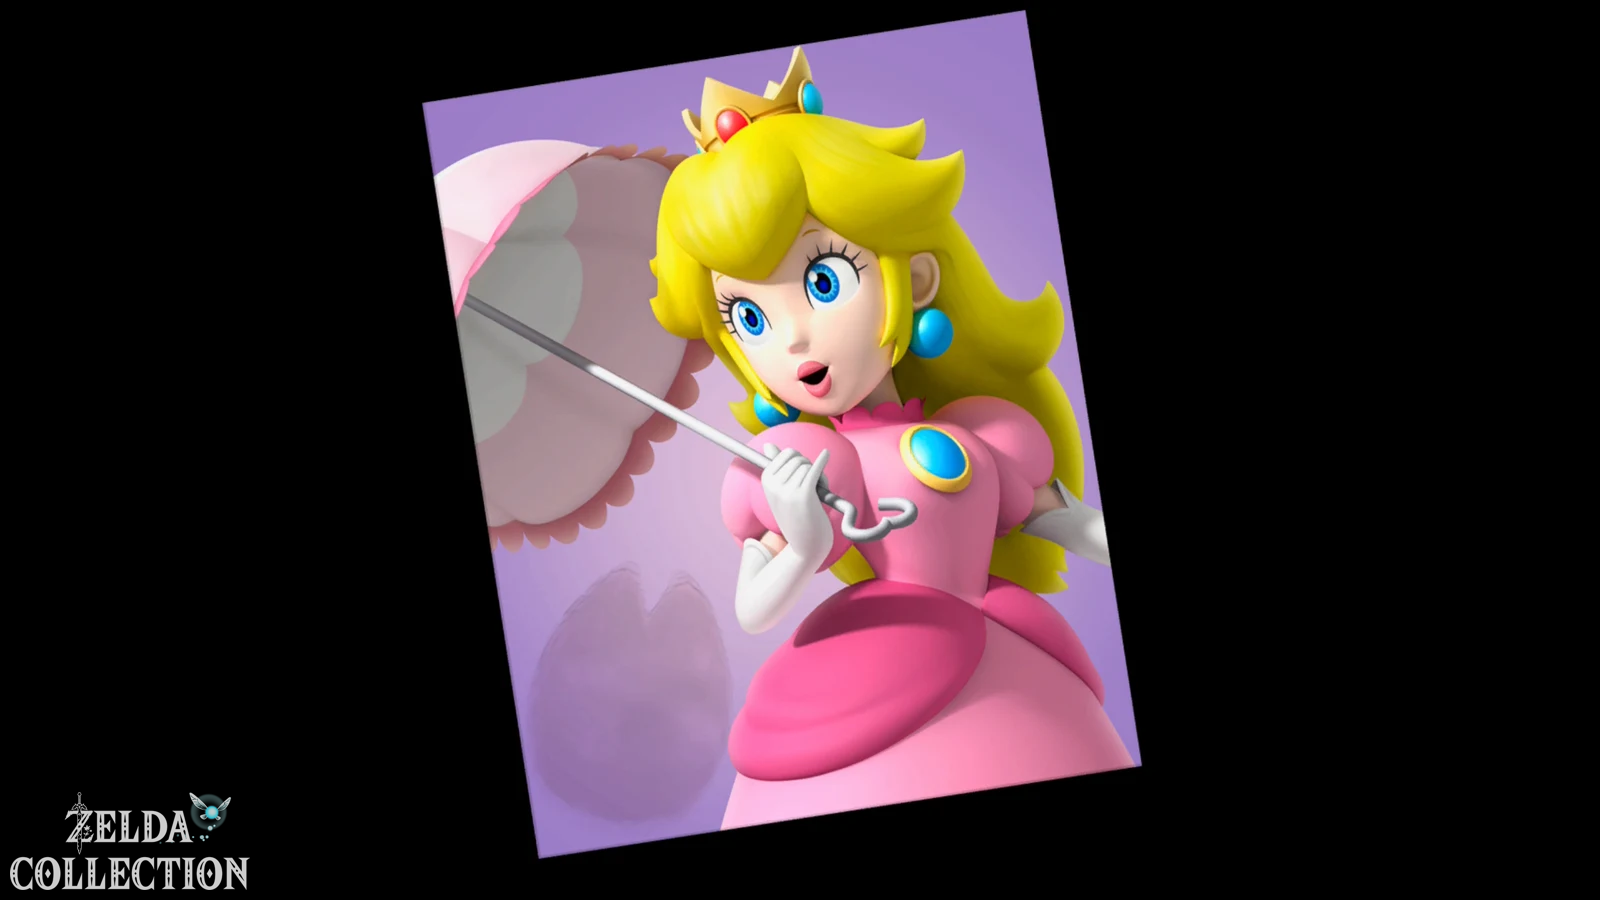
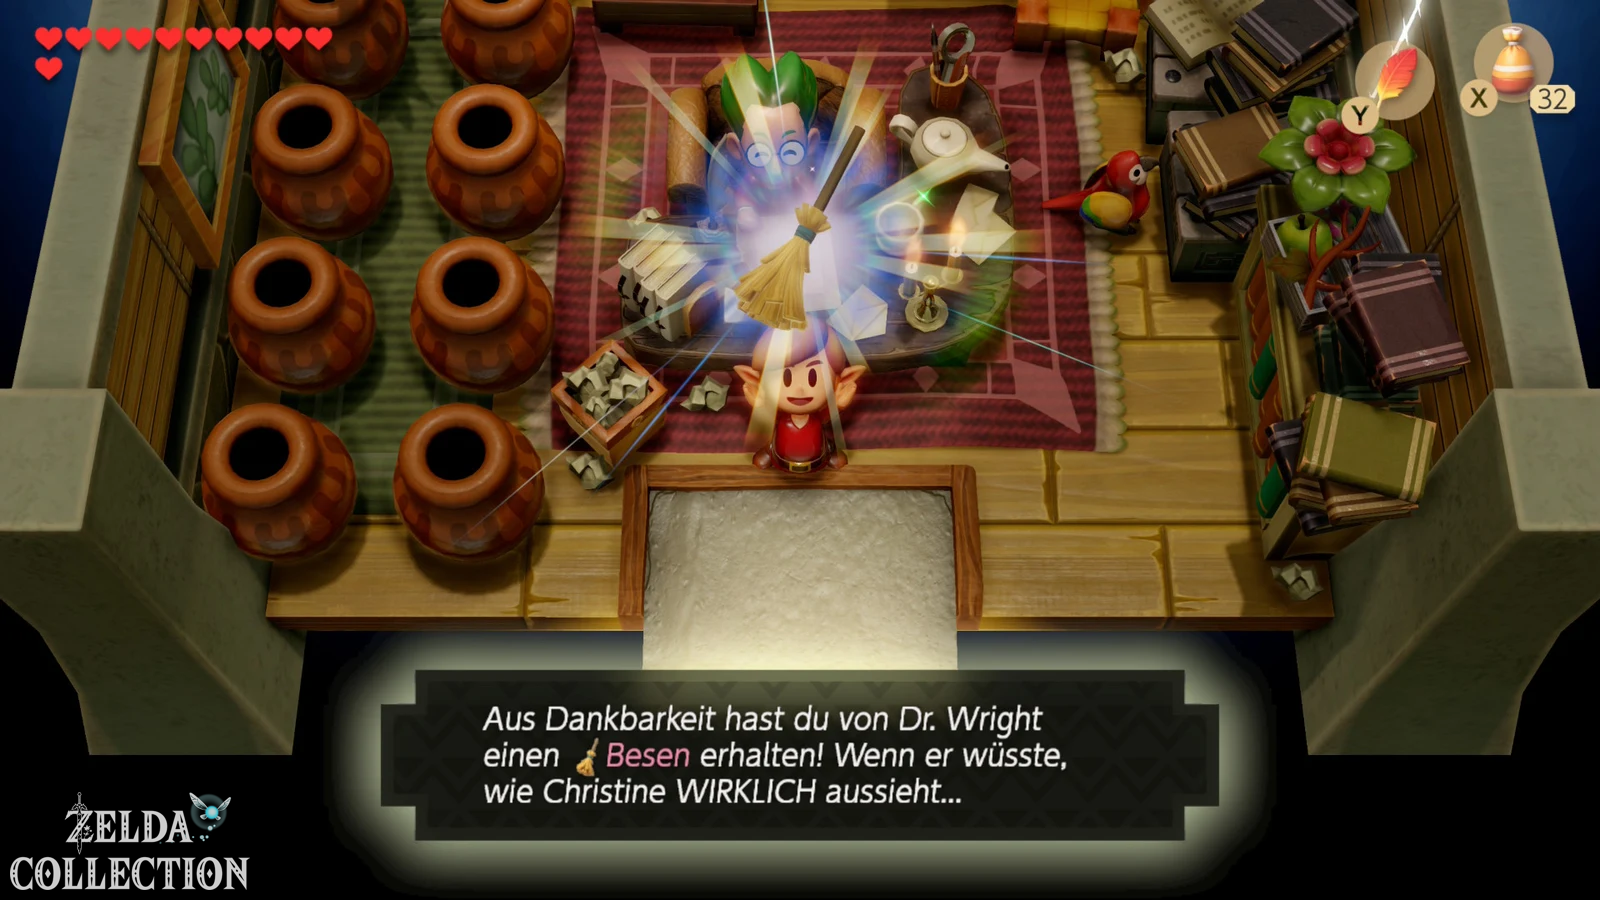
Travel to Mr. Write northwest of the Mysterious Forest and give him Christine’s letter. The letter includes a photo that Mr. Write is particularly pleased about. As thanks, he gives Link a broom.
Then return to Christine in the Switch remake if you want to collect the additional Secret Seashell for successful letter delivery.
11. Swap broom for fish hook
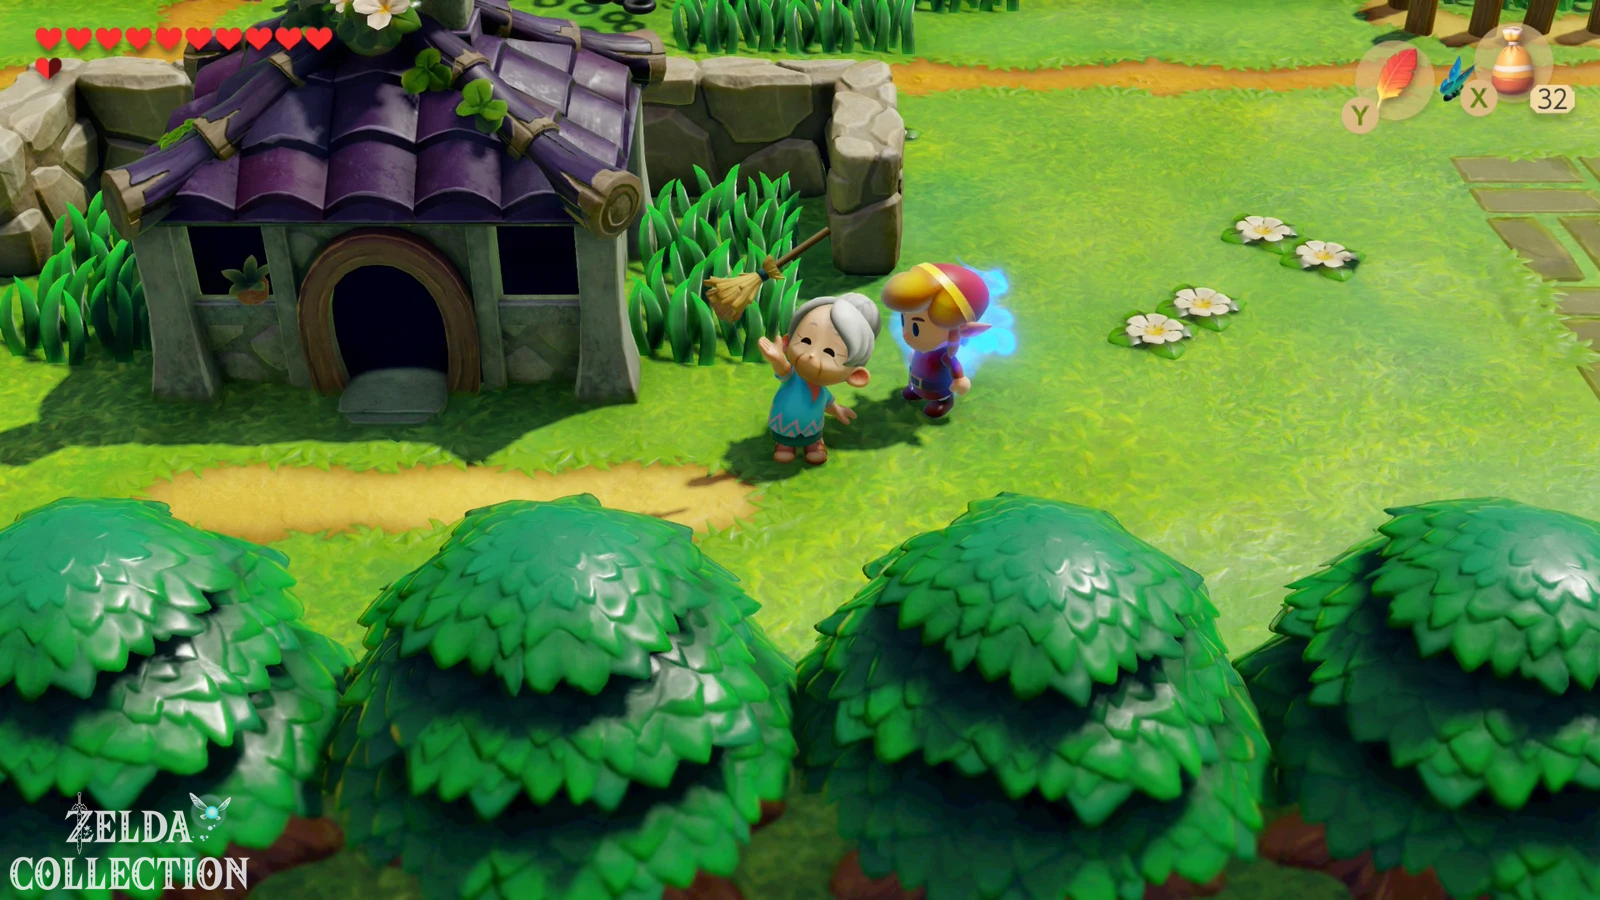
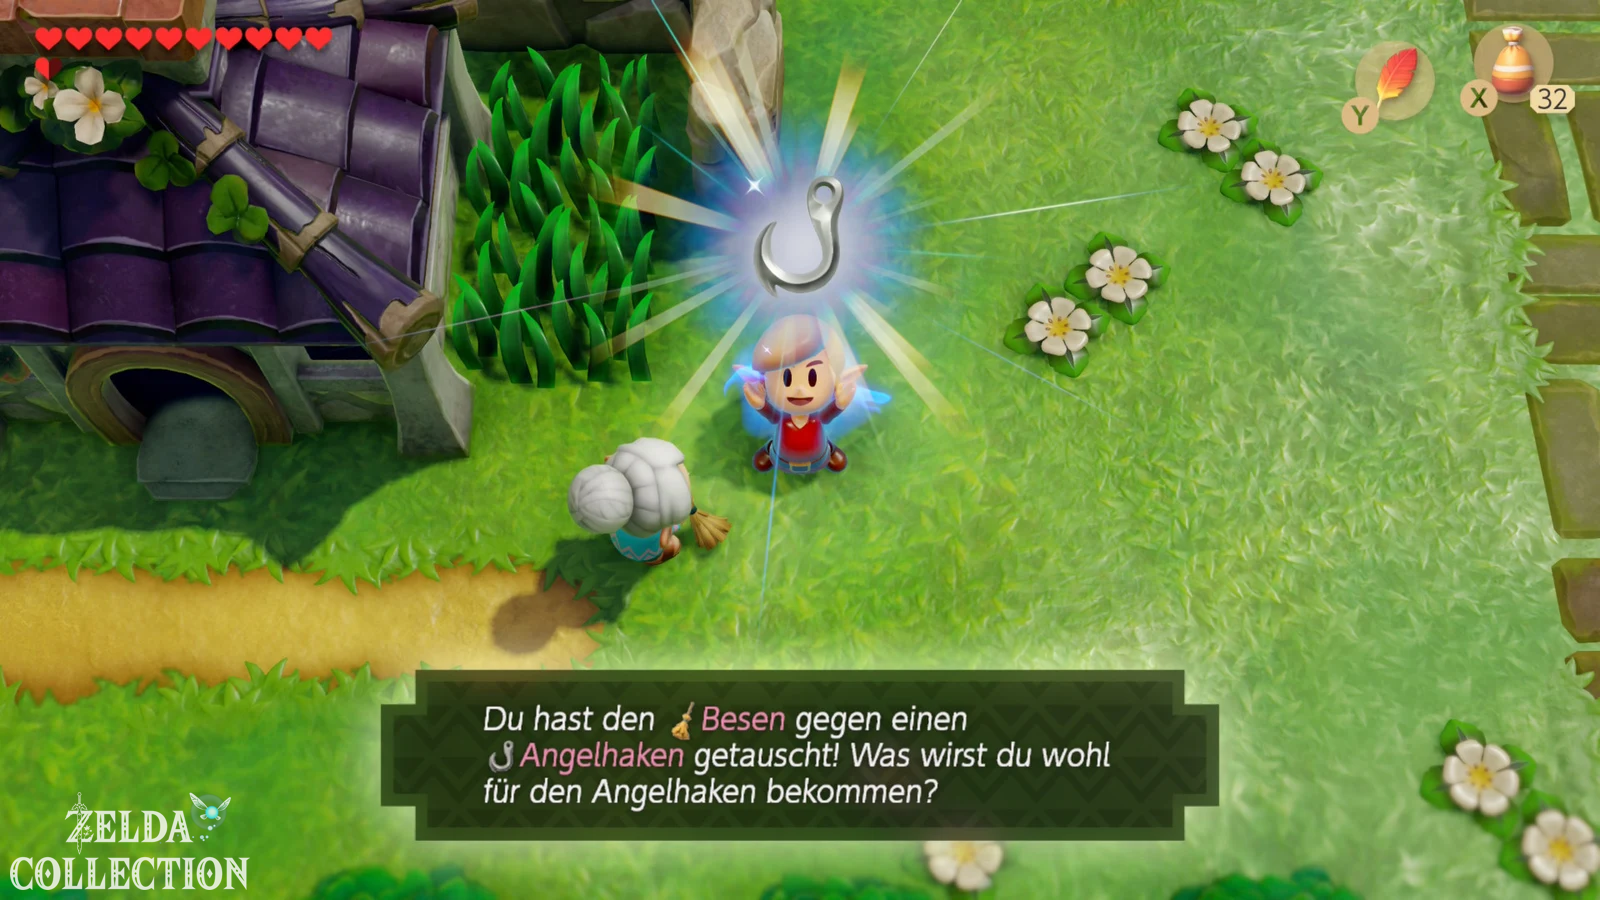
The broom belongs to Grandma Yahoo. Depending on the progress of the adventure, she can still be in Mabe Village or already in Animal Village. Talk to her and give her the broom. In return you will receive a fishing hook.
Do not confuse this item with the Hookshot from the Catfish’s Maw. The fish hook is exclusively part of the exchange series and will be returned to its original owner.
12. Swap fishing hook for pearl necklace
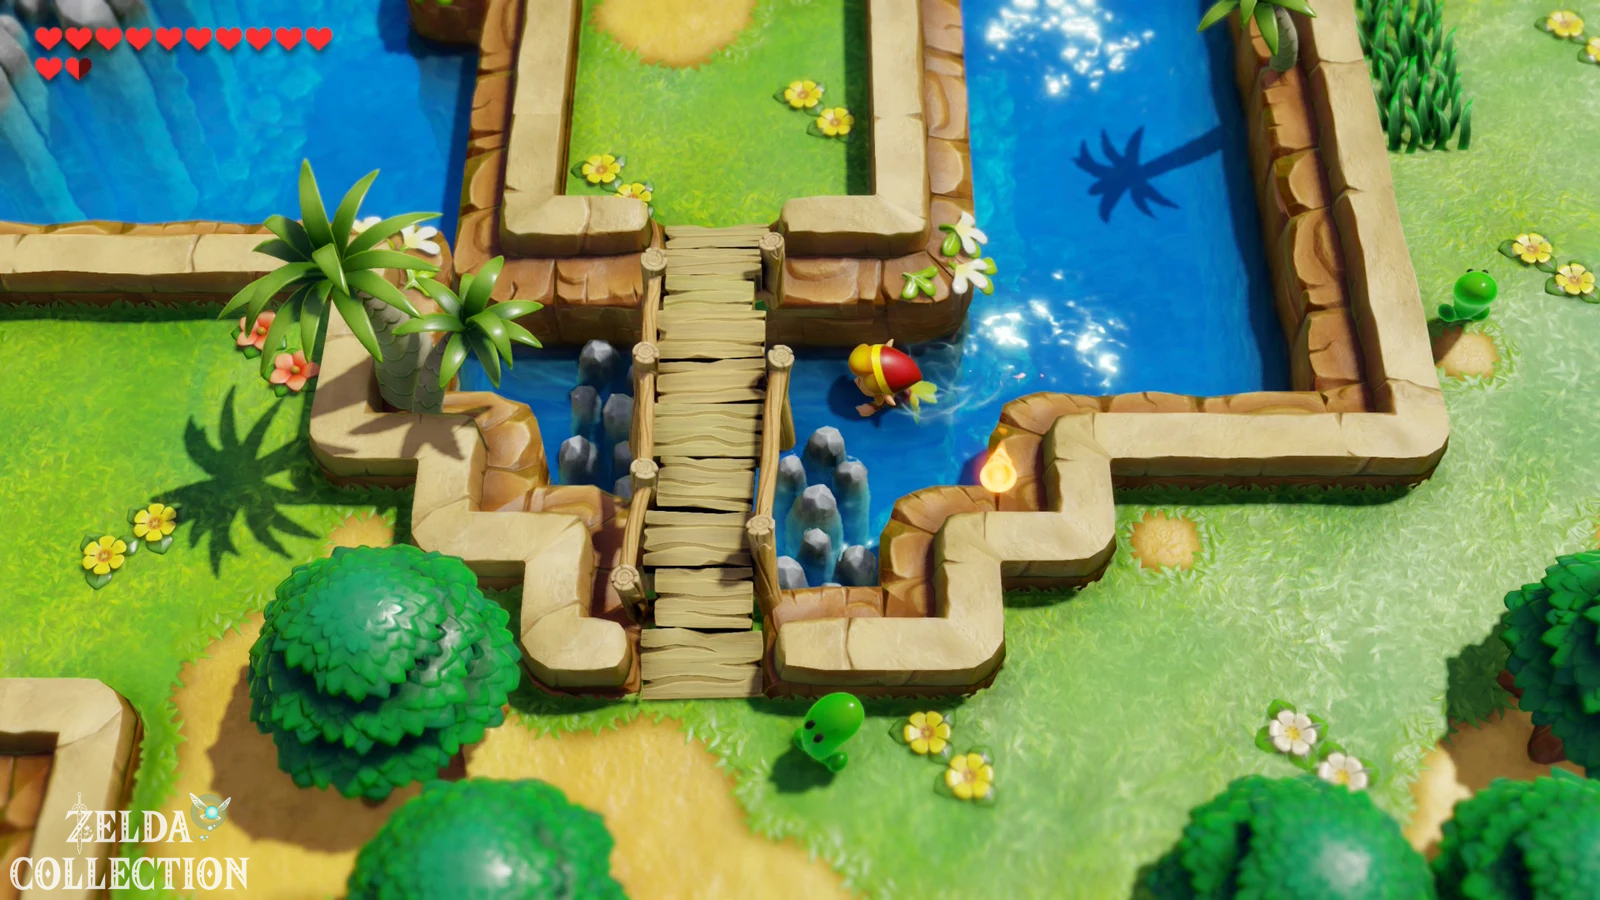
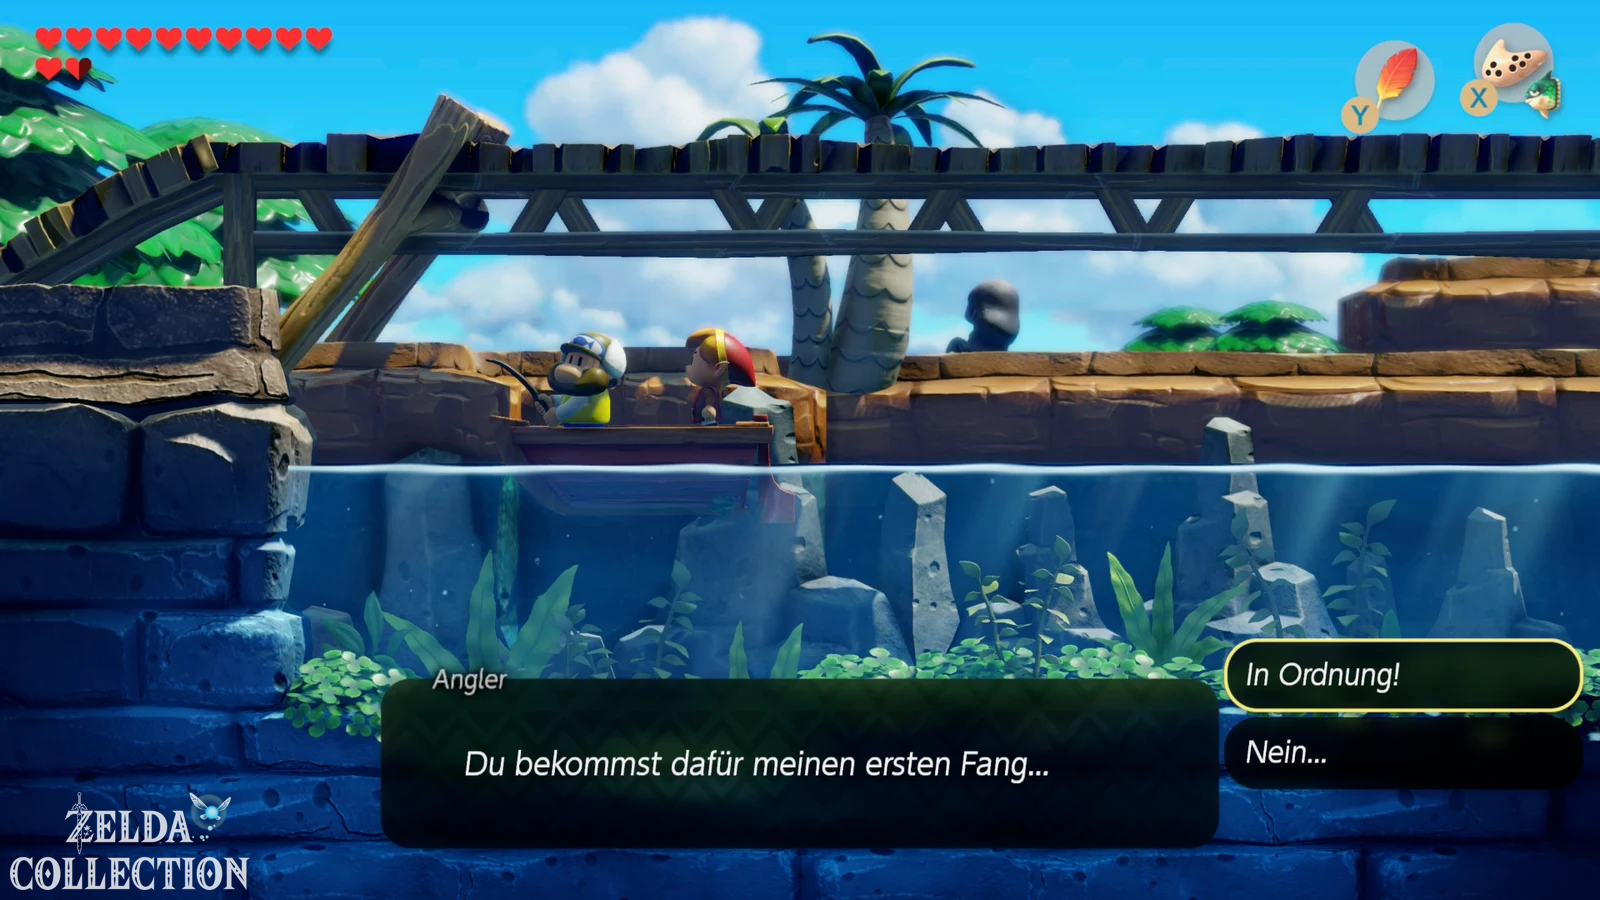
Go to the southeastern part of the Martha’s Bay. A long wooden bridge leads over the water. The angler you are looking for is not sitting on top of the bridge, but underneath it. You therefore need the Flippers from the Angler’s Tunnel. Swim under the bridge from the side and talk to the fisherman in his small boat.
Give him the fish hook back. He tries it out immediately and pulls a pearl necklace out of the water. The necklace belongs to a mermaid in the Martha’s Bay and is the next step in the exchange series.
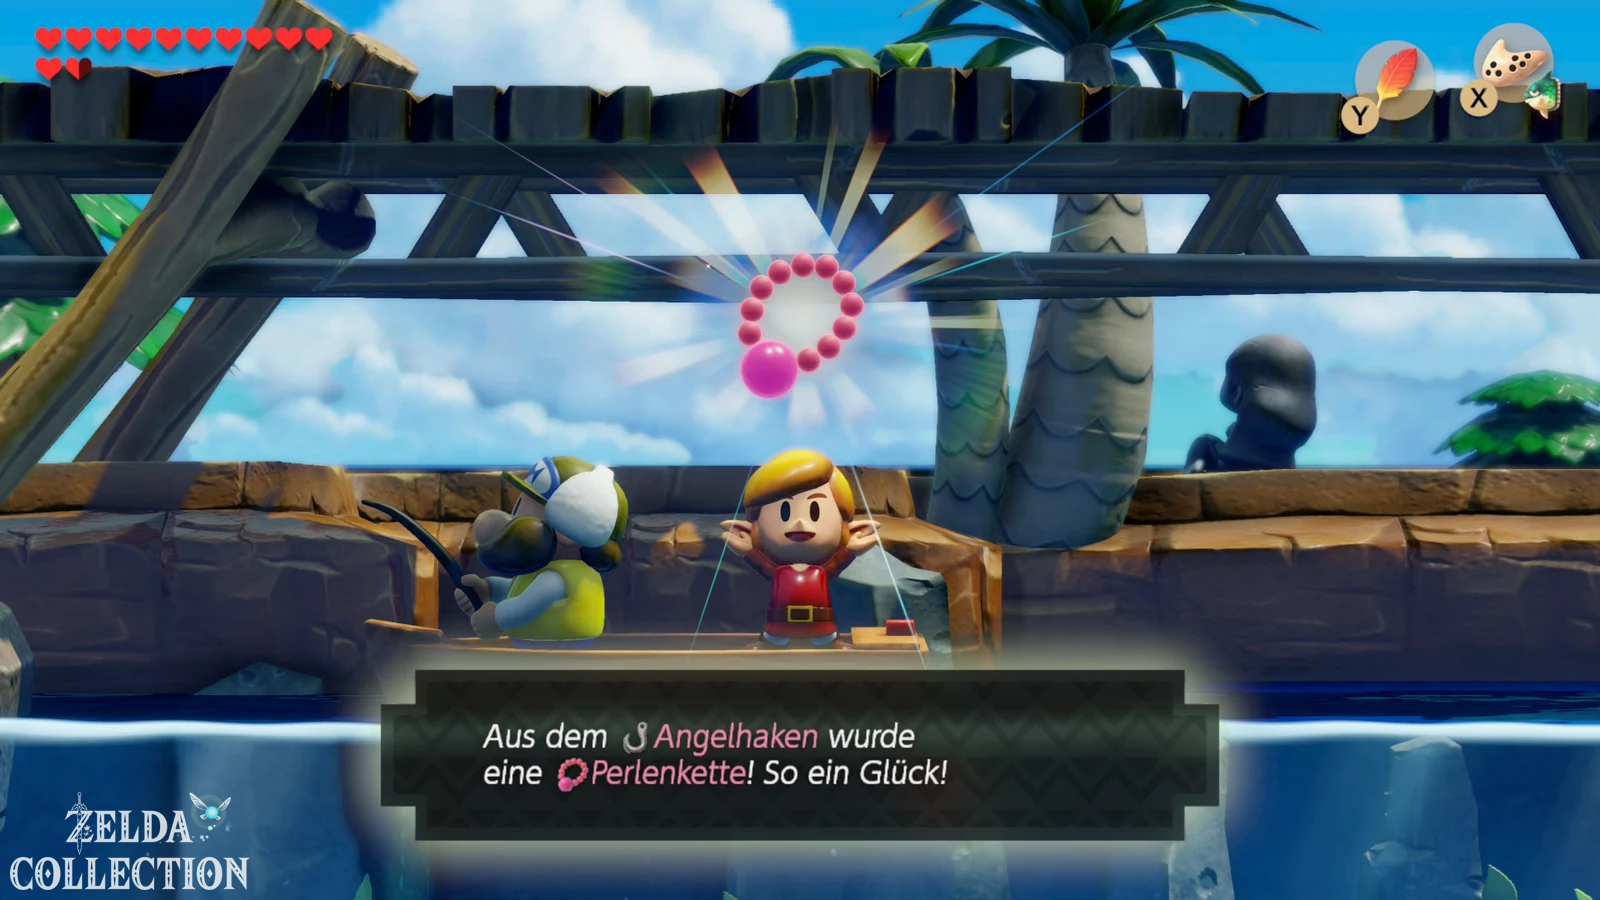
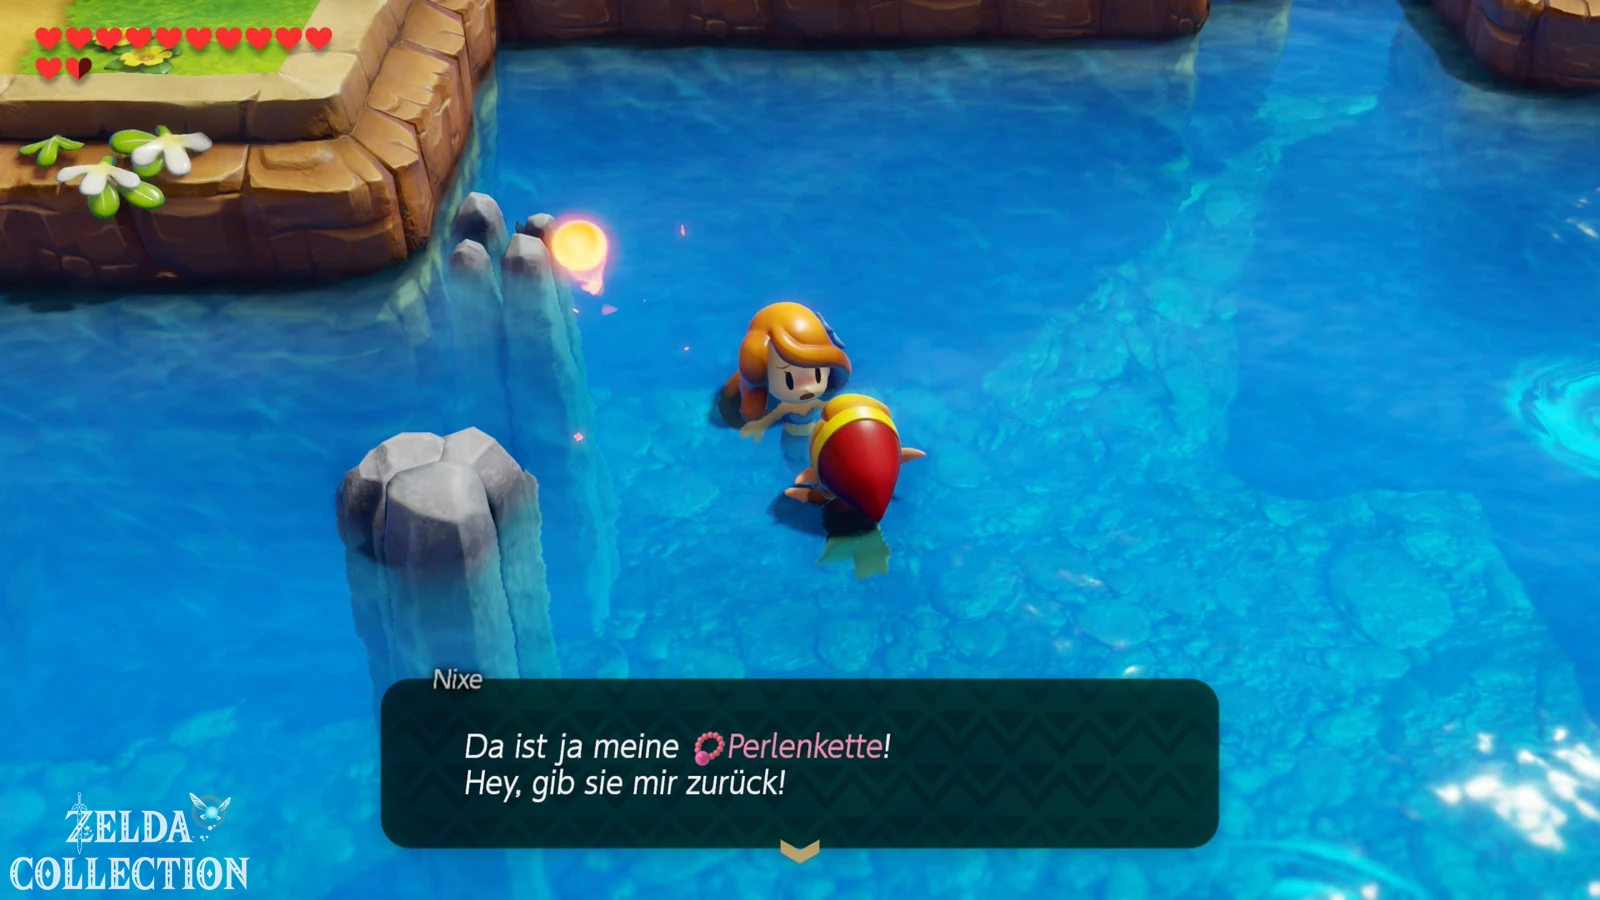
13. Swap pearl necklace for scale
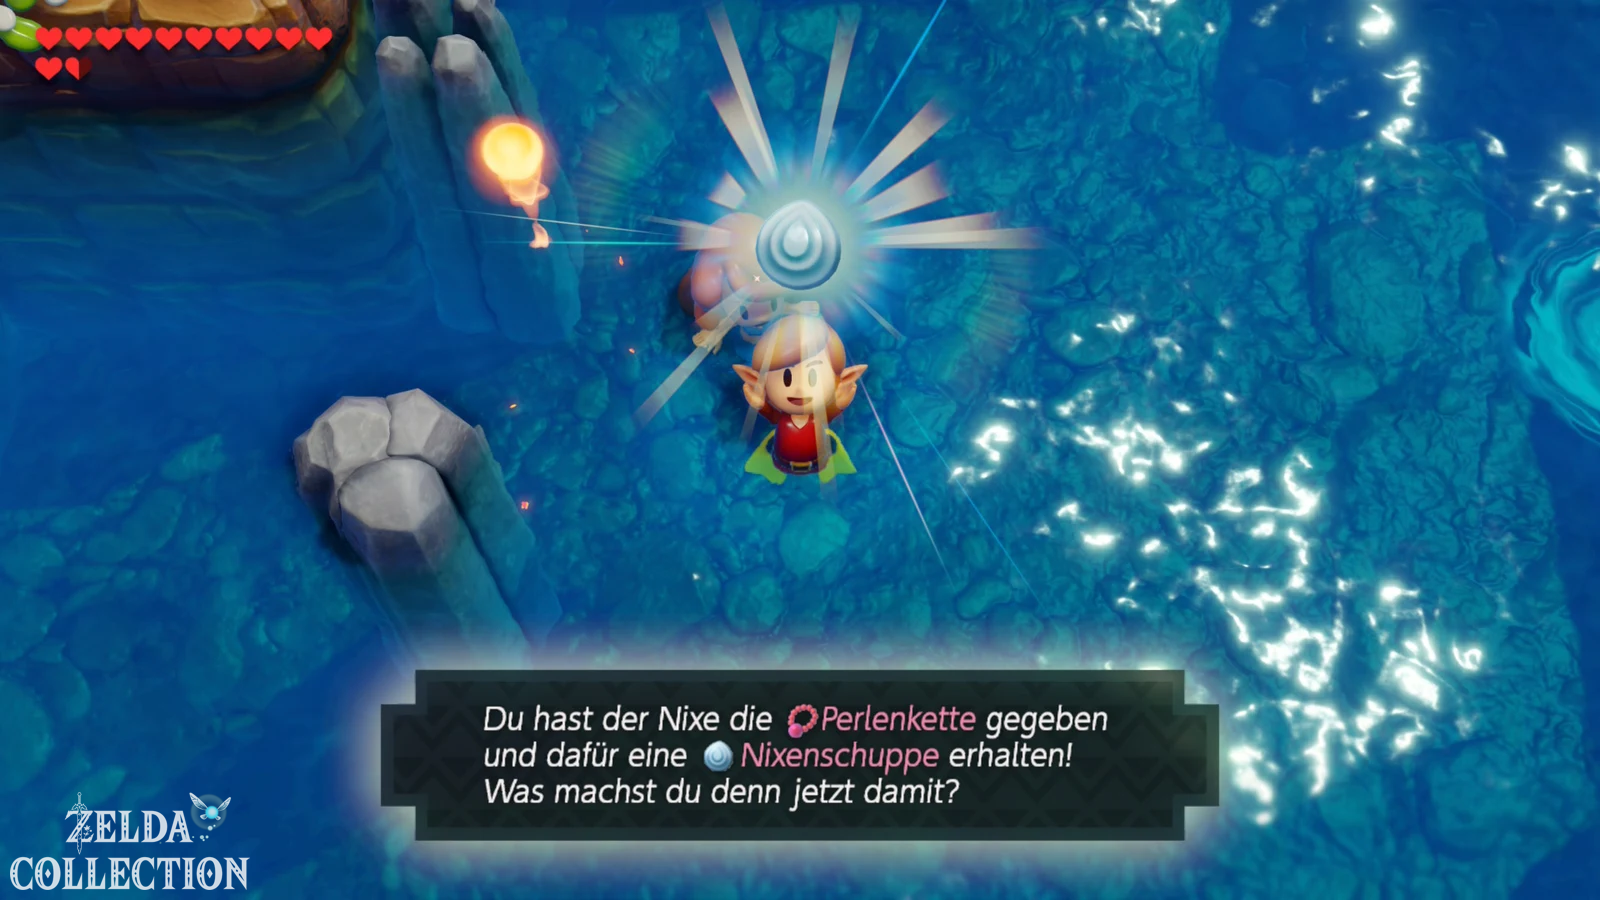
Swims back to the central or northwestern area of the Martha’s Bay. Above the fish mouth you will meet a mermaid in the water that has lost her pearl necklace. Give her the piece of jewelry back. As a thank you, she gives Link one of her scales .
This means that there is only one step left to get to the Magnifying Lens. However, you can only do this after the Catfish’s Maw, because you need the Hookshot for the intended access to the mermaid statue.
14. Insert scale and find Magnifying Lens
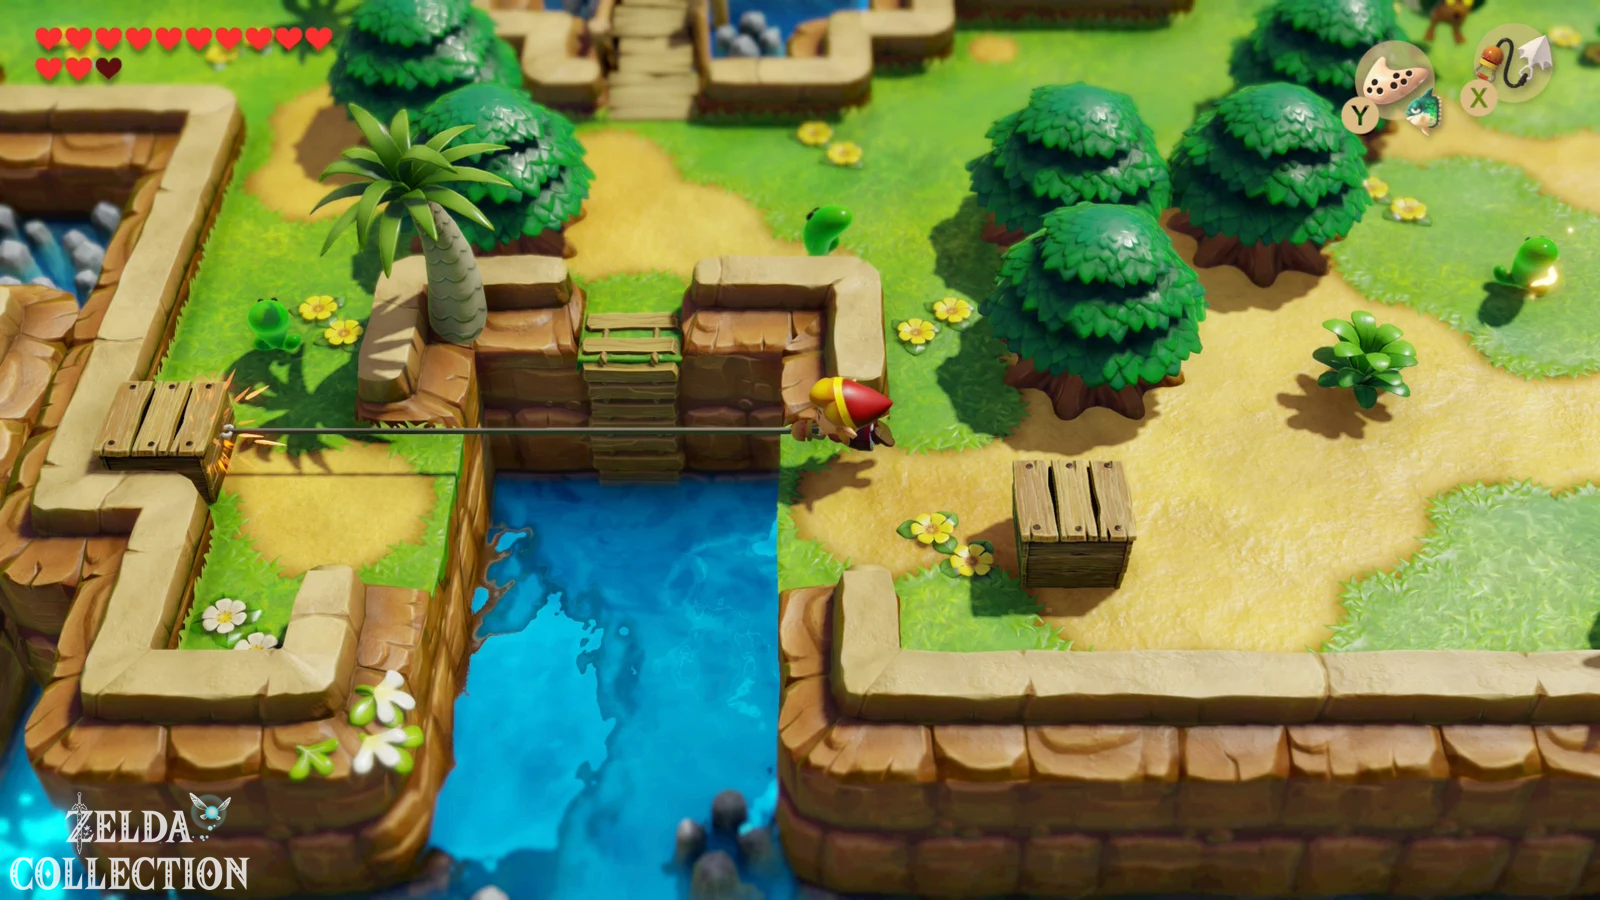
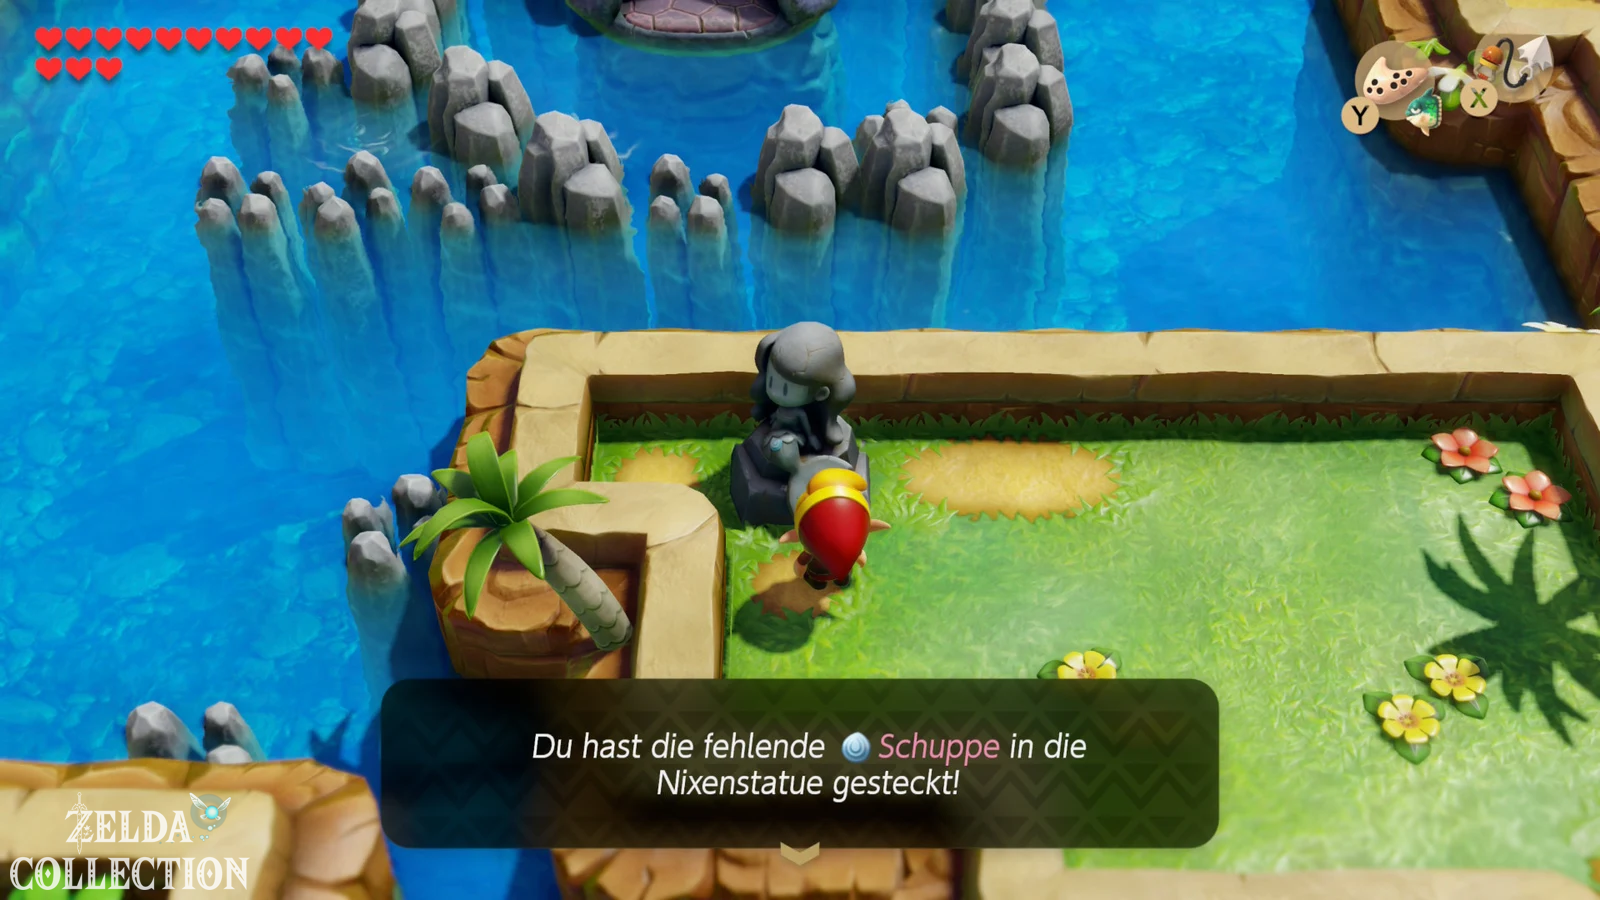
After the Catfish’s Maw you have the Hookshot. Go to the mermaid statue south of the dungeon. A wide abyss separates you from the statue. Use the Hookshot to move to the opposite side and examine the statue. Use the mermaid’s scales.
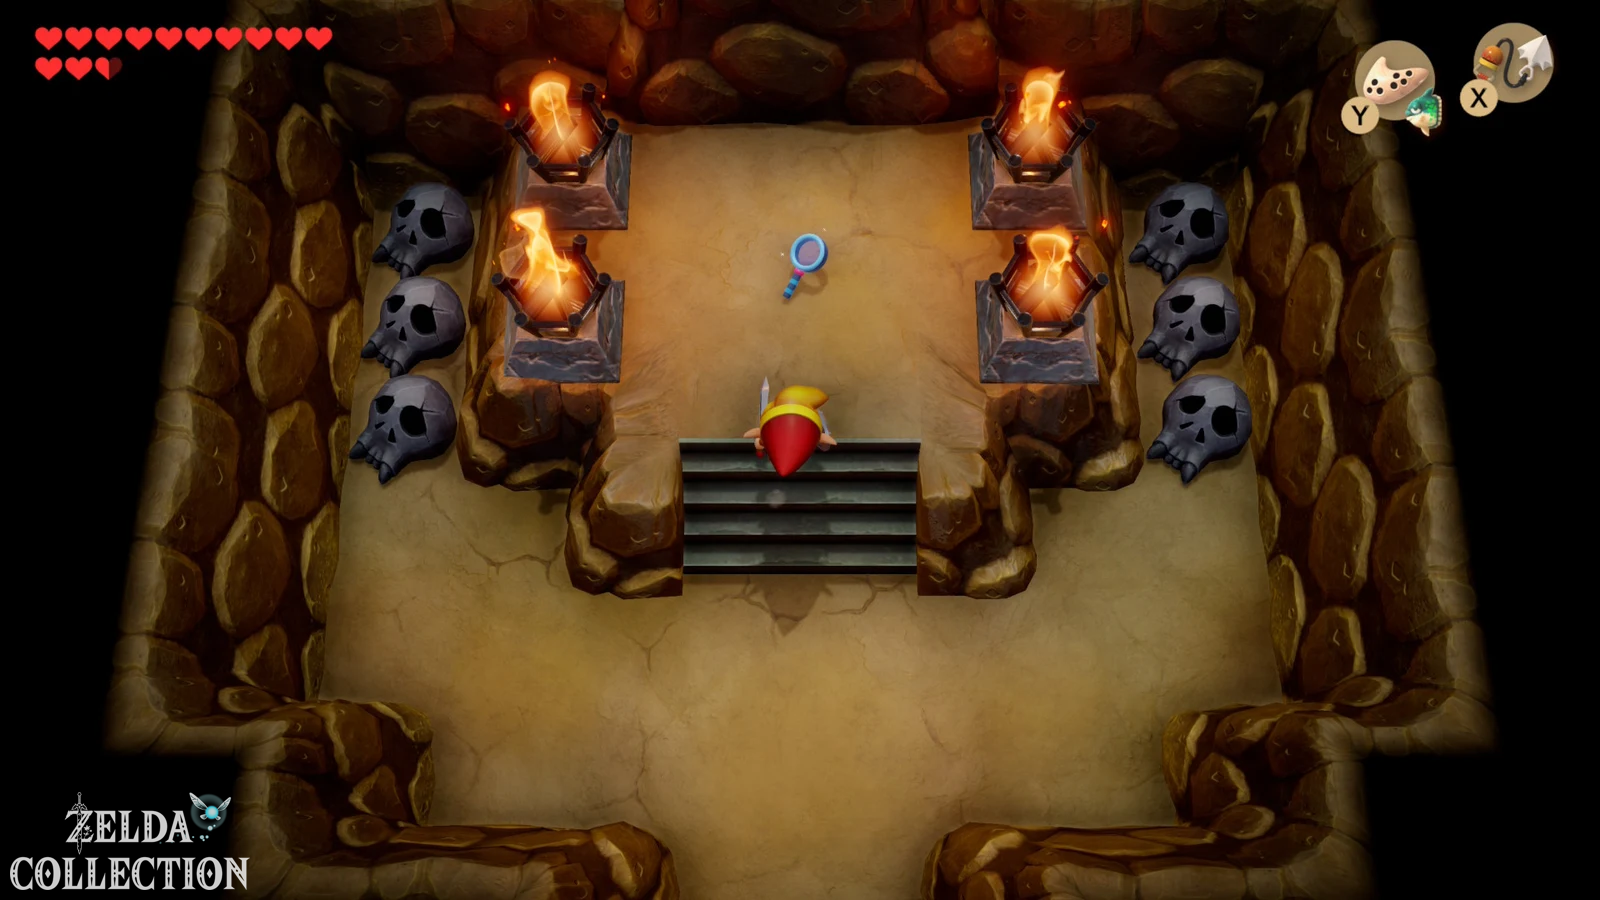
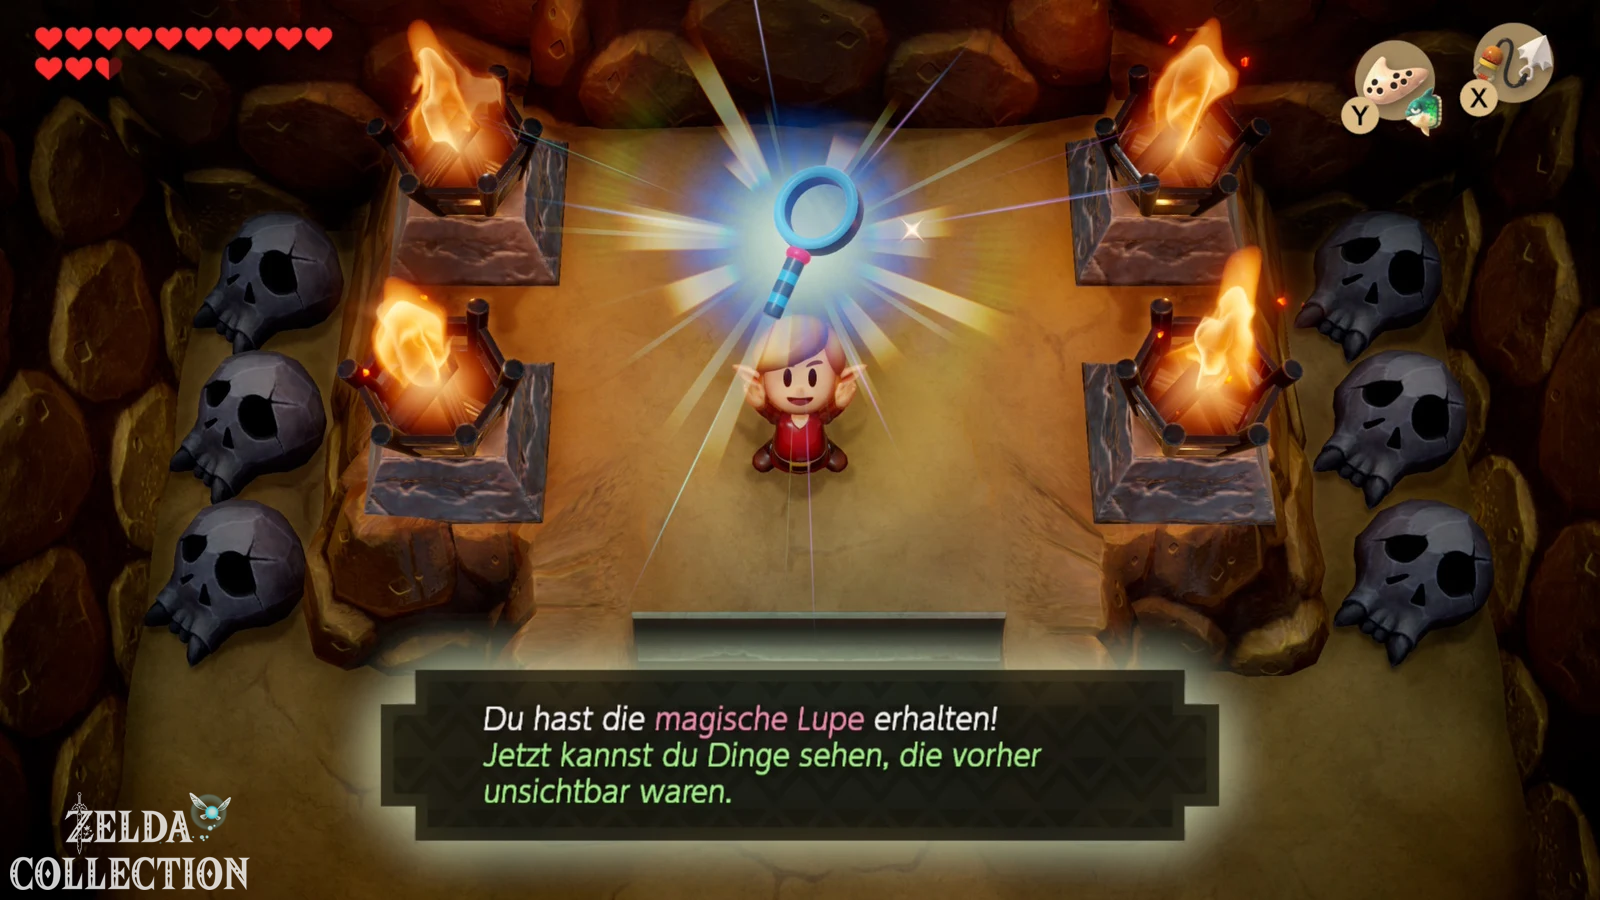
The mermaid statue moves and reveals a hidden staircase. Climb down and follow the underground passage. In the upper area of the secret room is the Magnifying Lens. It is used automatically and does not need to be placed on a button. From now on you can see previously invisible people and clues.
This completes the actual exchange series. The magnifying glass will also be needed later in order to be able to read the book “The dark secrets of Koholint” in the Mabe Village library and thus be able to find out the individual path through the Wind Fish’s Egg.
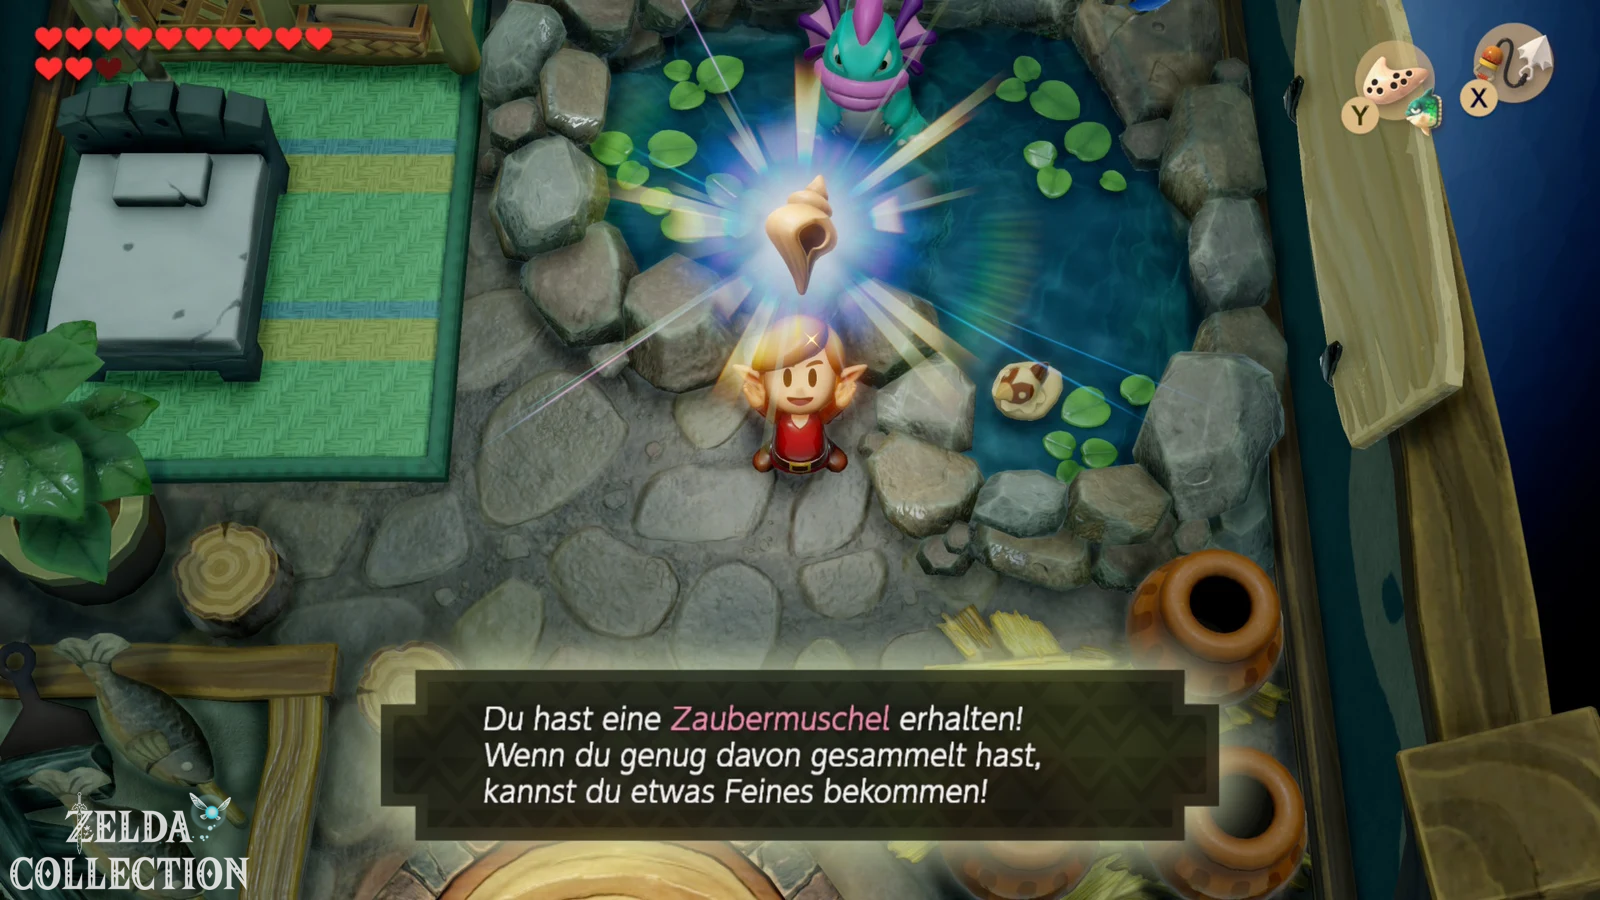
Additional reward: Secret Seashell from the invisible Zora
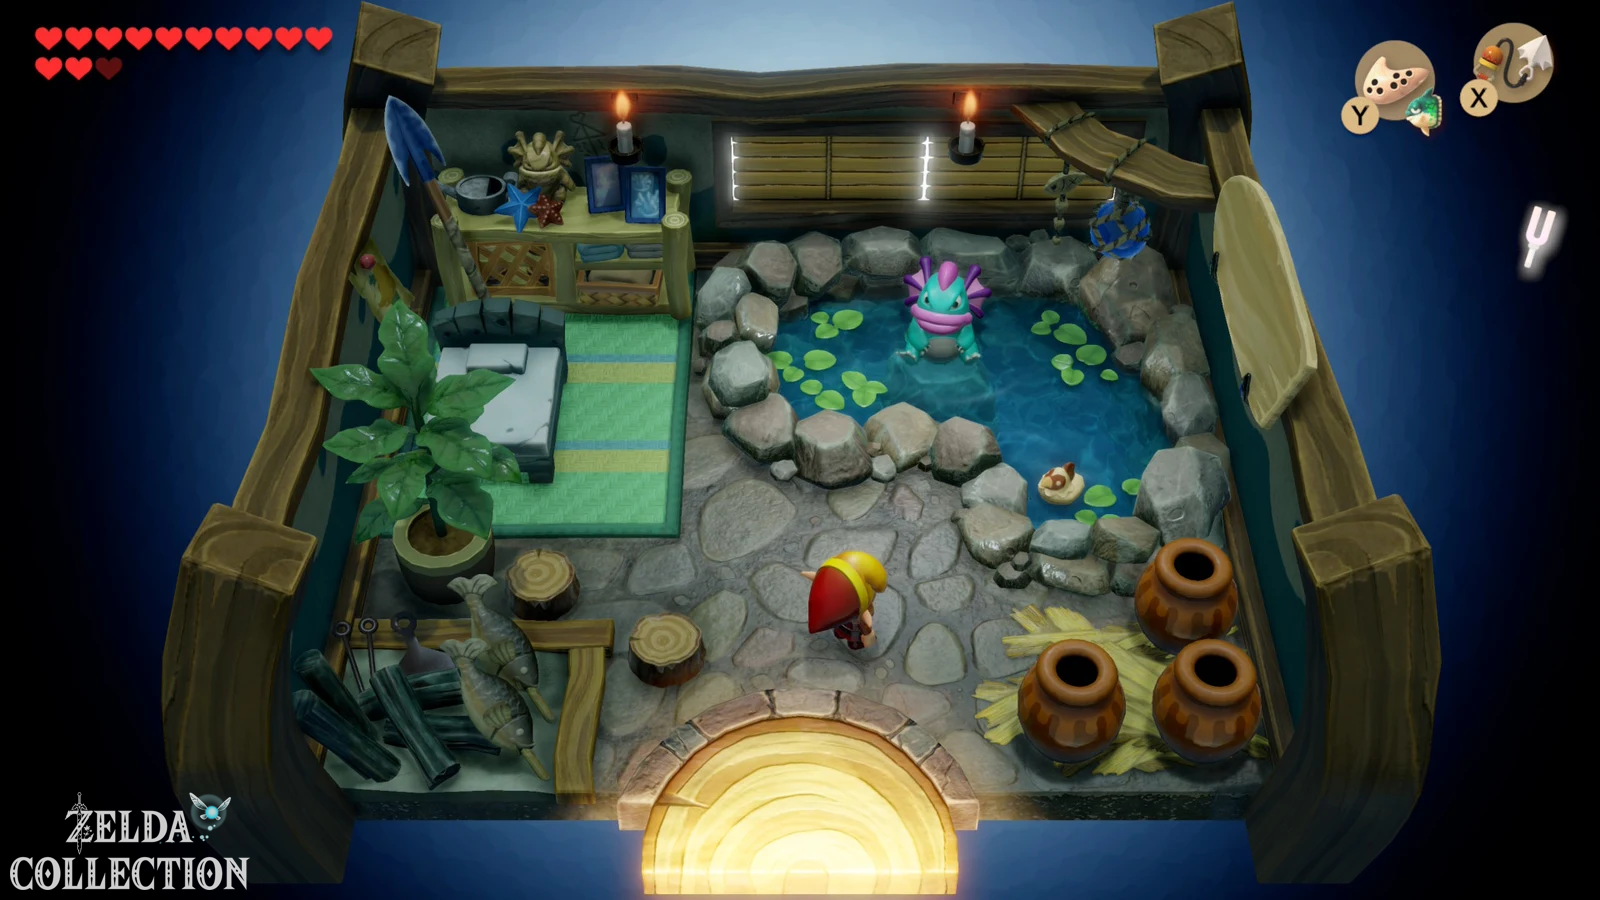
With the Magnifying Lens you should immediately travel again to Animal Village. Enter the house in the far northeast. In the small water basin you can now see a Zora that was previously completely invisible. Speak to him. In the Switch remake he gives you another Secret Seashell and at the same time points out another invisible creature on the Toronbo beach.
This shell bonus only exists in the remake. The invisible resident on the beach and the associated Boomerang, on the other hand, are already part of the classic exchange mechanic of Link’s Awakening.
Obtain Boomerang
from Goriya
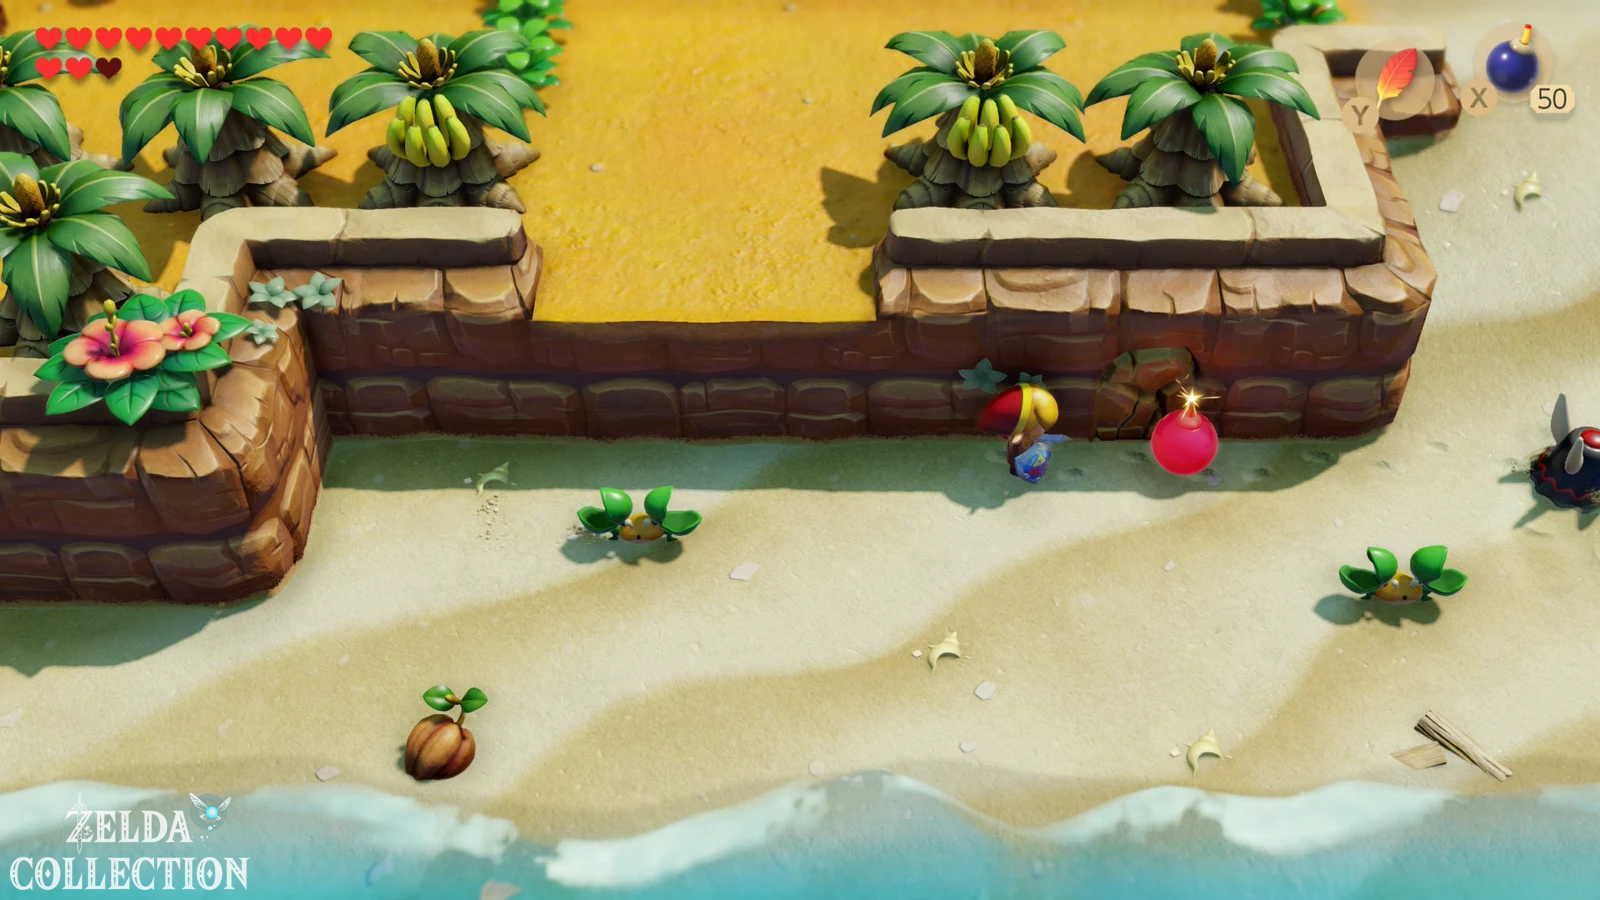
Travel to Toronbo Shores. There is a fragile spot in the rock wall just east of where Link found his sword at the beginning. Blow it up with a bomb and enter the cave. Without a Magnifying Lens, the room appears empty. However, with a magnifying glass you can see the mysterious Goriya.
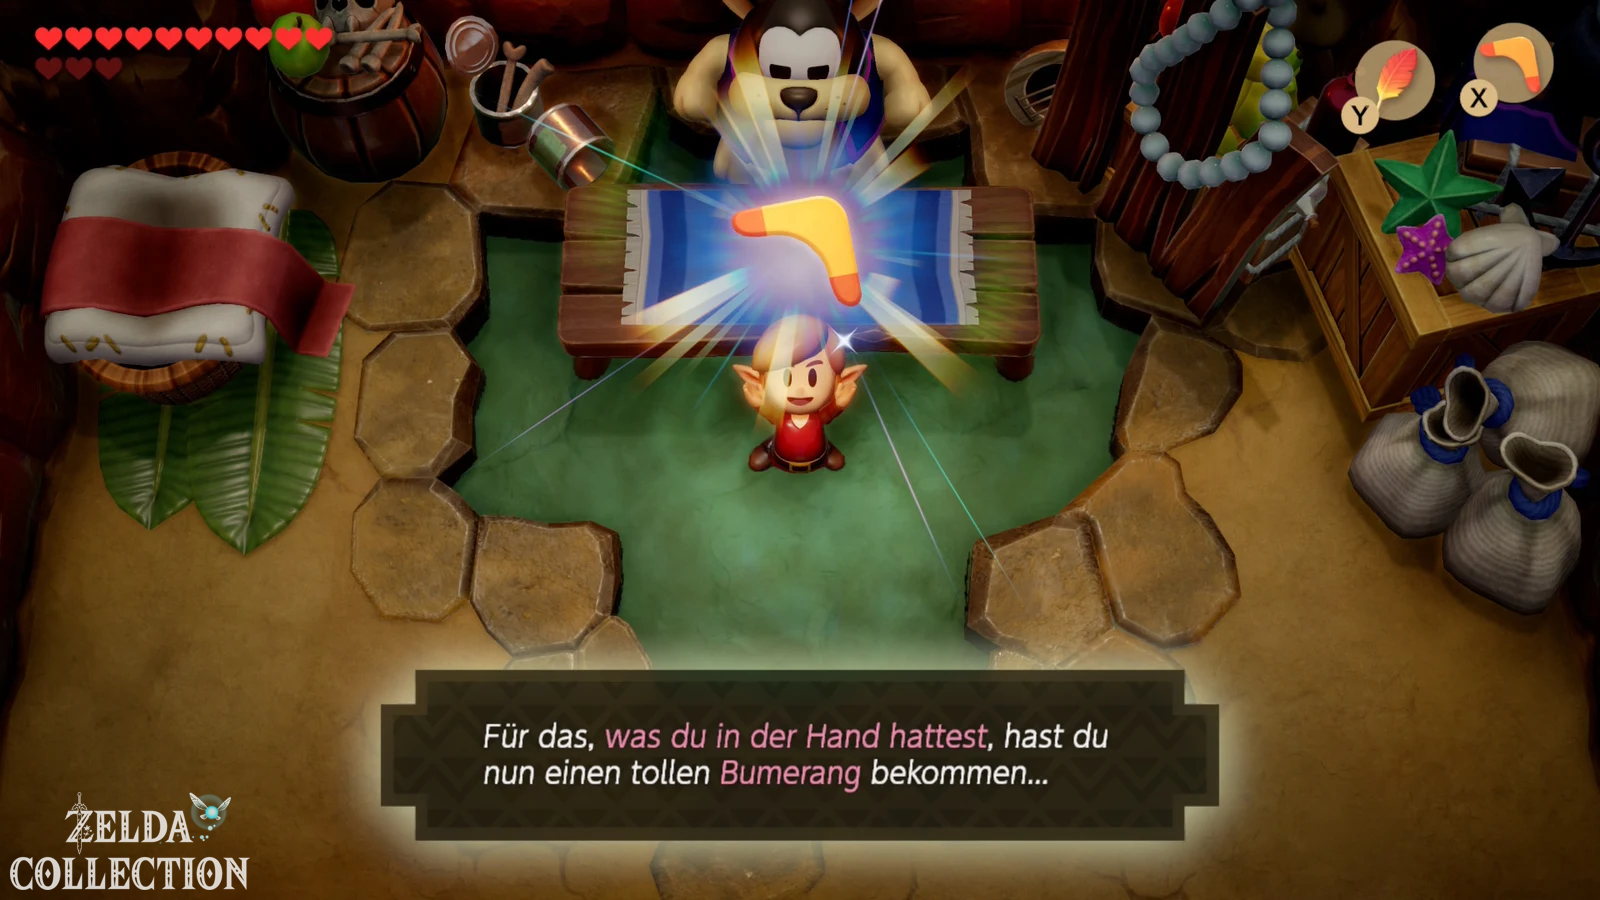
Goriya offers you one of his items in exchange for a piece of equipment from your inventory. For our optimal solution, give him the Shovel. In return you will receive the Boomerang.
The Boomerang is one of the strongest weapons and tools in Link’s Awakening. He defeats many normal enemies with a single hit, can stun others, retrieves distant hearts, Rupees and other items to Link, and even turns some dangerous anti-fairies into normal fairies. It makes numerous fights much easier, especially in Eagle’s Tower and Turtle Rock.
Shovel for 300 Rupees buy back
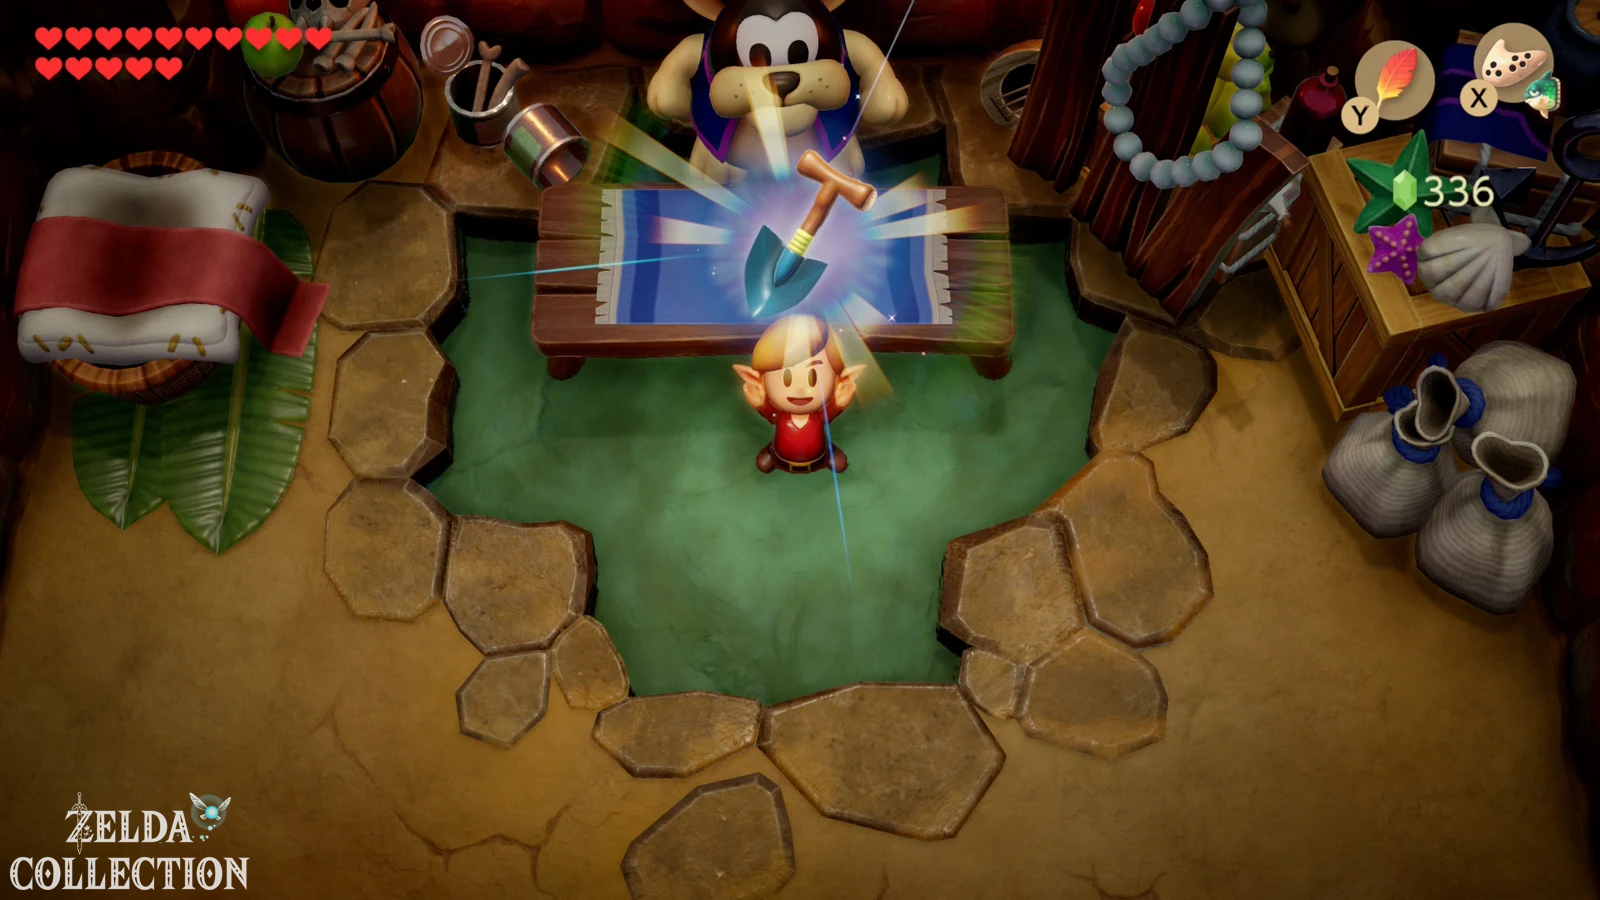
In the Nintendo Switch remake you don’t have to permanently decide between Boomerang and shovel. After the exchange, simply speak to Goriya again. He will sell you the Shovel back for 300 Rupees. Afterwards you will have both the Boomerang and the shovel.
You should definitely do this before your last Secret Seashells collects. Several of them are well into the Tal Tal Mountain Range buried in the ground and still need the shovel. Our overview of the 50 Secret Seashells therefore assumes that you have bought them back after the boomerang exchange.
All 14 trading steps at a glance
- Yoshi doll – Trendy Game in Mabe Village.
- Ribbon – Bring Yoshi Doll to Mamasha.
- Give dog food – Ribbon CiaoCiao.
- Bananas – Exchange dog food with Sale on Toronbo Shores.
- Stick – Give bananas to Kiki at Kanalet Castle.
- Honeycomb – Give stick to Tarin in the Ukuku Prairie.
- Pineapple – Exchange honeycomb with the bear in Animal Village.
- Hibiscus – Give Pineapple to Papahl in Tal Tal Mountain Range.
- Letter from the Goat – Bring Hibiscus to Christine in Animal Village.
- Broom – hand in letter to Mr. Write.
- fishing hook – broom Grandma Yahoo give.
- Pearl Necklace – Exchange fishing hook with Fisherman under the bridge.
- Scale – Return Mermaid Pearl Necklace.
- Magic magnifying glass – Use scale on the mermaid statue.
After these 14 steps, the exchange series is completed. With the Magnifying Lens you can then visit the invisible Zora for a Secret Seashell and get the Boomerang at Goriya on Toronbo Shores. This completes both the trades and the associated permanent rewards for a complete game state.