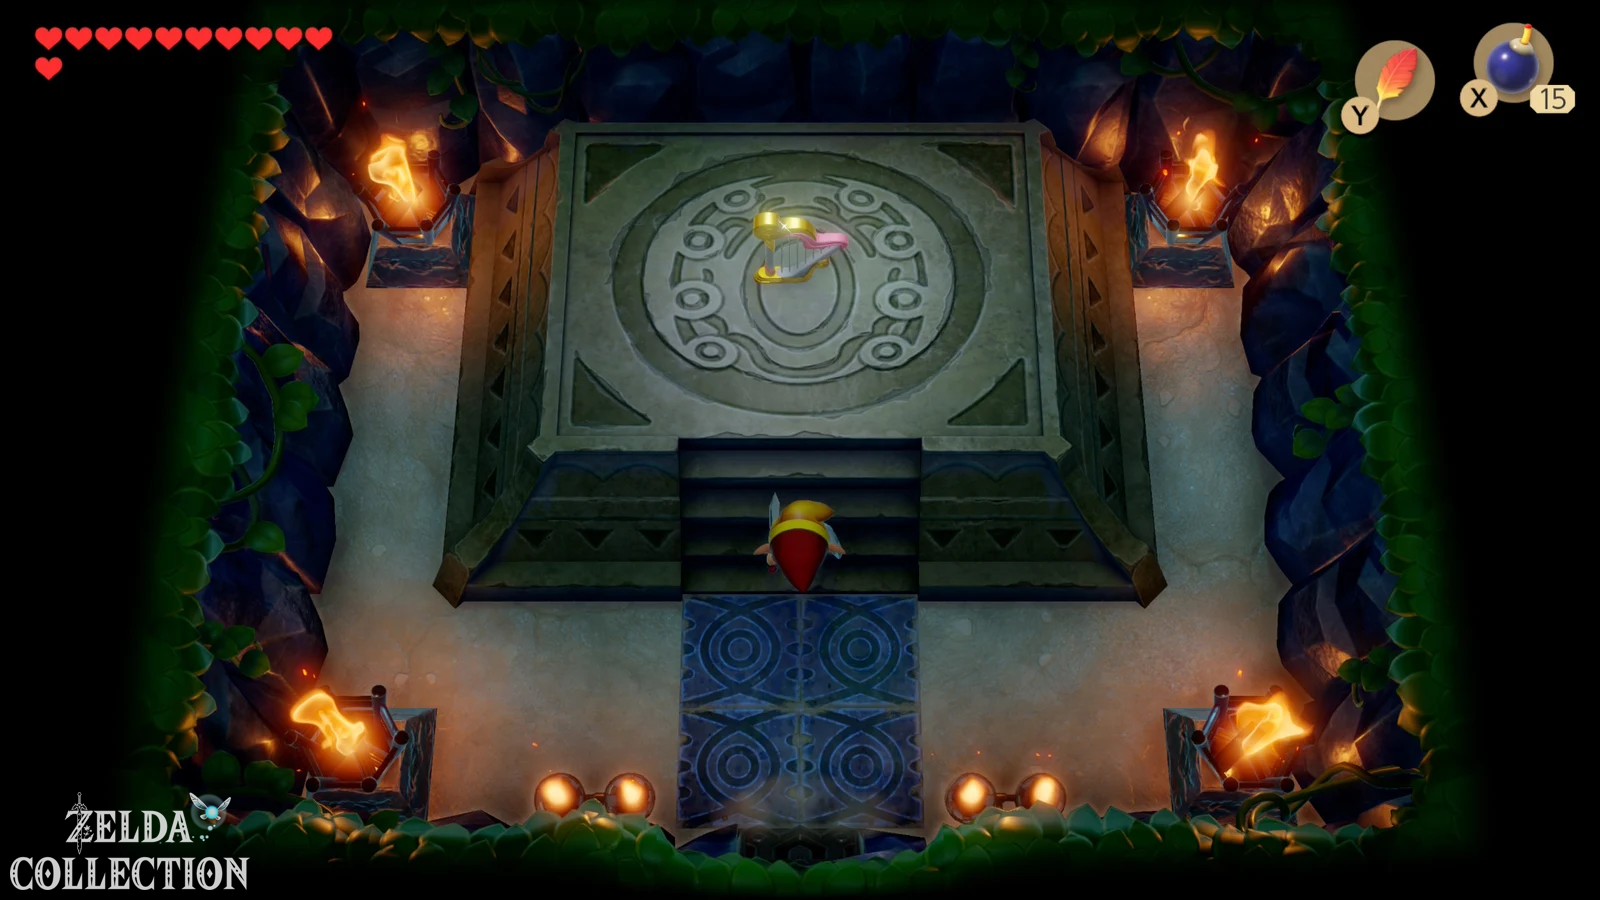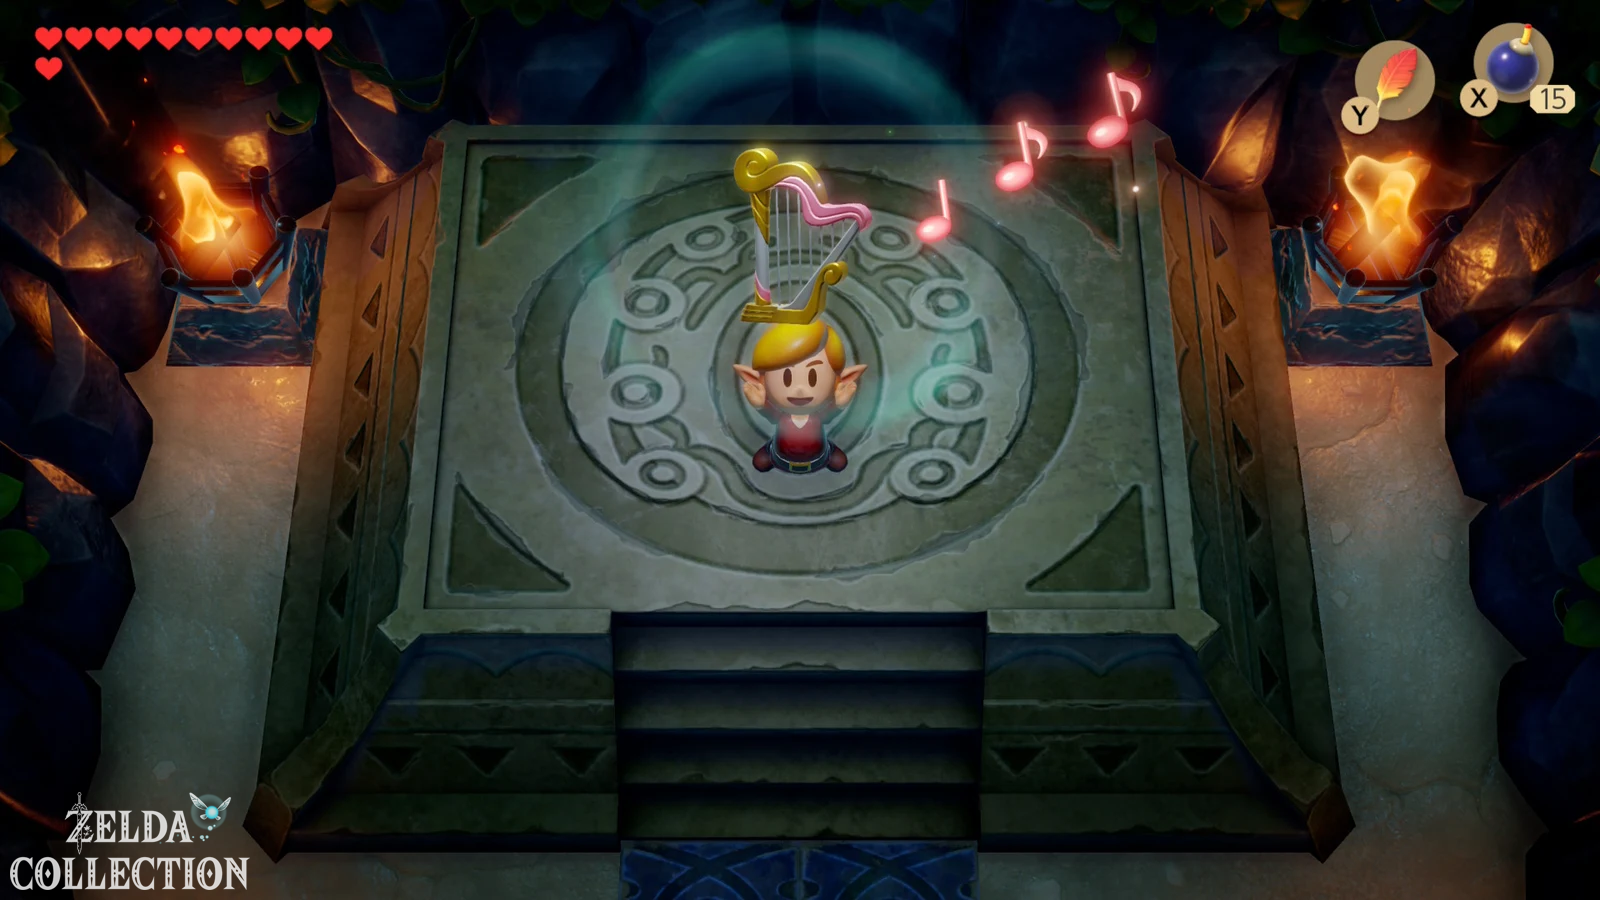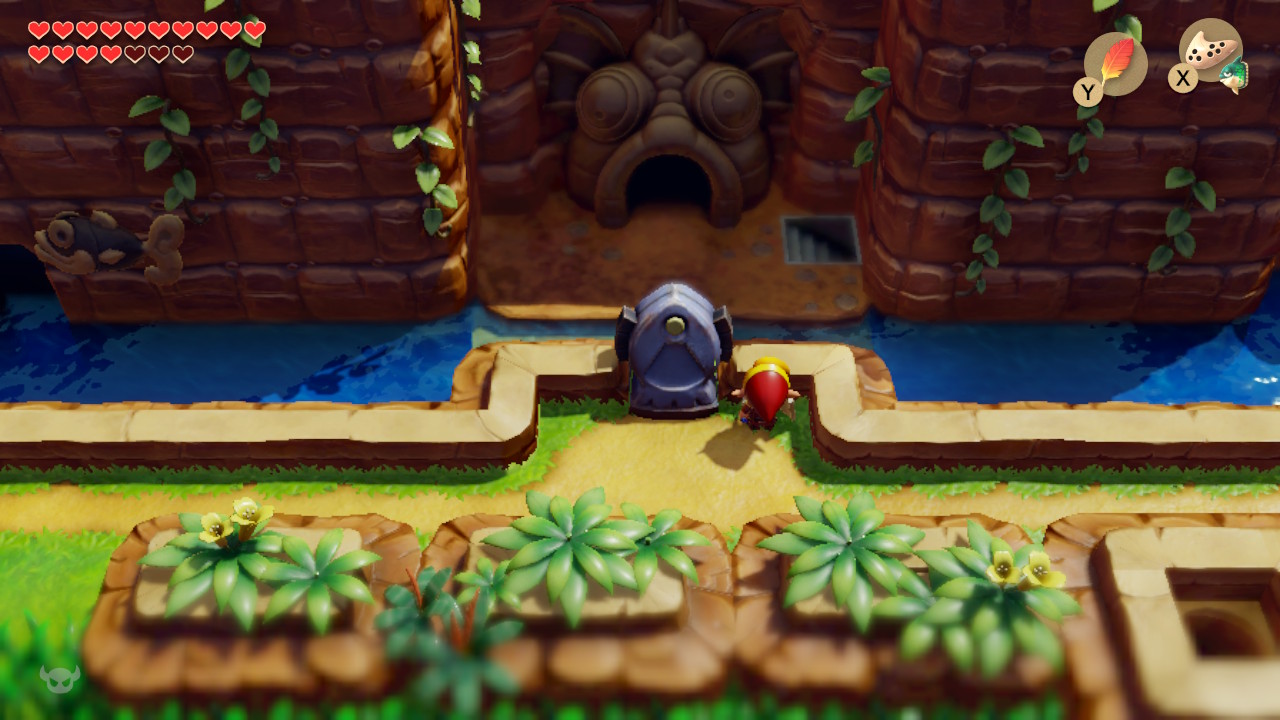

With the Sea Lily’s Bell you have received the third instrument of the sirens and with the Pegasus Boots at the same time one of the The most important pieces of equipment in the game are unlocked. Before we follow the next clue towards Yarna Desert, it is worth doing an extensive 100% round. The Pegasus Boots open several previously unreachable Pieces of Heart and Secret Seashells, making the Dream Shrine fully detachable and allowing access to the optional Color Dungeon. We can also complete Dampé’s first chamber challenges and secure two more collectibles. Only then do we take care of Animal Village, Marin, the Yarna Desert and finally the fourth dungeon, the Angler’s Tunnel.
Back to Mabe Village: Boo figure and second crane-Piece of Heart
Returns after the Key Cavern first to Mabe Village. If you have immediately placed the previous figures on their intended bases as described in our solution, the Boo figure is now waiting in the Trendy Game. Catch them with the gripper arm and then bring them to Mamasha and Papahl in the big house in the north of the village. The matching base is located there. The figures always appear gradually: As long as you are still carrying a figure with you and have not set it up, the next one cannot appear in the Trendy Game.
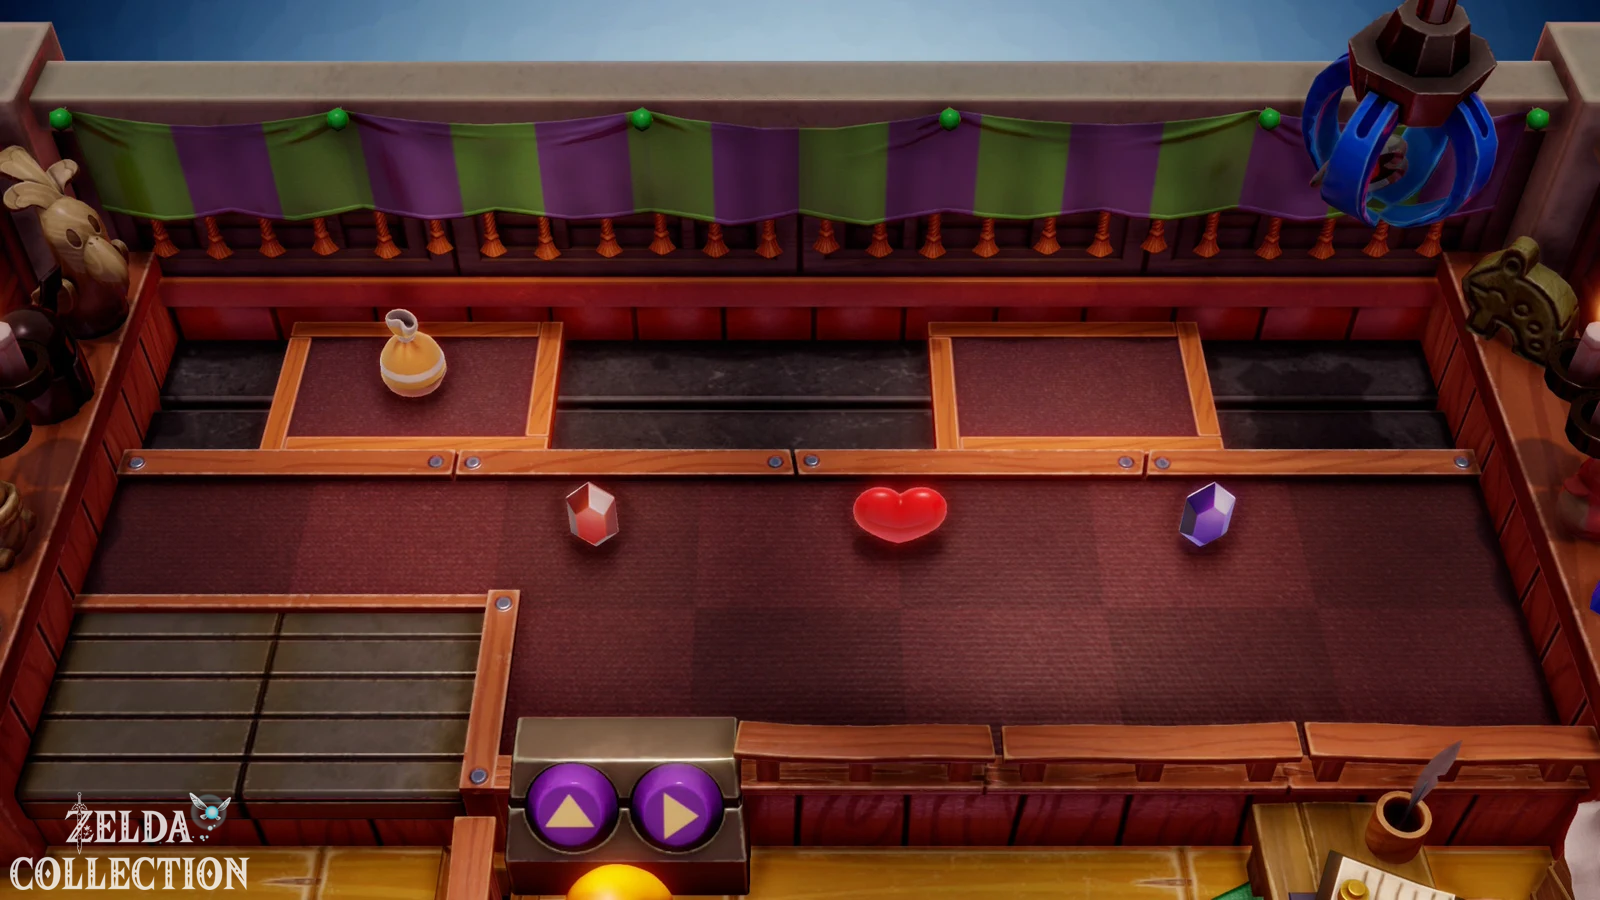
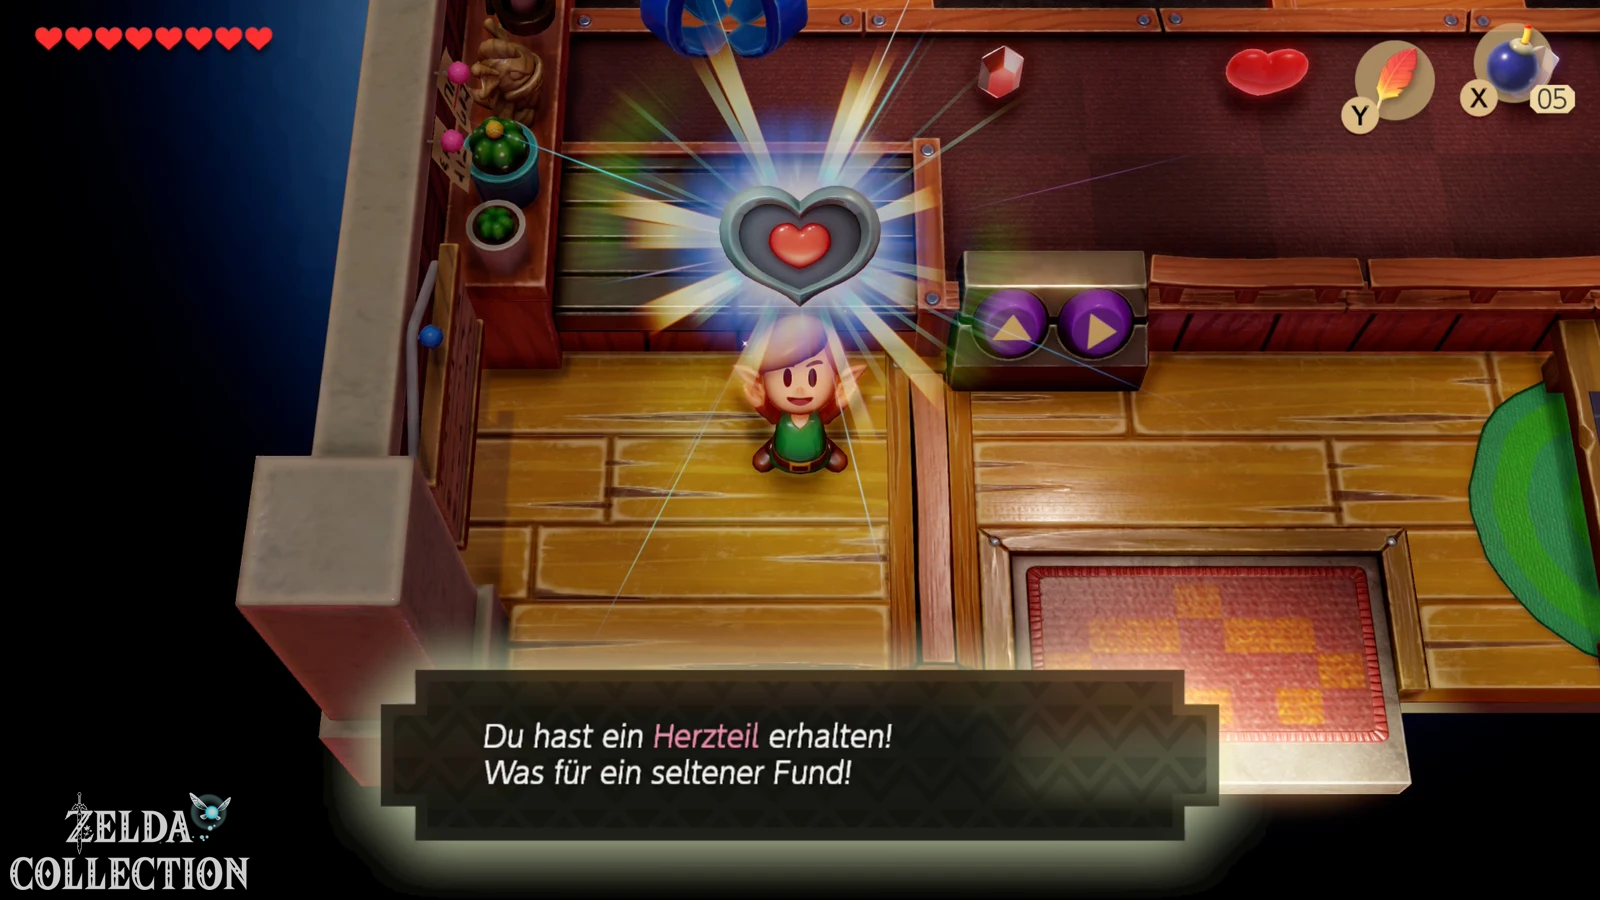
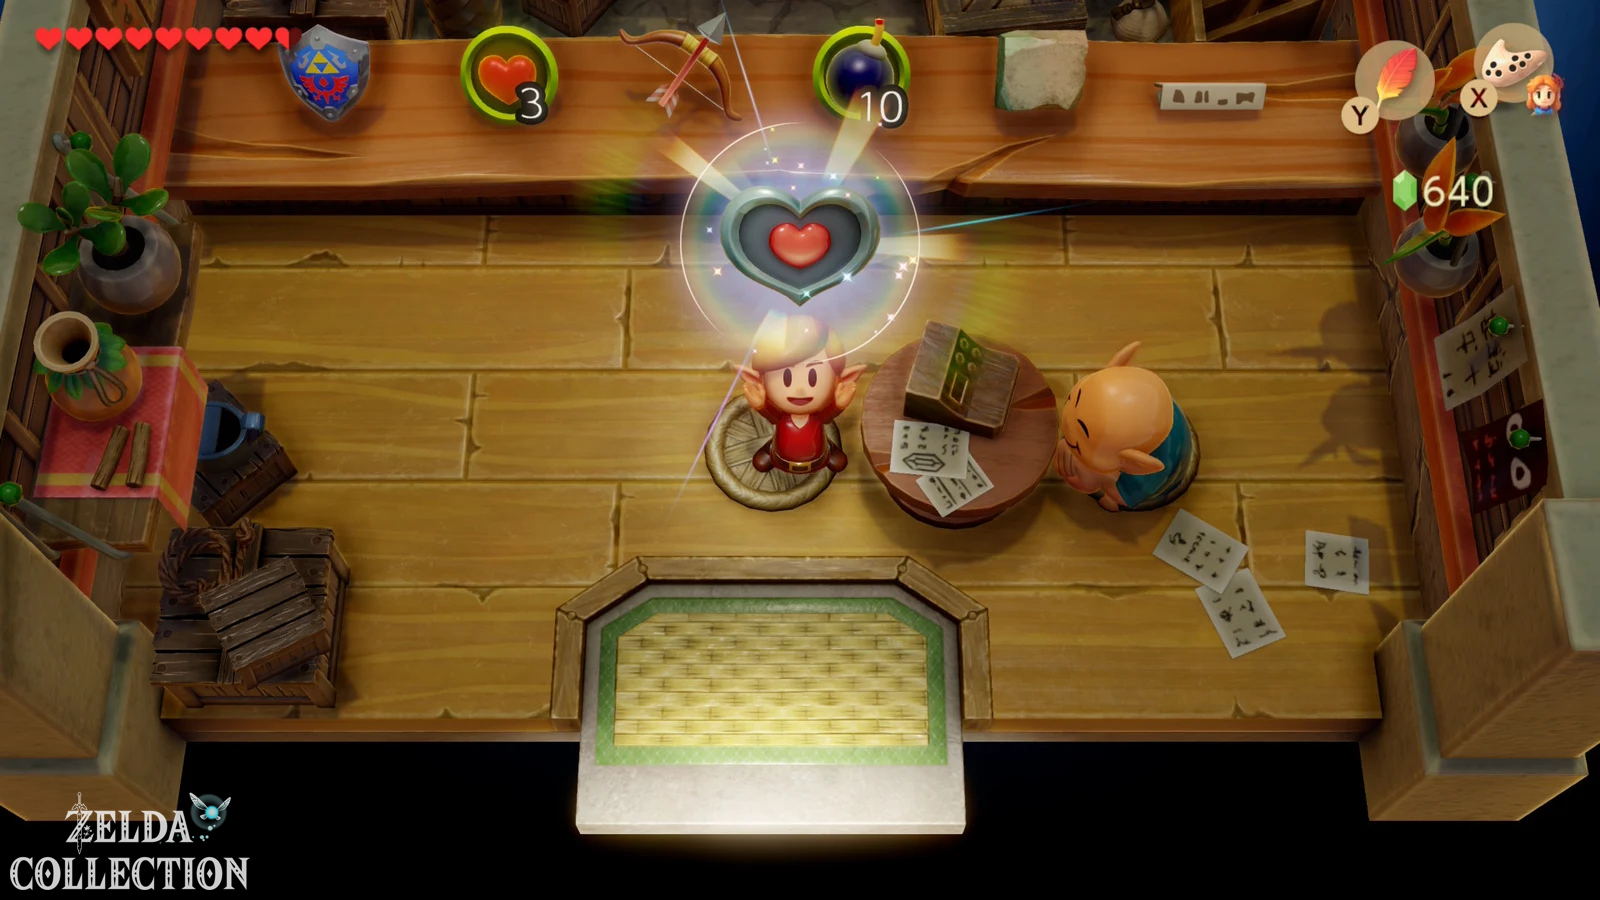
Returns to the Trendy Game after setting up Boo. Now a second Piece of Heart will be unlocked as a prize. It moves on one of the upper platforms and is slightly more difficult to grab than the first Piece of Heart at the start of the adventure. Position the gripper arm so that it descends approximately where the platform with the Piece of Heart passes, taking into account the short delay between pressing the button and lowering the claw. For our 100% score, this Piece of Heart definitely belongs in the collection.
If you haven’t won the first Chamber Stone of the Trendy Game, get it now at the latest. It appears among the other valuable prizes throughout the game and is later used on Dampé. You can find a complete overview of the figures in our guide to the figures in Link’s Awakening, while we have summarized the special stones separately under the Chamber Stones.
Optional, but highly recommended: The Color Dungeon
With the Pegasus Boots we can now complete a complete optional dungeon. Go to the library in the south of Mabe Village and look at the book on top of a shelf. Link can’t reach it with normal movements. Stand in front of the shelf at a distance and sprint against it with the Pegasus Boots. The impact causes the book to fall. Read it and remember the order of the tombstones described. The clue takes you to the cemetery east of the Mysterious Forest.
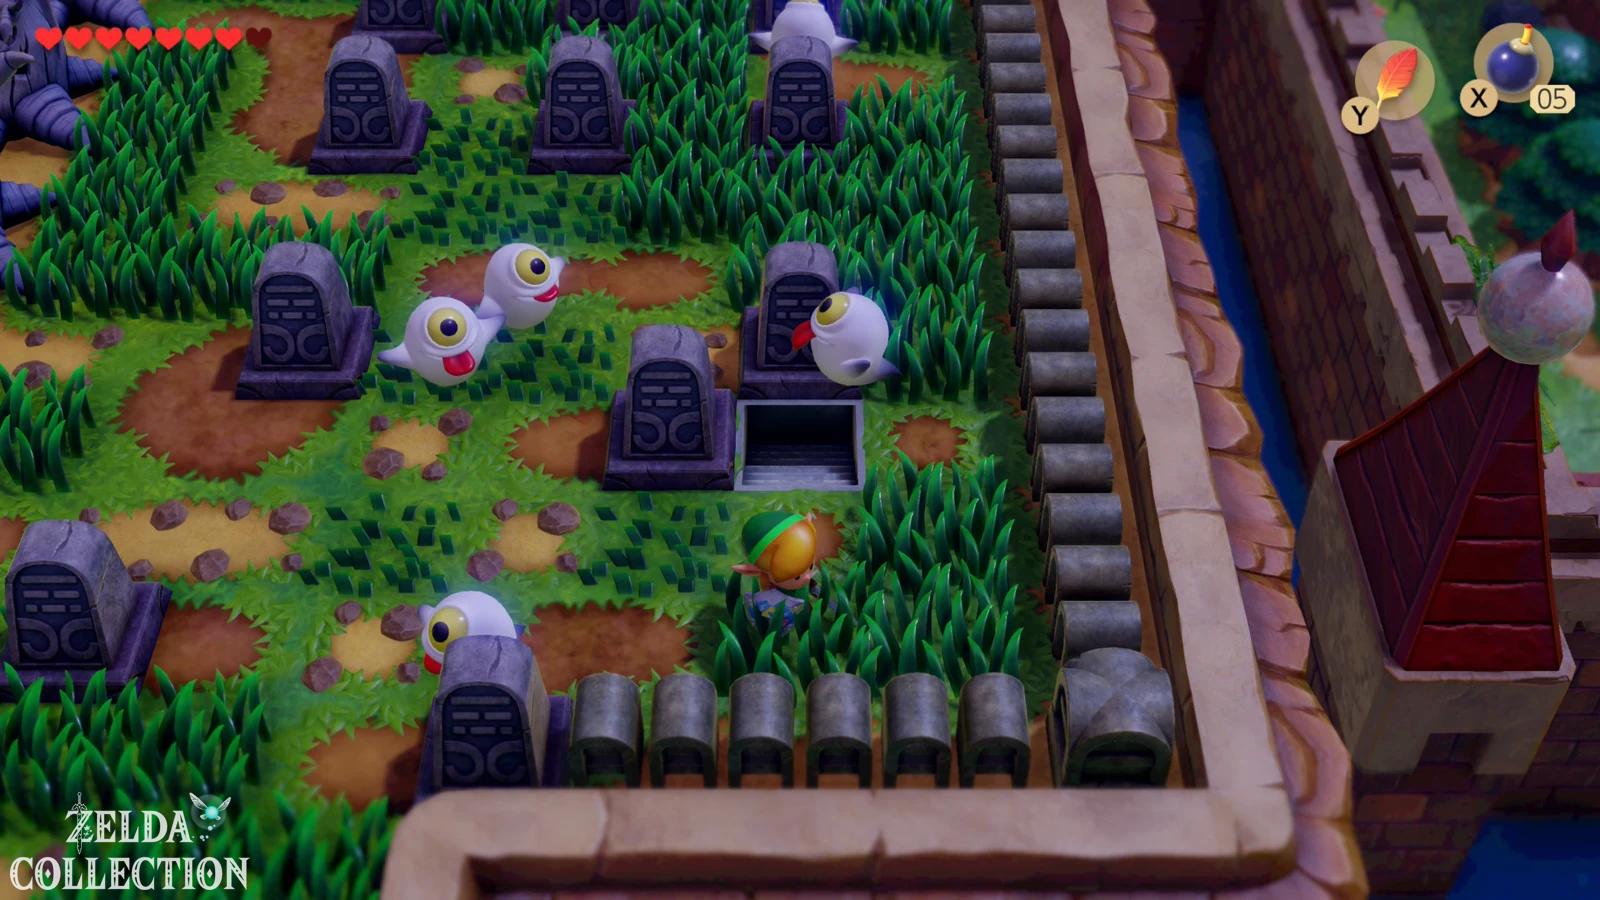
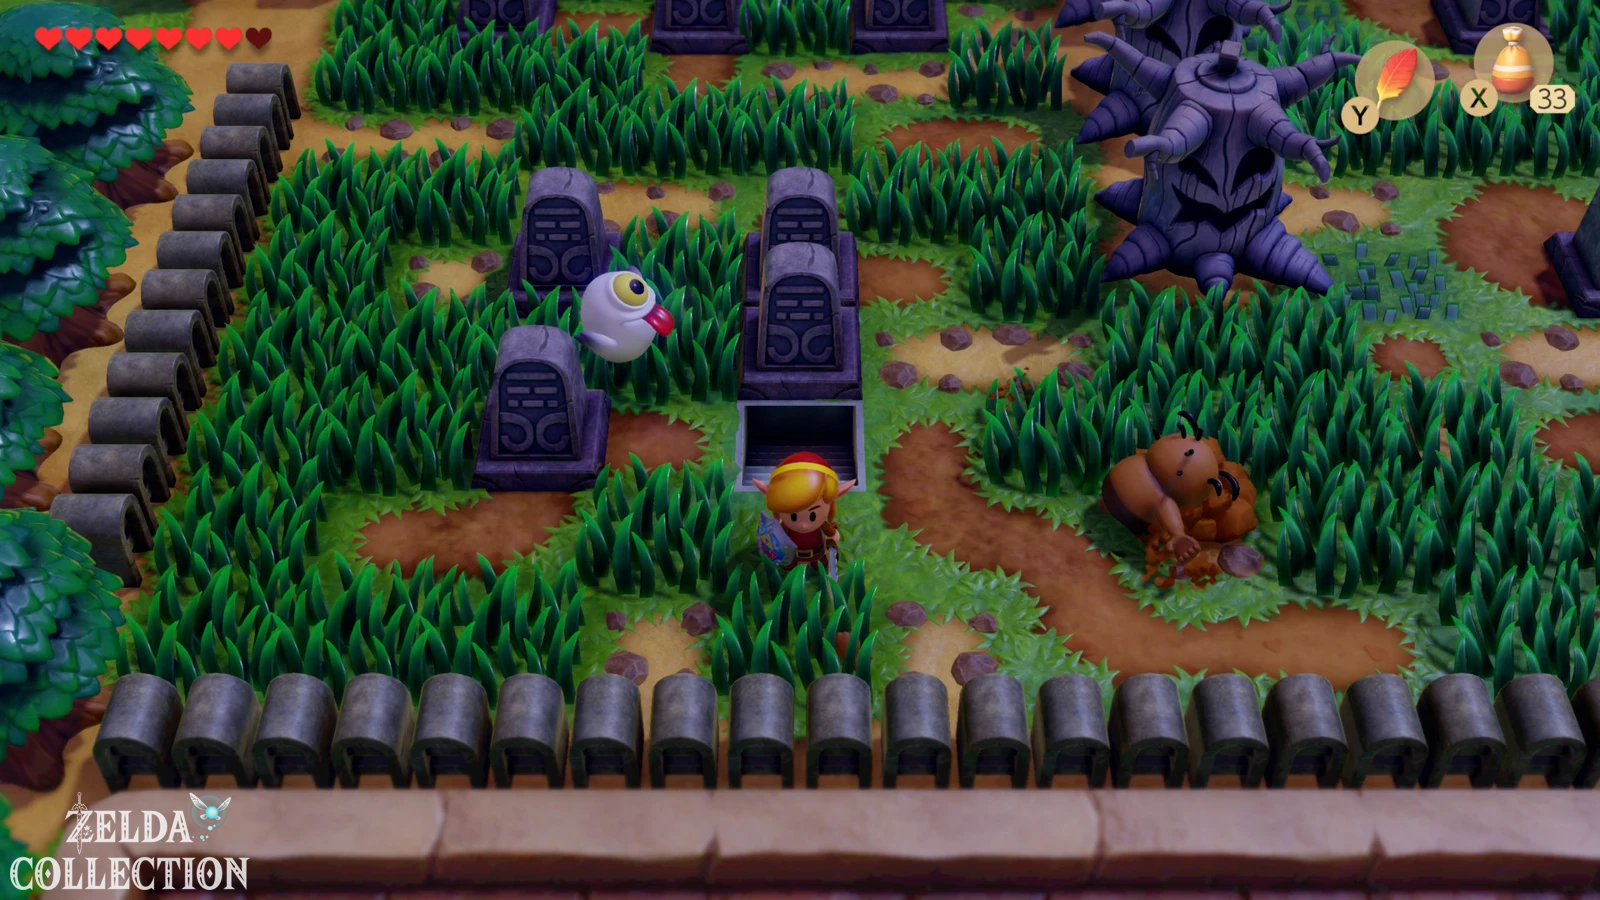
There are five gravestones in the southeastern area of the cemetery. Defeat the ghosts first so that you are not disturbed while moving. Move the bottom right tombstone down, the bottom left to the left, the top left up, the top center tombstone to the right, and finally the top right up. If the order is correct, a staircase opens under one of the stones. Descend and you will reach the Color Dungeon.
Difference between versions: The original Link’s Awakening from 1993 does not have this dungeon at all. The Color Dungeon was only installed for Link’s Awakening DX on the Game Boy Color because its puzzles specifically use different colors. Nintendo has included the dungeon and its special reward in the Switch remake. Anyone who plays the DX version can therefore largely follow this section; Players of the black and white original skip it entirely.
Through the Color Dungeon
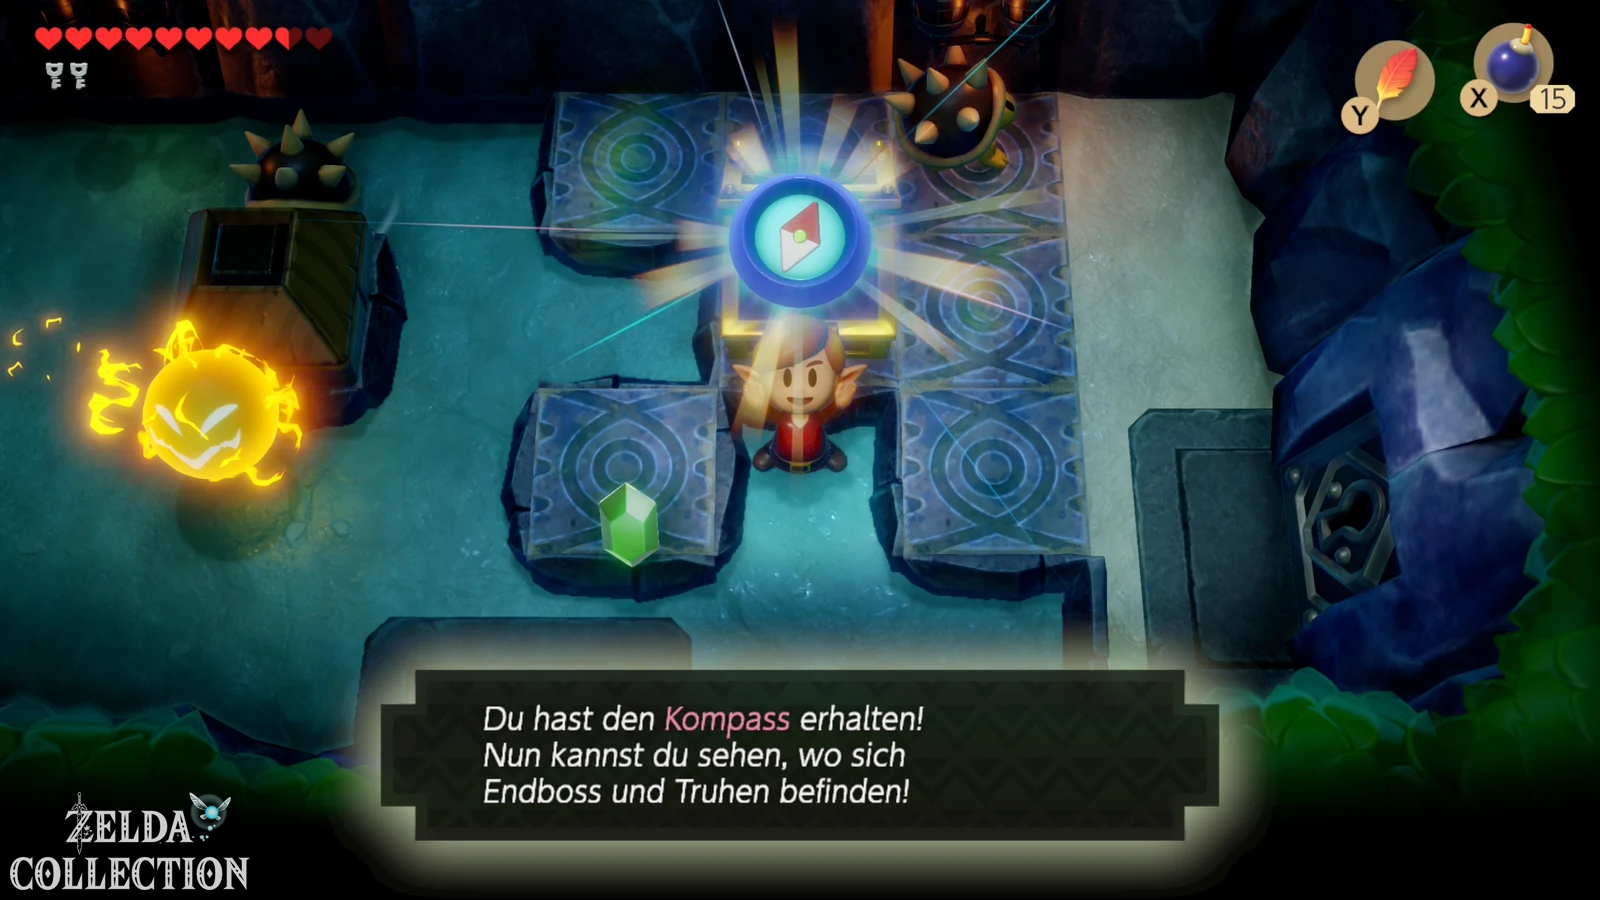
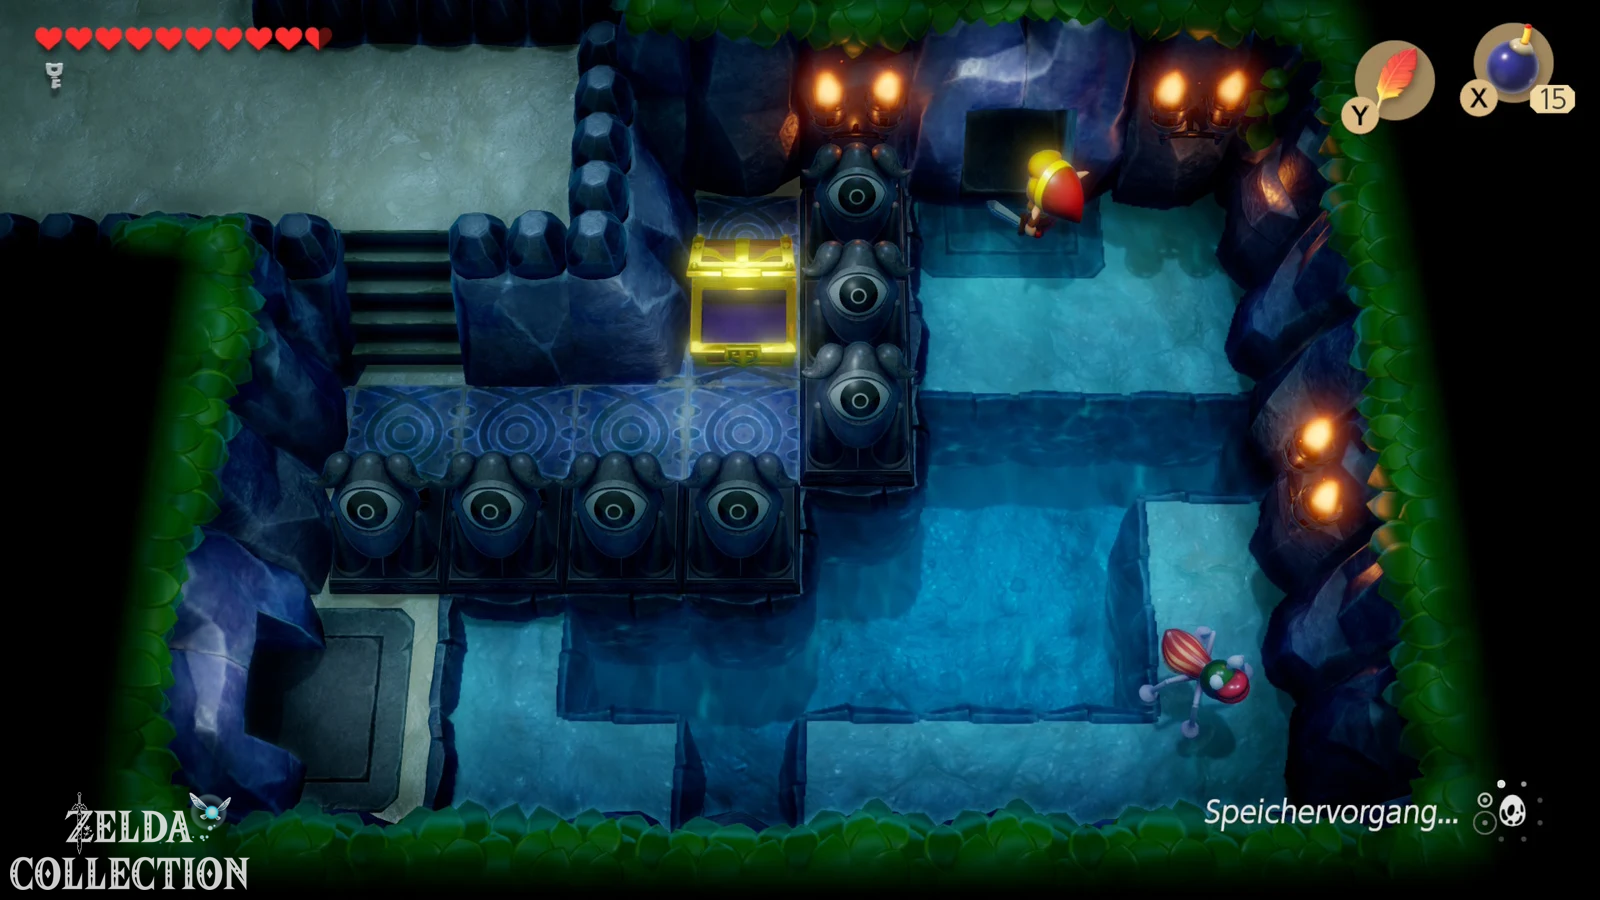
Speak to the two skeletons in the entrance area and answer their questions about the colors of their clothing. Behind it you will first encounter enemies that emerge from the ground. Keep moving and kill them with your sword. In the right room there are four colored Eye Switch. If you hit one of them, this and adjacent switches change color. The goal is to turn all eyes blue. For this first puzzle, all you need to do is hit the two initially red switches once with your sword. Afterwards a chest will appear with the Compass. On the lower wall you can also open a small secret room with a bomb, in which there are some Rupees.
Follow the path to the right over the colored floor tiles. These change color every time you step on them and eventually disappear, which is why you shouldn’t stand on them unnecessarily. In the next room there are two colored opponents and two correspondingly colored holes. Hit an enemy with the sword to make them briefly curl into a ball, pick them up with the Power Bracelet and throw them into the hole of the same color. Repeat this with the second enemy and then take the Stone Beak from the chest that appears.
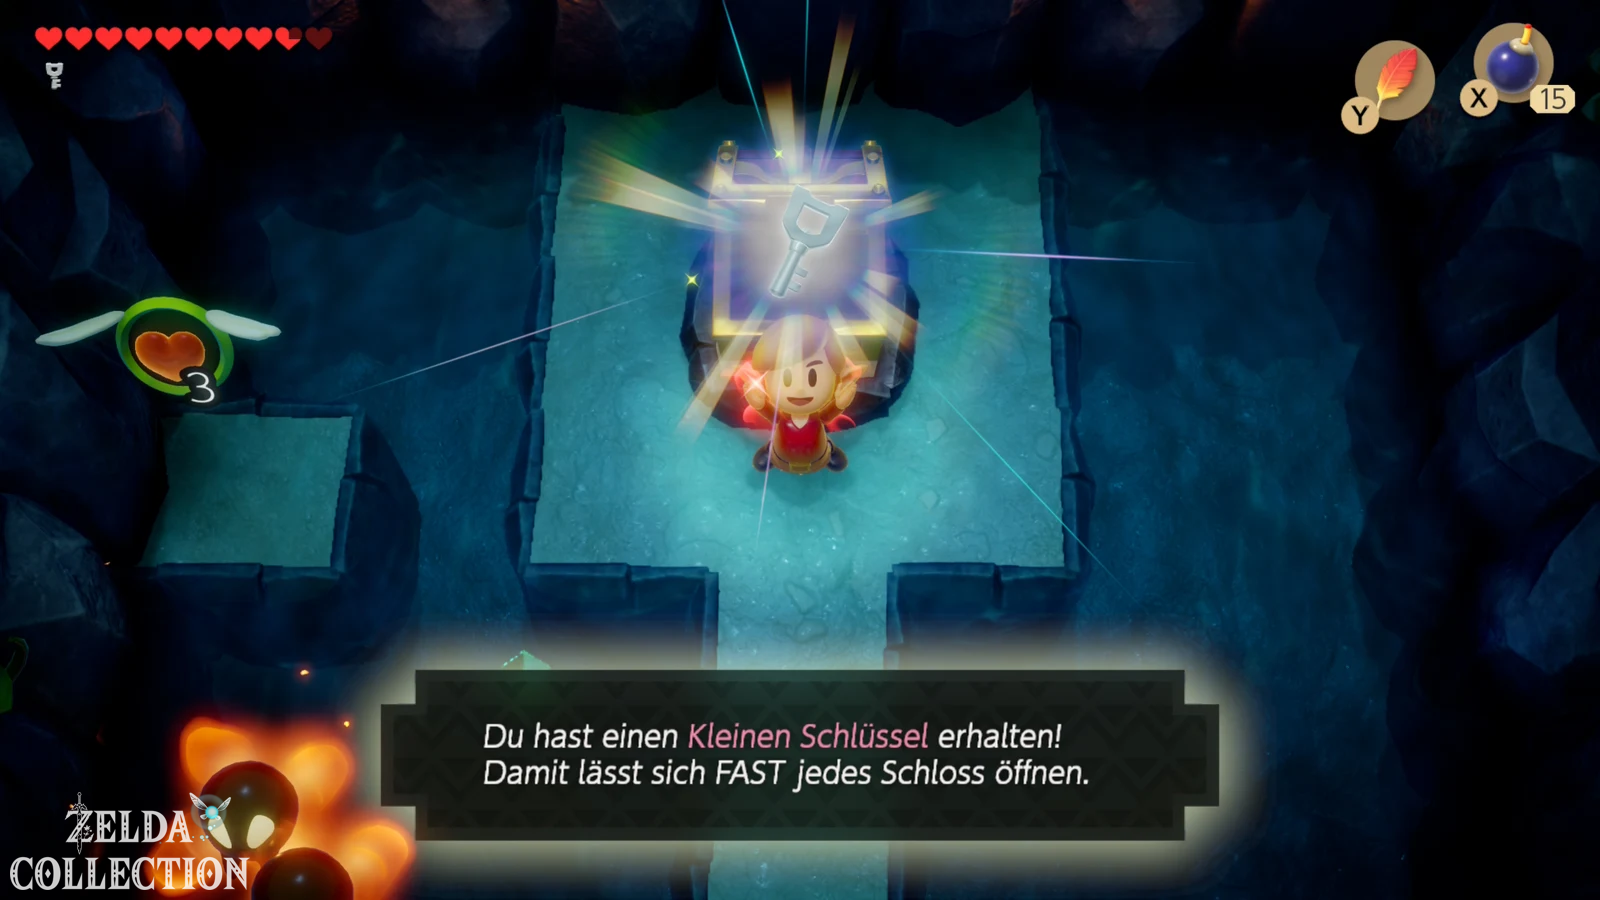
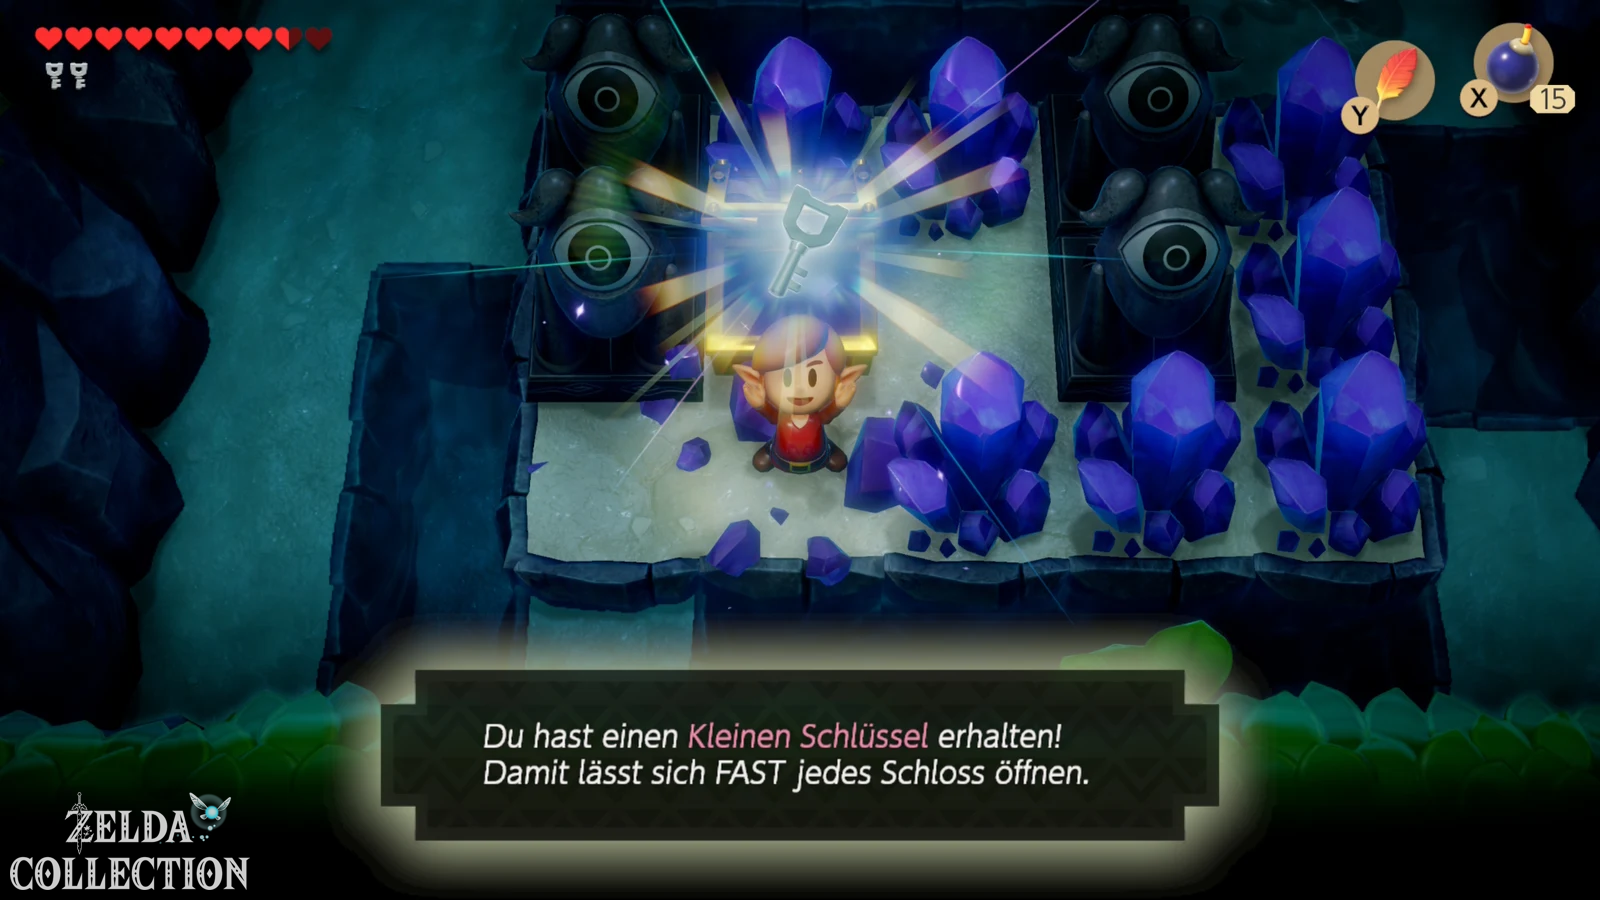
Continue through the southern area and defeat the enemies to unlock the doors. Via more color plates you reach a chest with a Small Key. A little later you will be faced with a more complicated eye switch puzzle, which also includes yellow conditions. First hit the bottom right switch and then hit the top left switch twice. If all eyes are set correctly, you will receive the next Small Key and can reach the first intermediate boss.
Intermediate boss: Giant Buzz Blob
The big slime claims, not entirely wrongly, that normal sword attacks are of little use. First sprinkle Magic Powder on him. This makes him vulnerable and you can land some sword hits. As soon as he protects himself again, repeat the process. Stay moving sideways and don’t let yourself be pushed into a corner. After several repetitions, the Giant Buzz Blob is defeated.
In the following block room, push the upper and lower stones to the left and the middle one upwards. This will access the chest that already contains the Nightmare Key. Then return to the central part of the dungeon and work your way to the second intermediate boss.
Intermediate boss: Stone Hinox
The Stone Hinox is a harder variant of the Cyclops from the Bottle Grotto. In addition to his direct attacks, he throws stones across the room and can shake the ground with his jumps. Jump with the Roc’s Feather just before he lands so Link doesn’t get immobilized. You can attack the enemy normally with your sword; Bombs are even easier because you can keep your distance. After the victory, go to the left, jump over the colored plates to the upper corner and lift the jug there. Below there is a Floor Switch, which opens the way further.
In the northern area, defeat the slimes and open the chest that appears with the Dungeon Map. There are more opponents that you have to throw as colored balls into the appropriate holes. This will give you another Small Key. The final big eye switch puzzle consists of nine switches. Set all eyes to blue and then follow the path towards the boss door. A Crystal Switch in the last section raises or lowers the colored barriers and finally opens access to the final boss.
Boss: Hardhit Beetle
The Hardhit Beetle changes color with every successful attack. Your goal is to hit her in quick enough succession so that she doesn’t revert back to a previous stage. Therefore, stay on the offensive and hit them with your sword without long interruptions if possible. You don’t have to pay attention to any complicated special mechanics: the only important thing is to maintain the attack pressure. With the heart containers now available, the fight shouldn’t cause any major problems.
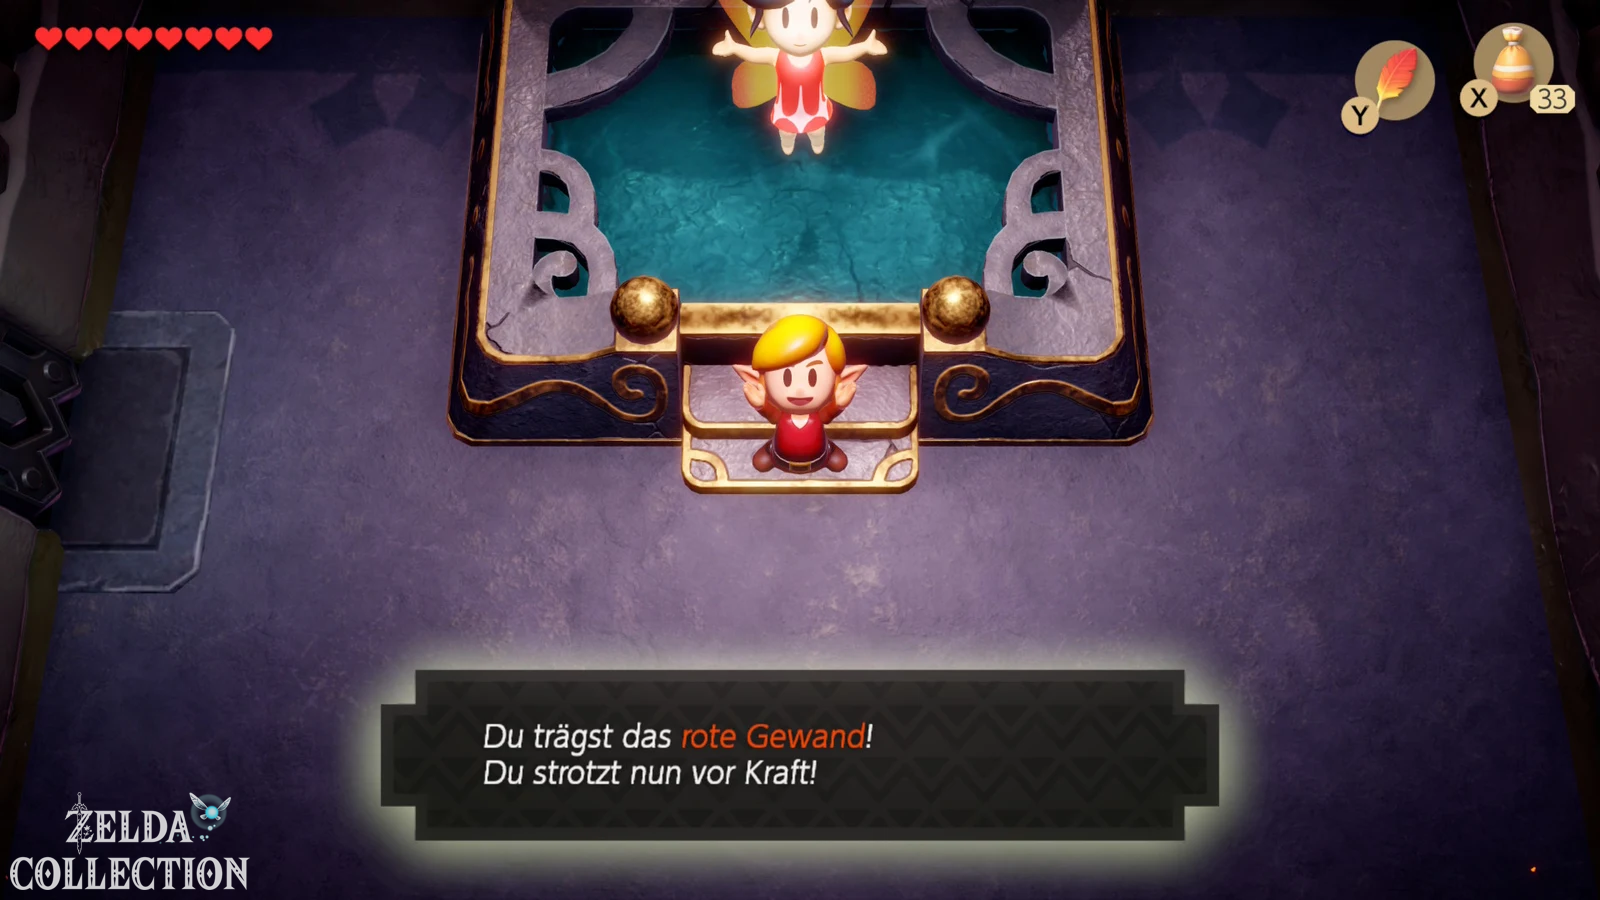
After the victory you will reach the Great Fairy of the Color Dungeon. It offers you the choice between the red armor and the blue armor. Red armor doubles your damage dealt, while blue armor reduces damage taken. For our optimal solution, we clearly recommend the red armor: This means that enemies and bosses fall significantly faster, and the additional attack power shortens many fights, especially with a complete collection round. If you later regret your decision, you can always return to the fairy and change the color.
Pegasus Boots Collection Round: Piece of Heart in Cemetery
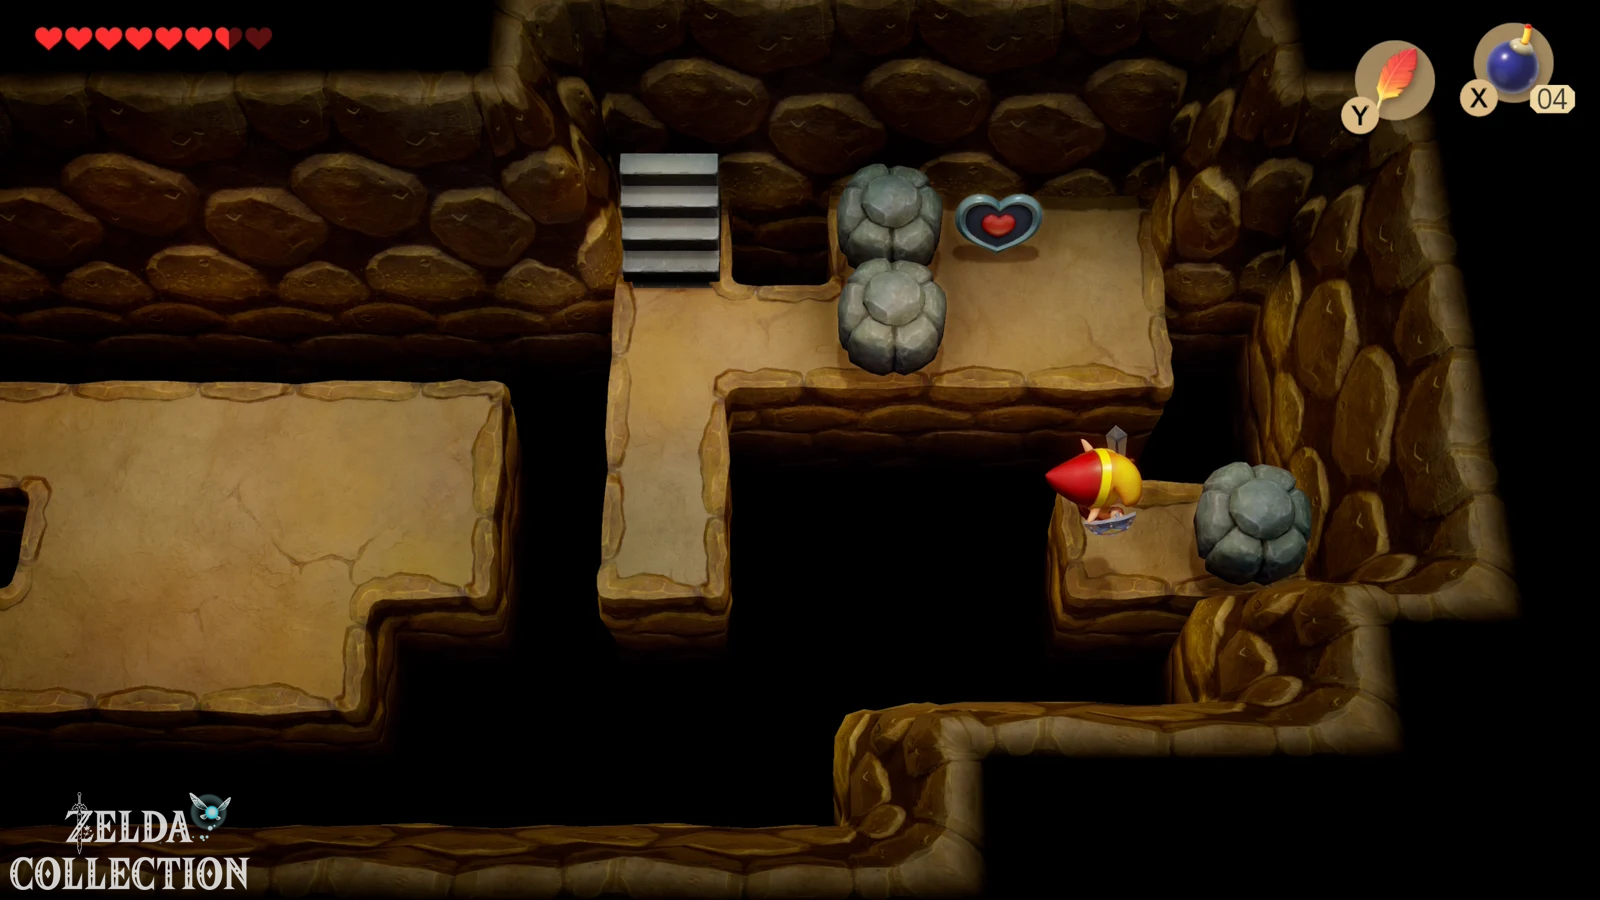
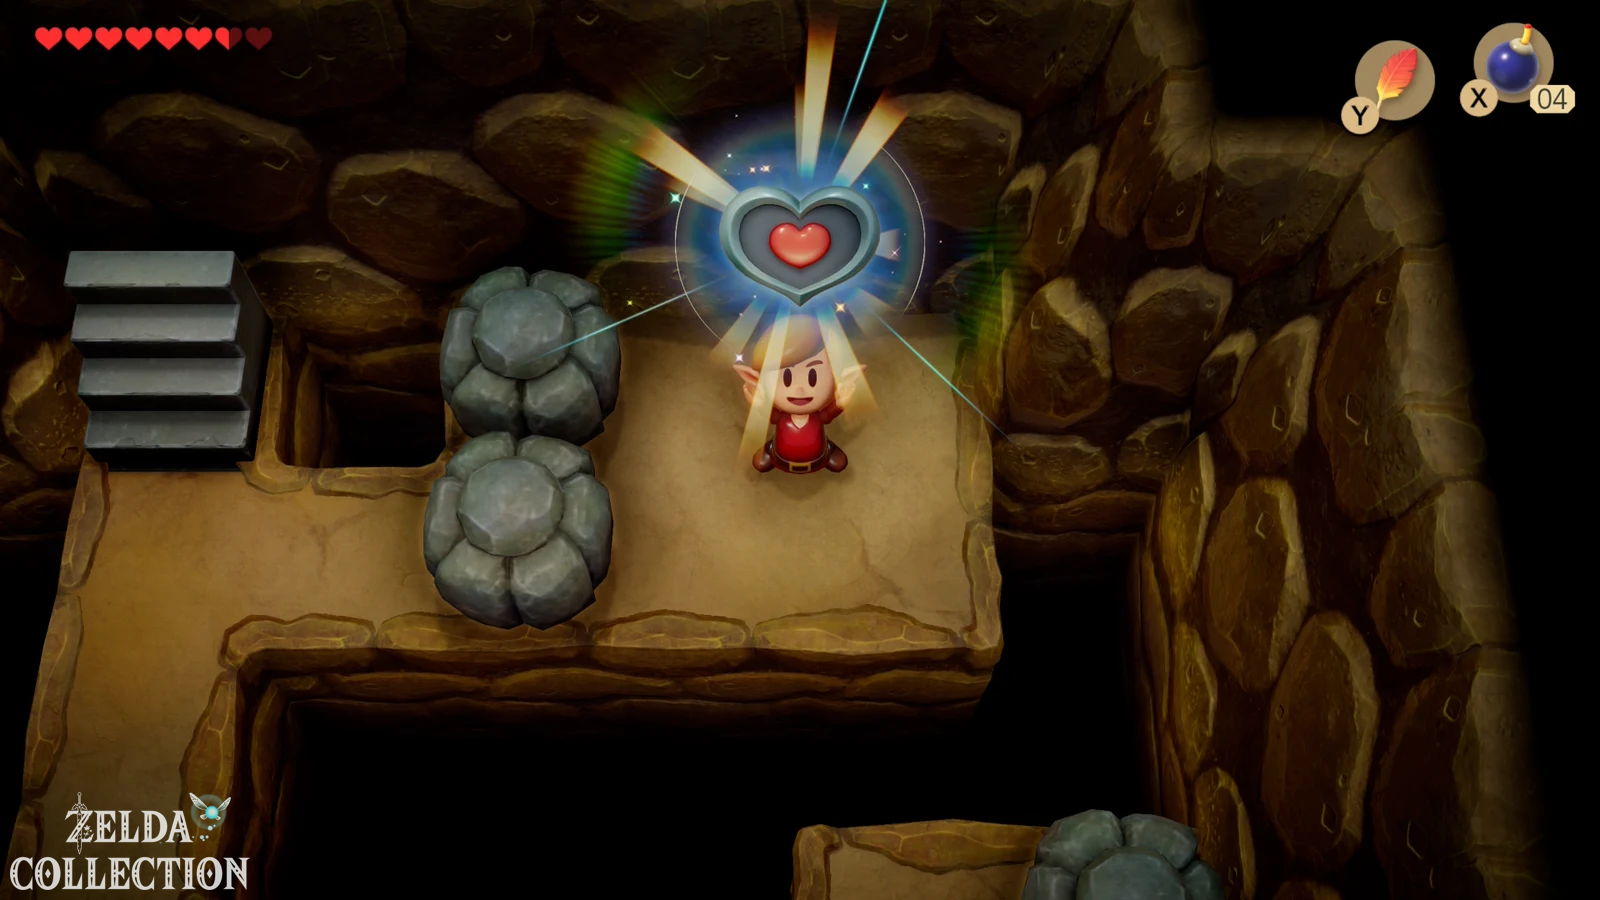
Since you will be in the cemetery after the Color Dungeon anyway, we will immediately take another Piece of Heart with us. In the western area of the cemetery a staircase leads into a small cave. A larger abyss blocks the direct path. Take enough running time with the Pegasus Boots and press the Roc’s Feather just before the edge. The sprint jump carries Link much further than a normal jump and takes you to the other side to the Piece of Heart. If the jump seems short at first, start the sprint as far back as possible and only really jump just before the edge.
You should remember this combination of Pegasus Boots and Roc’s Feather. From now on it is required not only for collectibles, but also for several dungeon puzzles. You can also find all 32 Locations in our overview of the Pieces of Heart in Link’s Awakening.
Dampé: Piece of Heart and Secret Seashell now take
Before we move on, we visit Dampé at his hut west or northwest of the slime swamp. If you’ve been ignoring his Chamber Dungeons, completing the Key Cavern is the perfect time to complete the first series. Dampé introduces you to the forms and conditions that you have to fulfill with the room chambers you have already completed in the dungeons. Make sure that all rooms are connected to each other, that there are enough keys for locked doors and that an entrance and a boss chamber are installed.
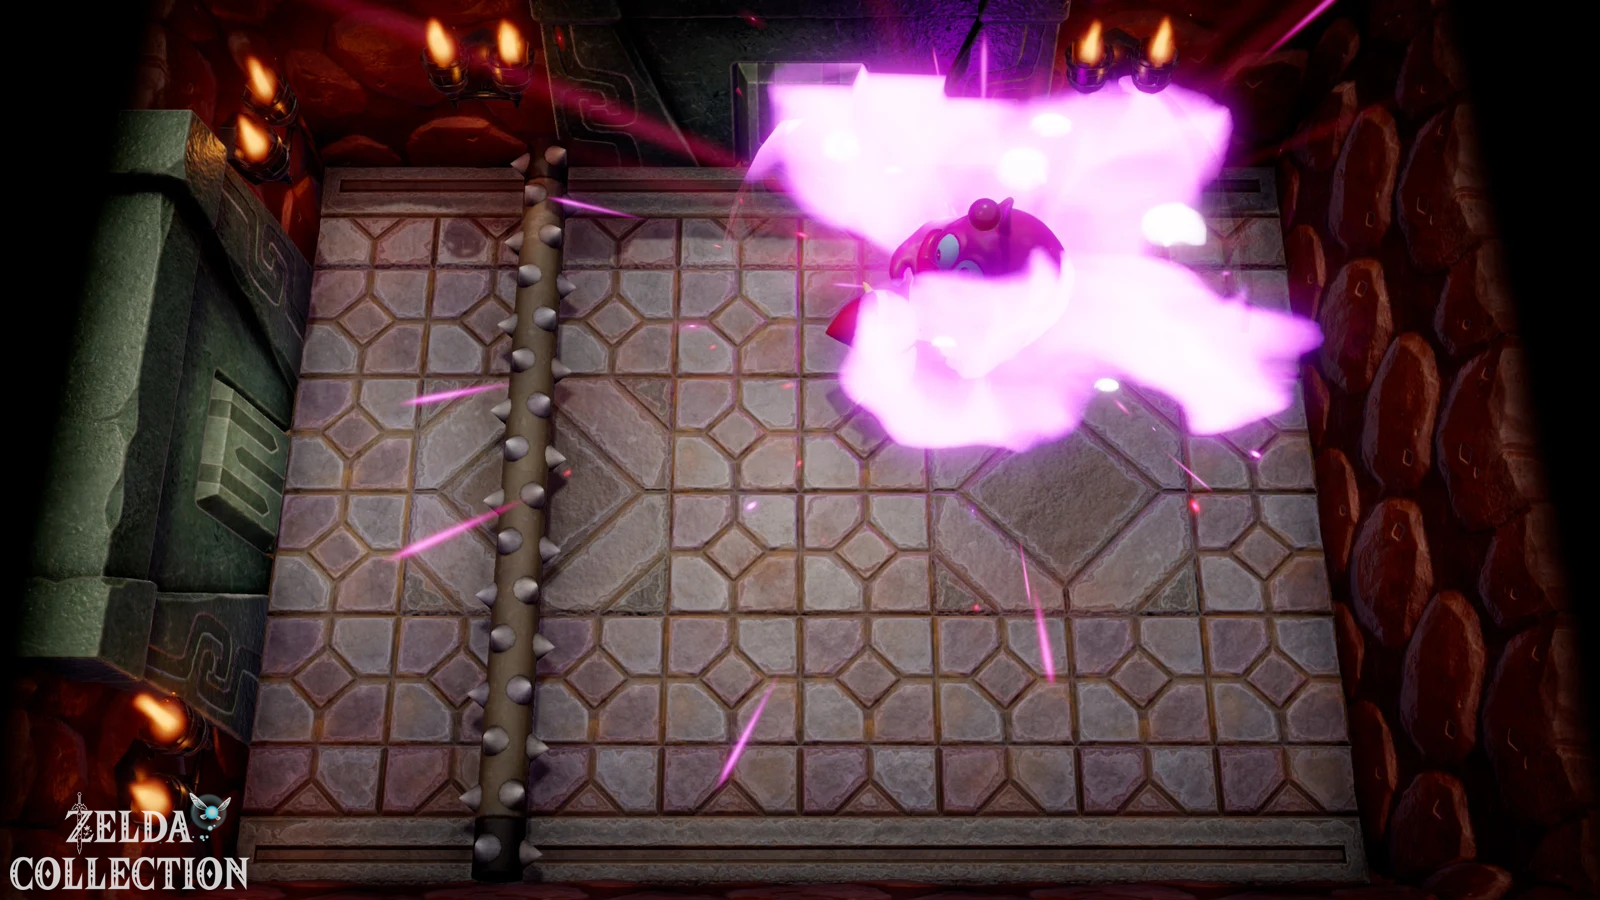
Now complete all four first level challenges. The fourth task is aptly named “Filled Heart.” For completing this first series you will receive another Piece of Heart and an additional Secret Seashell. In this way, we secure two collectibles at once, which can easily be postponed until later in the game. At the same time, you will receive additional chambers or chamber rewards for Dampé’ Editor through the previous tasks.
A complete overview of the special rewards can be found under our Chamber Stones. Original and DX: Dampé’s chamber mazes only exist on Nintendo Switch. This also means that this Piece of Heart and this additional Secret Seashell are not present in the Game Boy versions.
Piece of Heart in the Ukuku Prairie and Tarin’s Honeycomb
Then travel back via the warp point to the Ukuku Prairie. There are some trees to the right or northeast of the warp point. Run around it to the rock wall and look for the fragile spot. Blow it up with a bomb and enter the cave. Inside you sprint through the black crystal obstacles with the Pegasus Boots. In the back, another cracked wall can be blown open; behind it you will find the next Piece of Heart. Also take the chest with the Rupees with you before you leave the cave again.
Tarin is now standing nearby in front of a tree with a beehive. If you followed our solution, you have the stock from Kanalet Castle. Give it to Tarin. He uses it to poke around at the beehive, which, as expected, doesn’t end very well, and runs away from the angry bees. What remains is a honeycomb. Pick it up – it is the next item in the exchange series and will be used immediately in the Animal Village.
Five Secret Seashells with the Pegasus Boots
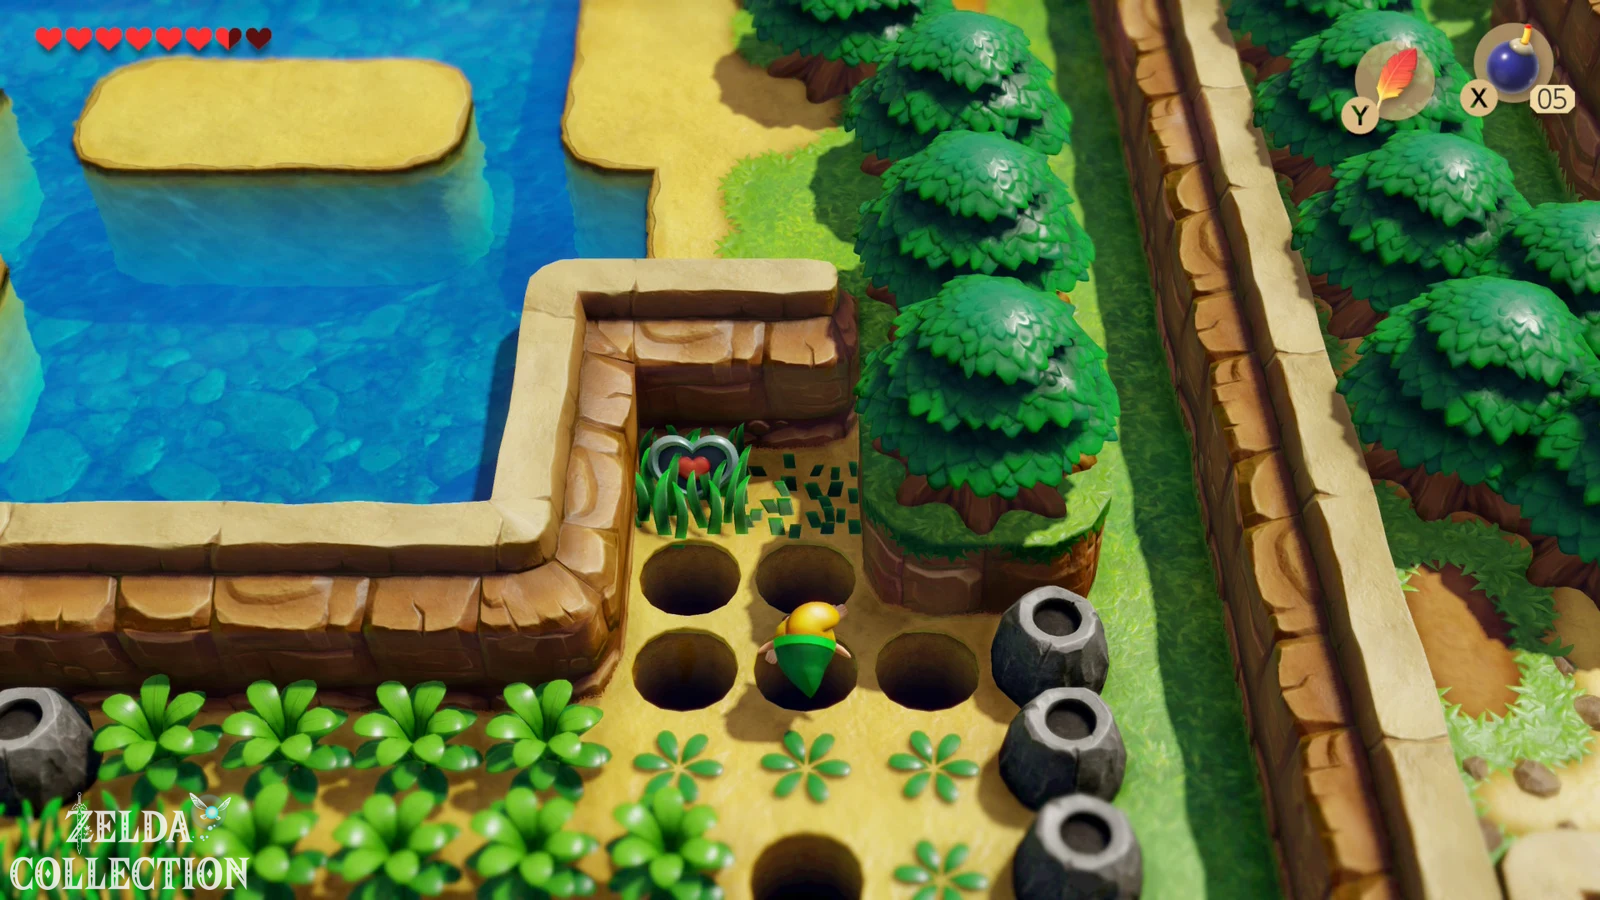
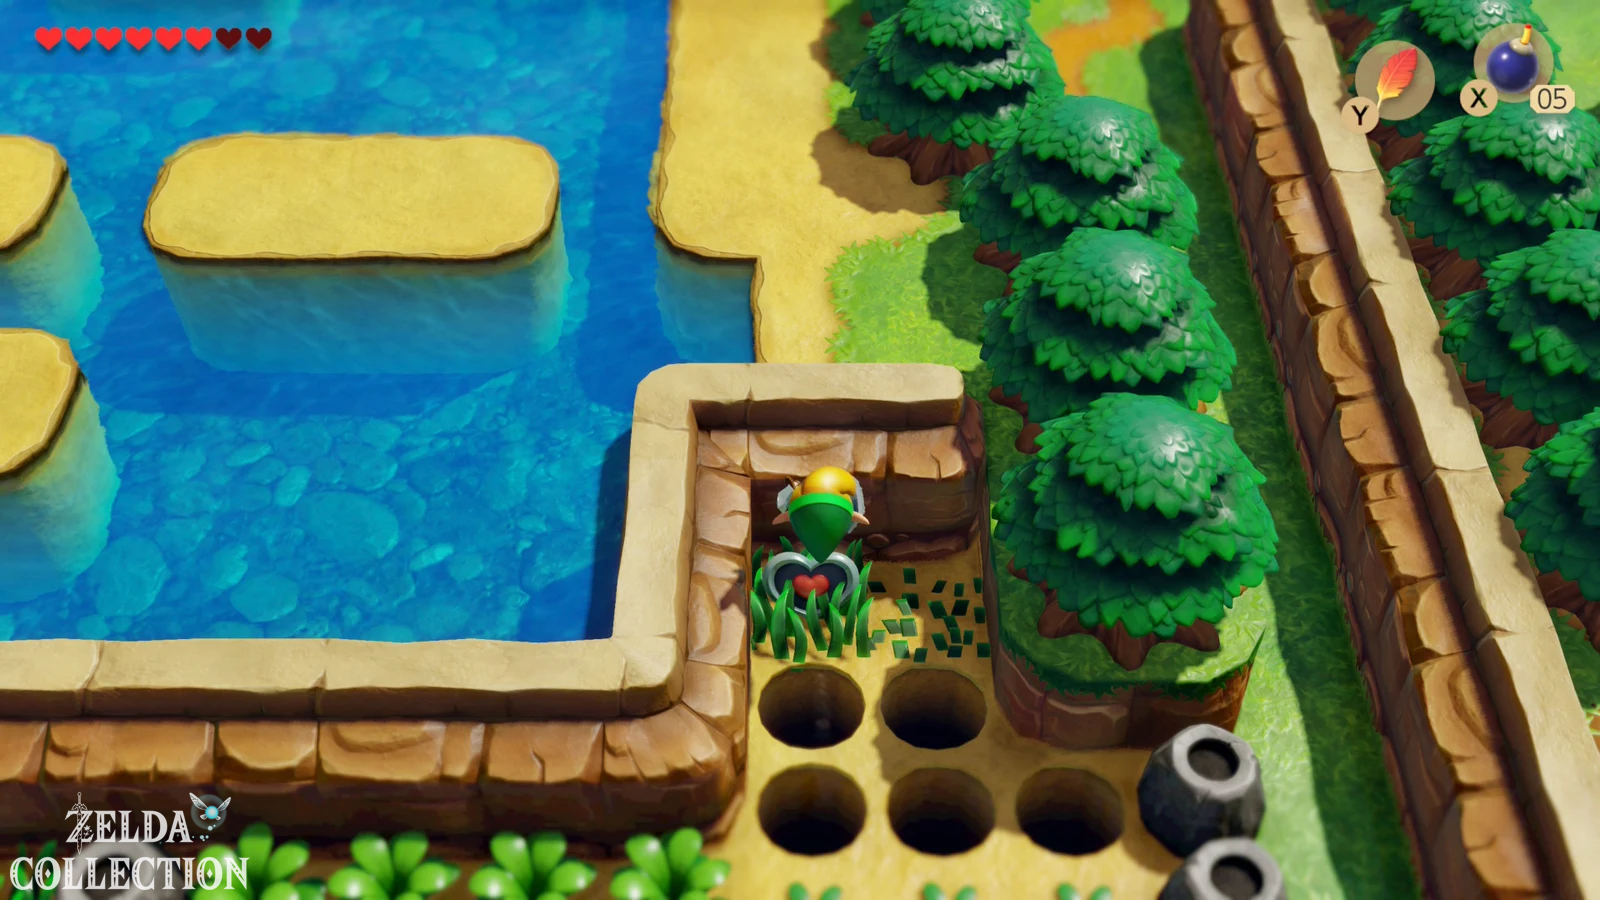
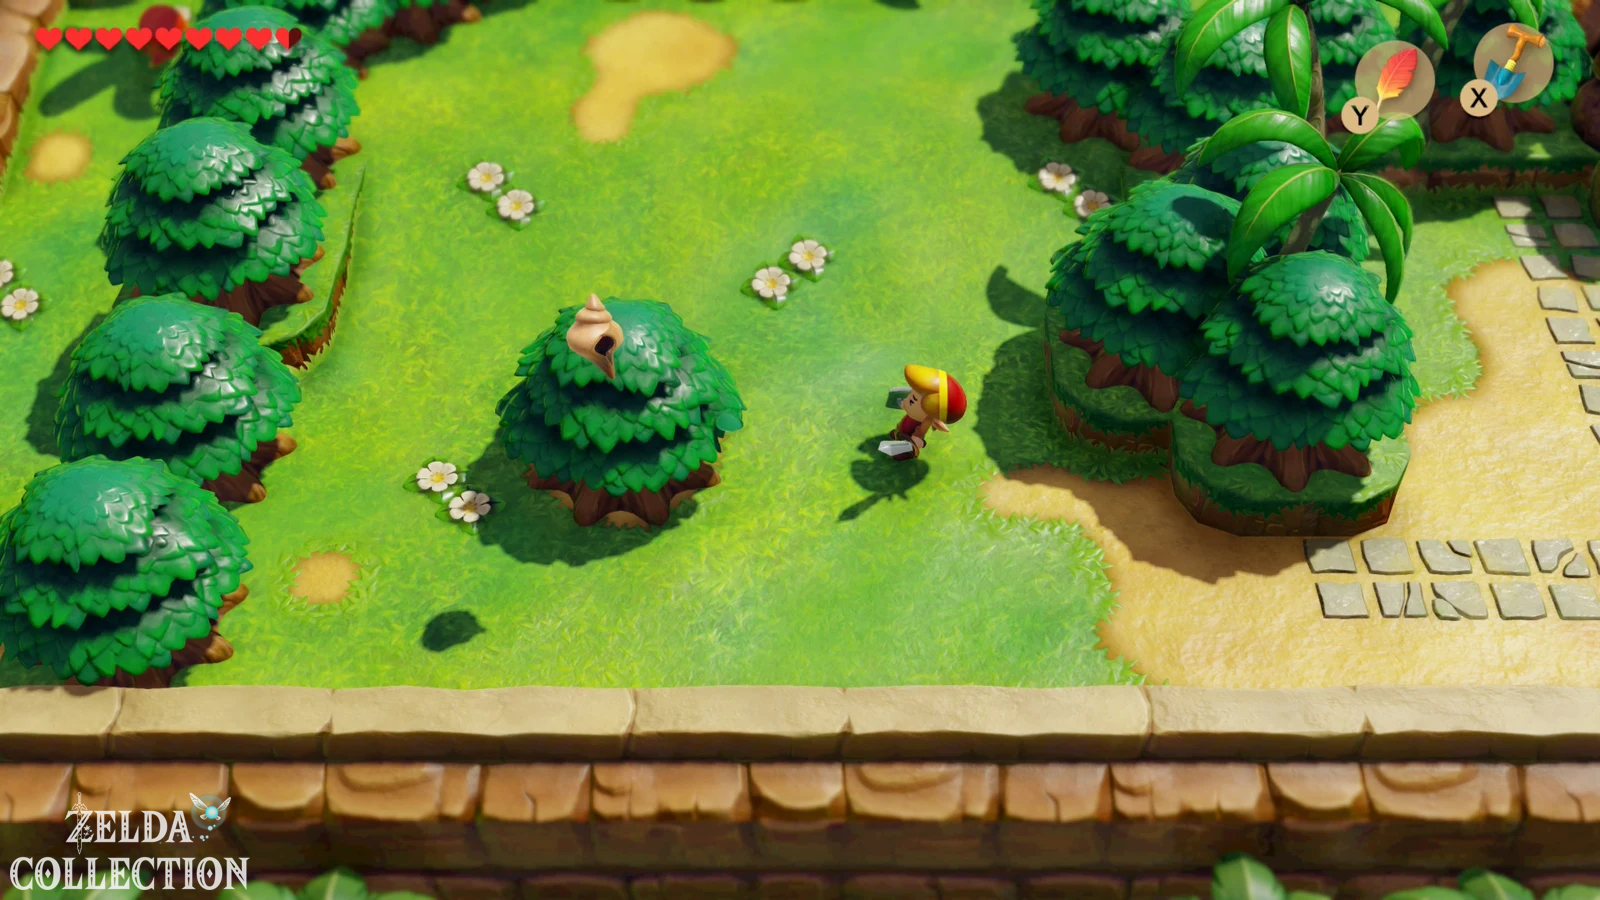
Now we use the boots for several easy-to-miss shells. Start at the telephone booth to the west of the Ukuku Prairie and ram the single tree immediately to the right. A Secret Seashell falls out. If you have already blown up the large stone skull in the Ukuku Prairie but have not yet taken the shell underneath, get it now too. Then travel south to Tail Cave and ram the single tree west of the dungeon entrance. Here too a shell falls out of the branches.
Continue to Toronbo Shores. In the western part of the beach there are several palm trees; Sprint against the lower right palm and take the next Secret Seashell with you. Then you walk to the romantic stretch of beach in the east, where there is a tree trunk as a seat between two palm trees. Dig left on the rock wall or at the edge of the sand with the shovel. There’s still a shell there. This means we are clearing away practically all of the collectibles that have become accessible solely through the Pegasus Boots.
Difference to DX and original: Only part of this Locations also exists in the Game Boy versions. The Switch remake has expanded the collection to 50 Secret Seashells and added many new Locations. Therefore, use your own DX shell solution (German) for the older versions, as direct numbering between the versions is not possible.
The Dream Shrine and Ocarina
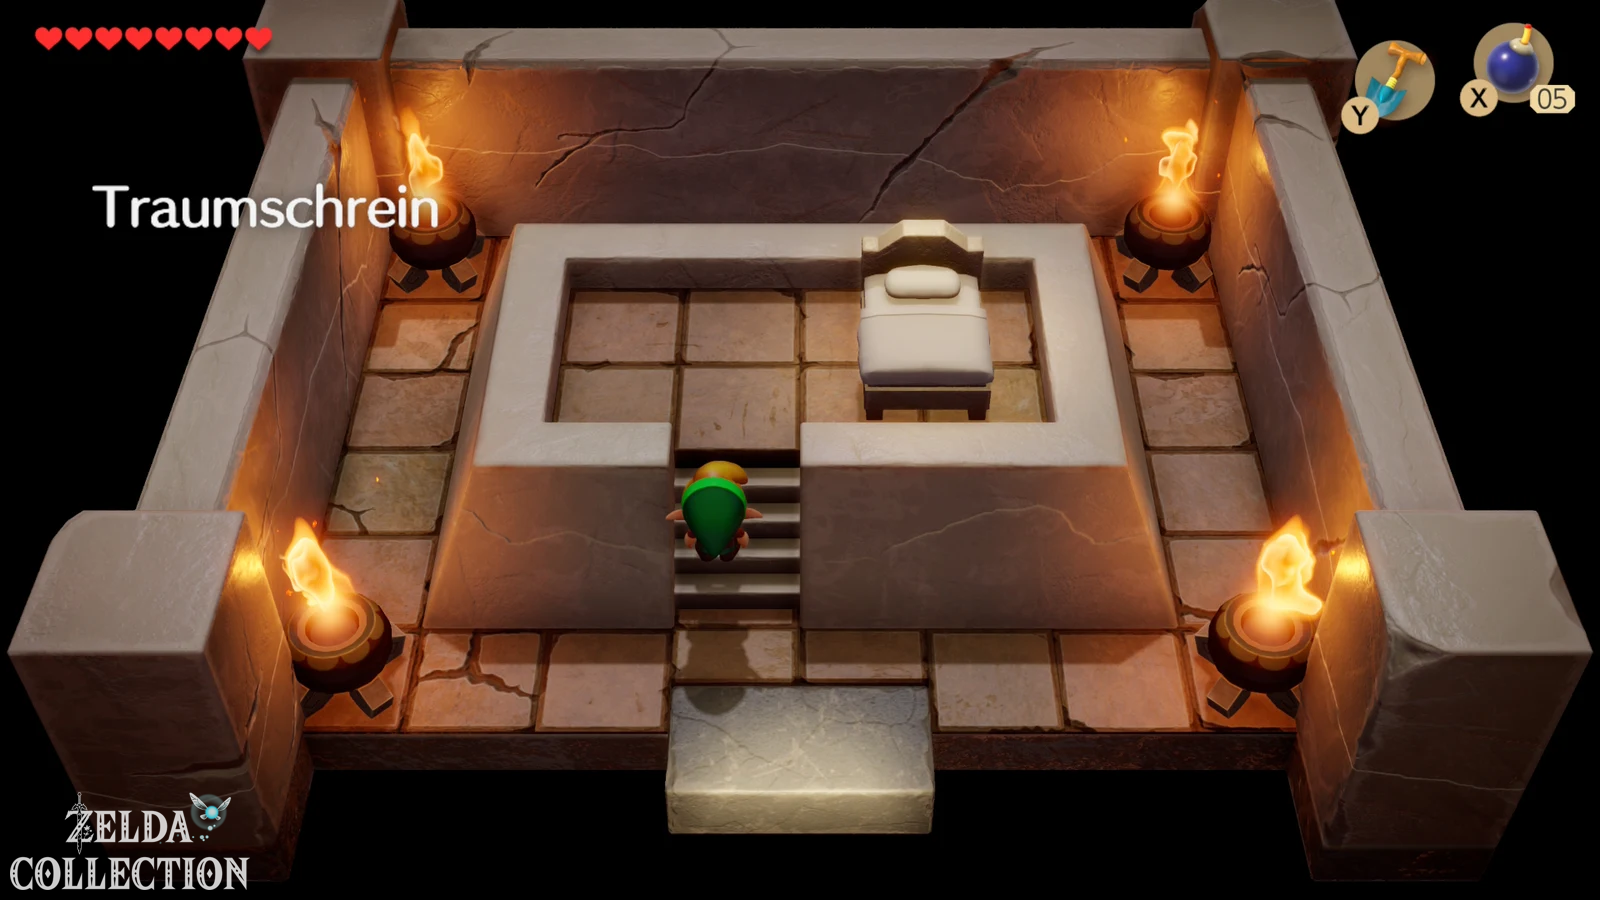
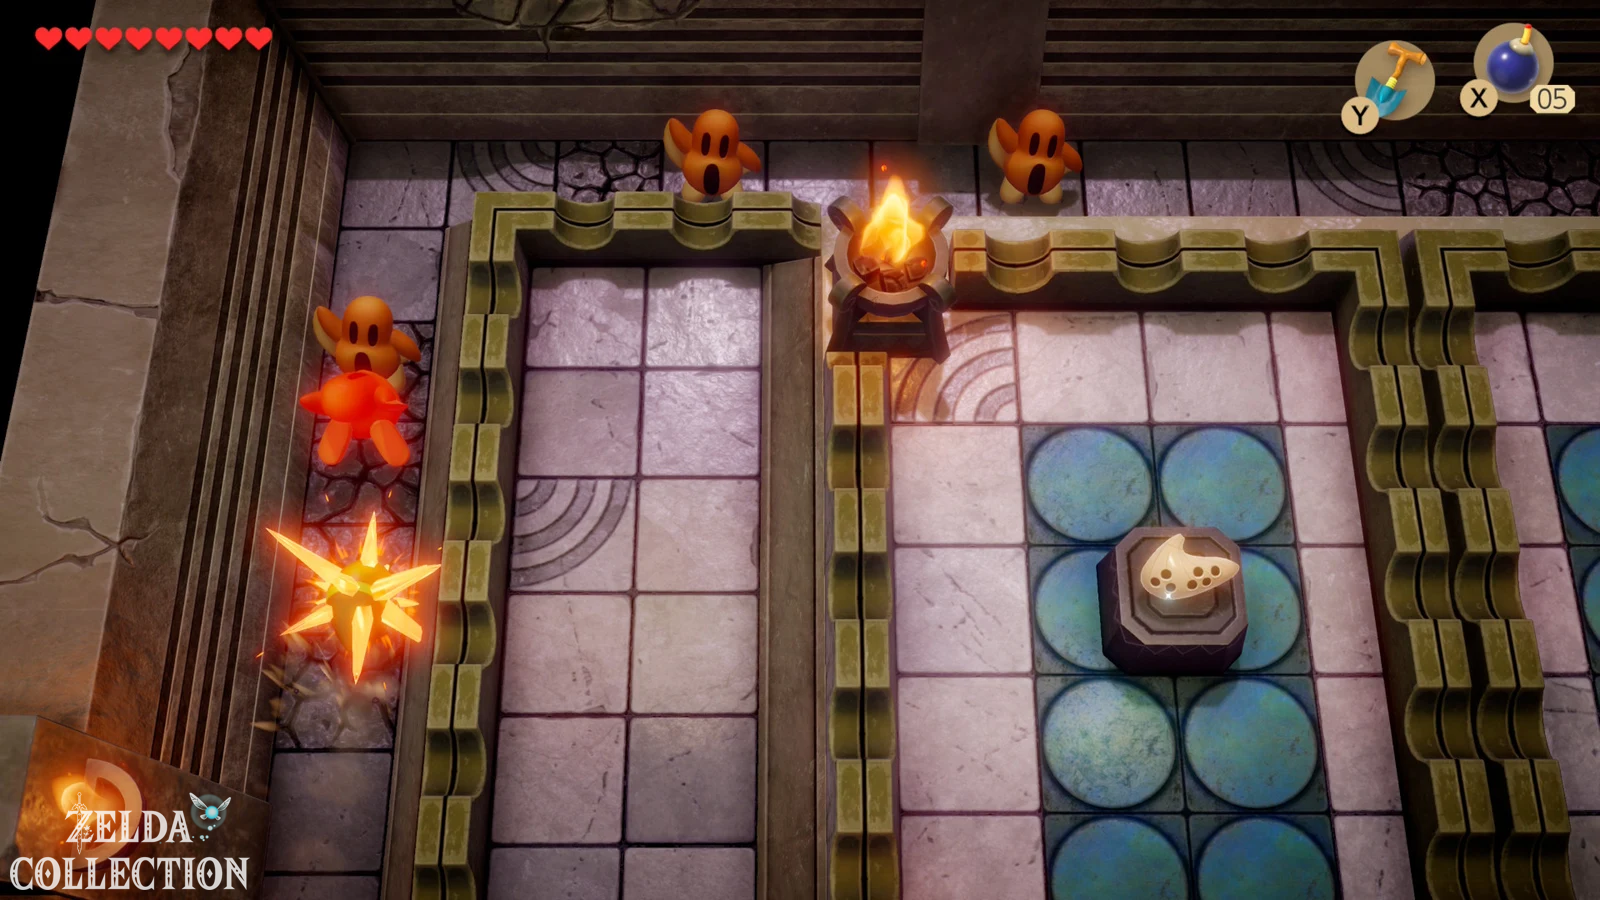
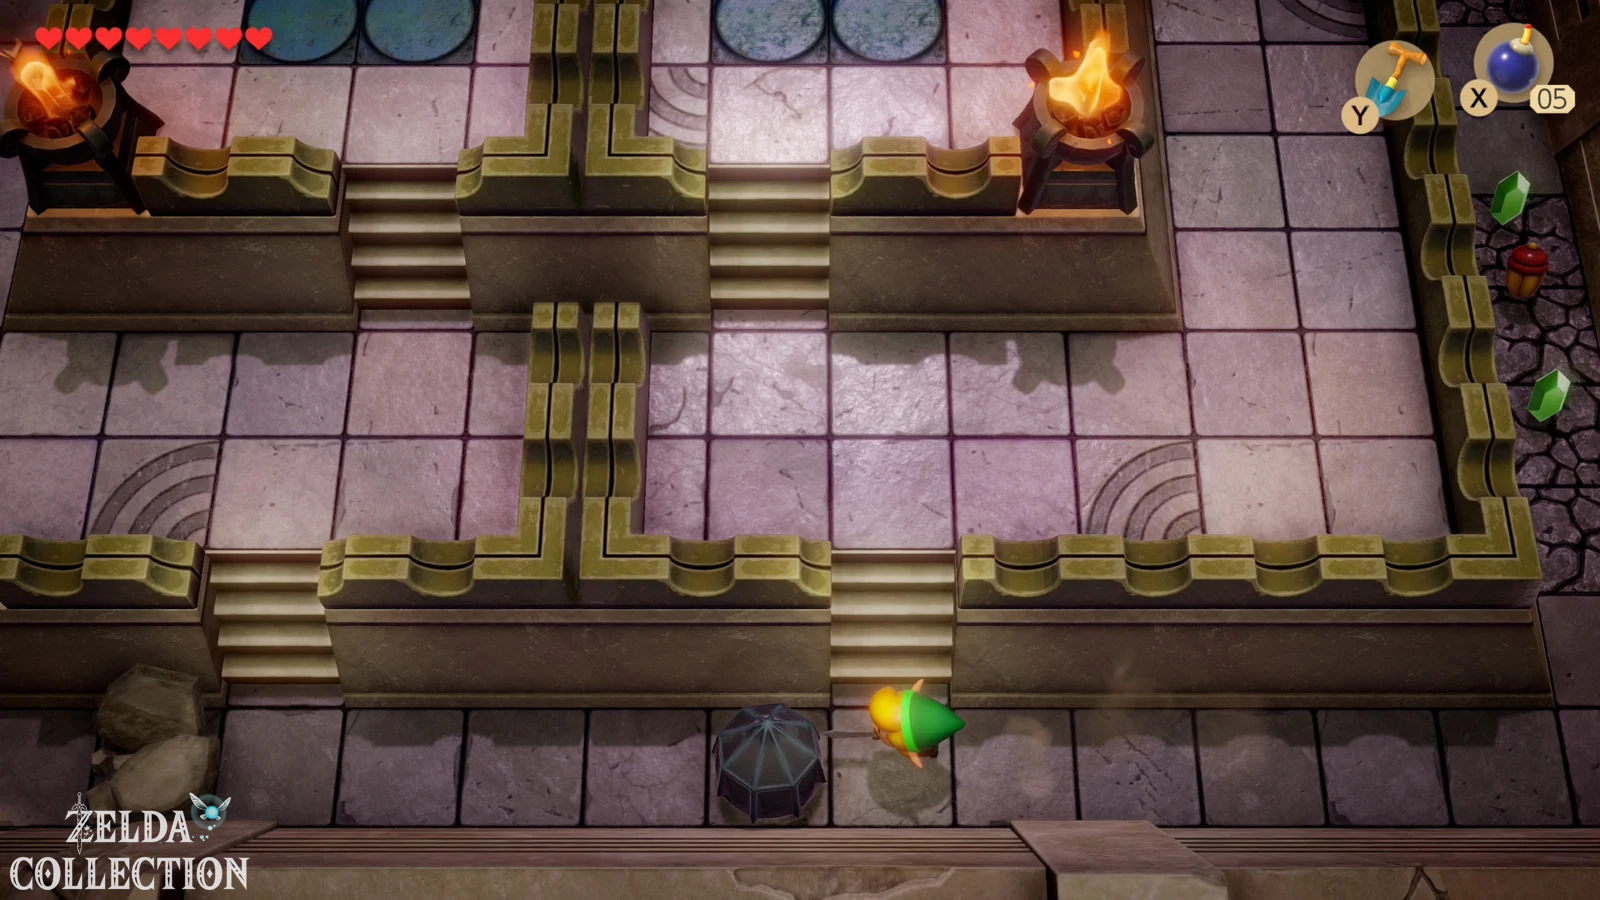
Now returns to Mabe Village. In the north of the village there is a small stone house, the entrance to which was originally blocked by heavy rocks. Lift them away with the Power Bracelet and enter the Dream Shrine. Lie down to sleep in bed. Link then finds himself in a dream-like version of the room, in which numerous arm mimics or mirroring opponents block the paths.
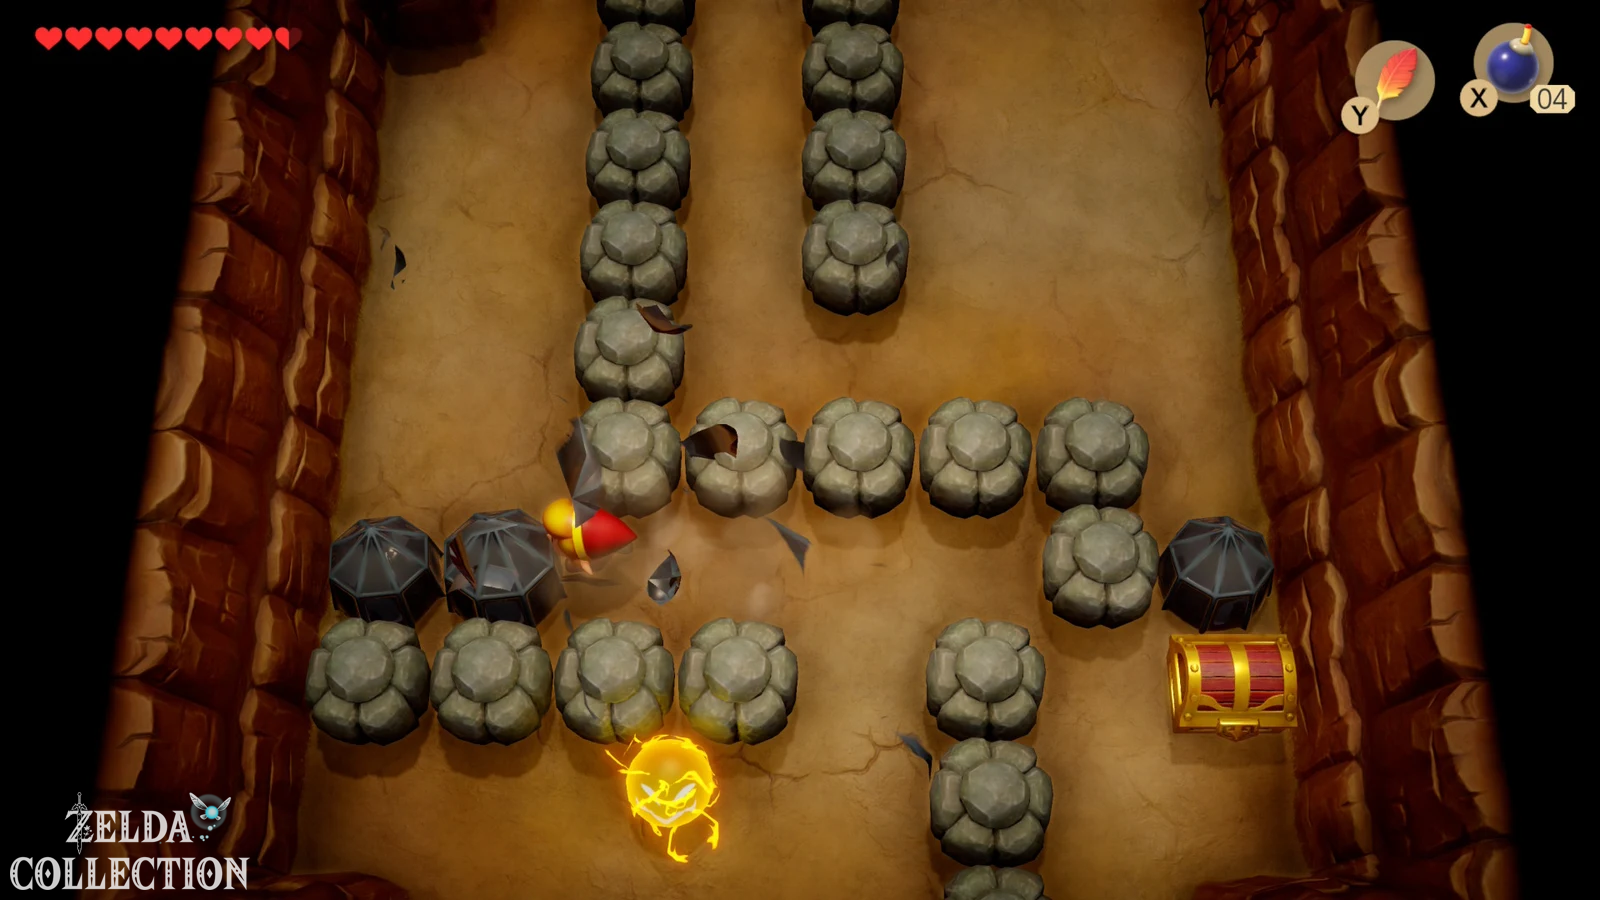
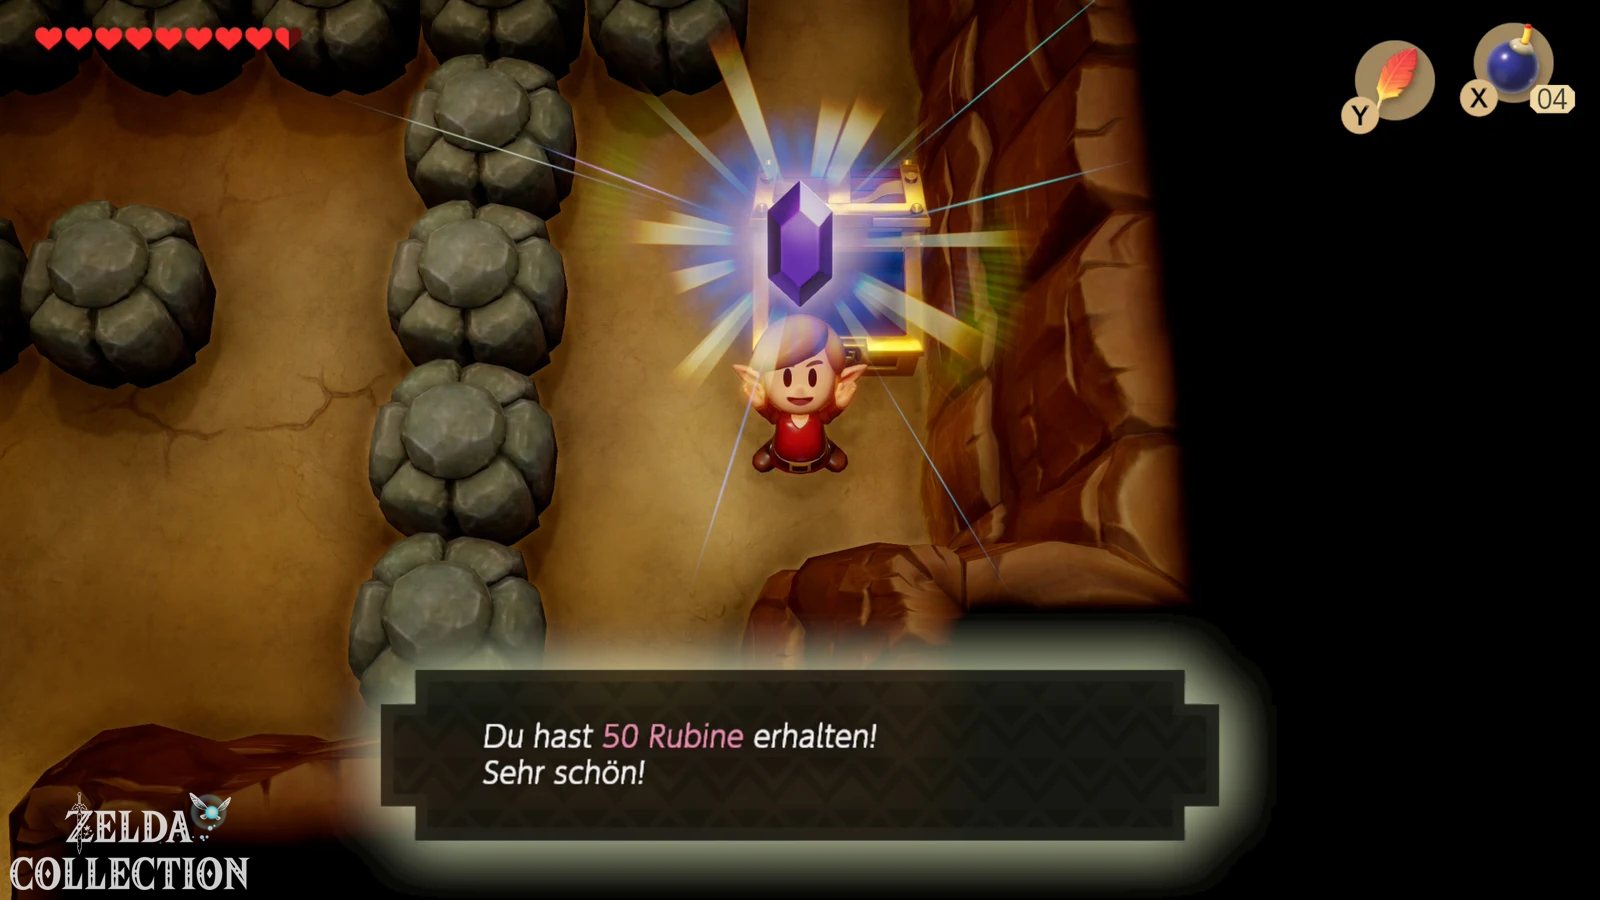
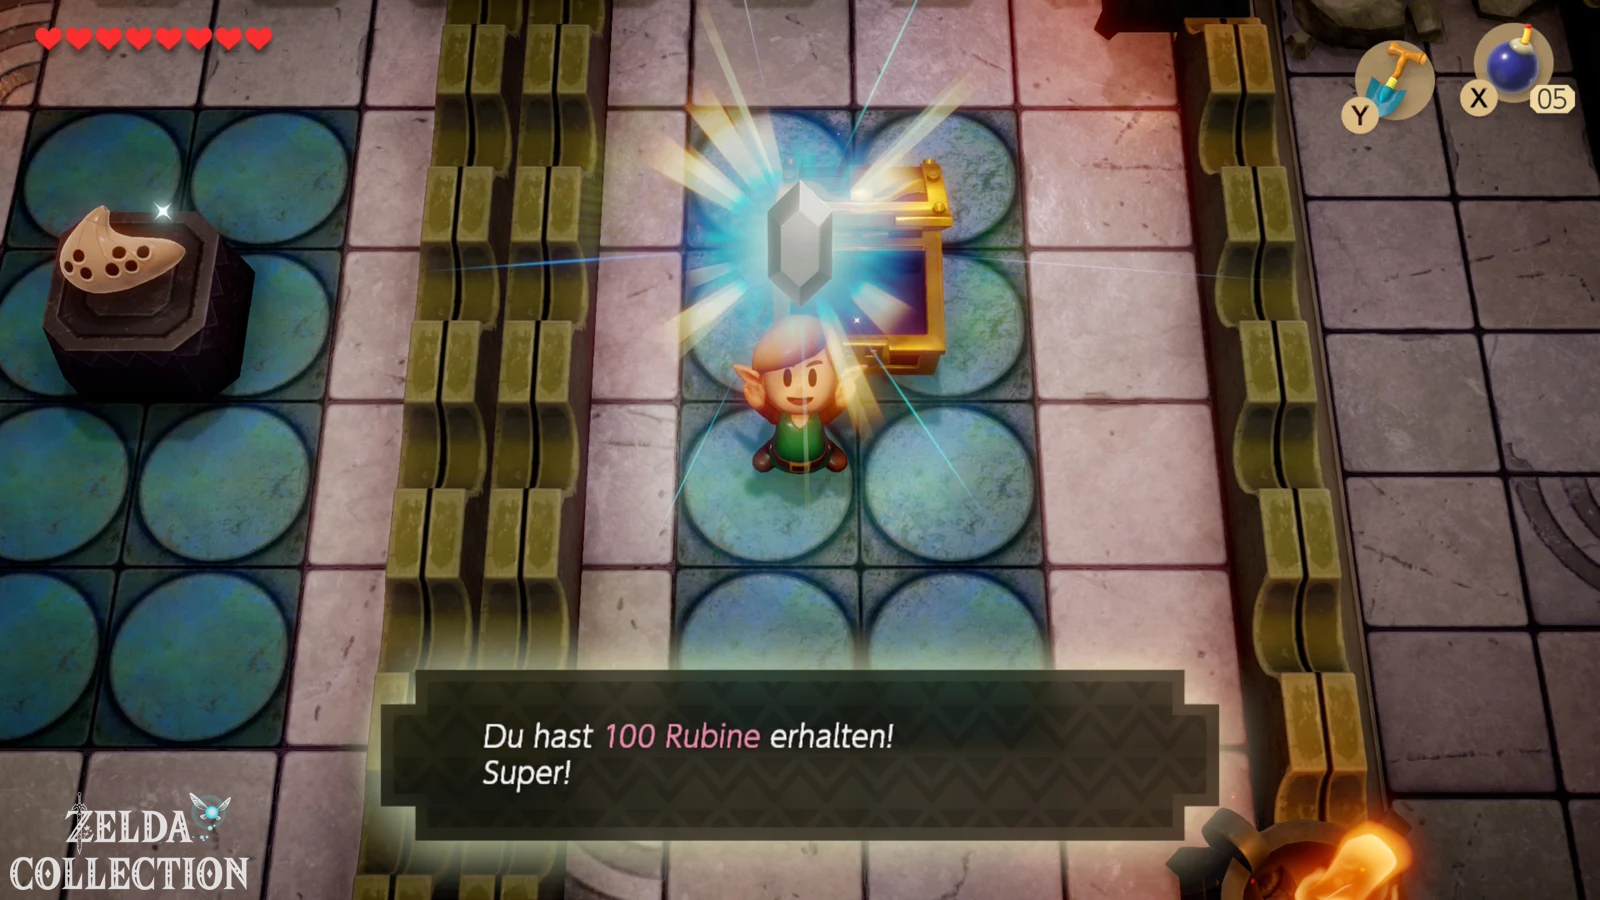
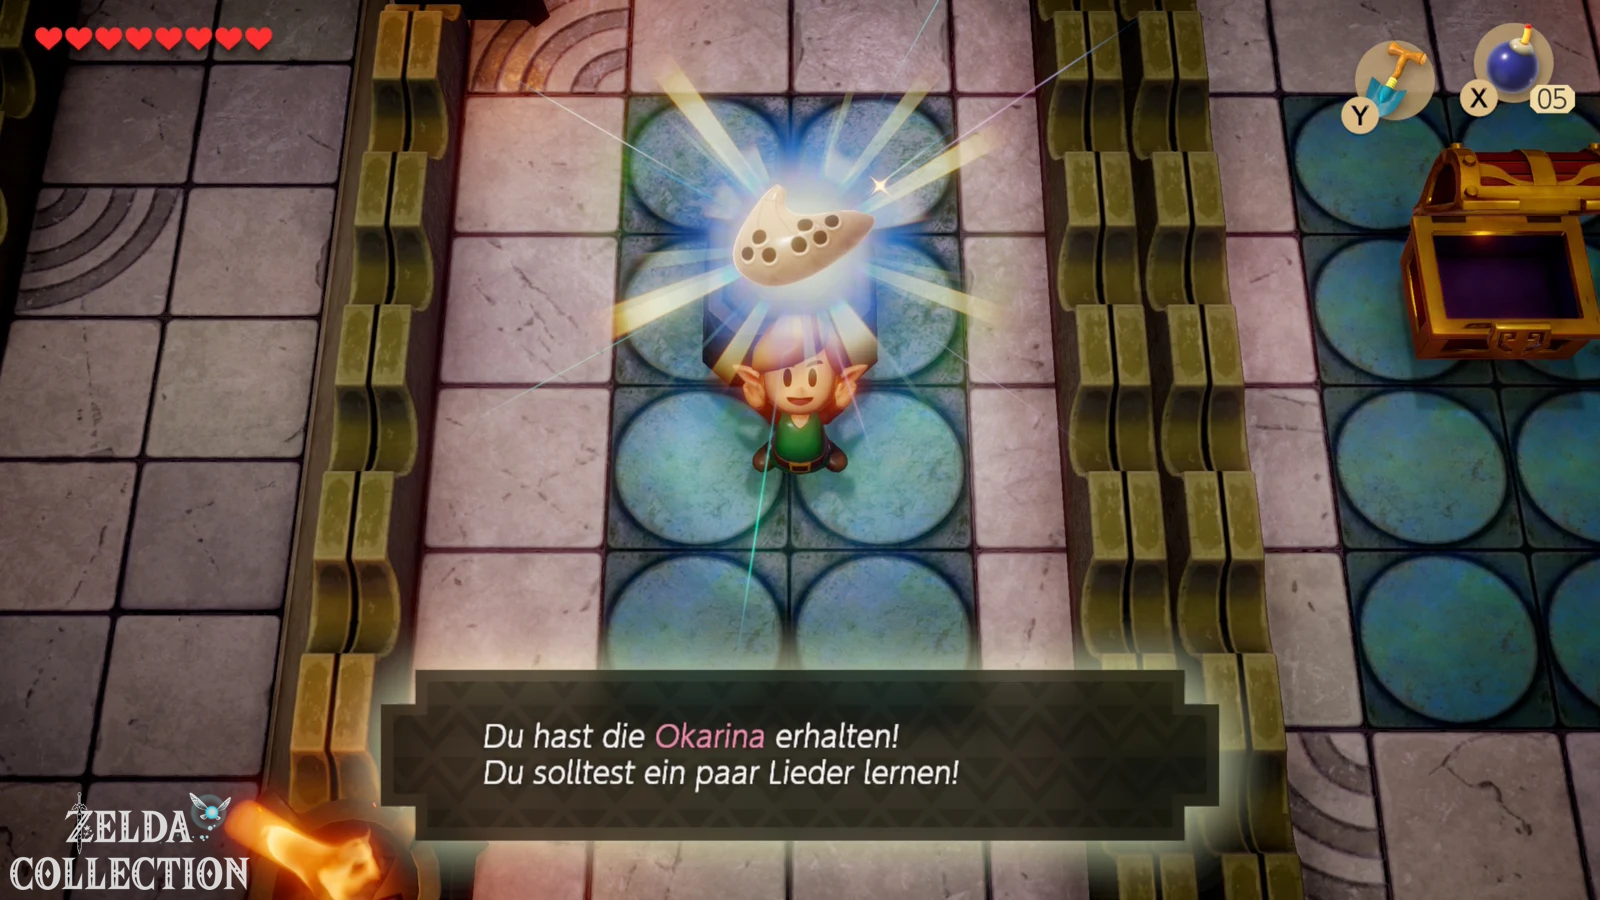
The Pegasus Boots are the crucial item here. Sprint through the long corridors and overrun the enemies before they can trap you. There are two chests in the center of the Dream Shrine. One contains a large amount of Rupees, the other contains the important ocarina. Take both with you and then leave the dream again.
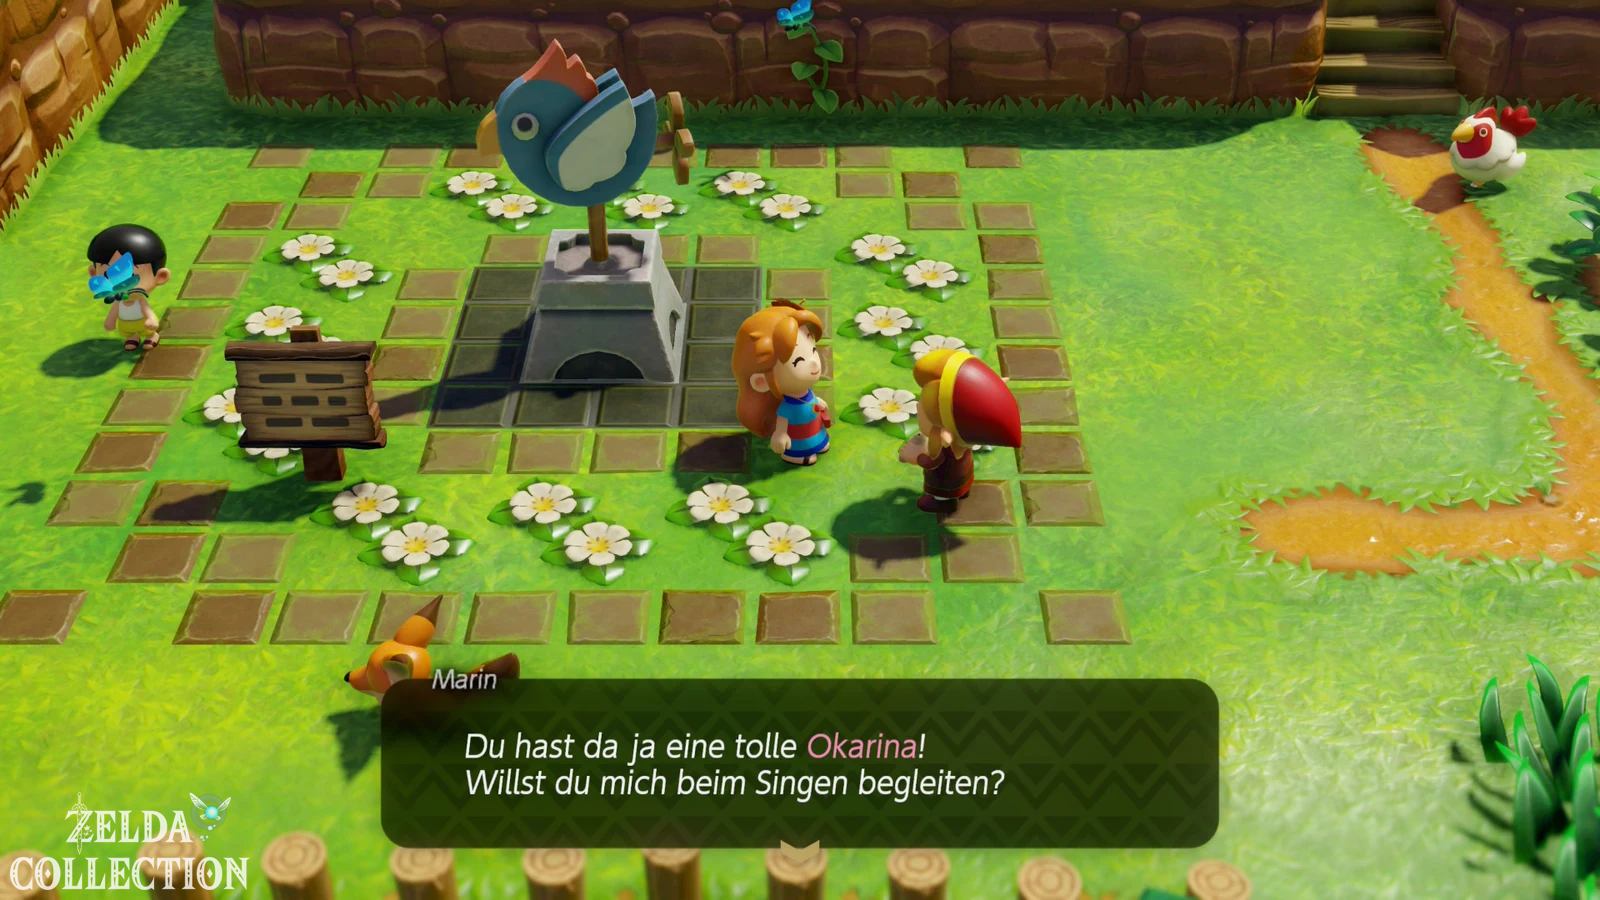
If Marin is still standing on the village square of Mabe Village, speak to her directly with the ocarina. She teaches Link the ballad from the Wind Fish. If she is no longer in the village, that’s no problem: We meet her again in the next story step and learn the ballad in Animal Village at the latest. The song is not only needed for the finale, but also gives us an additional Secret Seashell in just a few minutes.
On the way in Animal Village: Another Secret Seashell
Travel back to the eastern part of the island and move towards Martha’s Bay. To the right of the telephone booth there is a corner from which you can already see the mermaid statue. Knock away the single bush and take the one hidden underneath Secret Seashell with. This shell does not require a new ability and theoretically could have been collected earlier; We now take them with us in our optimal route because we are passing directly by the area anyway.
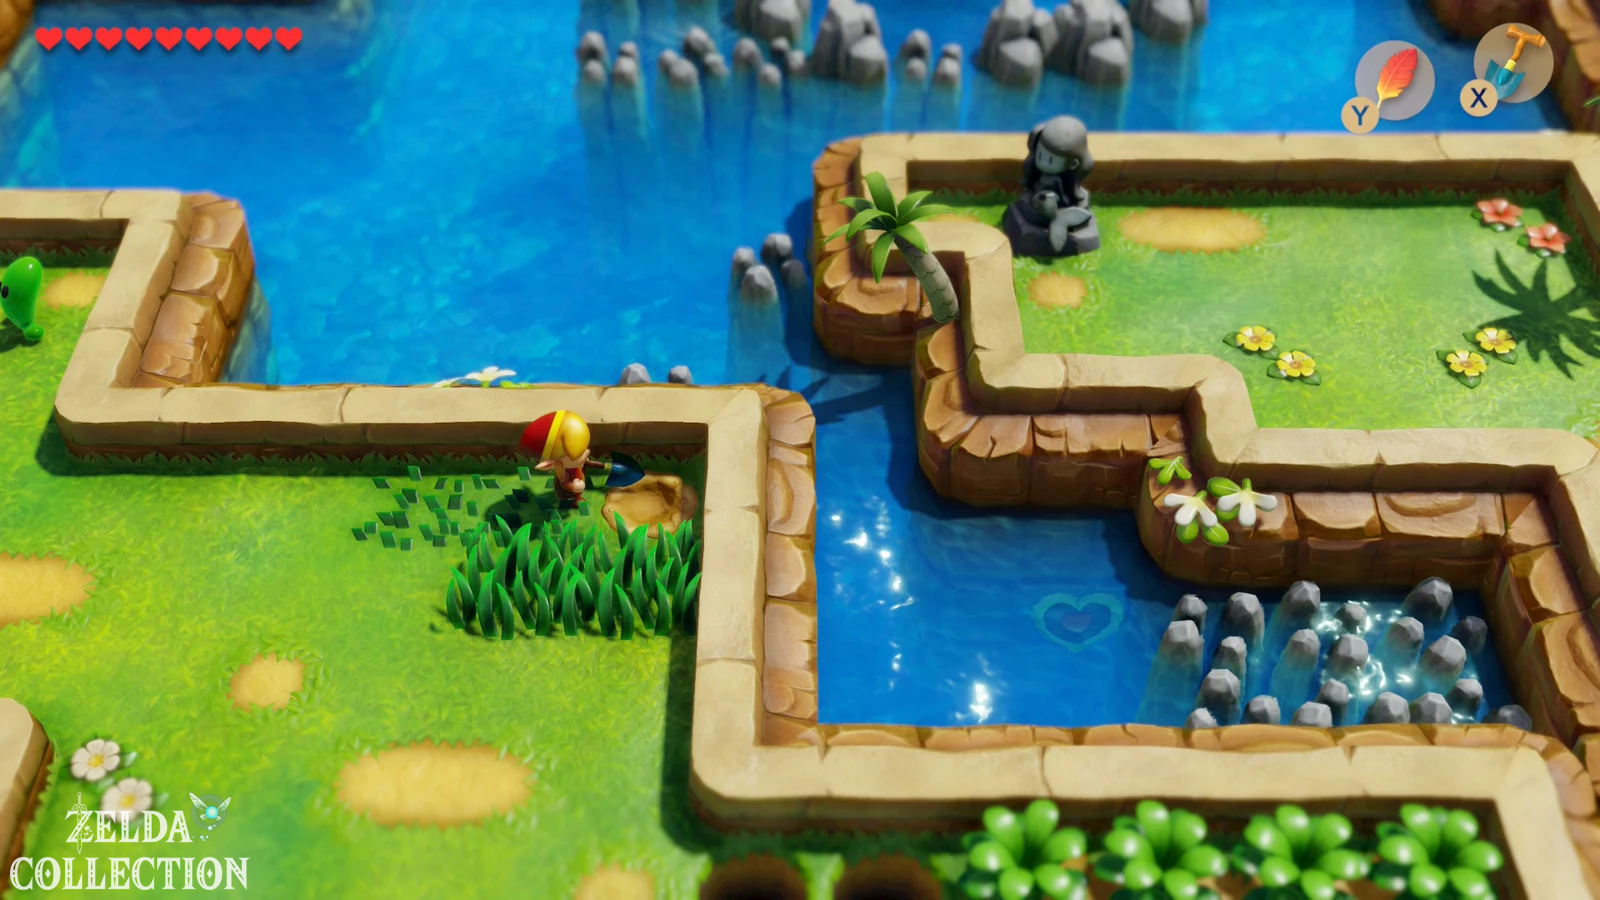
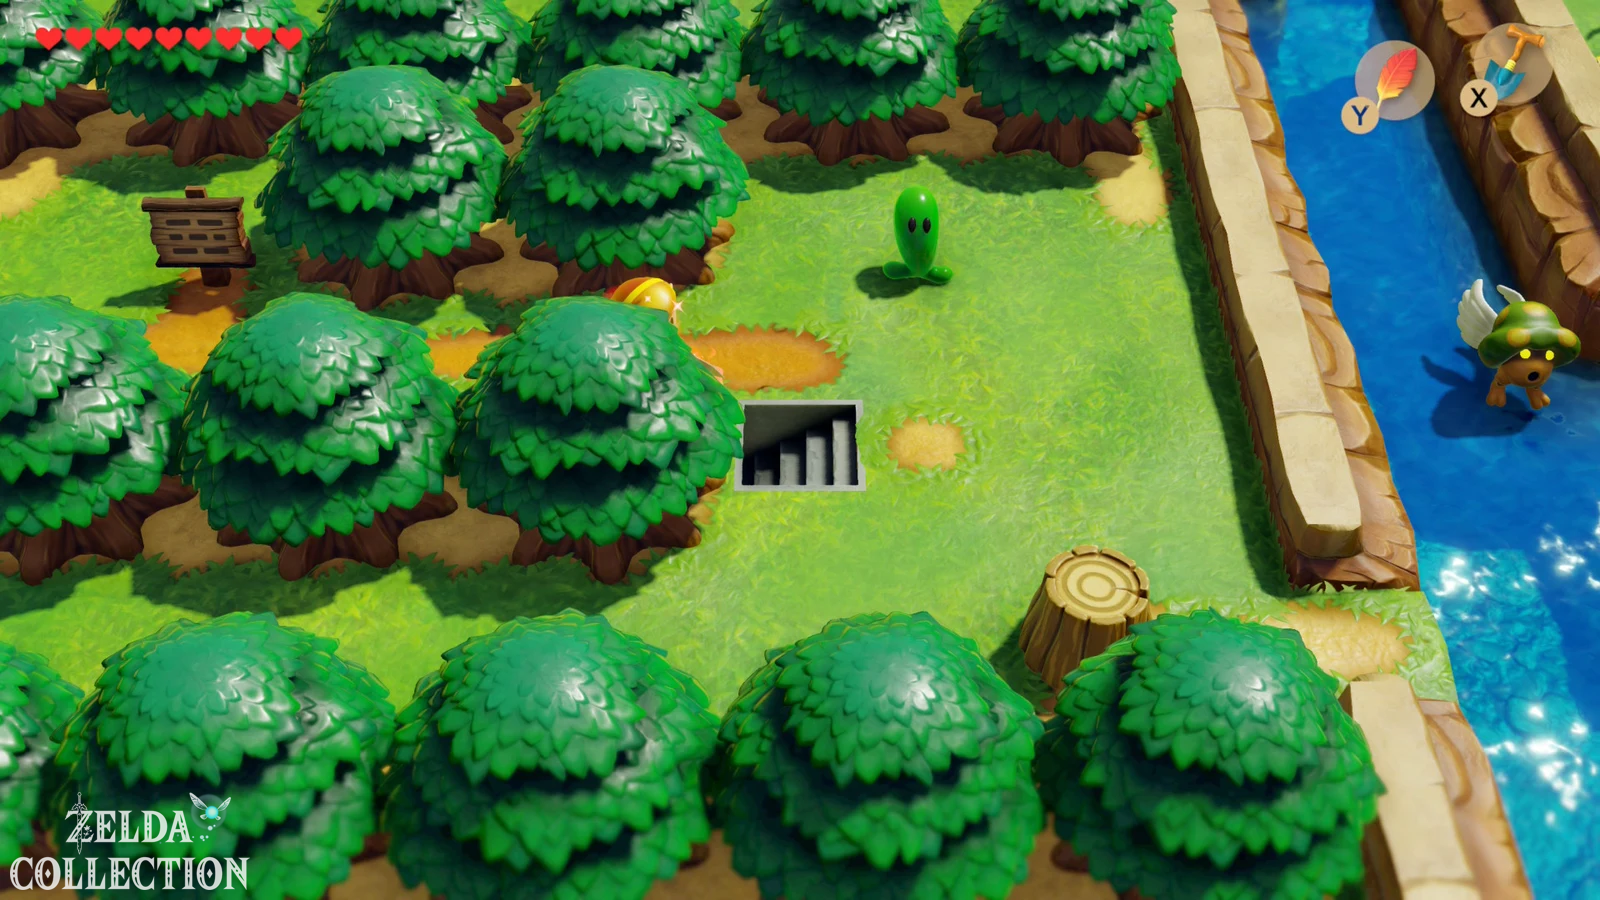
Access to the Animal Village is not via an obvious bridge. To the south or southeast of the Seashell Mansion you will find a single bush on the river bank. Cut it away and climb down the stairs hidden underneath. Cross the underground tunnel and you will reach the other side of the water. From there it’s just a few steps to the Animal Village.
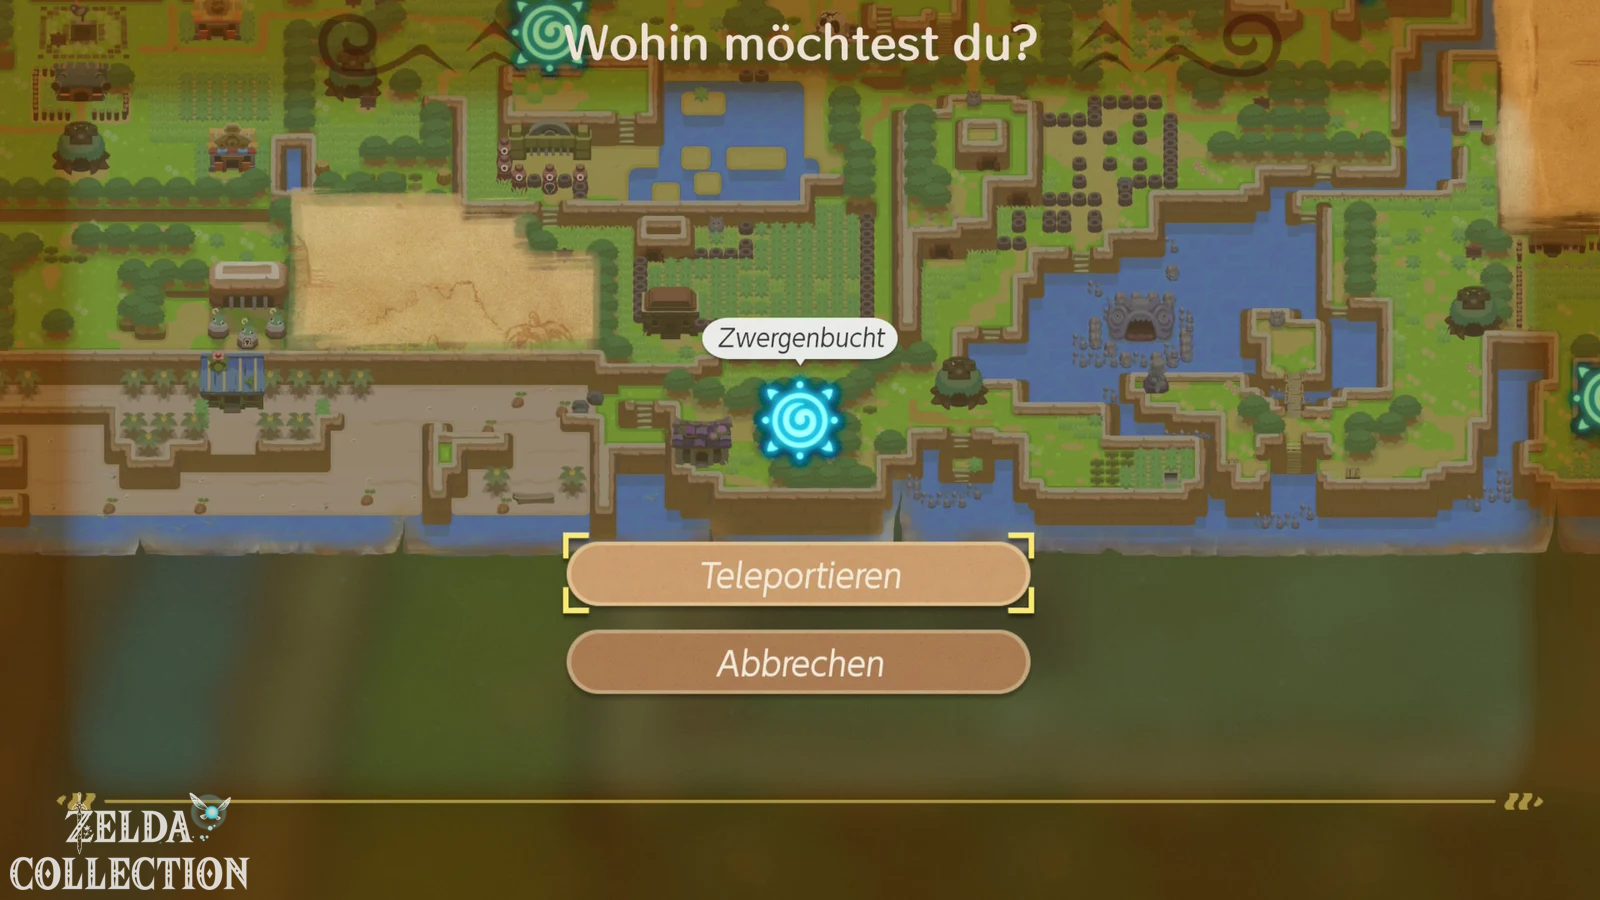
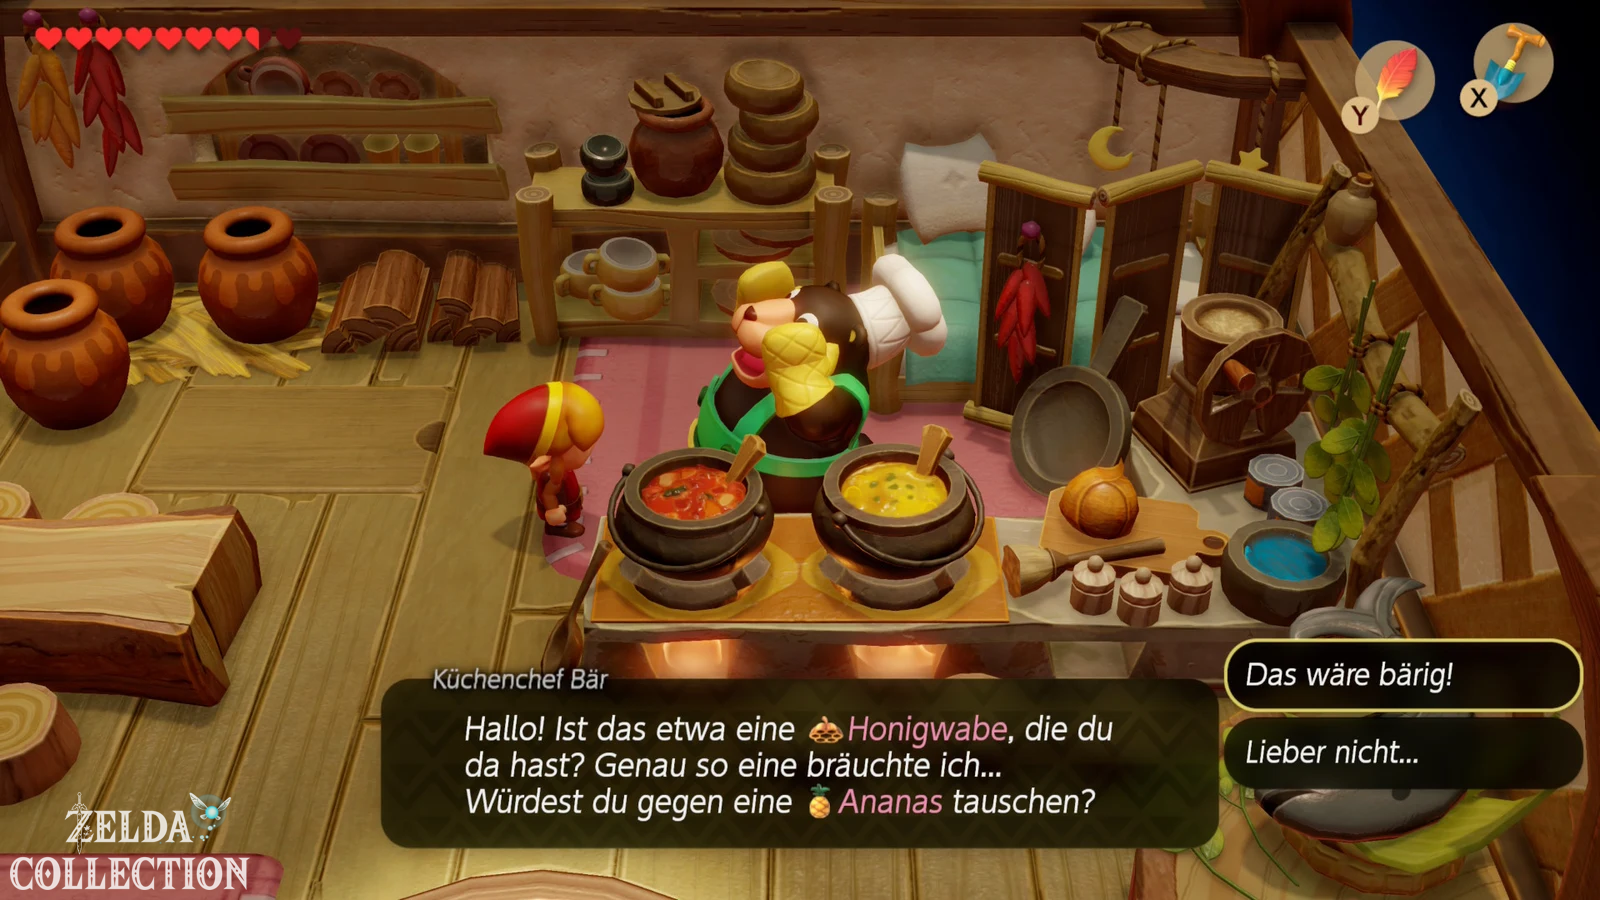
Swap the honeycomb for the pineapple
Enter the cook’s house in the southeast area in Animal Village. The bear needs exactly the honeycomb that you just received from Tarin. Give it to him and you will receive a Pineapple in return. The cook also mentions the large walrus blocking the way into the Yarna Desert. Even with a sword or bombs, you can’t move the animal – it only reacts to Marin and her voice.
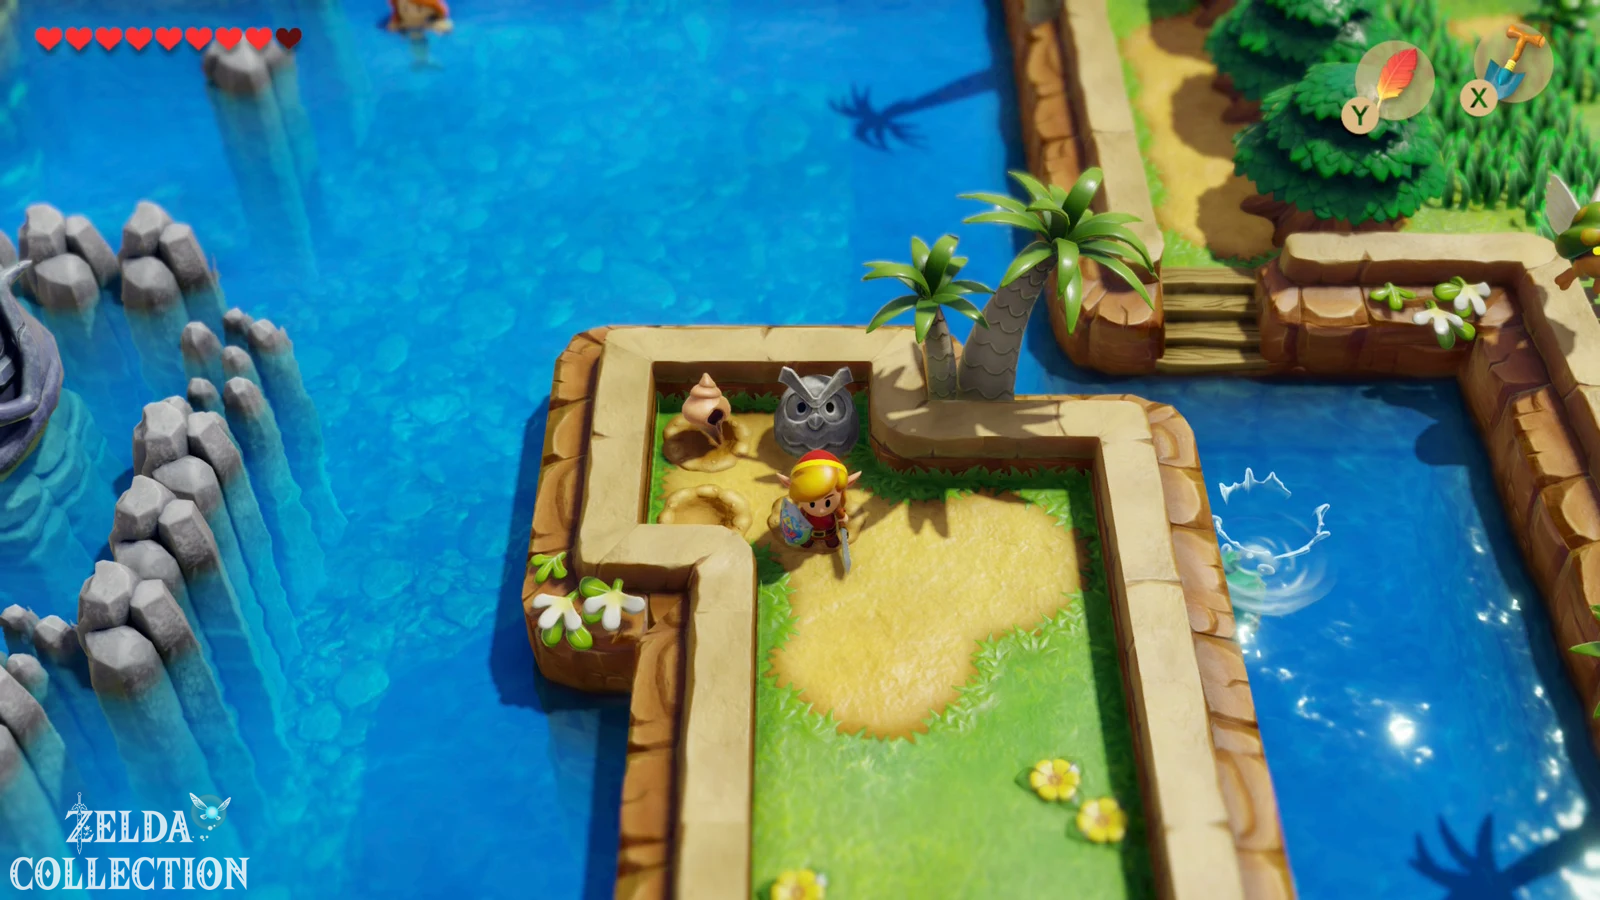
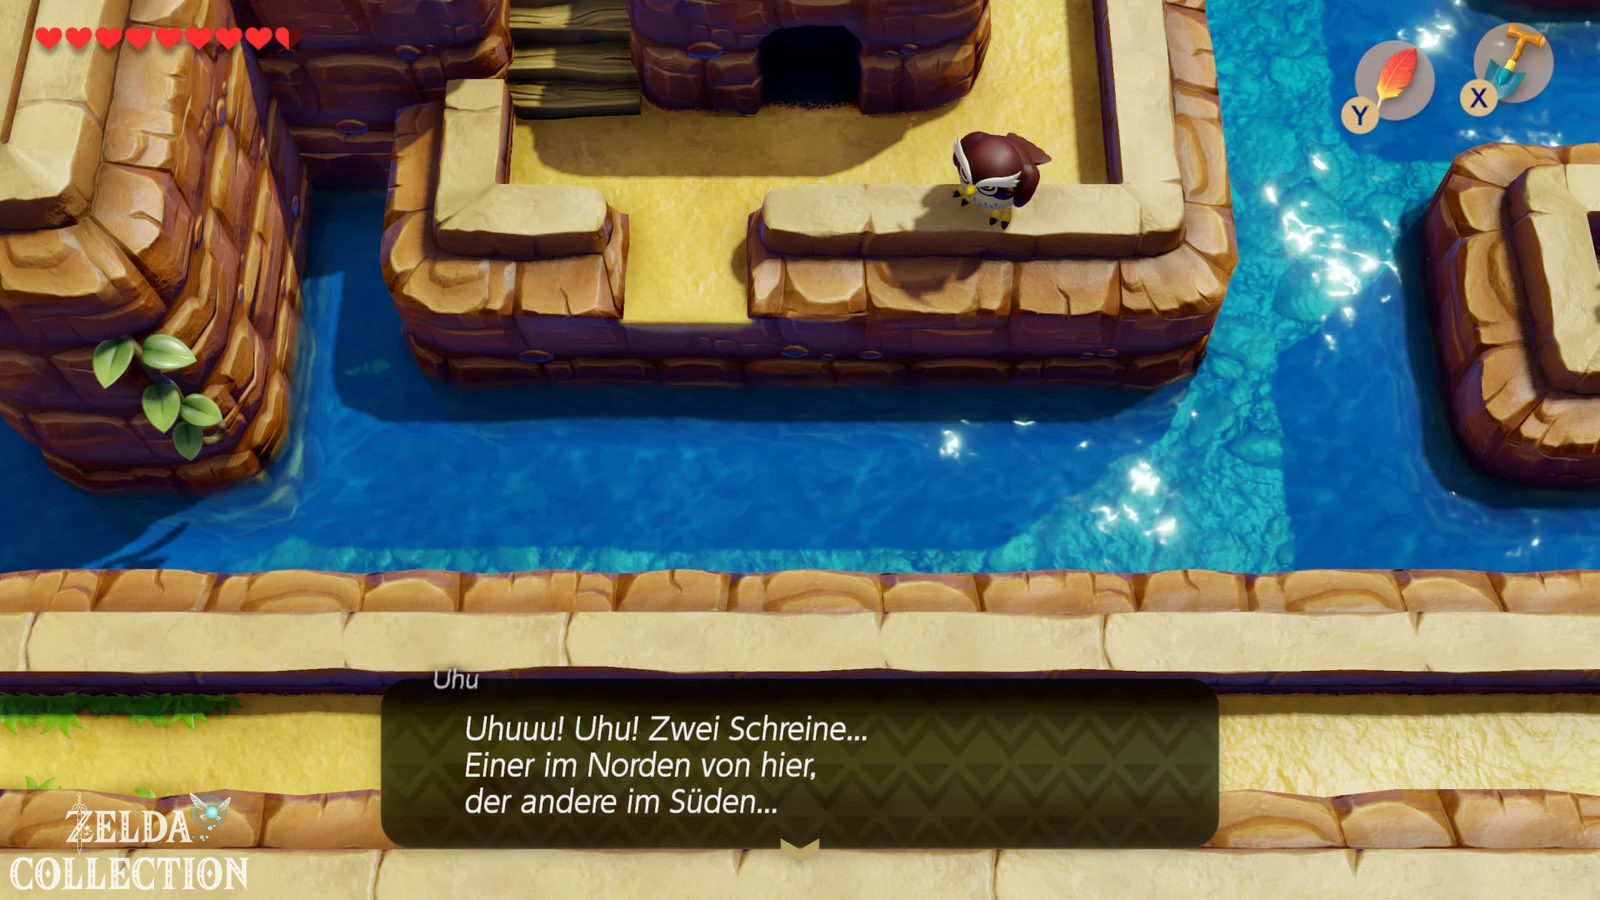
Before we get Marin, we leave the Animal Village briefly to the southwest. A small bridge leads to an island in the Martha’s Bay. You will find a suspicious vacancy next to an owl statue. Dig to the left of the statue with the shovel and you will get another Secret Seashell.
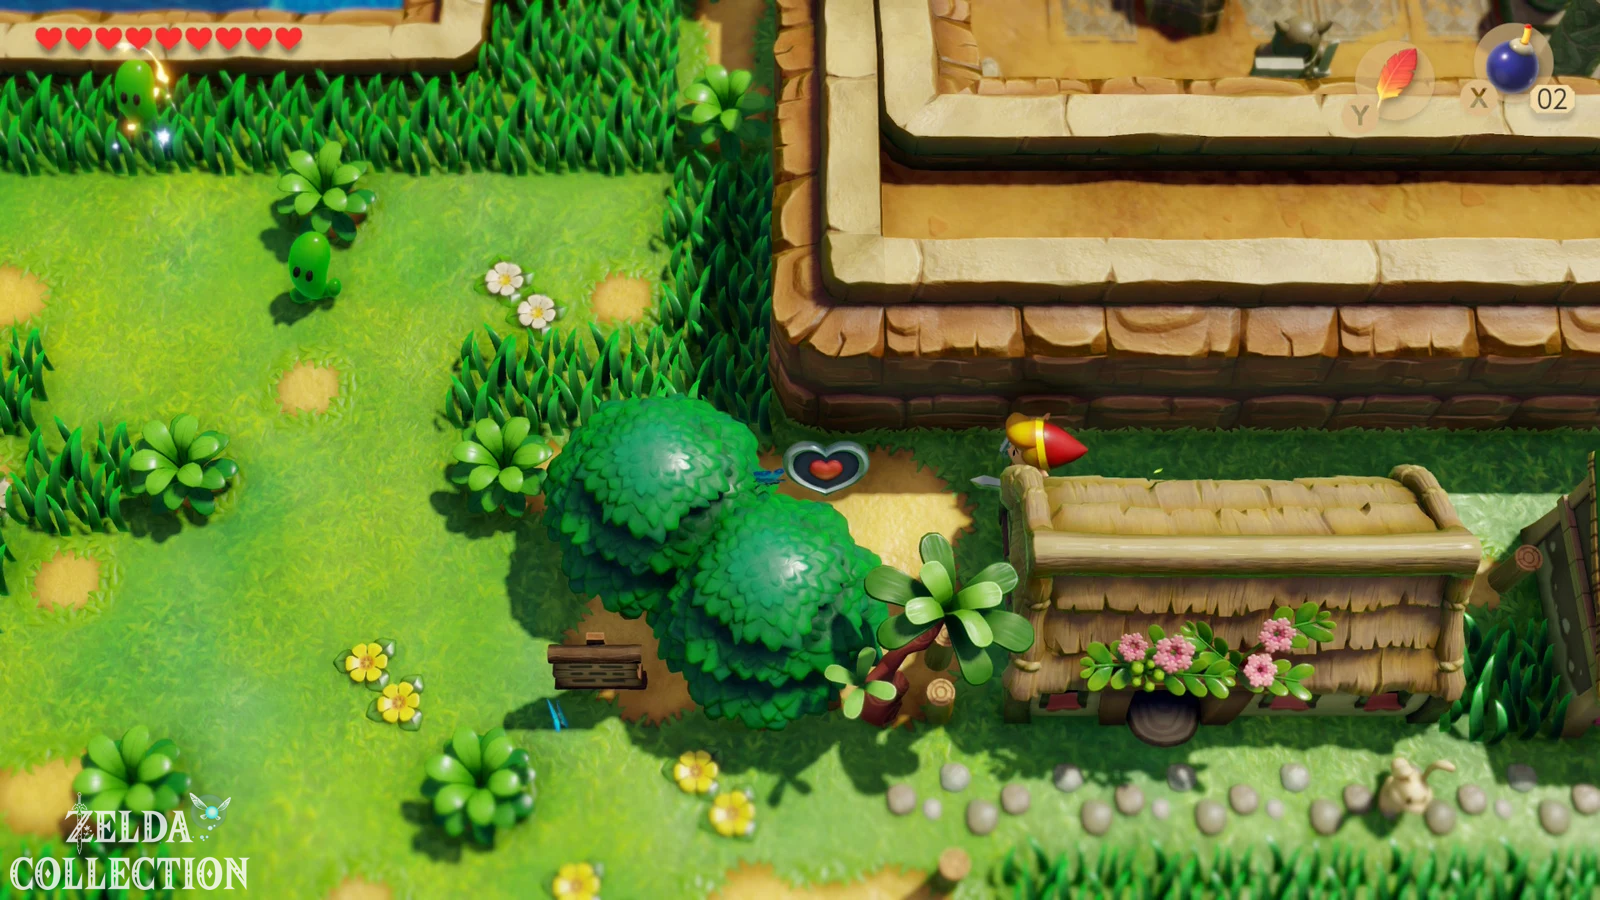
Find Marin on Toronbo Shores
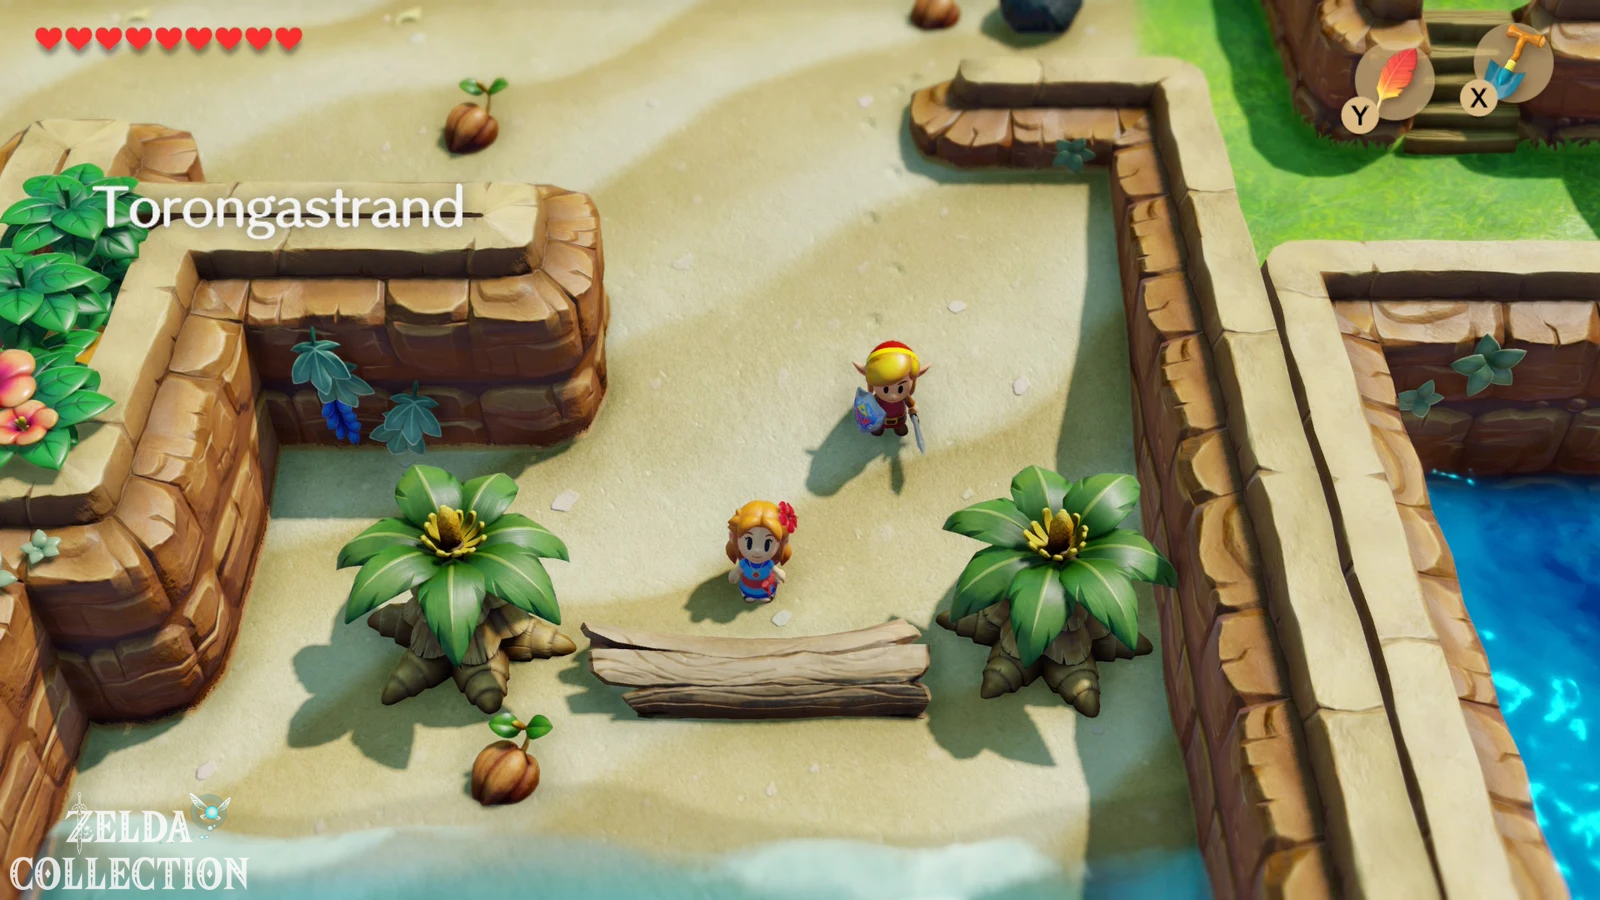
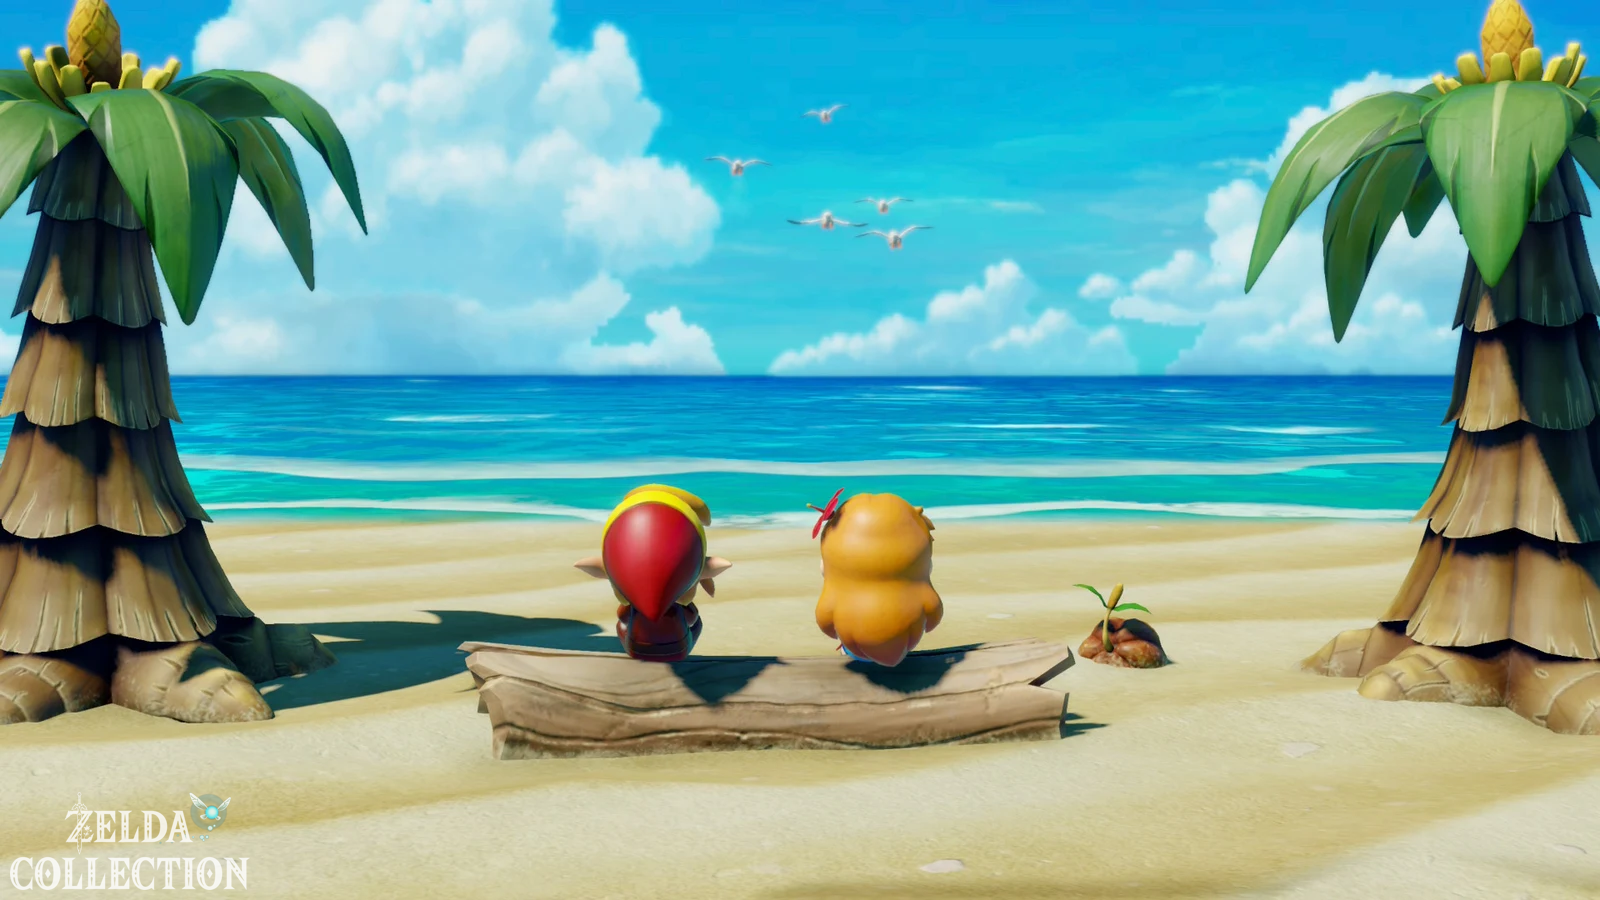
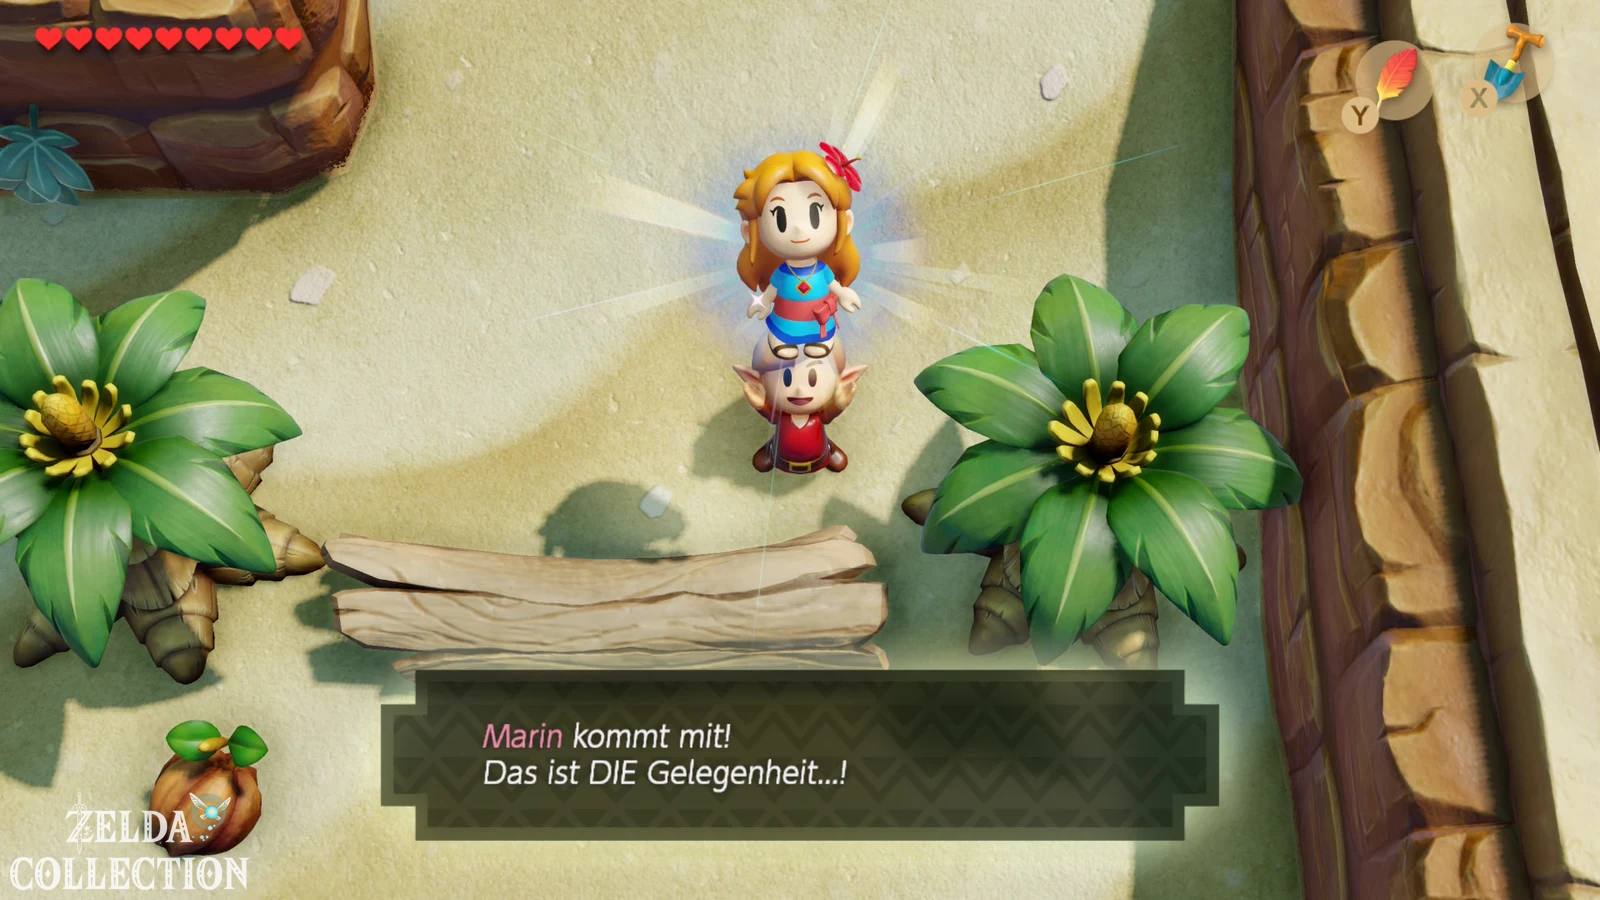
Use the nearby warp point and travel back to the west of the island. Marin is no longer necessarily on the village square, but on Toronbo beach. You can find her far to the east of the beach near the long tree trunk where Link and Marin have a brief scene together. Speak to her and Marin will accompany you afterwards.
If you haven’t learned the Ballad of the Wind Fish yet, you don’t have to worry. After Marin has woken up the walrus, she is in Animal Village and can teach you the song there if you have the ocarina.
Wake the Walrus and Piece of Heart behind the Animal Village
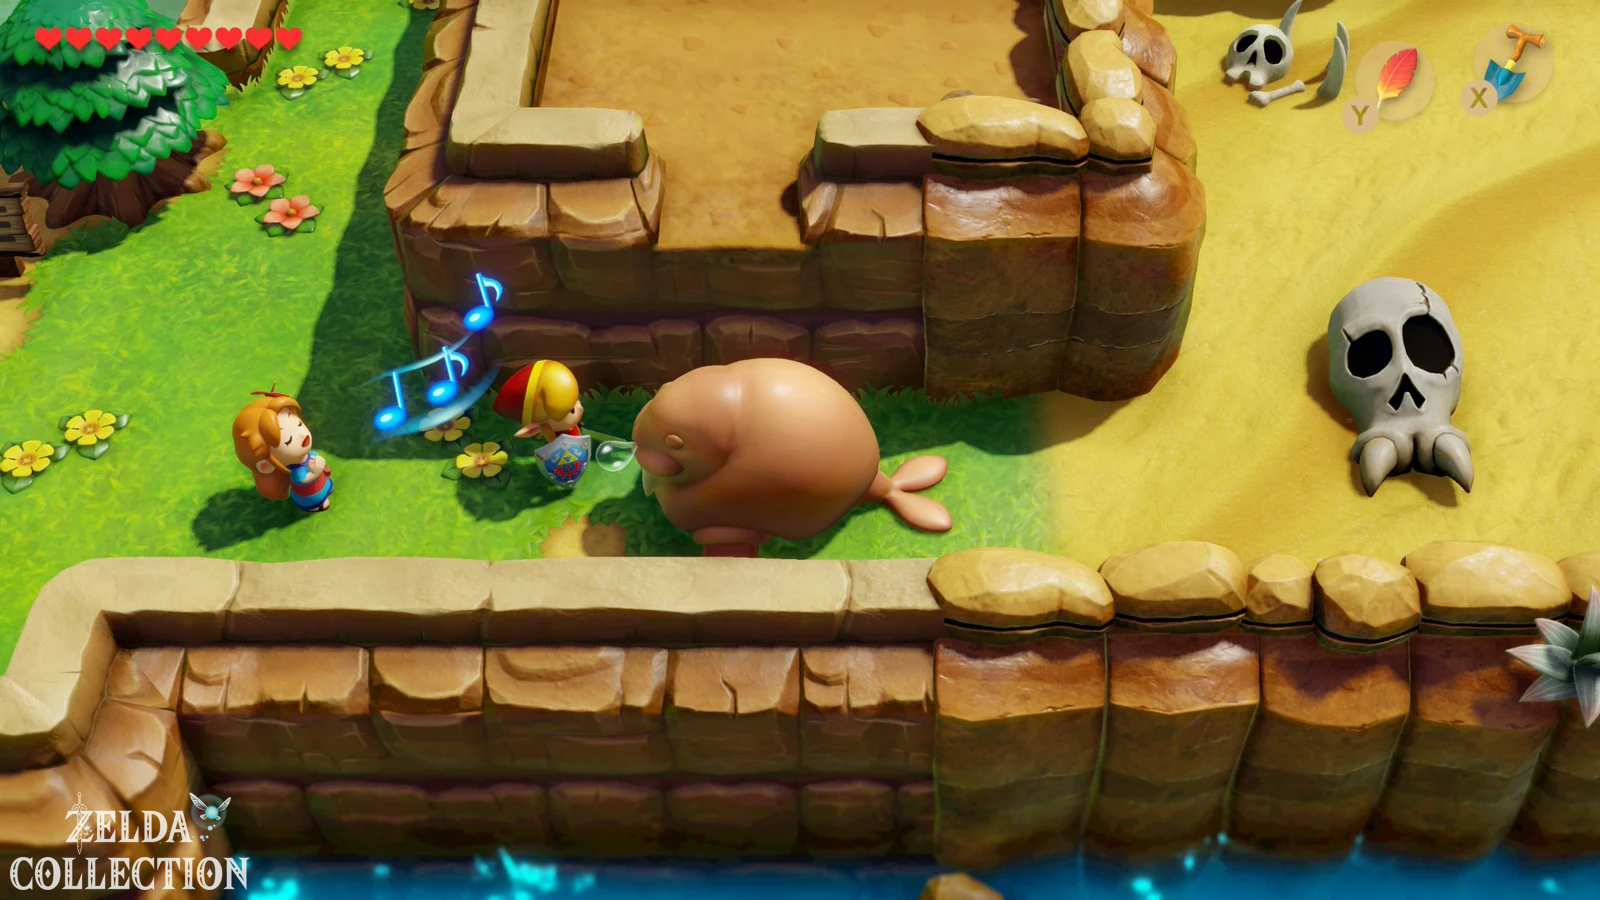
Take Marin to the Yarna Desert entrance south of the Animal Village. Speak to the sleeping walrus and Marin will sing the ballad of Wind Fish. The animal wakes up excitedly and jumps into the water, clearing the way to the desert. Marin then returns towards Animal Village.
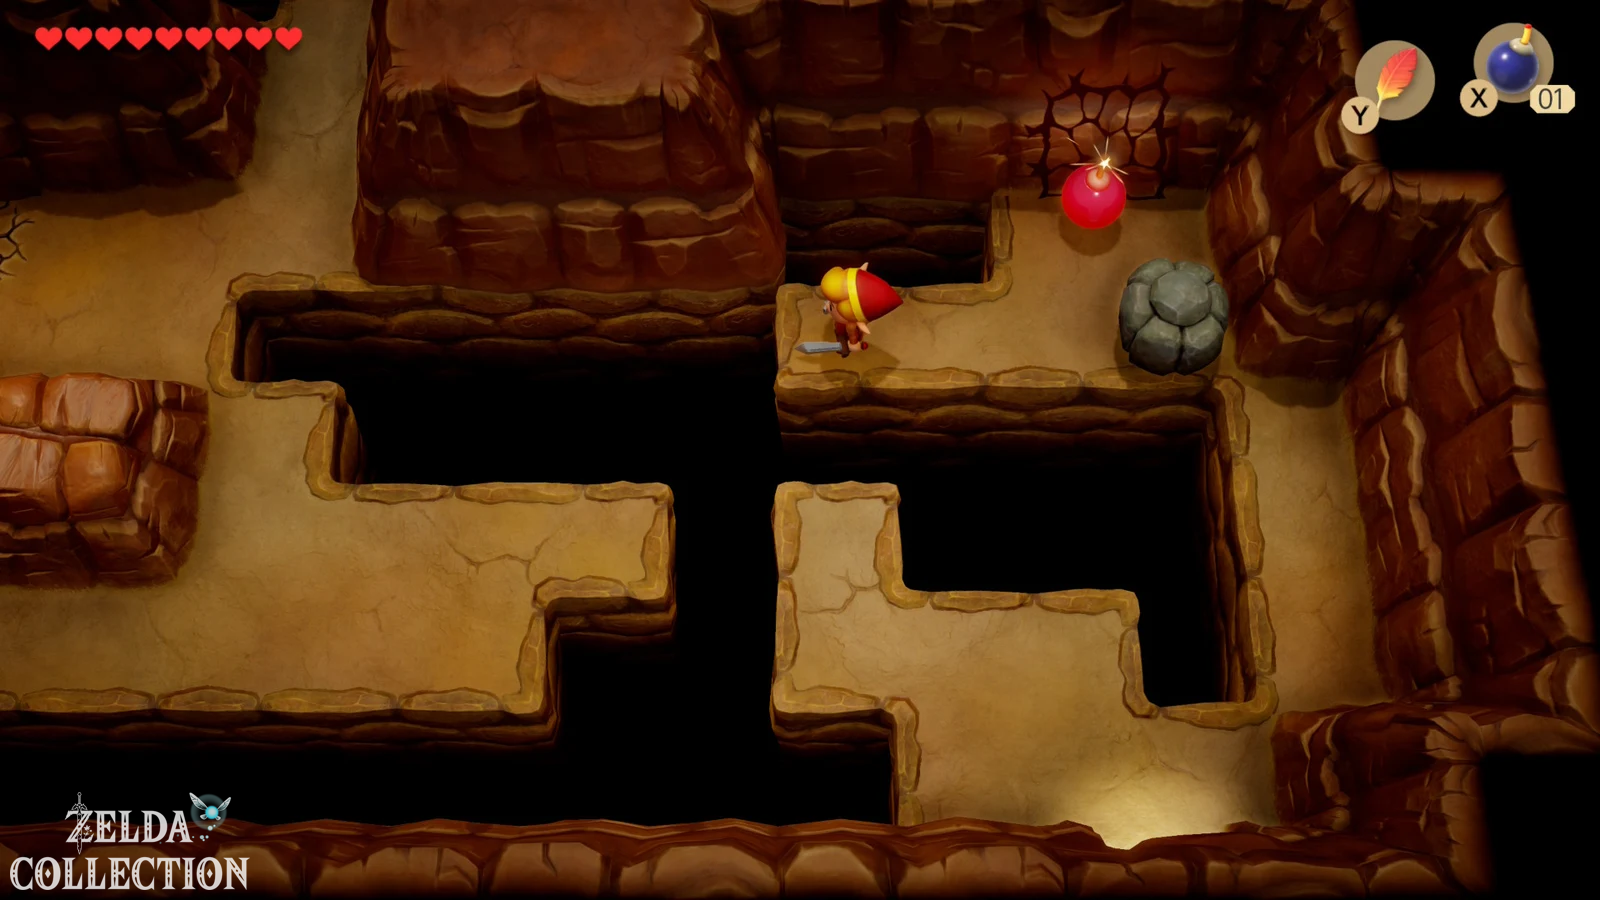
Does not go immediately into the Yarna Desert. To the left of the walrus’s former location, a narrow grass path leads north and then behind the fence of the Animal Village. Follow this hidden path all the way to the end. There is another Piece of Heart, which is one of the many newly added core pieces in the Switch version.
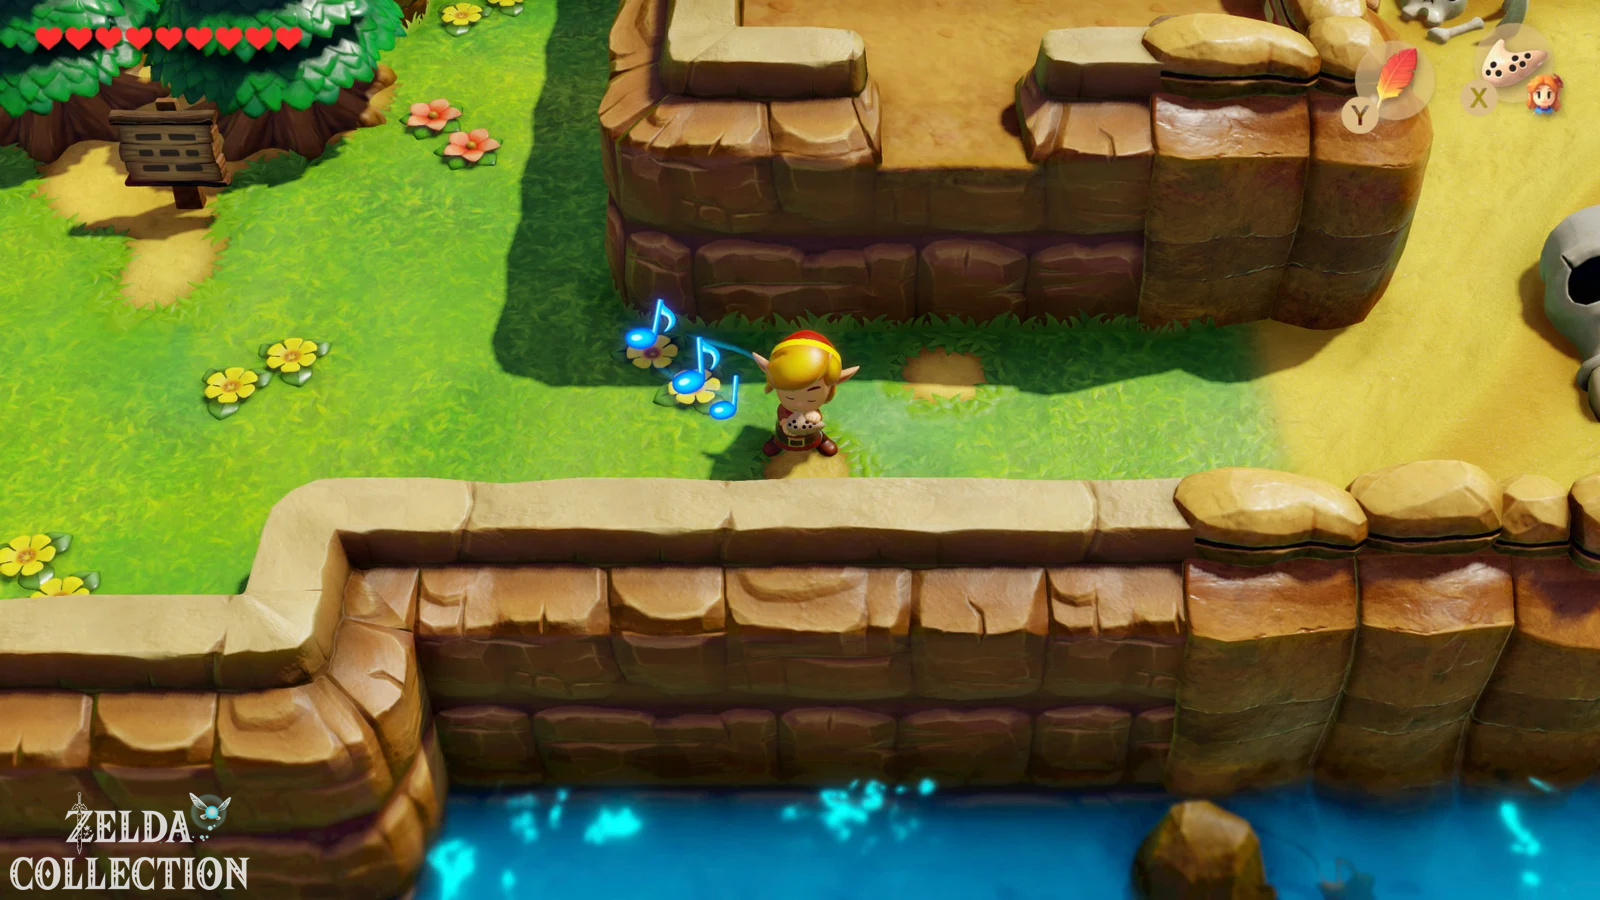
The Ballad of the Wind Fish and the Walrus Shell
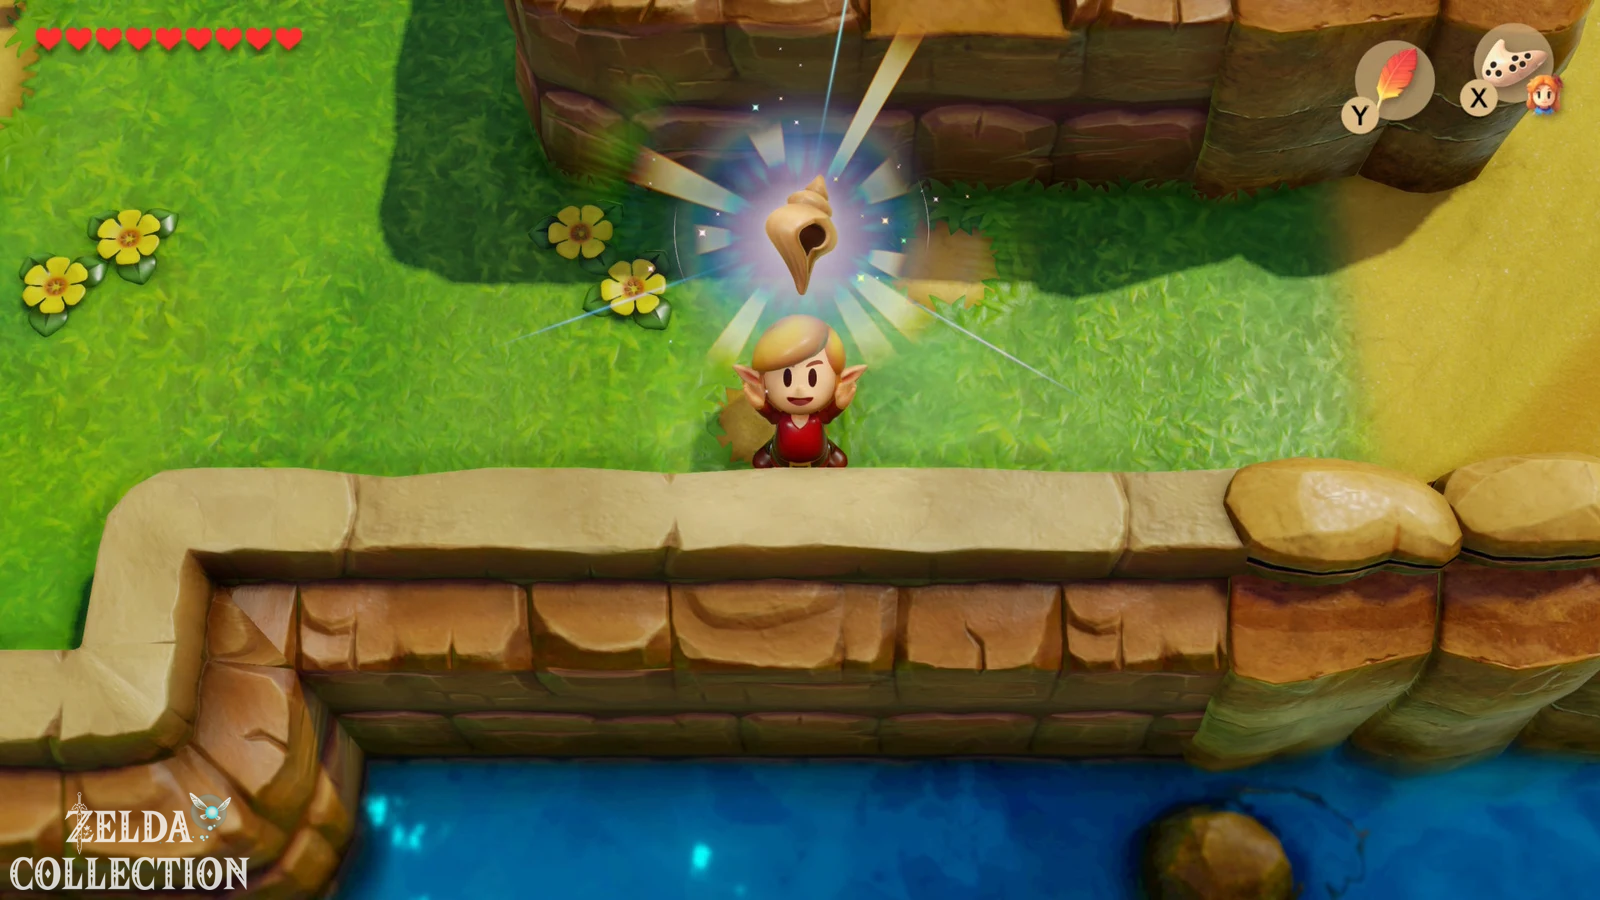
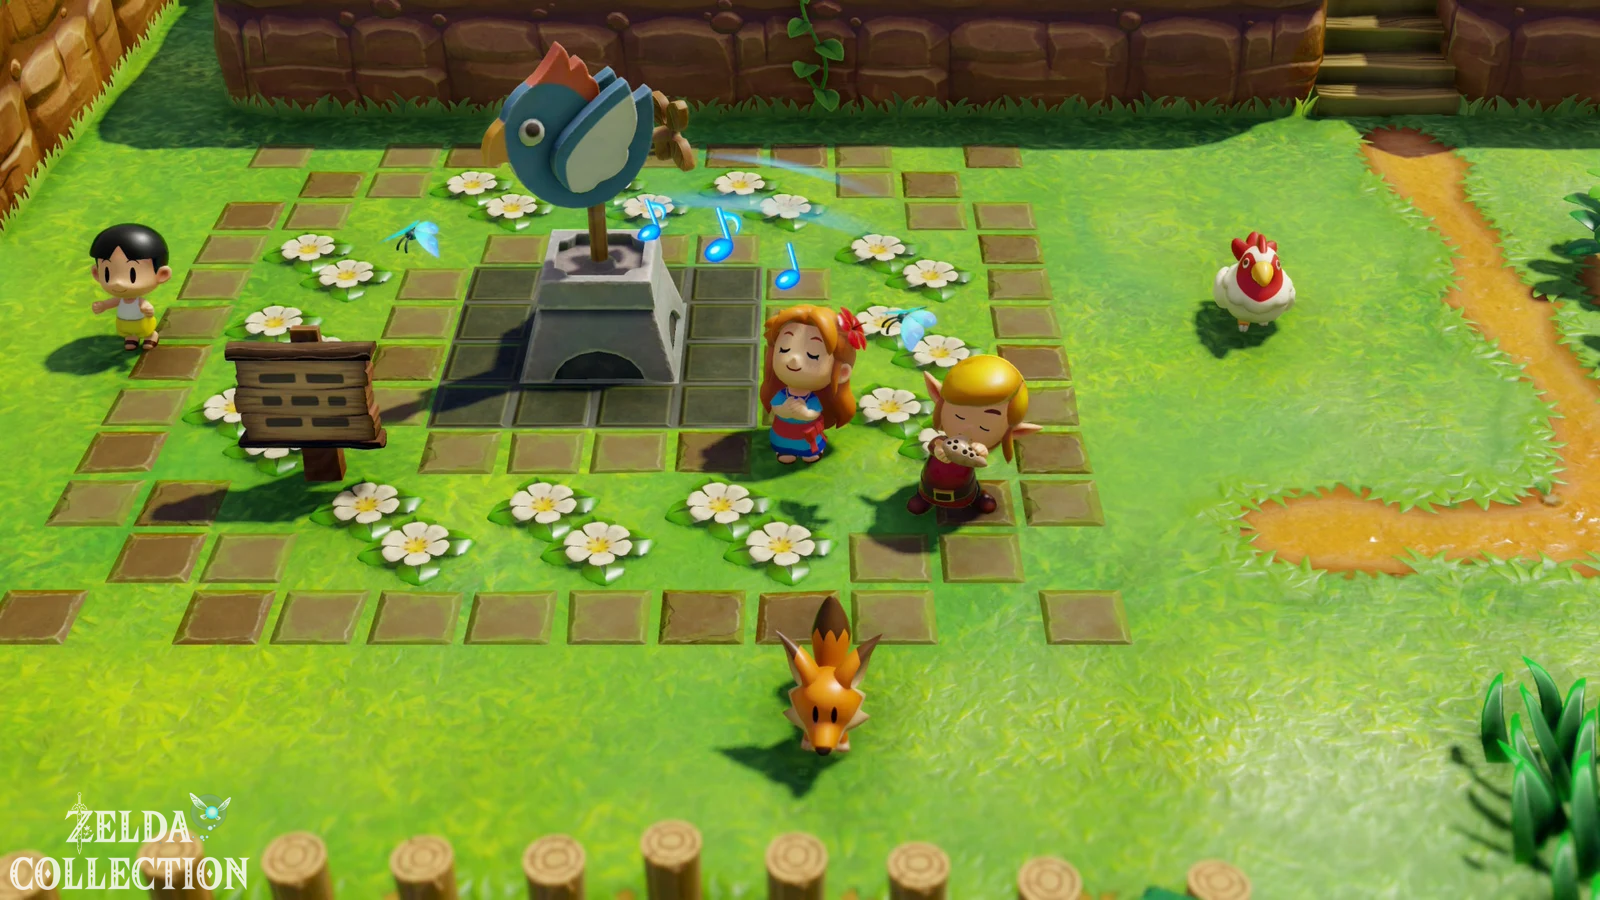
If Marin hasn’t taught you the song in Mabe Village, talk to her now in Animal Village with the ocarina. Link learns the Ballad from the Wind Fish. Then return to the walrus’s former sleeping place and play the song on the ocarina there. The walrus emerges from the water once again and gives you a Secret Seashell for the small private concert.
This special reward is part of the Switch remake’s greatly expanded 50-shell collection. In the older versions, the shell collection works differently and has significantly fewer Locations.
Yarna Desert: Two Secret Seashells
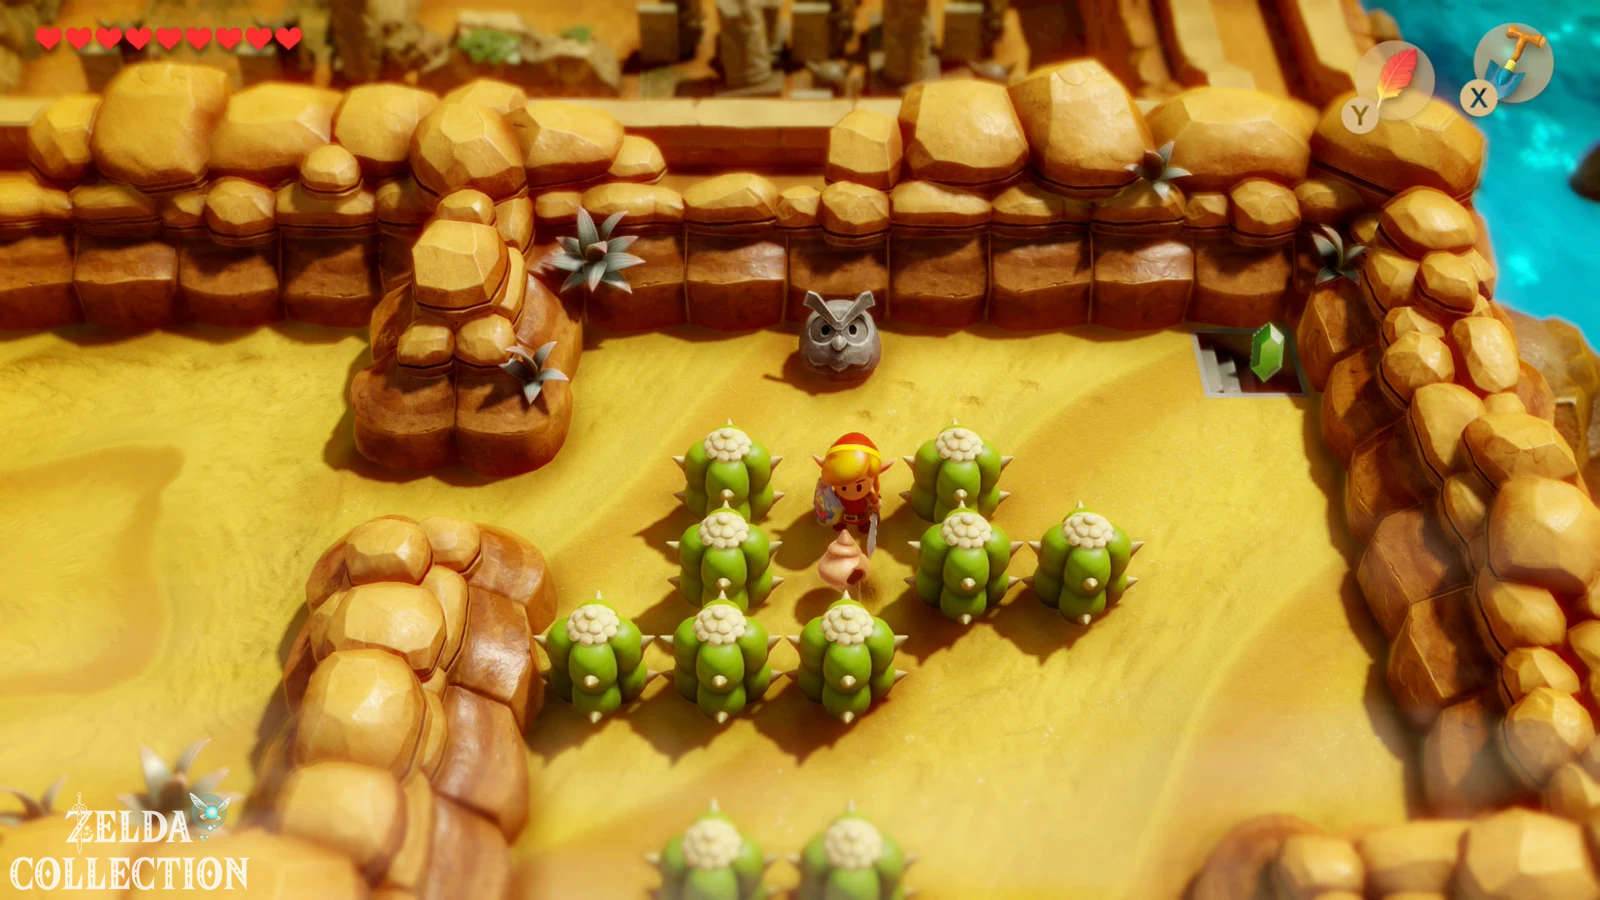
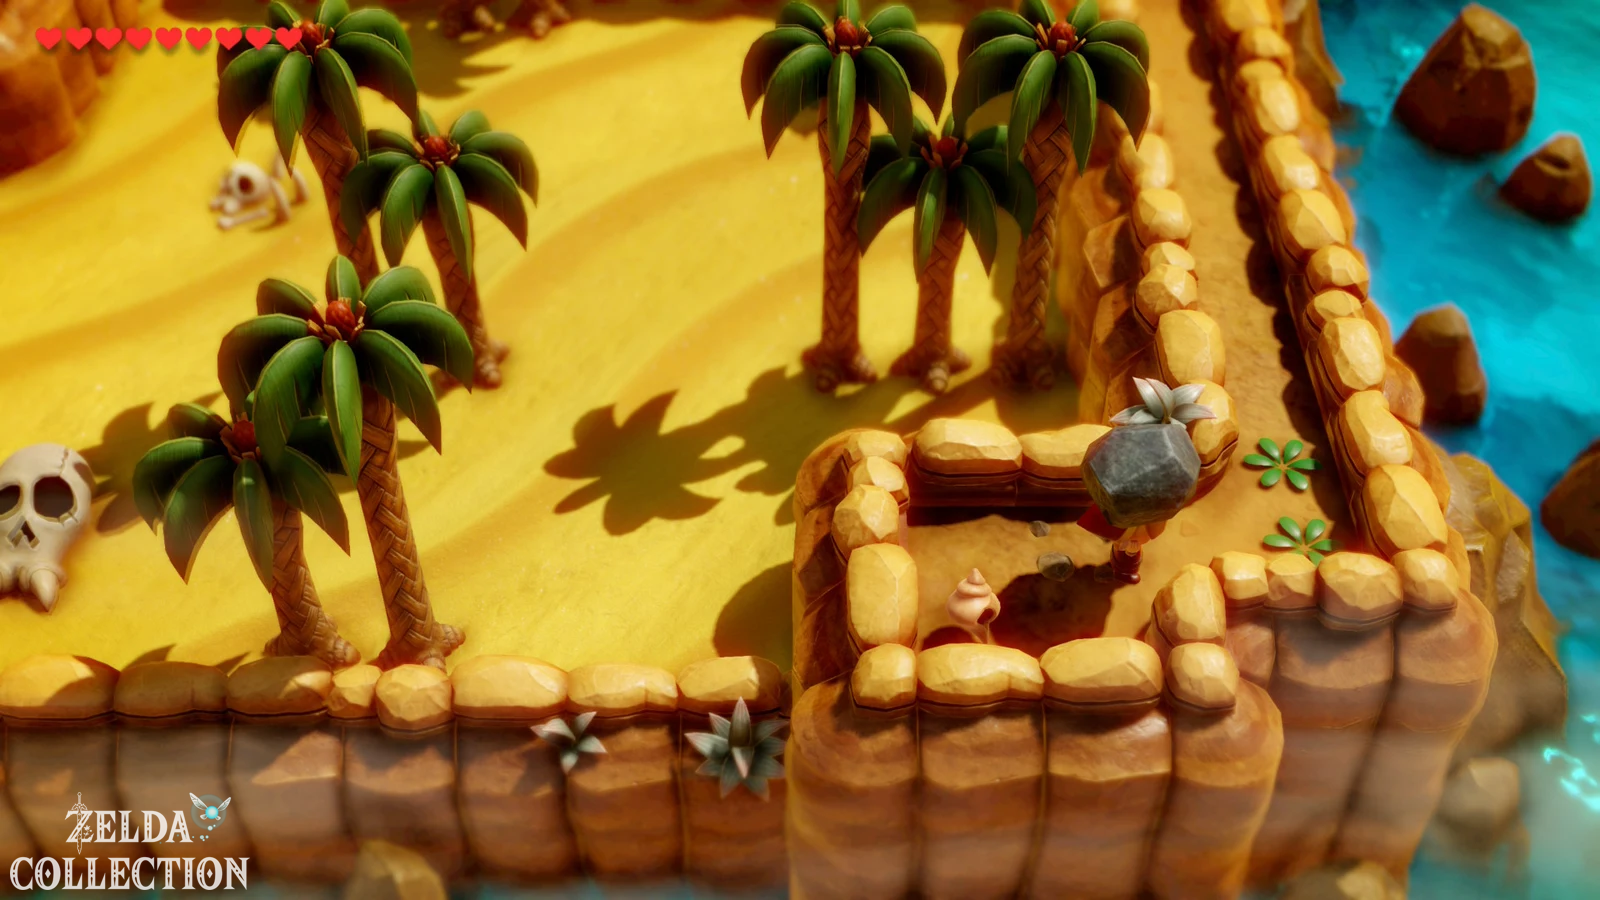
Now enter the Yarna Desert. Before we take care of the big sandworm, we collect the two freely accessible Secret Seashells. There is an owl statue in the northern area. Go south from there between the cacti and dig in the sand in the free spot. The first shell is there. For the second one, go south from the stairs or the owl statue and stick to the eastern edge of the desert. There are several heavy rocks in the very southeast. Lift up the lower or conspicuous rock and take the Secret Seashell hidden underneath with you.
Lanmola and the Angler Key
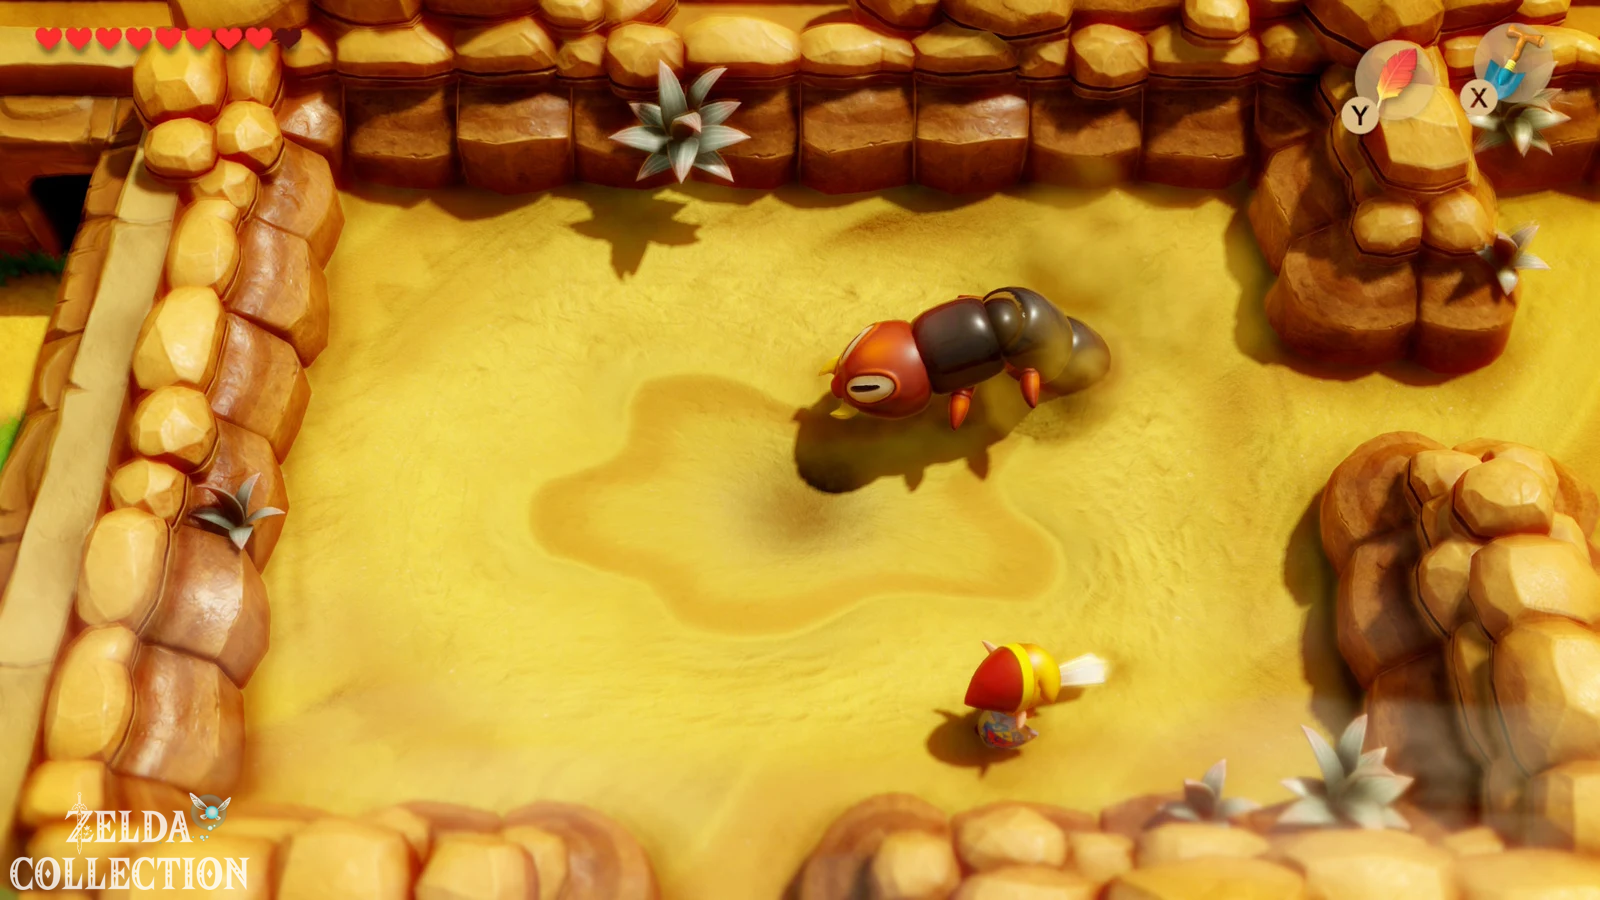
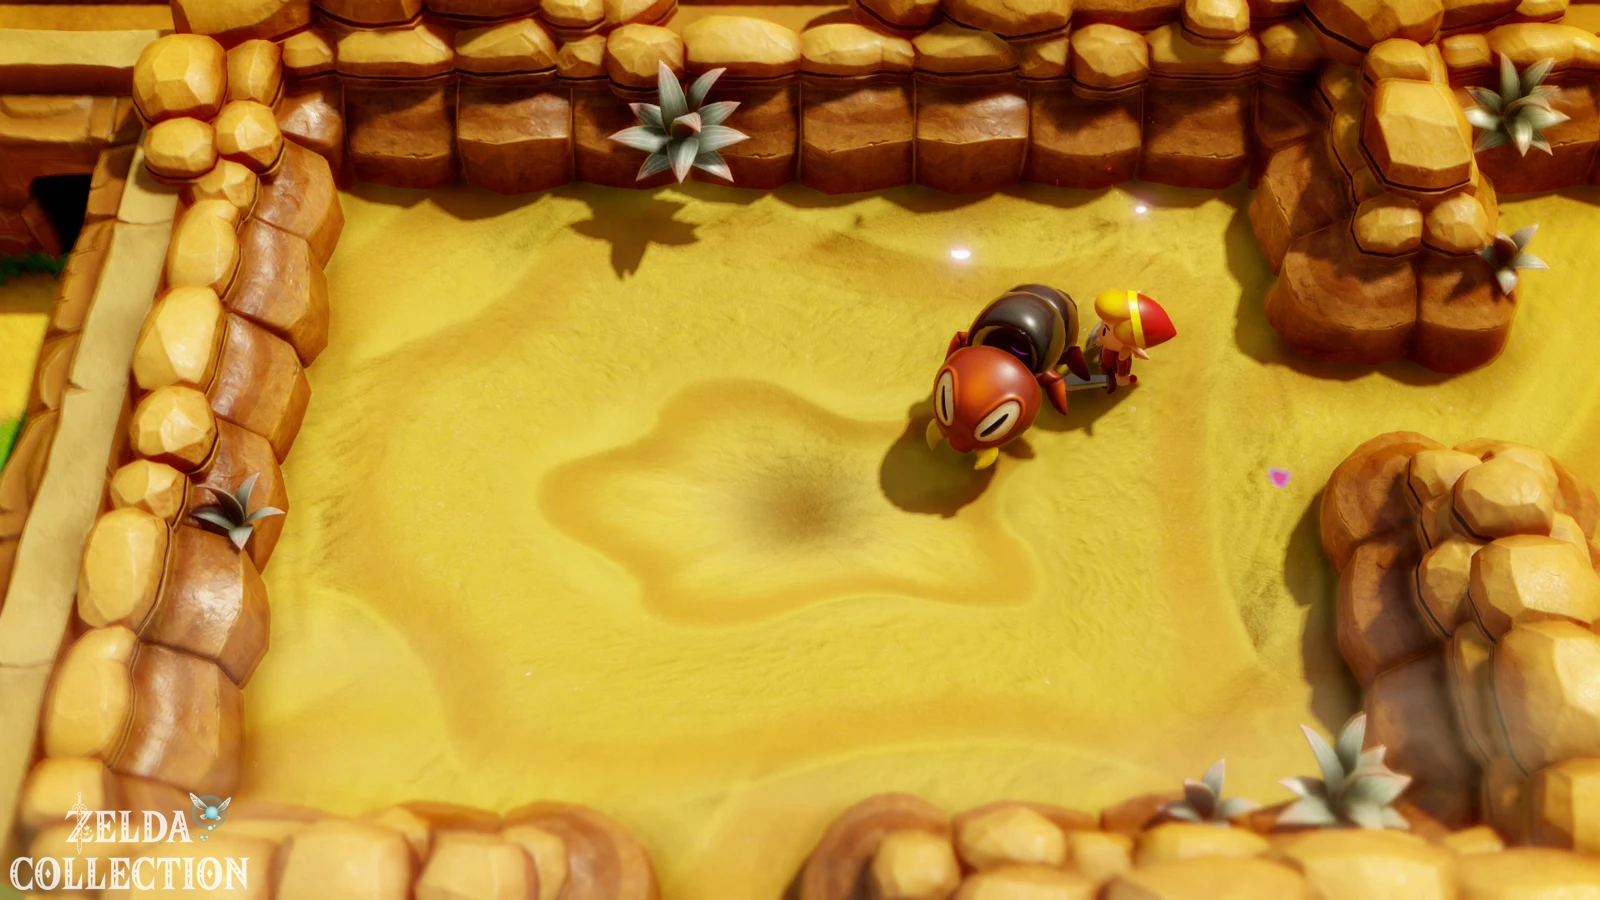
In the northwestern part of Yarna Desert there is a large area of quicksand. As soon as you enter it, Lanmola, a huge sandworm, will appear. It emerges from the sand, flies in an arc over the arena and disappears back into the ground at another point. The greatest danger is less the enemy itself than the quicksand in the middle. If possible, stay on the outer edge and hit Lanmola in the head when he comes out of the sand or flies over you. The fight can be completed particularly quickly with the red armor from the color labyrinth.
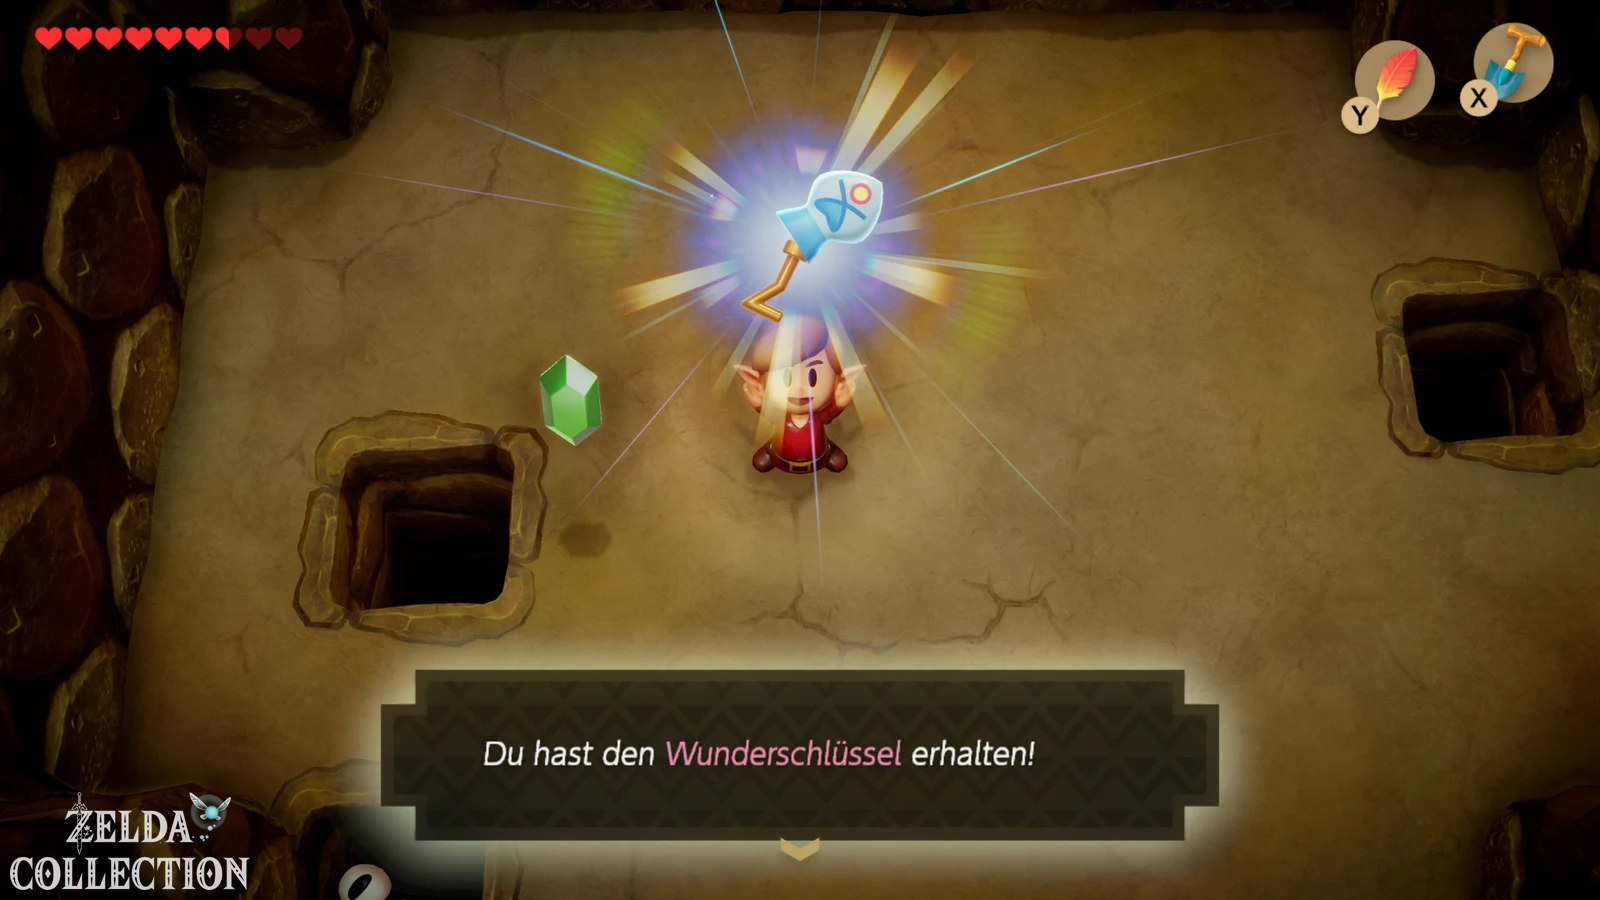
After the victory, the Angler Key will appear. If he falls into the middle of the quicksand and disappears, nothing is lost. Just let yourself be dragged along. Even if you can pick up the key beforehand, you should deliberately allow yourself to be swallowed by the quicksand afterwards, because there is still an important collectible waiting under the arena.
Piece of Heart under the quicksand
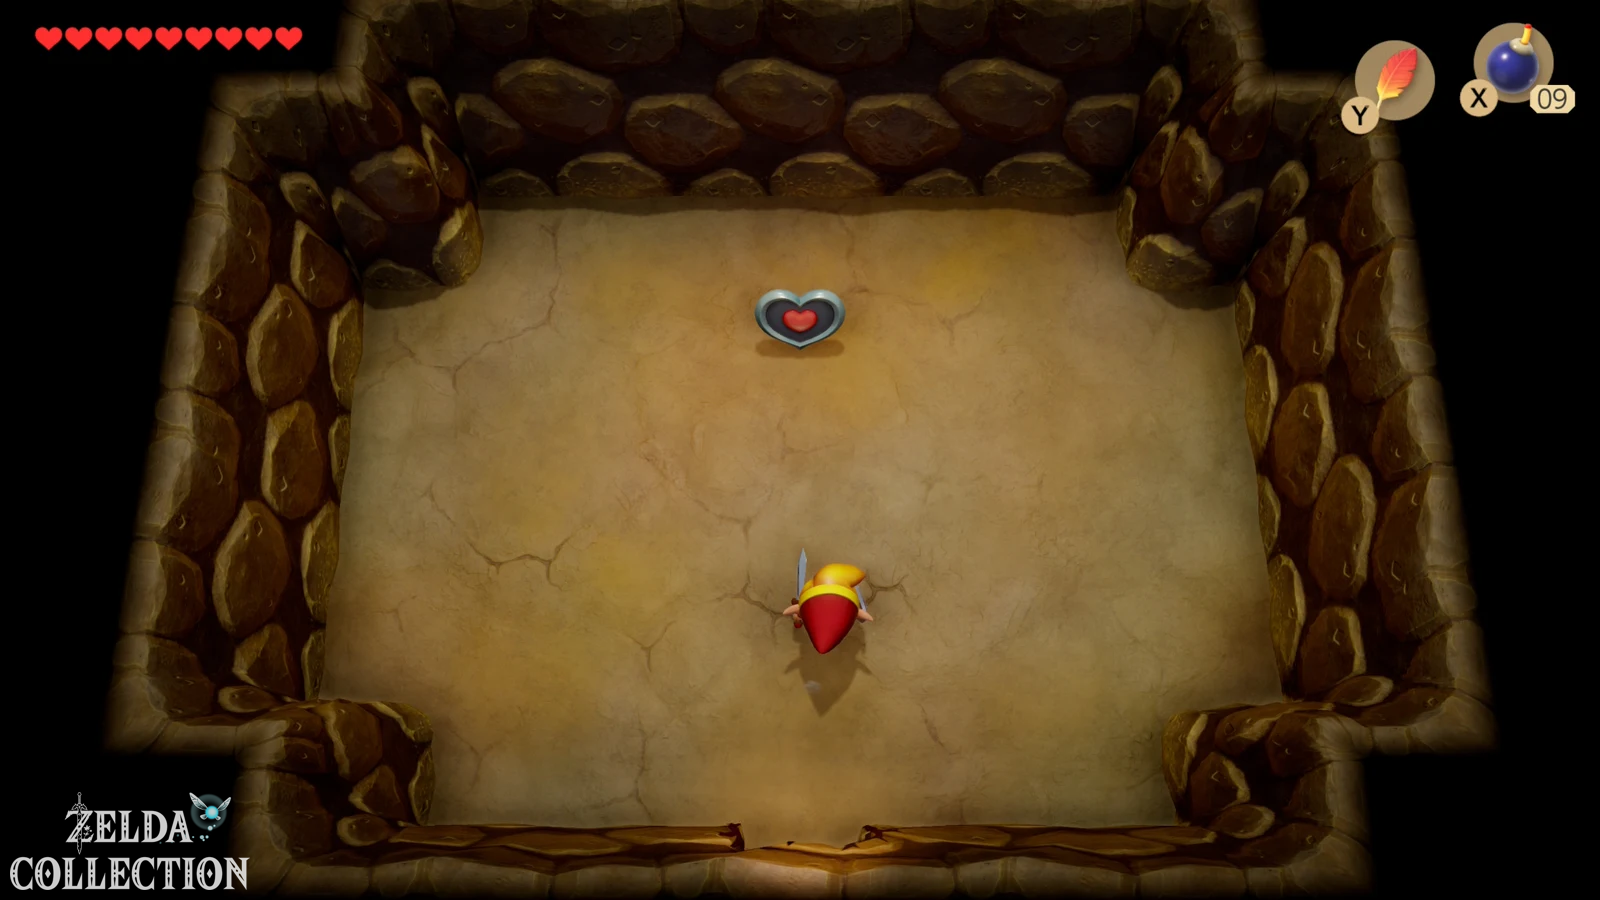
After the fall you end up in an underground cave. Examine the northern wall; At one point you can see a fragile structure. Place a bomb in front of it and enter the opened secret room. There is another Piece of Heart. Then return to the main room, collect the fallen magic key if necessary and follow the cave system back to the surface.
We have now collected all of the Yarna Desert collectibles that are available at this time. If you are unsure about any of the previous Pieces of Heart, you can find the complete collection in our Piece of Heart guide.
Open the Angler’s Tunnel
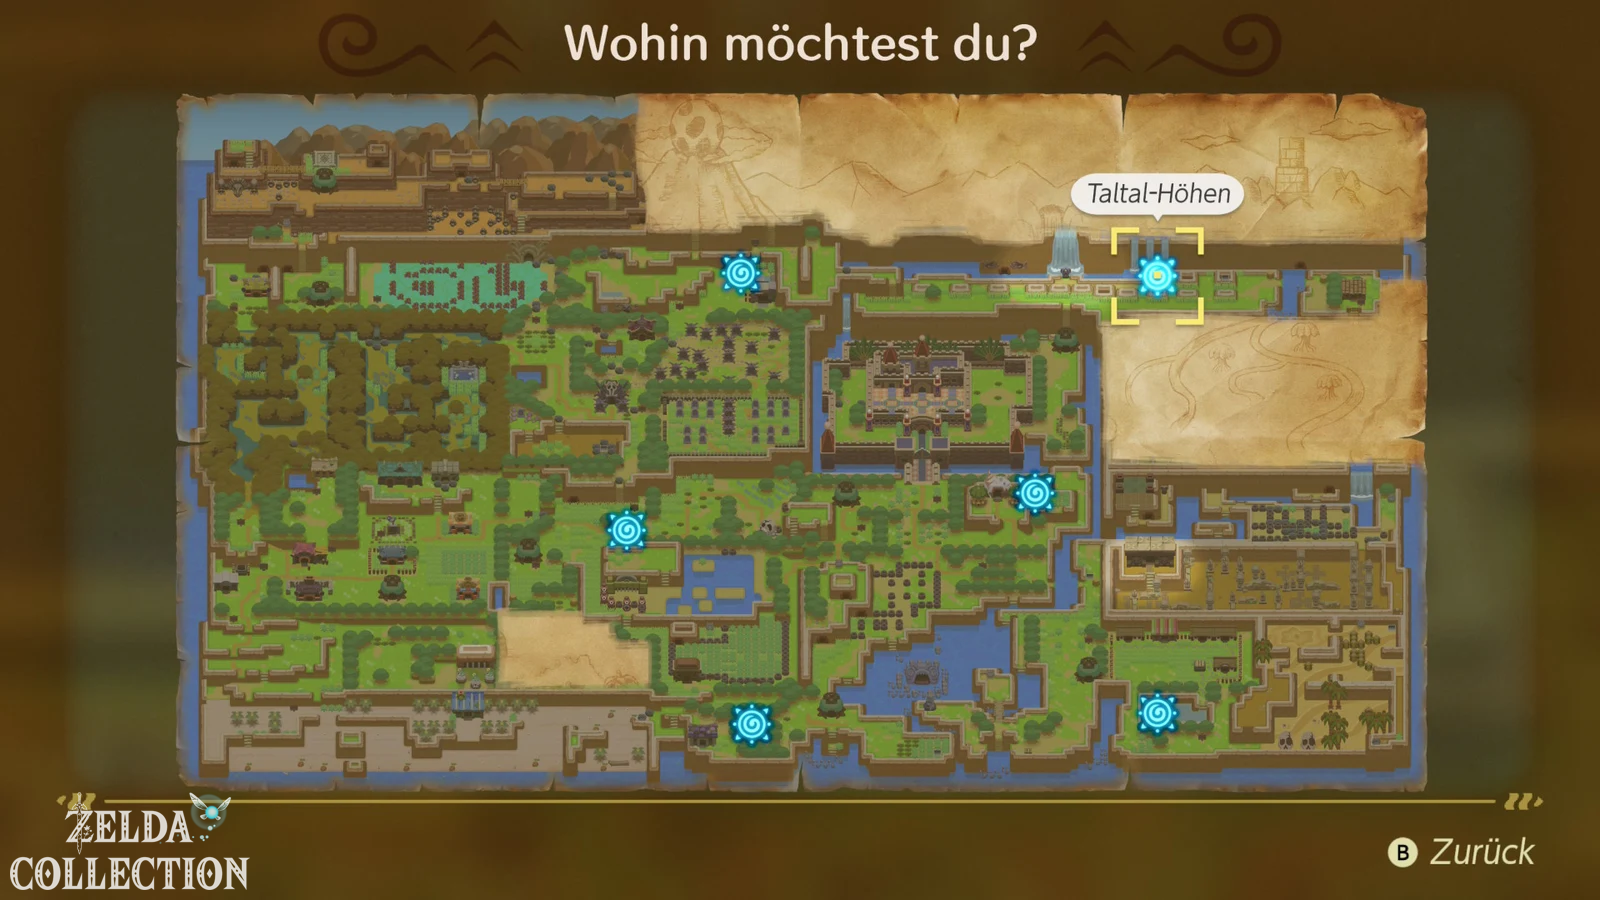
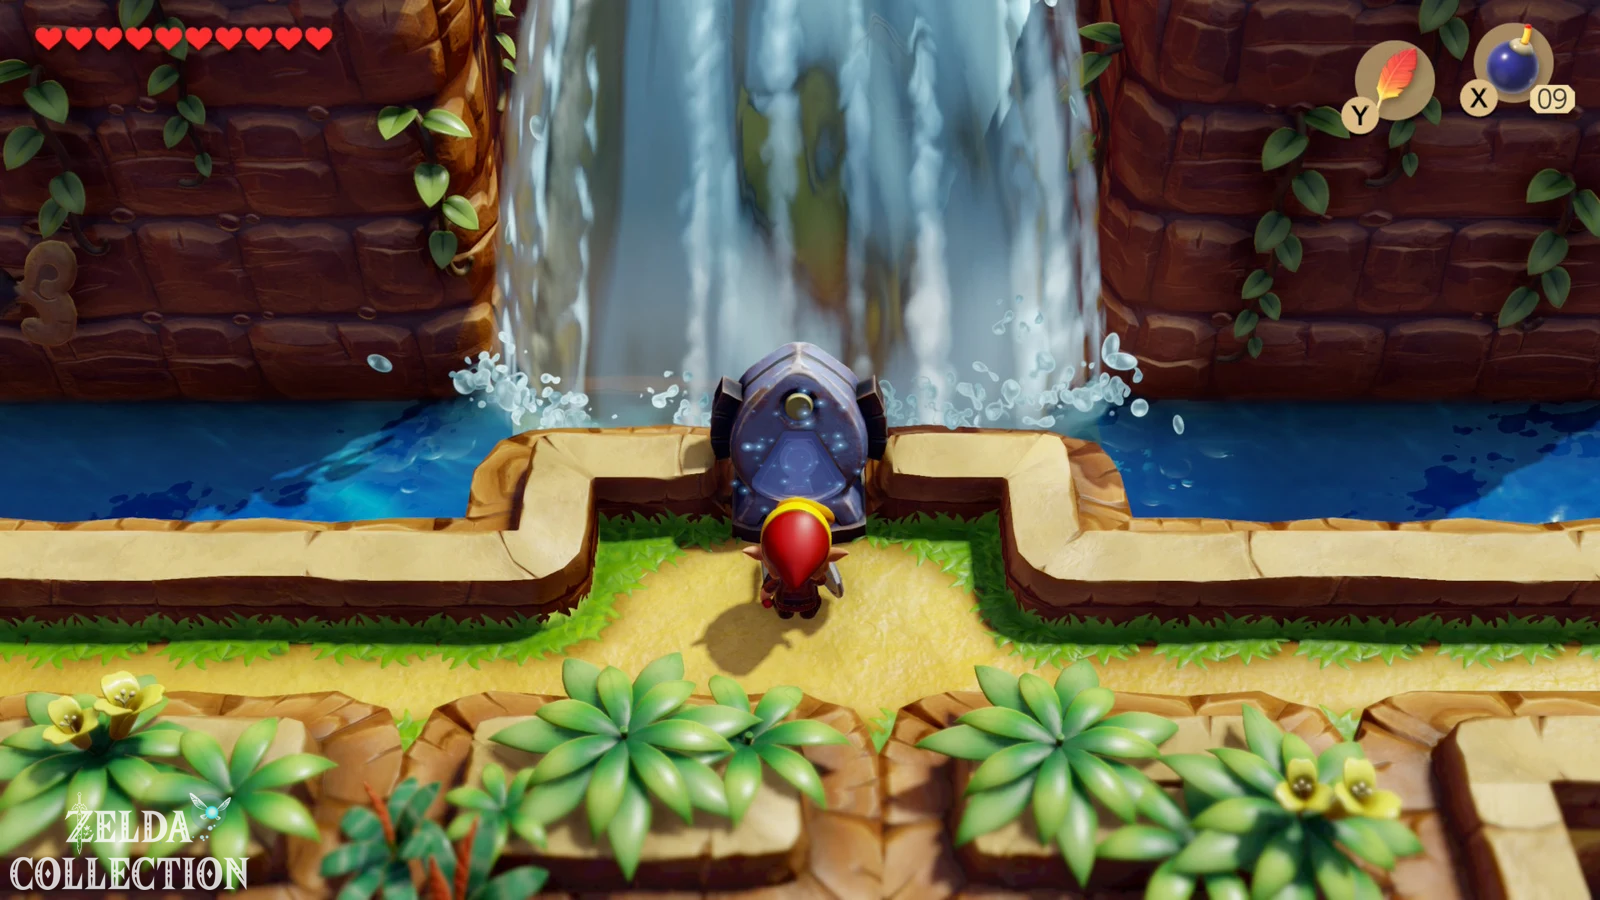
Our next target is high in the Tal Tal Heights. Travel back north via the warp point and follow the path to the large waterfall. Directly above or next to the waterfall is the keyhole for the Angler Key. Put him in. The water dries up and the entrance to the Angler’s Tunnel becomes visible beneath the waterfall. However, you cannot go directly down to the dungeon from this position; You have to get to the former waterfall from above via the Tal Tal Mountain Range.
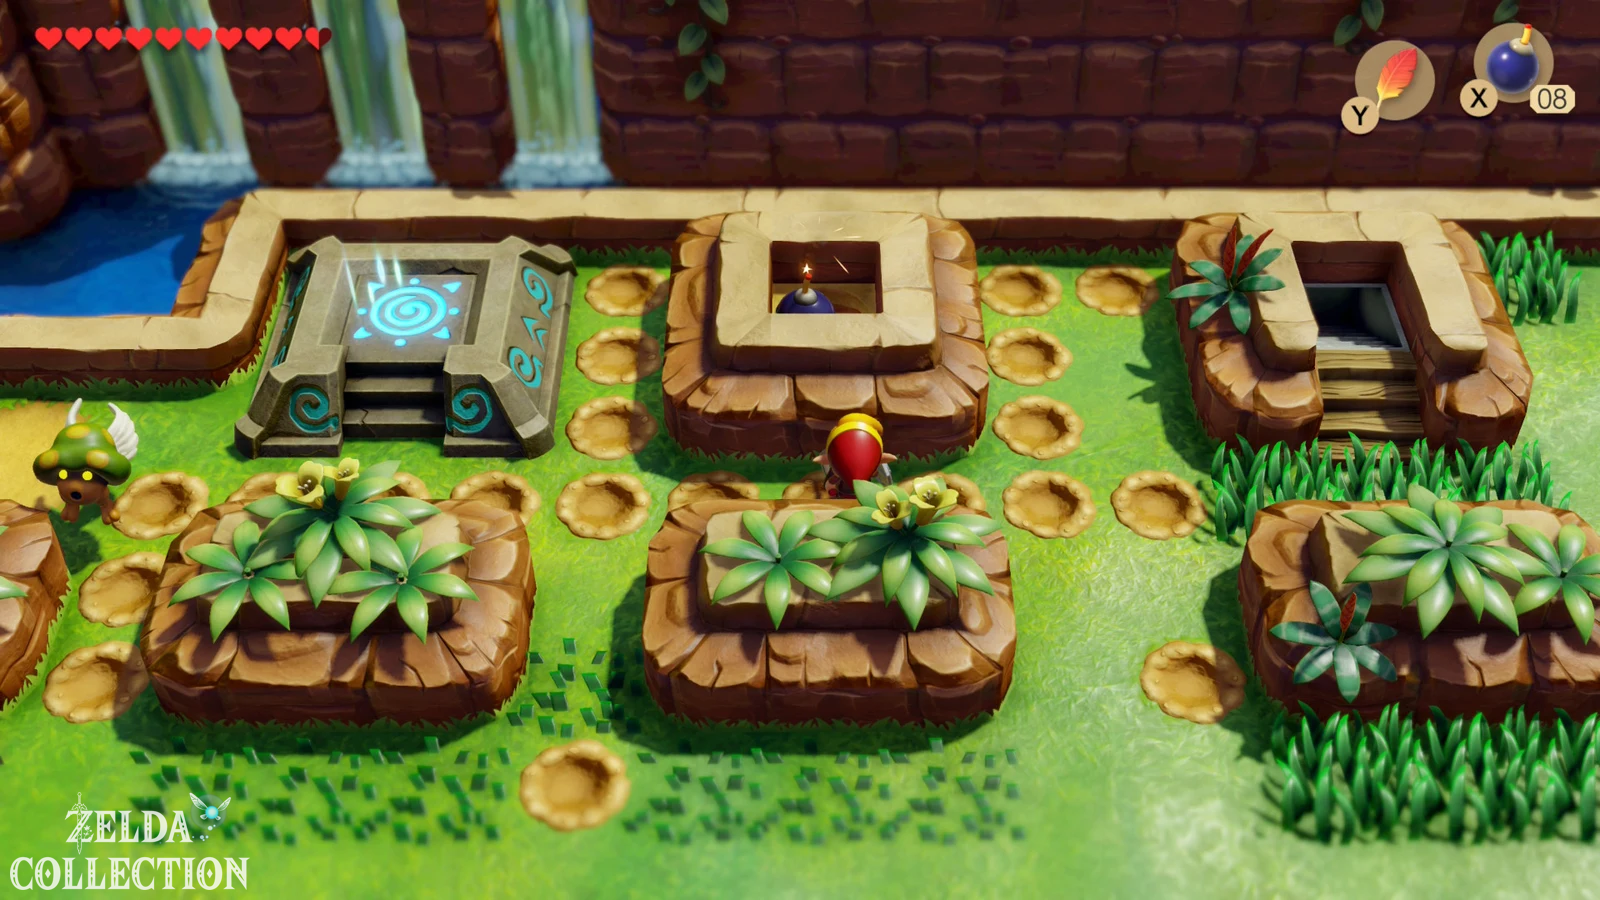
Be sure to activate the warp point in this area. The Switch remake has a significantly more convenient fast travel system than the original and DX, and this point will be extremely useful for several later rounds of collecting.
Secret Seashell on the Angler Key
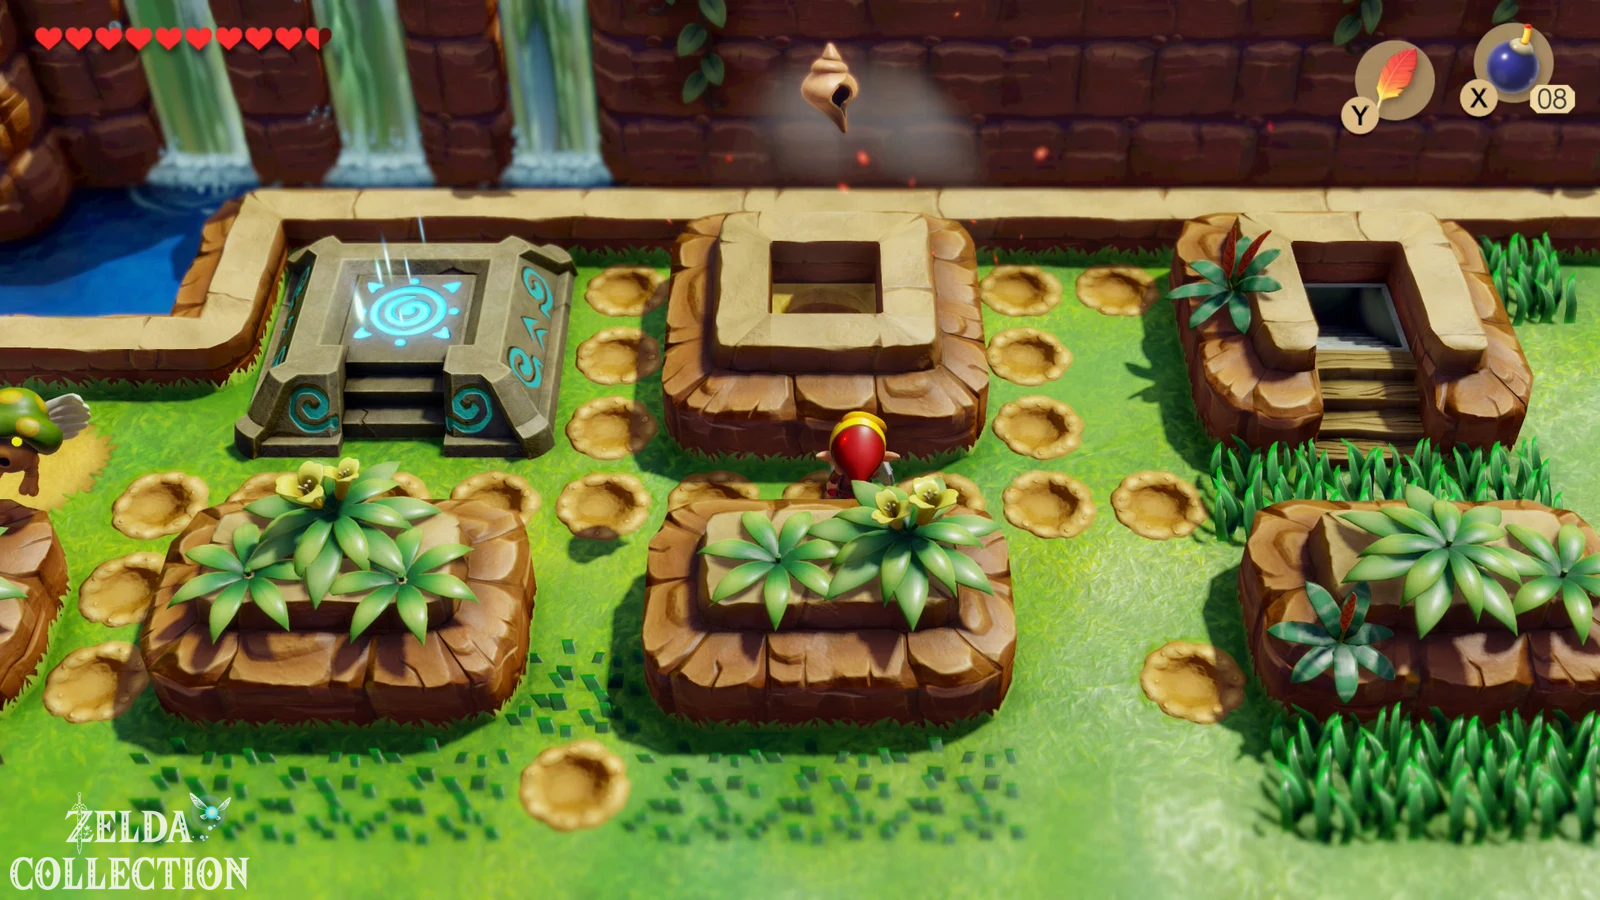
Before you head into the mountains, take an easy-to-miss Remake Shell with you. There is a small hole in the rock formation near the keyhole or to the right of it. Position yourself so that you can throw a bomb into it. The explosion triggers a short reaction and you get another Secret Seashell. This Location is also part of the expanded shell collection of the Nintendo Switch version.
Piece of Heart at the entrance to the Tal Tal Mountains
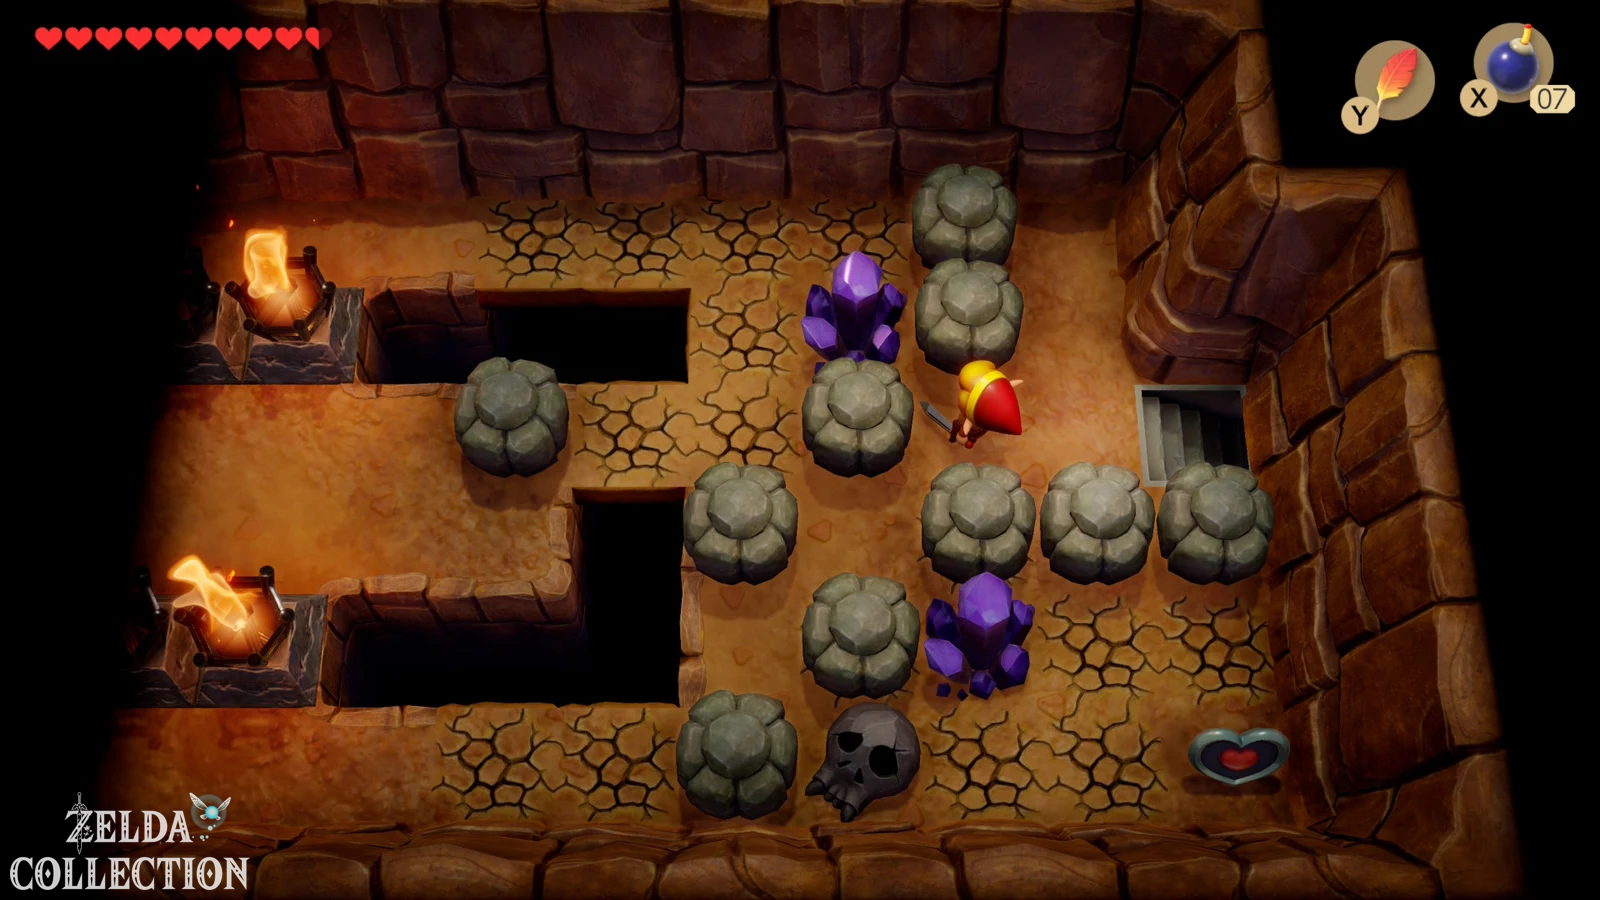
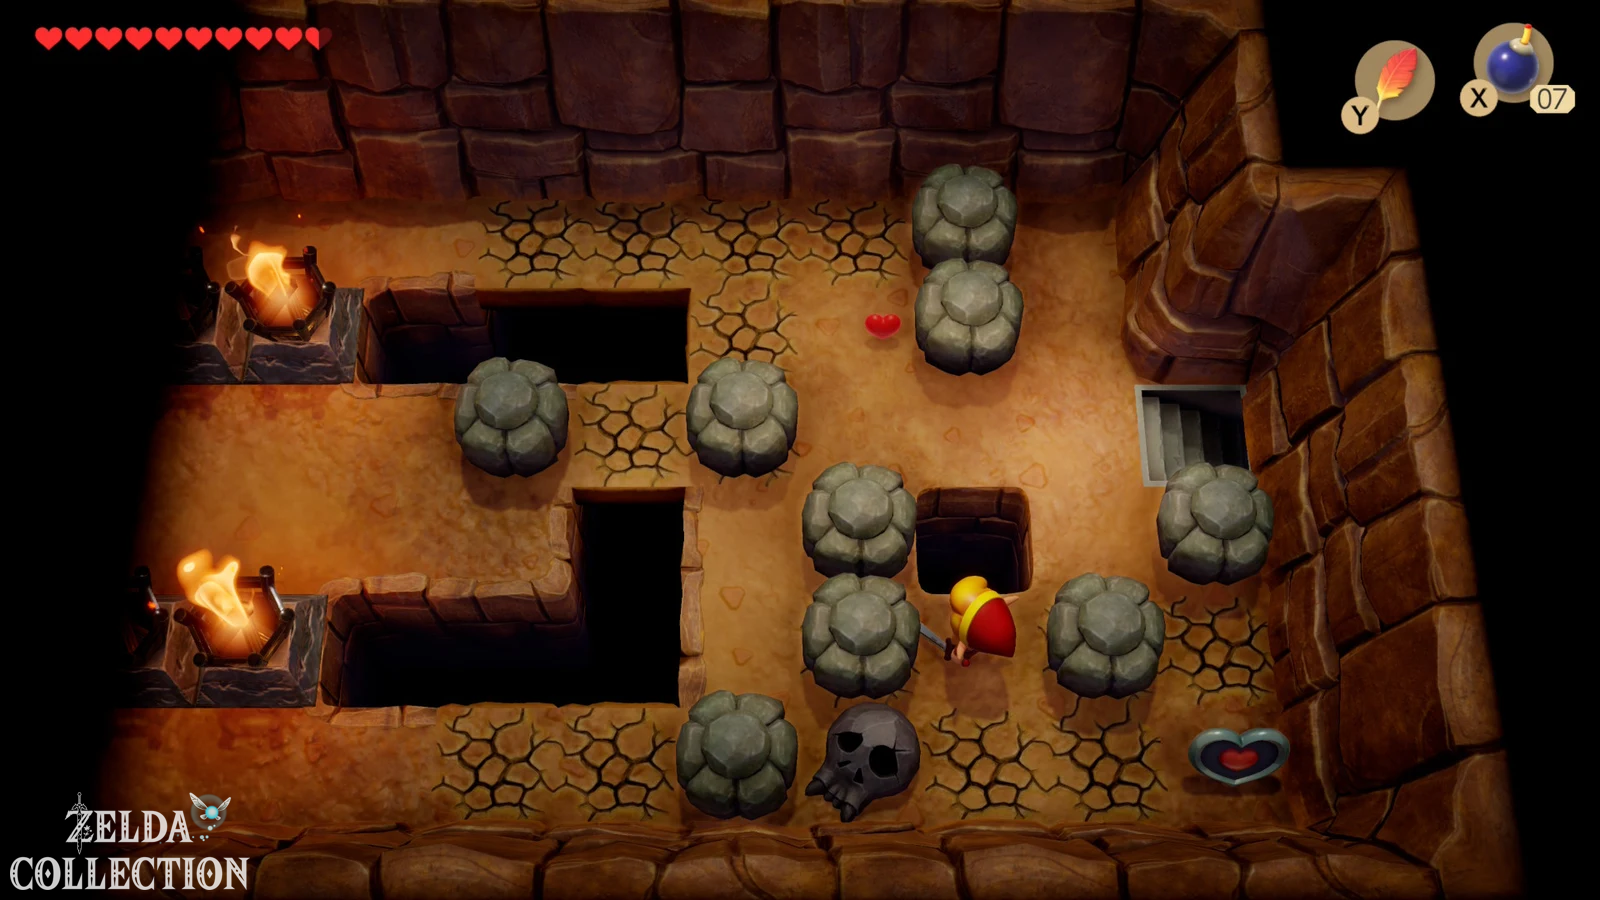
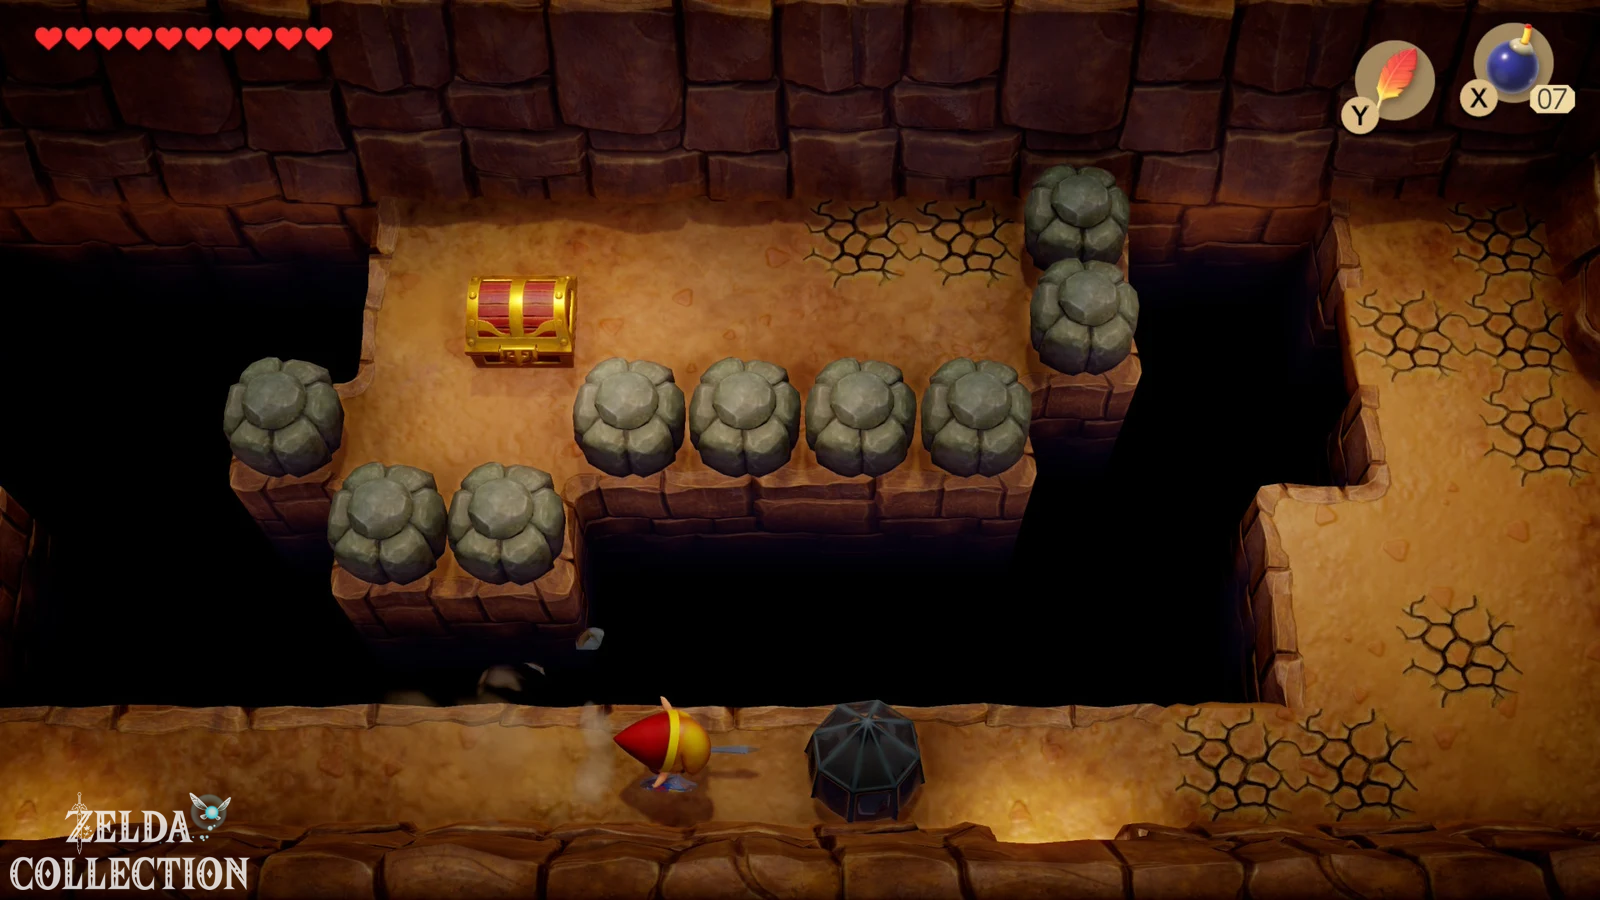
Now go to the actual climb to Tal Tal Mountain Range. There are three heavy rocks in front of a cave that you can move out of the way thanks to Power Bracelet. Enter the cave and solve the sliding puzzle inside. Push the stones so that you reach the back area and finally the exit or the next chamber. This way you will find another Piece of Heart. Since all you need is Power Bracelet and the equipment you already have, there’s no reason to leave it until later.
Papahl and the hibiscus
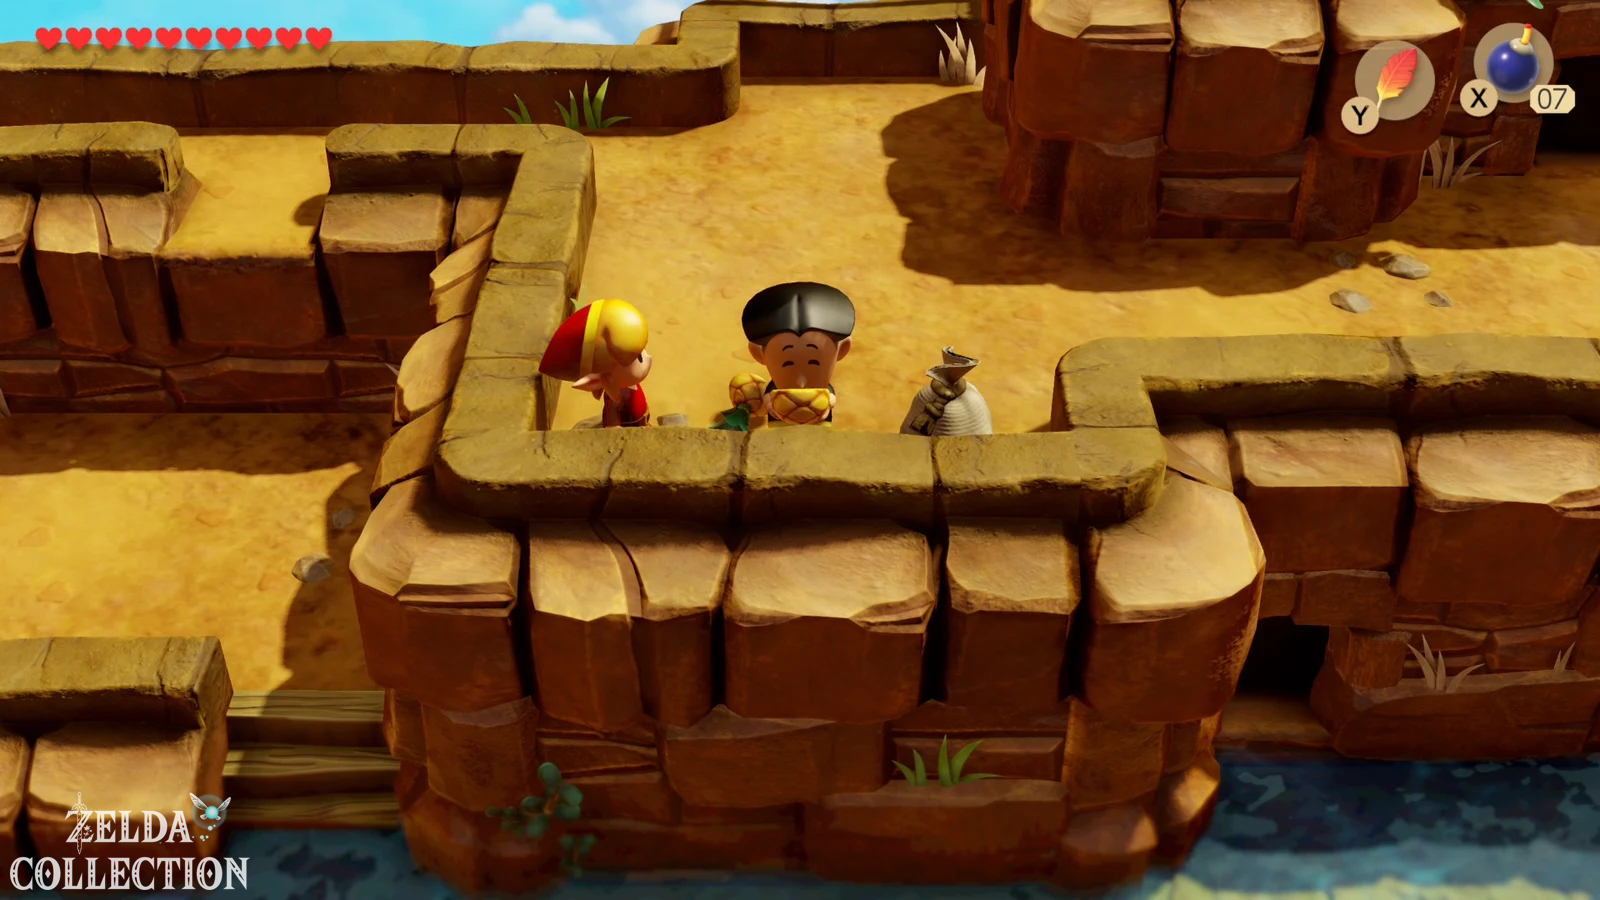
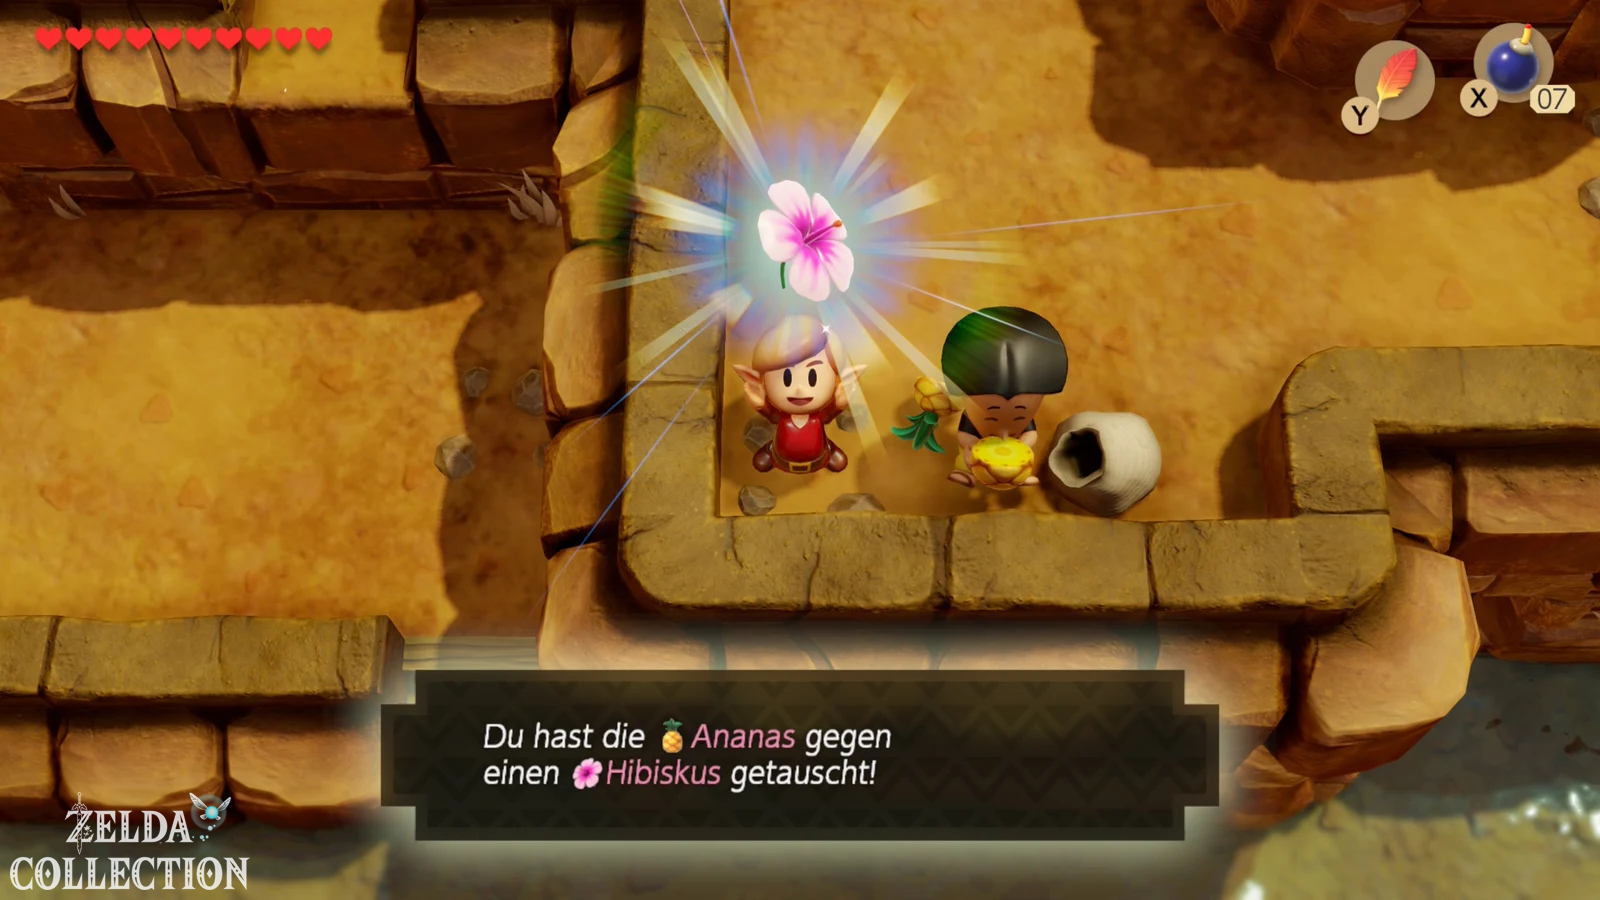
Then cross the mountain caves and follow the narrow path through the Tal Tal Heights. On a ledge you meet Papahl, who is completely exhausted and urgently needs something to eat. Luckily, we have been carrying the Pineapple with us since our visit to Animal Village. Give it to him. As a thank you, you will receive a Hibiscus, the next item in the exchange series.
We could immediately take the hibiscus back to Animal Village to Christine, but in order to find the most efficient solution possible, we will save this long return trip. In the Angler’s Tunnel we get the Flippers right away. This opens the next part of the exchange series and after the dungeon we can combine several water collectibles, Christine, Mr. Write and the other exchange partners in a single large round.
Secret Seashell at the suspension bridge
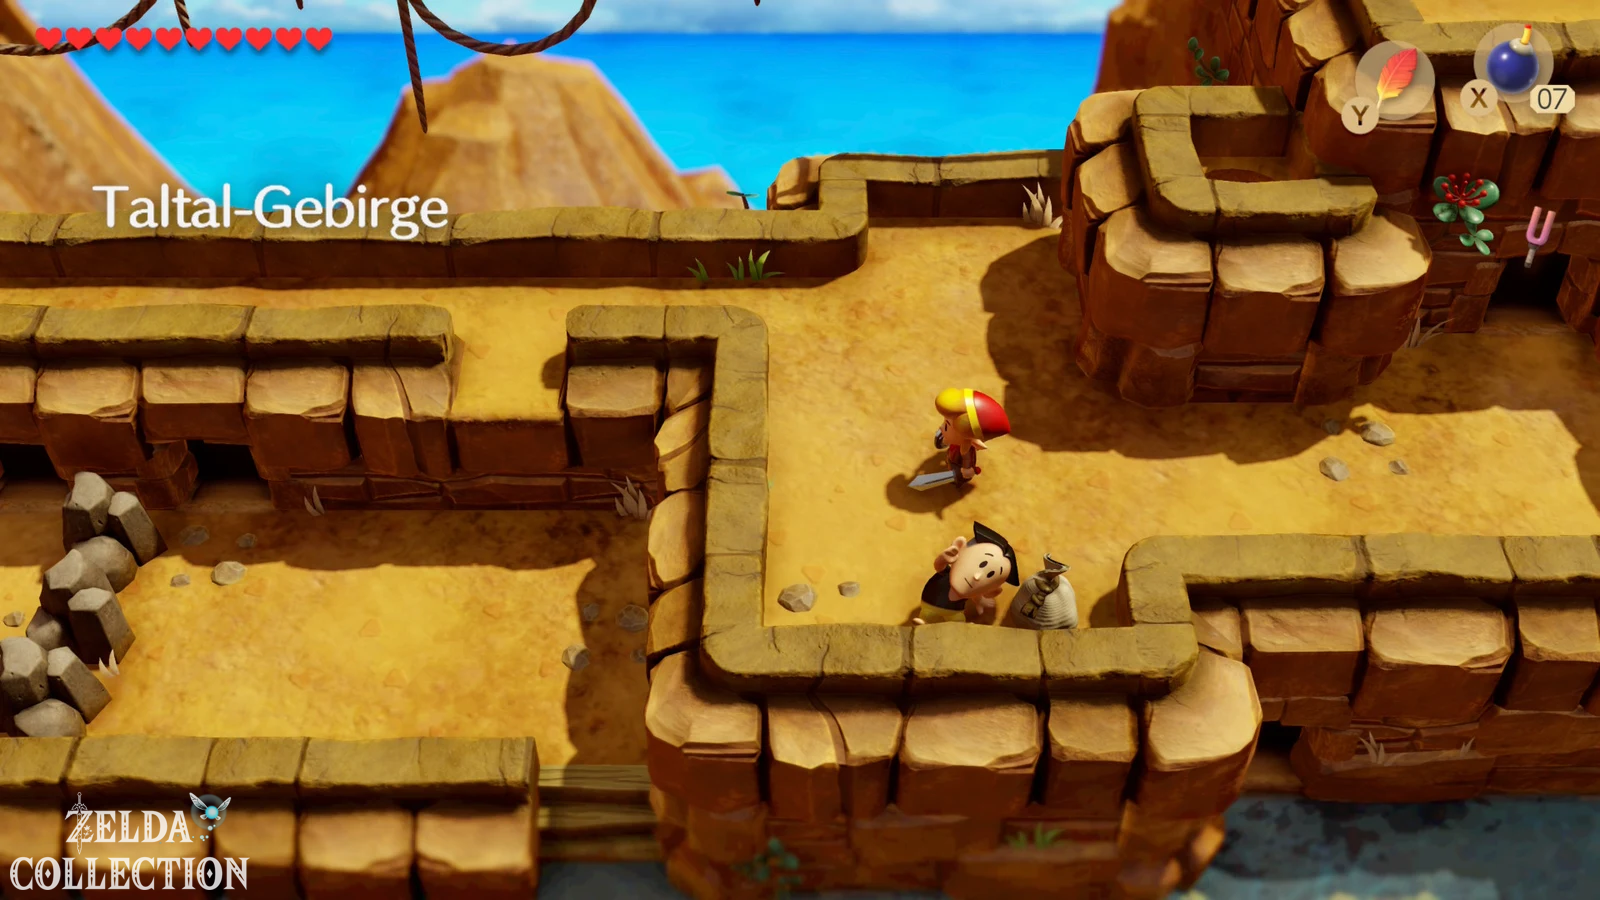
Before you jump to the dungeon, go in the mountains towards the chicken coop with the weathercock on the roof. A suspension bridge begins to the left. Stand on the first boards or rungs and look at the small hole directly under the bridge. Throw a bomb in there. After the explosion you will receive another Secret Seashell. Since we are passing this point anyway, catching up later would only cause unnecessary walking.
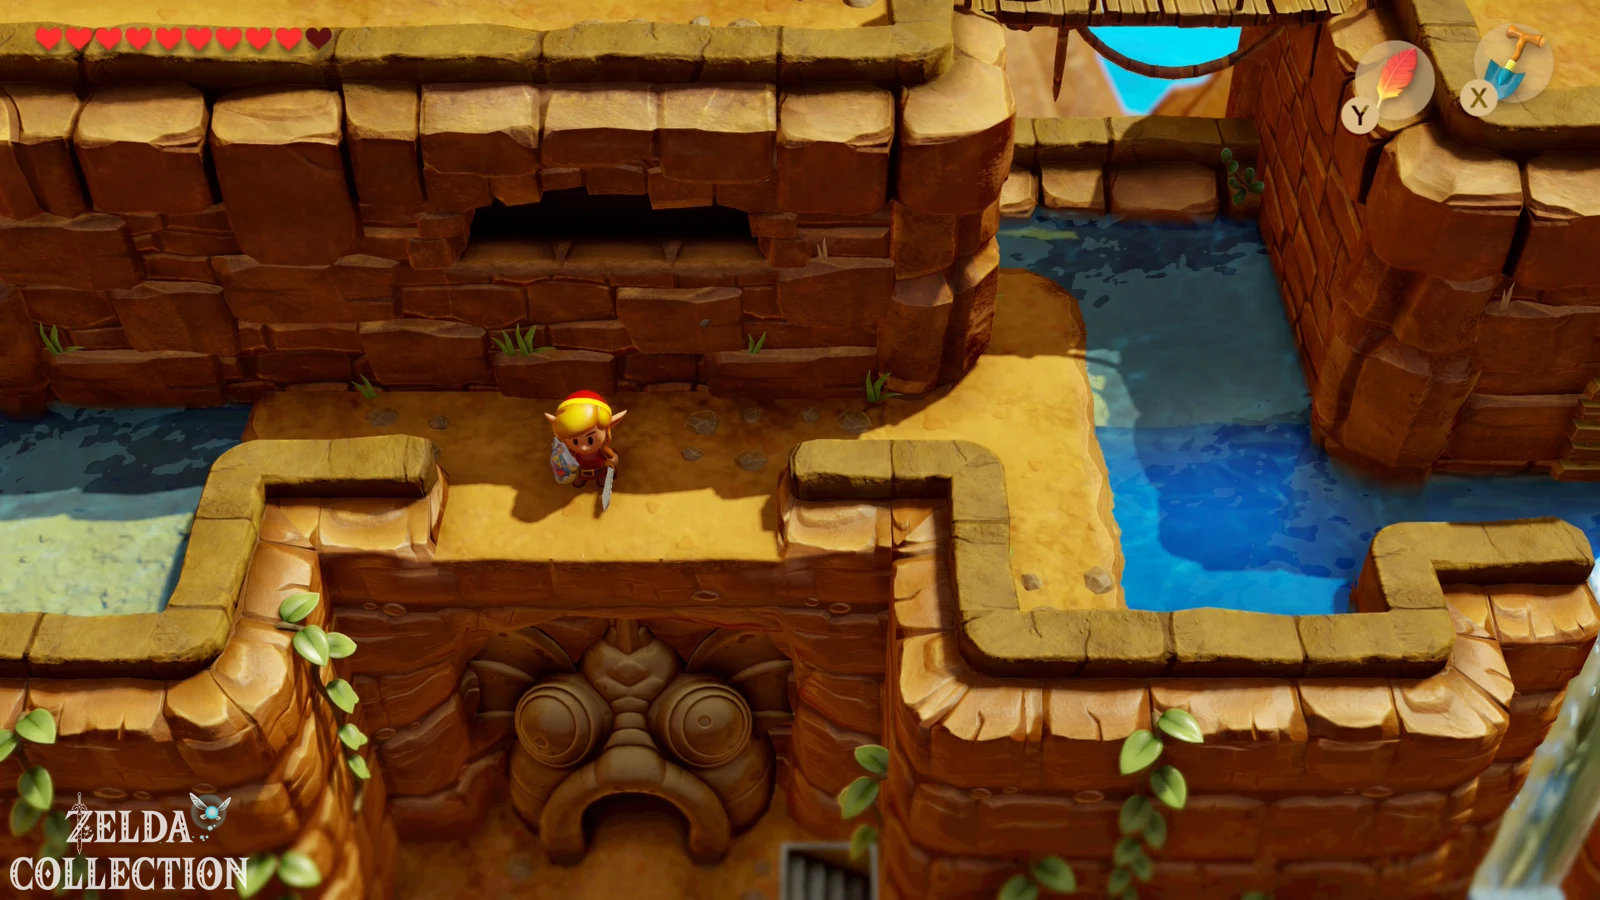
Then follow the mountain path further east and drop down at the designated spot onto the ledge in front of the exposed waterfall. Enter the entrance. Welcome to the fourth dungeon.
Dungeon 4: Angler’s Tunnel
The Angler’s Tunnel is less key-intensive than the Key Cavern, but requires more careful observation. Particularly important are five glowing floor tiles, the order of which you have to remember. The central item of the dungeon is the swim fins. Once you have it, Link can swim through deep water and even dive in certain places. This opens up a considerable part of the upper world after the dungeon.
Stone beak, map and the first keys
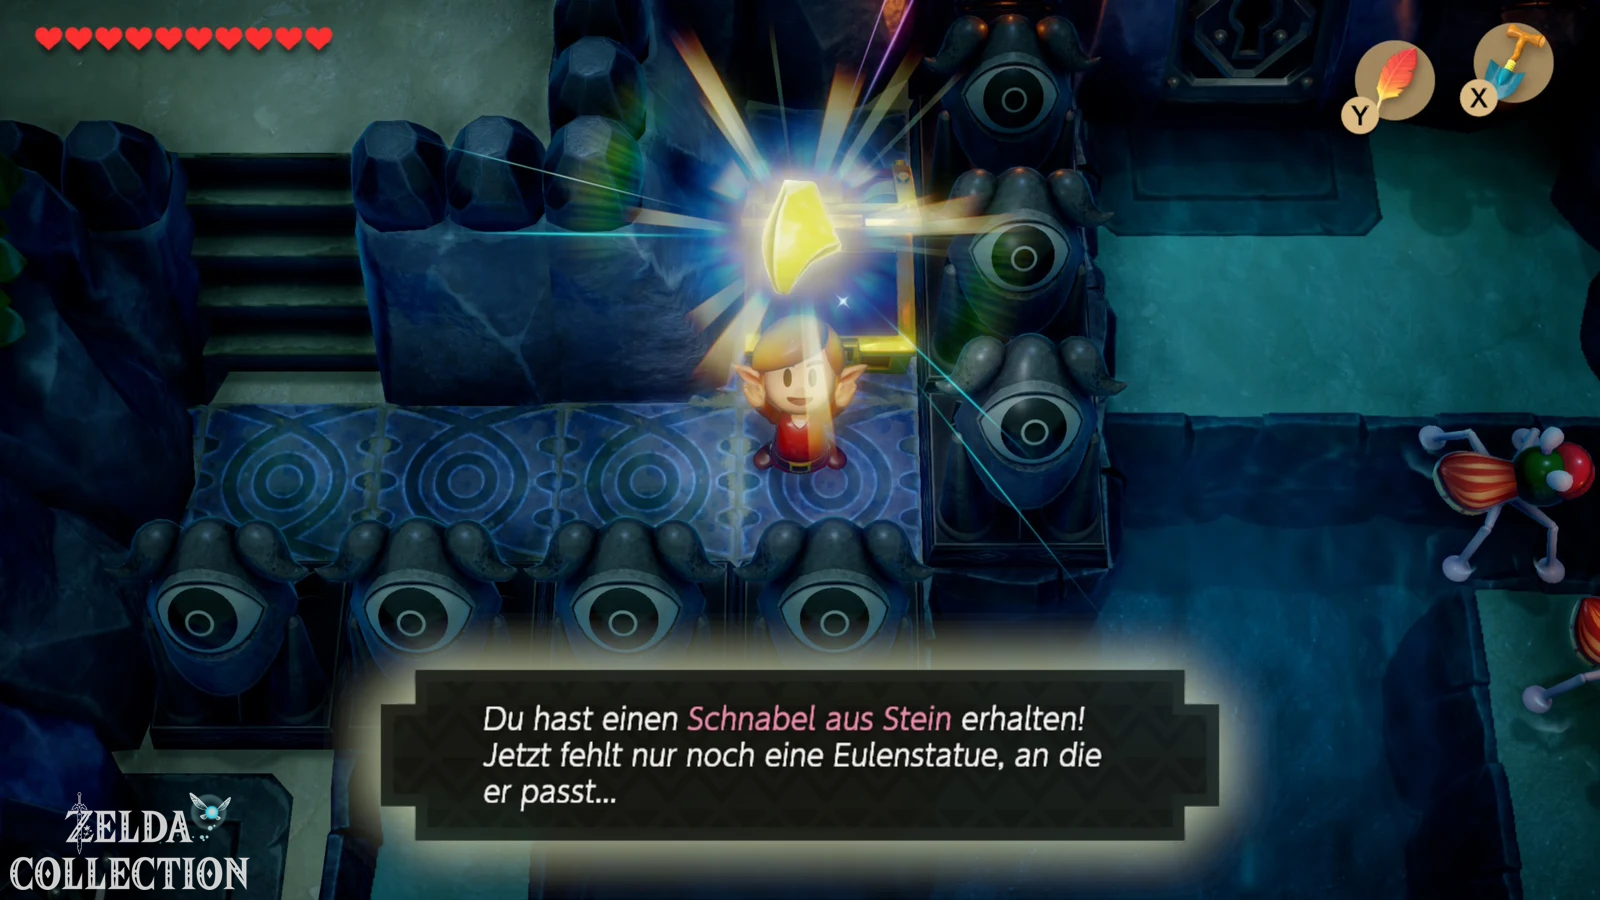
First go up from the entrance and kill the Spiked Beetles. As usual, you have to turn it over with the shield before hitting its underside with the sword. Then climb the stairs and follow the elevated path to the right. In one of the first chests you will find the Stone Beak. It is quite helpful for the crucial floor tile puzzle because the owl statue gives you a clue to the order later.
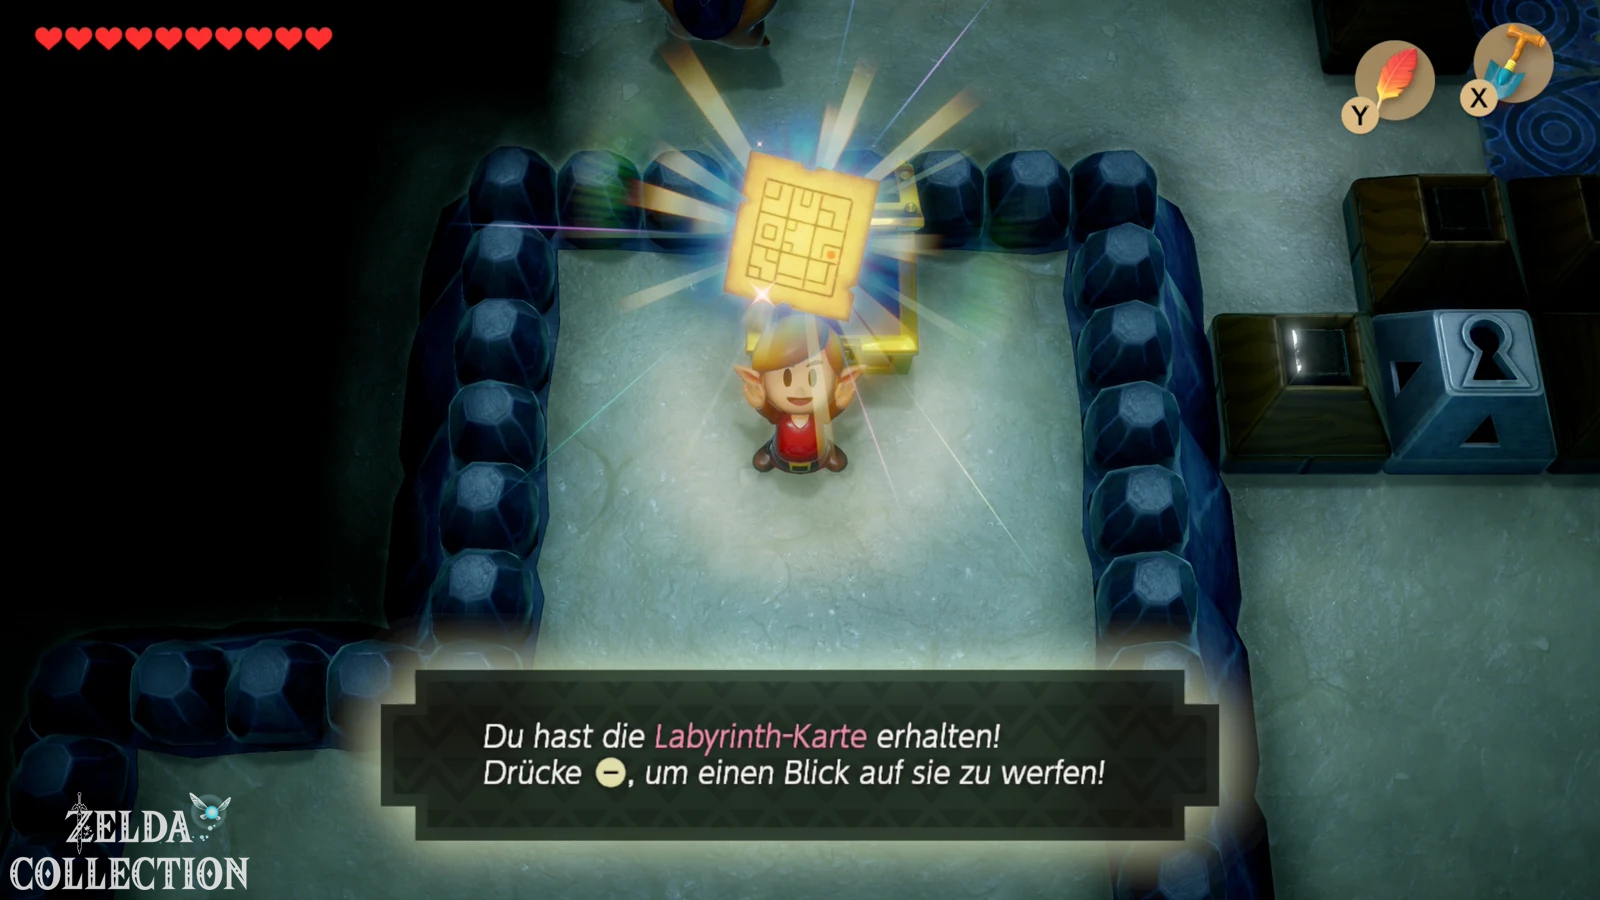
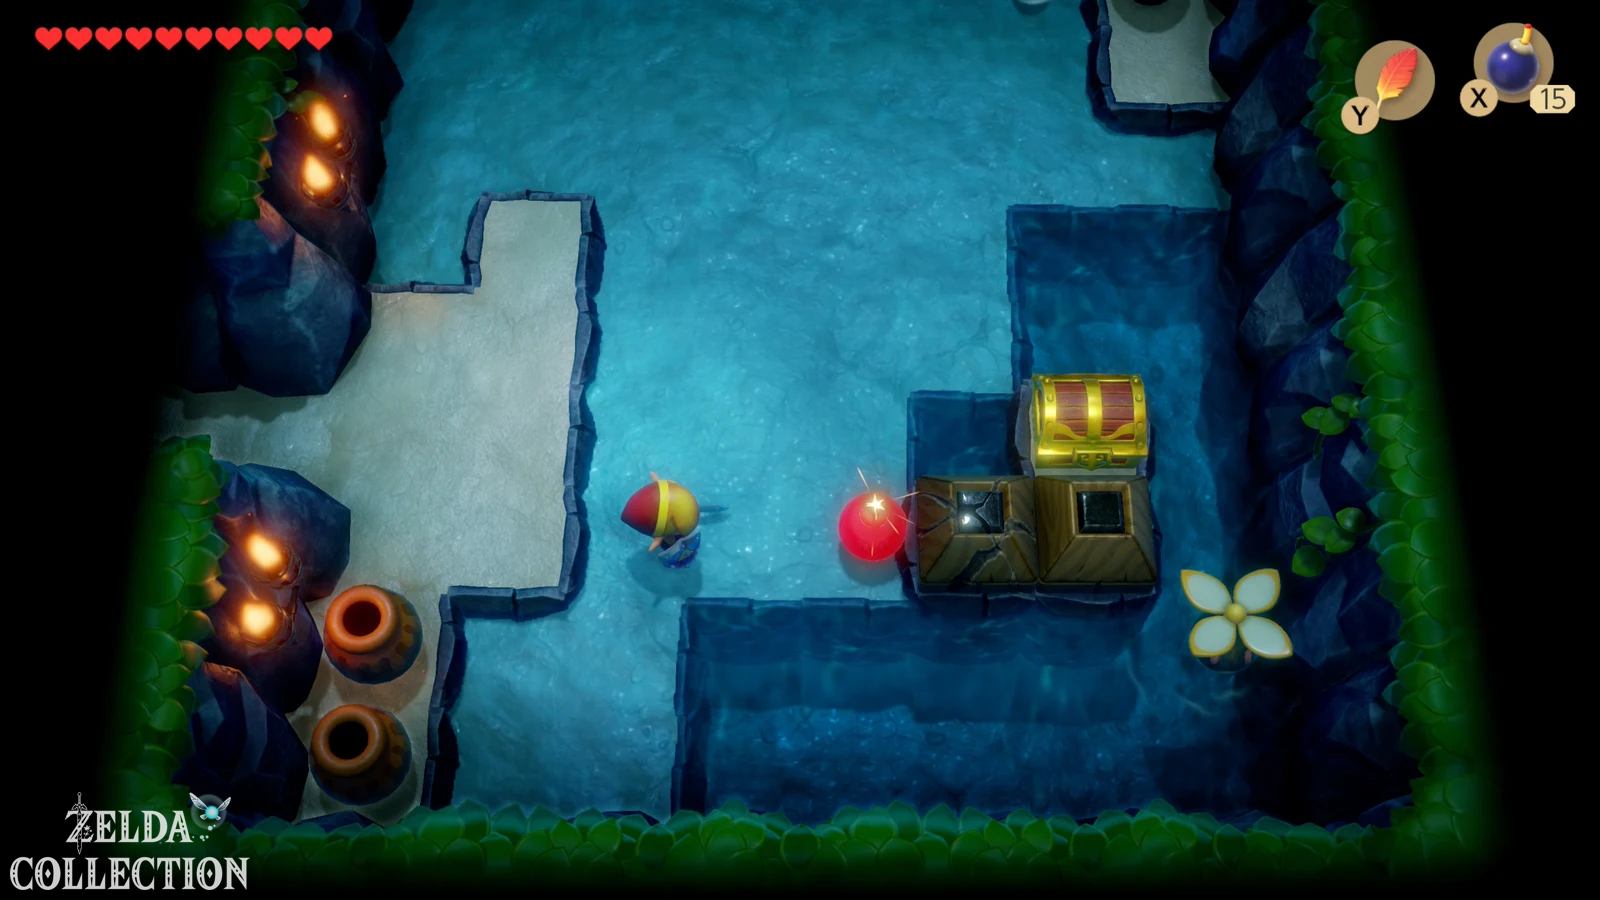
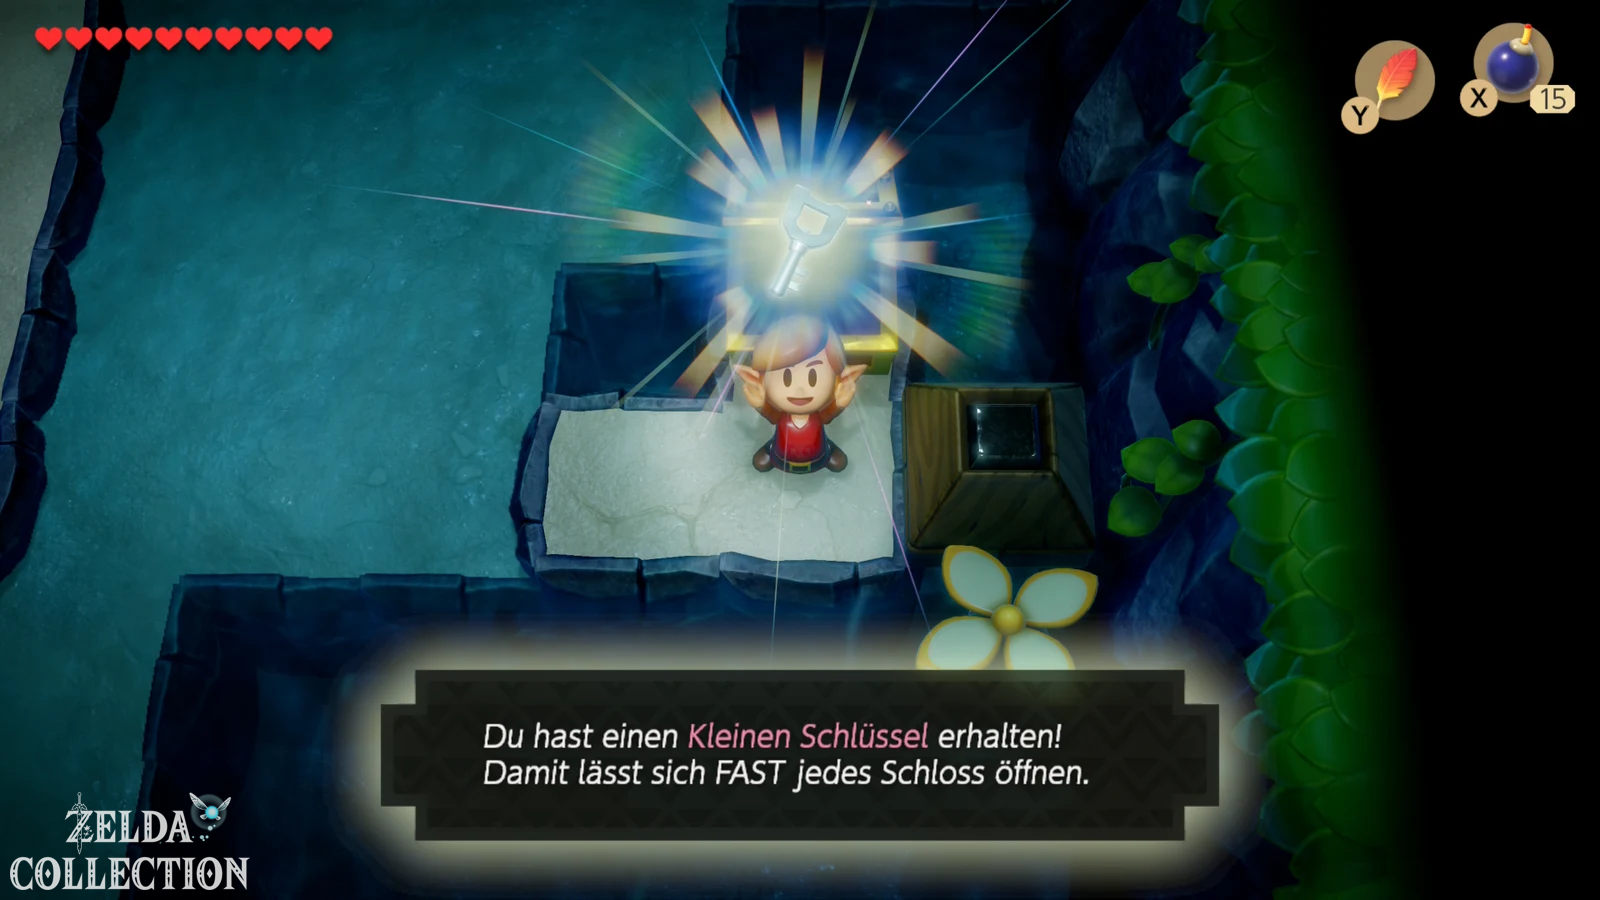
Continue working your way through the upper area of the dungeon. Through several rooms you will reach a chest with the Dungeon Map. Then it goes back towards the big abyss. Combine Pegasus Boots and Roc’s Feather to safely jump over it. In the next section, a cracked stone blocks the path to a chest. Blow it up with a bomb, move the neighboring block and take the first Small Key with you.
Follow the path further north. Several anti-fairies, flying enemies and water striders try to stop you, but are not a major threat. Another cracked block needs to be destroyed with a bomb. Behind it you will find the next Small Key. Then return via the rooms you have already visited and use the long sprint jump over the abyss again.
Compass and others Small Keys
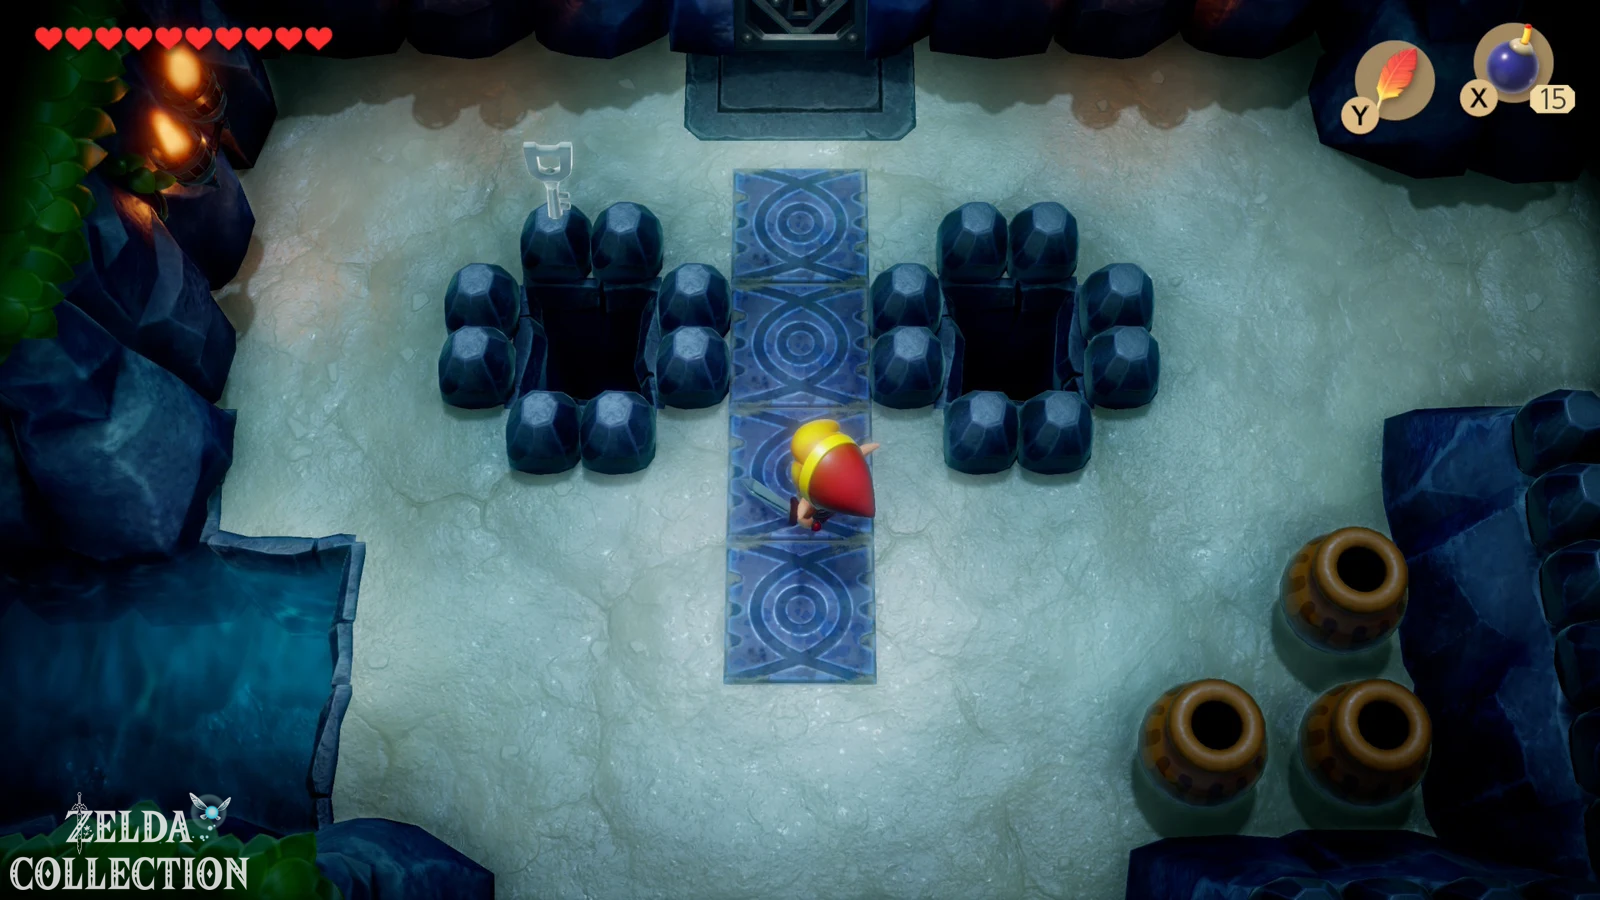
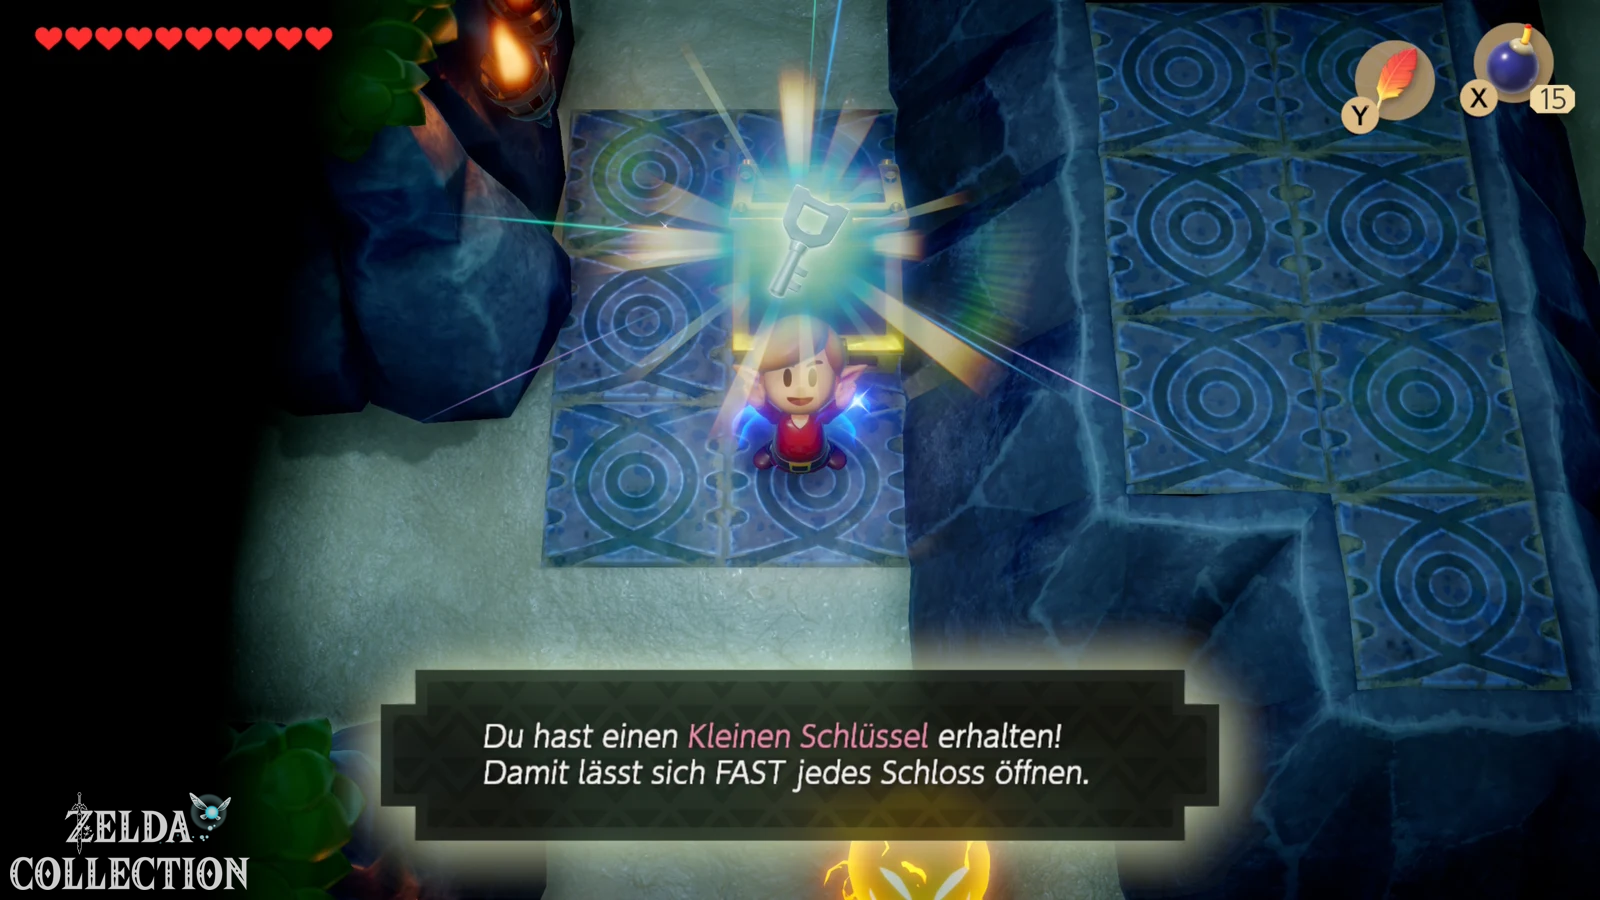
In the western part of the dungeon you will come to Spiked Beetles again. Defeat them and open the accessible chest with the Compass. Also examine the adjacent rooms carefully, because there is another Small Key here. Don’t use the existing keys indiscriminately: Our path leads you through the dungeon in such a way that exactly the key you need for the next door or the next key block always remains available.
Behind one of the key blocks you will encounter small star-shaped enemies that can be defeated with a single sword hit. In an adjacent room, after defeating two slimes, another Small Key appears – but it falls through one of the holes in the floor into the side view area below. Remember the Location. Without flippers you can’t collect the key at the bottom yet. We’ll automatically get past it later.
The five luminous base plates
In the southwest area of the dungeon you will reach a room with five conspicuous floor tiles. You won’t be able to do anything with them on your first visit. In another room you will later encounter an identical pattern in which the plates light up one after the other. Be sure to remember the order. It is the solution for the second panel field.
Don’t blindly rely on an order from another Walkthrough or from an earlier game state. Observe the plates in your own passage and note their positions. Once you have the flippers, we return to this puzzle and enter the order in the second field.
Intermediate boss: Cue Ball
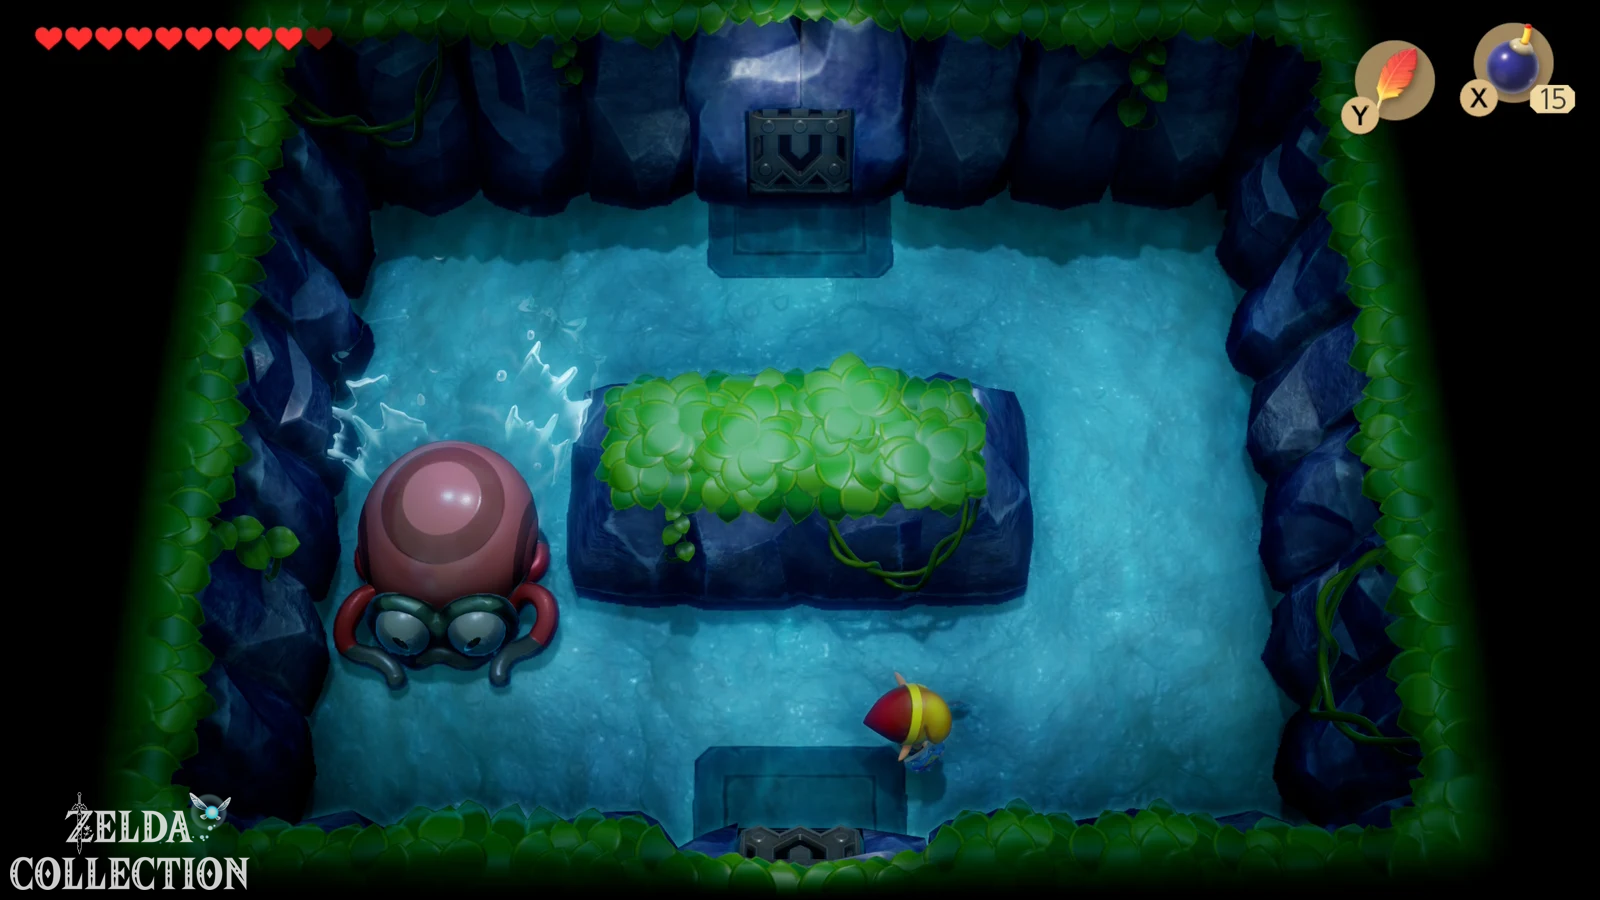
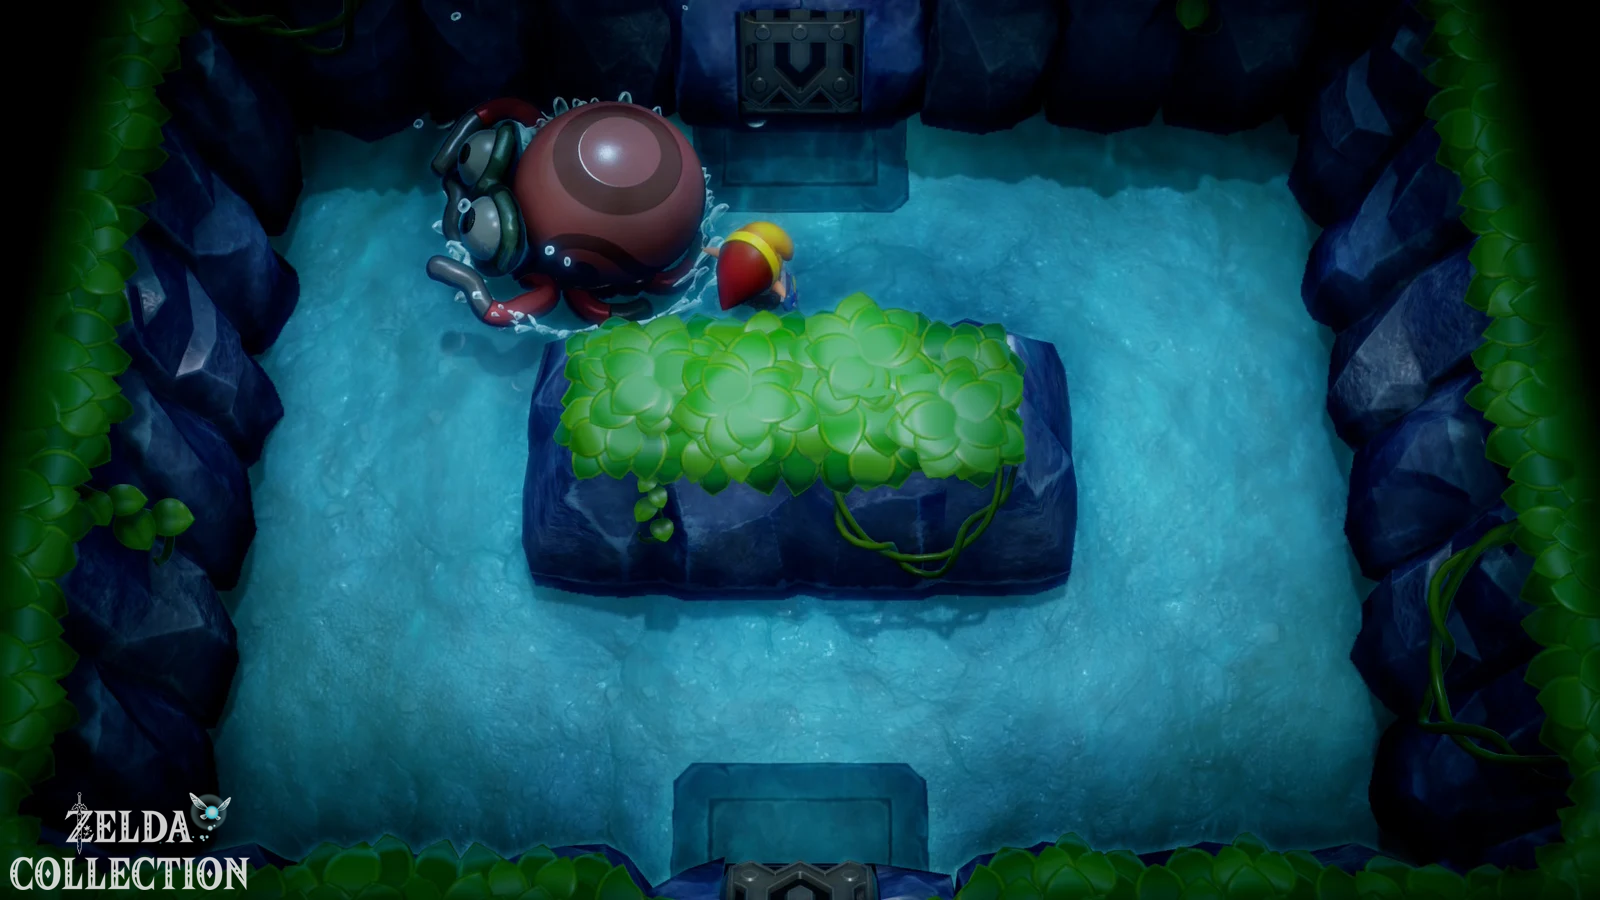
The intermediate boss of the Wonder Tunnel is often referred to as Cue Ball. His large head is noticeable, but it is difficult to hit the opponent head-on in a meaningful way. He moves quickly along the walls or storms through the room. The safest strategy is to stay close, avoid his attack, and then hit his unprotected back or back of the head. With the Roc’s Feather you can jump over him and land directly behind him; Alternatively, the Pegasus Boots help you quickly change sides. After several hits, the intermediate boss is killed and the path to the north opens.
The Flippers get
There is a large lever in the next room. Grab him with the Power Bracelet and pull him back as far as possible. This causes the heavy blocks to move apart and open a passage for a short time. As soon as you let go of the lever, they begin to close again. So sprint immediately to the left and through the opening before they cut you off.
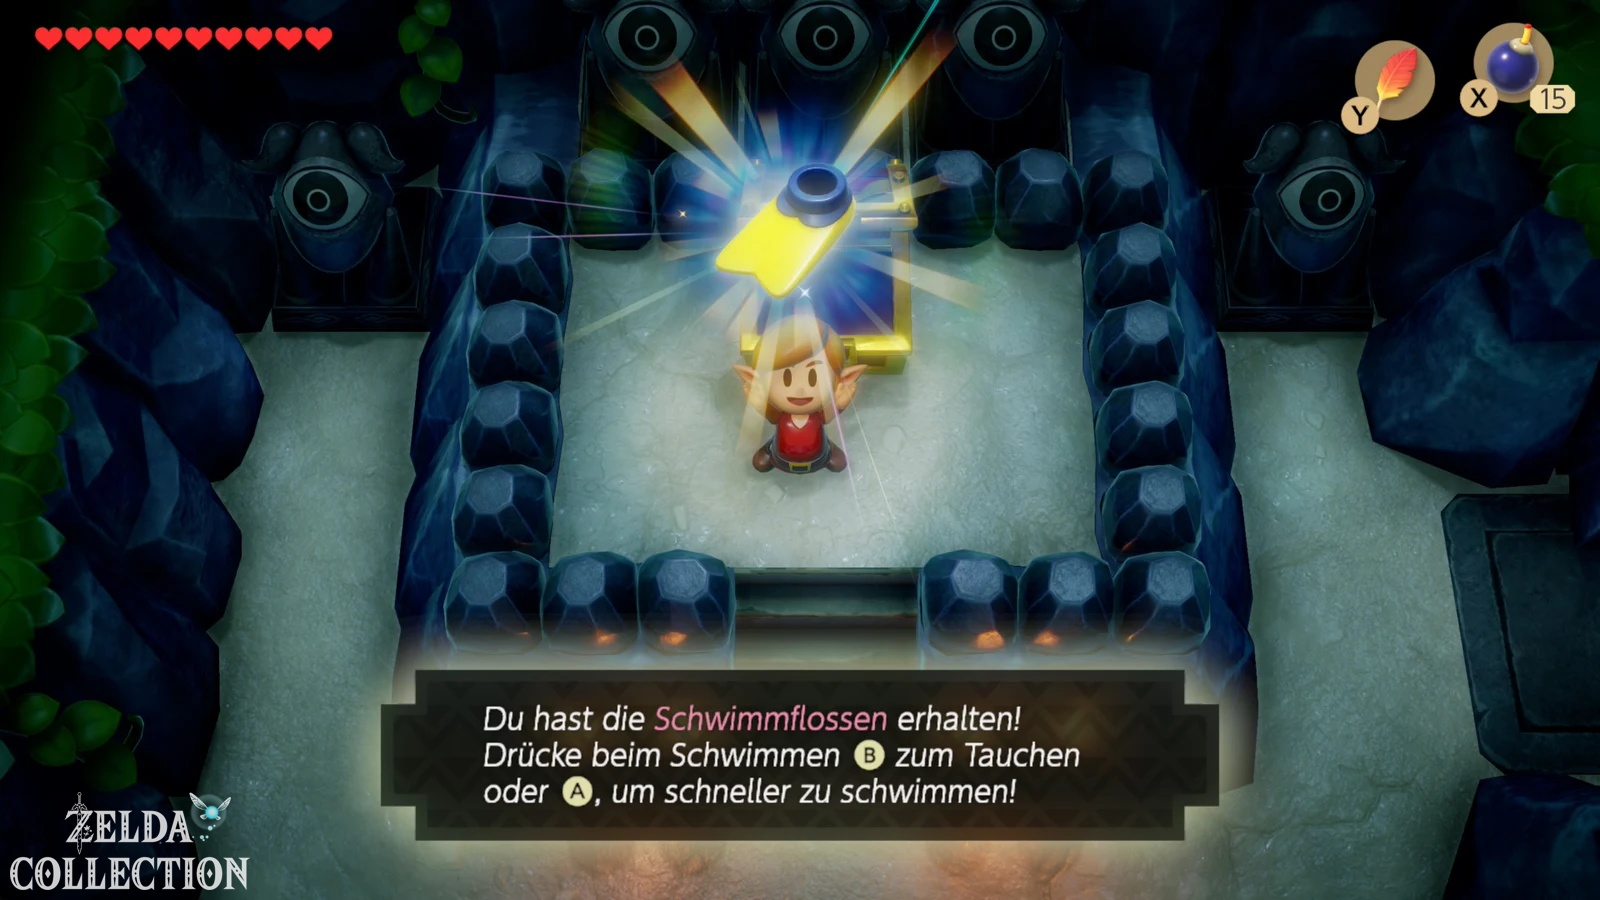
There are some enemies and fireballs waiting in the adjacent room, but the real goal is the big chest. Open it and take the Flippers. Link can now swim in deep water. You can also dive into particularly dark water areas and use underwater paths. In the Switch remake, the fins are part of the permanent equipment and do not have to be placed on an action button, which makes operation much more pleasant than on the Game Boy.
Solve the floor plate order
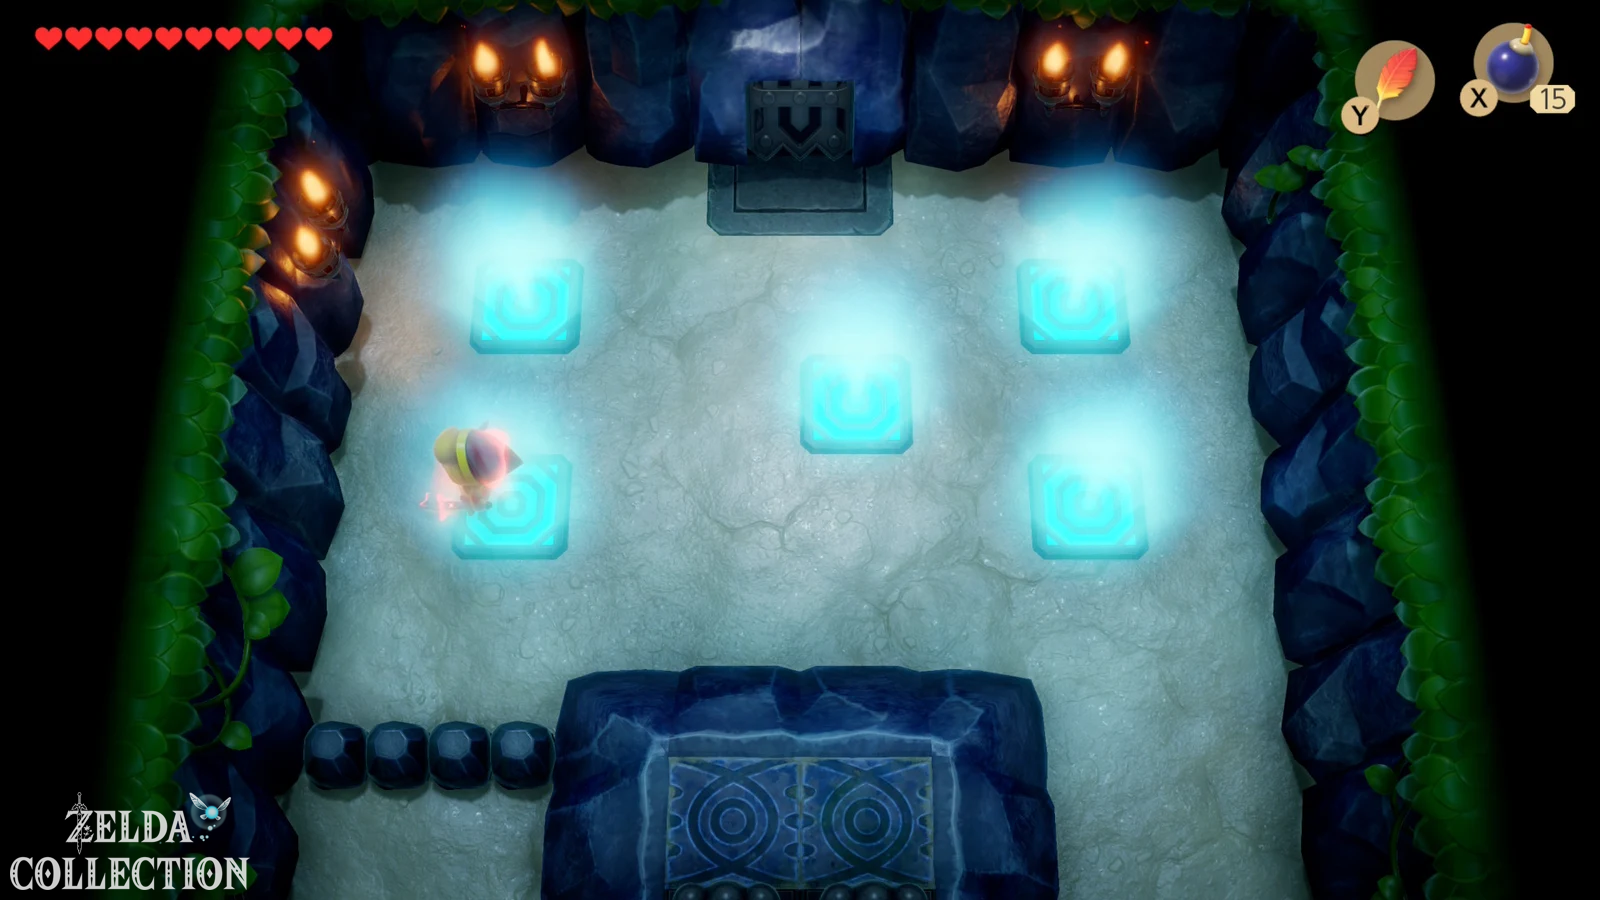
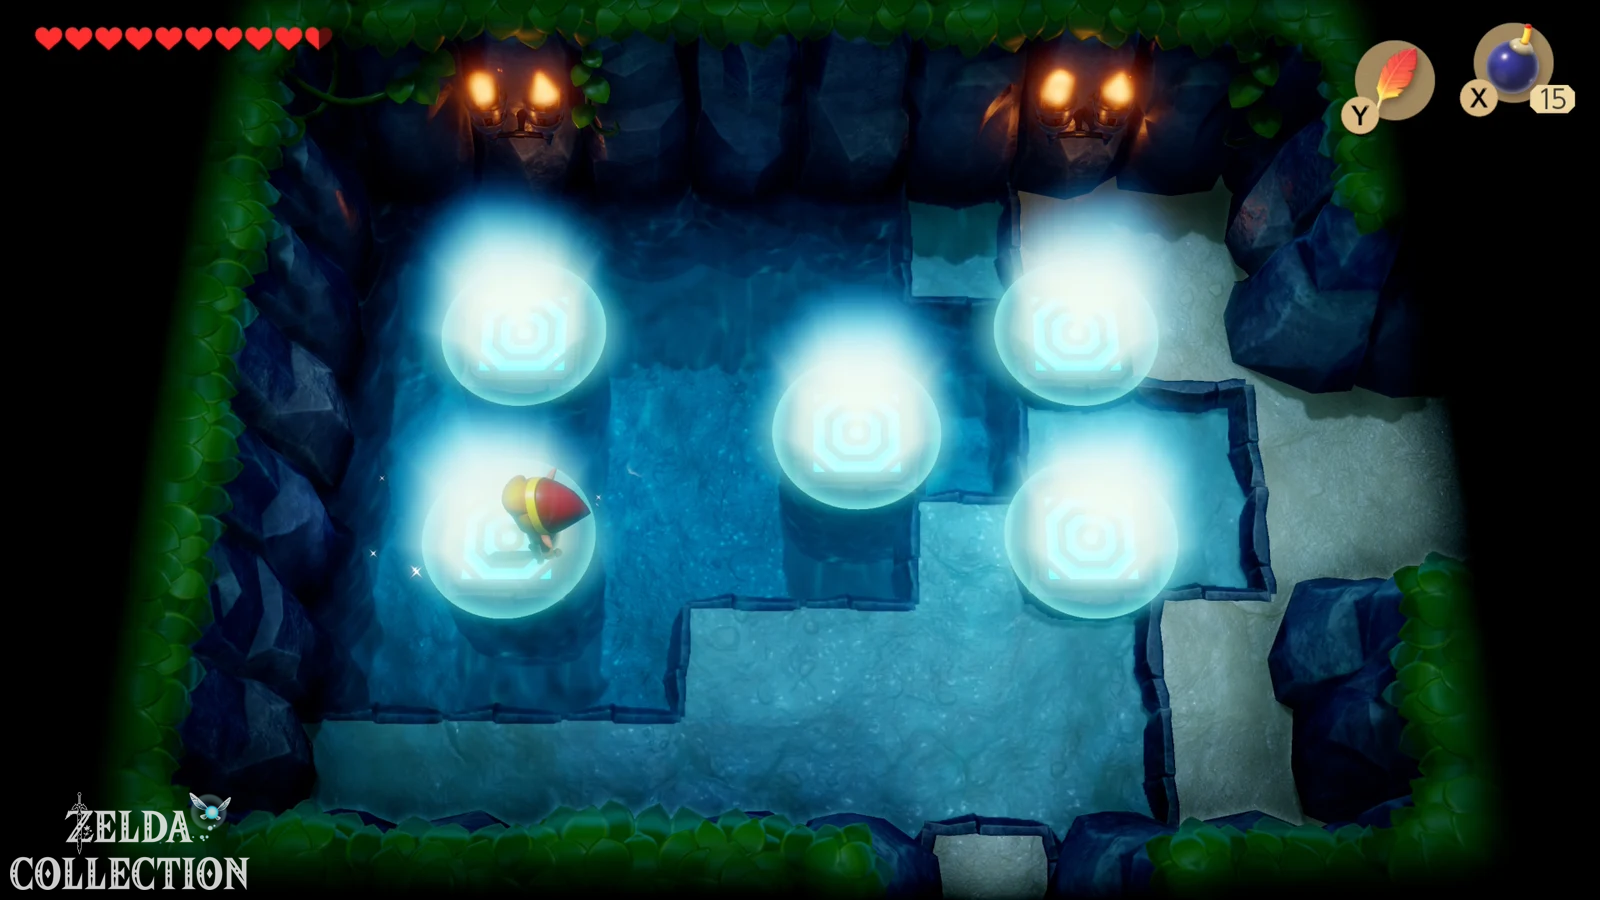
After receiving the flippers, go to the adjacent room. There you will meet opponents with metal masks who are only vulnerable from behind. Jump over her with the Roc’s Feather and immediately hit her back. Then observe the field with the five floor tiles. A light moves from plate to plate and shows you a five-part sequence. Memorize the positions exactly.
Then return to the previously found second field with five tiles and enter them in exactly this order. If you have activated all five correctly, a staircase will appear. Descends. In the side view area, large stone blocks cascade down from the ceiling. First lure them down, back away and run past as soon as they go back up. For the second block you have to trigger it again and then jump to the top of it to reach the higher ladder.
Get the Nightmare Key
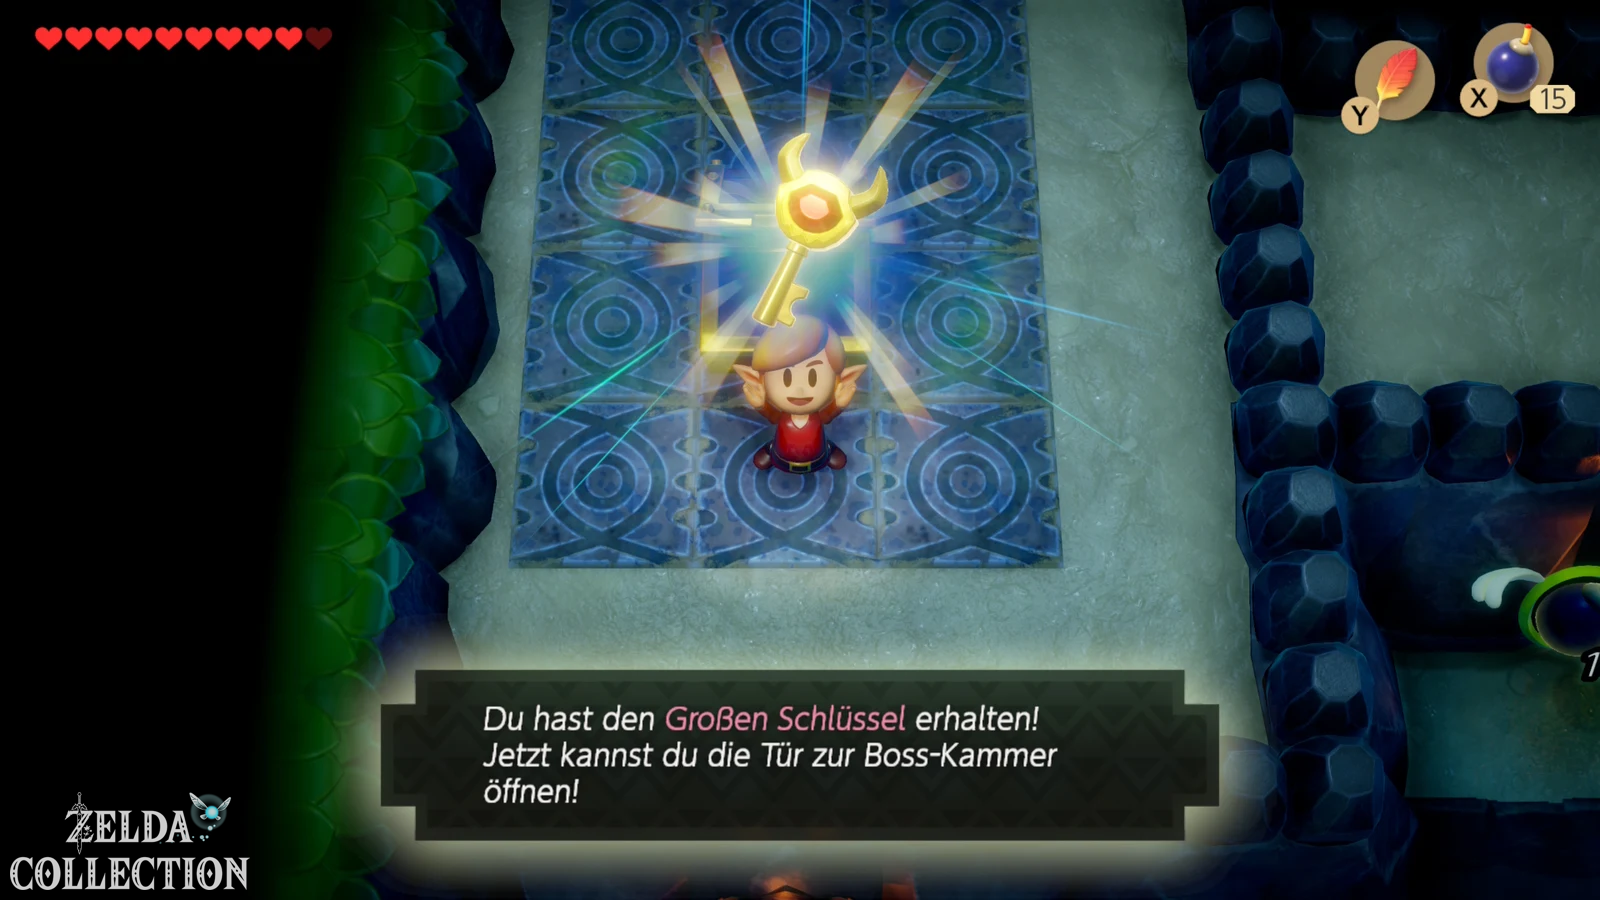
After the side view area you return to the surface and reach the chest with the Nightmare Key. This means that the boss door is basically accessible, but before we run to the final boss, we clear the dungeon completely. Thanks to the swim fins, we can now also collect the Small Key that previously fell through the hole.
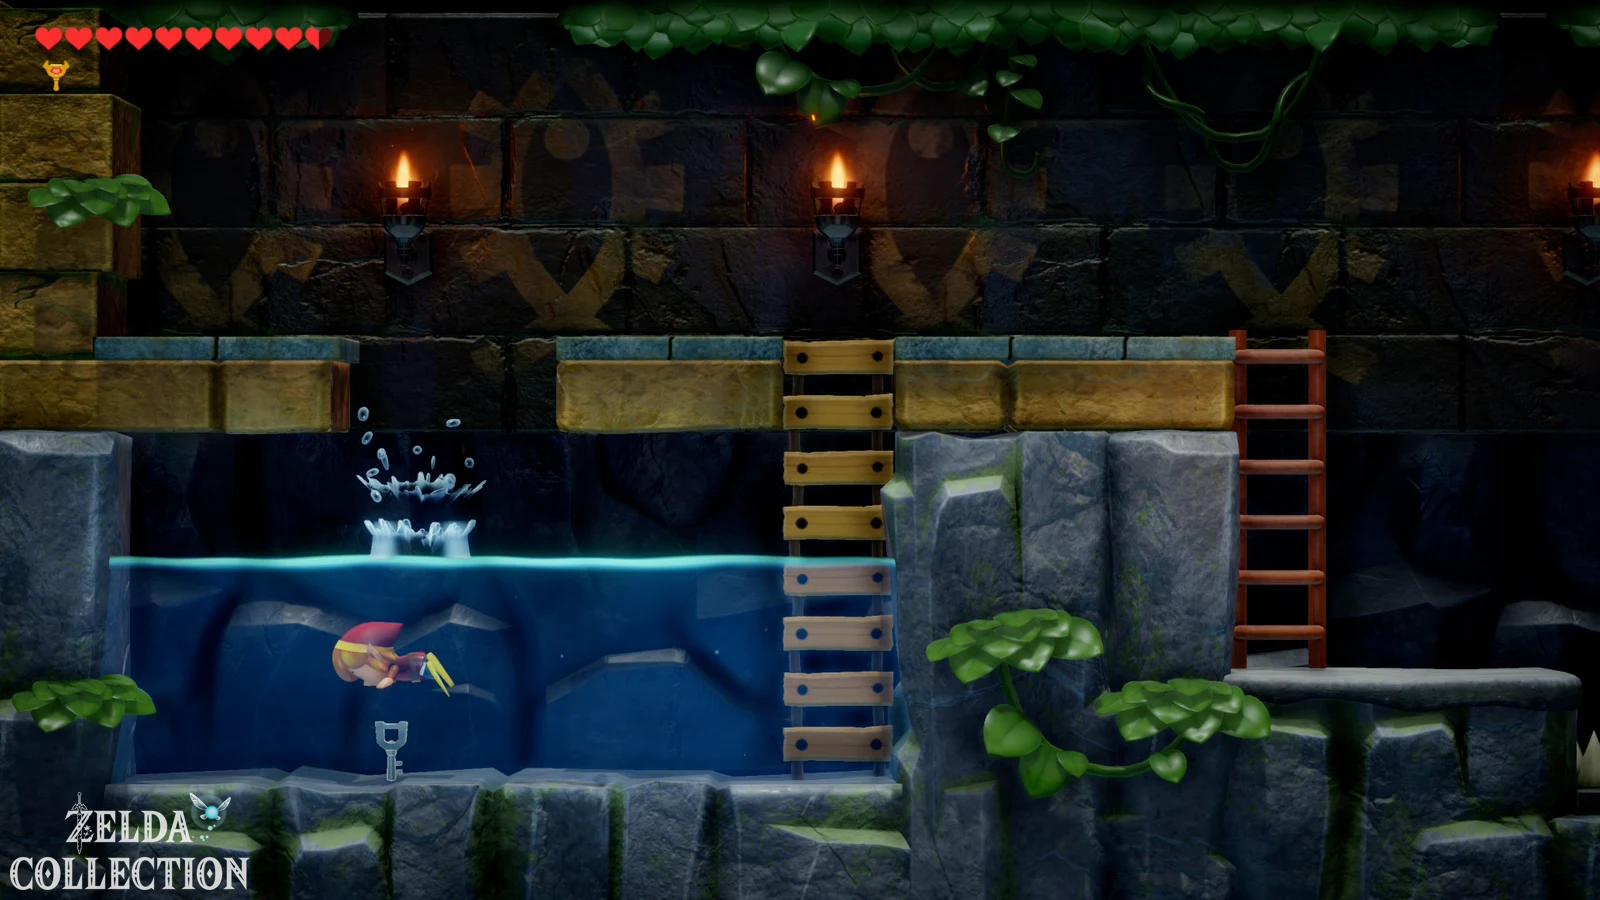
Return to the corresponding room and climb the adjacent stairs into the side view area. Jump or swim to the left and dive into the water to collect the fallen Small Key. Then return back upstairs. On the way, also take the unopened chest with the Rupees so that no Treasure Chest remains on the Dungeon Map.
The final path to the boss
Then swim to the southeastern area of the dungeon to a floor plate or a switch in the water. Step on it to open the door to the north. In the following section, use the last Small Key you need on the key block and go down the stairs. You will reach an underwater section in a side view. Swim past or defeat the Cheep-Cheeps and follow the tunnel to the ladder on the other side.
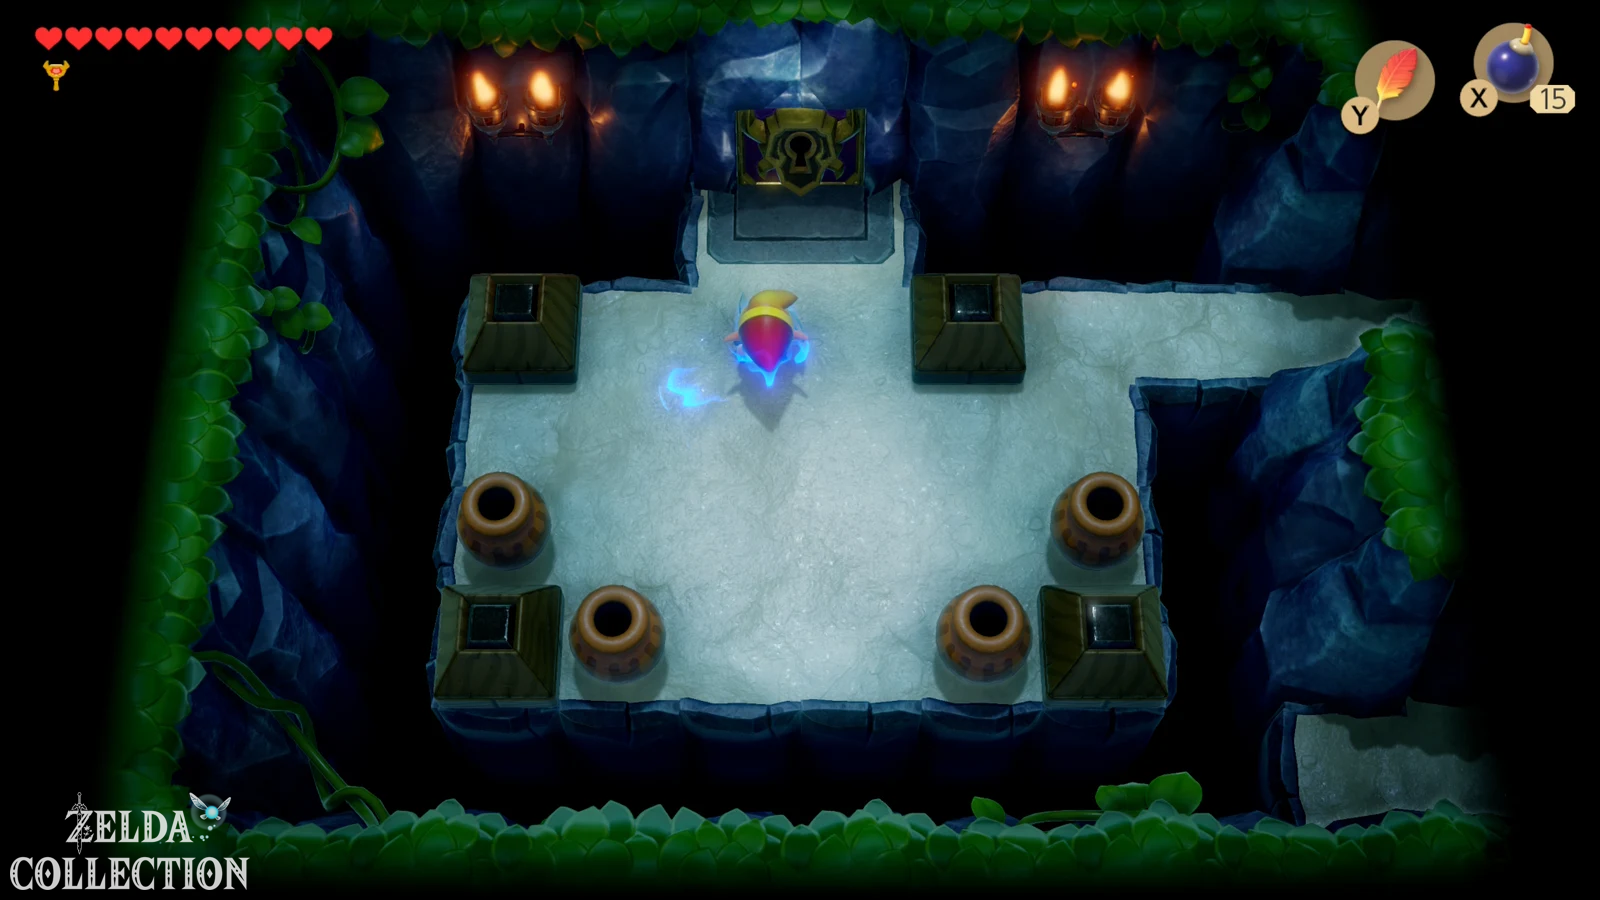
Back on the surface, go to the room with the big boss door. Use the Nightmare Key and then climb down the stairs. The fight itself takes place entirely underwater.
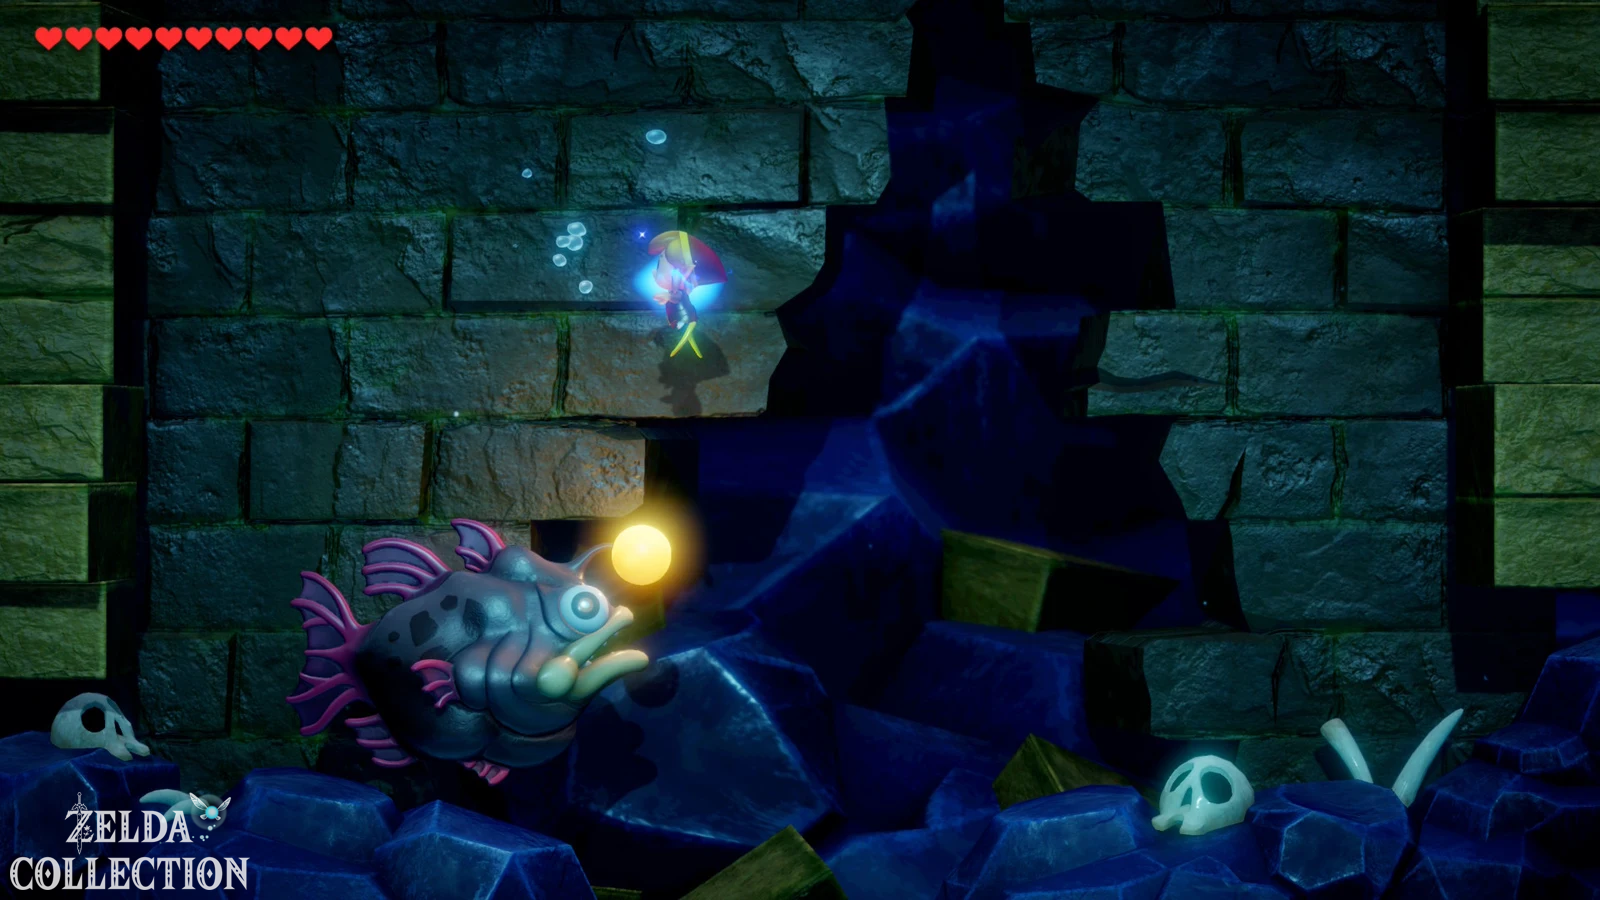
Boss: Angler Fish
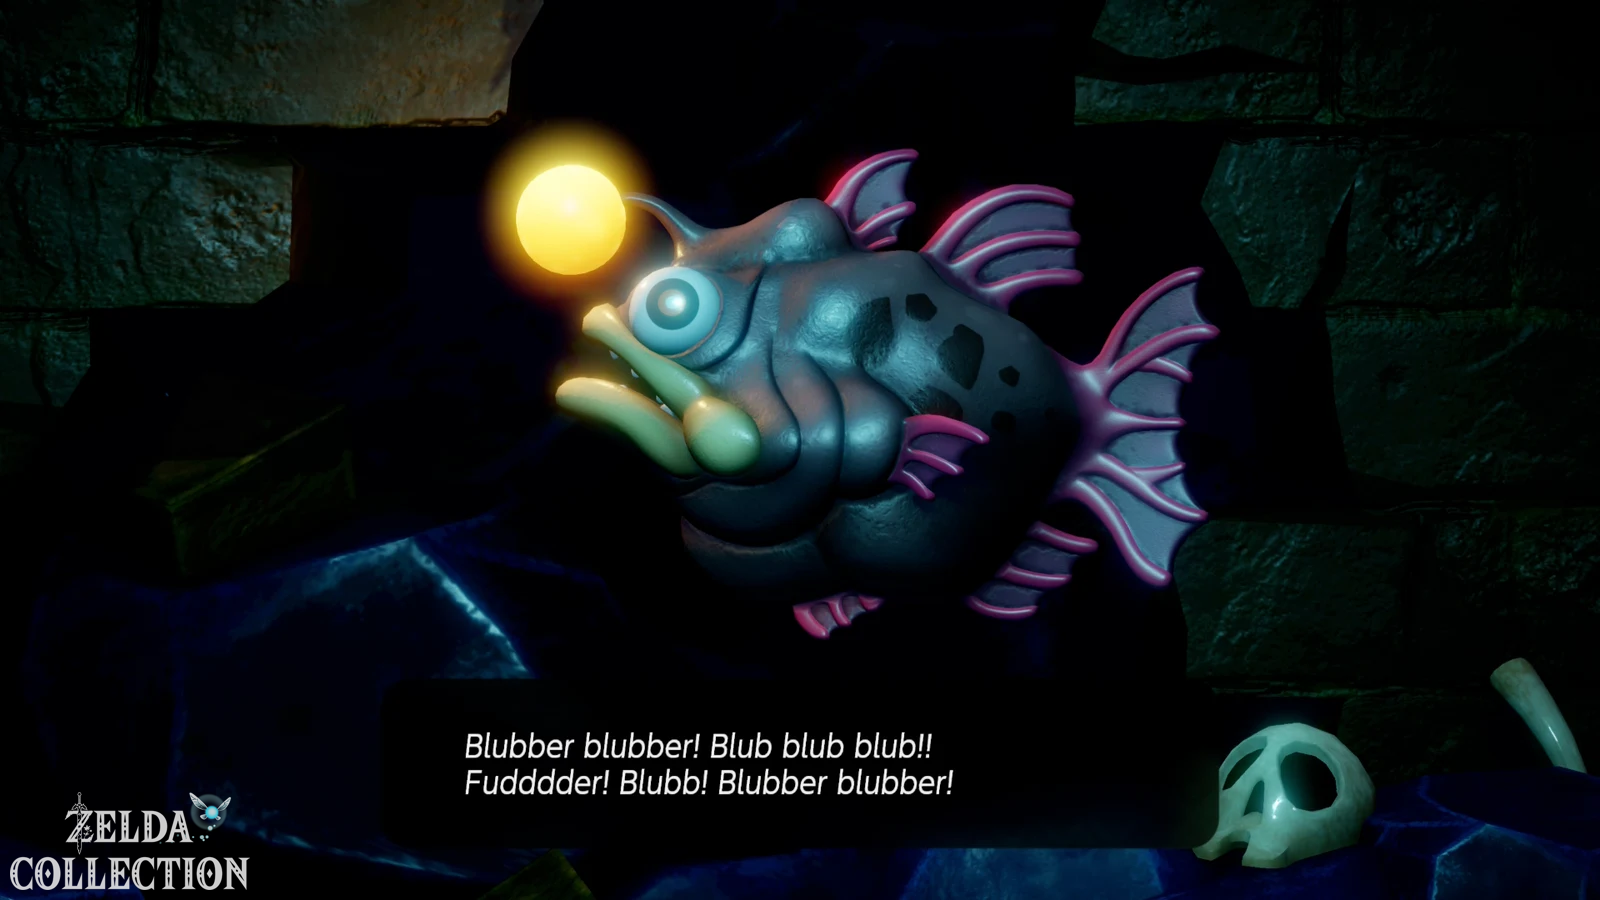
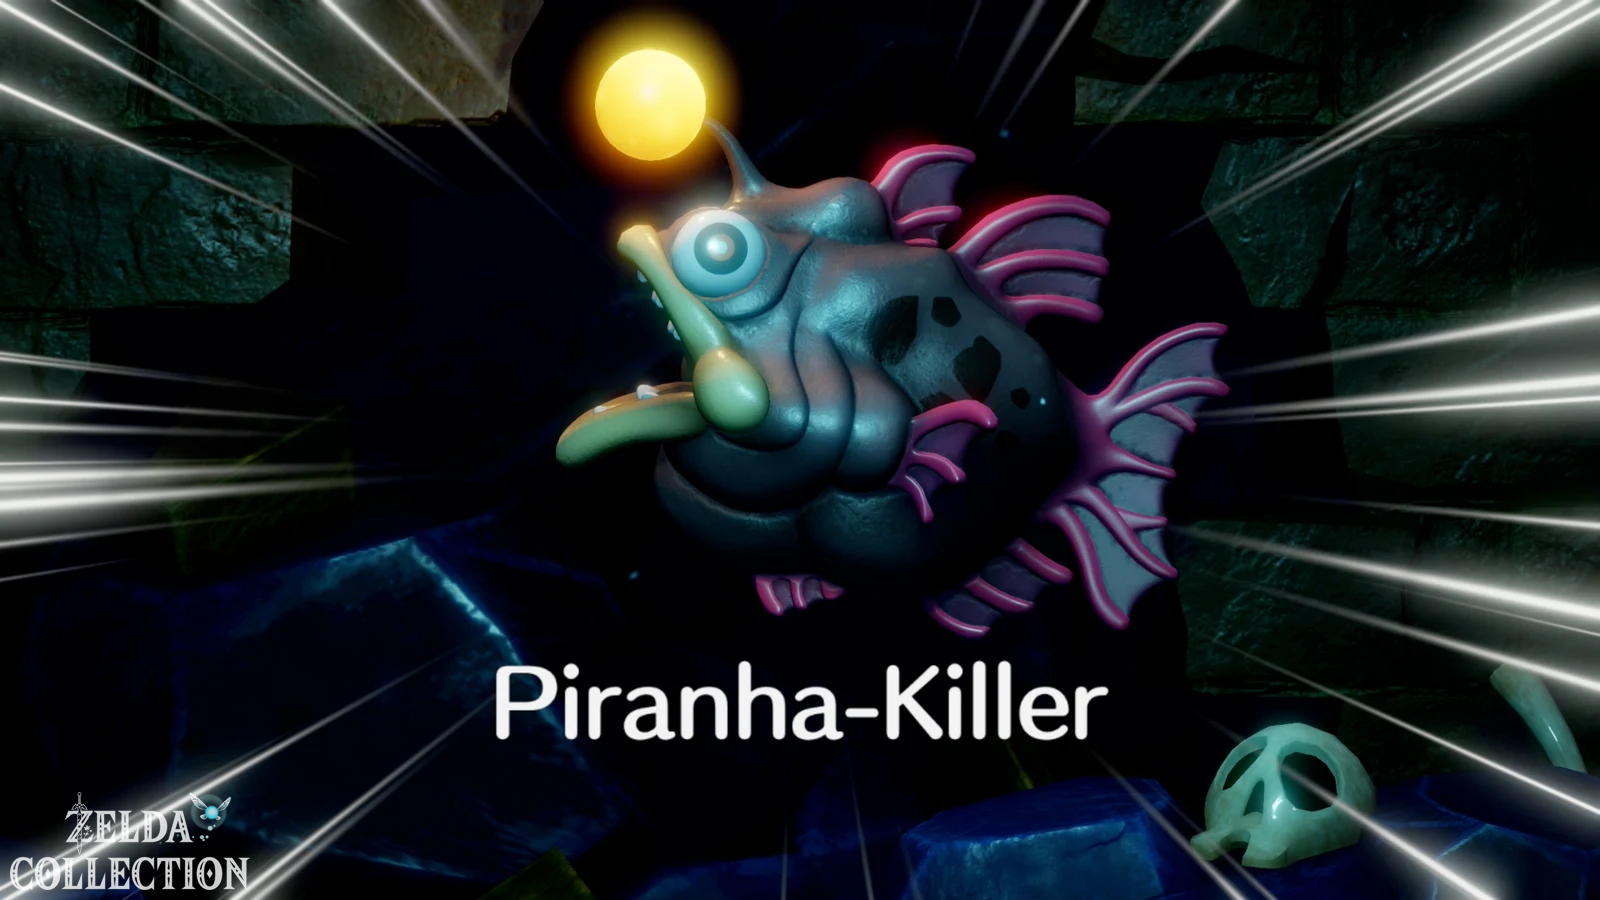
The Angler Fish or frogfish is one of the most unusual bosses in the game because you fight him underwater in the side view. His weak point is the small glowing lantern or fishing rod directly in front of his head. Swim close to him and hit this spot with your sword as quickly as possible. Small fish periodically appear from the sides of the screen; Only deal with them if they actually get in your way.
The large fish can also swim into a wall at high speed, causing debris to fall from the ceiling. At this moment, move slightly downwards or to the side and then continue the attack immediately. With the red armor from the color labyrinth, the fight is extremely short because your sword causes significantly more damage.
Difference to the original and DX: The basic fight exists in all three versions, but was noticeably revised in the Switch remake and made a little more active. In the Game Boy versions, the Anglerfish is one of the game’s easiest bosses and can often be defeated before its attack pattern even really comes into its own. The remake gives it more presence without changing the basic strategy.
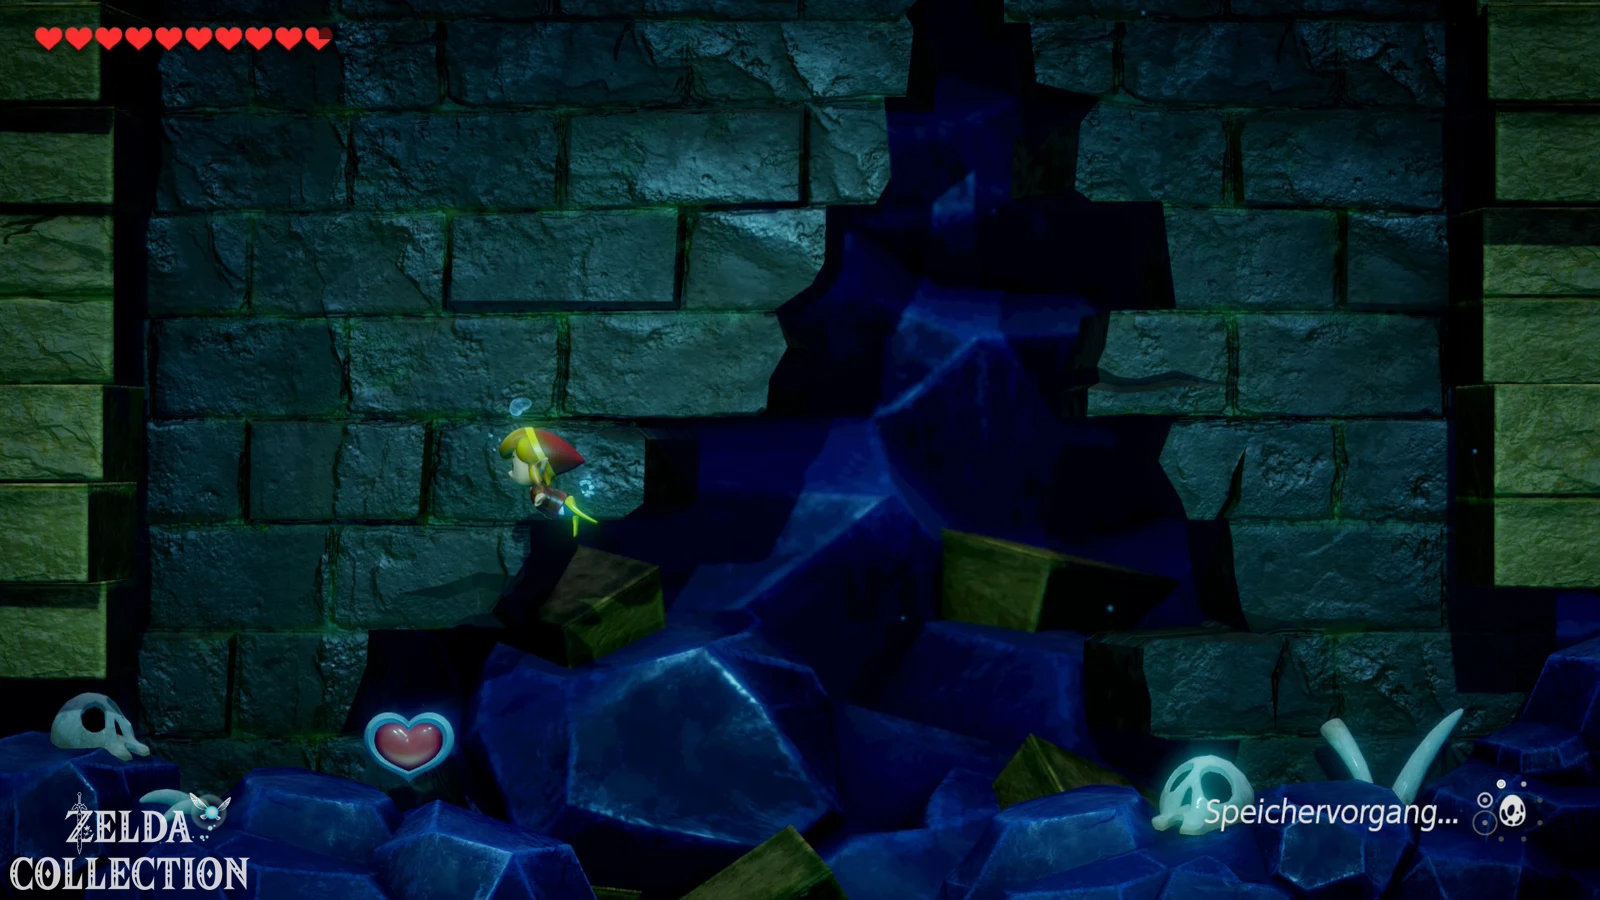
Heart Container and Surf Harp
After the victory, the fourth dungeon appears – Heart Container. Take it with you and then swim up. The ladder takes you back to the last room of the Wonder Tunnel. The fourth instrument of the sirens is waiting there: the Surf Harp. With her melody the first half of the eight regular dungeons is completed.
The new clue leads you in the direction of Martha’s Bay. However, before we immediately set off for the fifth dungeon, in the next section we will do one of the most extensive collection rounds of the entire Walkthrough. The Flippers open numerous waterways in one fell swoop and thus several Pieces of Heart and Secret Seashells. We also learn Manbo’s Mambo, complete the story of the pink genie for the second bottle, get the next figure and shell from the Trendy Game, return to the fishing pond for the Cheep-Cheep and continue the exchange series with the hibiscus, letter, broom and fish hook.
This way we avoid having to collect individual water collectibles later on across the entire island.