
With the Surf Harp you have received the fourth instrument of the sirens and have thus completed half of the regular dungeons. Even more important for our 100% score are the Flippers: Link can now cross deep water and dive in certain places. This makes numerous Pieces of Heart and Secret Seashells accessible in one fell swoop that were previously inaccessible. Before we set off for the fifth dungeon in the Martha’s Bay, we consistently clear all collectible objects that make sense, learn Manbo’s Mambo, complete the story of the pink ghost, get the second bottle, continue the exchange series up to the mermaid, visit Trendy Game and the fishing pond and also take Dampé’ newly unlocked challenge with. Only then do we enter the Catfish’s Maw.
Manbo’s Mambo learn
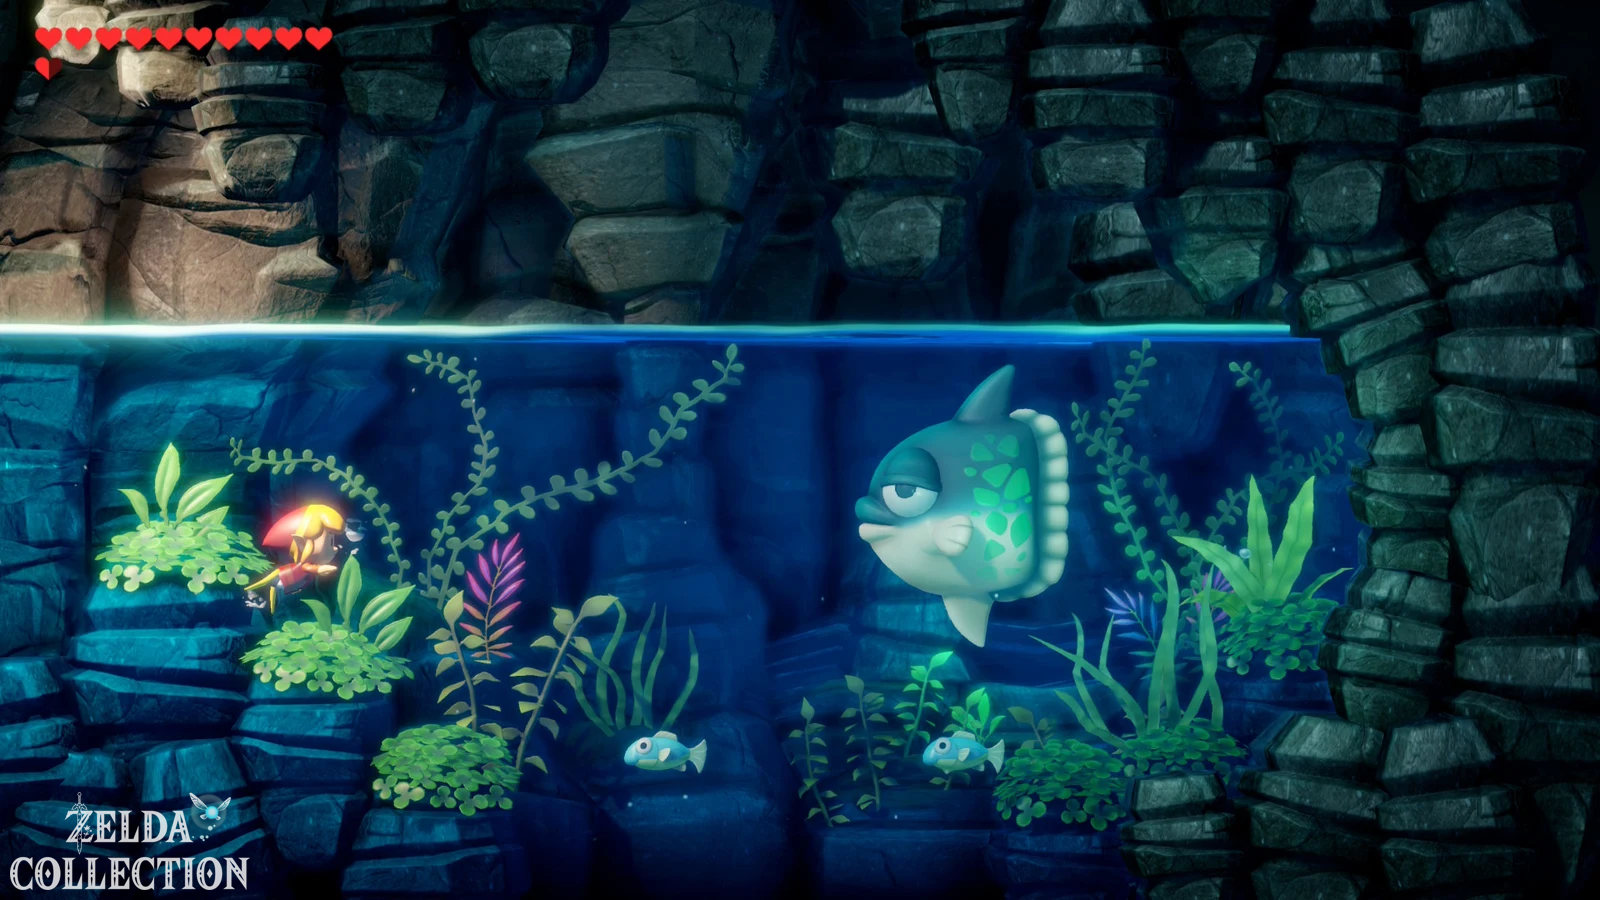
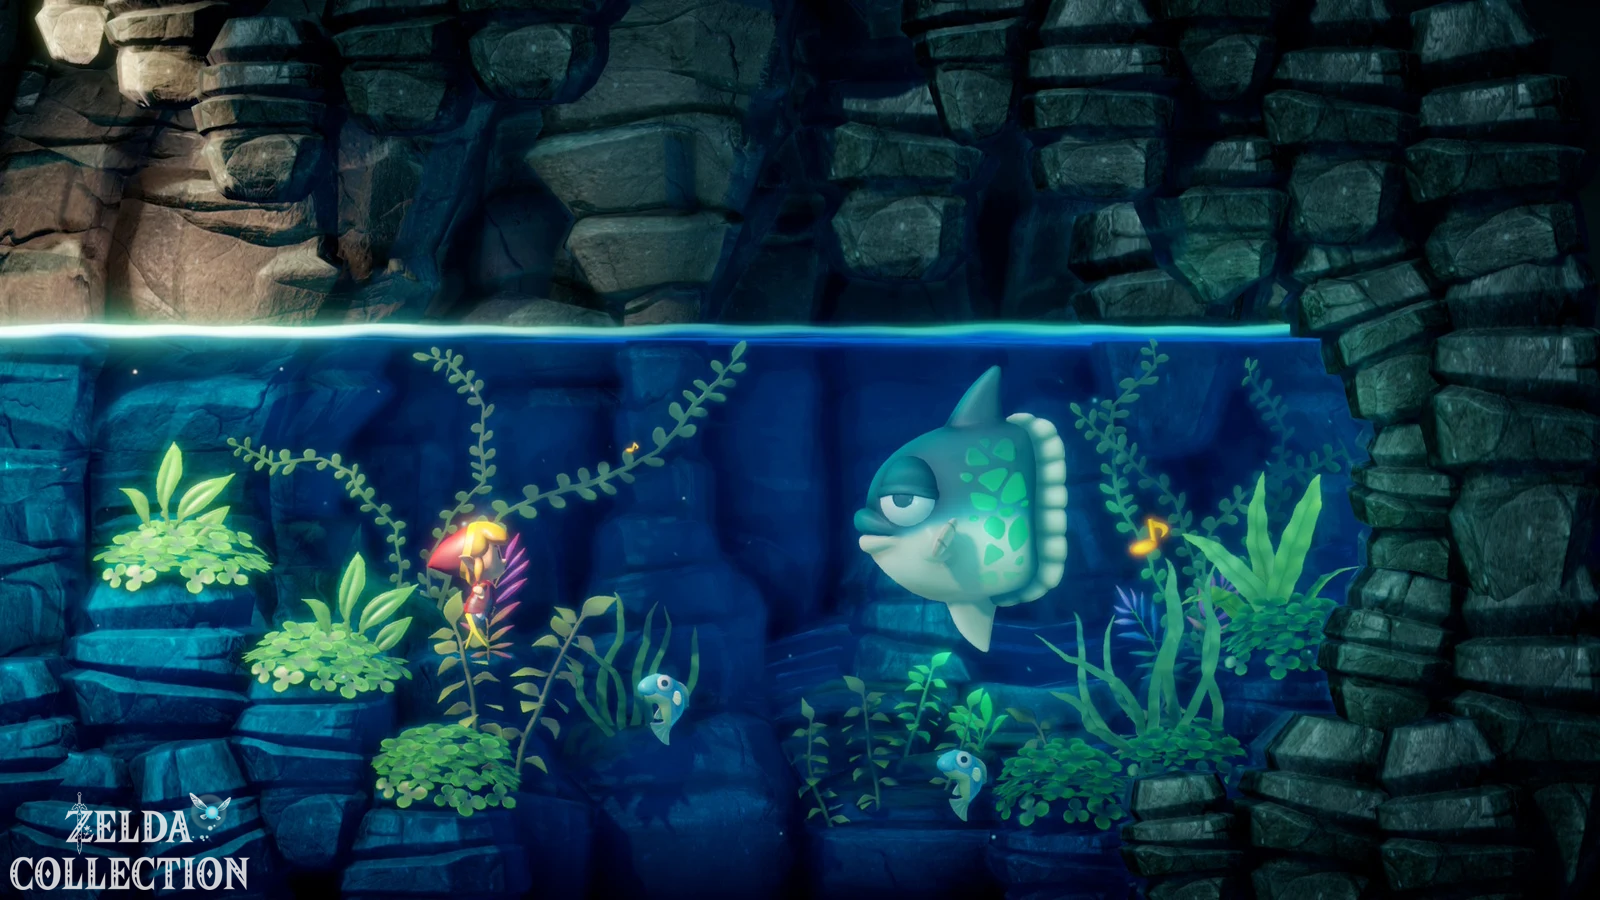
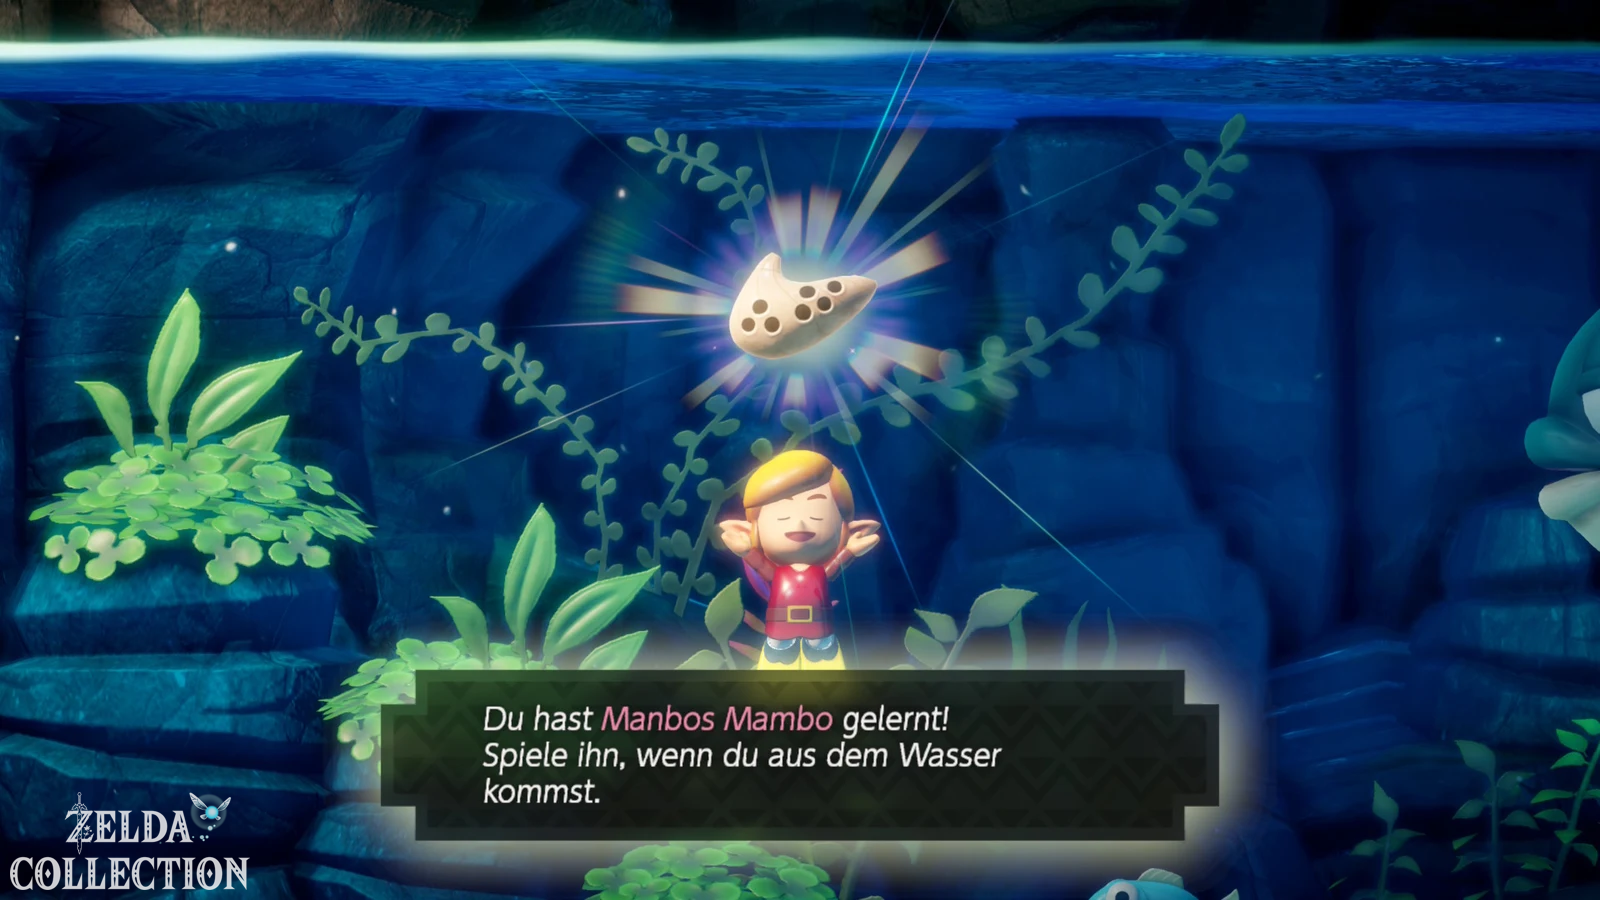
Leave the Angler’s Tunnel and jump or swim into the water in front of the dungeon. Immediately after , keep left and swim to the cave entrance in the rock wall. Inside you will meet the large sunfish Manbo. If you have the ocarina from the dream shrine with you, he will teach you Manbo’s Mambo. This song becomes extremely valuable for the rest of the Walkthrough: If you play it within a dungeon, Link will immediately return to the entrance. In the Switch remake, on the other hand, a selection of the warp points that have already been activated opens up on the overworld, so that you can quickly travel to another region from practically anywhere.
Piece of Heart to the right of Angler’s Tunnel
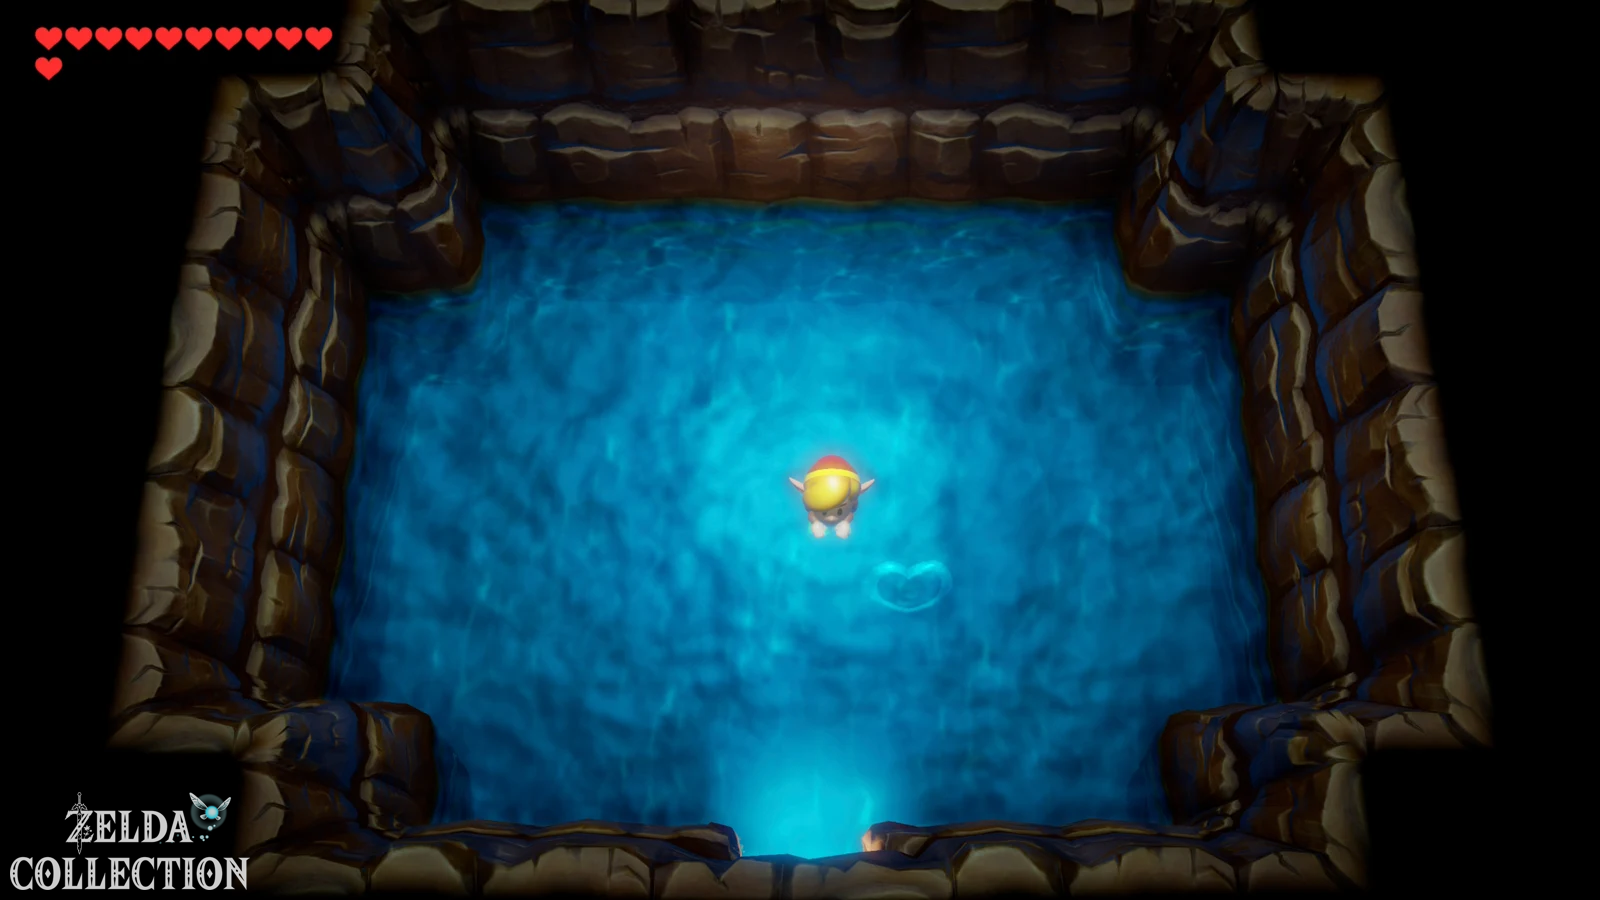
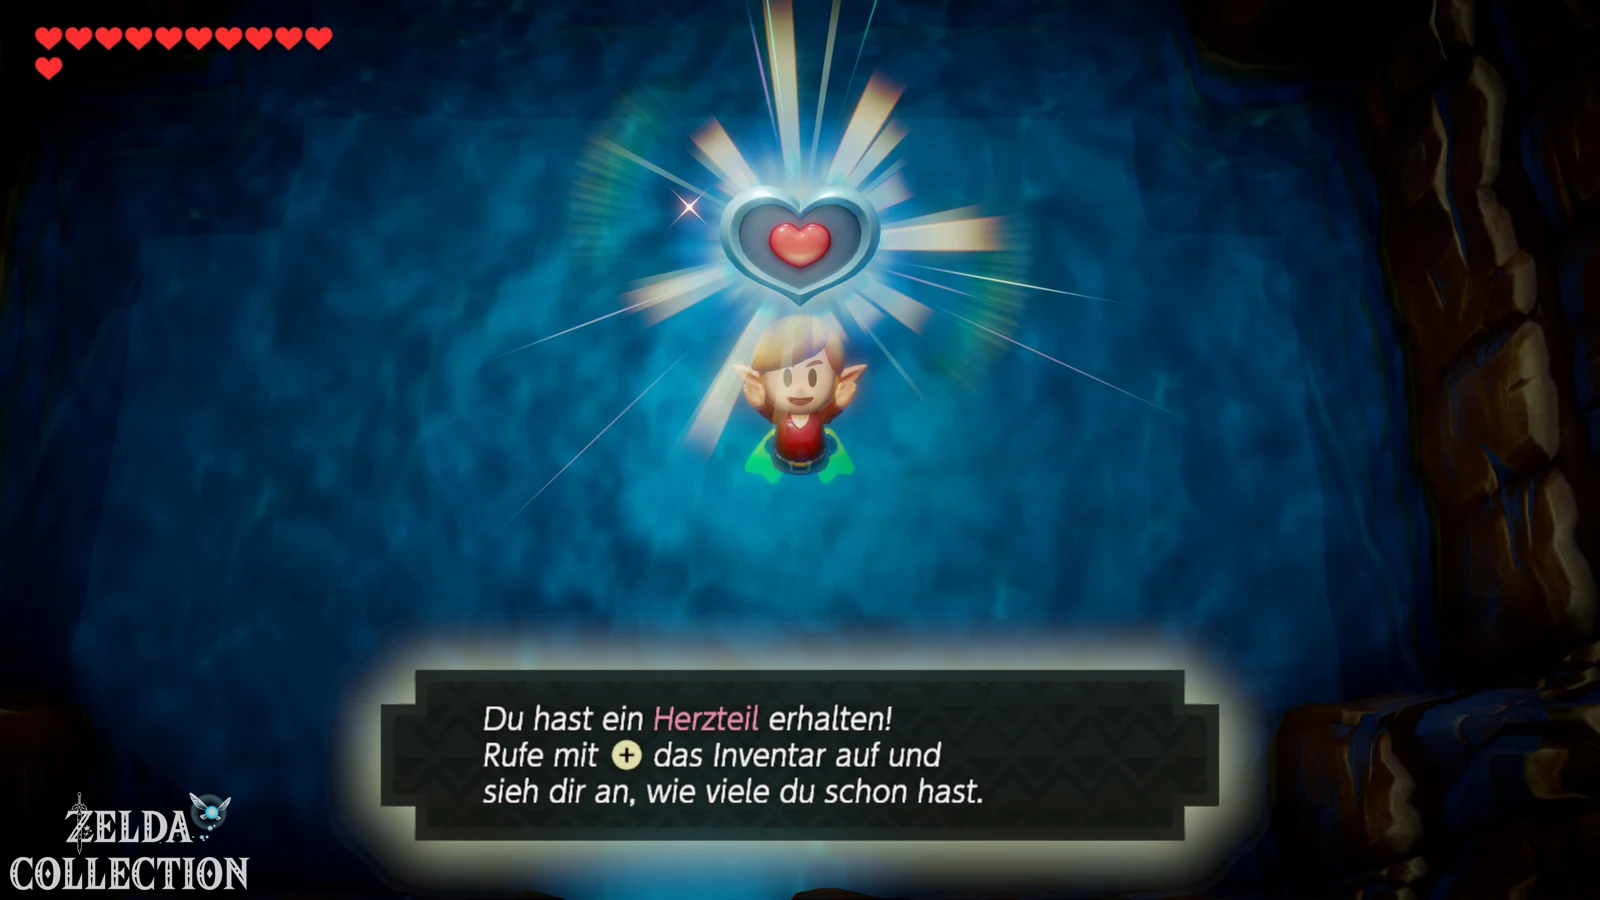
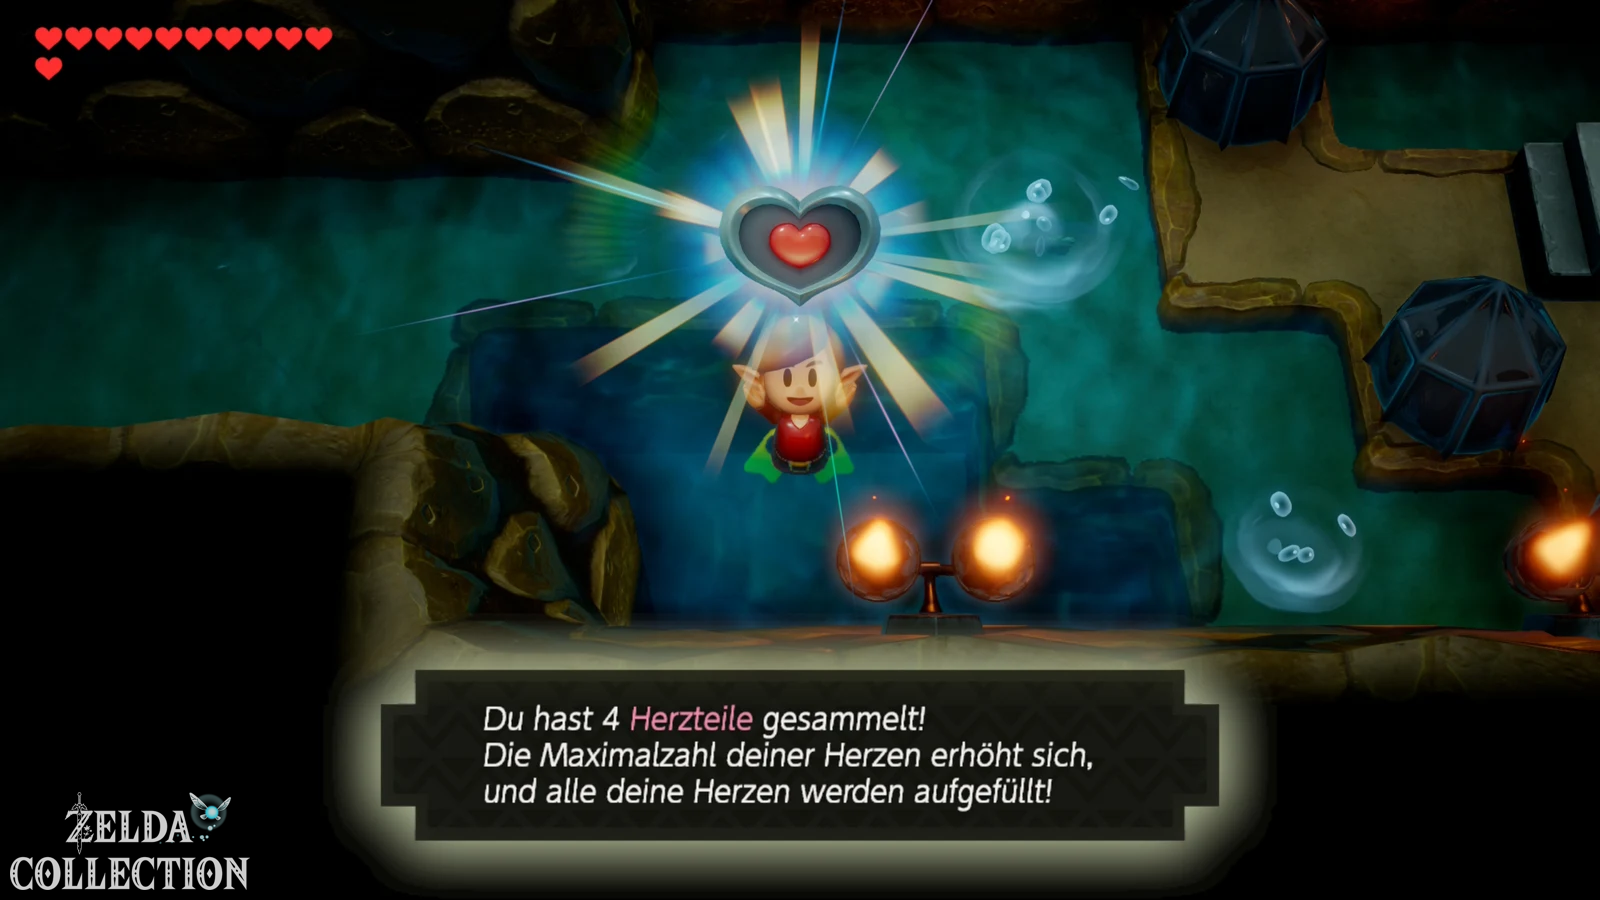
After visiting Manbo, swim back past Angler’s Tunnel and continue to on the right. There is another cave entrance in the rock wall, which you can only reach via the water. Enter the cave and jump or swim into the deep water. The Piece of Heart you are looking for is below the water surface. Dive into the appropriate spot and take it with you. In this way, we immediately secure the first collector’s item that has become accessible exclusively through the Flippers.
If you have any on our previous route Piece of Heart Once you’ve collected it, your health should now be significantly higher than what was even possible in Original or DX at that point. The Switch remake expands the collection from twelve to a total 32 Pieces of Heart. All of them Locations can also be found in our overview of the Pieces of Heart in Link’s Awakening.
Two Secret Seashells above the Angler’s Tunnel
Remains initially in the Tal Tal Heights. Swim to the right on the ledge above or next to the Angler’s Tunnel until you reach a single small waterfall. Dive right where the water meets the surface and you’ll find another Secret Seashell. There is a cave just to the right of this waterfall. Enter it and examine the wall inside until you see a cracked spot. Blow it up with a bomb and climb the exposed stairs into the next area.
There are several Treasure Chests that look more tempting than they actually are – mainly enemies are hiding in them. Instead, the block puzzle is crucial for our 100% path. Move the stones so that you can reach the lower exit of the room. Another Secret Seashell is waiting outside or at the end of this path. This means that these two new swimming fin locations are also taken care of. You can find a complete overview in our guide to the 50 Secret Seashells.
Moat of Kanalet Castle: shell and Piece of Heart
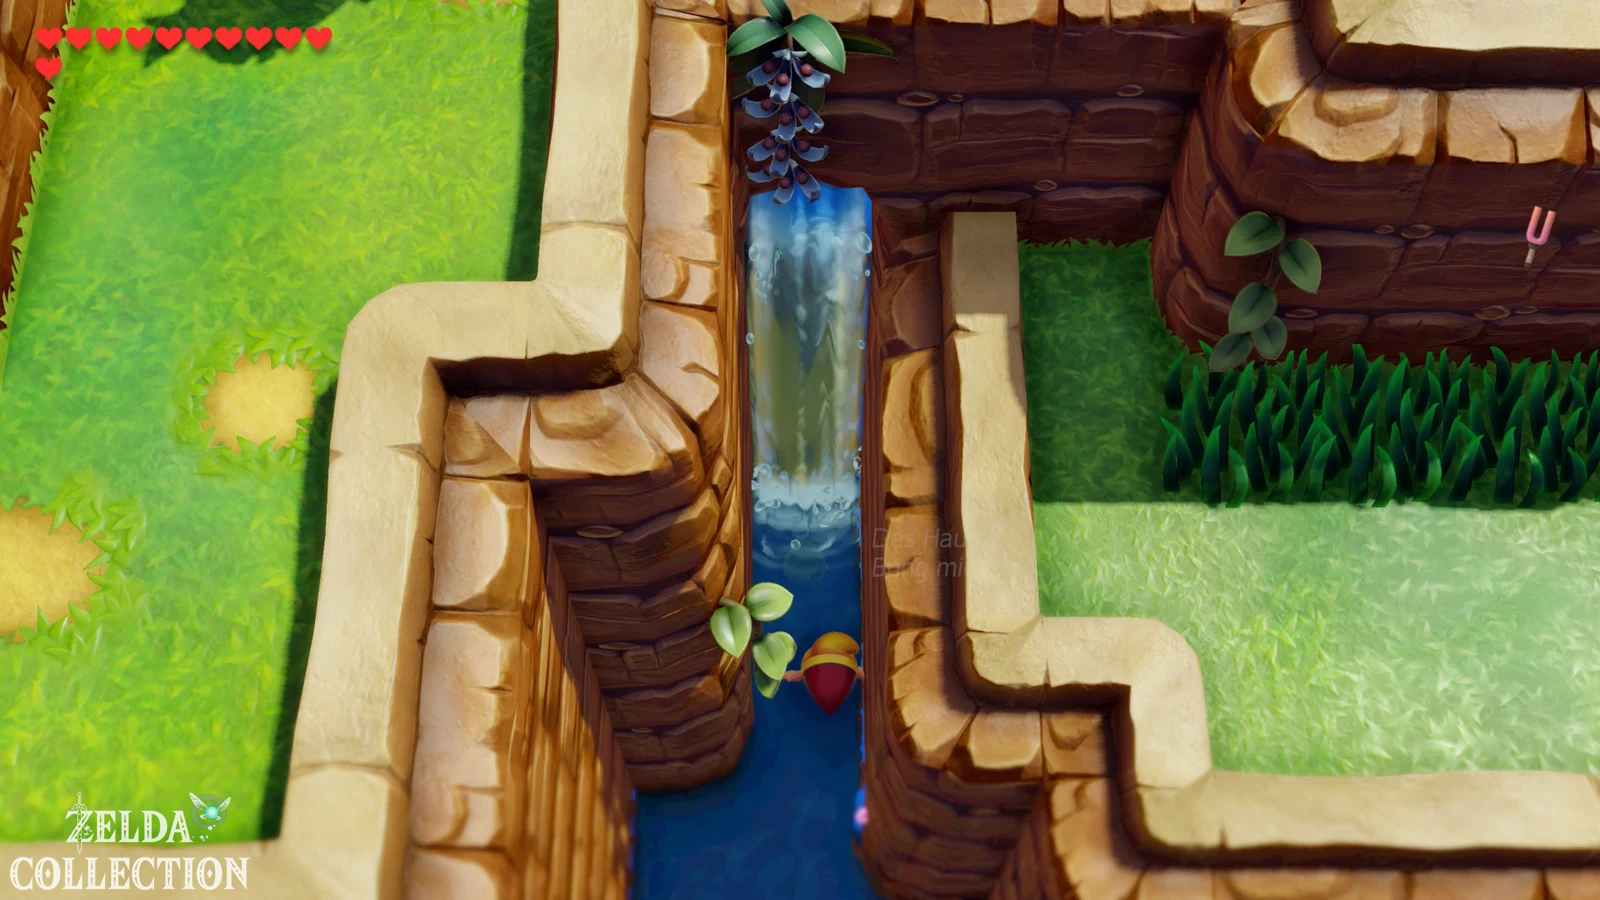
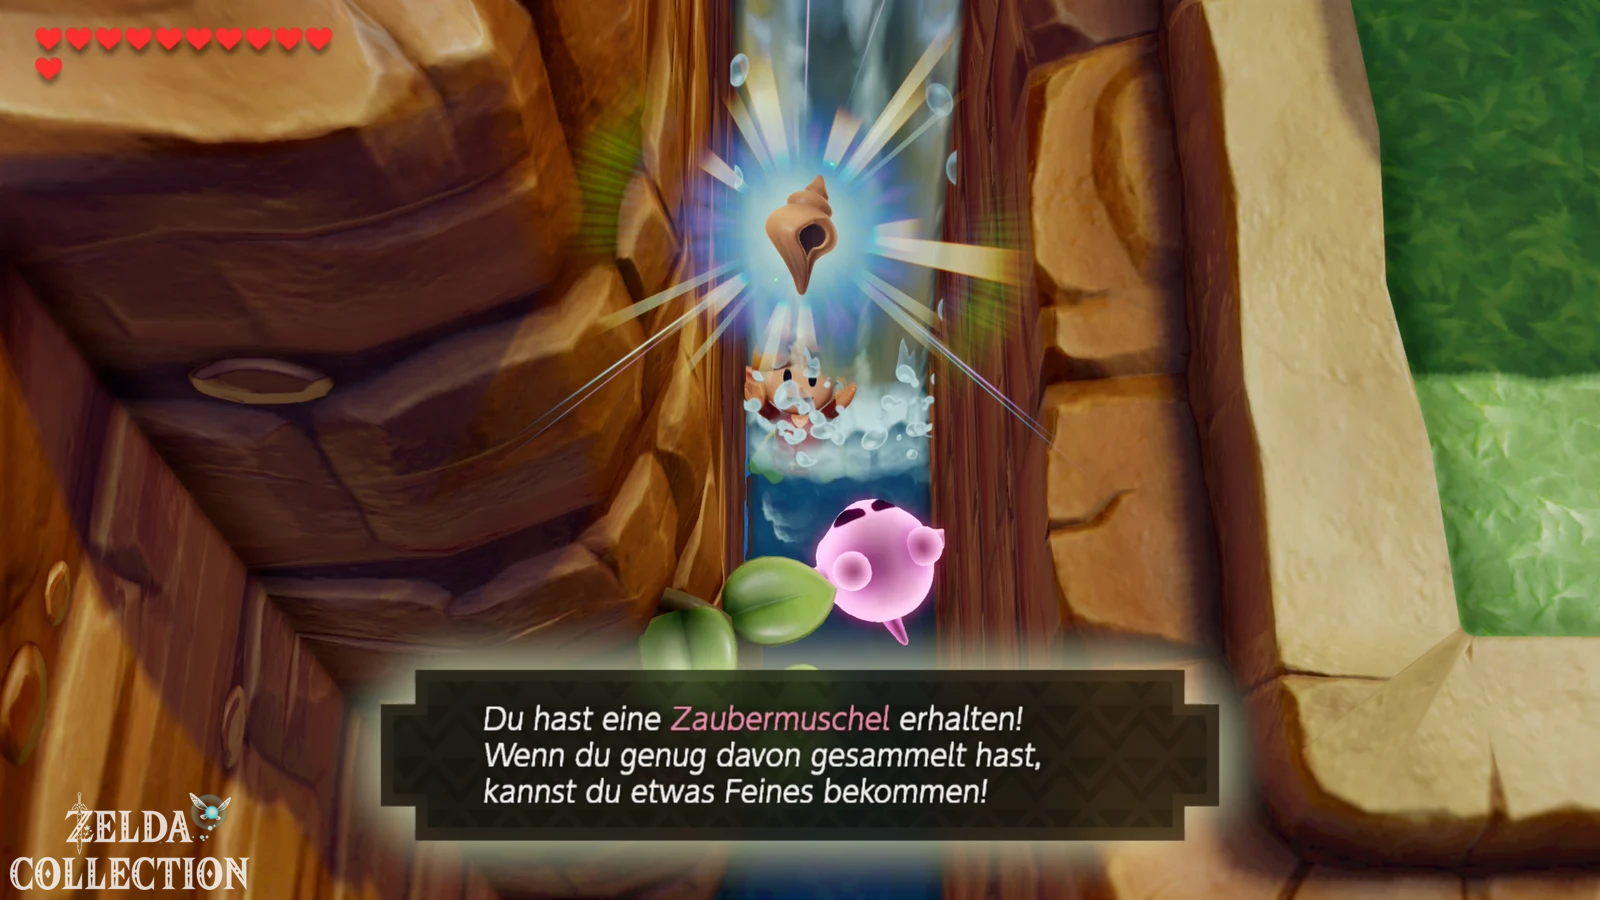
Return to the area below the Angler Key keyhole. Here a ladder leads down into the waterway, which eventually merges into the moat of Kanalet Castle. First swim all the way to the left and then up to the small waterfall. Dive down there and take the next Secret Seashell with you. Then stay in the moat and continue swimming along the western and southern sides of the castle. There is another collectible underwater near the large entrance gate. Dive down at the noticeable deep spot and get the next Piece of Heart.
These two items in particular are good examples of why we do the flipper round immediately: without a structured path, you would later have to travel back to the far away Kanalet Castle just for a shell or a single Piece of Heart.
Dampé: “Bombs off!” and another Chamber Stone
Before we leave the Tal Tal Heights, it’s worth a quick visit to Dampé. Completing the Wonder Tunnel makes the next second level task available in its Chamber Dungeons. If you have completely completed our previous Dampé challenges, you can now “Bombs off!” Play. Build the required labyrinth according to the given shape and make sure to connect the entrance, boss room and all locked doors in a meaningful way. For completion you will receive another Chamber Stone as well as the special bomb effect for your self-made labyrinths.
The next big reward of this level – another Piece of Heart – we can only fully unlock after the Catfish’s Maw because more rooms are needed for this. We will therefore come back to Dampé after the fifth dungeon. You can also find all special stones and their sources in our guide to the Chamber Stones in Link’s Awakening.
The pink ghost appears
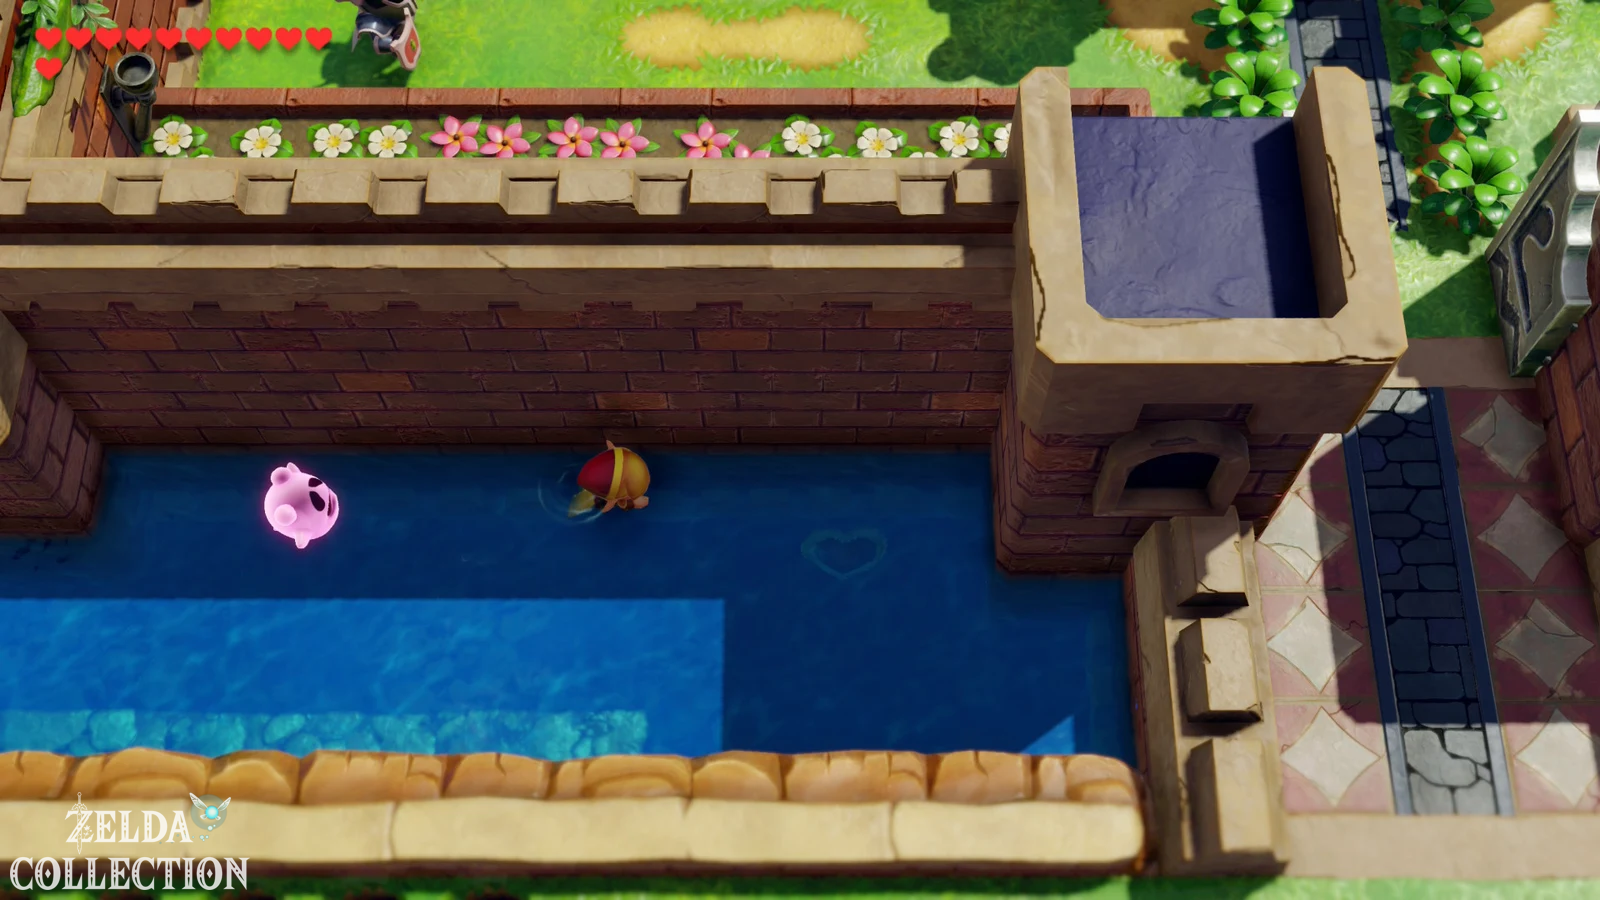
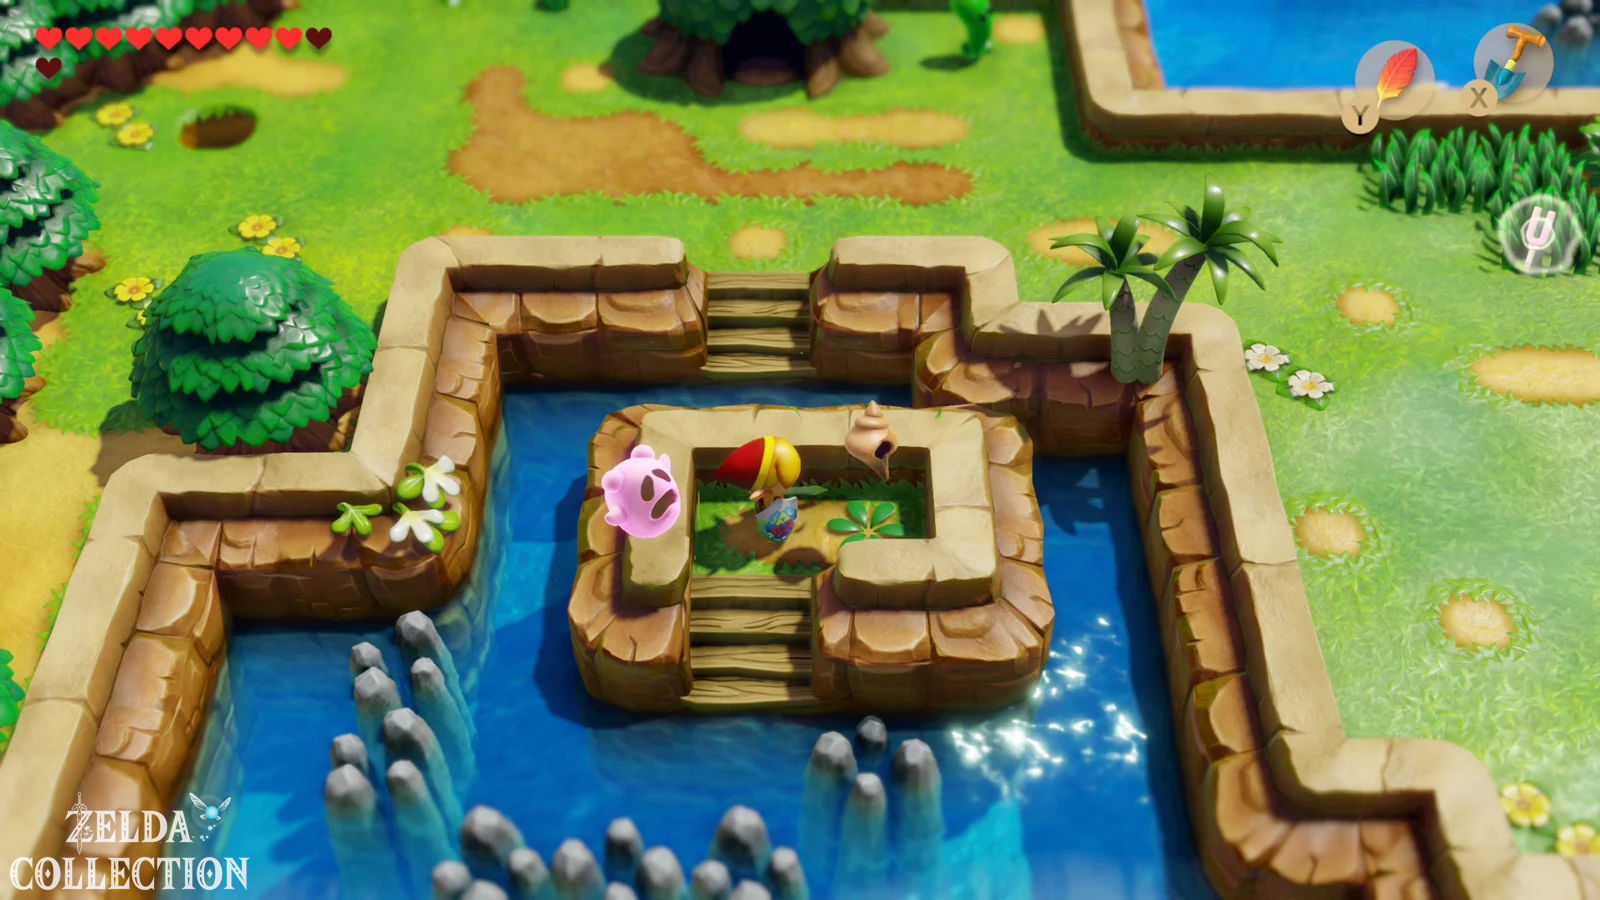
Leave them Tal Tal Heights or used Manbo’s Mambo and travels to an already activated warp point on the upper world. Shortly after completing the Wonder Tunnel, a appears pink ghost, the link accompanies from now on. He is not hostile and just wants to see his former home one last time. As long as the ghost accompanies you, he won’t let you into the next dungeon – so his story has to be completed anyway. Since we can get one of the three bottles and collect another shell at the same time, we complete the task immediately.
The abandoned house in the Martha’s Bay
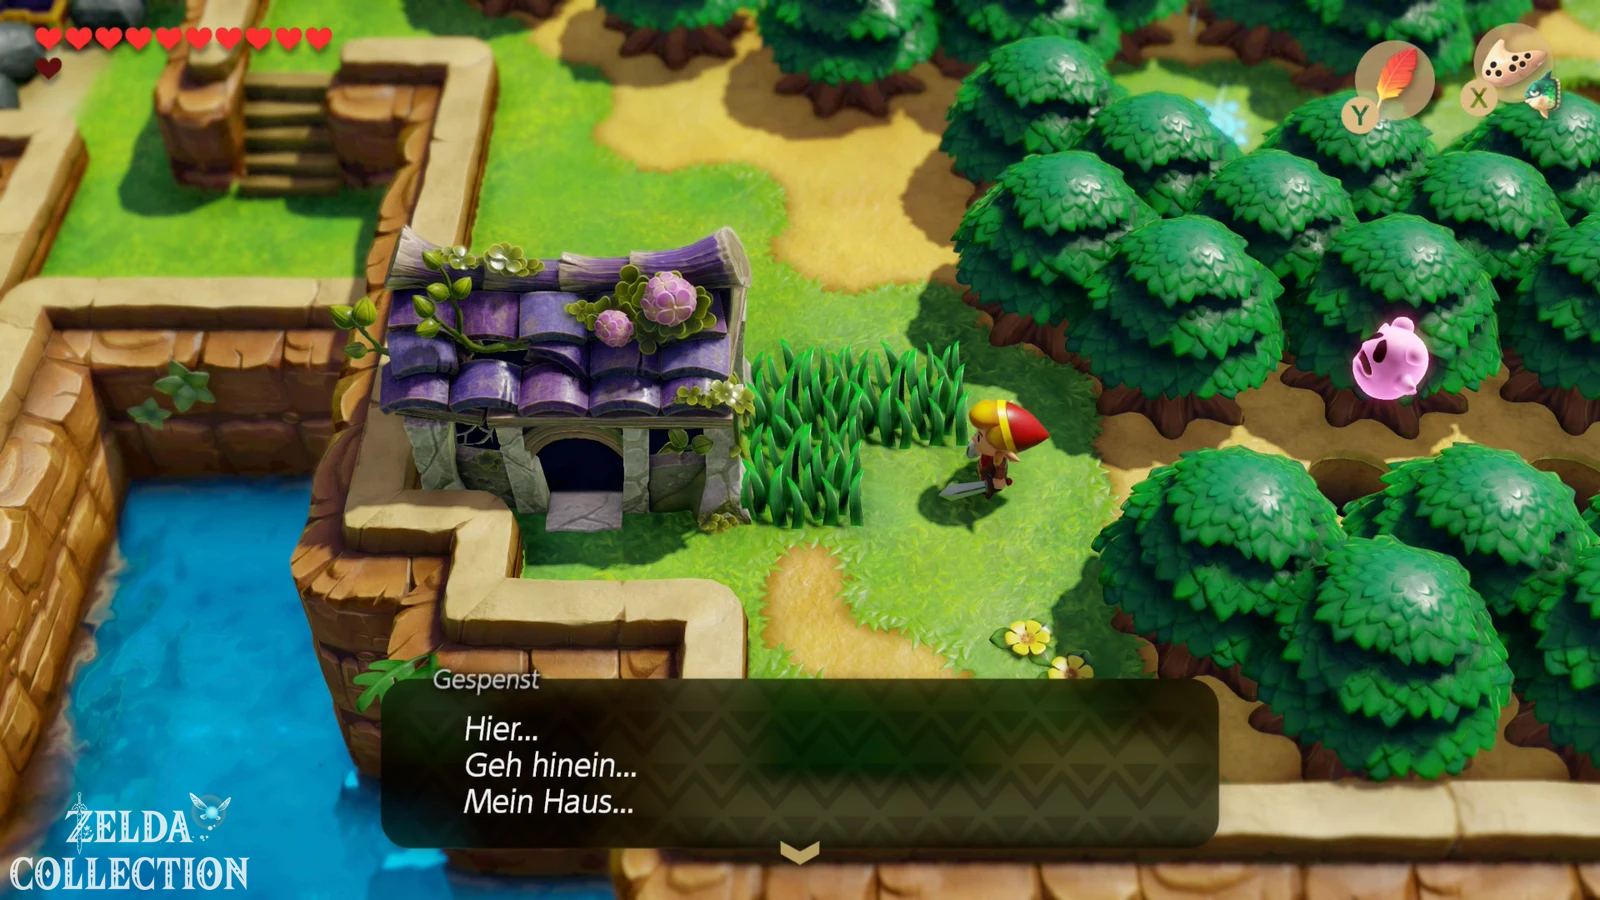
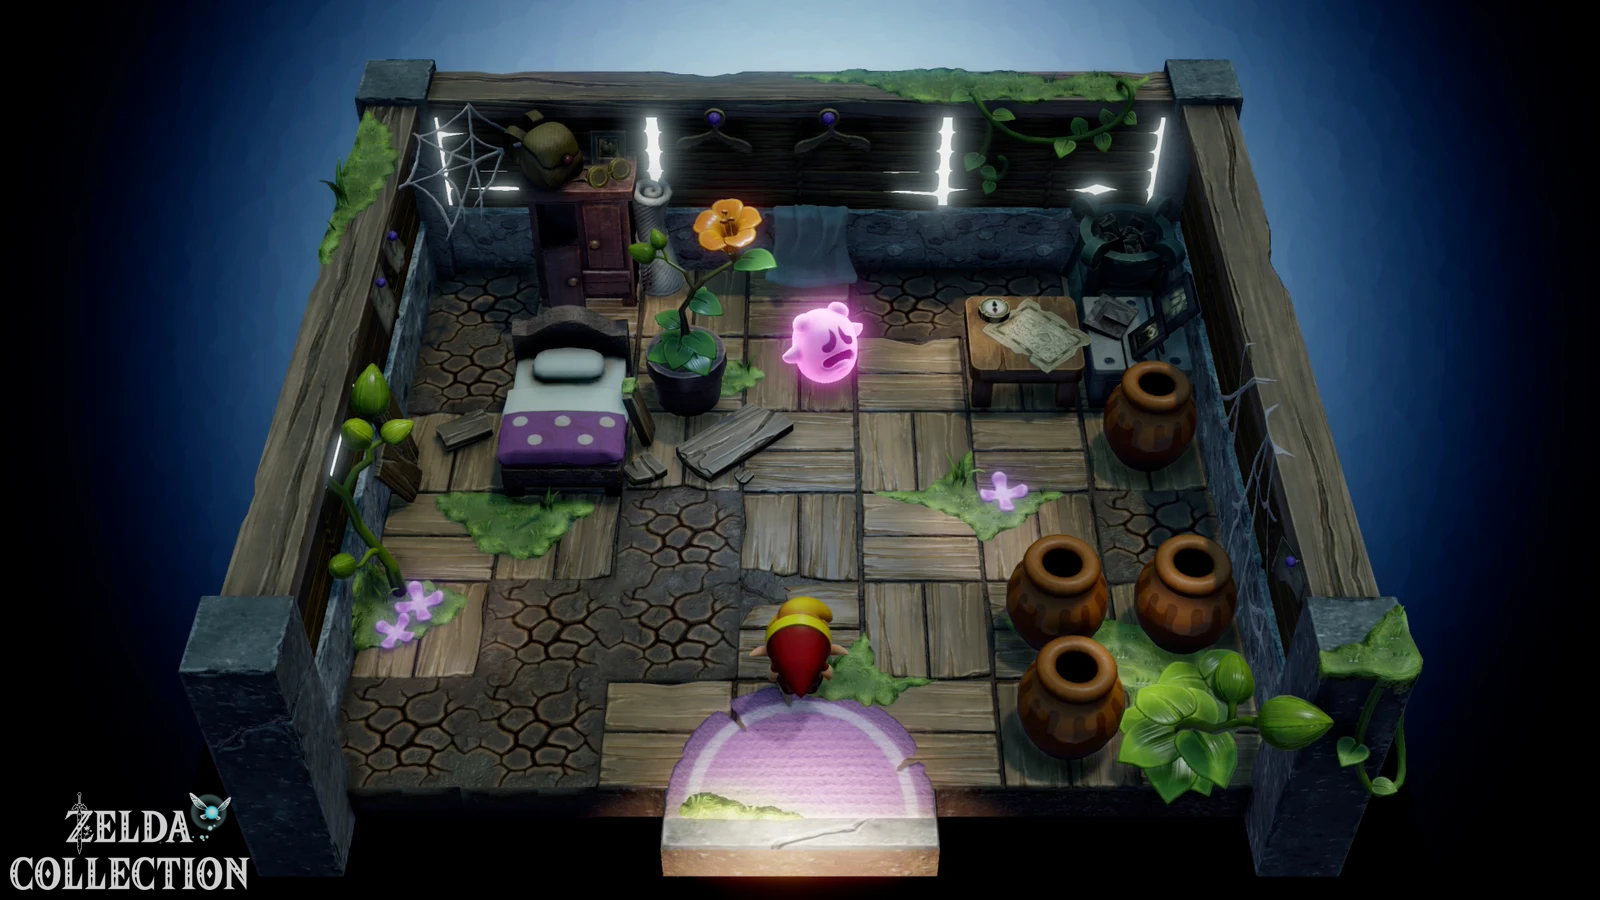
Travel via Manbo’s Mambo as directly as possible to the warp point of the Martha’s Bay. If you haven’t activated it yet, you can alternatively go east via Toronbo Shores. The dilapidated house you are looking for is located directly on the coast on the western edge of Martha’s Bay. As soon as you enter it, the ghost remembers its previous life. After the short scene he asks you to take him to his grave.
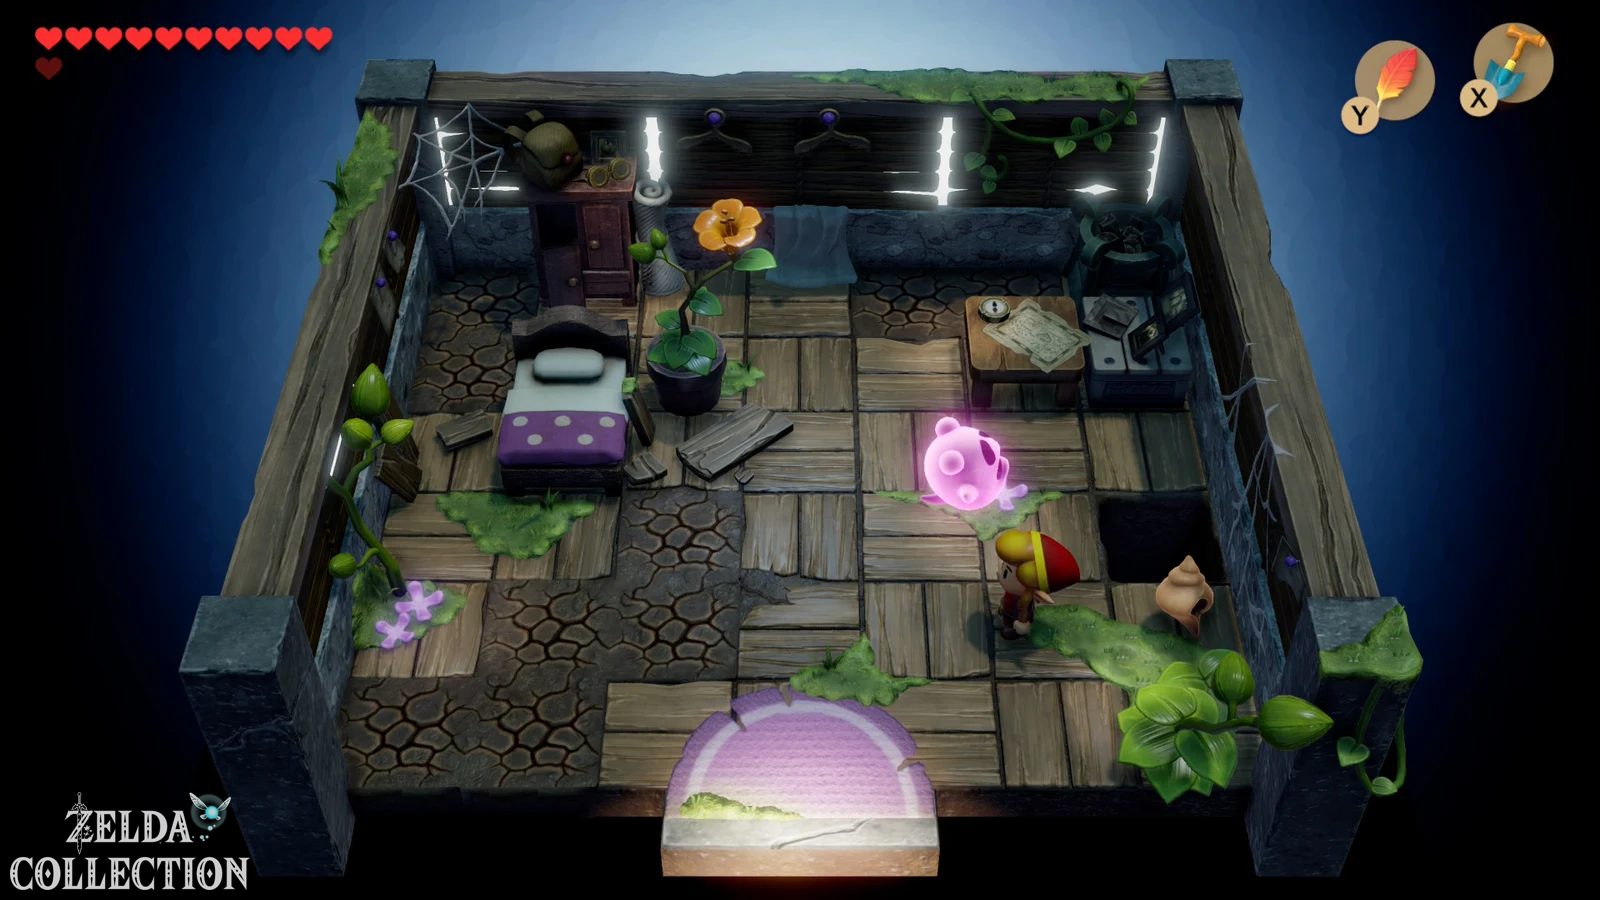
Before you leave the house, lift the jars inside. Underneath one of them is another Secret Seashell. This Location is closely related to the ghost story and should therefore be done right now. In the original and DX, the ghost even specifically references the shell in his former house; In the remake, the shell remains, but you also get a completely new reward.
Take the ghost to his grave and get bottle 2
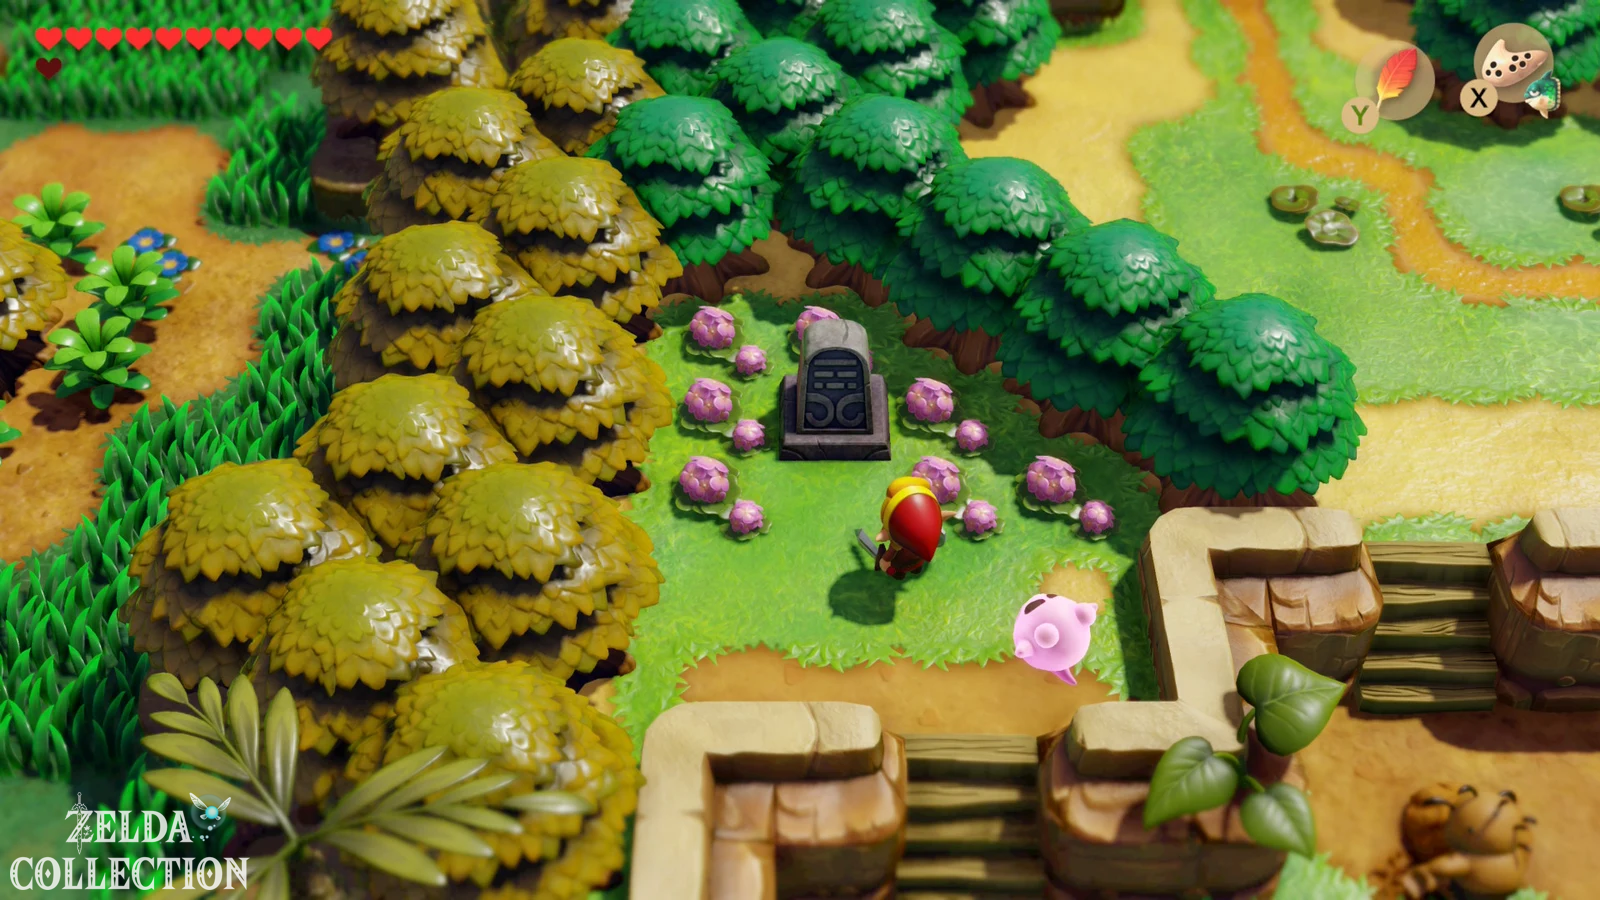
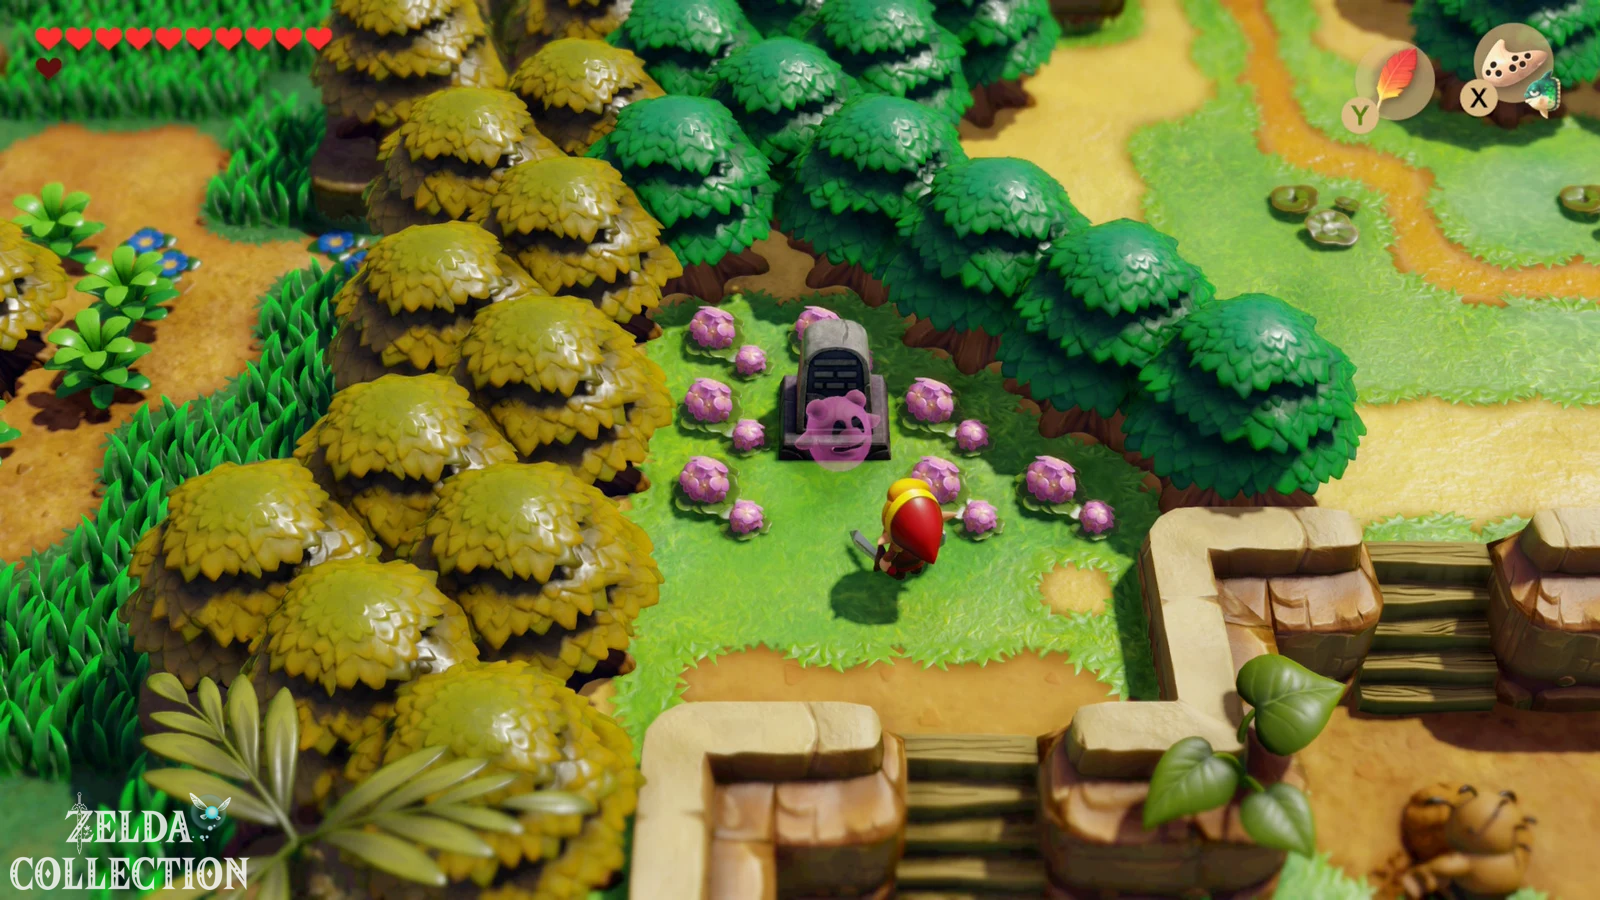
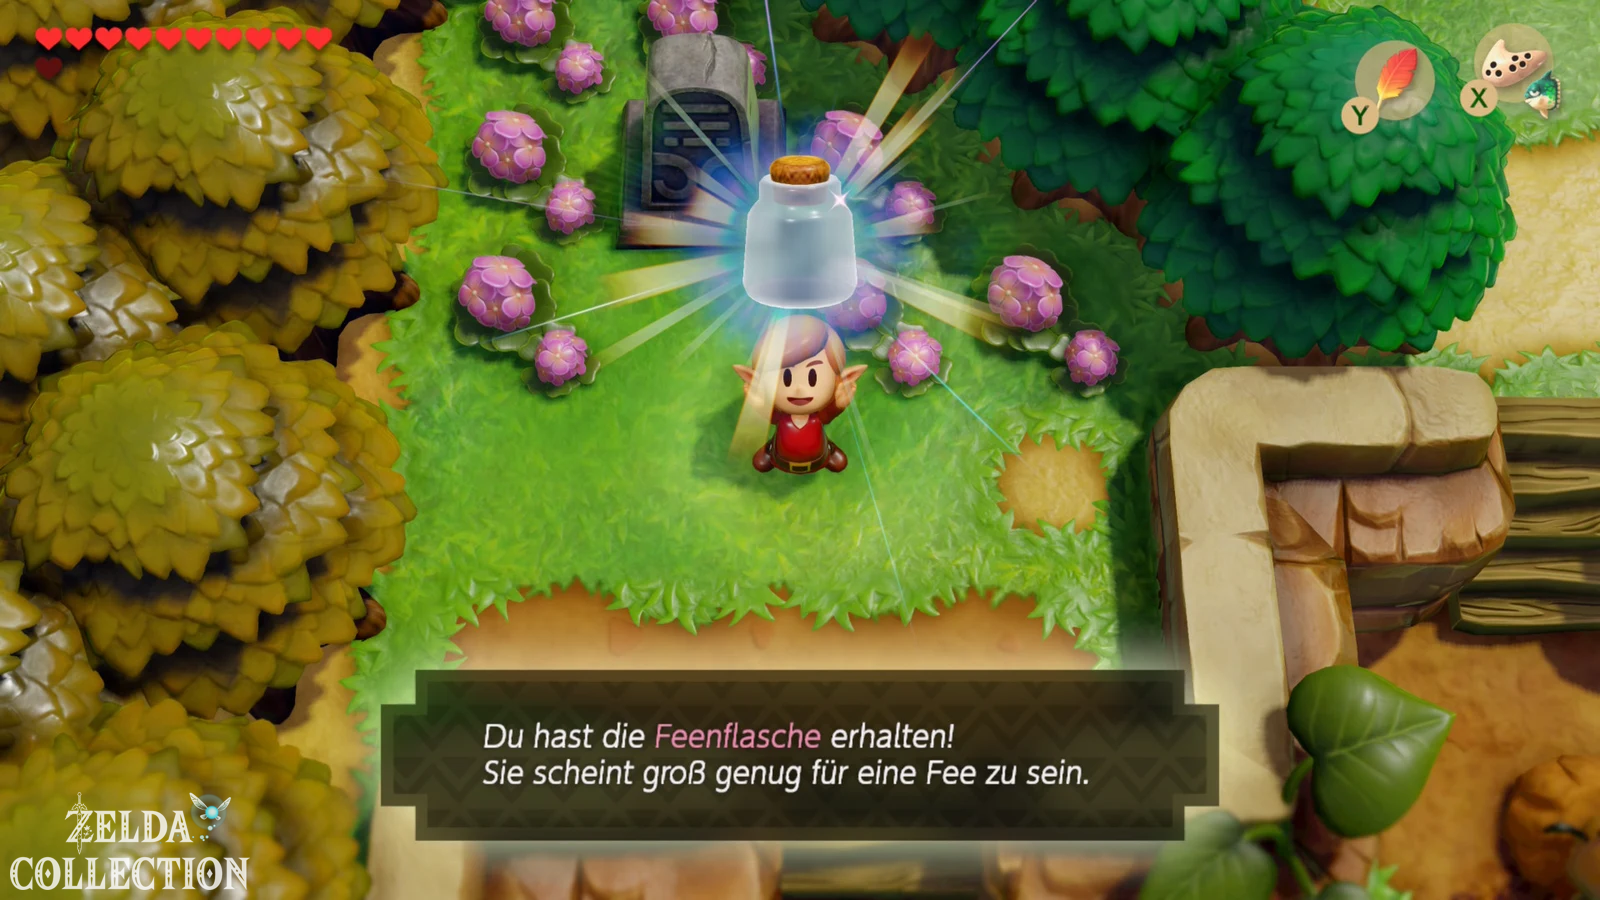
Plays Manbo’s Mambo and travels to the most favorable warp point near the cemetery or Manbo’s pond. The grave of the spirit lies west or southwest of the witch’s house and can be easily recognized by the flowers surrounding the individual gravestone. Clear the rock out of the way and approach the grave. The ghost finally finds peace and thanks Link. In the Nintendo Switch remake he leaves it up to you second bottle.
Bottles can hold fairies, which you can later use manually for healing. They do not activate automatically upon a Game Over. If you already have the bottle from the fishing pond, you have two of the three bottles. We’ll get the last one later via Dampé. We have also summarized all Locations in our guide to the bottles in Link’s Awakening.
Back to Mabe Village: Cheep-Cheep figure and Secret Seashell
Now it’s worth a full lap through Mabe Village. First visit the Trendy Game. Completing the Wonder Tunnel unlocked the Cheep-Cheep figure, provided you have already placed the previous figure on its base. Win it with the claw and then bring it to Ulrira’s house, where the matching base is located. Only when the figure has been set up can the next figure appear later.
Then returns to Trendy Game. After the Angler’s Tunnel, another Secret Seashell will also be unlocked there as a prize. Catch them too with your claw and be sure to take them with you. If there is still a Chamber Stone or another permanent prize from previous rounds in the machine, clear it too. For a complete Switch game, all one-time crane rewards should be collected at the end.
Catch Cheep-Cheep in the fishing pond
Next go to Fishing Pond. After completing the Wonder Tunnel, Cheep-Cheeps can appear there for the first time. If none are visible, first catch some normal fish so that new specimens can be added to the pond. As soon as a red Cheep-Cheep appears, throw the bait as close as possible to it and make small movements to encourage it to bite. There is an important special feature when retrieving: If the Cheep-Cheep jumps out of the water, release the A button completely. If you continue to pull on the leash while he jumps, it will be much easier for him to break away. As soon as he is back in the water, you can continue cranking.
For the first captured Cheep-Cheep you will receive another one Secret Seashell. If you are currently catching several fish, you can also do so Rupees collect and improve your previous fishing records. The significantly rarer blooper only appears after the next dungeon and is therefore shown after that Catfish’s Maw caught up.
Difference from original and DX: Cheep-Cheeps, Bloopers, additional bait, bottle, Chamber Stones and the associated shell rewards are part of the highly expanded fishing pond of the Switch remake. The classic fishing game on the Game Boy is much simpler and doesn’t have these collectibles.
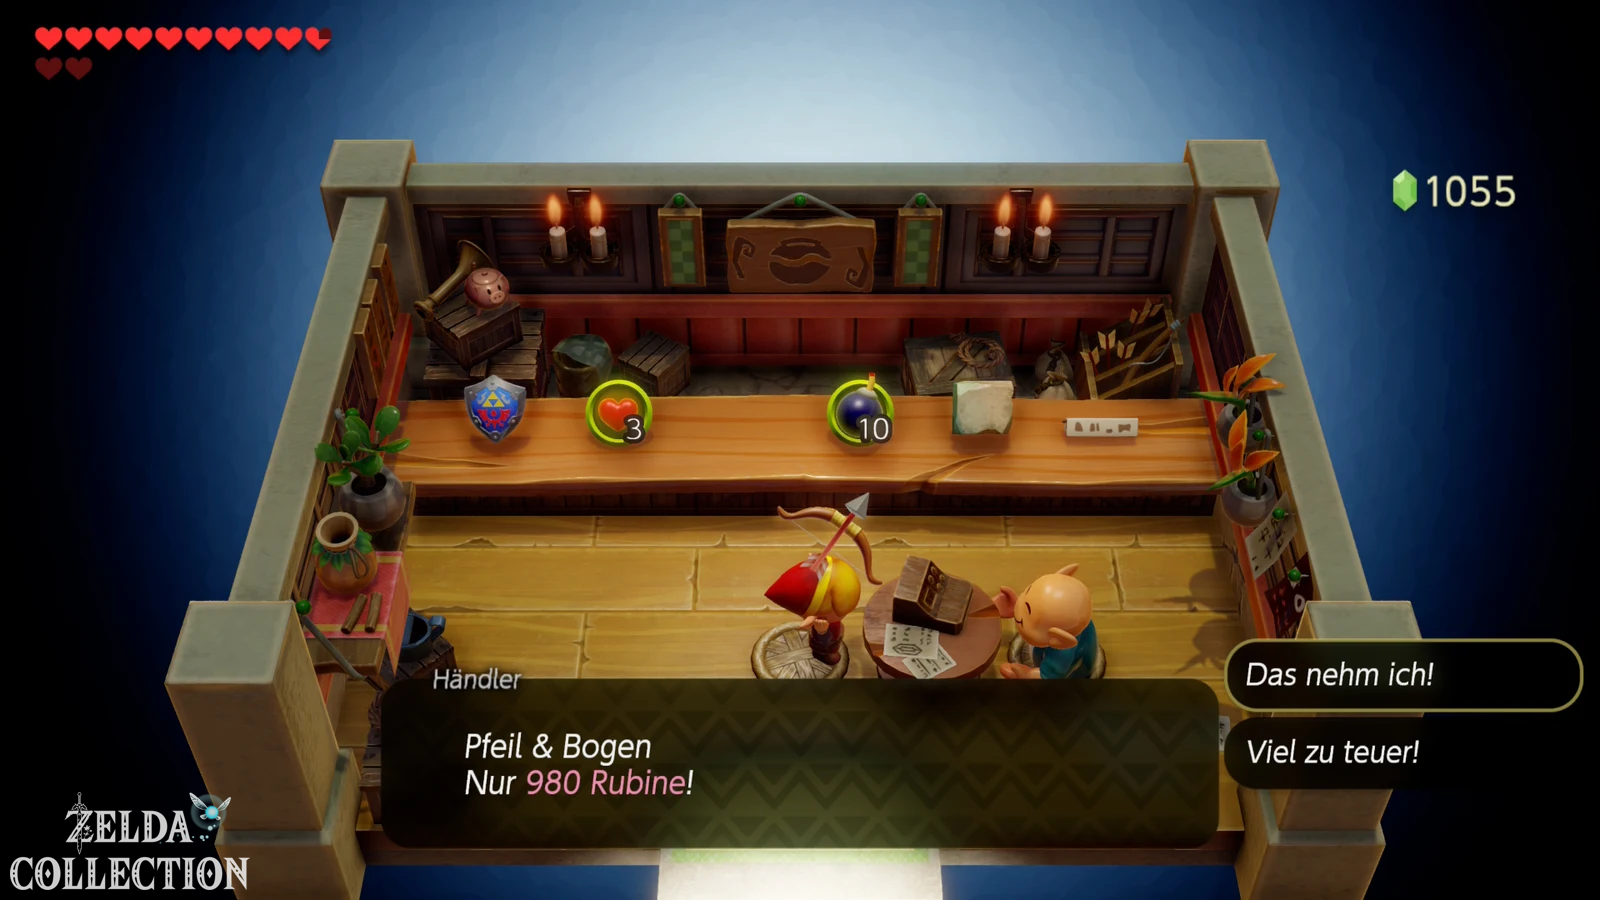
Buy the bow for 980 Rupees
If you have enough Rupees, you should now also buy the sheet in the Mabe Village store. It costs a whopping 980 Rupees, which is why we have deliberately not forced it yet. However, thanks to the many chests from the last dungeons, the crane game and the collecting rounds, you should have built up a good reserve of money by now. The bow becomes more and more useful for the next dungeons and is part of the complete equipment anyway.
Of course you can also steal from the store, but for our regular 100% pass we buy the bow as normal. This will keep Link’s reputation in Mabe Village intact and you won’t have to live with the well-known consequences of theft.
Buy
Exchange series: Hibiscus for letter
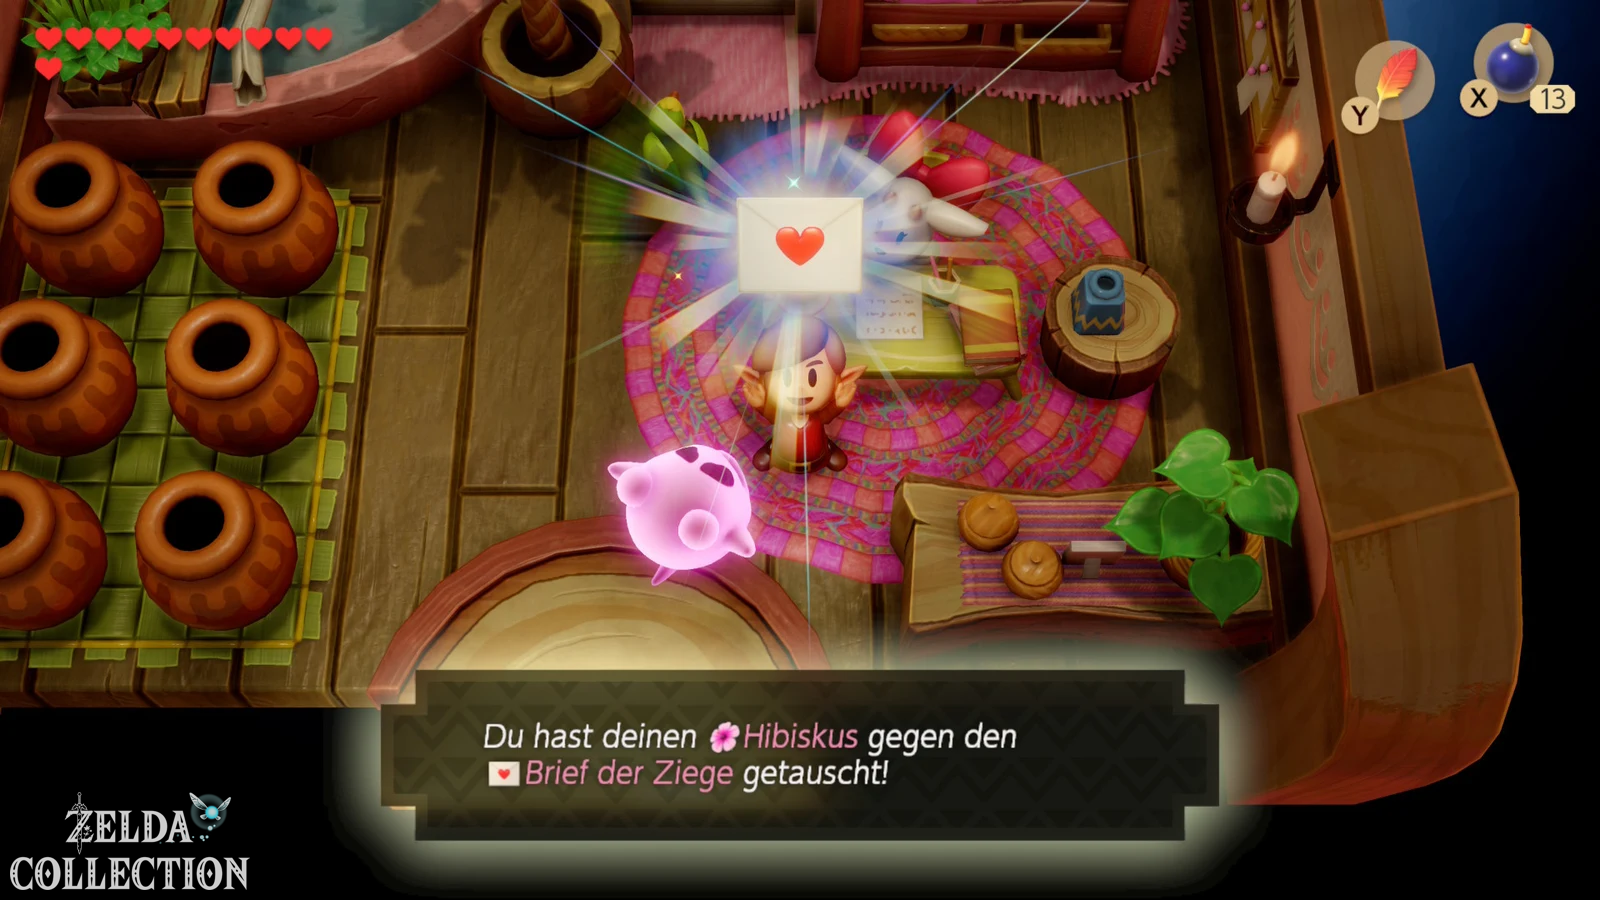
Now travels to Animal Village. From the Tal Tal Mountain Range you still have the hibiscus, which Papahl swapped for the pineapple. Enter Christine’s house and give the flower to the goat. She is thrilled and gives you a letter, which you should take to Mr. Write. The exchange series basically exists in the original and in DX, but the Switch remake adds additional rewards along this route.
Plays Manbo’s Mambo and travels as close as possible to the Mysterious Forest. Mr. Write lives northwest of it in his single house. Give him the letter. He is particularly happy about the enclosed photo of Christine and in return he will give you a broom. This completes the next step of the exchange for the Magnifying Lens.
Secret Seashell by Christine
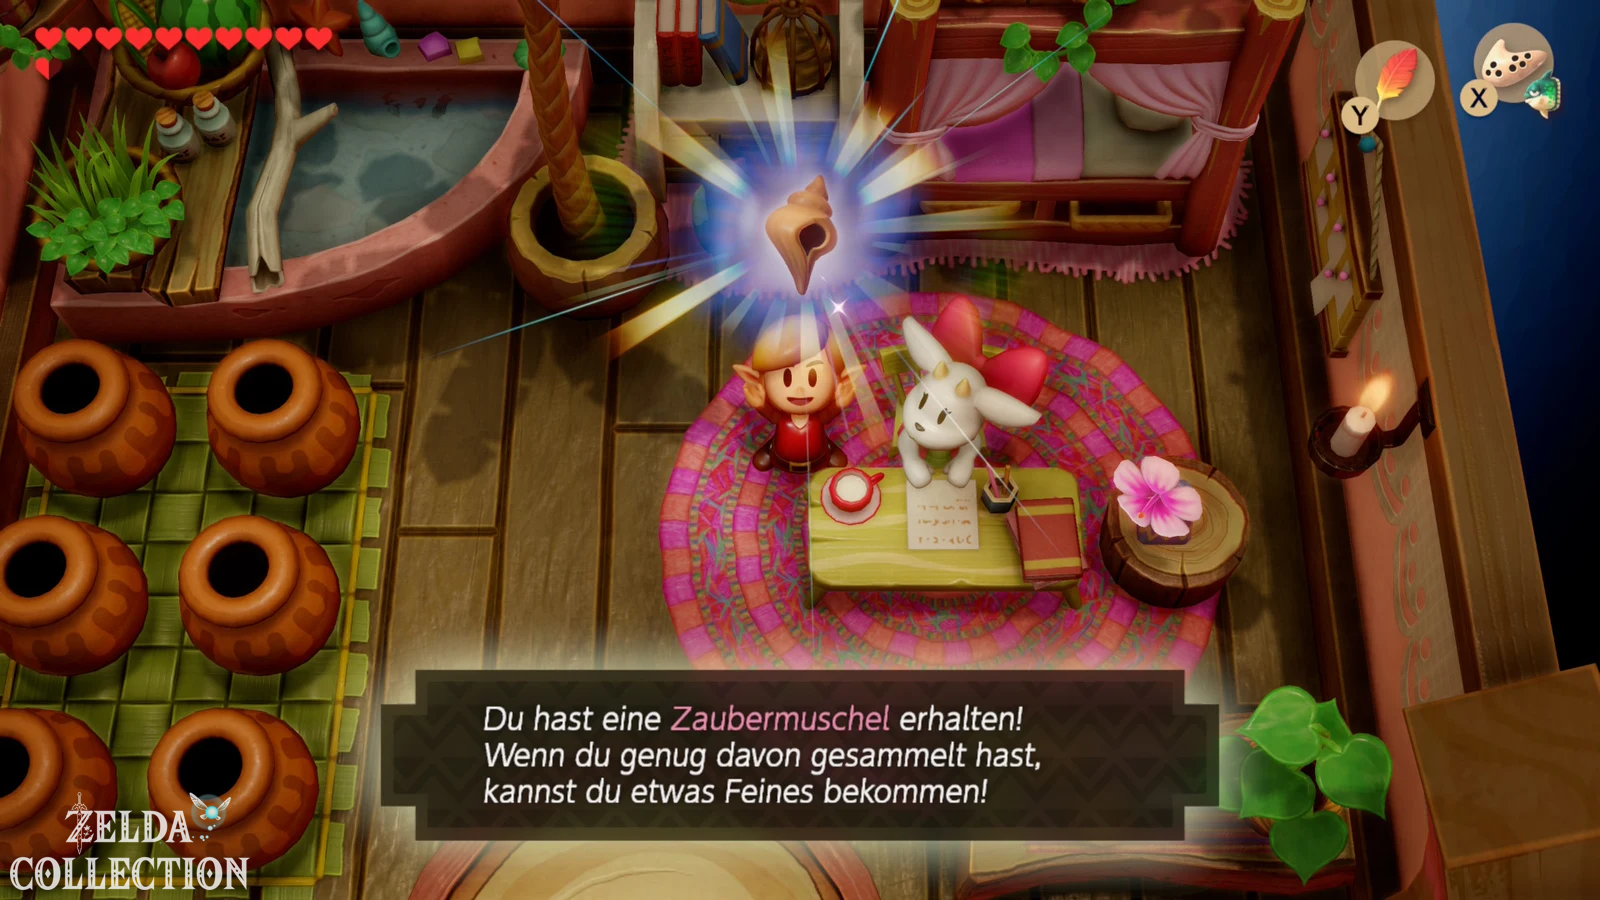
In the Switch remake it is now worth taking an additional trip back to the Animal Village. After successful delivery, speak to Christine again. As a thank you for delivering her letter to Mr. Write, she will give you another Secret Seashell. This additional shell step does not exist in the Game Boy versions and is therefore easy to miss if you use an older Walkthrough as a guide.
Swap the broom for the fish hook
The broom goes to Grandma Yahoo. Depending on how far you have progressed in the adventure, it is still in Mabe Village or has already moved to Animal Village. Speak to her and hand her the broom. In return, Link receives the fishing hook. Unlike the Hookshot, which we find later in the Catfish’s Maw, this is just an item in the exchange series. It belongs to the Fisherman under a bridge in the Martha’s Bay.
Piece of Heart in the tunnel north of the Animal Village
Since we are traveling in the Animal Village anyway, we will first take another Piece of Heart with us. Leave the village towards the northern or western entrance and go to the underground passage that you already used on the way to Animal Village. There is a deep water hole in this tunnel that could not be examined before Angler’s Tunnel. Jump in and dive. Underwater you will find the next Piece of Heart.
This previous path has now been completed completely. Exactly such Locations are the reason why our Walkthrough systematically connects new capabilities with regions we have already visited.
Secret Seashell on the island near the Key Cavern
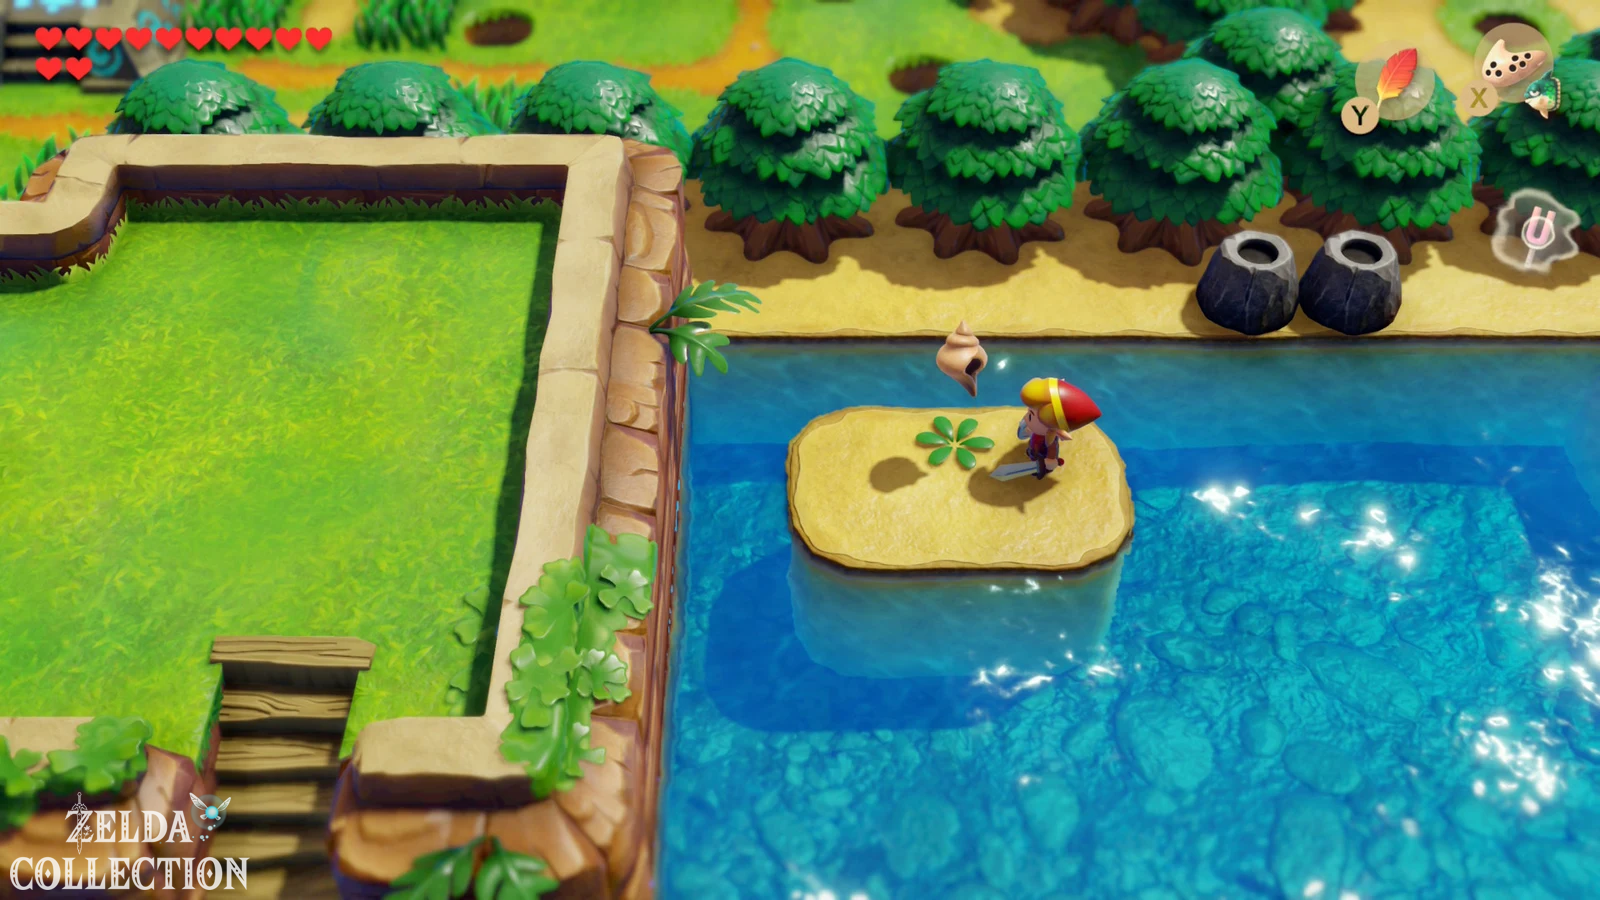
Next, travel or walk to the lake around the Key Cavern. To the north or right of the dungeon is a small island that you could previously see but not reach. Swim over with your fins and knock away the individual bush. Below that is another Secret Seashell. In the older Game Boy versions there is also a shell in this area, although the total count is significantly different due to the much smaller classic collection.
Second Secret Seashell in the Martha’s Bay
Returns to the Martha’s Bay. There is a small island in the water south of the telephone booth. Swim over and destroy the single bush on the island. Below that is the next Secret Seashell. Since this Location is right on our path to further water mysteries, there’s no reason to put it off until later.
Piece of Heart and second Mad Batter
Southeast of the telephone booth and south of the fish mouth you will discover several holes behind which a staircase is hidden. Combine Pegasus Boots and Roc’s Feather to get across the gaps and descend. You will reach a deep waterhole underground. Dive down and get another Piece of Heart. Be sure to continue following the cave path, because the game’s second Mad Batter is also hiding in this system.
There is another altar or a torch in his room. Sprinkle Magic Powder on it and the devil will appear. He offers you another capacity increase. If you have already improved bombs on the first devil as recommended, arrow capacity is now a good option; If you chose Magic Powder back then, you can take bombs accordingly. The only important thing is that you ultimately improve each category of the three devils once. After all upgrades, Link can carry up to 40 units of Magic Powder, 60 bombs and 60 arrows. You can also find the three Locations in our guide to more bombs, arrows and Magic Powder.
Piece of Heart south of the fish mouth
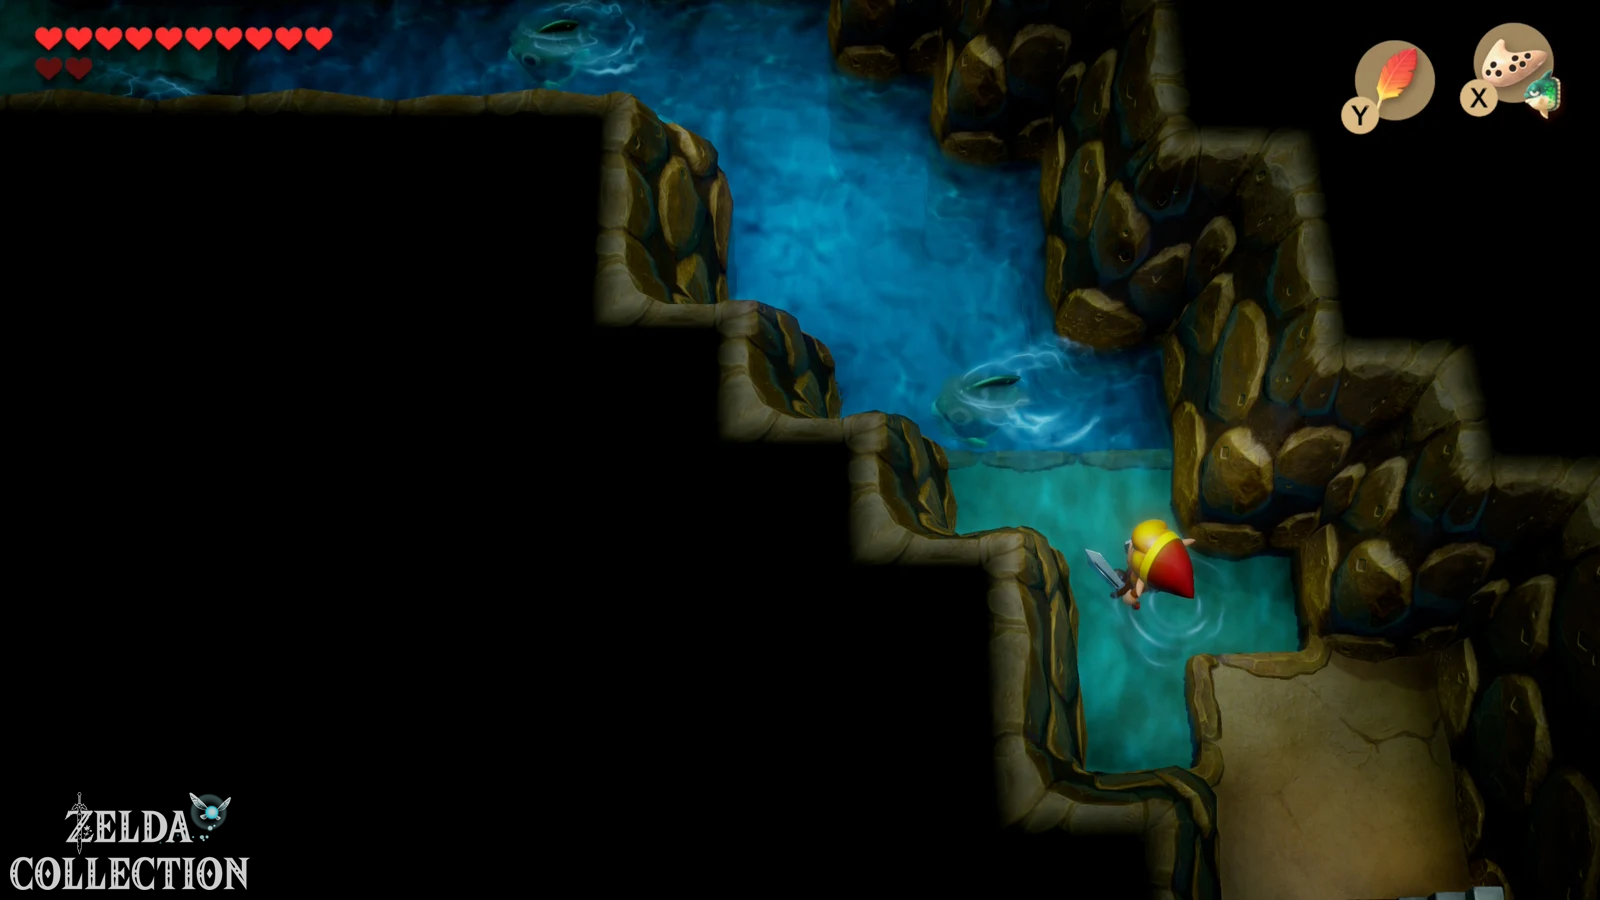
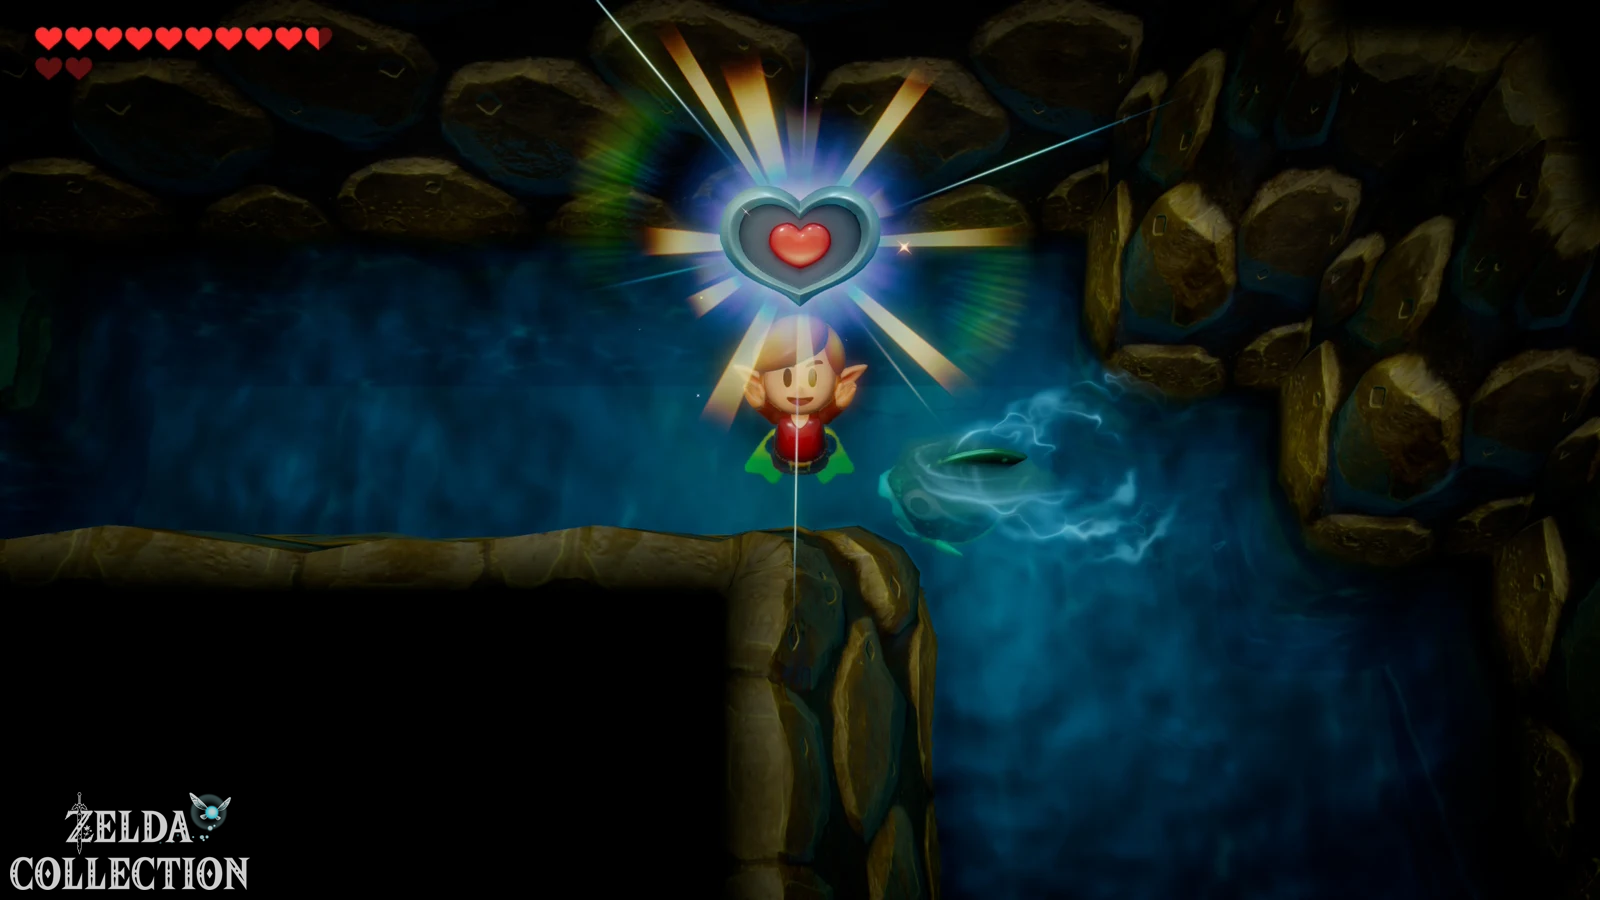
Stay in the Martha’s Bay and now swim south of the fish mouth between the mainland and the island with the mermaid statue. There is another deep spot in the water in a small bay. Dive there and collect the next Piece of Heart. If you consistently follow our route, you will have collected all five Pieces of Heart, which can be reached directly using the flippers or the current score before the Catfish’s Maw.
Swap fishing hook for pearl necklace
Now swim to the large wooden bridge in the southeastern part of the Martha’s Bay. The owner of the fishing hook is not sitting on the bridge, but is underneath it with his small boat . Swim under the bridge from the right side and climb to him. Give Fisherman his fishing hook back. He tries it out immediately and, of all things, fishes out a pearl necklace, which Link gets as the next exchange item.
The Flippers are mandatory for this step. Therefore, the exchange series in front of the Angler’s Tunnel was temporarily blocked at this point.
Return the Mermaid’s Pearl Necklace
Swim from the bridge back to the central area of the Martha’s Bay. There is a mermaid in the water. Talk to her and give her the lost pearl necklace. As a thank you, she will give you one of her scales. We are almost at the finish line in the exchange series.
The scale belongs in the mermaid statue south of the fish mouth. At the moment you can see the statue, but you can’t fully reach the crucial entrance yet. For this we need the Hookshot from the next dungeon. We therefore keep the scale in the Items and end the exchange series immediately after the Catfish’s Maw. Then we get the Magnifying Lens and then the Boomerang.
30 Secret Seashells: Chamber Stone in Seashell Mansion
If you have followed our 100% route completely, you should have reached or even significantly exceeded the mark of 30 Secret Seashells. Therefore travel to Seashell Mansion and step on the platform. For 30 shells found you will receive another Chamber Stone for Dampé. You should have gotten the shell detector for 15 shells earlier; if not, this reward will also be made up automatically.
The Switch remake makes shell delivery much more pleasant than the original and DX: No reward can be lost because you come to the bazaar with “too many” shells. The next big threshold is 40 shells and brings the Koholint Sword.
For Catfish’s Maw dive
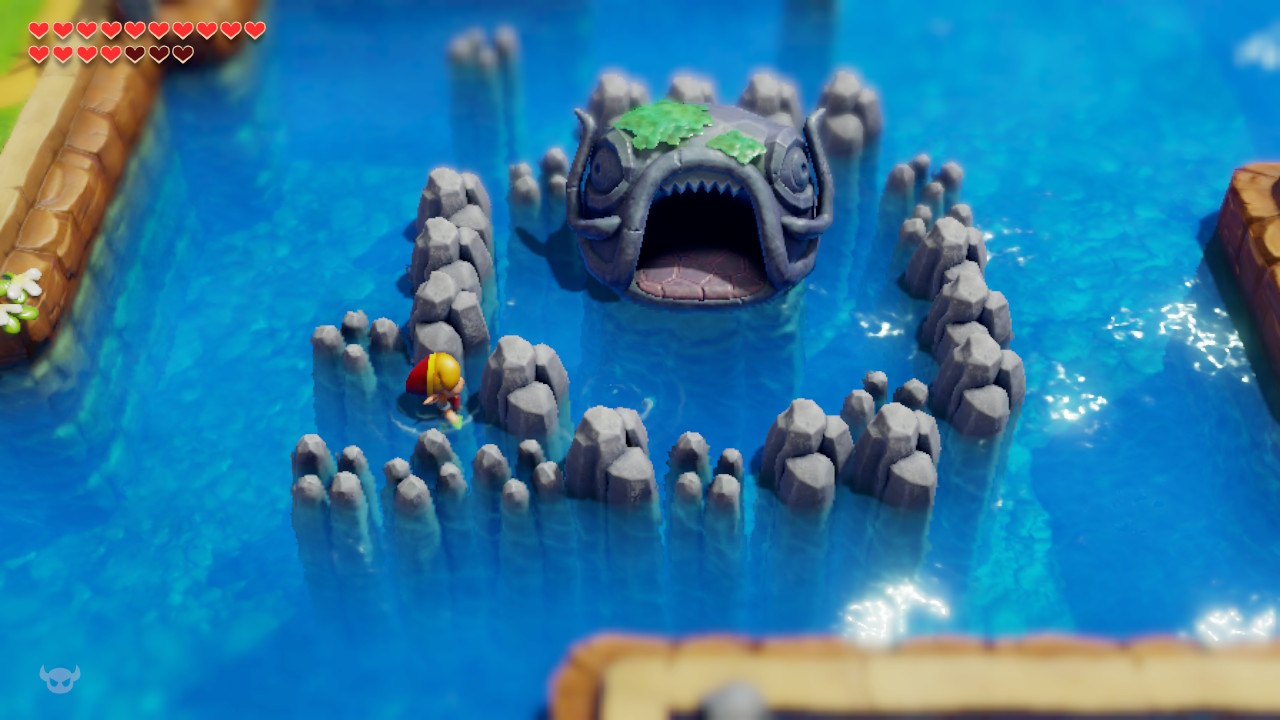
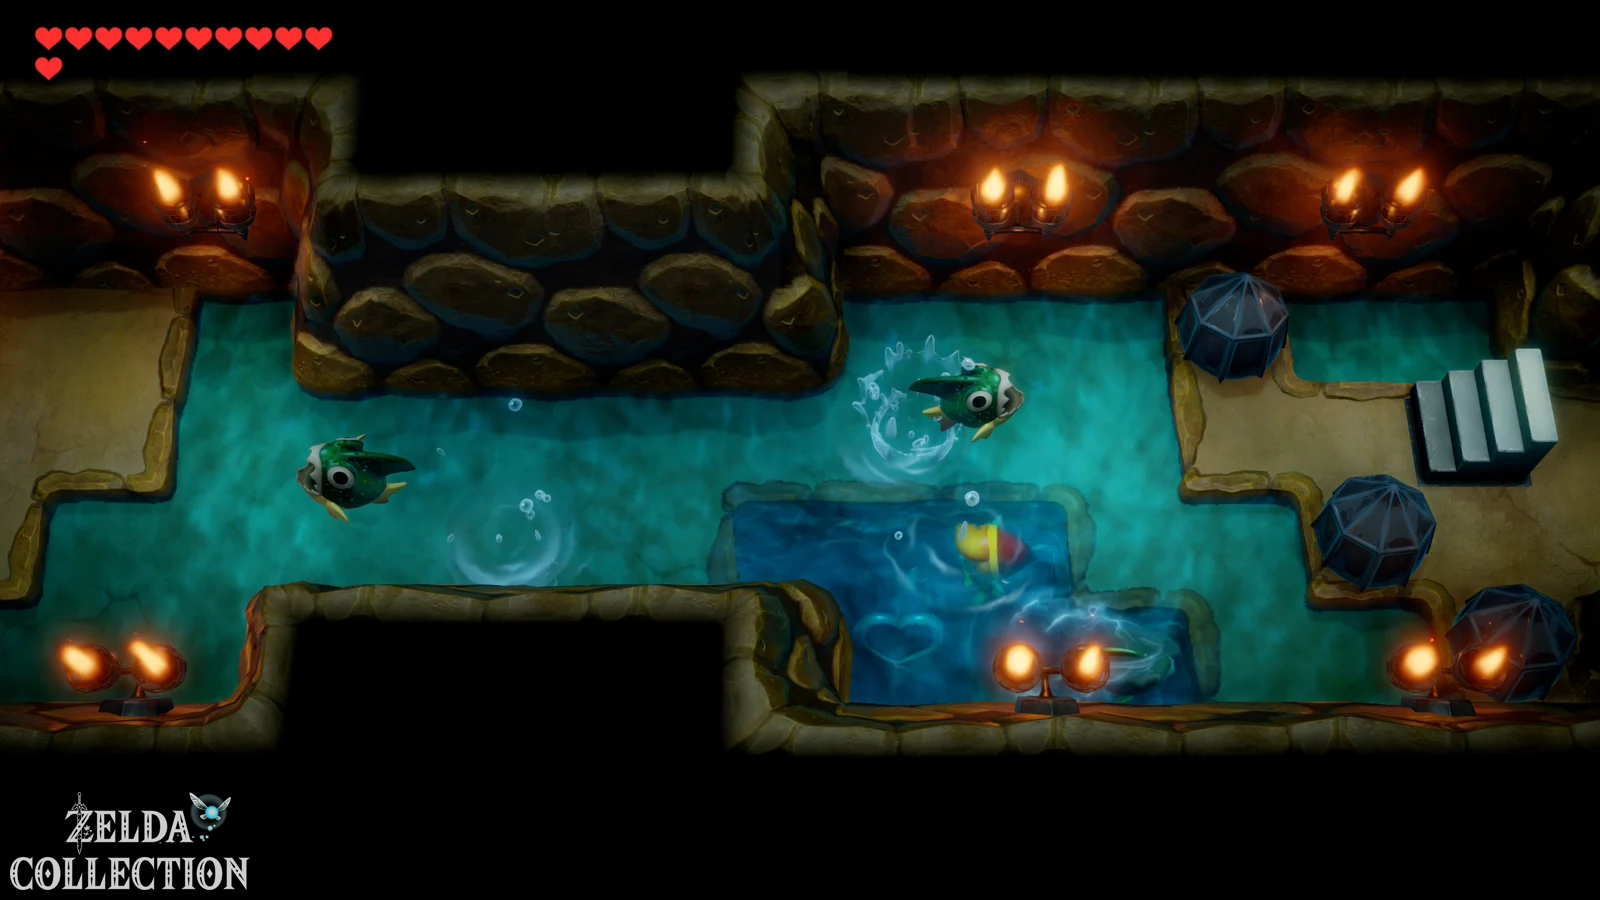
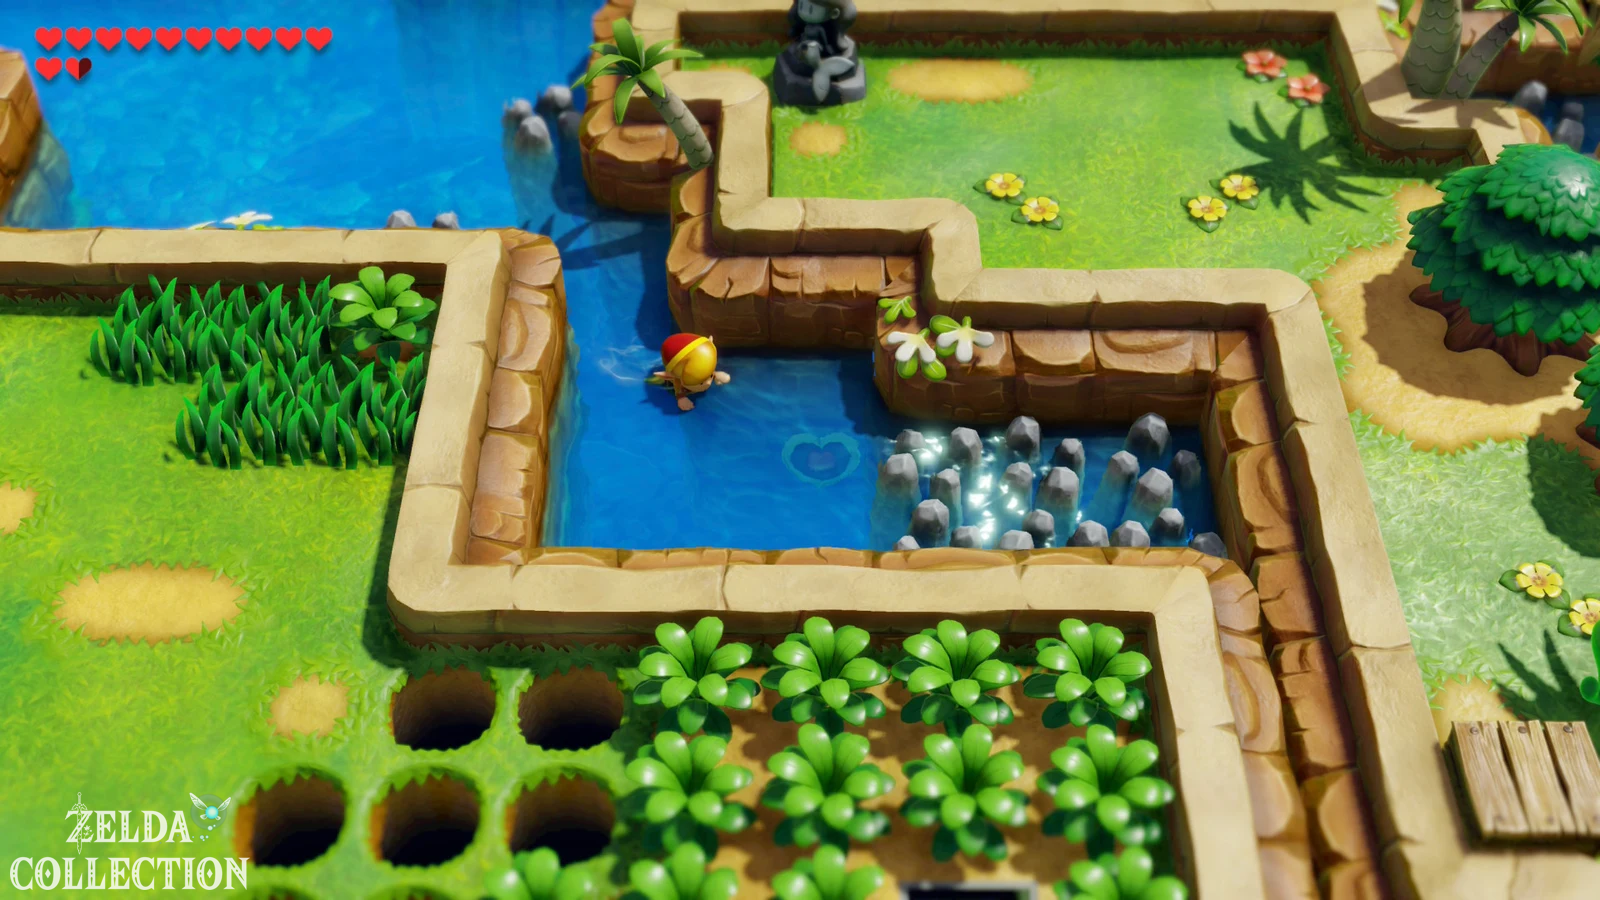
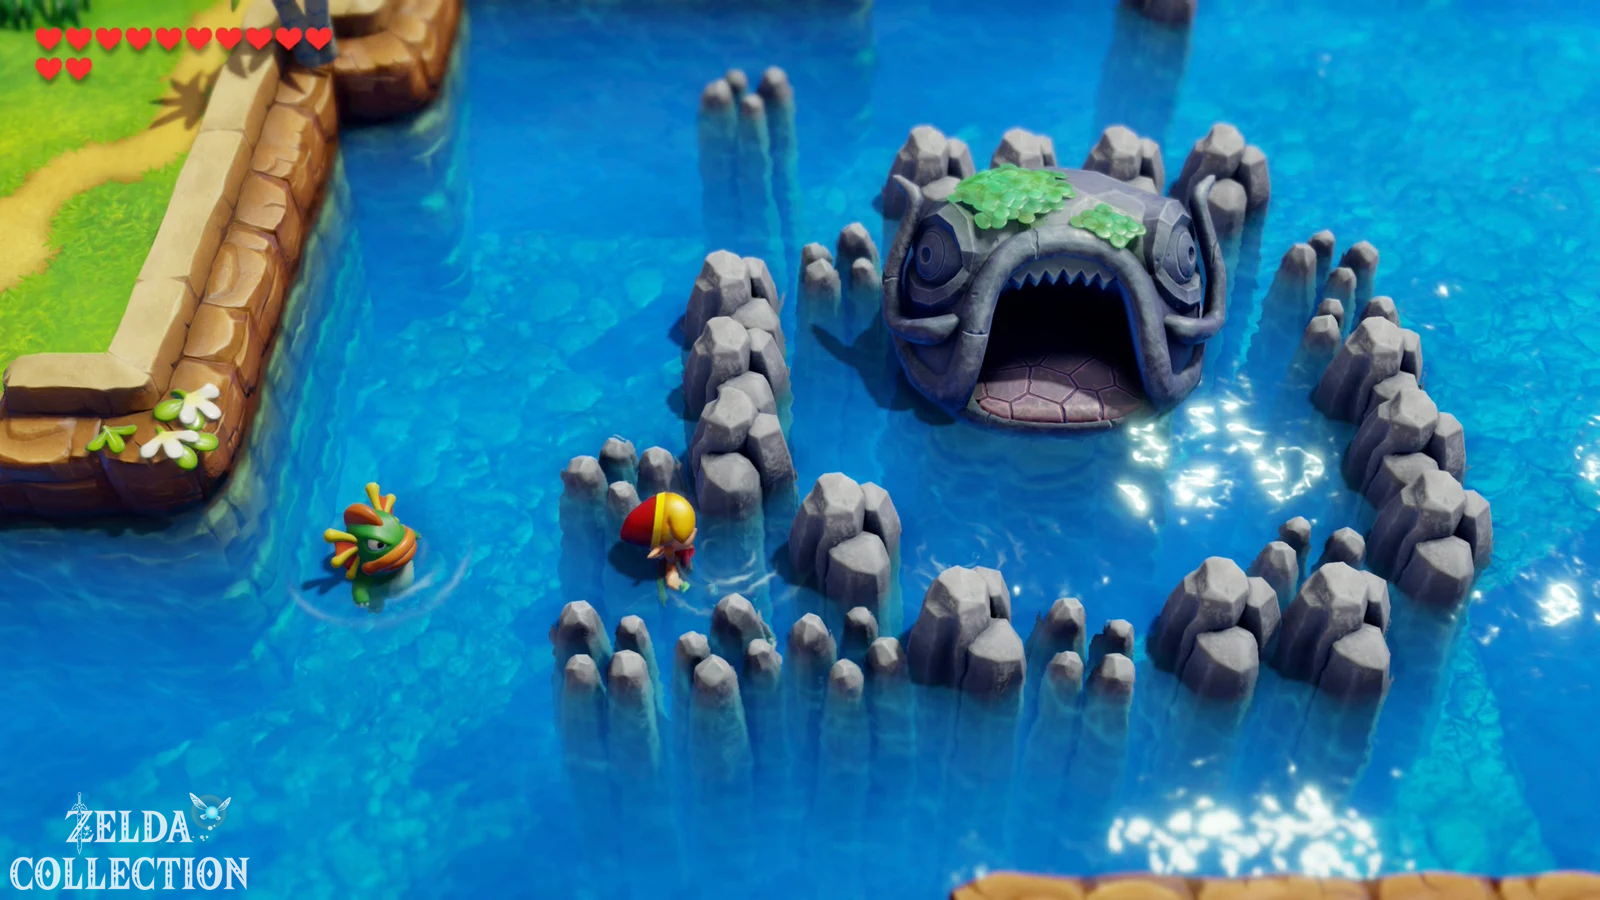
Now the overworld has been completely processed for the moment. Go to the Martha’s Bay to the large stone fish statue or to the Catfish’s Maw. The visible main entrance is not directly accessible. Swim to the left side of the structure. Between the rocks you can see a darker water hole or a small whirlpool. Dive there with your flippers and cross the short underwater section in a side view. On the other side, Link reappears within the ring of rocks and can finally enter the fifth dungeon.
Dungeon 5: Catfish’s Maw
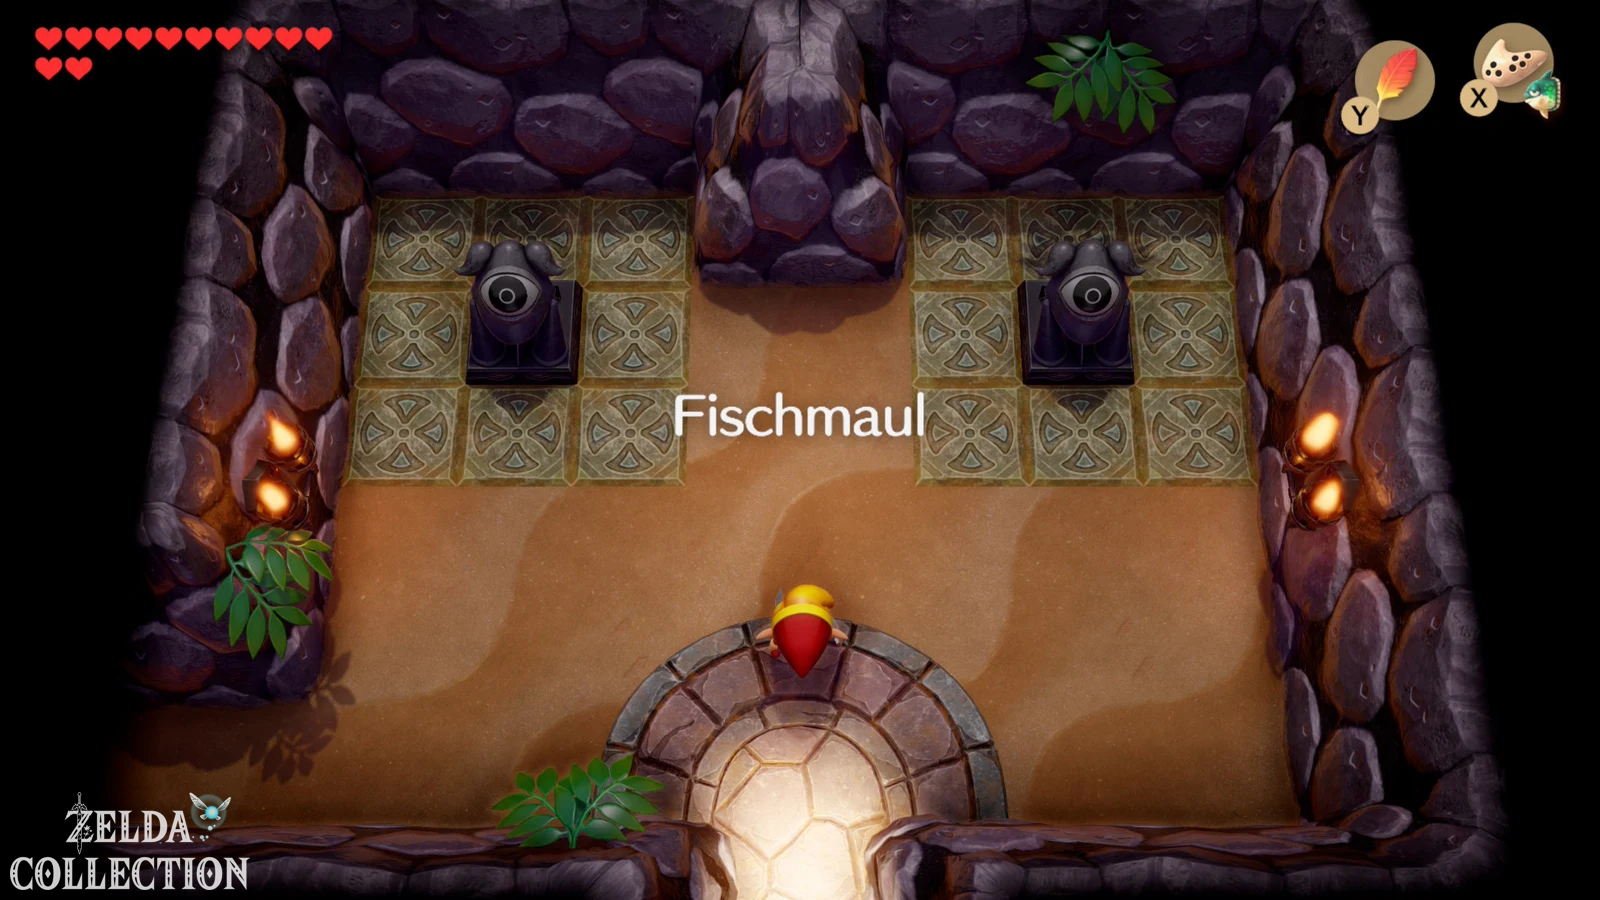
The Catfish’s Maw is significantly less linear than the previous dungeons. Several paths initially seemingly lead nowhere, and a stubborn intermediate boss steals the most important treasure in the dungeon. The central item is the Hookshot. With it, Link can pull himself across wide chasms, reach distant switches and objects, extend bridges and disarm certain enemies. As soon as we own it, an enormous number of collectibles will open up again on the overworld.
Compass and first Small Key
First go left from the entrance and defeat the slimes and the armored mask opponents. Frontal sword strikes hardly help against the so-called iron masks; Move behind her and hit the unprotected back. Go left again and kill the enemies here too so that the door opens. In the next room there is a chest with the Compass.
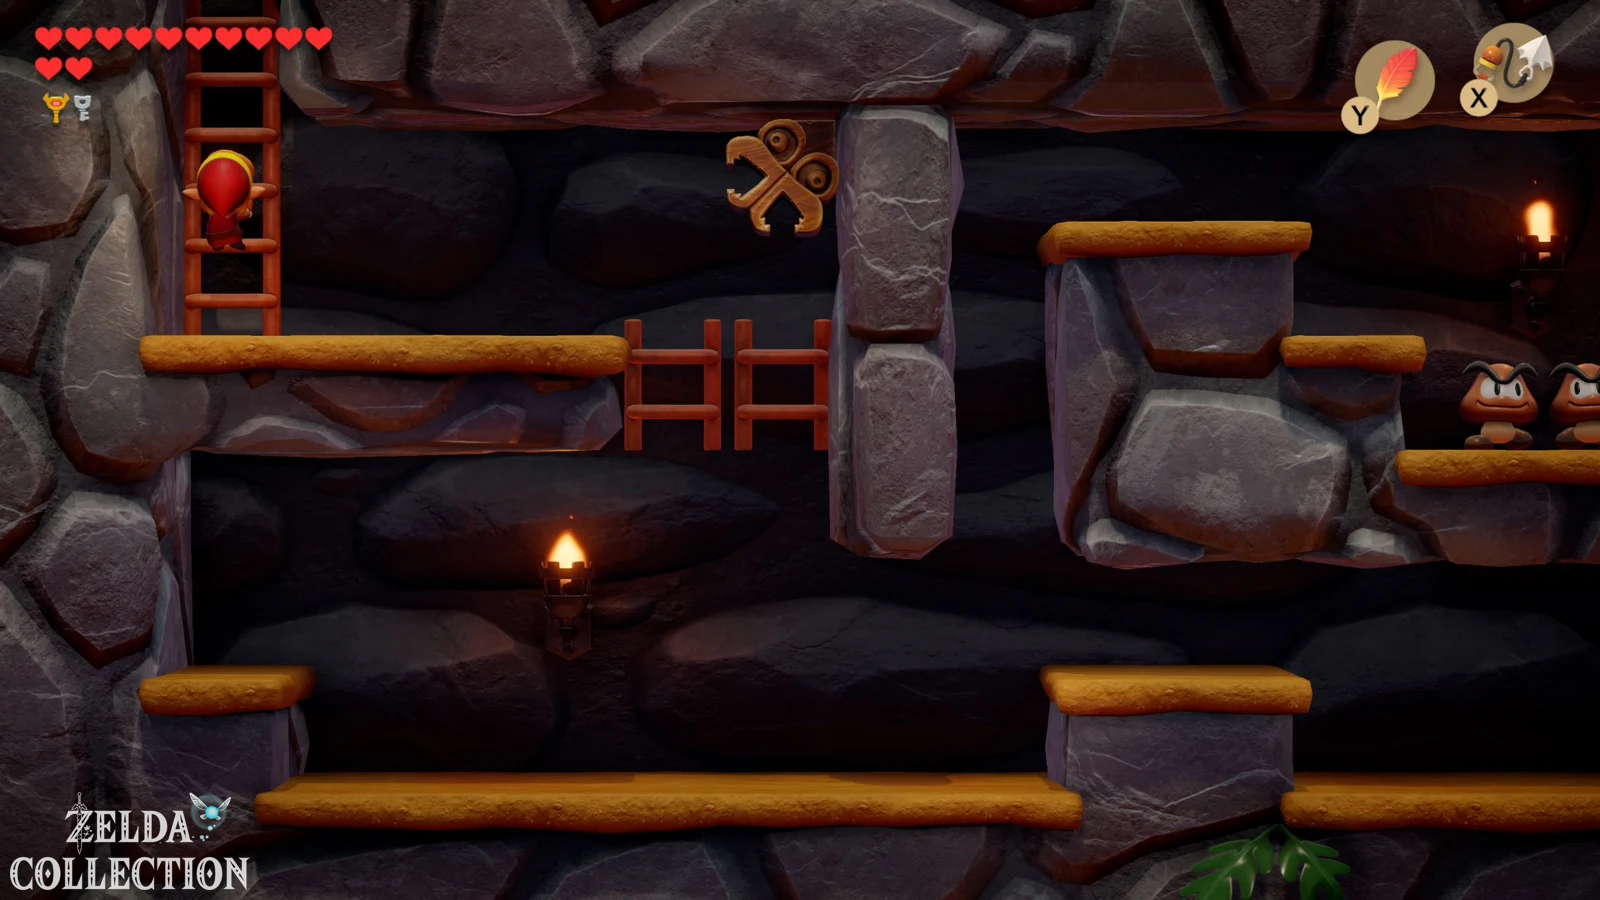
Then climb down the stairs. In the side view area, the two hanging platforms work like a scale: as soon as Link jumps onto one side, it lowers and raises the other platform. Use this effect together with the Roc’s Feather to safely move to the left. The following section has two such platform pairs. Carefully work your way to the ladder at the other end and climb back up.
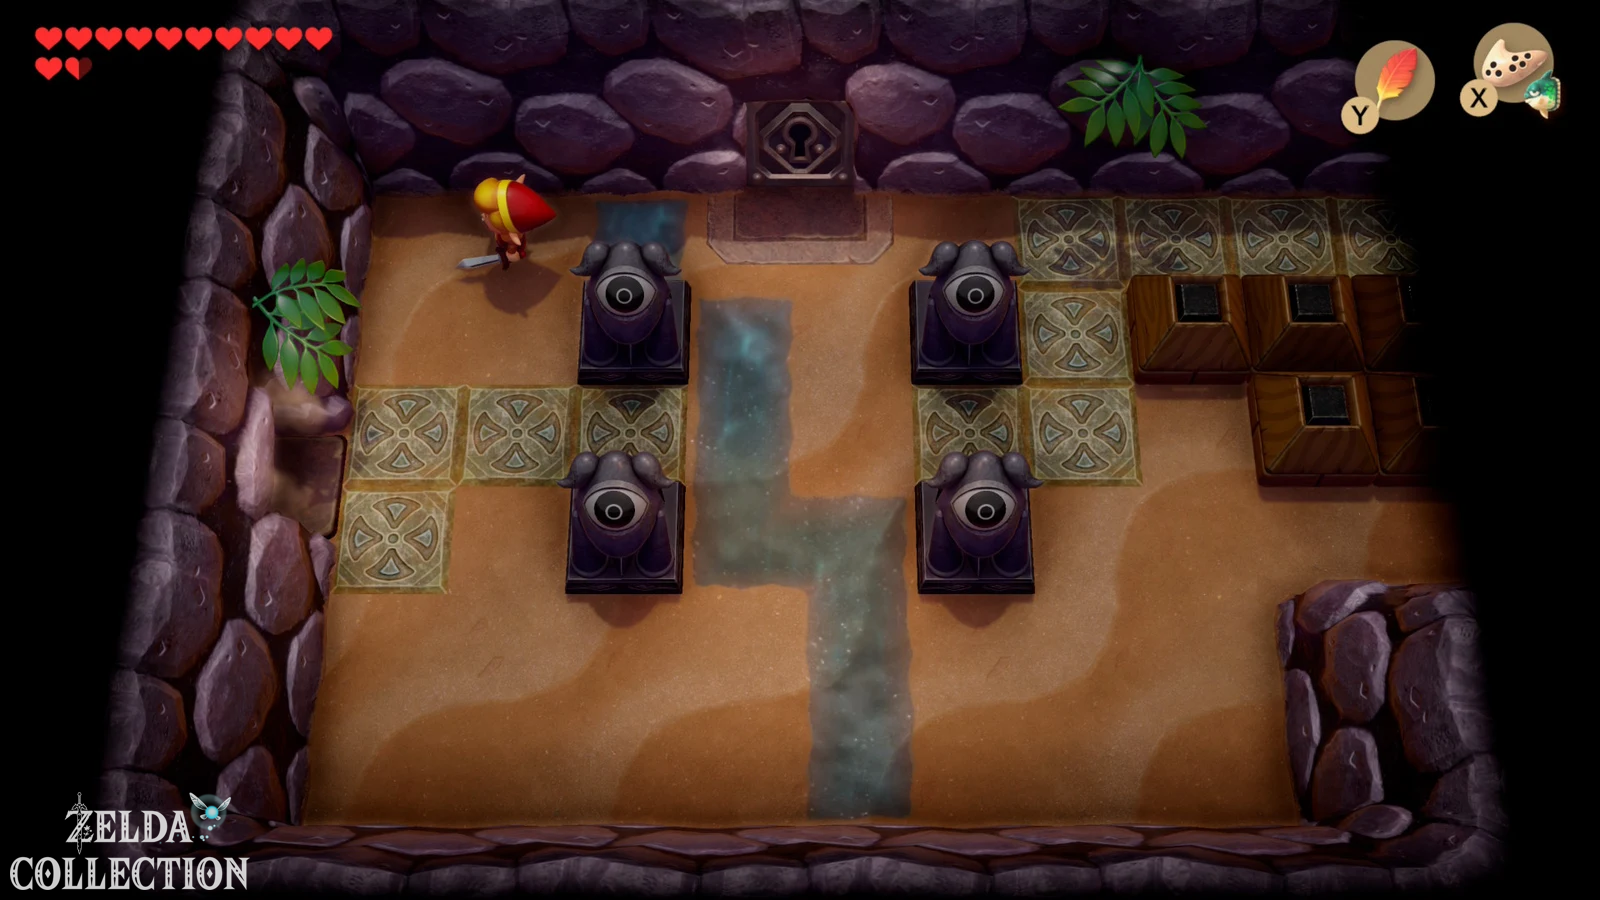
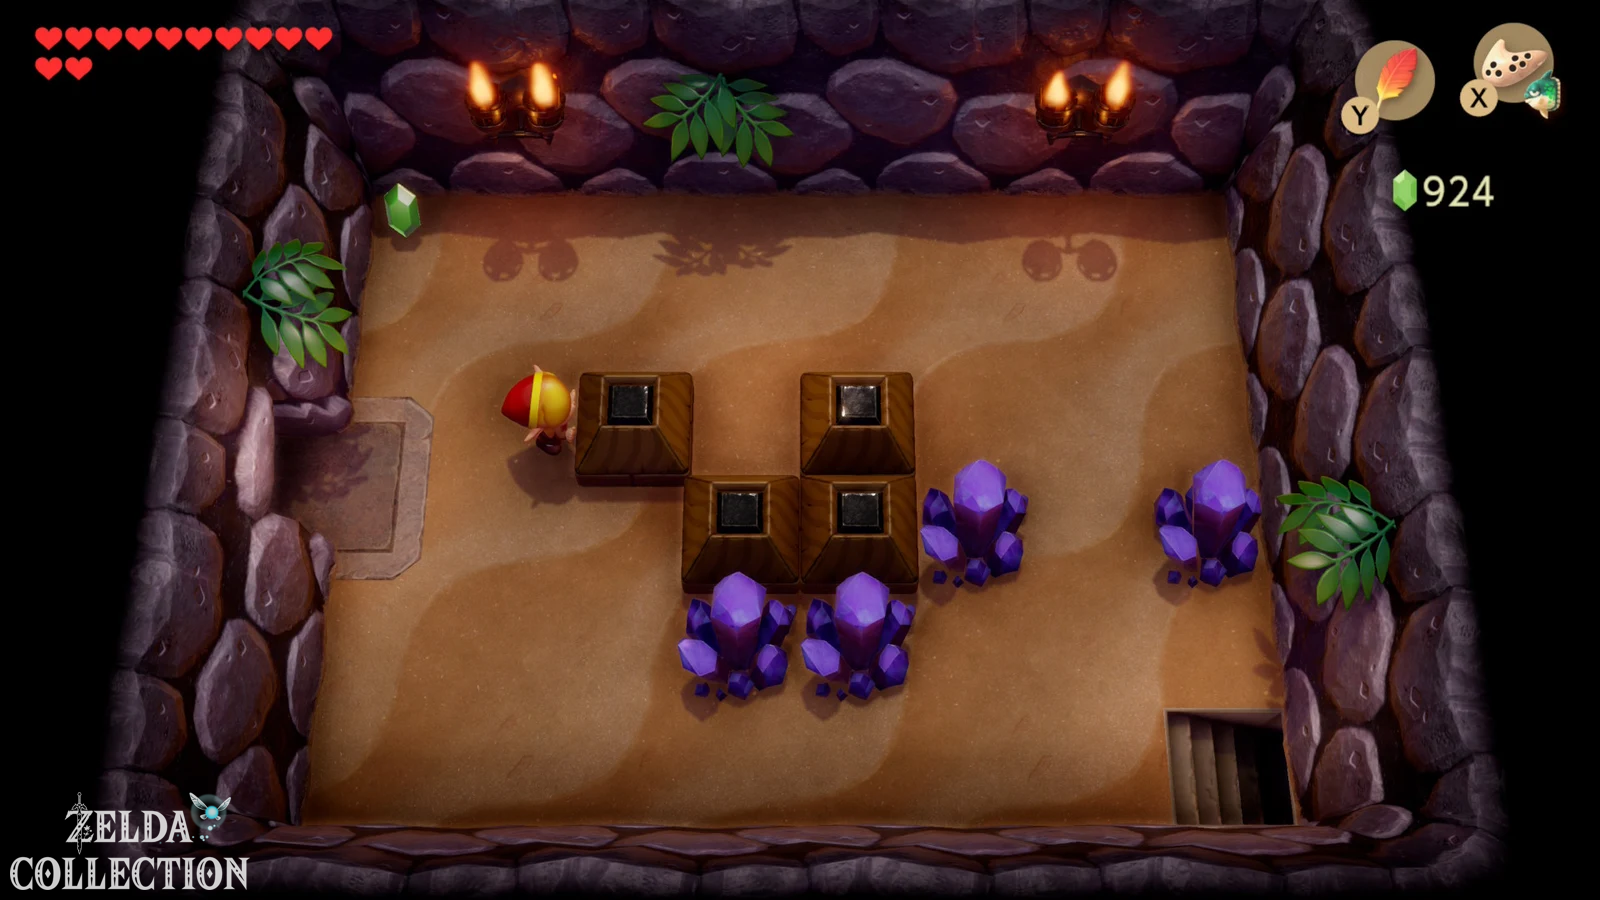
Four skeletons and several crystals are waiting in the new room. Defeat the opponents and destroy the obstacles. Four movable stone blocks are approximately square in the room. Push the two upper blocks towards each other so that the four stones form a closed square. As soon as the formation is right, a Small Key falls from the ceiling.
Get the Stone Beak
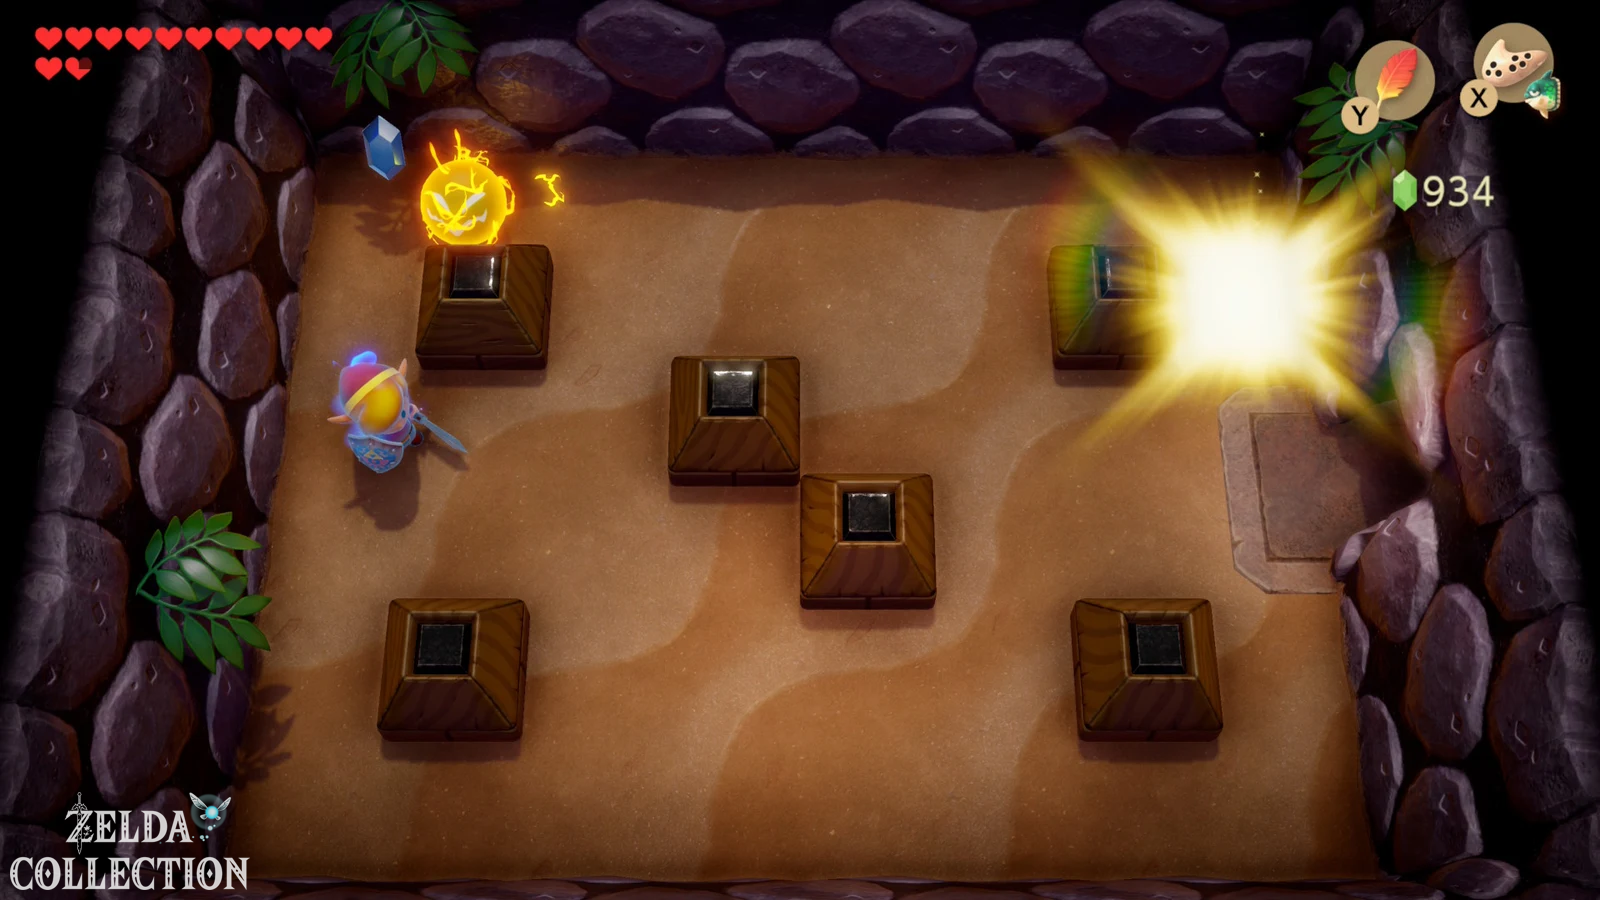
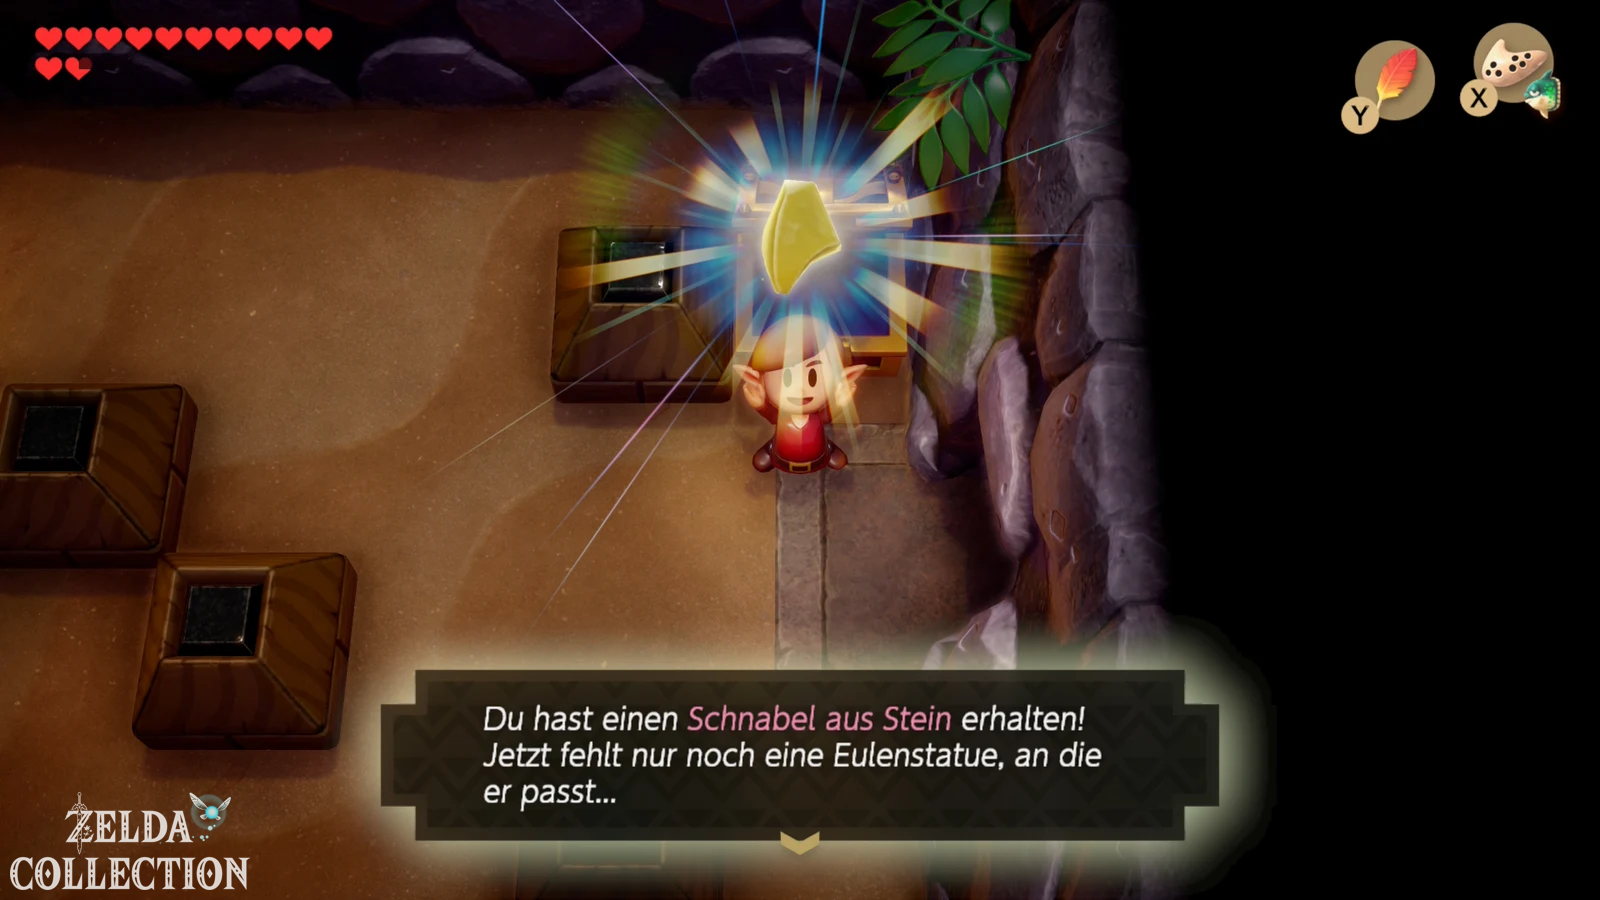
Returns through the side view area to the room with the Compass. This time, defeat the two iron masks so that the door opens and go right. Use the Small Key you just found on the locked door to the north. Follow the path to the left through the room with the blade traps. In the next room there are more iron masks and a circling spark opponent. If necessary, lift some of the jars away so you have more freedom of movement and hit the iron masks from behind. Once both are defeated, the chest containing the Stone Beak will appear.
Also jump to the floating bombs or collect them. You need a good supply for the next intermediate boss – normal sword attacks alone are not enough.
Intermediate boss: Master Stalfos – first fight
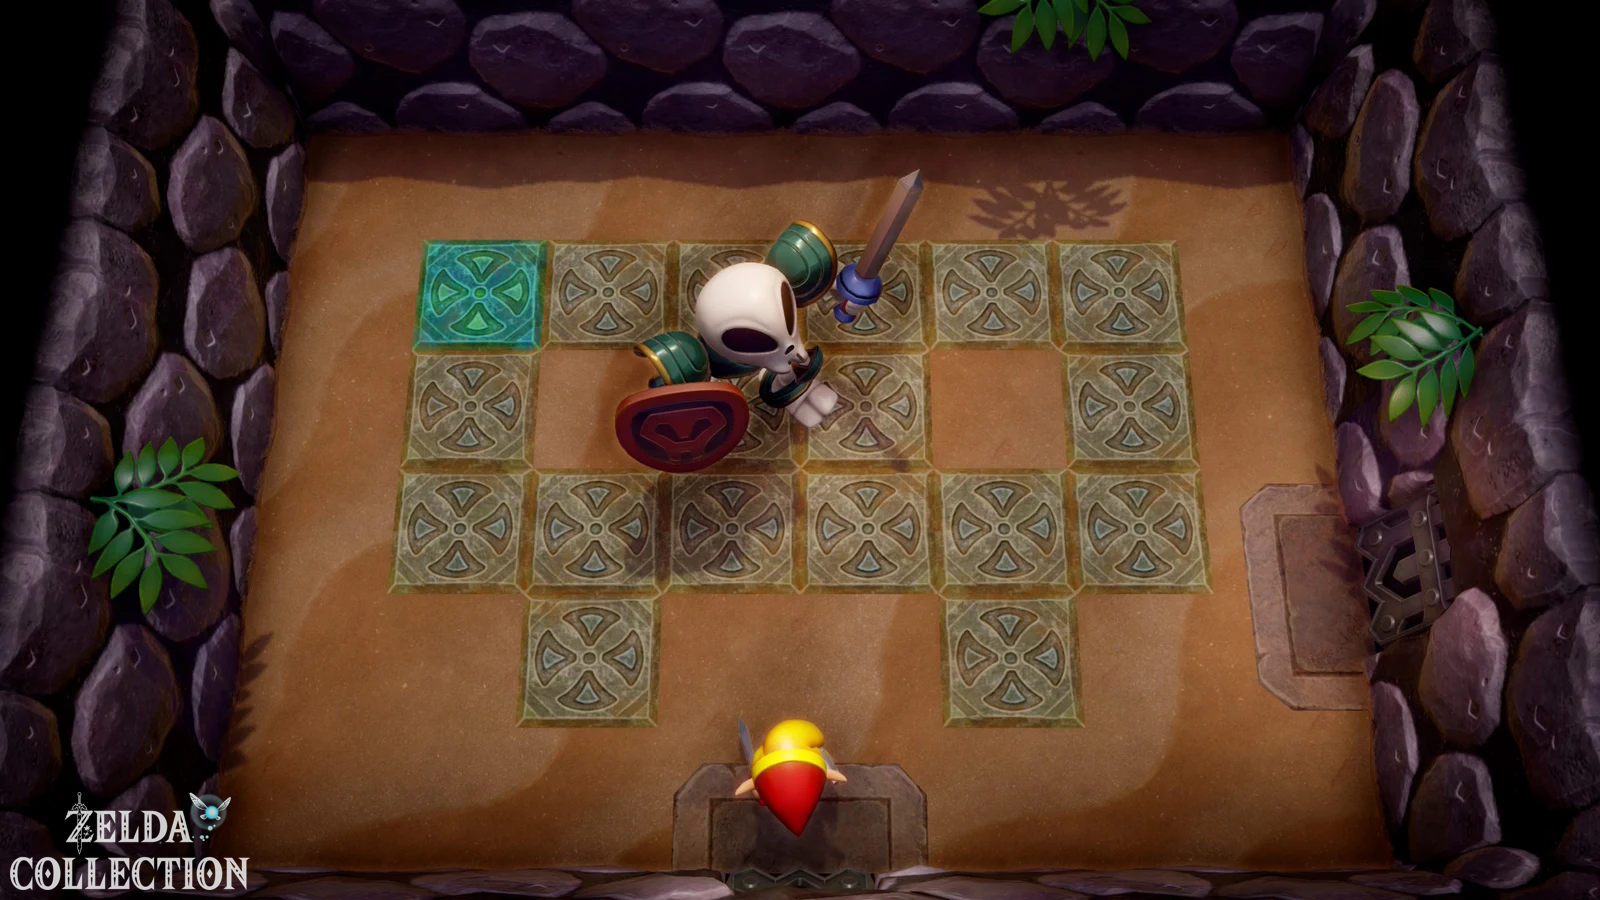
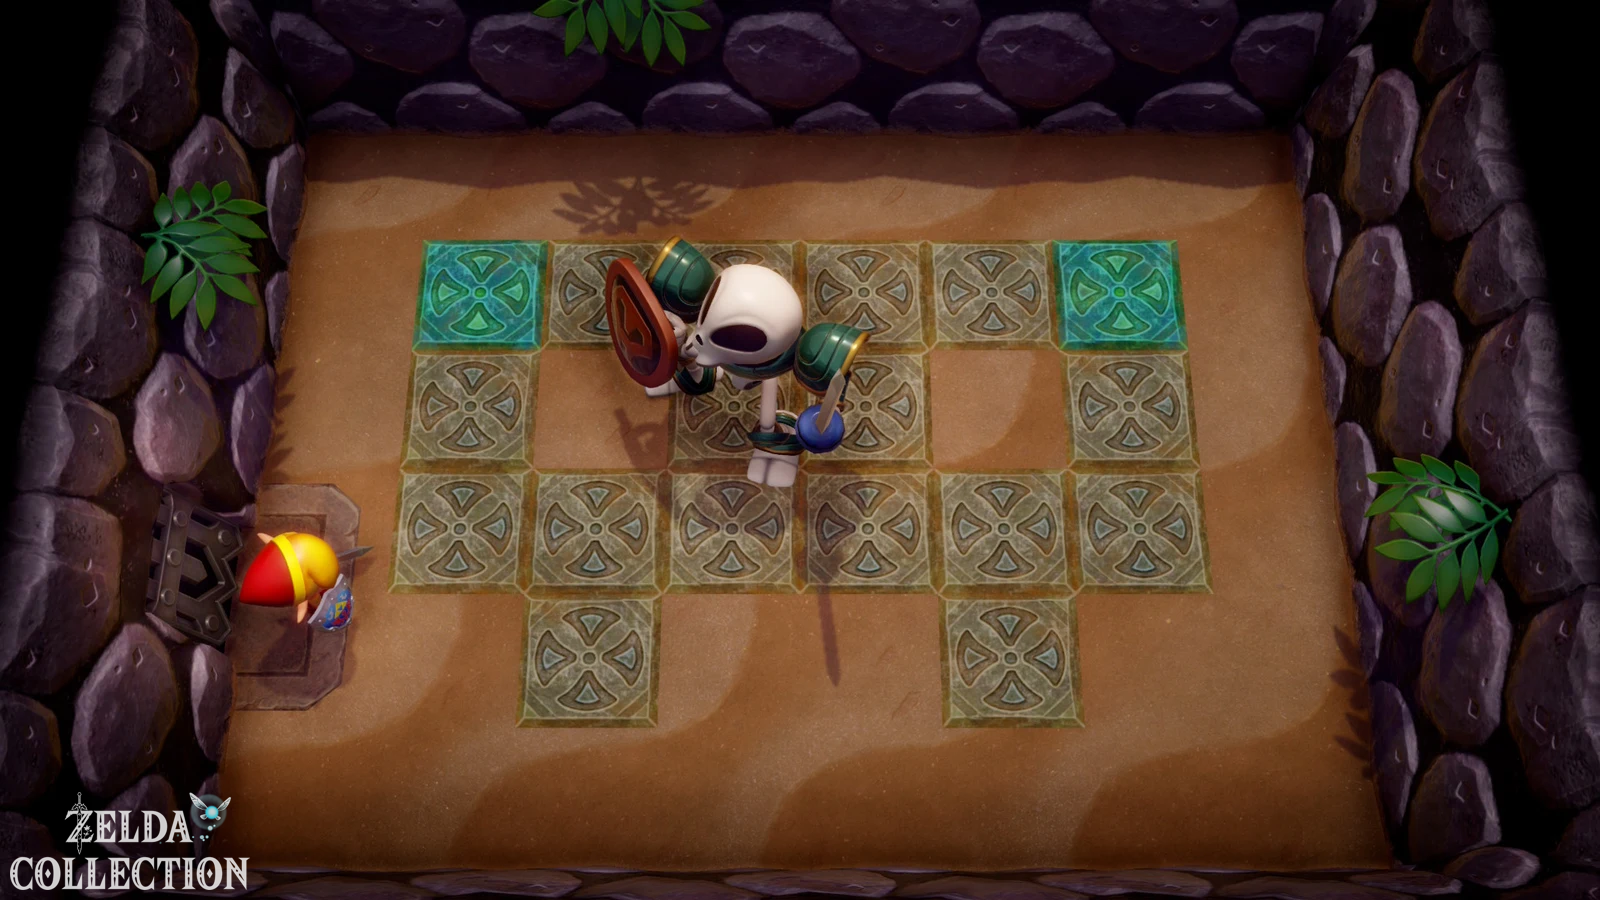
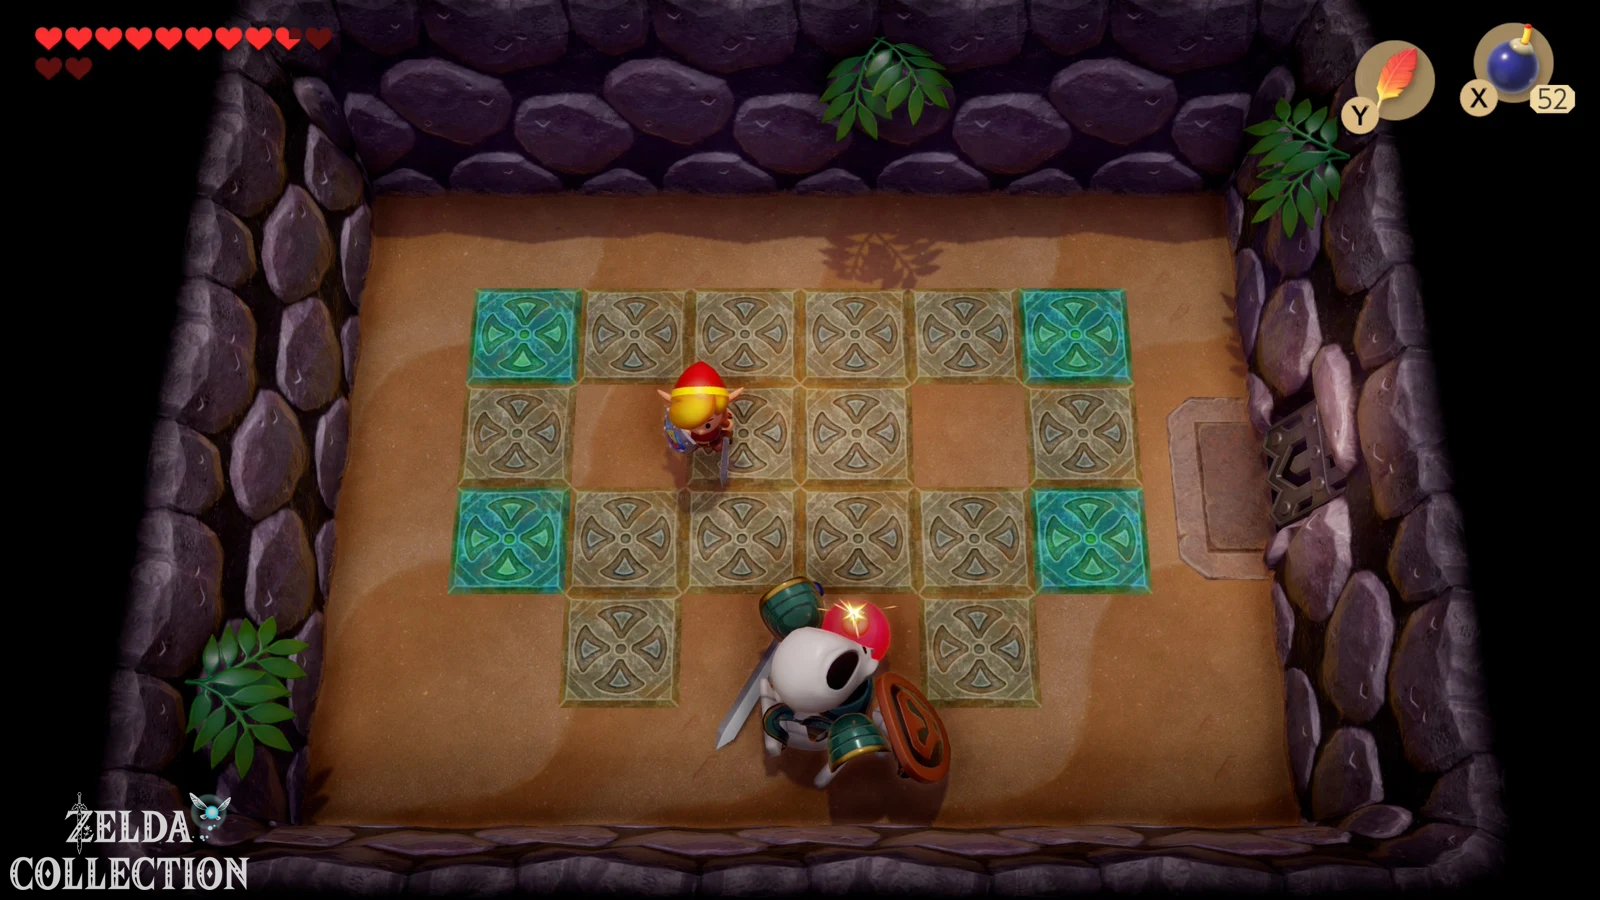
Return two rooms to the right and then go up. Defeat the three skeletons and read the owl statue’s clue if you wish. Behind it waits Master Stalfos. The tall skeletal knight wields a sword and shield, blocking attacks from most directions. Wait until he jumps or finishes an attack and hit him on the side with your sword. As soon as he collapses into a pile of bones, immediately place a Bomb next to his remains. Only the explosion prevents it from endlessly reassembling itself.
Repeat this process until Master Stalfos has had enough and flees. Then go into the room on the right and open the large chest. It’s empty – Stalfos stole the contents. This begins the little chase through the dungeon.
Master Stalfos for the second time
Go up from the empty chest room and push the middle stone up. Run briefly to the left and back again so that the blocks reset. This time push the middle stone to the right and go up. Return again, push the same block down and now take the eastern path. Press the floor plate there to open the door. Behind it, Master Stalfos waits for the second time.
The strategy doesn’t change: Dodge his sword, attack him from the side, wait until his body crumbles into bones and add a bomb. After a few explosions he escapes again.
Third fight and Dungeon Map
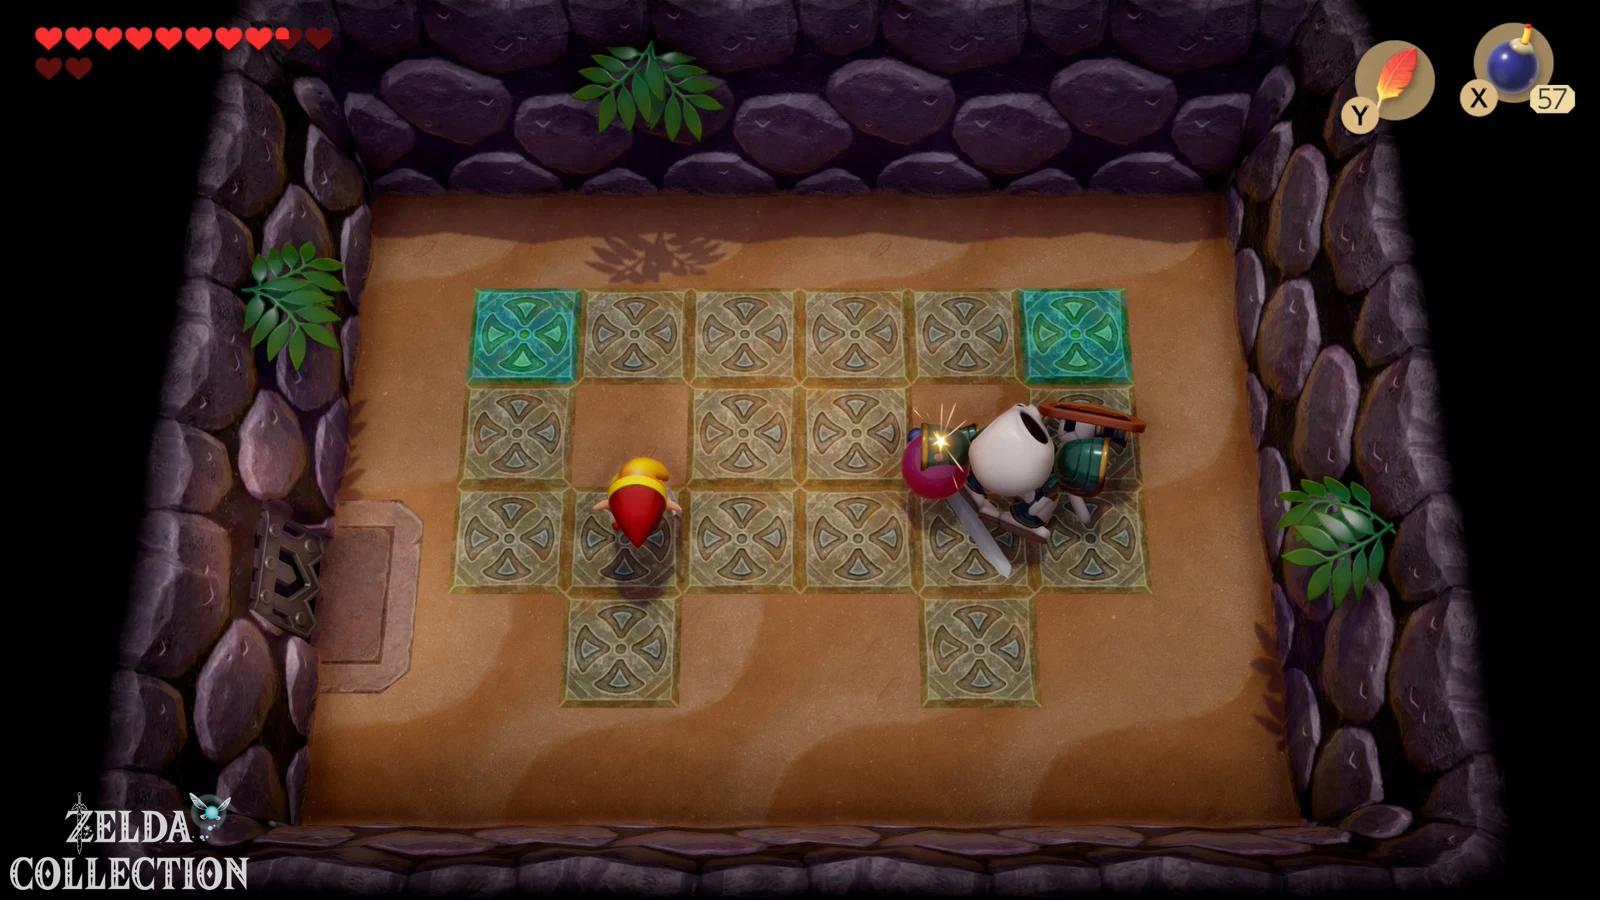
Return to the previous area and go into the room above the floor plate. Follow the path up and then to the left. Defeat all enemies and move the stone so that the door to the north becomes clear. Master Stalfos will present himself there third time. This fight also follows the same pattern; Don’t let yourself be tempted into hectic attacks, but wait patiently for the opening at his side.
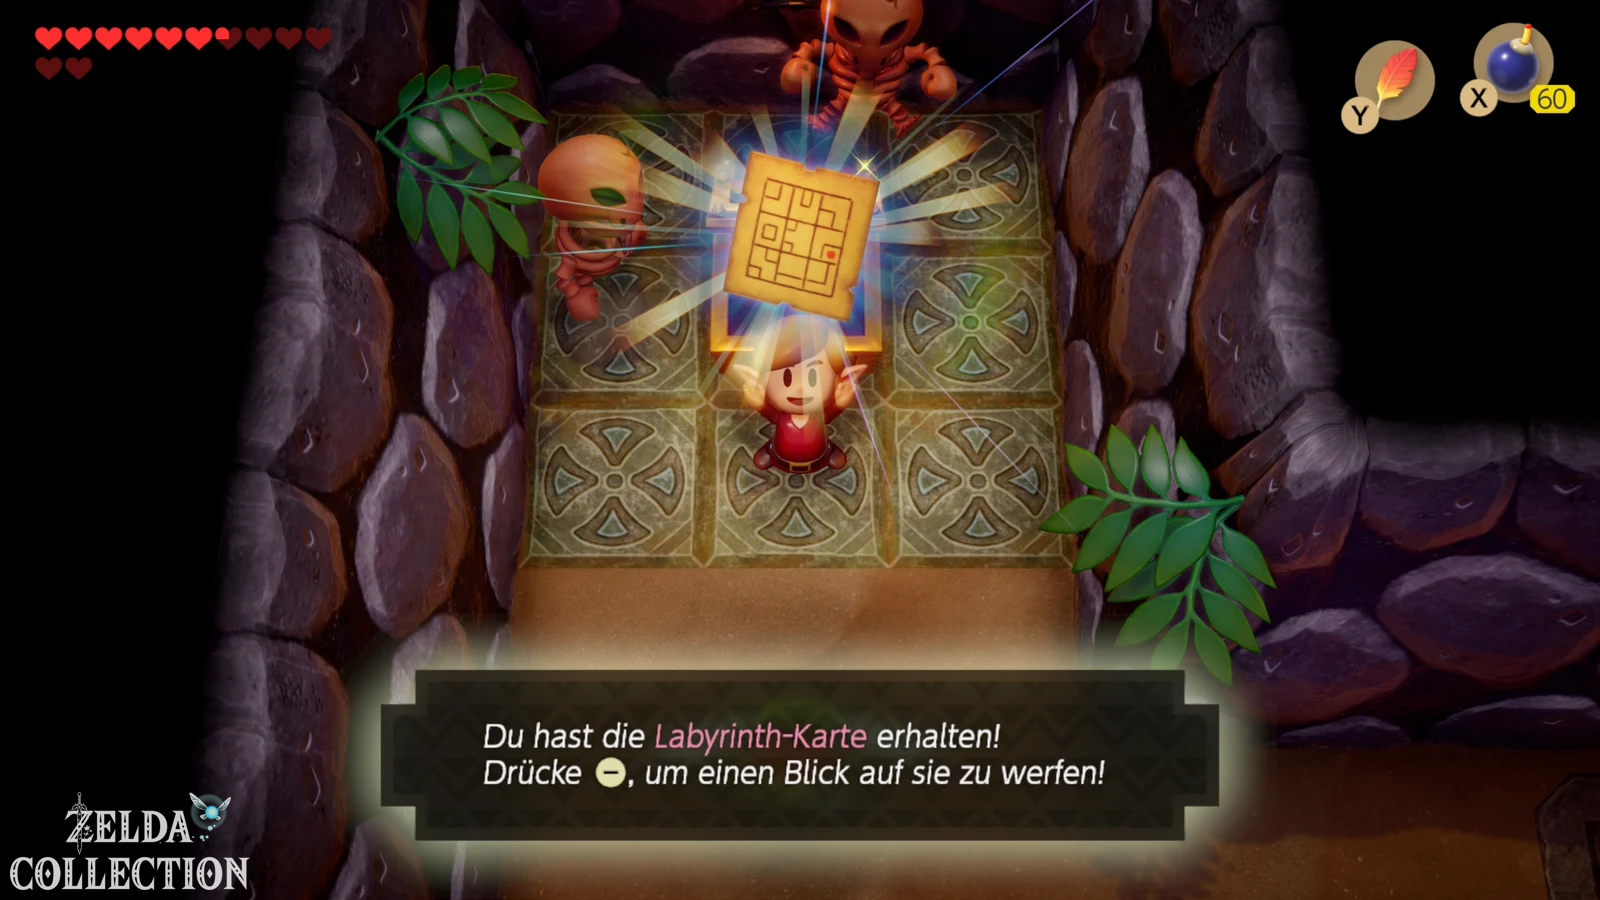
After he retreats again, go into the neighboring room and open the chest with the Dungeon Map. Now Manbo’s Mambo is particularly worthwhile for the first time within a normal dungeon: Play the song on the ocarina and Link will be immediately returned to the entrance to the fish mouth. This saves us a significant return journey.
Master Stalfos for the fourth time and the Hookshot
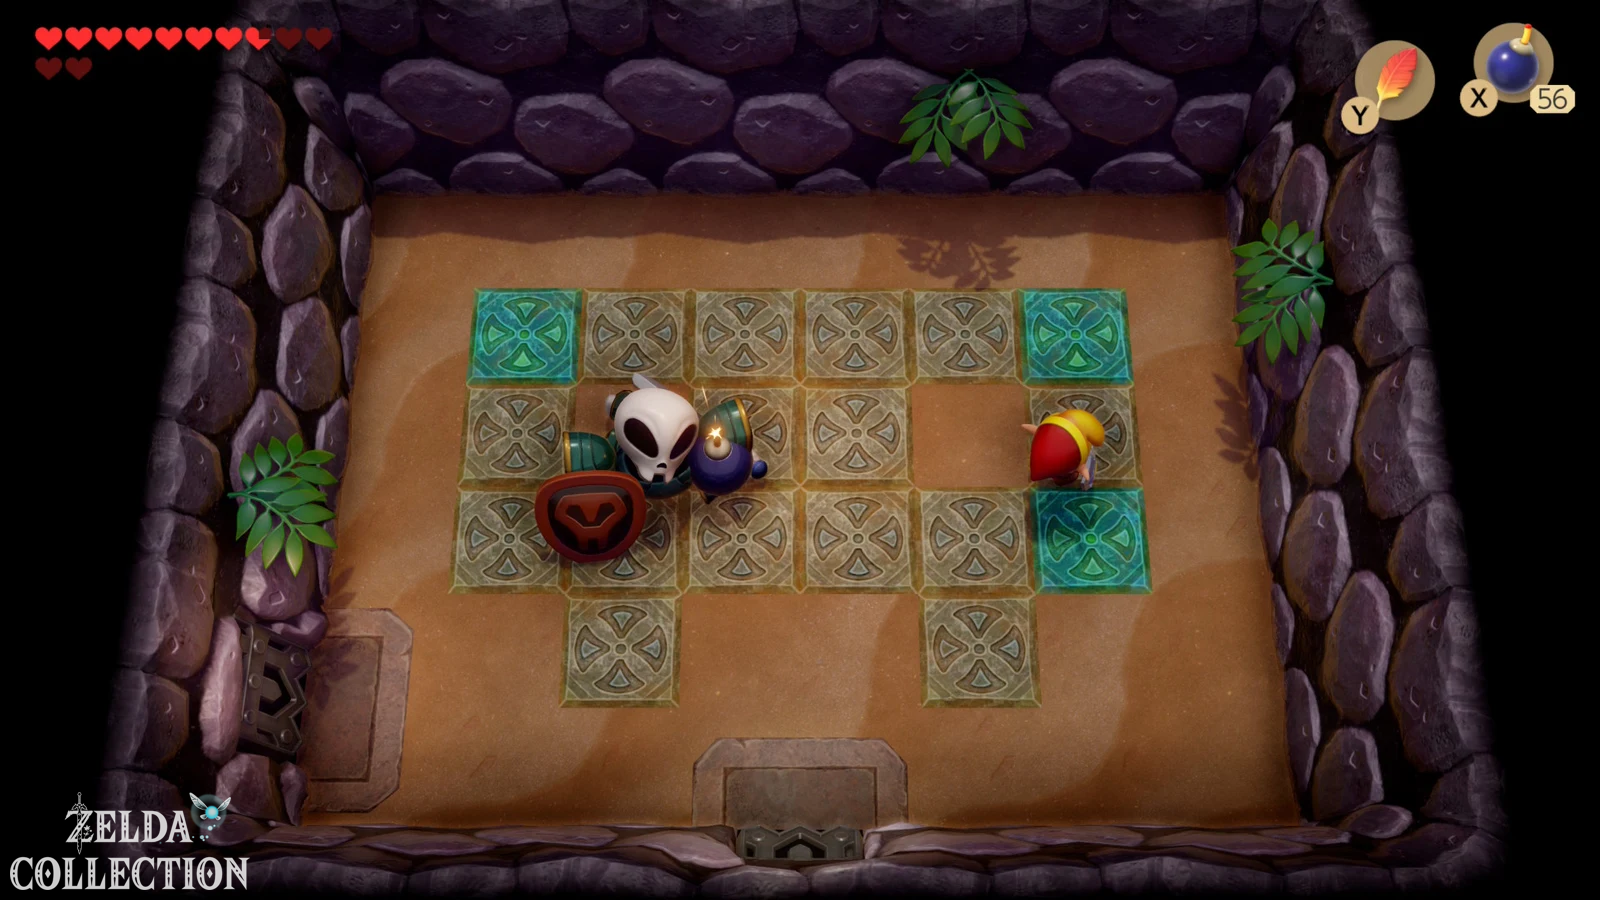
From the entrance, go three rooms to the left and take the underground path with the scale platforms again. After emerging you will reach the room with the skeletons. From there go left. Master Stalfos is waiting here for a fourth and final time. He now has a little more stamina, but the mechanics remain unchanged: hit the side with the sword and immediately place a bomb on the collapsed pile of bones.
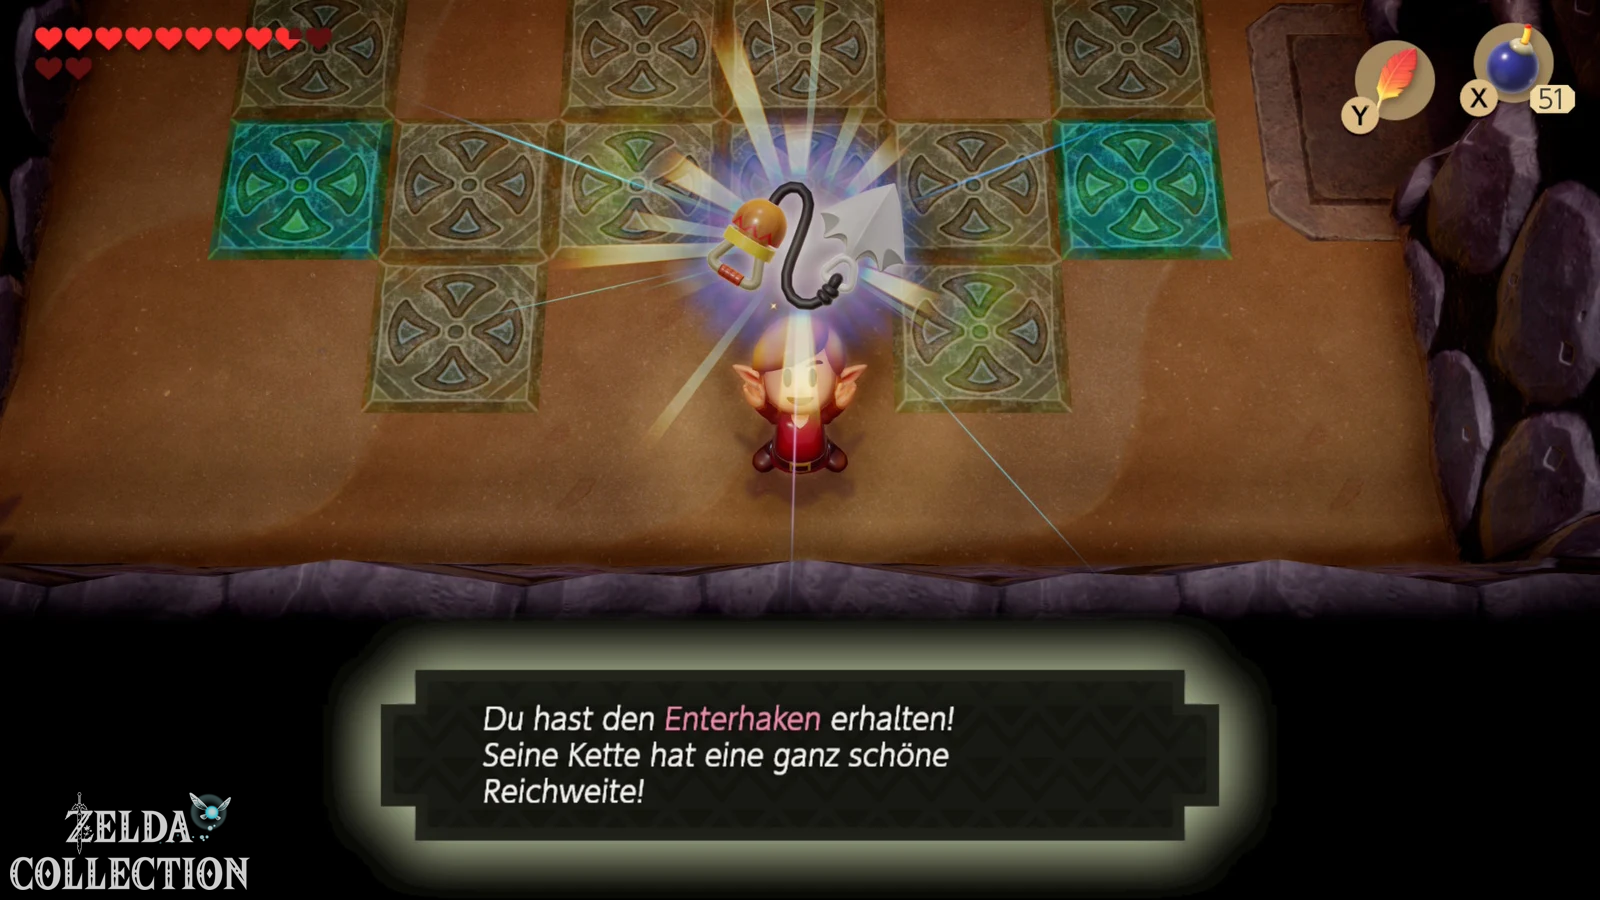
After several explosions, Master Stalfos is finally defeated. He finally leaves behind the stolen treasure: the Hookshot. Try it out immediately. You can use it to hook onto chests, wooden posts, and certain objects and pull yourself directly over to them. The Hookshot also acts as a weapon or narcotic against numerous opponents.
With the Hookshot back through the Catfish’s Maw
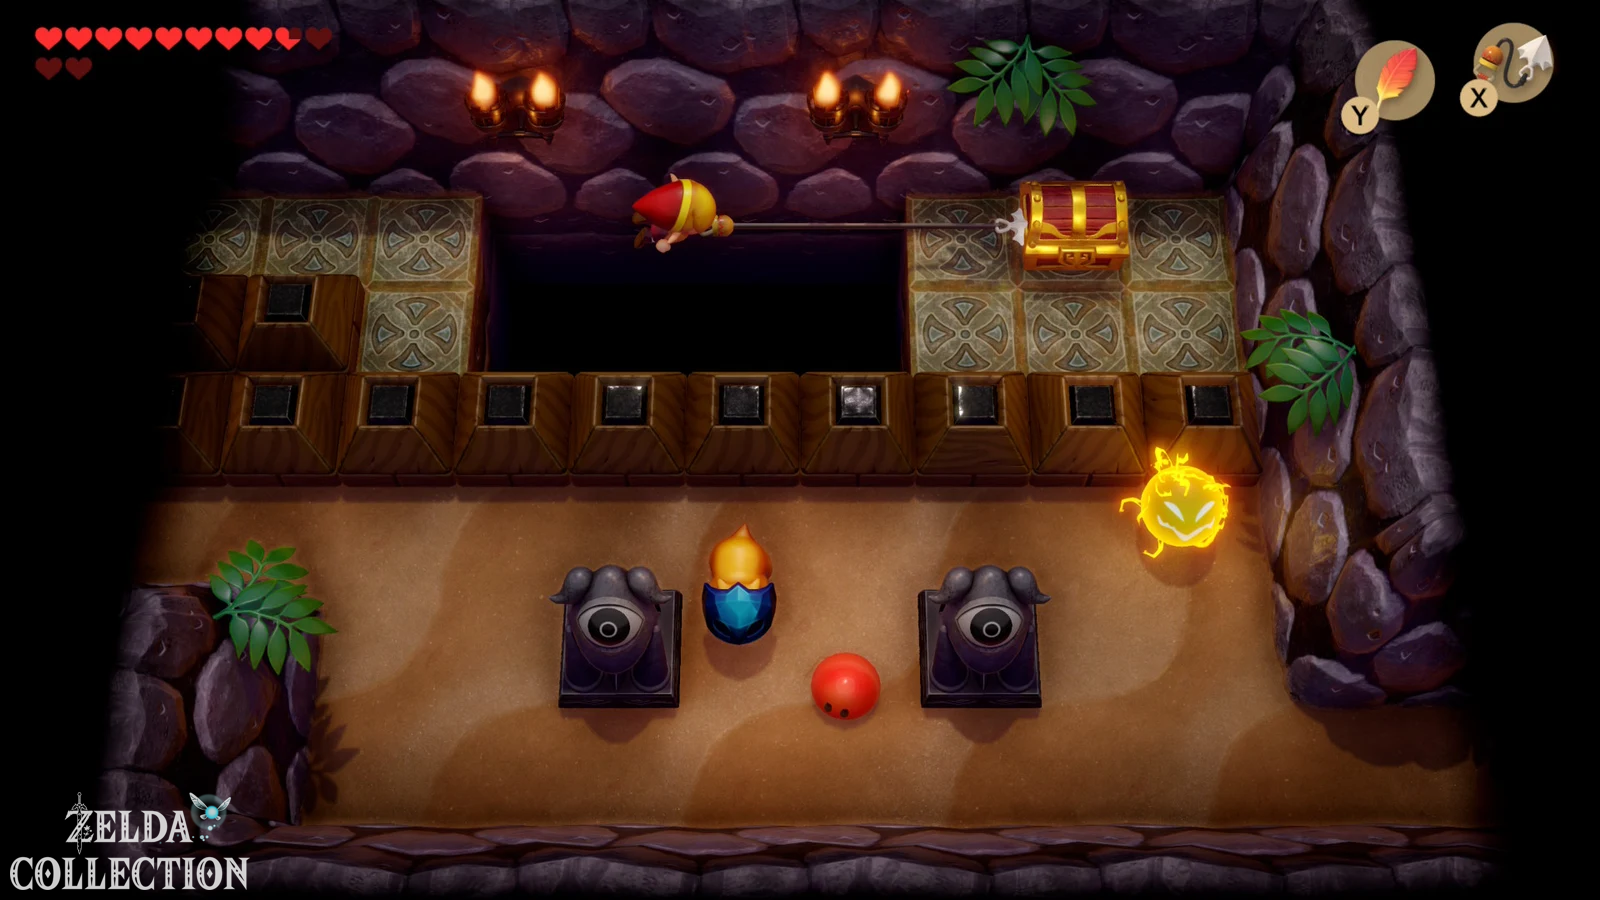
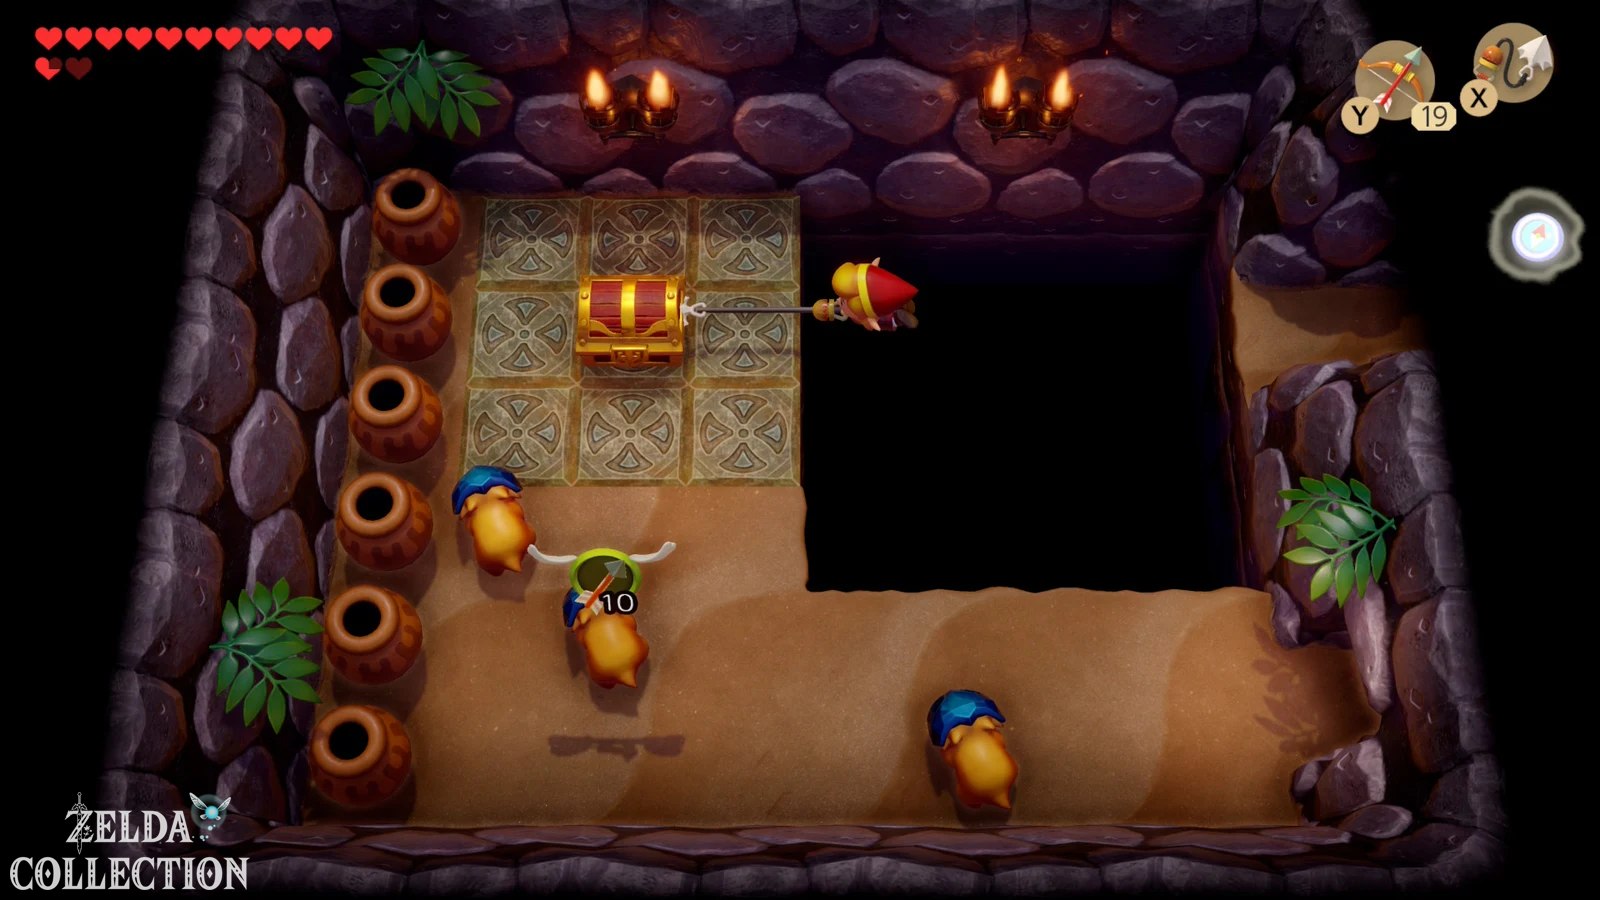
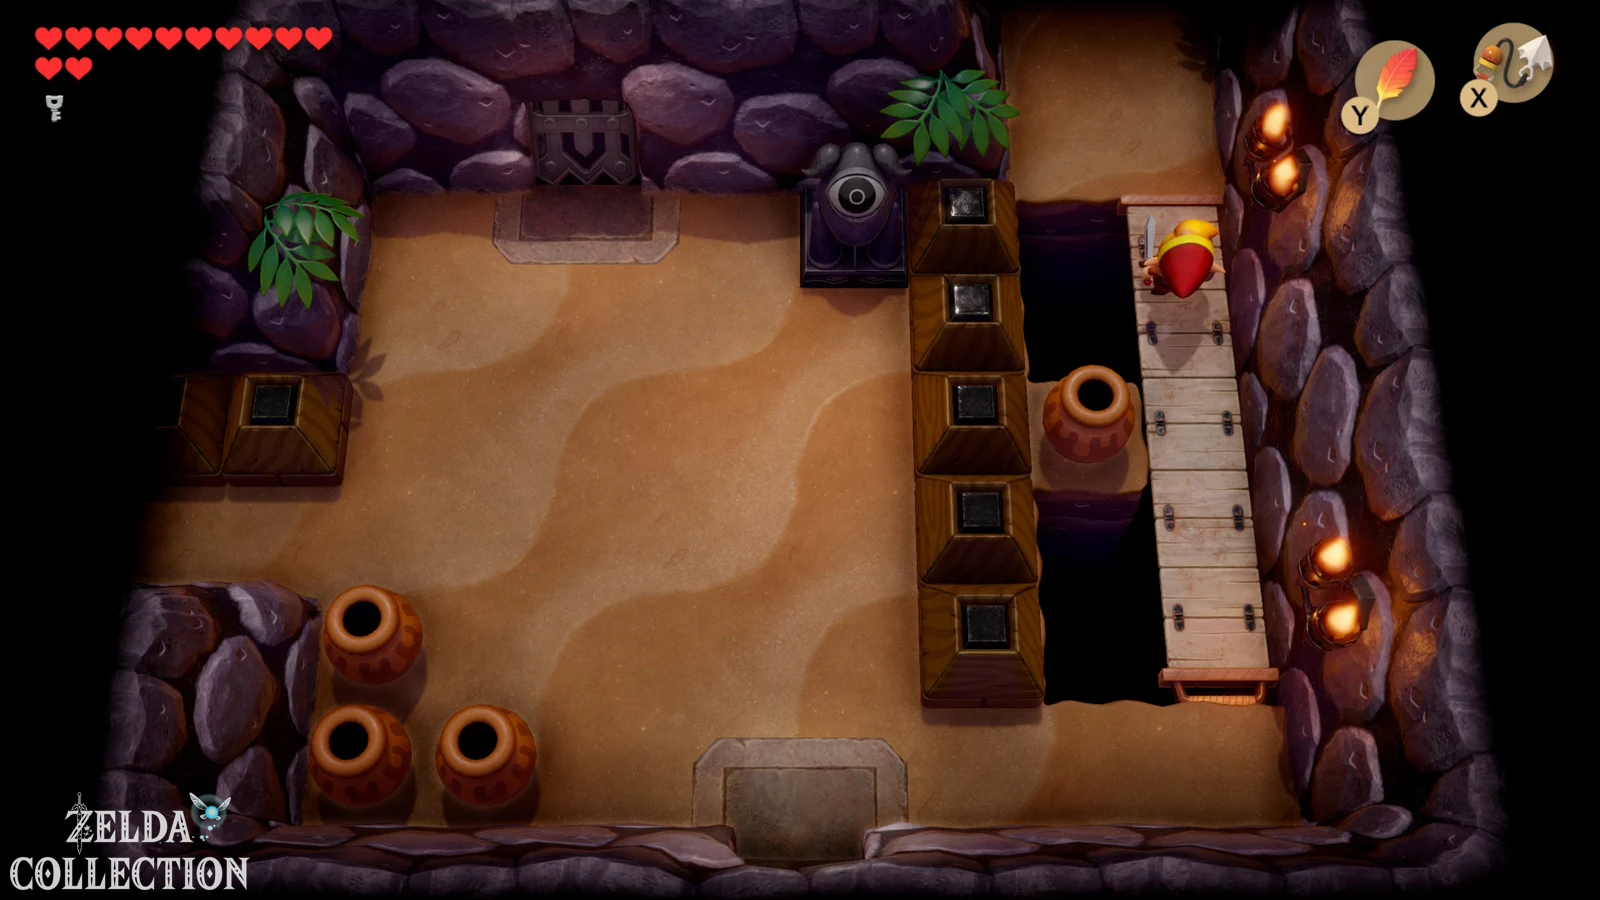
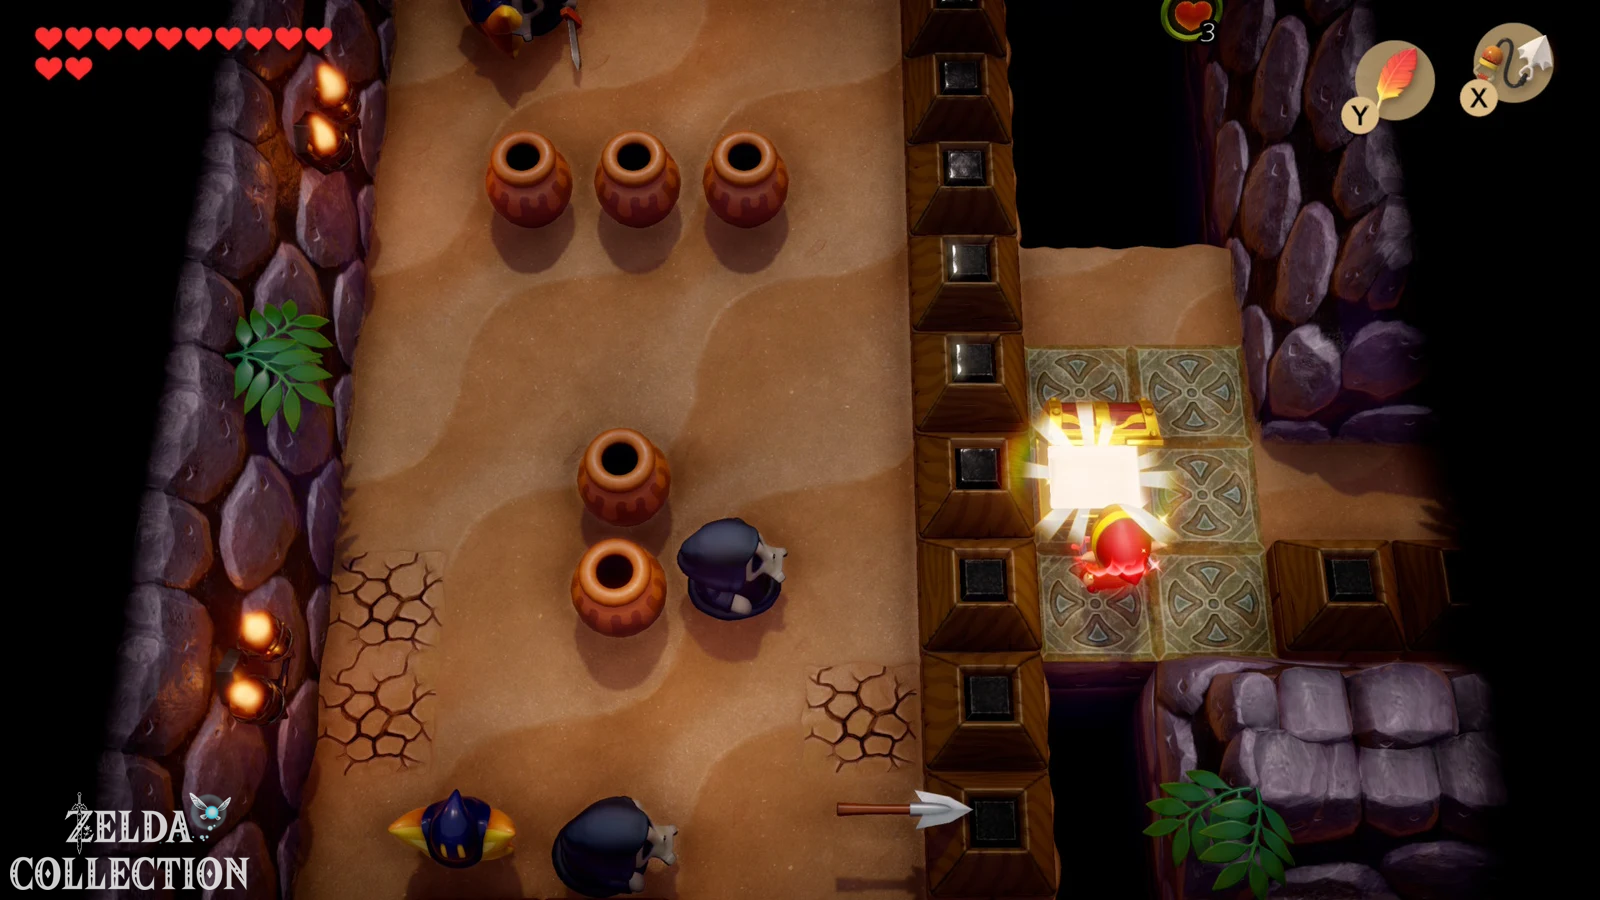
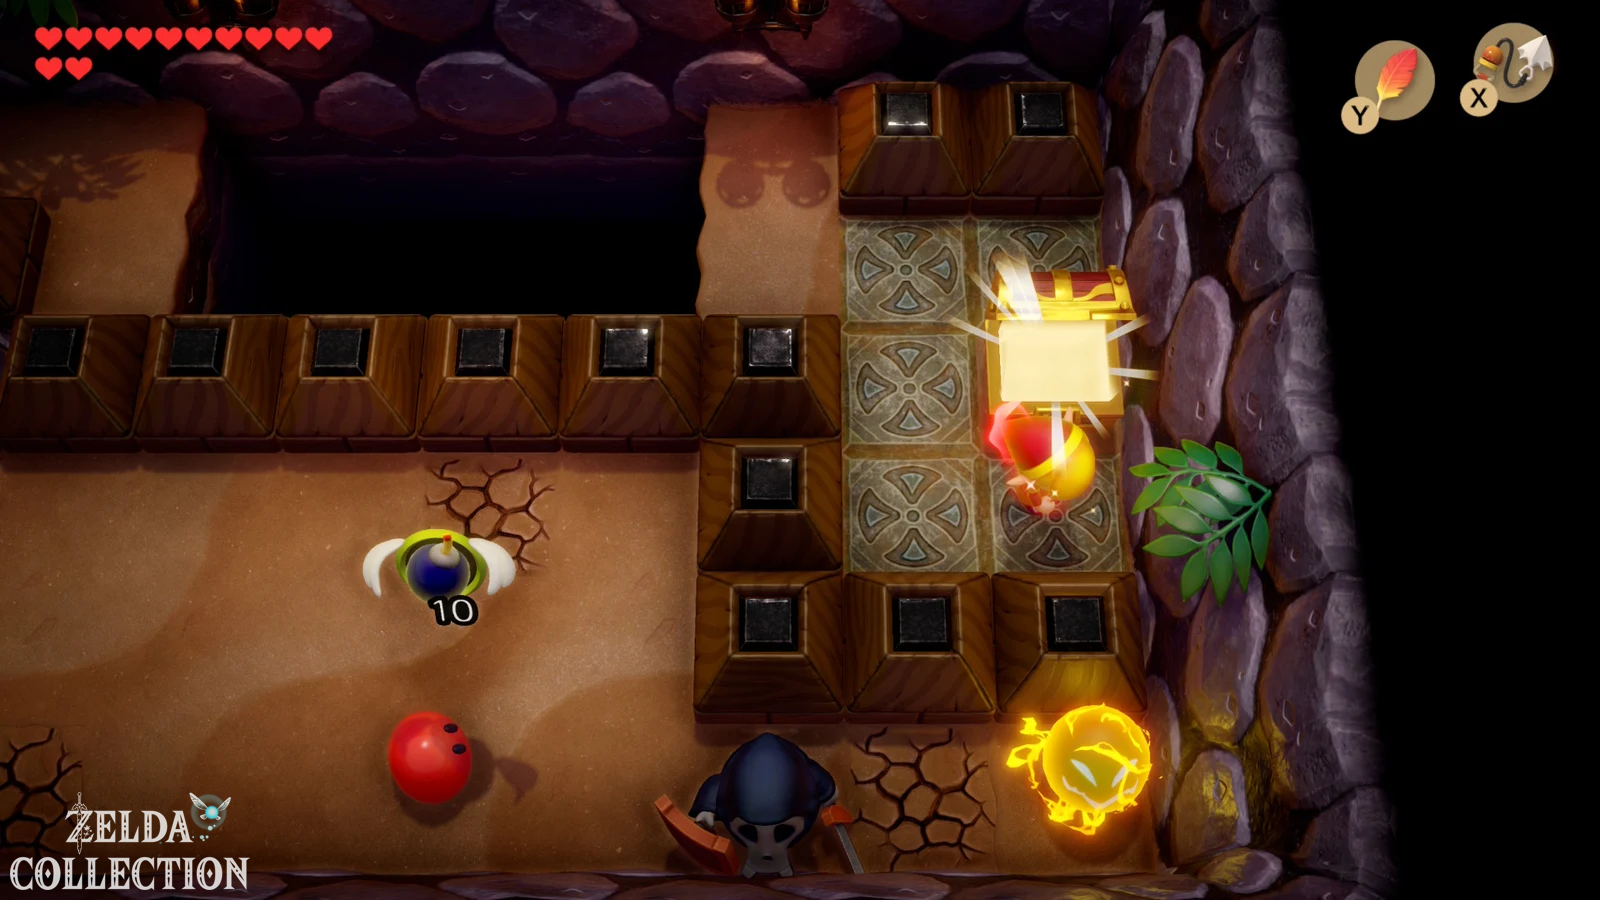
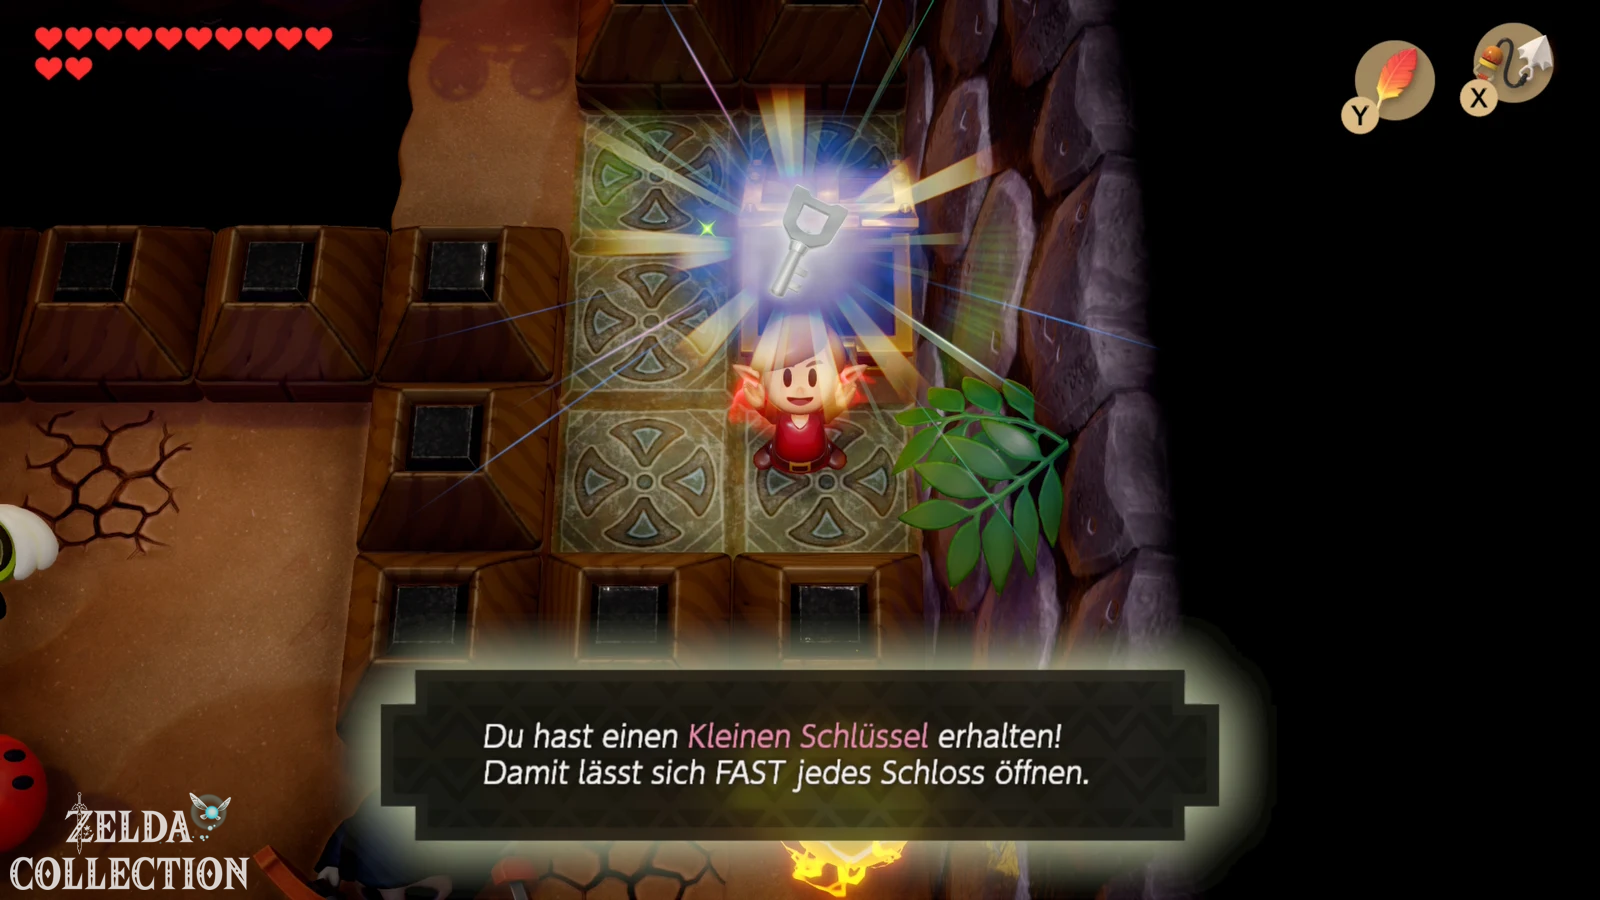
Return right through the side view area or play Manbo’s Mambo again to go straight to the entrance. In the second large room of the dungeon you can use the Hookshot to pull yourself to the chest on the opposite side of the abyss. Open it and take the Rupees with you. Then go back again, then up and further to the left. You reach a larger abyss via several rooms. Hook onto the object or chest on the opposite side and pull Link over. In the chest there is another Small Key.
Optional intermediate boss: Two Gohmas
The Catfish’s Maw has a special feature: You can theoretically skip an entire intermediate boss fight. But since we are playing as complete a Walkthrough as possible, we will of course do it. Return to the central intersection room and use the Hookshot on the pull mechanism on the right to make a bridge extend. Cross it and open the locked door with the Small Key.
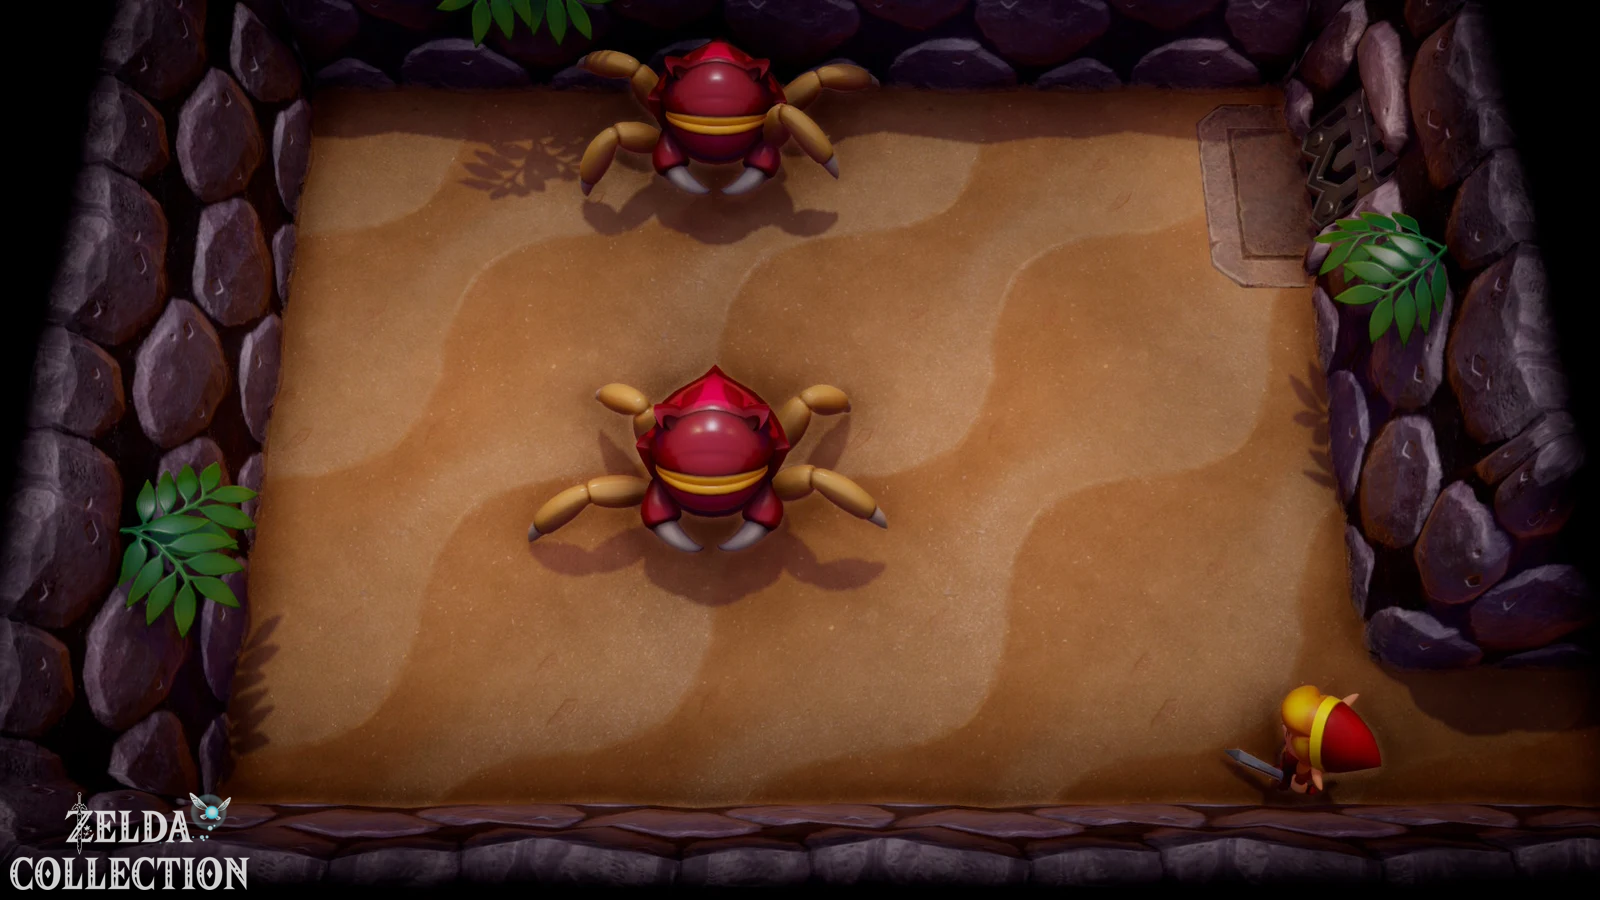
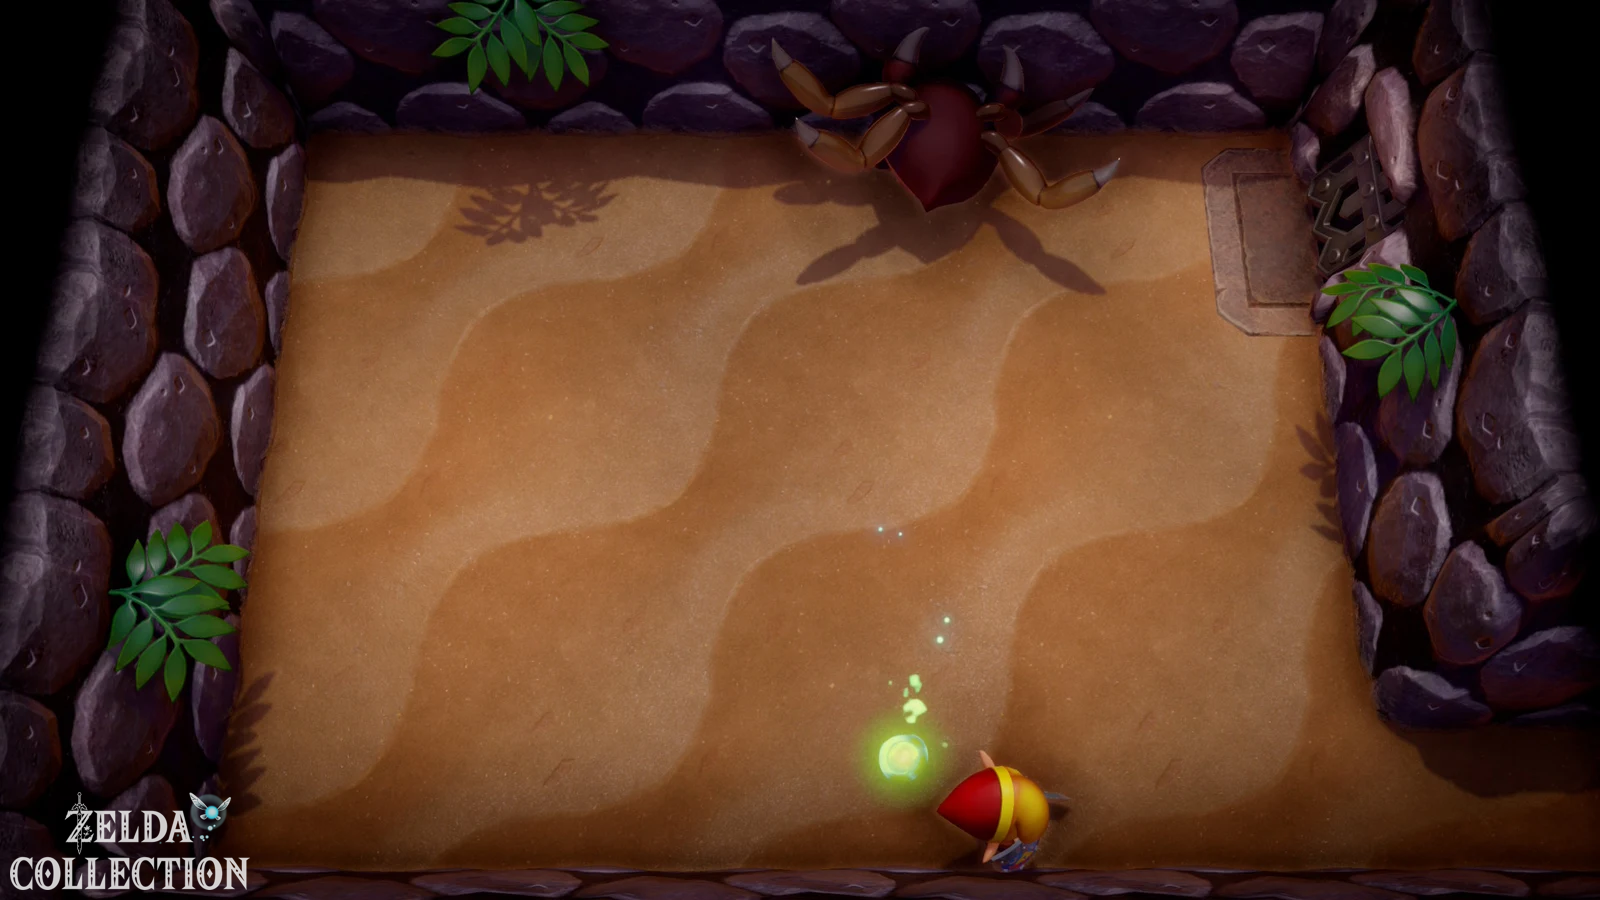
Two Gohmas are waiting behind it. As long as their big eyes are closed, you can’t harm them. They run around the room, charging towards Link and occasionally opening their eye to fire a projectile. That’s exactly when you’ll be right in the eye with the Hookshot. The hit briefly stuns Gohma and allows for a few additional sword strikes. Alternatively, the bow also works, but the Hookshot is free and much more efficient. First concentrate completely on one of the two Gohmas and then take care of the second. After the victory, a teleporter appears, which significantly shortens the path to the final boss.
This battle is not required for dungeon progression and does not leave an exclusive collectible. It’s still worth it for a complete walkthrough and because of the practical teleporter.
The Puzzle of Intersecting Torches
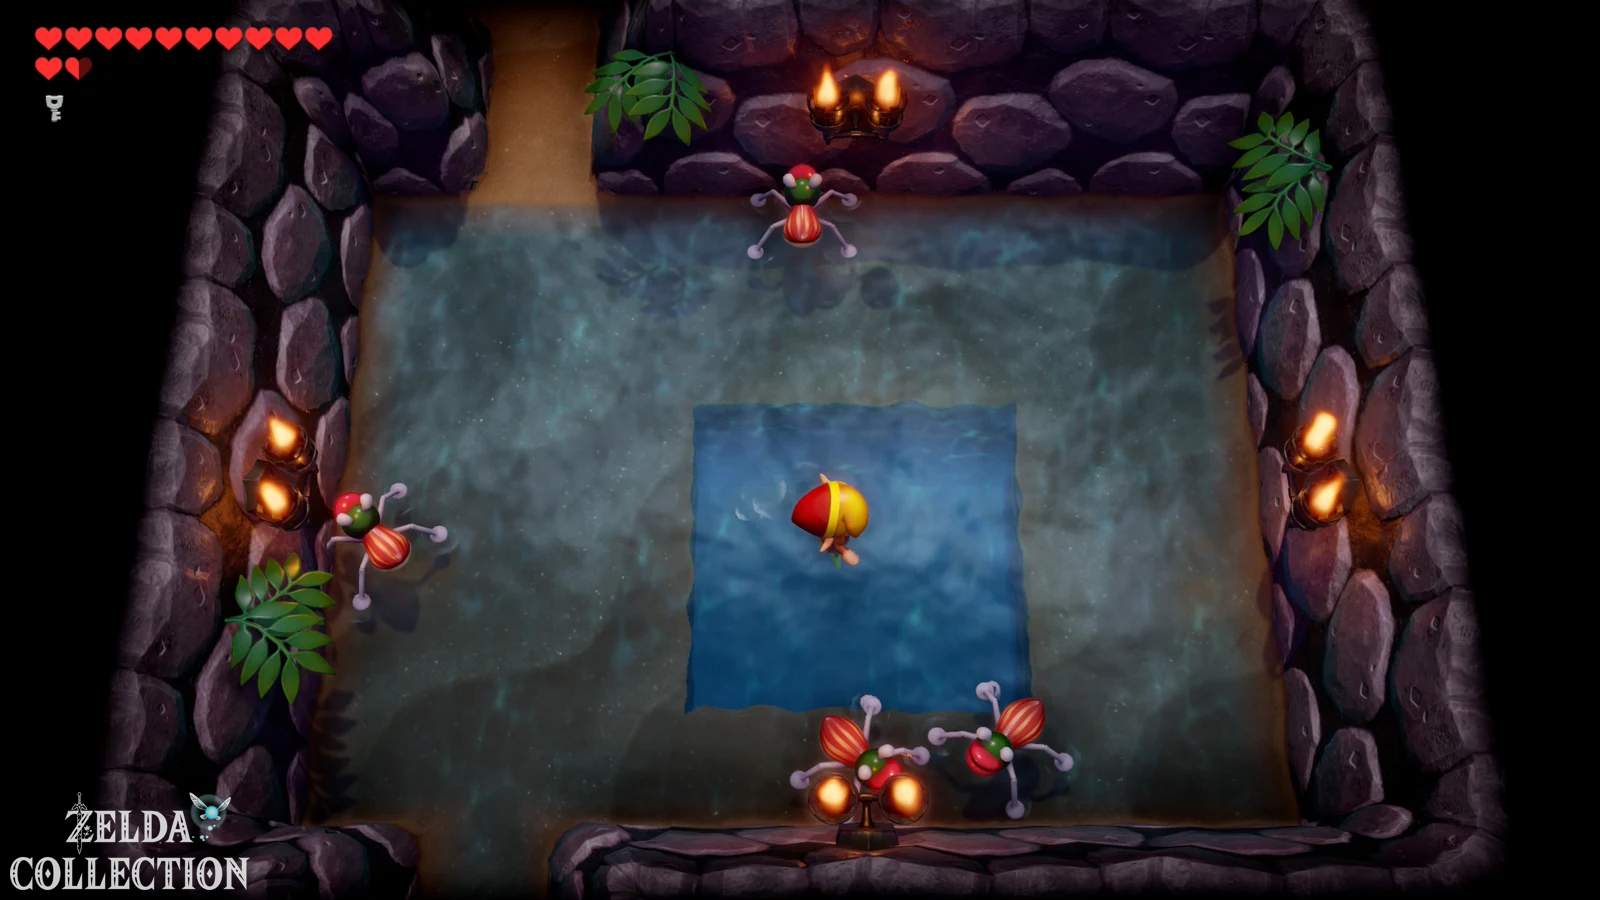
Then return to the area where you first defeated Master Stalfos. In the neighboring room, a staircase leads to an owl statue with the clue, but if you follow our solution you can save yourself the detour: “Dive where the light of the torches intersects.” Go to the room with the four water striders and defeat them. Four torches stand or shine on the walls. Mentally draw lines between the opposite torches – they intersect exactly in the middle of the deep water.
Swims to the center and dives. Link enters an underwater section in side view. Swim past the bloopers and climb back up on the other side.
Get the Nightmare Key
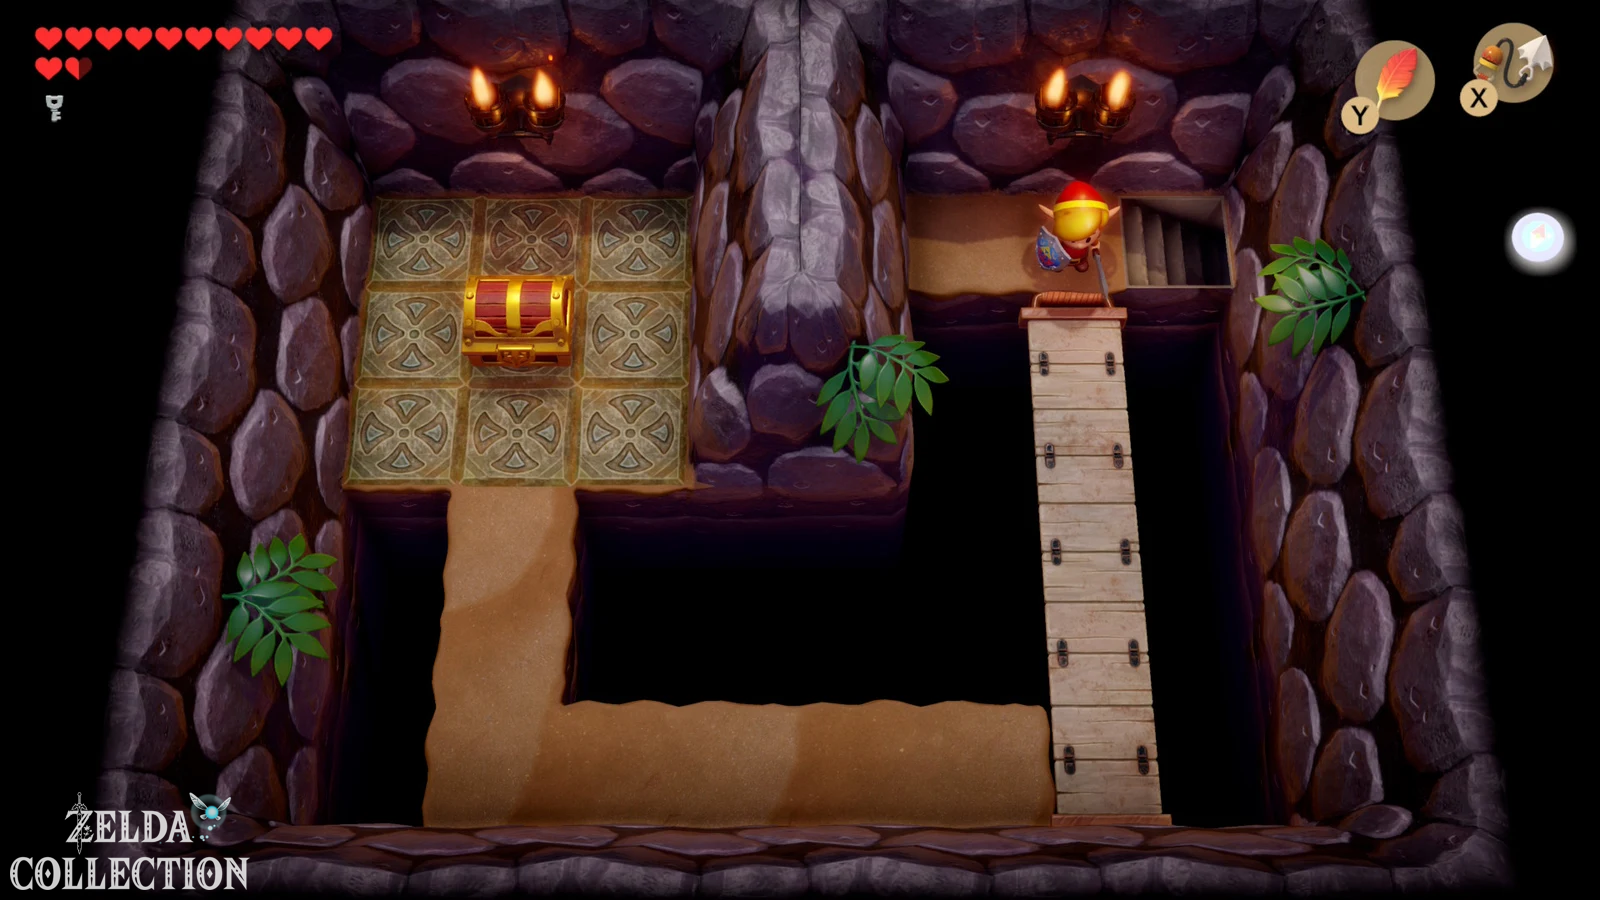
In the new area you will find an extendable bridge mechanism. Pull him to you with the Hookshot and cross the extended bridge. Behind it is the chest with the Nightmare Key. This basically opens the way to the final boss.
Return through the underwater tunnel and then work your way through the last previously unexplored rooms. With the Hookshot you can reach several chests over wide chasms; some contain Rupees, another contains a Small Key. If you had skipped the optional Gohma fight, not each of these keys would be absolutely necessary. However, since we are completely emptying the dungeon, we are taking all the chests with us.
Empty all chests in Catfish’s Maw
Before you go to the boss, look at your Dungeon Map. The Compass shows chests that are still unopened. Use the Hookshot consistently to pull yourself over the remaining chasms and reach the two optional ruby chests. This is not necessary for the story, but it is part of a fully explored devil or Dungeon Map and at the same time replenishes the wallet after you may have just spent 980 Rupees on the bow.
By defeating Gohma you can then play Manbo’s Mambo particularly easily, return to the entrance and use the teleporter to the intermediate boss area. Alternatively, you follow the normal route through the underground passages.
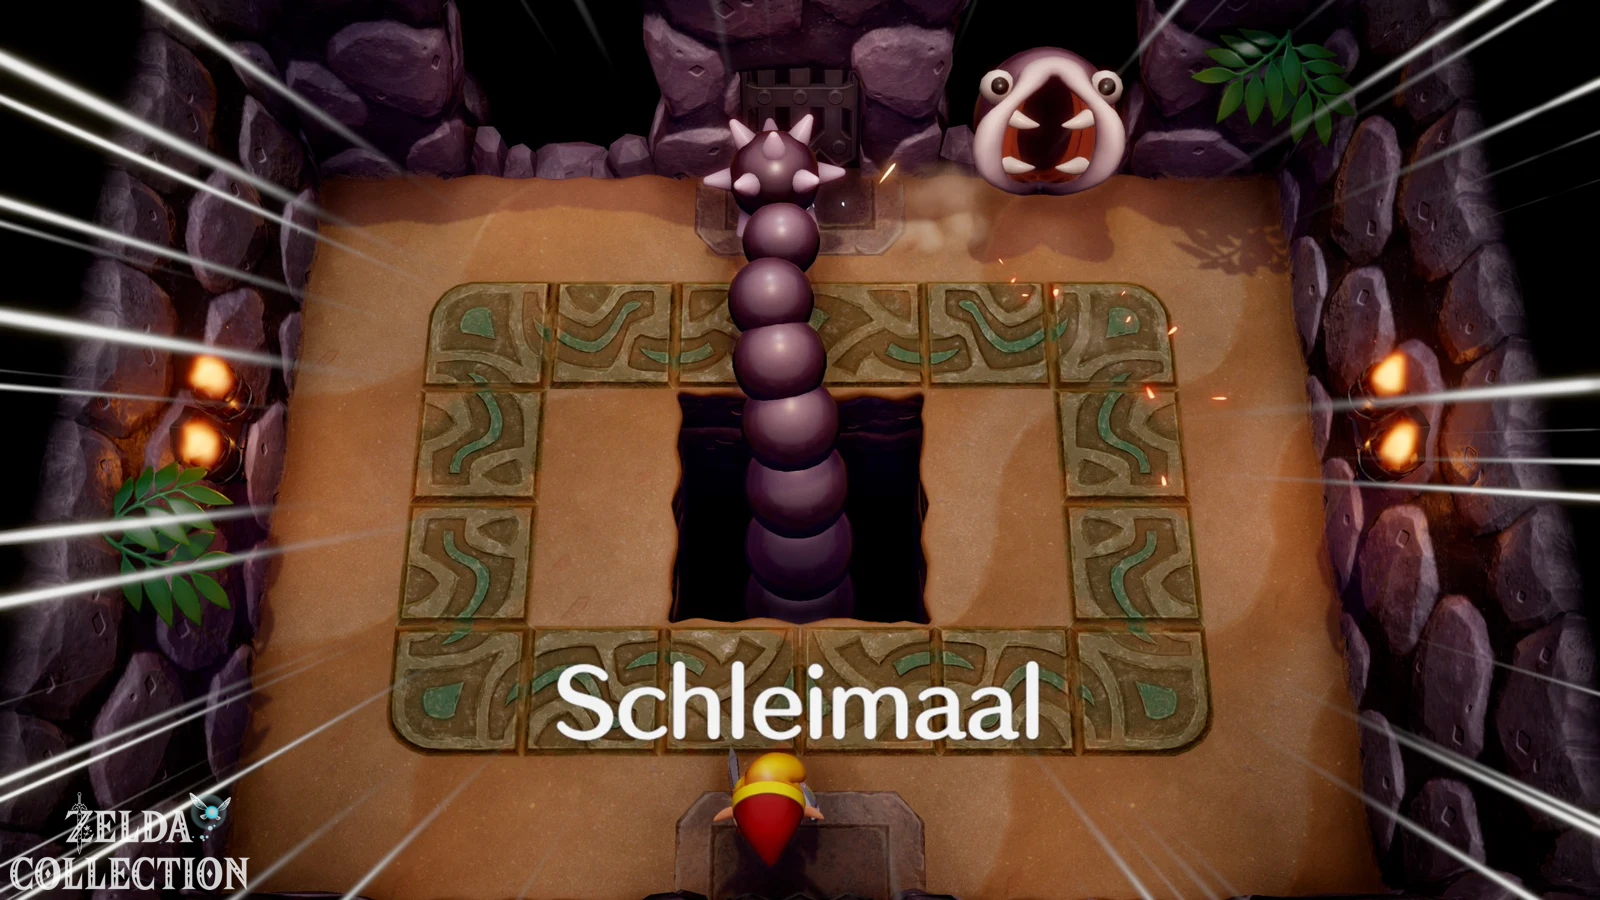
Boss: Slime Eel
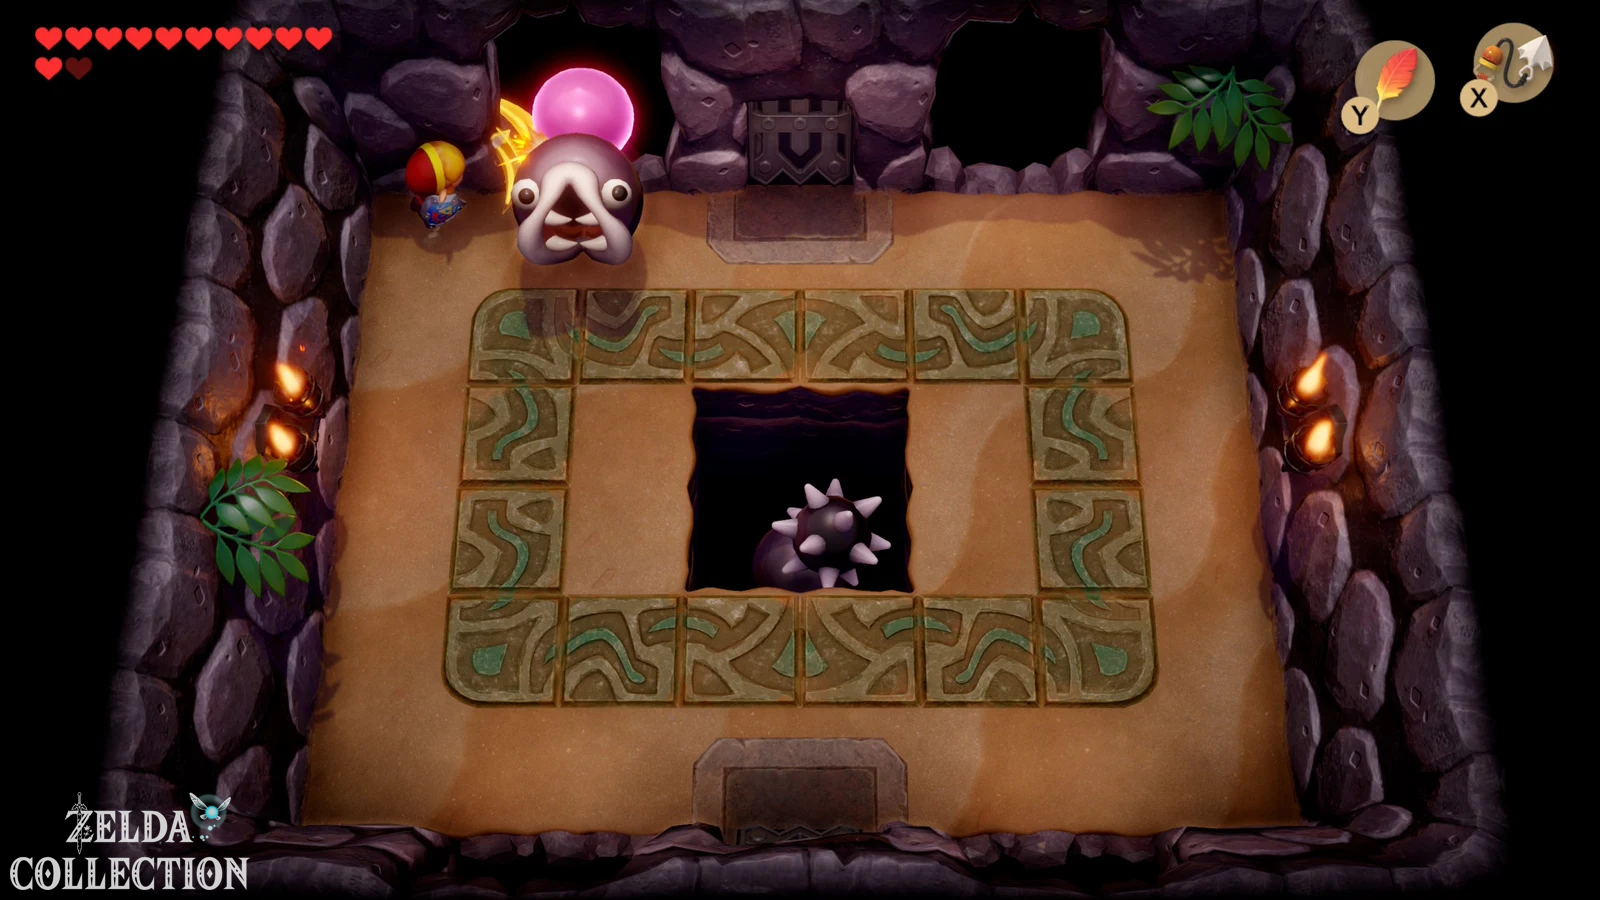
Opens the last key block and then the boss door with the Nightmare Key. The hagfish is waiting in the arena. In the center of the room, its massive tail circles constantly while its head pops out of one of four holes in the walls. At first, keep moving and be careful not to get hit by the tail. As soon as the head comes out of a wall opening, aim at it with the Hookshot and pull it far out of the hole.
You can see a glowing weak point on the pulled out body. Run past it to the side and hit it several times with your sword. The hagfish then retreats again and changes the hole. Repeat the procedure. Watch out for the occasional fake head appearing. In the Switch remake, he can be distinguished from the real head by his eyes or his appearance. If you accidentally pull out the wrong eel, it will just snake its way through the arena in a disruptive manner. Then focus back on the actual boss.
With the red armor from the Color Dungeon you need significantly fewer successful phases. Still, stay patient: The boss becomes particularly unpleasant if you try to ignore the tail at the same time and stay in the wrong position for too long.
Heart Container and Wind Marimba
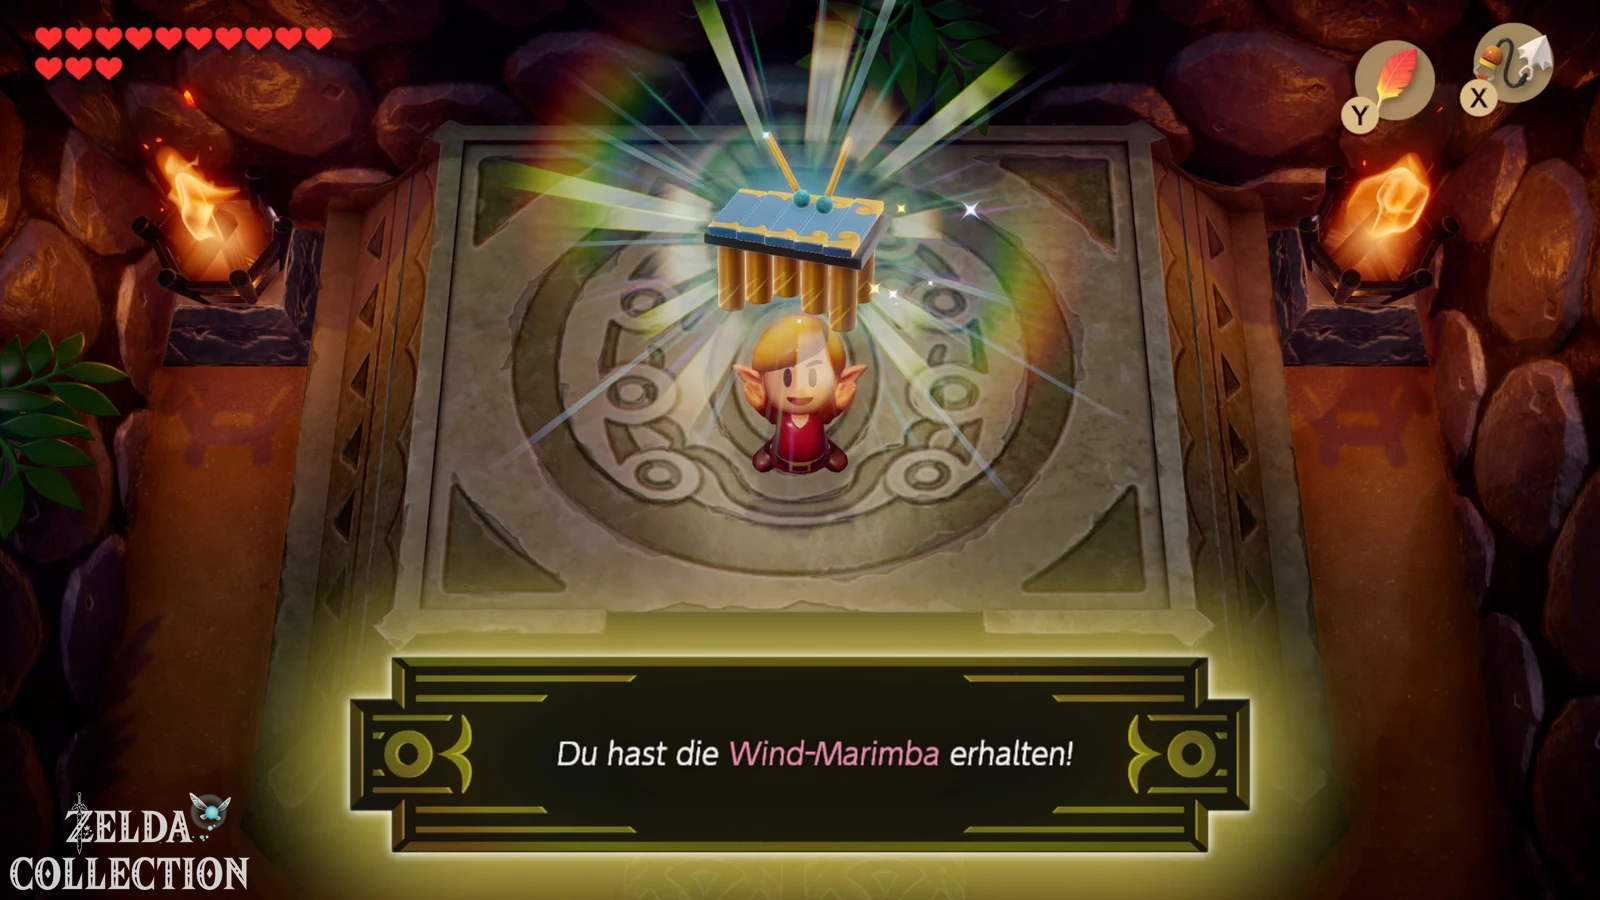
After defeating the hagfish, the fifth dungeon appears – Heart Container. Take it with you and then go into the last room. The sirens’ fifth instrument is waiting there: the Wind Marimba. The mysterious voice will then point you to a shrine – our next big story goal will be the Face Shrine.
Before we go there, however, the largest Hookshot collection round to date is coming up. With the new item we can complete the exchange series, get the Magnifying Lens and the Boomerang, several more Pieces of Heart and Secret Seashells collect, complete the rapids and complete Dampé’ second challenge stage.
After Catfish’s Maw: Blooper figure and new fishing reward
For the next section, you should also keep two remake-exclusive unlocks in mind. After the Catfish’s Maw, the blooper figure appears in the Trendy Game, which is then also placed in Ulrira’s house. Bloopers can now also appear in the fishing pond. The first successful blooper catch brings another Secret Seashell and the heavy bait, which later helps us with the largest fish in the pond and the associated Chamber Stones.
Dampé also has new chamber challenges available after completing the Fish Mouth. If we complete “Treasury” and then “Connect Chambers II” in the next section, we will get another Chamber Stone and one of the last missing Pieces of Heart from the Chamber Dungeon.
Difference from original and DX: Blooper figure, expanded fishing pond, additional clam catch, heavy lures and Dampé’ rewards are all Remake exclusive. The classic plot of the fish mouth as well as Master Stalfos, Hookshot and hagfish, on the other hand, essentially continue to follow the structure of the Game Boy versions.