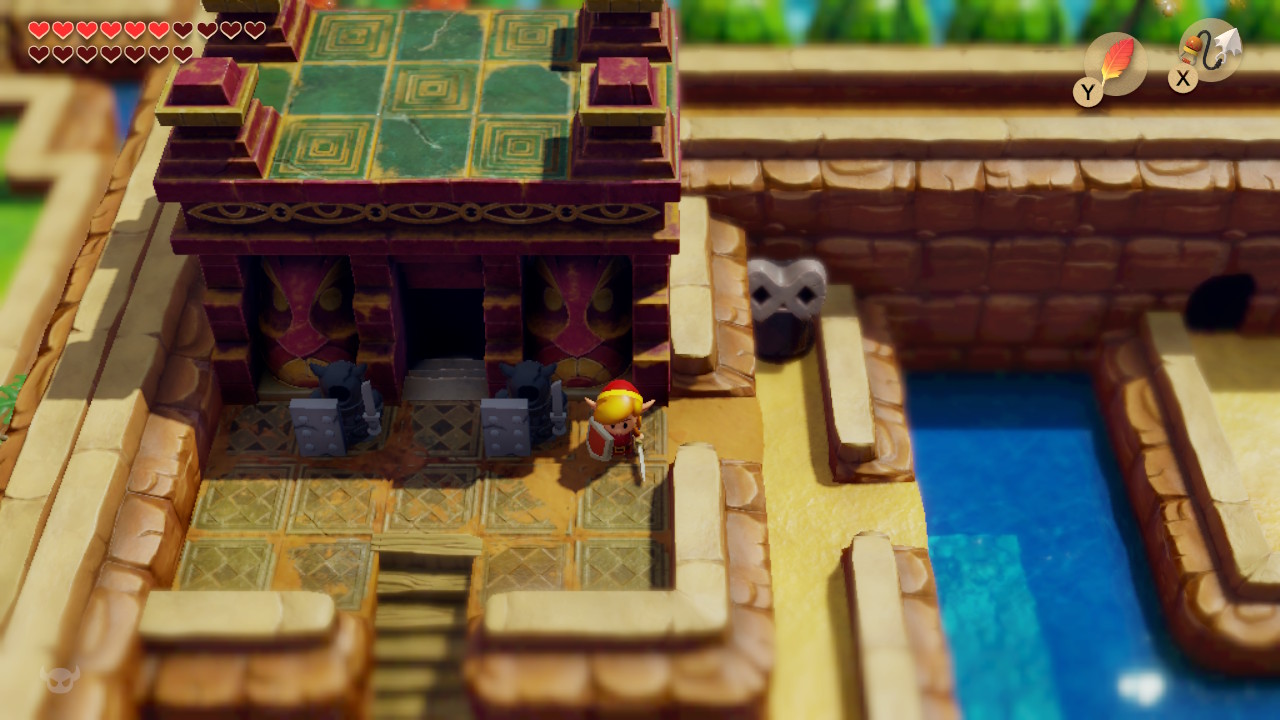

With the Wind Marimba from the Catfish’s Maw, Link owns five of the sirens’ eight instruments. The even more important advance for our 100% walkthrough is the Hookshot: It opens numerous caves, several Pieces of Heart and Secret Seashells, makes the rapids completely solvable and finally allows us to Complete the exchange series up to the Magnifying Lens and then to the Boomerang. That’s why our path doesn’t yet lead directly to the Face Shrine. We first clear away all collectible objects that make sense, complete the second stage of Dampé’s Chamber Dungeons, get the Koholint sword, learn the Frog’s Song of Soul and only then enter the old ruins. So after the sixth dungeon there is very little left open on the southern half Koholint’s.
Blooper figure in the Trendy Game
Returns first to Mabe Village after the Catfish’s Maw. If you have placed the Cheep-Cheep figure in Ulrira’s house as described in the Angler’s Tunnel, the Blooper figure will now appear in the Trendy Game. Win it with the grappling arm and also take it to Old Man Ulrira, where the second free base is intended for it. This prepares the next figure that will appear after the Face Shrine. If you haven’t set up an older figure yet, do this step first – new figures only appear one after the other.
The figures are completely Switch exclusive. Neither the Game Boy original nor Link’s Awakening DX own this collection series. You can also find all ten figures and their bases in our guide to the figures in Link’s Awakening.
Blooper fishing and get another Secret Seashell
Then go to the fishing pond in Mabe Village. After completing the Fish Mouth, Bloopers can appear there for the first time. If none are visible at first, catch some of the normal fish until the pond is restocked. As soon as a blooper appears, throw the lure near it and move it just slightly. Once the blooper has bitten, you pull in the line in a controlled manner. If he jumps out of the water, release the button completely and wait until he is submerged again. If you keep pulling while he’s jumping, it’s particularly easy to lose him.
For the first caught blooper you get another Secret Seashell and at the same time the heavy bait. This will later become important for the largest fish in the pond. We don’t need to force the Ol’ Baron at this point: he only becomes relevant after the Face Shrine and then brings two more Chamber Stone rewards within reach. Cheep-Cheeps, Bloopers, various lures and the additional collectible prizes only exist in the Nintendo Switch remake; the fishing game in Original and DX is much simpler.
Dampé: Treasury and the next Piece of Heart
Now travels to Dampé. If you have followed our route so far, you have completed the first stage and after the Angler’s Tunnel you have already “Bombs off!” completed. The Catfish’s Maw now unlocks the next challenge of the second level: the treasury. Dampé requires a structure with a particularly large number of treasuries. Connect the entrance and boss room with the shortest possible main path and place the required chest rooms in a closed side area. Make sure that every locked door is also covered by a previously accessible key. For completion you will receive another Chamber Stone.
Afterwards “Connect chambers II” becomes available. Here, separate areas must be connected to each other via stairs. First plan the entrance and boss room, then place a staircase in each of the separate sections and only then add key and chest rooms. After successful completion you will receive another Piece of Heart. You have now collected all of the Pieces of Heart from the first two Dampé levels. The third stage is only fully opened after the Face Shrine and brings us, among other things, the third bottle. Dampé and all associated rewards exist exclusively in the Switch remake; in Original and DX you can skip this entire section.
You can find an overview of the special stones in our guide to the Chamber Stones, the additional heart rewards are also listed in our overview of all 32 Pieces of Heart.
Complete the exchange series: Take the scale to the mermaid statue
If you followed the last section, you already have the Mermaid Scales. Now travel to Martha’s Bay and go to the large mermaid statue south of the fish mouth. The small abyss in front of the statue has not yet been surmountable. With the Hookshot you now pull yourself to the opposite rock or the suitable target and reach the statue. Examine it and use the scale. The statue moves and reveals a hidden staircase.
Descend and follow the underground path. Without the next item, part of the area initially seems empty or strange, but at the top of the corridor our actual goal awaits: the Magnifying Lens. As soon as Link picks them up, invisible people and secrets automatically become visible. The magnifying glass does not need to be equipped in the Switch remake and does not take up an action slot.
This completes the long exchange series from the Yoshi doll to the Magnifying Lens. The basic exchange series already exists in the original and DX and is largely identical. However, the Switch remake adds additional rewards along the way, such as Christine’s Secret Seashell.
Find invisible Zora and get Secret Seashell
Since we have the magnifying glass, we immediately go back to the Animal Village. Enter the house in the far northeast. Before the small water area in it seemed to be empty, now you can see a Zora there. Talk to him. He’s happy that Link can see him at all and gives you another Secret Seashell. He also mentions another invisible creature on Toronbo Shores – which is exactly where our next detour takes us.
This shell is part of the Switch remake’s expanded 50 shell collection and does not exist in this form in the classic versions. The magnifying glass itself, however, is also available in the Game Boy original and in DX and also makes the secret creature on the beach visible there.
Get the Boomerang from Goriya
Travel to Toronbo Shores and go to the area slightly east of where Link found his sword at the start of the game. There is a suspicious spot in the rock face. Blow it up with a bomb and enter the cave. Thanks to the Magnifying Lens you can now see Goriya. He offers you a trade: one of your pieces of equipment for his Boomerang.
Give him the shovel. The Boomerang is one of the game’s most powerful tools: it instantly destroys numerous normal enemies, stuns others, brings distant items to Link, and can even turn certain anti-fairies into healing fairies. Since we still need a few grave sites for our 100% route, we don’t leave the cave immediately afterwards. Speak to Goriya again and buy back your shovel for 300 Rupees. This means that you will then have both a shovel and a Boomerang in the Switch remake.
Piece of Heart northeast of the Animal Village
Now the actual grappling hook collection round begins. Travel back to Animal Village and exit north past where the walrus used to be. Follow the rock wall to the cave in the northeast area. Blow up the fragile wall at the entrance and then the next noticeable wall inside. You will reach a room with another cracked stone block. Throw or plant a bomb to destroy the block and work your way back to the other side of the cave system. There you pull yourself over the big gap with the Hookshot and finally reach the Piece of Heart.
This find is one of the additional Pieces of Heart of the Switch remake. The Game Boy versions only have a total of twelve Pieces of Heart, while we collect 32 on the Nintendo Switch.
Piece of Heart in the north of the Mysterious Forest
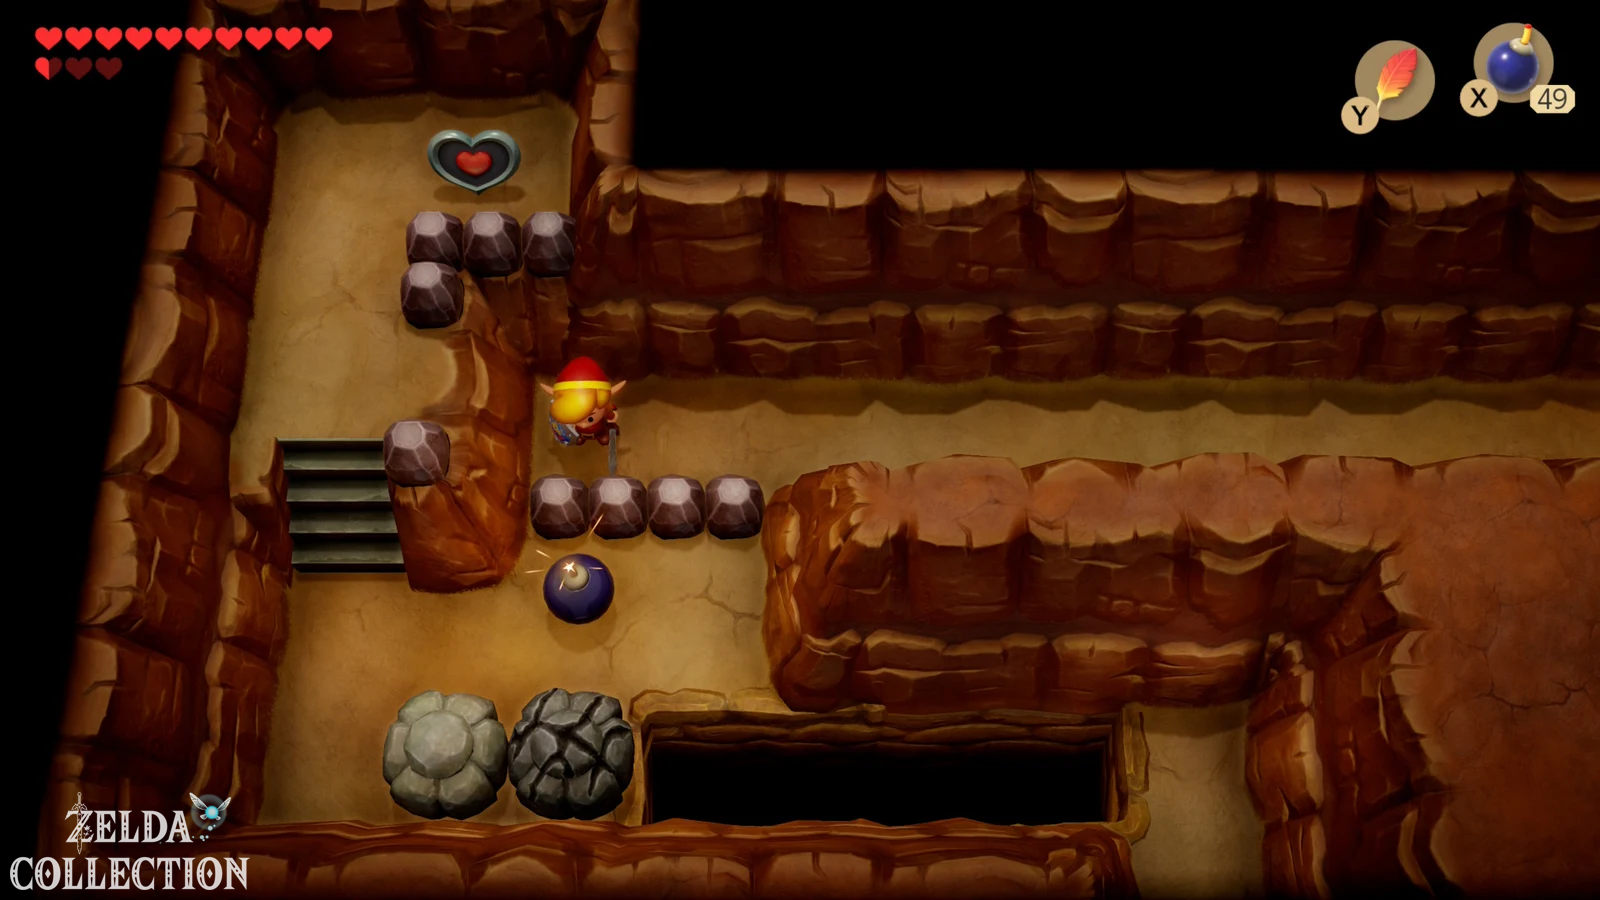
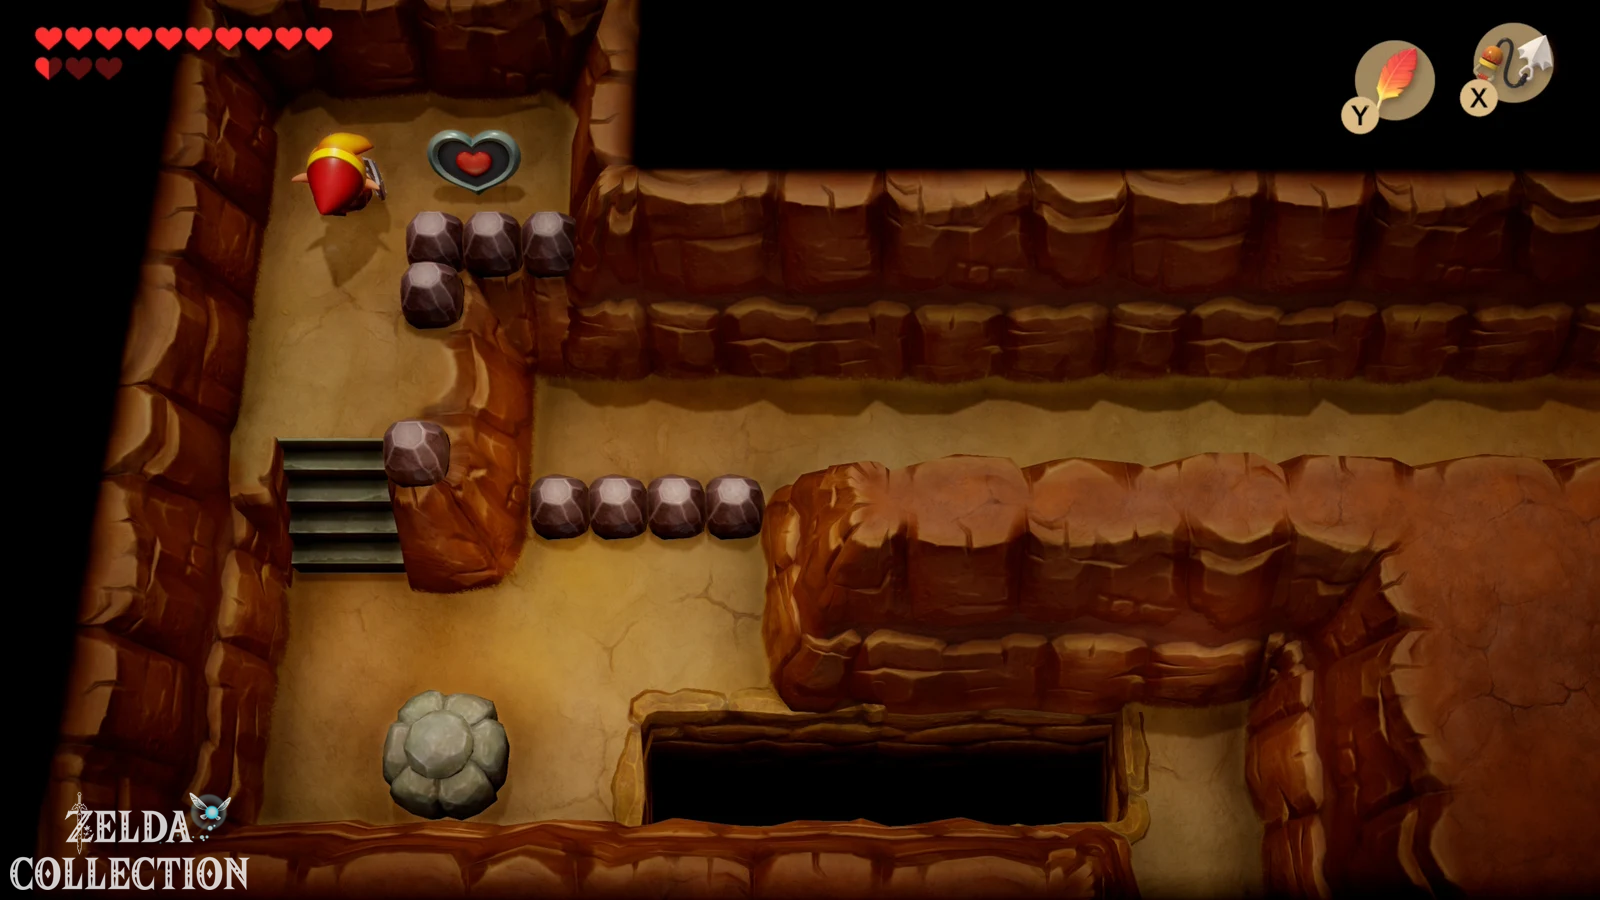
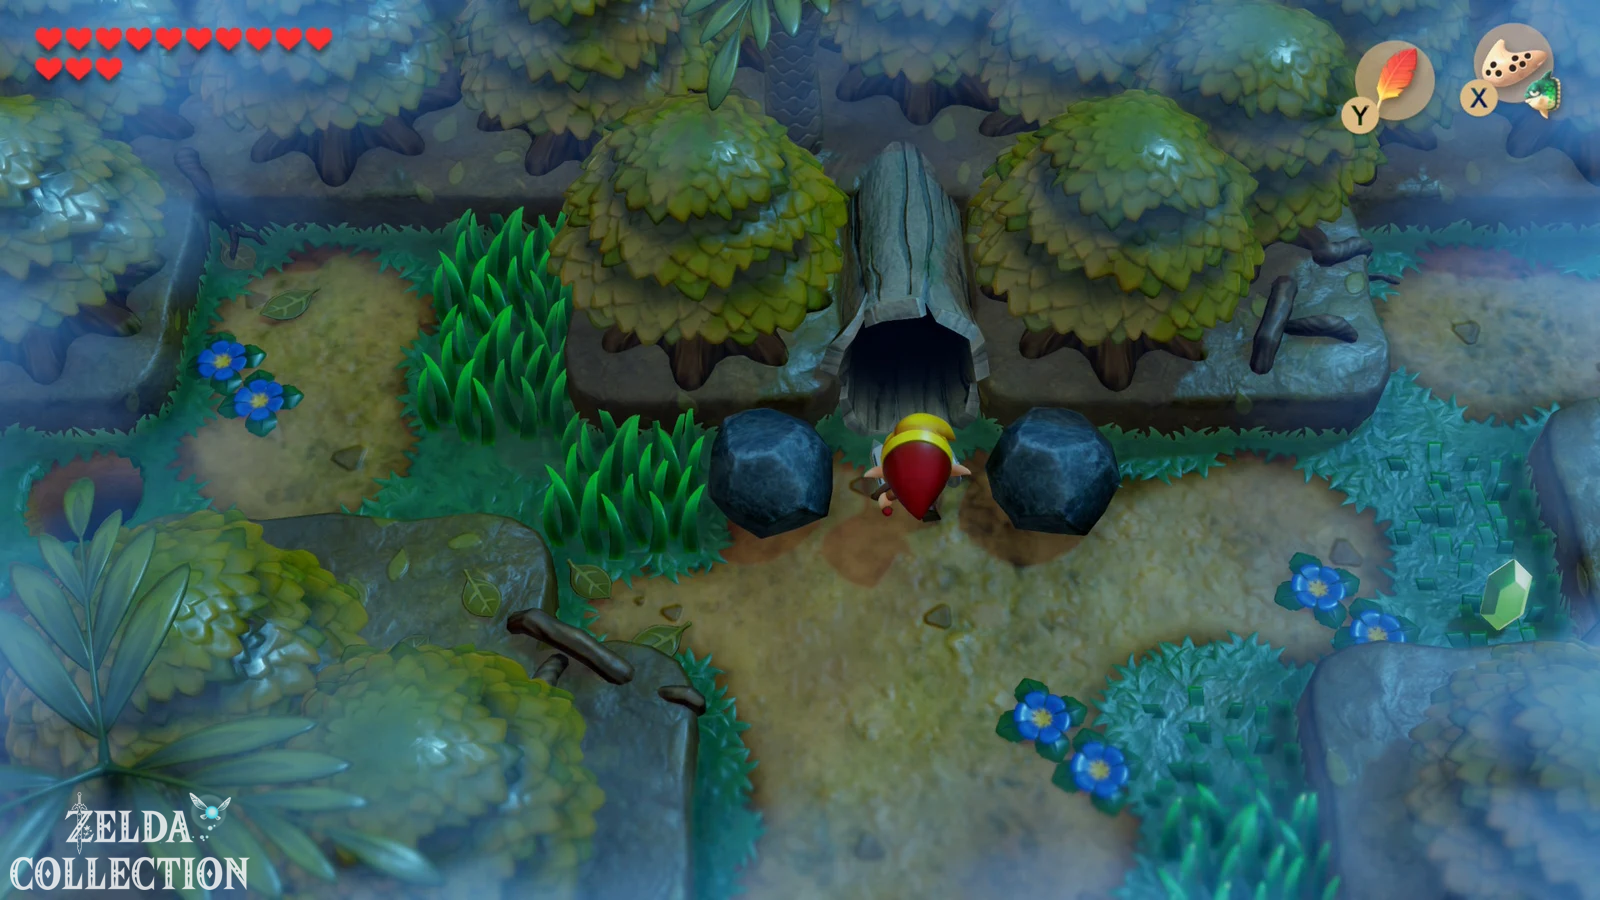
Travel with Manbo’s Mambo near the Mysterious Forest. In the northern part of the forest there is a cave with three heavy rocks at the entrance. Use the Power Bracelet to lift it out of the way and climb down. Inside you blow up the brittle stone or the conspicuous wall and then pull yourself over the abyss with the Hookshot. On the other side, jump to the next ledge with the Roc’s Feather and take the Piece of Heart lying there with you. Move the remaining blocks to be able to leave the cave again.
The two normal overworld heart parts have now been collected, which were immediately accessible via the Hookshot.
Secret Seashell in front of Kanalet Castle
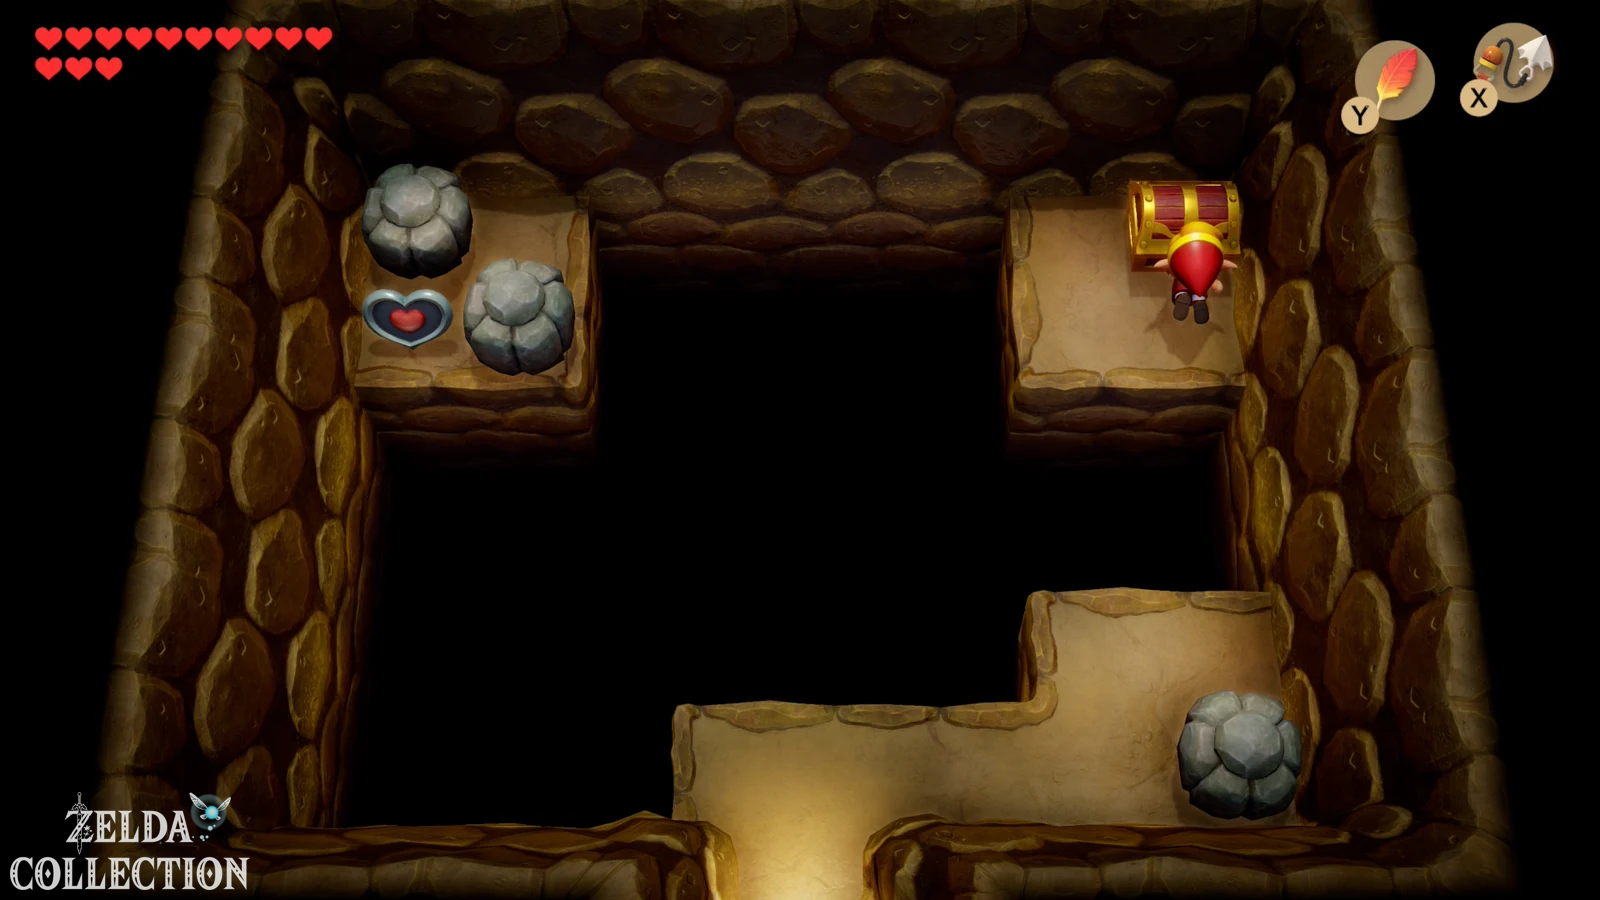
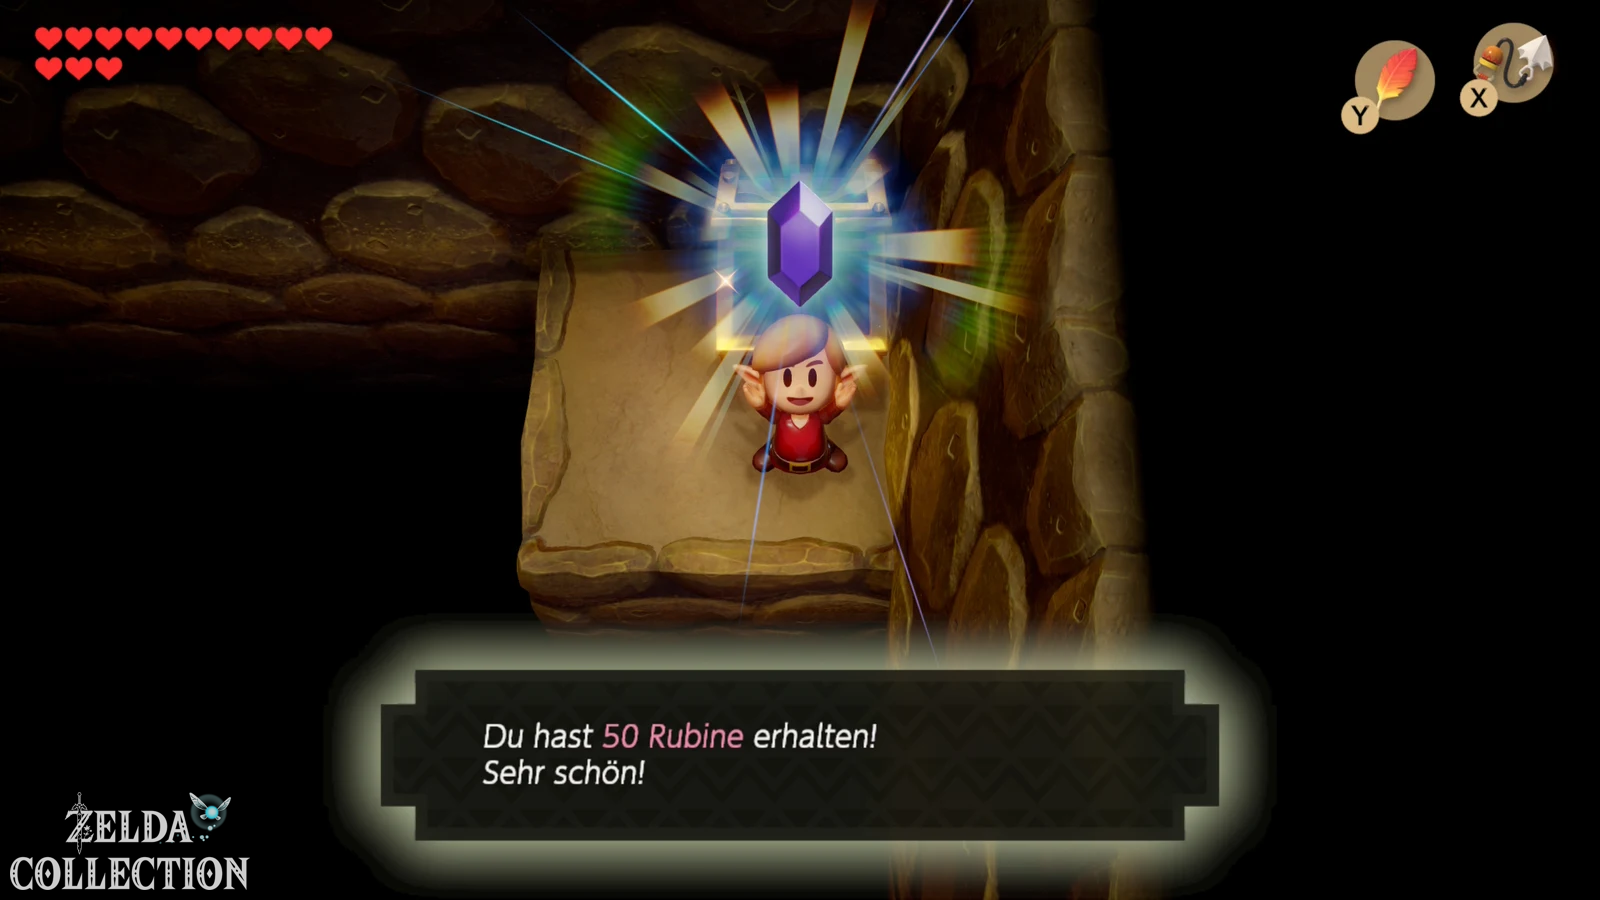
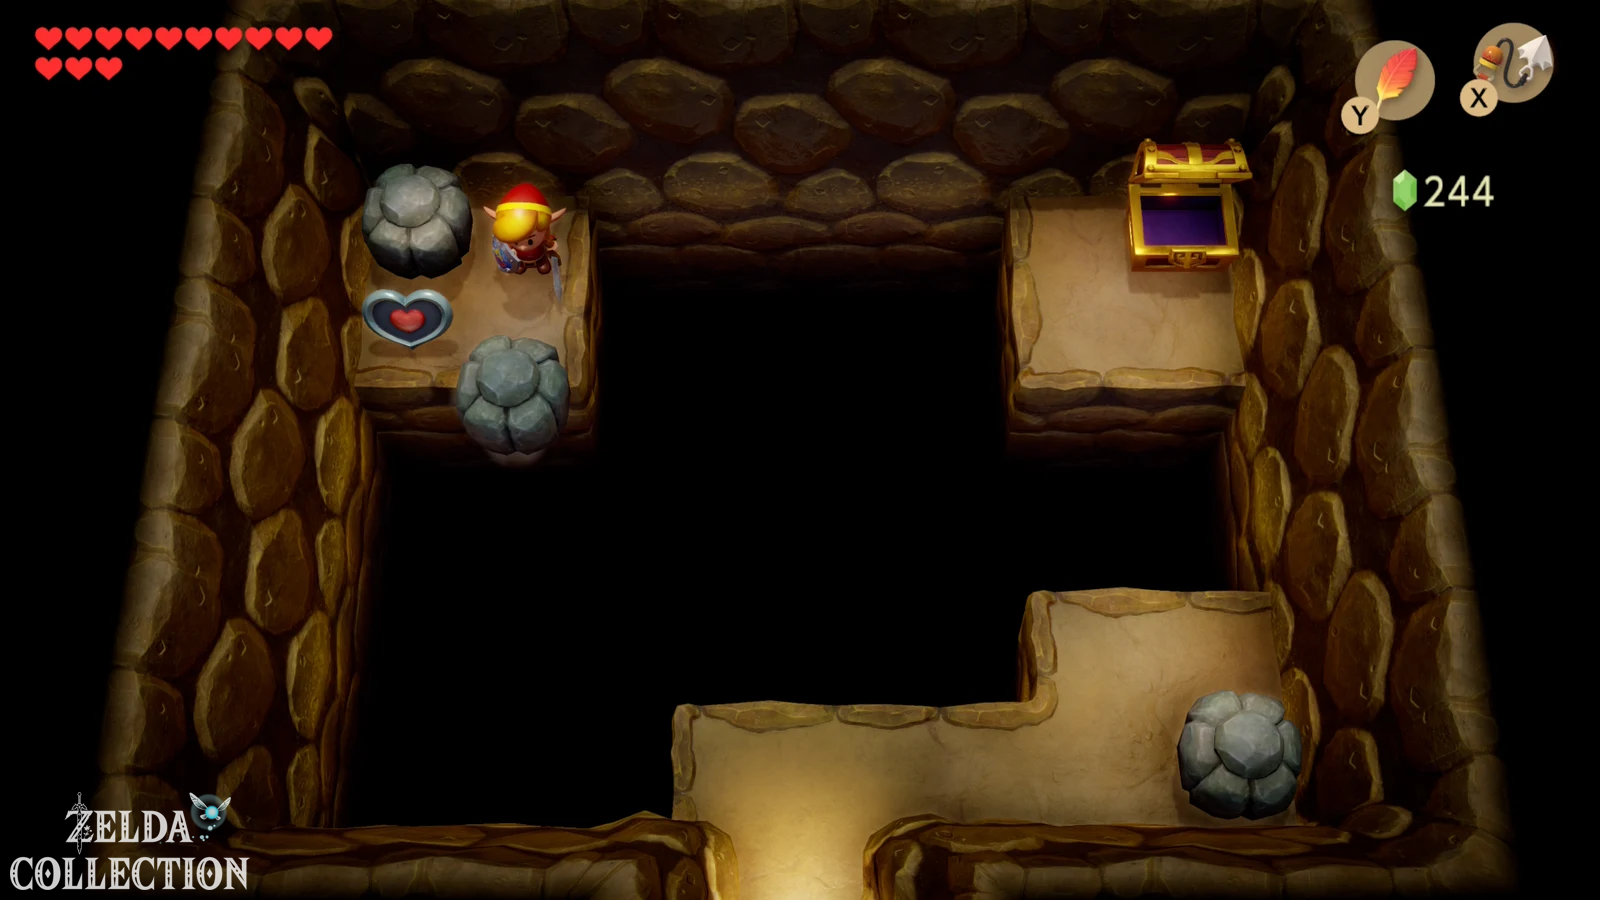
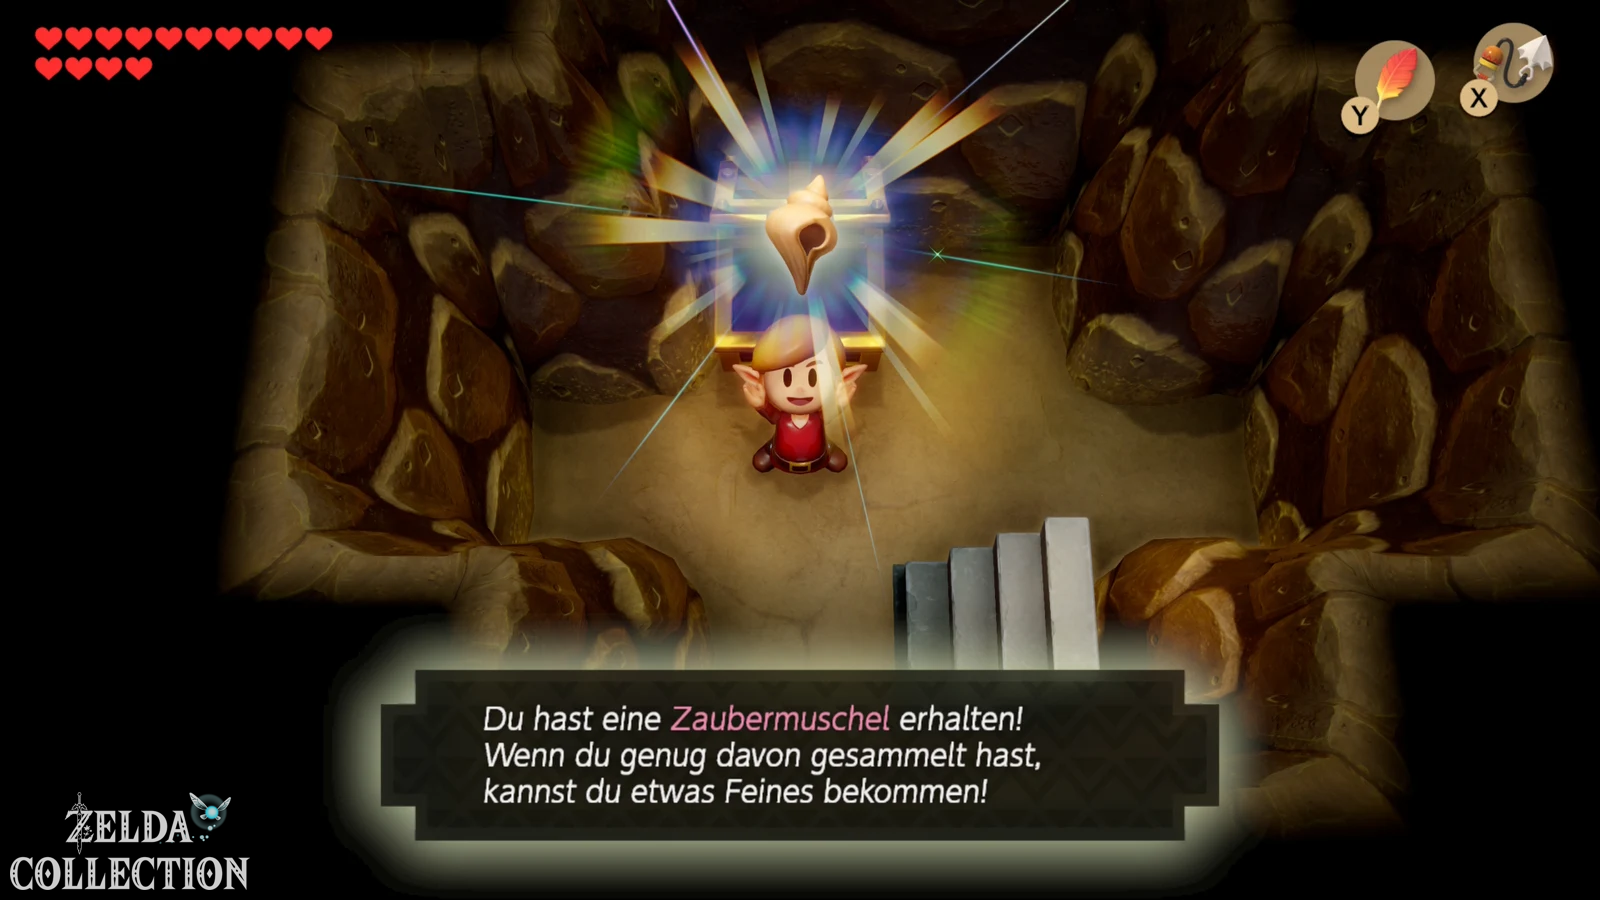
Next, travel to the Great Gate of Kanalet Castle. To the left outside the moat there are several holes that previously separated a staircase from the rest of the area. Stand at the edge and use the Hookshot to pull yourself to the opposite side. Climb down the stairs and open the chest underground. Inside is another Secret Seashell.
This Location is reminiscent of a shell from the classic versions, but due to the remake’s collection being expanded to 50 pieces, the numbering and order do not match the original or DX. For older games, use our separate DX overview of the Secret Seashells (German).
Hookshot detour to Tal Tal Mountain Range
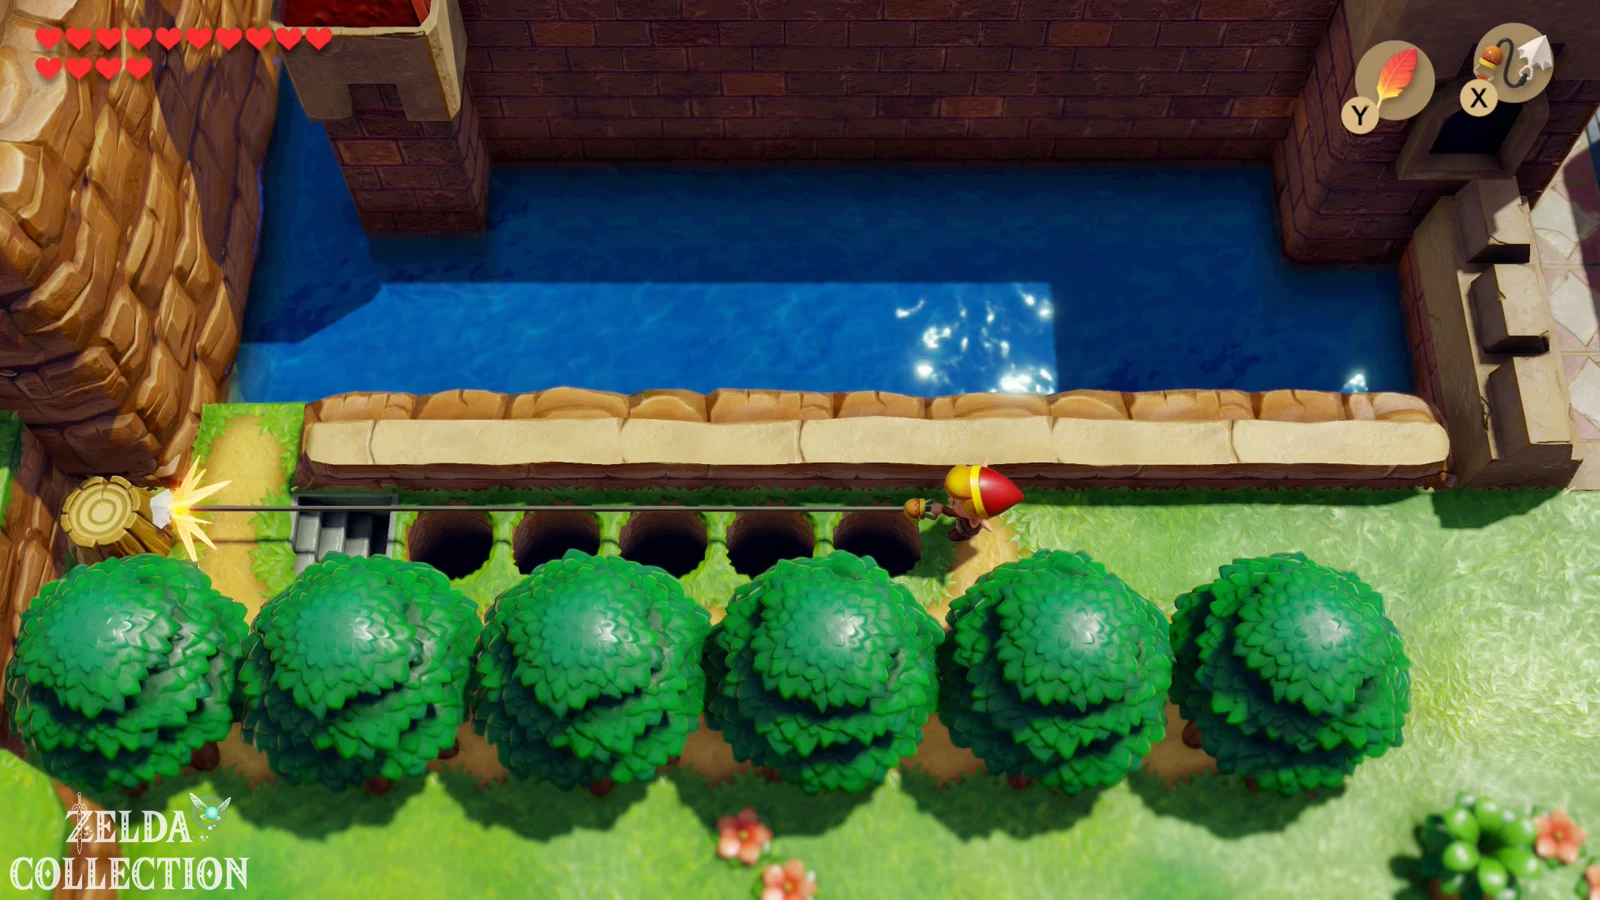
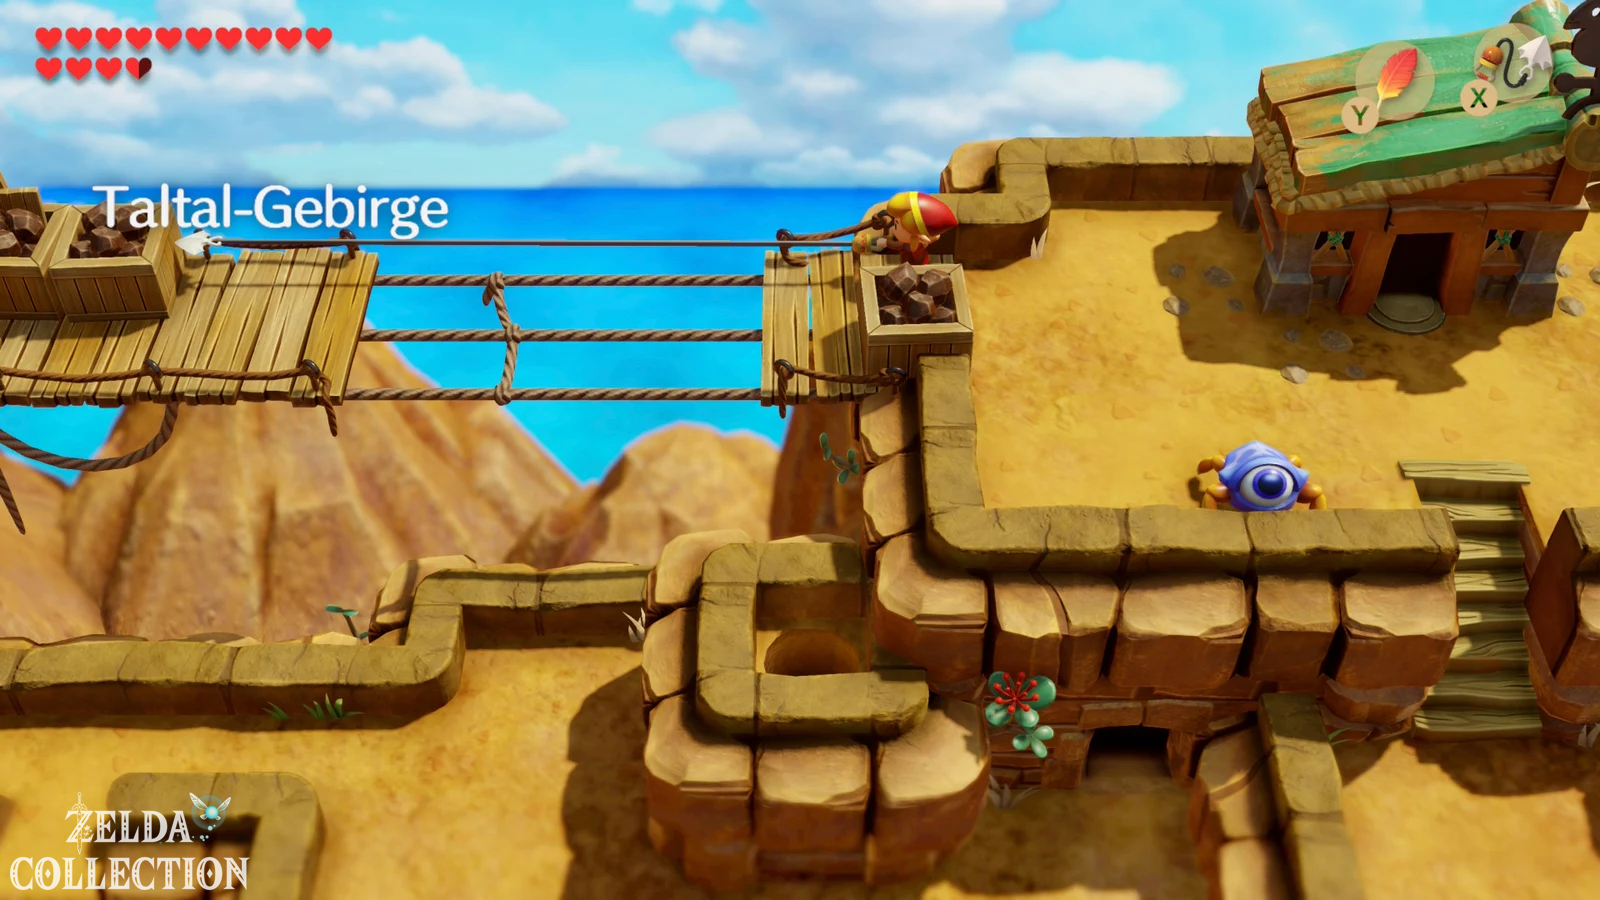
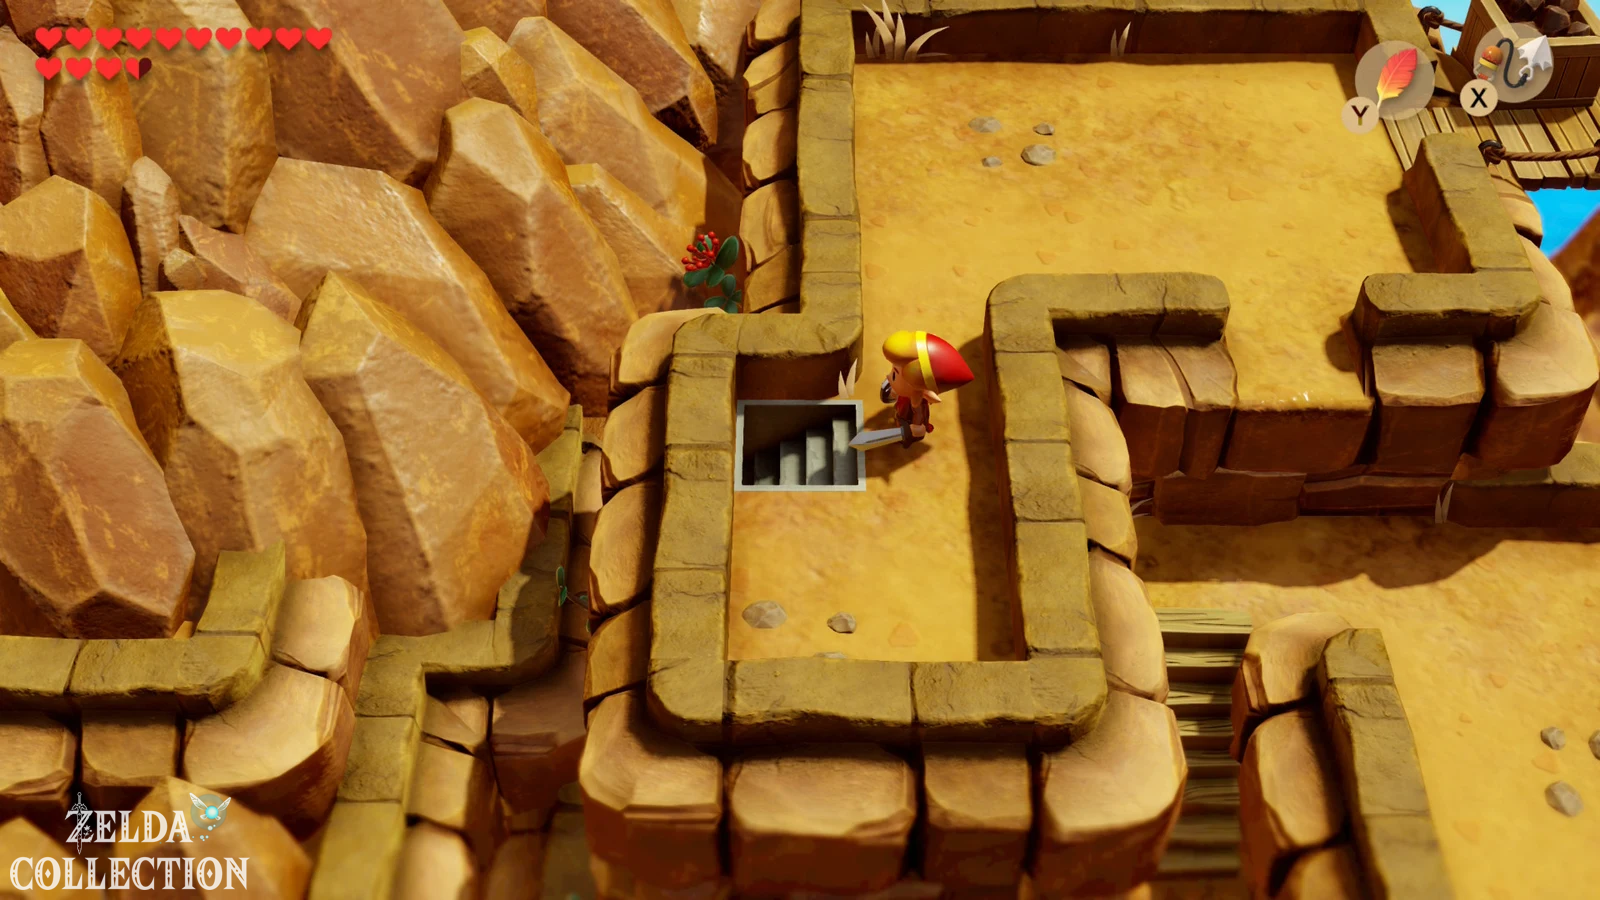
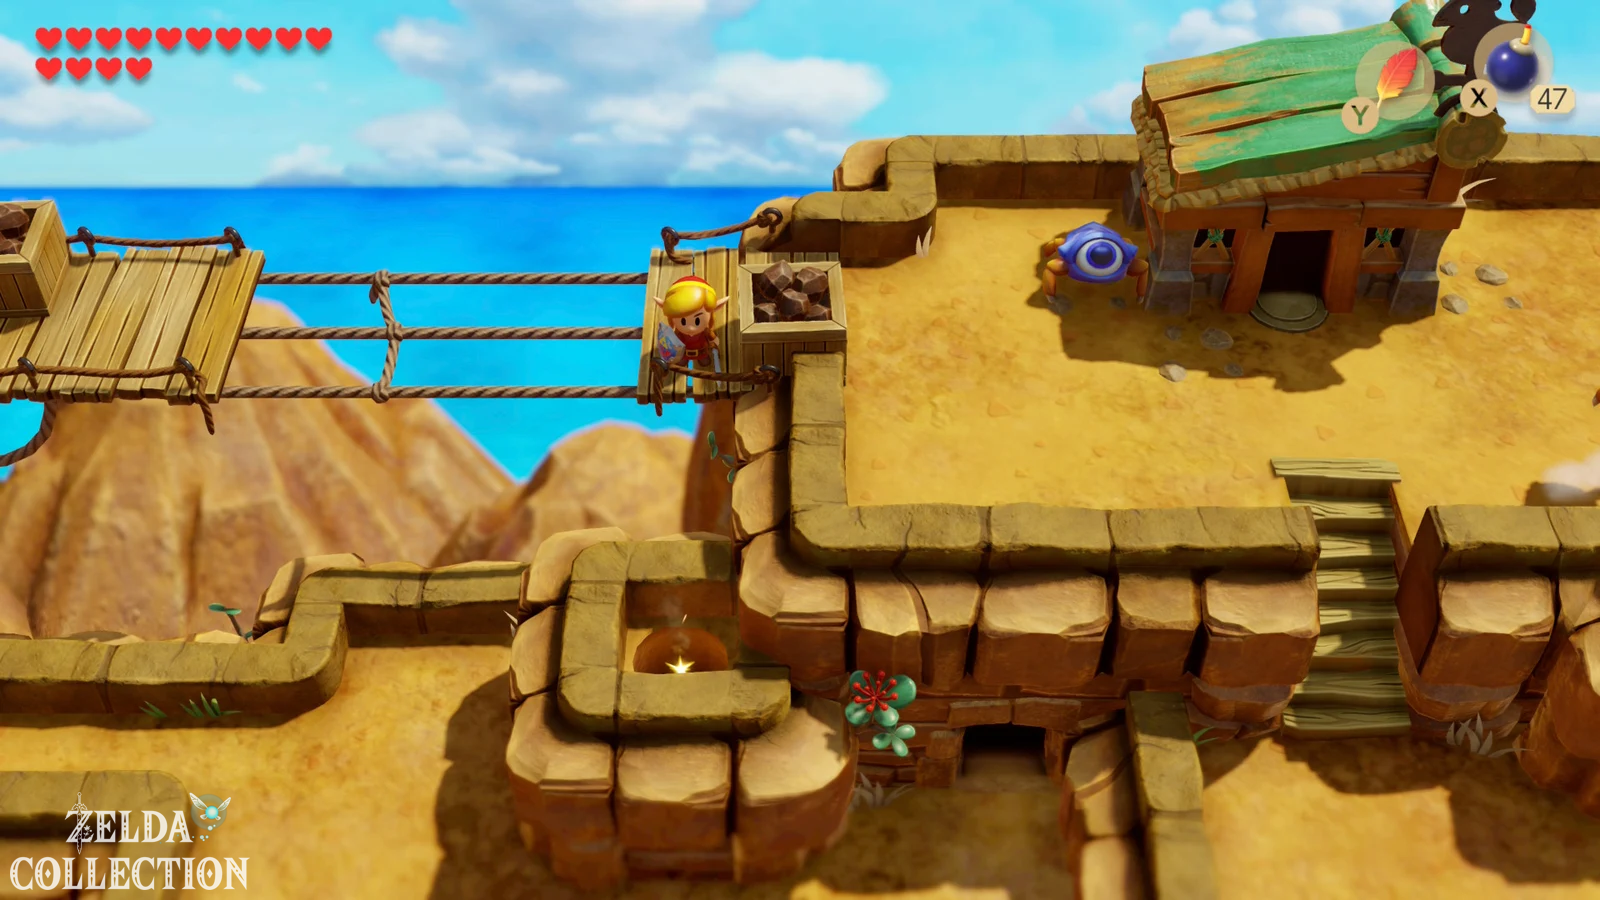
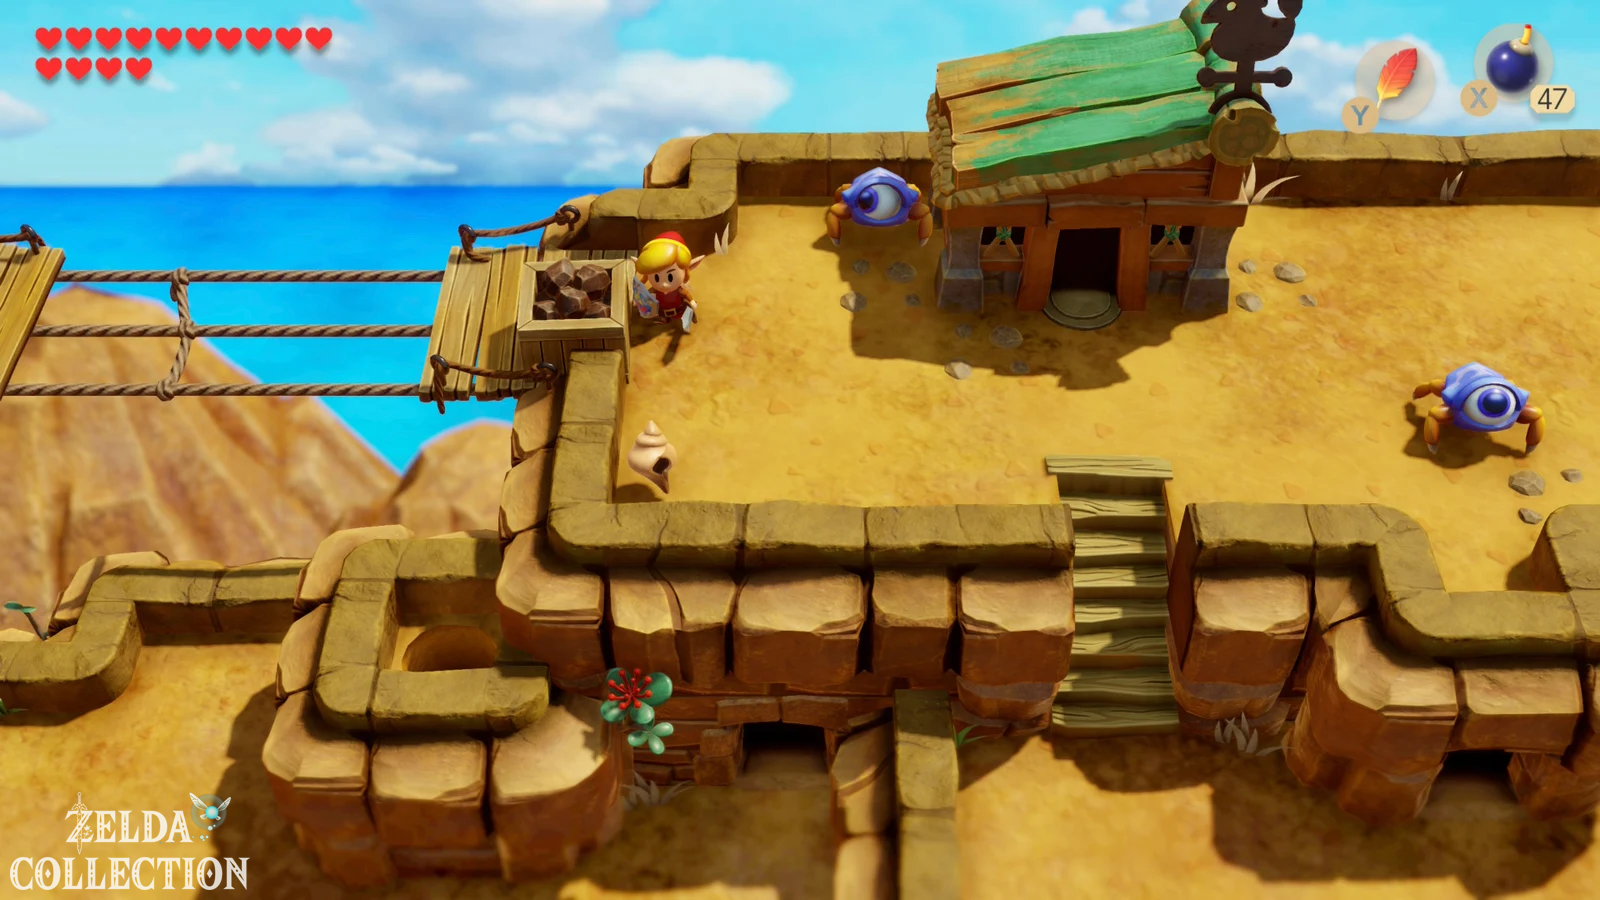
Before we visit the rapids, we clear out a remote grappling hook location. Travel to the warp point in Tal Tal Heights and climb up to the chicken coop. Go from the stable to left to the damaged suspension bridge. The wide gap has not yet been surmountable; Now pull yourself with the Hookshot to the target on the other side. Run all the way to the west and knock out the single bush. A staircase appears underneath.
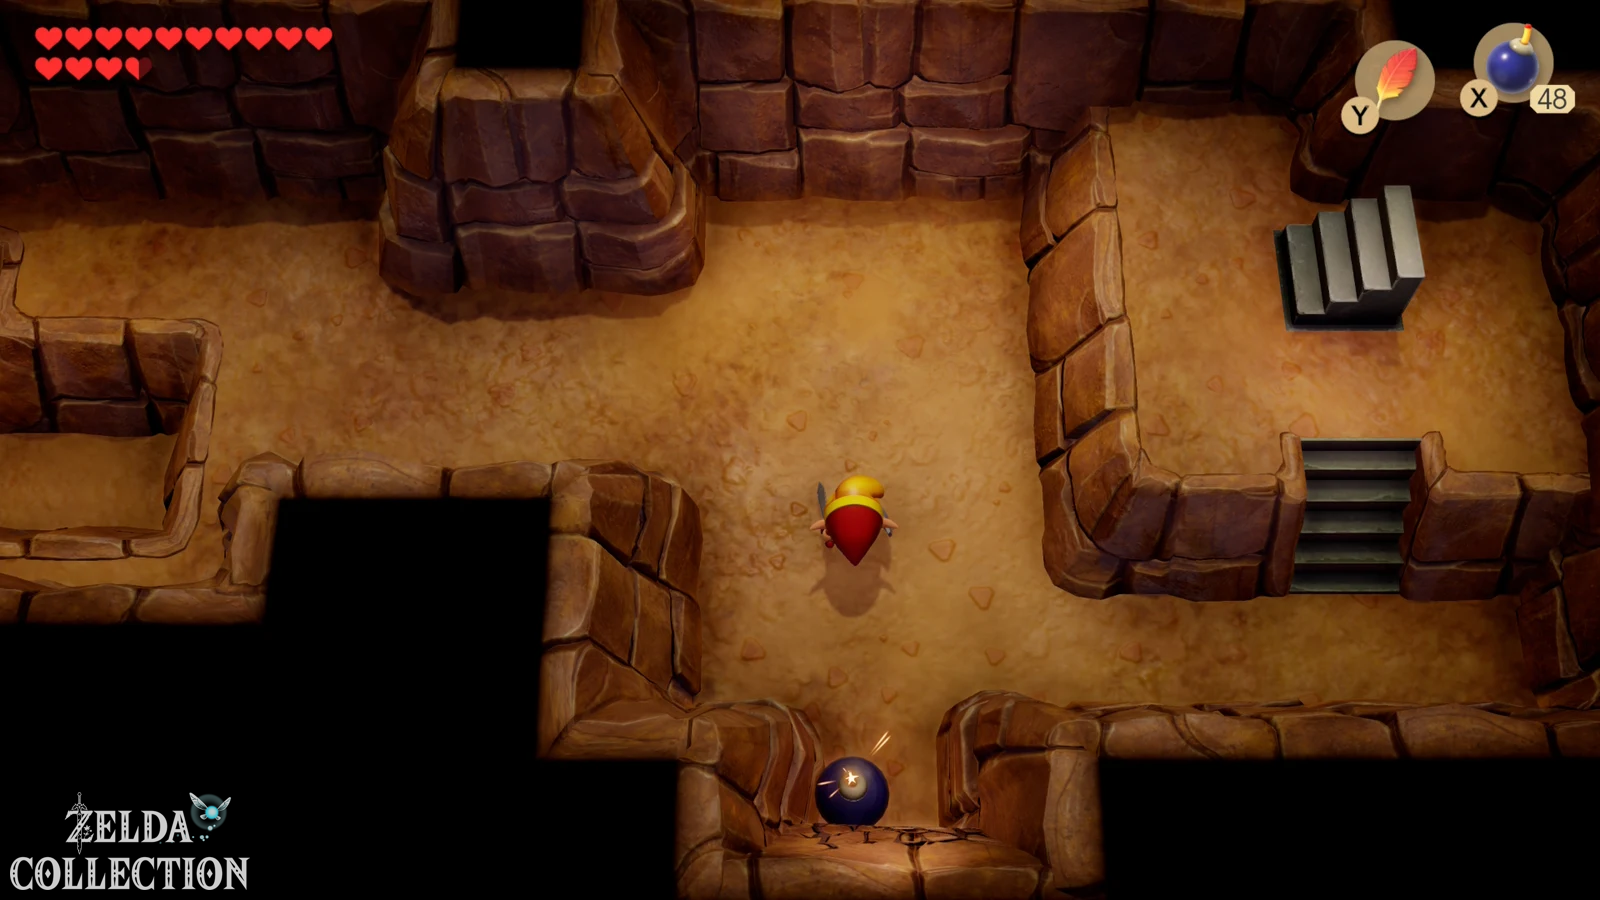
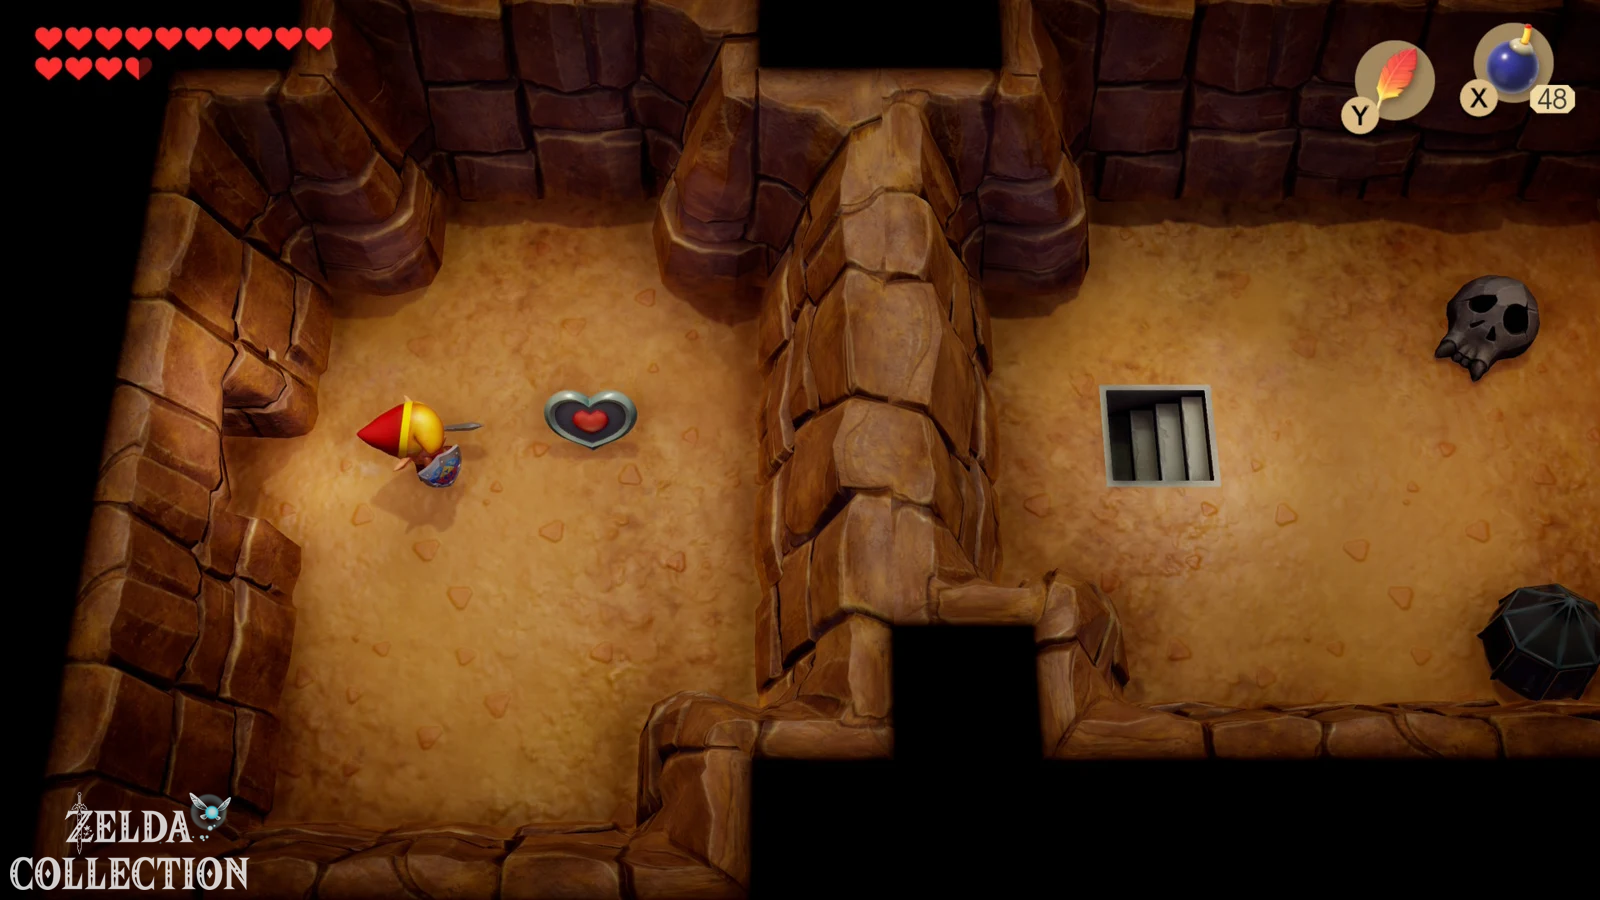
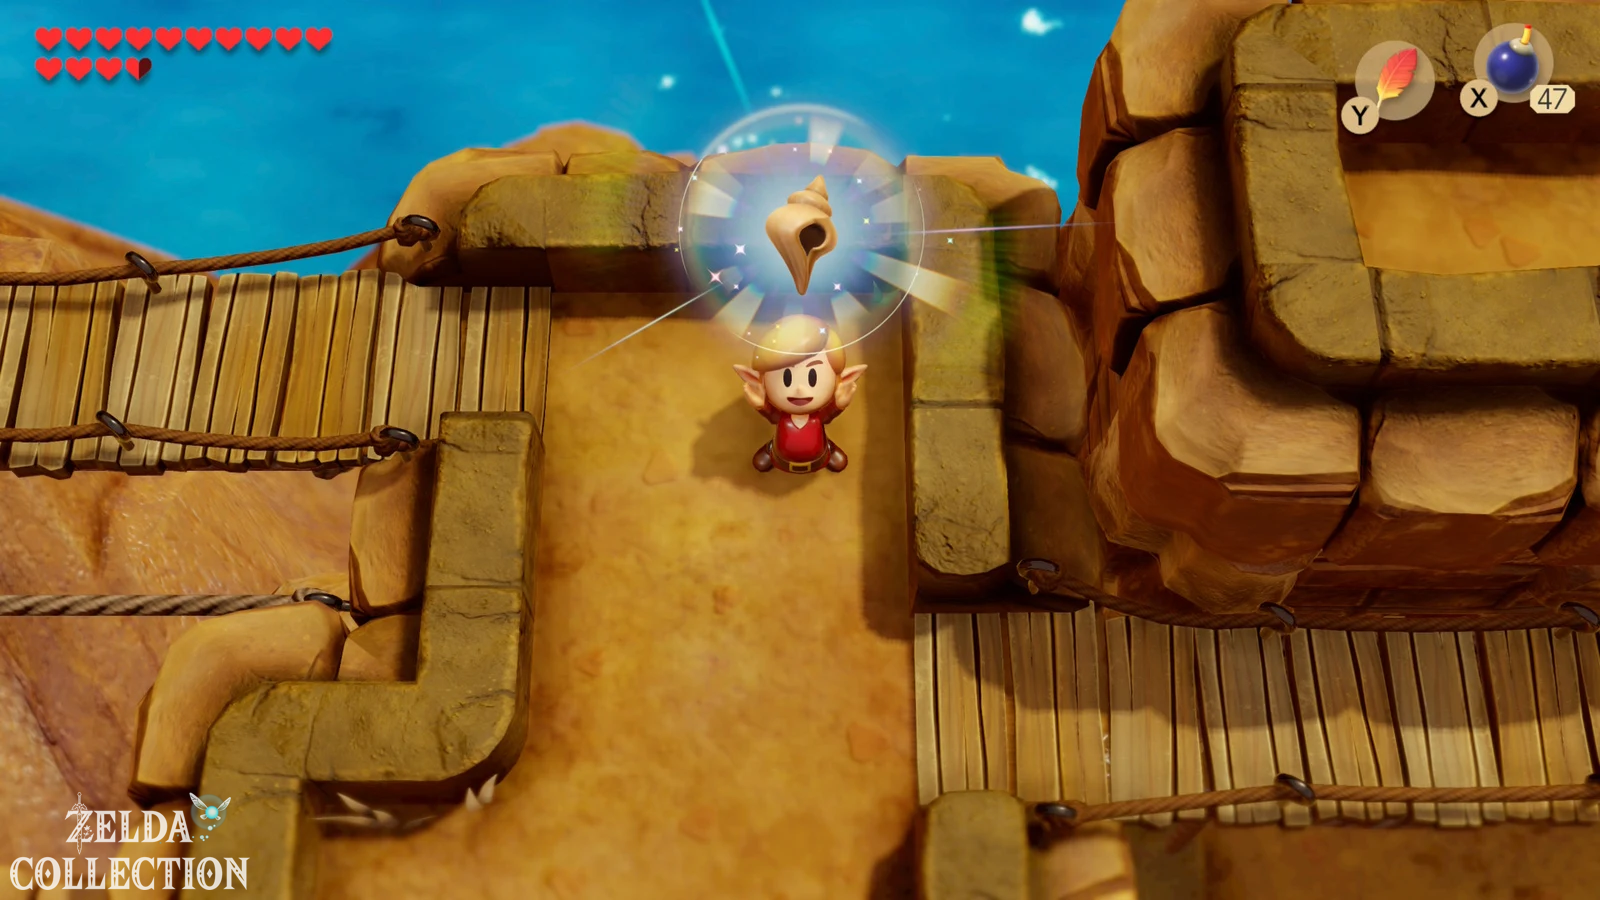
Climb down into the cave and blow up the fragile wall at the bottom. Follow the opened corridor and you will reach the next Piece of Heart. Take it with you and then return to the chicken coop. This time go right over the other suspension bridge and lift the heavy stones lying there. If you haven’t picked up the Secret Seashell hidden underneath on a previous visit to the mountains, now is the right time. This means that we don’t have to return to the mountains again just for these collectibles until we later go to the Eagle’s Tower.
Piece of Heart in the cave near the
rapids
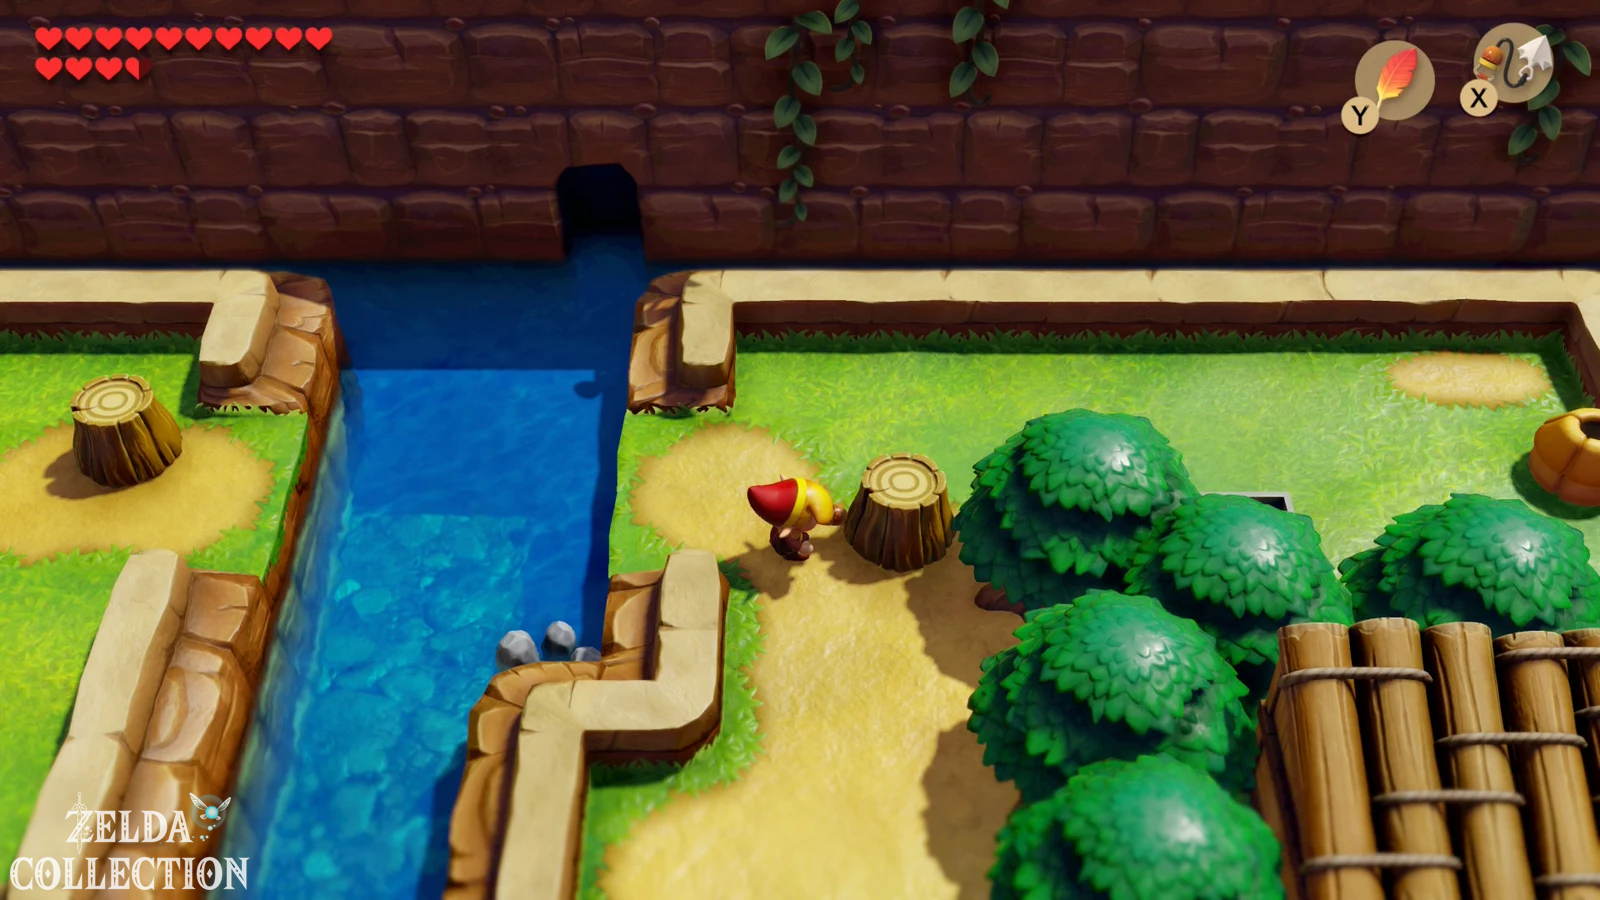
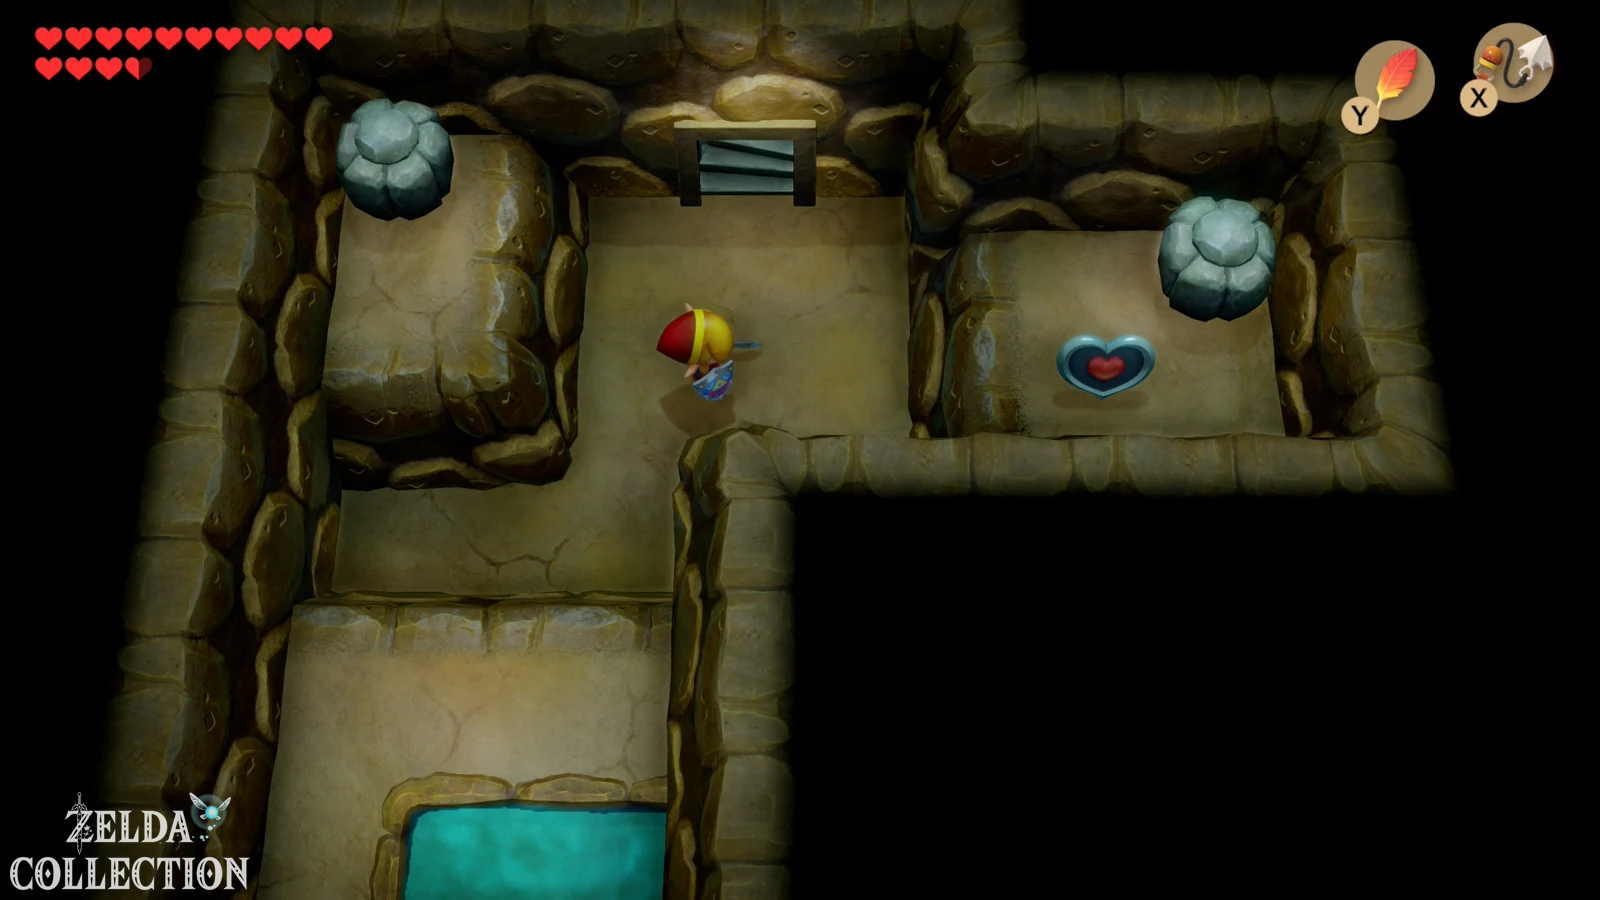
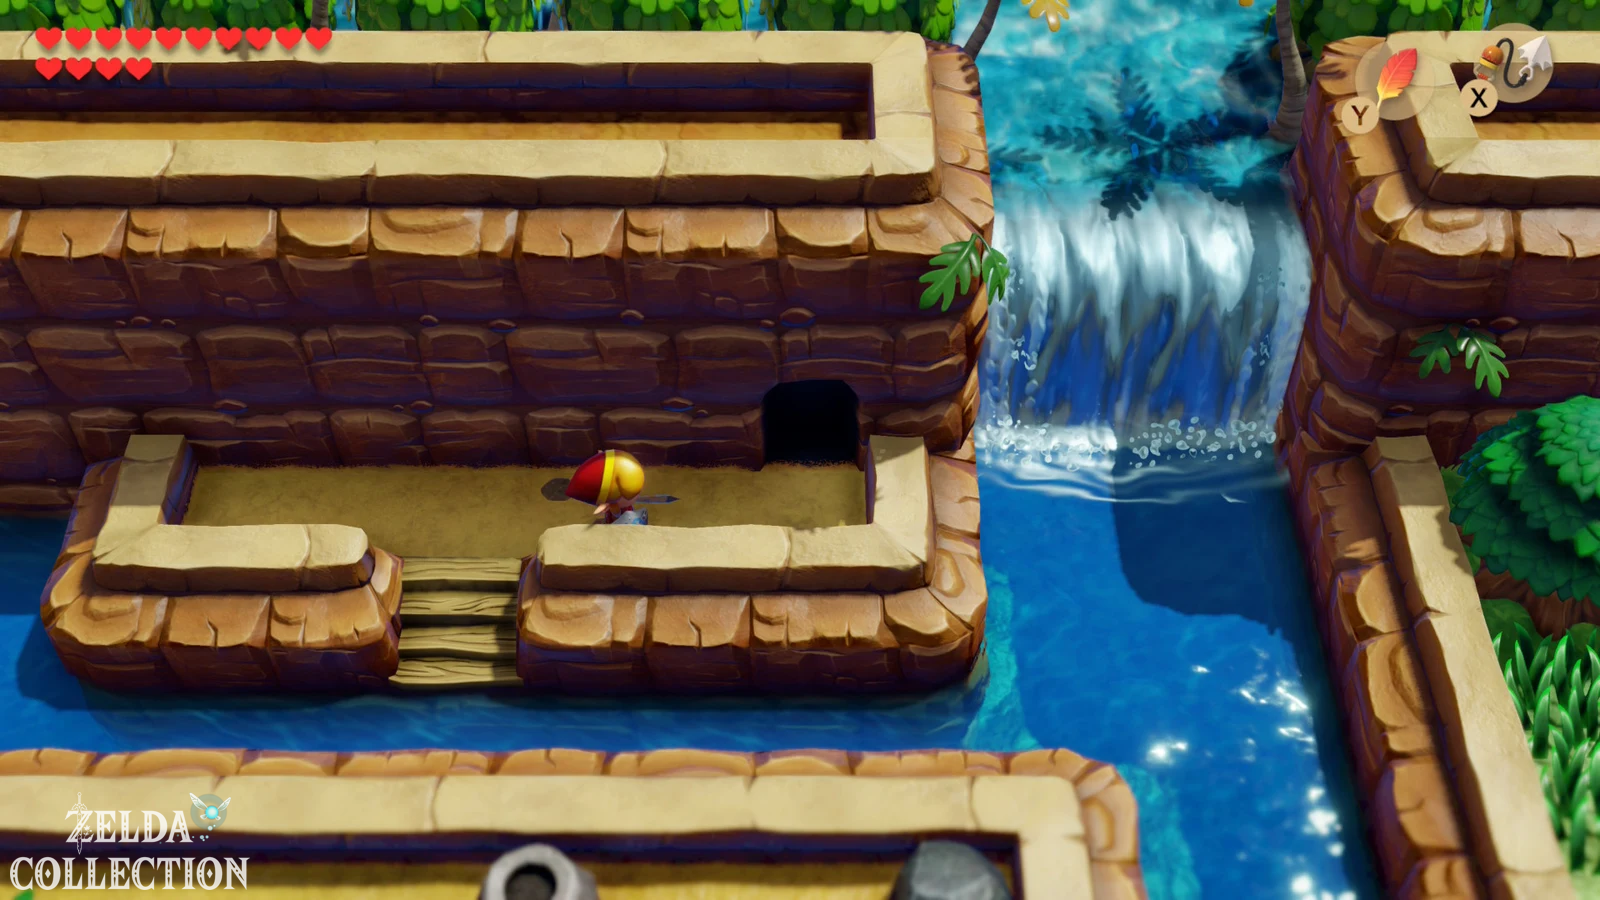
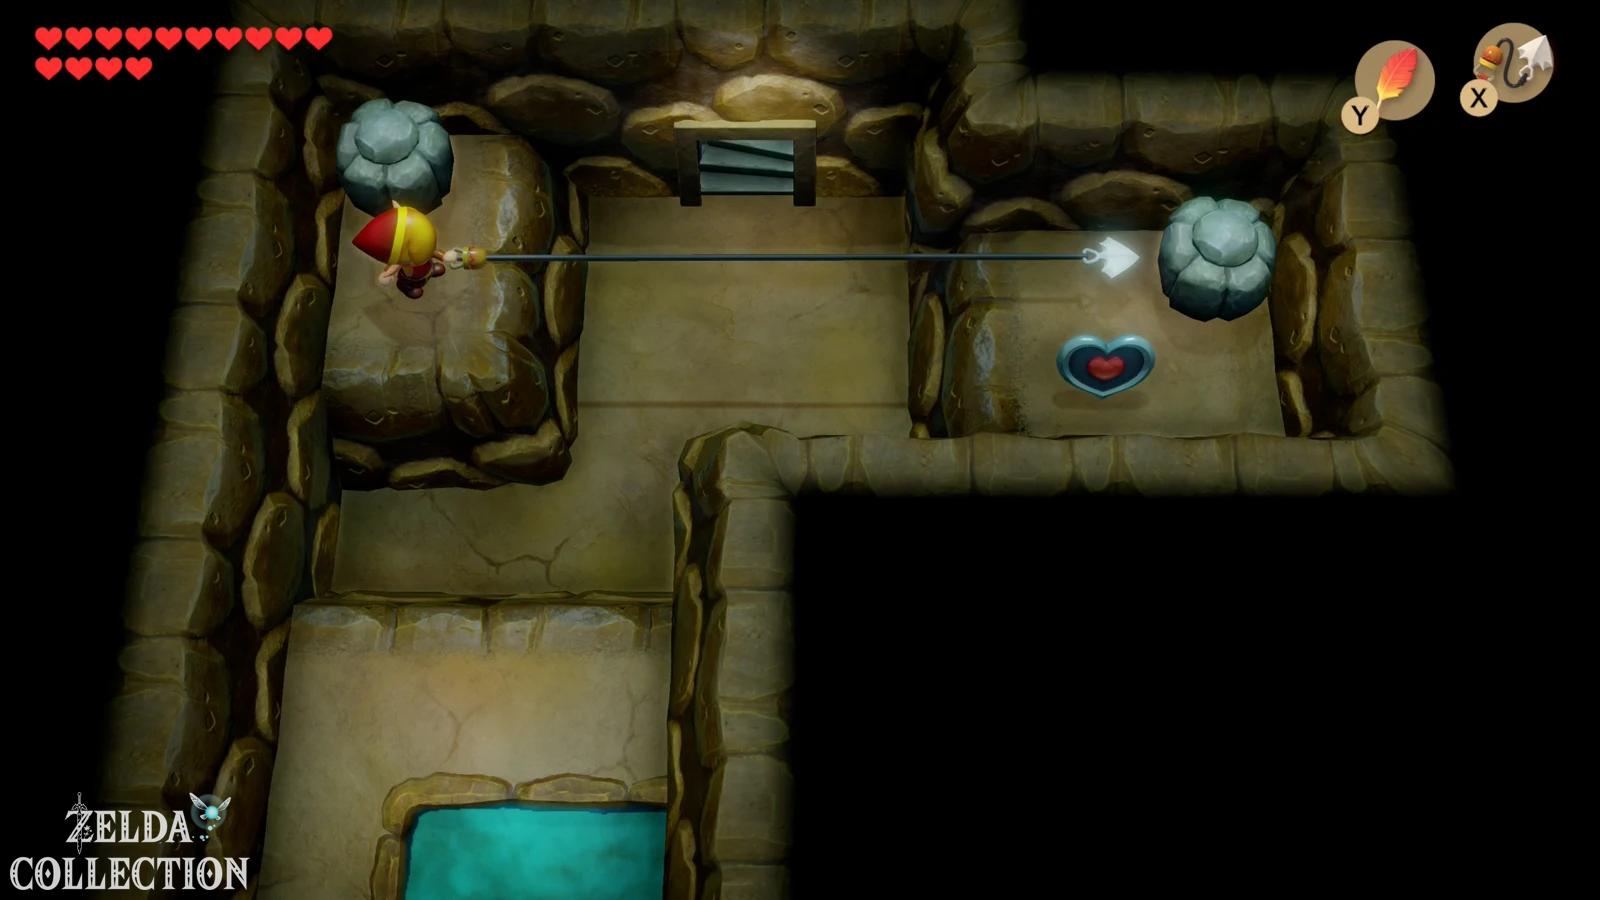
Now travel to the region east of the Animal Village or to the old ruins. In the northeastern part of this area, a cave leads up to the starting point of the rapids. Enter her. Inside you’ll see a Piece of Heart on the other side of a wide chasm. Use the Hookshot to pull yourself to the appropriate rock or object on the opposite side and take the Piece of Heart with you. Then follow the cave further up and you will reach directly to the raft rental company’s hut.
Rapids: First the collection round
One trip costs 100 Rupees. In the Switch remake there are two variants to choose from: On the normal collection drive you can take your time and collect as many items as possible, while the race is designed for the shortest possible finish time. Start with the relaxed version. The Hookshot is enormously helpful here because you can pull yourself sideways using trees and vines and thus steer against the current or reach islands that the raft would otherwise miss.
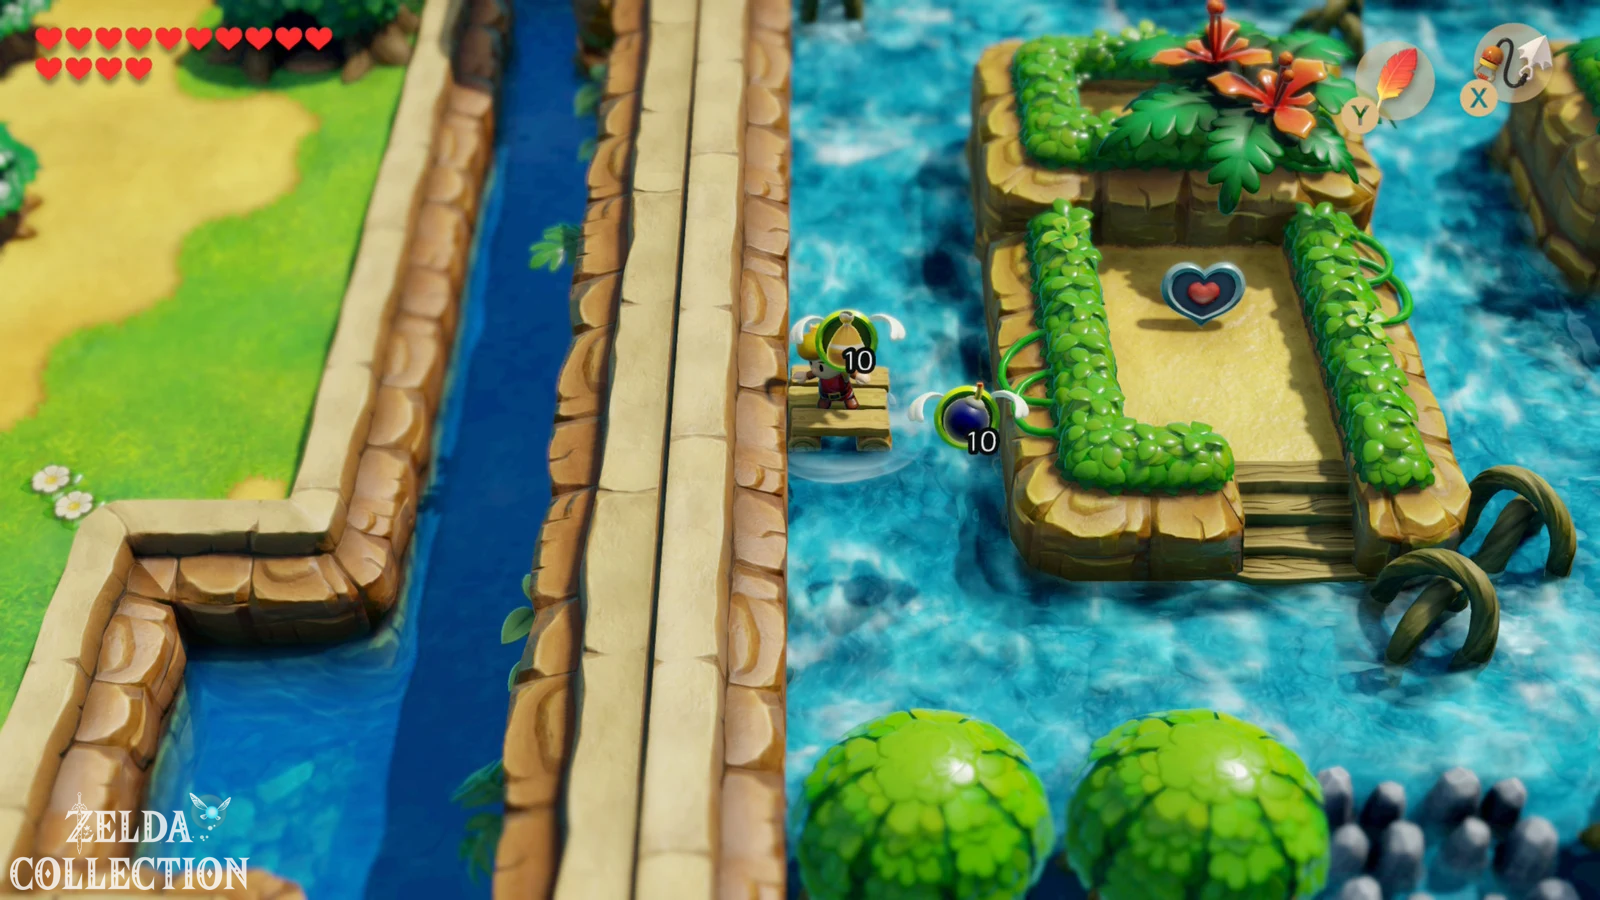
Immediately after the start, stay as far left as possible after . Let yourself drift down the waterfall on the western edge. A Piece of Heart is visible on the upper left island. Use the Hookshot to pull yourself to the vines or to the shore, climb onto the island and take the Piece of Heart with you. Then return to the raft or continue the journey.
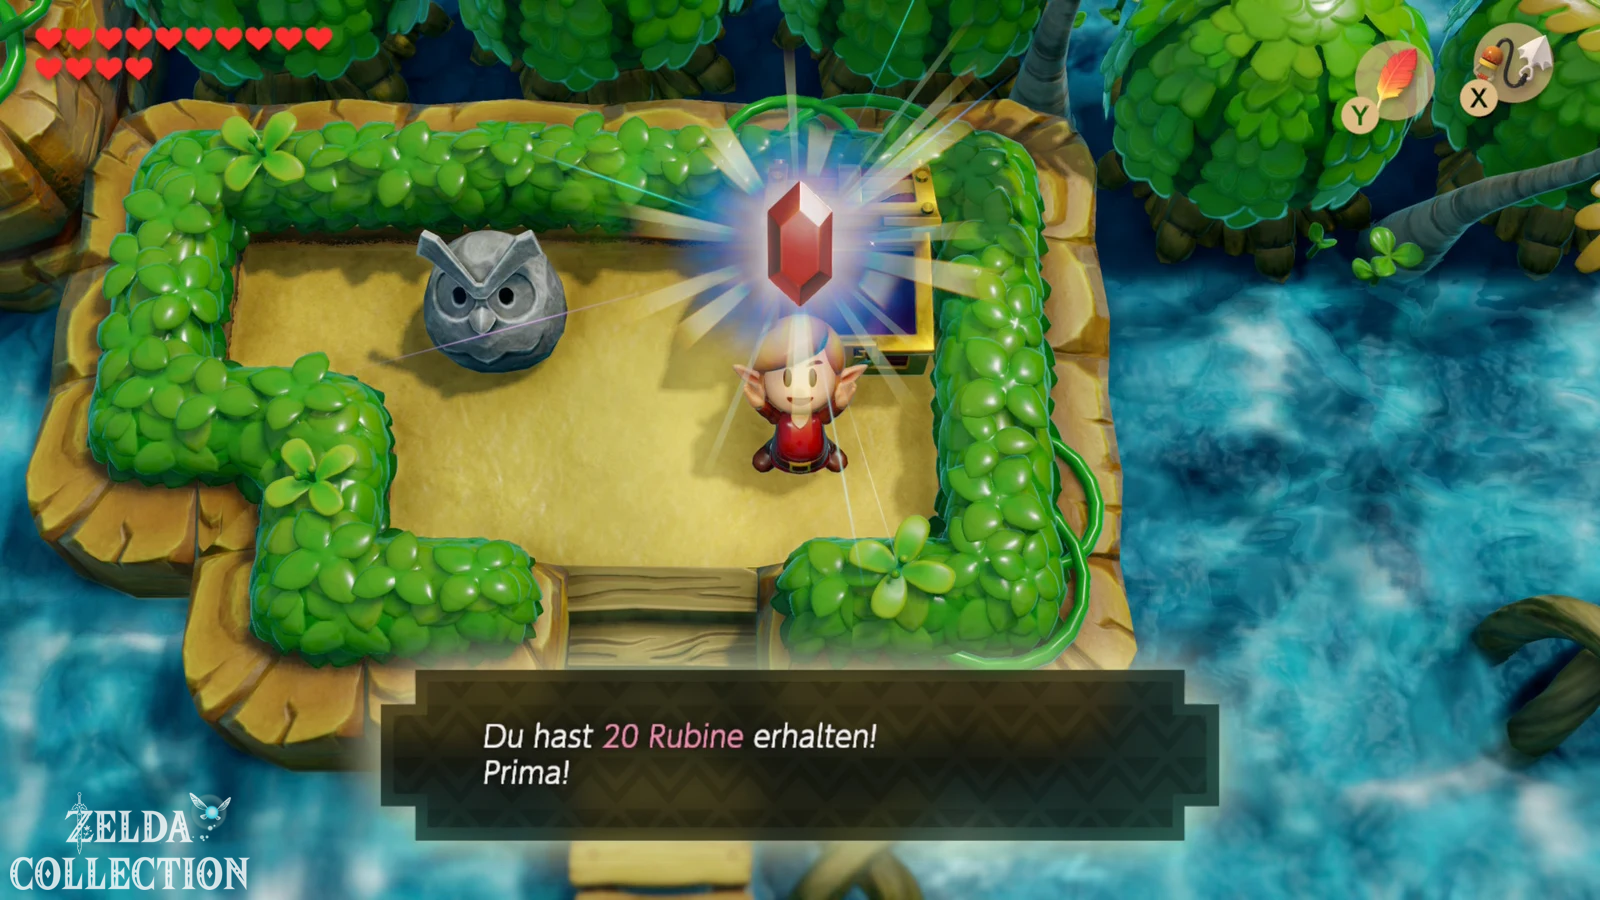
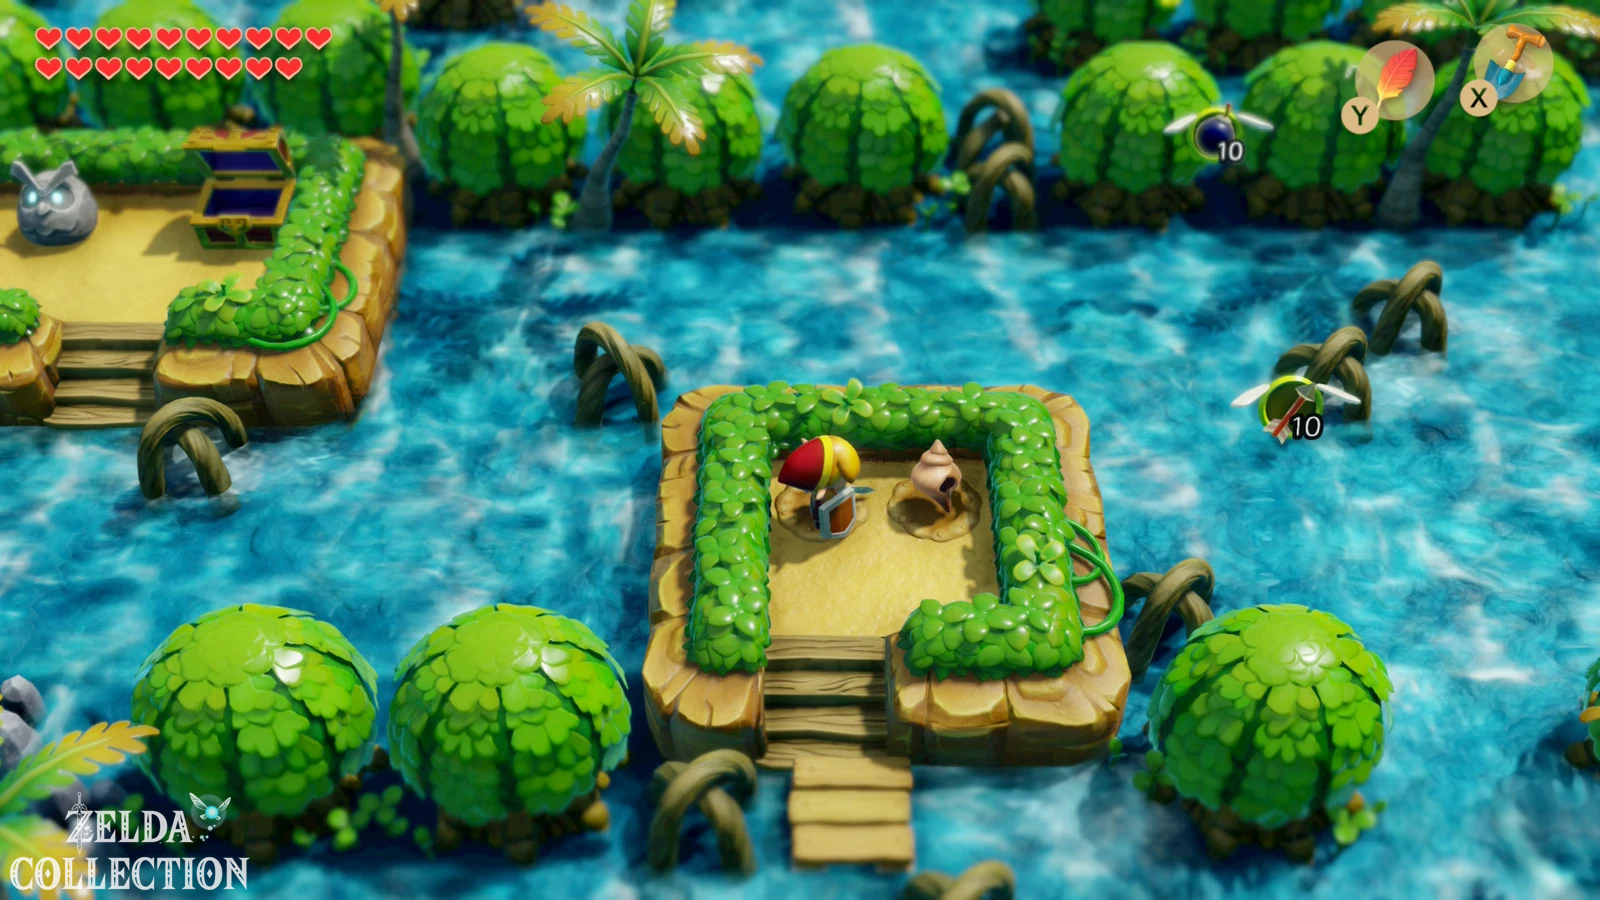
Secret Seashell on the island in the rapids
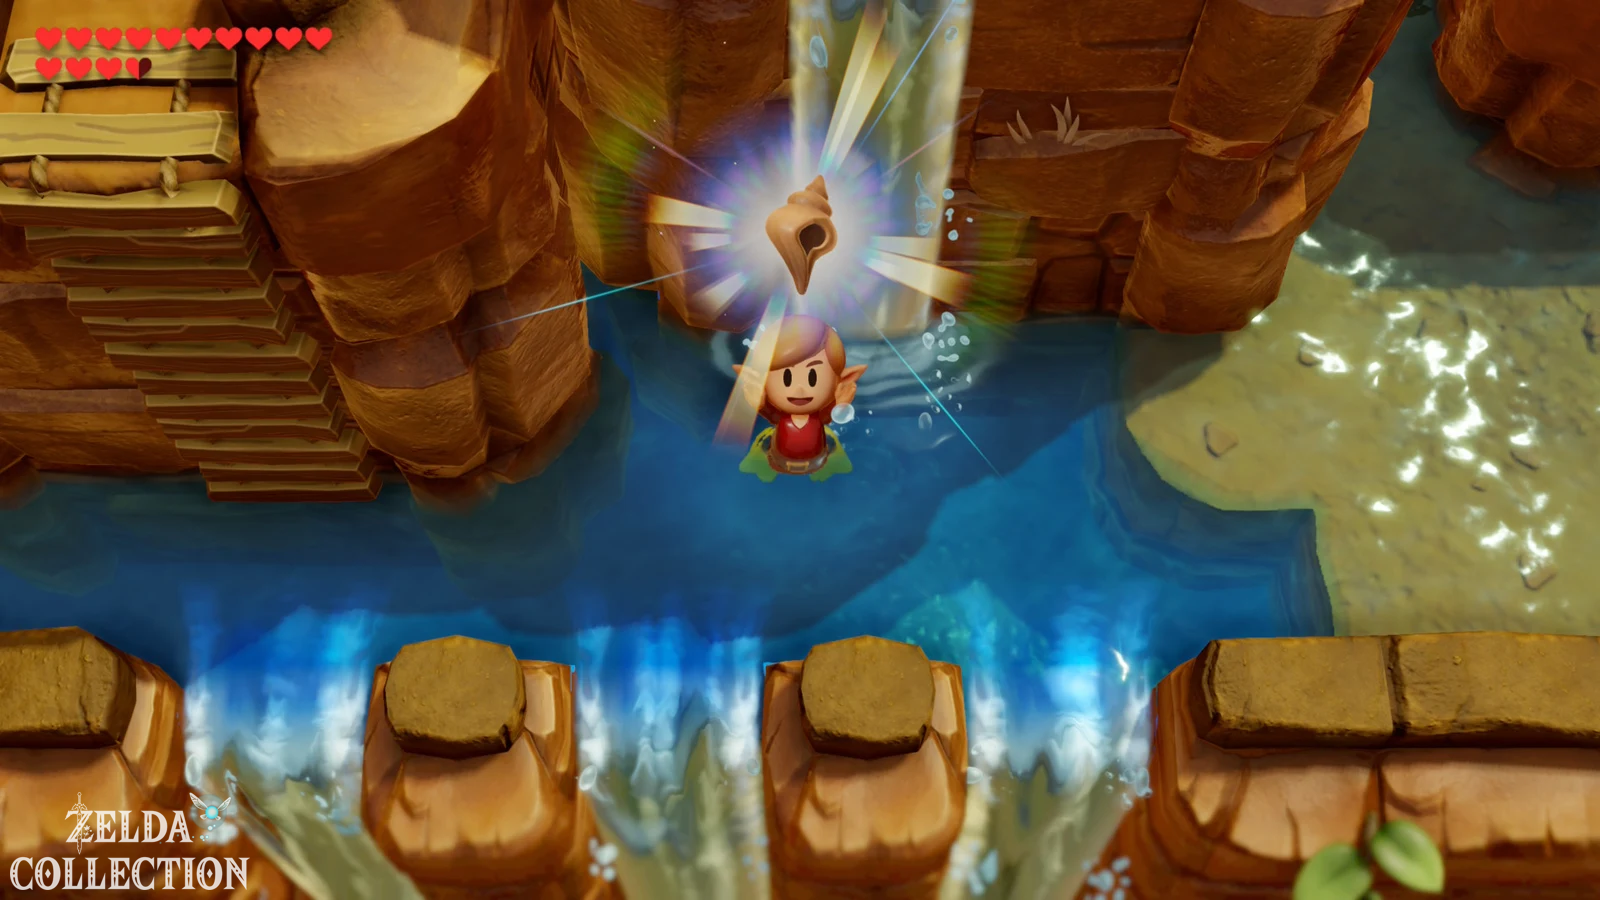
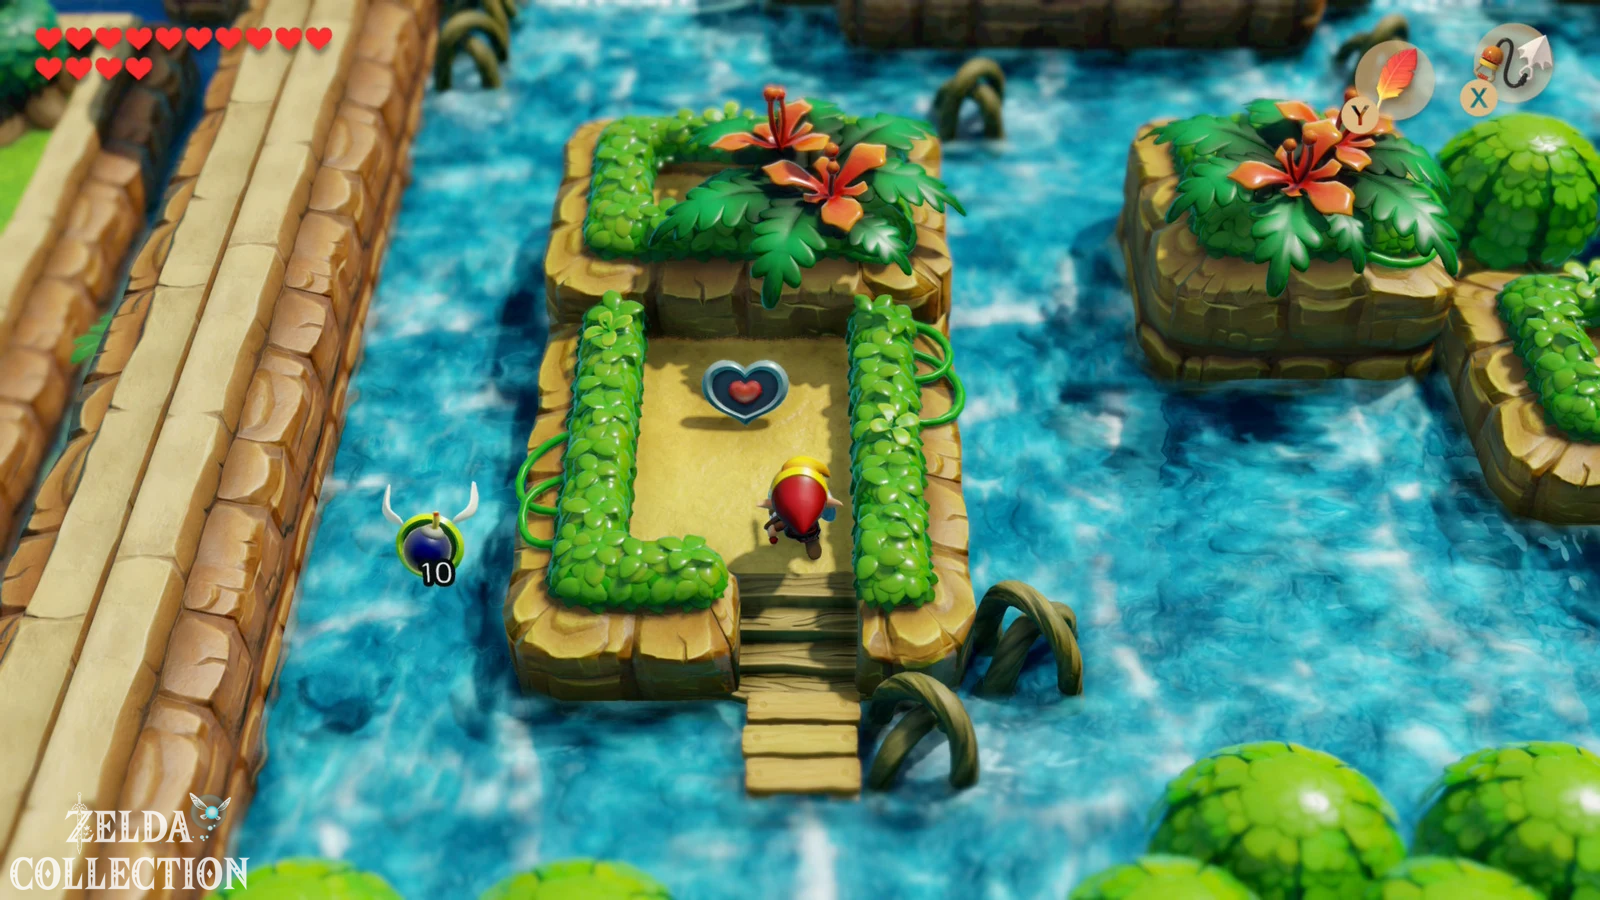
In the middle of the rapids there is a small island where nothing special can be seen at first. Use the Hookshot to pull yourself to the vines right next to the island and climb up. Take the shovel and dig in the upper right corner. There is another Secret Seashell. That’s exactly why we immediately bought the shovel back from Goriya after the boomerang exchange.
Use the rest of the collection trip to pick up Rupees, bombs and arrows. Rupees are particularly welcome now, because there are still several extremely expensive Chamber Stones waiting in the Mabe Village store for a complete Switch game.
Fast Speed Races: Piece of Heart, Secret Seashell and Chamber Stone
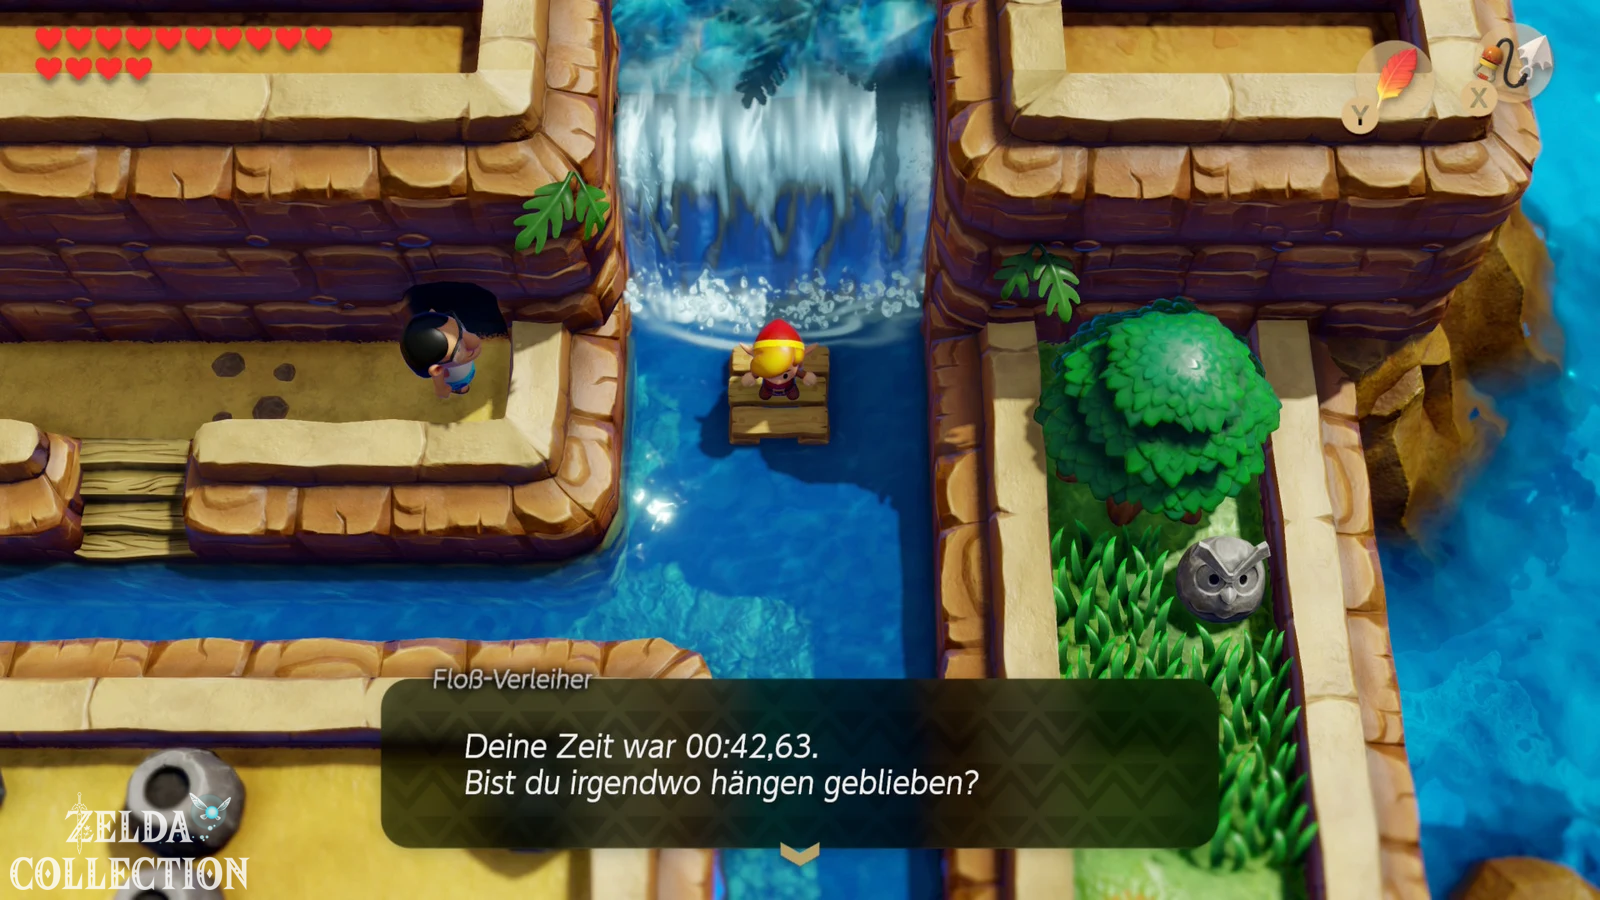
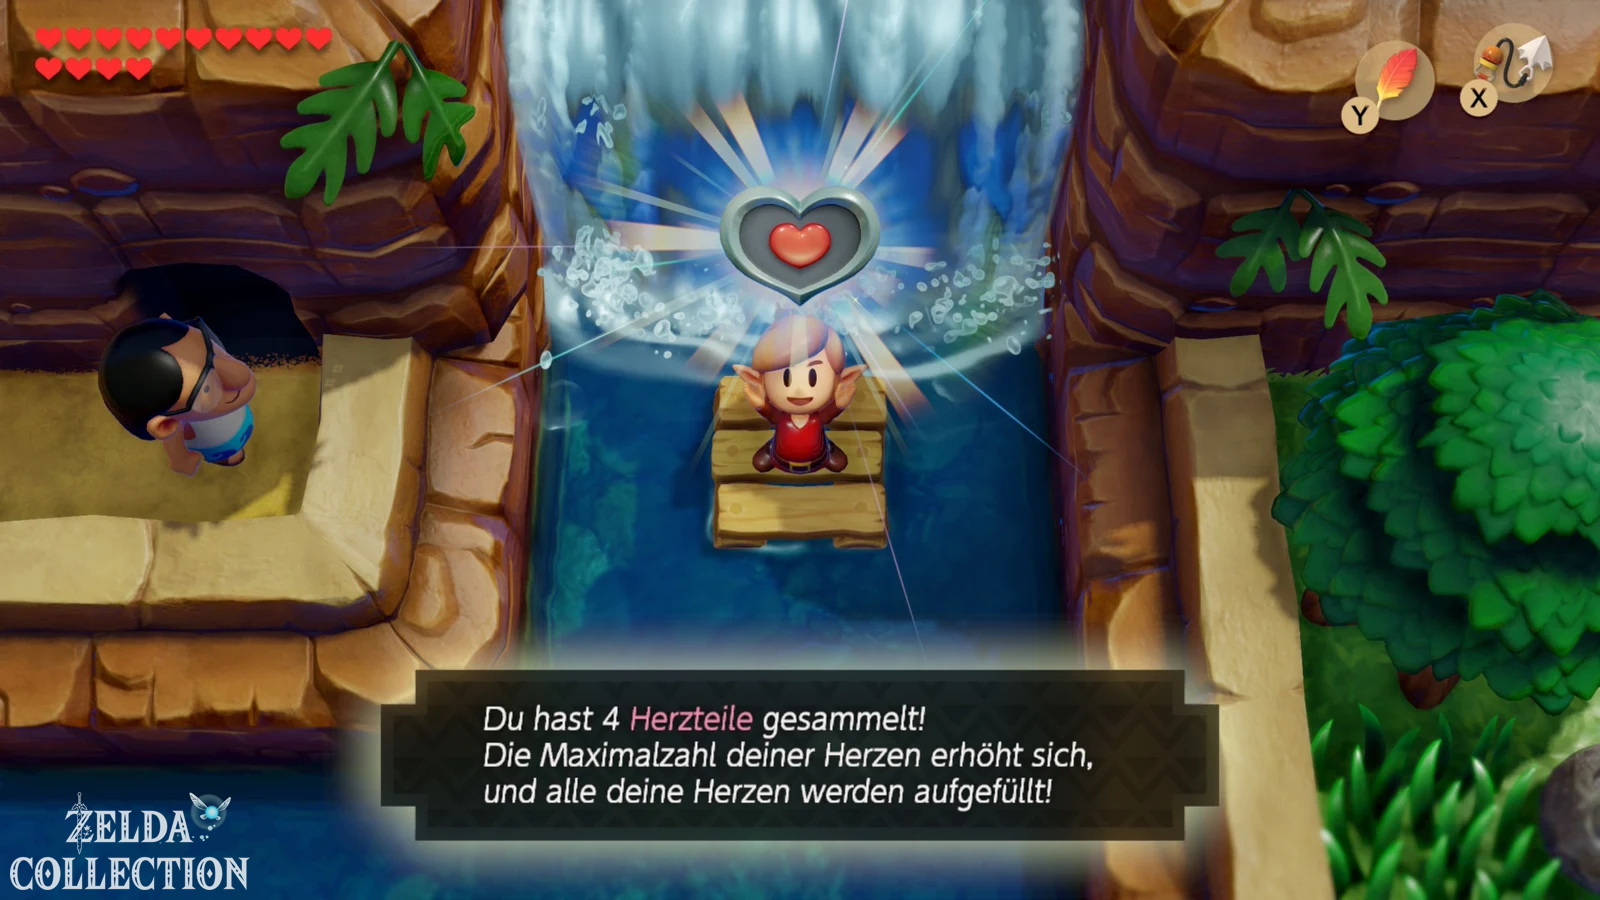
Then starts the race. For the three one-time rewards you have to achieve staggered times. A time under 40 seconds brings another Piece of Heart, under 35 seconds you get a Secret Seashell and for a run under 30 seconds you also get a Chamber Stone. You don’t necessarily have to collect the prizes in three different runs: a sufficiently fast run can fulfill several outstanding thresholds at the same time.
The Hookshot is the key to good times. Aim at trees and vines in the desired direction of travel before corners and pull the raft sideways or forward. Avoid major detours to Rupees – only time counts in the race. Especially at the wide waterfalls, you can use well-placed grappling hook pulls to prevent the raft from being pushed to the wrong side. It usually takes one or two practice rounds to get under 30 seconds, but the Chamber Stone is essential for a complete game.
40 Secret Seashells and the Koholint Sword
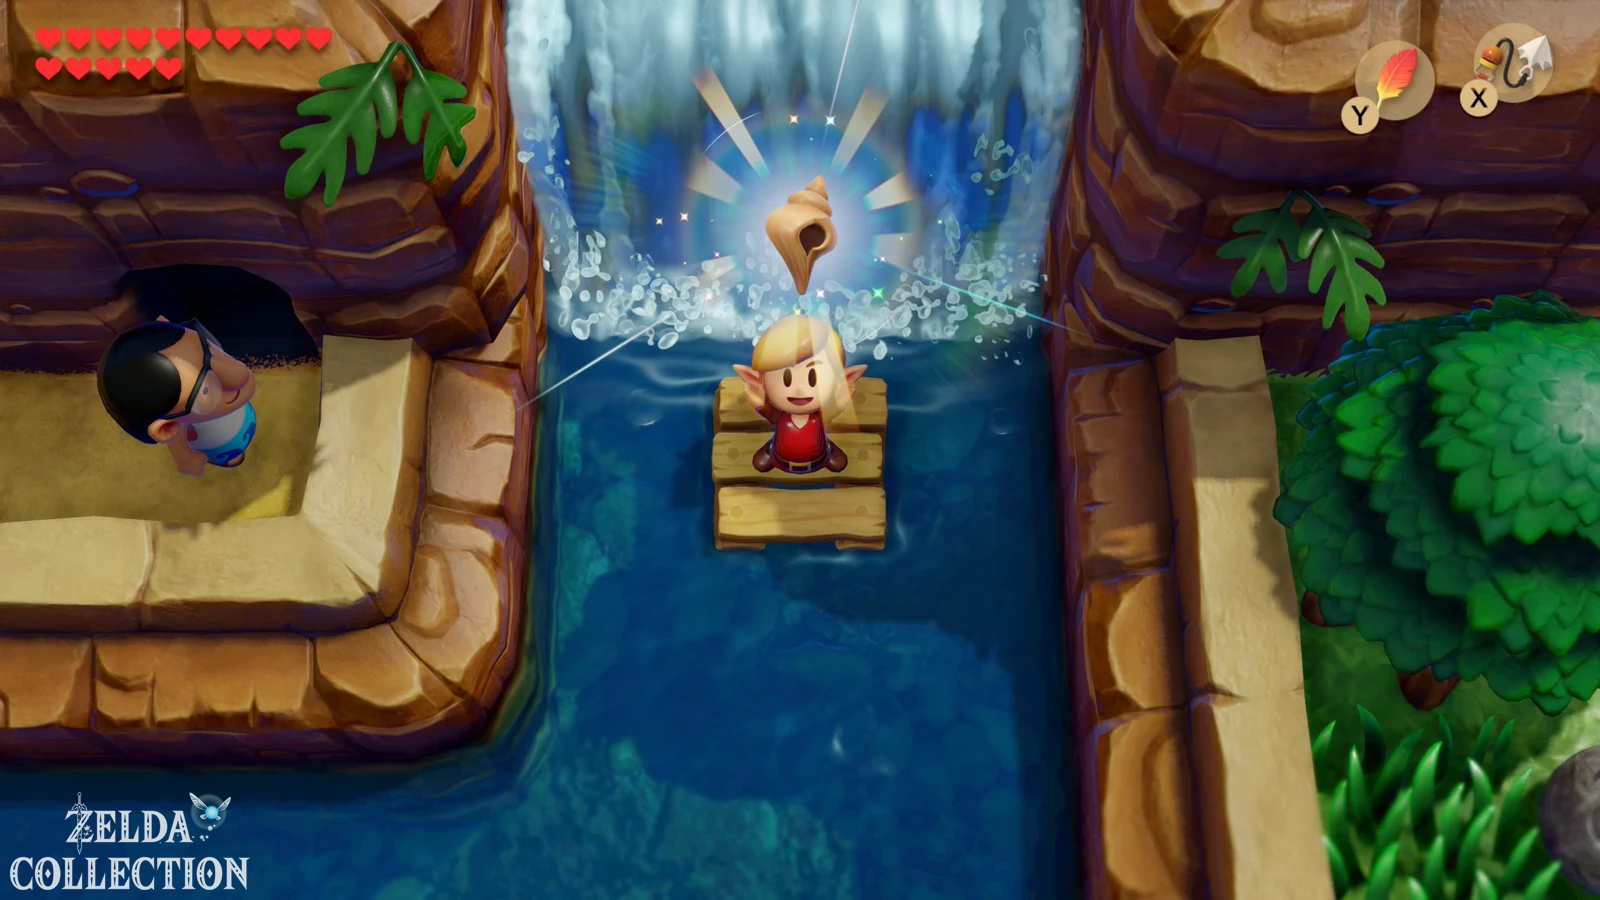
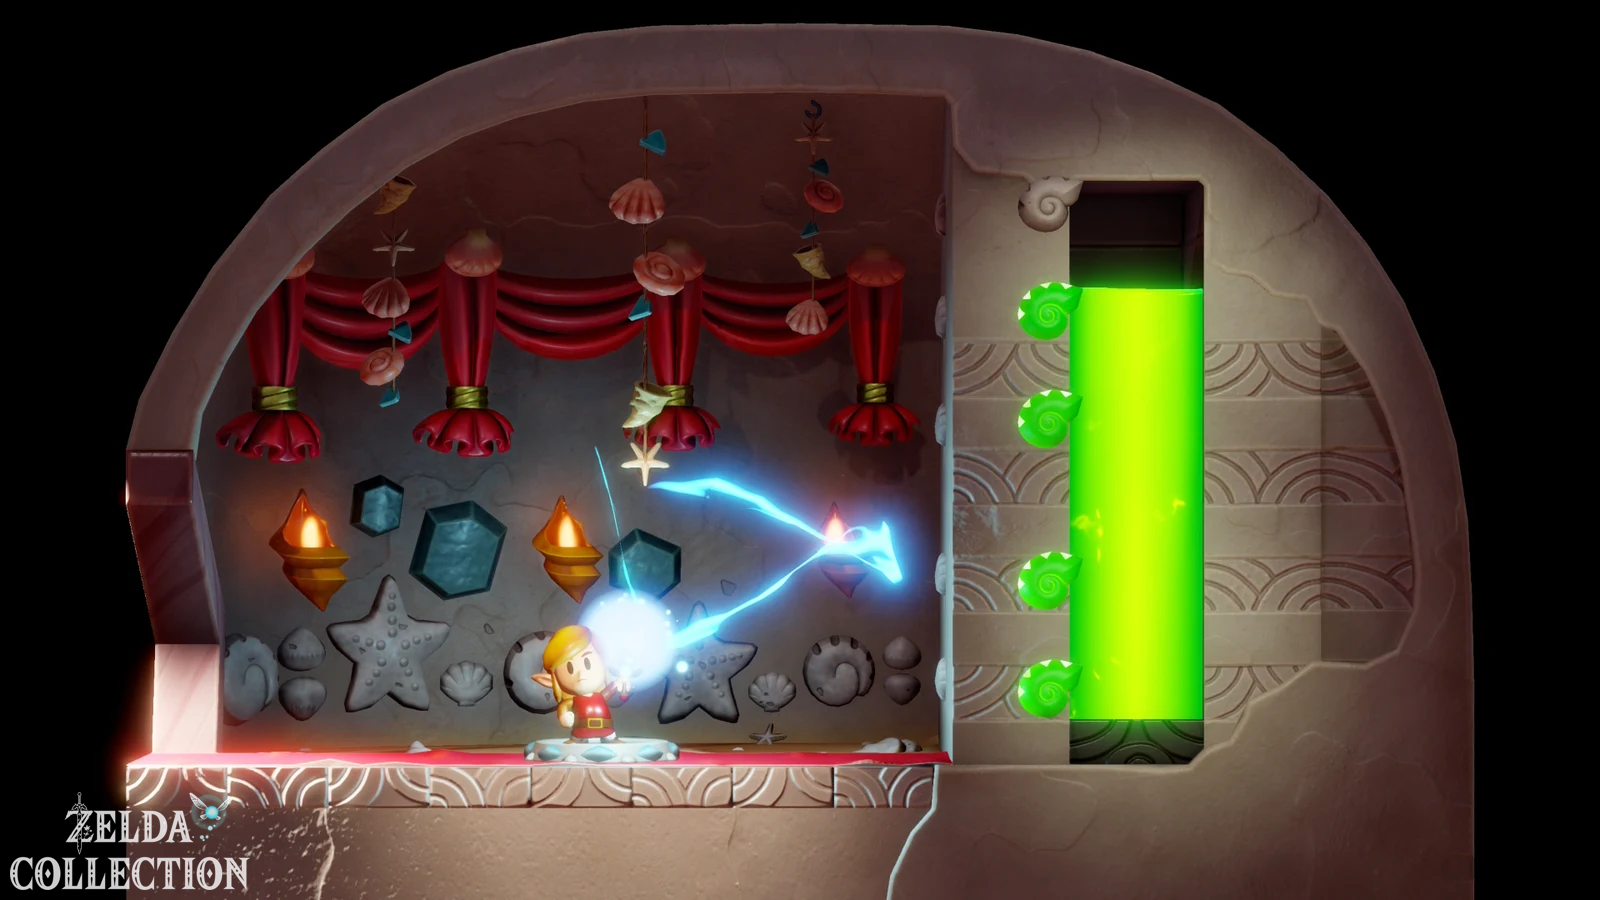
If you have really collected all the mussels on our route so far, you should reach the mark of 40 Secret Seashells after the rapids race at the latest. Travel to Seashell Mansion and step on the platform. As a reward you will receive the Koholint Sword. It causes significantly more damage than Link’s previous blade and also shoots sword beams when at full health. Combined with the red armor from the Color Dungeon, this makes Link extremely strong for much of the rest of the game.
If you are still missing one or two shells up to 40, use the shell detector to check the areas you have visited so far and compare your finds with our overview of the 50 Secret Seashells. Another shell will be added in the Face Shrine at the latest.
Get expensive Chamber Stones in the Mabe Village store
With the Rapids providing a good source of income, now is also a good time to consider the expensive Remake collectibles from the store. After completing the Color Dungeon, two special Chamber Stones will be sold in the Mabe Village store for 1,280 Rupees each offered. If you have left them behind because of the high price, buy them little by little as soon as your wallet is full enough. They are unimportant for normal story progression, but for our complete game state they are one of the 14 special Chamber Stones.
After the Face Shrine, another Chamber Stone will be unlocked in the store. So we’ll come back after the dungeon. In the original and DX there is neither Chamber Stones nor these expensive additional purchases.
Learn Frog’s Song of Soul in Signpost Maze
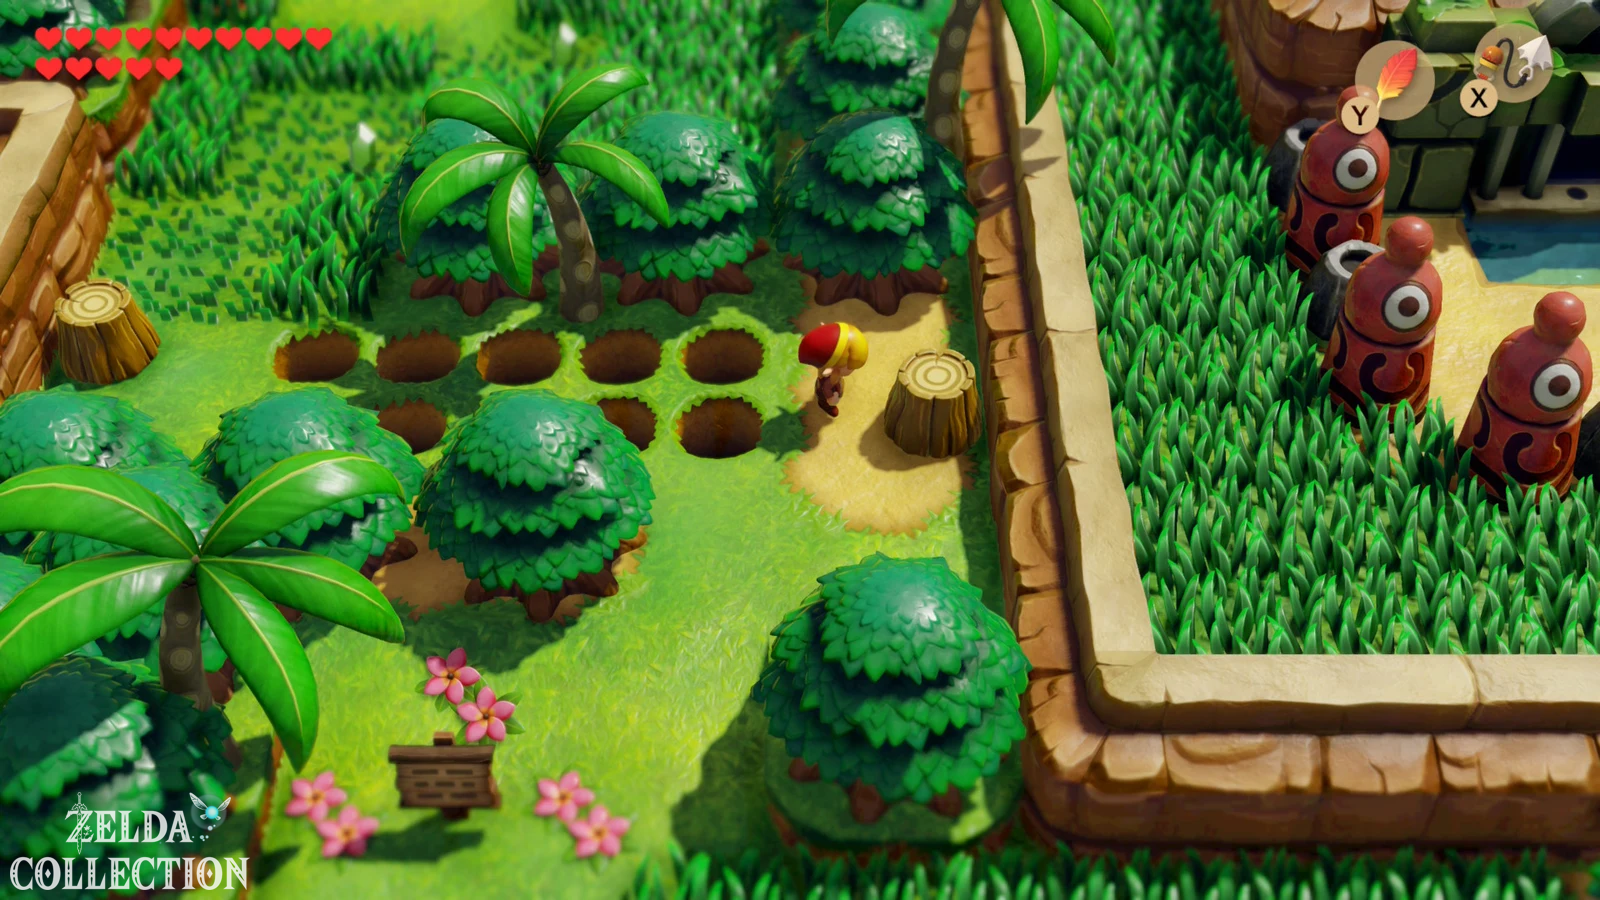
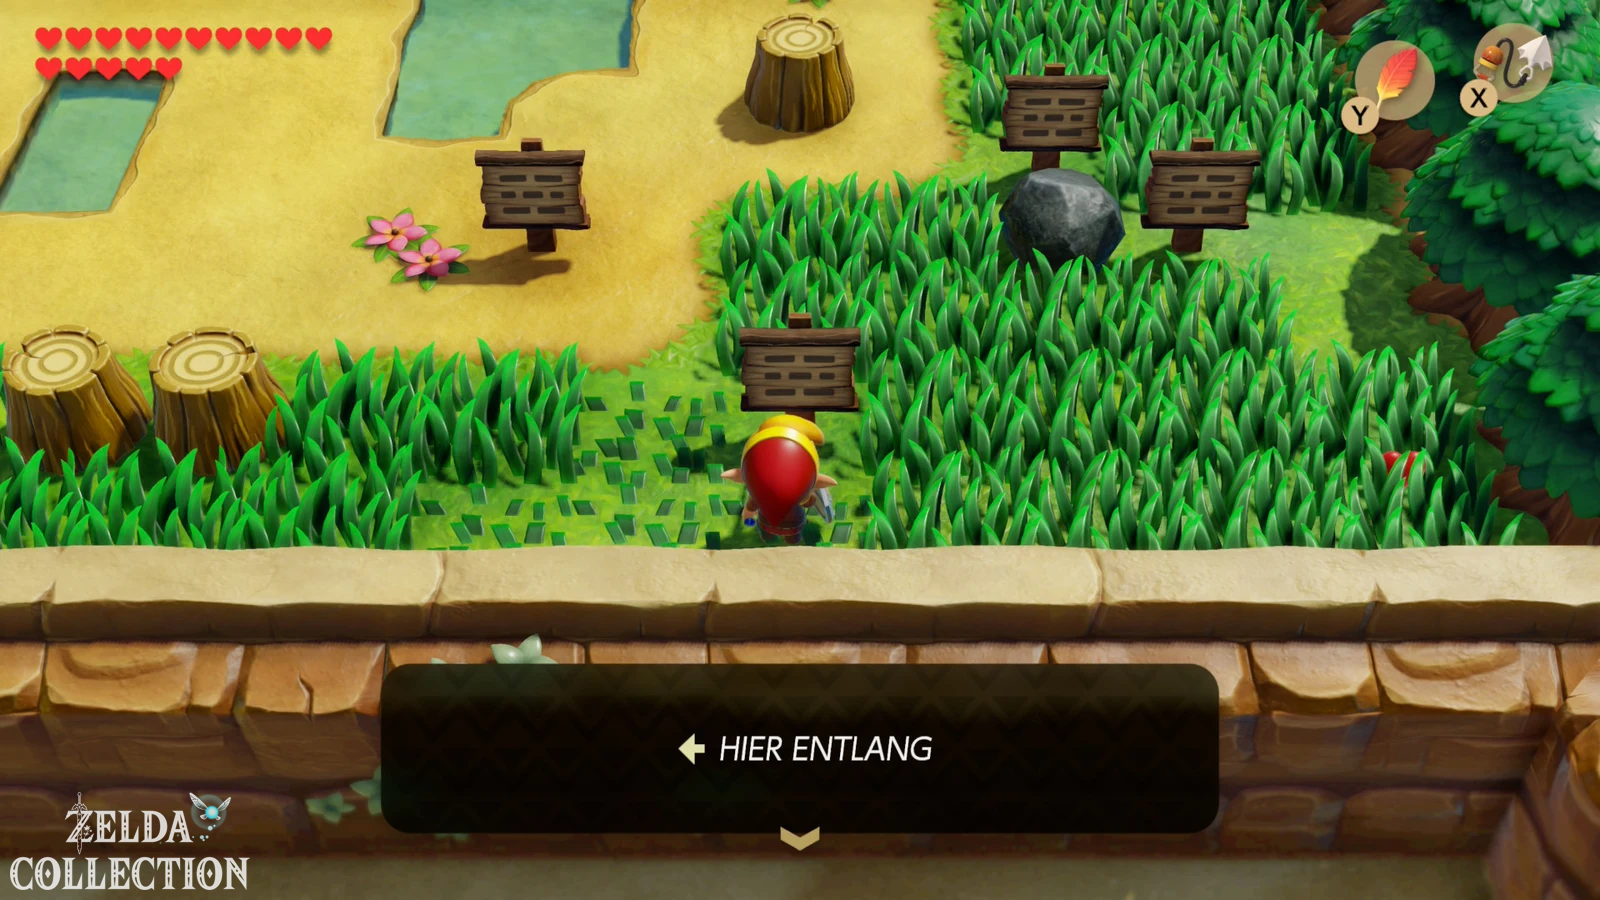
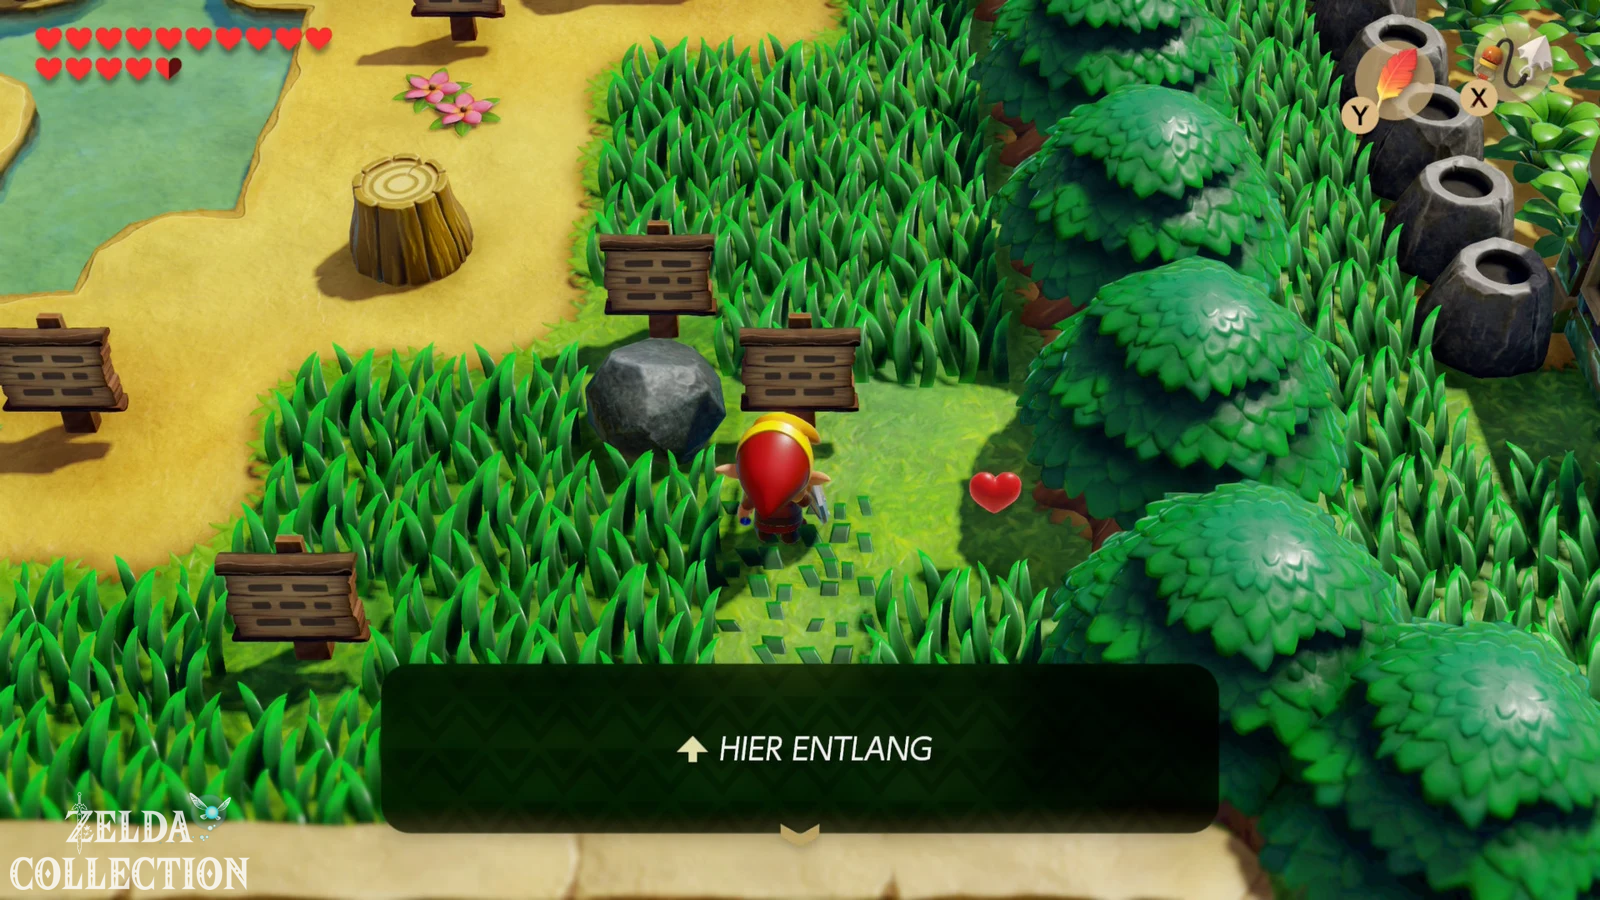
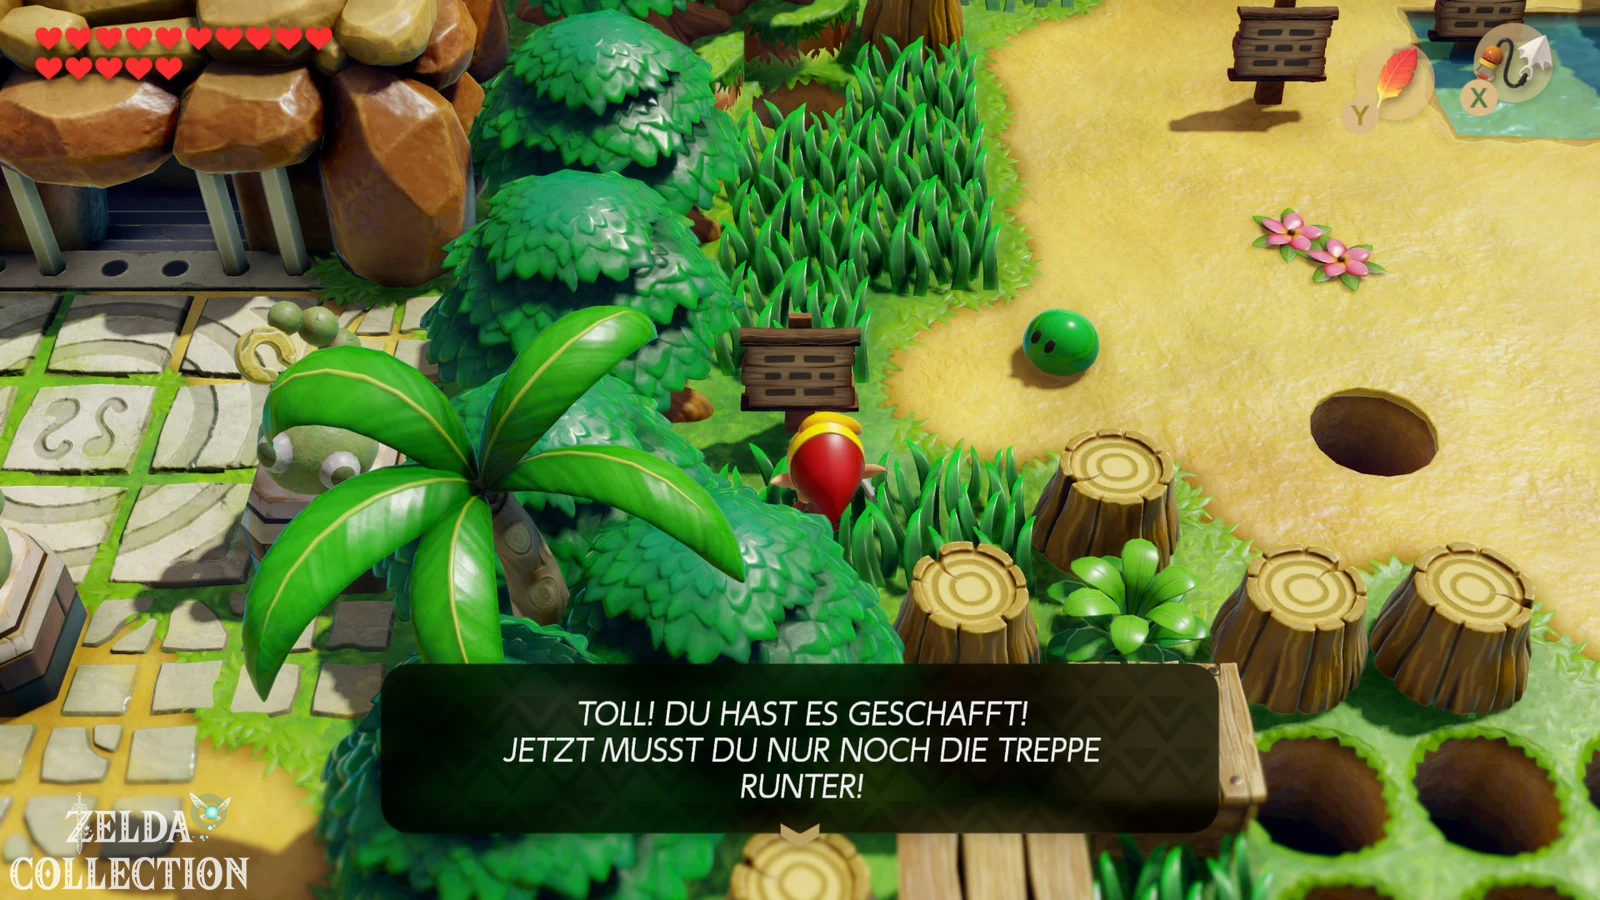
Before we move on to the ancient ruins, let’s get the third and final song for the ocarina. Go to sign forest south or southeast of the Animal Village. There are numerous information signs there. First read the first sign and then always follow the indicated direction exactly to the next sign. The important thing is to really continue in a straight line and not approach any other sign in between. With Power Bracelet and Hookshot you can now overcome all of the puzzle’s obstacles.
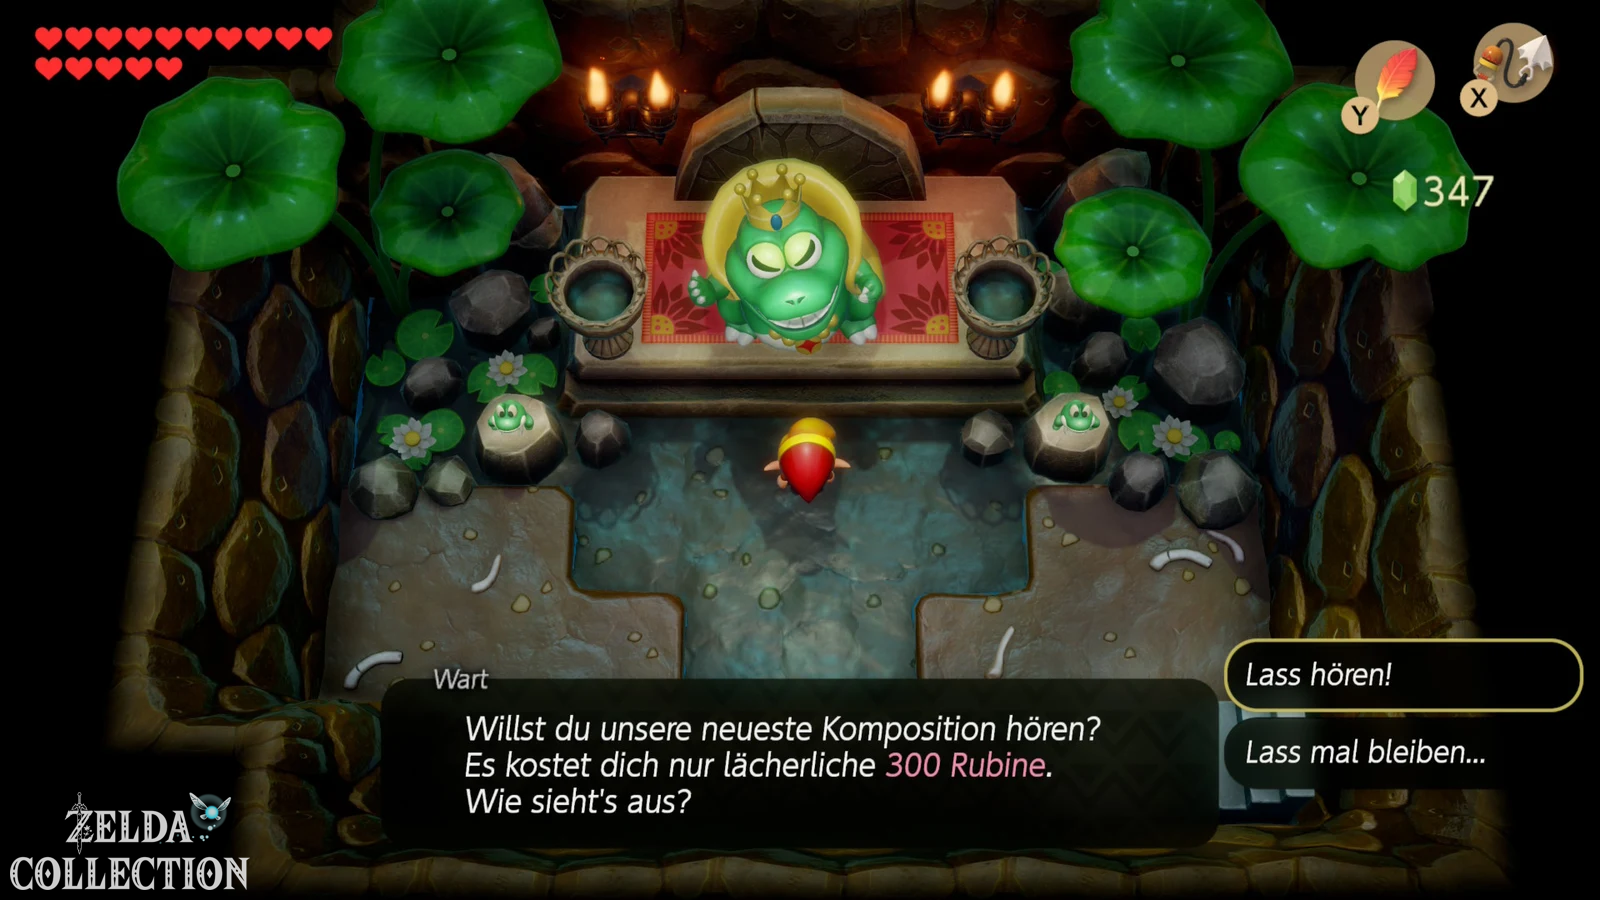
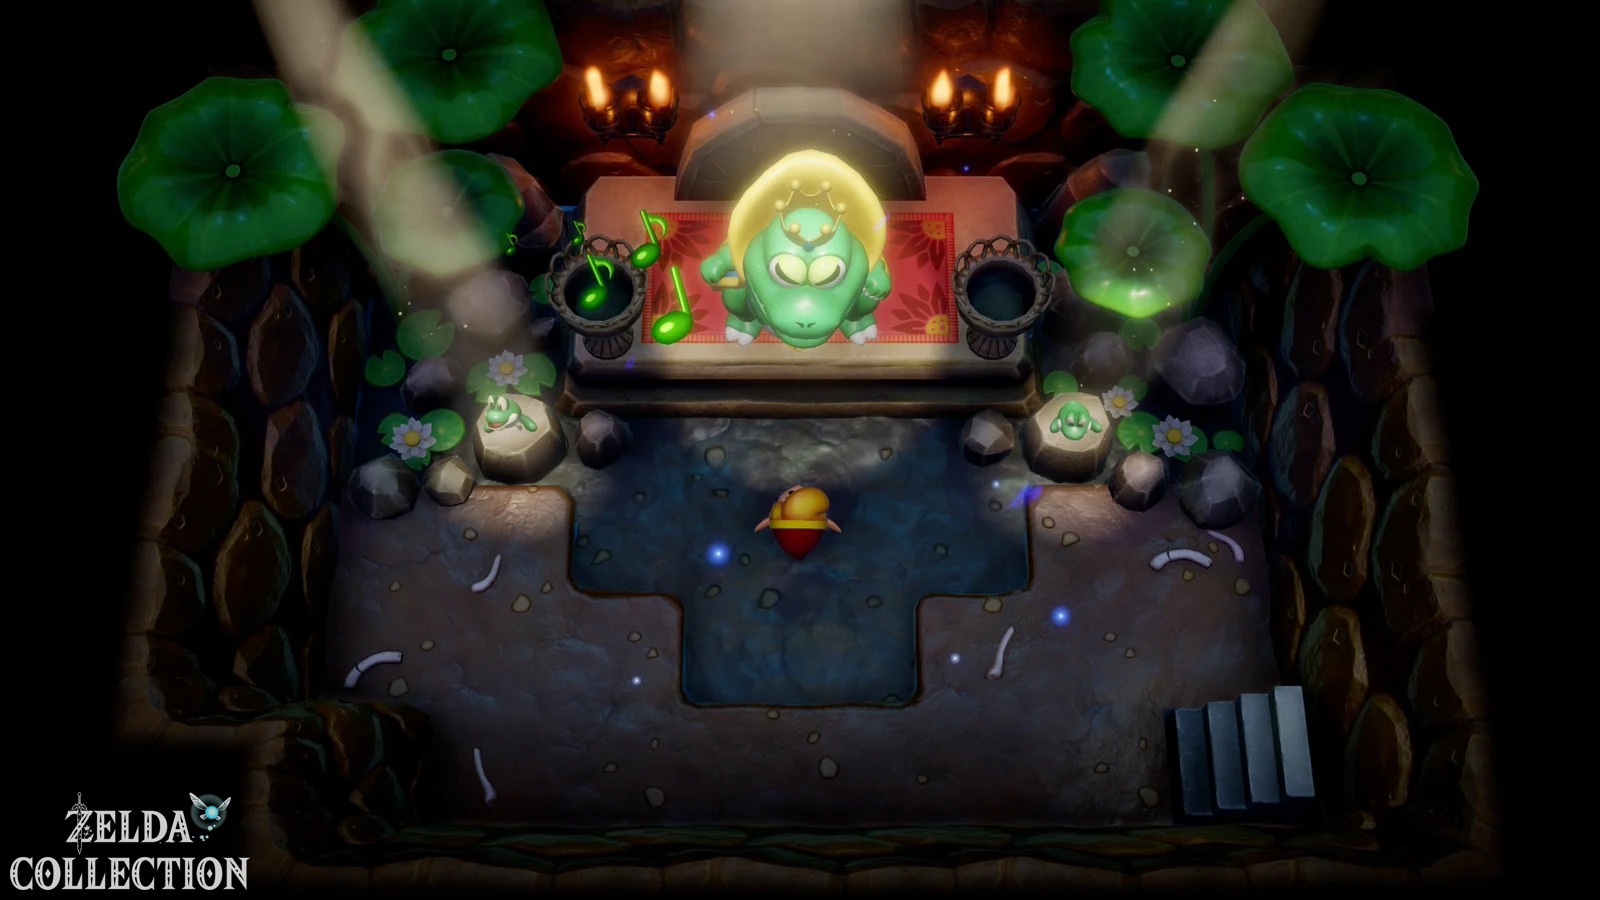
After the last sign read correctly, a staircase appears. Descend and you will meet the giant frog Mamu and his band. For 300 Rupees, play a new song for Link. The ocarina then masters the Frog’s Song of Soul. The song can bring dead or lifeless things back to life. We don’t need it immediately, but immediately after the Face Shrine it becomes necessary for the flying rooster and therefore for the eagle fortress. Later, the Frog’s Song of Soul also opens the entrance to the last regular dungeon.
The sign puzzle and Mamusi or Mamu’s song basically exist in all three versions. The price of 300 Rupees and the function of the song remain essentially the same.
Secret Seashell in the stone labyrinth at the ancient ruins
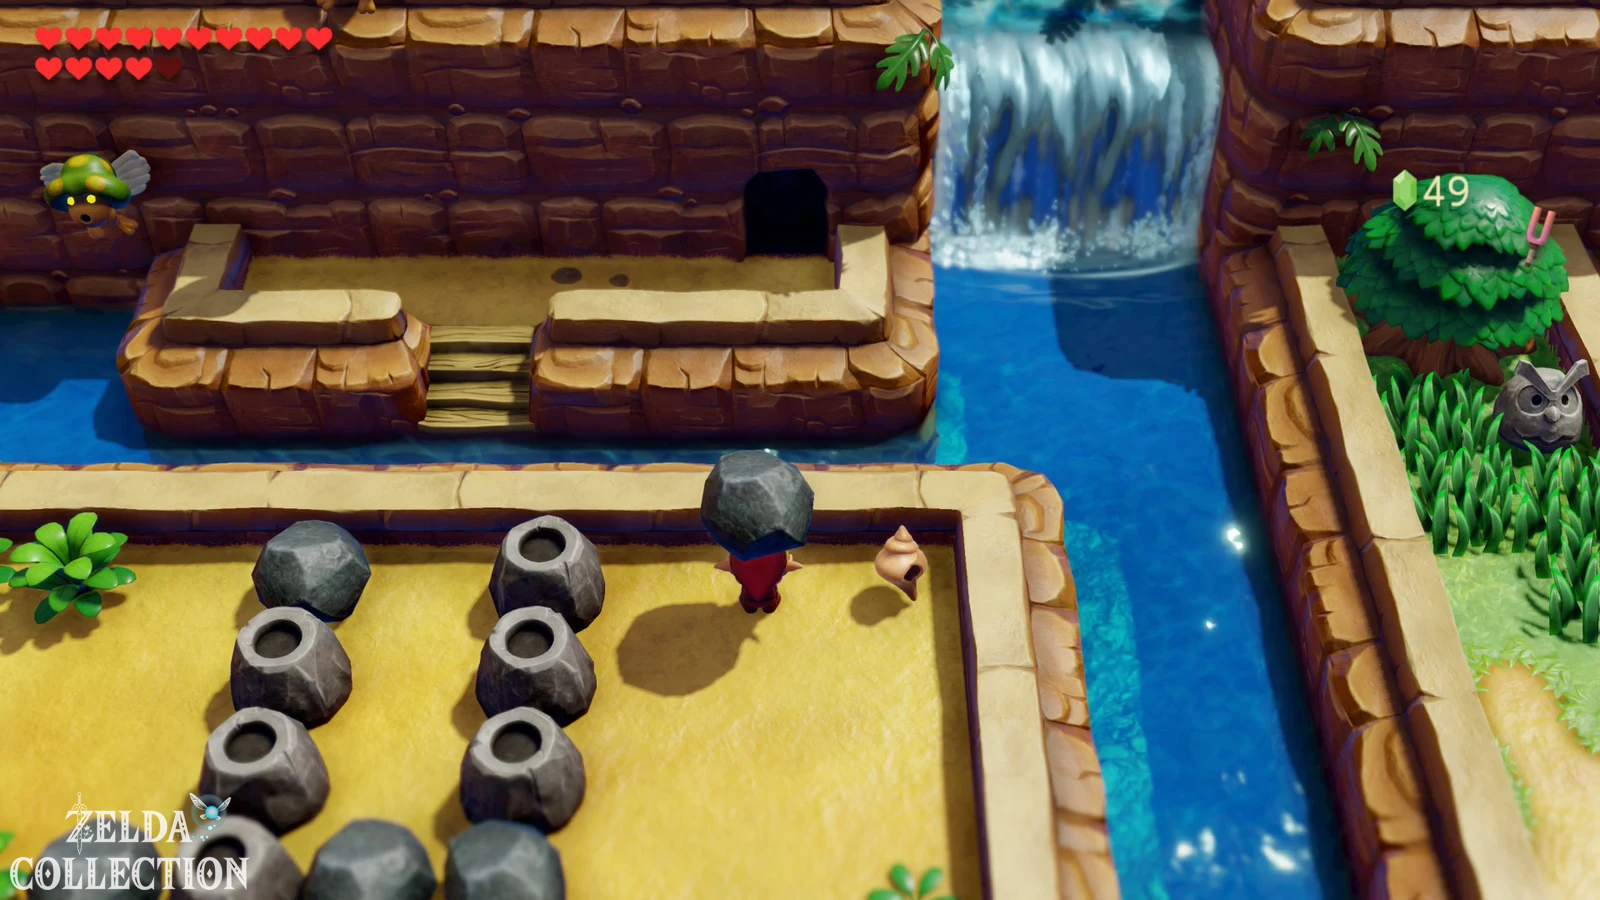
Now head towards the ancient ruins east of the Animal Village. There is a small stone labyrinth between the rapids and the actual ruin field. In the upper right area there is a single rock standing a little apart from the others. Lift it with the Power Bracelet and take the Secret Seashell underneath with you.
Secret Seashell in the ancient ruins
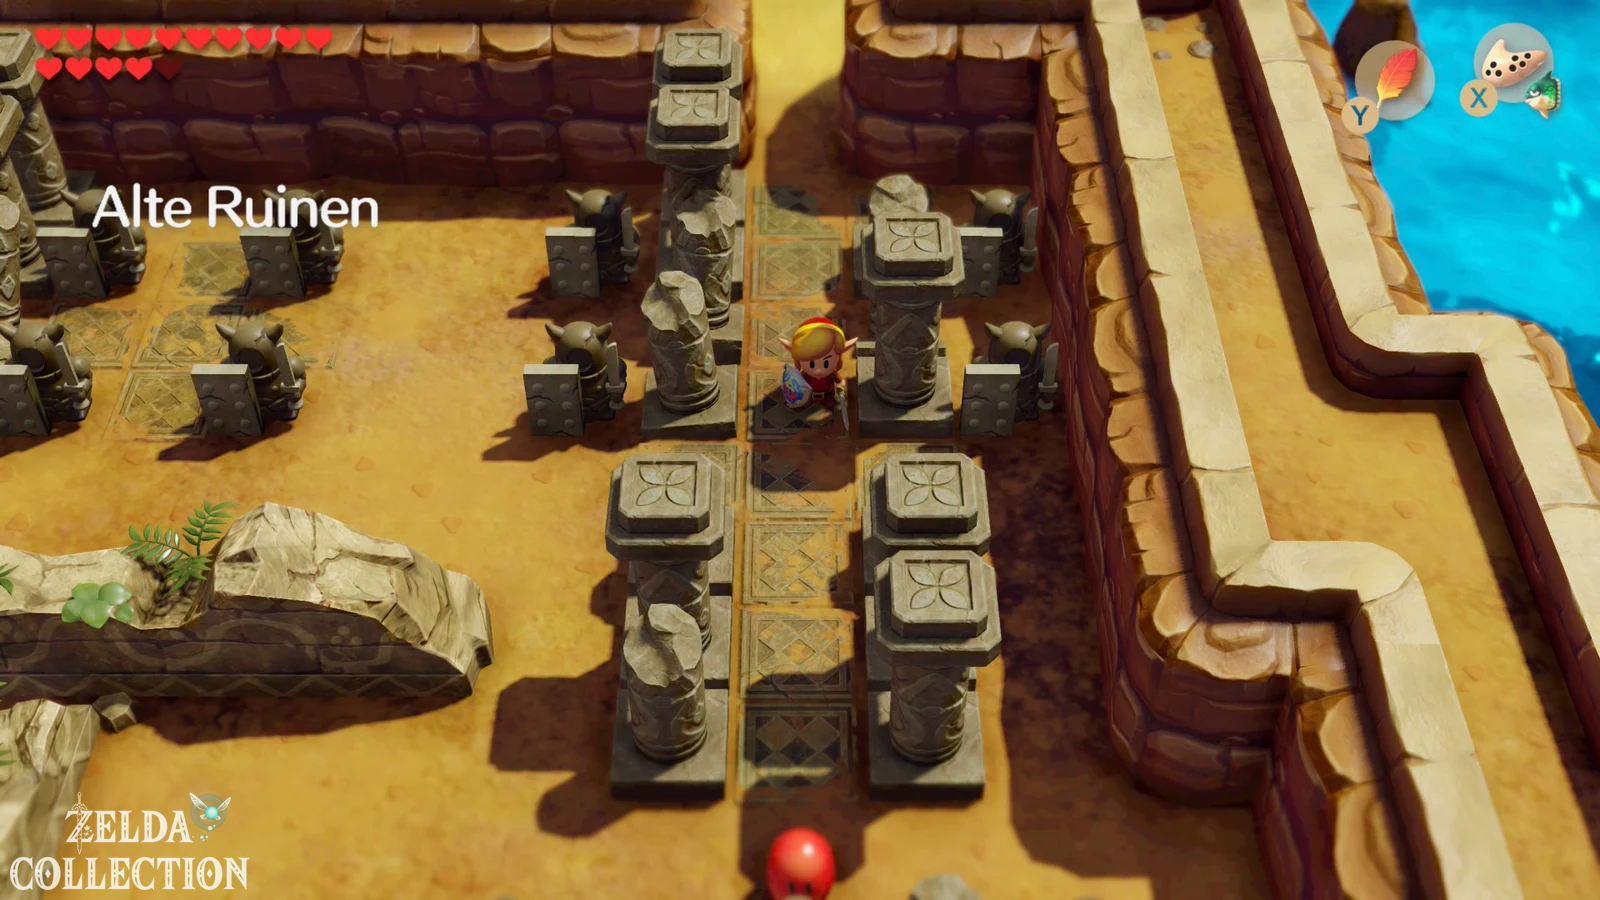
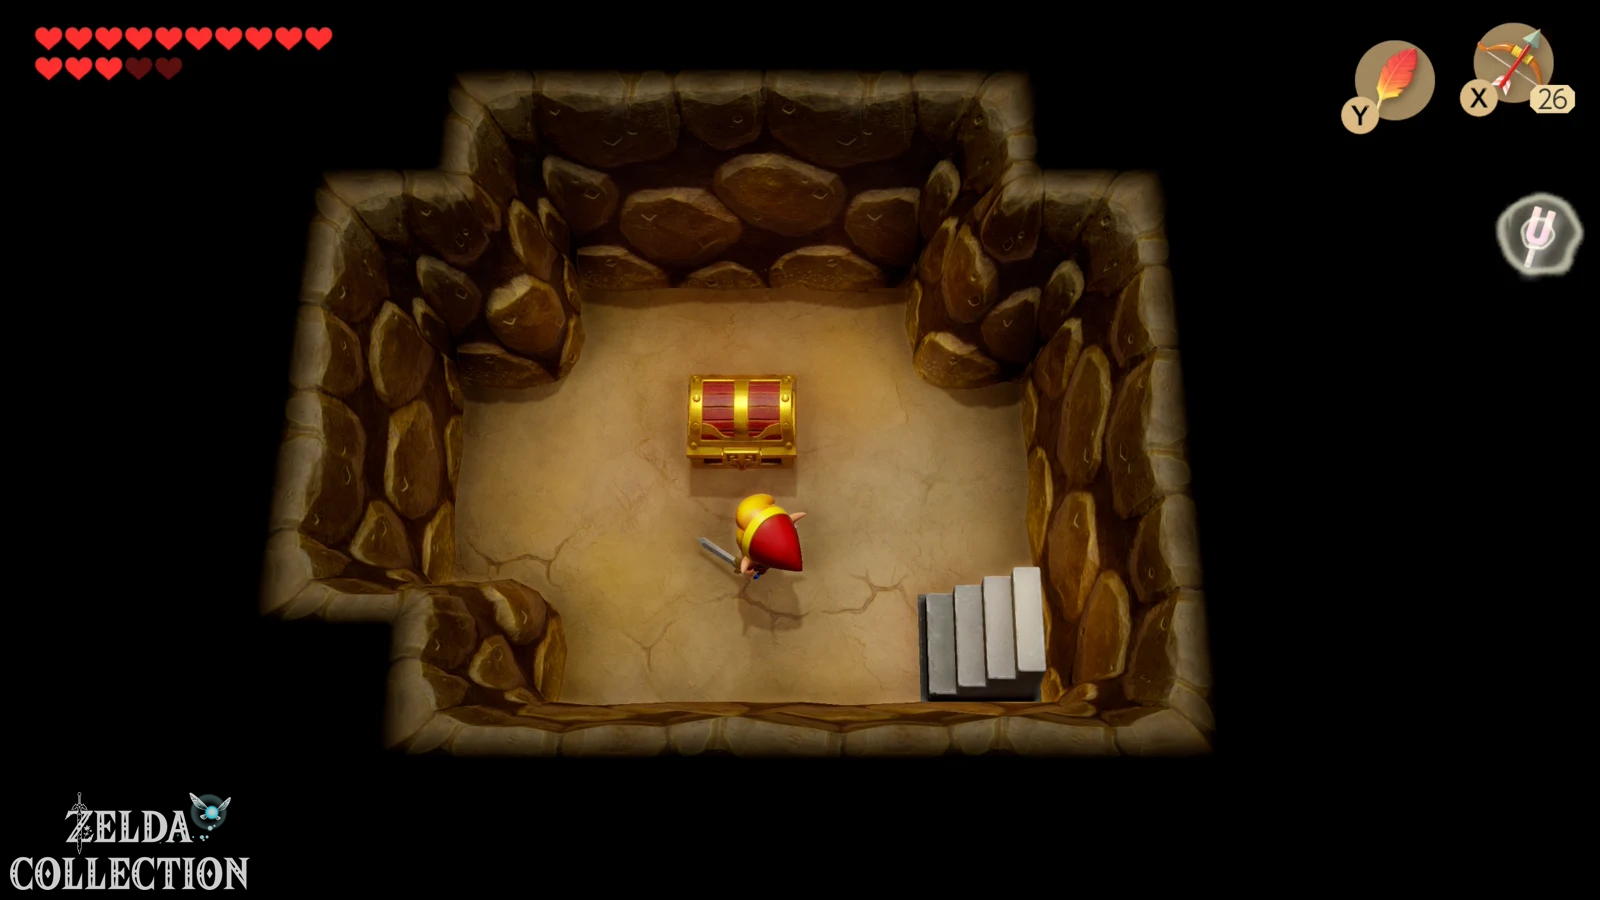
Then enter the ancient ruins. There are seemingly lifeless Armos statues everywhere. As you approach certain statues, they begin to vibrate and awaken. The Boomerang is extremely effective against these opponents; alternatively you can use arrows. Work your way through the rows of statues towards the southern shrine. In the upper middle area of the ruin field there is a statue of Armos, beneath which lies a hidden staircase. Touch the statue, defeat it and climb down. Underground you will find another Secret Seashell.
We have now processed all of the freely accessible shells in this region. The next one is waiting in the Face Shrine itself.
To the southern shrine and the Face Key
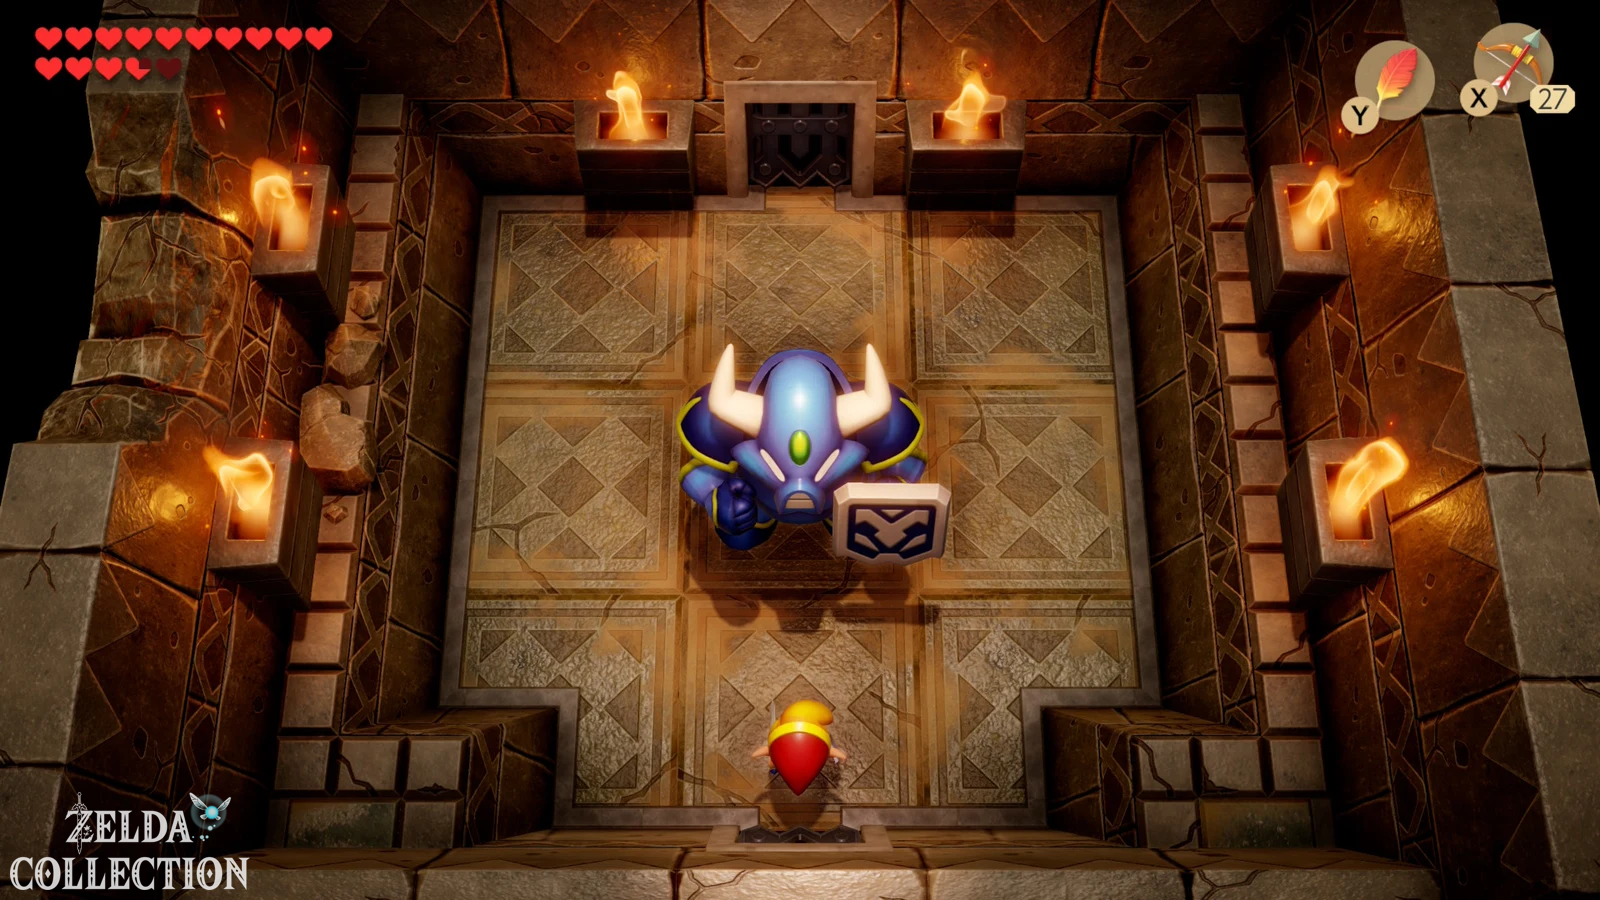
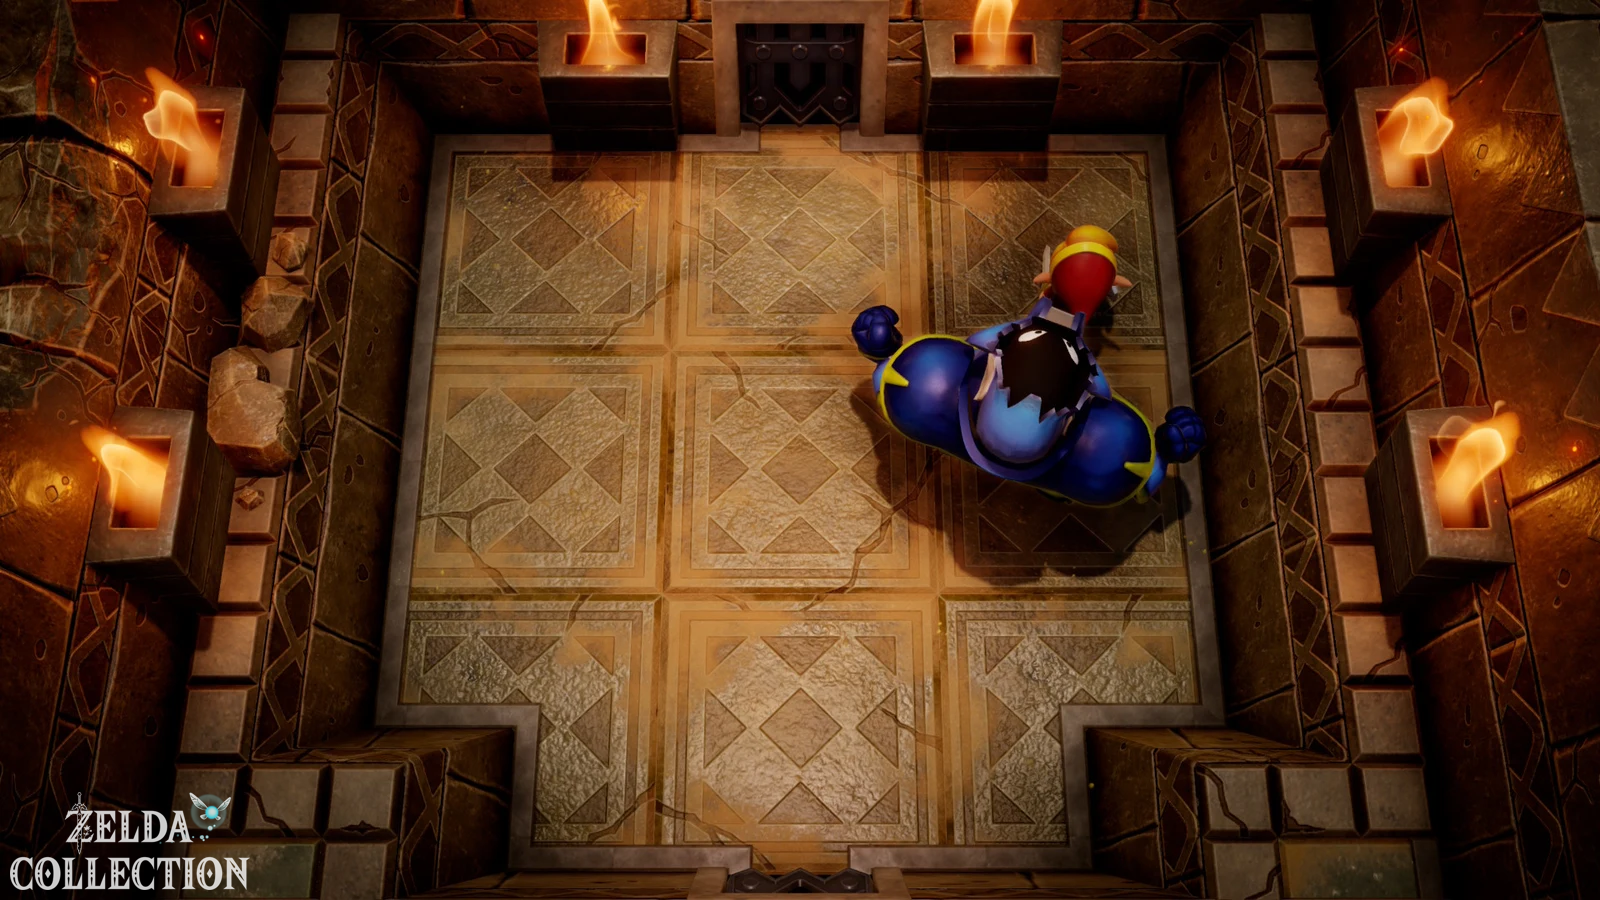
As you continue to move through the ancient ruins, the eagle owl appears and explains that you should first investigate the southern shrine. Activate or eliminate the Armos statues blocking the narrow paths and work your way to the entrance. A large Armos Knight awaits inside.
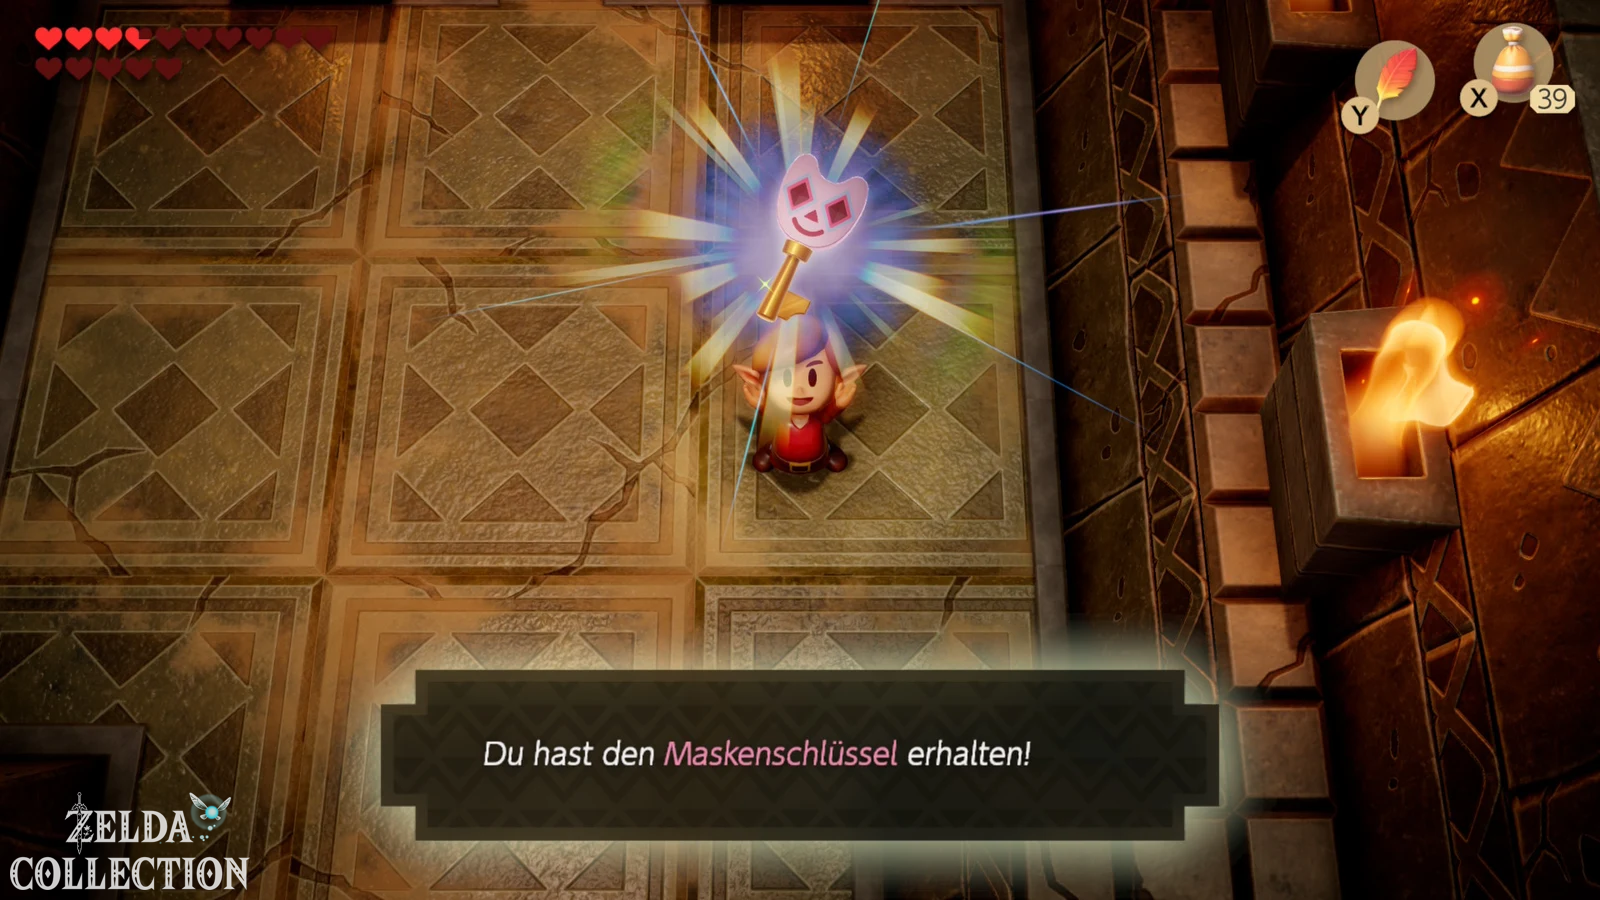
The knight protects himself with a powerful shield and is difficult to injure from the front. Fighting with a bow and arrow is particularly safe: stay at a distance, use the Roc’s Feather to jump over the ground vibration of your jump and shoot as soon as you open your cover. With Koholint Sword and red armor you can also use spin attacks more aggressively. Once his armor is broken, his face becomes vulnerable and a few more hits are enough. After the victory, the opponent transforms or leaves behind the Face Key.
The secret of Koholint
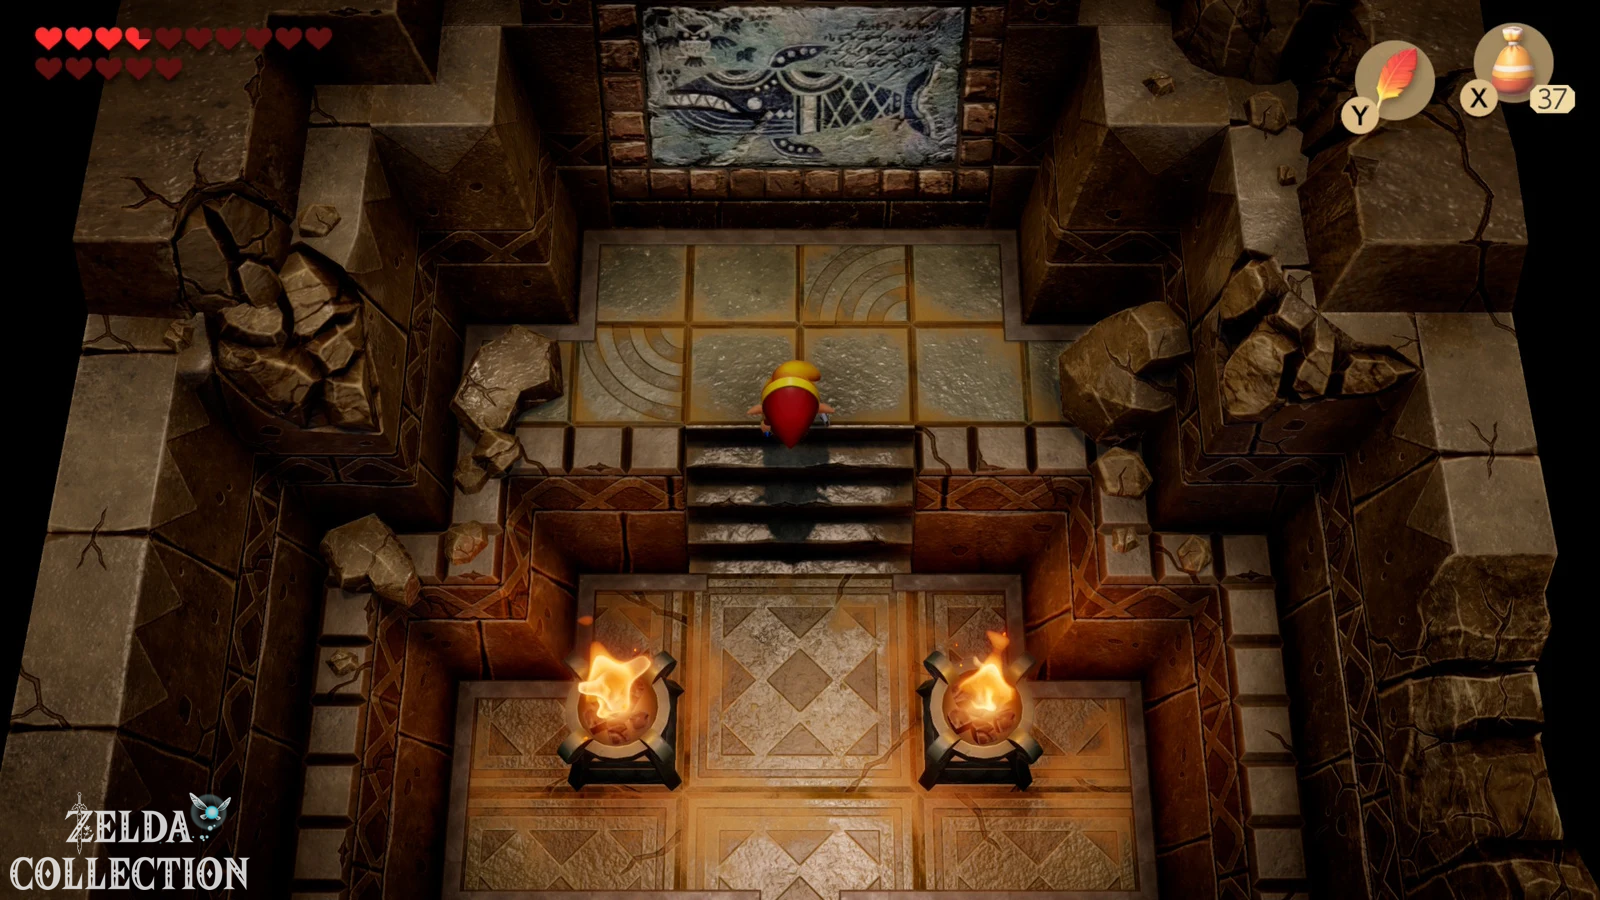
Don’t leave the shrine right away. Go into the room behind the defeated Armos Knight and light the torches if necessary. There is an ancient inscription on the wall. It reveals one of the most important truths of the entire game: Koholint could just be a dream of the Wind Fish – and if Link awakens the Wind Fish, the island would disappear along with all of its inhabitants.
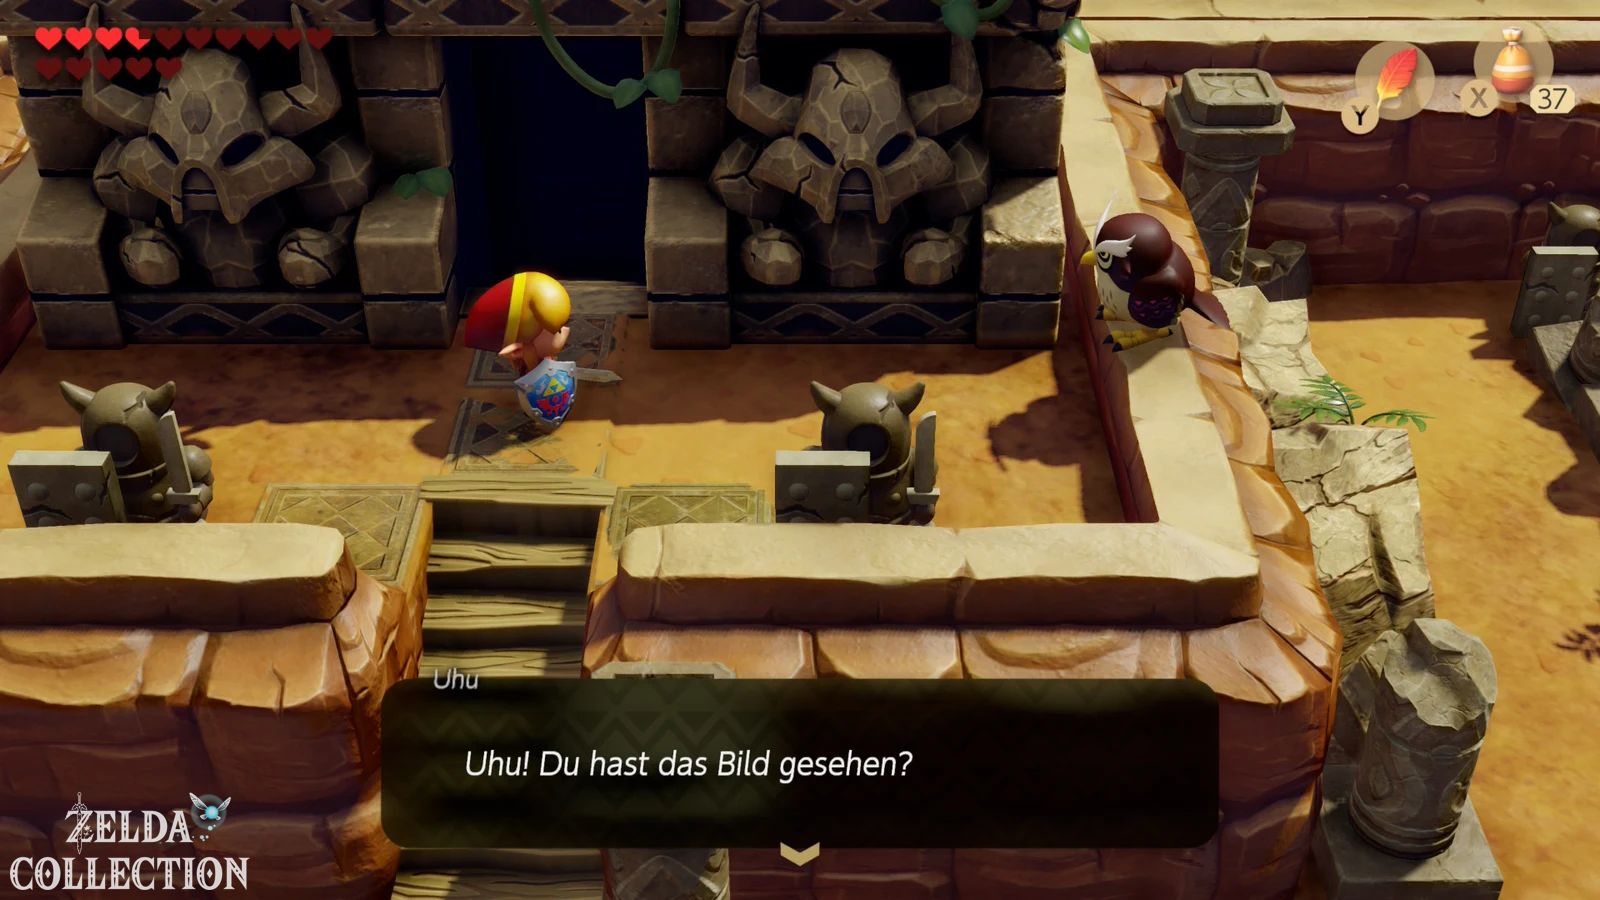
This reveal is not a remake innovation. It is already part of the central plot of the Game Boy original and was adopted in DX and on Nintendo Switch. The remake simply stages the scene in a much more elaborate manner. After leaving the shrine, the eagle owl speaks to Link again and points out that only Wind Fish himself can know the whole truth.
Open the Face Shrine
Return through the ruins to the northern area. Jump into the water and swim to the small island with several Armos statues. Activate or defeat the left statue that covers a staircase and climb down. Go through the underwater tunnel and use the Hookshot to cross the wide gap inside. At the other end you climb back to the surface and reach the keyhole of the Face Key. Put him in. The entrance to the sixth dungeon opens.
Then enter the Face Shrine. The dungeon is significantly larger and less linear than its predecessors. It roughly consists of a western and an eastern half, whereby we first get the most important item in the west: the stronger Power Bracelet.
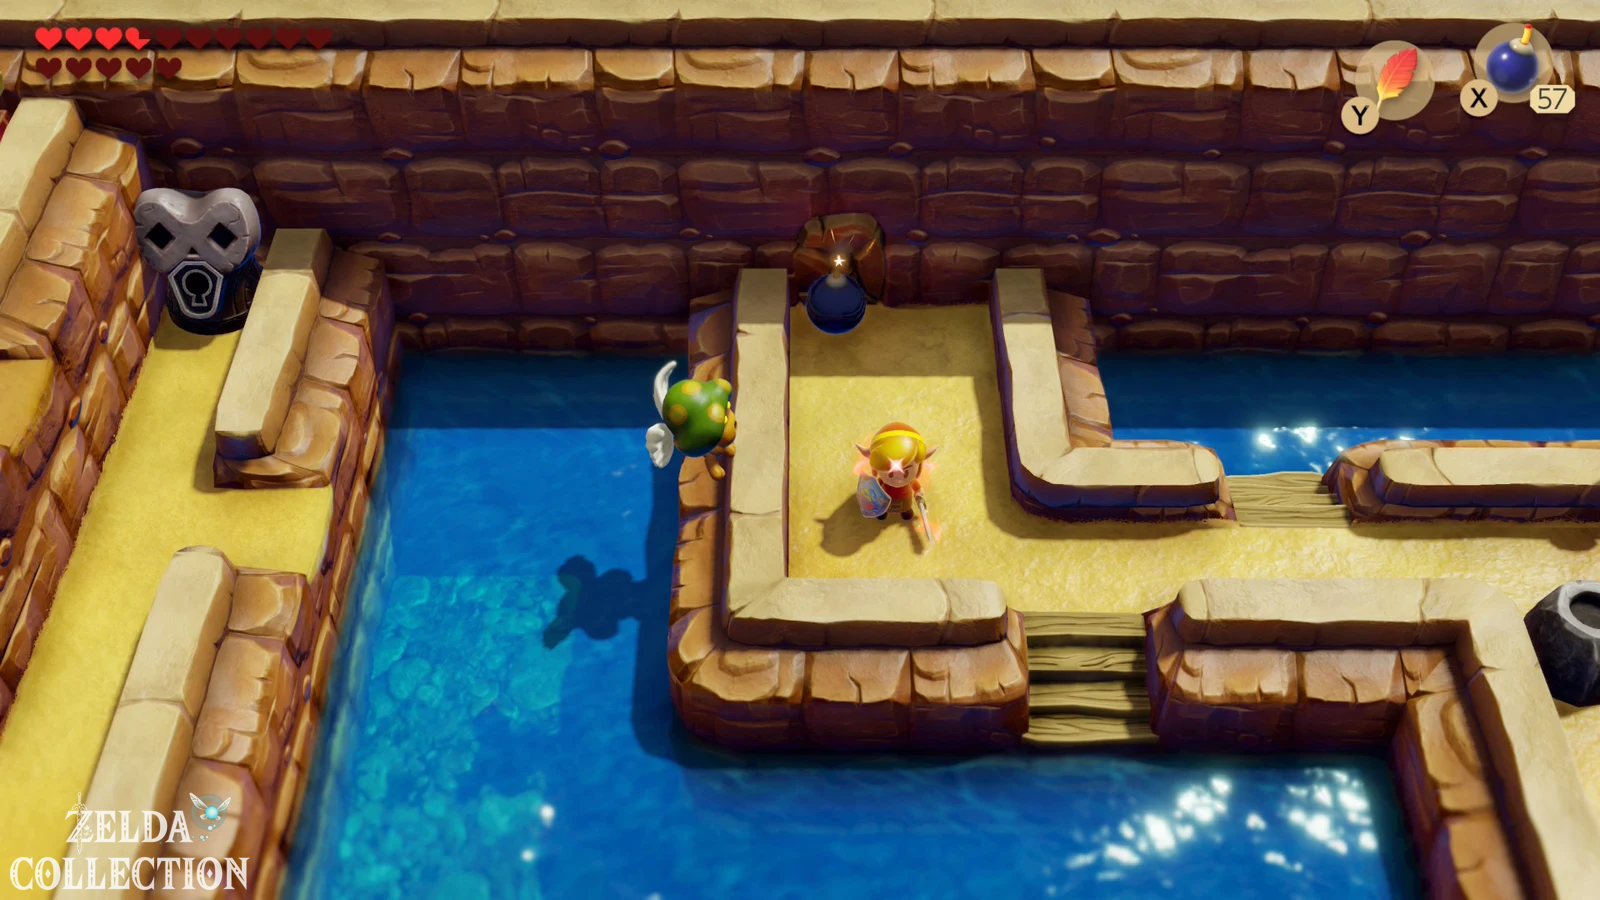
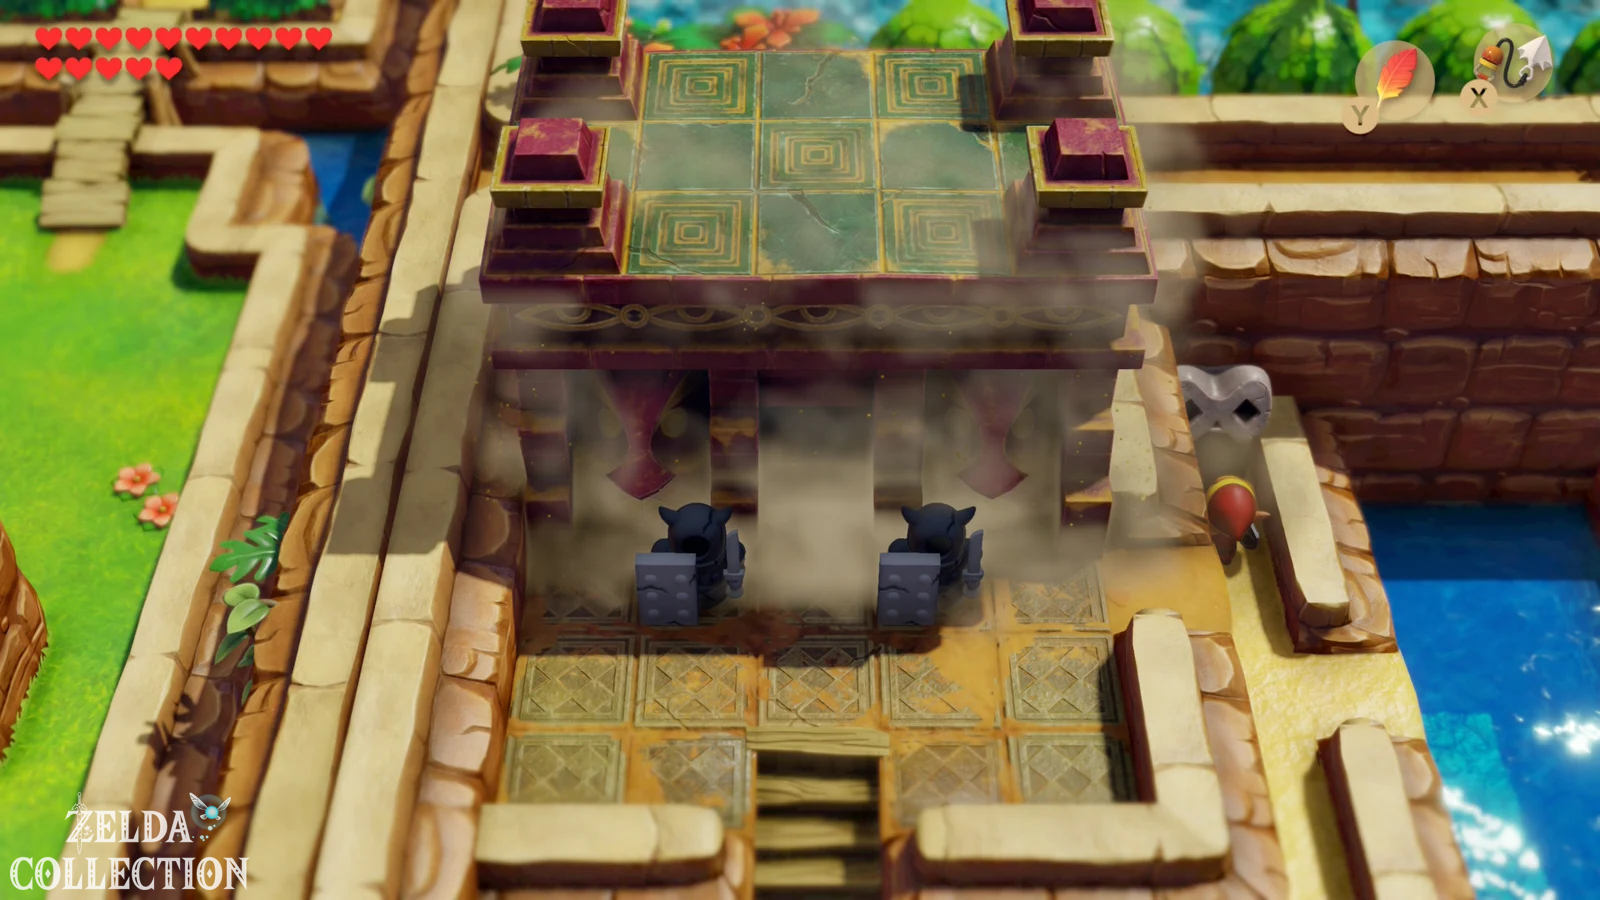
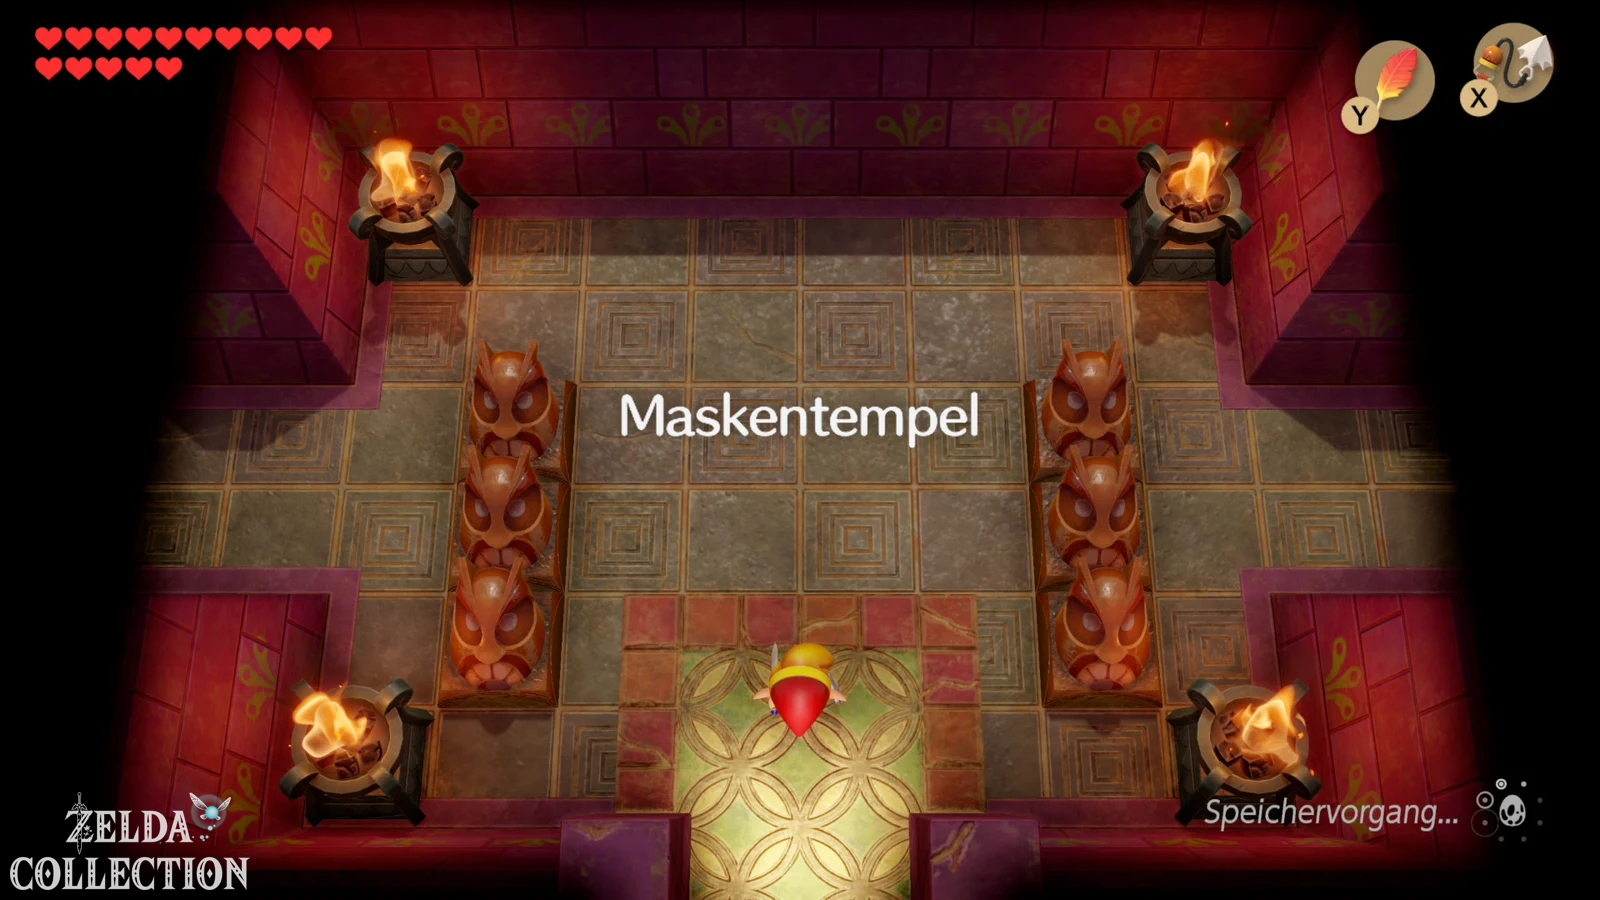
Face Shrine: First to the western half
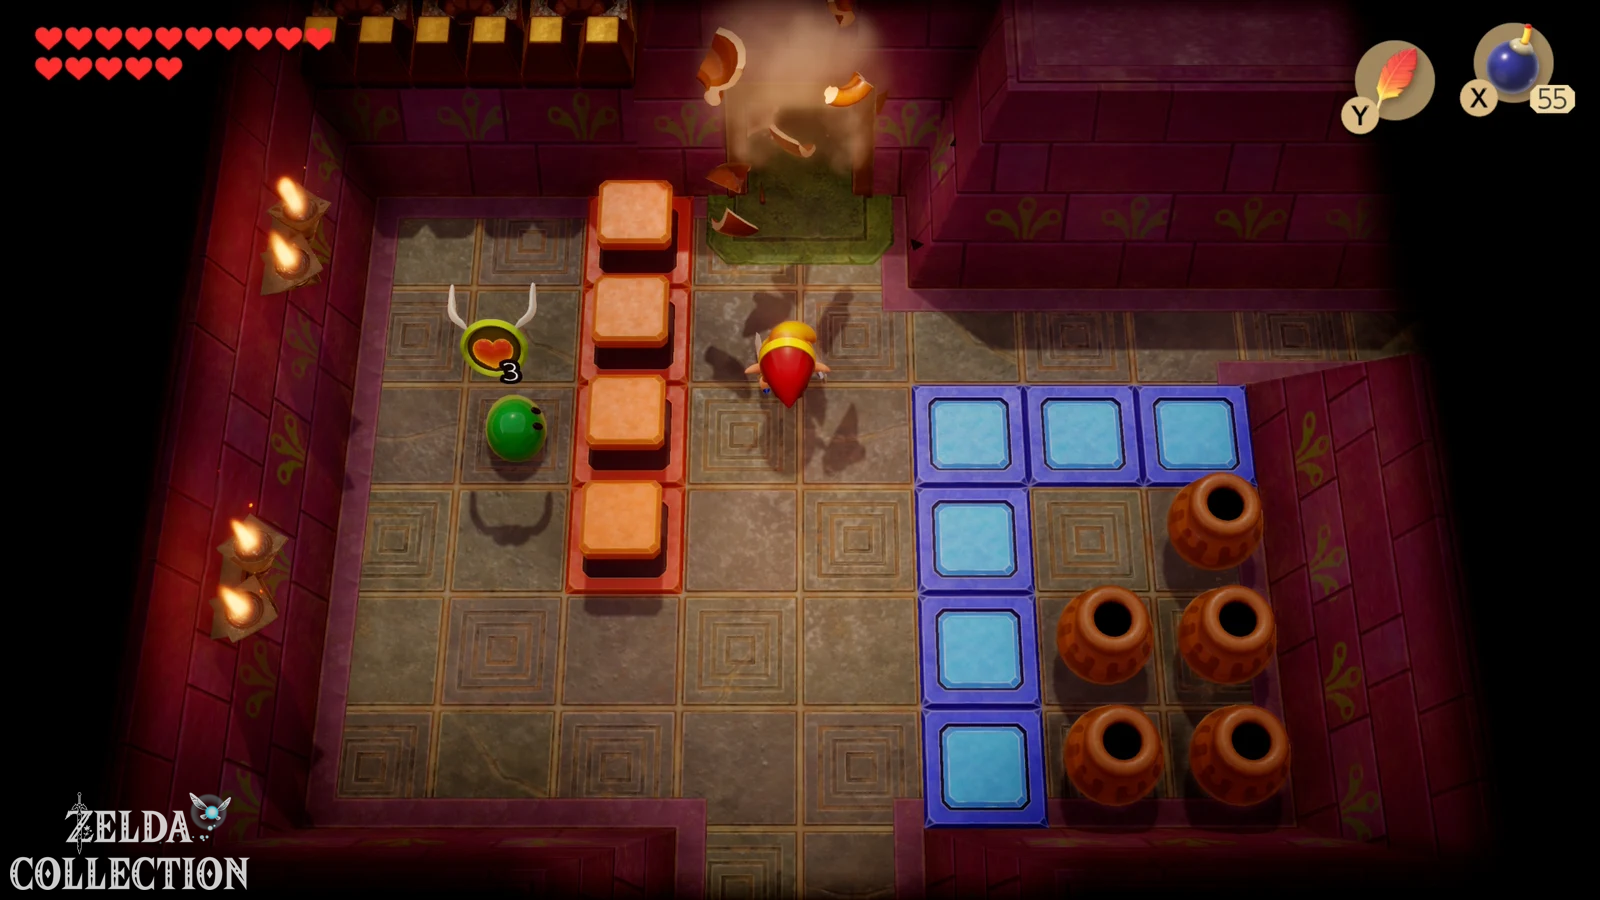
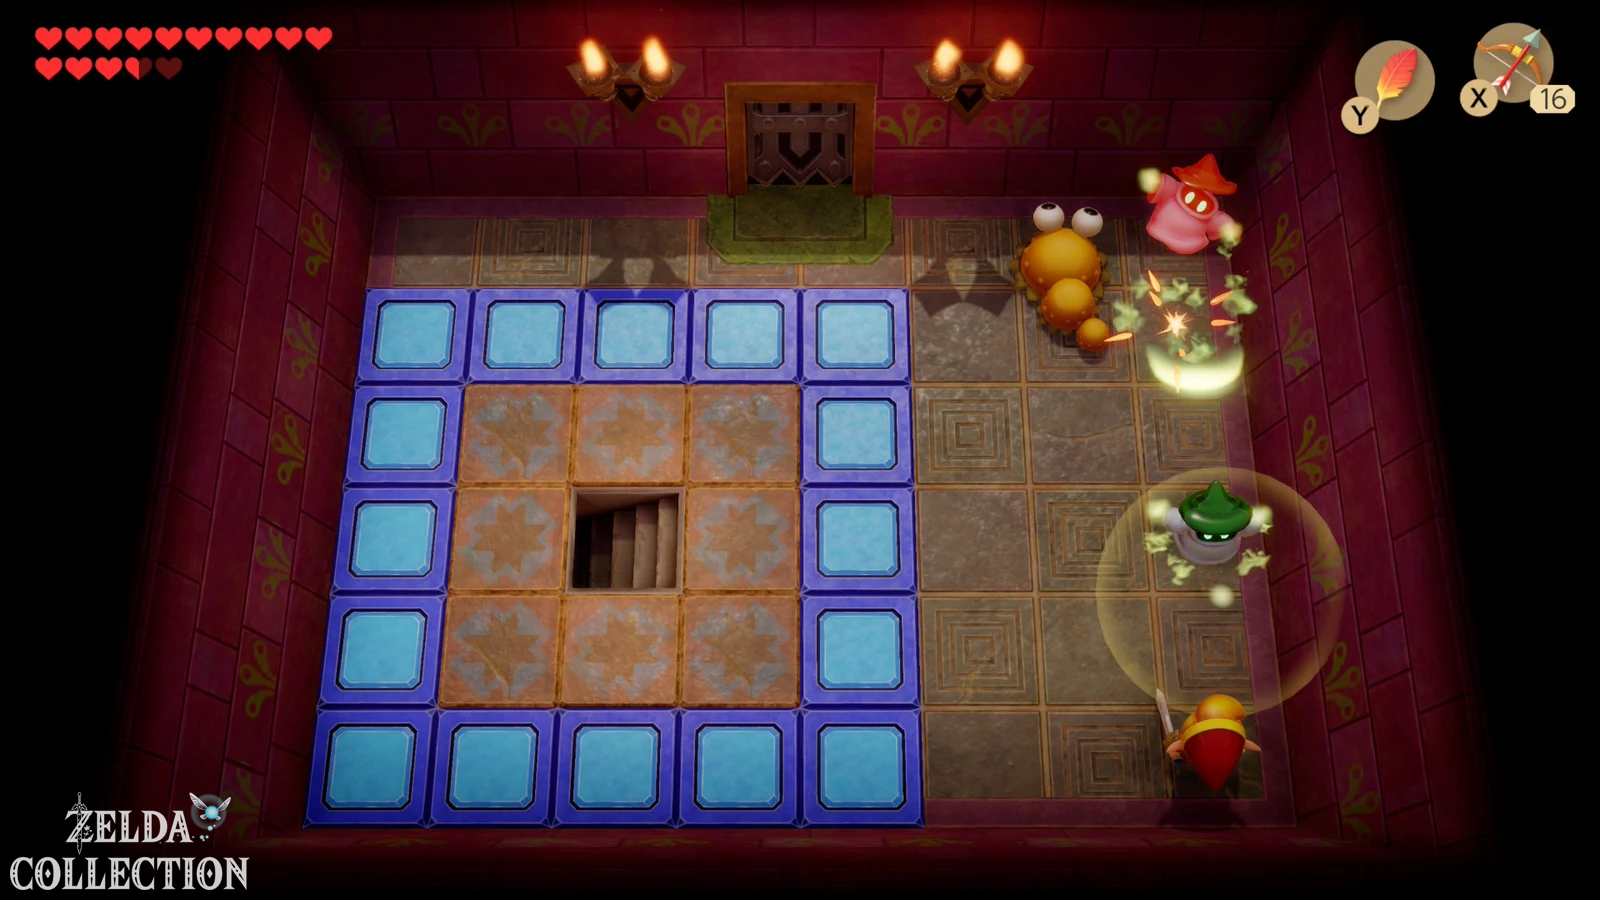
Goes from the entrance to on the left. Several Wizzrobes are waiting there. These magicians appear briefly, fire a missile and disappear again. The Boomerang can stun them, but Bomb Arrows are particularly effective.: Places a bomb and shoots an arrow at it at the same time or combines the attacks so that the explosion hits the Wizzrobe. Then work your way up, up again and to the left to the Crystal Switch.
Place a bomb next to the switch and take the right path. Wait behind the raised block until the bomb explodes, thereby changing the block’s position. In the following area you will see a suspicious wall between two torches. Place another bomb there and enter the secret room. Defeat all the bouncy slimes to make a staircase appear and follow the underground section to the other side.
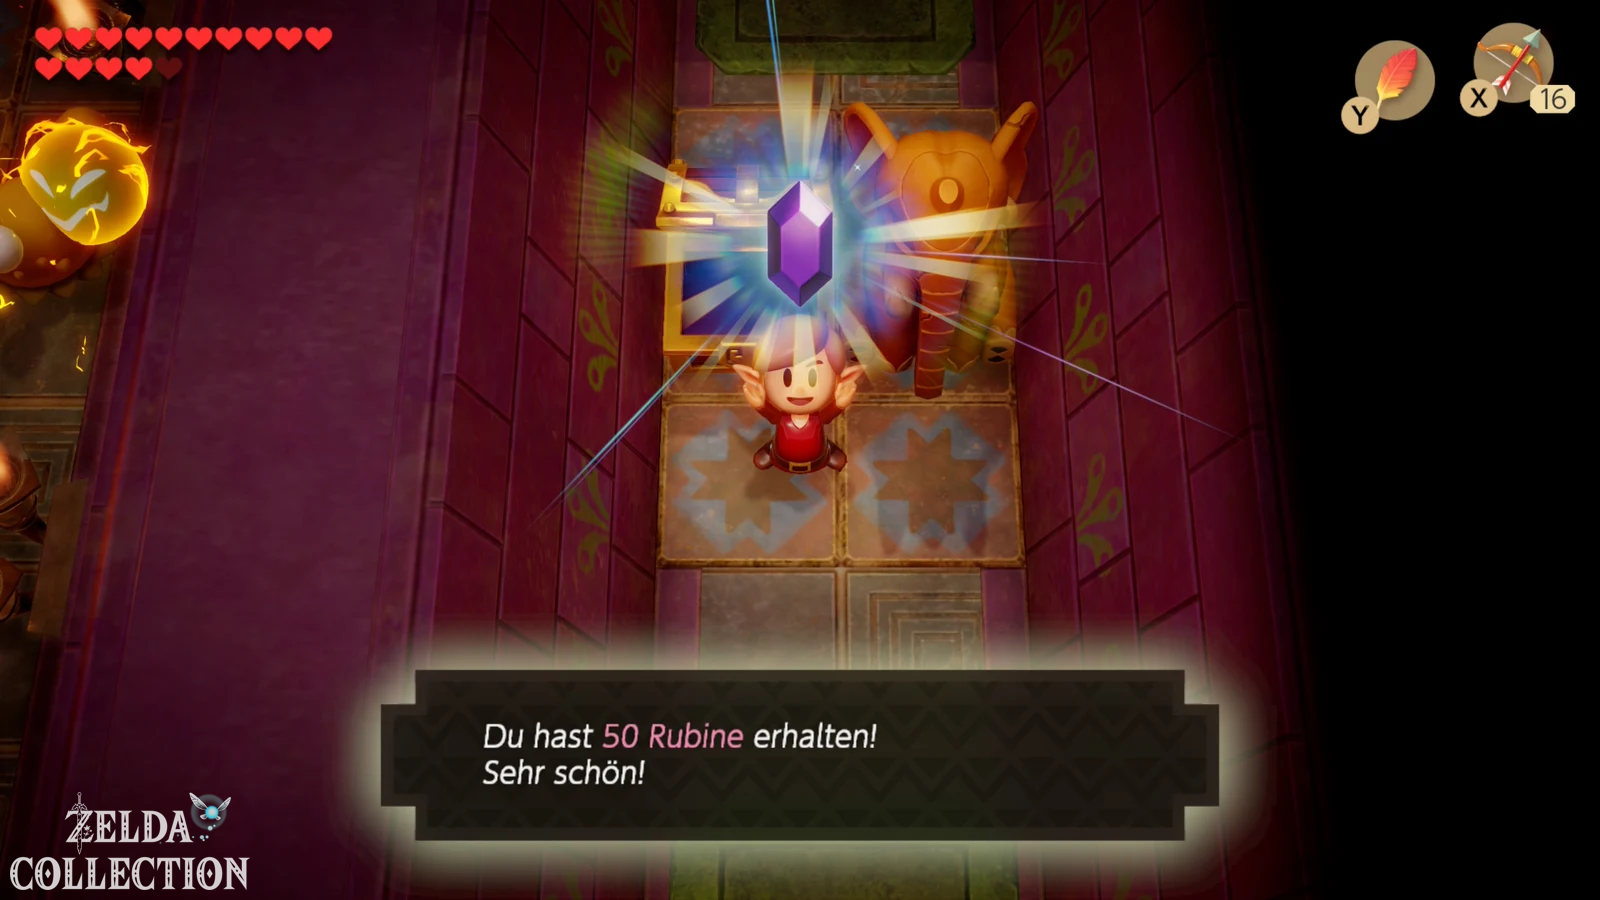
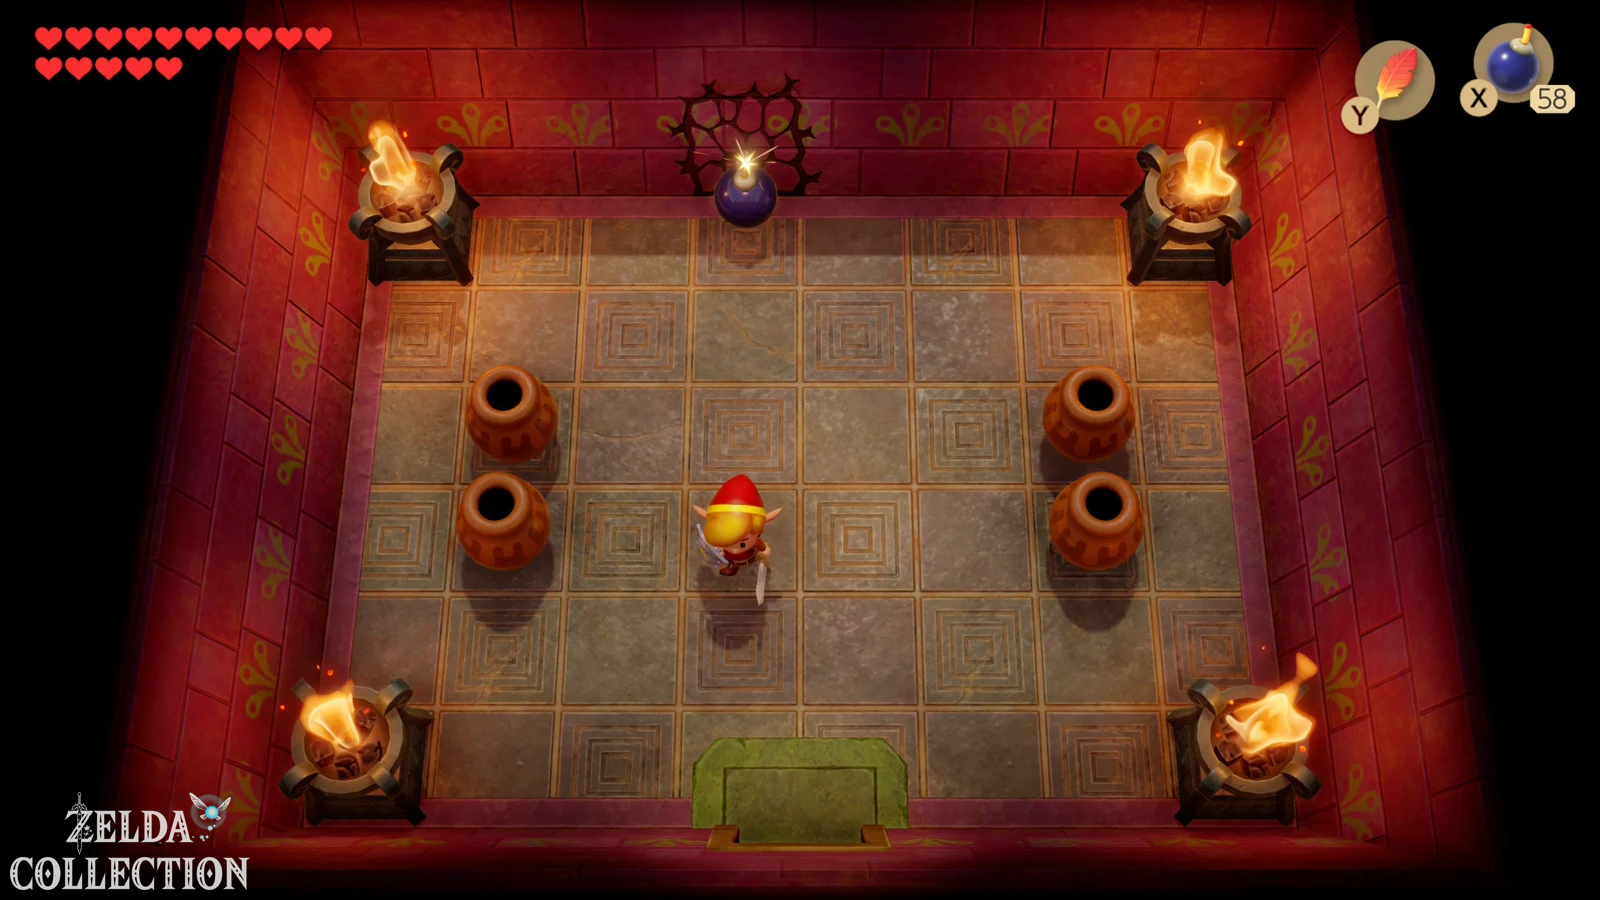
The stronger Power Bracelet gets
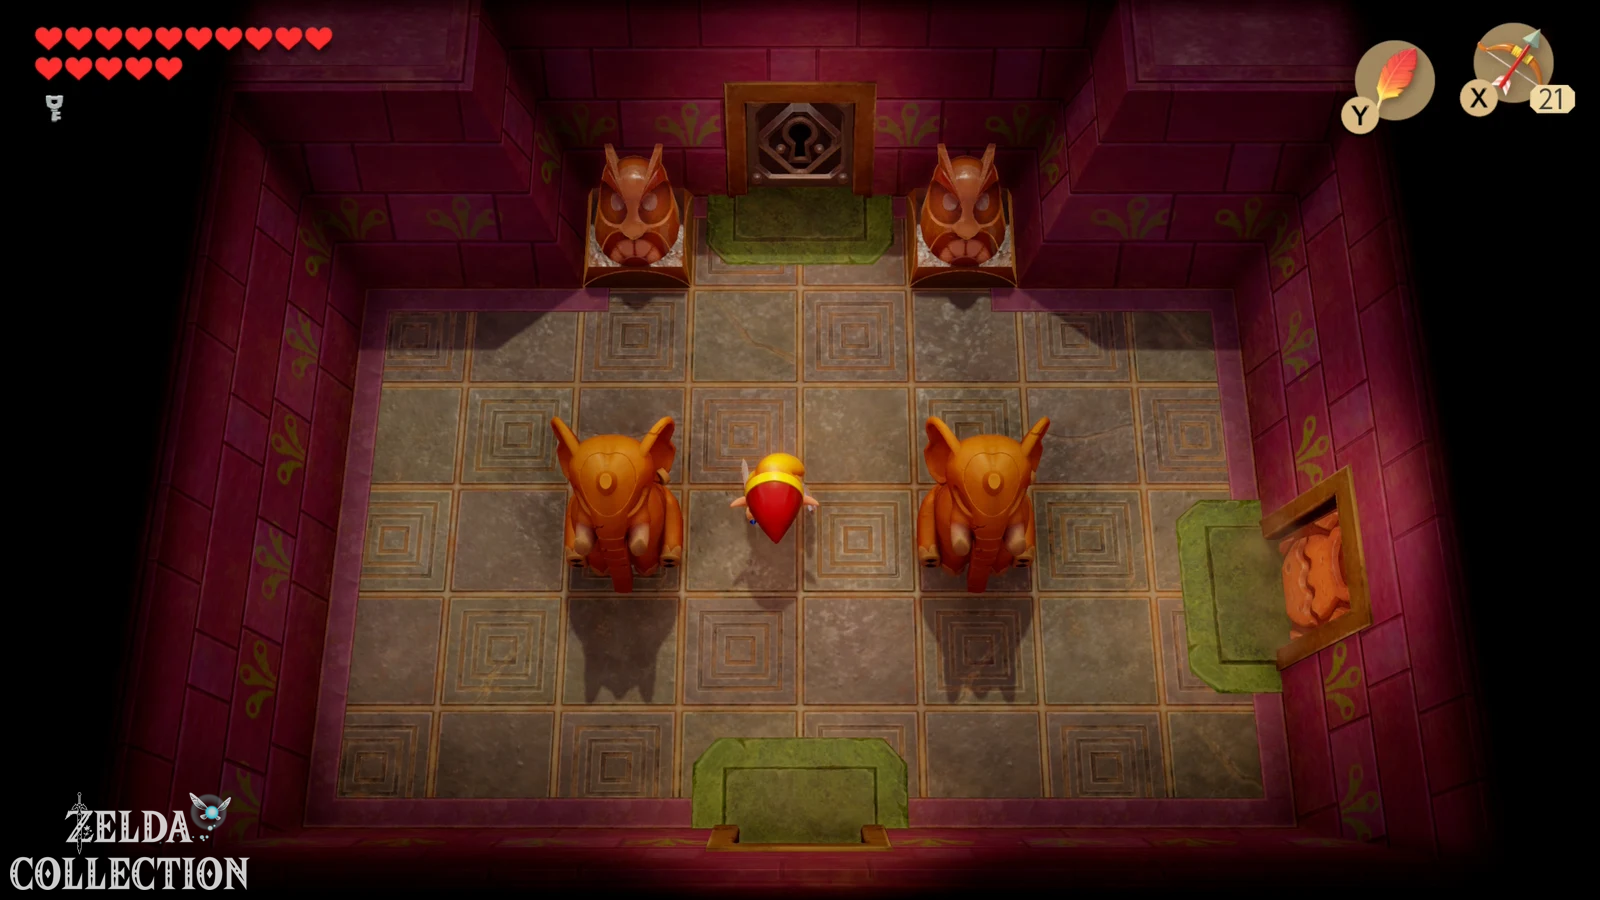
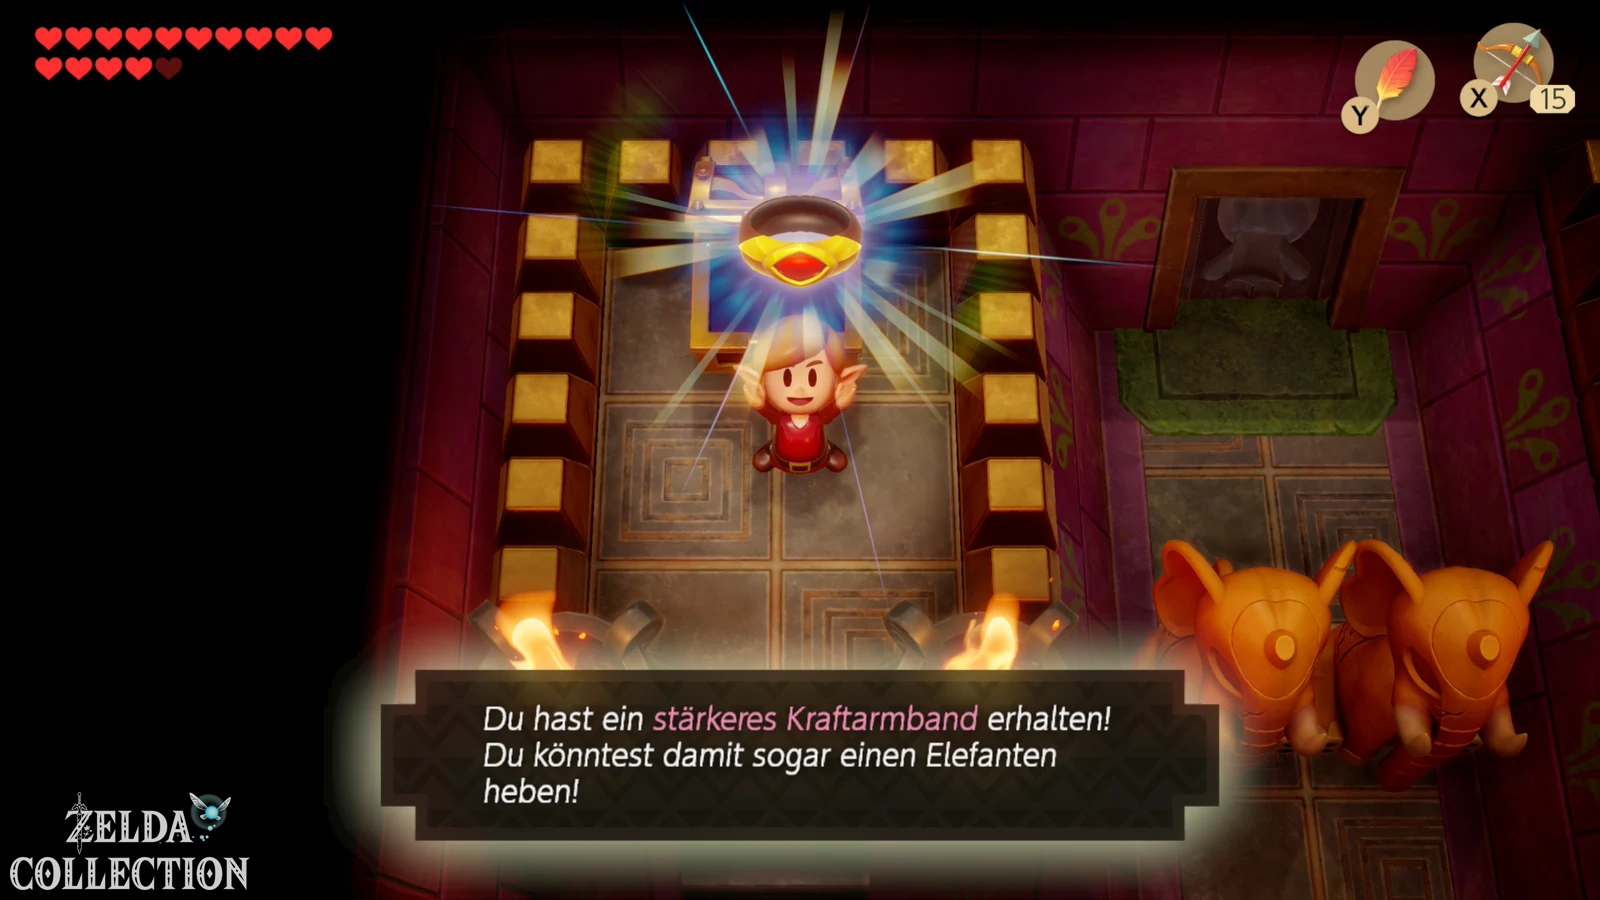
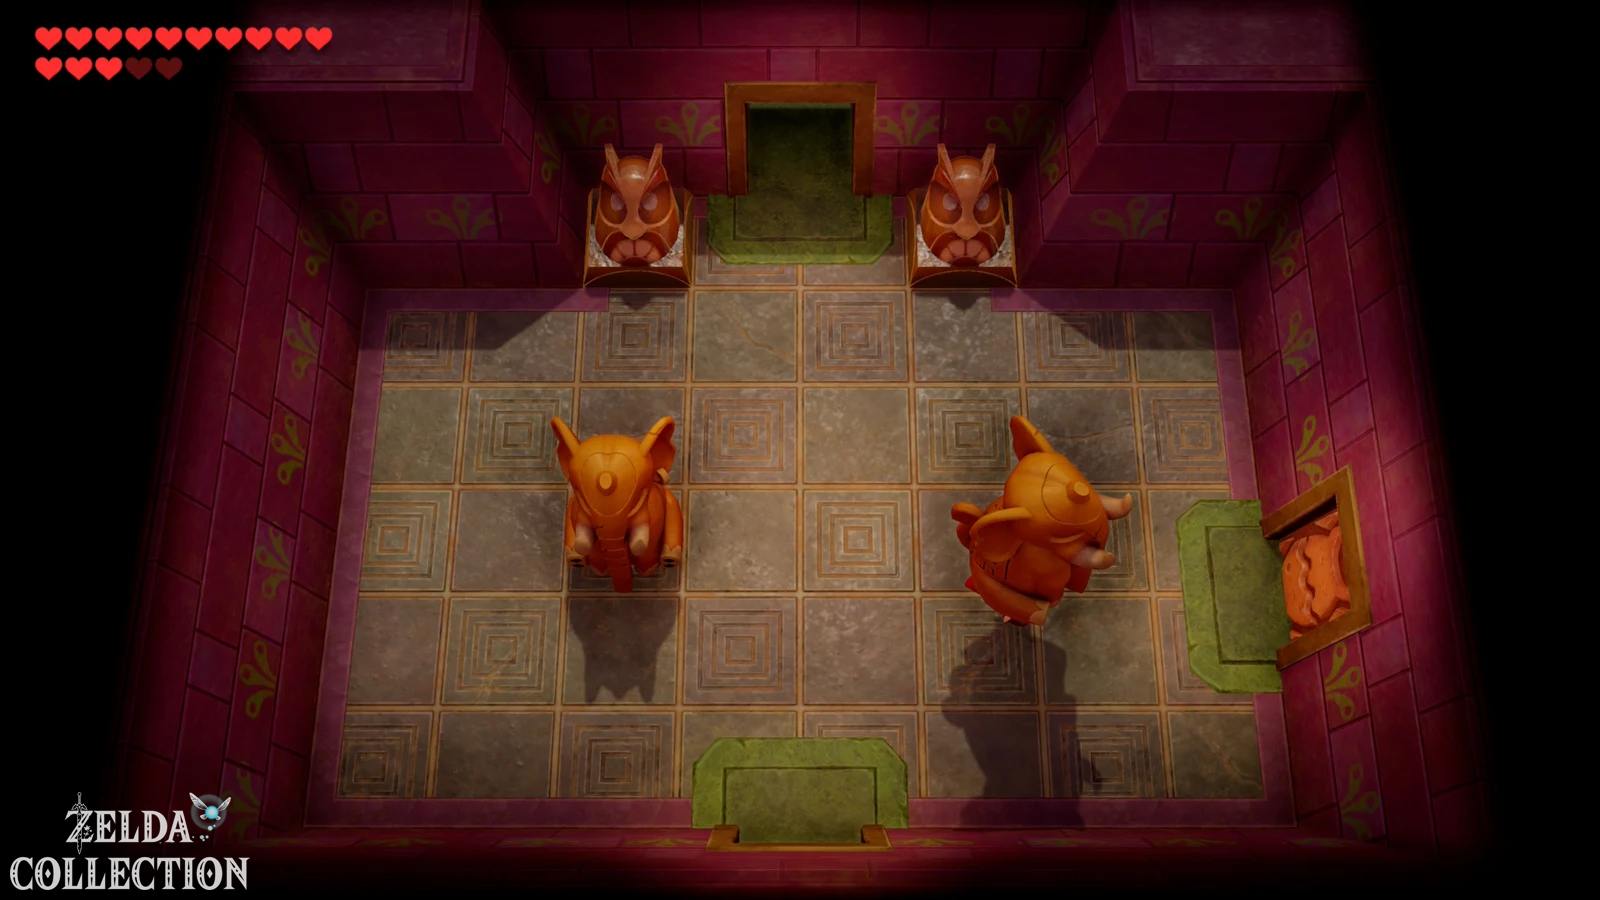
In the following room you have to eliminate all enemies again. Wizzrobes can be controlled with Boomerang, bombs or bomb arrows. If the path is clear, open the large chest and receive the stronger Power Bracelet. Link can now use it to lift the huge elephant statues that are everywhere in the Face Shrine. Later, the additional power will also be needed to move the Weathercock Statue in Mabe Village and carry the Iron Ball of the Eagle’s Tower.
Immediately lift one of the elephant statues and throw or move it out of the way. If necessary, you can find a fairy under a jug in this area. Then work your way back through the revolving door towards the central part of the dungeon.
Eastern half: Flying floor plates and Small Key
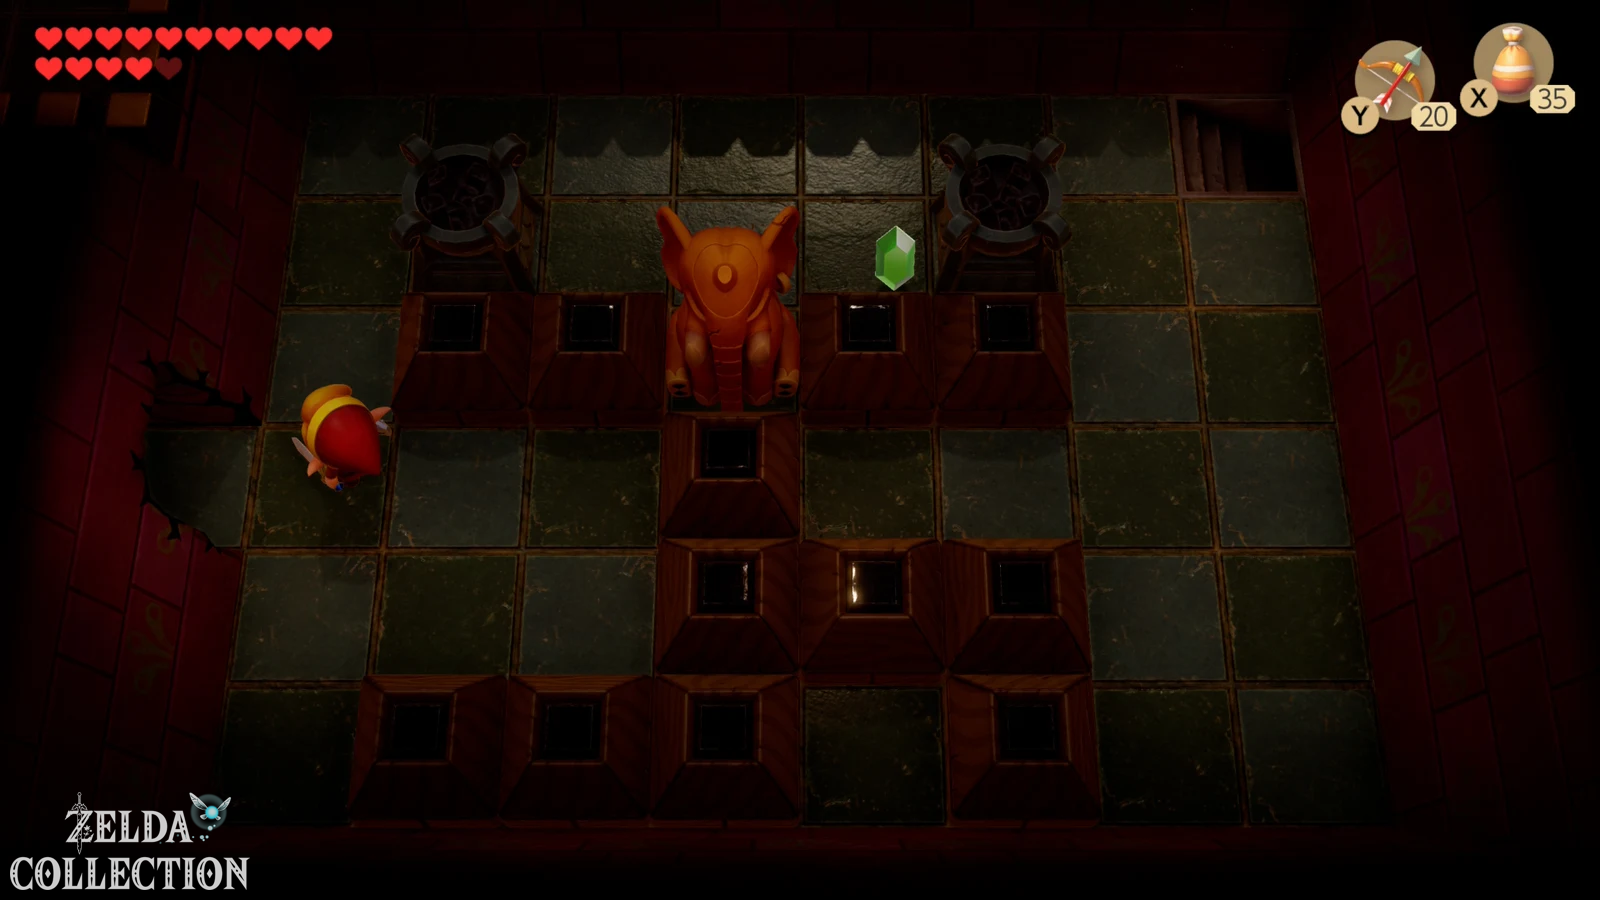
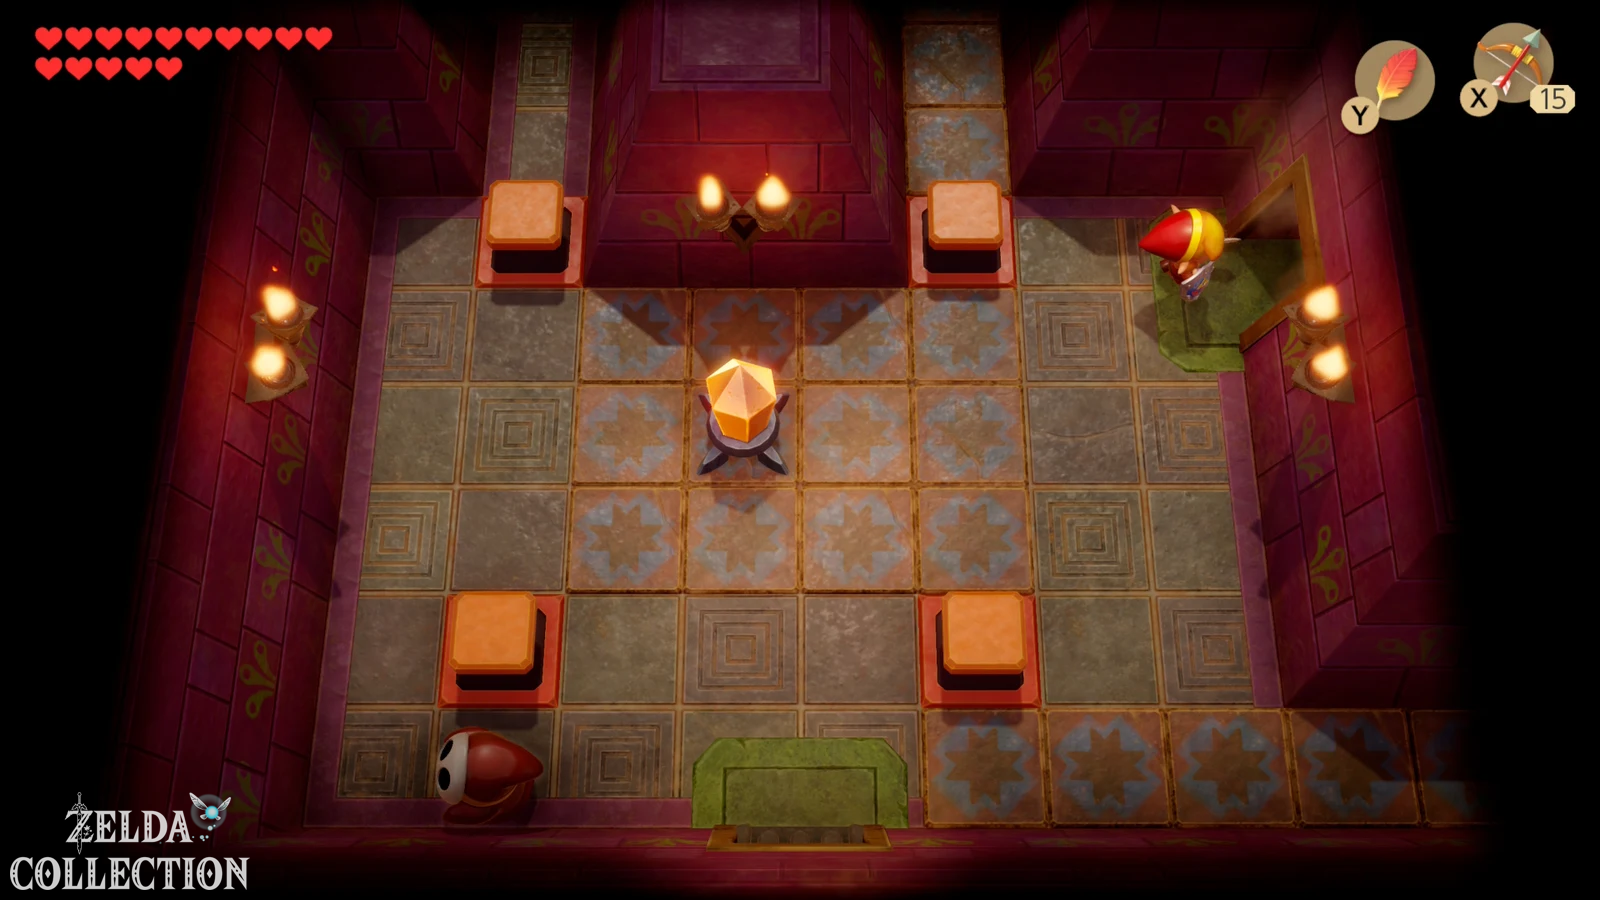
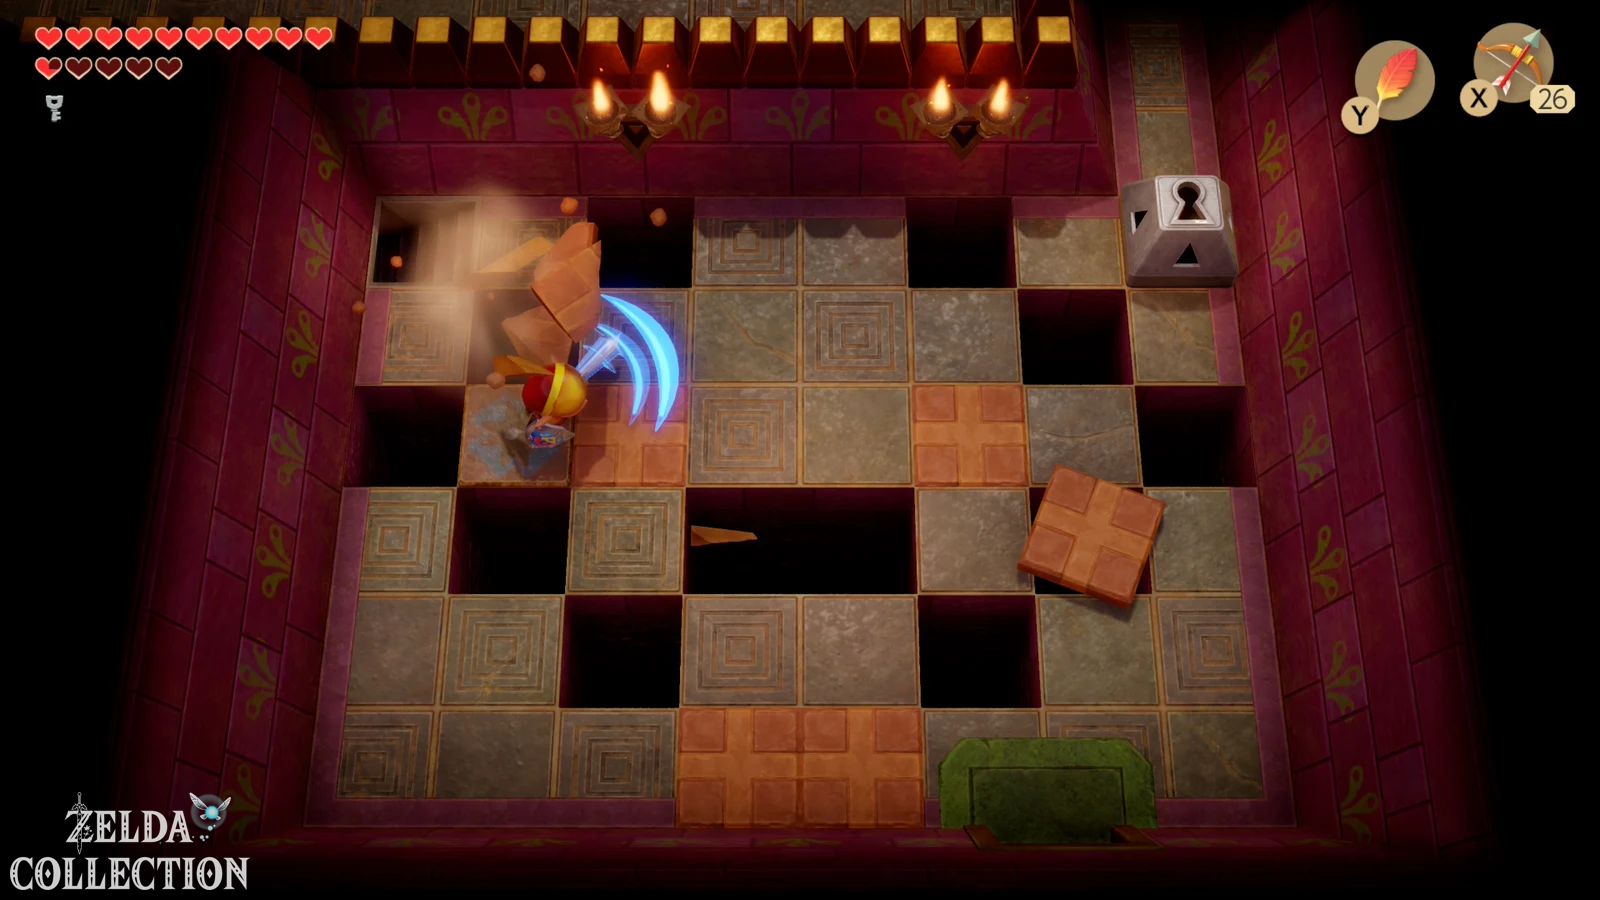
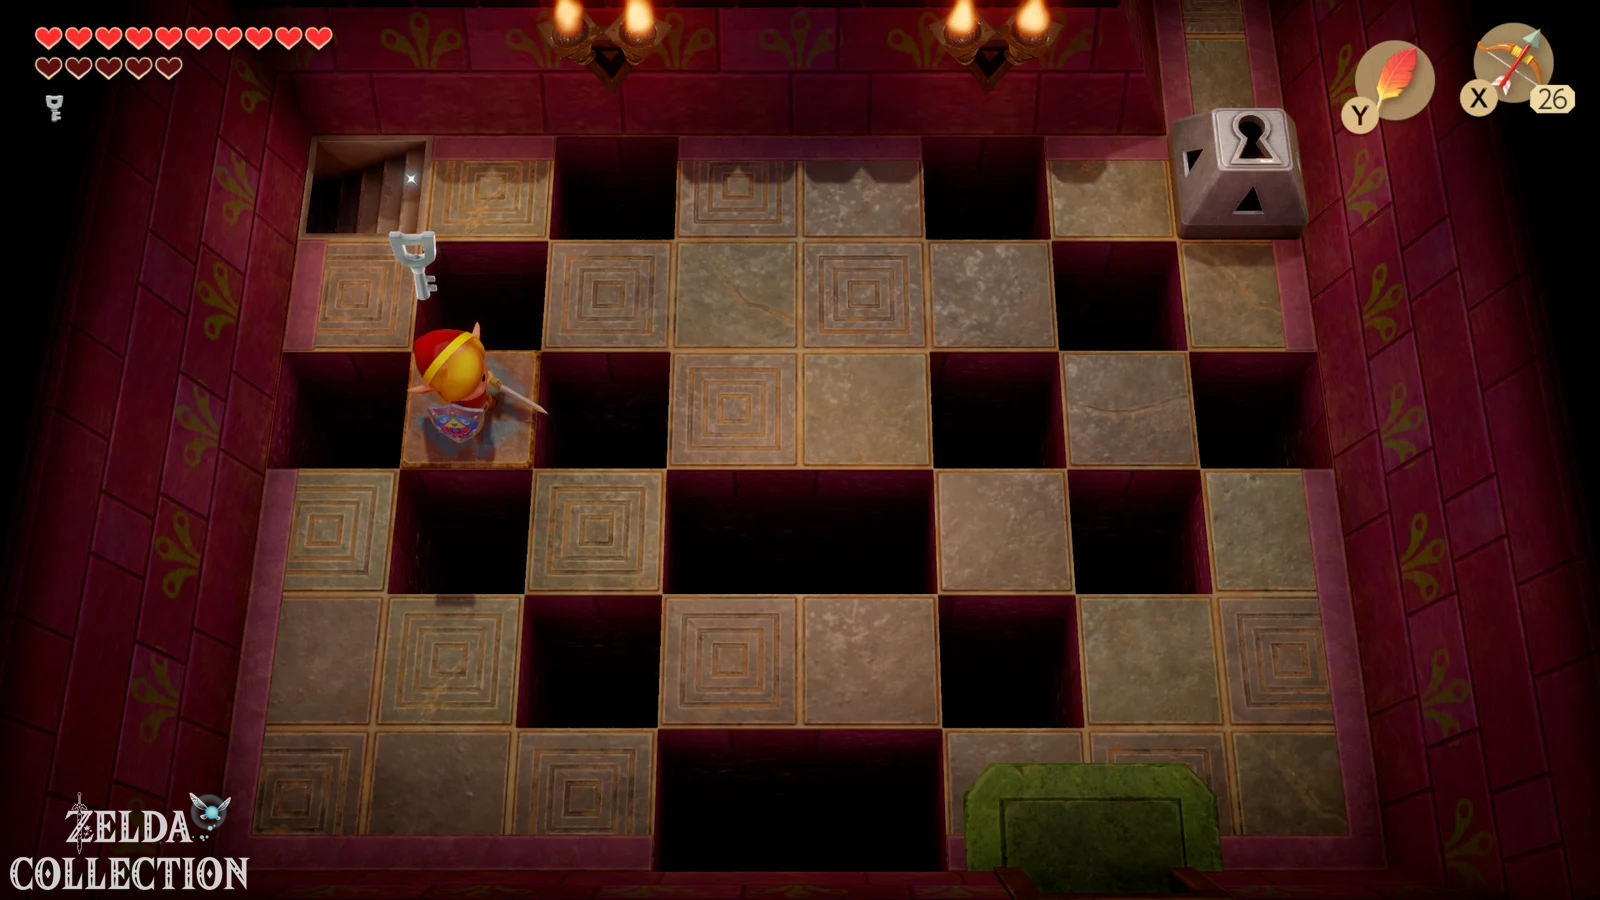
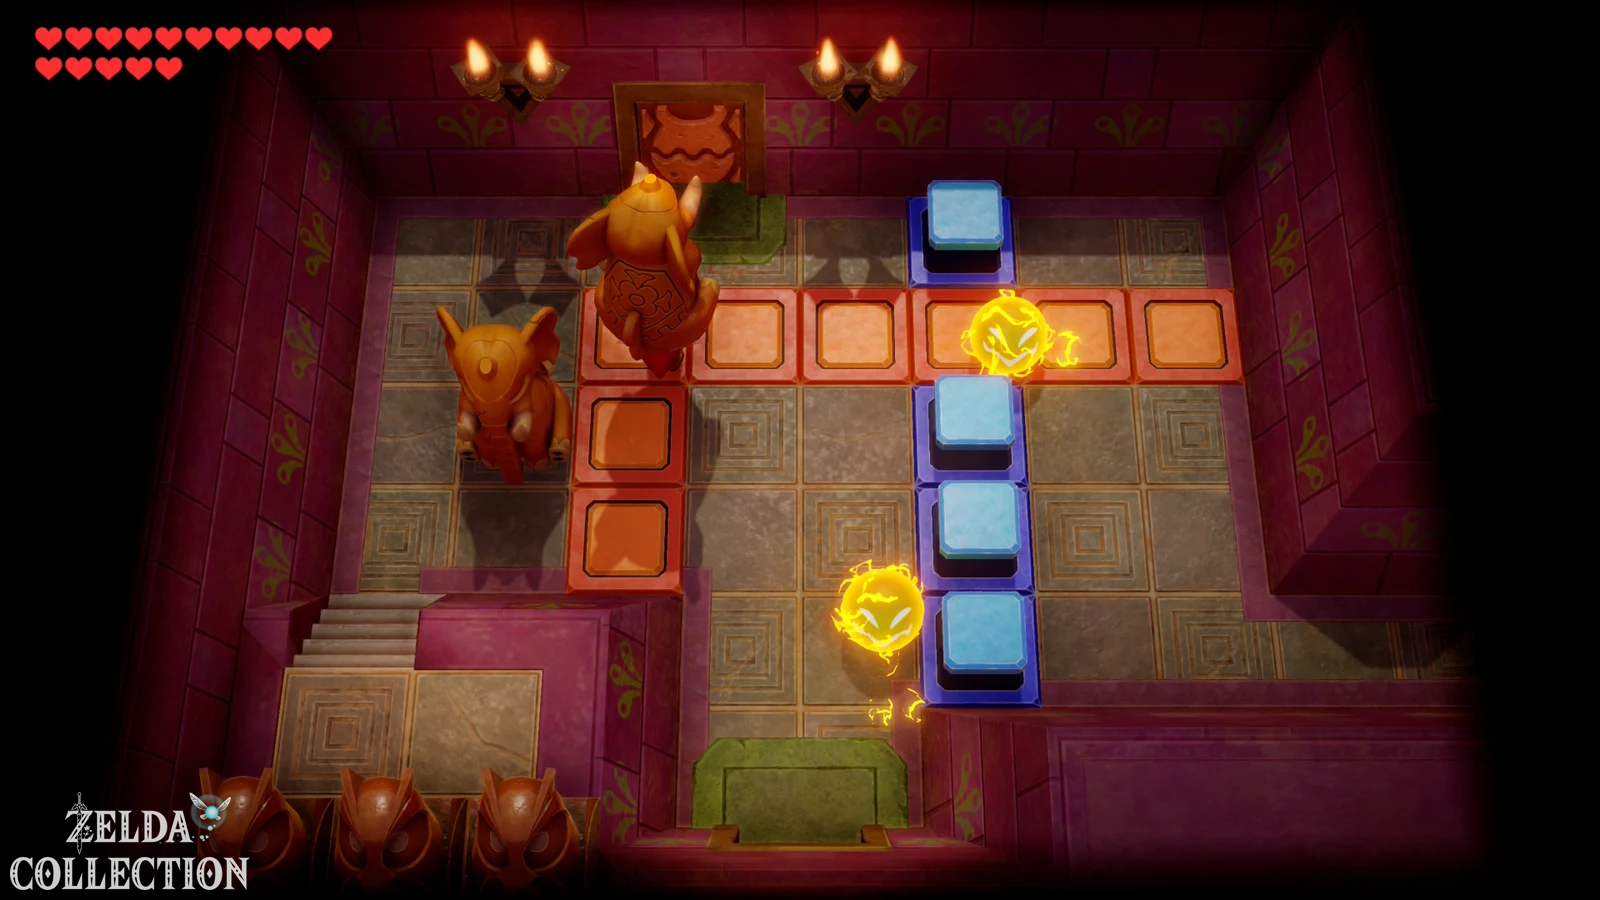
Return to the entrance area and go twice to right. In the next room, the floor tiles begin to fly through the air towards Link one after the other. Stand in a corner and hold up the shield. The plates break when they hit the shield without hurting you. After everyone has disappeared, the path to the north opens.
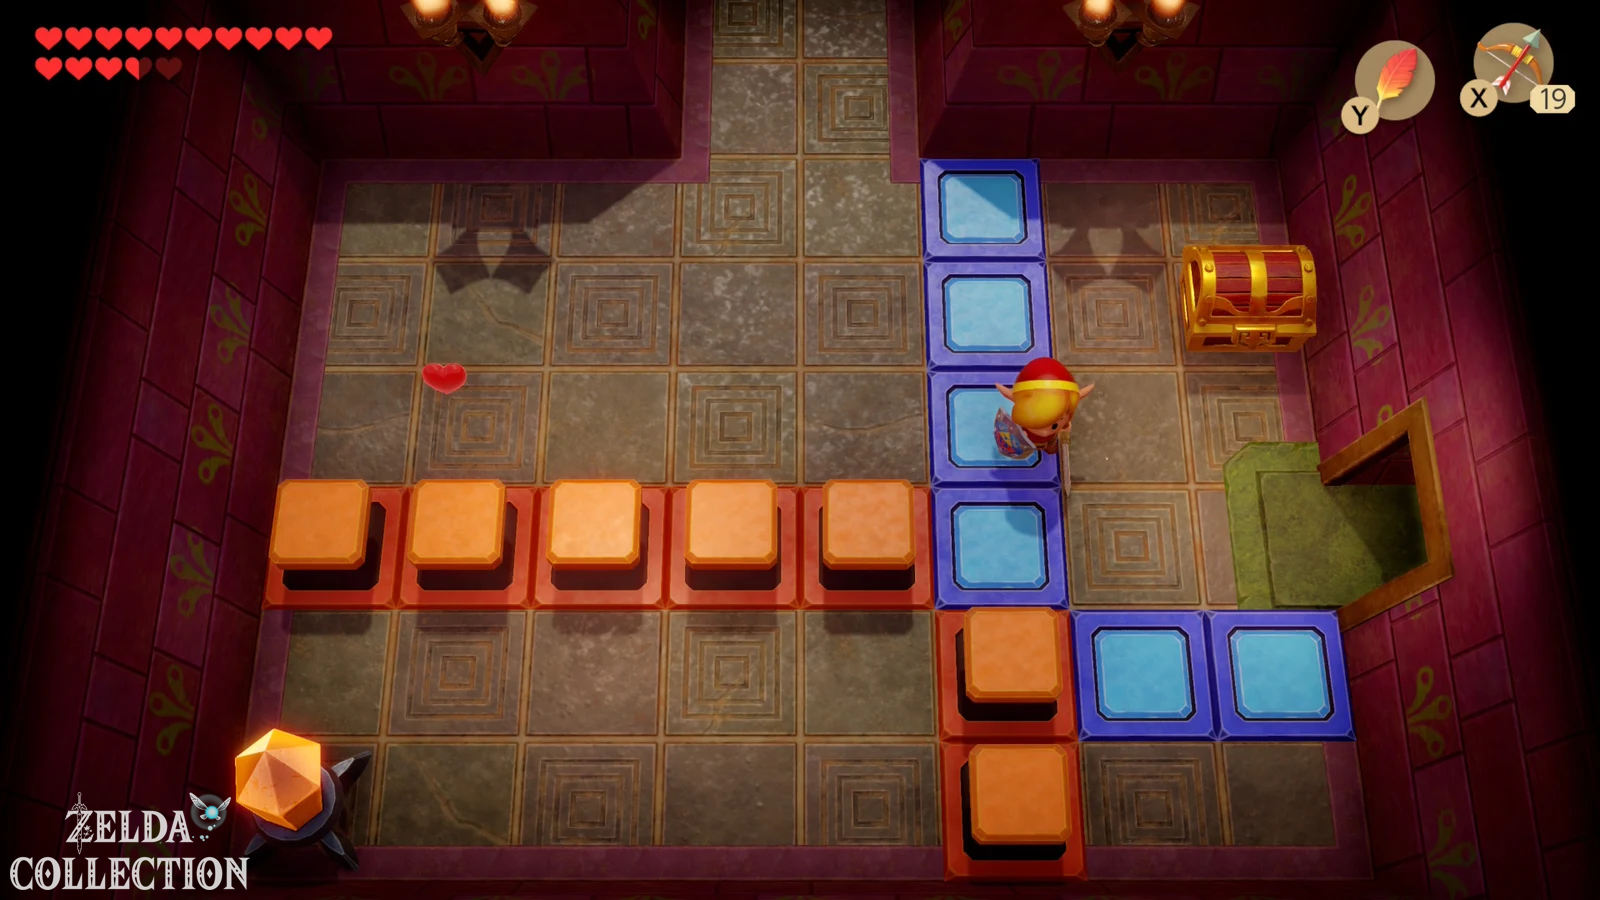
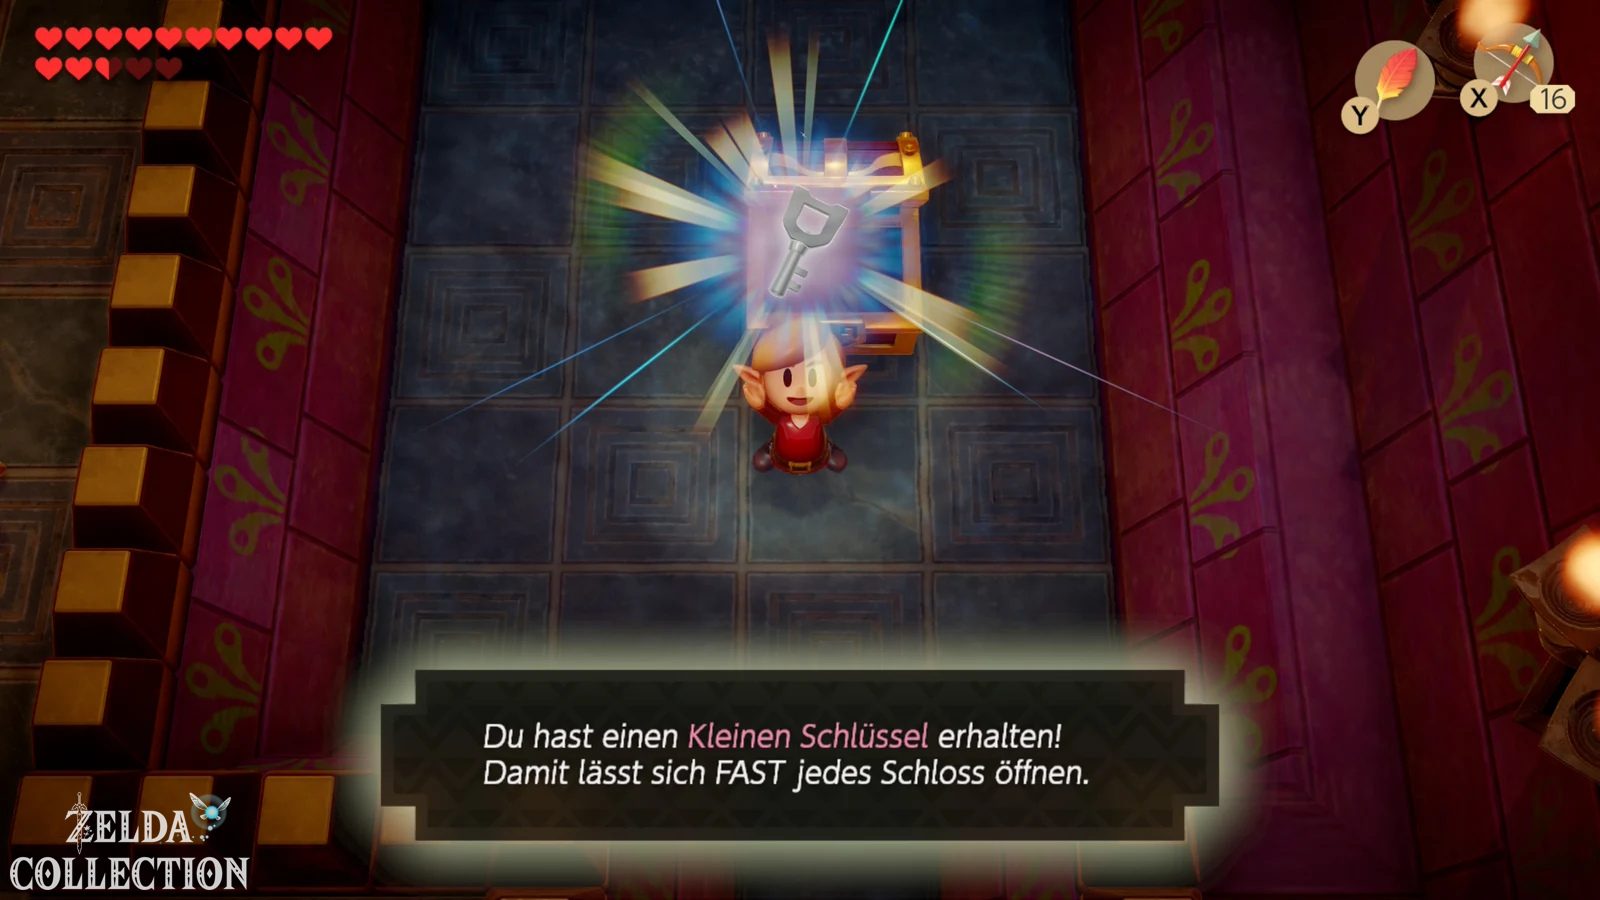
In the following area, an elephant statue blocks the door. Pick it up with the new Power Bracelet and throw it at the locked door to break it open. Defeat the enemies behind it and then follow the watery corridor. At the end there is a chest with a Small Key. Then return to the previous area and open the locked door provided.
Intermediate boss: Smasher
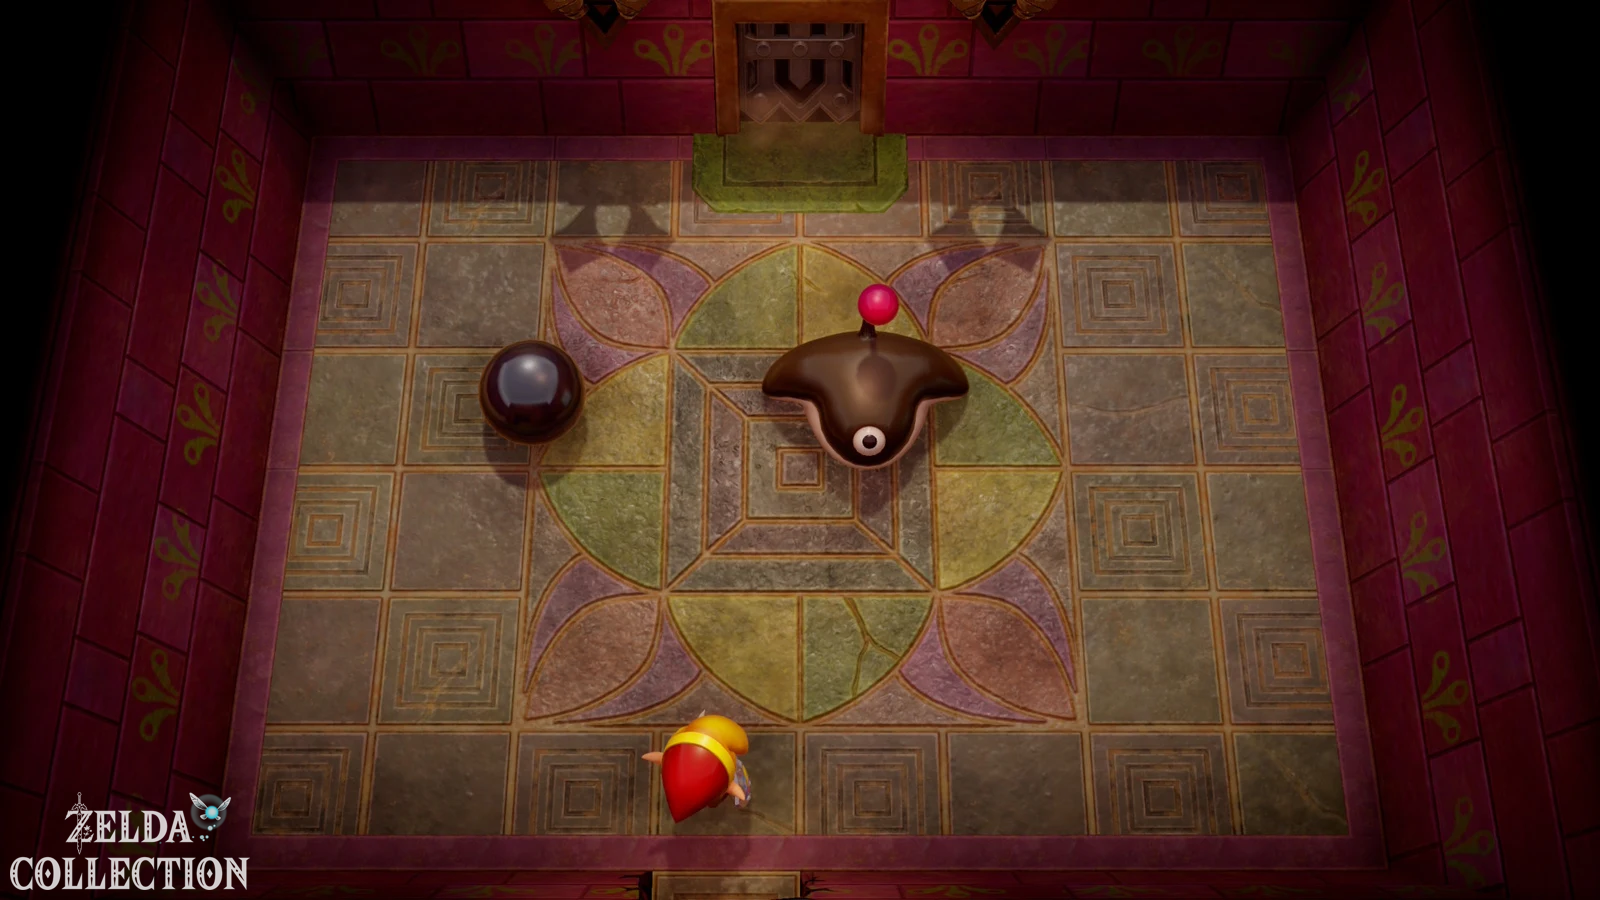
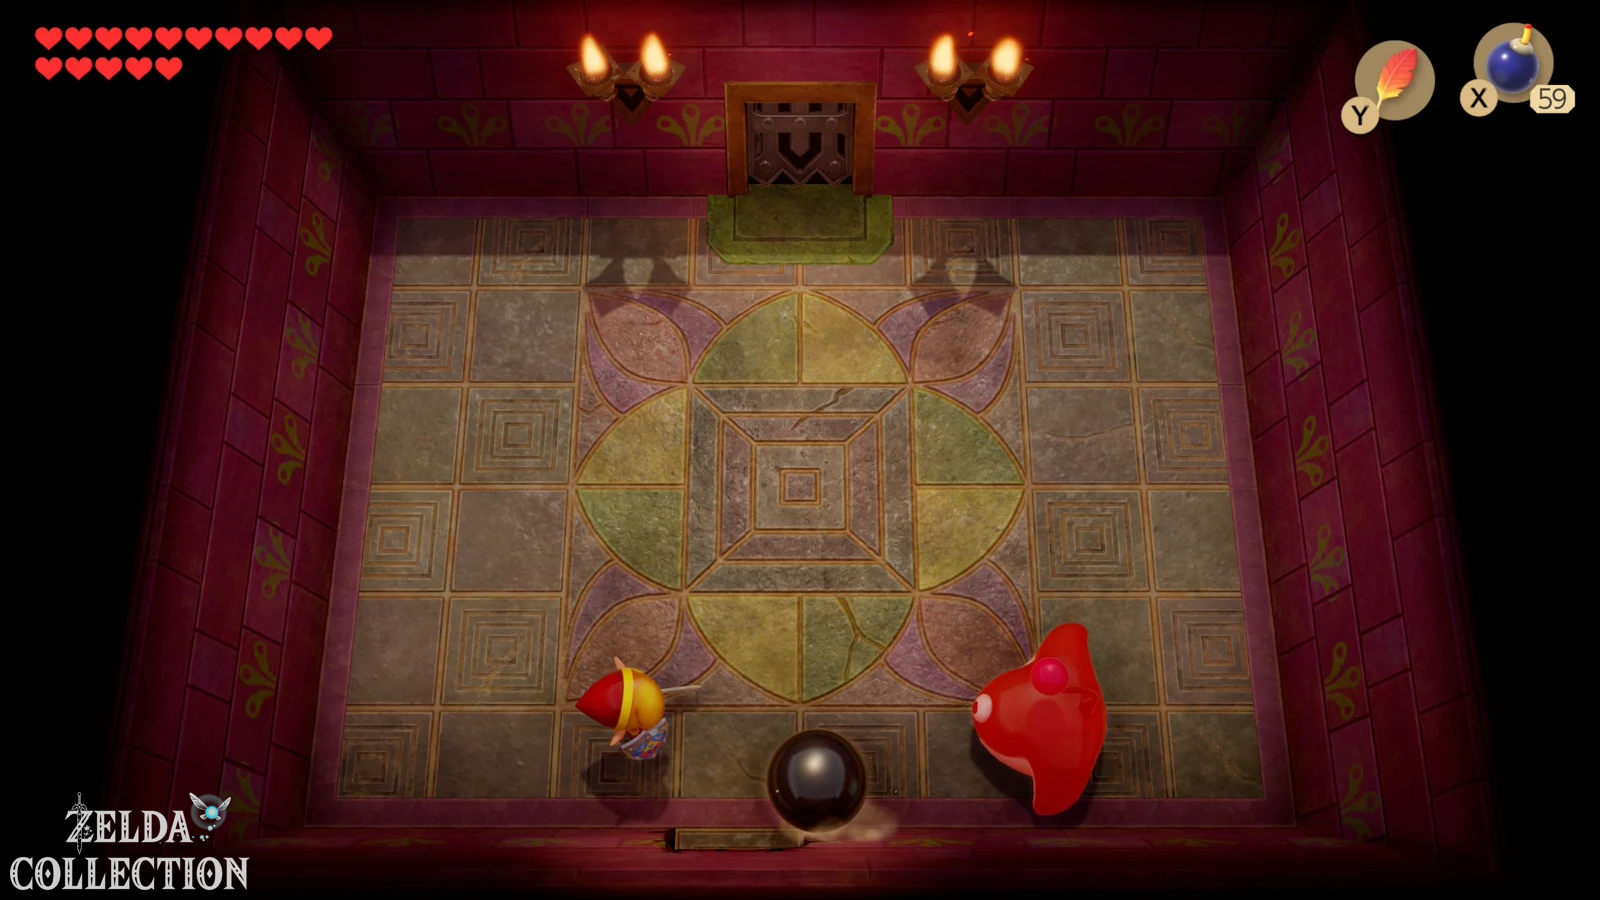
Blow up the fragile wall in the next area and you’ll get to Smasher. This intermediate boss himself is hardly vulnerable; The decisive factor is the large iron ball that lies in the room. Dodge Smasher’s attack, lift the ball with the stronger Power Bracelet and throw it directly at him. After the hit, the ball flies through the room and has to be collected again. If possible, position yourself so that Smasher is between Link and a wall so that the ball doesn’t land too far away after a throw.
After several hits, Smasher is defeated and a teleporter to the entrance appears. Remember this room because we will pass through it again later on the way to Nightmare Key.
Dungeon Map, Stone Beak and Compass
Returns from the Smasher Room to the Crystal Switch. Place a bomb next to the switch again and this time take the left turn before it explodes. In the next room, lift the jug from the floor plate or press the switch underneath. Defeat all enemies in the next room and open the chest that appears with the Dungeon Map.
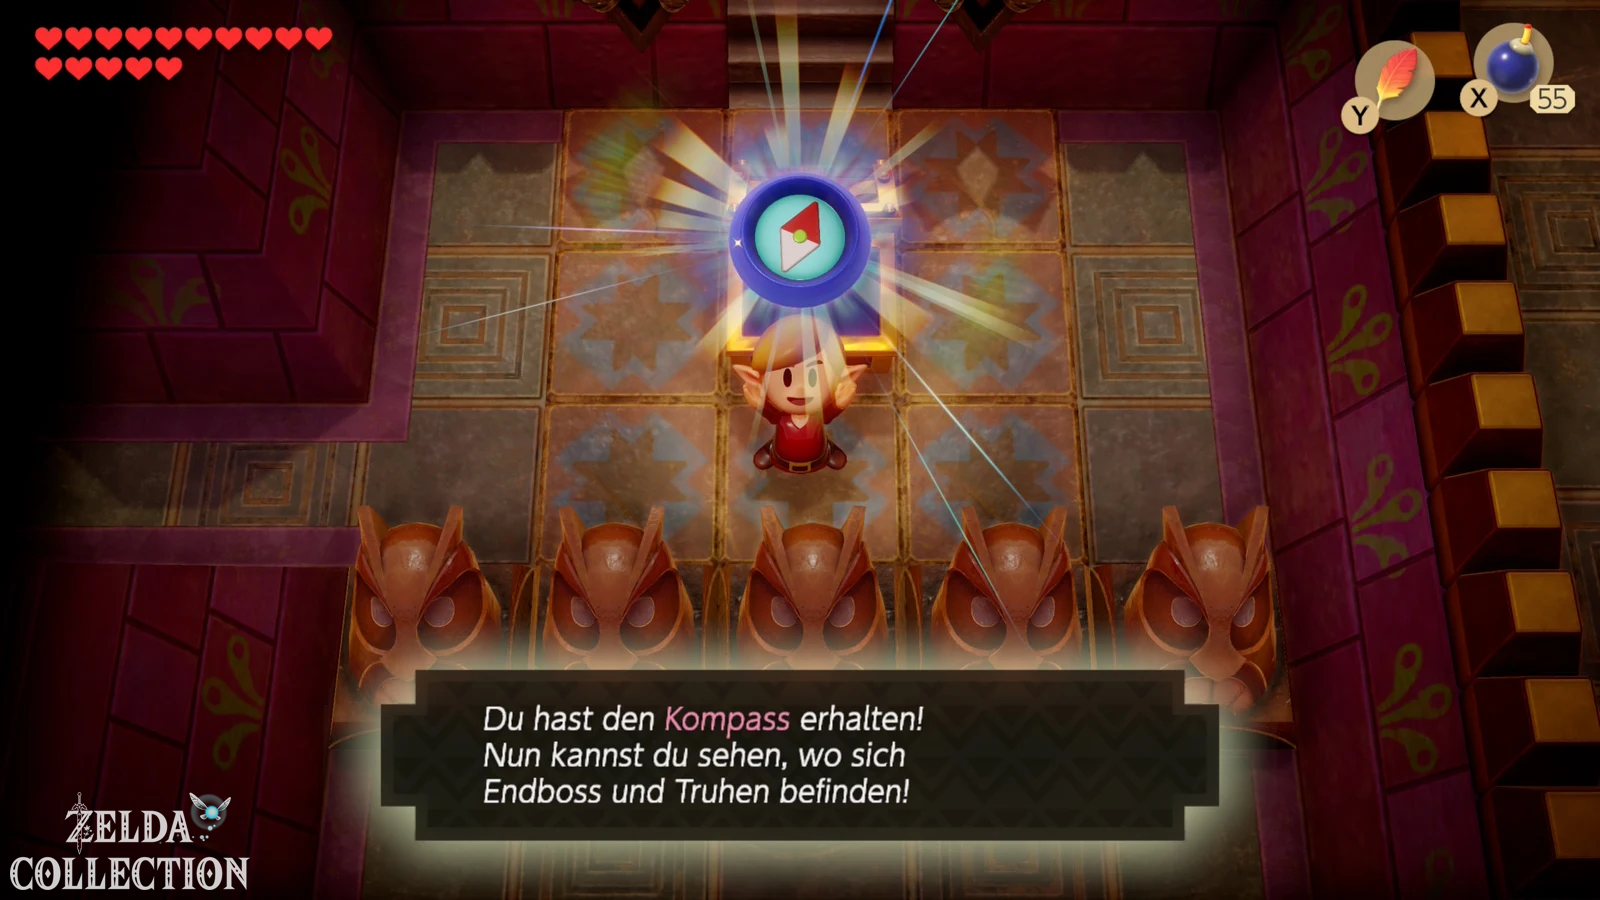
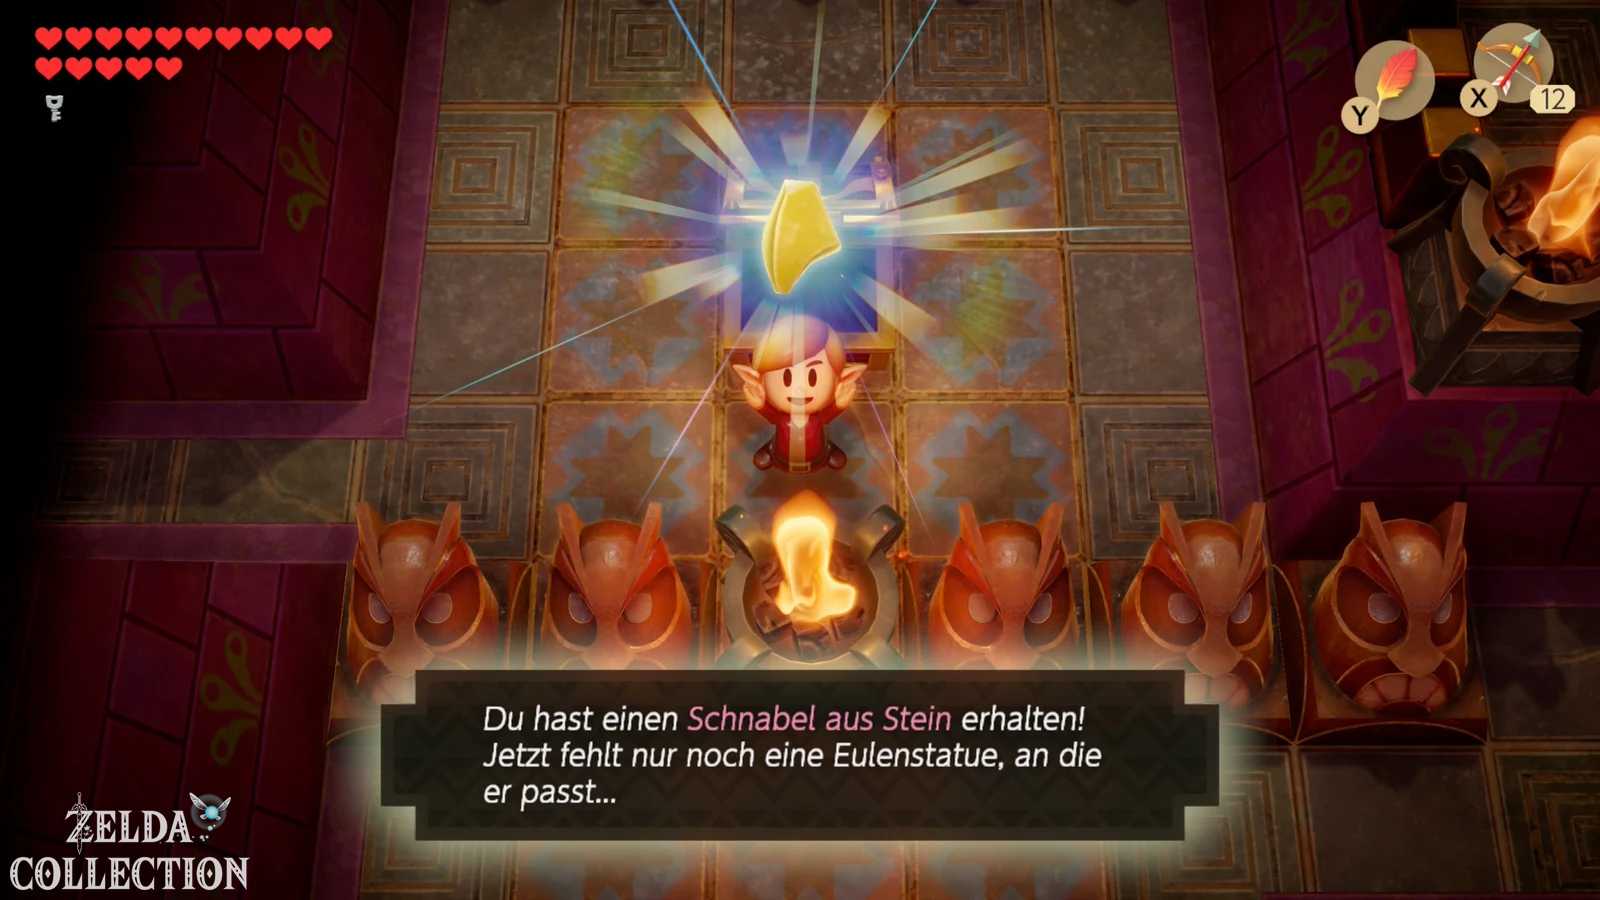
From there go up and then to the left. Inside the chest is the Stone Beak. Then throw a jug at the locked door and enter the next room, where you will get the Compass. Activate the Crystal Switch and follow the narrow ledge that is now accessible. At the end, defeat all enemies so that another Small Key appears.
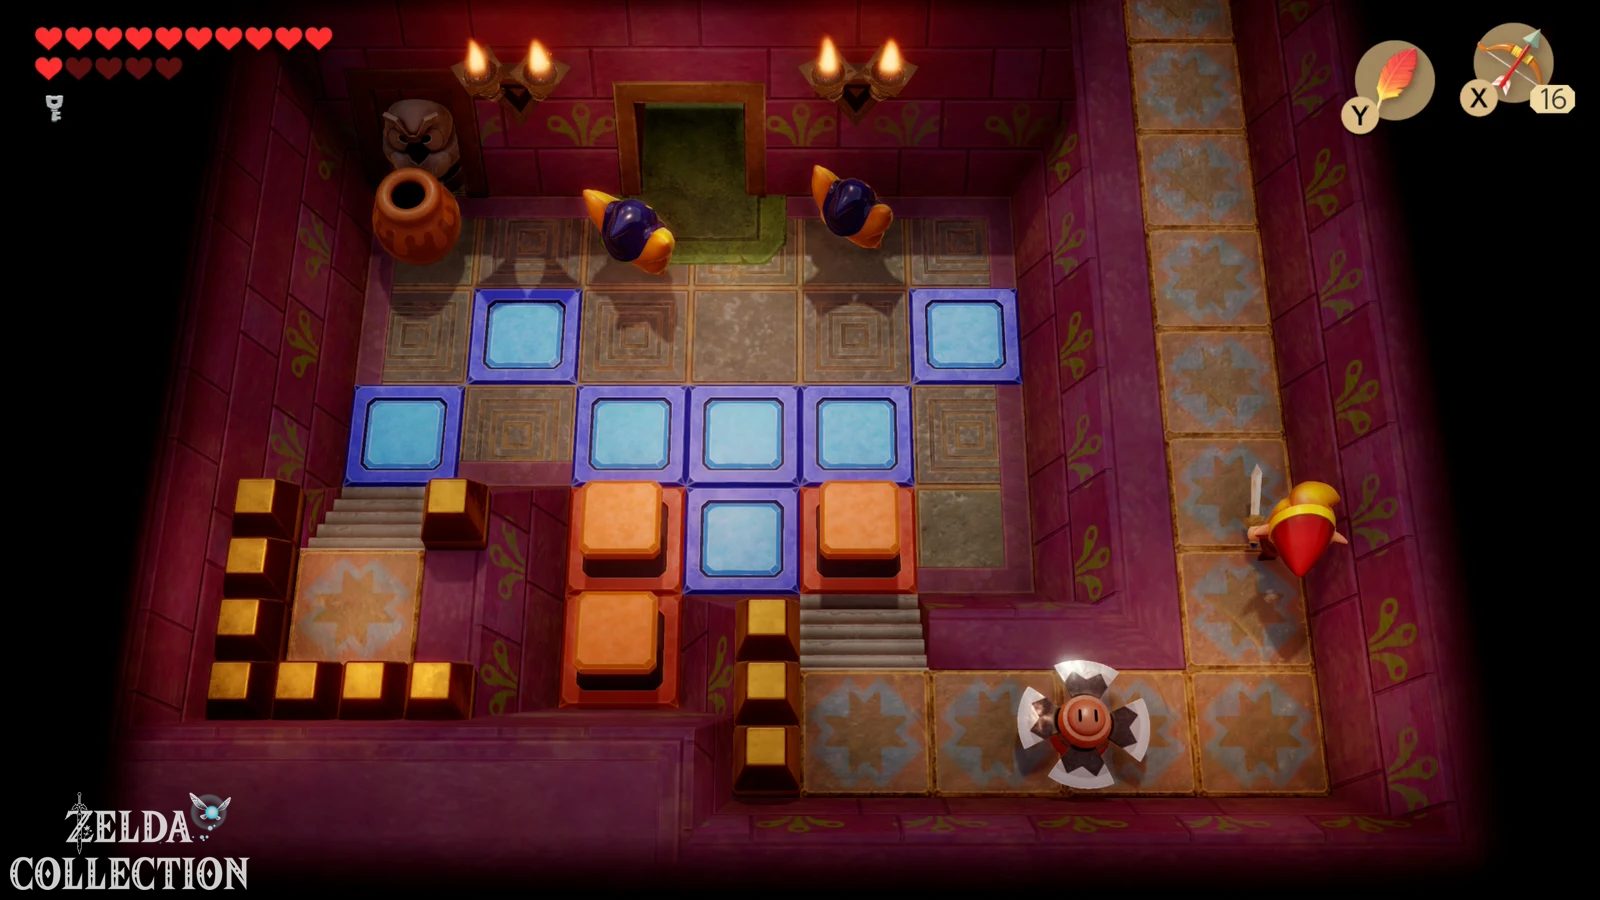
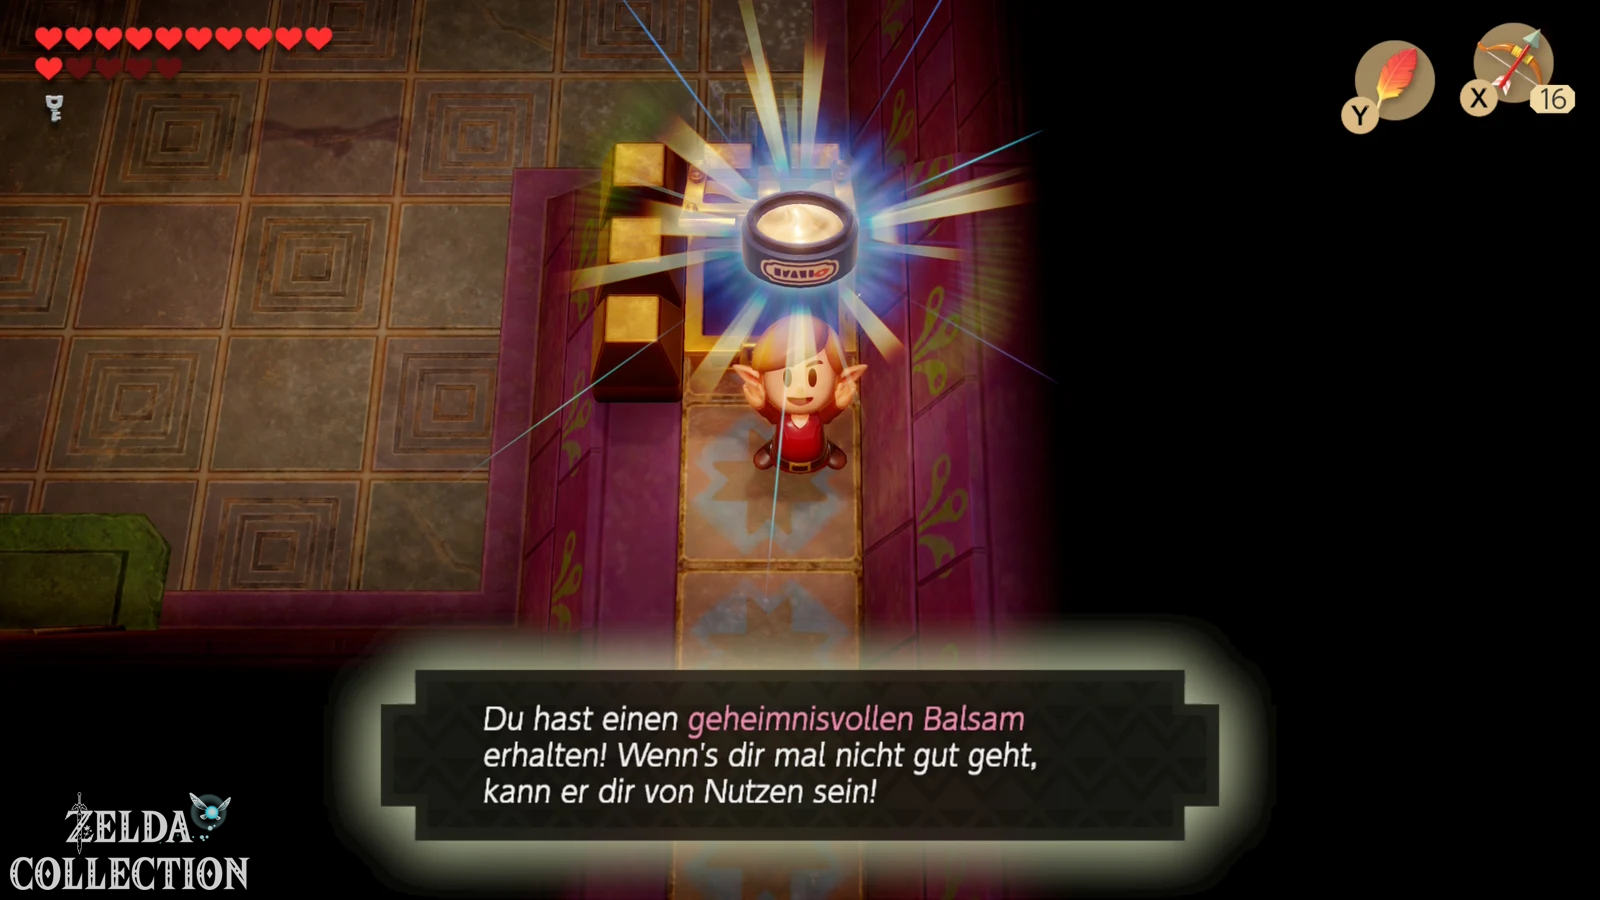
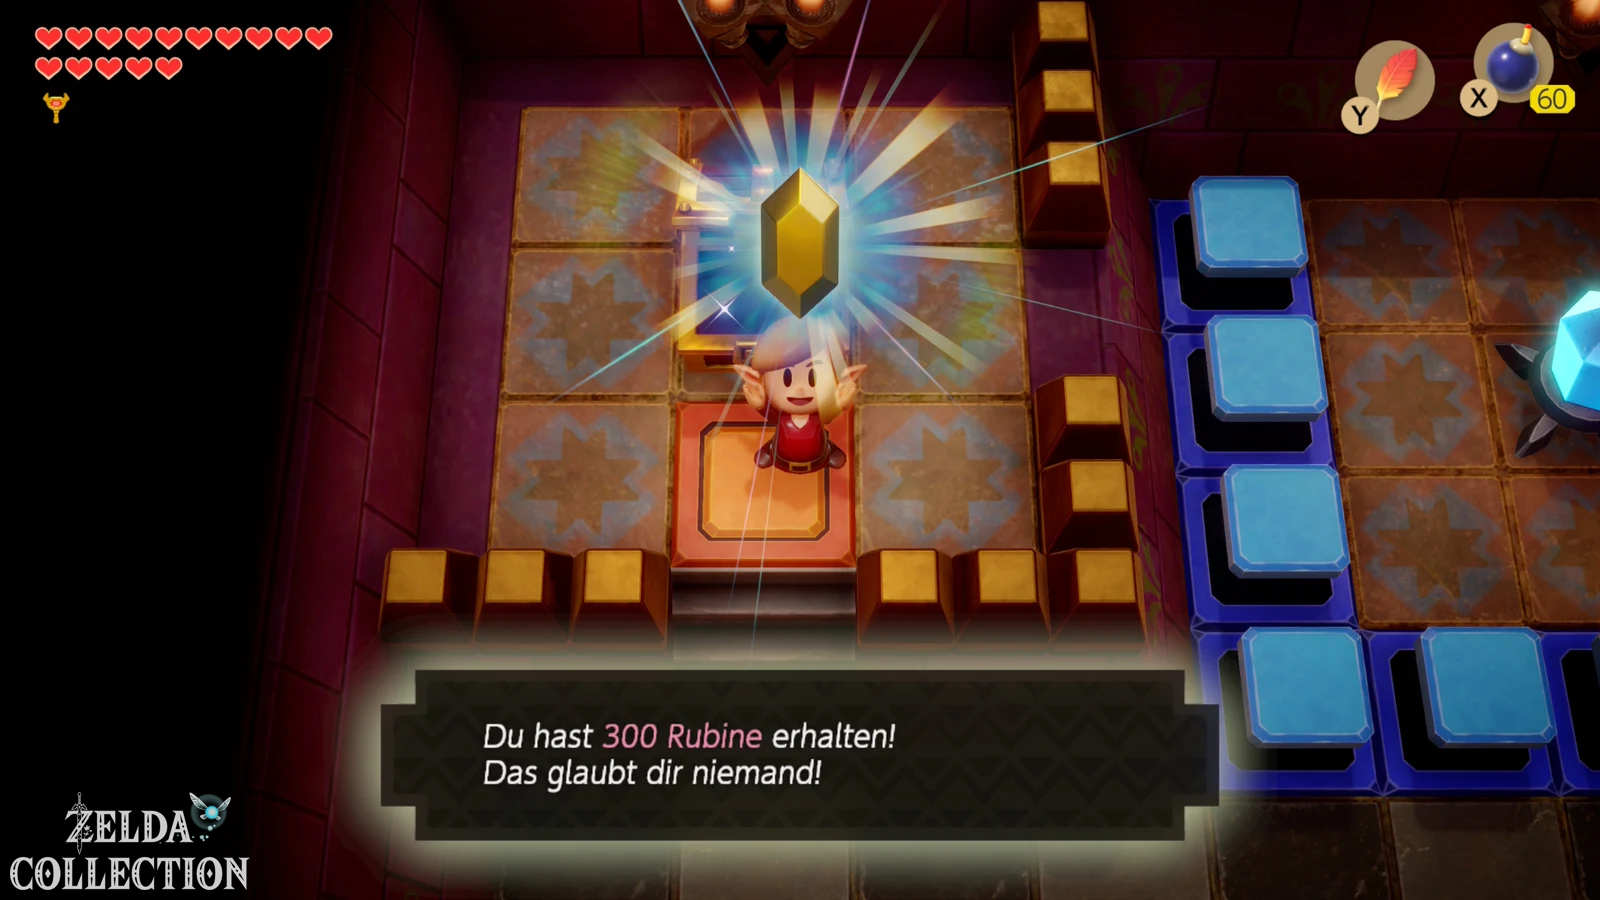
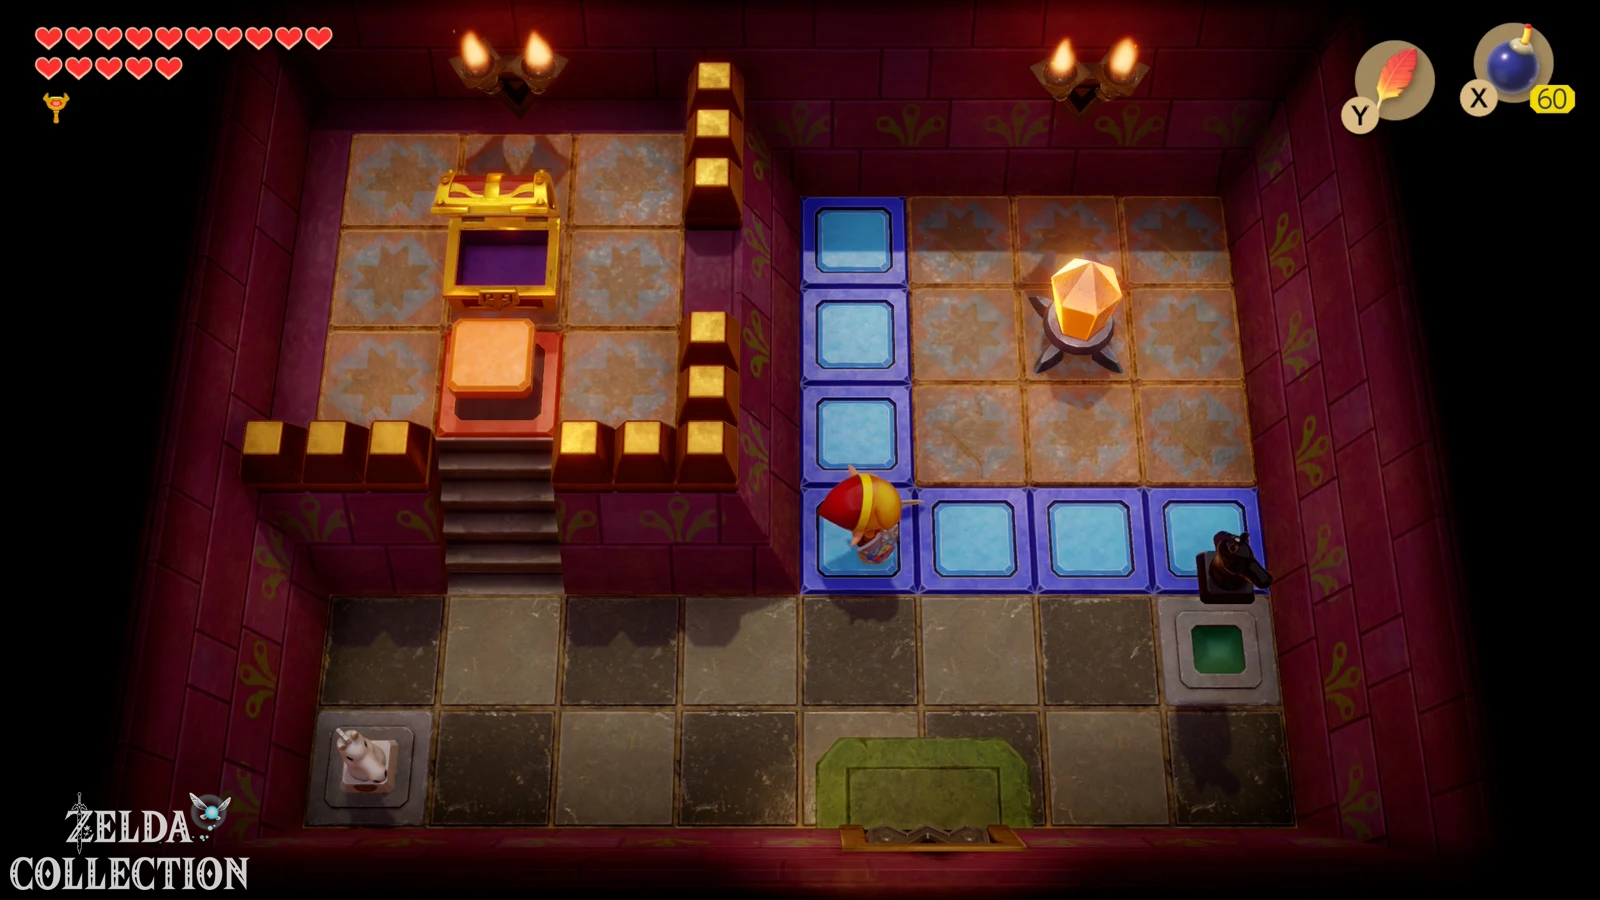
The Secret Seashell in the Face Shrine
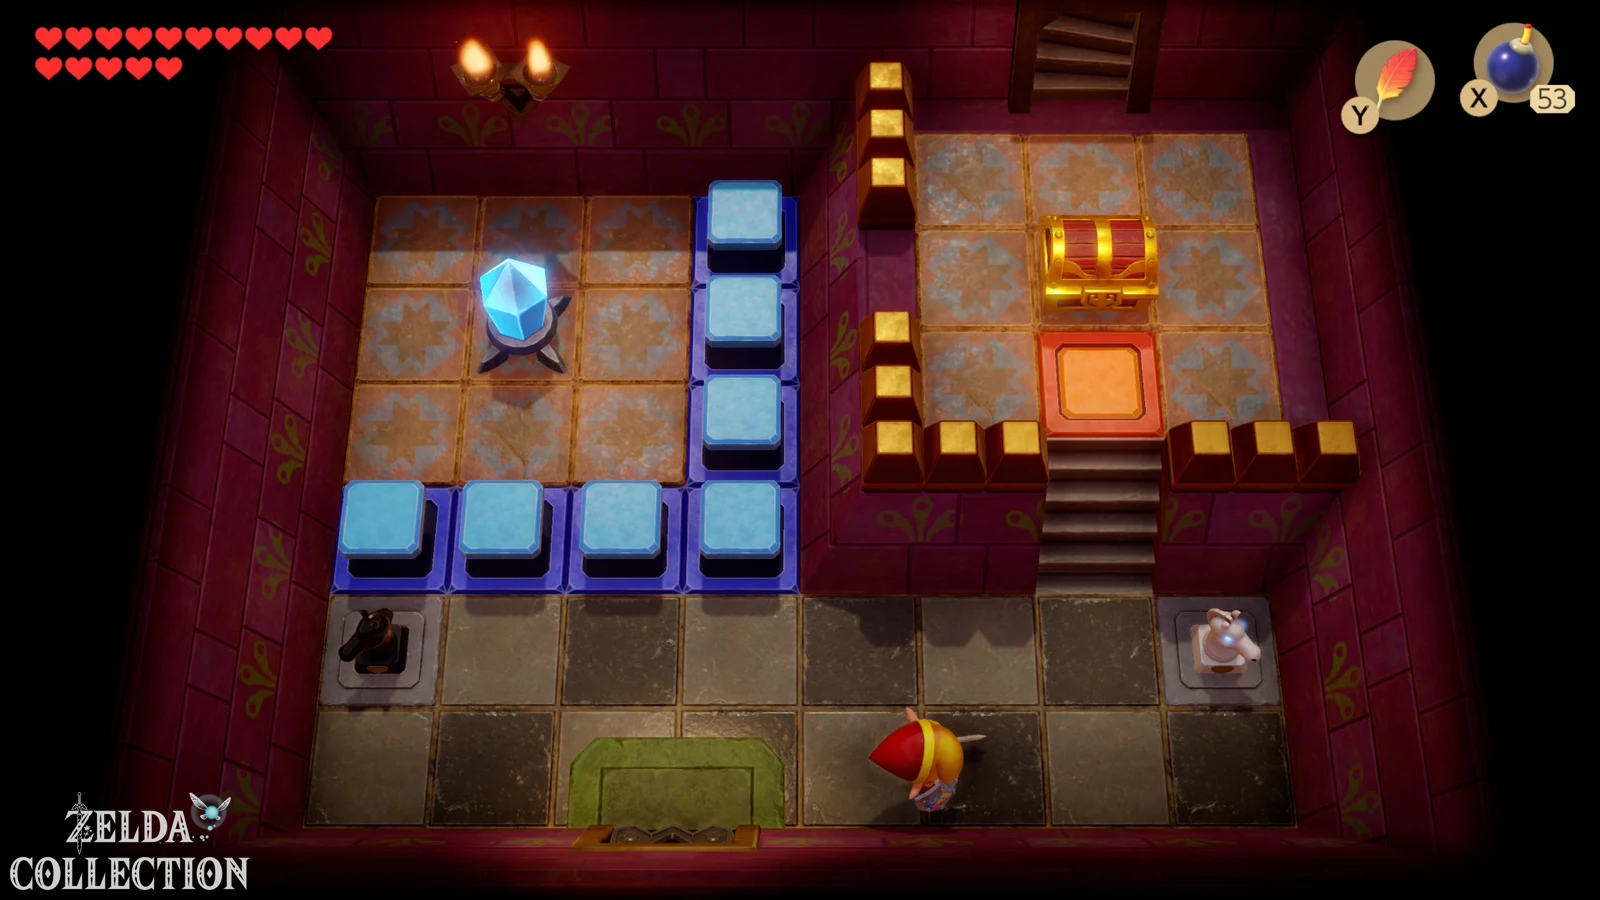
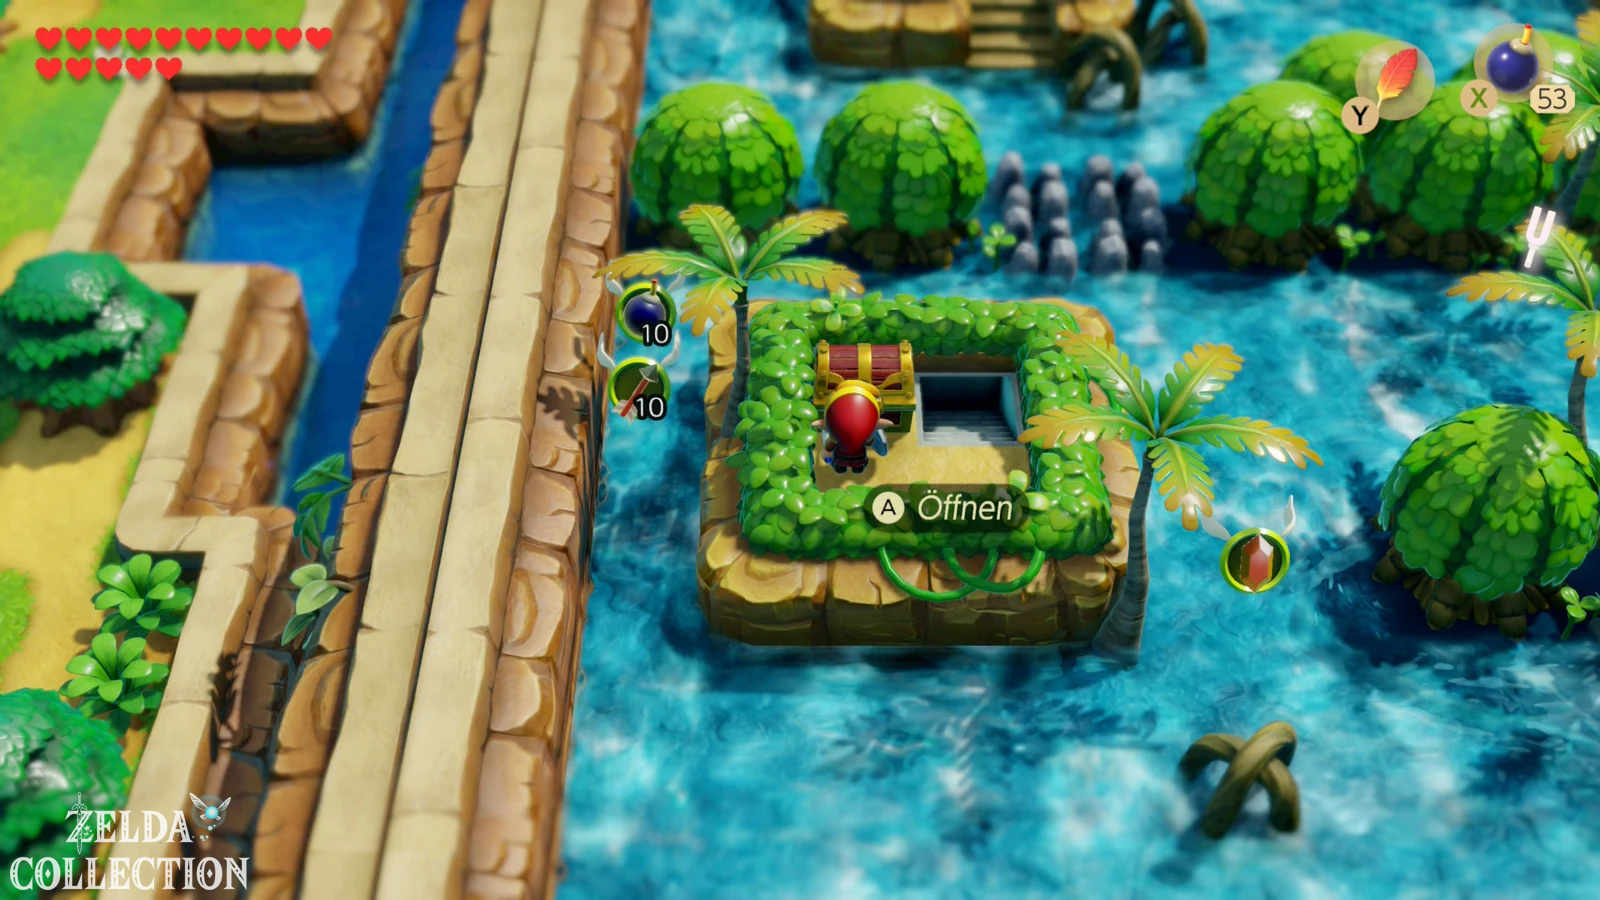
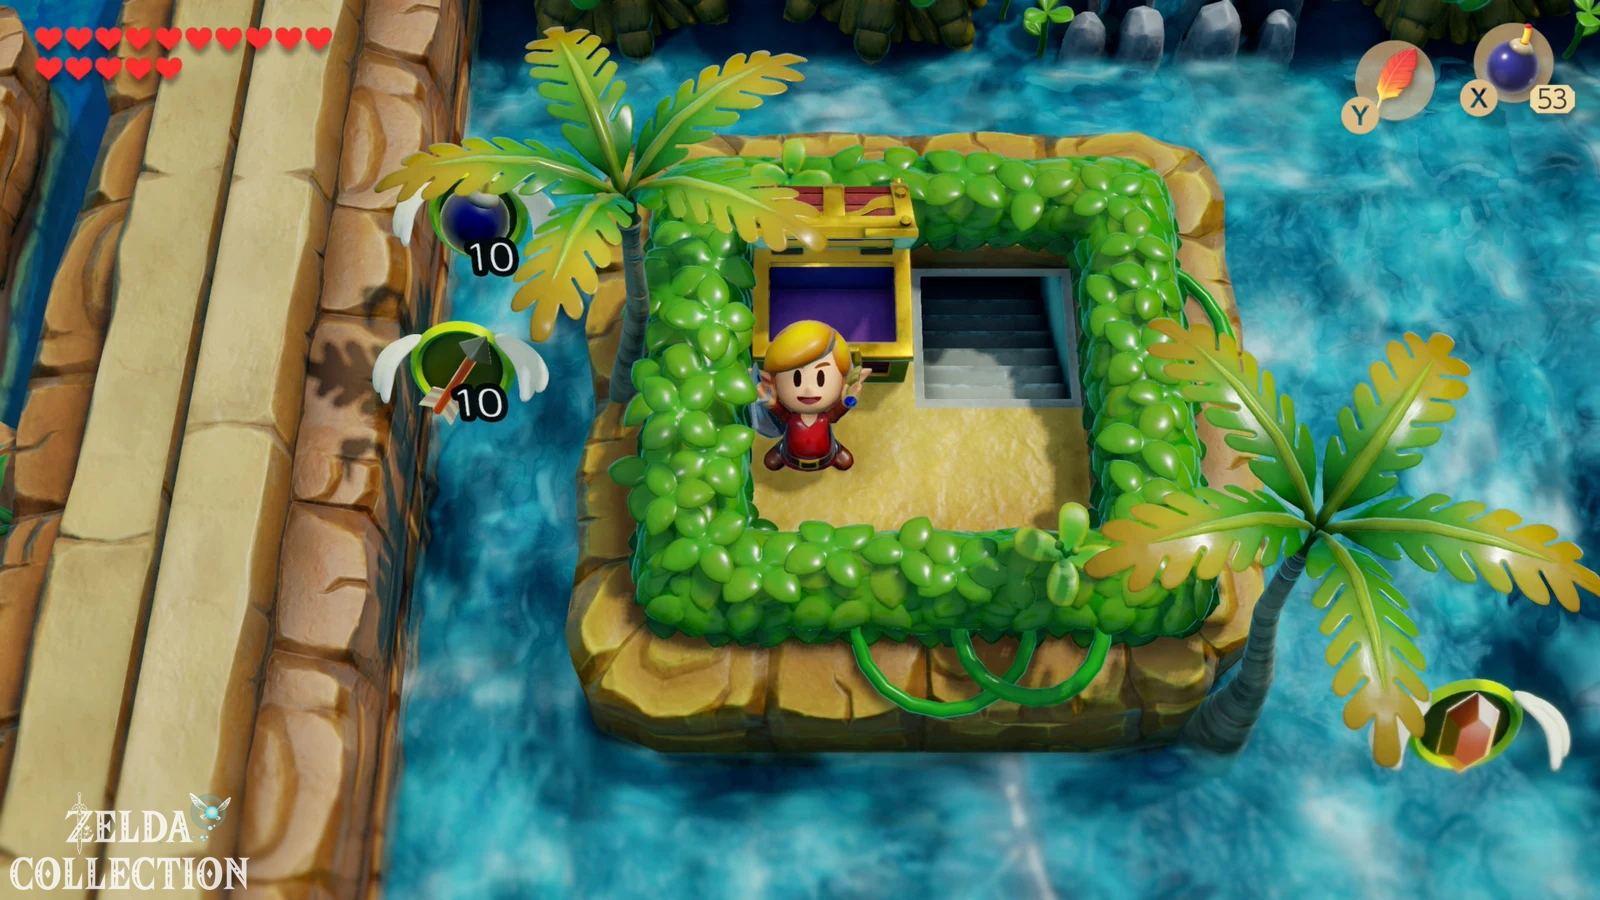
Before we go deeper into the dungeon, let’s get the only Secret Seashell of this section. In the northwestern part of the Mask Temple a staircase leads outside. Follow this exit and you will end up on a small island in the middle of the rapids area. There is a single Treasure Chest. Open it and take the Secret Seashell with you.
This find already exists in a similar form in the older versions: There, too, you can get from the Face Shrine to a small island on the raft trip and find a shell. In the Switch remake, however, it is part of the large 50s collection, while the original and DX only have the classic, much smaller shell collection.
Back to Smasher and through the underground
Play Manbo’s Mambo to return to the dungeon entrance, then use the teleporter to the Smasher room. From there go into the next area and lift the elephant statue out of the way. Behind it a staircase leads to a side view section. Cross it and climb back up the other side.
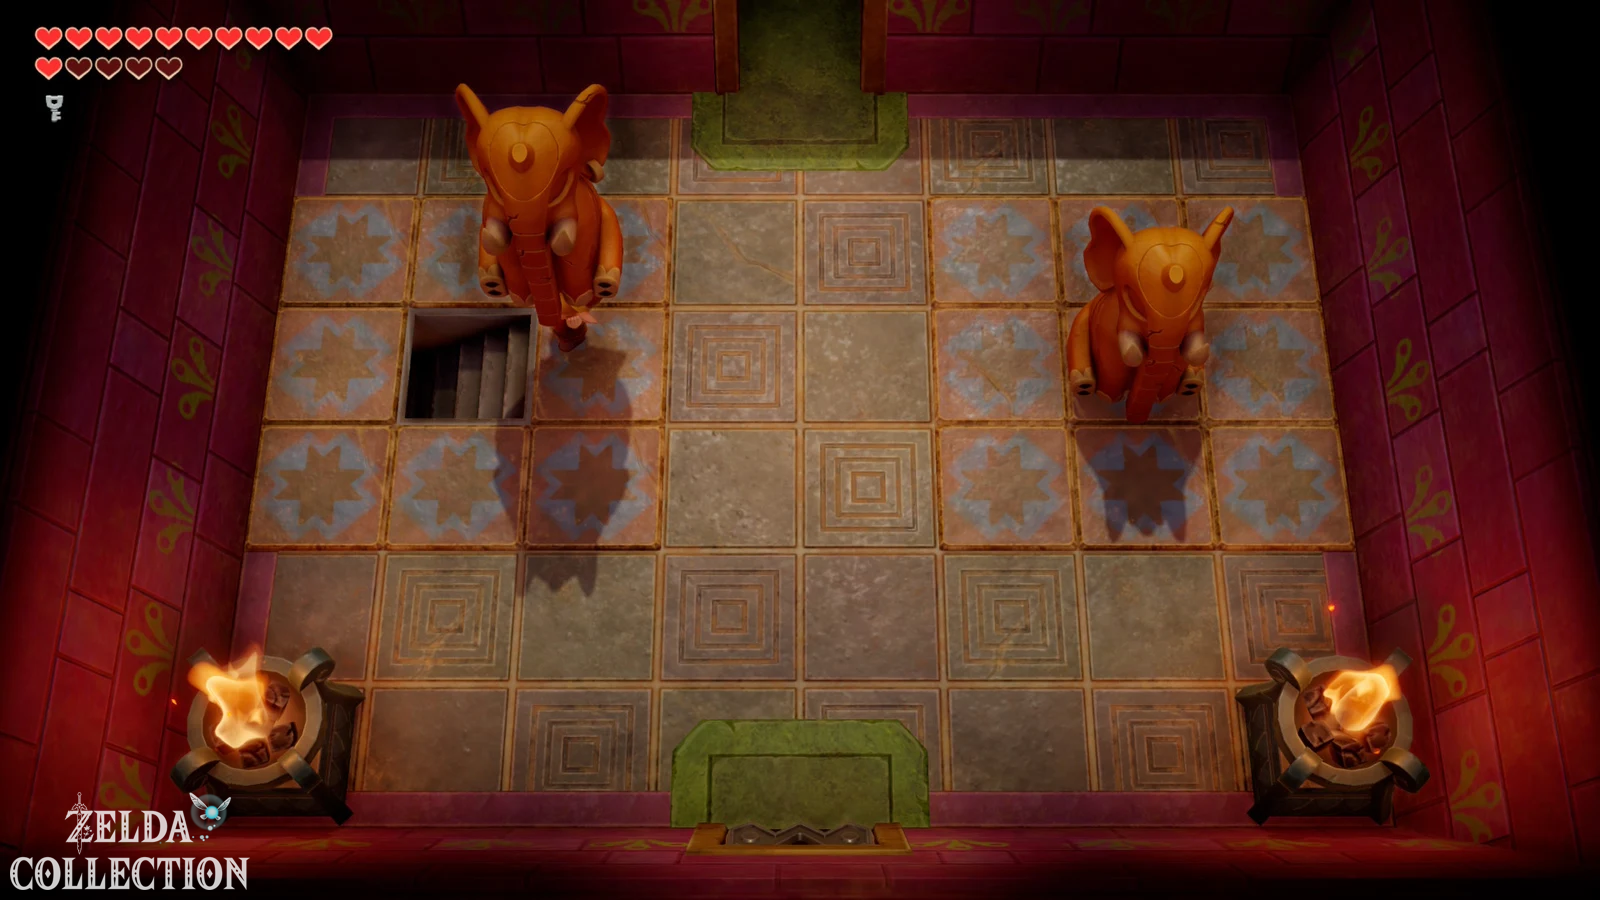
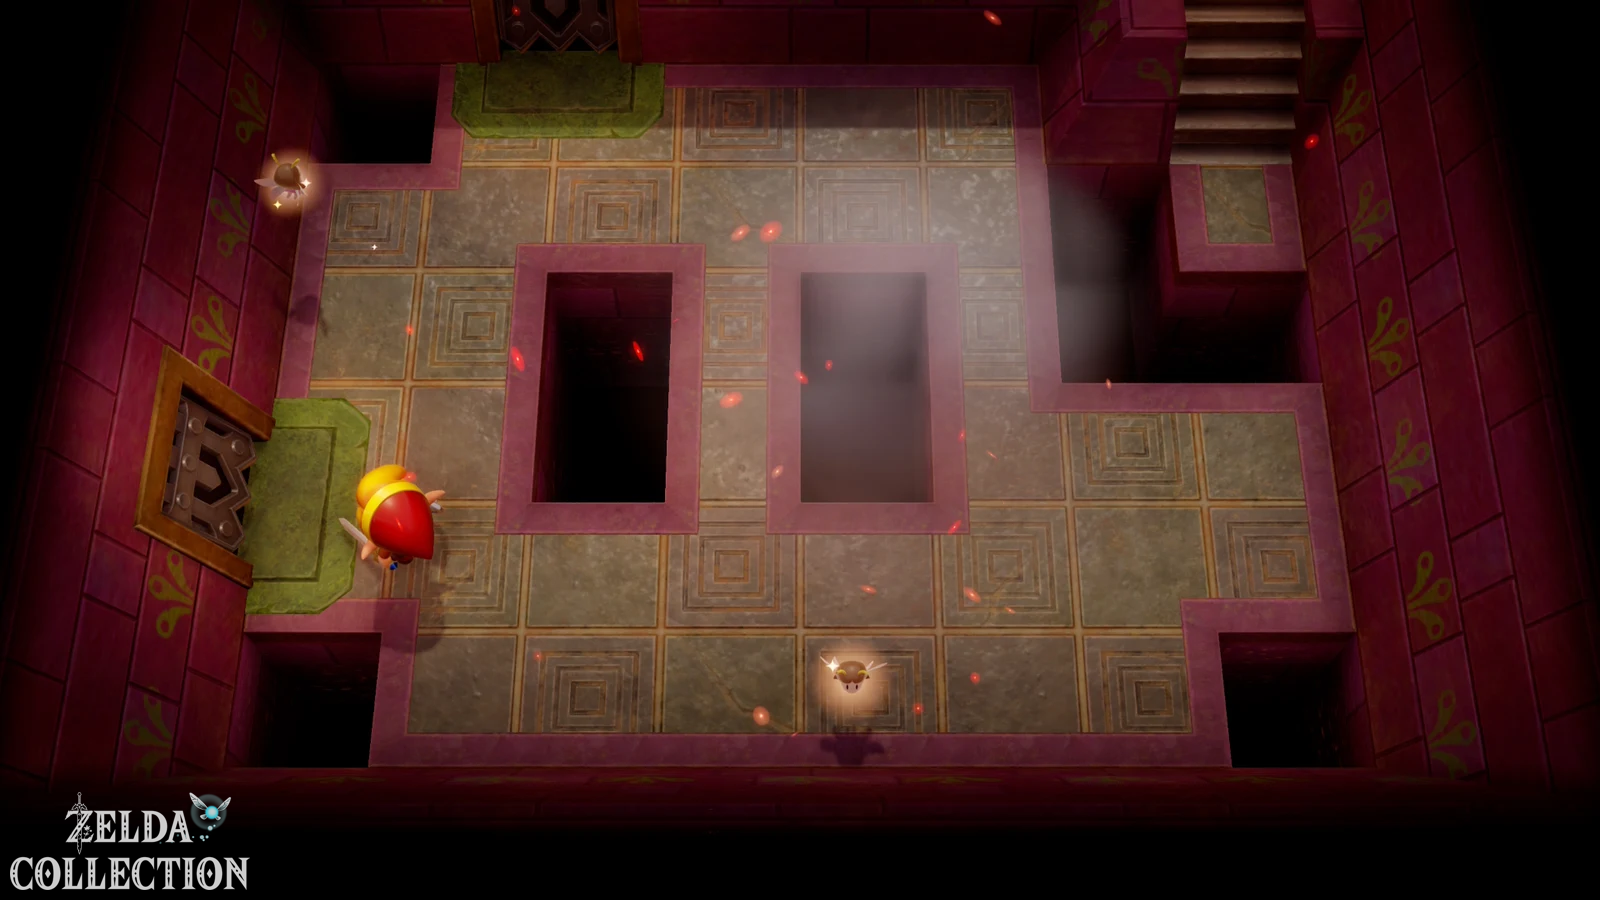
In the next room, flying floor tiles attack again. Raise the shield and wait – each plate will be destroyed on impact. Then lift the elephant statue and throw it against the locked upper door. Behind it awaits one of the most unusual puzzles in the dungeon.
Solve the horse head puzzle
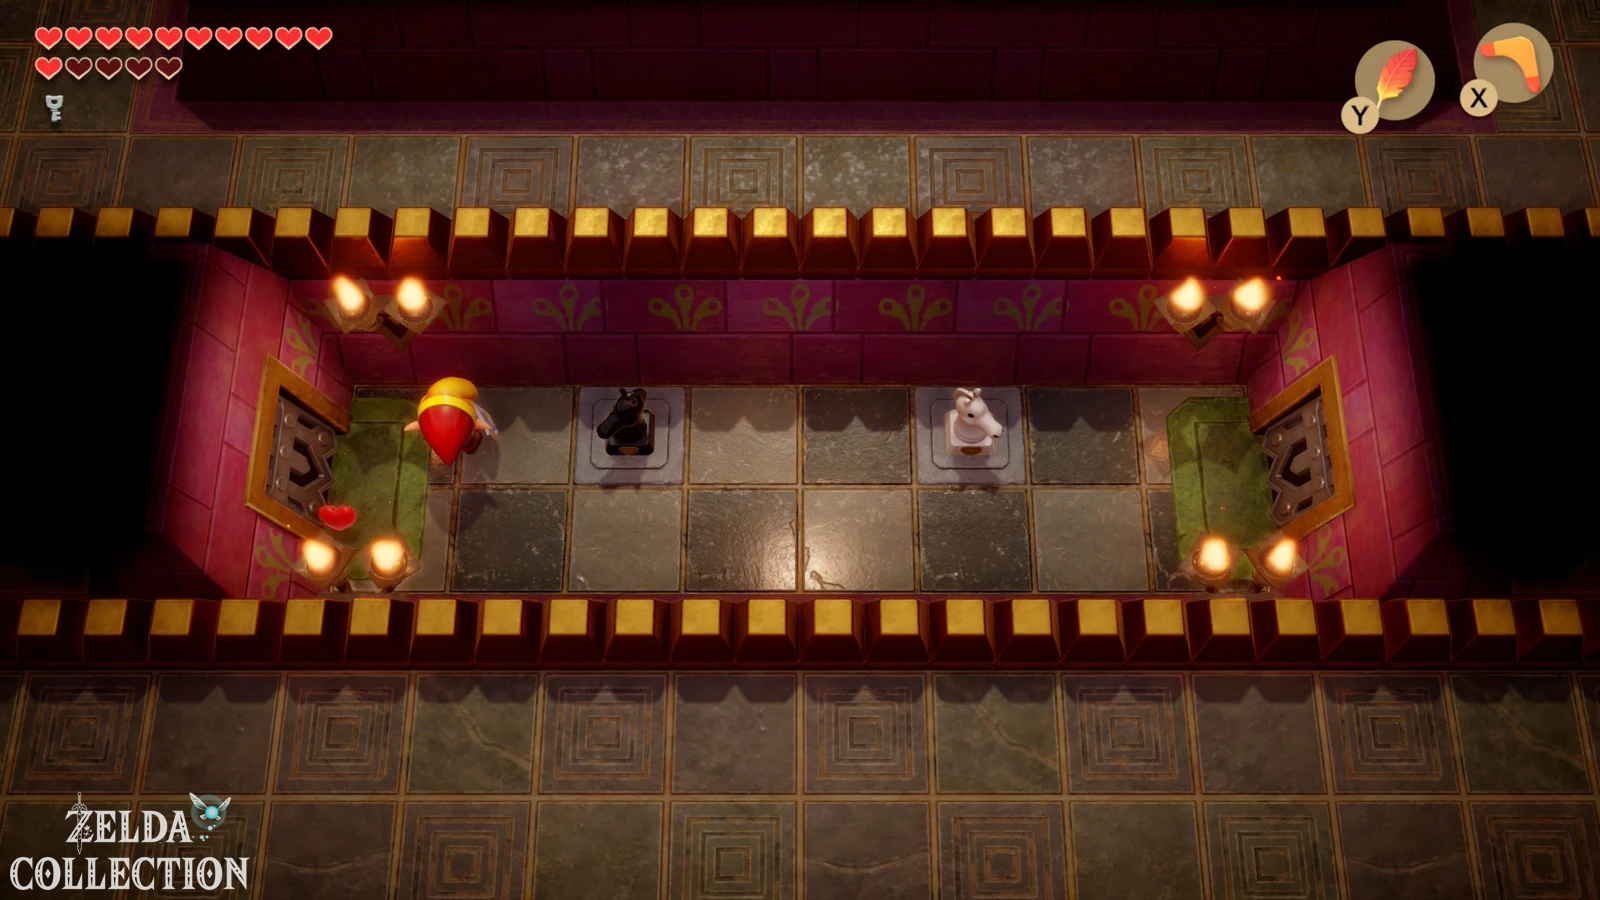
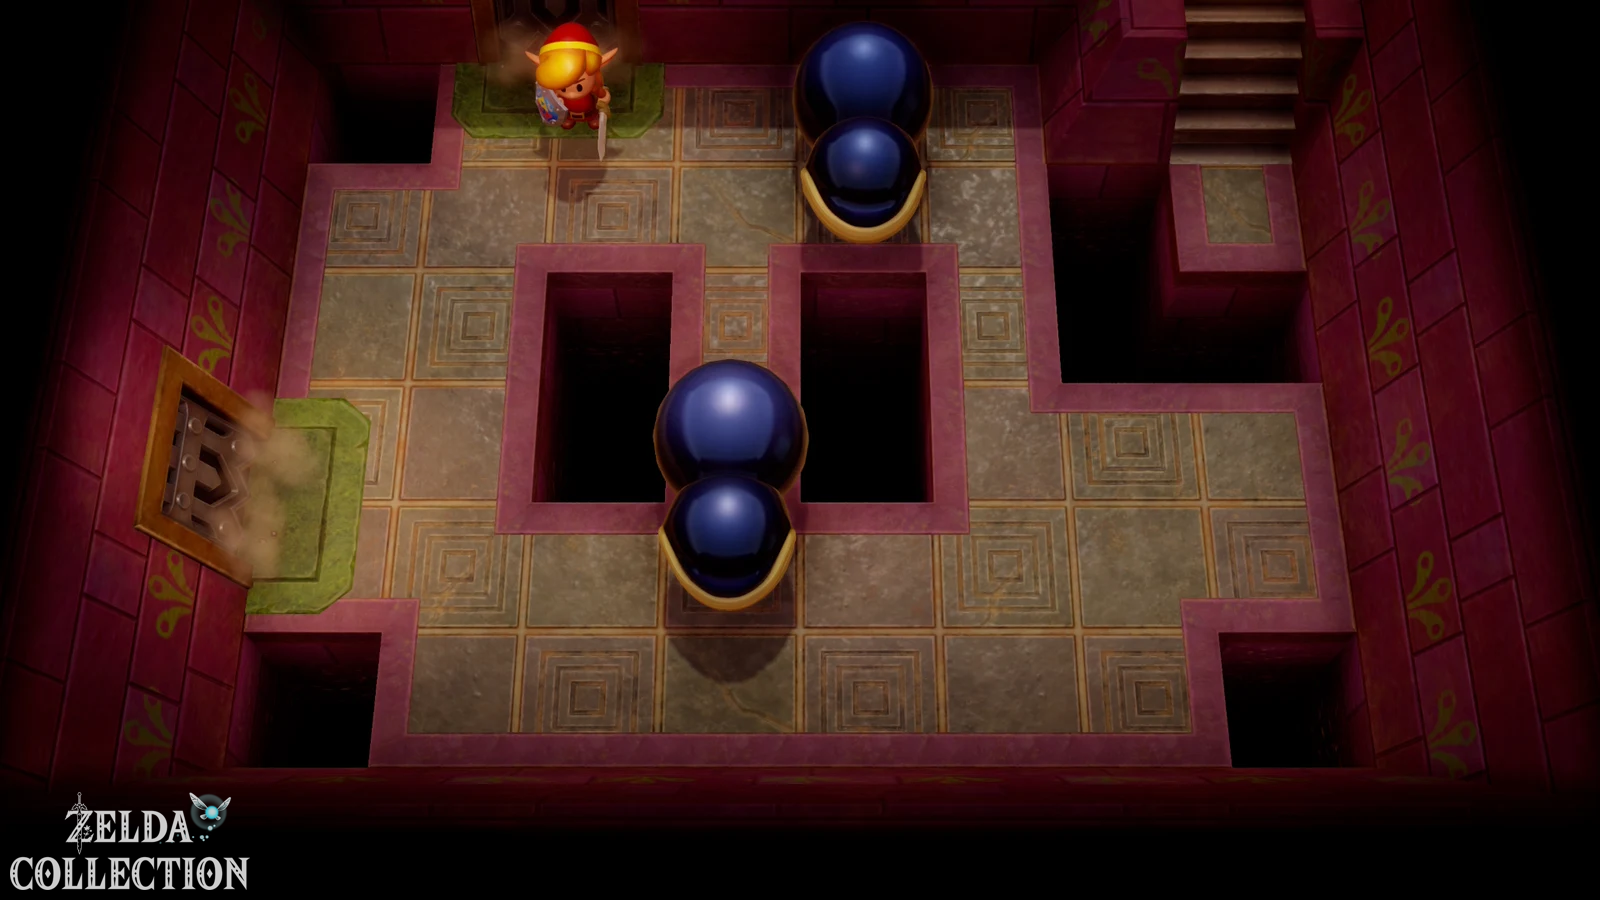
There are two large horse heads in the room. You both have to throw so that they land upright on the marked spaces. The heads behave like knights in chess: think in an L-shaped movement. Stand about three squares in one direction and one square in the other direction from the target and throw your head in the direction of the marked square. The game has a certain tolerance when landing, but also some chance; If it doesn’t work straight away, simply lift your head again and try from a slightly different position.
As soon as both horse heads are positioned correctly, the further path opens. Climbs down the stairs.
Under the Wummps
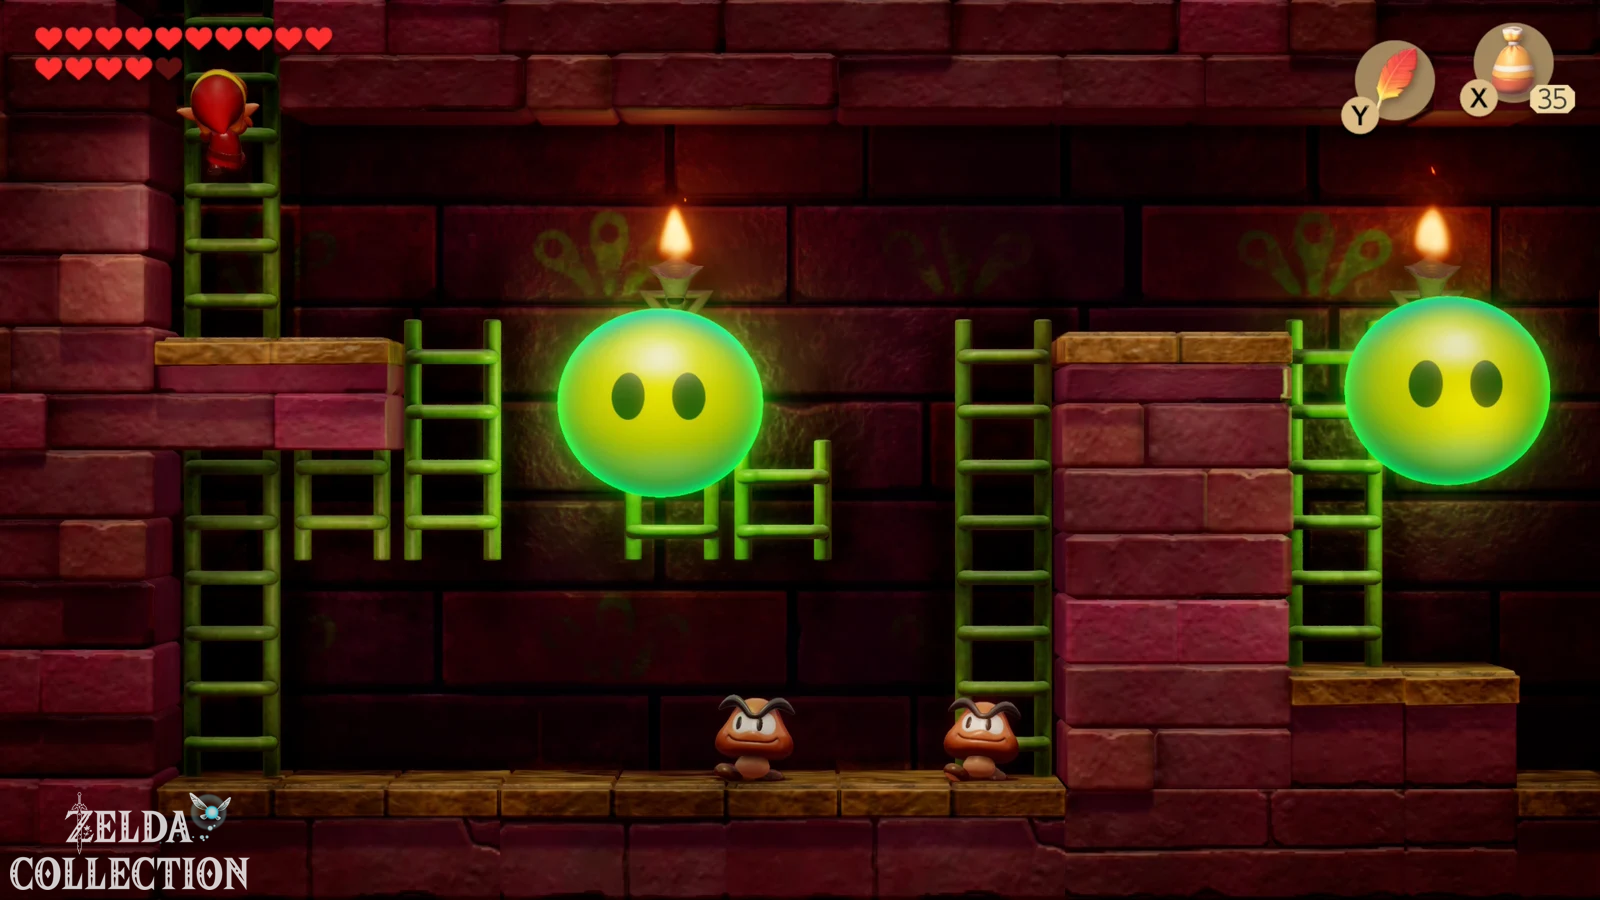
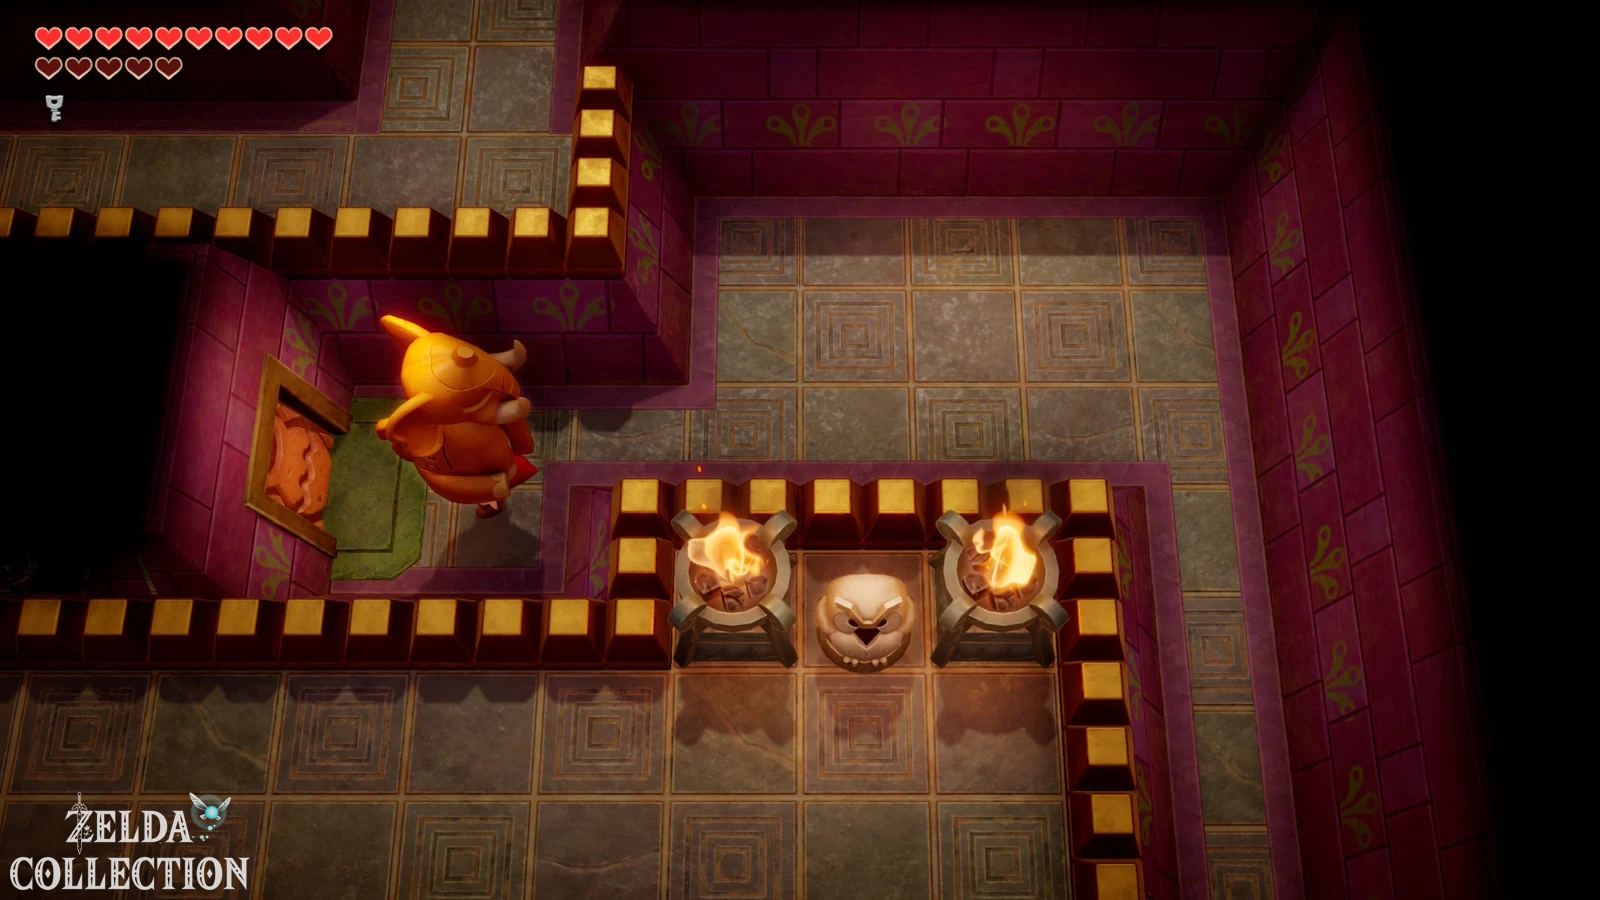
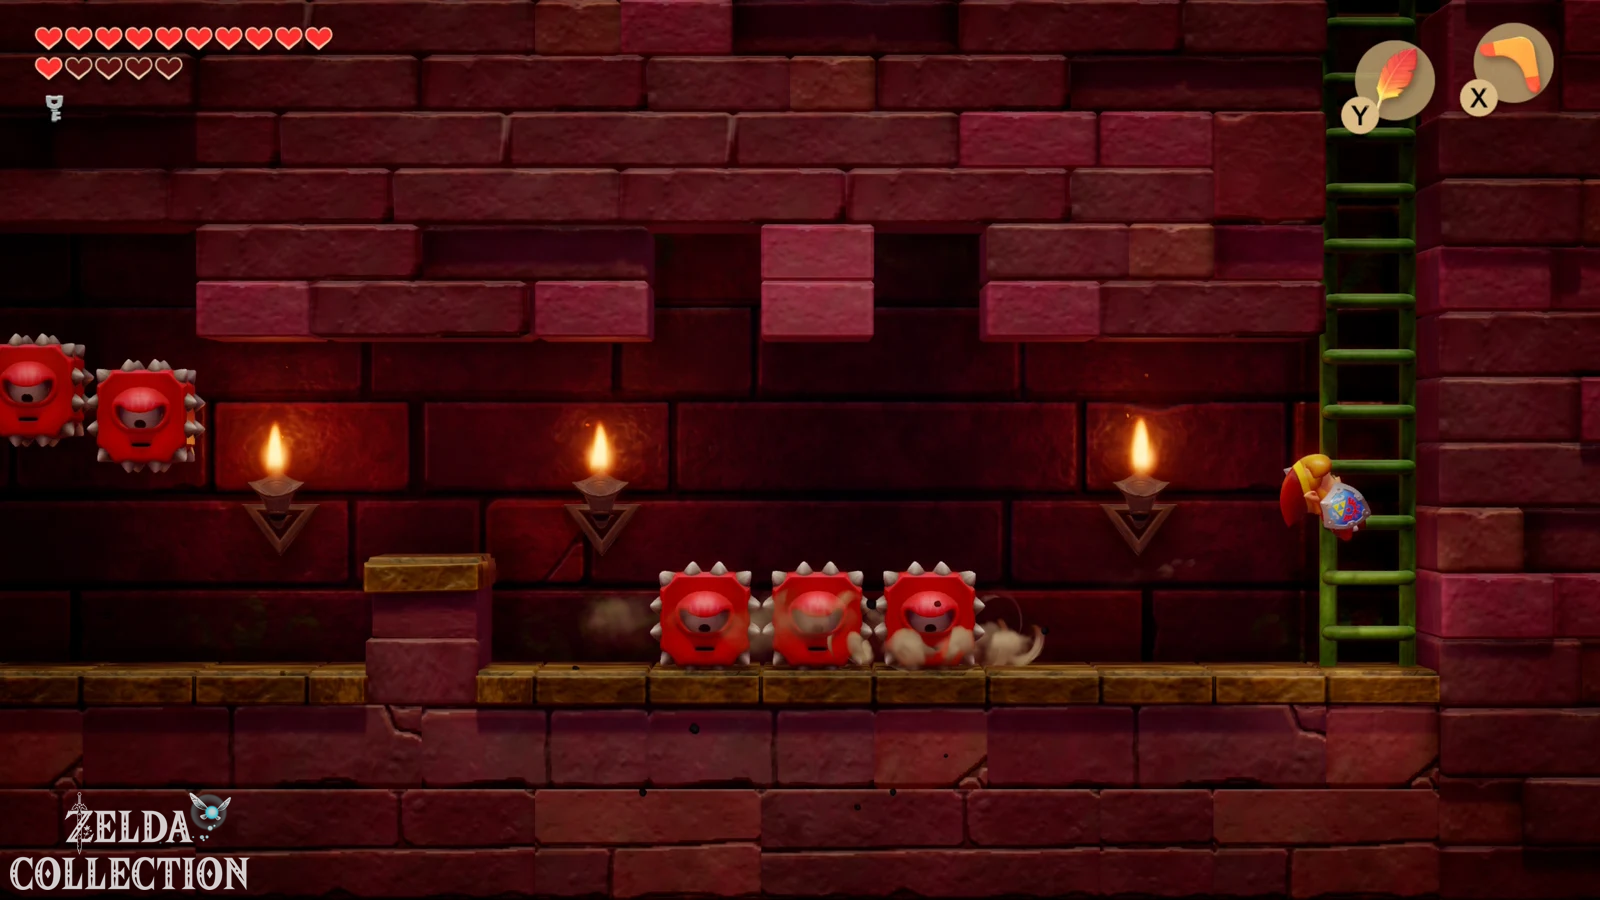
In the side view area, large whooshes or stone blocks fall from the ceiling. Wait for the first block to crash down, then use the Pegasus Boots to sprint under it as soon as it rises again. It works the same way for the next block. The high speed of the boots means you are on the safe side as long as you don’t start running too early.
On the other side it goes up again. Defeat the bunny-like Pols Voices with bombs or thrown jars. Normal sword attacks are inefficient, while the Boomerang also works well depending on the opponent.
Dodongo Serpents and the Nightmare Key
In the next lower area you will meet Dodongo snakes again. As in the Key Cavern, you have to place bombs in front of their heads so that they swallow them. Each snake requires multiple explosions. Wait for their direction of movement and place the bomb a little ahead instead of throwing it directly at the enemy.
After the victory you will reach a water area. Use the Hookshot to pull you to the opposite side. There is a Treasure Chest that cannot be opened normally. Pick up a jug and throw it against the chest or use it to remove the obstacle. Inside lies the Nightmare Key.
Last path to the Facade
Return to the area behind Smasher’s room. This time, take the lower or other path at the corresponding stairs. In the next room, a large fan pulls all enemies, including Link, in its direction. Run in circles along the edge and use Pegasus Boots or Boomerang if necessary to quickly eliminate the enemies. In the following room all enemies must be killed again before the last door opens.
Before the boss door, briefly check your equipment. For the final boss you mainly need bombs. If your supply is low, destroy jars or defeat a few more enemies until you have enough ammunition. However, thanks to our previous capacity upgrades, you should have more than enough with you.
Boss: Facade
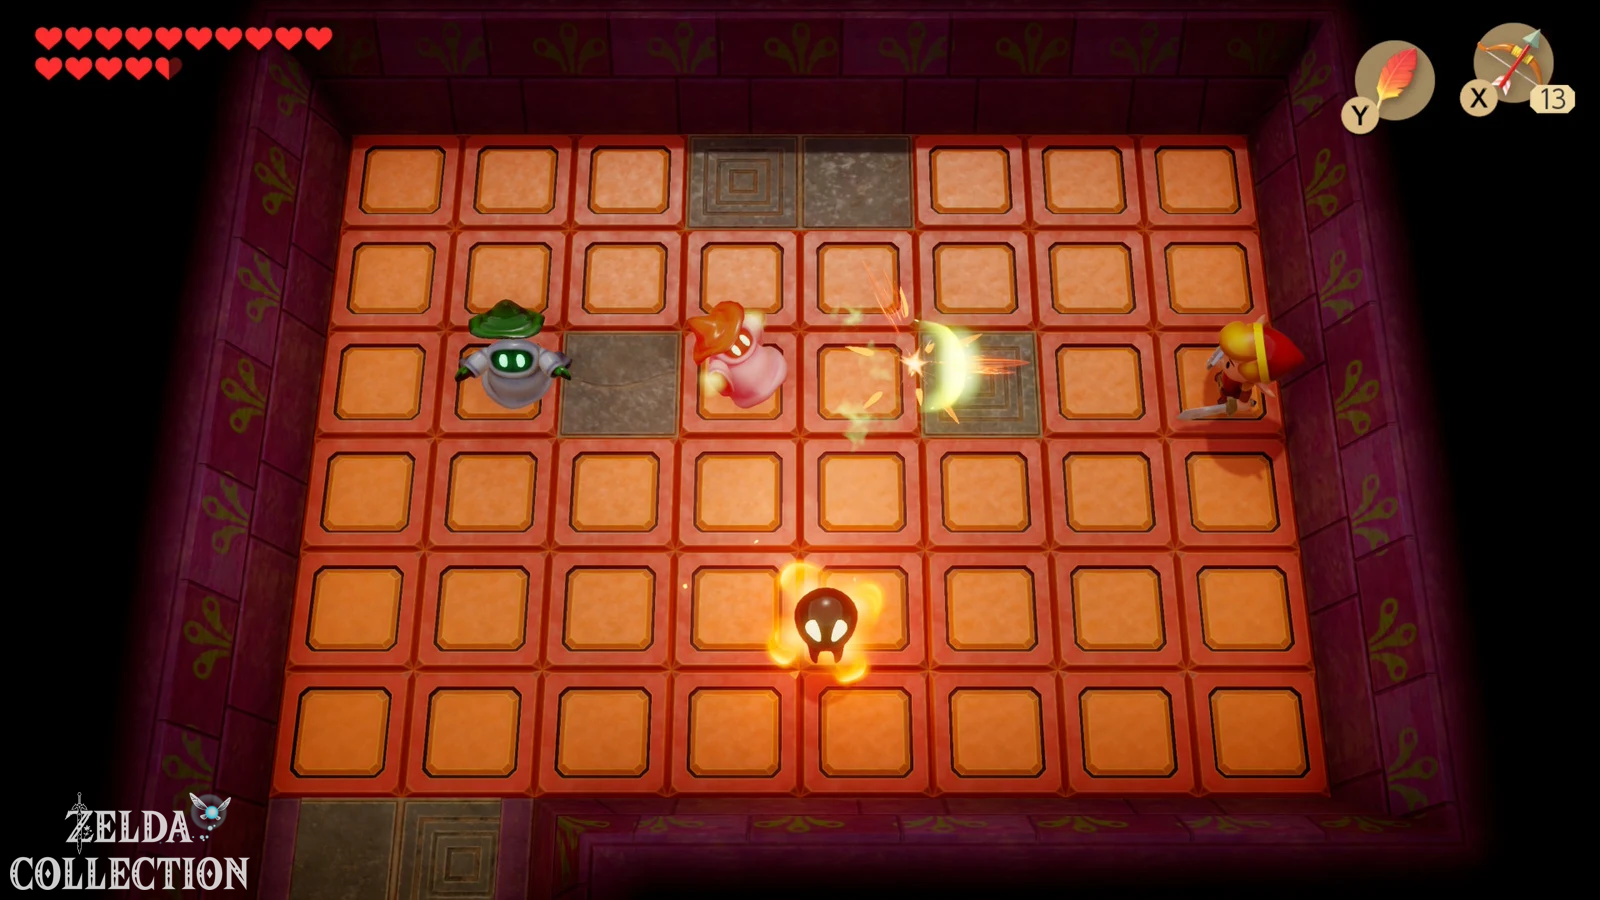
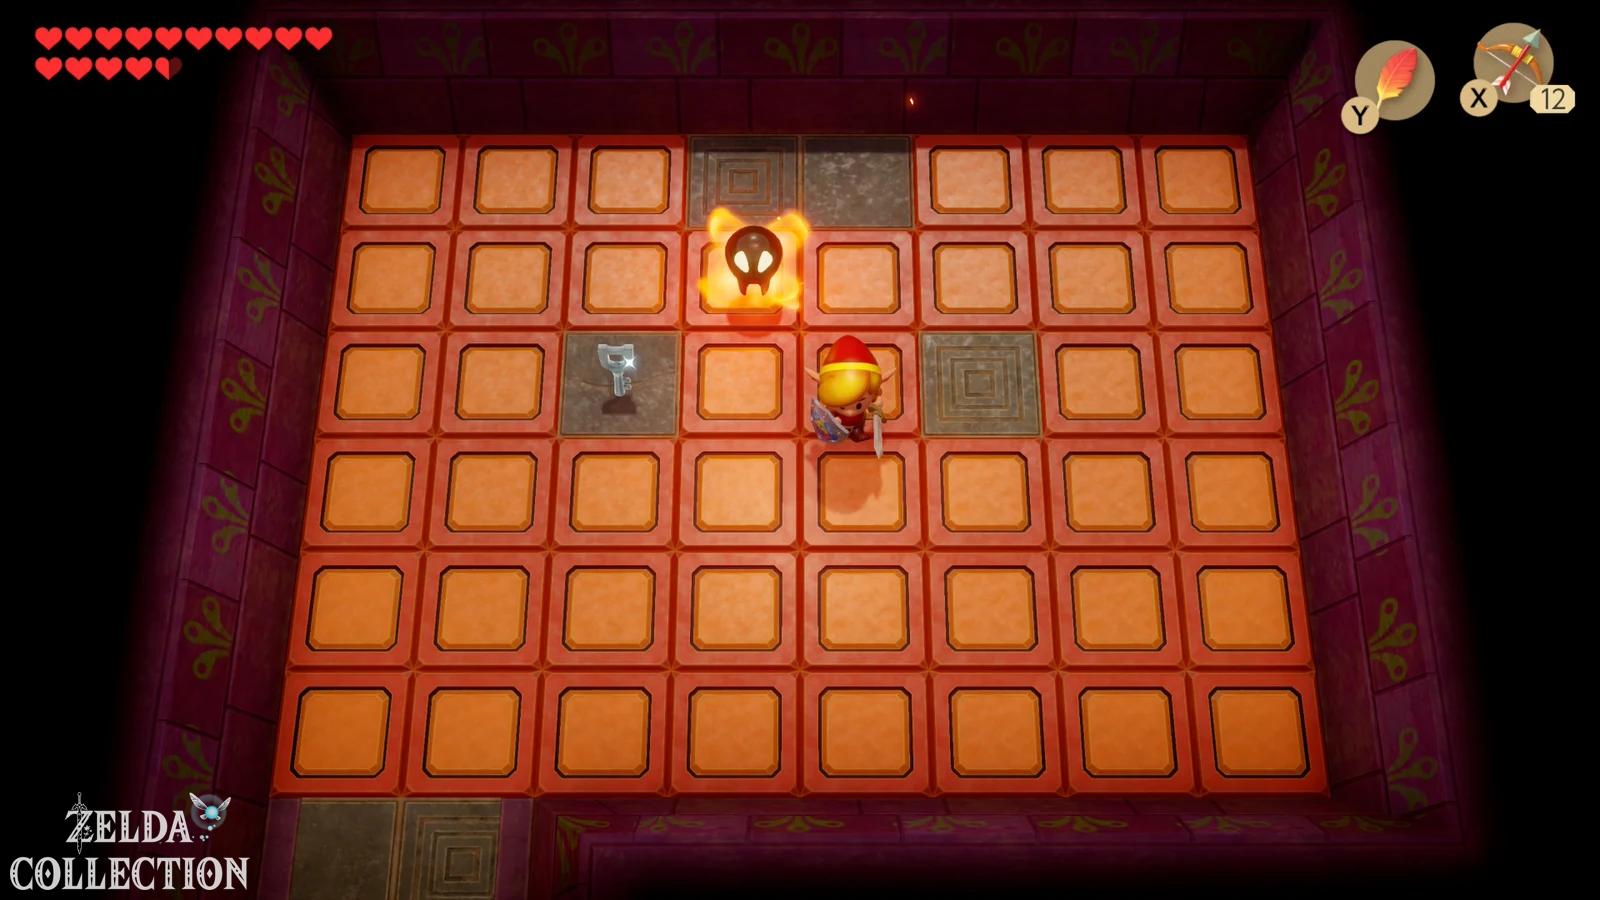
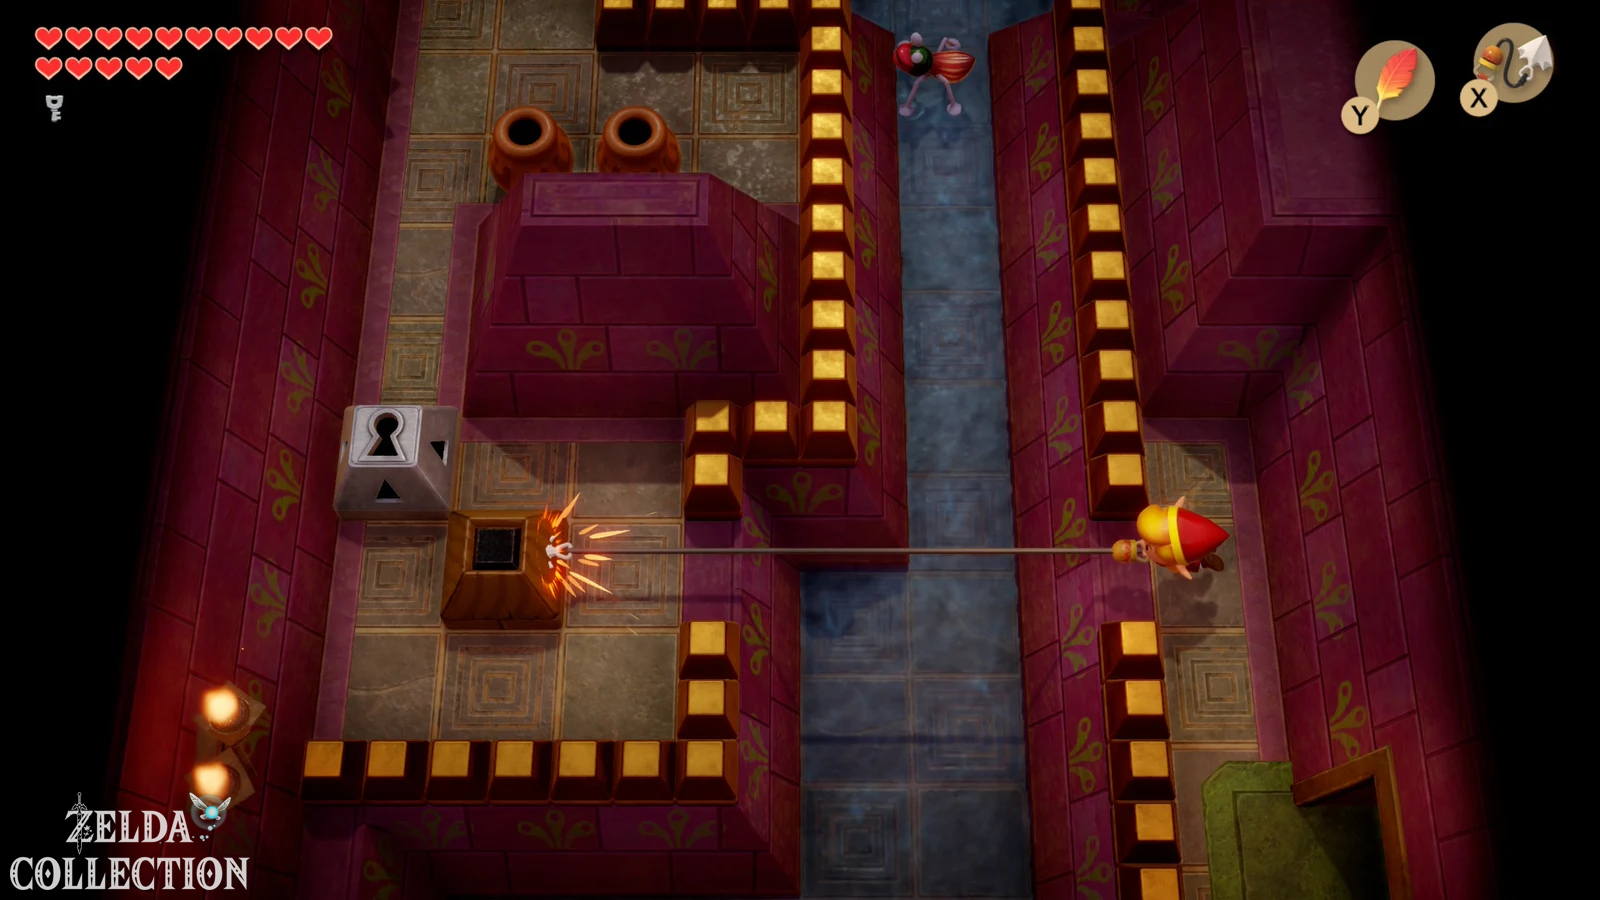
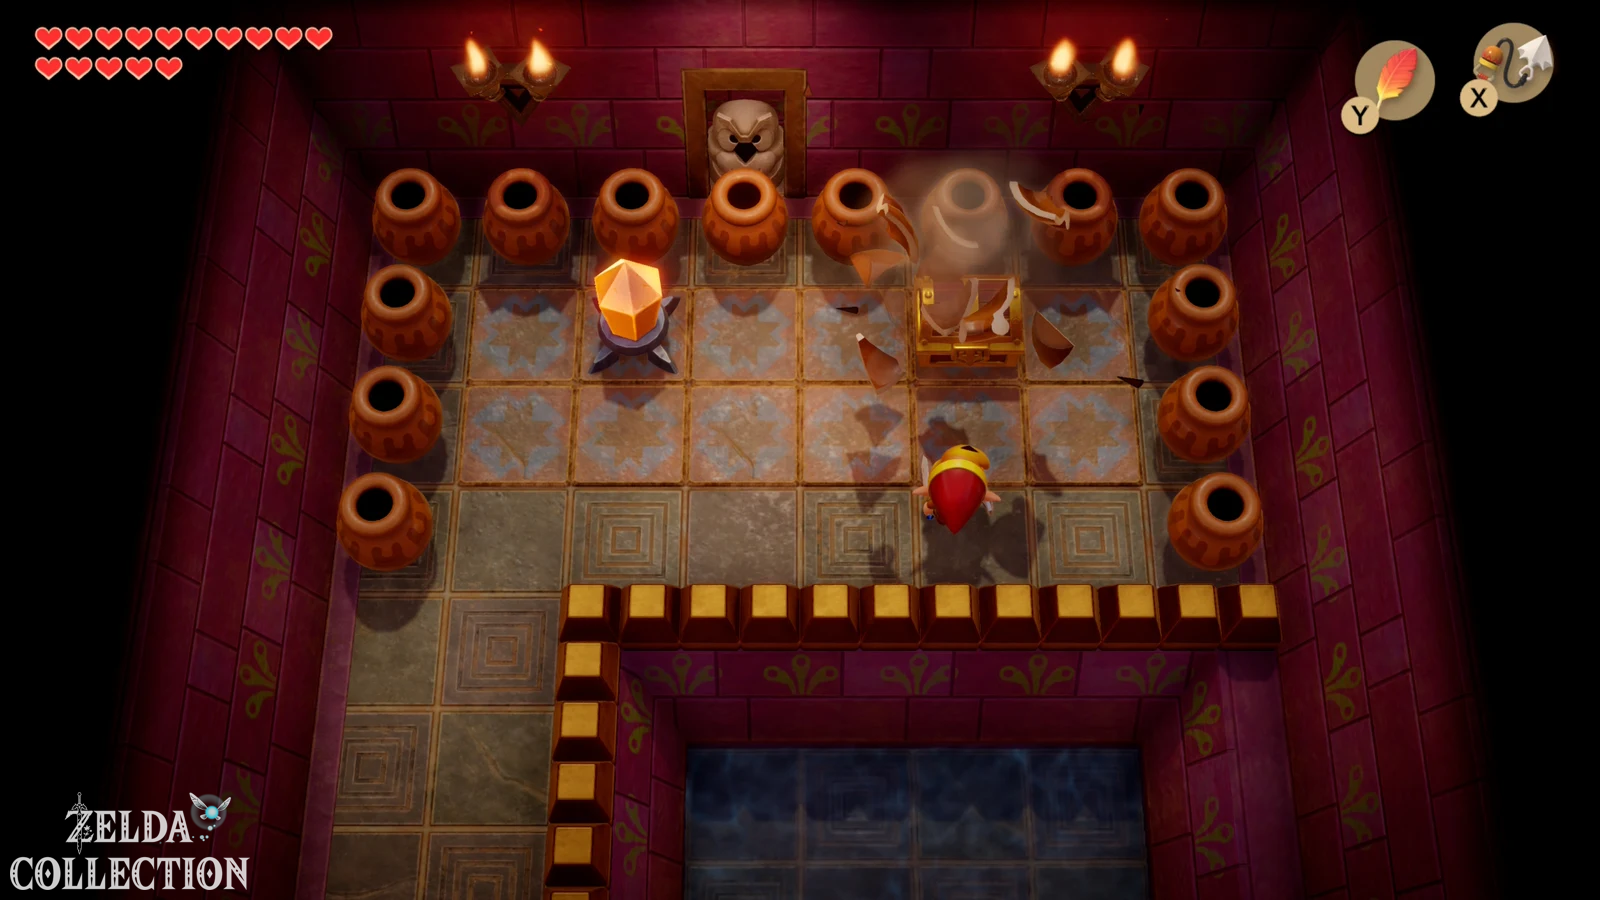
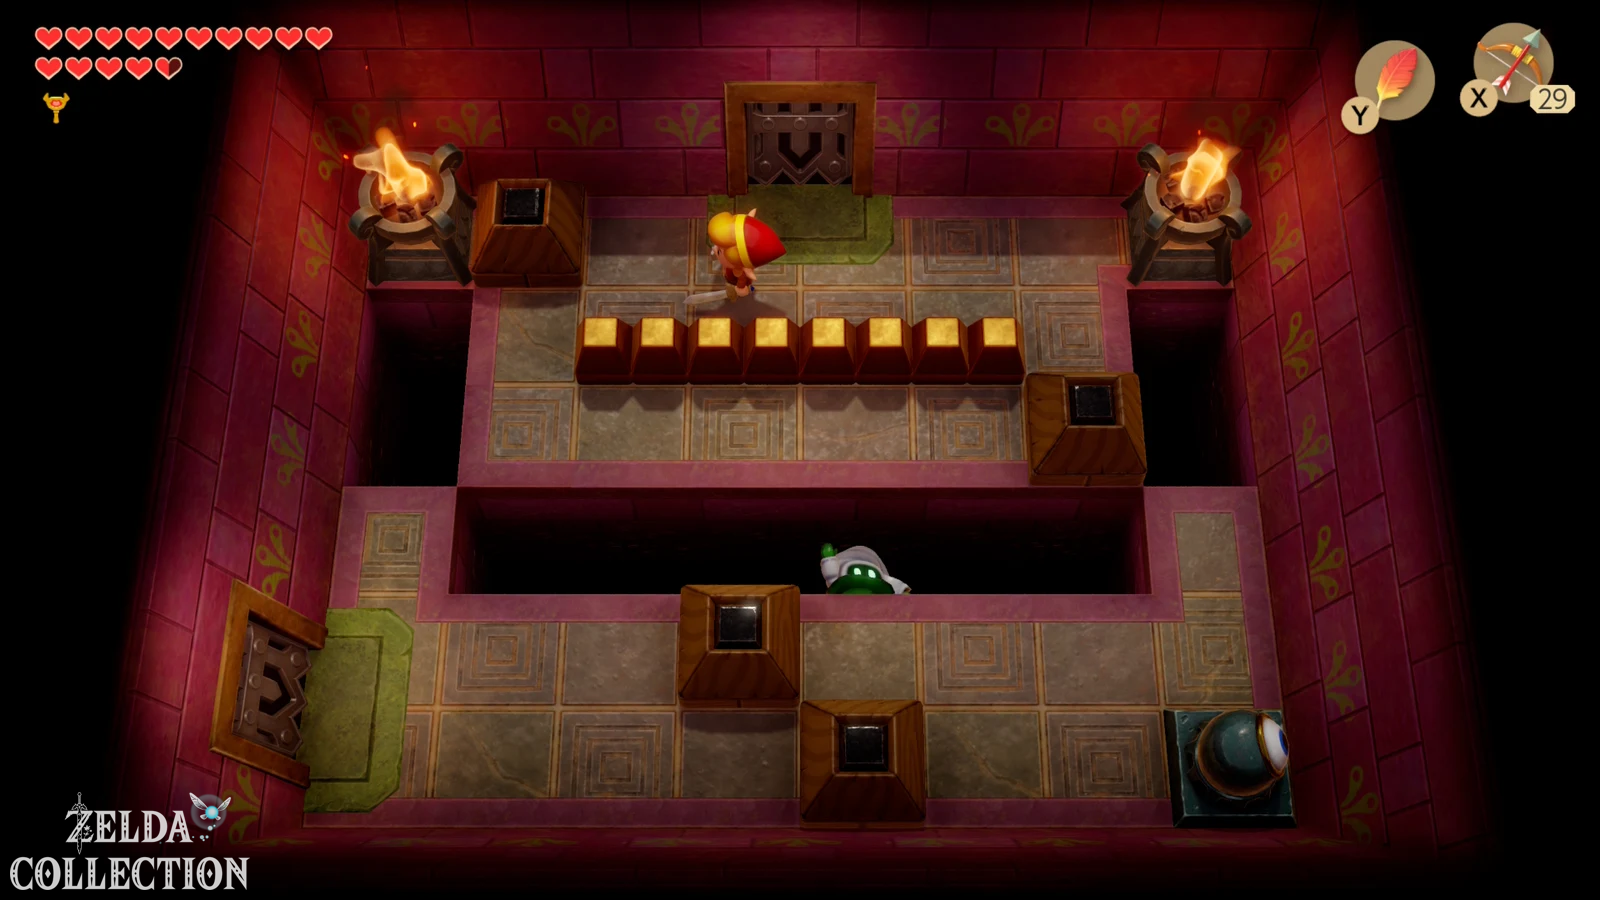
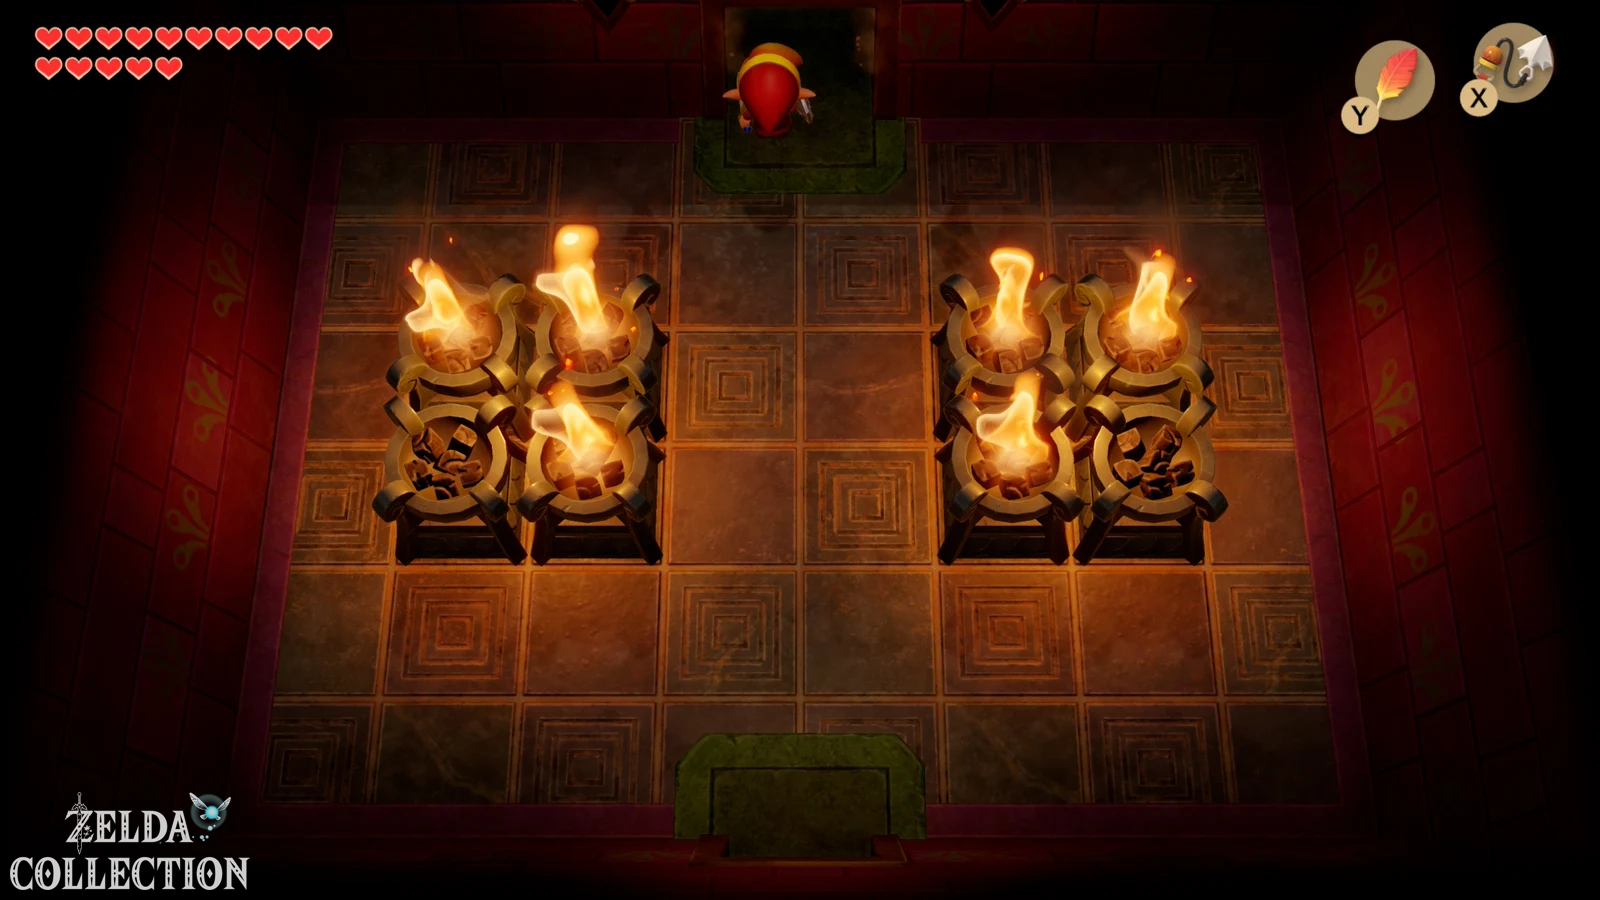
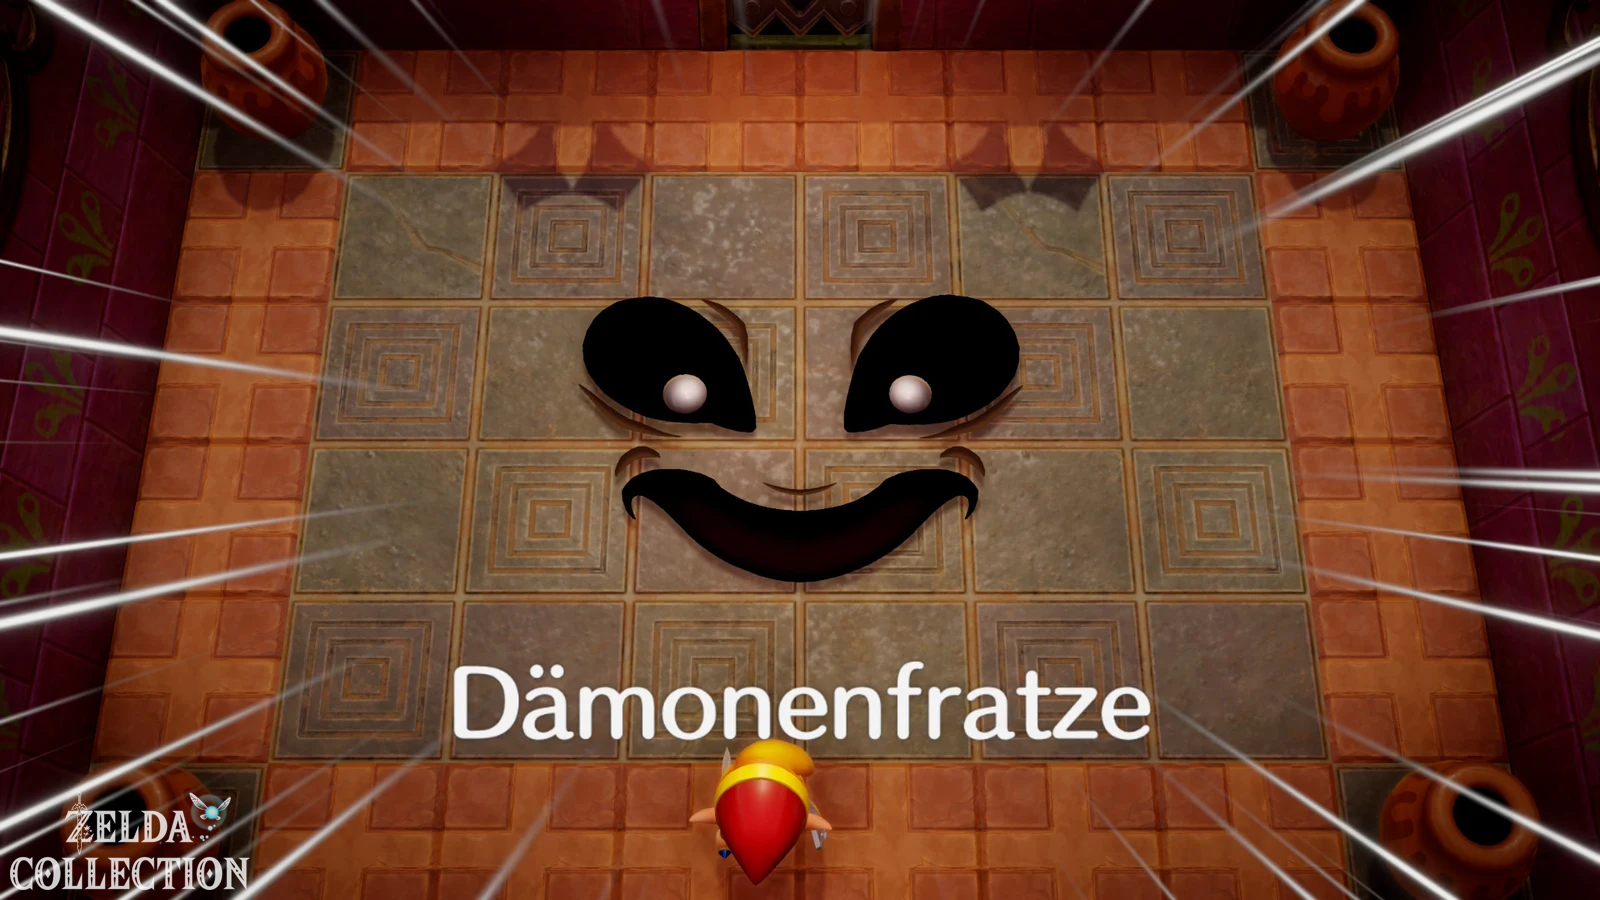
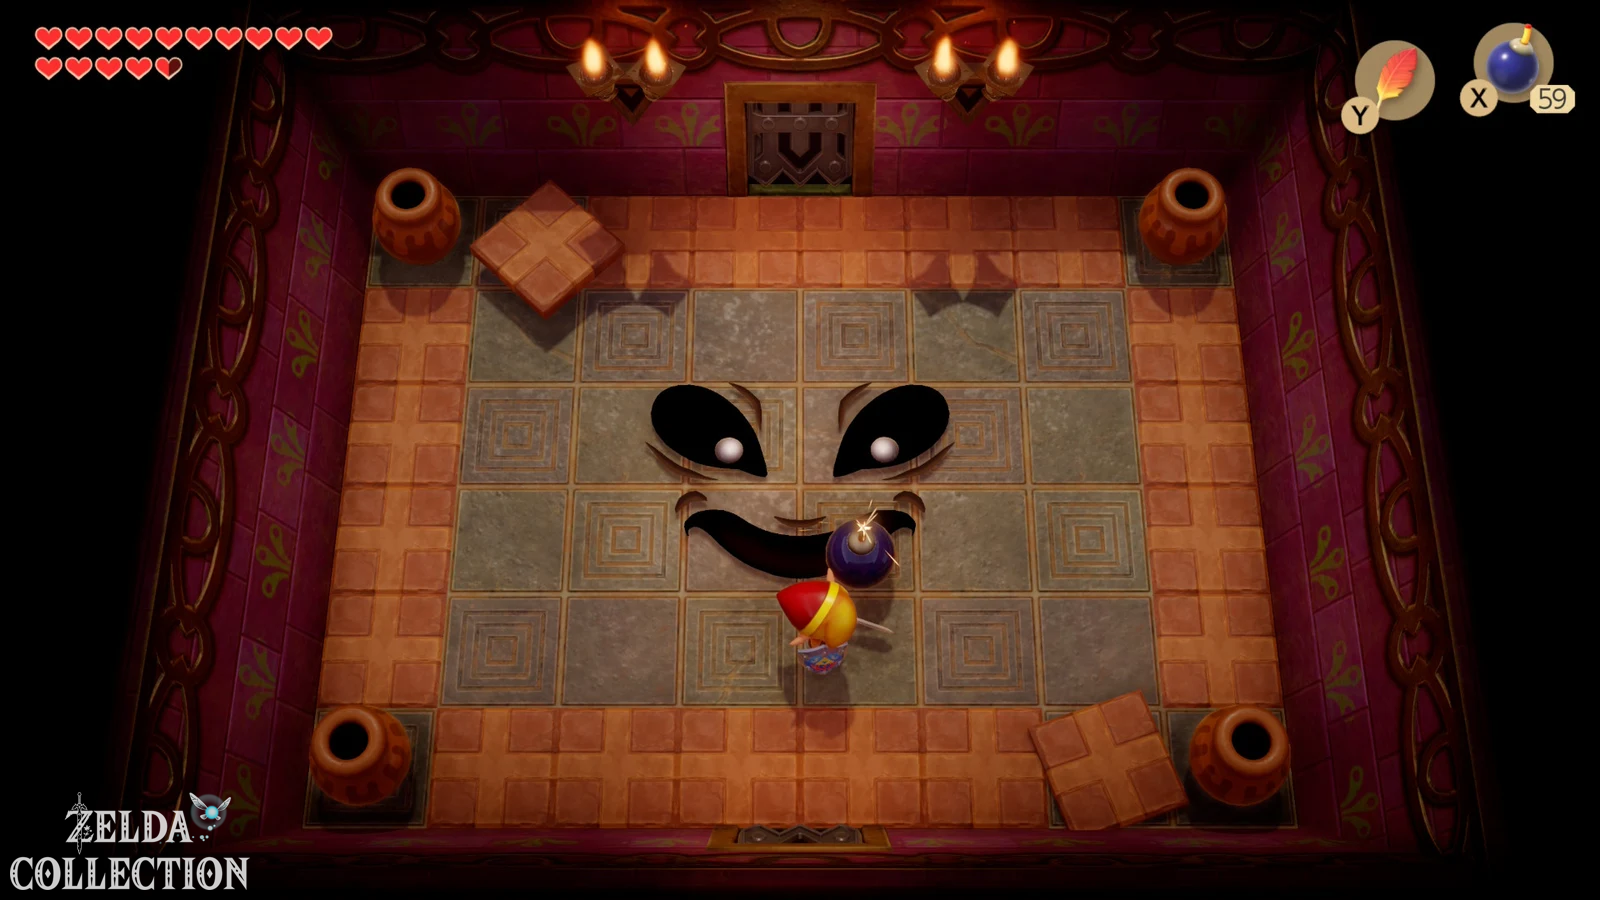
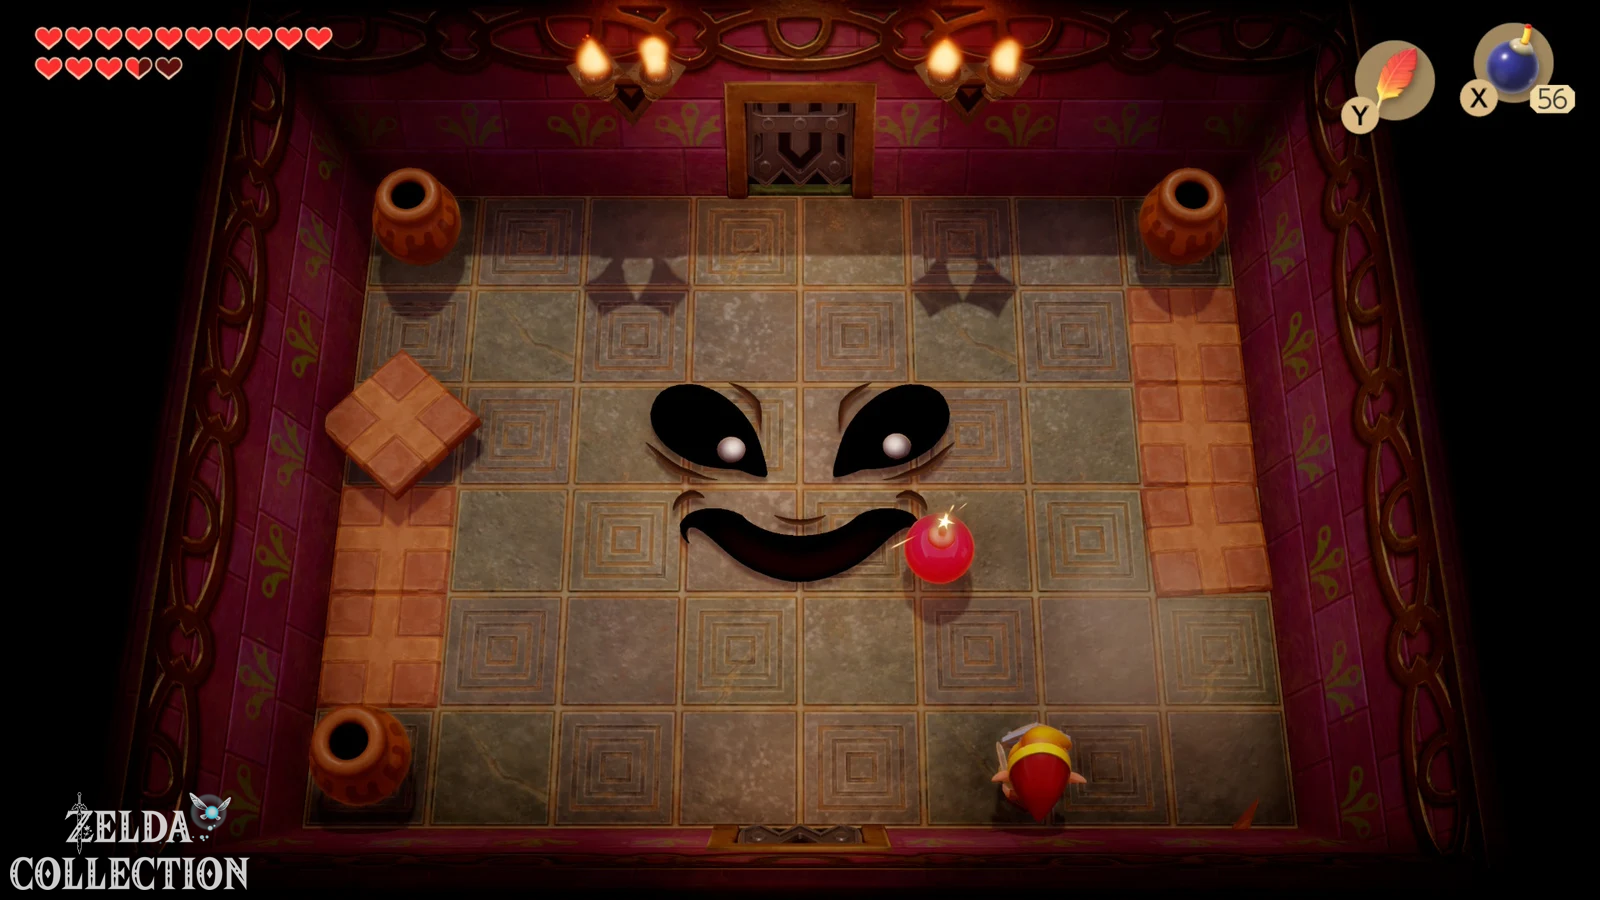
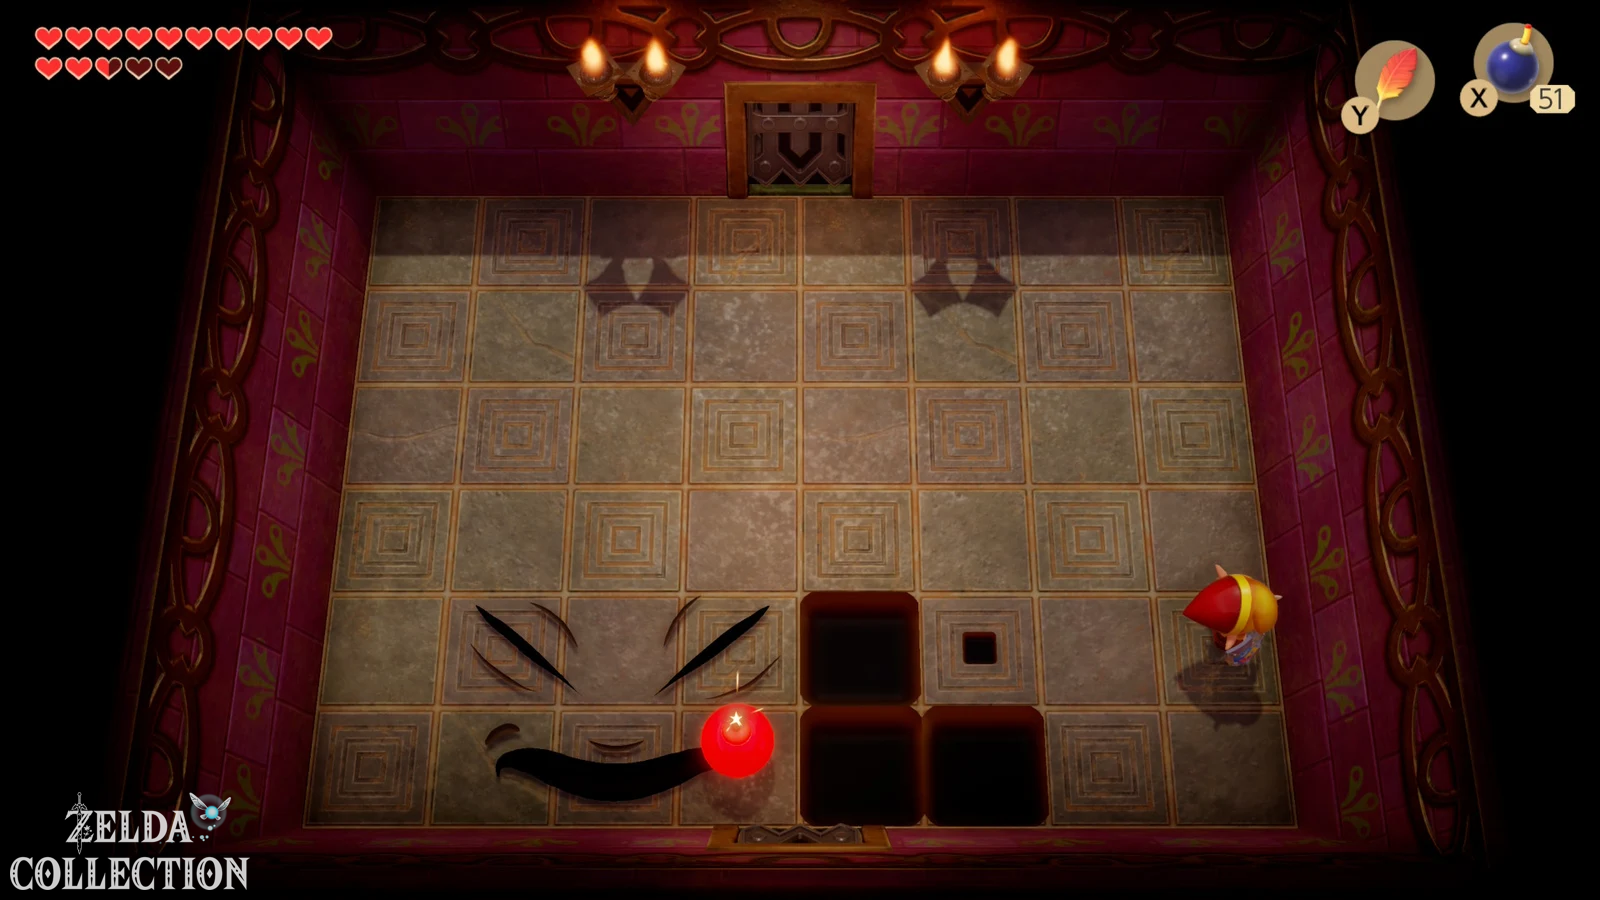
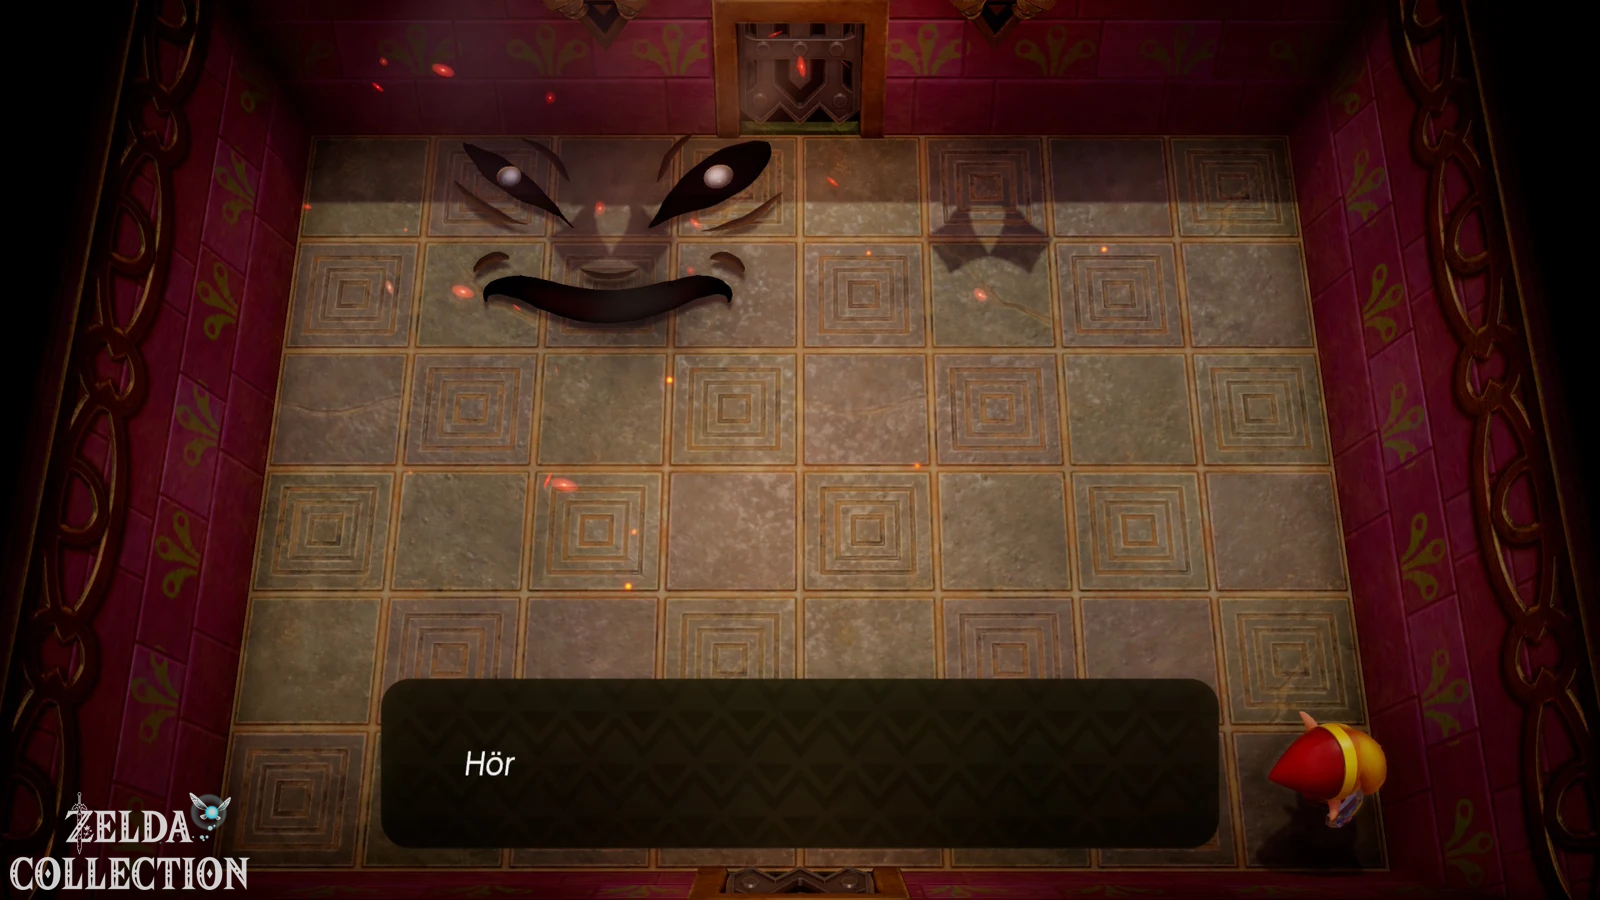
The Facade or Facade is not a normal opponent that runs freely through the arena – the face itself appears directly in the ground. At the beginning, all the floor tiles fly towards Link one after the other. Stand in a corner and hold up the shield. The plates break on impact. This is followed by jugs and finally the actual face begins to open holes in the ground.
As soon as the demon’s face becomes visible, stand as directly above or next to it as possible and place a bomb on the face. Immediately move away a little so that you don’t get caught by the explosion or a hole that opens. Repeat this process. You don’t have to get hectic: As long as you keep moving and avoid the new holes that appear, the fight is relatively harmless. After about five successful bomb hits, Facade is defeated.
Combat works on the same basic principle in Original, DX and Switch. The remake simply stages flying floor tiles, holes and explosions in a much more dynamic way.
Heart Container and Coral Triangle
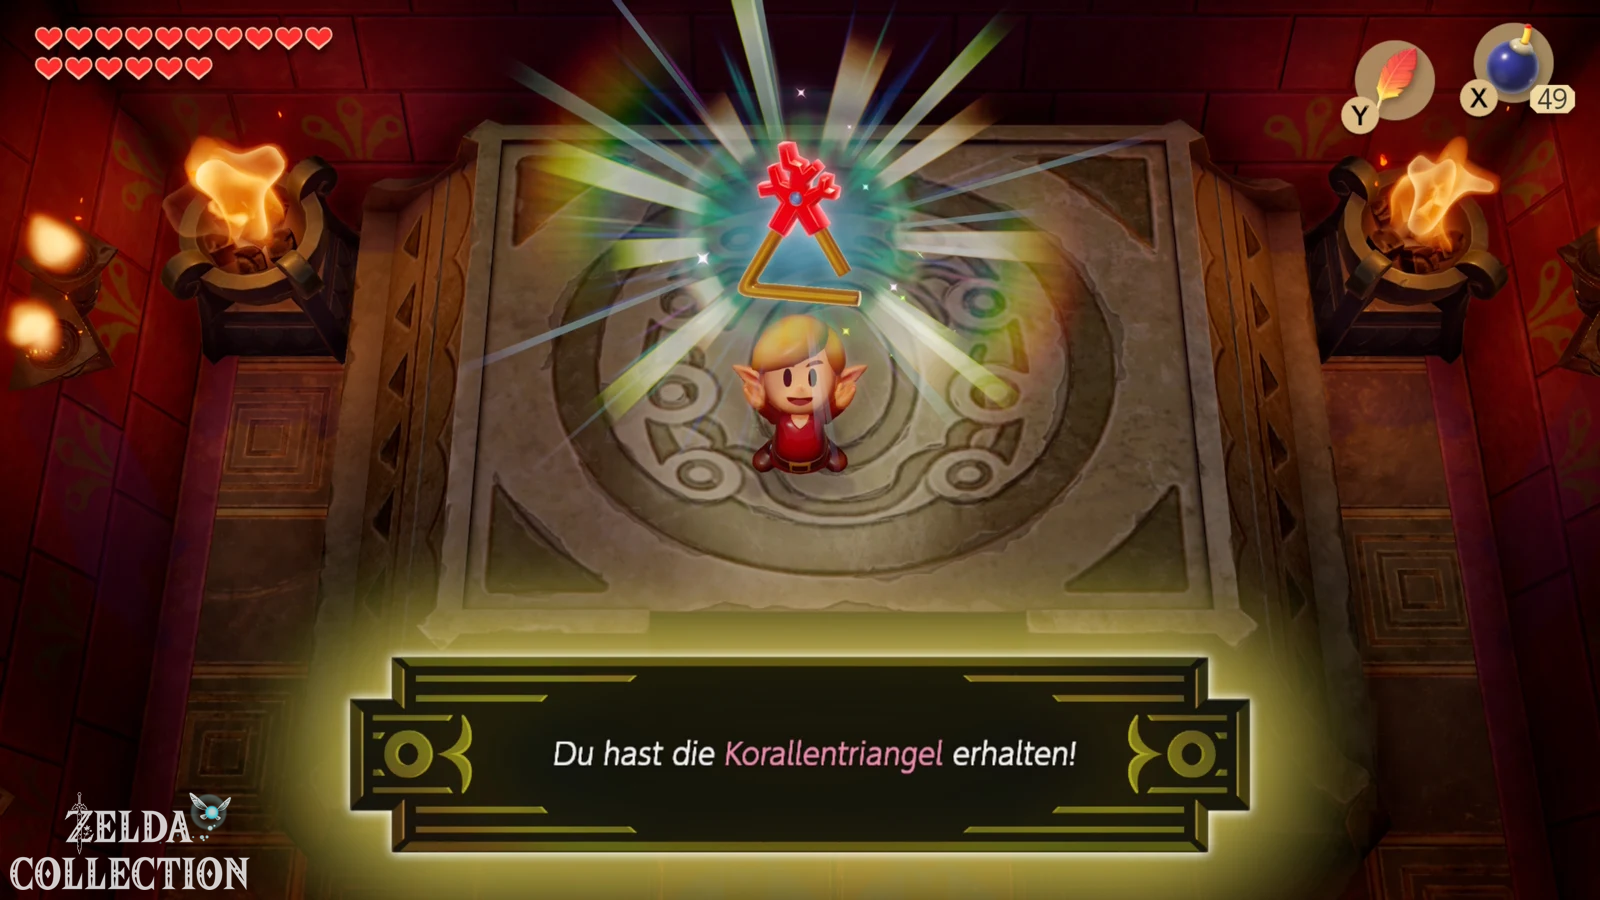
After the victory, take the Heart Container that appeared and then enter the last room. The sixth instrument of the sirens is waiting there: the Coral Triangle. This means that there are only two instruments left before Link can awaken the Wind Fish.
The mysterious voice now points you towards the mountains. However, before we look for the Bird Key, let’s clear away all of the Switch collectibles that have just been unlocked.
After Face Shrine: Shy Guy figure
Travels first to Mabe Village. After completing the Mask Temple, the Shy Guy figure will appear in the Trendy Game, provided you have previously placed Blooper at Old Man Ulrira. Win it and then bring it to Mamasha and Papahl. The next free base is there. Like all characters, Shy Guy is only present in the Switch remake.
Another Chamber Stone in store
After the Face Shrine, another special Chamber Stone for 1,280 Rupees is also appearing in the Mabe Village store. Buy it as soon as you have the money left. If you are still missing one or both Chamber Stones that were already unlocked after the Color Dungeon for the same price, keep them on your 100% list. The rapids are great for farming rubies if you need to replenish your wallet.
Fishing pond: Ol’ Baron and two Chamber Stones
After the Face Shrine, the rare Ol’ Baron finally appears at the fishing pond. Use the heavy bait you received for the blooper and, if necessary, empty the pond a little until the huge fish appears. The old Baron is significantly stronger than the normal fish. Only retracts the leash in short intervals and stops immediately if he pulls or jumps strongly in the opposite direction.
For the first captured Ol’ Baron you will receive a special one Chamber Stone. Then catch a specimen or another suitable fish with at least approx 150 centimeters Length and you get a second one Chamber Stone. You have now completed the two special fishing Chamber Stones. Neither old Baron nor these exist in the original and DX Chamber Stones.
Dampé: Get third bottle
Now return to Dampé. Since you have already completed “Connecting Chambers II” before Face Shrine, the first tasks of the third level will now be unlocked. First, complete the newly available Staircase Challenge. You can then build and play through “Heartbreak” or the challenge with very limited health. To do this, plan the shortest possible route from the entrance to the boss and avoid unnecessarily dangerous rooms – you don’t have to be particularly creative, but rather fulfill the requirements as safely as possible.
After completing “Heartbreak”, Dampé will give you the third and final bottle. This means you own all the bottles of the Switch remake. As already mentioned, this item category does not exist at all in Original and DX. You can also find all three Locations in our guide to the bottles in Link’s Awakening.
Preparing for Eagle’s Tower
Our score is almost completely cleared at this point in time: The exchange series is completed, the Magnifying Lens and Boomerang are in the Items, the Hookshot heart parts and rapids rewards have been collected, the Koholint sword should be yours belong, the third bottle is available and the figure and fishing rewards unlocked after the Face Shrine are also done.
We’ll return in the next section Mabe Village back and move with the stronger one Power Bracelet the Cockroach statue. With the Frog’s Song of Soul we wake up the flying rooster and get him Eagle key in the Tal Tal Mountain Range and of course collect all the ones that are still accessible along the way Pieces of Heart and Secret Seashells a. Then wait with it Eagle’s Tower one of the most complex dungeons of Link’s Awakening.