

The optional Color Dungeon lies beneath the graveyard. Complete its color puzzles and defeat Hardhit Beetle to choose Red Mail for stronger attacks or Blue Mail for better defense.
For our optimal 100% solution path, you should complete the labyrinth immediately after the Key Cavern. There you will get the Pegasus Boots, which unlocks access to the dungeon. The red armor is particularly valuable at this early stage because you can then use its damage bonus for almost the entire second half of the game. There are no Pieces of Heart or Secret Seashells in the color labyrinth itself, but you definitely shouldn’t miss it for a complete game and permanent armor improvement.
How do you get to Color Dungeon?
After receiving the Pegasus Boots, return to Mabe Village and enter the library in the south of the village. On one of the high bookshelves lies a book that Link can’t normally reach. Stand in front of it at a distance and sprint with the Pegasus Boots directly against the shelf. The impact causes the book to fall down and can be read. Inside you will find a mysterious clue to five gravestones in the cemetery and the order in which they must be moved.
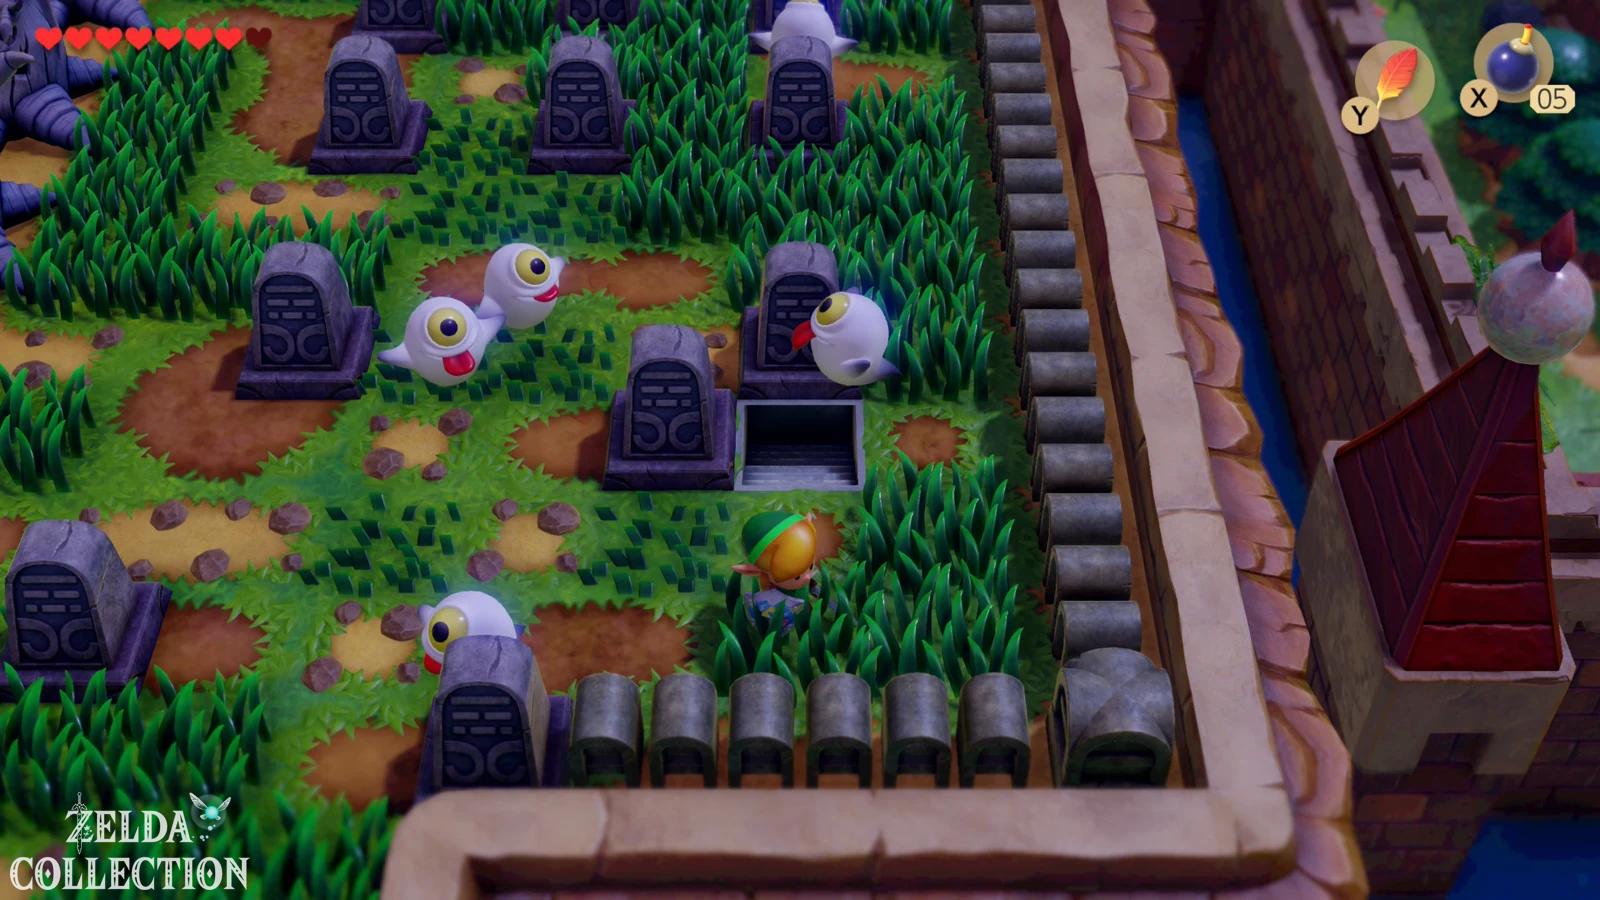
Then go to the cemetery east of the Mysterious Forest. We are interested in the southeastern area with five gravestones close together. First get rid of the ghosts so that you are not disturbed while moving. Then move the tombstones in this order:
- 1. Push the tombstone at the bottom right to at the bottom.
- 2. Push the tombstone at the bottom left to left.
- 3. Push the tombstone at the top left to at the top.
- 4. Push the tombstone at the top center to right.
- 5. Push the tombstone at the top right to at the top.
A hidden staircase opens under the last gravestone. Descend and you will reach the Color Dungeon.
The color guards at the entrance
Directly in the entrance hall you will meet two skeletons or color guards. Speak to both of them and correctly answer their questions about the color of their clothing. Only then do they release the way. Before you go deeper into the dungeon, you should make sure you have some Magic Powder. If you are low on supplies, you can find supplies under the jars in the next area. The powder is absolutely necessary for the first intermediate boss.
Go north and defeat the enemies that appear from the ground. Always keep moving so that they don’t appear directly under the link. Then take the right exit.
First Eye Switch Puzzle and Compass
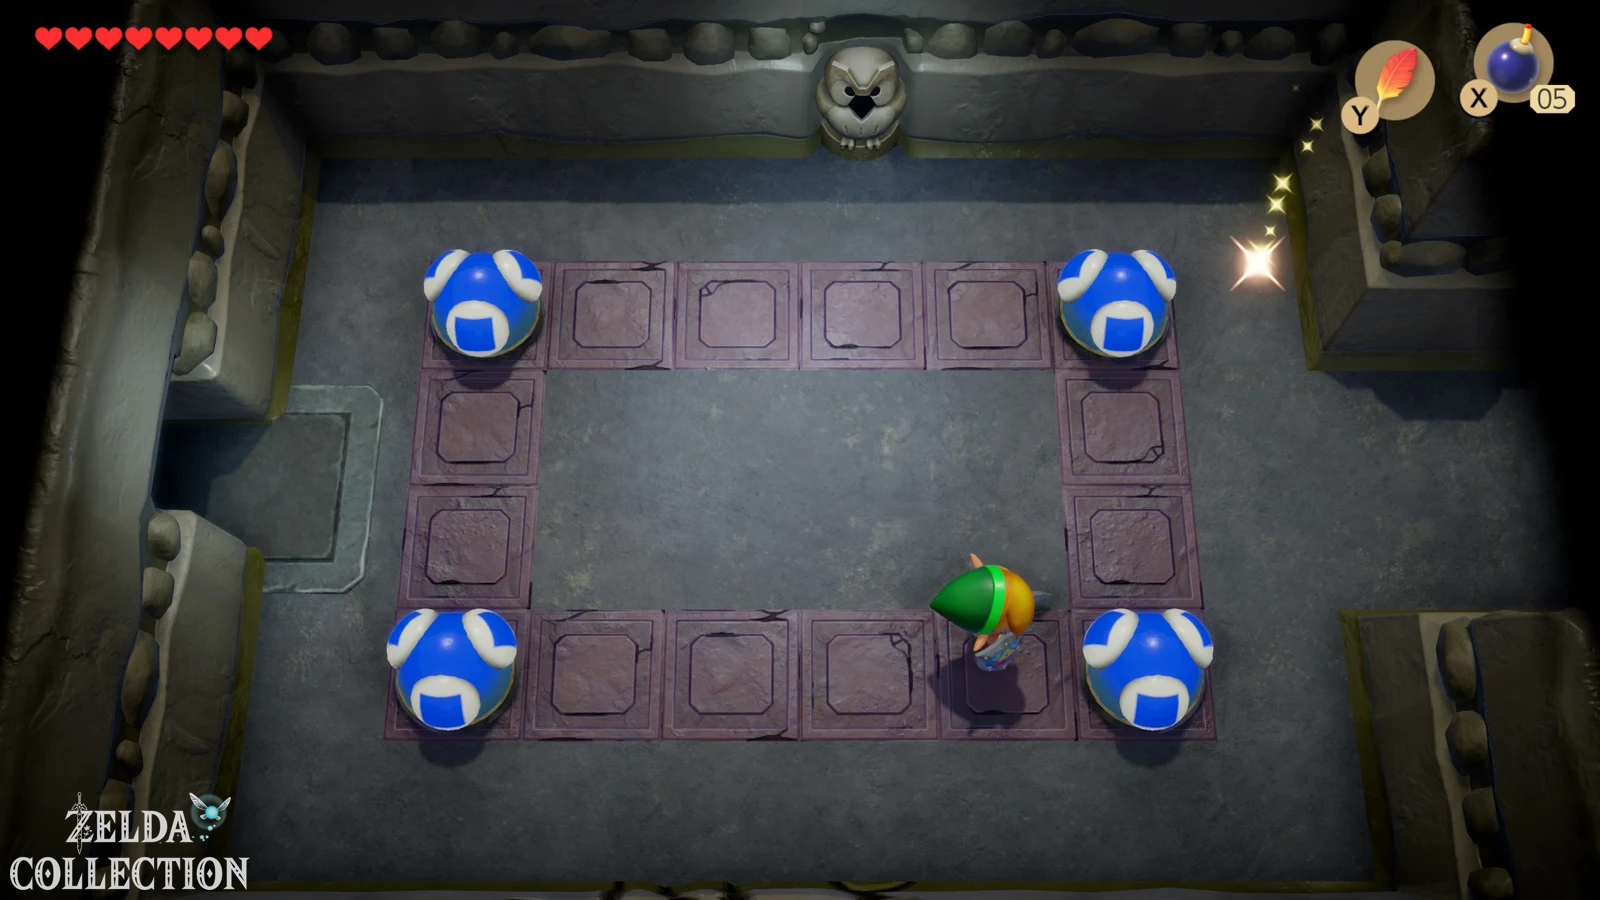
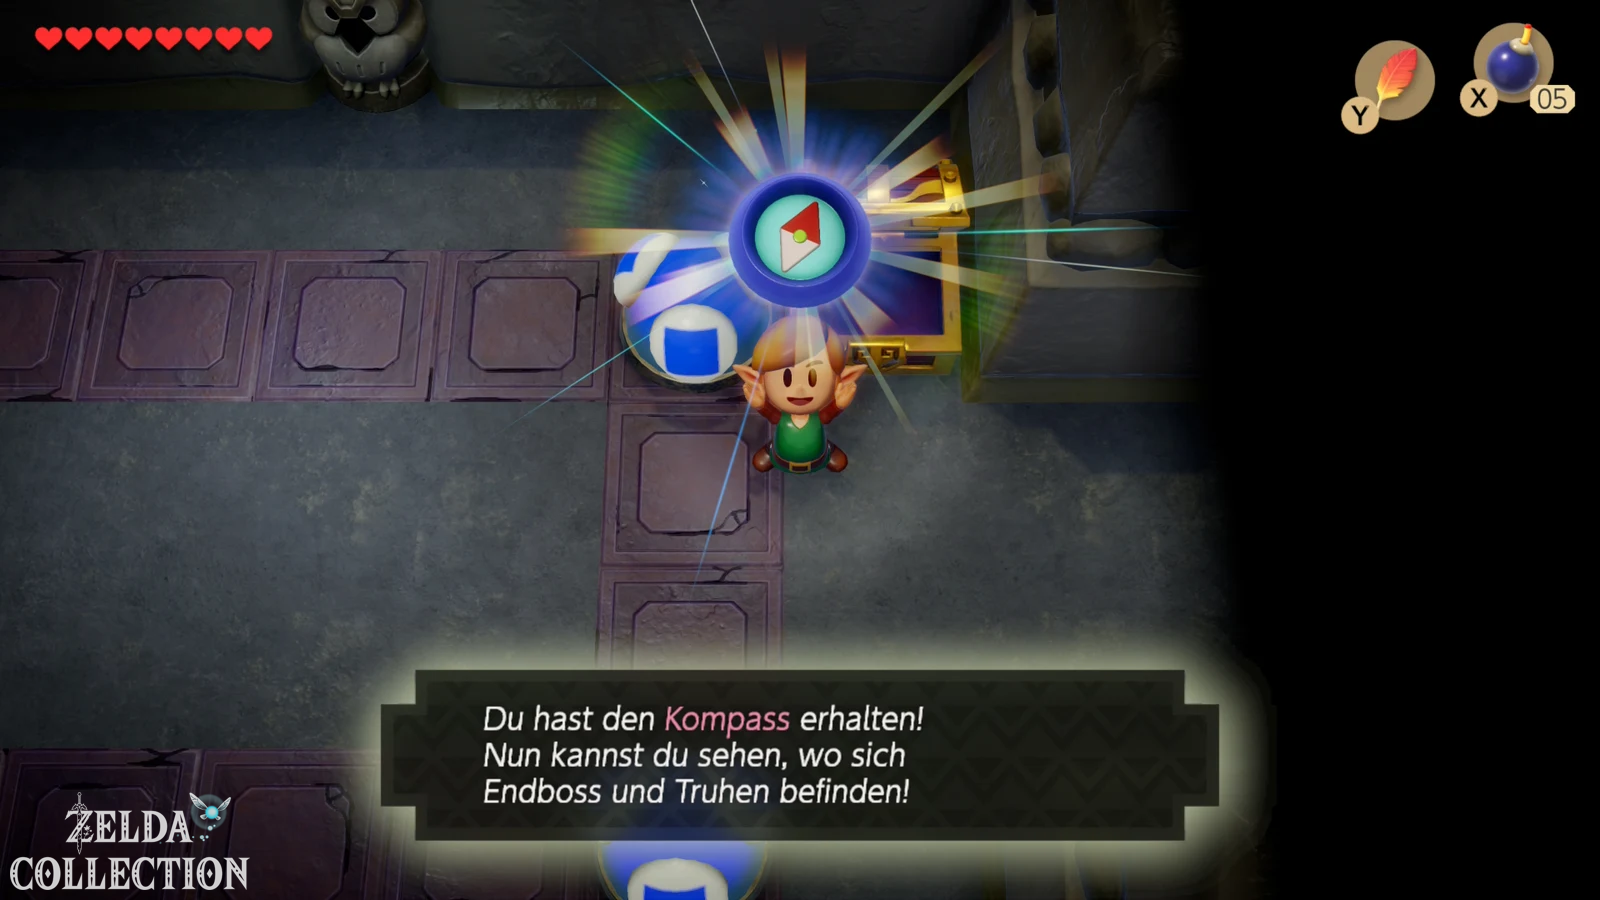
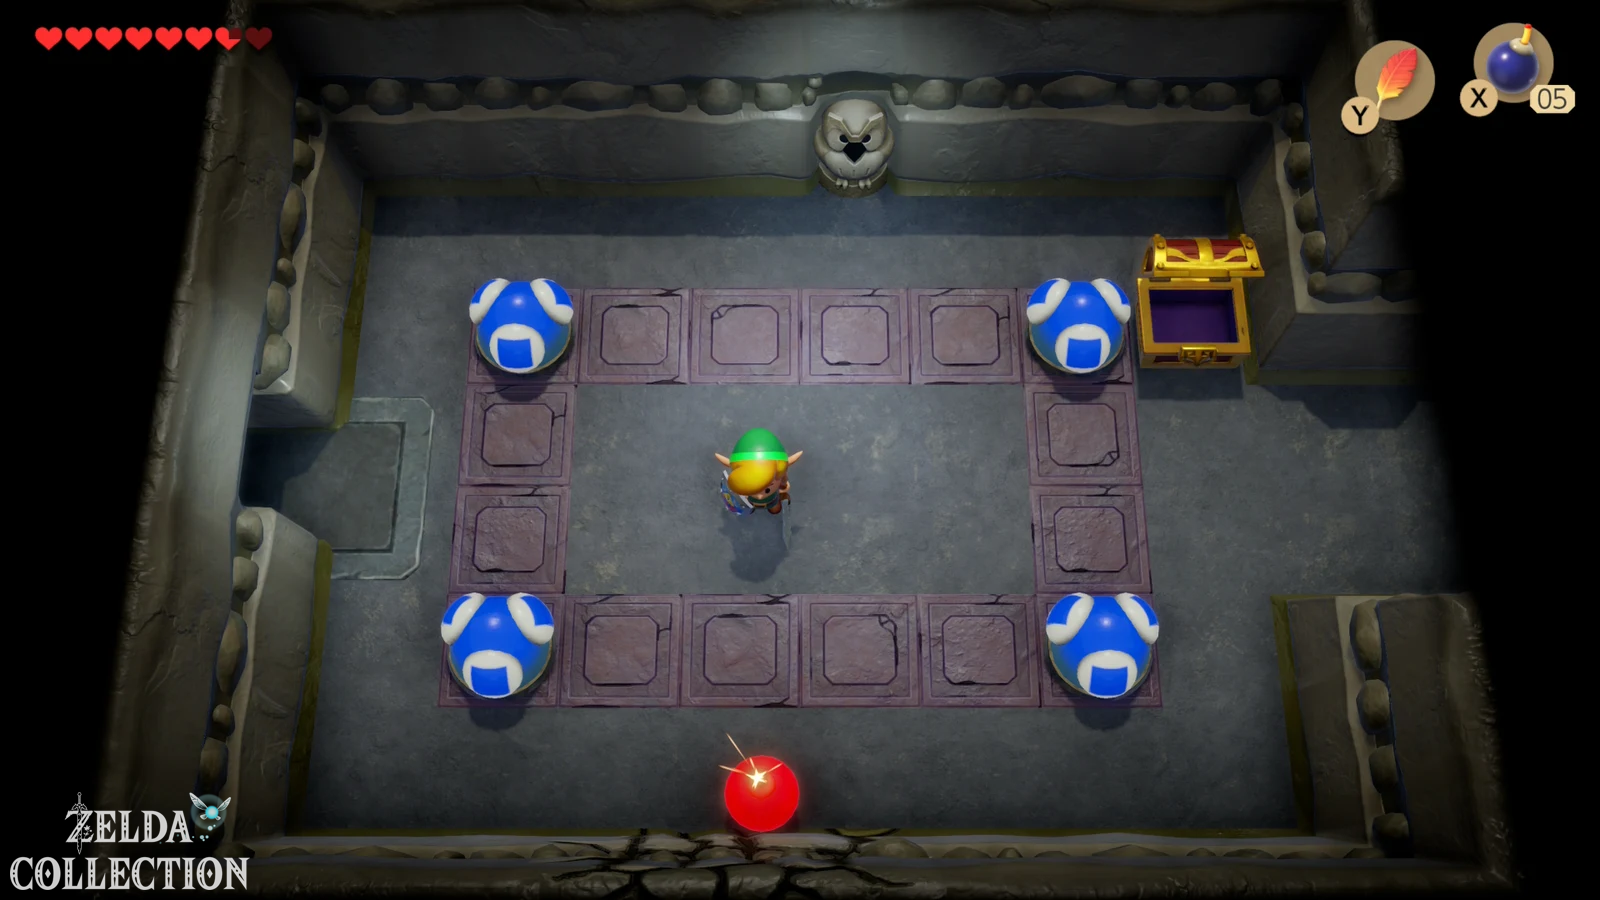
In the next room there are four colored ones Eye Switch. Two are initially red, two are blue. If you hit a switch with your sword, not only does it change color, but also the neighboring switches. The aim is to all four eyes blue to color. The first puzzle mainly serves to teach you the mechanics and is correspondingly simple: hit the two red switches at the beginning once. Once all eyes glow blue, a chest will appear with the Compass.
There is also an optional secret passage on the bottom wall of this room. Place a bomb on the suspicious wall and follow the breakthrough into a small chamber with Rupees. This detour is not necessary for the actual dungeon progress, but you can of course take the money with you if you want to fully explore it.
color plates and ball opponents
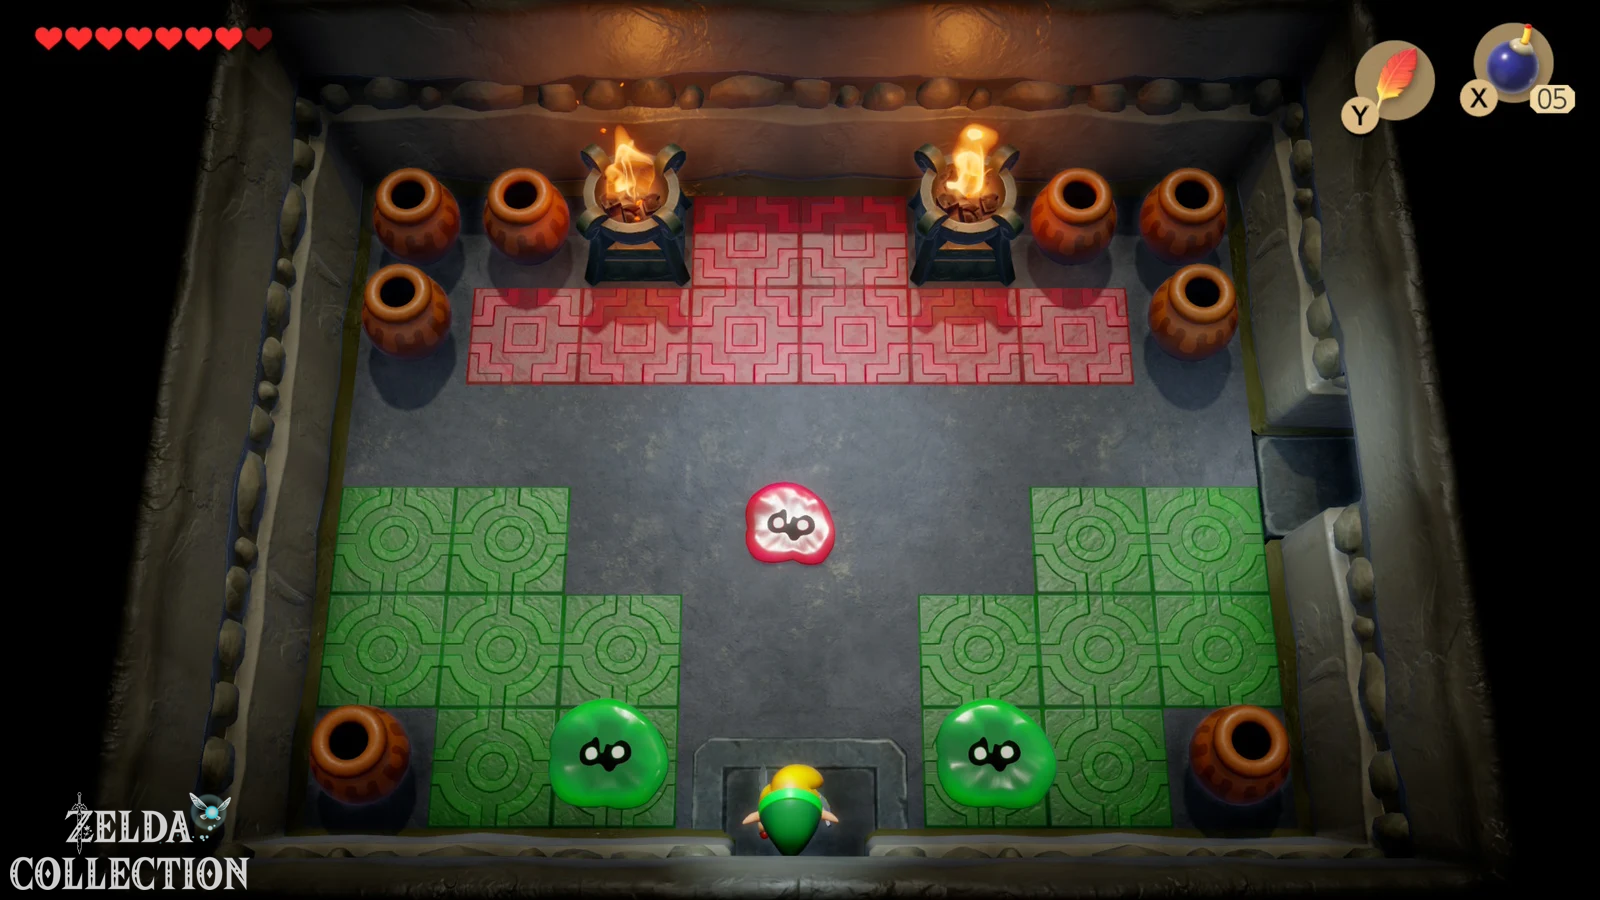
Go right from the compass room. There are several colored plates on the floor that will throw Link upwards when he steps on them. However, these platforms do not last indefinitely: their color changes with each use until they eventually disappear. Therefore, run across them as straight as possible and avoid unnecessary jumping back and forth. In the following room there are a red and a green ball opponent as well as two correspondingly colored holes.
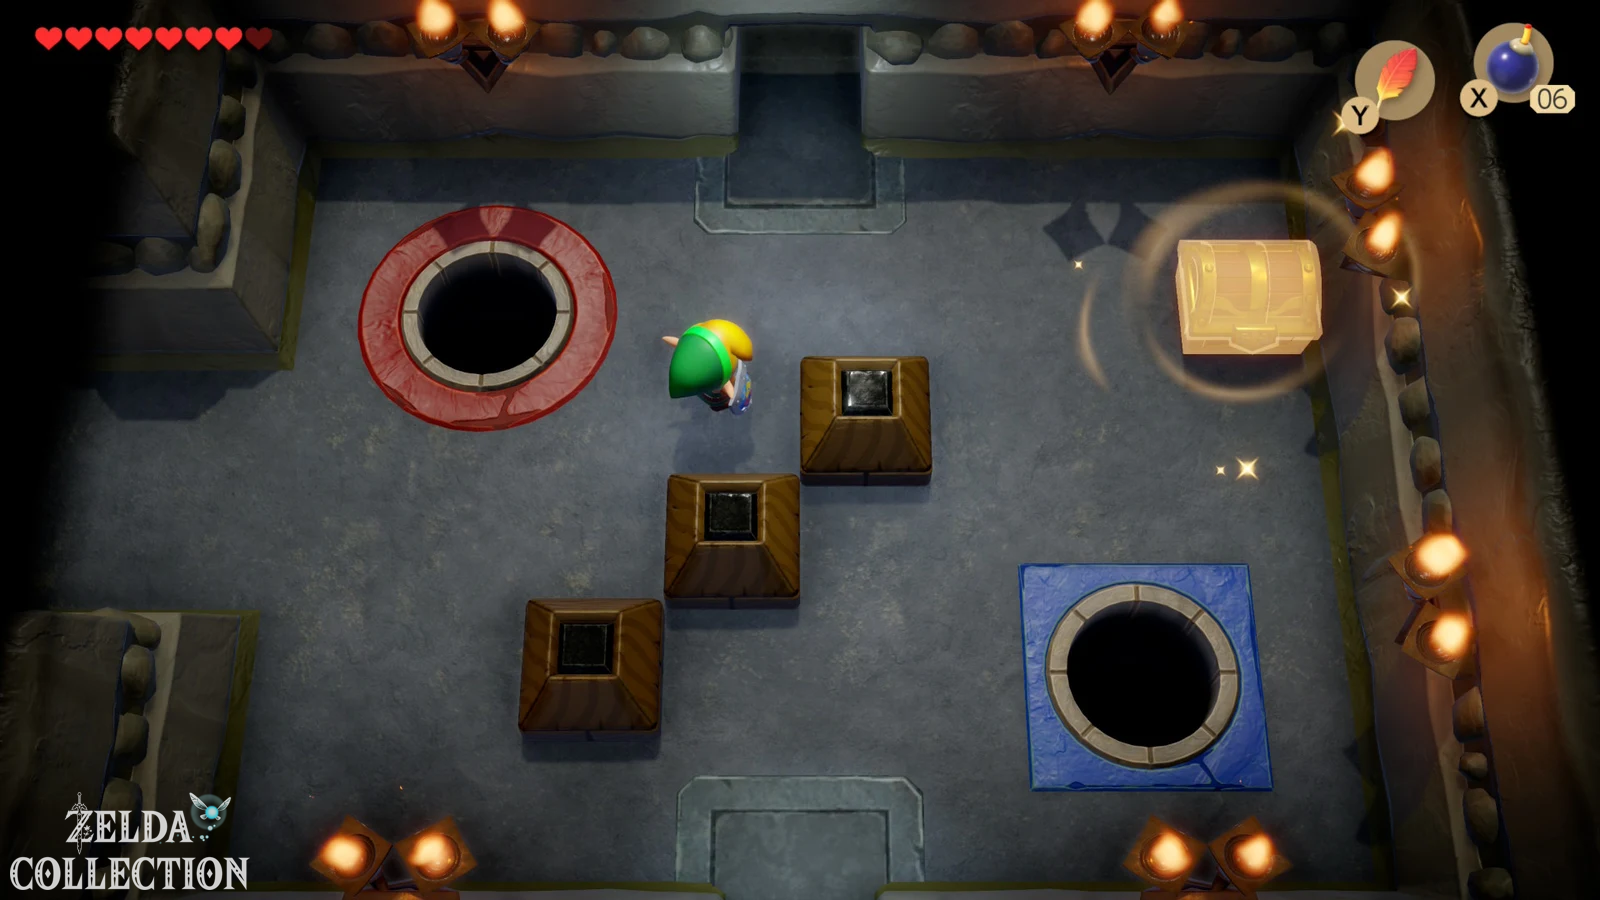
Hits an enemy with the sword. He then curls up into a ball for a short time. Pick it up with the Power Bracelet and throw it into the hole of the same color. The red opponent belongs in the red hole, the green one in the green. If both are sunk correctly, a chest appears with the Stone Beak. This allows you to read the owl statues in the dungeon. Then go south, kill the four enemies in the next room and take the left exit.
First Small Key
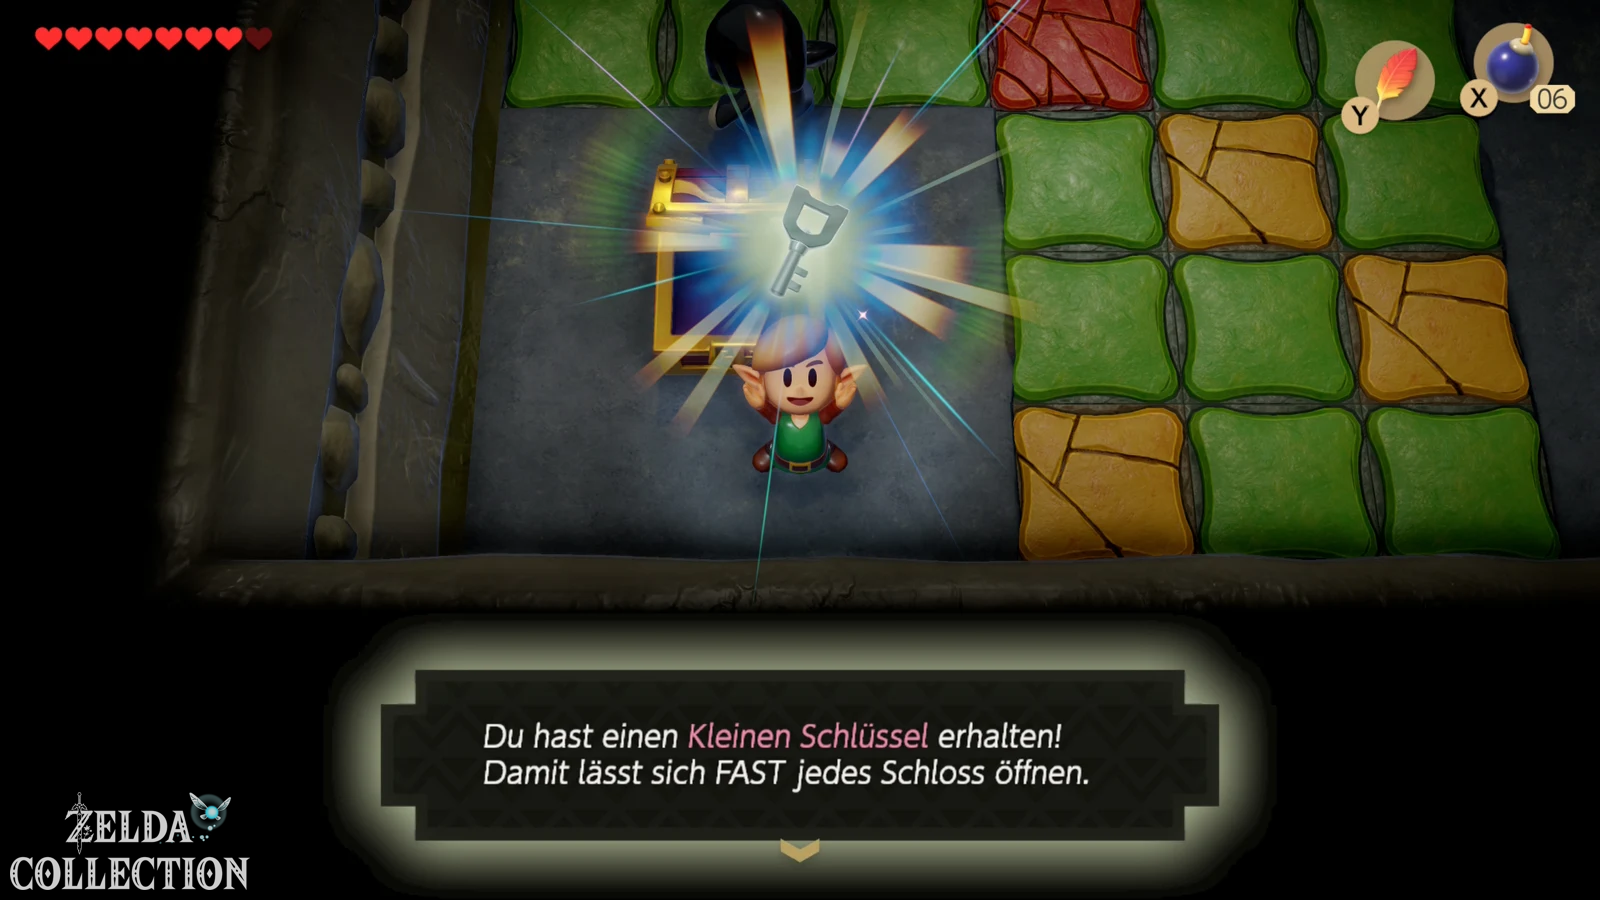
Jump over the next color plates and open the accessible chest. Inside is the first Small Keys. Then go through the revolving door to the north and jump to the right again in the next room. You will return to the area where you previously found the Stone Beak. Go north, cross the color plates again and take the upper exit again.
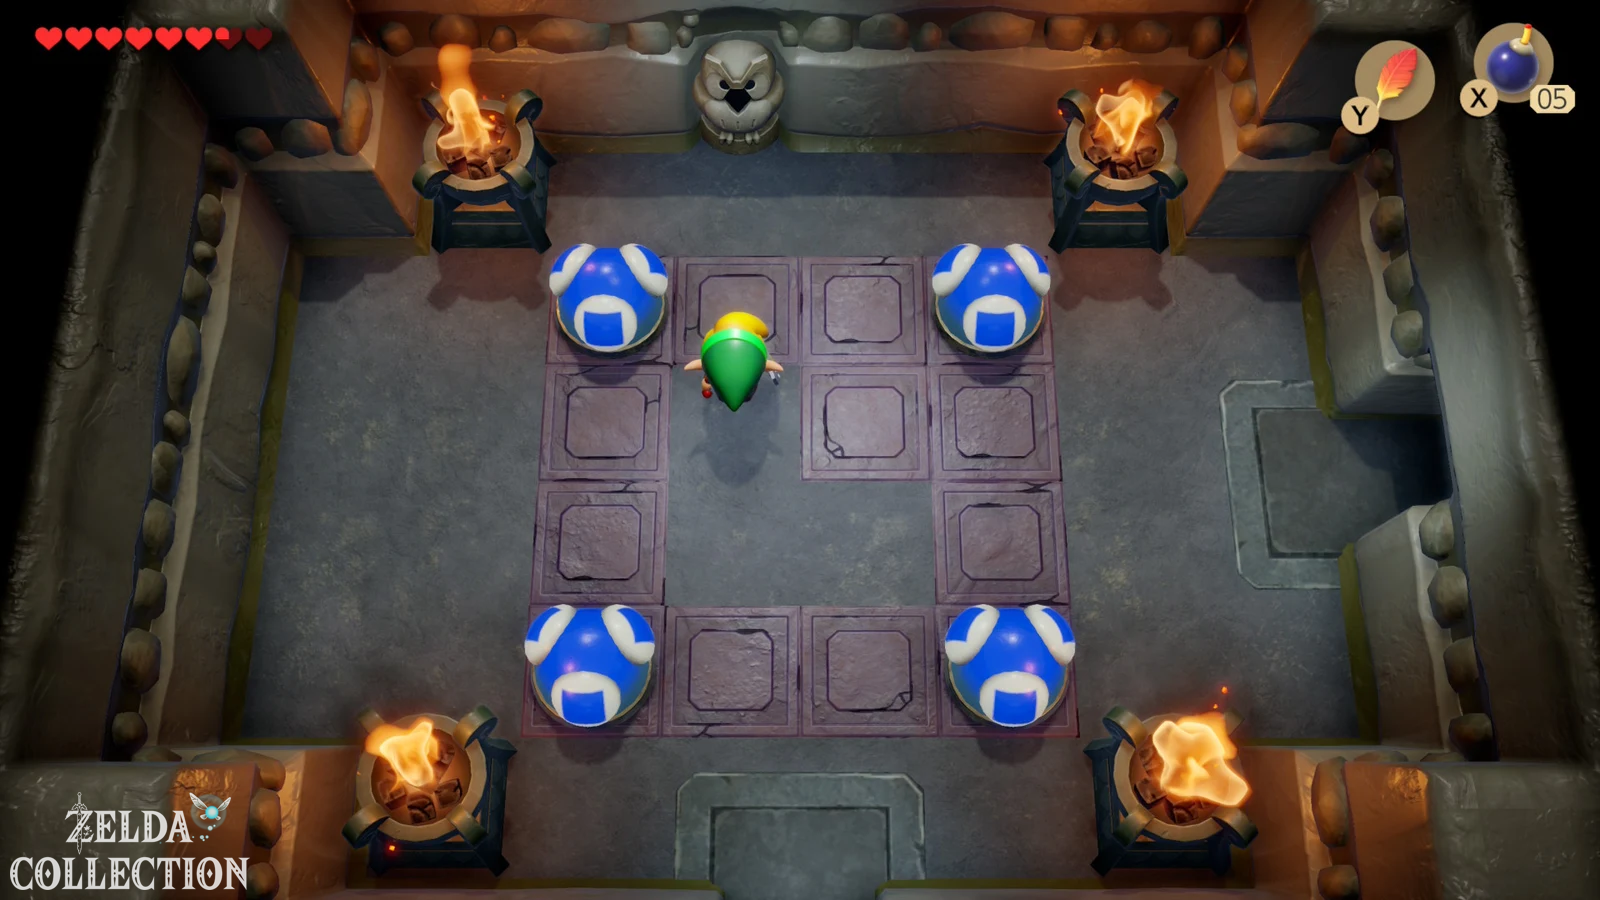
The next eye switch puzzle awaits here. This time the switches can also turn yellow, which initially makes the pattern appear more complicated. To solve this, first hit the bottom right switch once and then hit the top left switch twice. If all eyes are set correctly, the second Small Keys appears. Then go to the right, defeat the enemies and use the key to open the northern door.
Intermediate boss: Giant Buzz Blob
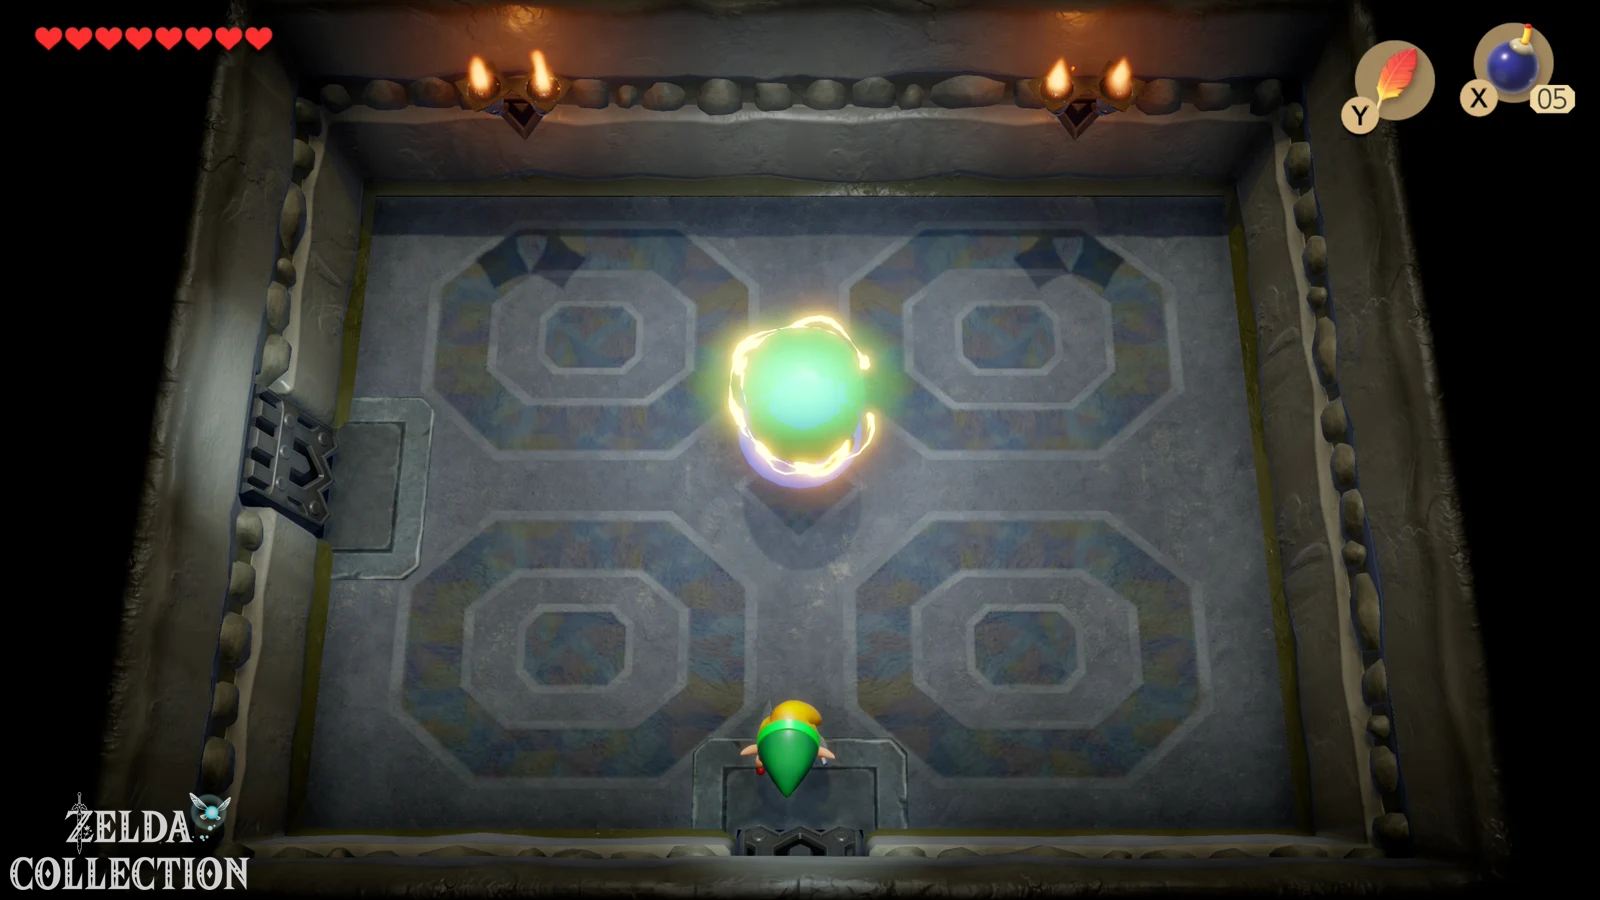
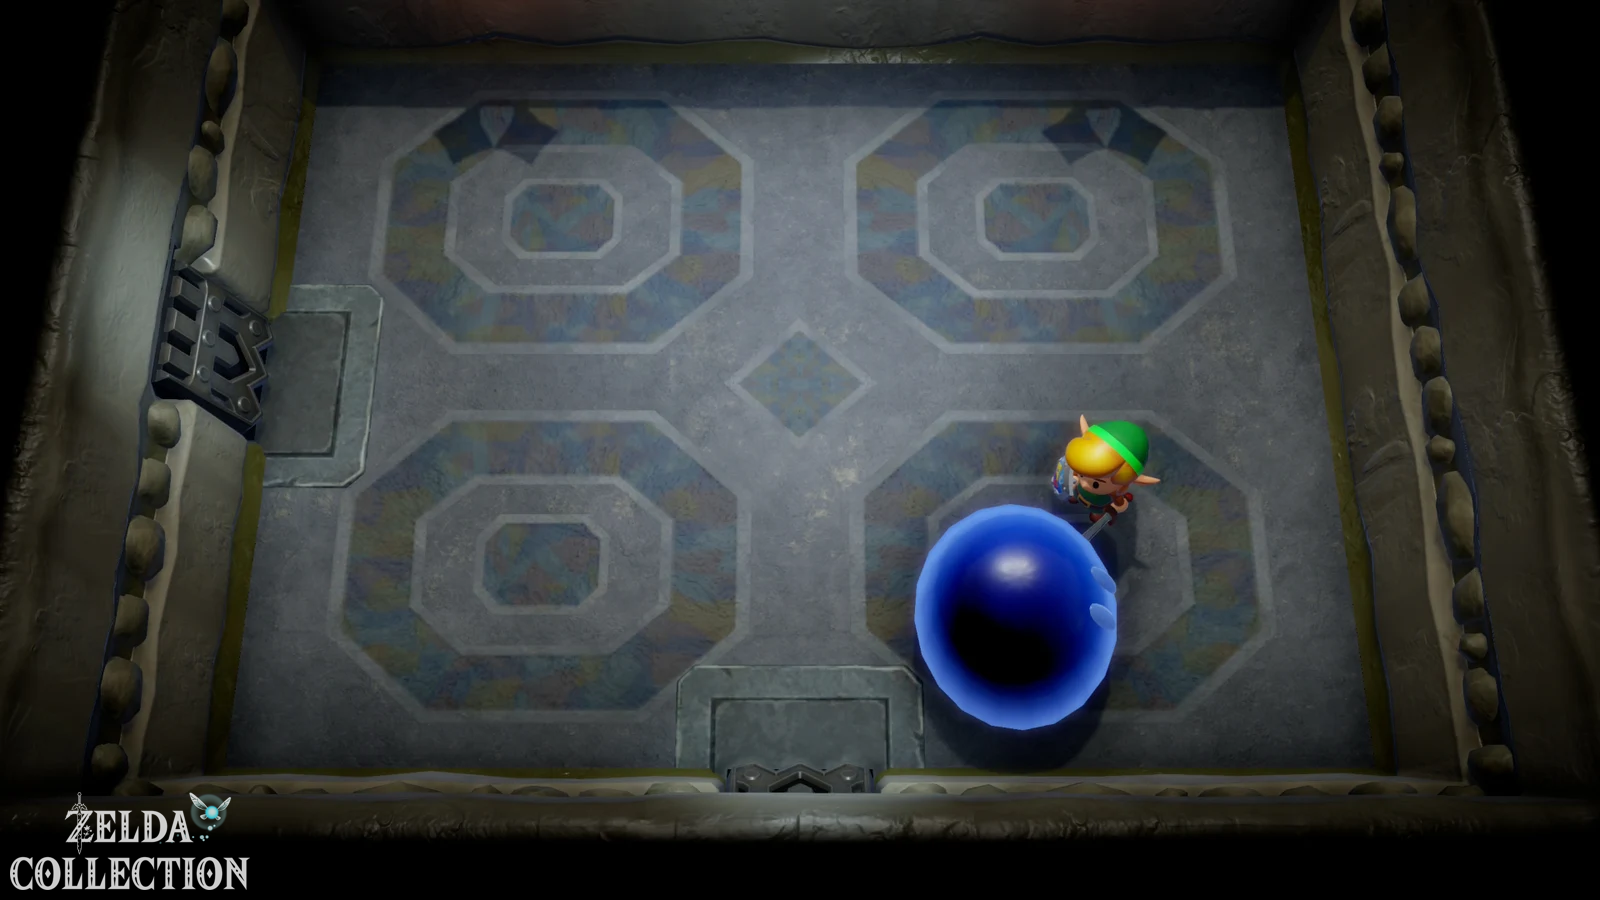
The first intermediate boss is a huge slime that initially completely blocks sword attacks. Don’t try to overwhelm him simply by repeatedly striking him – as long as he’s in his normal form, you’ll just be knocked back. The solution is Magic Powder. Wait until you are close enough to the Giant Buzz Blob and sprinkle some powder on it. This causes him to temporarily change shape and become vulnerable.
Now immediately attacks multiple times with the sword. After a short time, the opponent transforms back and becomes immune again. Use Magic Powder again and repeat the process. With the stronger Koholint sword the fight would of course go faster later, at this point you usually still have the normal blade. Nevertheless, the intermediate boss is defeated after a few successful attack phases.
Collect the Nightmare Key early
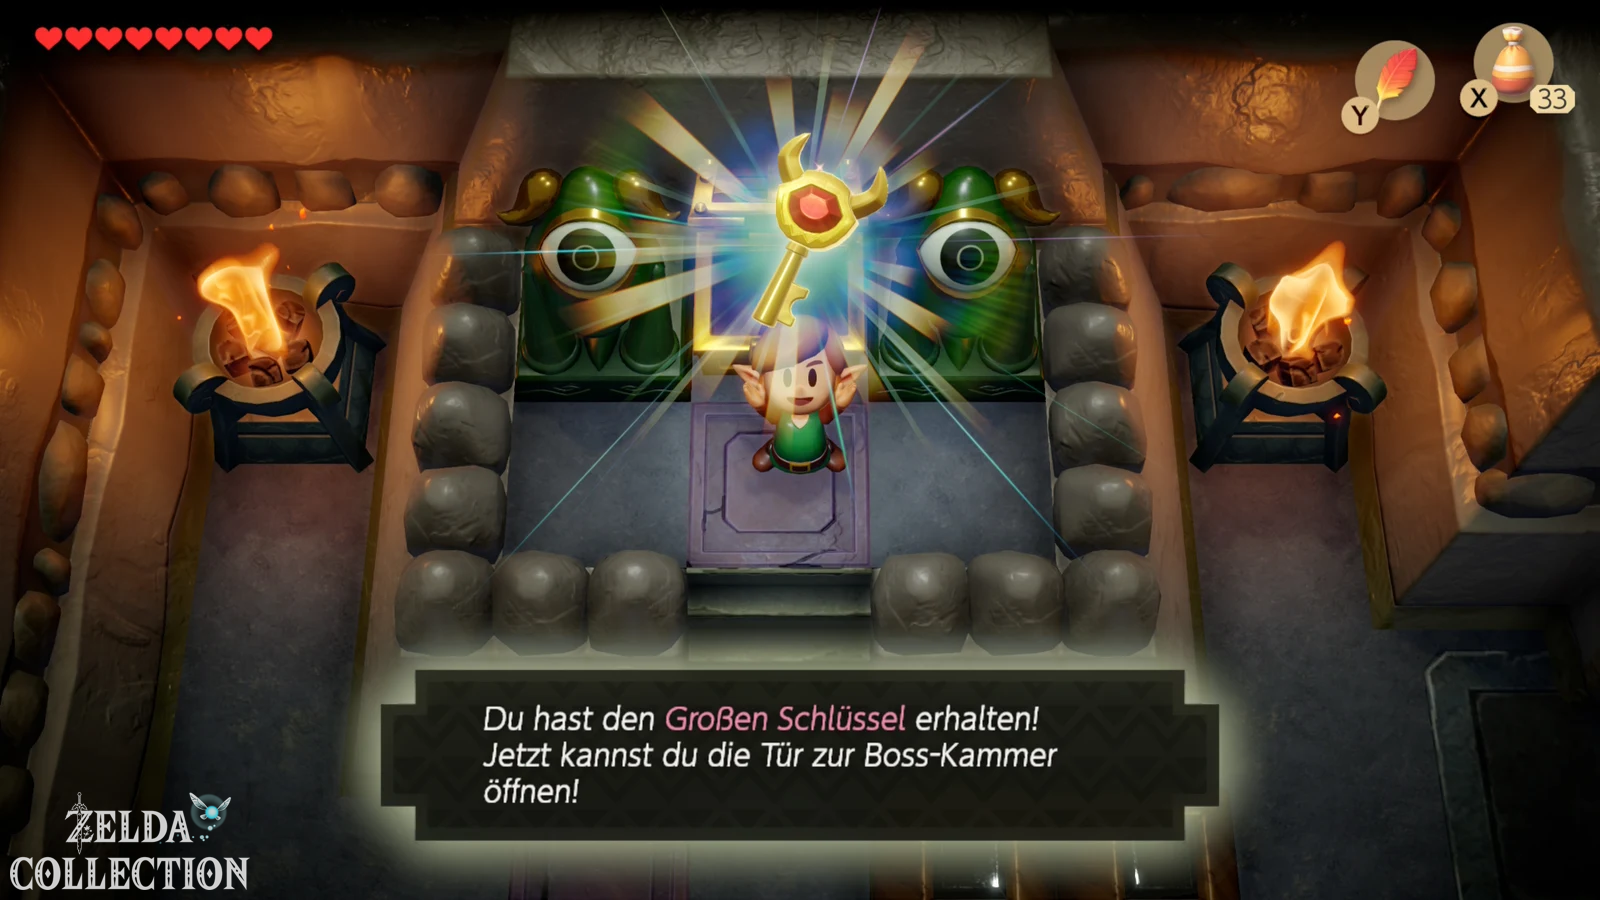
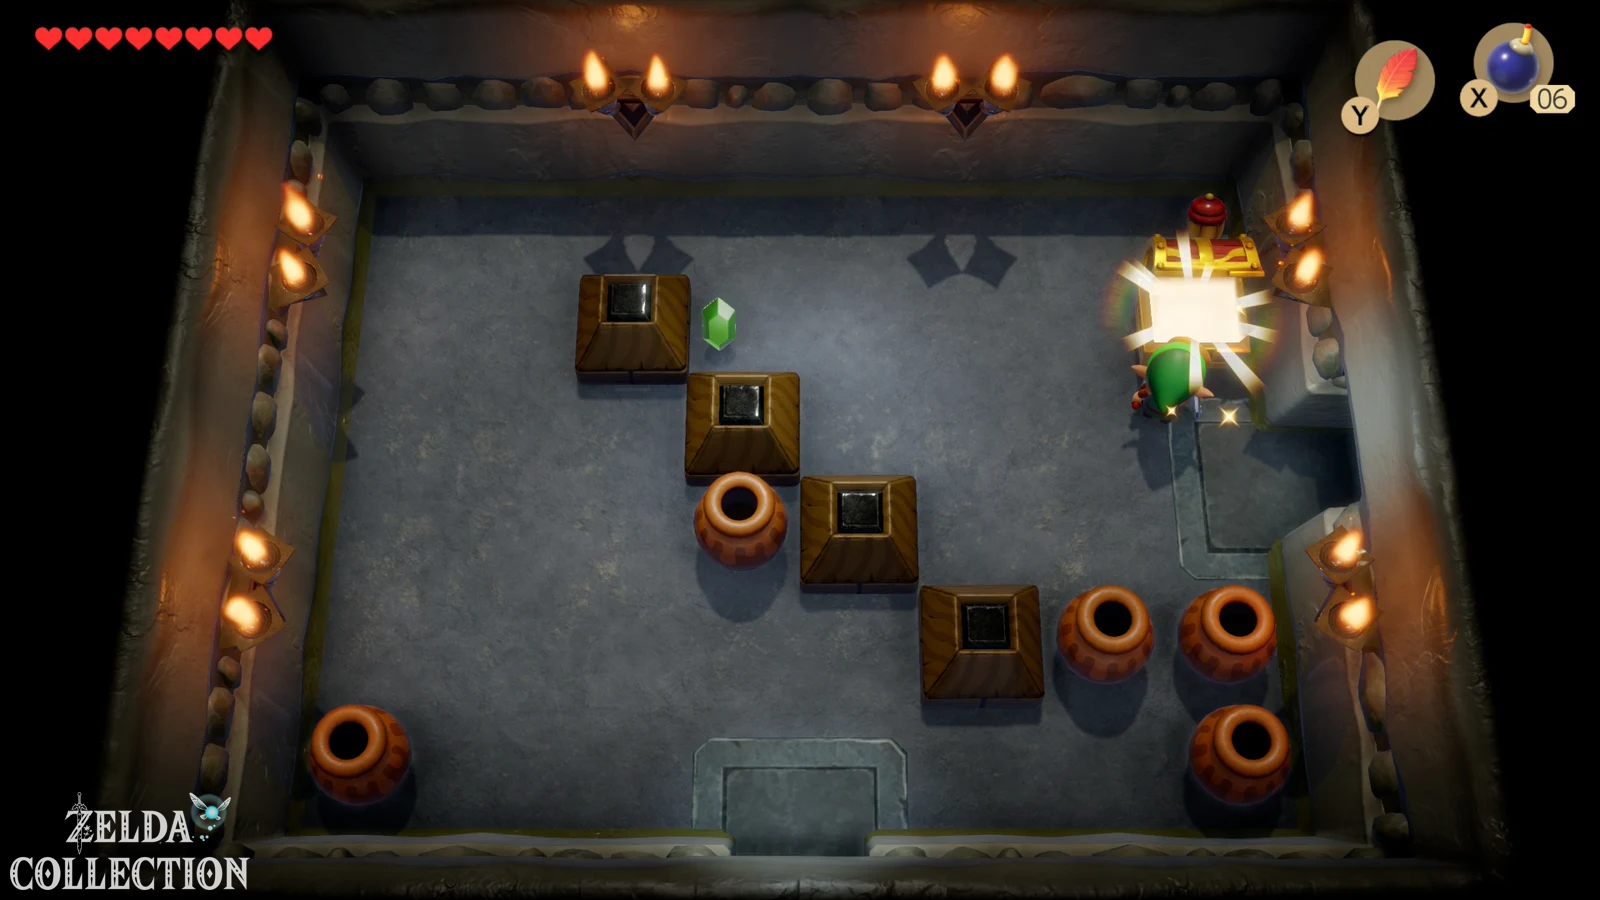
Go left after winning. There are three movable stone blocks in this room. Push the upper and lower blocks to on the left and the middle block to above. This will open the way to the chest. There is already the Nightmare Key of the labyrinth inside.
With this you could theoretically tick off an important part of the dungeon progress, but before the final boss we are still missing a map, another Small Key and the second intermediate boss.
Back to the sphere room
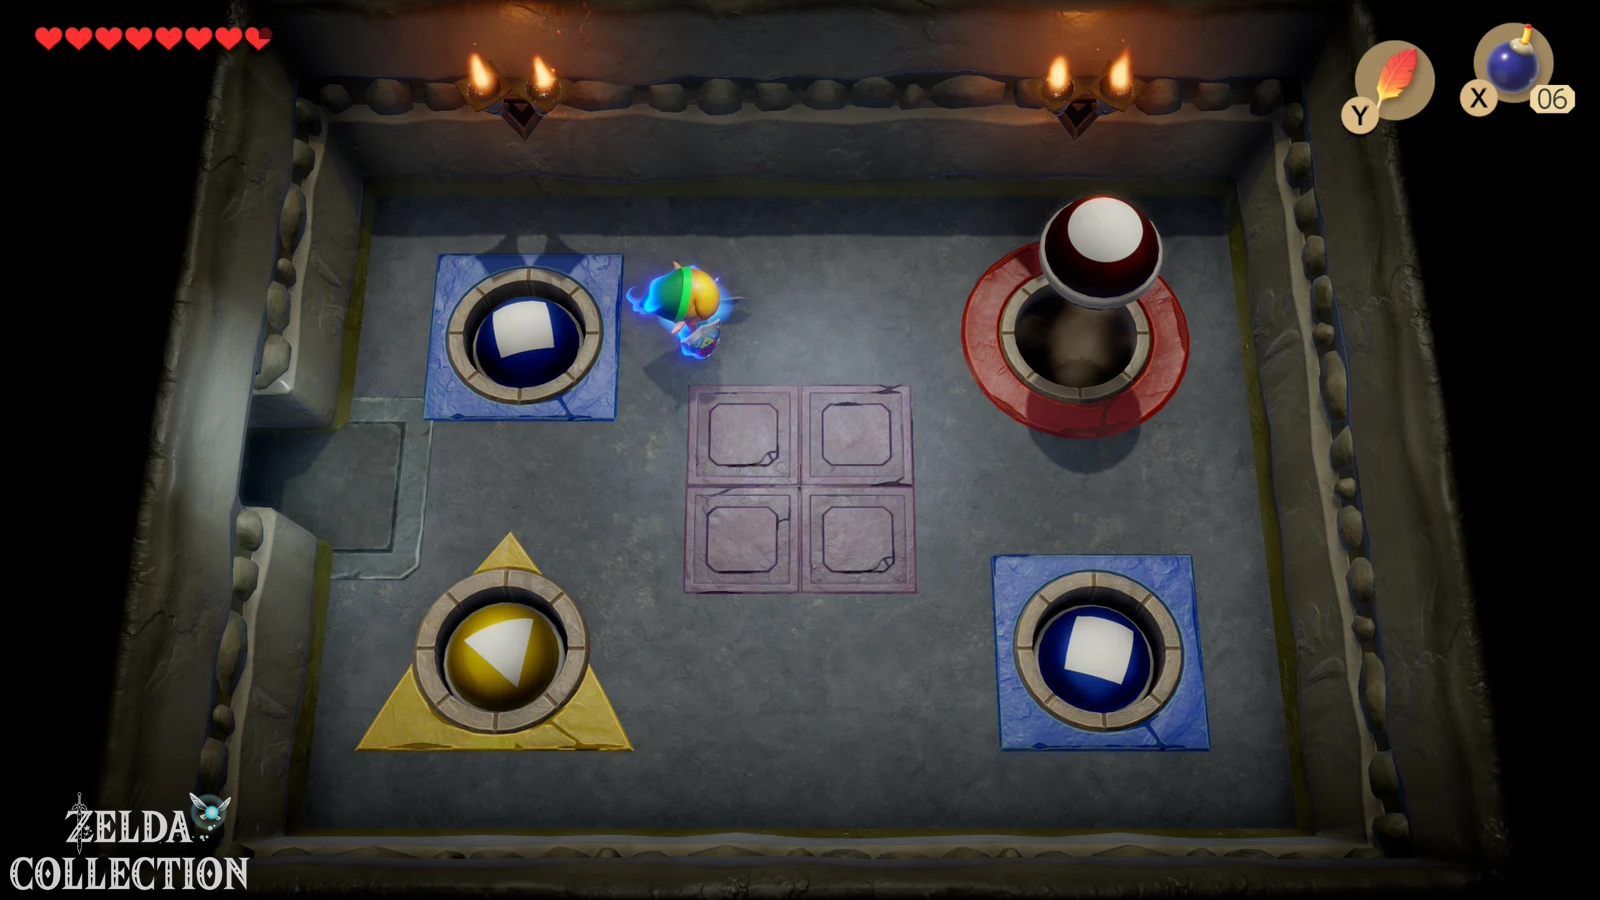
Return to the room where you threw the two colored ball opponents into their holes. From the area with the Nightmare Key, the way back takes you via the familiar rooms back to the southern part of the dungeon. Take the western path there and open the locked door. The second intermediate boss is waiting behind it.
Intermediate boss: Stone Hinox
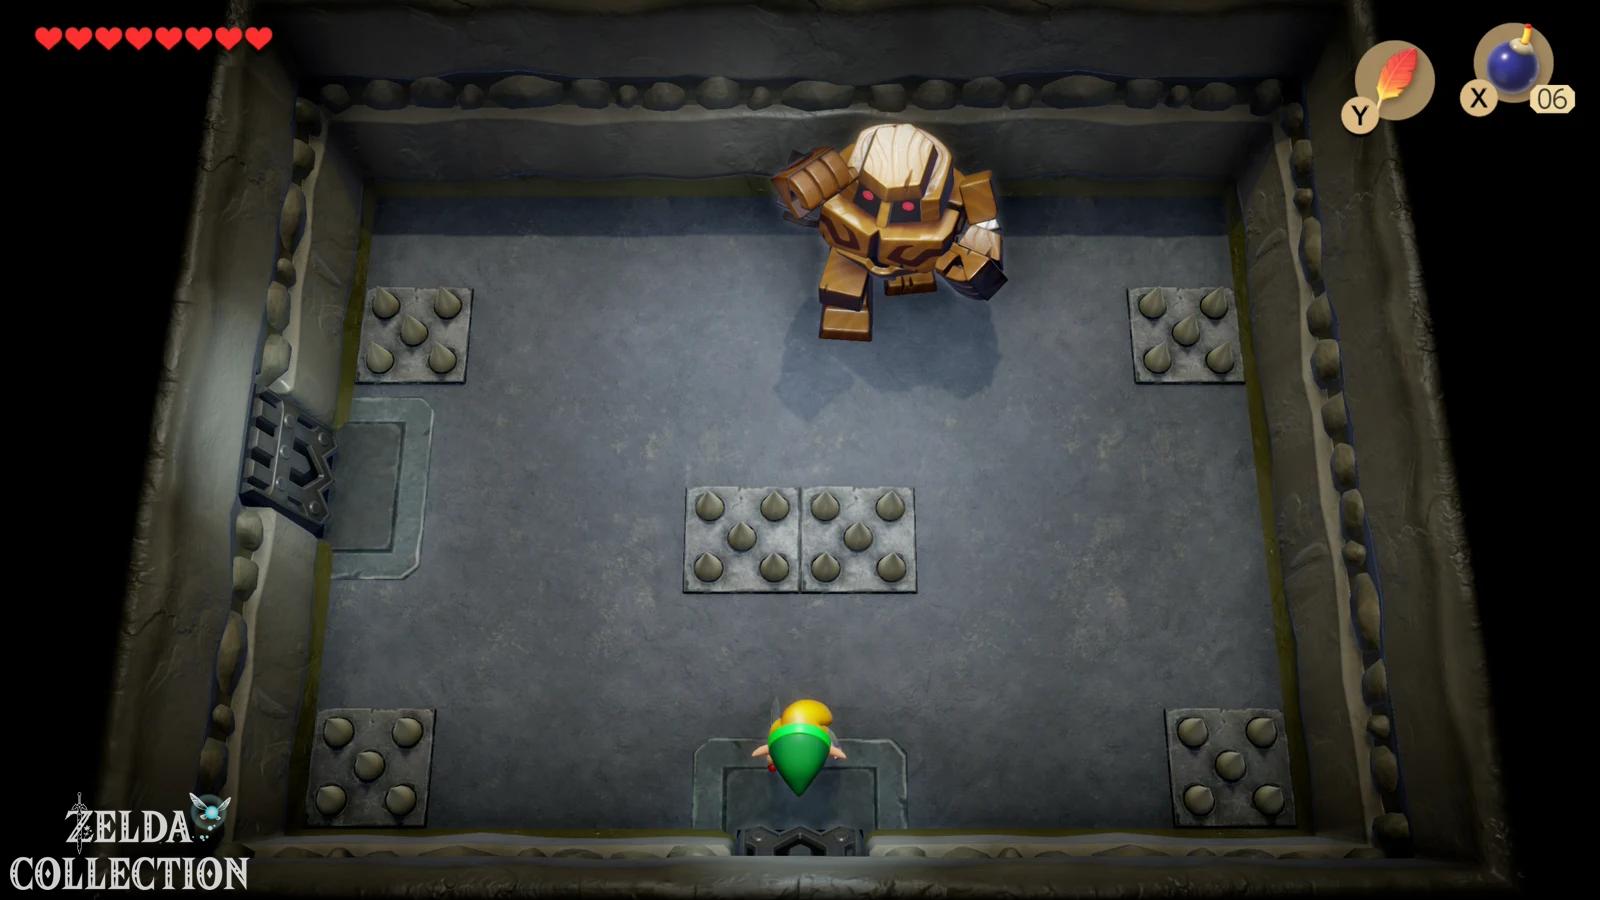
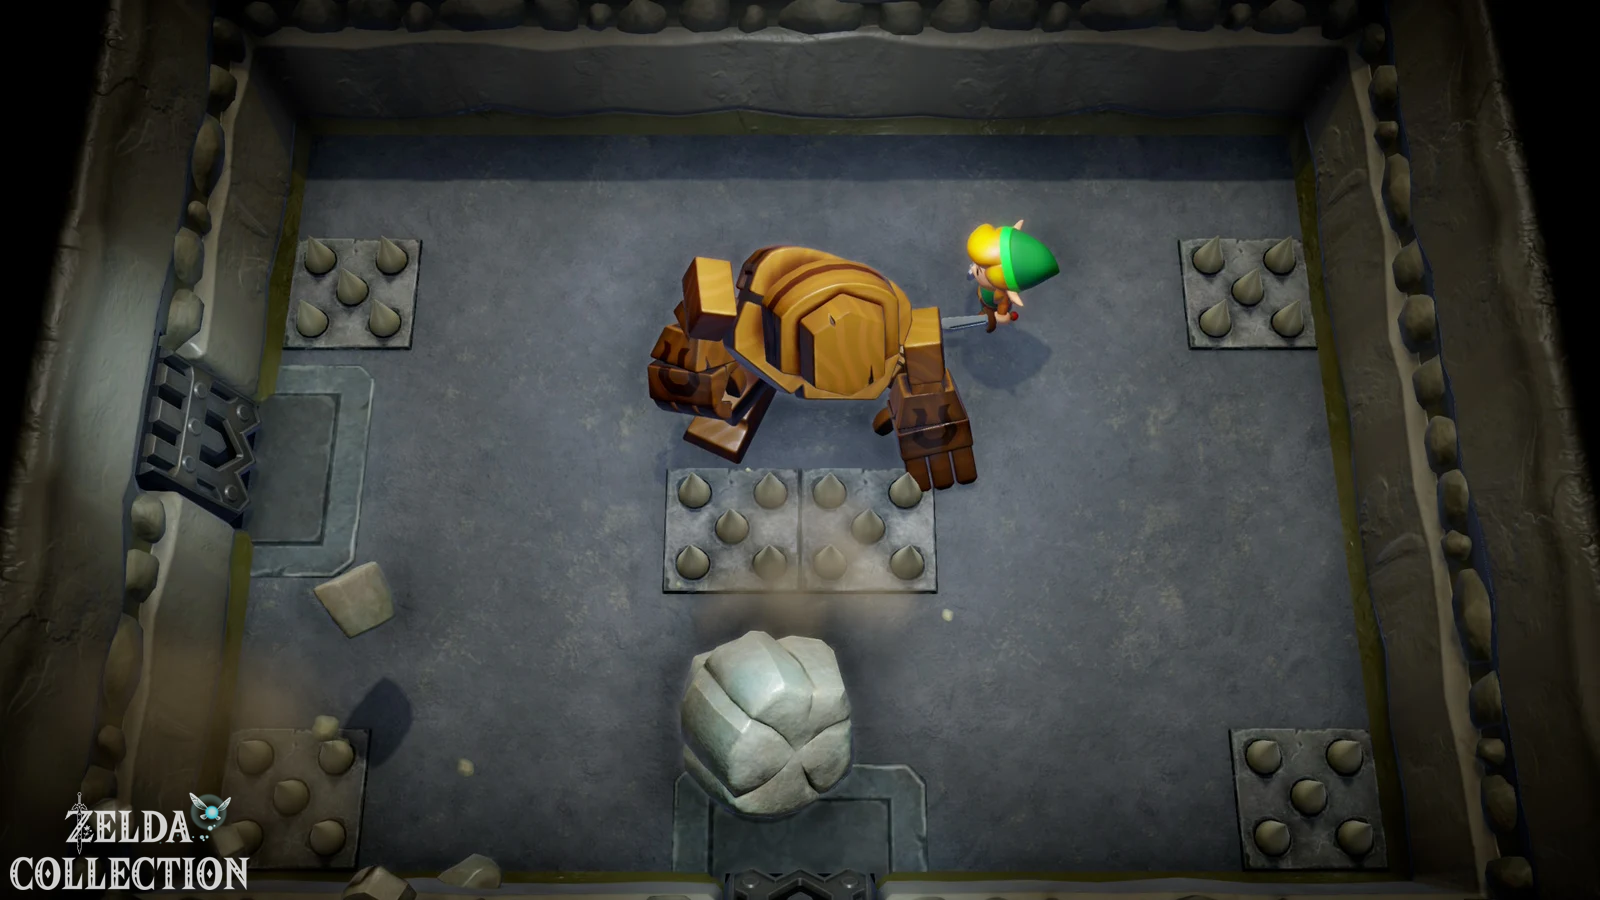
Stone Hinox jumps and throws rocks. Use Roc’s Feather to avoid the shock wave when it lands, then close in for a few sword strikes.
You can hit Stone Hinox normally with your sword, but bombs are particularly safe. Stay at a distance, wait for a favorable position and place or throw a bomb in his path of movement. This means you hardly have to expose yourself to his heavy melee attacks. After several hits, the second intermediate boss is also killed.
Find Dungeon Map
After the fight, go left. Colored jumping plates await you again. Jump to the upper left corner of the room and pick up the jug there. There is a Floor Switch hidden underneath it. Stand on it so that the doors open and then go north. Defeat all the slimes there. A chest will then appear with the Dungeon Map.
Go right. A larger version of the already familiar color ball puzzle awaits here. Hit the opponents with the sword, pick them up in ball form and throw each one into the hole of their respective color. As soon as all opponents have been sorted correctly, you will get another Small Key.
The puzzle with nine eye switches
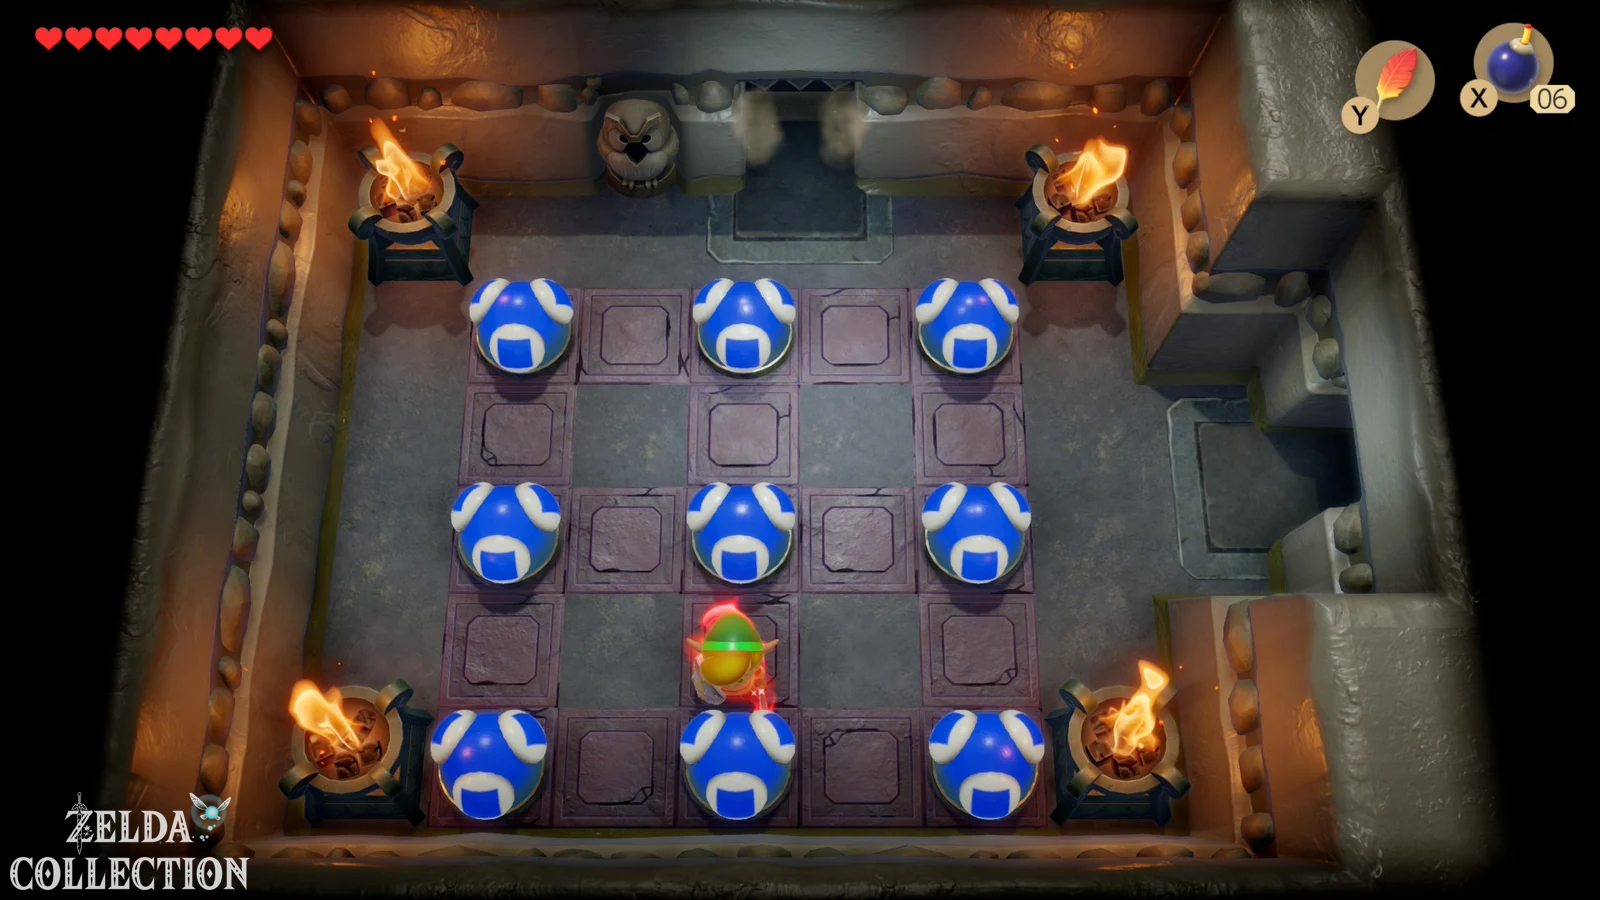
Return left and then south. This time take the western exit. Before you lies the largest eye switch puzzle in the labyrinth with a total of nine fields. Here too, at the end all eyes should glow blue. To do this, first hit the switch in the middle of the top row, then the switch in the middle of the bottom row. Then you hit the right switch of the middle row and finally the left switch of the middle row.
If the pattern is correct, the further path opens. Go through the upper door. There are just a few slimes waiting in the next room. Defeat it or bypass it and then open the door on the left side with the Small Key.
Crystal Switch in front of the final boss
In the next area there is a Crystal Switch at the bottom left. Hit him with the sword to change the colored block barriers in the dungeon. This clears the path in the upper area. Then run back or through the now accessible passage and use the Nightmare Key on the boss door.
If you followed our route, you should now have Compass, Stone Beak, Dungeon Map and all the keys you need. In the Color Dungeon there are no Secret Seashell, no Piece of Heart and no additional remake collectible that you have to get before the boss.
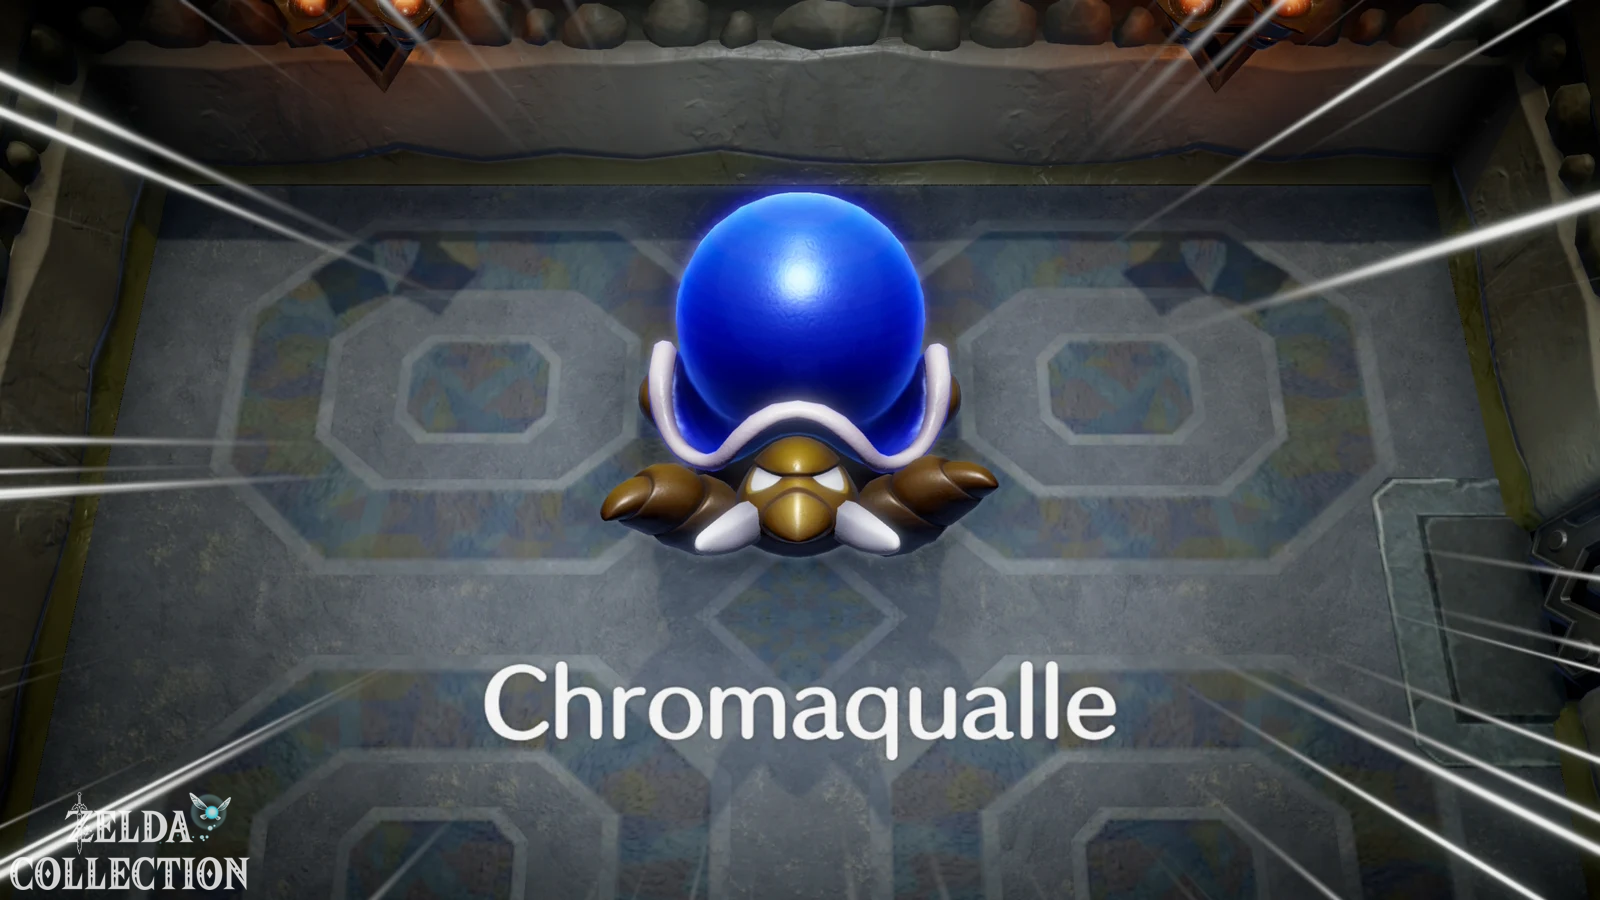
Final boss: Hardhit Beetle
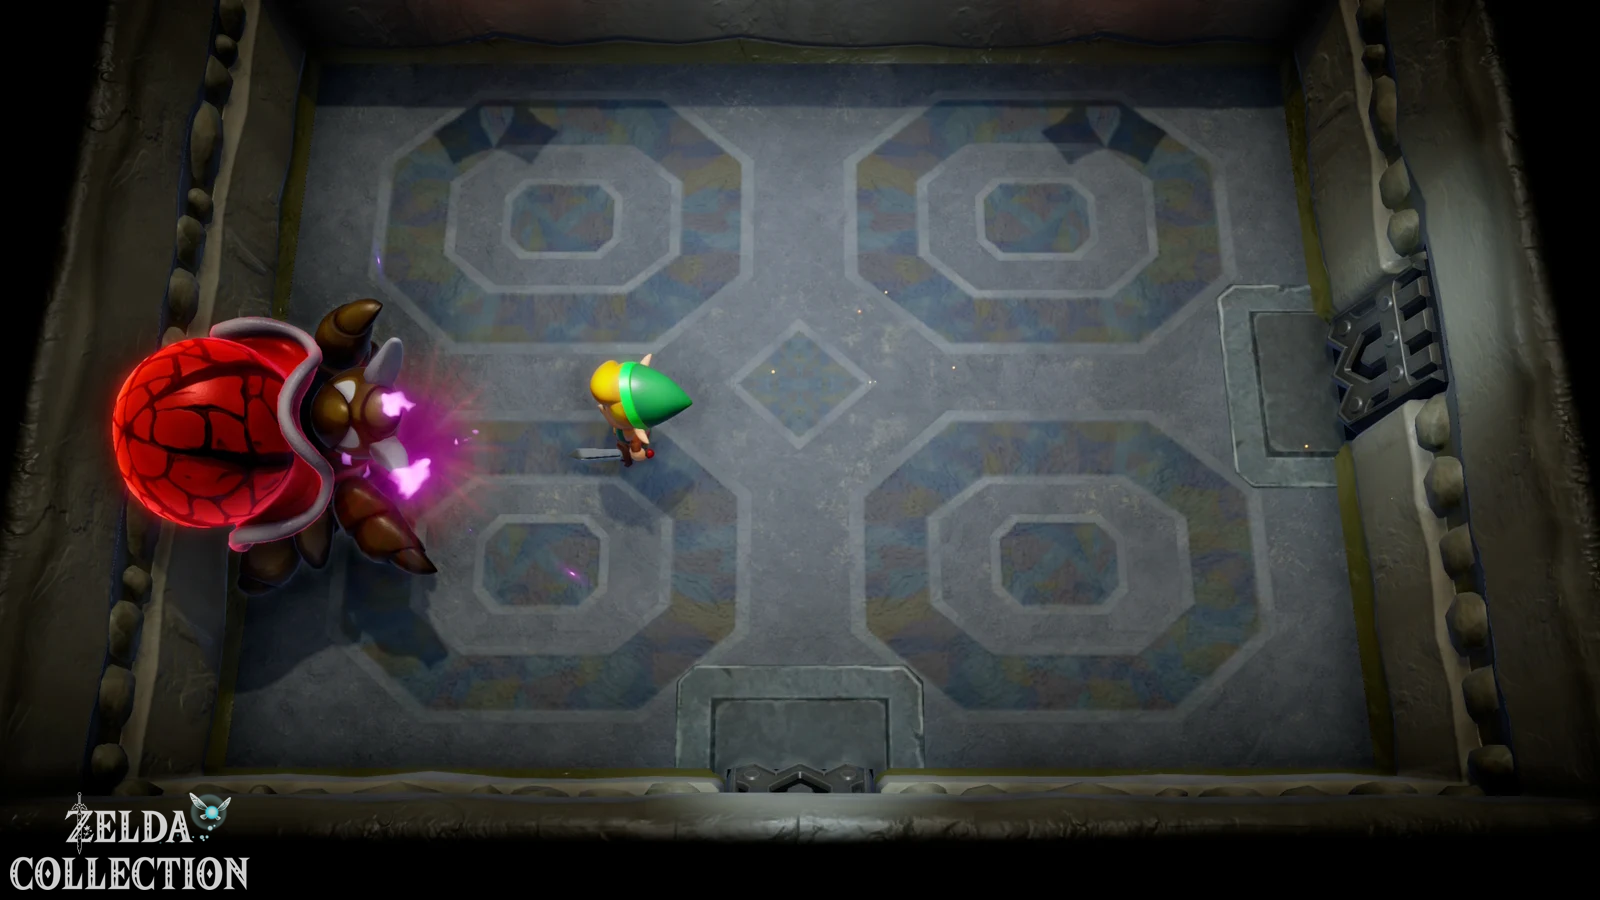
Hardhit Beetle changes from blue toward red as you hit it. Keep landing sword attacks before its shell recovers, while avoiding its projectiles and summoned enemies.
So stay as offensive as possible. Strike continuously with the sword and don’t give your opponent any longer breaks. If you wait too long between two hits, its color will change back to blue and some of your progress will be lost. The closer the Hardhit Beetle gets to the red color, the more aggressive it becomes. Dodge their attacks only as much as absolutely necessary and then follow up immediately. As soon as you have hit them often enough in the last color level, the boss is defeated.
Choose red or blue armor?
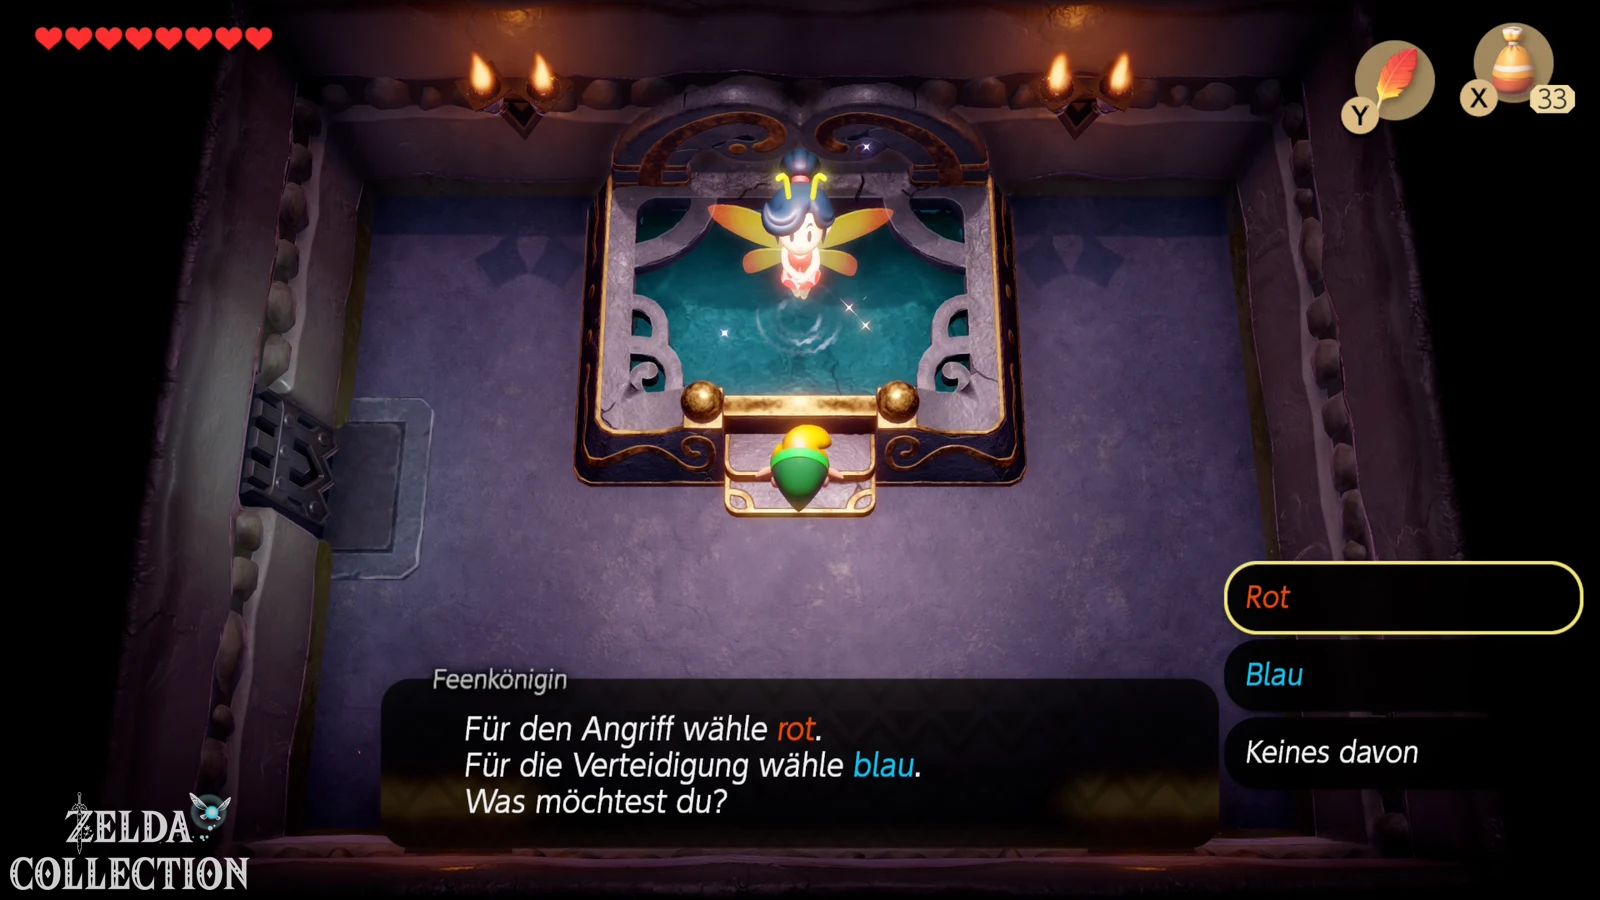
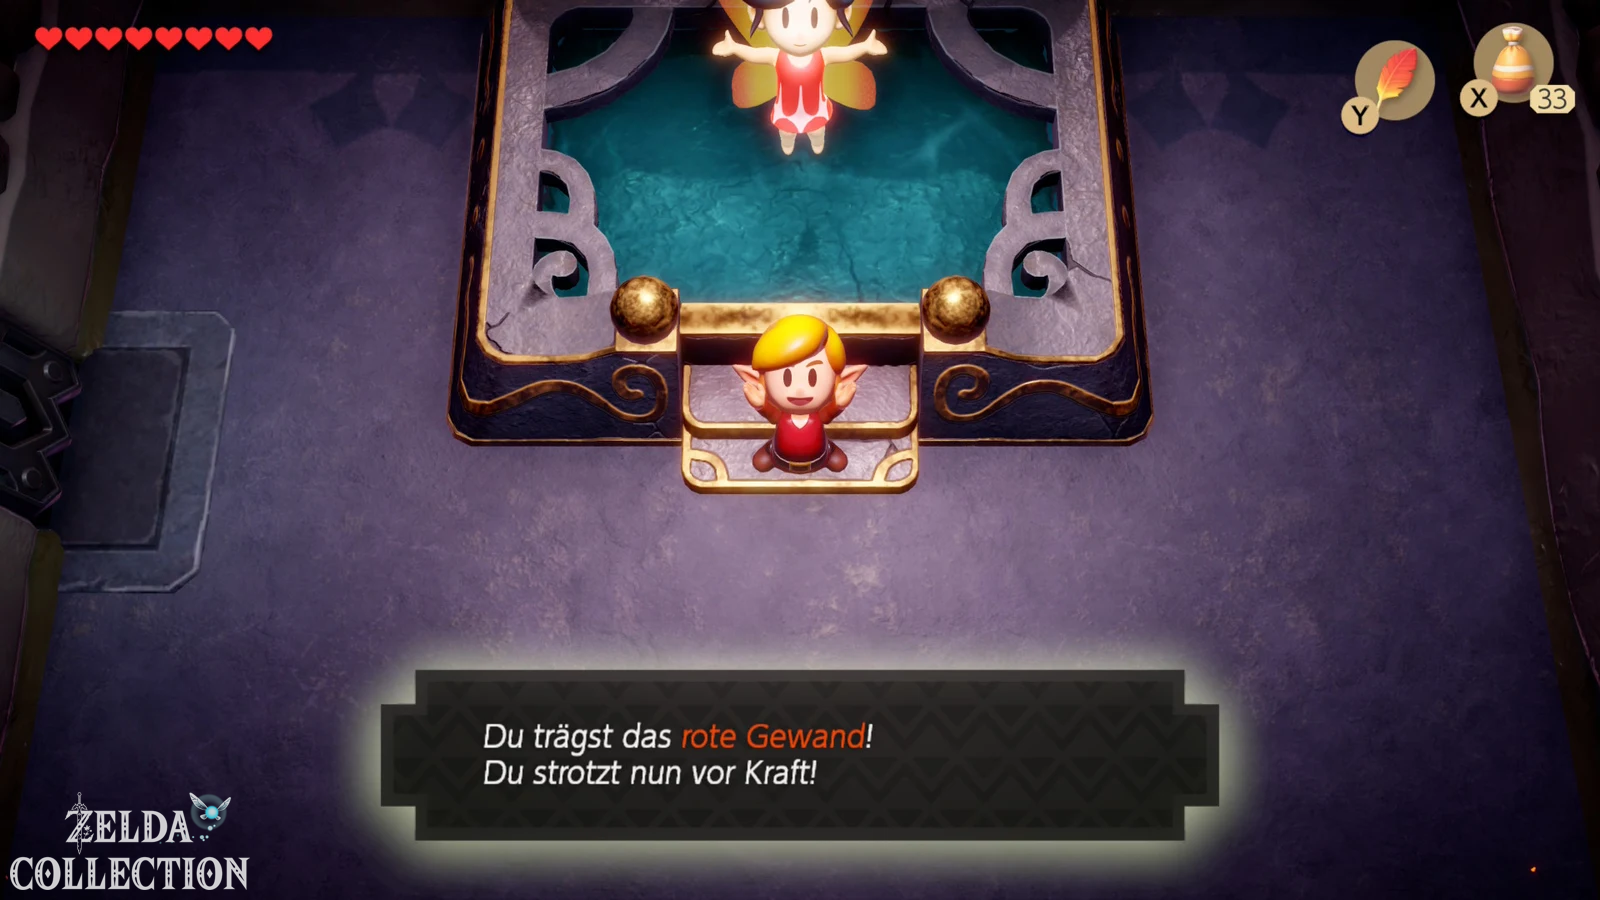
After the victory, go to the next room. The Great Fairy of the color labyrinth is waiting there. As a reward, she permanently offers Link one of two special pieces of armor. The red armor significantly increases Link’s attack power and therefore acts similarly to a permanent piece of power. The blue armor, on the other hand, reduces the damage taken and works similarly to a permanently active Guardian Acorn. After you have made your decision, the fairy will automatically take you back to the cemetery.
- Red Armor: Link’s attack power is doubled. This allows you to defeat normal enemies and many bosses much faster.
- Blue Armor: Link only takes about half as much damage and can therefore withstand significantly more hits.
For our 100% walkthrough we recommend the red armor. Since we consistently collect all 32 Pieces of Heart, Heart Container and later all three bottles, Link has a lot of health anyway. The additional damage of the red armor, on the other hand, shortens almost every fight in the remaining game time and is particularly pleasant for intermediate bosses and the later dungeons.
However, the decision is not final . If you would prefer to wear the other armor later, you can re-enter the Color Dungeon at any time and return to the Great Fairy. It swaps red for blue or blue for red. You don’t have to completely solve the dungeon again to do this.
How do Piece of Power and Guardian Acorn work with the armor?
The basic idea of the two pieces of armor corresponds to the temporary reinforcements that you already know from the normal game. The Piece of Power temporarily increases Link’s attack power, while the Guardian Acorn improves defense. The red or blue dresses make a corresponding bonus permanently available. This means Link is noticeably stronger after the Color Dungeon, regardless of which variant you choose.
For an offensive style of play, red remains the better choice. If you play in hero mode, aim for a no-death run or would prefer additional security for later bosses, you can do very well with the blue armor. Since the Great Fairy allows a free change, you can adjust your decision at any time.
When is the Color Dungeon most worthwhile?
Technically you can complete the Color Dungeon at any time after receiving the Pegasus Boots. However, for an optimal solution, directly after Key Cavern is the best time. You then have Roc’s Feather, Power Bracelet, bombs, Magic Powder and Pegasus Boots – everything you need for the dungeon – and you can then use the selected armor for five regular dungeons, numerous intermediate bosses and the entire second half of the overworld.
In addition, after completing the Color Dungeon in the Nintendo Switch remake, the first two expensive Chamber Stones will be unlocked in the Mabe Village store. If you want to complete the game, you have an additional reason to complete the optional dungeon as early as possible.