

Begin on Skyloft, find Link’s missing Loftwing and win the Wing Ceremony. Then obtain the Goddess Sword, Adventure Pouch, Wooden Shield and first Empty Bottle before descending to the Surface.
The Morning of the Wing Ceremony
After the introductory sequence, Link awakens in his room in the Skyloft Knight School. Before you set off to see Zelda, you should first look around your room. Open the cabinet because there is already a blue Rupee worth 5 Rupees. Especially at the beginning, every Rupee is worth it, as you can buy equipment a short time later and have it improved later by a tinkerer.
Then leave your room and walk down the hallway. Near the kitchen you will meet Fledge, who is struggling with several heavy barrels. This small task is optional, but should not be missed in a Walkthrough. Talk to Fledge and agree to help him. Pick up one of the barrels and carry it to the adjacent kitchen.
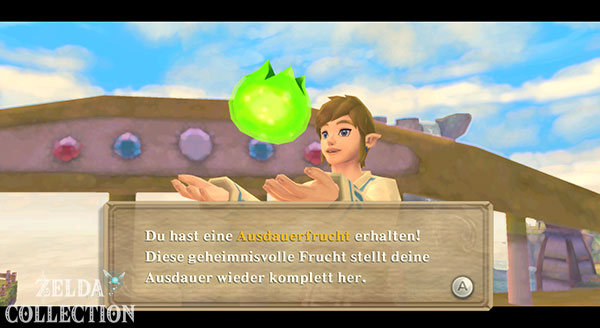
While Link carries the heavy barrel, his green Stamina Gauge empties. Put down the barrel in time before the stamina is completely used up. Wait a few seconds and then continue wearing it. Finally, leave the barrel with the cook and return to Fledge. As a thank you, you will receive a red Rupee worth 20 Rupees.
Now you can leave the Knight Academy through the large double doors. The actual Skyloft tutorial begins outside.
Difference in Skyward Sword HD: Some of the long explanations about stamina, automatic jumping, and basic movements have been significantly shortened in the HD version. The mechanics themselves continue to work the same way. In addition, you can control the camera much more freely in the Switch version than in the Wii original.
Save Mia from the roof of the Knight Academy
Go left. Shortly afterwards you speak Horwell and explains some of the basics of the controls. Use the crates and ledges to get up to him. At the same time, you will learn how Link climbs automatically and jumps over smaller abysses.
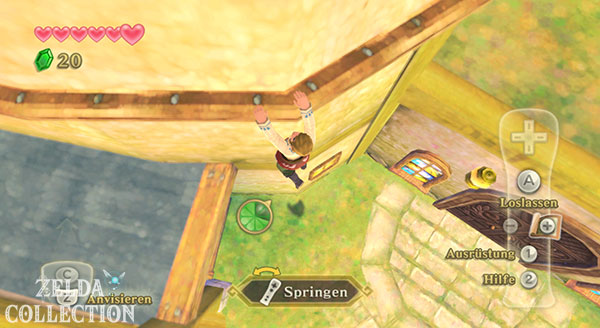
Horwell has a problem: Mia, the pet of school principal Gaepora, is sitting on the roof of the Knight Academy and can’t come down. To reach Mia, go behind Horwell to the wall reinforcement and hang on the narrow ledge. Shimmy along it and then drop onto the next section.
Follow the narrow path and climb up the vines. There you will find a wooden box. Push it up to the wall of the higher part of the building. Climb on the box and pull yourself up to the roof. Mia is already waiting for you here.
Pick up the animal and bring it back to Horwell. You don’t have to take the entire climbing path back. Walk across the roof with Mia and jump back to the level below. Then give it to Horwell.
Difference in Skyward Sword HD: In the Nintendo Switch version, for saving Mia you will also receive a red Rupee worth 20 Rupees from Horwell. This reward did not exist in the original Wii game.
Horwell then asks you to tell Gaepora that Mia has been rescued. The school principal is with Zelda in front of the large statue of the goddess. So follow the path across the bridge towards the statue that is visible from afar.




Zelda and the Lost Loftwing
In front of the statue you will meet Zelda. She tells you about the upcoming bird rider ceremony and shows you her lyre. Shortly afterwards Gaepora joins them. Since Link is supposed to take part in the traditional competition that day, Zelda would like to check again how well you have mastered your Loftwing.
She leads you to one of the jumping platforms and unceremoniously pushes Link down. But when you call your bird, it doesn’t appear. Zelda ultimately has to save you with her own Loftwing. Your companion has disappeared and you cannot take part in the ceremony without him.
Return to the Knight Academy across the large bridge and speak to Horwell again. Then jump down to the lower level and go through the large gate. Follow the path towards the Light Tower. On the way, Rissa’s son speaks to you. Run into the tree as he asked before continuing on your way.
At the big square you finally meet Groose and his friends. It quickly becomes clear that Groose has something to do with your bird’s disappearance. Zelda appears and reprimands him. You then divide the search: Zelda searches from the air, while Link looks for clues on the ground.


Ask Pipit and Fledge about the Waterfall
First talk to the residents in the area. Finally, the search leads you back to the Knight Academy or to the Sparring Hall. There you will meet Pipit and Fledge. From them you learn that Groose talked about the kidnapping of your bird and that the Loftwing was apparently hidden near the waterfall.
Since there are monsters in the cave there, you first need a weapon. Therefore enter the Sparring Hall right next to the two.
Get the practice sword
Speak to the Swordmaster in the Sparring Hall. He allows you to use one of the swords from the back room. Go through the door and open the large chest there. Inside is the practice sword.
Before you go outside again, you should use the training dummies. The notches in the wooden posts show you which direction you have to strike from. Skyward Sword distinguishes between horizontal, vertical and diagonal slashes and stabs. These hitting directions are later crucial for many enemies and puzzles.
After you have mastered the basics, the sword master will also teach you the spin attack and the Fatal Blow. Then try to leave the hall. The sword master initially stops you, but after your explanation allows you to take the practice sword with you.
Difference in Skyward Sword HD: In the Wii original, the sword movements are carried out exclusively via Wii MotionPlus. In Skyward Sword HD you can either use the Joy-Con’s motion controls or switch to button controls. With button controls, you determine the direction of your sword strikes with the right control stick. That’s why all puzzles and enemies are still designed for precise hitting directions, regardless of which control scheme you use.


The Sheikah Stone – only in the Wii version
In the original Skyward Sword for Wii, when you leave the Sparring Hall with the sword, a special Sheikah Stone rises from the ground next to the building. You can watch help videos if you get stuck with certain tasks.
Difference in Skyward Sword HD: This Sheikah Stone has been completely removed in the Nintendo Switch version. If you’re playing Skyward Sword HD and don’t see a stone at this point, you haven’t missed anything. The revised version instead relies on less intrusive tutorials and optional help.
The path to the waterfall cave
Now you can make your way to the waterfall. Leave the Sparring Hall area and head towards the bazaar. Walk around the large round building and then follow the path to the water.
When you reach the bank, go left. Jump over the stones sticking out of the water and approach the waterfall. Behind or to the side of it you will find the entrance to the waterfall cave. Several wooden posts block the path. Smash it with your practice sword and go inside.
Waterfall Cave – all Rupees and Treasure Chests
You will meet your first real opponents in the waterfall cave. Keese and green slimes don’t pose much of a threat yet, but are a good opportunity to try out the different directions of the sword.
First follow the only path. On the right you will pass a fence that is broken at one point. Go through the gap and jump to the opposite hill. There you will find the first small Treasure Chest. Open it to get a Red Rupee worth 20 Rupees.
Then jump back onto the main path and continue following the cave. After a short while you reach a steep slope. Sprint up before Link’s stamina runs out.
In the next section you will find several climbing vines near a small waterhole. Climb it. There’s another chest at the top with one second red Rupee worth 20Rupees. Both chests are also in our complete guide to the Treasure Chests in Skyward Sword listed.
Before you head for the exit, you should look for a low opening at the base of a wall. If necessary, smash the grass in front of it and crawl through the small tunnel. Wait behind it two more red ones Rupees on you. So you can do another 40Rupees collect. Then return to the main path.
Climb up the last raised passage and exit the waterfall cave through the exit.




Freeing the missing Loftwing
Directly behind the cave exit you will find a bird statue. In the Wii original, you should definitely use them to save. You can still save manually here in Skyward Sword HD.
Difference in Skyward Sword HD: The HD version also has an automatic save system. Your progress is regularly saved in a separate autosave save. The bird statues still remain important, as they later also serve as a connection between the Surface and Sky.
Follow the path to the right. Zelda appears briefly and once again perceives those mysterious voices from the Surface. You can then continue on your way.
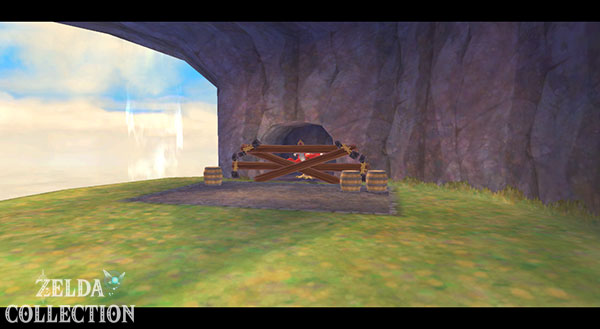
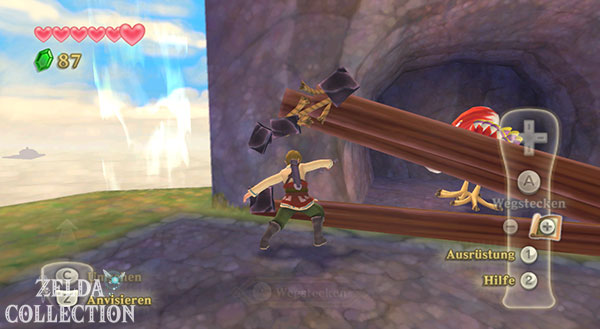
Just a little later you will find your red Loftwing. He was locked behind a wooden barricade. Don’t focus on the boards themselves, but on them Ropes with which the structure is attached. Cut all the ropes with targeted sword blows. As soon as all the fortifications are destroyed, the barricade falls apart and your bird is finally free again.
Flying with the Loftwing
After your bird has been freed, a short flight training session follows with Zelda. You will learn to build up altitude, go into a descent and accelerate your Loftwing.
For longer distances, you shouldn’t just let your bird fly straight ahead. First gain altitude and then go into a slight descent. This will help you build up additional speed. Use your short bursts of acceleration specifically if you want to quickly catch up to a goal.
Difference in Skyward Sword HD: The flight controls have also been adapted to Nintendo Switch. With motion control you can continue to control your bird through appropriate movements, while with button control you have classic control via the analog sticks. If in doubt, follow the control instructions displayed for your chosen scheme.
Win the Wing Ceremony
After your flight training you return to Skyloft. Groose appears again and provokes Link before the Wing Ceremony finally begins.
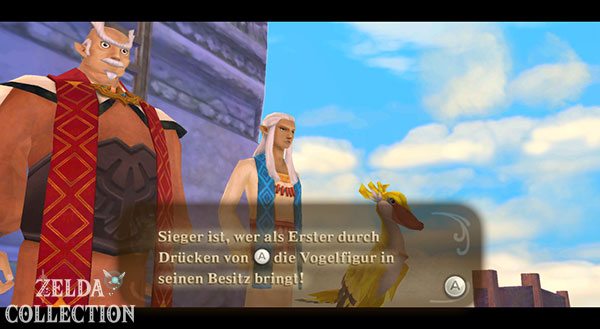
The goal is simple: a gold-colored bird has a small Bird Statuette on its tail feathers. You have to reach this figure and take it. Jump off the platform, call your Loftwing and immediately give chase.
Don’t try to stay exactly behind the golden bird all the time. First gain some height and then fly slightly towards him from above. Combine the descent with a burst of speed. This means you can shorten the distance much more quickly.
Once you are close enough, you can grab the Bird Statuette. However, on the first try, Groose prevents you from winning. This is part of the ceremony and cannot be avoided.
On the second attempt, Groose’s friends also intervene and throw eggs at you. Change your flight direction slightly to avoid them, but don’t lose sight of the golden bird. Build up altitude again, descend and catch up with a boost.
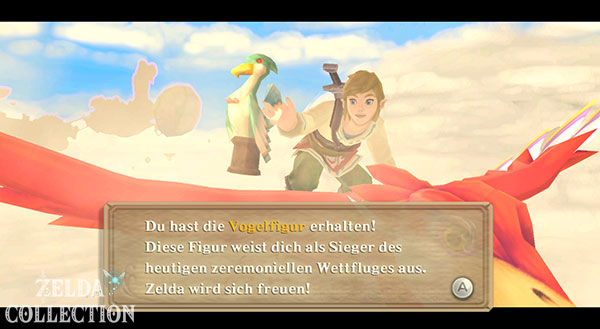
If you reach the bird a second time, you can finally grab the figure. With this, Link wins the bird rider ceremony.
Get the Sailcloth from Zelda
After your victory, you fly together with Zelda to the statue of the goddess. The traditional conclusion of the ceremony takes place there. Zelda gives you the Sailcloth, which is essential for the rest of the game.
With the Sailcloth you can safely catch big falls. In addition, strong air currents will later allow you to be carried upwards.
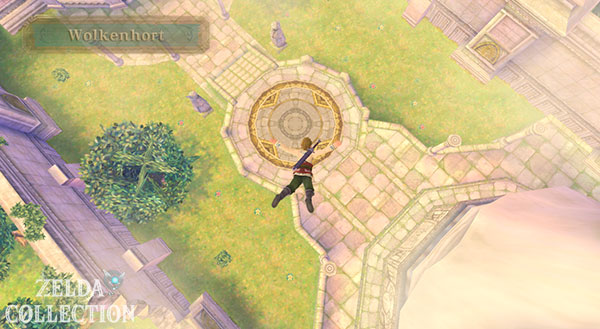
Of course Zelda wants to see immediately whether you can handle your new item. Jump from the statue and head towards the marked circle as you fall. Open the Sailcloth just before the ground and try to land as precisely as possible in the target area.
After a successful landing, Zelda sets off on a sightseeing flight with Link.






The black cyclone and Zelda’s disappearance
The peaceful sightseeing flight comes to an abrupt end. A massive black whirlwind appears and engulfs Zelda. She is thrown from her Loftwing and falls towards the Surface.
Link tries to fly after her and save her, but is also caught in the storm and loses consciousness. In a vision he sees Zelda falling into the depths and once again encounters the huge, dark creature that was already hinted at at the beginning of the game.
When Link wakes up again, he is lying in his bed in the Knight Academy. Gaepora is with him. After Link explains what happened, the school principal tries to calm him down. But a little later, Link hears the mysterious voice from his dreams again.
Follow the mysterious figure through Skyloft
Leave your room. You recognize the mysterious figure in the hallway. As soon as you approach, she moves away. Follow her out of the Knight Academy and through the night Skyloft.
At night the behavior of some residents and animals changes. You shouldn’t underestimate Mia in particular: the animal, which is peaceful during the day, becomes aggressive at night and attacks Link. You can dodge it or push it back with a few sword strikes.
Keep following the mysterious figure. The path leads you to a narrow ledge that you have to climb along. Then sprint up the small slope and jump to the offshore island.
From there you can reach the climbing vines at the back of the large island. Climb up and follow the figure to behind the statue of the goddess. There she opens a previously hidden entrance.
On the way you can also collect a small Treasure Chest with 20 Rupees. It is not required for story progression, but should not be left behind when completing a complete round of Skyloft.
Fi and the Goddess Sword
Enter the secret chamber below the statue. In the middle there is a sword in a base. The mysterious figure now reveals itself as Fi, the spirit of this sword.
Go to the pedestal and pull out the Goddess Sword. Gaepora appears and then tells you about an old prophecy. Fi also confirms that Zelda is still alive and below the cloud cover.
Difference in Skyward Sword HD: Fi interrupts the game much less frequently in the Switch version. Many hints that she said automatically in the Wii original are only offered in HD and can be called up manually if necessary. Important story dialogues are of course retained.
Learn the Skyward Strike
Fi gives you the Emerald Tablet. Before you can use it, you will get to know the Skyward Strike. Hold the sword vertically upwards until energy collects in the blade.
Then align yourself with the bird symbol in the room and strike. The stored energy is released as Skyward Strike and activates the altar.
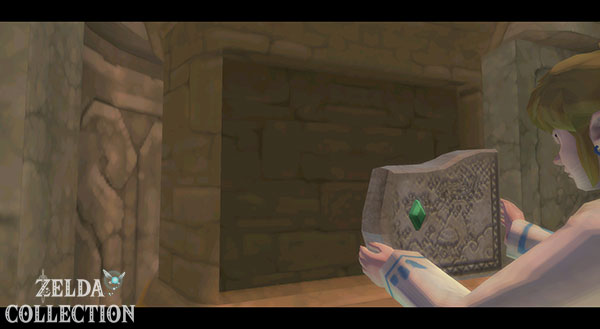
A depression will now open in the altar. Place the emerald tablet inside. A huge green Column of Light then appears in the Sky. It opens the way through the cloud cover and marks your first destination on Earth.




The knight’s robe and the Adventure Pouch
After the following night, Link wears his signature green knight’s robe for the first time. Before you immediately set off for the Surface, you should not leave Skyloft yet. First you will receive some important equipment.
Fledge hands you the Adventure Pouch. Bottles, shields, medals and various additional bags are stored in it. At the beginning the bag has four spaces. You can later expand it to a total of eight places. You can find all extensions in our guide to wallet and additional bags.
Get the Wooden Shield
Leave the Knight Academy through the lower entrance. Horwell is waiting for you there. He gives you a Wooden Shield for your upcoming adventure.
Shields have their own durability in Skyward Sword. If you block too many attacks clumsily, your shield can break. A perfectly executed Shield Bash fends off enemy attacks much more efficiently. If you want, you can visit Sparring Hall again and have the sword master explain how to use the shield.
Many shields and other items can be improved later at Gondo. You can find all materials and costs in our guide to the upgrade at Tinkerer Gondo.
Empty Bottle and heart potion in the bazaar
Now go to the large round building in the center of the cloud lair: the bazaar. There are various merchants and services here that you will need regularly throughout the game.
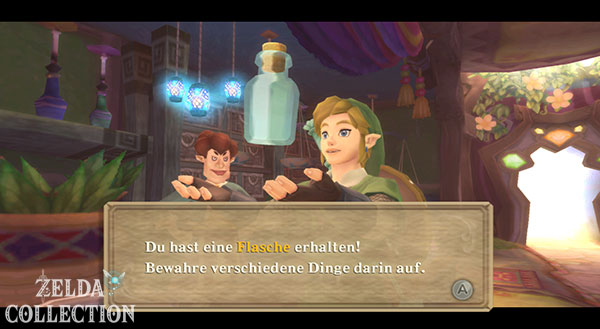
Be sure to visit the potion shop. Speak to the dealer and you will receive your first Empty Bottle for free. You should fill this directly with a heart potion. The potion restores eight hearts and provides you with valuable emergency healing during your first stay in the Surface.
You can also purchase an additional Wooden Shield from the equipment shop. This is not mandatory, but can be useful if your first shield breaks during the adventure.
You can improve equipment at the tinkerer Gondo. At this point, however, you are still missing most of the treasures required in the normal first playthrough, which is why you can save your Rupees for now.
Descend through the Green Column of Light
You are now prepared for your first trip to the Surface. Leave the bazaar and go to one of the wooden jumping platforms at the edge of the cloud lair. Jump down and call your red Loftwing.
In the Sky, the huge green Column of Light is hard to miss. Fly straight towards it. When you are above the opening in the cloud cover, jump from your Loftwing.
Link falls through the cloud cover and reaches the mysterious earth for the first time. Your first landing spot is in the Sealed Grounds. From there, your search for Zelda continues in the direction of Faron Woods.




Continue to Sealed Grounds and Faron Woods
With the jump through the green Column of Light is the prologue in Skyloft completed. In the next section you explore first Sealed Grounds, learn Phais Dowsing and then open the way to it Faron Woods. There the search for the Kikwi begins and finally the path to the first big dungeon, the Skyview Temple.