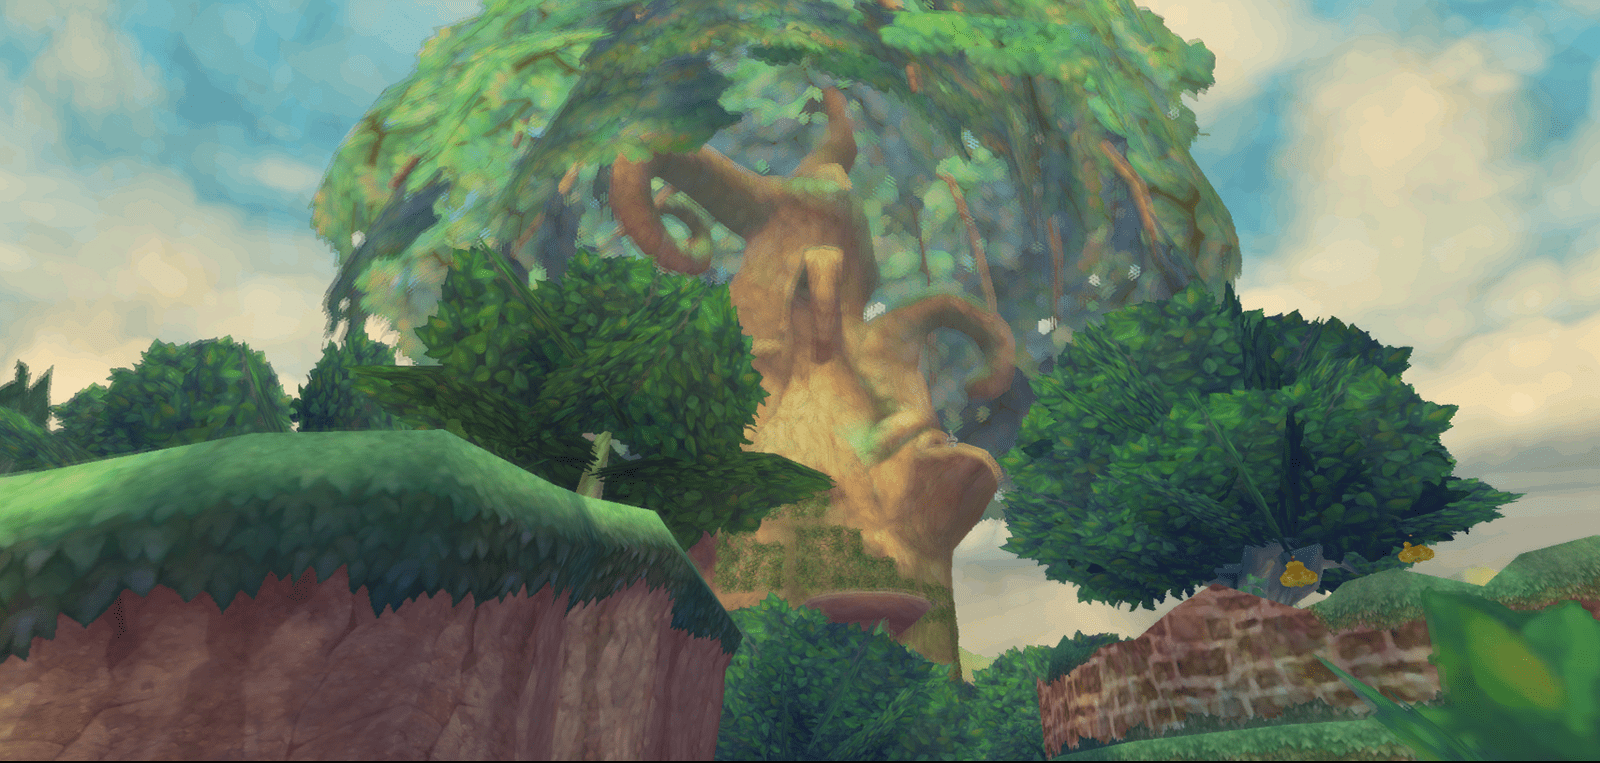

From the Sealed Grounds, enter Faron Woods and find the three missing Kikwi. Collect the Slingshot, activate the first Goddess Cubes and visit the available sky rewards before entering Skyview Temple.
lands in the Sealed Grounds
After Link has flown through the green Column of Light with his Loftwing, he jumps through the cloud cover for the first time and reaches the mysterious the Surface. Thanks to the Sailcloth you will land safely in the Sealed Grounds.
First follow the only possible path. After just a few meters you will come across a Deku Baba. These carnivorous plants are among the first enemies where the direction of your sword is crucial. If the plant opens its mouth horizontally, you perform a vertical sword strike. If she opens it vertically, you close it horizontally.
Get into the habit of observing your opponent briefly instead of attacking uncontrollably. This principle later plays an important role in numerous opponents and especially in the upcoming Skyview Temple.
Difference in Skyward Sword HD: On the Wii you carry out the different sword blows exclusively with Wii MotionPlus. In Skyward Sword HD you can choose between motion control with the Joy-Con or full button control. With button control, you determine the direction of the hit mainly using the right control stick. Enemies and puzzles work identically in both versions.
Continue following the path and finally jump down from the hill. A cutscene begins. Link looks at a giant spiral crater and is seemingly drawn to the dark energy at its center. Shortly afterwards it turns out that it was a vision again.
Behind you are old ruins with a locked gate. You can’t get any further there at the moment. Your next destination is therefore at the bottom of the crater.


Activate the seal in the crater
Work your way further and further down the spiral path. You can also jump directly down individual levels. In this case, open the Sailcloth just before the ground so that Link doesn’t take any falling damage.
At the bottom there is a black stone surrounded by dark energy. Hold the Goddess Sword up and wait for the blade to fully charge. Then unleash a Skyward Strike against the stone.
The darkness disappears and openings are activated everywhere in the crater, from which strong air currents now shoot upwards.
Fi will contact you and introduce you to the Dowsing. This means you can now search specifically for specific people and later also for objects. Select Zelda as the target and pay attention to which direction the signal is strongest.
Difference in Skyward Sword HD: The basic introduction to the Dowsing is still present. However, many additional interruptions and repeated references from Fi have been reduced or made optional in the HD version. This means you can explore areas much more undisturbed.
Return to the ruins with the Sailcloth
Stand over one of the newly activated airflows and open your Sailcloth. The wind carries Link up several levels.
Use the individual air streams one after the other until you reach the upper area of the crater again. The previously locked gate at the ruins is now open.
Go through and enter the Sealed Temple.
Obtain the second Empty Bottle
A mysterious old woman awaits you inside the temple. She knows Zelda and apparently knows a lot more about the events in the Surface than she initially lets on.
During the conversation you will also get to know the map markings. Set your own waypoint to the specified destination in Faron Woods. The marking then also appears during normal play and makes orientation easier for you.
Before you leave the temple, you should definitely open the Treasure Chest next to or to the right of the stairs. Inside is your second Empty Bottle. It is already filled with a Revitalizing Potion.
The Revitalizing Potion is extremely useful. When drinking, it will fully repair your current shield and also restore four hearts. Especially with the sensitive Wooden Shield, you shouldn’t waste the potion unnecessarily.
Since empty bottles are one of the most important permanent collectibles in the game, this chest is of course mandatory for our 100% route.


Save Gorko and activate the bird statue
Leave the temple through the opened door and follow the path. In the next clearing, a Goron is attacked by several red Bokoblins.
Defeat all enemies. For larger groups, don’t try to randomly hit everyone Bokoblins at the same time. Use your shield or wait for a clear side of their cover and attack specifically.
After the fight, the Goron thanks you and introduces himself as Gorko. He explores the remains of an ancient civilization and will meet Link several times during his journey.
Then approach the bird statue in the clearing. It will be activated and will now be available to you as a save point and as a connection to the Sky.
Difference in Skyward Sword HD: The bird statues basically work like in the Wii version. In addition, Skyward Sword HD has an automatic save function. Nevertheless, you should still activate the bird statues, as they also unlock your later landing points in the Surface.
Take the Woodland Rhino Beetle with you in the Sealed Grounds
Before you go any further, you should look around the overgrown walls to the right or near the bird statue. forest rhinoceros beetles can sit there.
These insects are an exception: you don’t need an Bug Net yet. Use a roll to run against the wall where the Beetle is sitting. It falls to the ground and can then easily be collected.
The Beetle will be needed later to improve various potions. Since they can respawn, they are not one-time collectibles. For a well-prepared 100% route, you should still take the easily accessible specimens with you.
Open the first shortcut
From the bird statue, look around for a wall with vines. Climb up and follow the small passage.
At the other end you will find a large tree trunk. Push him over the edge. This creates a permanent shortcut to the landing site.
You will come across such tree trunks regularly in Faron Woods. Roll down every trunk you can reach, as many of them will save you long detours on later visits.
Then move on. There is another tree trunk in front of a raised edge. Push it against the wall and use it as a step.
A little later you reach the Faron Woods.


Enter Faron Woods
When you enter the new area, Faron Woods will appear on your map. Here too, activate every bird statue that you find along the way.
Follow the path to a small chasm. A vine hangs over the gap. Sprint towards it, jump onto the vine and swing to the other side.
In the following clearing you can fell several thin trees with your sword. If possible, hit the marked or weaker areas in the trunk. Rupees or materials may come to light.
Machi – the first Kikwi
Continue your path until you see several Bokoblins harassing a strange plant. Defeat all opponents and then approach the unknown creature.
The supposed plant is a Kikwi called Machi. However, the little forest dweller gets scared at the sight of Link and runs away.
Follow him up the hill. In the next clearing, Machi is hiding behind a large mushroom. Hit the mushroom with your sword to make it change its hiding place.
Repeat the process on the next mushrooms. Of course, you shouldn’t hit Machi – just disturb his hiding places. After a few tries, he realizes that Link doesn’t want to harm him.
Machi finally tells you about his chief Bucha, who may know something about Zelda.


Piece of Heart Number 1 in Faron Woods
Before you go directly to the Kikwi chief, you can already collect the first regular Piece of Heart of our trip.
Orient yourself with the large tree in the center of the forest. Look for a natural ramp or rising root that will take you to a higher level.
At the top, a taut rope leads to a small platform on the large tree. Carefully balance across. At the end, the Piece of Heart is clearly waiting.
Four Pieces of Heart automatically result in an additional Heart Container. You can also find all Locations in our guide to all Pieces of Heart in Skyward Sword.
Difference in Skyward Sword HD: When balancing, the inputs differ depending on the control type. However, the path and location of the heart piece are identical in the Wii and HD versions.
Find the Kikwi Chief Bucha
Then roll the accessible tree trunk in Machi’s area off the edge. You can already find amber half moons under or near these abbreviations. They will later be needed to upgrade various pieces of equipment.
Now follow the path in an east or northeast direction. On the steep hill with a Deku Baba you should go to the top Dashing and only take care of the plant there.
Continue on your way and roll the next tree trunk down. Then pass the ruins and follow the grassy hollow.
At the end you will find a tied rope. Cut the attachment with the sword, grab the rope and swing yourself to the opposite hill.
There an extremely large Kikwi tries to hide more or less successfully in the grass. Speak to him from the beginning. It is Bucha, the chief of the Kikwi.


Find the three missing Kikwi
Report to Bucha about Machi and then ask for Zelda. The chief can actually help you, but first he wants to be sure that his three other tribe members are well.
Looking for Lopsa, Erla and Oolo. Fi expands your Dowsing. If you lose your orientation, you can now specifically search for the Kikwi.
Find Lopsa
Near Bucha, look for a low passage under a tree and crawl through. On the other side you climb up the tendrils.
There you will reach a taut rope. Shake off the prickly plants or burrs before balancing on them so that they don’t knock you off the rope.
On the other hand, you will encounter several Bokoblins. One of them carries a horn and calls for reinforcements. If possible, take care of this enemy first.
After all enemies are defeated, you will hear Lopsa coming from a tree. Perform a roll against the tribe. The impact causes the Kikwi to fall to the ground and can then be addressed.
This means that Lopsa is found.


Find Erla
Then use the vine that is now hanging down from the tree and swing yourself onto the next ledge. Again, roll down the tree trunk to open another shortcut.
Go down the east side of the large tree and make your way past the ruins. On the northern rock wall you will find climbing vines.
Climb onto the overgrown platform. Erla is perfectly camouflaged there among the tall grass.
Cut the grass on the platform completely down with your sword. Once his disguise is gone, reveals himself to Erla.
Find Oolo
Then jump back to the lower level and look south for a low passage. Crawl through and follow the wall up.
You reach another raised platform via the narrow path. Look for a hole in the ground there and drop down.
Follow the short tunnel. At the end there is a suspicious looking bush. Try to pick it up.
The supposed bush turns out to be Oolo. With that you have found all three missing Kikwi.


Obtain the Slingshot from Bucha
Return to Bucha. Thanks to the tree trunk shortcuts that have now been opened, the way back takes significantly less time.
Bucha is relieved that his tribe members are safe. He now reveals to you that Zelda actually came through the forest and went further north.
As an additional reward you will receive the Slingshot. This tool will become indispensable in just a few minutes.
As a test, shoot at the core of the curly vine shown by Bucha. The plant unfolds and lets a vine hang down. Swing yourself over the gorge.
With the Slingshot you finally have the opportunity to enter Beedle’s flying shop in Skyloft. Before we do that, however, let’s first collect the two early Goddess Cubes.
Reach Deep Woods
Follow the path northeast to the ruins. Use your Slingshot to open more curled tendrils.
Be sure to activate the bird statue on the raised platform along the way. It will later serve as a practical landing point.
Then shoot the core of the next curly vine and swing up. A short scene shows that Link is apparently being watched.
You are now in the area Deep Woods.


Take Hornet Larvae with you in the deep forest
Shortly after entering the area you will see a hornet’s nest near a stretched rope.
Shoot down the nest with the Slingshot from a safe distance. If it lands on accessible ground, you can collect Hornet Larvae. They are among the materials that will later be needed for various item upgrades.
The larvae are repeatable and therefore not a one-time, 100% collectible. Since you’ll be passing this nest anyway, you should take it with you straight away.
We don’t have the actual Bug Net yet. Once we visit Beedle later in this chapter, you can also use the net to catch Deku Hornets as well as other insects and bird feathers.
The 20-rupee chest in the Deep Forest
Cross the rope and kill the Bokoblin on the other side. Shortly afterwards you meet a stronger Quadro Baba or Quadro-Deku Baba, which can open its mouth both horizontally and vertically.
Observe their current position and attack in whichever direction is free. Alternatively, you can fend off an enemy attack with a well-timed Shield Bash.
Then go to the raised platform. There is a small Treasure Chest. Open it and you will receive a red Rupee worth 20 Rupees.
This fixed chest is of course part of a complete route and at the same time brings you closer to your purchase at Beedle.
The first Goddess Cube
Continue following the path until you meet Gorko again. Next to him is a large, mysterious cube.
The Goron examines the object and asks Link for help. Hold the Goddess Sword up until a Skyward Strike charges and hit the cube.
The cube turns into light and disappears towards the sky. You have now activated your first Goddess Cube.
Each Goddess Cube unlocks a special Goddess Chest in the Sky. The corresponding chest of this first cube is on the Pumpkin Landing and contains a expansion of the Adventure Pouch.
You can also find all 27 Locations and associated rewards in our guide to all Goddess Cubes.
The second Goddess Cube
Continue towards the temple. Also roll the next log off the edge to open another shortcut.
Shortly before the temple you reach a gorge or an area directly in front of the entrance. Here is the second Goddess Cube.
Charge a Skyward Strike again and activate the cube.
The associated Goddess Chest appears on a small island in the south Sky and contains a Piece of Heart.
Collect the newly available rewards
There is a bird statue in front of the temple. Be sure to activate it. If you were to shoot the red Crystal Ball above the door and go in, you could continue with the story – but that would be too early for our 100% route.
We have just unlocked several new collectibles in the Sky with the two Goddess Cubes. Thanks to the Slingshot, we can also enter Beedle’s shop for the first time.
Therefore, use the bird statue and return to the sky first.


Goddess Chest 1 on Pumpkin Landing
After you return to Sky, Fi or your map will show the chests unlocked by the Goddess’ artifacts.
First fly to Pumpkin Landing southeast of the cloud lair. The island is easily recognized by the large pumpkin-shaped building.
The first Goddess Chest is on the outside of the building near the entrance. Open it.
You will receive a extension of the Adventure Pouch. This increases the number of your available pocket spaces from four to five.
Since this extension is permanent and is only obtained via this Goddess Cube, it must be included in our 100% route.
Piece of Heart Number 2 in the Lumpy Pumpkin
Then enters the Lumpy Pumpkin. Inside, the large chandelier is immediately noticeable. Another Piece of Heart is clearly visible on it.
Go up the stairs to the upper floor. Stand near the railing or wall closest to the chandelier and roll against it several times.
The chandelier begins to swing more and more and finally falls to the ground.
Go back downstairs and collect the Piece of Heart. Also take the fallen Rupees with you.
The owner of the Lumpy Pumpkin, Pumm, is understandably not very enthusiastic about your action. As compensation, Link is supposed to do several jobs for him. This begins a longer series of side quests, which later leads to another Piece of Heart.
Deliver Hot Pumpkin Soup from the Lumpy Pumpkin
The first order is to bring an Empty Bottle hot pumpkin soup to Swordmaster or Knight Commander Eagus in the Sparring Hall of the Skyloft.
For this you need a complete Empty Bottle. The soup must be delivered within five minutes before it cools down.
If one of your two bottles is already empty after the previous adventure, you can complete this task straight away. Get the soup, leave Pumpkin Landing immediately and fly directly to Skyloft. Land as close as possible to the Sparring Hall and hand the soup to Eagus.
Are your two bottles still with heart and Revitalizing Potion filled, you should Don’t throw away a valuable potion just for this job. The task cannot be missed. We’ll get the delivery after at the latest Skyview Temple after, as soon as one Empty Bottle has become empty naturally.
This keeps the route complete without wasting resources unnecessarily.
Piece of Heart Number 3 from Goddess Chest 2
Then leave Pumpkin Landing and get back on your Loftwing.
Fly to the small island south or southwest of Pumpkin Landing and south of the Skyloft, which is marked on your map with an activated Goddess Chest.
Land on the small island and open the chest.
Inside is your third Piece of Heart.
Before entering the first large dungeon you have already collected three of the four required Pieces of Heart for your first additional Heart Container: one in Faron Woods, one from the chandelier of the Lumpy Pumpkin and one from the second Goddess Chest.
Enter Beedle’s shop
Now fly back to Skyloft. Search the sky for Beedle’s flying shop. The building slowly circles over the island.
There is a bell hanging below the shop. Before you received the Slingshot, you couldn’t reliably reach it. Now aim the Slingshot at the bell.
Beedle then lowers a rope. Climb up it and enter his shop.
Buy the Bug Net
Our first must-buy at Beedle is the Bug Net for 50 Rupees.
From now on you can use the net to catch the numerous insects in the game. They are mainly needed for improving potions. In addition, you can use it to catch the small birds in Faron and get normal bird feathers as well as rare blue bird feathers.
For a 100% route you should therefore buy the network as early as possible. The longer you own it, the more materials you automatically collect during normal gameplay.
Buy the First Extra Wallet
Then buy the Extra Wallet from Beedle for 100 Rupees.
It increases your maximum ruby capacity by another 300 Rupees. This means you can now save significantly more money and avoid Rupees that you find later being lost because your wallet is full.
We will cover other wallets and pocket spaces as the solution progresses. You can also find an overview in our guide to wallet and additional bags.
With the Bug Net back to Faron
Before you enter the temple, you can put your new Bug Net to good use.
Fly back to the Faron region and land as close as possible to the forest or in the deep forest. Small birds can now be caught with the net. Normal birds provide bird feathers, rare blue birds provide a particularly valuable Blue Bird Feather.
Deku Hornets and various forest insects can now also be captured. These materials are repeatable and do not count towards a fixed number like Pieces of Heart or Goddess Cubes. Nevertheless, you should still collect a few copies along the way, as they will make numerous upgrades easier later.
At this point you don’t have to force a rare blue bird feather by reloading for a long time or changing areas. However, if you come across a blue bird, you should definitely take advantage of the opportunity.
Optional: Improve the Wooden Shield
If you have now collected enough materials, you can return to the bazaar in Skyloft and visit Gondo before the first dungeon.
The Wooden Shield can be upgraded to the more durable reinforced Wooden Shield or its next level. To do this you will need various early materials such as amber half moons as well as loot from Keese and slime enemies.
The upgrade is very useful for the Skyview Temple, but not mandatory. Since individual materials can depend on random enemy drops, you should not farm for an artificially long time. We’ll make all the improvements over the course of the 100% route anyway.
You can find more details in our guide to the upgrade at Tinkerer Gondo.
Return to Skyview Temple
When all detours have been completed, you return to the area of Faron via the green Column of Light.
When landing, select the bird statue directly at or as close as possible to Skyview Temple. This means you don’t have to cross the entire forest again.
Check your equipment before entering the temple. A functioning shield and at least one healing option are recommended. Thanks to the Goddess Chest, your Adventure Pouch now has five spaces and therefore offers significantly more flexibility.
Open the Skyview Temple
Go to the large entrance door. It is still closed.
Look up. There is a red Crystal Ball above the entrance. This mechanism cannot be achieved with the sword.
So pull out your Slingshot, aim at the red Crystal Ball and shoot a Dekuker at it.
The Crystal Ball is activated and the huge door opens.
You have now completed the Sealed Grounds, Faron Woods and Deep Woods and at the same time collected all of the important unique collectibles from our 100% route that are reasonably achievable at this point.


Continue in Skyview Temple
Link’s first large dungeon begins behind the opened door. In the Skyview Temple Eye Switch, skulltulas, locked rooms and numerous hidden Treasure Chests await you. You will also find a new tool with the Beetle and can collect another Piece of Heart inside the temple.
At the end, Link’s first direct encounter with Demon Lord Ghirahim awaits. Of course, we will also play the temple again as a complete 100% route and take all the chests, collectibles and the Goddess Cube that can be reached there with us.