
Search the mountain area with the Death Mountain on your map and explore its walkable crossings. Activate the Sheikah Stone and visit Cadence’s cave near the dungeon. If you haven’t completed all the encounters with her yet, this conversation also counts towards her way back into your group.
Preparation on Death Mountain
Check the area shops for the Goron Locket. Protection against lava and glowing ground is particularly helpful in the Gerudo Ruins. If you want to tackle this first, you can save yourself some dangerous moves there. A purchase is a preparation for fire hazards, not a requirement for entering any other dungeon Hyrule’s.
Have a shovel and some bombs ready for the Temple of Storms. Clear the path to the entrance and fill your hearts. Before you move on, also check accessible chests in the mountain area. Key items permanently expand your paths, while boots, rings and other aids with durability indicators must be replaced after a defeat.
Wind and trap doors in the Temple of Storms
The temple uses wind machines that push you back or move you in a different direction. First, look where their air currents reach. Suitable machines can be moved with the Power Glove. Change your position so that you can reach the next safe position and then the passage instead of repeatedly running against the same air current.
A large shield that has already been found offers Link another way to block the wind. When using it, point it towards the source of the airflow. In rooms with trap doors, you also have to pay attention to their timing: they open and close regularly. Wait in a safe place and cross it in the closed phase. Enemies can also get into these openings.
Search the generated sections for keys and open the chests on your way. For the boss, you especially need freedom of movement and a weapon with which you can attack specifically in front of the body. Refill your health before the last door. A normal shield is no substitute for dodging in the event of an impending electrical attack.
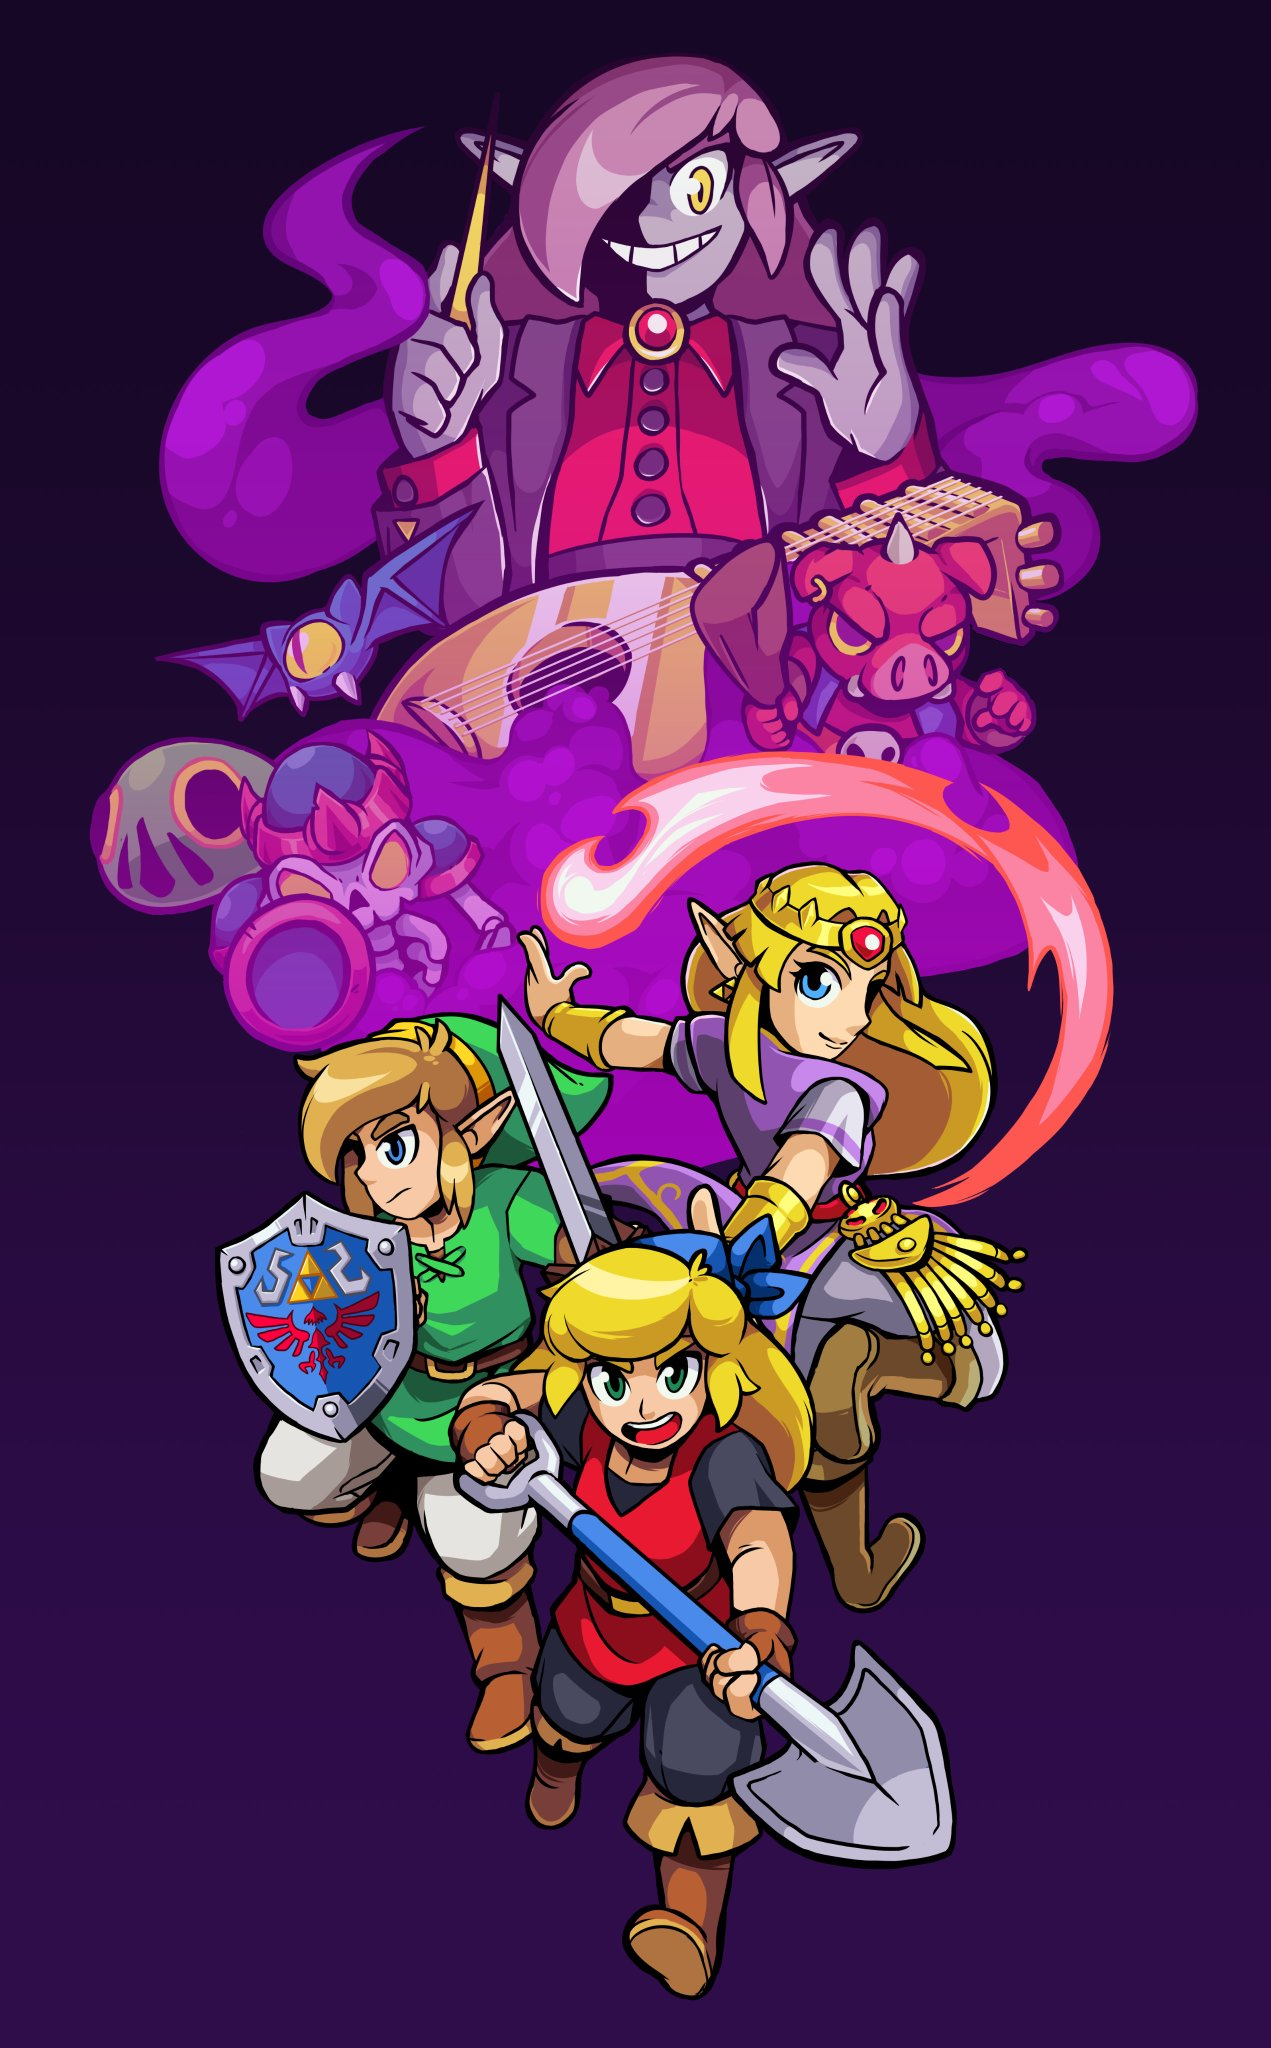
Gleeokenspiel and its four heads
Gleeokenspiel consists of one body and four heads. Attack the heads until they come away. The severed heads continue to move through the arena; eliminate them if they get too close to you. Your actual goal remains the body. As soon as you have created enough space, you can hit the decisive shots there.
Pay attention to the short, counted tone sequence before the lightning attack. After the third tone, the discharge follows in the next measure. The heads that are still connected determine which straight paths become dangerous. You can remove yourself from these lines during the announcement. Also, stay away from affected bodies of water and do not rely on Link’s shield against electrical damage.
After a hit to the body, you retreat again because Gleeokenspiel can push forward. Repeat the alternation of targeted attack and timely dodging until the body is defeated. Take Glockenspiel and Heart Container with you. If you now also have maracas, oboe and bass guitar, you can start your journey to Hyrule Castle.