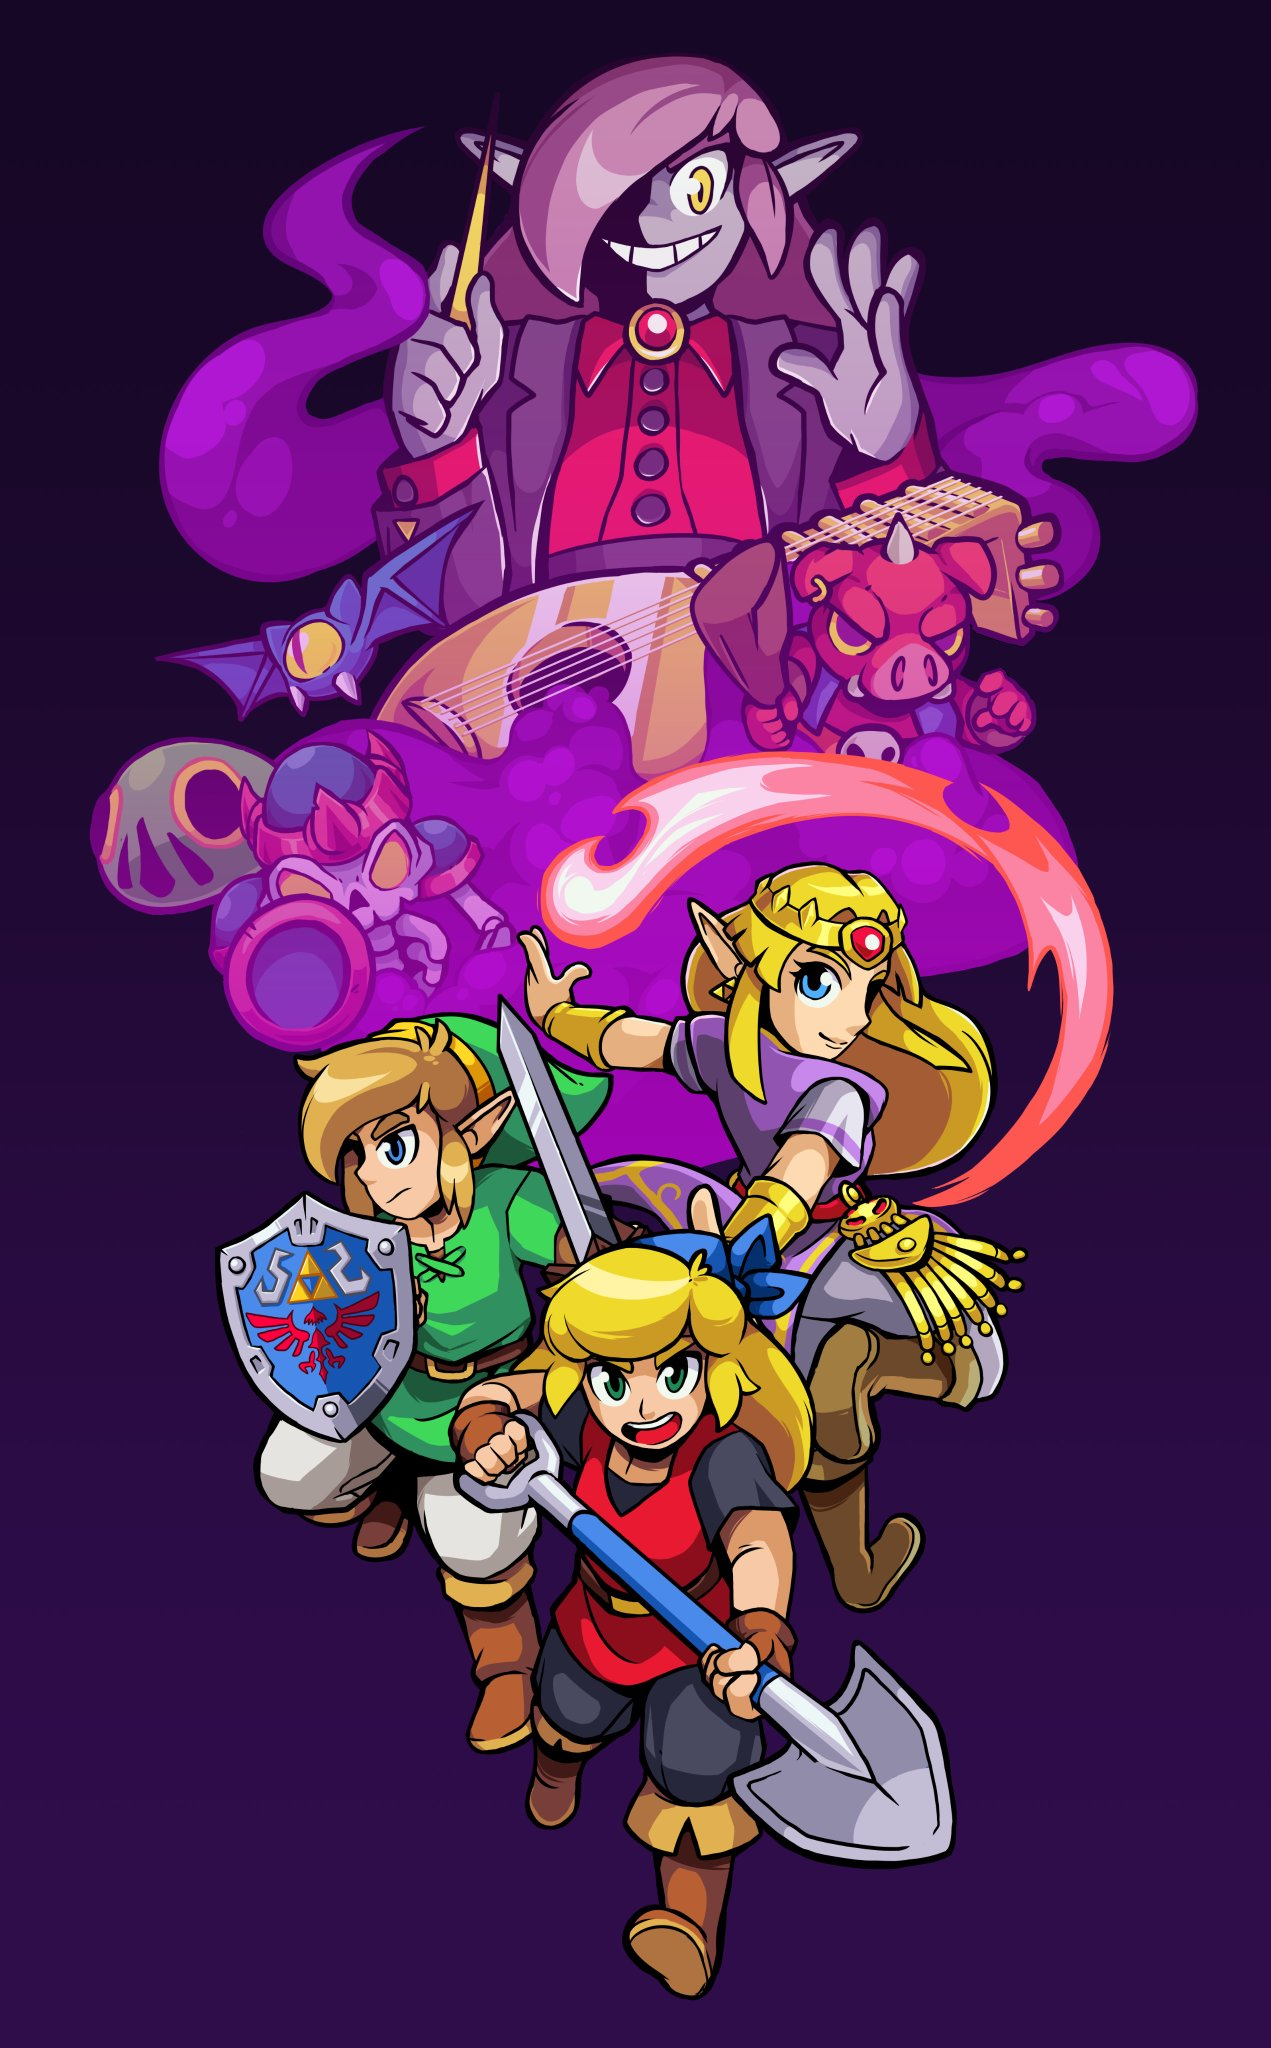

With maracas, oboe, bass guitar and glockenspiel you can remove the barrier in front of Hyrule Castle. Return there when all four instruments are in your inventory. For the normal story route, Link and Zelda should also be awake; the Kakariko crypt provides the hibiscus potion required for this. Cadence must also have rejoined the group. If she is missing, go to her caves in the four major regions and talk to her there. The four instruments alone are not enough for an incomplete group of heroes.
Preparations in front of the castle
Replenish your hearts and obtain healing for the bottles you have already purchased. A captured fairy can intercept a failed evasive move. Before the last section, also check accessible Pieces of Heart and new paths that have opened up fins, Power Glove or grappling hooks. However, an empty space in the inventory does not automatically mean that an item necessary to progress is missing: the loot from individual chests can change between game states.
In front of the castle entrance there is a tower with a locked door on the left. If you have bow and long grappling hook, you can get Caladbolg there. Push the moving stone in the yard to the raised platform with the switch so that you can climb up. Activate the switch and enter the opened tower.
Defeat the enemies in the puzzle room. Shoot the box down in its elevated position with your bow and move it so that it allows you to jump to the next ledge. Then use the statues as targets for the long grappling hook to progress across the gaps. At the top, the stairs lead to the chest containing Caladbolg. The weapon is an optional aid for Link; it does not replace the four instruments for opening the lock.
Reach Octavo inside Hyrule Castle
In the castle you have to pay attention to the colored attacks and the ability to switch between Link and Zelda. The relevant switches allow you to use the appropriate figure for an obstacle. Watch which color a barrier or attack uses and switch in time. In this way you avoid having to use the same figure again and again against the variant that is dangerous for you.
Switch to Zelda at the rotating arrow switch and go left from the entrance area to the sleeping king. Play the given melody on the note fields: green, violet, red, yellow, red, green, violet, red. This will wake up the king and open the way behind his throne. In the following corridor, green missiles belong to Link, purple ones to Zelda; each color is harmless. Use the figure change before a different colored bullet reaches you. If your grappling hook reaches the opposite objectives, this detour leads to Zelda’s Royal Rapier. If the hook is too short, look for a more favorable position or return later with the longer reach; don’t just jump into the abyss.
The unlit fire bowl in the entrance area is another indication of the way. Ignite them with an appropriate fire attack. A nearby explosion can also trigger the flame. Then follow the opened access. Search for the enemy room on each of the three floors created using the Small Key. Clear it completely and use it to open the locked miniboss room. Only the defeated miniboss releases the next staircase. Map or Compass in the blue chests will make your search easier; A fixed sequence of spatial directions does not apply to every game state. After the last staircase you will reach the chest with the Big Key. Take it and activate the Floor Switch for the shortcut. Now you can get healing again before you open the boss door and get across the stage to Octavo. The previously defeated castle intermediate opponents remain eliminated even after a failed attempt.
Fight Octavo’s Instruments
Octavo takes the four instruments from you and uses their powers against you. He summons enemies you know from previous boss fights and changes position. Especially get out of the way of companions who are blocking your escape area. Attack Octavo when he is reachable; don’t chase him through a newly announced attack surface.
His colorful ground attacks demand attention again for Link and Zelda. Use the options in the arena to switch to the appropriate figure or leave the dangerous line. After each summon, observe the remaining enemies and then launch the next attack. With enough free space, it is much easier to get around the floors and marked fields.
After the victory, the adventure continues. Climb the stairs behind Octavo and enter the time portal. Run back in the ruined hall and jump through the opening in the floor. Activate the teleport stone below before continuing into the changed future. The fight against Octavo wasn’t the finale of the normal story mode.
The future and the final preparation
In the following dungeon, dangers from the previous areas return: poison, ice, lava and movement-dependent obstacles now require safe handling of your equipment. Clear the intermediate enemy out of the way on each floor so that the stairs are accessible. The floors follow each other without the permanent intermediate stations of the first castle dungeon. Therefore, before each further descent, check the health, healing agents and durability of your auxiliary items instead of jumping on immediately after a difficult room.
Examine golden chests if you have the appropriate key. They can contain special weapons. If you reach the later entrance area in front of Ganon, there is also a way back for preparation. Take advantage of the offers there and replenish healing before entering the final chamber. An additional trip makes more sense than a final battle with an almost empty life bar.
Defeat Ganon with three heroes
With Ganon, two of your three figures are frozen. Free them first by attacking their ice blocks. The group then moves together. Therefore, pay attention to the positions of your companions: a movement should create space for your attacks without pinning a figure to a wall or behind an obstacle.
Ganon protects himself with a shield. Wait until he comes into the arena and you can get to him. A hero can hit the shield and be briefly stopped; the others can use the resulting window for damage. To do this, position the group so that after the first contact there are other figures within attacking range. At the same time, keep your distance from announced landings and move disruptive opponents out of your immediate path.
If Ganon freezes figures again, you free them again. In the final section, the three triangles of the Triforce appear on the ground. Bring Link, Zelda and Cadence each to one of the marked areas. To do this, all three must be free and accessible. The joint attack ends the fight and allows Cadence to return to her own world.