
For the seventh dungeon you need the Recorder, a lure and 100 Rupees for the second bomb expansion. The cheapest way to buy the bait is for 60 Rupees in the Armos store on D5, where you received the blue ring. Buy it before you save up the 100 Rupees for the dungeon. With the sword and Magical Rod from the dragon you can easily fight most enemies on the way.
Open the lake with the Recorder
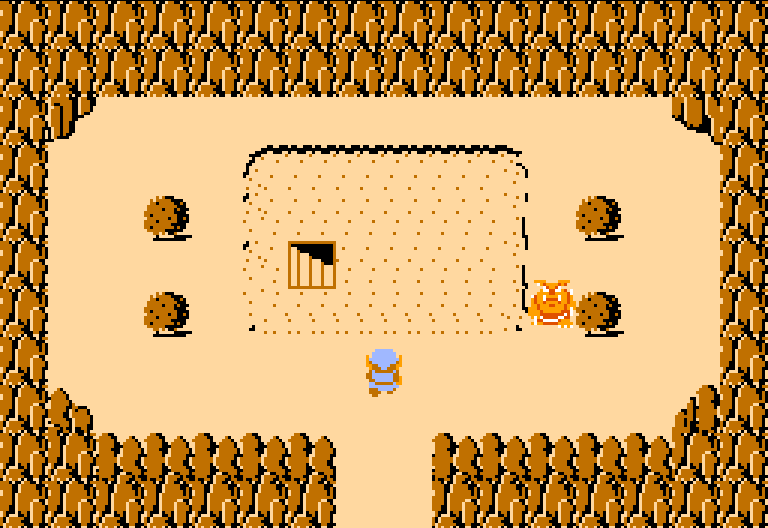
From the start H8 go up, left five times and up twice to the pond on E3. This pond is not a healing Fairy Fountain. Play the Recorder here: The water disappears and reveals the stair entrance of the demon. Take a well-stocked bomb supply with you, as several necessary passages are hidden behind walls.

Go up from the entrance and defeat the blue Goriyas. To the right there are bats waiting. Blow up their north wall, go through and get the Compass from the Stalfos. Return down and go right twice. Use the Recorder to shrink the Digdogger in the corridor and defeat the little eyes when you have to open the battle door. In the room to the right you will receive a key from the Stalfos.
Expand the bomb supply to 16
Return four rooms to the left to the Goriya room above the entrance and blow up its north wall. The room behind serves as the starting point for the western detour. Go left into the room with three Dodongos and go up from there. The dealer increases your bomb supply for 100 Rupees by four places. If you bought the expansion in Dungeon 5, you can now 16 bombs carry. The two purchases build on each other; Don’t skip the first expansion for this route.
From the merchant, go down three times and defeat the ropes for a key. Return up twice and right once. Now go up twice. On the way you defeat the Goriyas; with the Digdogger you can use the Recorder or avoid the fight by blowing up the east wall. In the room behind this wall you will receive another key after defeating the Moldorms.
Give bait and get red candle
From the Moldorms, go left twice and then up. The Goriya between the two flames won’t let you through at first. Choose the bait and place it in front of the hungry opponent. He accepts it and disappears; The bait is then used up. Go upstairs and get the card. If you forget the bait, you have to go back out of the dungeon to a merchant – the door cannot be opened with a sword or bombs.
From the map room go right and blow up the east wall. Defeat the Goriyas, move the left block and go down the stairs marked A. In the basement lies the red candle. It replaces the blue candle and can be used multiple times on the same screen. This means you no longer have to leave each section when uncovering several bushes. Still, stay away from your own flames.
Wallmaster Passage and Aquamentus
Return from the candle cellar and blow up the east wall. Defeat the Goriyas in the next room and continue right to the Digdogger. Play the Recorder, kill the small enemies and go upstairs. You don’t have to use all your bombs on the three Dodongos for this route: blow up the east wall and go through the hole.
In the room behind, Wallmaster come out of the walls. Don’t stop right at the edge and beat all the hands. Then push the middle block of the vertical row of blocks to the right. The stairs B become accessible and take you to the area under the boss. After the corridor, blow up the east wall and enter Aquamentus’ room.
You know Aquamentus from Eagle Island. Dodge the fan of three fireballs and aim for his head. With a full heart you send sword beams from a distance; With the Magical Sword, even a few well-placed melee hits are enough. Attack between his volleys. Take the Heart Container and go right to the seventh Triforce fragment.
On our route you now have 15 hearts, the red candle and the maximum bomb supply. The last fragment lies in the eighth dungeon: the lion. Back to Walkthrough.