

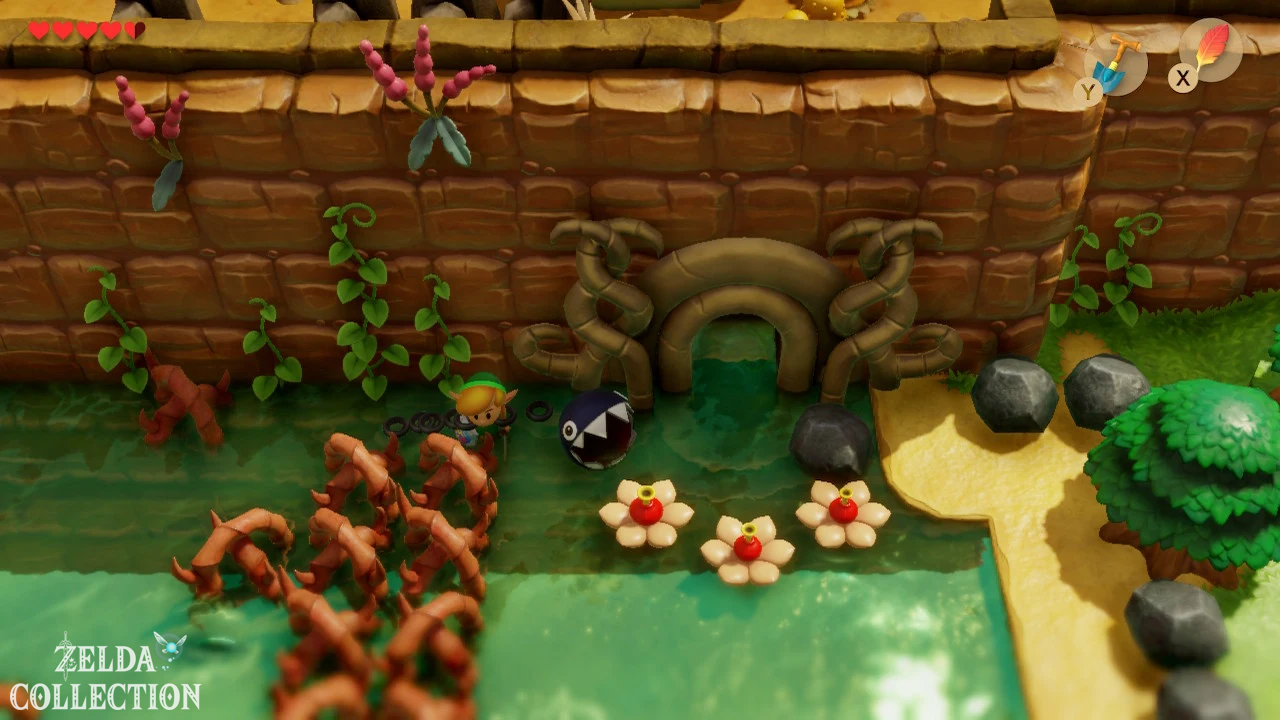
After you freed BowWow from the hands of the Moblins and with his help crossed the Goponga Swamp, you reach the Bottle Grotto, the second dungeon of The Legend of Zelda: Link’s Awakening. Compared to the Tail Cave, the level of difficulty here is noticeably increased: Crystal Switch change the paths through the dungeon, several Small Keys have to be collected in the correct order and some enemies cannot simply be defeated head-on with the sword. The most important treasure is the Power Bracelet. Once Link has it, he can lift heavy jars and stones – an ability that is not only needed for the second half of Bottle Grotto, but also opens up numerous new paths on Koholint afterwards.
The first keys and the Stone Beak
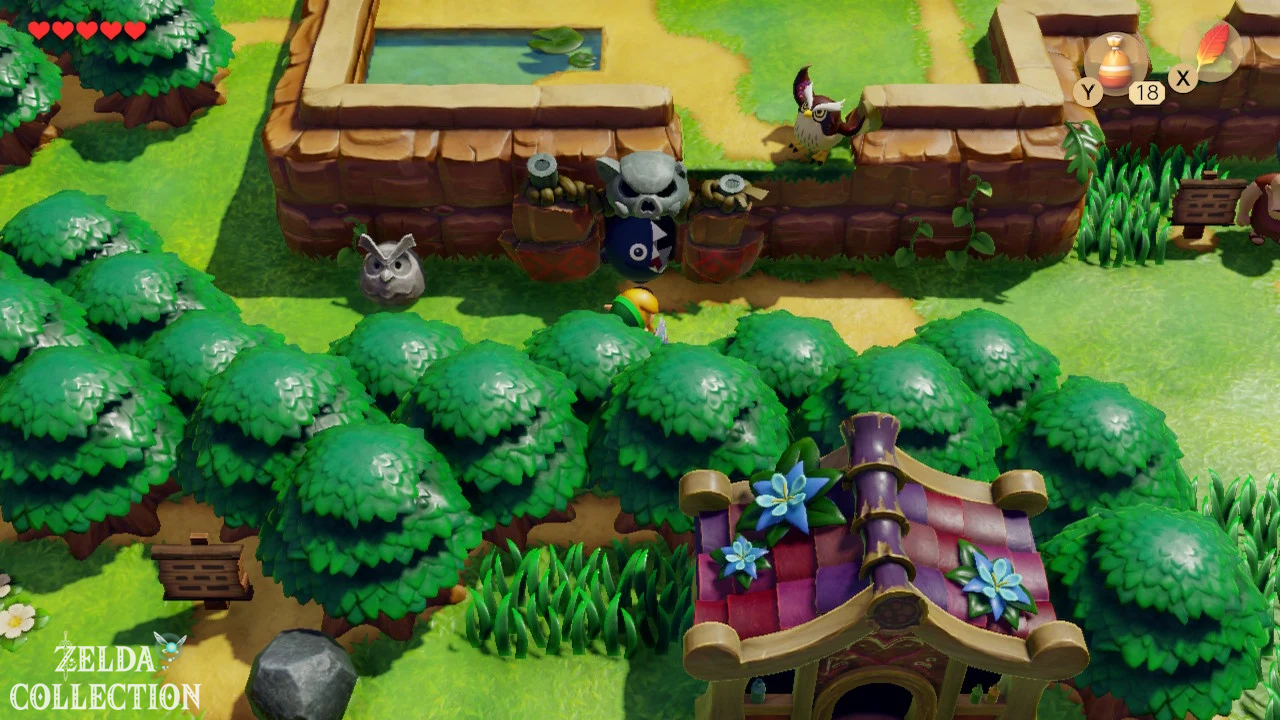
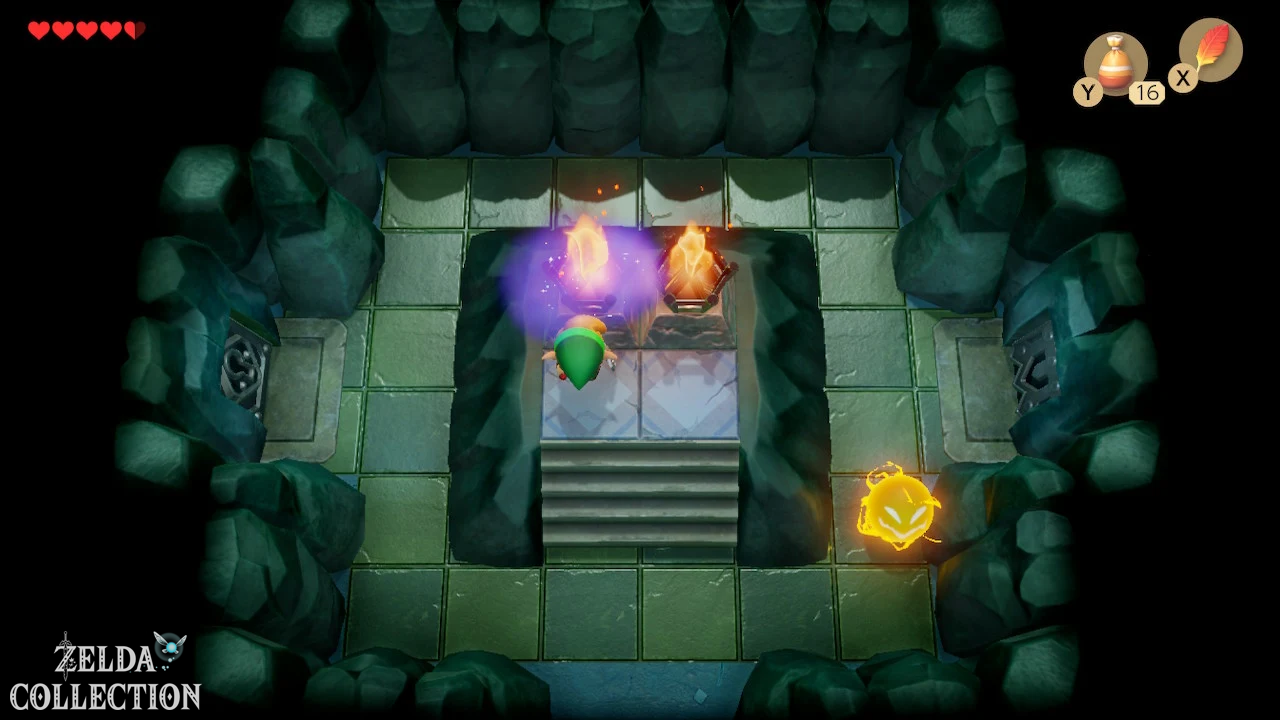
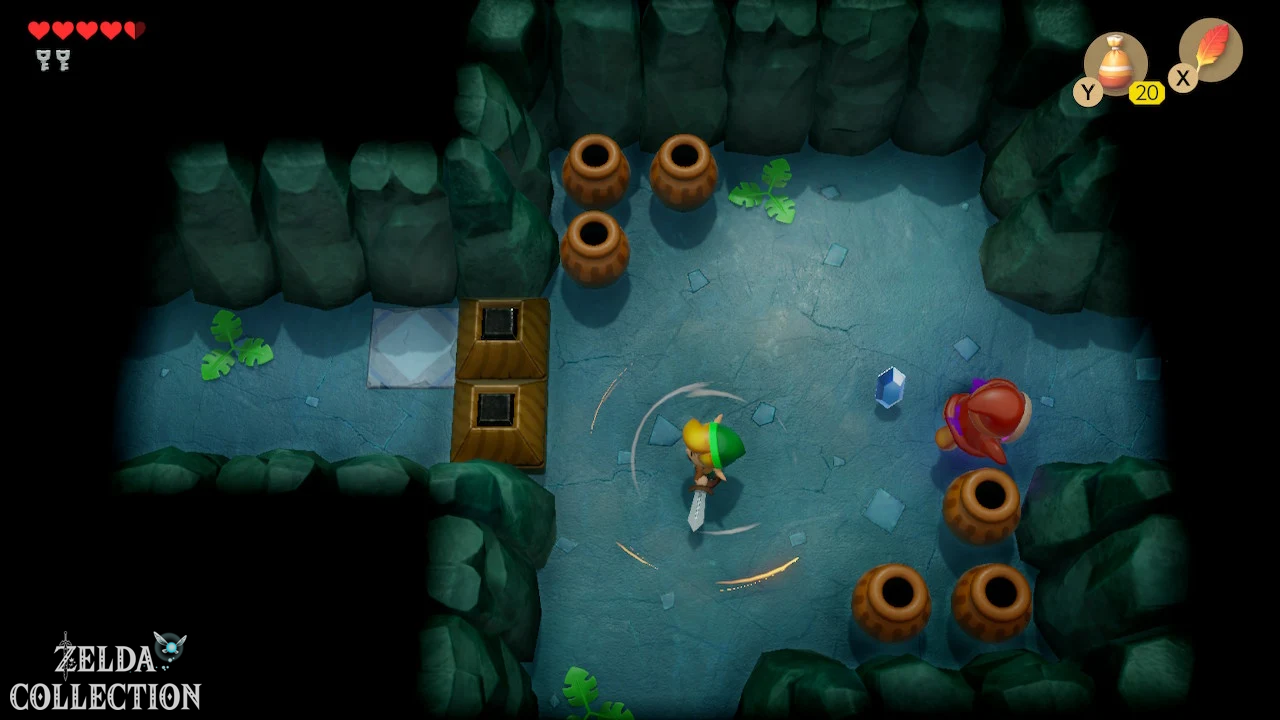
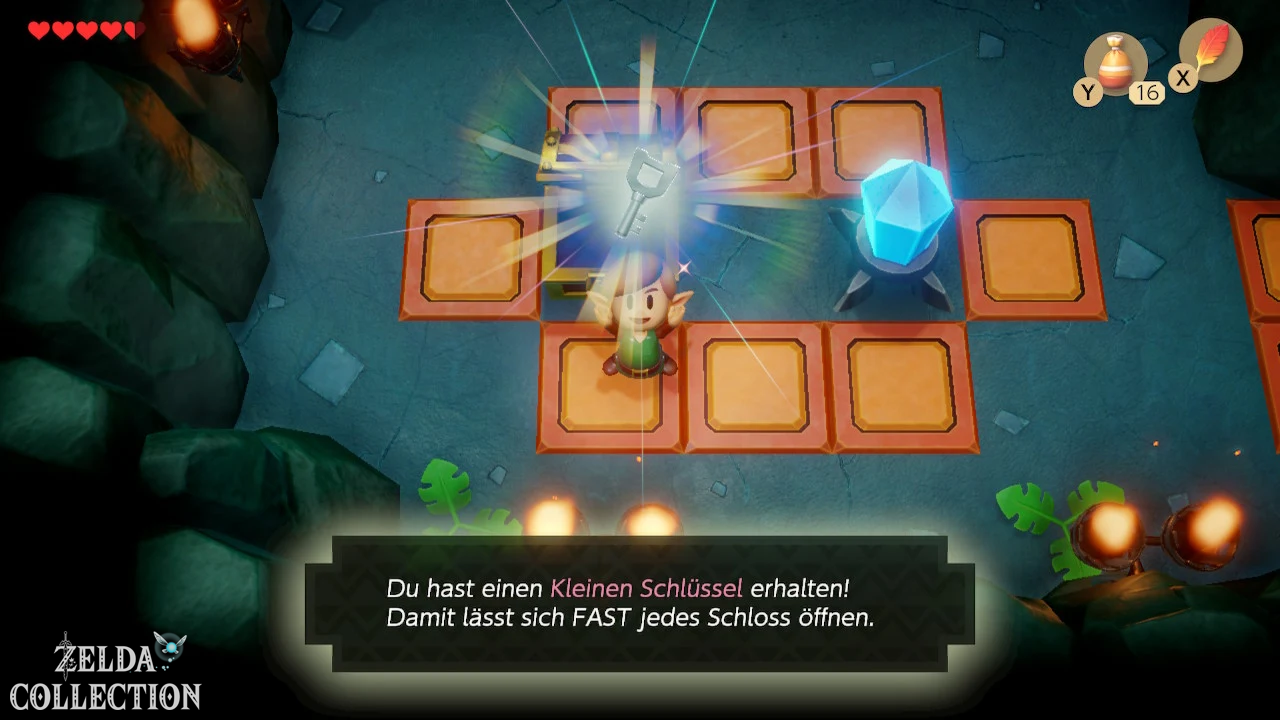
You will notice numerous heavy jugs in the entrance room. You can already see chests or passages behind some of them, but Link isn’t strong enough to lift them at the moment. Remember these places and go up first. In the next room there are two extinguished torches. Ignite both with Magic Powder and then take the right door. Defeat the two skeletons there, whereupon a Small Key appears. In general, you don’t have to illuminate every dark corner in the Bottle Grotto with Magic Powder. Better save your supply for places where lighting the torches actually solves a puzzle.
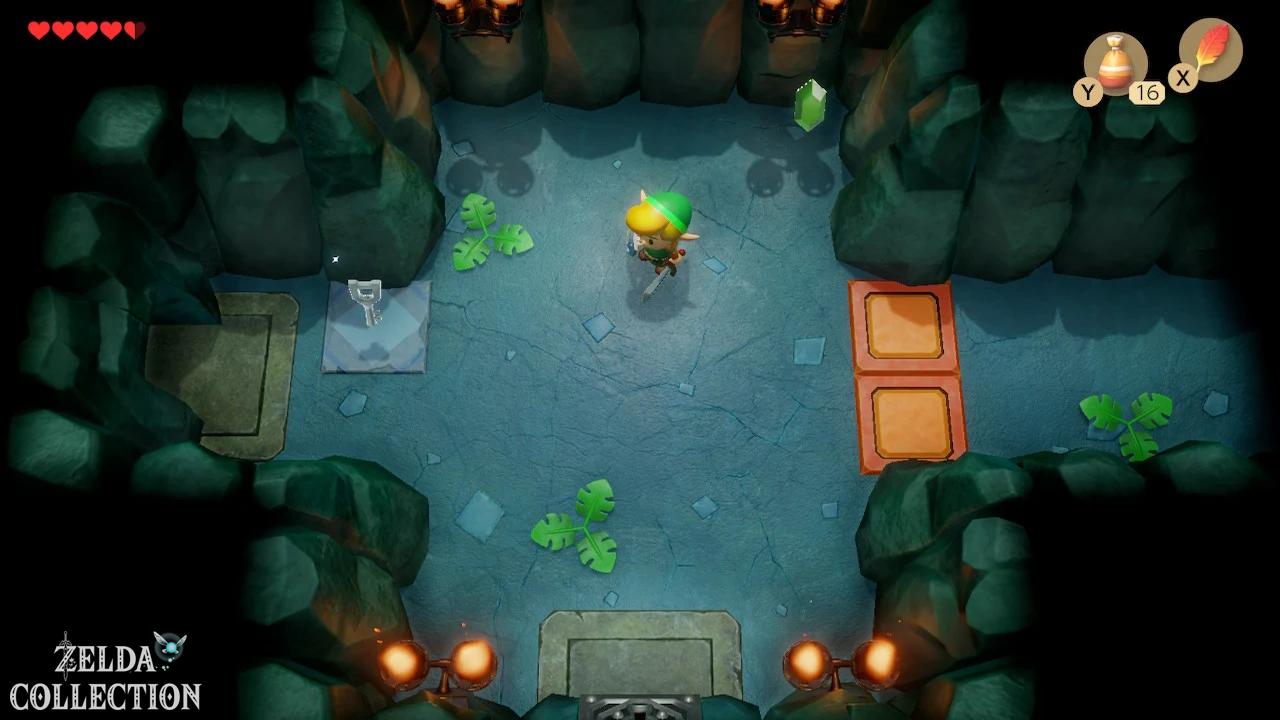
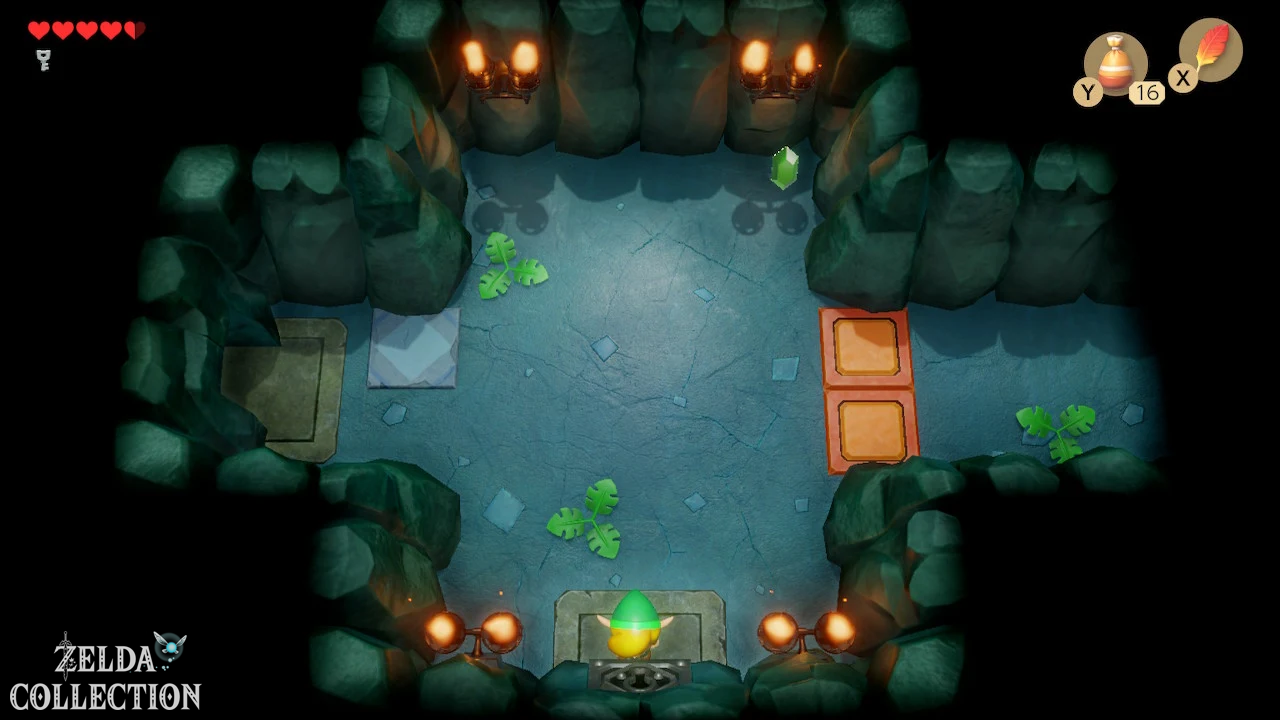
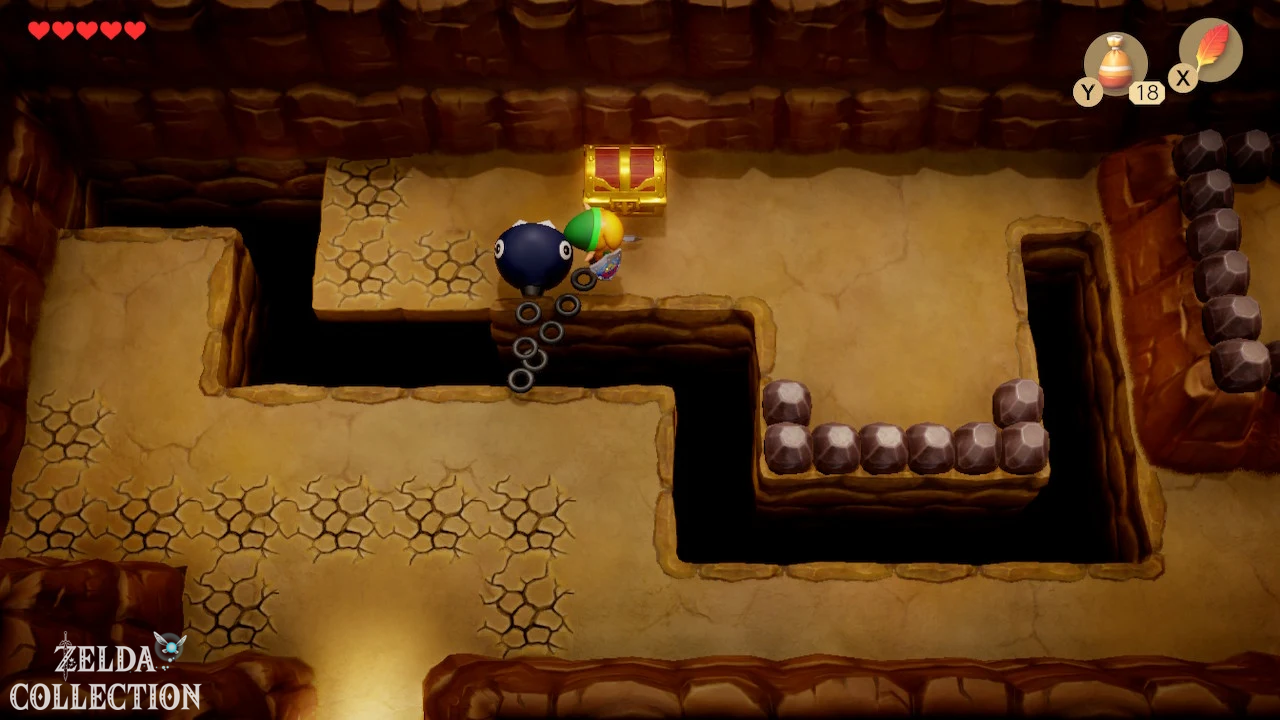
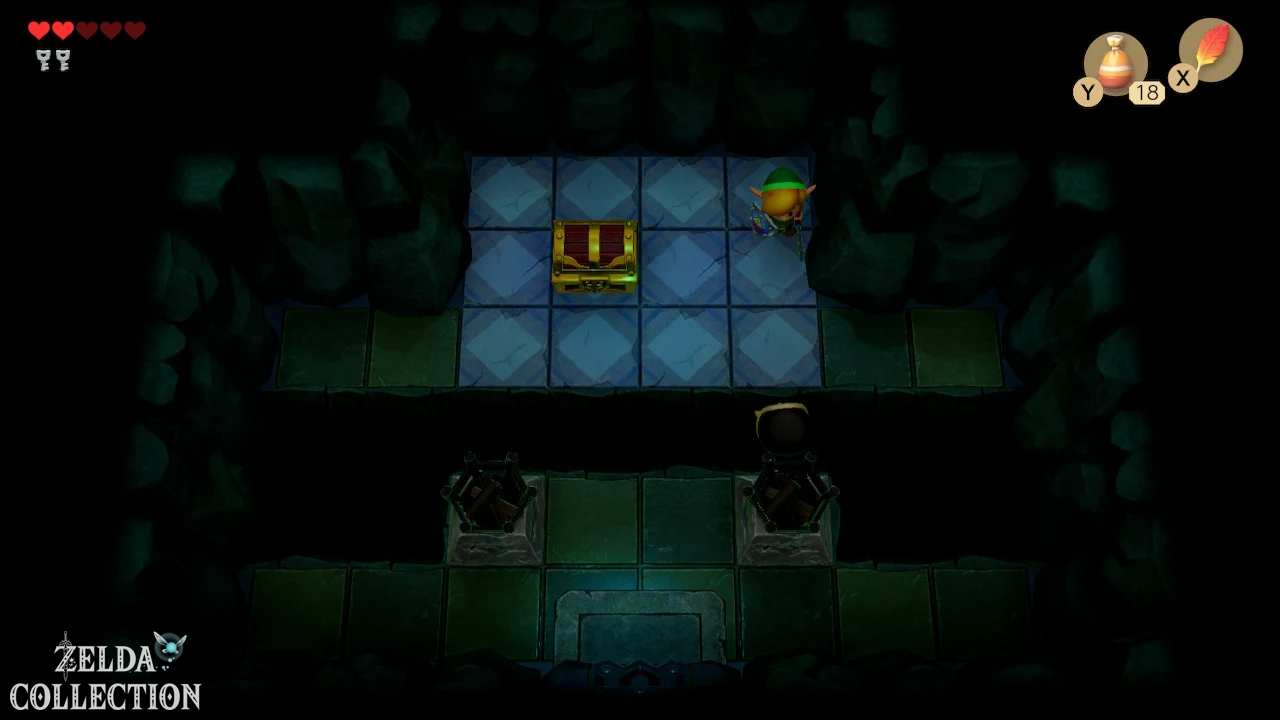
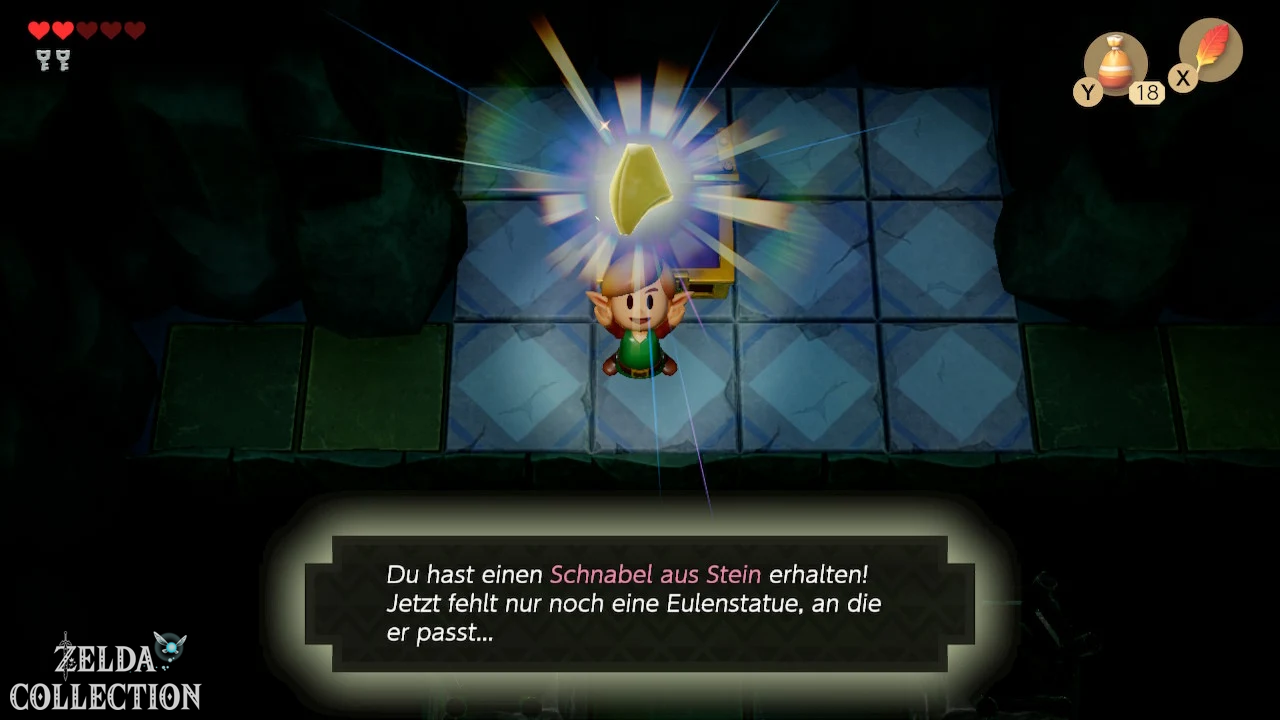
Return with the key and open the first locked door. Follow the path through the adjacent rooms and take the Stone Beak from the chest. As in Tail Cave, you can use it to read the owl statues within the dungeon. You don’t necessarily need their clues for our solution, but the Stone Beak is of course still necessary for a complete exploration.
Crystal Switch and colored blocks
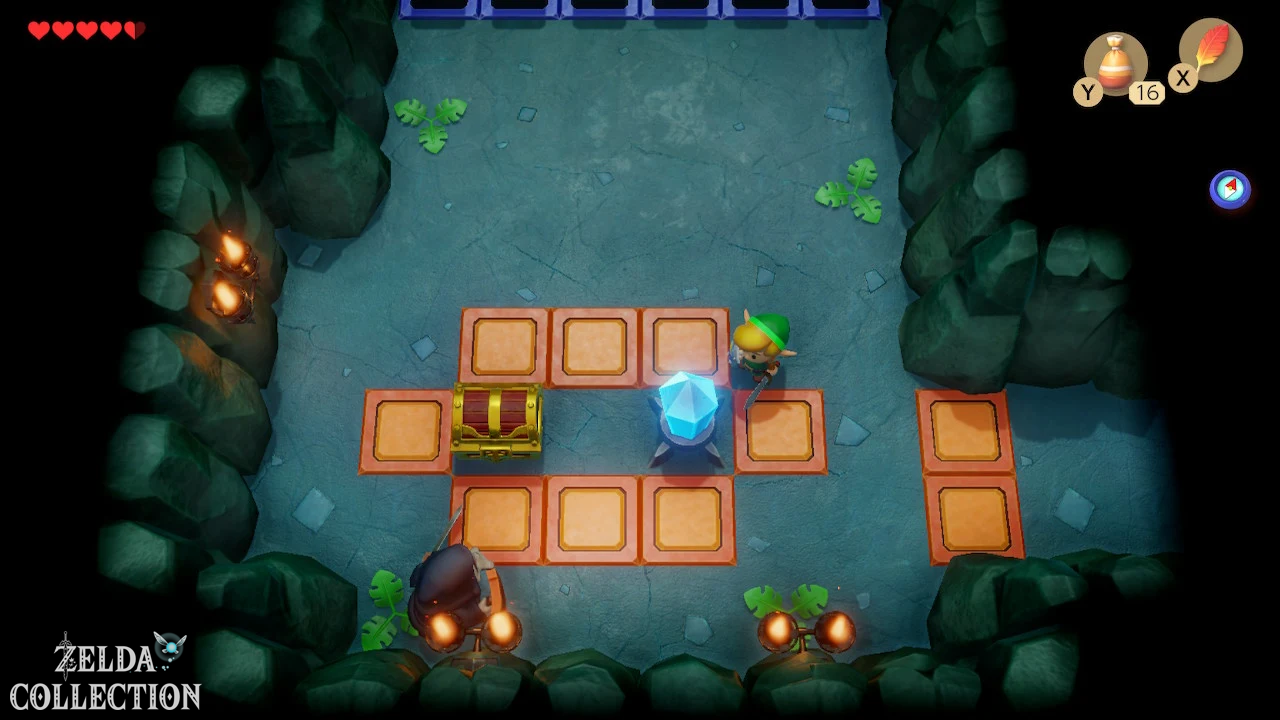
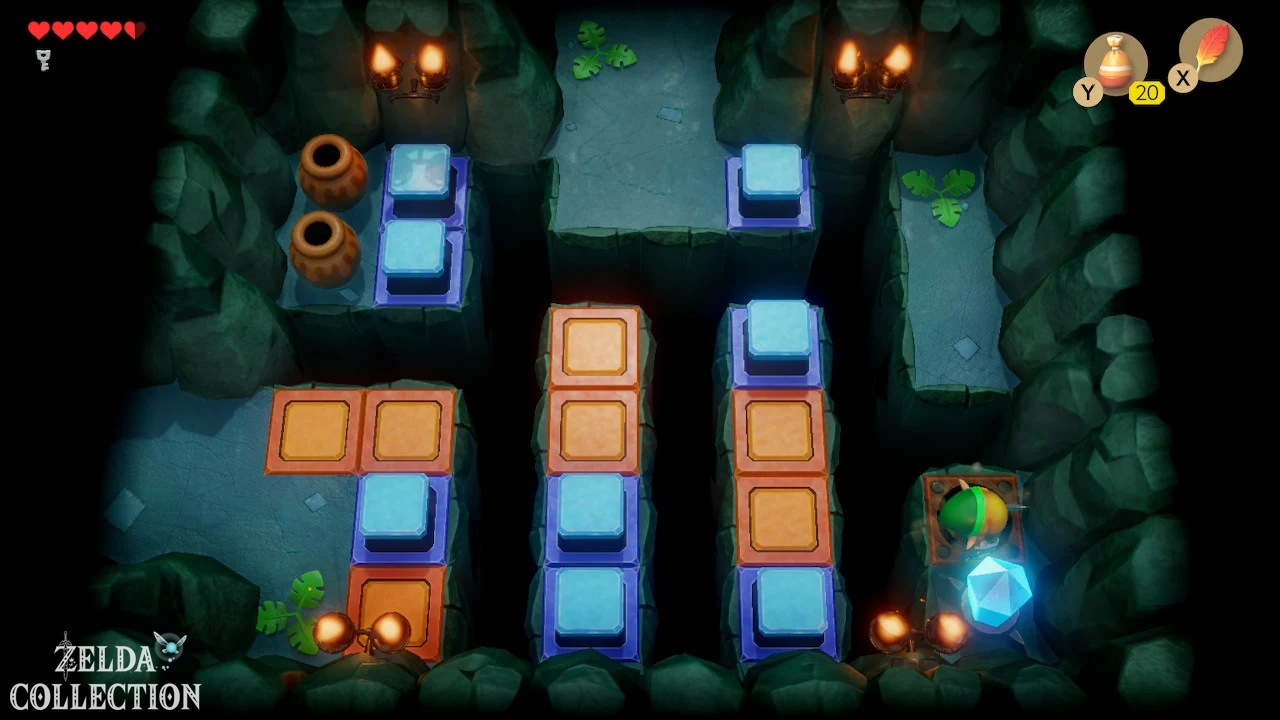
Then return to the area with the skeletons and go right. Here you will encounter one of the central puzzle mechanisms of the Bottle Grotto for the first time: the crystal switches. Each hit on such a switch changes the position of the blue and orange blocks in the dungeon. If one color is raised, the other is lowered – and vice versa. Therefore, always pay attention to which side of the blocks Link is on before you activate the switch again, because with the wrong setting you can’t get stuck permanently, but you can cause unnecessary detours.
There is also an invulnerable spark enemy circling around the blocks in this room. Wait for a favorable position, press the Crystal Switch and then go down. First defeat the skeleton knight there, then change the position of the blocks again and open the chest that can now be reached. Before you leave the area again, set the switch so that the way back remains open.
Defeat the Shy Guys and get the Compass
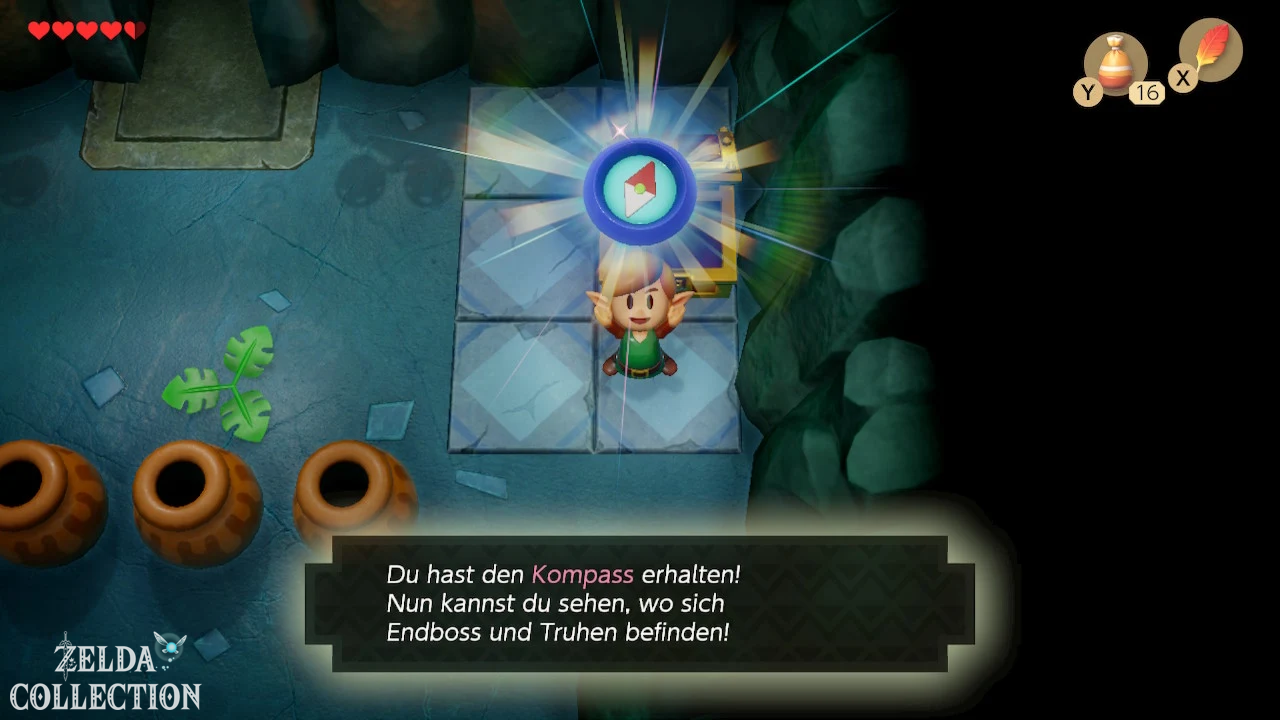
Return to the room where you received the first Small Key and open the locked door there. Behind it is a Shy Guy waiting. These opponents mirror Link’s movements and always turn so that their protected front faces you. The easiest way is to charge up a Spin Attack and move so that you get behind the Shy Guy during the mirrored move. Release the attack at the right moment and hit his unprotected back. After his death, a chest appears with the Compass, which shows you, among other things, the position of the final boss and the unopened Treasure Chests on the Dungeon Map.
Then return to the Crystal Switch and adjust the blocks so that you can take the eastern path. Jump over the gaps with the Roc’s Feather and stand on the floor plate, which will cause a chest with another Small Key to appear. Then jump to the upper corridor and defeat the next Shy Guys there. Another key appears behind two stone blocks, but it cannot be reached from your current position. Therefore return to the Crystal Switch, change the block position again and take the alternative route around the room. You can finally collect the key from the other side.
The block puzzle and the path to Hinox
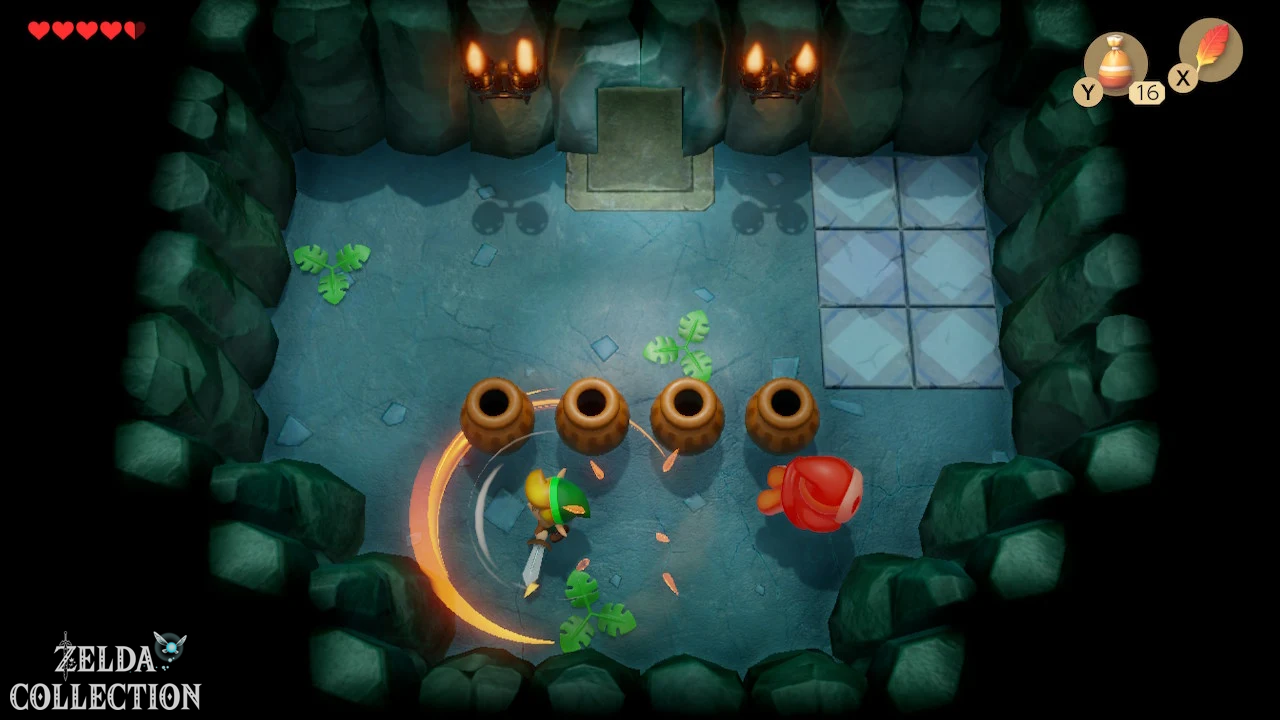
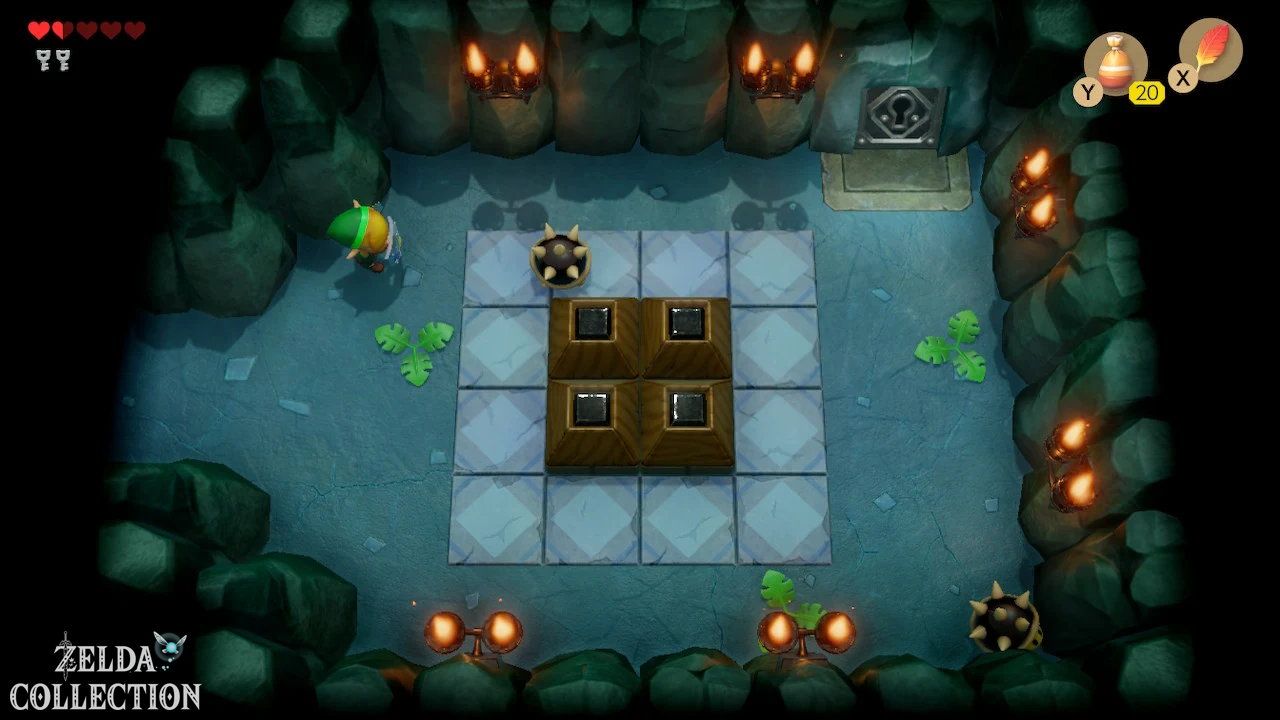
Return to the area with the Shy Guys and go upstairs. Several Spiked Beetles are waiting for you here. As in Tail Cave, you block their attacks with the shield or touch them with it so that they fall over on their back. You can then hit its unprotected underside with your sword. Once all enemies have been defeated, you open the locked door. In the next room there are two movable stone blocks. Simply push them together so that they are right next to each other. As soon as they touch, a staircase appears.
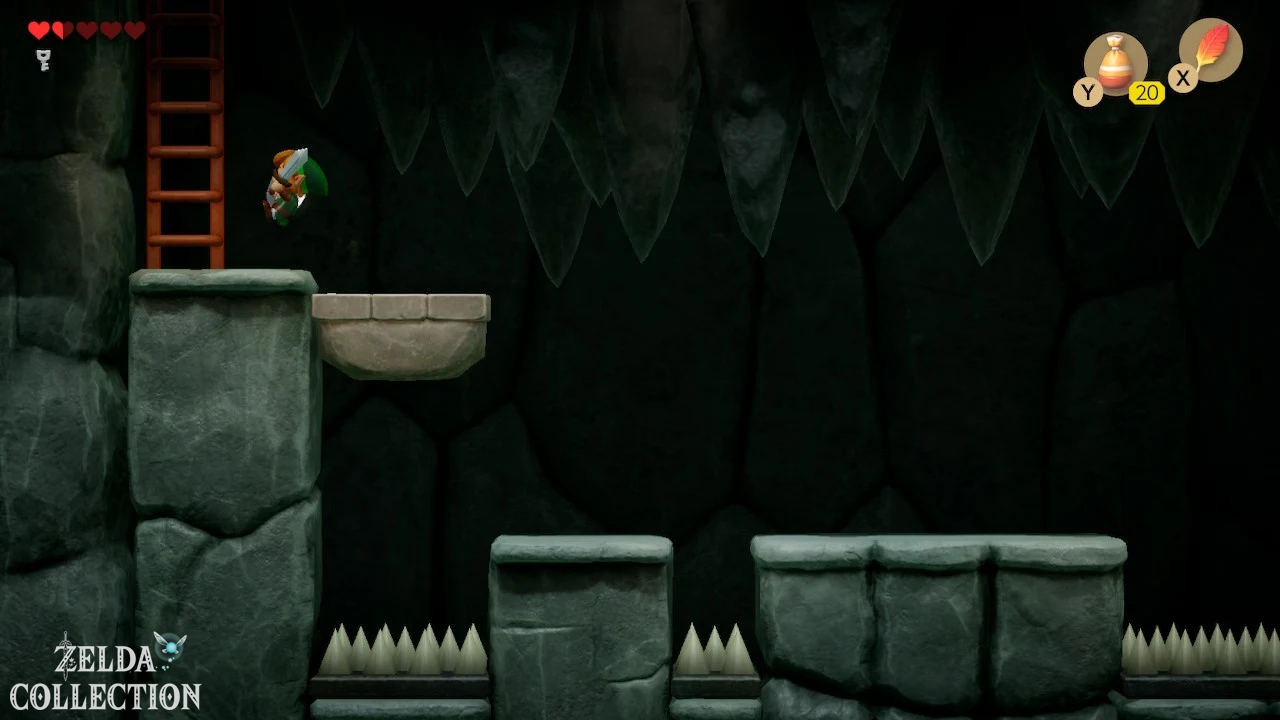
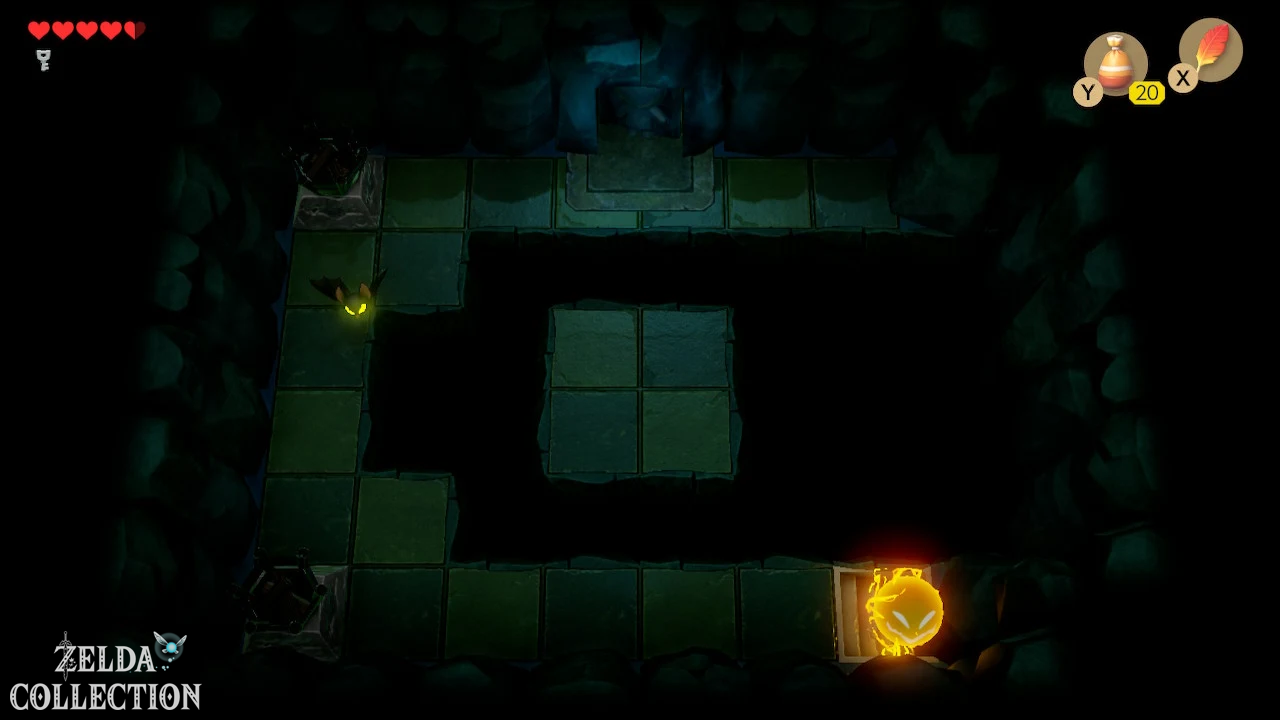
Climb down and follow the short area in side view to the other end. In the dark room that follows, you orientate yourself on the floating heart and jump safely over the gap with the Roc’s Feather. The interim boss of Bottle Grotto is waiting behind the revolving door.
Intermediate boss: Hinox
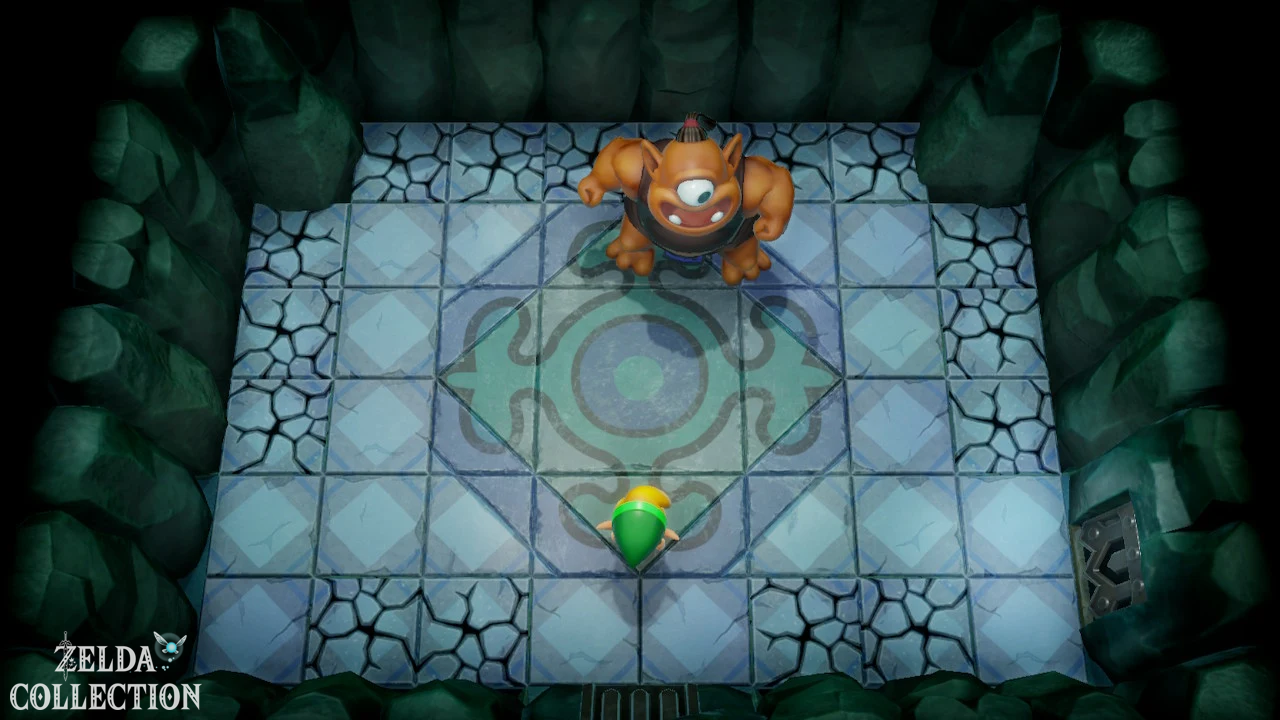
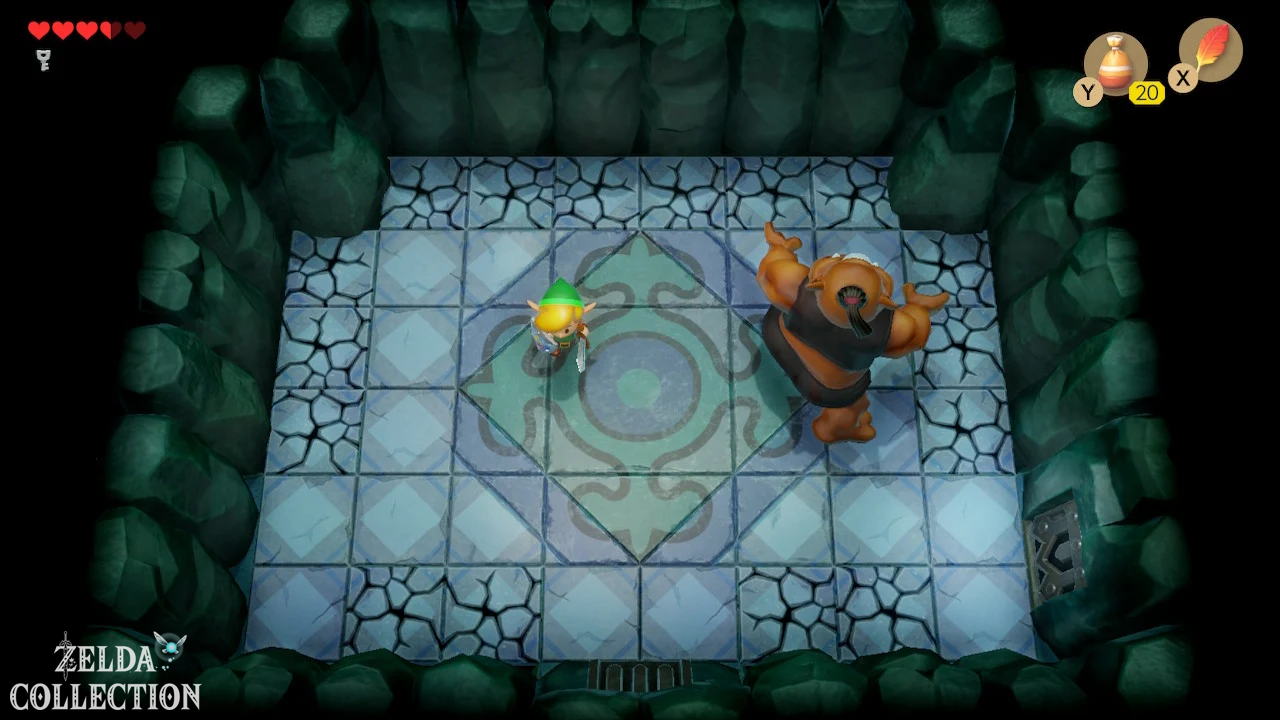
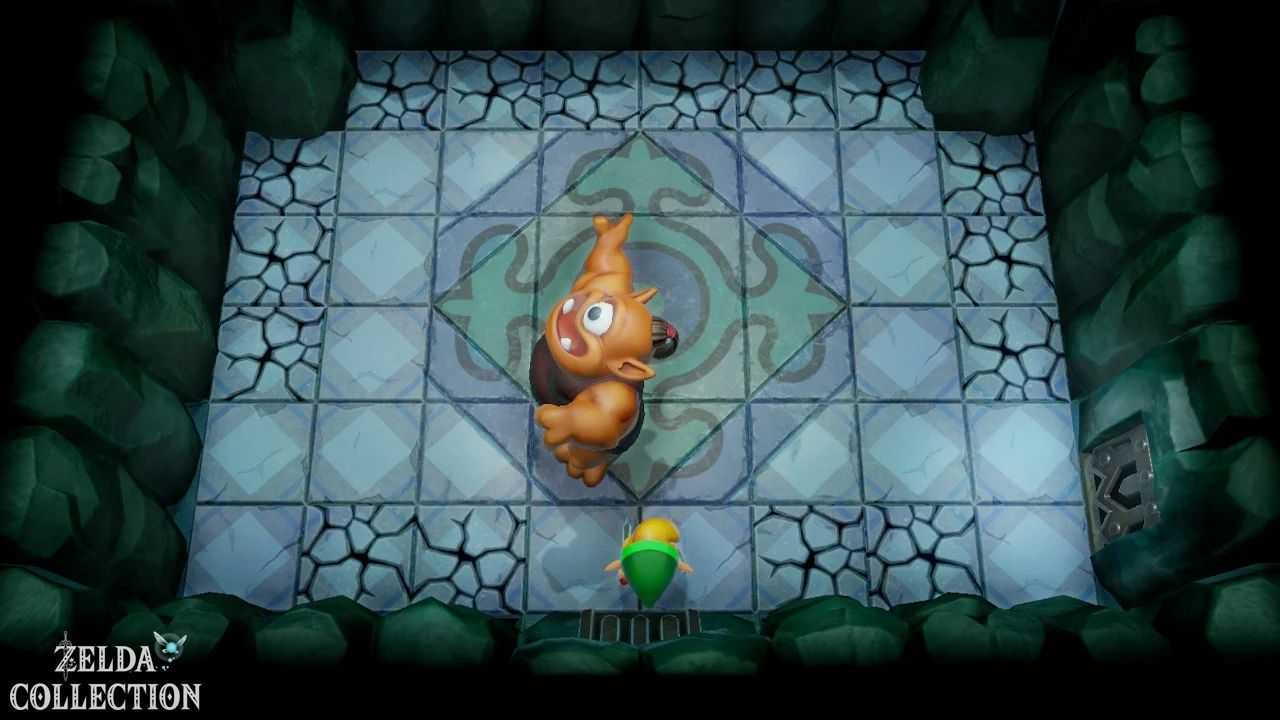
Hinox is a large one-eyed cyclops whose attacks are powerful but easy to predict. He regularly throws bombs at Link and also tries to catch or grab you with direct attacks. So keep moving and don’t try to stand in front of him for long. After his attacks there are short pauses in which you can safely land two or three sword hits. The Roc’s Feather also helps to avoid individual attacks. If you prefer to play cautiously, wait consistently for these openings, attack briefly and then retreat again. After several hits, Hinox is defeated and a warp point appears that connects the room directly to the entrance of the Bottle Grotto.
Dungeon Map and Power Bracelet
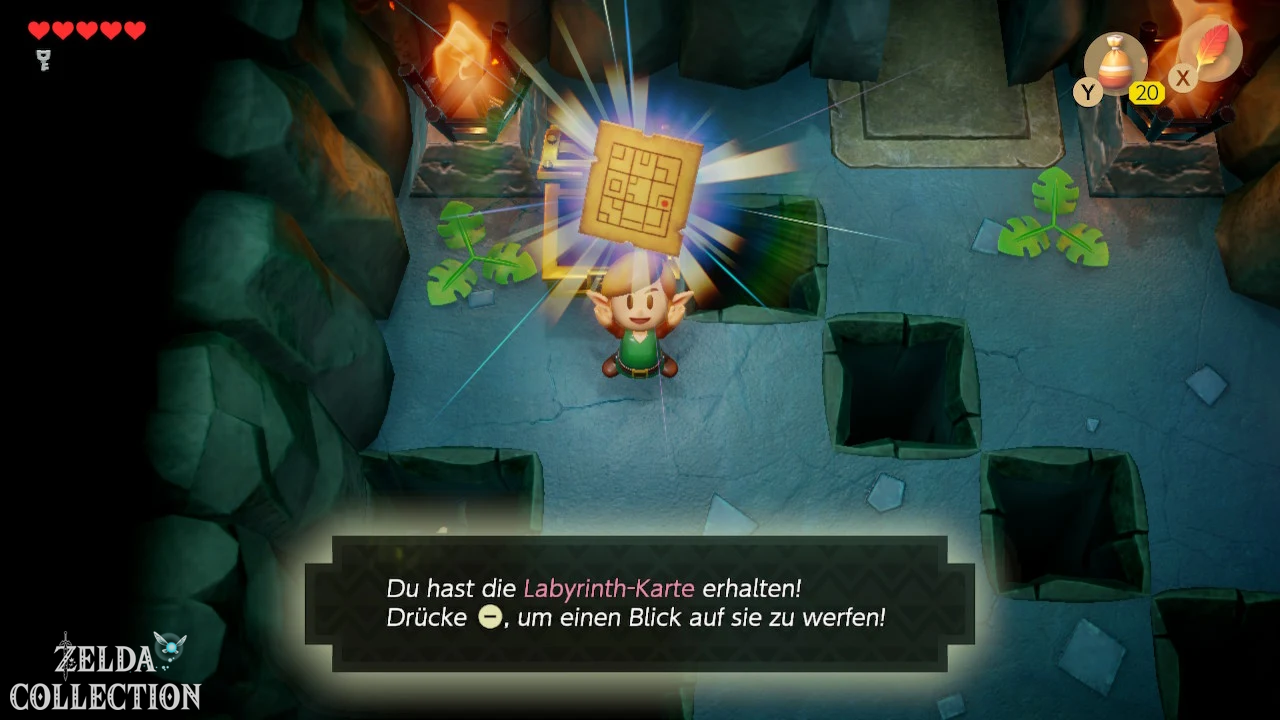
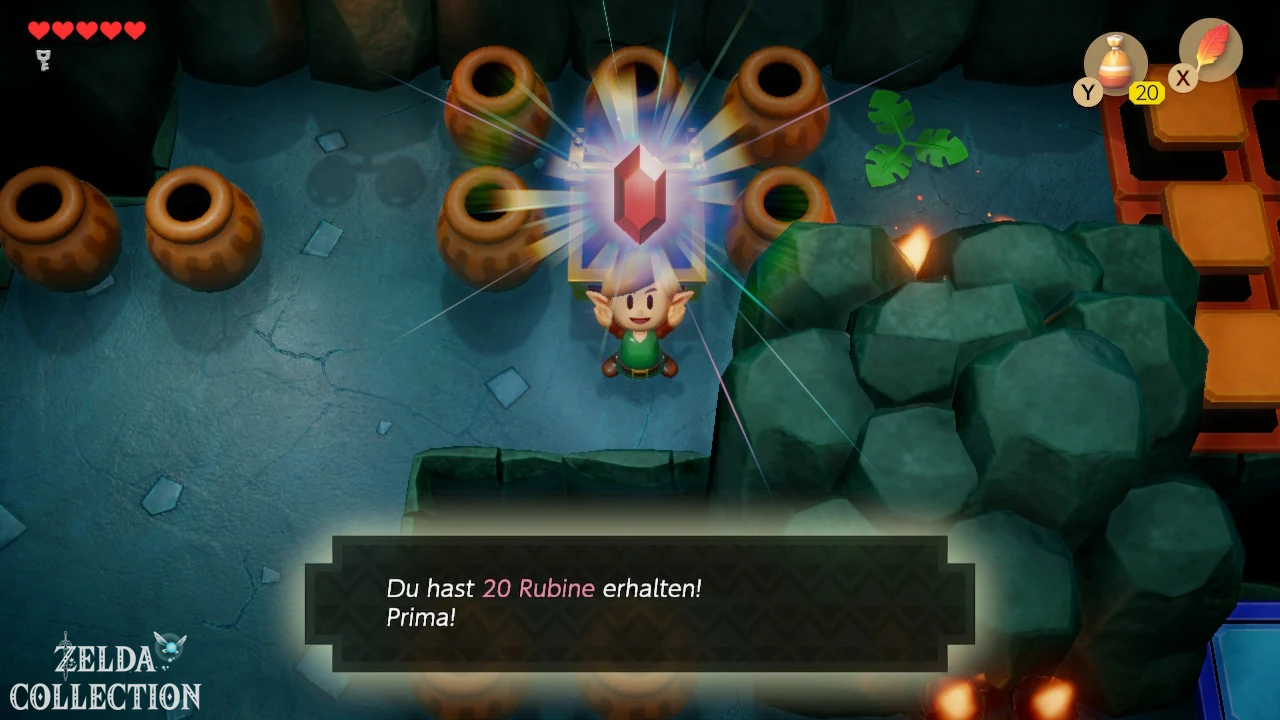
After defeating Hinox, move on, jump over the holes in the next room and run up. There a large fan pulls you towards it. Actively run against the airflow and work your way to the chest in which the Dungeon Map is located. This means you can now see the complete structure of the Bottle Grotto and make it easier to see which rooms have not yet been visited. Then follow the path further north, take the Rupees from the next chest and then open the locked door.
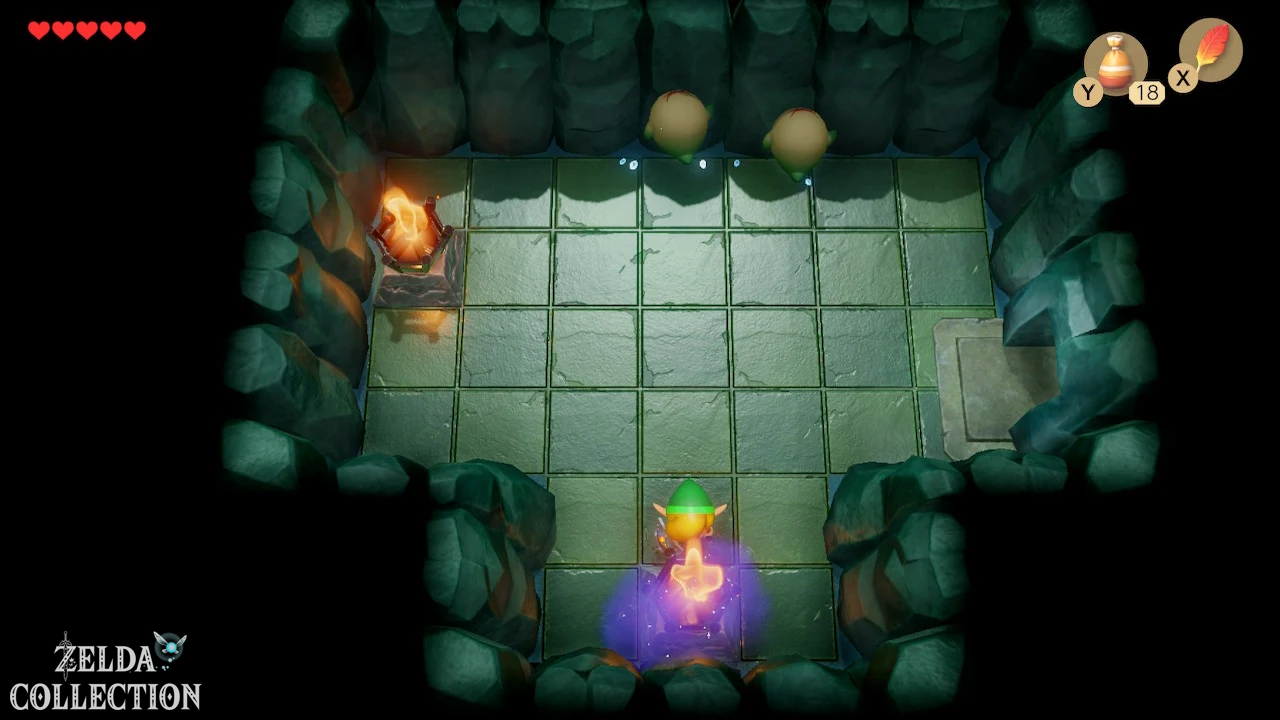
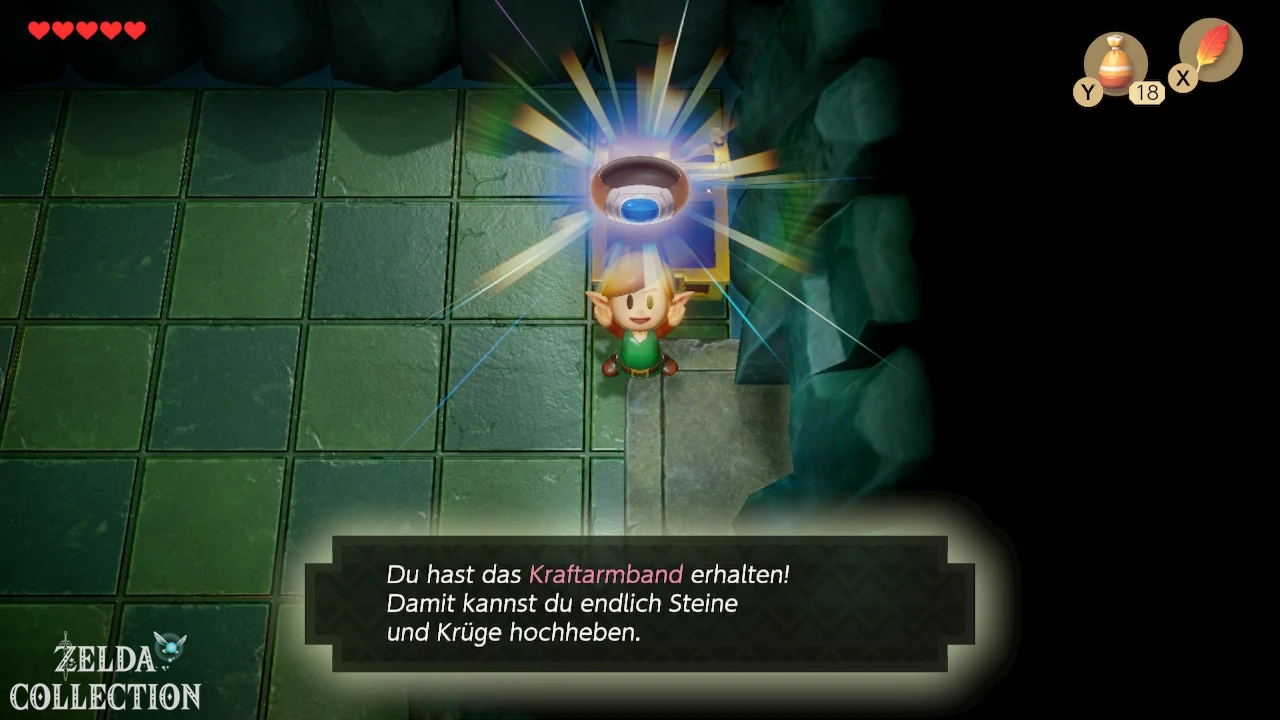
In the following room there are two ghosts floating around that normal sword attacks have no effect on. The solution is again the two torches. Ignite them as quickly as possible one after the other with Magic Powder. As soon as both burn at the same time, the ghosts disappear and a large chest appears. Inside is the Power Bracelet. Link can now lift the heavy jugs that have repeatedly blocked your path since the entrance. Not only can you clear them away, but you can also use them as projectiles against certain opponents.
Get
With the Power Bracelet to the Nightmare Key
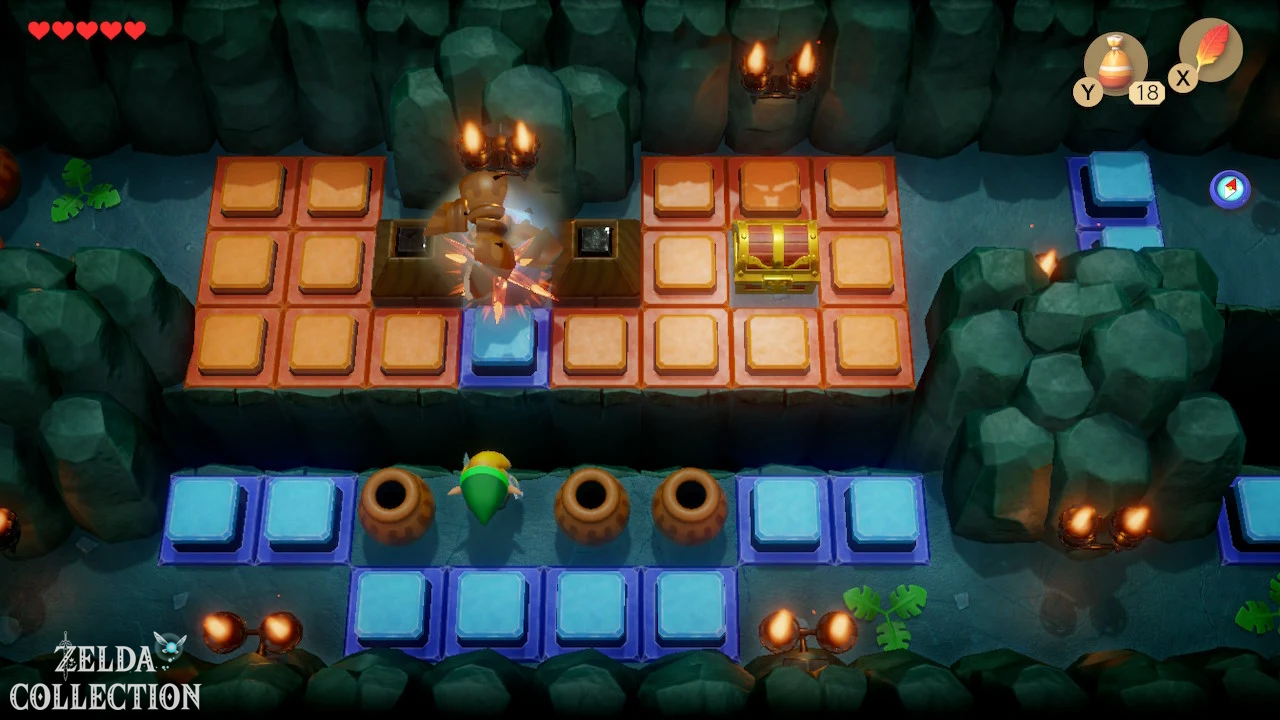
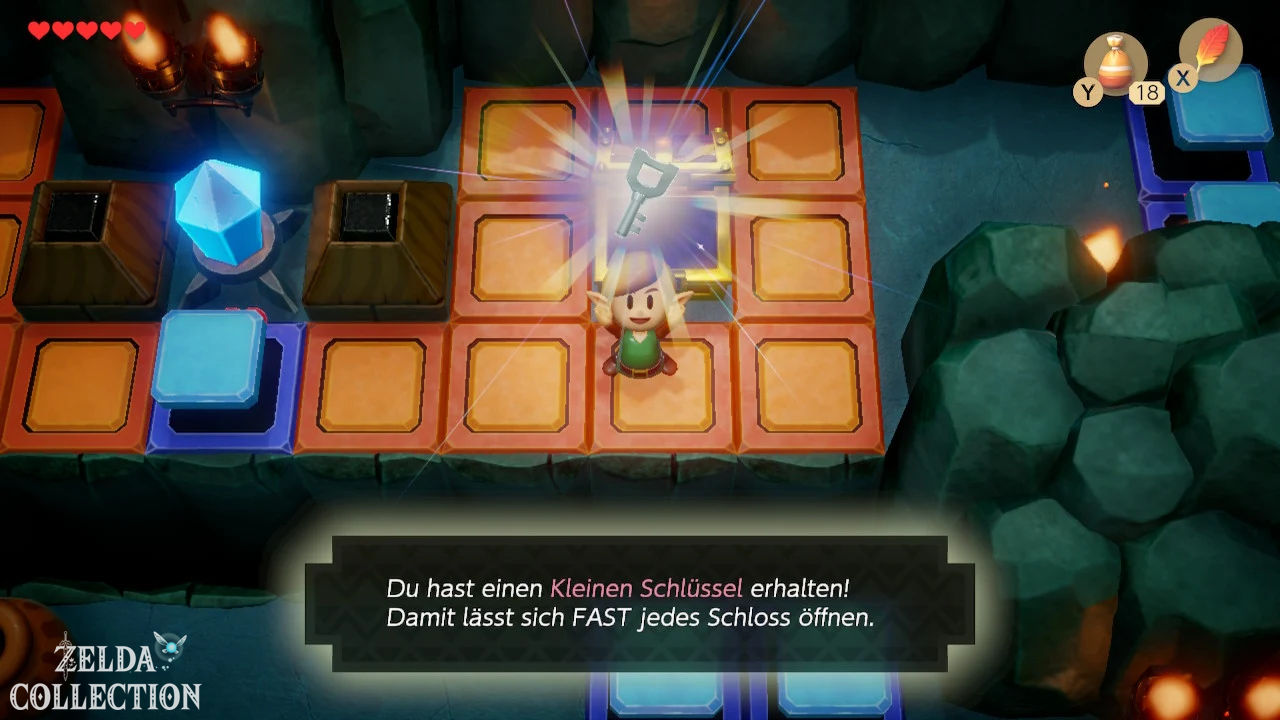
With the Power Bracelet the dungeon changes fundamentally. Return to the areas you have already visited and now clear the heavy jars out of the way. In the corresponding room, take the upper junction to the right and activate the Crystal Switch there again. Open the chest that you can access and then reset the switch so that you can continue on the path. Go right twice and then go down. One of the most important puzzles in the entire dungeon awaits you there.
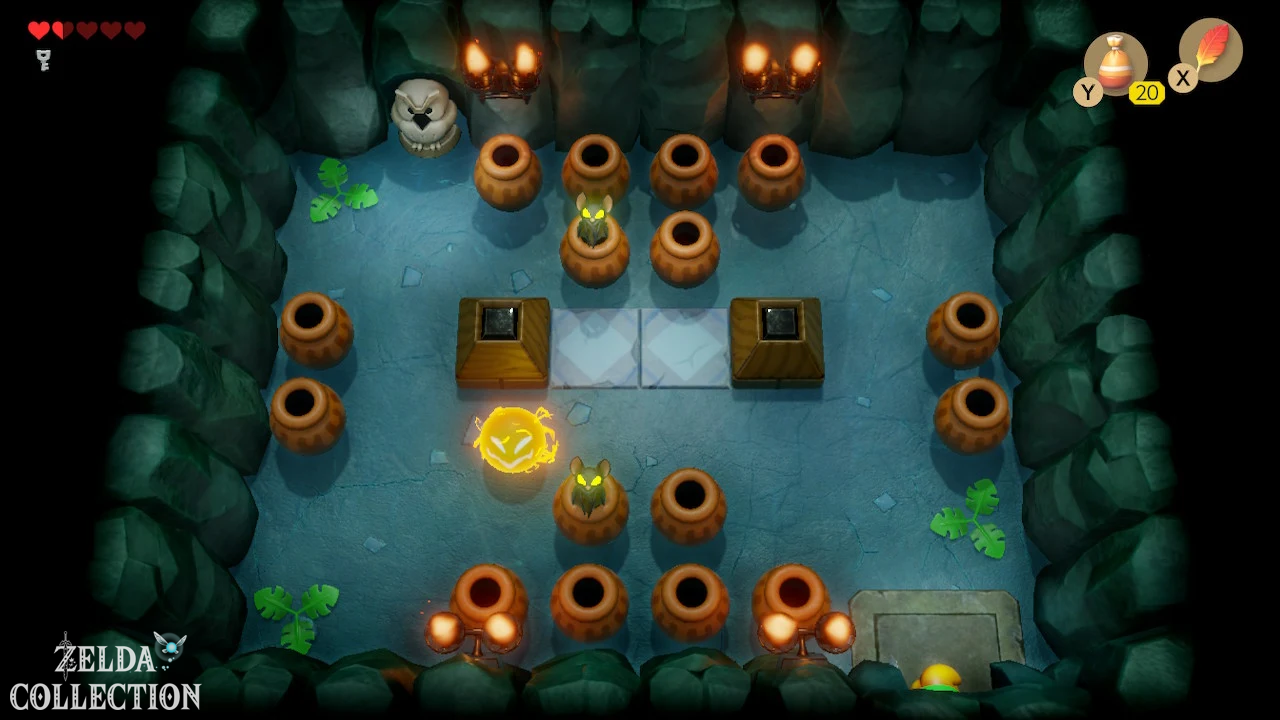
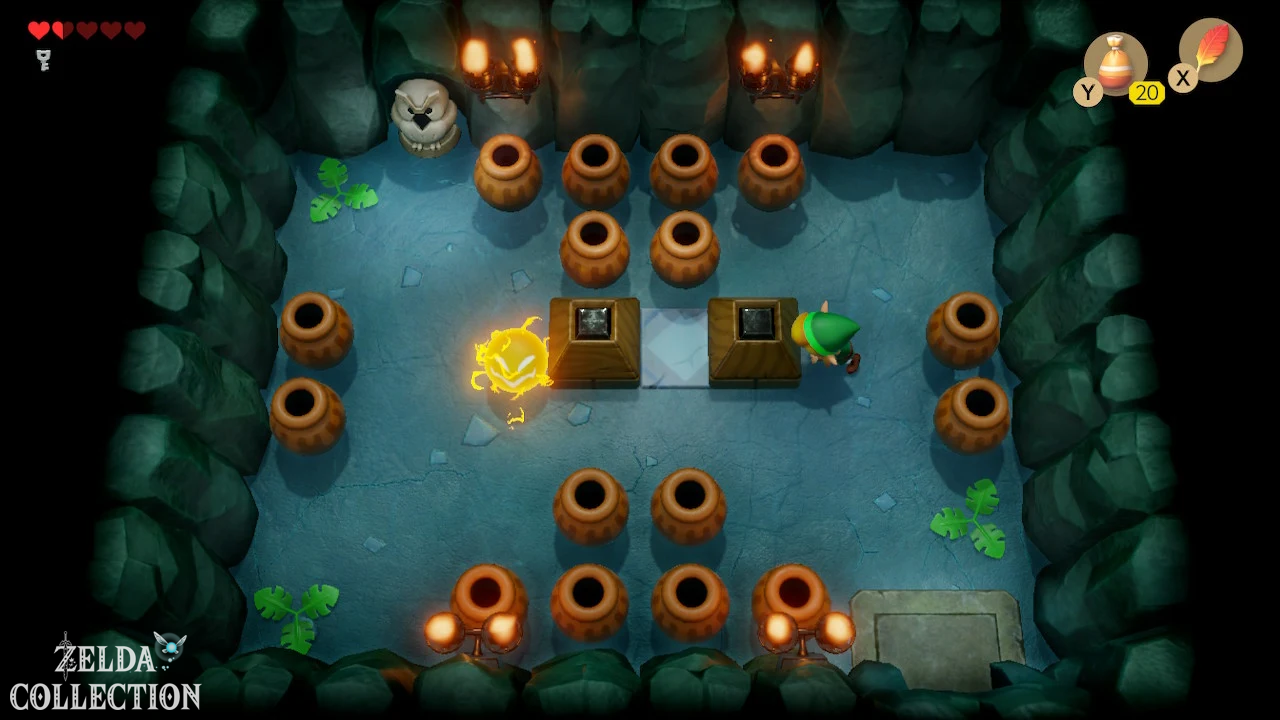
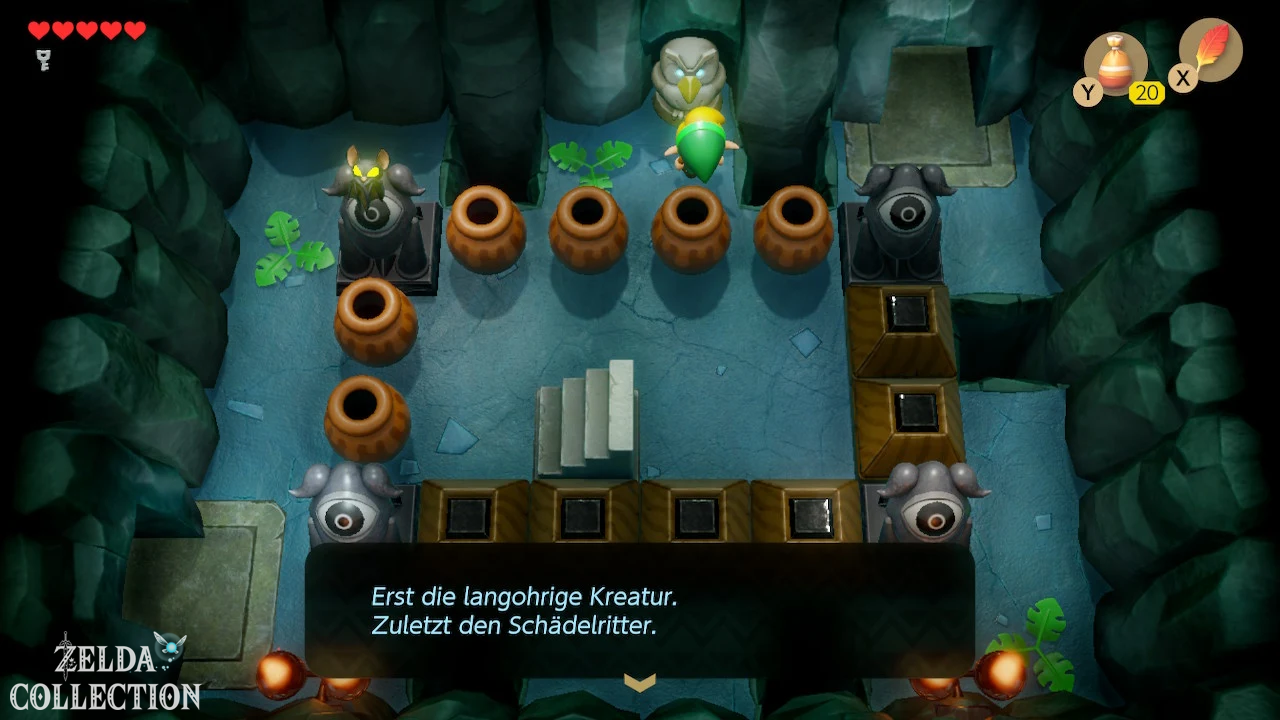
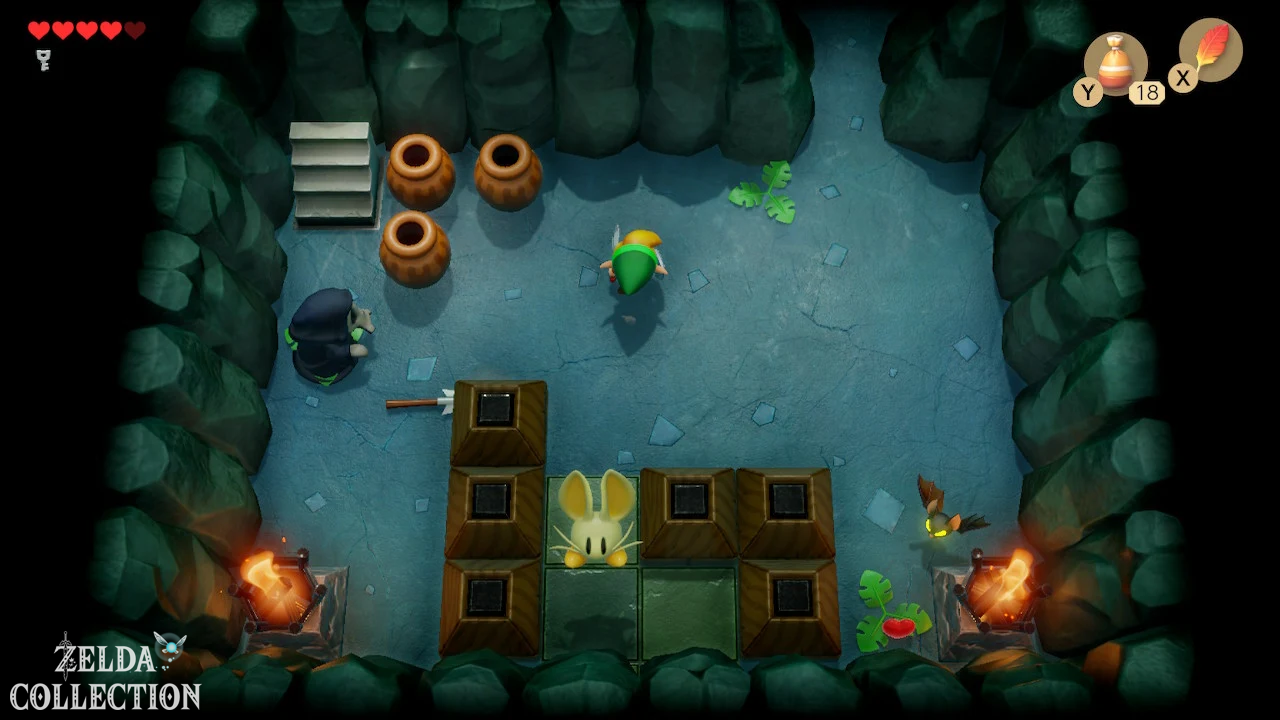
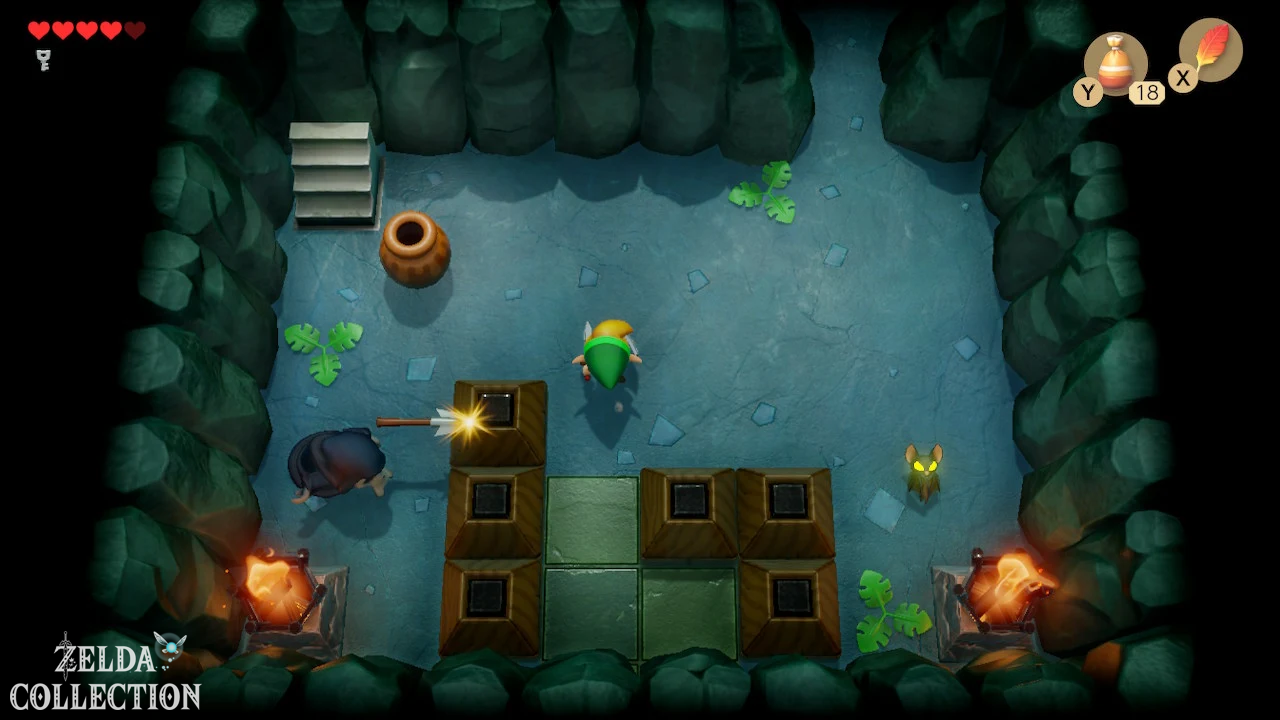
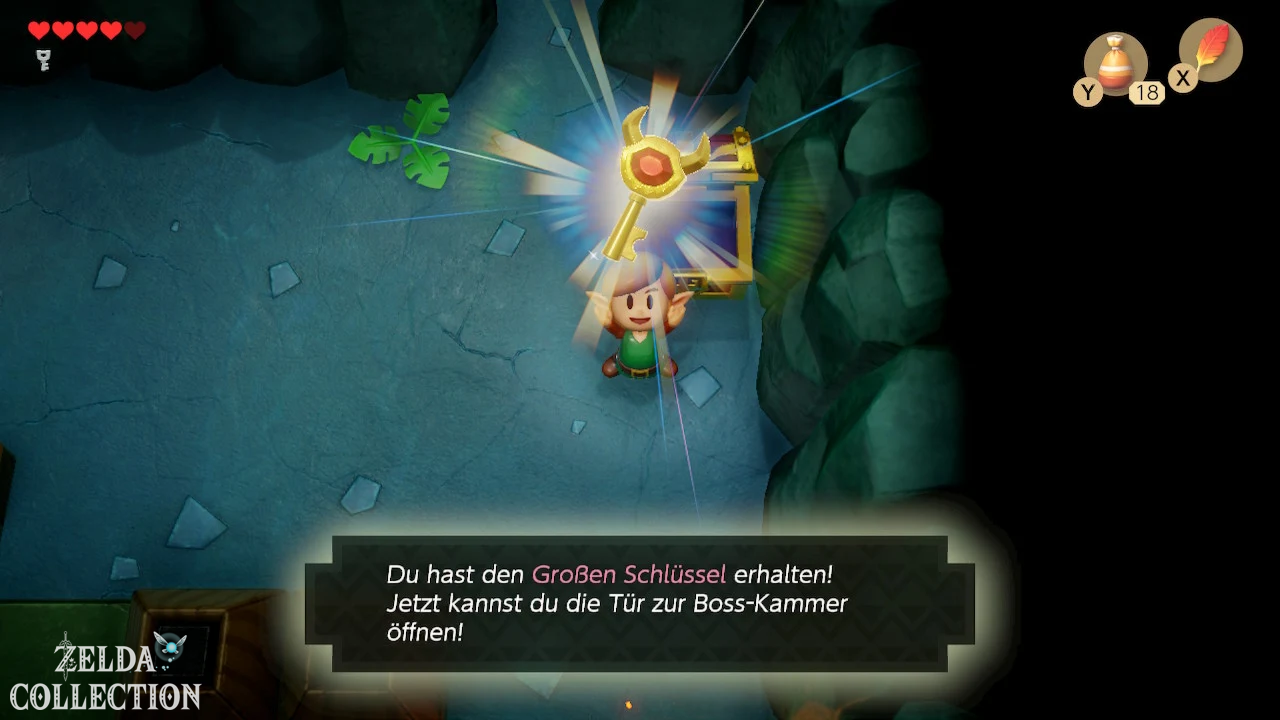
There are three different enemies in the room: a rabbit-like Pols Voice, a bat and a skeleton knight. It’s not enough to defeat all three somehow – you have to stick to a fixed order: first the rabbit, then the bat and finally the skeleton knight. For the Pols Voice, pick up a mug and throw it directly at the opponent. Then you kill the bat and finally the skeleton knight. If you followed the order correctly, a chest will appear with the Nightmare Key.
The final path to the final boss
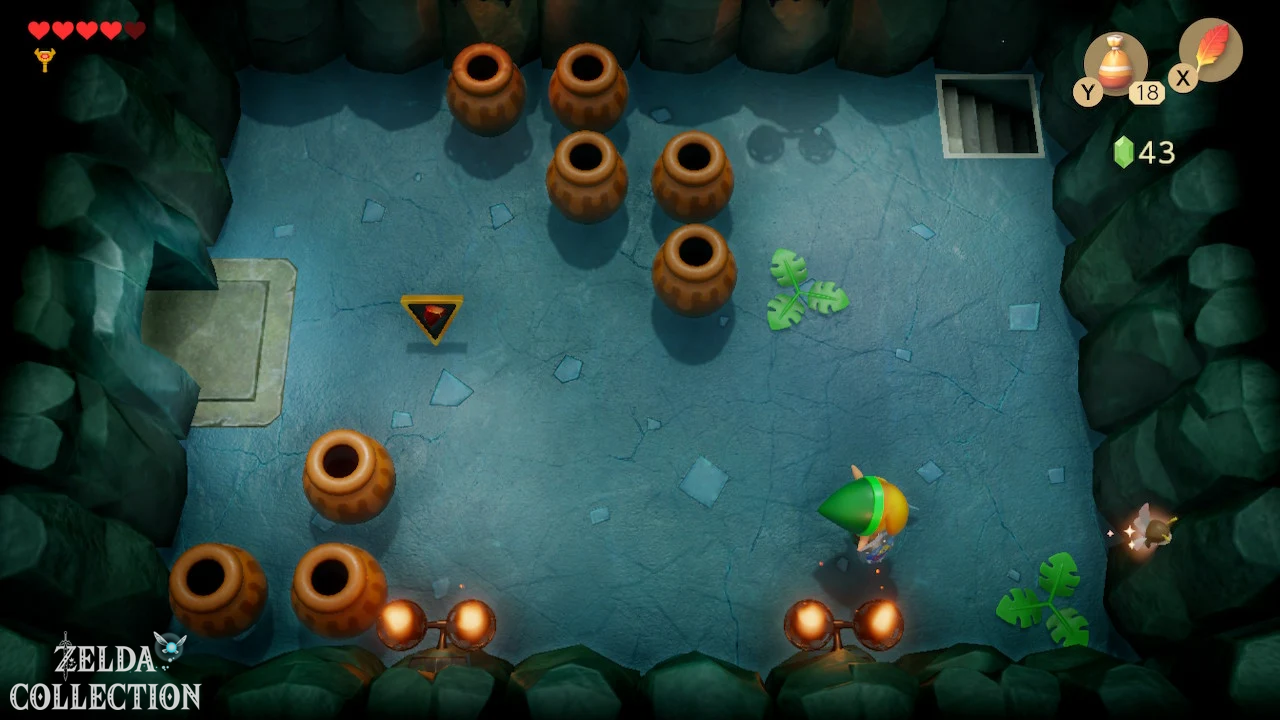
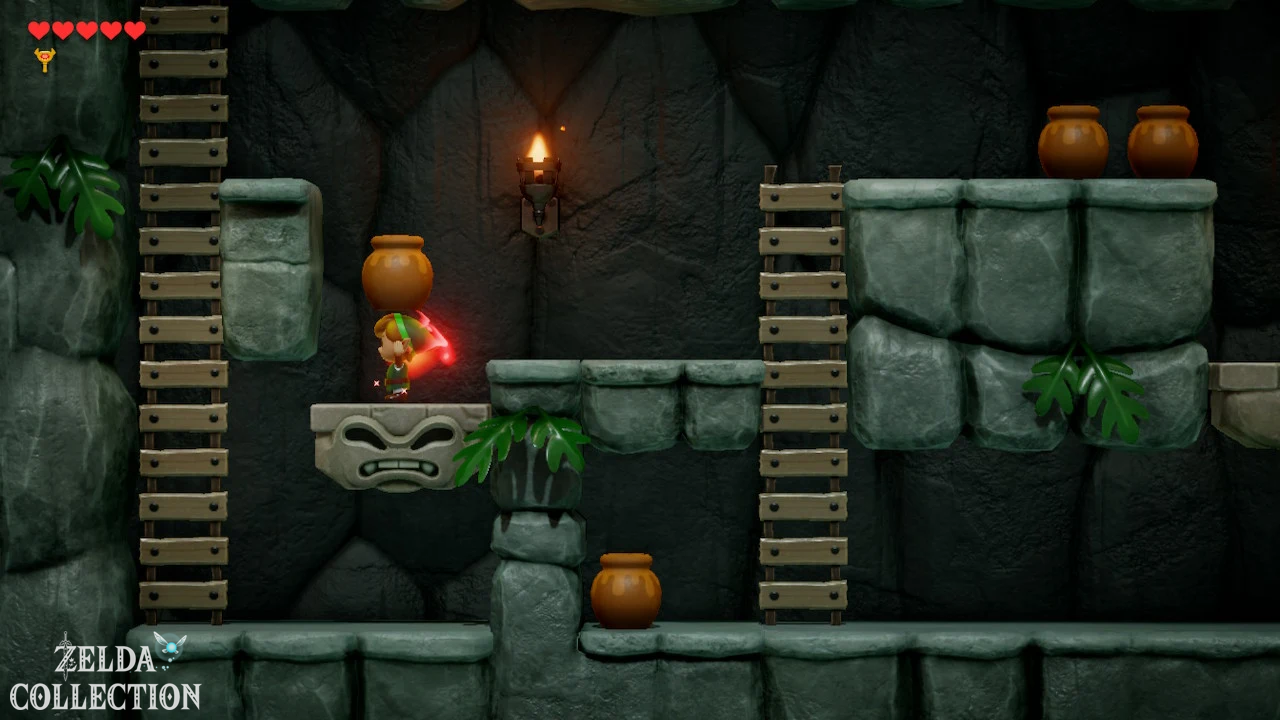
After getting the Nightmare Key, return to the previous section and open the still locked door on the right. Defeat all enemies in the next room to make a staircase appear and climb down. In the side view area there are two platforms that lower themselves using weight. On the first, Link’s own weight is sufficient. This doesn’t work with the second one: Take a jug with you and stand on the platform with it. The additional weight causes it to sink far enough so that you can continue on the path. Then jump over the last abyss with the Roc’s Feather and open the big boss door with the Nightmare Key.
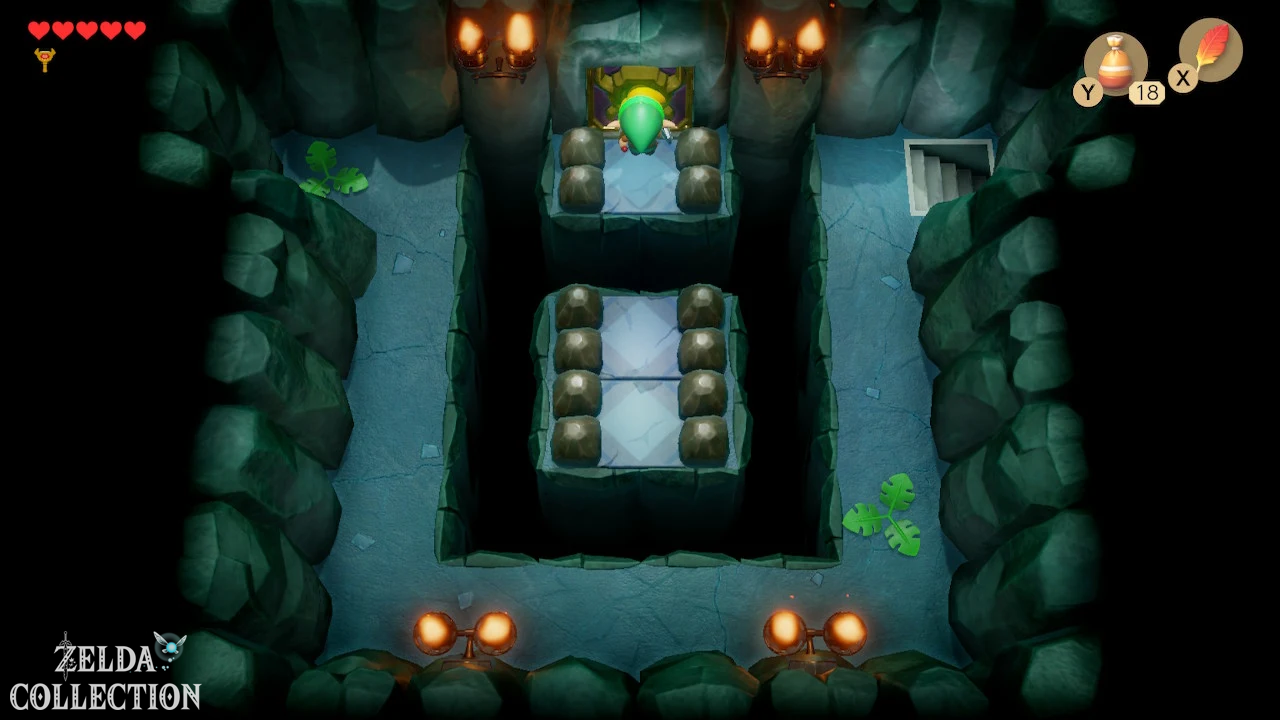
Boss: Genie
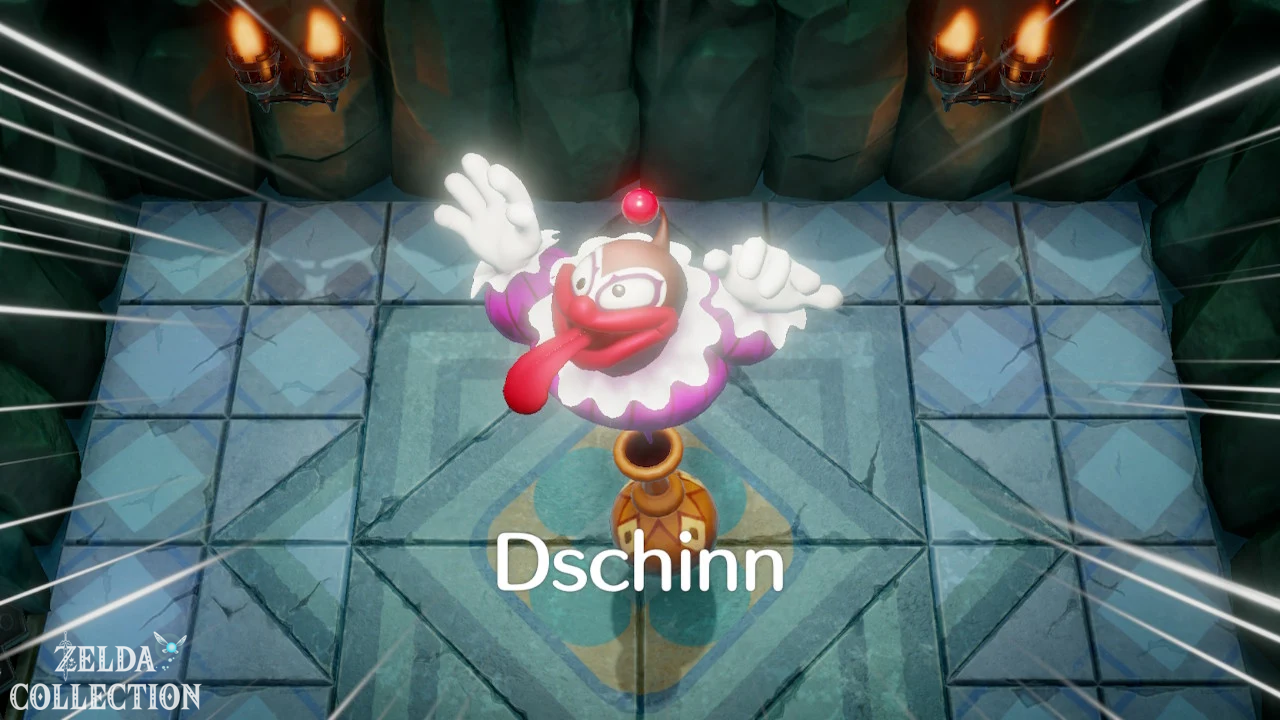
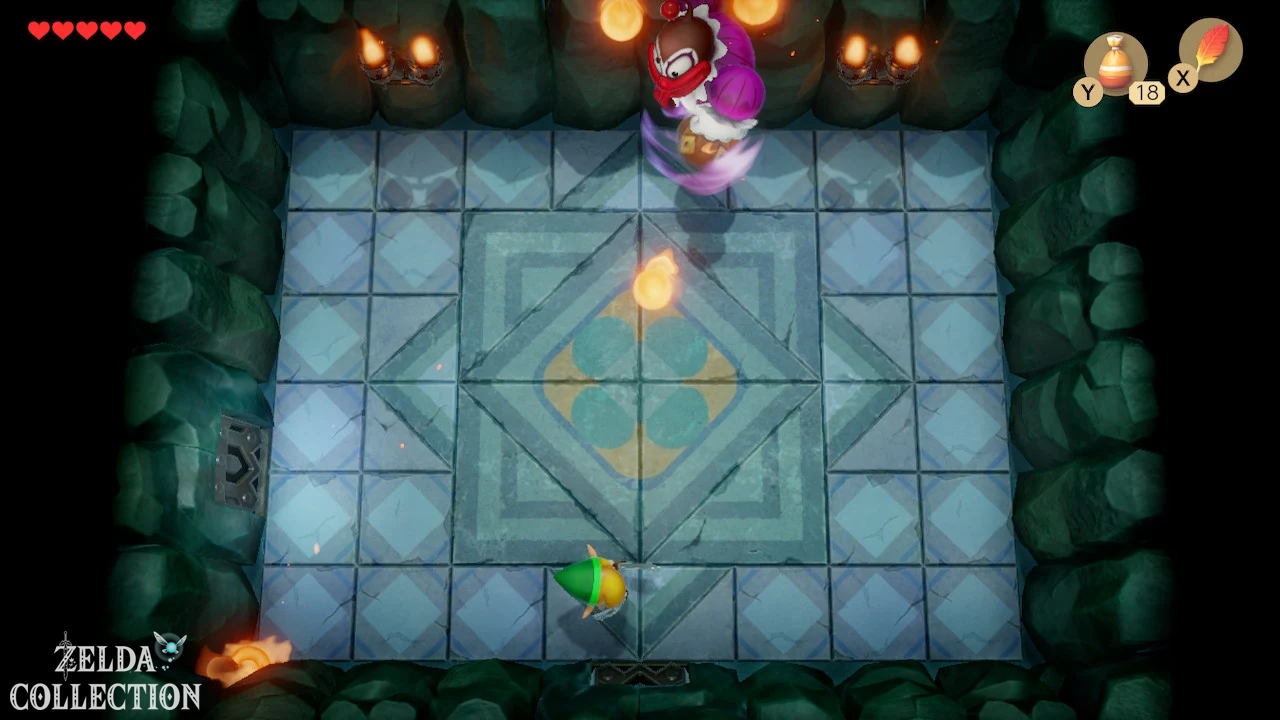
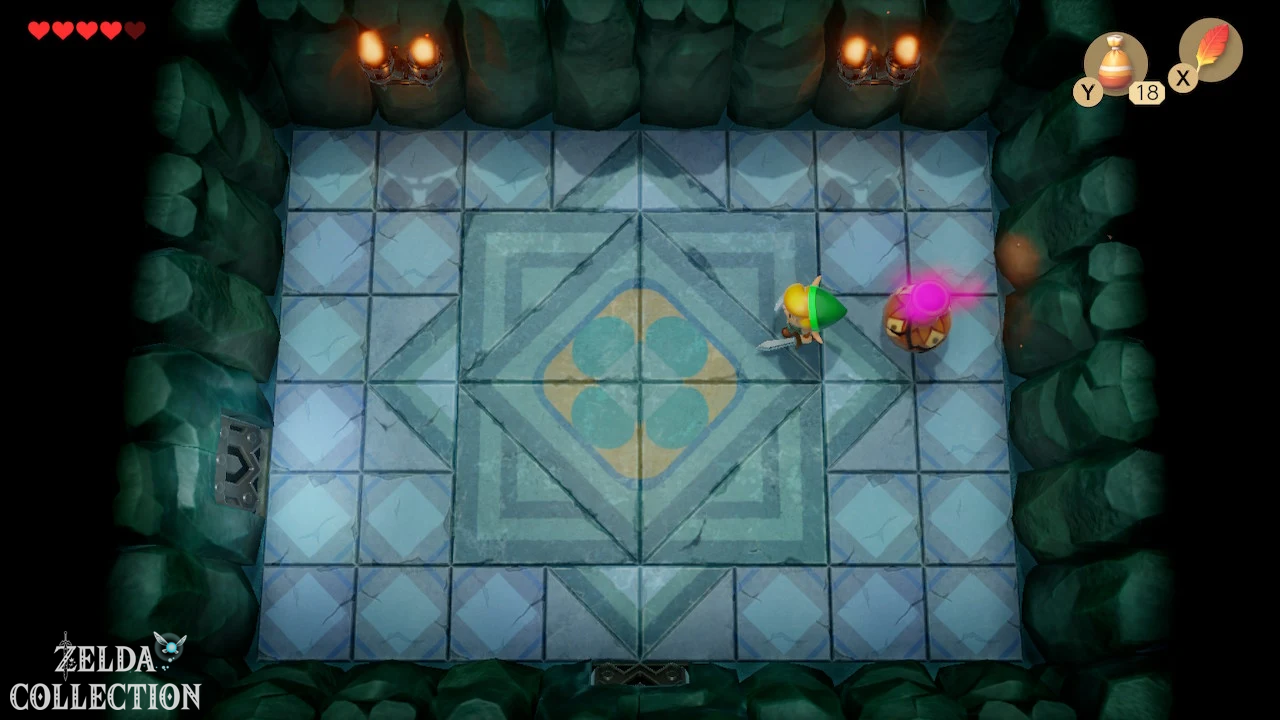
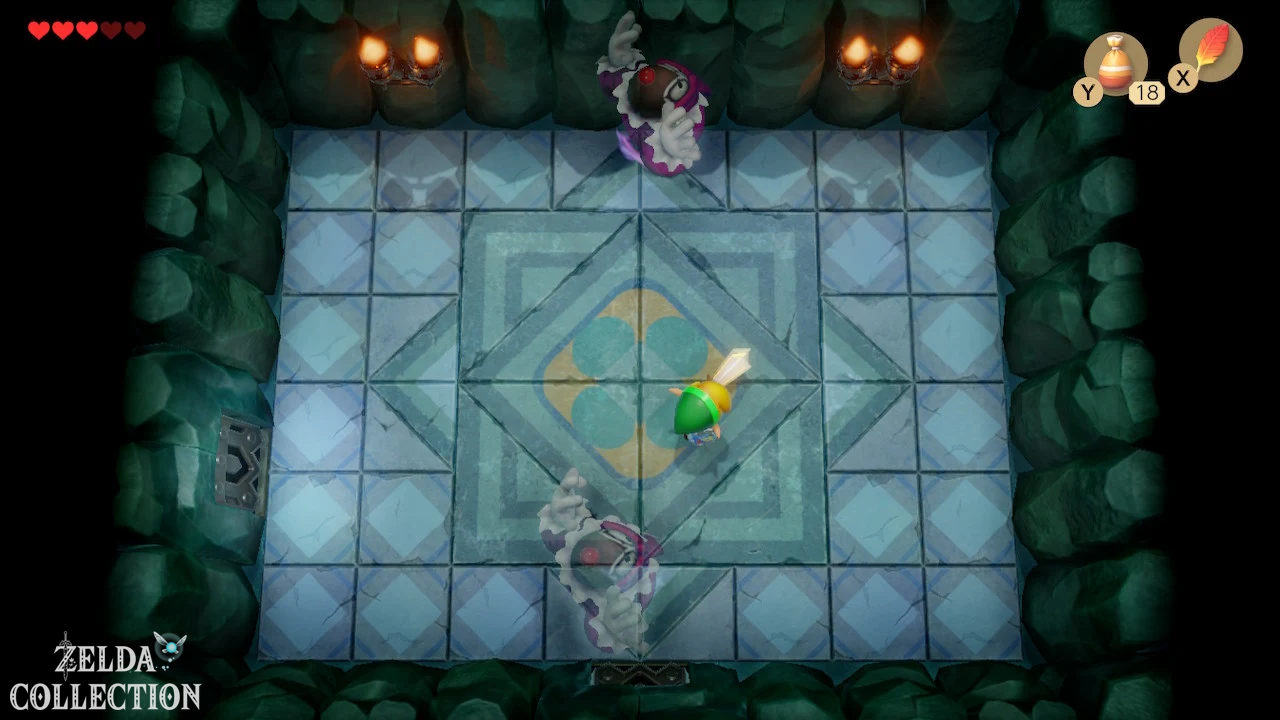
The final boss of the second dungeon is the eponymous Genie. The fight consists of two distinctly different phases. At the beginning he floats freely through the arena and throws fireballs at you. Keep moving, preferably running from side to side at the bottom of the room. After a short time, the djinn retreats into his vase, which then jumps wildly around the room. Hit the vase once with the sword to make it stop, use the Power Bracelet to lift it up and throw it against a wall. Repeat this process after each fireball phase. After several throws, the vase finally breaks.
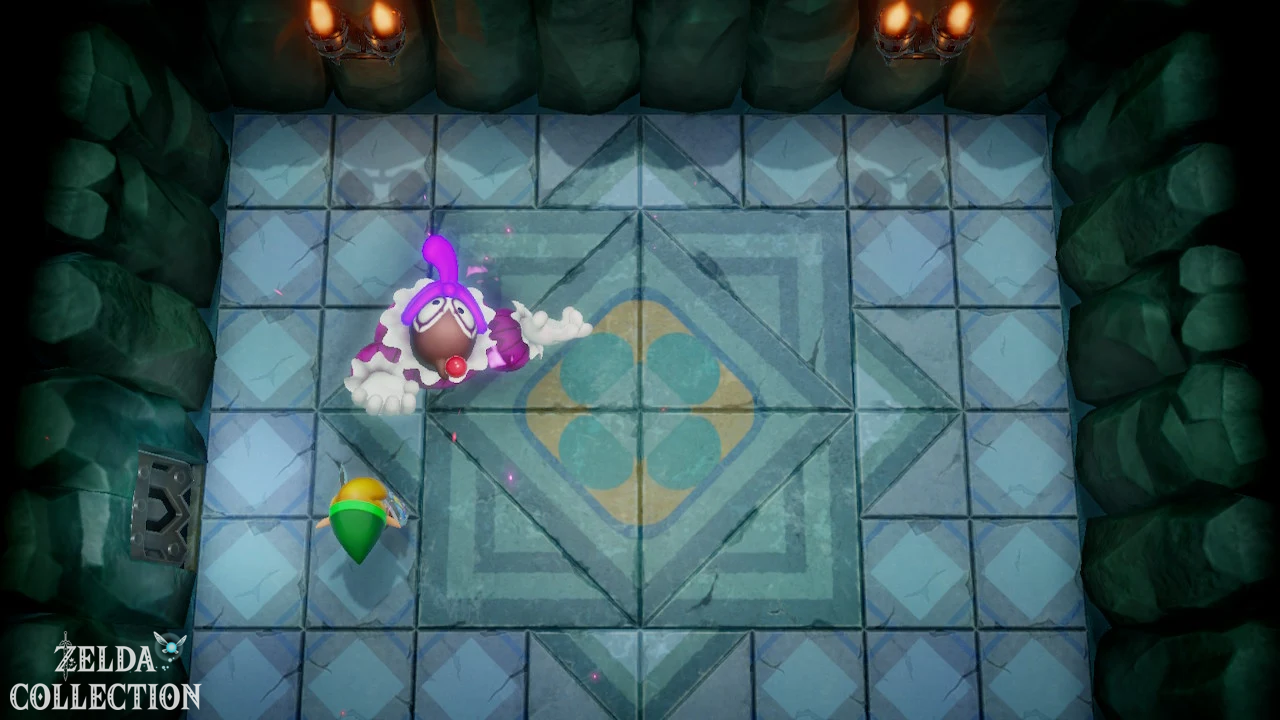
Now the djinn can no longer hide and becomes directly vulnerable. Keep moving, dodge his fireballs and attack as soon as he moves near you. A spin attack causes a lot of damage, but should only be charged if you have enough distance. If you want to be on the safe side, land individual, controlled sword hits and then retreat again. After several hits, the djinn is defeated and another Heart Container appears. Take it with you to permanently increase Link’s maximum health by one heart.
Obtain The Conch Horn
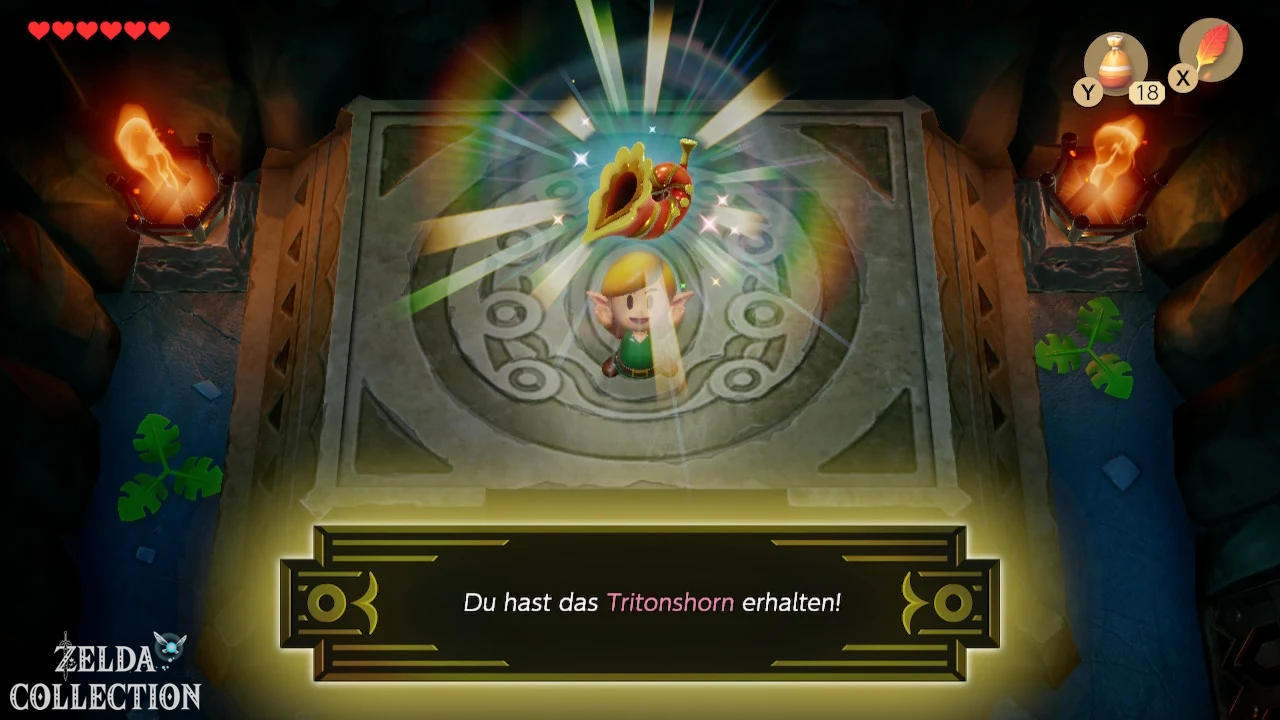
After the fight, go through the upper door. In the last room of the Bottle Grotto floats the second of the sirens’ eight instruments: the Conch Horn. As soon as Link takes it, the mysterious melody will play again and you will receive a message that your next big goal is in the prairie. The second dungeon is now completed.
After the Bottle Grotto: Use the Power Bracelet sensibly
With the Power Bracelet Link now has an ability that opens up many more new paths than that Roc’s Feather after the first dungeon. Everywhere on Koholint there are heavy stones and rocks behind them Pieces of Heart, Secret Seashells, hide caves or shortcuts. Therefore, for an optimal 100% solution path, it would be inefficient to run straight to the third dungeon. Instead, we combine the next story section with a larger collection round and get several previously unattainable items without unnecessary later trips back.
First, return Scrub to Madam MeowMeow when the opportunity arises. After completing the Bottle Grotto, it is no longer needed. Also check out the Trendy Game again: After the second dungeon, a new character will be unlocked. Win the Spiny figure and then place it on the provided base. You can find a complete overview in our guide to the figures in Link’s Awakening.
If you missed the hidden Secret Seashell in the Tail Cave because you were still missing bombs at the time, keep this detour in mind too. As soon as you have bombs, blow up the cracked wall and open the chest in the secret room. You can also find all Locations in our guide to the 50 Secret Seashells in Link’s Awakening.
Continue to Ukuku Prairie and to Kanalet Castle
Equipped with Roc’s Feather and Power Bracelet, Link can now explore a large part of Koholint. In the next section, we’ll use exactly that for a detailed 100% collection round before moving into the Ukuku Prairie. At the same time, we continue the series of exchanges, get or use the bananas from Kiki and open the way to Kanalet Castle. There are five golden leaves waiting there, Prince Richard’s Pothole Field and finally the key to the third dungeon.