

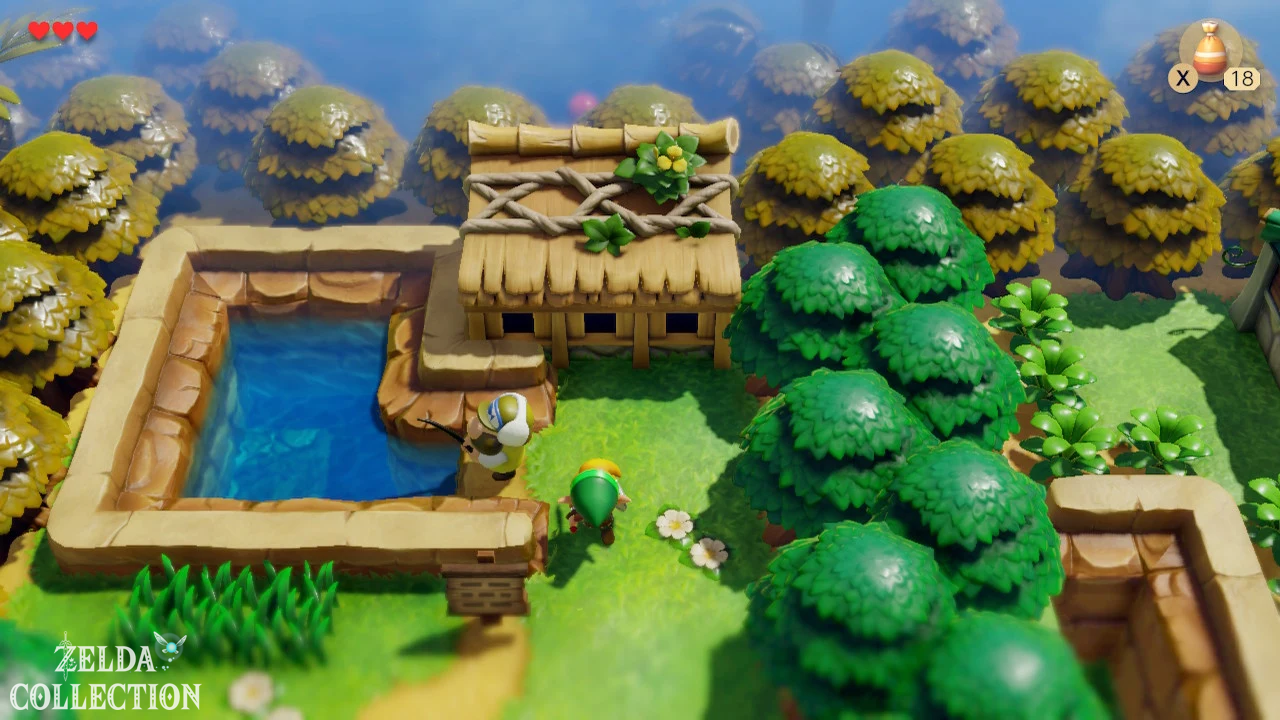
The fishing pond in Mabe Village was created for the Nintendo Switch remake of The Legend of Zelda: Link’s Awakening significantly expanded. While the fishing game was already present in the Game Boy original and in Link’s Awakening DX, additional fish like Cheep-Cheep, Blooper and the old Baron swim in the pond in the remake. There are also several lures and numerous permanent rewards: two Pieces of Heart, two Secret Seashells, two Chamber Stones and even one of the game’s three bottles.
For a 100% score, you shouldn’t complete the fishing pond in one long session. The rare fish are only unlocked after certain dungeons. Our Link’s Awakening Walkthrough therefore visits the pond several times: The first round is worth it immediately after the game starts, Cheep-Cheep follows after the Angler’s Tunnel, Blooper after the Catfish’s Maw and the old Baron after that Face Shrine.
All rewards at Fishing Pond
A round of fishing costs 10 Rupees. In addition to normal Rupees, you can receive a total of nine special rewards. Some depend on certain types of fish, others on the size of your catch. This makes it possible to trigger several previously open rewards at the same time with a single particularly good catch.
| Reward | Prerequisite |
|---|---|
| Piece of Heart 1 | Catch the first small red fish or sprat |
| Piece of Heart 2 | Catch first Lunker |
| Medium lure | Catch first Lunker |
| Bottle | Fishing up from the bottom of the pond |
| Secret Seashell 1 | Catch the first Cheep-Cheep |
| Heavy bait | Catch first blooper |
| Secret Seashell 2 | Catch a fish of at least about 100 cm for the first time |
| Chamber Stone 1 | Catch First Ol’ Baron |
| Chamber Stone 2 | Catch an Ol’ Baron of at least about 150 cm |
The two Pieces of Heart belong to the 32 Pieces of Heart of the remake, the mussels belong to the 50 Secret Seashells and the two Chamber Stones to the 14 special Chamber Stones. The bottle is also unique and should be picked up as early as possible.
Retrieve bottle from the bottom of the fishing pond
You can get the first of the three bottles right at the start of the adventure. In the fishing pond, look to the bottom left. A bottle is clearly visible on the bottom behind some aquatic plants. Cast the bait as far as possible and wait until it has completely sunk to the bottom. Then slowly move it towards the bottle until it gets stuck on the hook.
Now the more difficult part begins: slowly pull the bottle across the floor and then up the right side. The fish are particularly annoying. If you move the bottle directly in front of their face, they can swim against it and knock it off the hook again. It can therefore make sense to first remove some fish from the pond and only then get the bottle. If it falls down again, nothing is lost – just try again.
Piece of Heart 1: Catch Runt
For the first Piece of Heart all you have to do is catch one of the small red fish. They usually swim in the upper or middle area of the pond and are extremely easy to catch. Throw the bait slightly in front of the fish, let it sink briefly and move it with small jerks. As soon as the sprat bites, you pull it to the surface with short A inputs.
You can get this Piece of Heart on your very first visit. Since a round only costs 10 Rupees, it’s worth collecting the bottle and both early Pieces of Heart right at the start of our Walkthrough.
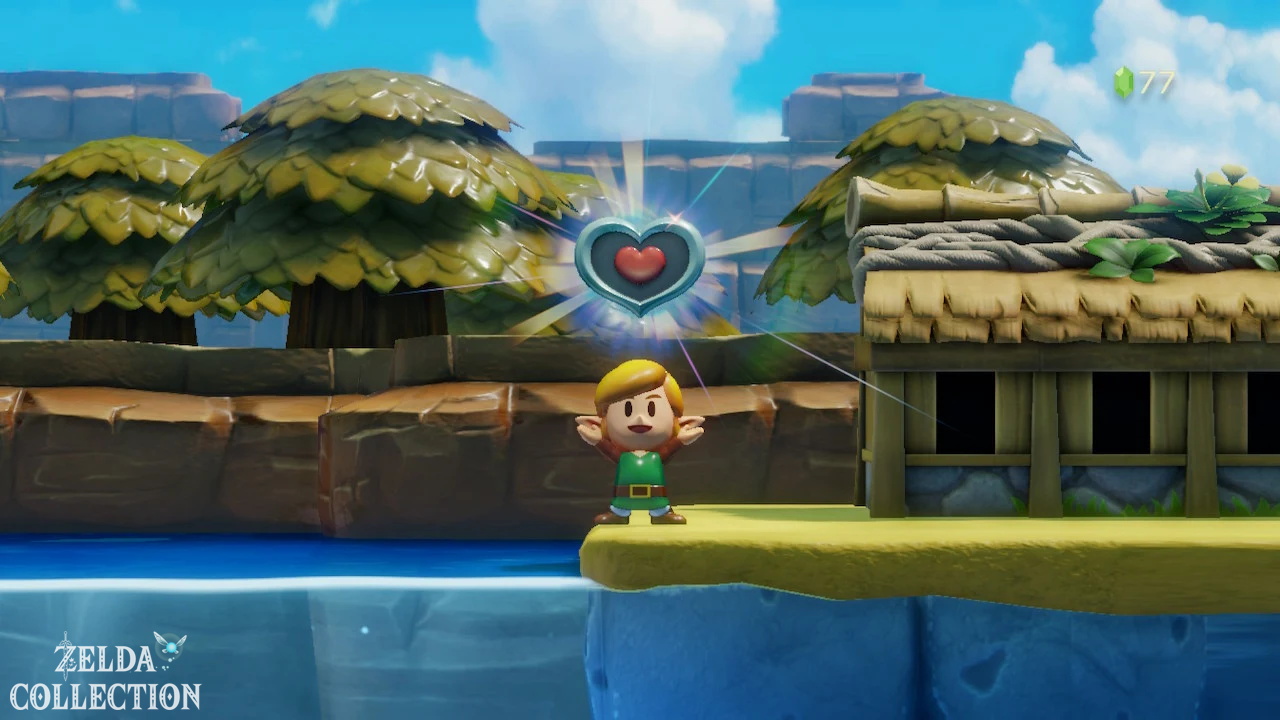
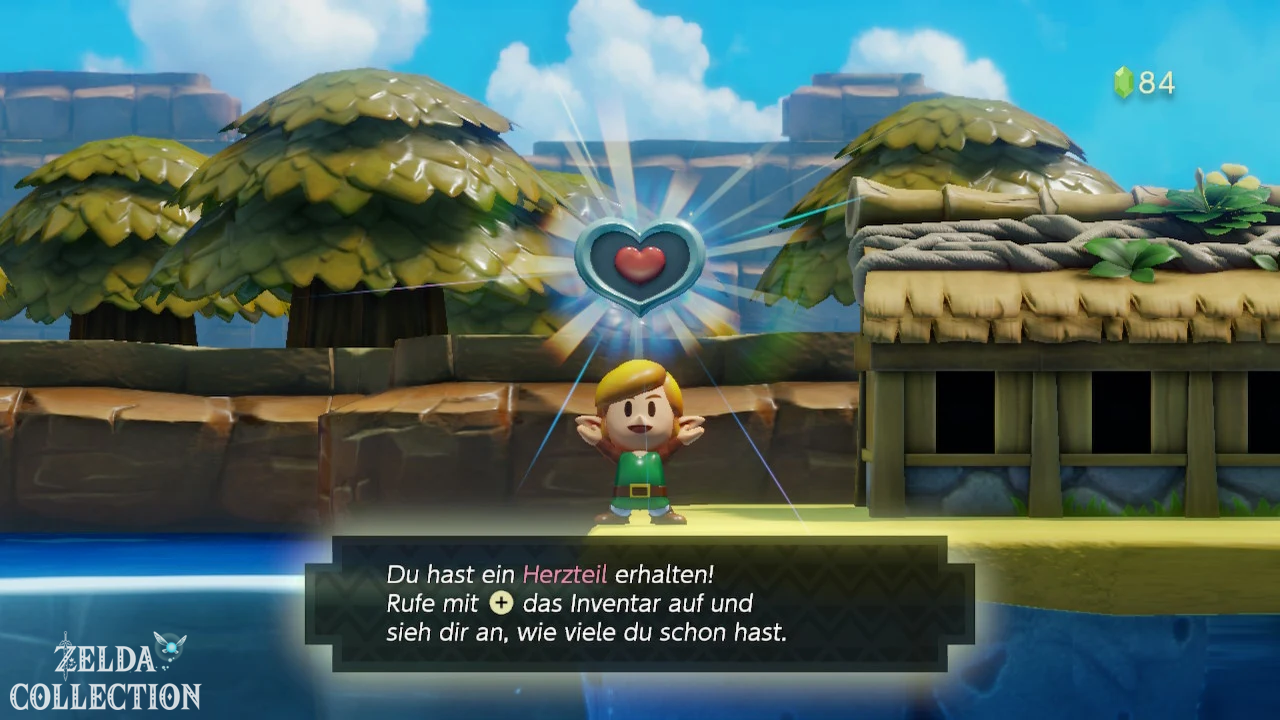
Piece of Heart 2 and medium bait: Catch Lunker
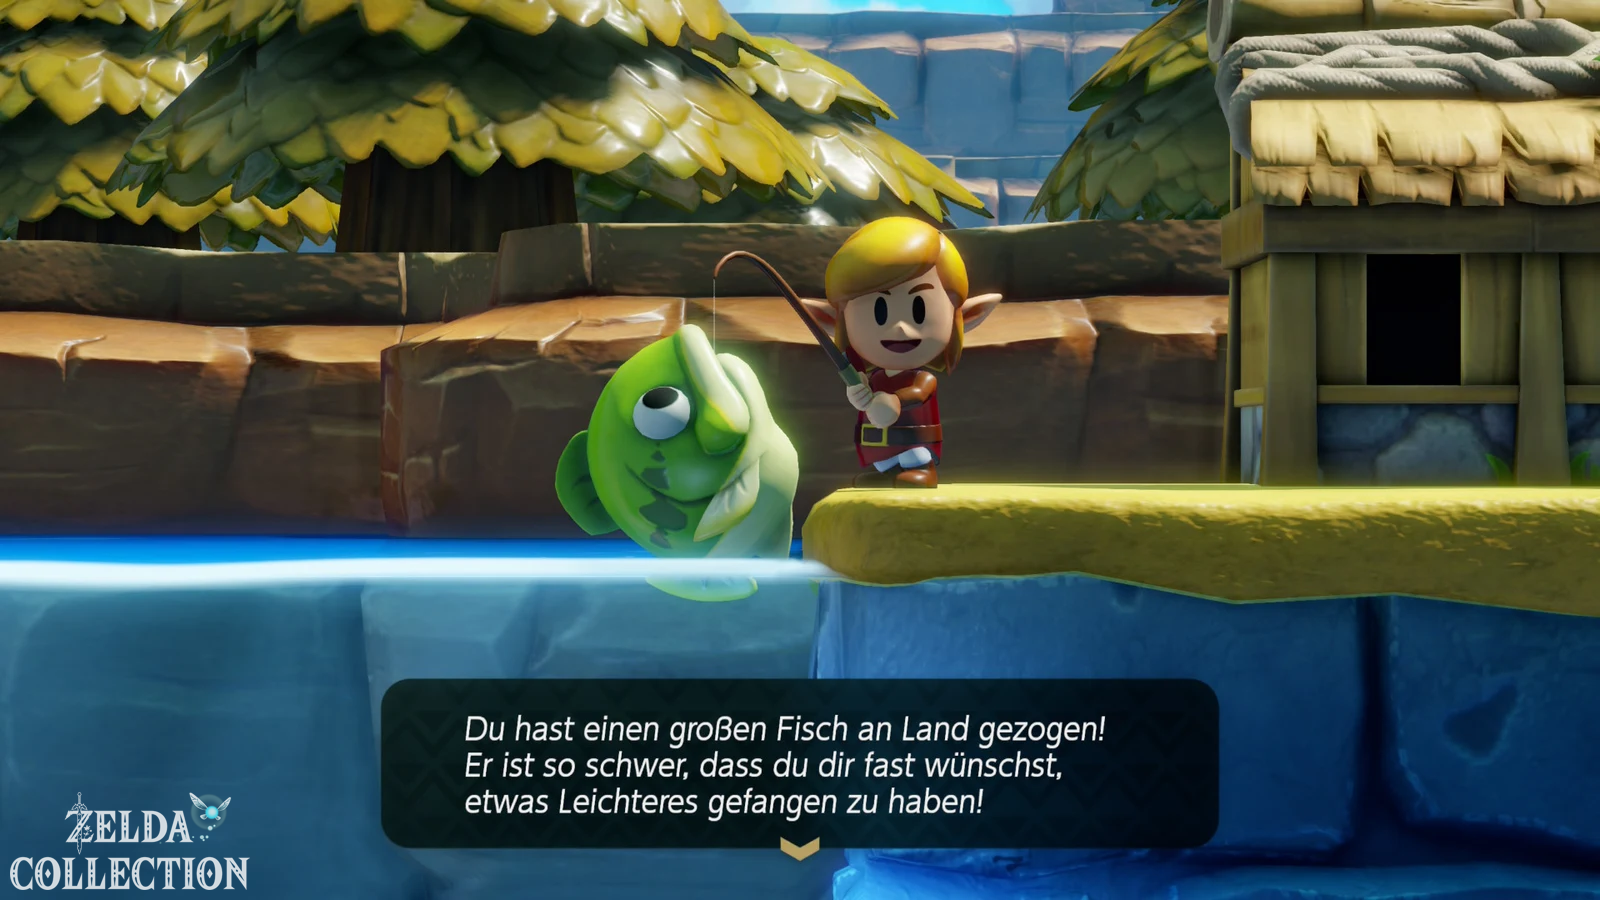
You get the second Piece of Heart for the first Lunker, often referred to as a lunker or big fish. It holds up much more strongly than the small red ones, but basically works according to the same method. Throw the bait close to him and use short movements to encourage him to bite. If the fish pulls strongly in the opposite direction, stop reeling in briefly and wait until it calms down again.
For the first Lunker you not only get a Piece of Heart, but also the medium bait. It sinks faster than the light standard bait and is therefore particularly suitable for fish that stay at medium depths.
What baits are there?
In the Switch remake you can switch between several baits. Before ejecting, you can adjust your selection accordingly. Which bait works best depends primarily on the depth at which the desired fish swims.
- Light bait: The standard bait. It sinks slowly and is particularly suitable for fish near the surface of the water.
- Medium Lure: Unlocked for the first large green fish. It sinks faster and is practical for the middle areas of the pond.
- Heavy Lure: Awarded for the first blooper. It sinks particularly quickly to the bottom and is therefore ideal for the Ol’ Baron.
You don’t necessarily have to rely on the “perfect” bait. Even rare fish can be caught with other variants. The right bait just makes it much easier to reach the desired fish before another specimen becomes interested.
This is how fishing works
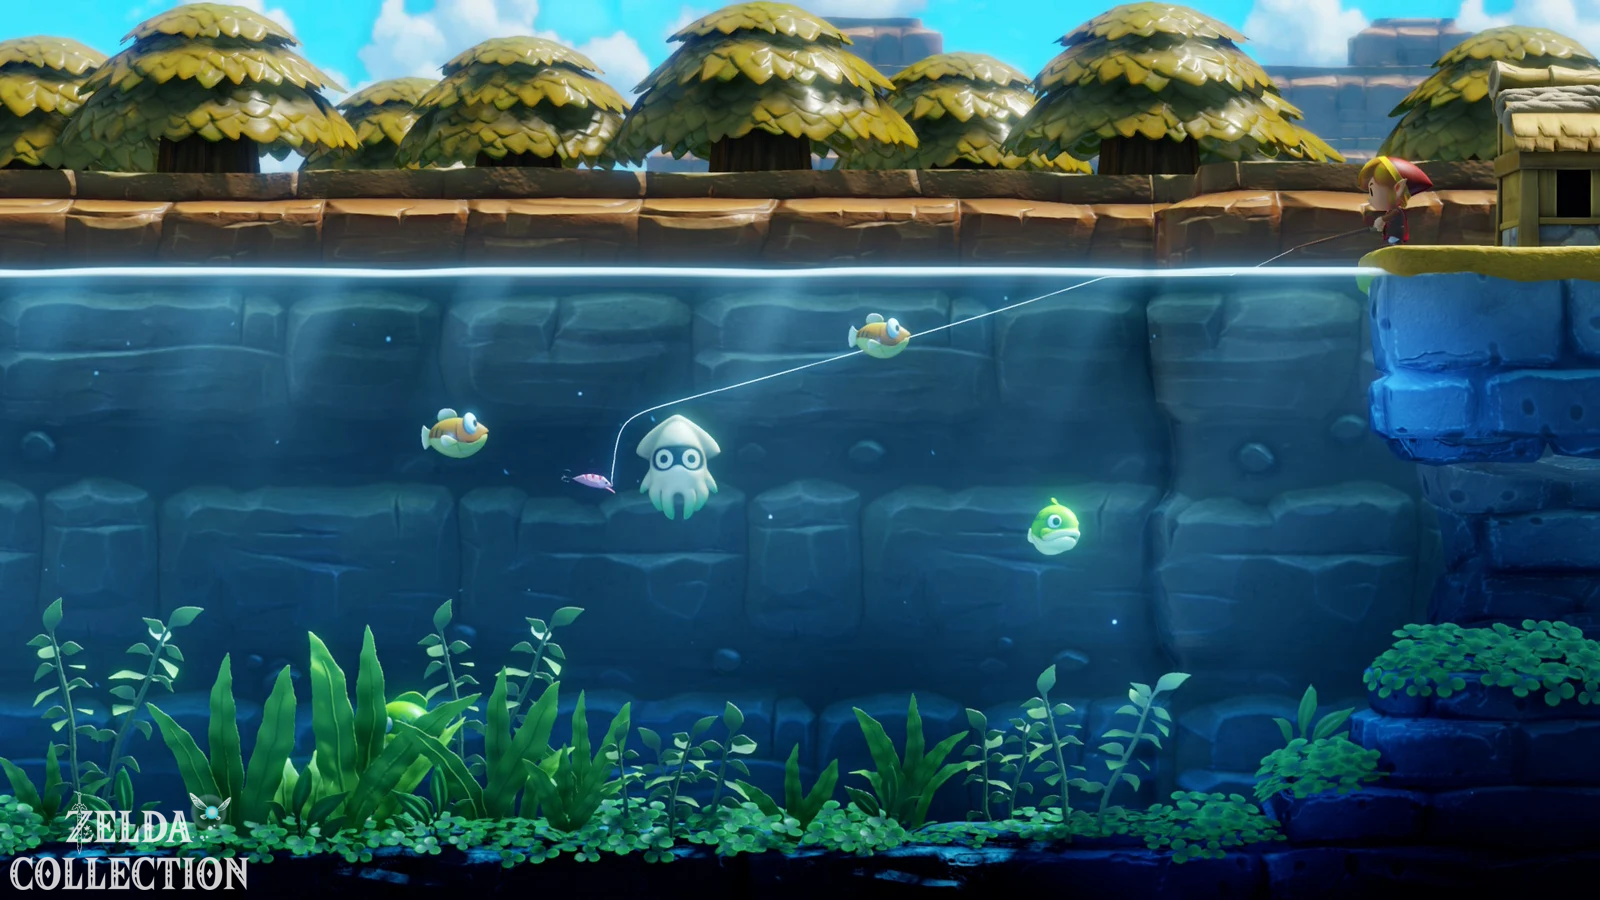
Press and hold the A Button to prepare the throw. The longer you hold it, the further Link will cast the fishing rod. After hitting the bait, it slowly sinks downwards depending on its weight. Since the mini-game is presented from a side perspective, you can observe exactly what depth the bait and desired fish are at.
To attract a fish, move the analog stick up or down in short bursts. This causes the bait to twitch and become more noticeable to a fish swimming nearby. Alternatively, press A briefly, which will cause Link to pull in some line and the bait will also start moving. Avoid long A inputs as long as the fish has not yet bitten – otherwise you will unnecessarily pull the bait out of its field of vision.
Fish react most reliably when the bait fidgets directly in front of or slightly above their head. If a fish is already swimming towards you with interest, you should not continue to pull frantically. Let the bait work briefly until the fish actually bites.
Reel in a fish safely
Once a fish has bitten, the most important rule is not to keep the line under maximum tension for long periods of time. If the fish swims to the left or behaves calmly, you can hold down A or reel in quickly. However, if he turns away and tries to escape, release the button briefly. This means you lose some distance, but it prevents the line from breaking.
When it comes to large and rare fish, patience is more important than speed. Bring in the line in several stages: pull, release, pull again. Especially with the old Baron, an overly aggressive attempt just before the bank can fail.
Unlock Cheep-Cheep and catch
The Cheep-Cheep only appears after you have completed the fourth dungeon, the Angler’s Tunnel. Then return to the fishing pond. If there is no Cheep-Cheep to be seen, first catch some normal fish or leave the area and come back. A bluish or conspicuously shimmering fishing pond indicates that one of the rare fish is currently in the water.
Cheep-Cheeps usually stay relatively high up. The light bait therefore works excellently. As soon as one has bitten, you can catch up with it normally. What’s crucial is his jump: When the Cheep-Cheep jumps out of the water, he doesn’t press any buttons at all. Let the fishing rod rest completely. As soon as he has fallen back into the water, you continue retrieving him. If you keep pulling during the jump, the Cheep-Cheep will break away particularly easily.
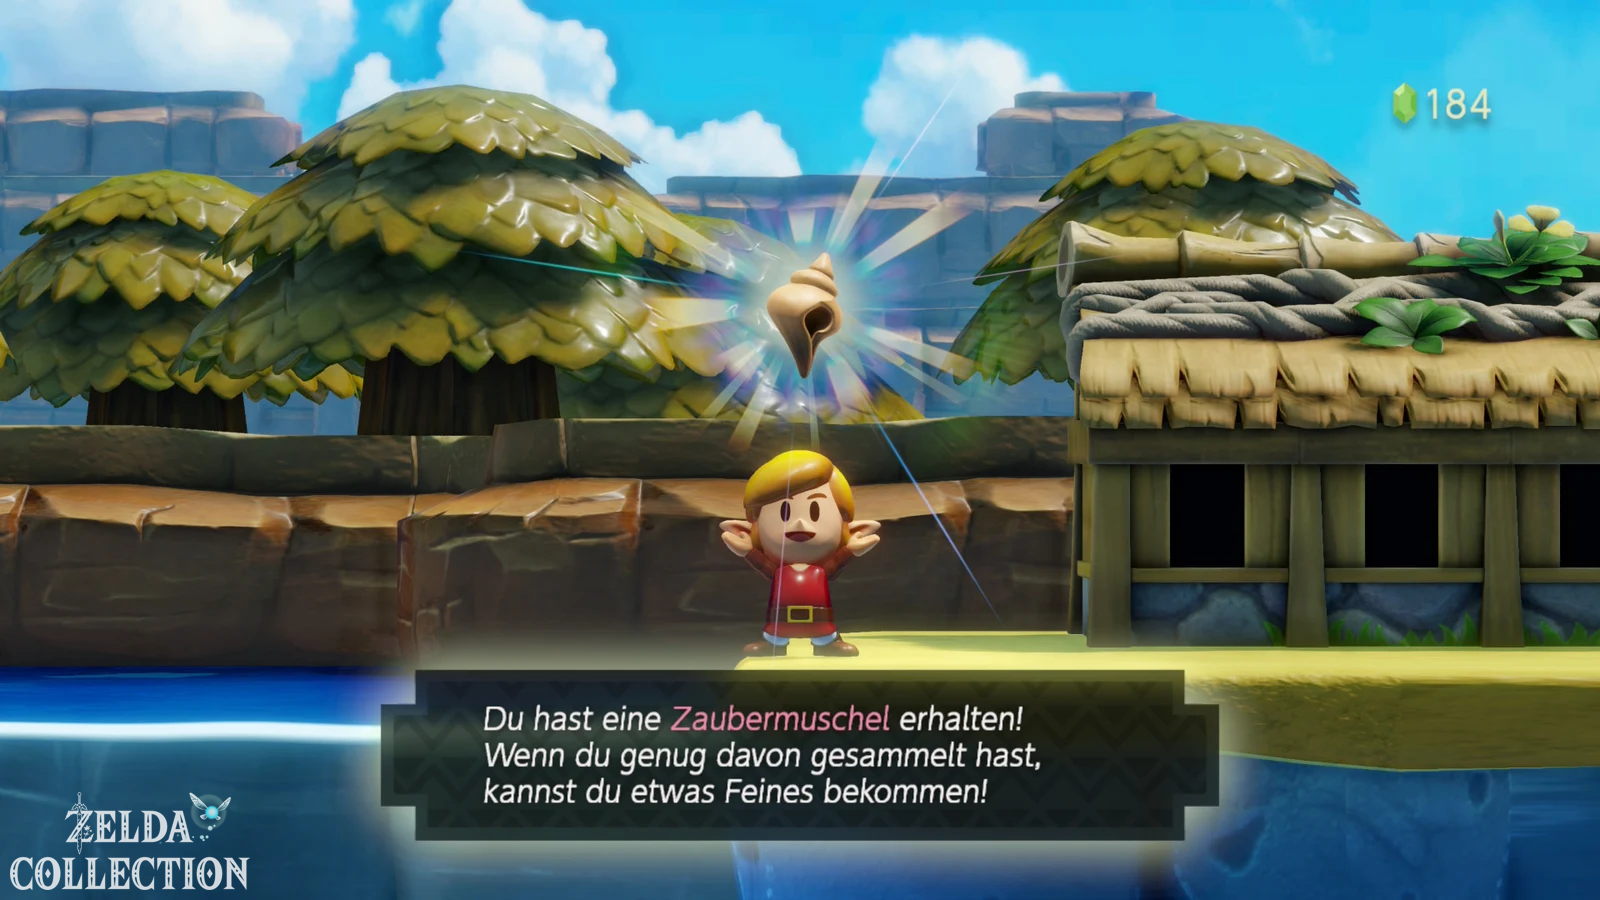
For the first captured Cheep-Cheep you get one Secret Seashell.
Unlock Blooper and catch
The Blooper is unlocked one level later. You must first complete the fifth dungeon, the Catfish’s Maw. Afterwards, Bloopers can appear in the fishing pond. Here too, it helps to first remove some normal fish or re-enter the pond until the desired specimen appears.
Blooper often swims at medium depths, so the medium bait is very practical. When retrieving, the same important rule applies as with Cheep-Cheep: As soon as the blooper jumps out of the water, let go of A completely. Wait until he has submerged again and only then move on.
For the first blooper you get it heavy bait. A second reward also depends on the size of your catch: if a fish exceeds the limit for the first time 100 centimeters, you get another one Secret Seashell. A sufficiently large blooper can already meet this condition. However, the shell is not exclusively tied to the blooper – a correspondingly large Ol’ Baron can also trigger the size reward.
The Ol’ Baron: Biggest Fish in the Pond
After completing the sixth dungeon, the Face Shrine, the Ol’ Baron can finally appear in the fishing pond. It is the largest and most difficult fish in the mini-game and usually lives deep down among the plants. This is where the heavy bait shows its strengths because it sinks particularly quickly to the bottom.
The Ol’ Baron fights against the line significantly longer than all previous fish. Don’t try to pull him to the shore in one go. Catches up a few meters, stops immediately if he swims away strongly and only continues when he has calmed down again. This change can be repeated several times. The bigger the Baron, the longer the fight lasts.
For the first Ol’ Baron you get one Chamber Stone. You can later catch a specimen with at least about 150 centimeters, you will receive a second one Chamber Stone. Both belong to the total 14 special Chamber Stones of the Switch remake.
Second Secret Seashell: Size matters
One of the most common confusions when it comes to fishing ponds concerns the second Secret Seashell. It is not automatically awarded for the first blooper. For the first blooper you get the heavy bait. The additional mussel, on the other hand, is linked to a size threshold: If you catch a fish between approximately 100 and 150 centimeters for the first time or exceed the corresponding size mark, the Fisherman rewards you with the mussel.
A large blooper is the earliest typical candidate. You can also get the reward with a smaller Ol’ Baron if you haven’t caught a fish of this size before. Therefore, the order and type of fish may look slightly different from game state to game state.
When do the rare fish appear?
| Fish | Activation | Important Reward |
|---|---|---|
| Cheep-Cheep | After the Angler’s Tunnel | Secret Seashell |
| Blooper | After the Catfish’s Maw | Heavy bait |
| Ol’ Baron | After the Face Shrine | Two Chamber Stones possible |
If the fishing pond is noticeable when entering lights up or shimmers, there is at least one rare fish in the current population. If the fish you want is not available, you can catch some fish and return later or enter the village briefly and reload the pond.
All fish species in the fishing pond
| Sprat Small red standard fish. One of the first catches is a Piece of Heart. |
| Big fish Greener, stronger fish. The first big catch brings Piece of Heart and medium bait. |
| Cheep-Cheep Available after Angler’s Tunnel. The first catch brings a Secret Seashell. |
| Blooper Available after Catfish’s Maw. The first catch unlocks the heavy bait. |
| Ol’ Baron Available after Face Shrine. The first catch and a specimen from around 150 cm each bring a Chamber Stone. |
The optimal 100% route on the fishing pond
You don’t have to completely empty the fishing pond every time you visit. For our 100% route, it is more efficient to collect the rewards in multiple stages. Right at the start of the game you catch a small red and a large green fish and get the bottle from the bottom. So you have both Pieces of Heart, the bottle and the middle bait. After the Angler’s Tunnel you return for Cheep-Cheep and his Secret Seashell. After the Catfish’s Maw you catch a blooper, get the heavy bait and can secure the 100 cm mussel at the same time. After the Face Shrine, the old Baron finally follows for the two Chamber Stones.
This way, you’ll always do the fishing pond when new rewards actually become available, instead of spending hours early on looking for fish that the save game hasn’t unlocked yet.