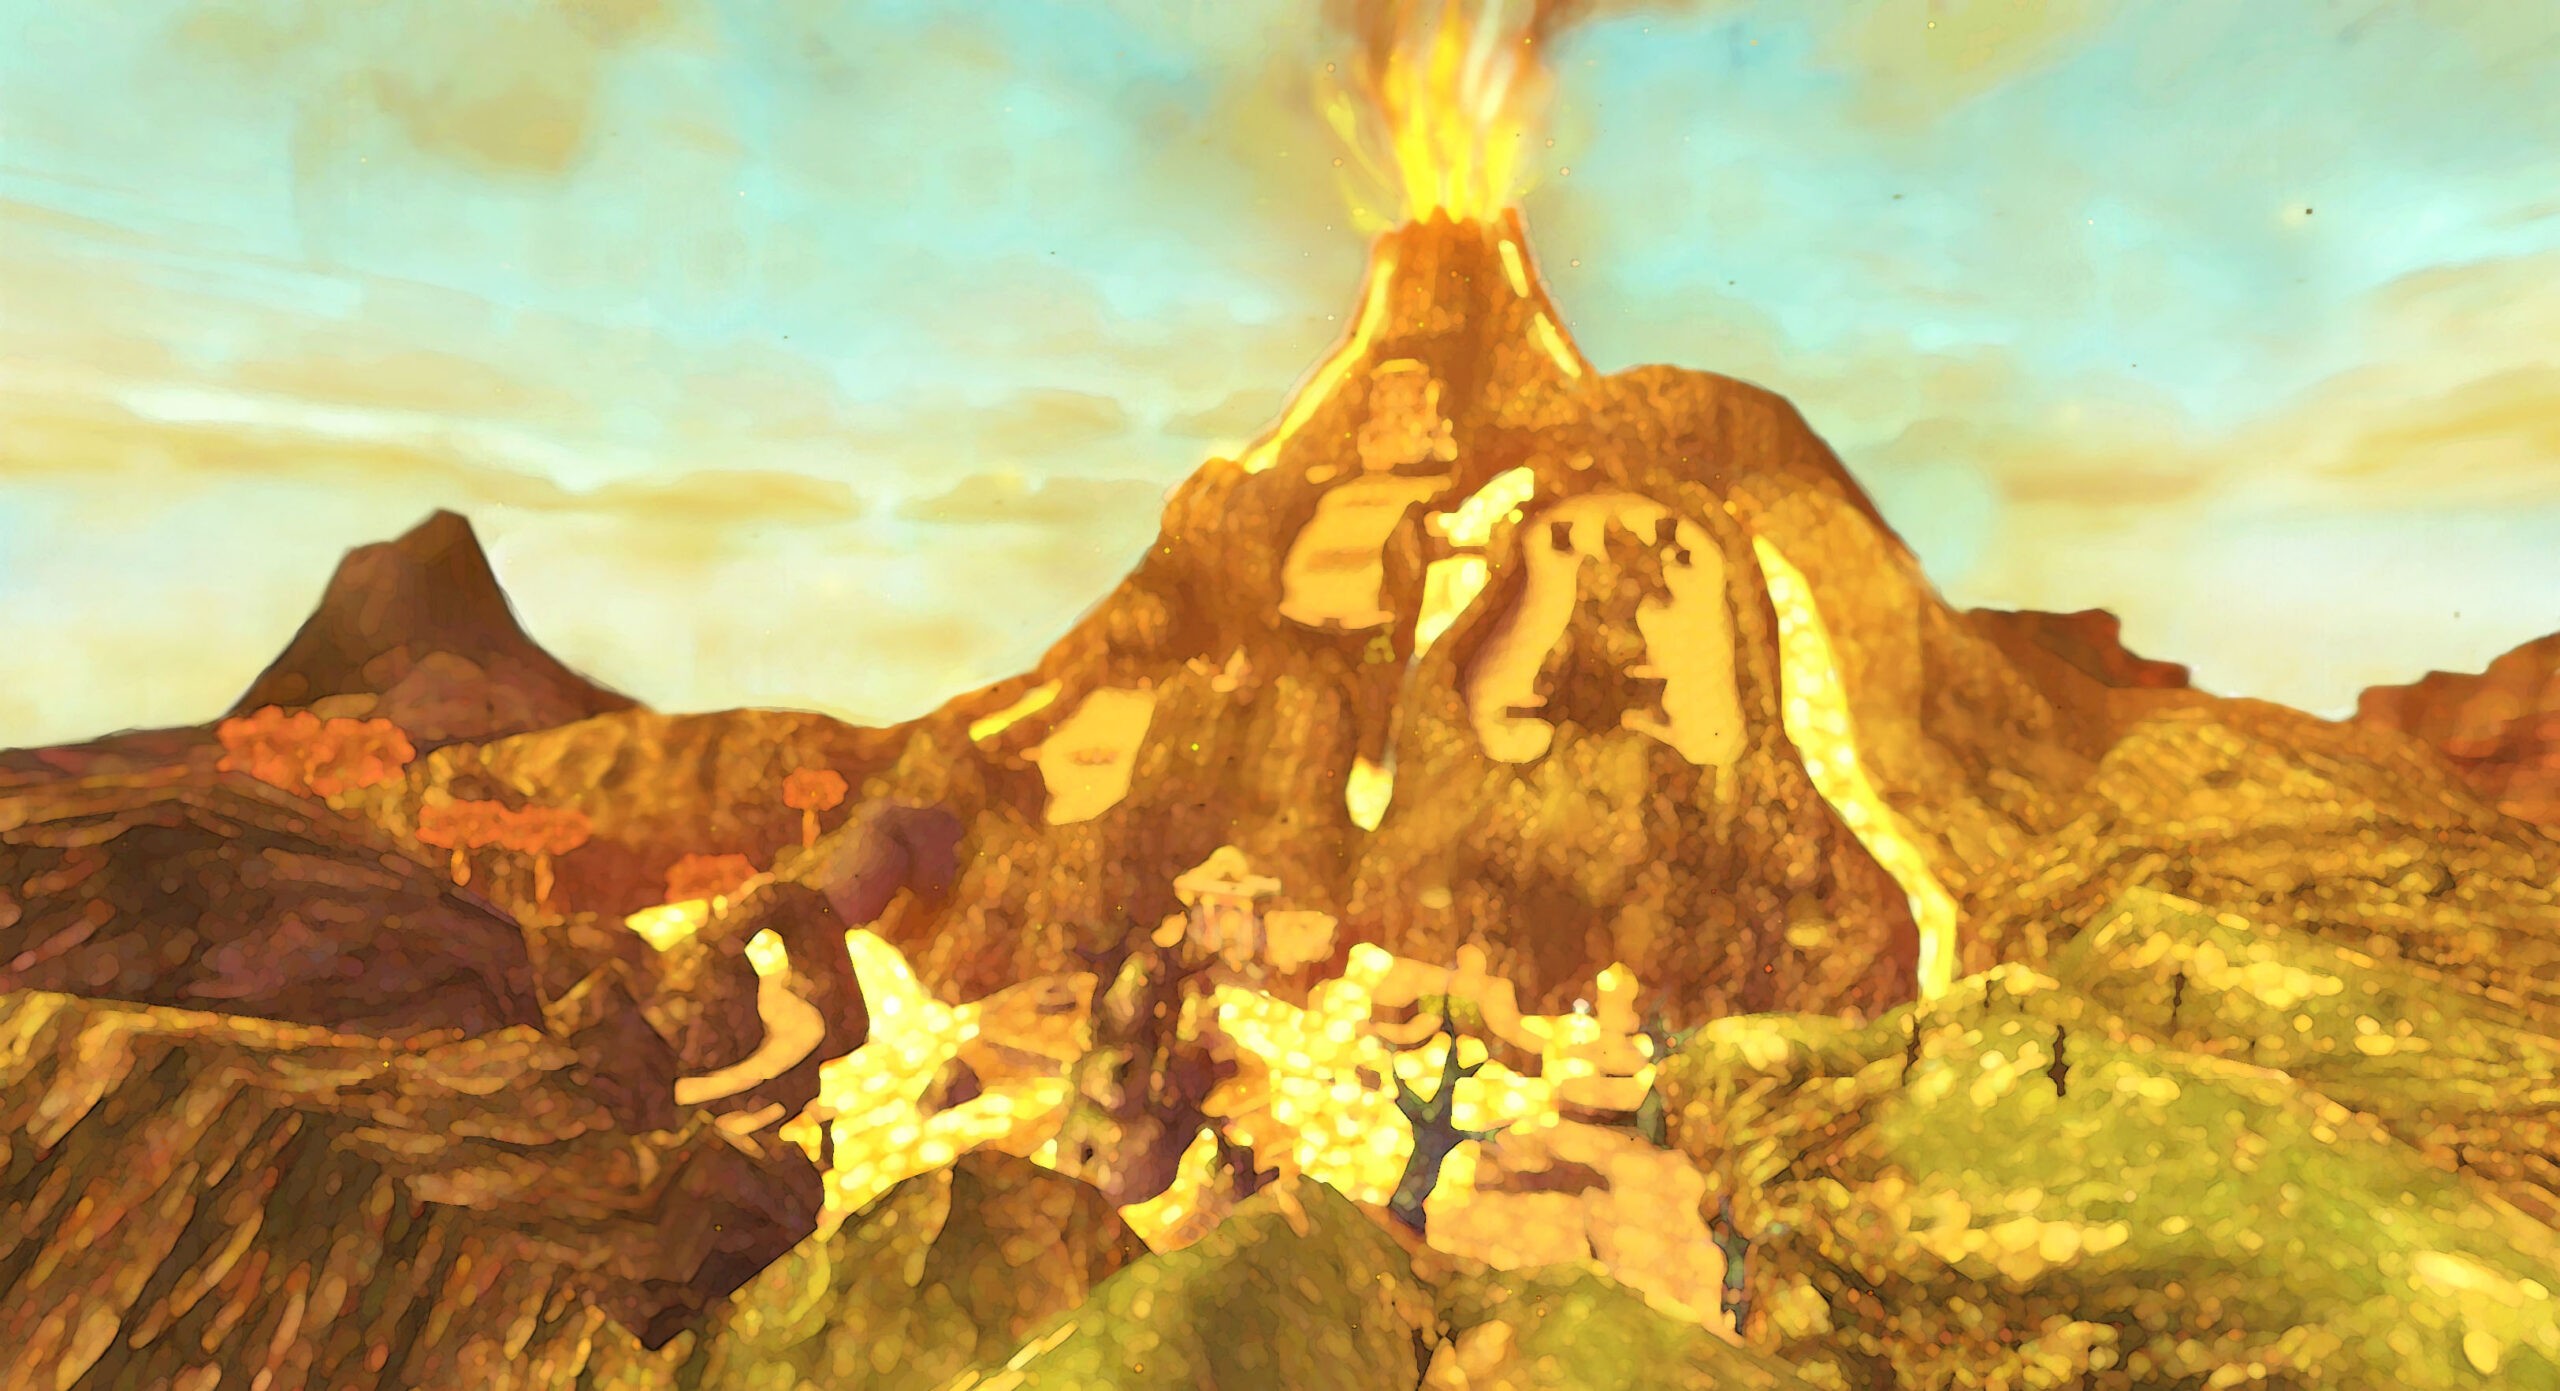

Place the Ruby Tablet in the goddess statue to open the way to Eldin Volcano. This route includes Kukiel’s rescue, the available Gratitude Crystals and Goddess Chests, the Digging Mitts and all five Earth Temple key pieces.
The first Goddess Chests and the Lumpy Pumpkin
If you have completely followed our previous 100% route, you have already collected the first two Goddess Chests as well as the Piece of Heart in the Lumpy Pumpkin before the Skyview Temple. This section therefore also serves as a catch-up opportunity for players who start our solution directly here.
The first activated Goddess Chest is on the Pumpkin Landing. It contains a extension of the Adventure Pouch, which allows Link to take an additional item with him.
The second Goddess Chest is on a small island south of the Skyloft. It contains a Piece of Heart.
On Pumpkin Landing you should also definitely enter the Lumpy Pumpkin. Another Piece of Heart hangs on the large chandelier. Go upstairs and roll several times against the railing near the chandelier. After a few strong knocks, the chandelier falls to the ground.
Collect the Piece of Heart at the bottom and the dropped Rupees. The innkeeper Pumm is anything but happy about the destruction of his valuable chandelier and demands that Link do several jobs to make up for it.
The first order is to bring an Empty Bottle hot pumpkin soup to the Swordmaster in the Sparring Hall of the Skyloft. The soup only stays hot for five minutes. If you don’t currently have a free Empty Bottle, you don’t have to force the order yet. We will receive a third Empty Bottle shortly anyway and will then complete the delivery without losing any valuable potion.


Insert the Ruby Tablet into Skyloft
Return to Skyloft and go into the large statue of the goddess. Place the Rupee tablet in the next available recess on the altar.
In Sky another passage opens through the cloud cover. A clearly visible red Column of Light now marks the access to the Eldin Volcano.
Don’t go there yet though. Inserting the Ruby Tablet unlocks one of the most comprehensive early Side Quests in the game.
Kukiel is missing
As you leave the statue you will meet Kukiel’s mother. She is distraught because her daughter hasn’t come home and asks Link to look for the girl.
Speak to the residents of Skyloft. You learn of a supposed monster that was seen near the cemetery at night. In addition, Kukiel is said to have last been out there in the evening.
Find a bed and sleep until the night. Then go to the cemetery in the southeast of the Skyloft.
Stand at the gravestone closest to the large tree and hit it once with your sword. The stone begins to glow. Now push it to the side. A hidden door opens nearby.
Go through the passage, climb the ladder or the path under the island and follow the wooden walkway to a small house.
You hear a scream from inside. Enter the building.
Batreaux and the Gratitude Crystals
In the house you will meet the big demon Batreaux. However, the first impression is deceptive: Batreaux is friendly and doesn’t want to harm anyone. He wants nothing more than to become human.
For this he needs gems of quality. They arise from other people’s gratitude when Link helps them.
Kukiel is also in the house and is completely intact. Talk to her. She promises to return to her mother the next morning.
With this encounter, the Gems of Kindness are unlocked in the game. Individual gems only appear at night. Since it is already night, we immediately take the opportunity to take a big 100% tour of Skyloft.


The first ten individual Gratitude Crystals in Skyloft
As long as it is night, you can already ten individual gems of quality in Skyloft without needing any later equipment. Take them with you now so that you don’t have to repeat unnecessary night tours later.
Start in the Knight Academy. In Link’s room there is a jewel on the desk. Another is on the upper floor of the Knight Academy by a flower pot near the upper exit.
Then go to Sparring Hall. High up in the rafters lies another jewel. You can easily collect it with the Beetle that you received in the Skyview Temple.
Leave the school and go to the south side. Below the main island there is a small ledge that you can reach via climbing vines. The next jewel awaits there.
In Orielle and Parrow’s house south of the bazaar you will find another gem in a corner of the room. North of the bazaar you can jump onto a lower wooden platform. The next one is waiting there.
Then go to Light Tower. On its lower level or back there is another jewel.
In the eastern residential area of Skyloft you will find a jewel behind the tree near the large pumpkin patch.
The last two accessible jewels of this round are behind the waterfall cave. Go through the cave like you did at the beginning of the game. There is a gem right after the exit by the bird statue. Then continue to the spot where your Loftwing was originally caged. A Gratitude Crystal is now waiting there too.
You have now collected the ten immediately accessible individual jewels in Skyloft.
Bring Kukiel Home for Five Gratitude Crystals
Find a bed and sleep until morning. Then go to Kukiel’s house east of the bazaar and talk to her mother.
Since Kukiel returned safely, Link receives as thanks five Gratitude Crystals.
You now have 15 jewels. However, the 100% route is far from over.
Saving Orielle – the third Empty Bottle
Go to the square by the Light Tower and talk to Parrow. His sister Orielle has disappeared with her Loftwing. Offer your help.
Jump from Skyloft and fly towards the colorful Fun Fun Island in the southwest Sky. On a smaller island nearby you will find Orielle and her injured Cloud Bird.
Talk to her. The bird needs medicine.
Fly back to Skyloft and report the situation to Parrow. He hands you an Empty Bottle filled with mushroom spores.
Fly to Orielle again and give her the mushroom spores. Your Loftwing will recover immediately. As a thank you you will receive from Orielle five Gratitude Crystals. Besides, it stays now Empty Bottle in your possession.
Link now has his third Empty Bottle.
Then return to Parrow again in Skyloft. He also thanks you for saving his sister and gives you five more Gratitude Crystals.
You have already collected 25 jewels from the two Side Quests and our night tour.
Two Gratitude Crystals on Pumpkin Landing
There are still three individual jewels missing that can already be reached. First fly to Pumpkin Landing and enter Lumpy Pumpkin.
Sleep in one of the beds until night. On the upper floor of the Lumpy Pumpkin you will find a single Gratitude Crystal on a piece of furniture or counter.
Then leave the building. Go to the pumpkin patch and from there to the small warehouse or shed at the edge of the island. A second jewel awaits there.
Then return to the bar and sleep until morning, as Link cannot travel between islands at night with his Loftwing.
Finally delivering the hot pumpkin soup
Since you are now guaranteed to have a third Empty Bottle thanks to Orielle’s Side Quest, this is the perfect time for your first order from Pumm.
Get a portion of hot pumpkin soup. As soon as you receive the Empty Bottle, the time starts. You have five minutes to bring the soup to the Swordmaster in Skyloft Sparring Hall.
Fly straight back to Skyloft, land as close as possible to the Knight Academy and go directly to the Sparring Hall. Hand the soup to the sword master.
This completes the first part of the longer Lumpy Pumpkin series of tasks. The next work will only be possible later in the adventure.
Gratitude Crystal on Beedle’s Island
The 28th currently reasonably accessible gem is at Beedle.
Summon his flying shop with a shot at the bell and climb inside. Sleep in Beedle’s bed until night. You wake up on his private island.
Go outside and look up at the propeller or the shop structure. A Gratitude Crystal is floating there. Start the Beetle and collect it with it.
Then go back to bed and sleep until morning. This is how you return to Beedle’s shop in Skyloft.
Batreaux rewards you – wallet and Piece of Heart
With those now 28 Gratitude Crystals you should Batreaux visit again.
With just five jewels handed over, Link receives a larger wallet that can hold up to 500 Rupees without additional wallets.
The next reward is even more important for our 100% route: As soon as you have handed in at least ten jewels in total, Batreaux will give you a Piece of Heart.
After the Skyview Temple, you already have the next fragment for your upcoming Heart Container.
The next big reward tier is 30 gems. Two more normally accessible single gems require later equipment. We are therefore not forcing any artificial dialogue or day changes at this point just to trigger a later Side Quest early. The missing jewels will be collected in the natural progression of our 100% route.
Preparations for the Eldin Volcano
Before you fly through the red column of light, you should adapt your equipment to the conditions of the next area.
A Wooden Shield is a bad choice in the volcano. Fire attacks can burn him and destroy him completely. Therefore, go to the equipment shop in the bazaar and buy a Iron Shield for 100 Rupees. Store your Wooden Shield in the item management.
Also fill at least one of your bottles with a heart potion. Thanks to the now three bottles, you can take medicines with you much more flexibly.
If you followed our route, you already own the Bug Net as well as at least one Extra Wallet and several slots in your Adventure Pouch. If you haven’t purchased one of these early items at Beedle, now is a good time to do so.
When you visit the bazaar, always talk to Peatrice at the item manager. Her personal subplot develops over several encounters. Of course, if you talk to them during your already necessary bazaar visits, you won’t have to catch up on long rounds of dialogue later.


Difference in Skyward Sword HD: Travel Faster Between the Surface and Sky
In Skyward Sword HD, in addition to the revised controls, there is an optional difference that is particularly interesting for a 100% route. With the separately available Zelda & Cloud Bird amiibo, you can return directly to the Sky from almost anywhere on earth and then travel back to exactly that position.
Without amiibo – and basically in the Wii version – you have to use a bird statue for this. Our solution is therefore still written entirely without amiibo. Owners of the HD version can only use this to shorten the additional trips to Beedle, to the bazaar or to Goddess Chests.
Eldin Volcano – Goddess Cube No. 4
Fly to the red Column of Light and jump in. Link lands at Eldin Volcano.
Fi alerts you to the extreme heat. If Link is burning, you can extinguish the flames by rolling or certain quick movements. More importantly, your Iron Shield is resistant to fire, while the Wooden Shield would burn here.
Activate the bird statue at the landing pad.
Then go just a short distance north and stay left or jump to the lower level. The next Goddess Cube is already there.
Charge your sword and hit the cube with a Skyward Strike. It is the fourth artifact of our 100% route.
The Goddess Chest activated by this is located on a small island west or northwest of the Fun Fun Island and contains a Small Seed Satchel, with which Link can transport ten additional Deku cores.
In the dead end north of the cube you can also collect the first insects typical of volcanoes with your Bug Net. They will be used later for potion upgrades.
The first Mogma and Bomb Flowers
Return to the main path, jump over the rock platforms floating in the lava and follow the path. You meet two mole-like residents of Eldin: the Mogma.
They actually saw Zelda and confirm that she has gone further into the volcano.
Follow the path. In the next cave the lava level rises and falls regularly. Wait for the right moment and cross the section as soon as the lava recedes.
Shortly afterwards you meet another Mogma who explains the Bomb Flowers to you. These explosive plants initially take on the function of bombs.
You can throw Bomb Flowers or let them roll across the ground. Rolling is particularly important in Eldin because many small tunnels or distant rock faces can only be reached this way.
Blast all prominent boulders in the area. Behind a hard-to-see cracked wall near the huts is a small Treasure Chest with a red Rupee worth 20 Rupees.
There is another boulder in a low tunnel. Roll a Bomb into it, let the blockage explode and then crawl through to pick up the Rupees behind it.


Goddess Cube No. 5
Continue through the blasted passage. After the fire bats you reach the bird statue Volcano East.
A little later the path splits. Before you follow the story path to the right, go straight ahead or to the lower side platform.
Goddess Cube No. 5 is waiting there. Activate it with a Skyward Strike.
The corresponding Goddess Chest is on an island in the northeast Sky between Bamboo Island and Beedle’s Island. It contains 100 Rupees.
You should also examine the deeper area near the bird statue. Roll a Bomb through the low tunnel, crawl behind it and open the fixed Treasure Chest there with more 20 Rupees.
Defeat Pyrups with Bomb Flowers
Now follow the eastern path. Shortly afterwards you will come across a Pyrup, which is hiding in a small hole and blocks the path with a jet of fire.
Take a Bomb and roll it directly into the entrance of his lair. The explosion eliminates the enemy and you can pass.
Further up, Bokoblins and two more Pyrups are waiting, entrenched in large skulls. There are openings above the skulls. Throw or roll thunderflowers so that they reach the hiding places.
Defeat both enemies before moving on.


Piece of Heart in Eldin Volcano
After the fight with the two Pyrups, you shouldn’t cross the spine bridge immediately.
Climb up the platforms or ledges on the northeast side. On the way you will see a cracked wall that is difficult to see. Get a Bomb from the higher level and blow up the wall. Behind it is a small chest with a red Rupee.
Then follow the higher path past a single Pyrup.
The next Piece of Heart is clearly visible on a freely accessible platform. Be sure to collect it.
If you followed our previous 100% route, this is the sixth Piece of Heart of the game.
Drain the lava
Return to the large spinal bridge and sprint across before it sinks too deep into the lava.
On the other side, a Mogma explains to you that Zelda disappeared through an opening further down. The entrance is currently surrounded by lava.
There is a clogged lava drain nearby. A Bomb has to destroy the blockade – but the explosive plants are growing on the other side of the rapidly sinking bridge.
The solution is to roll a Bomb across the entire spinal bridge to . Aim it carefully and send it across the bridge so that it explodes at the other end, right in front of the blockade.
The lava drains and access to the underground area becomes clear.
Goddess Cube #6 and Eldin Ore in Free Fall
Jump into the opened shaft. There are two particularly important goals during free fall.
There is a blue Treasure Chest on a side rock platform. Navigate Link there and open it. Inside is Eldin Ore, one of the most important early upgrade materials.
On another tall rock pillar is Goddess Cube #6. During another jump, head towards the pillar, open the Sailcloth in time and land right next to the cube.
Activate it with a Skyward Strike.
The corresponding Goddess Chest is located at Isle of Songs inside the large Thunderhead. You cannot access this area at the moment. The chest with its 300 Rupees is therefore reserved for later and is not forgotten .
If you miss one of the platforms, that’s no problem. On the ground, a large stream of air leads back up, so you can repeat the jump as often as you like.


Obtain the Digging Mitts
Drop down to the floor of the underground area and activate the bird statue.
A Mogma asks you for help because Bokoblins have occupied his cave. Go to the warehouse.
The most important enemy stands elevated and calls for new reinforcements with a horn. Therefore, work your way to him as quickly as possible and defeat him first. Only then is it worth turning off the remaining Bokoblins.
Then return to Mogma. As a thank you you will receive the Digging Mitts.
You can use them to dig up the marked soft areas of earth. Below lie Rupees, hearts, treasures or air currents.
Dig up all accessible places directly in the cave. In one of the corners you uncover a stream of air that carries you to a higher platform. You can already get additional Eldin Ore at several grave sites.
There are three slides in an area that can be reached later. Take the medium. It will lead you to a solid Treasure Chest with more Eldin ore.
These materials are not unique, but are extremely useful for the 100% route: Once you have at least two Eldin ores as well as two monster claws and two decorative skulls, you can upgrade your Iron Shield to the next level at Gondo for 50 Rupees.


Explore the underground completely
Before you continue climbing the volcano, it is worth taking a complete tour of the underground Mogma area.
Use the Digging Mitts at all marked earth locations. Some yield Rupees or Eldin ore, others open airflows to higher platforms.
In the area with several Pyrups, there is a cracked area on the north wall. Blast them with a Bomb. Behind it is a Treasure Chest with a silver Rupee worth 100 Rupees.
In the side corridors there are also other solid Treasure Chests with Eldin ore and rare materials. These treasures will be available again later and are therefore not part of the limited numbered collectibles, but should of course be picked up if you fully explore.
When everything is collected, use the large airflow to the northeast and exit the underground area.
The bridge and the further ascent
Outside you will encounter a Mogma again. Blast the rock wall on the right to open a shortcut back to an earlier section of the volcano.
Then go to the large broken bridge. As soon as you approach it, it moves out.
A mysterious woman appears on the other side and tells Link that Zelda is further ahead. Then she disappears again.


Bokoblin Settlement and Thrill Digger
Cross the bridge and go through the cave. Behind it there is a steep sandy slope.
Sprint upward in stages and rest on the flat wooden platforms to allow Link’s stamina to regenerate. A Bokoblin throws boulders at you from above. Wait for him to raise a stone over his head and hit him with the sling. The rock falls back on him.
At the top you reach a larger Bokoblin settlement. An enemy on a lookout tower constantly calls for reinforcements. Grab a Bomb from the area between the huts and use it to blow up the base of the tower. The tower tips over and at the same time forms a bridge over the gorge.
There is also the risky ruby hunt in a blastable cave. The mini-game works similarly to Minesweeper: under the grave sites are Rupees, bombs and later also ruby eaters.
You do not currently have to win the mini-game to progress to 100%, as there is no one-time main reward or a Piece of Heart tied to it. However, it is a good way to win Rupees and rare treasures.


Before Earth Temple
Use the fallen observation tower as a bridge and follow the path. Via vines and other steep sandy slopes you finally reach the area directly in front of the Earth Temple.
Here you can hear several Mogma talking about the entrance. The great key for the temple was in five fragments dismantled and buried around the volcano.
Fi expands your Dowsing with the key fragments. You can use this to roughly orientate yourself in the direction of the next fragment at any time.
Key Fragment 1
When you stand in front of the temple and look at the gate, go to the left. There are several marked grave sites in the immediate vicinity.
Dig them up with the Digging Mitts. In one of them lies key fragment number 1.
Goddess Cube No. 7
Stay on the left side of the temple entrance. You can expose a stream of air in a corner near a small watering hole or several grave areas.
There is a fragile blockage in the rock wall above the airflow. Grab one of the nearby Bomb Flowers and throw it directly into the airstream. The bomb is carried upwards and destroys the rock.
Then use the airflow yourself and land on the exposed platform.
It says Goddess Cube No. 7. Activate it with a Skyward Strike.
The associated Goddess Chest is located behind the building on the Bamboo Island and contains a Golden Rupee worth 300 Rupees.
Key Fragment 2
Return to the temple entrance and go to the opposite side or along the paved path.
Relatively close to the path you will find another marked grave site. Dig up key fragment number 2 there.
Key Fragment 3
Go to the sand slope near the temple. At the bottom there is another Bokoblin observation tower.
Grab a Bomb from the top area and roll it down the slope so that it explodes at the base of the tower.
The tower falls over and reveals a grave site. There lies key fragment number 3.
Goddess Cube No. 8
East of the temple lies another Bokoblin settlement. Defeat the enemies and blow up the observation tower with a Bomb.
Before using the fallen tower as a bridge, go down the small downward path on the eastern side of the camp.
At the end is Goddess Cube No. 8.
Activate the cube. His Goddess Chest is on an island southeast of Beedle’s Island. You have to land on the upper level of the island and climb down the vines on the side.
The reward is the Treasure Medal. As long as it occupies a space in your Adventure Pouch, valuable treasures will appear more often.


Key Fragment 4
Follow the path from the eastern area. You eventually reach a much hotter section and then a long sandy slope.
Slide down and stay as right as possible at the junctions. Further down you can reach a small platform on the left side of the slope.
From there you can see two streams of air over a ravine. Wait until both are active and jump at the right moment. The first airflow carries you to the second, the second further to the opposite platform.
There is a grave site there. Dig them up and you will get Key Fragment Number 4.
Goddess Cube No. 9
This large sand slide area also contains the last artifact accessible on the first Eldin visit.
Slide down the western or left part of the long drop again and look for a stream of air on the left side.
Let him carry you to an elevated platform and jump from there to the lower rock platform with the cube.
Activate Goddess Cube No. 9.
The associated Goddess Chest will later contain a Piece of Heart, but cannot be reached at the moment. It is located in a closed area in Skyloft, which Link can only enter with the ability to dive through an underwater tunnel.
This artifact is also properly activated and will not be forgotten later.
Key Fragment 5
Then slide all the way down and cross the small rock platforms in the lava lake.
Take the right fork and enter the cave with the sand slope and lava. The Dowsing clearly fails here, but the fragment initially seems unreachable.
Examine the west side of the cave. There is another blocked lava drain there. Blast him with a Bomb.
After the lava has subsided, another rock blockage becomes visible. Skillfully roll a Bomb over the sand slope so that it explodes right in front of the wall.
Enter the uncovered small room and dig up the marked location.
You will receive Key Fragment Number 5. All five pieces automatically combine to form the full key of the Earth Temple.
Before you go back up, blow up the rock wall in the cave with the big air current. This creates a handy shortcut to the bird statue.


Collect the newly available rewards
In the Eldin Volcano we have activated a total of six new Goddess Cubes. Four of the associated Goddess Chests are already accessible. For a clean 100% route, we collect these rewards before the dungeon.
Use the bird statue at the temple entrance and return to Sky.
Goddess Chest 4 – Small Seed Satchel
Fly to the small island west or northwest of Fun Fun Island. The chest activated by the first Eldin artifact is freely accessible on the island.
Open it and you will get a Small Seed Satchel. It increases your supply of Deku Cores by ten as long as it occupies a slot in the Adventure Pouch.
If you don’t need the additional ammunition supply at the moment, you can always store the bag in the item management later.
Goddess Chest 5 – 100 Rupees
The next chest is located far to the northeast of the Cloud Sea on an island between Bamboo Island and Beedle’s home island.
Land on the upper level and open the Goddess Chest. Inside is a silver Rupee worth 100 Rupees.
Goddess Chest 6 remains locked for now
Artifact Number 6 activated a chest at Isle of Songs within the large Thunderhead.
This area is currently not accessible. We still activated the cube at the earliest possible time and will pick up the 300 Rupees later, once the story opens access to the Thunderhead.
Goddess Chest 7 – 300 Rupees on Bamboo Island
Fly to Bamboo Island north of Skyloft.
Go around the large building. On the back is the Goddess Chest of the seventh cube.
Open it and you will get a gold Rupee worth 300 Rupees.
Make sure your wallet has enough space. With Batreaux’s medium wallet and the additional wallets purchased from Beedle, this shouldn’t be a problem.
Goddess Chest 8 – Treasure Medal
Then fly to the small island southeast of Beedle’s home island.
Land on the upper level and look for vines around the edge. Climb down the outside until you reach the hidden Goddess Chest.
Inside is the Treasure Medal.
As long as it is in your Adventure Pouch, the likelihood that enemies and other sources will leave behind valuable treasures increases. The medal is particularly useful on a 100% route with numerous later equipment improvements.
Goddess Chest 9 will open later
The ninth Eldin die activates a chest in Skyloft with another Piece of Heart.
However, the corresponding area is currently blocked by water. To do this, Link needs an ability that he only receives later in the adventure.
The cube is already activated, so the chest will be added automatically in our later 100% route. You haven’t missed anything at this point.
Optional: Improve the Iron Shield now
Since you have collected several Eldin ores in Eldin, you can make a stopover at Skyloft on your return flight.
At least you own it two Eldin-Ores, two monster claws and two decorative skulls, Gondo can buy your Iron Shield for 50 Rupees upgrade to the first improved level.
The improvement significantly increases durability and is very helpful for the upcoming temple. However, if you are missing individual random materials, you should not farm for hours. The upgrade cannot be missed and will be made up later.
You can leave the newly received treasure medal directly in your Adventure Pouch in order to receive materials more often in the temple.
Return to Earth Temple
Fly through the red Column of Light again and choose the bird statue at Earth Temple as the landing spot.
Before you go in, you can hit the big red Crystal Ball or Rupee above the entrance with the Slingshot and take the additional ruby reward with you.
Then insert the key made up of five fragments into the large gate.
The door opens and Link can enter the second major dungeon of his journey.
Continue in Earth Temple
The next extensive dungeon awaits in Earth Temple. There Link receives the Bomb Bag, meets Lizalfos and has to work his way through huge lava fields and mechanical puzzles.
We also play this temple again as a complete 100% route: all fixed Treasure Chests, Dungeon Map, Golden Carving, important materials and the Heart Container after the boss are taken with us before heading towards Lanayru continues.