

After Jalhalla’s defeat, the Master Sword regained some of its original spell power. In order for the blade to fully awaken again, the second sage must also take up his prayers. Our next destination is Gale Isle (D1) north of Windfall Island. We already got the double magic bar in Chapter 6, so that we can manage the numerous flights with the Deku Leaf in the following temple without any additional detours.
Gale Isle – Hymn of the Zephyr God
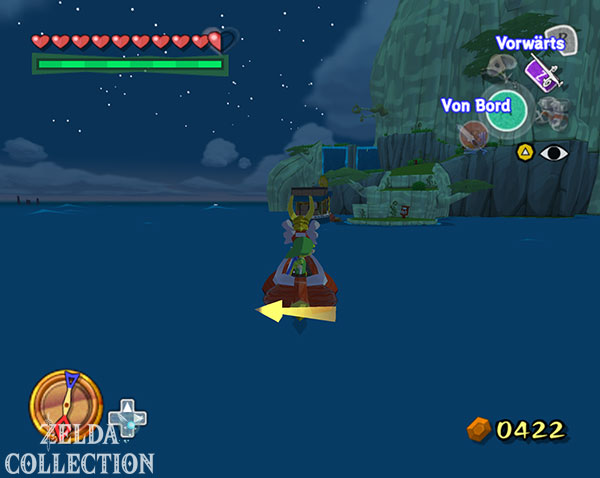
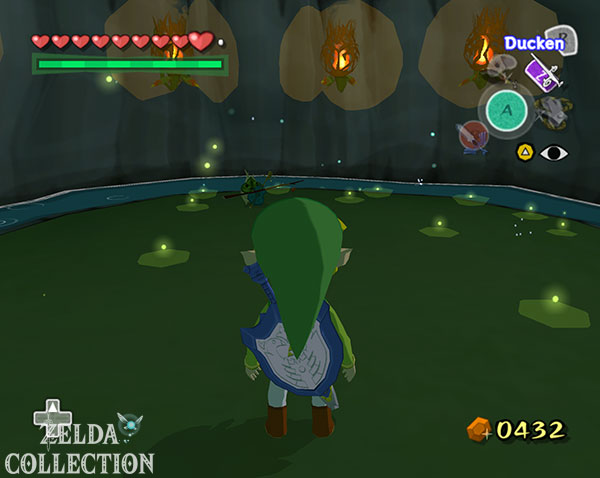
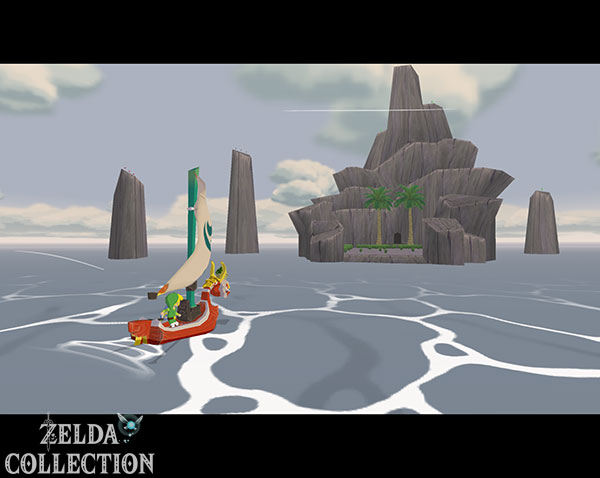
Teleport yourself to Windfall Island with the Storm Canon and sail one grid square north to Gale Isle. In front of the cave entrance, a large stone statue creates a powerful air current that immediately pushes Link back. Put on the Iron Boots and walk against the wind to the statue. Then take out the Skull Hammer and destroy it.
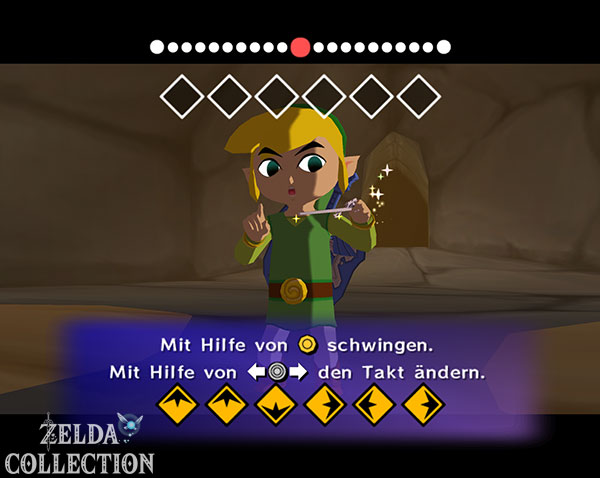
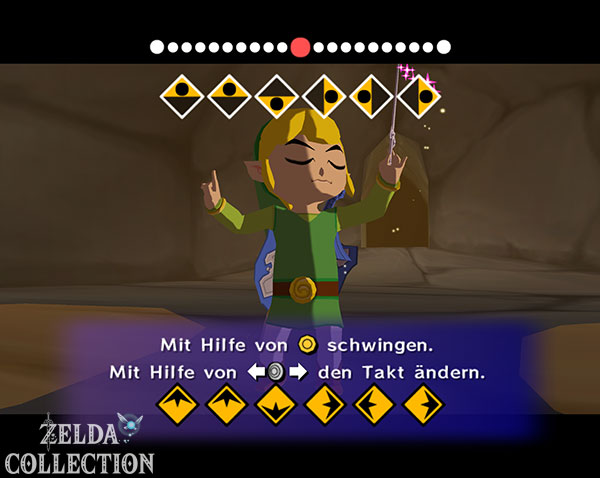
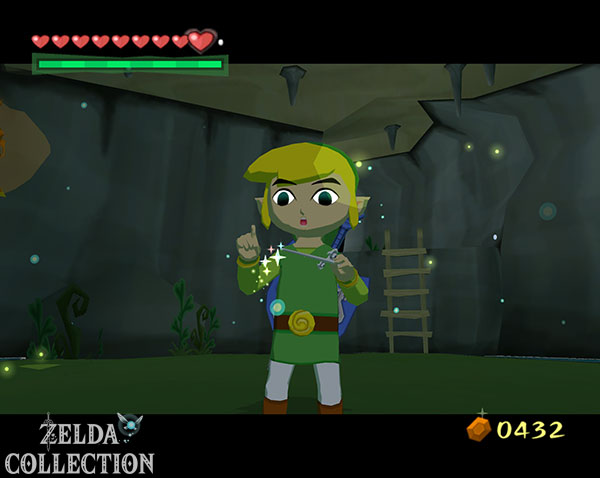
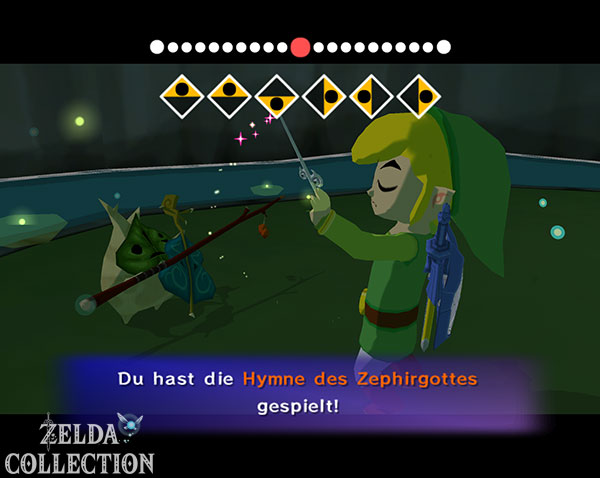
Enter the cave and stand in front of the large stone tablet. Pull out the Wind Waker and play the melody shown. Link learns the Wind God’s Aria. Fodo, the former sage of the Wind Temple, then appears. Like Laruto, he was killed by Ganondorf, silencing the prayers for the Master Sword. Fodo explains that his successor plays the same instrument as him – a violin.
This makes it clear who we have to look for: Makar on Forest Haven.
Find Makar as a new sage
Teleports you to Forest Haven (F6). Makar is not at Great Deku Tree, but behind the large waterfall. As you approach, you can hear its music and even see individual notes coming from the waterfall.
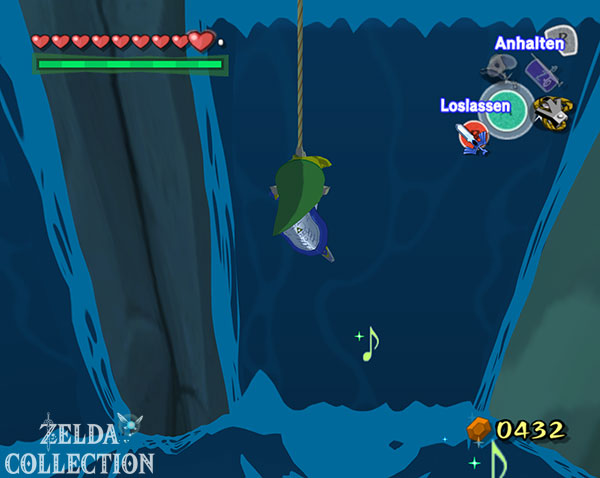
Use the Grappling Hook on the branch above the waterfall. Stop at the rope, slide down a little and position Link so that he can swing directly into the waterfall. Behind it you will discover Makar.
Play him the Wind God’s Aria. Fodo appears and Makar realizes that he is the new Sage of the Wind Temple. After the sequence, he automatically accompanies Link.
Return to Gale Isle with Makar and go into the cave together. Play the Hymn of the Zephyr God again in front of the sealed stone tablet. Makar accompanies Link on his violin and the seal breaks.
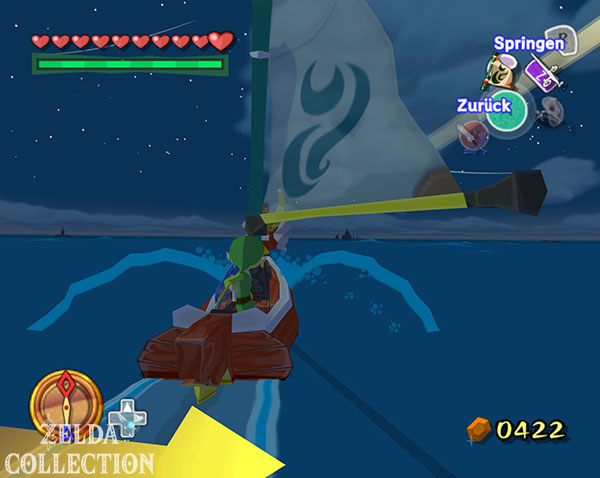
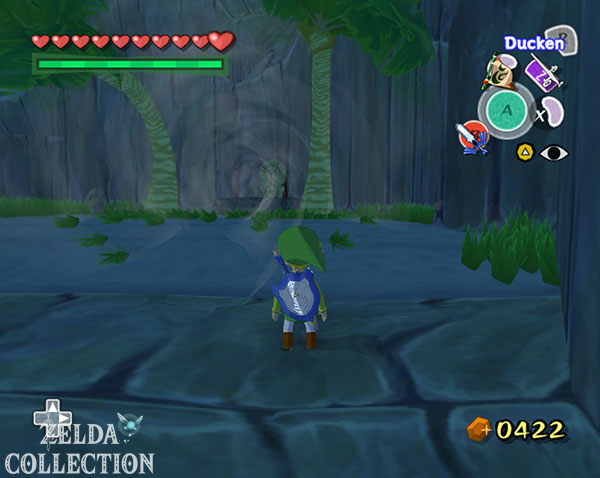
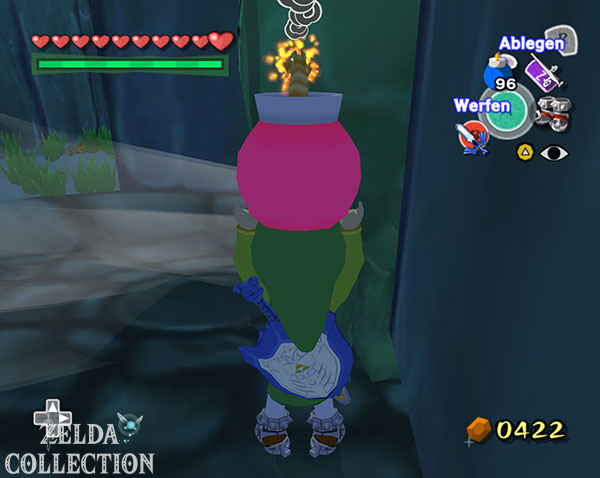
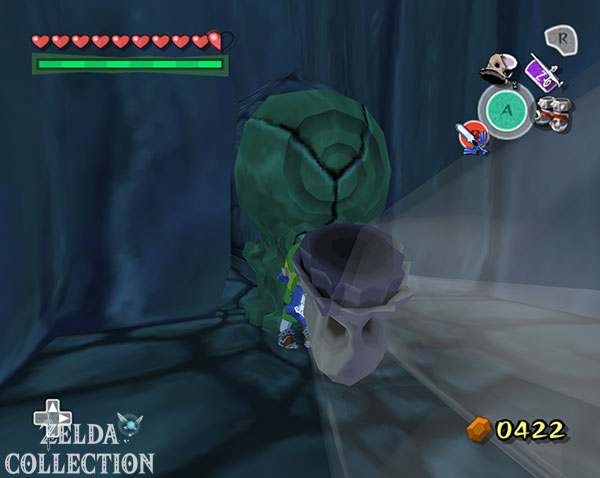
HD Difference: The path to Wind Temple and the search for Makar are unchanged in The Wind Waker HD. The Swift Sail just makes travel between islands faster.
Wind Temple – Makar and the first trees
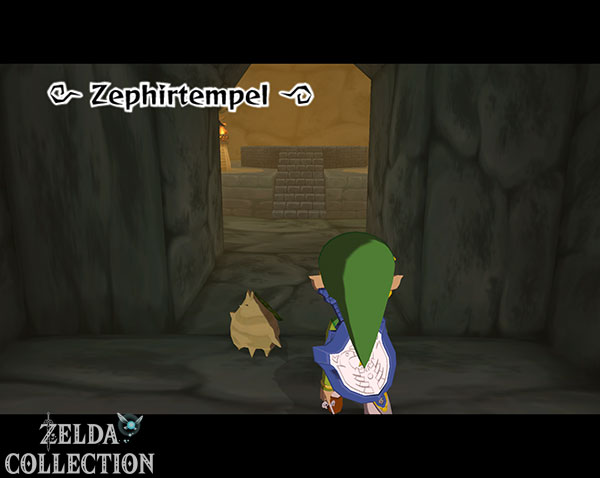
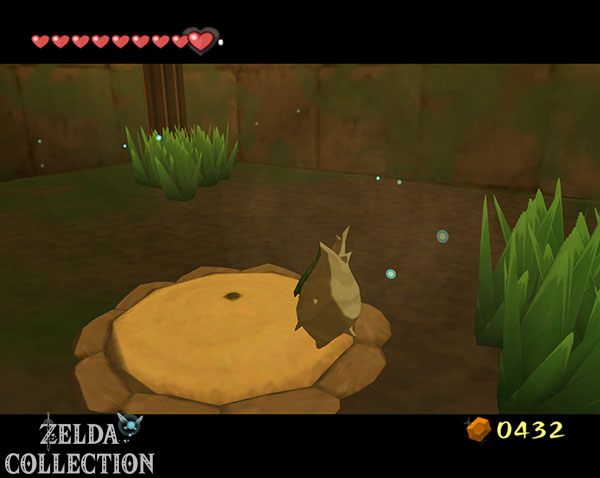
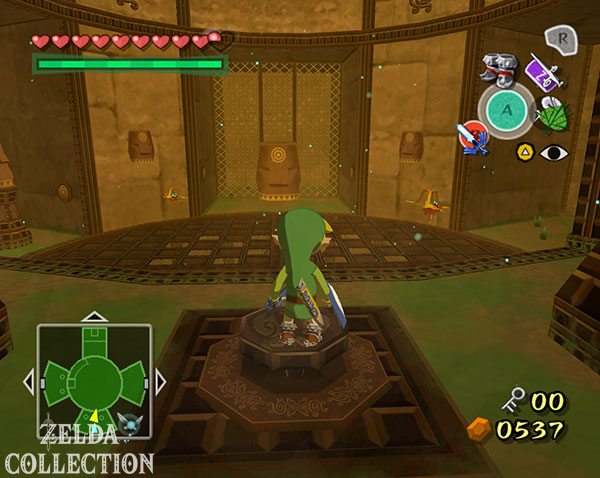
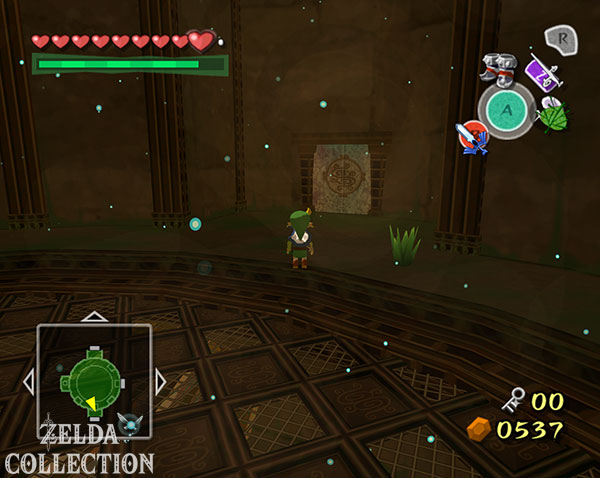
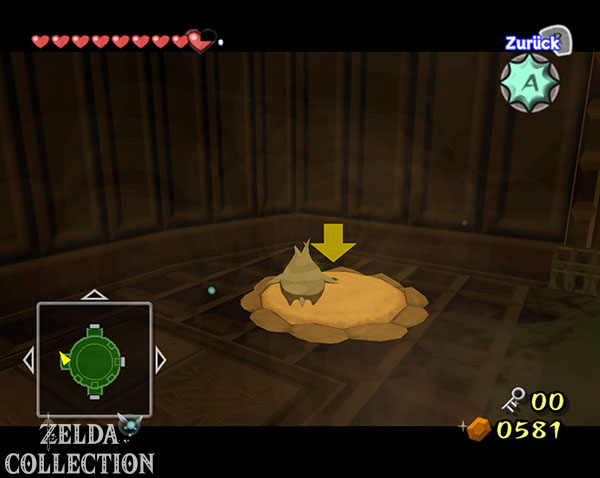
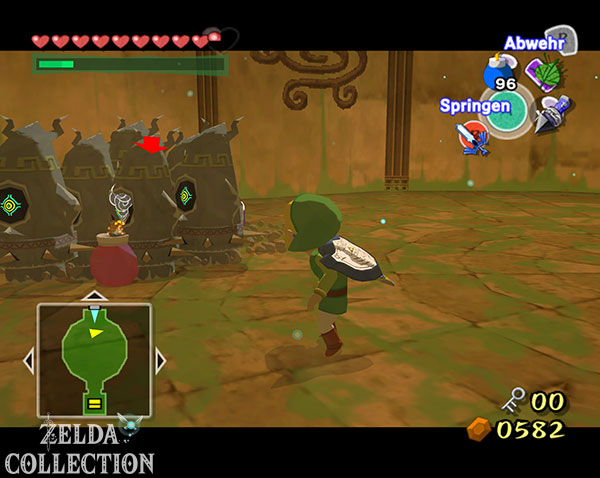
Pick up Makar in the first room and go through the door. In the next area, jump down and eliminate the two enemies. Then take over Makar with the Command Melody. Not only can it fly, but it can also plant small trees in special holes in the ground. Plant the first two trees and then fly to the switch on the raised platform.
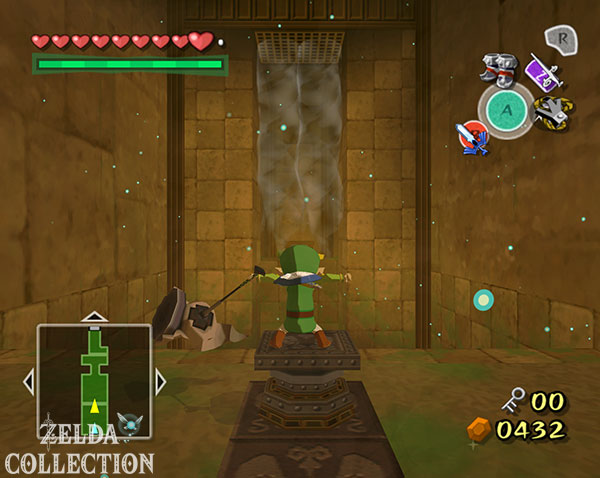
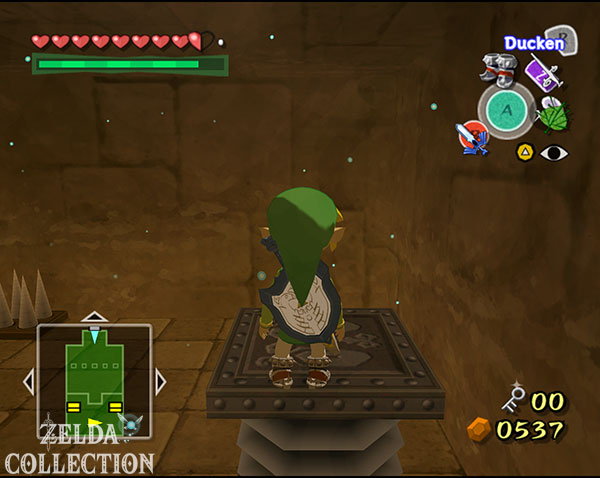
Switches back to Link. Stand on the spring, put on the Iron Boots and take it off again straight away. The spring throws Link upwards. Use the Deku Leaf there and glide through the now switched off airflow.
Two small Armos are waiting in the next room. Stun her with an arrow in the eye and then hit the red crystal on her back. If both are destroyed, use the Deku Leaf on the wind turbine and open the grille.
Fifth Tingle Statue
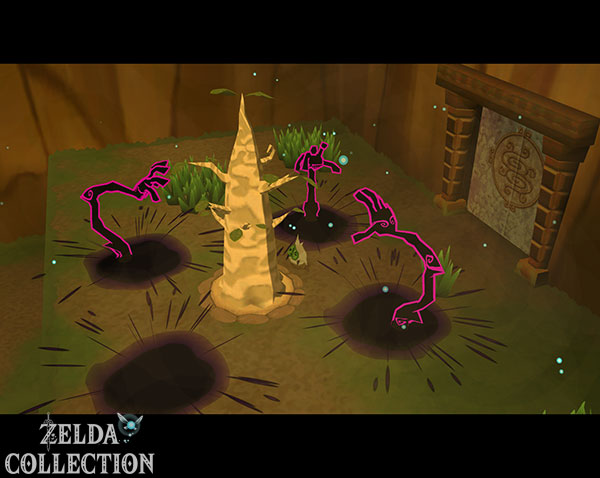
In the following room, Makar has to plant two trees again so that the locked door opens. Before you move on, let’s get the last of the five Tingle statues.
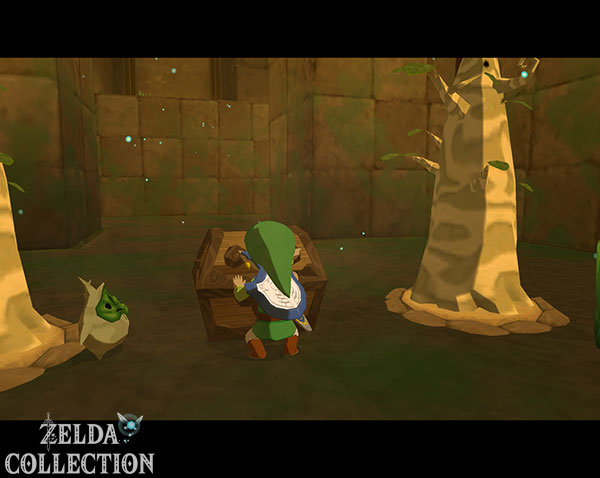
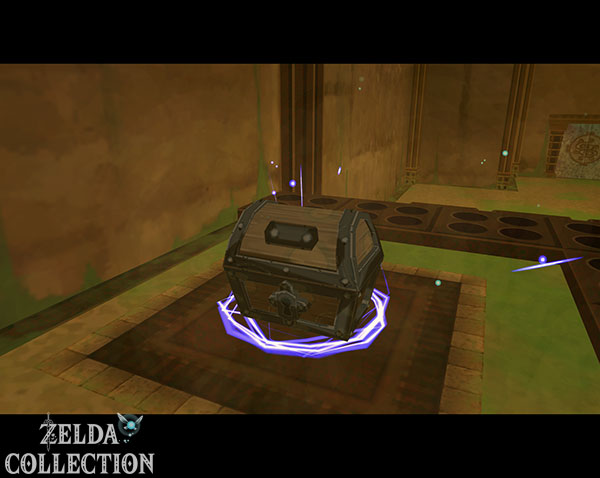
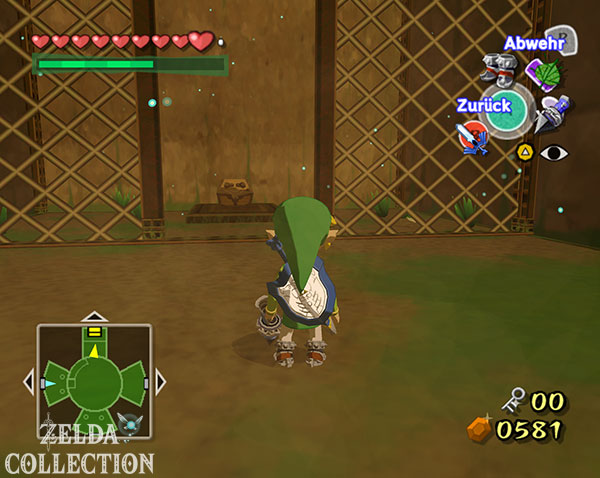
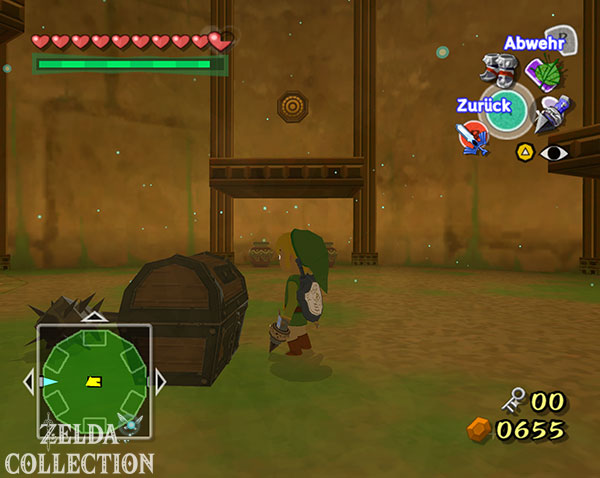
Jump with Link to the lowest level between the two raised grass platforms. On GameCube you use the Tingle Tuner and place a tingle bomb. A hidden chest appears and contains the Wind Tingle Statue.
With this we have found all five Tingle statues. Visit Tingle’s Island later and get the reward: 50 Rupees for each statue and an additional 500 Rupees for the complete collection.
HD Difference: In The Wind Waker HD the hidden chest is in the same place. Instead of a tingle bomb, a normal bomb will do.
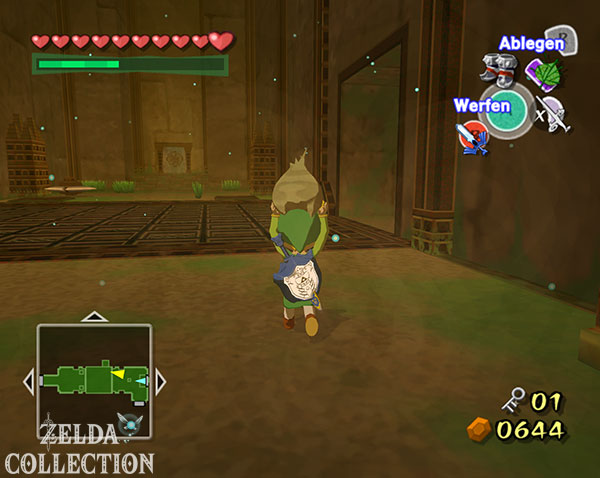
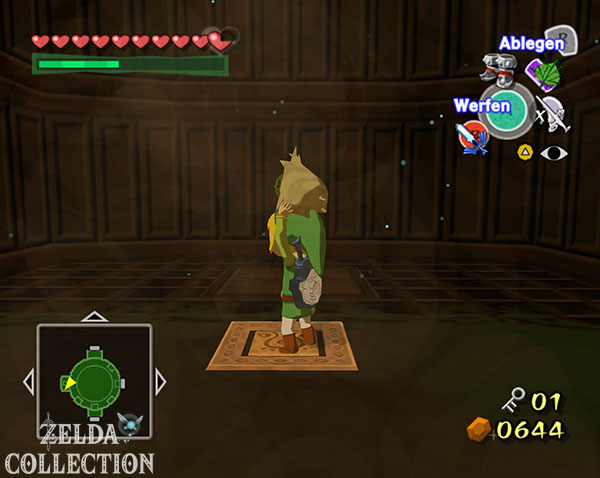
Then go into the next room and use Makar to plant all three trees. As soon as the last tree grows, appear Floormaster and kidnap Makar. This is part of the intended process. Link must Korok free later with the temple item.
Through the large wind shaft
Go through the right door and follow the hallway. Several Peahat are waiting in the next area. Continue taking Golden Feathers from them with the Grappling Hook if you are still missing any, and then defeat them with the Boomerang or sword.
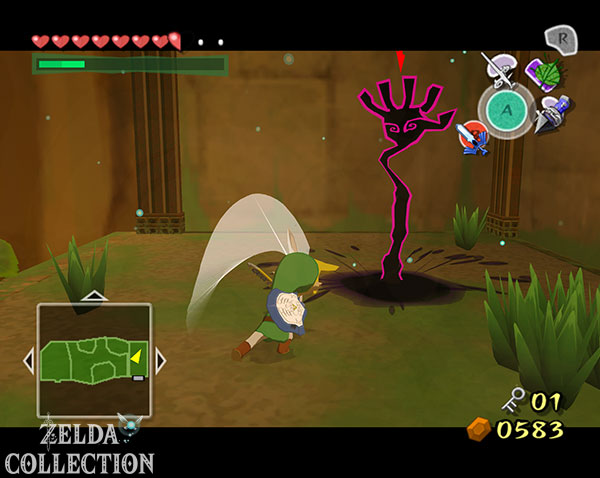
Then jump down and quickly kill the death grabber. Use the Deku Leaf on the wind turbine to move the grid. Another death groper is waiting on the opposite side. Drive down the grate again, stand on the spring with the iron boots and take them off again to be catapulted to the higher level.
The large stone block near Makar cannot be removed yet. So first go through the door to the right.
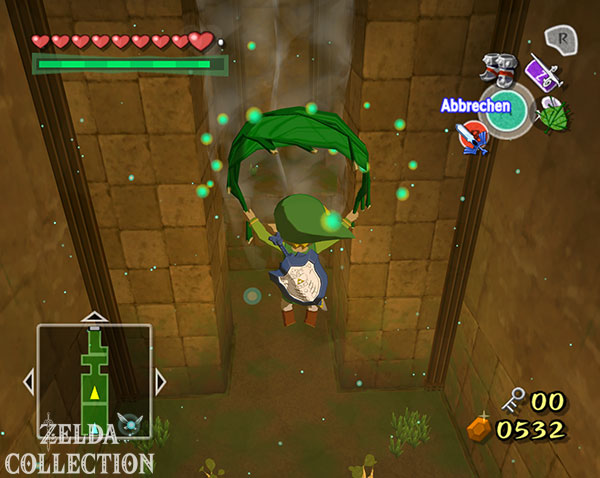
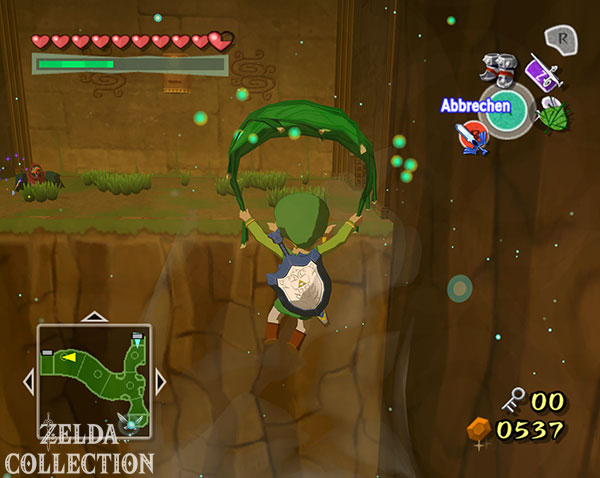
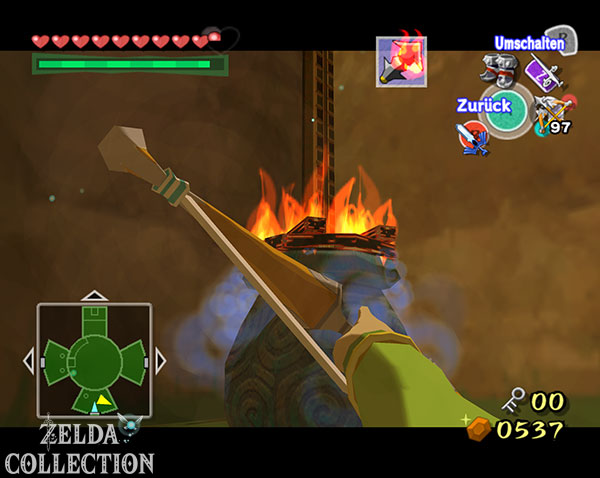
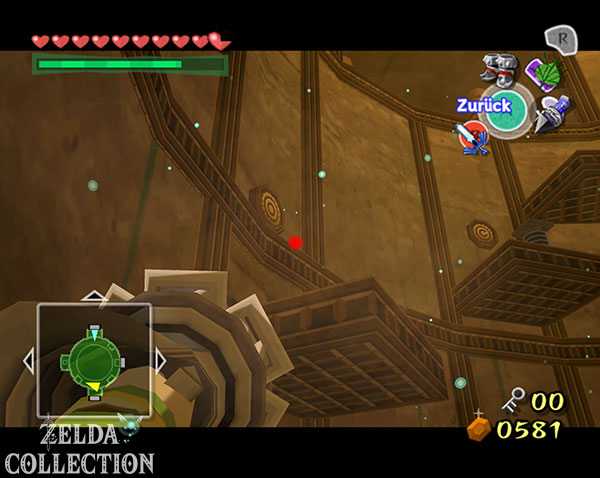
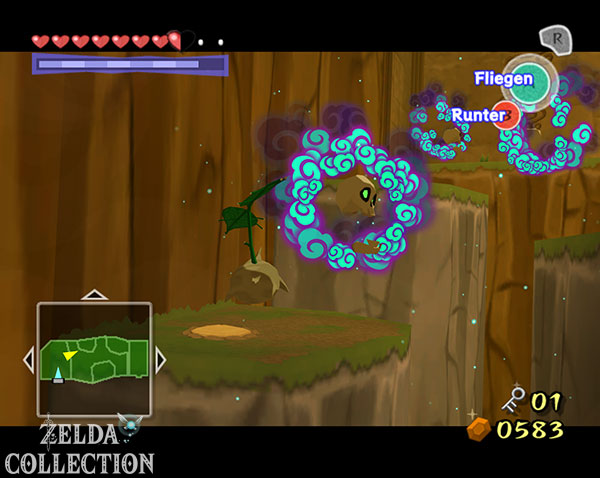
The Deku Leaf becomes particularly important in the following high room. Let the large air currents carry you upwards and land on the side platforms. A Wizzrobe complicates flight by teleporting between multiple positions and throwing fireballs. Eliminate him as early as possible with the Hero Bow.
In the southern dead end is the Dungeon Map. Then fill your magic bar with the grass or the supplies lying around and work your way further up using the air currents.
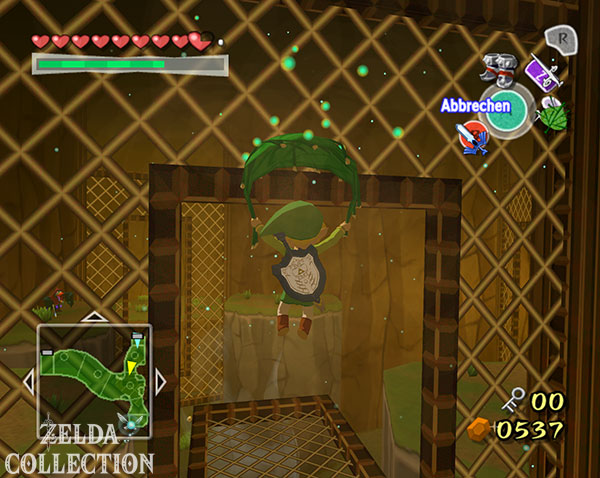
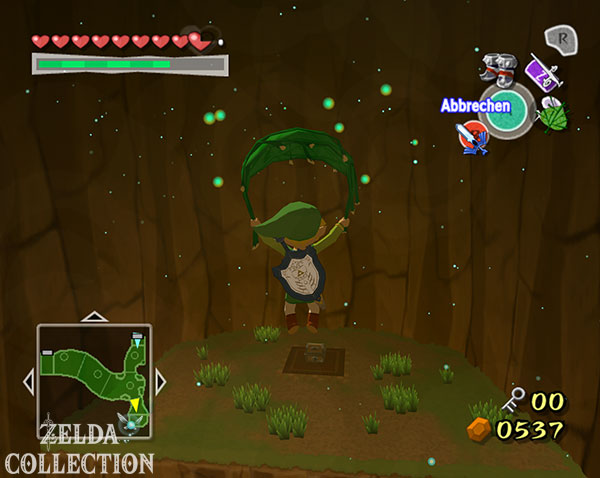
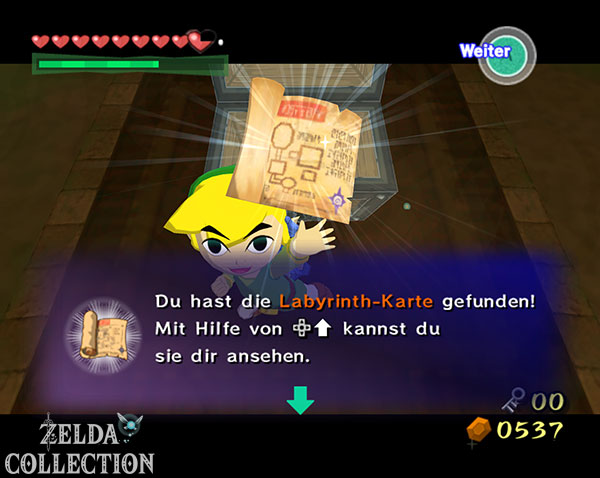
Compass, Small Key and Treasure Chart No. 35
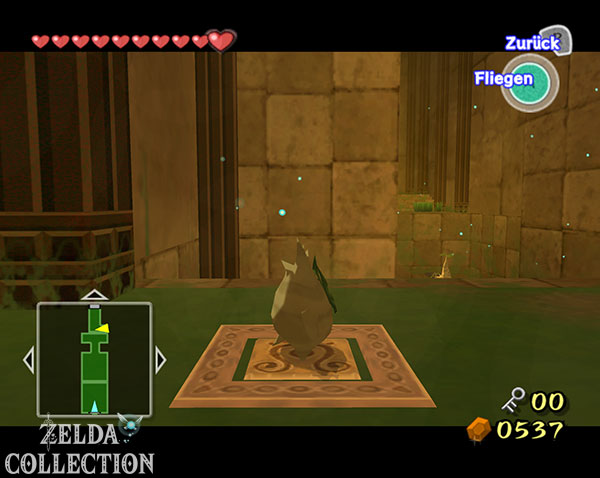
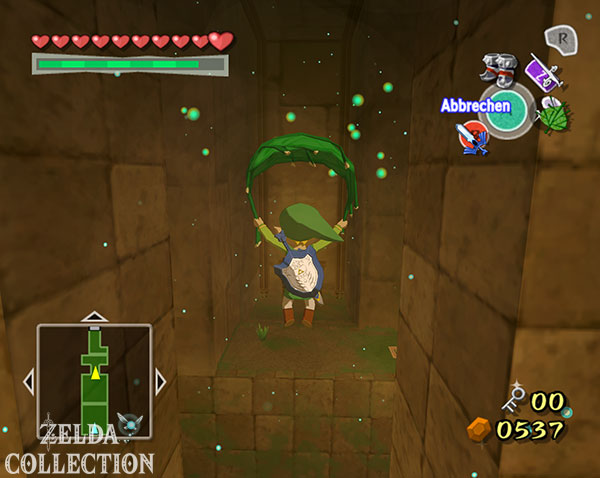
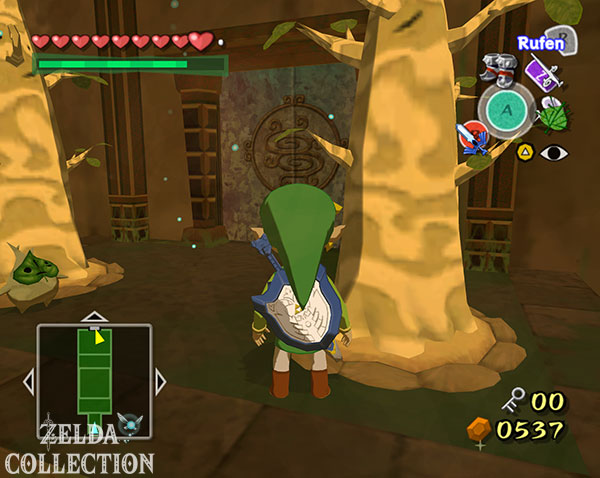
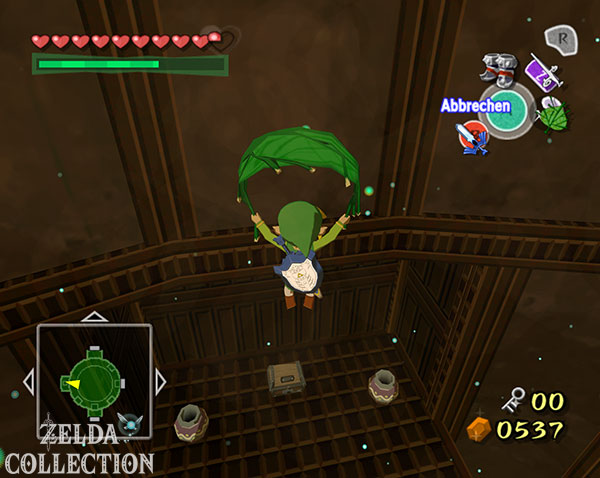
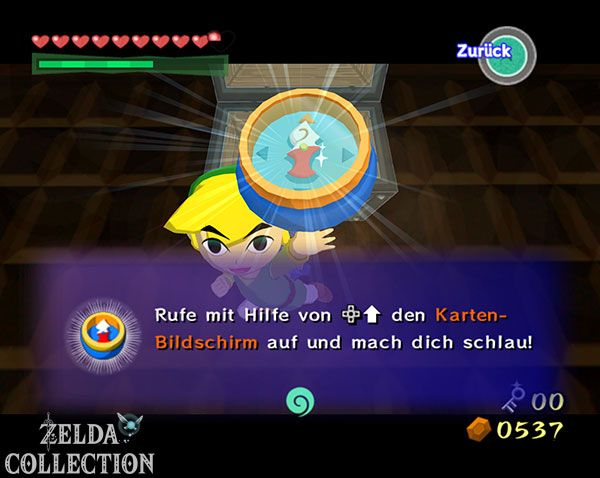
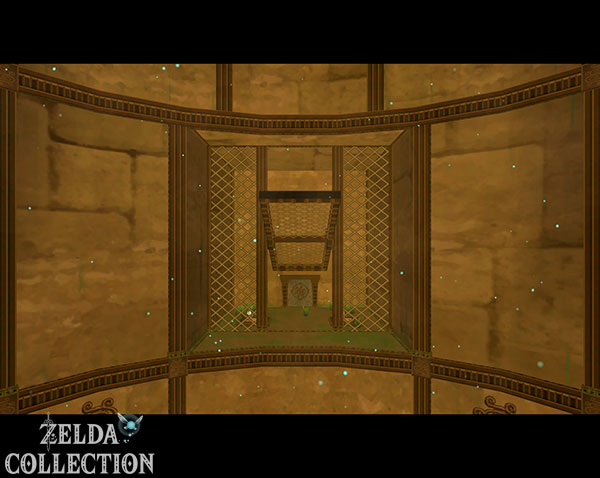
Back in the central wind shaft, stand on the large Floor Switch with your iron boots. This will open the floor and reveal the deep shaft beneath you. Jump in, open the Deku Leaf in time and land on the platform on the west wall. There is the Treasure Chest with the Compass.
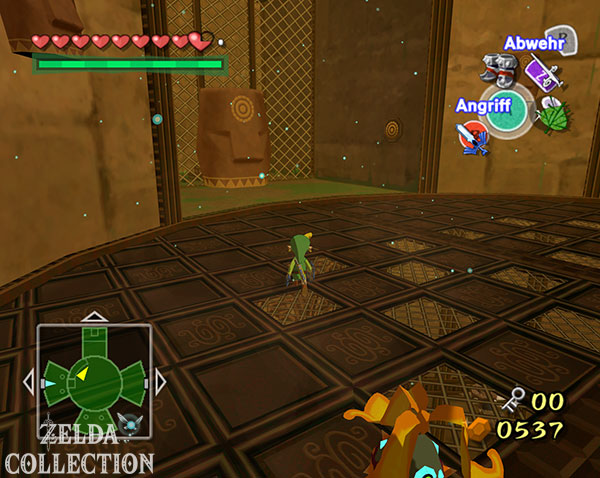
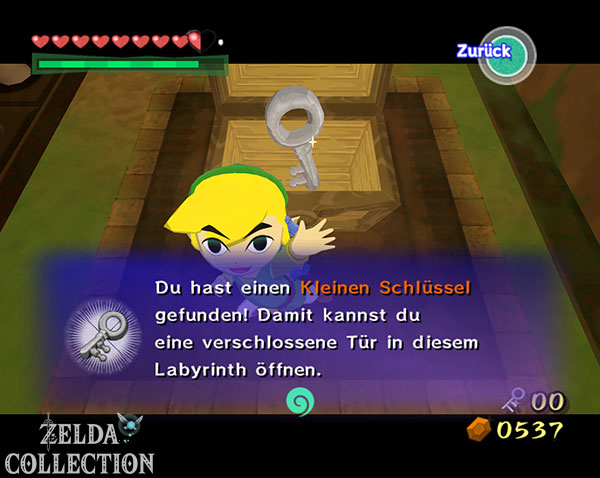
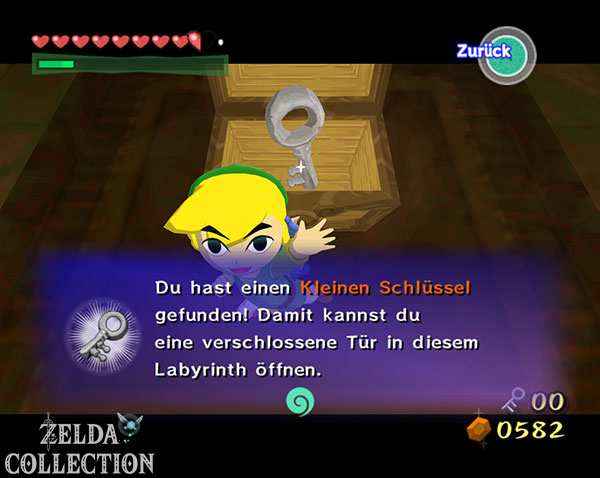
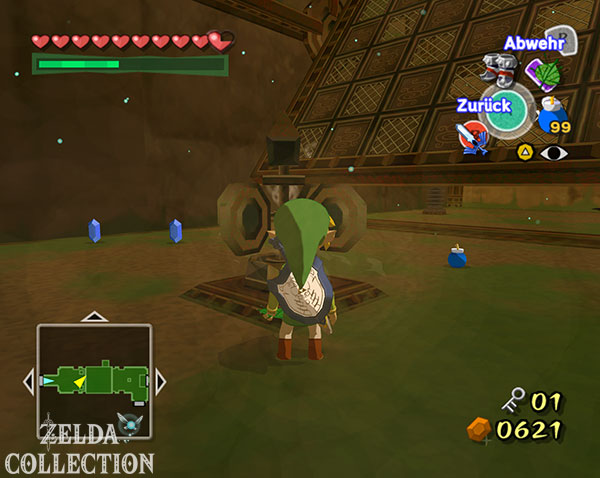
Then jump all the way down and take the southern door. In the following room there are five fragile floor tiles. With your iron boots on, stand on the second plate from the left so that it breaks under Link’s weight. At the bottom you first move the block with the spring under the opposite hole and place the second block next to it as a step. Then use Iron Boots and Feather to throw yourself back up. There is a Small Key in the chest.
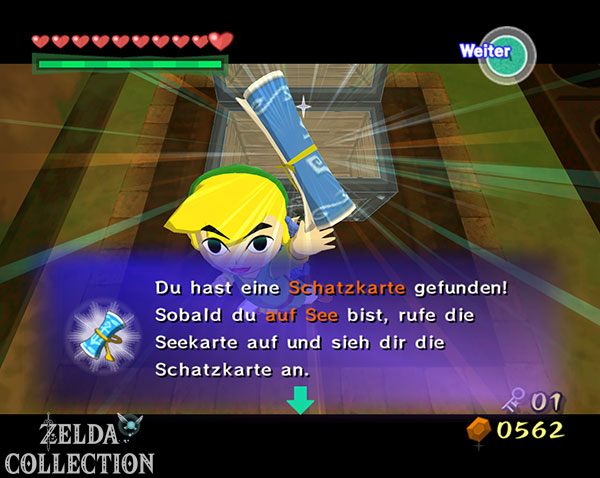
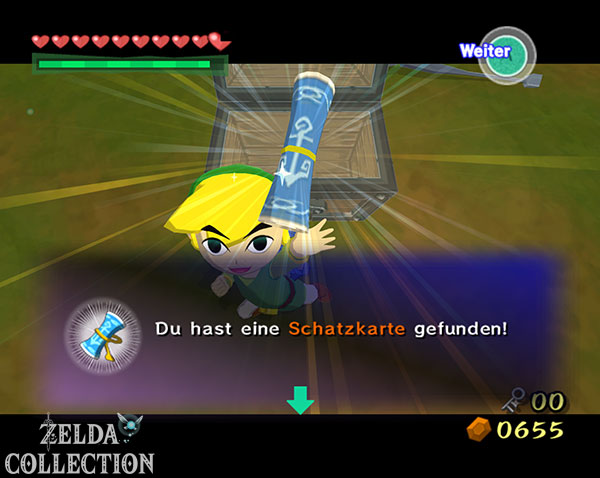
Before you leave the room, destroy the remaining fragile floor tiles. There are several enemies hiding behind them, including death grabbers. Defeat all enemies in the room. Once the last enemy has fallen, an additional chest will appear containing Treasure Chart No. 35. Her treasure lies at the Floating Fortress (B5) and contains a Silver Rupee worth 200 Rupees.
Miniboss: Wizzrobe of the master class
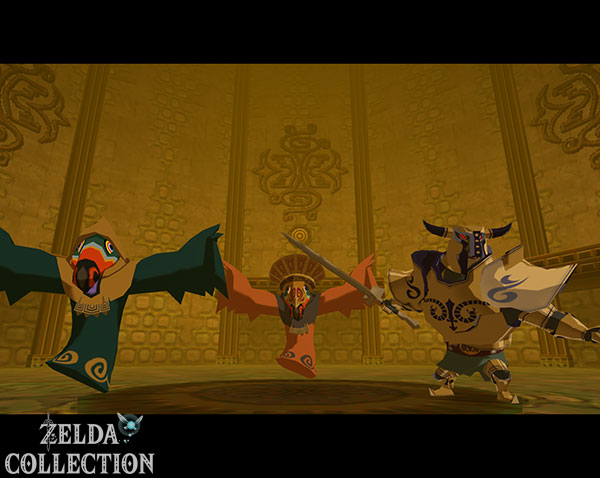
Opens the opposite door with the Small Key. The Miniboss is waiting in the next room, a Wizzrobe of the master class. Unlike normal Pyromagi, he constantly summons additional enemies, including other Pyromagi and even Shadow Guards.
So concentrate as much as possible on the actual Miniboss. As soon as he appears, target him and hit him with arrows before he disappears again. You only have to eliminate summoned opponents if they put too much pressure on Link. You should especially not ignore Shadow Guards if several are active at the same time.
If you complete the Nintendo Gallery, this is a good time for a color photo of the Masterclass Wizzrobe.
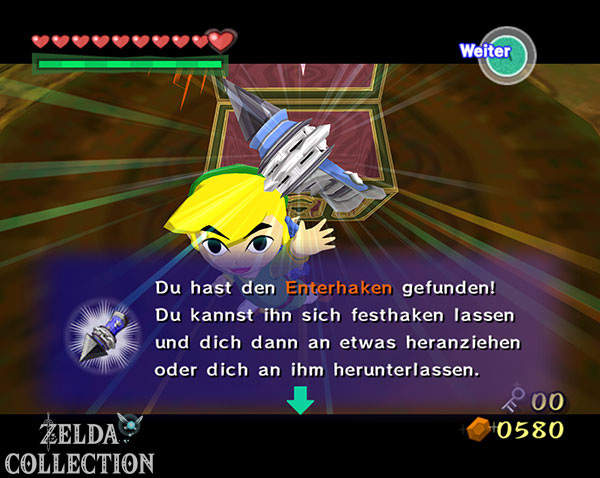
After his victory, the big Treasure Chest appears with the Hookshot. Unlike the Grappling Hook, the Hookshot Link pulls directly to targets, trees and other suitable objects. In conjunction with the iron boots, he can also tear heavy objects from anchors.
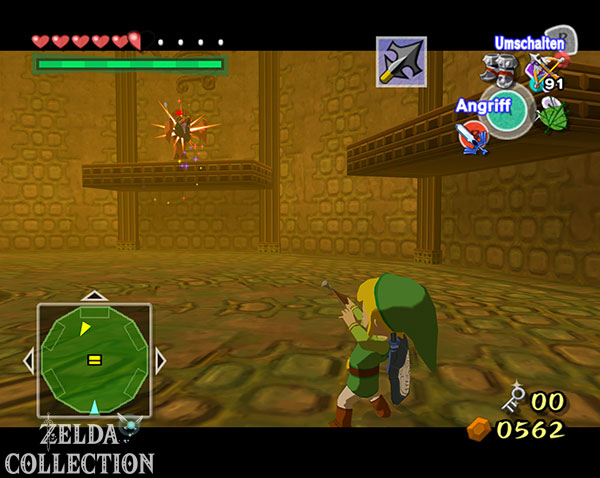
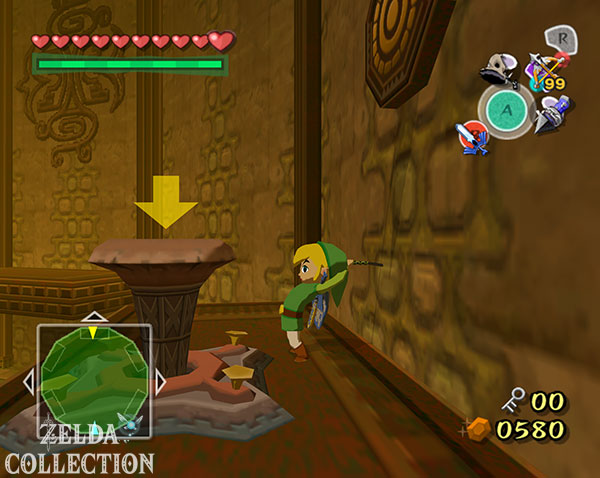
Use it directly on the target above you, pull yourself up to the platform and hit the pole switch with the steel hammer.
Makar free
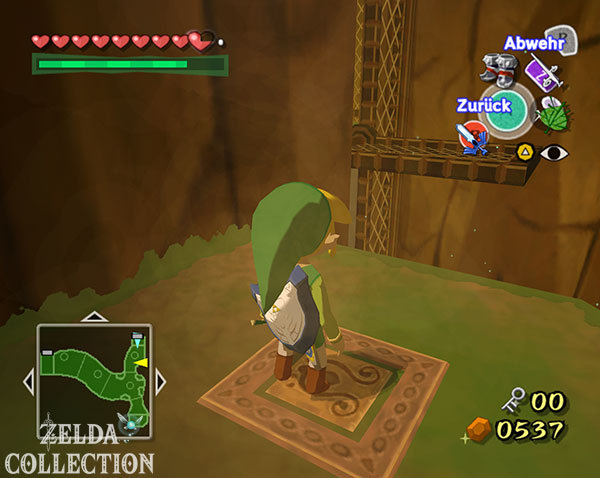
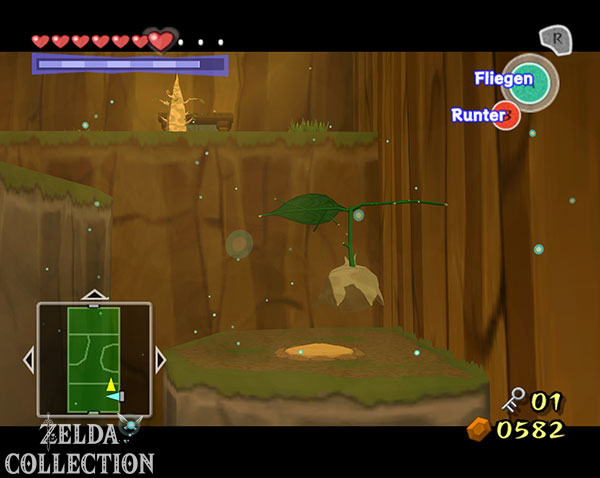
Work your way up from platform to platform with the Hookshot. Where there is no target, connect the Hookshot with the Deku Leaf and the springs.
Finally you reach Makar’ prison. Put on the Iron Boots and shoot the Hookshot at the large stone head in front of his cell. Link’s additional weight knocks the statue out of its holder and shatters. Makar is free.
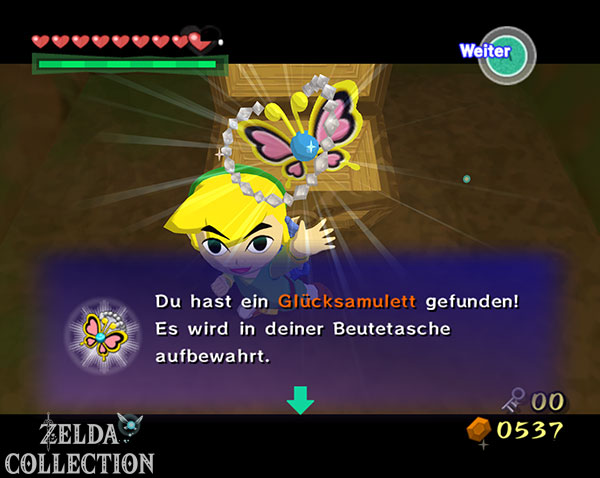
Open the chest in the cell and take the lucky amulet with you. Then let Makar fly down into the central shaft and use him to plant the two trees provided. This creates a powerful air flow that will lead through the main shaft in the future.
Big Key
Fly one floor up to the southern door and eliminate the Armos in the next room. A Small Key appears as a reward. Then return one level down and pick up Makar.
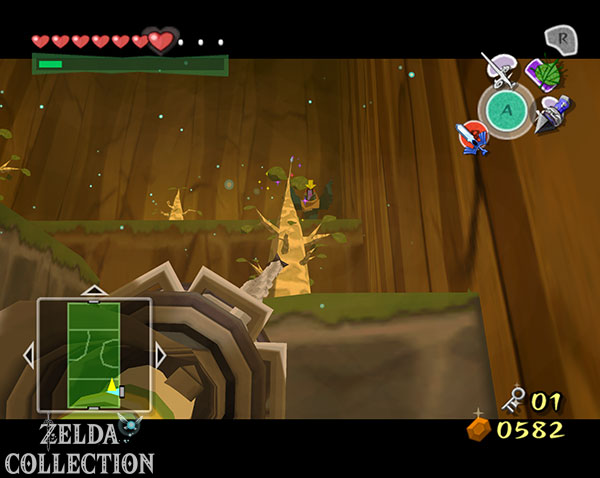
In the next area, Makar plants more trees. Use the resulting plants as targets for the Hookshot and work your way through the room together. Several shadow guards wait in front of the large stone seal.
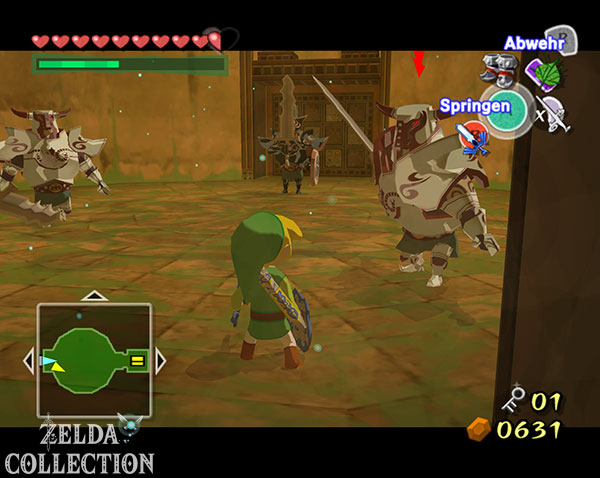
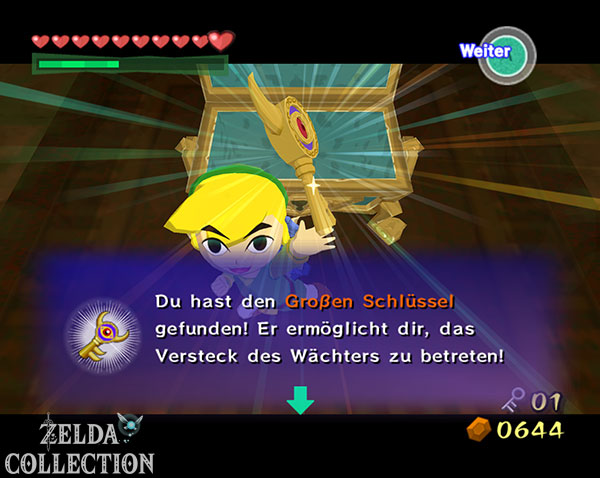
First let Makar stand at a safe distance and fight the three Shadow Guards one after the other. Use the Grappling Hook on everyone first if you still need knight’s crests, then use parry attacks until their armor is destroyed. After the last enemy, the chest with the Big Key appears.
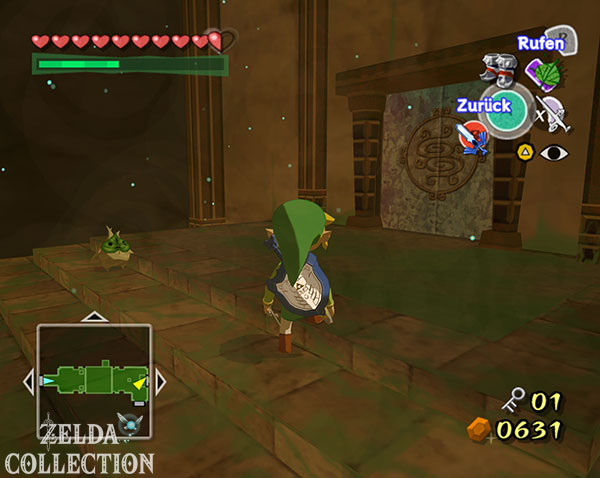
Return to the stone seal, get Makar and play the Wind God’s Aria together. The block collapses.
Treasure Chart No. 5
As you proceed, you put Makar on one Floor Switch and Link on the second. This will not only open the grate in front of you, but also the large propeller in the lower area of the central shaft.
Pick up Makar and jump all the way down under the propeller during a break in the wind. Open the key door there.
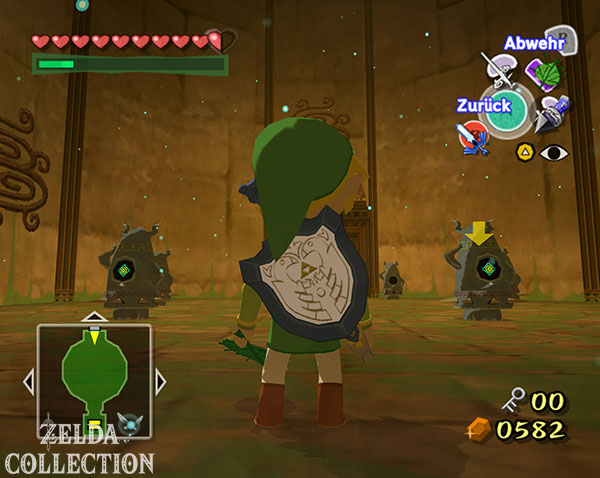
Several enemies are waiting in the following high room. Work your way up with Hookshot and targets. The large stone masks on the walls are particularly important: Put on the Iron Boots and then use the Hookshot on the masks. Link’s weight knocks them out of the wall, revealing more enemies.
Defeat absolutely all enemies in the room, including those behind the stone masks. Only then will the chest with Treasure Chart No. 5 appear. Her treasure lies at the Thornarm Fairy Cordial (G4) and contains a Piece of Heart.
Then climb onto the upper platform and use the iron boots to activate the Floor Switch so that the exit opens.
The final path to the boss chamber
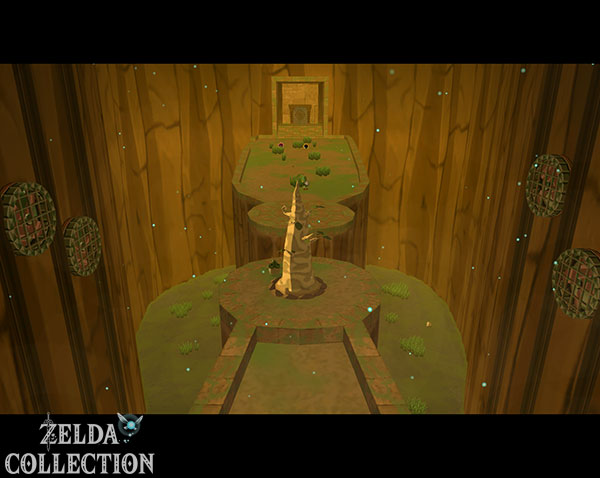
Take Makar through the eastern door. First eliminate Armos and Armos Knights before trying to fly around the room with Makar. Then plant the designated tree. The annoying airflow disappears and Link can pull himself to the other side with the Hookshot.
In the last large obstacle room there are three heavy blocks between rotating blades. Push the first block between the two front blades so that both are blocked at the same time. You can push the second block into the abyss, while the third stops the remaining blade.
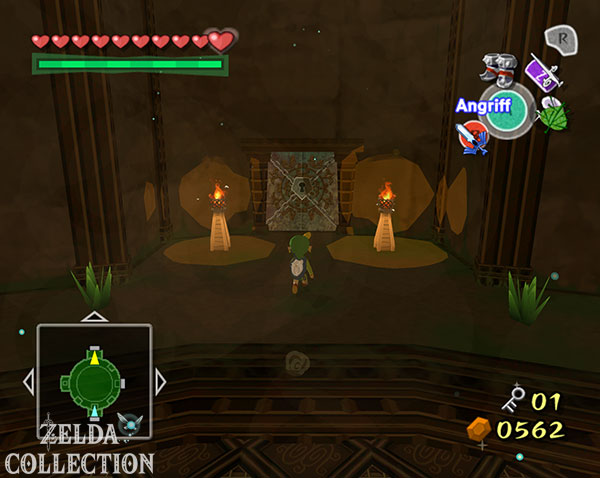
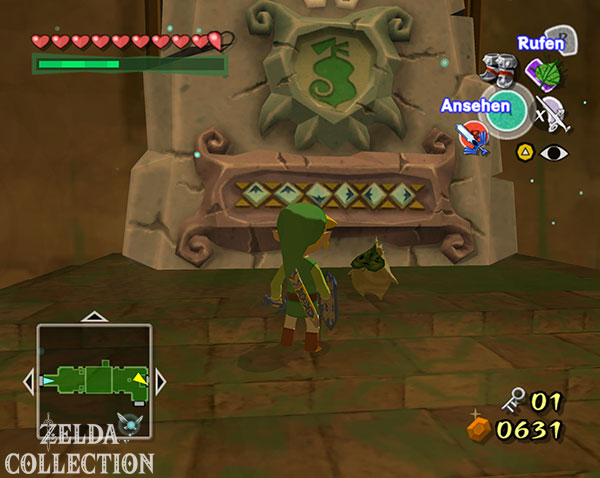
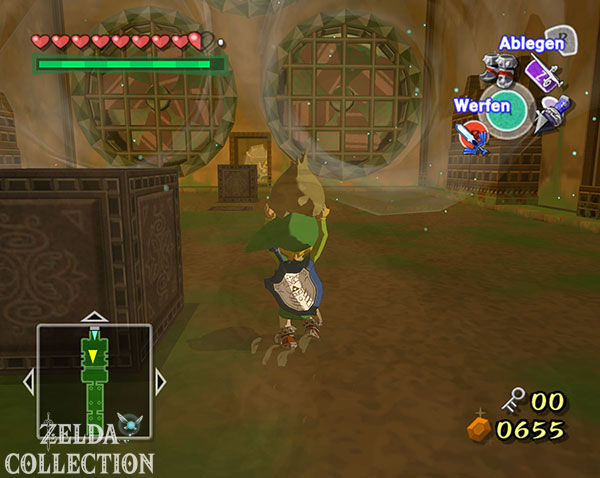
Then carry Makar safely through and play the Wind God’s Aria together in front of the last stone seal. Behind it are several jars with hearts, arrows and magic. Completely refill your supplies and open the boss chamber with the Big Key.
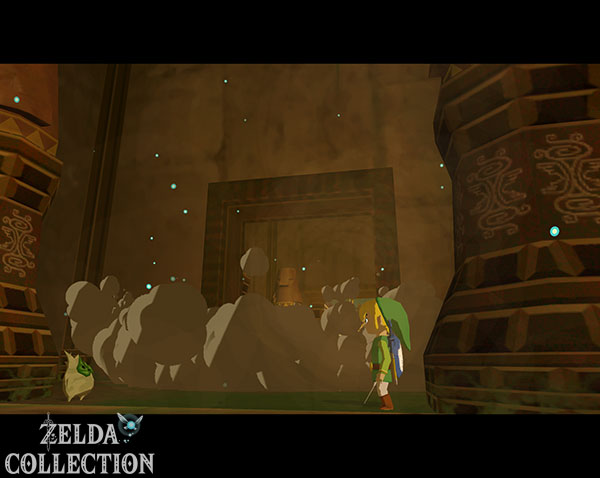
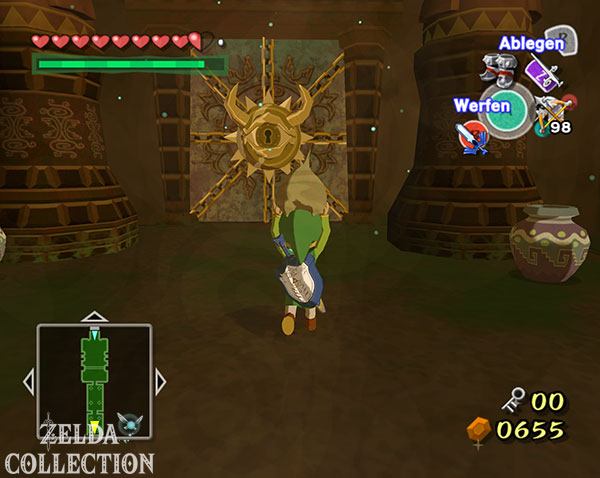
Boss: Bane Seal Guardian Mordo Geira
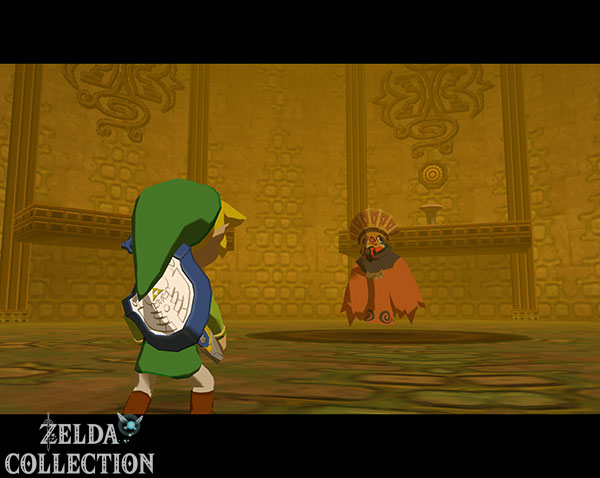
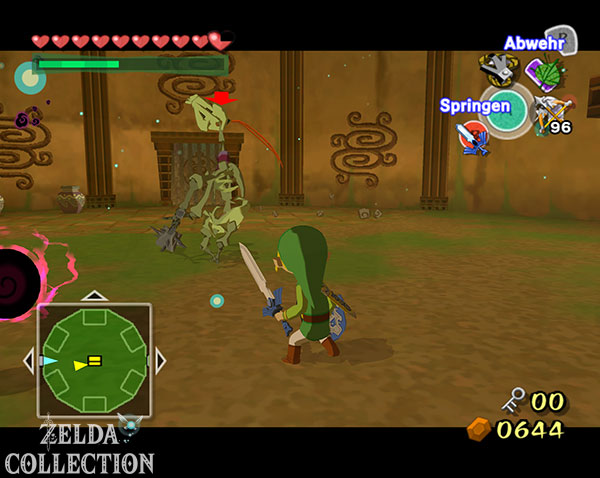
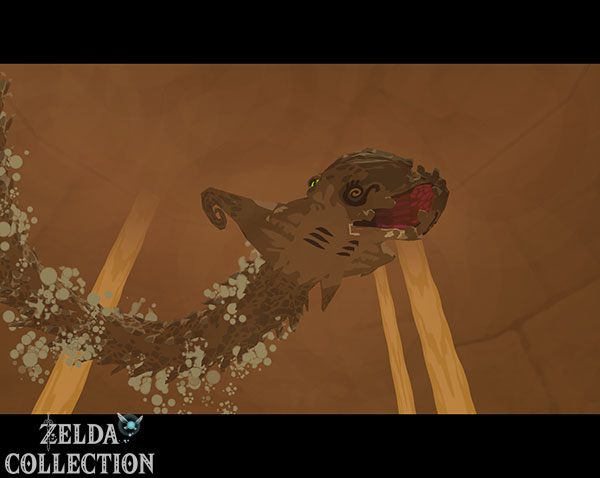
Jump into the large sand arena. Moving among you is the Bane Seal Guardian Mordo Geira, the last guardian of the Wind Temple. If you complete the Nintendo Gallery, take an appropriate color photo during the battle. There is another opportunity later in Ganon’s Tower.
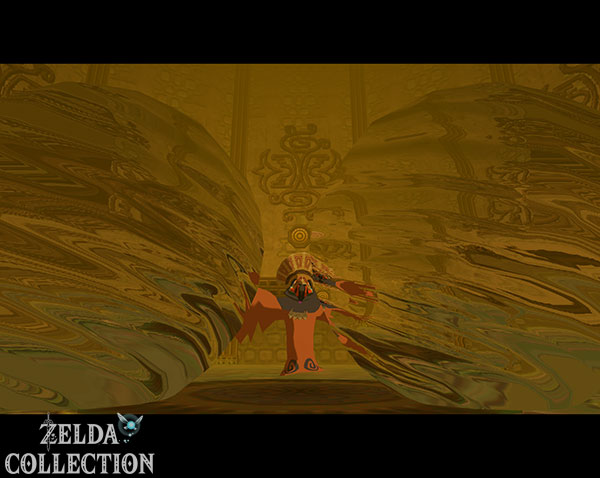
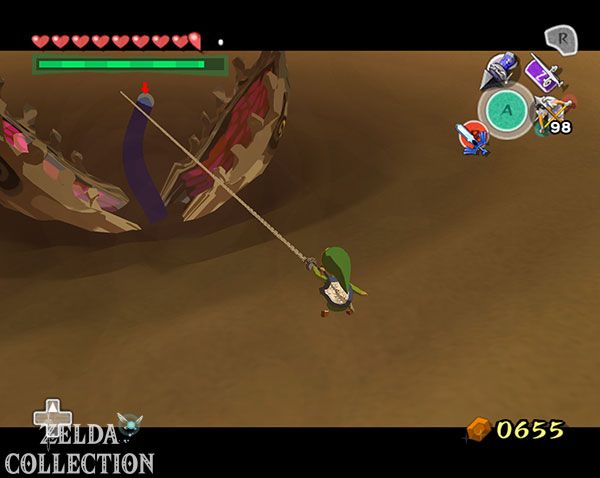
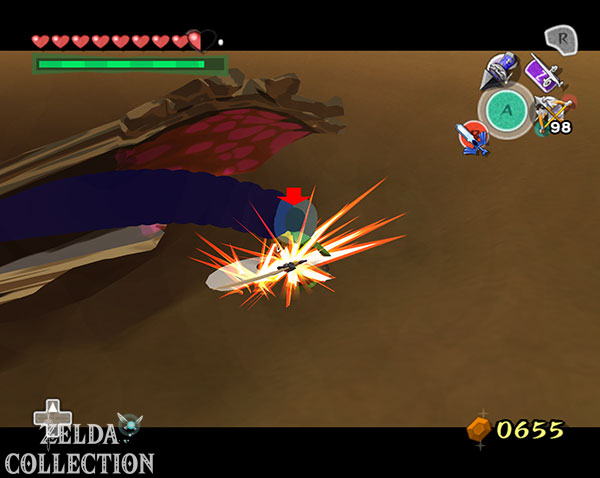
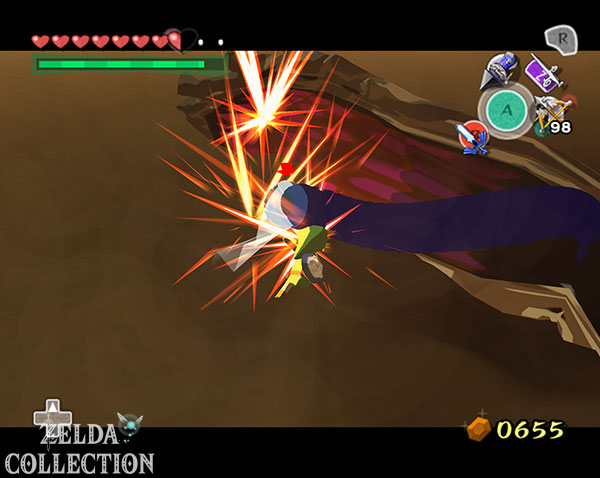
First move along the edge of the dark sand hollow and wait until Mordo Geira sticks his huge mouth out of the ground. Target the purple tongue and use the Hookshot. This causes Link to pull his tongue out of his mouth directly towards himself. Then immediately attack her with several sword strikes.
Then take a few steps back. If you stay too close to the funnel, Mordo Geira can swallow Link and cause significant damage. Even if the sand directly under Link turns dark, you should roll away immediately because the boss will emerge from the ground at this point.
After the first few hits, several Mordo Geira larvae appear. Don’t let them surround you. You can pull individual larvae to Link with the Hookshot and then eliminate them with the sword. They usually leave hearts behind so that they can also serve as a source of healing.
After each attack phase, Mordo Geira retreats and flies around the arena before burrowing into the sand again. Wait for the next mouth to open, pull out your tongue again and attack with the Master Sword.
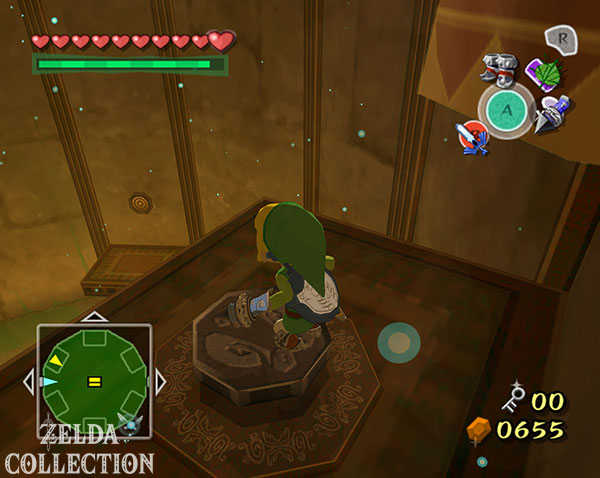
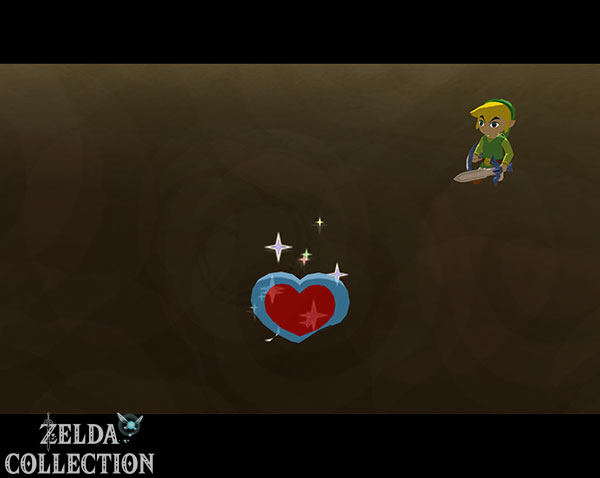
After several repetitions, Mordo Geira is defeated. Pick up the Heart Container and step into the wind circle.
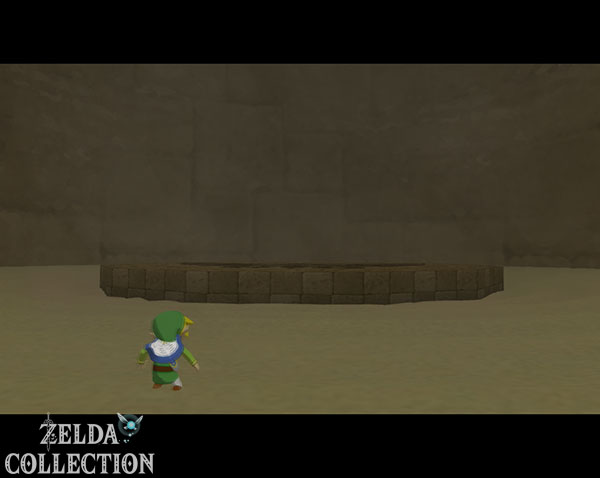
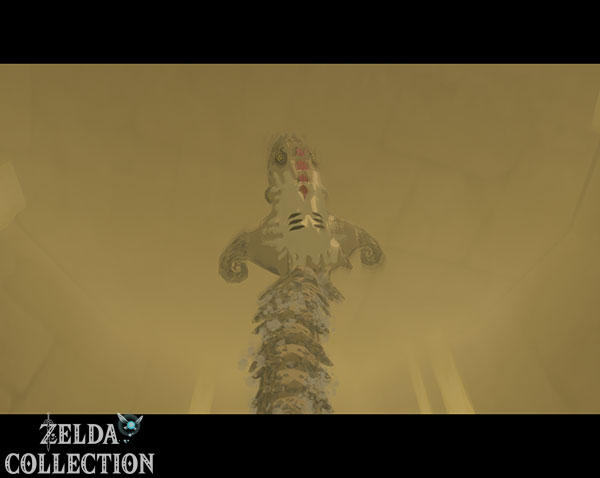
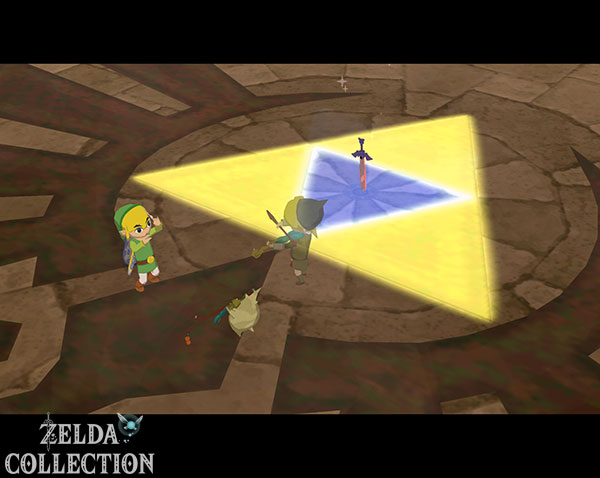
The Master Sword receives its full power
After Mordo Geira’s defeat, Makar appears in the shrine. Together with the spirit of Fodo he plays the hymn of the Zephyr God. The prayers of both temples now work together again on the Master Sword.
The blade regains its full dispelling power.
This completes the restoration of the Master Sword. Like Medli, Makar remains behind in his temple and continues his prayers.
Treasure Chart #5 – Piece of Heart at Thornarm Fairy Cordial
Before we start the search for the Triforce, we redeem the two Treasure Charts from the Wind Temple directly. First drive to the Thornarm Fairy Cordial (G4) and open Treasure Chart No. 5. Find the glowing salvage point and pull the sunken chest out of the sea with the Grappling Hook.
Inside is another Piece of Heart.
Treasure Chart No. 35 – 200 Rupees at the Floating Fortress
Then open Treasure Chart No. 35 and go to the Floating Fortress (B5). Retrieve the sunken Treasure Chest at the marked point. It contains a Silver Rupee worth 200 Rupees.
This means that neither Treasure Charts nor hidden Tingle statues remain open from the Wind Temple.
Claim the Rewards for All Five Tingle Statues
Since we have collected the fifth and final statue in Wind Temple, it is now worth a quick visit to Tingle’s Island (C3). Speak to Ankle there and receive the rewards for the complete collection.
For each of the five Tingle statues, Link gets 50 Rupees. Once all five are placed on their bases, there are also 500 Rupees.
In total, the complete collection brings in 750 Rupees. This is particularly useful for the upcoming Triforce search on GameCube, because Tingle charges high fees for decrypting the Triforce cards.
HD Difference: The five Tingle statues also exist in The Wind Waker HD. They are found there with normal bombs instead of tingle bombs. The particularly high decryption costs of the GameCube Triforce cards are largely eliminated in HD because the Triforce search has been significantly revised.
The next chapter is now fully dedicated to the Triforce of courage and the last great Side Quests on the Great Sea.