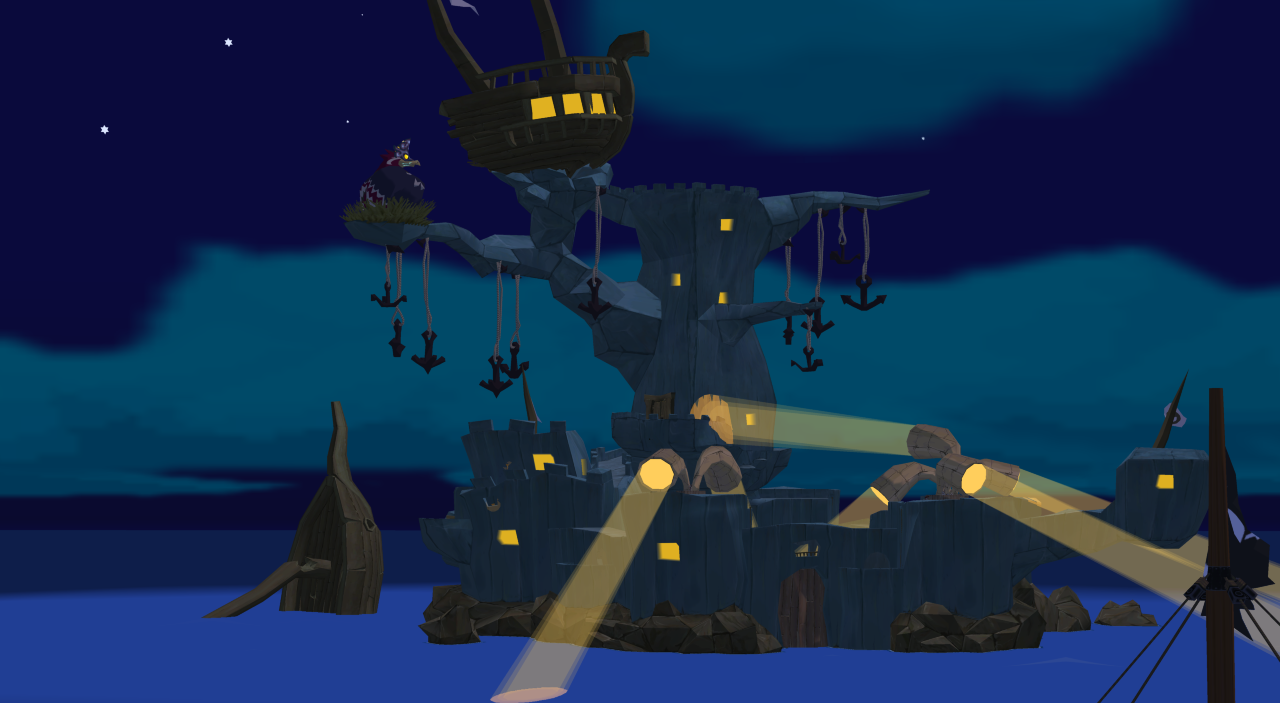

Hyrule and the Forsaken Fortress
After Quartoxuma’s defeat and the ringing of the Great Bell, the King of Red Lions sinks below the surface of the Great Sea with Link. Deep beneath the Tower of the Gods lies a completely submerged kingdom where time itself seems to have stood still. Colors have disappeared, waterfalls stand motionless in the air and even the numerous enemies in the castle don’t move an inch. Our first destination is inside the massive castle of Hyrule.
The Sunken Castle of Hyrule
Enter the castle and go into the large main hall. A statue of the Hero of Time stands between the frozen enemies, while there is a large Triforce symbol in the ground in front of it. Go down the stairs and examine the three movable triangular blocks. They must be arranged on the symbol so that together they form a complete Triforce.
The puzzle is easier if you don’t move the blocks randomly, but position one completely before moving on to the next one. Pay attention to the shape of the free areas in the ground: each stone only fits on one of the three tips of the Triforce. As soon as all three blocks are in the correct position, they sink into the ground and open access to the chamber under the castle.
One of the most important swords in the entire series is waiting there. Go down the stairs and pull the blade out of its base. Link receives the Master Sword.
At this moment time begins to flow again in Hyrule. Return to the main hall and all previously frozen enemies will awaken at the same time. You must defeat them completely before the exits open again. Use the wide stairs and the Hero Arch to separate individual enemies from each other, and at Moblins use the Grappling Hook to steal their Skull Chains before the fight. We will need the chains later for several Side Quests on Windfall Island.
Once all enemies have been defeated, we leave the castle and return to the King of Red Lions. Travel through the circle of light back to the sea surface.


HD Difference: The process in Hyrule is unchanged in The Wind Waker HD. There you also solve the Triforce puzzle, then pull the Master Sword out of its base and have to defeat the awakened opponents in the main hall.
Ballad of Gales
Before we return to the Enchanted Bastion, let’s pick up one of the game’s most important travel features. Huge hurricanes appear in several places on the Great Sea. The wind god Cyclos is responsible for this. You can find it, among others, at the Mother and Child Isles (B2), the Northern Triangle Island (D3) or the Shark Island (C6).
Drive into such a whirlwind and immediately pick up the Hero Bow. Cyclos quickly circles you as the boat is pulled further into the storm. Hit him overall three times with arrows. After the third hit he gives up the fight and brings it to Link Ballad of Gales at.
With this melody you can now teleport between several fixed points on the Great Sea. This not only makes the upcoming main tasks much faster, but also makes many Side Quests meaningfully feasible. You can find a complete overview on our songs page in The Wind Waker.
HD Difference: Cyclos and the Canon of the Storm work identically in both versions.
Windfall Island – close the auctions
Use the new canon of the storm and teleport to Windfall Island (D2). We have already learned the Song of Passing in Chapter 3, so we can switch between day and night without waiting.
Visit the auction house at night. Zunari is auctioning a total of four permanently interesting rewards in the GameCube version: a Joy Pendant, a Piece of Heart, Treasure Chart No. 18 and Treasure Chart No. 38. The reward offered is randomly selected; If the desired object does not appear, cancel the auction, leave the building and start a new round.
During the auction, Link’s action meter slowly fills up. Press A repeatedly to fill it faster. For valuable items, if possible, wait until shortly before the end and then increase the current bid significantly – a sufficiently large jump will shock the other bidders for several seconds and give you a decisive advantage.
Win all of the missing unique prizes this way. The Piece of Heart will be immediately credited to your inventory. Treasure Chart No. 18 leads to a small ruby treasure directly at Windfall Island; Treasure Chart No. 38 is much more interesting because its sunken treasure at the Three-Eye Reef (A4) contains another Piece of Heart.
HD difference: In The Wind Waker HD there is also the Swift Sail in the auction. It doubles the sailing speed and ensures that the wind automatically blows in the direction of travel. If you play the HD version, you should buy it now at the latest.
Treasure Chart No. 24 – the rumor about Lenzo
Since we already own the Deluxe Picto Box and have activated the wind turbine in Chapter 3, we can take another Treasure Chart with us. Speak to the two women talking near Zunari’s stand during the day. They tell you a rumor about Lenzo and Minenco.
Ride a wind turbine gondola up and jump onto the balcony of Kogfa’s house. Enter the building and crawl through the narrow passage behind the upper room. Wait until Kogfa and Minenco talk to each other and take a photo of both of them together using the Deluxe Picto Box.
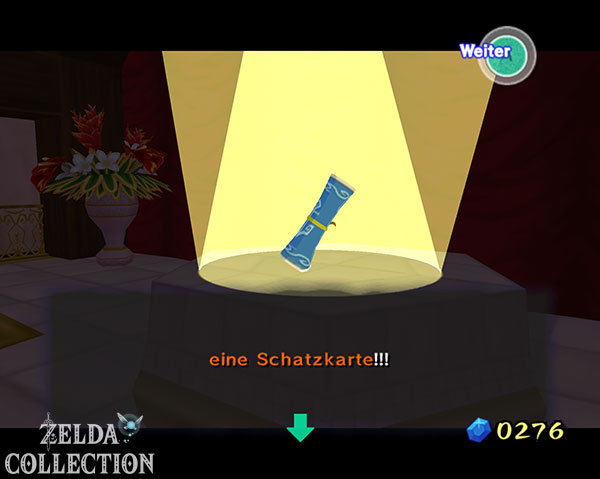
Then shows the photo to the two women. As a reward you will get Treasure Chart No. 24. Her treasure lies at the Northern Faerie Cordial, our next target, and contains a Silver Rupee.




Northern Fae Cordial – 5,000 Rupees and Treasure Chart #22
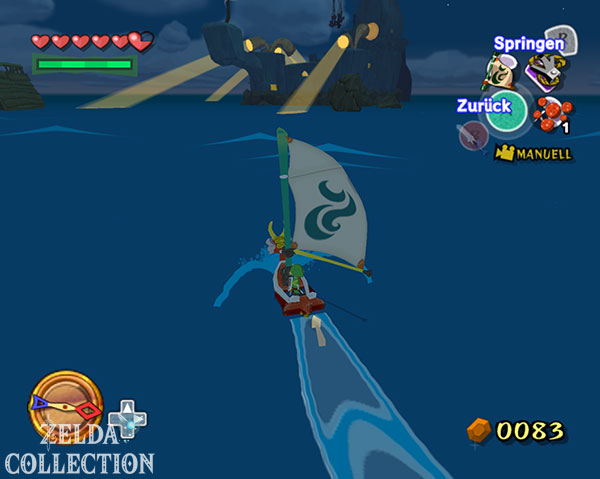
Leave Windfall Island to the north and head to the Northern Fae Cordial (C1). The entrance to the fairy spring is not blocked here. Jump in and talk to the Great Fairy. Since we already received the first wallet upgrade on Outset Island, it now expands Link’s wallet to the maximum of 5,000 Rupees.
This extension is very important for the further process. At Tingle, several expensive cards will have to be decrypted later, and Beedle’s special goods as well as the exchange quest on Windfall Island can also consume significant amounts of Rupees.
There is also a Blue ChuChu living on the east side of the island. Steal his Blue ChuChu jelly with the Grappling Hook and then defeat him.
Then open Treasure Chart No. 24 and recover the marked treasure directly in the grid square of the Northern Fairy Cordial. The chest contains a Silver Rupee worth 200 Rupees.
Then drive to the western edge of the grid square. There is another submarine there. Several Moblins are waiting inside. Take off their skull chains with the Grappling Hook and defeat them, then swing over the ropes to the other side and open the Treasure Chest that has appeared. Inside is Treasure Chart No. 22. It leads to Isla Binocular and contains another Silver Rupee.
This completes the Northern Fairy Cordial for now.
Forsaken Fortress – second visit
Our main target is now again the Forsaken Fortress (A1). This time approach the fortress from the south. The large wooden gate can be destroyed with the on-board cannon. Shoot the gate several times and then drive straight into the bastion.
The sneak passages from the first visit are no longer applicable. Link now has the Master Sword and can fight his way through the fortress openly. Go up the stairs to the central square and approach the large gate.
Phantom Ganon and the steel hammer
Phantom Ganon appears in front of the gate. Aim at him and stay at medium distance. His main attack is a glowing ball of energy that he throws at Link. Hit them back with your sword. Phantom Ganon reflects it again, whereupon an increasingly quick exchange of blows ensues between you. At some point the opponent misses the ball and is hit.
Phantom Ganon then falls to the ground. Immediately run to him and follow up with several sword blows. Repeat this process until he retreats. Occasionally he teleports directly behind Link and attacks with his sword; rolls to the side or blocks and then counters.
After the victory, the gate opens and a large Treasure Chest appears. Inside is the Skull Hammer. With it you can hit heavy stake switches and destroy certain armored opponents or obstacles.
If you complete the Nintendo Gallery, take a color photo of Phantom Ganon. There are further encounters with him later, so this motif cannot yet be completely missed.


To Aryll’s prison cell
Now go to the large posts at the foot of the stairs and hit one into the ground with the steel hammer. This clears the way up. Follow the familiar route through the fortress. Many areas can be traversed much more quickly this time because we don’t have to hide from the Moblins or turn off the searchlights.
Use the Deku Leaf for larger shortcuts over chasms and hit more pole switches with the steel hammer. If you encounter Moblins, continue to take their skull chains with the Grappling Hook. For a later Treasure Chart on Windfall Island we need a total of 20 of them.
Shortly before where the hero’s sword was once found, another pole blocks the gate. Hit it with the steel hammer and go through. Link finally reaches Aryll’s prison cell. Tetra and her pirates appear and free Aryll and the other two kidnapped girls. Aryll leaves the Forsaken Fortress with the pirates, while Link remains alone.


Escape from the Mask King
Immediately after Aryll’s liberation, the Mask King appears. The room begins to fill with water and Link must run up the spiral path as quickly as possible. Don’t fight unnecessarily against the enemies that appear; the rising water and the mask king eliminate many of them on their own.
Roll up the ramp and jump over smaller gaps. The Mask King destroys parts of the path along the way. If you crash, you can save yourself in certain places with the Grappling Hook. Just before the top, the bird lands directly in front of Link, blocking the exit. Hit him once on the head with the Skull Hammer and then climb up the last steps.
Boss: Mask King
The actual fight against the Mask King begins on the roof of the Enchanted Bastion. If you complete the Nintendo Gallery, you must definitely take a suitable color photo here. This is the only regular encounter with the Mask King; after his victory he disappears permanently.
As long as his iron mask is intact, Link cannot injure the head with the sword. First, keep moving and wait for the mask king to land. He often then tries to hit Link with his beak. Dodges to the side at the last moment. The beak then gets stuck in the ground for a short time and the head is unable to move.
Run up and hit the mask with the Skull Hammer. Repeat the process several times. The Mask King can also flap his wings forcefully and attempt to push Link into the spiky edge of the arena. Run against the airflow or stay as close to the center of the platform as possible.
After several hits, the iron mask breaks and the beak is exposed. From now on you can attack the head directly with the Master Sword. Continue to wait for it to land or for a beak blow and then deliver several sword strikes. Alternatively, you can hit the unprotected head with arrows if the bird flies low enough.
After a few more hits, the Mask King is defeated. Pick up the Heart Container and go through the opened passage to Ganondorf’s chambers.


Tetras Secret
After defeating the Mask King, Link reaches Ganondorf. The Master Sword can hit him, but obviously no longer has its original power. Ganondorf simultaneously realizes Tetra’s true identity and attempts to capture her. Before he reaches his destination, Valoo and the Rito intervene and enable Link and Tetra to escape.
The King of Red Lions brings both of them back to Hyrule. There the whole truth is finally revealed: the King of Red Lions is connected to the lost kingdom, and Tetra carries the missing fragment of the Triforce of Wisdom. After both fragments are put together, the pirate captain transforms into her true form: Princess Zelda.
Zelda stays behind in the sunken Hyrule for the time being. Link now receives a new task: the lost spell power of the Master Sword must be restored. To do this, you must find the two sages whose prayers once maintained the blade’s power.
However, before we set off for the two temples, in the next chapter we will get a number of items and upgrades that have been newly accessible since Aryll’s rescue or through Steel Hammer, Canon of the Storm and Hero’s Bow. So we continue with the Mother and Child Isles.