

After defeating Gohma, Link possesses Din’s Pearl and is supposed to travel to Forest Haven (F6) next. Before you leave Dragon Roost Island, check the mailbox on the beach. If Baito’s mother has already replied, accept her letter; as a thank you for her son’s help, it contains a Piece of Heart. If the letter has not yet arrived, it will appear automatically the next time you visit the island.
Plays the Wind’s Requiem, directs the wind to the south and continues the journey with the King of Red Lions. From now on it is worth having every newly entered grid square registered with Fishman. To do this, throw universal food into the water as soon as your fish appears nearby. In this way, a complete nautical chart is gradually created during the Walkthrough.


Bomb Island – second bottle
On the way south you will pass the grid square of the Bomb Island (F5). There is a submarine floating south of the island that we can now completely destroy. Climb in and defeat the enemies inside. As soon as the last enemy has fallen, access to the Treasure Chest becomes available. Inside is your second Empty Bottle.
We can’t open the actual secret cave of Bomb Island yet because Link needs his own bombs. This Piece of Heart will therefore follow later. Leave the submarine and continue your journey one square further south.
Forest Haven (F6)
Land on Forest Haven and follow the watercourse up. On the first platforms you will encounter Plantagrandas. Wait for her attack or use a jump attack to expose her delicate stalk, then cut it with your sword. You defeat the Octoroks sitting in the water by throwing their projectiles back with your shield.
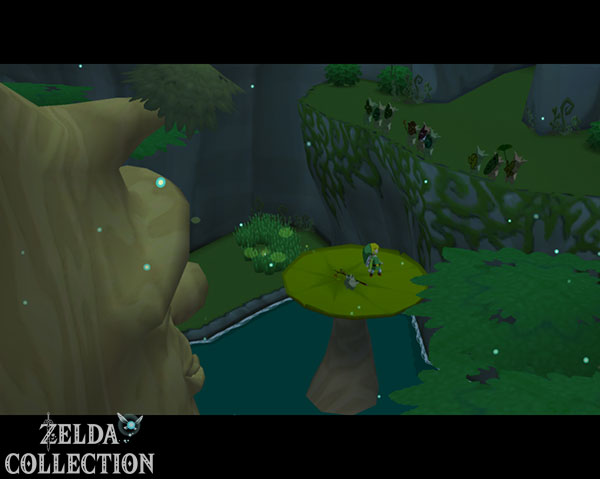
Swing over the designated branches with the Grappling Hook and work your way into the interior of the island. After the short waterway you reach the huge Great Deku Tree, which is infested with green slimes. Roll against its trunk so that the enemies fall down, then use your sword to eliminate them. The Great Deku Tree then calls the Koroks together and explains that Makar has disappeared into the Forbidden Woods.
To help, the Great Deku Tree causes the Deku Leaf to appear on one of its upper branches. Jump into the Plantahumpas, let them throw you upwards and use the Deku Leaf between the plants to correct your flight direction. On the last stretch you also swing to the next area with the Grappling Hook. At the top you finally pick up the Deku Leaf and at the same time receive your magic bar.


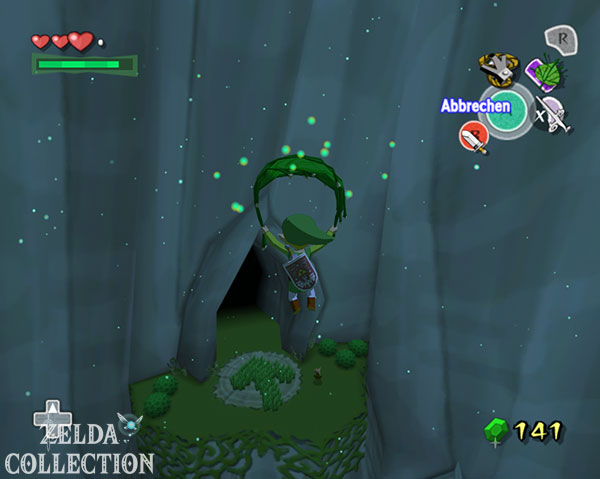
Treasure Chart No. 3
Before you fly to the Forbidden Woods, let’s get another permanent find. Go to the exit in front of which the grass on the ground forms a large arrow and step outside. From there you can see a small, very high island to the southeast. Use the Song of the Wind to direct the wind to the southeast and jump off with as full a magic bar as possible.
Immediately opens the Deku Leaf and glides to the small island without unnecessary changes of direction. At its highest point is the chest containing Treasure Chart No. 3. Her sunken treasure is later found at the Eastern Fairy Cordial (E3) and contains a Silver Rupee worth 200 Rupees.
Christmas fireflies and Deluxe Picto Box
Then returns to Great Deku Tree. Several particularly bright insects hover behind its trunk at night. Capture one of them with a free bottle: It is a Forest Firefly.
This animal is only required in the GameCube version for the Deluxe Picto Box. Since we have already completed Lenzo’s three tasks in Chapter 1, we can now complete the improvement immediately. So go back to Windfall Island and hand the fir firefly to Lenzo. It improves the Picto Box to the Deluxe Picto Box, with which Link can take color images.
HD difference: In The Wind Waker HD this detour is not necessary. There, Link gets the Deluxe Picto Box after Lenzo’s three assistant tasks. It also saves twelve instead of three images and marks suitable recordings for the Nintendo Gallery with a good seal.


Song of Passing
Before you leave Windfall Island again, go to the single gravestone on the hill. Tott is dancing there. Pull out the Wind Waker near him and conduct in triple time. Tott remembers the missing steps and teaches Link the Song of Passing.
With this melody you can switch between day and night at any time. It is not absolutely necessary for the main story, but it makes numerous Side Quests much easier.
Treasure Chart No. 29
We can now also activate the wind turbine on Windfall Island. Direct the wind north with the Song of the Wind and climb the ladder at the back of the building at Salvatore’s Game. Step on the switch, which will cause the large wind turbine to move again.
Then get into a gondola, ride up and at the right moment jump with the Deku Leaf onto the balcony of Lenzo’s house. Enter the building from here and open the chests there. One contains 50 Rupees, the other contains Treasure Chart No. 29. Her treasure is at Mother and Child Isles and contains 200 Rupees.
Treasure Chart No. 33
Then look for Minenco in front of Doc Emmett’s shop and take a good color photo of her with the Deluxe Picto Box. Show her the picture directly. She is thrilled with the recording and gives Link Treasure Chart No. 33. The corresponding treasure is at the Five-Star Isles (G7) and contains a Piece of Heart.
Treasure Chart No. 31
Also talk to Kamo, who sits on the stairs or the city wall during the day. He wants to see a picture of something perfectly round and pale. The little one plays day and night music until there is a full moon at night, takes photos of the moon with the Deluxe Picto Box and shows Kamo the picture during the day.
As a reward you will receive Treasure Chart No. 31. Your treasure is located directly in the grid square of Forest Haven (F6) and contains another Piece of Heart.
This completes the most important photo side tasks that are available immediately after receiving the Deluxe Picto Box. We will collect further tasks on the island later at the points where their requirements are met.
Open Nintendo Gallery
Now return to Forest Haven. Before we enter the Forbidden Woods, we open the Nintendo Gallery. To do this, take a Putput fruit from the food bag and work your way up inside Forest Haven again. Use the Plantahumpas and the Deku Leaf until you reach the exit to the small offshore island.
There is a sealed entrance there. Use a Putput Fruit to take control of a seagull and fly to the high switch. Touch him with the seagull. The entrance opens and you can visit Carlov.
From now on, suitable color photos can be converted into figures. For a complete gallery, it makes sense to take photos of enemies and people that are unique or disappear later. In the Forbidden Woods this mainly affects Mothula and Carniphora.
HD difference: The gallery also works in HD with color photos. The twelve storage spaces and the good seal make selecting suitable images much more convenient.
Piece of Heart over Treasure Chart No. 31
Before you enter the dungeon, open Treasure Chart No. 31 and sail in the Forest Haven grid square to the marked circle of light. Use the Grappling Hook as a recovery arm and retrieve the sunken chest from the sea. Inside is a Piece of Heart.
Then return to Forest Haven and take the exit with the grass arrow again. First direct the wind to the southwest and glide to the small island with the Korok. From there you turn the wind to the northwest. Wait until the big updraft passes between the island and the Forbidden Woods, jump off and open the Deku Leaf. The updraft carries Link high enough to reach the entrance to the Forbidden Woods. Avoid the Peahat along the way.


Forbidden Woods
The Forbidden Woods is the second regular dungeon. Many doors are blocked by fleshy plants that only open when you throw the ball-shaped nuts at them. Plantahumpas, moving platforms and the Deku Leaf determine large parts of the path.
Dungeon Map
In the first room, take the right path and defeat the green slimes. The Dungeon Map is in the accessible chest. Then take the large nut, keep enough distance from the plant barrier and throw it against it. The entrance opens.
In the next room, remove the Boko Baba at the bottom. After their defeat, a Plantahumpa remains. Let yourself be thrown upwards, open the Deku Leaf and fly from plant to plant until you reach the upper platform. There is no nut there, but a bomb plant. Throw them at the next plant barrier and move on.
In the following room you don’t use the Deku Leaf for flying, but as a wind source. Use it to blast the propeller-like plant on the wall, causing the floating platform to move towards you. Climb up and then blast in the opposite direction to keep the platform moving. Repeat the same principle on the second wind turbine in the middle of the room.

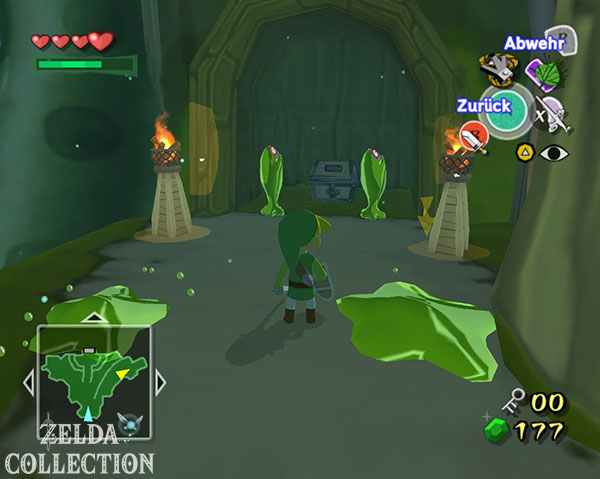


Peahat, Morth and Compass
In the next area, several Peahat. Blast them off balance with the Deku Leaf and then finish them off with the sword. They can be removed much more easily later with the Boomerang. Use the Plantahumpas to get up and transport a nut on the moving platform to the next plant barrier.
In the next room there is a nut between several thorns. Blast it out of the ring with the Deku Leaf, pick it up and destroy the door barrier. Follow the path to the right, swing to the moving platforms with the Grappling Hook and work your way to the next section.
There are numerous Morth hanging on Link. They don’t deal direct damage, but make it extremely slow. A spin attack removes several at once. Then go through the thorny vine maze. The tendrils only appear when Link gets too close to them; So move slowly and pay attention to clear paths. At the end you will reach a bomb plant that you can use to blow up two wooden barricades. Behind one of them is the chest with the Compass, behind the other is the next Small Keys.
Mothula and the Boomerang
Open the locked door and follow the path across moving platforms and plantahumpas. Finally you reach the room of the Miniboss Mothula. If you complete the Nintendo Gallery, now take a good color photo with the Deluxe Picto Box.
Mothula flies very quickly through the room and regularly emits Velcrothula. Use the Deku Leaf to unbalance the opponent and then attack with the sword. After several hits, Mothula loses her wings and continues to fight on the ground. Keep your distance, avoid their jumps and follow up with your sword as soon as a safe opportunity arises.
After the victory, the chest with the Boomerang will appear. It can capture up to five targets at the same time and is needed throughout the dungeon both as a weapon and for numerous switches and vines. To leave the room, target the two Crystal Switch above the door and throw the Boomerang.


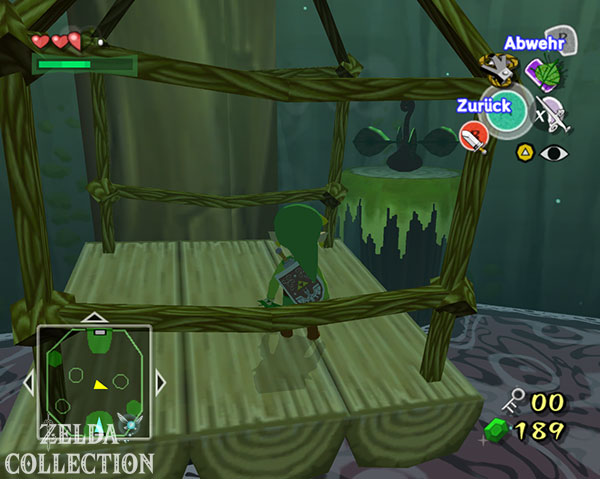


Treasure Chart No. 15 and Grove Tingle Statue
Back in the central hall, use the Boomerang to remove the plants on the opposite door. In the next room, cut the vines that hold the large flower and then slide the Deku Leaf onto it. Cut all five ropes of the flower at the same time with the Boomerang. She falls through the floor into the basement.
Follow the path west and then into the room with another suspended platform. Cut her four ropes to make her fall into the water and use a bomb plant to blow up the wooden planks to the adjacent room.
There is both a Tingle statue here Treasure Chart #15. First, defeat the Peahat, Morth and Plantagrandas and use the Plantahumpa to reach the higher platform. Blow on the wind turbine so that the gondola moves to you. On the other side, take a bomb plant and throw it through the opening at the top of the large tree stump. The plant inside will be destroyed and you can jump down. Lies in the chest Treasure Chart No. 15. Your treasure is at the Staircase Island (E7) and contains a Piece of Heart.
On GameCube you also use the tingle receiver on the small lower grass area near the entrance and place a tingle bomb there. A hidden chest appears and contains the Grove Tingle Statue.
HD difference: In HD, the hidden chest is also revealed with a normal bomb. Although Link doesn’t have his own bomb bag at this point, you can throw the bomb plant down from the upper platform so that it explodes on the hidden spot. This means that the Hain Tingle statue can also be collected in HD on the first visit.
Big Key
Return to the big flower and use it as a raft. Use the Deku Leaf to blast the walls or in the opposite direction to move across the toxic water. You can eliminate the Octoroks on the way with your own projectiles or with the Boomerang.
In the next room, run up to the raised tree stump and target all five Crystal Switch at the same time with the Boomerang. Once everyone has been hit, access to the chest opens with the Big Key. Immediately afterwards, two Moblins appear. Use the Grappling Hook to take a Skull Necklace from each of them before defeating them with the sword. We will later need 20 skull chains for a Treasure Chart on Windfall Island, so it’s worth collecting them now.
Then swing to the upper door with the Grappling Hook and follow the path back to the central hall.
Treasure Chart No. 1
Before the boss, the second Treasure Chart of the dungeon is missing. Use the warp vase to return to the entrance area and go into the second room of the Forbidden Woods again. Work your way up to the top with the Plantahumpas. A chest that was previously surrounded by plant tendrils is located in a niche on the side.
Cut the vines with the Boomerang and open the chest with Treasure Chart #1. The corresponding treasure is later at Private Oasis (E5) and contains 200 Rupees.
We have now collected all of the unique chests in the Forbidden Woods.


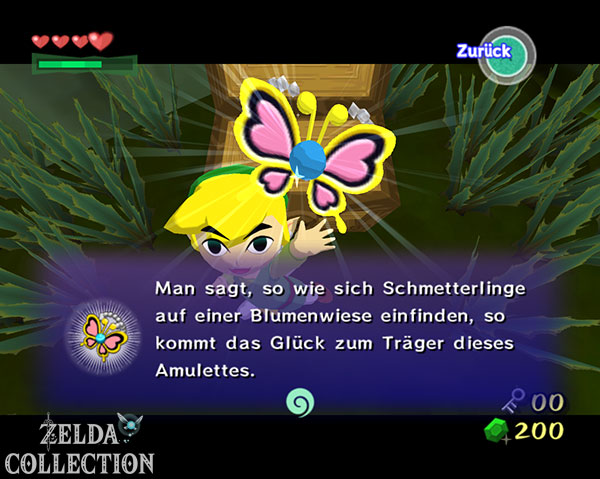


Boss: Carniphora
Makar appears to be sitting right in front of you, but is being devoured by the gigantic plant Carniphora. If you complete the Nintendo Gallery, now take a usable picture of Carniphora with the Deluxe Picto Box. You’ll get a second opportunity later in Ganon’s Tower, but it makes sense to check off the motif here.
Carniphora hangs from the ceiling with numerous tendrils. Stay on the move at the edge of the arena and aim at several vines at the same time with the Boomerang. Throw it, cut the targeted connections and quickly repeat the process before already damaged tendrils regenerate again. As soon as the last connection is severed, the plant body falls to the ground and opens.
Immediately jump inside and work on the sensitive core with the sword. After a short while, Carniphora throws Link out again and hangs himself on the ceiling again. Repeat the entire process of Boomerang and sword until the plant is defeated.
Then record the Heart Container. Makar is saved and the wind circle takes you back to Great Deku Tree.


Farore’s Pearl and two Pieces of Heart by mail
After Makar is rescued, the Koroks ceremony can finally take place. The Great Deku Tree gives Link Farore’s Pearl. After Din’s Pearl, you now have the second of the three Deamonts you need.
Be sure to check the mailbox afterwards. The reply letter from Baito’s mother should be available by now if you haven’t already received the Piece of Heart on the way there. In addition, after the rescue of Makar, the tribal leader of the Rito will send you another letter, which also includes a Piece of Heart. Collect both rewards as soon as the mailbox offers them.
Staircase island – two more Pieces of Heart
Treasure Chart No. 15 from the Forbidden Woods leads to Staircase Island (E7), just one grid square southwest of Forest Haven. Since we’re sailing the southern Great Sea anyway, we’ll complete this discovery now.
First opens Treasure Chart No. 15 and looks for the marked light circle. Use the Grappling Hook to recover the sunken chest and take the Piece of Heart.
Then go ashore on the larger island. The island consists of several cube-shaped blocks that Link can move. Pull and push it to create a walkable staircase and work your way to the top. There is another chest there with a second Piece of Heart.
There is also a Blue ChuChu living on the island. Collect his Blue ChuChu jelly before you leave the island again.
Five-Star Isles – two more Pieces of Heart
From Forest Haven or the staircase island we then drive to Five-Star Isles (G7). We can take two more Pieces of Heart with us there.
Opens first Treasure Chart #33, which we received from Minenco on Windfall Island. Look for the marked circle of light in the grid square and recover the sunken chest with the Grappling Hook. Inside is the first Piece of Heart.
There is also a submarine floating south of the island. Enter it and defeat all enemies inside. As soon as the room is cleaned, access to the Treasure Chest opens with the second Piece of Heart.
This also takes care of these two permanent rewards that can be achieved early.
Treasure Charts
not yet redeemed
At the end of this chapter we have several maps whose destinations are known, but which are later on our route without any major detours. Treasure Chart #1 leads to Private Oasis and brings 200 Rupees, Treasure Chart #3 to the Eastern Fae Cordial with another 200 Rupees, Treasure Chart No. 29 to the Mother and Child Isles with 200 Rupees and Treasure Chart No. 34 to the Eastern Triangle Island with also 200 Rupees.
We don’t have to go through long additional sea voyages to get these four pure ruby treasures. We’ll recover them in the following chapters as soon as the respective islands are on our way anyway. However, we have already fully redeemed the Heart Piece cards No. 15, 31 and 33.
The next main story target is Greatfish Isle (B4). From there the search for the last Goddess Pearl takes us back to Outset Island via Windfall Island.