

With fire and ice arrows, power bracelets and iron boots, Link now has everything he needs for the final two temples. First the plot takes us to Headstone Island (C7). The Earth Temple actually has to be completed before the Wind Temple, because Makar is only available afterwards as the second sage. Before we get Medli and enter the temple, we clear away all of the permanently important content around the Headstone Island.
Headstone Island – Piece of Heart and Treasure Chart #14
Teleport to Outset Island with the Cannon of the Storm and sail one grid square east to Headstone Island (C7). Before you even go ashore, you can collect the Piece of Heart at the top of the island. Use a Hyoi Pear, take control of a seagull and fly it all the way to the top. Touch the floating Piece of Heart; once you end control of the seagull, it will be credited to Link.
There is also a submarine floating north or northwest of the island. Enter it and eliminate all the rats inside. Because of the bomb plants lying everywhere, you shouldn’t run blindly through the room with your sword, but use Boomerang or a hero’s bow and keep your distance. As soon as all enemies have been defeated, the ladder to Treasure Chest appears or becomes accessible. Inside is Treasure Chart No. 14. Her treasure is located at Tower of the Gods and contains a Silver Rupee worth 200 Rupees.
This completes the two side contents of the Headstone Island and we can concentrate on the actual temple.
Earth God’s Lyric
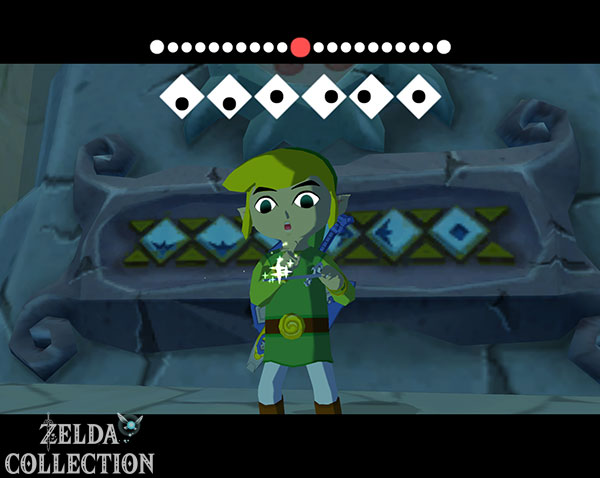
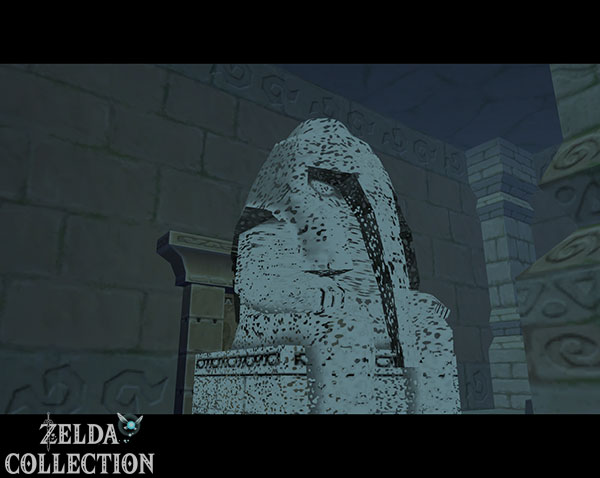
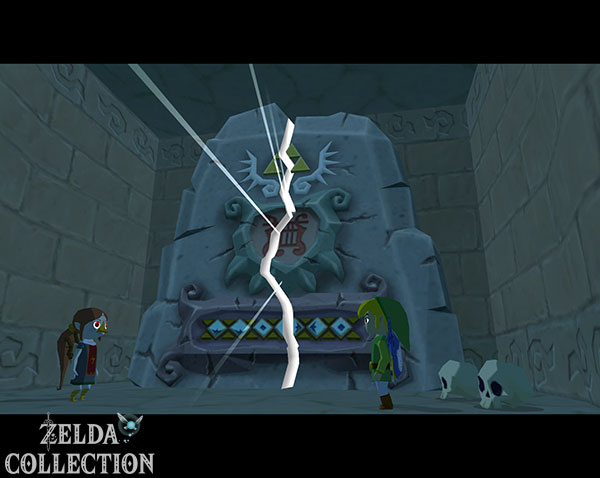
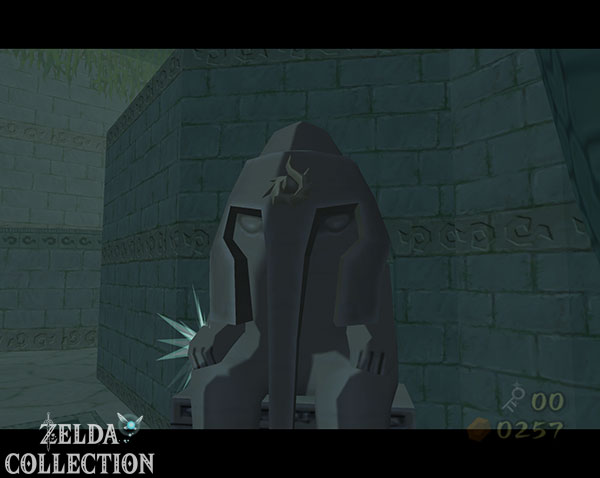
Go ashore and use the power bracelets to lift the huge stone head in front of the cave entrance. Throw it aside and enter the small chamber. In front of the large stone tablet you take out the Wind Waker and play the melody shown:
↓ ↓ ● → ← ●
Link learns the Earth God’s Lyric. Laruto, the former sage of the Earth Temple, then appears. She explains that Ganondorf killed her, thereby silencing the prayers that gave the Master Sword its spell power. Link has to find a new way. Laruto’s clue is clear: the successor also plays a harp.
Our target is Medli on Dragon Roost Island.
Awakening Medli as a Sage
Teleports you to Dragon Roost Island (F2). Enter the Rito settlement, go to the upper floor and take the exit near the post office. Outside, swing over the abyss with the Grappling Hook and then climb the ladder to Medli.
Bring out the baton in front of her and play the Terra God’s Anthem. Laruto appears in a vision and Medli recognizes her task as a new way. After the sequence, she will automatically be at Link.
Return to Headstone Island and go into the cave with Medli. Stand together in front of the large stone tablet and play the Earth God’s Lyric again. Medli accompanies Link on her harp, the barrier breaks and the entrance to the Earth Temple opens.
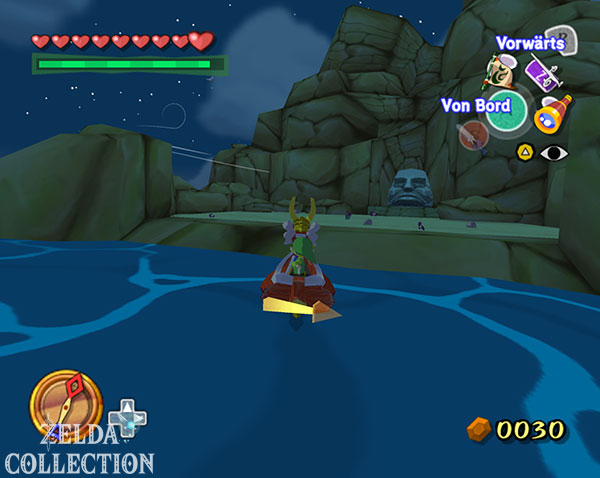
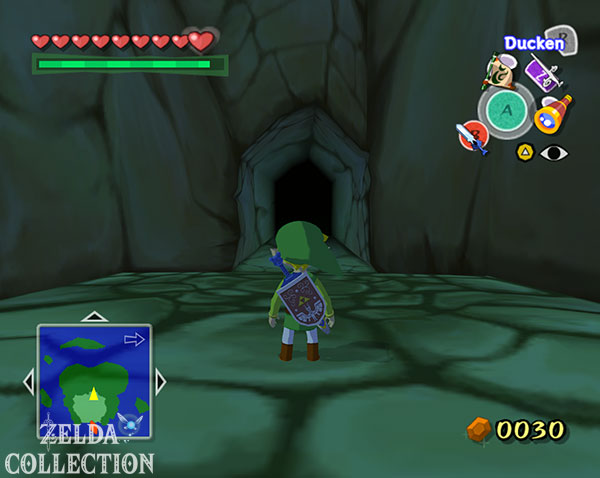
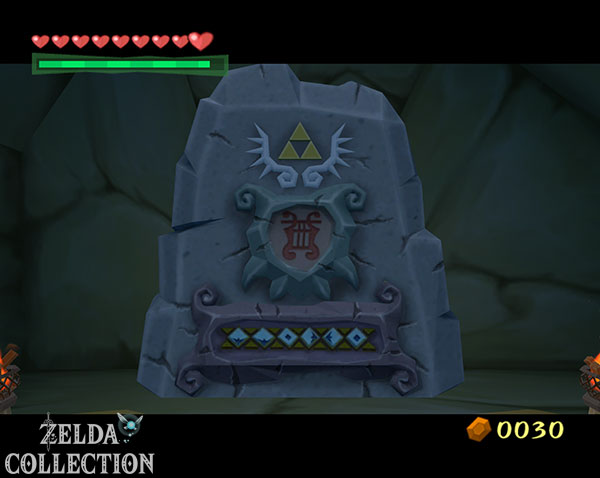
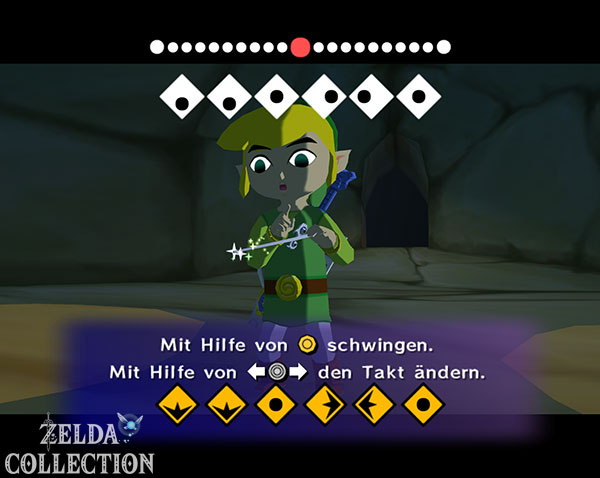
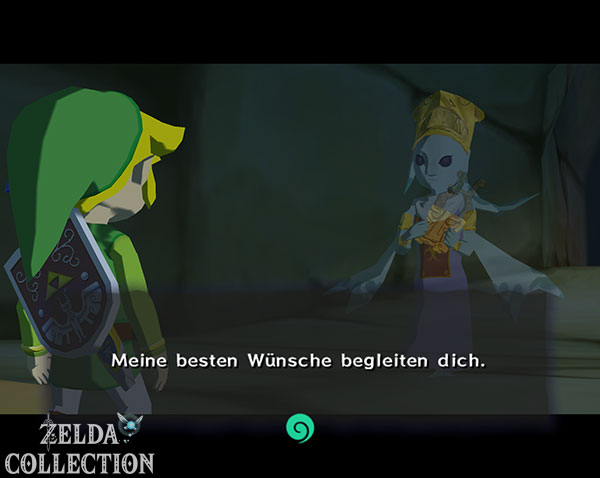
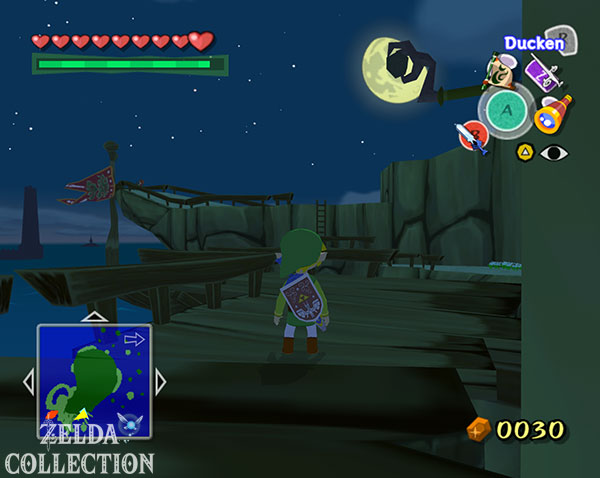
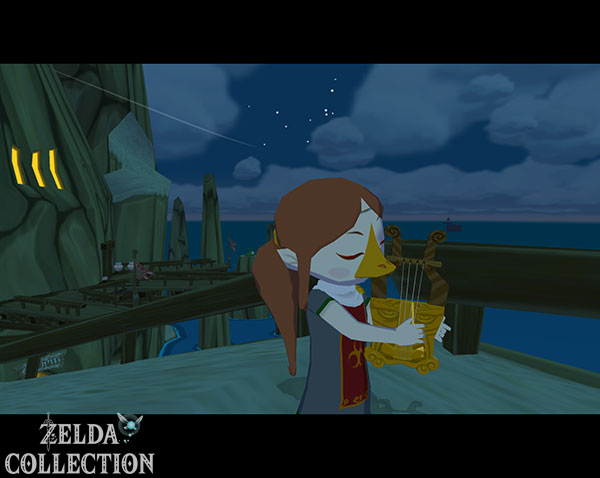
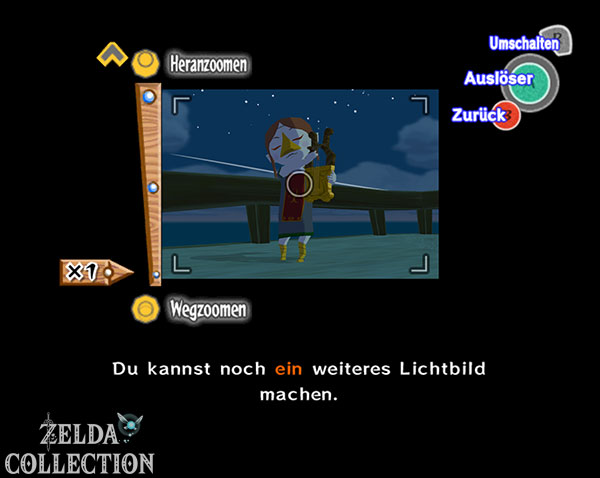
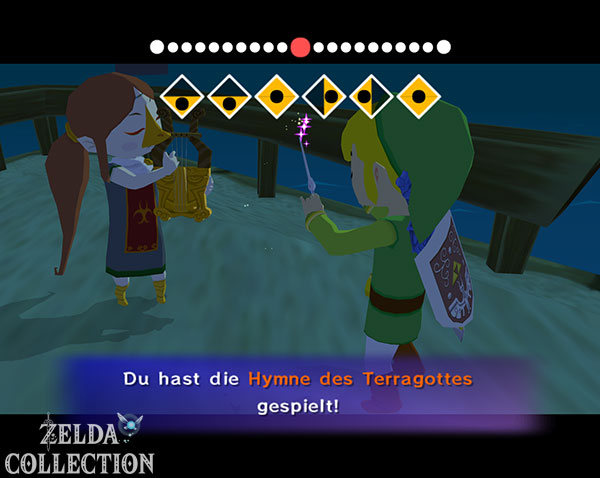
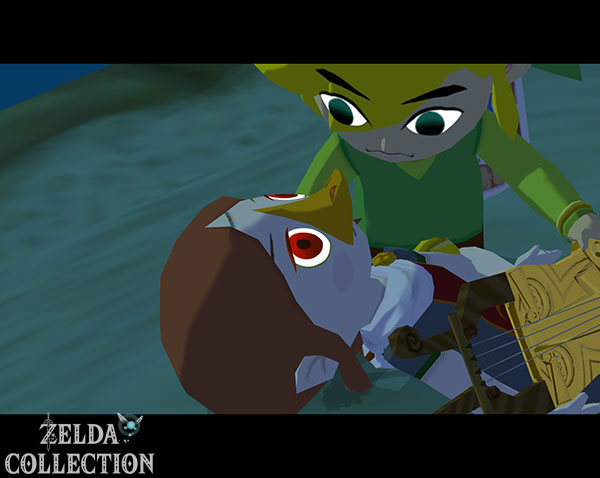
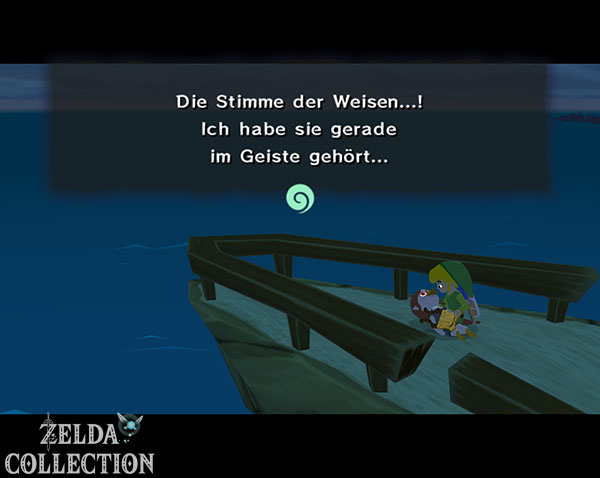
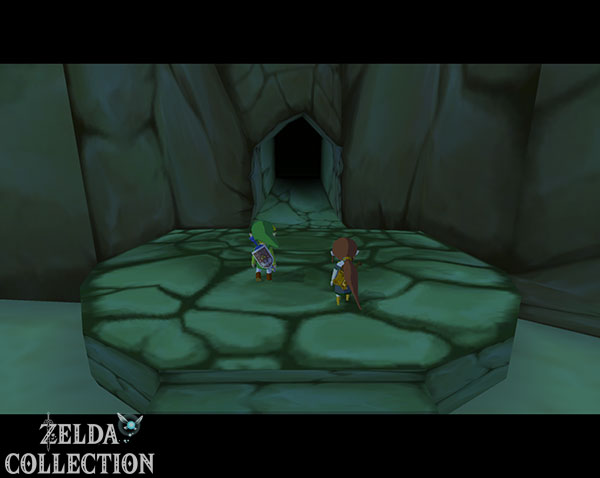
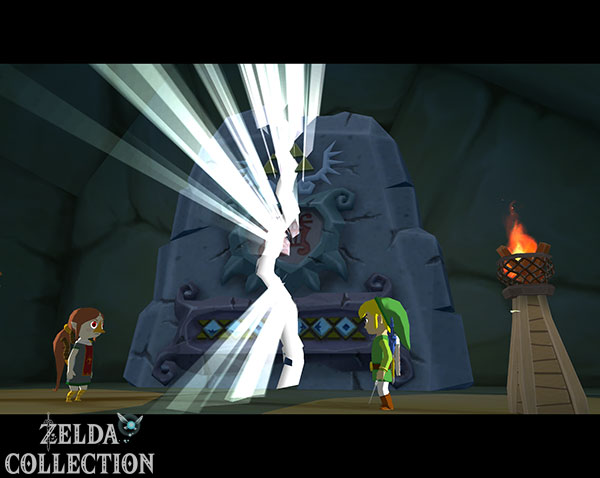
HD Difference: Headstone Island, Laruto, Medli and Terra God’s Anthem work unchanged in The Wind Waker HD. The Piece of Heart on the island and Treasure Chart No. 14 are also located in the same locations.
Earth Temple – with Medli through the first rooms
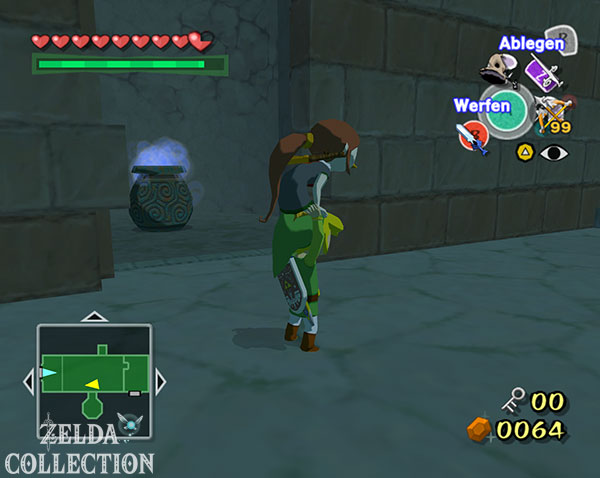
Pick up Medli in the first room and jump over the abyss with her. As long as Link carries her, she spreads her wings and slows her fall. In the next room, first eliminate the Moblins and take their skull chains with the Grappling Hook. Then carry Medli up the stairs and slide her onto one of the two large pillars. Place Link on the first switch, play the Command Melody and control Medli to the opposite column. As soon as she is on the second switch, the passage opens.
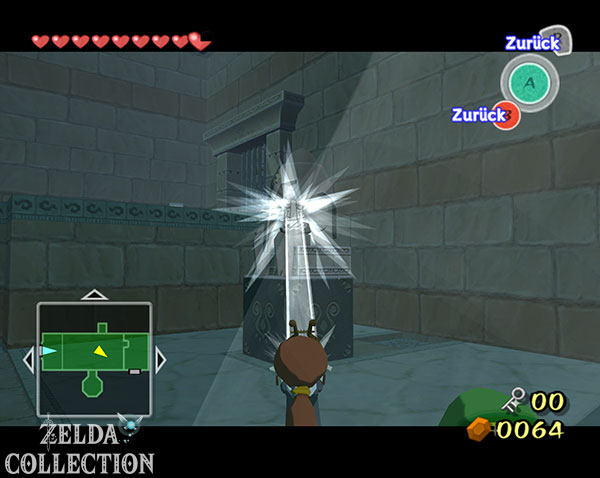
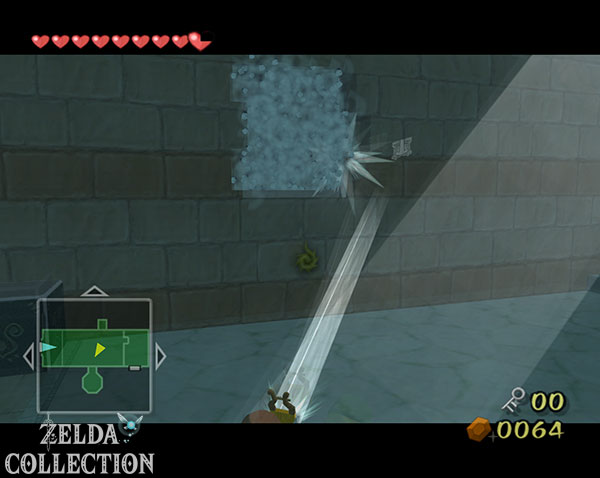
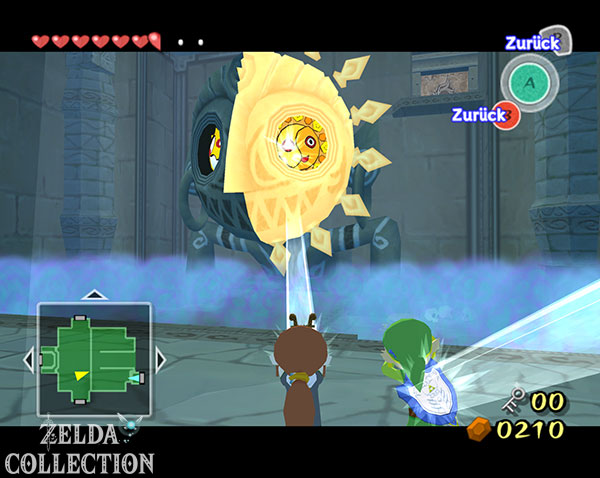
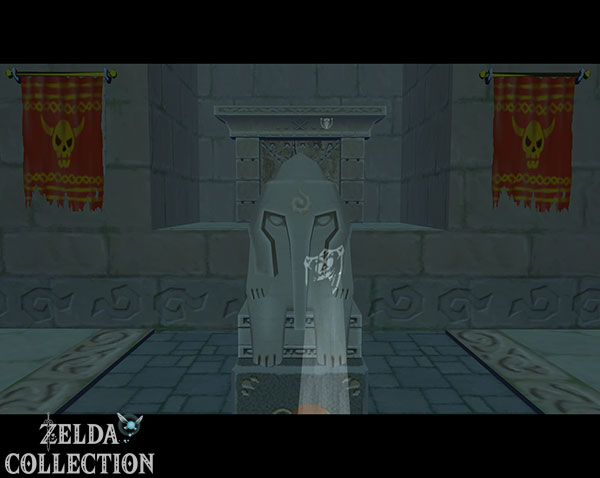
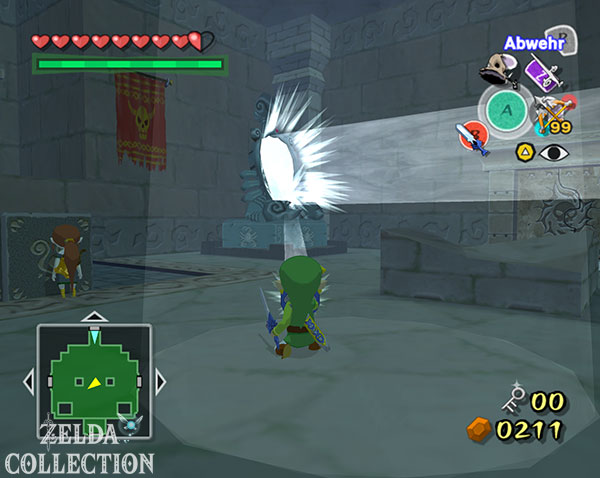
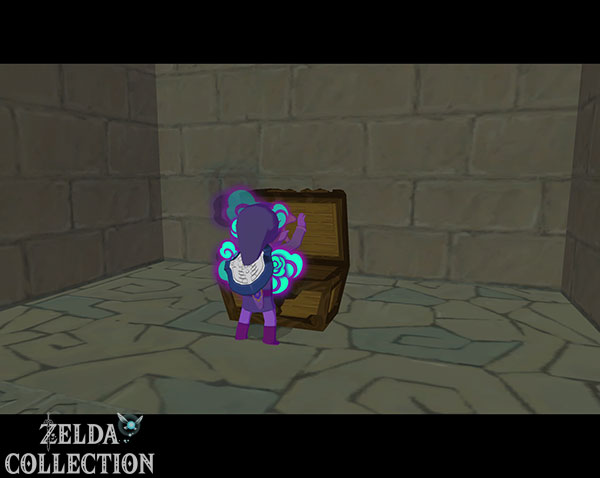
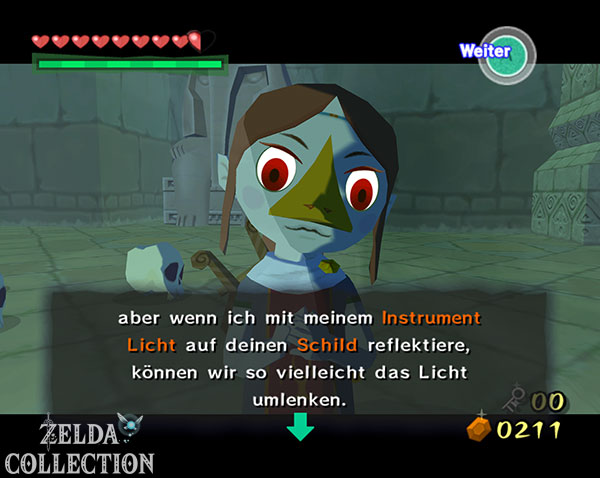
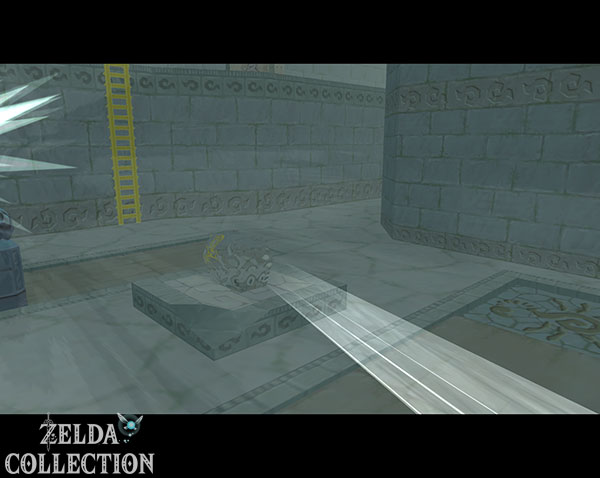
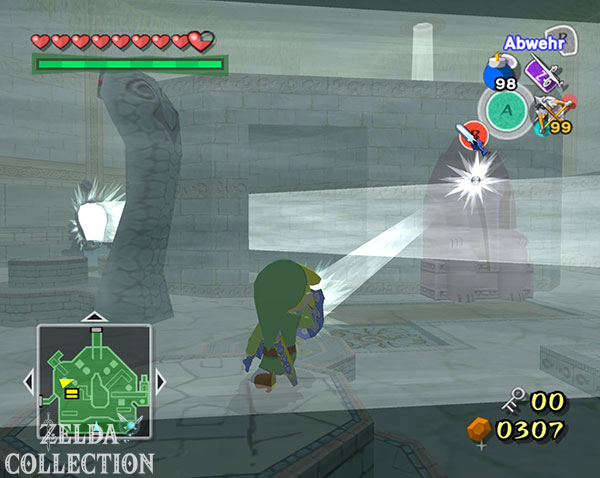
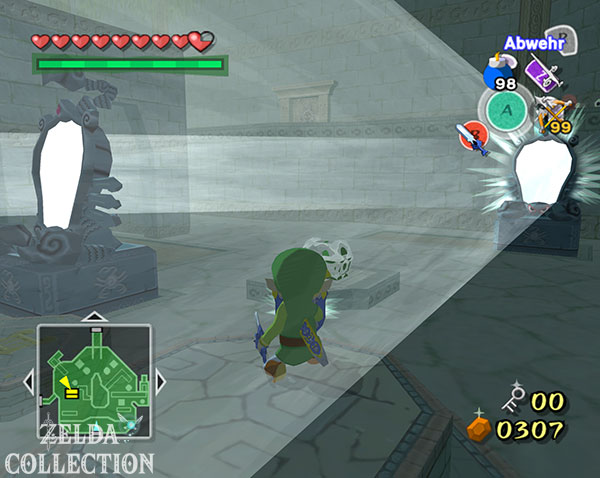
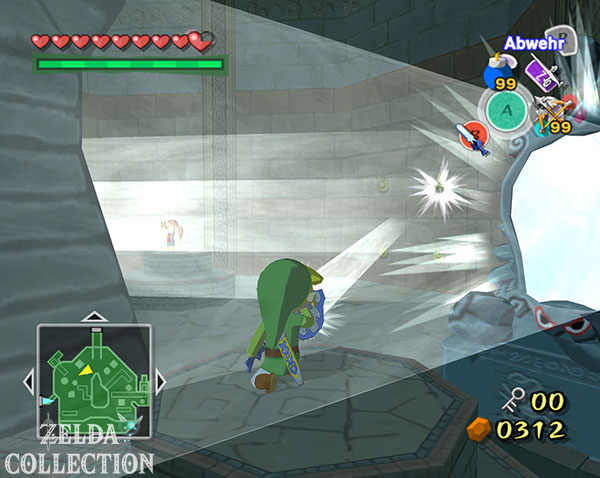
The Earth Temple introduces Medli’s second core ability: her harp reflects light. Take over with the Puppeteer’s Sonata and point the harp at a beam of light. This can be used to materialize transparent objects, dissolve certain statues and murals, and petrify Black Slimes. You can then smash a petrified black slime with a steel hammer or place it on a switch as a weight.
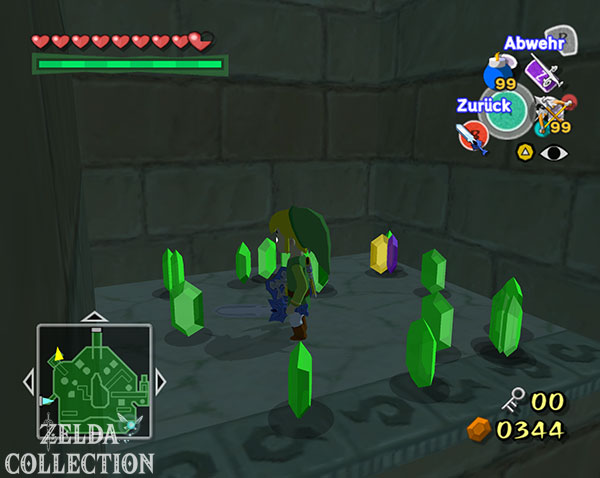
First eliminate all enemies in the following room and direct Medli’s light at the transparent Treasure Chest. Once it is fully materialized, open it and get the Dungeon Map.
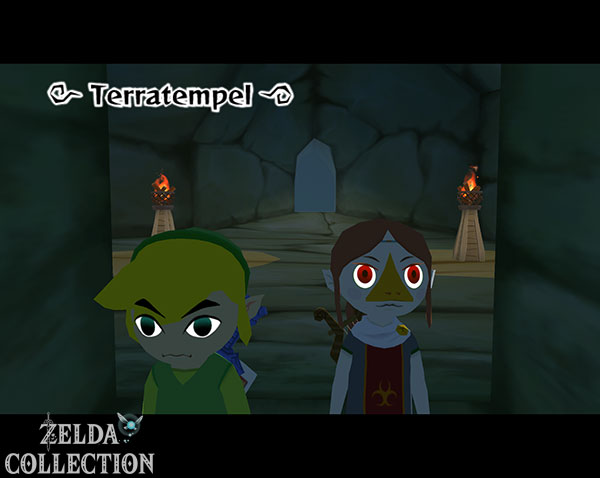
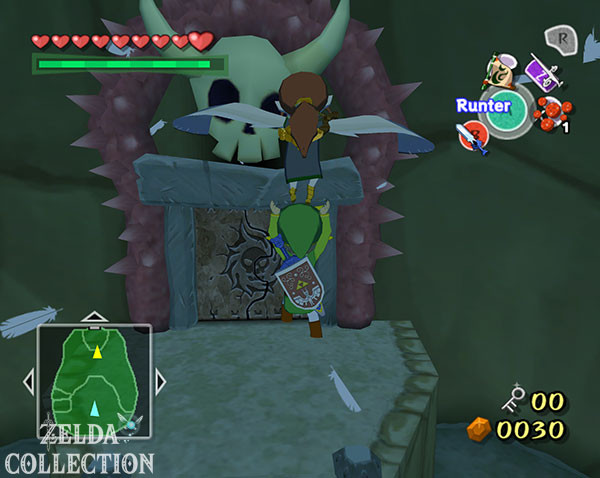
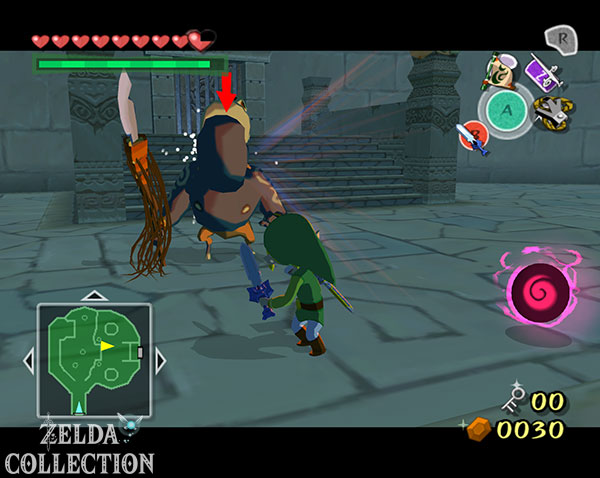
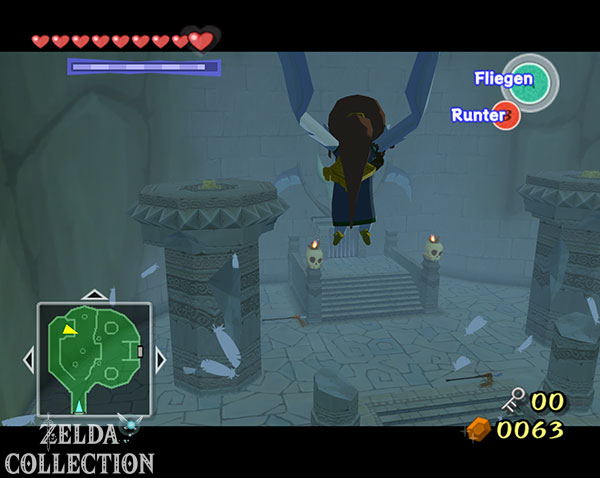
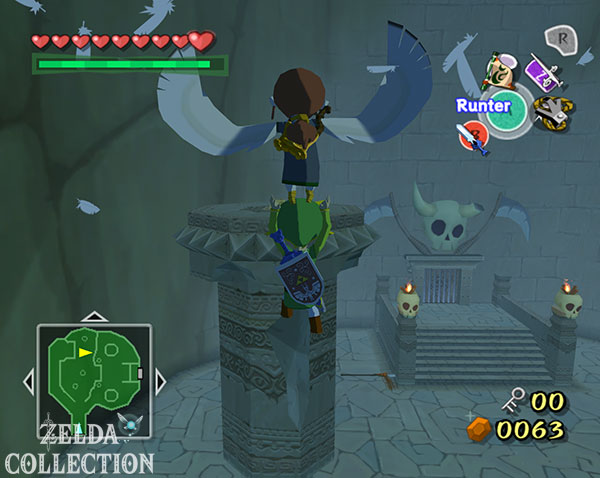
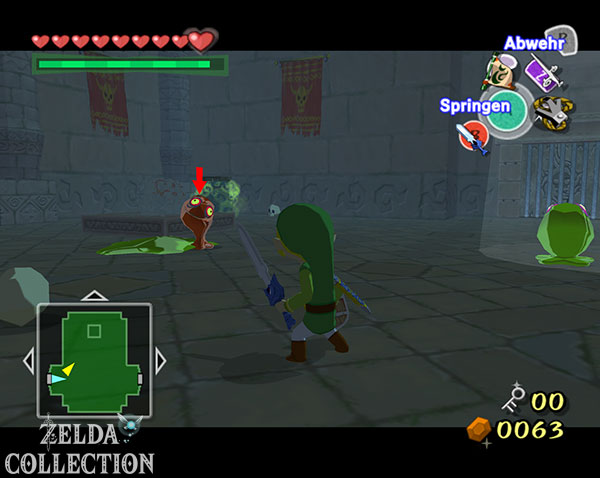
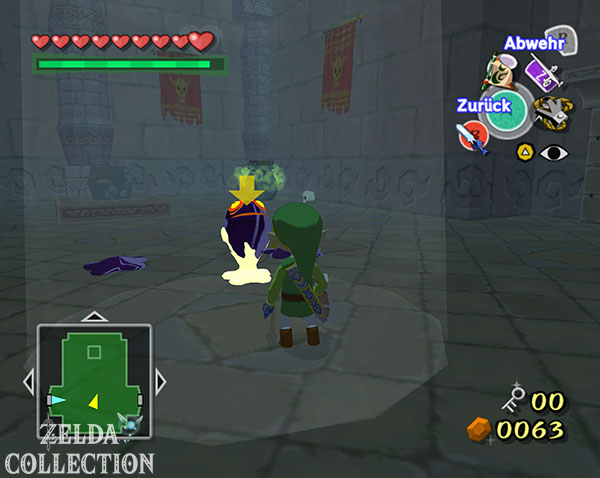
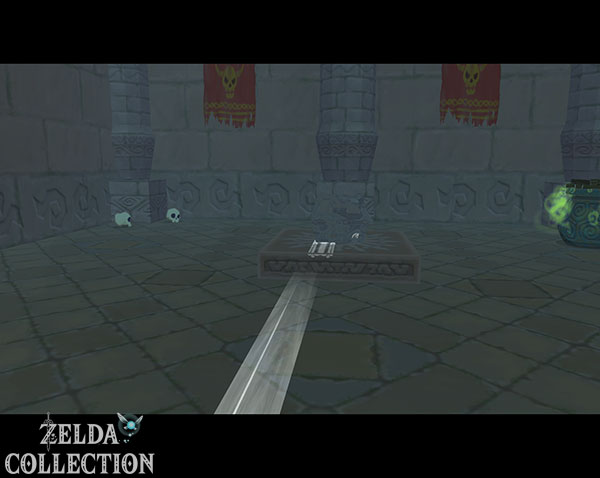
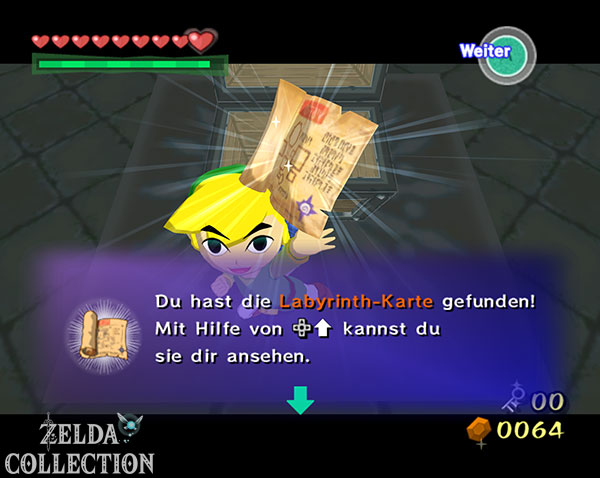
fog, first key and Compass
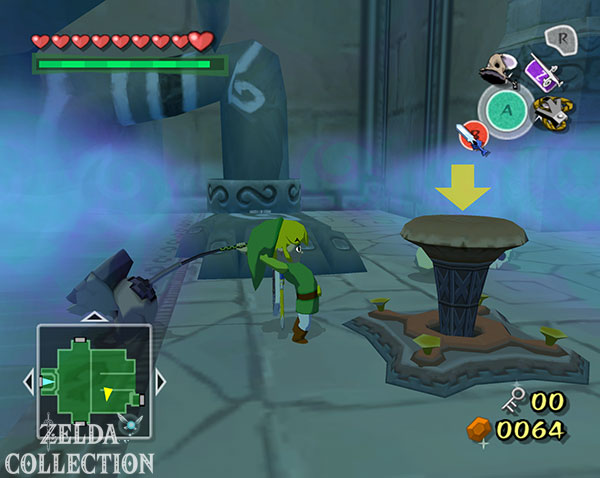
In the next area there is thick blue fog on the ground. While Link is standing there, he cannot use any items. Bombs or the Deku Leaf only scare him away for a short time. Therefore, take over Medli and direct her beam of light at the pole switch. Hold down R so that she fixes the beam of light, switch to Link and hit the now exposed switch with the steel hammer.
In the following room you first defeat the Red Deaths. Push the block off the wall at the back left so that a beam of light shines into the room and use Medli’s harp to materialize the transparent chest. It contains a Small Key. Immediately afterwards Floormaster; Boomerang and sword or arrows from a safe distance work well against them.
Use the key to open the next door and burn the left curtain there with a fire arrow. The new beam of light petrifies the black slimes. Place two petrified specimens on the Floor Switch and go up the stairs that have emerged. Push the block down there so that the path remains permanently open, Medli catches up with the Puppeteer’s Sonata and continues together.
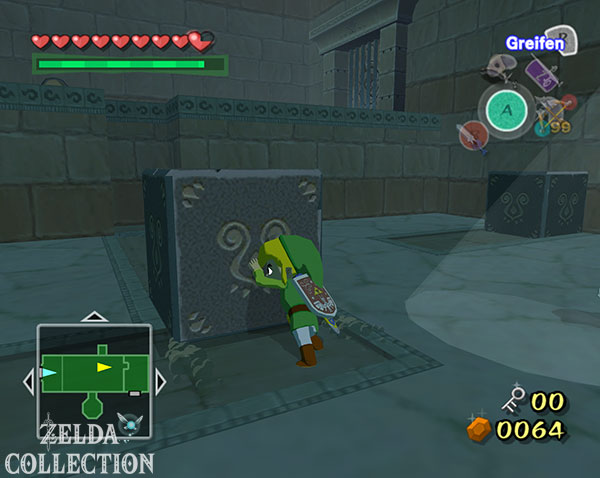
In the next room you first defeat the death groper. Then push the black block against the wall, causing a beam of light to appear. Medli can use it to dissolve multiple symbols and a statue. Then move the two remaining blocks into their designated recesses. One of them opens the chest with the Compass, the other makes the way to the door.
Mirror Shield
In the following area there is a group of Remorts waiting. Her gaze can completely paralyze Link with fear; Therefore, approach carefully and attack immediately as soon as you have control again. In one of the coffins lies another Small Key. Once you have defeated the opponents, the way back opens.
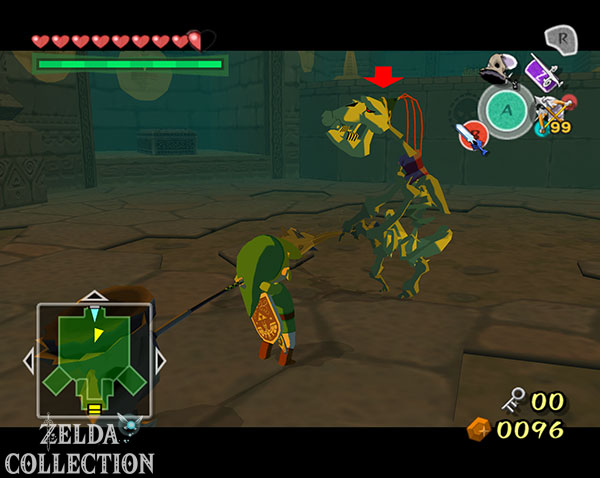
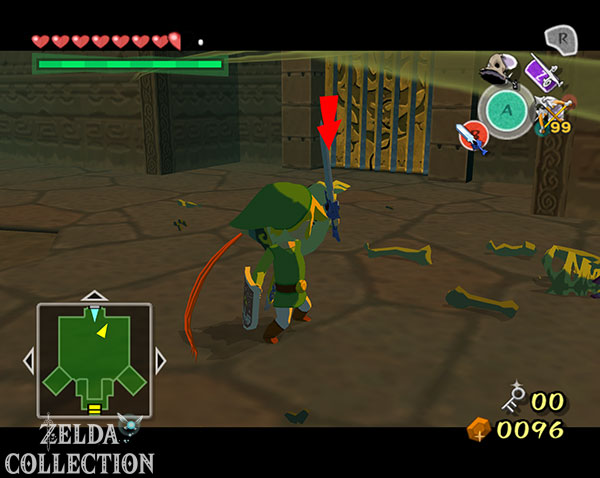
Then go through the locked door without Medli. A Stalfos appears there. Slash its body apart with your sword, then quickly destroy the skull before the skeleton reassembles itself. After the first one falls, two more Stalfos appear.
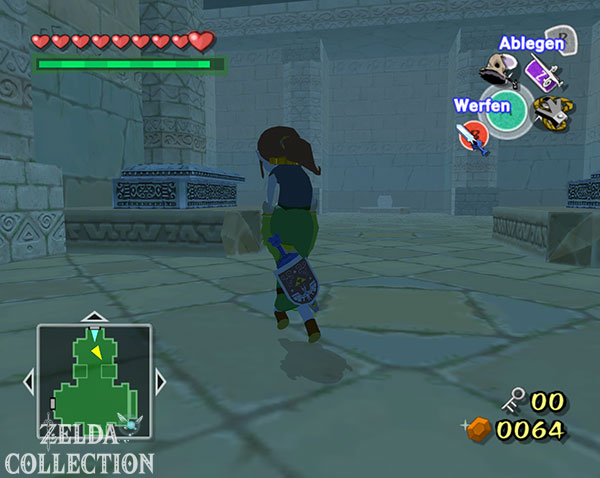
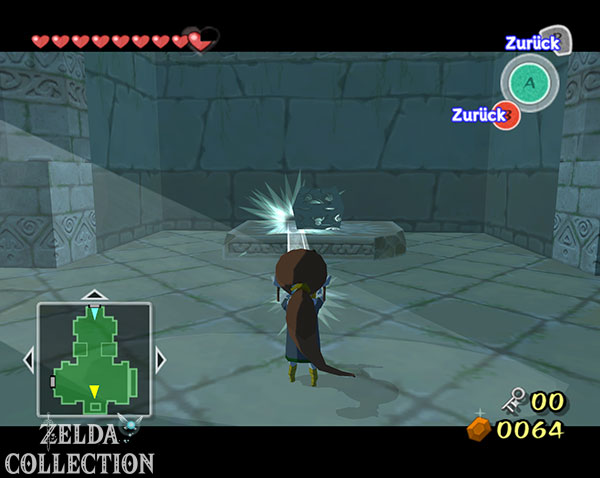
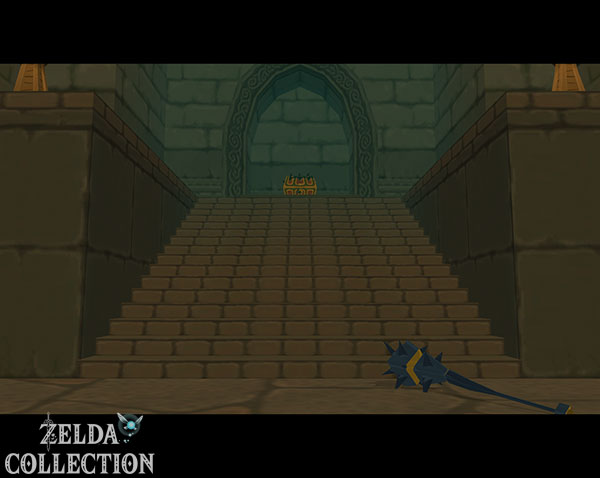
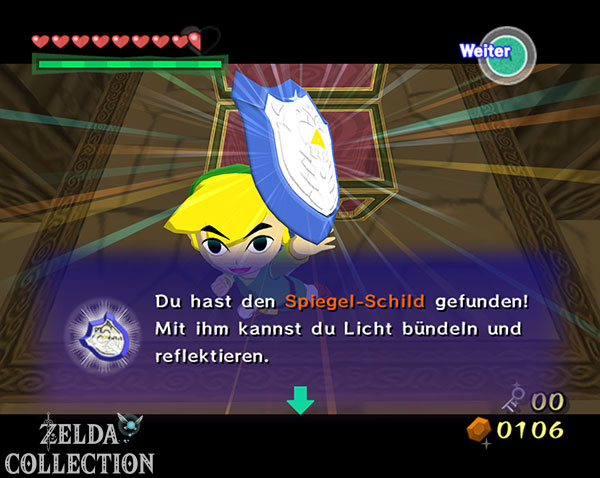
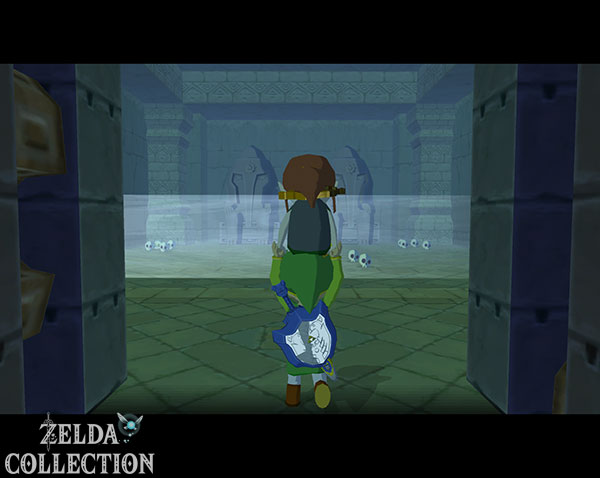
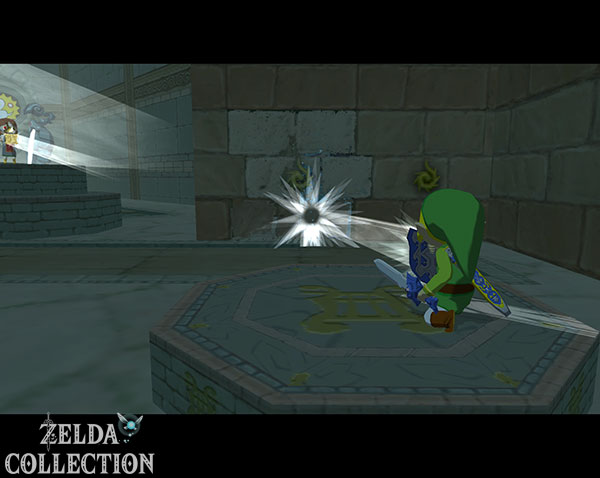
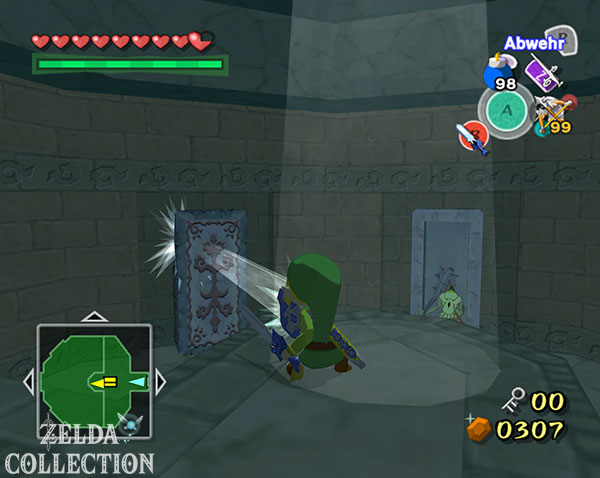
If all three are defeated, the large Treasure Chest opens. Inside, Link finds the Mirror Shield. It can reflect light rays in a targeted manner and complements Medli’s harp perfectly. Stand directly in the beam of light and direct it towards the symbol above the door to open the exit.
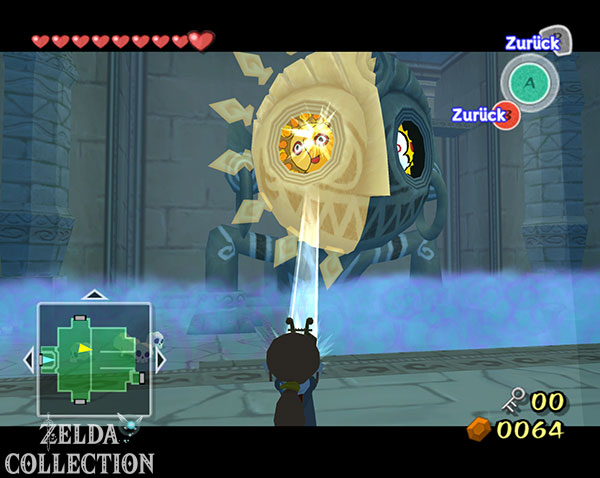
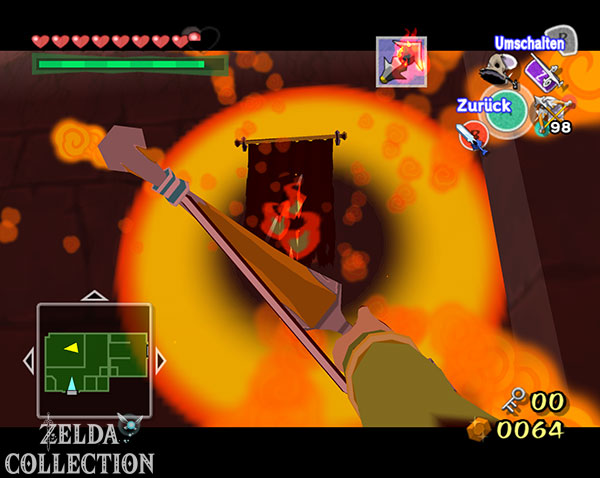
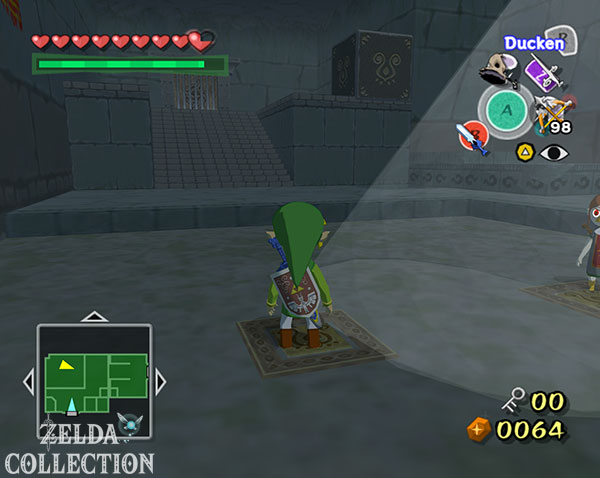
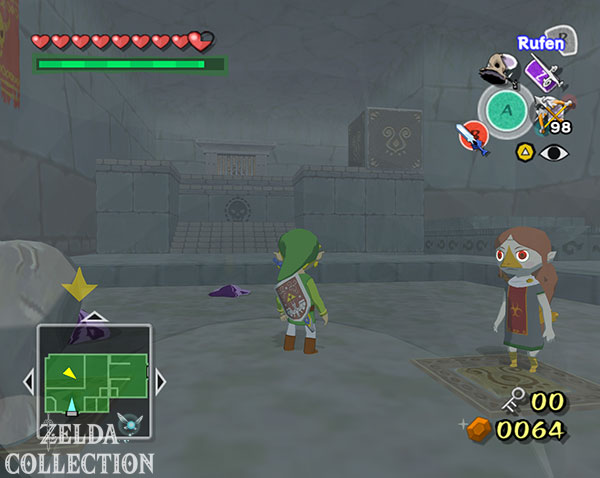
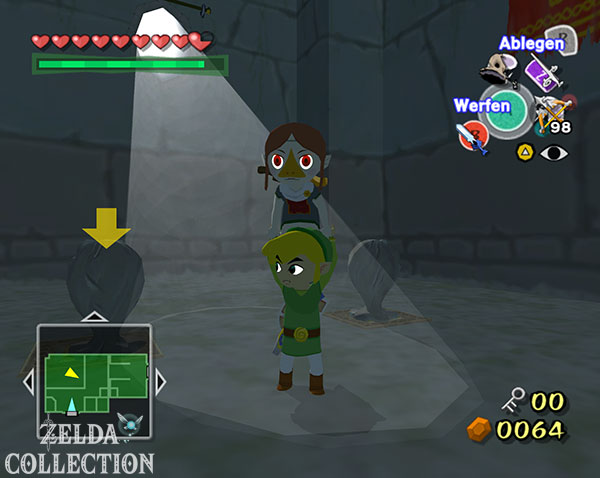
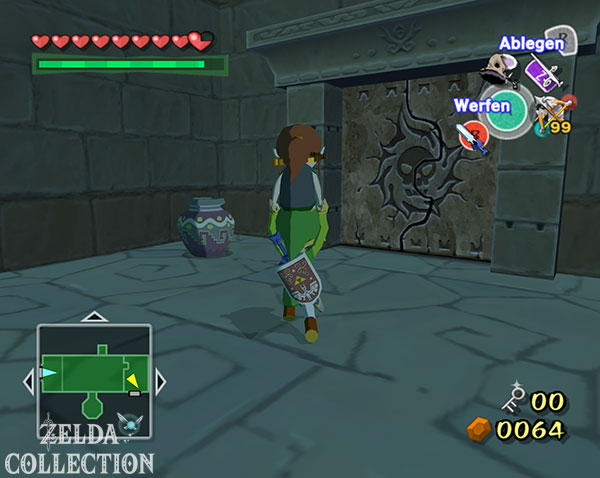
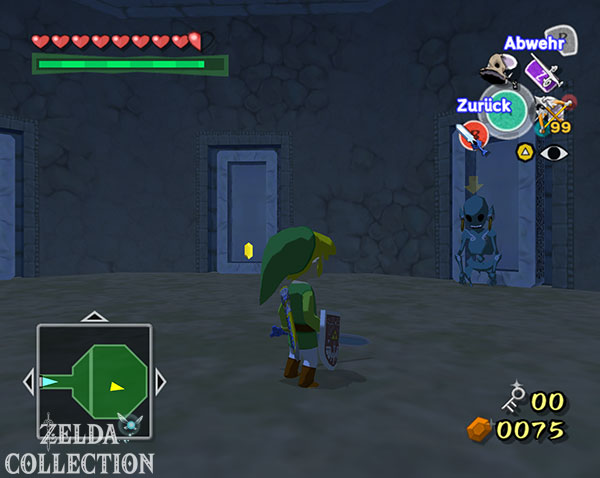
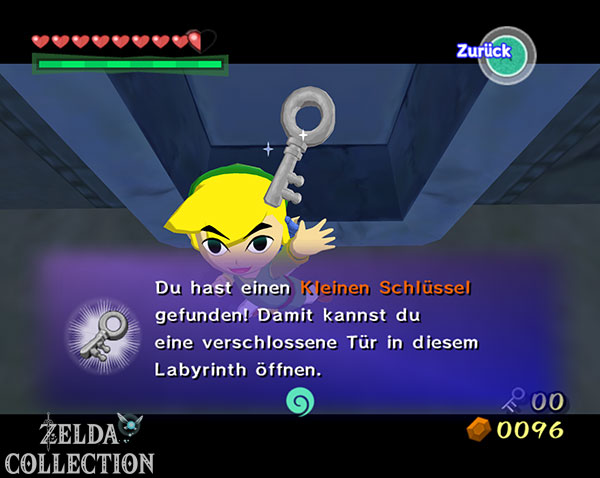
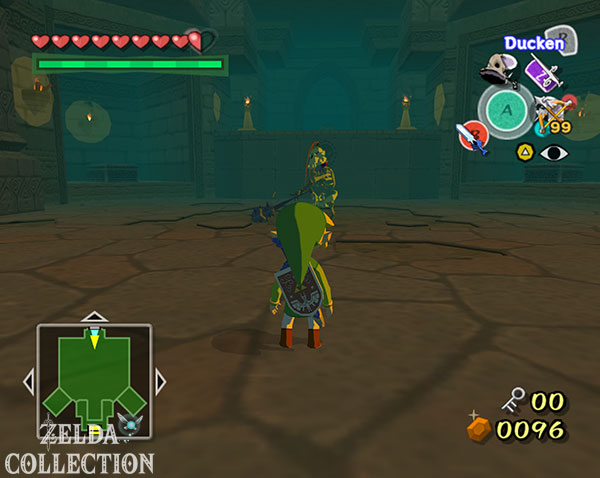
With the Mirror Shield deeper into the temple
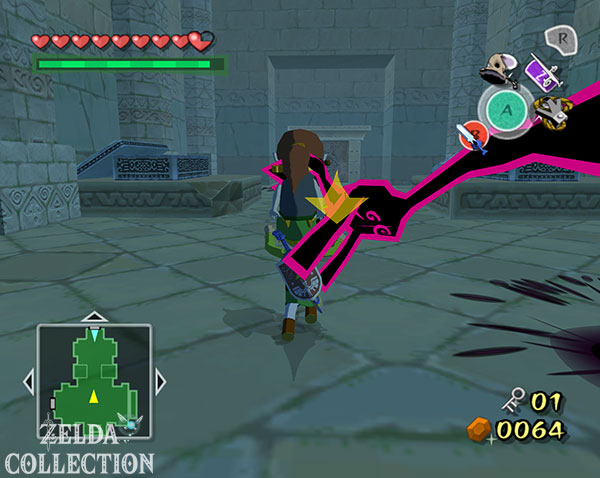
Return to the larger room with Medli and first eliminate all enemies. Then fly with Medli to the higher western level, place her in the beam of light and use her harp to destroy the statues opposite. Behind one of them lies a Joy Pendant. Then direct Medli’s light into the middle of the room and fixate the beam with R. Switch to Link, stand in the light and use the Mirror Shield to reflect it onto the corresponding symbol in the wall.
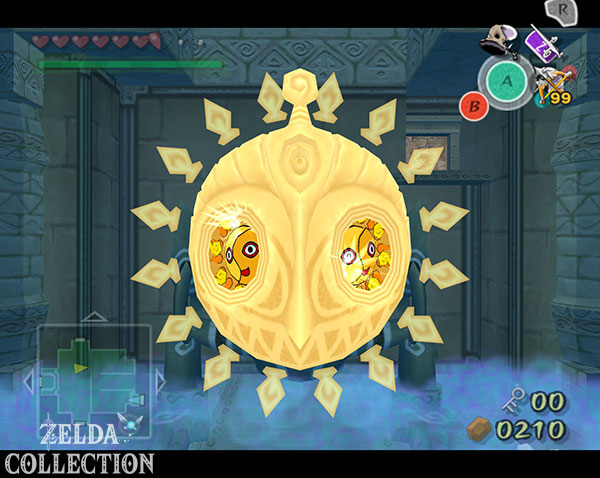
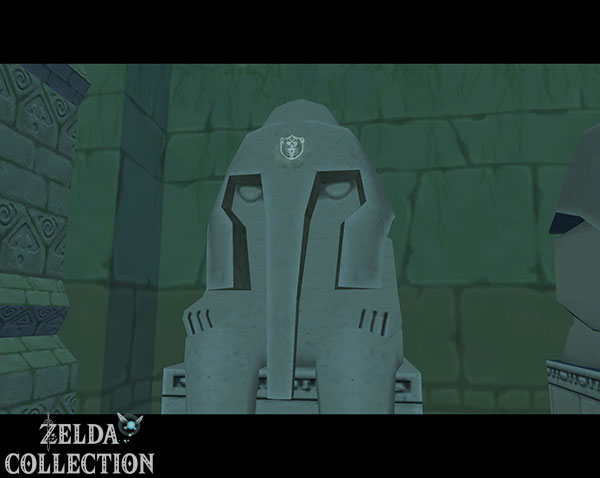
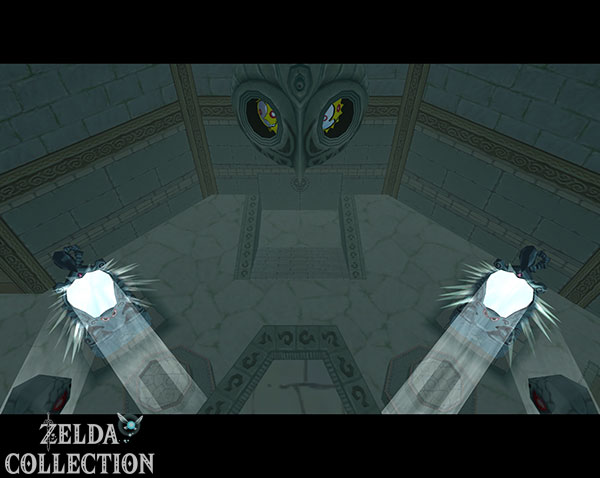
In the large main room with the stone statue you now use both characters at the same time. Take over from Medli and point her harp at one of the statue’s two eyes. Fix the beam, switch back to Link and illuminate the second eye with the Mirror Shield. The fog disappears and a new path opens.
Two Blue Deaths are waiting in the following room. Remove their flames with the Deku Leaf and then immediately attack with your sword or arrows. Then play the terra god’s anthem together with Medli, remove the Remorts and use light to dissolve the large statues and the smaller statue on the block.
Treasure Chart No. 20
Go through the left door and leave Medli behind first. In the room with the death gropers there is a Treasure Chest with a Small Key at the back. Open it; This means that the blue mist disappears at the same time.
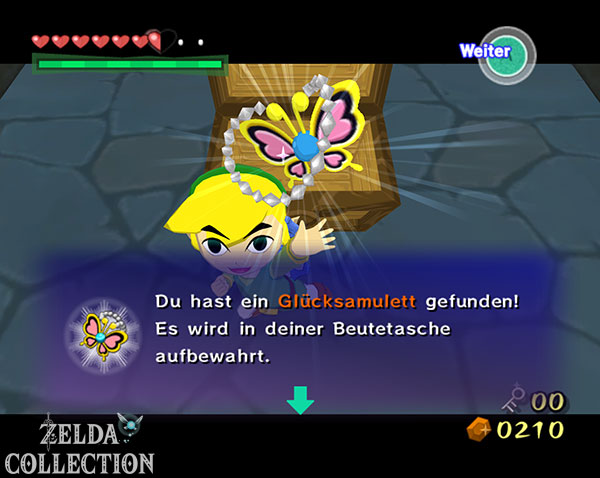
Let’s not leave the room yet. Defeat all death grabbers. Once the last enemy has disappeared, another chest will appear containing Treasure Chart No. 20. This map is particularly important because its treasure at Bomb Island contains a Piece of Heart.
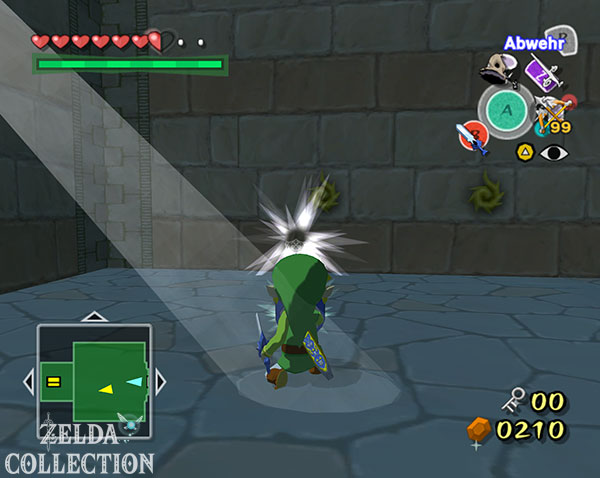
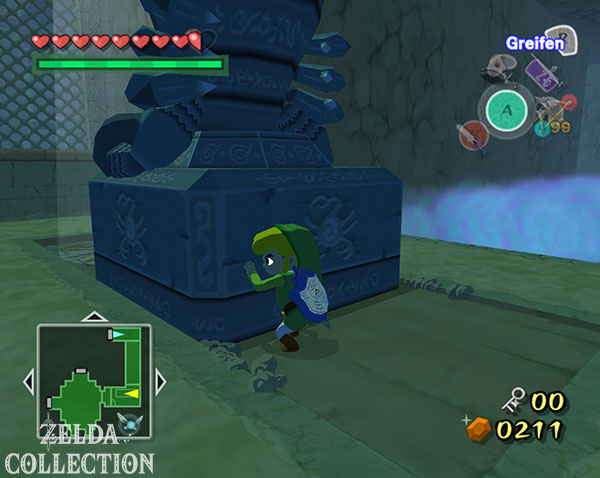
Then go through the door opposite, clear the fog with Deku Leaf or bombs and eliminate the death grabbers. In the next room, move the large mirror in front of the grille and hit the post switch with the steel hammer. A hatch in the ceiling opens and directs light onto the mirror.
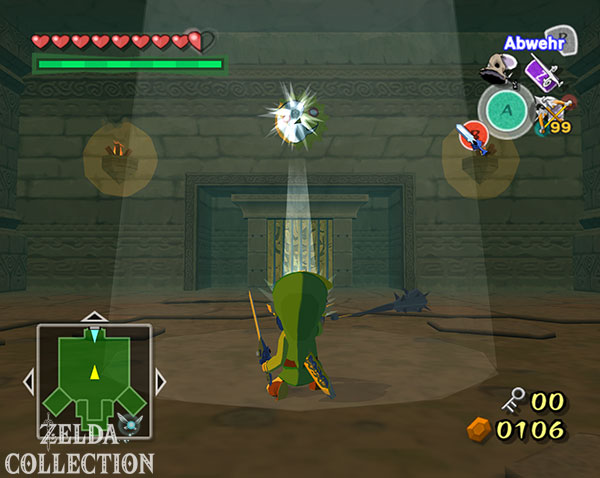
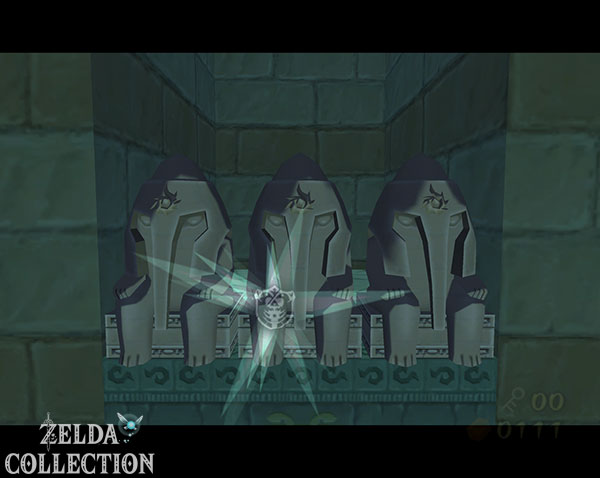
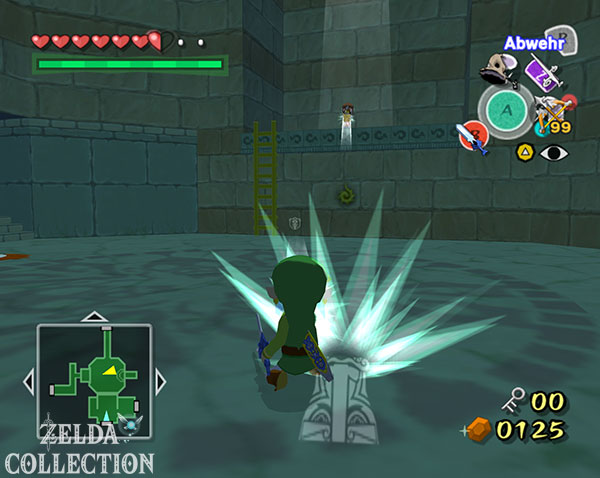
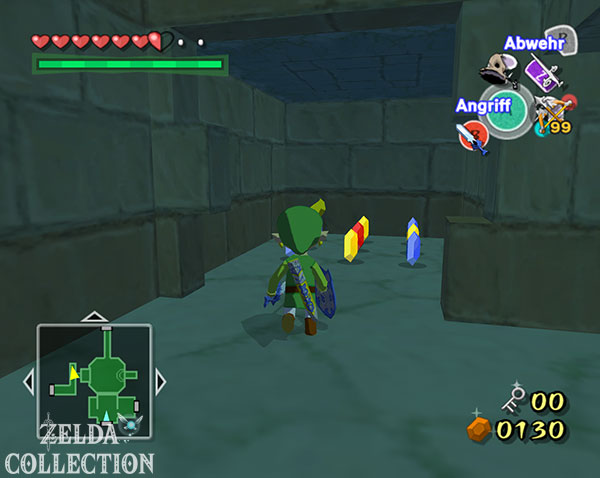
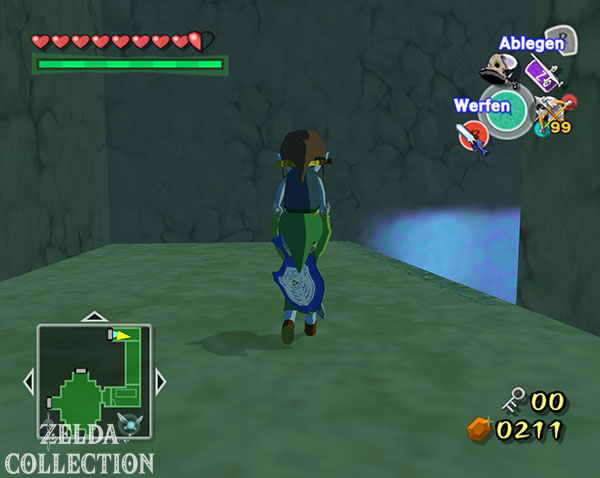
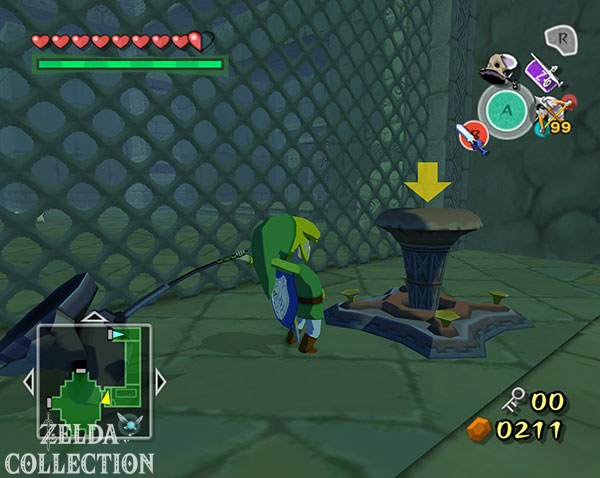
Fourth Tingle Statue
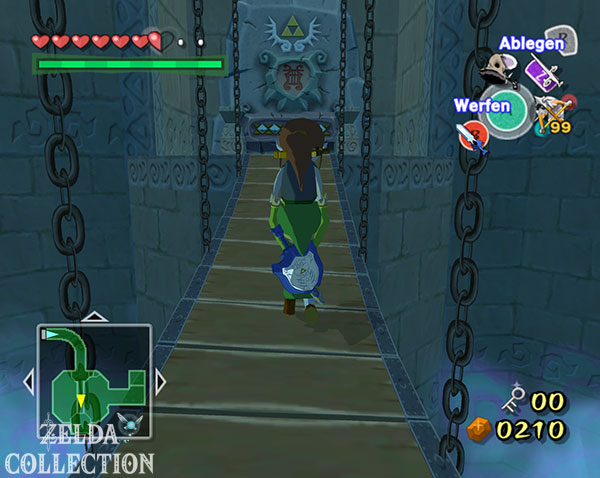
Shortly afterwards you will reach a room with two floating Blue Deaths, a wooden bridge and several small hanging platforms. Before you play the Terra God’s Anthem at the regular exit, let’s get the fourth of the five Tingle statues.
Stand on the platform in front of the bridge, open the Deku Leaf and slide left to the hanging platforms. Jump or slide from one to the next until you reach a small dead end.
On GameCube you use the tingle receiver there and set off a tingle bomb. The hidden Treasure Chest appears and contains the Earth Temple Tingle Statue.
HD Difference: In The Wind Waker HD the chest is in exactly the same place. Instead of the tingle receiver, a normal bomb will suffice. Since we have owned the bomb bag for a long time, the statue can be collected on the first visit.
Then return to the bridge and play the Terra God’s Anthem together with Medli. The stone tablet disappears and the path to the lower areas of the temple becomes clear.
Large Hall of Mirrors
Follow the long stairs down. You can open a warp vase near the later boss entrance directly. In the next section you finally reach the large hall of mirrors – the most elaborate puzzle room in the Earth Temple.
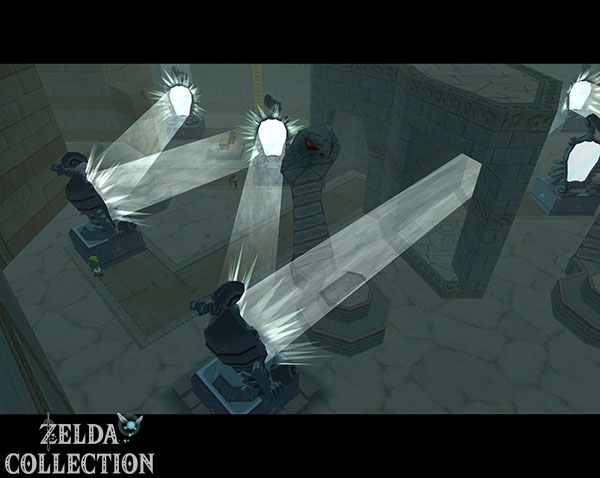
First take over Medli and fly to the raised structure in the middle. Step on the switch there so that a hatch in the ceiling opens and a strong beam of light shines into the room. From now on, the puzzle is to push the large mirrors into their marked positions one after the other and pass the light with Medli’s harp or Link’s Mirror Shield.
Starts on the right side of the room. Push the first mirror to the designated floor marker and position Medli on the small pedestal to the east. Use her harp to shine the light on the next pedestal. Switch back to Link, stand in the new beam of light and use the Mirror Shield to dissolve the mural and the large statue. More sliding mirrors appear behind it.
Also move these to their marked positions and work your way around the room step by step. On the western side, Medli takes over the next beam of light again while Link removes the murals behind it. If all the mirrors are positioned correctly, two opposing platforms will be illuminated at the same time.
Position Medli on one of them and aim her harp at one of the eyes of the giant stone face. Switch to Link, stand on the other pedestal and illuminate the second eye with the Mirror Shield. The face breaks and opens the main path.
Treasure Chart No. 12
Before we move on, let’s take the second Treasure Chart of the temple with us. The Hall of Mirrors puzzle revealed an additional room on the west side. Enter it and reflect light onto the coffins on the walls.
Several Stalfos appear from them. If possible, lure them out one at a time, dismember their bodies with the sword and then immediately destroy the skulls. If all Stalfos are defeated, the chest with Treasure Chart No. 12 appears.
The corresponding treasure is located at the Five Eyes Reef (B6) and contains a Silver Rupee worth 200 Rupees.
Big Key
Leave the Hall of Mirrors through the newly opened main passage. In the following dark room, two Blue Deaths hang next to the gate. It’s best to eliminate them with arrows before they fully develop their flames, or extinguish the flames with the Deku Leaf and then attack with the sword.
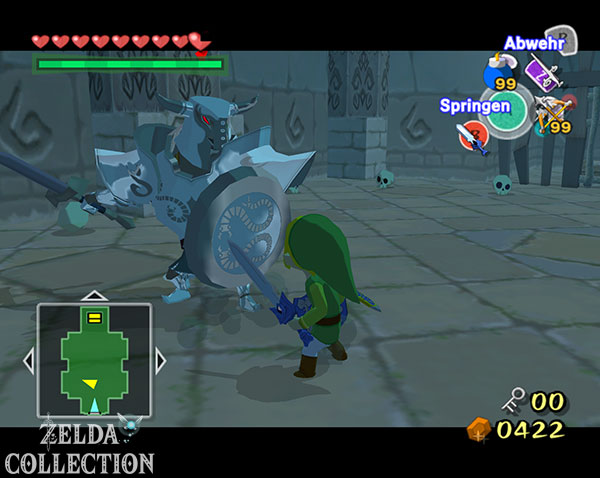
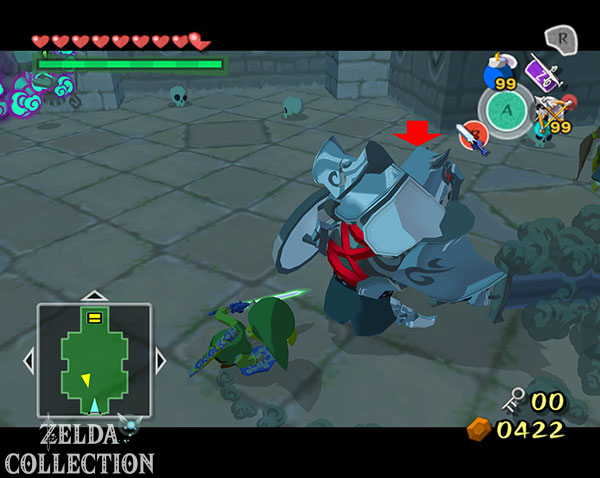
Afterwards a Shadow Guard is waiting. First use the Grappling Hook to take a Knight’s Crest from her if you haven’t completed your collection yet. Then wait for their attacks and use parry attacks until the armor is completely removed. With a few more hits the opponent is defeated.
The large chest opens and contains the Big Key.
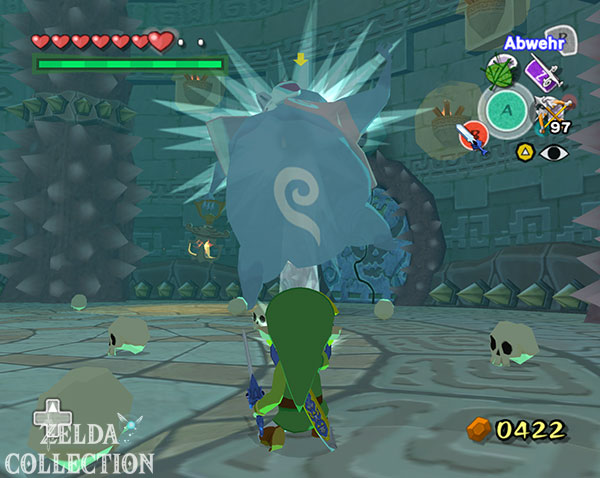
Boss: Jalhalla
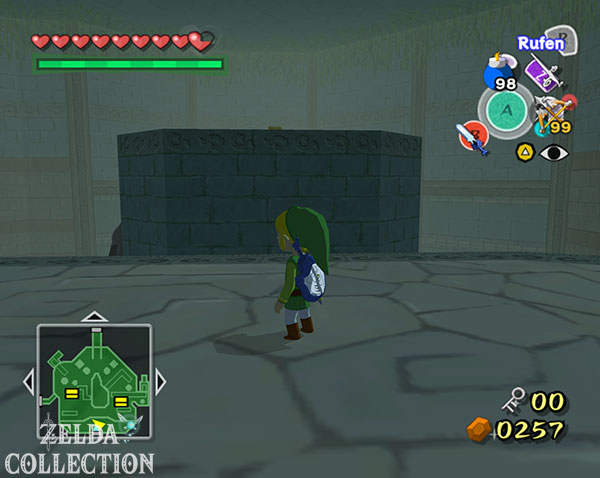
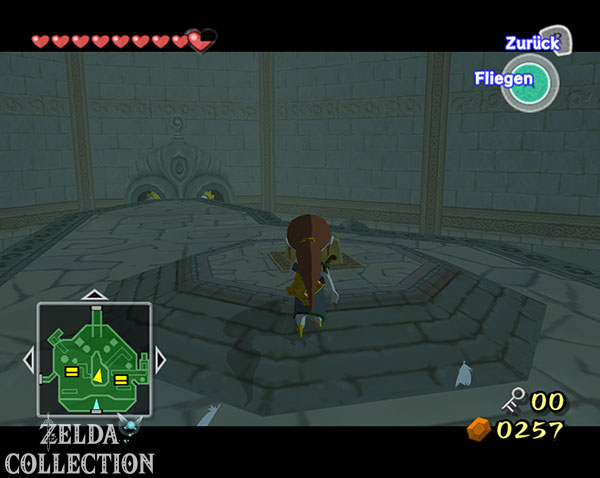
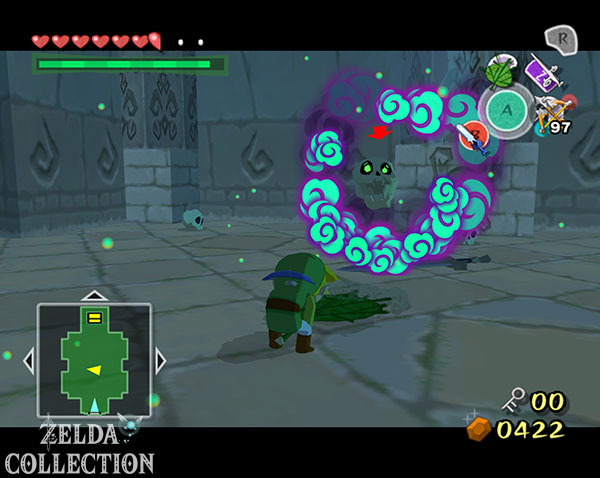
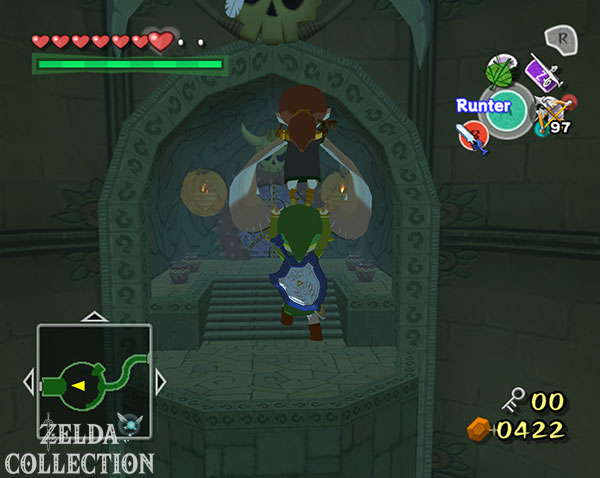
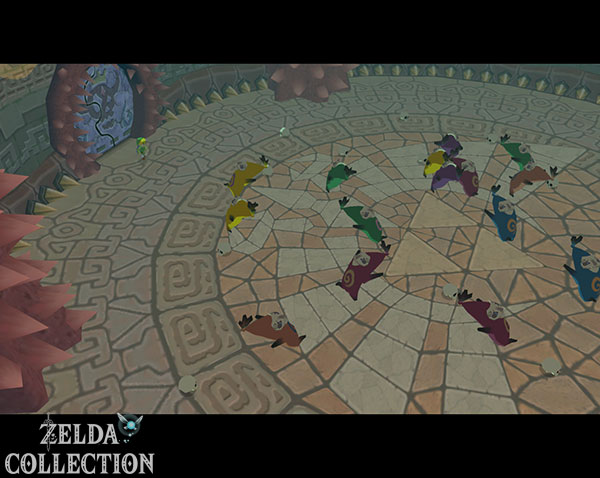
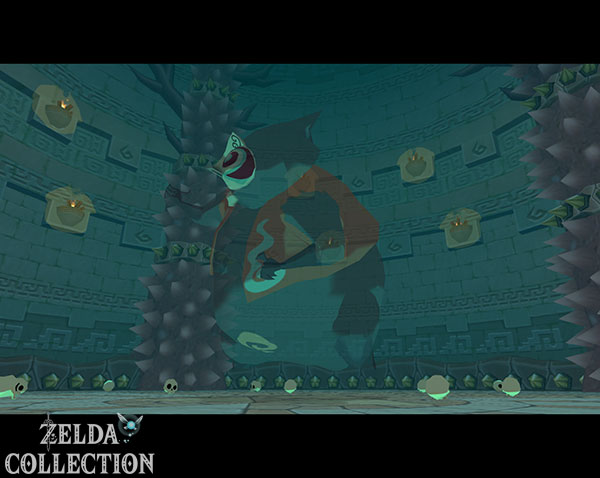
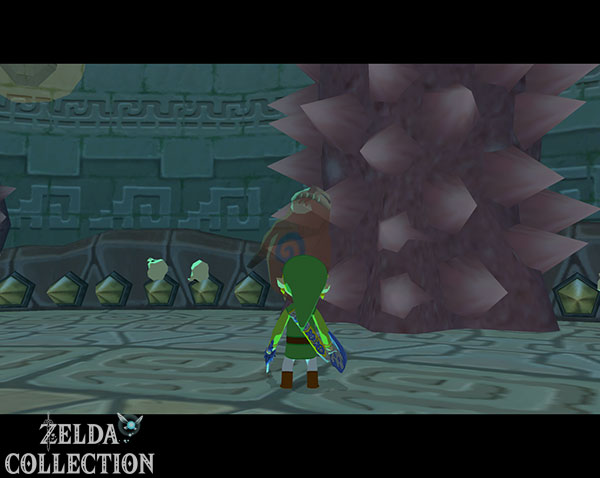
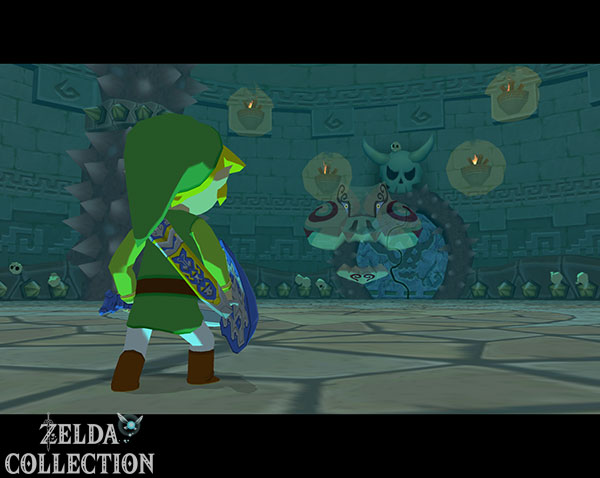
Open the large door and you will enter the circular boss arena. Numerous Poes combine to form the huge Jalhalla. If you complete the Nintendo Gallery, you can already take a color photo here. There is another opportunity later in Ganon’s Tower.
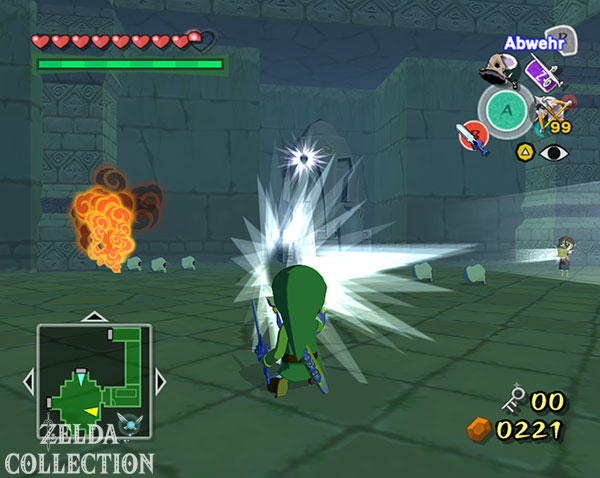
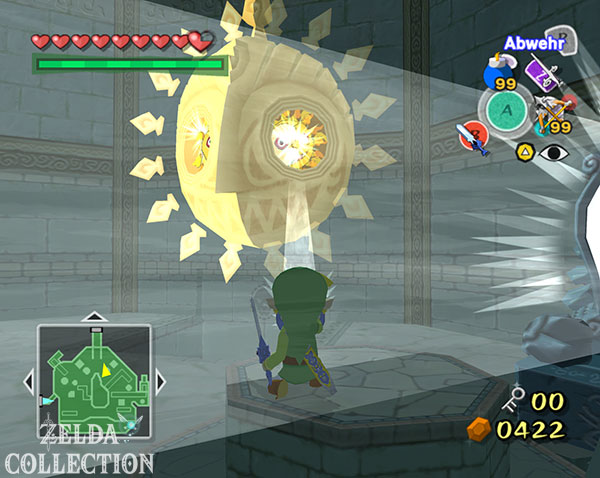
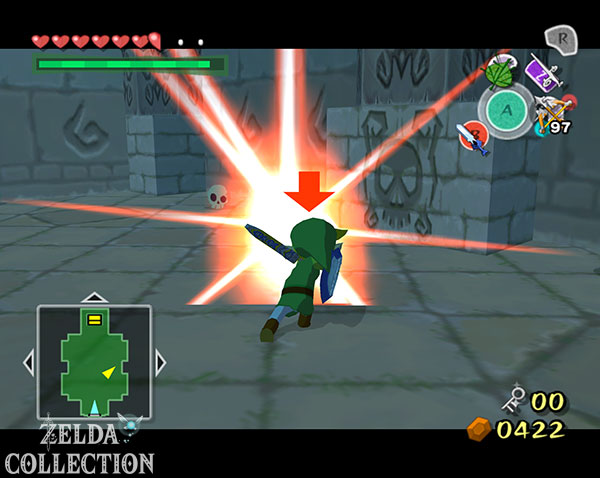
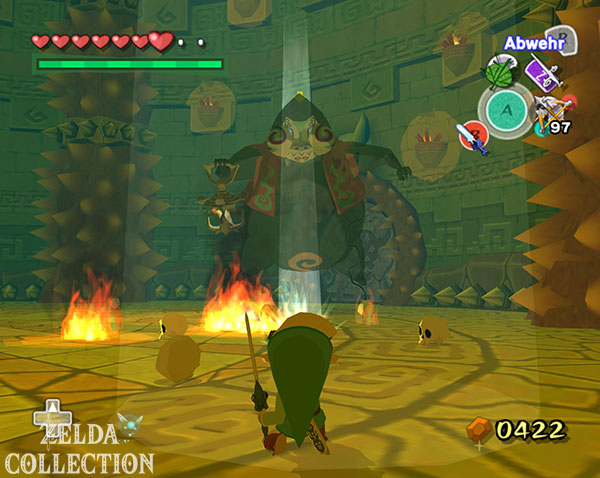
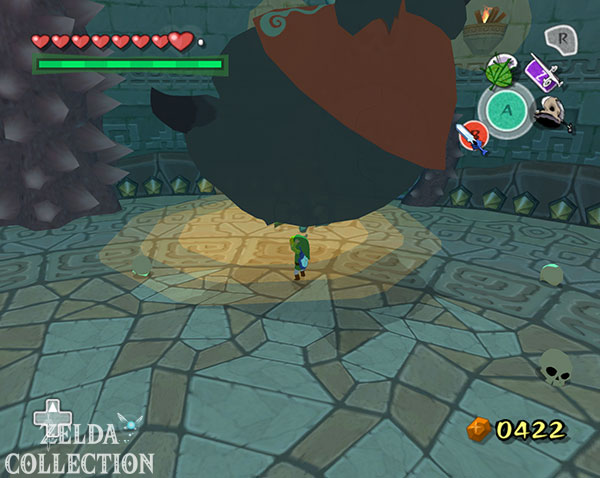
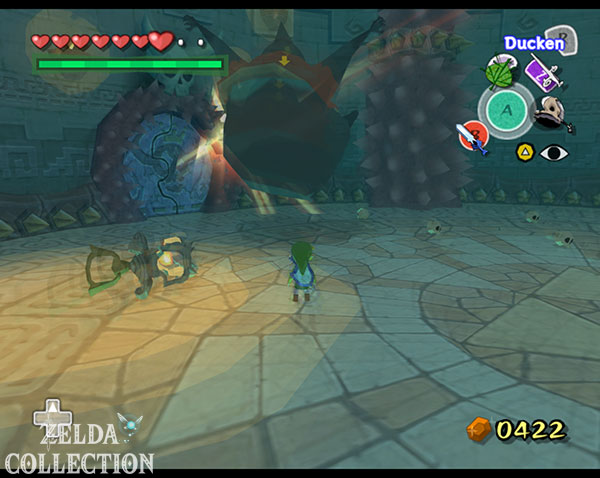
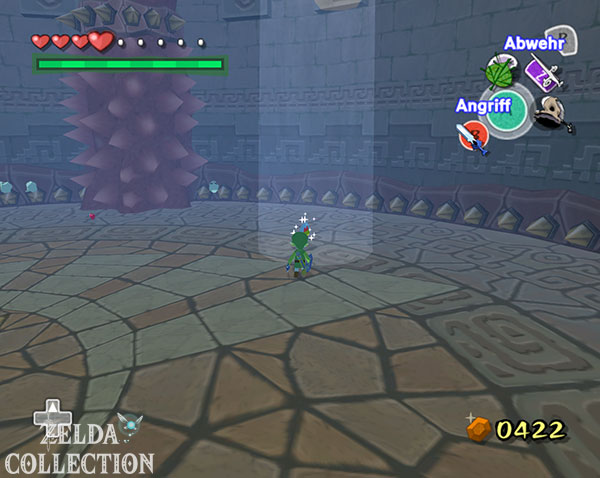
Jalhalla cannot be harmed with normal weapons in his ghostly form. Wait until one of the light beams in the arena is reachable, stand in it and reflect the light directly onto Jalhalla with the Mirror Shield. Keep the beam on him until his entire body materializes and he falls to the ground, stunned.
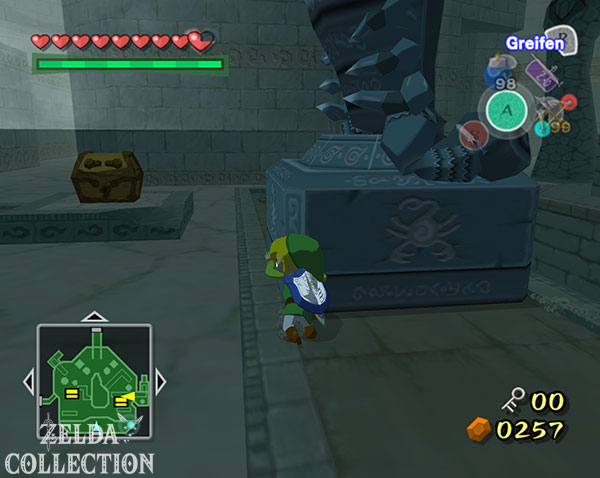
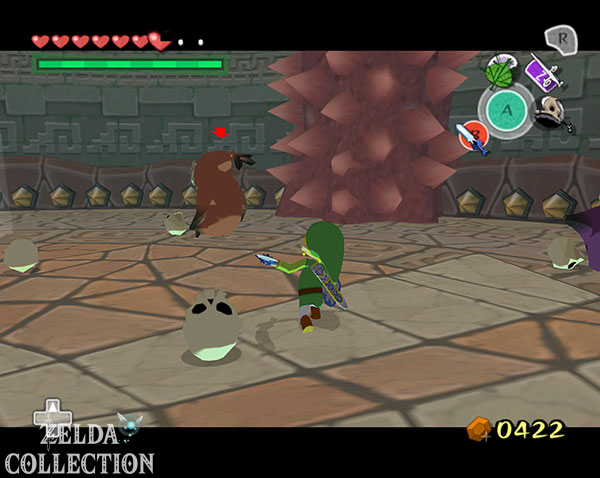
Immediately run to him, pick him up with the power bracelets and throw him against one of the large spiked pillars at the edge of the arena. The impact splits Jalhalla into numerous small Poes. Now speed counts: Run to the individual ghosts and destroy as many as possible with your sword before they come together again. The Boomerang can additionally stun individual Poes.
Jalhalla reassembles itself after a few seconds. Then repeat the same process: reflect light with the Mirror Shield, materialize Jalhalla, pick it up and throw it against a spiked pillar. In between he tries to attack Link with fire, roll through the arena or blow him away with strong wind. If necessary, you can wear the Iron Boots against the wind.
The fight does not end after a fixed number of throws, but as soon as all the small Poes have been destroyed. The more you eliminate with each decay, the shorter the fight will last.
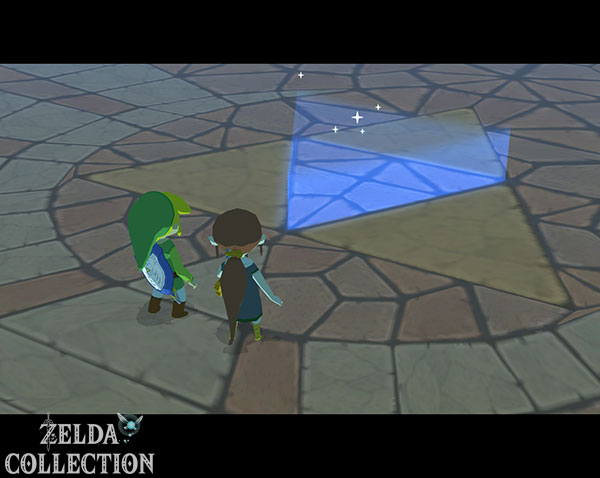
After Jalhalla’s defeat, the Heart Container appears. Pick it up and then step into the wind circle.
The Master Sword receives its first buff
After the battle, Medli appears in the shrine. Together with Laruto, she plays the Terra God’s anthem while Link wields the baton. The Earth Temple’s prayers begin again and the Master Sword regains some of its original power.
From now on Medli will remain in Earth Temple and continue her prayers. In order to fully restore the spell power of the Master Sword, the second sage in the Wind Temple is still missing.
HD difference: The Earth Temple, the Mirror Shield and Jalhalla are largely unchanged in terms of gameplay in The Wind Waker HD. The relevant difference within the temple concerns the Tingle statue: GameCube requires Tingle Tuner and Tinglebomb, while in HD a normal bomb is sufficient.
Redeem the three new Treasure Charts directly
Before we head to Wind Temple, let’s completely clear the cards we just received. First open Treasure Chart No. 20 and go to Bomb Island (F5). The marked sunken treasure contains another Piece of Heart.
Then we go to the five-eye reef (B6). Treasure Chart No. 12 leads to a Silver Rupee worth 200 Rupees.
Finally, you teleport to the Tower of the Gods (E4) and open Treasure Chart No. 14. This salvage treasure also contains a Silver Rupee worth 200 Rupees.
This leaves no Treasure Charts open from the Earth Temple.
The next target is now the Gale Isle and the Wind Temple.