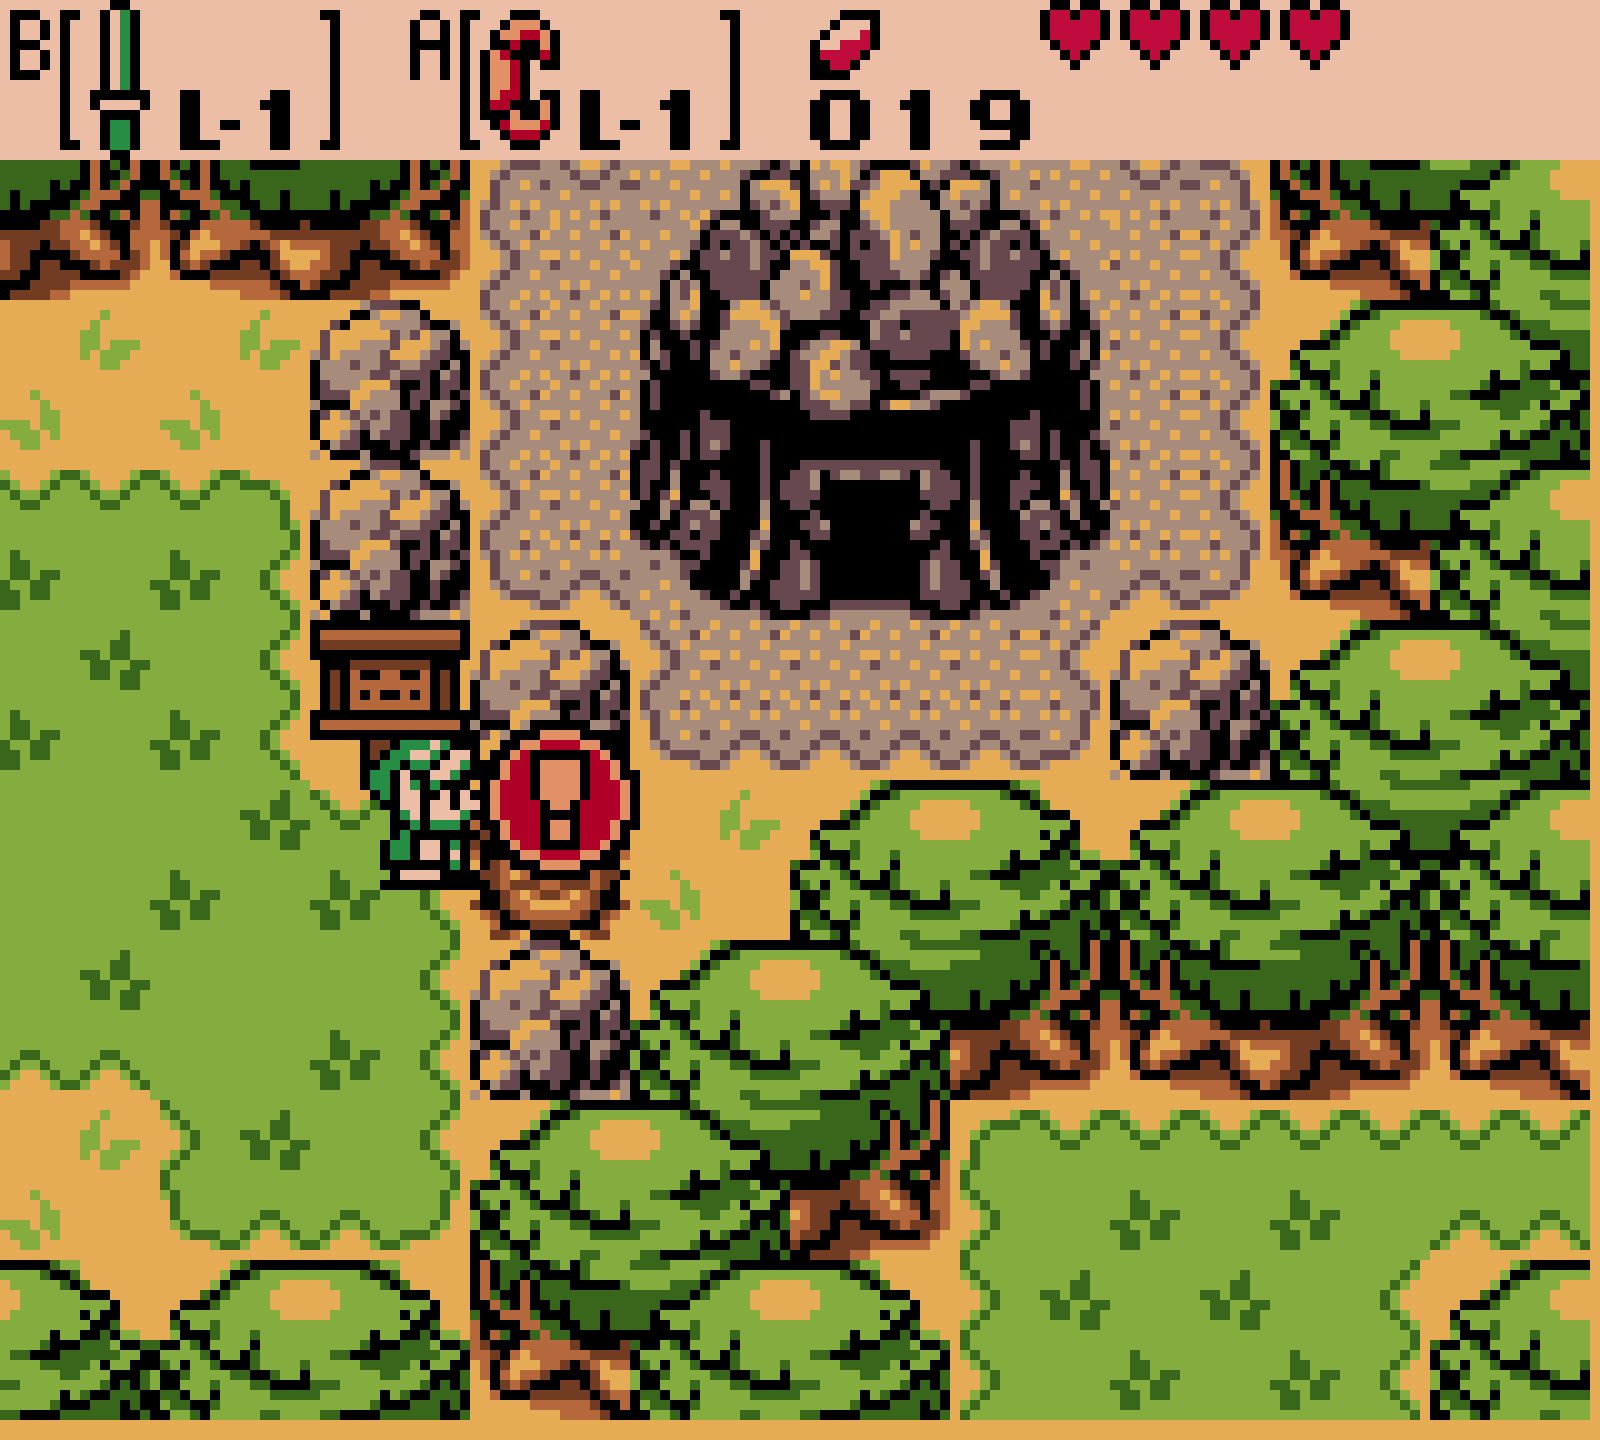

After defeating the Flying Eye and obtaining the Blazing Flame, the Maku Tree senses the next essence in the north of Labrynna, but before you head to Orb Ridge, it’s worth it It’s a bigger detour that will make the upcoming dungeon much easier for you. Use a Storm Core and travel to Lynna City. In the west of the city, near the river, there is a man who really wants to make his friends laugh. Give him the Sticky Beard that we got in the previous section and he will tell you a joke in return. Then travel back in time and enter the dark house in the same place. There sits a dejected boy from whom even the best joke can hardly bring a smile. Tell him your new joke anyway and you can then take one of his books: the pulp novel.
For the next step you have to meet Martha. The witch appears in several fixed locations in Labrynna after a certain number of enemies have been defeated; Usually it’s enough to kill around 30 more enemies and then pass one of their meeting points. If you meet her, the pulp novel falls to the floor. Martha is immediately interested in it and gives you the magic rudder in exchange. Then travel back in time and visit Maro on the south coast. The raft builder can do much more with the extraordinary rudder than Link and swaps it for his sea ukulele.
From Maro’s house you go north and on to the Coast of No Return. With the exchange hook you can cross the previously insurmountable chasms and reach a small cave where an old Zora lives. Show him the sea ukulele; the music reminds him of times long past and in return he gives you a broken sword. This means that only one last step is missing in the exchange transaction for Oracle of Ages.
The noble sword
Bring the broken sword to Otto at the Restoration Wall in the past. As with the Tuni thread, his infamous Loren ritual must be passed, but this time the task is more difficult: a total of eight armored beetles must be pushed into the abyss before the Lore reaches the sword lying on the pedestal. If possible, lure the enemies to the edge in groups, jump behind them with the Roc’s Feather and drive them into the hole with quick sword strikes. If time is running out, you stand on the Floor Switch so that the cart goes another round. After successful completion, Otto repairs the sword and gives you the noble sword. It permanently replaces your wooden sword and causes significantly more damage. In a Linked Game in which the noble sword has already been unlocked via a secret, you will receive the Master Sword instead.
Since we are currently completing some side paths, it is also worth visiting the Maku tree. After obtaining the Blazing Flame, another Gasha Seed appeared in his crown. Enter the Maku Tree through the side entrance, climb up inside and go left on the top of the tree. Collect the core and later plant it on a higher quality Gasha bed.
The path to the Rolling Ridge
Now travel to Nayru’s house and use the time portal to go back in time. Go west and use the Exchange Hook on the diamond block on the other side of the large chasm. In this way you reach the western part of the Rolling Ridge for the first time. A field further west there are several bushes; cut them away and dig in the open area with the shovel to reveal another Gasha bed. Then stand in a free spot east of the bushes and play the Song of the Time Stream. In the present, this is where the entrance to the Goron Caves stands.
Enter the cave and follow the lower path to the right. Climb the stairs to the next floor. Before continuing the normal path up, examine the right wall near the running Goron. Although there is no clearly visible crack, the wall sounds hollow when struck with the sword. Plant a bomb and enter the secret room. In the chest lies a Magic Ring, which Vasu identifies as Factor Ring Gold. This ring doubles all items picked up from enemies and the environment, effectively combining the effects of the other factor rings. For a complete set of rings, it is one of the most important solid finds in the game.
Piece of Heart 8 on the Rolling Ridge
Return to the main room of the Goron Cave and continue climbing up. On the next level you will see a Goron again. Don’t run towards the exit straight away, but stay on the raised ledge and check the right wall. Here too you can blow up a hidden area with a bomb. Behind it is waiting Piece of Heart 8 of 12. If you have followed our route completely so far, you now own eight of the twelve fixed Pieces of Heart and have already received two additional Heart Container from Pieces of Heart alone. The remaining Locations will follow in the coming chapters and are also listed in our overview of the Pieces of Heart in Oracle of Ages.
Then continue through the caves until you are back on the top of the ball ridge. On the way you can take a detour to a chest with 50 Rupees. The Rupees are not permanently unique, but they definitely come in handy after the many purchases in the secret shop and at Vasu.
Pegasus Seeds
At the top of the spherical ridge there is another time portal under a rock. Activate it with the melody of the echo if you haven’t already and travel back in time. Go west to the prominent blue core tree and hit it with the sword. You will receive Pegasus Seeds for the first time. If you use a Pegasus Seed straight from the seed bag, Link will move significantly faster for a short time; If you combine this speed boost with the Roc’s Feather, you can jump over significantly larger gaps. When fired from the blowpipe, Pegasus Seeds paralyzes opponents for a few seconds. You now know all five types of mystical cores: Ember, Fragrance, Arcanum, Storm and Pegasus Seeds.
Then travel back to the present and go to the large moblin fortress. Its entrance seems harmless at first, but as soon as you walk in, the ground behind you begins to collapse. Immediately use a Pegasus Seed and run to the stairs on the opposite side. If you are too slow, you will fall into the basement and have to work your way back up. The leader of the Moblins is waiting at the top.
The big one Moblin
The Size Moblin stands on a raised platform while his assistants throw ordinary bombs from the sides. You can ignore these little bombs or dodge them. The great Moblin itself throws much larger explosives. Wait until one of these big bombs lands next to you, use it to lift it Power Bracelet and throw it at the big one just before the explosion Moblin back. Timing is important: if you throw it too early, it will pick up the bomb itself and throw it back; If you hold it for too long, it will explode in Link’s hands. After several successful hits, the fortress is completely destroyed and the big one Moblin flees.
The Gorons are thrilled to have driven out their oppressor because now they can finally grow their special explosive plants again. As a thank you, they will give you a Thunder Flower. The Maku Tree speaks up shortly afterwards and points out that the ancient legends of the Gorons speak of a young hero who saved their eldest long ago. Thanks to your time travel, it should now be clear who you mean.
Armor Ring L-1 in the Moblin Fortress Ruins
Before returning to the past, examine the ruins of the destroyed Moblin fortress. Where the building previously stood, there are now two entrances. First take the stairs on the left. You reach a cave section shown on the side with fire fountains and ladders. Carefully climb up, use the Roc’s Feather on the moving platforms and work your way to the chest. Inside lies another Magic Ring. At Vasu this becomes the Rüring L-1. It reduces the damage Link takes, but at the same time weakens the sword’s attack power. For regular combat, the ring with the noble sword we have now preserved is not necessarily the best choice, but as a solid ring find it is part of our complete run.
Save the Goron Elder
Now travel back in time and go to the lower entrance of the Goron Caves. Jump down from the plateau and enter the cave to the west. Already at the entrance you will be approached by a Goron who recognizes the Thunder Flower. Hand it over to him and the Gorons will place the explosive plant in front of the huge boulder. After the detonation, the buried Goron Elder is finally free. In doing so, you will fulfill exactly the legend that the Gorons have already told about in the present.
As a thank you, the elder gives you a shiny crown key, which he once found on the northern mountain. Although he doesn’t know which lock the key belongs to, its purpose is obvious to Link. Then cross the Goron Cave to the summit. From there you play the song of the time stream and travel back to the present.
To the Crown Dungeon
At the site of the former Moblin fortress you now enter the right cave. The ground consists almost entirely of deep chasms with a few small islands in between. Use a Pegasus Seed and combine the speed boost with the Roc’s Feather to jump over the particularly large gaps. In the next area you repeat the whole thing and finally leave the cave on the east side. Go west to the large locked gate in the rock and use the Crown Key. The entire entrance rises from the mountain: In front of you is Level 5 – Crown Dungeon.
Level 5 – The Crown Dungeon
Go north from the entrance and defeat all of the Moblins to open the next door. In the following central room there is a Crystal Switch, which alternately raises and lowers red and blue blocks throughout the dungeon. First leave it in its starting position and go west, then west again and finally north. Defeat all enemies here and a staircase will appear. Descend to the basement.
Jump over the small abyss and use the exchange hook on the diamond block. Then jump back again and swap with the diamond several times until it finally lands on the Floor Switch in the bottom right corner. This means the door to the south remains open. Go through, climb the stairs back down to the ground floor and walk south twice to the central Crystal Switch.
Small Key 1
Hit the Crystal Switch to make the colored barriers change and go east. There are three eye-shaped statues in a triangle. All three eyes must be activated almost simultaneously. Stand to the right of the upper statue or so that you can aim diagonally at the lower left statue, and shoot the blowpipe diagonally to the bottom left. The core bounces off all three statues one by one, opening their eyes within the required time. A chest will appear in the middle of the room with small key 1.
Small Key 2
Return to the Crystal Switch and change its color again. Go to the other side of the lowered barrier and shoot the switch from a distance with the blowgun or the swap hook so that the other color is now lowered. Go north, cross the blocks this frees up and in the next room take the left stairs down to the basement. The chest that was previously blocked by the colored pillars is now reachable. Open it and take Small Key 2.
Dungeon Map and the path to Cane of Somaria
Return to the ground floor and work your way to the eastern side of the dungeon. Shoot the Crystal Switch, cross the lowered red and blue barriers respectively and follow the corridor south. In the room with the Beamos there is a chest at the top with the Dungeon Map. Take them with you and then go into the room to the west. Open the locked door there with a Small Key and climb the stairs to the basement.
There are several torches and rotating reflectors in front of you. Load the blowpipe with Ember Cores and wait until one of the reflectors points in the direction of a torch. Shoot the core at the reflector so it bounces off and lights the corresponding torch. Repeat for all torches in quick succession; As soon as all the flames burn at the same time, the door to the west opens.
In the next room on the right is a Floor Switch. Step on it and note the briefly displayed pattern of the colored statues. Then jump over the abyss to the left side and move the statues there so that their arrangement corresponds exactly to the pattern shown. As soon as all figures are correctly positioned, a large chest will appear. Inside is the Cane of Somaria.
The Cane of Somaria
The Cane of Somaria creates a solid red block immediately before Link. Only one such block can exist at a time; If you create a new one, the previous one disappears. The block can be pushed onto Floor Switch, used as an additional platform or placed as an obstacle between moving objects. It is precisely these properties that are constantly needed in the second half of the Crown Dungeon.
First, return to the previous room. Three of the four Floor Switch can be occupied with the existing statues; On the fourth you place a block created with the Cane of Somaria. Once all four switches are pressed at the same time, a chest will appear with small key 3.
Small Key 4
Go east and then north. The stairs take you to an area shown on the side. Use the Cane of Somaria to create a block, jump onto it and use it as an additional step to reach the higher platform. Work your way further east and shoot the Crystal Switch to make the appropriate barrier disappear.
In the next puzzle, two statues always move at the same time as soon as you push one of them. Both must land on separate red spaces. Use the Cane of Somaria to create a block immediately behind a statue that you don’t want to move. This will block it while you push the other statue into place. Then remove the Somaria block or create it somewhere else and also position the second statue. As soon as both are on their red fields, Small Key 4 appears.
Small Key 5
Continue your way through the stairs and colored barriers. In a later area you reach a completely dark room via moving platforms. You will see a chest in the middle, but the safe way to get there is invisible. Instead of losing valuable hearts due to crashes, use the Cane of Somaria: Create a block on the edge of the visible floor and push it in front of you little by little. If it remains lying there is solid ground underneath; If he falls into the darkness, there lies an abyss. Slowly work your way through the invisible labyrinth to the chest and take Small Key 5. You can then easily return to the exit using the exchange hook on the diamond block.
Smasher – Miniboss of the Crown Dungeon
On the way through the eastern half of the Crown Dungeon you finally reach Smasher. The small enemy summons a large heavy ball and throws it at Link. Dodge his throw, immediately equip this Power Bracelet and pick up the ball from the ground. Run to Smasher and throw it at him. If you miss or wait too long, the ball will dissolve and Smasher will create a new one. According to total five successful hits the Miniboss is defeated and the warp field to the dungeon entrance appears.
The Compass
From the Miniboss’s room, take the upper or northwestern path and follow the stairs back to an area where you couldn’t use all the switches before. Create a Somaria block on a Floor Switch to make a bridge extend. Cross it and open the chest with the Compass. From now on, all unopened chests will be displayed on the Dungeon Map.
The final puzzles for the boss key
Keep working your way through the colored barriers. You have to have one several times Crystal Switch Activate it from close range, climb onto a raised red or blue surface and then hit the switch from a distance with the blowgun so that the blocks underneath you change and you can move on to the other side. Along the way, open the remaining key block and take it from an easily accessible chest 50 Rupees with.
Eventually you will reach a room with an owl statue and several different colored statues. The owl gives the crucial clue: all statues must be arranged on the gray fields around them. The problem is that figures of the same color move together. Therefore, use the Cane of Somaria again to lock individual statues with a block while you move the remaining figures. Work color by color until all the gray areas around the owl are covered. The specific color order is unimportant – the only important thing is that every gray field is occupied at the end. The large chest with the boss key appears in the next room.
Smog – final boss of the Crown Dungeon
Smog is less a regular boss than a moving puzzle. At the beginning of each phase it breaks up into several small clouds that move through the room along the existing stone blocks. As long as the fragments are separated, they cannot be harmed with the sword. Your task is to use the Cane of Somaria to create additional blocks and thereby change their paths so that two fragments collide with each other. When they meet, they merge into a larger cloud. Once all the pieces are reunited into a single smog, the boss becomes vulnerable and you can attack him with the sword.
In the first phase there are only two fragments in the room. Place a Somaria block in the gap between their walkways so that one of the fragments is redirected and collides with the other. Then hit Smog several times with the Noble Sword. In the second phase two of the three clouds must first be merged and then the third fragment must be routed to this larger cloud. Always observe a complete round of their movements before setting the block; This makes it much easier for you to see where the two paths can be connected.
The third phase distributes the clouds over several separate rows of blocks. First create the Somaria block at the inner end of a row to move a fragment to the middle formation, and then move the block to move the opposite cloud to the middle as well. The fourth and final phase contains the most complicated arrangement and several small smog parts. Connect their orbits one by one with Somaria blocks, first merging two fragments before letting the larger clouds collide with each other. If you are completely stuck, you can press the Floor Switch in the top left corner and restart the current phase; but you lose a heart for that.
Even the combined form of smog does not remain completely passive and shoots electrical projectiles through the room. The existing blocks can serve as cover. As soon as Smog is completely assembled, you should run to him as quickly as possible and land several sword blows in a row. After the fourth successful round, the final boss finally disappears.
The Fifth Essence – Sacred Earth
After defeating Smog, collect the Heart Container and go north. The fifth of the eight essences of time awaits there: the Sacred Earth. Everything that slumbers in the lap of nature knows her nourishing warmth. With five essences, the maku tree has now become significantly stronger, but immediately after leaving the Crown Dungeon, it surprisingly senses another essence on the sphere crest.
A Goron passing by tells you about the numerous games of his people and invites you to visit the eastern half of the mountains. There begins an extensive Goron task that spans past and present and ultimately opens access to the sixth essence. We continue with our Walkthrough to the Gorons and the Mermaid’s Cave.