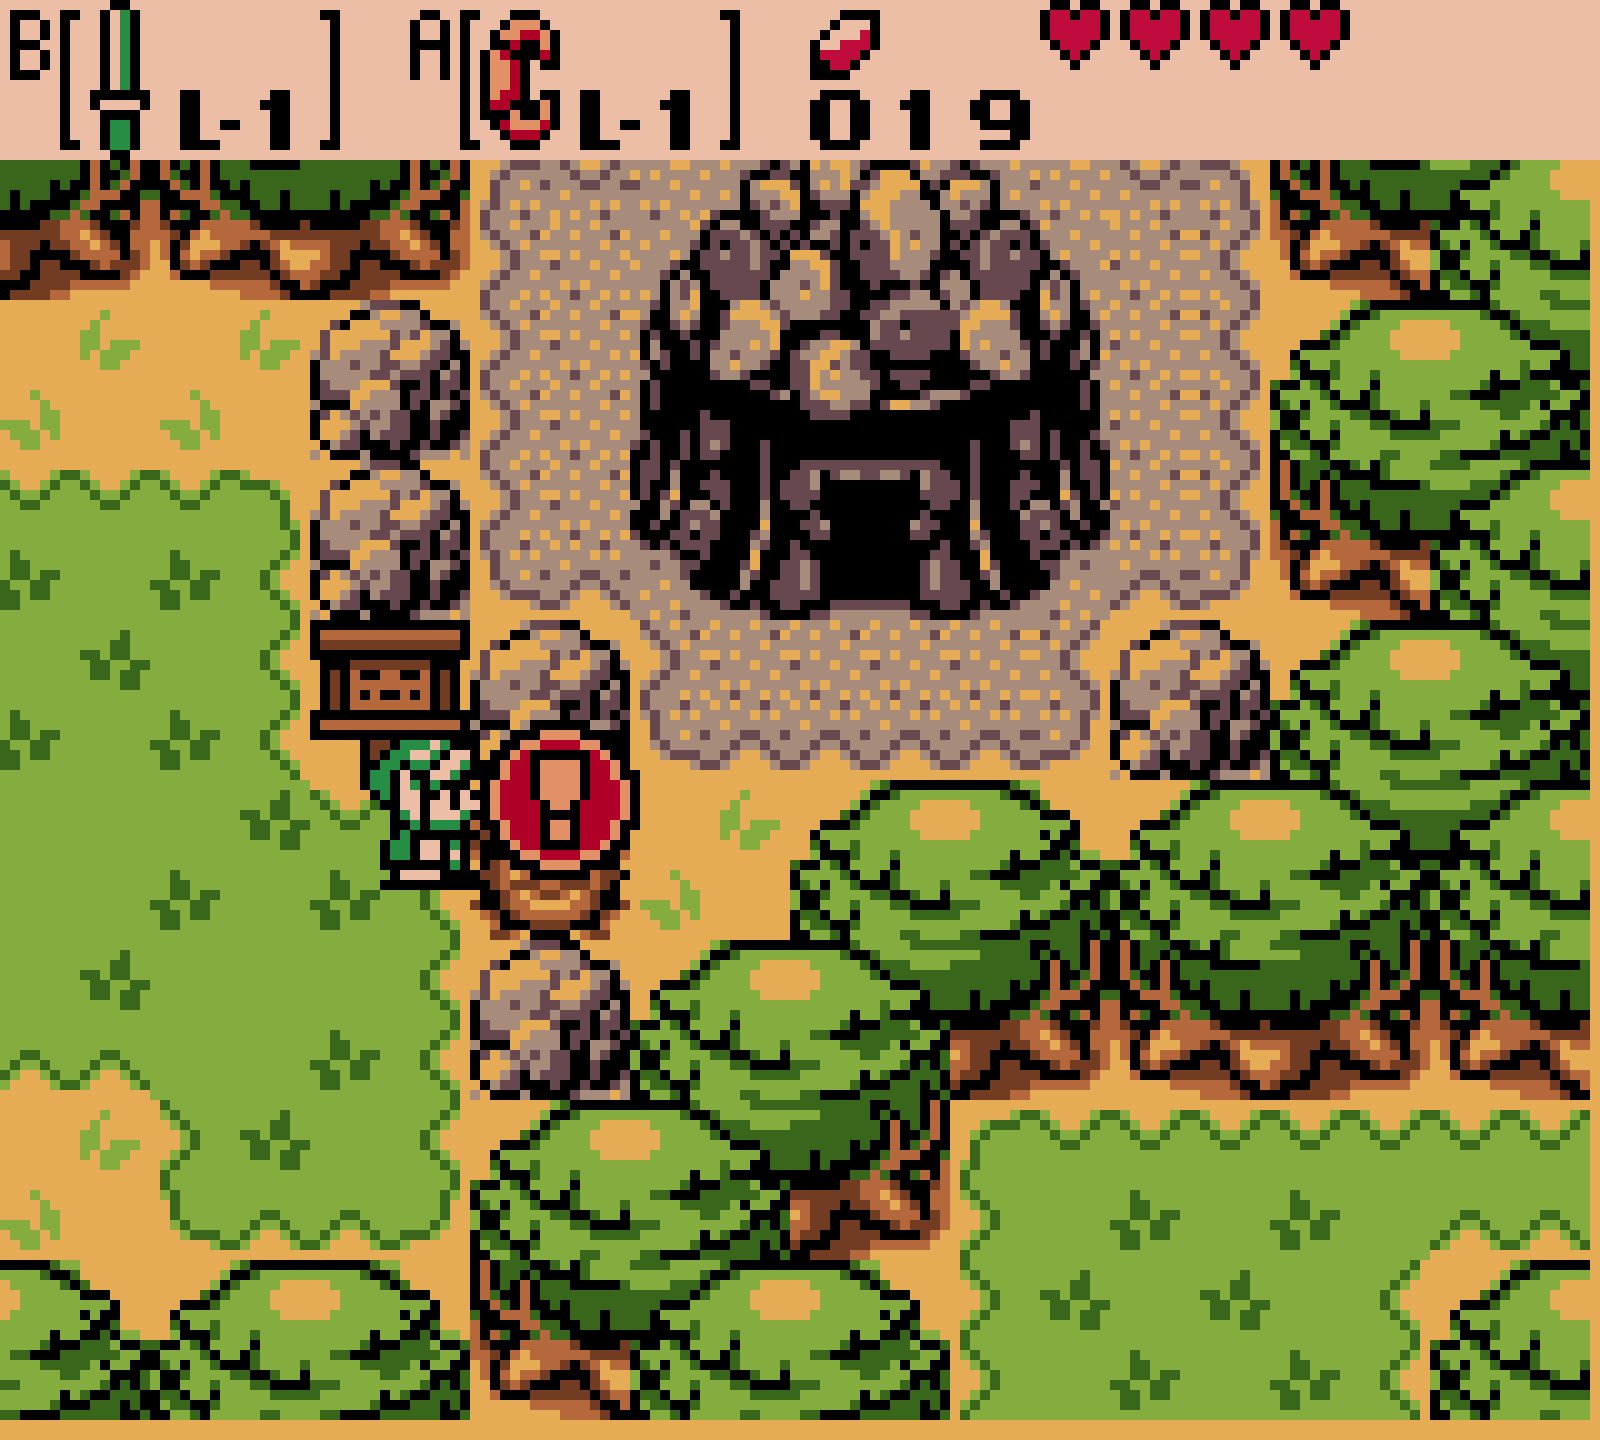

After you are in the Moonlit Grotto the Voice of the Echo Once you have received it, return from the dungeon entrance to the north coast of Crescent Island. Two Tokay have discovered a strange red animal there and are already wondering whether it is edible. Talk to them and give them some Ember kernels. The two Tokay quickly realize that these are extremely unsuitable as a meal and disappear. The rescued animal turns out to be Dimitri before, a Dodongo that can swim excellently and even climb waterfalls. Get on his back and swim with him north and then west back to the mainland. Here Dimitri separates from you again.
Before we continue to Lynna City, we take in an important permanent expansion. Head north from the beach and enter the cave below Tingles Plateau. Load this blowpipe with any core and shoot diagonally against the upper wall so that the bullet ricochet and reaches the blue switch. The bridge to the stairs extends and you can go Tingle climb up. Jump with the Roc’s Feather and smash his balloon again with the sword. Since you now know several different types of kernels, Tingle is expanding yours Seed bags: Instead of 20 you can now 50 kernels of each variety carry along. You should definitely take this expansion with you now, because blowguns and cores will become increasingly important in the coming dungeons.
crispy roast, dog mask and dumbbell
Return Lynna City back and do that first barter transaction further, which we on the sickle island to Crispy roast have brought. Leave Lynna Town to the west, go up the stairs and enter the mask dealer’s house. He is completely starved and can hardly think of anything other than food. Give him your crispy roast and he’ll devour it immediately; In return, after some persuasion, you will receive this Dog mask.
Then go back to Lynna Town and find Mamamu Yan, who lives with her dog in a house west of the mermaid statue. Your dog is extremely shy and the dog mask is just right for her. Swap the mask for a dumbbell. We will also need this strange piece in Symmetria soon so that we can continue the exchange directly without any later detours.
The bridge to the Nuun plateau
Leave Lynna Town on the west side and go up the stairs to the north. On the right behind a bush there is a red switch that you haven’t been able to reach yet. Equip the blowpipe with ember cores, first burn the bush and then hit the switch. A bridge extends and opens the way to Nuun Highlands. Follow the path north until you meet Mutoh, the carpenters’ foreman, at an unfinished bridge. His three workers have run away and without their help the construction will not progress.
Which animal companion leads you through the Nuun Plateau depends on whether you have previously received a Strange Flute. If you buy the flute for 150 Rupees in the Lynna City shop after the Moonlit Grotto, Dimitri will later become your permanent companion; If you win the Strange Flute in the Lynna Village shooting gallery, it becomes Ricky’s flute. In our route we didn’t take either flute, which is why Moosh becomes our constant companion. This is not a disadvantage for the 100% save: Pieces of Heart, rings, Soft Soil Locations and all other permanent items remain accessible regardless of the animal chosen. You can find out more about the three variants on our page about Ricky, Dimitri and Moosh.
Moosh in the Fairies’ Woods
Leave the Nuun Plateau towards the south again. One of the three forest fairies stops you on the way and tells you that a big flying bear got lost in the fairy woods. Go back into that Fairies’ Woods and follow the fairy to the familiar starting point of the hide-and-seek game. The forest is disturbed again. Start from the central field up, down and up again to find the bear you’re looking for. It is Moosh, whom you already helped at the Yoll Cemetery. The fairies put the forest back together correctly and Moosh then gives you his flute. From now on you can call him at any time in suitable areas.
Moosh’s special ability is his short glide. Hold or press the jump button repeatedly while flying to help him stay in the air longer and cross larger groups of holes. Return with him to Nuun Plateau and Mutoh. Talk to the builder again; Now he officially tasks you with looking for his three workers.
The three carpenters and the light ring L-1
From Mutoh, fly east over the first gaps, remove the bush on the path and slide onto the raised platform. Cross the next holes and talk to him first carpenter, who immediately returns to his boss. Then fly south again and work your way north via the middle route. You can reach the area with the fairy spring via the stairs; If you are low on hearts, you can fill them up completely here. From there it goes east and then south to second carpenter.
Before you send the third worker back, we take the only solid ring in this chapter with us. Fly to the southeast area of the Nuun Plateau and land in front of the cave there. Open the chest inside and you will receive a Magic Ring. At Vasu it later turns out that it is the light ring L-1. As long as you wear it, Link can fire sword beams even when his heart is low. The ring is not particularly strong, but is one of the fixed specimens of the ring list and therefore cannot be missing from our complete run-through.
Above or not far from this cave, the third carpenter is waiting. Talk to him and all three workers will automatically return to Mutoh. The bridge to the west will now be completed within a very short time. Before you finally leave the Nuun Plateau, you should dig for a hidden Gasha bed in the northern area. It’s located north of a slope near the waterfall and is one of the better planting spots in the game. If you have a spare Gasha Seed, this is a sensible place for it.
The ruins of Symmetria City
Cross the new bridge and go north. In the present, Symmetria City is completely in ruins: the buildings are destroyed and the volcano to the north is constantly spewing lava. First, go west to the core tree and harvest the new storm cores. This type of core is one of the most useful travel tools in Oracle of Ages, as when used from the seed bag it can teleport Link to any core tree that has already been discovered. When fired from the blowgun, enemies are caught in a strong whirlwind and swept off the screen.
Then clear away the bushes around the Storm Core tree. Time portals lie hidden beneath them. Activate one with the Echo melody and travel 400 years into the past. Instead of the ruins, the still inhabited Symmetry Village awaits you, but it is also on the verge of catastrophe: a special artifact called Tuni-Thread has broken and as a result the balance of the entire city is thrown off.
dumbbell against sticky beard
First enter the large house in the middle of Symmetria Village and go down the stairs to the basement. There you find a skinny man who wants more muscles and already owns a single dumbbell. Our second dumbbell is therefore just right for him. Hand it over and you will receive his Glue Beard in return. This means that the next step of the exchange transaction has already been completed; After this chapter we can pass on the sticky beard directly to Lynna City.
Then talk to the residents of the house on the ground floor. They explain to you that the Tuni thread on a pedestal in the center of the building normally maintains the balance of symmetry. Since it broke, the volcano has threatened to destroy the city. Leave the building and first visit the house on one side of the village. There you will be directed to the resident on the opposite side. Find his brother and agree to have the artifact repaired. He gives you the broken Tuni thread.
The Song of the Timestream
Leave Symmetria Village on the west side and climb up the stairs at Talus Peak. Swim to the deep water field to the northeast and dive using Zora fins. Follow the underwater path east and climb back up at the other end. You end up in the house of the musician Tokkey. Stand on the marked area and play the melody of the echo to him with the harp. Tokkey is inspired to create his own composition and then teaches you the song of the time stream.
With this second harp melody you can now travel from the past directly to the present at almost any suitable point without having to first look for an existing time portal. At the point where you change time, a new portal remains that you can use to return to the past. This mechanic is crucial for the next sections and at the same time allows us to collect several collectibles that were previously unattainable.
Piece of Heart 6 west of Symmetria
Leave Tokkey’s house again via the underwater path and after emerging go one field south and one field west. Stand as far into it as possible southwest corner of the field and play the song of the time stream. In the present, you appear on an elevated surface that cannot be reached by normal means. Go east across the bridge and take Piece of Heart 6 out of 12 to you. If you also have the random Piece of Heart If you have already received it from Martha or from a Gasha nut, your personal counter can of course be higher; In our route we continue to only count the twelve fixed regular ones Locations.
Expand bomb bag to 30 bombs
Travel back into the past via the time portal that was created and continue working your way across the Talus summit. You will eventually reach an area whose water flow is influenced by a movable colored stone. First activate the time portal hidden under a rock and travel back in time. Enter the cave, climb up and exit via the right exit. Outside, push the red or colored stone to the left position, which changes the water flow on the mountain. Return through the cave and use the Song of the Timestream to return to the present.
Now climb up the newly grown vines and go to the small pond with the warning sign. Even though there are explicit warnings against throwing anything into the water, you put one normal bomb into it. A fairy appears and asks which bomb you planted. Answer truthfully that there is normal bomb was. As a reward, it increases your maximum bomb capacity from 10 to 30 bombs and replenish your supply. However, if you claim to have thrown in a gold or silver bomb, you will be punished and will not receive the expansion this way.
Gasha Seed on the restoration wall
Return to the past via the time portal and now push the plant sprout into the other furrow so that a new climbing plant can grow on the opposite rock wall in the present. Switch to the present again, climb up and work your way further west over water, stairs and caves. Activate the next time portal and return to the past. Finally you reach the foot of the Restoration Wall.
Before you start the big climbing party, we get a solid Gasha Seed. Stand in an open space one space south of the sign on the restoration wall and play the Song of the Timestream. In the present, a chest appears there that you couldn’t reach the normal way. Open it, take the Gasha Seed with you and then return via the resulting portal.
Otto and the Restoration Ceremony
Now climb up the vines of the restoration wall. Large boulders keep falling down, which is why you should stay in the middle if possible and only move to the left or right if necessary. At the very top there is a cave where the restoration master Otto lives. Show him the broken Tuni thread. He agrees to repair it, but only if you first pass his famous restoration ceremony.
Follow Otto down and stand on the switch. A cart begins its circuit around the Tuni Thread as several armored beetles appear. Your job is to push all the beetles into the holes before the cart reaches the valuable thread. Lure the enemies as close as possible to one of the holes, jump over them with the Roc’s Feather and then hit them in with the sword. Hit the switch again every now and then if you need to change the switch so that the cart can make another round. If all opponents have been eliminated in time, Otto will give you the completely repaired Tuni thread.
Rebalance Symmetria
Leave Otto’s cave, jump down from the upper plateau and return to Symmetria Village. Enter the middle house again and place the Tuni thread on the platform provided. Equilibrium immediately returns: the volcano calms down and the impending destruction of the village is prevented. Then play the Song of the Timestream and travel to the present. The effects are clearly visible – instead of the ruins you will now find a peaceful, completely preserved Symmetria city.
Lynna City Secret Shop – Piece of Heart and L-2 Ring Case
Before we enter the Skull Dungeon, we use the Song of the Timestream for two extremely important permanent items. Use a Storm Core to quickly return to a Core Tree near Lynna, then travel to Lynna Village in the past. Go to the area one space north of the Ember Core tree, which is where the normal Lynna Town shop is in the present. Stand immediately above the left tree so that your position in the present is within the fenced area behind the store and play the Timestream Song.
If you are standing correctly, you will appear behind the fence at the Lynna City store. Enter the hidden back door and descend to the basement. The secret shop is located here. For a complete game you should buy two things: For 300 Rupees you get the L-2-ring case, in which you can wear three rings at the same time instead of just one, and for 500 Rupees you get Piece of Heart 7 of 12. A Gasha Seed is also sold here; Since this is consumable and available again later, it has lower priority than the ring case and Piece of Heart. If you don’t have the necessary 800 Rupees, it’s worth taking a quick trip to the shooting gallery or opening gasha nuts that have already ripened. The ring case and Piece of Heart, on the other hand, belong to the permanent extensions and Pieces of Heart and should be purchased before moving on.
Level 4 – The Skull Dungeon
Return to Symmetria City with a Storm Core and go north. A waterfall now flows where the volcano raged in the past. Behind the water is the entrance to Level 4 – Skull Dungeon. The dungeon is much more dangerous than its predecessors because large parts of the floor are made of lava and even one misstep costs several hearts. Roc’s Feather, Power Bracelet and blowpipe are required regularly; Later, a completely new tool is added with the exchange hook.
From the entrance, go north and then west. Defeat all the Stalfos so the next door opens and jump across the small platforms to the north. Follow the path around the lava pool and go south again on the left side. At the chest, push the protruding block up and open it to get the Compass. Afterwards, continue south.
Small Key 1
First defeat the enemies so that they don’t bother you with the following puzzle. On the right there is a colored die that must be rolled onto the black target field. Jump over the lava behind the cube and push it down four times, once to the right, once up, once to the left, once down and then twice to the left. If it is correctly positioned on the target field and shows the appropriate blue side, the torches light and a chest appears. Inside is Small Key 1.
Climb the stairs on the right, go north and jump back to the lower level. Then run east through the long lava chambers. Jump over the narrow spaces and move the two blocks in the middle so that you get to the locked door in the north. Open it with the first key, defeat the three Stalfos in the following room and go east.
Dungeon Map and Small Key 2
There is a cart and a yellow switch switch here. First, flip the switch and get into the cart. It takes you to the middle area of an adjacent room surrounded by blocks. Jump over the lava and open the chest with the Dungeon Map. Then drive back again and change the switch again.
The second trip takes you further south. At the end you will reach a room with a moving blue one Crystal Switch on the other side of the lava. First, kill the mini moldorm on the right with the blowpipe so that it doesn’t catch any bullets. Then stand on the blue field and shoot with the blowgun diagonally to the bottom right. The core bounces off the walls several times and can hit the moving switch. As soon as you get the timing right, a chest will appear small key 2.
The lava flow and Small Key 3
Get back into the lorry and hit the yellow switch switch while driving so that you get out at the desired point. Open the next locked door and follow the path east. Jump across the lava flow and go north to the large handle on the wall. Use the Power Bracelet to pull it out as far as possible. The lava dries up for a few seconds and the floor becomes accessible. Immediately run west and through the uncovered passage.
Defeat all four yellow Stalfos in the following room. A room further west, several armored beetles await; Storm cores from the blowpipe are ideal for getting rid of them quickly. Then jump over the lava to the north and match the colored floor fields with the Roc’s Feather to the given pattern. Go west into the next room. There you have to move another colored cube between two racing blade traps. First lock the traps out of their position, push the cube down twice, five times to the left and then twice down onto the target field. The barrier on the rails opens.
Get into the lorry and drive to the northern section. Defeat the snakes in the room and head east. Jump onto the moving green platform and equip the blowpipe. As soon as the platform is high enough, shoot diagonally to the bottom right against the wall so that the core bounces into the corner and hits the blue switch. A chest appears; inside is Small Key 3.
Small Key 4 and the Armos Warrior
Return west and go through the top left exit. Defeat the Stalfos and use a key to open the blue key block in front of the color field. Jump over the field until it turns blue and the barrier on the cart route disappears. Return east and get into the lorry. While driving you have to remove the Stalfos above the rails with the blowpipe; Scented cores do this particularly quickly. After getting out, go west.
In the next chamber, jump from one moving green platform to the next over the lava and then go south. Here you can see several colored floor fields and the corresponding template above them. Jump over the fields with the Roc’s Feather until their colors exactly match the pattern. As soon as everything is correct, Small Key 4 falls into the middle field. Return north, open the blue key block and continue on the lorry. A fairy is hiding under one of the jars in the following room; fill up your hearts if necessary and then go west to the Miniboss.
Armos Warrior – intermediate enemy of the Skull Dungeon
The Armos warriors carries a powerful shield and cannot initially be injured directly with a sword. Instead, he throws his own sword across the room. The missile follows Link for a short time. Run around the Armos warrior so that his returning sword hits him. According to total three hits his shield and weapon break. Now he changes his tactics and races straight towards you. Dodge the attacks with the Roc’s Feather and immediately afterwards hit him with the sword. After a few hits, the Miniboss is defeated and the path to the south opens.
The exchange hook
Follow the path south, go across the bridge to the east and blow up the crack in the northern wall with a bomb. In the room beyond, one of the longer floor puzzles in the dungeon awaits. As soon as you enter a field, its color changes; The goal is to turn over all the floor tiles. Start at the entrance, go one space to the left and then go to the upper wall. Then work your way through the room in long loops between the statues and avoid re-entering fields that have already been correctly colored. If a single field remains incorrect at the end, leave the room briefly and start again – the opponents in front of the puzzle remain defeated.
As soon as all fields are colored correctly, a large chest will appear in the middle field. Open it and you will receive this Exchange hook. This tool works differently than the usual grappling hook in other Zelda games: if you hit a special diamond block, a jug or certain enemies, The link and the object hit swap positions. From now on, the item becomes one of the most important tools in the entire game and is, among other things, a prerequisite for several later ones Pieces of Heart and Side Quests.
With the exchange hook into the basement
Leave the room to the west and immediately use the barter hook on the diamond block on the other side of the lava. Go down the stairs and then go north. In the next room, swap with the diamond again and follow the path east. Once again you can use an exchange hook to get over a lava pit. Finally you reach a Floor Switch and a diamond block. First stand on the switch yourself and then swap with the diamond so that it remains on the switch and keeps the door to the south permanently open.
Continue along the path and climb the stairs into the basement of the Skull Dungeon. First defeat the two snakes and exchange across the lava pit with the diamond block and jug. Using multiple swaps, move the diamond bit by bit to the Floor Switch until the southern door remains open. Go south and then west.
Defeat the mini moldorm and use the jars as anchor points for the barter hook to get across the lava to the opposite side. Continue south. Jump over the central color field with the Roc’s Feather; This causes the almost invisible little slimes to change color and become visible for a short time. Defeat them quickly and then head west.
Small Key 5
Avoid the blade traps and jump over the lava into the next room. A second big floor puzzle awaits here. First, defeat the two mini-Moldorms and leave the room once so that you are undisturbed during the actual puzzle. Here too, a complete pattern must be created by correctly running the floor tiles. Work your way systematically from the bottom edge to the left, then repeatedly through the narrow paths between the statues and back towards the center. Be careful not to accidentally re-enter any fields that have already been recolored correctly.
If the pattern is complete, a chest with small key 5 will appear on the middle yellow field. You have now collected all of the Small Key in the Skull Dungeon. Then go north again.
The path to the boss key
The next rooms combine Roc’s Feather and exchange hooks. Jump onto the first moving green platform and swap with the diamond above. Then take the single green platform to the left and jump through the opening in the block wall. You can blow away an annoying armored beetle with a storm core. There is a fairy under the jar in the northwest corner. Then climb the stairs.
In the room shown on the side, you first jump over the ledges and wait for the green platforms to go up and down. Use the swap hook on the jars on the left and work your way across several pillars to the ladder. Once at the top, open the key block and return to the upper floor.
Swap across the lava with the diamond and go west. Pull out the large handle with the Power Bracelet to temporarily stop the flow of lava and quickly run through the now accessible section. In the next room you repeat the same principle, but this time there are several jars in the lava flow. Stop the lava with the handle and then use the exchange hook to move from jug to jug across the dangerous field. At the end, jump diagonally to safe ground and head north.
The last big mug puzzle awaits here. Jump to the first vase and exchange with it. Work your way over the other jars in the same way to the north side of the room. Then move a jug so that it can stand on the left Floor Switch. Since you can’t stay on the other side at the same time, you use the exchange hook several times and finally position the jug permanently on the switch. A large chest appears on the blue field. Open it and take the boss key.
Flying Eye – Boss of the Skull Dungeon
Jump down from the hill to the southeast and work your way back through the final rooms. In the side section you use jugs and barter hooks again until you finally reach the door to the final boss. Behind it waits the Flying Eye, which is orbited by four smaller eyes. As long as this formation exists, you can hardly reach the actual opponent with normal sword blows.
First stay at a distance and observe the movement of the little eyes. As soon as there is a gap, shoot the exchange hook directly at the big eye in the middle. If you hit it, Link and the boss swap positions, while the four little eyes get completely mixed up. The Flying Eye is now dazed for a few seconds. Immediately run to him and hit him several times with the sword. As soon as the little eyes collect again, repeat the swap hook attack. If individual small eyes are in the way, you can temporarily remove them with the sword or hook, but they will reappear after a short time.
After several successful combinations of barter hooks and sword strikes, the Flying Eye is defeated. Collect the Heart Container and head north into the final room. The fourth of the eight essences of time awaits there: the Blazing Flame. She ignites the burning passion of a hero even in wavering hearts.
The Maku Tree reports again and senses the next essence far to the north, on the Rolling Ridge. Thanks to the exchange hook, the song of the time stream and the new storm cores, numerous new paths through Labrynna are now open to you. We continue with our Walkthrough to the Rolling Ridge and the Crown Dungeon.