
After defeating Pumpkinhead and obtaining the Spirit of Eternity, the Maku Tree will point you to the next Essence of Time, which is said to be somewhere west of Lynna City. Since after the Spirit’s Grave we have already taken care of the will-o’-the-wisp clock, the Piece of Heart in the Yoll cemetery and the Side Quests accessible there, you can move on to the west without taking a detour. Leave Lynna Town on the western side, use the Power Bracelet to lift the rock out of the way and follow the path into the Fairies’ Woods. After a short time you will be approached by three forest fairies who have little interest in simply letting you pass: They change the paths of the forest and challenge you to a game of hide-and-seek.
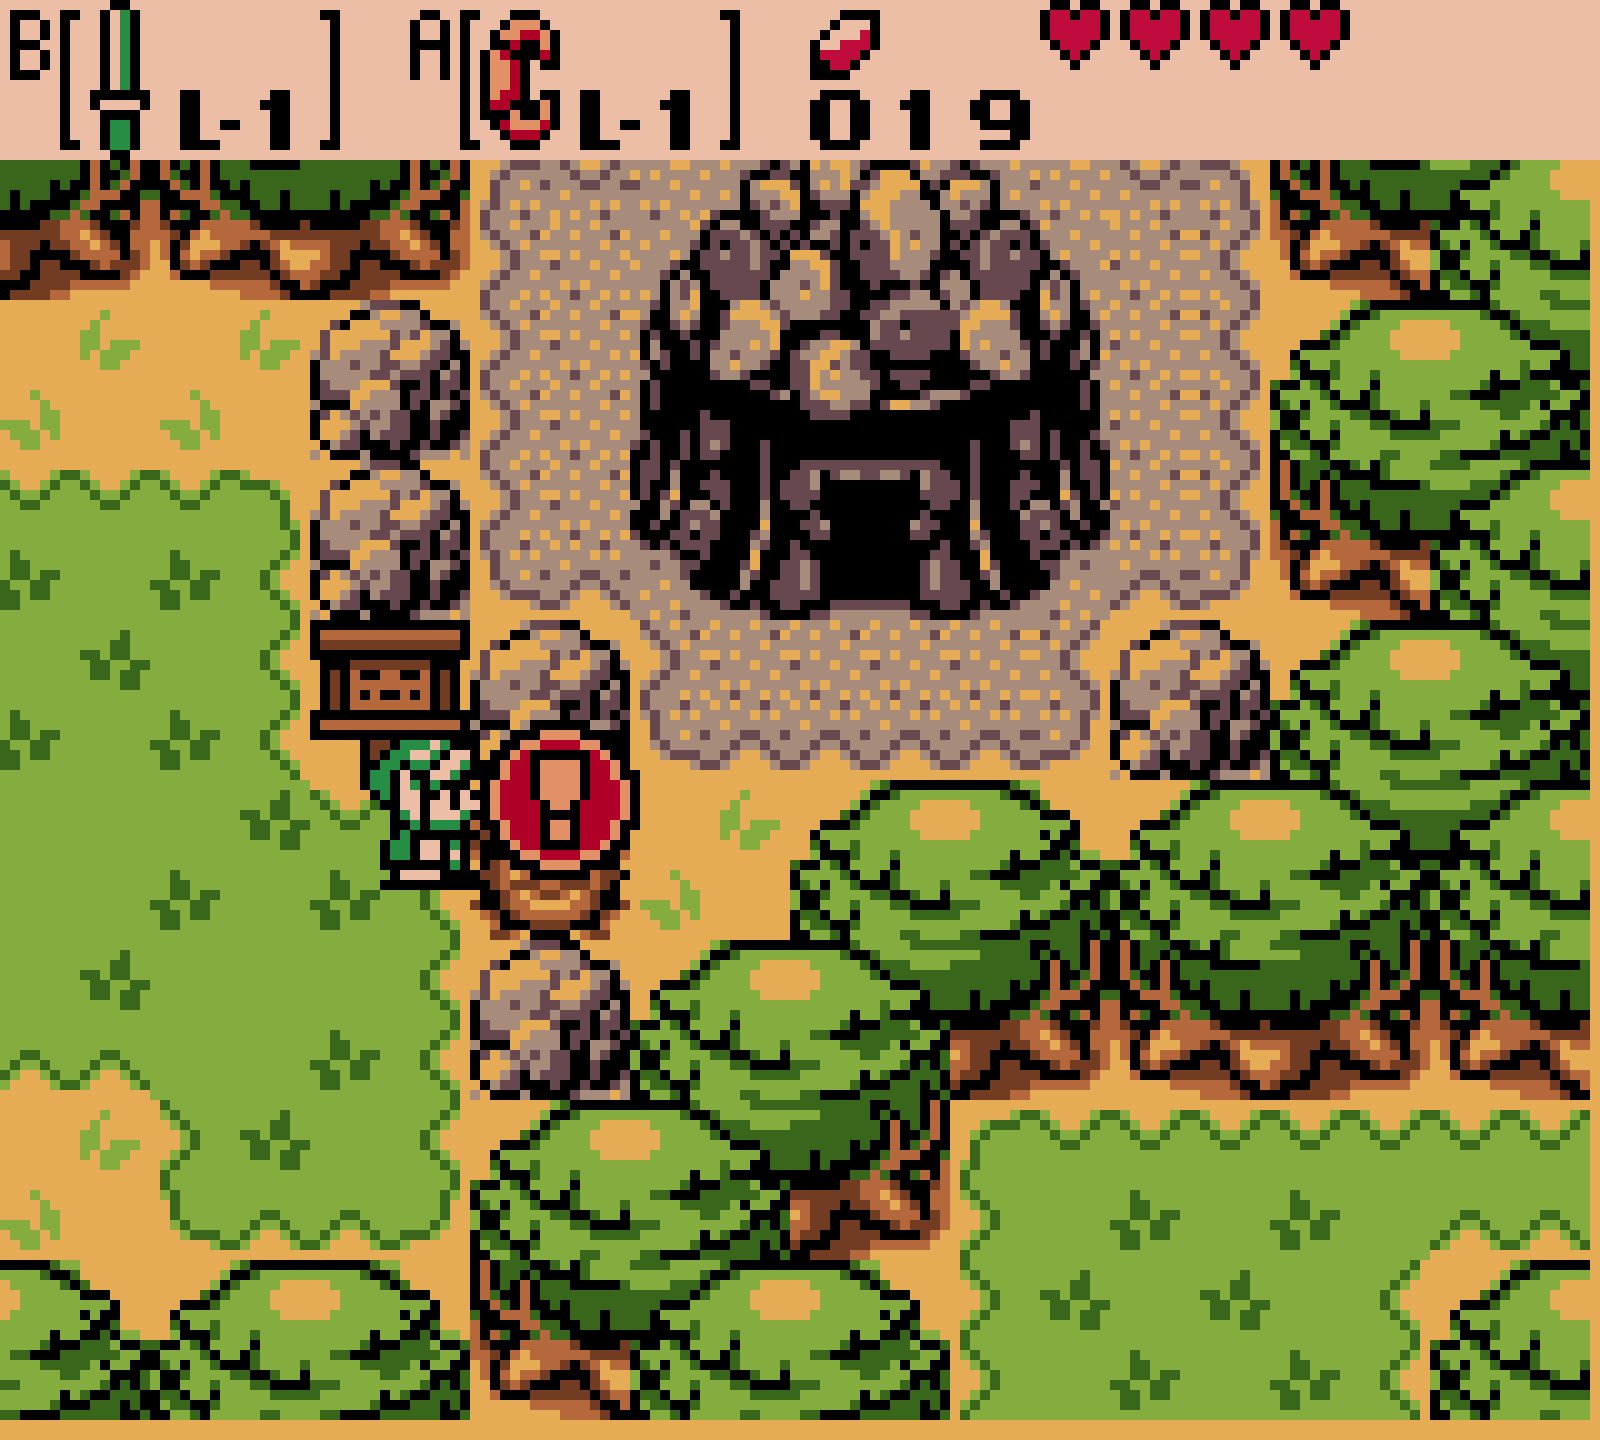
The three fairies each hide in one of the constantly swapped sections of the forest. You can find one under a stone, one near a small pond and the last one near a chest not far from the coast. Don’t let the seemingly recurring screens confuse you, because that’s exactly the trick of the fairy tree: If you go via the wrong exit, you appear to end up back in a familiar place, even though the arrangement has changed. Therefore, switch between the neighboring forest sections and examine the conspicuous stones and open spaces until you have found all three fairies. Then they end their prank and put the forest back together properly. Now go east to the entrance to the supposed cave and pick up the large stone with it Power Bracelet to. Instead of uncovering the entrance, you cause the entire cave to collapse. The Maku Tree will contact you immediately and advise you: Nayru’s house to visit – there could be something hidden there that you can use to reach the past.


The harp of time and the melody of echo
Return to Lynna Town through the Fairy Grove and head northeast to Nayru’s House. Impa is already waiting inside and is convinced that there must be a secret passage there. There is a striking statue behind her. Push it to the left and enter the revealed passage, descend the stairs and follow the short path into the hidden chamber. On the pedestal lies the Harp of Time, one of the most important items in Oracle of Ages. As soon as you take it, Nayru will appear and teach you the melody of the echo. With this melody you can now activate the time portals distributed throughout Labrynna. So you can’t travel through time at any point yet, but the marked portals are sufficient for now.
Leave Nayru’s house and stand on or directly at the time portal in front of the building. Use the harp to play the melody of the echo, which awakens the portal, and jump in. You end up around 400 years in the past again. Before we take care of the Wing Dungeon, it’s worth taking a short detour through Lynna Village, because with the will-o’-the-wisp clock that was already preserved in the Yoll cemetery, we can take the exchange deal two steps further. Find the postman at his house in the village and give him the Will-o-the-wisp watch. Since he finally knows what time it is, he gives you a letter set in return. Then go to the western part of Lynna Village to the small toilet block and talk to the hand sticking out of the hole. She urgently needs paper and gratefully accepts your set of letters; In return you get the unappetizing scented bag. Keep it for now, because the next exchange partner won’t be waiting until later on Crescent Island.


The Deku Forest – Gasha Seed and Piece of Heart
Now leave Lynna Village in the southwest and use the Power Bracelet to clear the rocks out of the way. Where the confusing fairy forest lies in the present, the Deku Forest stretches in the past. The Wing Dungeon is still undamaged here, but its entrance is blocked by a fragile wall and you can’t get in without bombs at first. So explore the forest first. In the northern area you will find a staircase that leads into a small cave. Clear the rocks aside and solve the block puzzle: move the right block of the group of three to the left, the opposite block of the larger formation to the right, and the following block down; then run around the formation and move the remaining blocks so that the path to the chest is clear. Inside is a Gasha Seed. Since the quality of the later Gasha nut also depends on the bed used, you should not randomly use the more valuable kernels in every free spot; You can find the best spots and their quality levels in our guide to the Soft Soil Locations and Gasha cores.
Back on the surface, continue into the southwest area of the Deku Forest. There, look for a single small tree among the larger trees and burn it with a Ember Core. A staircase appears. Climb down and follow the underground passage to the right until you can climb back up and reach Piece of Heart 4 of 12. If you have also collected the three previously accessible Pieces of Heart at the Black Tower, in the Maku Passage and in the Yoll Cemetery, this fourth Piece of Heart completes your first additional Heart Container. You can also find all regular and random Locations in our overview of Pieces of Heart in Oracle of Ages.
Arcanum Cores and Queen Ambi
Your actual goal in the Deku Forest is now the Arcanum Cores, which Queen Ambi is looking for. Follow the winding paths further through the forest, burn another small tree with an ember core and use the stairs that are revealed. In the cave system you initially stay on the lower path and eventually reach a secluded area of the forest with a special core tree. Hit the tree with the sword and collect the Arcanum Cores. As soon as you have this core type for the first time, you will be able to find it occasionally in bushes, jars and from defeated enemies. Arcanum Cores have a random effect on enemies and are also needed to make the blue owl statues talk – if you are unclear about a puzzle in a dungeon, it is worth sprinkling them on such a statue.
As soon as you move back towards Lynna Village with the Arcanum Cores, a guard from Queen Ambi will stop you and automatically take you to the palace. There you find out that the queen has the rare cores collected at Nayru’s request. Give her your Arcanum Cores and you will receive as a reward ten bombs. Veran, who still controls Nayru’s body, pursues her own plans and continues to ensure that the sun does not set over Labrynna so that the Black Tower can continue to be built without interruption. After the audience you will be escorted out of the palace. This means you finally have the tool that was missing at the entrance to the wing cavity.
If you don’t have a wooden shield yet, you can buy one particularly cheaply in the Deku Forest. Several leafies offer the same shield at different prices; The cheapest one only requires 10 Rupees. You should have a shield with you for the Wing Dungeon, as it will be very helpful in the first fight of the dungeon. Then return to the entrance to the Wing Dungeon and place a bomb in front of the cracked wall. After the explosion the path is clear and you can enter Level 2 – Wing Dungeon.






Level 2 – The Wing Dungeon
In the entrance room you can activate an owl statue with an Arcanum Core before heading north. Three storm there Stachis towards you. Normal sword blows bounce off the top, so you hold the wooden shield in front of you and let the opponents run into it. This causes them to fall onto their backs and can be defeated with a single sword strike. Once all three have been dealt with, the door opens to the left. In the next room there is a colored cube that you have to roll onto the marked field, ending with the red side up should show. Slide the cube to the right three times, down once, left once and up once; You can then roll it to the left to the marked field. The door opens. In the next room, clear the blocks aside, defeat the snakes and blow up the cracked wall at the bottom right with a bomb. Behind it lies the Dungeon Map.
Return to the previous room and take the northwest exit. Run further left through the room with the bats and then through the block maze with the sparks. In the next room you defeat all enemies, whereupon Small Key 1 appears. Now return to the room with the Stachis near the entrance and open the locked door on the right. Defeat the snakes and blow up the prominent spot in the southern wall. Climb down the stairs and cross the underground area shown on the side: use the ladders and moving platforms, lure the large stone block down and scurry under it as soon as it goes up again. At the other end, climb back up and defeat all the snakes so that a chest with small key 2 appears. Go back through the underground and move the single block in front of the chest in the room above; Inside is the Compass.
The Great Winged One and the Roc’s Feather
From Compass, go north, defeat the enemies and open the locked door to the left. Climb into the lorry and let yourself be driven along the rails through the western part of the dungeon. After the journey, the path leads north to the Miniboss, the Great Winged One. The stone bird initially hovers above the ground out of reach and then swoops down towards your position. Keep moving and dodge to the side just before impact. If he lands on a normal floor space, it then breaks away and leaves a hole behind; However, the blue border fields cannot be destroyed. Hit the enemy with the sword as soon as he lands. After a few hits, he will perform several jumps or diving attacks in quick succession, which is why you should only attack when he has actually come to a standstill. If you fall through one of the holes, you have to return via the lower floor and the fight begins again. After the victory, the familiar warp field appears at the entrance.
Then take the northeast door and descend the stairs to the lower floor. Follow the path south and then east, avoiding the black anti-fairies and spear-throwing enemies, and go up the stairs in the room with the owl statue. Another large stone block is waiting in the corridor shown to the side. Lure him down, run under him and follow the tunnel to the right. At the end you will find the Roc’s Feather. With it, Link can jump for the first time, which not only allows numerous puzzles in the Wing Dungeon to be solved, but also opens up new areas in the upper world.
Before you leave the underground again, you can take 30 Rupees with you. Jump onto the large stone block when it is down, ride up on its head and jump into the small passage on the left in time. Afterwards, return to the room with the owl statue. Jump over the colored field there several times until its color matches the default and it turns red; this will open the door to the right.
The colored puzzles of the wing cavity
In the next room, jump with the Roc’s Feather over the holes and climb into the lorry. While driving you will pass a yellow lever that you have to hit with your sword at the right moment. This switches the switch and the lorry stops on the other side of the same room. Blow up the cracked wall on the right and defeat all enemies in the hidden room. A chest with small key 3 appears. Return to the lore and focus on the next colored cube. Roll it onto the marked space so that the blue side up shows; To do this, first push it to the left, then down, to the right and finally up to the target field. The barrier on the rails opens and you can continue driving with the cart.
After the ride you will reach a puzzle with four colored floor fields. On the left you see a given pattern that you have to reproduce on the right. Use the Roc’s Feather to jump over the individual fields until their colors exactly match the template. Once the pattern is correct, Small Key 4 falls from the ceiling. Then go left and up the stairs again. Open the key block, then jump down from the raised platform to the left and take the southern path. Jump over the narrow gaps and change the next color field until it is blue and the barrier on the tracks opens. Then return to the upper area and the lorry. The journey now takes you behind the previously closed barrier. Jump over the small gap to the chest on the island and take out the Gasha Seed. With this you have also collected the only solid Gasha Seed in this dungeon.
Small Key 5 and Big Key
Head north from Gasha Seed. In the next room there are several jars and a Floor Switch on the opposite side of a small chasm. Break or throw away all the jars except the one at the top right, as you will need this for the puzzle. First push it up, jump over the gaps with the Roc’s Feather and work your way around the jug again and again until you can finally push it onto the switch. The door to the right opens. In the following large room you go south. On the left is a finished arrangement of different colored statues, on the right is a disorganized copy. The color field on the torch determines which statues you can currently move. First set the field to yellow and put the yellow statue in the middle, then switch to blue and arrange the blue statues above, below, left and right of the middle. Finally, set red and move the red statues to the four corner positions. As soon as both formations look identical, Small Key 5 appears.
Return north and use a key to open the eastern door. The entire floor in the next room has a uniform color, on which several small enemies are almost invisible and at the same time invulnerable. Jump over the field in the middle to make the ground change color. For a brief moment, the enemies rise from the ground and can be hit; after a few seconds they adjust their color again. Repeat the color change and defeat them as quickly as possible until a chest appears. Inside lies the Big Key. Return to the previous room and now open the locked door to the north. Follow the narrow path between sparks and bats to the big boss door on the right. In the anteroom you can break the jars and get hearts and bombs. For the final boss you need above all a sufficient supply of bombs and the Roc’s Feather.
Super Stone Block – Final boss of the Wing Dungeon
Super Stone Block consists of a giant floating stone head with four different colored faces. Climb one of the ladders to the upper platform and watch its rotation. To damage him, you must throw a bomb into the opening on his head. What is crucial, however, is the color that appears at the front at the moment of the explosion or when the rotation stops: only the red face suffers damage. Green, blue and purple, on the other hand, trigger different counterattacks. In green, fireballs shoot out of the head, in blue, numerous small projectiles move in a circle through the room, and in purple, Super Brick crashes to the ground while debris falls from the ceiling. The upper platforms provide a relatively safe location for several of these attacks; If necessary, you can use the Roc’s Feather to jump over floors or climb down the ladder a bit.
Try to throw the bomb just in front of the red face so that it falls into the head just as red appears in front. After each successful hit, Super Brick spins faster, making timing increasingly difficult. If you run out of bombs, you don’t have to restart the fight: the enemy will always spawn more bombs during certain attacks. According to total four successful hits on the red face breaks Super Brick. Collect the one left behind Heart Container and then climb down the right ladder. The second of the eight awaits you in the adjacent room Essences of time: the Wood of antiquity. The Maku Tree then senses another essence far out in the South Sea on Crescent Island.
Another Piece of Heart with the Roc’s Feather
Before you head to Crescent Island, you should immediately use the new Roc’s Feather for another permanent upgrade. Leave the Deku Forest to the north and follow the path towards Talus Peak or Restoration Wall. Thanks to the Roc’s Feather you can now jump over the gap that previously blocked the northern path. Continue following the path north until you reach a cave entrance. Inside you combine the Roc’s Feather with the Power Bracelet: Jump over the abyss, clear the annoying jars or rocks out of the way and work your way up to the Piece of Heart 5 of 12 ago. Since you come directly from the Deku Forest anyway, this detour saves you an additional journey through the past later.
In this area you will also find another space for a Gasha Seed. If you still have a core from the Deku Forest or the Wing Dungeon in your inventory, you can plant it here; Harder-to-reach Soft Soil Locations can produce better rewards than the easily accessible spots around Lynna. After that, everything in this area is done for the time being and you can return to Lynna Village. Your next big destination is in the southern sea: we continue with the crescent island and the Moonlit Grotto.
Additional secrets in Linked Game
If you play Oracle of Ages with the Labrynna secret from Oracle of Seasons, additional secrets will become available in this section. In the southeast of the Deku Forest there is a Leaf Guy waiting with the Leaf Guy Secret, which you can use to unlock an expansion of the seed bag in Holodrum. After completing the Wing Dungeon, additional password events will also appear, including the Ruul Secret and the Great Fairy Secret; With the now available Roc’s Feather you can also achieve the pirate secret. You can find the respective recipients in Oracle of Seasons and the resulting upgrades under Secrets and passwords in Oracle of Ages.