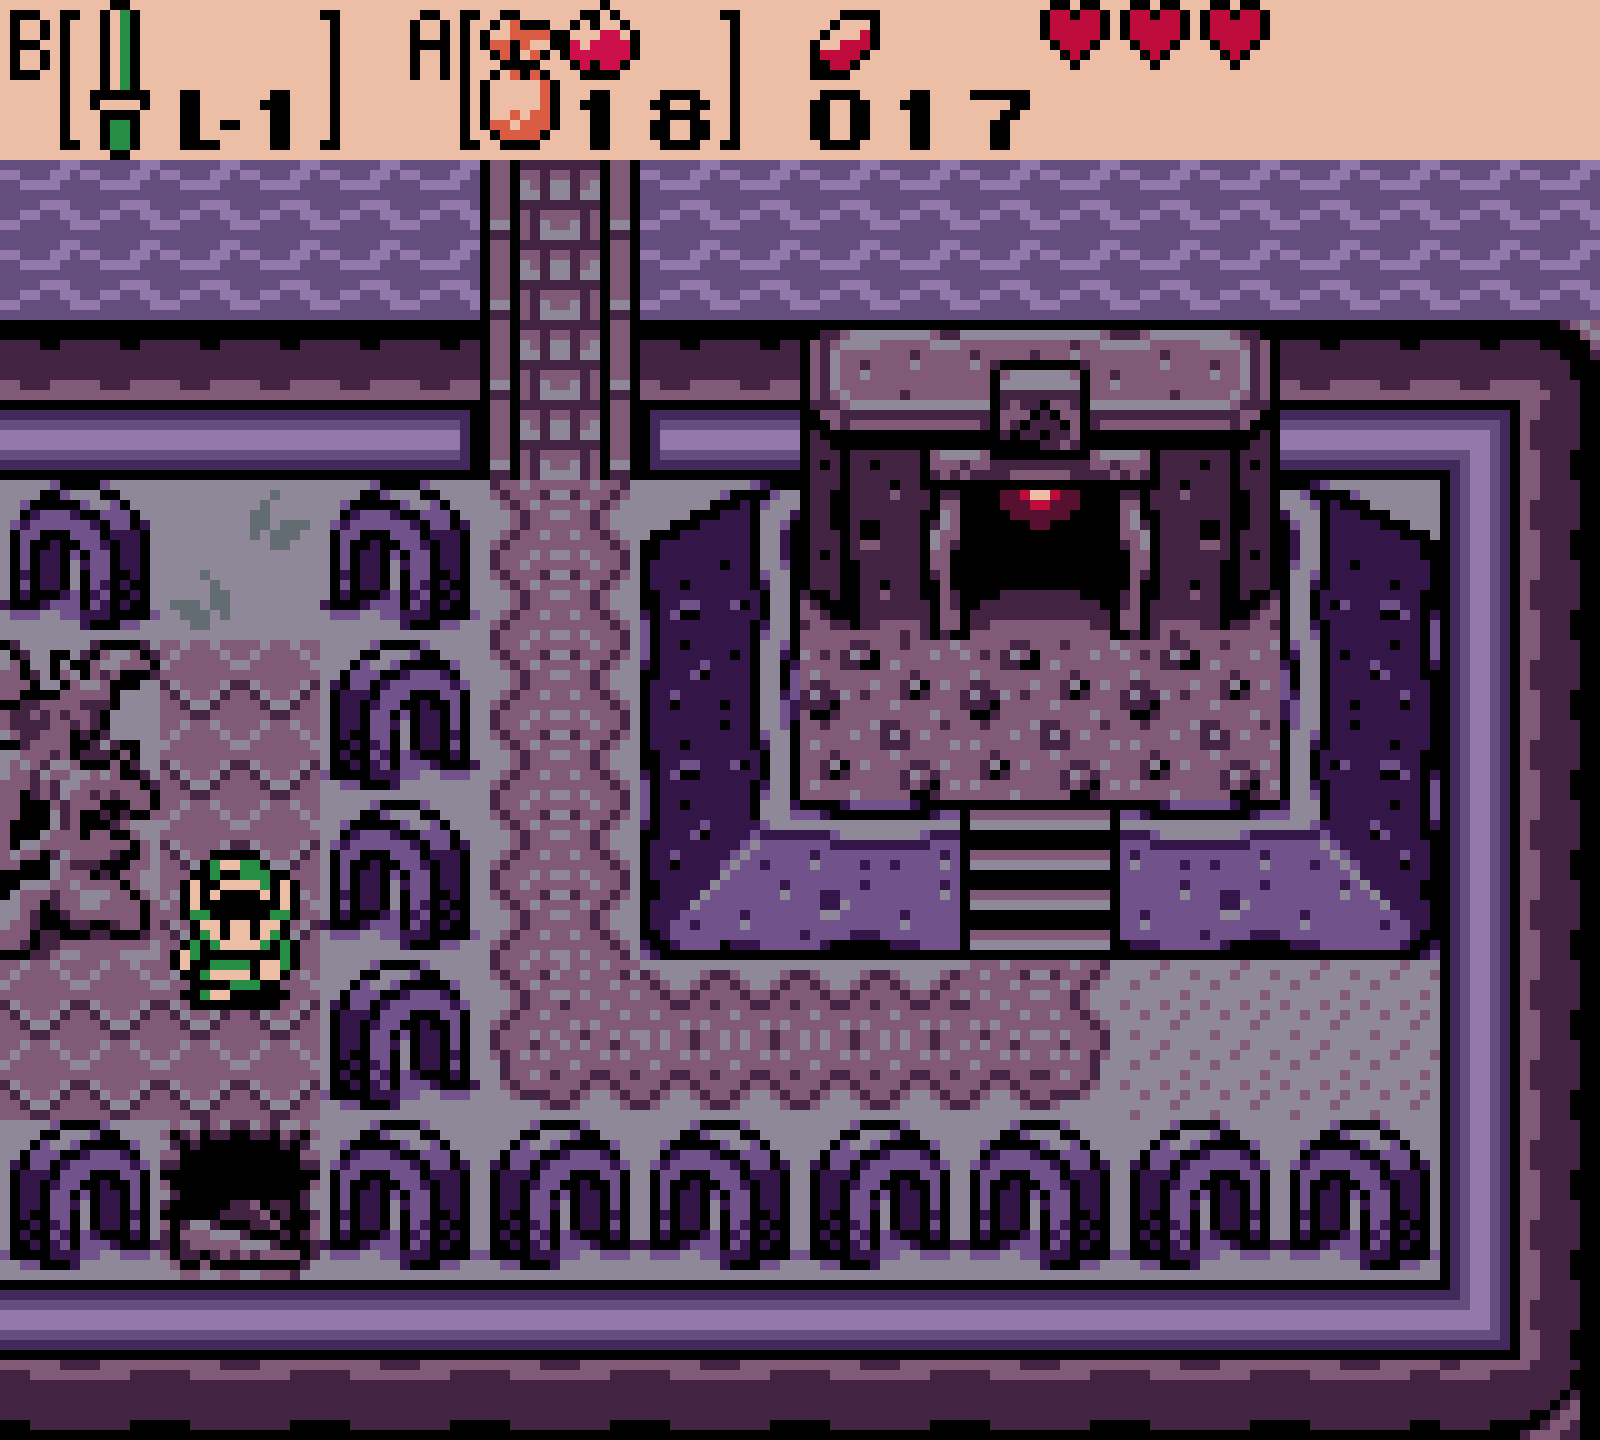

Your adventure in The Legend of Zelda: Oracle of Ages begins in the Time Forest of Labrynna. From the starting point, go up twice and you will discover a woman being harassed by several Octoroks. As soon as you approach, the monsters flee and the woman introduces herself as Impa, Princess Zelda’s maid. She is looking for Nayru and asks you for help. Go up with her and then to the left. Impa stops in front of a large stone with the sign of Triforce and explains that she cannot move it. Push the stone out of the way and continue following the path north until you hear a singer’s music. Talk to the audience around the stage and finally to the red bear, who will eventually step aside. Now you can go to Nayru, which shortly afterwards reveals itself as Oracle of the Times. At the same time you get to know her childhood friend Ralph.
Arrival in Labrynna and Nayru’s abduction
The peaceful scene doesn’t last long, however. Impa begins to behave strangely and suddenly Veran, the Master of Shadows, leaves her body. She had used Impa to get to Nayru, and now takes over her body and with it the powers of the oracle. Veran opens a time portal and escapes into the past, where she begins to change the course of history. After Impa comes to, she recognizes the hero’s mark on Link’s hand and hands you the wooden sword that Princess Zelda had entrusted to her. This means you can now defend yourself against the monsters of Labrynnas. If you play a Linked Game that started with the Labrynna secret, you already have the wooden sword and also start with four heart containers instead of three.


Lynna Town, Vasu and the Maku Tree
Impa will now send you to the Maku Tree in Lynna City. Go down three times, knock away one of the bushes on the left with the wooden sword and run left into the town. Before you go to the Maku tree, you should do two things that will be important for a complete game later anyway. First, visit Vasu in his ring shop, which is easily identified by the ring symbol above the entrance. During the first conversation, he gives you the ring case L-1, in which you can initially carry a ring, and explains the ring system to you. You will also receive your first ring, which after free estimation becomes the friend ring. In the future, additional rings must be valued by Vasu before their effect can be used; You can also find all fixed Locations in our ring list for Oracle of Ages.
Also live in the northern part of Lynna City Bipin and Blossom with her newborn son. Visit the family now and talk to Blossom so that you can give the child a name. This little subplot develops further as the game progresses and is even incorporated into a linked game later on; If you want to achieve a specific development path, you can find all the decisions in our guide Bipin and Blossom’s son. Then you go to Maku Passage in the northeast of Lynna town and follow it further and further north. When you arrive at the Maku tree, you notice that Veran’s interventions in the past are already having consequences: the tree disappears right before your eyes. Go right where Ralph jumps into one of Veran’s time portals and follow him.
400 years in the past
The portal takes you around 400 years into the past. At this time, Lynna City is still the much smaller Lynna Village, while to the south of it the Black Tower is being built on the orders of Queen Ambi. Before you go there, it’s worth taking a short detour to the northwestern house of the village: Bipin’s ancestor lives there, a Gasha gardener, who will give you a Gasha Seed. There is a gasha bed directly south of his house where you can plant the core immediately. After enough fights, a Gasha tree with a Gasha nut grows from it; You can find out more about the locations and the different beds in our guide to the Gasha cores and Soft Soil Locations.
Then go to the south of Lynna Village and continue to Black Tower. Speak to the foreman to clear access to the construction site and enter the tower. Inside, go right, up and left to the worker with the blueprints. He gives you the shovel, with which you can remove dirt and debris. Dig through the rubble on the right and exit the tower to the south again. The first important collection item is waiting directly outside: Use the shovel to clear the pile of dirt to the right of the path and get Piece of Heart 1 of 12. This Piece of Heart should definitely not be left until later as you will pass it straight away. You can find the complete overview of all twelve regular Pieces of Heart in our heart parts guide for Oracle of Ages.
The Maku Passage in the past
Now return to the northeast of Lynna Village and use the shovel to clear the entrance to the Maku Passage. Unlike in the present, this time you have to traverse the passage completely. In the first room, push the red block up to open the door, and in the next room push the next block aside. Defeat or bypass the bats and follow the path to the right. In the room with the blue Stalfos there is already Piece of Heart 2 of 12 in the top left corner. Push the left of the blocks underneath up and then the neighboring block to the side so that you can reach the Piece of Heart. Then you move the individual block of the room, which opens up the further path.
Continue following the passage and get the Small Key from the chest, which you can use to open the locked door on the way to the exit. After you have overcome the remaining block puzzles, climb the stairs at the end of the Maku Passage and reach the young Maku tree. Two Moblins are currently attacking him; Defeat both opponents and the saved tree will open the gate to you as a thank you. There is now a time portal in front of the exit. Jump in and return to the present, where you will revisit the fully grown Maku Tree. He remembers your rescue operation and explains to you that his strength, weakened by Veran’s interventions, can only be restored with the eight essences of time. The first essence is located to the east in the Yoll Cemetery. To help you, you will receive the seed bag, which is already filled with 20 ember seeds.


Preparation for Yoll Cemetery
Before you leave Lynna City, you can immediately use the new Ember Cores profitably. Go south from the Maku Tree and burn the small tree or bush that blocks the eastern path. Behind it you will find a chest with 30 Rupees. With this money you can buy the wooden sign directly in the Lynna City shop for 30 Rupees if you don’t already own it. The shield is not absolutely necessary for the first dungeon, but it is part of the regular equipment and makes some fights easier. There is also an ember core tree south of the shop where you can replenish your supply. Further permanent improvements to the Sword, Shield, Seed Pouch and Ring Case are summarized in our guide to the expansions in Oracle of Ages.
The Yoll Cemetery and the Crypt Key
Leave Lynna Town east towards Times Forest. From the eastern city area, go right, up, right, and down again. Burn the small tree or bush on the right with a ember core, go to the right and burn the next barrier too. You have now reached the Yoll Graveyard. Follow the path to the right and down, then go left to the children who are talking about a grave under a tree and a ghost. Also note the Gasha bed in this area, because after the Spirit’s Grave you have another Gasha Seed that you can usefully plant here.
From the children, go south across the bridge and then go right twice. Of the two small trees, burn the bottom one and climb down the uncovered stairs. In the dark crypt you light both torches with your ember cores. As soon as both burn, the crypt key appears. Return to the surface, run left twice, across the bridge back up and from there to the large locked cemetery gate in the north. Open it with the crypt key and follow the path to the right and then south three times. The crows in this area will attack as soon as you get too close, but can easily be dispatched with the wooden sword. At the end of the path you will reach the entrance of Level 1 – Spirit’s Grave.


Level 1 – The Spirit’s Grave
From the entrance of the Spirit’s Grave, go right, defeat the Zols and move the bottom red block so you can continue up. The first colored cube of the game is waiting for you in the next room. Push it up so that it fits between the two torches and opens the way. First take the stairs on the left and open the chest with the Dungeon Map. Then return to the cube, solve the puzzle again and this time go north. Push the block up and open the chest on the left with the Compass. Now pay attention to the overgrown wall to the left of the chest: burn the vines with an ember core and go through the hidden passage. In the room beyond, defeat the two snakes and step on the Floor Switch. On the opposite side, a chest will appear with a ring, which after estimating from Vasu will become the Power Ring L-1. It increases the damage of your sword, but at the same time increases the damage that Link himself takes.
Return to the room with the color cube and now take the eastern path. Defeat the enemies and go north. After you kill the ghost, Small Key 1 will appear. Go west, move the block and use the key to open the door to the north. Behind her, push one of the blocks out of the way and get Small Key 2 from the chest. Then go west and move the blocks so that you get to the other side, follow the corridor east again and go north. In this room you have to move the blocks appropriately and reach both switches; This will cause a platform and a chest or the path to small key 3 to appear. Take the key and follow the path back to the area with the moving platform.


Gasha Seed and Miniboss
In the room with the moving platform you get to the upper path. Press the switch in the corner there and open the chest that appears, which contains another Gasha Seed. You should definitely not overlook this, as it is one of the permanently placed Gasha cores in the spirit crypt. Then drive the platform to the west and open the locked door with one of your Small Key. The Miniboss of the Spirit’s Grave waits behind it: a large ghost who constantly summons smaller ghosts. The little ghosts disappear after just one sword blow; Then immediately focus on the great spirit and attack him repeatedly before his helpers return. After a few hits, the fight is over, a fairy appears and a warp field opens in the middle of the room, allowing you to return to the entrance at any time.
From the Miniboss’s room, go left and open the locked door to the south. Move the outer blocks and then the middle block to clear the path and follow the passage down. Defeat the Stalfos and work your way north again on the right side. In the next room, light both torches with ember cores and a staircase will appear. Descend and follow the short underground path to the chest containing the most important item in the dungeon: the Power Bracelet. As long as you have it equipped, you can now lift heavy stones and jars and throw them out of the way.


Gardener’s ring and boss key
Return upstairs with the Power Bracelet and go south. You can now pick up the jars that previously blocked your path and throw them away. Behind it you will reach another chest with a ring. If you have it valued at Vasu later, you will receive the gardener’s ring. This ring signals with a sound when there is a Gasha bed on the current overworld space, and is therefore extremely useful for a complete run. Then go south again, push or carry the single jug onto the Floor Switch and take the now open door to the right. Clear the jars in front of the big chest there and get the boss key.
The door on the right takes you back to the entrance area of the Spirit’s Grave. Now use the warp field and return directly to the Miniboss’s room. From there you go north and then north again. In the next room, Grabbers fall from the ceiling; If you get caught by one, you will end up back at the entrance to the dungeon. So keep moving and walk quickly to the door on the right. The final boss of the Spirit’s Grave is already waiting behind it.
Pumpkin Head – Final Boss of the Spirit’s Grave
Pumpkin head initially seems much more dangerous than he actually is. Dodge his jumps and projectiles and repeatedly attack his body with the wooden sword. After several hits, the body disappears and only the large pumpkin head remains. Immediately equip the Power Bracelet, pick up the pumpkin head and throw it as far to the side as possible. The actual enemy appears underneath: a small ghost that you now have to quickly attack with your sword. After a short time he hides in the pumpkin again and rebuilds his body. Repeat the same process until the ghost is finally defeated.
After the fight, a Heart Container appears, which permanently increases your maximum health by a whole heart and completely fills your hearts. Then go through the door to the north and take the first of the eight Essences of Time: the Spirit of Eternity. The maku tree already senses another essence through the regained power and points you to the next goal.


Use the Power Bracelet directly
Don’t leave the Spirit’s Grave for the next big area yet, because with the Power Bracelet you just received you can immediately do two important things in the Yoll Cemetery. To the northwest of the Spirit’s Grave there is a fenced-in grave in front of which a ghost is waiting. Use the Power Bracelet to lift the rock away, talk to the ghost and then move his tombstone up. Climb down into the grave, talk to him there again and then follow him back outside. As a thank you, he gives you the Poe watch. You have already collected the first item of the long exchange deal from Oracle of Ages, at the end of which the stronger Noble Sword awaits later.
Then go back to the western part of the Yoll Cemetery. There you can plant the Gasha Seed found in the Spirit’s Grave in the Gasha bed you saw earlier. One field further south or on the other side of the bridge there is also a Piece of Heart behind a heavy stone. Use the Power Bracelet to lift the rock away and take Piece of Heart 3 of 12 with you. This means that all three regular Pieces of Heart that are accessible at this early point are collected, and you don’t have to return to the graveyard later. Now you can explore Labrynna further and follow the trail to the second essence. We continue with Fairies’ Woods and Wing Dungeon.