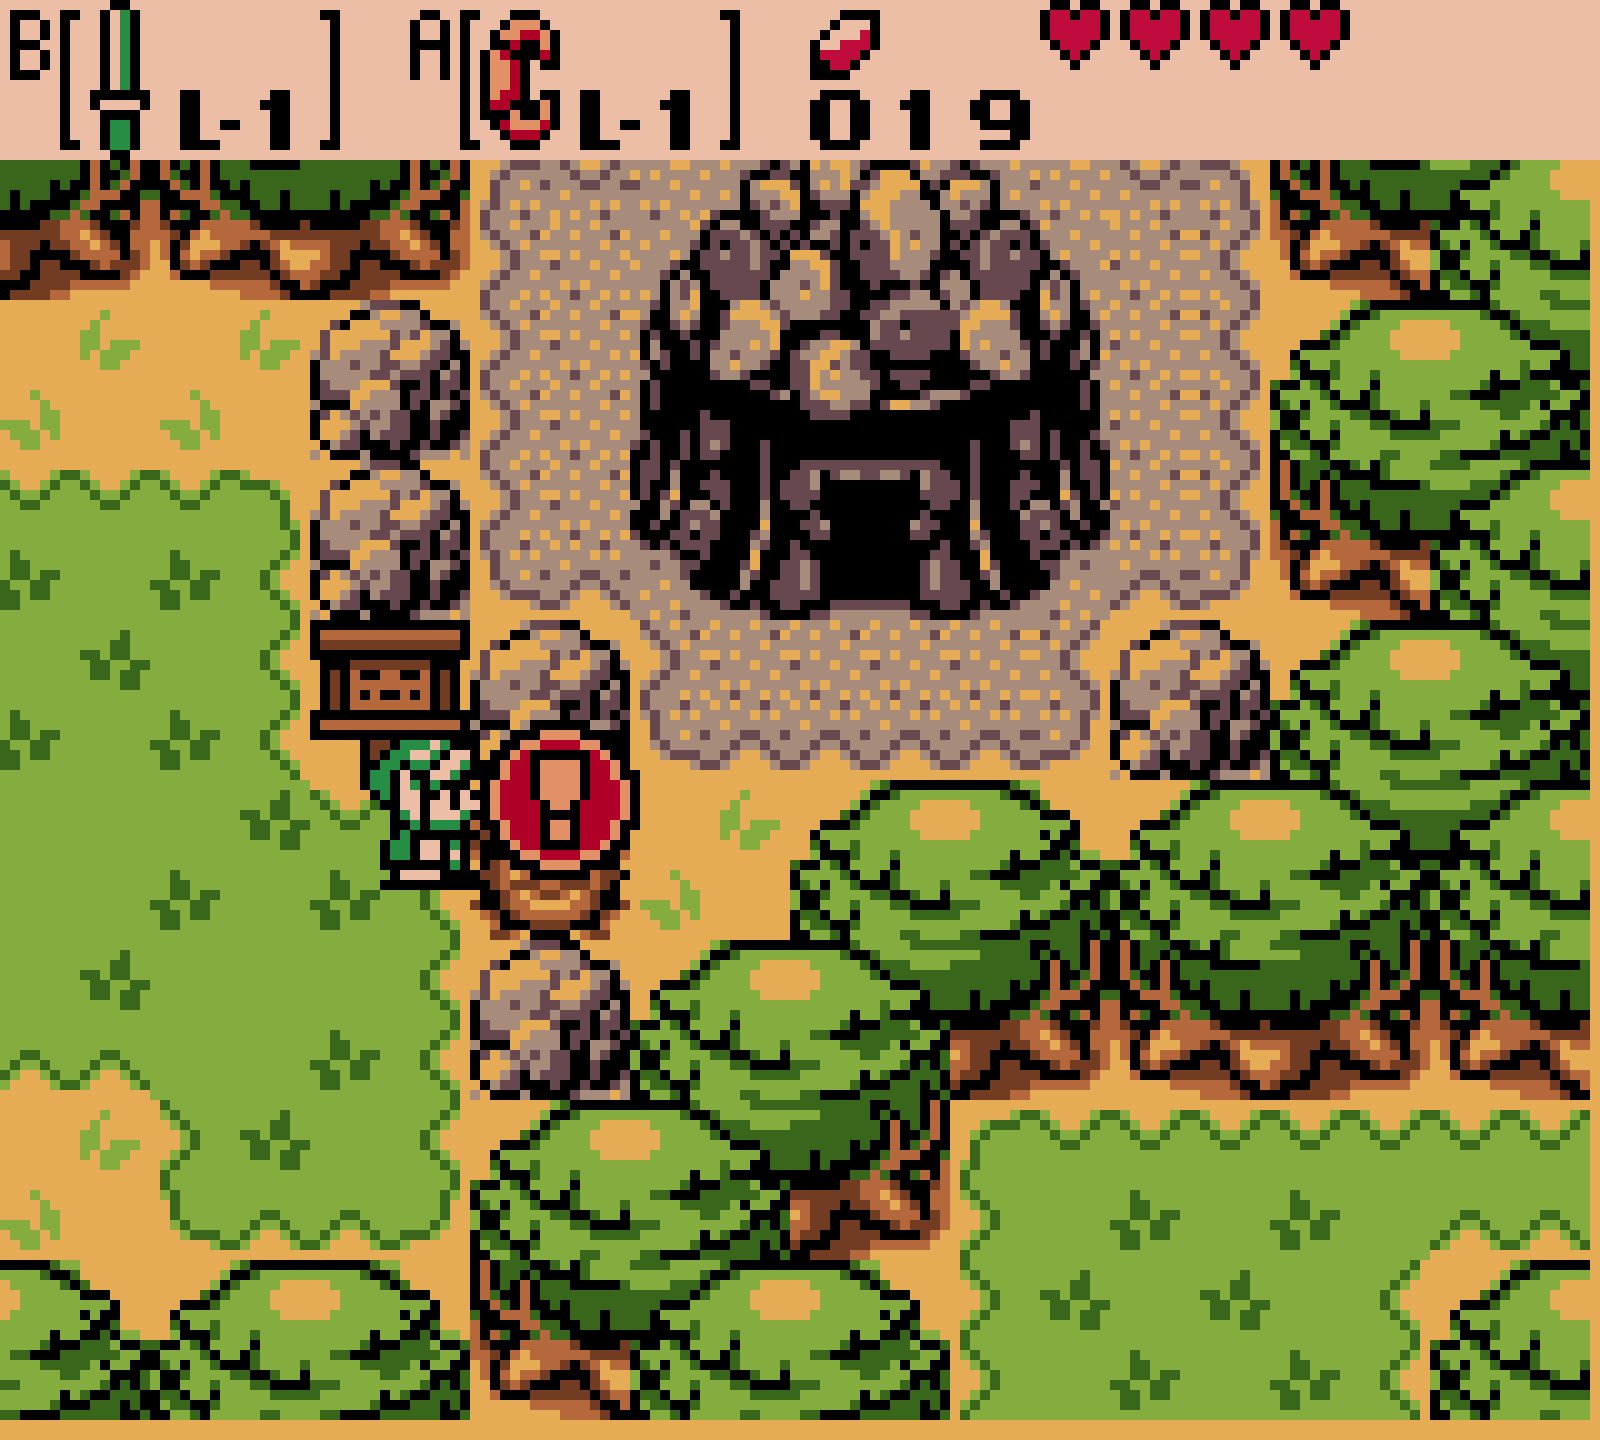

After you in Jabu-Jabu’s belly the seventh essence of time, the Raging sea, you have received, swim south from the shrine. A Zora is already waiting for you and thanks you again for saving King Zora and cleaning the contaminated sea. As a sign that the Zora people recognize you as a hero, he gives it to you Zora scale. This ancient talisman of the sea is the key to an area that was previously inaccessible even with the mermaid suit: the Sea of Storms.
Before we set off there, we use the remote exchanger for some solid ring finds, which can now be collected without major detours. These items are not required for the main story, but are part of a complete game state and should therefore be completed before the final dungeon.
Divis-Ring Green at Mayor Plen
Use a Storm Core and return to Lynna City. Enter Mayor Plen’s house west of Vasu’s jewelry store. On the raised left side of the house is a chest that was once out of reach. Position yourself so that you can target the jar in front of the chest with the Remote Exchanger and swap positions with it. Open the chest and then bring the magic ring you found to Vasu. It is the Divis Ring Green, which halves the damage from blade traps.
Immune Ring Red in Zora Sea
Then travel to the past and return to the southeastern area of Zora Sea. Swim to the lonely island in the east and dive south or east of it. There is a cave entrance underwater that we haven’t been able to fully explore with the normal barter hook. Enter the cave and use the Remote Exchanger on the far diamond block to get to the side with the chest. The magic ring in it becomes the Immune Ring Red for Vasu. As long as you are wearing it, small rocks and corresponding projectiles no longer cause damage.
Power ring L-2 on the sickle island
Since we have to go to Crescent Island anyway, we’ll take one of the stronger solid attack rings there with us. Travel back in time and head to the far southeast of Crescent Island. Enter the cave there with the numerous jars. The chest on the opposite side was still too far away on our first visit. With the long-distance exchanger you can now pull yourself to a jug or diamond block near you and open the chest. The ring inside is the power ring L-2. It significantly increases Link’s sword power, but at the same time also increases the damage taken. It’s definitely useful for risky, quick fights; However, against the difficult opponents of the last dungeon, the Blue Ring, which is available later, is usually the safer choice.
The Sea of Storm
Now return to Zora Village back in time and swim far east from the southern end of the village. As soon as the rocks completely block the path to the surface, you dive down with the mermaid suit. Underwater, a Zora guards a narrow passage. Show him those Zora scale and he immediately recognizes you as a hero of his people. He steps aside and you can go through the tunnel into it Sea of Storms to swim. In a normal game, you reach this area in the past; in a Linked Game that begins with the Labrynna secret, access is instead in the present.
After entering, first dive down again. In the inner part of the sea there is an underwater cave. Swim in and open the chest with another Magic Ring. In a normal game it is the Pegasus Ring, which extends the duration of the Pegasus Seeds. This is particularly useful for long jumps with the Roc’s Feather and some quick escape passages. In the Linked Game, the contents of this cave may vary.
The pirate ship
Resurface and swim through the closed sea until you discover the large pirate ship. The crew consists entirely of skeleton pirates who have been stuck in the sea of storms for a long time and cannot find a way out. Enter the ship and go right to the captain. As soon as he sees the Zora scale, he recognizes it as the talisman that can calm the stormy sea. Give him the Zora Scale. The pirates can finally set course for Holodrum and in gratitude the captain gives you a rare treasure that they once found on Crescent Island: the Tokay glass eye.
The captain also mentions that, according to an old legend, this jewel is said to open access to an Ancient Tomb. Right on Crescent Island stands a giant Tokay statue with an empty eye socket – the same guardian whose mouth forms the entrance to Moonlit Grotto in the present.
The Tokay Glass Eye and Secret Entrance
Travel to Crescent Island in the past and go to the large Tokay statue in the central area. Stand in front of the left empty eye socket and insert the Tokay glass eye. The statue’s mouth immediately opens, revealing a deep cave entrance. Behind this entrance lies no ordinary dungeon, but an ancient trial that protects the path to the sea of no return.
A voice calls on you to show strength, courage and wisdom. Only when all three tests have been passed does the path to the last large labyrinth of the game open.
Testing the force
Enter the first room and go to the middle. Several Gibdos attack you at the same time. With the noble sword they have now received, they can be defeated much more quickly than in previous encounters. Alternatively, you can hit them with Ember Cores, which will transform them into weaker Stalfos. Destroy all enemies and the eastern door will open. This means the test of strength has been passed.
Test of Courage
In the next room there are blade traps, armored beetles and a narrow path. Use a Pegasus Seed and move quickly through the maze. Large blade traps shoot towards Link as soon as you enter their line; So first lure them into a safe corner and then walk past them. You can jump over smaller obstacles with the Roc’s Feather. You blow up a fragile blockade in the middle with a bomb. The armored beetles themselves don’t need to be defeated – just push or bypass them and reach the exit on the opposite side.
Trial of Wisdom
In the third room, the floor seems to consist almost entirely of abysses. In fact, an invisible path runs through the room. Use the Cane of Somaria as a safe guide: Create one block at a time on the field in front of Link. If the block remains standing, you can enter the field safely; If it falls down, there will be a hole there. In this way, work your way little by little to the stairs in the northern part of the room. In the last section, if necessary, you can combine a Pegasus Seed and the Roc’s Feather to jump directly over a short gap.
Climb down the stairs and follow the short cave passage. At the end you jump into the water, dive with the mermaid suit and swim through the underground tunnel. On the other side, you emerge within a completely closed area: the Sea of No Return.
The Sea of No Return
Climb onto the small island and examine the three stone warriors. Slide the middle statue to the left so that all three figures are in a straight line. The area then changes and access to the large labyrinth opens. From here on out, you cannot use the Harp of Ages to simply leave the area; the path only leads forward.
The Sea of No Return is less a mystery than a dangerous overworld labyrinth. Numerous blue Darknuts and especially Lynel guard the narrow paths and cause considerable damage. You don’t have to defeat every opponent. With the noble sword you can fight your way relatively safely, but it is often faster to run past them. From the entrance you go north, north again, west, south, north again, north twice, east twice, south, west, east, south, north, north twice and finally west. Before you rises the Ancient Tomb, the eighth and final regular dungeon of Oracle of Ages.
Level 8 – The Ancient Tomb
Go north from the entrance. The room initially seems like a dead end. Move the statue in the northwest corner up or down and place a bomb where it was before. The western wall breaks open. Go through and beware of the floormasters, who will take you back to the entrance if you touch them. Blast the cracked blocks and open the chest with small key 1. Return and use it to open the locked door in the southern area.
Four switches and the Dungeon Map
The following room contains four different mechanisms. Push the diamond block or drag it onto a Floor Switch with the remote exchanger, create a block on a second switch with the Cane of Somaria and place Link himself on the third. The fourth mechanism is an unlit torch in the northeast corner: Shoot a Ember Core with the blowpipe at the wall so that it bounces off the torch. Once all four conditions are met at the same time, the large stone slab splits in the middle and a staircase becomes visible.
Climb down and go north. The first turnstile sends you west. Defeat all the ghosts in the next room and then move the individual block. A staircase appears beneath him. Climb down and open the chest with the Dungeon Map. Then go back up.
Small Key 2 and Compass
From the room with the hidden stairs, go north and open the chest there with small key 2. Then return to the turnstile until you reach the central area again. There is a locked key block to the right of the stairs. Open it and go east. Use the next turnstile, which will initially send you south.
In the room with the ghosts, climb to the raised level and go north and then west. There is a Crystal Switch. Press it once, go back east, south and then west. By changing the position of the colored blocks you can now reach the chest with the Compass. Then return to the Crystal Switch and change its position again.
Small Key 3
Return to the Compass Room and use the northwest exit this time. Go west, fight your way past the red Darknuts and examine the southern wall. Blow up the fragile spot with a bomb. Beyond that, a room full of racing blade traps awaits. Insert a Pegasus Seed and combine it with the Roc’s Feather if necessary. Unlock the traps from their starting positions and then sprint or jump to the northeast corner. Open the chest there with small key 3.
Small Key 4
Leave the trap room to the north again, go east and then into the northern part of the next room. Use the Remote Exchanger on the diamond block beyond the gap and follow the path around the raised platform. Swap with the diamond at the next turnstile a second time and work your way back to the central area. You finally reach the northeastern section via several passages through the turnstiles. Enter the room with the key-bearing Stalfos, defeat him and pick up Small Key 4.
The Power Glove
Return to the southern turnstile and use it from above until it releases you to the east. Then go south and open the locked door with a Small Key. Behind it awaits one of the longest floor puzzles in the game. You must enter every accessible blue field exactly once and may not cut off any sections, as fields that have already been entered disappear. Start on the northeast side and work your way through the entire area in long, snaking lines. Pay particular attention to the narrow connection points between the individual areas and only enter dead ends when you can then completely leave them.

The path shown shows a complete route across all fields. Once you have completed the puzzle without interruption, the large chest containing the Power Glove will appear. It permanently replaces the Power Bracelet and now allows you to lift even the heaviest sarcophagi and statues. Of course, for all ordinary rocks and jugs, it still performs the same function as the Power Bracelet.
First Gasha Seed
Exit the room with the Power Glove to the north and open the way back through the turnstiles. Work your way to the western side of the basement until you reach a room with raised red or blue barriers. If the wrong color is at the top, briefly return to the Crystal Switch and change its position. Climb the stairs and go west. There is a large sarcophagus in front of a chest, which you can now lift for the first time. Get him out of the way with the Power Glove and open the chest with a Gasha Seed.
Blue Stalfos – Miniboss
Return east and use the remote exchanger on the far away diamond blocks to get through the northern rooms. After several turnstiles and another heavy sarcophagus you reach the Miniboss: the Blue Stalfos. It fires two different types of energy projectiles. You can hit the round balls back with your sword. If one of these hits the Stalfos, he will temporarily transform into a bat; run to him immediately and inflict as many hits as possible with your sword.
However, you are not allowed to hit back the pointed or star-shaped projectiles. They burst upon impact and spread smaller projectiles across the room. If one of the round magic balls hits you, Link will be transformed into a helpless little figure for a short time and cannot use any objects. Therefore, keep moving sideways and concentrate solely on hitting the round projectiles back cleanly. After several successful rounds, the Blue Stalfos is defeated and a warp field to the entrance appears.
Small Key 5 and first slate
Go south from the intermediate enemy and then west. In the room with five blocks, go further west and use the remote exchanger on the diamond block. Follow the path north and work your way to the lower level. In the following room, several blade traps rotate along fixed paths. Wait in the indentations on the side until they pass, then jump with the Roc’s Feather to the chest at the top. Inside is Small Key 5. You have now found all five Small Key of the Ancient Tomb.
Then go east and open the chest on the stone pedestal. Inside is the first slate. A total of four of these tablets are needed to open the final sealed area of the tomb.
The second slate
Jump down from the pedestal, go east and follow the path back to the room with the five blocks. From there you go south and then west to the large base with the four recesses. Continue south, use the last key to open the key block and follow the path west and then south.
In the second lava room there is a large handle on the wall. Pull it out completely with the Power Glove. The lava retreats for a few seconds and the floor becomes accessible. Immediately run east and exit the room before the lava returns. In the next room there is a chest with the second slate.
The boss key
Go to the northeast corner of this area and then go north and east. Jump down from the raised platform and use the Power Glove to lift the large sarcophagus at the bottom left. A staircase appears underneath. Climb down.
At the bottom, push the bottom block to the left and the block above it up. Now you can use the remote exchanger on the diamond block above and pull yourself directly to the large chest. Open it and take the boss key with you.
Second Gasha Seed
Use the remote exchanger on a lower diamond block to get back to the lower side of the room, then go east. Climb up the stairs in the northeast corner. Move the individual block completely downwards and then to the left, which opens the barrier on the wagon route. Jump over the small gap, get into the lorry and let yourself be driven further.
In the next room, all the floor tiles begin to fly towards Link one after the other. If possible, stand in a corner, have your shield ready or destroy the plates with your sword. After the room is empty, open the chest with the second Gasha Seed of the Ancient Tomb.
The third slate
Wait until all the flying floor tiles are gone and go south. In the next room, several blade traps circle the floor. Jump across their lanes with the Roc’s Feather and activate the Floor Switch in the northeast corner. Part of the wall moves aside and opens the exit to the east.
The floor of the following room is completely iced over. Stay constantly moving and correct Link’s direction early on as he continues to slide a little further on the ice. Defeat the heavy knight with the ball and chain and then go north. In the chest is the third slate.
The fourth slate
Then use the lorry to the west and climb directly into the next lorry, which takes you even further west. Go north and light or defeat the candle opponents with ember cores. This will open the eastern door. Go through, walk past the Gibdos and go down the stairs on the northern wall.
In the underwater area, first defeat the electrical enemies so that the northwest exit opens. Swim further north and then to the right side of the next room. The strong currents try to pull you into the abyss; Therefore, constantly counteract and use the mermaid suit in a controlled manner. In the next section you swim against the current to the eastern exit and then to the northeast corner. Climb the stairs there.
Swim west in the lower tunnel and dive up through the left opening. Step on the Floor Switch, creating a shortcut, and then dive back down. Now swim east to the southeast corner, go through the right passage and dive up there. Open the chest with the fourth and final slate.
The seal of the Ancient Tomb
Dive again, swim west and this time use the western opening to go up. Then go west and south to the large pedestal with the four recesses. Place all of the four slates one after the other. Once the last tablet is in place, the massive seal in the middle opens and a staircase leads to the deepest part of the tomb.
Climb down and follow the ladders down. In the last obstacle room you have to use almost all of the game’s important dungeon items again: first smash the crystal with the sword, then blow up the cracked block with a bomb, light the torch with a ember core from the blowpipe and finally lift the heavy sarcophagus with the Power Glove. The path to the big boss door is clear. First, break the jars to refill hearts and consumables, then enter the Ramrock room.
Ramrock – Phase 1
Ramrock consists of a giant stone head that completely changes its fighting method after each defeated phase. In the first phase, two stone fists float next to his head. Ramrock shoots them one by one directly at Link. Stand as centrally as possible under him and hit your fists back with your sword just before they hit you. You can also easily hit them back diagonally. If a thrown back fist hits Ramrock’s head, he takes damage. After three successful hits his first hands break.
Ramrock – Phase 2
Now he grows big hands with which he wants to crush Link. Ramrock moves from left to right and claps his hands together as soon as you stand between them. First lure him to the upper part of the room and then quickly retreat to the south. As soon as he stops again, stand in front of him and throw a bomb between his open hands. If they close, the bomb explodes right in Ramrock’s face. Repeat the whole thing three times. If you throw the bomb too early or too far, he won’t grab it properly and the attack will fail.
Ramrock – Phase 3
In the third form, Ramrock uses two large shields that block any direct attack. At the same time, he fires beams and energy projectiles through the room. The trick is to get him from behind to meet. Stand relatively close to Ramrock and wait until he is approximately at your height. Then shoot with that Blowpipe at an angle against the upper wall. The core rebounds and hits Ramrock’s unprotected backside. Repeat this several times, dodging his projectiles between shots. After about four successful rebound hits, the final phase begins.
Ramrock – Phase 4
Ramrock’s final hands consist of two massive iron balls on chains. He throws one of them at Link while the other stays at his side. Dodge the thrown ball and immediately run to the other, unthrown ball. Equip the Power Glove, grab her and drag her as far as possible toward the southern wall. As soon as the chain is fully tensioned, let go. The bullet shoots back and hits Ramrock right in the face.
After each hit, keep moving and wait for his next throw. The bullets cause enormous damage, which is why the Blue Ring you collected earlier would be even more helpful later, but is not yet available for this fight. After three hits with the rebounding iron balls, Ramrock finally disintegrates.
The Eighth Essence – Shooting Star
After the fight, take the last regular Heart Container. Then go west to the Altar of the Final Essence. There floats the shooting star, the eighth and final essence of time. Its eternal light serves as a guide for the remaining essences and completes the power that the Maku Tree requires.
The Maku Tree will contact you immediately after receiving the shooting star and ask you to visit it in the present. Before we return to the Black Tower, let’s clear up the last fixed collectibles that were only made possible by the Power Glove or the remote exchanger.
The Blue Ring in the Sea of No Return
Exit the Ancient Tomb and jump from the plateau to the deeper level of the Sea of No Return maze. Go east, then south and west, then take the southeastern passage. There are several massive blue sarcophagi between Darknuts and Lynel. Avoid or avoid enemies and lift the sarcophagi with the new Power Glove. A chest will appear under one of them.
The magic ring in it is, according to Vasu’s estimation, the Blue Ring. It halves all damage Link takes from enemy attacks without reducing his own attack power. This makes it one of the strongest defensive rings in the entire game and is an excellent choice for the upcoming fight against Veran.
Divis Ring Blue in Zora Village
Use a Storm Core and then travel with the harp to the present. Return to the northern area of Zora Village. Just above the village you will find a fragile rock wall on the coast. Blow it up with a bomb and enter the cave. There are several large blue sarcophagi inside. Lift it with the Power Glove; There is a chest with a magic ring hidden under one of the sarcophagi. For Vasu, this becomes the Divis Ring Blue, which halves the damage caused by radiation.
Since the Blue Ring halves all enemy damage, the Divis Ring Blue is less useful in a direct comparison. It still needs to be collected for the complete fixed ring collection.
The last two Pieces of Heart for 100%
According to all the fixed locations, you now have ten of the twelve regular Pieces of Heart. The last two have no fixed location. One can randomly fall out of its loot when colliding with Martha. Defeat about 30 enemies at a time and then go to one of their known encounter locations; with the Martha ring the number required is reduced to approximately half. As soon as a Piece of Heart falls to the ground during the collision, you should collect it immediately, because Martha herself is trying to grab the most valuable items.
The last Piece of Heart can be included in a Gasha nut. Therefore, continue to plant Gasha Seeds preferably on Soft Soil Locations that are difficult to reach, especially on the higher places on the spherical ridge or near the Zora village. After defeating enough enemies, the tree grows and bears a nut. Keep opening Gasha Nuts until the missing Piece of Heart appears. For an actual 100% score, both random heart pieces should be collected before the final battle at the latest; However, with a bit of luck they may have appeared much earlier.
Preparation for the Black Tower
Before you start the last section, you should stop by Vasu again and have any unidentified magic rings appraised. The Blue Ring is a particularly safe choice for the final battle. Also, fully replenish Bombs, Ember Cores, Arcanum Cores, and Hearts. Thanks to the noble sword, iron shield, long-distance exchanger, Power Glove, Cane of Somaria, mermaid suit and all eight essences, you now have all the tools necessary for the main story.
Then travel to the present and visit the Maku Tree. From the combined power of the eight essences, he can now create the object that penetrates Veran’s final barrier and opens the way to the completed Black Tower. We continue with our Walkthrough to the Black Tower and the fight against Veran.