

With the Power Bracelet from the Bottle Grotto, Link’s freedom of movement on Koholint has suddenly increased. Heavy rocks that have previously blocked entire paths can finally be lifted, which is exactly why it would make little sense to follow straight to the next main goal. Instead, we use the route to Key Cavern for a larger 100% round: several Pieces of Heart and Secret Seashells are now practically on the way, the Seashell Mansion can be meaningfully visited for the first time and we need them in the exchange line anyway Bananas to enter Kanalet Castle. If you follow this route, you will save yourself numerous unnecessary trips across Koholint later.
Large collection round with the Power Bracelet
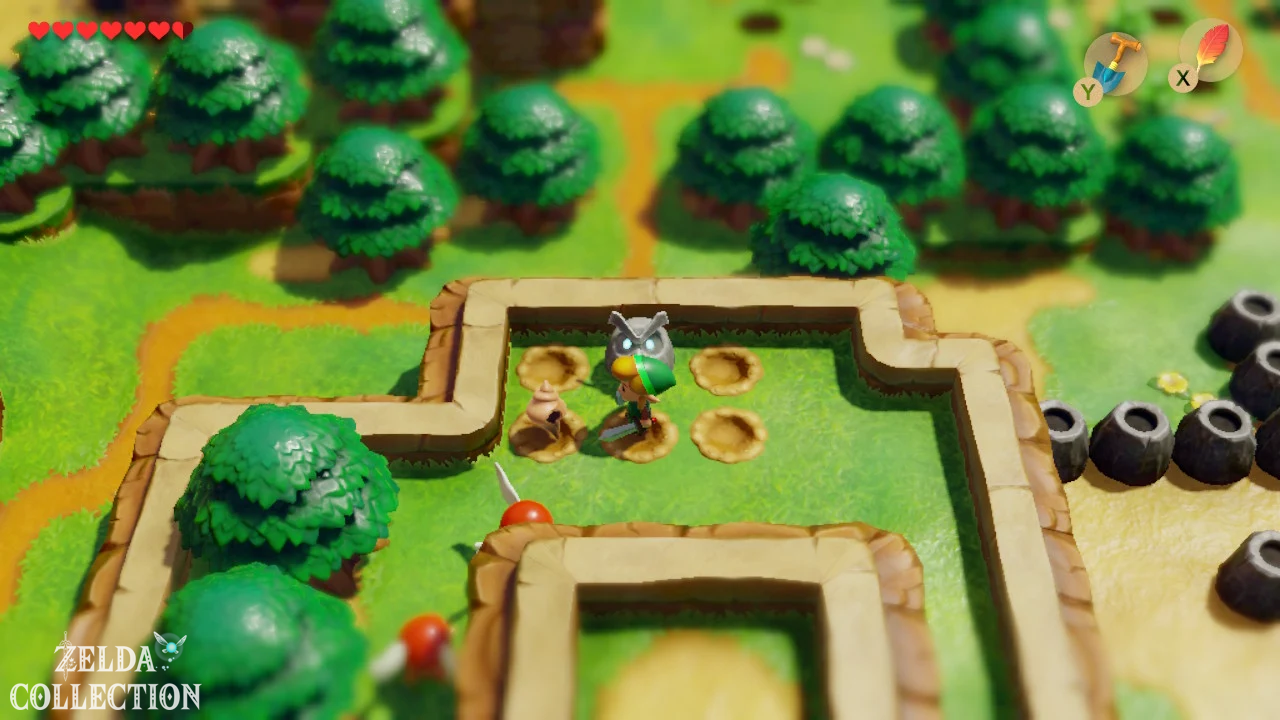
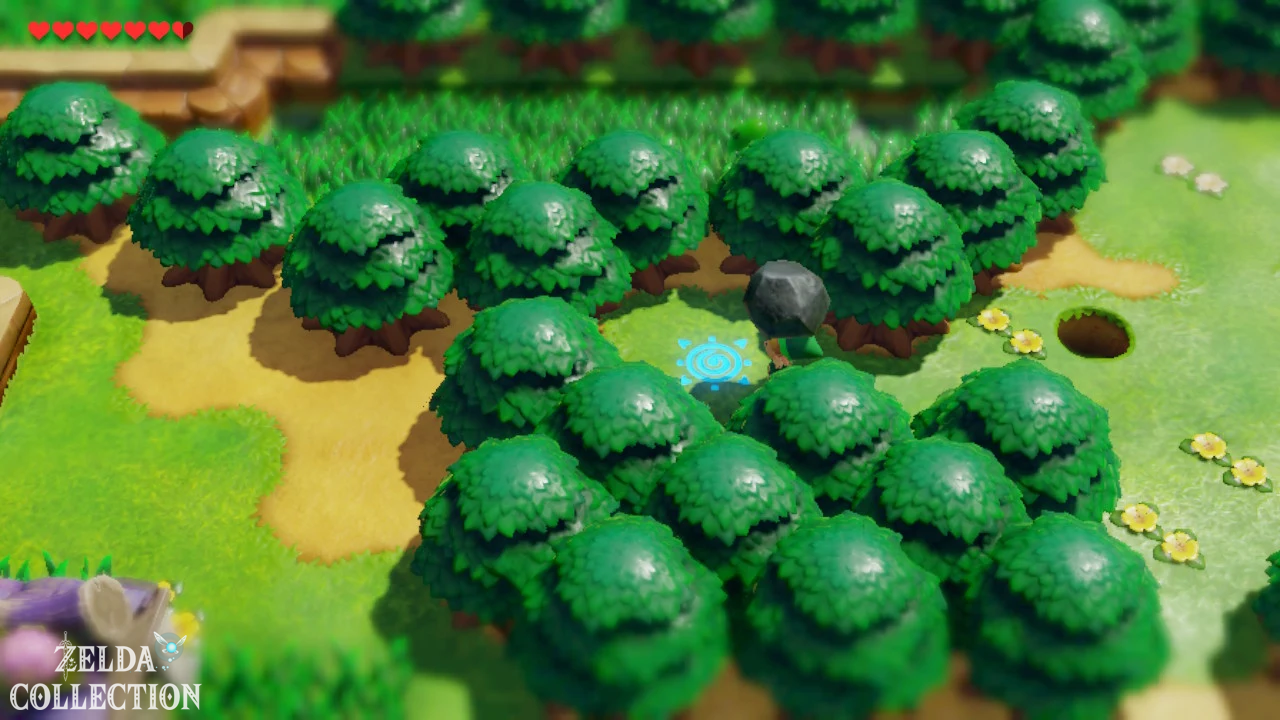
Leave the Goponga Swamp to the east and first follow the rock wall. You can now remove the heavy stones that have held you up here so far with the Power Bracelet. At the sign you lift the stone to the right and find another Secret Seashell underneath. Then run east and further south to Tabahl Wasteland. On the northern edge of the area, behind three small holes, lies a Piece of Heart. With the Roc’s Feather you simply jump from field to field and take it with you. There is a single hole in the ground to the southeast of it. From there, stand two spaces to the right and two spaces down and dig with the shovel – the next Secret Seashell is waiting there.
Follow the path further towards the cemetery and witch’s house. In the sandy depression with the zombies you destroy the conspicuous bush and find another Secret Seashell underneath. Especially in this phase of the game, it’s worth taking such finds with you straight away, because the Switch version hides a lot more of them than the older versions. You can find a complete overview in our guide to the 50 Secret Seashells in Link’s Awakening.
Difference to the original and to Link’s Awakening DX: There are a total of 50 Secret Seashells on Nintendo Switch. In the Game Boy original and the DX version there are only 26 possible locations, 20 of which are needed for the stronger sword. Many shells in our current collection round therefore only exist in the remake or are located in other places. If you play the DX version in parallel, you should use our Magic Shells solution to Link’s Awakening DX (German) instead.
Bring BowWow back and get the bananas
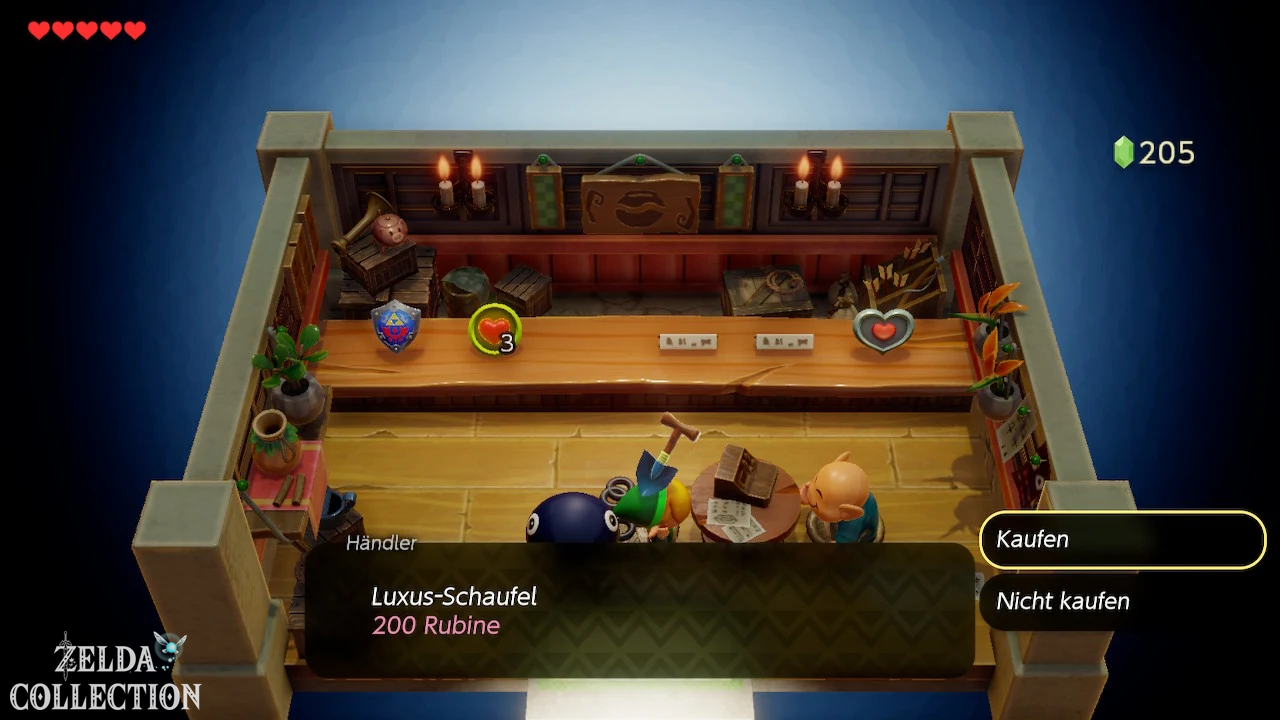
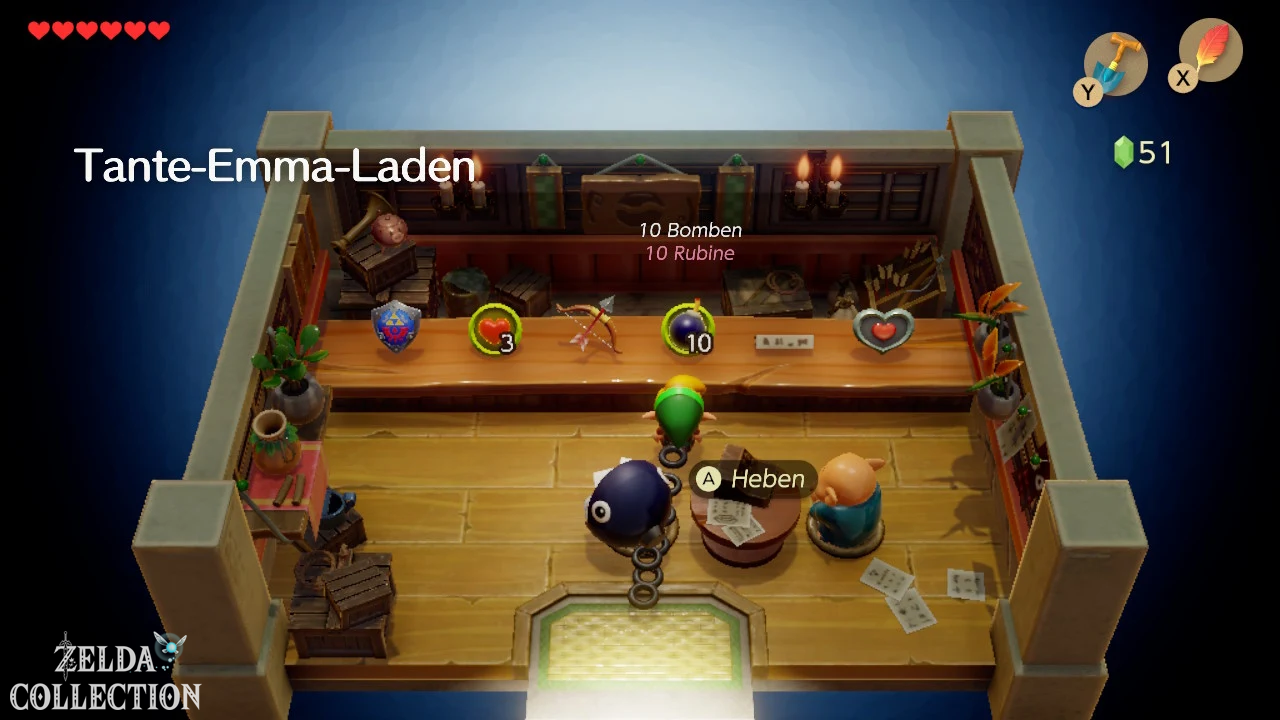
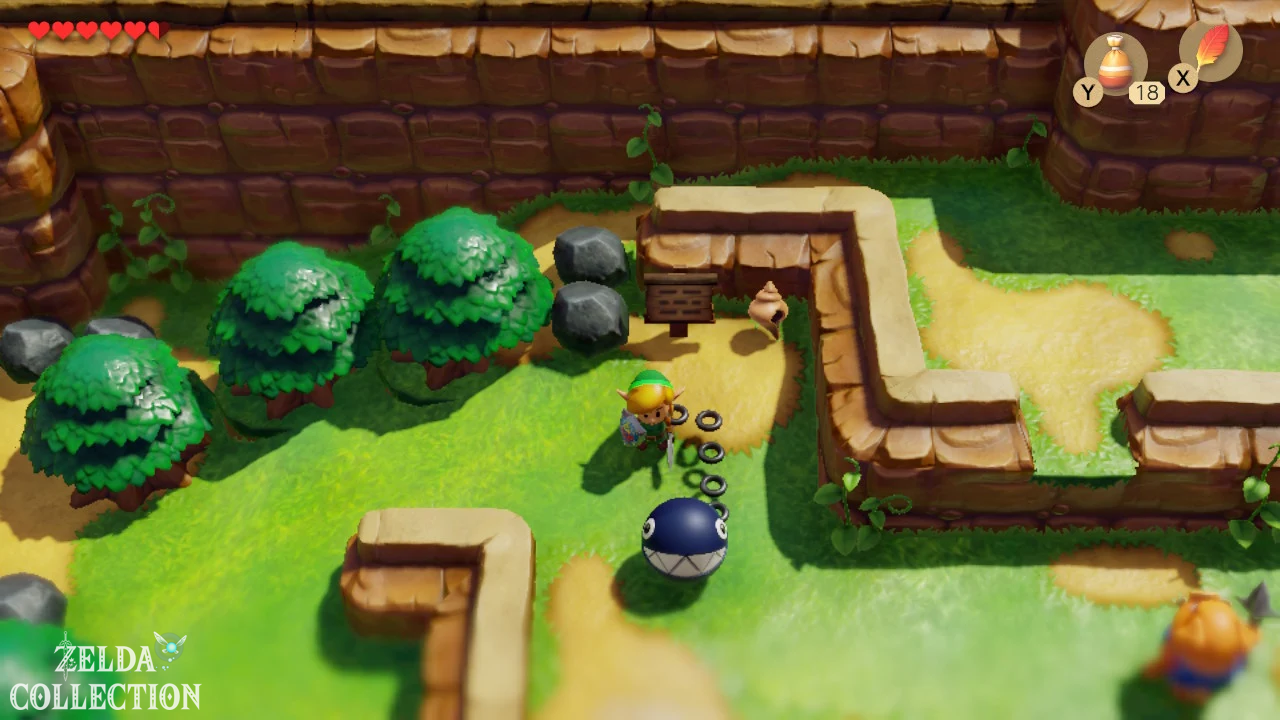
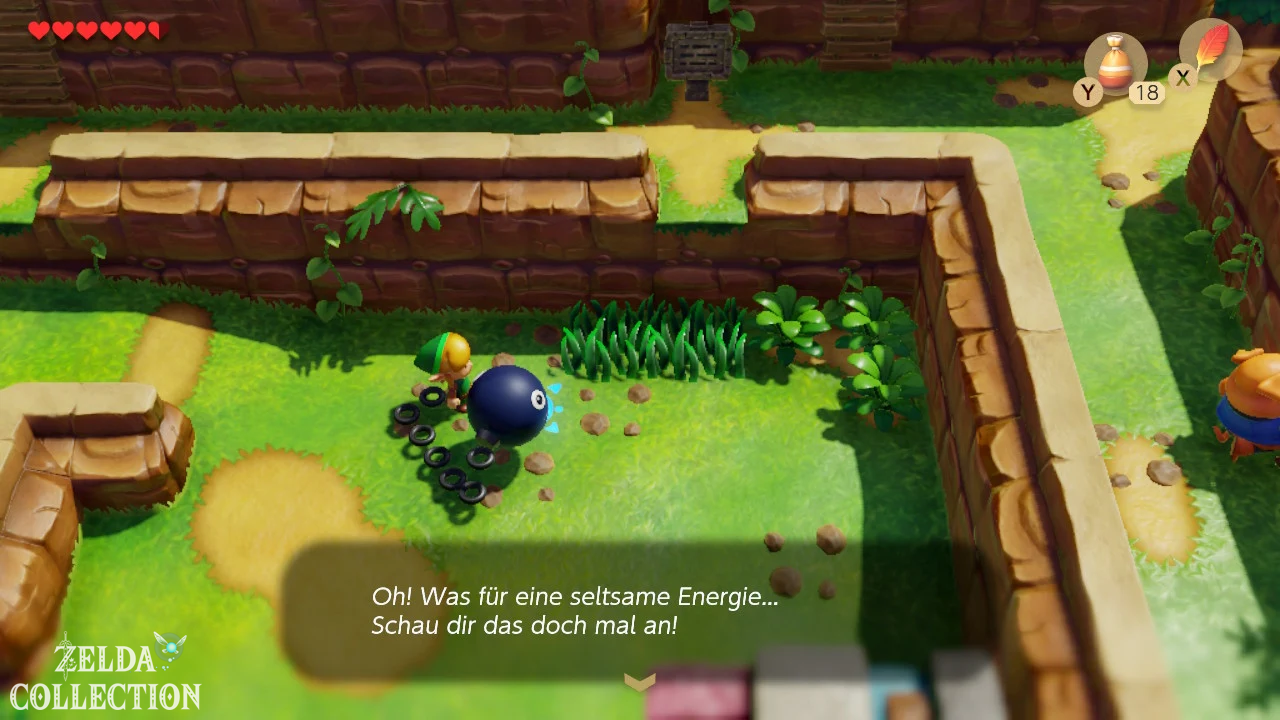
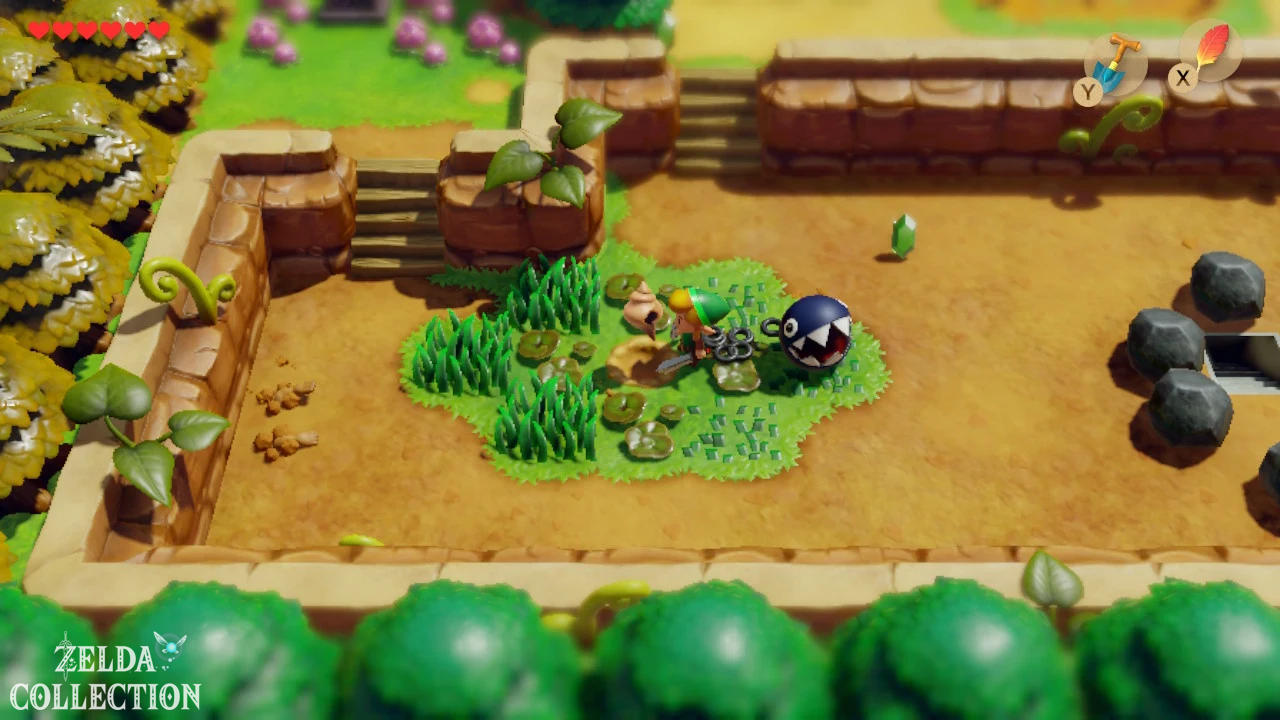
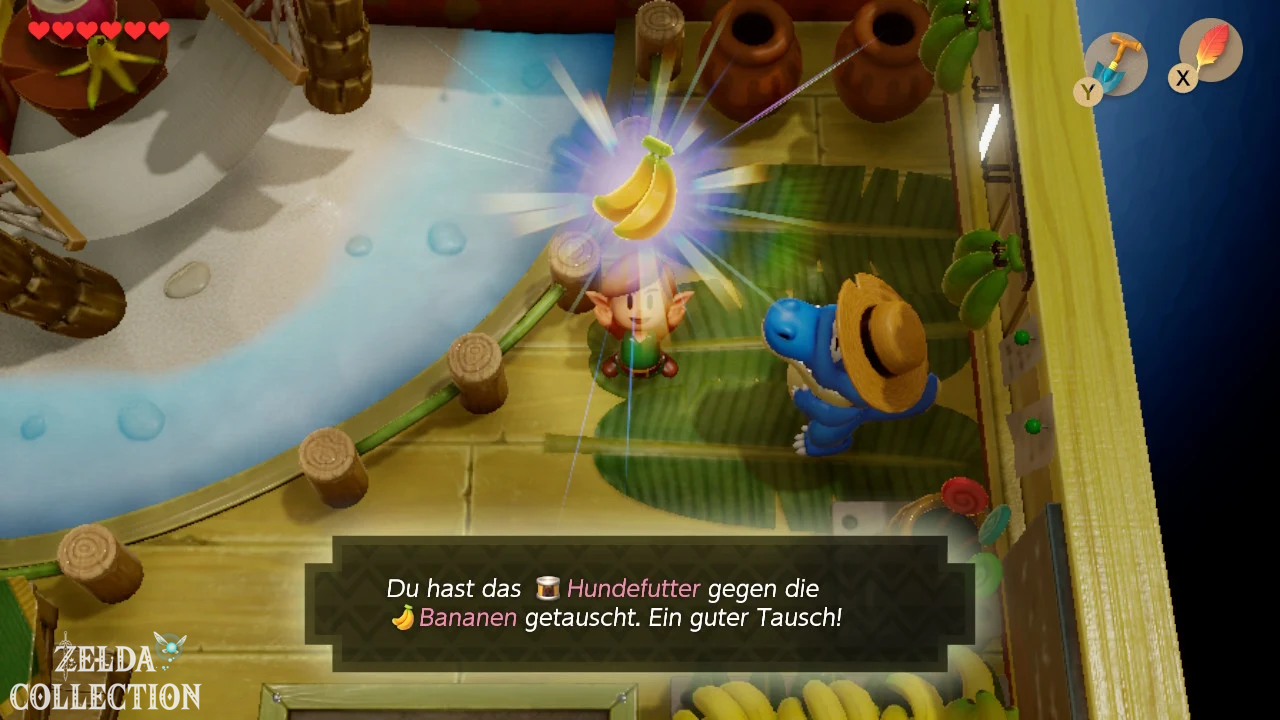
Before you go to the Ukuku Prairie, bring your BowWow back to Madam MeowMeow. Its task in Goponga Swamp is fulfilled. Afterwards, visit the shop in Mabe Village and make sure you have some Bombs. If you followed our previous solution, you already have the dog food from the exchange series. Take it to Sale‘s house on Toronbo Shores. The crocodile is happy about the food and gives you the bananas in return. They will be needed immediately to get to Kanalet Castle.
If you’re not that far along in the exchange series, you’ll find all the steps from Yoshi to the Magnifying Lens in our detailed guide to the exchanges in Link’s Awakening. The bananas are one of the few items in the seemingly optional exchange series that are required directly for normal game progress.
Make up for the Secret Seashell in the Tail Cave
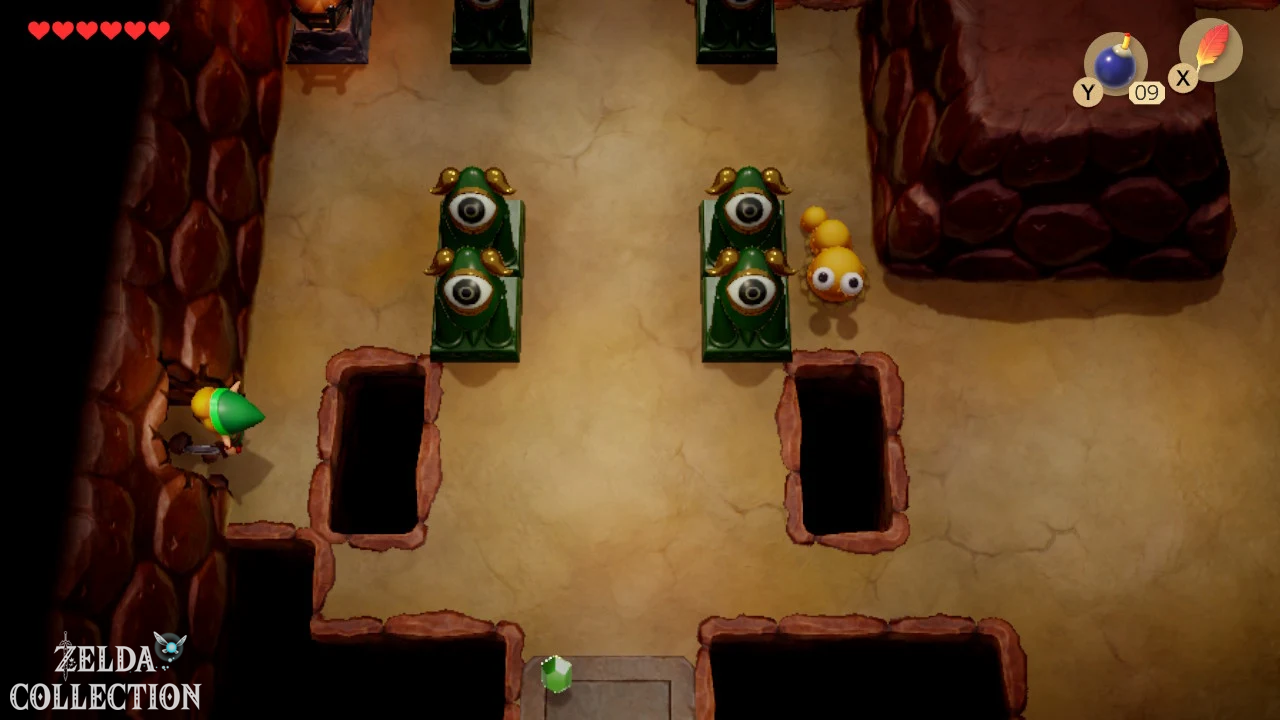
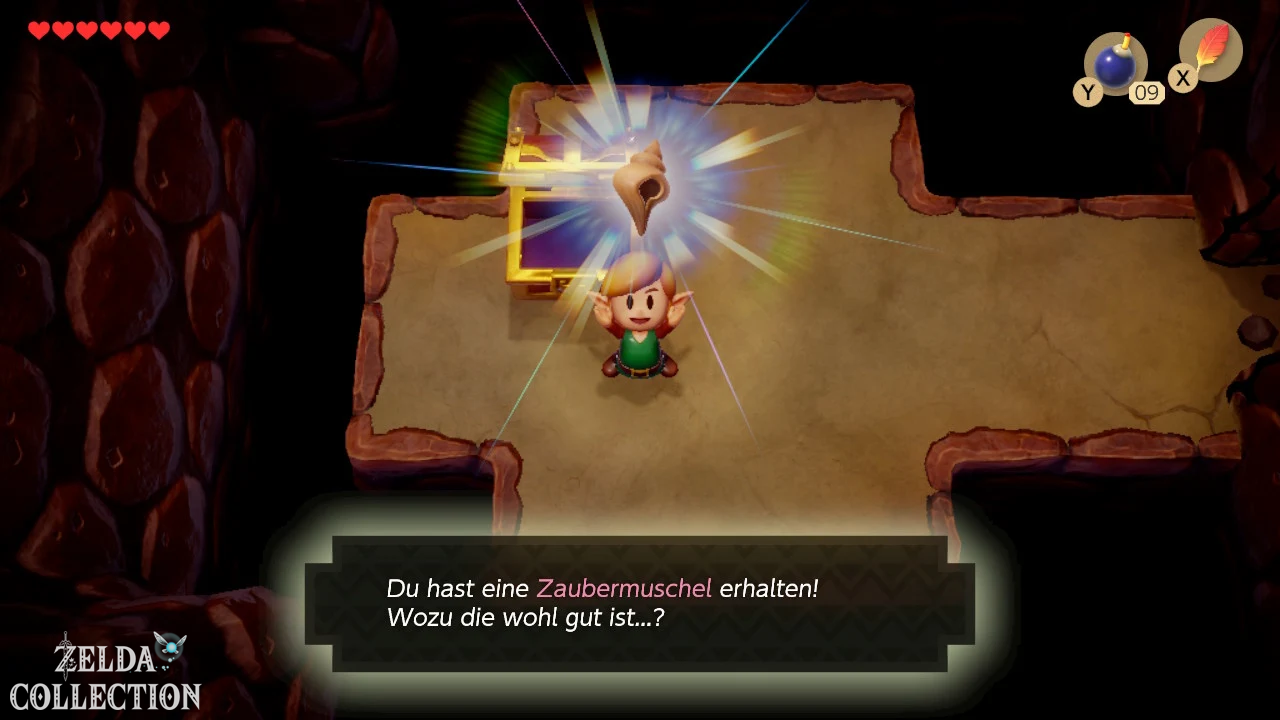
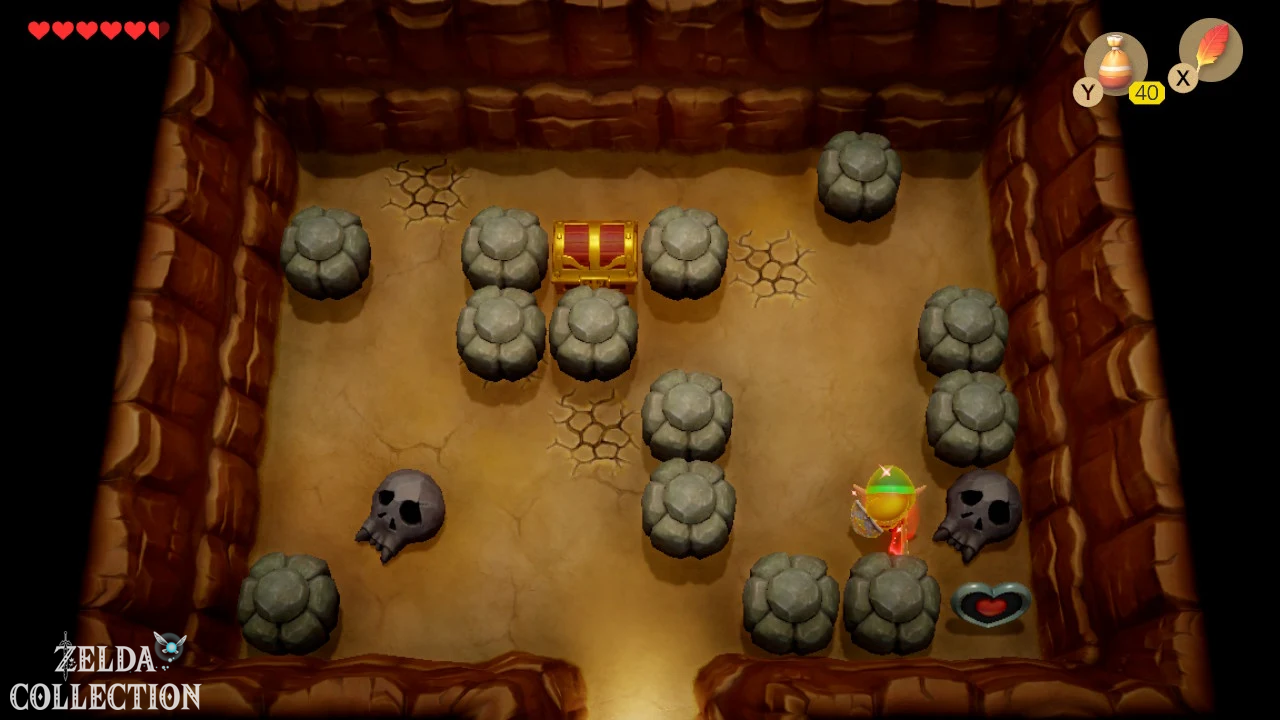
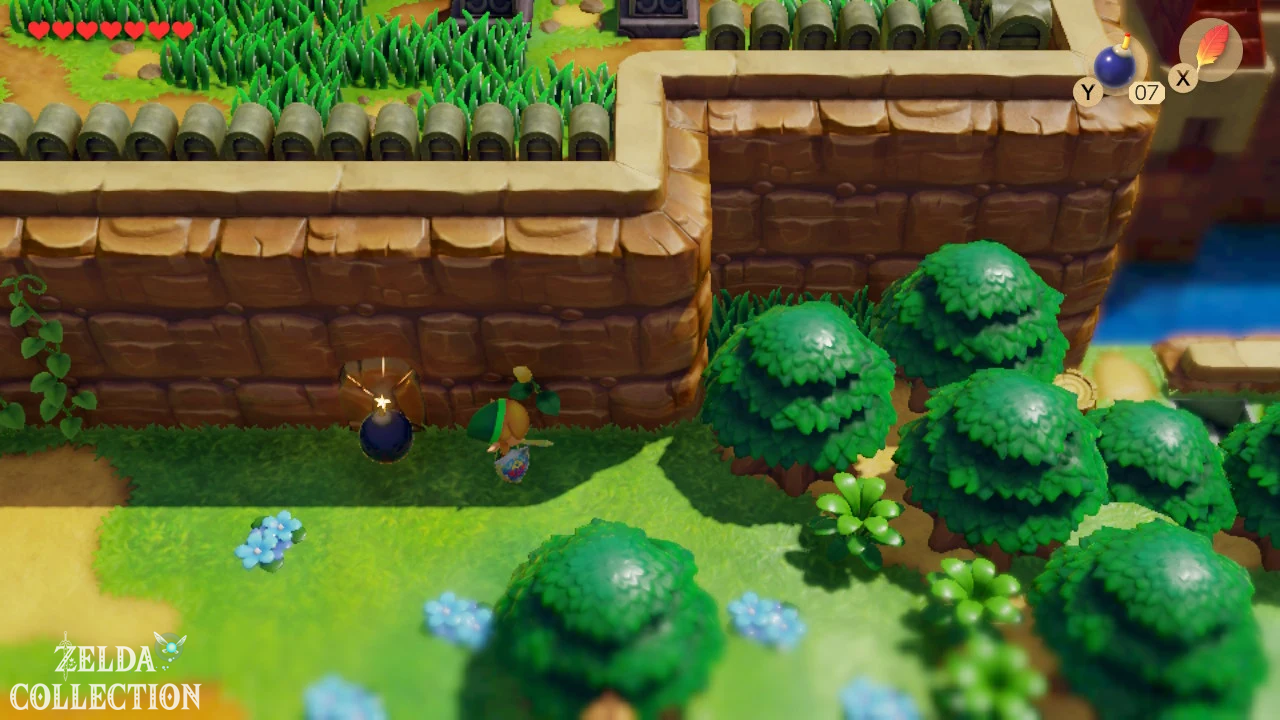
Now that you have bombs, now is the right time to catch up on any Secret Seashell you might have missed from the first dungeon. Enter the Tail Cave again and go to the large room where you noticed the cracked wall during your first visit. Place a bomb in front of it and enter the secret room. The chest contains the Secret Seashell, which we deliberately left behind in case there were no bombs yet. This short detour is much more worthwhile now than later in the game, when you have to travel all the way to the south of the island again to get exactly that one shell.
Piece of Heart and Secret Seashell in Mysterious Forest
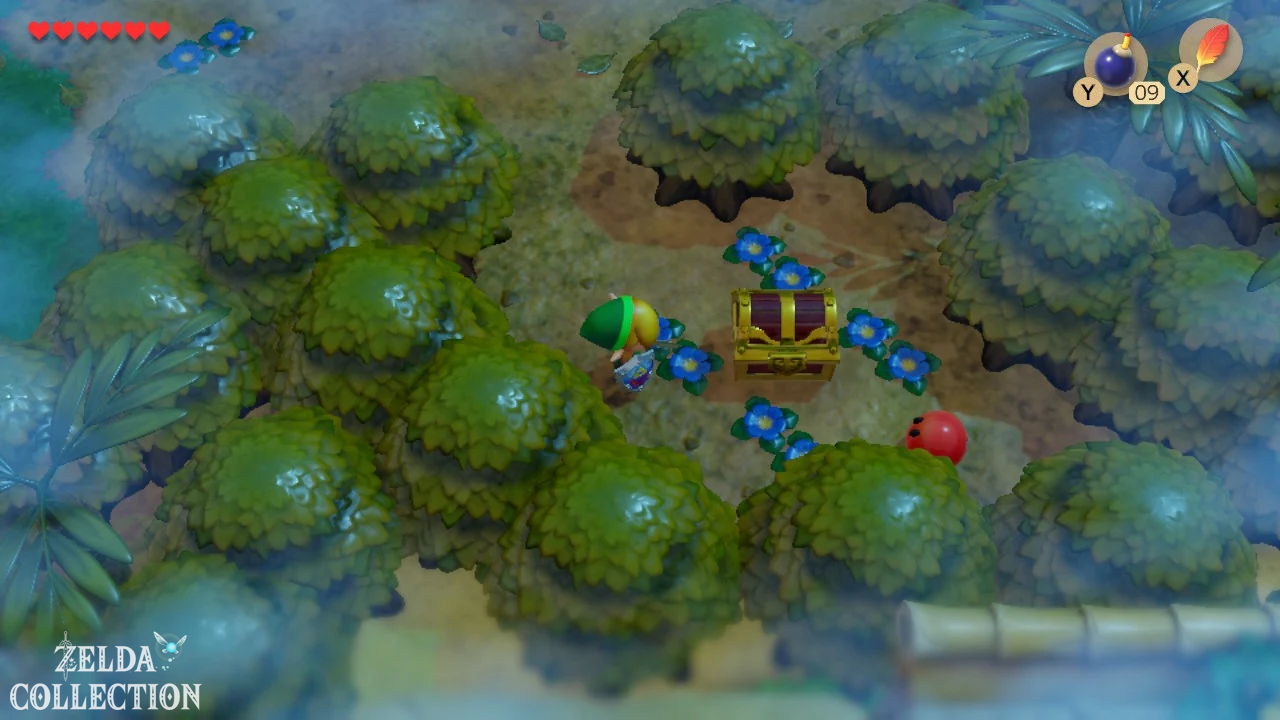
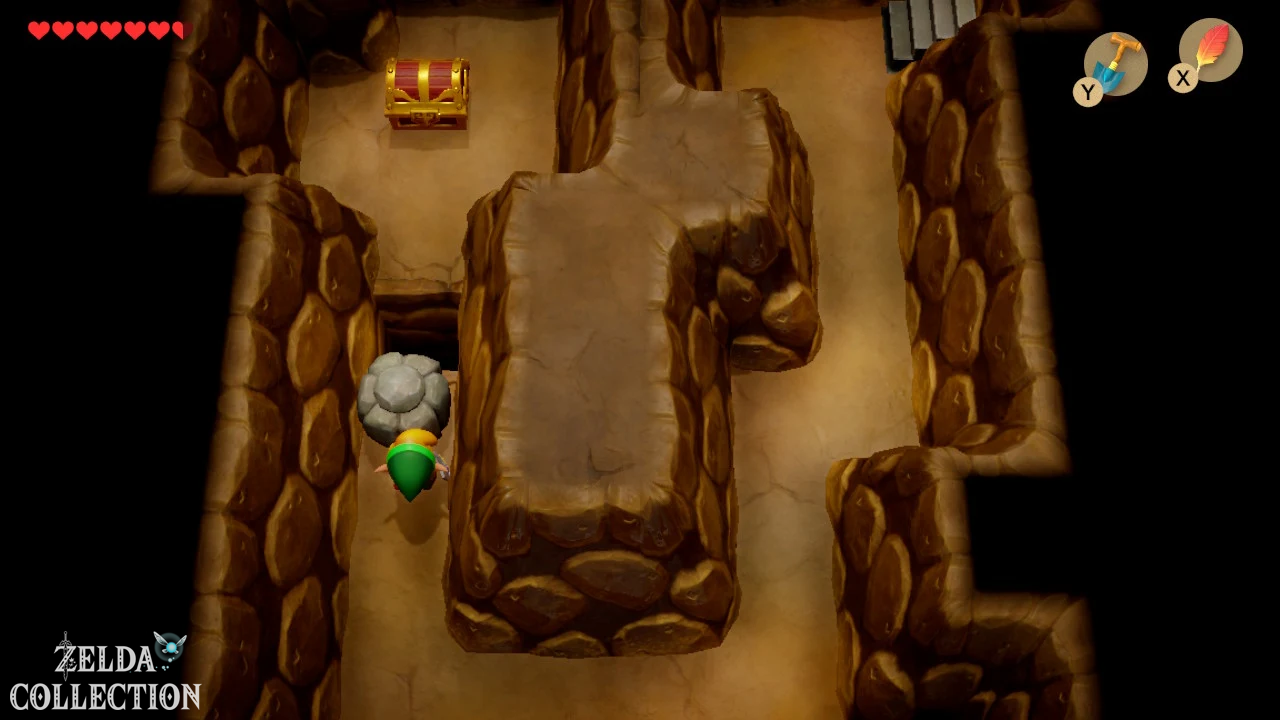
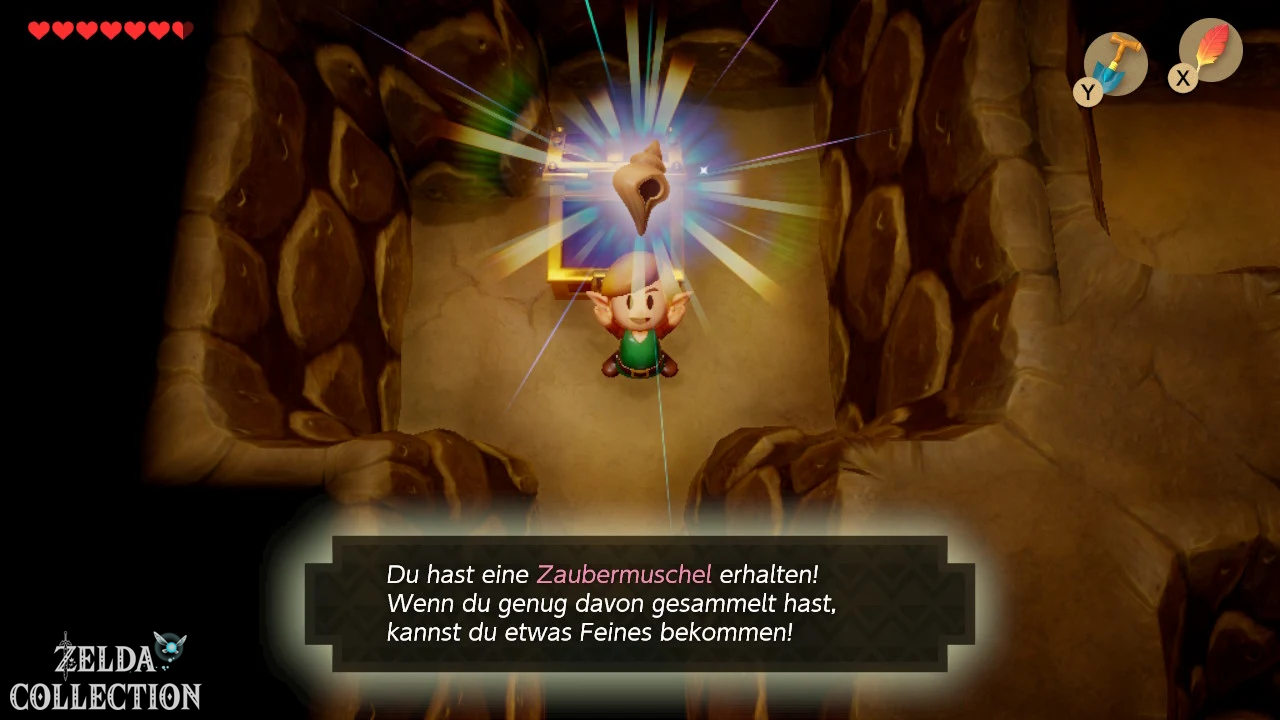
Then returns to the Mysterious Forest. The chest, which was previously locked behind a heavy stone, is now accessible thanks to the power bracelet. Lift the rock away and take the Secret Seashell from the chest. Then you go back into the cave through which you got to the slumbering morel at the beginning of the game. This time move the stones so that you get to the Piece of Heart that is visible there. With the Power Bracelet you can now move the obstacles much more flexibly and enter previously inaccessible areas.
This means that you can collect significantly more additional health in the Switch version than in the older versions. Overall there is in the remake 32 Pieces of Heart, while both the Game Boy original and Link’s Awakening DX only have twelve. For the Nintendo Switch version it therefore makes particular sense Pieces of Heart to integrate them directly into the normal solution path instead of just running them all together shortly before the finale. All Locations can also be found in our overview of the 32 Pieces of Heart.
The first capacity upgrade
In the Mysterious Forest you can now take a particularly well-hidden secret with you. Near the cave entrance that led you to the slumbering morel, there is a staircase under a single heavy rock. Lift the stone and climb down. There is a small altar underground. Sprinkle Magic Powder on it and a Mad Batter will appear. He offers you to increase the maximum quantity of a consumable item. You can choose between Magic Powder, bombs and later also arrows. For our route, more bombs or more Magic Powder are particularly practical at this point; the remaining capacities can also be increased later at two additional hidden altars.
The Locations of all three devils and the maximum quantities can be found in our separate guide to more bombs, arrows and Magic Powder.
The Ukuku Prairie and another Piece of Heart
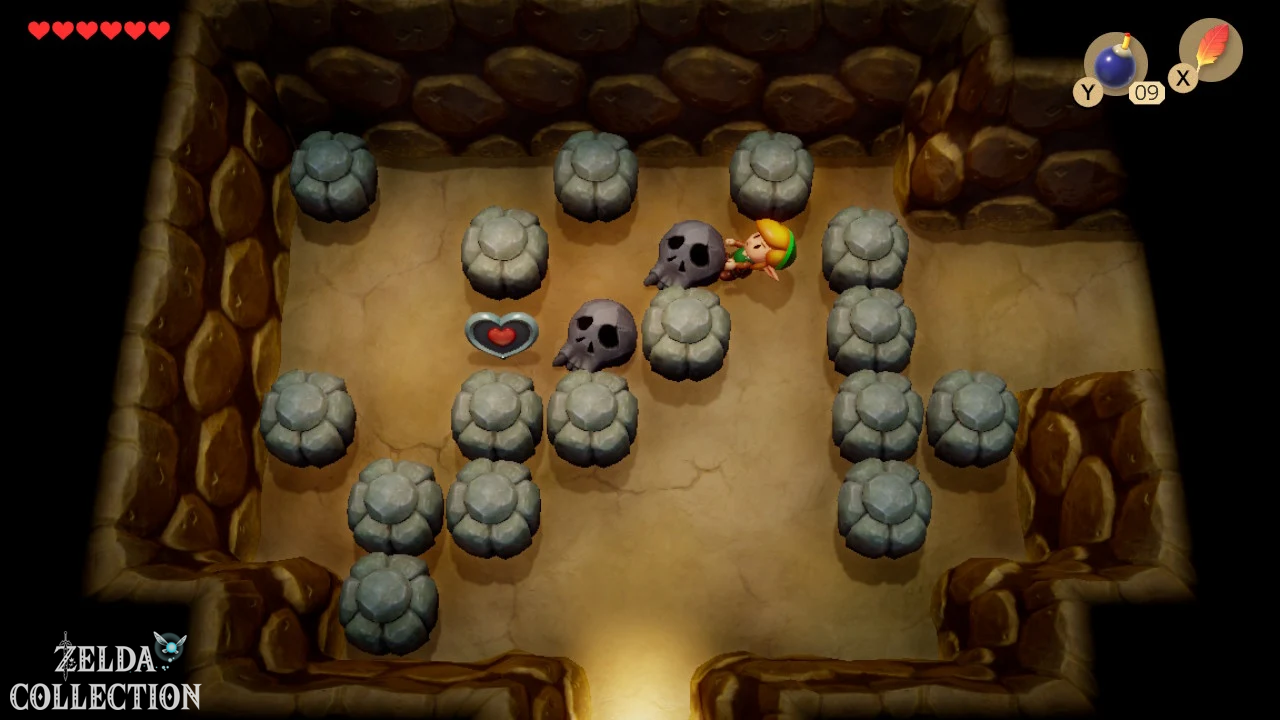
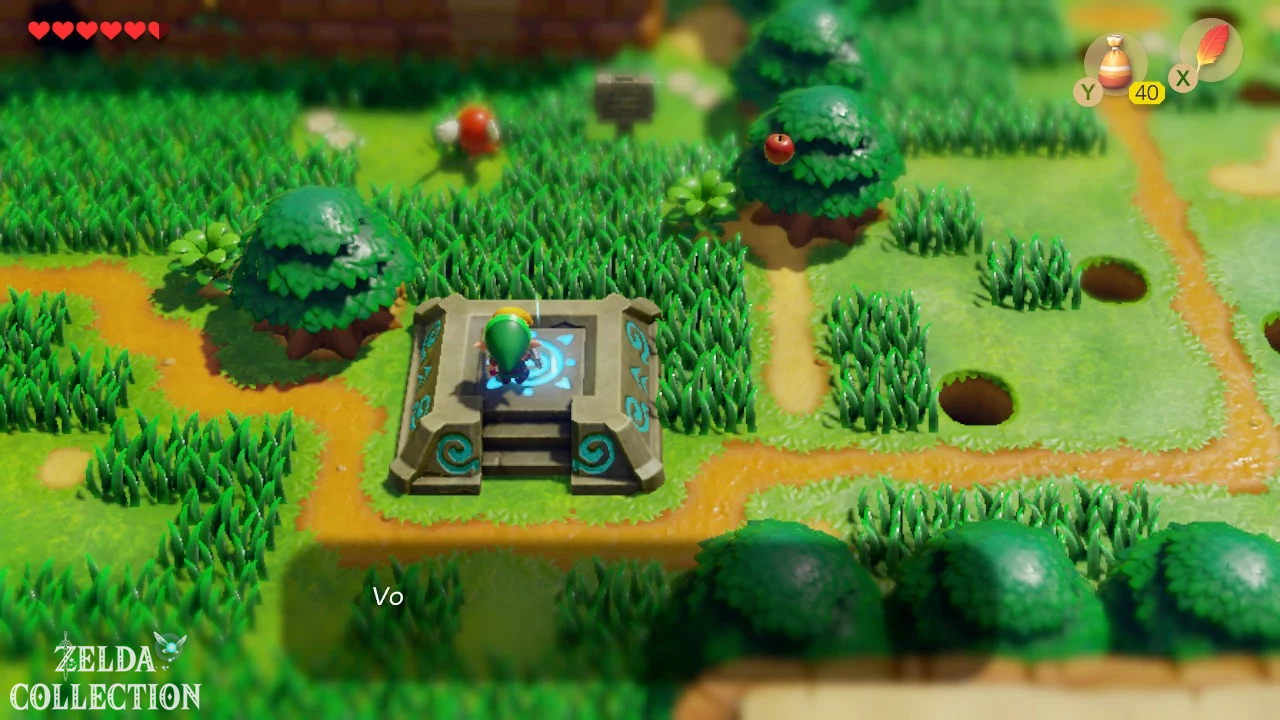
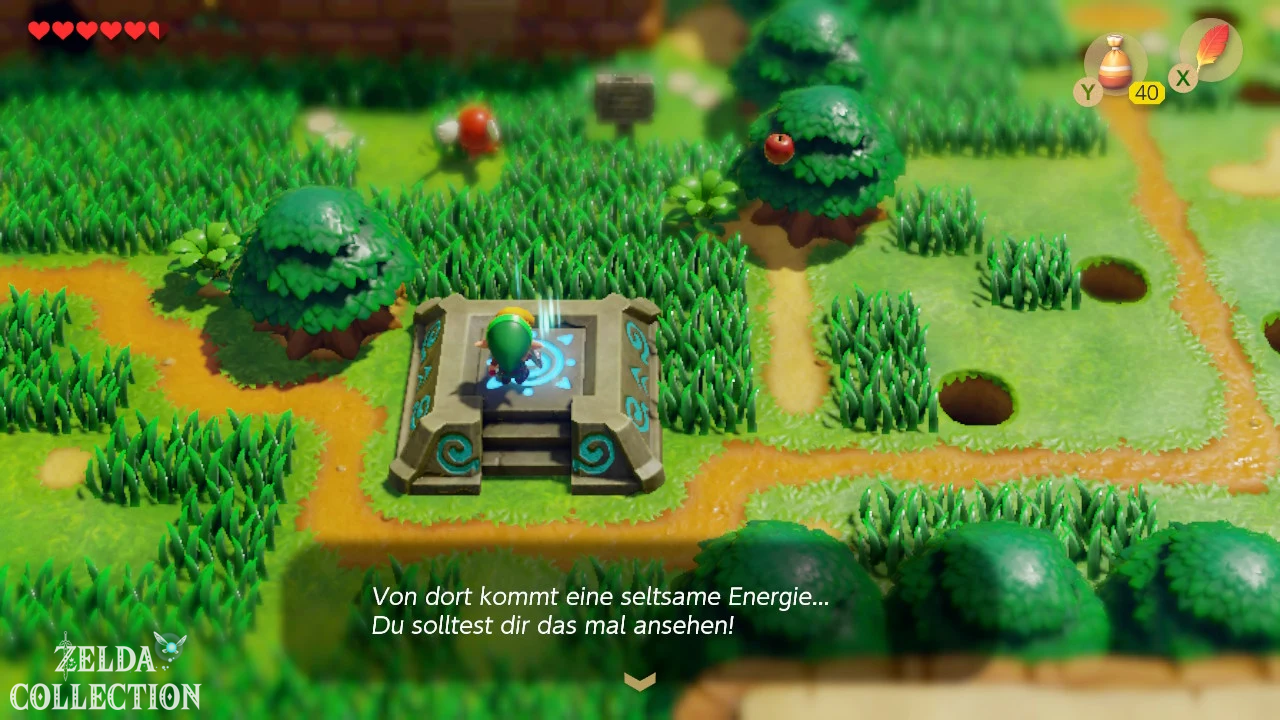
Now return towards Mabe Village and leave the village to the east into the Ukuku Prairie. In the Switch version you will find one of the new warp points here. Be sure to enter or activate it, even if you don’t need a second target point at the moment. Later you will be able to travel much faster between regions that are far apart. There is also a small cave to the west or in the immediate vicinity of this area. Inside you move the stone blocks so that you clear a path to the next Piece of Heart.
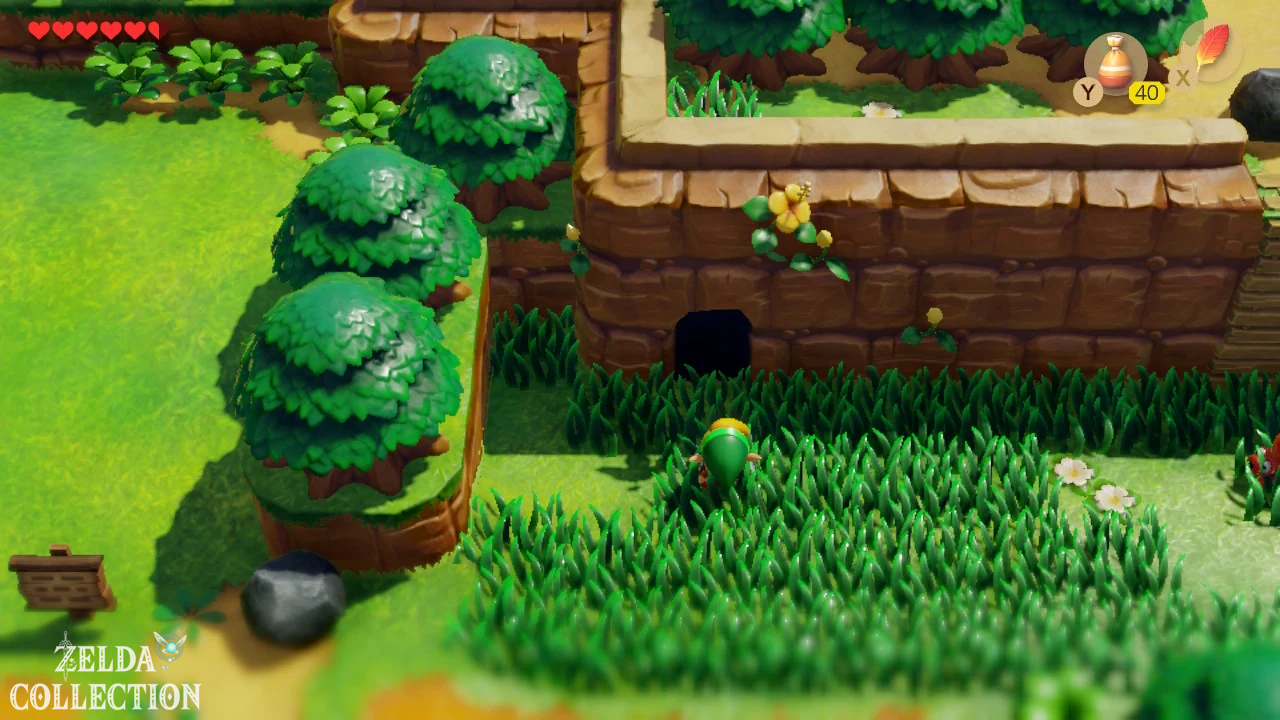
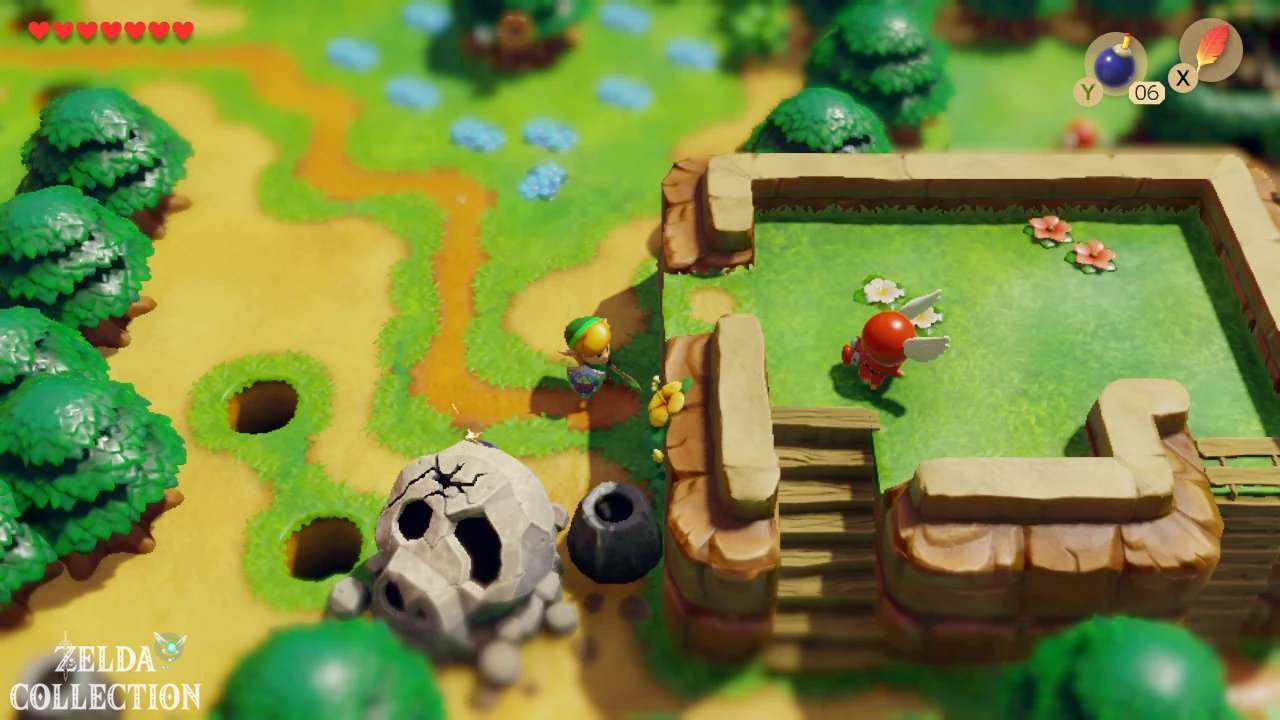
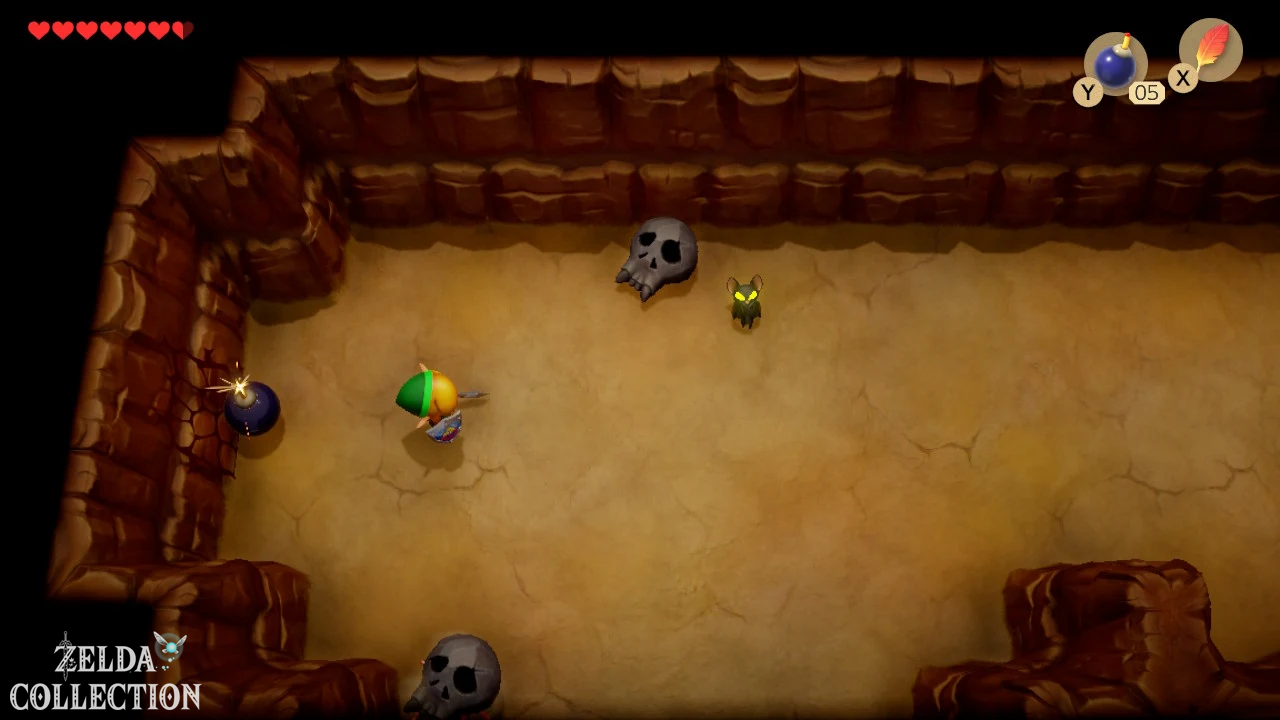
Then follow the path further east. You blow up a large stone skull with a bomb and pass the newly opened path. A little later you will reach the Seashell Mansion. Also activate the warp point near him before entering the building.
The Seashell Mansion and its rewards
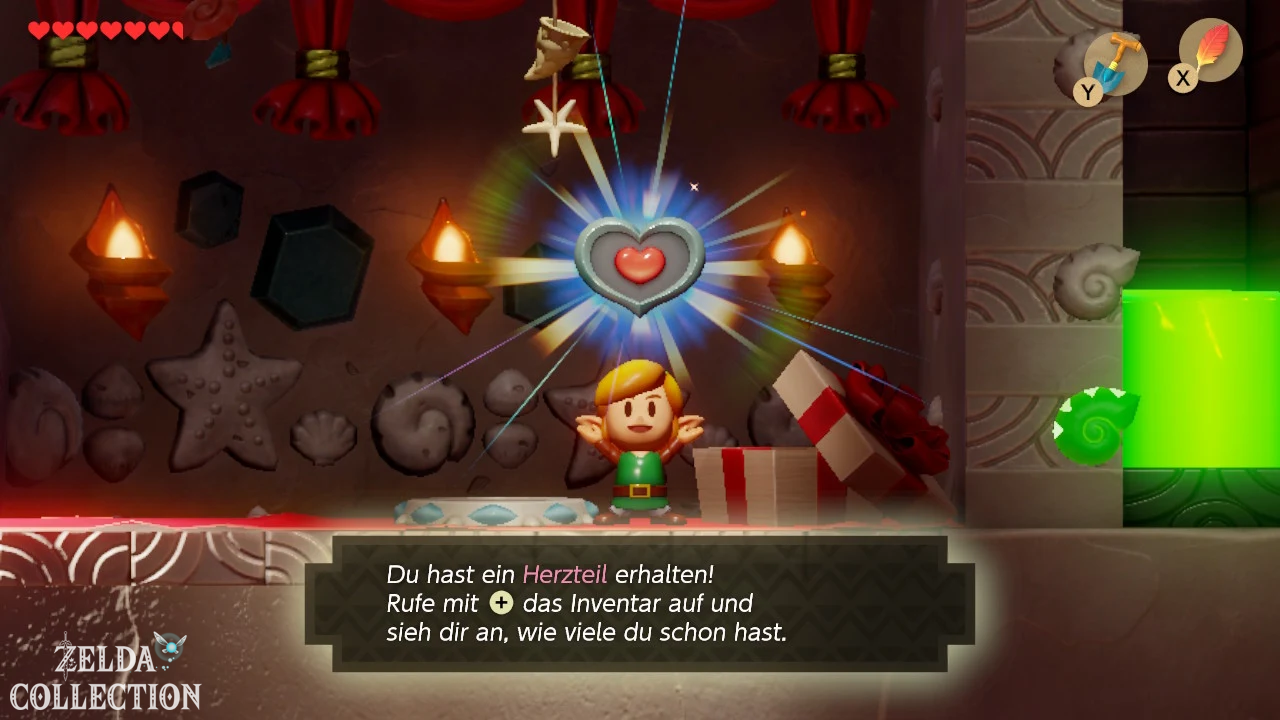
If you followed our route, you should now have significantly more than five Secret Seashells. So enter the Seashell Mansion and collect your first reward: For five shells found, you get another Piece of Heart in the Switch version. Later, with 15 shells the shell detector follows, with 30 a Chamber Stone, with 40 the Koholint sword and finally with every 50 shells another Chamber Stone. The detector in particular is extremely helpful because it alerts you acoustically to mussels in the immediate area that have not yet been collected.
Three more Secret Seashells at the Seashell Mansion
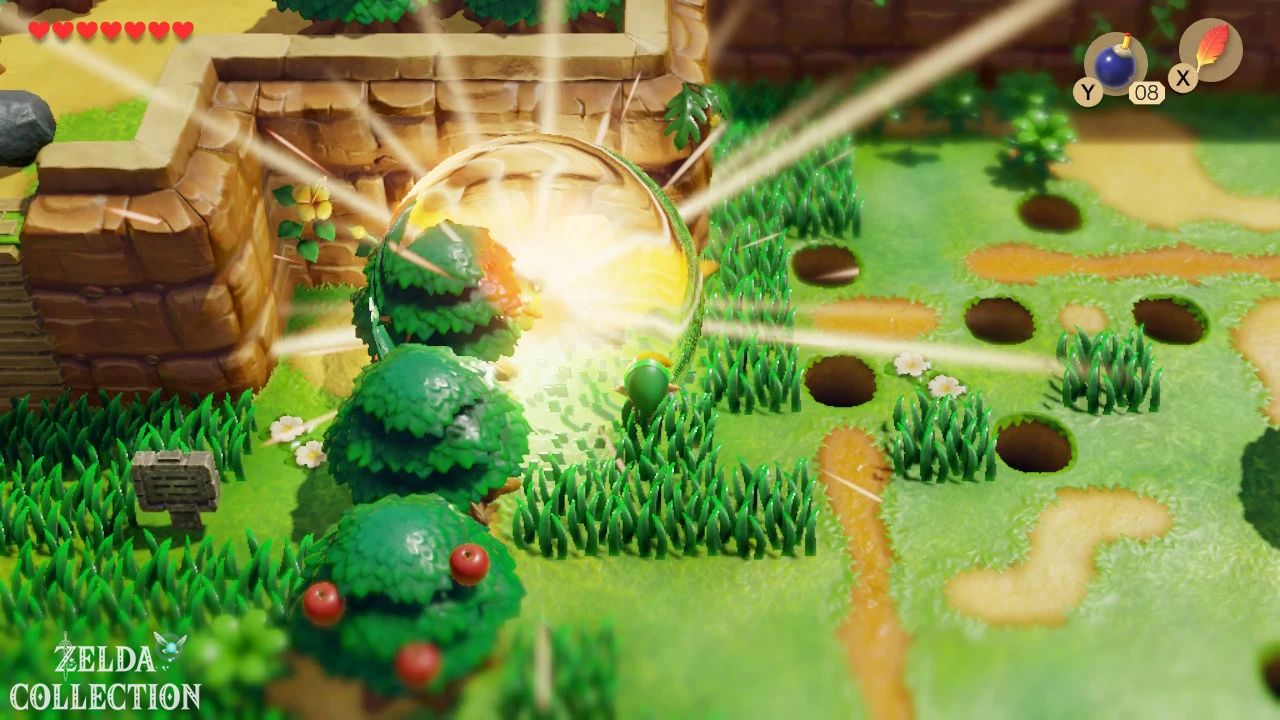
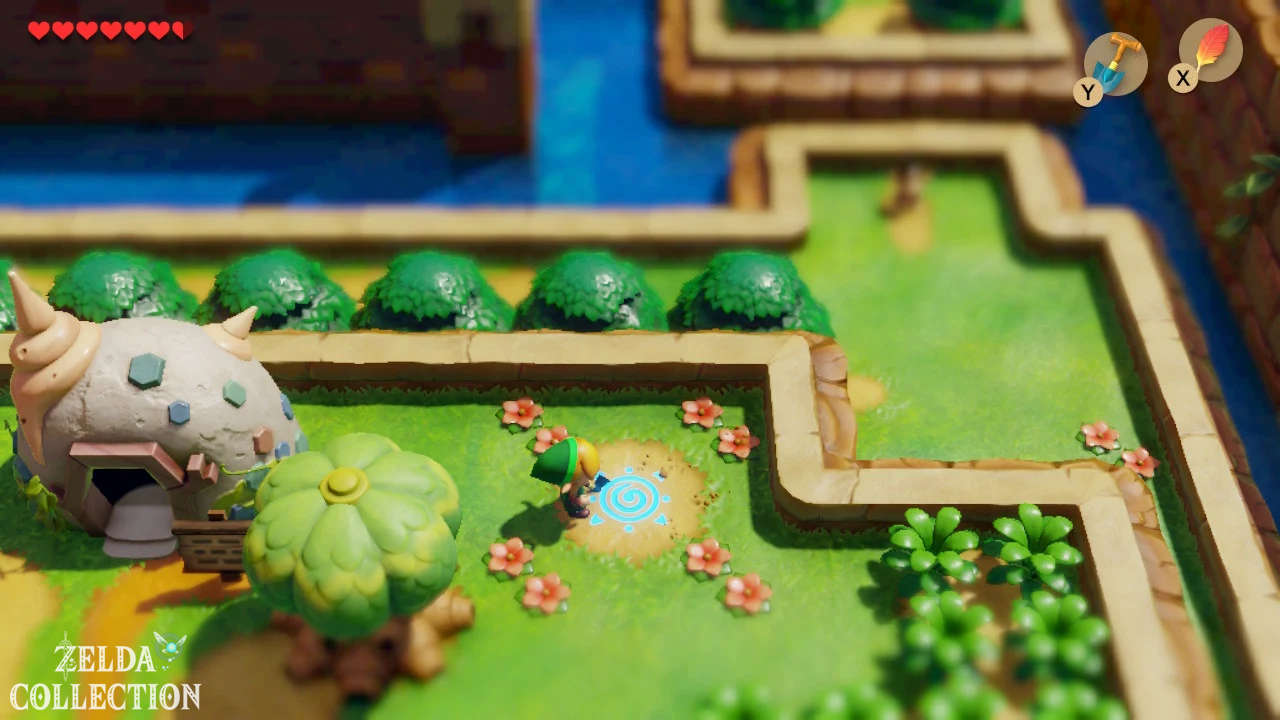
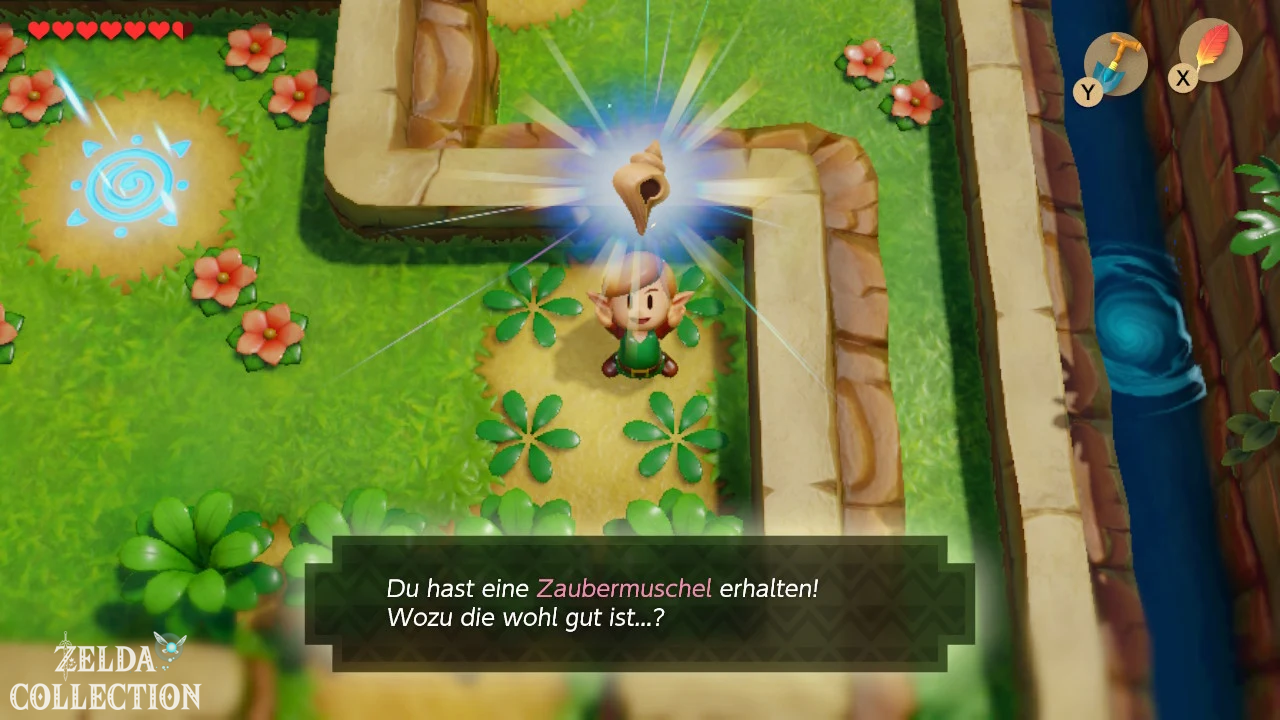
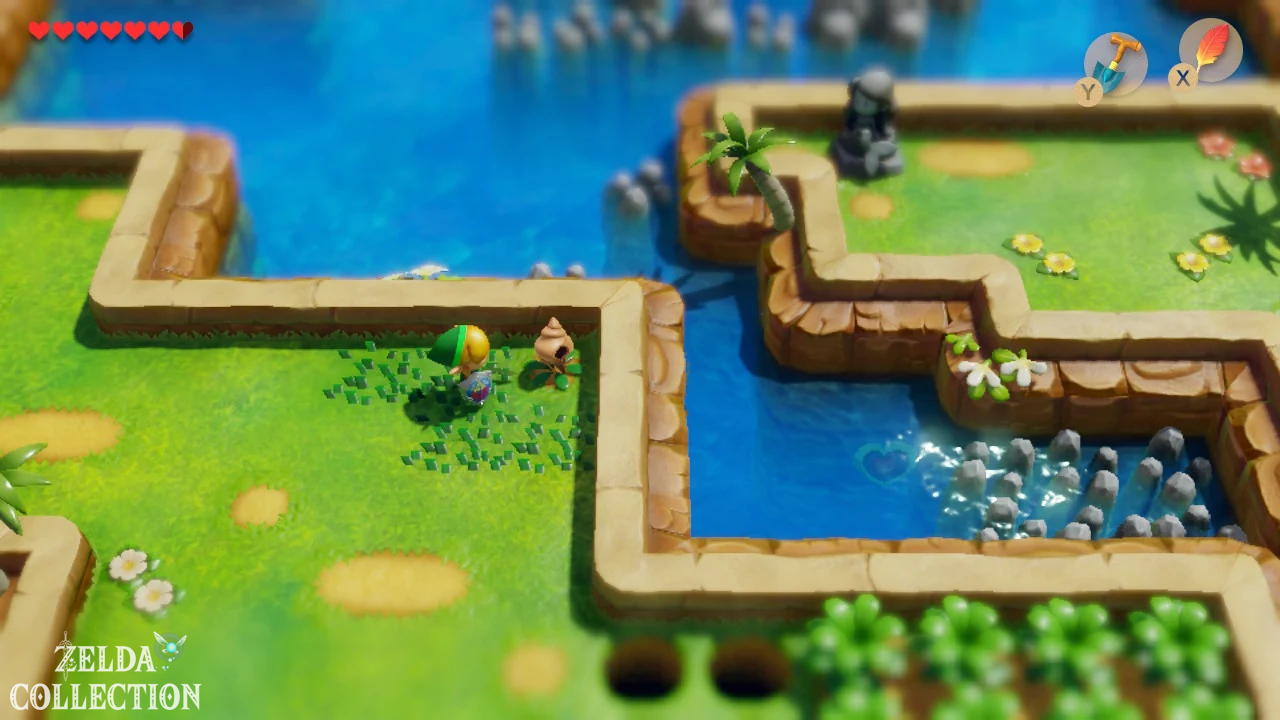
Before you move on, we will thoroughly clear the area around the Seashell Mansion. There are several bushes to the right of the building. Hit it away with the sword and take the Secret Seashell hidden inside with you. There is a small stone labyrinth southwest of the bazaar. Among all the rocks, there is exactly one that Link can lift with his Power Bracelet; the next shell lies underneath. There is a cave to the left of this Location. Enter it, blow up the fragile wall inside and follow the secret passage via the stairs outside. You will reach a raised platform with an owl statue. Dig at the foot of the statue with the shovel and you will find the third Secret Seashell of this short round.
Kiki and the path to Kanalet Castle
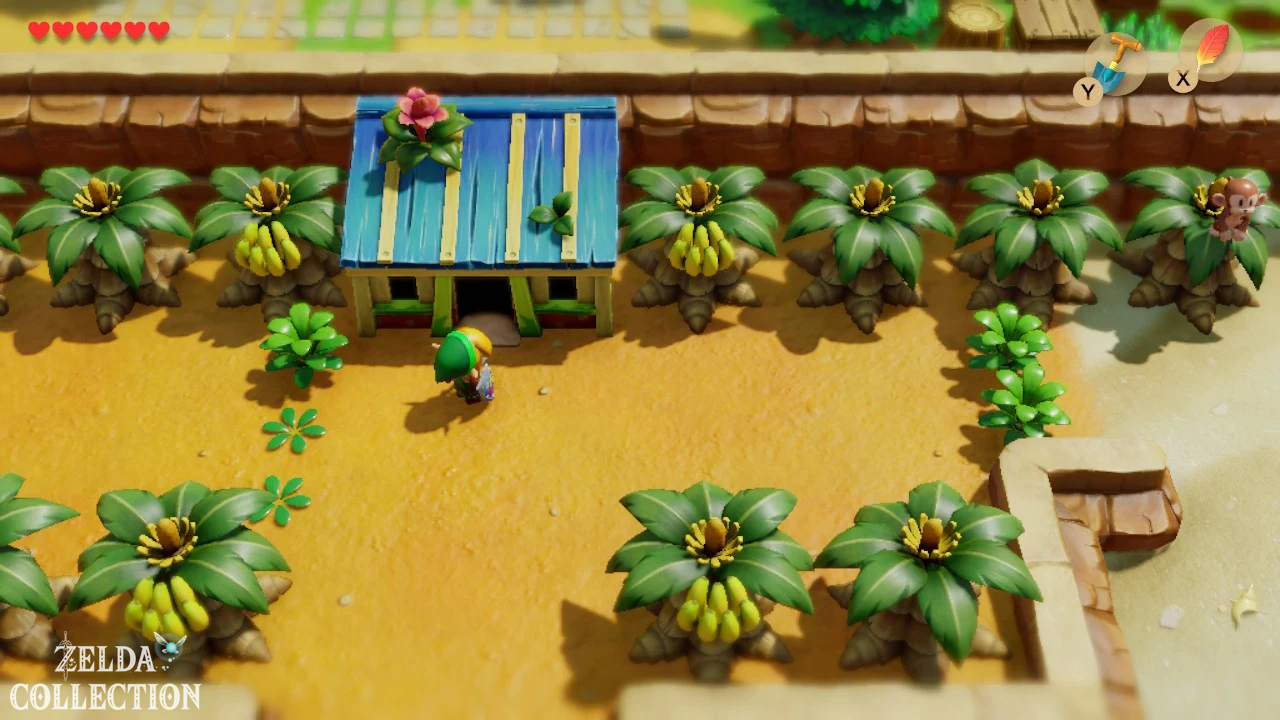
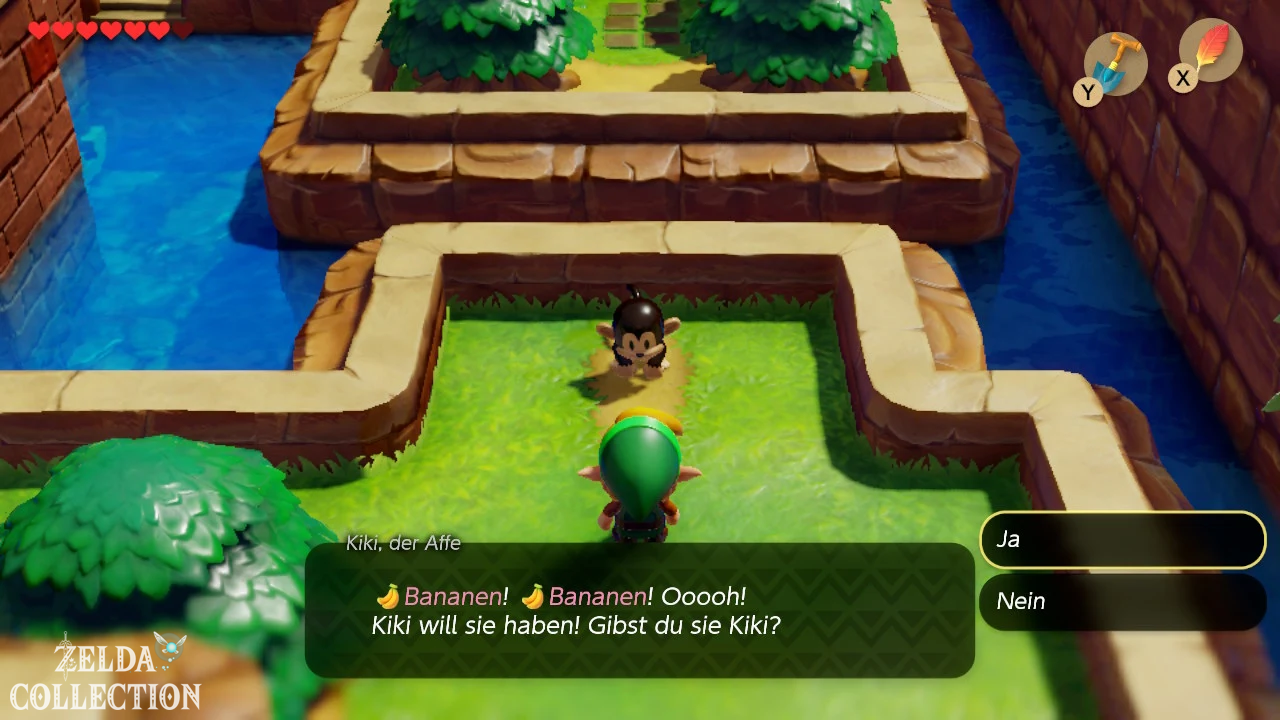
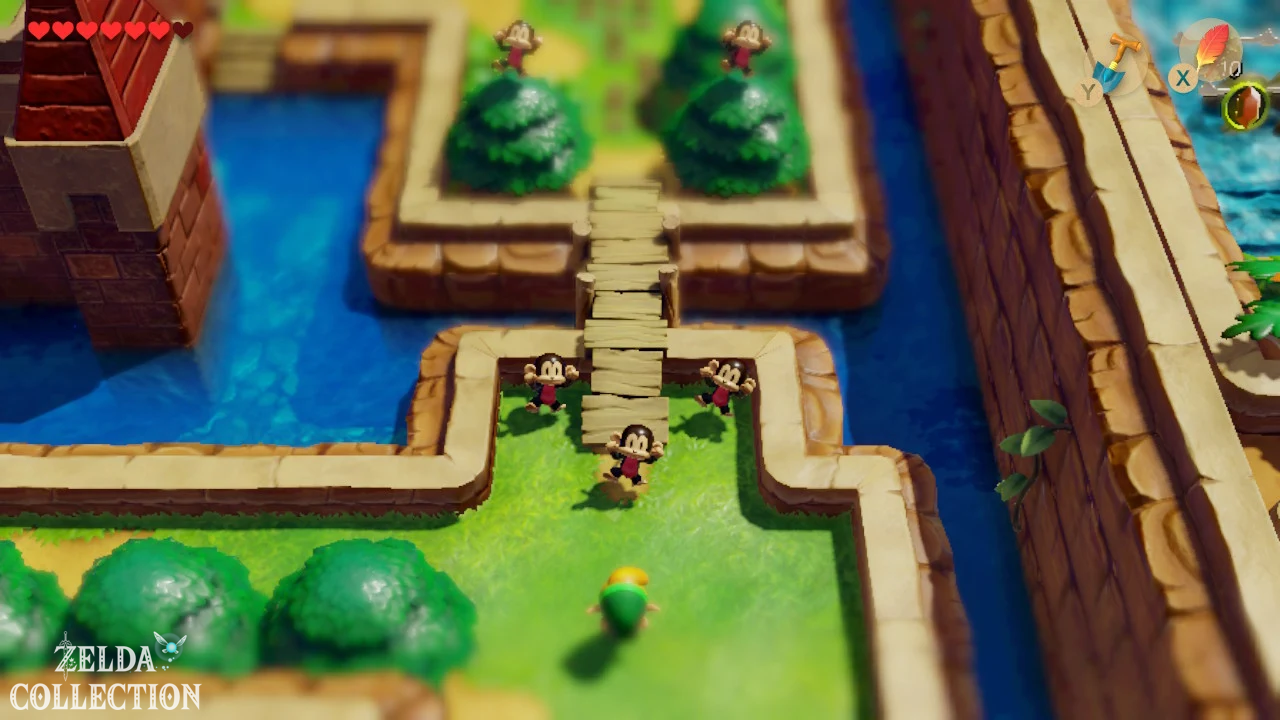
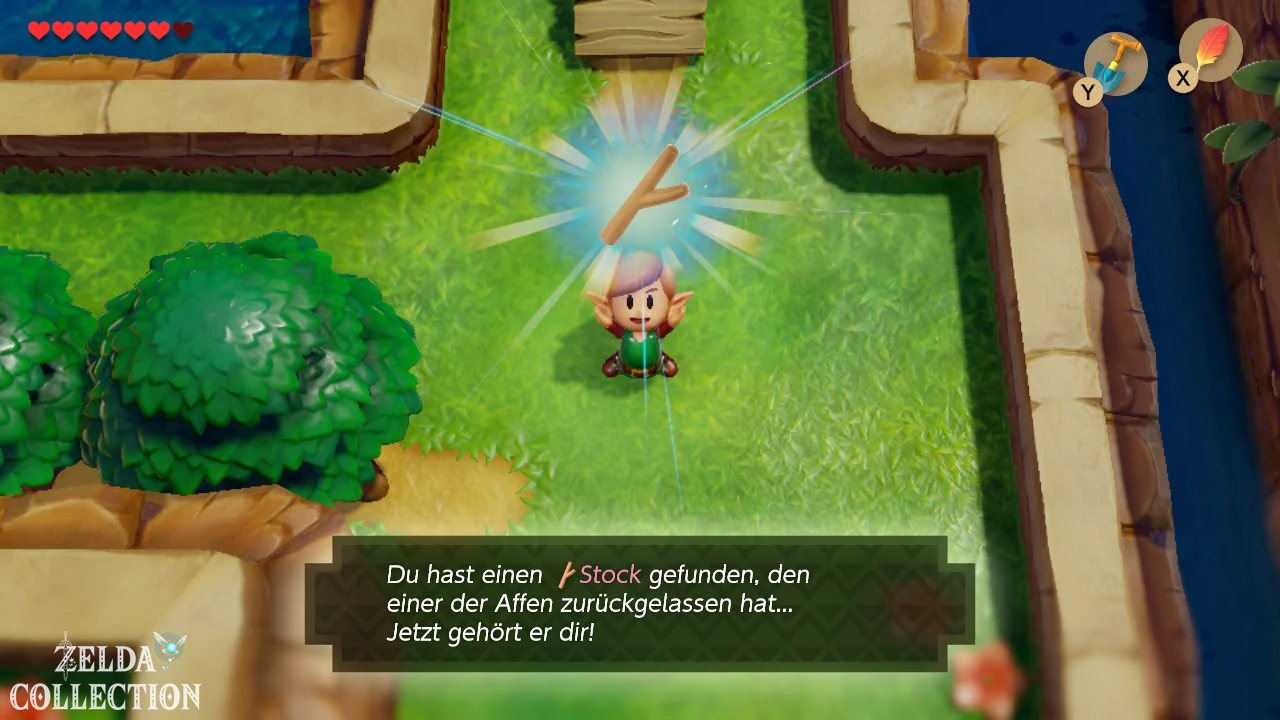
Now let’s take care of the actual story progression. Behind or northwest of the Seashell Mansion you will reach Kanalet Castle. The large castle gate is closed, so Link can’t just walk in. However, east of the castle you will meet the monkey Kiki. As soon as you have the bananas from the barter series, offer them to him. Kiki then calls his monkey friends, who within a few moments build a bridge over the ditch. As an additional exchange item, Kiki leaves behind a Stick. Be sure to pick it up – it is the next item in the Magnifying Lens exchange series.
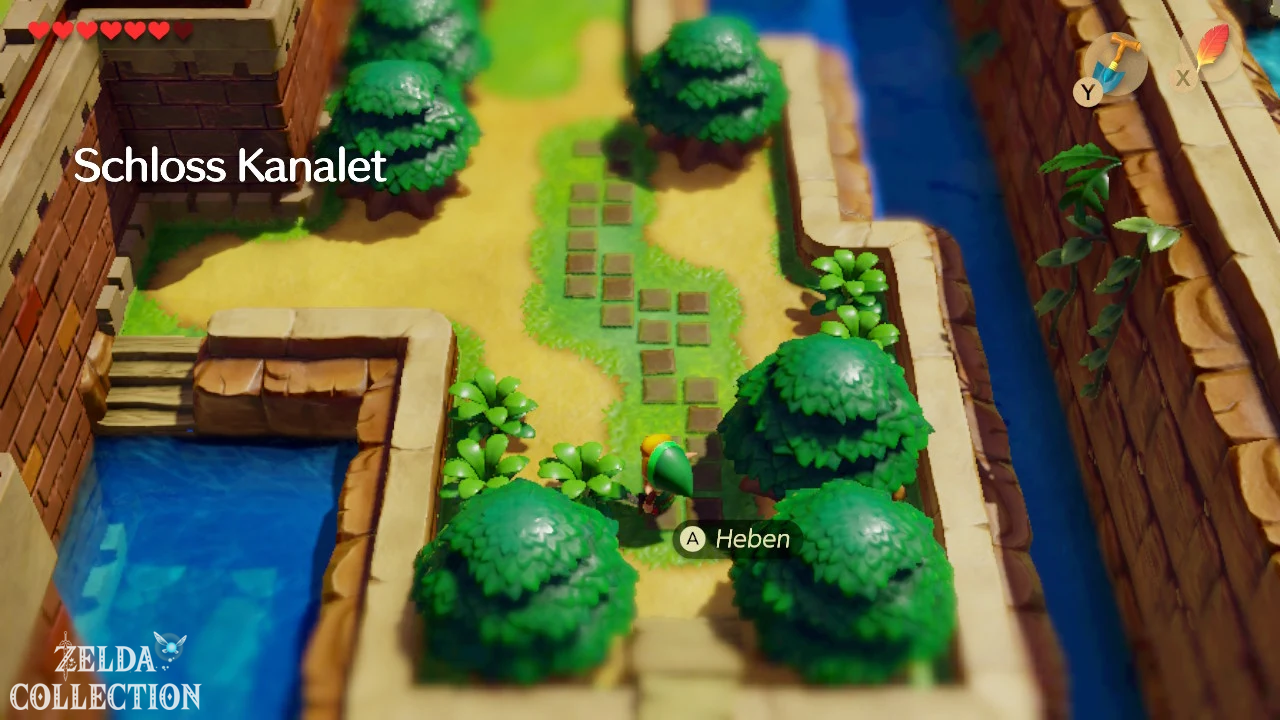
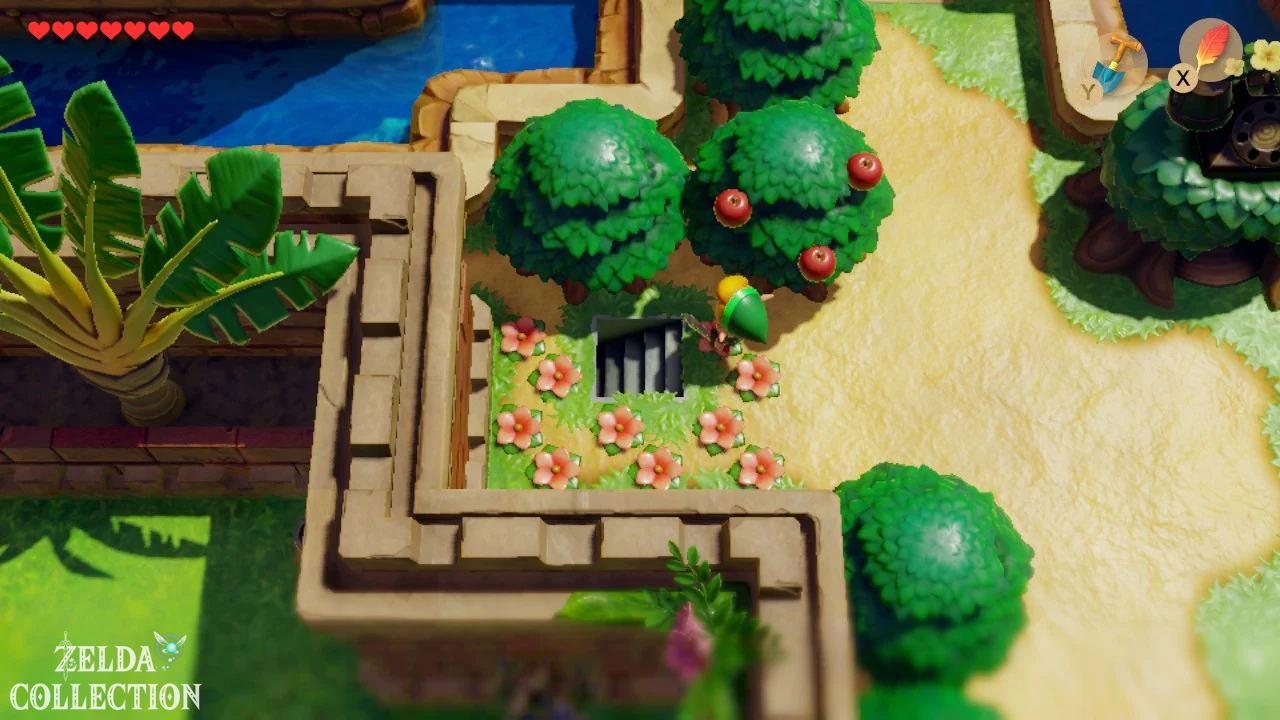
Cross the new bridge and knock out the single bush that hides a staircase. The underground passage takes you to the courtyard of Kanalet Castle. Prince Richard needed in total five golden leaves, and we’ll now get them in a single tour.
The five golden leaves
Golden Leaf 1: The Raven in the Tree
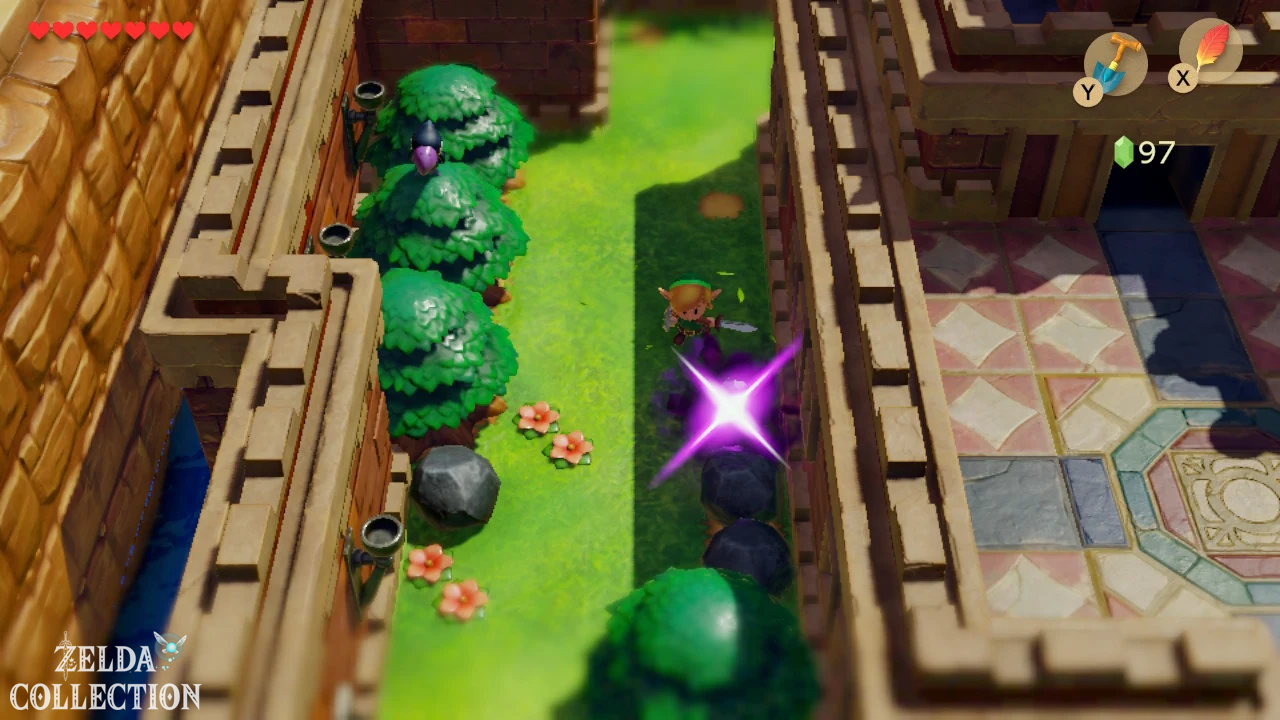
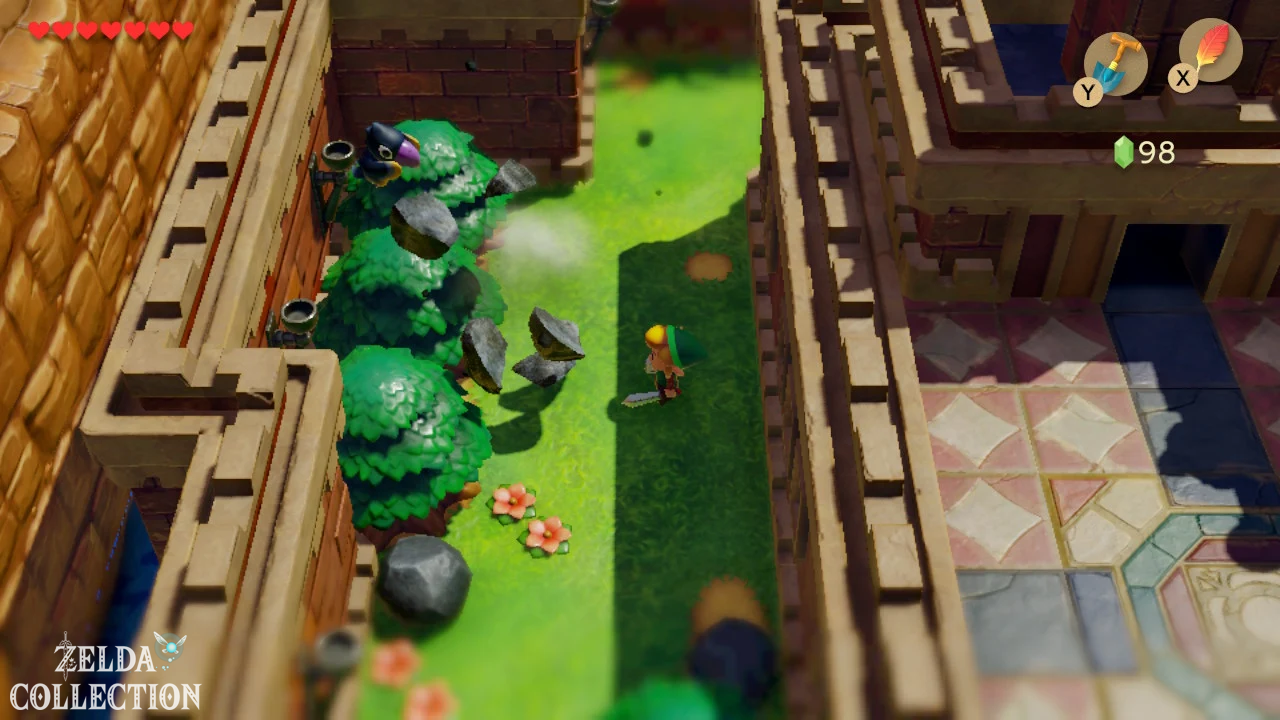
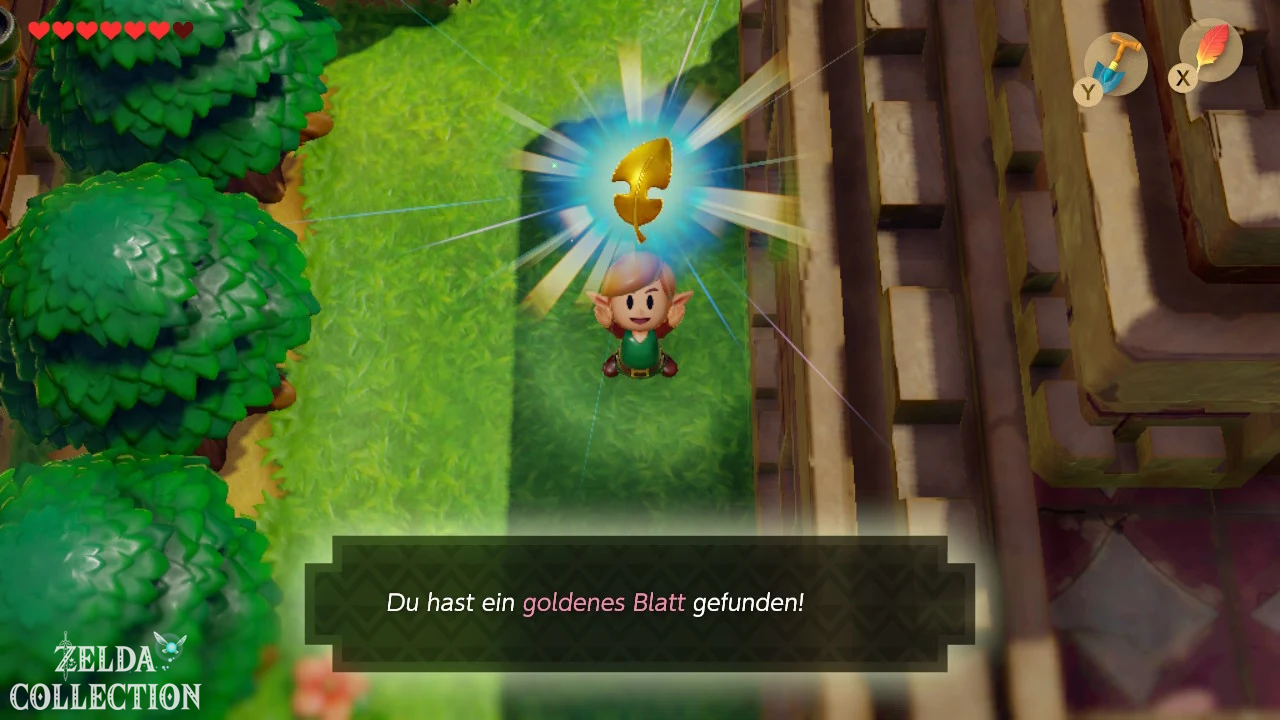
After appearing in the castle courtyard, first go left and then down. A black raven sits on a tree and ignores Link unless you provoke it. Pick up one of the stones lying around and throw it against the tree. The raven then flies off and attacks you. Defeat him with the sword and you will receive the first golden leaf.
Golden Leaf 2: The Guards in the Castle
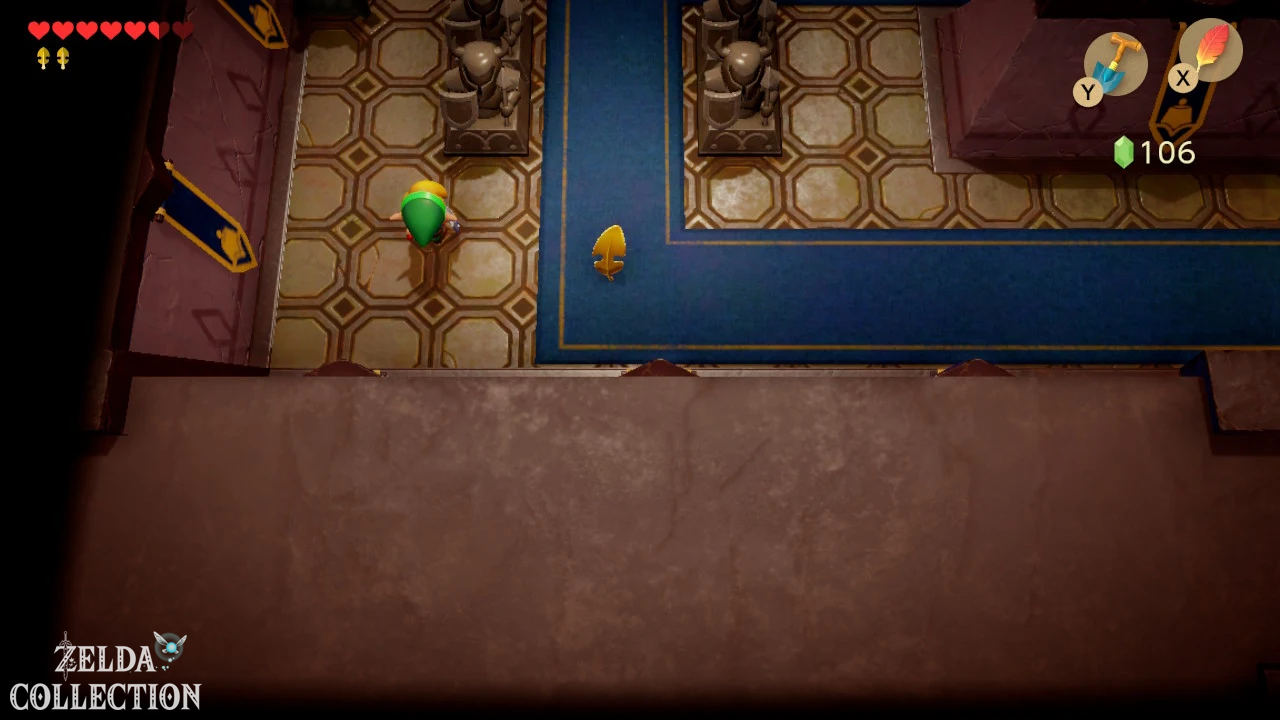
Continue south, then turn right and enter Kanalet Castle through the main entrance. In the first large room, head left and defeat the guards there. As soon as the relevant enemies are eliminated, the second golden leaf appears. The enemy flying around with sparks does not have to be defeated and can hardly be attacked in a meaningful way anyway.
Golden Leaf 3: The blown up knight statue
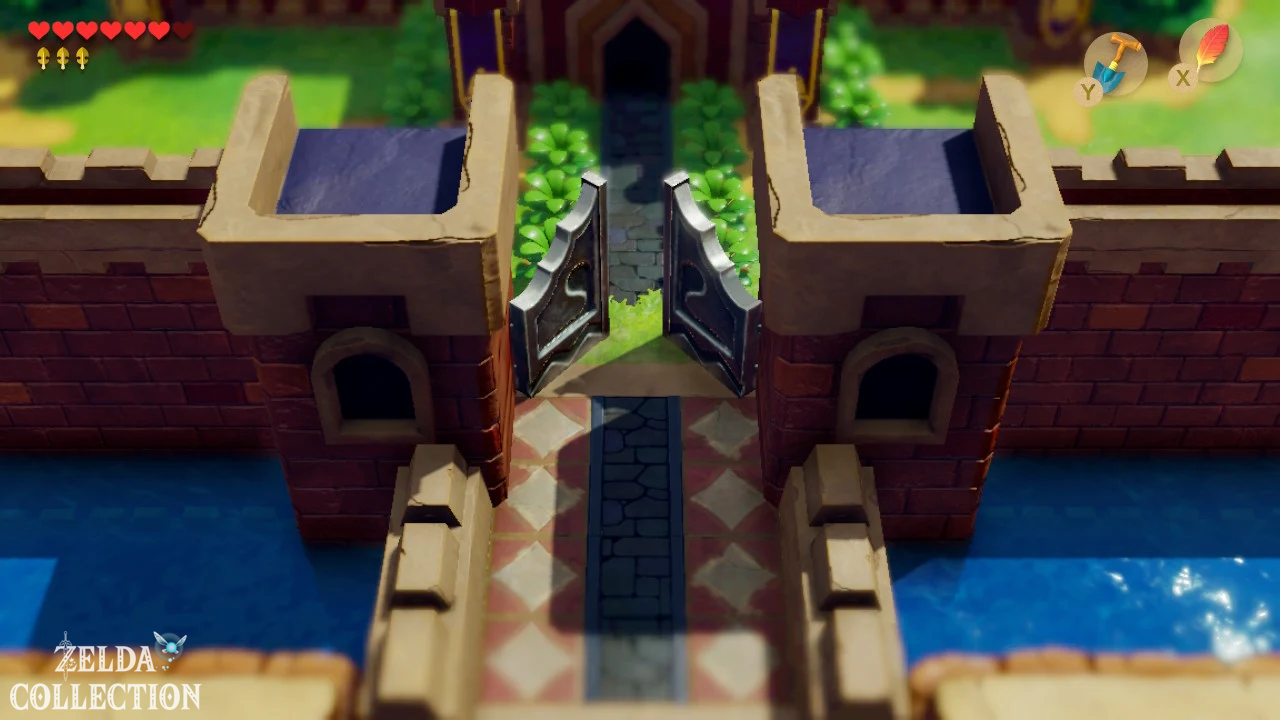
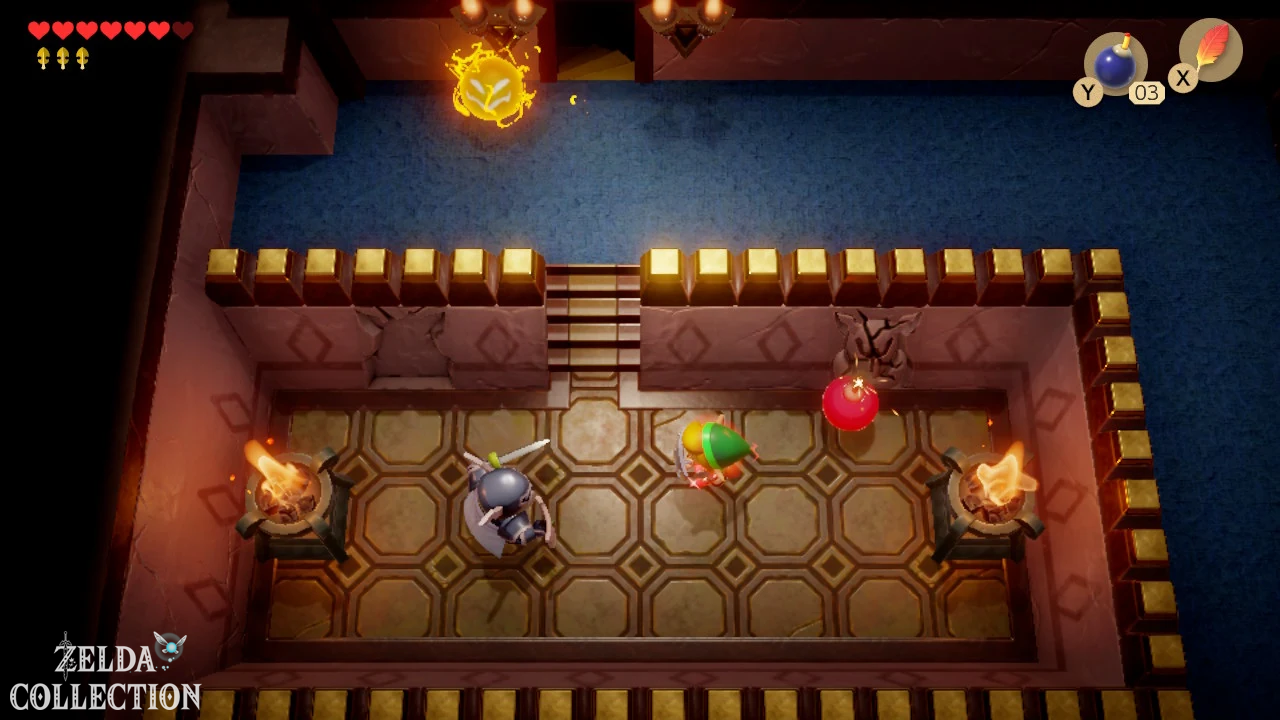
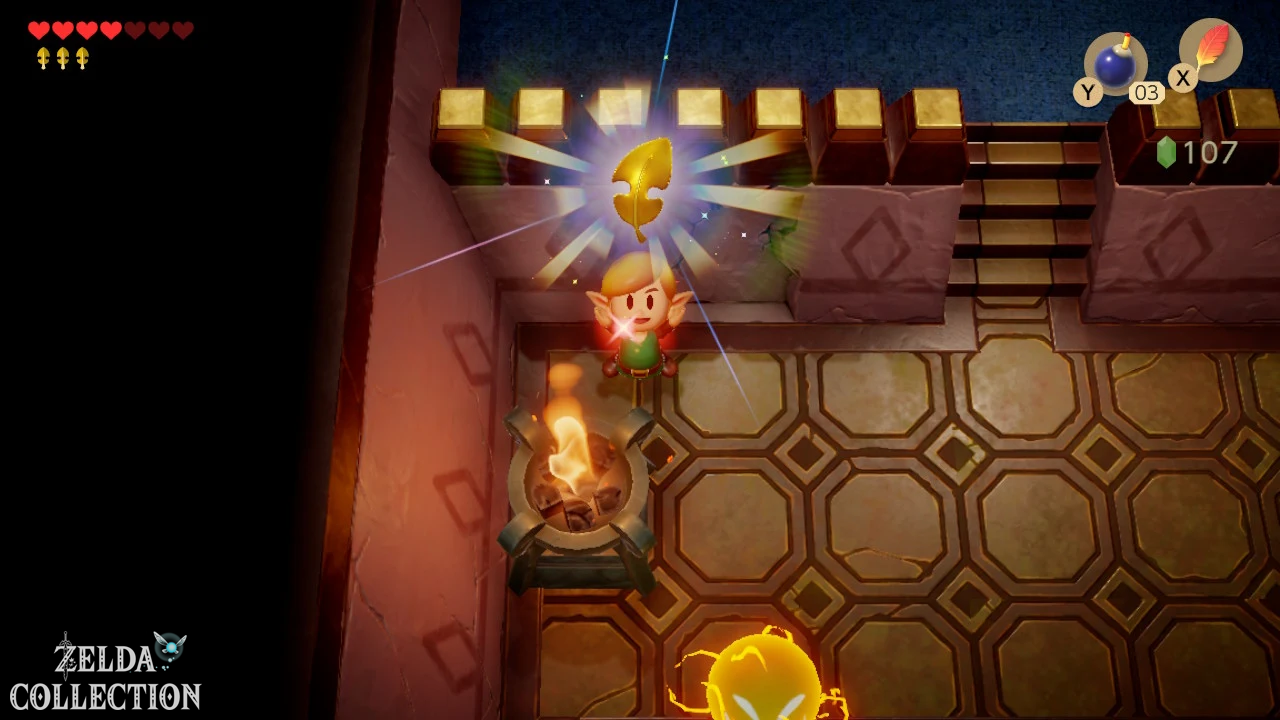
Follow the path up and to the right and step on the floor plate on the way. This means that the large castle gate opens permanently, which significantly shortens later journeys. Then climb one floor up. On one wall you can see two embedded knight motifs or statues. Place a bomb in front of the left spot. There is an enemy behind it. Defeat him and take the third golden leaf with you.
Golden Leaf 4: The Club Swinger
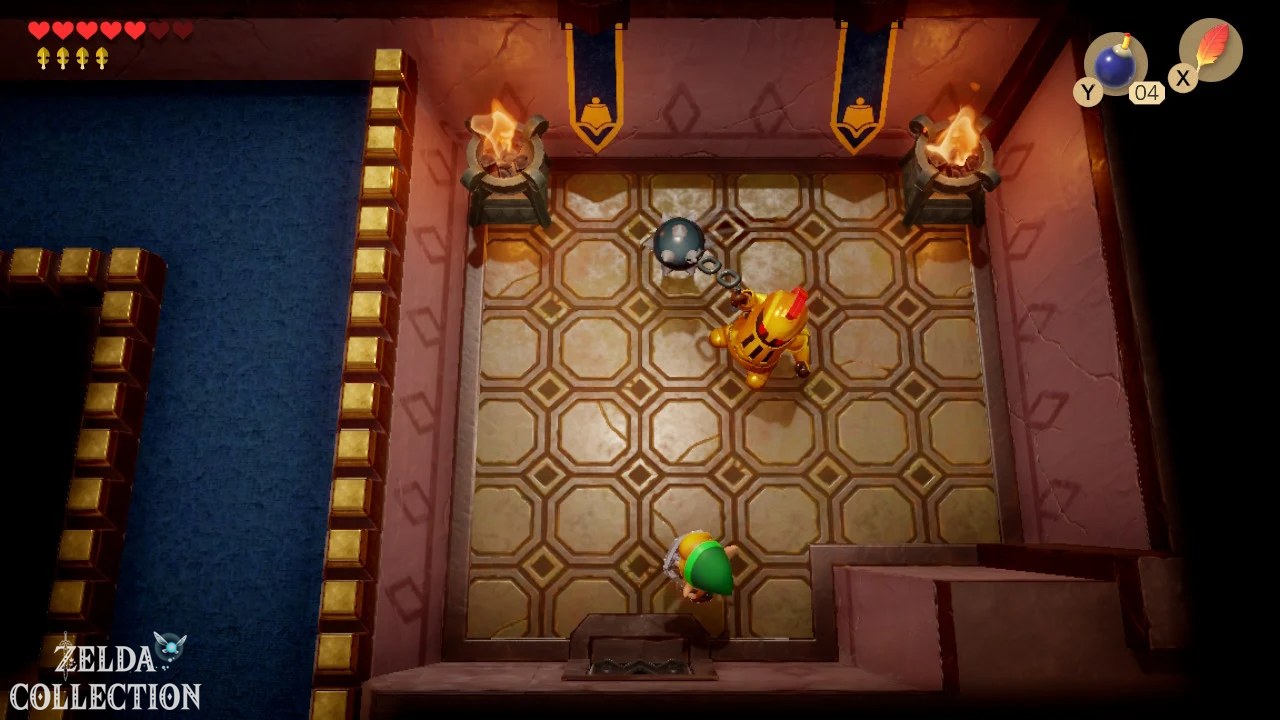
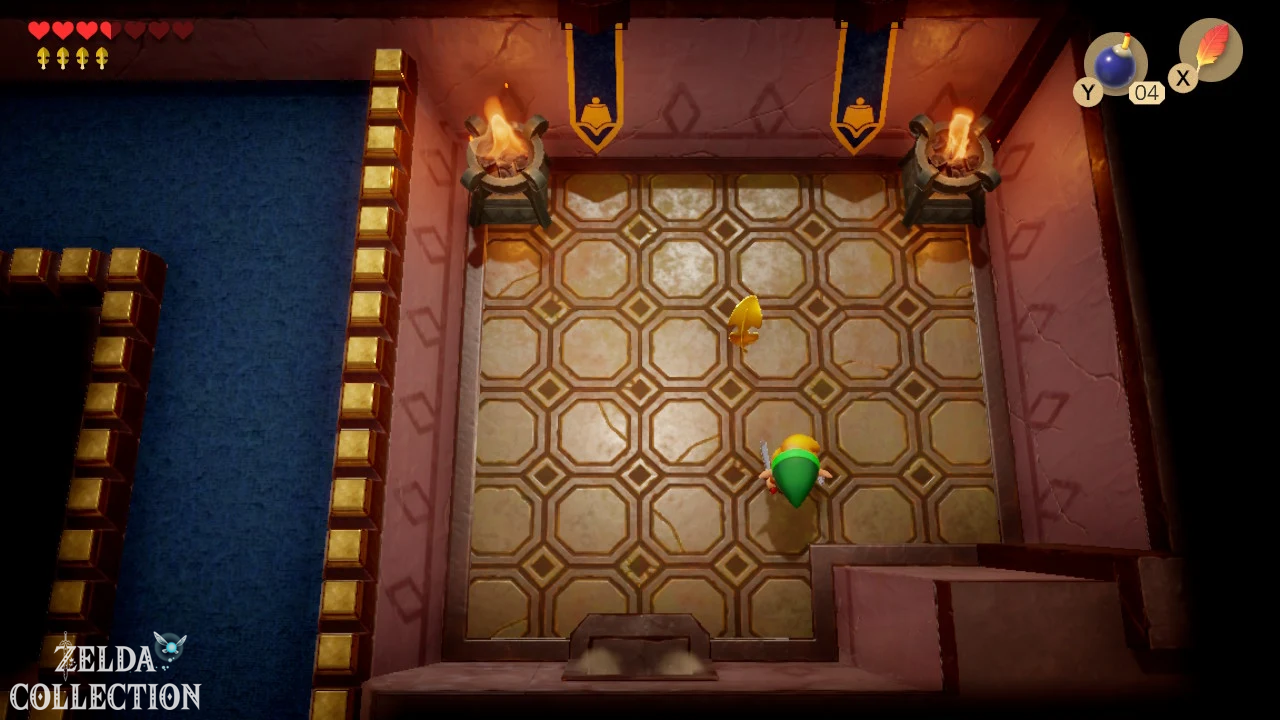
Follow the right corridor and go over the upper area or roof into the next section of the castle. Enter the entrance there. A locked door doesn’t respond to keys: Instead, pick up a Mug and throw it at the door, causing it to break open. A heavily armored club wielder waits behind it. Dodge his heavy bullet or club and attack in the short pauses between his attacks. After the victory you will receive the fourth golden leaf.
Golden Leaf 5: The bomb thrower in the courtyard
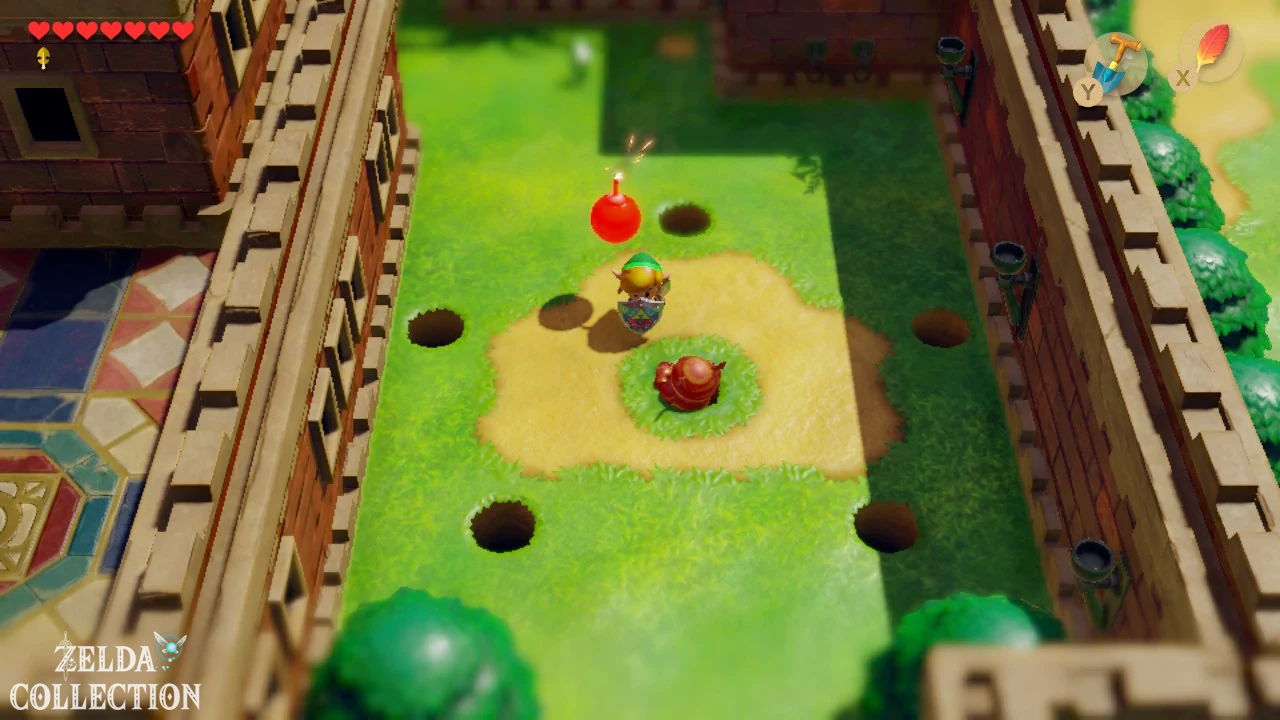
Leave the building again and go outside to the right and north. An enemy is hiding in several holes and constantly throwing bombs in your direction. Keep a little distance, watch the holes and wait until he appears in one of the front ones. A prepared spin attack can hit him immediately before he disappears again. Repeat the process until he is defeated. After that, the fifth golden leaf is also yours.
Back to Prince Richard
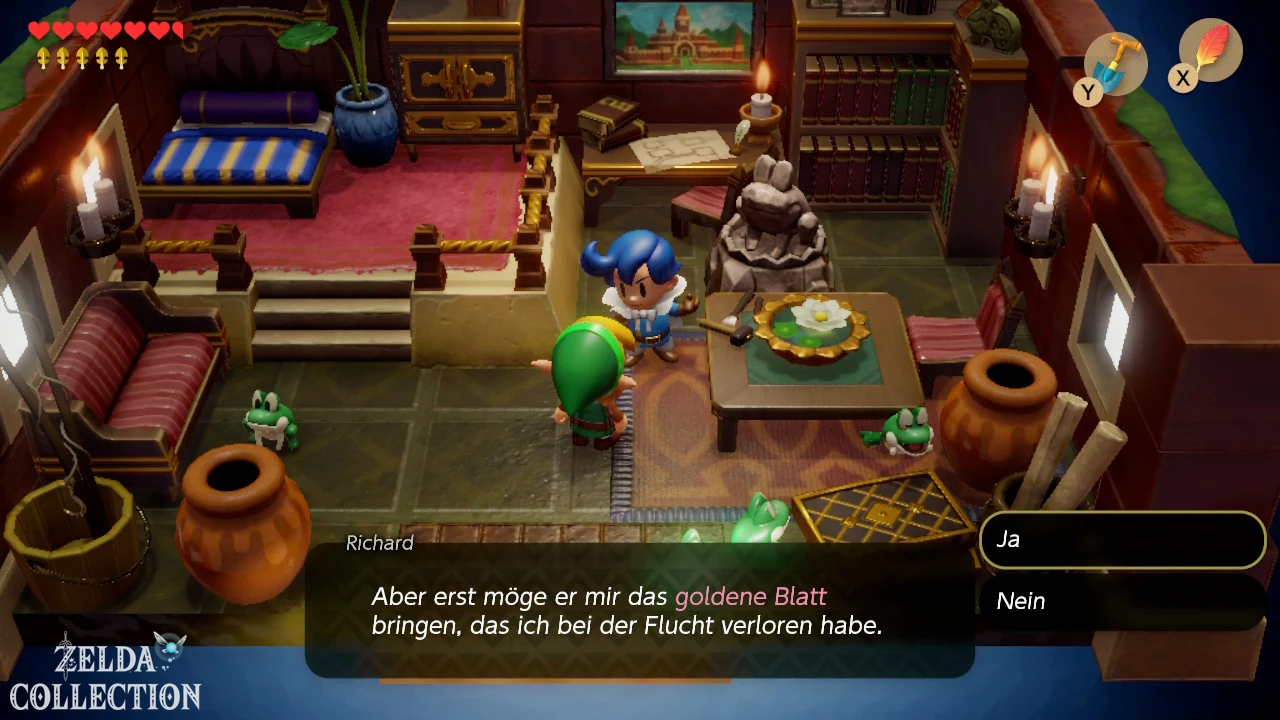
With all five golden leaves you return to Prince Richard in his villa. Speak to him and hand over the leaves. He keeps his promise and moves the large box in his house, revealing a hidden staircase to the underground. Climb down and at the first fork in the road take the left path. Inside the chest is another Secret Seashell. This shell also exists in the older Game Boy versions, but the numbering and overall progress are of course different due to the remake being expanded to 50 shells.
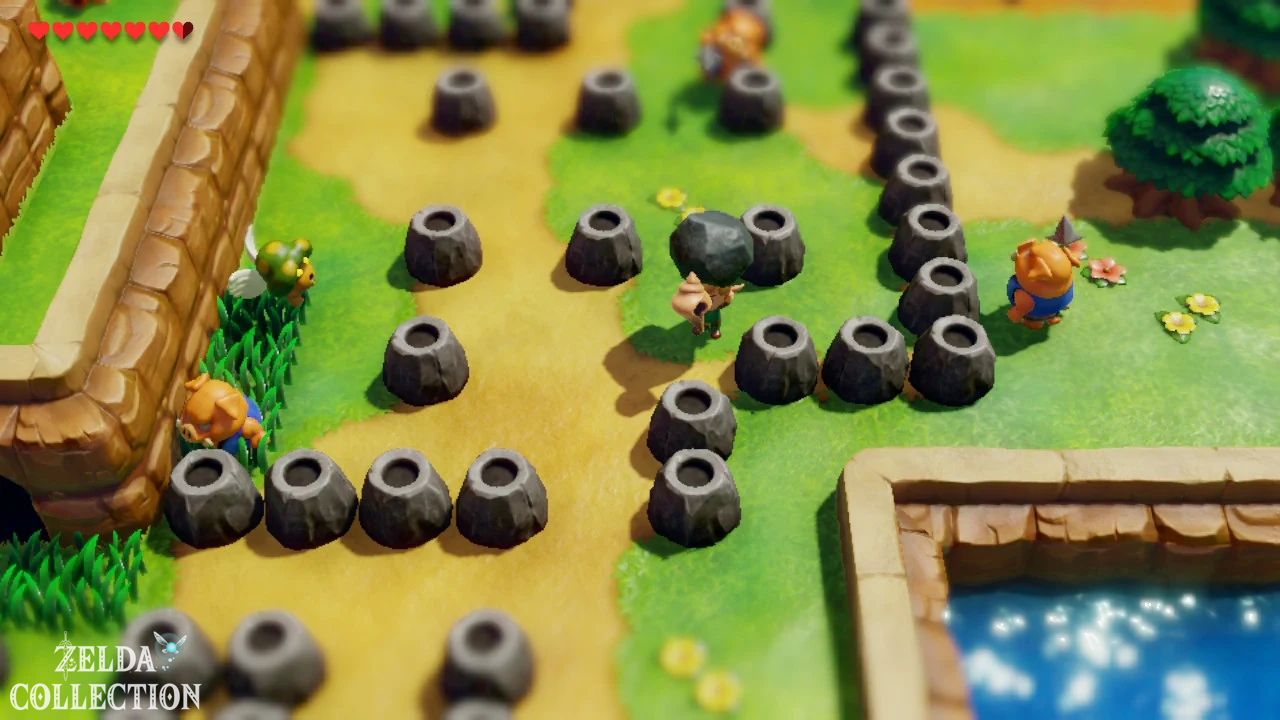
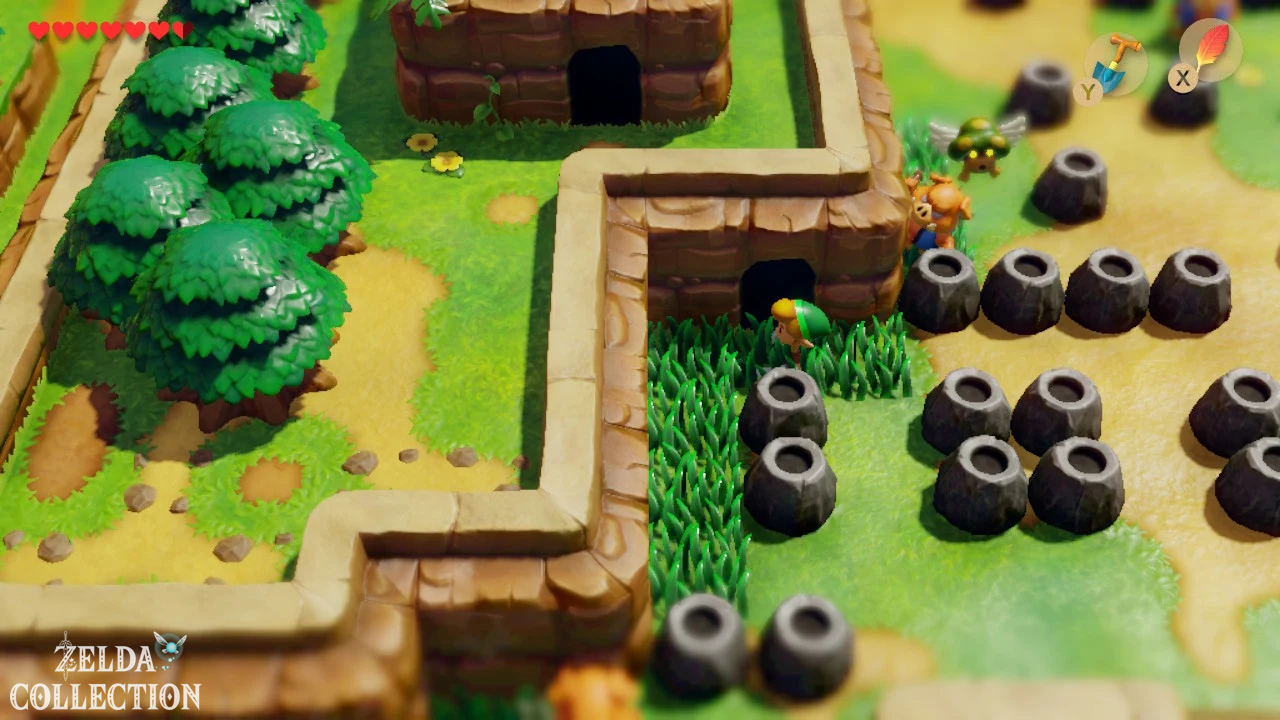
Return to the junction and take the right path this time. Move the stones so that you can reach the exit and climb back to the surface. You are now on Prince Richard’s famous Pothole Field.
Piece of Heart and Slime Key on the Pothole Field
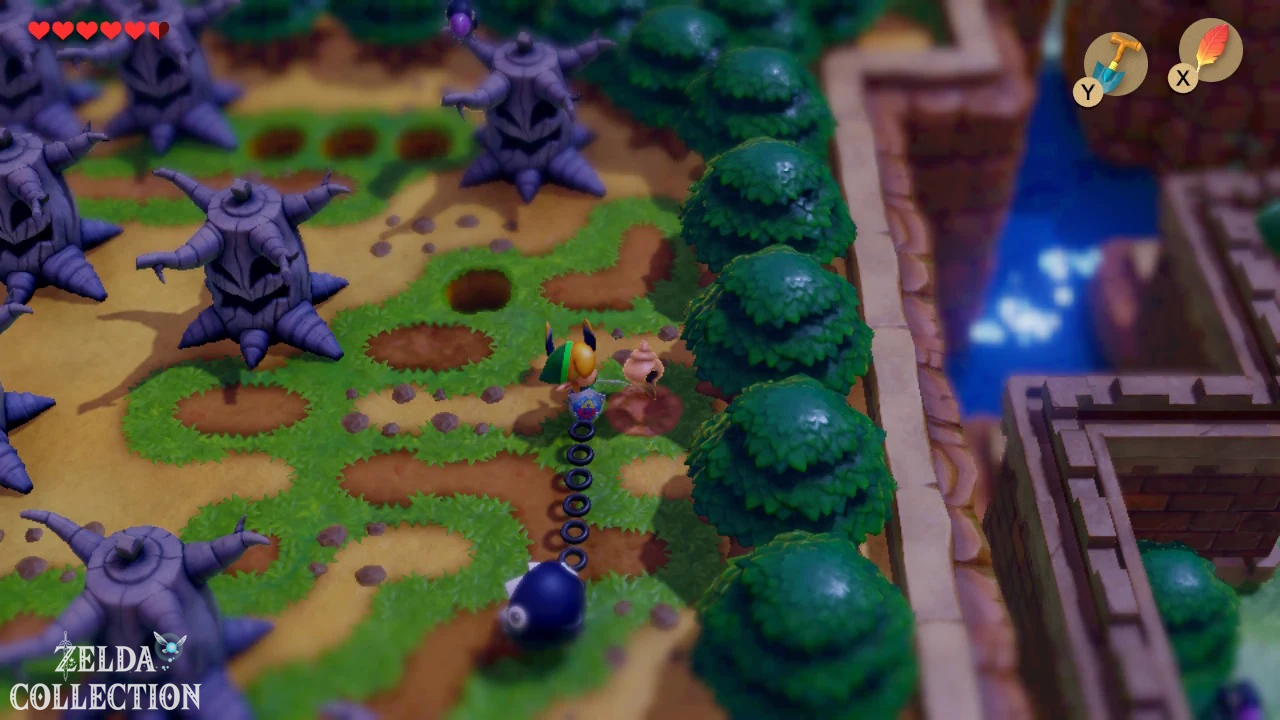
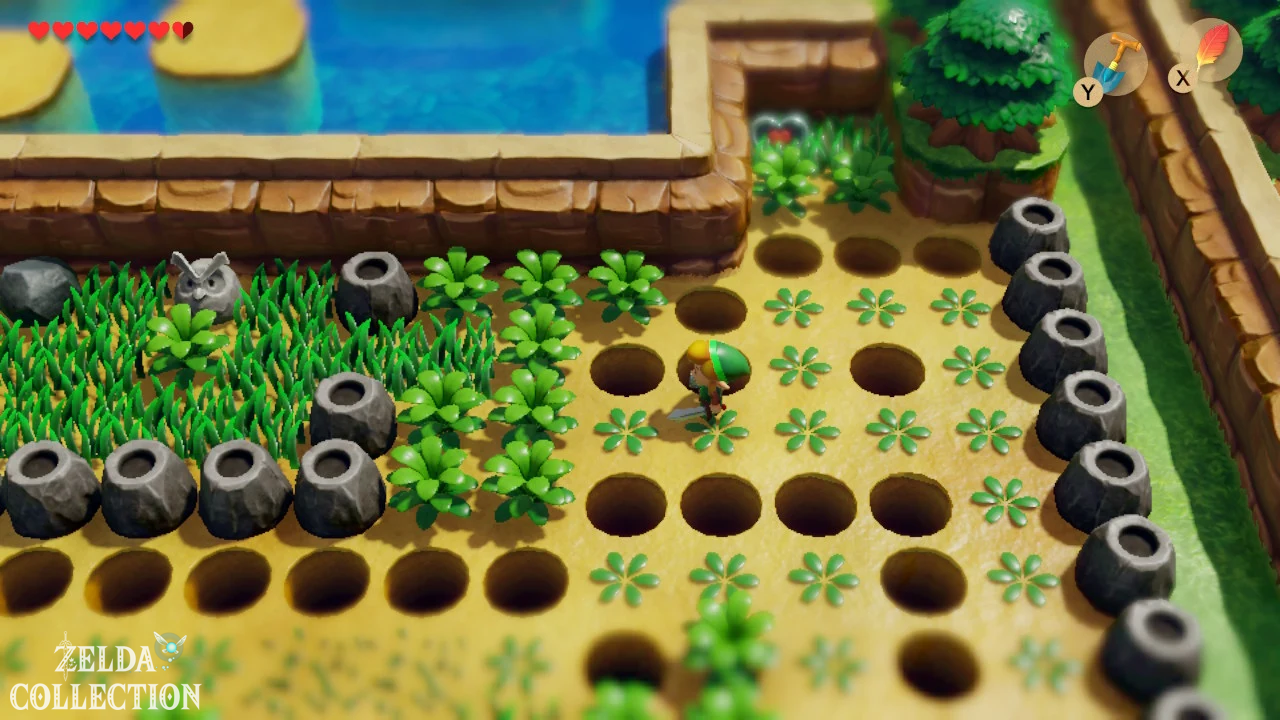
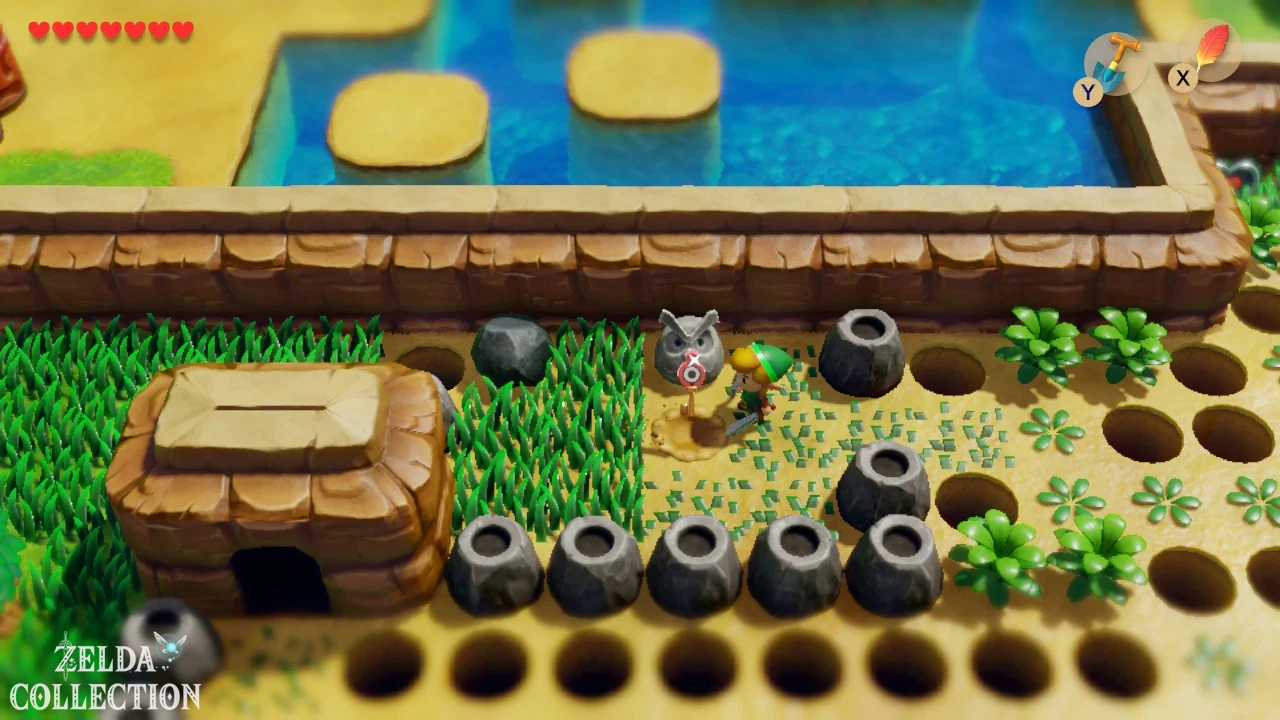
The Pothole Field is full of invisible holes or holes that are only visible after mowing. So don’t work your way blindly through the middle, but rather stay at the edges of the grass if possible and cut a path in a controlled manner. For a 100% pass, an important Piece of Heart is also waiting here: In the northern part of the field you can jump over two holes with the Roc’s Feather and reach the Piece of Heart. The jump is a bit tight without Pegasus Boots, but possible. If you don’t clear it, you can come back after the third dungeon; with the Pegasus Boots it becomes much easier.
Then follow the safe path to the owl statue at the back of the field. Dig right at her foot with the shovel. Link finds the Slime Key, which can be used to open access to the Key Cavern.
Open the entrance to the Key Cavern
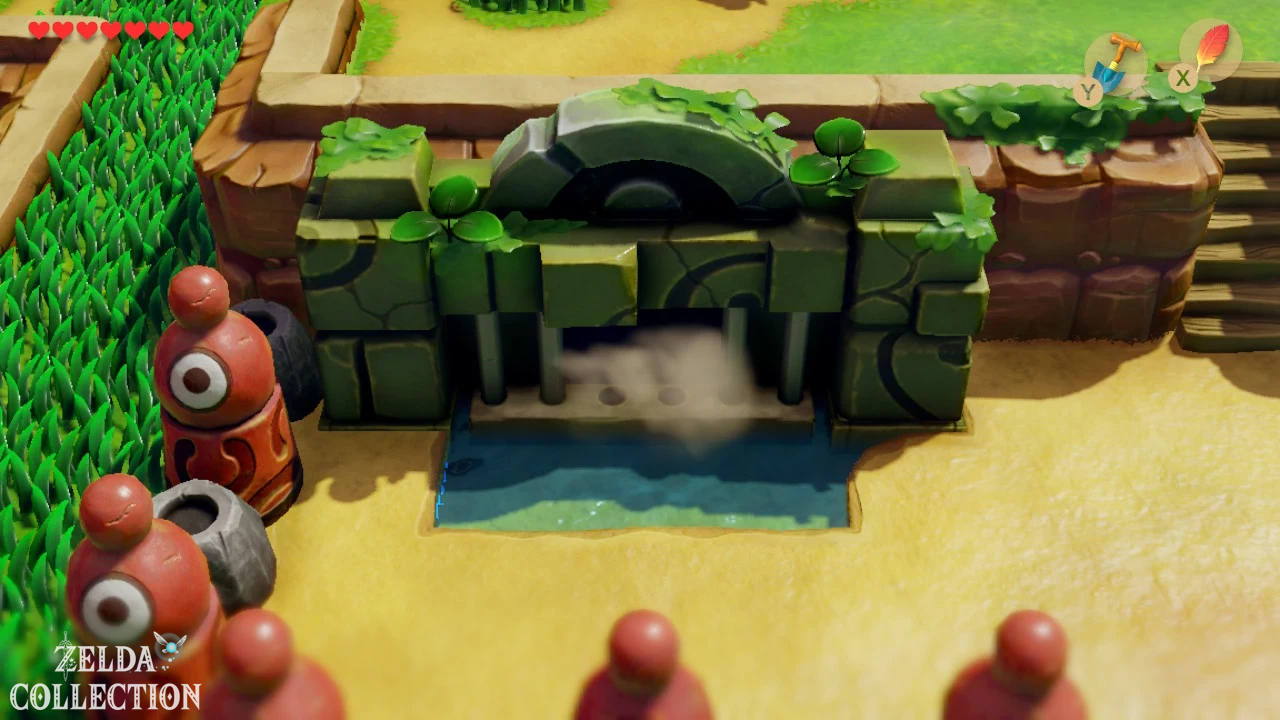
From Prince Richard’s Villa you go west, twice north, west again and then north. There you will find the keyhole for the Slime Key. Use the key and watch as the entrance to the third dungeon opens. However, you can’t get in directly from this side: a rock barrier blocks access. Therefore, return towards Pothole Field and go to the lake with the many small islands. Jump from island to island with the Roc’s Feather and approach the Key Cavern from the other side.
The Key Cavern is the third dungeon and lives up to its name as a “key dungeon”. There are an unusually large number of Small Keys here – even one more than you actually need for the walkthrough. If you follow our order, you’ll never have to wonder which of the many locked doors should be opened next.
Key Cavern: The first keys
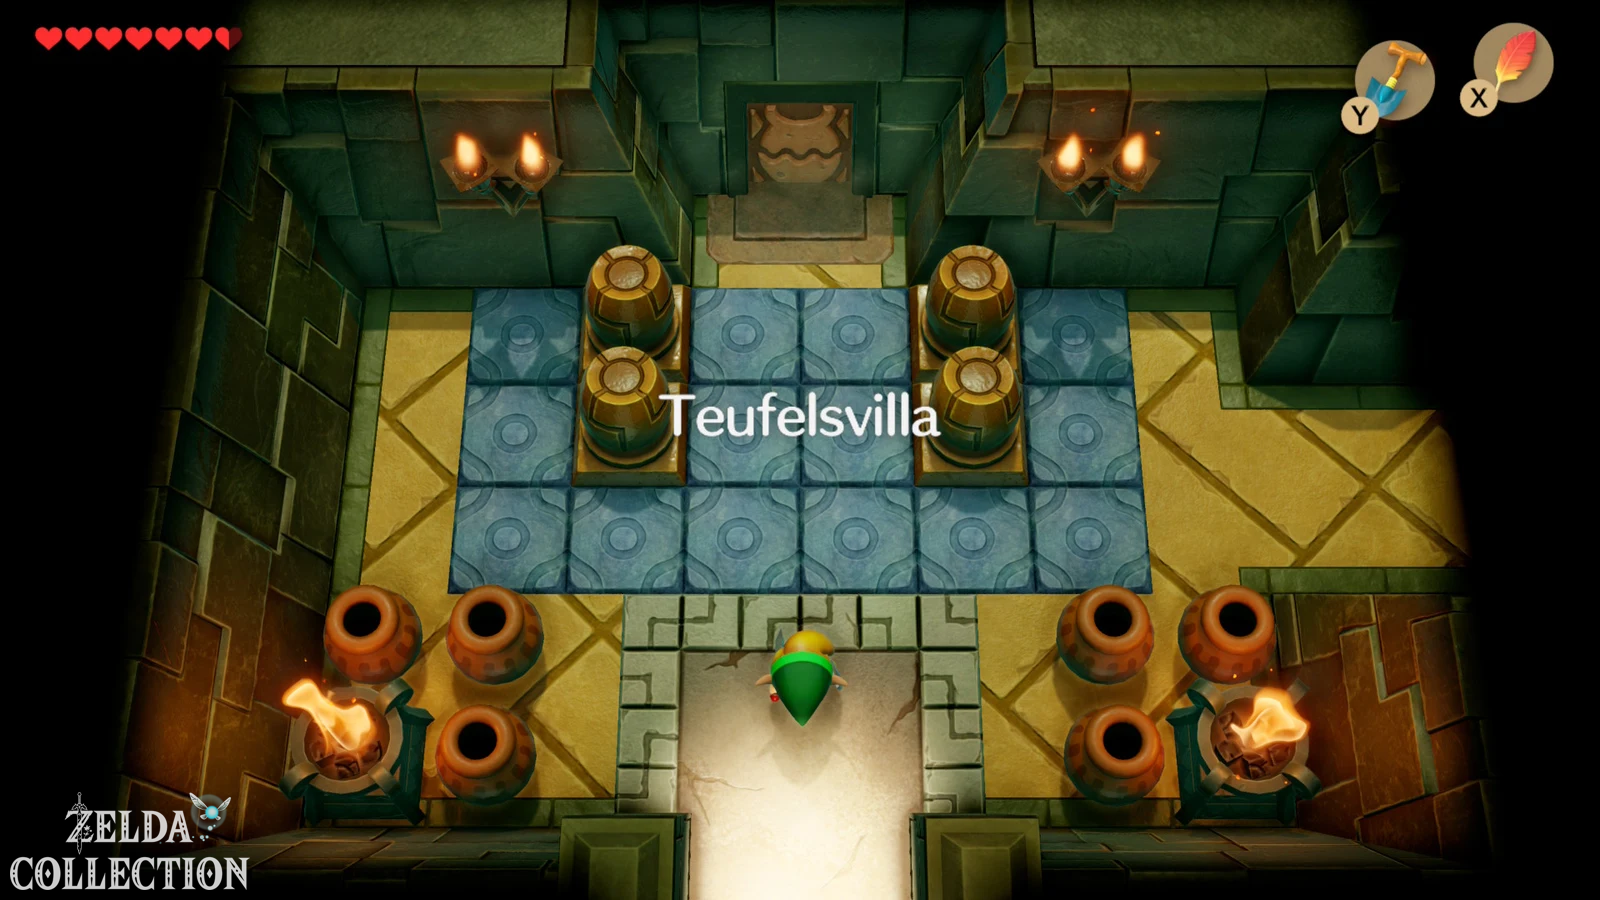
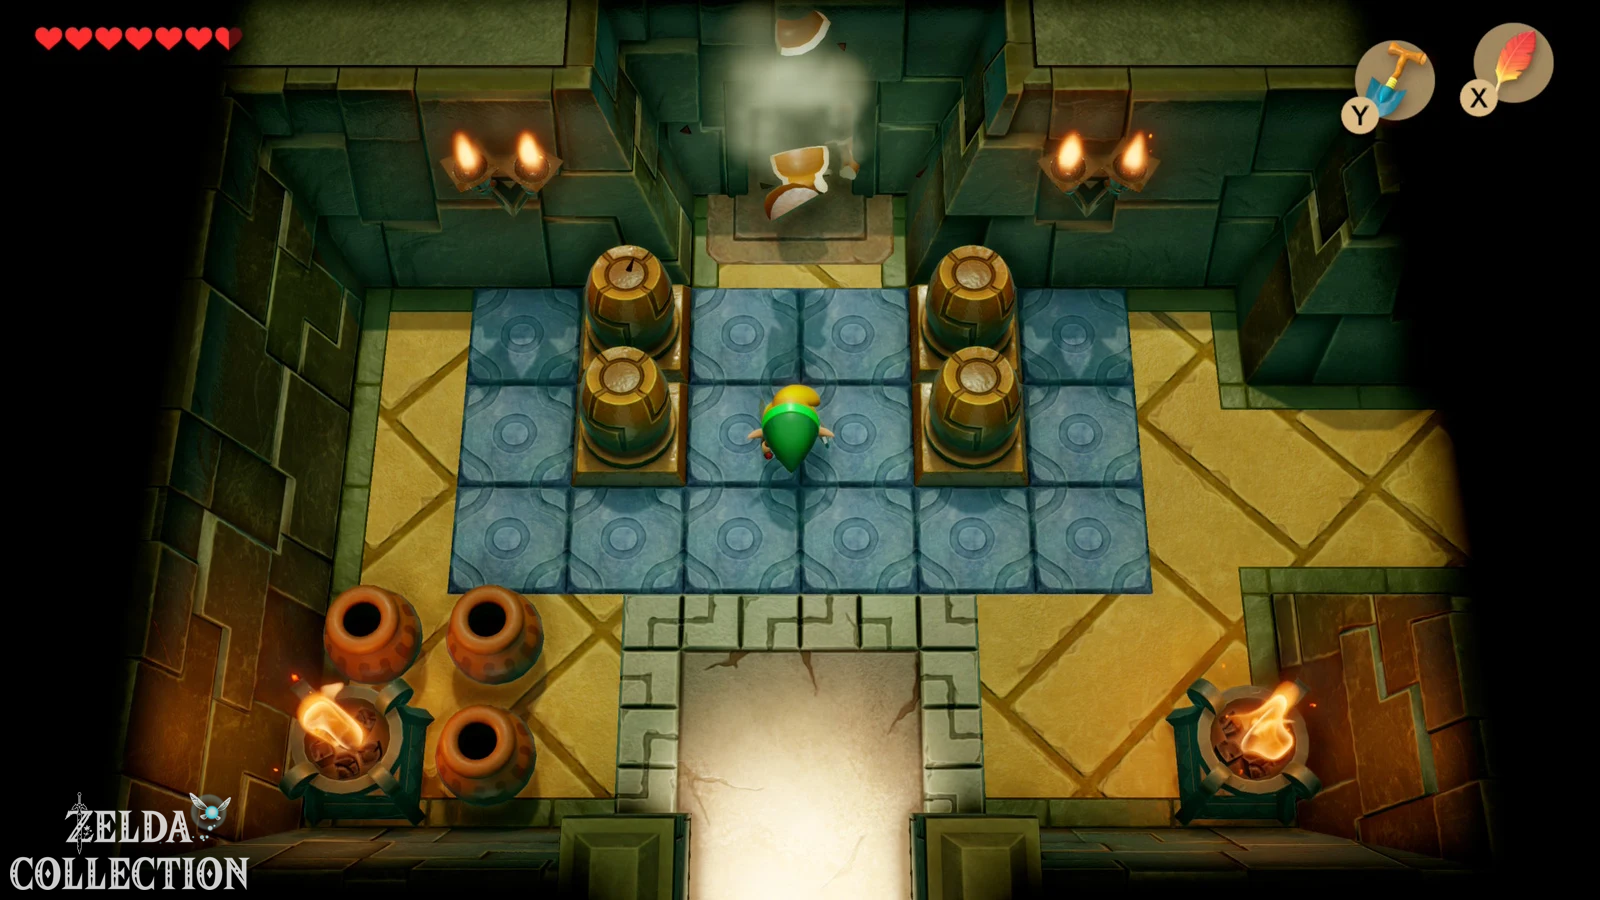
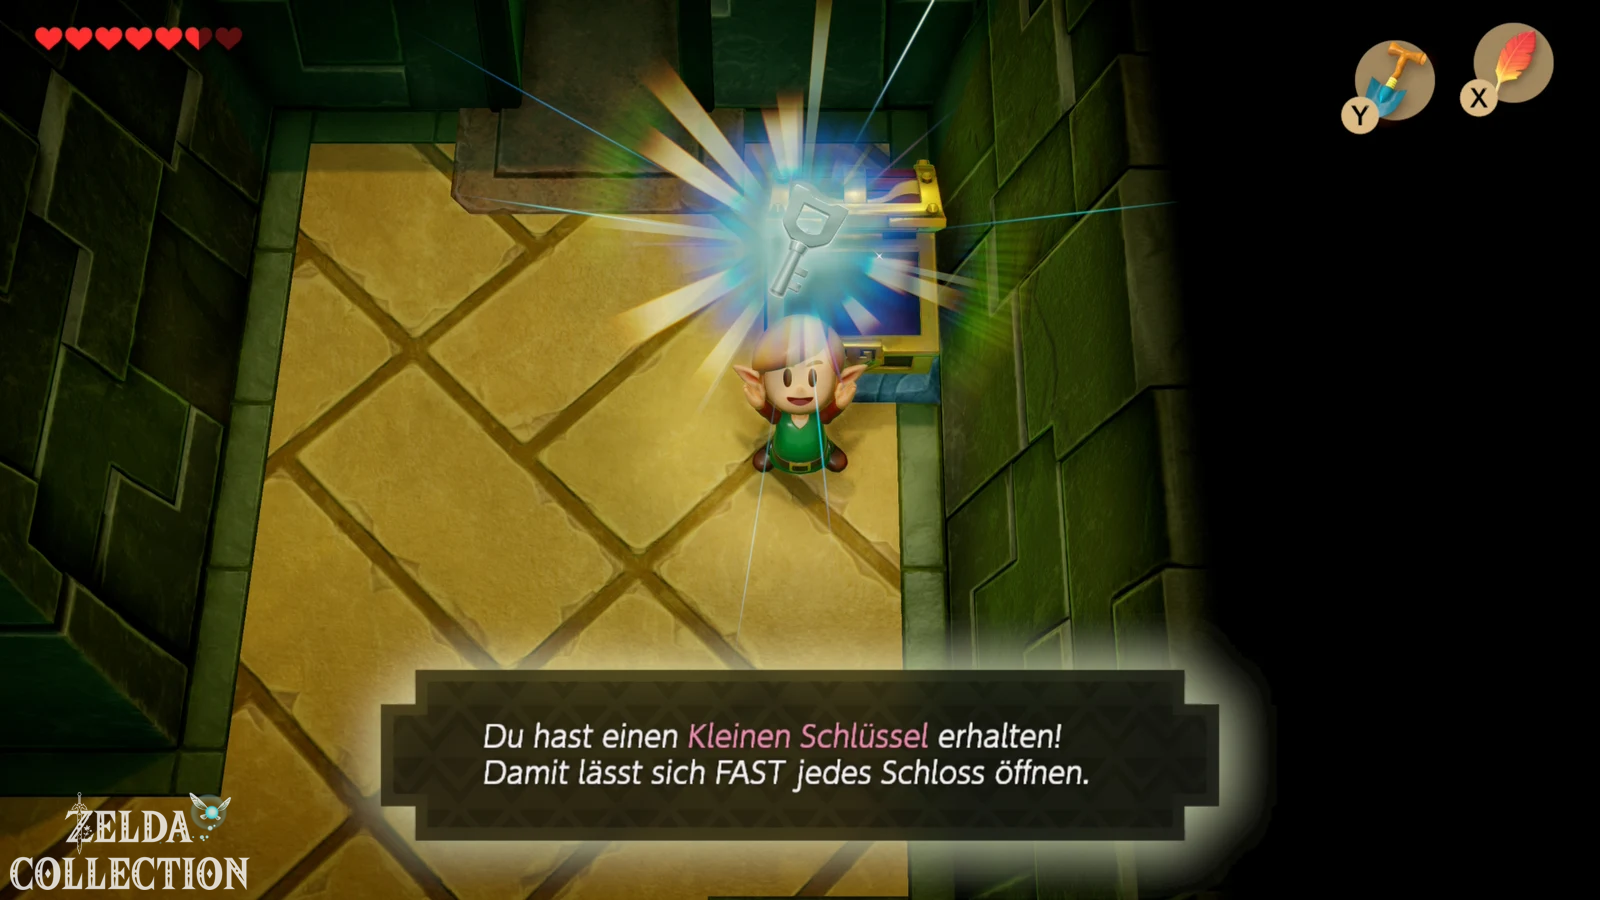
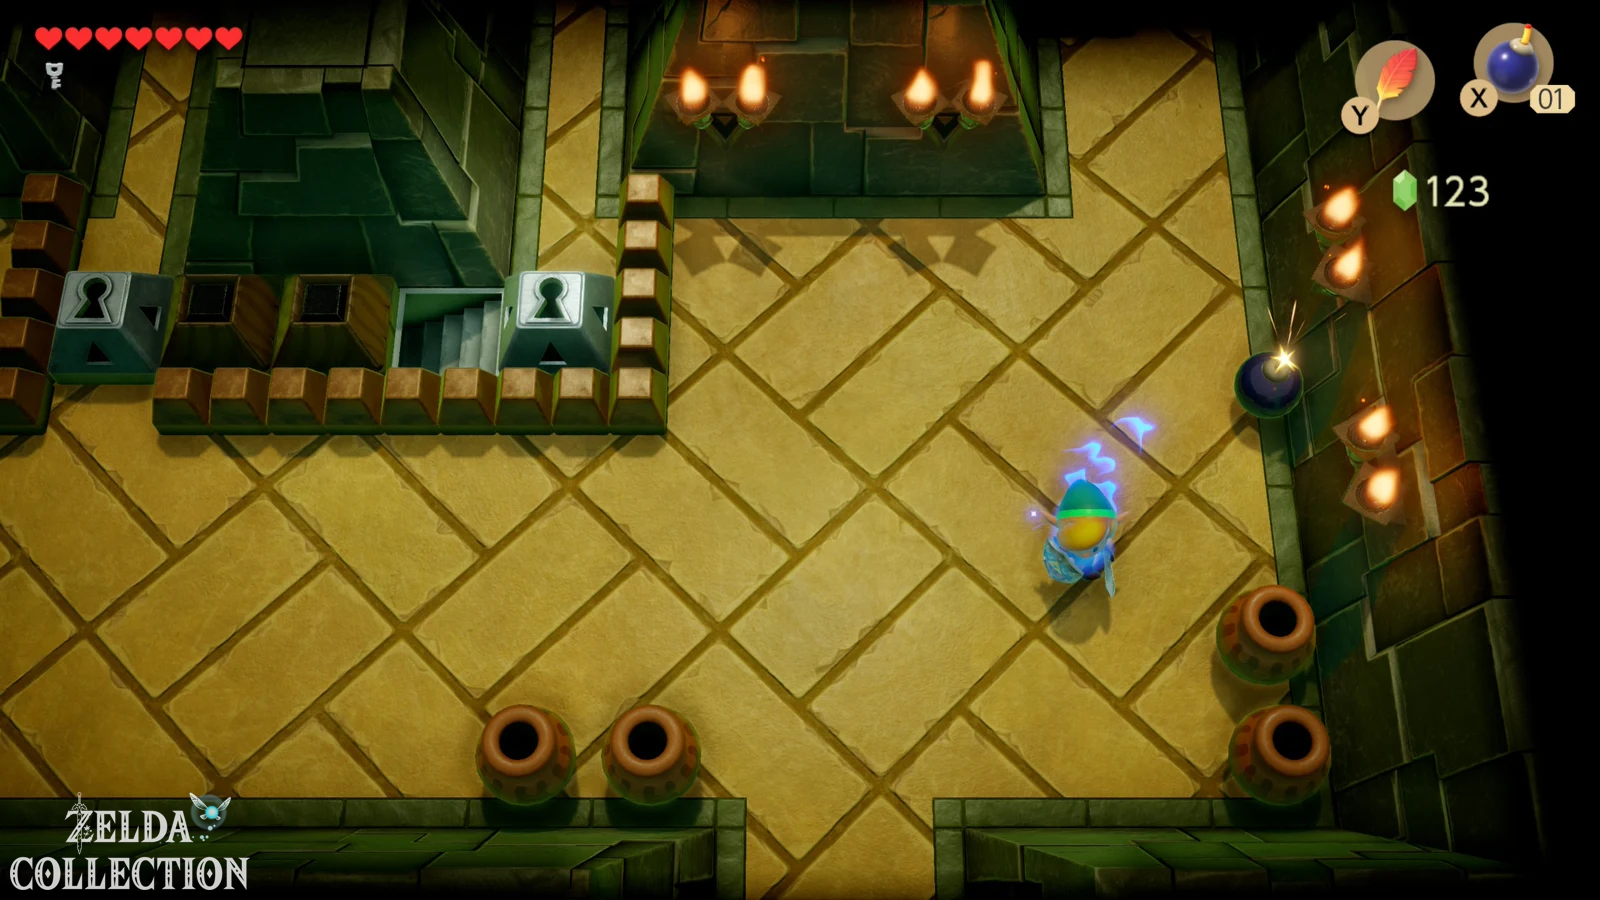
In the entrance room you are first faced with a locked door that does not accept a key. Pick up a Mug and throw it at the door to break it open. In the next room you kill all the enemies and get the first Small Key. Then take the right path up. Defeat all opponents here too; The eye-catching chest contains no valuable item, just a bouncy slime. Work your way further north and climb the stairs into the deeper area.
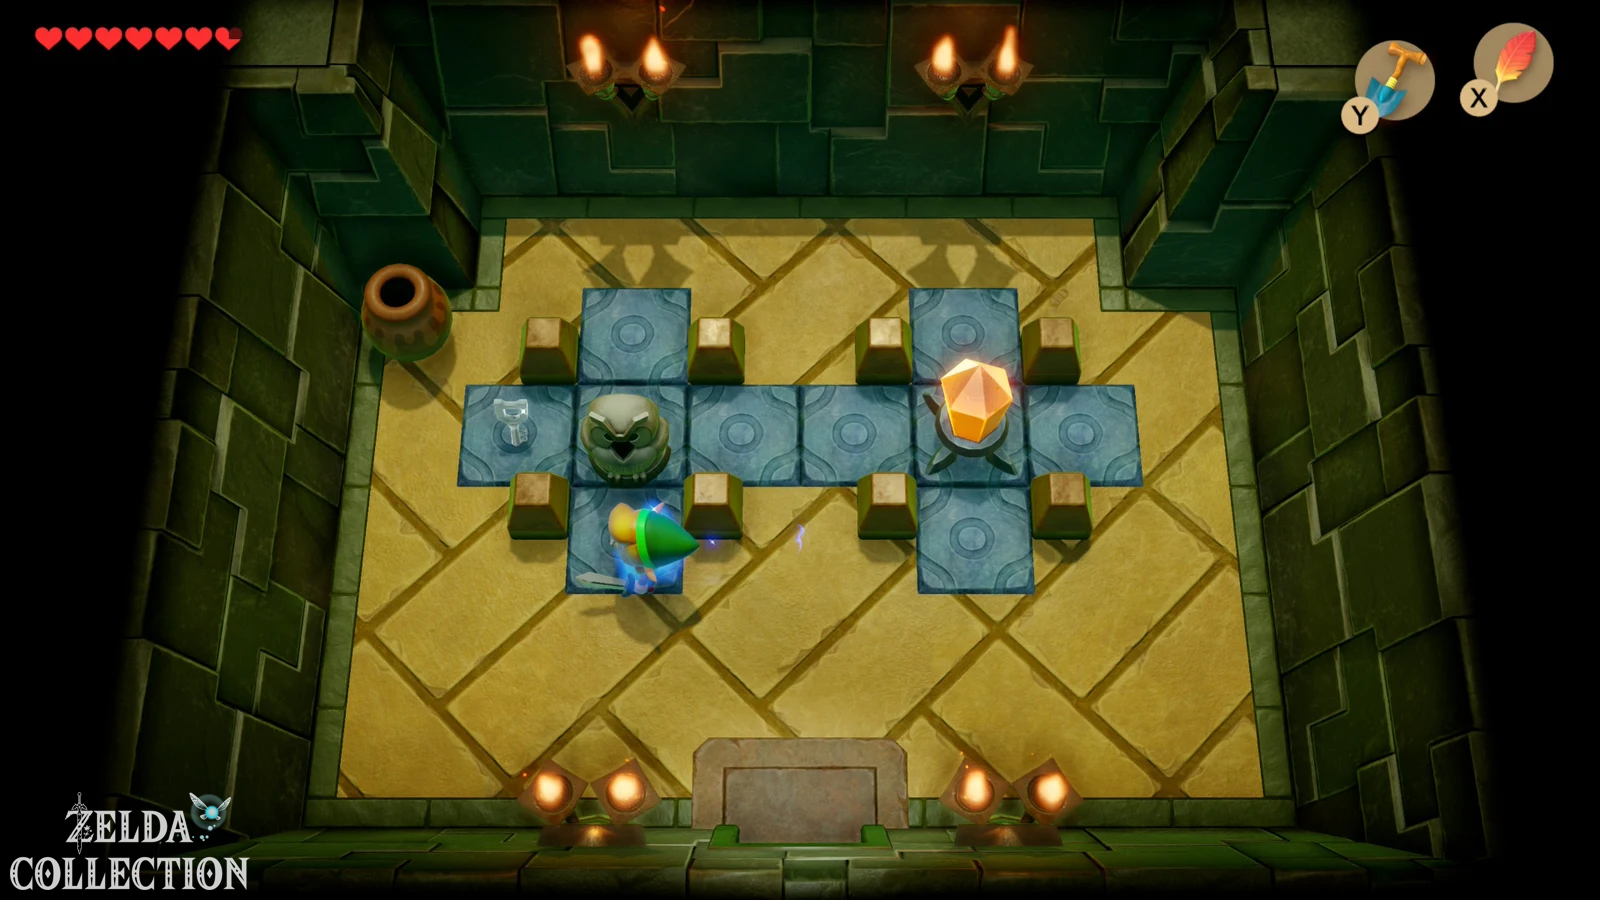
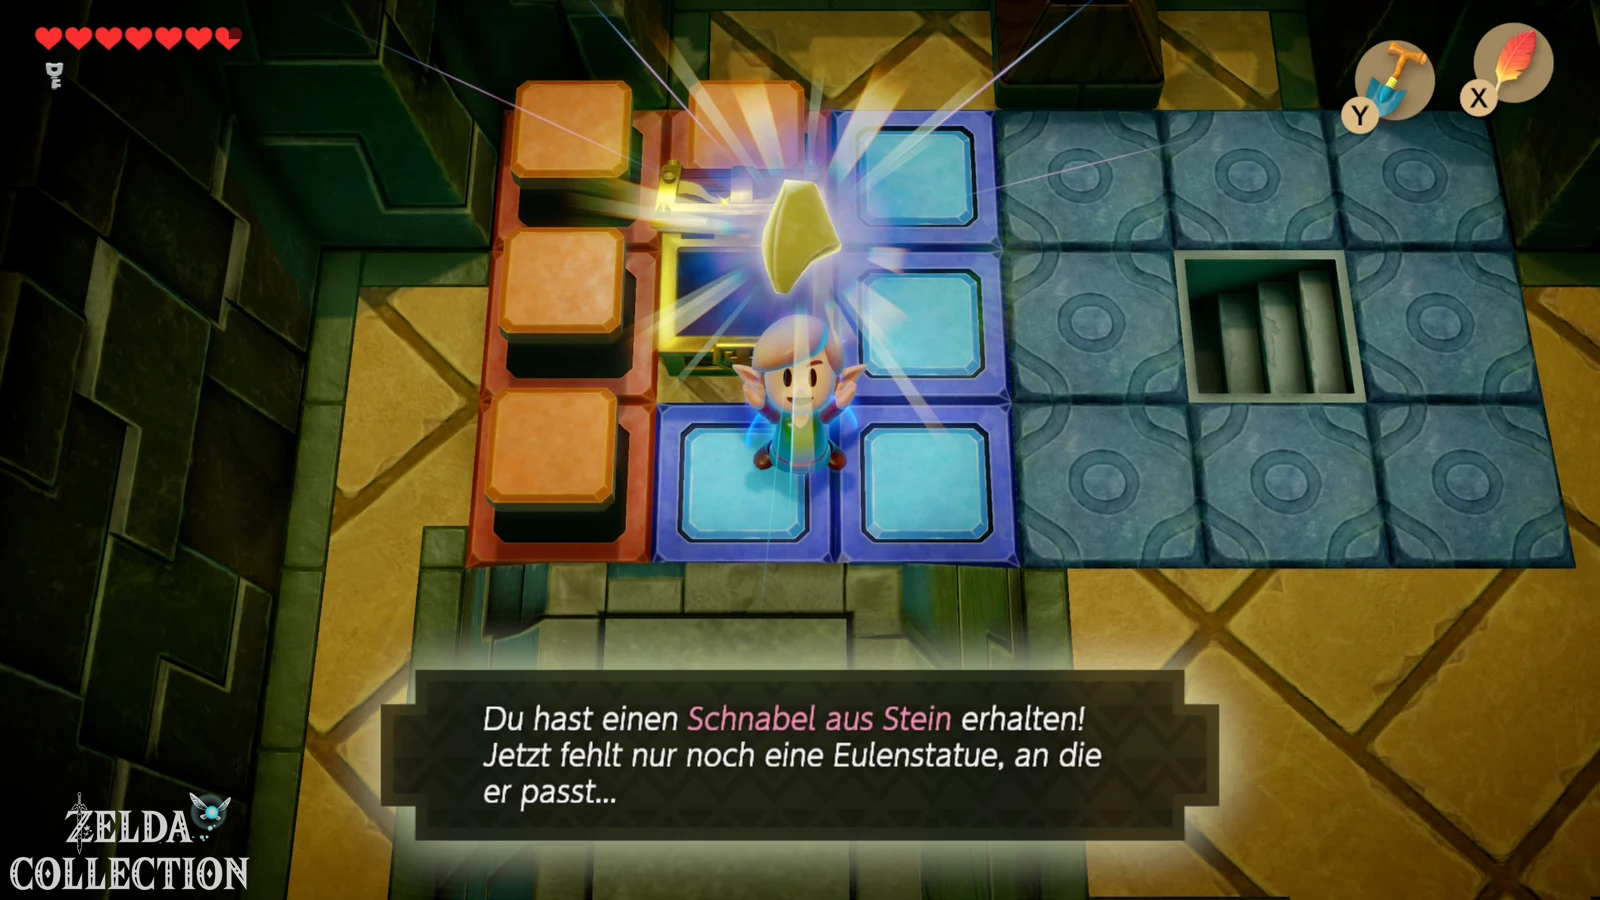
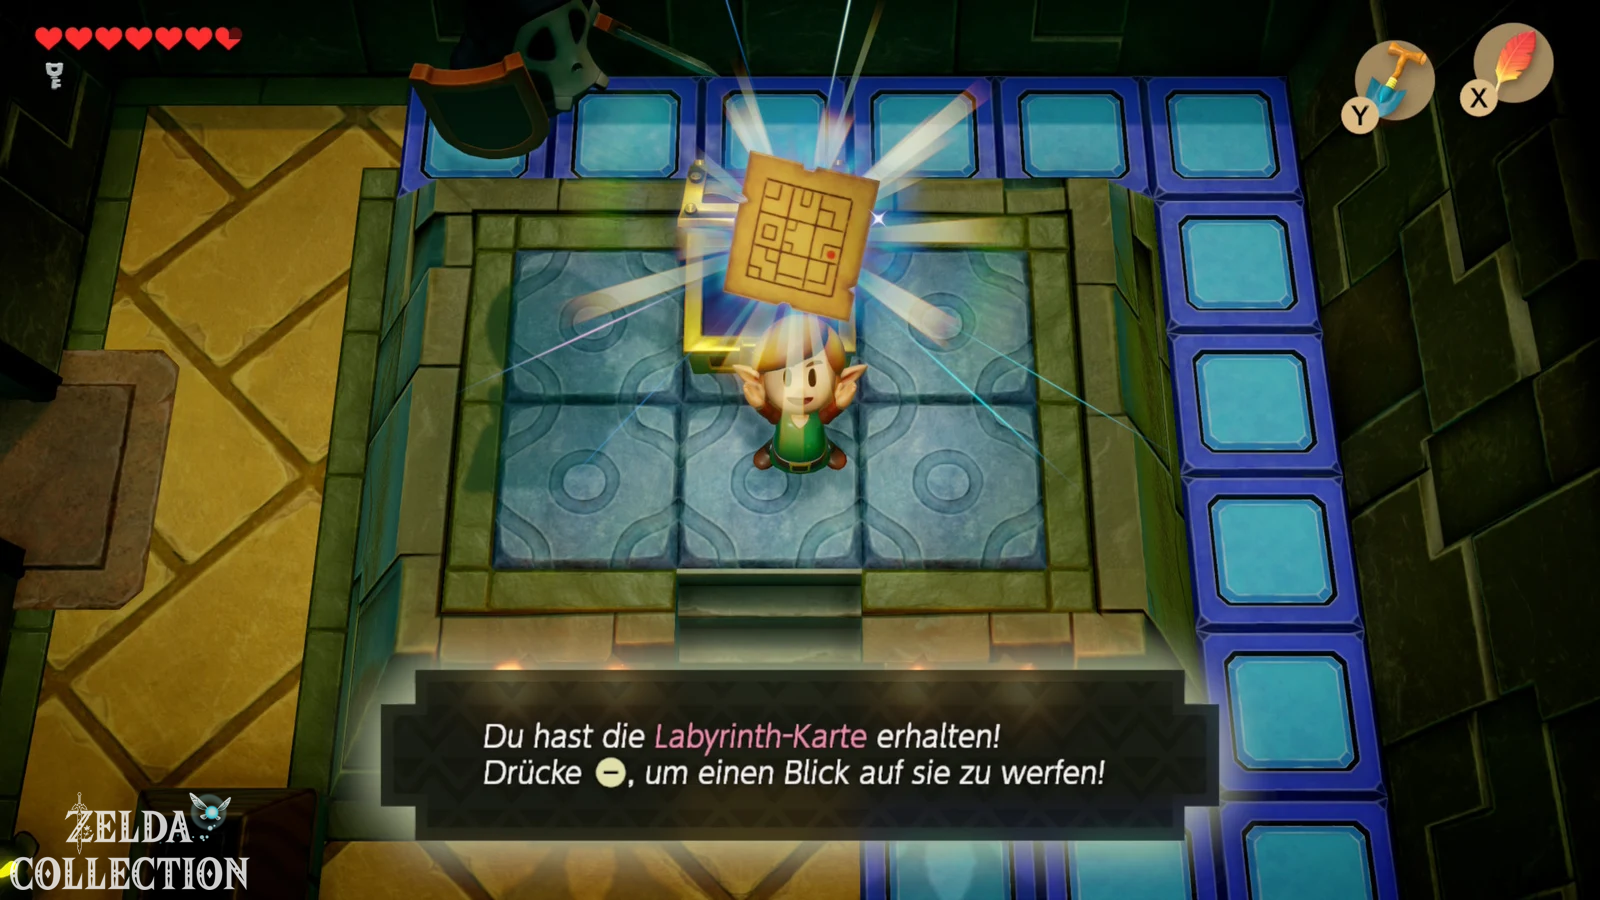
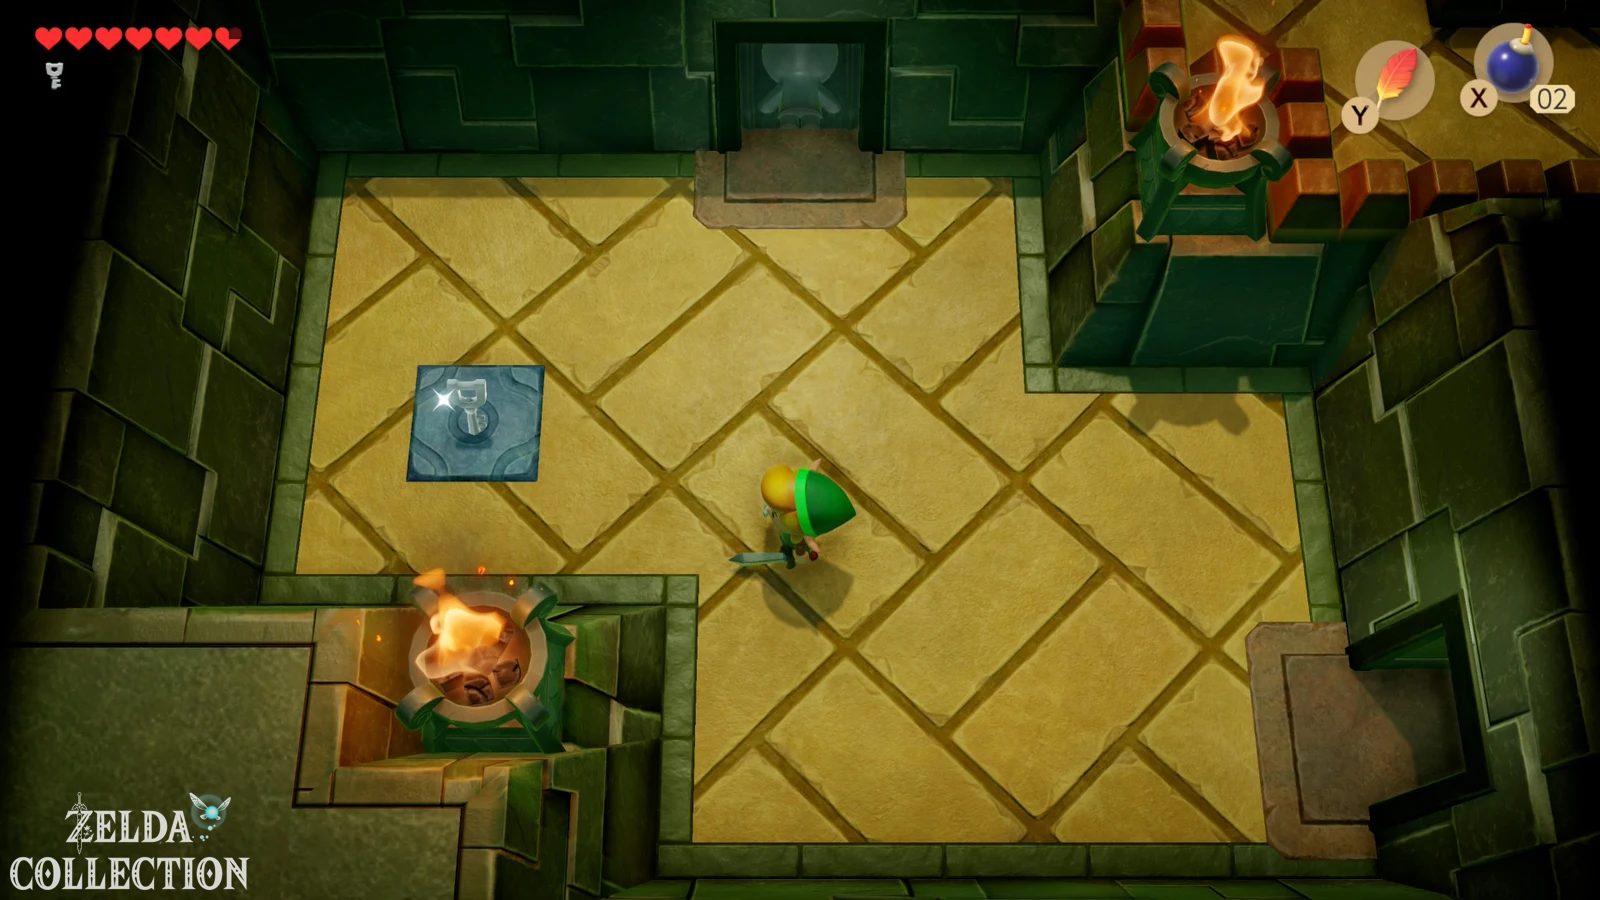
Open the upper locked door there and defeat all enemies in the room so that another Small Key appears. Also operates the Crystal Switch. As a result, the colored barriers change, as in the Bottle Grotto. Climb back up the stairs and open the chest that can now be reached. Inside is the Stone Beak. In the adjacent room there is also the Dungeon Map, which you can now also take with you.
Difference from the Game Boy original: The Stone Beak and owl statues are from the DX version and were retained in the Switch remake. In the original Game Boy game from 1993, there were stone tablets or tablet fragments for dungeon clues instead. The actual structure of the Key Cavern and the basic puzzles remain very similar. If you play the older version, you will find our separate solution to the Key Cavern in Link’s Awakening DX (German).
More keys and the Dodongo snakes
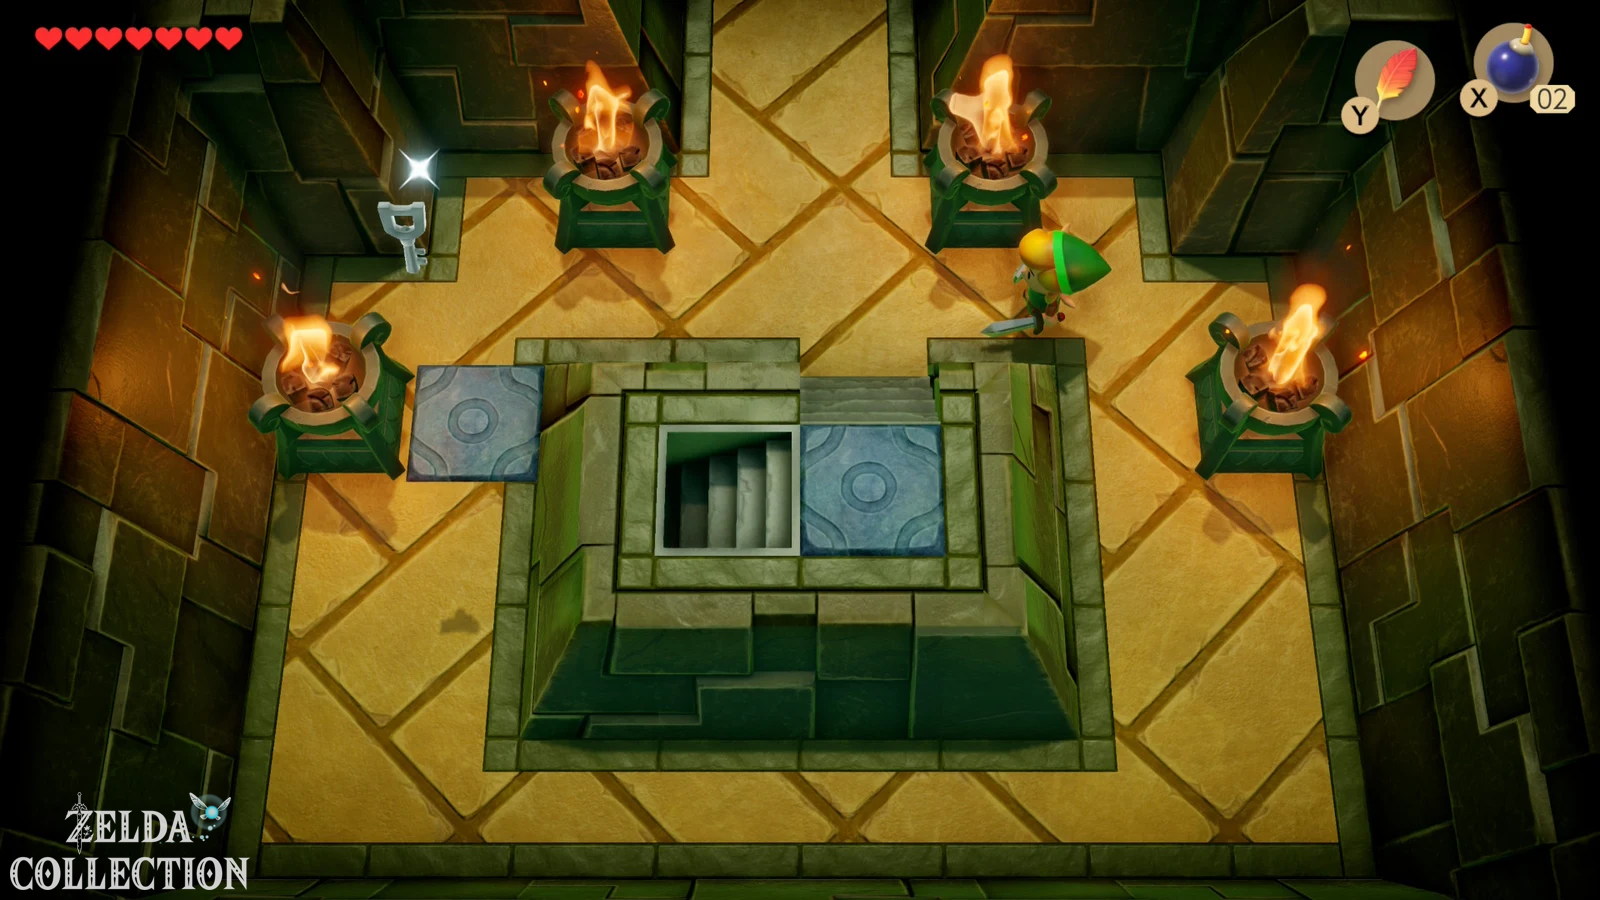
Return to the stairs and open the left locked door. It’s worth charging up a spin attack before entering; let them go immediately after entering and then kill the remaining bouncy slimes. As a reward you will receive another Small Key. Go through the lower door and clear all the enemies there too. A well-thrown jug currently helps against the teleporting Pairodds or Beos if you catch them before they disappear. After the victory, the next key will appear.
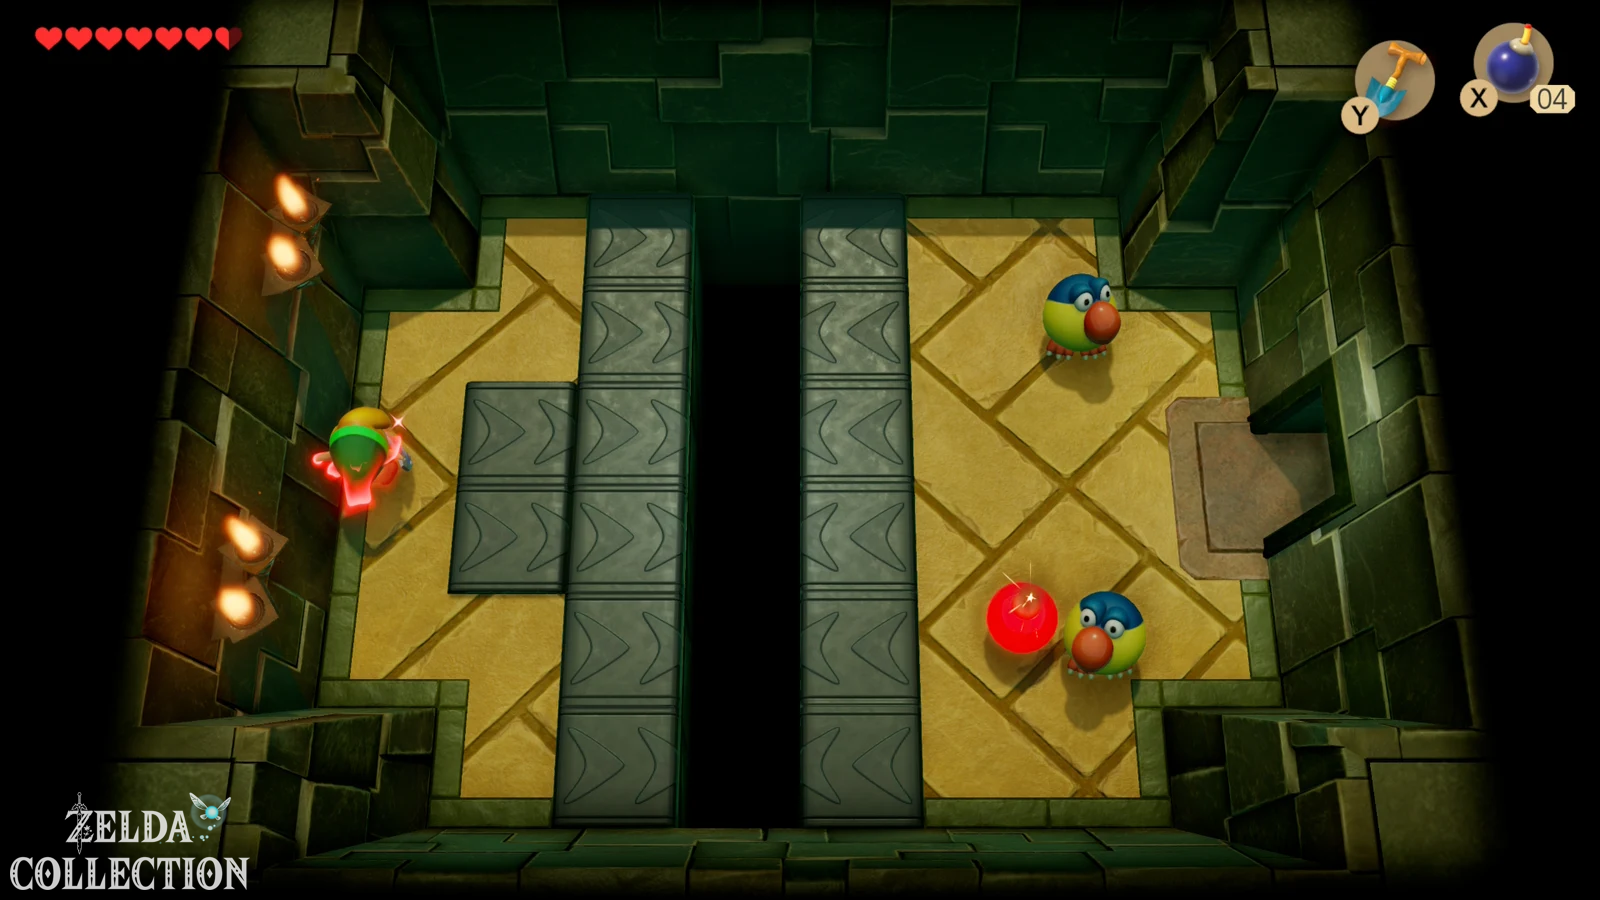
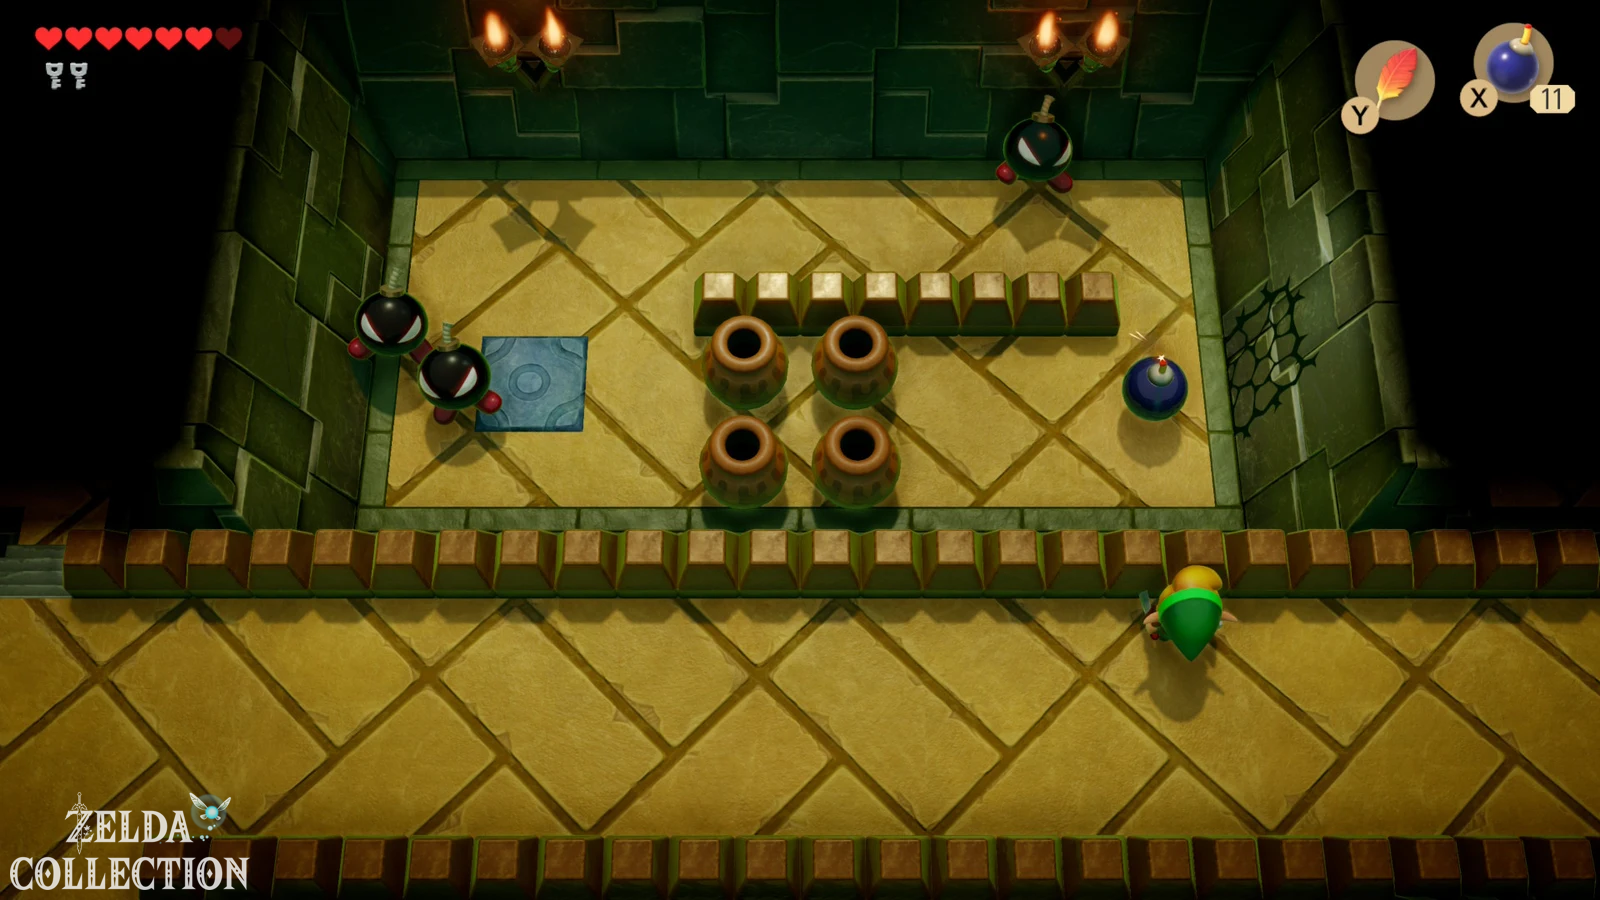
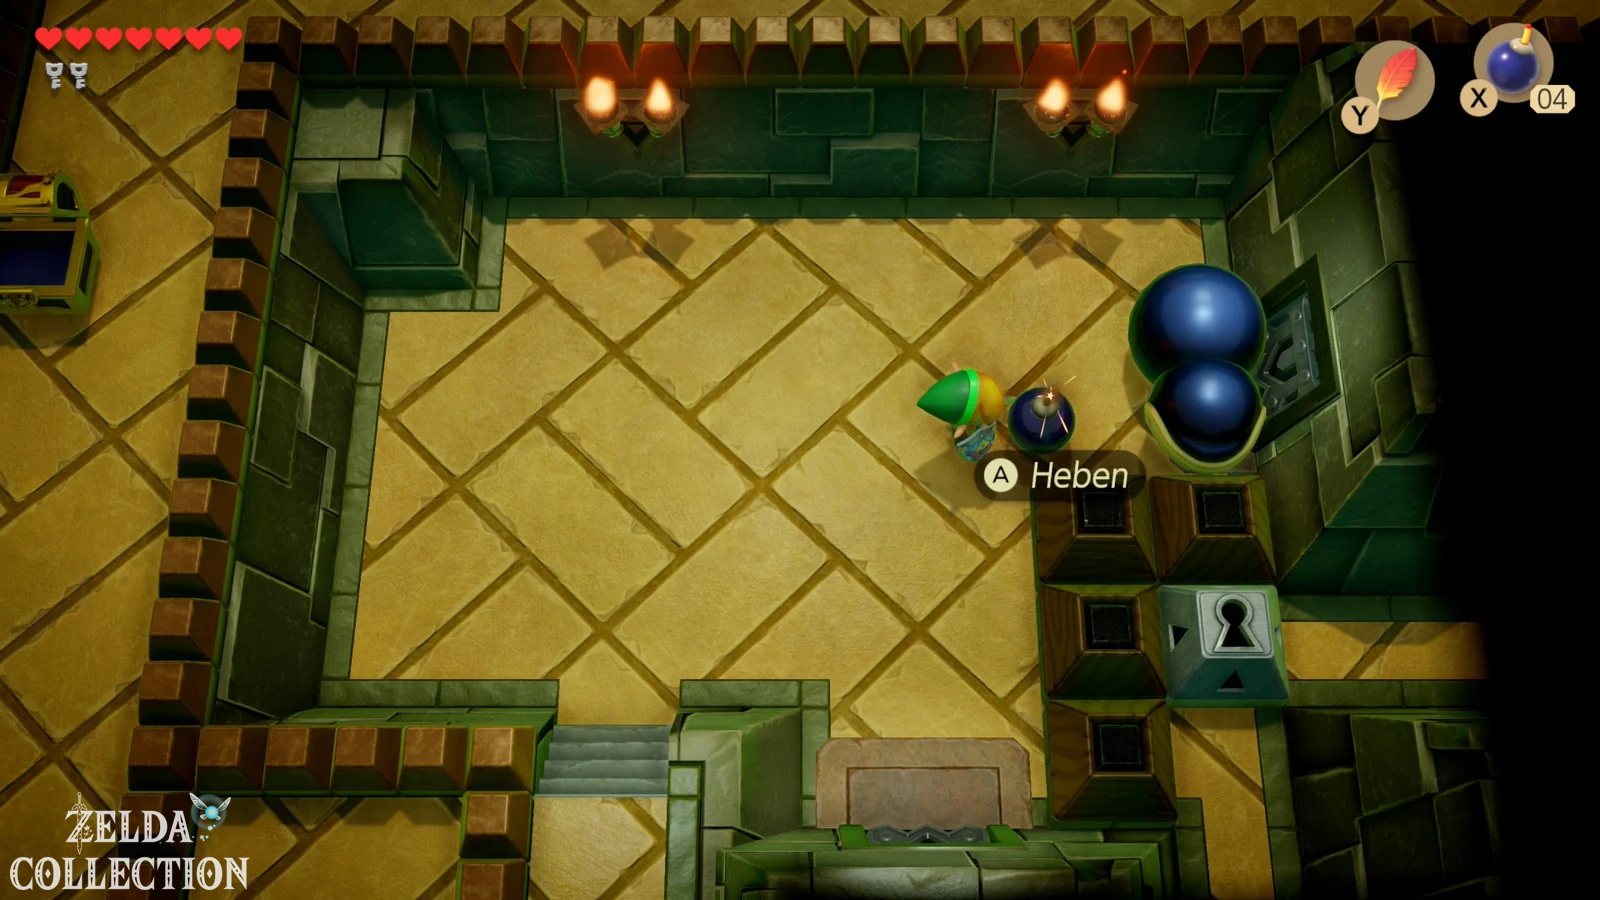
Use this to open the right door and continue along the stairs. Defeat all the jumping slimes in the next room so that a key appears again. Go north and then left, kill all enemies there too and take the upper exit. You reach the Dodongo snakes, the actual intermediate boss of the Key Cavern. Normal sword attacks do nothing. Place bombs in front of their heads so that the Dodongos swallow them. Each of the two snakes must eat several bombs before they explode. If a bomb is in an inconvenient location, you can even use the Power Bracelet to pick it up and throw it again as long as it hasn’t detonated yet.
After the victory, a warp link to the entrance will appear. Go into the next room and move the bottom stone to the left and the block above it up. This opens the way to the large chest.
The Pegasus Boots receive
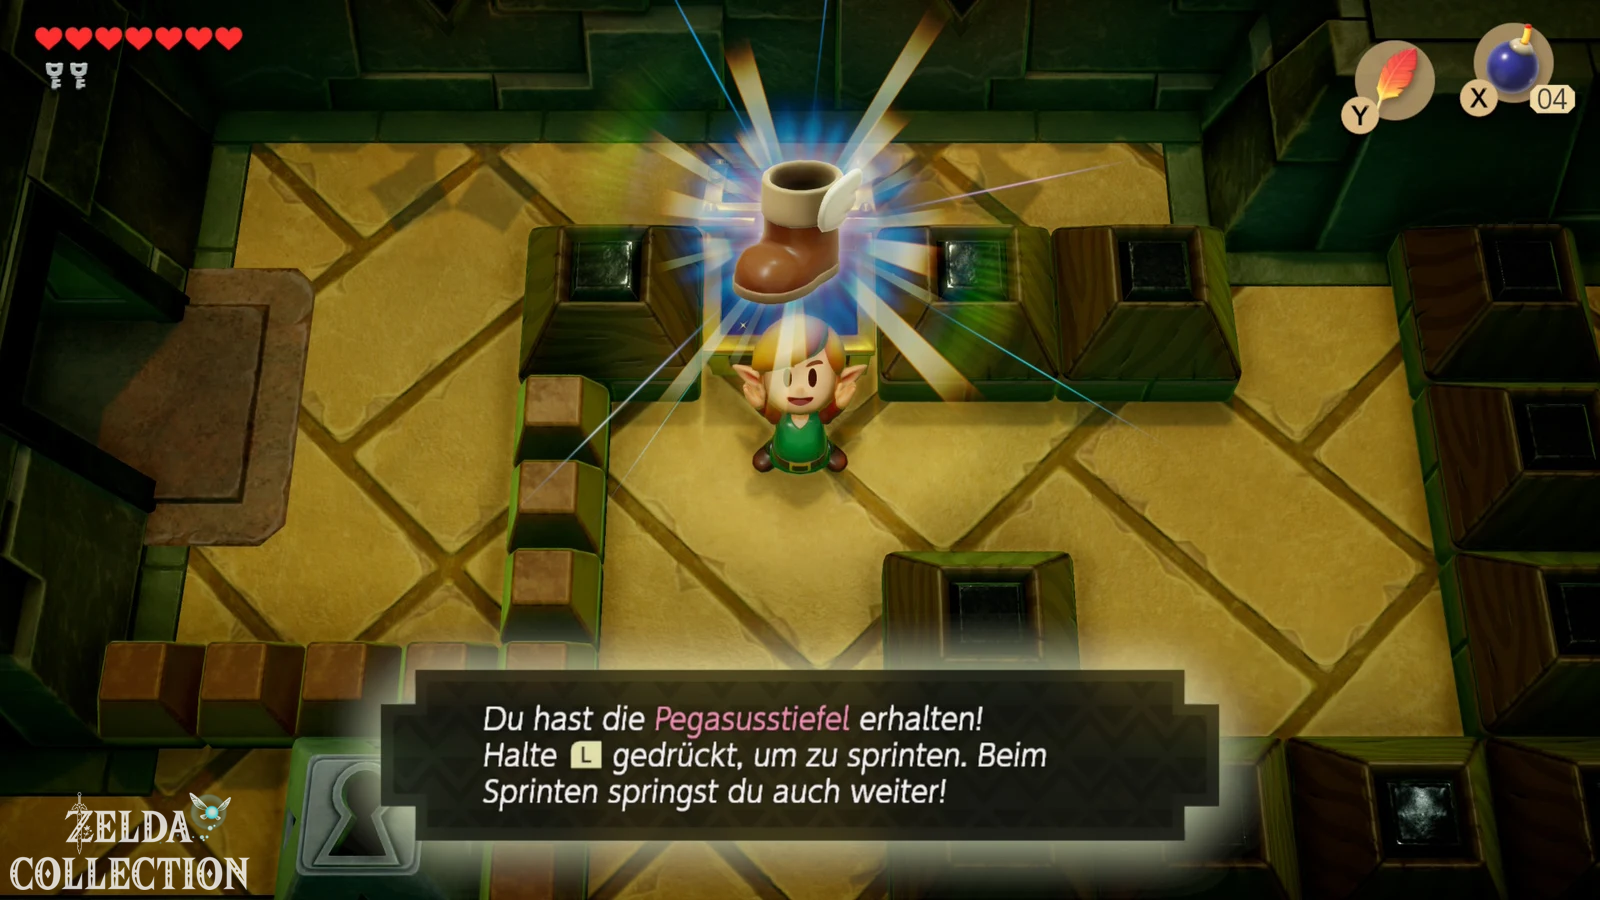
Open the chest and take the Pegasus Boots. This dungeon item changes Link’s movement options in a similar fundamental way to Roc’s Feather and Power Bracelet. With the Pegasus Boots you can sprint, easily break through certain obstacles and overrun many agile opponents before they can dodge. The combination of Pegasus Boots and Roc’s Feather is particularly important: first sprint and then jump. This allows Link to overcome much larger gaps than with the spring alone.
In the Switch remake, the Pegasus Boots are more conveniently integrated into the permanent control than in the Game Boy versions, in which you have to change items in the inventory much more often due to only two action buttons. However, for the actual puzzles their function remains virtually the same.
Get
With the Pegasus Boots back through the Key Cavern
Use the newly appeared teleporter to quickly return to the entrance area and go right. Here a fan or soggeger tries to hold Link back. Sprint straight towards him with the Pegasus Boots and destroy him before the pull pulls you back. You can then open the chest and take another Small Key with you.
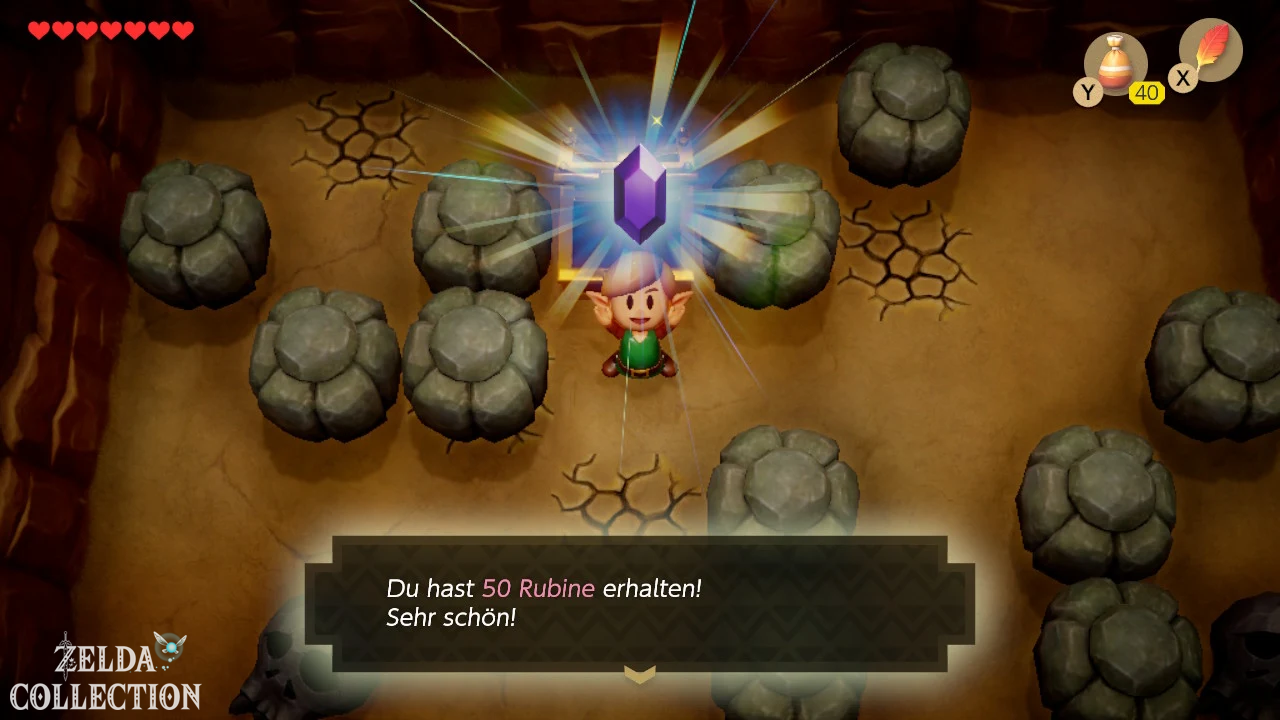
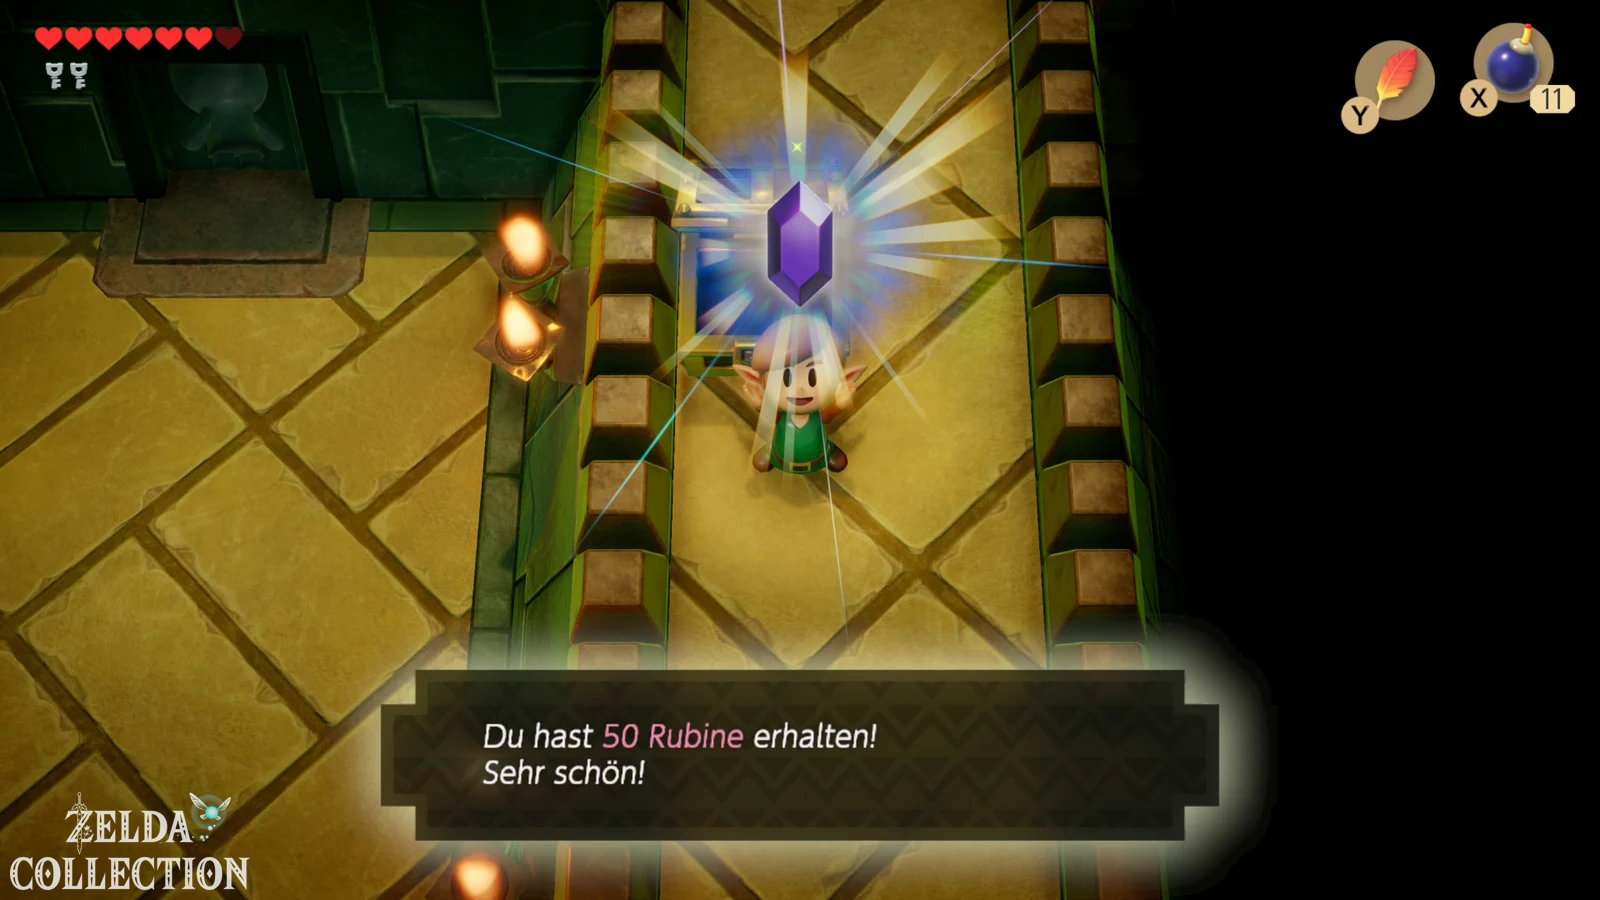
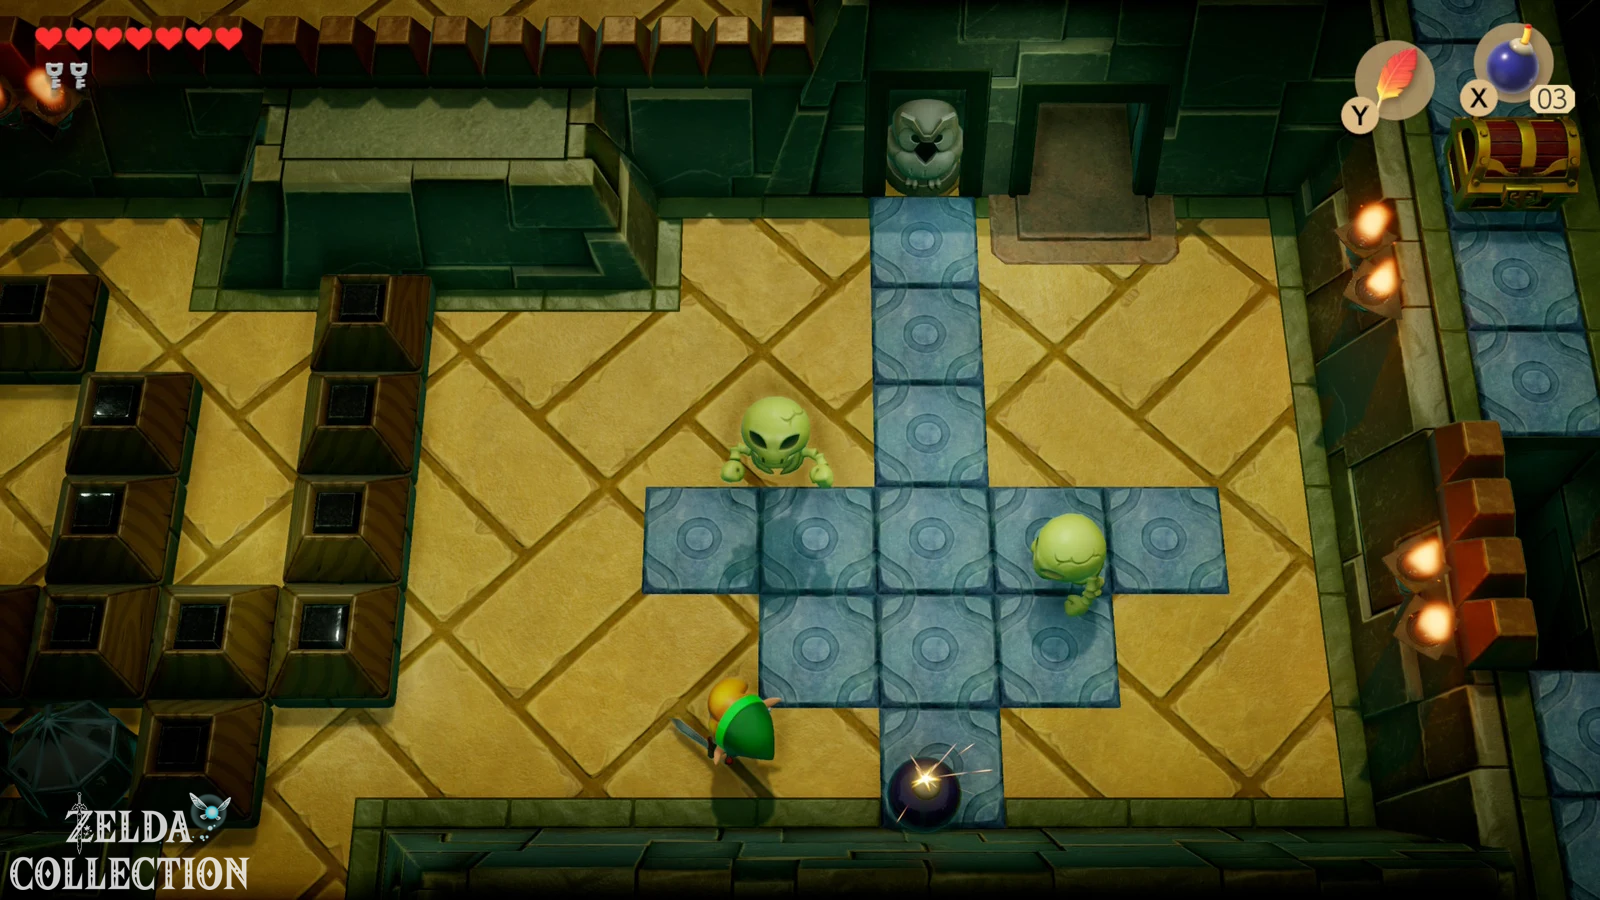
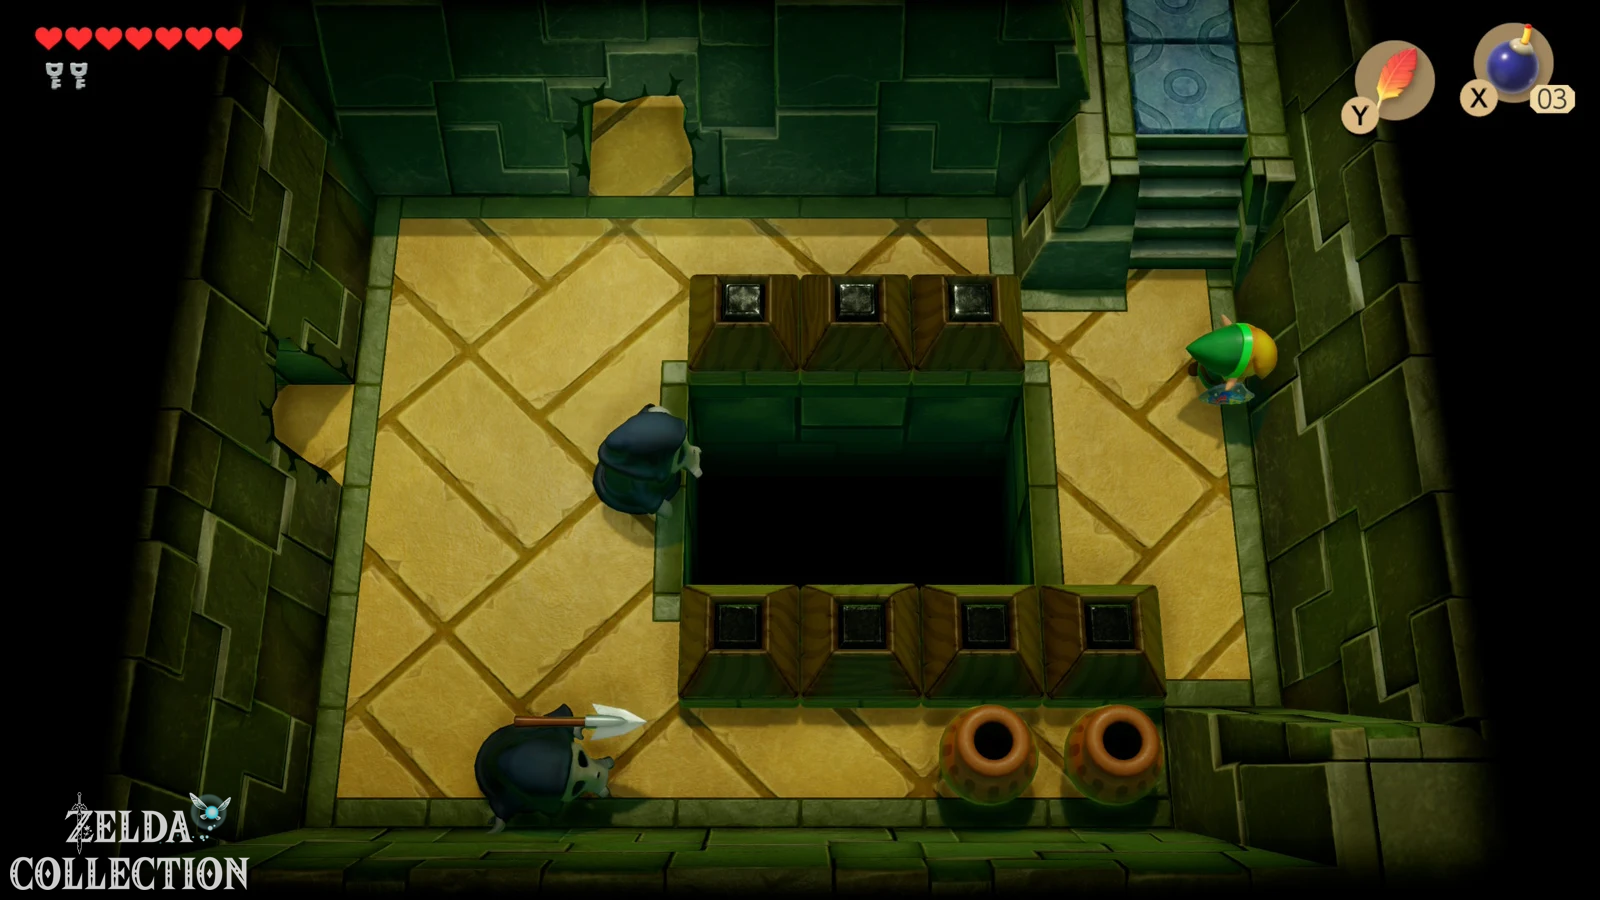
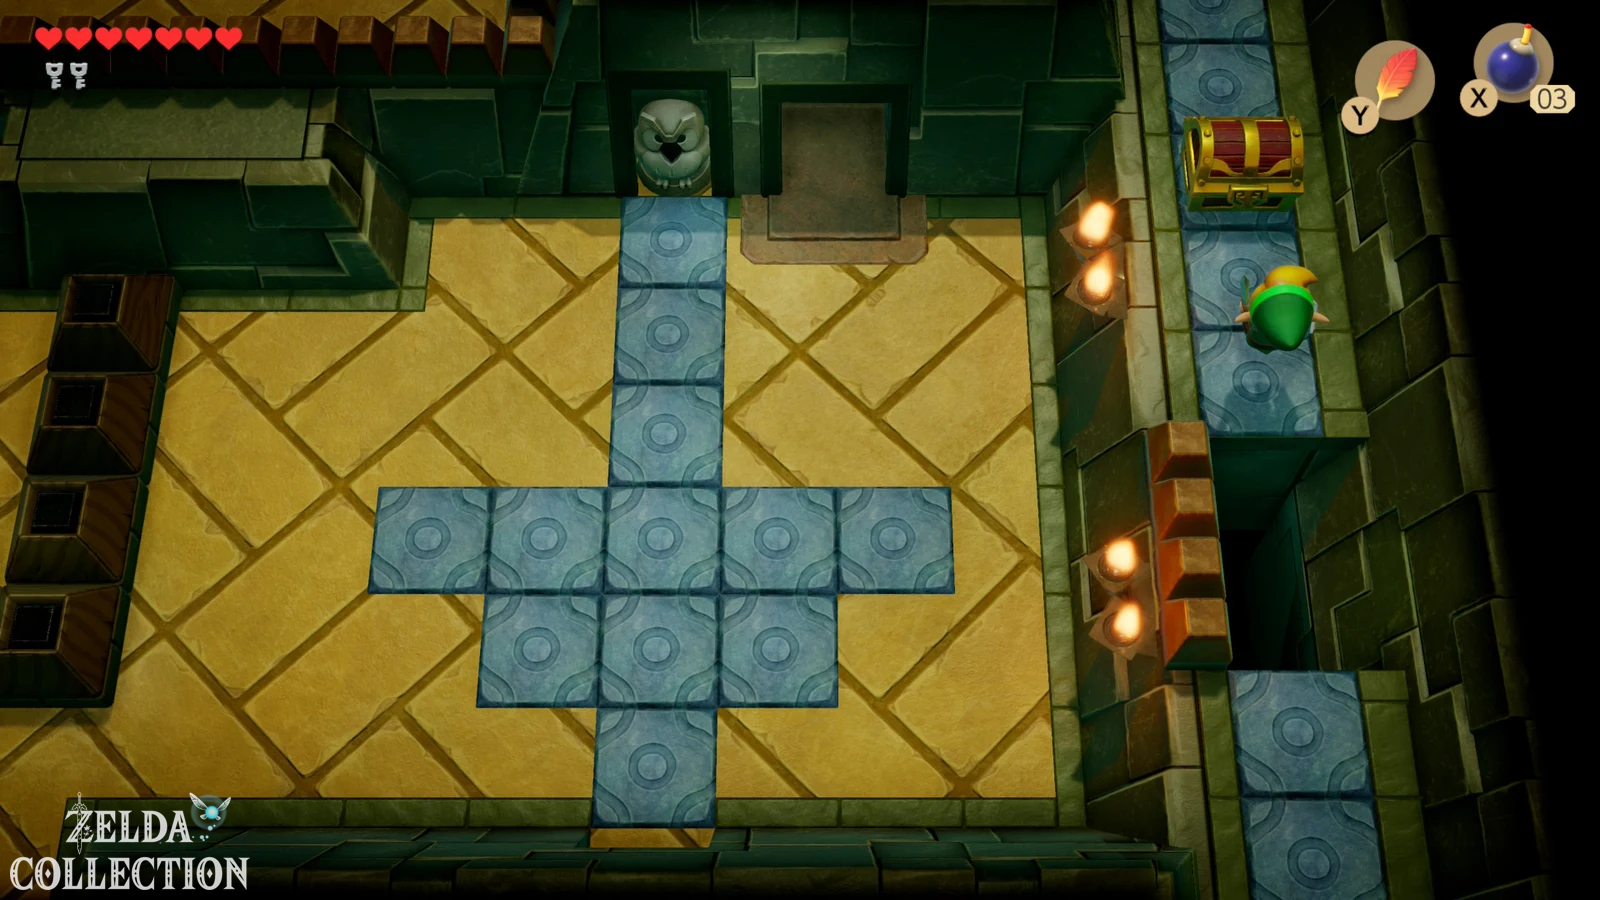
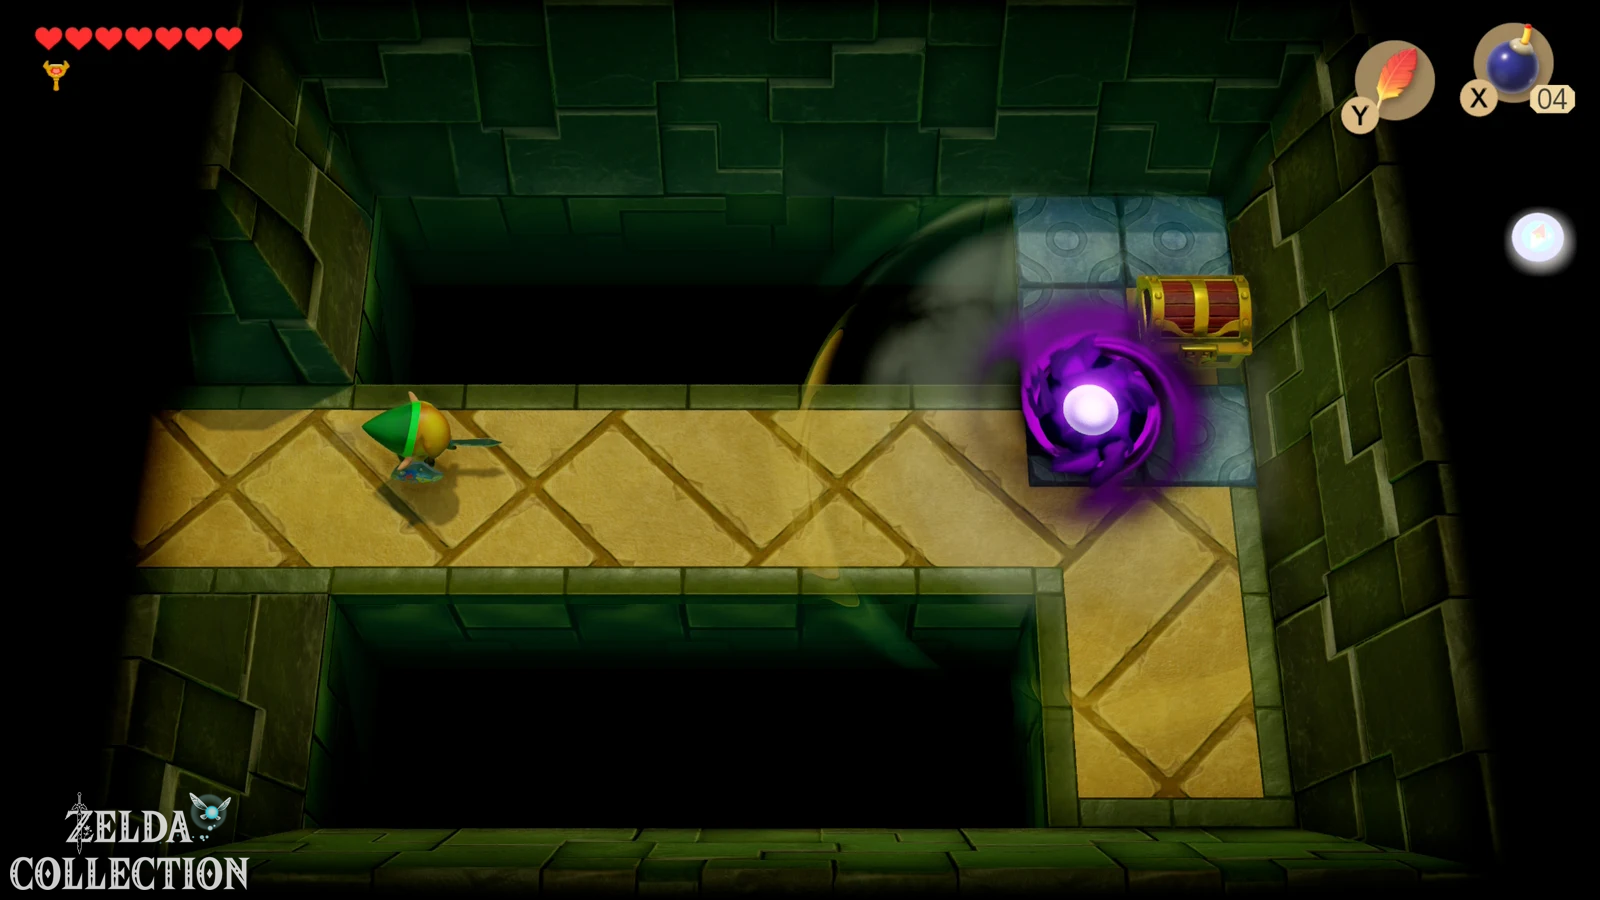
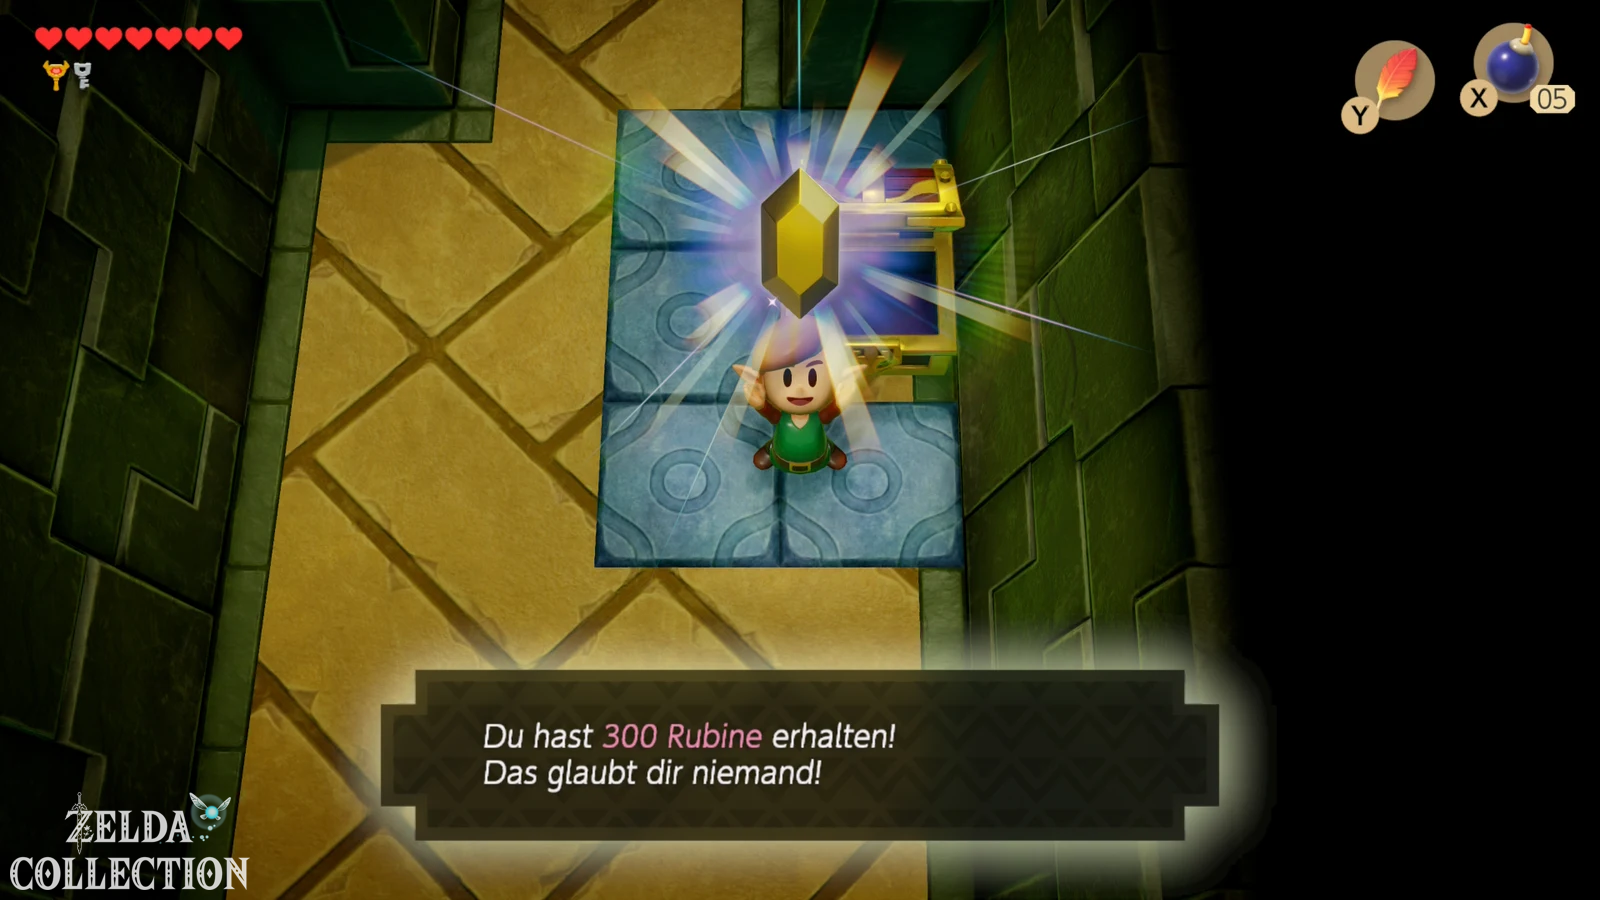
From here, a short optional detour is worthwhile. Go north and take the left fork. Sprint through the obstacles, kill the single bouncy slime and work your way to the skeletons. Once all enemies in the contiguous area have been eliminated, a valuable chest containing a large amount of Rupees will appear in the Switch remake. The reward differs between the versions: In the DX version you will find less Rupees here, while in the original Game Boy game one of the old stone tablets or the associated dungeon clue object was integrated here. For our Switch passage, the detour is worth it just because of the money, as the expensive bow has to be bought later, among other things.
Press
Find the Compass
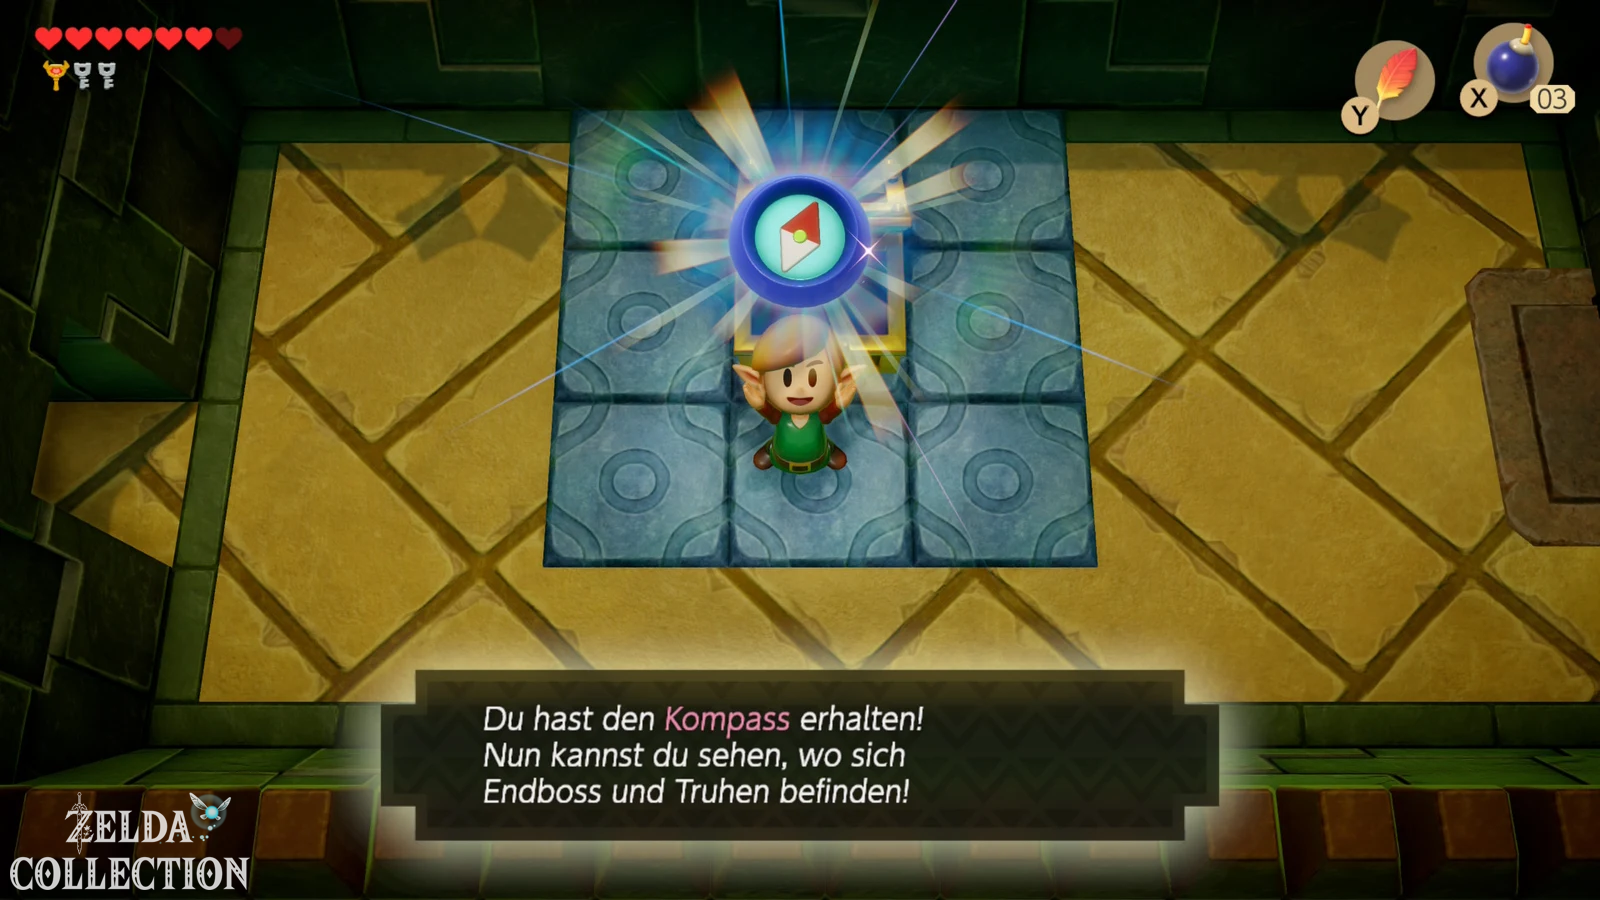
Use the teleporter again and follow the path from the entrance area to the south, east, north and then through the right door. There are several bomb enemies in this room. As soon as you hit them with the sword, they start counting down and explode a short time later. If necessary, hit them away from you again and keep your distance. After all enemies have been defeated, the path to the chest with the Compass opens.
Then take a close look at the left wall. It is brittle in one place. Place a bomb in front of it and open a secret passage. In the following room you have to eliminate all bomb opponents again. For this you get another Small Key.
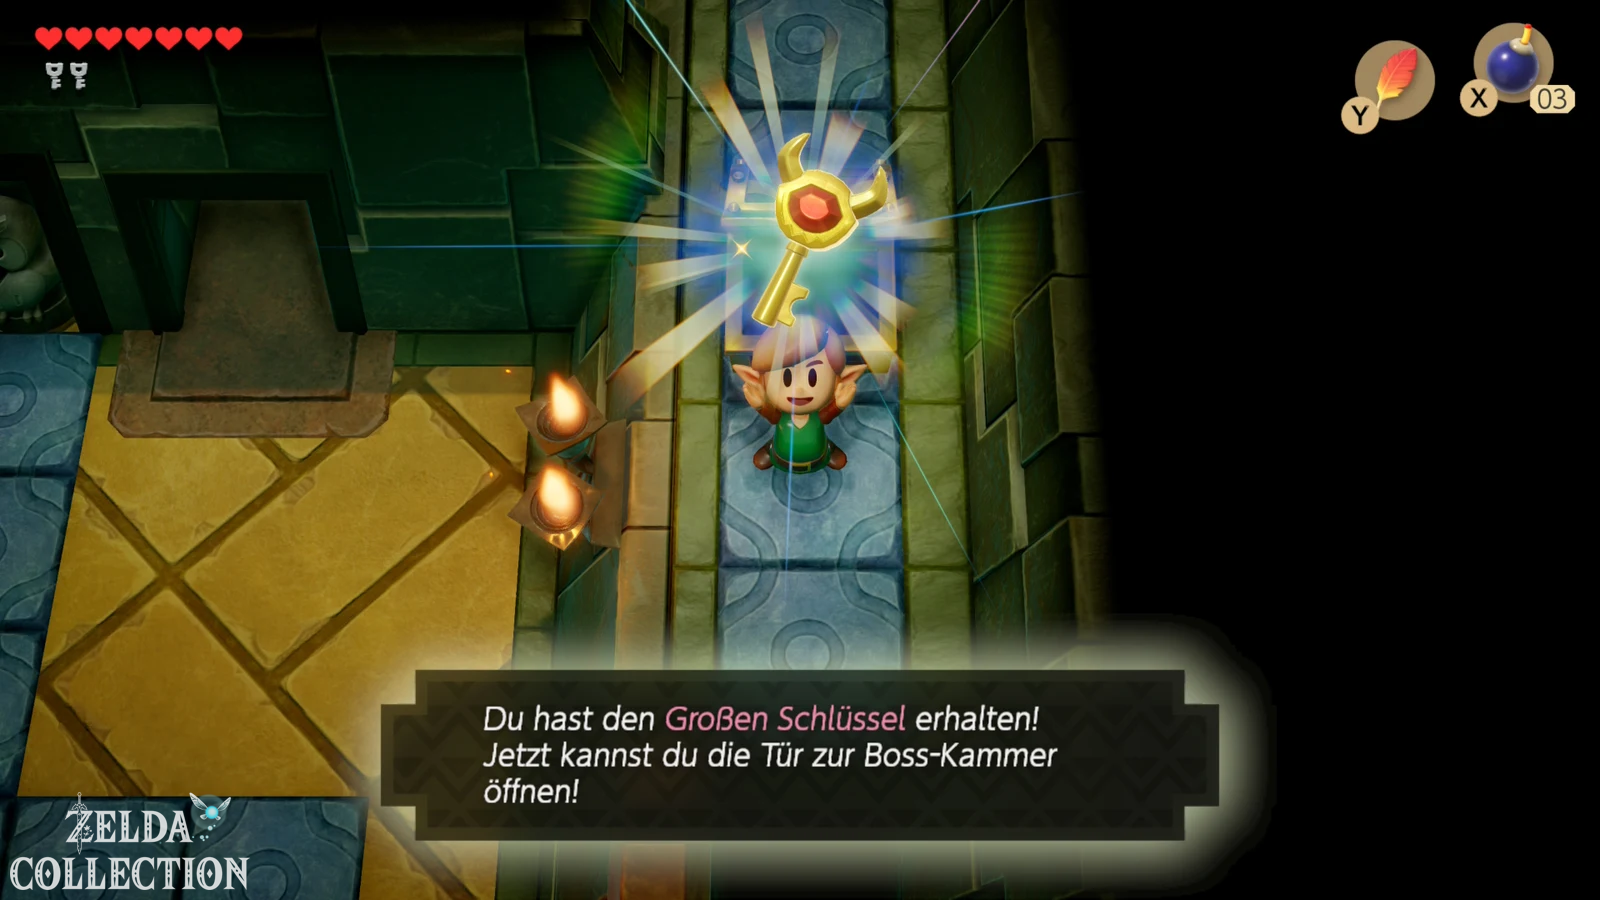
The Nightmare Key
Return to the room where there is a large arrow drawn on the floor. It’s no coincidence that the tip points towards the wall: place a bomb right there and blow up a new passage. Behind it awaits one of the most important combination jumps of the game. Take enough time with the Pegasus Boots and jump just before the abyss with the Roc’s Feather. Due to the high speed, Link crosses the large gap easily. On the other side, follow the path to the chest with the Nightmare Key.
You should remember this combination of sprint and jump well. From now on, abysses will appear again and again on Koholint in both dungeons and optional caves that are too wide for the Roc’s Feather alone.
The path to the final boss
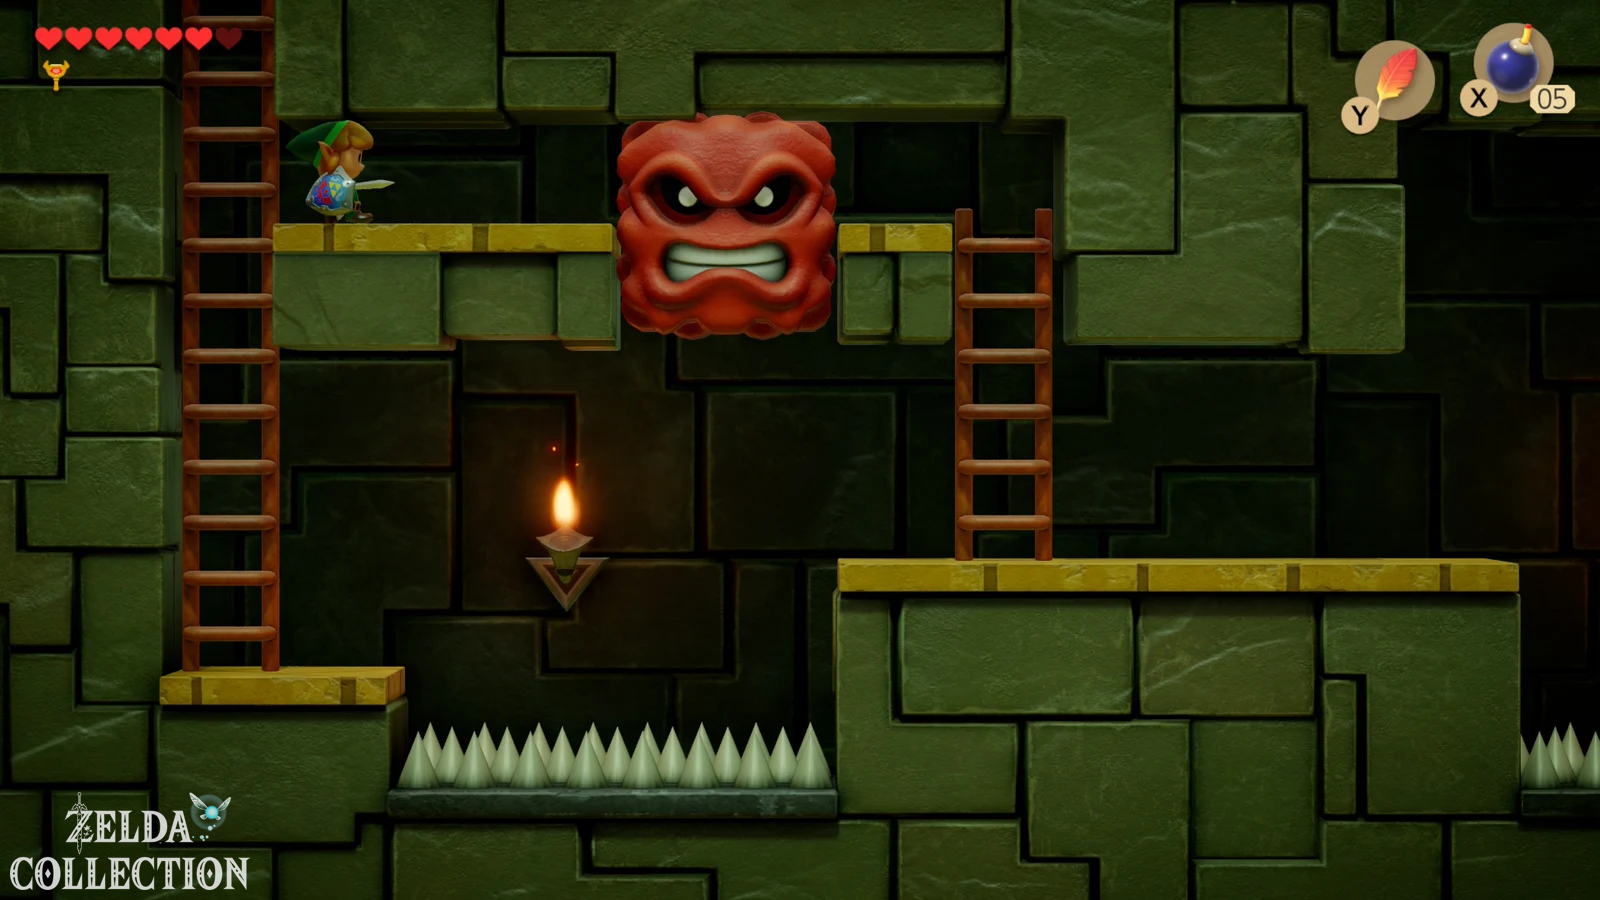
Then work your way through the central area of the Key Cavern with the remaining small keys. In the underground side view section, a large red block blocks your path. Normal sliding doesn’t work; take a running start and ram him with the Pegasus Boots. This causes the block to fall down, creating a passage. A little later a wide spiked area awaits you. Combine Pegasus Boots and Roc’s Feather again, sprint and jump over the dangerous passage.
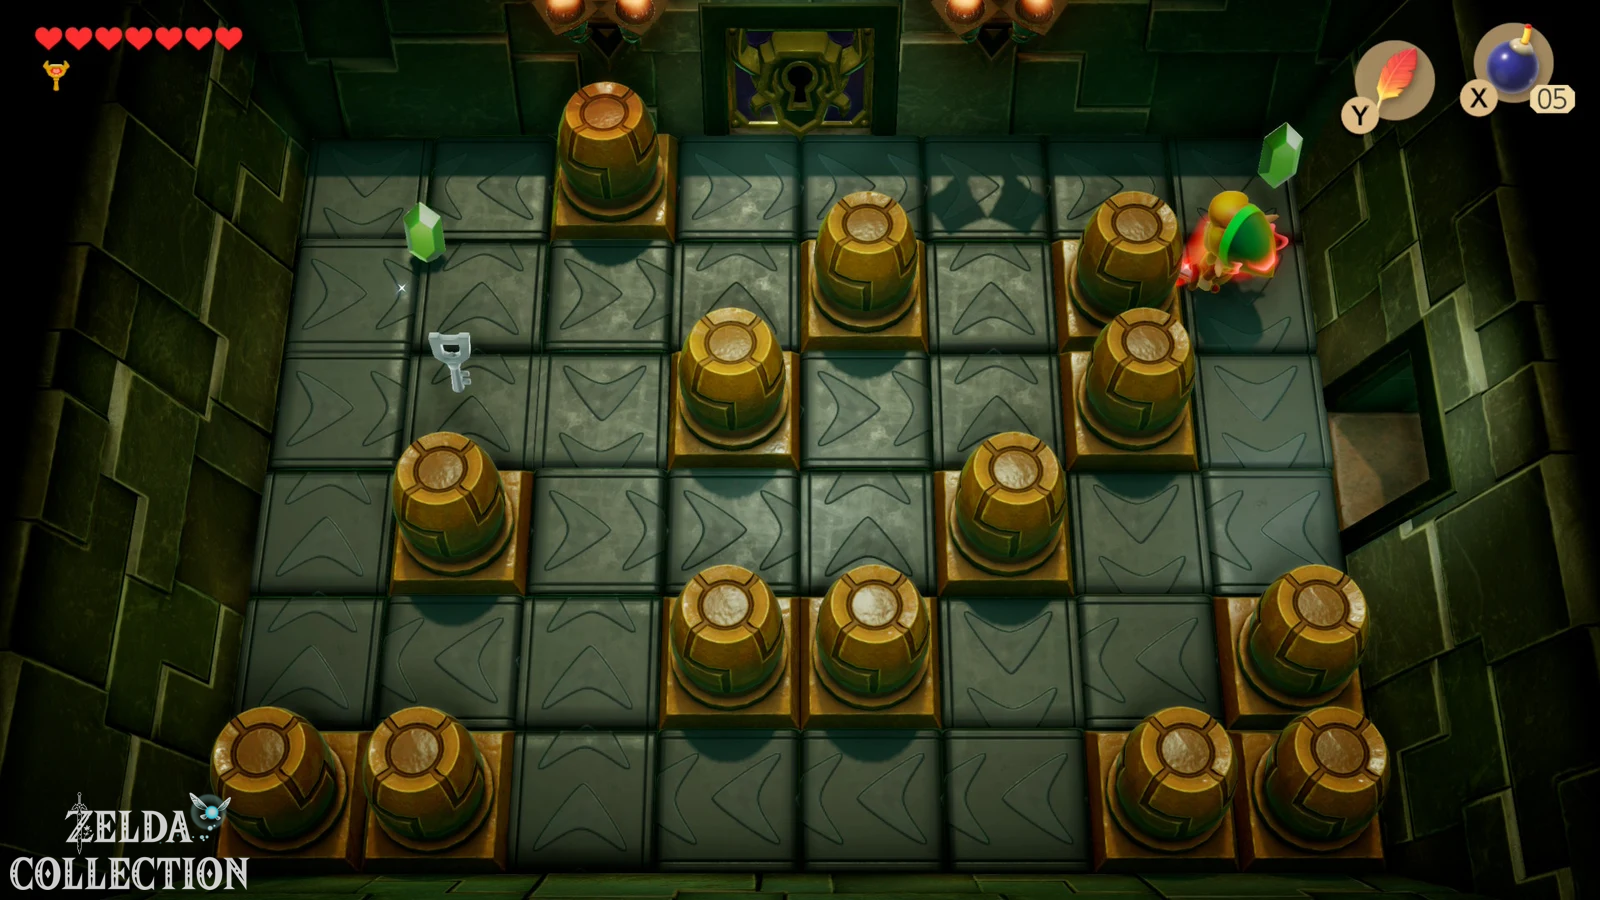
In the following rooms the Pegasus Boots are also important against opponents. Pairodds or Beos usually teleport away as soon as you get too close to them. However, you are faster when sprinting and can overrun them before they disappear. Then defeat the bats in the next room. Another Small Key may appear. If you have collected all previous keys according to our route, you no longer need this last key for the direct route to the boss. This is intentional: the Key Cavern actually includes an additional key so players don’t get permanently stuck in an awkward door order.
Boss: Slime Eye
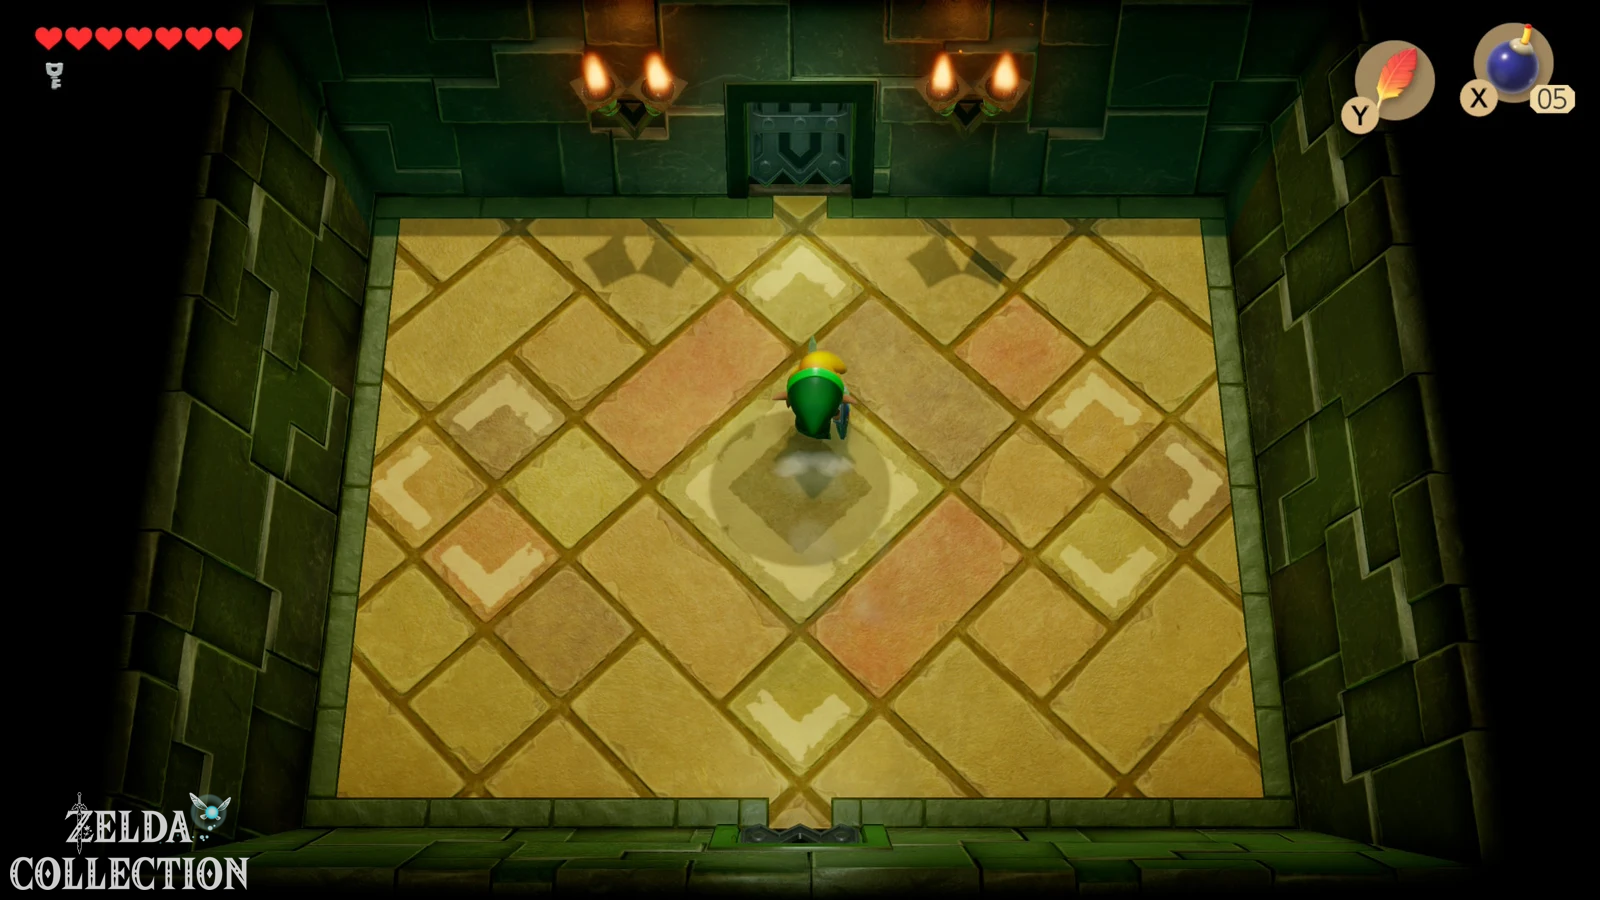
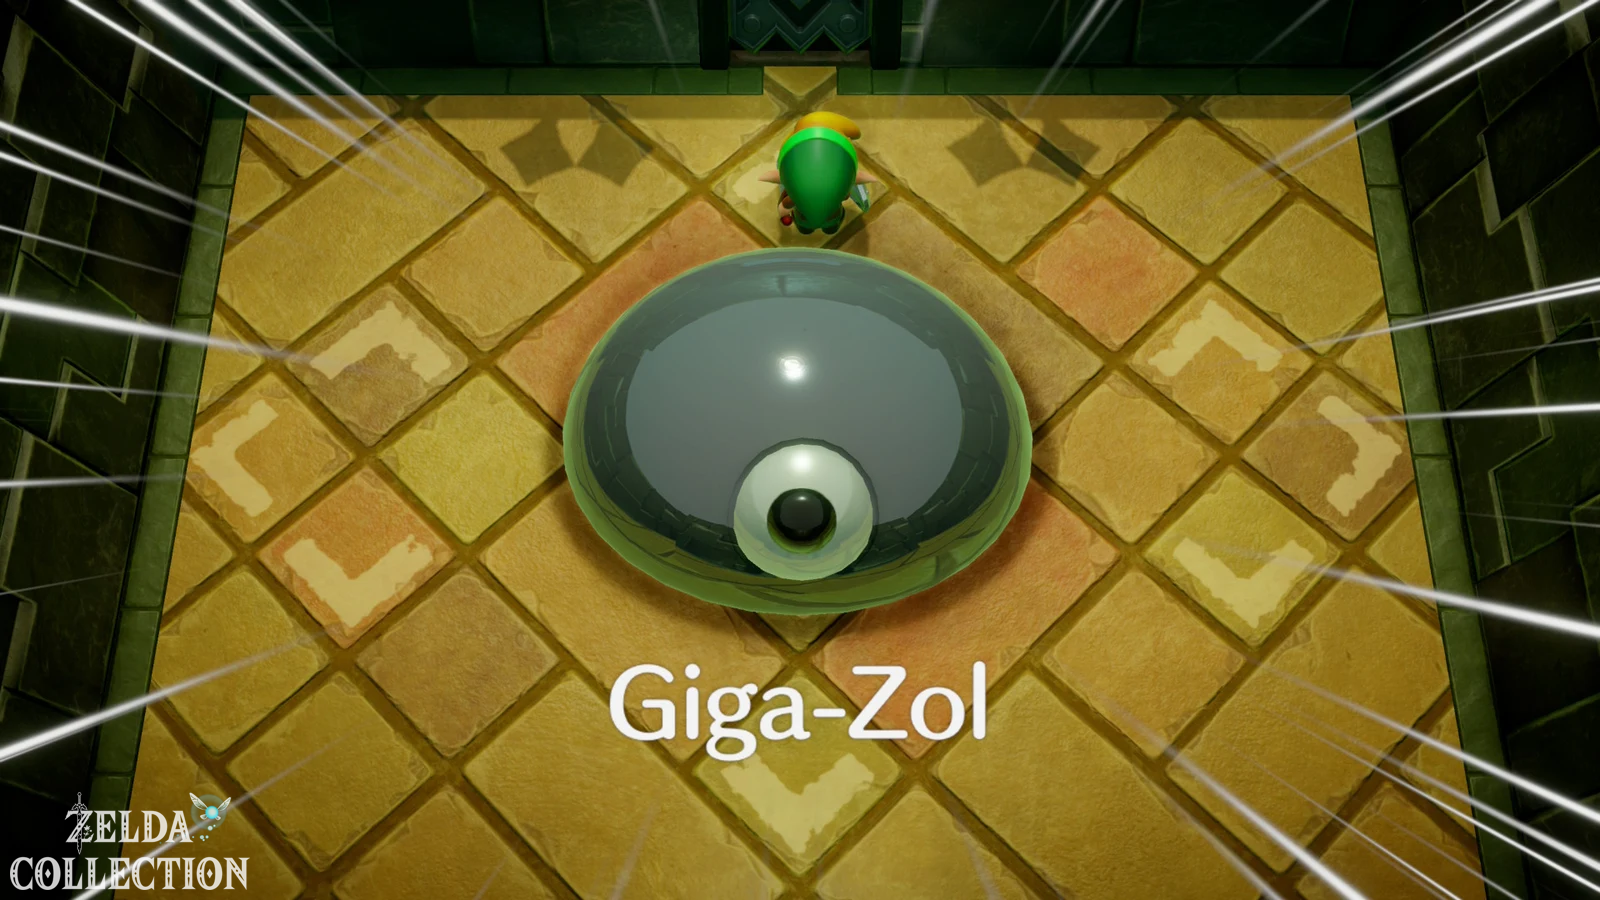
When entering the boss arena, there initially seems to be no boss at all. Slime Eye is hiding on the ceiling above you. The solution is again provided by the Pegasus Boots: take a running start and ram one of the walls at full speed. The shock causes Slimeeye to fall down and the real fight begins.
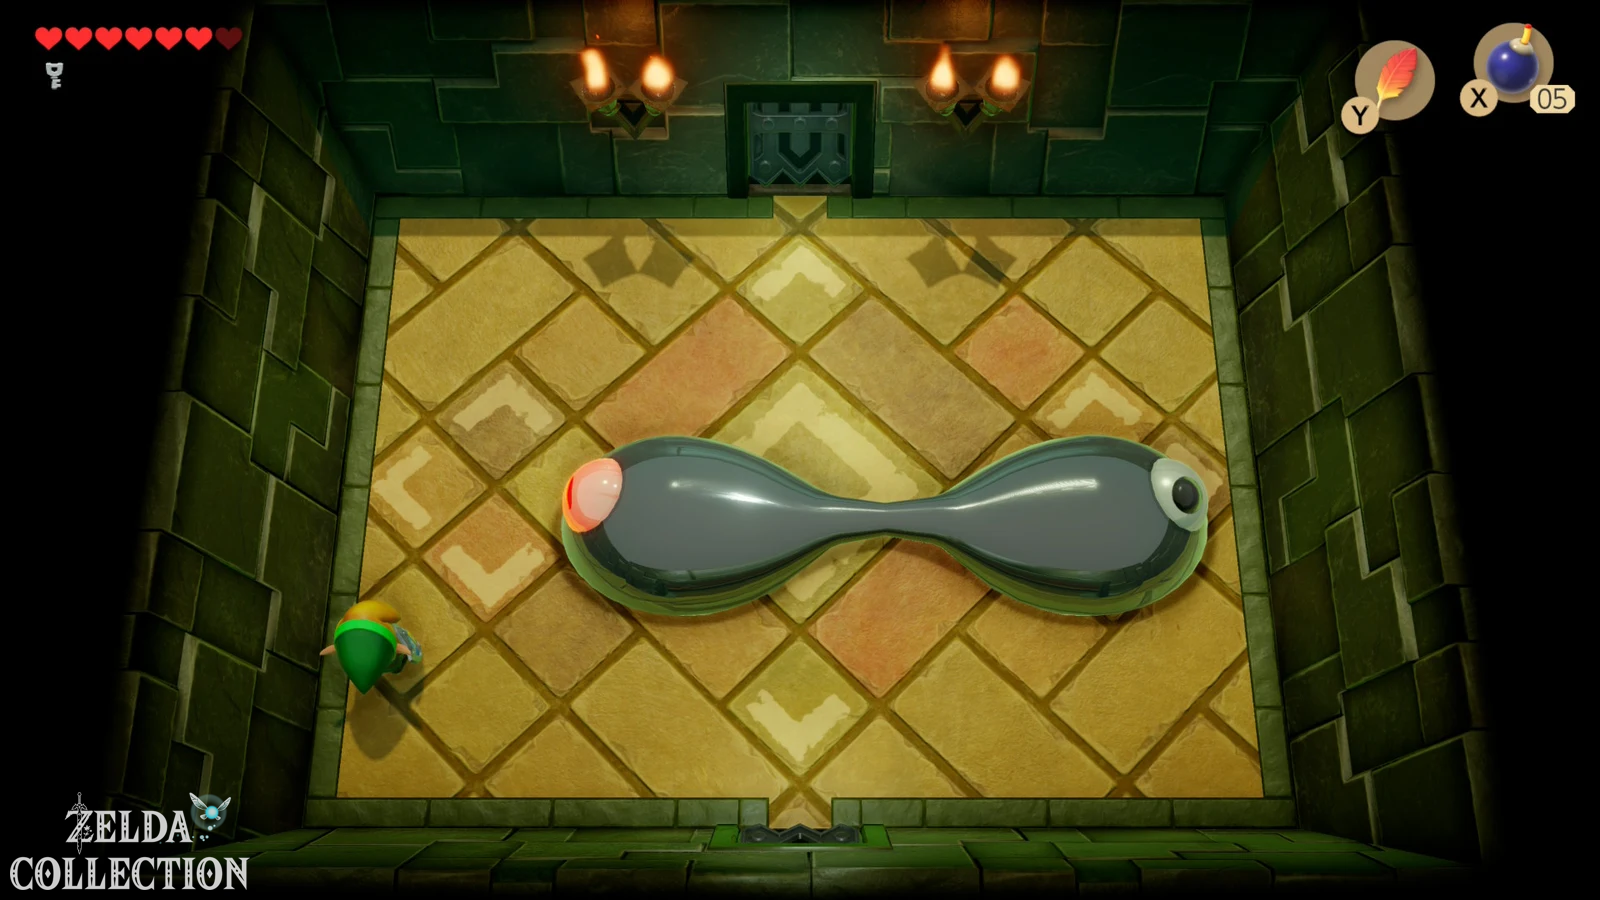
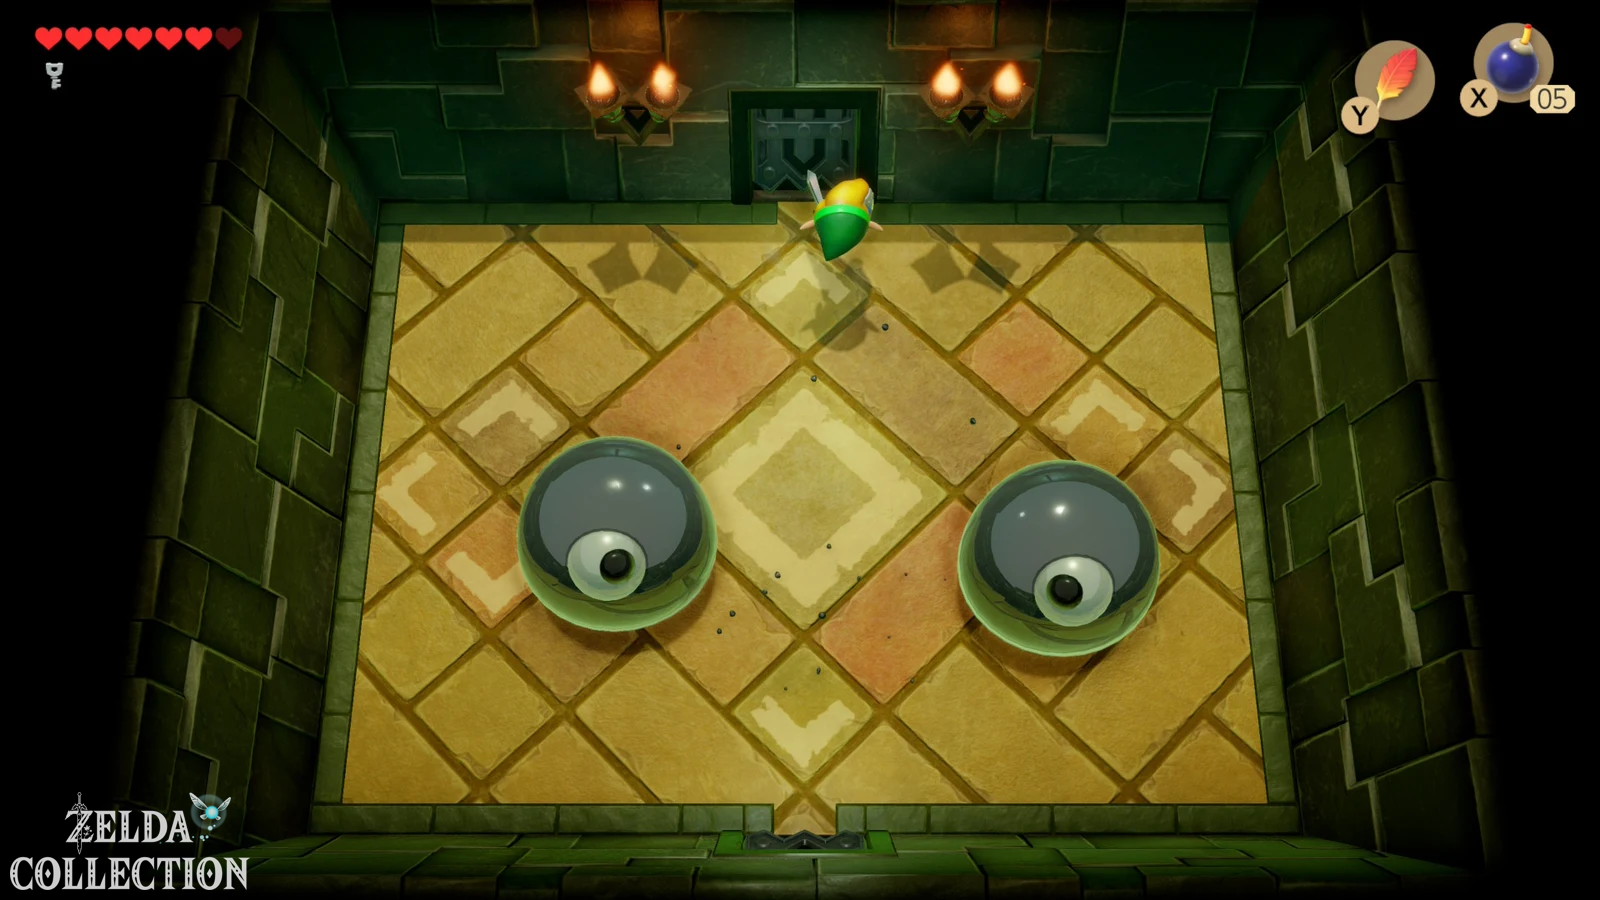
Attack the large eye in its center with the sword. The slime body gradually begins to split in half, but normal sword strikes are not enough to completely sever the connection. As soon as there is only a thin thread of slime connecting both halves, you take the Pegasus Boots and sprint straight through the middle. This causes the mucous eye to split into two individual eyes.
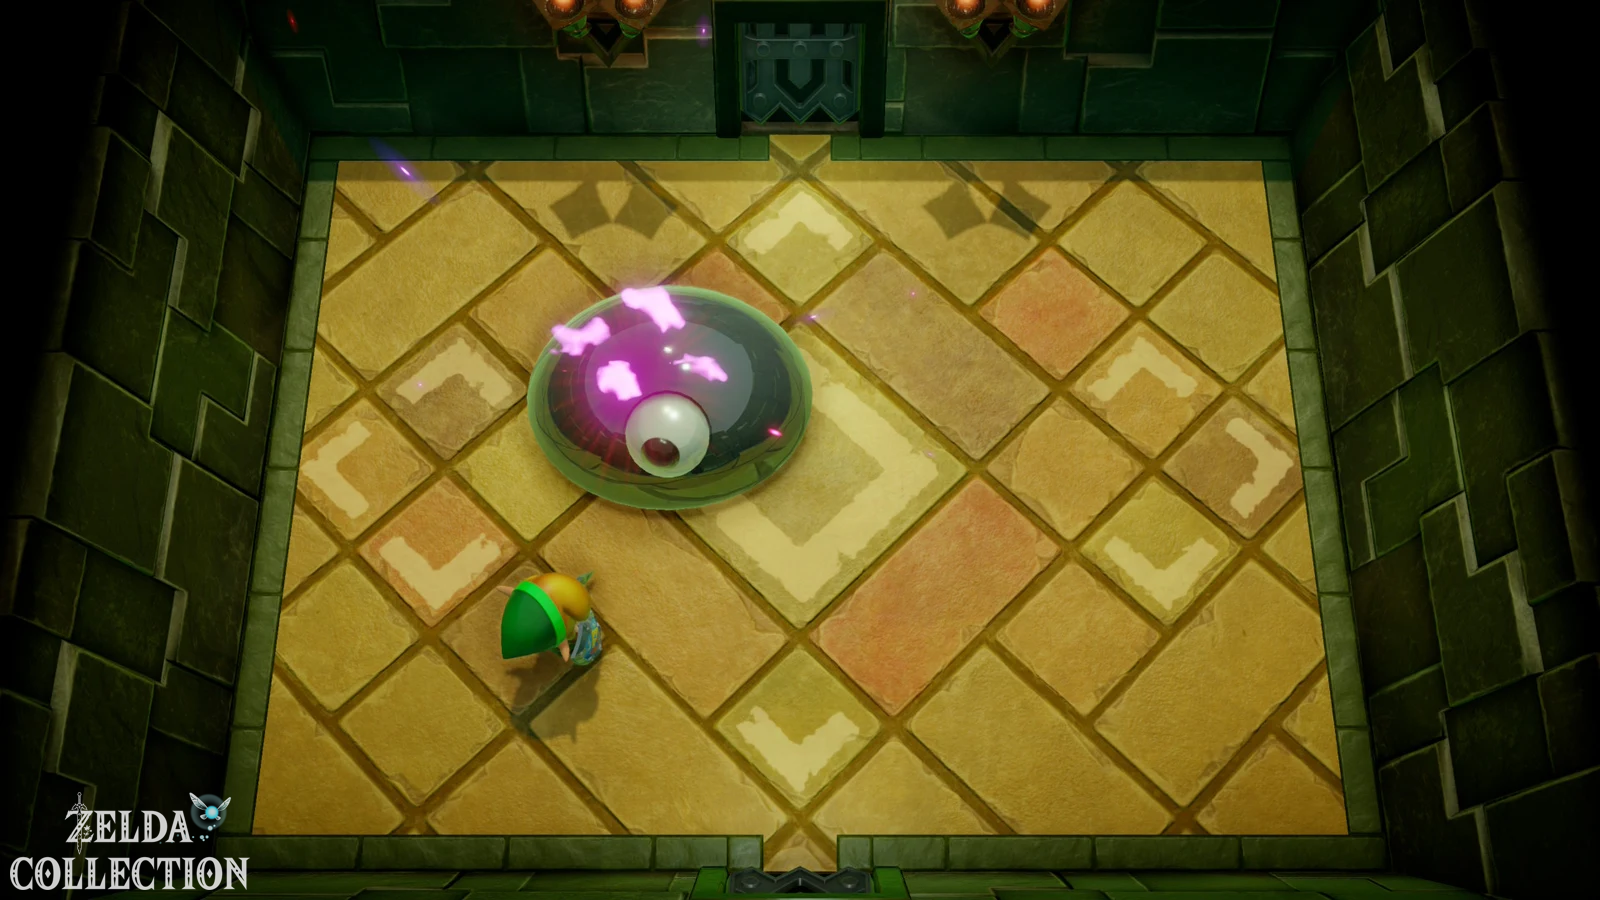
From now on, both opponents jump through the arena and try to land on Link. First hit one of the eyes with the sword and then watch out for its high jump. Just before it hits the ground, jump up with the Roc’s Feather. This will prevent Link from being immobilized by the shock. If possible, concentrate your attacks on one eye until it is defeated and only then deal with the second. Spin attacks speed up the fight significantly as long as you have enough space to charge up.
Heart Container and Sea Lily’s Bell
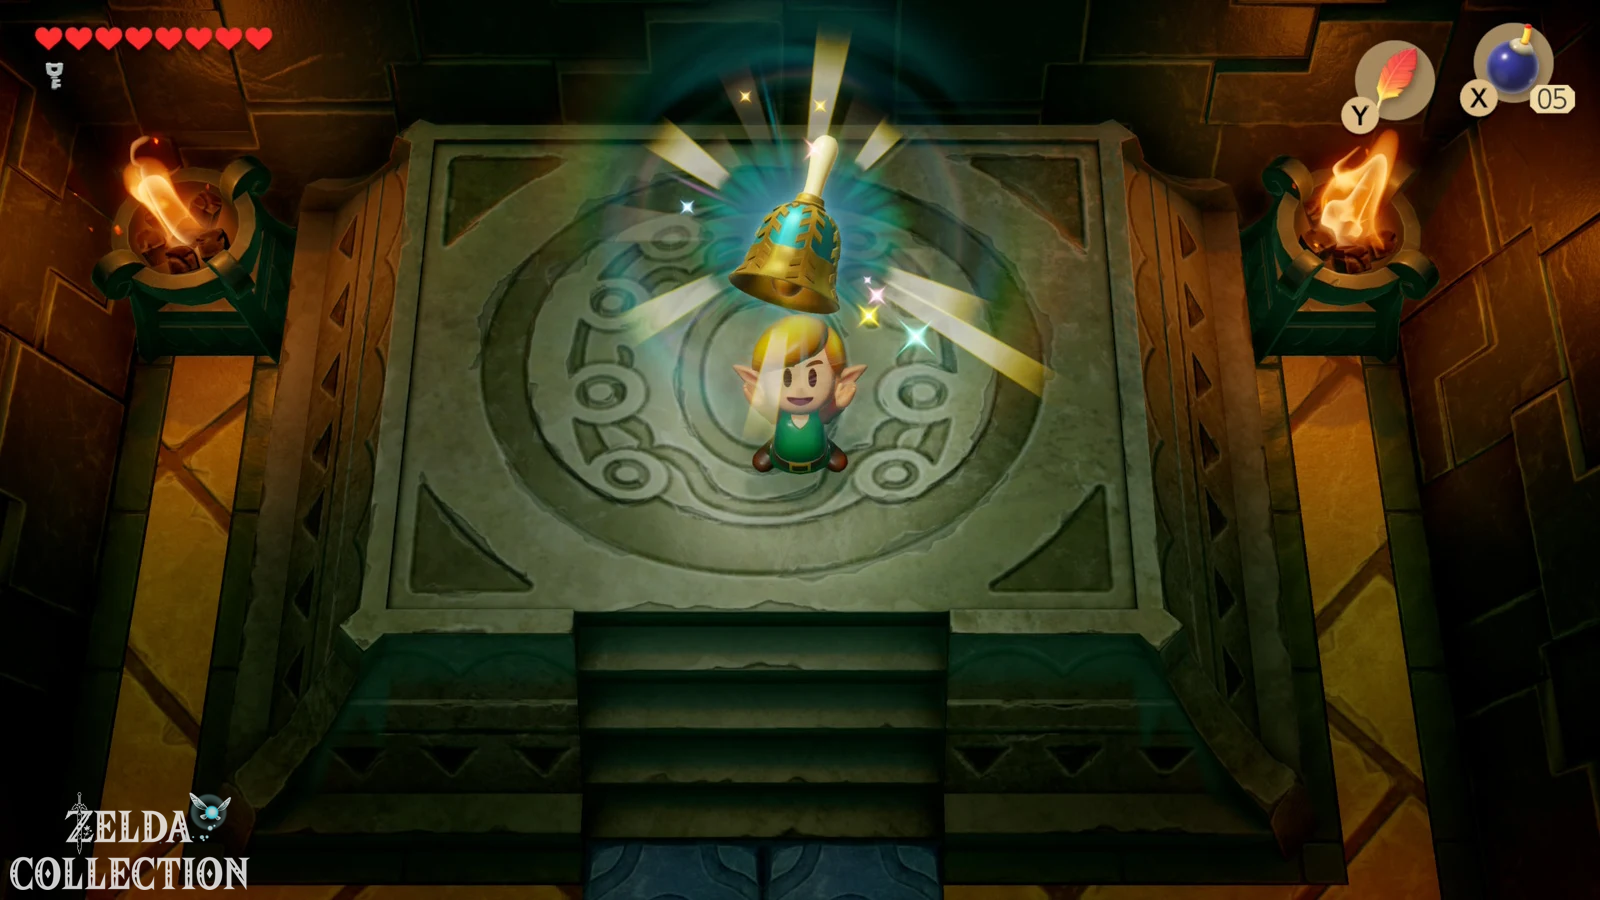
After defeating Slime Eyes, the third dungeon appears – Heart Container. Be sure to take it with you and then enter the last room of the Key Cavern. The sirens’ third instrument is waiting there, the Sea Lily’s Bell. With his tune, the third dungeon is fully completed and the next clue leads Link towards the waterfall and Angler’s Tunnel.
By the way, the basic combat and dungeon structure are very similar across Original, DX and Switch. The remake primarily modernizes the operation, presentation, rewards and individual secondary content. Anyone who plays the classic version can therefore also follow large parts of this solution there – however, for different collectibles and dungeon clues, we recommend our own Walkthrough for Link’s Awakening DX (German).
Secret Seashell on the Key Cavern
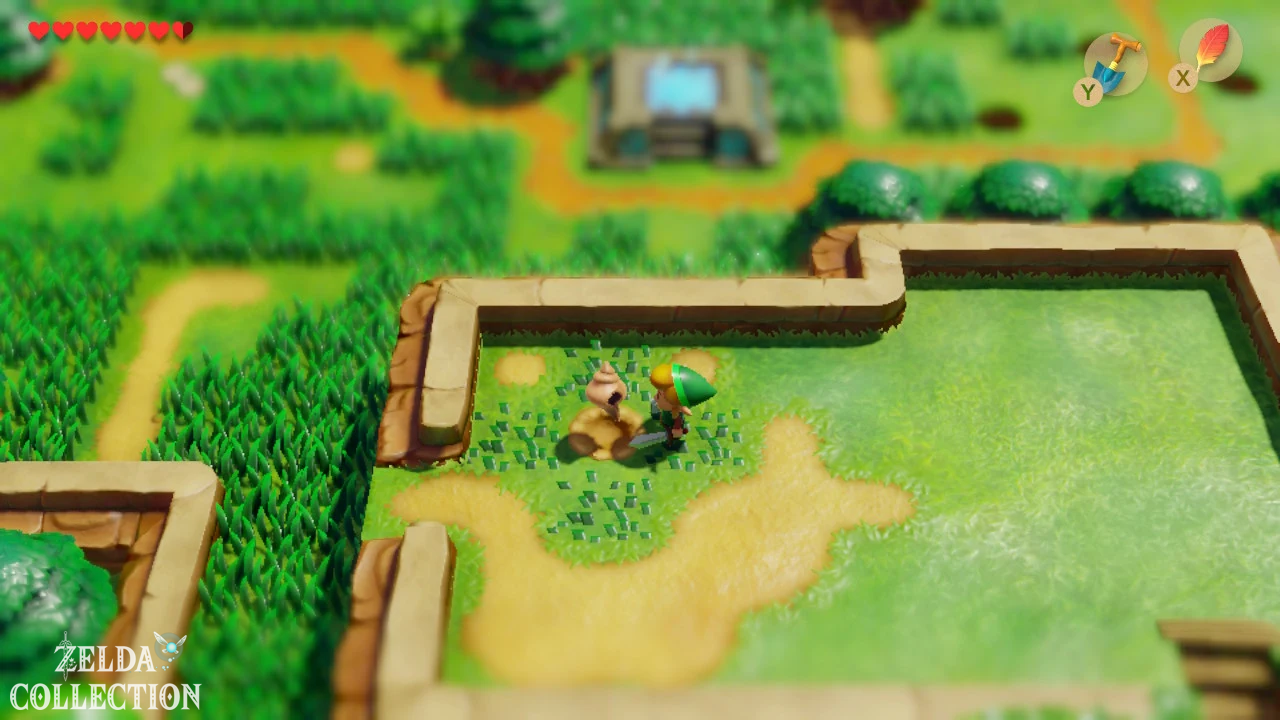
Before you leave the area, you should collect a Secret Seashell that was added in the Switch remake or is relevant to the expanded shell collection. On the roof or above the Key Cavern you will find four tufts of grass. Dig right in the middle and you’ll get another Secret Seashell. This means you don’t have to return to the dungeon later.
New figure in the Trendy Game
After completing another dungeon, a new figure in the Trendy Game will become available in the Switch version, provided you have already placed the previous figure on its base. Take the opportunity with you the next time you return to Mabe Village. The total of ten characters only exist in the Nintendo Switch remake and are part of our 100% score. We have also summarized Locations and matching bases in our guide to the figures in Link’s Awakening.
Now useful: The Color Dungeon
The Pegasus Boots also open a particularly worthwhile optional dungeon. Return to the library after Mabe Village and hit the bookshelf with your boots. A book falls down and reveals the secret order of several gravestones in the cemetery. This allows you to enter the Color Dungeon. For an optimal 100% pass, it is recommended to complete this dungeon now because at the end you can choose between red and blue armor. The red armor increases your damage dealt, the blue armor reduces the damage you take. The red variant is particularly efficient for the further solution because normal enemies and many bosses fall much faster.
Difference between the three versions: In the original black and white Link’s Awakening for Game Boy, the Color Dungeon does not exist at all. It was added in 1998 for Link’s Awakening DX on the Game Boy Color, as its puzzles are specifically based on colors. Nintendo then included the dungeon in the Switch remake. So if you play the DX version, you can also follow this optional section; Players of the original skip it entirely.
Also now possible: the dream shrine and the ocarina
With Power Bracelet and Pegasus Boots you can finally complete the dream shrine in Mabe Village. Lift away the rocks in front of the entrance, lie down in bed inside and follow the path around the room in your dream. The numerous enemies mirror Link’s movements, but with the Pegasus Boots you can simply sprint through the dangerous sections. In the central area, in addition to Rupees, there is also the ocarina. It will be needed soon and should therefore be collected now before the next big story section begins.
Go to Angler’s Tunnel
With three siren instruments, Roc’s Feather, Power Bracelet, Pegasus Boots and ideally the ocarina, Link is excellently equipped for the next section. The path now leads first to Animal Village, then to Marin and to Yarna Desert, where the key to the fourth dungeon has to be found. At the same time, the Pegasus Boots again open several optional Pieces of Heart and Secret Seashells, which we will collect on the way without any major detours. After that, the Angler’s Tunnel is waiting with the Flippers as the next important dungeon item.