

After rescuing Makar, Link now possesses Dins and Farore’s Goddess Pearl. The King of Red Lions next sends you to Greatfish Isle (B4), where the third Goddess Pearl is said to be. Before we continue the main story, let’s pick up some permanently important rewards along the way. If the mailbox on Forest Haven is still fidgeting, check it too: The Piece of Heart from the letter from the Rito tribe leader or Baito’s mother should be collected now at the latest.
Six-Eye Reef – Piece of Heart in submarine
On the way west, a stopover at Six-Eye Reef (D4) is a good idea. There is a submarine floating southwest of the reef. Enter it and defeat the three Moblins inside. Since we now have the Grappling Hook, you should steal a skull necklace from each of them before the actual fight. After the victory, the Treasure Chest appears with a Piece of Heart.
We can completely clean the actual reef itself later, once we have bombs. Therefore, continue your journey westwards.
Greatfish Isle (B4)
When he arrives on Greatfish Isle, Link experiences a nasty surprise: the once thriving island has been completely destroyed. The Rito postman reports to you that Jabun was able to escape in time and is now hiding on Outset Island. You will also find out that the pirates are now on Windfall Island and are also looking for Jabun.
There is currently no directly accessible Piece of Heart on Greatfish Isle itself. The Piece of Heart there is part of the later trading quest for the traveling traders and can only be completed after several more items. We are therefore deliberately postponing it to the later side quest section.


Windfall Island – the password of the pirates
Sailing to Windfall Island (D2). The unusually long night is part of the plot and only ends after you reach Jabun on Outset Island. The pirate ship is in front of the island, but first we go to the bomb shop on the cliff.
The front door is locked. Push left along the building, climb the vines at the back and crawl through the narrow opening. Inside, Tetra and her crew have overpowered the shopkeeper and are stealing his bombs. Eavesdrop completely on the conversation. Shortly before the end, one of the pirates says the current password for the ship. The password is chosen from several possible terms each time you play the game, so no general word can be given here.
Leave the shop and jump from the cliff onto the pirate ship. Go to the locked door and answer the question with the password you just heard. If you forgot, you can ask the red one King of Red Lions.
Niko’s second test – Bombs
Below deck awaits you again Niko. His second test works similarly to the first visit, but is more demanding: only the ropes hang between the start and finish platforms, while the platforms lower for a limited time after activating the switch.
Jump to the first rope, stop with R and align Link exactly with the next rope. Only then does it start to swing again. If you keep the rhythm cleanly, you will reach the opposite platform within the time limit.
As a reward you will receive bombs and the corresponding bomb bag with initially 30 bombs. Outside of dungeons, bombs can also be fired from the King of Red Lions as a cannon.
Shortly afterwards Tetra reports about the pirate talisman. The endless night gives you enough time to get to Outset Island before the pirates.
Beedle’s Chart
After receiving the bombs, check a mailbox. Beedle will now automatically send Link the Beedle’s Chart. It shows the locations of his various floating shops on the Great Sea and in particular identifies his particular branch at Rock Spire Isle. There is no cash on delivery Fairy for this card.


HD Difference: The bombs are obtained in the same location in both versions. In HD, however, Link’s original wallet already has a capacity of 500 Rupees instead of 200; The later expansions with the Great Fairies remain identical at 1,000 and 5,000 Rupees.
Outset Island – wallet and Grandma’s Elixir Soup
Sailing to Outset Island (B7). Link can now overcome the destroyed suspension bridge to the fairy forest with the Deku Leaf. Stand on the highest point of the eastern mountain, direct the wind to the west, and glide across.
There is still the large boulder in the forest that we were unable to remove in the first chapter. Place a bomb in front of it and then jump into the uncovered hole. A Great Fairy appears in the fairy source and expands Link’s wallet to 1,000 Rupees.
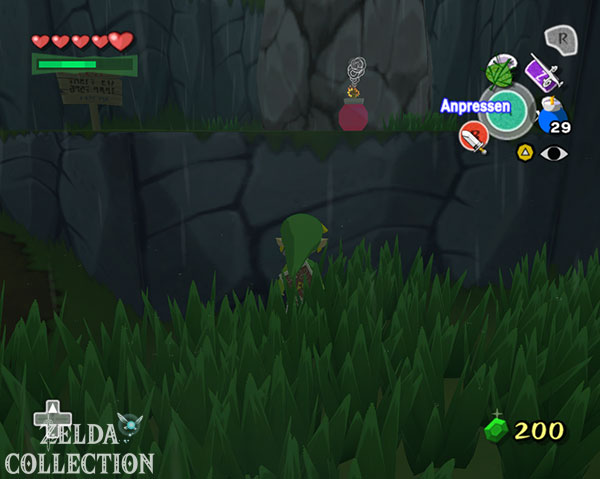
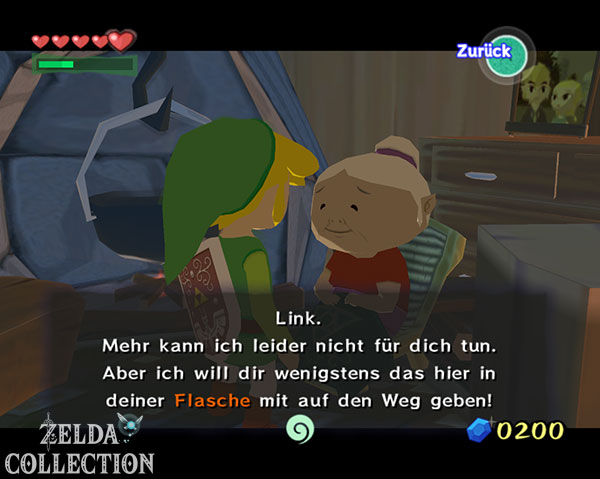
Then catch at least one of the little fairies in a free bottle and return to grandmother. She is completely exhausted due to Aryll’s kidnapping. Release the fairy immediately next to her. Grandmother recovers and from now on gives Link her special Elixir Soup. One bottle contains two servings and can be refilled at any time for free.
Jabun and Nayru’s Pearl
Return to the King of Red Lions and drive to the back of Outset Island. There a huge whirlpool pulls you towards a massive stone wall. Now the on-board cannon is used. Shoot bombs at the three large stone slabs and destroy them completely before the whirlpool pulls you too far.
If the last plate is destroyed, the entrance to the cave opens. Inside you will meet Jabun. He speaks Hylian with the King of Red Lions and eventually gives Link Nayru’s Pearl. You now have all three Deamonte.






Expand bomb bag to 99 bombs
Before deploying the three Deamonte, let’s make full use of the newly obtained bombs. First drive to Southern Fae Cordial (D6). Blow up the boards or the obstacle in front of the fairy spring and visit it Great Fairy. It expands your bomb bag from 30 to 60 bombs.
There is also a Blue ChuChu living on the island. Use the Grappling Hook to steal his Blue ChuChu jelly before defeating him.
Then drive to Eastern Fae Cordial (E3). Blow up the access here too and visit the second one Great Fairy for bombs. Capacity increases from 60 to maximum 99 bombs. There is also a Blue ChuChu on this island.
Also opens Treasure Chart #3 that we found on Forest Haven. The marked salvage treasure is located directly in this grid square and contains a Silver Rupee worth 200 Rupees.
Bomb Island – Piece of Heart in the secret cave
Now that we have our own bombs, let’s briefly return to the Bomb Island (F5). Blow up the large rock in the middle of the island and jump into the secret cave below.
Inside you will encounter several Monopendras. Attack one until it curls up and place it on the Floor Switch. This opens the next area. Follow the narrow path and activate the switch there, which causes part of the flame barriers to disappear. Then stun the two remaining Monopendras and throw them into the two switch areas surrounded by fire.
If both switches are weighted, the fire goes out around the last Treasure Chest. Inside is another Piece of Heart.
The three triangle islands
The three Deamonte must now be deployed on the triangle islands provided. The order doesn’t matter; The Southern Triangle Island (D5) is ideal for our route, then the Northern Triangle Island (D3) and finally the Eastern Triangle Island (F4).
Stand in front of the small statue on each island and Link will automatically insert the appropriate Goddess Pearl. For the Eastern Triangle Island you can also use Treasure Chart No. 34 from Chapter 2. Collect the marked treasure and take another Silver Rupee worth 200 Rupees.
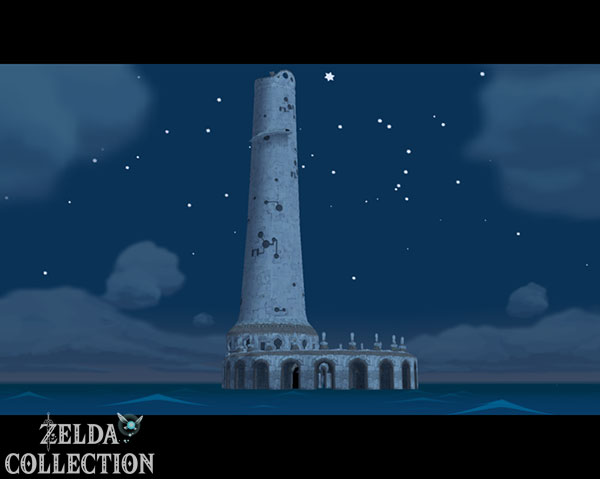
After the third Goddess Pearl is deployed, the three islands form a massive Triforce of light. In its center, the Tower of the Gods (E4) rises from the sea.


The images `windwaker_l4_048.jpg` and `windwaker_l4_049.jpg` have already been conveniently moved to Chapter 3 to introduce Fishman and the nautical chart and are therefore not included twice here.
Tower of the Gods – Ground floor
Drive the red one King of Red Lions directly into the tower. The ground floor is partially flooded and the water level rises and falls regularly. This means that walkable paths, platforms and boat paths change at short intervals.
First drive to the right and dock at the accessible platform. Defeat the Yellow Slime and wait for the water level to go down. Take one of the small statues and place it on the Floor Switch so that the grate remains open. Then work your way through the adjacent rooms and pay attention to the blue Beamos, whose laser beams you cannot permanently switch off at the moment.
In the southeast area you will find the first Small Key. Use the changing water levels to move bombs and moving statues to the required switches. The bombs sometimes have to be thrown in such a way that they only explode shortly before the target because the fuse goes out in the water.
Dungeon Map
Opens the western area of the ground floor with the Small Key. There you have to position statues on switches again and use bombs. In one of the accessible Treasure Chests there is the Dungeon Map.
In the central area you finally have to place a larger statue on the provided base. This switches off the strong water flow on the north wall and opens the way to the first floor.



Goddess Tingle Statue
In the northern area you will reach a high room with several moving platforms. Activate the Floor Switch with the small statues and ride the platforms up. There is an additional stationary platform just before the upper door.
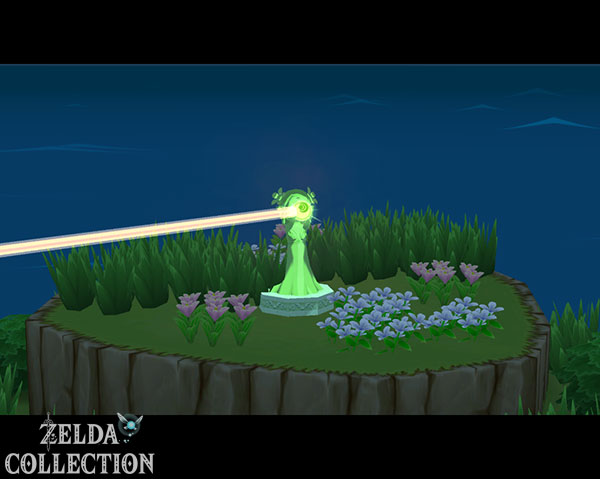
On the GameCube you activate the tingle receiver there and use a tingle bomb. The hidden chest containing the Divine Tingle Statue will appear.
HD Difference: In The Wind Waker HD a normal bomb is planted in exactly the same place. Since we already have the Bomb Bag, the Divine Tingle Statue can also be collected in HD on the first visit.
The three servant statues
On the first floor you reach the central hall with three high platforms. The task is to bring back three small servant statues from the adjacent wings.
Go through the right door first. Cross the moving platforms and the light bridge. Activate the statue with R and move it underneath the bridge to the opposite side. Then pick it up, jump with it onto the moving platform and bring it back to the central hall.
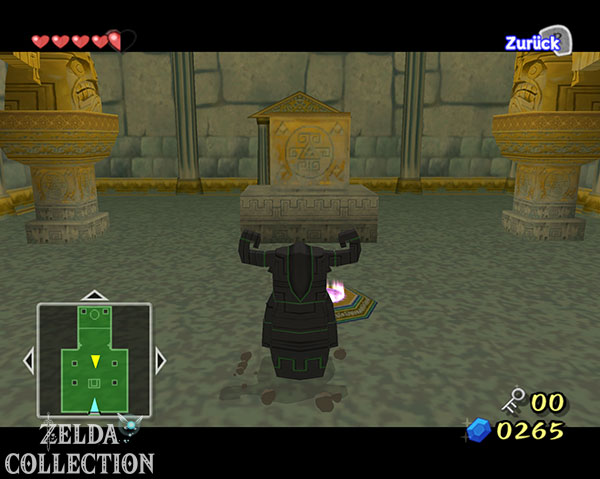
As soon as the first statue reaches its base, a stone tablet will appear. Stand in front of it and conduct the Command Melody. With this song you can directly control certain statues and later Medli and Makar.
Shadow Guard and Hero Bow
The next piano combines the Puppeteer’s Sonata with the Grappling Hook. Take over the servant statue and guide it past obstacles while Link himself uses the higher paths.
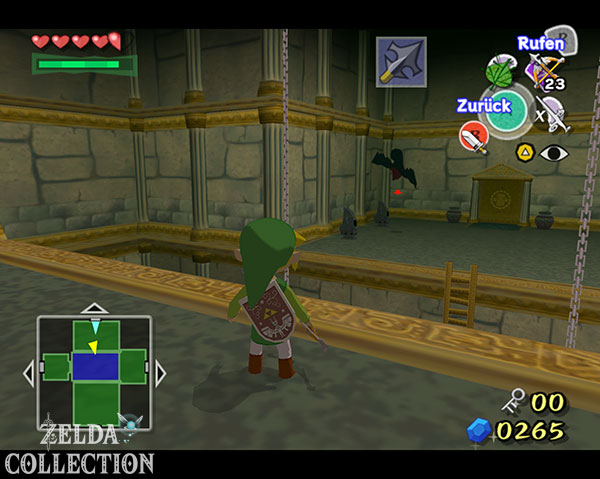
Before the statue can be returned, you have to go through a side room. A Shadow Guard is waiting there. First use the Grappling Hook to steal a Knight’s Crest from her. Then you target the opponent and wait for the A symbol of the parry attack. With several successful counterattacks, the Shadow Guard gradually loses their armor and can then be defeated normally with the sword.
After the battle, a large Treasure Chest appears with the Hero’s Bow. With it we can now hit Eye Switch, Beamos and numerous flying enemies from greater distances.
You can find an overview of the permanent equipment on our page for the items and upgrades.
Compass and Treasure Chart No. 6
After receiving the Hero Bow, we can completely complete a room we have already visited in the northwestern part of the ground floor. There is the chest with the Compass. There is a Eye Switch on the wall directly behind it. Hit him with an arrow, which will open another niche.
The chest inside contains Treasure Chart #6. Her sunken treasure is located at Six Eyes Reef and contains a Silver Rupee worth 200 Rupees.
Third Servant Statue
Return to the first floor and open the last wing. Use the Hero Bow on the eye switches to activate moving platforms and use the Puppeteer’s Sonata to guide the statue through the laser barriers.
In an adjacent room you will encounter several Armos for the first time. If you hit their eye with an arrow and then hit the crystal on their back, they explode. The larger Armos Knight, on the other hand, are defeated by provoking them and throwing a bomb into their open mouth.
Finally, bring the third servant statue to the central hall. As soon as all three stand on their pedestals, their light rays combine to form a triangle and open access to the upper floor.
Treasure Chart No. 30
In the next section you will reach the large room with the scales. Jump down onto the left scale pan and look at the western wall. There is a cracked spot there. Throw a bomb so that it explodes right in front of the wall; If the bomb falls into the water too early, it goes out.
Go through the blasted opening. There is a blue wind symbol in the next room. Stand on it and play the Wind’s Requiem. Two Armos Knights then awaken. Defeat both with bombs and then open the Treasure Chest with Treasure Chart No. 30.
This card is particularly important because your treasure at Tapsen Island (E2) contains another Piece of Heart.
Big Key
Then follow the regular route further up. In one of the last rooms you have to place two small statues one after the other on floor switches and place Link himself on the third switch. This opens the large Treasure Chest with the Big Key.
As you leave, several Armos awaken. Kill them with arrows and a sword and then return to the main hall.
The path to Quartoxuma
The last stretch leads over a long outside staircase. A Kargaroc flies above the platforms; use the Grappling Hook first to take a Golden Feather from him, and then kill him with an arrow.
Along the stairs are blue and red Beamos. The blue variants only shoot in a fixed direction and can be easily knocked out with arrows. The red specimens pursue Link with their beam, so you either roll past them quickly or eliminate them with the Hero Bow.
Stock up on arrows, bombs, hearts and magic in front of the boss door and open it with the Big Key.


Boss: Quartoxuma
In the final chamber, awakens Quartoxuma, a giant mechanical guardian structure with two free-floating hands. If you complete the Nintendo Gallery, you can also photograph this enemy. Quartoxuma can be captured again later or at another opportunity for the figure, but a picture here saves you additional planning.
Focus on the two hands first. Each hand has a large eye. Hit these eyes several times with the Hero Bow until the respective hand falls motionless to the ground. Stay in the middle of the platform as much as possible and be careful not to get hit on the electrically charged edges.
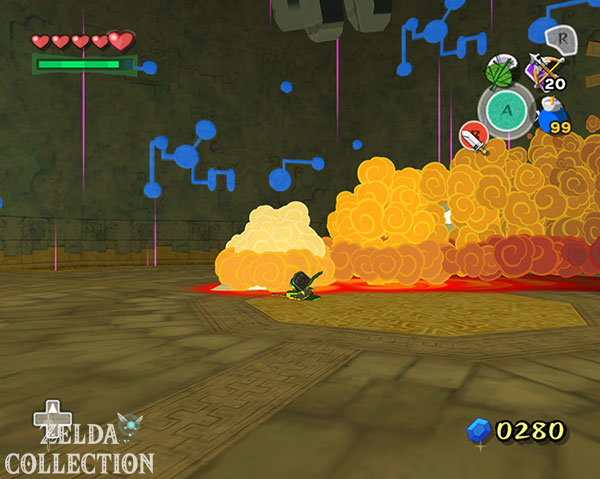
If both hands are out of action, Quartoxuma opens the eyes on his head. Hit these too with arrows. Once both eyes are turned off, the head collapses onto the platform and opens the mouth. Immediately take a bomb, run up and throw it in.
Quartoxuma then stands up completely again and the process begins again. If you run out of arrows, your opponent will regularly throw more into the arena. After a total of three bomb explosions in his mouth, Quartoxuma is defeated.
Pick up the Heart Container and enter the beam of light.




The Bell and the Road to Hyrule
There is a huge bell hanging at the top of the tower. Use the Grappling Hook on the bell rope and swing back and forth several times. As soon as the bell rings, a glowing entrance opens beneath the tower into a long-forgotten world.
Before we descend, we can redeem Treasure Chart No. 30. Drive to Tapsen Island (E2), open the map and recover the marked treasure with the Grappling Hook. The chest contains another Piece of Heart.
Treasure Chart No. 6 leads to the Six Eyes Reef and contains only 200 Rupees; Since we have to do more stuff there later anyway, we’ll postpone this pure ruby treasure until the next appropriate visit.
Then return to the Tower of the Gods and drive into the circle of light. The next chapter begins in the sunken Hyrule and then leads to the second conquest of the Haunted Bastion.