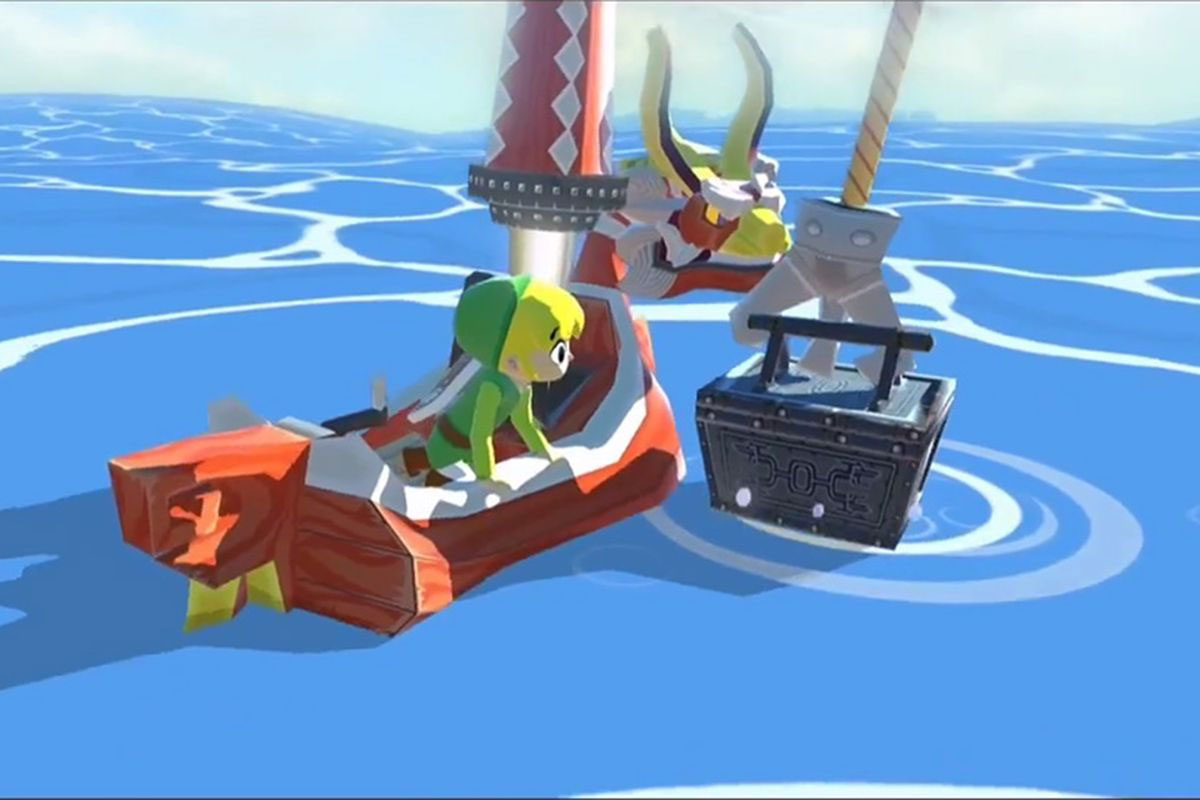

Later in The Legend of Zelda: The Wind Waker HD you have to put the Triforce of courage back together again. It was cut into eight pieces and scattered across the Great Sea.
In the original GameCube version you first need eight Triforce cards. These must then be decrypted by Tingle before you can recover the actual shards from the sea.
For The Wind Waker HD, Nintendo has significantly shortened this lengthy search:
- only 3 Triforce cards,
- 5 Triforce shards are found directly,
- Tingle continues to charge 398 Rupees per card,
- Total cost: 1,194 Rupees instead of 3,184 Rupees.
Once you have found all eight shards, the Triforce of Courage will automatically assemble and you can continue the main story.

GameCube and HD – the difference
| GameCube | The Wind Waker HD | |
|---|---|---|
| Triforce cards | 8 | 3 |
| Directly found fragments | 0 | 5 |
| Cost per decryption | 398 Rupees | 398 Rupees |
| Total cost | 3.184 Rupees | 1.194 Rupees |
The three remaining Triforce cards in HD correspond to the original GameCube cards No. 1, 3 and 5. However, in HD they are simply listed as Triforce cards No. 1 to 3.
All eight splitters at a glance
| No. | Location | Type | Target / Splitter |
|---|---|---|---|
| 1 | Floating Fortress (B5) | Triforce Card #1 | Greatfish Isle (B4) |
| 2 | Greifenhorst Island (G5) | Triforce Card #2 | Stone Watcher Island (C5) |
| 3 | Needle Rock Island (A5) | Triforce Card #3 | Flugrock Island (G6) |
| 4 | Private Oasis / Left Land (E5) | direct splitter | in the basement of the property |
| 5 | Outset Island (B7) | direct splitter | Savage Labyrinth |
| 6 | Stone Watcher Island (C5) | direct splitter | Secret cave |
| 7 | Overlook Island (G1) | direct splitter | Secret cave |
| 8 | Ghost Ship | direct splitter | inside the ship |
Triforce Map #1 – Floating Fortress
Location: Floating Fortress (B5)
Splitter: Greatfish Isle (B4)
Requires: Bombs / Board Cannon
Sail to Floating Fortress (B5).
The entrance to the fortress is blocked by a Gunboat. Sink the ship with your on-board cannon and then drive into the interior of the fortress.
There is a wind symbol on the raised platform.
Stand on it and play the Wind’s Requiem.
A Treasure Chest appears.
Inside is Triforce Card #1.
Have Tingle decrypt card
Sail or teleport to Tingle’s Island (C3).
Speak to Tingle and have the card decrypted for 398 Rupees.
The Location of the shard will then be marked on your nautical chart.
Triforce Shard at Greatfish Isle
Teleport to Greatfish Isle (B4).
A bright ring of light now appears on the sea in the grid square.
Ride directly over it and use the Red Leuenking’s Grappling Hook.
Pull the Treasure Chest out of the sea and you will get the first Triforce Shard.
Triforce Map #2 – Greifenhorst Island
Location: Greifenhorst Island (G5)
Splitter: Stone Watcher Island (C5)
Requires: Putput Fruit
Sails to Greifenhorst Island (G5).
There are several switches in Kargaroc nests on the high rock pillars around the island.
Before you start the actual task, you should shoot as many Gargoracks as possible with your bow. They can attack your seagull and end your control over it.
Then use a Hyoi Pear.
You take control of a seagull.
Now fly to the switches on the rocky peaks one after the other and activate them.
If you have triggered all the switches, the grate at the entrance to the cave opens.
Enter the room and stand on the wind symbol.
Plays the Wind’s Requiem.
A Treasure Chest with Triforce card #2 appears.
Triforce splitter at Stone Watcher Island
Have the card decrypted at Tingle for 398 Rupees.
Then sail to Stone Watcher Island (C5).
The familiar ring of light appears in the sea.
Use the Grappling Hook there and recover the next Triforce shard.
Triforce Map #3 – Needlerock Island
Location: Needle Rock Island (A5)
Shard: Flugrock Island (G6)
Requires: Bombs / Board Cannon
Sail to Needle Rock Island (A5).
A striking one sails in the waters around the island golden Gunboat.
Shoot it with the onboard cannon.
After a few hits the ship sinks.
A ring of light appears at the site of his demise.
Drive over it and use the Grappling Hook.
You pull a Treasure Chest out of the water.
Inside is Triforce Card #3.
Triforce Shard at Flugrock Island
Also have the third card decrypted at Tingle for 398 Rupees.
Then teleport to Forest Haven and from there sail one grid square east to Flugrock Island (G6).
Find the marked light ring on the sea and use the Grappling Hook.
This means you also have the third shard found via a Triforce card.
Decrypt all three cards – 1,194 Rupees
For each of the three cards, Tingle requires:
398 Rupees
So you need a total of:
398 + 398 + 398 = 1.194 Rupees
If you don’t have enough money, there are several quick options:
- Retrieve Silver Rupees from Treasure Charts,
- Big Octo,
- Treasure Chests open in secret caves,
- Complete Watchtowers and Submarines,
- Rupees out of the Savage Labyrinth.
Defeat
Take
The maximum wallet of 5,000 Rupees is not absolutely necessary, but it makes the entire Triforce search much easier.
Triforce Shard – Private Oasis / Left Land
Location: Private Oasis (E5)
Requires: deed of the property and Grappling Hook
This splitter is in HD right where it is on GameCube Triforce card #2 located.
First you need the Cabana Deed.
Go to Madame Marie on Windfall Island.
If you have completed the killer bee side quest, you can give her Joy Pendants.
For the certificate you first have to give her the first lucky amulet from the side quest and then give 20 more Joy Pendants.
You have now handed in a total of 21 Joy Pendants for this quest.
Madame Marie will then transfer her holiday home on Private Oasis to you.
The island then becomes Link’s property or Link’s land.
Secret passage in the estate
Sail to Private Oasis (E5) and show the butler the certificate.
Enter the house.
Look at the ceiling.
There is a lever there.
Pull him down with the Grappling Hook.
This causes the fire in the fireplace to go out and access to the cellar becomes available.
Jump into the chimney.
A small labyrinth with crawlspaces, ladders and remorts awaits you beneath the property.
Keep working your way down.
In a side room you can also find a Treasure Chest with 100 Rupees.
At the end you will reach a larger room with a wind symbol.
Stand on it and play the Wind’s Requiem.
In the GameCube version, Triforce card number 2 appears here.
In The Wind Waker HD you get a Triforce Shard instead.
Triforce Shard – Outset Island and the Savage Labyrinth
Location: Outset Island (B7)
Requires: strength bracelets
Recommended: Grandma’s Elixir Soup and several fairies
The next shard is in the Savage Labyrinth on Outset Island.
Go to the high area of the island where the suspension bridge used to lead to the forest.
From there you have to get to the platform to the west with the large stone head.
You can glide over with the Deku Leaf or use the Hookshot later.
Raise the stone head with the power bracelets.
Below is the entrance to the maze.
Jump in.
30 levels of combat
In the Savage Labyrinth you have to fight your way through groups of increasingly stronger opponents.
After all enemies on a level have been defeated, the flame barrier goes out and the way down opens.
The enemies do not leave behind hearts or other items when they are defeated normally.
However, you can still steal loot and some healing items from them with the Grappling Hook.
After every ten combat levels you will reach a rest area with jugs and an exit back outside.
After 30 combat levels you reach the room with the Triforce treasure.
Stand on the wind symbol and play the song of the wind.
In the GameCube version, Triforce card number 6 is located here.
In The Wind Waker HD you get the Triforce shard directly.
20 more levels?
The Triforce search is completed at this point and you can leave the maze.
However, if you already own the Mirror Shield from the Earth Temple, you can destroy the large elephant statue with reflected light and open another 20 battle levels.
According to total 50 combat levels is waiting in The Wind Waker HD Hero talisman.
Difference to the GameCube version: On the GameCube there is a Piece of Heart at the end of the maze. In HD, this Piece of Heart has been moved to Treasure Chart #46.
Triforce Shard – Stone Watcher Island
Location: Stone Watcher Island (C5)
Requires: strength bracelets
Sails to Stone Watcher Island (C5).
There is a huge stone head on the highest point of the island.
Use the Power Bracelets to lift him up and throw him aside.
A hole appears underneath.
Jump in.
You end up in a central room with several doors.
Behind every door there is a separate group of enemies waiting.
Defeat all enemies in each side room.
After a room is completely closed, a torch is lit in the main room.
Once you have cleared all the side rooms, there is one last group of enemies waiting there.
Defeat them too.
Then access to the wind symbol opens.
Plays the Wind’s Requiem there.
On GameCube you can get Triforce card number 7 here.
In The Wind Waker HD there is instead the Triforce Shard.
Triforce Shard – Overlook Island
Location: Overlook Island (G1)
Requires: Hookshot
Sails to Overlook Island (G1).
The island’s tall rock pillars cannot be climbed normally.
Position the King of Red Lions next to the lowest platform and target the palm with the Hookshot.
Pull yourself up.
From there you work your way from palm to palm with the Hookshot.
You can also collect one of the 23 Blue ChuChus on one of the levels.
Continue your path until you reach the highest area and the hole in the ground.
Jump in.
Battle Cave
The cave is structured similarly to the secret cave on Stone Watcher Island.
From the central room, several doors lead to different groups of enemies.
Defeat all enemies.
A torch is lit for each locked room.
After you have defeated all side rooms and then the last enemies in the main room, the wind symbol becomes accessible.
Plays the Song of the Wind.
Triforce card number 8 appears here on GameCube.
In The Wind Waker HD there is the Triforce Shard in the chest.
Triforce Shard – the ghost ship
Requires: Ghost Ship Card
Ghost Ship Map: Rhombus Island (A6)
The last shard that can be found directly is on the mysterious ghost ship.
Before you can board the ship, you need the Ghost Ship Chart.
Without it, the ship will disappear as soon as you get too close.
Ghost Ship Map on Rhombus Island
Sails to Rhombus Island (A6).
With the Hookshot you can pull yourself up on the palm trees bit by bit.
Reach the top and jump into the hole.
You end up in a labyrinth of teleportation jars.
There are death gropers lurking in the rooms.
You can fight them or avoid them.
First, take the teleportation jar near the starting point.
In the next room you have to uncover another jar with a fire arrow.
After that the actual teleportation puzzle begins.
Be careful not to use each jar randomly as some will send you back to the beginning.
Work your way through the rooms until you reach the last platform.
There is the Treasure Chest with the Ghost Ship Chart.
Where is the ghost ship?
The ghost ship only appears at night.
Its location depends on the current phase of the moon.
Open your ghost ship map.
It shows you a different grid square for each phase of the moon.
Possible areas include:
- Shimmering Crescent (E1),
- Rhombus Island (A6),
- Bomb Island (F5),
- Isla Binocular (C2),
- Isla Cassiopeia (G7),
- Star Belt Archipelago (G3),
- Greatfish Isle (B4).
The little day and night music is particularly helpful here.
Play it to quickly switch to the next night and thus also advance the moon phase.
Ghost Ship Enter
Sails into the grid square shown on the map at night.
You can recognize the ghost ship by its bluish, eerie glow.
If you have the ghost ship card, you can drive directly towards the ship.
Link is automatically moved inside.
There is a group of enemies waiting there.
Defeats all enemies.
Prioritizes the Pyromagi in particular, as they can summon additional enemies.
Then take care of the Poes and other opponents.
As soon as the last enemy has been defeated, a ladder will appear or access to the Treasure Chest will become available.
Opens it.
In The Wind Waker HD you get a Triforce Shard.
The madness card
For the search for the Triforce you also get the madness card.
It shows you the Locations on the Great Sea that is relevant for the Triforce search.
In the GameCube version, it marks all eight Triforce cards.
In HD it is adapted accordingly to the shortened search.
Since you will need the map frequently during this section, you should check it regularly along with the nautical chart.
Recommended order
The eight shards can basically be collected in different orders.
For the smoothest possible HD run, we recommend:
- Islet of Steel – Triforce Card #1
- Bird’s Peak Rock – Triforce Map #2
- Needle Rock Isle – Triforce Map #3
- Tingle Island – decrypt all three cards for 1,194 Rupees
- Greatfish Isle – Retrieve shards from map #1
- Stone Watcher Island – Retrieve shards from map #2 and get shards directly in the cave
- Cliff Plateau Isles – Retrieve Shards from Map #3
- Private Oasis – get direct shards in the estate
- Outset Island – Savage Labyrinth up to level 30
- Overlook Island – Complete Battle Cave
- Diamond Steppe Island – Get Ghost Ship Card
- Ghost Ship – get last direct shard
You can use Stone Watcher Island particularly efficiently: There is both the salvage treasure from Triforce map No. 2 in the sea and another direct Triforce shard in the secret cave.
All eight Triforce shards – short version
| Location | What you get there | Prerequisite |
|---|---|---|
| Floating Fortress (B5) | Triforce Card #1 → Shard at Greatfish Isle | bombs |
| Greifenhorst Island (G5) | Triforce Map #2 → Shard at Stone Watcher Island | Hyoi Pear |
| Needle Rock Island (A5) | Triforce Map #3 → Shard at Flugrock Island | bombs |
| Private Oasis (E5) | direct Triforce splitter | Cabana Deed |
| Outset Island (B7) | direct Triforce splitter | strength bracelets |
| Stone Watcher Island (C5) | direct Triforce splitter | strength bracelets |
| Overlook Island (G1) | direct Triforce splitter | Hookshot |
| Ghost Ship | direct Triforce splitter | Ghost Ship Chart |
After the eighth shard
As soon as you collect the last Triforce shard, all eight pieces will automatically combine to form the full Triforce of Courage.
You don’t have to travel to Tingle or a special place again.
The Triforce appears on Link’s hand, confirming that he has been recognized as a bearer of courage.
Then returns to the Tower of the Gods.
From there you can descend into Hyrule again and begin the final section of the game.