

Return to Hyrule Castle after defeating Zant. Explore the courtyard and castle, defeat King Bulblin and climb to the final battles with Ganondorf.
Game version: The route and screenshots follow the GameCube version. The normal mode of Twilight Princess HD has the same orientation; on Wii and in HD Hero Mode, left/right and east/west are swapped. HD deviations are at the affected step.
Prepare to Enter Hyrule Castle
Hyrule Castle is the final dungeon of the game and after Ganondorf’s defeat there is no free playable state in an already saved Hyrule. That’s why you should take care of open collectibles and Side Quests now at the latest. If you have completely followed our previous 100% route, in front of the castle all should already have 45 Pieces of Heart, all 24 Golden Bugs, all 60 Poe Souls and the seven Hidden Skills must be completed. The Cave of Ordeals should also be completely completed by now. Since City in the Sky you also have the Double Clawshots. If you haven’t already, you can visit the STAR game in Castle Town again and complete the second challenge to get the largest arrow quiver with space for a total of 100 arrows.
For the upcoming dungeon, you should fill your bottles with medicine and, if possible, bring a good supply of arrows and bombs with you. Great Fairy’s Tears is ideal, but fairies are also sufficient. Magic Armor can also be useful in some of the more difficult fights, provided your wallet is well stocked. However, none of this is absolutely necessary. The Golden Wolf from the old version of our solution is also no longer waiting in front of Hyrule Castle on this route, because we already learned the Jump Strike before the Snowpeak Ruins and completed the last Hidden Skill – the Great Spin Attack – after our visit to the Hidden Village.
Midna destroys the barrier around Hyrule Castle
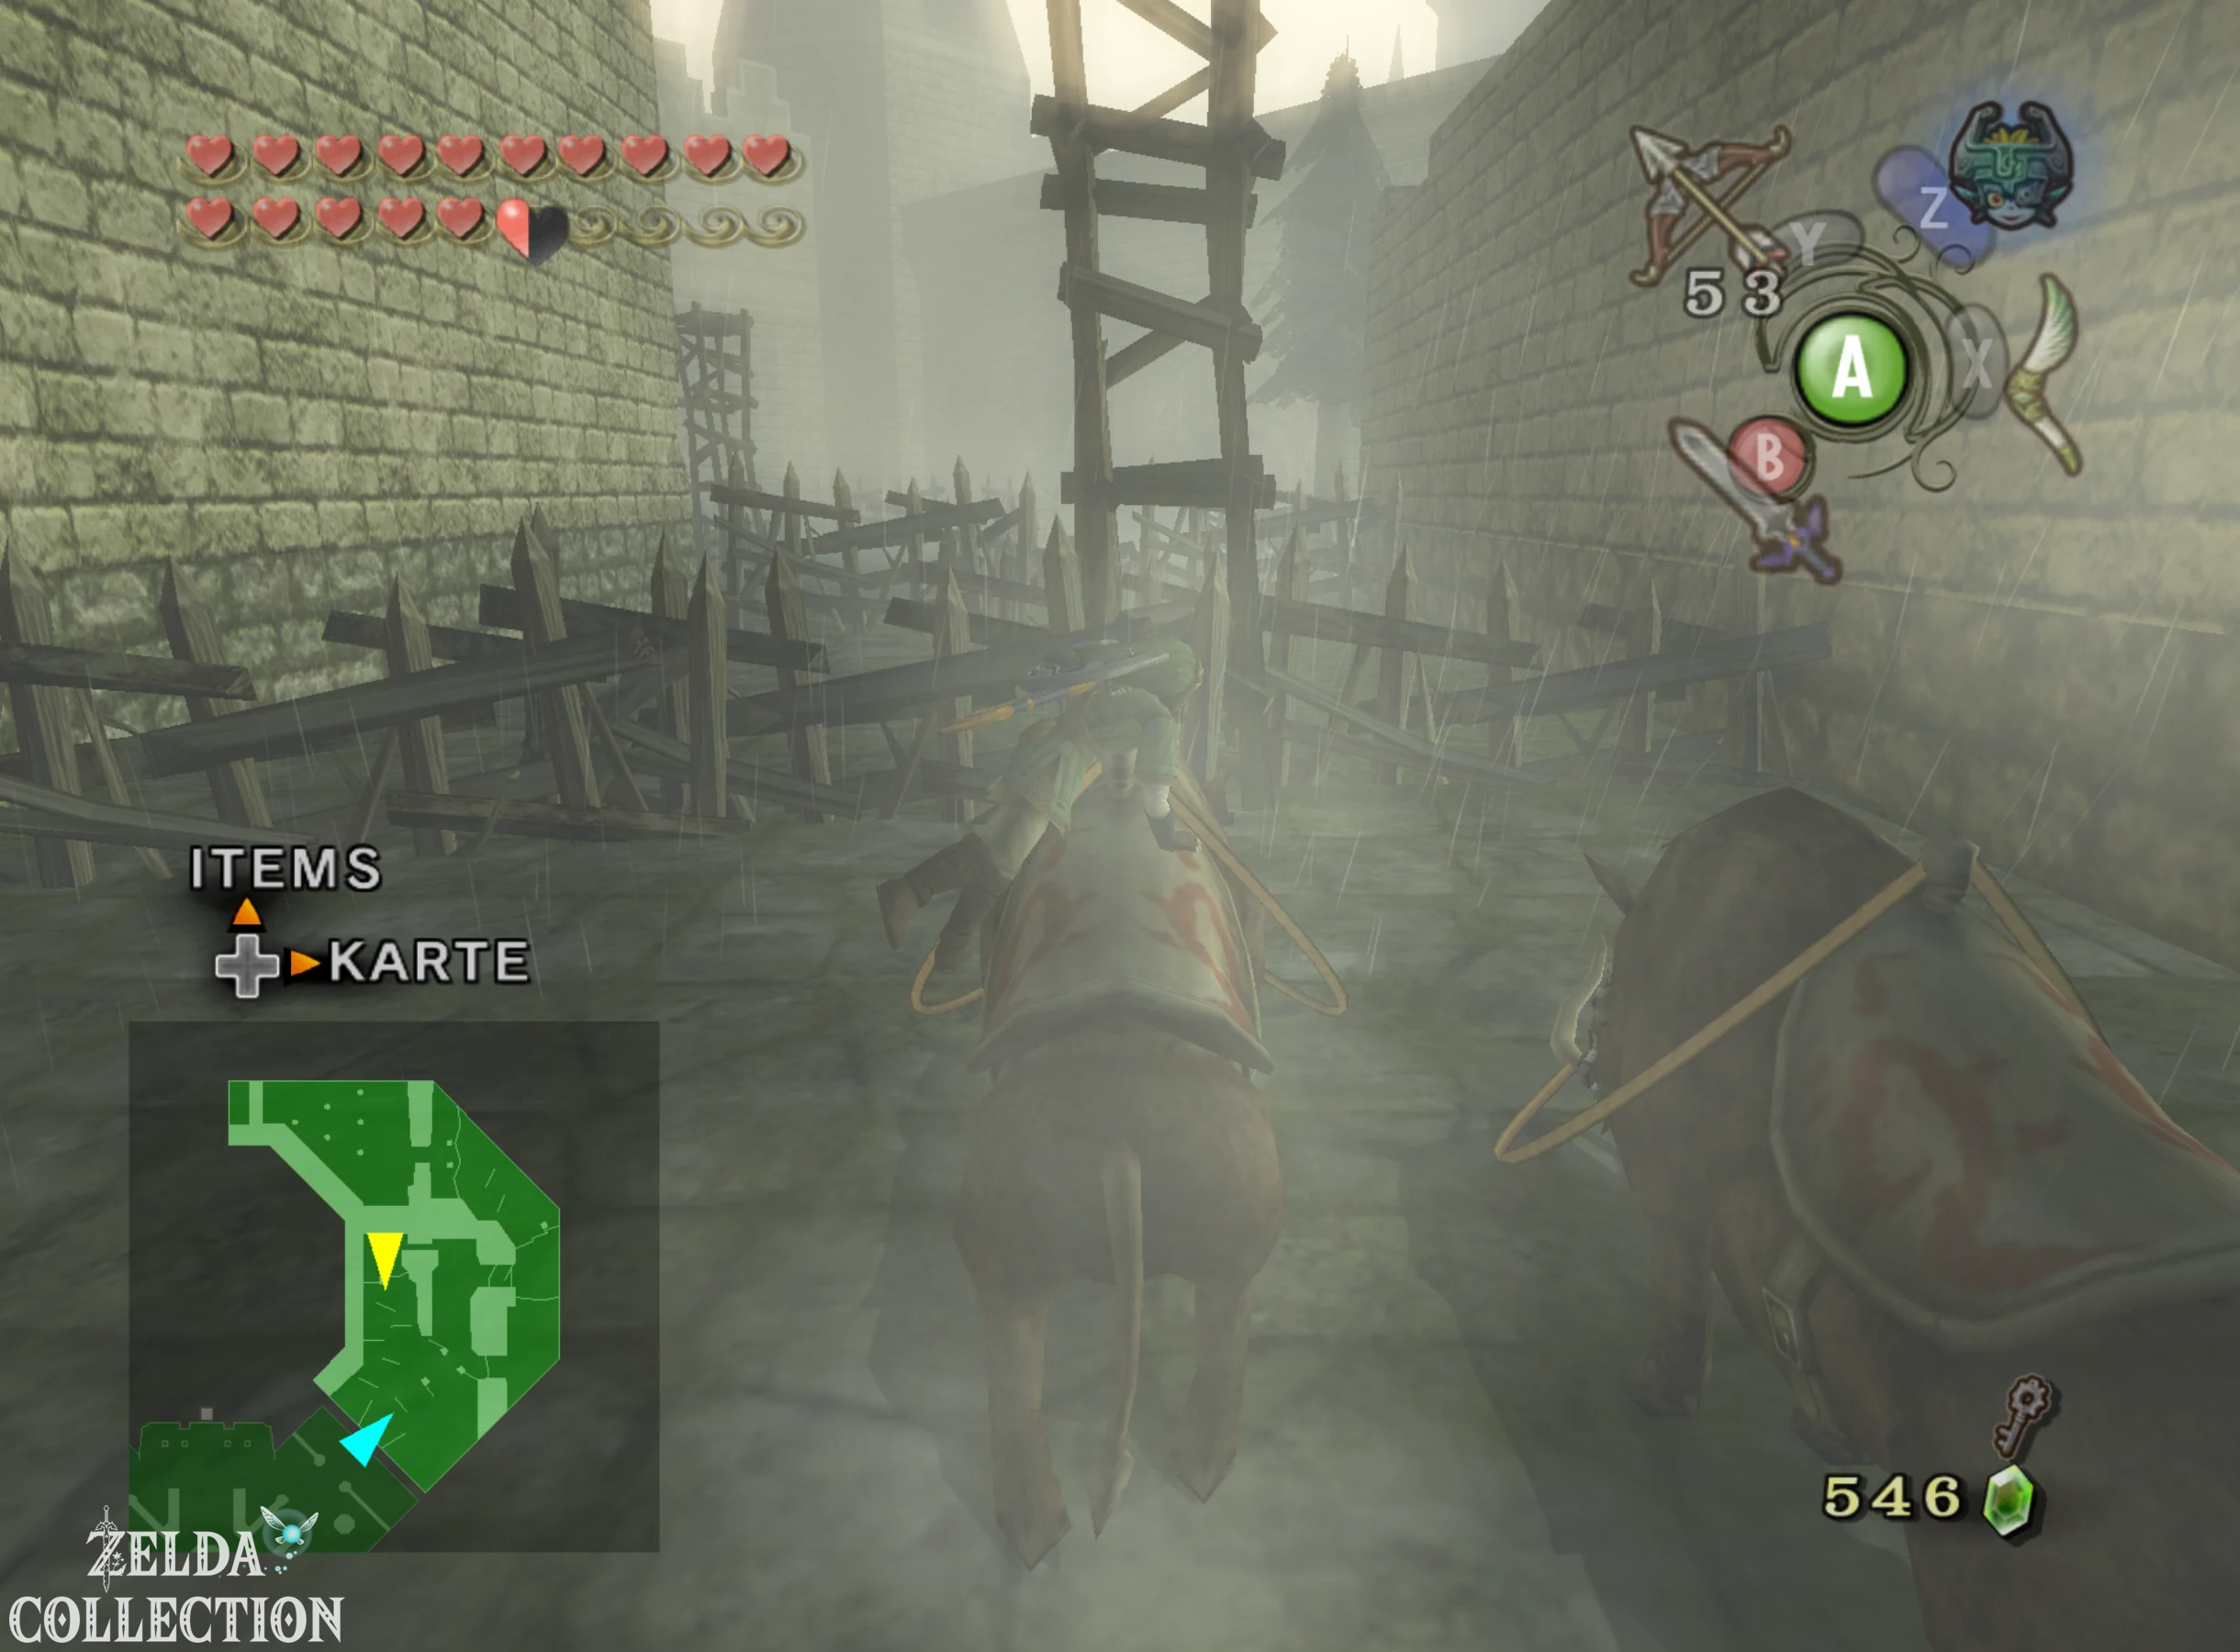
Warp to Castle Town and exit the city through the north gate towards the castle. Shortly afterwards an impressive sequence begins. The entire castle is still surrounded by Ganondorf’s’s huge magical barrier, but Midna now has the three Fused Shadows that Zant stole from her after the Lakebed Temple. She combines their power and transforms into the giant shadow beast we saw earlier. With a single powerful attack, she breaks the barrier around Hyrule Castle, finally opening the entrance to Ganondorf’s Fortress.
The large courtyard
Enter the castle grounds and you will reach the huge central courtyard. The main entrance to the castle is directly in front of you, but is currently still locked. For this we first need a Small Key. The outer courtyard has two large side areas, both of which theoretically do not need both completely in a pure story run. Of course, on our 100% route we clear both sides, because that’s the only way we get the Dungeon Map, both HD stamps and the additional key with which we can open the secret treasury right in front of Ganondorf.
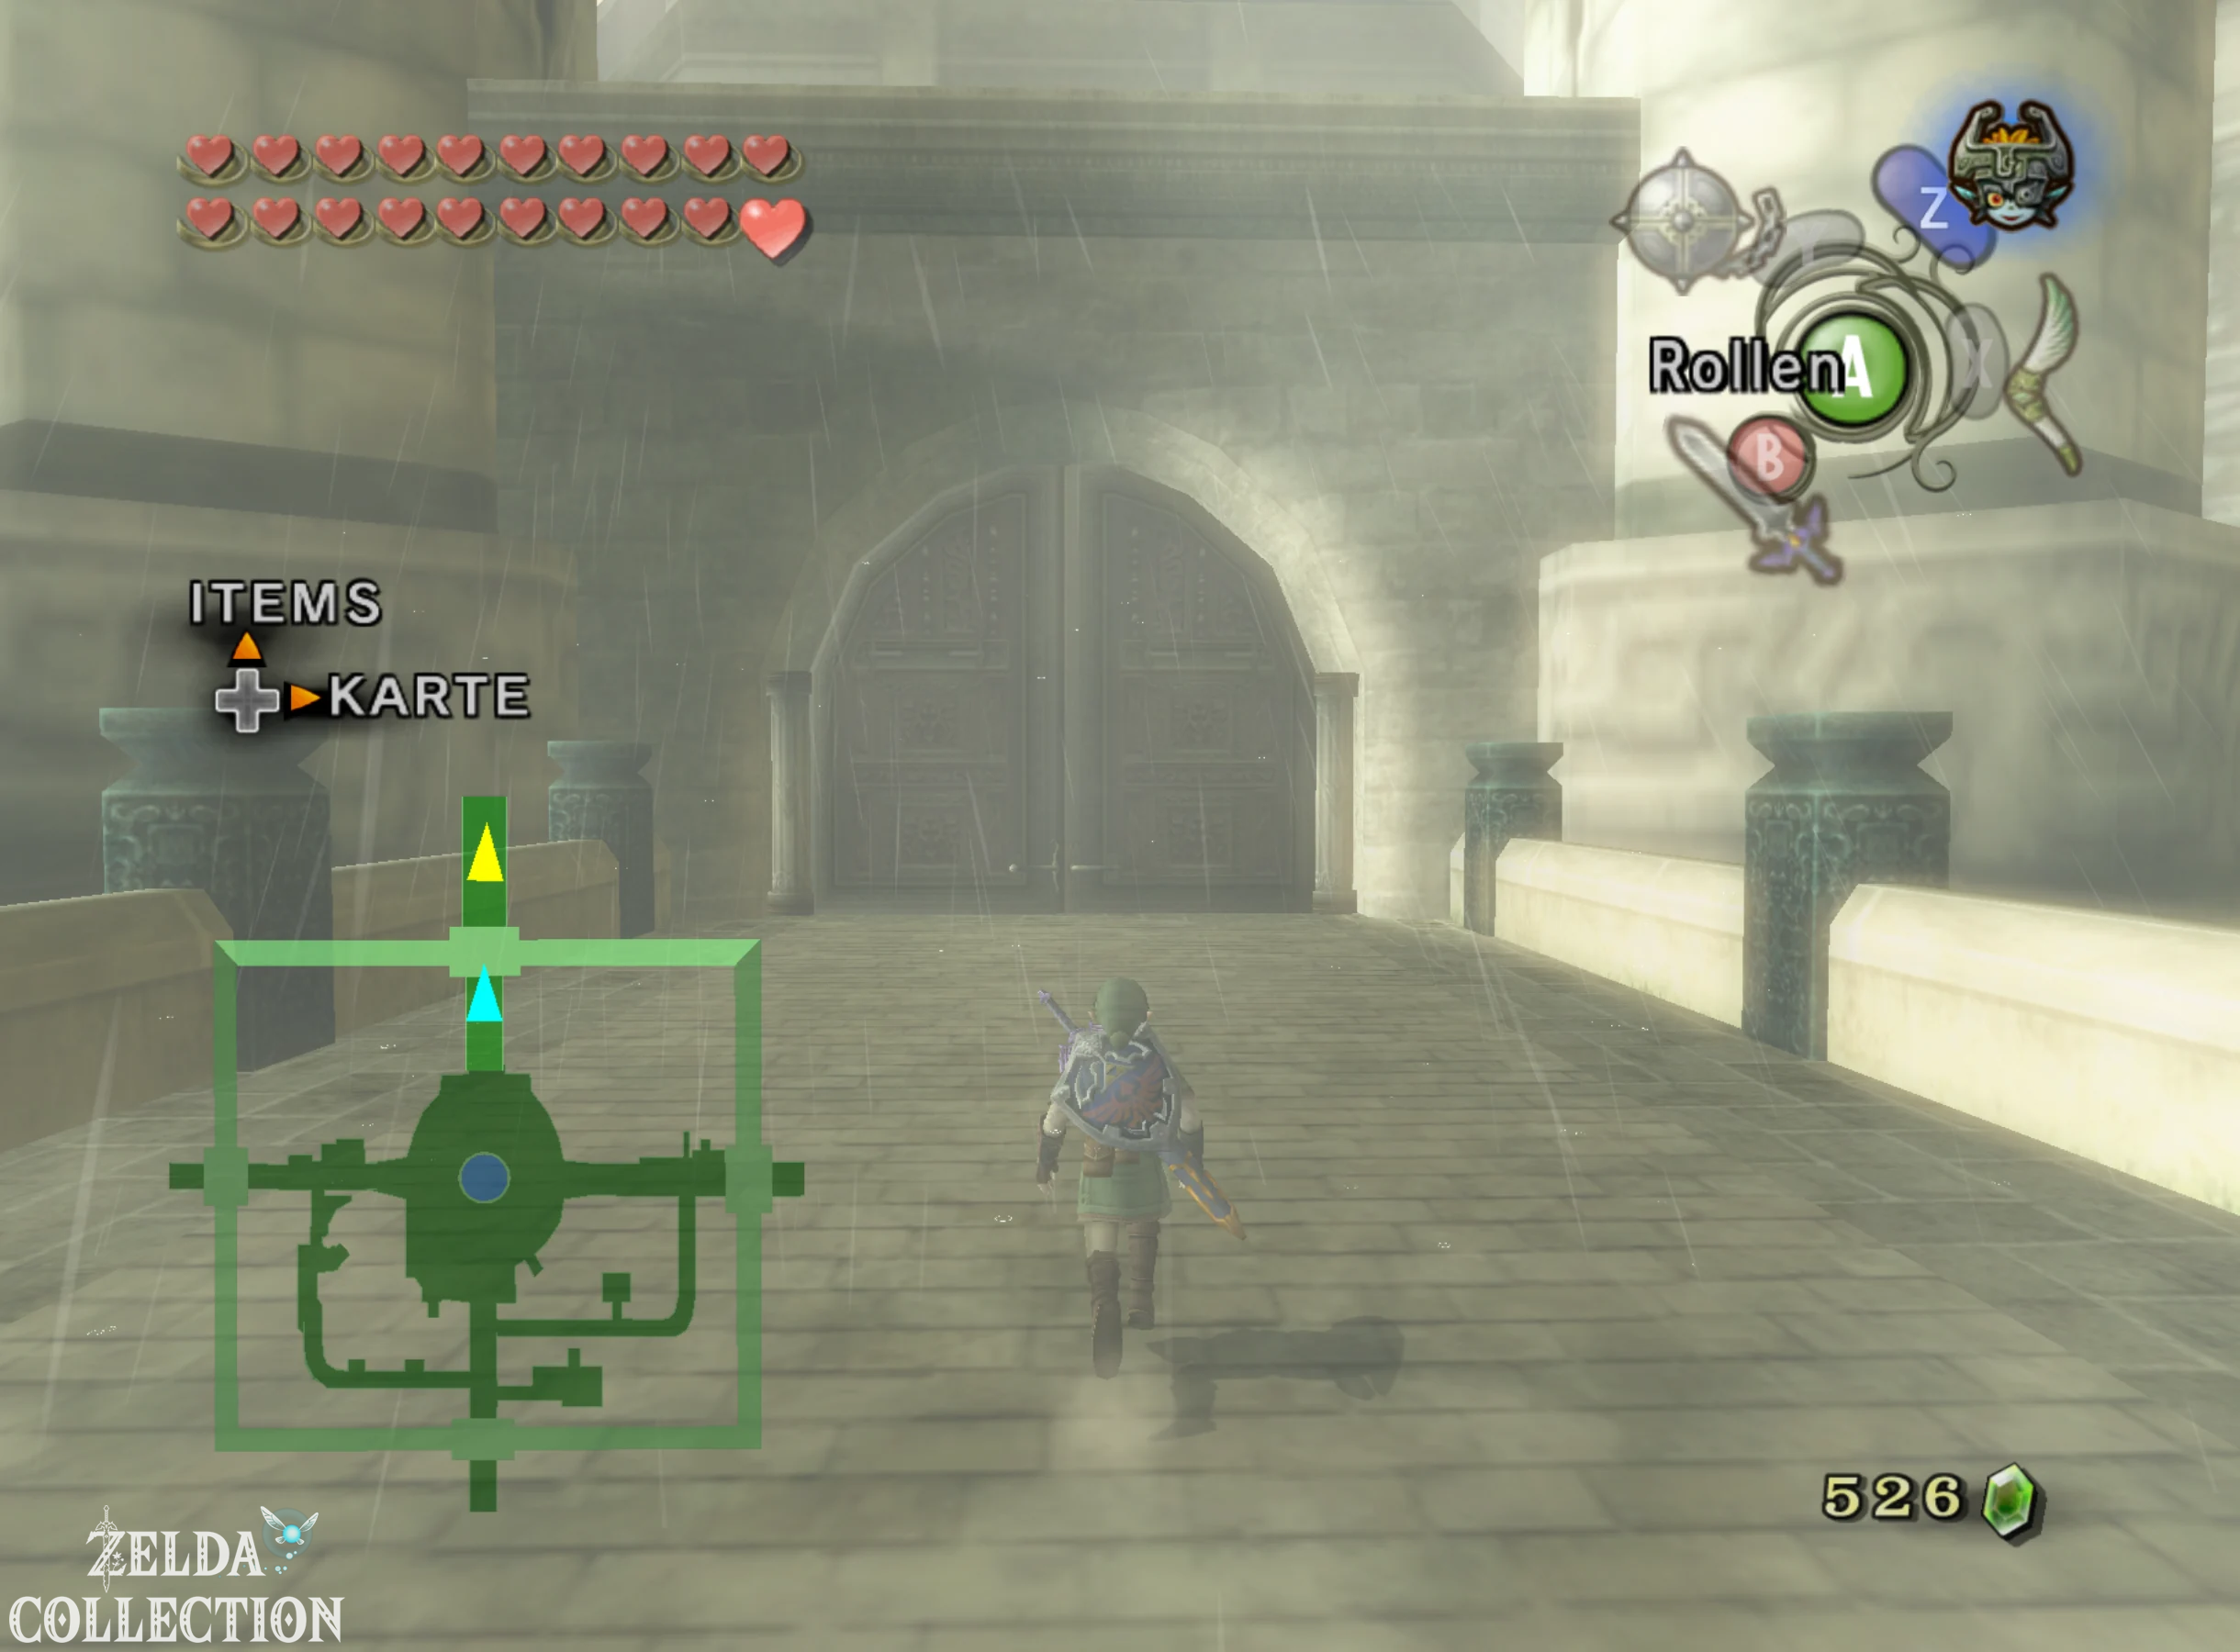
We start in the GameCube version or in HD normal mode on the western side with King Bulblin. In the Wii version and Hero Mode, this area is on the opposite side due to the mirrored game world. Follow the paved path until a circular magical barrier forms around Link. Several Bokoblins attack simultaneously as Kargaroks swoop down from the air. The one that has now been fully learned Big spin attack is great for these groups as long as Link has full health. Alternatively, you can scatter the enemies with a normal whirl attack and kill any fallen ones Bokoblins then with the catch kick. As soon as the last enemy is eliminated, the barrier disappears and you can continue through the next door.
The Bokoblin Army
As soon as you enter the next section, you are surrounded by a barrier again. This time a veritable army Bokoblins is rushing towards Link. Individual enemies no longer pose a serious threat, but the large number can quickly lead to Link being hit from several sides at the same time. Therefore, if possible, avoid standing in the middle of the group. Keep your distance, pull several enemies together in front of you, and use spin attacks when a large crowd is within range. You can then finally eliminate fallen enemies with the catch shot. After the last wave, the barrier disappears and the path to the north becomes clear.
King Bulblin – the final battle
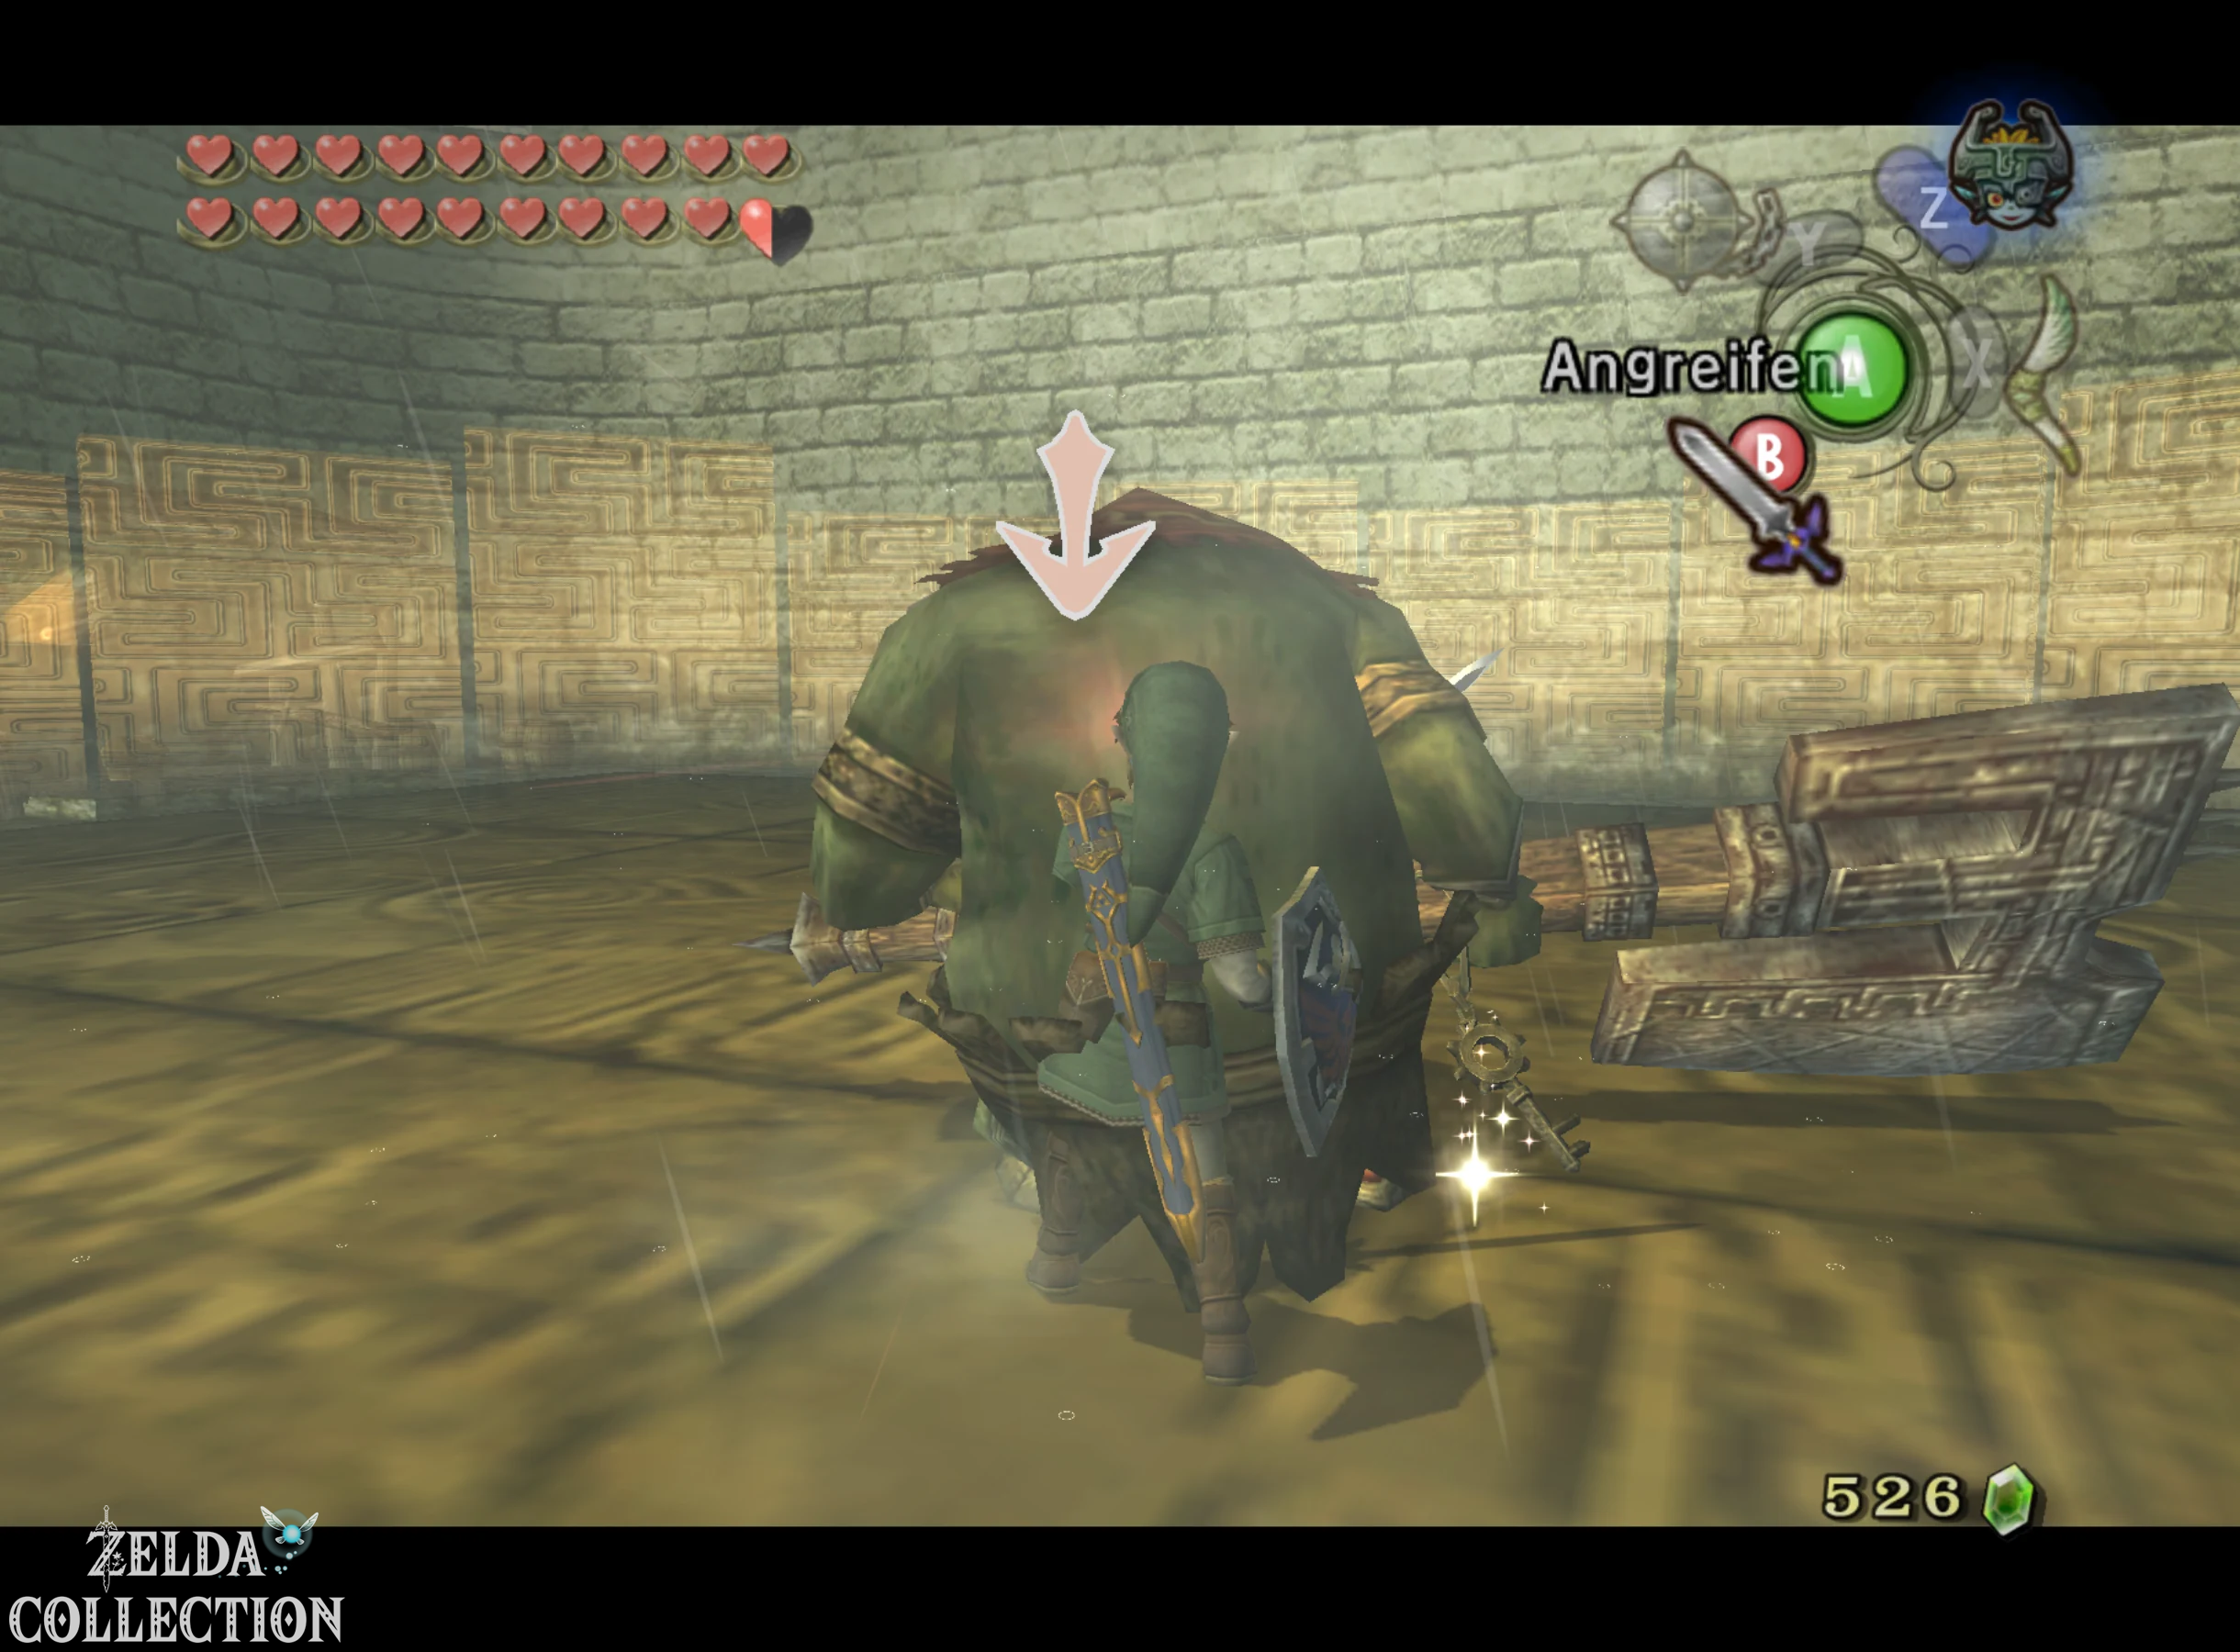
There is a large chain in front of the next gate. Grab it and pull it back until the gate rises enough for you to walk under it. On the other side an old friend awaits us: King Bulblin. After our encounters on the Bridge of Eldin, in the Bulblin Camp and in the Gerudo Desert, this is the last direct duel. The colossus uses its powerful weapon again and has an enormous range, but Link is now clearly superior to it in terms of technology. Particularly effective are the backhand to quickly get behind his defense, the shield attack and helmet splitter against his guard, as well as the bare draw or the Jump Strike after a missed heavy attack.
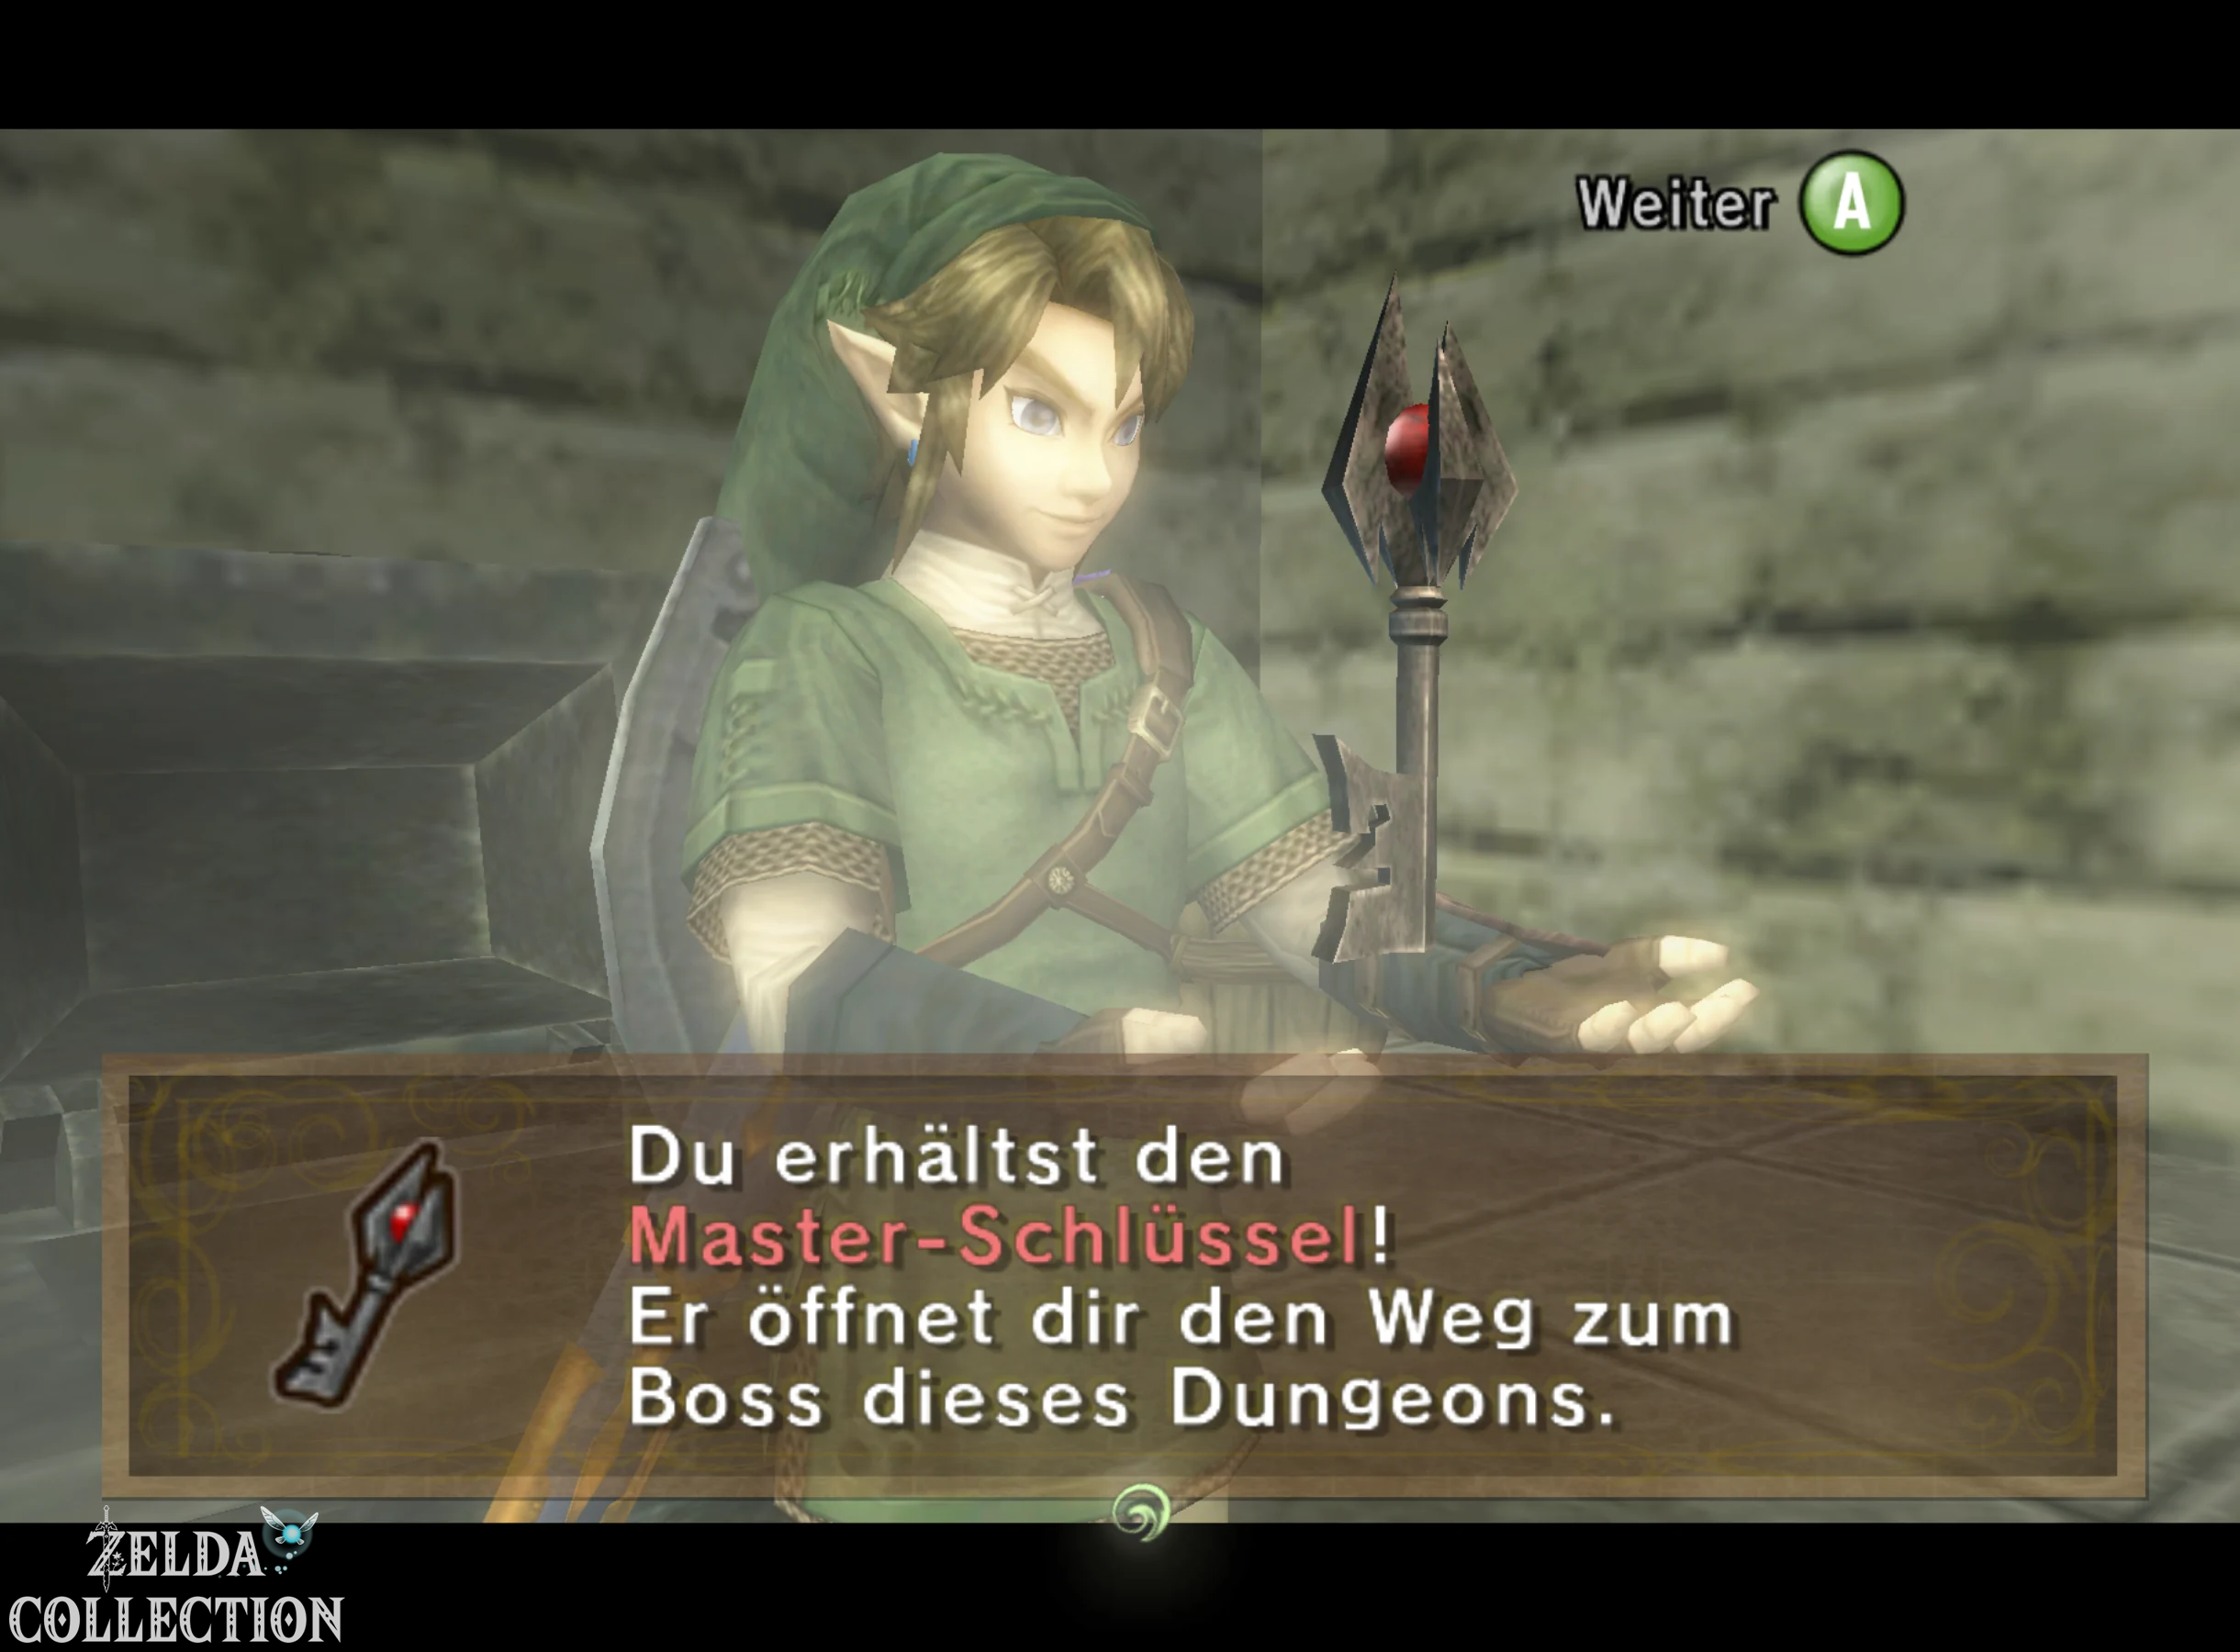
If you play aggressively and use your Hidden Skills consistently, you can even defeat King Bulblin before he seriously launches an attack of his own. After his defeat, something surprising happens: he rises again, but no longer attacks Link. Instead, he speaks for the first time and explains that he has always followed the strongest. Link finally defeated him and earned his respect. King Bulblin gives you the first Small Key and then leaves the castle grounds on his Bullbo.
Small Key 1 of 3: This key is for the main entrance to Hyrule Castle. However, don’t open the door there right away, because we want to fully explore the other side of the outer courtyard first.
There is also a chest with Rupees at the back of the arena. Take them with you and then return to the central courtyard.
Eastern Courtyard: Bulblins and Bullbos
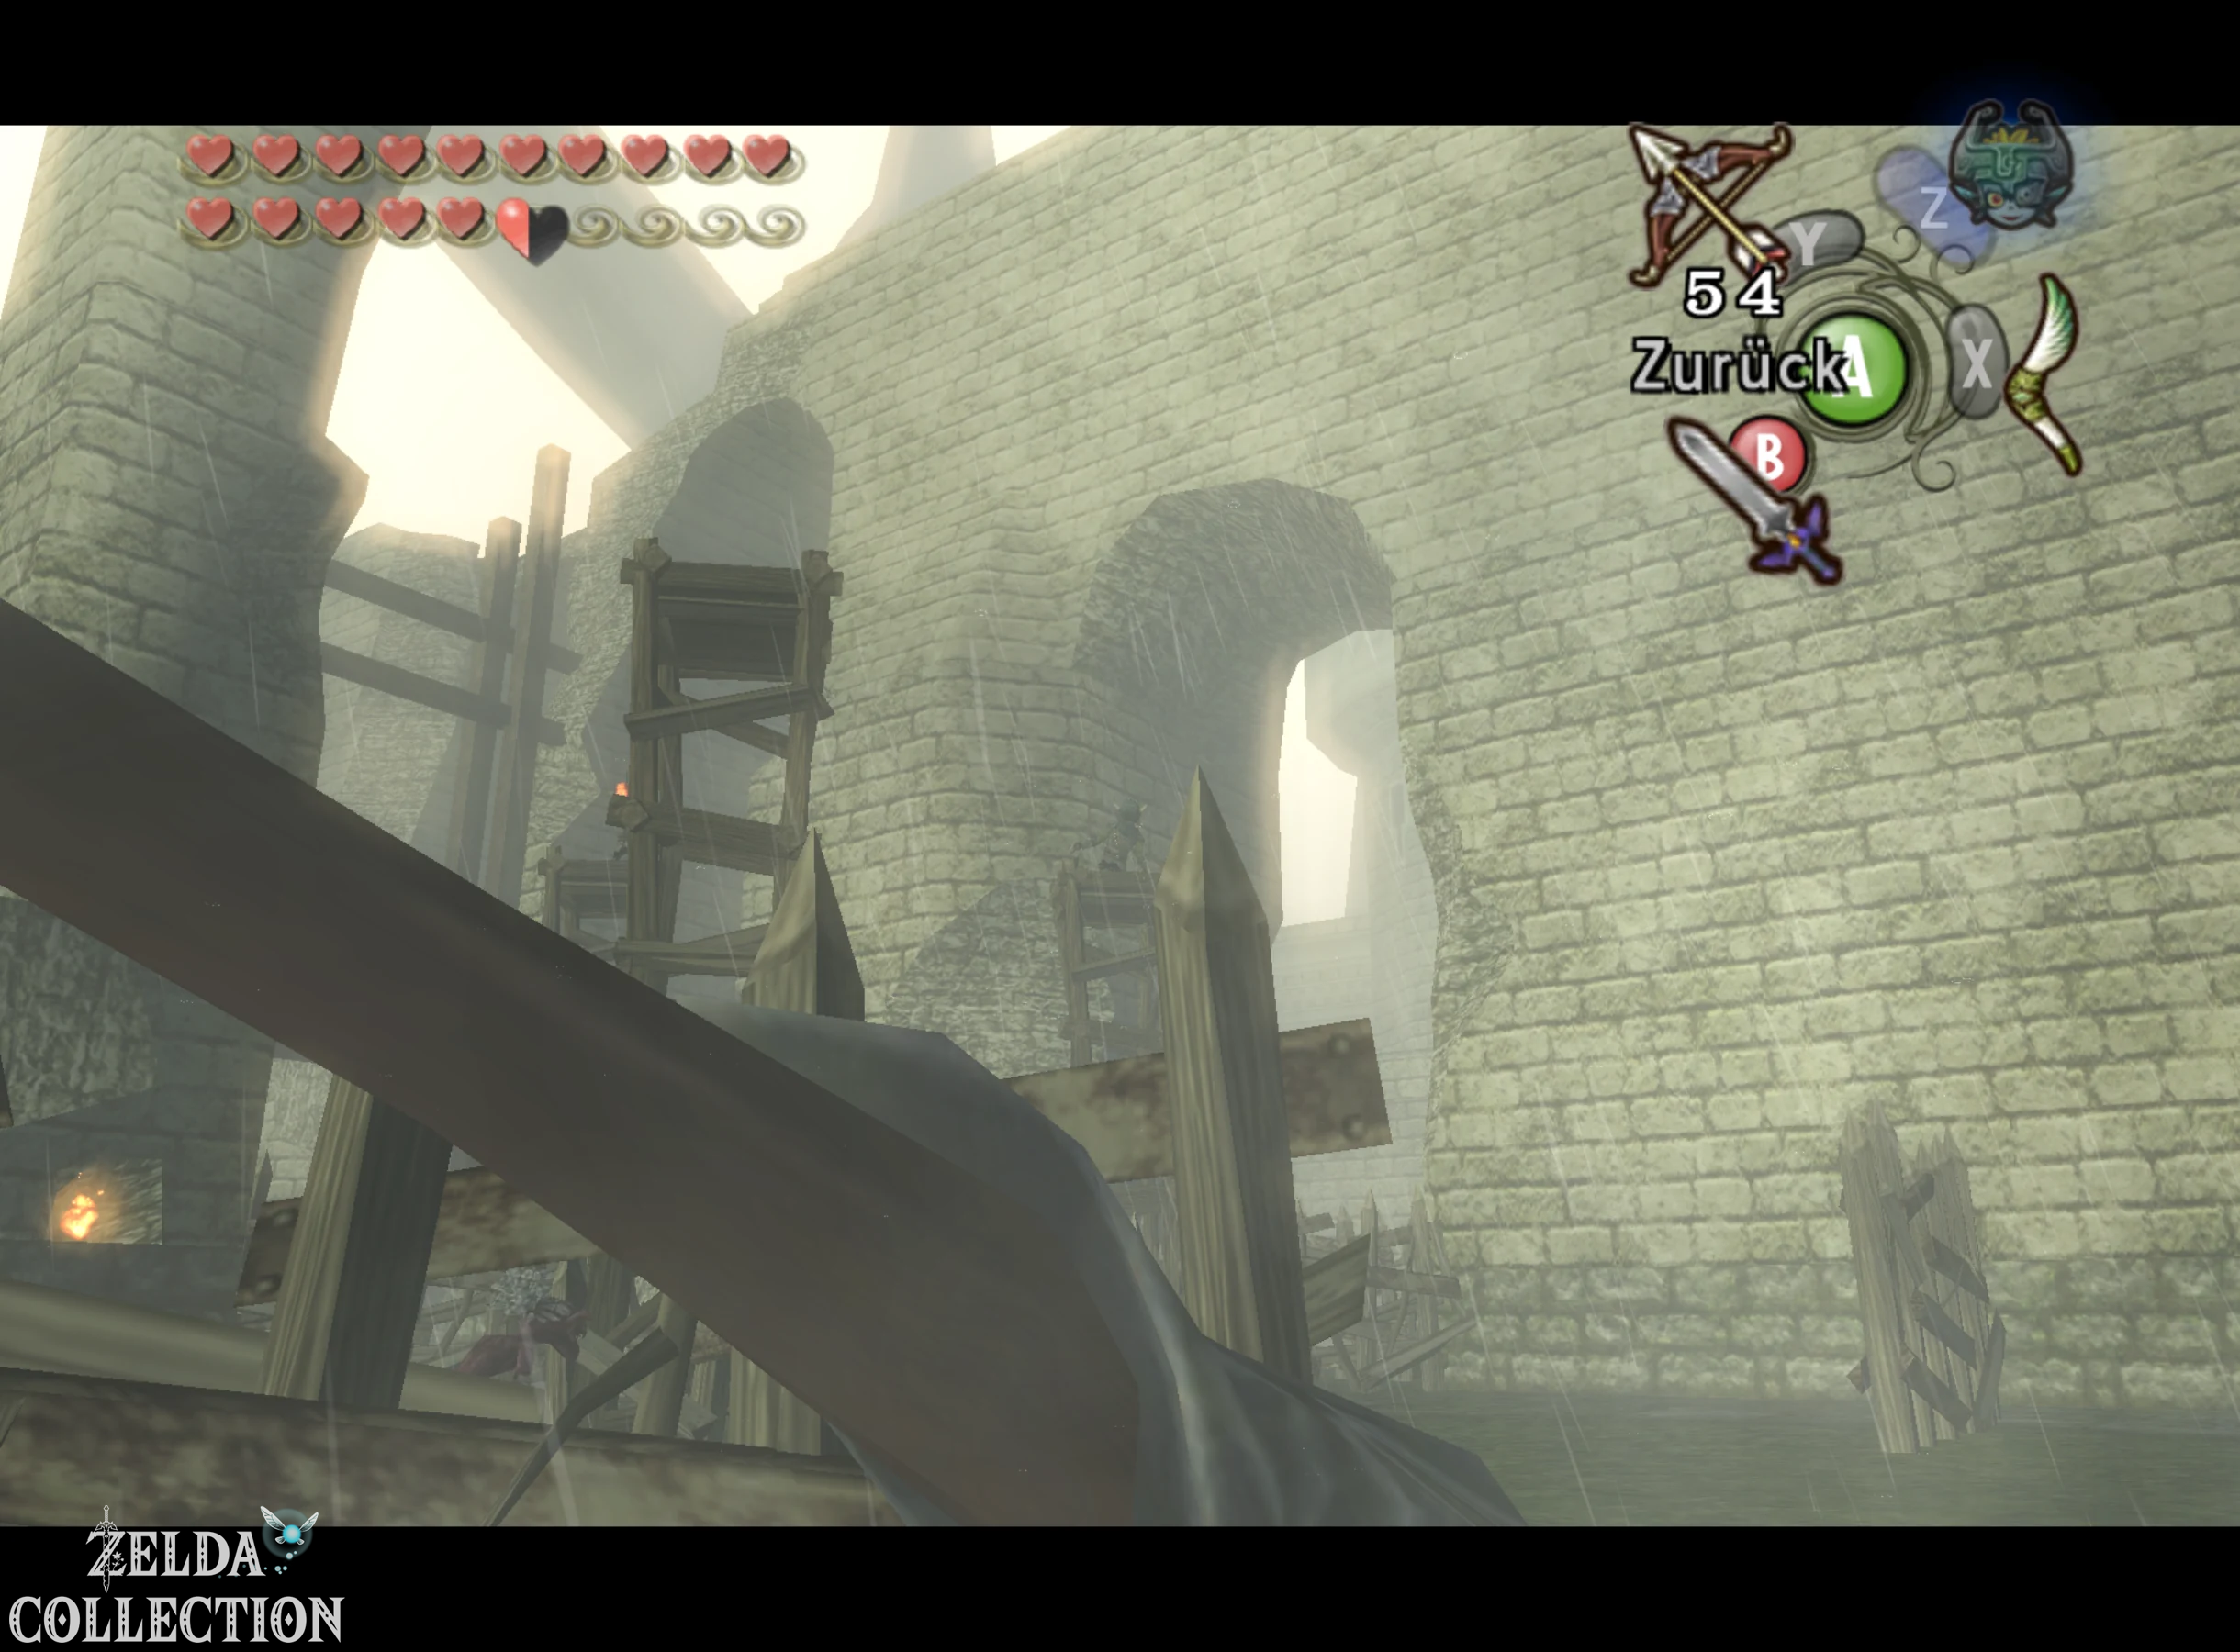
From the central courtyard we now go to the opposite side area. Here too, a barrier initially forms and several Bokoblins attack. Clear the enemies out of the way and then go through the now accessible door. In the following section there are also numerous Bulblin archers on high watchtowers. At the beginning, stay near the entrance and take care of the melee fighters first so that they don’t disturb you while you aim. Then equip the Hero’s Bow together with the Hawkeye and take out the archers on the towers from a safe distance.
Further back you will find several Bullbos. Get on one of the animals and accelerate. With a Bullbo you can ram and destroy the massive wooden barriers and even entire watchtowers. Follow the northern path and break through all the barriers until you reach an area with six tall pillars. A small wind turbine sits on each of these pillars. Behind it there is a locked gate that we have to open with the Gale Boomerang.
Wind turbine puzzle with the Gale Boomerang
First go to the locked gate behind the six pillars. There are numerous leaves on the ground directly in front of it. Use the Gale Boomerang to blow them away. A Triforce symbol appears underneath with a drawn green line. This line shows the exact order in which you have to hit the wind turbines. In GameCube or HD normal mode, stand with your back to the goal and use the Boomerang to successively mark the front middle column , the middle right column, the middle left column and finally the rear middle column. The two outer wind turbines are not used. In the horizontally mirrored Wii version or in hero mode, you have to swap left and right accordingly.
When all four wind turbines have been activated in the correct order, the gate opens. Go into the small room behind and open the large chest. Inside is the Dungeon Map of Hyrule Castle, on which you can now see the central castle tower and the surrounding outdoor areas. But don’t leave the room yet, because the first of the two exclusive stamps in Twilight Princess HD is already waiting here.
Twilight Princess HD: Zelda – Sad Stamp
Only in Twilight Princess HD: There is a long ladder next to the chest containing the Dungeon Map. Climb up and follow the battlement on the wall to the end. There is another Treasure Chest, which contains the stamp “Zelda – sad” in Twilight Princess HD. In the GameCube and Wii versions, you will only find a normal ruby reward in the same location. You now own the first of two HD stamps from Hyrule Castle. The second one is waiting at the top of the castle tower and can only be reached if we collect the optional Small Key from the castle cemetery.
Secret entrance to the castle cemetery
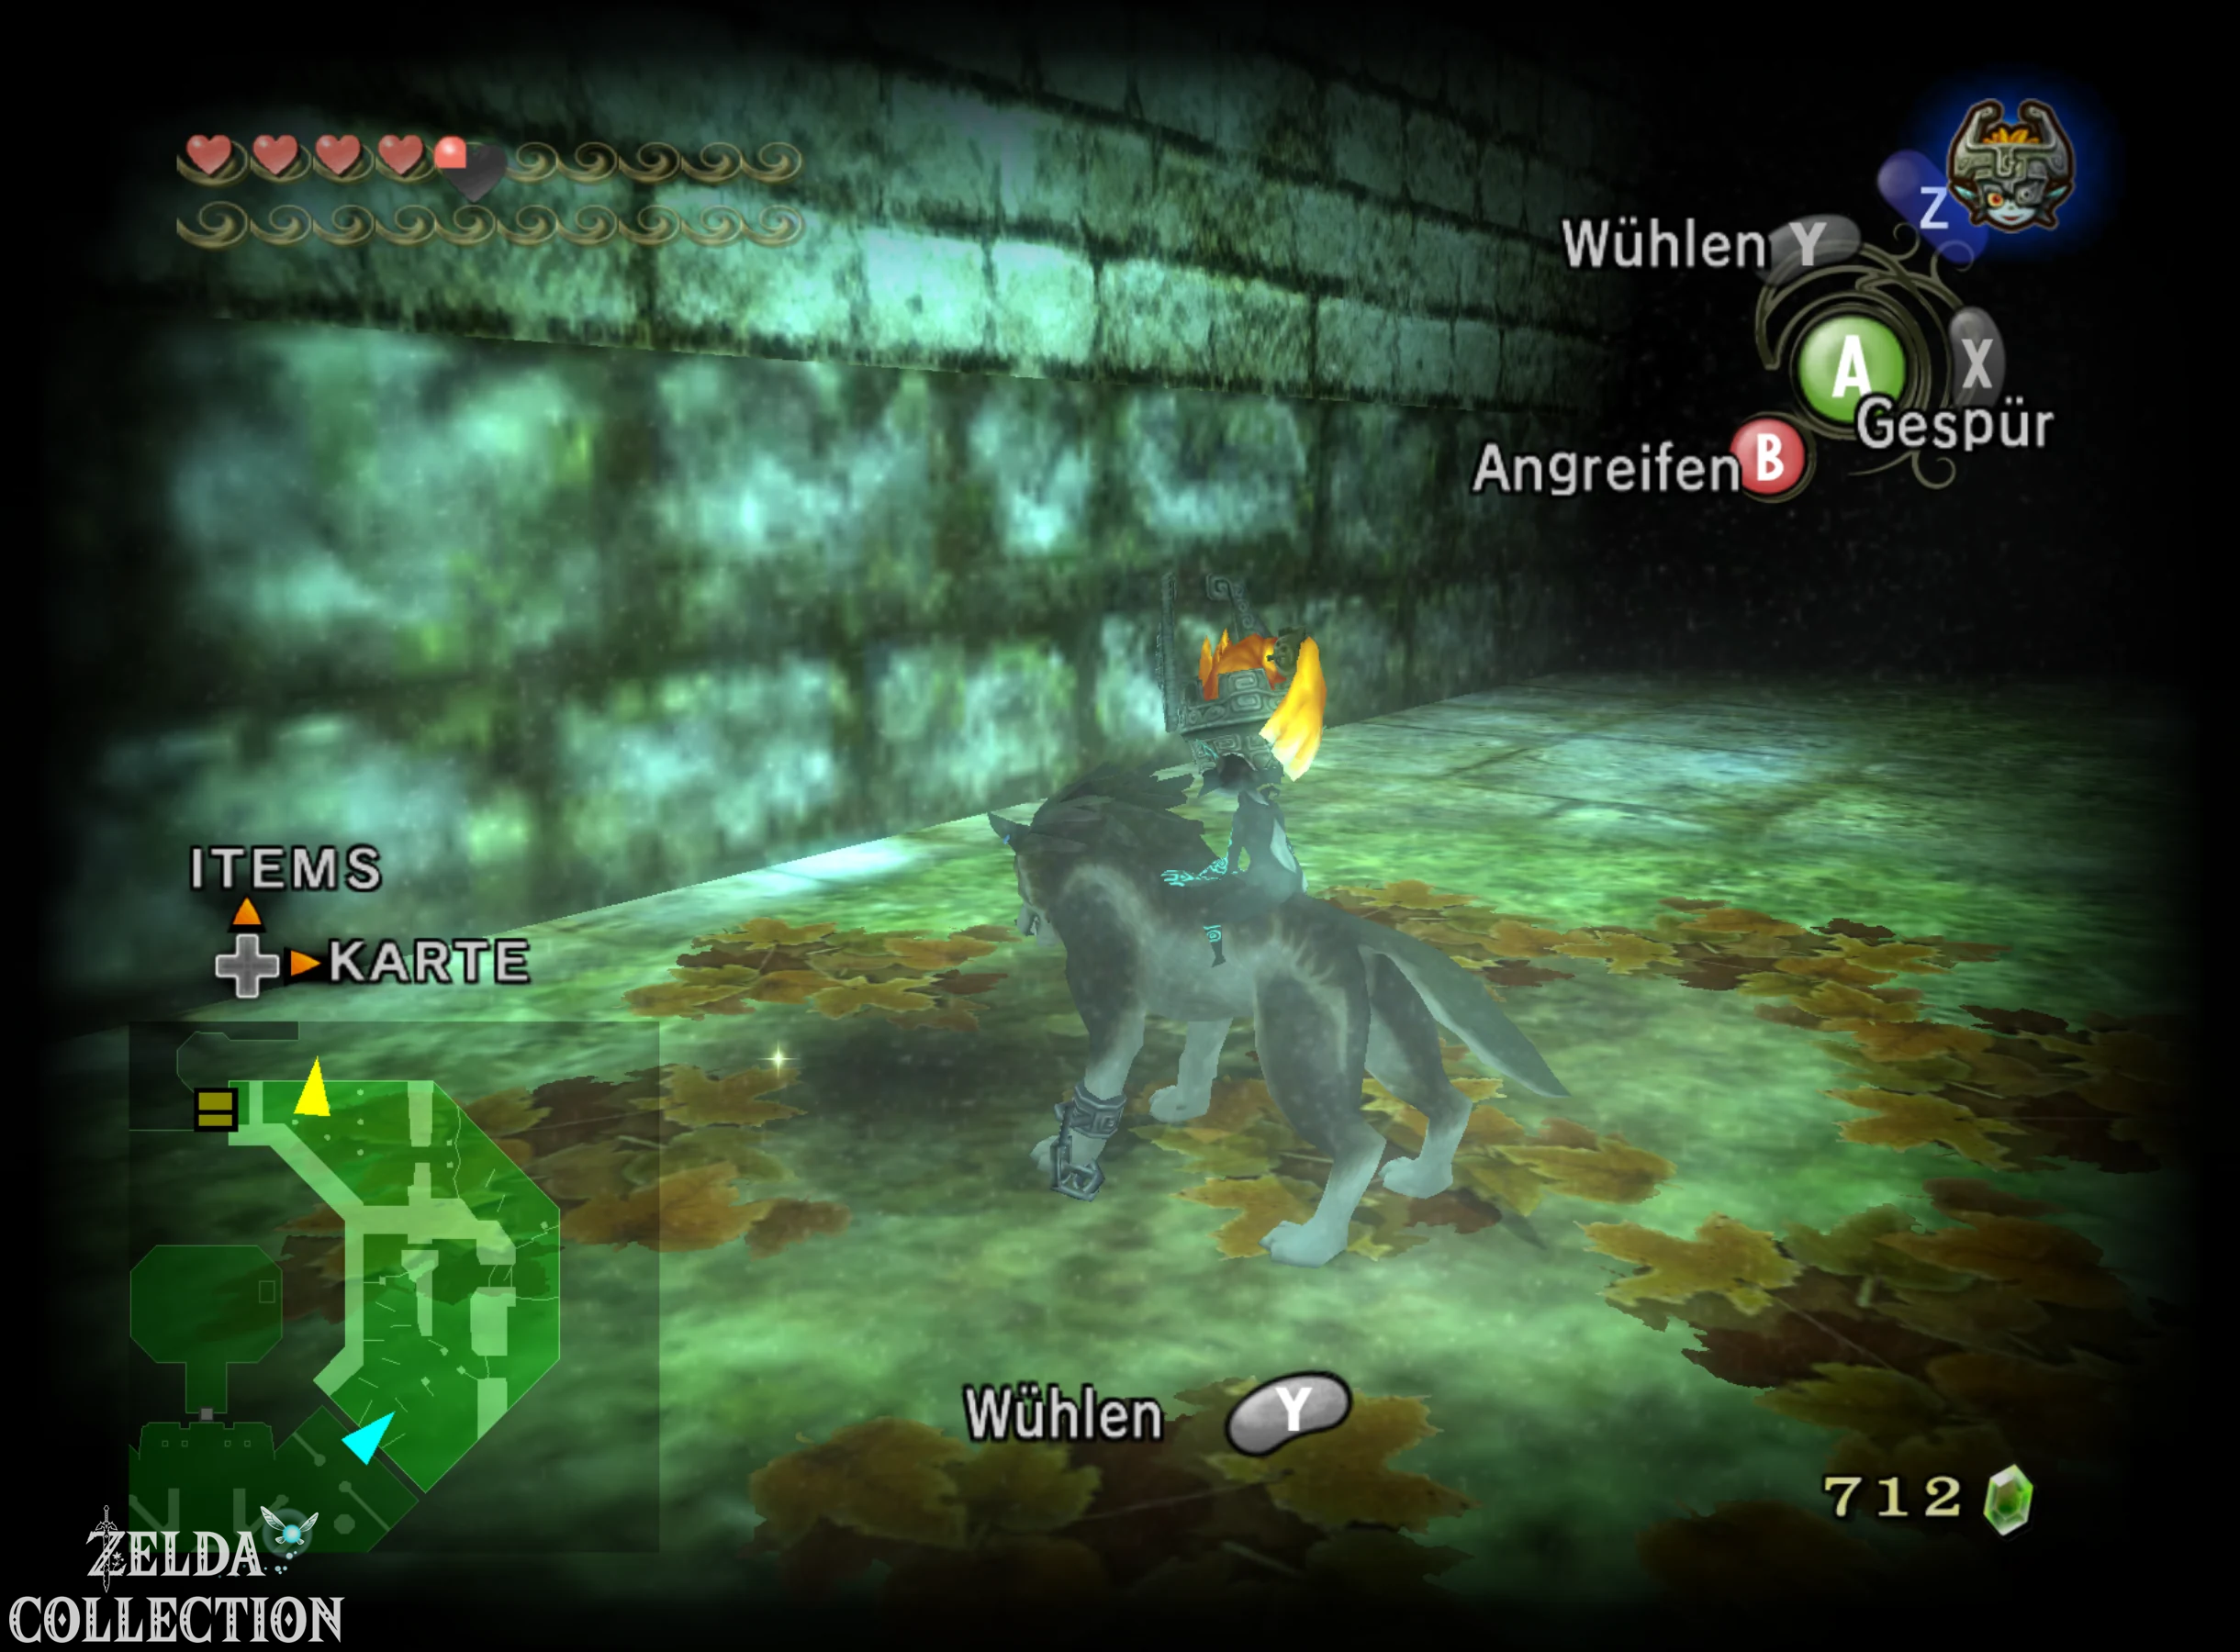
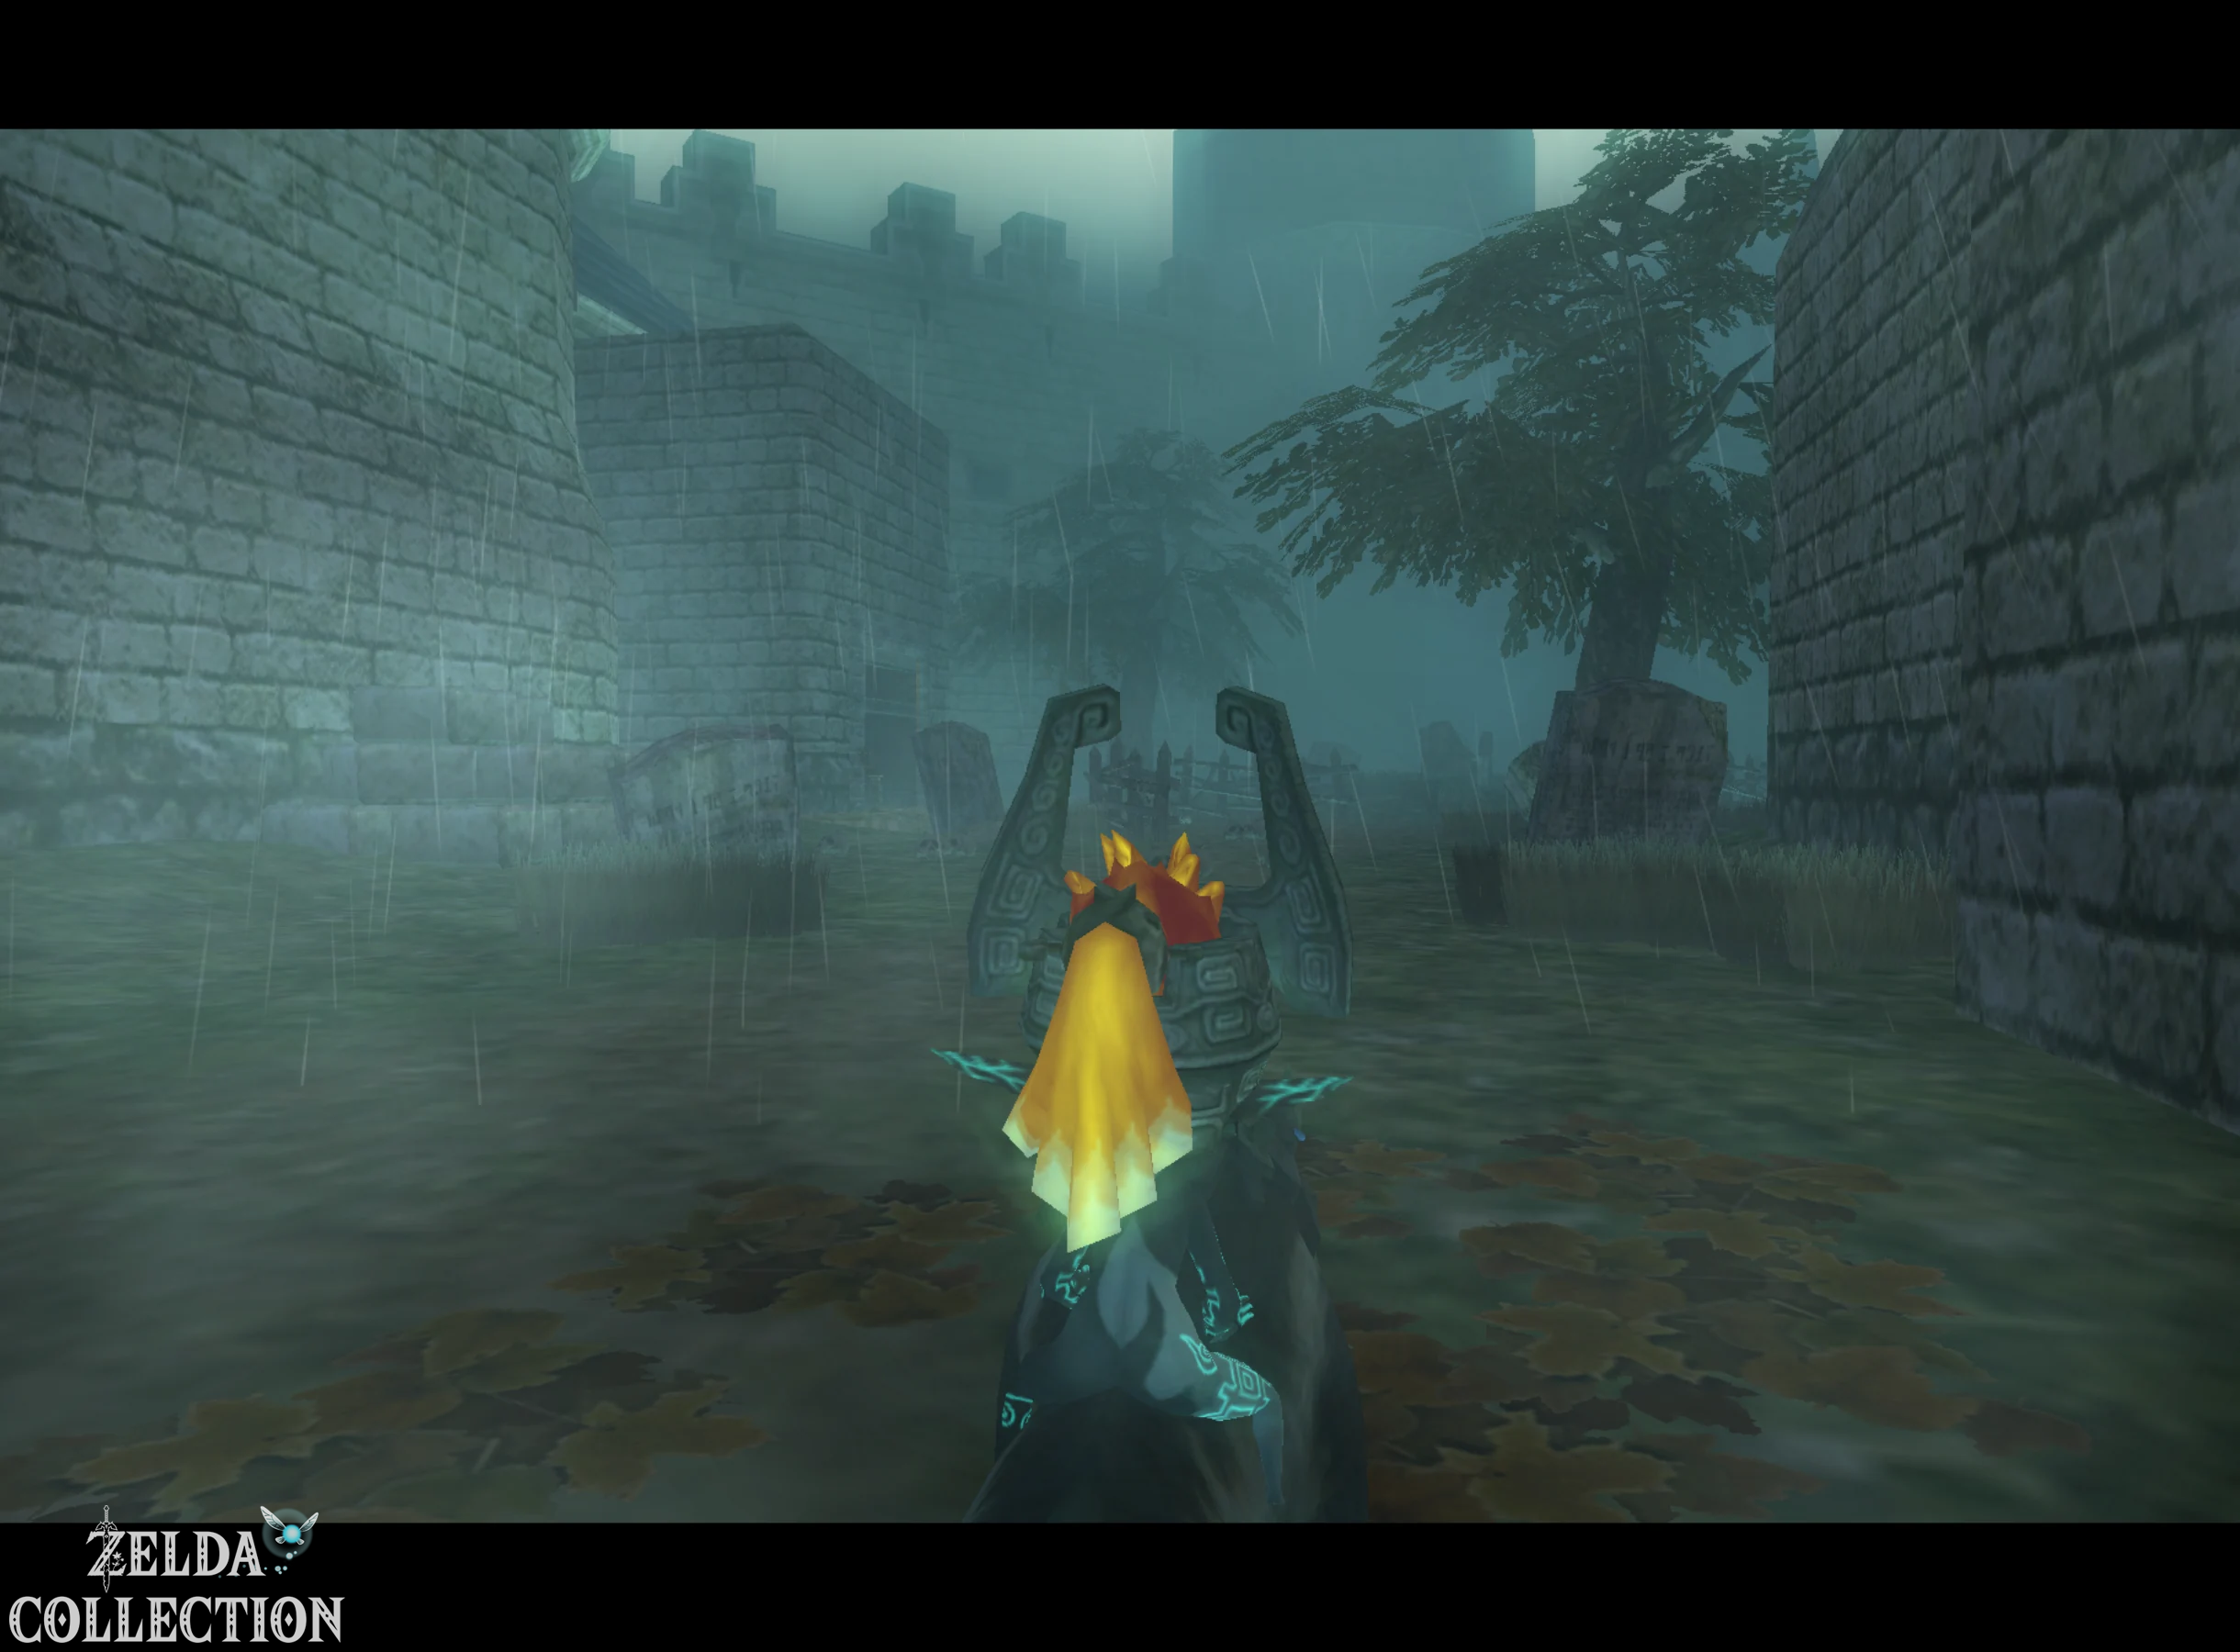
Return to the six wind turbines and transform into Wolf-Link. With your sense activated, you can recognize a digging point near the wall. Dig your way through there and you will reach a hidden castle cemetery, which cannot be reached from the normal courtyard. Several Stalchildren and Stalfos immediately attack. You first dismantle the Stalfos with your sword and then finally destroy the bones lying on the ground with a bomb or a bomb arrow.
Then go to the large tree at the back of the cemetery and activate Wolf-Link’s sense again. Several ghost soldiers become visible and point to the ground in front of the tree. Transform back into Link and blow up or destroy the rocks at this point. Among them is a Floor Switch. Step on it and a side gate of the cemetery opens. Behind it there are more Stalfos and a small house with several chests. The largest contains an orange Rupee, while the smaller chests contain additional Rupees.
Stop the rain and light the torches
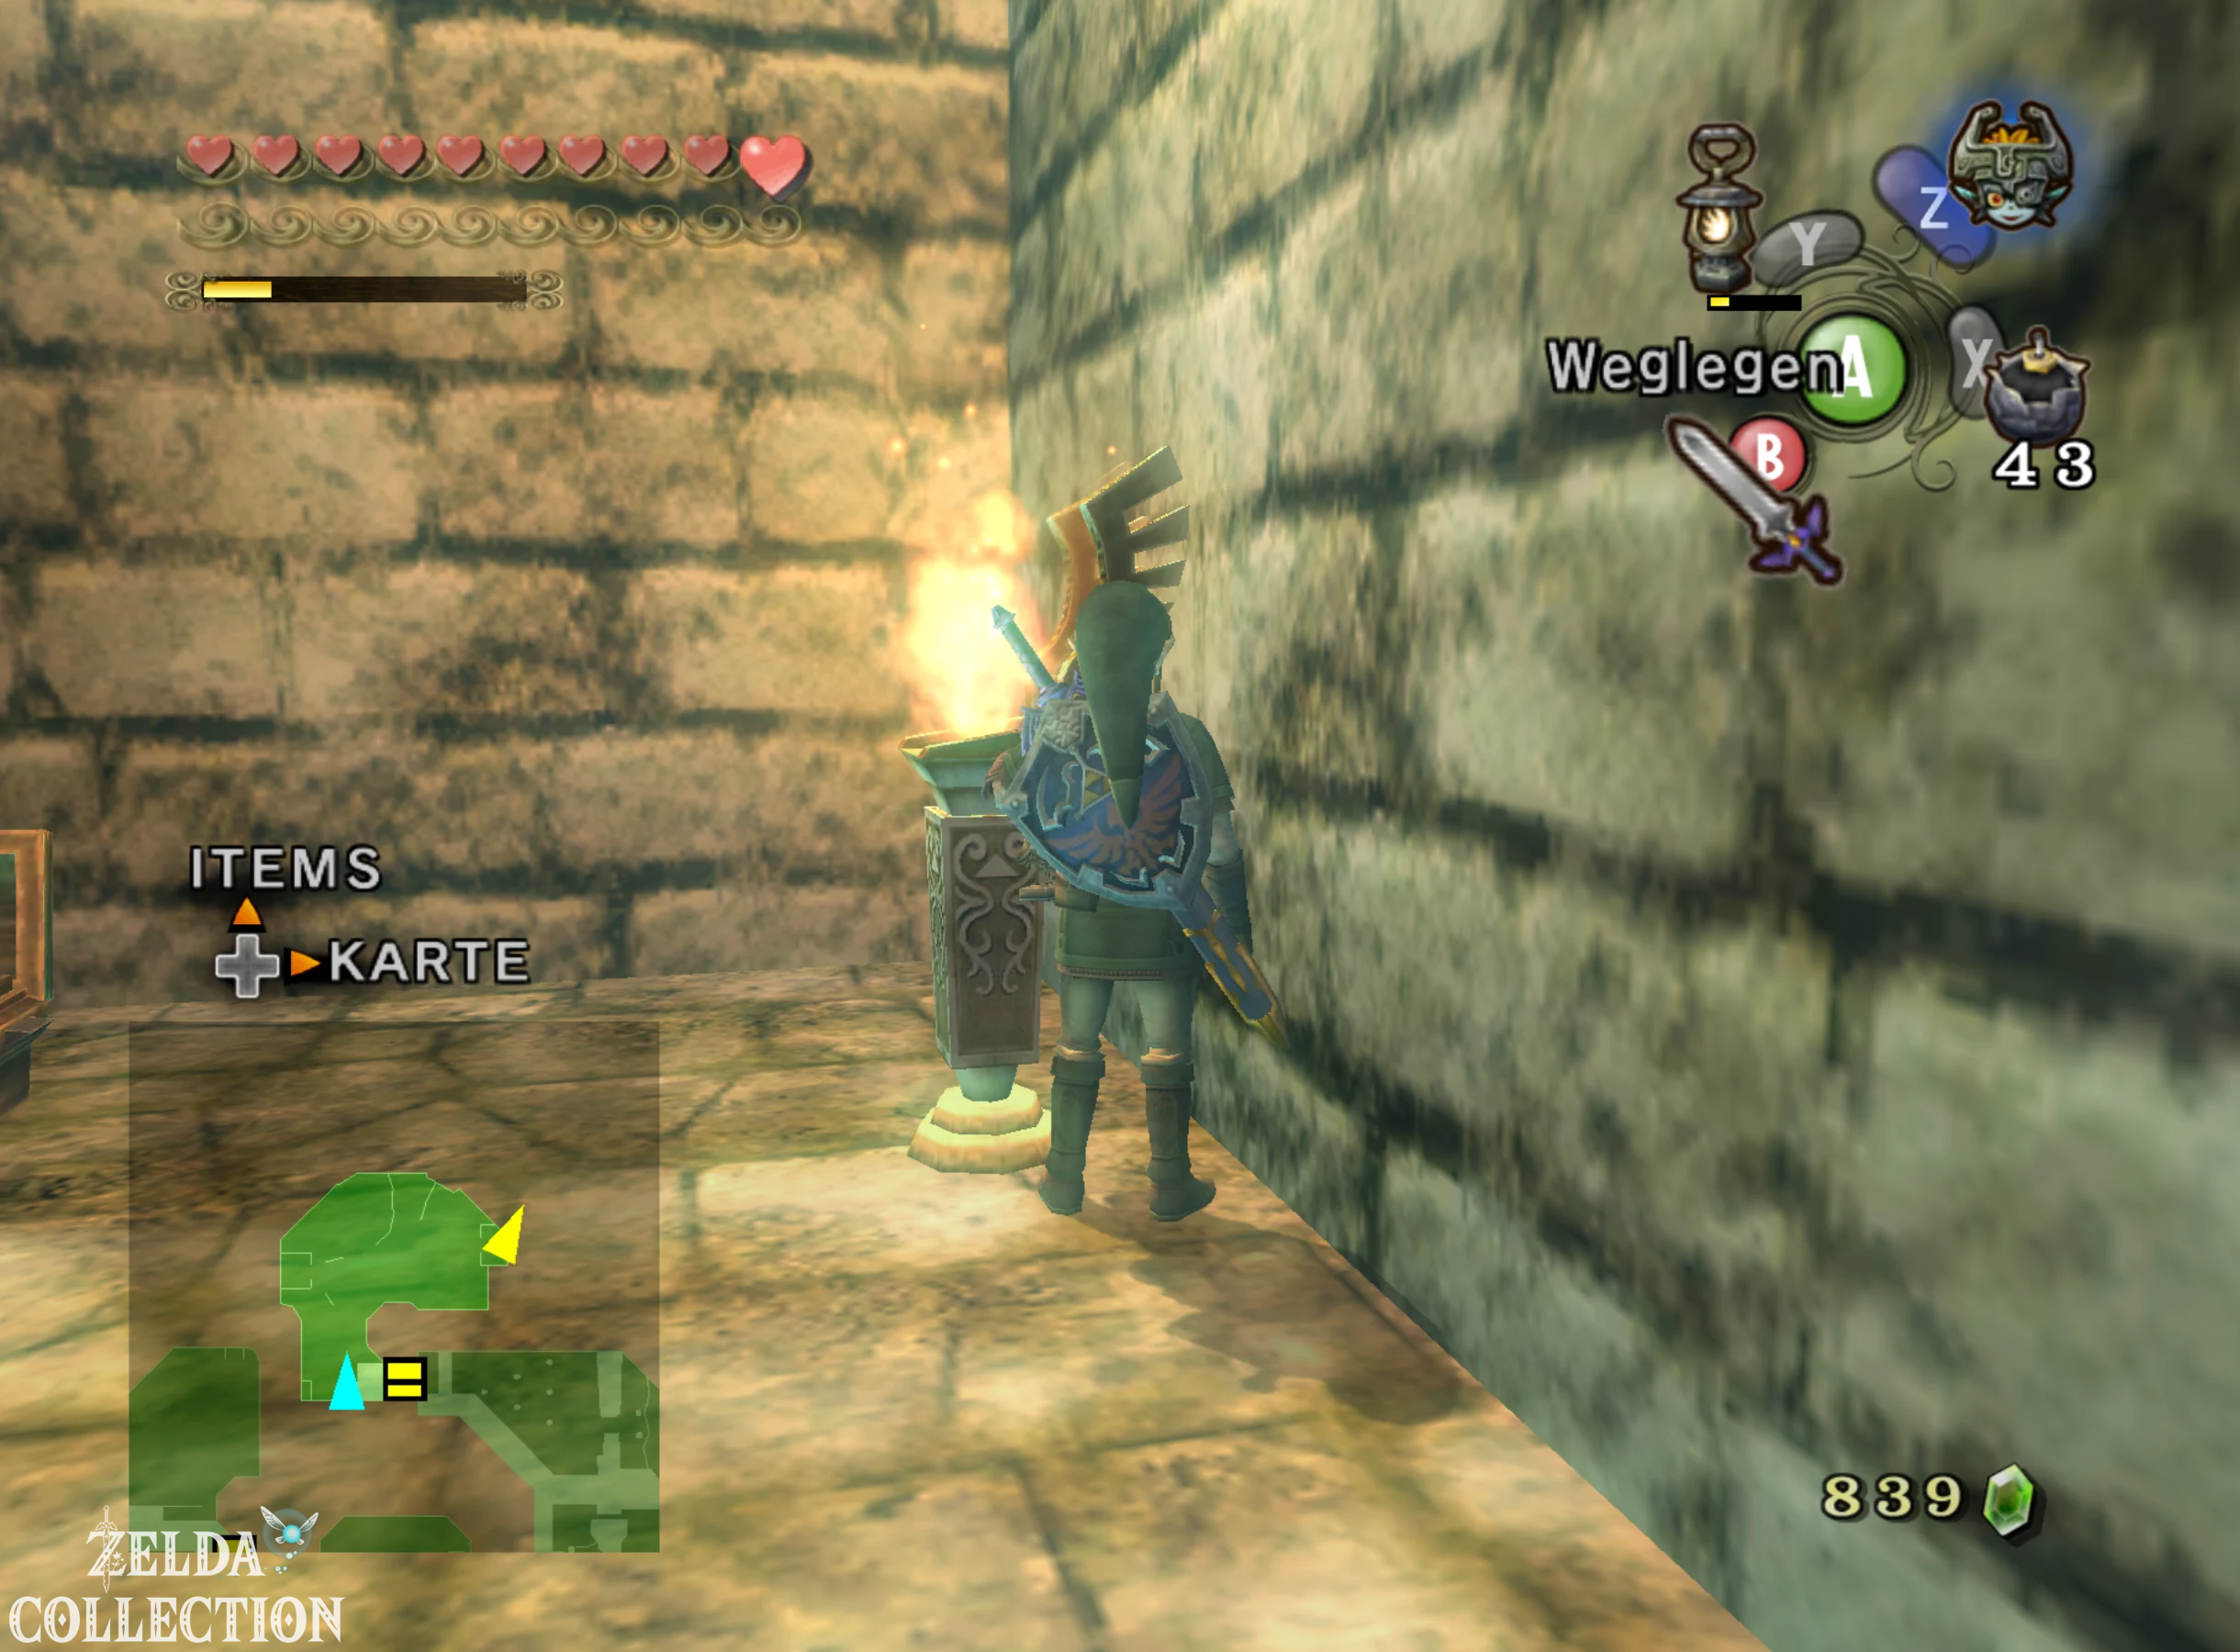
There is also a single extinguished torch in the small house. Light them with your lamp. This causes the constant rain in the cemetery to stop for a short time. We need this break to light two more torches on the opposite side. Therefore, immediately after lighting the first torch, run out of the house and to the eastern or mirrored opposite side of the cemetery. There are two more torches next to a gate. Light them both before the rain starts again. If you do this in time, the gate will open permanently. If the rain returns too soon, simply go to the cottage again, light the first torch again and try again.
Use owl statues as a bridge
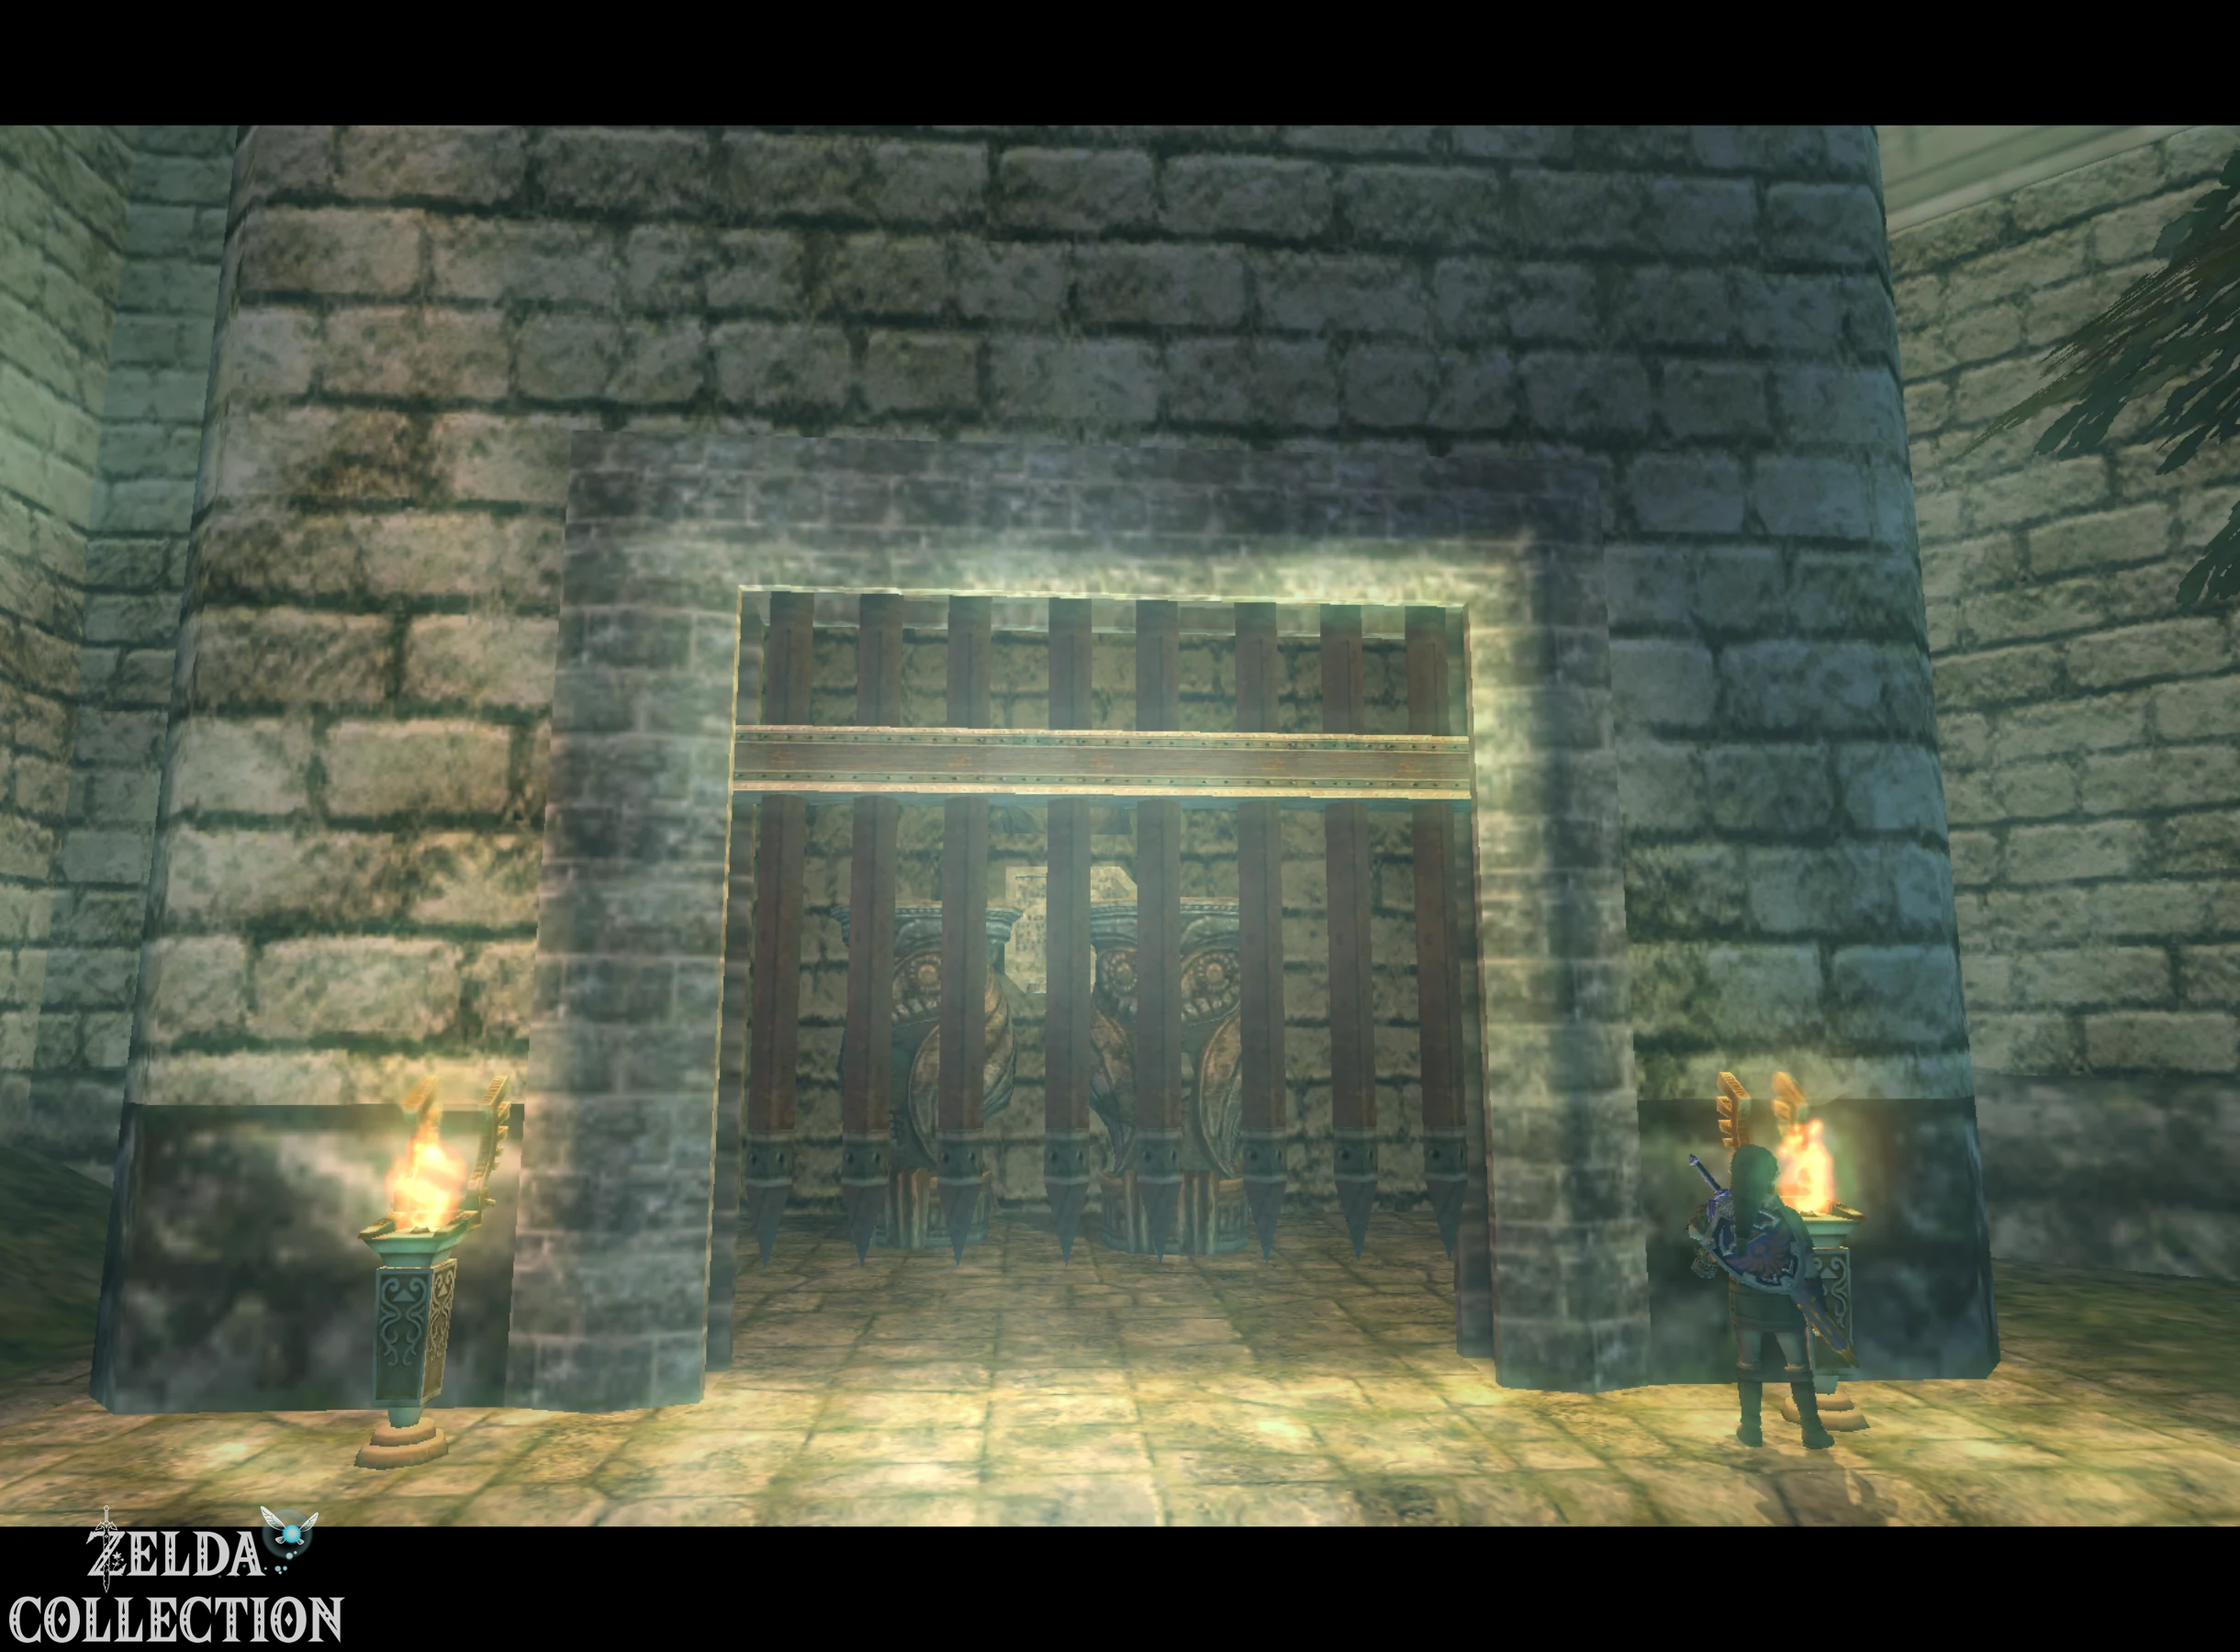
Behind the open gate are two large owl statues. Activate them one by one with the Dominion Rod and lead them both to the southern end of the graveyard. There are two matching depressions in front of a destroyed wall. Place one statue at a time. Then climb up over the stone remains on the side. The two correctly positioned owl statues now create a makeshift bridge that Link can use to overcome the breach in the wall.
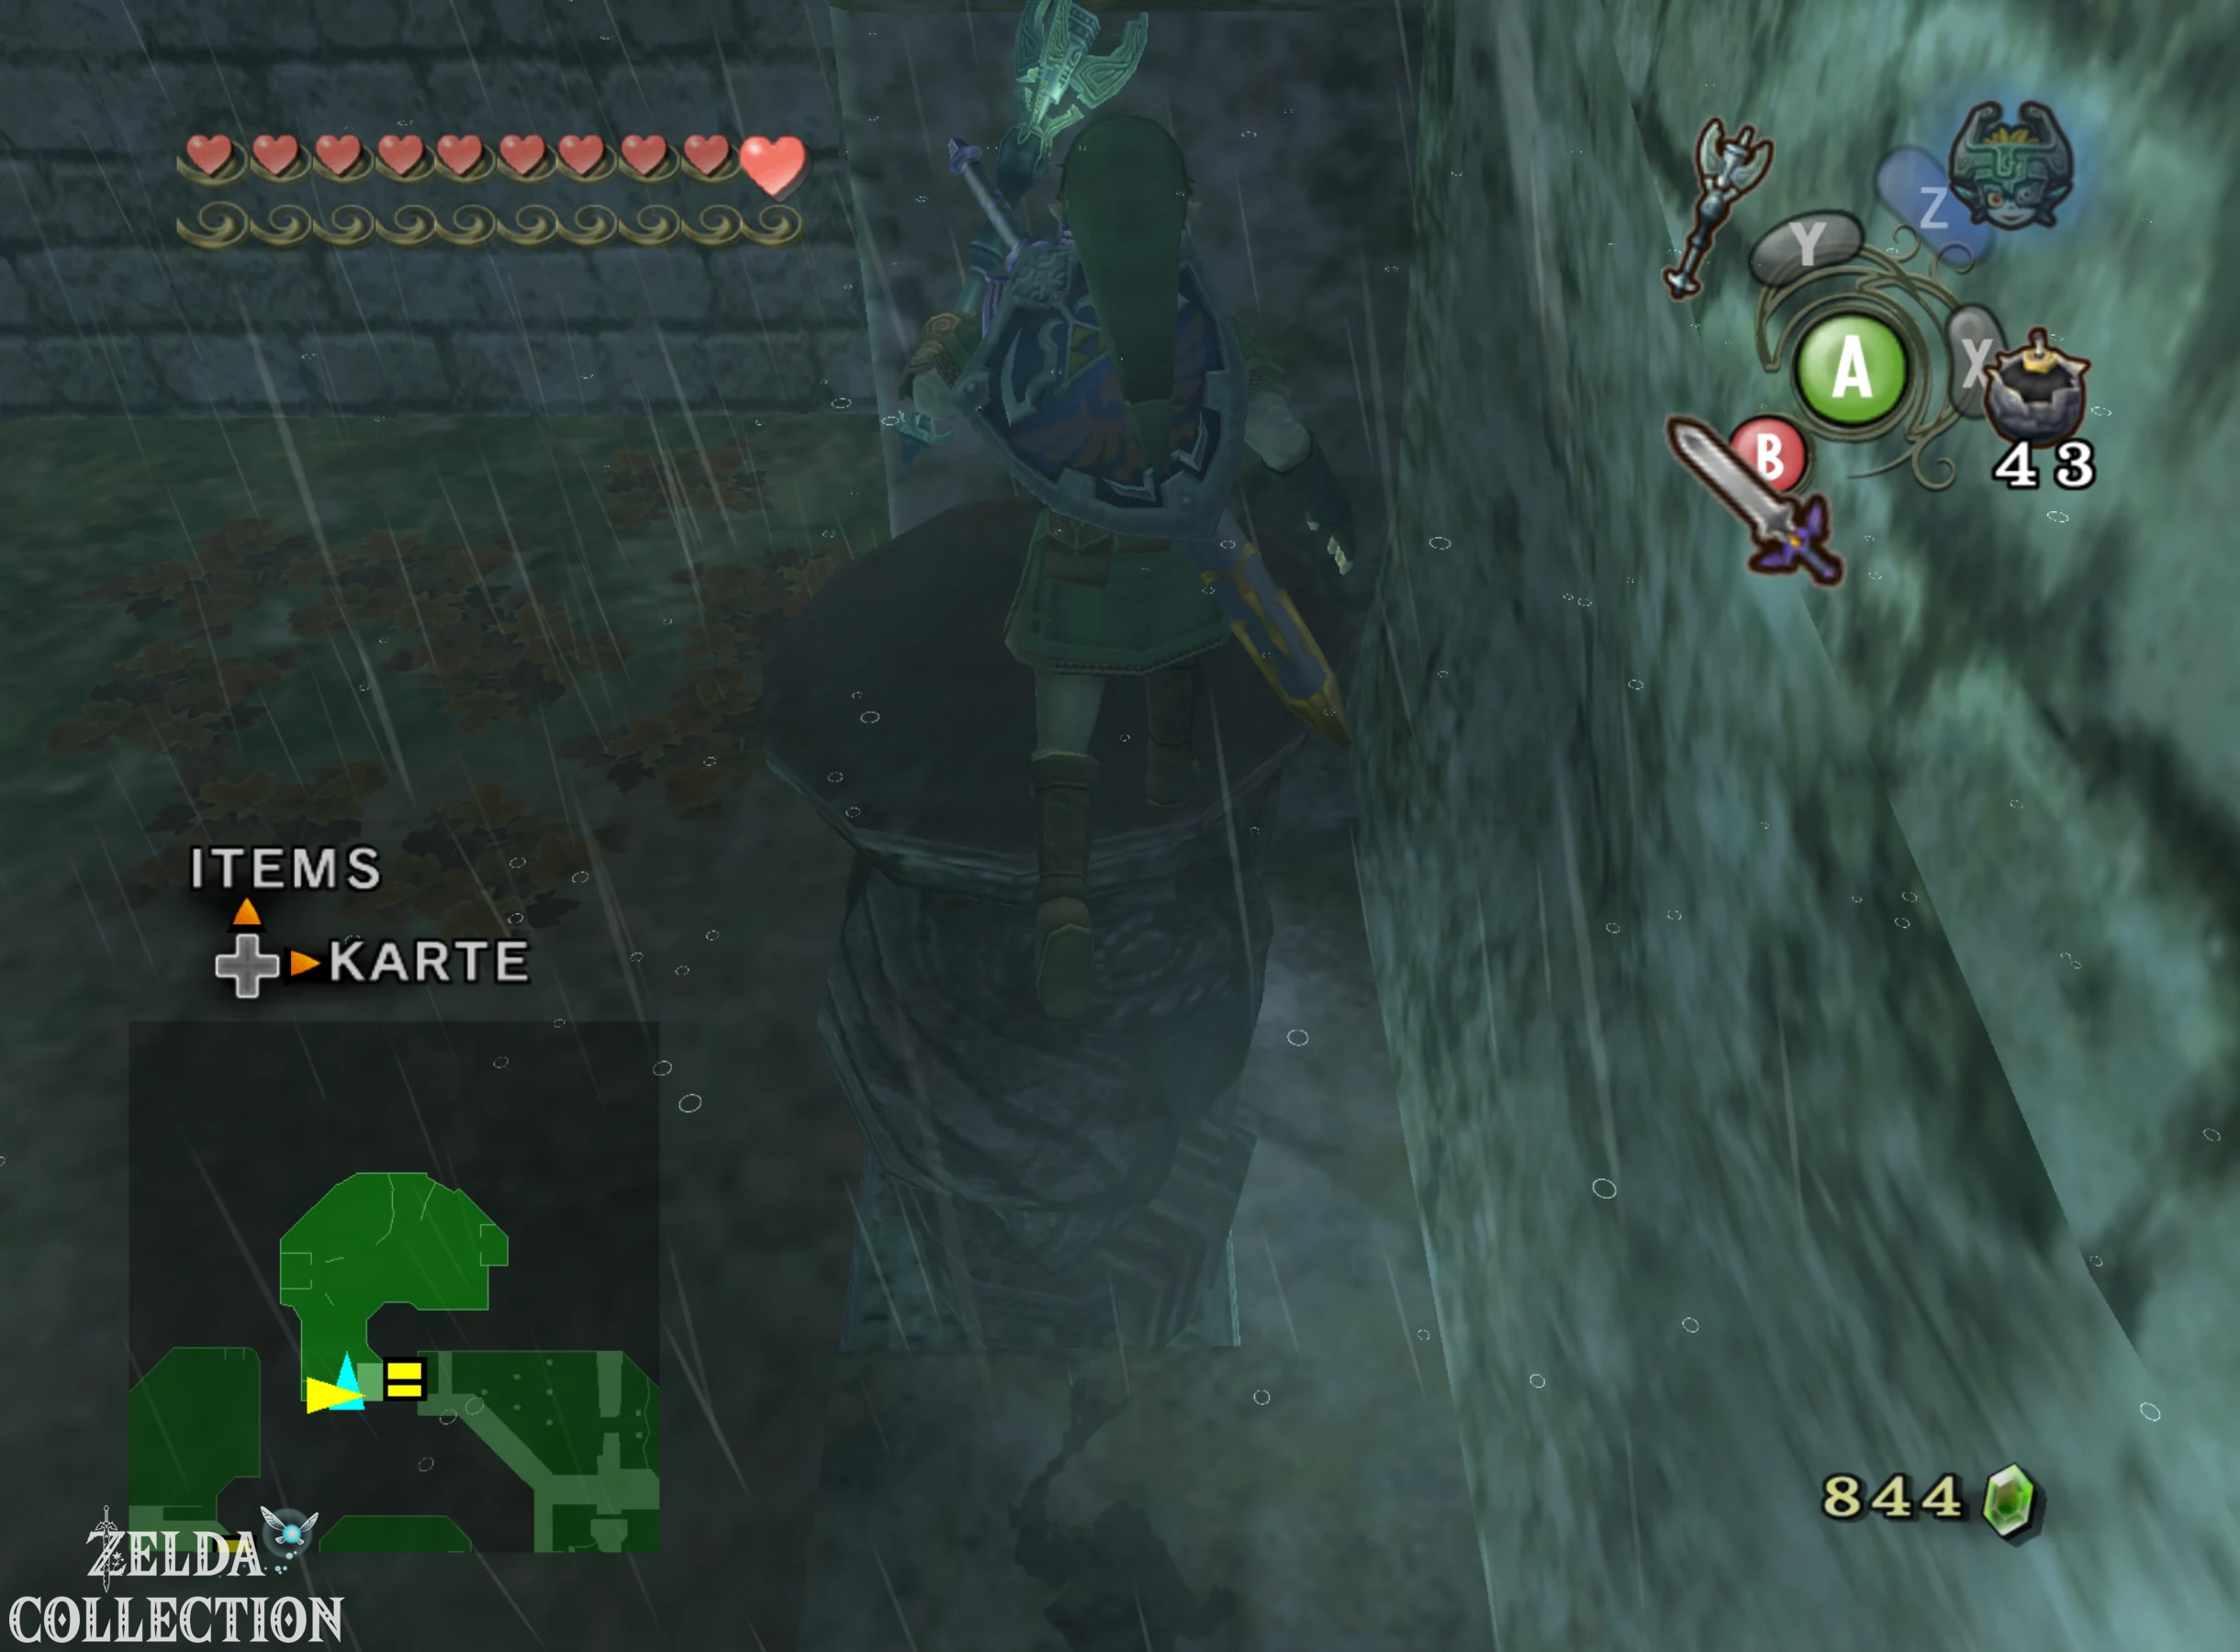
There is a long chain on the other side. Pull it until the grate underneath opens completely, then jump down. The crucial chest of this optional area awaits there.
Small Key 2 of 3 – keep for the treasury
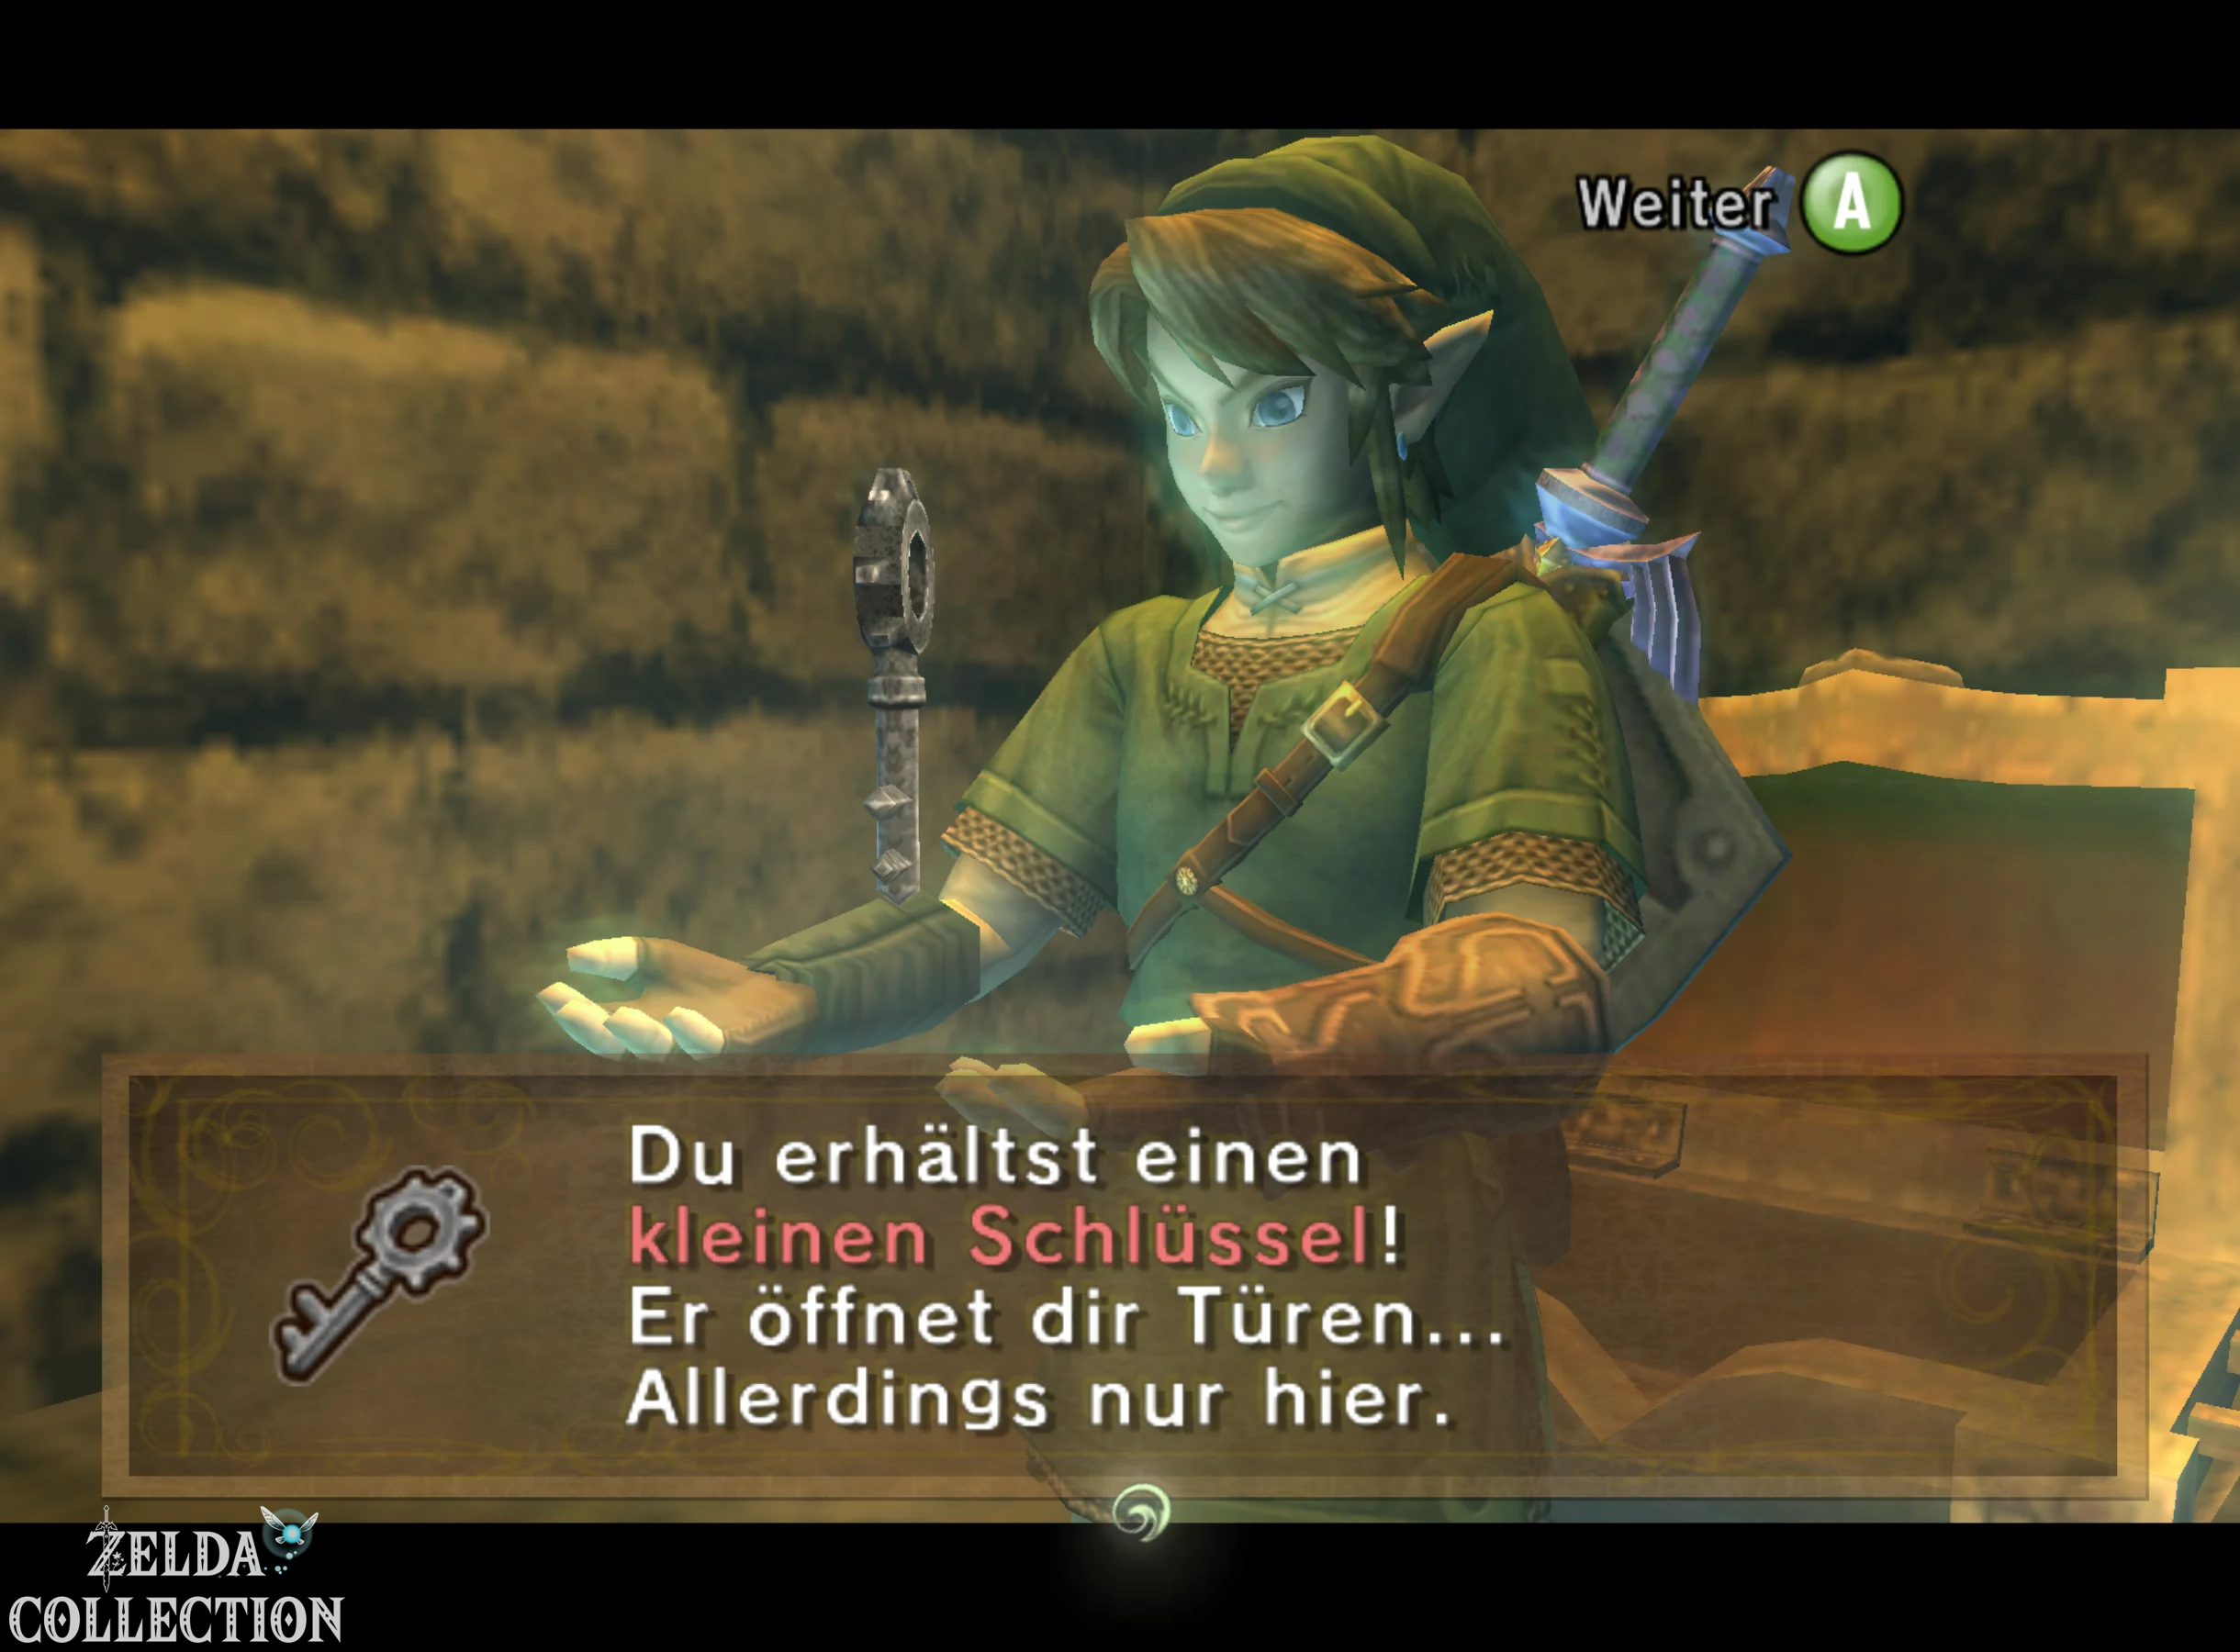
Open the chest and take the second Small Key from Hyrule Castle. This key is not mandatory for direct story progression. That’s exactly why it’s easy to miss on a quick run-through. However, it is particularly important on our 100% route because at the top of the castle tower there is an additional locked treasure room immediately in front of the master key door. Inside there are numerous supplies and in Twilight Princess HD the stamp “Zelda – happy”. Therefore, be sure to keep this key and do not use it on another optional door.
Then transform back into Wolf-Link and dig through the same tunnel back into the normal castle garden. In the room with the Dungeon Map you can use the ladder again to get onto the wall and from there quickly return to the central courtyard. We now have King Bulblin’s key, the Dungeon Map, the first HD stamp and the optional graveyard key. Now the outside area is completely done and we can turn our attention to the actual castle.
Entrance Hall of Hyrule Castle
Open the large main entrance with King Bulblin’s Key. The entrance hall already shows that the most combat-heavy section of the entire game awaits us. A barrier traps Link and numerous Bokoblins rush towards him. Shortly afterwards, additional Lizalfos are added. Use spin attacks against the large groups and shield attacks, helmet splitters or backhands against opponents with stronger defense. Once the last enemy is defeated, the darkness and the barrier will disappear. At the same time, the torches light up and the entrance hall shines again in its original light.
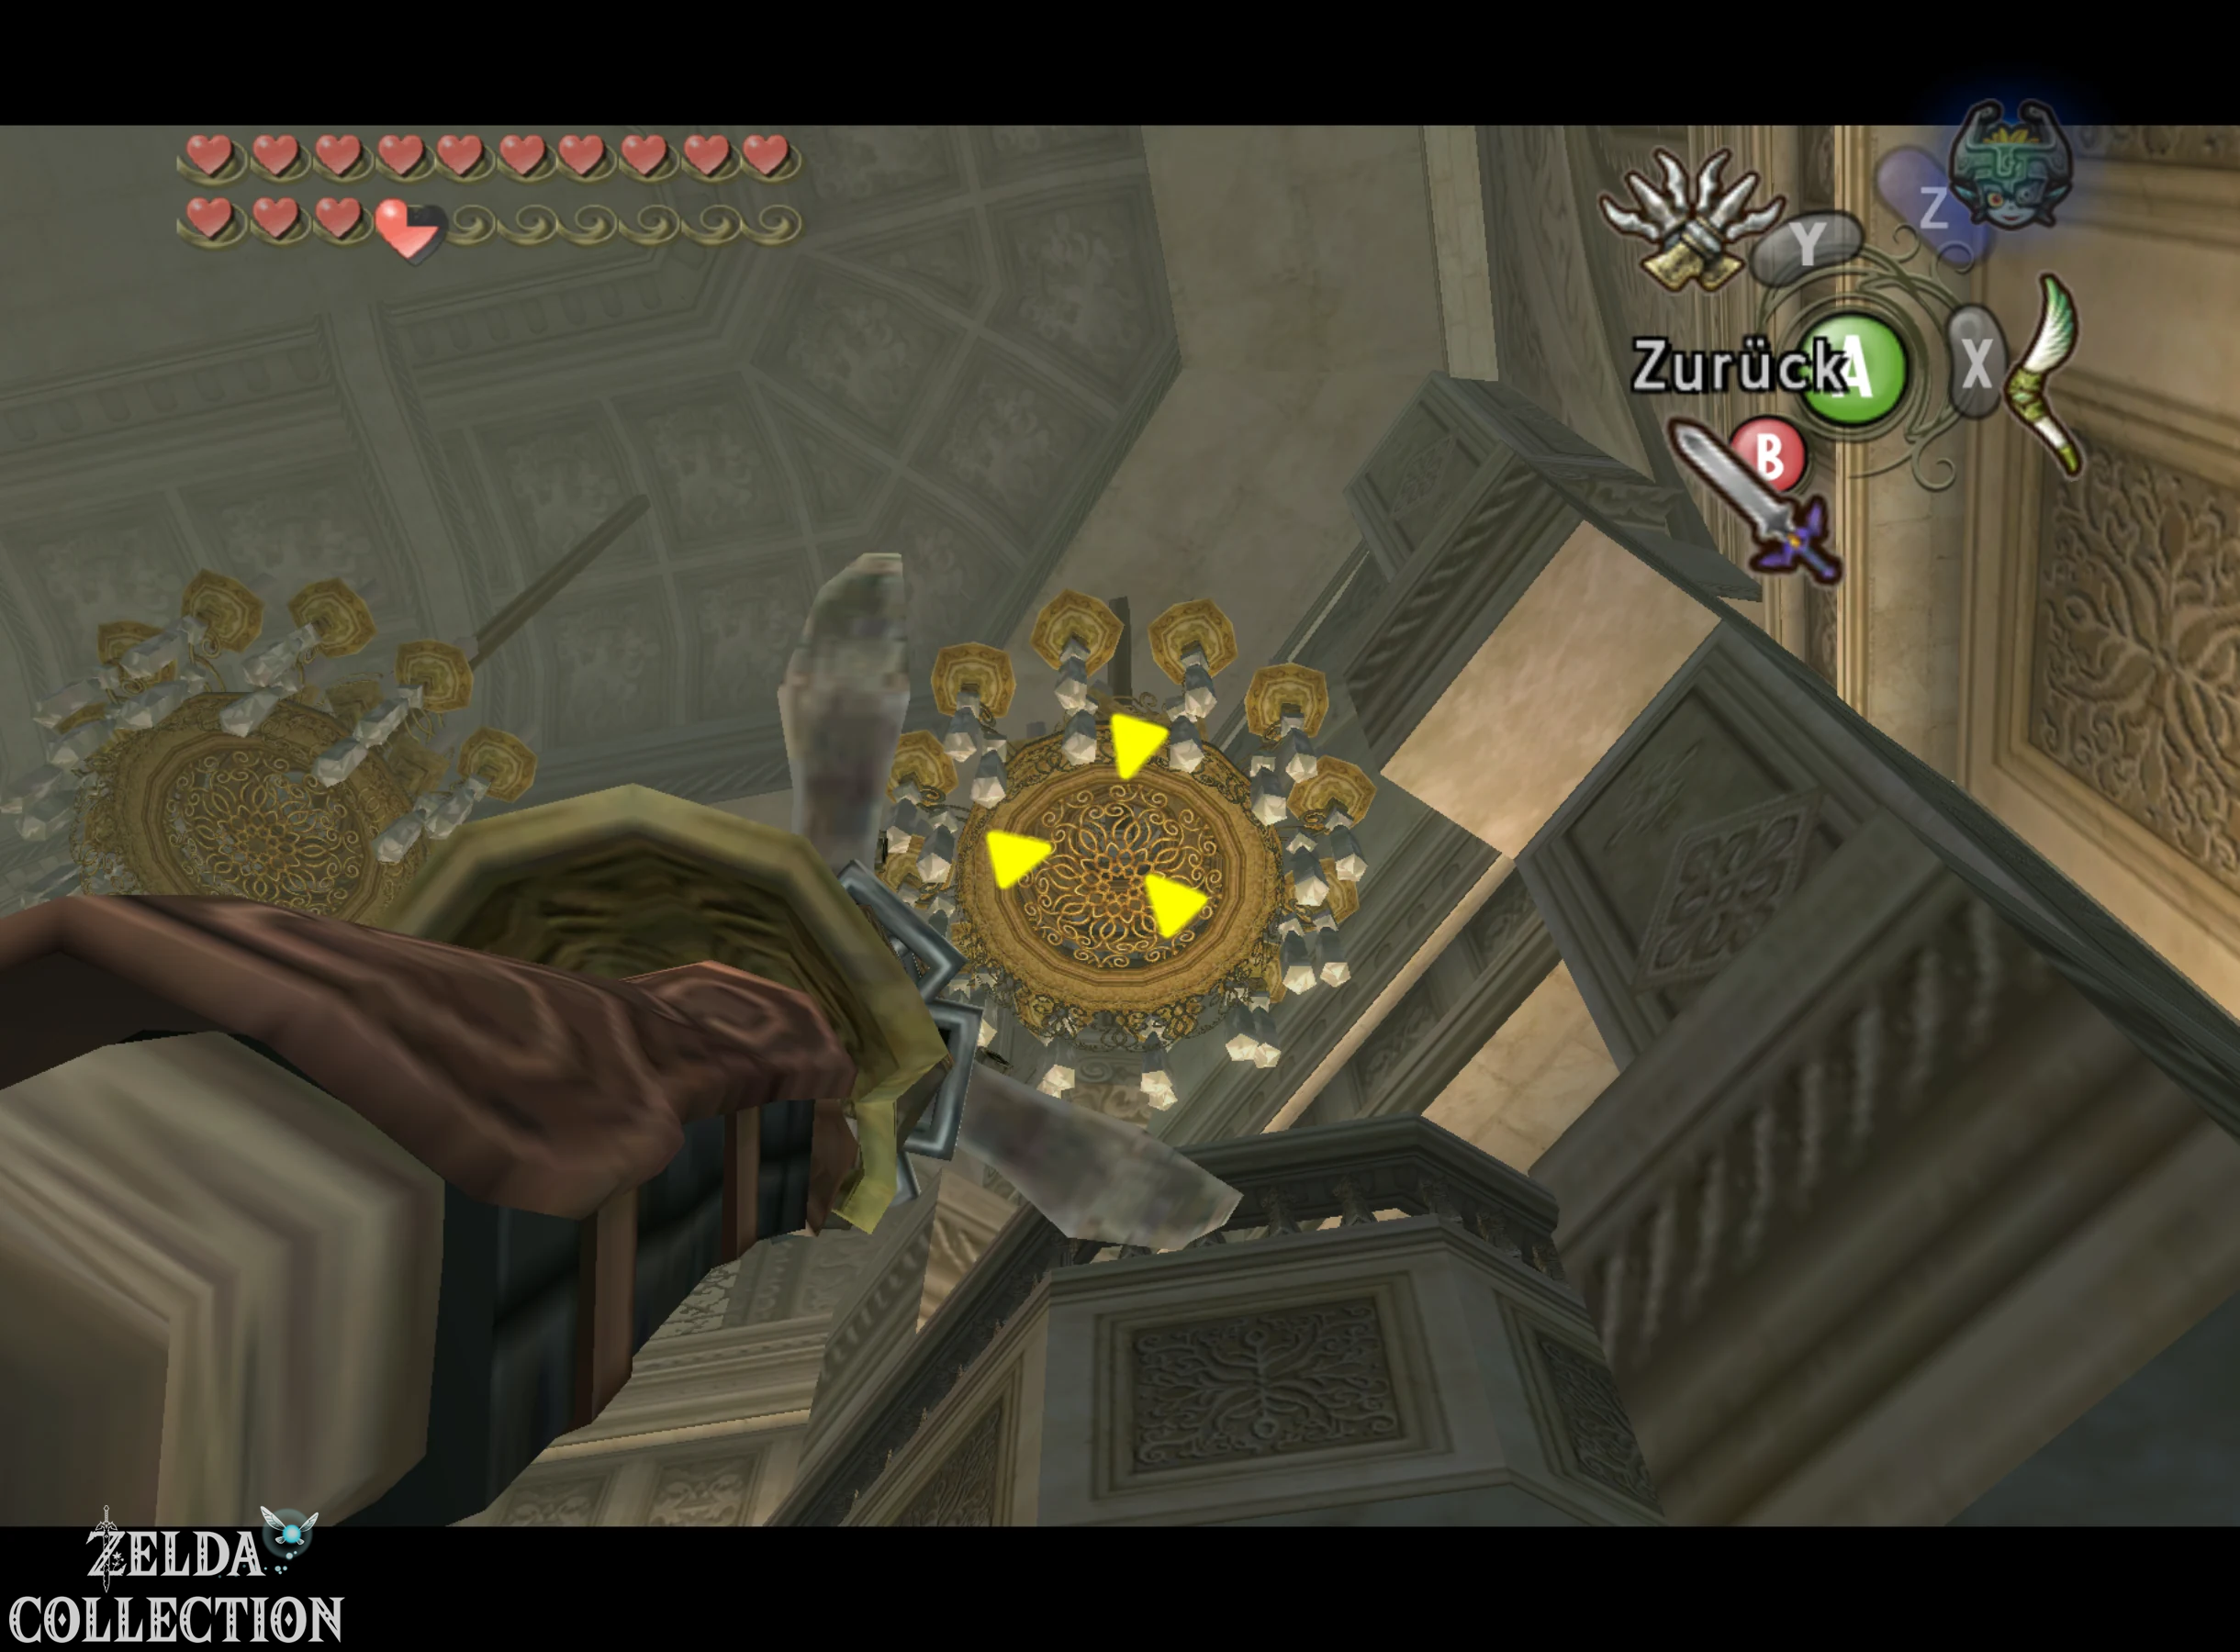
A Treasure Chest appears on an elevated level. Go to the small steps at the edge of the room and from there use the Double Clawshots to pull yourself to one of the large chandeliers. Then switch to the next chandelier and drop onto the platform with the chest. Inside is the Compass of Hyrule Castle. From now on, all unopened Treasure Chests will be marked on the Dungeon Map, which is particularly helpful for the third key and the later treasury. Then pull yourself over the chandeliers again to the northern balcony and go through the door there.
Darknut in the Great Hall
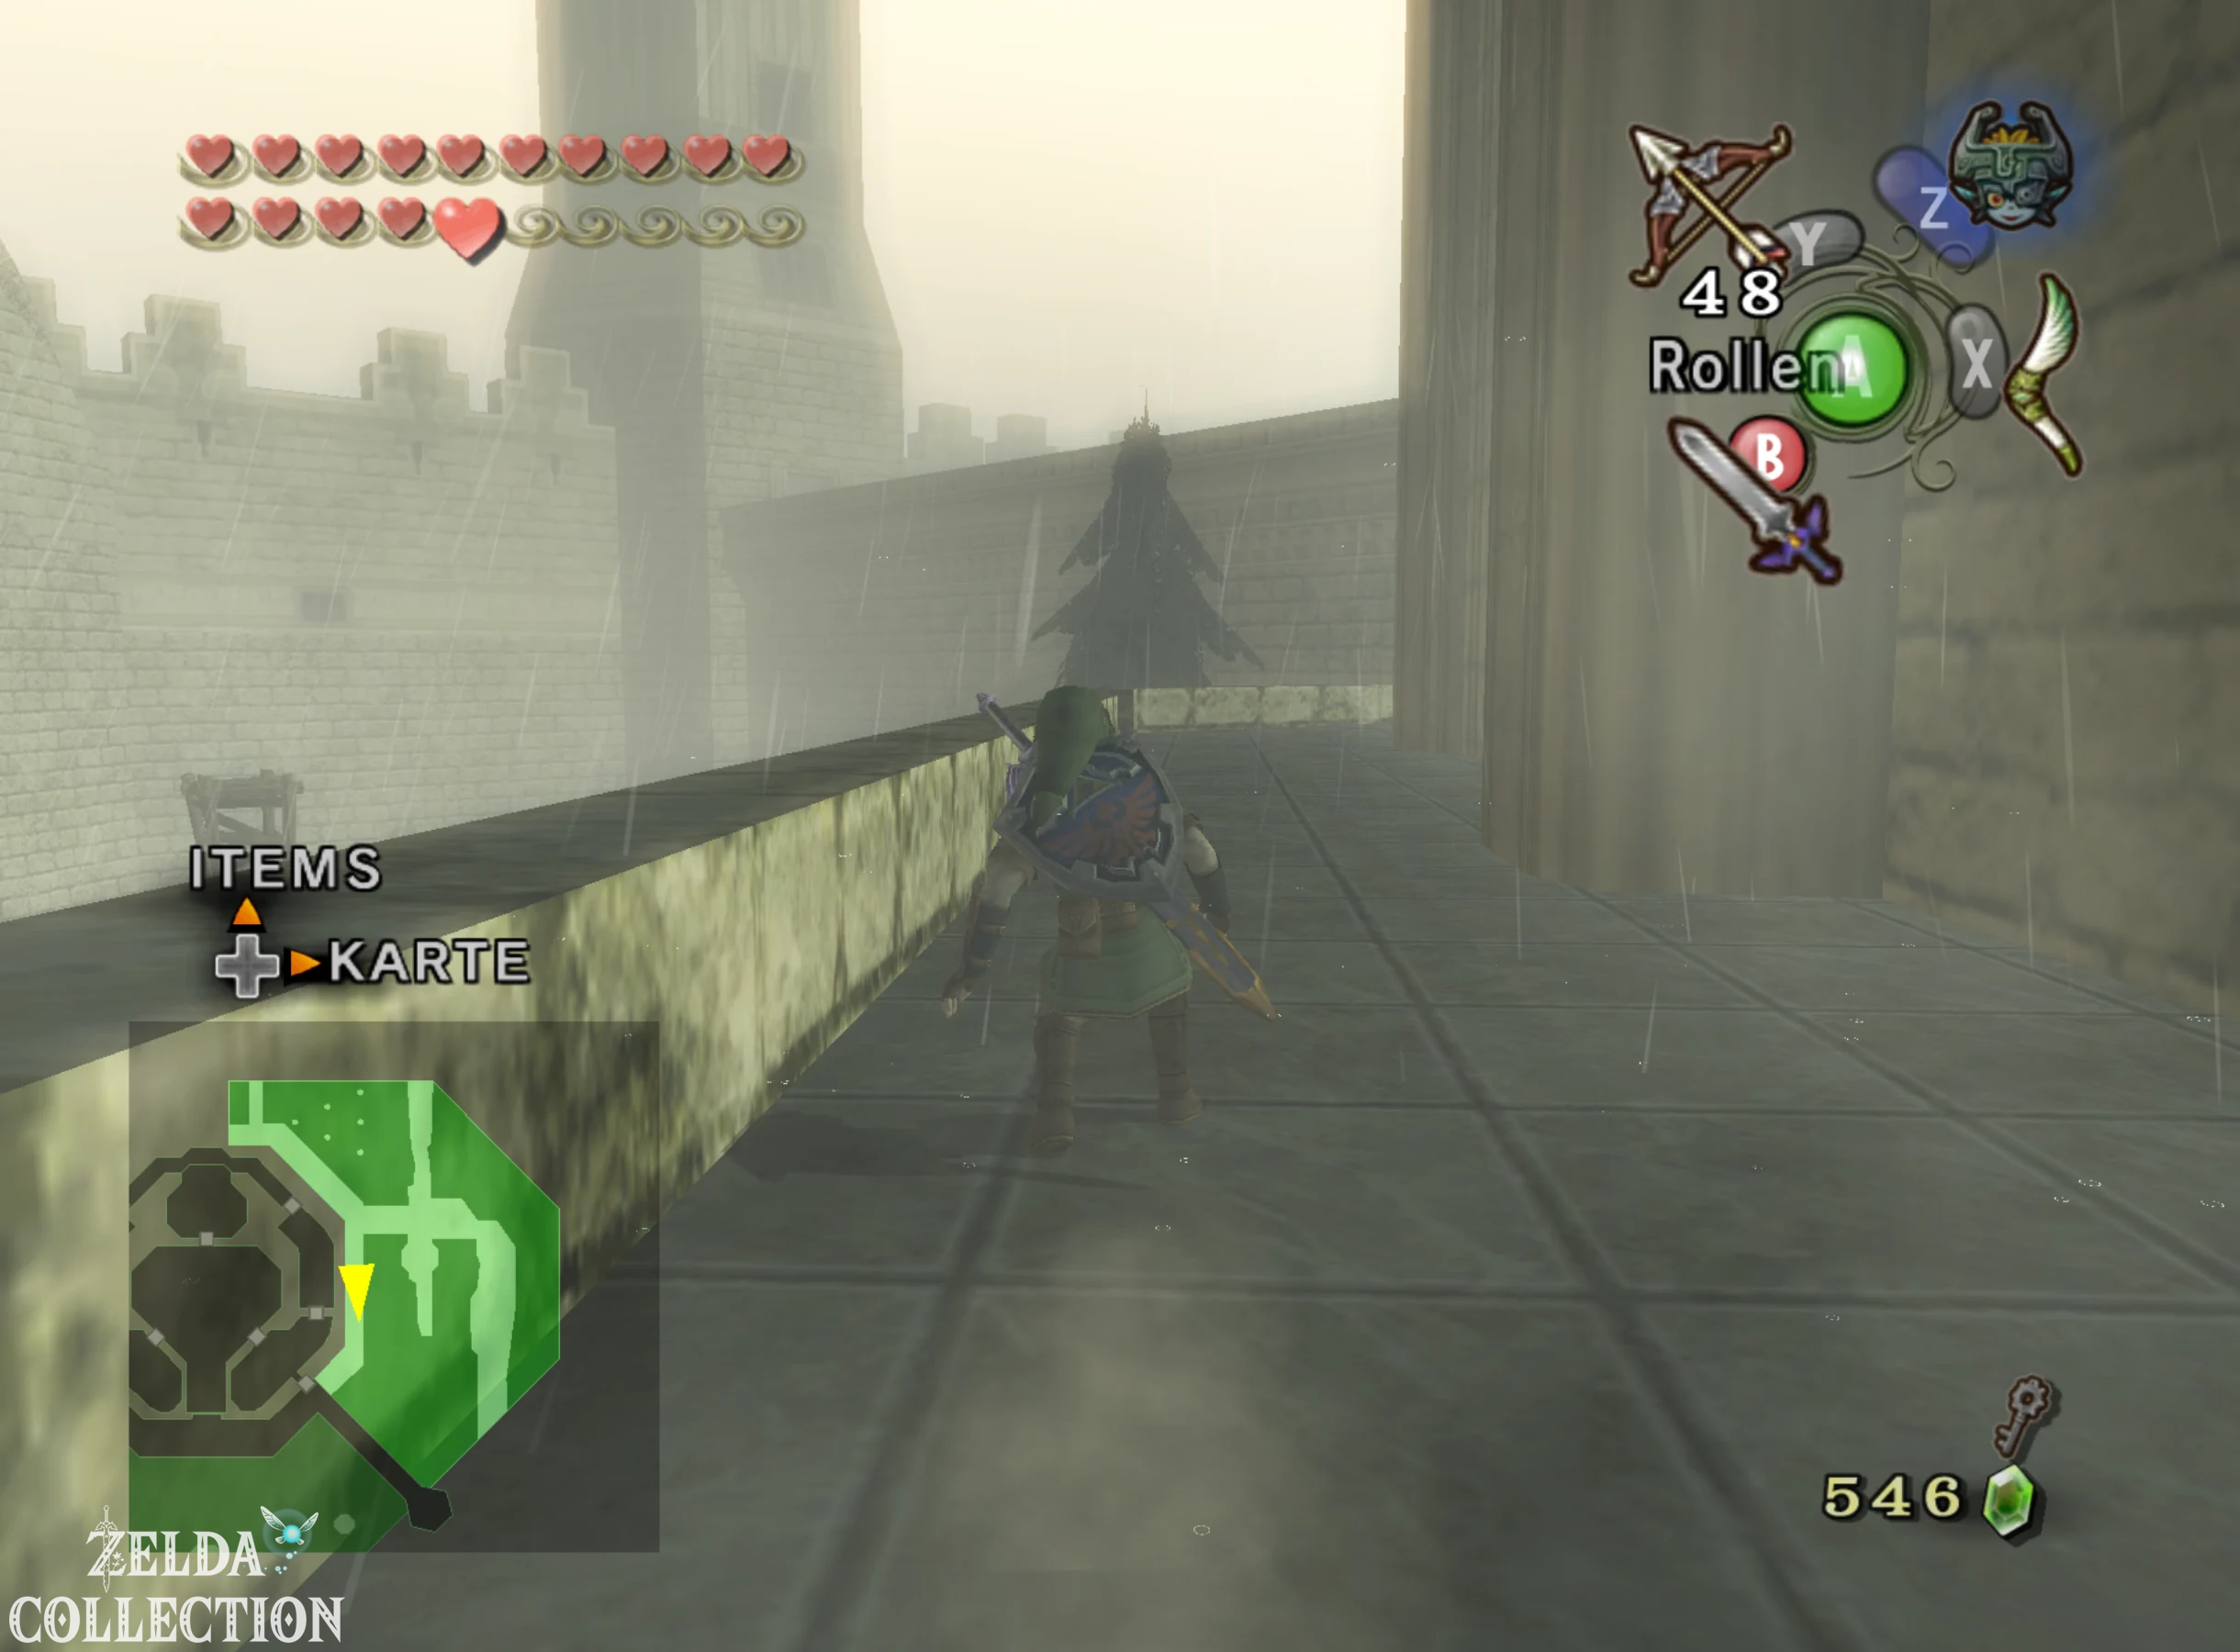
Waiting in the following room is a Darknut, the same heavily armored knight type we fought in Temple of Time. In the first phase, the knight wears full heavy armor and wields a huge sword. Wait for one of his powerful attacks, dodge sideways and counter immediately after he misses. With each successful hit, a piece of the armor breaks off. Once completely destroyed, the Darknut throws away the large sword and draws a smaller, much faster blade. Now the backhand in particular works excellently. Roll around the opponent, attack their unprotected back and follow up while they can’t defend themselves again.
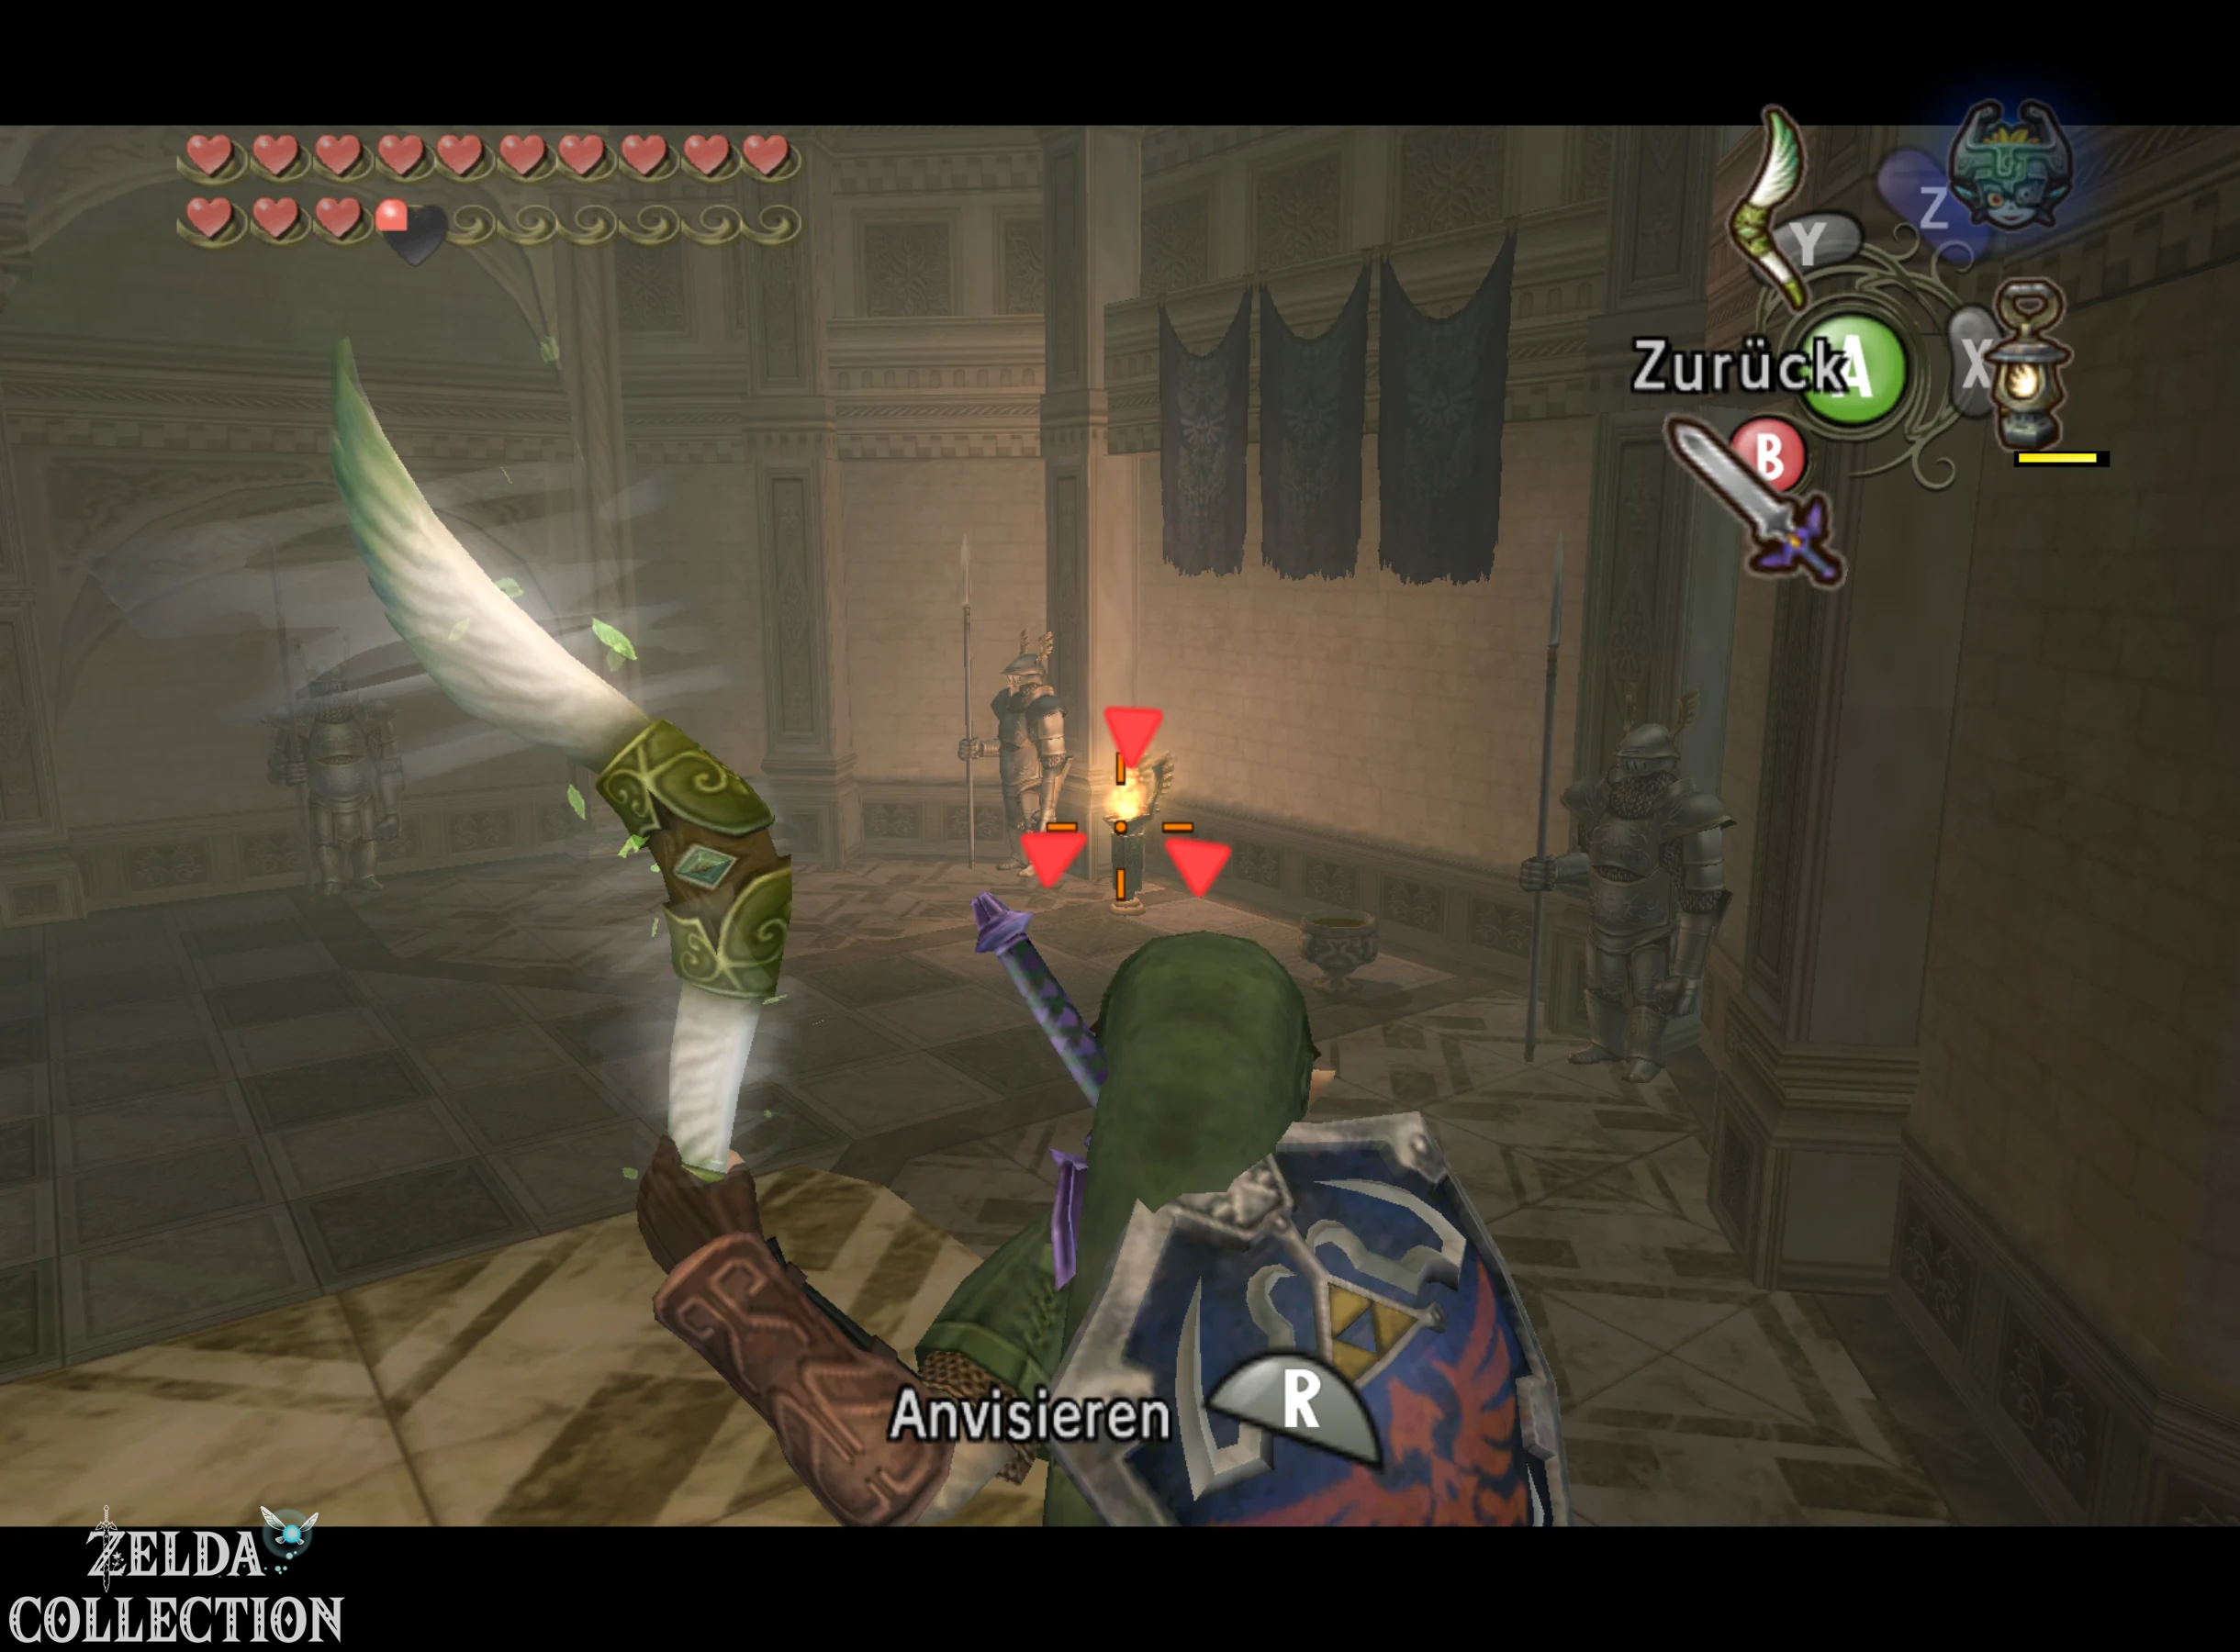
After victory, a ruby chest will appear on a raised platform. Stand underneath and look at the burning torch on the wall. Use the Gale Boomerang to put out the fire. This will cause the platform to rise and you can reach the treasure. The included Rupee is not crucial for 100%, but it is right on our path.
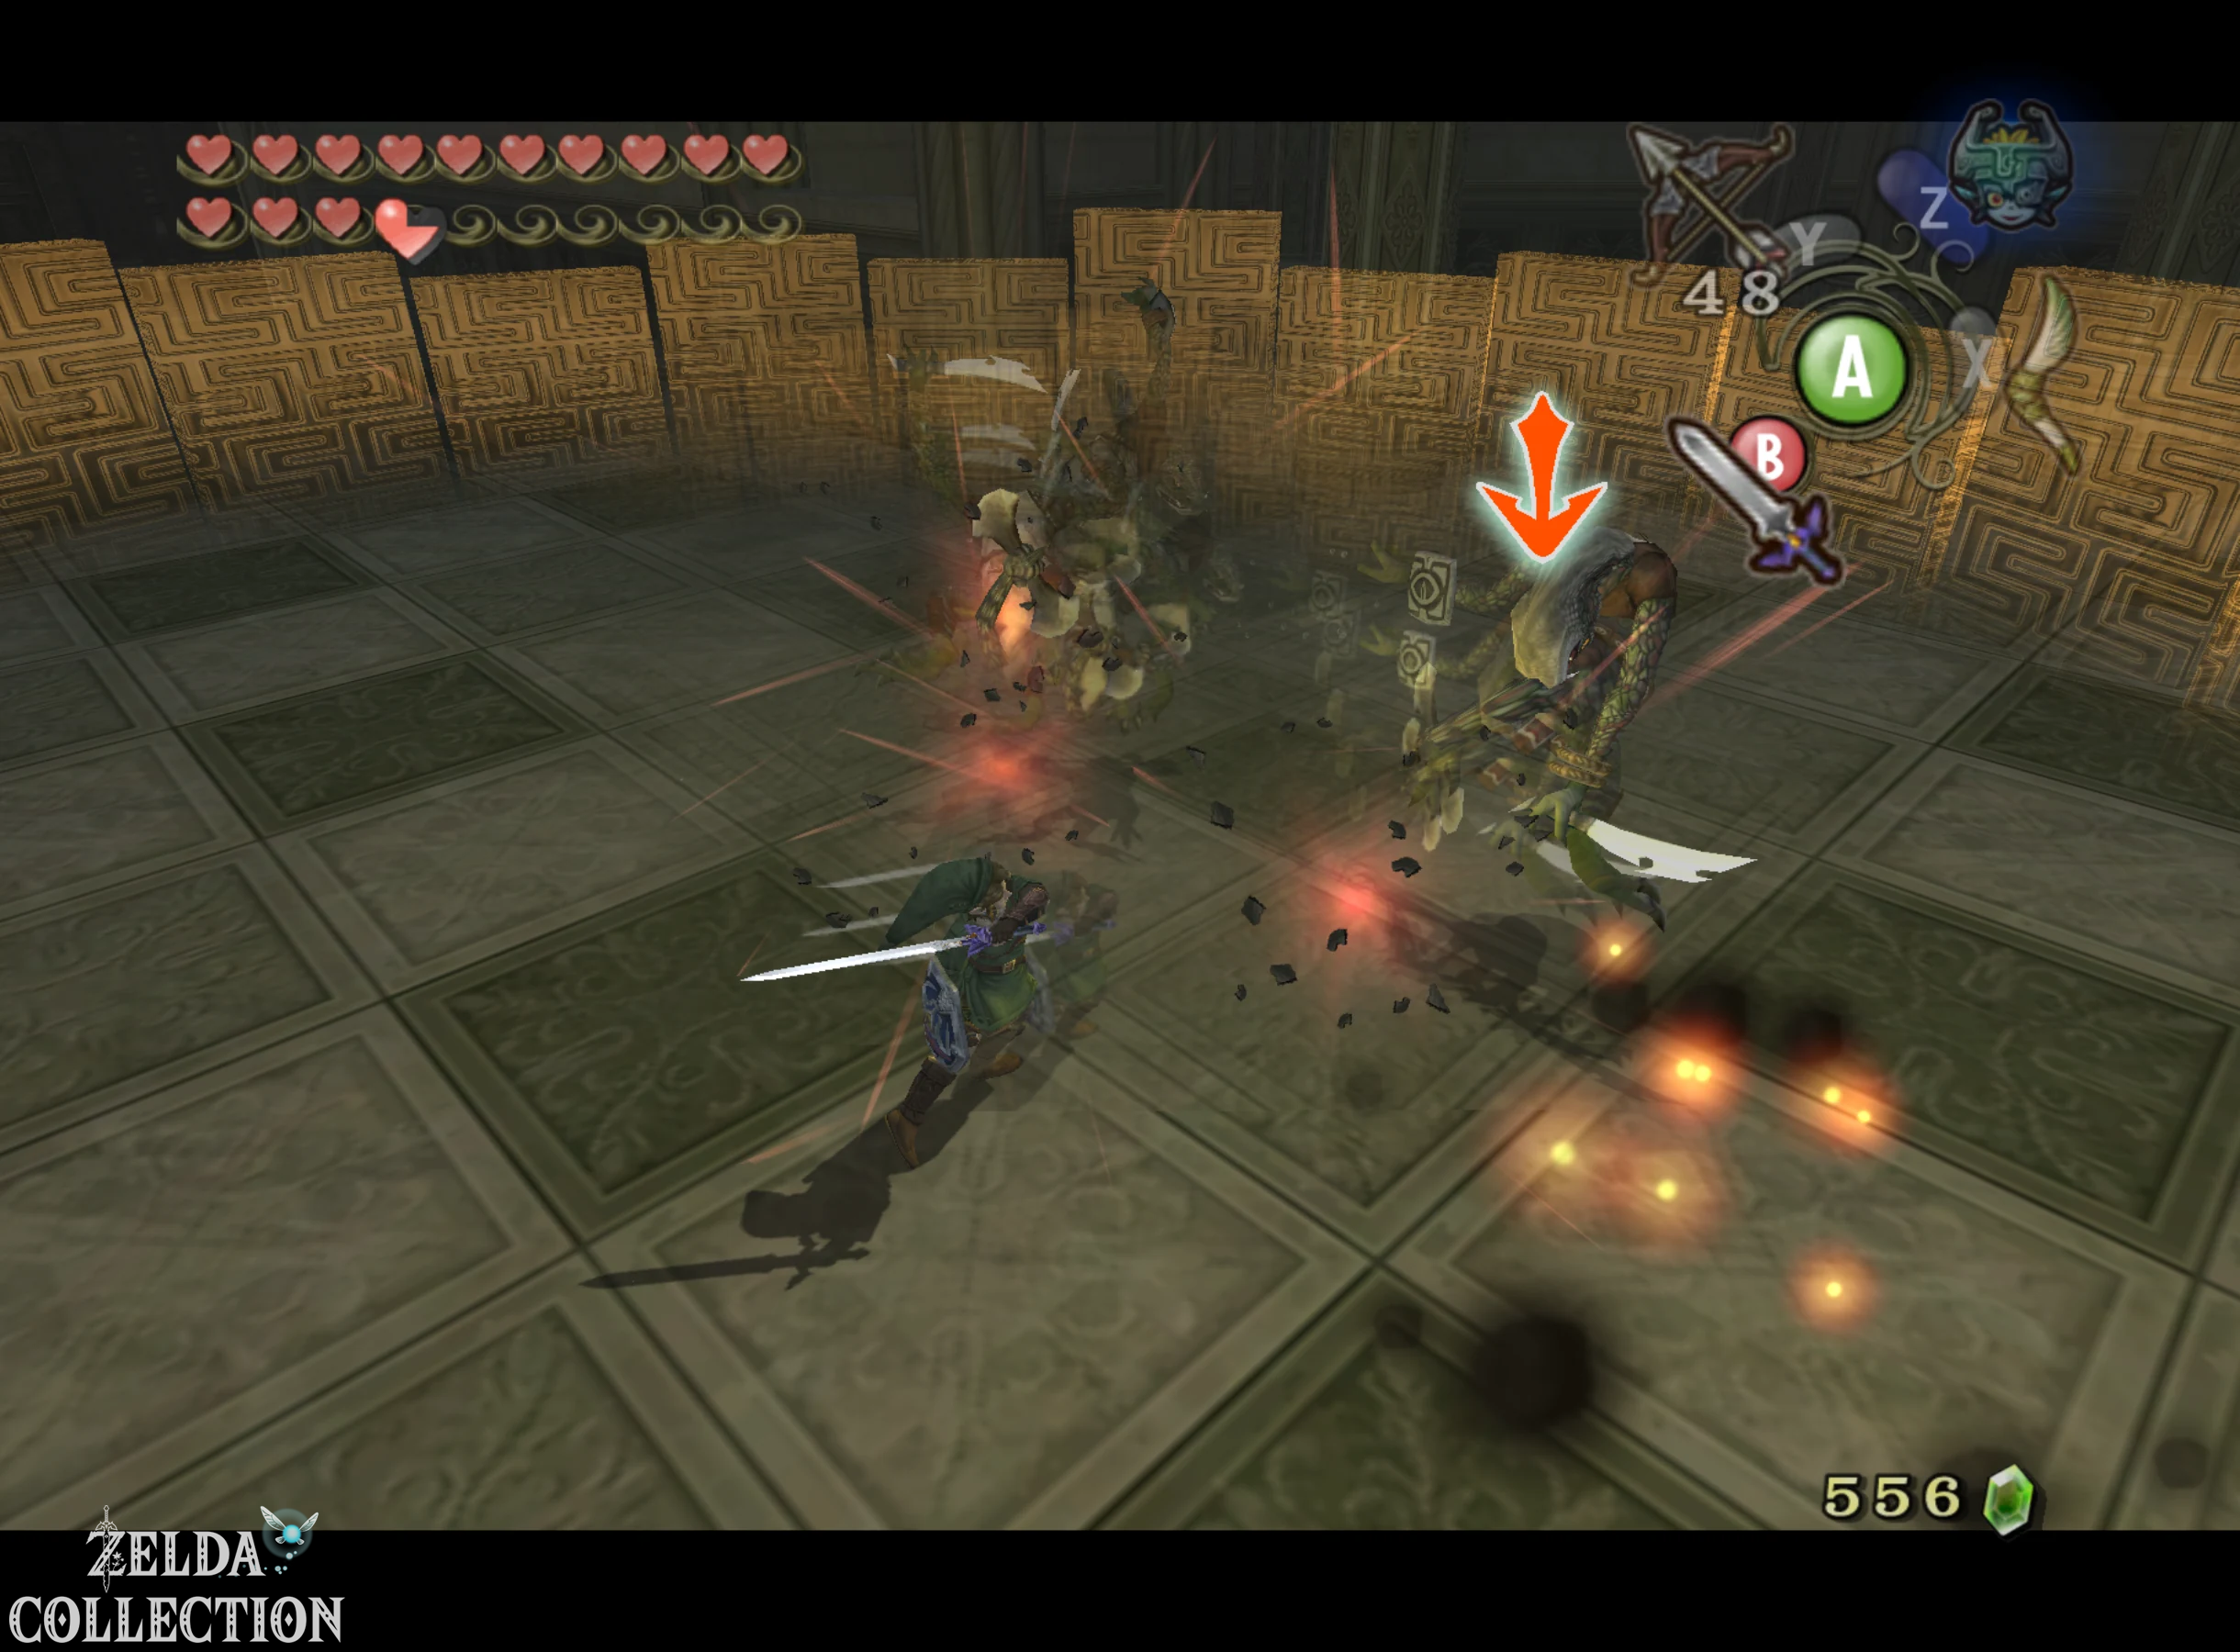
painting and hidden Crystal Switch
Behind the Darknut the path splits. Both routes ultimately lead further up, but we choose the side with the additional fights and treasures. There are two Lizalfos waiting in the next room. Eliminate both of them and then examine the large paintings on the walls. Use the Hero’s Bow to shoot the ropes they are hanging from. A Crystal Switch becomes visible behind one of the images. Hit him with an arrow and the previously closed gate opens. There is also a mechanism behind another painting, but it only releases additional enemies and is not needed for our solution.
Two Shadow Guards at the same time
The following area ends in one of the most challenging normal combat chambers in the game. Here two Shadow Guards attack at the same time. Be sure to try to concentrate on one knight and keep the second one at the edge of the arena if possible. If both start their heavy attacks at the same time, you should keep your distance and wait for a new opportunity. First remove all of an enemy’s armor and then finish off their quick second phase before dedicating yourself entirely to the other. Magic Armor can make this fight a lot easier if you have enough Rupees.
After victory, several paths open up. In an optional room there are additional Treasure Chests with valuable Rupees. There is also a Floor Switch between two flares. Step on it and another chest will appear on the opposite balcony. Jump to the lower level and use the Double Clawshots to pull yourself first to a lower chandelier and then to the chandelier above the chest. Inside lies a particularly valuable silver ruby. This detour is not necessary for 100% score, but with Magic Armor, additional Rupees are always welcome.
Big Key and the resistance group
Then leave the room towards the outer wall. In the next large square, a massive group of Bokoblins and bulblin archers are waiting for Link. Even before the actual fight begins, the opponents are suddenly hit by arrows and other attacks. Telma, Rusl, Ashei and Shad have come and support Link on the last few meters of his journey. The resistance group is holding up Ganondorf’s troops and clearing the entire area for us.
Then go to the large Treasure Chest behind the now safe section. Inside is the Big Key of Hyrule Castle. This means we could theoretically get to the Ganondorf’s throne room, but for our complete route we are still missing the third Small Key and the secret treasury just before the final boss.
Small Key 3 of 3
From Big Key, turn around and continue following the outer wall towards the front of the castle. On the way you will see a locked door. Don’t use the key from the cemetery there yet, because we want to keep it for the future treasury. Instead, move on to the Treasure Chest marked on the Compass. Shortly before that, another barrier appears and a Aeralfos lands in the arena.
Combat works the same as in City in the Sky. Wait until the flying knight holds his shield in front of his body and the grappling hook symbol appears on it. Use the Double Clawshots to drag him directly to Link and immediately attack with the sword. After a few hits, the Aeralfos takes off again and tries to attack from the air. Repeat the process until he is finally defeated. The barrier disappears and you can open the chest. Inside lies the third and final Small Key of Hyrule Castle. With it, return to the previously locked door and open it. The second key from the cemetery remains unused and is preserved for our treasury.
Ghosts show the safe path
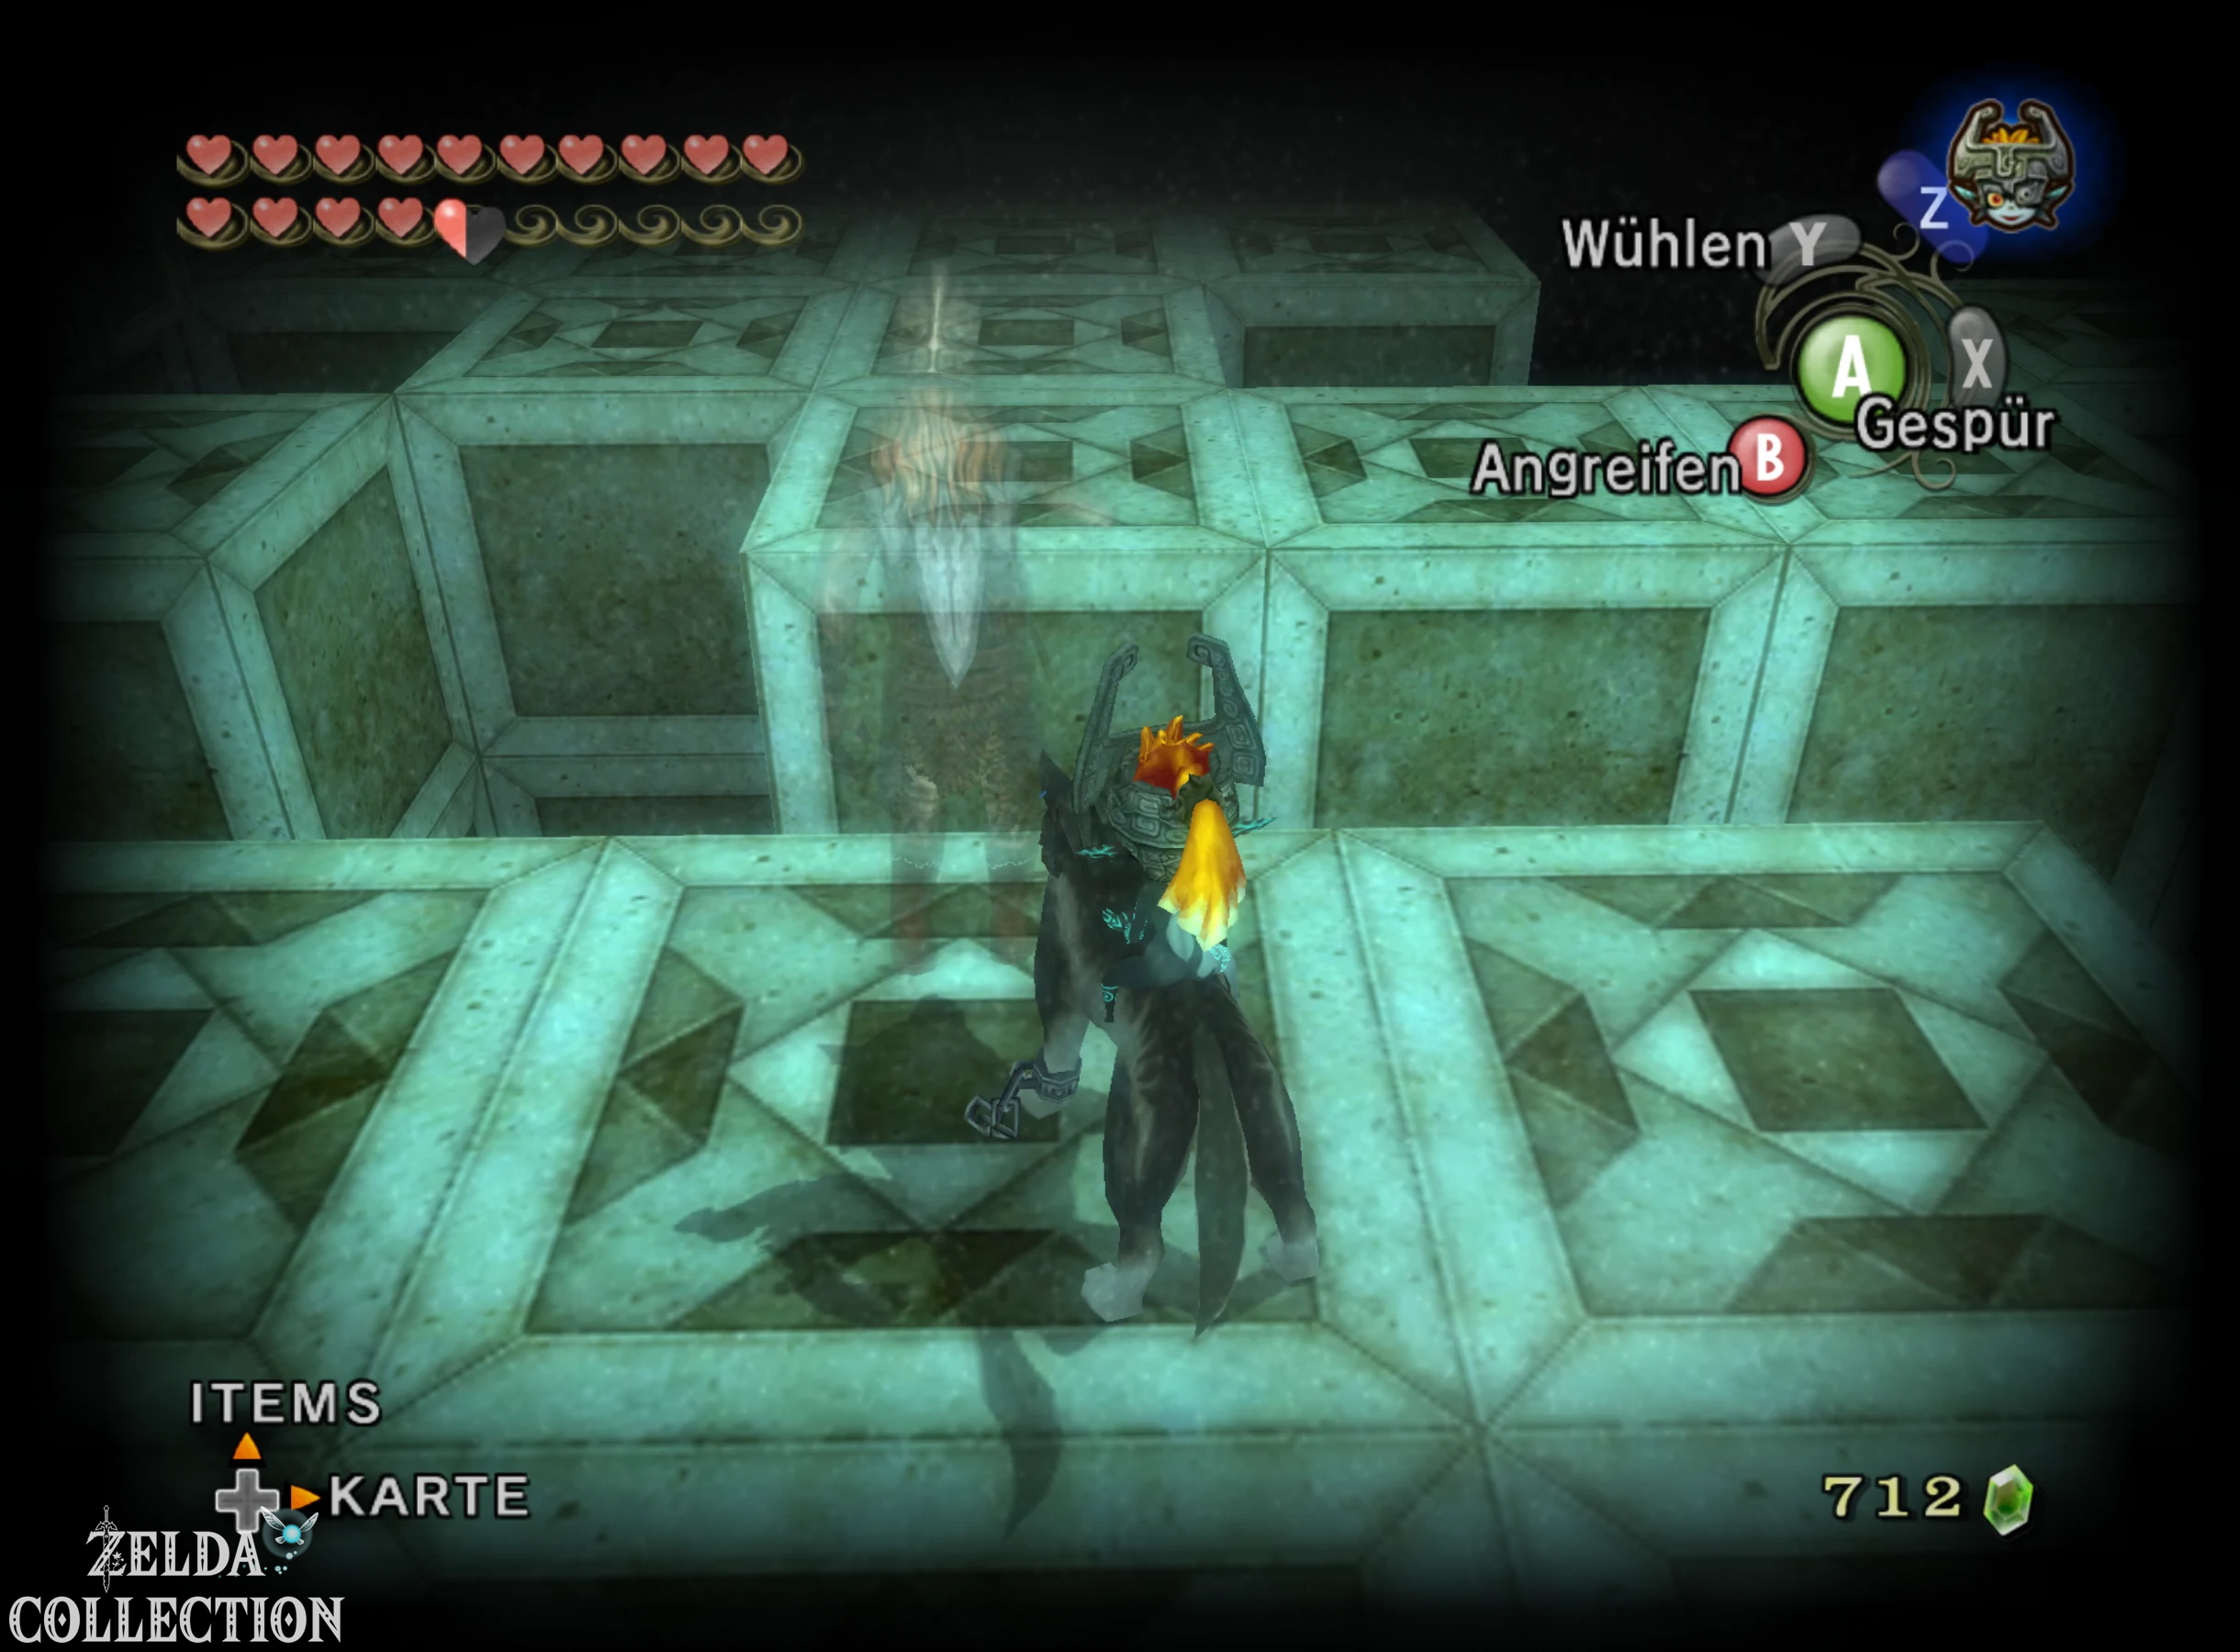
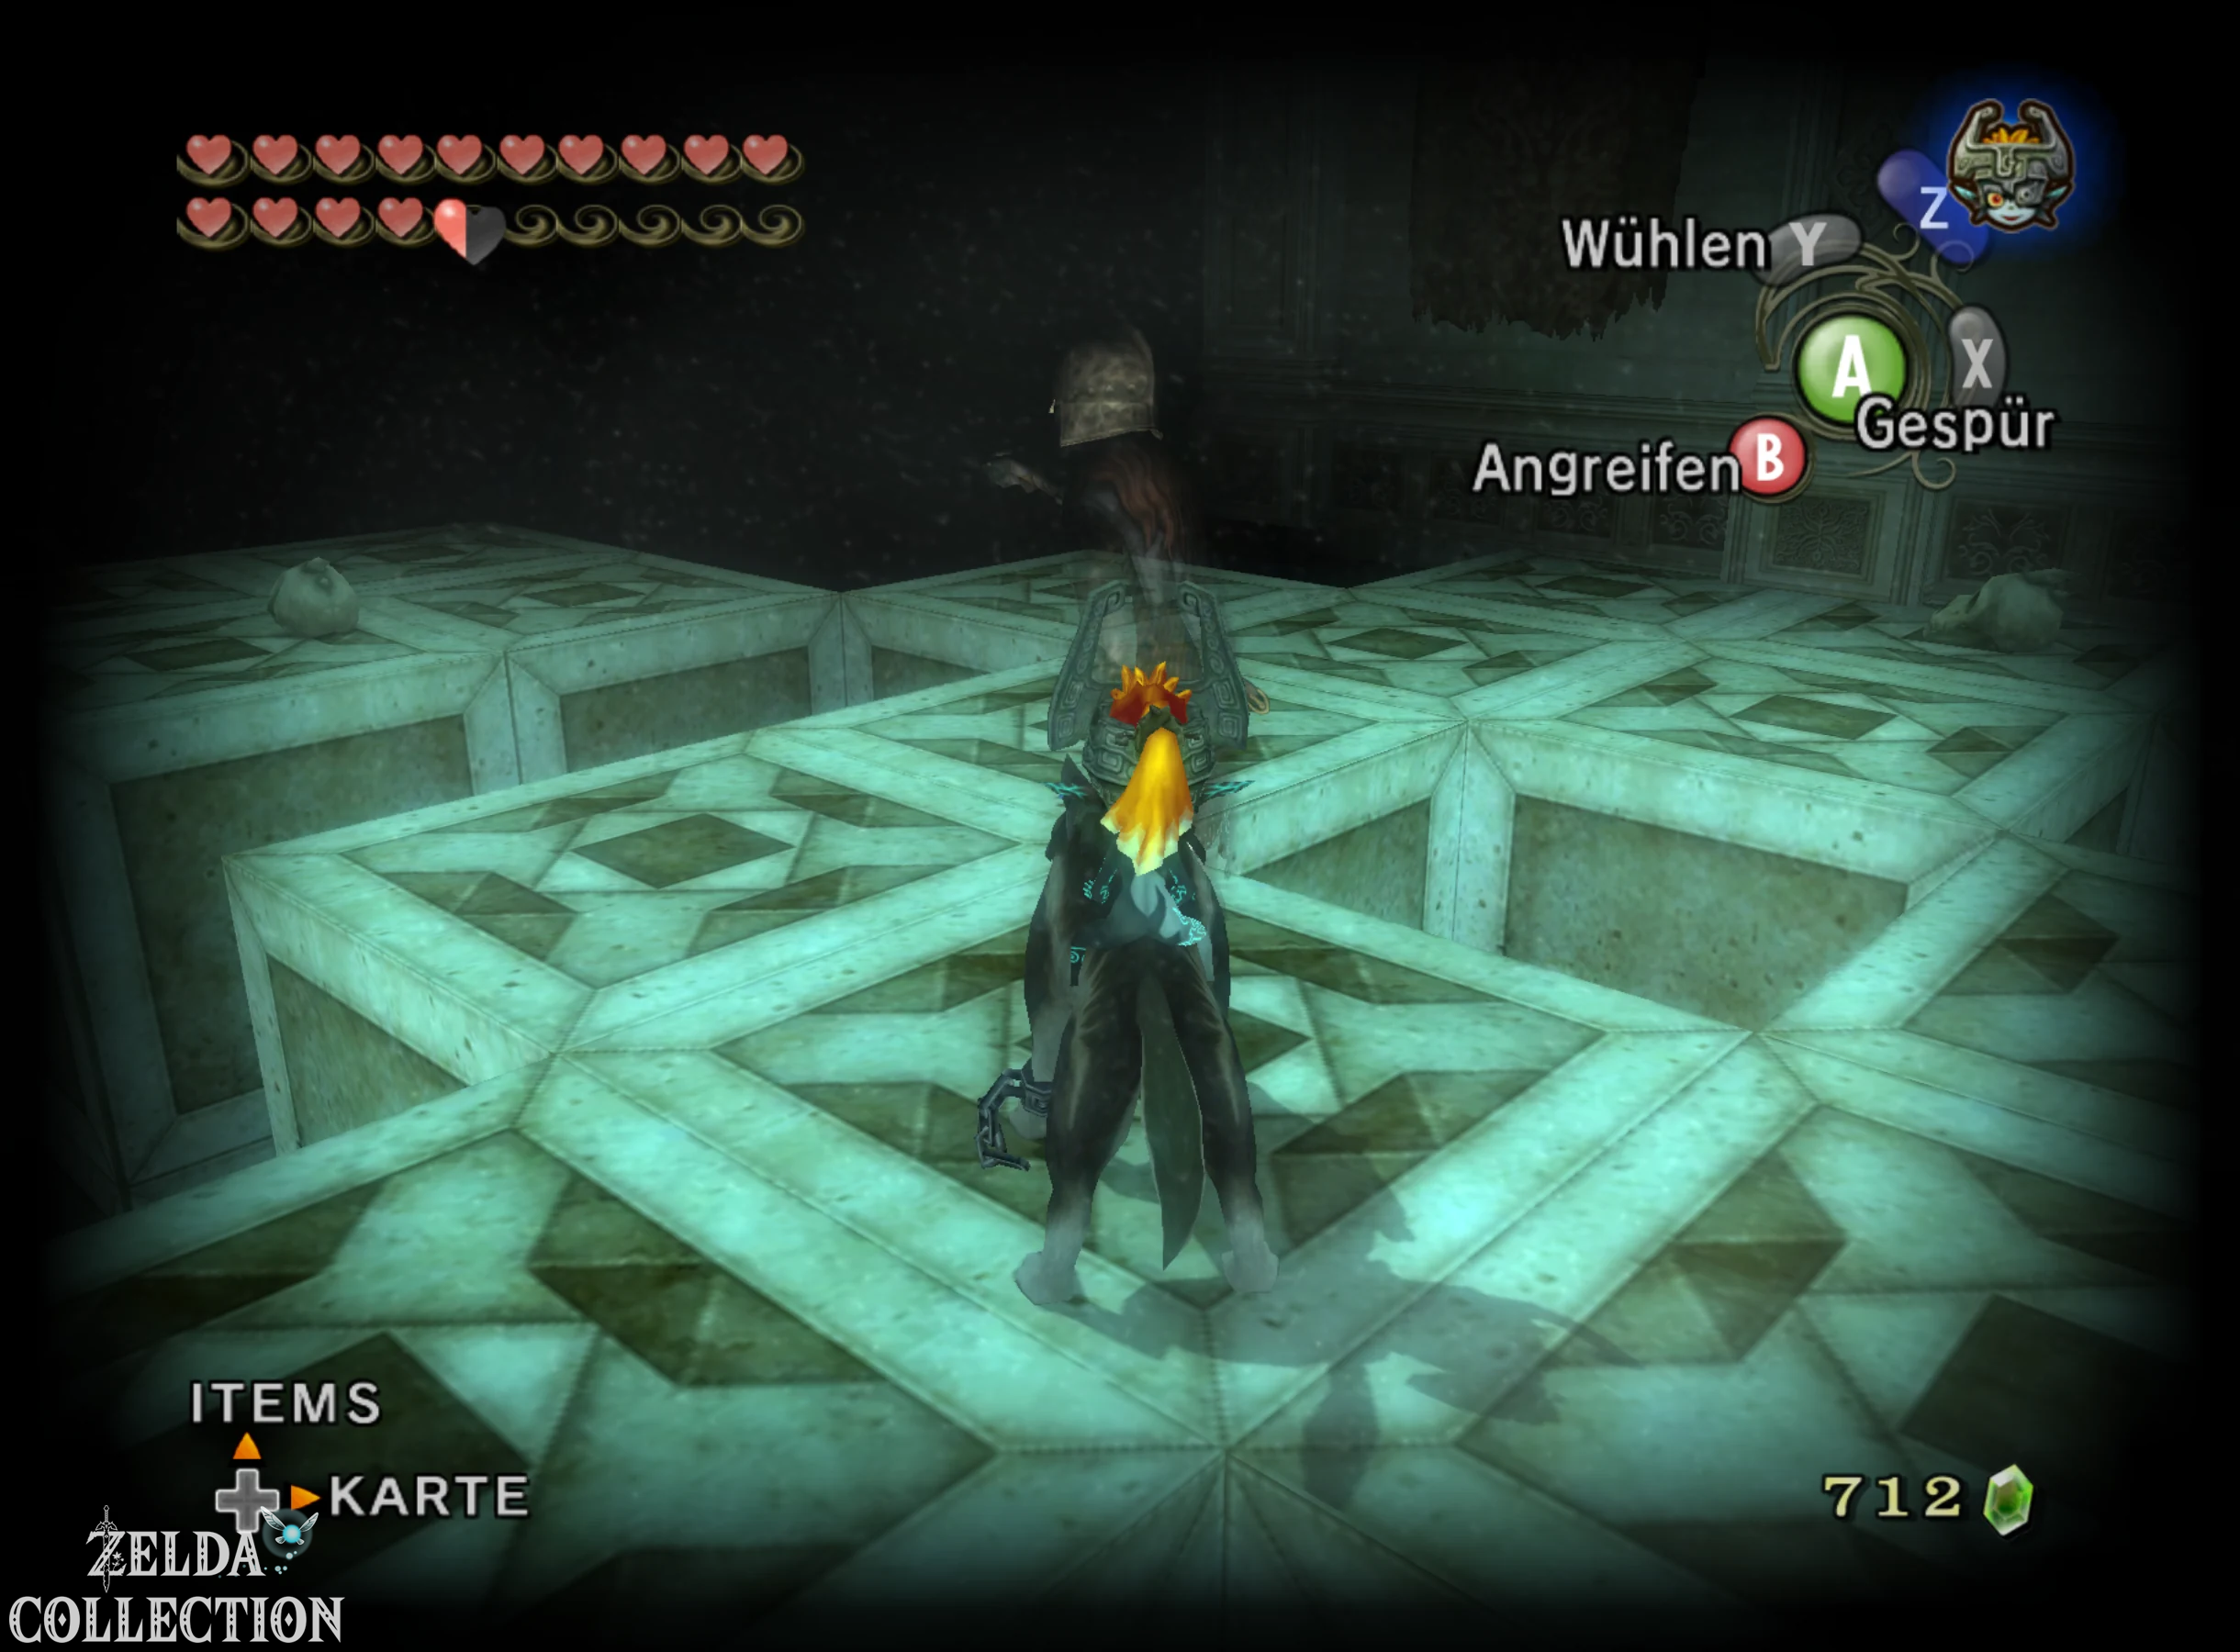
The following room seems inconspicuous at first, but it is a big trap. The floor consists of numerous stone slabs, many of which break away as soon as Link steps on them. Therefore, transform yourself into Wolf-Link and activate the sense. Several ghost soldiers become visible. Each of them points with his sword or arm in the direction in which the safe path continues. Always run to the next ghost and then follow its indicated direction. This way you can get through the entire floor labyrinth without risk.
On the way, several Ghoul Rats attach themselves to Wolf-Link. If his movements suddenly slow down even though no enemy is visible, activate Midna’s energy field. This will immediately shake off the invisible rats. Then continue following the ghost soldiers until you reach solid ground on the opposite side.
The climb through the castle tower
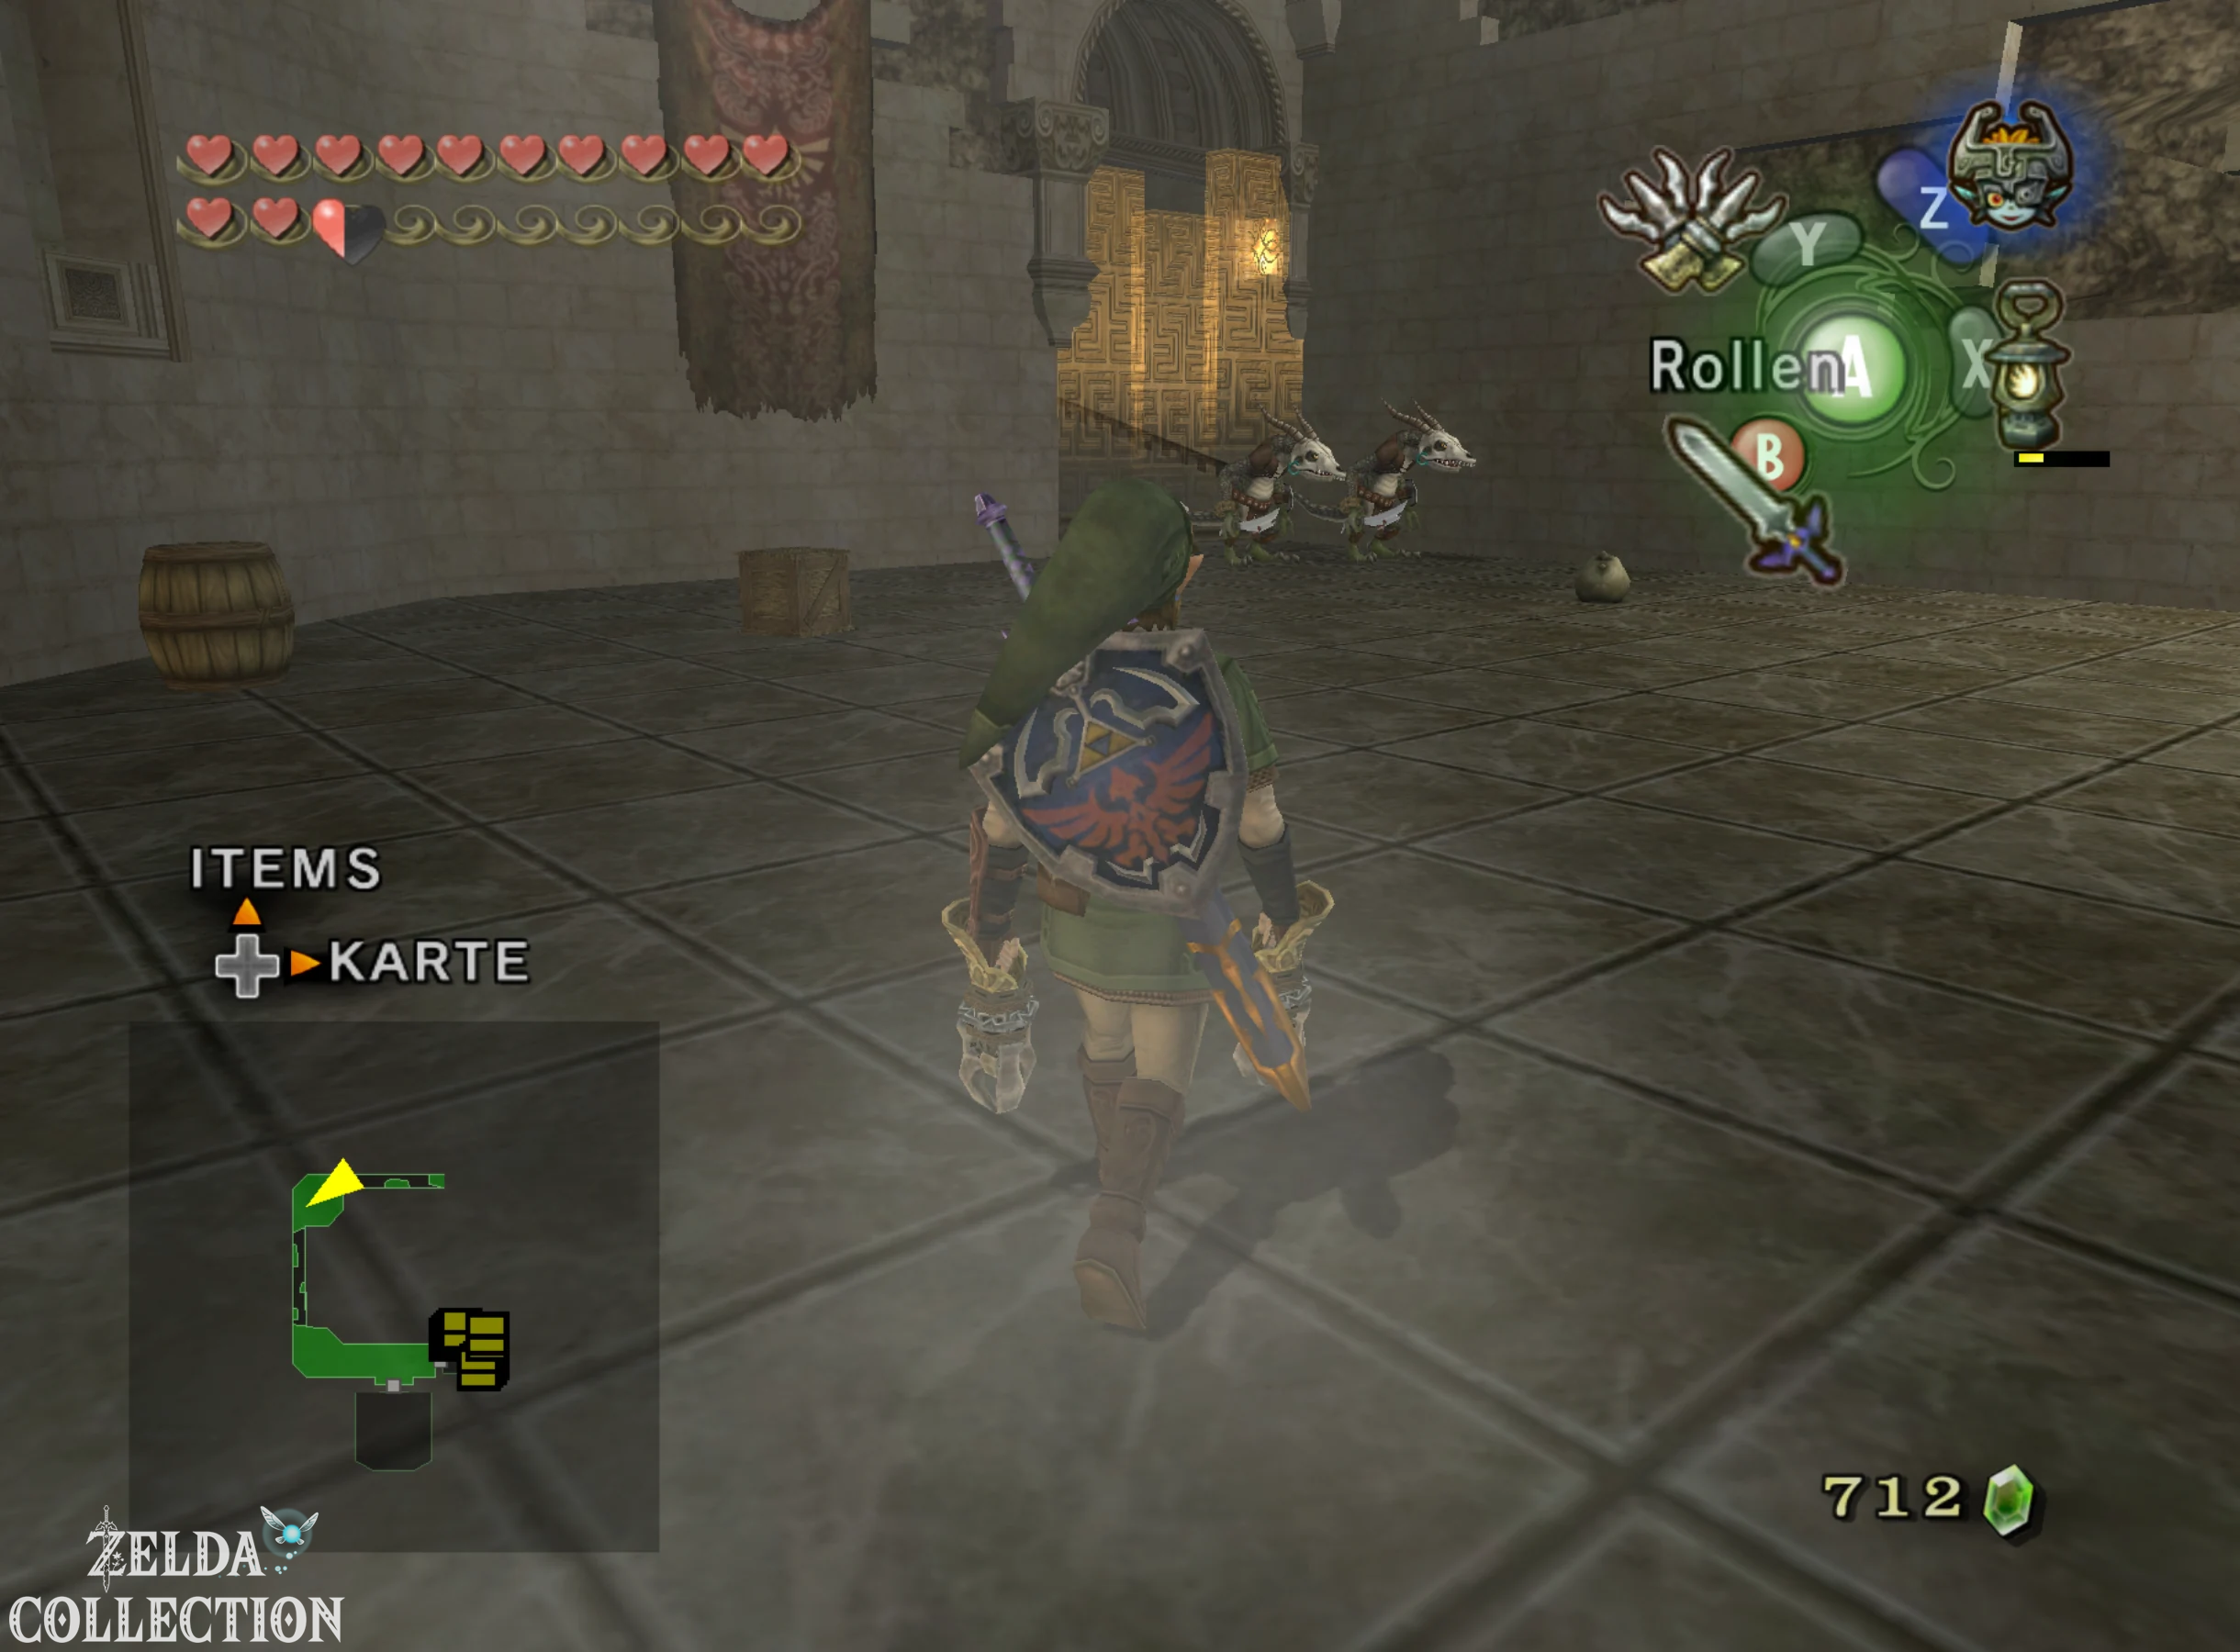
The actual climb to the throne room begins behind the ghost room. Follow the narrow, partially collapsed stairs. After a short time, another battle barrier forms and several strong lizard warriors attack. Defeat them and then continue up. A large part of the staircase there is completely destroyed. However, there are small metal grates on the walls over the torches. Use the Double Clawshots to pull yourself from one grate to the next and cross the collapsed section.
More armored enemies are waiting on a higher level. Eliminate them and then follow the path to the toothed rails on the tower railings. Insert the Spinner and drive along the rails. Several spiked obstacles move across the track at the same time, which is why you have to switch from one rail to the opposite at the right moment. Work your way up little by little until you have solid ground under your feet again.
Last Darknut
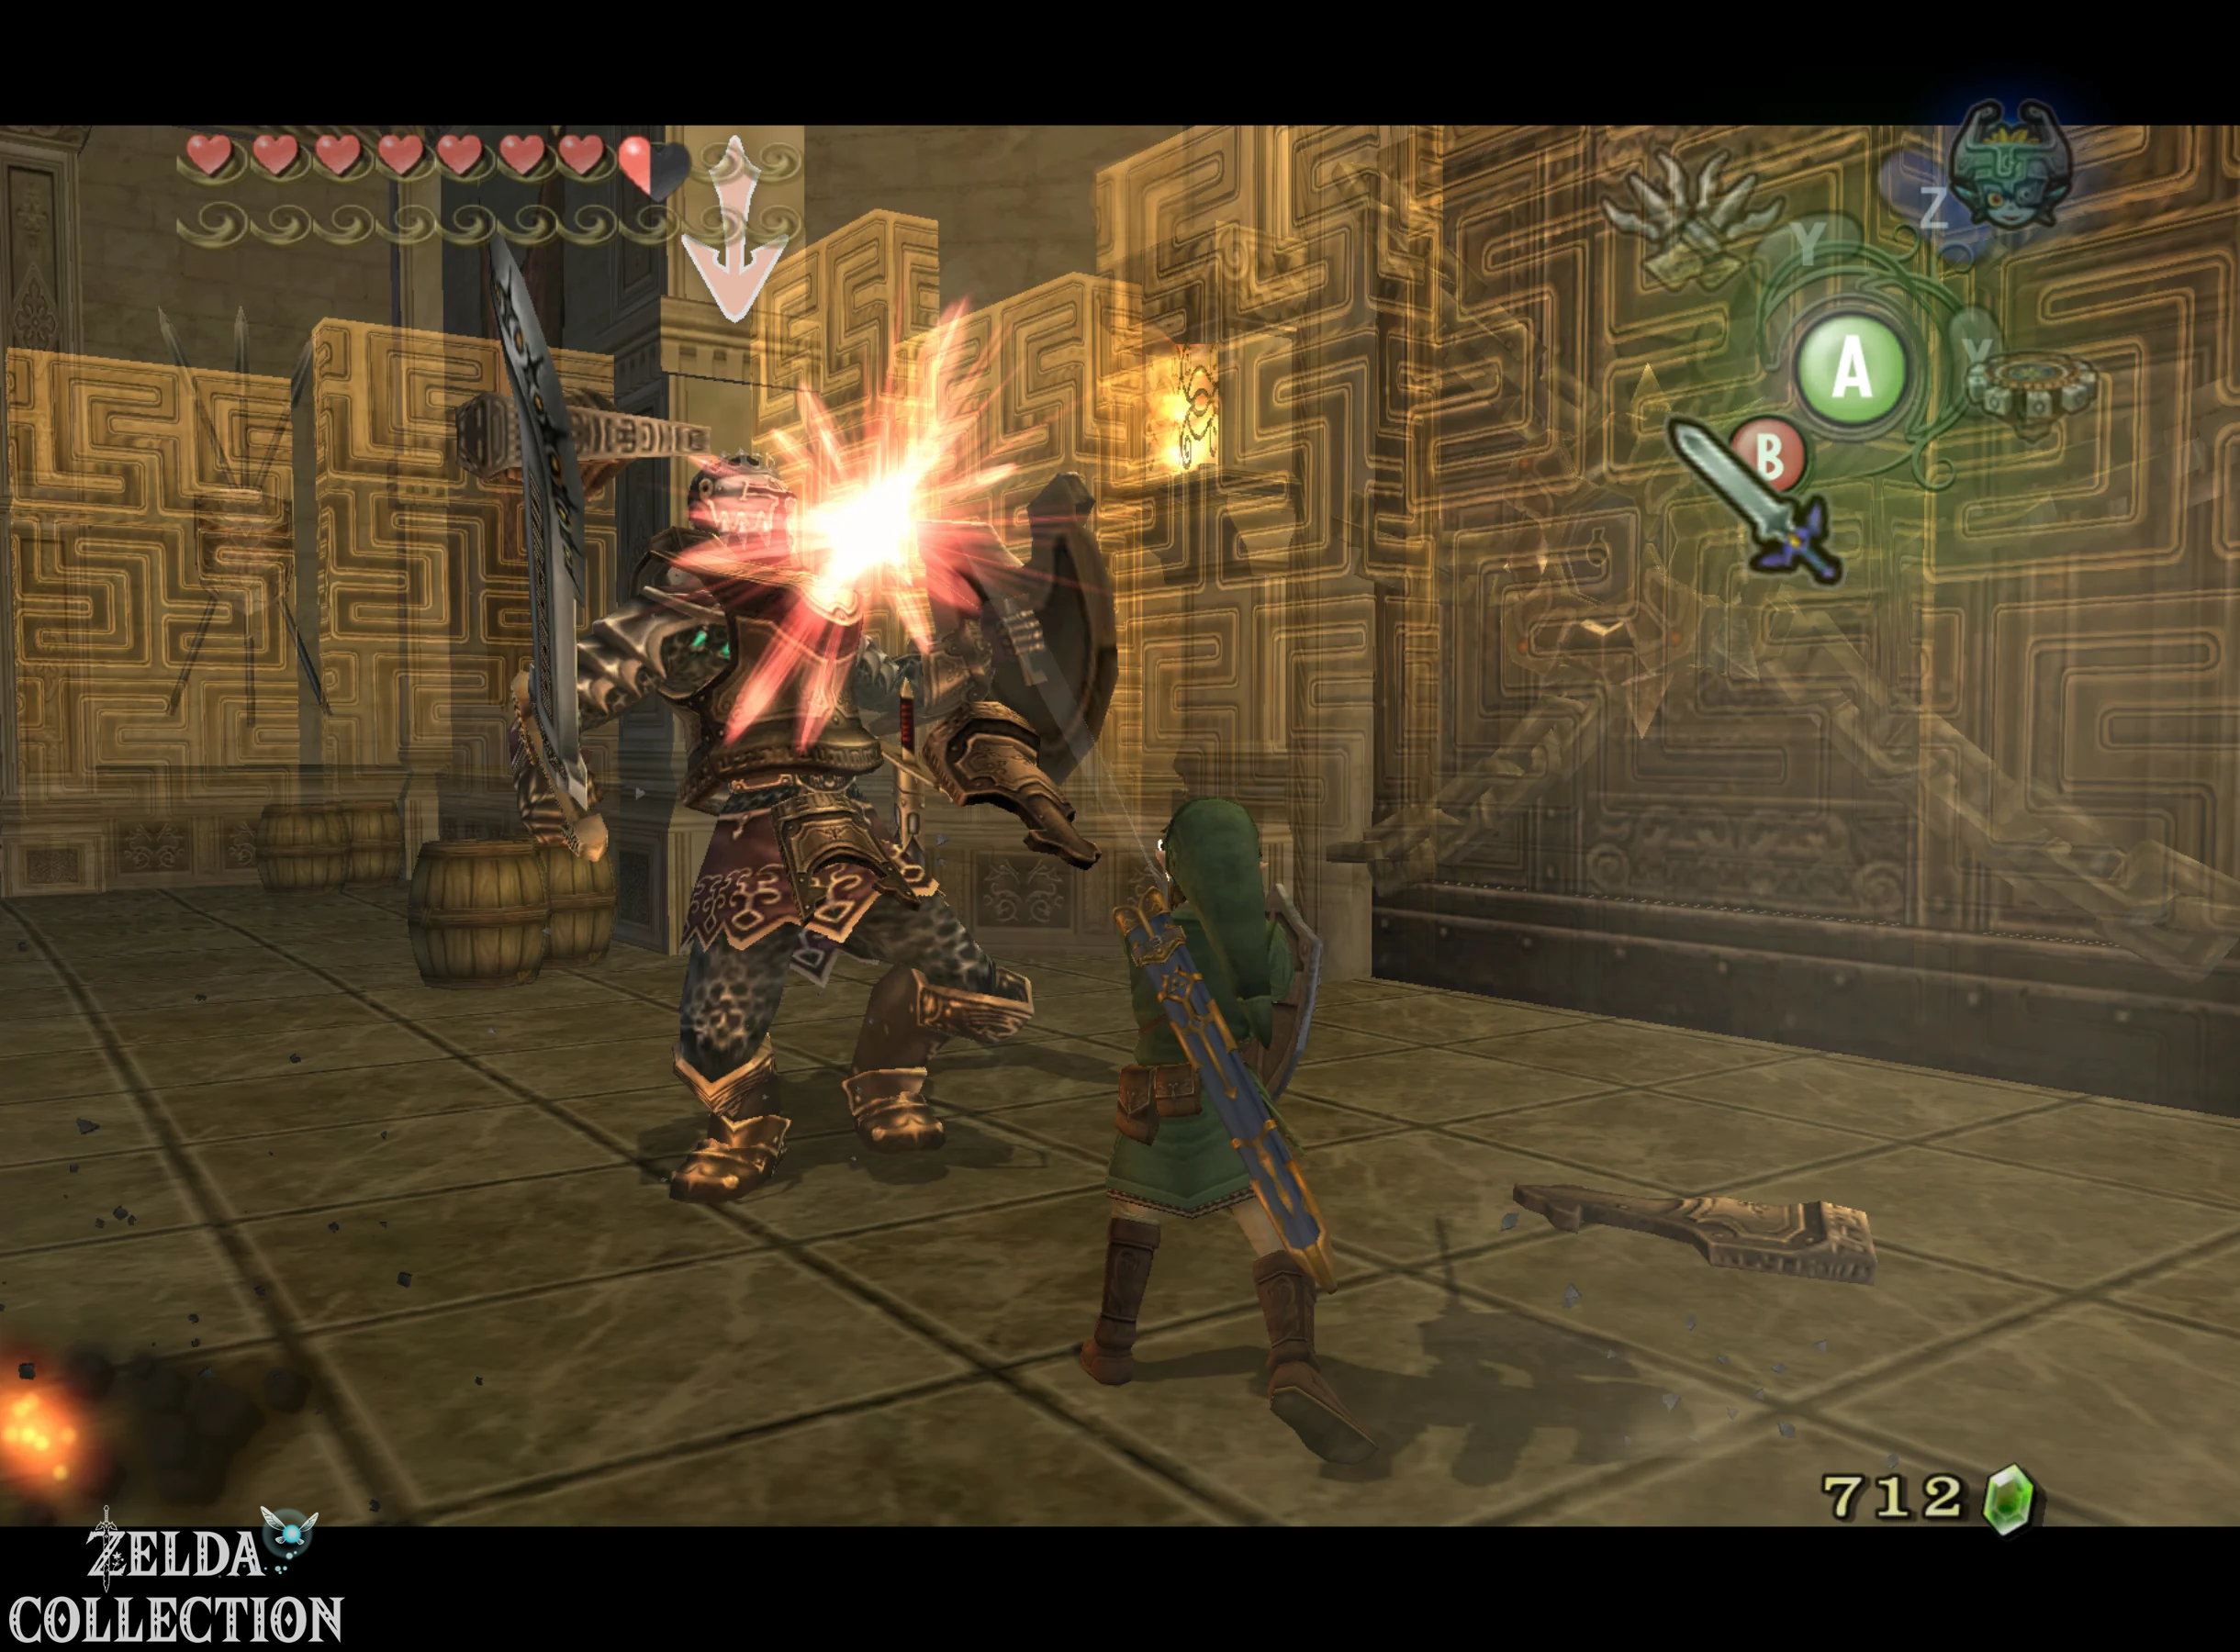
Just before the throne room, a final barrier closes. A particularly splendidly dressed Darknut confronts Link. Despite her golden armor, she doesn’t differ from her black brothers in terms of gameplay mechanics. In the first phase, wait for their heavy attacks, dodge sideways and remove the armor piece by piece. As soon as the opponent switches to his light blade, you use backhand, shield attack and quick sword combinations. After his defeat, the barrier disappears and the path to the large master key door appears to be clear.
Don’t go to the final boss. There is a smaller locked side door next to the path. We saved the second key from the castle graveyard for exactly this door.
Secret Treasury
Open the side door with the optional Small Key. Behind it lies a huge treasury with numerous chests. Here you will find practically everything you might need for the imminent battles: Rupees of various values, bombs, arrows, hearts and other consumables. Take advantage of the opportunity and completely fill your inventory. If you have used up healing agents or lost a lot of Rupees with the magical armor, you will get enough reserves here for the finale.
Only in Twilight Princess HD there is also the stamp “Zelda – happy” in one of the large chests. You have now collected both HD stamps from Hyrule Castle. If you’ve found all of the previous stamps on our route, this is one of the last regularly hidden stamps in the game; After completing the collection, Midna’s true form will also be unlocked as an additional stamp.
Final preparation before Ganondorf
Return from the treasury and check your inventory one last time. There is no longer any missing permanent collectible within Hyrule Castle. It’s best to save your score here. After the credits, there is no classic postgame state; If you reload your save later, you will find yourself before the final battle again. For a clean 100% save point, this is the ideal last save point.
Then open the large door with the Big Key. Behind it the path leads outside for the last time. Climb the stairs to the highest part of the castle and enter the throne room where Princess Zelda had to surrender to Zant at the beginning of the game. Ganondorf now sits on the throne, while Zelda lies motionless in front of him. After a longer sequence, the Demon King shows the Triforce of power again and lets his dark energy drive into Zelda’s body. This begins the four-part final battle of Twilight Princess.
Finale – Phase 1: Ganon’s Puppet Zelda
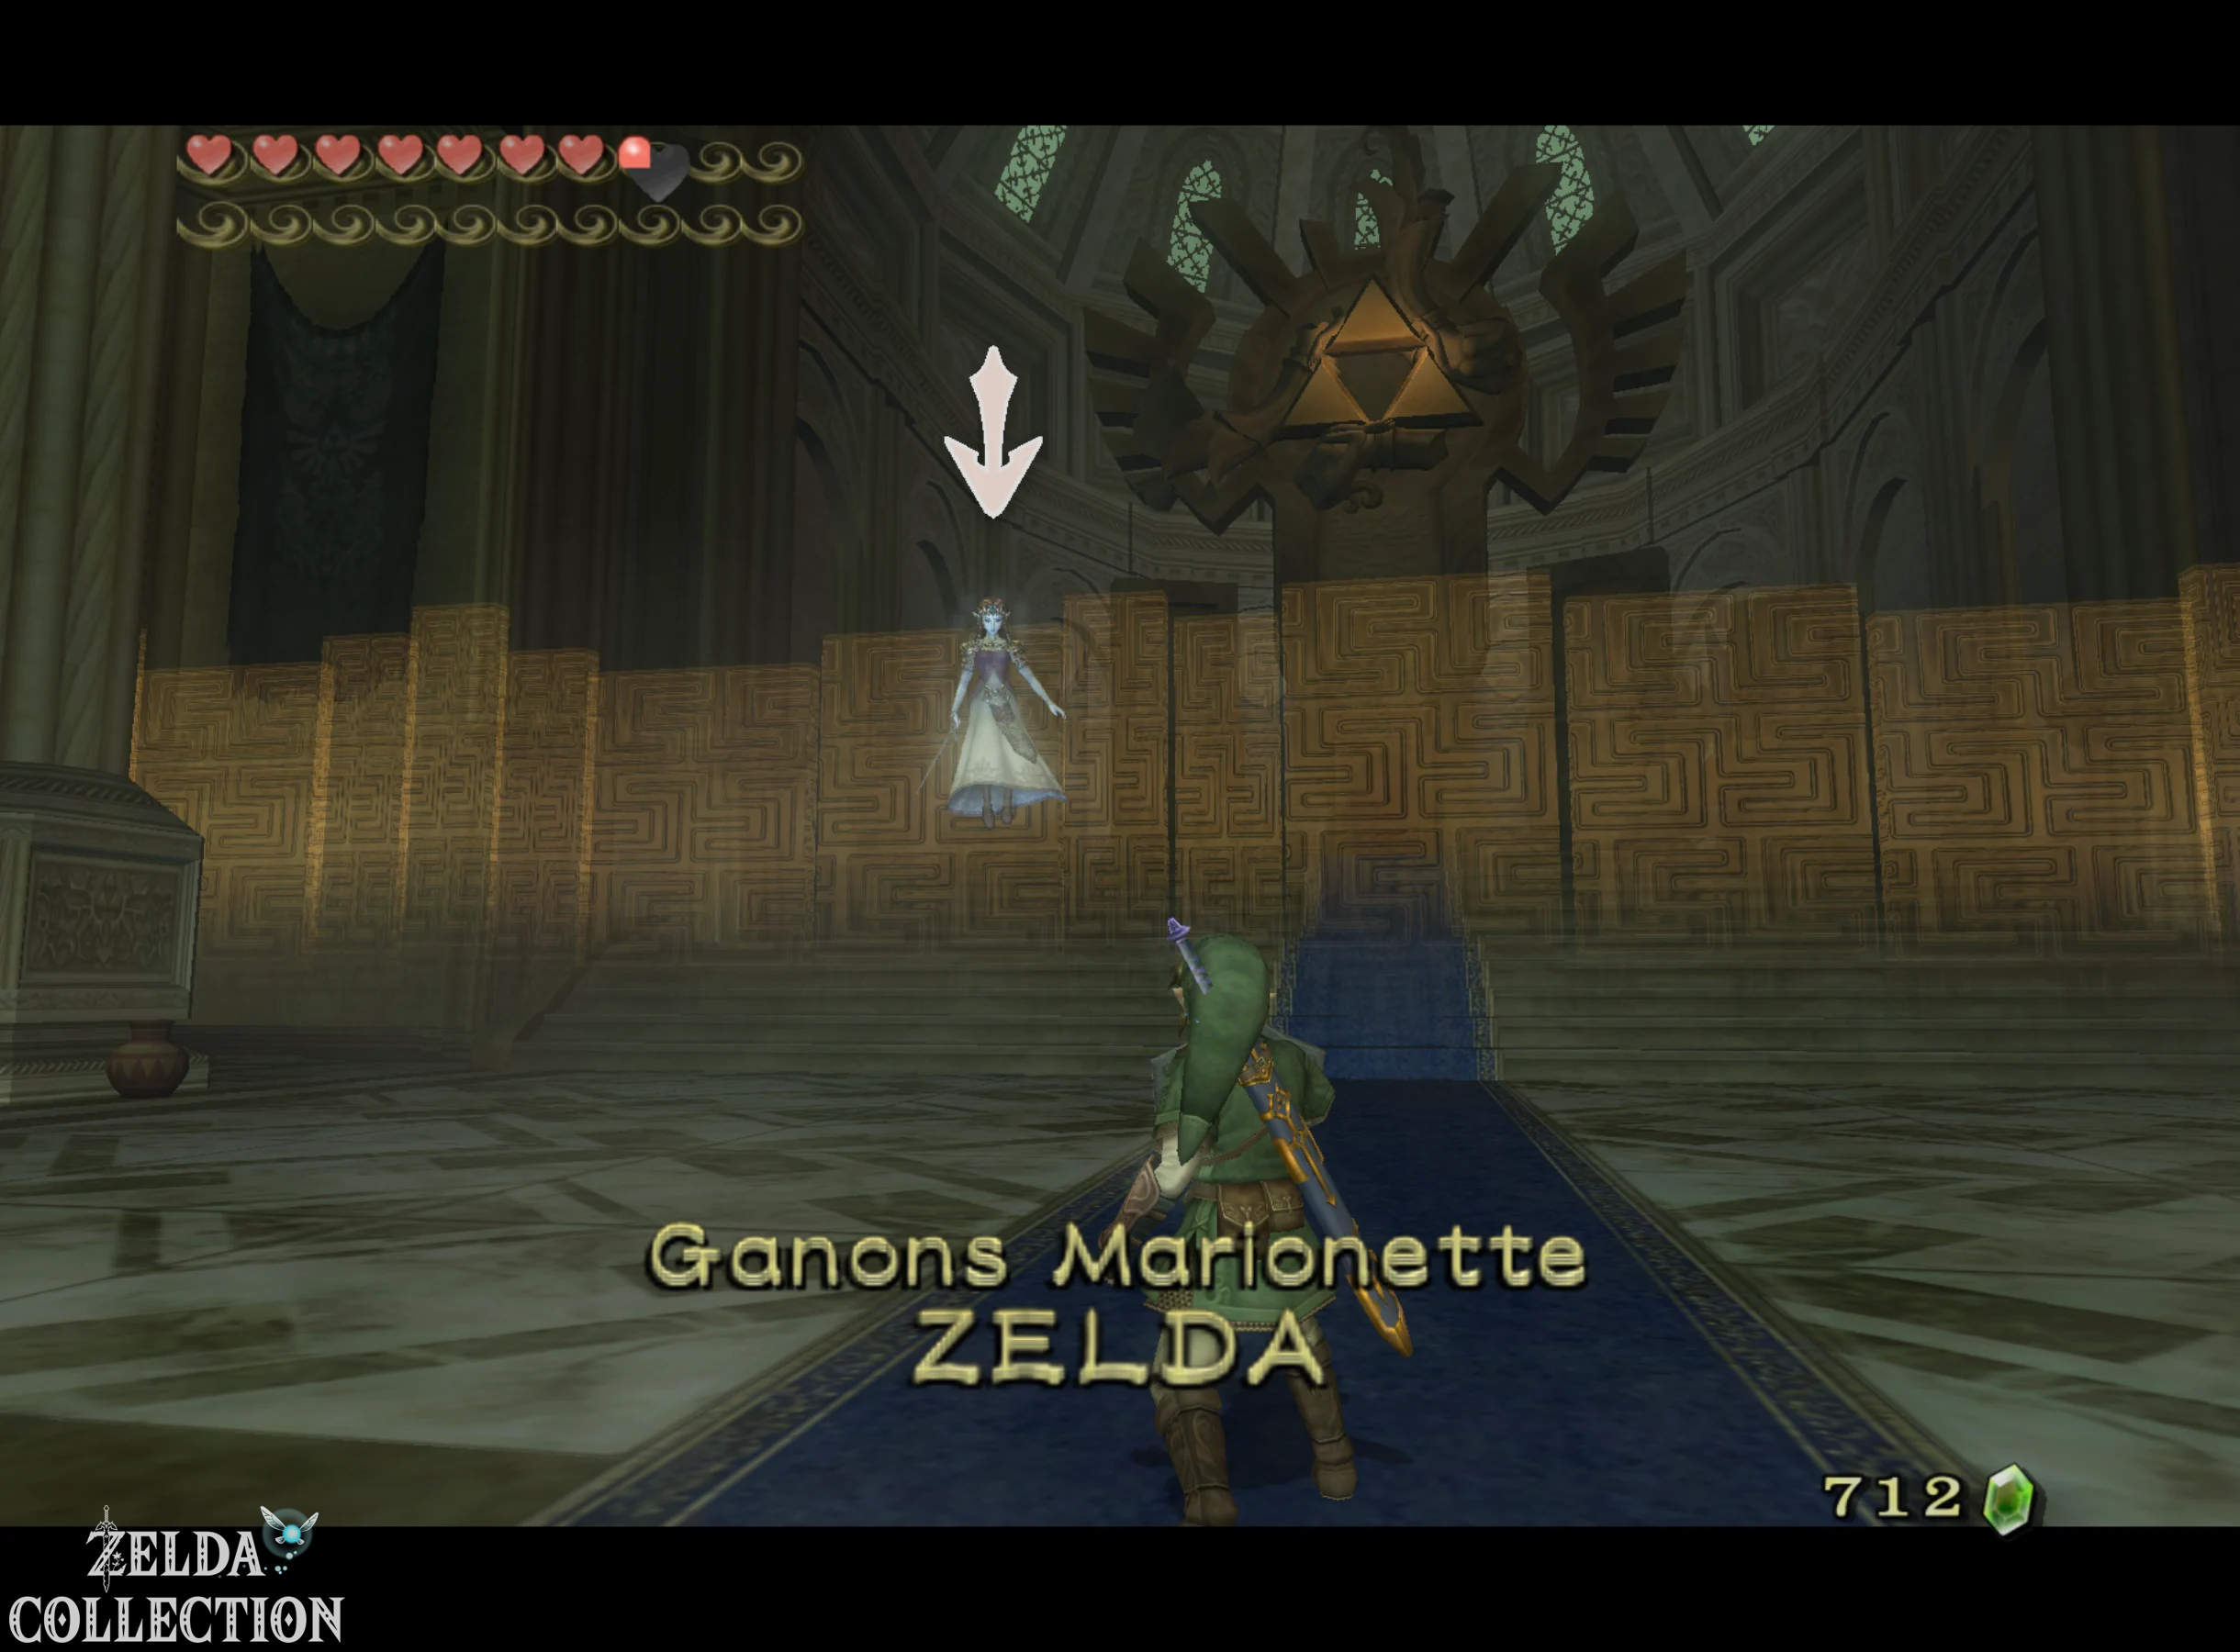
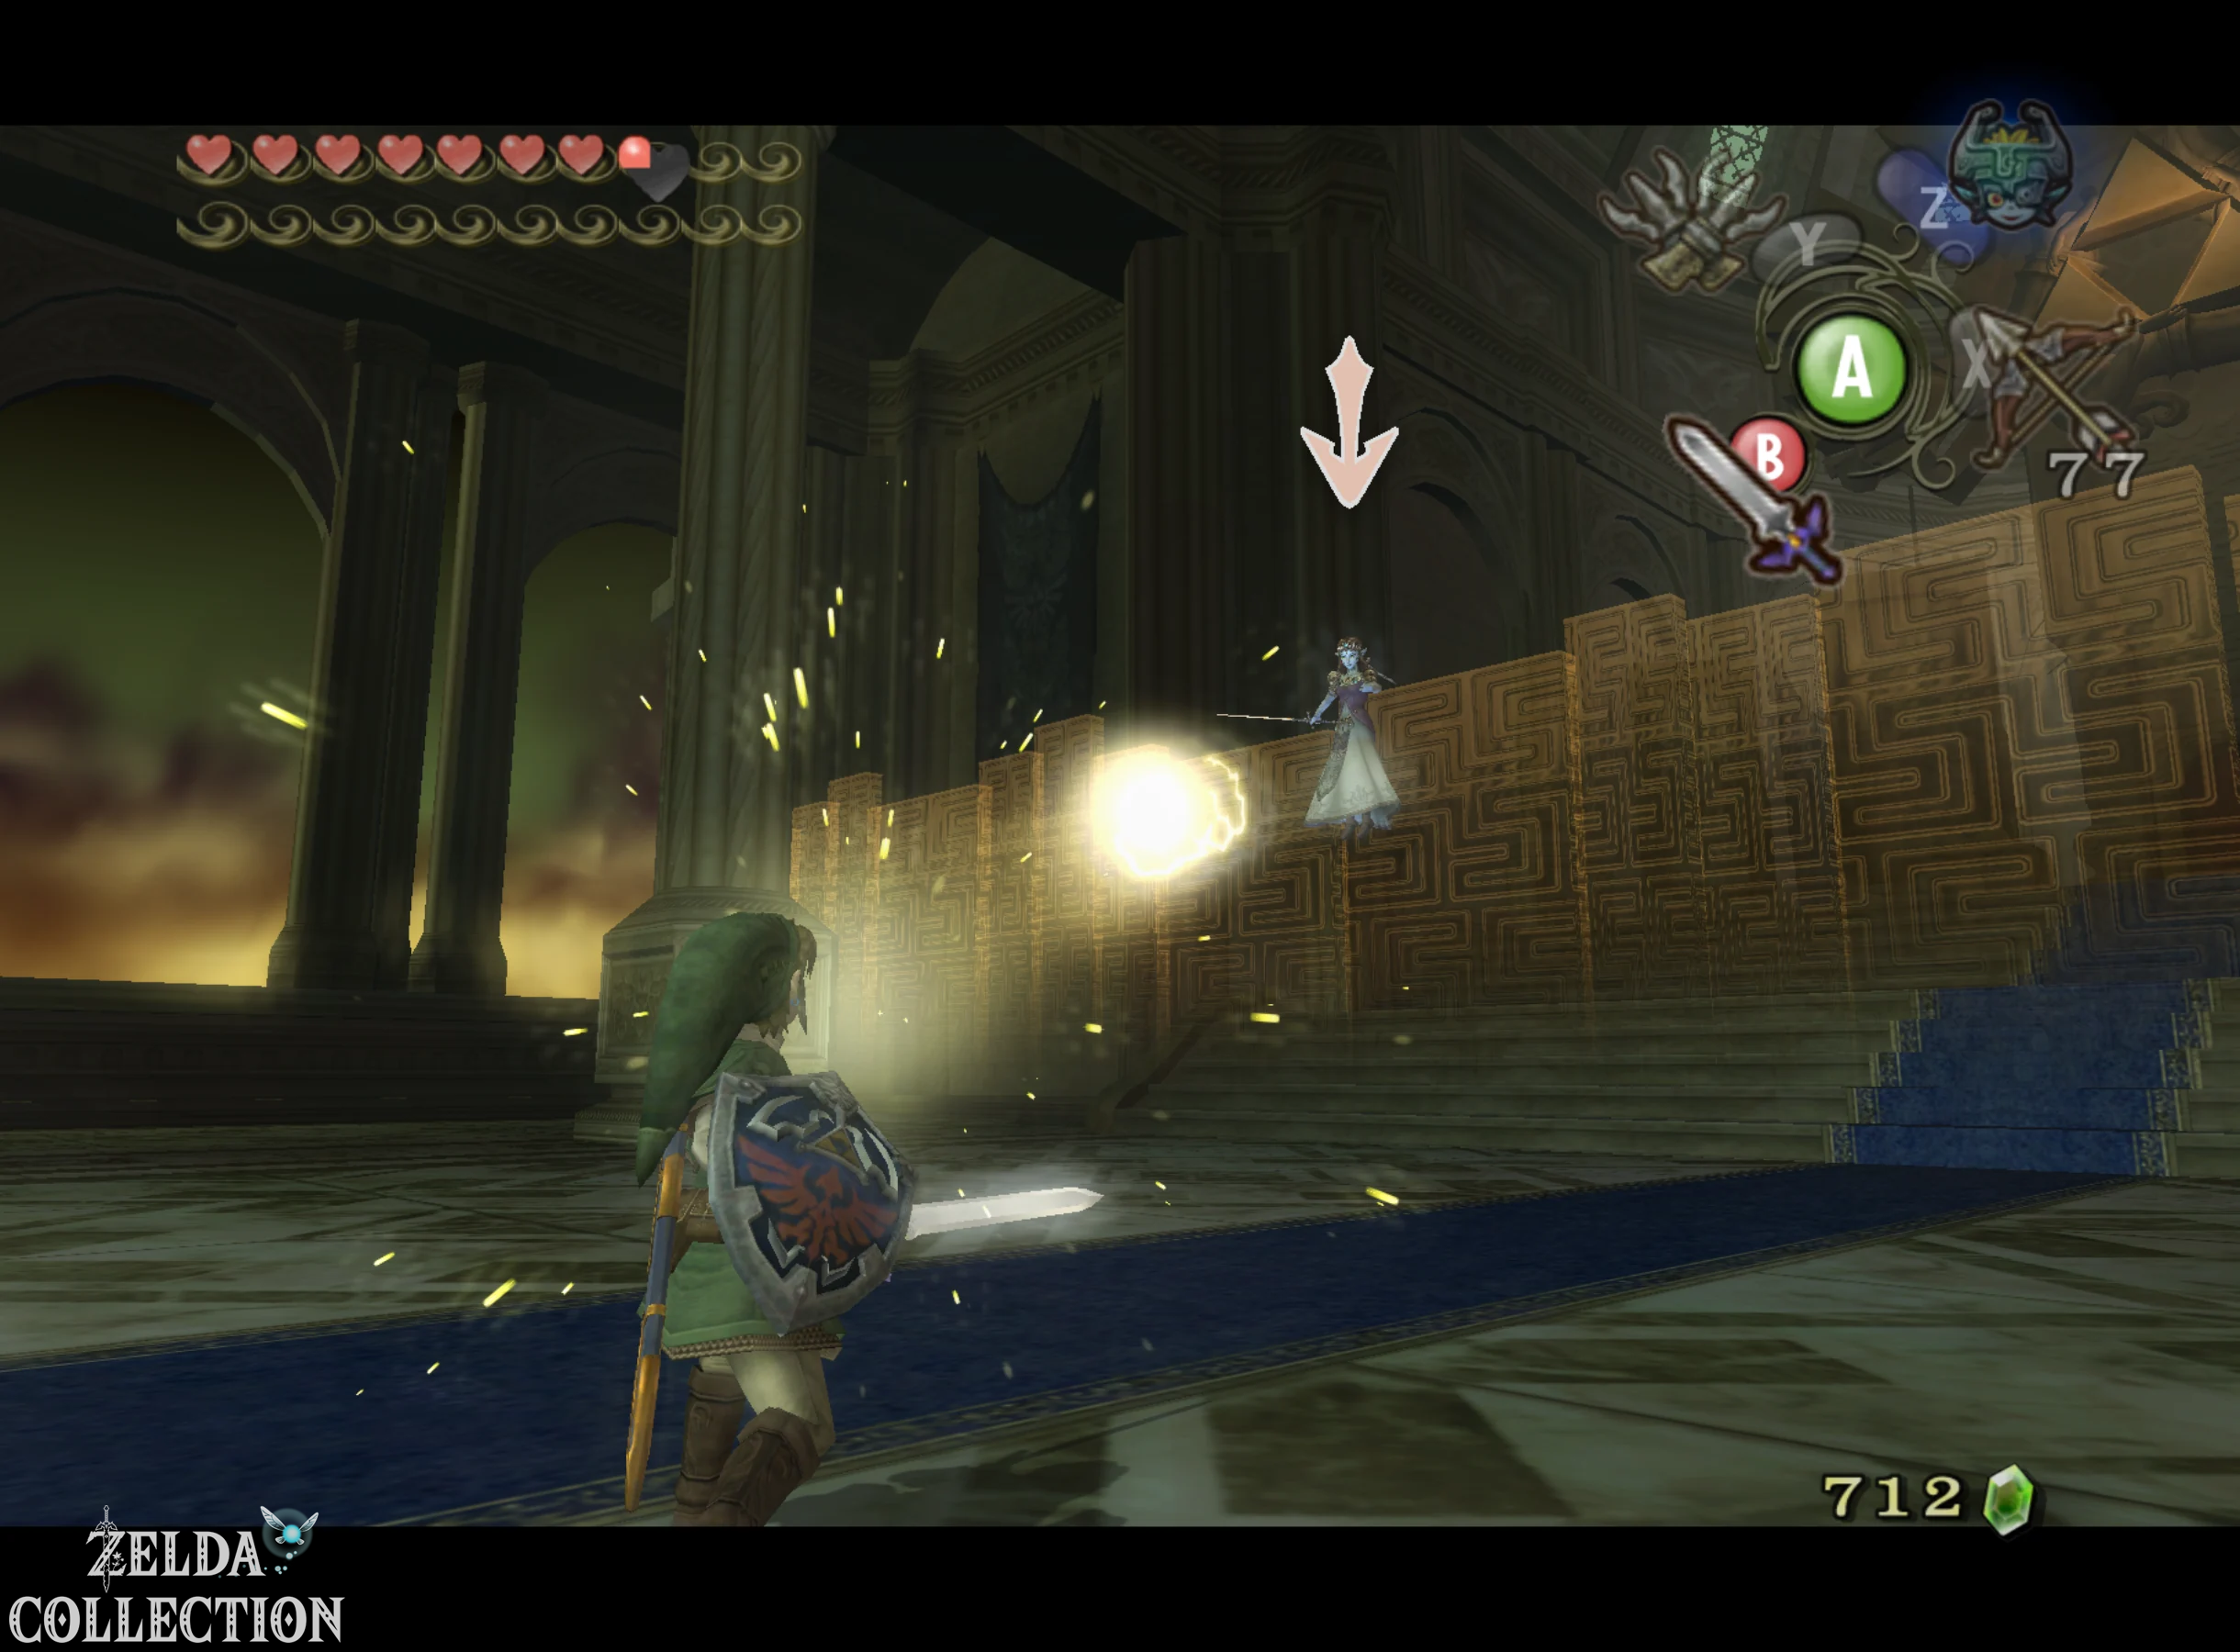
Ganondorf takes possession of Princess Zelda’s’s body and uses her as a puppet. Midna is thrown out of the arena, so Link fights this phase exclusively in his human form. Possessed Zelda has multiple attacks. If she points her sword at Link and then flies through the room at high speed, dodge sideways or block with the shield. If she raises her sword upwards and a large golden Triforce field appears under Link’s feet, you must leave the marked area immediately, because just a few moments later the entire area explodes with magical energy.
The decisive attack begins when Zelda creates a glowing ball of energy at the tip of her sword and hurls it at Link. Wait until the ball is almost at you and hit it back with the Master Sword. Zelda reflects on the attack again and a classic ping-pong duel begins. With each successful reflection, the ball gets a little faster. Therefore, don’t strike too early, but always wait until she actually comes within reach of the sword. At some point, Zelda misses the ball and is hit by her own energy. Repeat the entire process three times. After the third hit, Ganondorf’s dark energy is expelled from Zelda’s’s body and the fight immediately moves to the next phase.
Finale – Phase 2: Shadow Beast Ganon
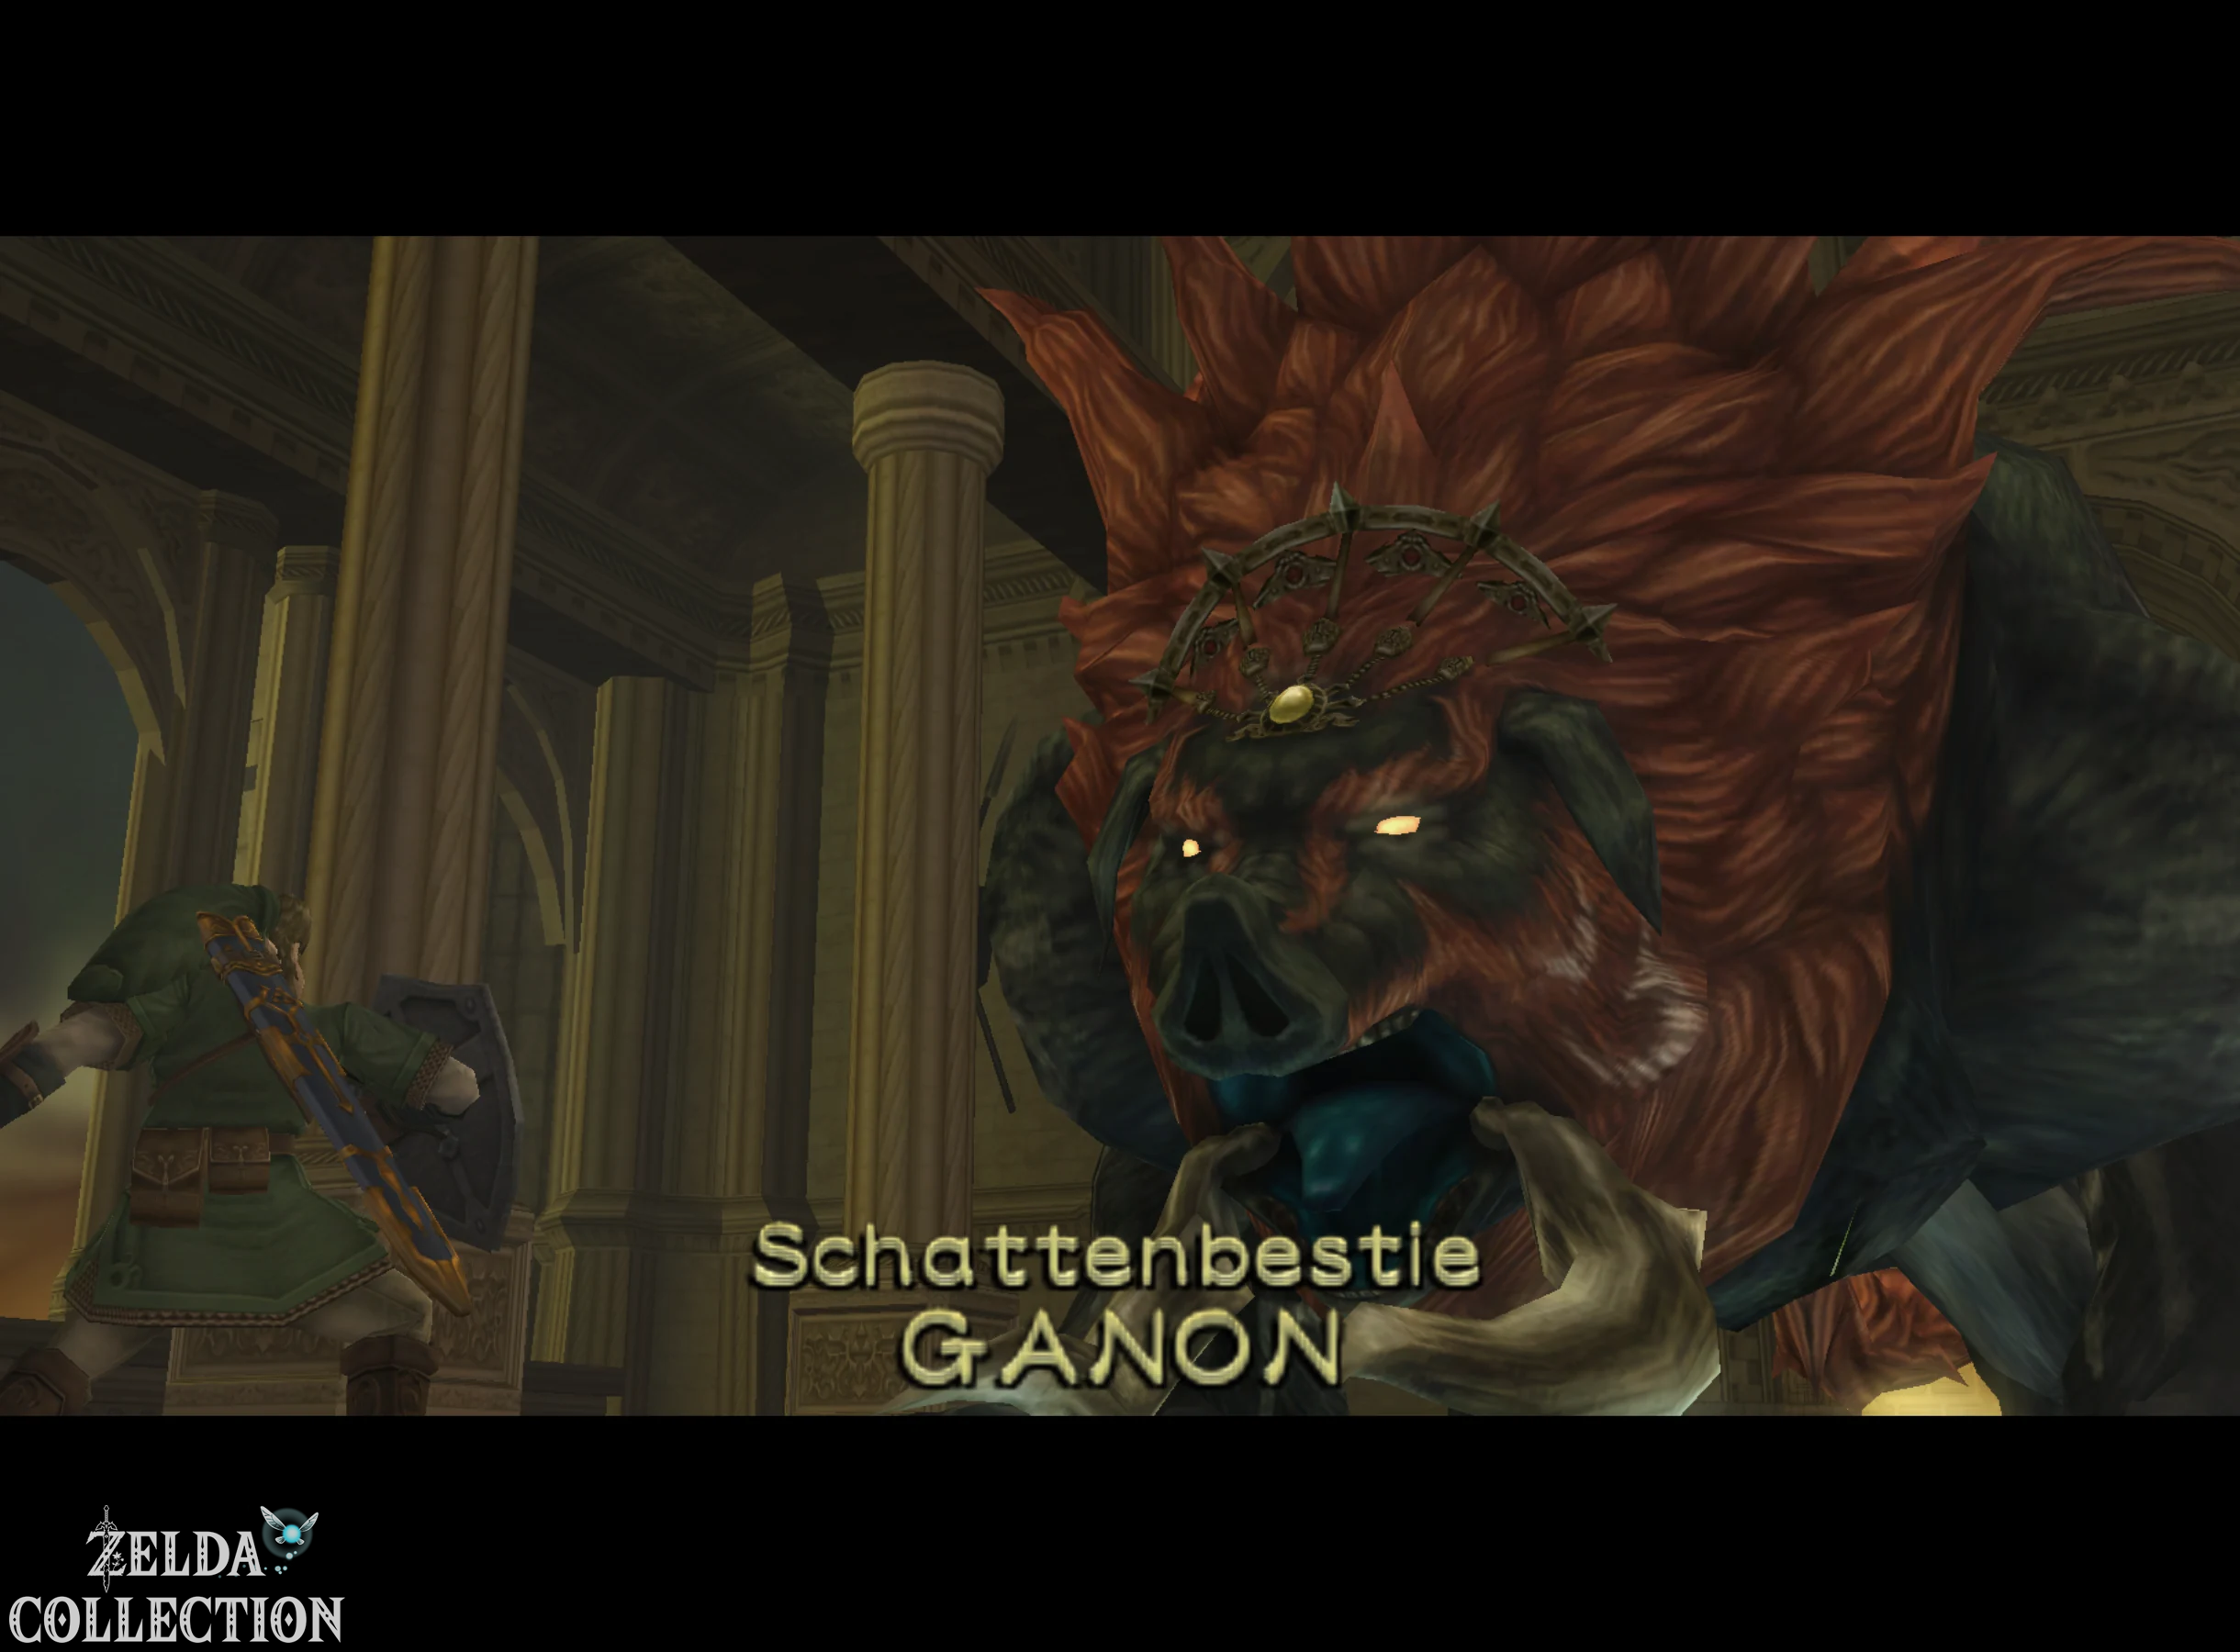
Ganondorf now uses the Triforce of power and transforms into a gigantic demonic boar beast: Ganon. His main weakness is the glowing scar on his stomach – the same wound inflicted upon him during his execution by the Wise Men. At the beginning, Ganon disappears into a dark portal and several red portals appear on the walls of the room. Watch her closely. One of them finally changes color and Ganon will rush towards Link from this very portal.
Take the Hero’s Bow and have the aiming ready. As soon as Ganon comes out of the portal and runs towards you, shoot an arrow directly into his forehead. The hit brings the huge beast down. Immediately run to her stomach and attack the glowing scar with the Master Sword. After a few hits, Ganon disappears into the portals again. In between, it doesn’t appear on the side, but directly above the link. As soon as his shadow or the portal becomes visible above you, you immediately roll out of the impact area and then create enough distance for his next attack.
After a few successful arrow attacks, Ganon sees through this strategy and starts jumping over your arrows. Midna now suggests letting beast fight beast. Transform into Wolf-Link and watch the portals again. Stand directly in front of the portal from which Ganon appears and this time stay standing. Shortly before the collision, the action appears within reach. Midna forms a huge hand out of her hair and grabs Ganon by the head. Follow the indicated direction and throw him sideways onto the ground. Then immediately jump onto the vulnerable belly scar and attack several times. Repeat this process until Ganon finally collapses.
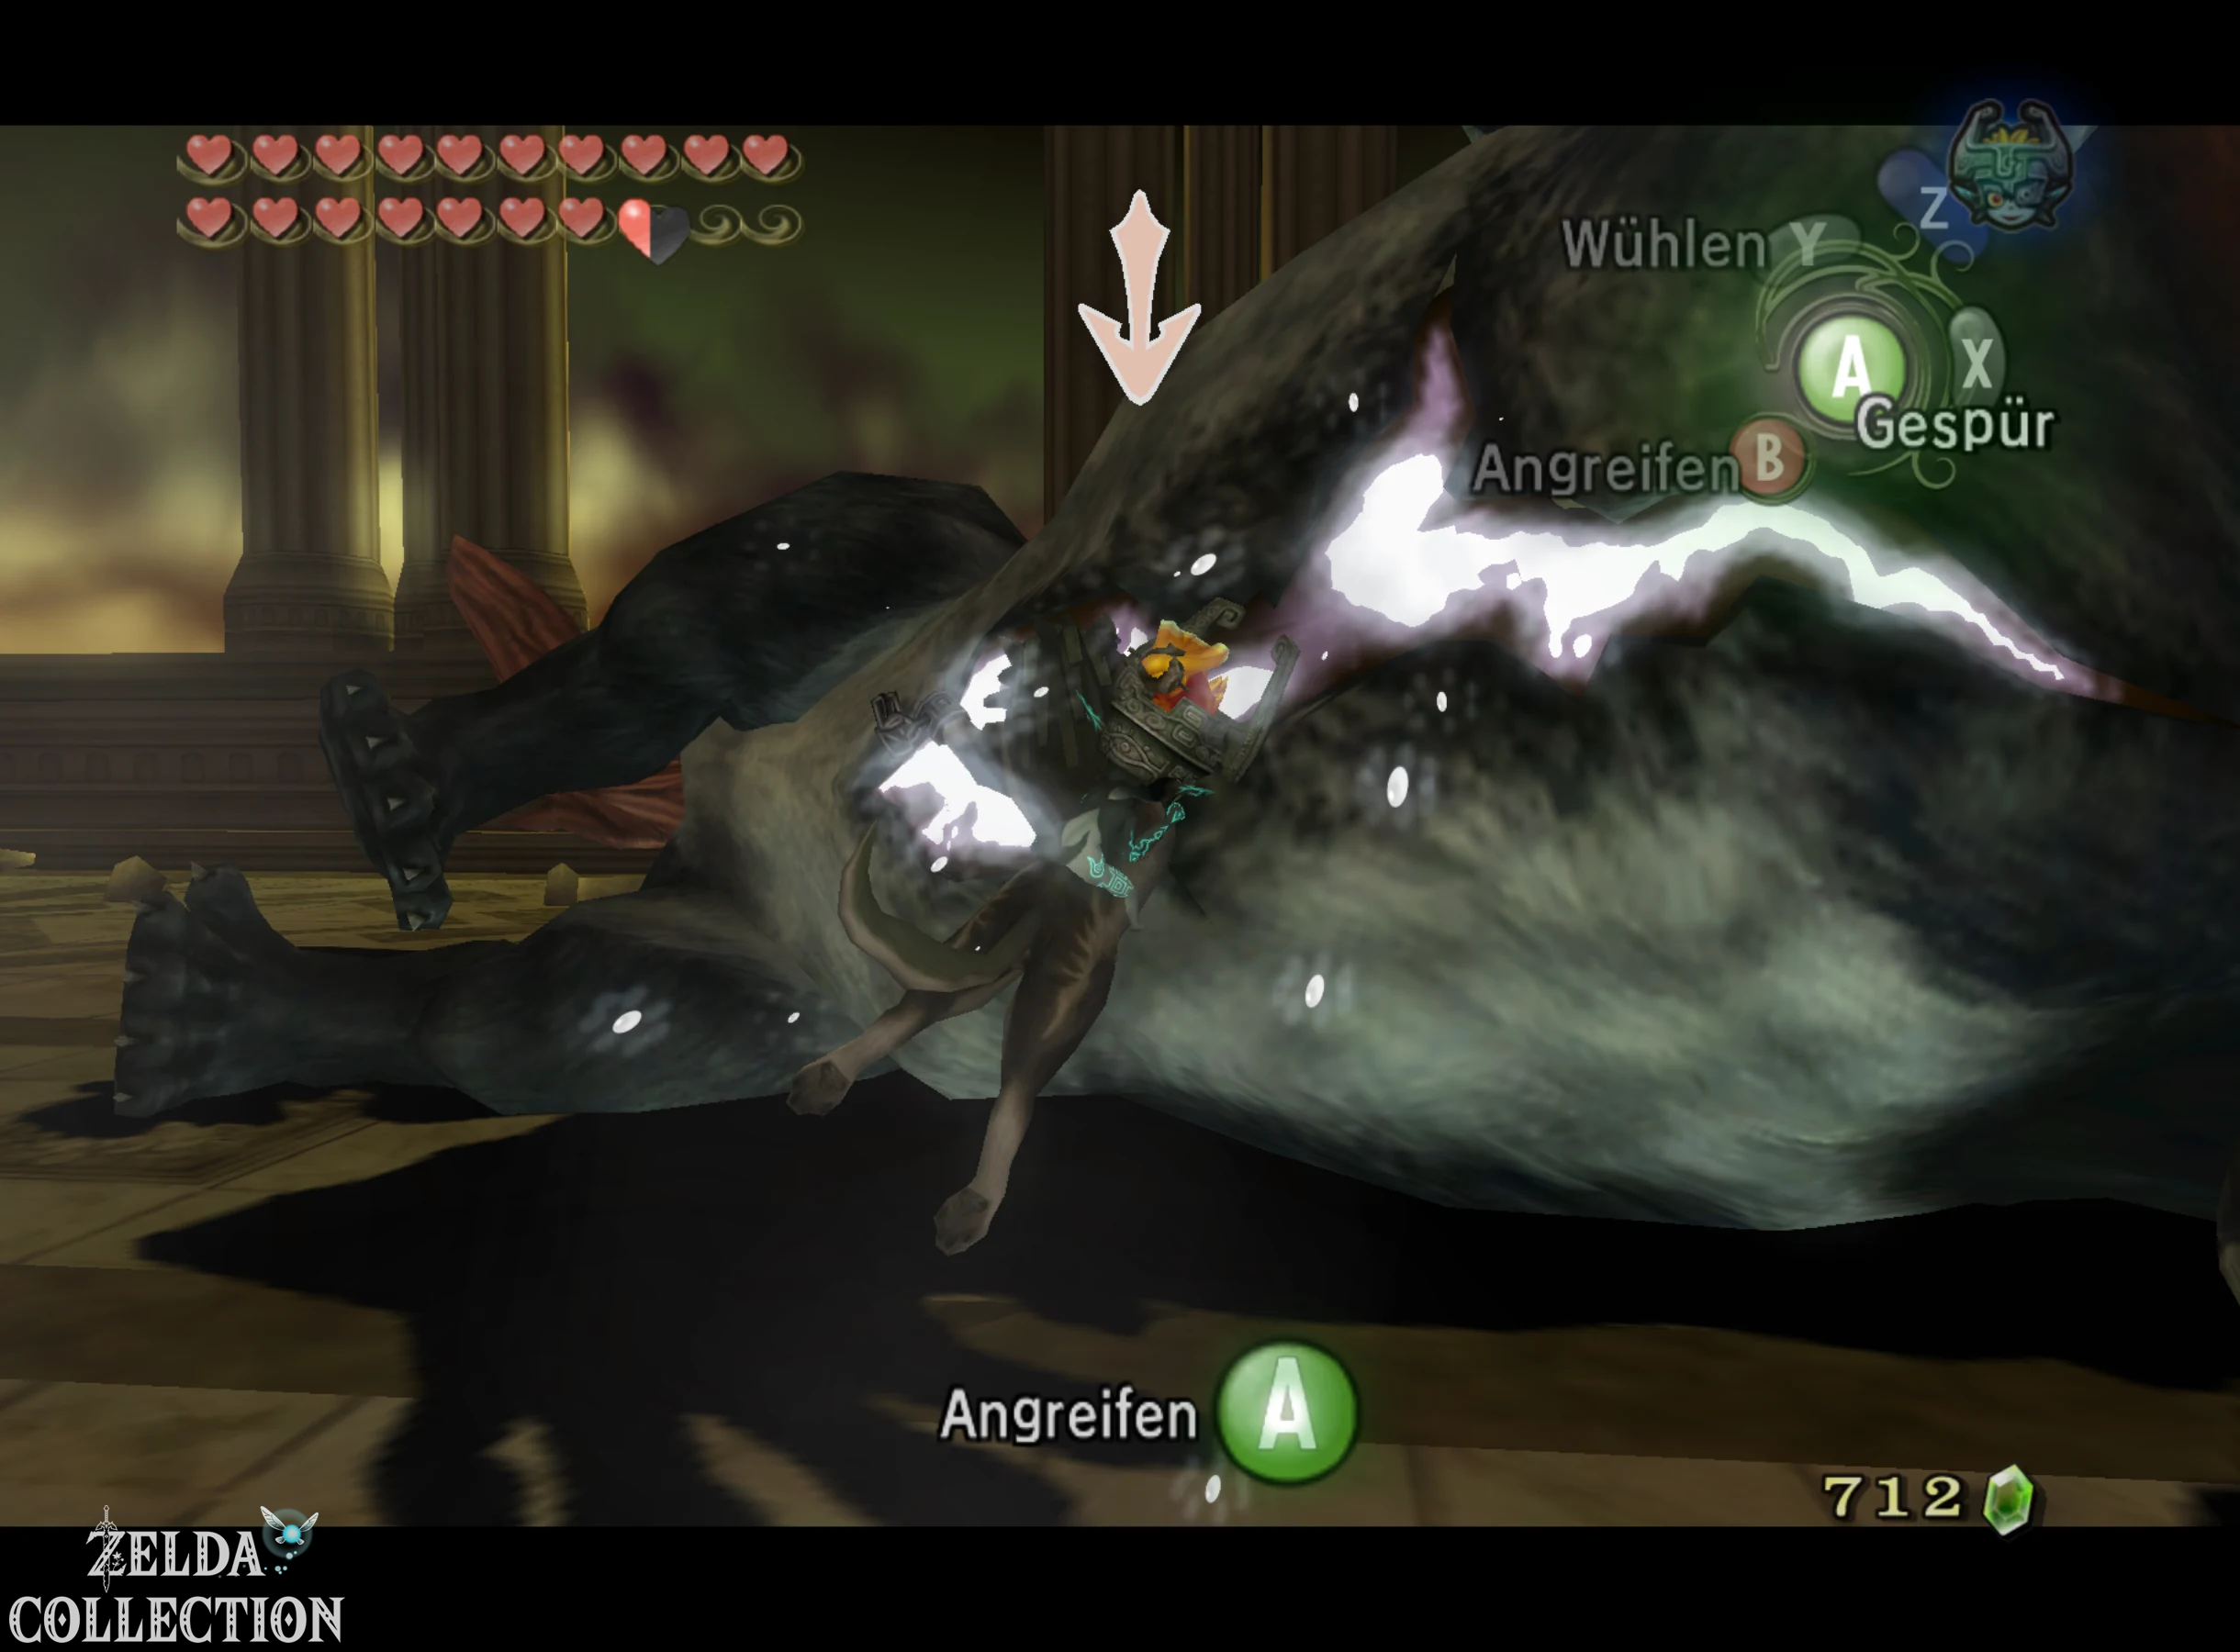
Midna vs Ganondorf
After Ganon’s defeat, the fight seems to be over for a moment. Princess Zelda fully returns to life, but Ganondorf rises again. Midna realizes that she must protect Link and Zelda and uses the last of her strength to teleport them both out of Hyrule Castle. She stays behind and faces Ganondorf with the full power of the three Fused Shadows. We don’t see the actual duel between the two. A little later, Link and Zelda are on the Hyrule Field when Ganondorf appears on a black horse. In his hand he holds a broken Fused Shadow – a clear indication that Midna’s attack failed to stop him.
Final – Phase 3: Mounted Ganondorf
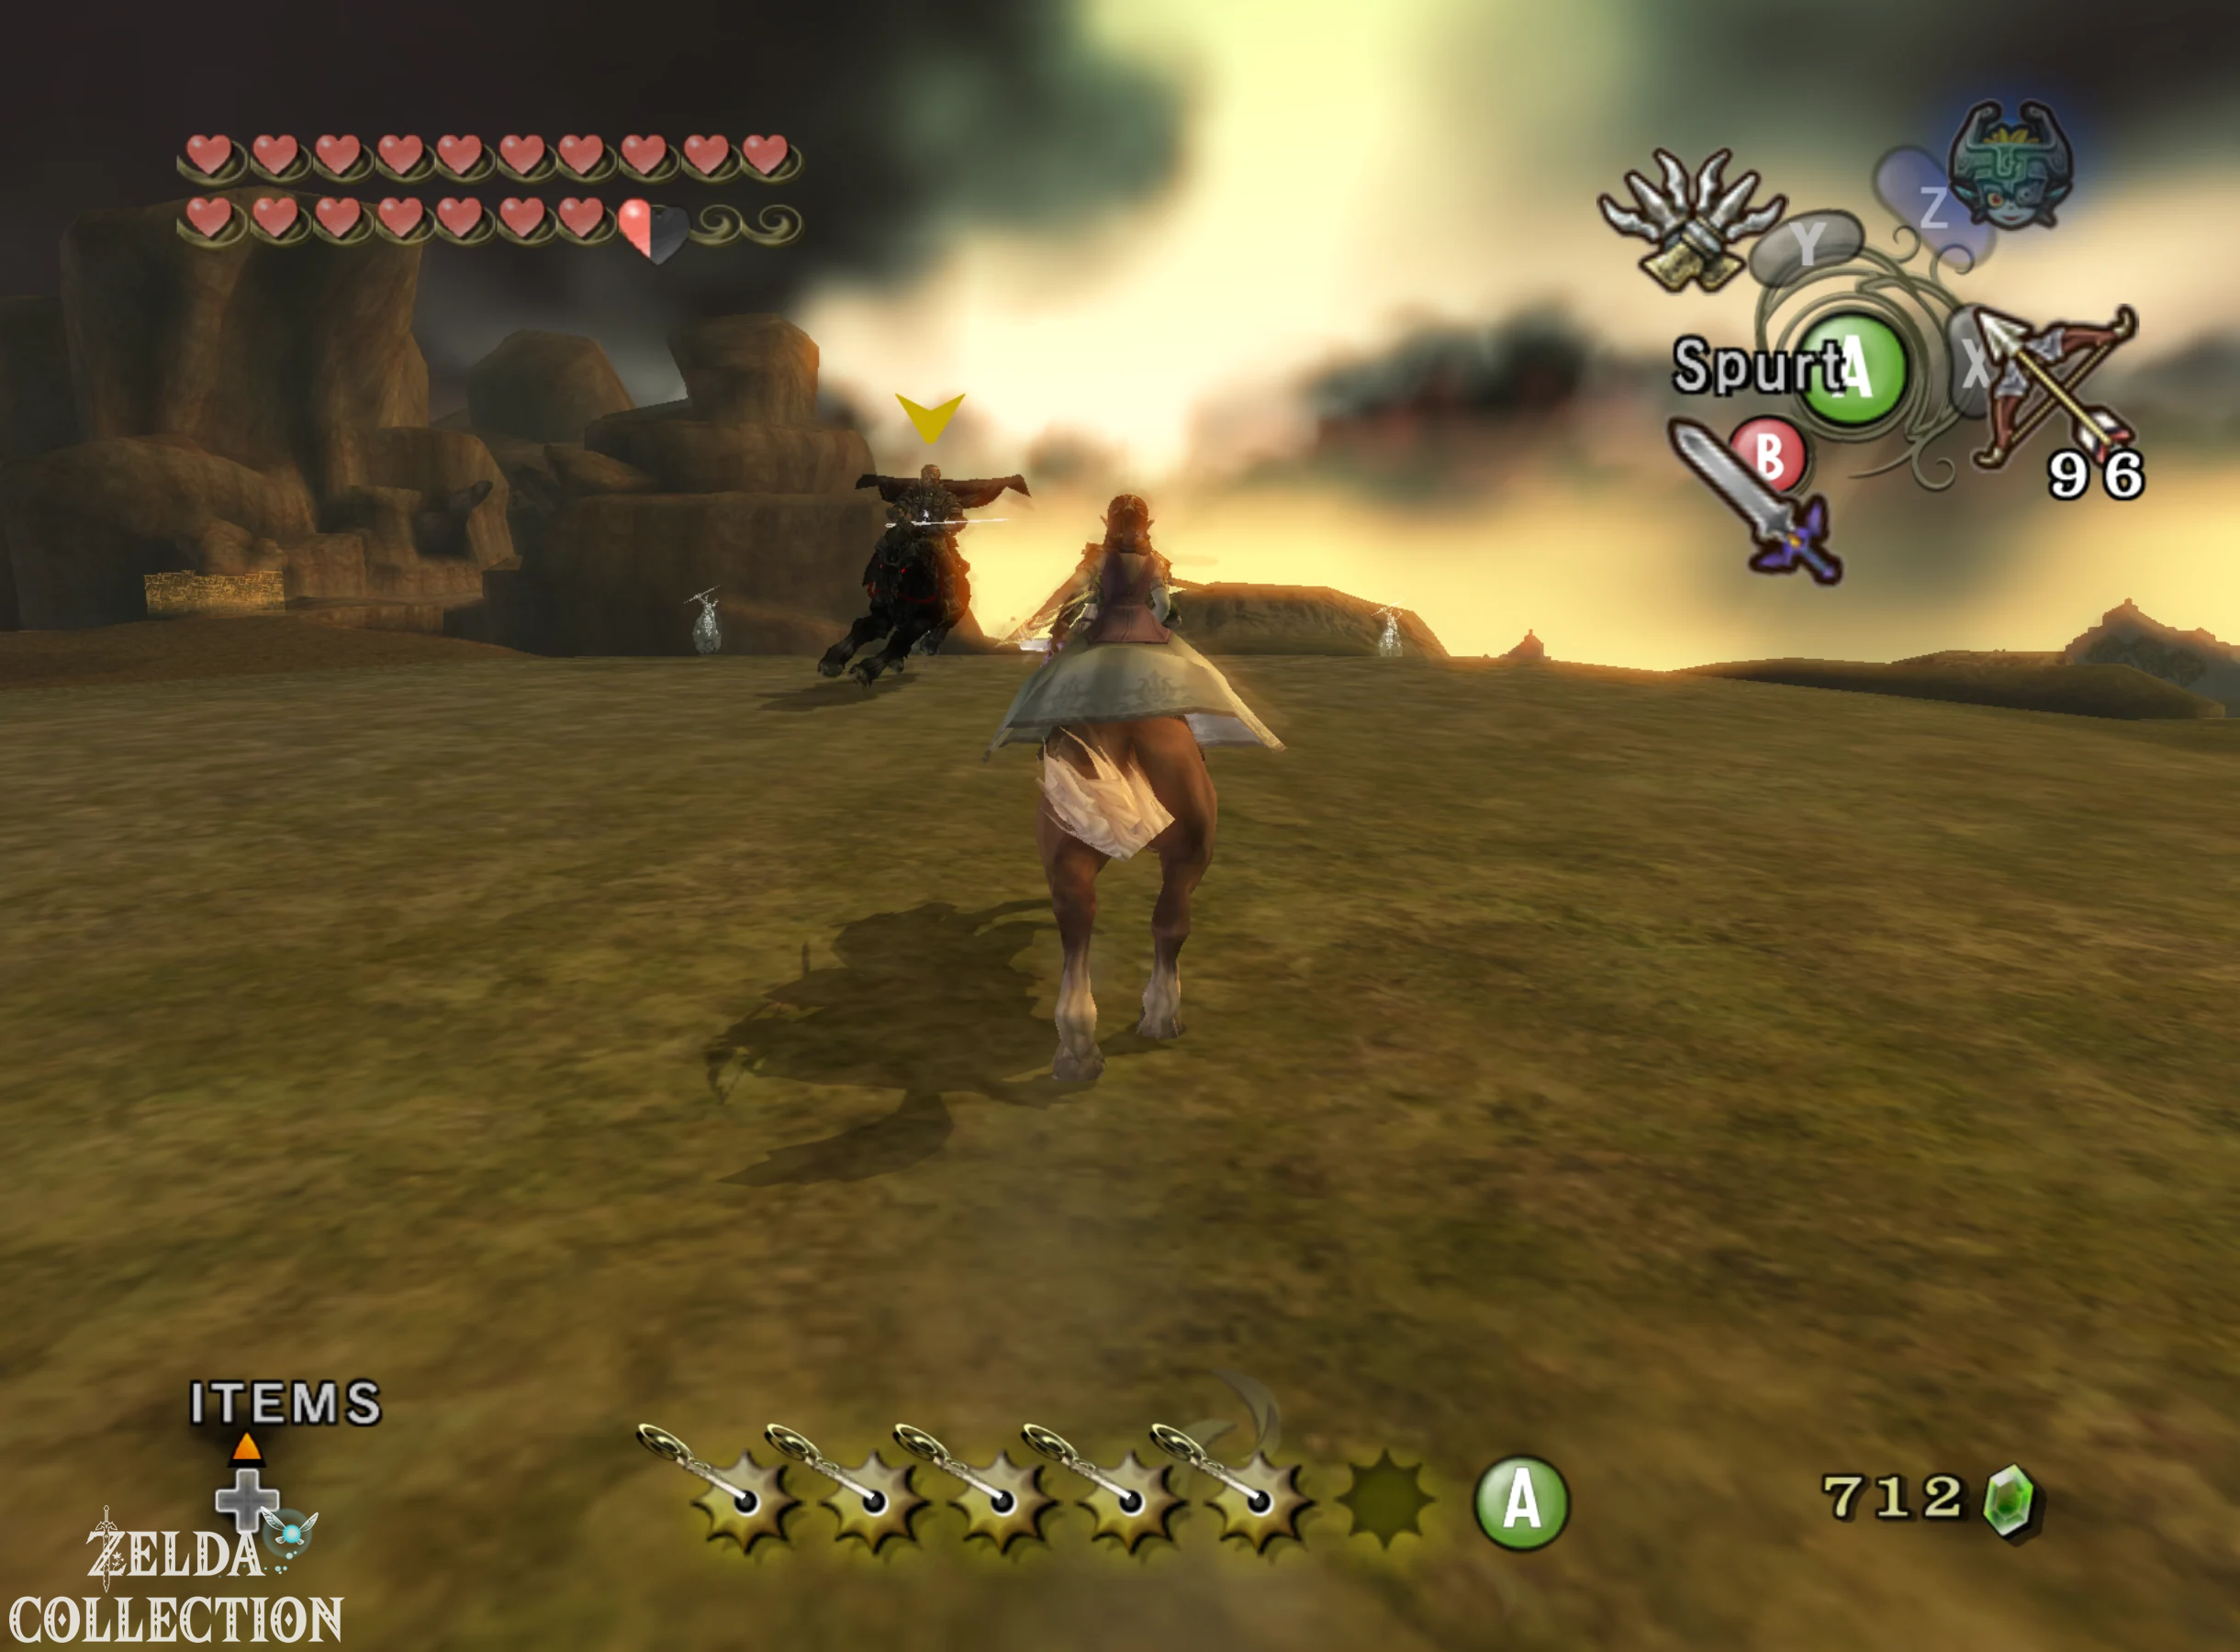
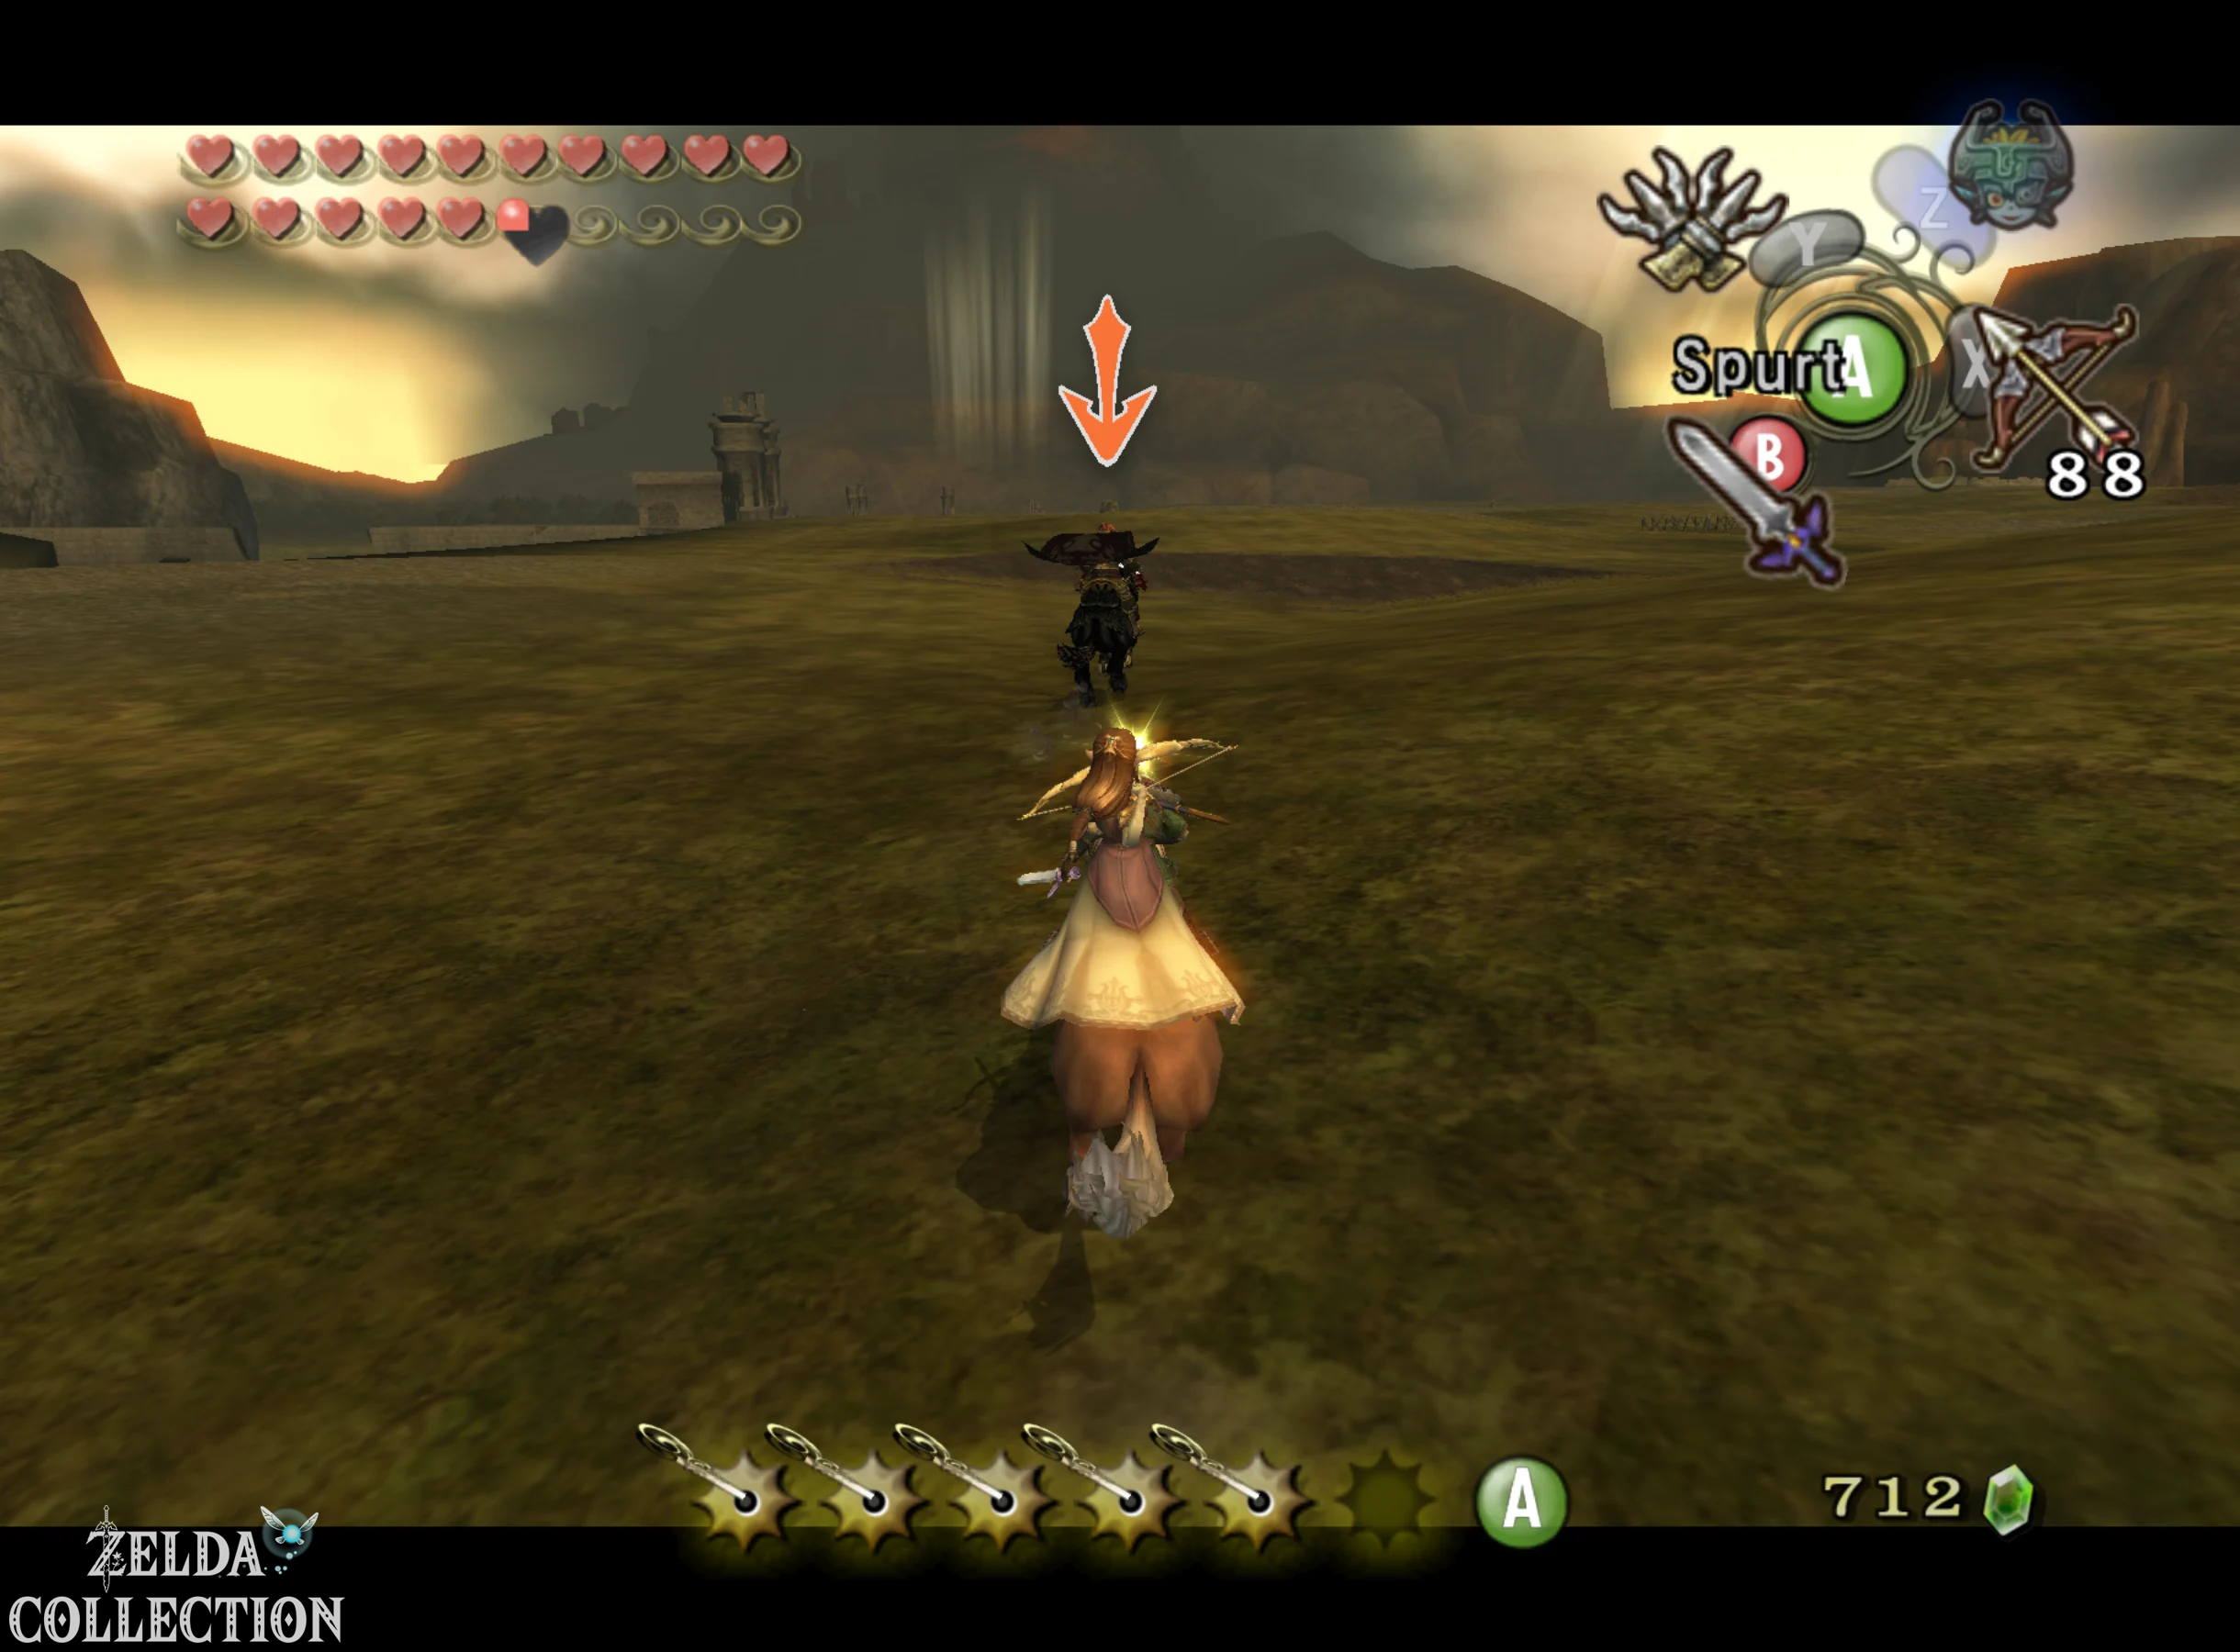
Princess Zelda calls the four light spirits and receives from them the powerful Light Arrows. Link climbs onto Epona and Zelda sits behind him. The third phase takes place as a chase across the Hyrule Field. Stay as close behind Ganondorf as possible and use Epona’s spores regularly so that he can’t build up a big lead. Once you’re close enough, target Ganondorf. Zelda automatically begins charging a light arrow. While doing this, try to ride as straight as possible behind him, because the less hectically you steer, the easier it is for Zelda to hit her target.
If the light arrow hits, Ganondorf is briefly stunned and his horse loses speed. Immediately ride next to him and strike with the Master Sword. A spin attack is particularly good if you are exactly at the same height as him. Ganondorf also summons ranks of dark phantom riders during the chase. These first appear as glowing energy and then storm across the field. Don’t try to break through them head on, instead look for a gap between the riders and steer Epona through. If you get hit, Link will fall off his horse and lose valuable time. Repeat the chase, light arrow, and sword attack sequence several times until Ganondorf is finally thrown from his horse.
Finale – Phase 4: Shadowlord Ganondorf
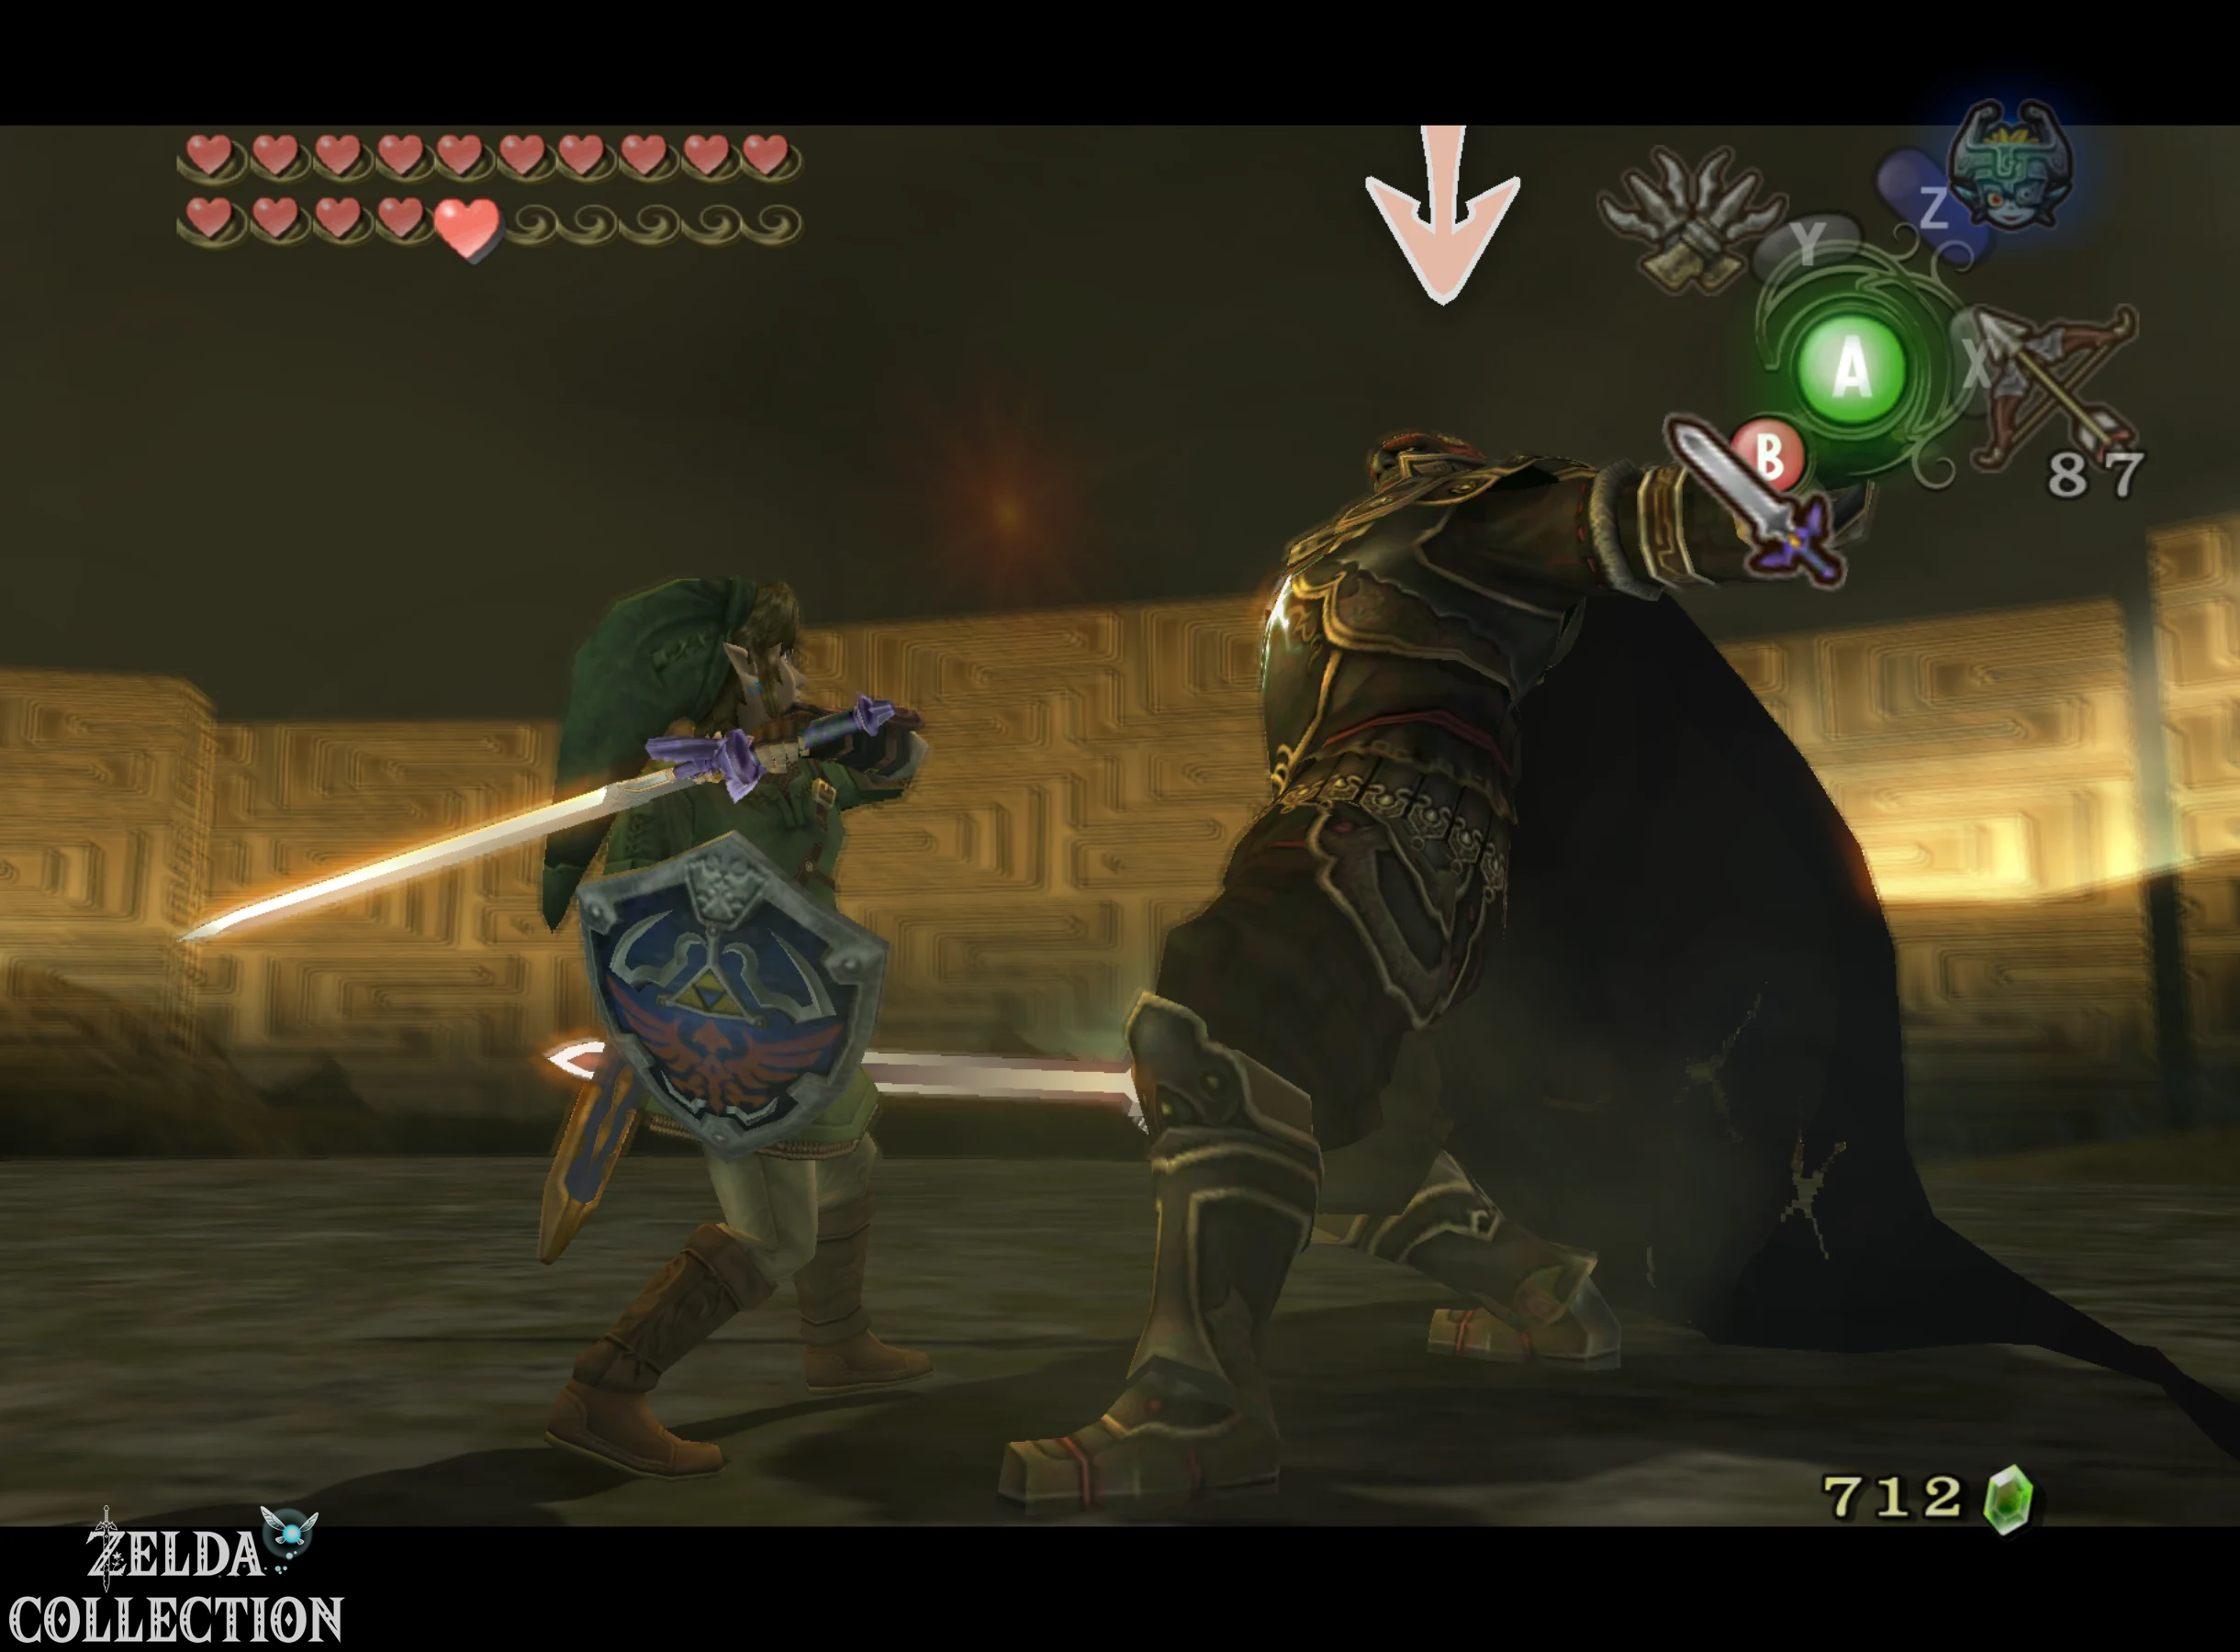
Ganondorf rises one last time. Zelda and Midna can no longer help Link. A magical barrier encloses the two opponents on the Hyrule Field and the finale of Twilight Princess ends as a classic sword duel: Master Sword versus Ganondorf’s blade. Ganondorf has enormous range and almost completely blocks normal frontal attacks. Blind strikes are therefore of little use. Keep your sights on him, move sideways and avoid his normal sword combos by jumping back or sidestepping. The backhand is particularly effective. Roll around his side and attack his back. If the first hit lands, you can usually follow up with several more hits before Ganondorf defends himself again.
His most important attack for our strategy is a direct charge attack. Ganondorf lowers his blade and runs towards Link. This time don’t dodge, just stay standing. Shortly before the collision, the action “Chance” appears. Press the indicated button and link wedged his Master Sword with Ganondorf’s blade. Then press the button repeatedly or according to the controls of your version until Link wins the test of strength. Ganondorf is knocked back and is completely exposed for a few seconds. Use this opportunity for a complete sword combination, a jump attack or, when at full health, the great whirl attack. As soon as he defends himself again, you retreat again and wait for the next opportunity.
Repeat backhand, sword duel and subsequent sword combinations until Ganondorf is finally knocked to the ground. Target him immediately. Now the promotion for the Ending Blow appears one last time. Press the button and Link will jump into the air before ramming the Master Sword straight into Ganondorf’s’s chest. This ends the final battle of the game.
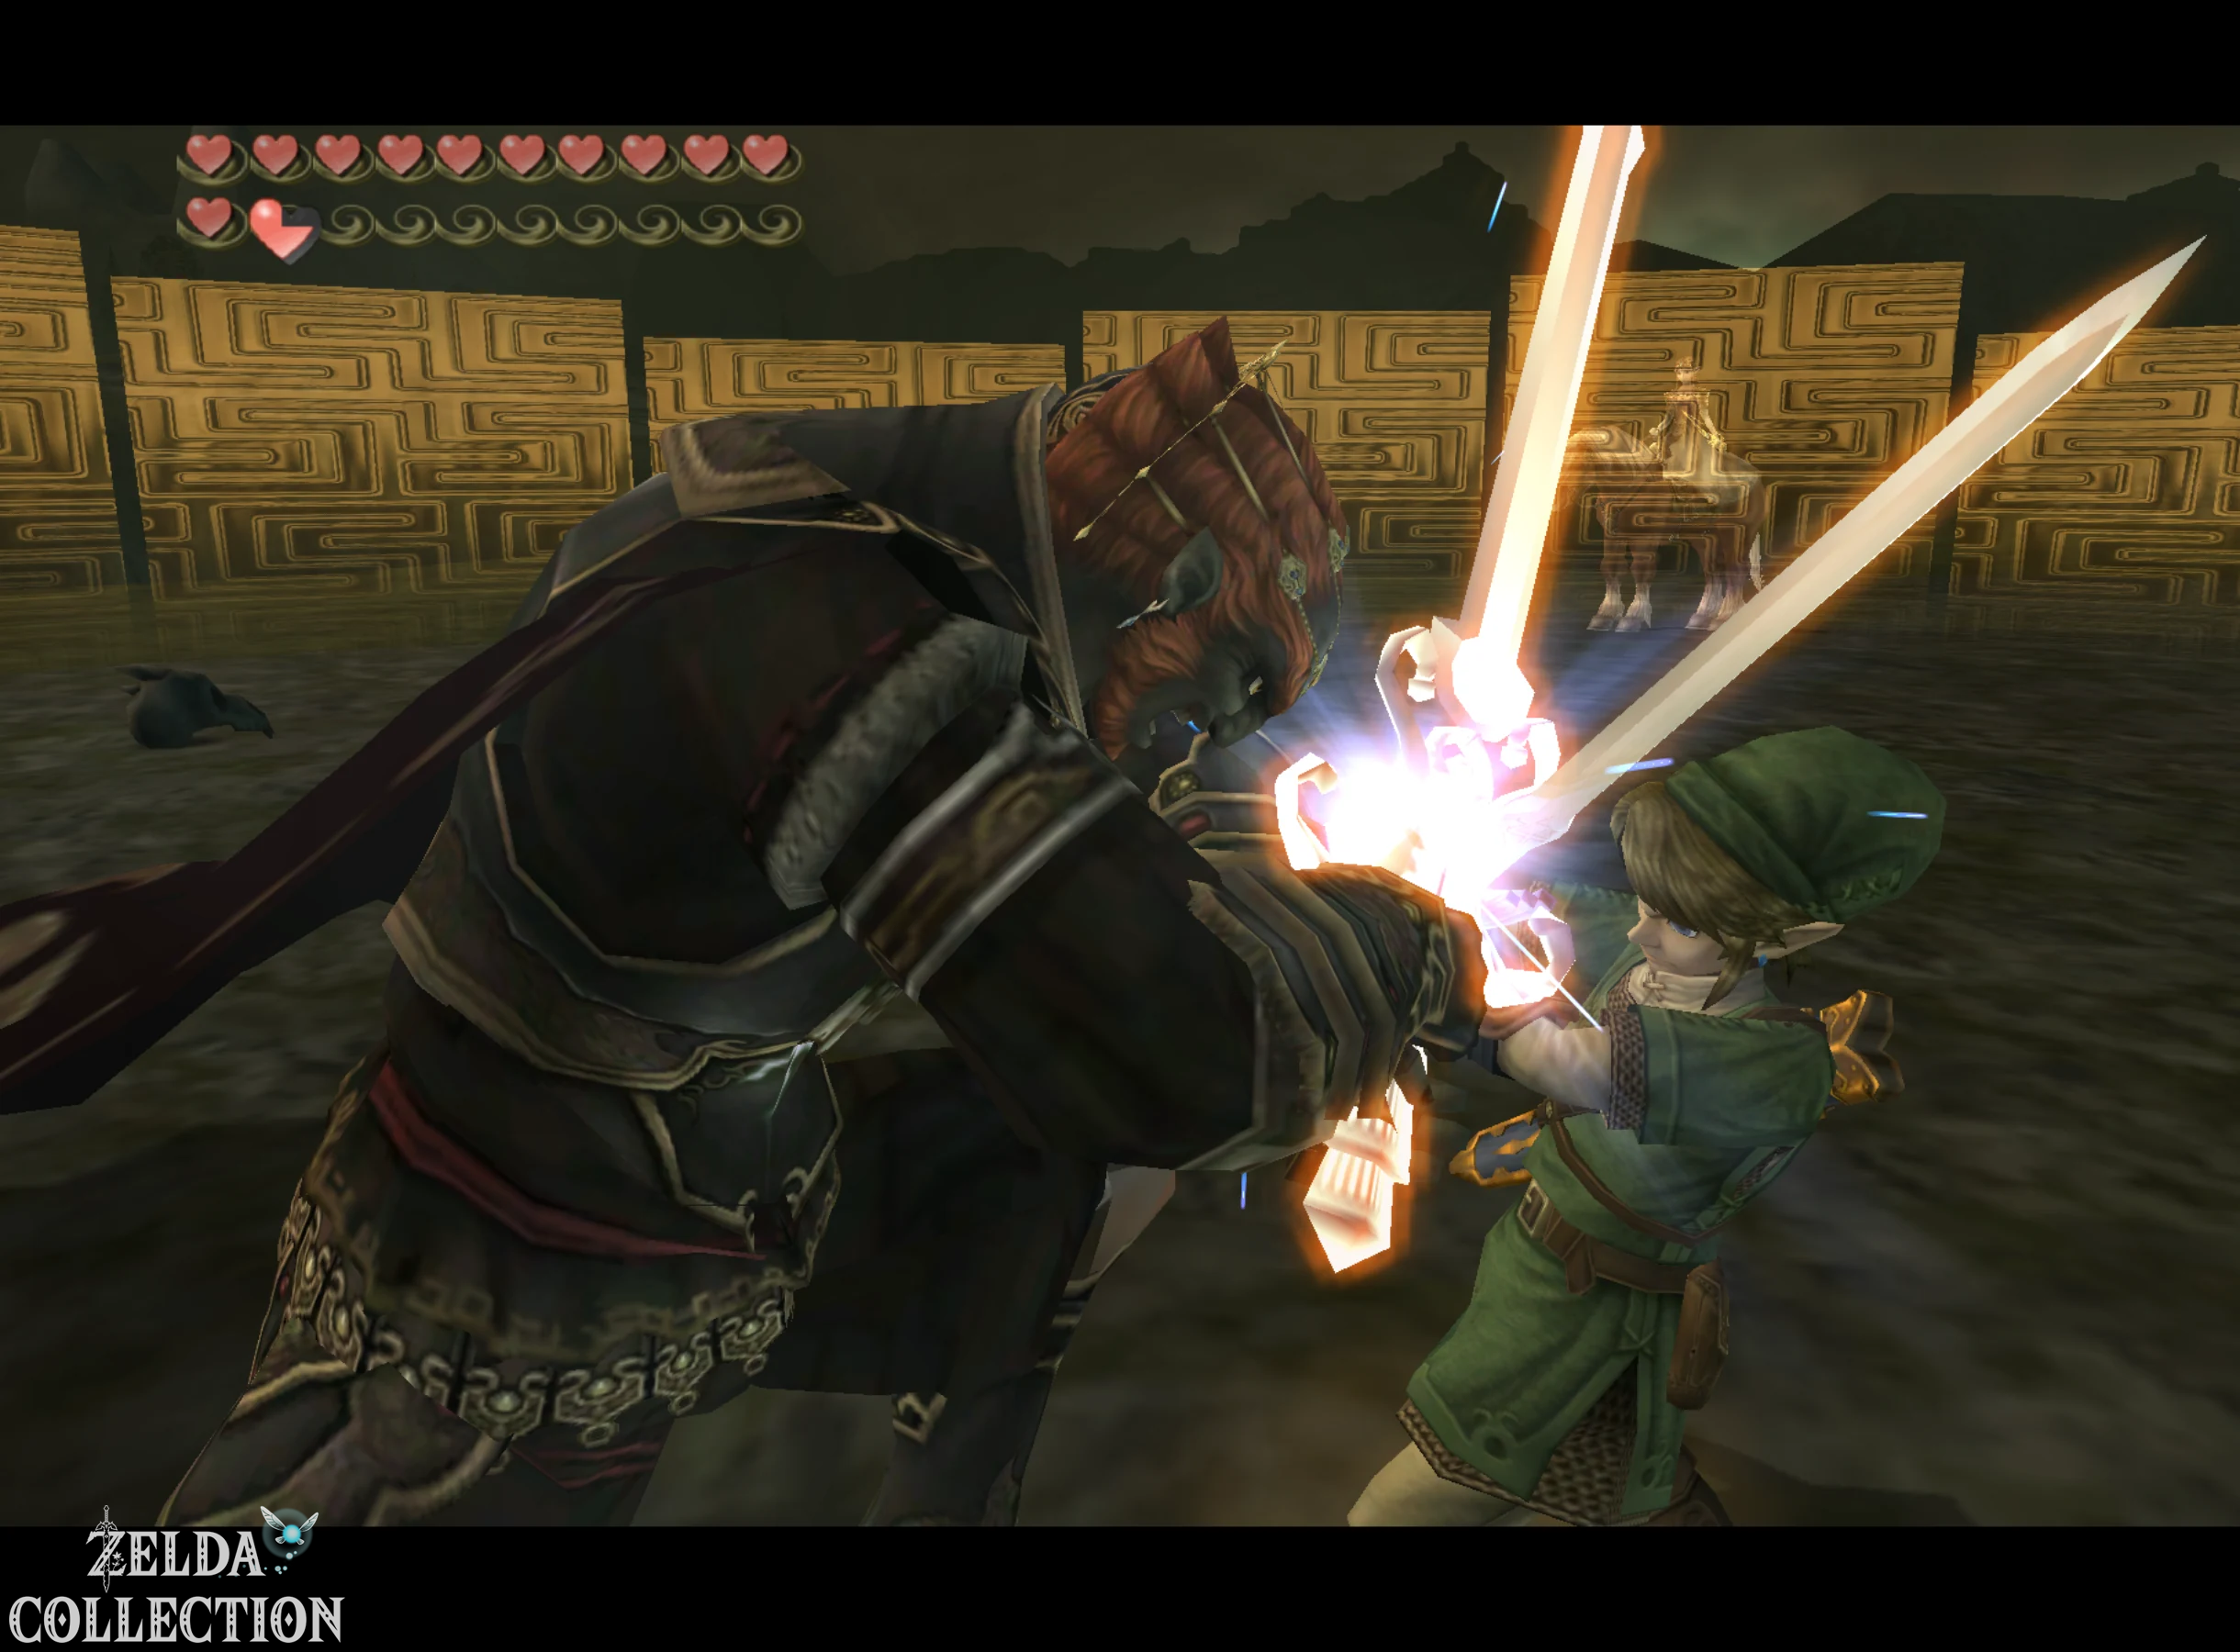
Ganondorf’s End
Ganondorf rises once more despite the Master Sword in his chest. The Triforce of power glows on his hand, but after a few moments the symbol begins to fade and eventually goes out completely. The Demon King remains standing, but his life is ended. In a brief vision we see Zant one last time. With a single movement, his neck breaks – a symbolic indication that the connection between Zant and Ganondorf is also finally destroyed.
Midna’s true form
After the fight, Link and Zelda rush back to the spot where Midna fought alone against Ganondorf. At first there seems to be nothing left of her. However, Princess Zelda calls the light spirits, whose power restores Midna. For the first time we see her not in her little cursed form, but as the true Shadow Princess Midna, rightful ruler of the Shadow Realm. This also removes the last part of the curse that Zant placed over her at the beginning of the adventure.
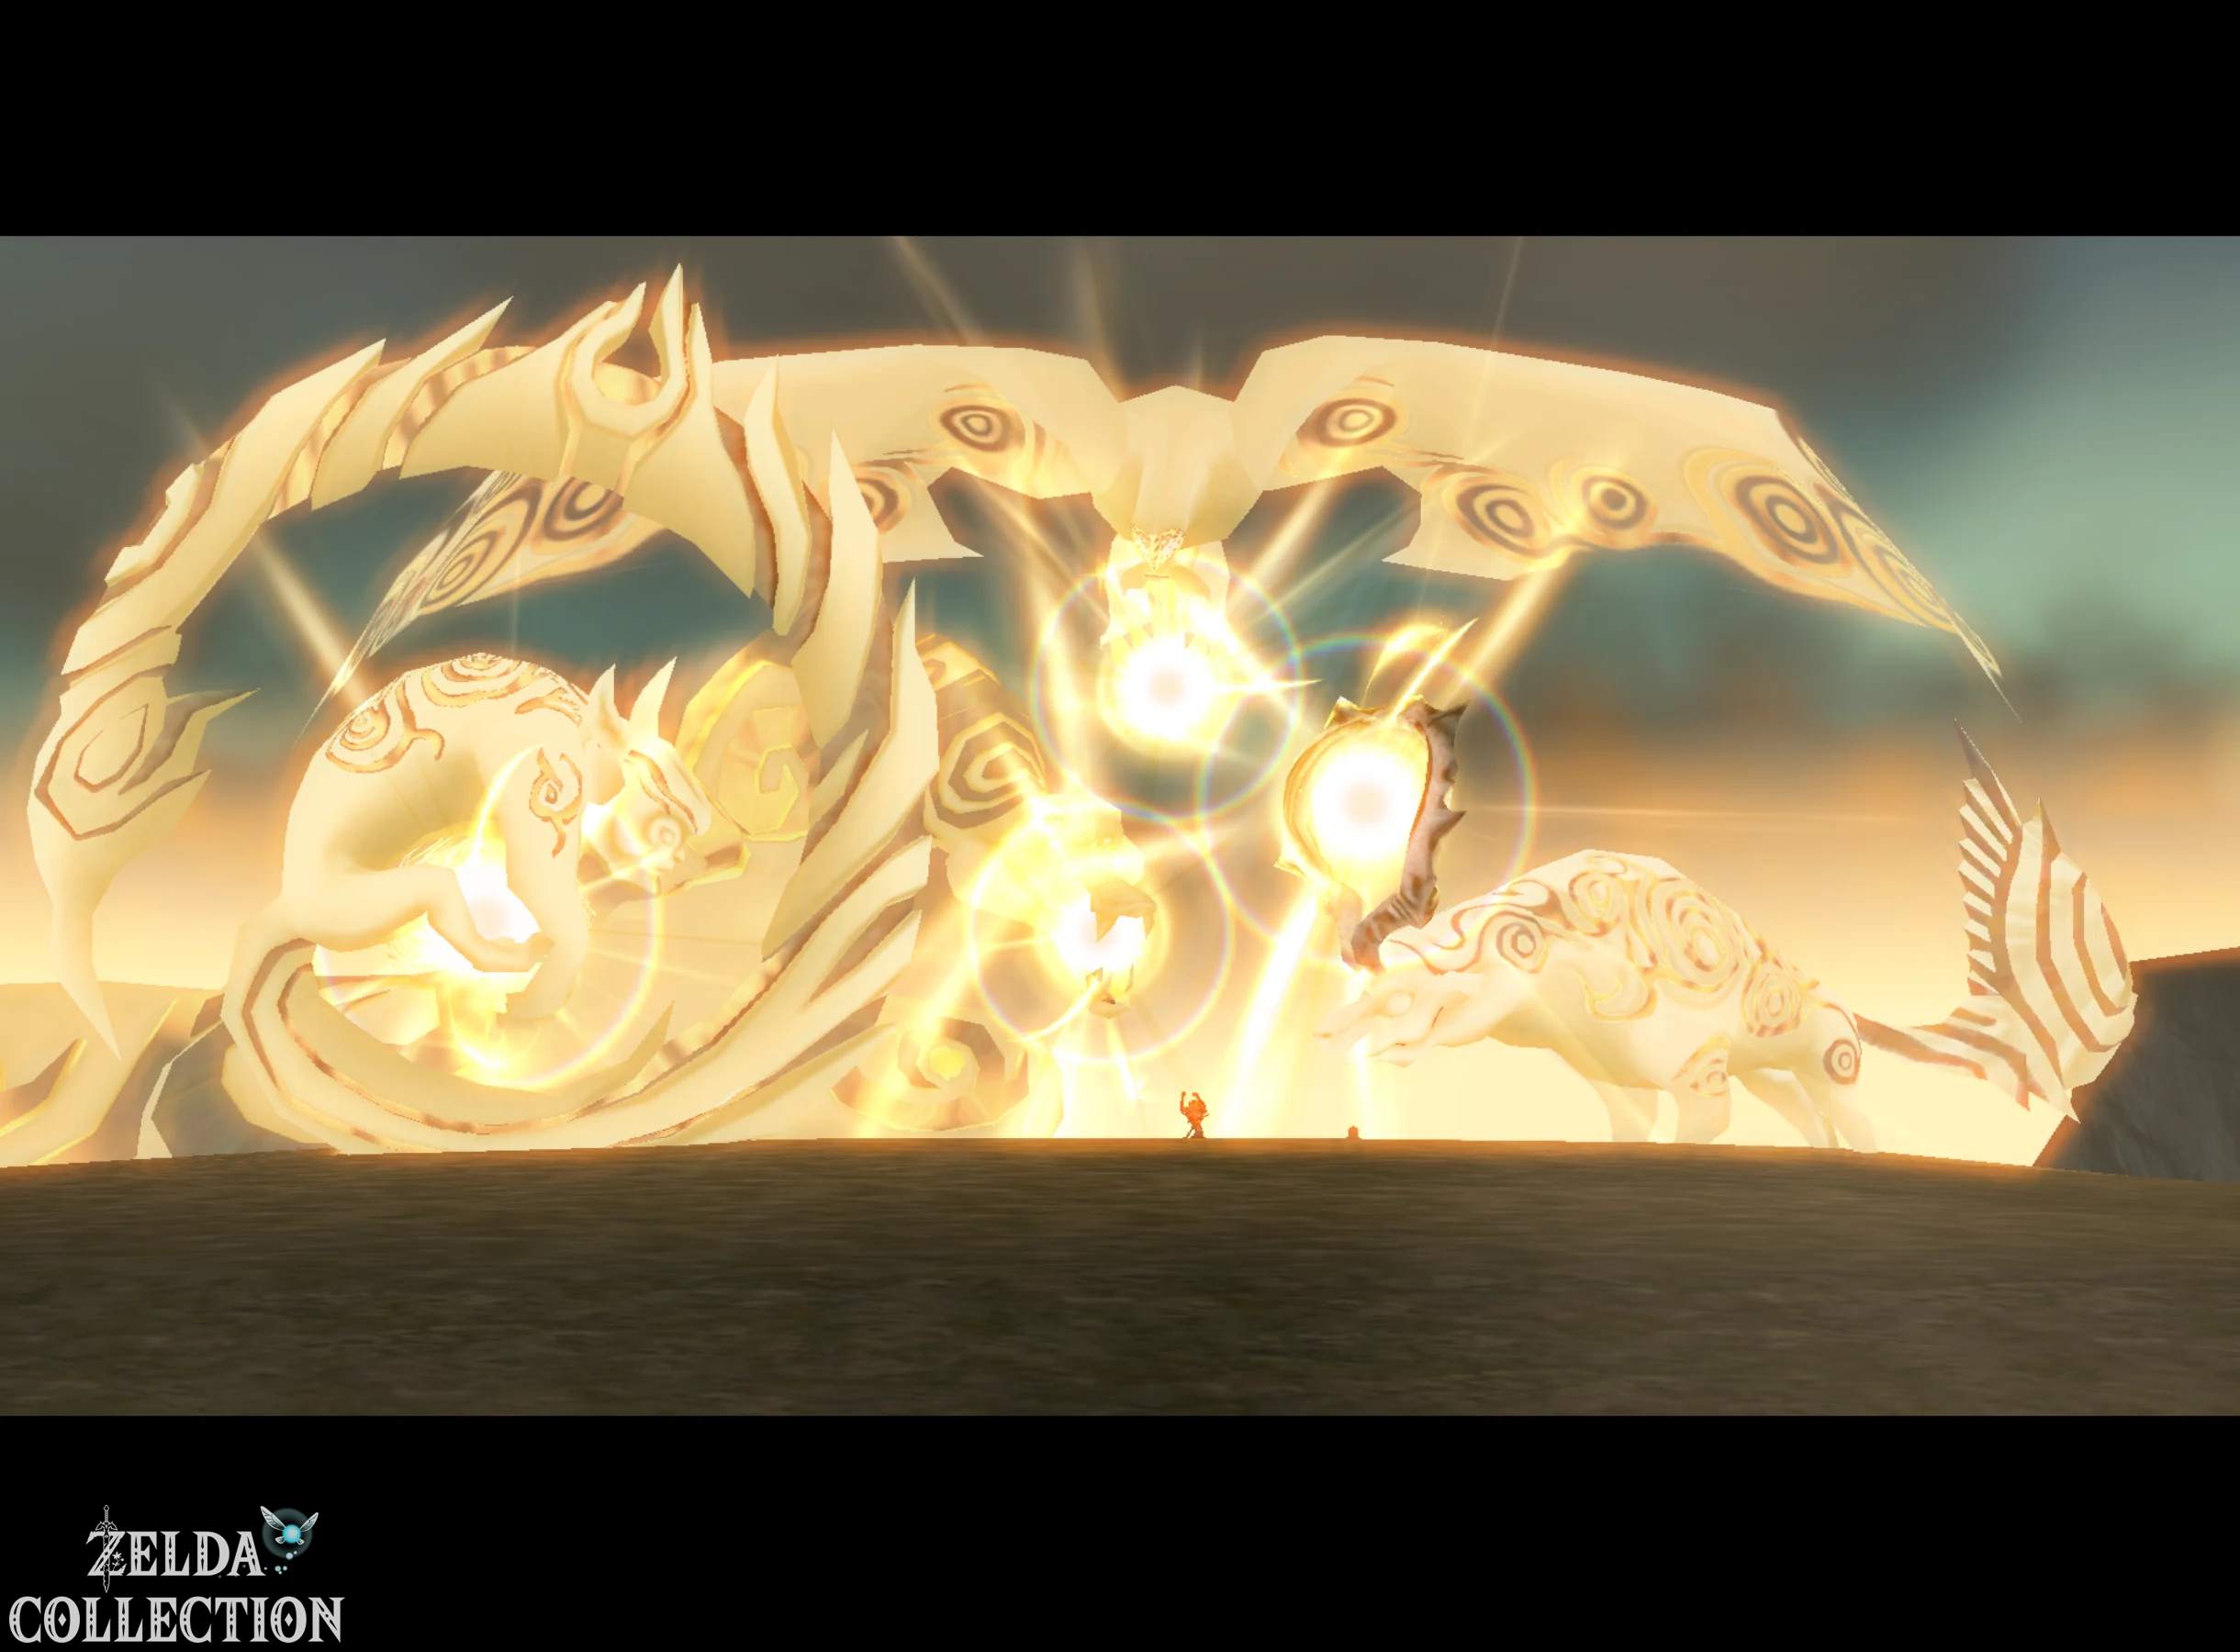
Farewell on Mirror of Twilight
In the credits, Link, Zelda and Midna return together to the mirror chamber in the Gerudo Desert. Midna must return to her own kingdom. However, as long as the Mirror of Twilight exists, there will still be a connection between the light world and the shadow realm – and with it the danger that someone could abuse their power again at some point. Before Midna enters the portal, she says goodbye to Zelda and Link. A single tear falls to the ground and hits the Mirror of Twilight. The powerful artifact finally shatters and the two worlds are permanently separated.
After the credits
A completed final battle does not create a freely accessible post-Ganondorf state. Load your save to continue collecting before the finale. Check the 45 Pieces of Heart, 24 Golden Bugs handed in, 60 Poe Souls, four bottles, seven Hidden Skills and supply expansions. The 50 stamps and the amiibo Cave of Shadows are also included in the HD version.