

In the boss fights, use the items you just received and wait for the open attack phases. The following strategies explain intermediate and final bosses in dungeon order. The respective chapter link leads to the path through the rooms and to the supplies in front of the arena.
Game version: The route and screenshots follow the GameCube version. The normal mode of Twilight Princess HD has the same orientation; on Wii and in HD Hero Mode, left/right and east/west are swapped. HD deviations are at the affected step.
Forest Temple – Ook and Diababa
Keep an eye on Ook on his pillar and wait for him to throw the Boomerang. Then roll against the pillar to make him fall down and hit his unprotected backside. After several passes, he leaves the Gale Boomerang behind.
Against Diababa you first mark a bomb larva and then one of the side plant heads with the Gale Boomerang. If both are hit, the middle head appears. Now Ook delivers the bombs: mark his bomb and then the big head. When it collapses, attack the eye with the sword. Then avoid the poison beam and repeat the process.
The path to the arena: Forest Temple.

Goron Mines – Dangoro and Fyrus
Dangoro stands on a tilting platform. Put on the Iron Boots and wait until he swings to strike and releases his stomach. Hit him with the sword. Only when he curls up do you put the weapon away, grab him and throw him into the lava. Trying to attack it head-on without this preparation will not lead to success.
At Fyrus you hit the glowing forehead crystal with the Hero’s Bow. Run behind the dazed enemy, grab a chain and pull against it with your iron boots on until he falls. Let go of the chain, take off the boots and attack the head with the sword. Keep your distance as soon as he stands up again.
The Road to the Arena: Goron Mines.

Lakebed Temple – Deku Toad and Morpheel
Eliminate the small enemies of the Deku Toad and watch its shadow as it jumps to the ceiling. Roll out of the marked area just before impact. After landing, her tongue is exposed and can be hit with the sword. After this battle you will receive the Clawshot.
Against Morpheel you pull the eye out of the tentacles with Zora’s robe and iron boots and hit it. Aim at the eye so you don’t attract a bombfish. In the second phase, you put down the Iron Boots, swim close to the back of the free-swimming body and pull yourself towards the eye. Strike and swim up again after shaking it off.
The path to the arena: Lakebed Temple.

Arbiter’s Grounds – Death Sword and Stallord
Break the ropes on the sword to awaken the Death Sword. As a wolf, you use your instincts to recognize the invisible opponent and attack him in an open attack phase. As soon as he is visible to Link, switch to human and use the Boomerang to get him out of his flight. Follow it, dodging the big sword and attacking after a miss.
You first fight
Stallord on the ground with the Spinner: Use the rail on the edge of the arena as a running start and ram the spine while avoiding the skeletons. In the second phase you drive up the two towers. Jump between their rails when fireballs or spike traps block the way, ram the skull up close and attack it with the sword after it falls.
The path to the arena: Arbiter’s Grounds.

Snowpeak Ruins – Darkhammer and Blizzeta
The Darkhammer swings a Ball and Chain in the narrow aisle. Keep your distance and use the grapple points to get behind him as he launches the ball forward. Attack his tail with the sword before he catches up with the weapon. Combat does not require a Darknut phase with armor discarded.
With Blizzeta you smash the outer ice shell with the Ball and Chain. Then you watch the reflection in the ground and avoid the falling ice pillars. Destroy a pillar to leave a gap in the later ring. Exit the ring through this gap before it falls and hit Blizzeta with the Ball and Chain while she is on the ground.
The path to the arena: Snowpeak Ruins.

Temple of Time – Darknut and Armogohma
The Darknut initially wears heavy armor. Open their guard with Shield Attack and Helm Splitter, or circle around them for a back hit. After shedding the armor, she will speed up. Wait for her attack, dodge sideways and hit her in the subsequent pause. Blind hits on cover primarily cost health.
Armogohma opens the eye on the ceiling before her beam attack. Shoot an arrow into it in time. After she falls, activate the neighboring large statue with the copying staff and strike it. Repeat the process, repelling the small spiders and finally eliminating the small eye that remains.
The path to the arena: Temple of Time.

City in the Sky – Aeralfos and Argorok
For the Aeralfos, wait until he holds the shield in front of him in the air. Pull him in with the Clawshot and attack with the sword. If he follows you back into the arena after flying through the window, you stay away from the landing point and wait for the next opportunity at the sign. The victory completes the Double Clawshots.
Against Argorok you first pull yourself up on the bars and hang on his tail with iron boots to loosen the armor. Then the flying Peahats lead around the dragon. Keep switching as he breathes fire. When his back is exposed, you pull yourself towards the crystal and strike. Expect his fire attack to change direction later.
The path to the arena: City in the Sky.

Palace of Twilight – Phantom Zant and Zant
Phantom Zant will teleport away if you just chase him. Approach while he is summoning enemies and attack at that moment. Clear small groups of enemies out of the way so you don’t get stuck between them and the next portal. The two fights secure access to the Sol.
Zant switches between multiple arenas. The Gale Boomerang helps in the Forest Temple arena, Iron Boots stabilizes you on the tilting platform, and under water you pull him out of his open mask with the Clawshot. Role in the pillar arena against its location. On the ice you hit his foot with the Ball and Chain. In the final sword fight, you avoid the vortex and attack when it stops exhausted.
The way to the arena: Palace of Twilight.
Hyrule Castle – King Bulblin and Ganondorf
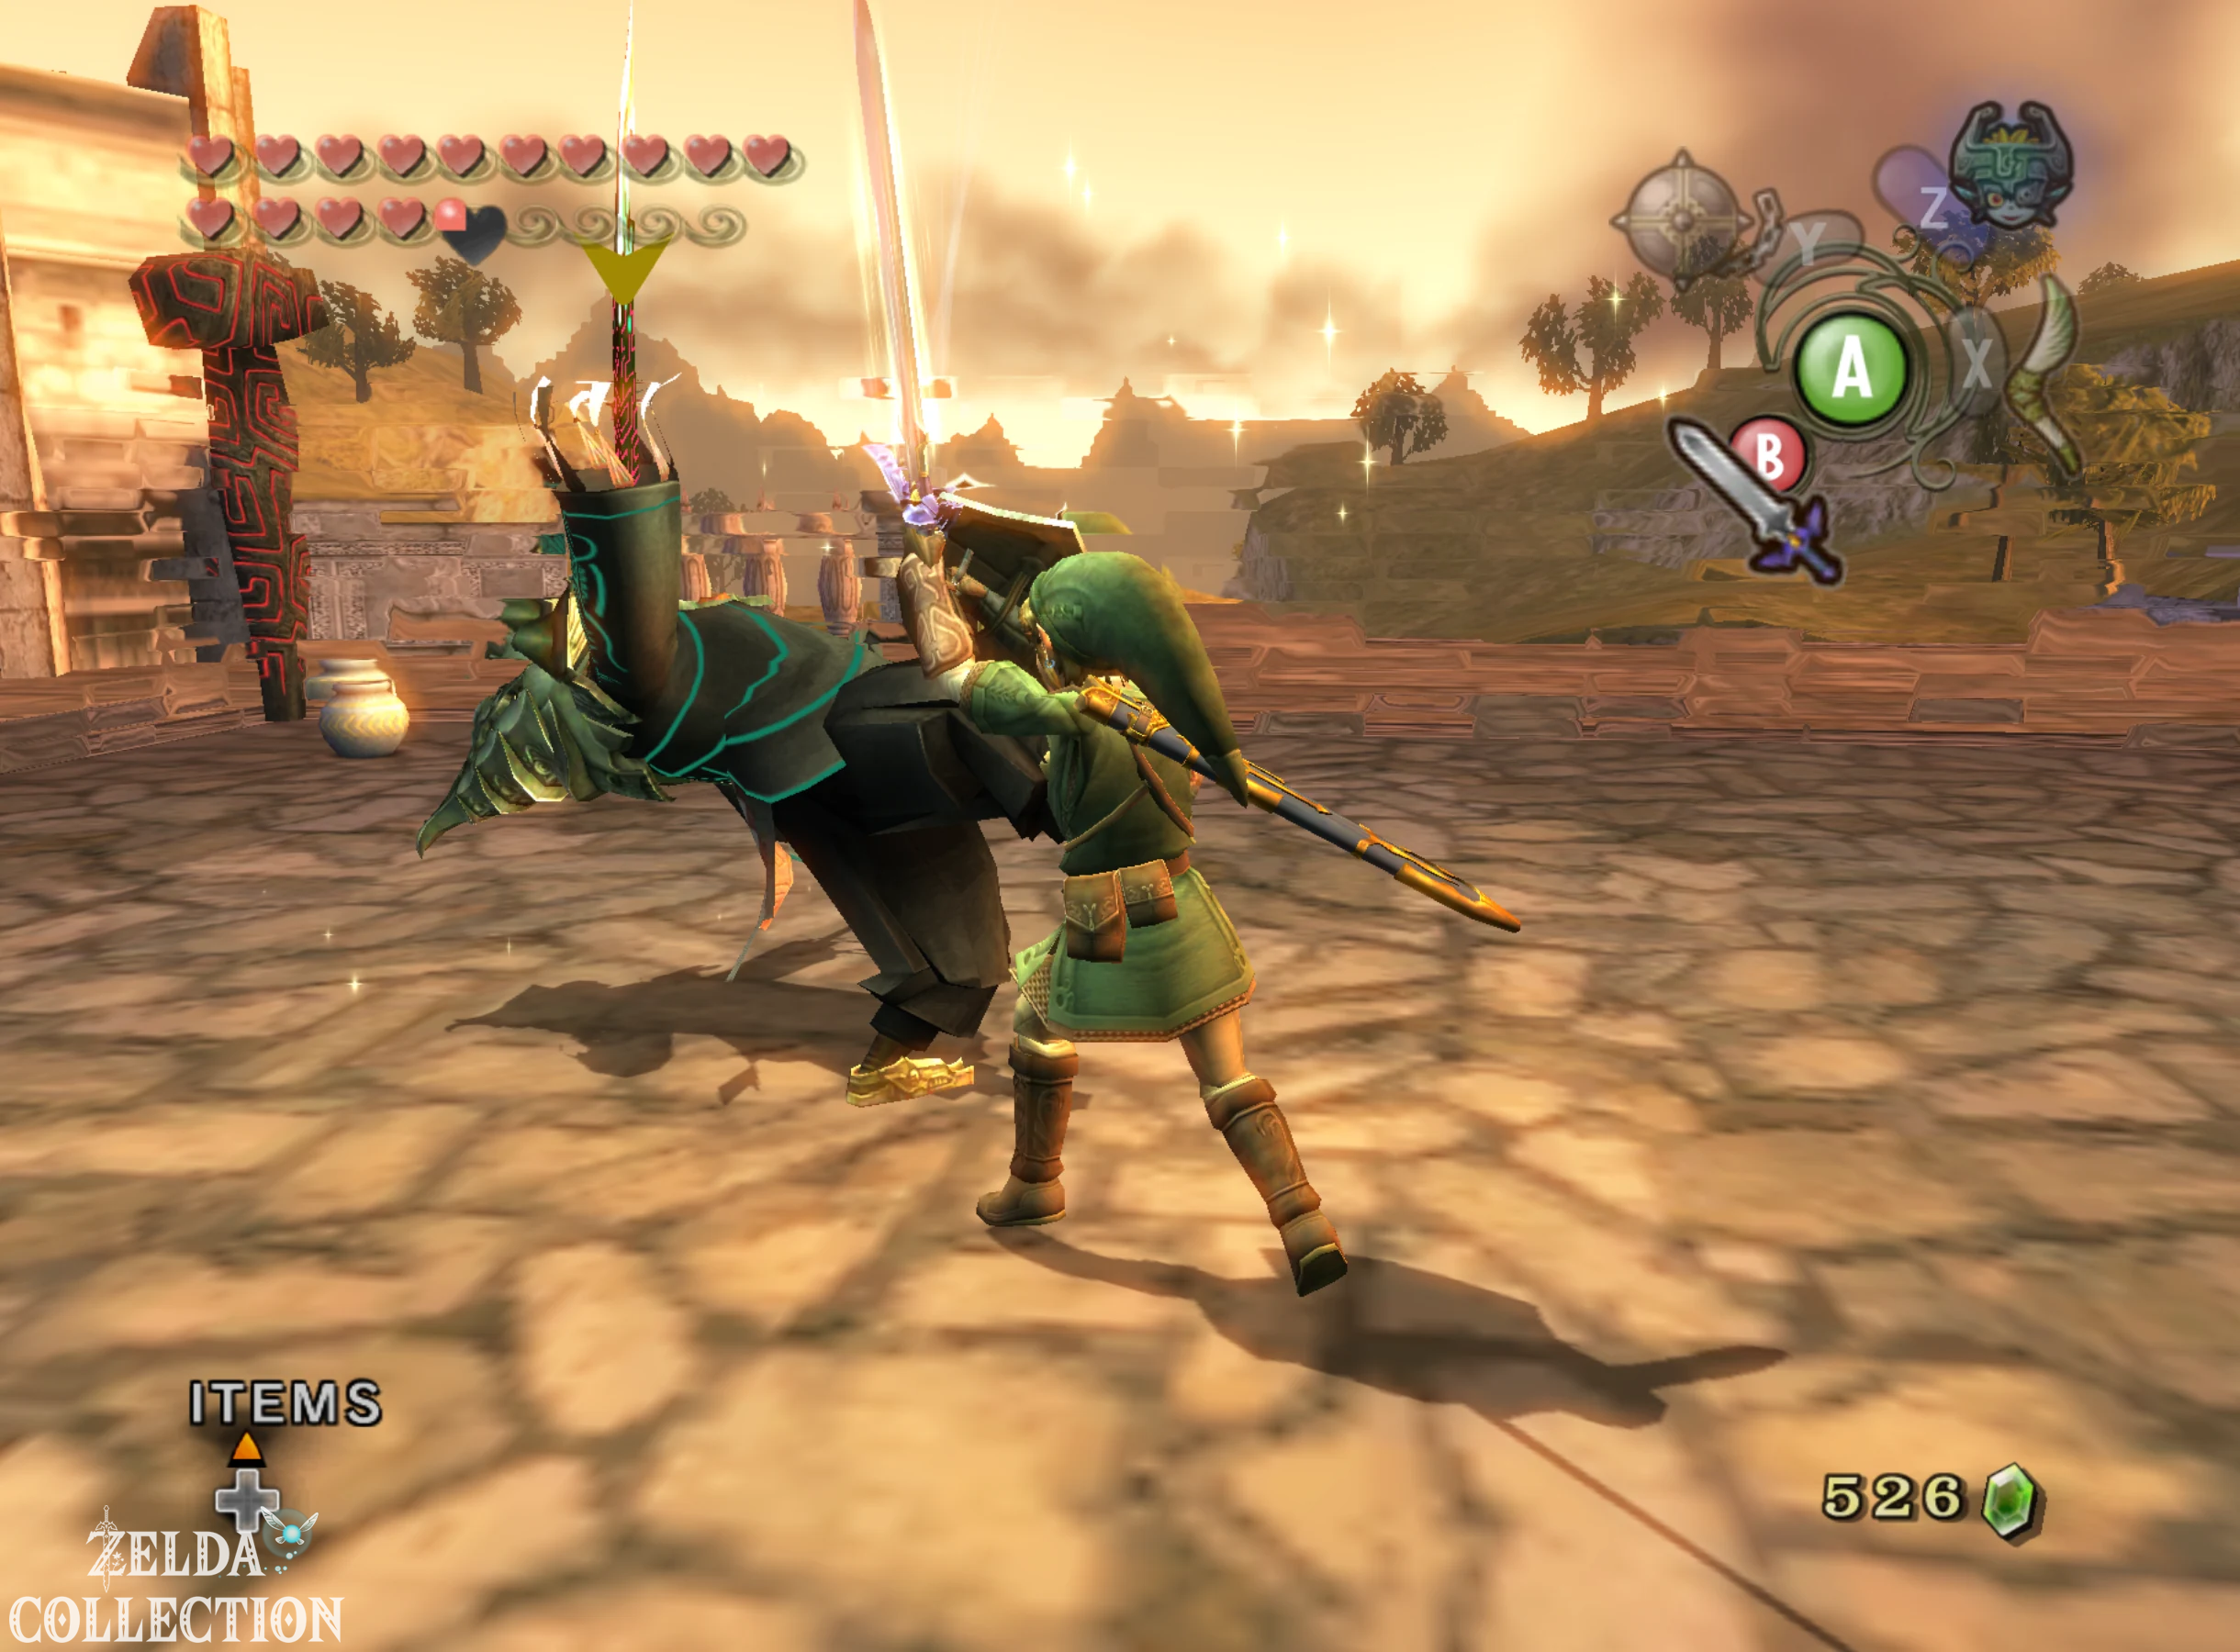
In the final duel with King Bulblin you dodge the heavy blows to the side and hit him during the recovery break. After his defeat you will receive a Small Key. Save the optional key for the treasury if you want to take their chests.
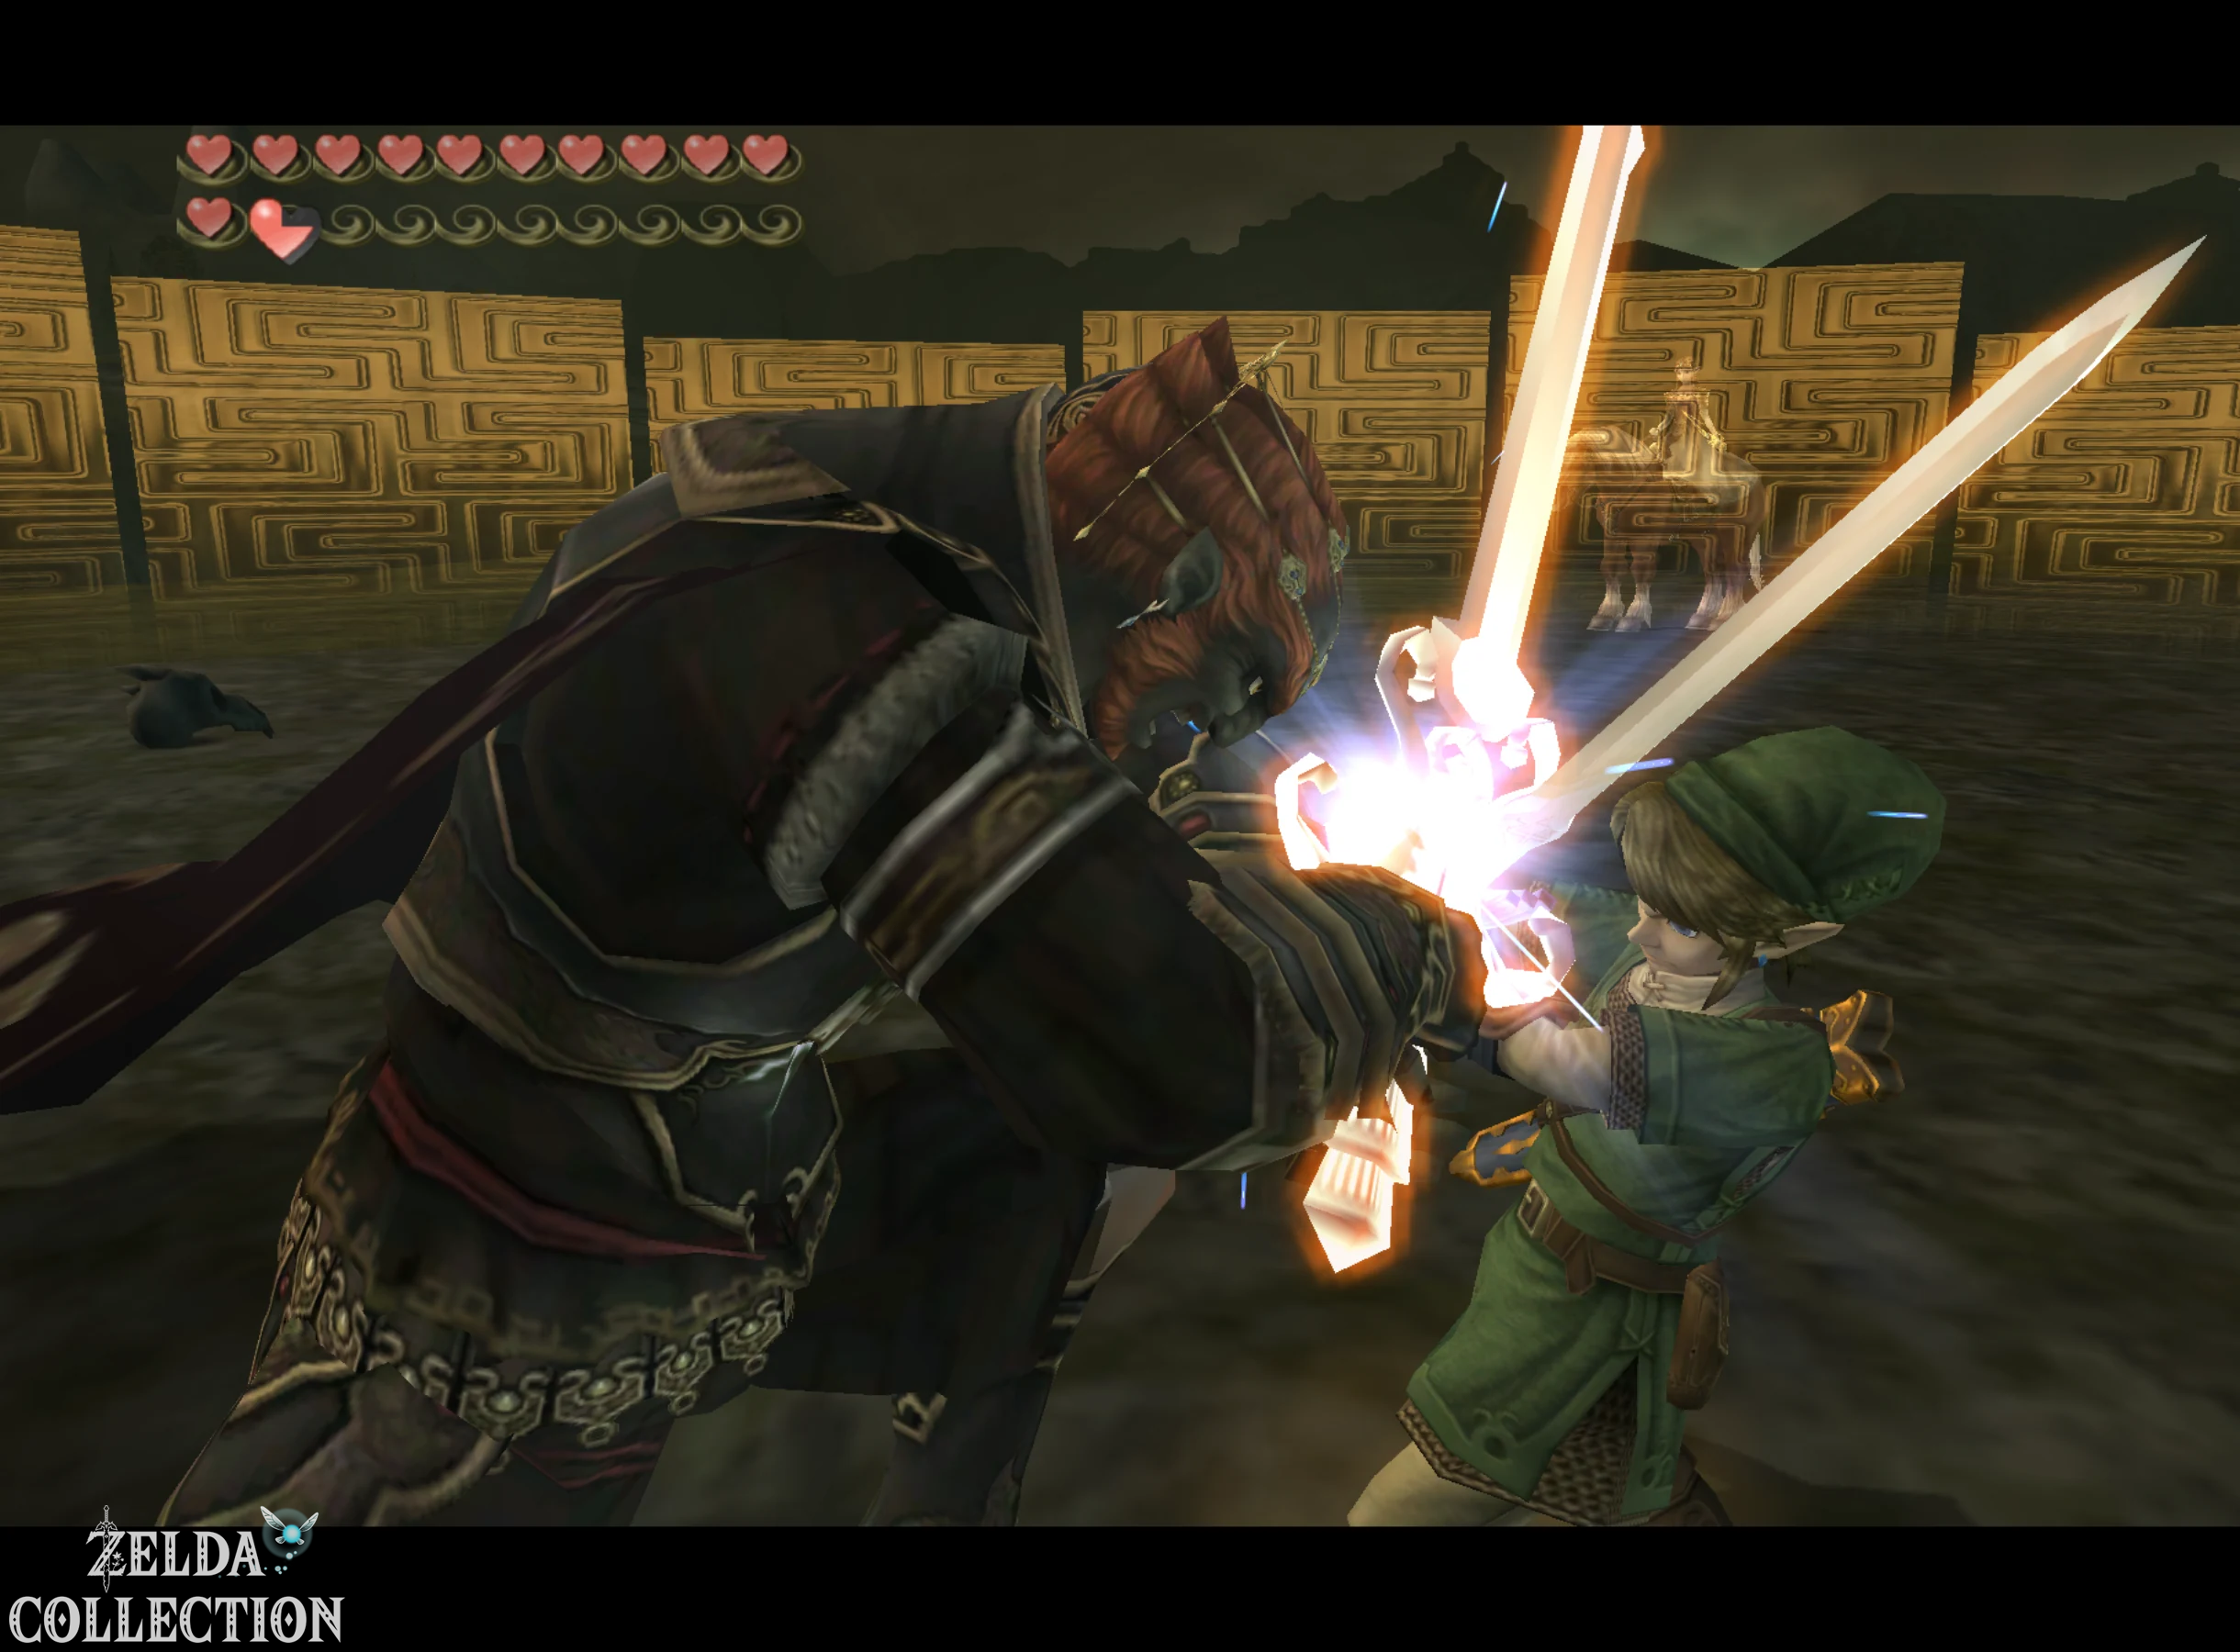
Against Ganon’s puppet Zelda you hit back the energy projectiles with your sword and avoid the glowing ground symbol. As a wolf, you can intercept the shadow beast Ganon and knock it over to hit the vulnerable stomach area. On horseback, you hold Zelda in the firing position long enough and ride up to strike her sword with her arrow of light. In the final duel you Ganondorf’s dodge punches, use open flanks and execute the catching kick as soon as he is on the ground.
The path to the arena: Hyrule Castle.
Skull Kid, King Bulblin and the Twilit Bloat
In the Sacred Grove you first look for Skull Kid via his lantern shimmer and the sound of his trumpet. Defeat only enough puppets to leave the path clear, find his new position and attack him there. In the subsequent arena, further open moments await between the summons. The Master Sword Route describes its hiding places and the following guardian puzzle.
King Bulblin’s duels change with the encounter. In the first bridge fight, you avoid the oncoming rider and strike as you ride past. When escorting Ralis, side shields protect him: hit him from the front with the Hero’s Bow and move out of his path in time. The carriage escort then leads through the attacks on the carriage.
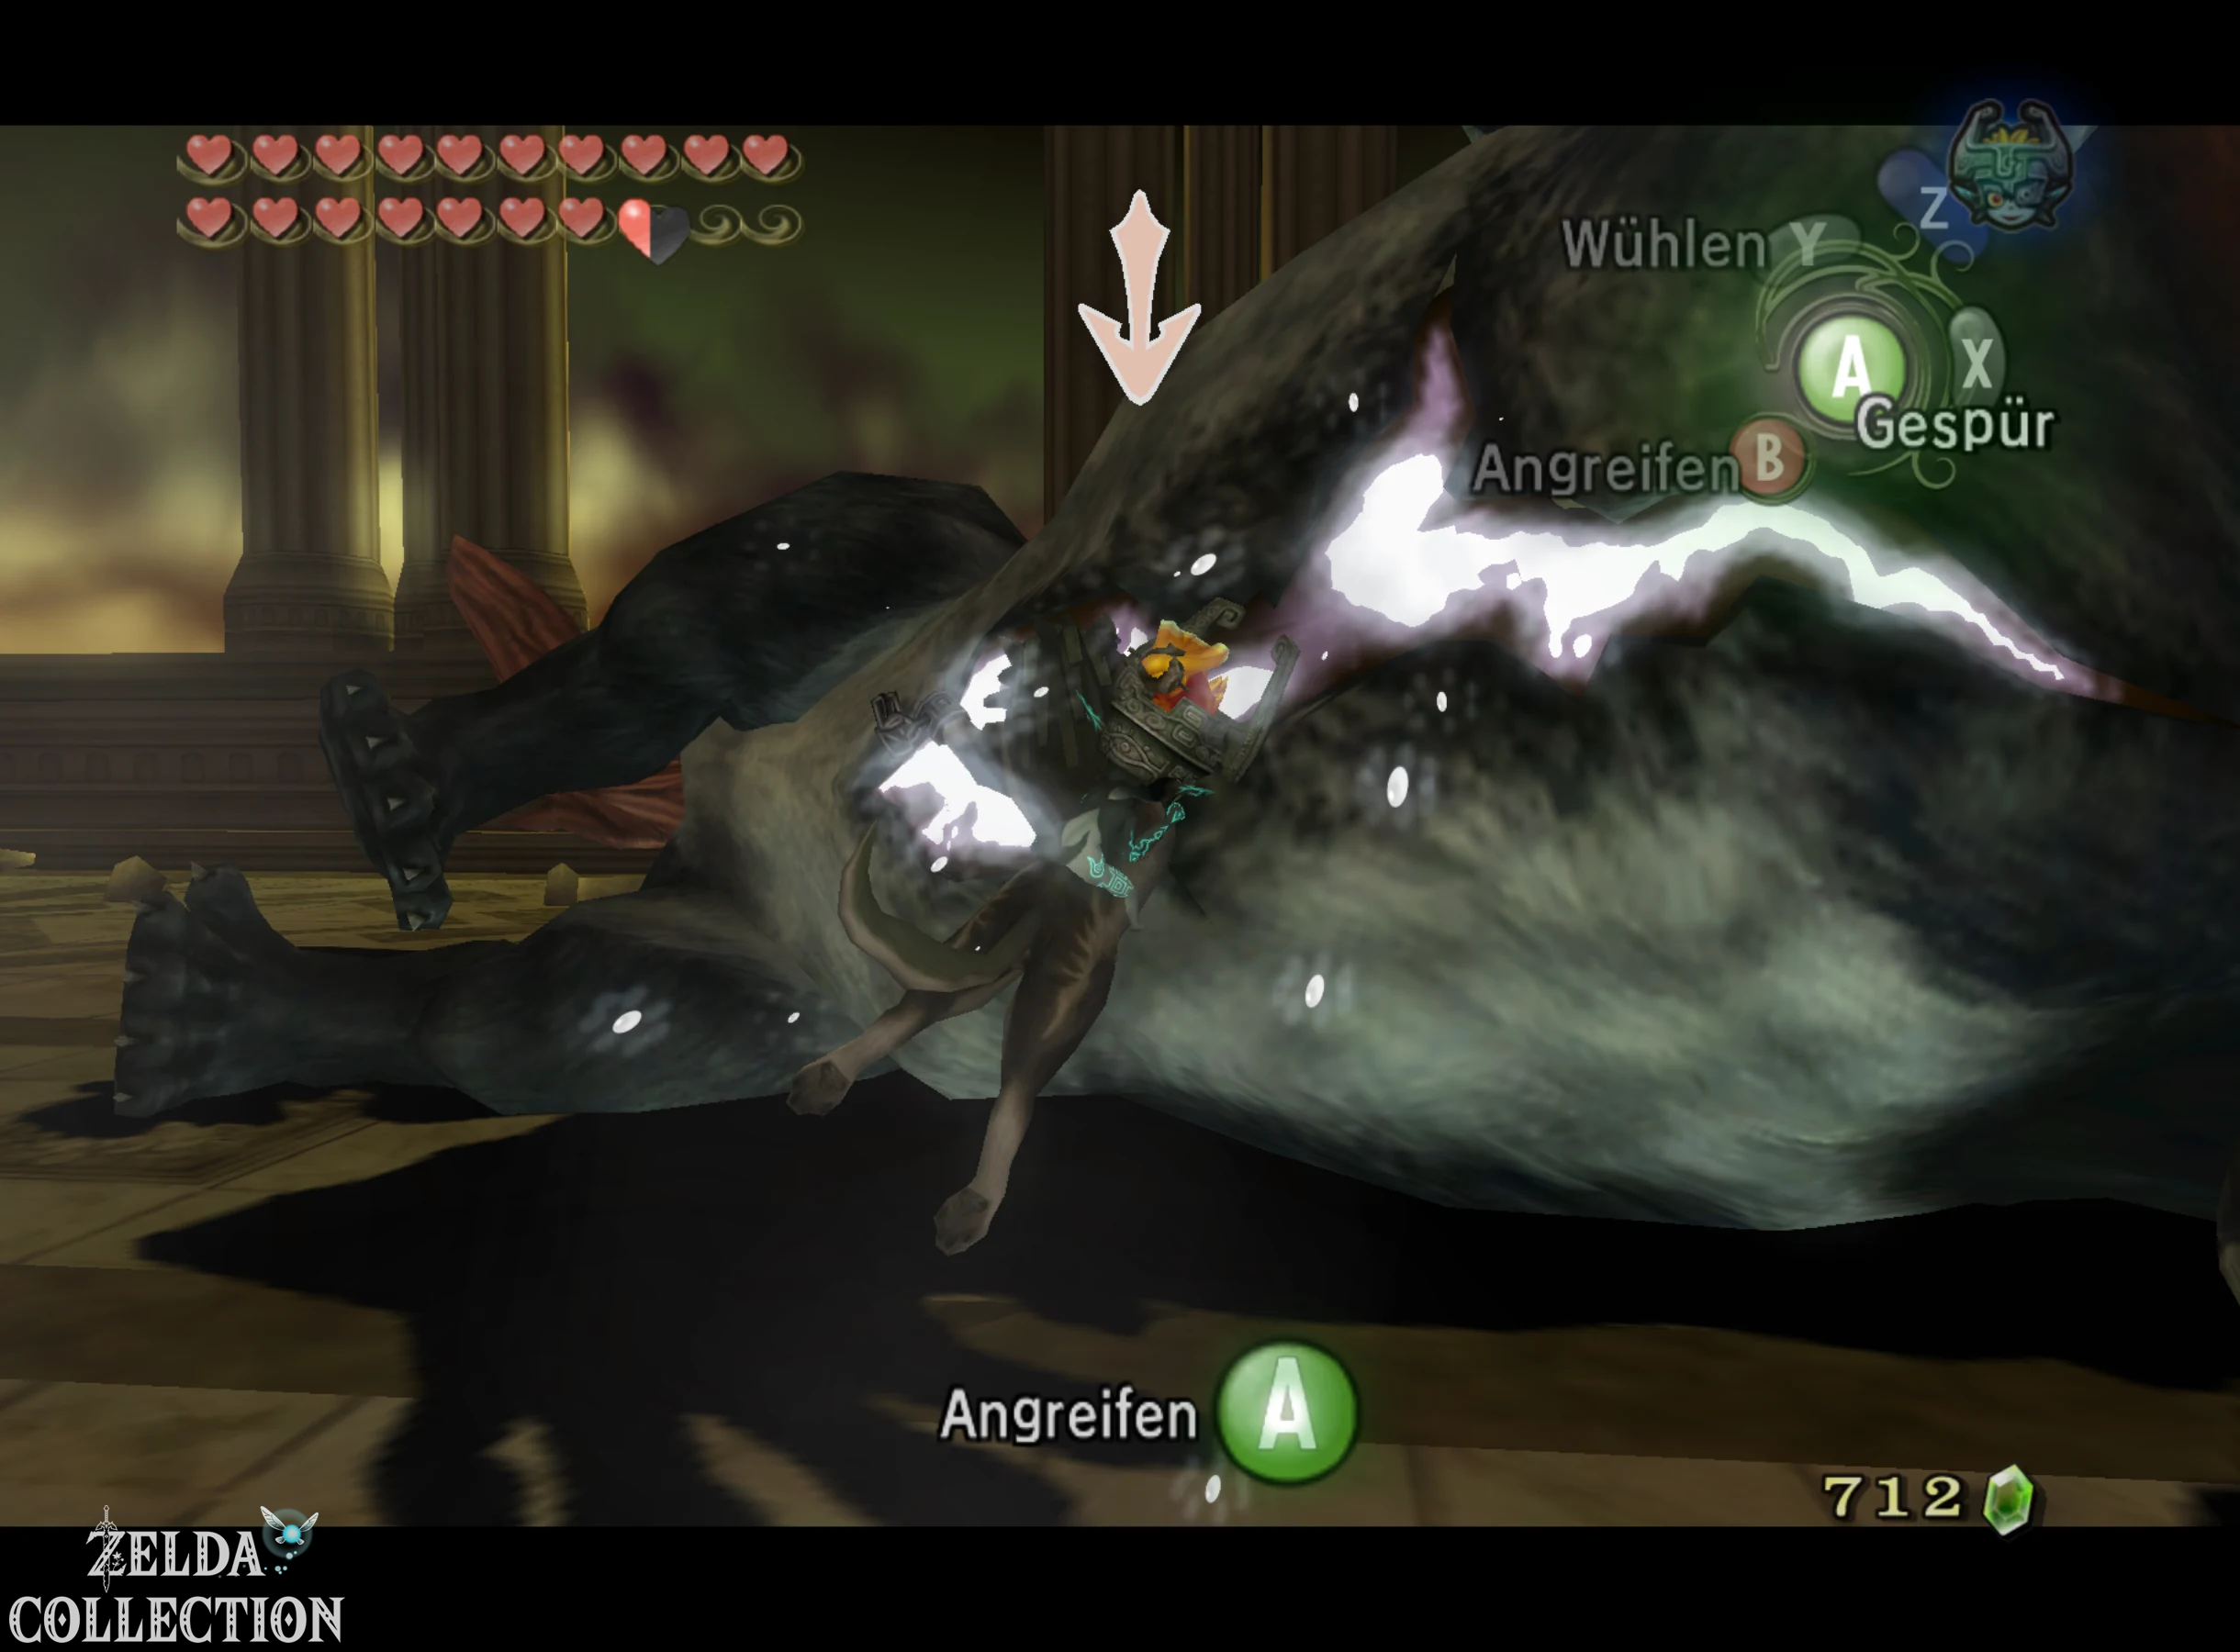
The Twilit Bloat completes the Tears of Light search in Lanayru. As a wolf, you dodge the electrical attack and jump to the vulnerable body during the break. Finally, if she is lying on her back, use Midna’s energy field so that all of her legs are covered at the same time. Single hits on just one leg do not end the fight.