
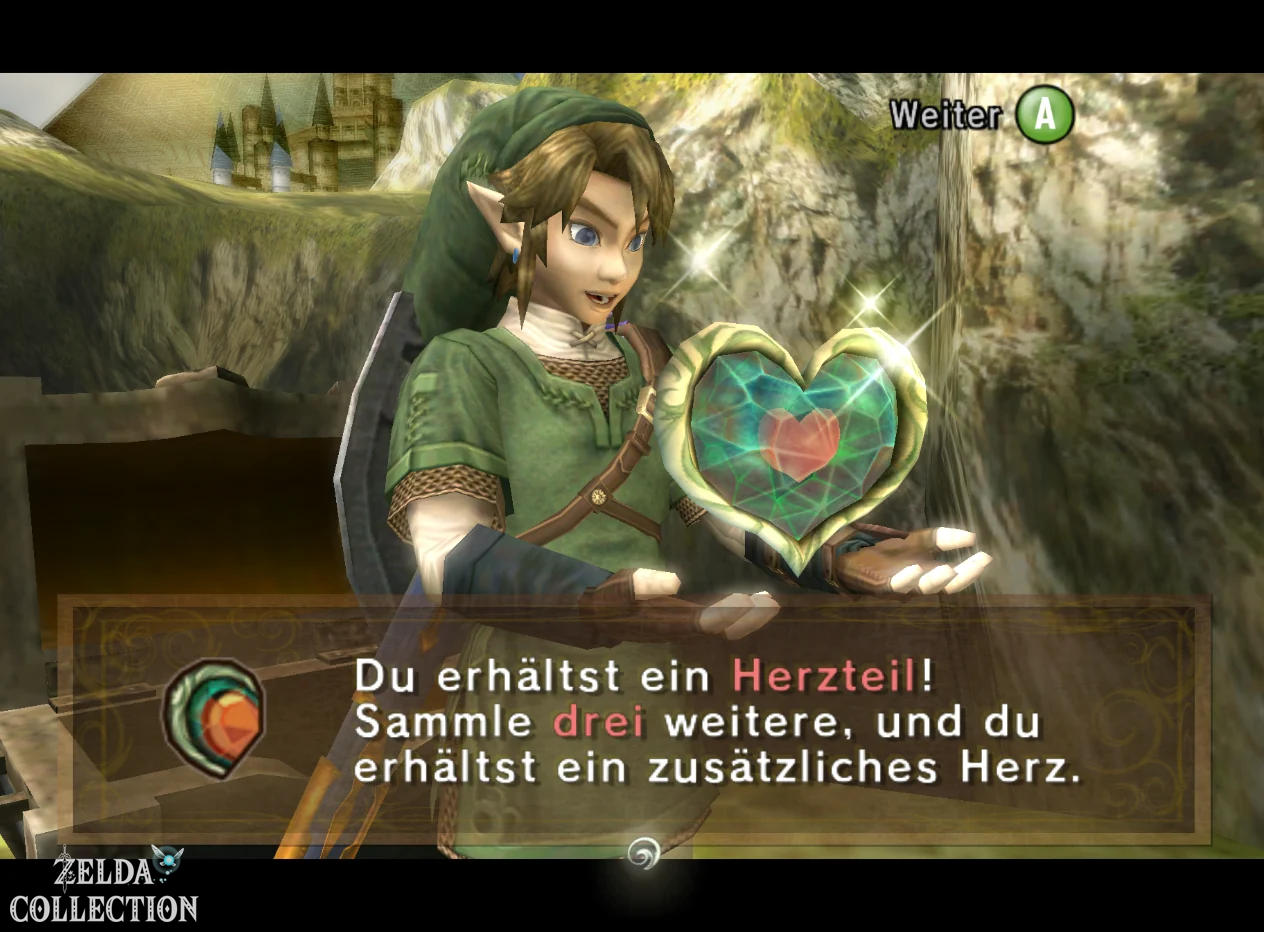
Find the 45 Pieces of Heart in Twilight Princess and check off your finds in the existing list. Five parts each make one Heart Container; Together with the eight boss heart containers and Link’s three starting hearts, you reach 20 hearts.
The list is broken down by area. The prerequisite for each entry shows you whether the detour is possible with your current equipment. In the interactive map you can open the same Pieces of Heart; The map and checklist use your shared progress. The screenshots are directly next to the corresponding puzzle or Location.
Game version: The route and screenshots follow the GameCube version. The normal mode of Twilight Princess HD has the same orientation; on Wii and in HD Hero Mode, left/right and east/west are swapped. HD deviations are at the affected step.
Pieces of Heart – the most important things at a glance
| Feature | number |
|---|---|
| Pieces of Heart total | 45 |
| Pieces of Heart per Heart Container | 5 |
| Additional Heart Container by Pieces of Heart | 9 |
| Heart Container by final boss | 8 |
| Starting hearts | 3 |
| Maximum health | 20 hearts |
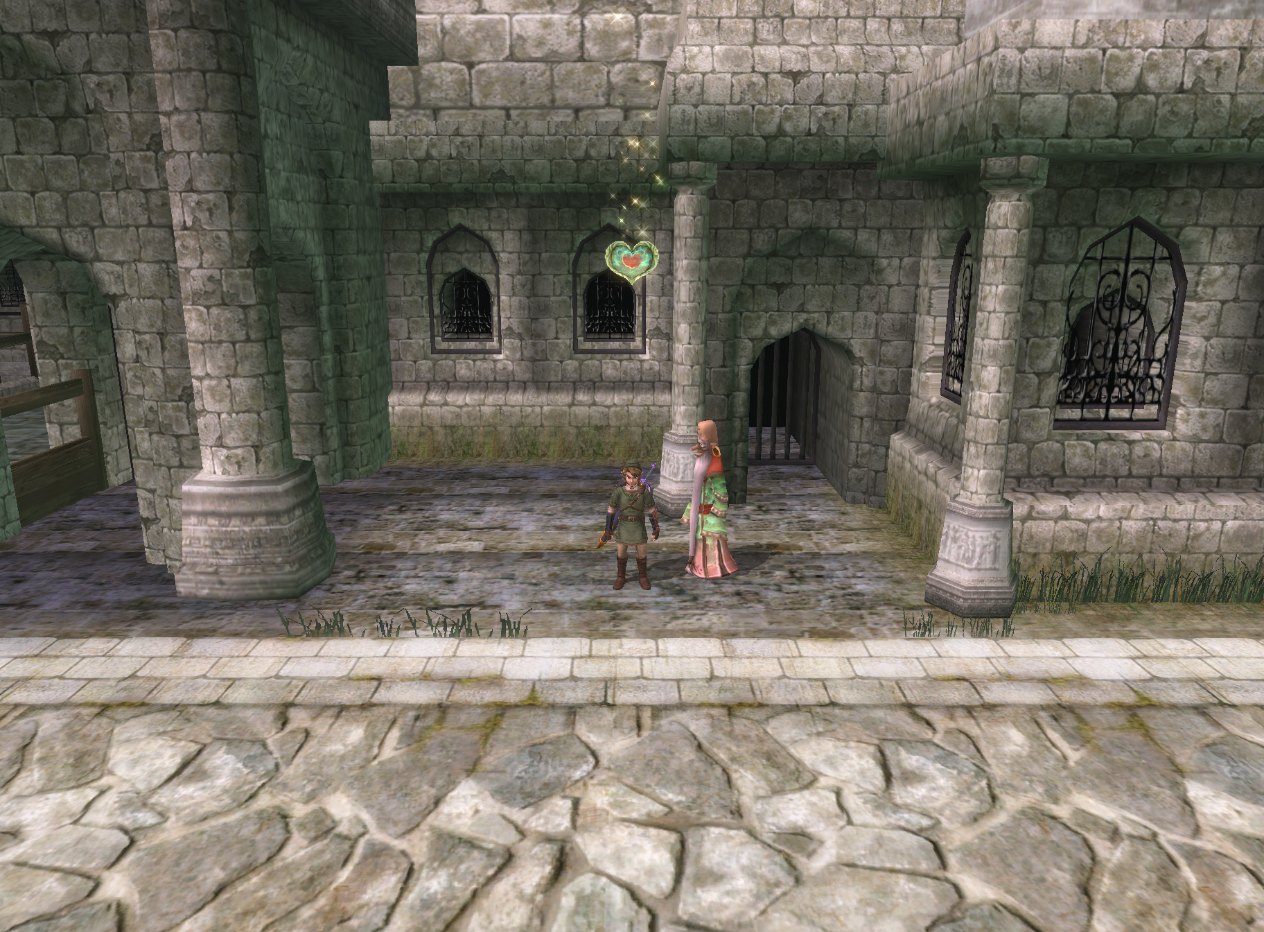
If you are missing a Piece of Heart: Fortune teller in Castle Town
If you are still missing a Piece of Heart towards the end of the adventure and you don’t know which one you missed, you should visit the fortune teller in Castle Town. For your prediction, choose the topic Love. She then shows you a short vision of a place where one of your Pieces of Heart that has not yet been collected is located. While the vision doesn’t give an exact Location or explain which items are needed, it’s great for narrowing down the search to a specific region.
Pieces of Heart that you already own will not be shown again by the fortune teller. This makes their help particularly valuable if you largely followed our list but ended up with 44 out of 45 Pieces of Heart, for example.
Your hooks will be saved in this browser. Use search and filters to find the next open Locations; Using “Save progress” you can take your checklist as a file to another device. The story continues in the Twilight Princess walkthrough.
Faron and Sacred Grove
Location and view solution
You can collect the first Piece of Heart during Link’s first major trip to the Faron Woods. In the northern section of the forest there is a small cave where you can also find the key for the locked forest gate. Enter the cave and examine the alcove next to the key chest. There are two extinguished torches there. Light them both with the lamp and a large Treasure Chest will appear on the raised platform. Open it and you will receive your first Piece of Heart.
If you visit this Location while searching for Talo, the path is particularly pleasant because the later poison mist has not yet spread in the forest. If you come back later, just use the lamp to get safely through the fog.

To the main route: Ordon.
Location and view solution
After the Forest Temple you have the Gale Boomerang and can immediately collect another Piece of Heart on the Hyrule Field. Exit Faron to the north and follow the path to the large bridge. There are several trees and the occasional bulblin on a small rise. Carefully examine the treetops from a first-person perspective. A Piece of Heart is clearly visible floating in the branches of a tree.
You can’t reach it with a normal jump. Instead, target it with the Gale Boomerang. The wind picks up the Piece of Heart from the treetop and carries it directly to Link.

To the main route: Kakariko & Eldin.
Location and view solution
After receiving the Master Sword and the ability to freely transform between human and wolf, you can collect a previously unattainable treasure in the Sacred Grove. Return to one of the clearings where you fought the Skull Kid. There is a large boulder in the middle. Blow him up with a bomb.
A grave site appears under the rock for Wolf-Link’s intuition. Dig into the cave below and eliminate all killer plants or serpent decuranhas. Some hang from the ceiling and can be brought down with the Gale Boomerang. Once the last enemy is defeated, a chest containing the Piece of Heart will appear.


To the main route: Master Sword & Sacred Grove.
Location and view solution
A late Piece of Heart is also waiting in the Faron Woods after receiving the Dominion Rod. Go to Coro’s hut and blow up the large boulder north of it. Behind it you will find an owl statue, which is one of the signs of the ancient sky people.
Use the Dominion Rod and place the statue in the appropriate slot on the opposite side. Then transform into Wolf-Link. From a small elevation, Midna can activate multiple jump points. Follow the chain of jumps over branches and ledges to a high platform. There is the Treasure Chest with the Piece of Heart.


To main route: City in the Sky.
Forest Temple
Location and view solution
The second Piece of Heart is waiting in the Forest Temple. In an early room you will encounter several bomb larvae and large killer plants that swallow objects. One of the plants blocks a small niche with a Treasure Chest. Hit a bomb larva, pick it up and throw it from the upper level directly into the plant’s mouth. She swallows the bomb and explodes shortly afterwards, opening access to the alcove.
Then jump down and open the chest. The Piece of Heart can be collected on your first visit and does not require your own bombs. If you still miss it, you can return later with bombs; However, after completing the Forest Temple, you will need the Clawshot to return to this area.


To the main route: Forest Temple.
Location and view solution
After you get the Gale Boomerang, return to the eastern room of the Forest Temple, where several plate worms are hiding under the ground. There are several burning torches here, which hold the wooden platforms and stairs in their elevated position. Target the fire pits with the Gale Boomerang and extinguish them.
When all the required torches have gone out, the wooden structure lowers to reveal a hidden niche. There is a large Treasure Chest with the third Piece of Heart. Be sure to take it with you the first time you visit the dungeon so that you don’t have to travel an additional distance later.

To the main route: Forest Temple.
Ordon Village
Location and view solution
After the liberation of Eldin Province and the return of Epona, you can return to Ordon Village. Visit the goat pasture during the day and talk to Fado. He offers you goat herding again. This time, however, it’s a real mini-game: you have to drive all 20 goats into the stable within less than three minutes.
Ride with Epona in wide arcs behind the herd and only use the call if there are several goats in front of you at the same time. Avoid riding individual animals head-on, as this will often cause them to swerve sideways. If you get all 20 goats into the stable on time, Fado will give you a Piece of Heart as a reward.

To the main route: Kakariko & Eldin.
Kakariko, Eldin and Hidden Village
Location and view solution
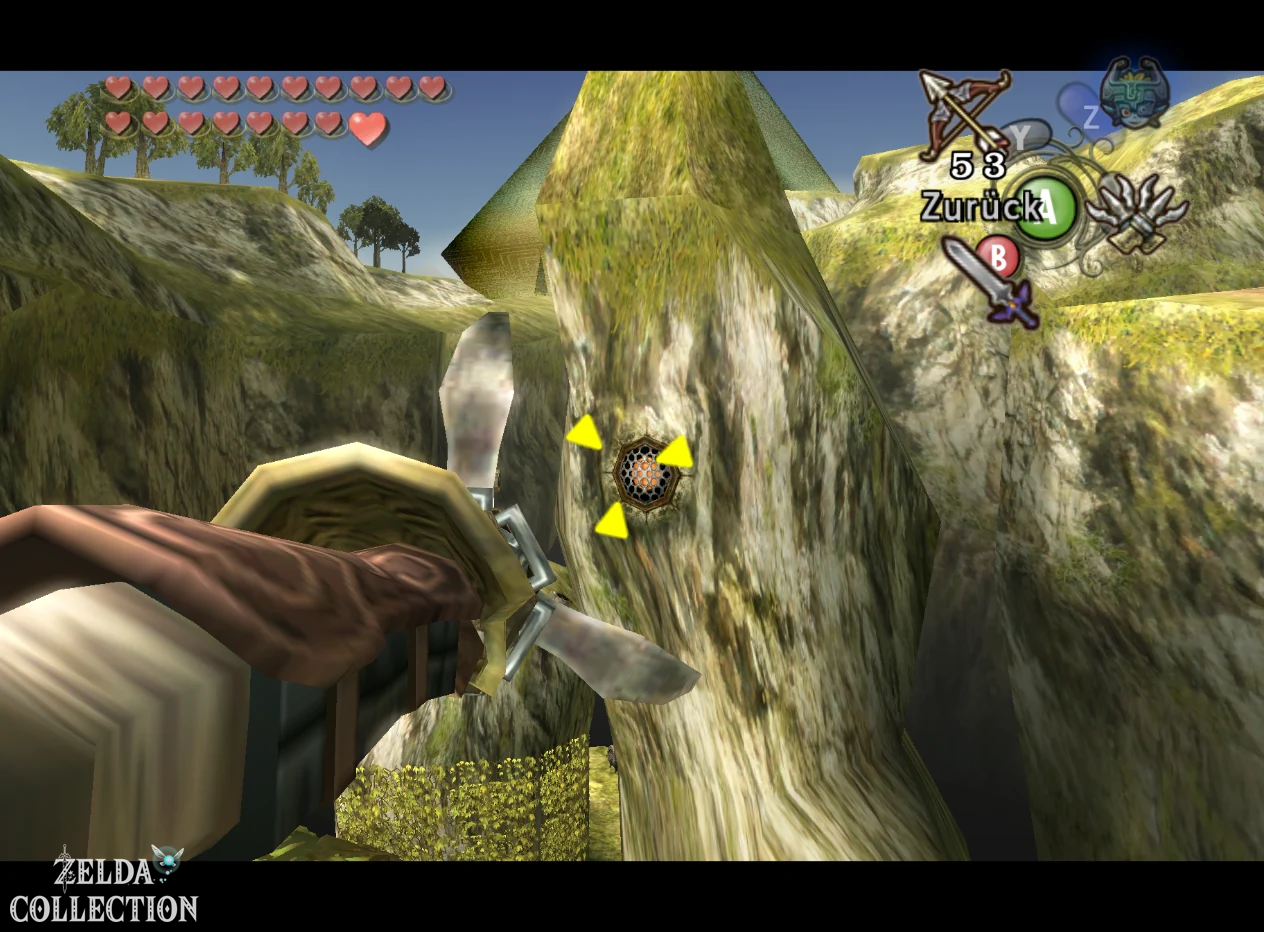
As soon as you reach Kakariko Valley or the section of the Hyrule Field south of Kakariko, you can collect another Piece of Heart with the Gale Boomerang. Look toward the two large rock formations jutting out of the valley. A Piece of Heart is clearly visible lying or floating on the higher of the two rock needles.
Here, too, you don’t have to look for a complicated climbing path. Just stand so that you have a clear view of the Piece of Heart, aim at it with the Gale Boomerang and have the treasure brought straight to you.

To the main route: Kakariko & Eldin.
Location and view solution
After the victory in the Goron Mines, you return to Kakariko. In the northern part of the village, a Goron can throw you onto the high rock and building areas. From there, climb to the observation tower where Talo is waiting. Talk to him and he will challenge Link to a little archery test.
The first goals are still simple. To finish, however, you have to hit the very far away post or target point on the high tower. Fully draw the Hero’s Bow and aim slightly above your actual target to balance the arrow’s trajectory. If you succeed, you will receive a Piece of Heart for passing the test.
To the main route: Zora’s Domain & Lanayru.
Location and view solution
After the Goron Mines you can buy bombs in Barnes Bomb Shop and combine them with the Hero’s Bow to make Bomb Arrows. Go to the Eldin Spring on the southern edge of Kakariko and look at the high rocks above the water. Several boulders block a small niche in which a Piece of Heart lies.
Shoot a bomb arrow at the rocks. As soon as the explosion has uncovered the entrance, use the Gale Boomerang and get the exposed Piece of Heart off the cliff.

To the main route: Zora’s Domain & Lanayru.
Location and view solution
Stay in the Eldin Spring area. There is a large boulder nearby that can be destroyed with a normal bomb. Behind it, a small path or cave leads to the water. Jump in, put on the Iron Boots and let yourself sink to the bottom.
There is a large Treasure Chest under water. Run to her with the iron boots and open them. Therein lies the next Piece of Heart. Thanks to the Iron Boots, you don’t need to own Zora armor at this point.

To the main route: Zora’s Domain & Lanayru.
Location and view solution
After completing the Goron Mines, the Gorons on the path between Kakariko and Death Mountain are peaceful. Follow the path uphill until you reach the second Goron, who can throw Link upwards with a powerful boost. Climb onto its back and face the higher side ledge instead of the normal main route.
Let yourself be thrown up, pull yourself up the edge and follow the raised path. Shortly afterwards you will find a small cave or niche that you can jump down into. Link practically lands directly on the large chest containing the Piece of Heart.


To the main route: Zora’s Domain & Lanayru.
Location and view solution
South of the large bridge in Kakariko Valley, a large boulder blocks the entrance to an optional cave. Blow it up with a bomb and take a well-filled lamp with you. Several branches and enemies await inside. If you want to orient yourself completely, you can follow the sequence right, right, left and right.
At the end you will reach a dead end with a Skulltula. Defeat them and then light the two torches in the room. A large Treasure Chest then appears with the Piece of Heart. In Twilight Princess HD, one of the stamps is also located in the same cave, making a complete playthrough twice as worthwhile.


To the main route: Zora’s Domain & Lanayru.
Location and view solution
Leave Kakariko to the north. In the rocky area of the Hyrule Field you will find several large boulders. First, blow up the obstacles at ground level and follow the narrow, newly opened path. Further up there are more rocks on a distant ledge. You can only reach this with bomb arrows.
Blow up the rocks, then jump over the abyss to the vines and climb up. Follow the upper path to a secluded platform. The big Treasure Chest with the Piece of Heart is waiting there.

To the main route: Zora’s Domain & Lanayru.
Location and view solution
As part of the Malo Mart side quest, you first have to finance the repair of the bridge to Castle Town. After the corresponding donation level has been completed, speak to the Goron elder in front of the Malo Mart in Kakariko. He wants to bring hot spring water to an exhausted Goron at the other end of the repaired bridge.
You will receive a large barrel of Goron spring water. If possible, don’t run directly through all the enemies, but rather move in a wide arc across the open Hyrule Field. If you reach the Goron at the bridge before the water has cooled down, you pour it over him. As a thank you for the successful delivery, Link receives a Piece of Heart.


To the main route: Gerudo Desert.
Location and view solution
Just north of the Bridge of Eldin there is a grappling hook target high on the cliff face. Pull yourself up and follow the raised path to a hidden cave. Inside you have to jump from high ledges several times and use the Iron Boots as you fall so that Link is attracted to the magnetic wall surfaces.
Work your way deeper and deeper into the cave this way. At the bottom of the system is a large Treasure Chest with the Piece of Heart. In Twilight Princess HD, you can also get the Heart Piece Stamp in the same cave if you light the corresponding torches.


To the main route: Gerudo Desert.
Location and view solution
North of the Bridge of Eldin there is a small chasm immediately next to the entrance to what would later become the Hidden Village. A glider rail runs along the rock wall. Use the Spinner and ride it to a lower grassy platform.
Transform into Wolf-Link there and examine the ground with your senses. A grave site leads into a hidden cave. Three Stalfos are waiting inside. Defeat them completely – destroy their bones on the ground with bombs or bomb arrows. As soon as the last knight is finally destroyed, a large Treasure Chest appears with the Piece of Heart.
To the main route: Snowpeak.
Location and view solution
After Ilia gets her memories back, you can visit the Hidden Village again. Transform into Wolf-Link there. The leader of the chickens is in the large building on one side of the village. Break through the window or entrance and talk to her.
Talk to all 20 cats and then return to the chicken boss. He tells you the reward in front of Impaz’s house; pick up the Piece of Heart there before you leave the village. During the search, do not enter Impaz’s house or howl at the Howling Stone, as this will interrupt the current cat round.

To main route: City in the Sky.
Location and view solution
After reactivating the Dominion Rod, you can move a large owl statue at the north end of the Bridge of Eldin. Activate it with the Dominion Rod and lead it across the entire bridge to the south. There is a small depression or platform below the normal path.
Carefully lower the statue and position it so that Link can use it as an additional step. Jump over the resulting gap and then climb up the ladder. There may be a Bulblin Archer waiting on the raised wall. Eliminate him and open the large Treasure Chest with the Piece of Heart.
To the main route: City in the Sky.
Location and view solution
After City in the Sky you have the Double Clawshots and can use it to reach the last Piece of Heart in the Kakariko Valley. Go to the large rock massif in the western or corresponding area of the valley. There is a grappling hook target on one of the rock sides, which the normal Clawshot alone wasn’t enough.
Pull yourself into formation with the first hook and use the second hook while still hanging on the next target. Then move on to the vines on the smaller rock formation. Climb around the wall and finally up. On the lead is the Treasure Chest with the Piece of Heart.
To main route: City in the Sky.
Goron Mines
Location and view solution
The first of two Pieces of Heart in the Goron Mines can be found shortly after the conversation with the first Goron elder. In a large room, a strong magnetic field takes you to the ceiling with your iron boots. Don’t run straight to the exit, but follow the magnetic surface to the far corner of the room.
There you will reach a small platform with a large Treasure Chest. Open it and take the seventh Piece of Heart. Since the path is directly on your normal dungeon route, you should not postpone this find until later.

To the main route: Goron Mines & Death Mountain.
Location and view solution
The second Piece of Heart of the mine is in a room with two beam cyclops or turrets. A strong magnetic field runs upwards on a wall. Put on the Iron Boots and follow the magnetic surface to the higher level. A narrow path branches off at the top and leads to a small niche or ledge.
At the end there is the Treasure Chest with the second Piece of Heart from the Goron Mines. This allows you to leave the dungeon later without having to return because of a missing piece of heart.

To the main route: Goron Mines & Death Mountain.
Castle Town and surrounding areas
Location and view solution
In Castle Town, an older man dressed in green sits accepting donations. He accepts Rupees in several fixed amounts. In total you have to give him 1,000 Rupees. The amount does not have to be paid all at once; every donation is saved.
After reaching 1,000 Rupees, he says a prayer and gives Link a Piece of Heart as thanks. If you are missing Rupees at this point, the Golden Bug Quest at Agitha is an excellent option for financing.
To the main route: Lanayru & Zora Armor.
Location and view solution
There is a narrow connecting path between the Great Bridge of Hylia and the area north of Castle Town, the entrance to which is blocked by large boulders. Blow up the obstacles and you will discover several long glider rails on the walls.
Insert the Spinner and drive up the first rail. Further up you have to jump back and forth between opposite rails several times because individual sections break off or are blocked by obstacles. At the end you will reach a small ledge with a Treasure Chest. Inside is the Piece of Heart.
To the main route: Snowpeak.
Location and view solution
After you do that Ball and Chain You can fully explore a previously blocked cave on the Hyrule Field north of Castle Town. Blow up the boulder at the entrance and then destroy it with that Ball and Chain the large blocks of ice inside. Waiting behind it is a total three block pushing puzzles.
For each puzzle you have to push the ice blocks across the smooth floor so that they finally land on the designated floor switches. Since the blocks can only be stopped at a wall or other obstacle, you should think about each move beforehand. After the third puzzle, access to a large Treasure Chest with the Piece of Heart opens.


To the main route: Temple of Time.
Lake Hylia and fishing pond
Location and view solution
At the fishing pond of Hena there is a larger rock formation in the middle of the lake. A Piece of Heart is clearly visible at its top. Rent the canoe and bait fishing rod from Hena for 20 Rupees and paddle to the middle of the pond. Cast the fishing line so that the hook reaches the Piece of Heart, then pull it towards you like a fish.
Alternatively, depending on your position, you can even reach the Piece of Heart from the shore with the Gale Boomerang. If you follow our 100% route, the first visit to the fishing pond is a good idea to pick up the hidden Empty Bottle at the same time.


To the main route: Lanayru & Zora Armor.
Location and view solution
Have Fyer shoot you with the cannon at Lake Hylia to the upper level and go to Dumnu’s chicken flight station. Pay the bet, take one of the chickens and jump with it towards the large multi-story platform above the lake. Occasionally pull back on the stick to allow Link to descend more slowly and allow you to better control the landing altitude.
Your goal is not the very highest rotating platform, but the highest immobile level below. Land there and open the large Treasure Chest. Inside is the Piece of Heart. In Twilight Princess HD, the chicken stamp is also placed on the same construction.


To the main route: Lanayru & Zora Armor.
Location and view solution
In the southern area of Lake Hylia, a ladder leads to an elevated rock path. Nearby, a large rock blocks the entrance to a very long cave. Blow it up and enter the cave with enough lamp oil and bombs. Inside, numerous junctions, enemies, destructible walls and extinguished torches await you.
Follow the cave system to the very end and examine every suspicious wall. There are two torches in the last chamber. Light them both with the lamp and a large Treasure Chest will appear. Inside is the Piece of Heart. In Twilight Princess HD you should search the cave particularly carefully because there are also other treasures and stamps hidden here.


To the main route: Lanayru & Zora Armor.
Location and view solution
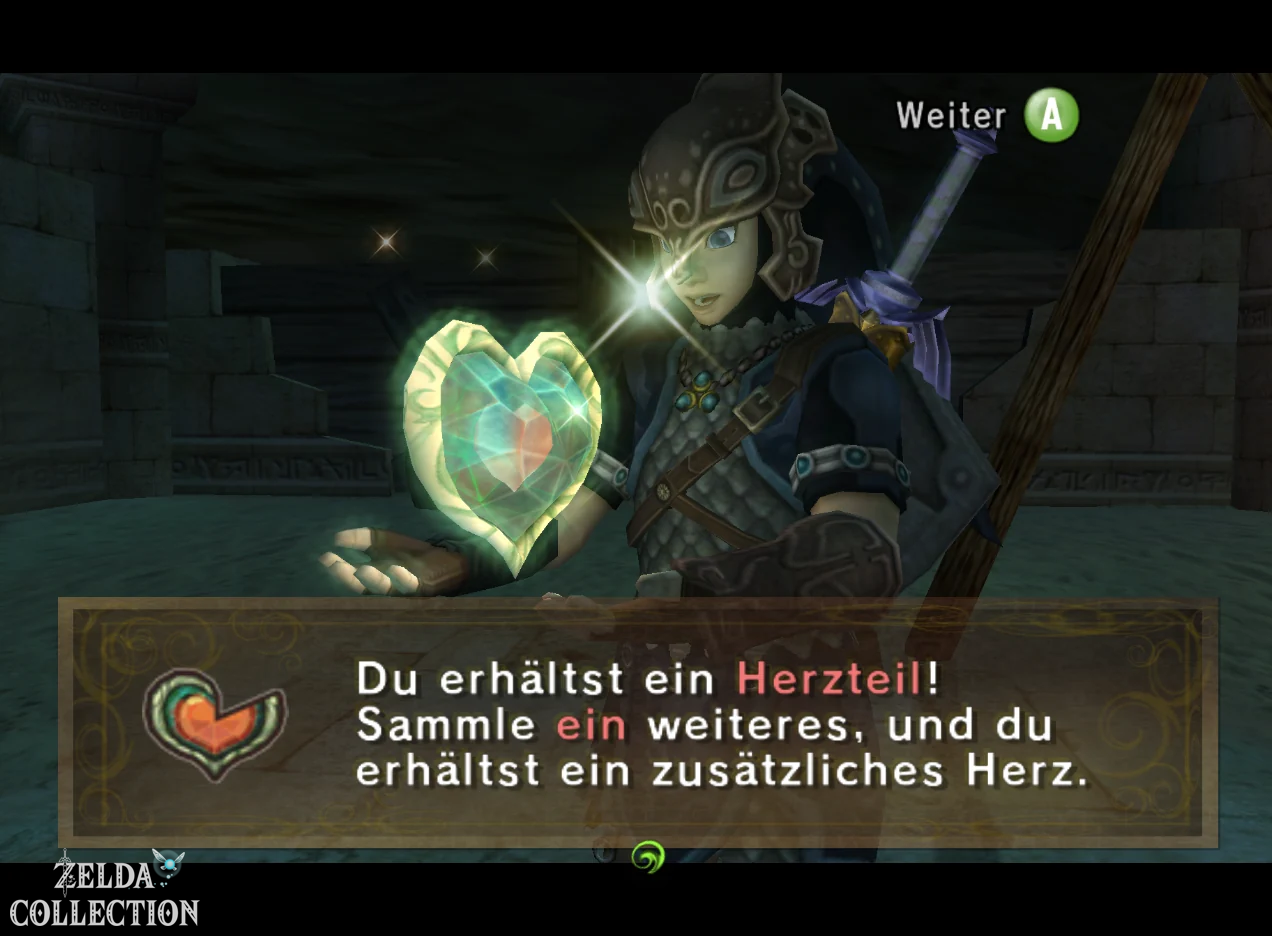
Return to the Source of the Light Spirit Lanayru at Lake Hylia with the Clawshot. Tendrils grow on the sides of the source room, which you can use to pull yourself to a higher level with the Clawshot. Follow the hidden path to the back of the spring.
There you will reach a small chamber with two extinguished torches. Light them both with the lamp and a Treasure Chest will appear. It contains the next Piece of Heart.
To the main route: Gerudo Desert.
Location and view solution
After Master Sword you can howl as a wolf on the shore of Lake Hylia with the parrot Plumm and start his balloon game. A Kargarok carries you up the river. For the Piece of Heart you need at least 10,000 points. Focus on long runs of the same valuable fruit, especially strawberries, to grow the combo bonus.
For the Piece of Heart you need at least 10,000 points. The most important trick is to collect combinations of the same type of fruit for as long as possible. Orange fruits or strawberries score more and more points in an uninterrupted series. Avoid other fruits if they would destroy your valuable combo. If you exceed 10,000 points, you will receive the Piece of Heart.


To the main route: Gerudo Desert.
Lakebed Temple
Location and view solution
After obtaining the Clawshot in the Lakebed Temple and activating the water streams on both sides of the temple, you can direct the water to a previously inaccessible area. Rotate the large staircase in the main room so that the stream of water flows into the corresponding lower side wing.
Return to the room with the rotating platforms. The higher water level makes a previously impassable bridge or connection accessible. Follow the path, step on the Floor Switch and use it to open the gate in front of the Treasure Chest. As the gate closes again, you quickly pull yourself to the other side with the Clawshot. The Piece of Heart is waiting there.


To the main route: Lakebed Temple.
Location and view solution
The second Piece of Heart of the Lakebed Temple is located directly in the large central room with the rotating stone staircase. A huge chandelier hangs high above the hall. After you own the Clawshot, you can use the various gripping points on the walls or in the upper areas to finally get to the chandelier.
There is a large Treasure Chest at the top. Open it and you will get the second Piece of Heart of the dungeon. Since you’ll be walking through the main room several times anyway, this detour can be done without a major detour.


To the main route: Lakebed Temple.
Gerudo desert and Arbiter’s Grounds
Location and view solution
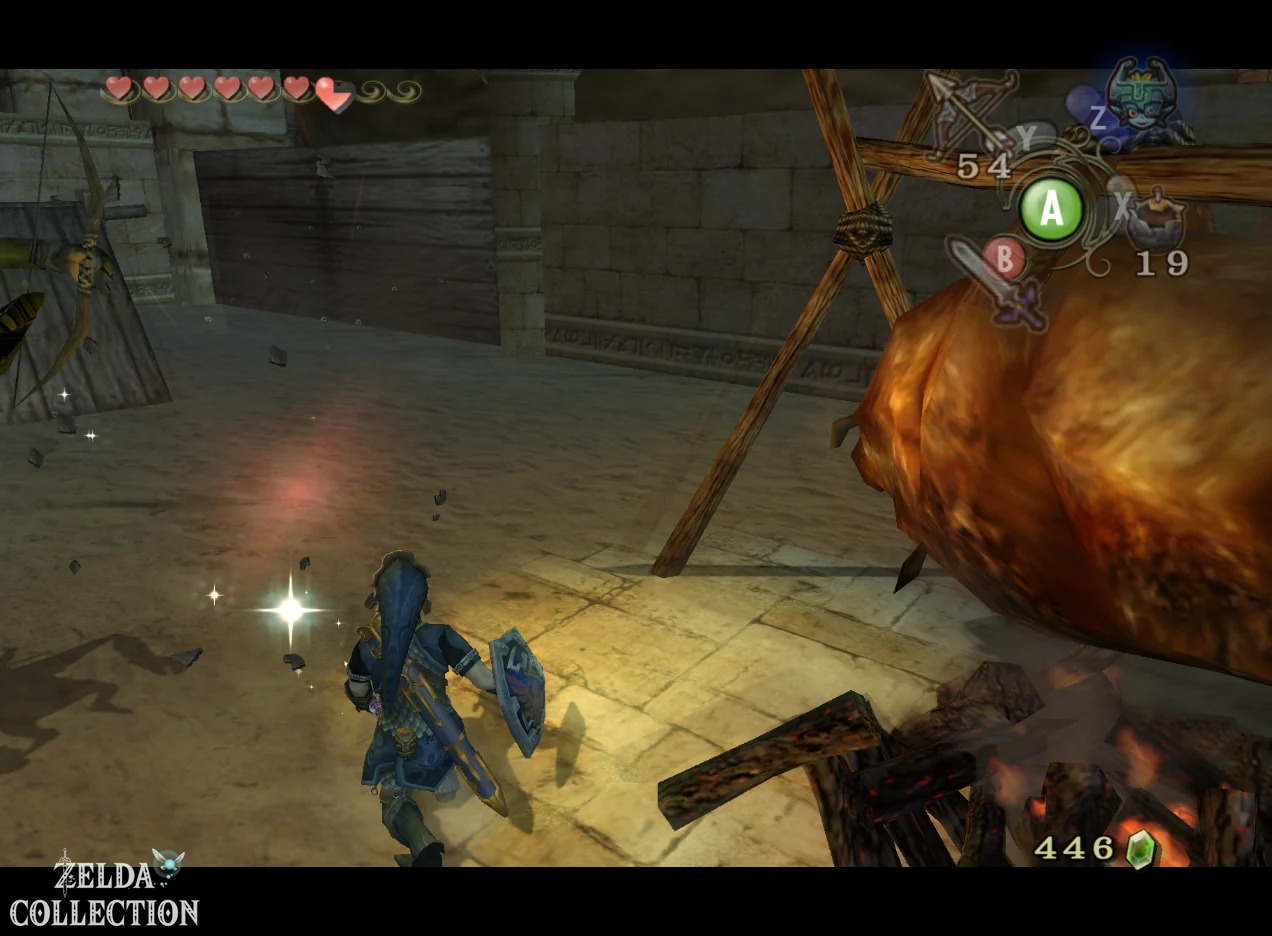
Shortly before the Arbiter’s Grounds you cross the large bulblin camp in the Gerudo desert. In the back area, a huge bullbo or wild boar is roasted over the fire. First clear the surrounding enemies out of the way and then examine the roast.
Hit it repeatedly with the sword until the flesh completely disintegrates. Inside, a Piece of Heart surprisingly appears. Be sure to take it with you before you leave the camp towards Arbiter’s Grounds.
To the main route: Gerudo Desert.
Location and view solution
In the large central room of the Arbiter’s Grounds, where you have to return the four stolen flames, there is a secluded Treasure Chest behind a wide expanse of quicksand to the side of the large staircase. Don’t just run in because Link would sink too deep.
Instead, use the Clawshot and pull yourself onto the safe platform using the appropriate grab points. Open the large chest there with the Piece of Heart. Another grab point on the wall then allows you to return safely to the main route.

To main route: Arbiter’s Grounds.
Location and view solution
After you have received the Spinner in the Arbiter’s Grounds, you can use several previously inaccessible rails. In the large room with numerous tracks and rotating spiked obstacles, an additional route leads to an elevated platform. Follow the rail and jump back and forth between the individual track sections at the right moment.
Depending on the path, there is still a Stalfos waiting on the upper level. Eliminate him and then open the large Treasure Chest. Inside is the second Piece of Heart of the Arbiter’s Grounds.


To main route: Arbiter’s Grounds.
Snowpeak Ruins and snow peak
Location and view solution
In the Snowpeak Ruins you reach a room on the second floor with several icy enemies, a cannon and noticeably damaged floor tiles. Destroy the cracked area with a bomb or – once you have it – with the Ball and Chain.
Fall through the hole into the room below. There is a large Treasure Chest with the Piece of Heart. You can then easily return to the upper floor using the grappling hook target.


To main route: Snowpeak Ruins.
Location and view solution
The second Piece of Heart of the Snowpeak Ruins is located high in the entrance area. After you get the Ball and Chain, hit the large chandelier with it to make it swing back and forth forcefully. Jump onto the platform at the right moment and let yourself be carried towards the next chandelier.
Repeat the maneuver with the other chandeliers and work your way to the opposite ledge. A large Treasure Chest with the second Piece of Heart of the Snowpeak Ruins is waiting there.

To main route: Snowpeak Ruins.
Location and view solution
After you complete the Snowpeak Ruins and get the next mirror shard, you can return to the Snowpeak. First, talk to Yeto there and challenge him to a snowboard race. Defeat him and then return to the summit again. Now you can compete against his wife Yeta.
Yeta is significantly faster. The normal route is barely enough to beat them. About halfway through the race, a narrow shortcut leads over an elevated path. Take this path, maintain as much speed as possible and avoid unnecessary collisions with walls and obstacles. If you cross the finish line in front of Yeta, she will give you a Piece of Heart.


To the main route: Temple of Time.
Temple of Time and Temple of Time
Location and view solution
In the Temple of Time you get the Dominion Rod and then lead the large statue back towards the entrance. On this way back you will reach a room with moving walls, several lizard warriors and an electrical barrier behind which there is a Treasure Chest.
Use the large statue or one of the small statues and place it on the Floor Switch on the other side. This will temporarily deactivate the electrical barrier. Run quickly to the chest that can now be reached and open it. Inside lies the Piece of Heart.


To the main route: Temple of Time.
Location and view solution
During the way back through the Temple of Time you will again come to an area with several small statues. Use the Dominion Rod and transport two of them to the southern side room. There are two separate Floor Switch.
Position one statue on each switch. As soon as both are pressed at the same time, a large Treasure Chest appears or opens in a niche on the side. Inside is the second Piece of Heart within the actual time shrine.


To the main route: Temple of Time.
Location and view solution
After receiving the Dominion Rod, do not leave the actual dungeon completely. There are several large owl statues in the historic entrance area of the Temple of Time. One of them blocks a niche in the wall. Activate the statue with the Dominion Rod and move it out of its position.
A hidden Treasure Chest appears behind her. Open it and you will get the third Piece of Heart around the Temple of Time.


To the main route: Temple of Time.
City in the Sky
Location and view solution
The first of the two Pieces of Heart in City in the Sky is located in the large cylindrical room of the west wing. Use the Double Clawshots to work your way up to the higher level and then follow the narrow path along the outer wall. Several Baba Serpents or Keese can easily push you into the abyss, which is why it’s better to switch them off beforehand.
Continue moving around the room and use the grapple points or vines until you reach a secluded platform. There is the large Treasure Chest with the Piece of Heart.


To main route: City in the Sky.
Location and view solution
The second Piece of Heart is located in an open area on the third floor, where numerous flying Peahats or Peahats hover over the abyss. With the Double Clawshots you can move from plant to plant and thereby overcome routes that were previously completely impassable.
Don’t follow the normal main route directly, but move over the southern chain of flying plants to a secluded balcony. There a door leads to an otherwise inaccessible platform with a large Treasure Chest. Open it and take the second Piece of Heart from City in the Sky.


To main route: City in the Sky.
Palace of Twilight
filled with light
Location and view solution
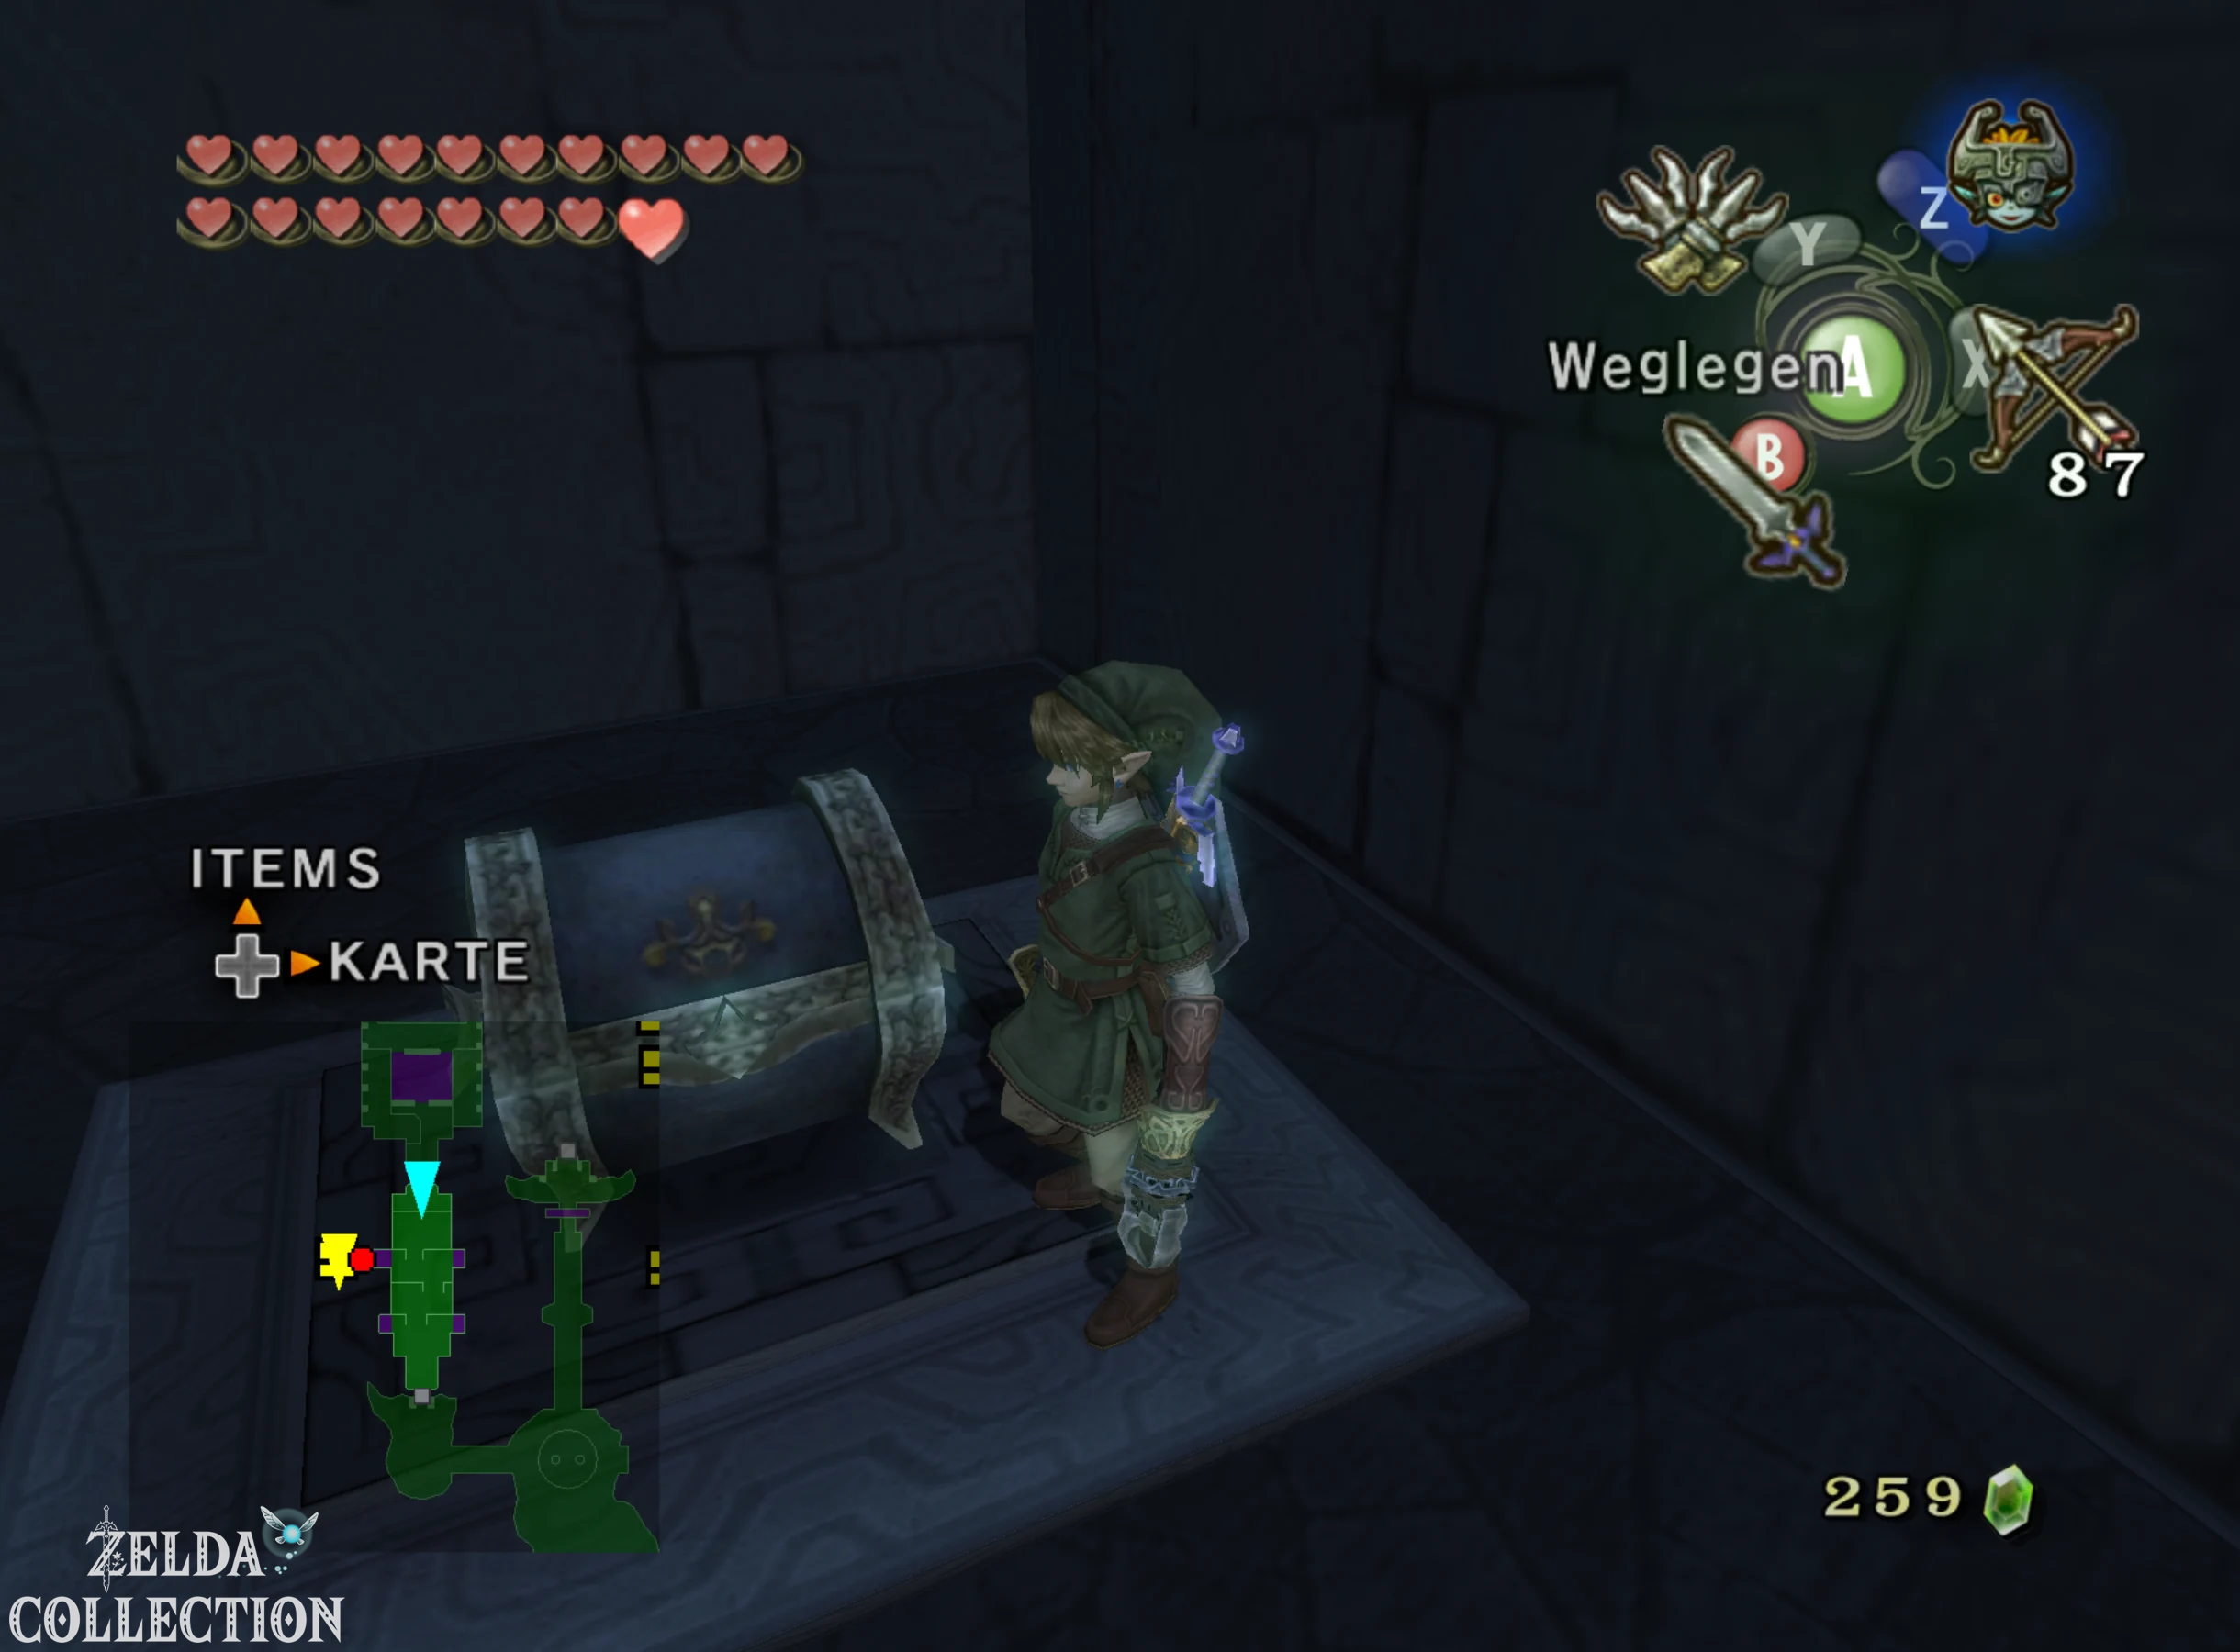
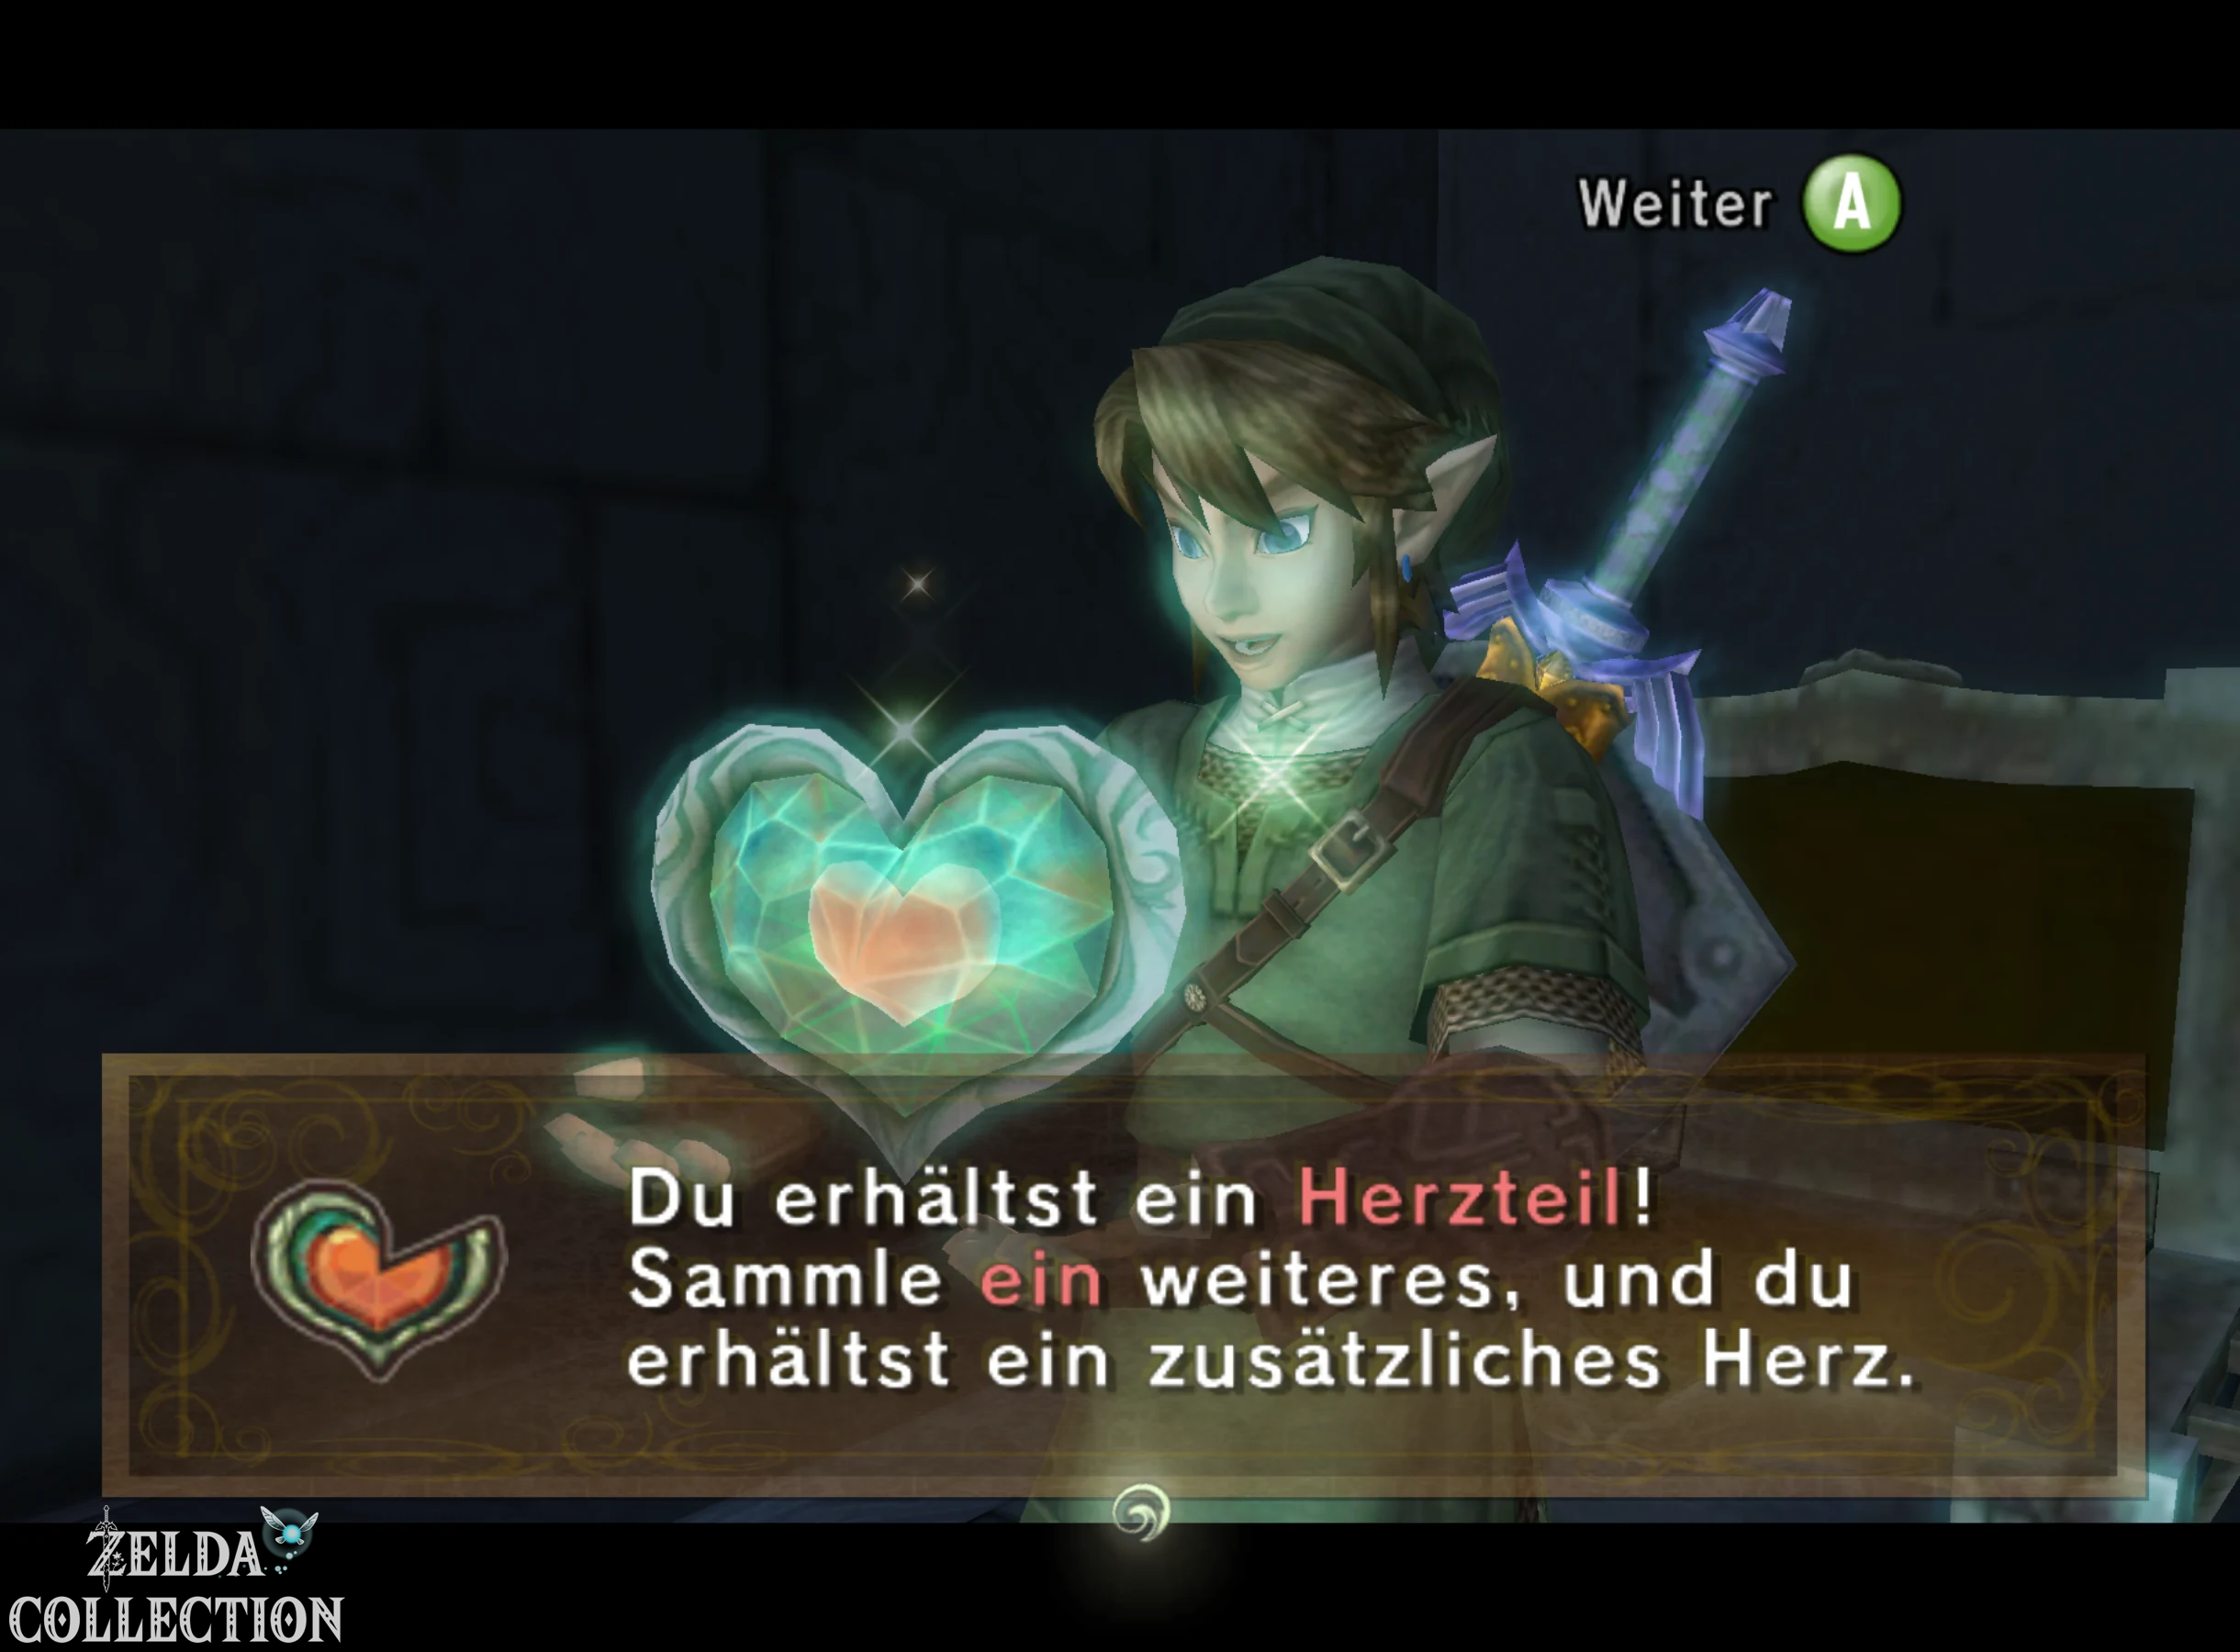
The Palace of Twilight contains the last two Pieces of Heart of the entire game. The first is in one of the side wings. There are several thick black curtains of fog hanging from the ceiling or along the walls. Behind one of these fogfalls there is a small alcove on the map with a Treasure Chest.
During the return journey with the Sol, you can use its light effect to temporarily dispel the black fog. Place the Sol near the smoke curtain and look for the grappling hook point behind it. Pull yourself up and open the Treasure Chest. Alternatively, return later with the light-charged Master Sword and cut through the nebula directly.
To the main route: Palace of Twilight.
Location and view solution
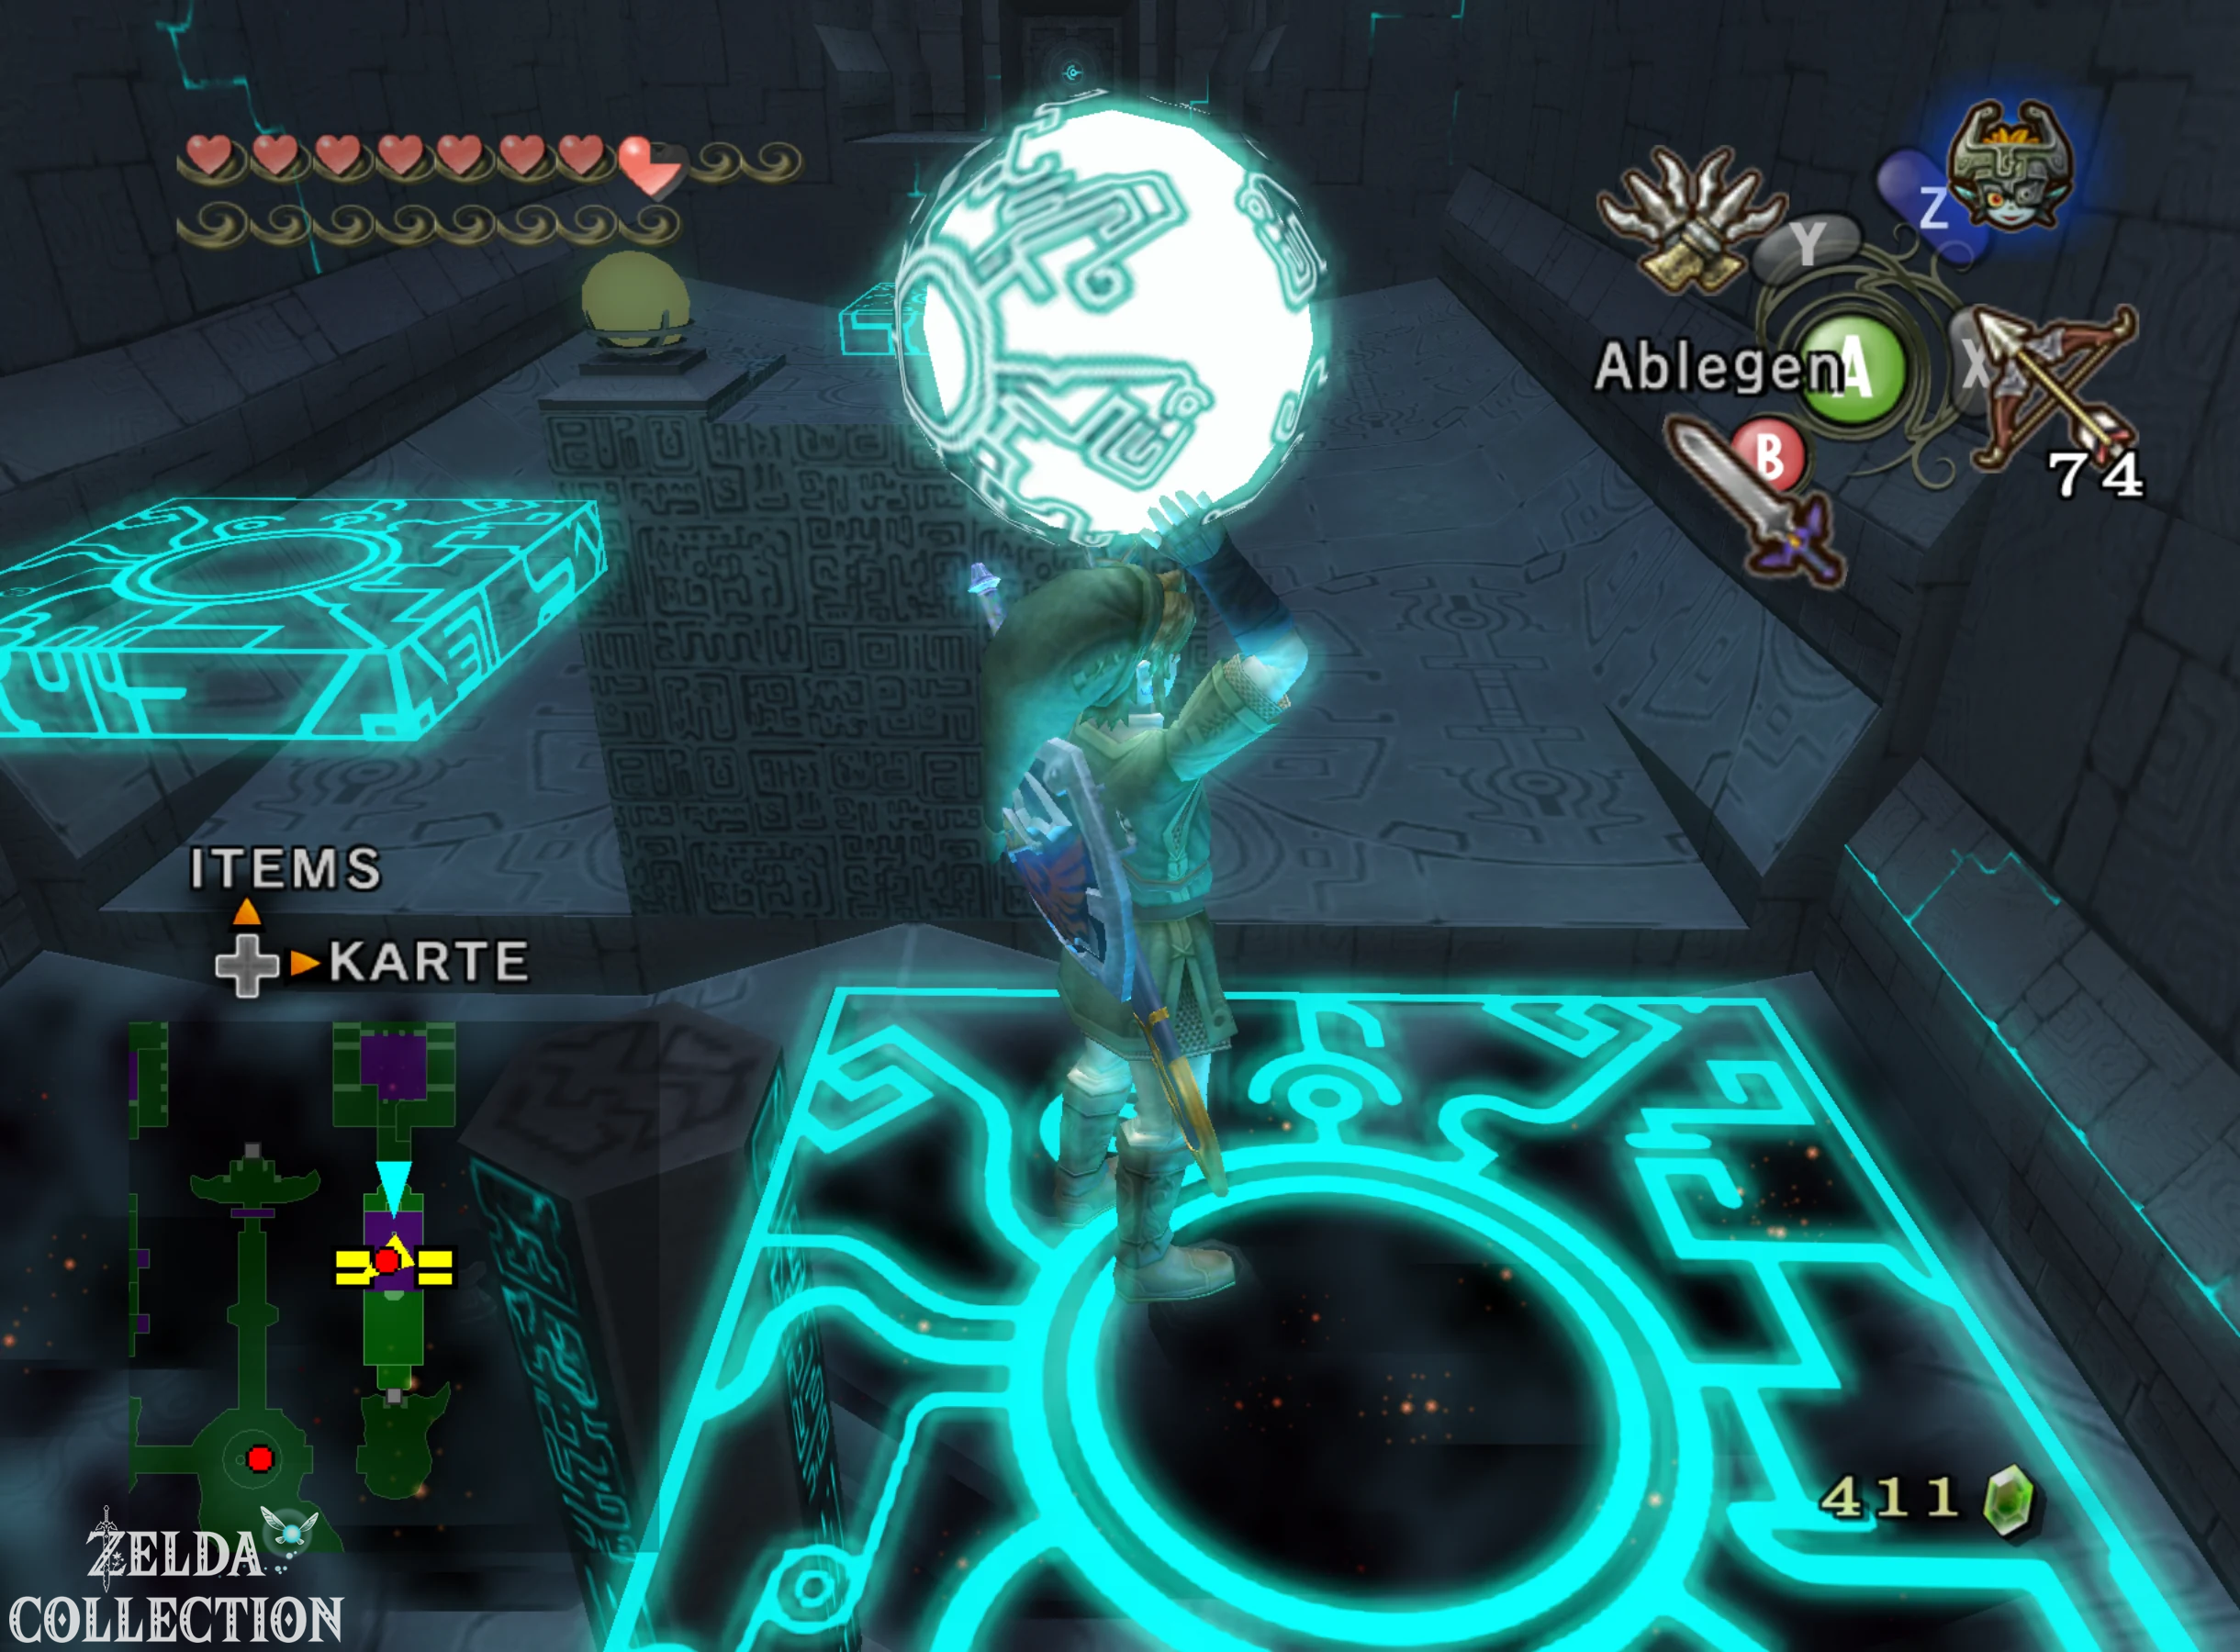
The final Piece of Heart of Twilight Princess is located in the opposite wing of the Shadow Palace. In the first large room on the lower level there is a dark crystal or a light device that can be activated by a Sol. Bring the light near the crystal. Several platforms then appear or move, leading to the raised niches on the sides of the room.
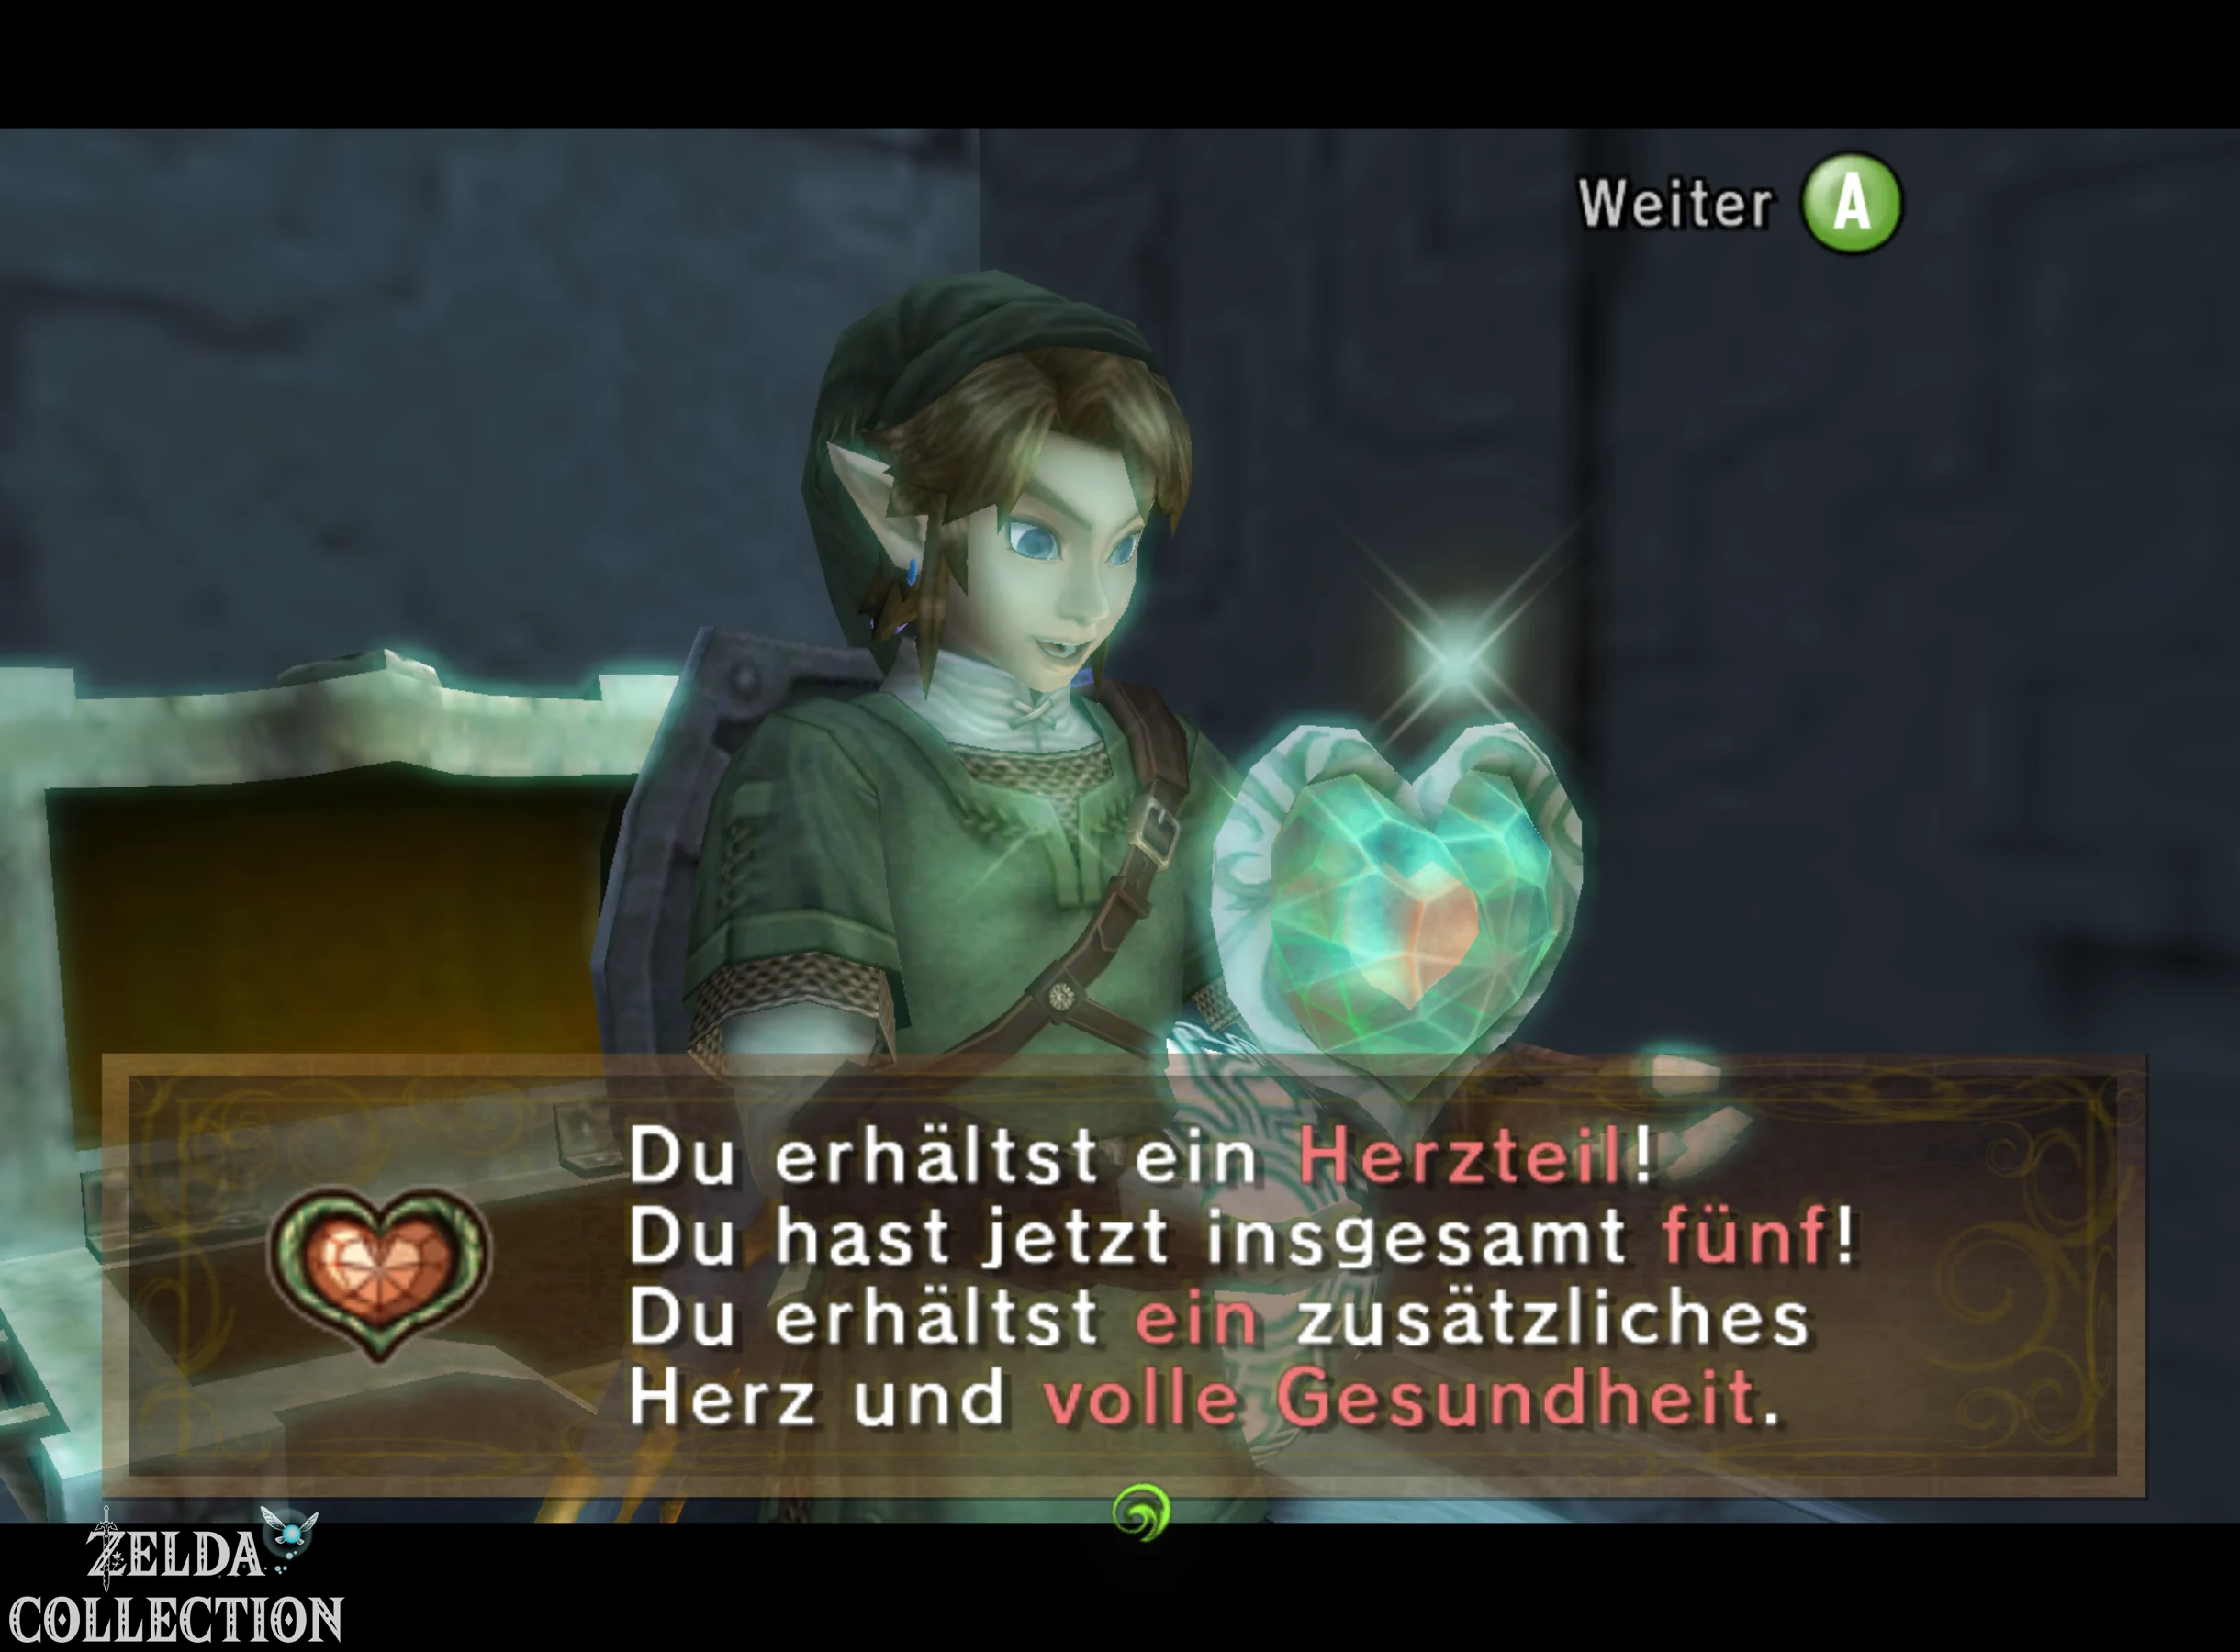
Climb onto the platform that takes you to the corresponding side niche and open the large Treasure Chest there. Inside is the 45th and last Piece of Heart. If you have collected all previous copies of our route, this will simultaneously complete your ninth additional Heart Container and Link’s health – together with all boss heart containers – will reach the maximum of 20 hearts.
45 out of 45 Pieces of Heart!
With this find, all Pieces of Heart from Twilight Princess have been collected. Additionally, if all eight Heart Container dungeon bosses have been picked up, Link now has the maximum health of 20 hearts.
To the main route: Palace of Twilight.
All Pieces of Heart in the dungeons
| Dungeon | Pieces of Heart |
|---|---|
| Forest Temple | 2 |
| Goron Mines | 2 |
| Lakebed Temple | 2 |
| Arbiter’s Grounds | 2 |
| Snowpeak Ruins | 2 |
| Temple of Time | 3 including entrance to the citadel |
| City in the Sky | 2 |
| Palace of Twilight | 2 |
Hyrule Castle no longer has a Pieces of Heart. If you follow our route, the heart part collection is already completely completed in the Palace of Twilight.
Which Pieces of Heart are most often overlooked?
The Pieces of Heart are particularly often missing at the end and only become accessible long after the first visit to a region. These include the owl statues at Bridge of Eldin and Coro’s Hut, the Double Hook Heartpiece in Kakariko Valley, and the Ice Cave north of Castle Town. The cat mission in the Hidden Village is also easily overlooked because once the main story there is over, there is initially no obvious reason to return.
In the dungeons you should especially check City in the Sky and the Palace of Twilight. Both contain two Pieces of Heart, some of which are on optional side paths. If you have the Compass for the respective dungeon and see an unopened large chest on the map, it’s worth checking closely.
Can you miss Pieces of Heart permanently?
No. The 45th Pieces of Heart are generally designed so that they can be collected later. Some dungeons require additional items or a slightly longer return journey to revisit, but none of these Pieces of Heart disappears permanently as the main plot progresses. Mini-games such as goat herding, chicken flying or snowboarding racing can also be repeated as often as you like until you reach the required level of performance.
It’s still worth taking the dungeon heart pieces with you on your first visit. Especially at the Forest Temple or lake shrine, returning later is much more complicated than the short detour during the normal solution.
Why don’t I have 20 hearts despite having 45 Pieces of Heart?
The 45 Pieces of Heart make a total of nine complete Heart Container. For maximum health you also need the eight Heart Container of the dungeon bosses. After a boss fight, the Heart Container is usually right in the arena. Although it is very conspicuous, it can theoretically be left behind if Link immediately uses Midna’s portal or the exit.
If you have all 45 Pieces of Heart and still have less than 20 hearts, you should not look for another Piece of Heart, but instead consider which dungeon boss you might not have picked up the complete Heart Container.
The second Piece of Heart of the Shadow Palace completes the complete heart piece collection of The Legend of Zelda: Twilight Princess. In total you have collected 45 Pieces of Heart and used them to form nine additional Heart Container. If you have also picked up all of the complete Heart Container of the eight dungeon bosses, Link now has the maximum possible health of 20 hearts.
The Heart Piece Quest takes you through virtually the entire game and connects the main plot to many of the most important ones Side Quests. You explored hidden caves, mastered mini-games, moved owl statues, with the Spinner climbed remote rock faces, found cats in the Hidden Village, and fully searched several optional areas of the dungeons. This is one of the most important building blocks of ours Twilight Princess 100% Walkthrough completed.